I’ve had a few questions about this project so I’m reposting it just for you!
I’m excited to be sharing my tutorial for these darling Vintage Valentines! They are super fun to make and sew up quick! In fact, my 6 year old daughter even made one all by herself! All the wonderful fabrics are from Blend’s fabric lines: Equniox, Modern Lace, and Turkish Delight.
I choose some vintage cat images off the internet and printed them onto the EZ Print Transfer Sheets. You could print any image you want. The image is then ironed on to white fabric.
Heat n Bond® EZ Print Transfer Sheets
Heat n Bond® Fusible Fleece
Spray n Bond® Basting Adhesive Spray
Small pieces of fabric. All the fabrics I used in my projects are from Blend fabric.
Scraps of lace
Buttons
Fiber Fill
I love using the HeatnBond® EZ PRint Transfer Sheets because you can turn any image on your computer into a piece of fabric. You can easily replace the image with a different one. I searched “Vintage or Victorian Cats”, resized the images, and then printed the images in reverse on the EZ Print Transfer Sheets.
There are so many cute images to choose from. I plan to make a lot of hearts!

Cut out the images and place them face down on solid white cotton fabric. Iron as directed:
Peel off the backing paper and then cut around the images:
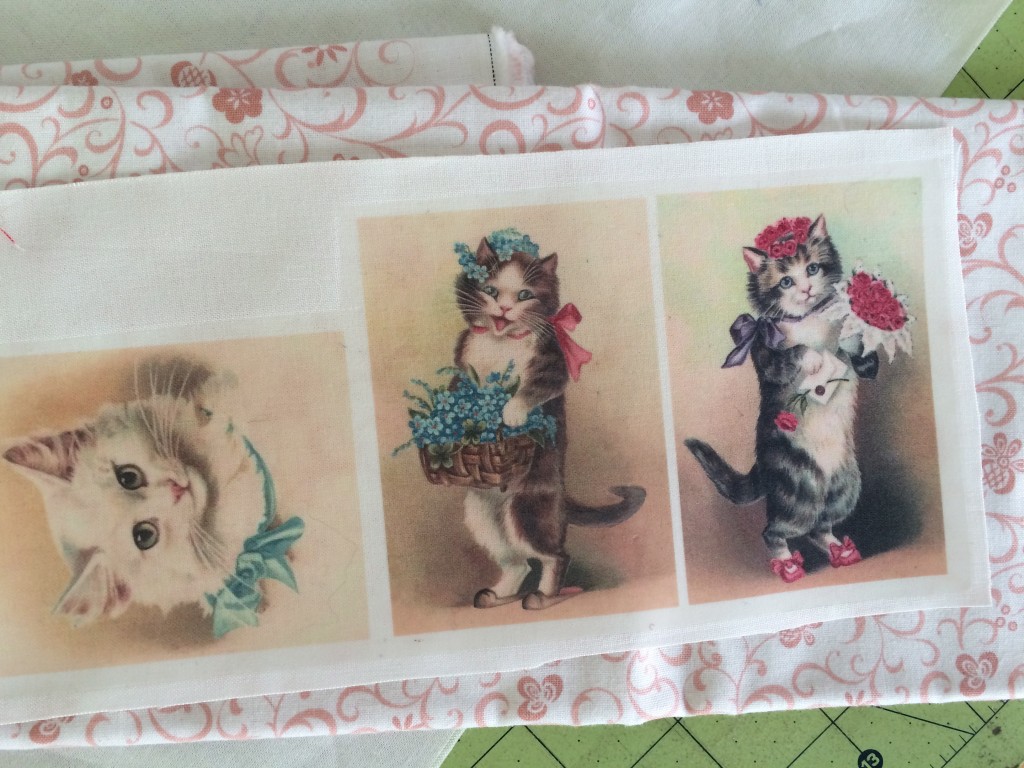
I trimmed all the way around the image. Using Spray n Bond®, spray the back of the image and place it on your desired background fabric.

You can use a decorative stitch to stitch around the image:

Trim the background fabric with pinking shears to add a little texture.
Prepare the heart….
Print out the heart pattern here. Cut a piece of Heat n Bond® Fusible Fleece large enough to fit 2 hearts. 
Iron it to the back of your heart fabric.
Cut out 2 hearts.
Cut an accent strip of fabric 2.5″ wide. Using Spray n Bond again, spray the back of the fabric and place it on the heart. Get out your lace and let your kitten play in it then nap in it. Choose a few pieces for decorative accents on the heart.
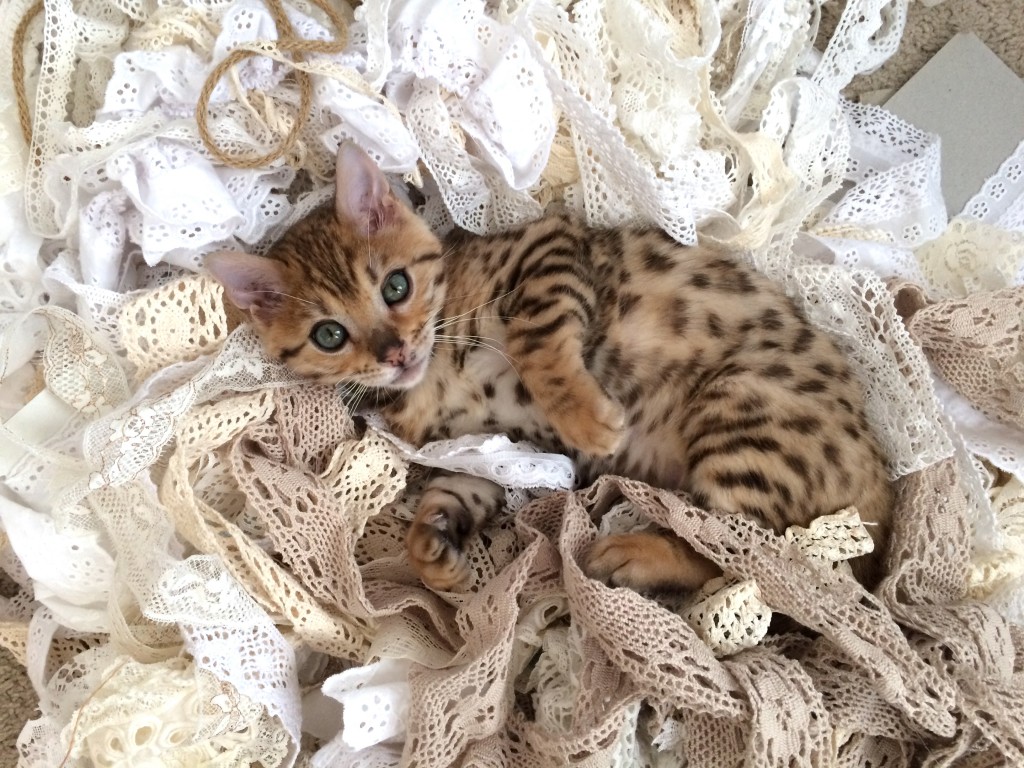
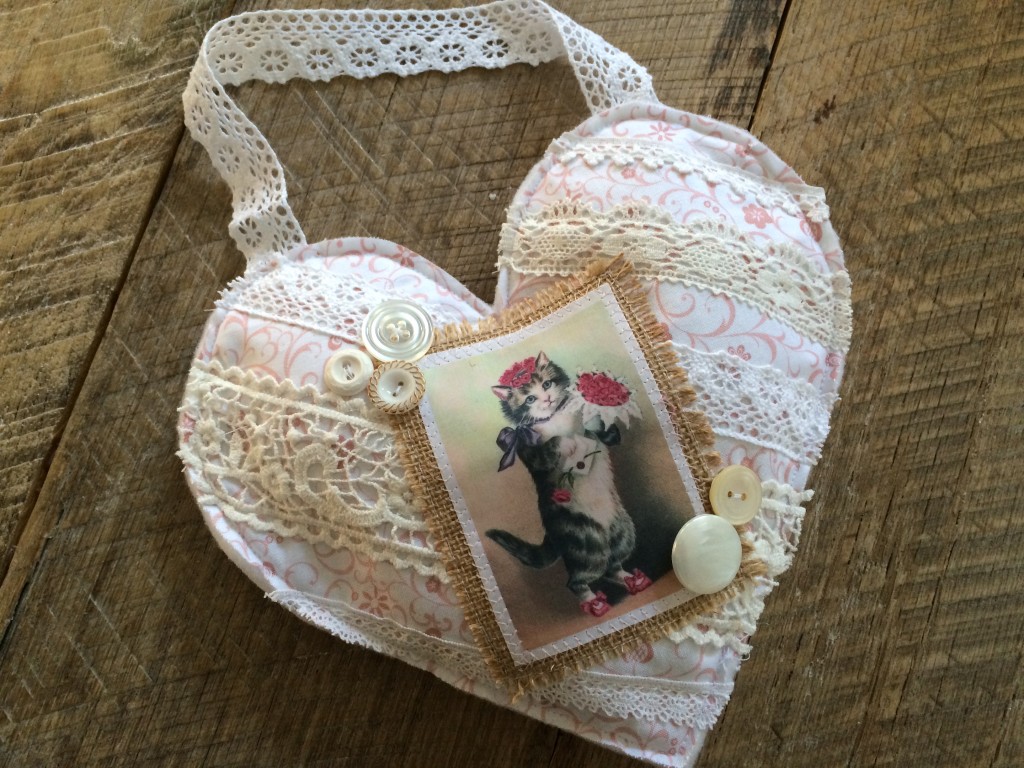
Spray the back of the lace and place it as desired. Of course you can change up the pattern and design and really get creative. Using the Spray n Bond®, you don’t have to worry about pieces shifting while sewing. I LOVE THIS STUFF!!! Top stitch along the edges of the lace. Now we are ready to place the kitty image. I felt it needed another layer so I added a piece of lace to frame the image. Spray baste it in place and stitch along the edge to secure.
 I inherited this wonderful cigar box of vintage white buttons. You can use any embellishments you like. Sew the buttons on by hand.


Use the Spray n Bond to spray the edges of the back of the heart. Place the top heart on the back heart wrong sides together. The spray keeps the heart from shifting while sewing and only spraying the edges allows you to add fiberfill easily. Cut a 10″ or so piece of lace for the hanger. Tuck in in the heart and pin to secure. Sew all the way around the heart close to the edge. Leave a little opening on a straight seam to allow for stuffing. Add a slight amount of fiberfill – overstuffing will look weird. Then finish sewing the seam.

Now, where to hang the cute little Valentine!
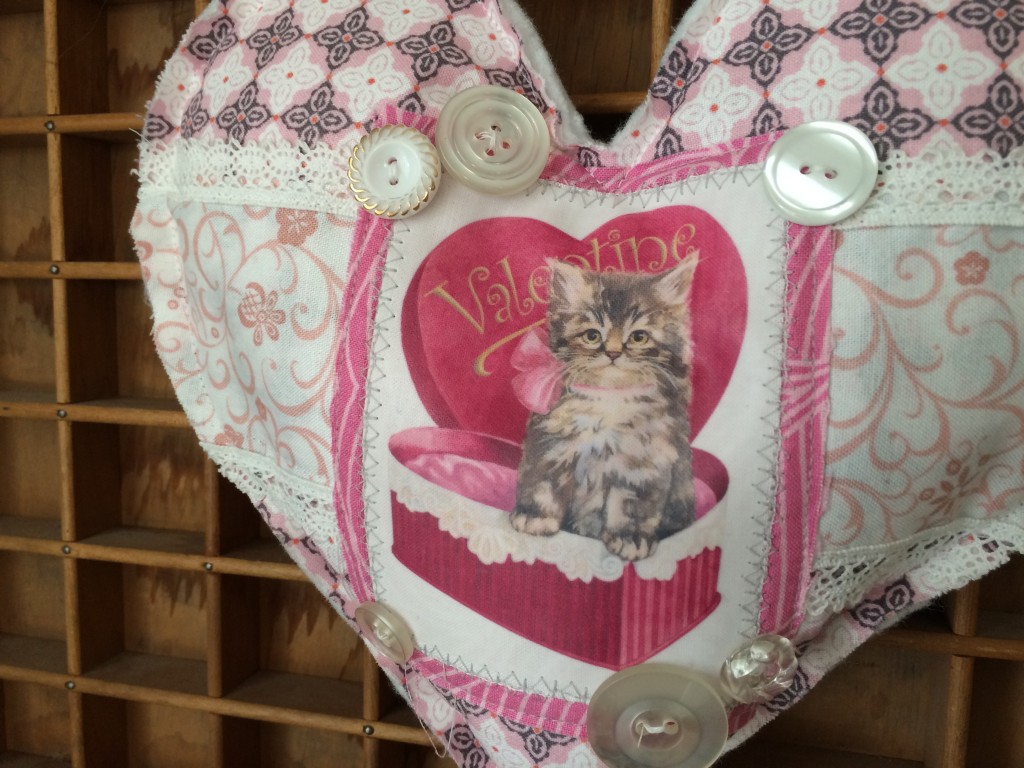
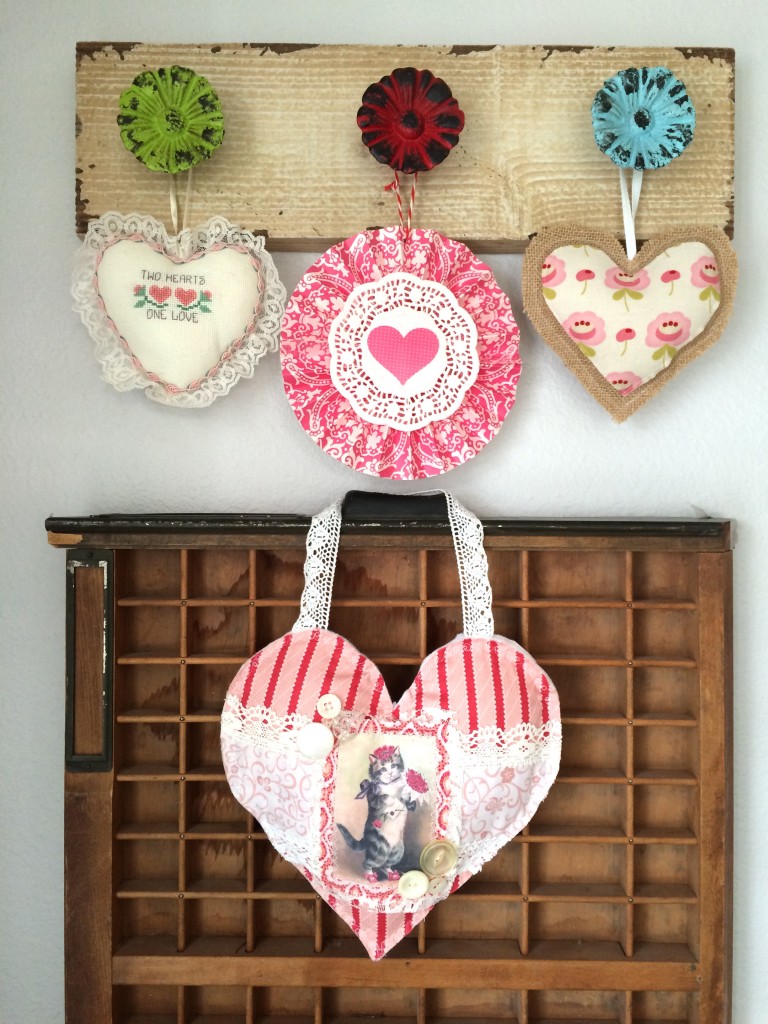
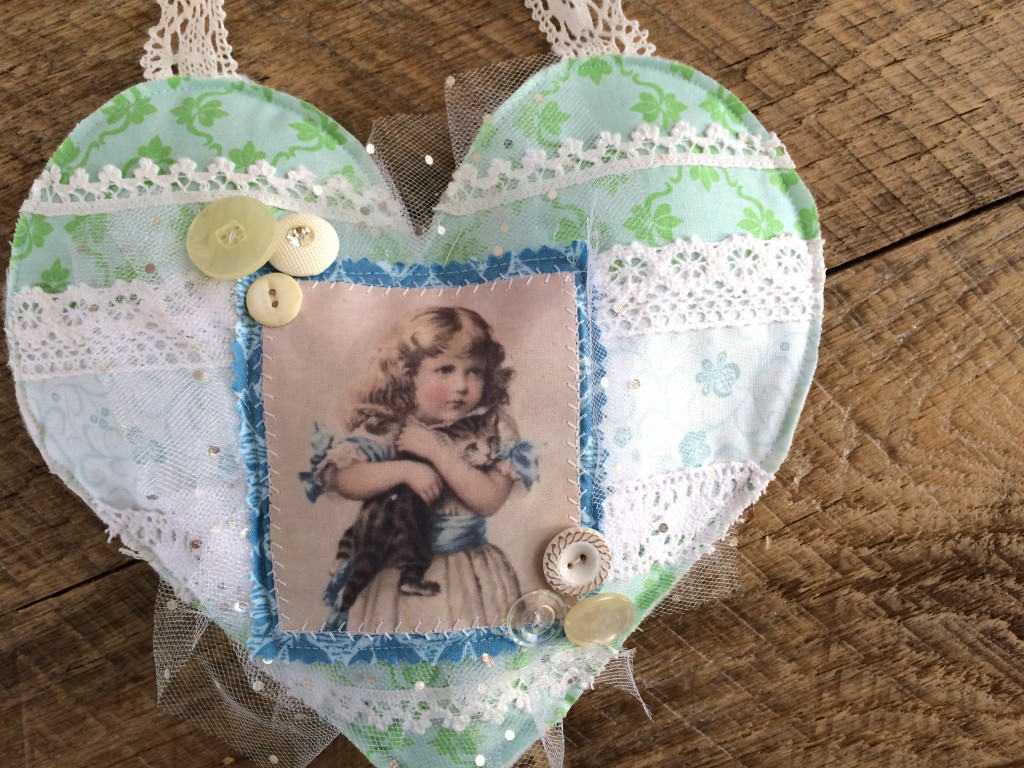
Here are some other color combinations I came up with:
This one is for my daughter, I love the blue & green combination. I added a little sparkly tulle for the background of the picture.
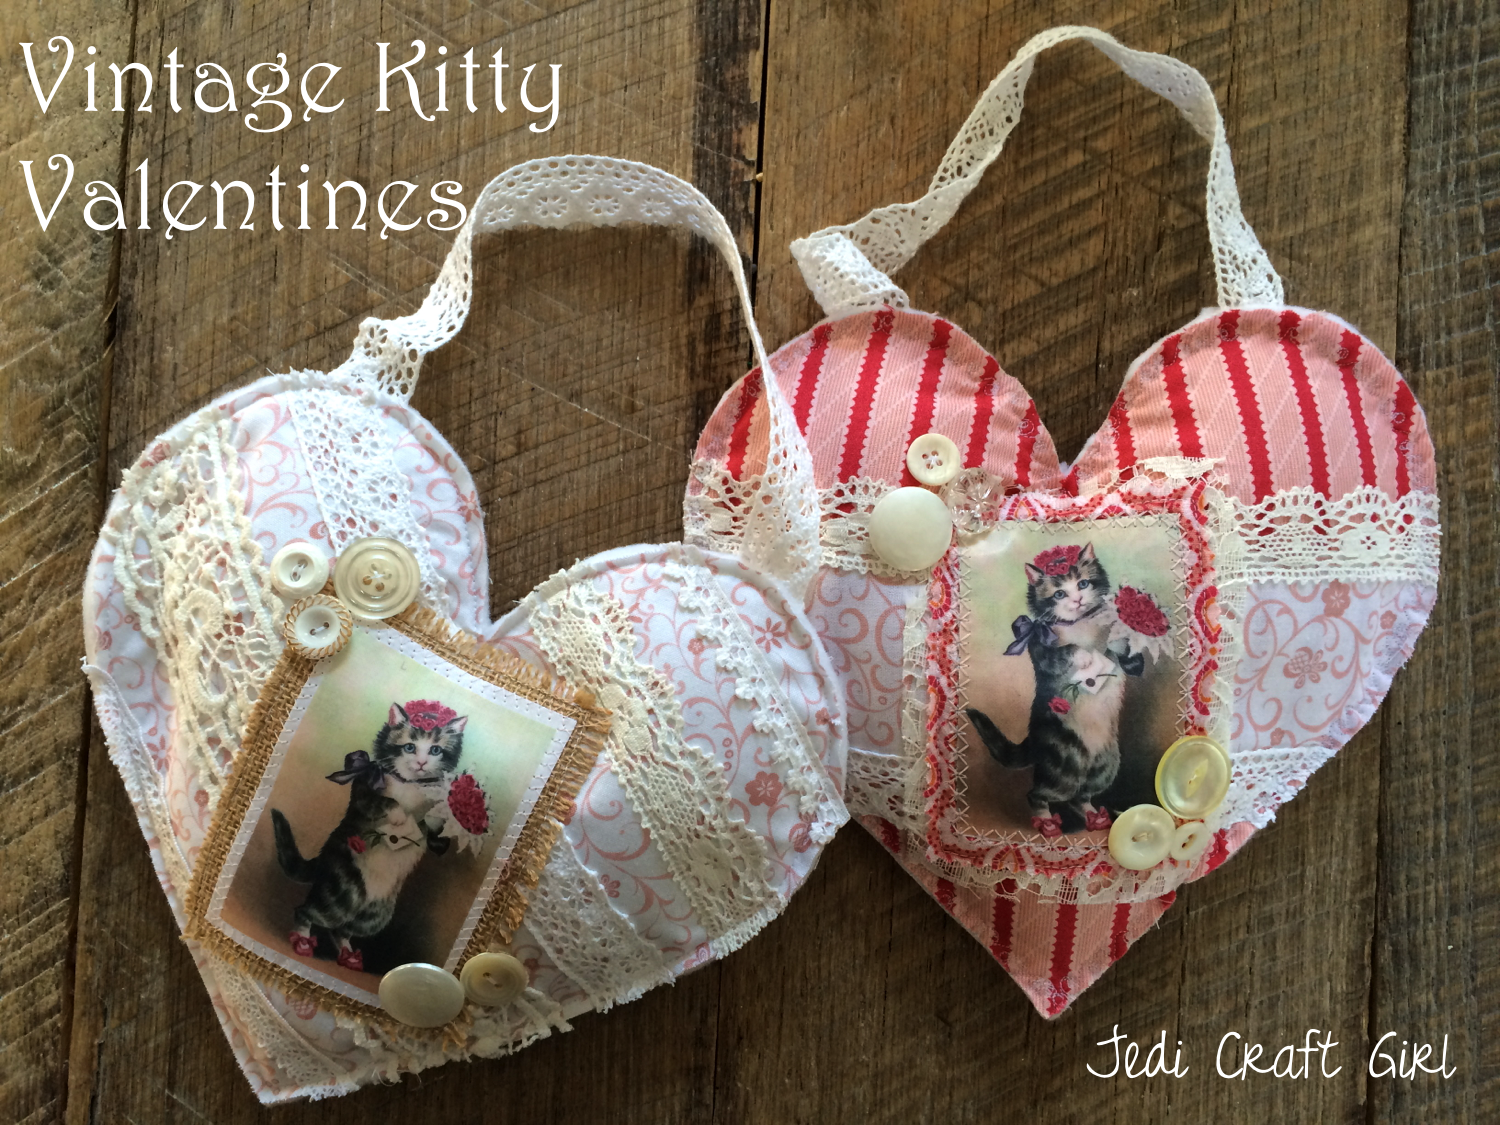
 This one doesn’t have a fabric accent strip, but uses diagonally place lace as the background. Burlap acts as the frame for the kitty image.




Speak Your Mind