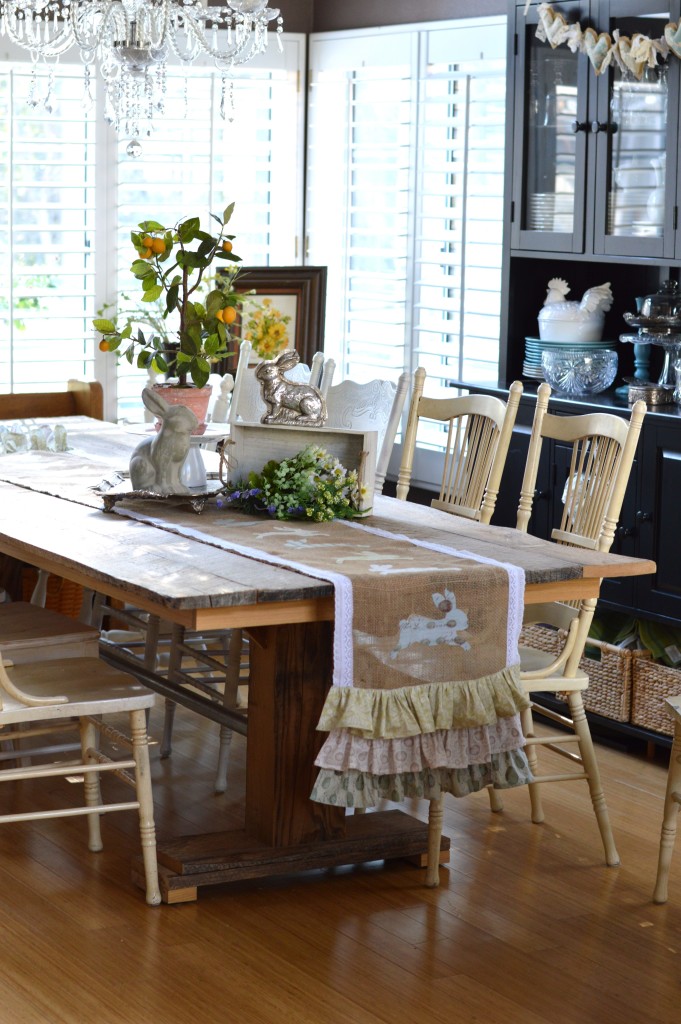
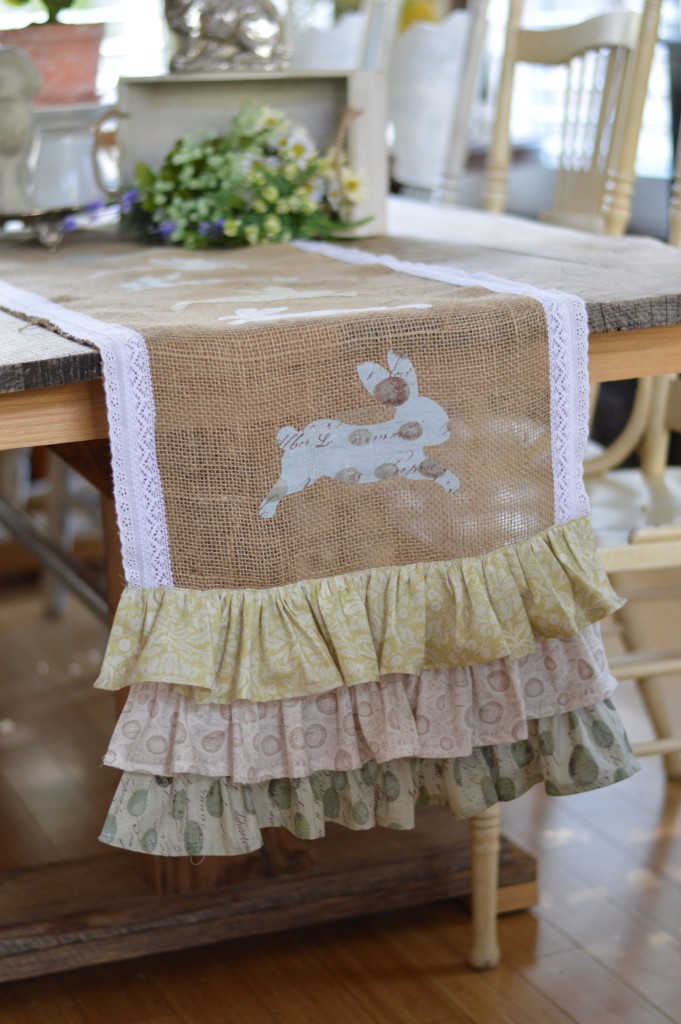
I love spring and I love bunnies and I love this Sizzix Rabbit Die! It is my most favorite Sizzix die of ALL TIME!! It is totally feels like spring here in Southern California! I love it! I’m ready to get all my spring home decor out and I needed a new table runner in my dining room so I came up with this “shabby” inspired bunny runner. I used a ready-made burlap runner that I purchased at the craft store, Heat n Bond Ultra, lace trim, and some yardage. The fabrics are from the line Flora & Fauna by Blend Fabrics.
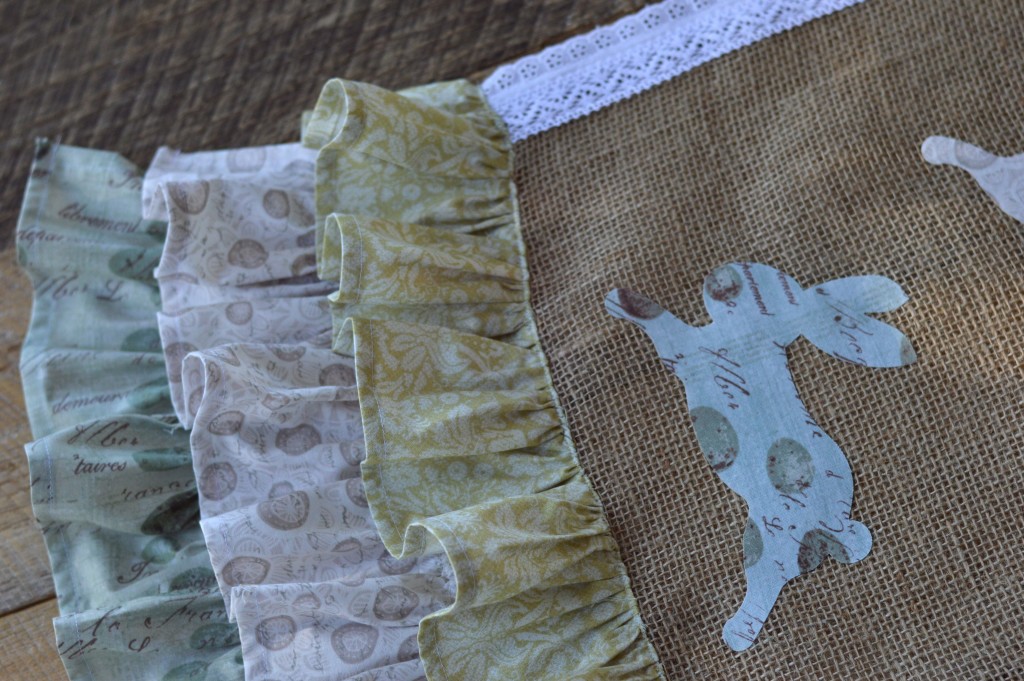
Let’s get started!
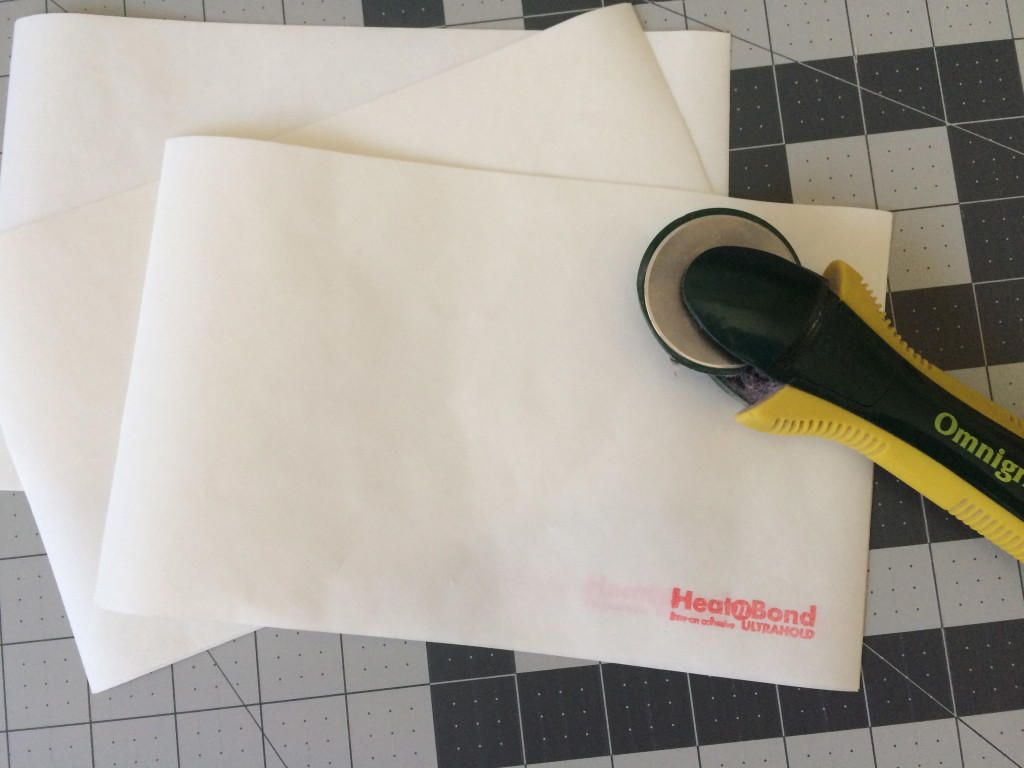
Begin by cutting the Heat n Bond Ultra into rectangles the size of the Rabbit Die. I choose to use Heat n Bond Ultra because I didn’t want to sew around each rabbit. Burlap is a little stretchy and wiggly and I thought the sewing would cause some funky puckering. The Ultra doesn’t require any sewing!
Iron it to the wrong size of the fabrics to be die cut.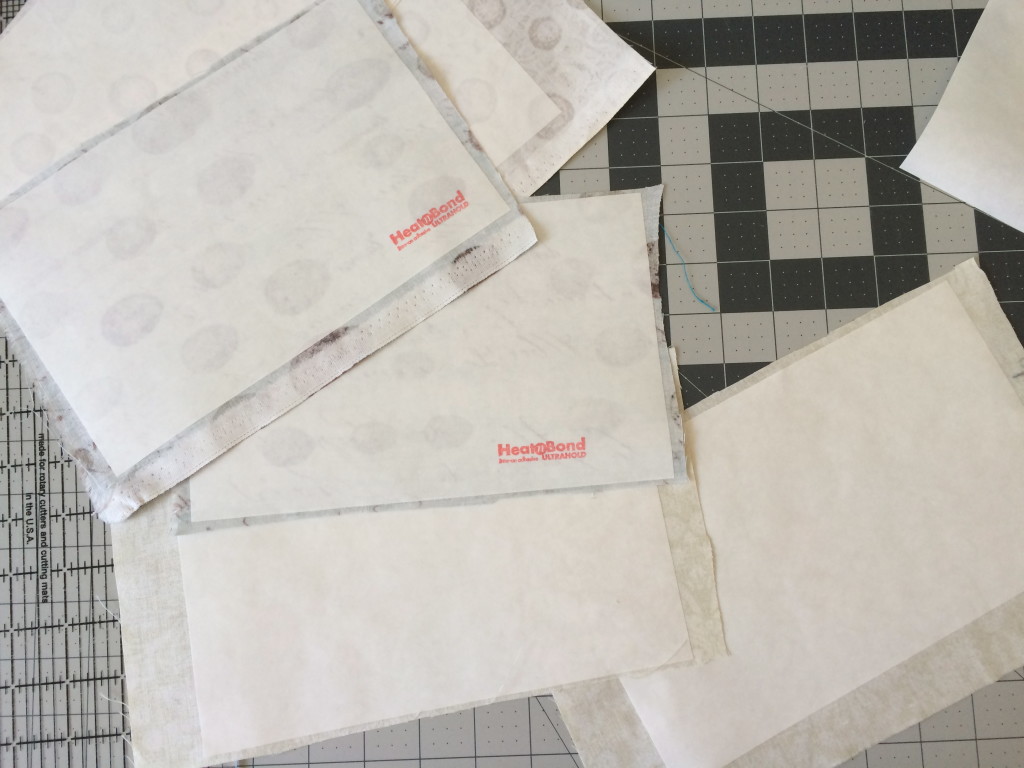
Run the fabrics through the Sizzix Fabi. Make sure to cut half the rabbits going one way and half the rabbits going the other way. I cut 12 rabbits. The number will vary depending on the length of the runner.
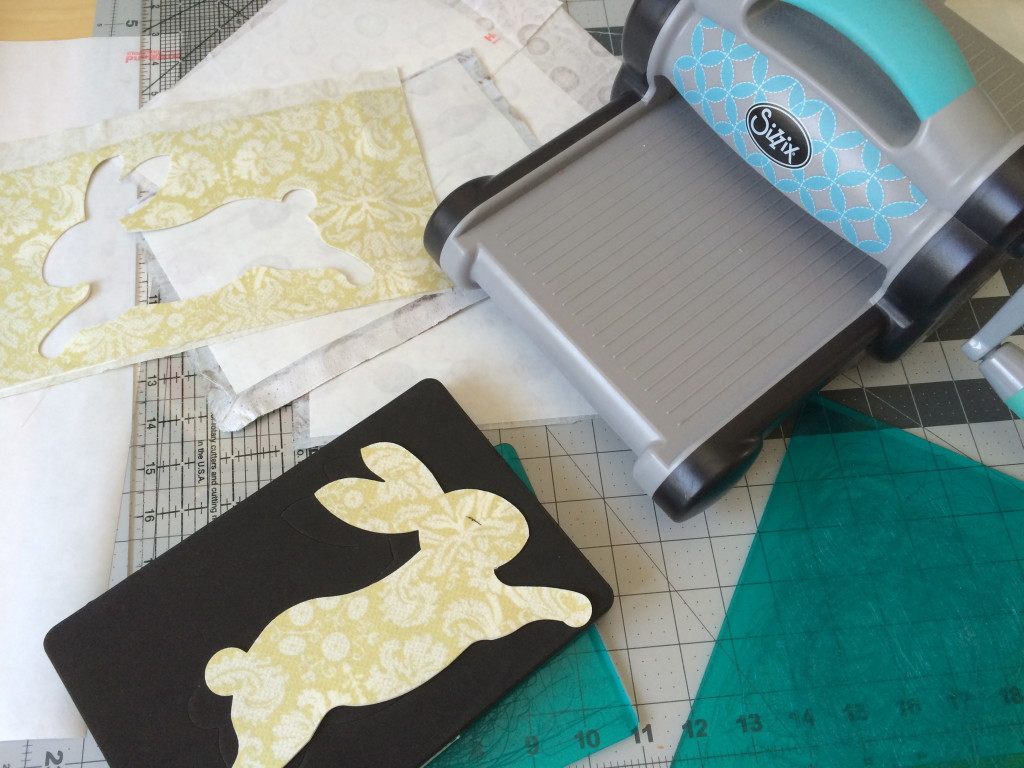
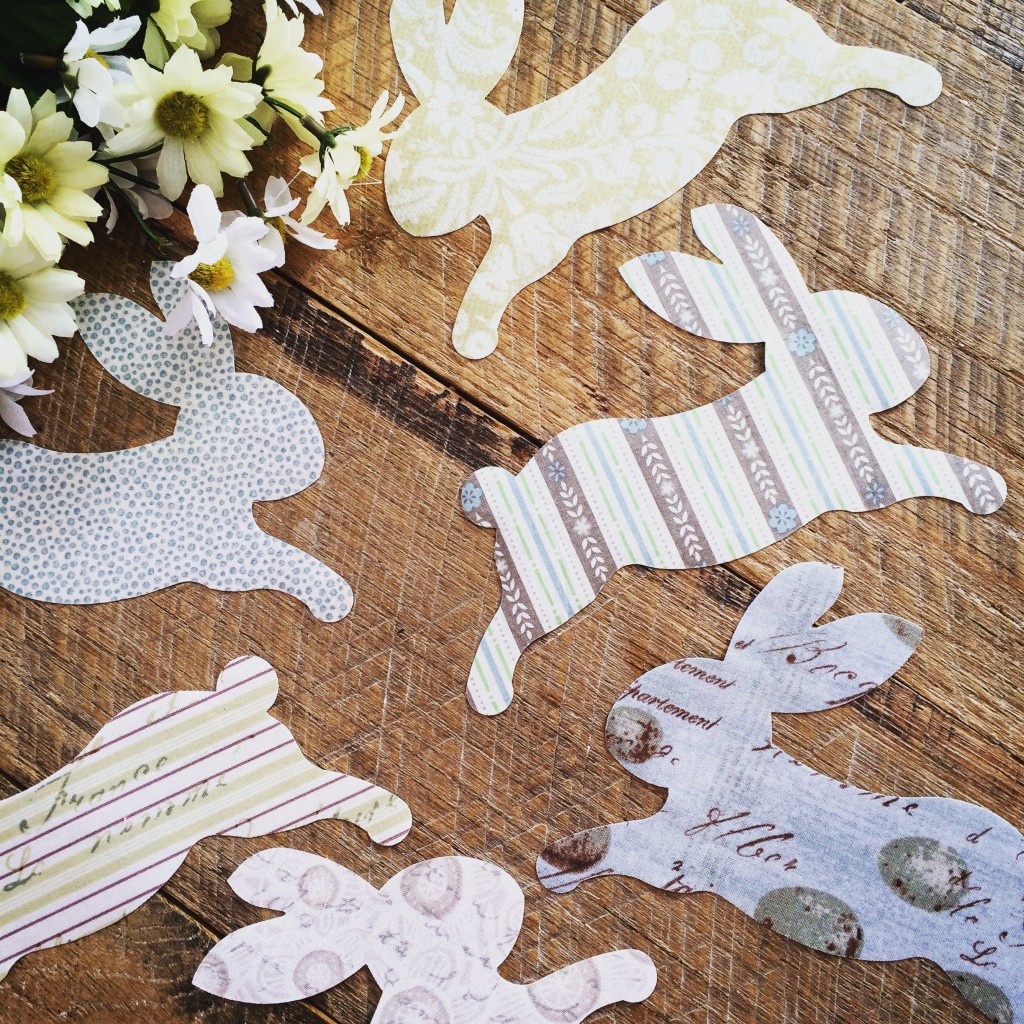
Aren’t they the cutest! I could have a million of these bunnies!!!!
Measure the length of your table runner, mine is 116″. You will need the lace to be double the length of the table runner.
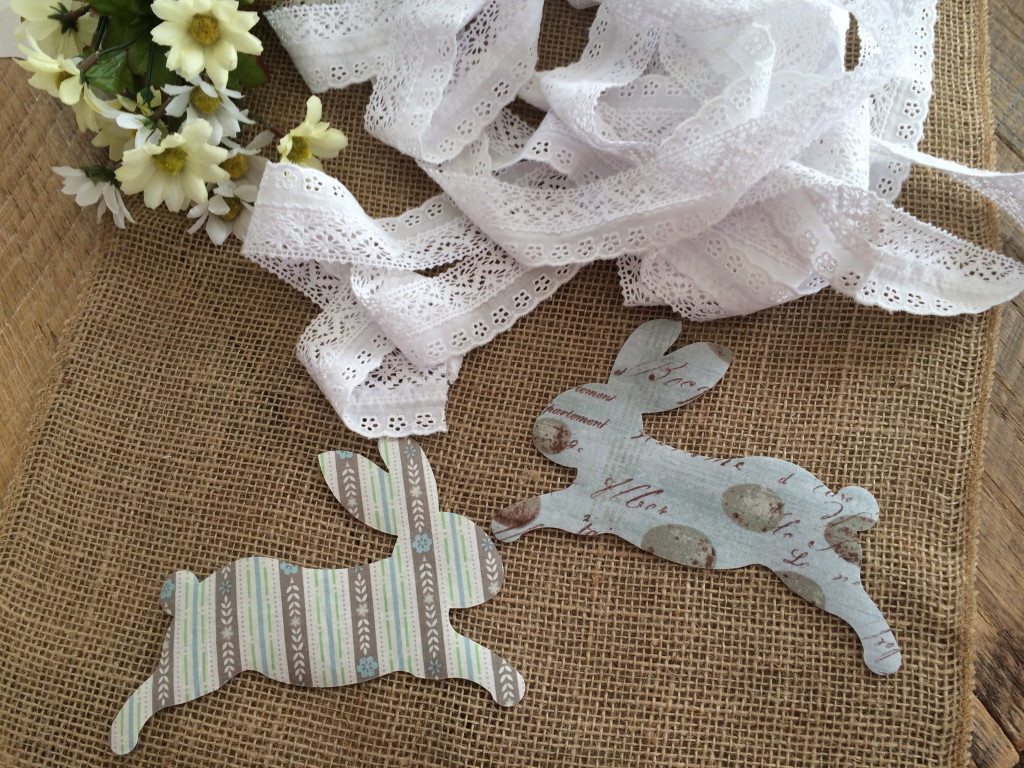
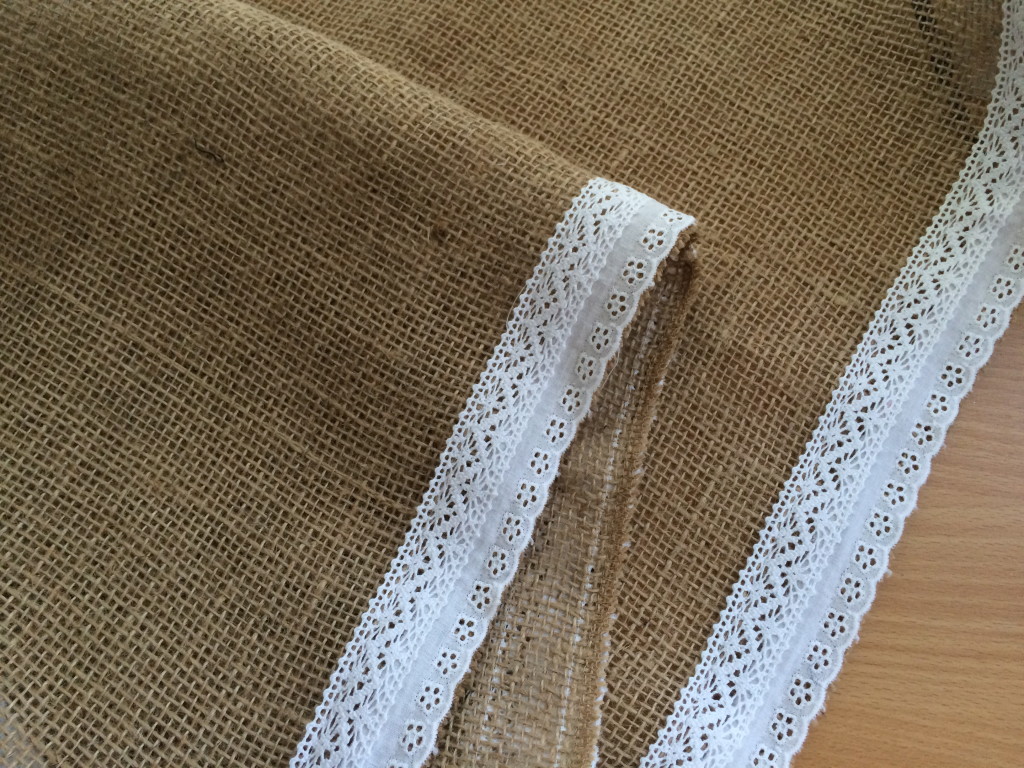
Sew the lace to each long edge of the table runner.
Choose three fabrics for the ruffles. Cut (2) 5″ x WOF of each of the ruffle fabrics.
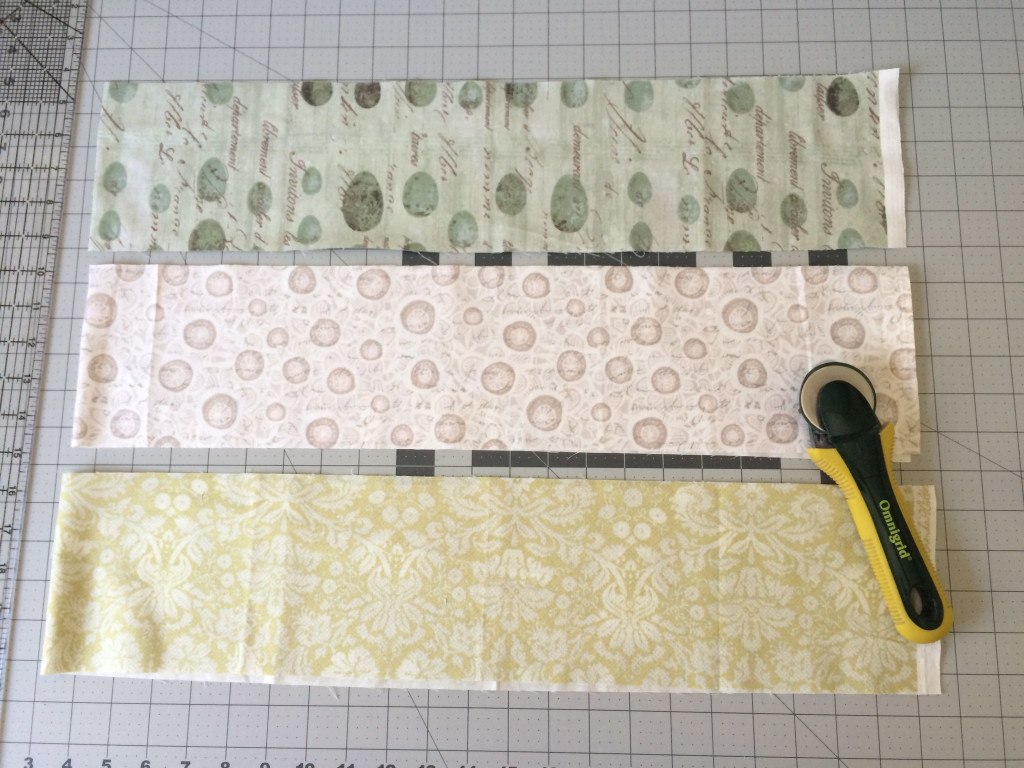
Sew a rolled hem on the two short sides of each of the 6 ruffle pieces.
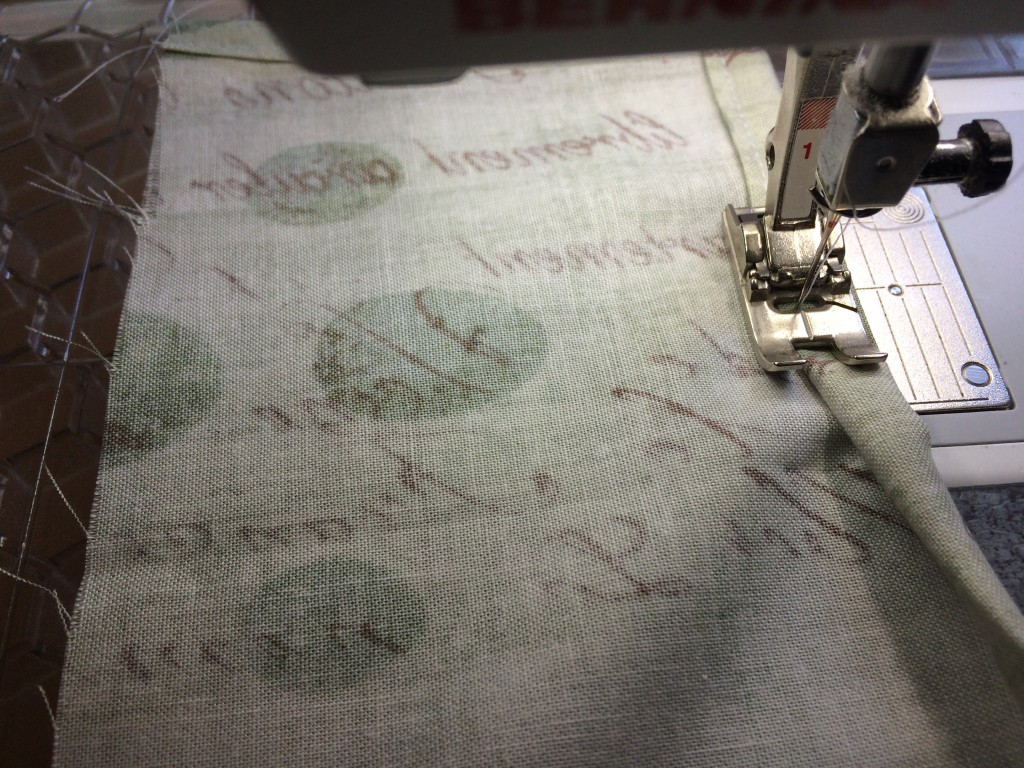
Then sew a rolled hem on one long edge of the ruffle pieces. Press.
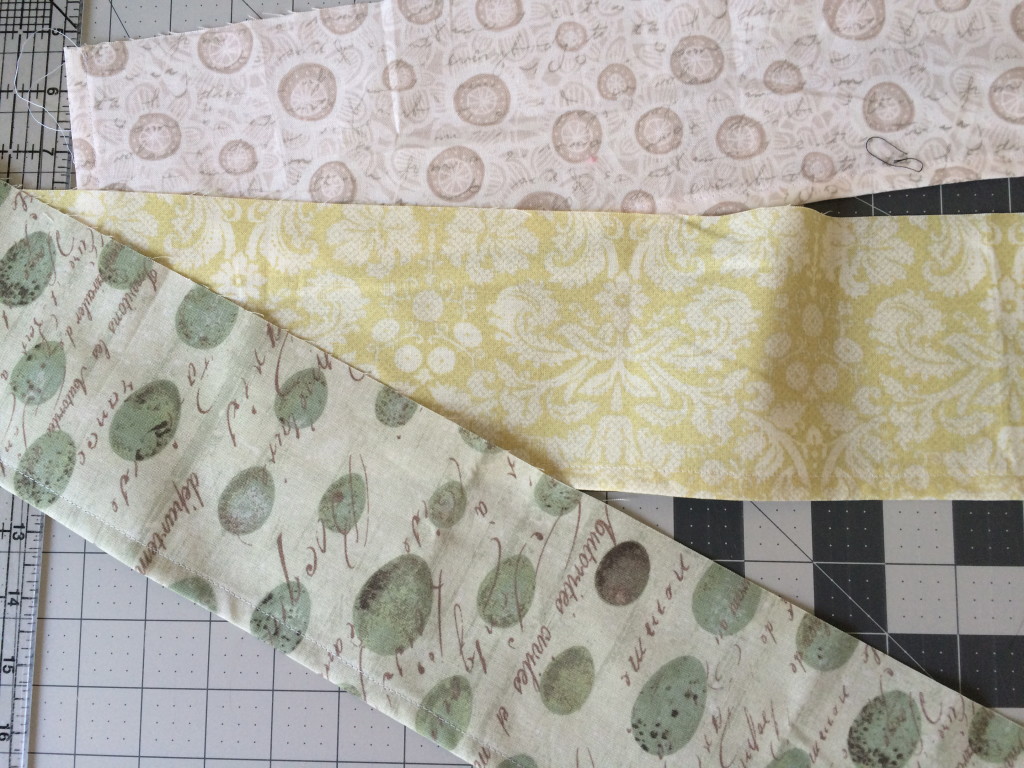
Sew a gathering stitch along the length of the ruffle strip, 1/4″ along the raw edge. Gather each ruffle.
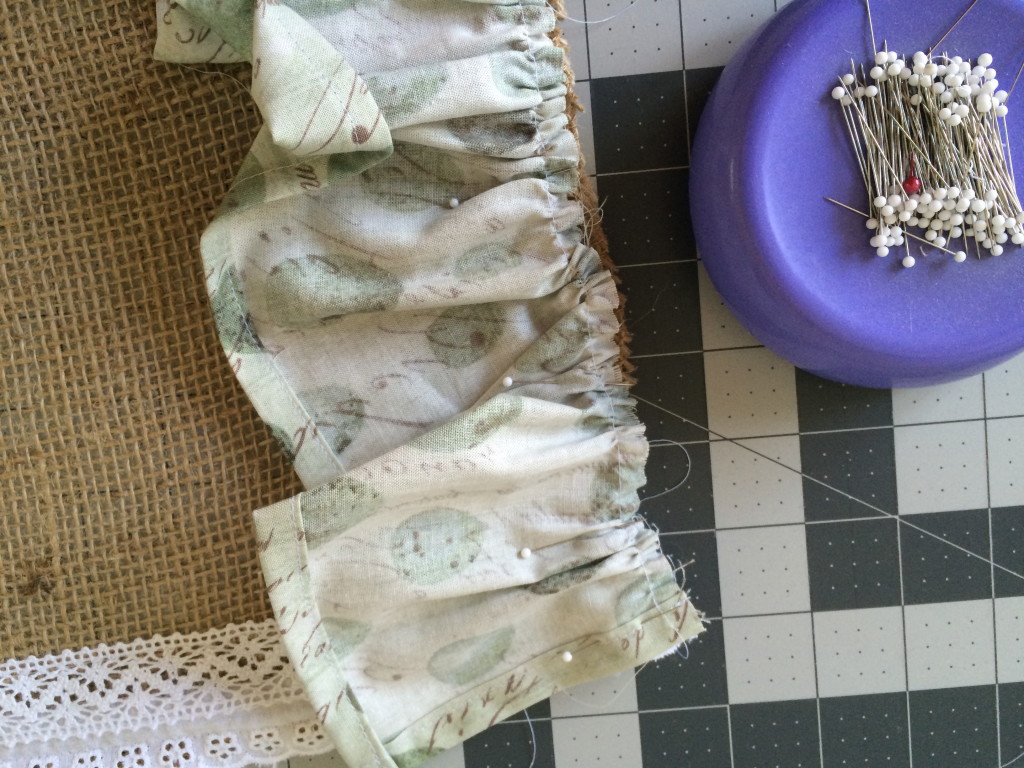
The first ruffle we sew till be the end ruffle. Align the ruffle and the end of the runner right sides together. Adjust the ruffle to fit the width of the runner. Pin into place. Sew along the gathering stitches. Do this to both ends of the runner.
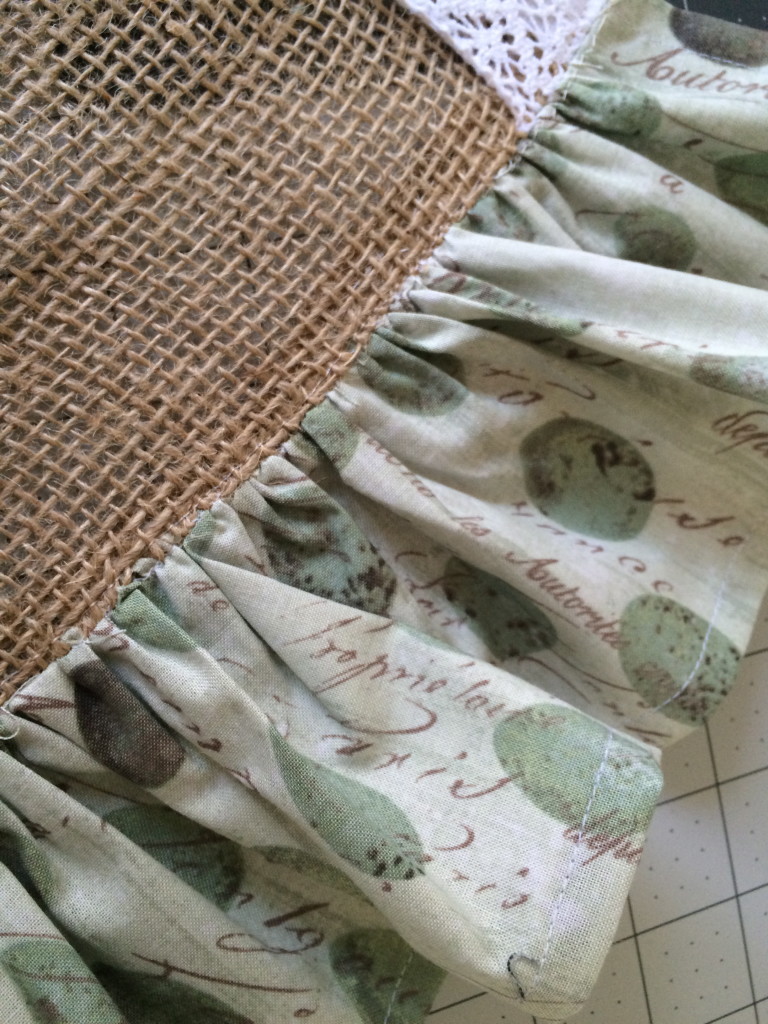
Press the ruffle back and top stitch along the top of the ruffle to keep it laying flat.
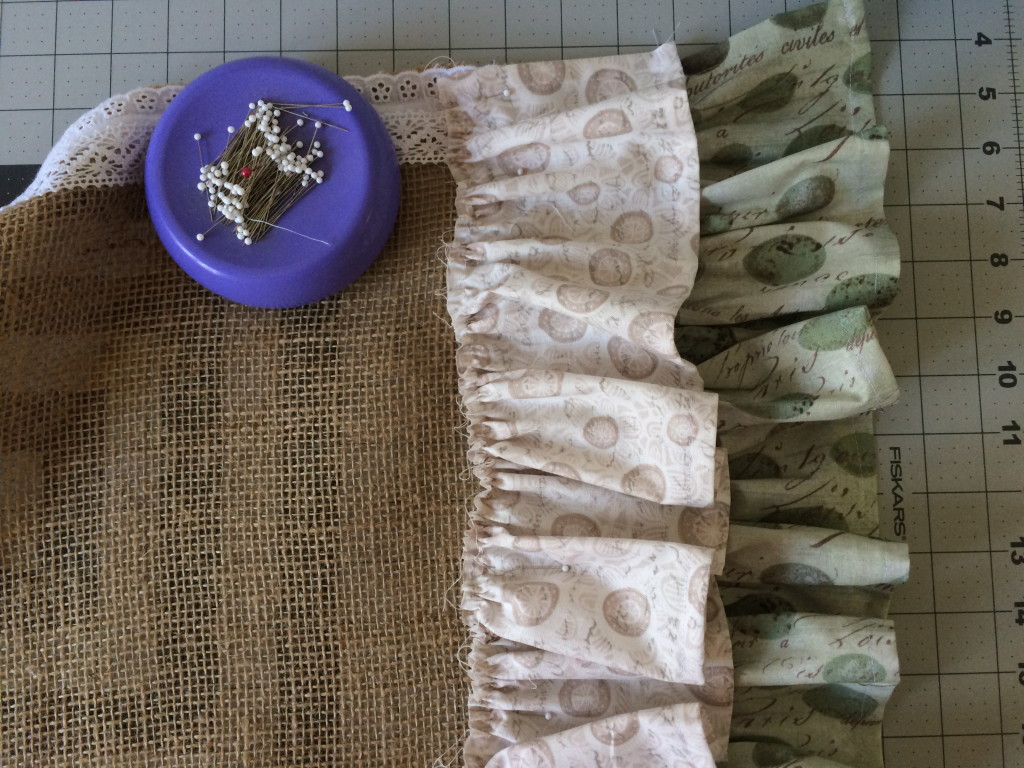
For the second ruffle pin it wrong side to the runner (above).
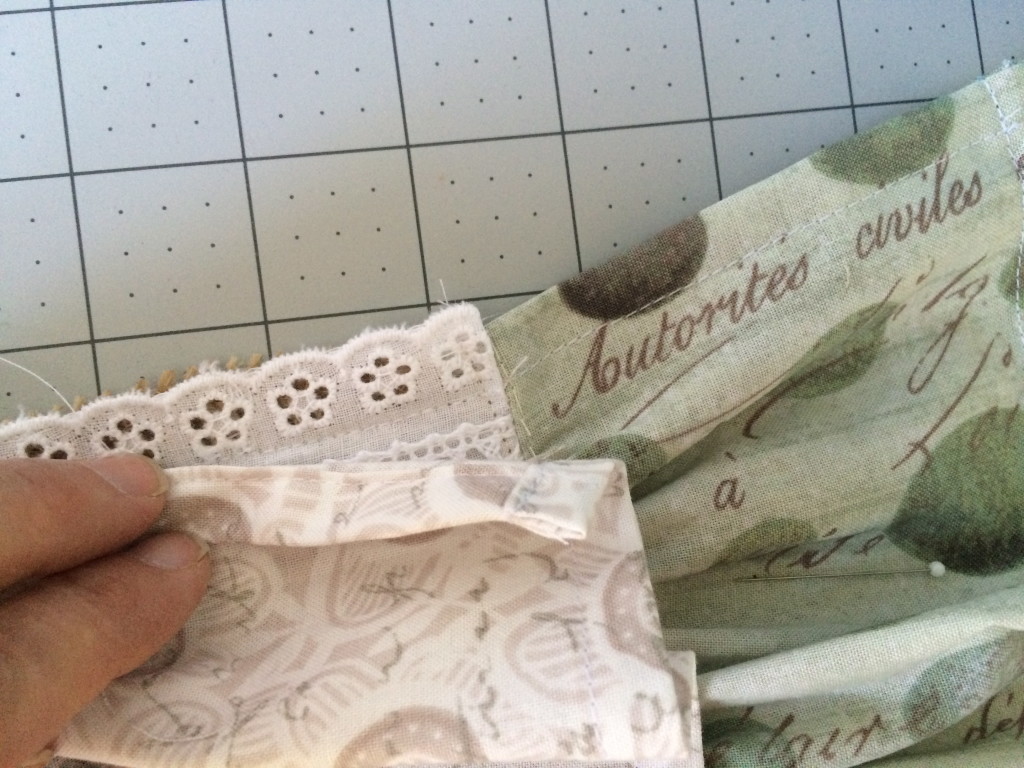
Align the ruffle so it overlaps about 1″ (pictured above).
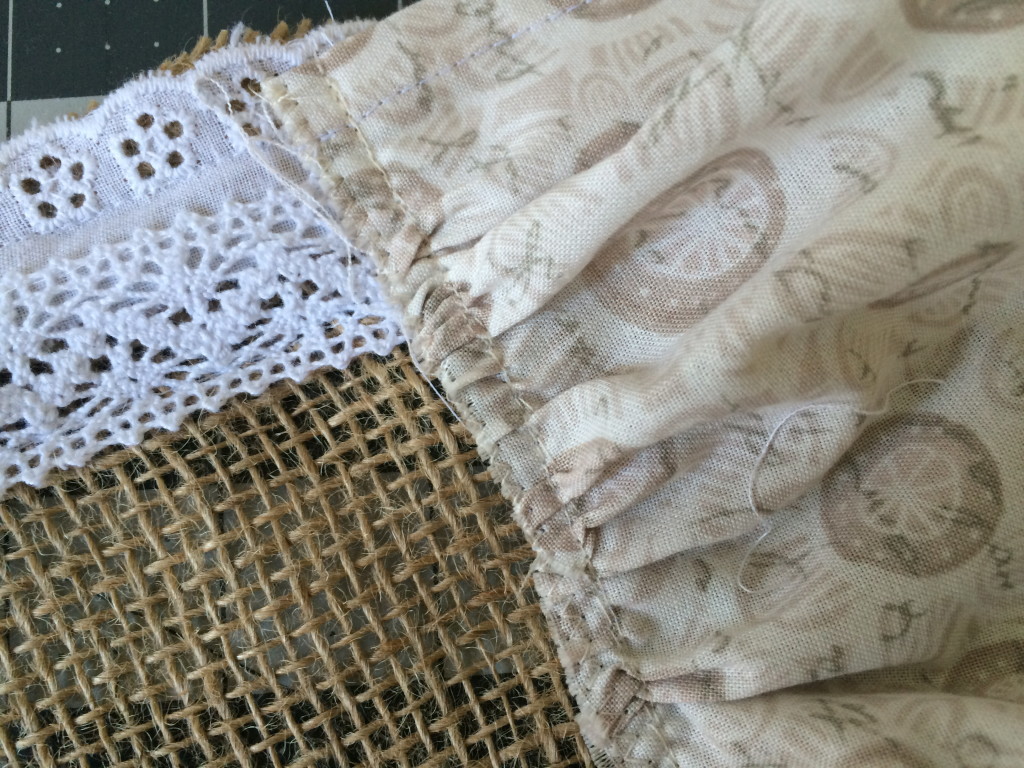
Sew along the gathering stitch. Then zig zag along the raw edge.
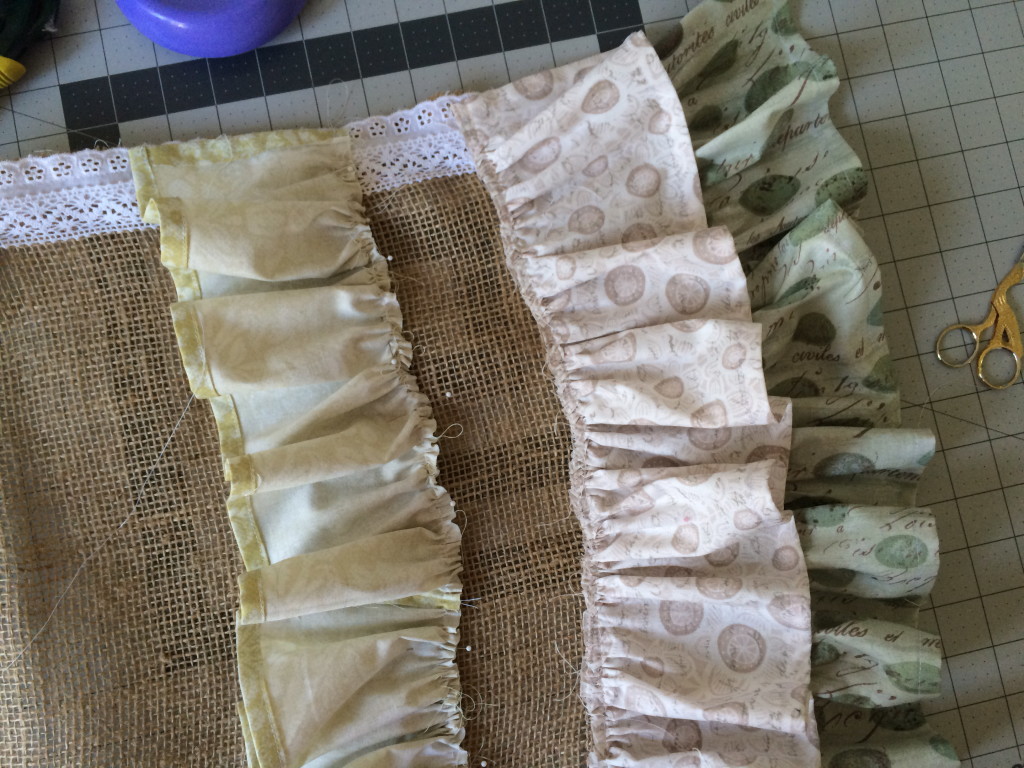
For the third ruffle, aligh right sides together (like we did with the first ruffle). Pin it about 2.5″ apart. Make sure when the ruffle is folded back it covers the raw edge. Sew along the gathering seam.
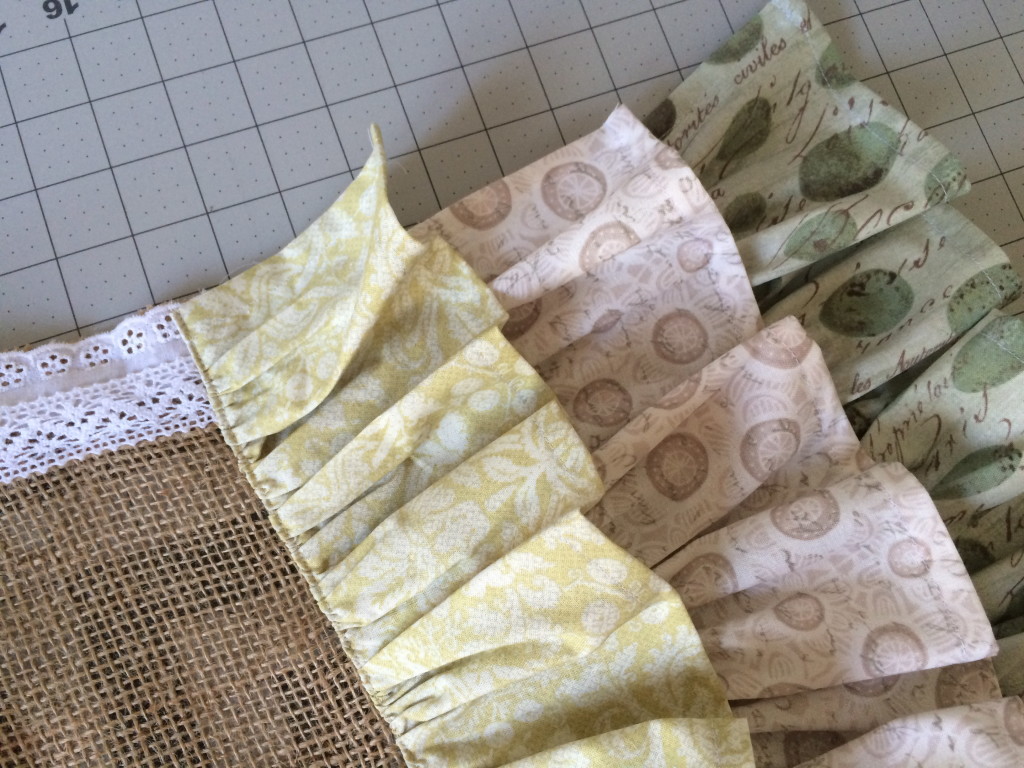
Fold ruffle back, press, and top stitch.
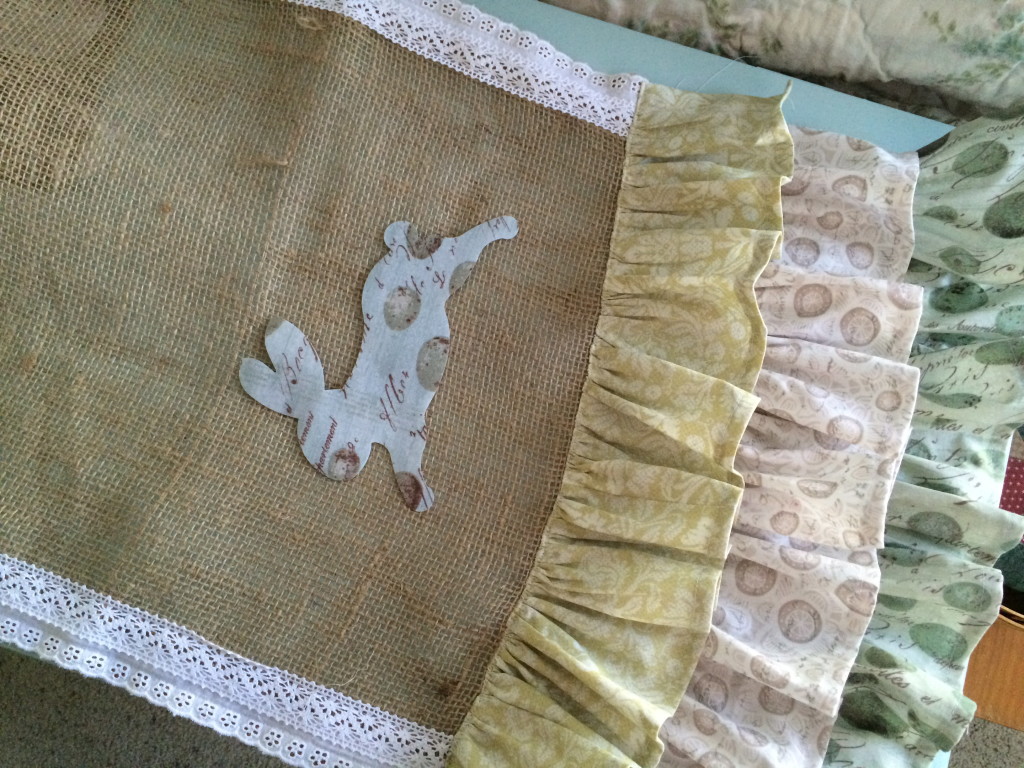
Peel off the backing paper of the rabbits and press with hot dry iron. 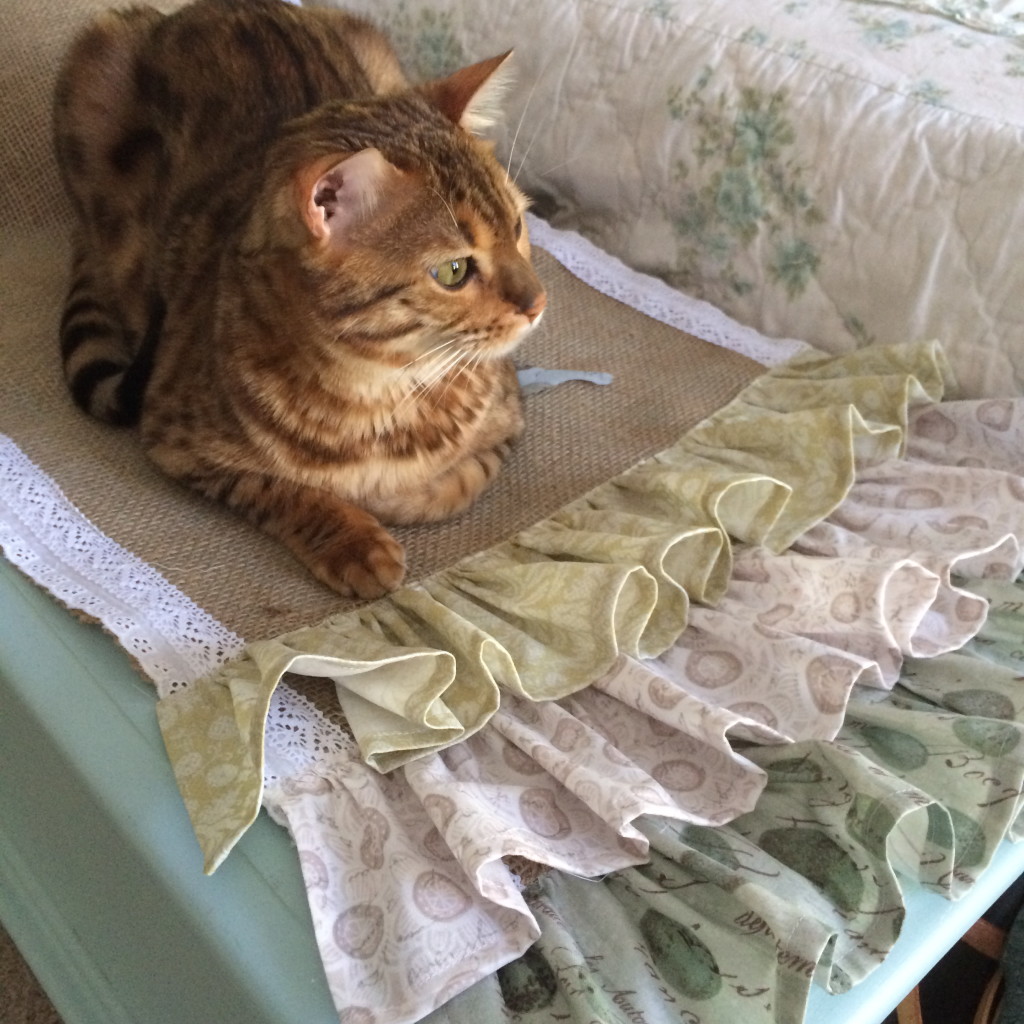
Having your cat press is not the same thing 🙂
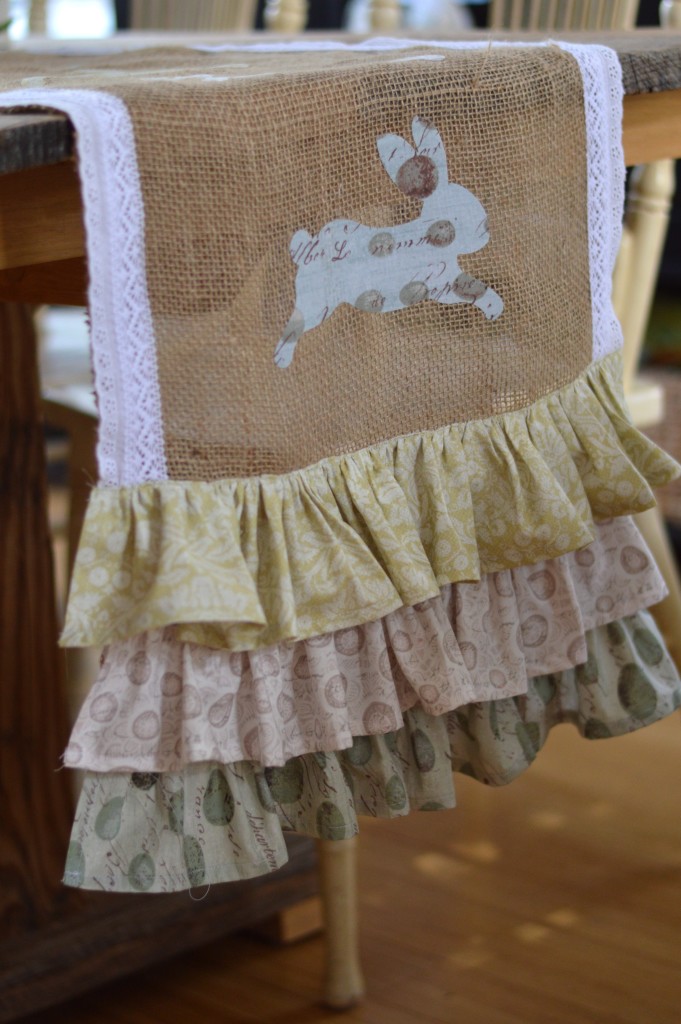
Ta Da! It’s done! And I totally LOVE it!!!!
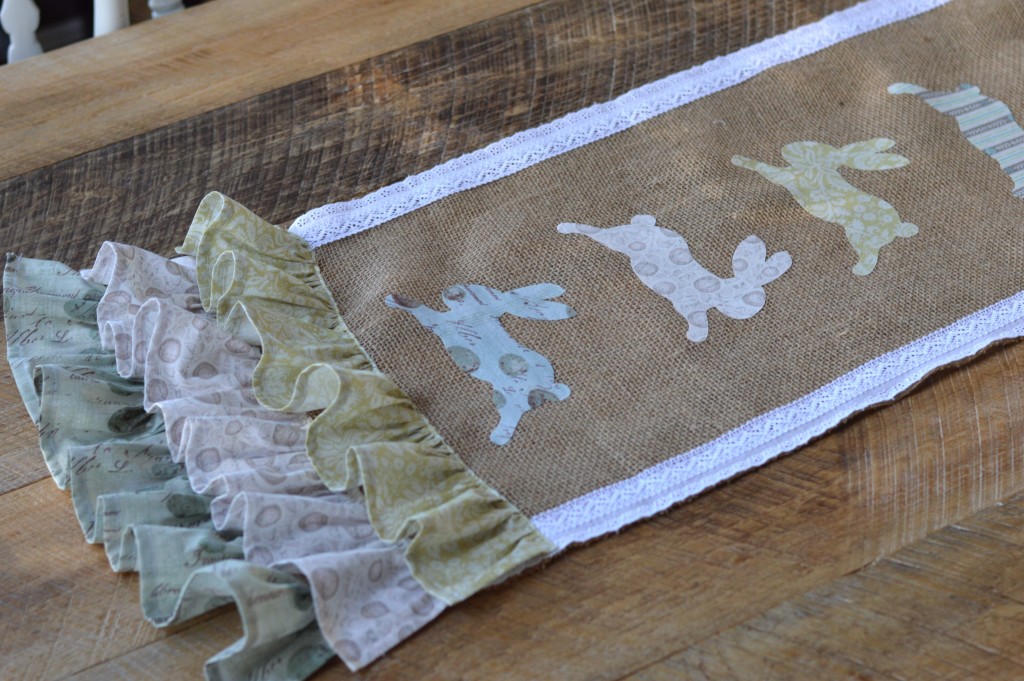
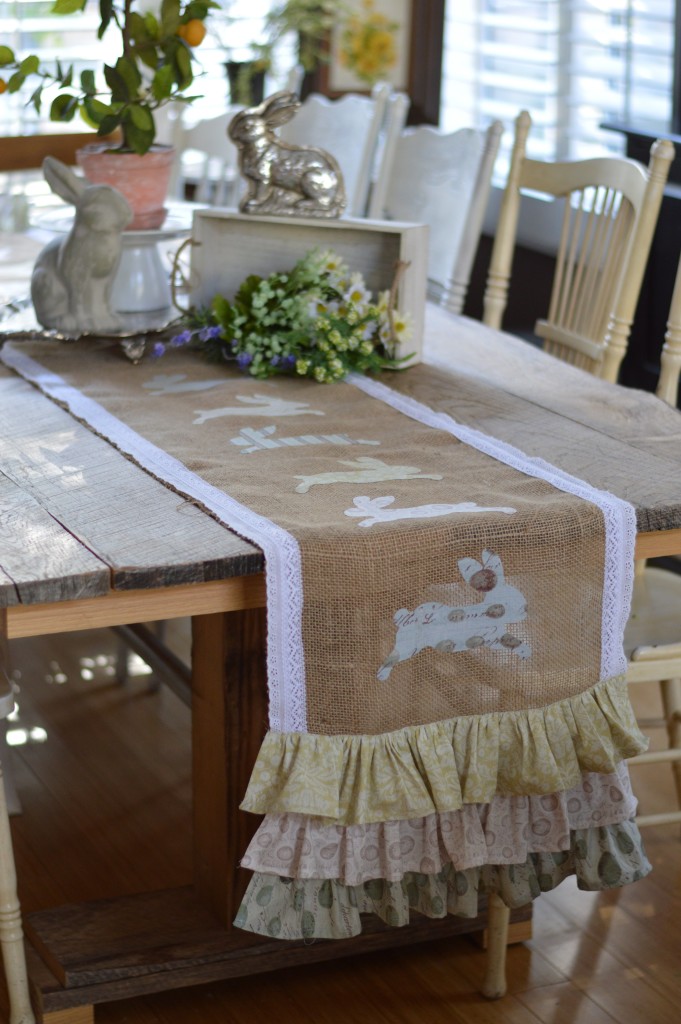
It’s the perfect addition to my reclaimed farm table that my husband built me!!!
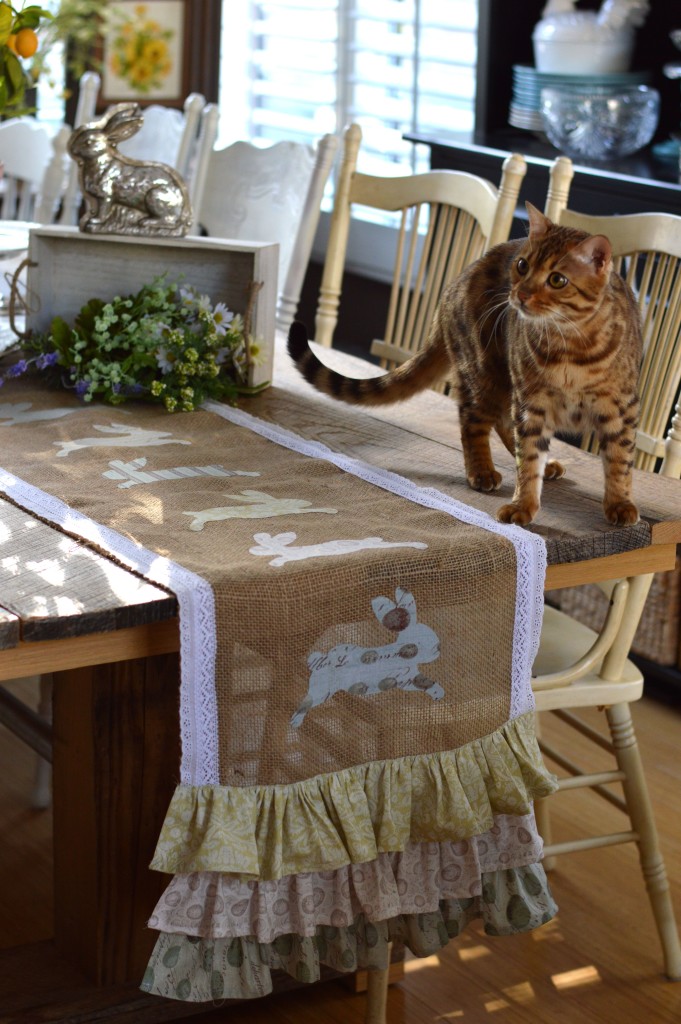
Mufasa loves it too!
Thanks for joining me today!



Oh pretty!! I’ve got a Craft Gossip post scheduled for tomorrow morning that features your tutorial:
http://sewing.craftgossip.com/?p=91851 –Anne