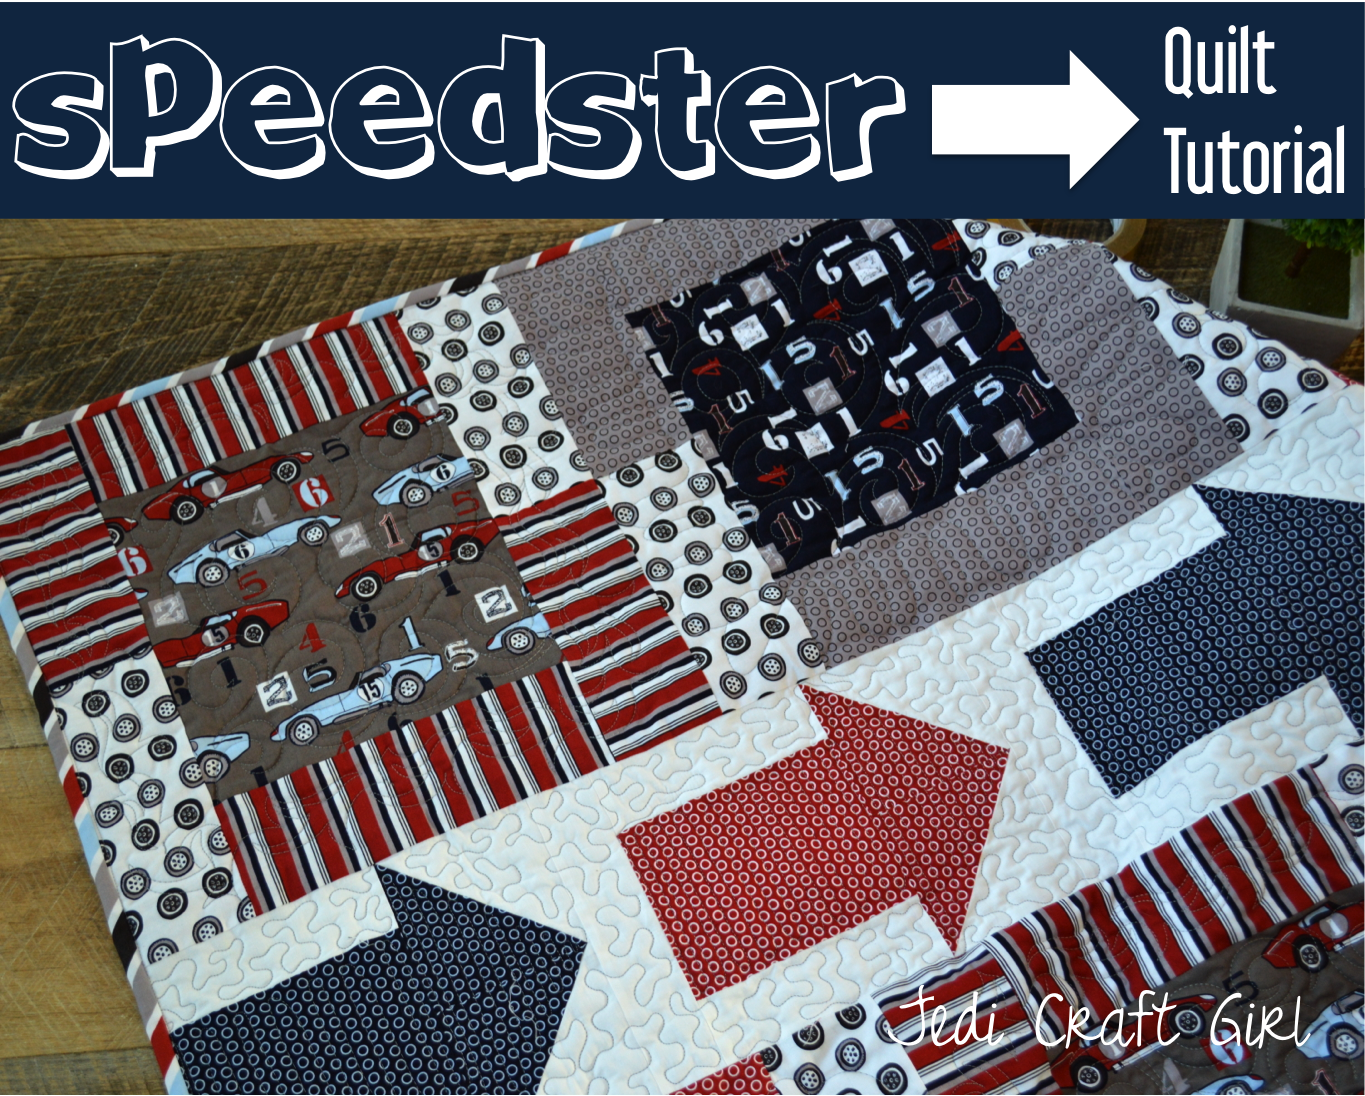
 A little update on one of my favorite quilts…..
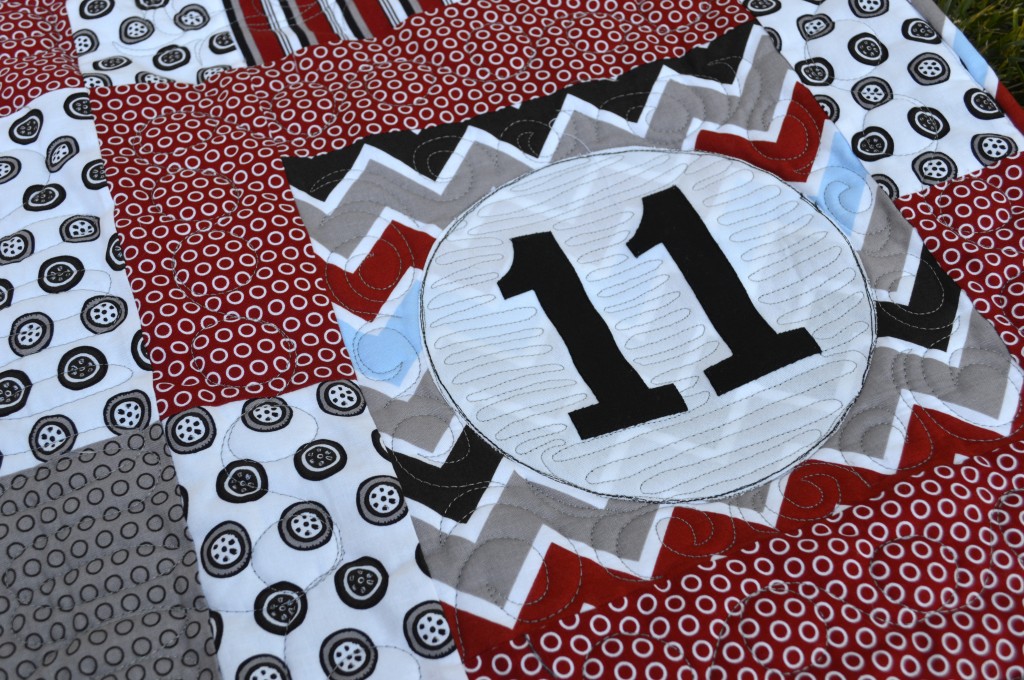
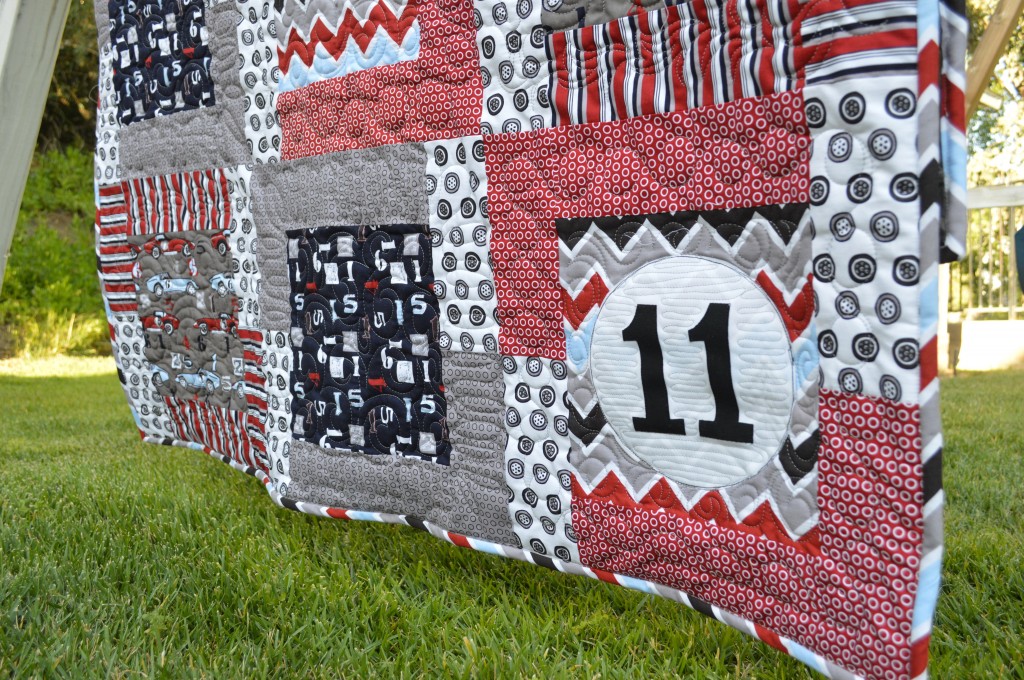
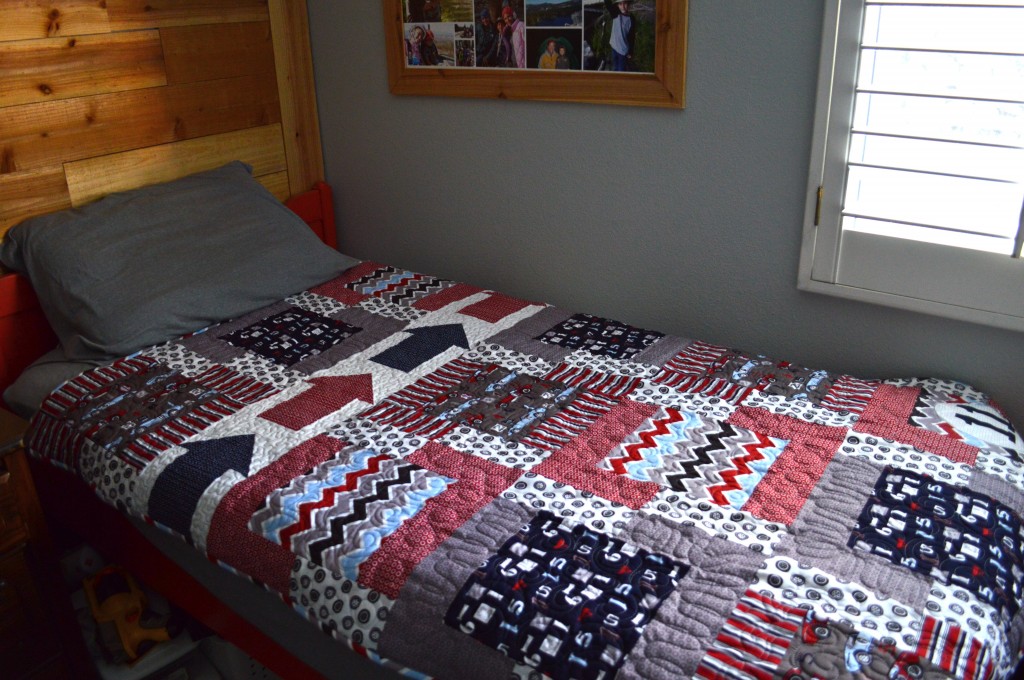
I am so in love with this fabric called Speedster by Riley Blake Designs!!! I created this quilt for my son, Ryan, for his 11th birthday. 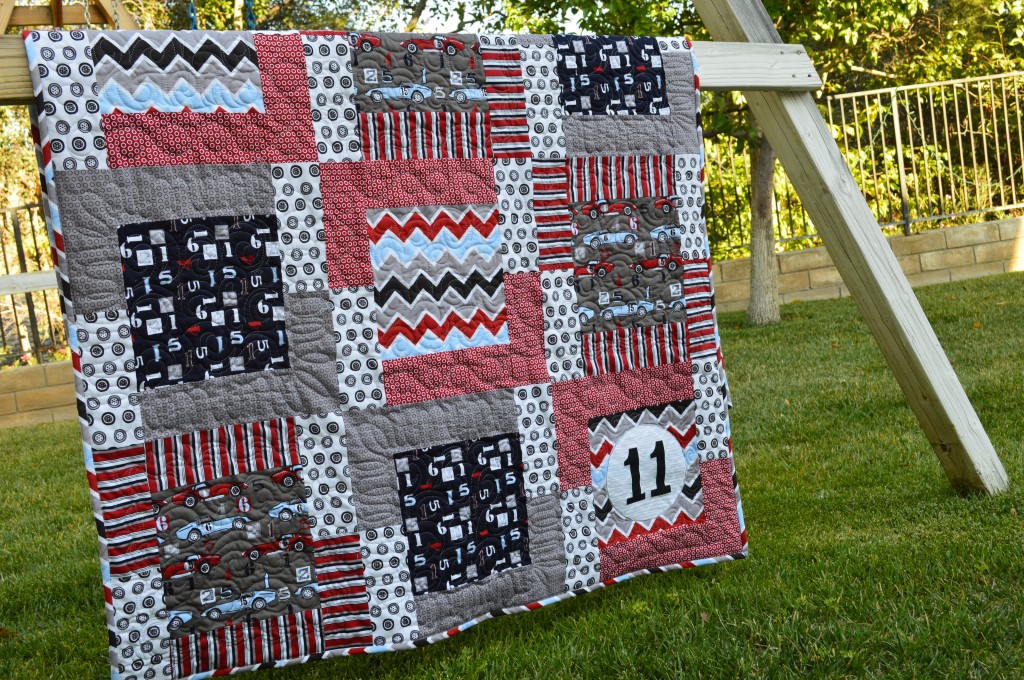 You can personalize the quilt by adding a favorite number, team number, or in this case, a special birthday age.
 This is a great pattern to use with large print fabrics.
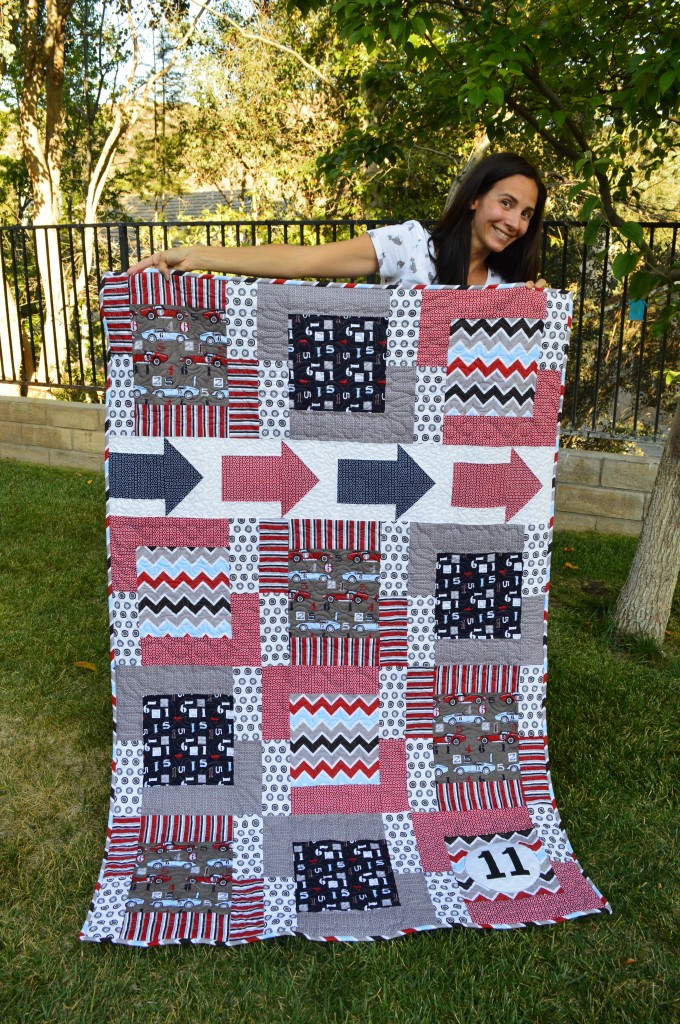
This quilt pattern is great because it shows off the wonderful prints in this fabric line.
Finished quilt: 45″ x 67″
Block size: 16″
Let’s get started! Here’s how you can make one:
Supplies:
Assorted prints of Speedster 1/3 yard cuts or fat quarters
Heat n Bond Lite
Instructions
Cut the center theme blocks (12) 10″ square
Top and bottom strips (2) 3.5″ x 10″
Side strips (2) of each print 3.5″ x 8.25″
Lay the block out like this:
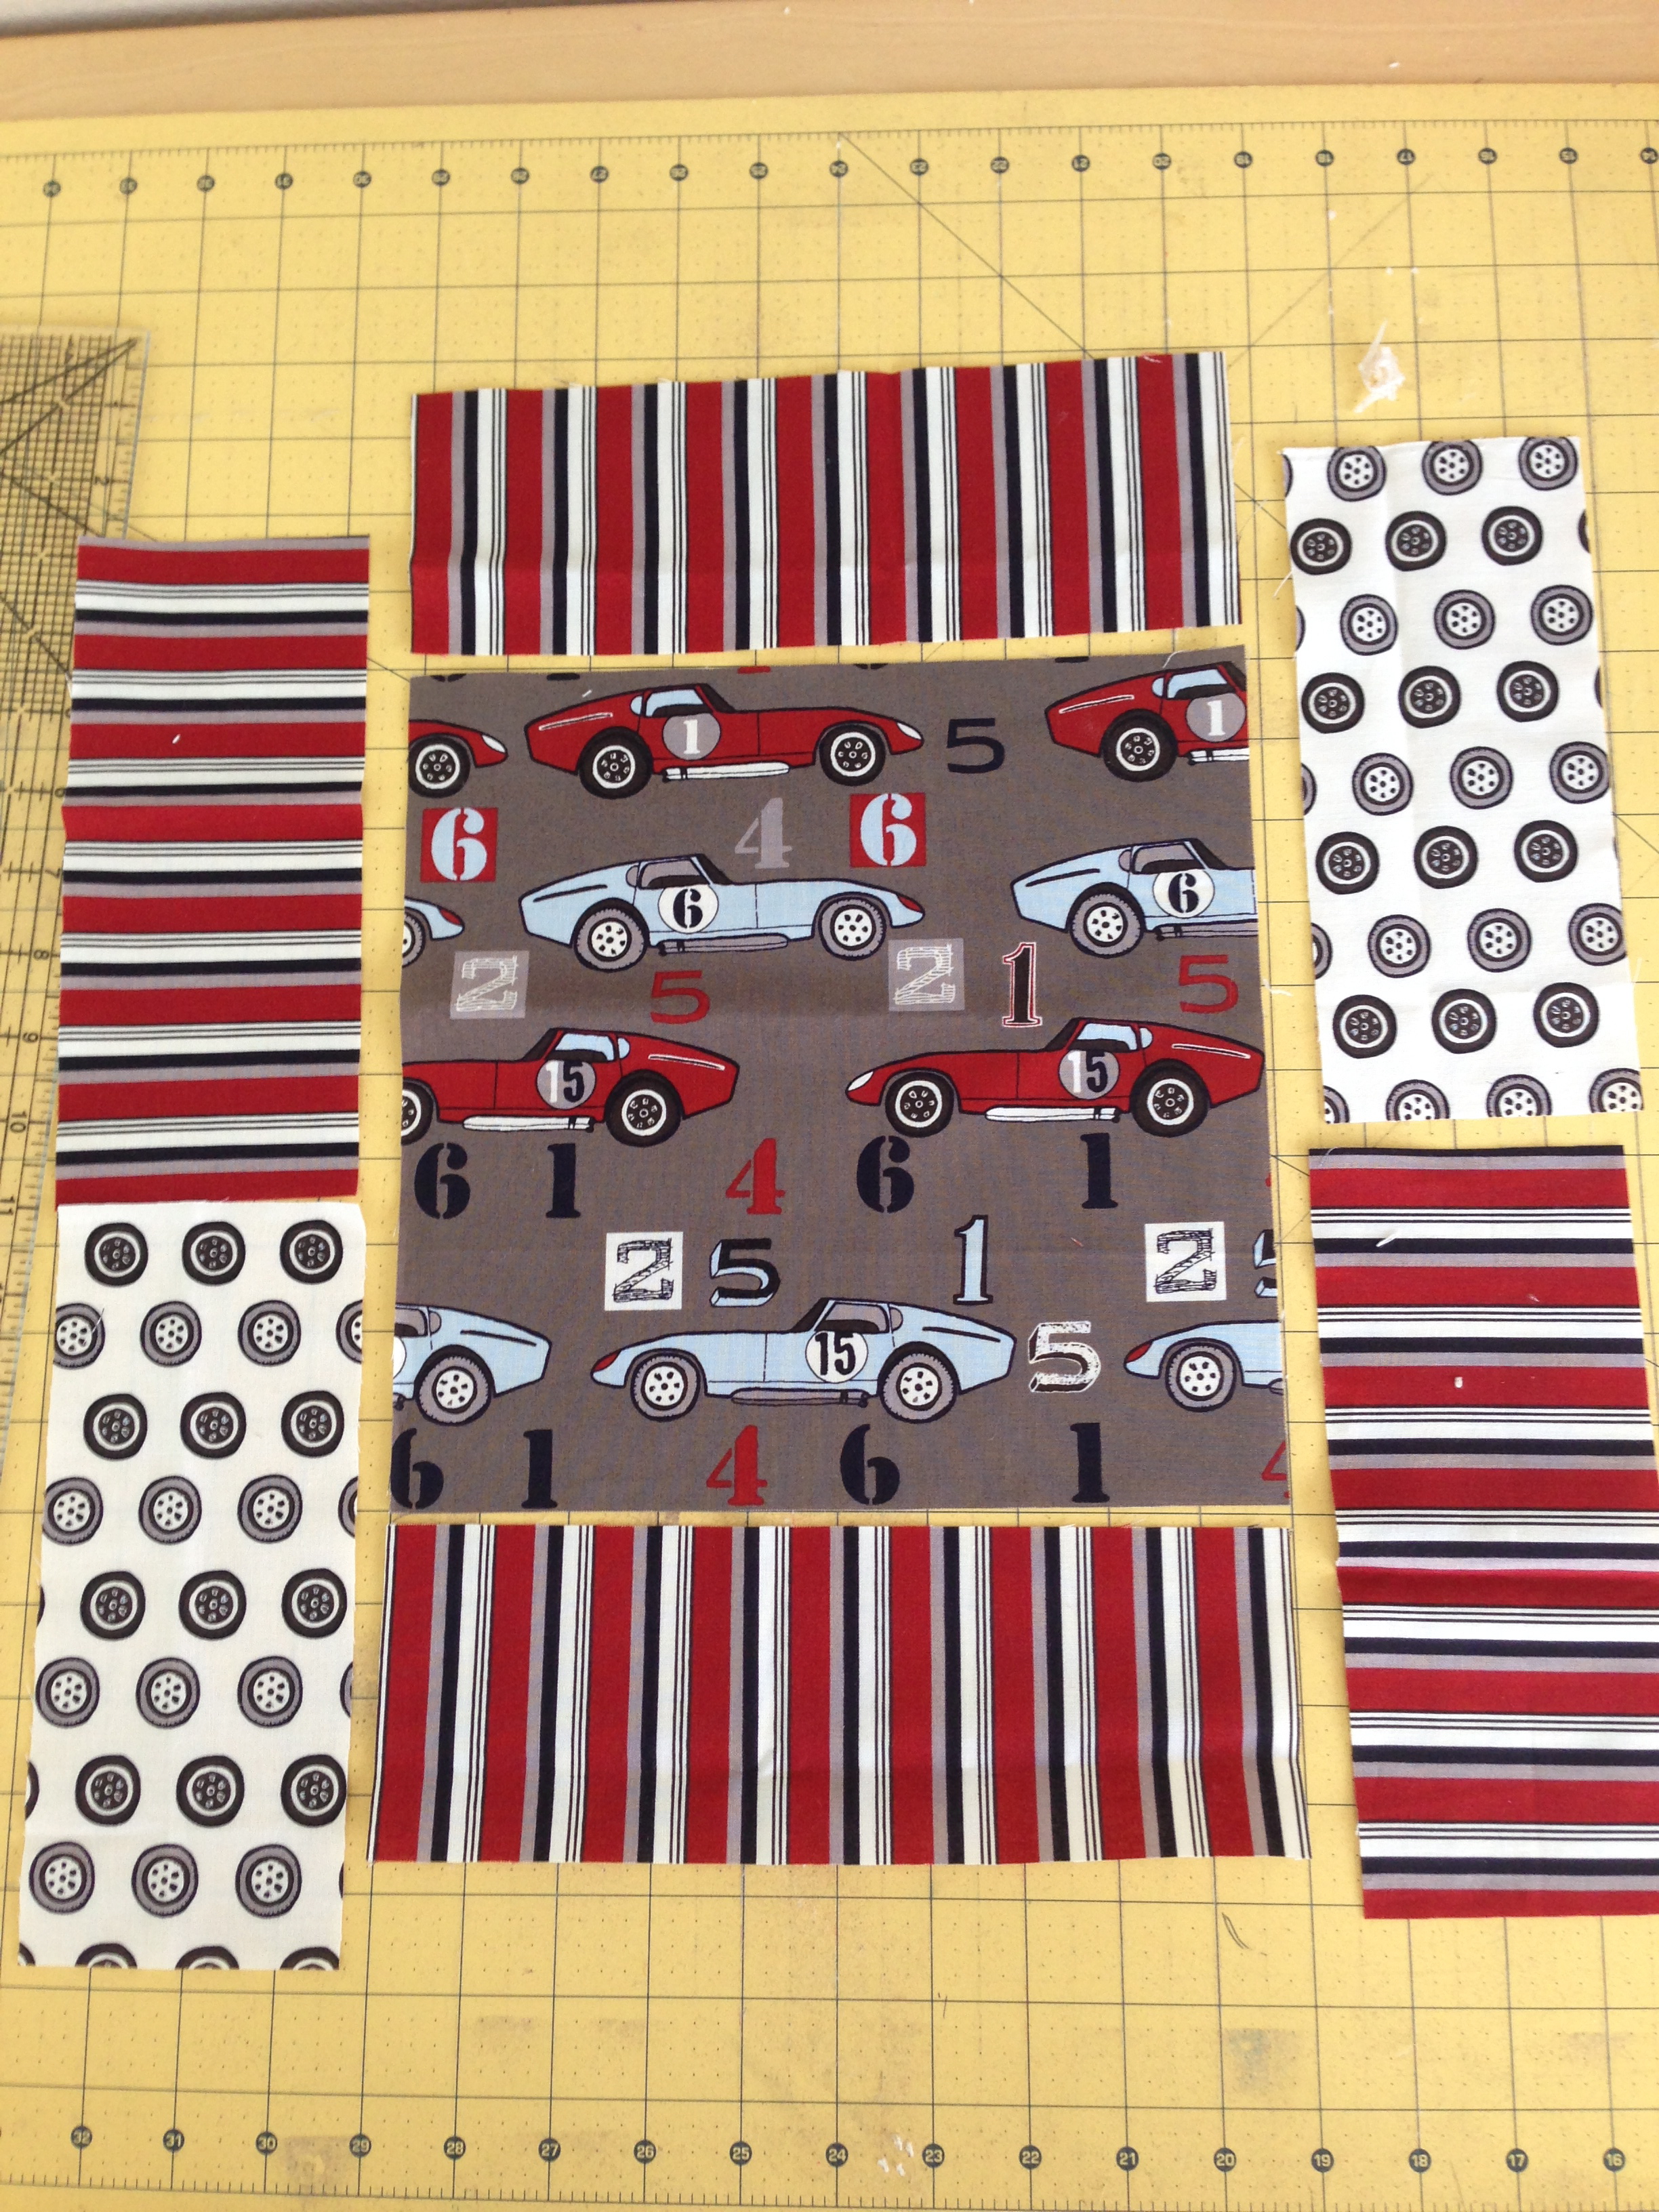
Sew the top and bottom strips to the theme block. (1/4″ seams throughout) Press seams. Sew the 2 side rectangles together to make the left and right strips. Press the seams toward the dark. Sew to the sides of the block, press. This completes a block.
Continue until you have 12 blocks. I used 3 different theme prints.
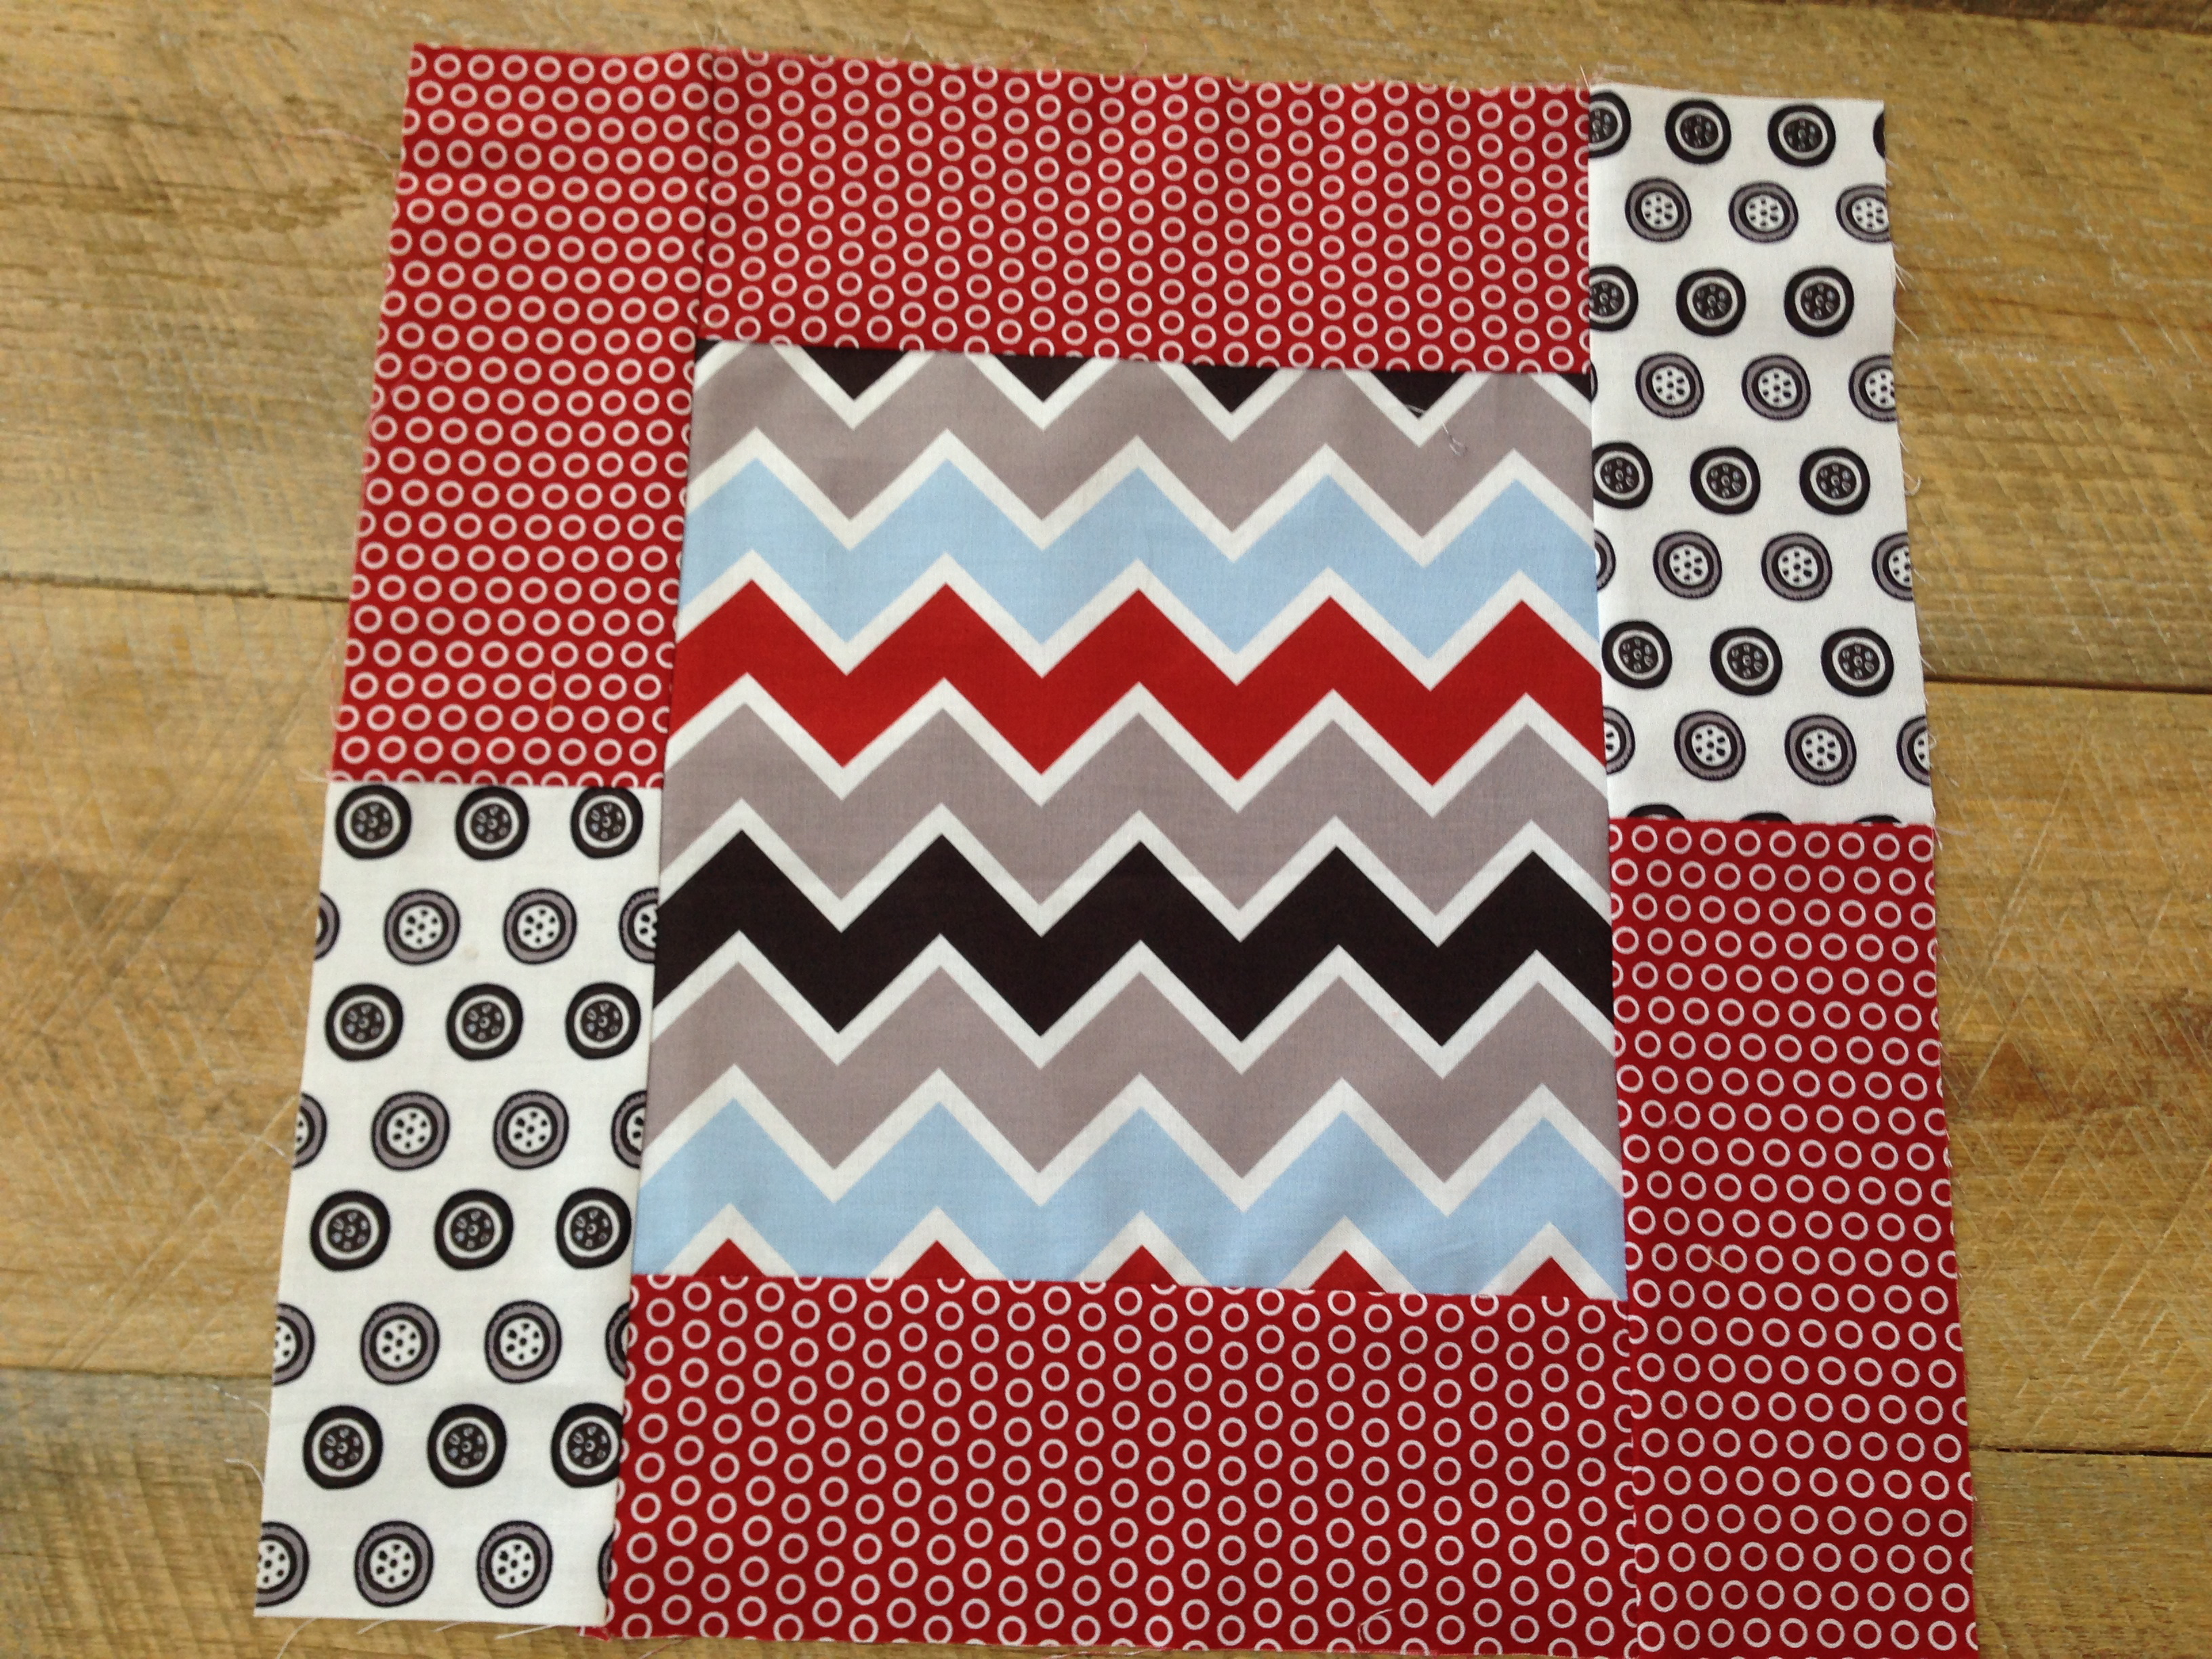
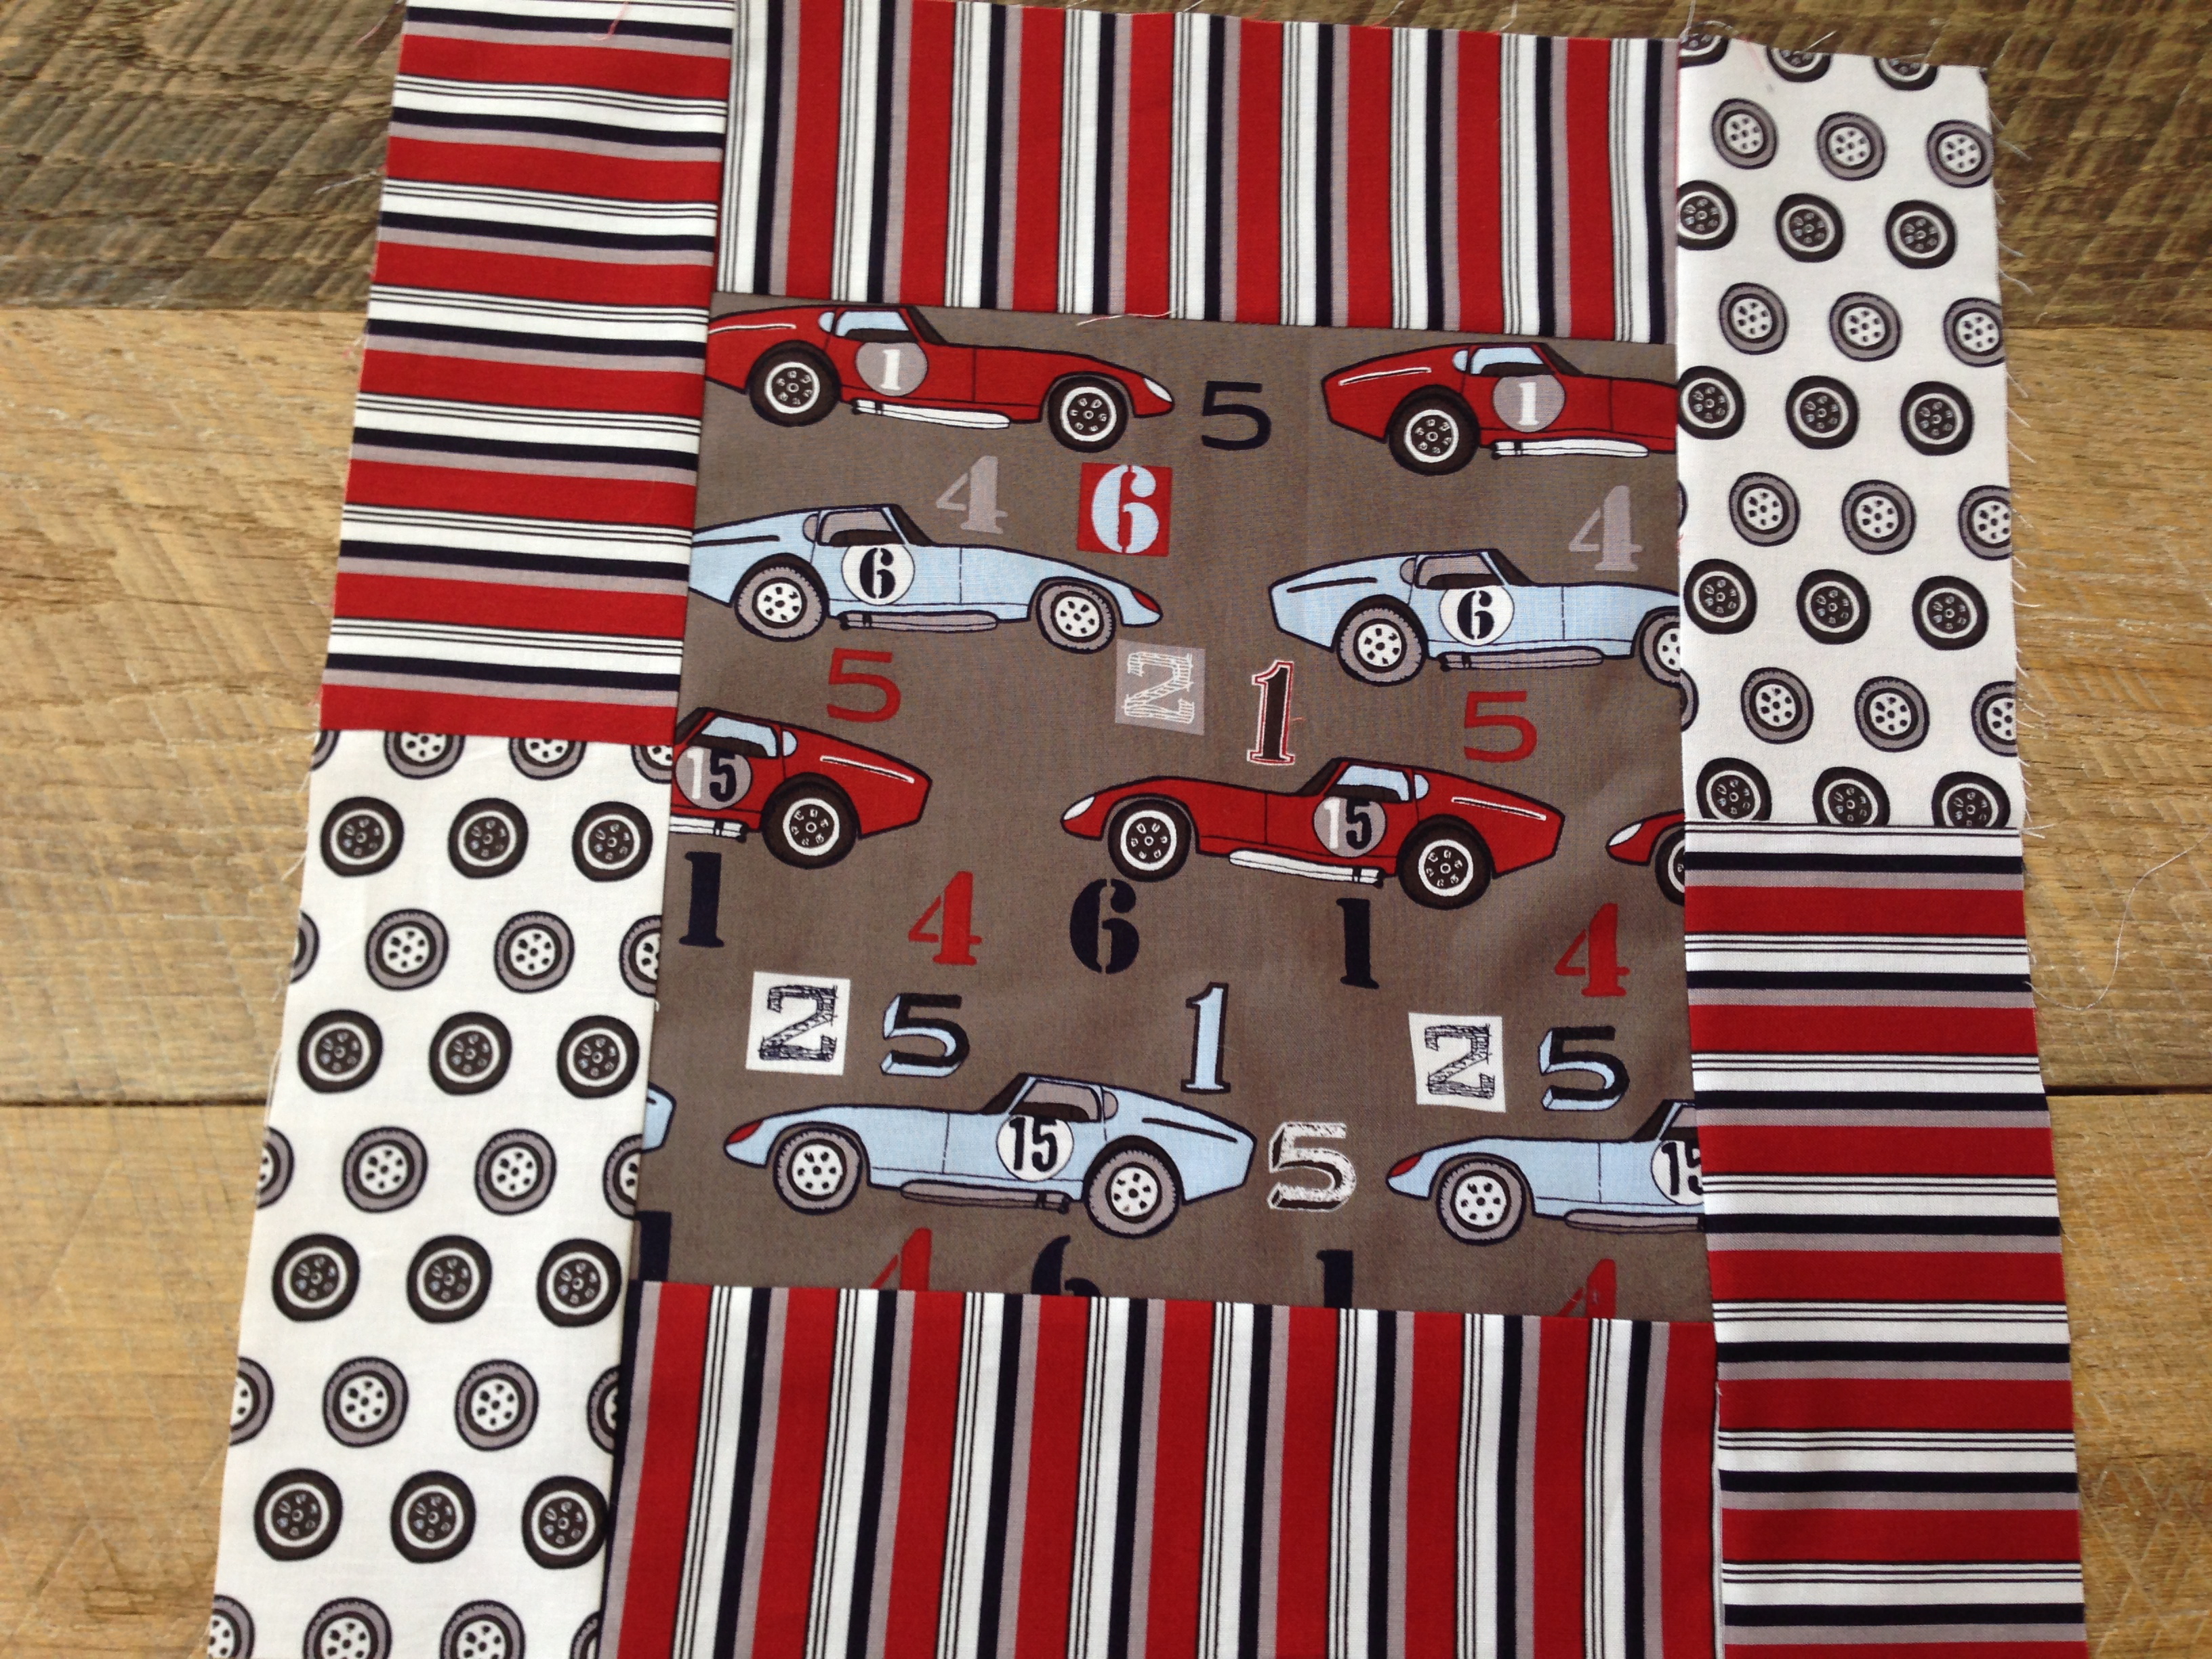
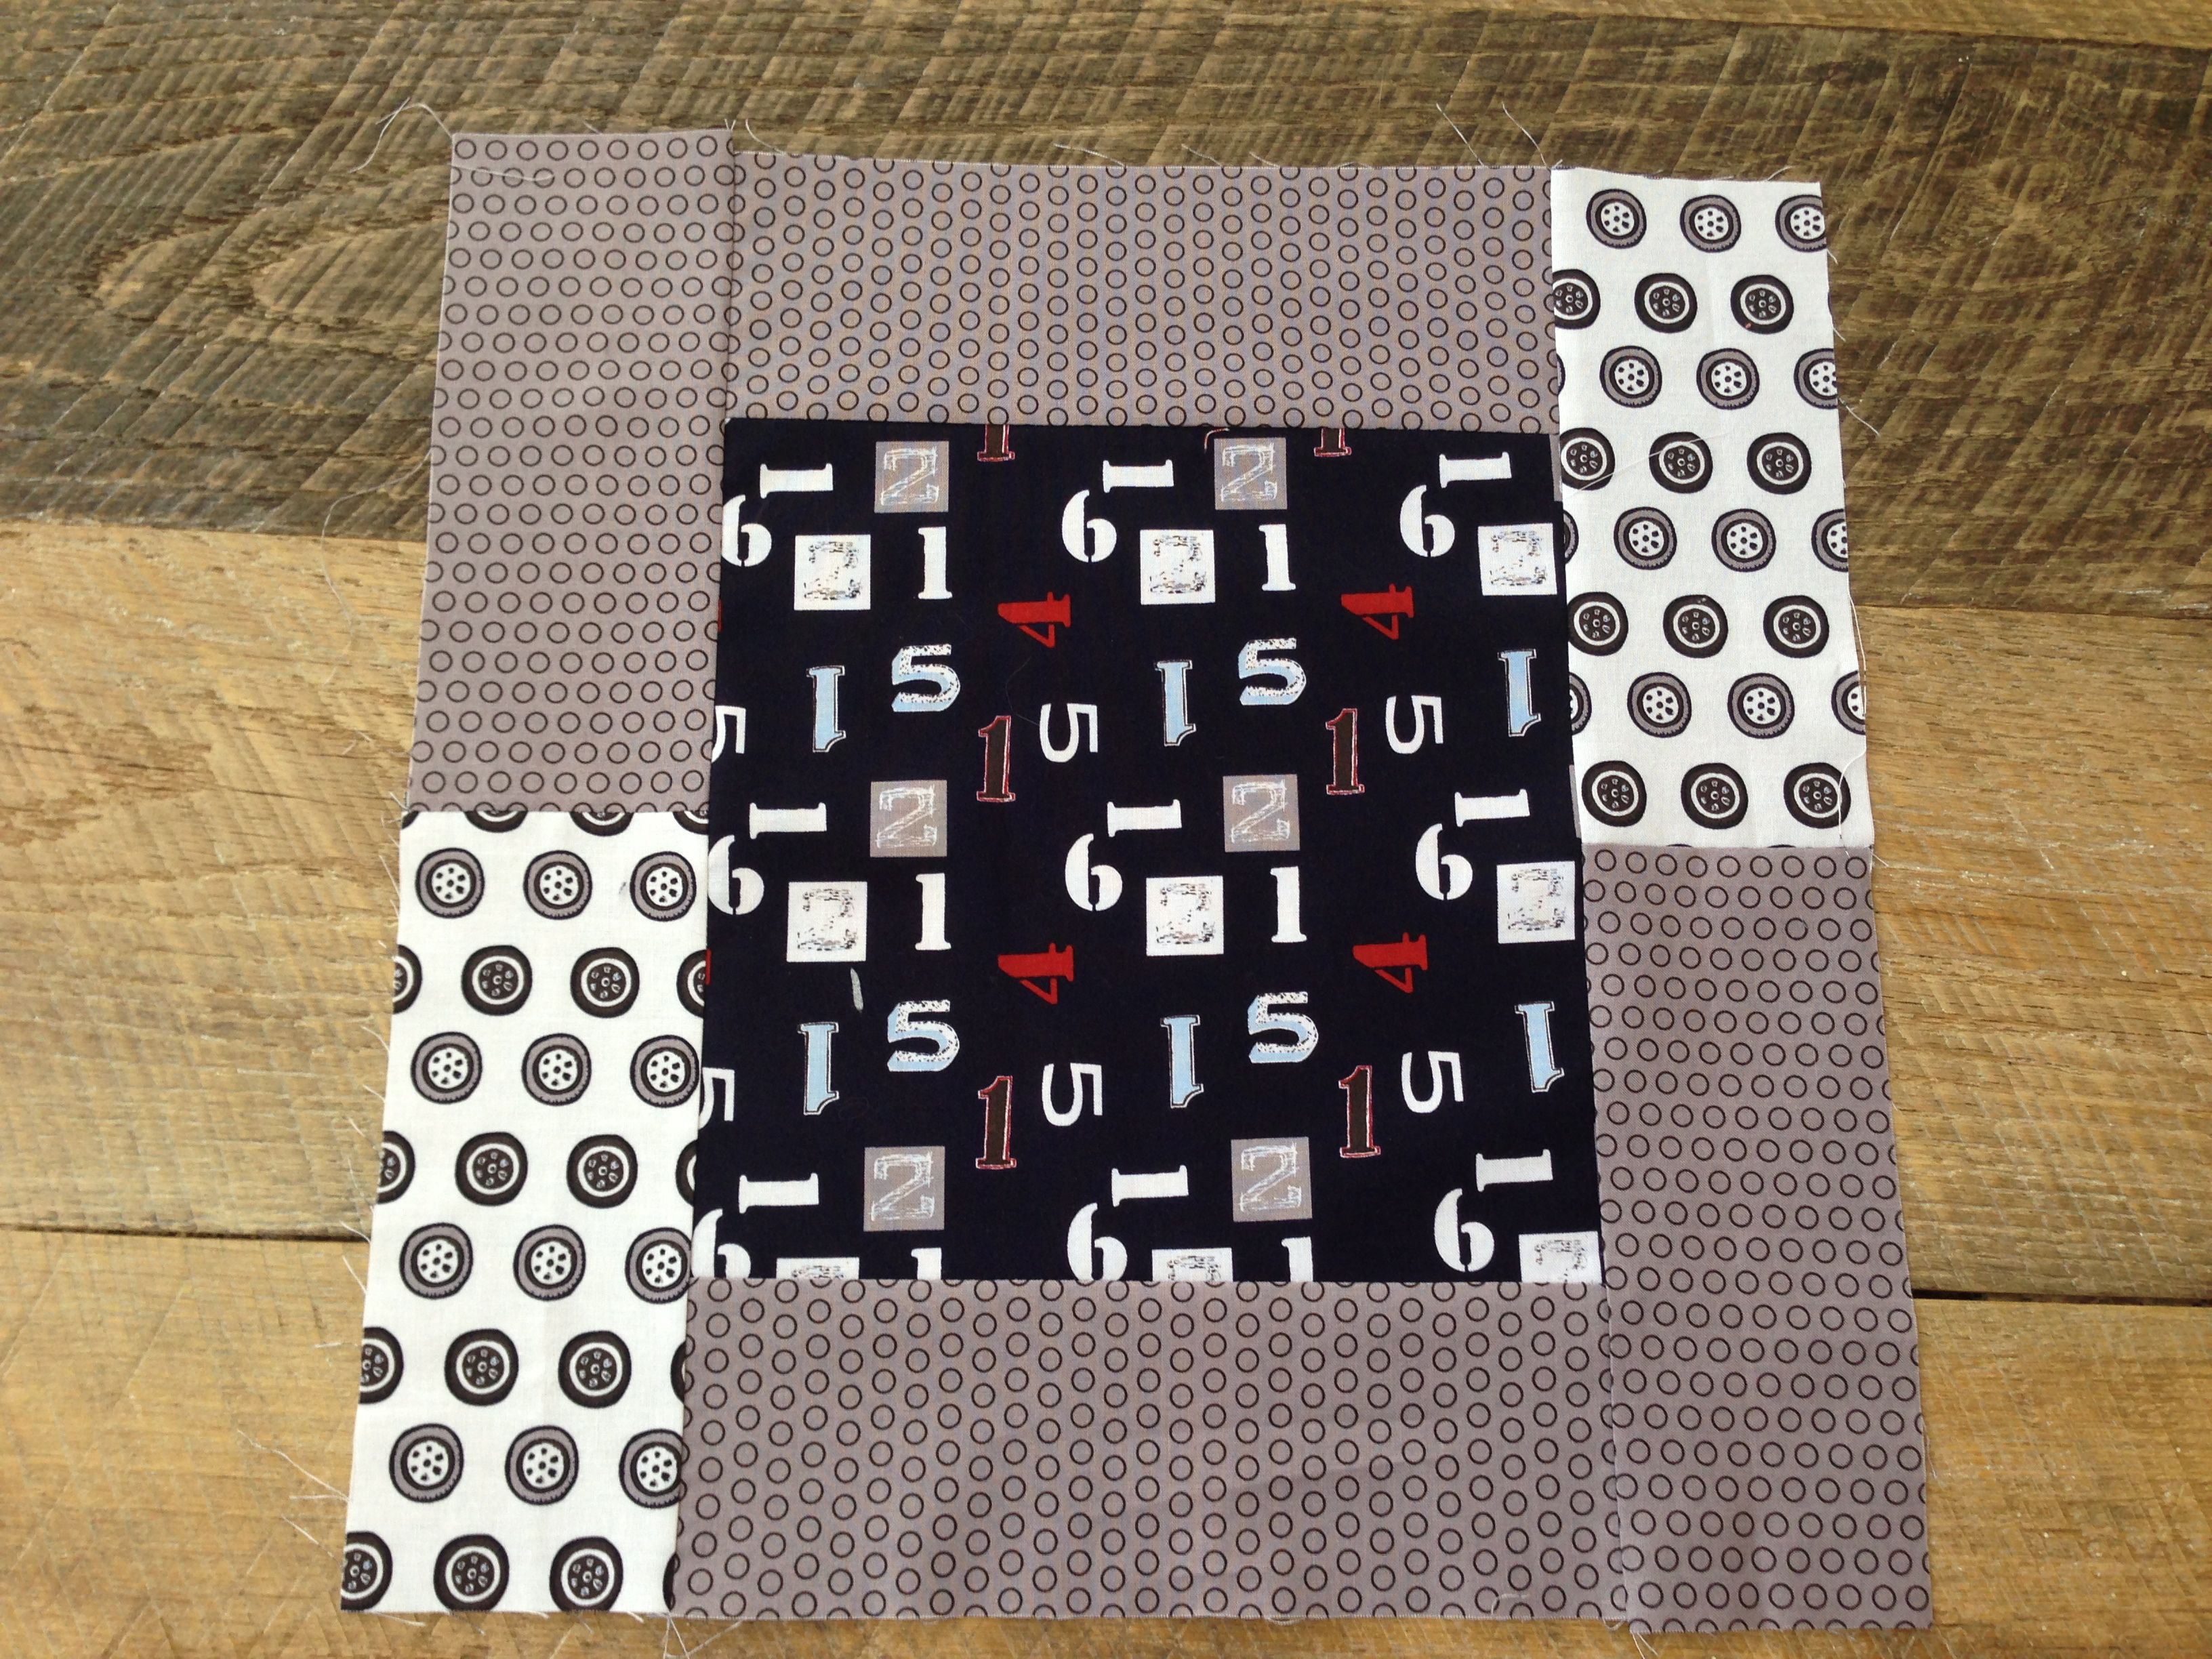
For the arrow blocks:
Cut a 5″ square of white
Cut a 5″ square of Navy
Draw a diagonal line on the wrong side of the white square.
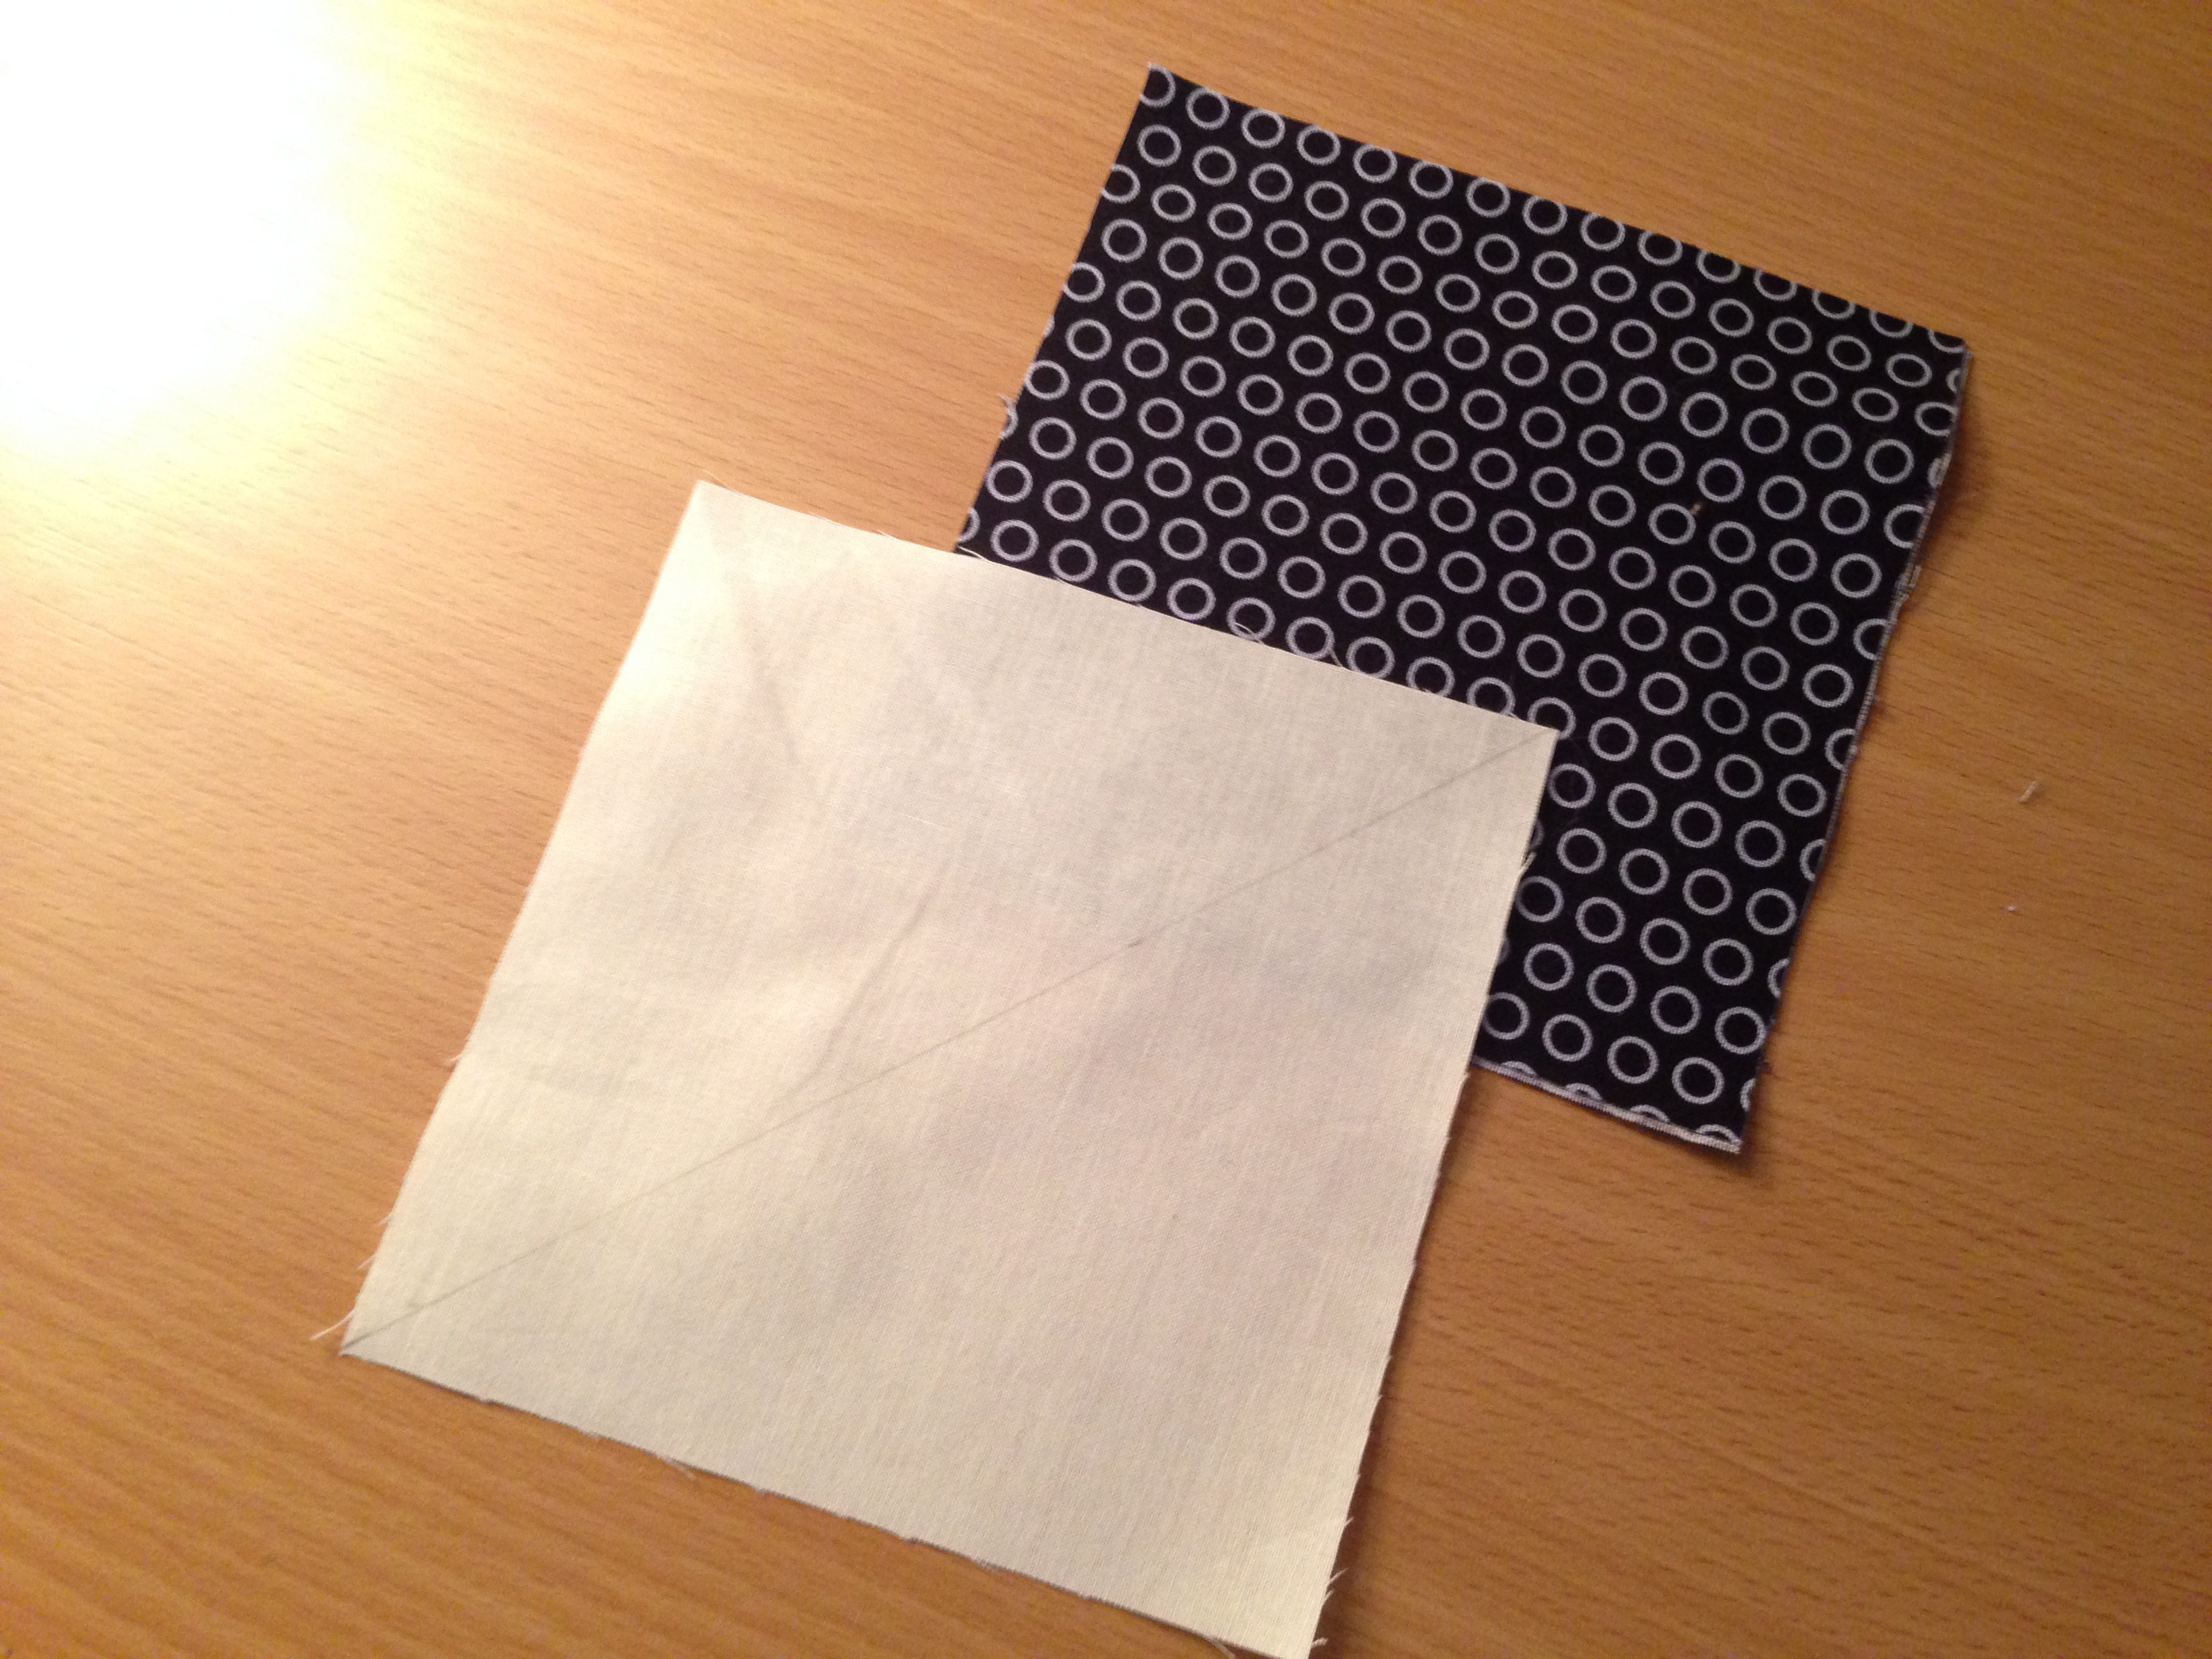
Layer the white and navy squares right sides together. Sew 1/4″ along both sides of the diagonal line. Cut on the drawn line to make 2 half square triangles (HST). Press toward the dark. Square up to 4.5″ finished block.
Cut a navy rectangle 6.5″ x 5″
Cut (2) white rectangles 2.25″ x 6.5″
Sew in this order and press toward the dark:
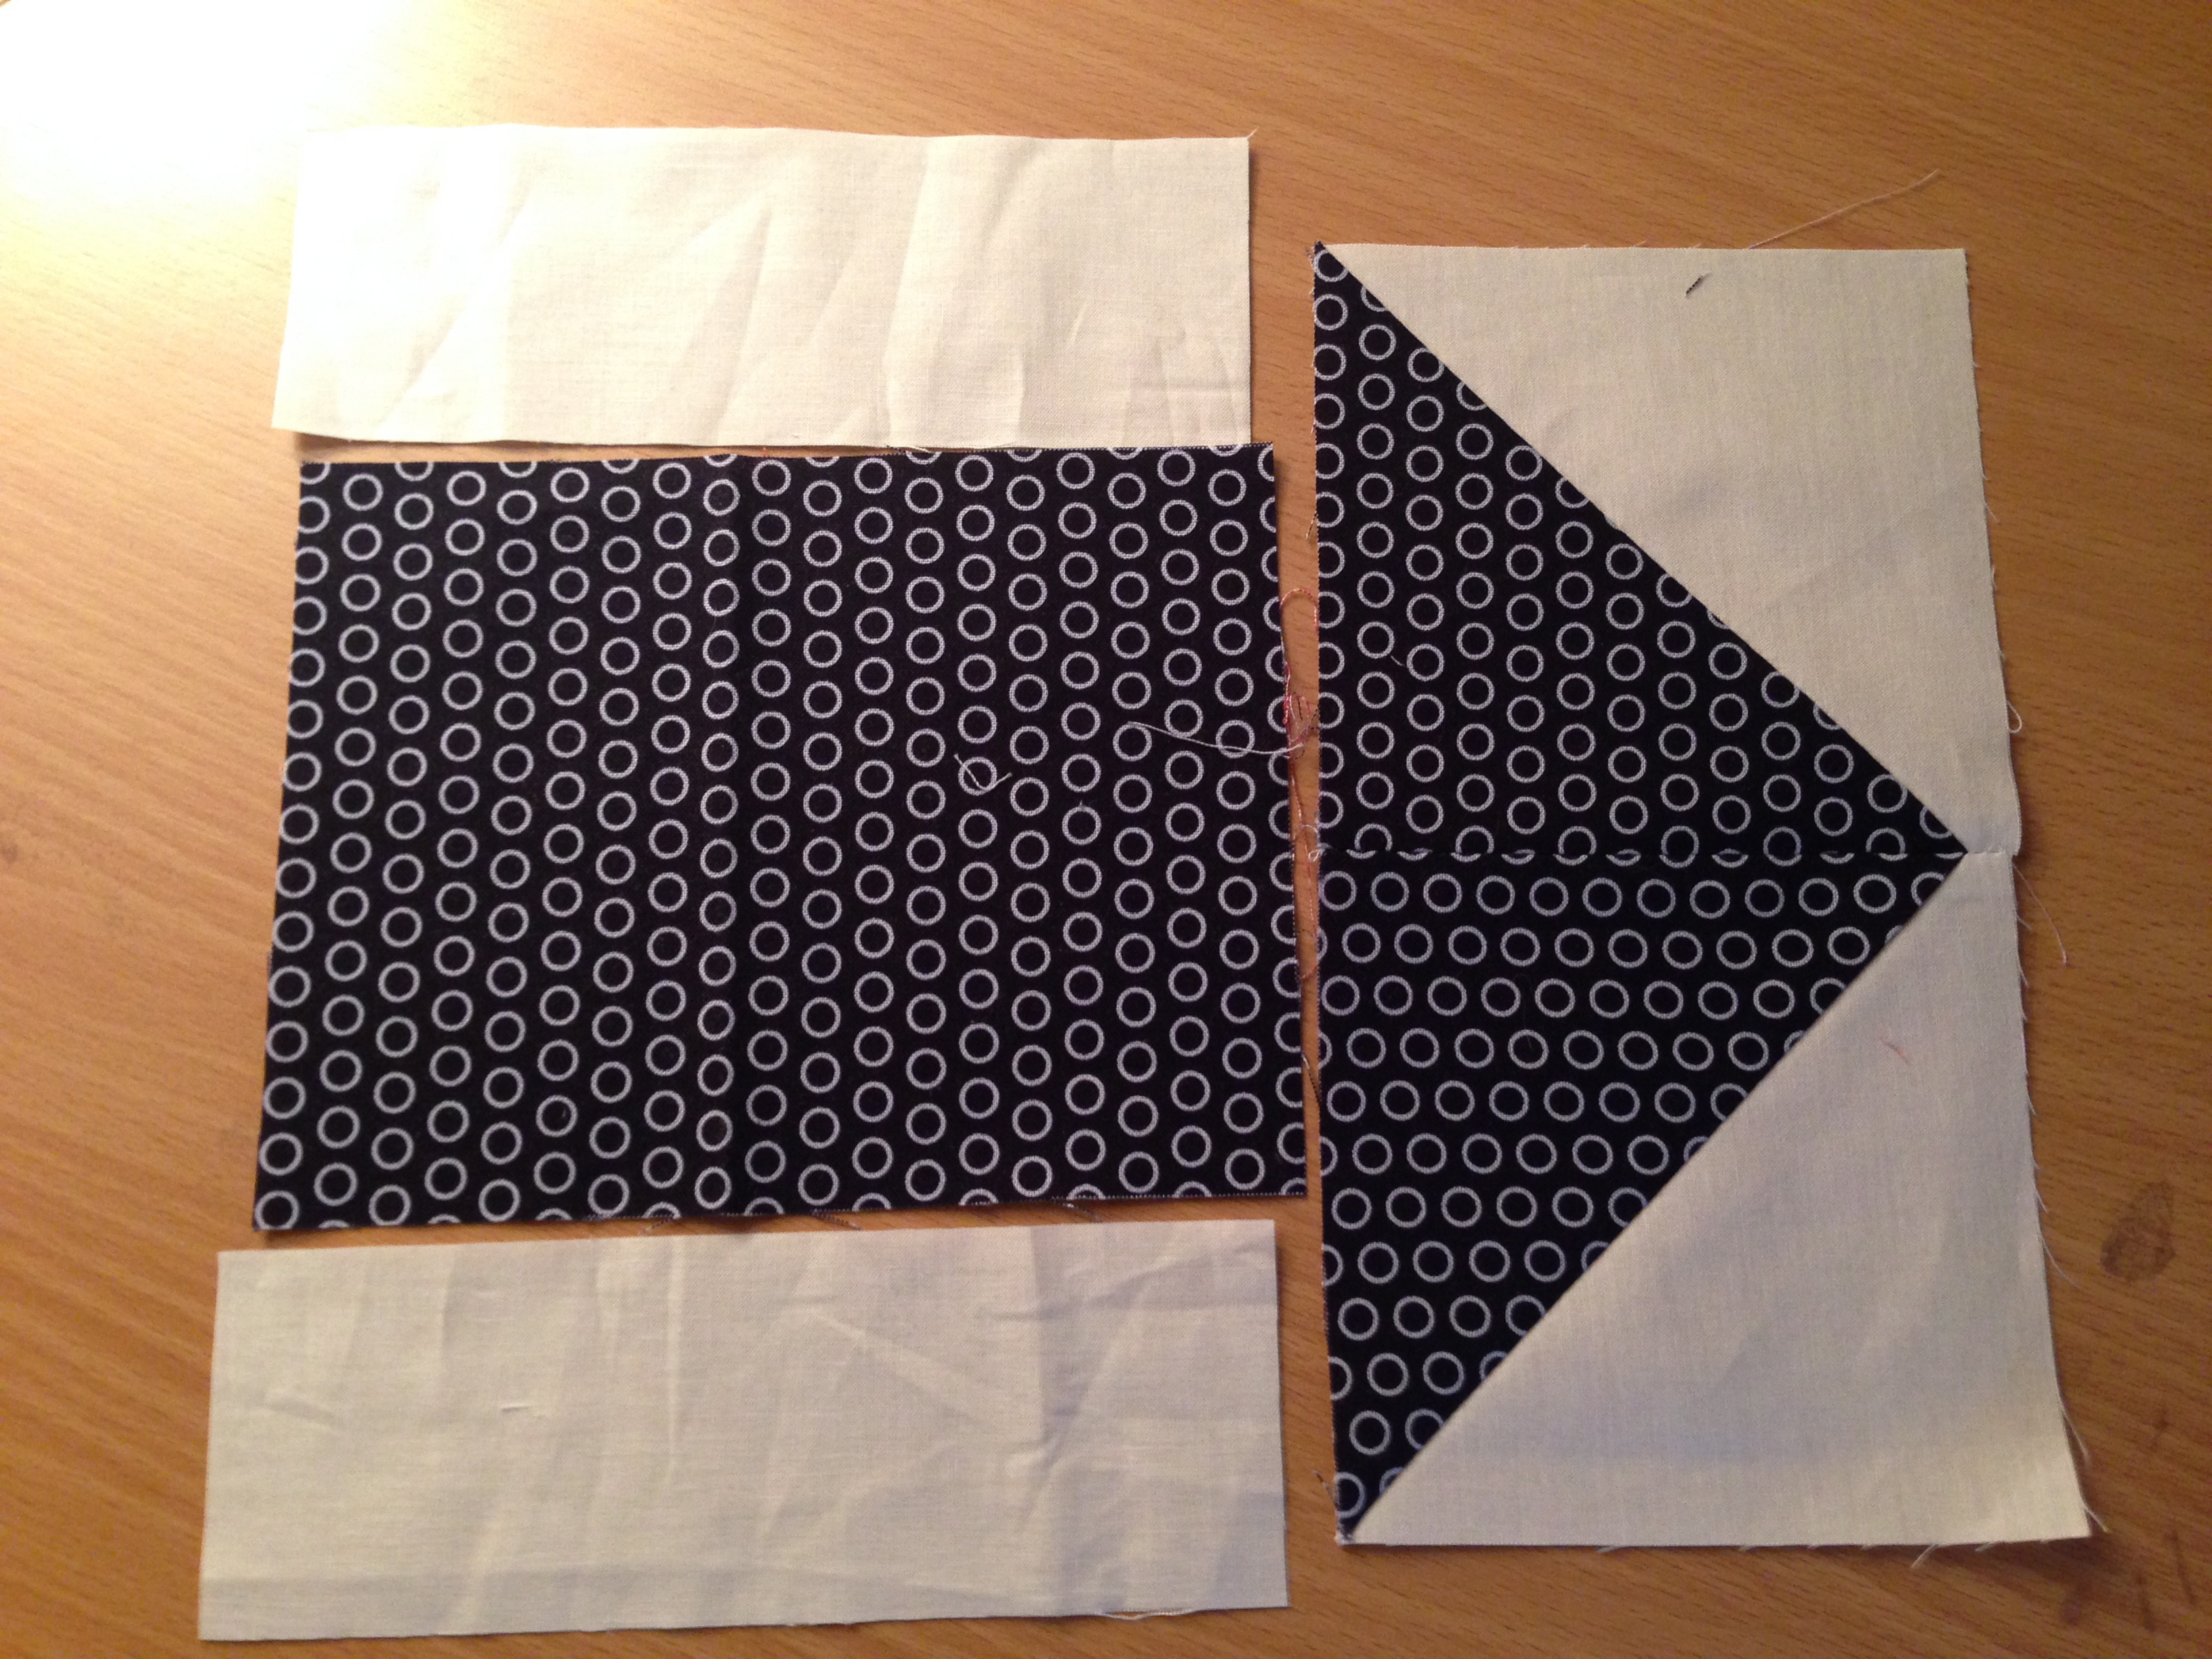
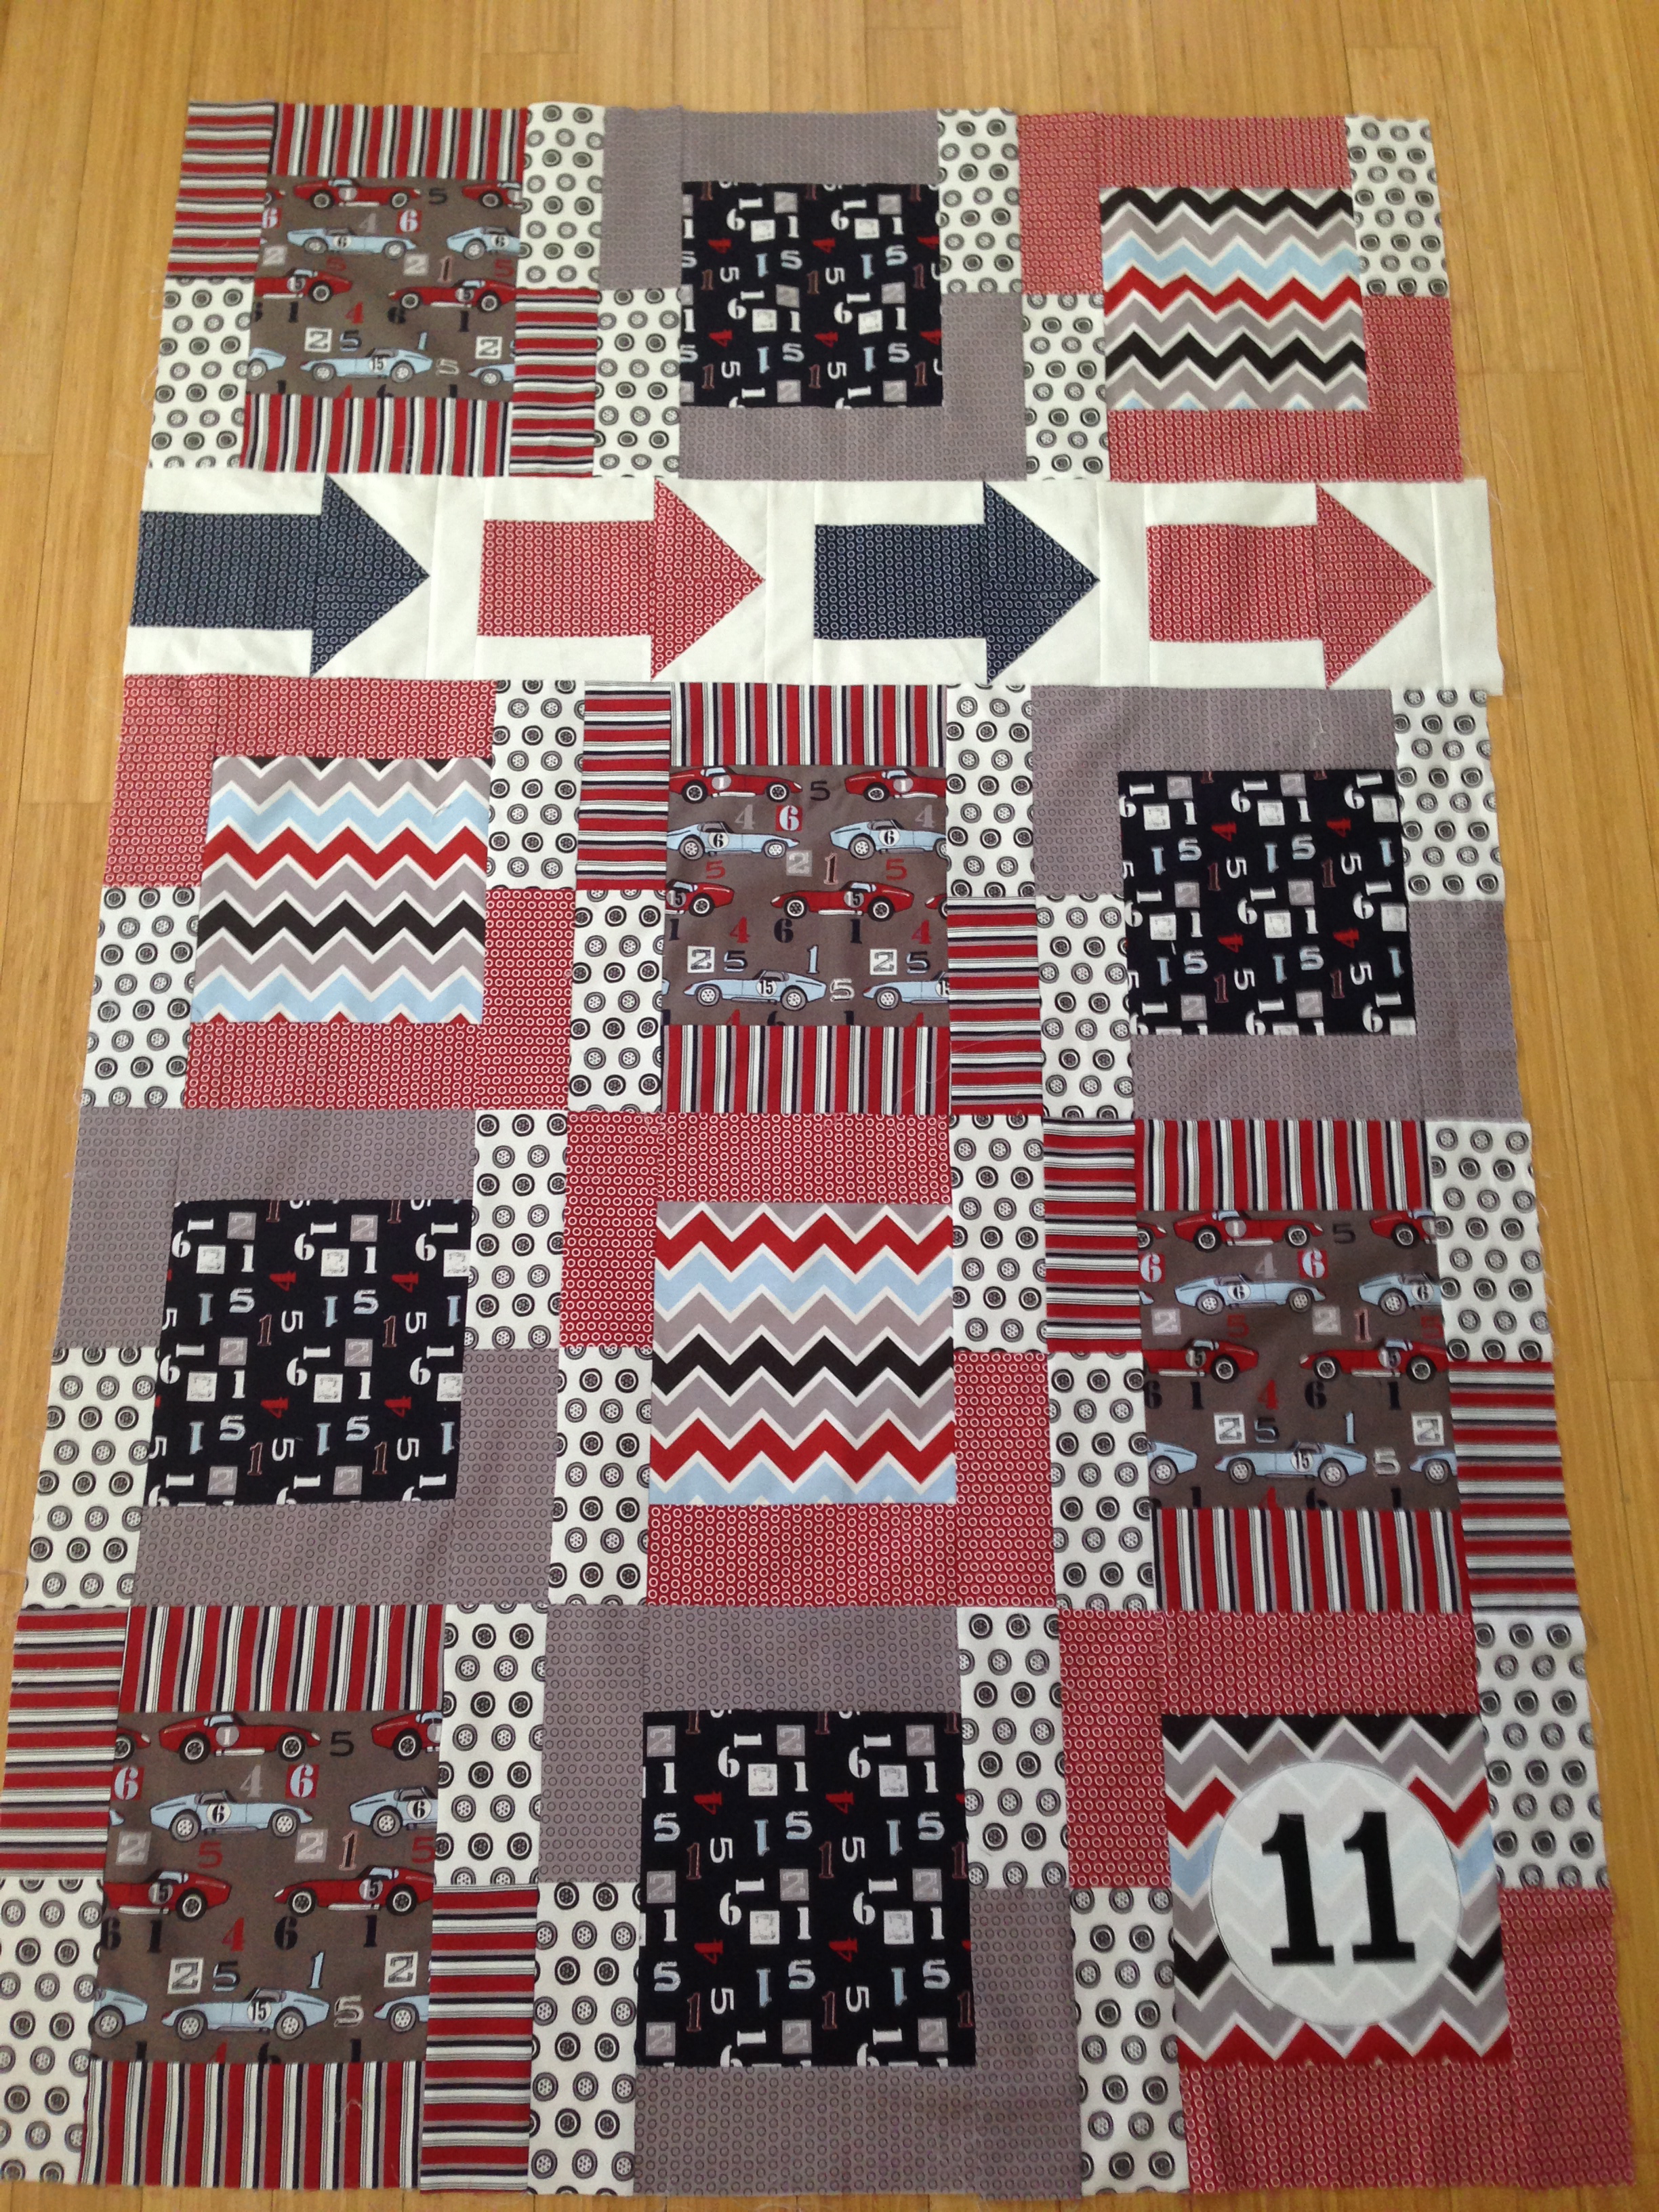
Sew the two block sections together and press. Make 4 arrow blocks and sew them together all going the same direction. You will need to add a 2.5″ x 8.5″ strip of white fabric to the pointy end of the arrow row.
Prepare the applique block:
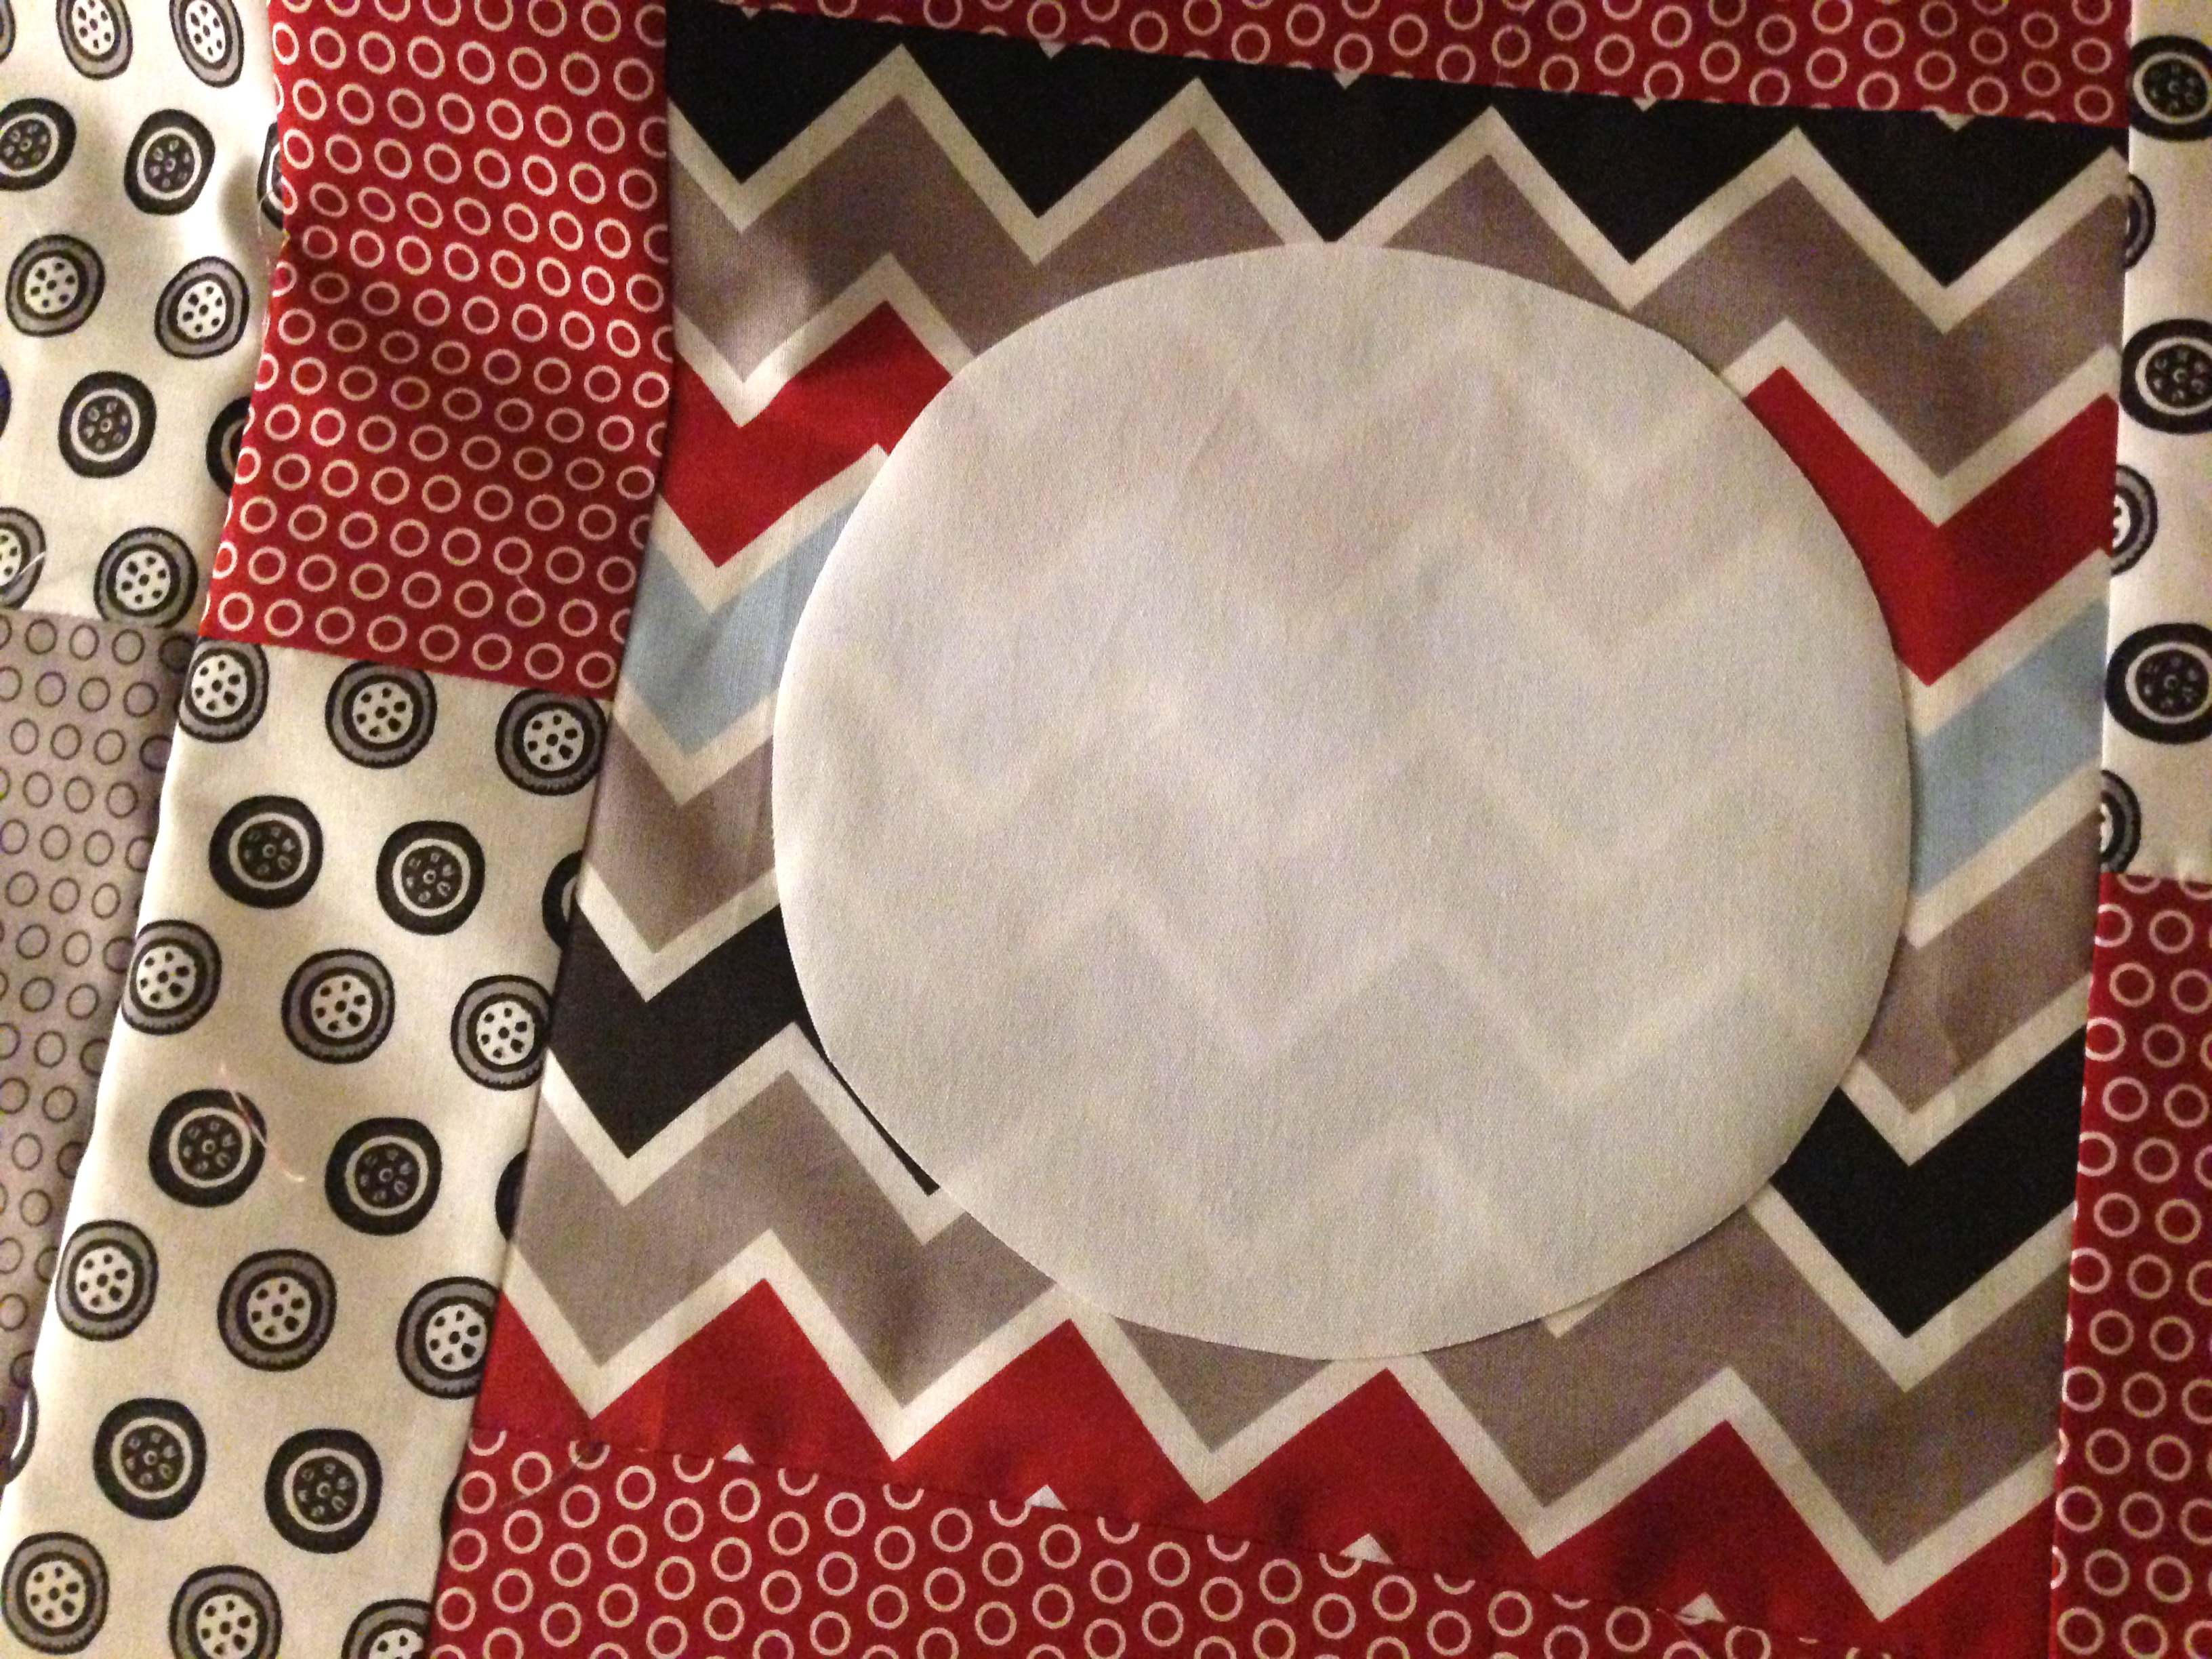
Trace a 8″ circle on the Heat n Bond Lite. Iron to the wrong side of the white fabric. Cut the circle and fuse in the center of a block. Top stitch around the circle two times in black thread,
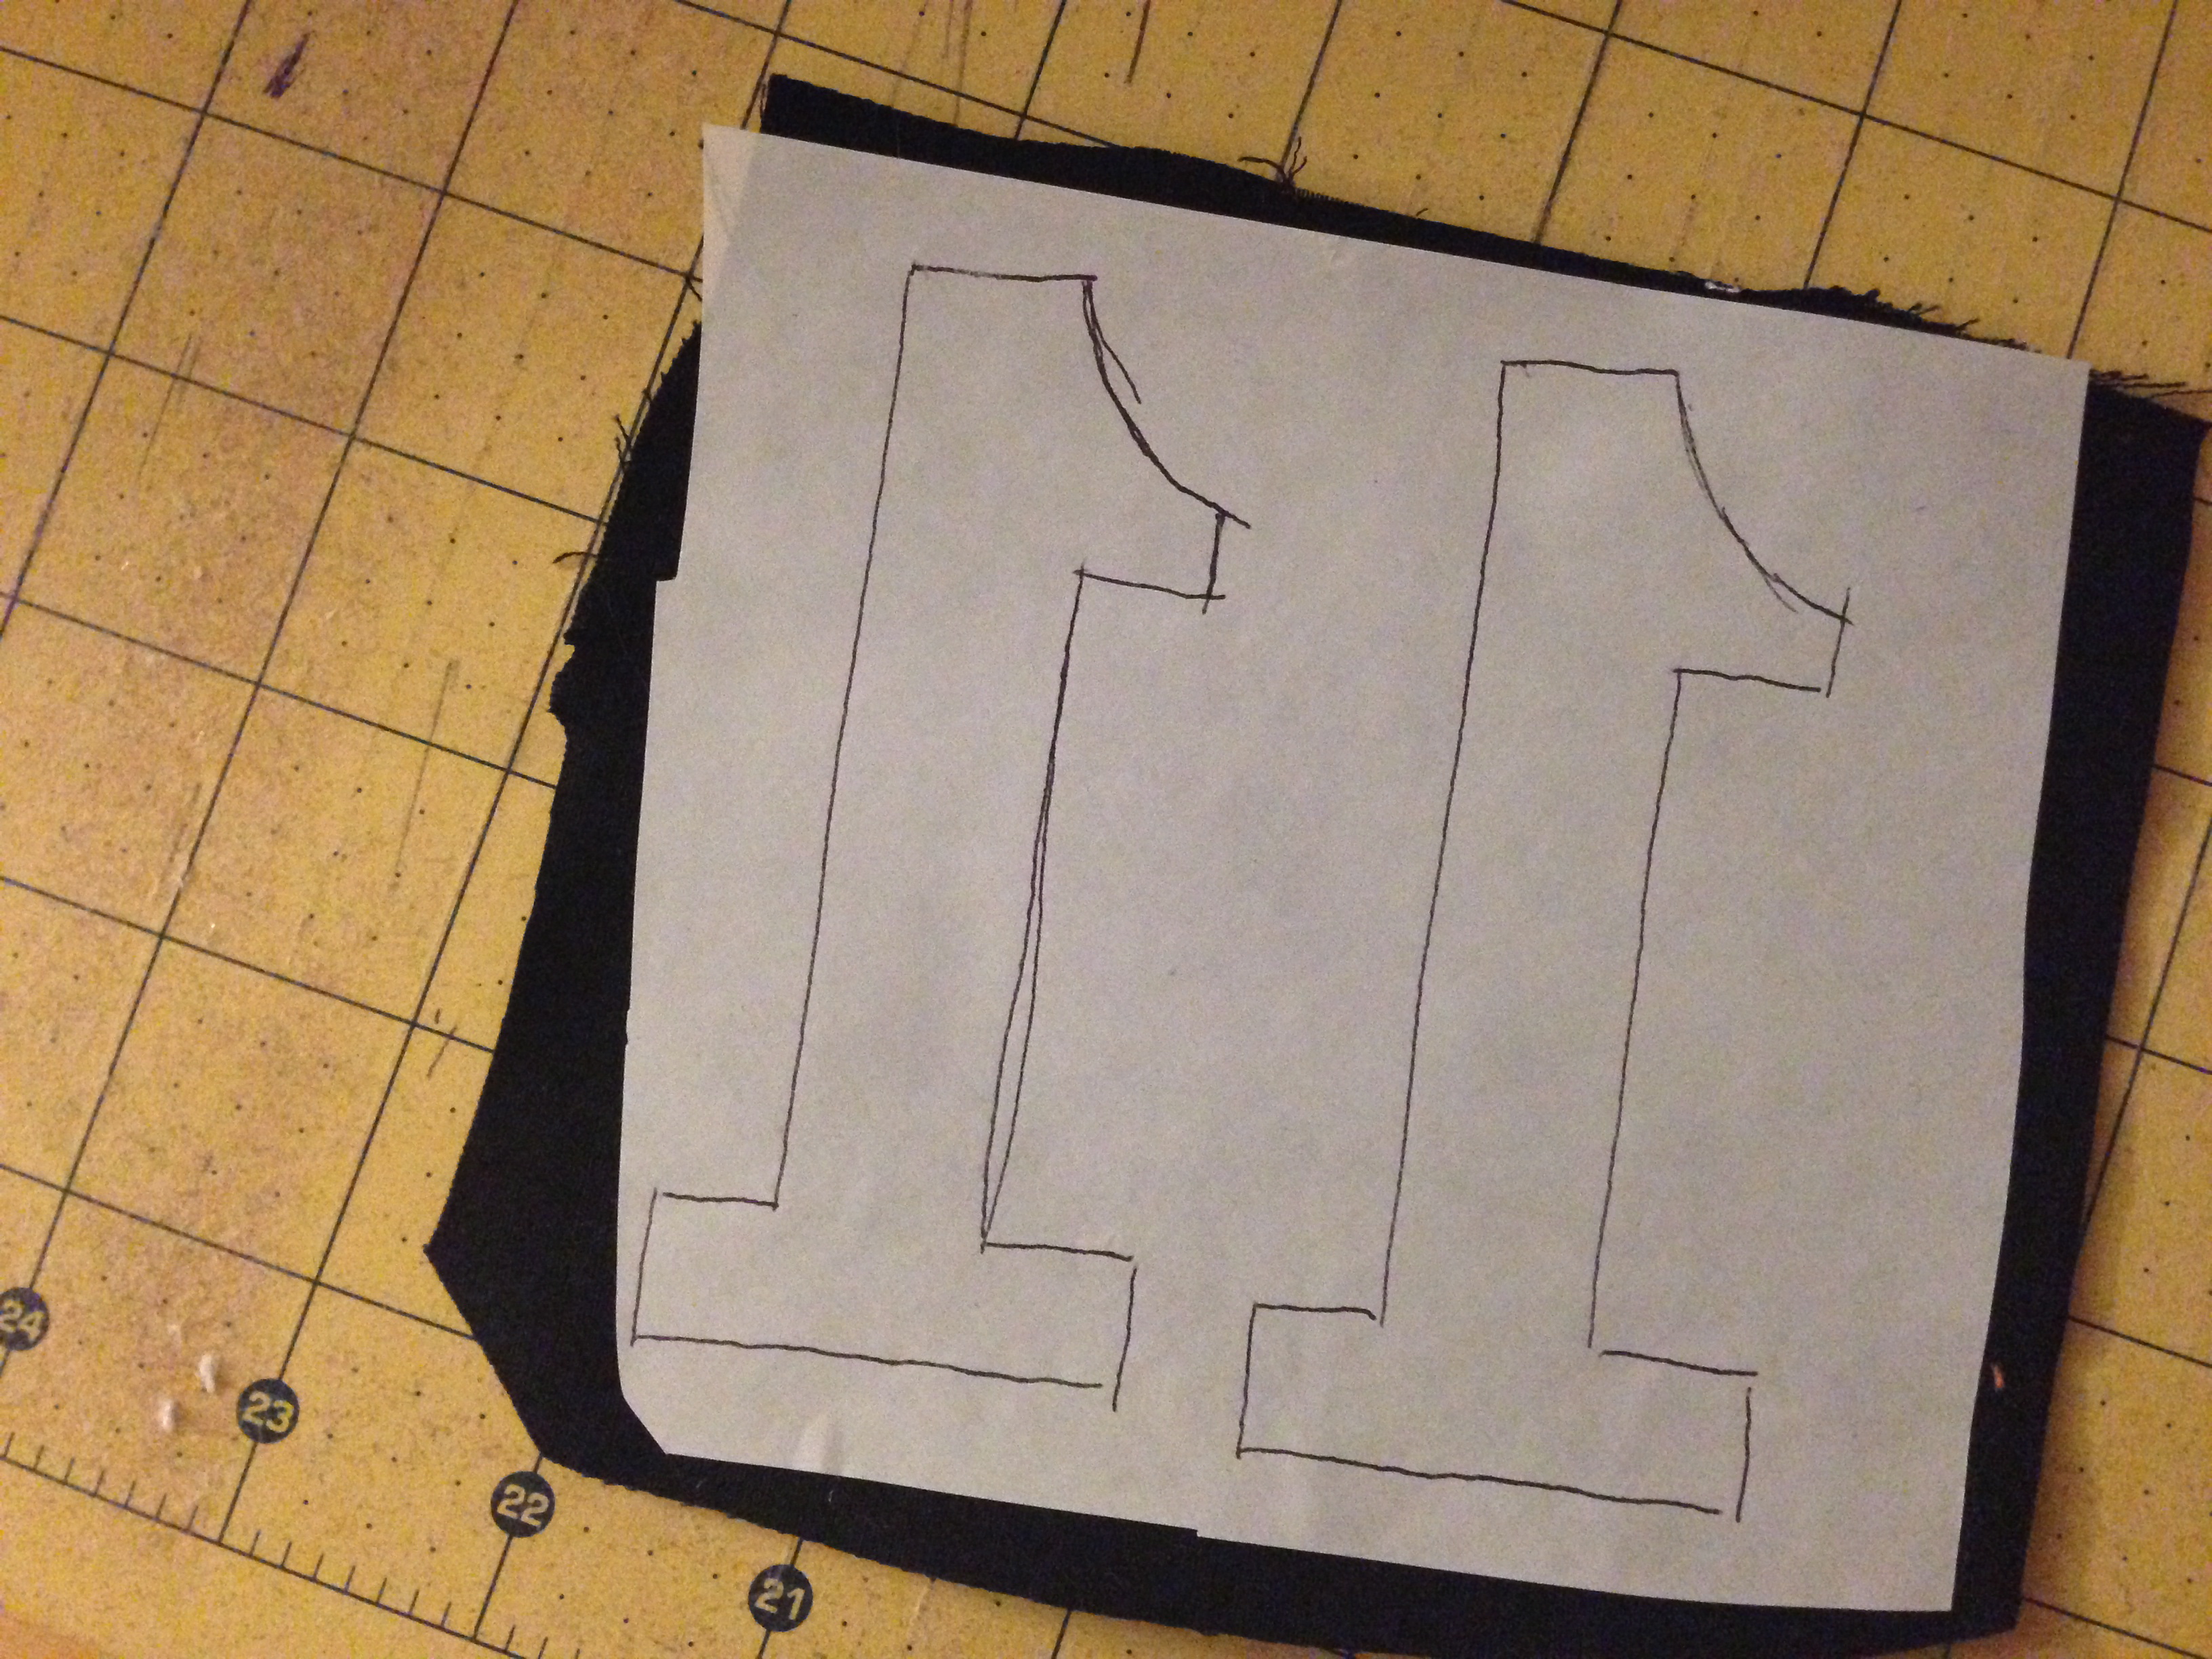
Print out the number in reverse. I tried to find a font that matched the numbers in the fabric. Trace the number on the Heat n Bond Lite. Iron to the wrong side of the black fabric. Cut out numbers, press in place and top stitch in black thread.
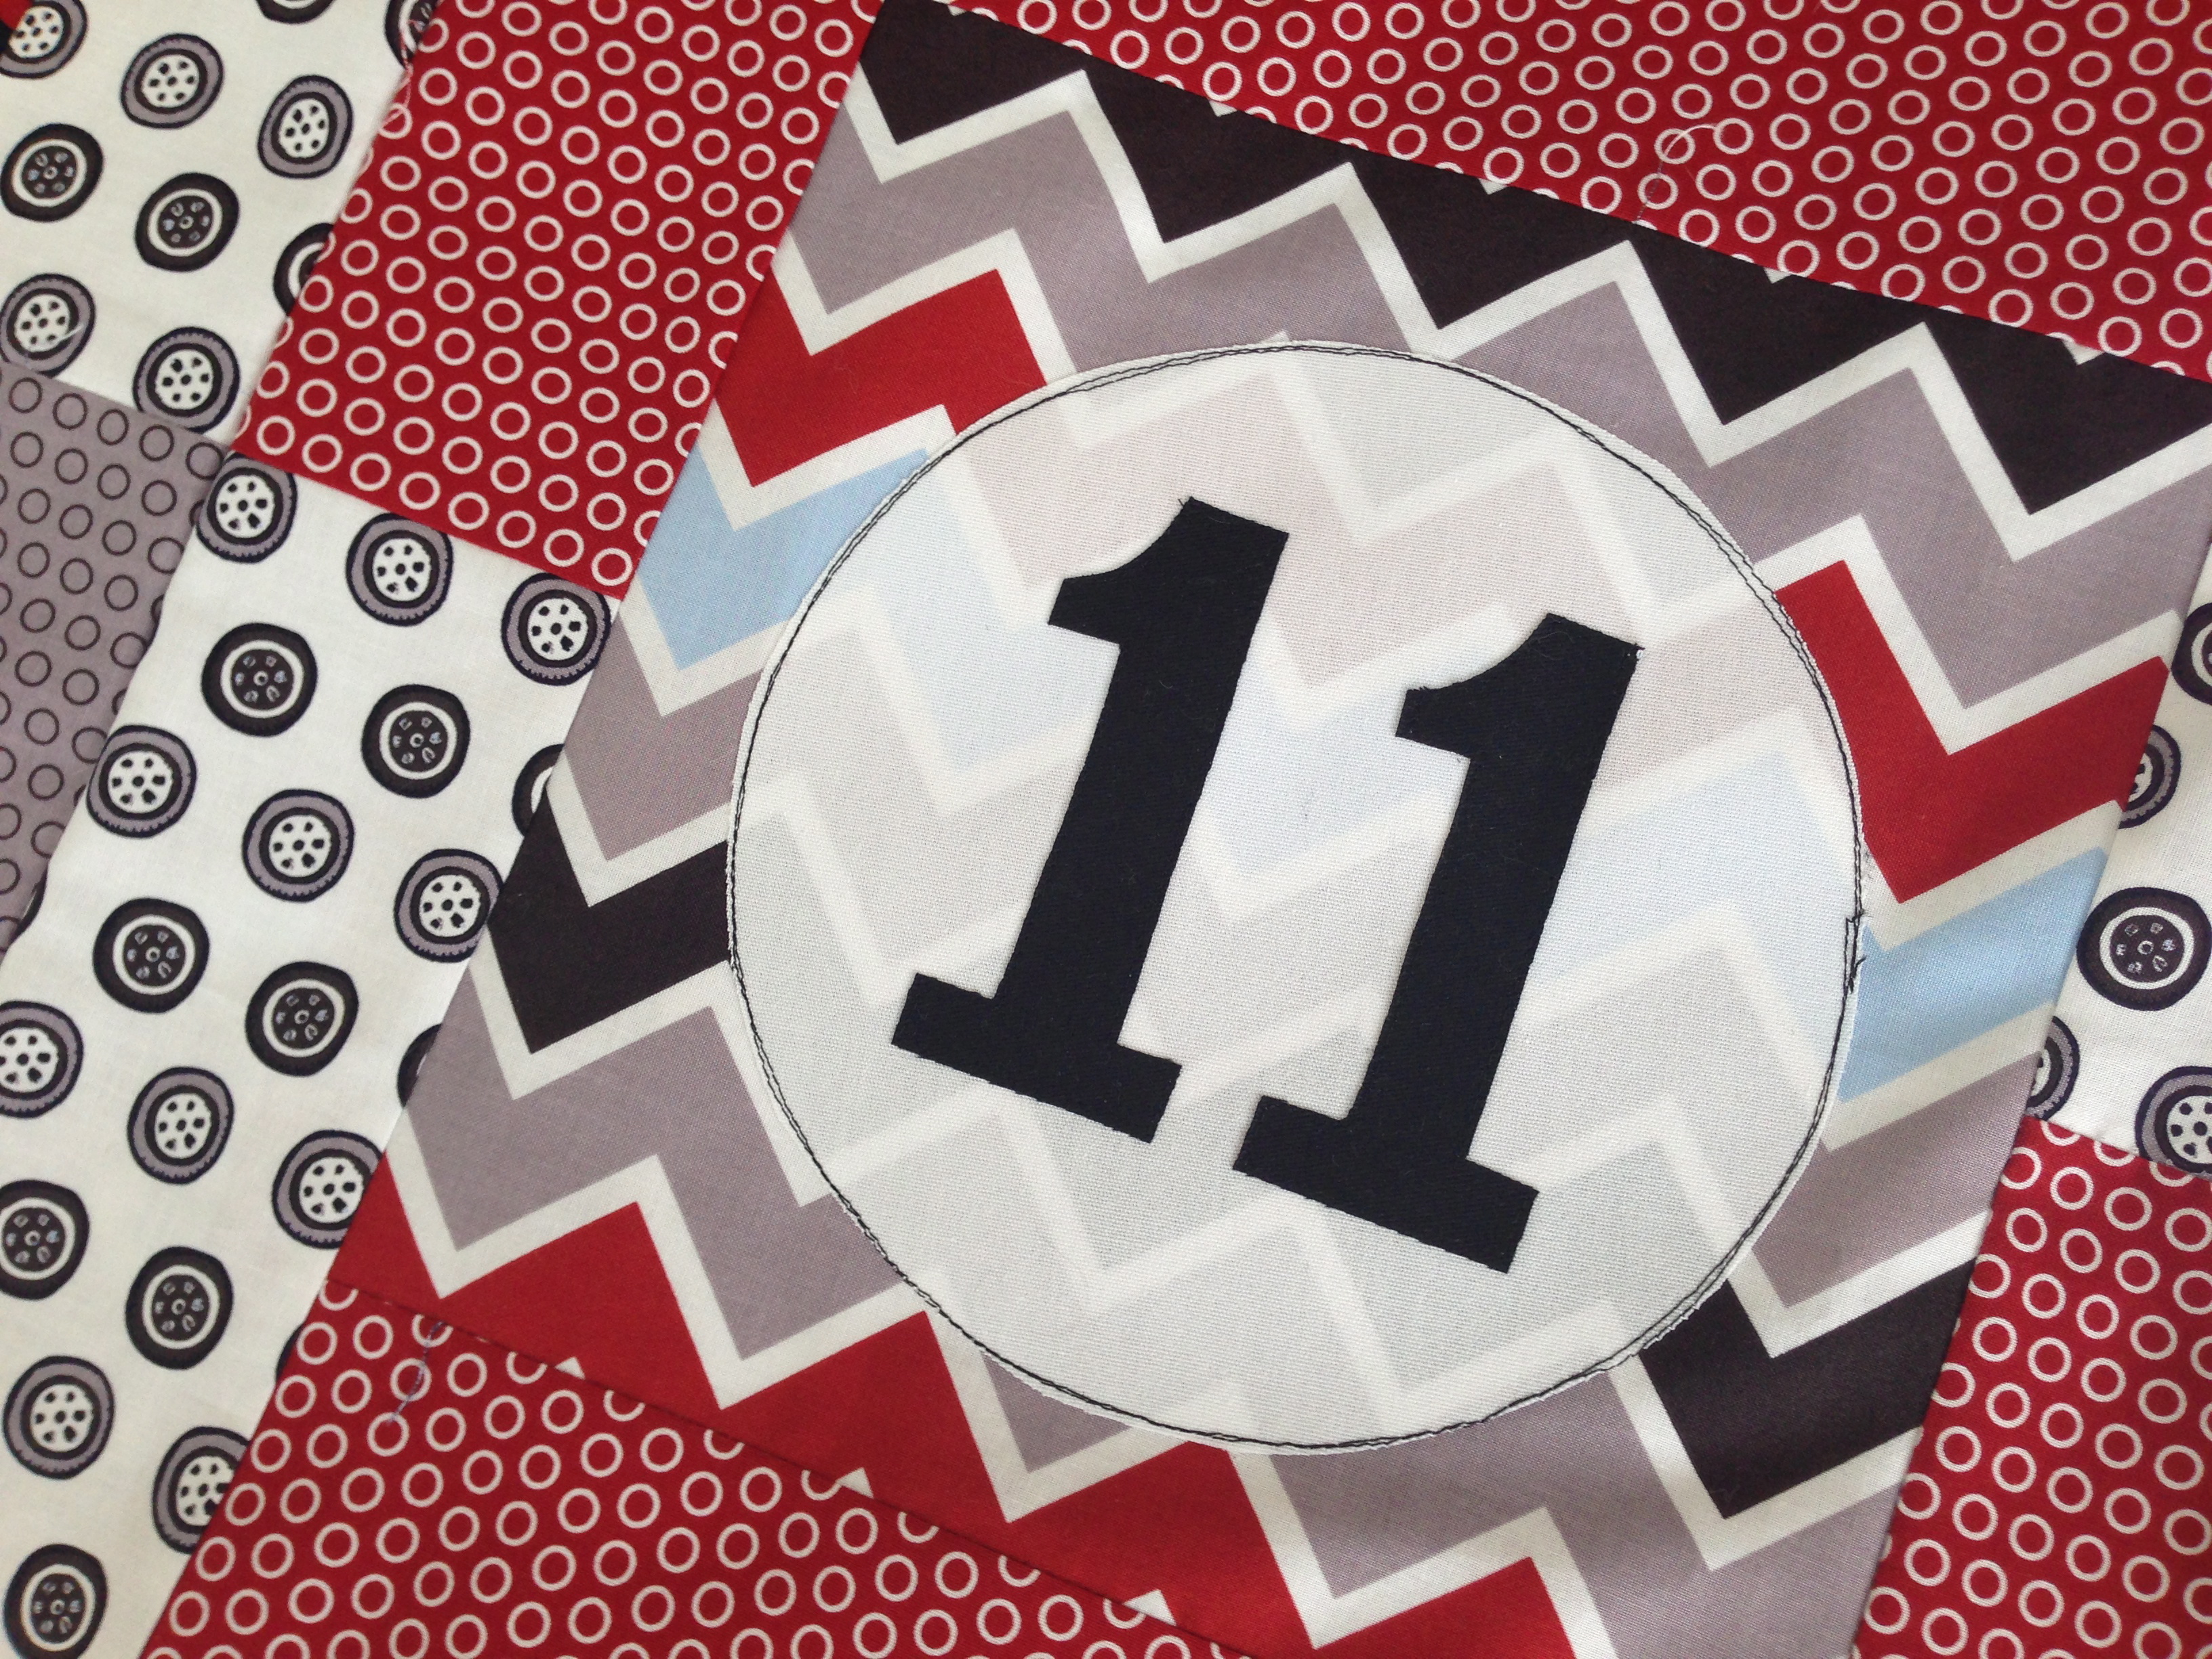
Assemble the quilt:
Sew blocks together in rows. Press each row alternating directions. Pin the seam intersections.
(notice the white rectangle next to the red arrow. This needs to be squared up.)
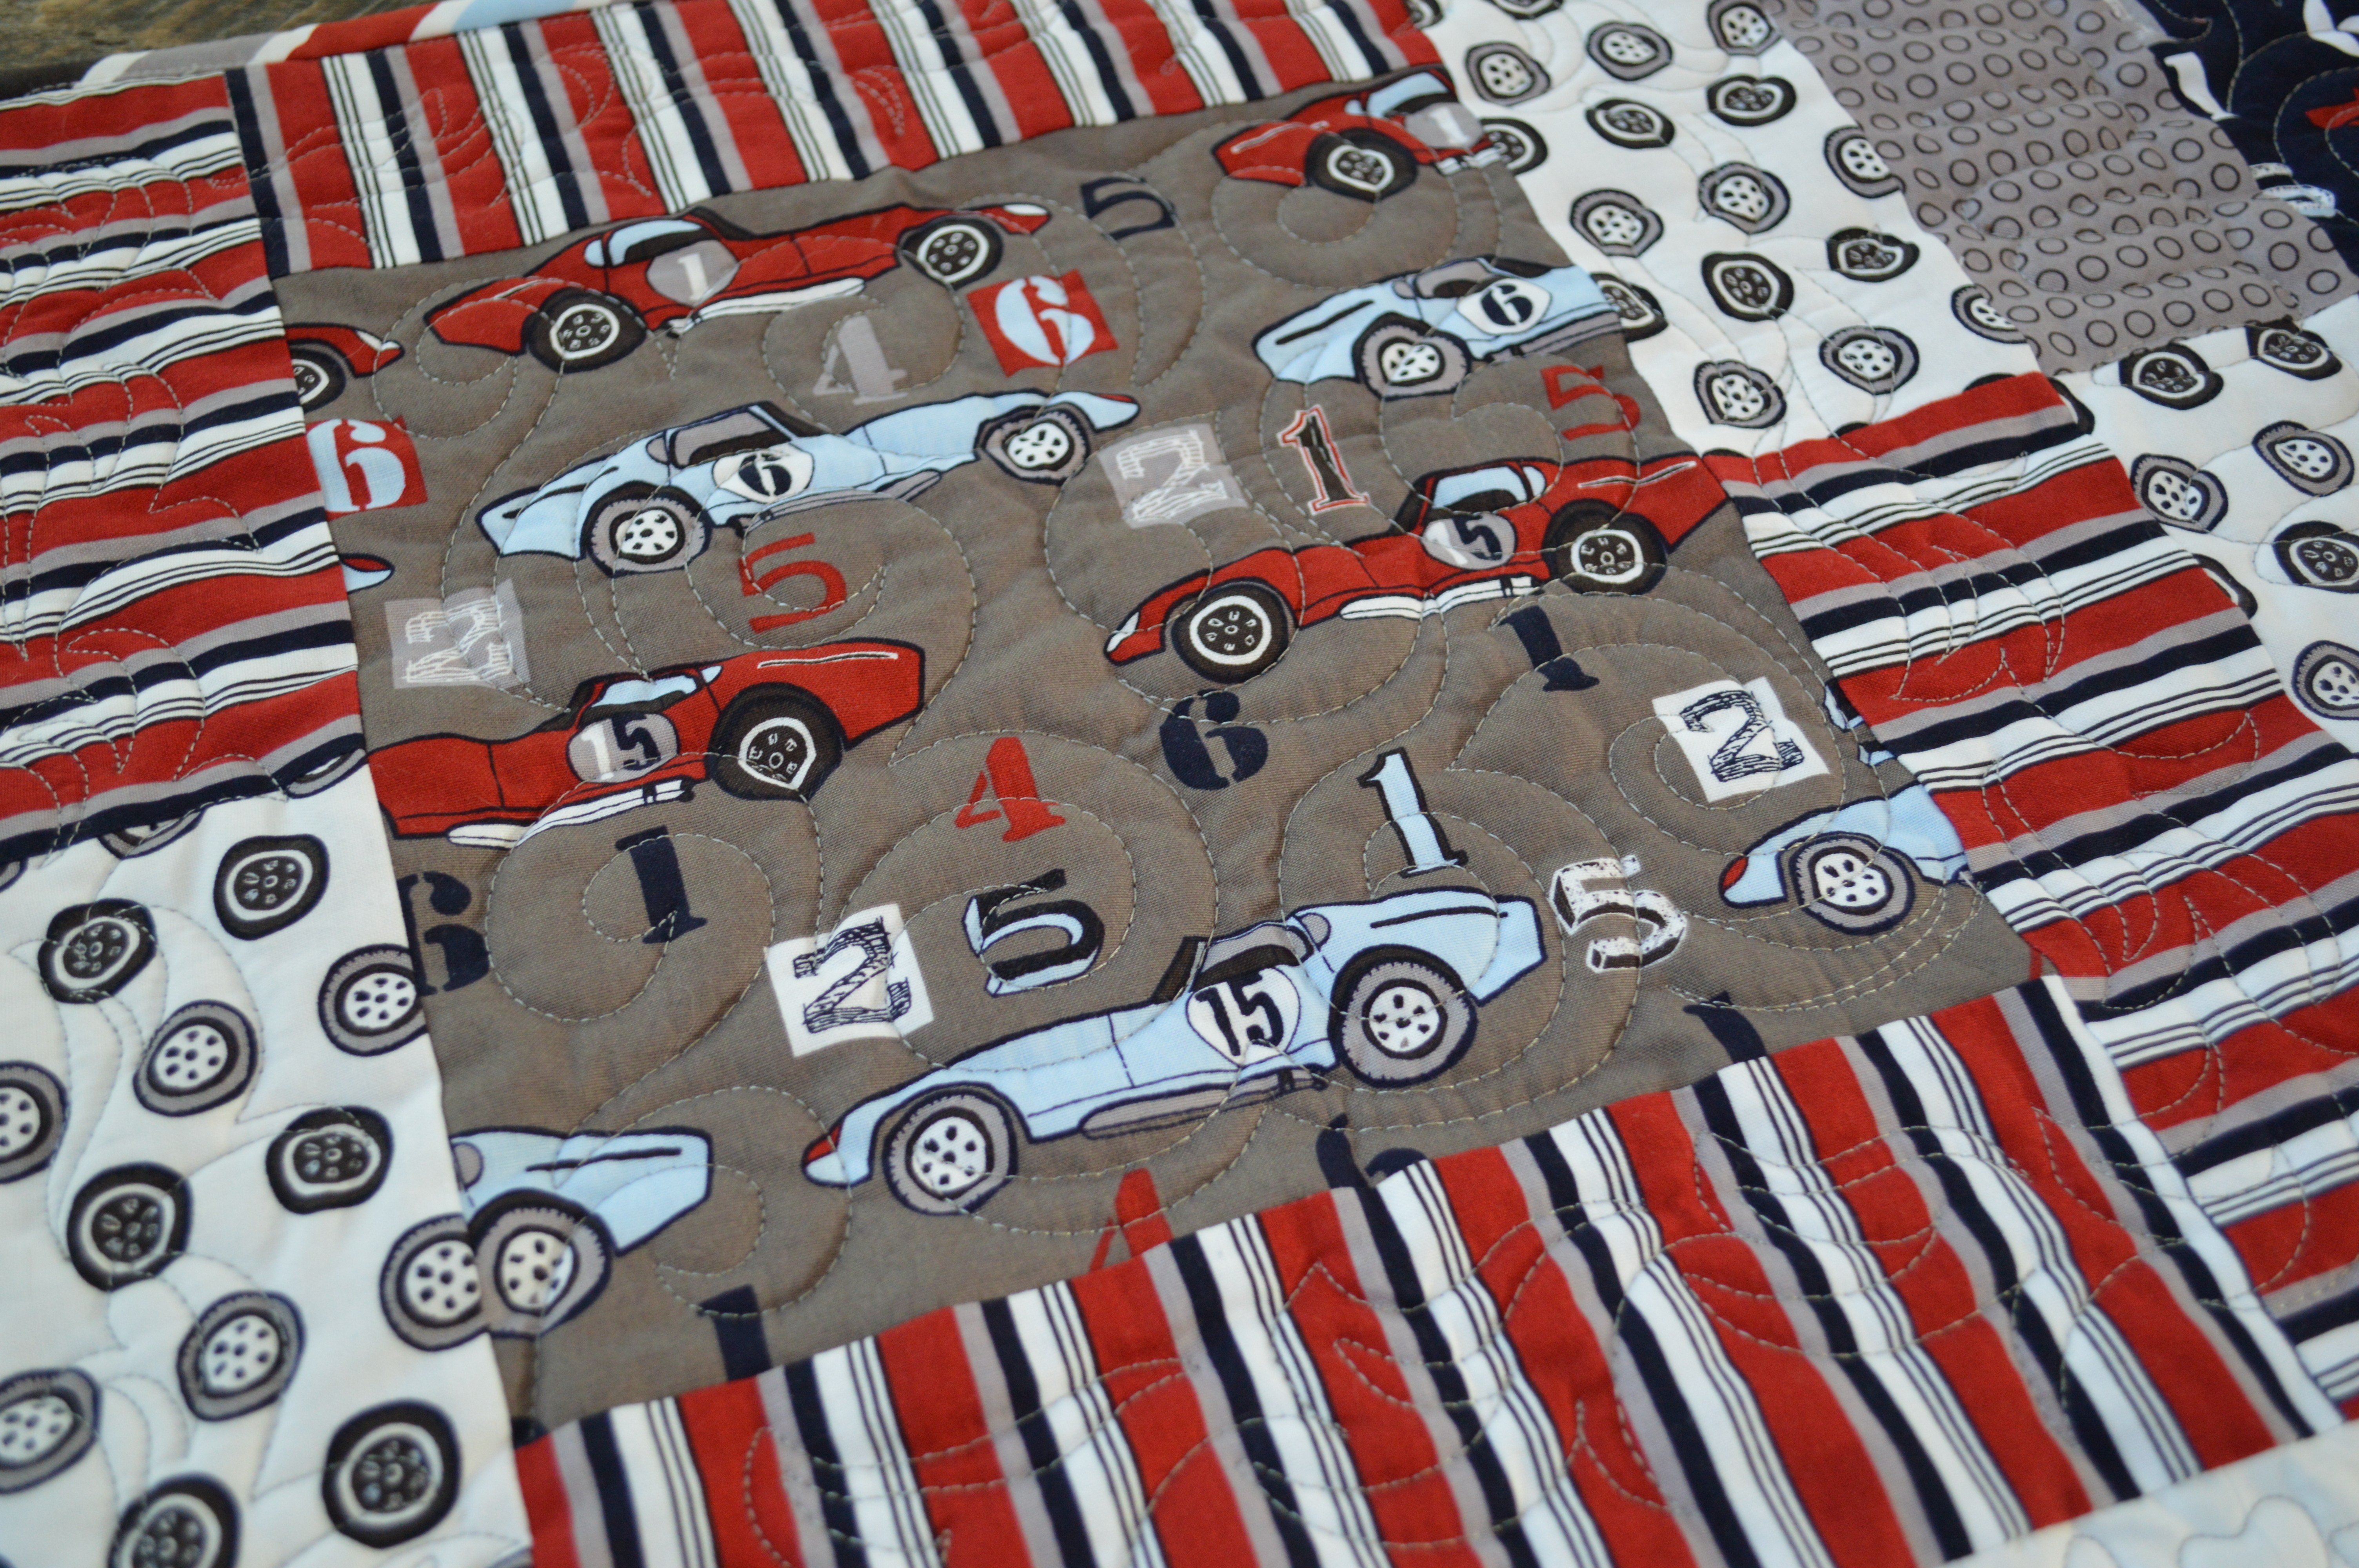
Quilt as desired. I put minky on the back of mine so it is super cuddly!!!
I love how the quilt turned out and I can’t wait to give it to my son! If you are making this quilt for a smaller boy, you could use 9 blocks instead of the 12 blocks.



Speak Your Mind