I’m so excited to be a part of Carina’s Posy Garden Blog Tour!! Before I share this quilt tutorial with you I thought it would be fun to show a little peek at all the fun we had at Quilt Market with Carina and her Posy Garden Glamper!!
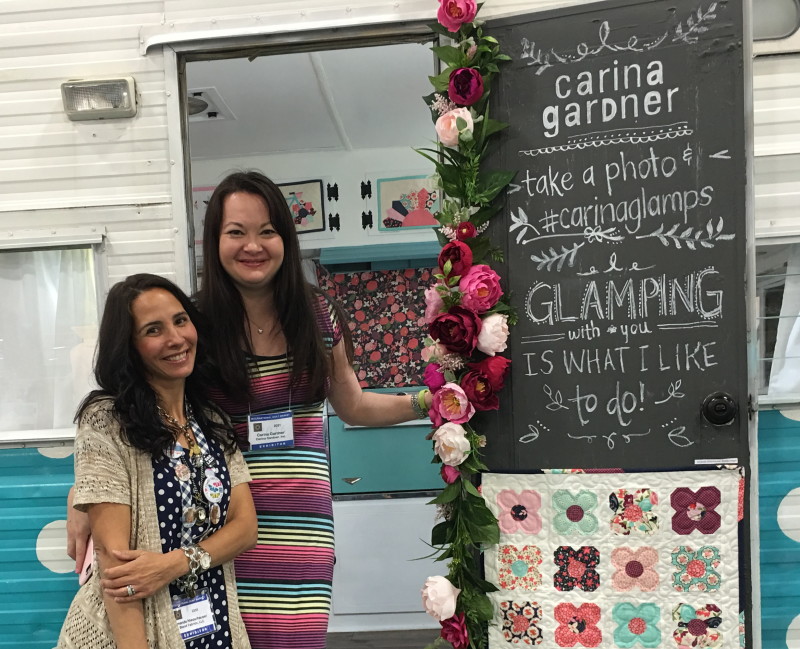
The Glamer catches your eye right away with the adorable aqua and white polkadot paint and the chalkboard door with mini quilt attached!
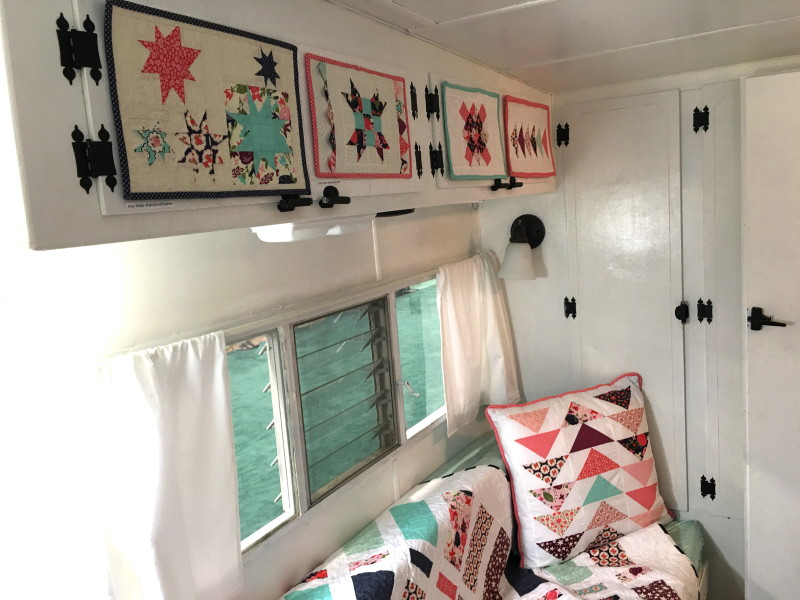
Inside there were mini quilts having on all of the doors, quilts and pillows on the benches, and even a quilt hanging in the bathroom!

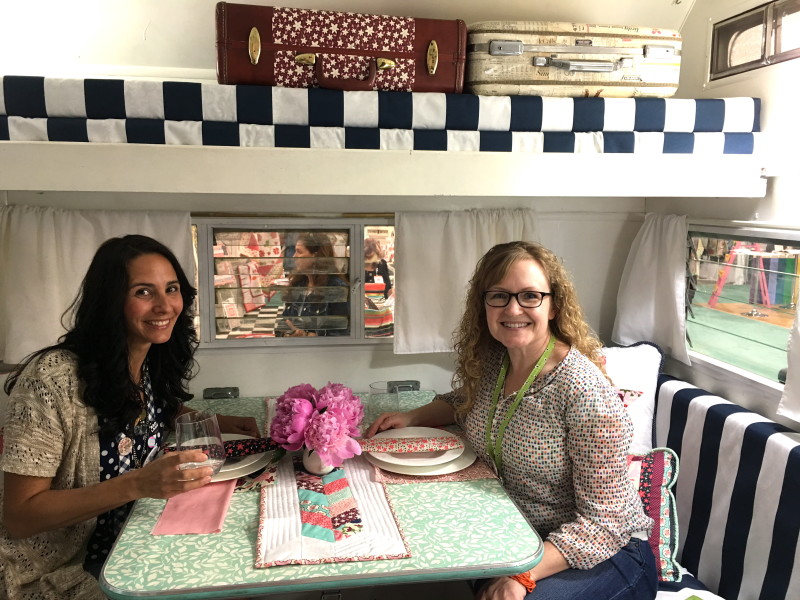
Andy and I had fun giggling and chatting with Carina and raiding her secret chocolate stash!

Yes – the Glamper really is that much fun! And now onto the Blog Tour Quilt Pattern!!
Of course when I saw this fabric I knew I wanted a quilt out of it. The colors are so amazing in person!!!
I used a fat quarter bundle of Posy Garden and 2 .5 yards of quilters muslin. Let’s get started!!
Begin by cutting a 2 1/2″ strip from each of the fat quarters (I used 14 fat quarters)
Next cut a 4 7/8″ strip from each fat quarter.
Cut 7 WOF x 2. 1/2″ strips from the muslin.
Cut 7 WOF x 4. 7/8″ strips.
Make the 4 patch strip sets by pairing a 2 1/2” Posy strip and a Muslim strip right sides together. Sew lengthwise using a 1/4” seam. Press toward the dark.
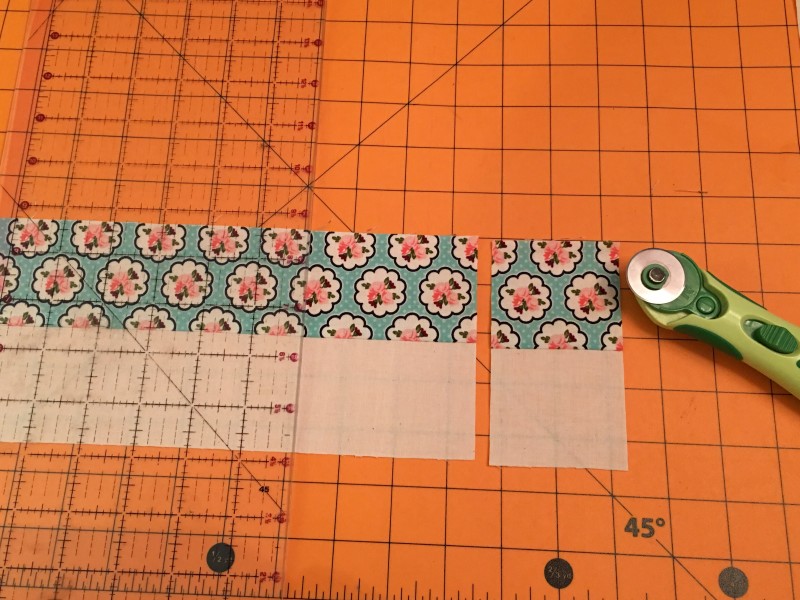
Do this with each of the 2 1/2” strips. Once they are all sewn and pressed, cut them at 2 1/2” increments.
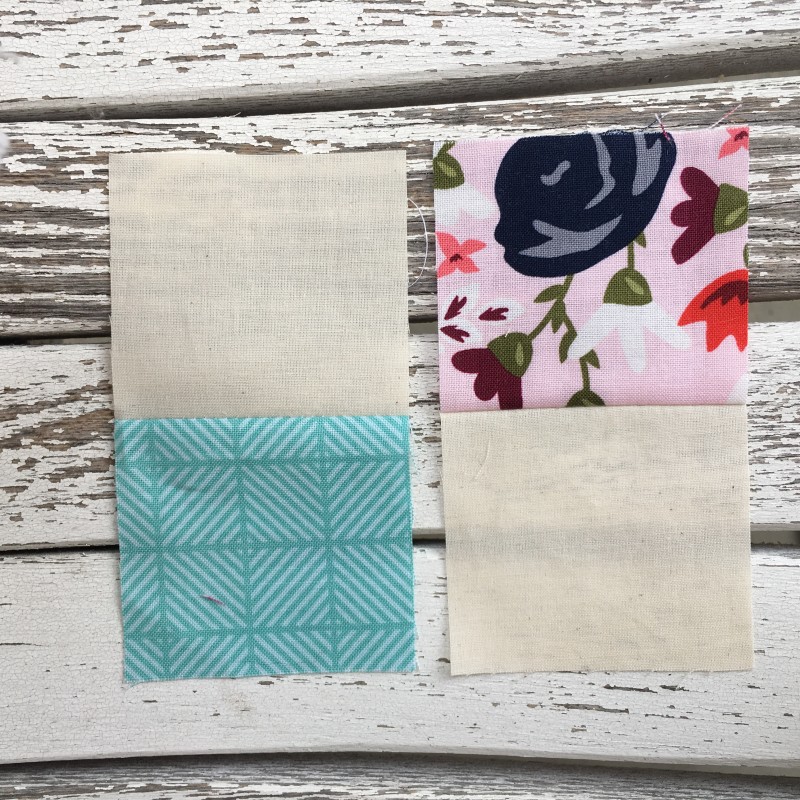
Mix them up and pair them up in a checkerboard style. Match the center seams and sew right sides together using 1/4” seams. Press open. Set aside.
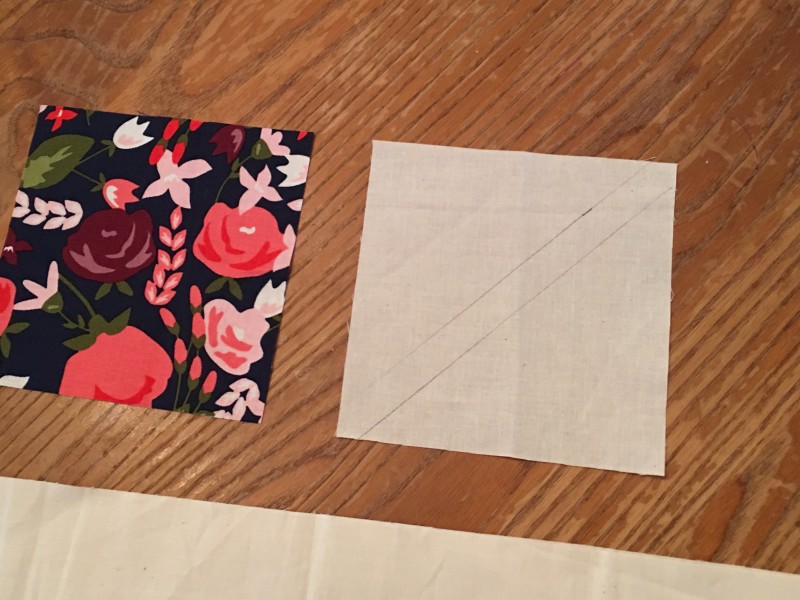
Cut the 4 7/8” strips into 4 7/8” squares.
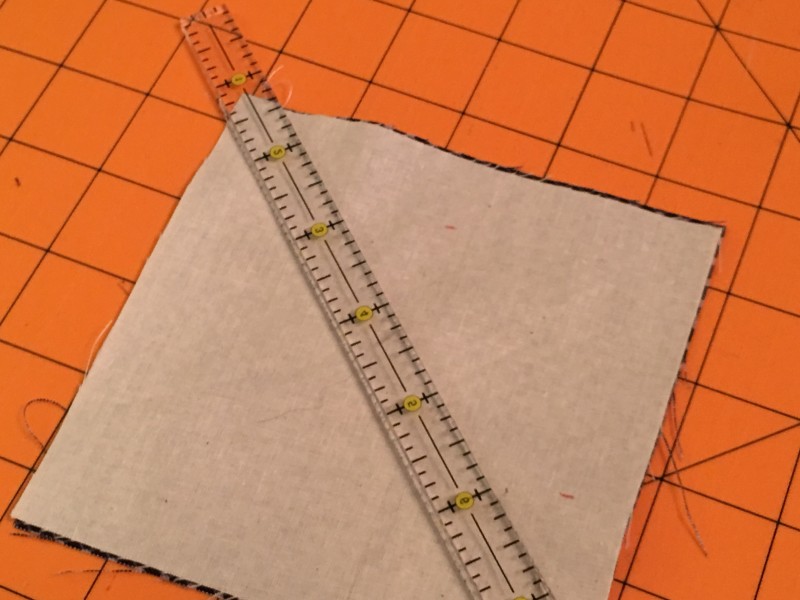 Draw a diagonal line on the wrong side of the muslin squares. I like to use this tool. Instead of drawing the diagonal line, you draw the 1/4” lines that are on the side of the diagonal line.
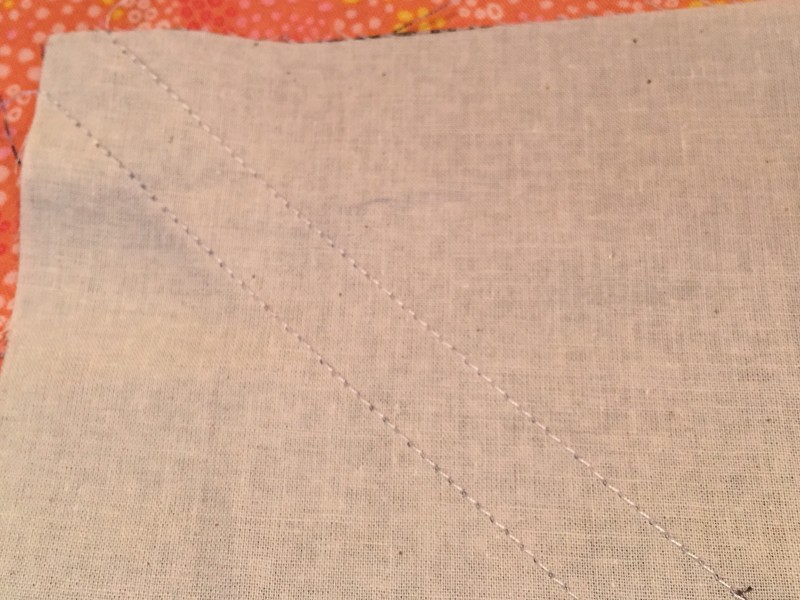
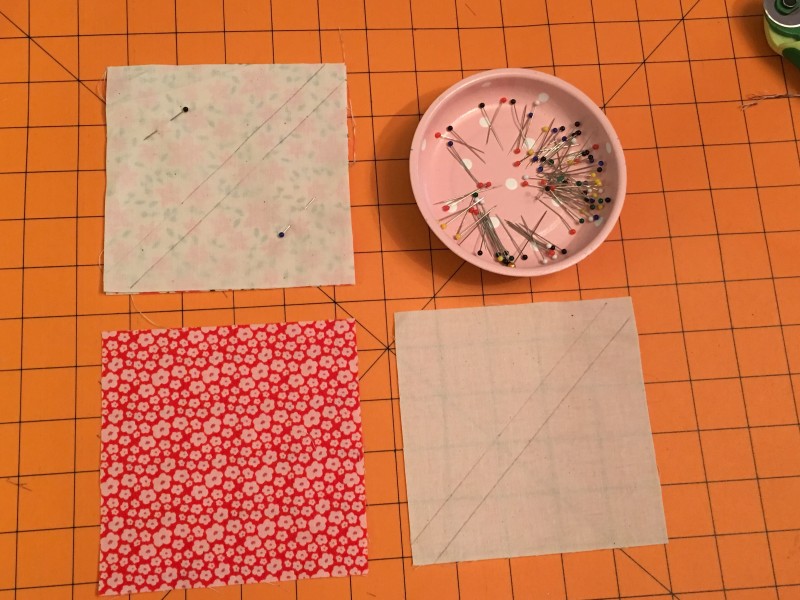 However you choose to do this, sew 1/4” away from the center line. I like to pin my squares together so they don’t move around.
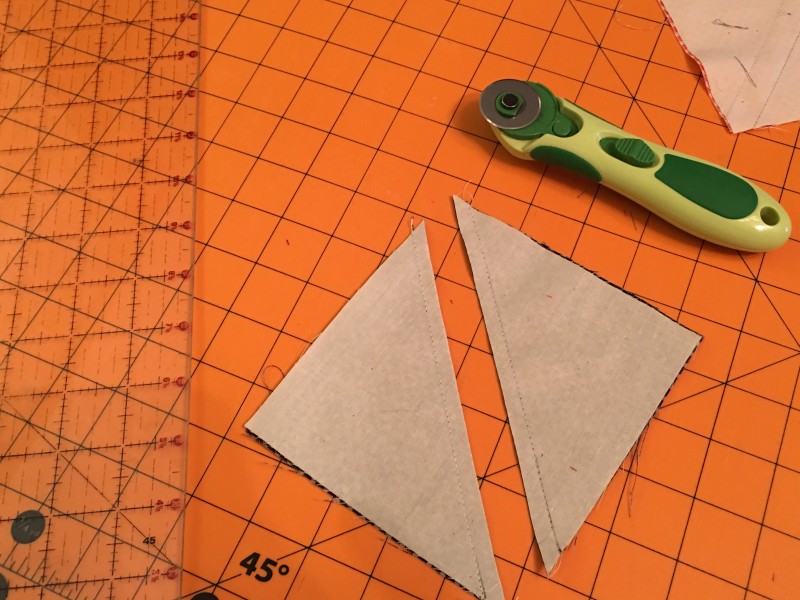
Cut on the diagonal line yielding 2 half square triangles (HST). Press to the dark side. They should measure 4 1/2” square.
Keep those HSTs coming!!!
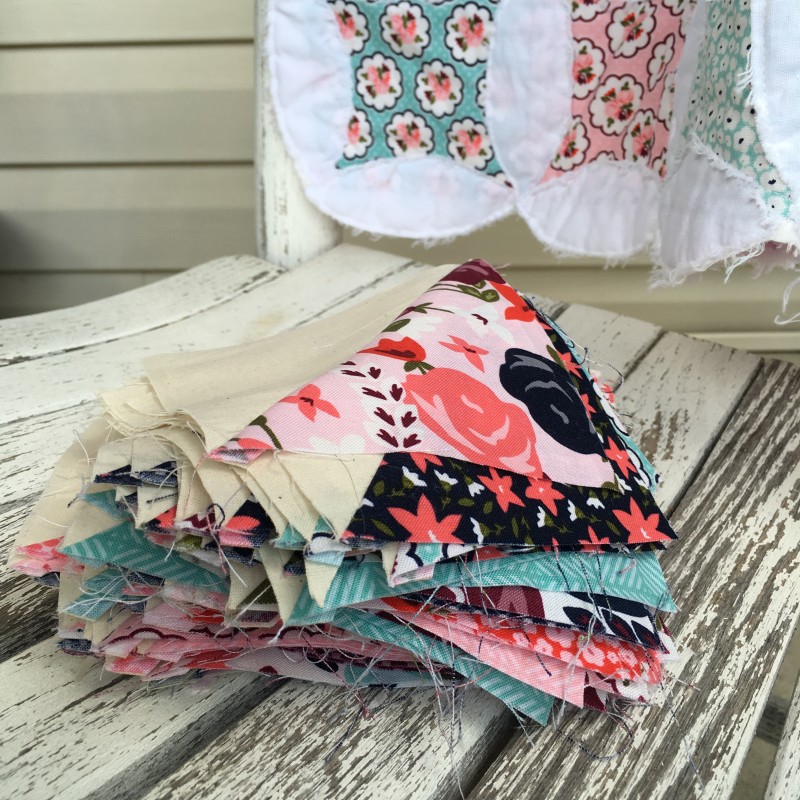
Now comes the fun part! Don’t lay out the pattern, just grab and go! Each block should look like this:
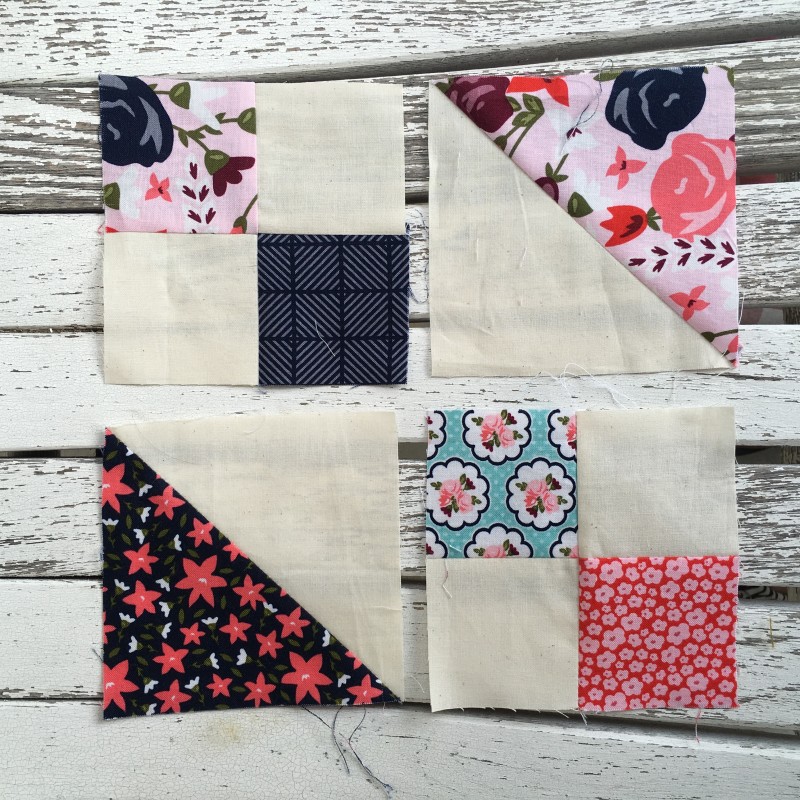
Sew together just like you would a 4-patch using 1/4” seams. Press all seams open.
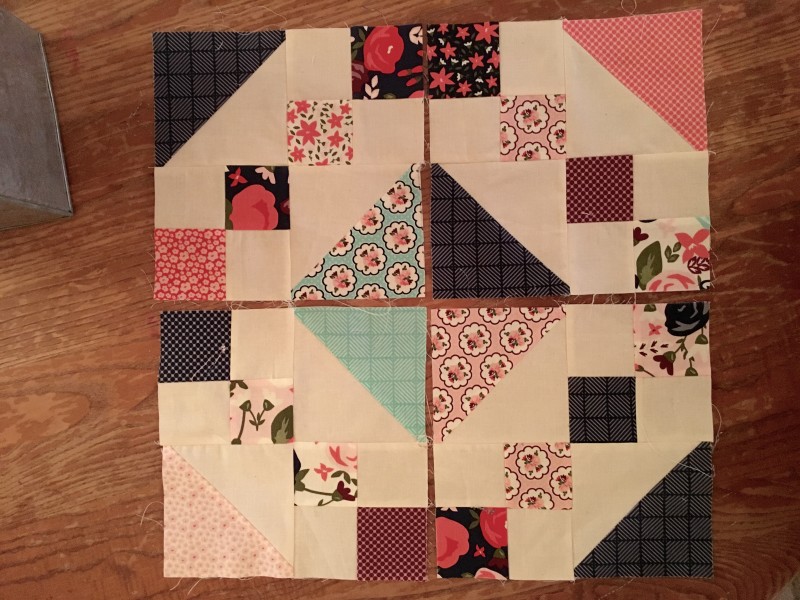
Next take each of the blocks and group them into a larger 4-patch unit. Sew together in the same manner with 1/4” seams and press the seams open. This creates the Posy Garden Path Block!
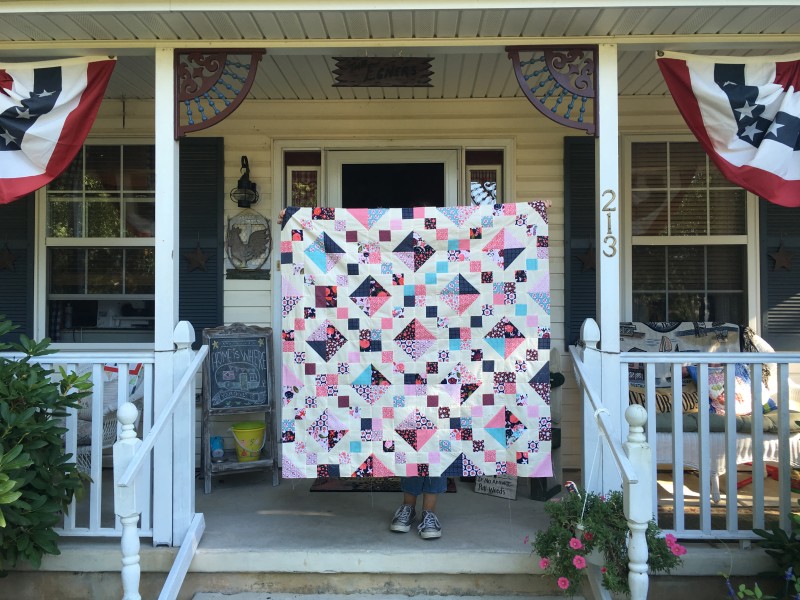
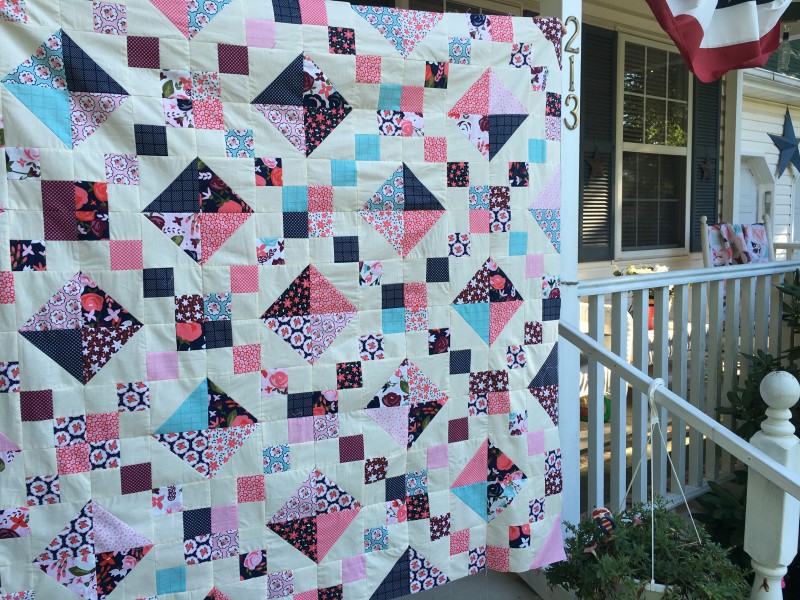
Finish putting the quilt together by sewing 3 rows of 3 blocks – 9 blocks total. Of course if you want it bigger you can add more blocks. Make sure to match all seams as you go. Press the seams open. See if you can make this quilt without laying any of the blocks out. I love how it turns out totally random and scrappy!
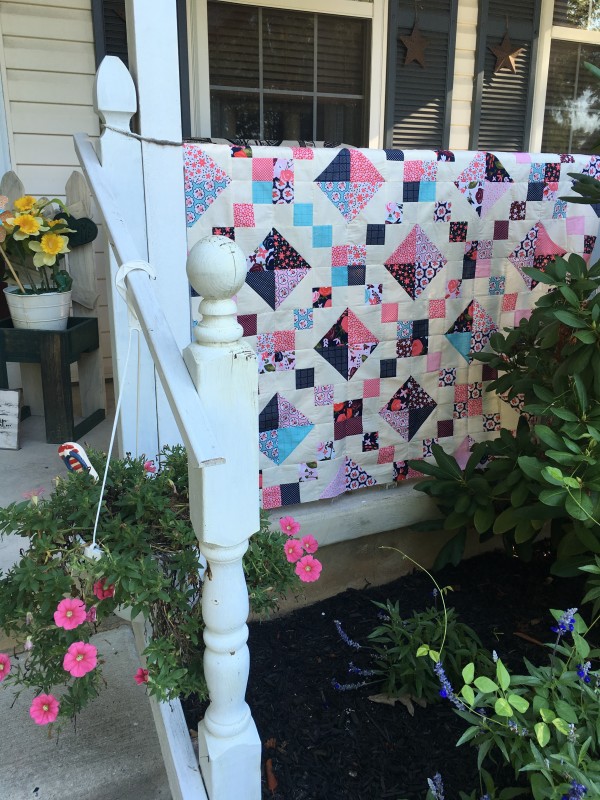
I love how it turned out! The perfect quilt for a summer garden picnic! Finished quilt 48” square.
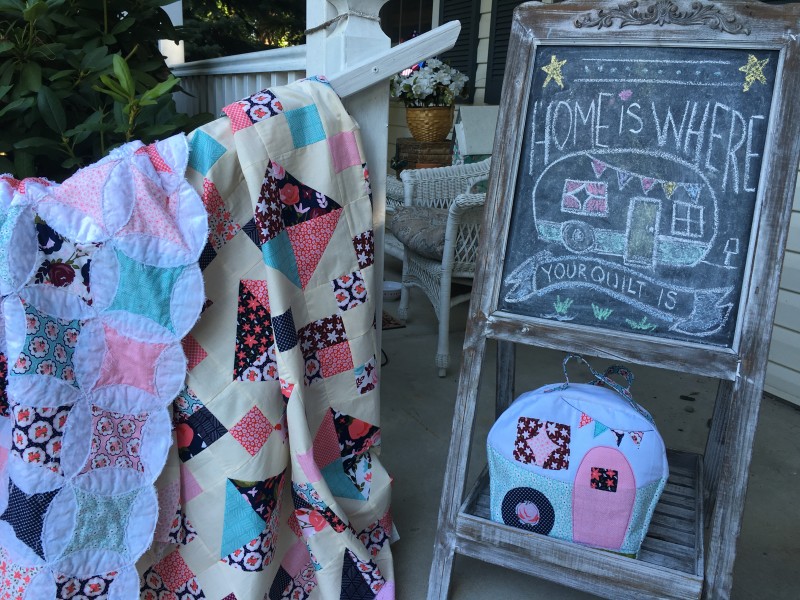
Tina and I sewed our Posy projects together when I was at her house in New Jersey. We had such a good time chatting and sewing, laughing and playing with the cats! Her home is the perfect backdrop for photographing quilts!

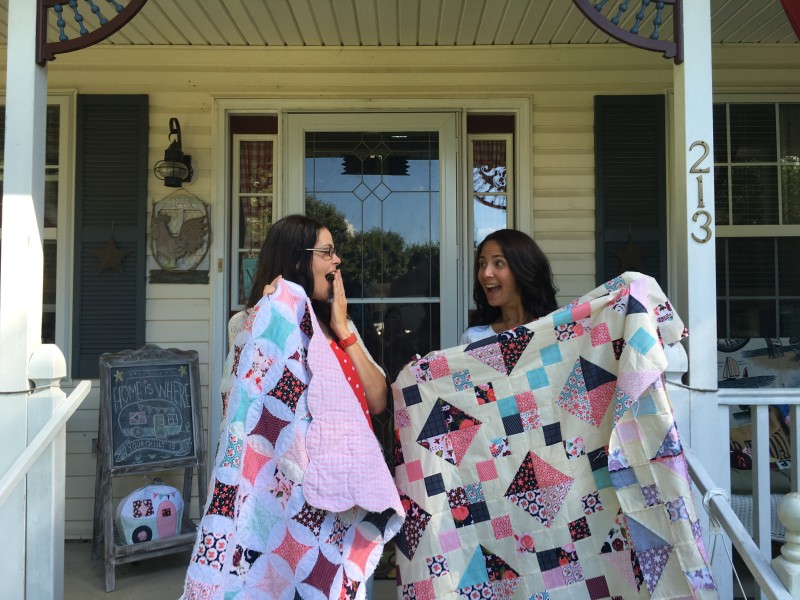
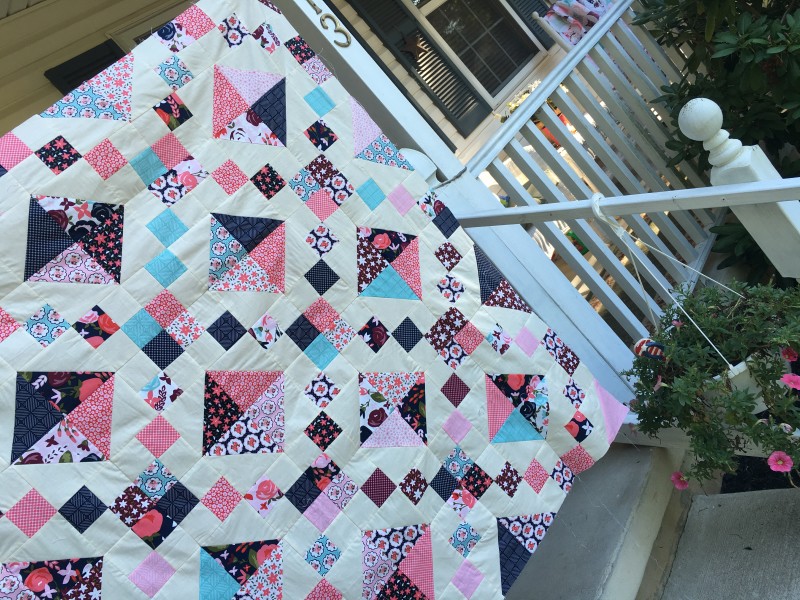
OK, just one more picture!!!
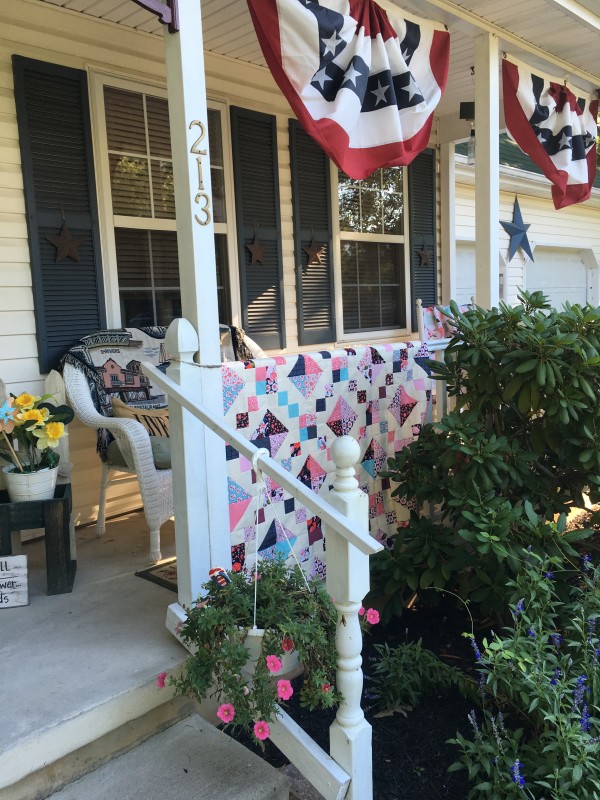


Love both of your quilts!! Tina’s house has the most beautiful porch – and yes the perfect backdrop for your quilts!