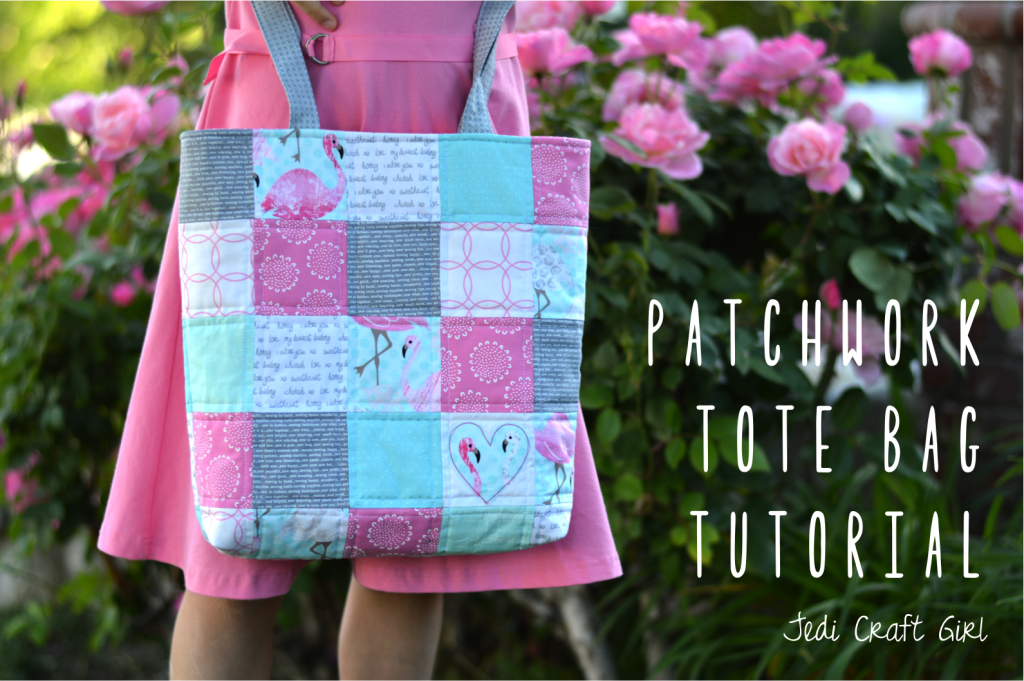
I love sewing for Sally! And I love that she loves everything I make for her! I was thrilled to receive this bundle of fat quarters from Ft. Worth Fabric Studio. Every Friday they feature a fun Friday bundle! This is the perfect project to make with a handful of fat quarters and a few cuts of yardage. 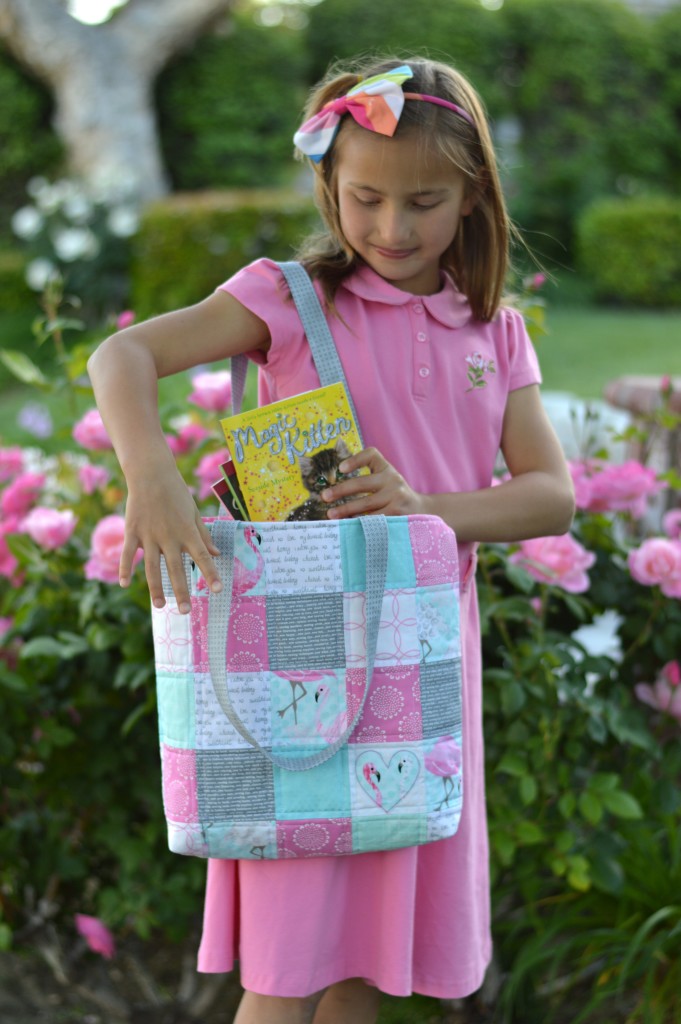 This is such a versatile size of bag! And the fabrics are so perfect for a little girl 🙂
Let’s get started!
Supplies:
7 Fat Quarters assorted prints
1/2 yard lining
1/4 yard handles
quilt batting
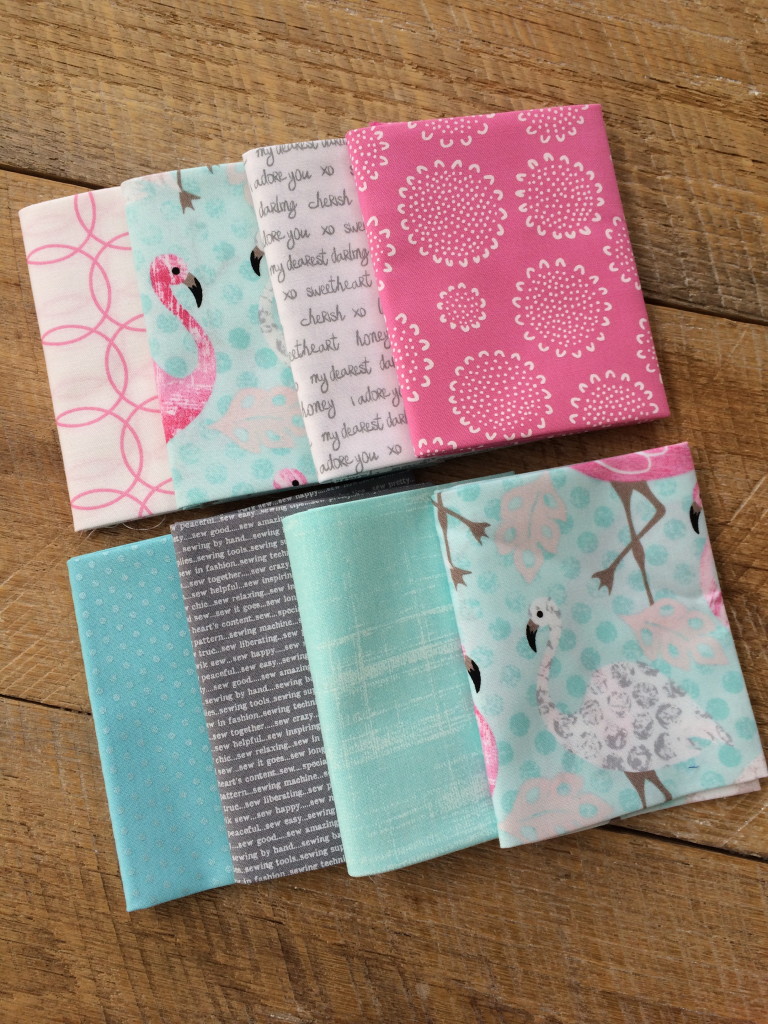
Press all your fat quarters so they are nice and smooth.
And by “press” I don’t mean let your cat lay on the fabrics!
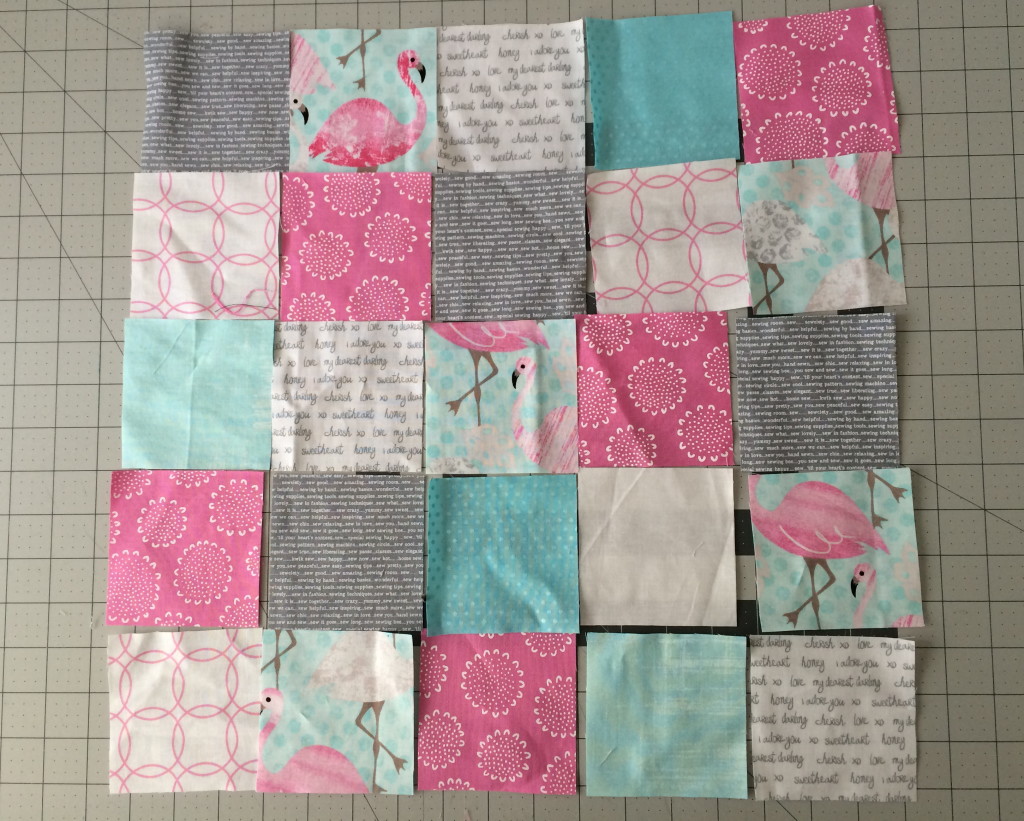
The bag is made up of 2 outer pieces and 2 lining pieces. For the outer bag, cut 3.5″ blocks. You will need 25 for the front and 25 for the back. I added in 1 solid white square to applique a heart on.
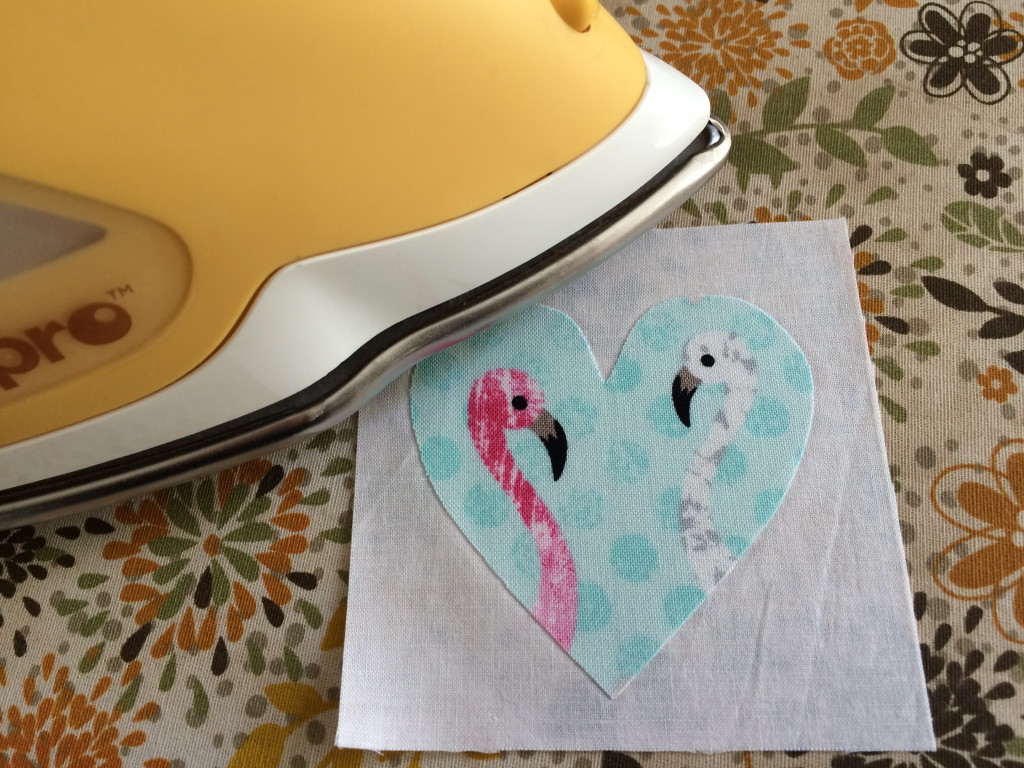
For the applique, draw a heart onto Heat n Bond Lite. Cut the heart out 1/4″ larger than the drawn heart. Iron it to the wrong side of the flaming fabric. Press. Then cut out on the heart line. Peel off backing paper and press the heart onto the white fabric.
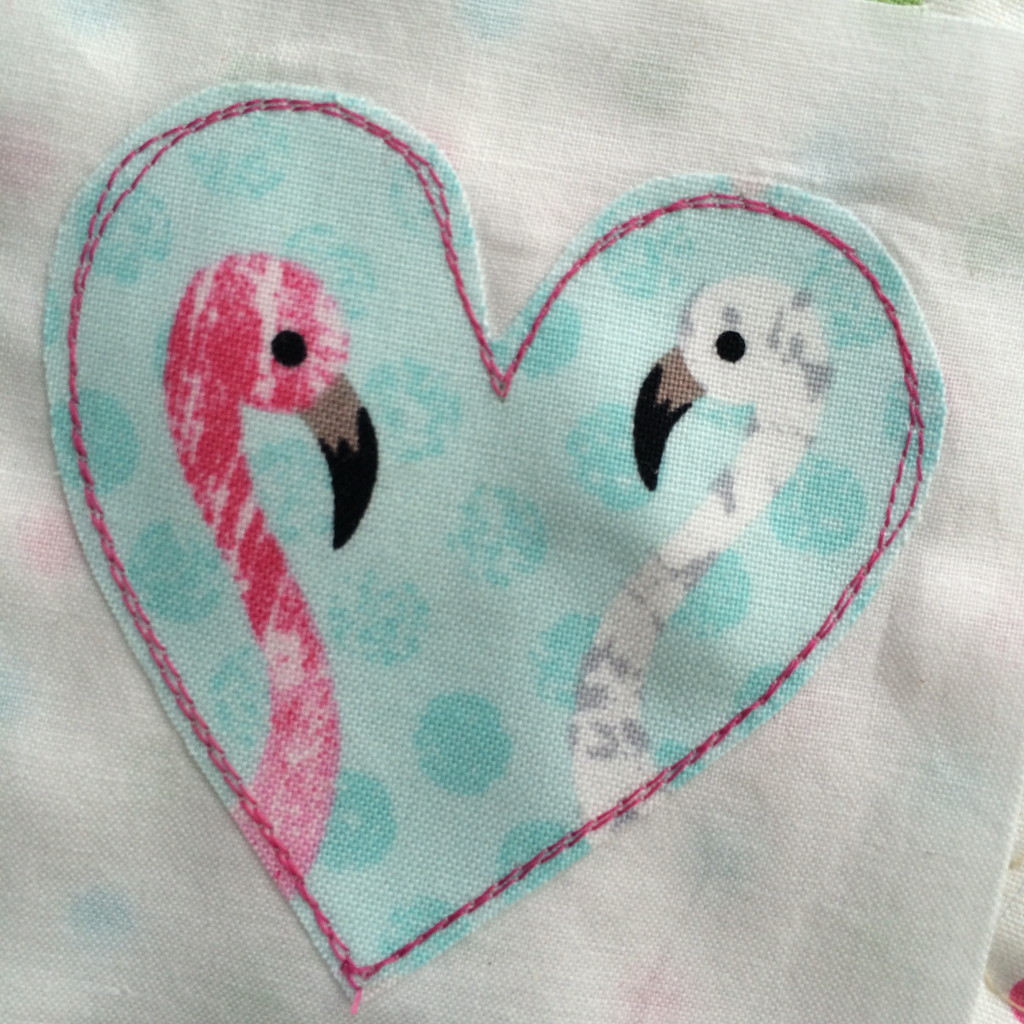
Top stitch around the heart a few times in an accent color.
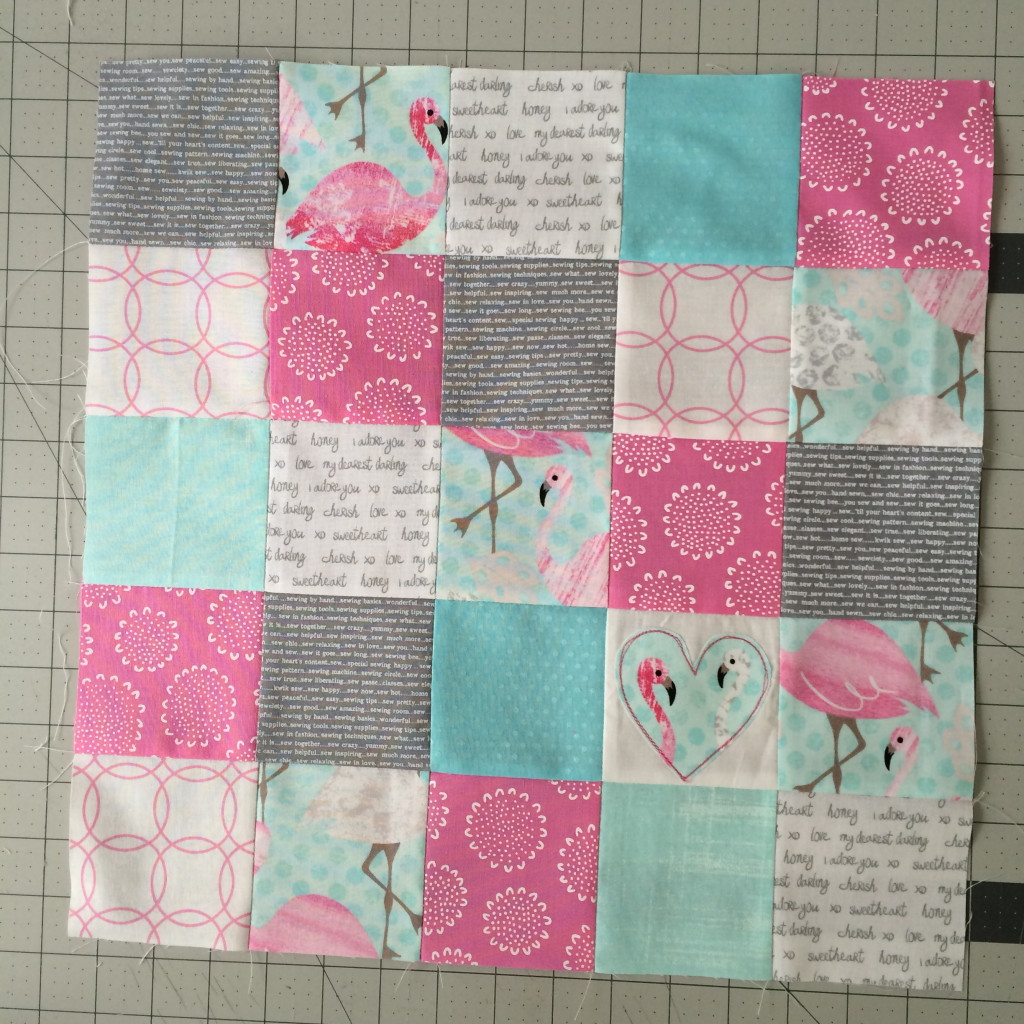
Once you have all the blocks cut and arranged, sew them together using 1/4″ seams, just like you would a quilt. Press each row in opposite direction so the seams match up nicely. Make 2 of these. This should measure 15 1/2″ square.
Next we will be making a quilt. Baste each patchwork outer bag piece onto the quilt batting. Then baste onto plain fabric for the backing. This backing will NOT be seen. I used some fabric I didn’t like very much 🙂 This extra layer will give the bag a bit more weight and stability.
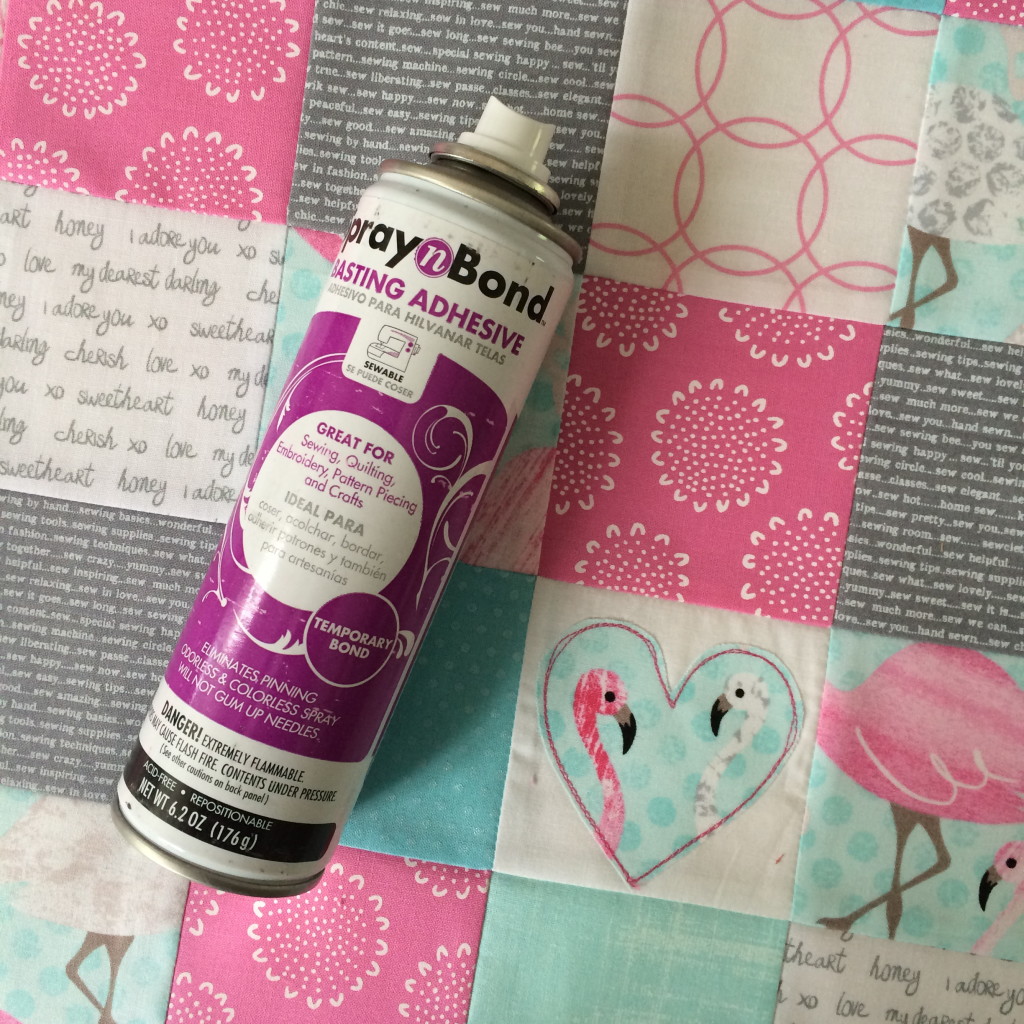
Basting spray is the greatest invention ever!!!
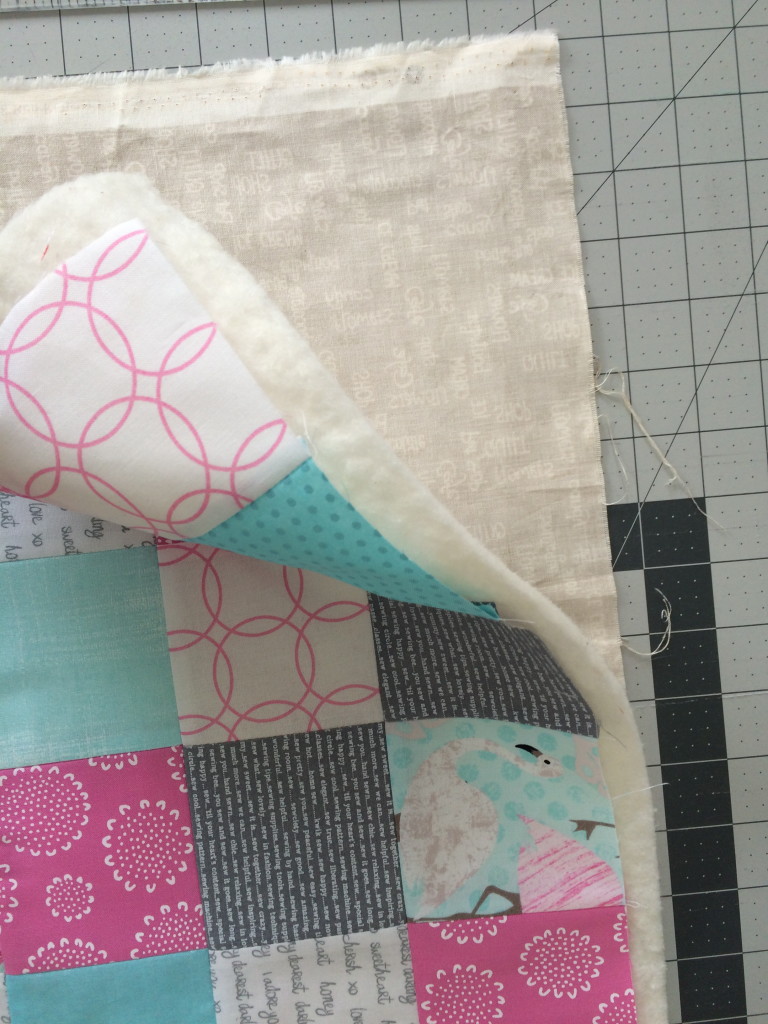
Here you can see my “junky” fabric on the back.
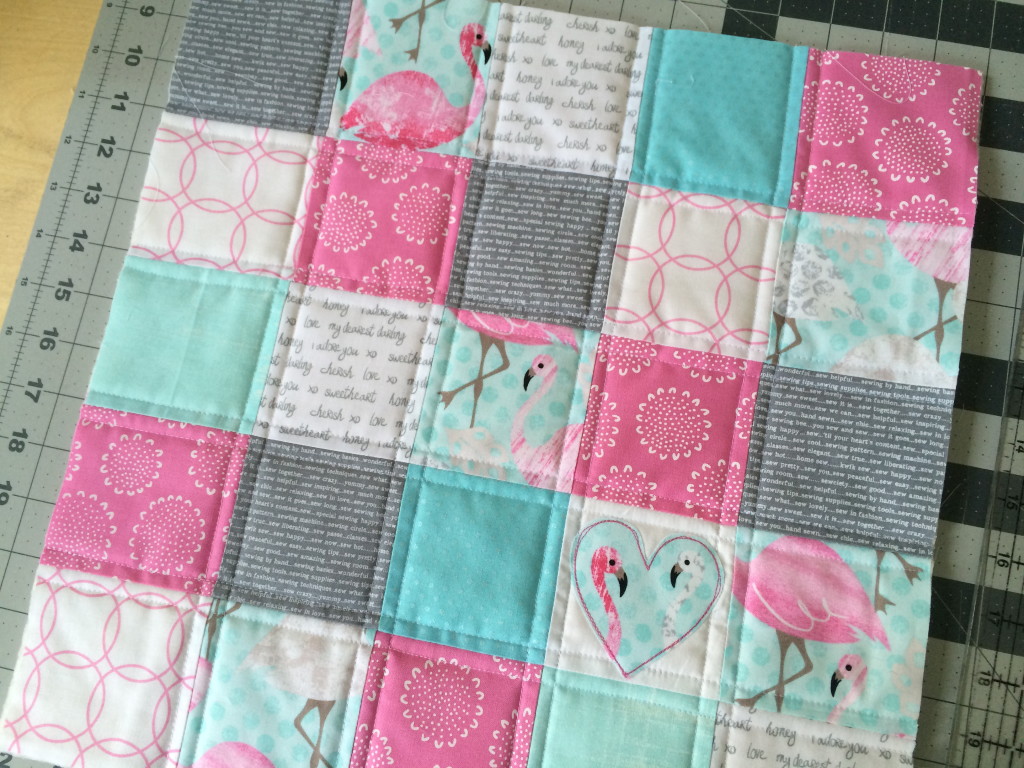
Quilt as desired. I quilted 1/4″ away from each of the seams. The quilting will shrink the up the quilt a little bit. Measure the size of the patchwork piece, mine measured about 15.25″
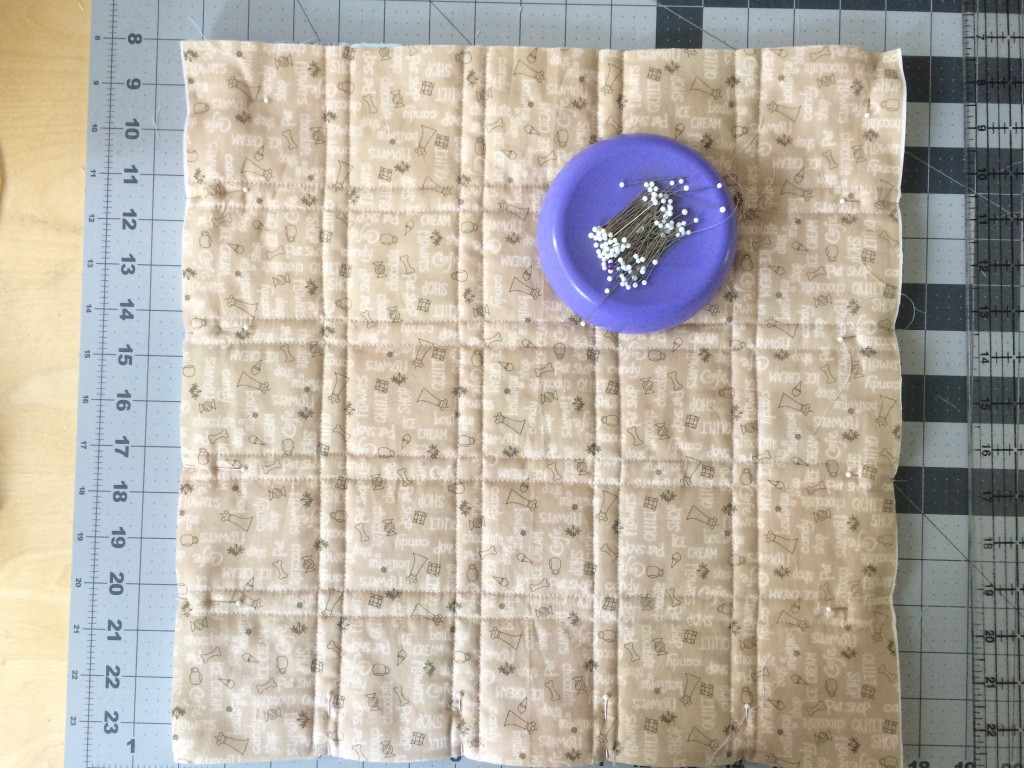
Once each of the 2 pieces is quilted, trim off any excess batting. Pin right sides together, matching at all side seams, leaving the top open. Sew around the sides and the bottom using 1/4″ seam allowance.
Cut (2) lining pieces 15.25″. This should be the exact measurement as the patchwork outer bag. Place the two lining pieces right sides together, and sew around the sides and bottom, leaving the top open. I like to take a slightly larger seam on the lining, so a generous 1/4″ seam allowance.
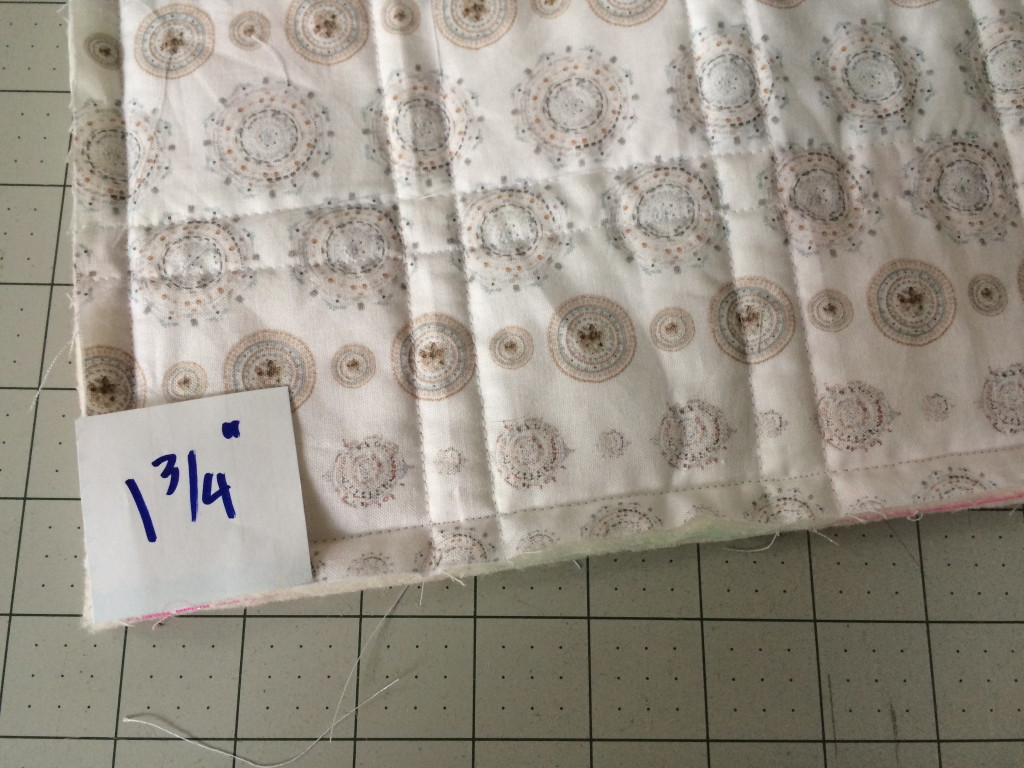
Cut a 1 3/4″ notch out of the bottom of each corner.
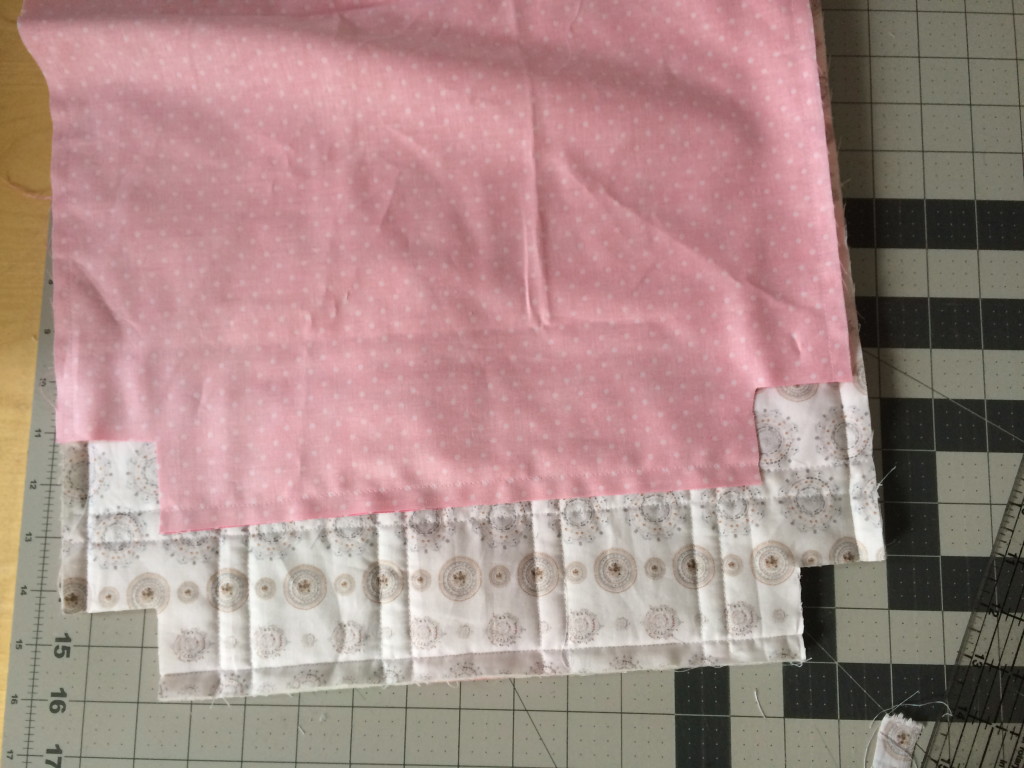
Open each notch, and match the seams, pinning. Sew a 1/4″ seams across. The picture below is slightly confusing because I used 2 different fabrics on my quilt back.
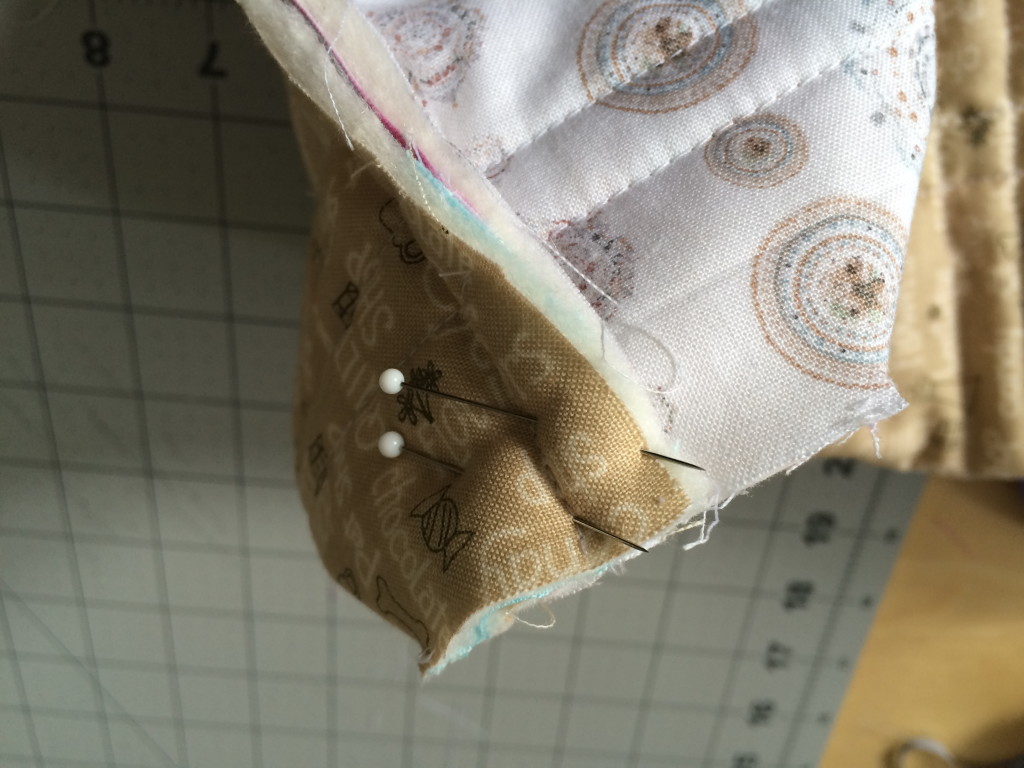
Once each of the corners are sewn, it’s time to make the handles.
Cut (2) 4″ x 23″ strips. Press in half lengthwise. Then fold each side up to the center. Then fold again, giving you a 1″ wide handle.
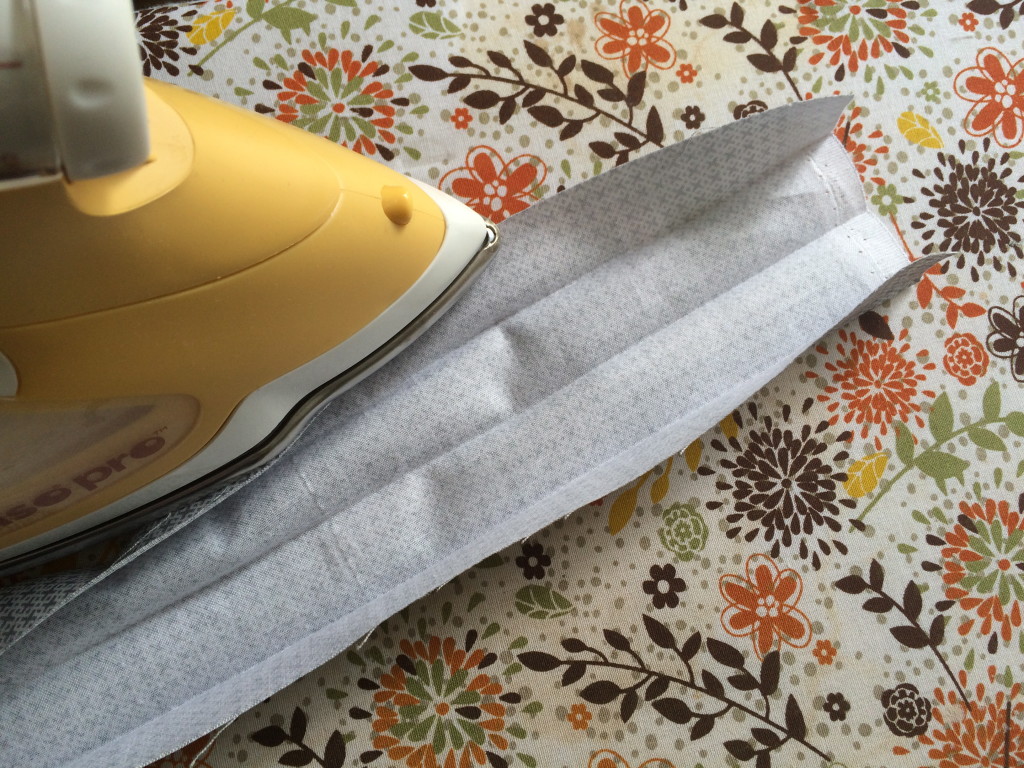
Top stitch each handle 1/8″ from the edge. Position the handle 4″ from the side seam. Pin in place. Baste in place.
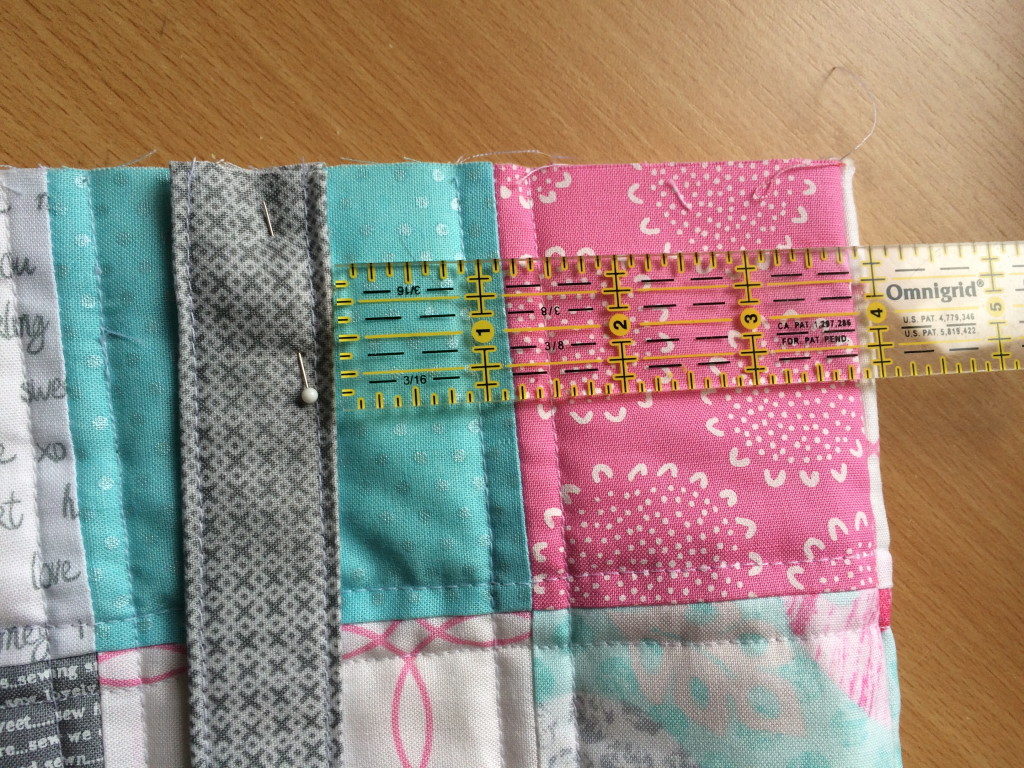
Place the outer bag and the lining right sides together, matching side seams, and pinning all the way around. Sew all the way around the top of the bag using a 1/4″ seam.
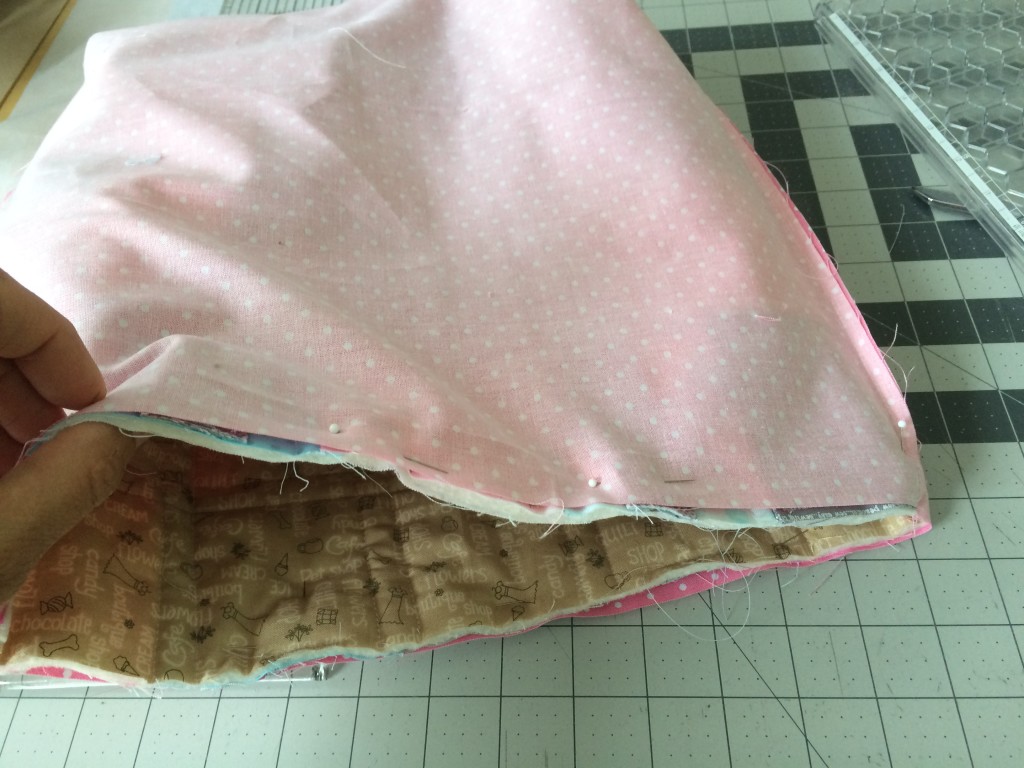
Unstitch a little section on the side of the lining and turn the bag right side out.
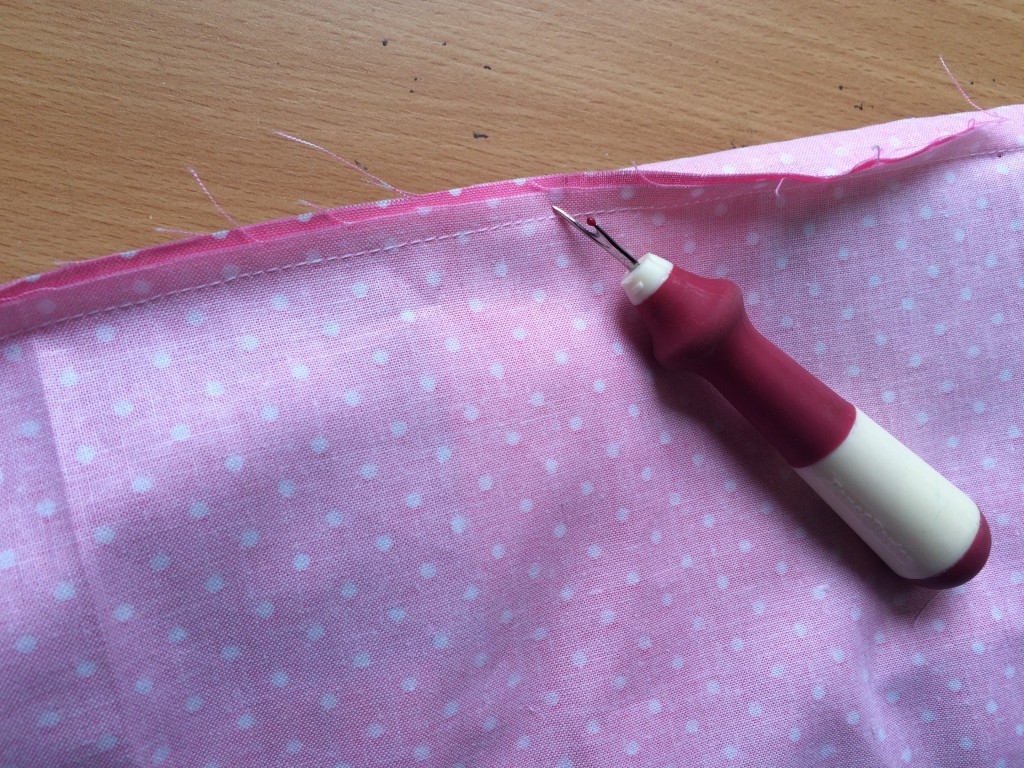
Top stitch the opening closed. Tuck the lining down inside and press the top edge of the bag. Pin along the edge so the lining stays down. Top stitch all the way around the bag using a 1/4″ seams allowance.
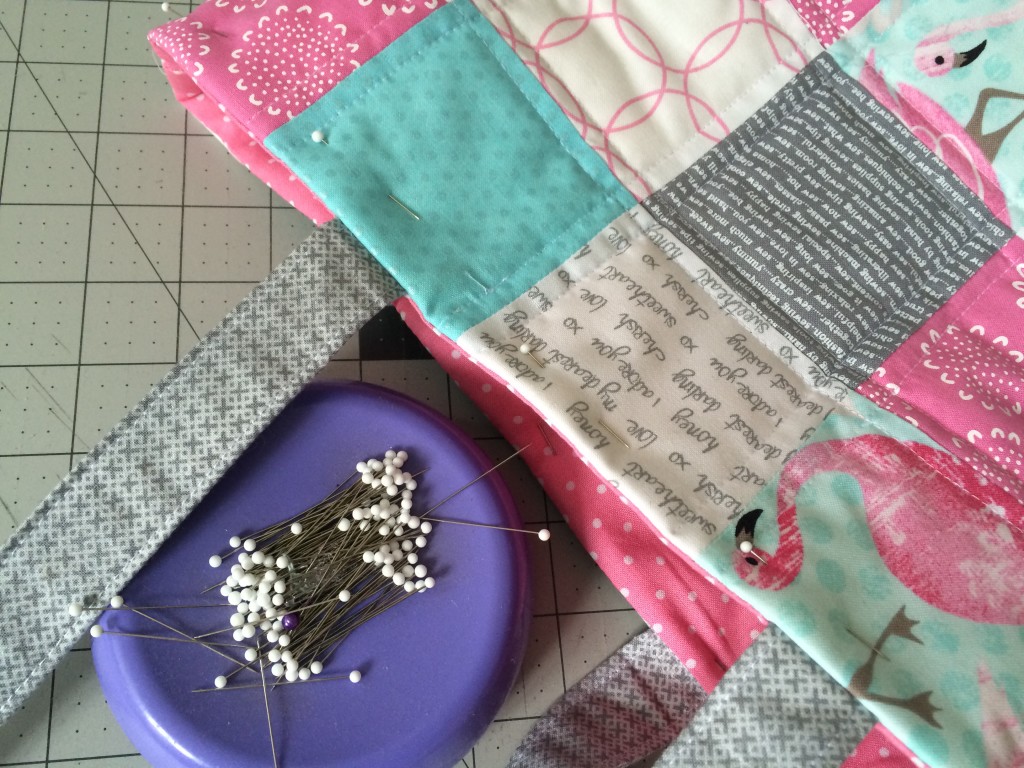
It’s all done!!! And it’s oh so sweet!!
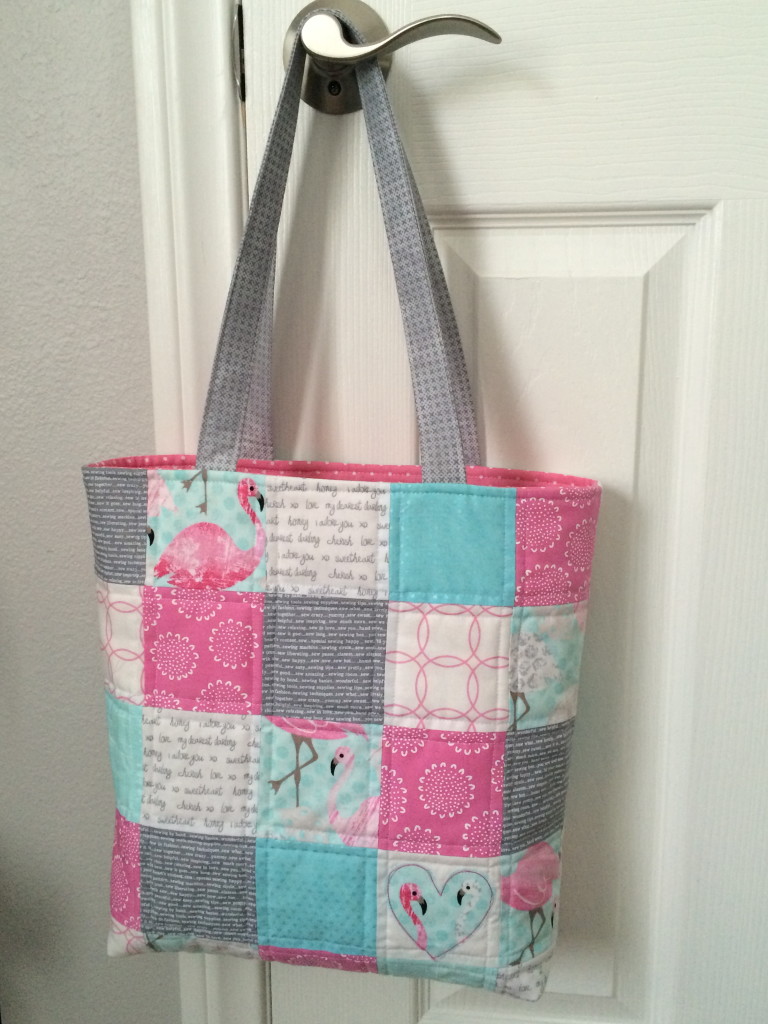
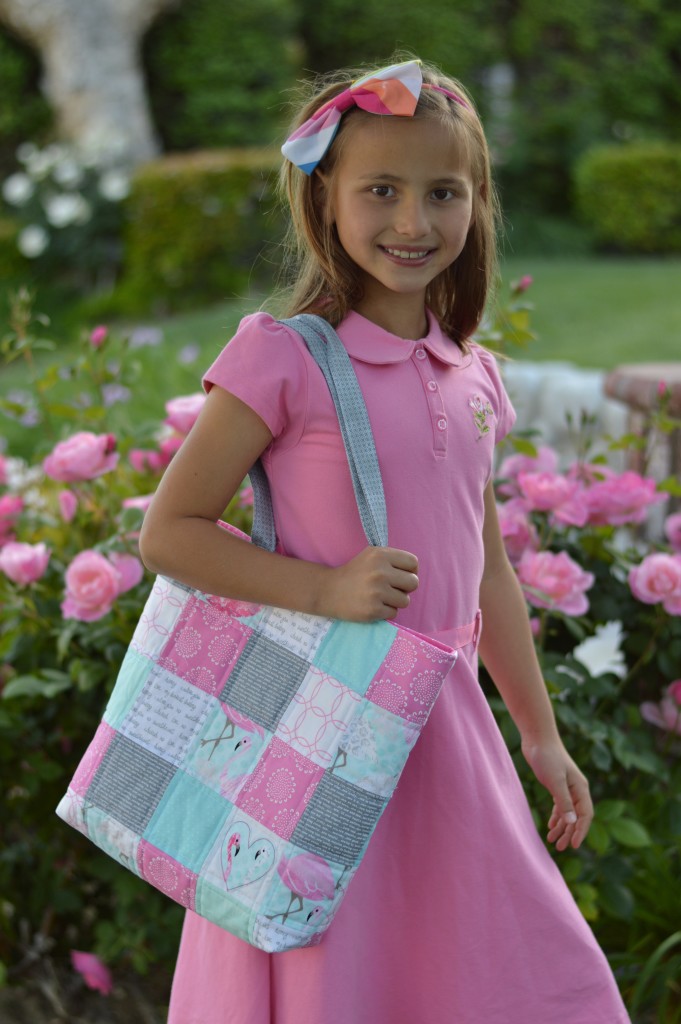


Just finished this patchwork bag !
Thank you !
Lovely bag
can you make a videos plz
I don’t understand what happens with the 1 3/4″ notch, Could you please explain what happens?