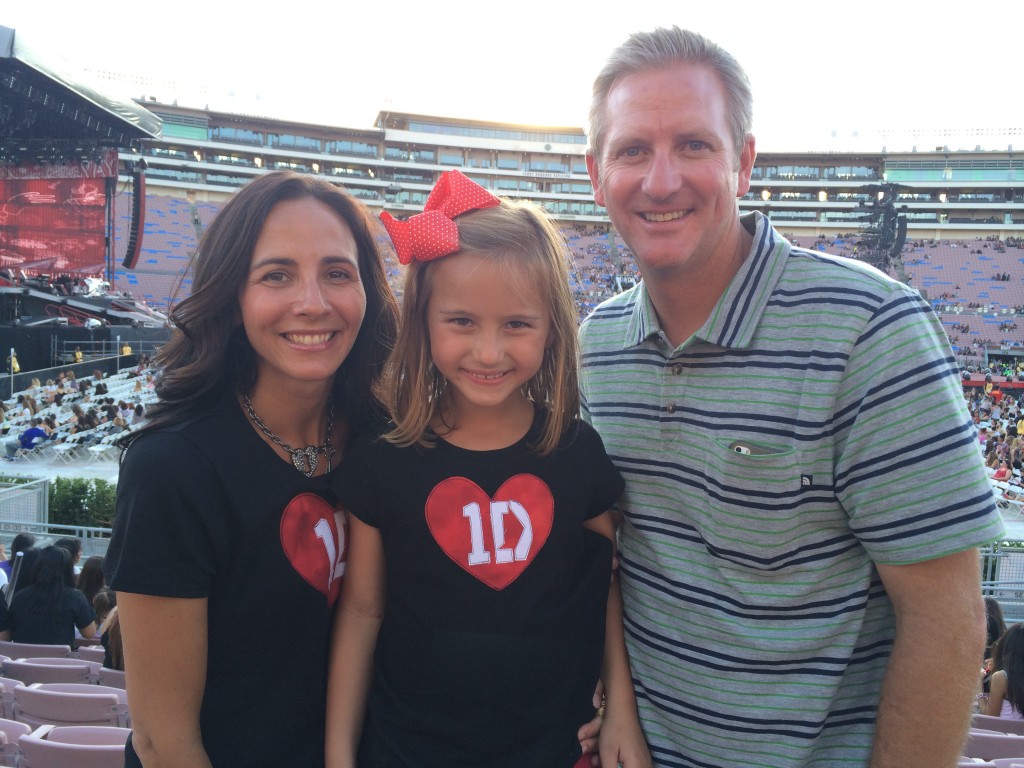
In celebration of One Direction’s release of their new song, Steal My Girl, I thought I would share how to make your own 1D concert T-shirt. I love going to concerts and we always make some kind of fun T-Shirt to celebrate the occasion. (click HERE and HERE for Taylor Swift Concert T-shirt ideas) A few weeks ago One Direction was playing at the Rose Bowl so my husband and I took our 6 year old daughter. To quote her, “This is my dream come true!”
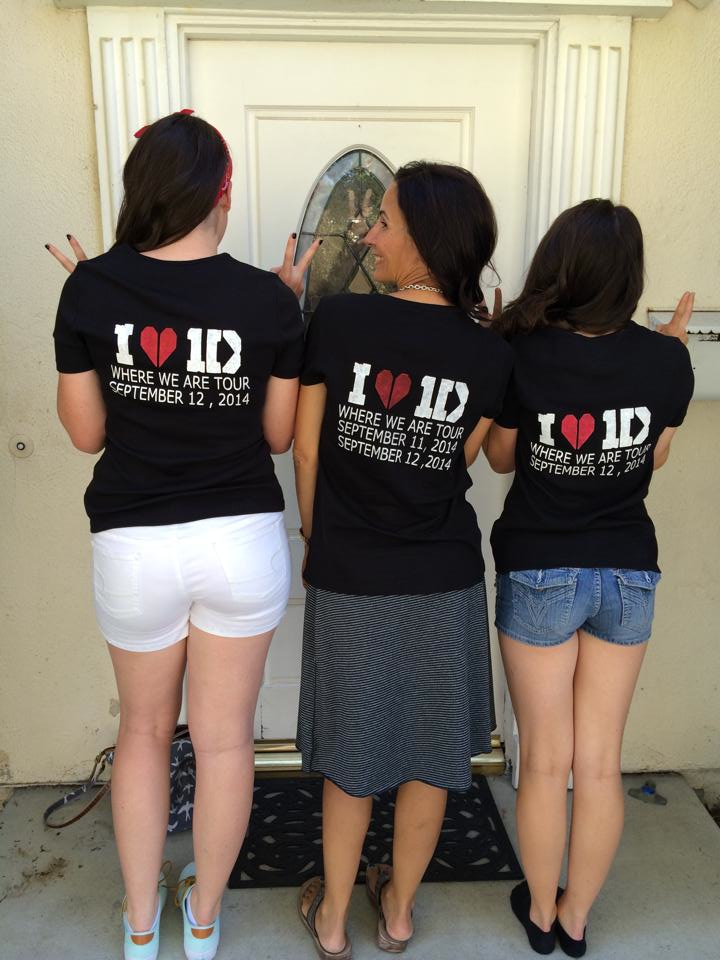
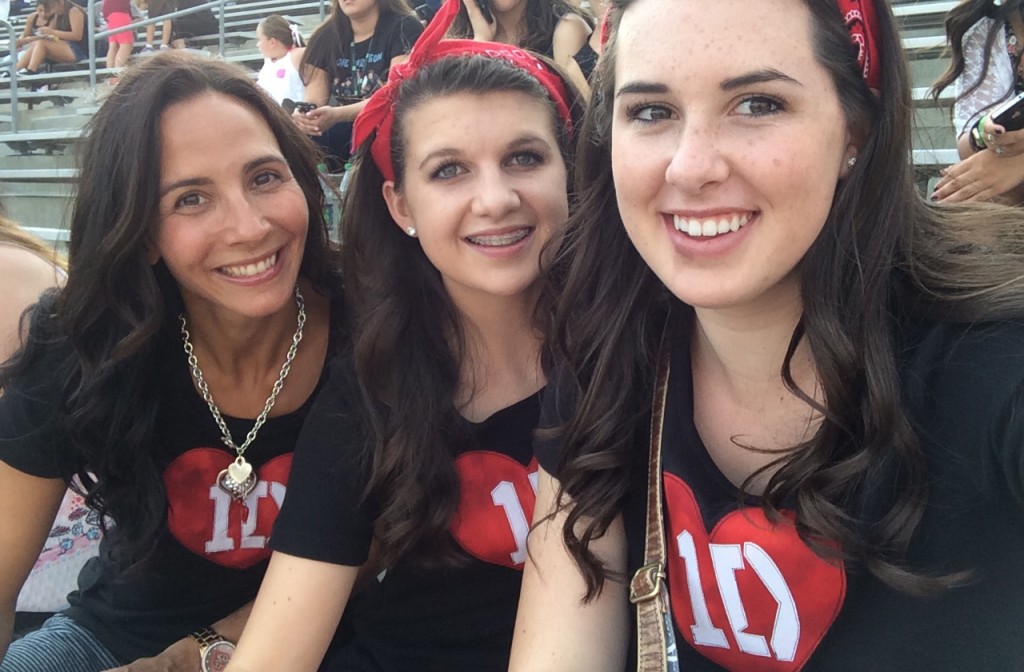
Then the following night I took some cute girls (so their moms wouldn’t have to go) and we rocked out! Yes – I am officially a One Direction Groupie!
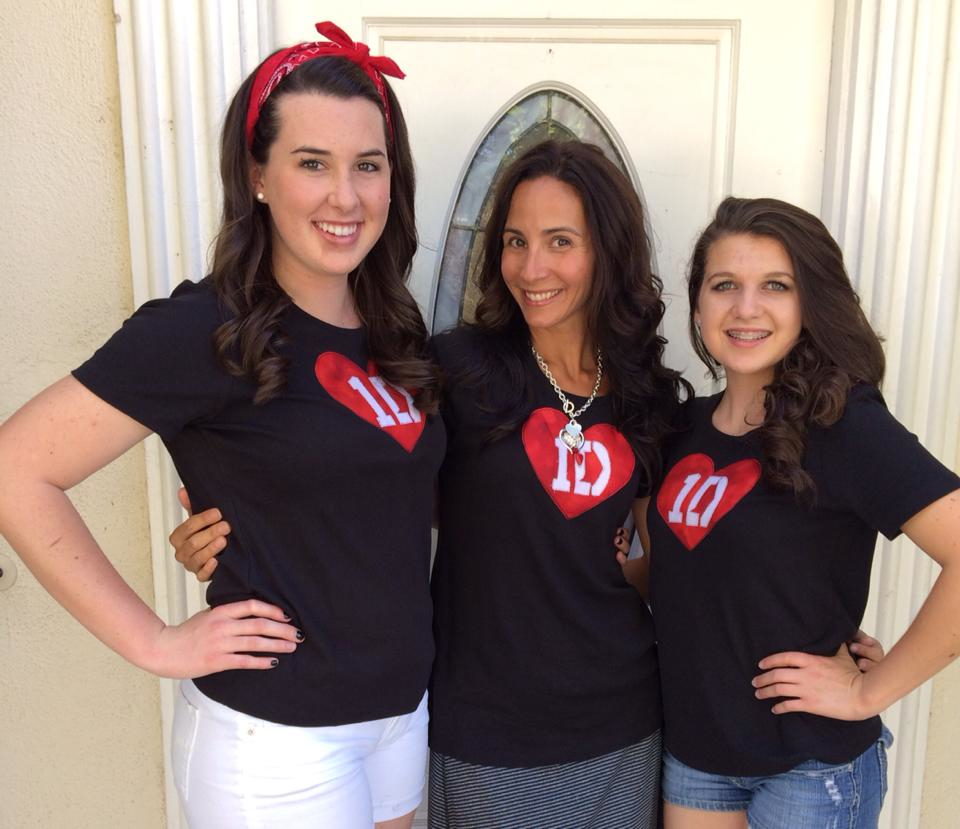
Here is how you can make your own shirt!!
Supplies:
Small piece of red fabric
Small piece of white fabric
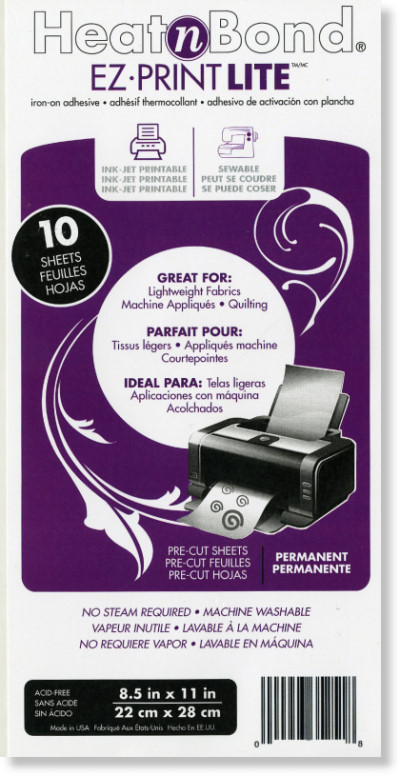
Heat n Bond Lite EZ print sheets
Black T-Shirt
Begin by printing a heart and 1D logo in reverse onto the EZ Print Lite sheets. These sheets are great because you can run them through your printer and not have to draw the pattern. I created the heart in MS Word and googled the 1D logo – easy peasy! Once you print the images, roughly cut out the heart about 1/4″ away from the heart. Press the heart to the wrong side of the red fabric. Do the same with the 1D. Cut out the heart and 1D on the pattern lines.
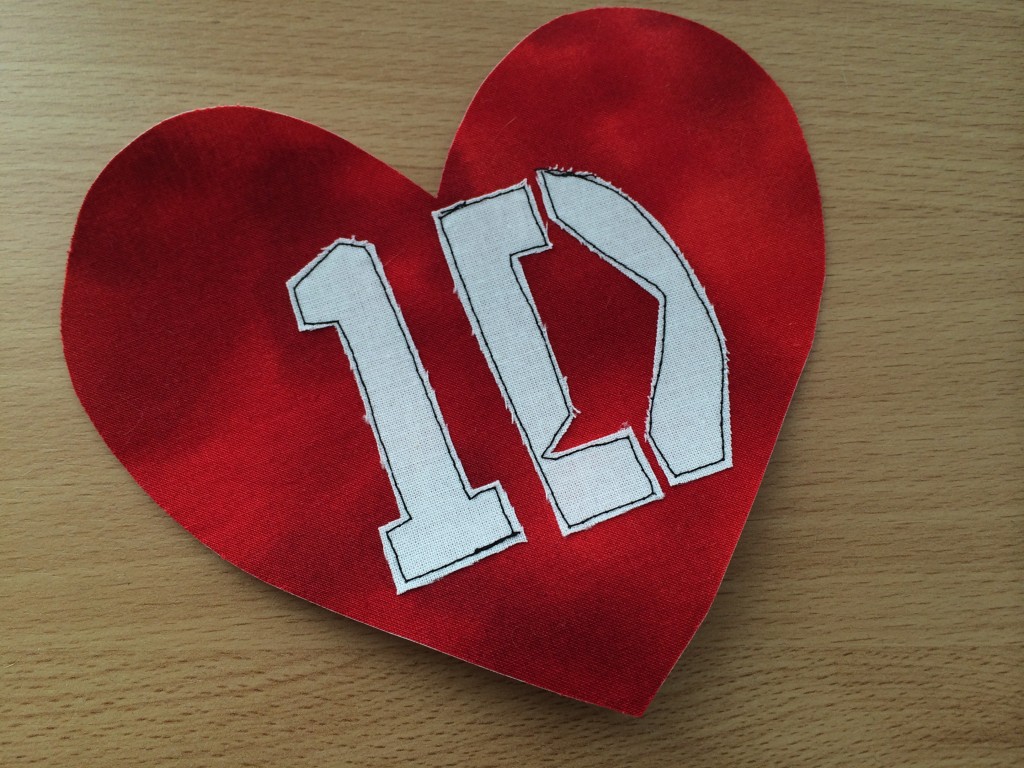
Next peel off the backing on the 1D and press onto the heart. Leave the backing on the heart for now.
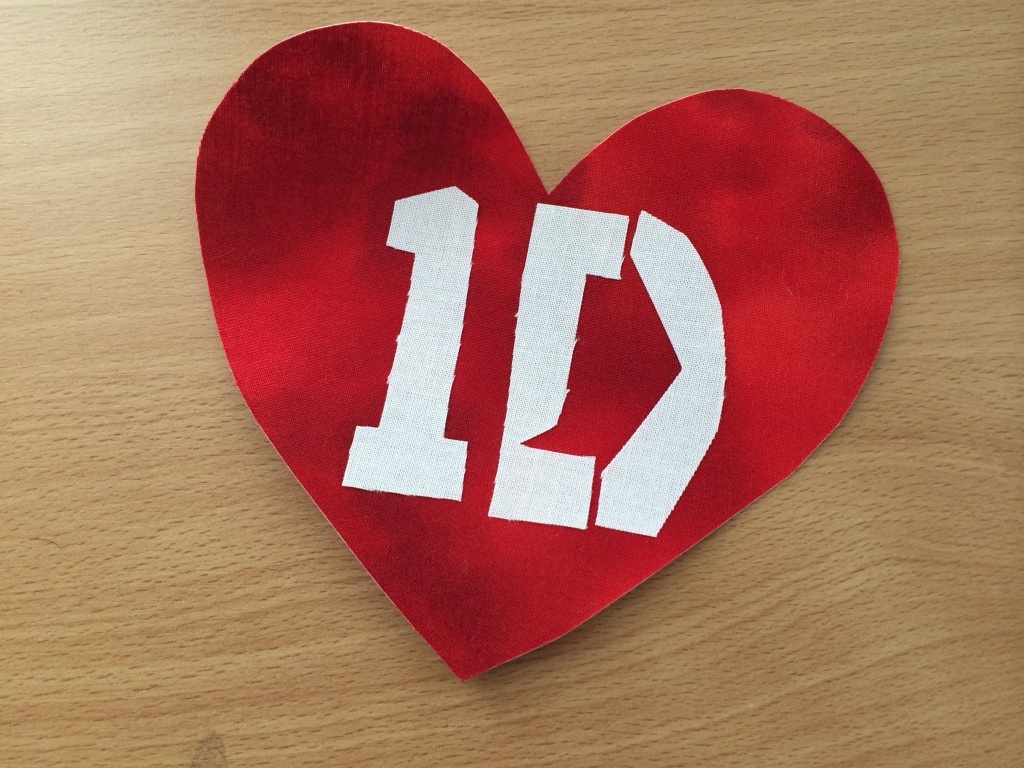
I thought it would be easier to sew the 1D and then iron the heart onto the T-shirt – it’s hard to maneuver a T-shirt in a sewing machine – especially a small, child’s t-shirt. Sew around the 1D in black thread.
This is how the back should look:
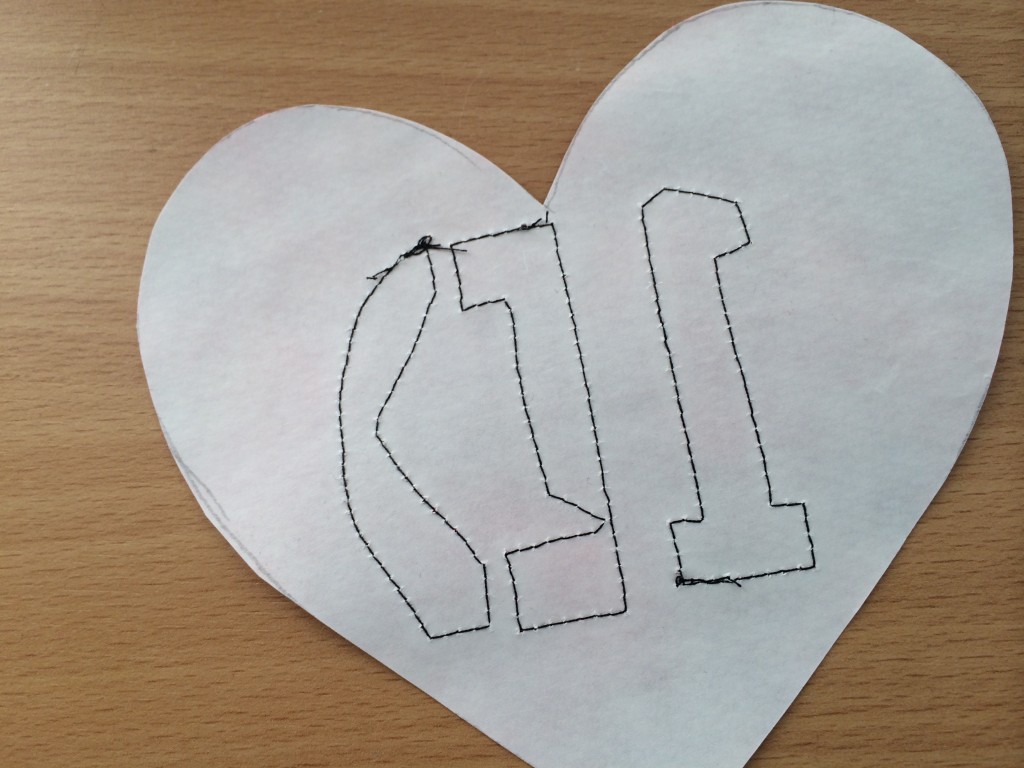
Now, peel off the backing paper on the heart. It may take a little time to peel off all the paper in-between the letters. Now, press the 1D heart onto the black T-shirt. Sew around the heart twice in black thread.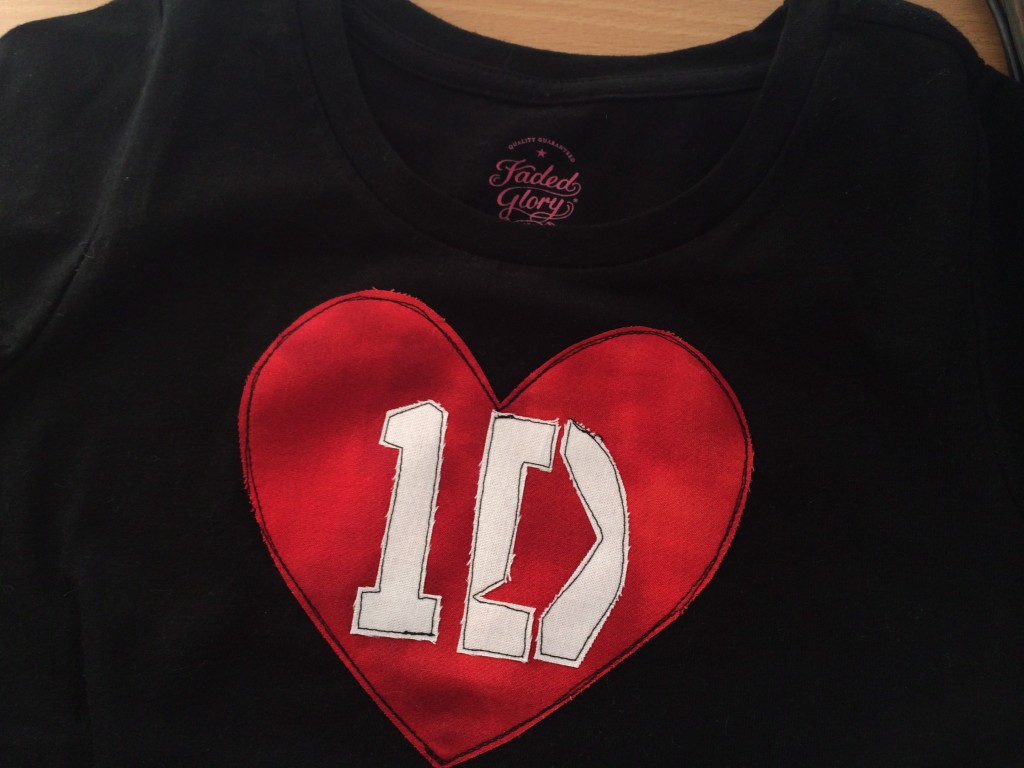
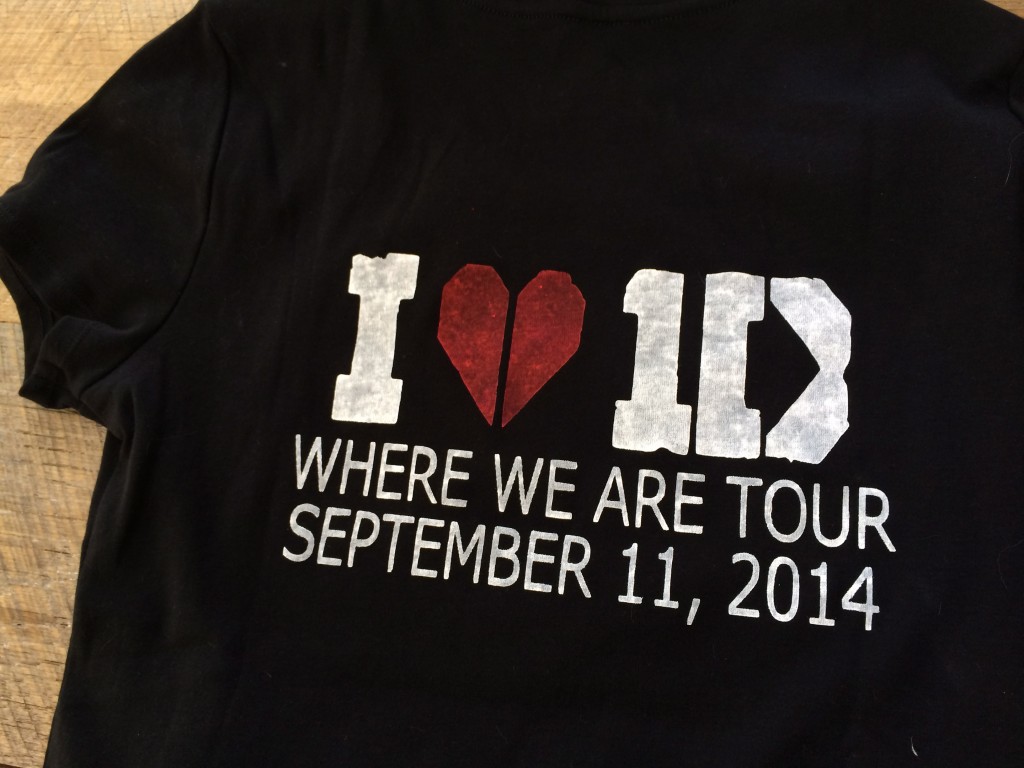
I love to personalize my concert T-shirts with the date of the concert. I cut out the words on my cricut in vinyl. Then I removed the letters to leave a “stencil”. I put the vinyl stencil on the T-shirt and using a stencil brush and craft paint I stenciled the letters. Let the paint dry completely then remove the vinyl. It looks pretty good!!
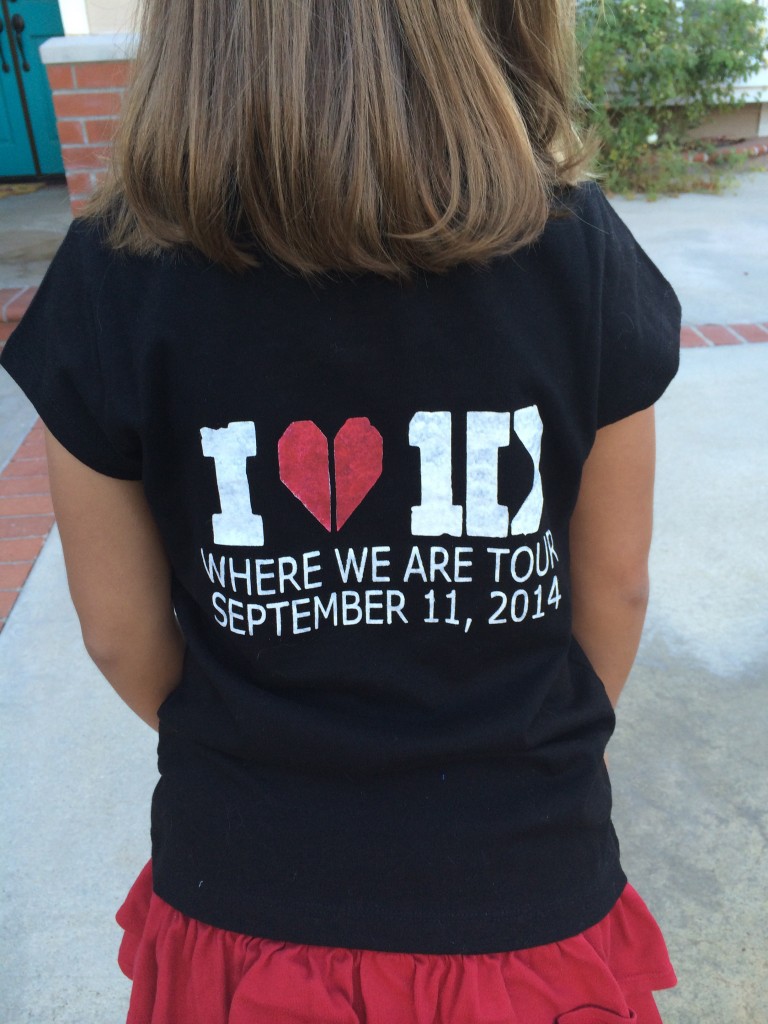
We had too much fun! Here is a little video clip!!



Speak Your Mind