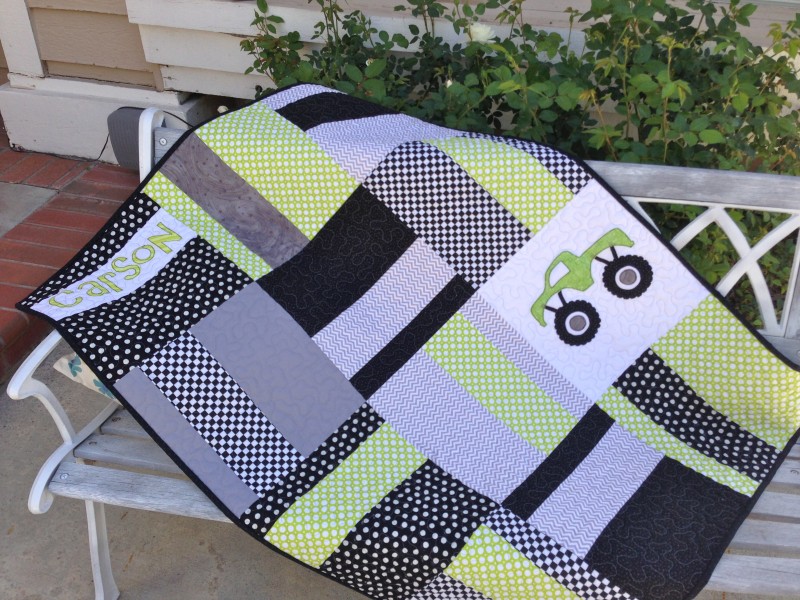
I came up with the idea for this quilt when I was invited to a baby shower for a friend who loves going to Monster Jam. I wanted a cute, modern take on the monster truck and this what I came up with. To begin, select fat quarters of various prints. I choose gray, white, black and green. You can choose any prints or patterns you like. I only had 8 different fabrics, but I would have liked 12.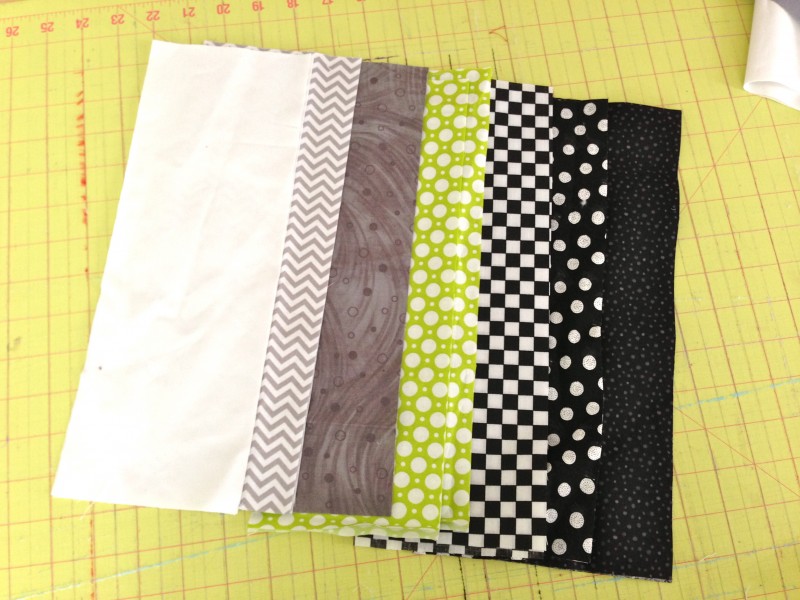
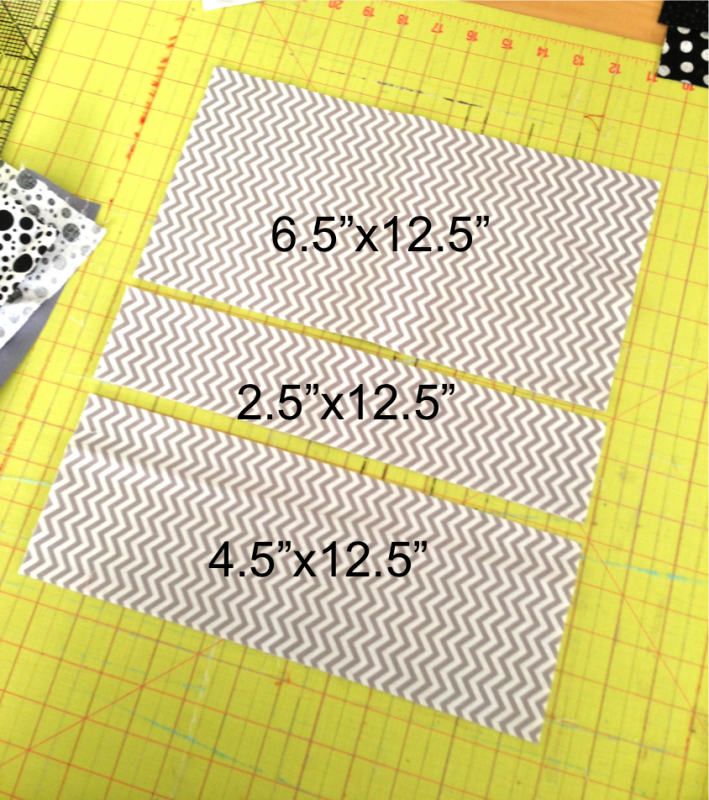
Do this with each of your fabrics. Now mix up the pieces and sew the following 12″ (finished) block: (quarter inch seams)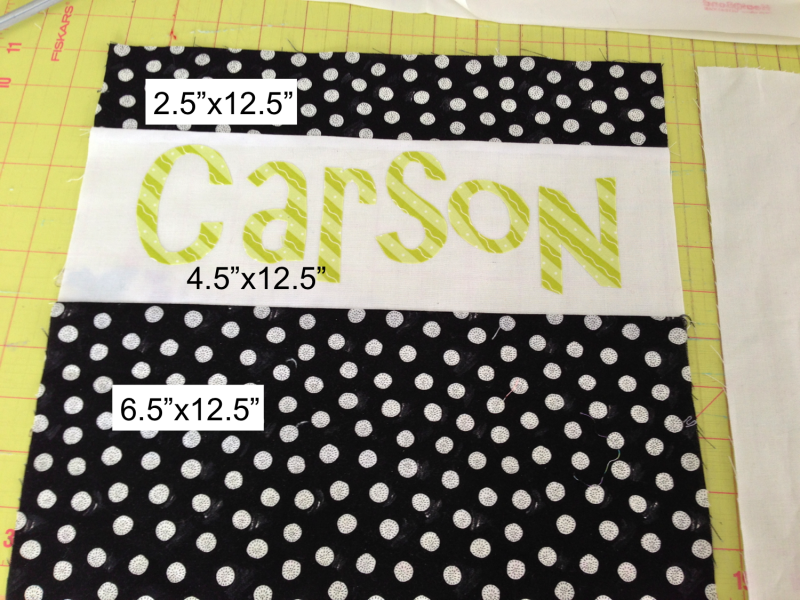

You want the top and bottom pieces to be the same fabric, and the center to be different. Press the seams toward the 6.5″ piece.
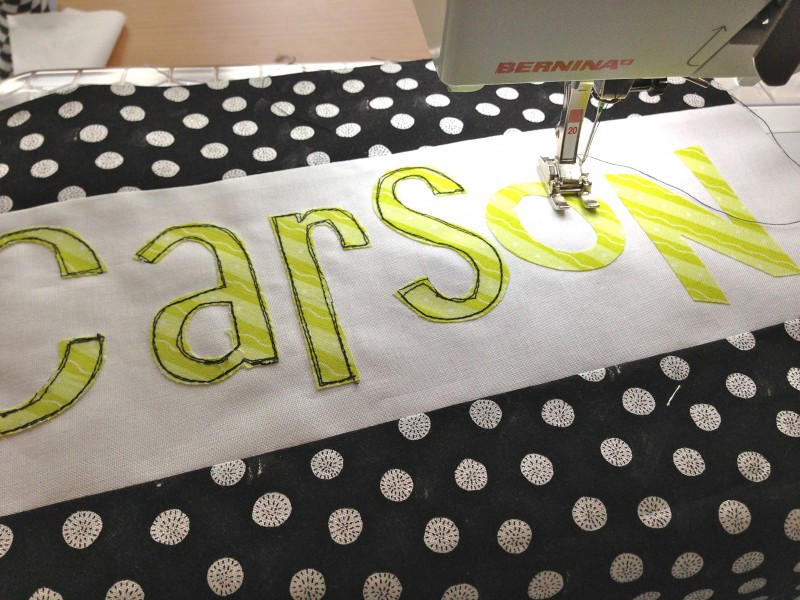
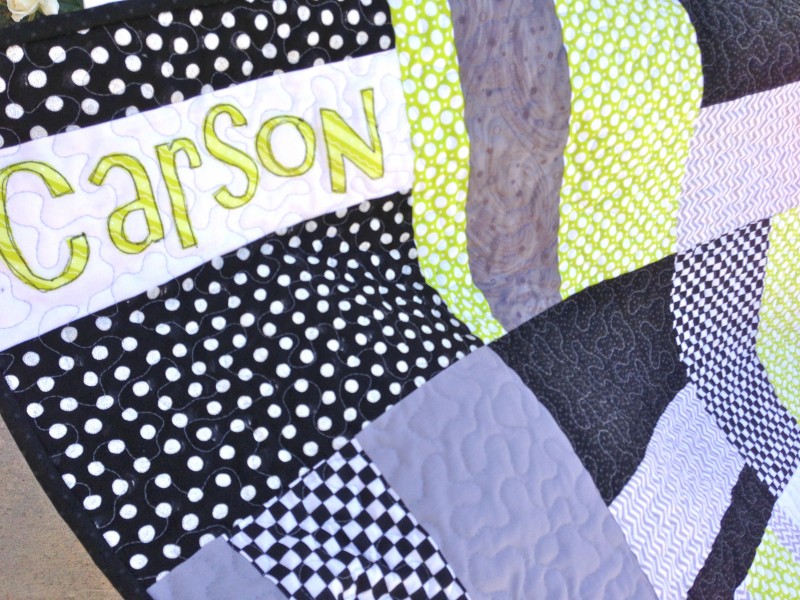
I love personalizing quilts, especially if they are gifts. To add a name to the quilt block, print the name using your favorite word processing program. I tried several different fonts until I got the one I liked. If you can, reverse the image when you print. Take your Heat N Bond® Lite and trace the reversed name in pencil. Iron the piece of Heat N Bond® with the name to the WRONG side of your fabric. Then, cut the name out. Peel the backing off and arrange the letters how you want on your quilt block. Finally press to attach it.
I outlined the letters using a straight stitch. I went around each letter twice to give it the “sketch” feel….which I love.
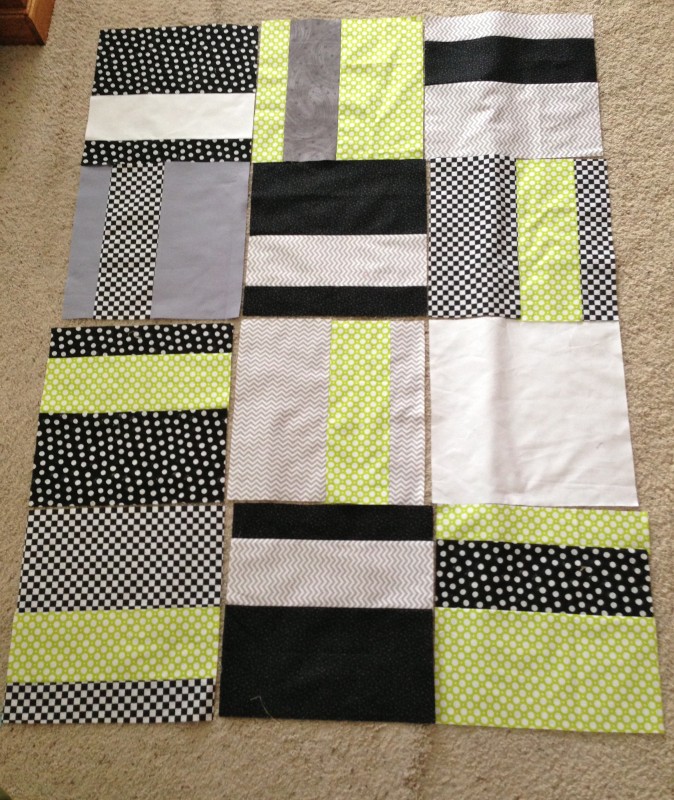
After you make 11 of these blocks, lay them out. For the truck applique block, cut a white square 12.5″x 12.5″
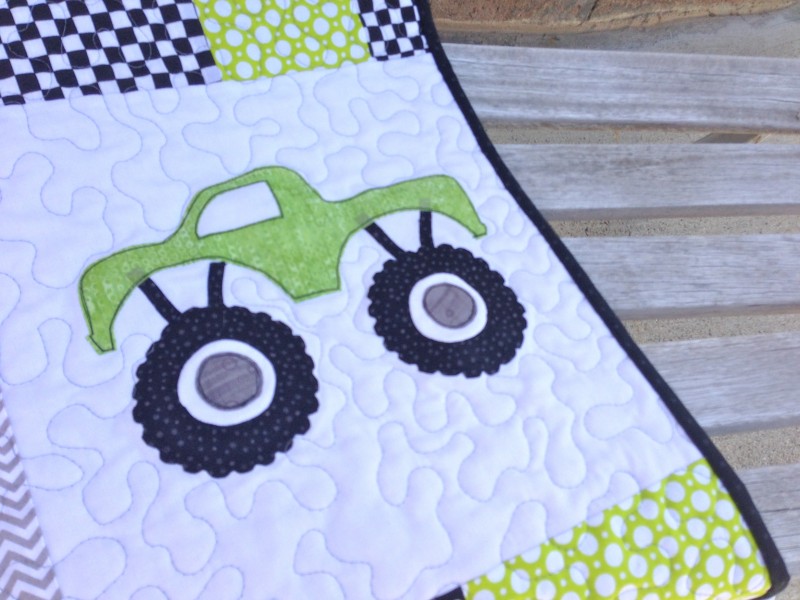
Next, follow the same technique using Heat N Bond® Lite to applique the monster truck to the quilt block. Click HERE for the truck pattern.
To finish the quilt, sew the blocks together to form rows and sew the rows together. Quilt as desired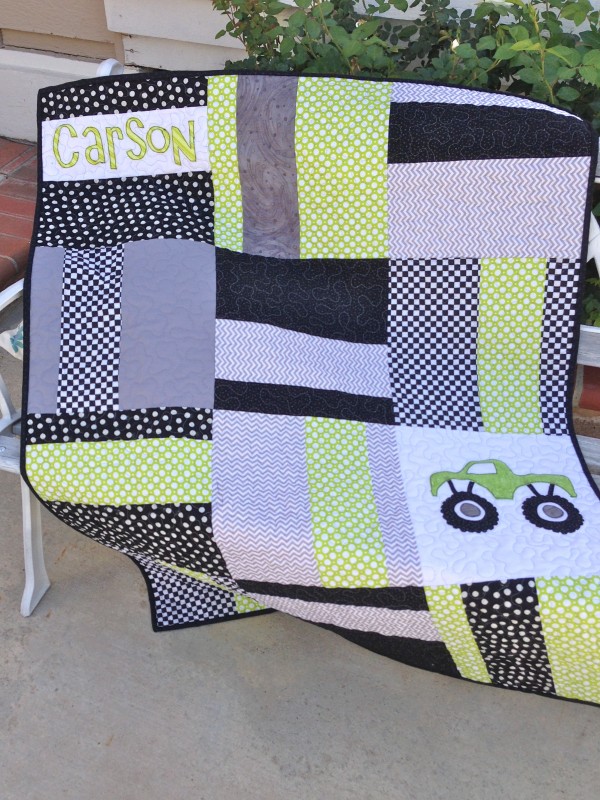

Note: These are big blocks which help make this a fast, easy quilt to put together in a day. If you would like the same look, but with smaller blocks here are the measurements:
For a 10″ finished block: cut pieces 10.5″ x 5.5″, 10.5″ x 2.25″, 10.5″ x 3.75″
For an 8″ finished block: cut pieces 4.5″ x 8.5″, 1.5″ x 8.5″, 3.5″ x 8.5″
Essentially the bottom strip is 1/2 the block size, the top strip is 1/3 the block size and the center strip is 1/6 the block size.
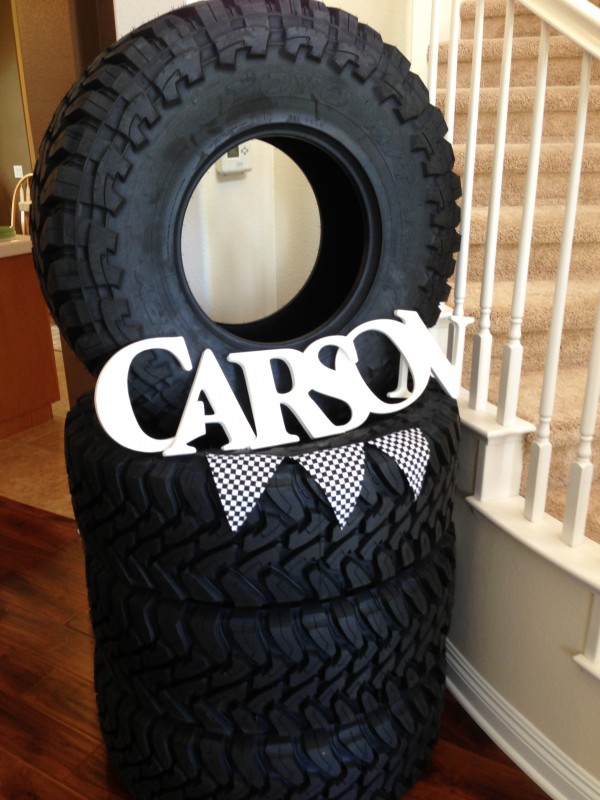
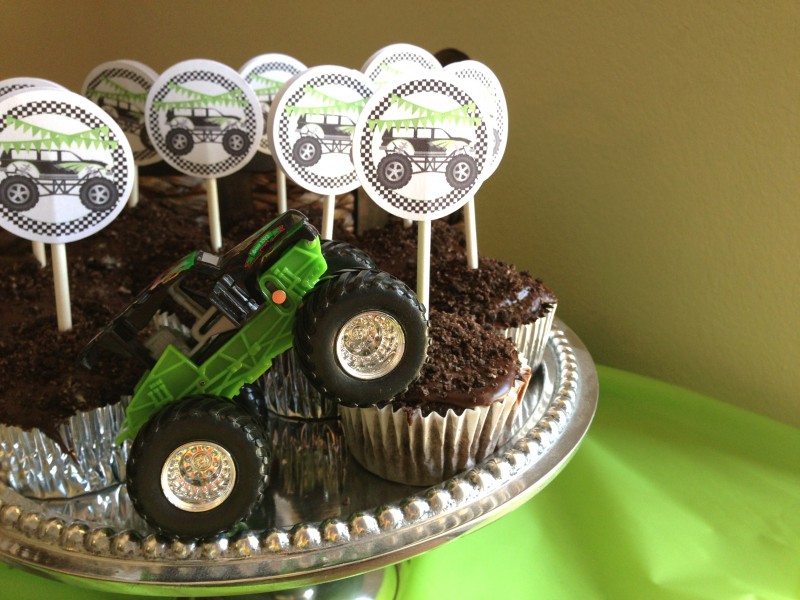
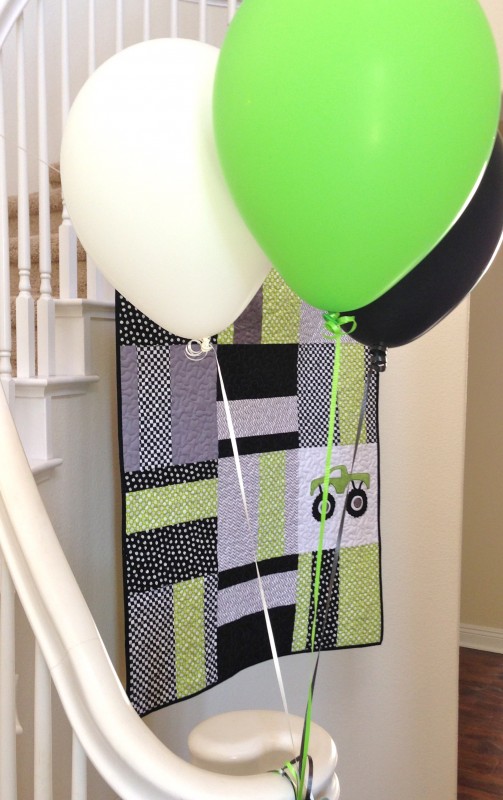
Here is a little peek of the baby shower – we centered the colors and theme around the quilt. We even hung the quilt in the entry way so it was the first thing people saw as the entered.
I love that we were able to get a stack of tires!!




What a fun quilt and party! I wish I had more boys to quilt for. It seems everyone is having girls around here. Great job!!!!
How adorable! My baby boy is just one month old but I’m already looking forward to FUN, messy, BOY themed parties like this one! The quilt is fabulous – so beautifully made – well done!
Happy Day!
Michelle
http://www.daydreambelievers.net
Oh my goodness! What a totally cute theme, I love it! Wish I knew a little boy to throw a party like that for. I love the quilt, great colors. I will be getting that tutorial, thanks!