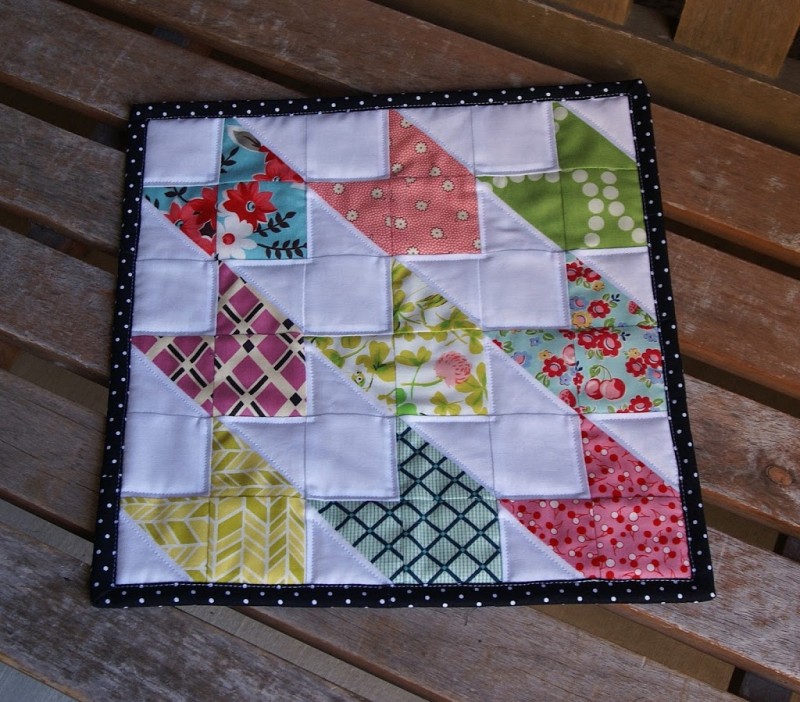
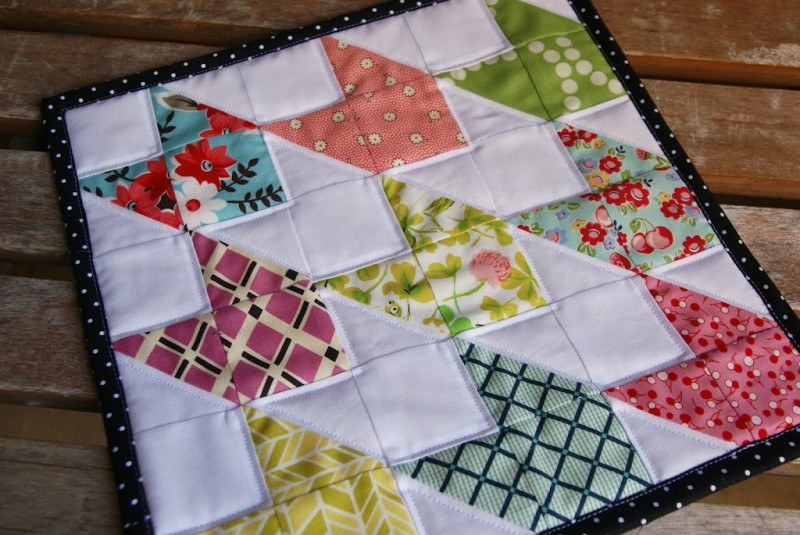
My name is Heidi, and you can find me at Fabric Mutt where I blog about fabric, family, and lots of happy sewing! With a full house and busy schedule, a lot of my sewing normally happens on the run, so I love projects that are quick and easy. This chevron quilt block has been my favorite lately. It’s so simple to cut and sew, and I love the way it looks at any size. This tutorial is for a doll quilt, but you can easily adjust the size to make it larger. I also love sprinkling a few low volume prints among the white ones to give the quilt a little variety. You can see my other two versions of this pattern here and here. Okay, let’s get sewing!
Materials:
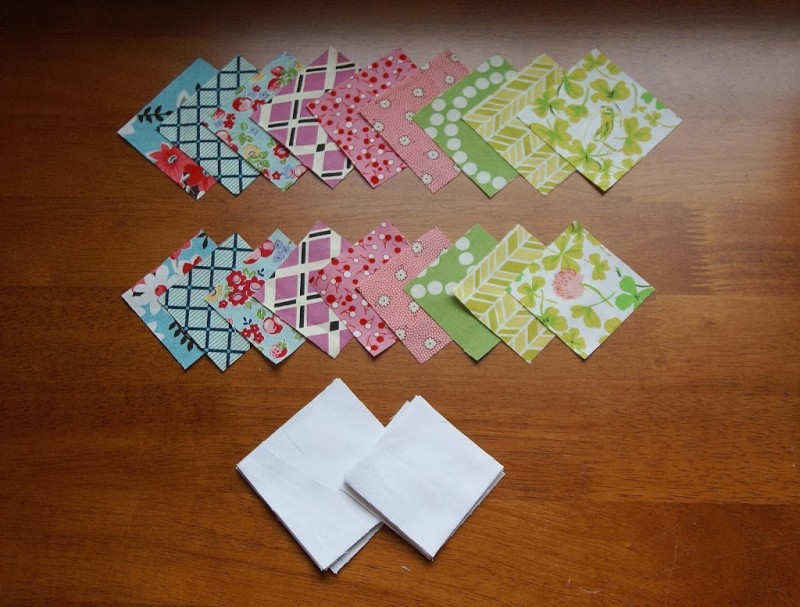
(1) 3″ square and (1) 2.5″ square from each of nine different prints
(9) 3″ squares and (9) 2.5″ squares from a white solid
(1) 13″ square for backing (not pictured)
(1) 2.5 x 52″ strip for binding (not pictured)
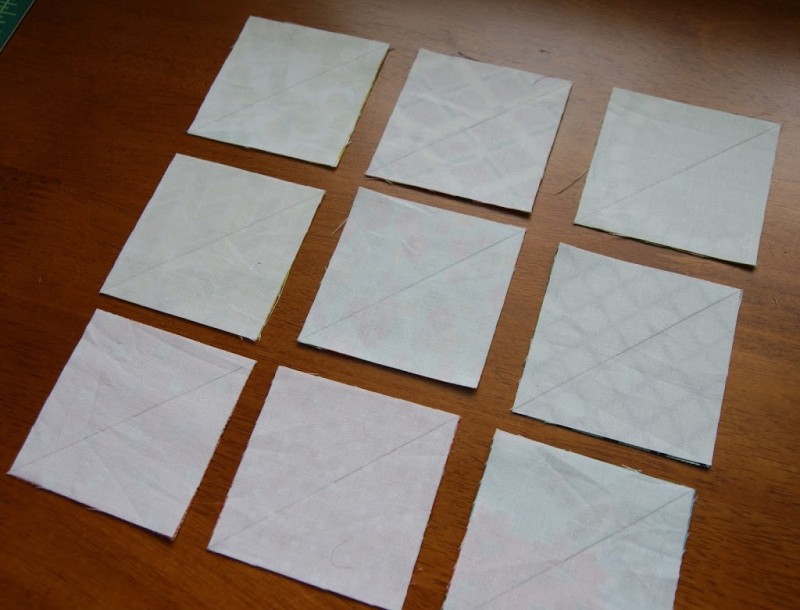
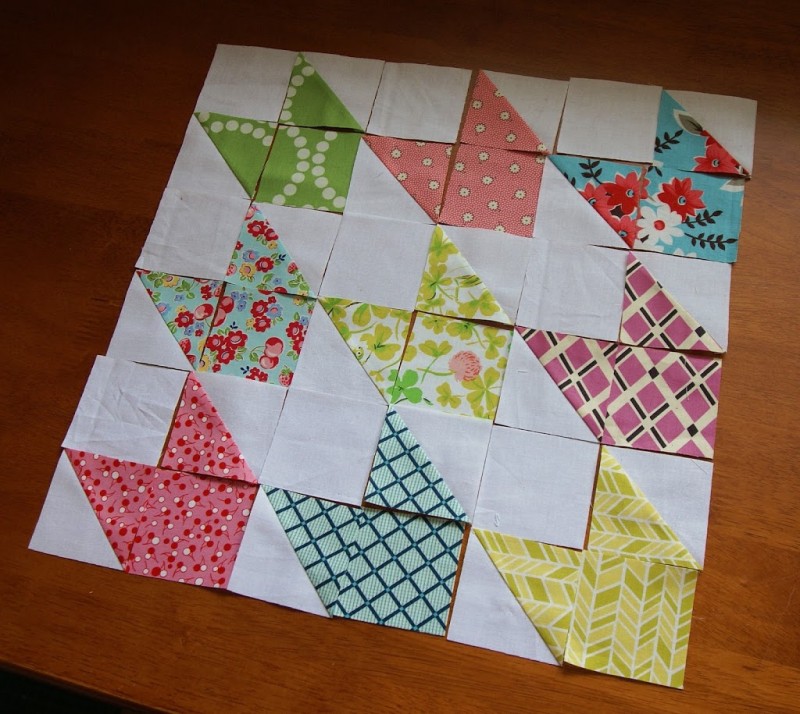
Step 1: Pair each 3″ print square with a 3″ white square and place them right sides together. Use a pencil to draw a diagonal line across each one. Sew 1/8″ from either side of the line, and then cut the square in half along the line itself, making two half square triangle units. Press and trim each unit to make it a 2.5″ square.
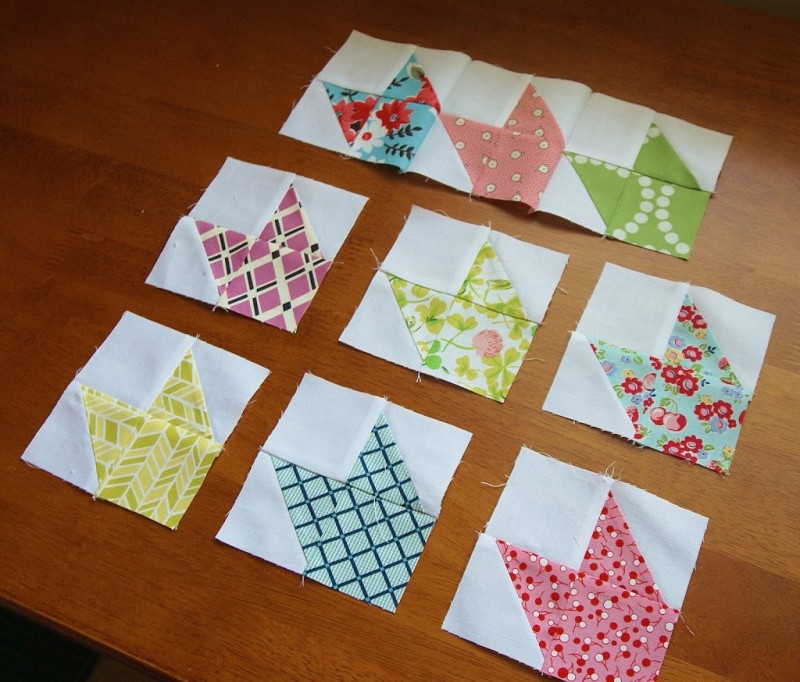
Step 2: Lay out your quilt using the photo above to guide you in making the chevron block. Each block has two of the half square triangle units, one print square, and one white square.
Step 3: Sew the blocks together. I like to sew the top and bottom pairs of each block together first, then sew the pairs together to make all the blocks. Then I sew the blocks across in rows of three, and then I join the rows. Doing it this way really helps me match up the seams for neat piecing.
Step 4: Quilt as desired, bind the edges, and you’re done!
Thanks so much for letting me share this little quilt with you today, and my thanks to Amanda for letting me join in on a great blog hop!




Great tutorial! Love this project – so sweet and looks fairly quick to make too!
it is a beautiful little quilt. Thank you for sharing the directions
With Love, Scary
Great tutorial, Heidi! You make it look so easy 😀
great tutorial — thanks
Wow. I’ve never seen this design before. I love it and am putting it on my to do list.
looks like I could accomplish this one. thanks for sharing the instructions in such a clear way.
I made one! Blogging about it today :o) Thanks so much!
http://craftsfromkaren.blogspot.co.uk/
Darling!
Thank you for the pattern! I’m excited to go make it!