How to Bleach Dye your shirt:
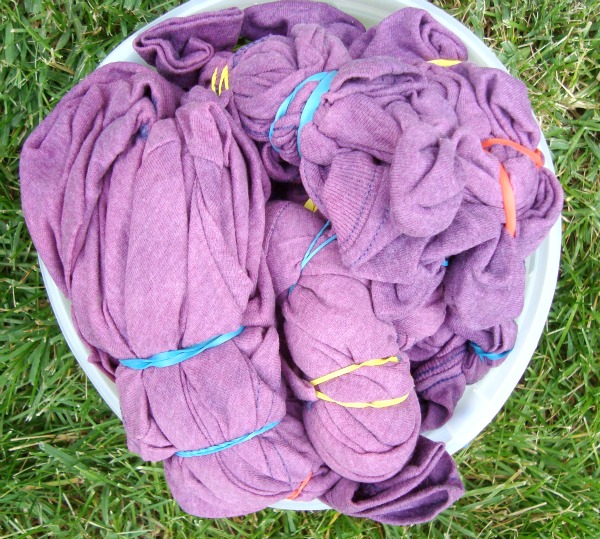
1) Purchase your shirts—-any color! For this process they really do need to be a color. I found a bunch at the dollar store {I know totally lucky, and they were Hanes brand too} that were this wierd kind of purple. Perfect for this project and the girls! 2) I didn’t prewash, but it took a lot longer for the bleach to work. Longer than I would have thought, so maybe you want to prewash to remove any kind of sizing and dye stuff they have going on when making them. 3) Fold, twist, scrunch, bundle– and then rubber band the shapes. Just like a typical tie dye method. Follow a few of the tutorials found in the Tie Dye Shirt Series. This is where the moms step in and finish it for them– the kids can go off and play. 4) Mix bleach and water, equal parts into a bucket {use gloves to protect your hands} 5) Stuff all banded shirts into bucket of bleach water 
6) Wait patiently. Keep an eye on those shirts. The color does take a bit to start changing from the origional to another color that is layered underneath when they are dying the fabric. We were thinking that this would take just a few minutes, but it ended up to take around 20 minutes or so and then we got real impatient and I sprinkled bleach on them. Yup, straight from the bottle. These weren’t cheap thin shirts so they totally handled it just fine. You do want to make sure that holes don’t appear. That is when you have let the bleach tie-dye stick around too long. 7) Remove the shirts, remove the rubber bands, throw into the washer for a wash and dry. 
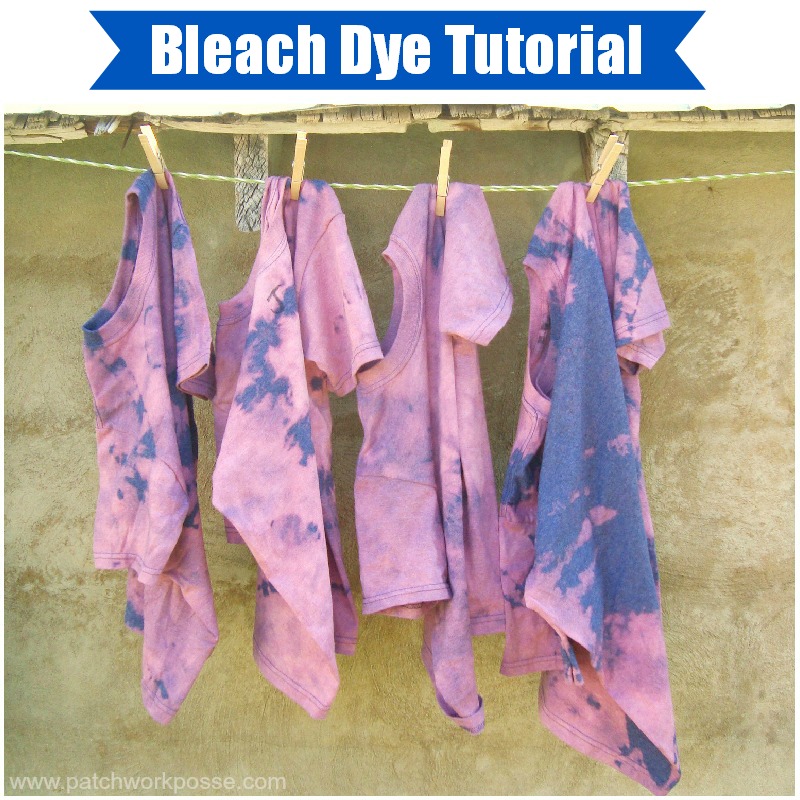
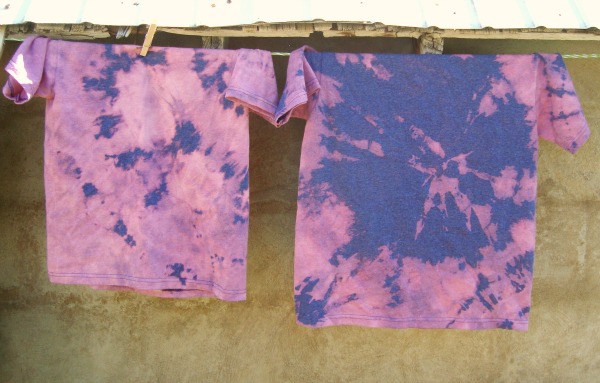
The dark purple is the original color. The lighter purple/pink is what the bleach tie-dye revealed. Super fun! Each shirt was totally different. I would recommend writing initials on the collar or tag so you can find whose is whose. {we did luckily!} Hope your shirts turn out perfectly wonderful! I love the idea of having everyone ‘matchy, matchy’ but still letting them have their own style and personality. Thanks for letting me share today and hope you stop on by and say hello….there’s always something spec-tac happening!


Amanda thanks for letting me be a guest today! Hope everyone is loving the series. Can’t wait to try a few new designs out.