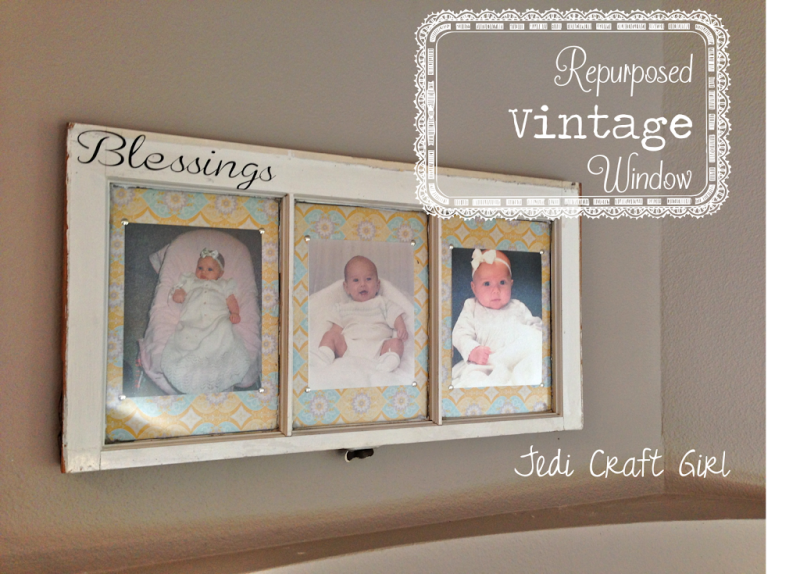
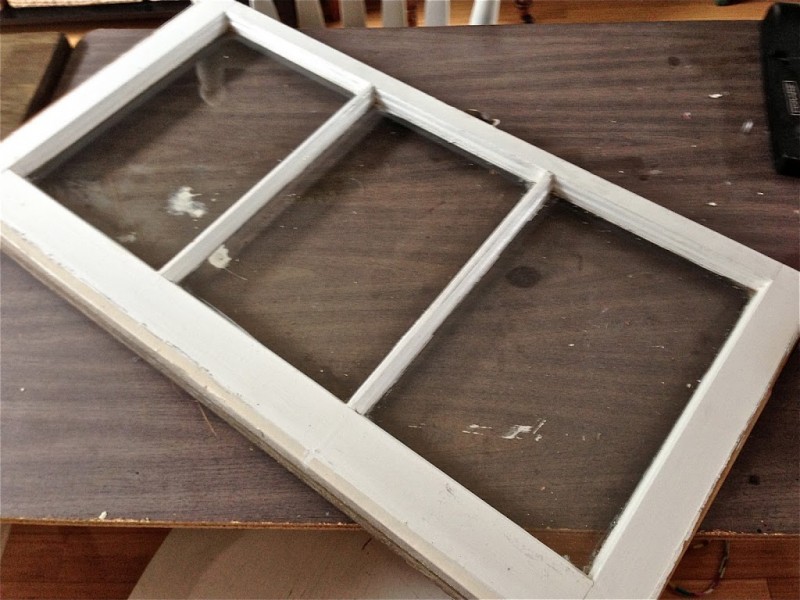
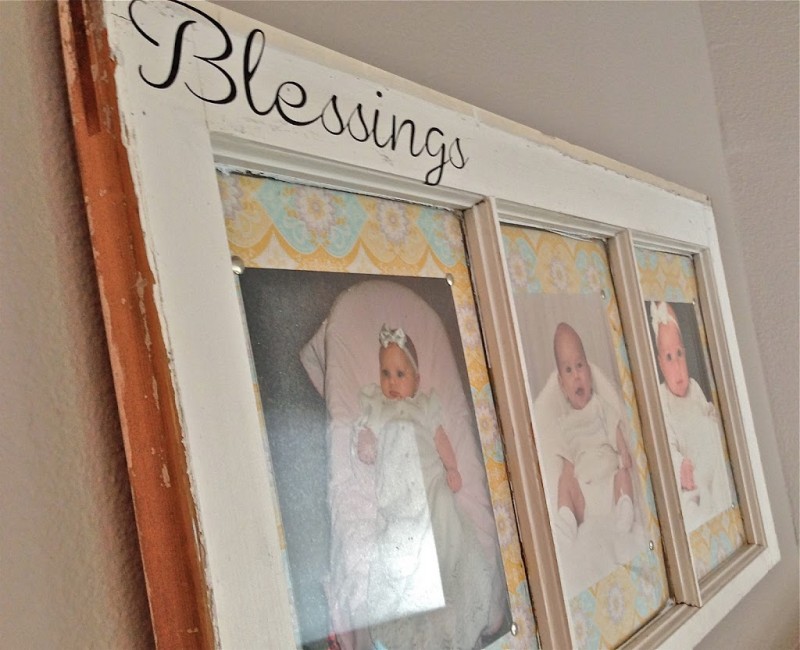
I love old windows! I am always trying to find something new to do with them. At the top of my stairs, I have 3 frames with pictures of my 3 children on their blessing day. This window I found has 3 openings….hmmmm!
This is how you make a fabric mat background for your window:
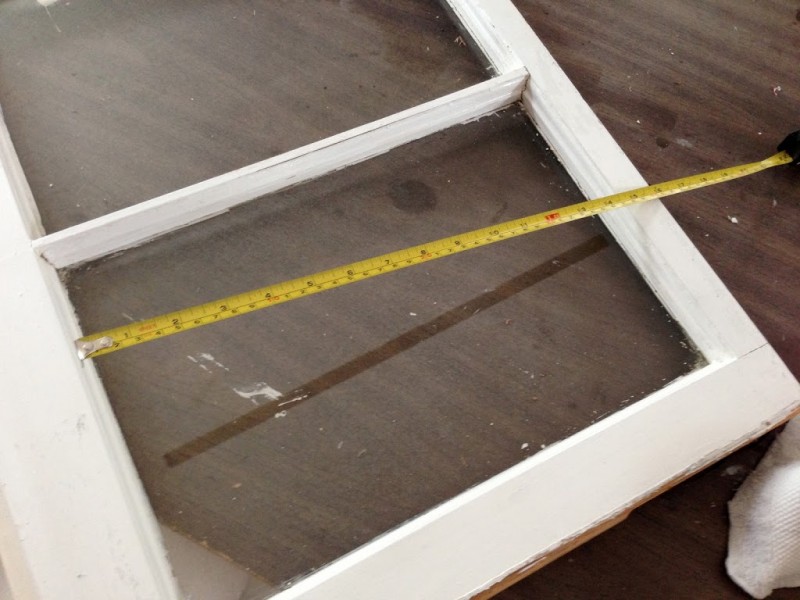
Measure the opening
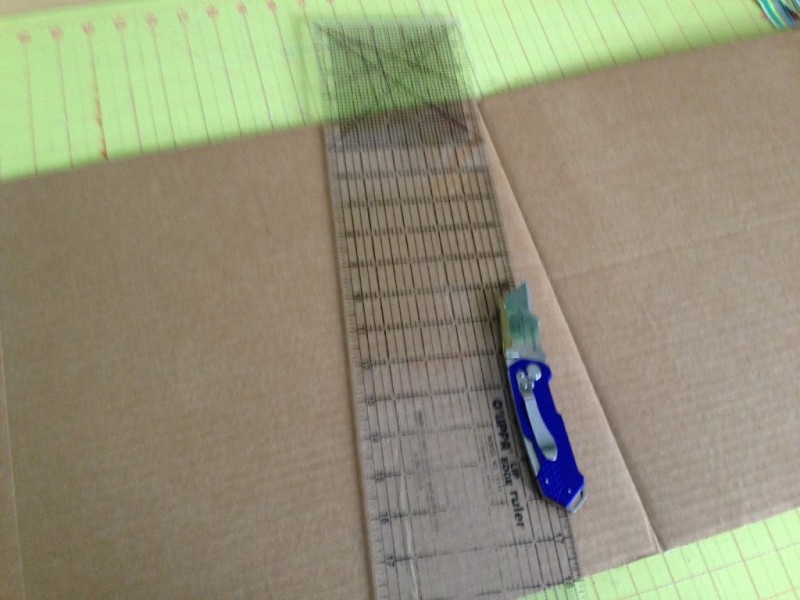
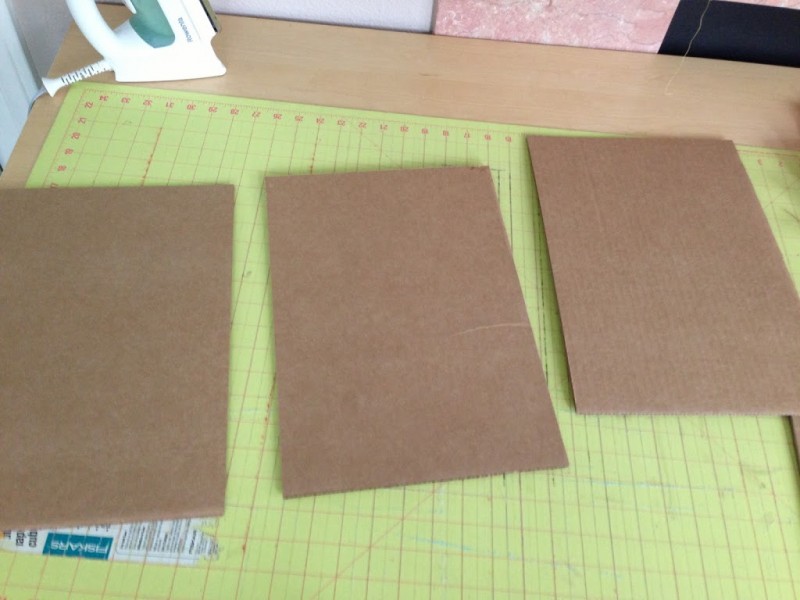
Cut cardboard the size of your measurements
I have 3 pieces the exact same size. I used my rotary mat and guide, but I used a utility knife so I didn’t ruin my rotary cutter.
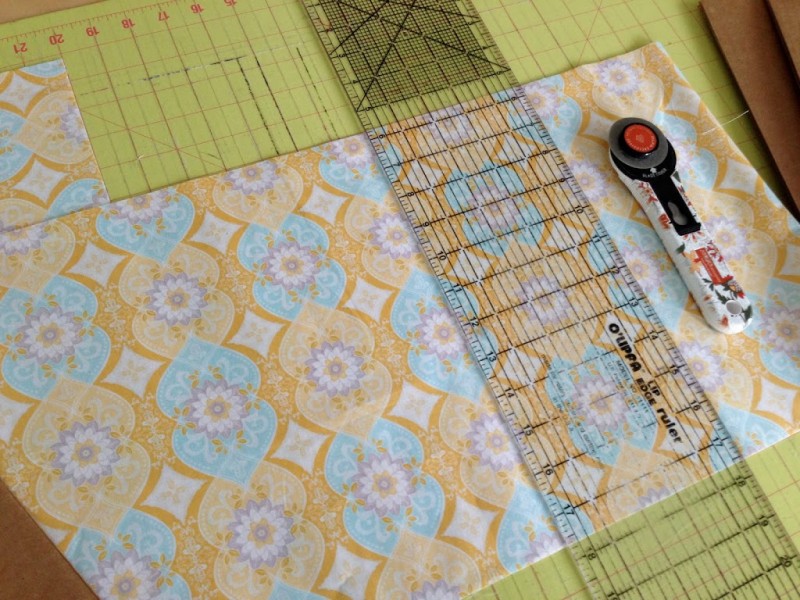
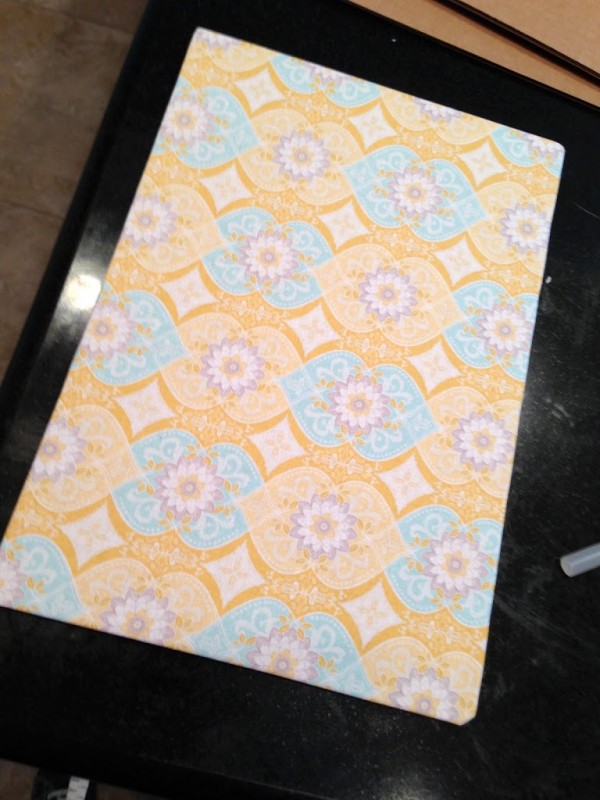
Next, cut your fabric 1″ larger on all sides. Love this Riley Blake print!
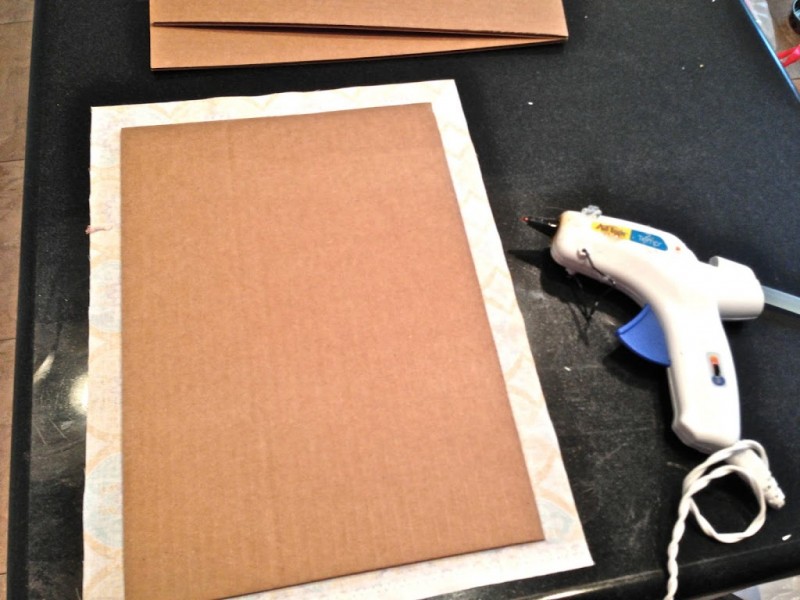
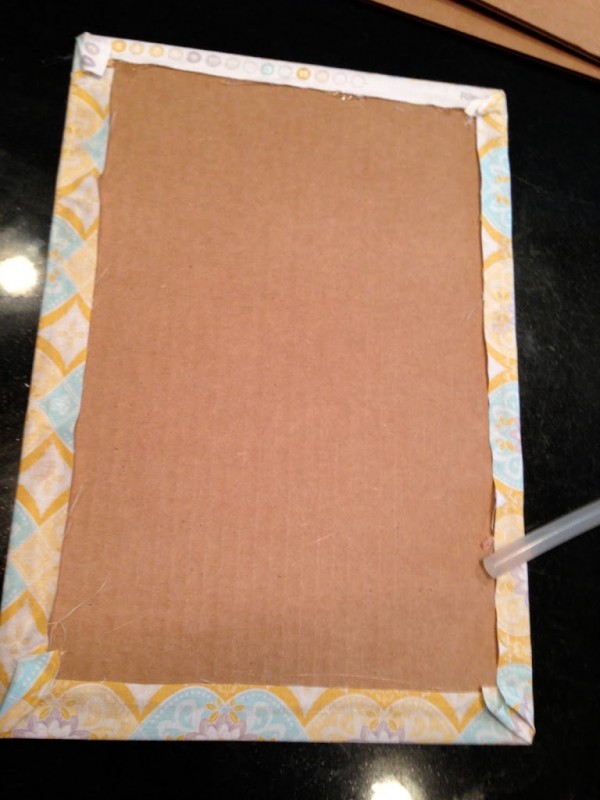
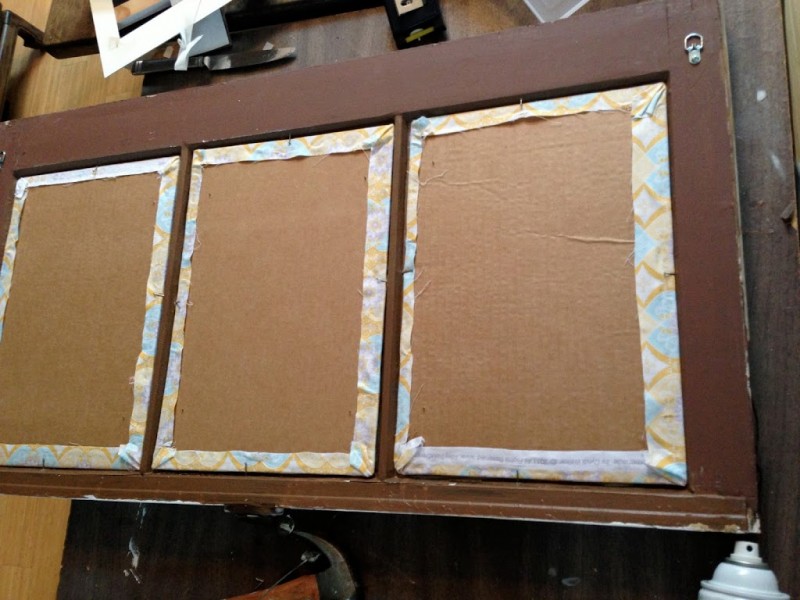
Get out the hot glue gun – yea! Glue all sides and pull the fabric so it is tight.
It should look like this on the back:
Front:
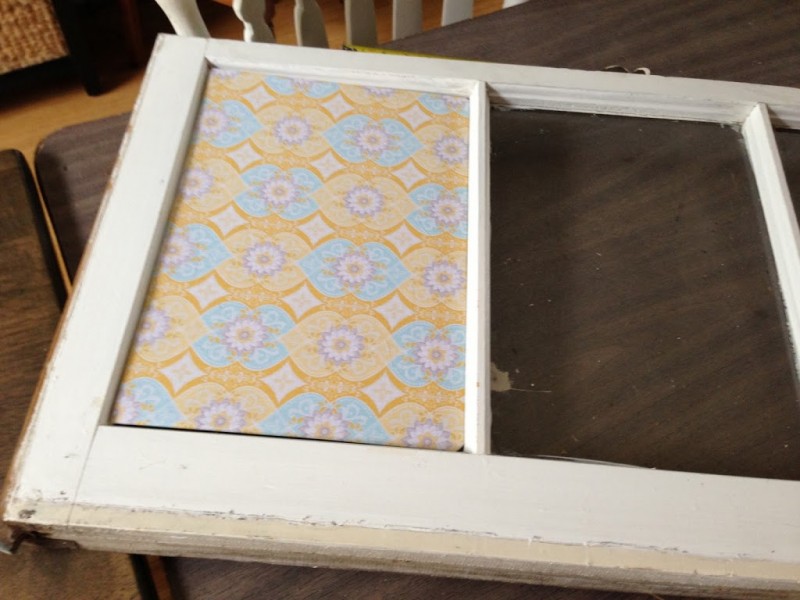
You can put these on top of the glass, behind the glass, or instead of the glass. I put mine behind the glass.
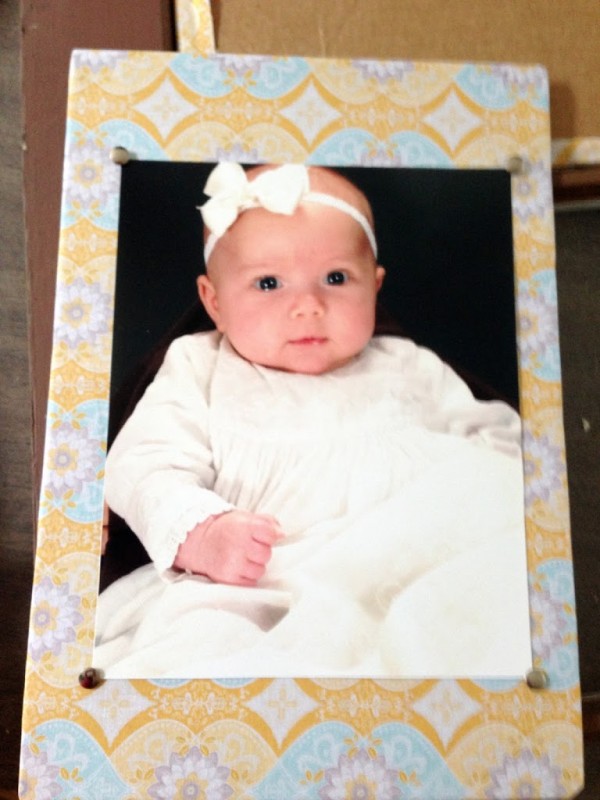
I took each of the photos and attached them by putting push pins in each corner. I didn’t actually put a hole in the picture, just next to it and the tack holds the picture in place.
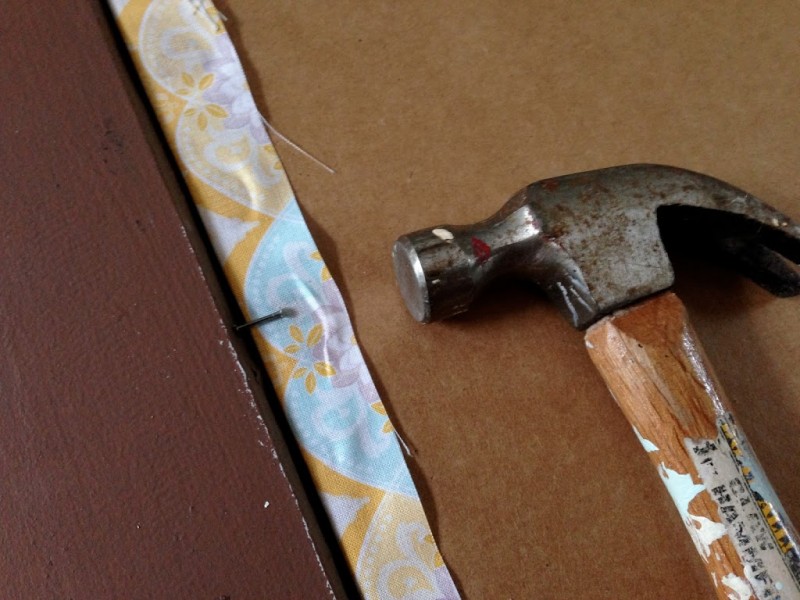
To secure the cardboard mat to the frame, use small nails and hammer them in each of the sides.
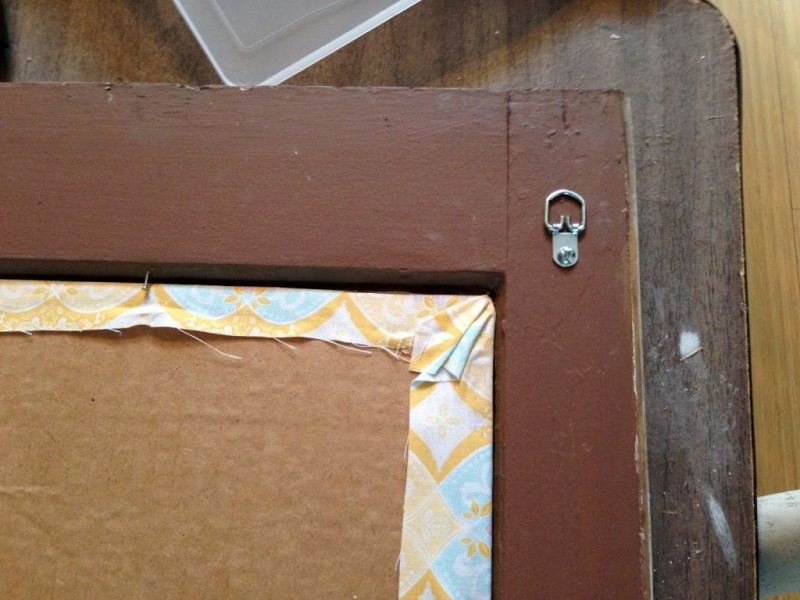
Because this is pretty heavy, I wanted to hang it safely. I used “D” rings and attached them with screws to the back of the window. To hang it, I drilled holes where the “D” rings hit and used anchors and screws. The “D” rings hook over the anchored screws.
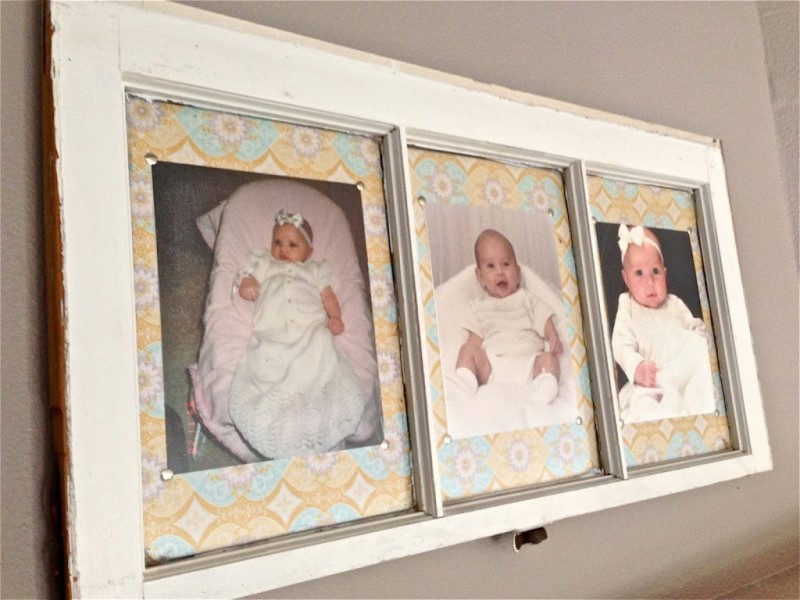 I really like how it turned out! Looking at my daughter’s photo on the left (13 years ago) all I have is this snapshot I took of her in the basement (it was on film of course). The date is even stamped on the side of the photo. We’ve come a long way in photography!



Speak Your Mind