Step #2 Create Footprints
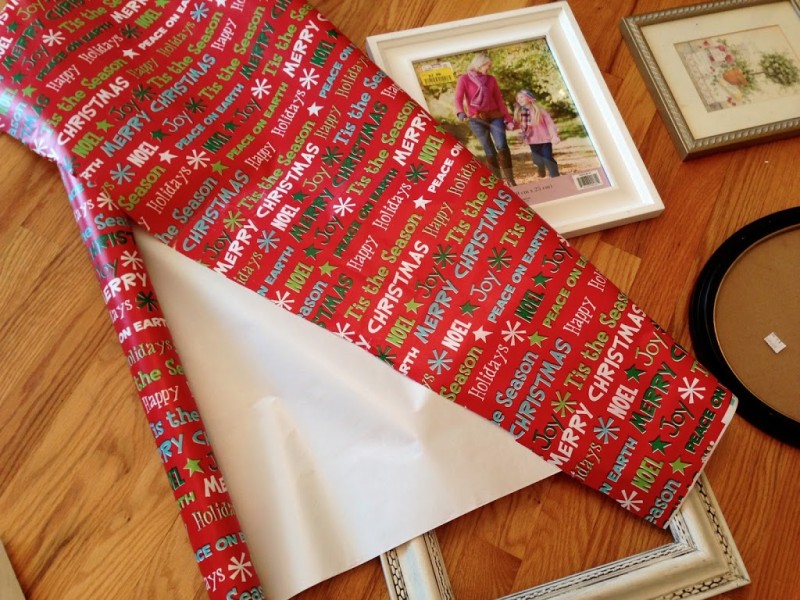
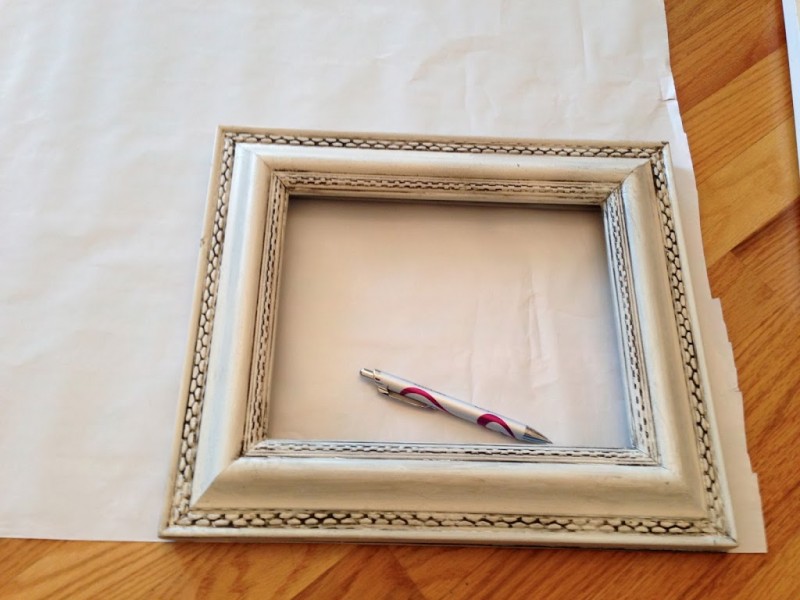
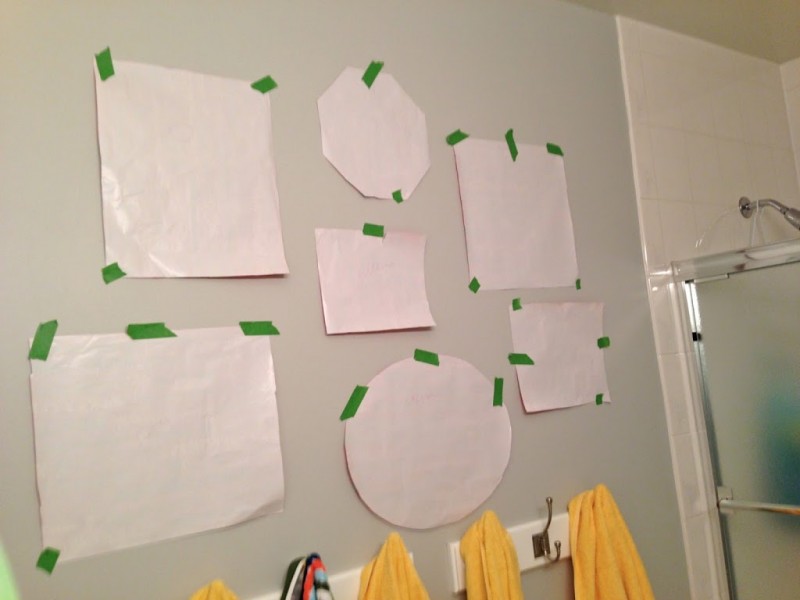
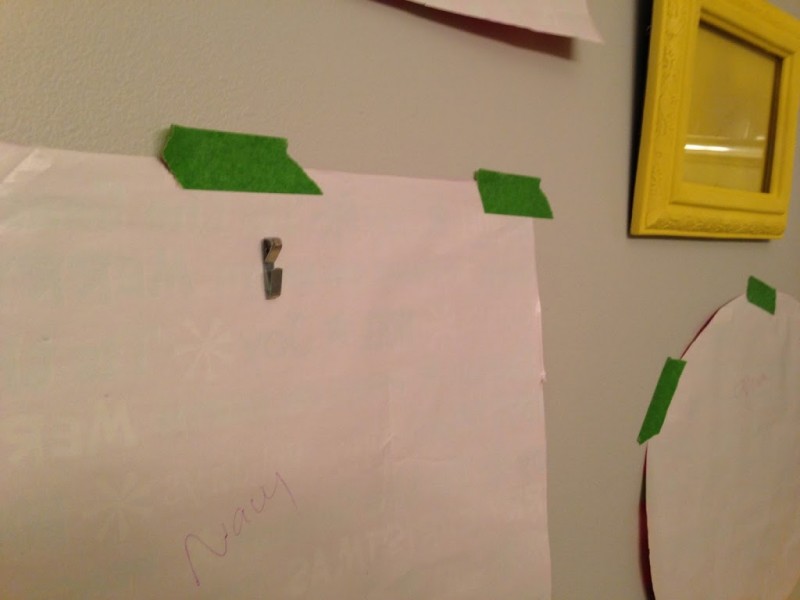
Get out your old wrapping paper and trace each frame to make a footprint to be arranged on the wall first.
Step #3 Paint
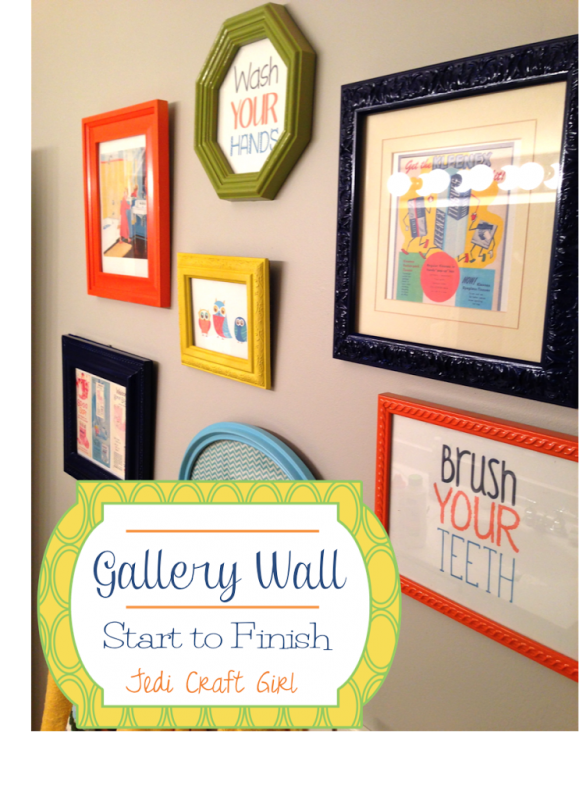
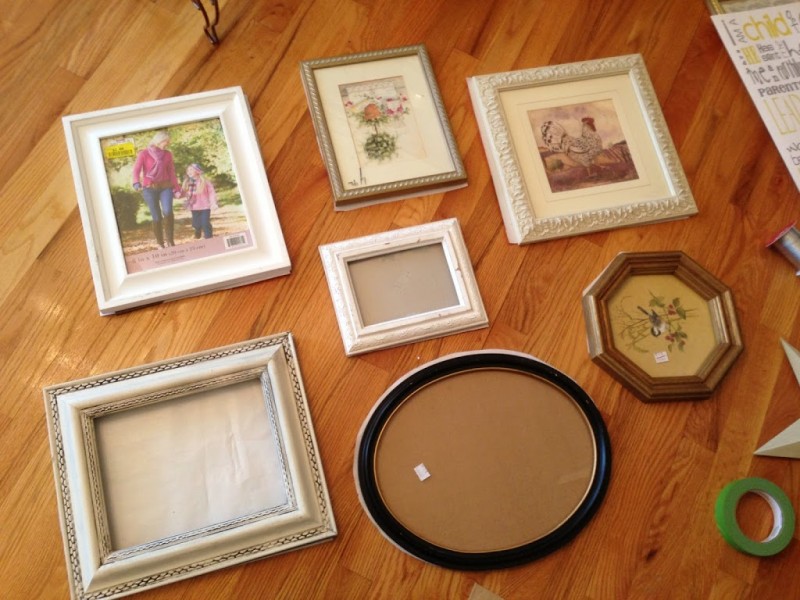
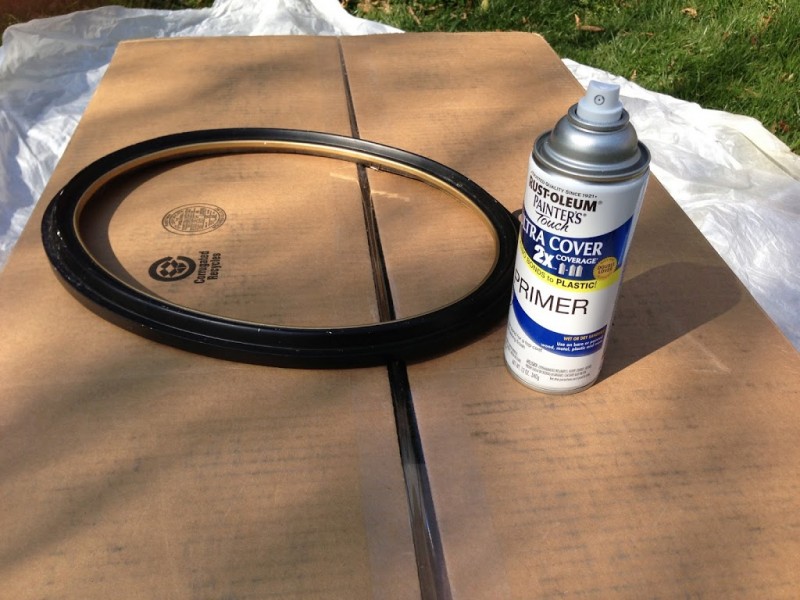
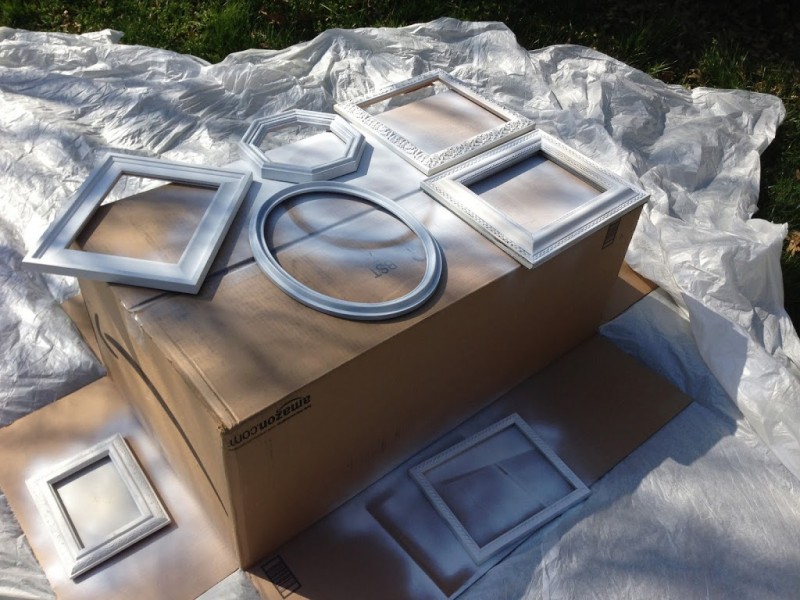
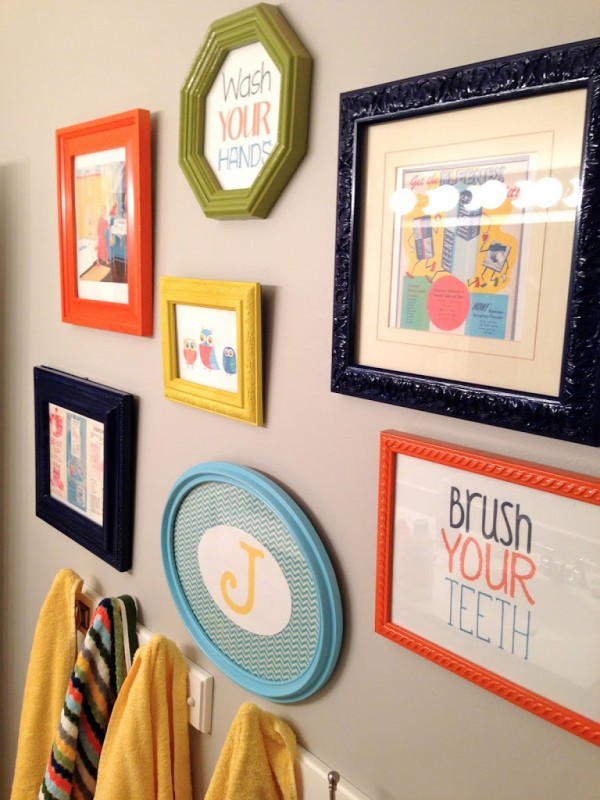
I get all my frames at garage sales and thrift shops. For this bathroom, I had specific colors in mind to paint the frames: orange, green, navy, and yellow. I always use spray primer first. It totally helps your paint go farther and cover better!
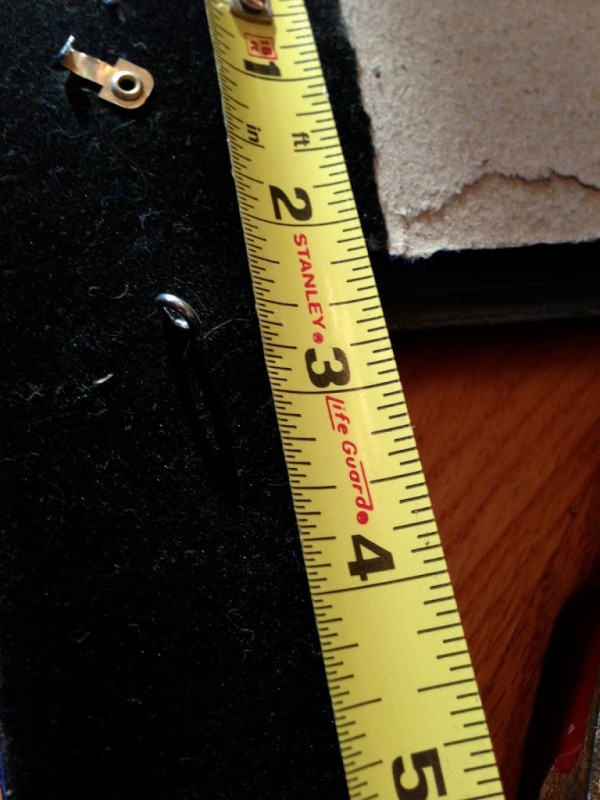
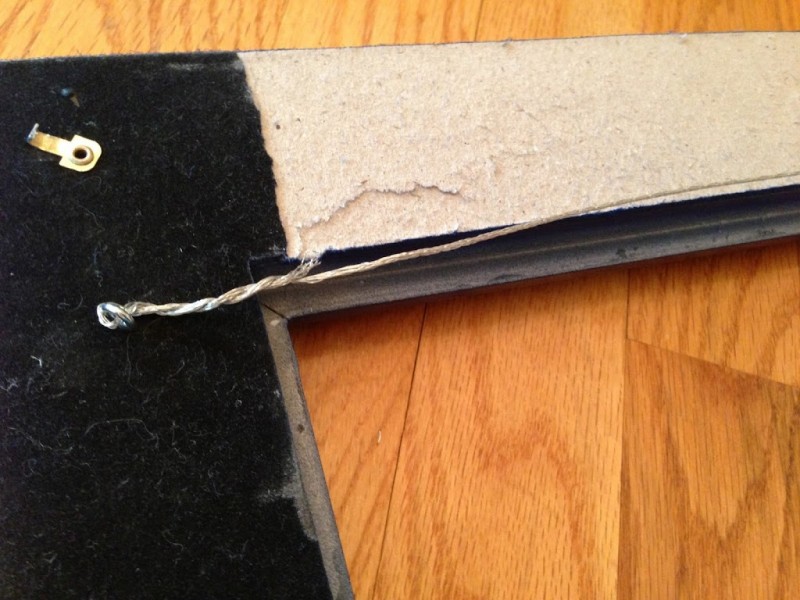
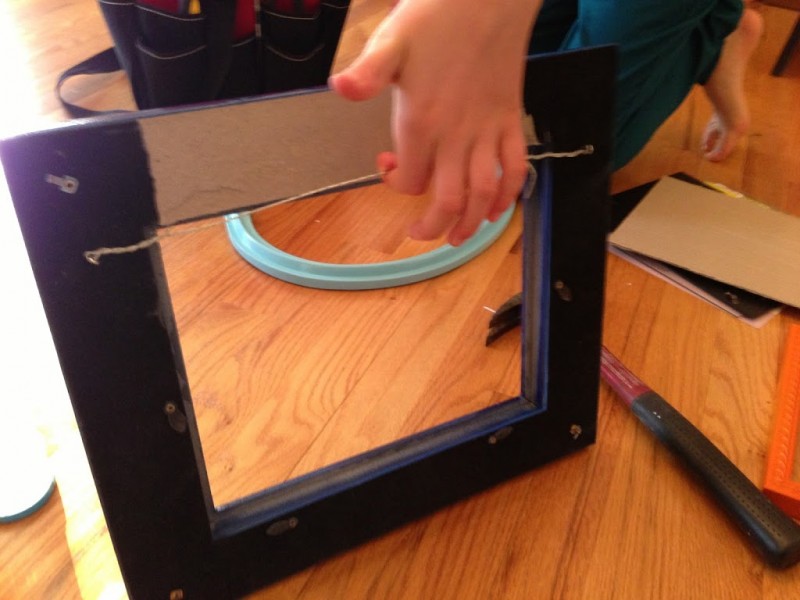
Step #4 Attach Wire for Hanging
I took a picture framing class 14 years ago from a gal who framed art for the Smithsonian. I have never forgot what I learned in that class!
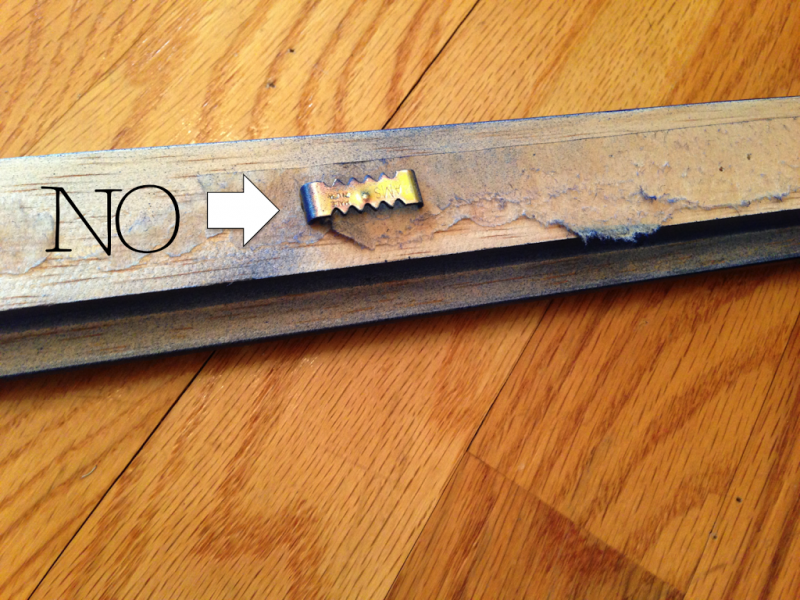
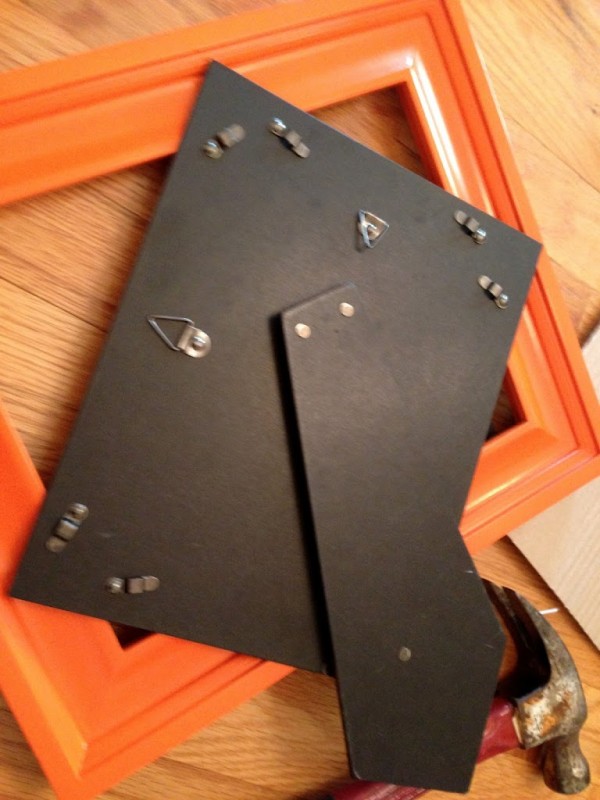
It is best not to use this kind of hanger – it is too hard to get the picture to hang level.
TIP
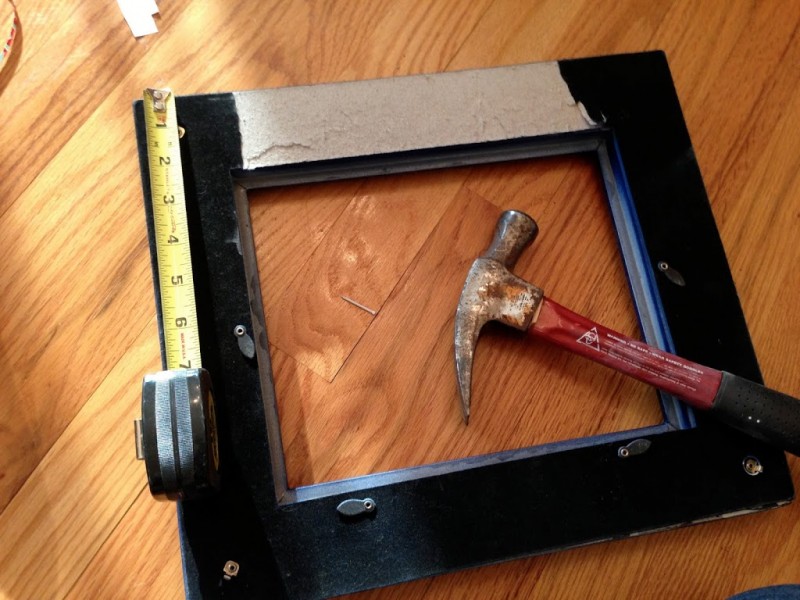
If your frame has a stand on the back, you must remove it or it will also hang funny because of an uneven weight distribution. Take your pliers and rip the thing off!!
Step #5
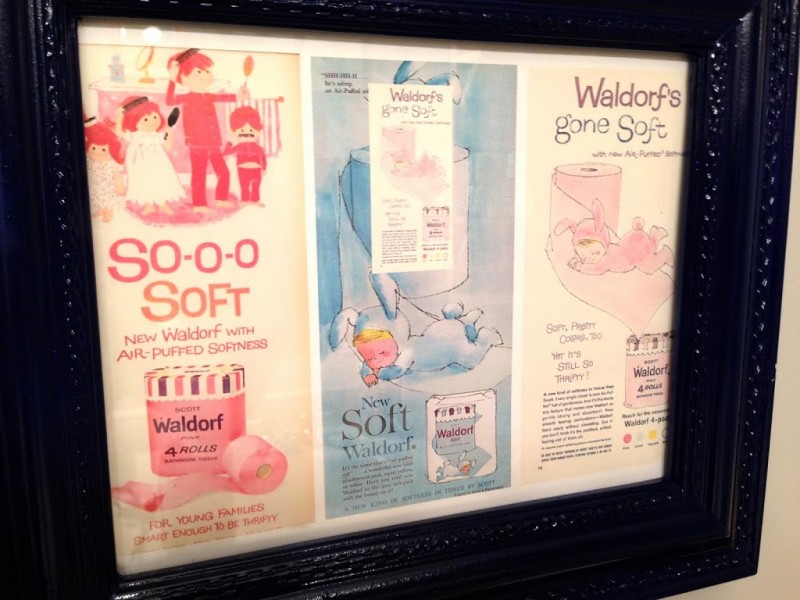
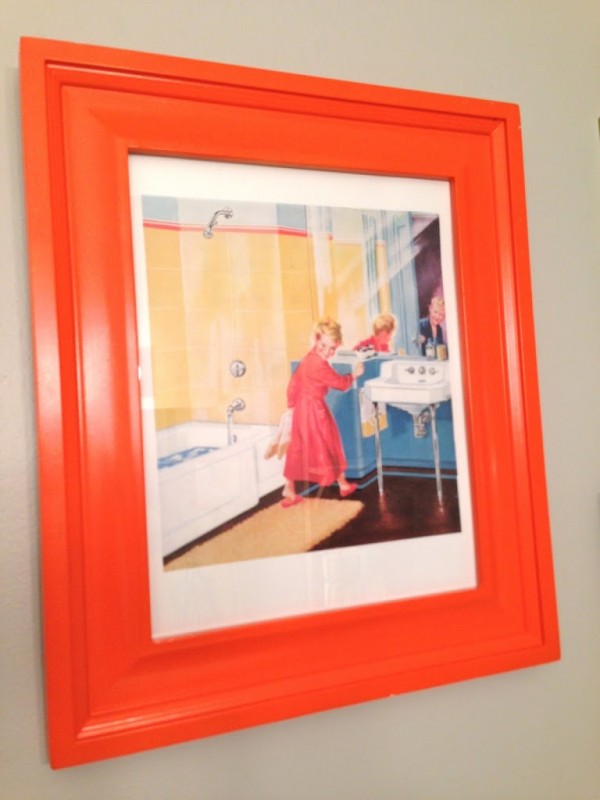
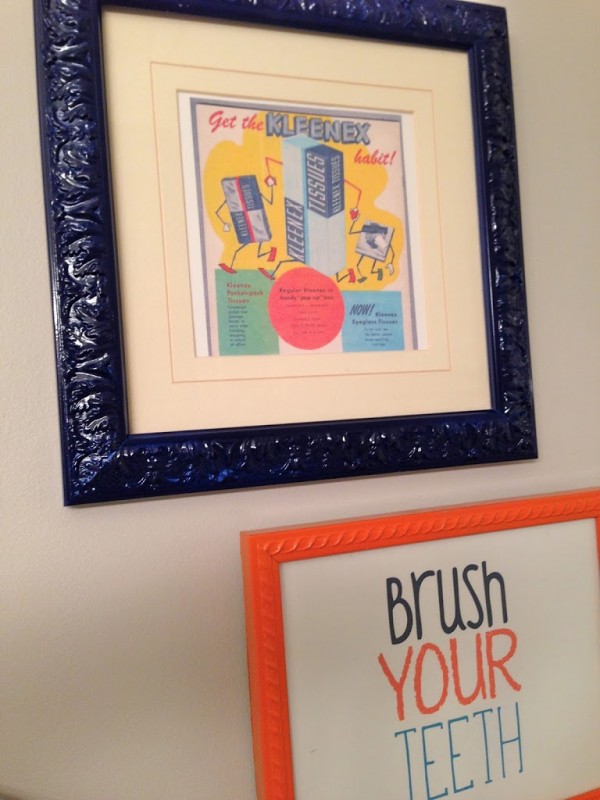
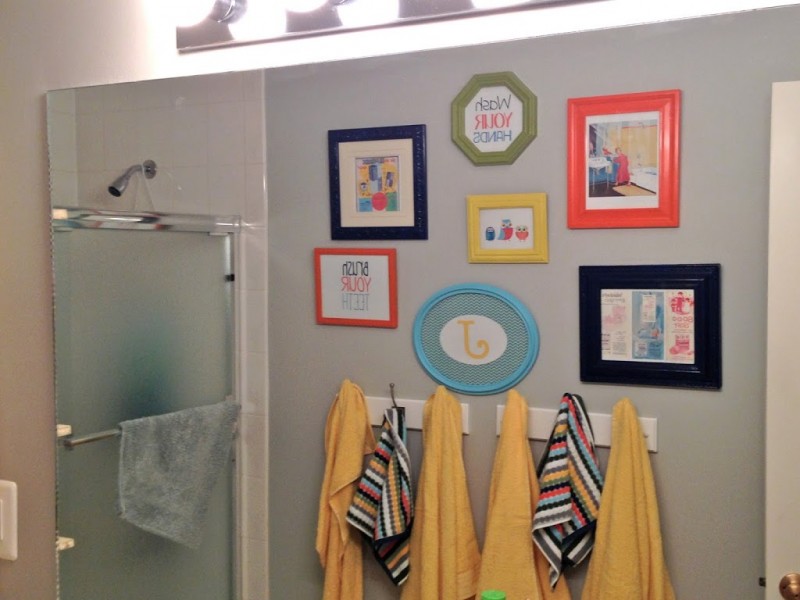
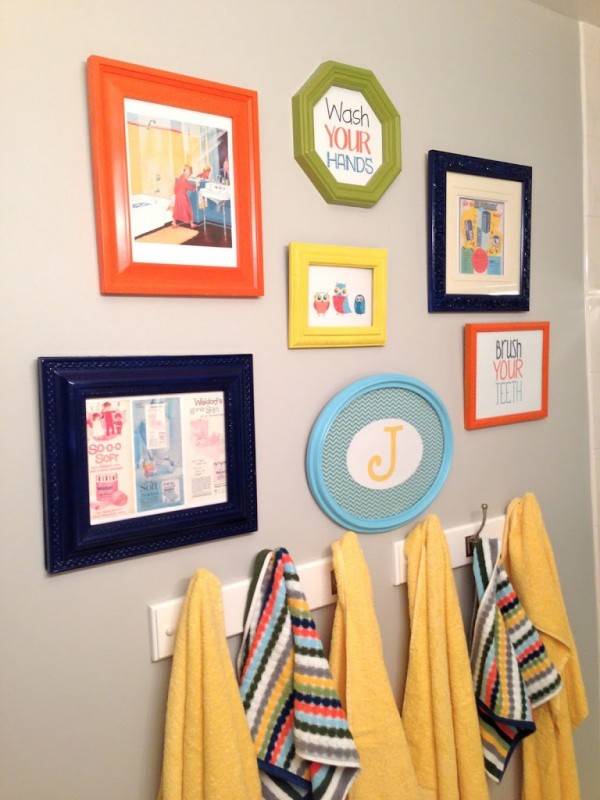
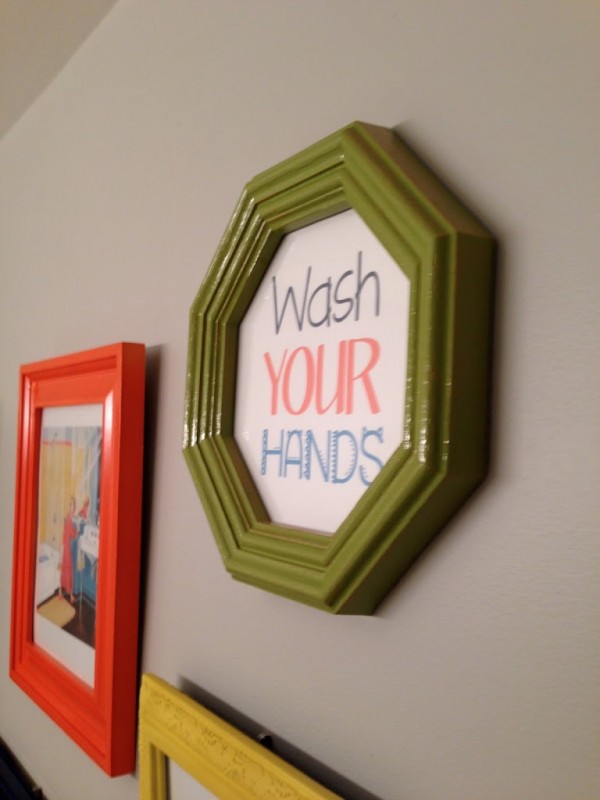
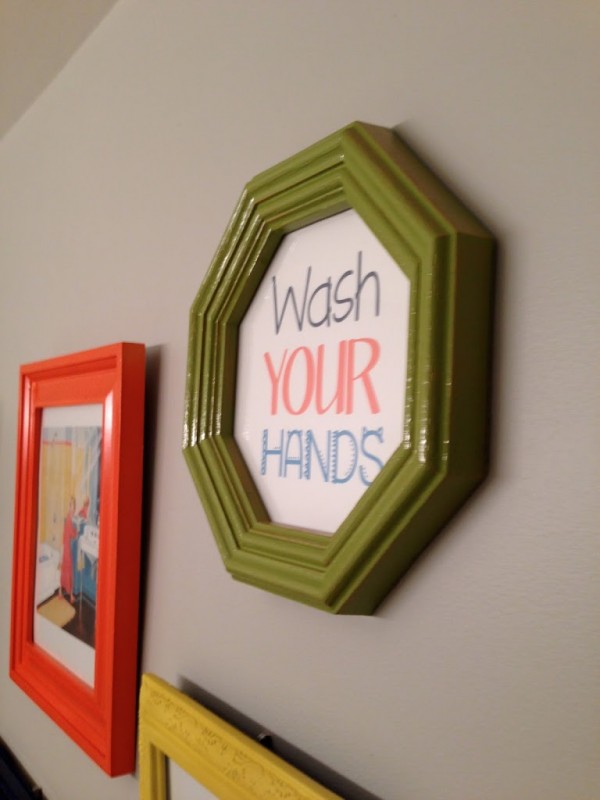
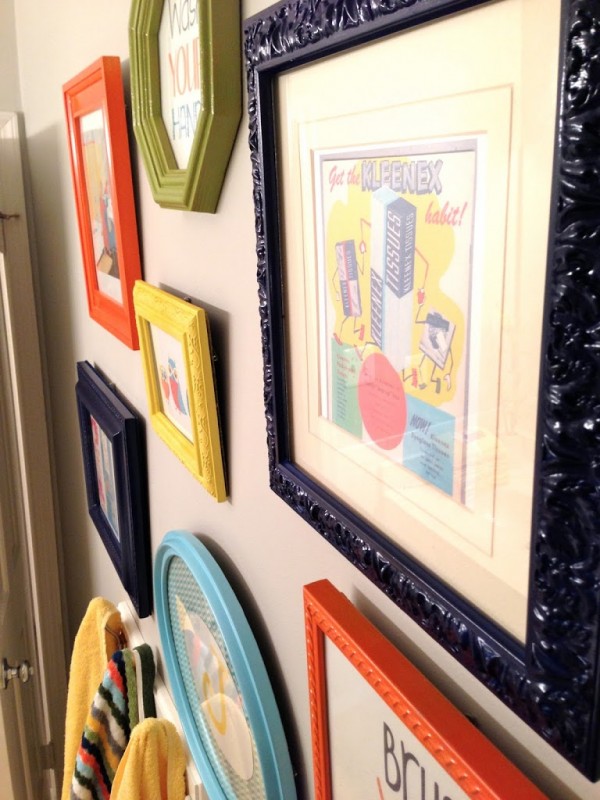
Clean the glass of each frame and place your art or photo in the frame. For this gallery wall we choose some fun, retro bathroom prints.
This one is three Waldorf Toilet Paper Advertisements.
This one is a retro bathroom with a child brushing her teeth.




Hi Amanda,
I followed you over here from the message you left on my blog… and boy am I glad I did! Such beautiful inspiration here!!! And I am over the moon to find your Quilt Page. You are extremely talented missy!!! And beautiful family by the way….
Here’s to new friendships!!!
Natalie
http://www.natandgang.blogspot.com
Saw your post over at Whatever Goes Wednesday. This is a beautiful arrangement! I love the colors and the fact that you got the frames all at thrift stores. Visit me sometime @ http://www.crosson5.blogspot.com. Following your blog now too!
I always LOVE a good gallery wall! I LOVE this one… So fun and bright! Great pics on the frames, colours, art, and arrangement!
Krista @thehappyhousie