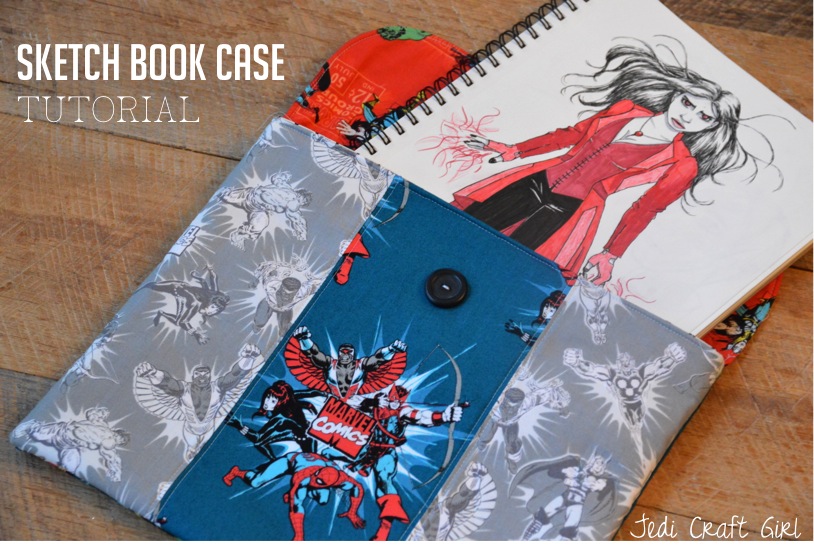
 I love sewing for my kids!!!! They are totally into Marvel right now so I’m so excited for this new line from Camelot Fabrics available at Fat Quarter Shop!! This fun project is for a padded sketch book case with button closure (Sketch book measuring 9″x12″). This case is also great for coloring books, journals, music books, and magazines. The Heat n Bond Fusible Fleece gives it soft stability. You can whip one up in about 30 minutes! So it’s a great gift.
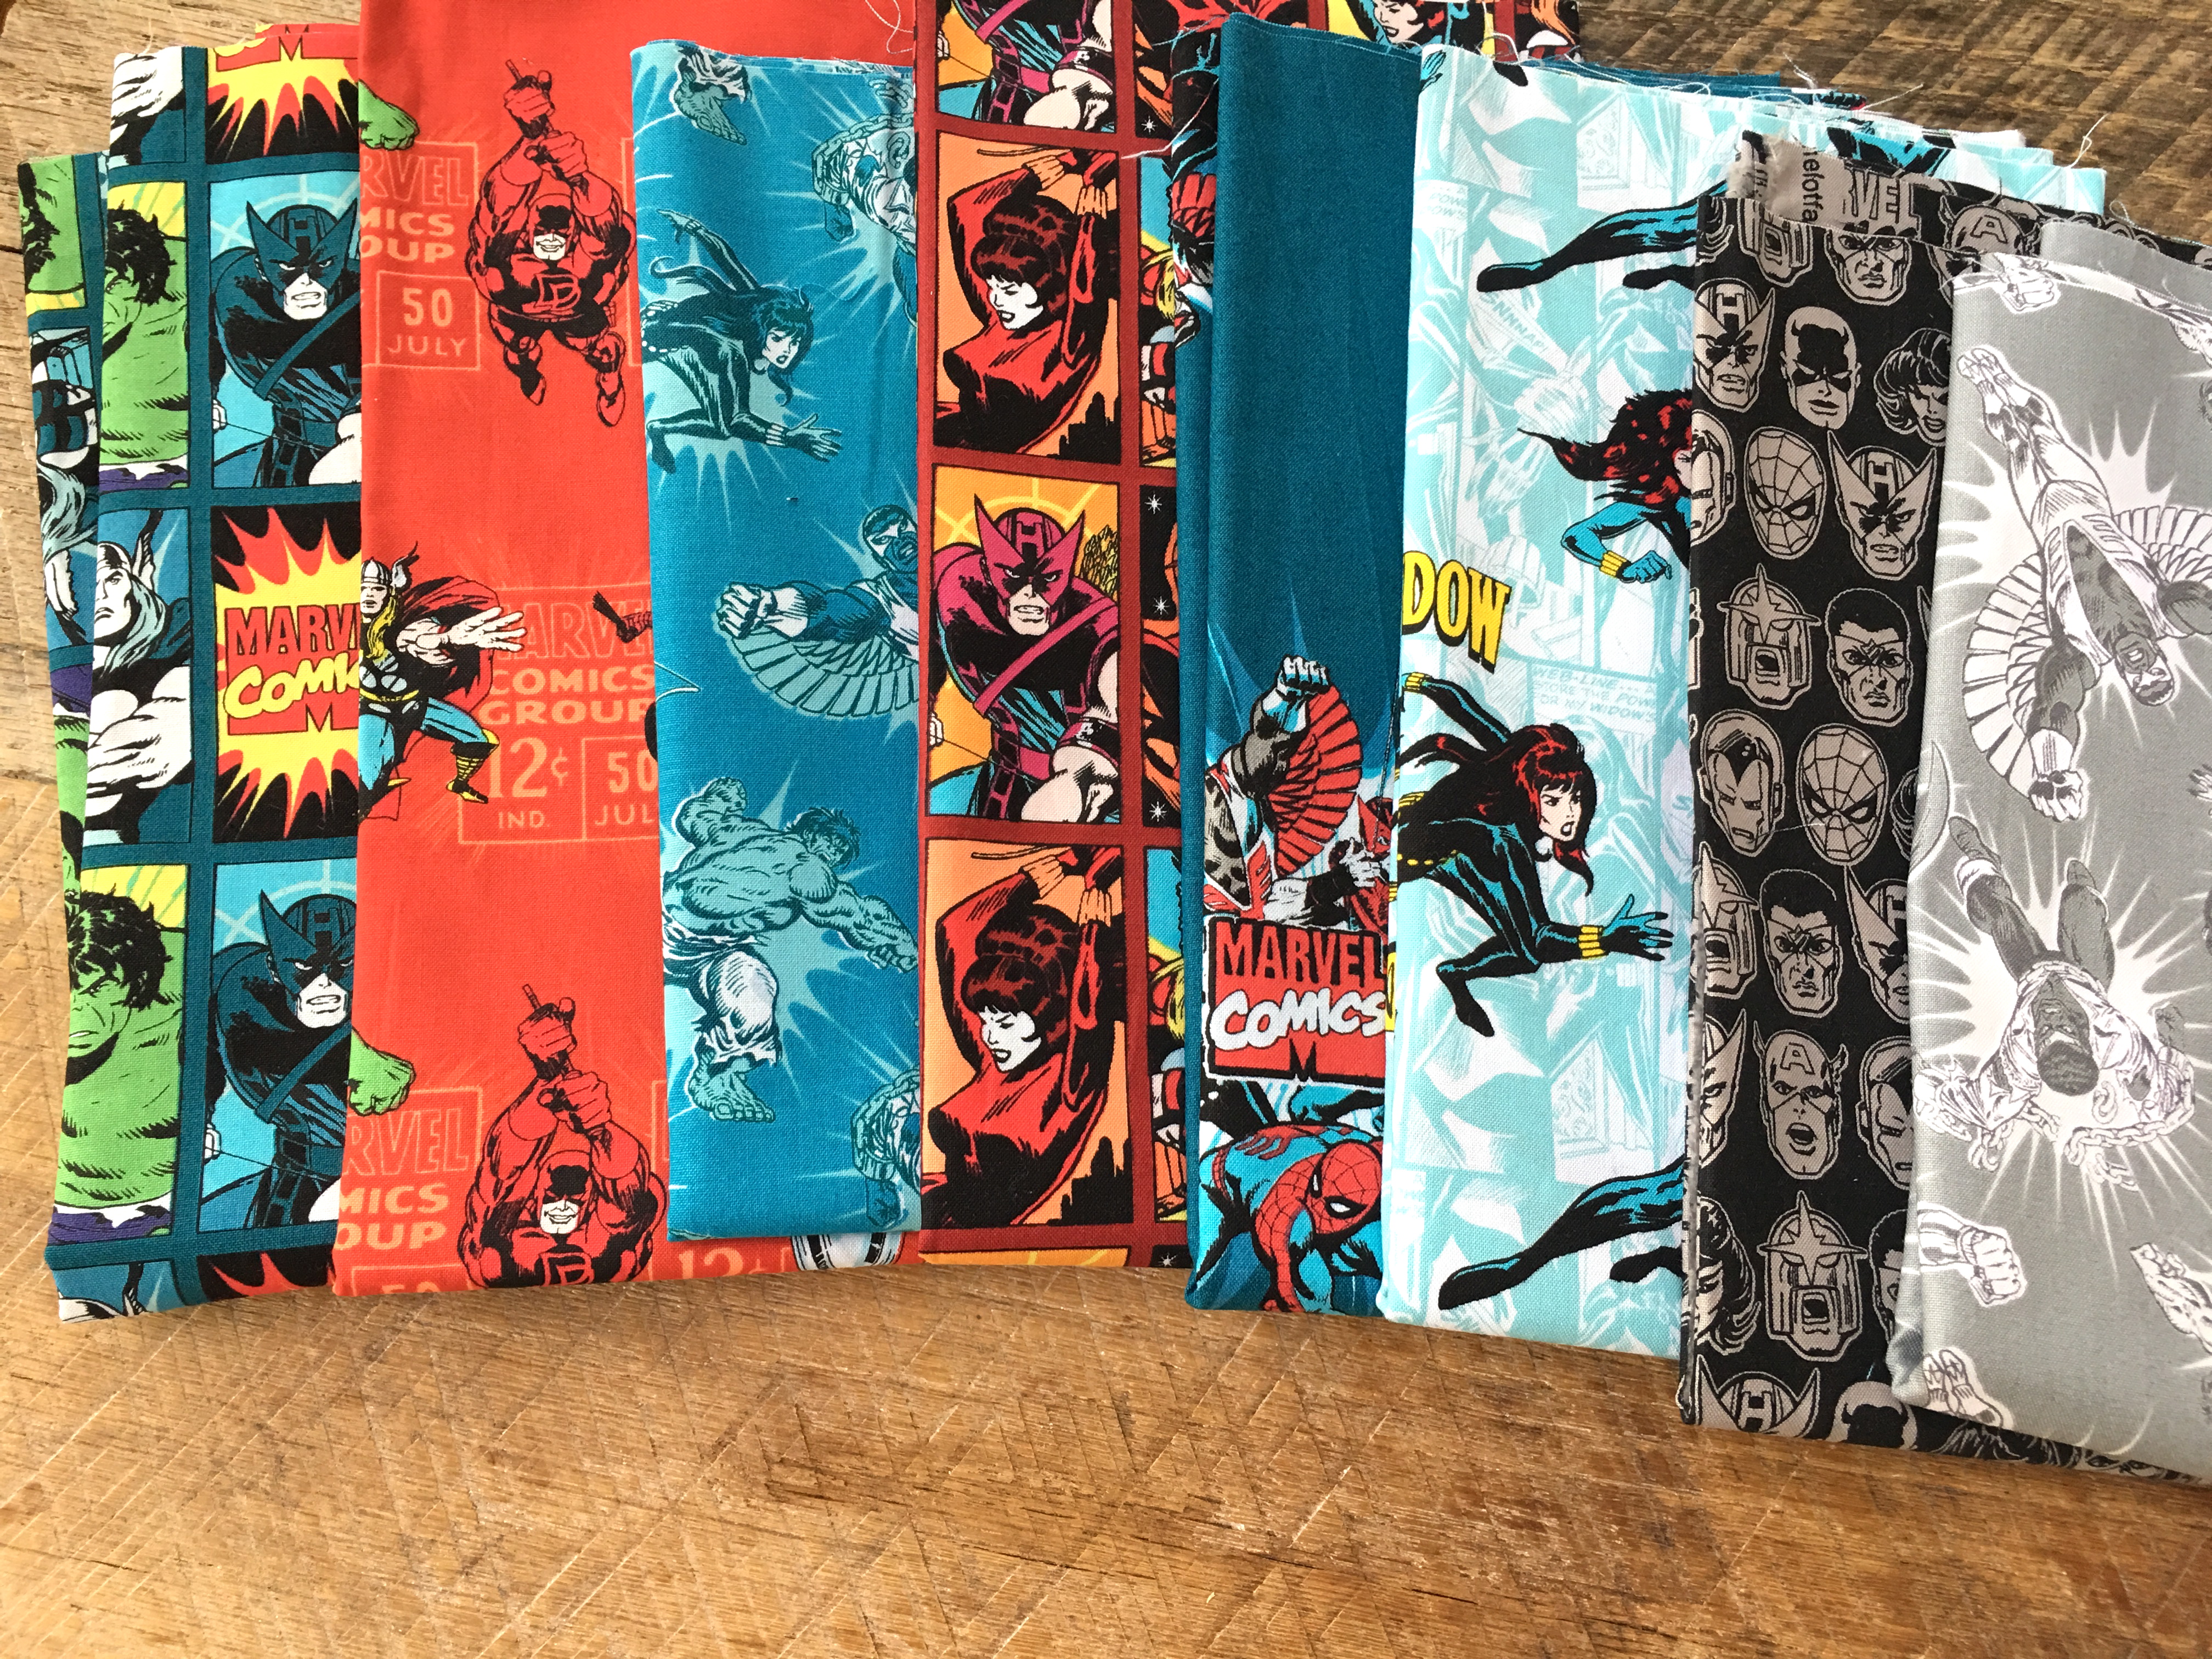
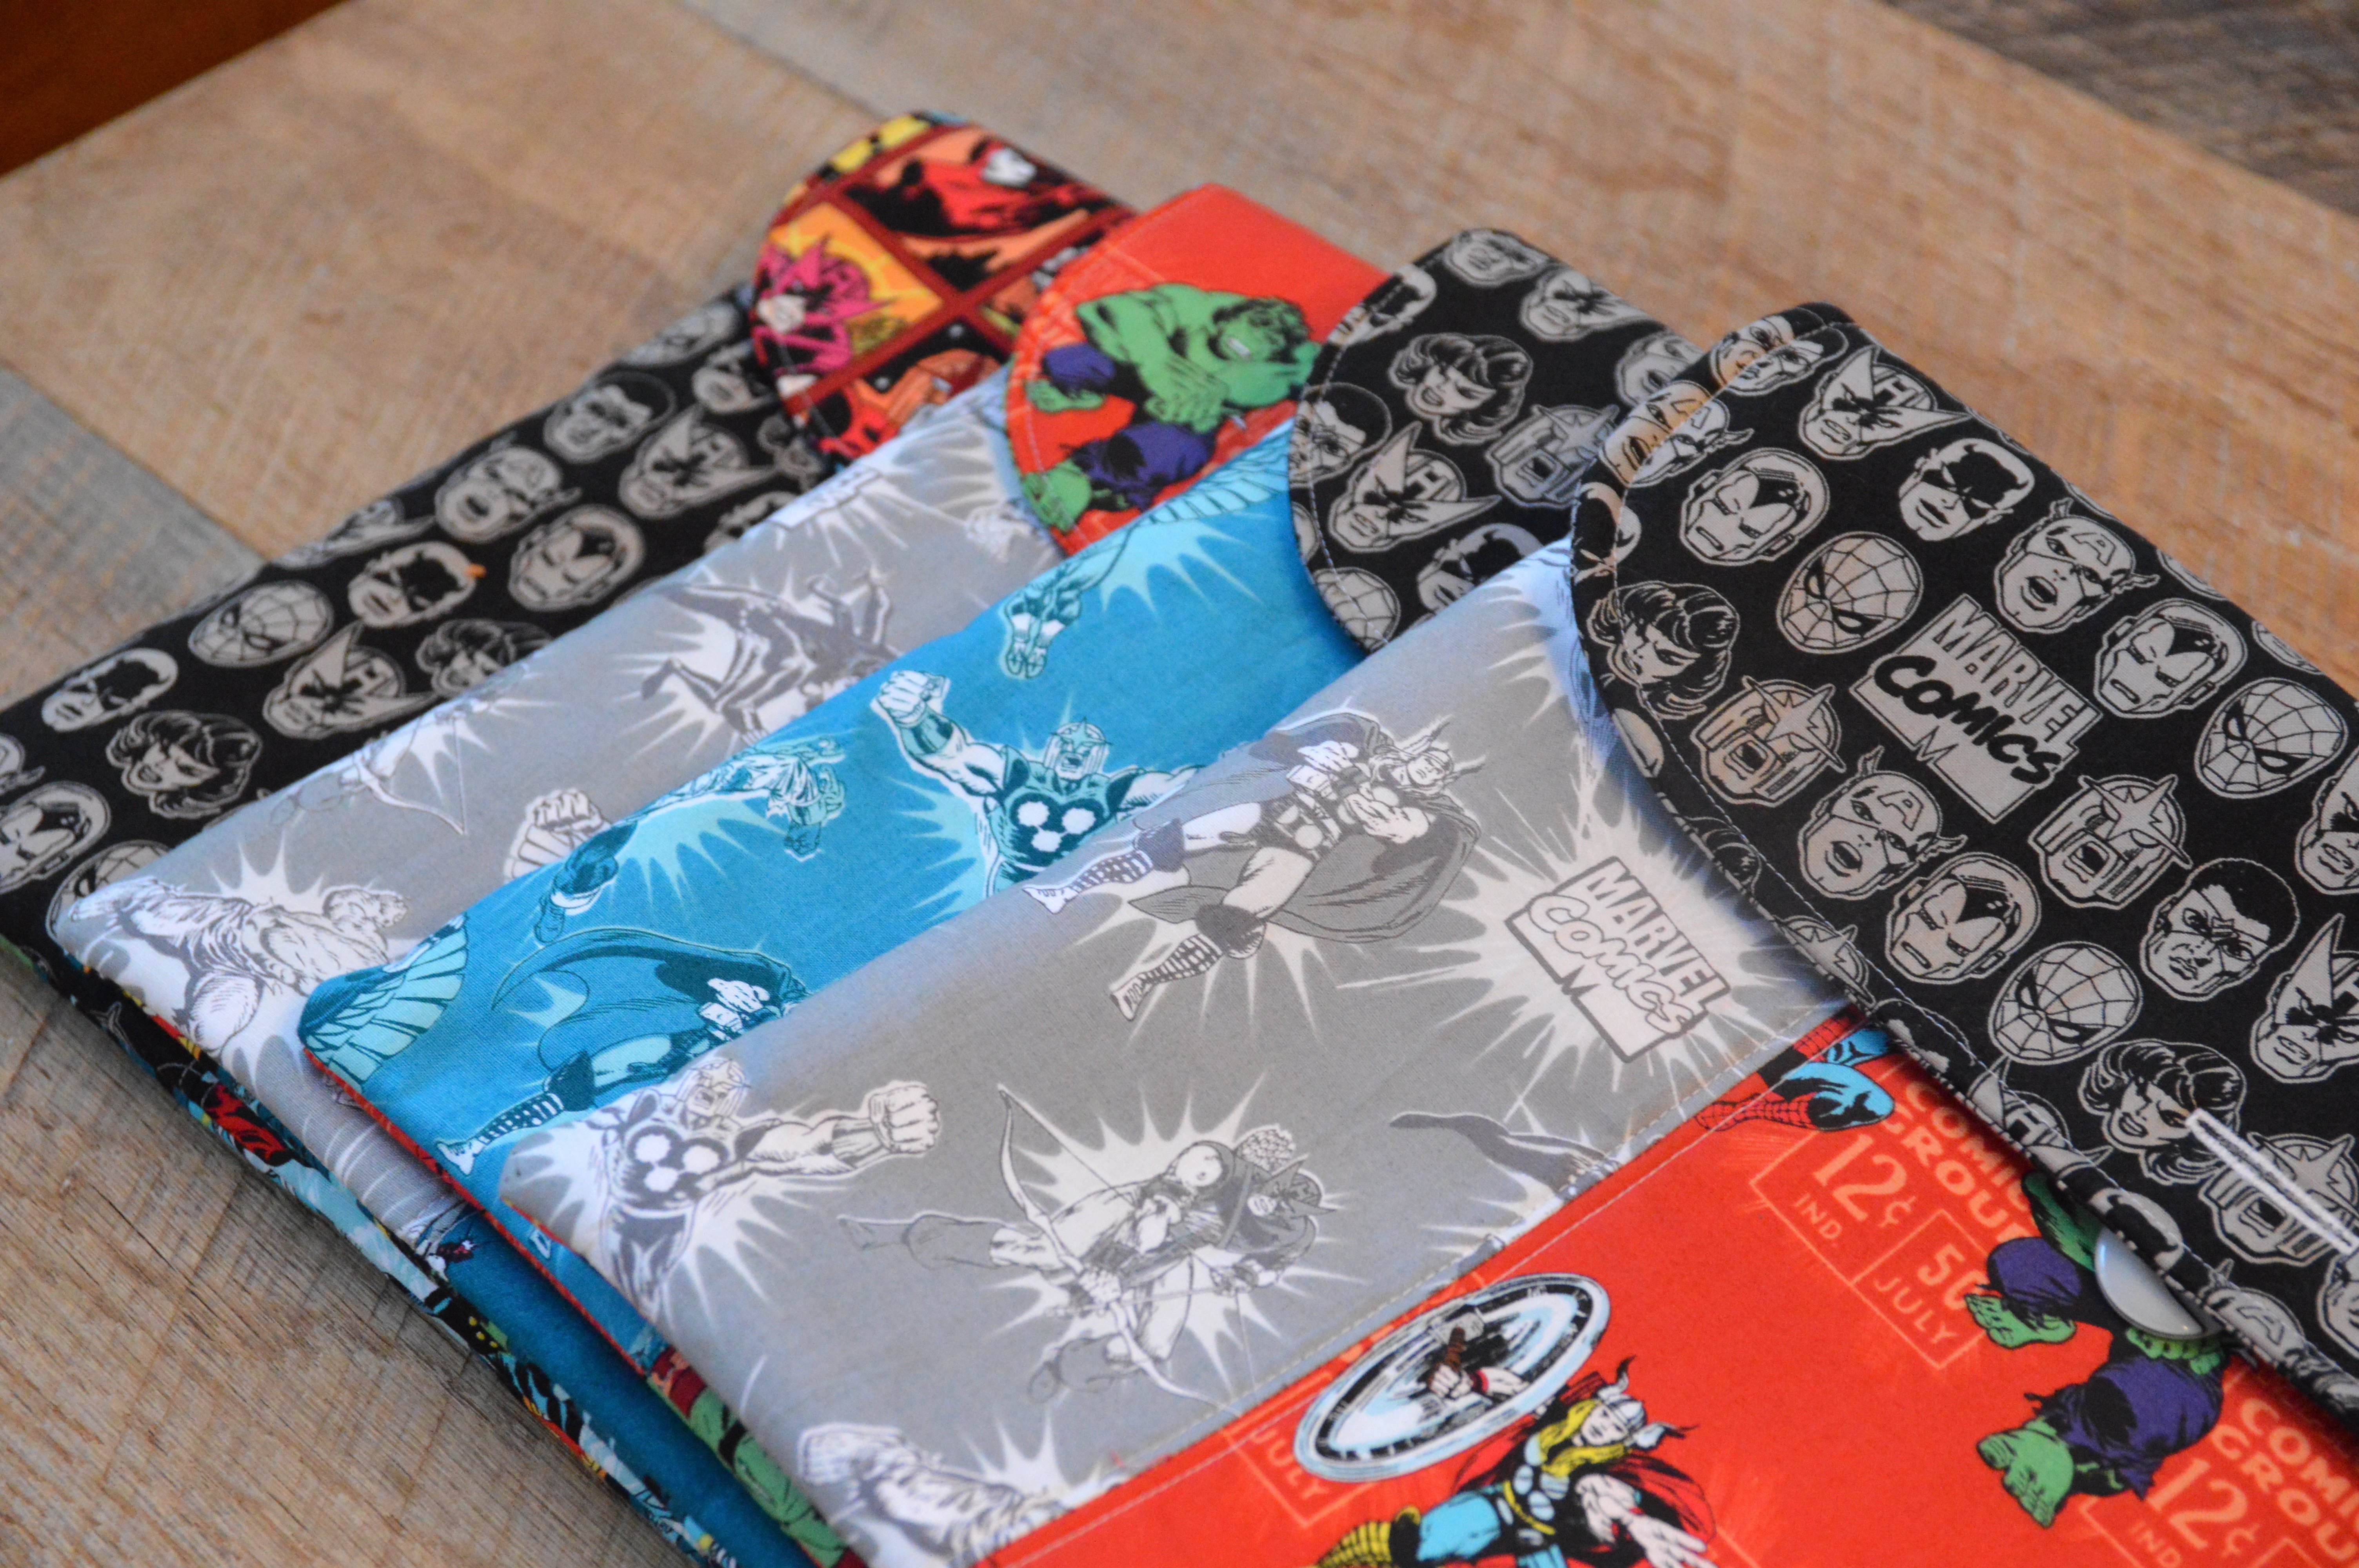
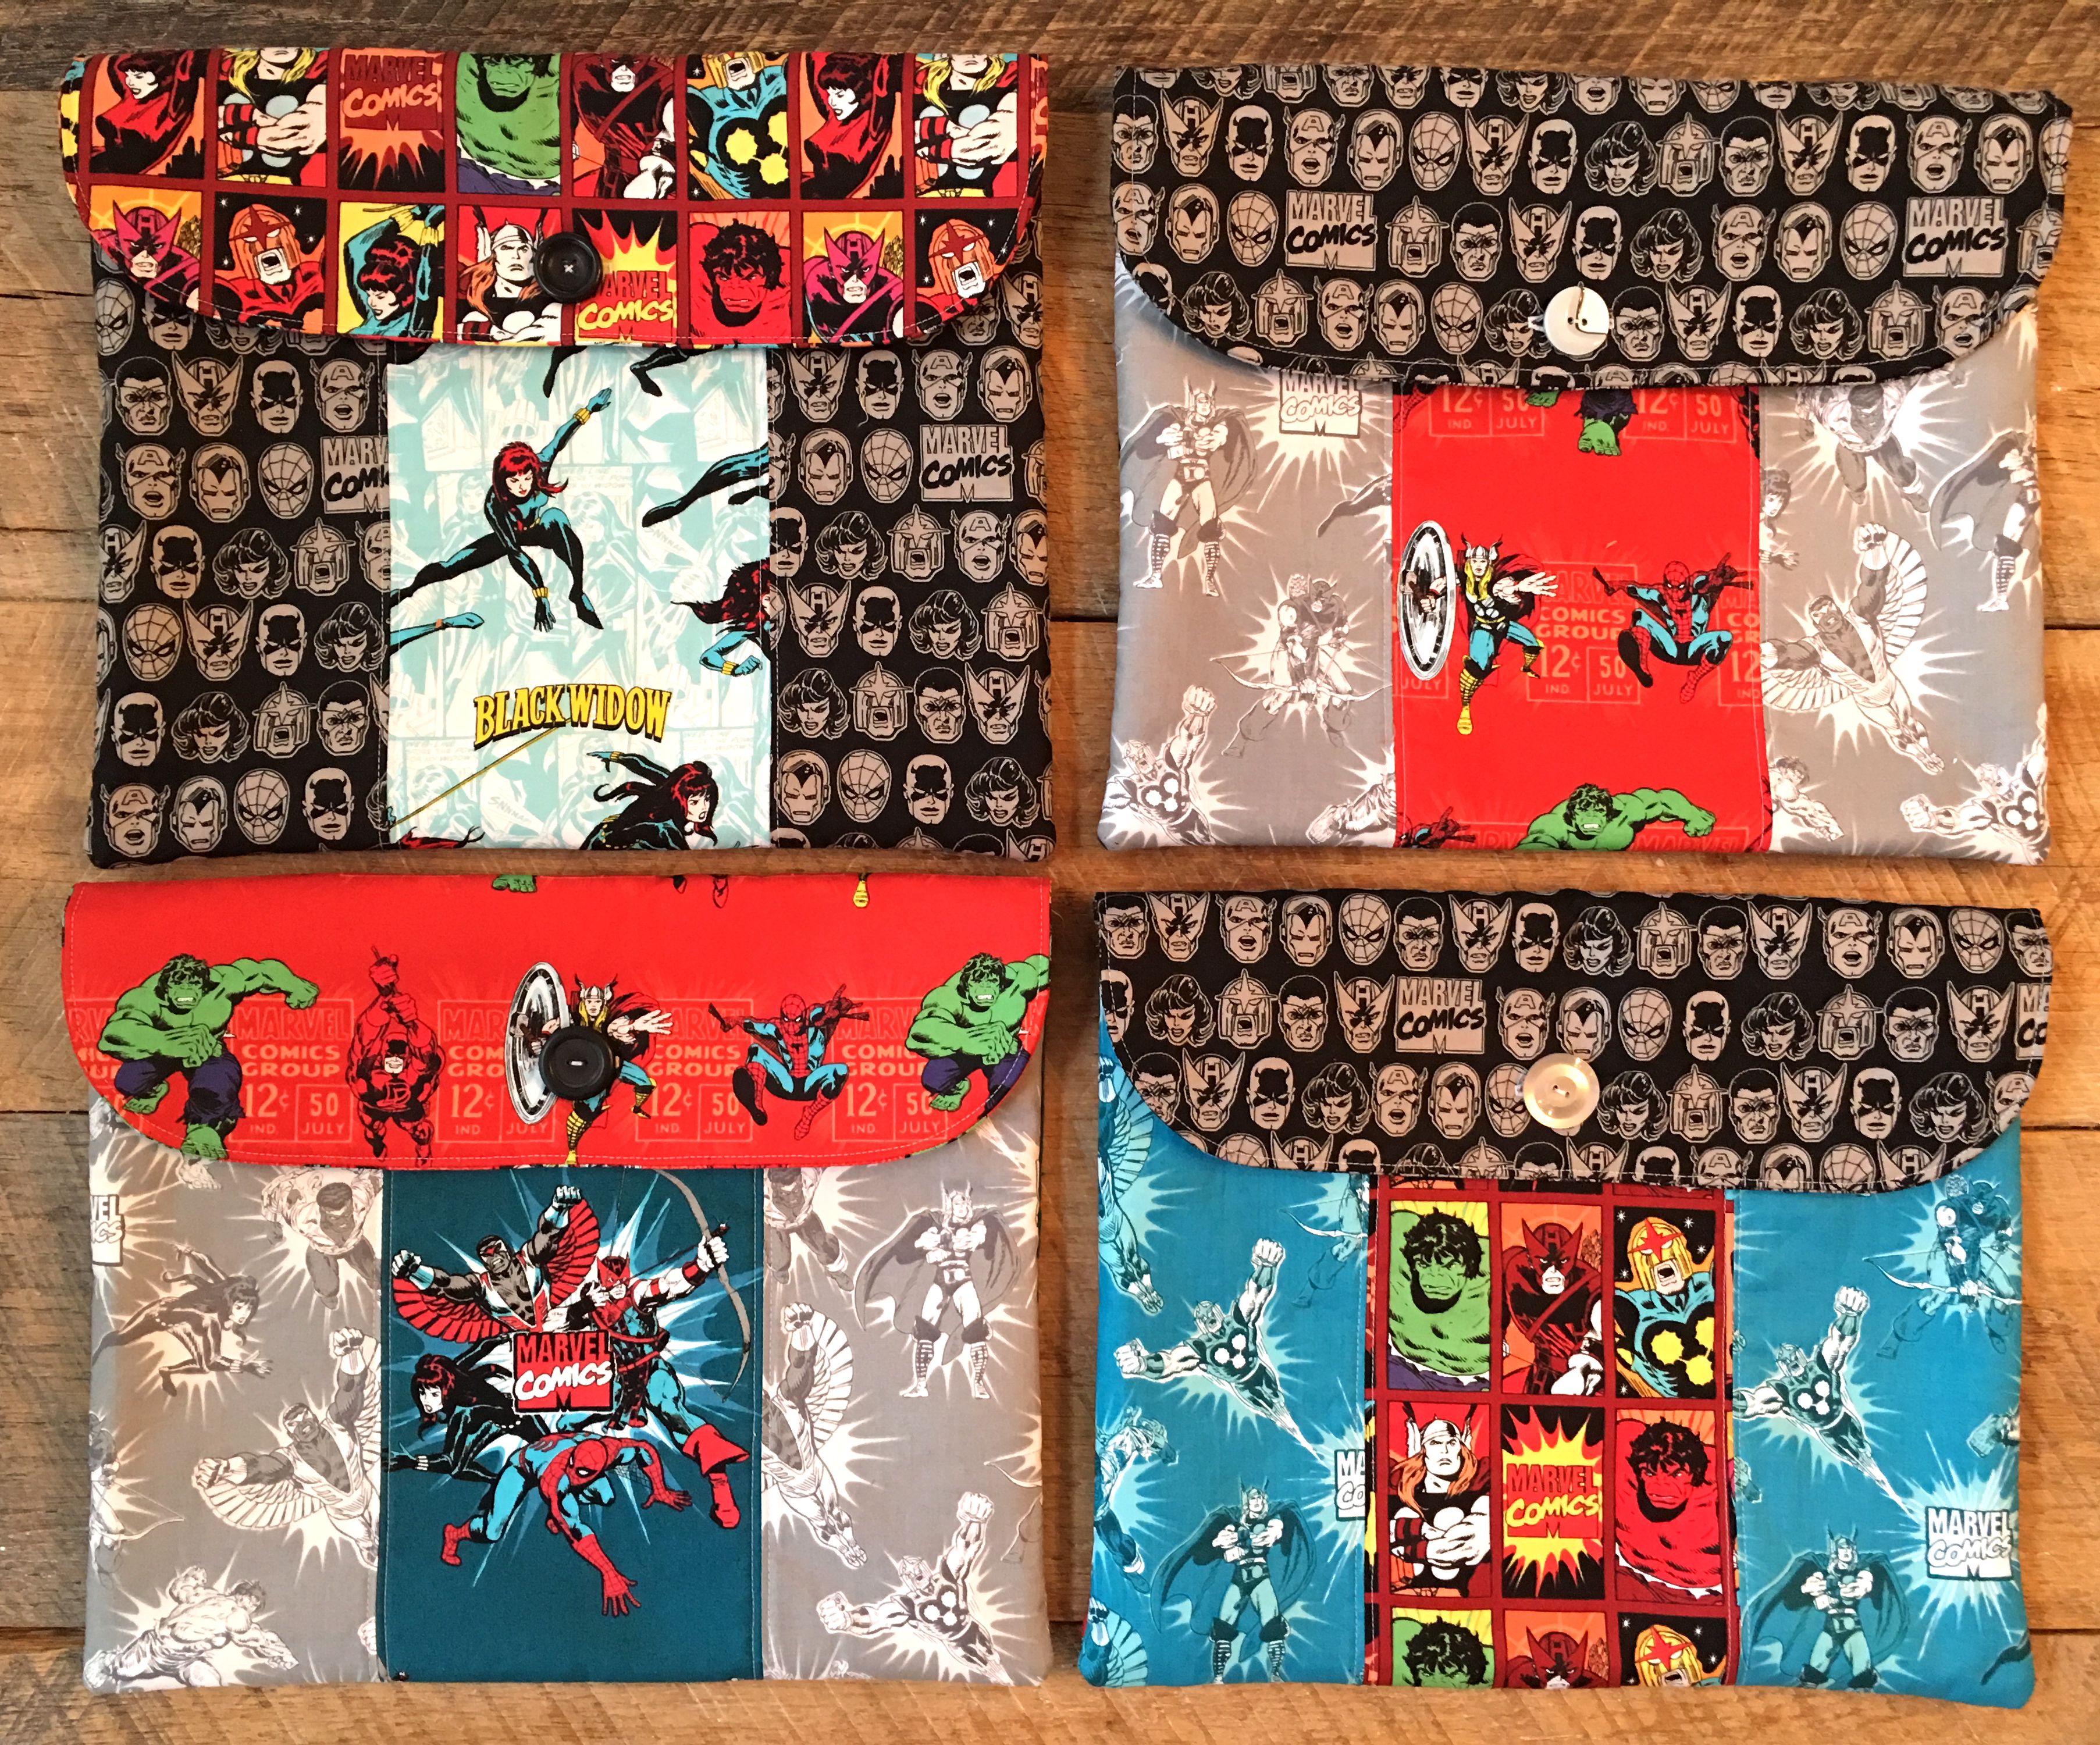
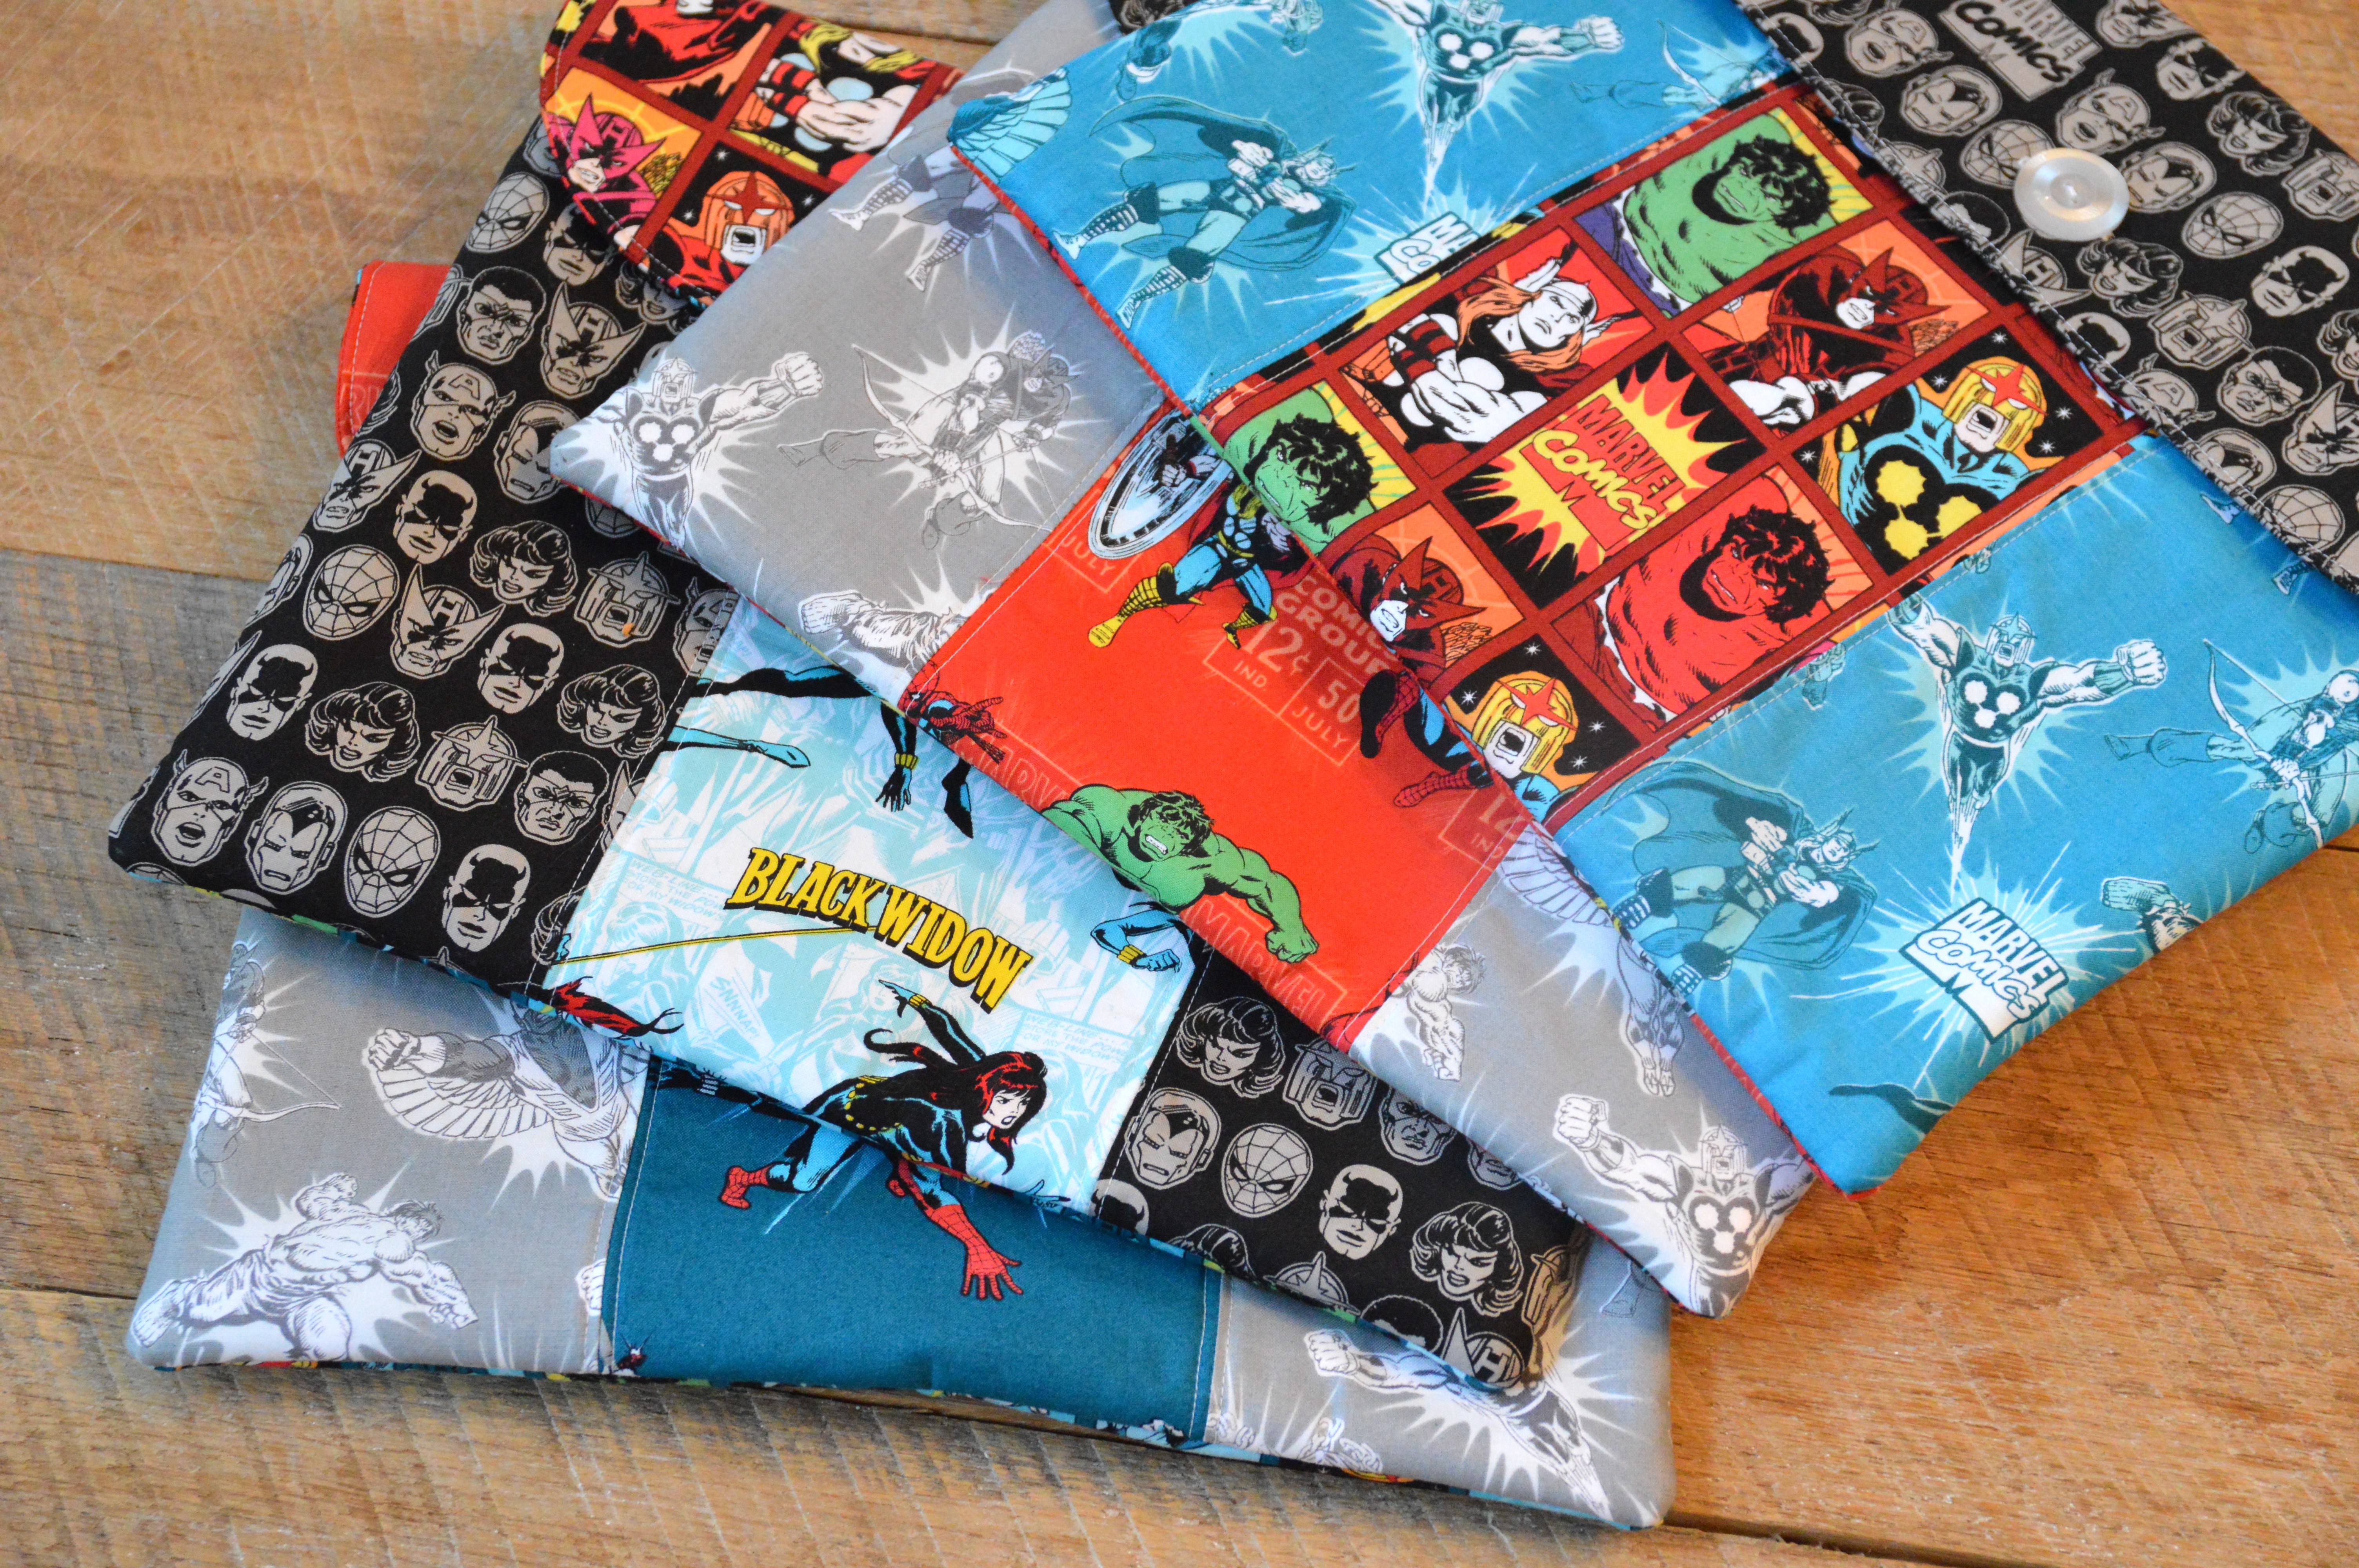
I made four Sketch Book Cases for my daughter’s artsy friends. The four of them sketch all day and nerd out at lunch with their sketchbooks. They were thrilled to receive them!!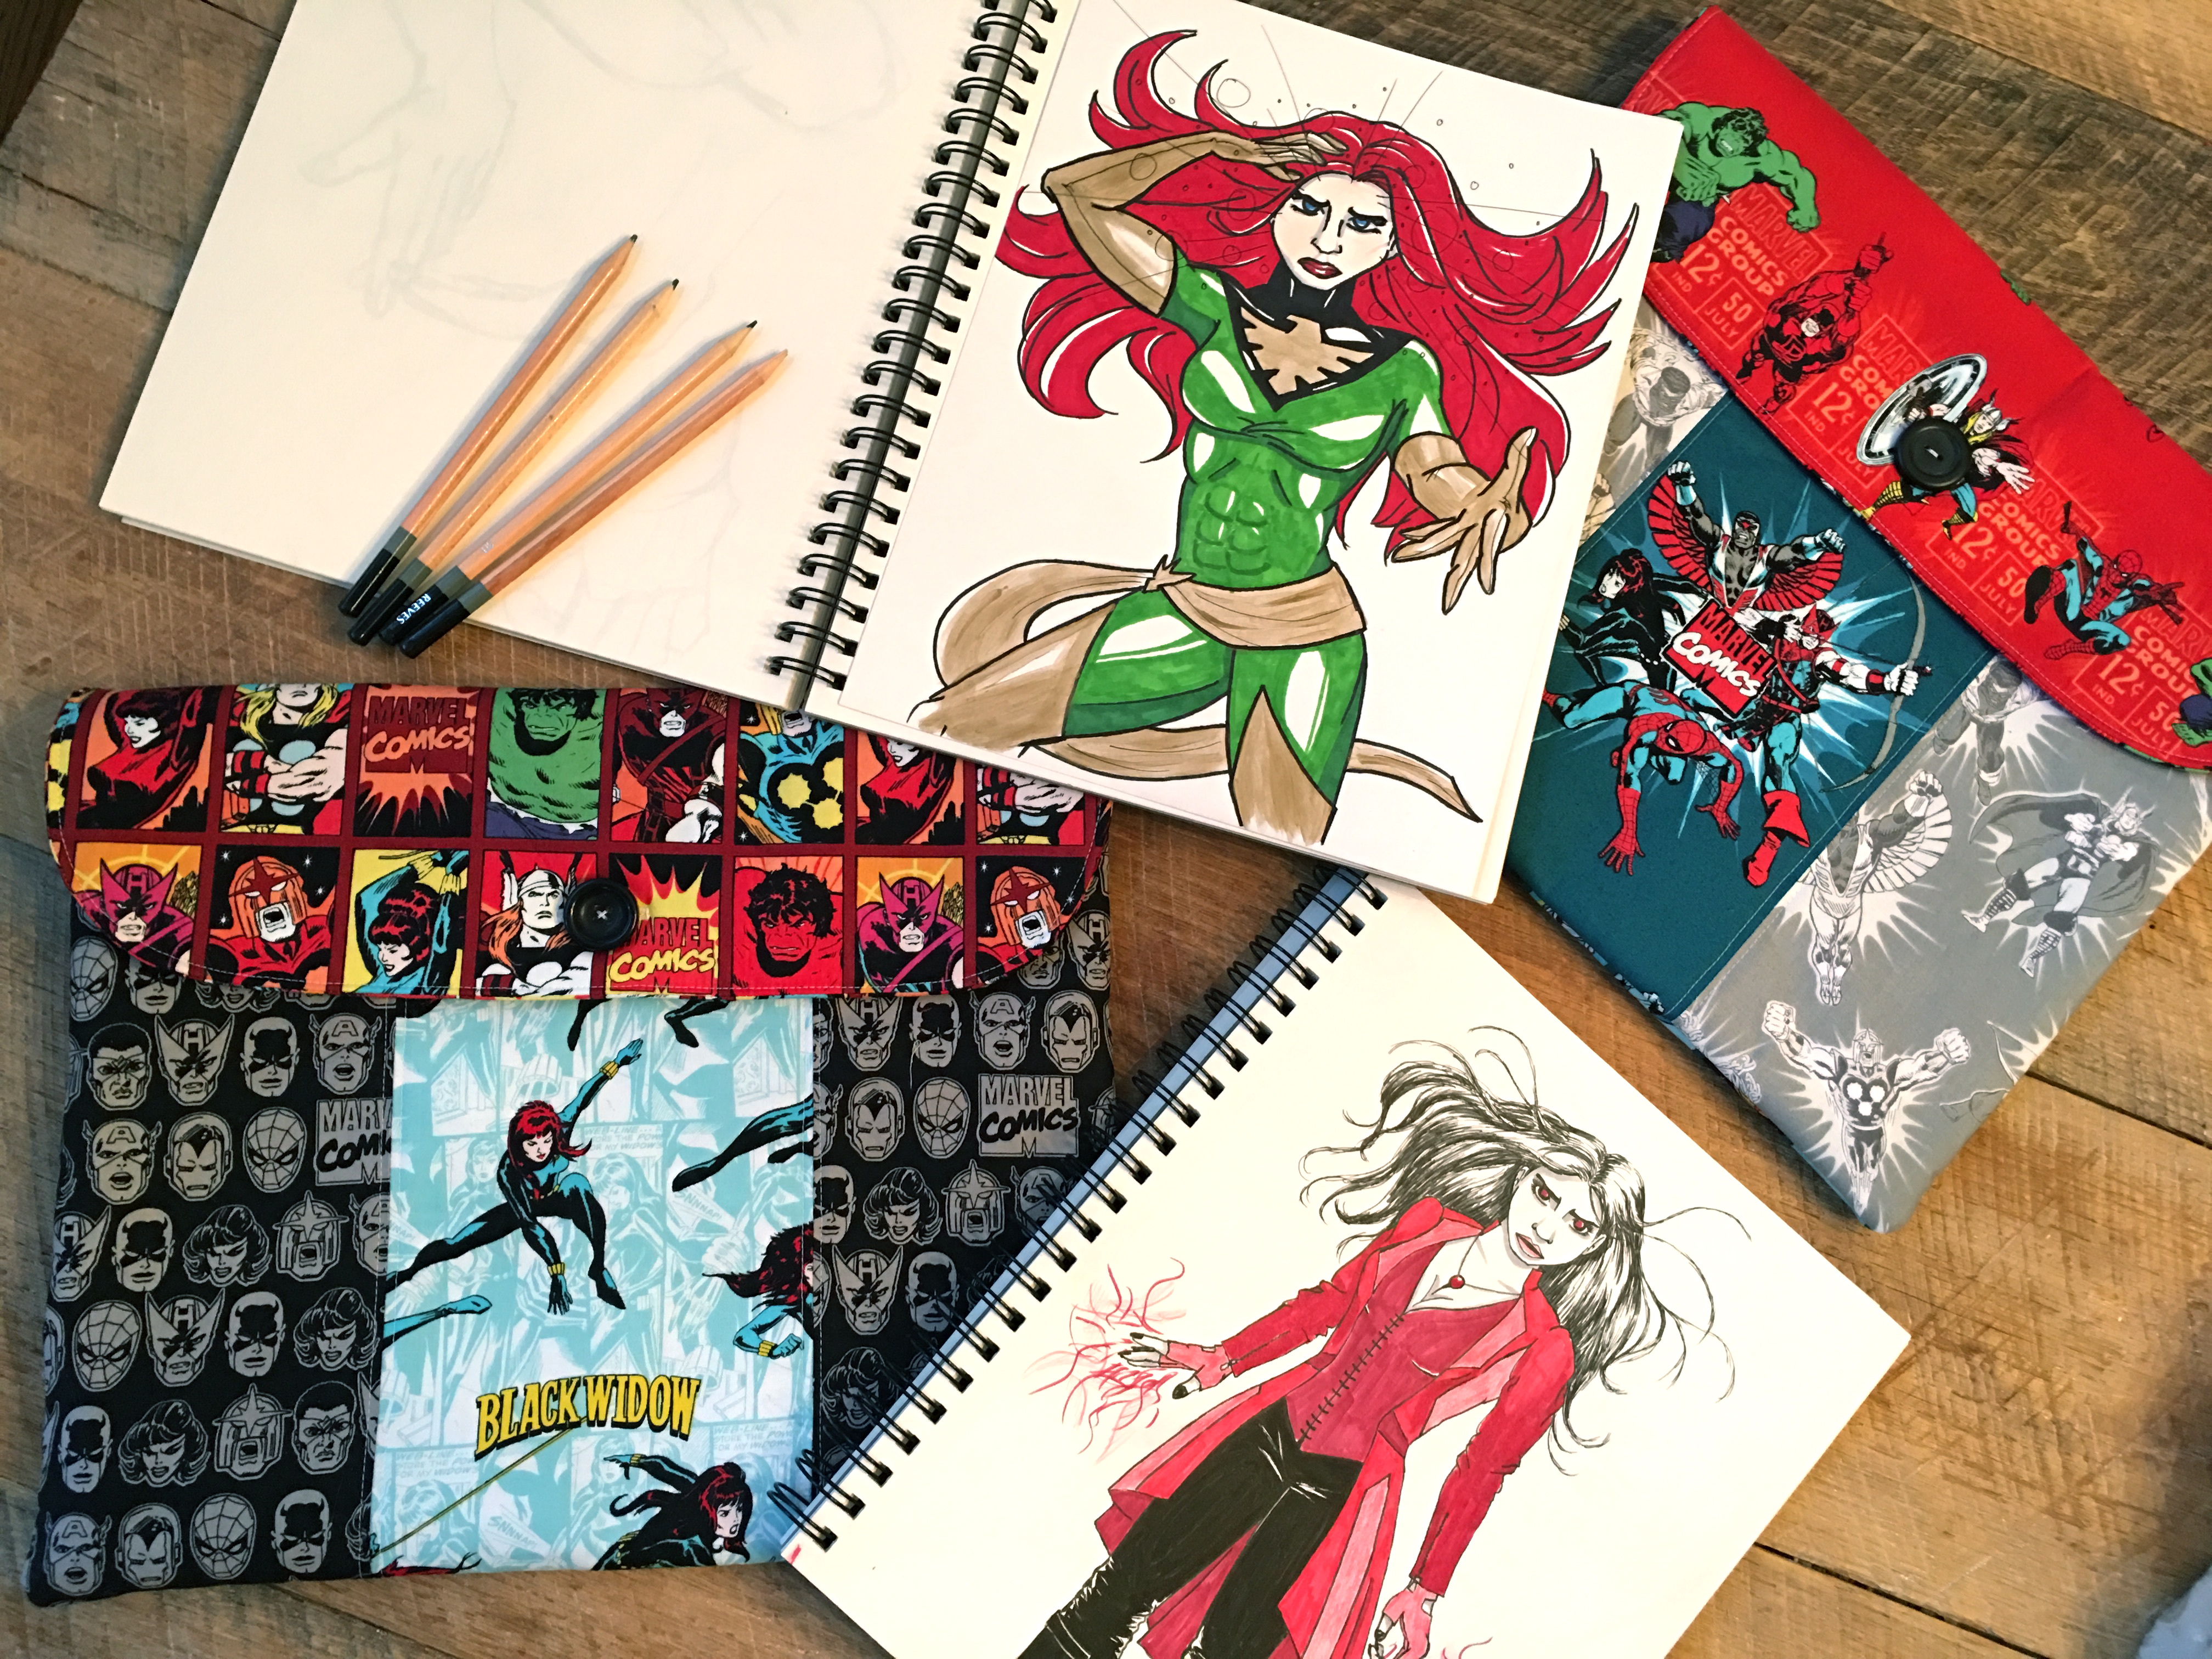
Let’s get started!
Supplies
1/2 yard lining fabric
fat quarter backing
fat quarter flap fabric
fat quarter front sides
fat quarter front center
1 yard Heat n Bond Fusible Fleece
Button
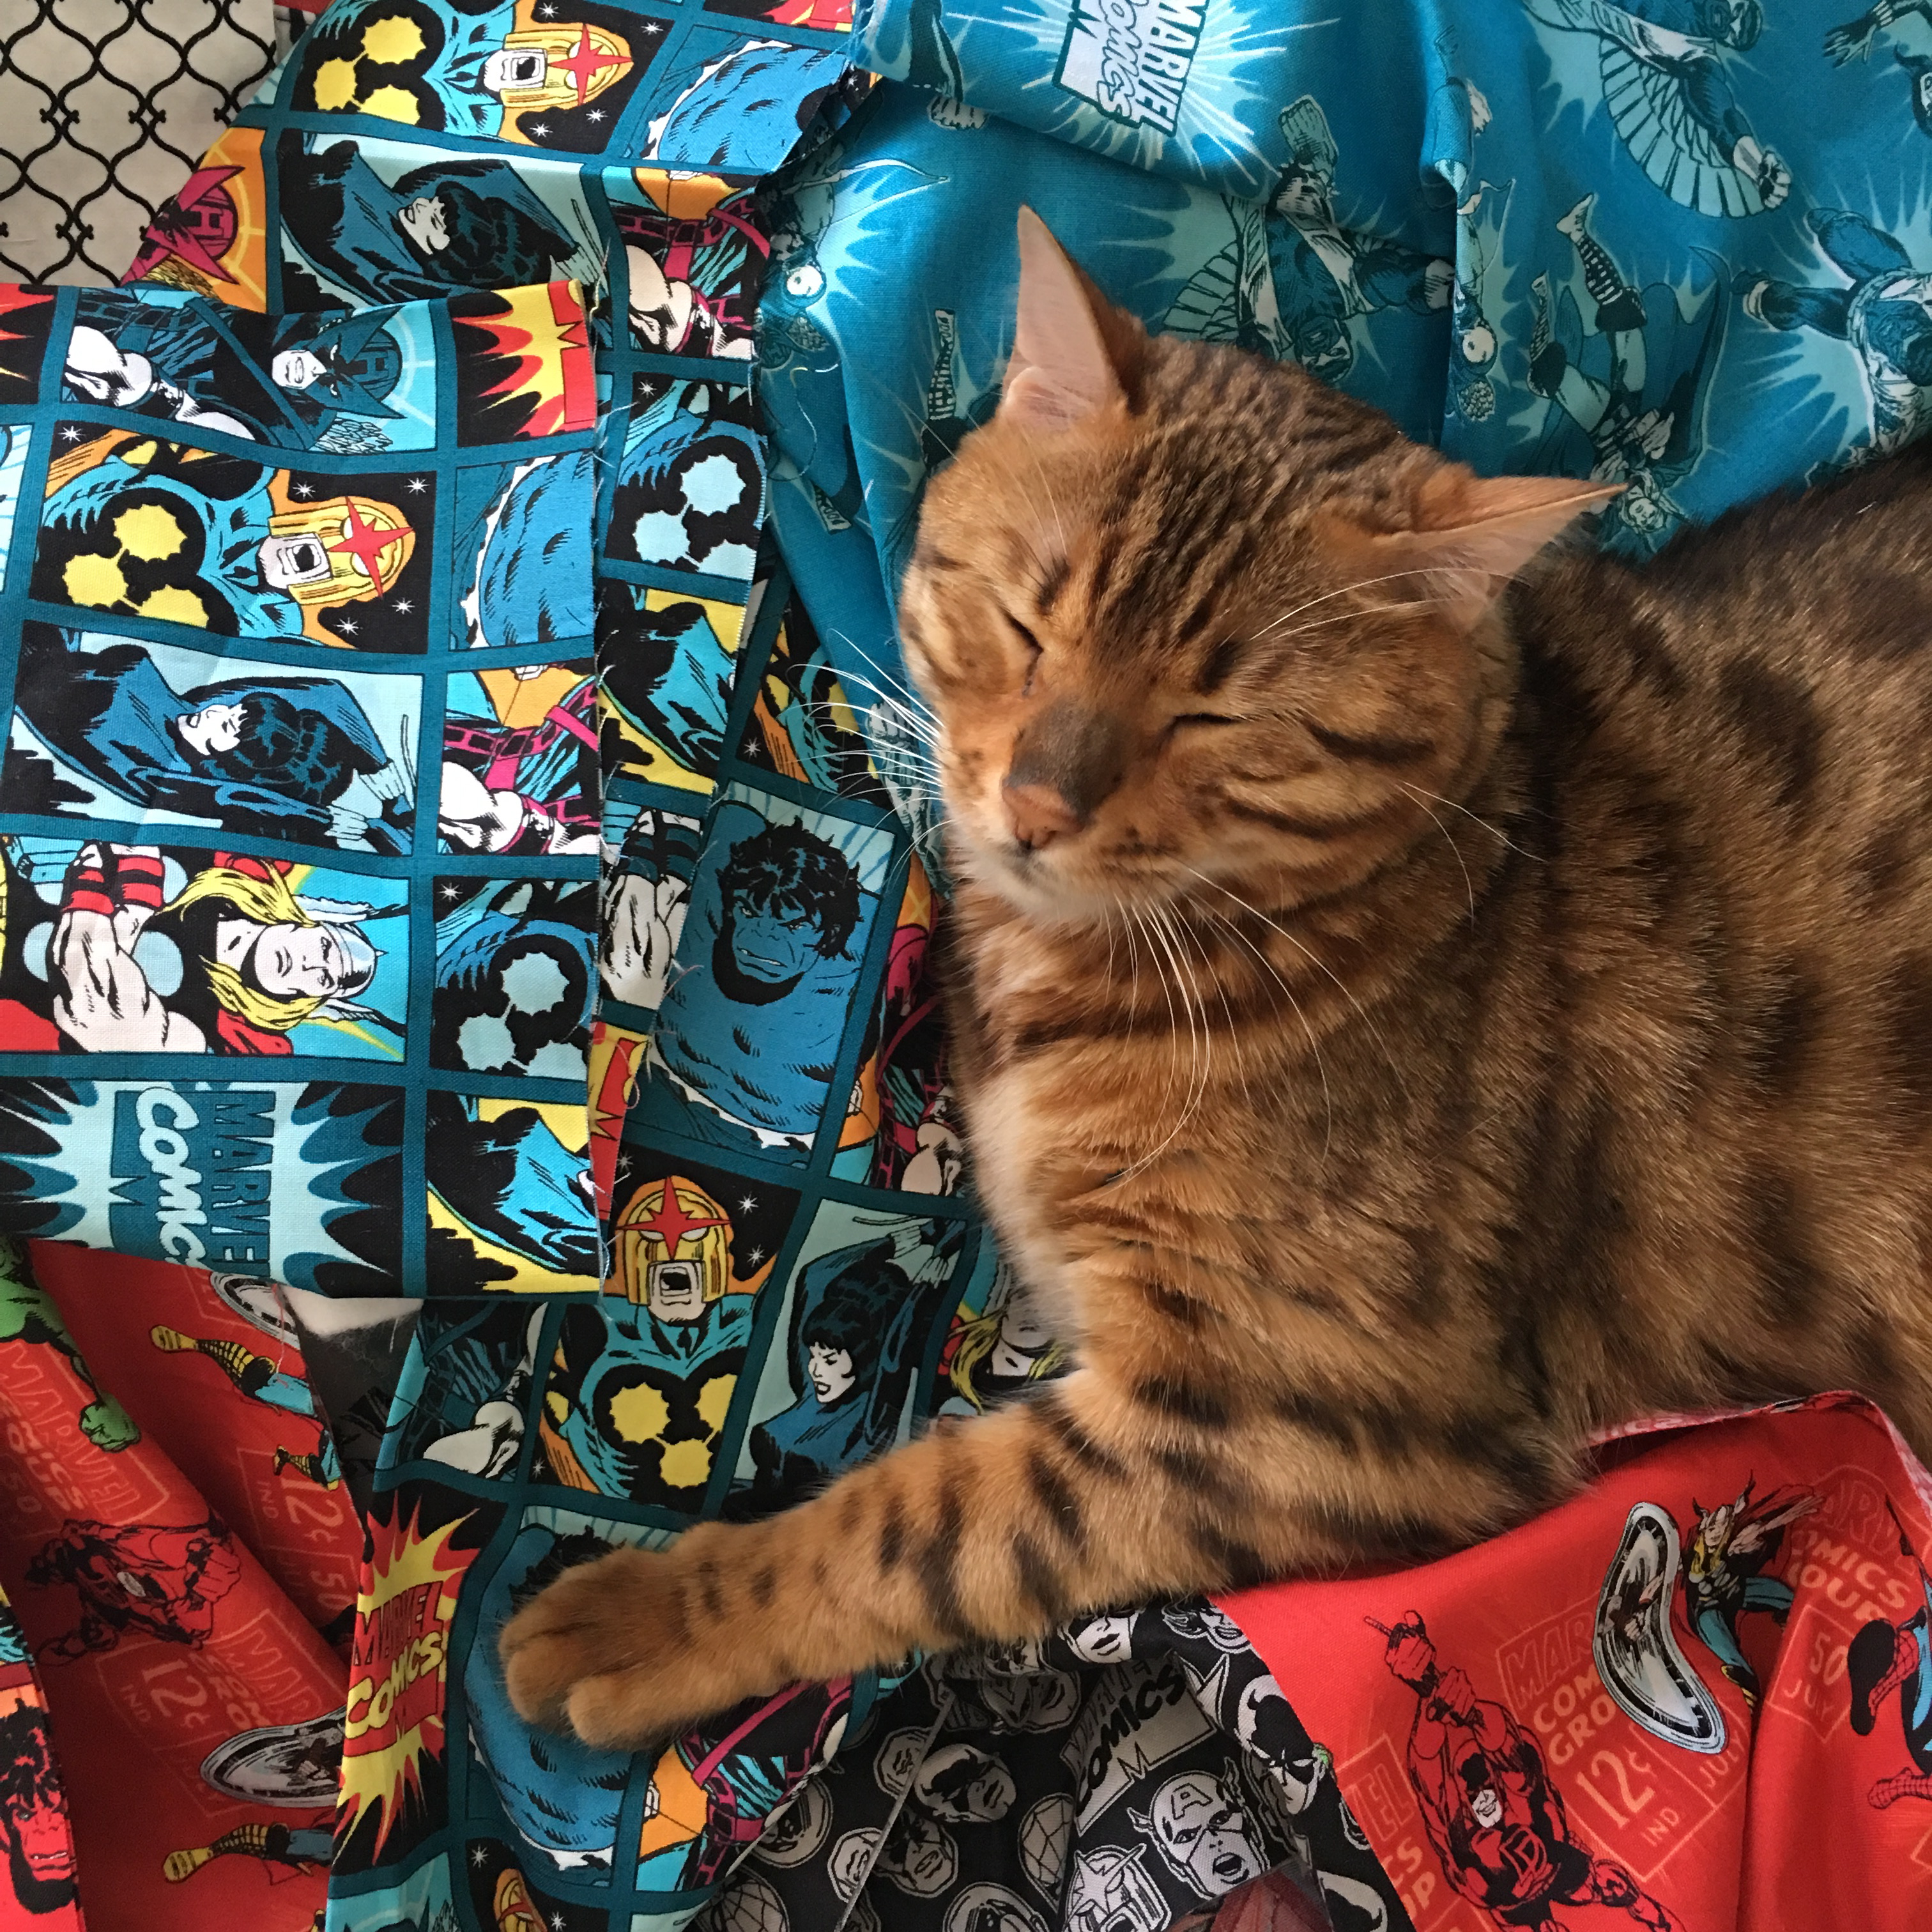
First have your cat sleep on all the fabric so it needs ironing when you are ready 🙂
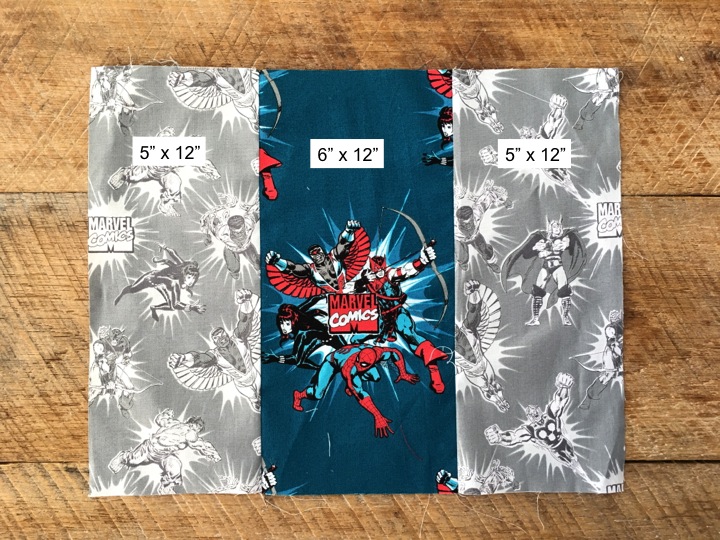
Cut the front side pieces (2) 5″ x 12″ and center 6″ x 12″.
Sew together as pictured above with 1/4″ seams and press.
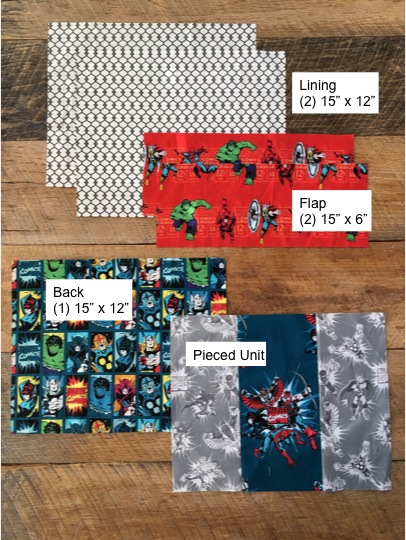
Cut the back 15″ x 12″
Cut the flap (2) 15″ x 6″
Cut the lining (2) 15″ x 12″
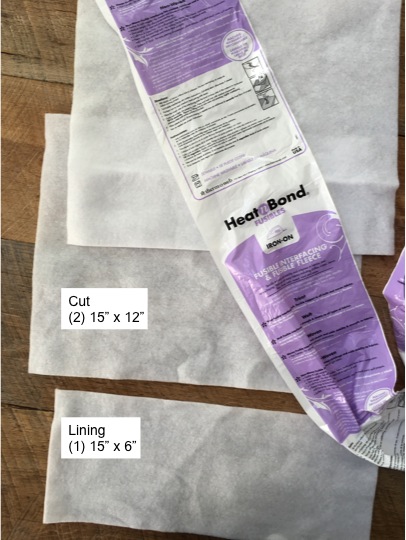
Cut the Fusible Fleece (2) 15″ x 12″ and (1) 15″ x 6″
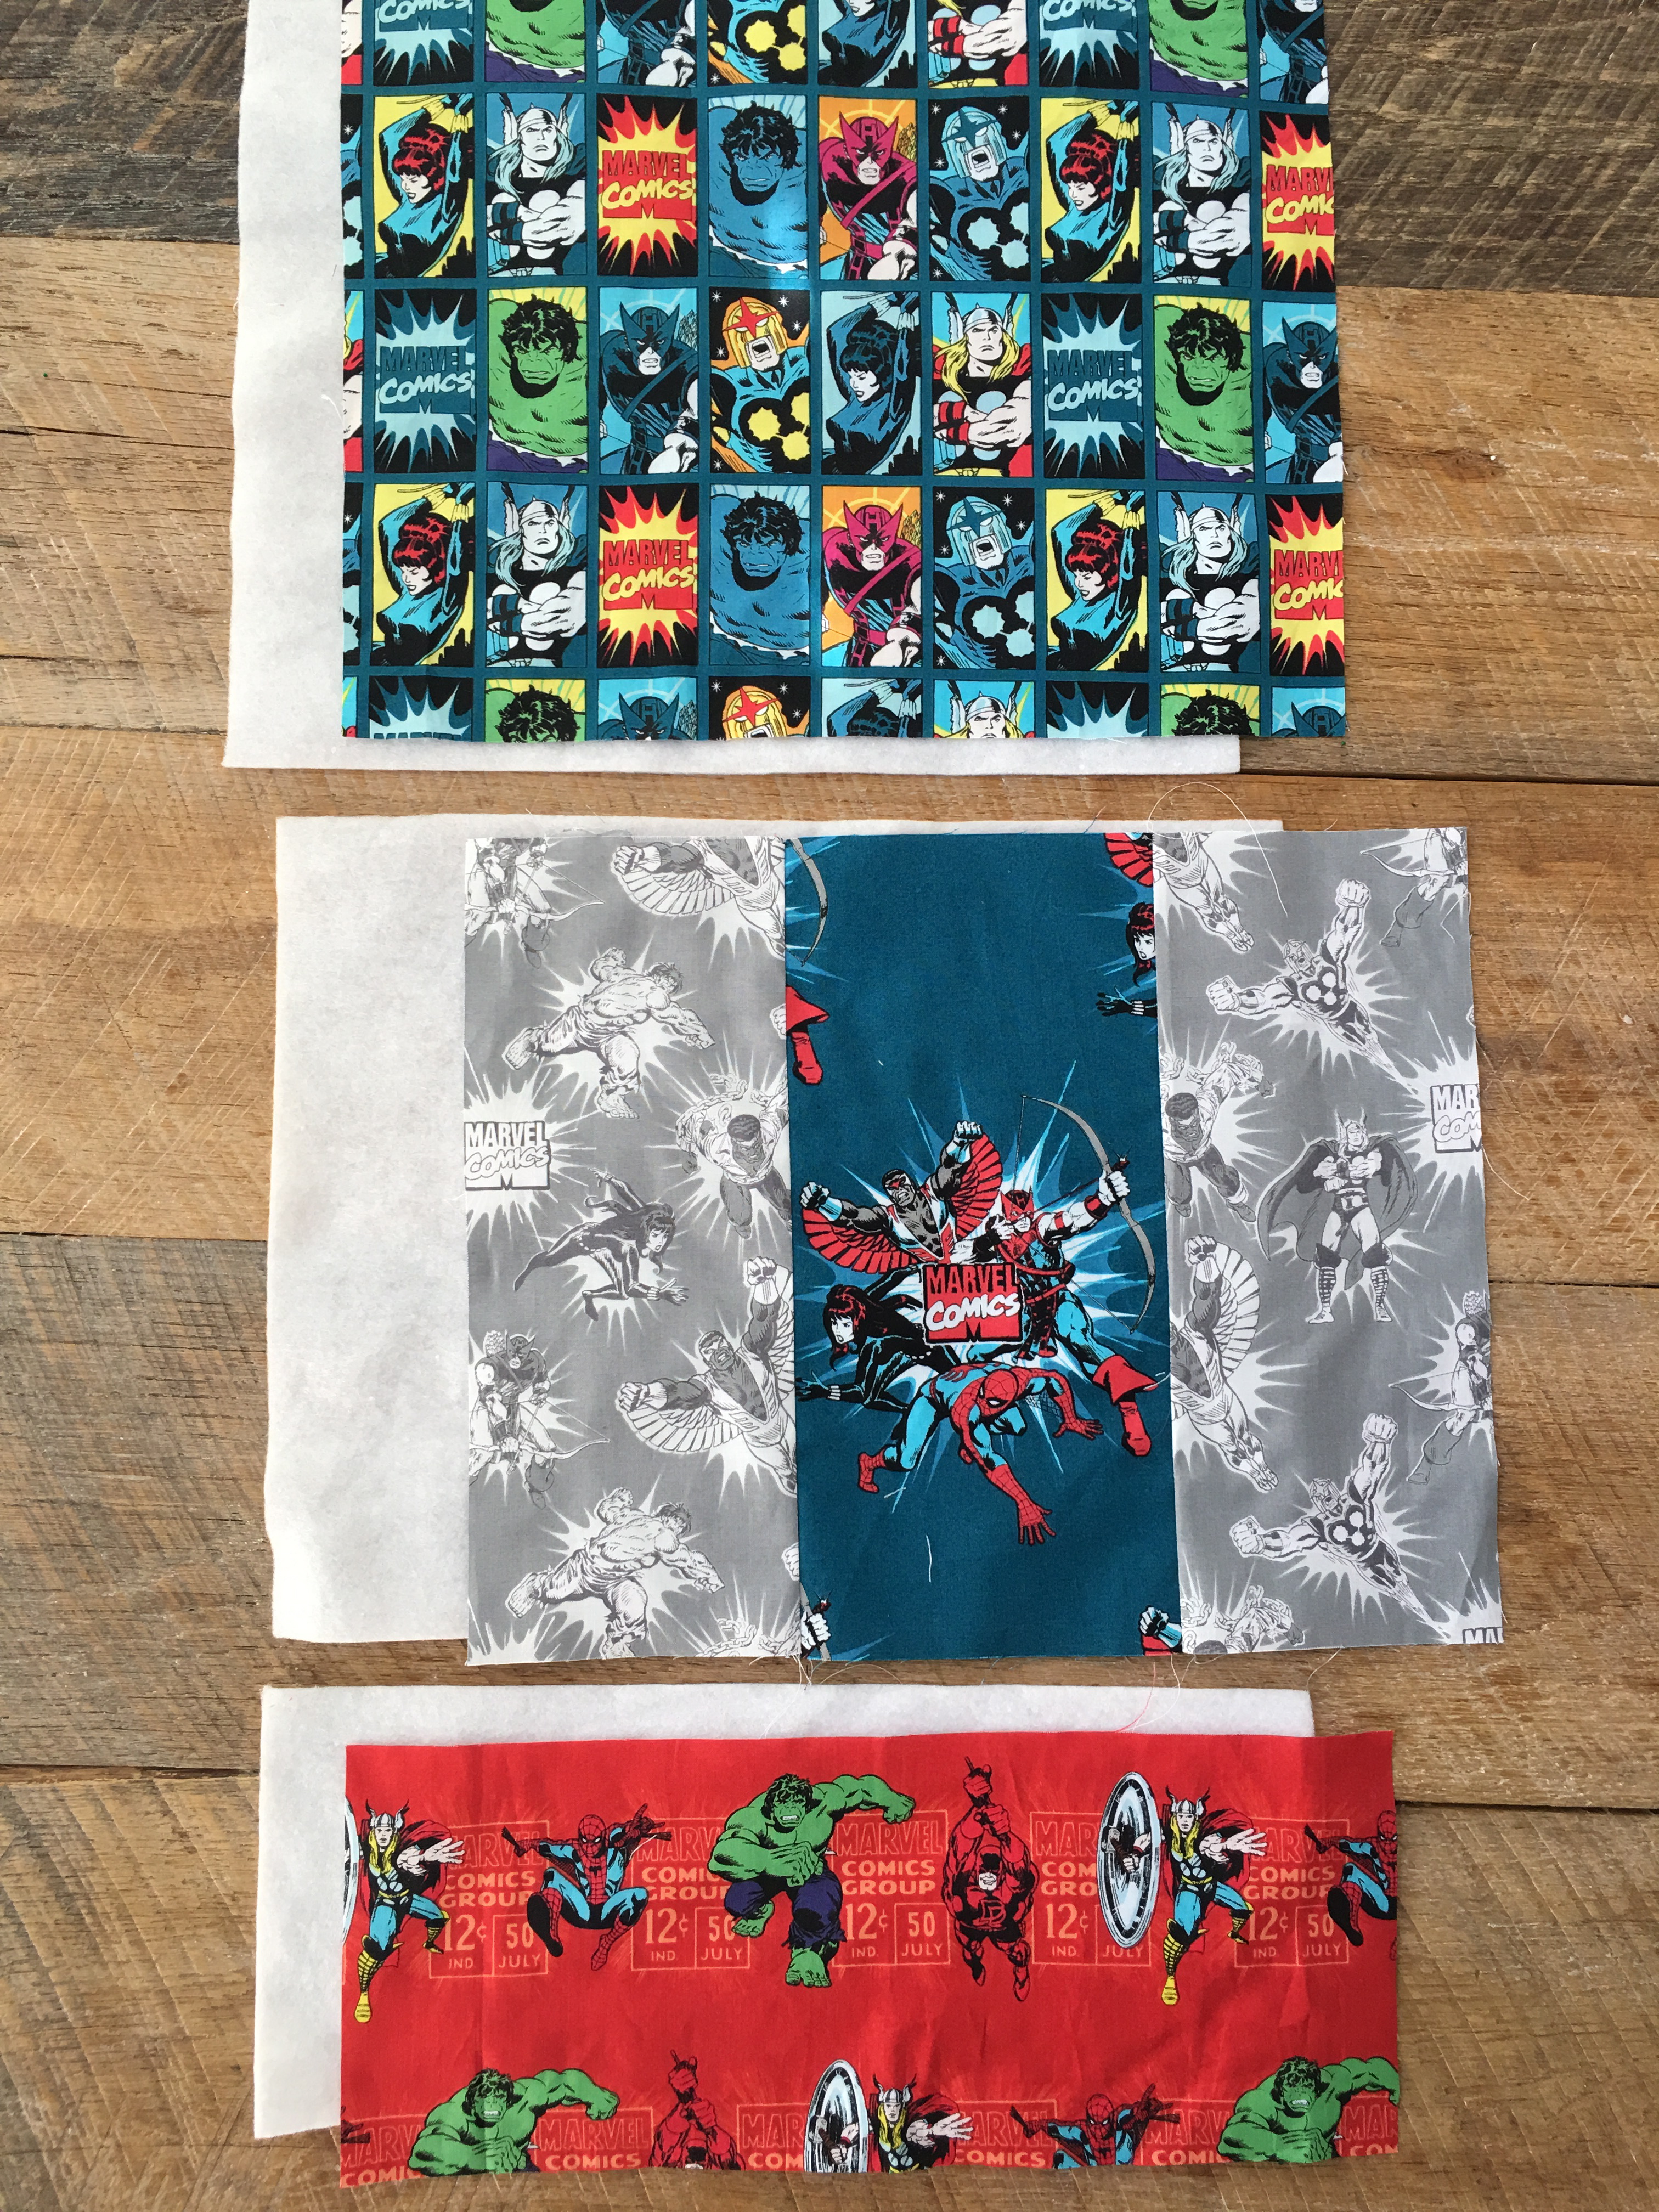
Match up the Marvel pieces with the fleece pieces and fuse to the wrong side of the fabric, according to manufacturers instructions. (only fuse one of the flap pieces)
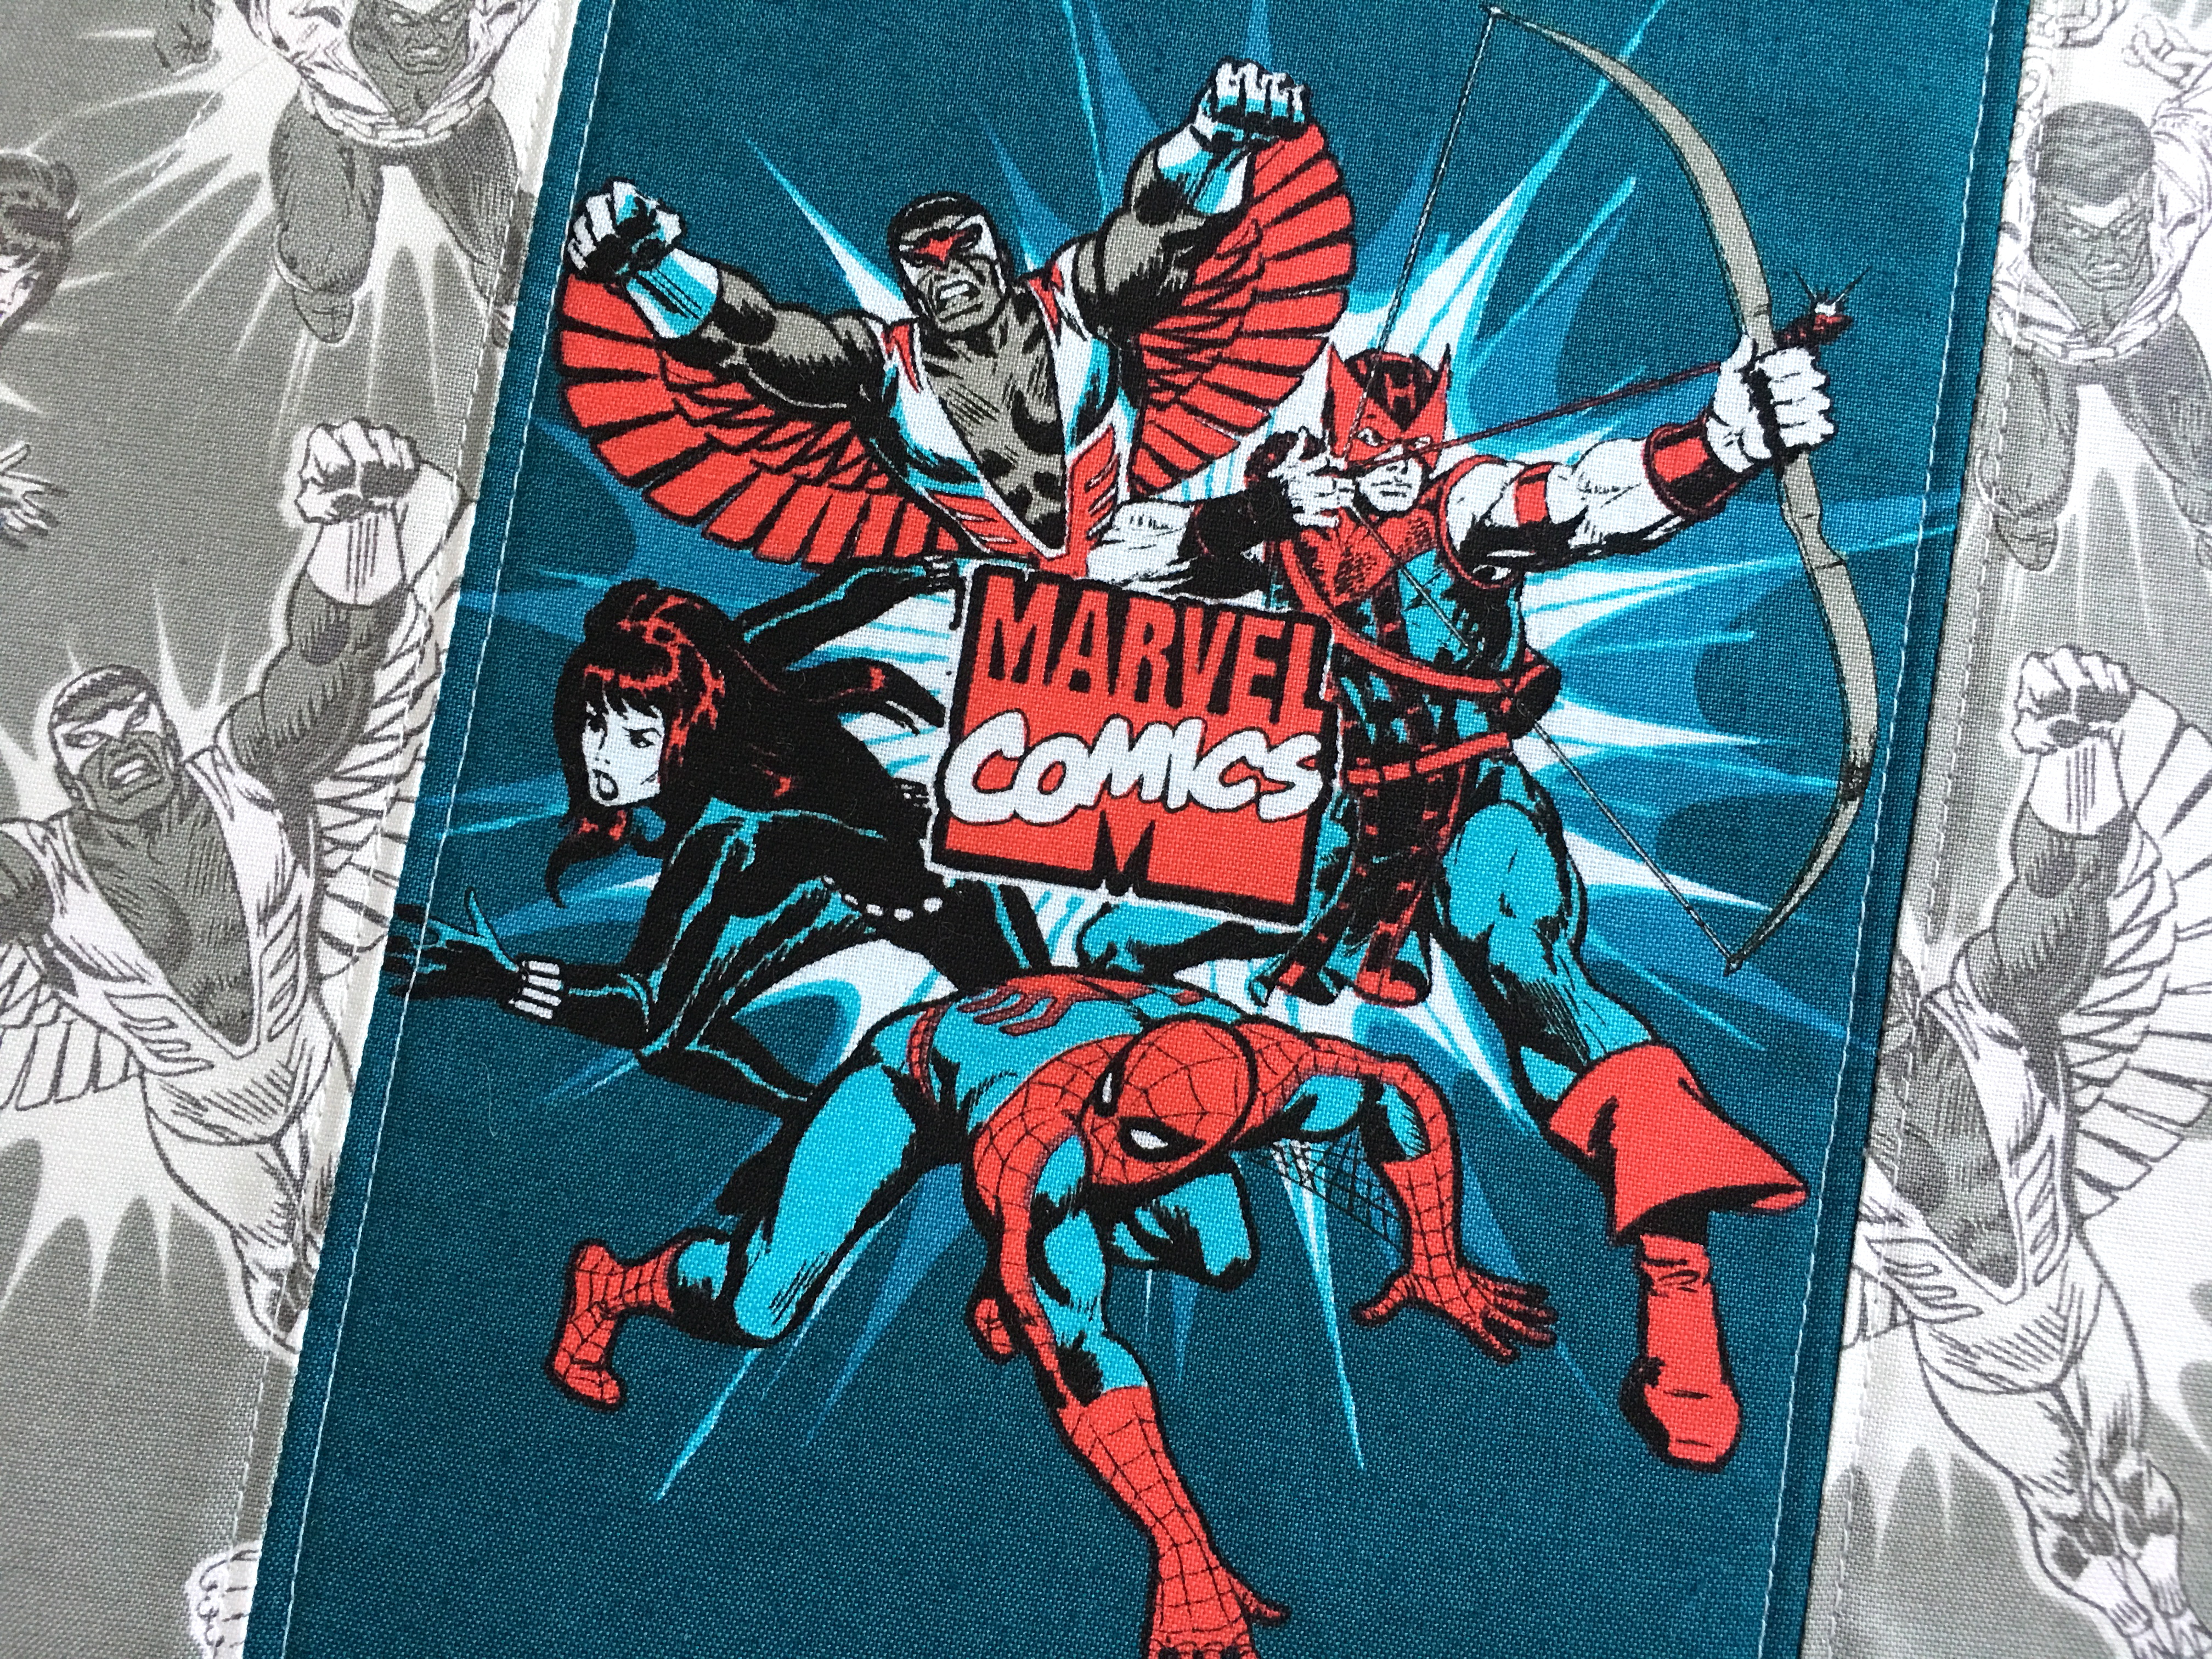
Sew accent stitching 1/8″ along both sides of the seams.
Prepare the flap:
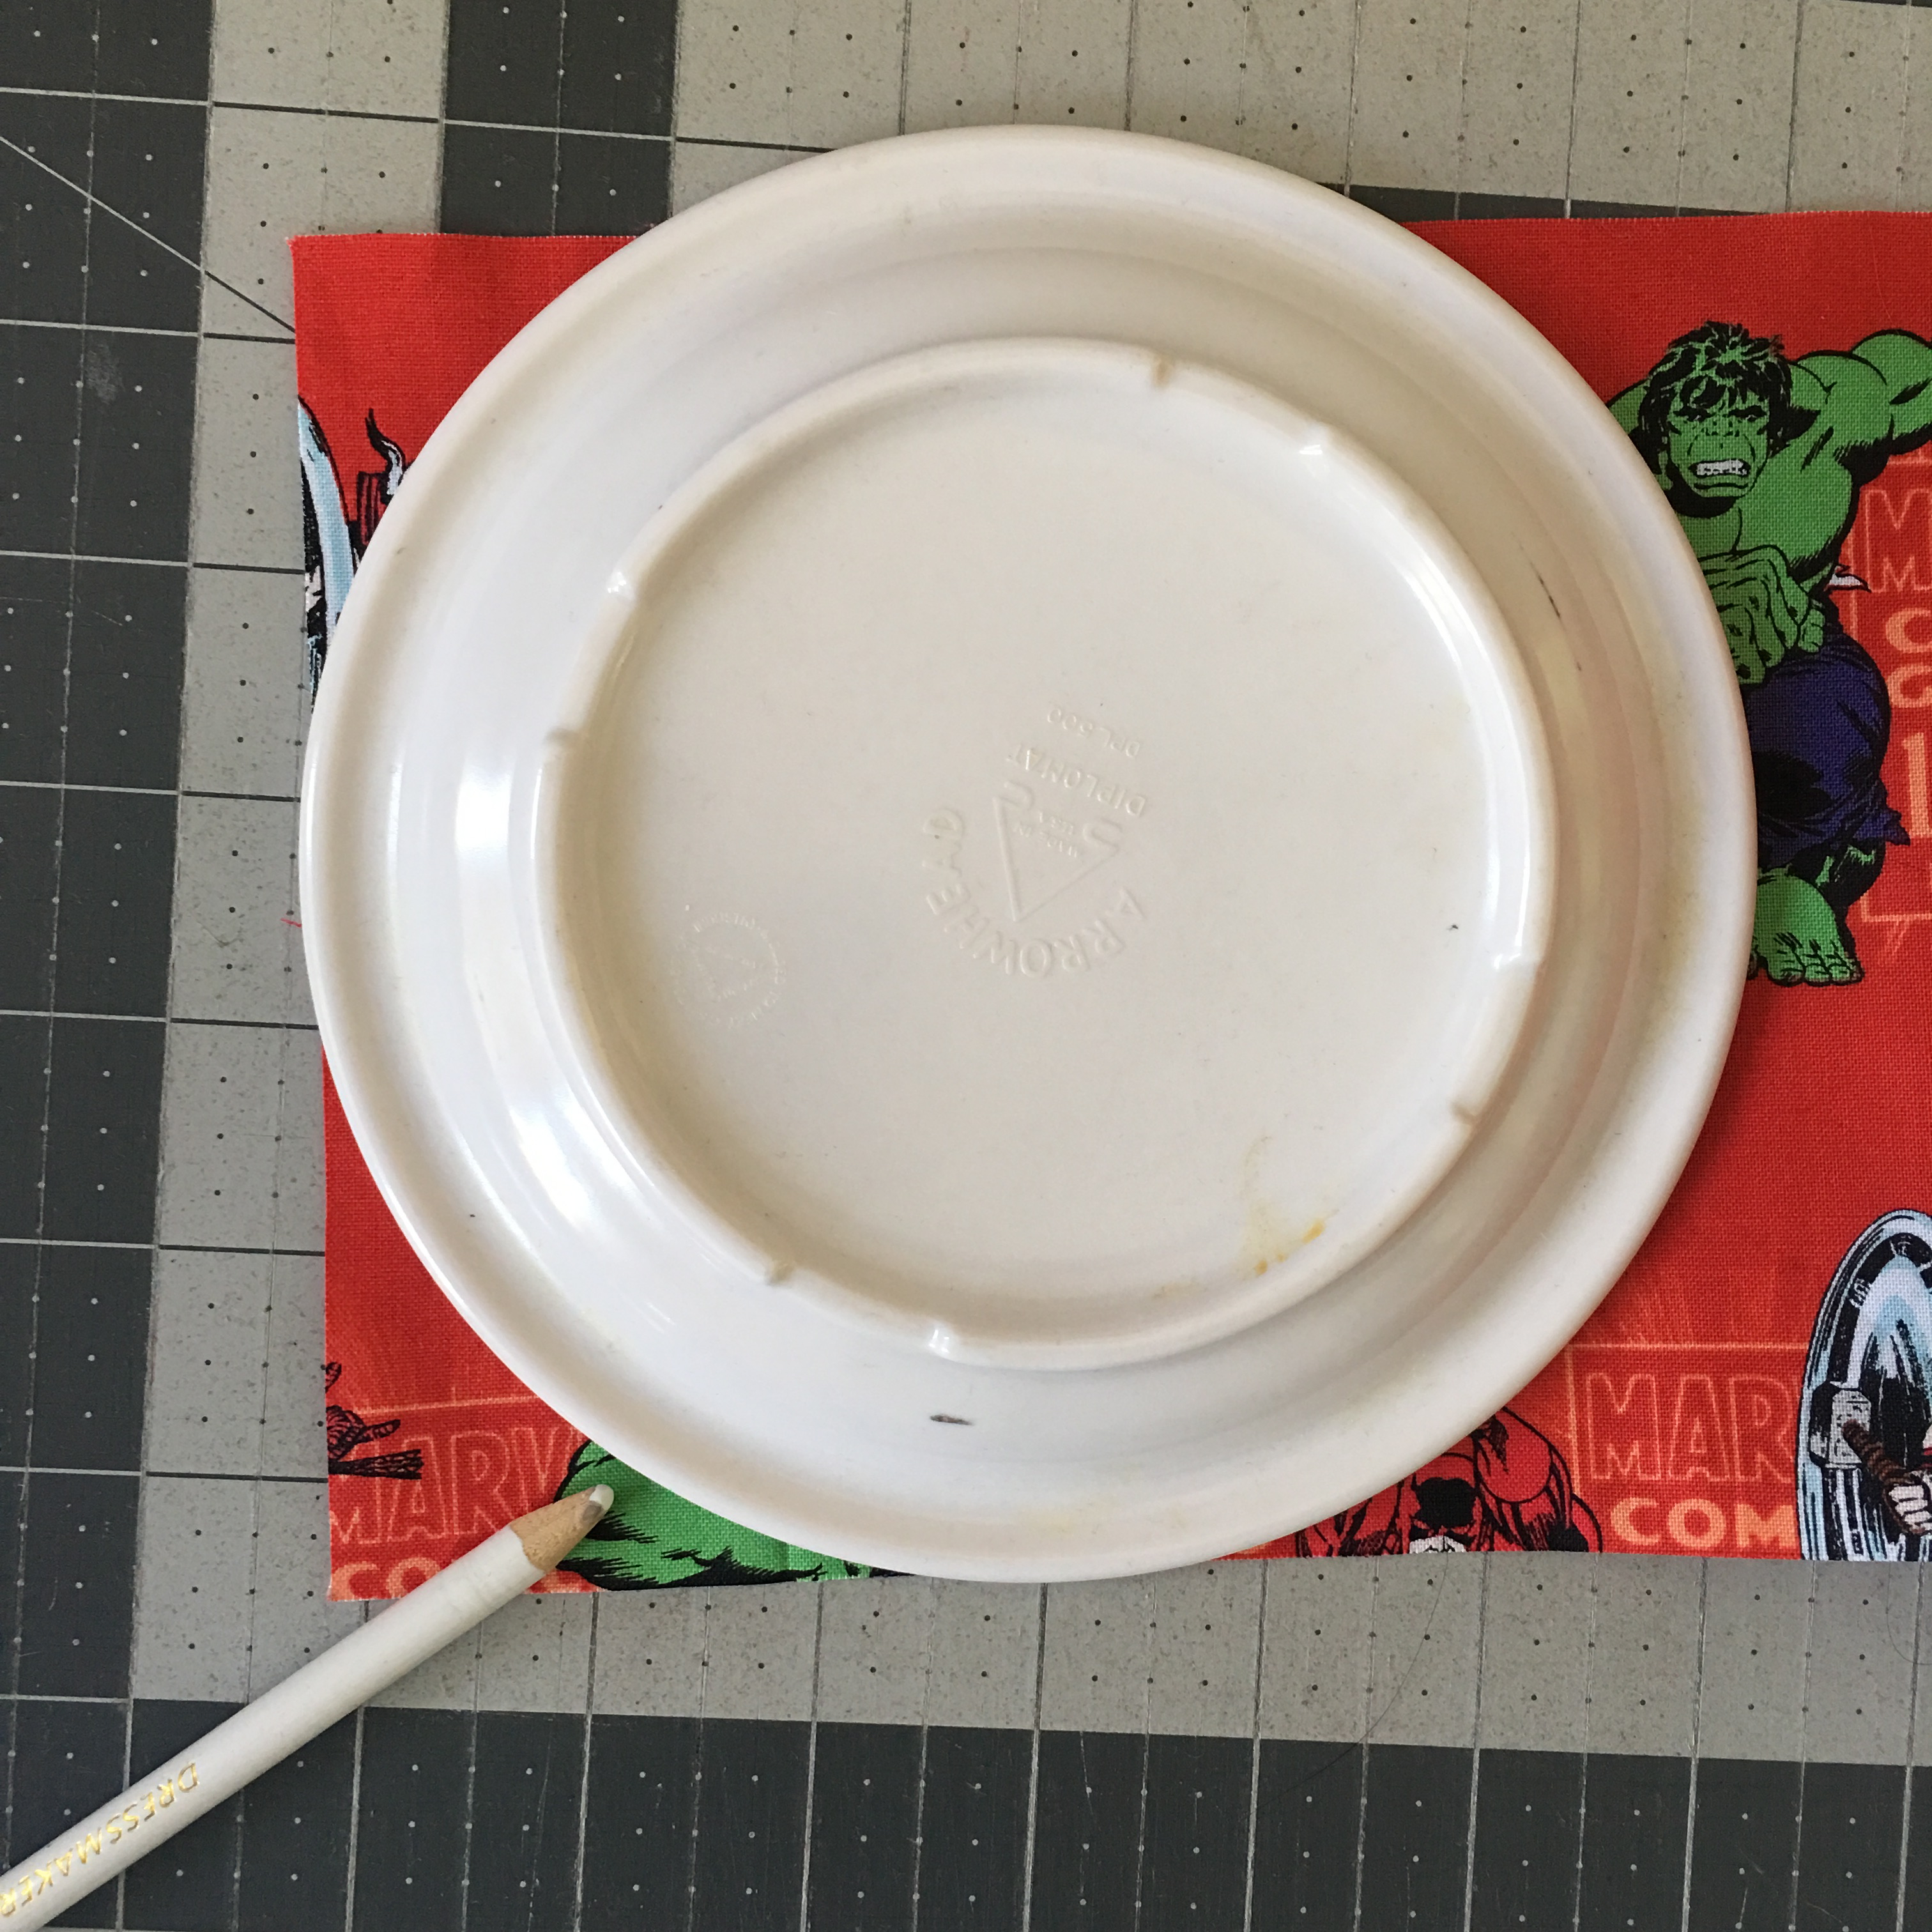
Take the fused flap piece and round the corners of the bottom two corners by tracing a small plate. Cut with scissors.
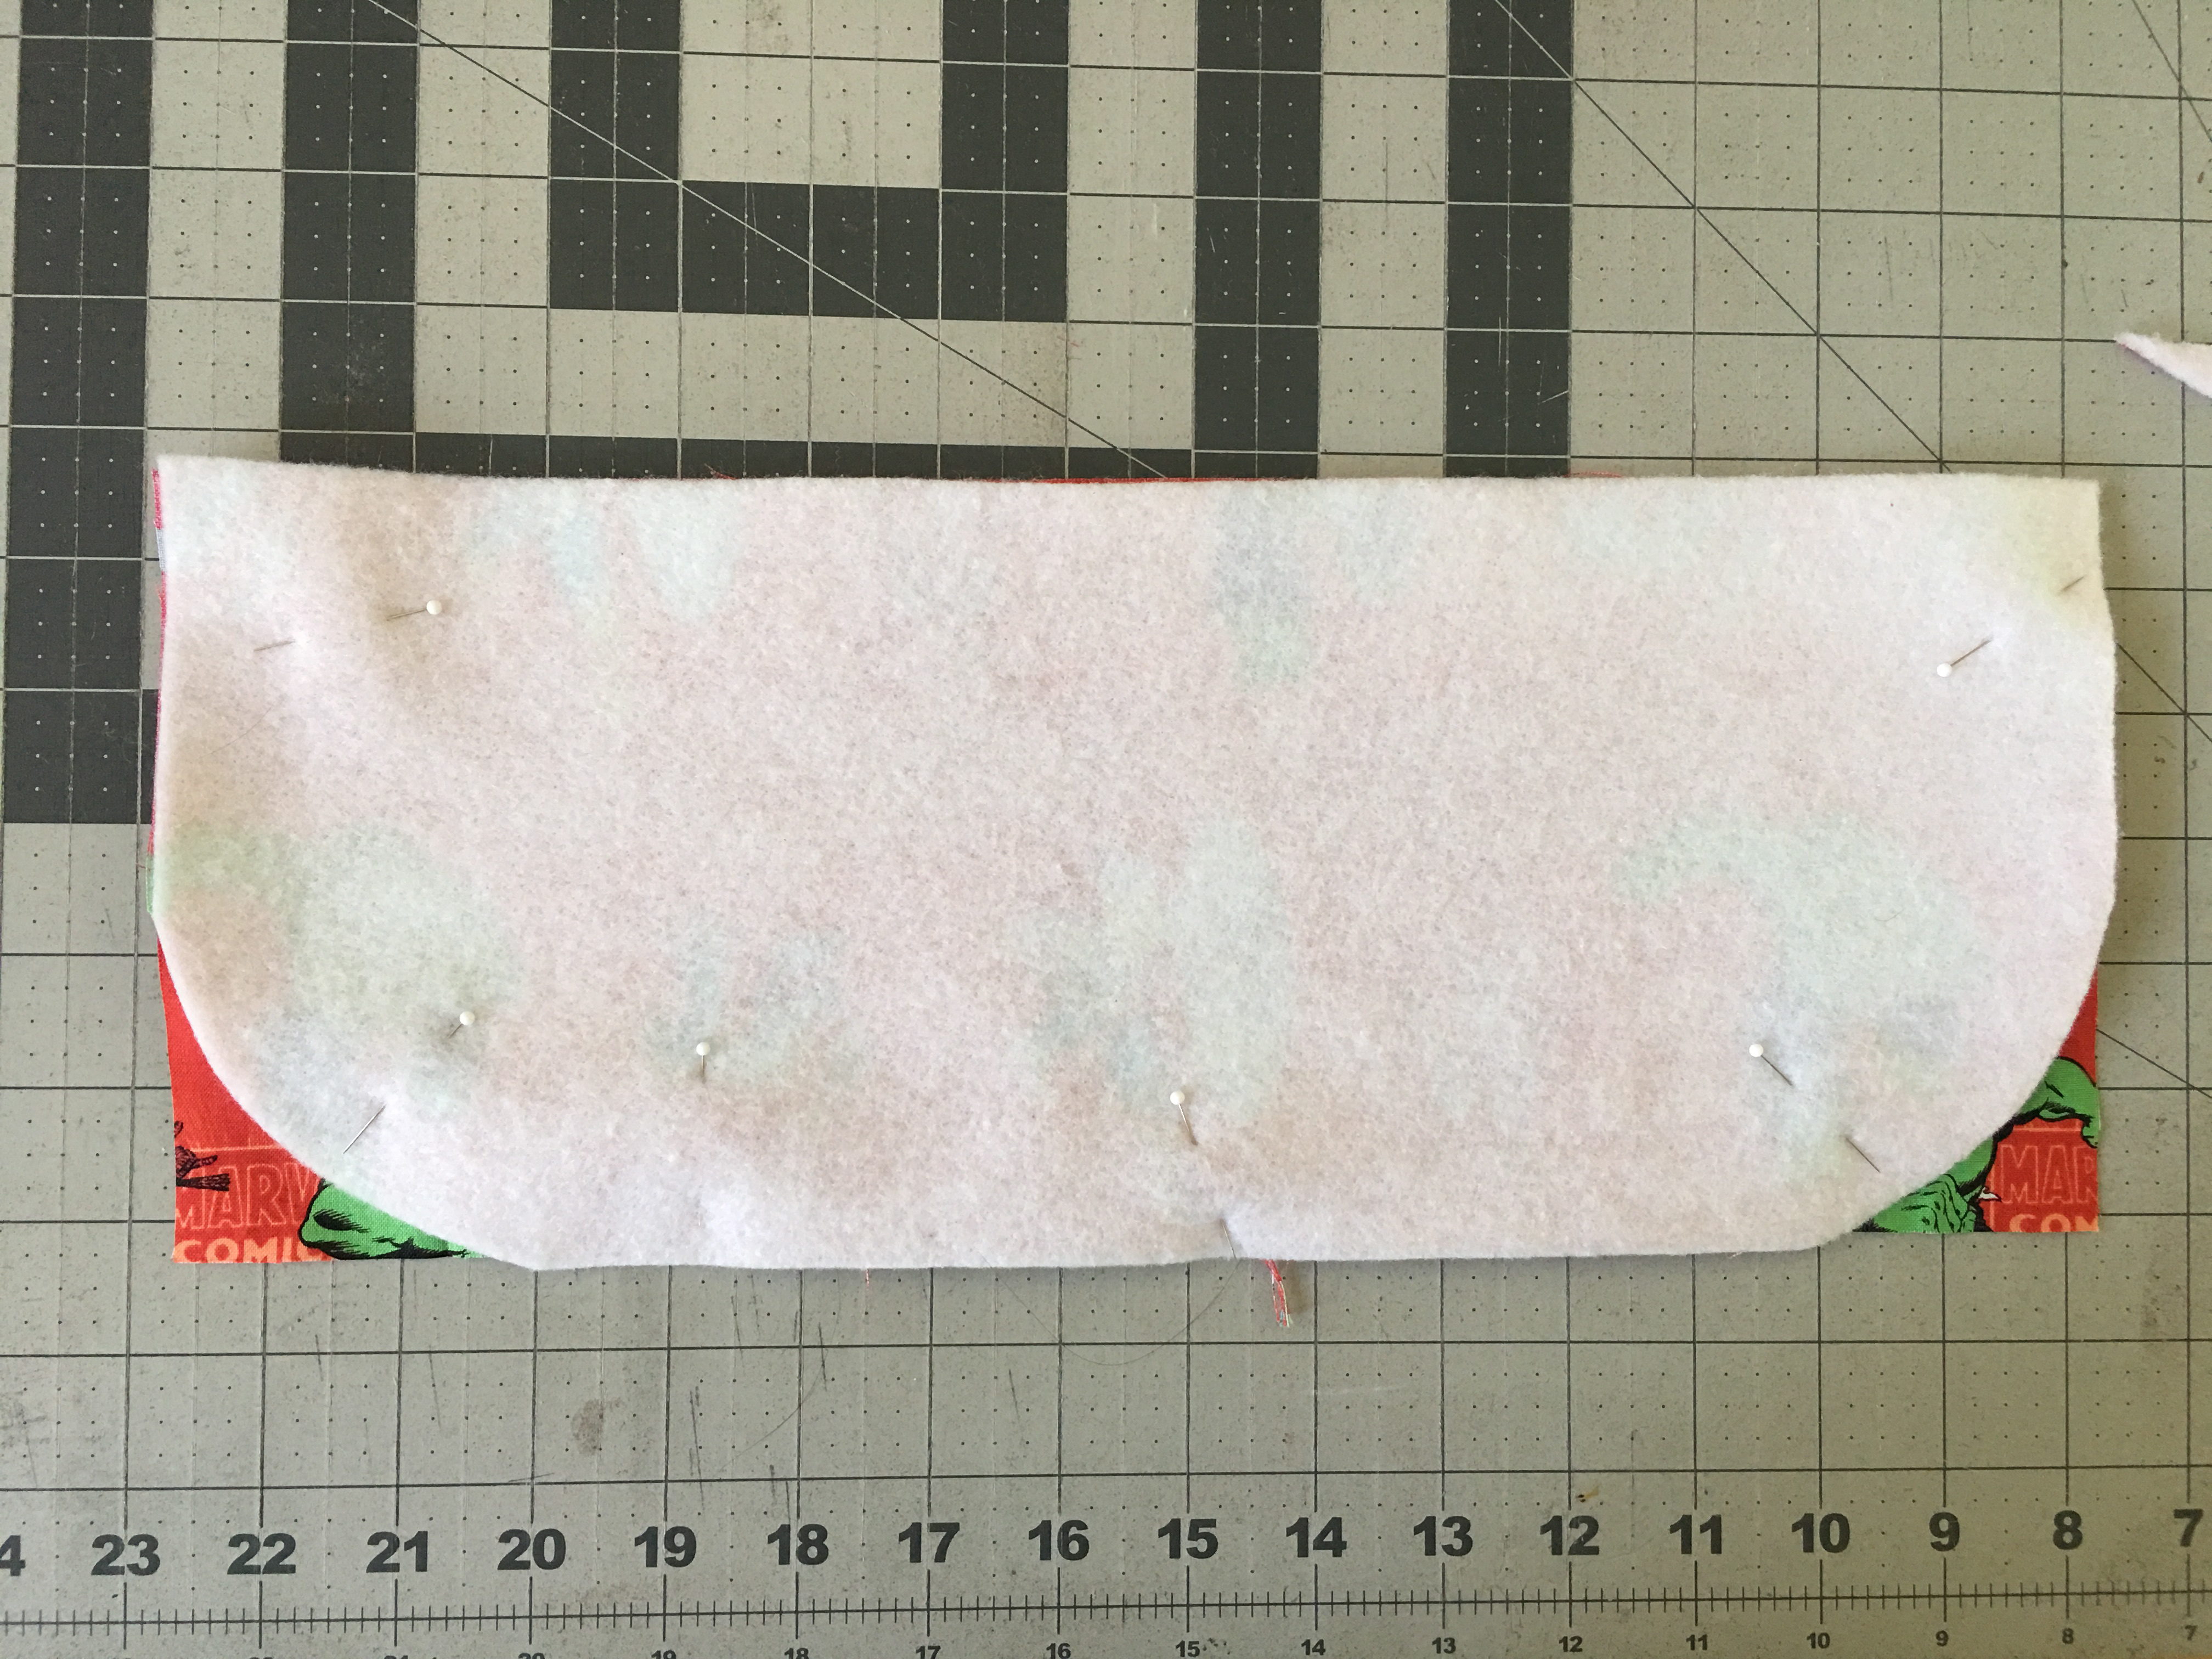
Lay the rounded flap piece on top of the second 6″ x 15″ piece and pin, right sides together. Sew 1/2″ seam around the side, bottom, and side. Leaving the top open.
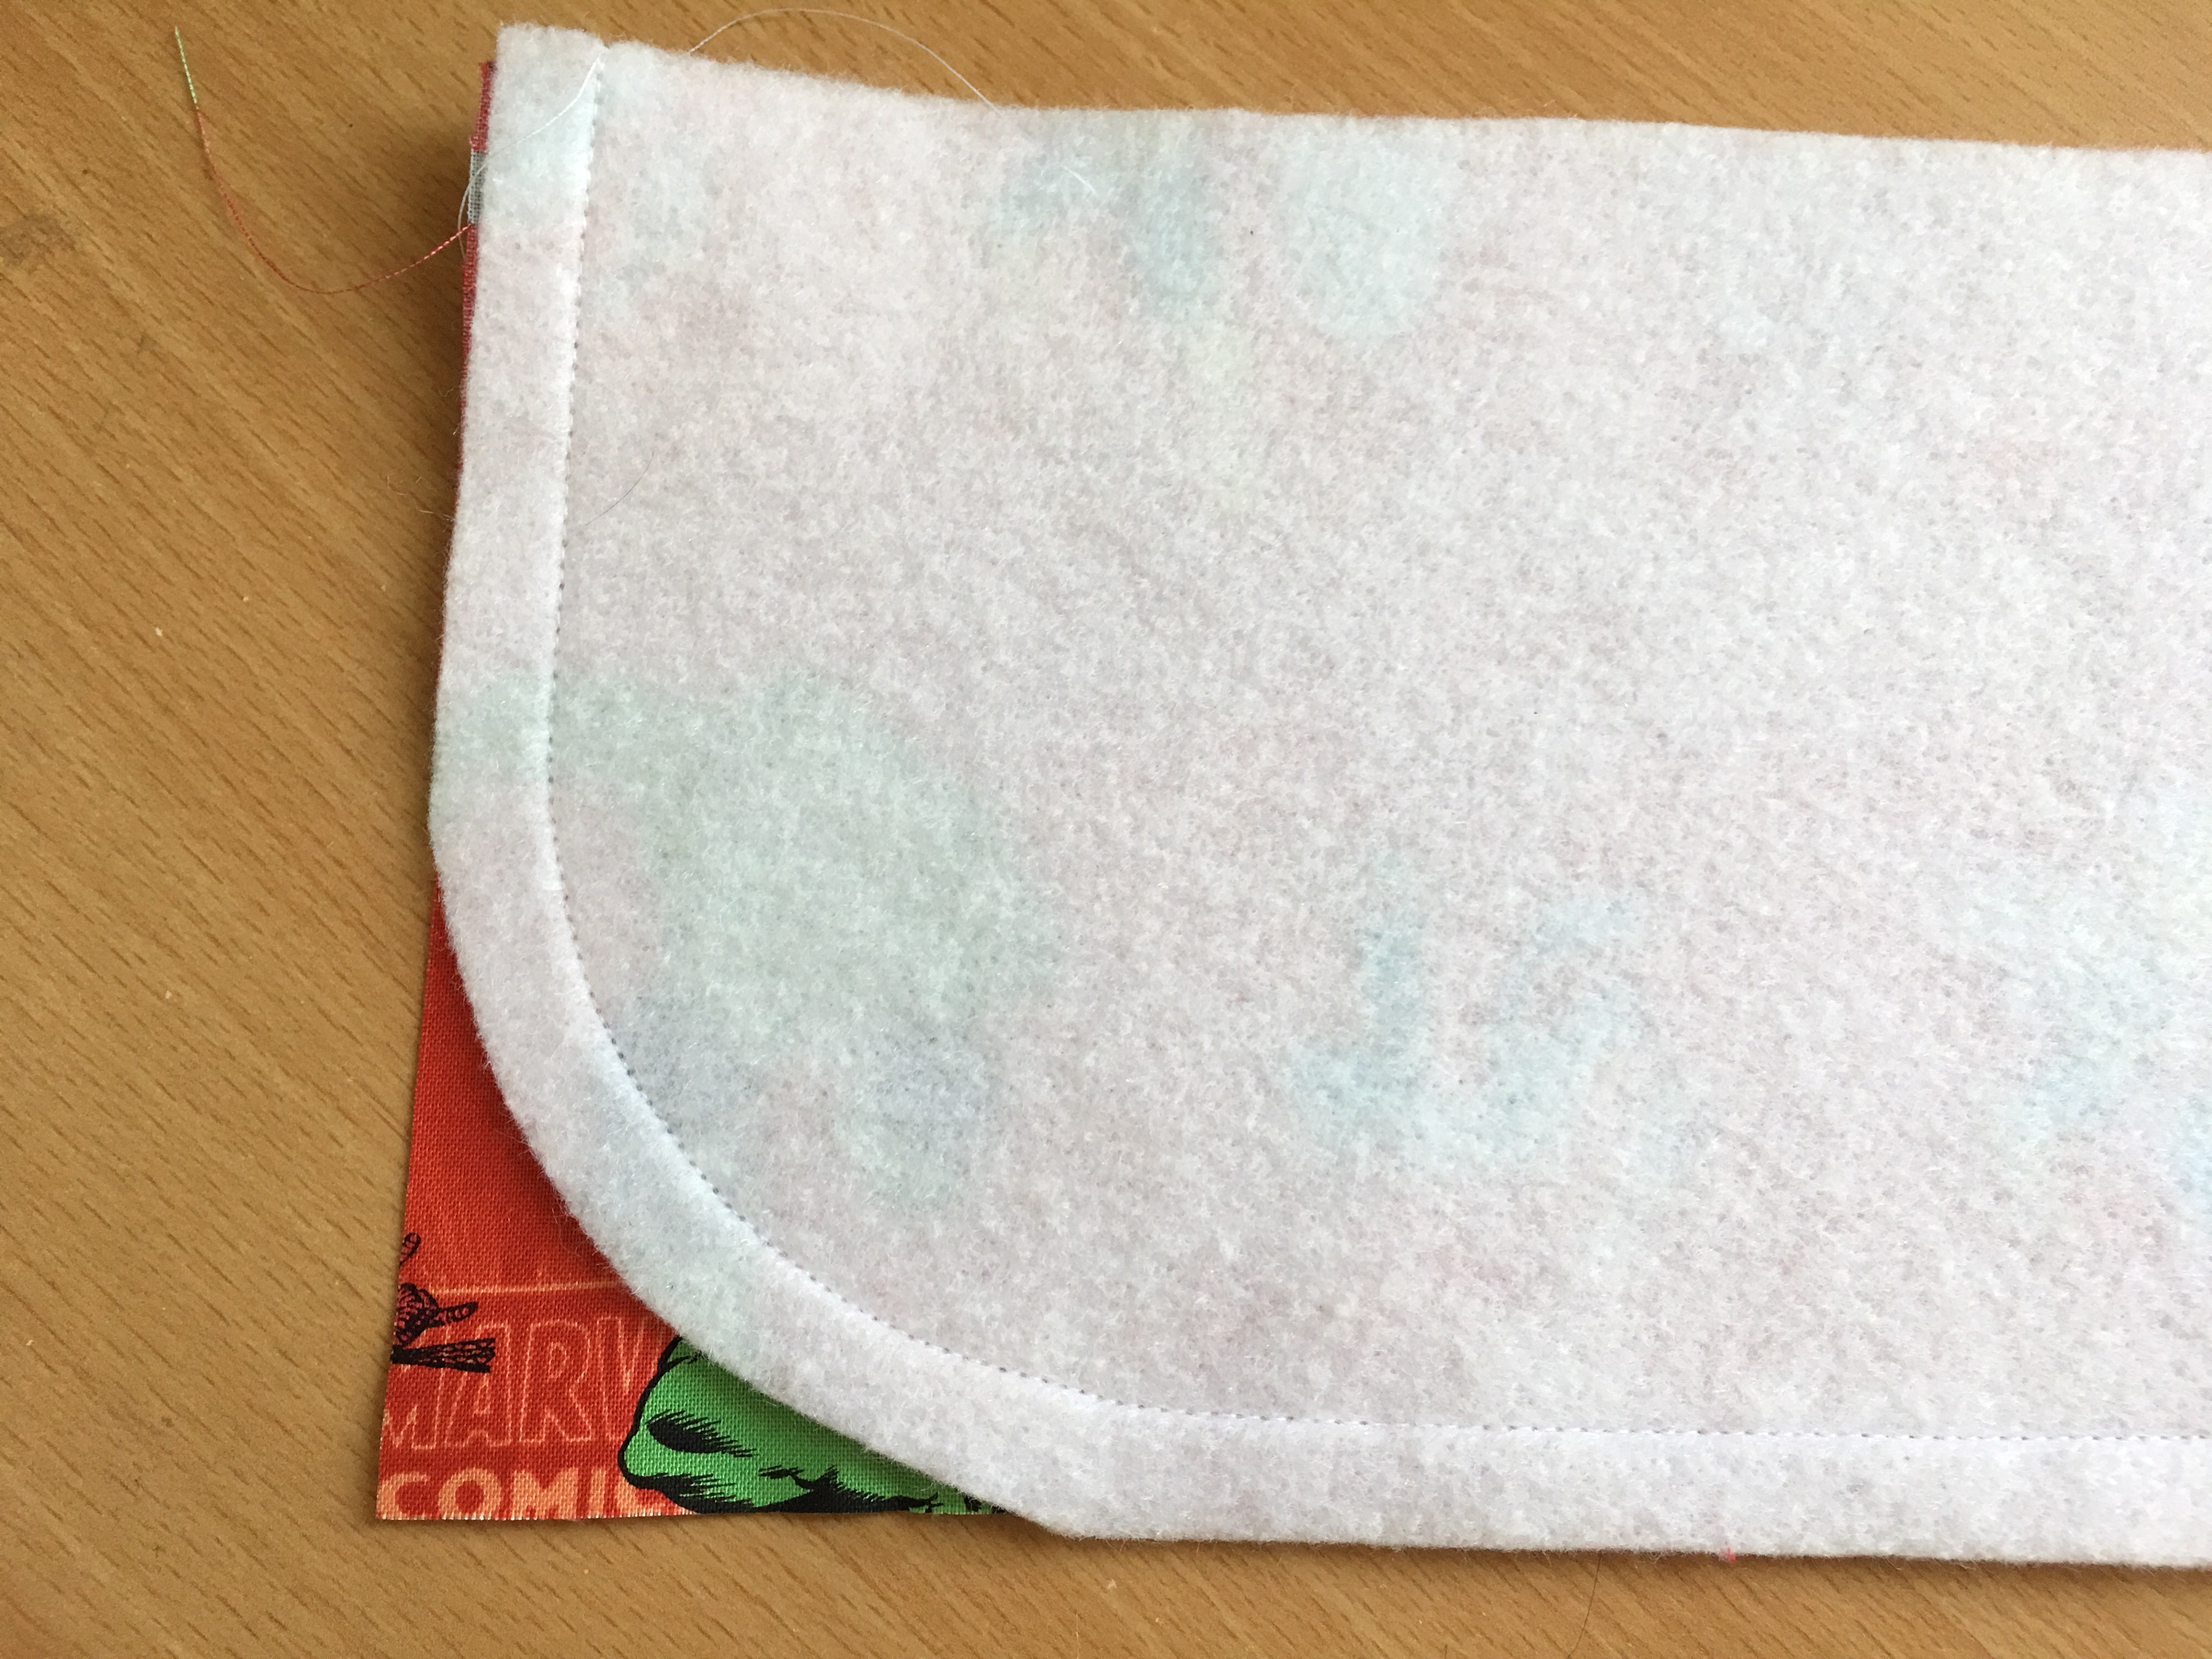
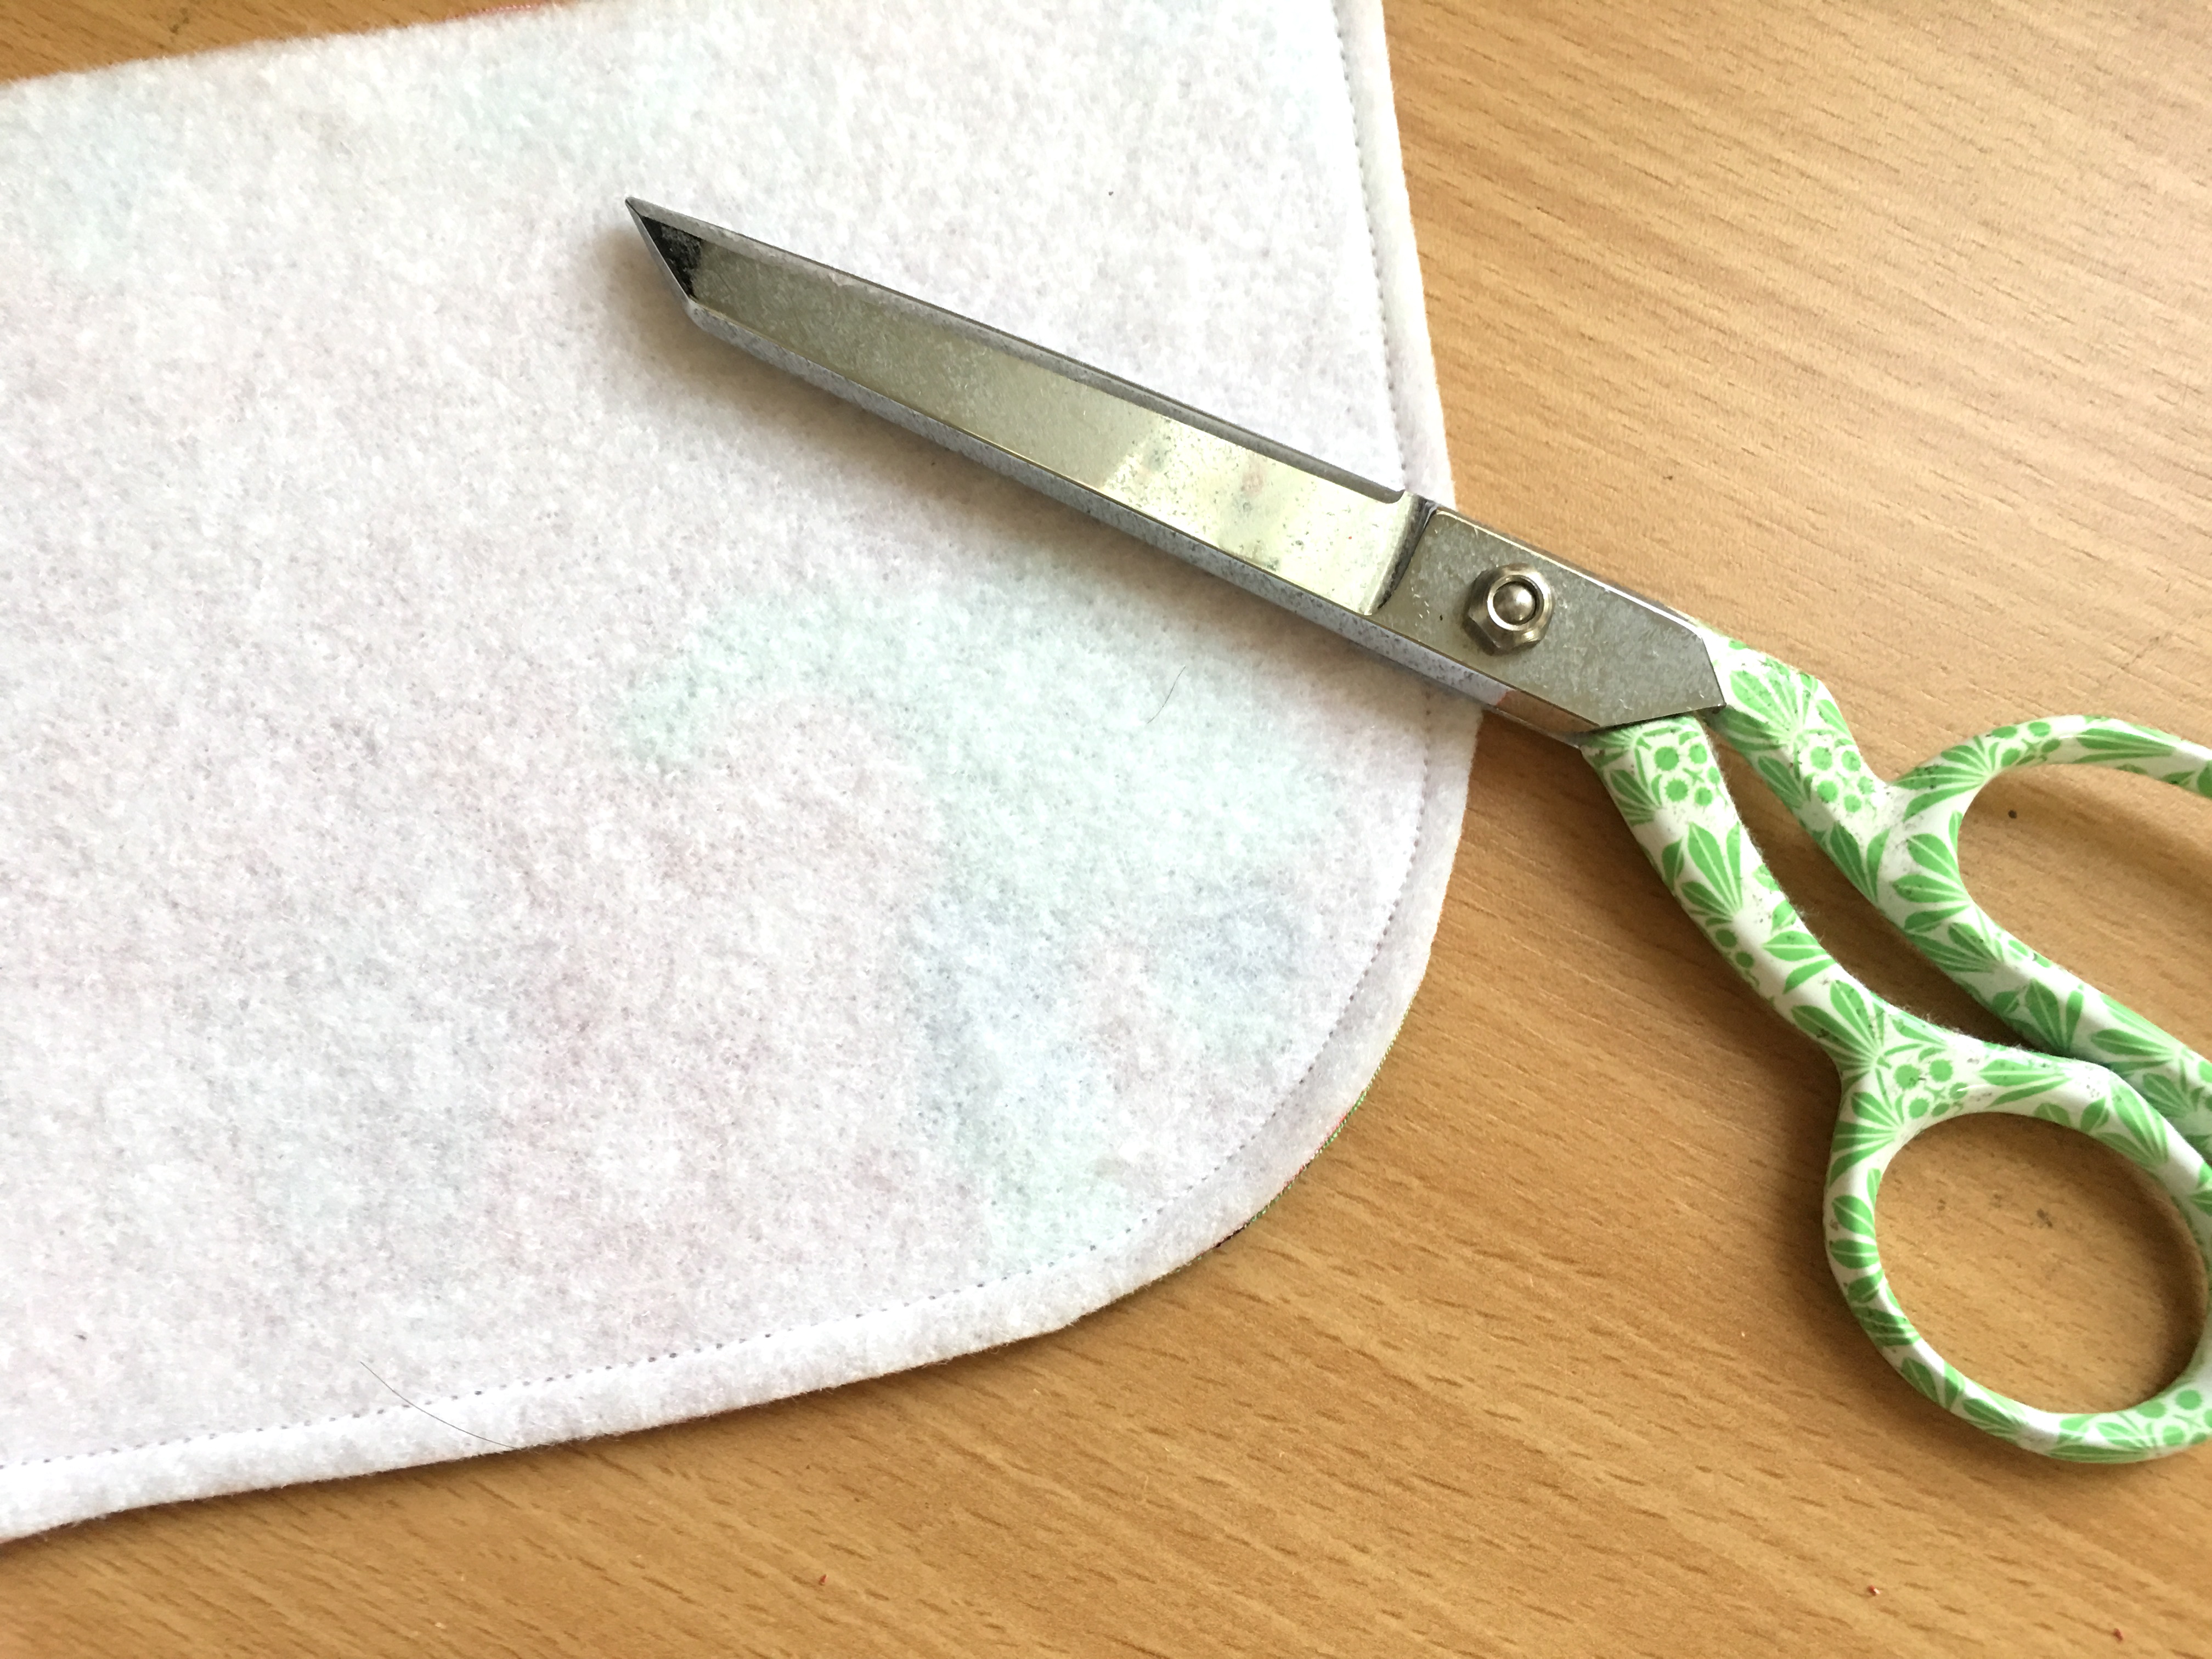
Trim down the seam allowance and clip the curves.
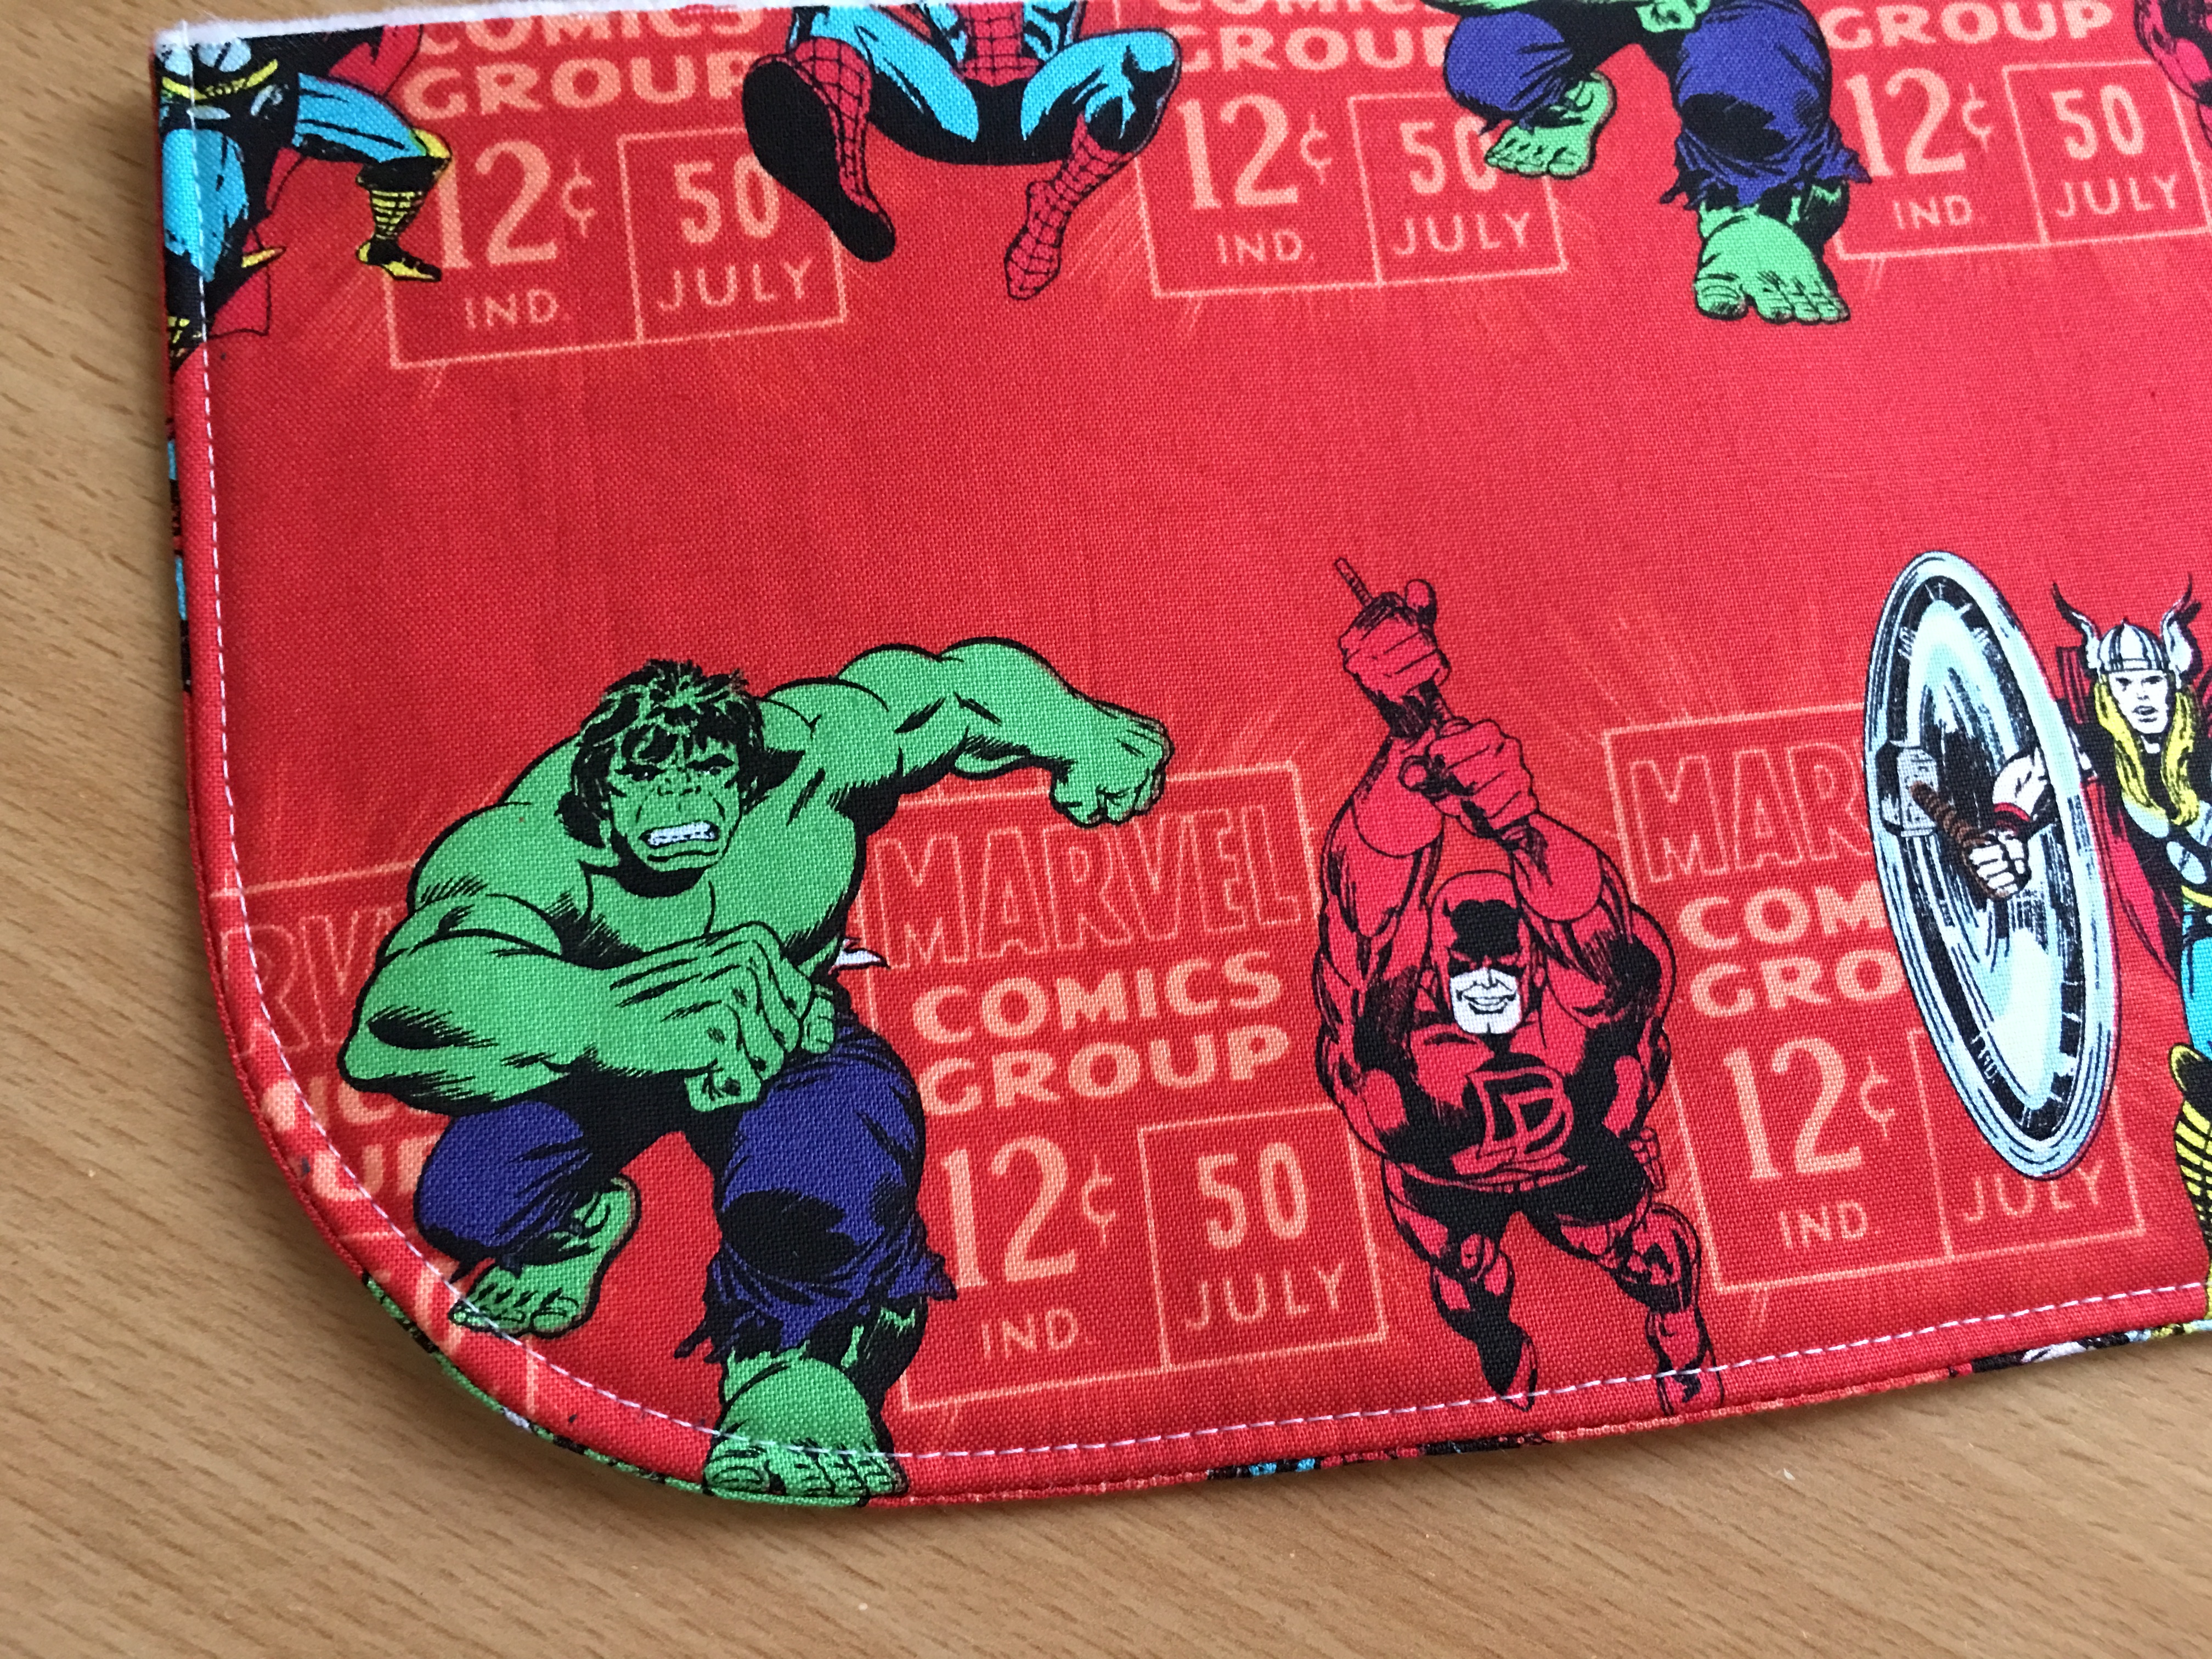
Turn right side out, press and top stitch along seam 1/8″.
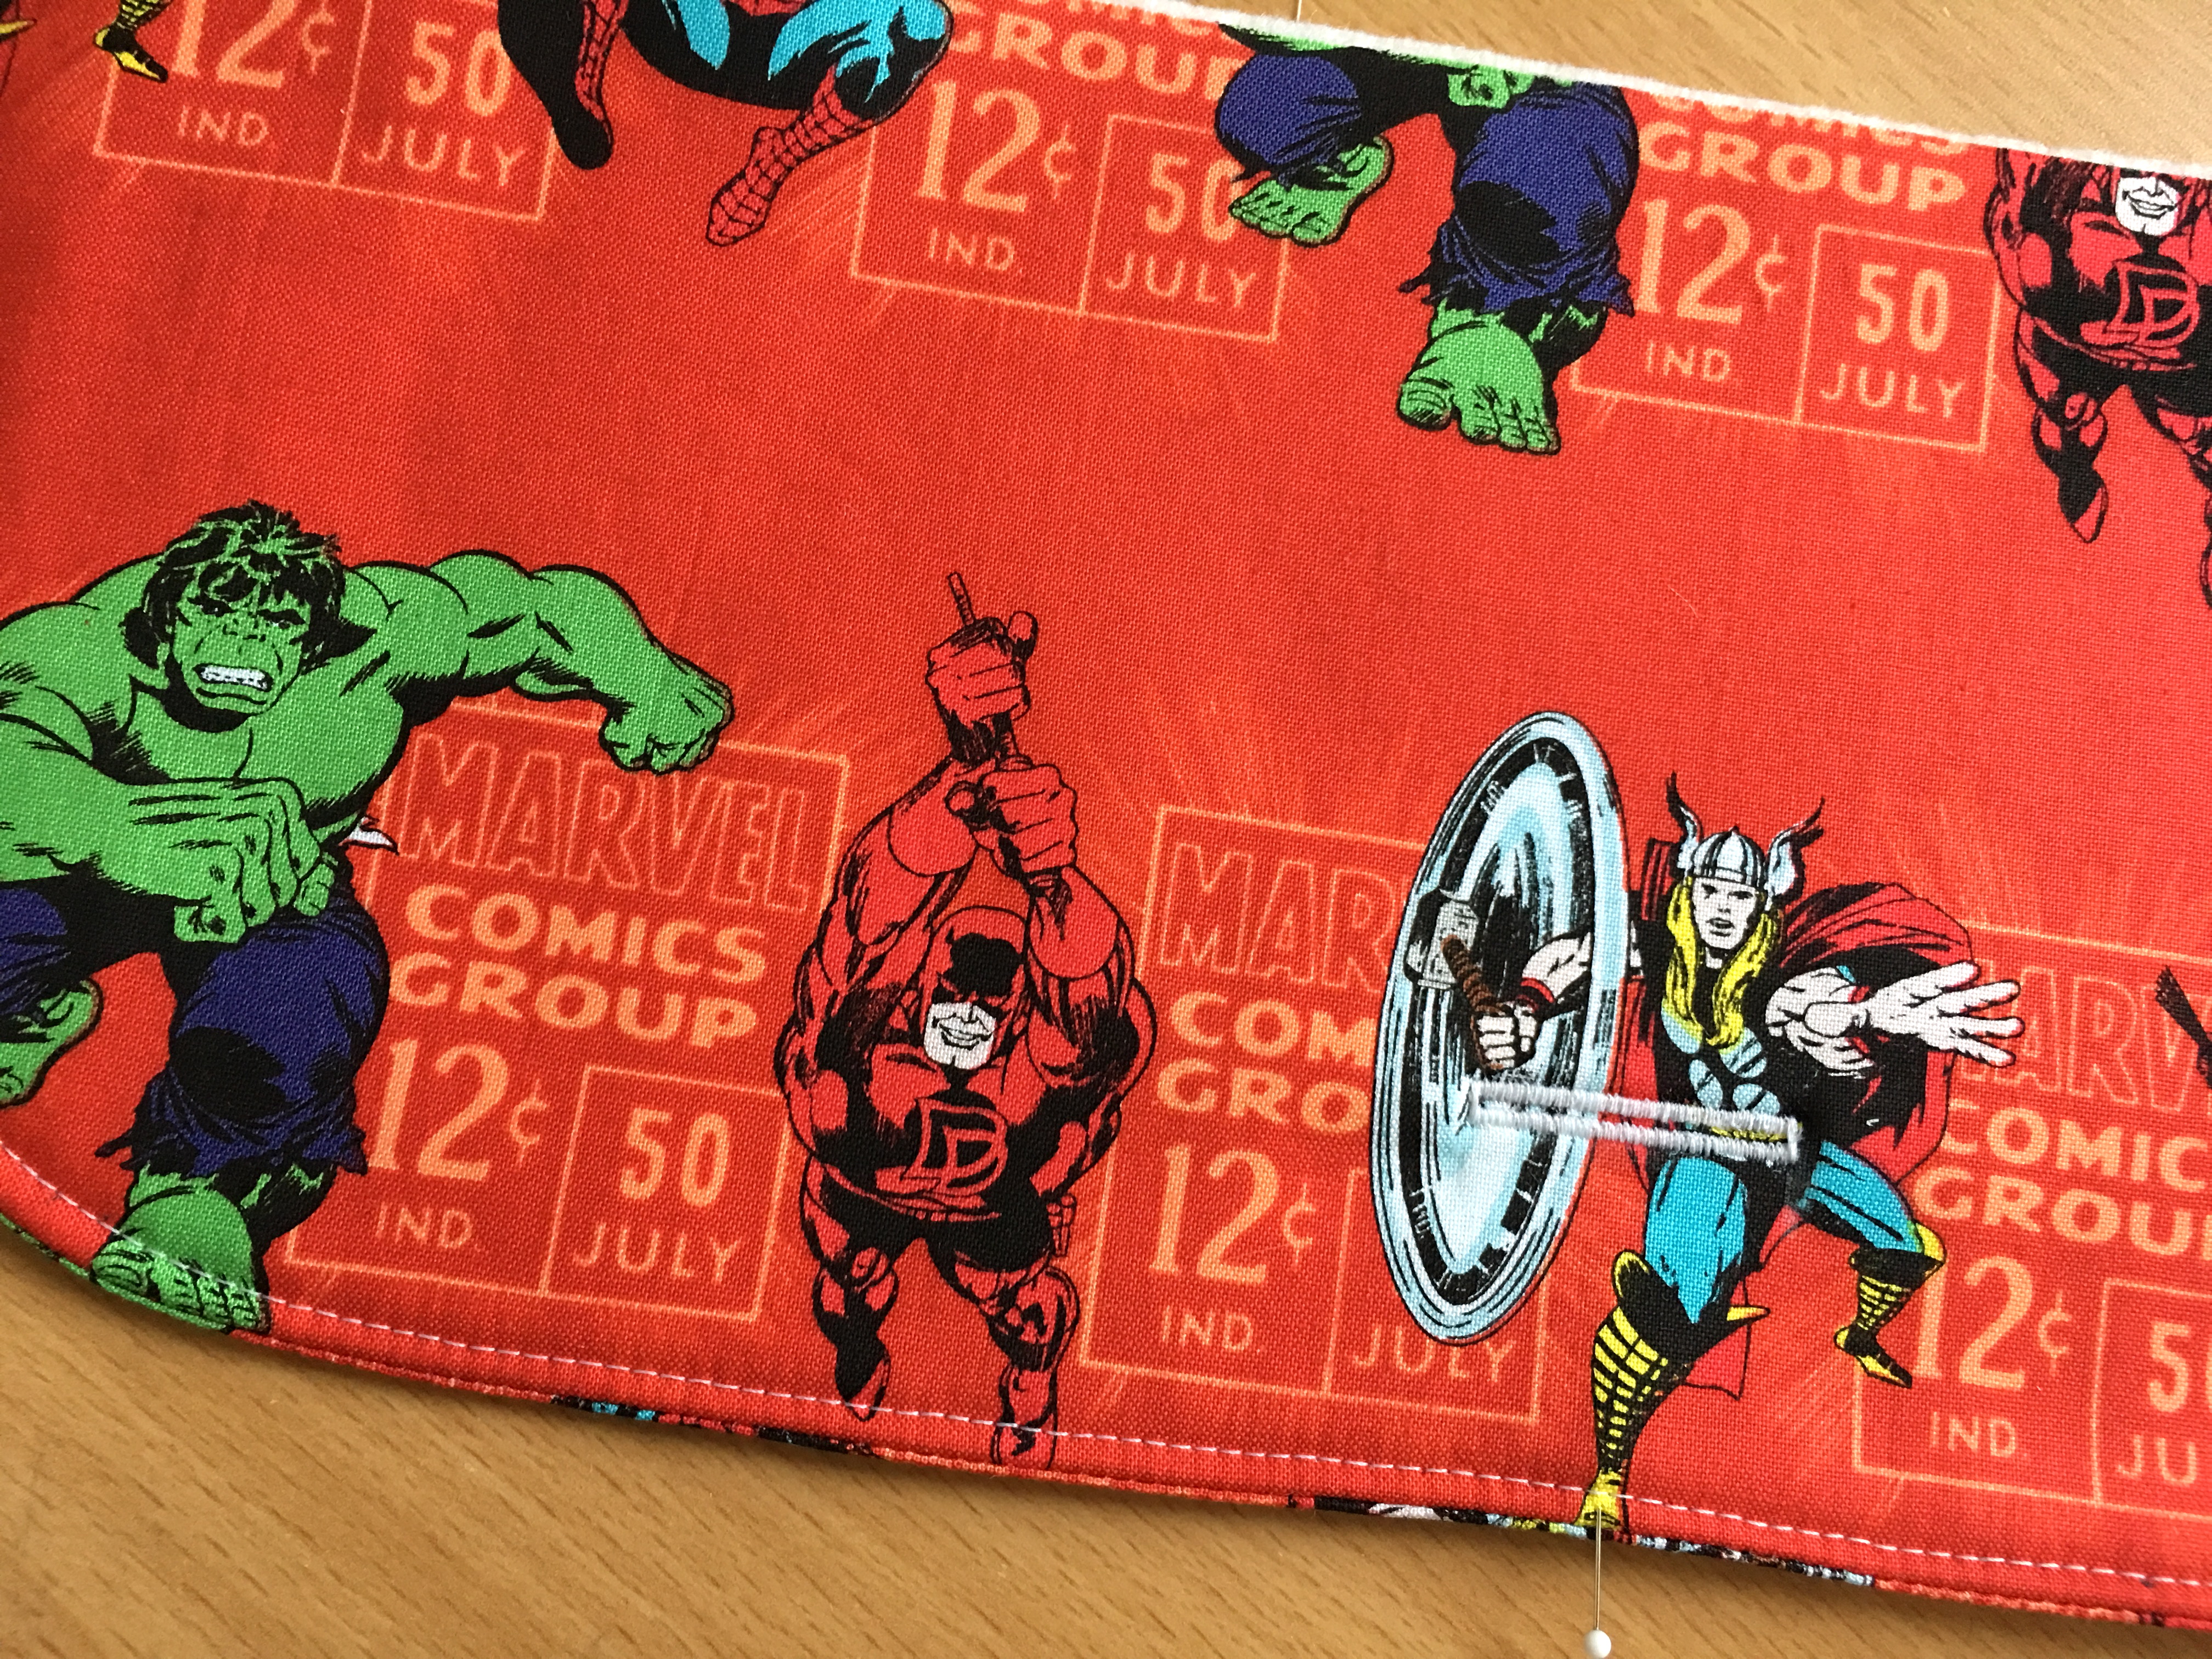
Find the center of the flap and mark. Sew a button hole that matches the size of your button. Sew the button hole 2″ above the seam.
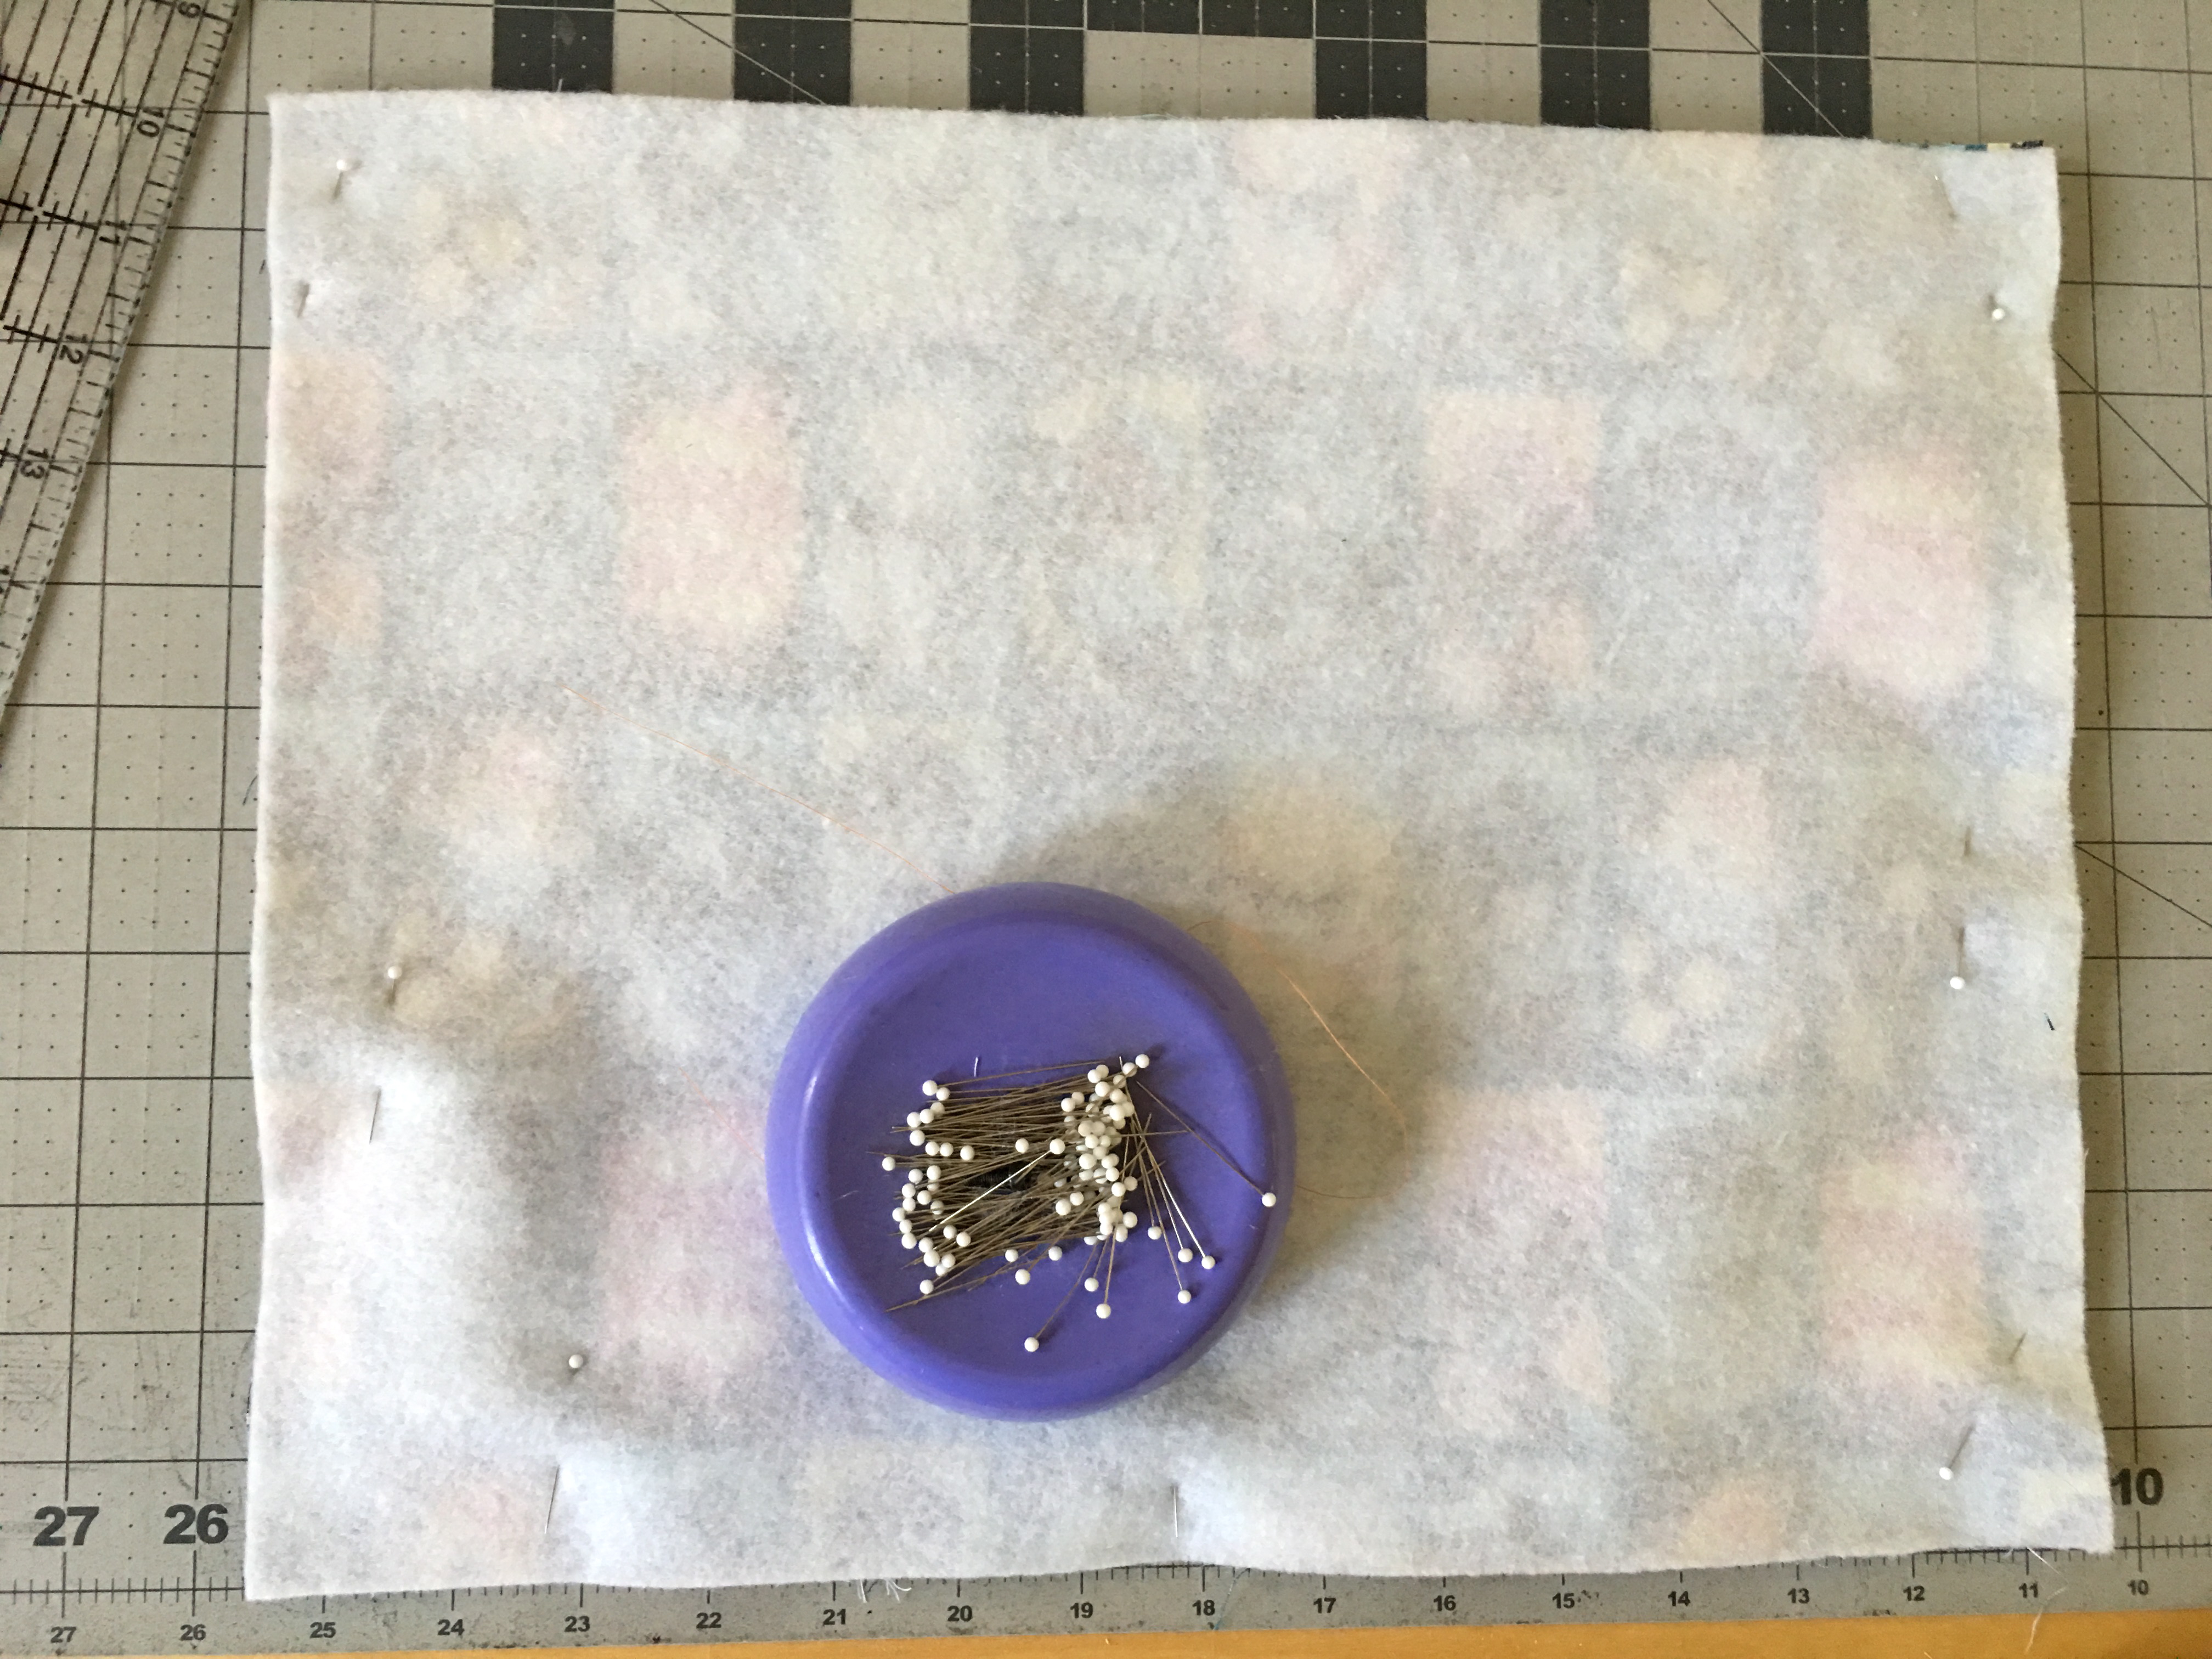
Place the front pouch piece on top of the back pouch piece right sides together. Pin the sides and the bottom. Sew the sides and bottom using a 1/2″ seam. Clip corners and turn right side out.
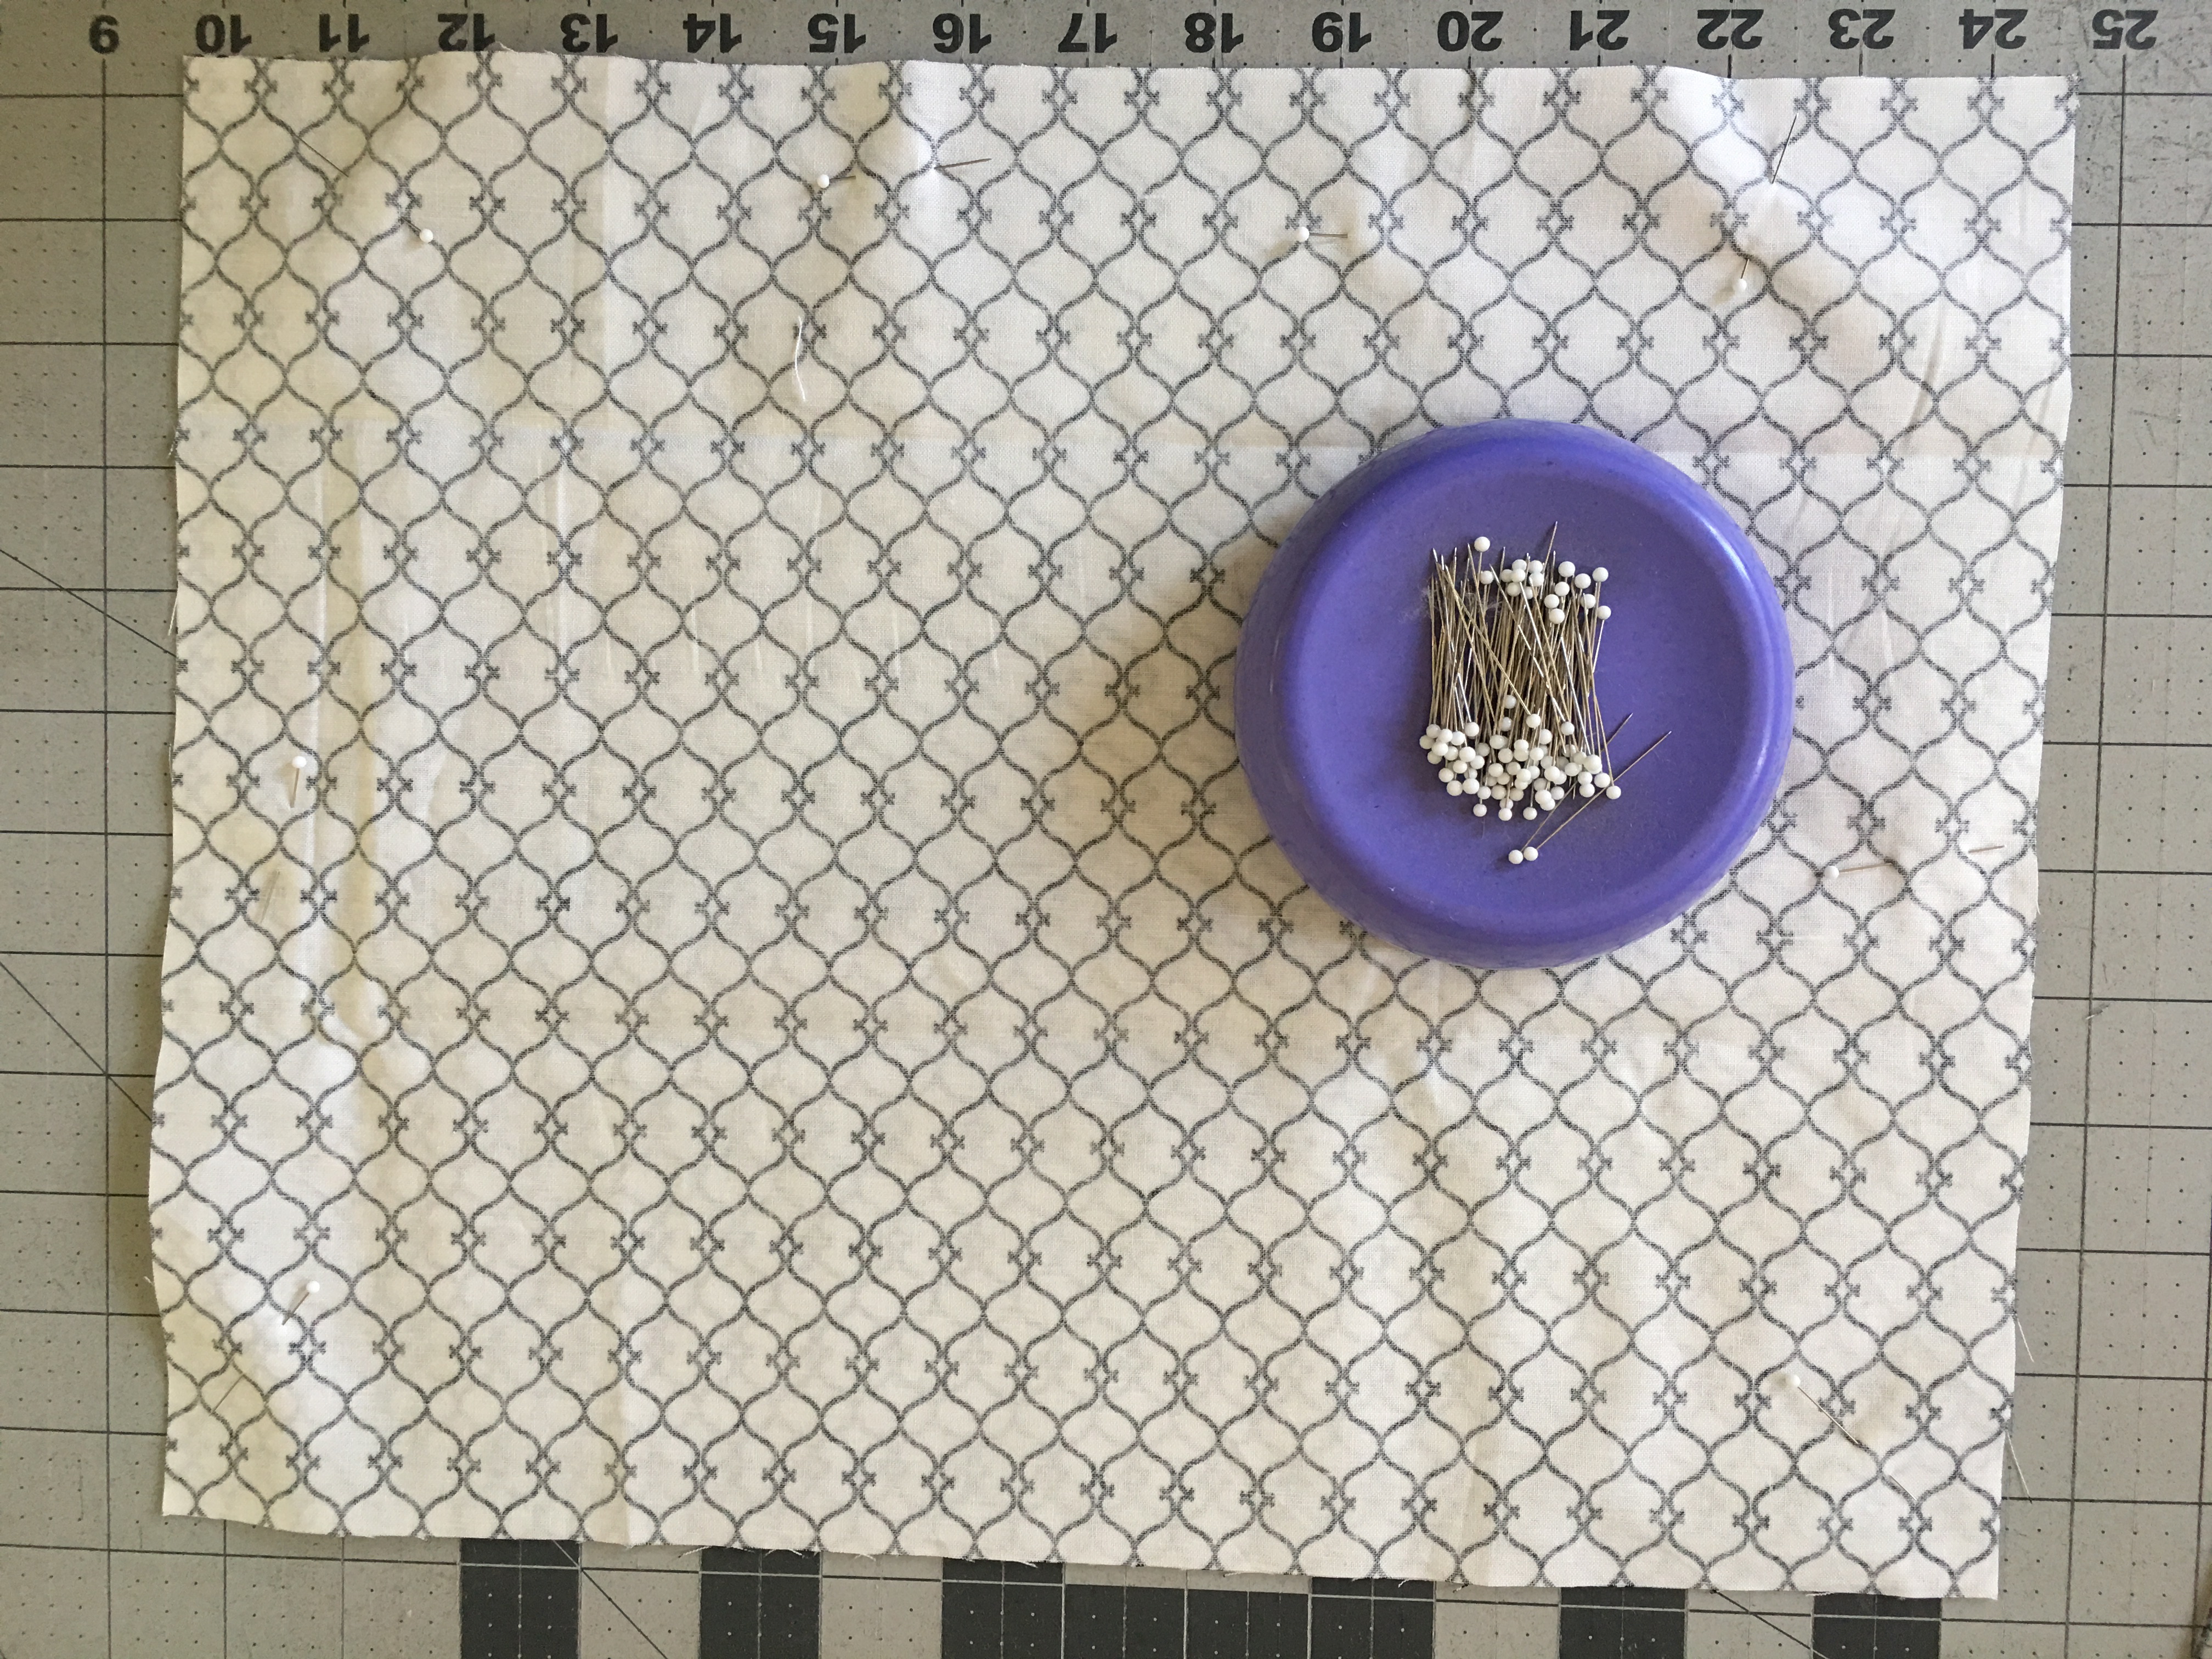
Pin the sides and bottom of the lining pieces in the same manner. Sew 1/2″ seam along the sides and bottom.
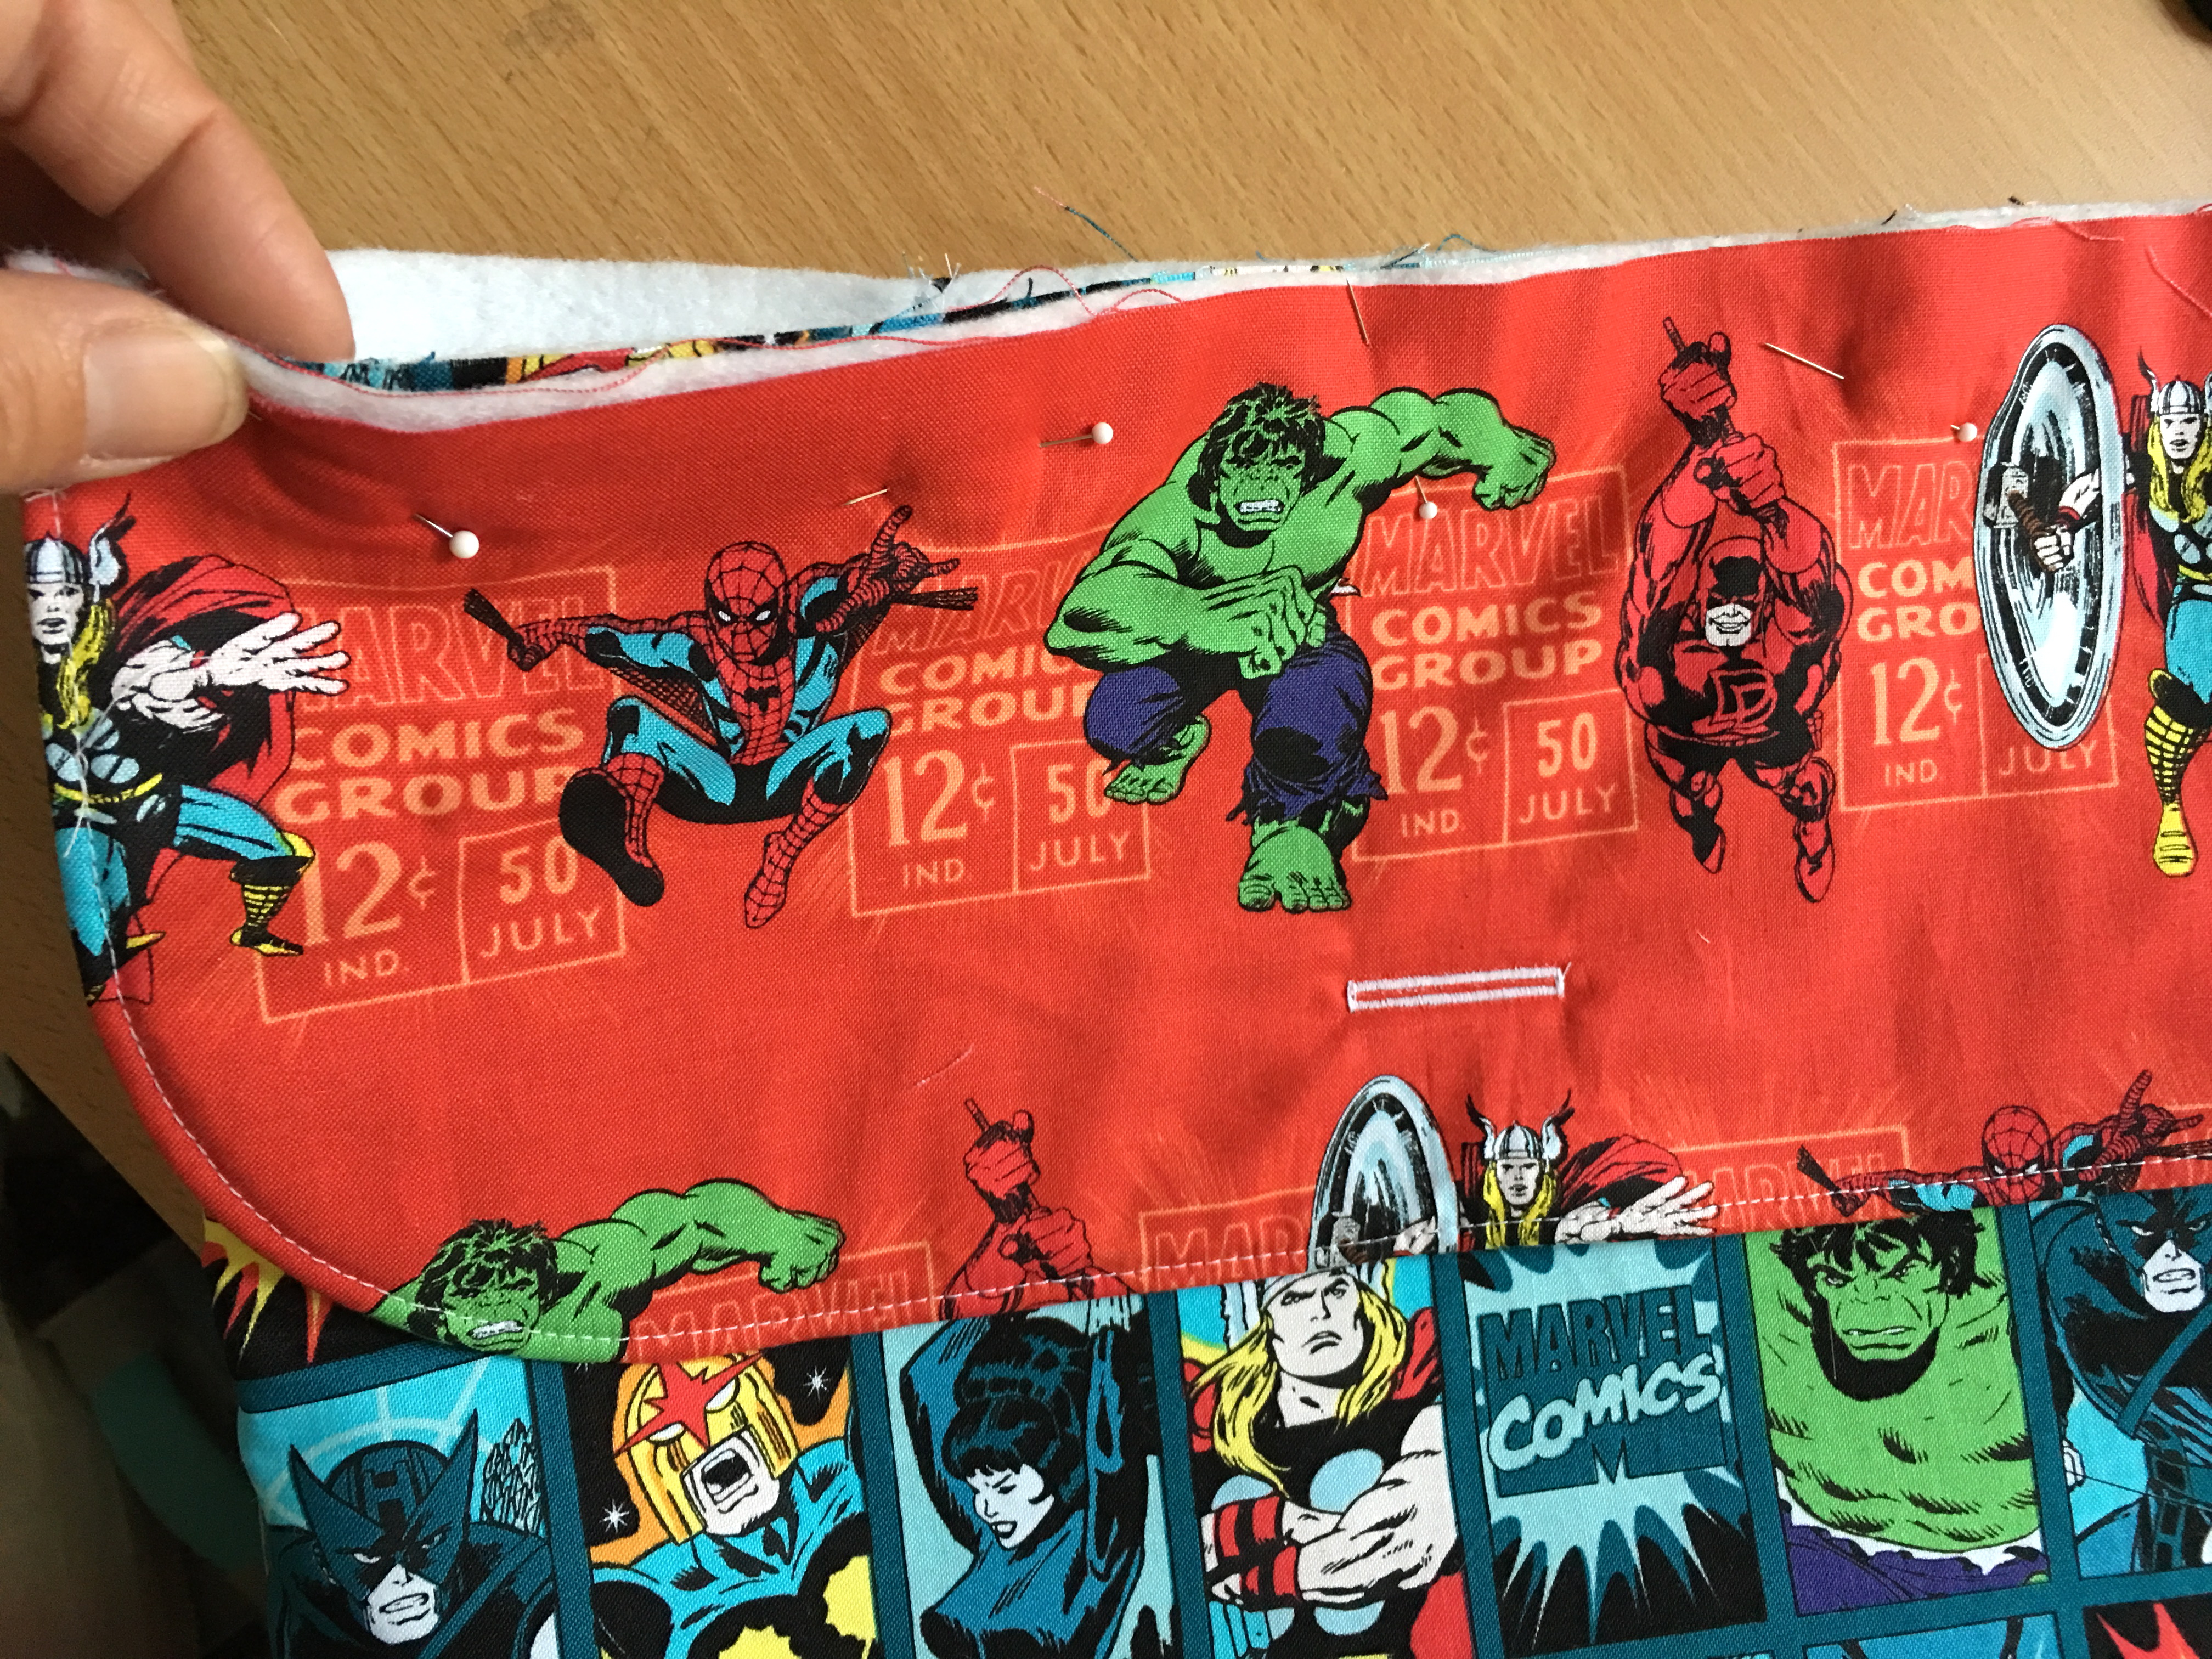
Pin the flap to the back of the pouch, matching raw edges. Make sure to center on the back piece. Baste 1/8″ along flap .
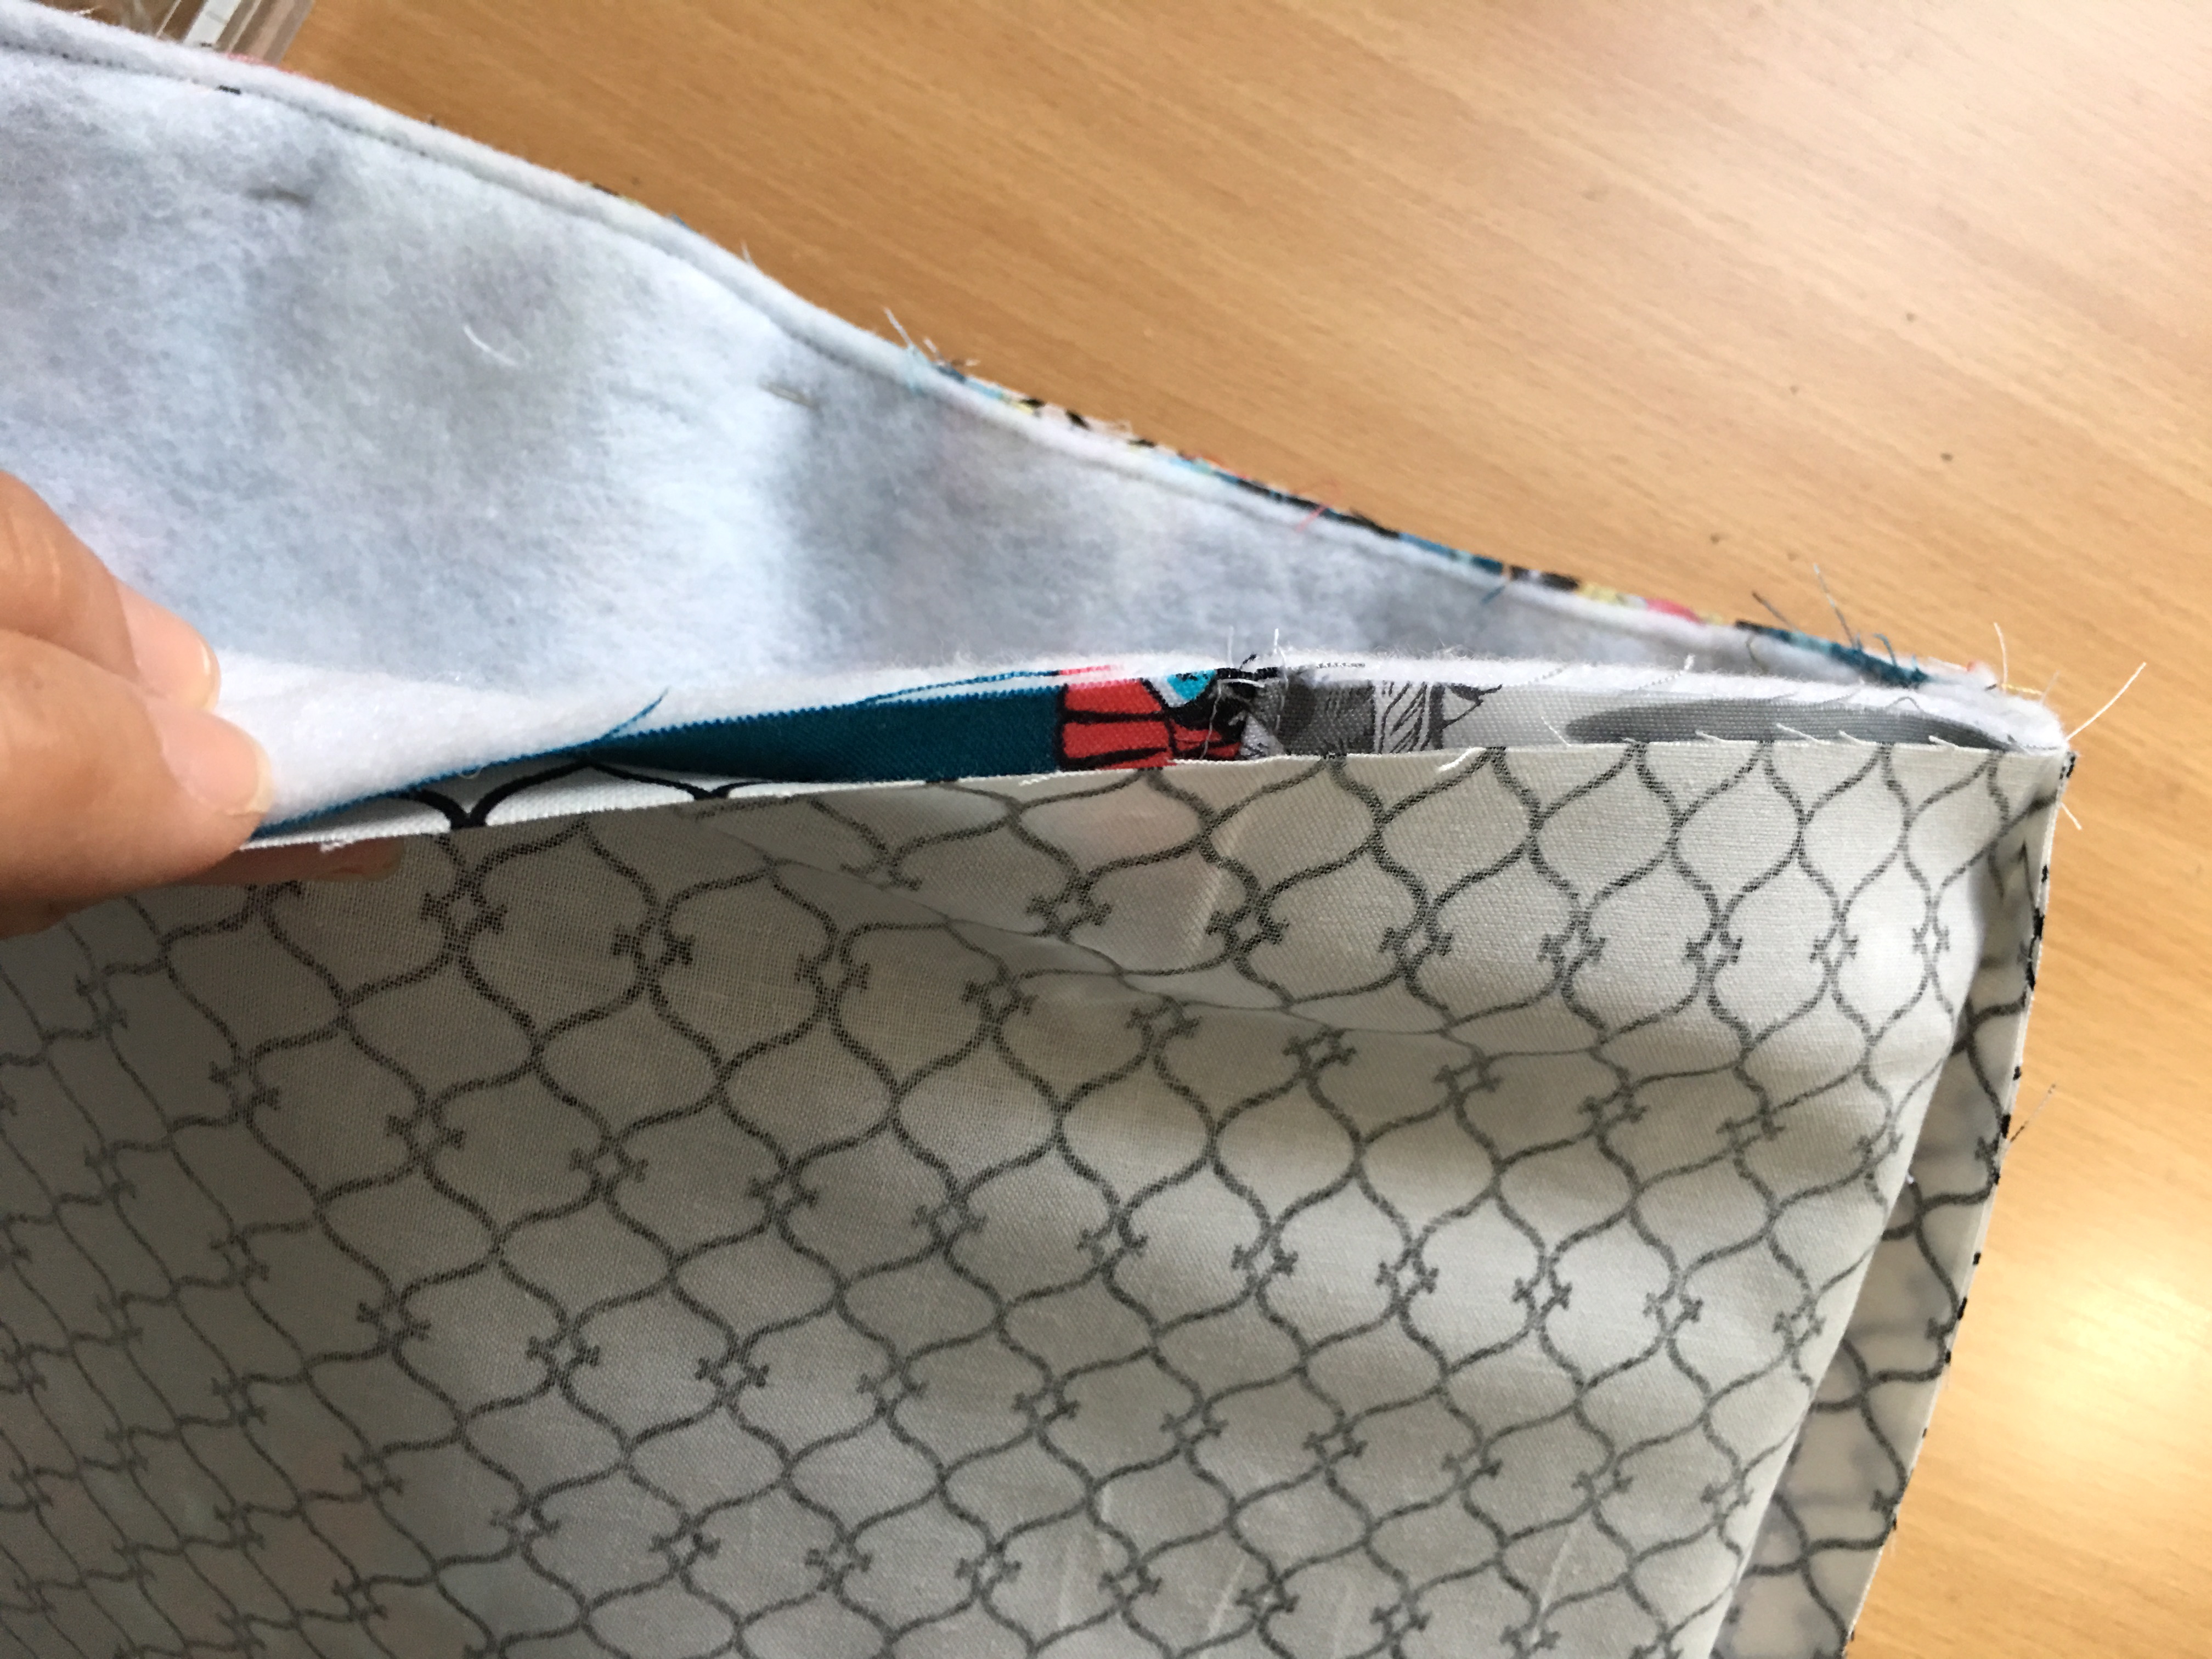
Place the outer pouch inside the lining, right sides together. Match at side seams and pin all the way around. Sew using a 1/4″ seam all the way around.
Unstitch a 3″ section on one of the sides of the lining. Turn right side out. Top stitch the lining closed. Press lining down inside the pouch. Top stitch using a 1/8″ seam around the “mouth” of the case. Hand sew the button on.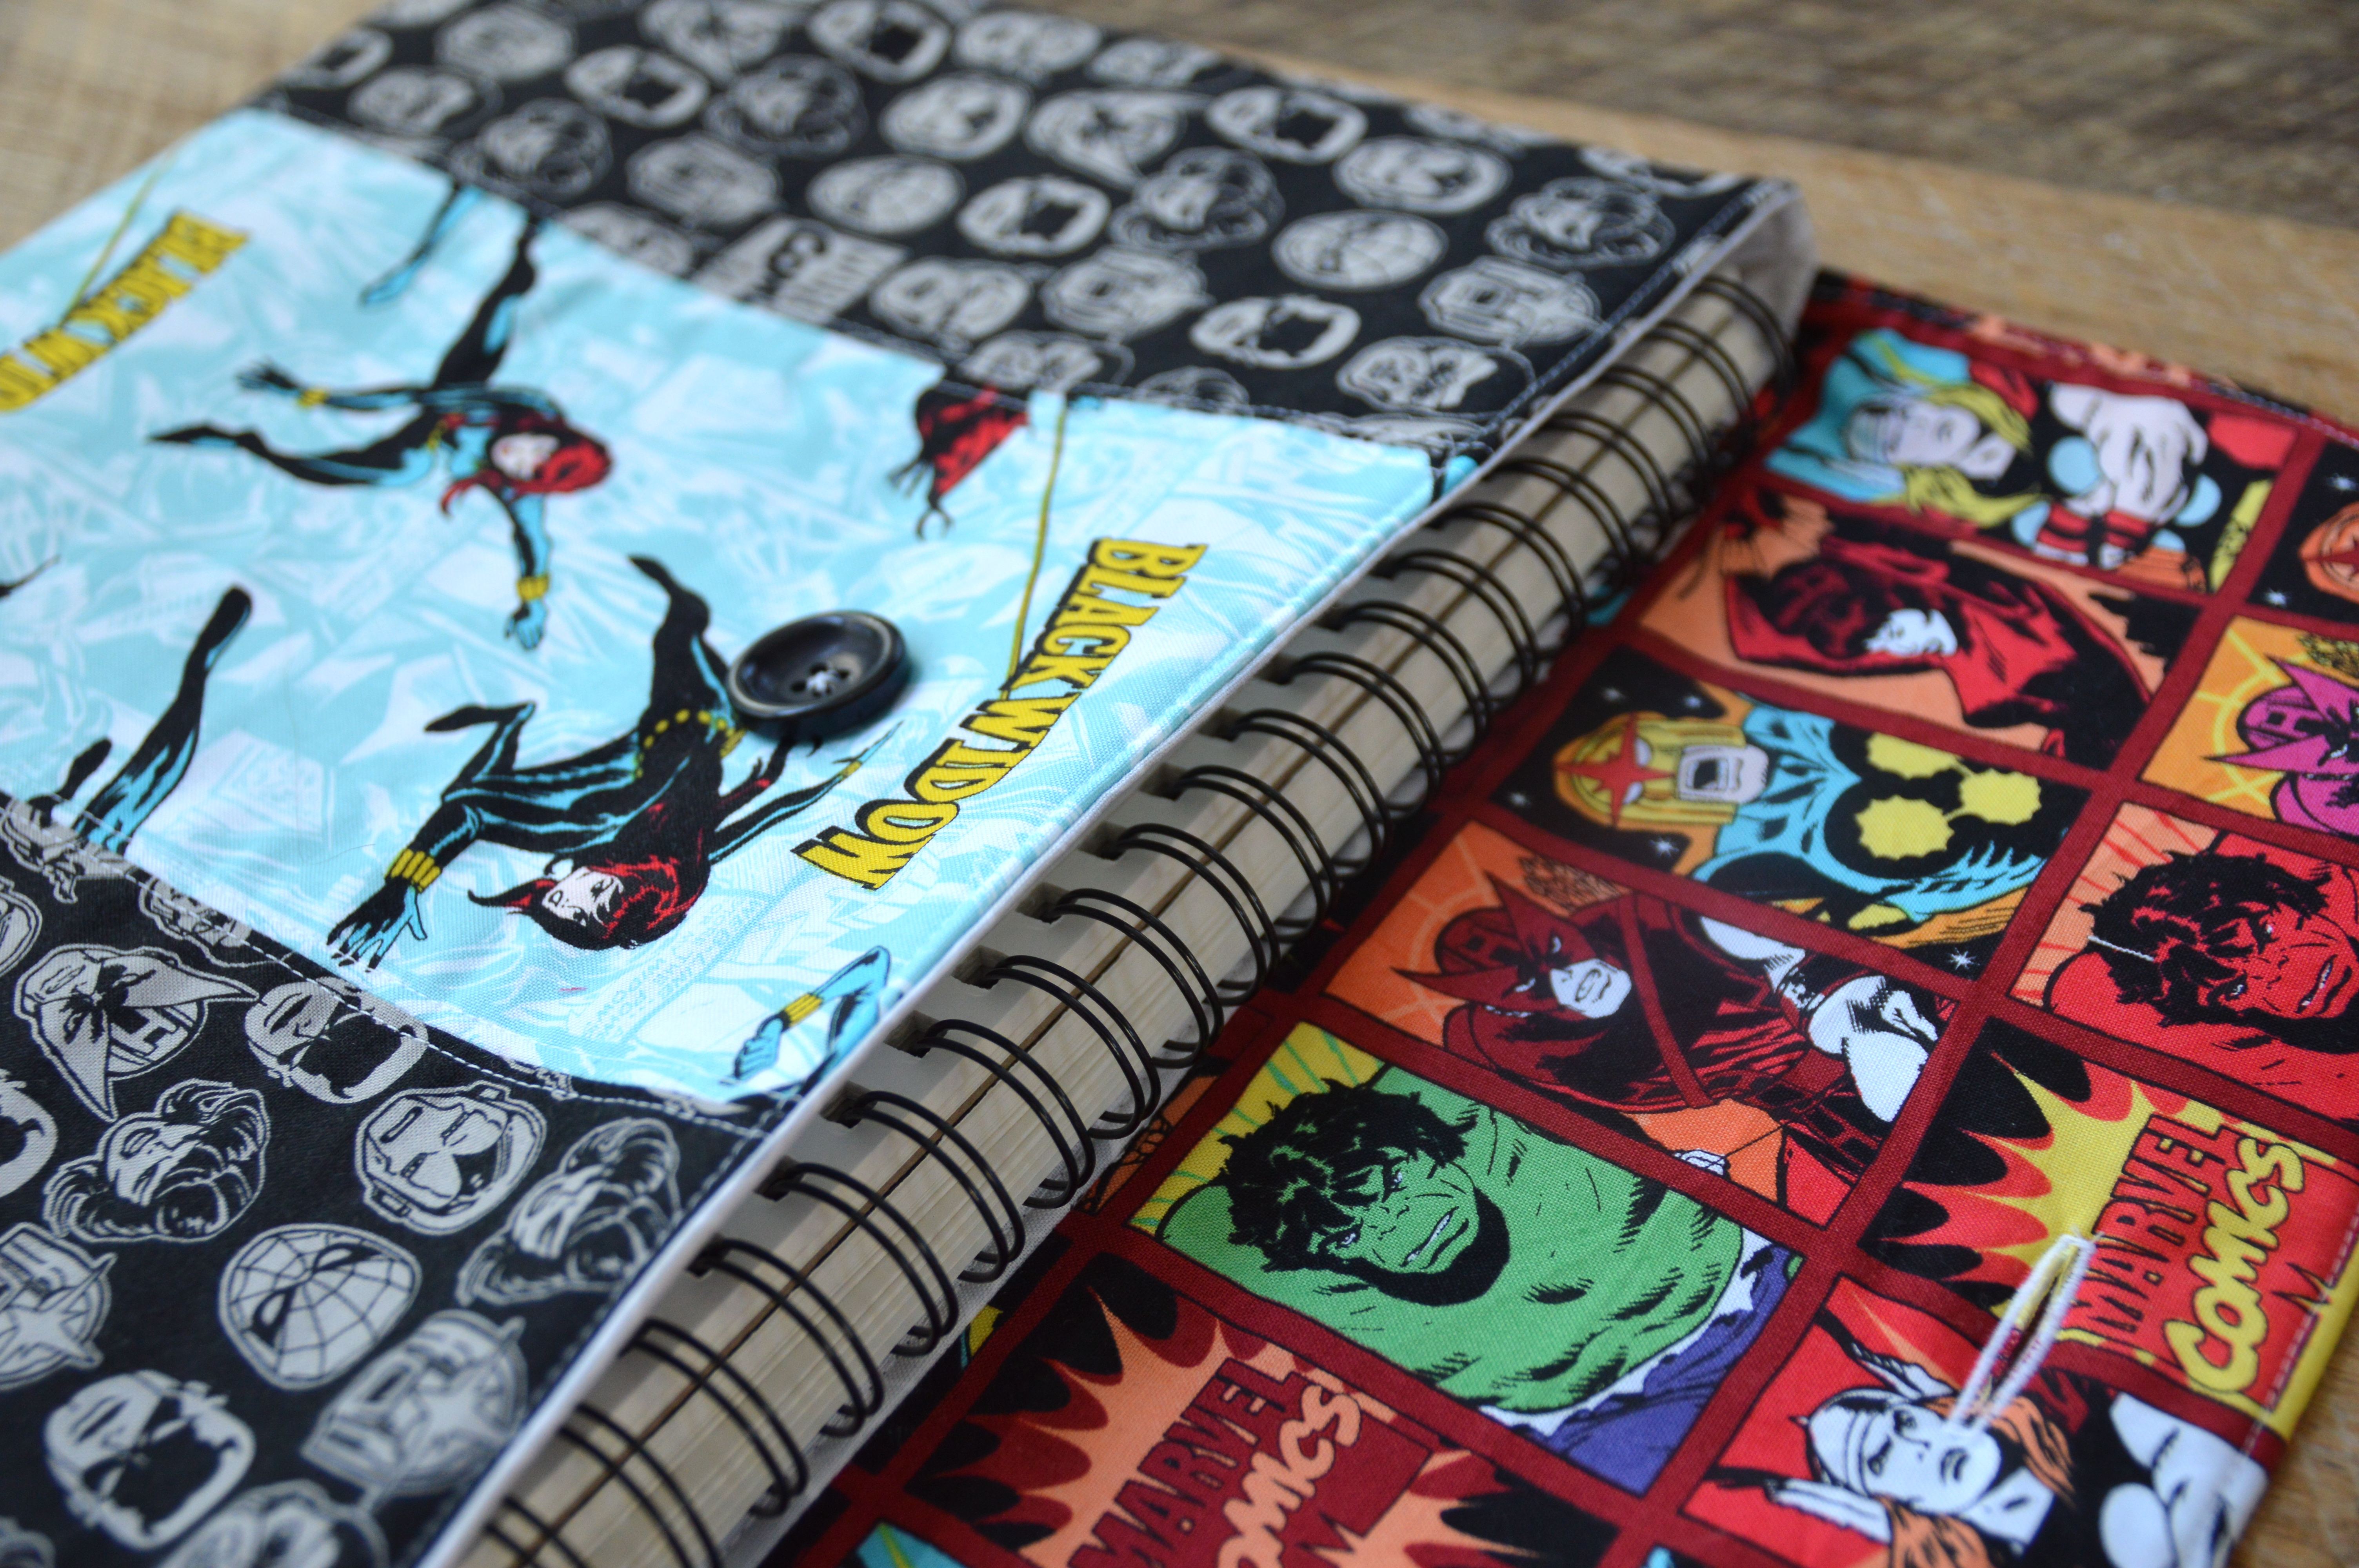
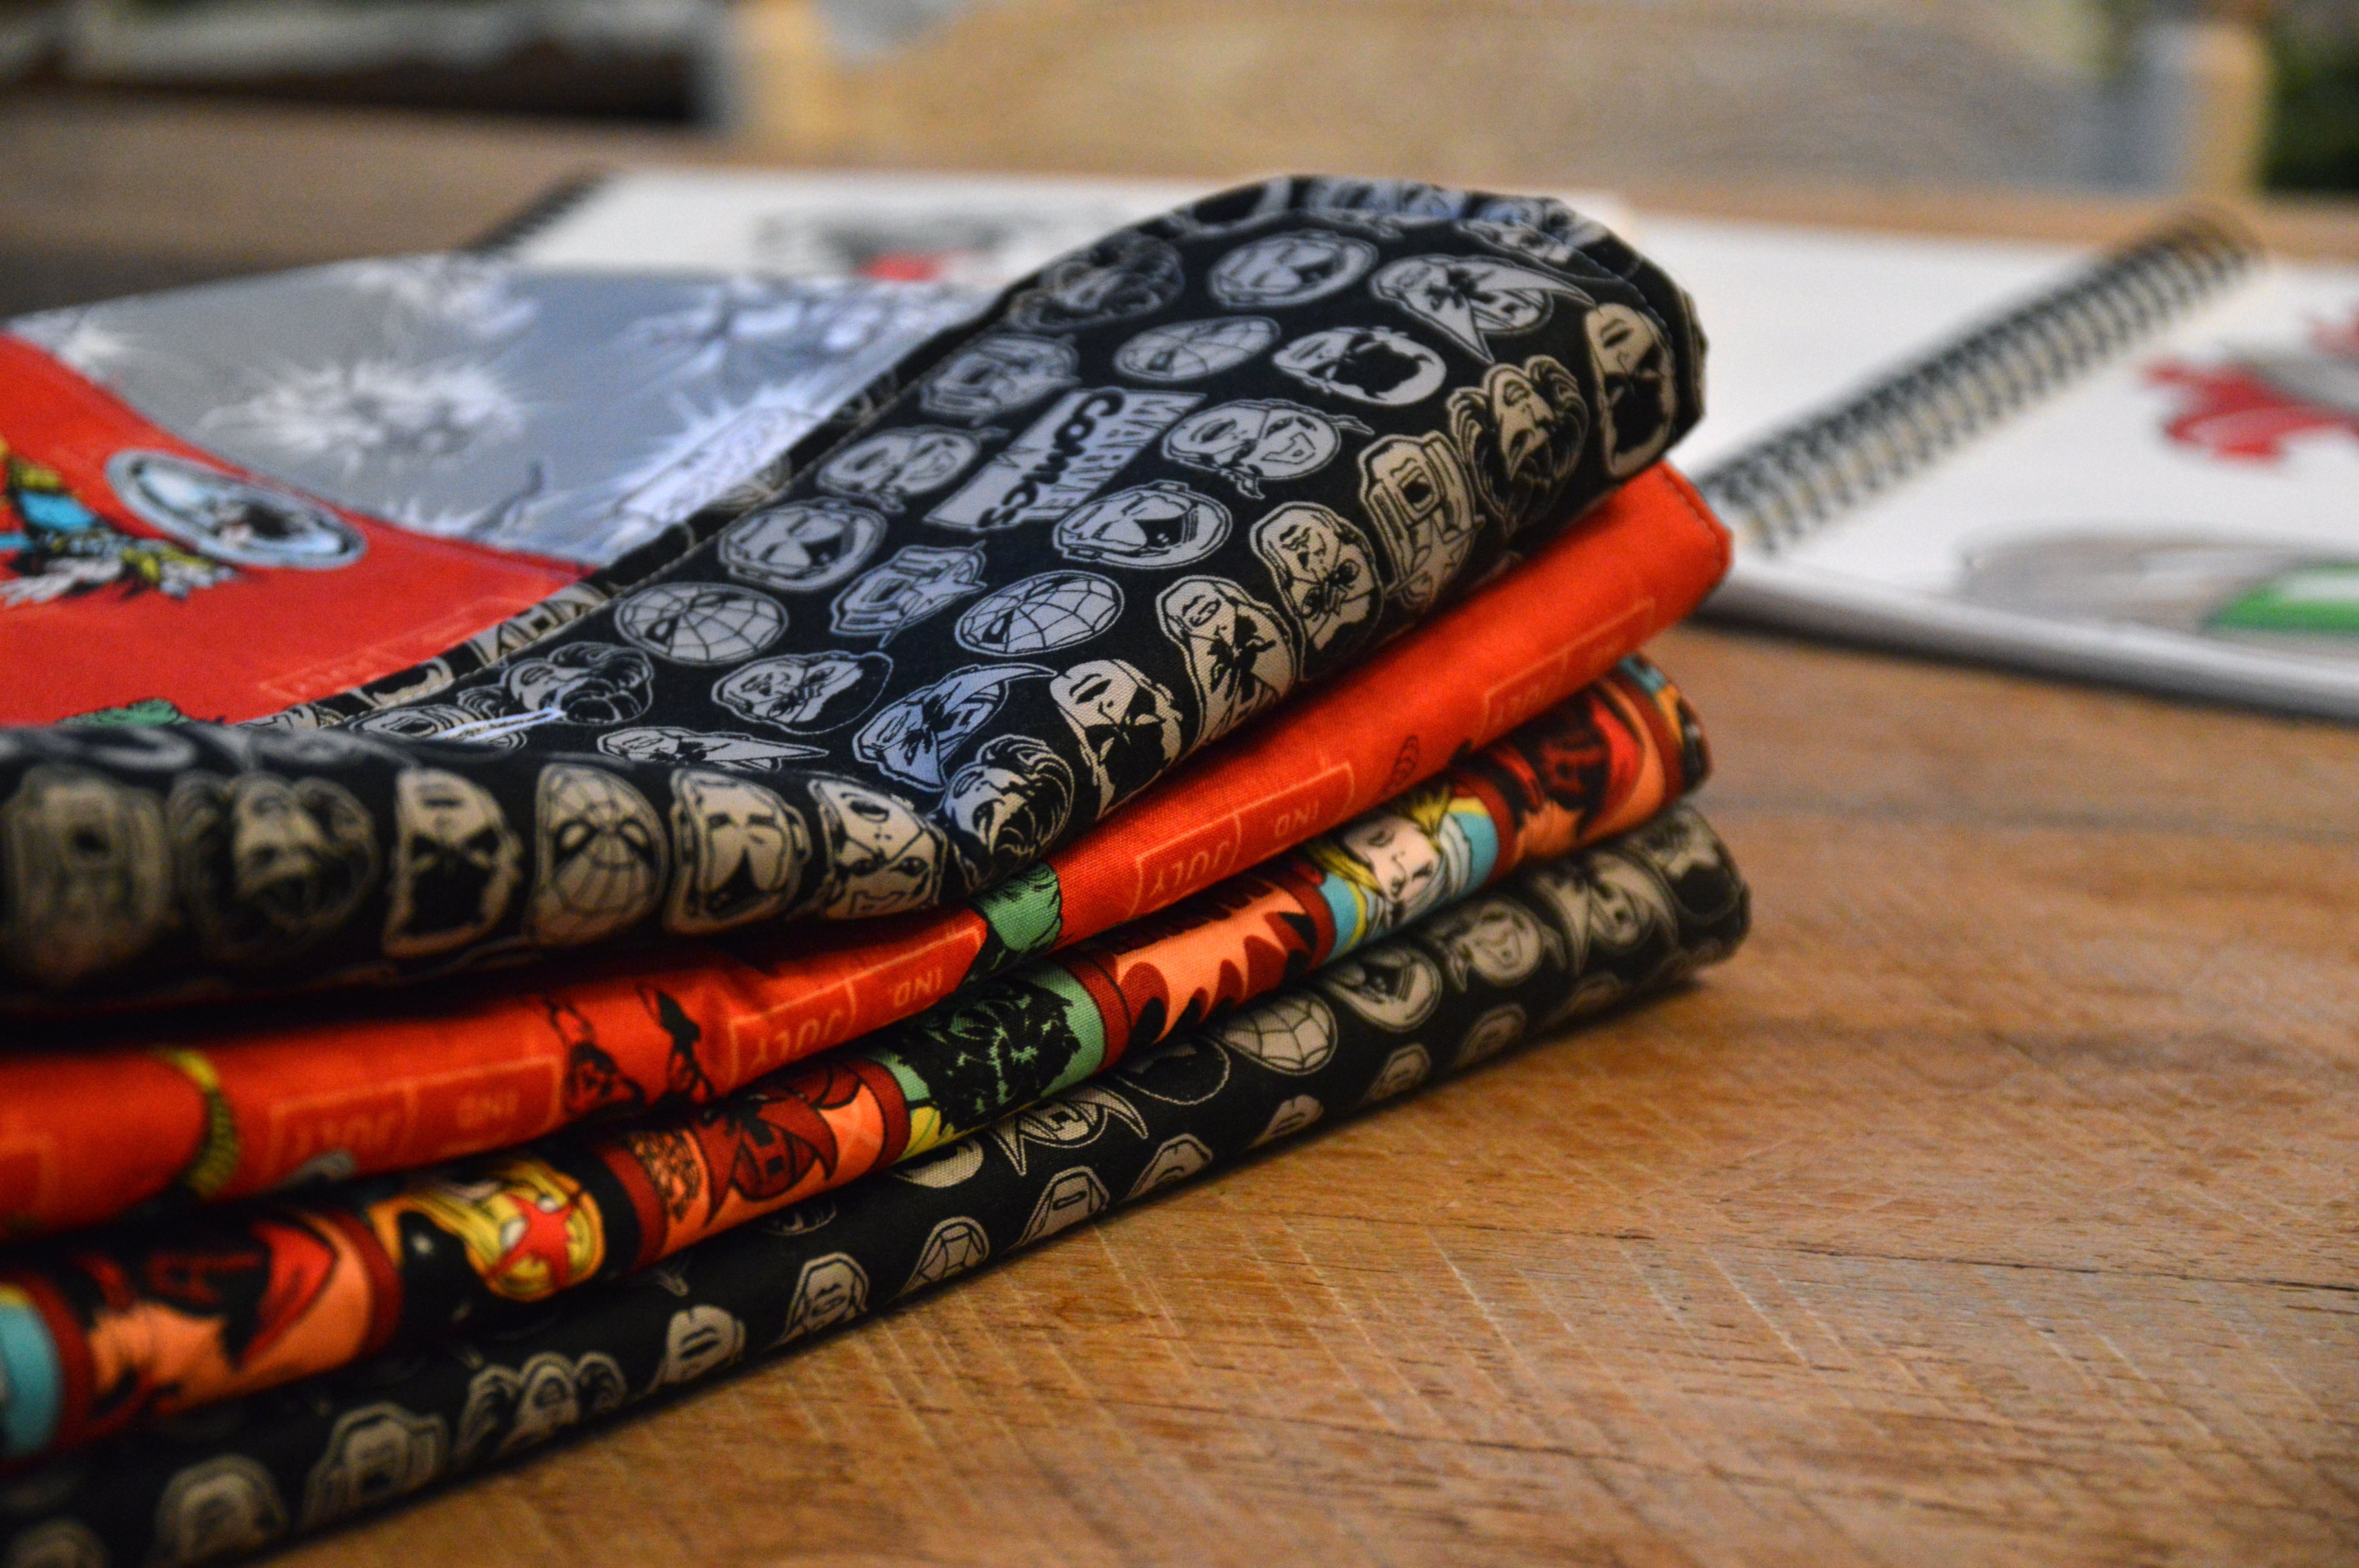
They were so much fun to make and the fabrics were fun to mix and match! I can’t decide which is my favorite!


Speak Your Mind