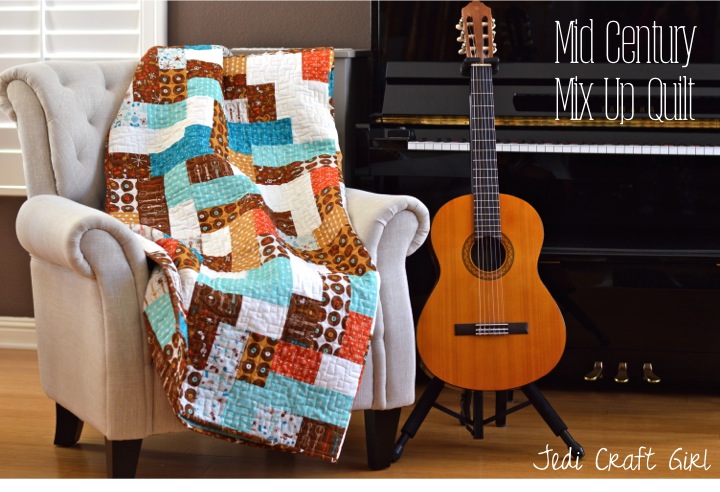
I feel like I may have been born in the wrong era. I was raised with parents who were teenagers in the 60’s. My dad plays the guitar and banjo and there was never a lack of freedom folk songs in our home. I grew up watching movies and tv from the 60s and have passed this on to my children. Instead of watching what ever kids and teens watch these days my kids top shows are: Gilligan’s Island, Brady Bunch, I Dream of Jeanie, McHale’s Navy, and the Carroll Burnett Show. My kids listen to 60’s music stations on Pandora. I’m doing my best to preserve the past!! Sooooo when I came across this fabric line from Blend Fabrics called Folk Medley I new it was for me! I love the retro images, the records, the music notes, and the colors of these fabrics! I wanted to create a quilt that felt more mid century modern than quilty. I am so in love with the finished quilt! It’s exactly how I wanted it!
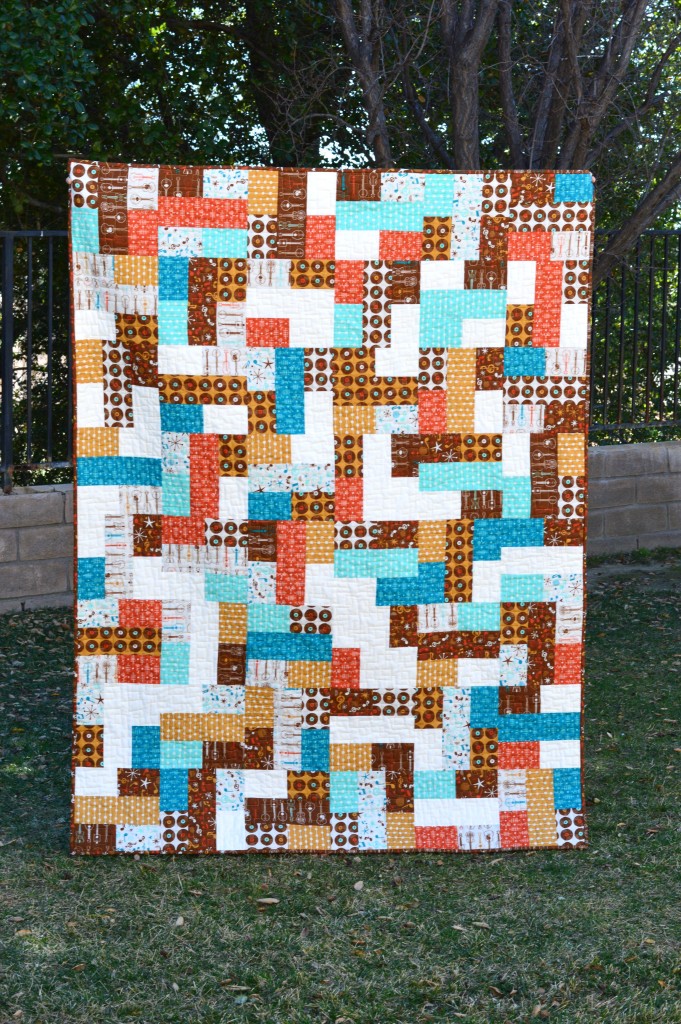
My goal was to make the quilt using only 1 block but to have a totally random result. I love how there are shapes within the quilt that were created at random. Just by looking at it you can’t really pick out the block pattern which I LOVE. 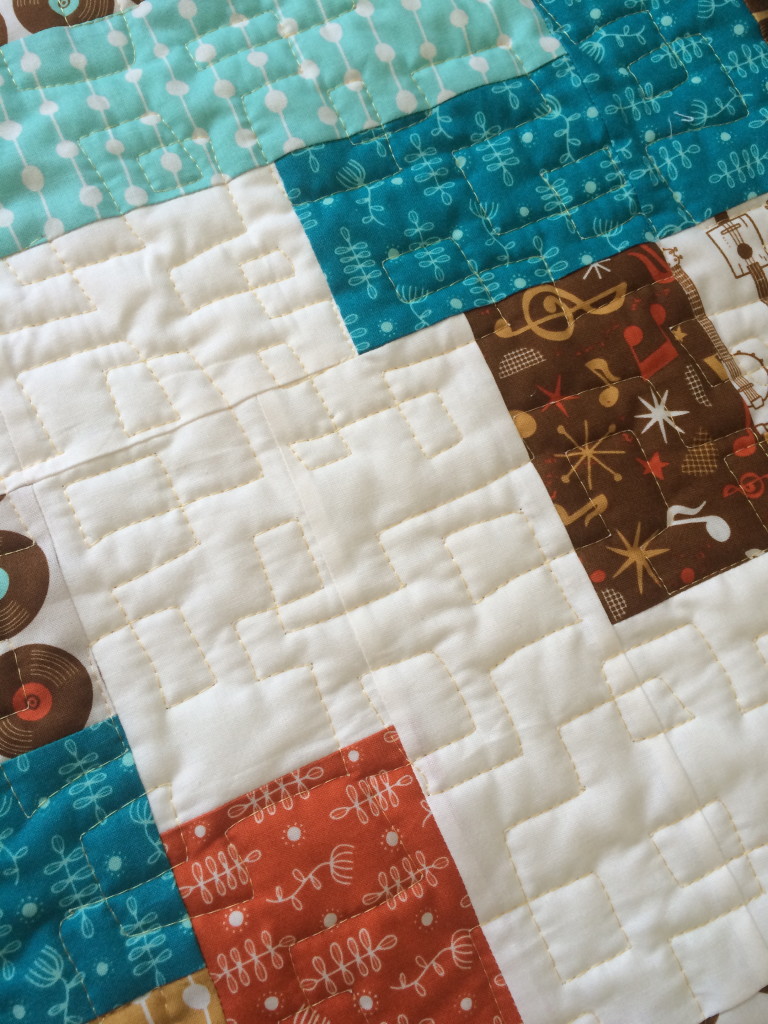
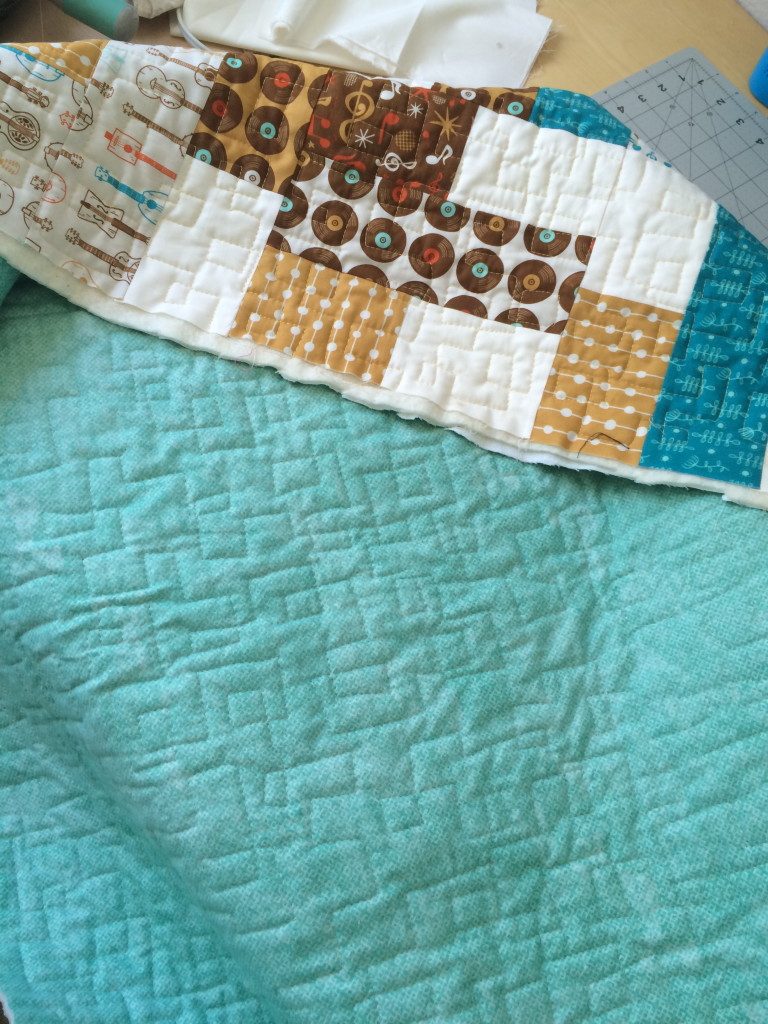
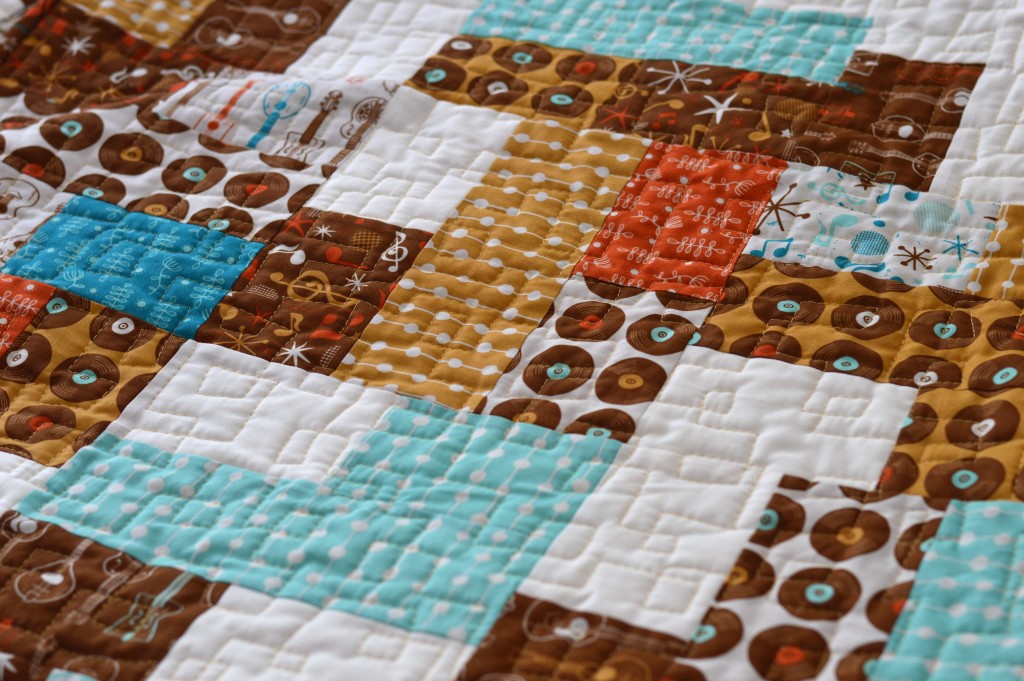
The quilting has a retro feel as well and it was so fun to do although very tiring!
Here is the block pattern. Yep, that’s all there is to it! Below are the CUTTING measurements for each piece of the block.
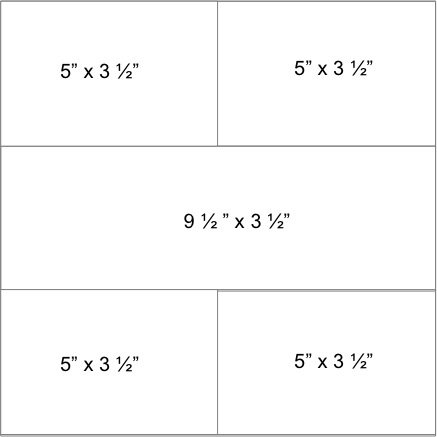
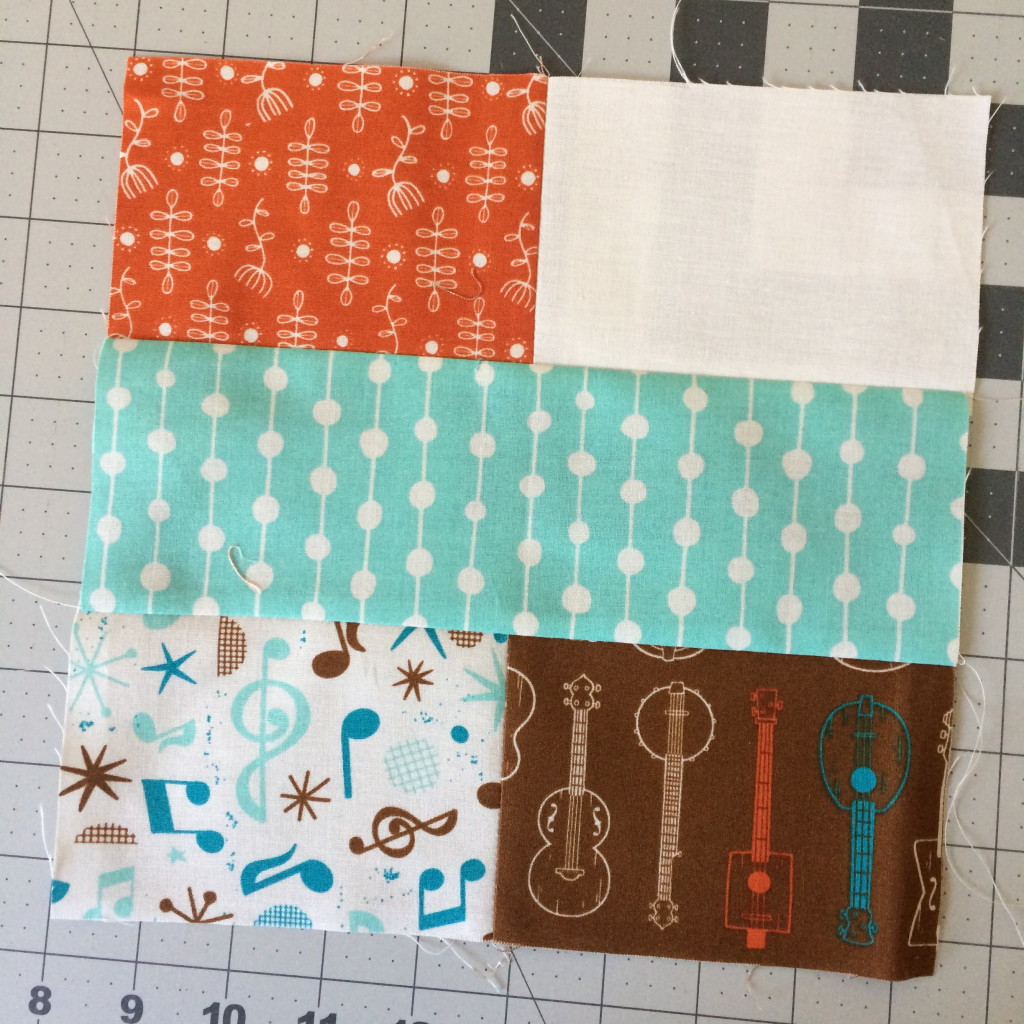
Gather your fabrics, I used 10 prints and 1 solid. All seams 1/4 inch. Finished block 9″ Finished Quilt 54″ x 72″
1/3 yard of the prints
2/3 yard solid (off white)
1/2 yard binding
3 1/2 yards backing
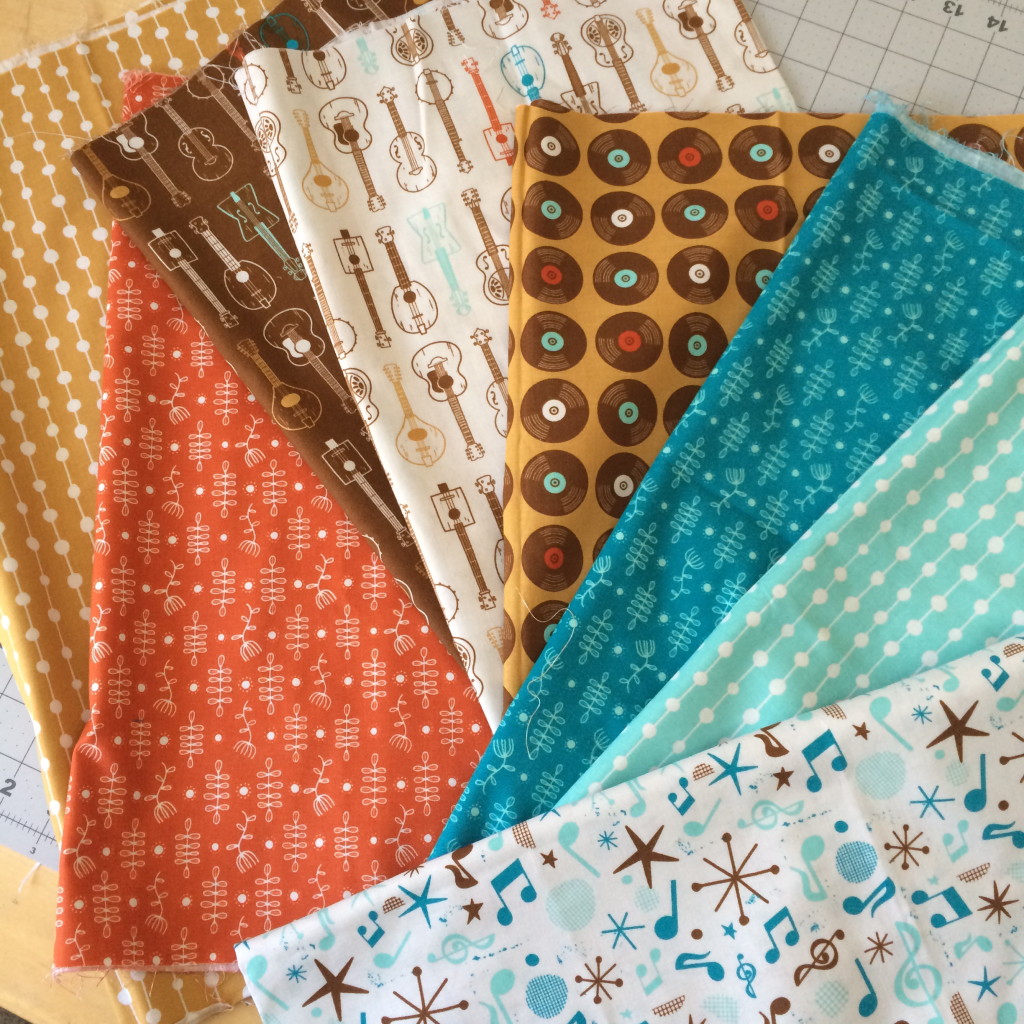
Cut each of the patterned fabrics into strips (3) 3.5″ x WOF.
For the 5″ x 3.5″ rectangles
Using (2) 3.5″ x WOF strips sub cut them into 5″ unitis.
For the 9.5″ x 3.5″ rectangles
Using (1) 3.5″ x WOF strips subcut into 9.5″ segments.
Cut the same increments for the off white solid and then add in additional to your liking.
Sew the 5″ rectangles together first. Just grab and go – don’t lay out and don’t plan! Press the seams. Then sew the 5″ rectangle units on both sides of the 9.5″ rectangle. Again, totally random. These are only a few of the block combinations I came up with. Notice how some like fabrics are right next to each other? This is good!!
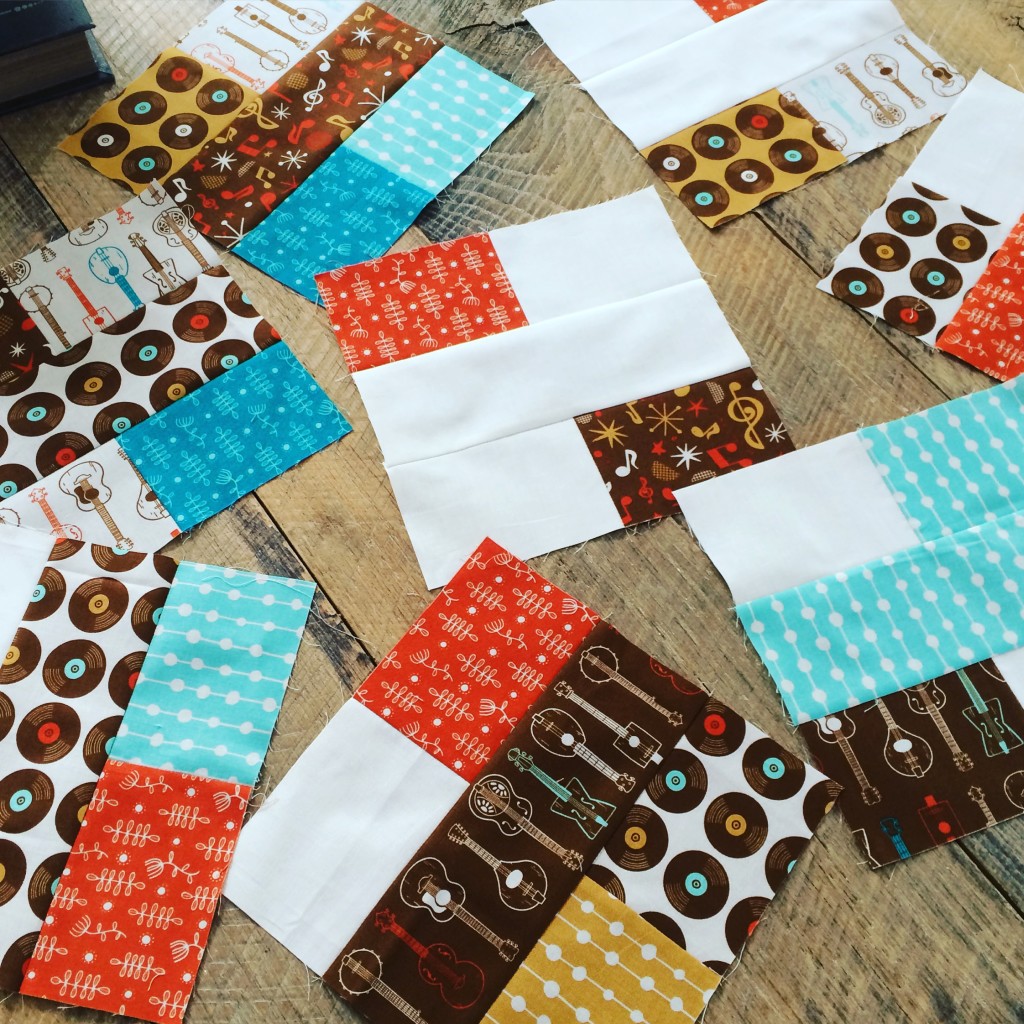
I laid my blocks out so I could take a picture. But I reccomend NOT laying them out. Just grab and go! It’s so liberating!!! You will need 6 rows by 8 rows for a total of 48 blocks. (You can totally make this smaller or larger). Sew the blocks together in rows, press and sew the rows together.
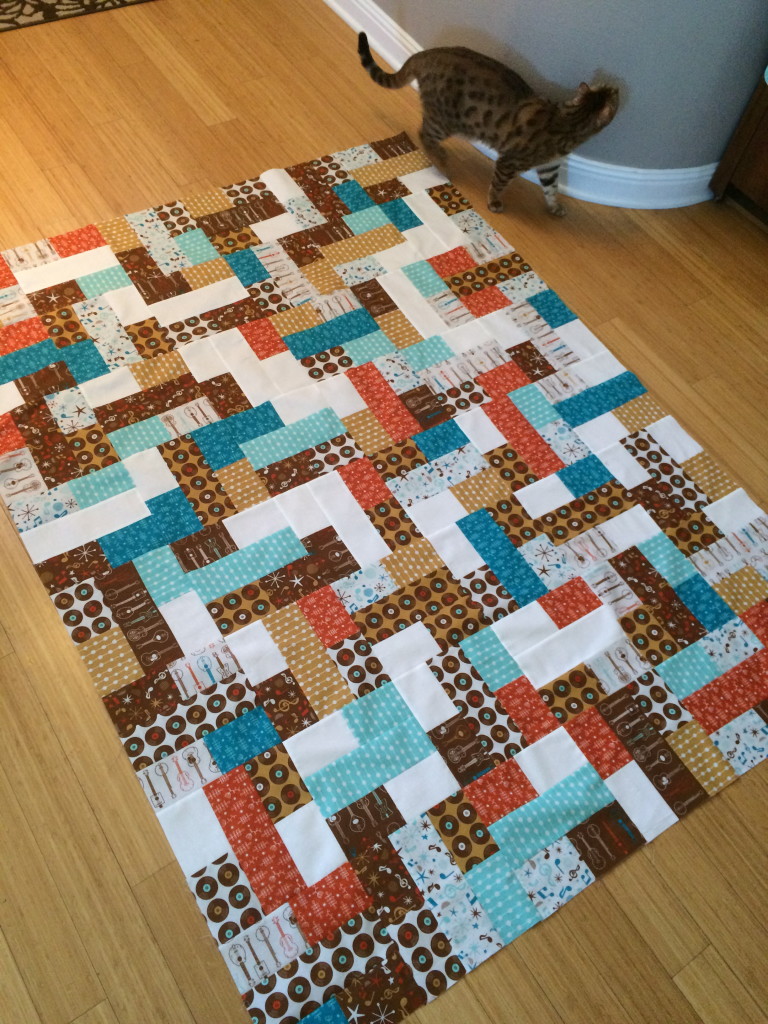
I put flannel on the back of the quilt so it would be super cuddly and soft! (Always prewash flannels if you use them in quilting!)
Make sure your cat approves 🙂 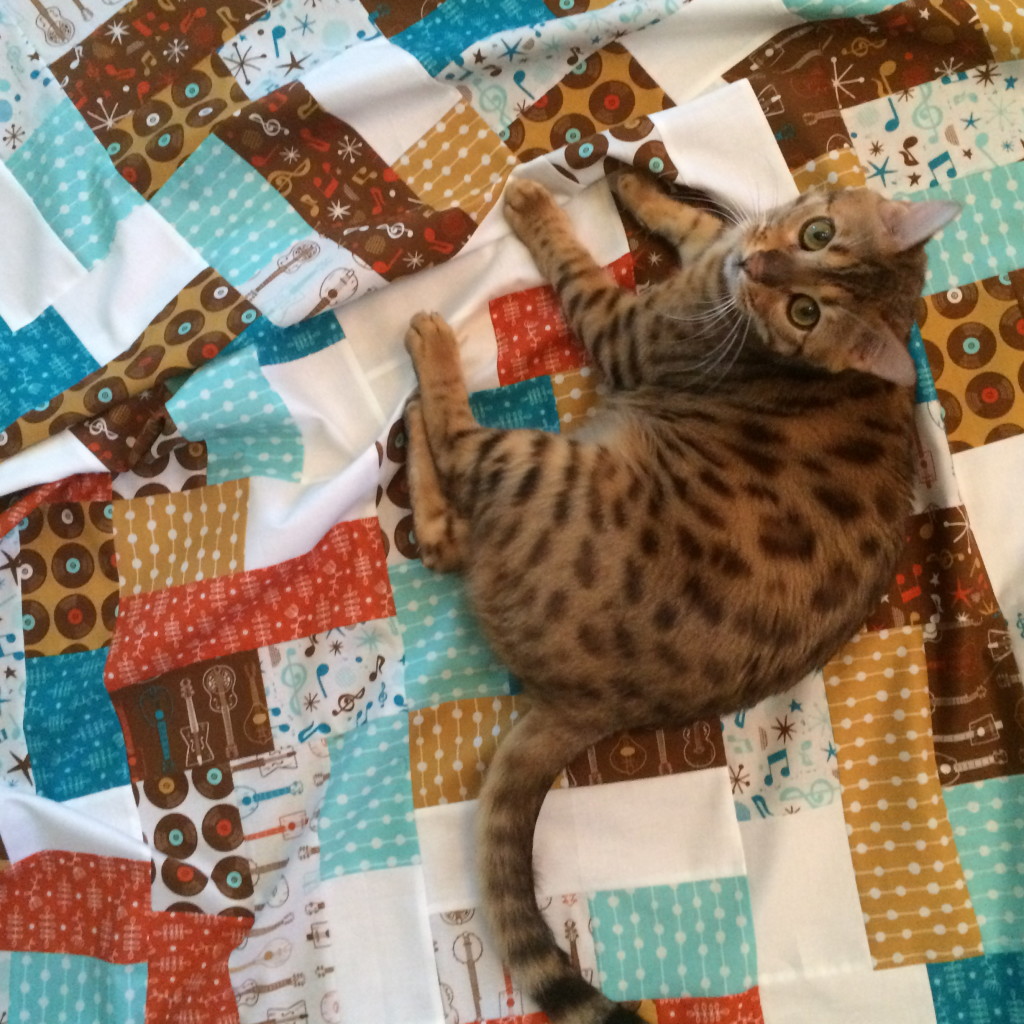
This pattern is great for larger prints because the strips are a good size. It also sews together FAST! This throw size quilt can be made in 1 day!! I can’t wait to make another one using different fabrics!!
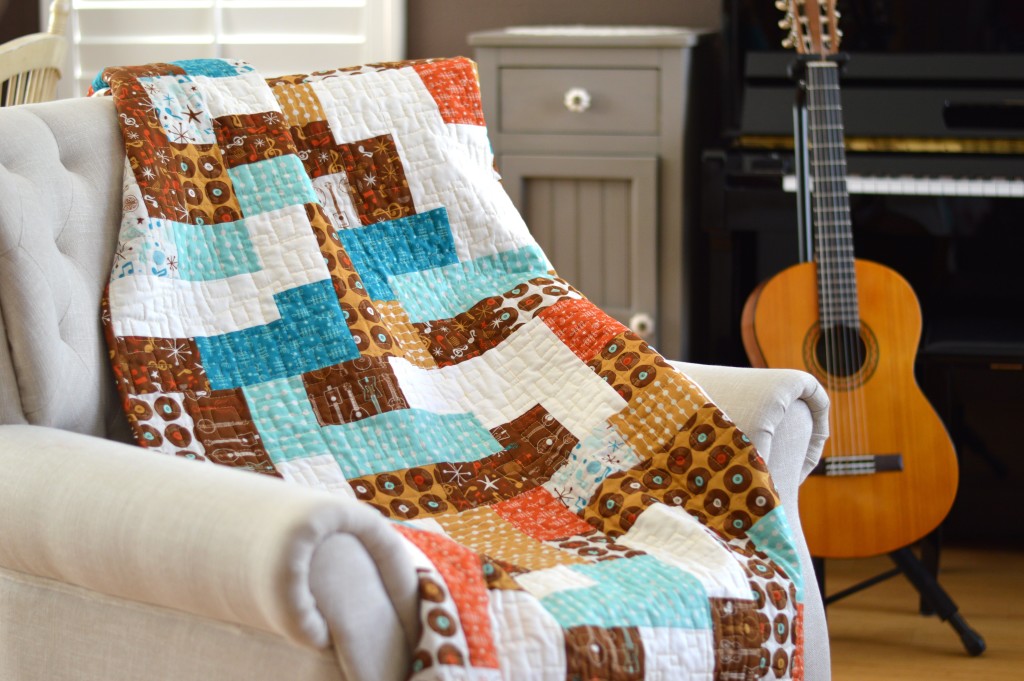
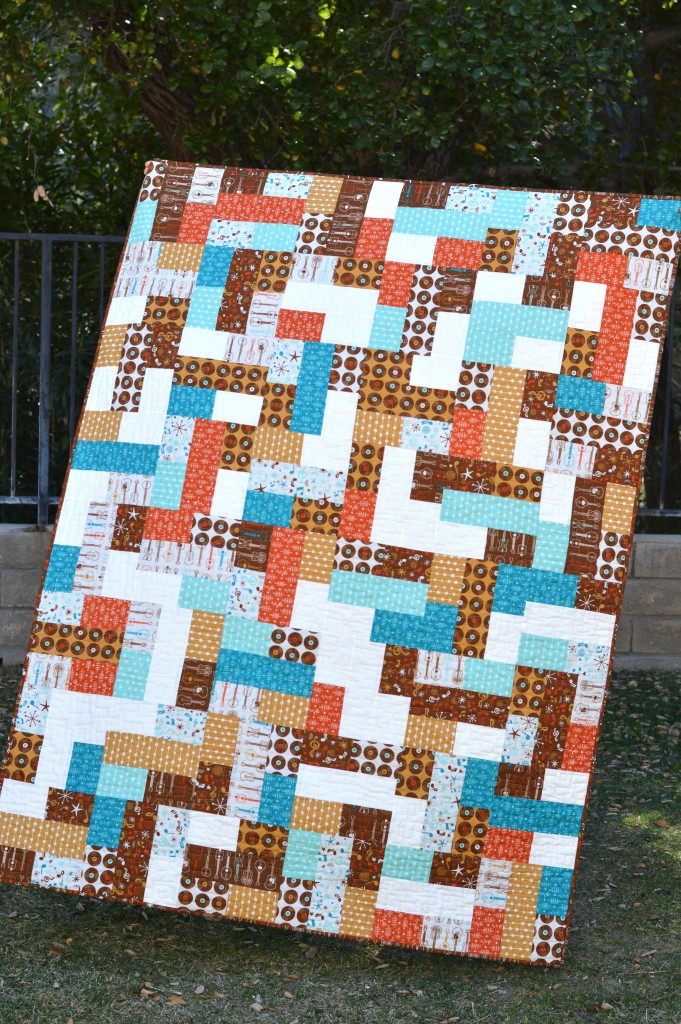
Do you have favorite 60’s folk singers? I love the New Christy Minstrels!! They are epic!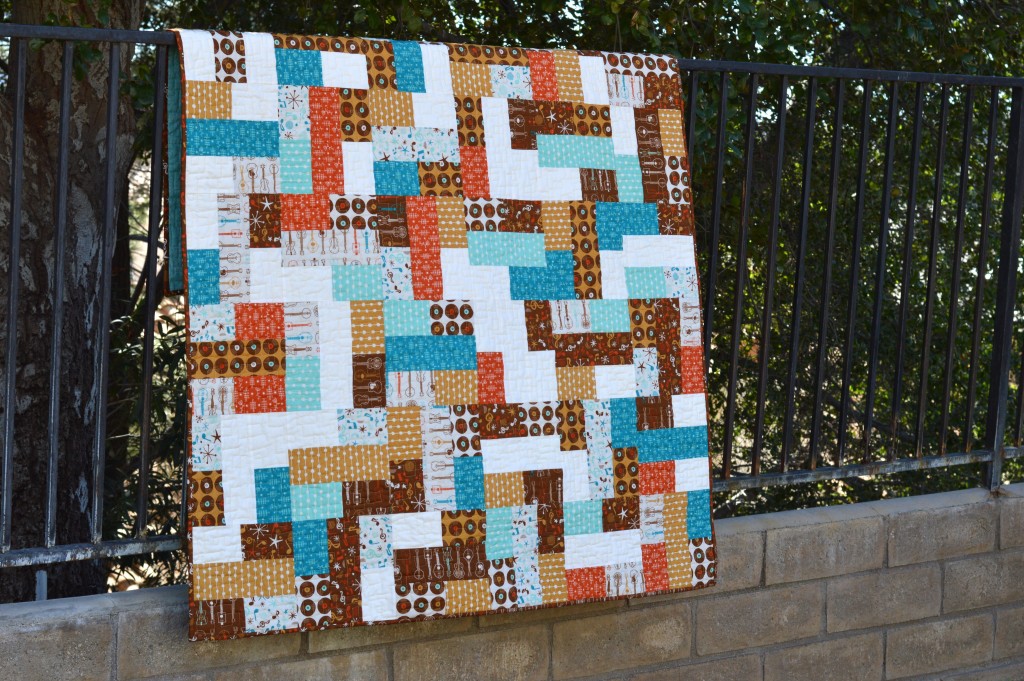 Every year I try and learn the guitar, this quilt is inspiring me to pick it up yet again!!!
I hope you love making this quilt as much as I did! Tag your pictures on Instagram with #midcenturymixupquilt 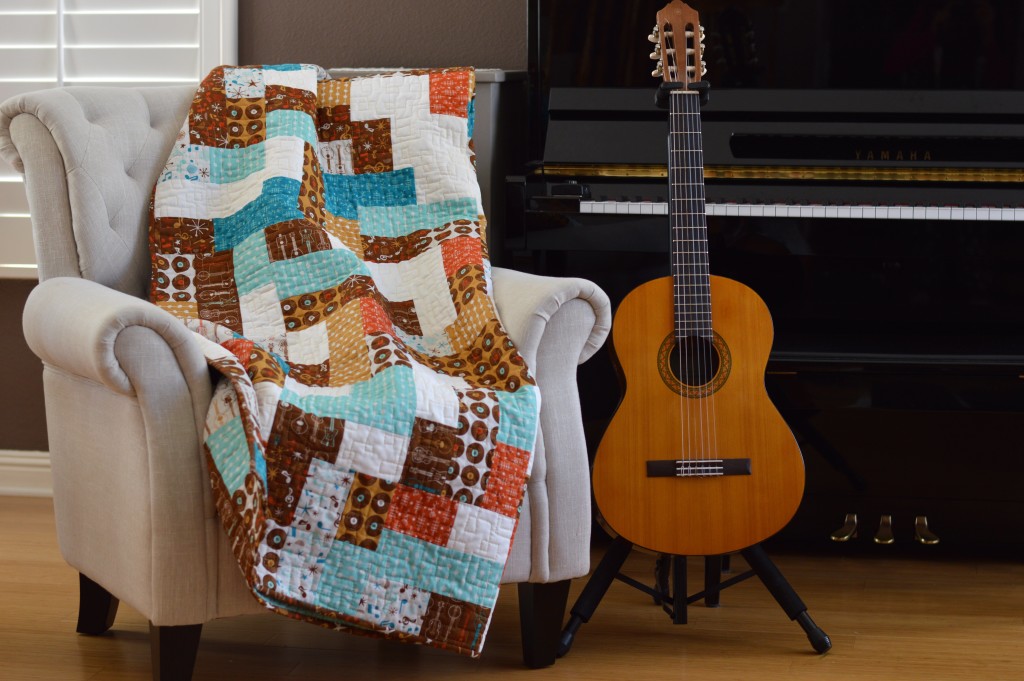


I love your blog and Instagram. Thank you for all your talent. I do find the directions on this quilt somewhat confusing in the cutting stage. Also what is the final size?
Thanks for your comment. I updated the blog instructions with the following changes. I hope you find this helpful 🙂
Gather your fabrics, I used 10 prints and 1 solid. All seams 1/4 inch. Finished Quilt 54″ x 72″
1/3 yard of the prints
2/3 yard solid (off white)
1/2 yard binding
3 1/2 yards backing
Cut each of the patterned fabrics into strips (3) 3.5″ x WOF.
For the 5″ x 3.5″ rectangles
Using (2) 3.5″ x WOF strips sub cut them into 5″ unitis.
For the 9.5″ x 3.5″ rectangles
Using (1) 3.5″ x WOF strips subcut into 9.5″ segments.
Cut the same increments for the off white solid and then add in additional to your liking.
Thanks for sharing! Love your blog and instagram. I’m fairly new on it, but I can tell you are one talented young lady!
As a baby boomer who has been bitten by the quilting bug, this speaks to me in so many ways. And, it is one I can make for the hubby who won’t think it is too womanly for him! Thanks for sharing.
Could this pattern be modified for 2 1/2 inch strips? If so, then what would the measurements be.
Thanks in advance.
with 2.5 inch strips the block would finish at 6 inches, the large rectangle would be cut at 6.5 inches and the small rectangles cut at 3.5 jnches.