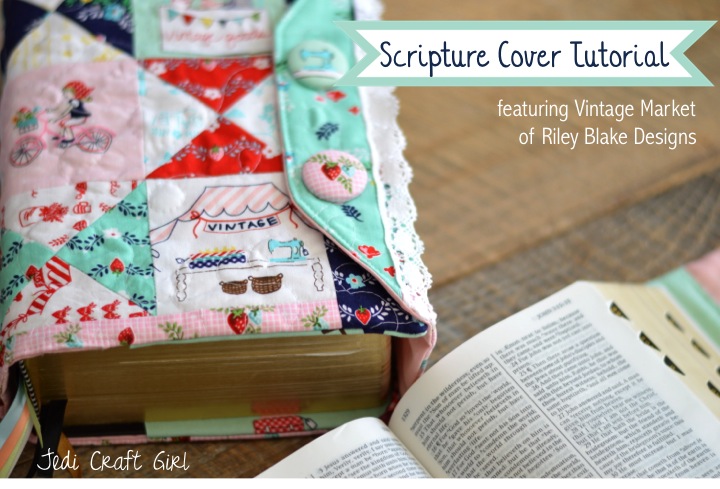
My daughter and I recently received new scriptures and with new scriptures comes a need for new covers! I love these little quilted covers, I think of them as blankets for your bibles….heehee 🙂 The Riley Blake Designs fabric I am using is called Vintage Market Fabric by Tasha Noel. Absolutly everything Tasha designs is too cute for words. I can’t decide which little scene is my favorite! I love jam, bicycles, quilts, sewing machines, and all vintage goods. I guess I love it all!!!
This pattern will walk you through the steps of determining the measurements for your bible or book and how to create a quilted cover. The two examples shown are a set of regular “quad” scriptures and then the larger “quad” scriptures. 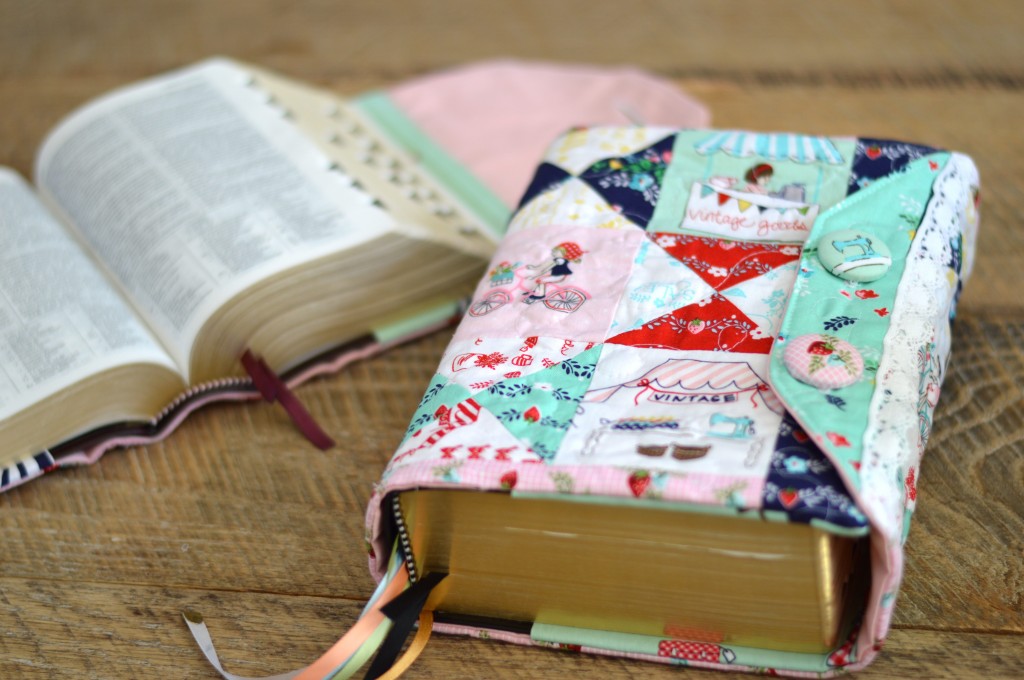
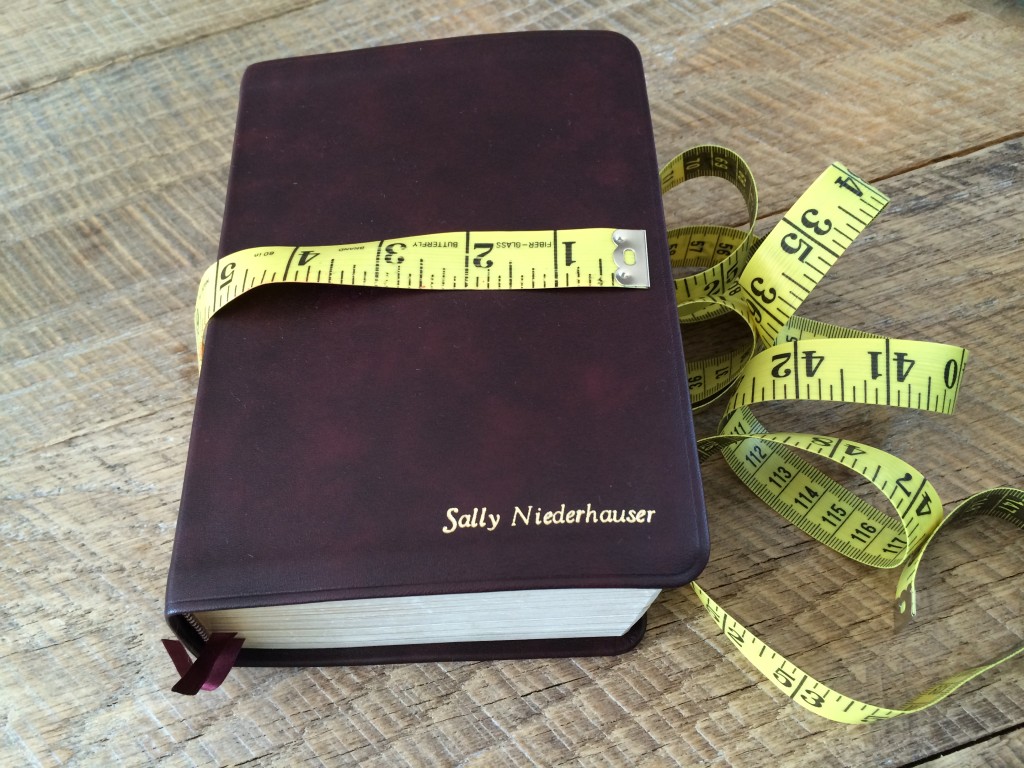
The first step is to take the measurements of the book. Hold the tape measure from cover to cover with the book closed as pictured below. Write down that length measurement. Then do the same thing width wise and record that number.
MEASUREMENTS
To determine the measurements for the width (top to bottom), add 1″ to the width measurement and then subtract 1/8″.
To determine the measurements for the length (side to side), measure the length and add 6″.
For the regular quad, the book measures: 7 3/8″ x 13″ so the number we are after is 8 1/4″ x 19″
For the large quad, the book measures: 9 3/8″ x 15″ so the number we are after is 10 1/4″ x 21″
Overview
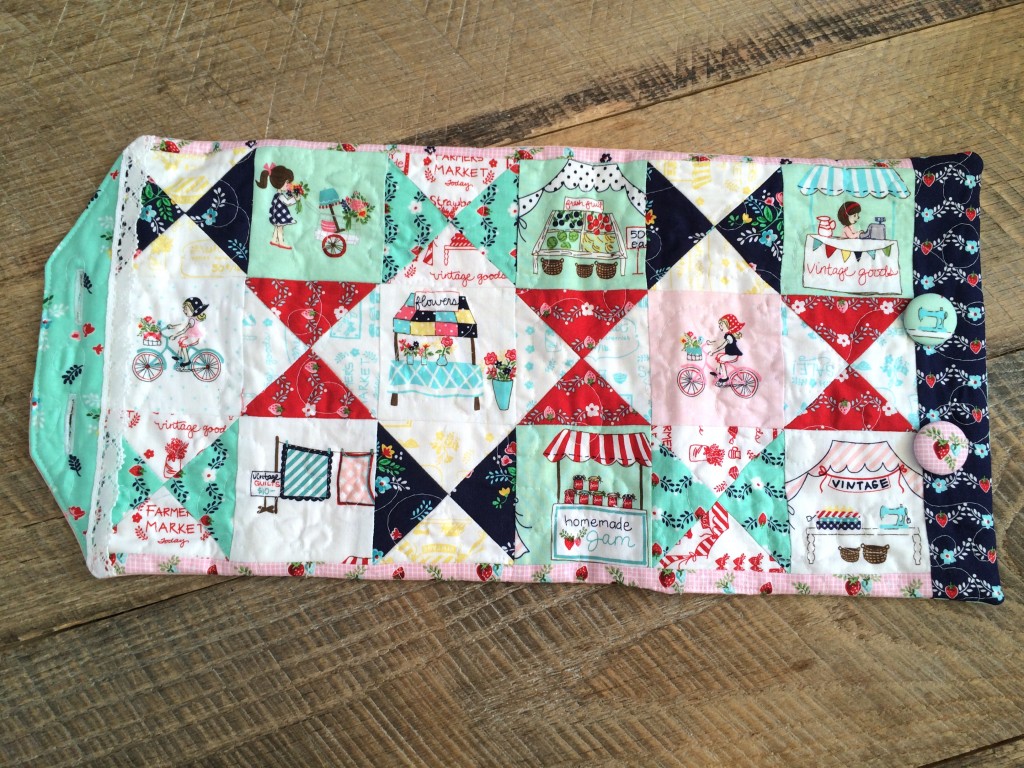
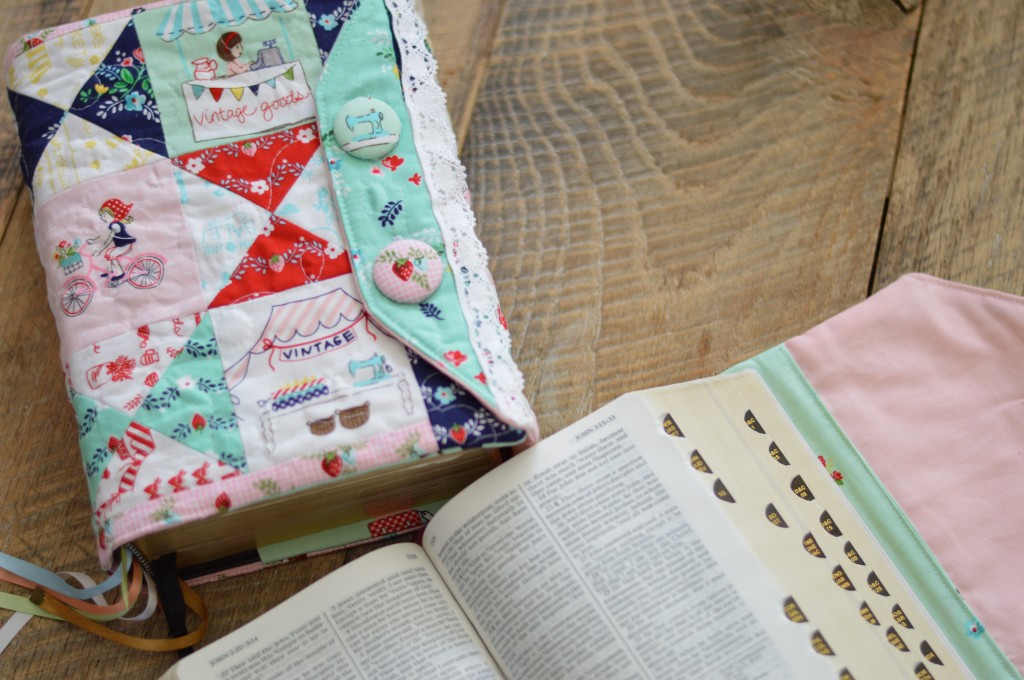
Here is a photo of what the finished cover looks like. The inside consists of 2 flaps to insert the book cover. The cover also extends beyond the book so it wraps around and buttons to close.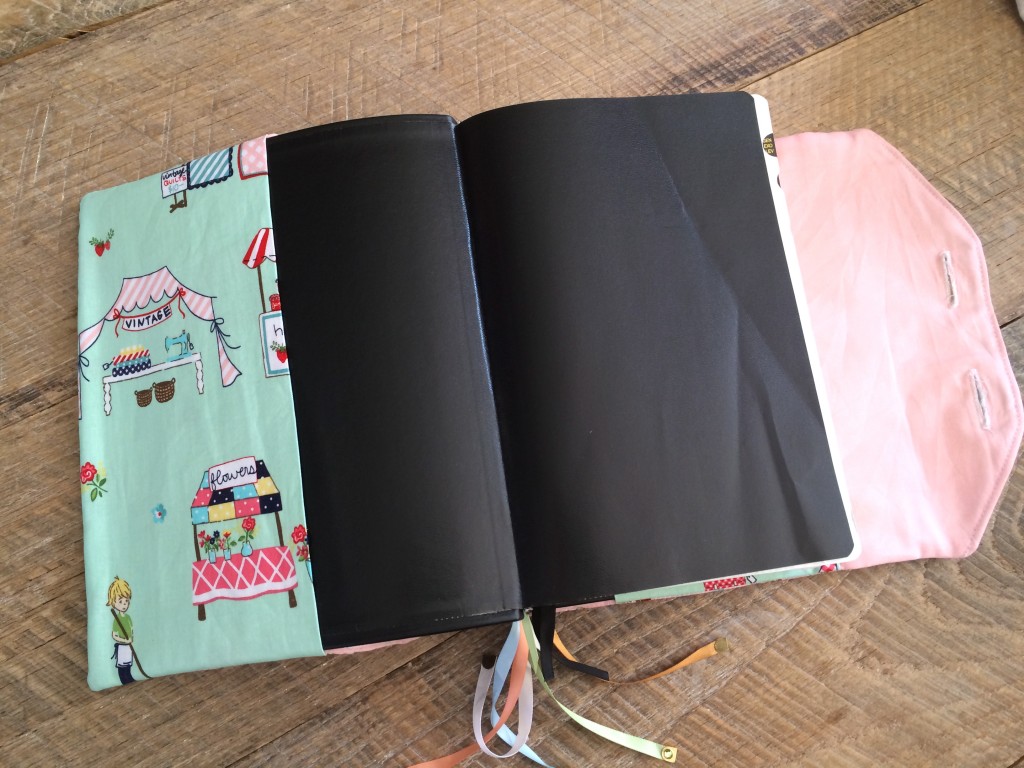
Construct the Quilted Cover
Following the instructions for the “quilt” will give you a quilt that is slightly larger than the measurements required. Not to worry, I have put a little “extra” in as the quilt tends to shrink after being quilted. Once it is pieced and quilted you will square it up to the measurements you determined at the beginning.
The quilt consists of 3.5″ cut blocks that finish 3″ square. The Vintage Market motifs are fussy cut. They are alternated with hourglass blocks.
How to Fussy Cut
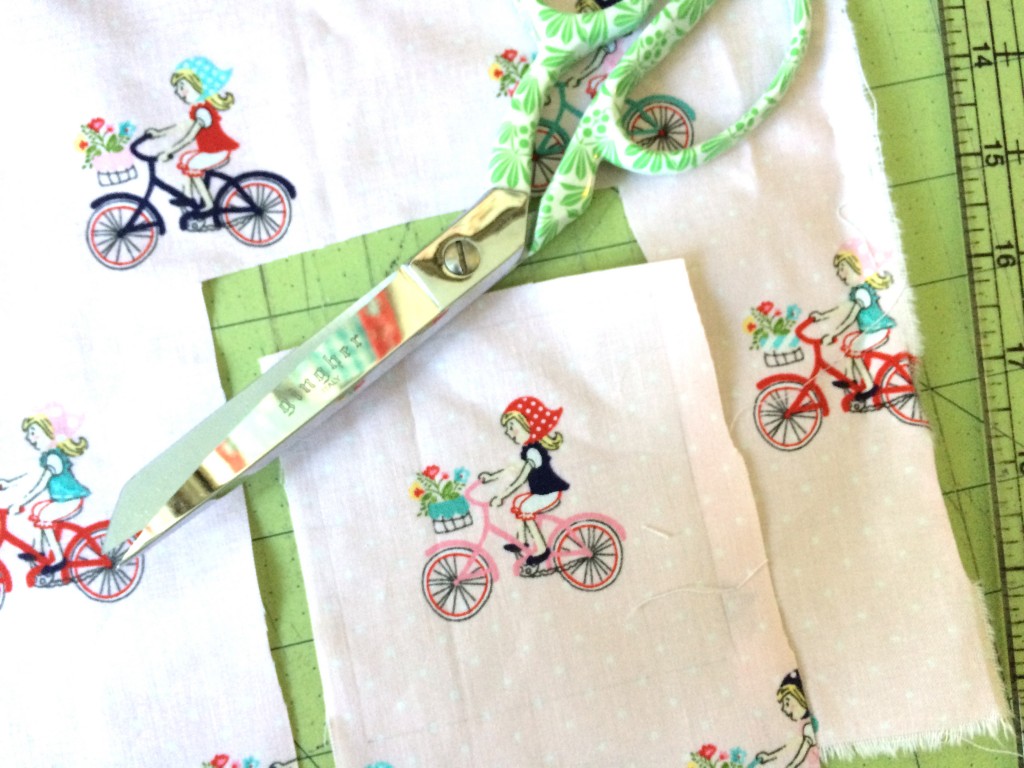
There are many ways to fussy cut an image, this is my method. Cut a 3.5″ square out of a piece of card stock. Use this as a little window to center the motif. Draw a pencil line around the 3.5″ square. Keep in mind you will have 1/4″ seam allowances.
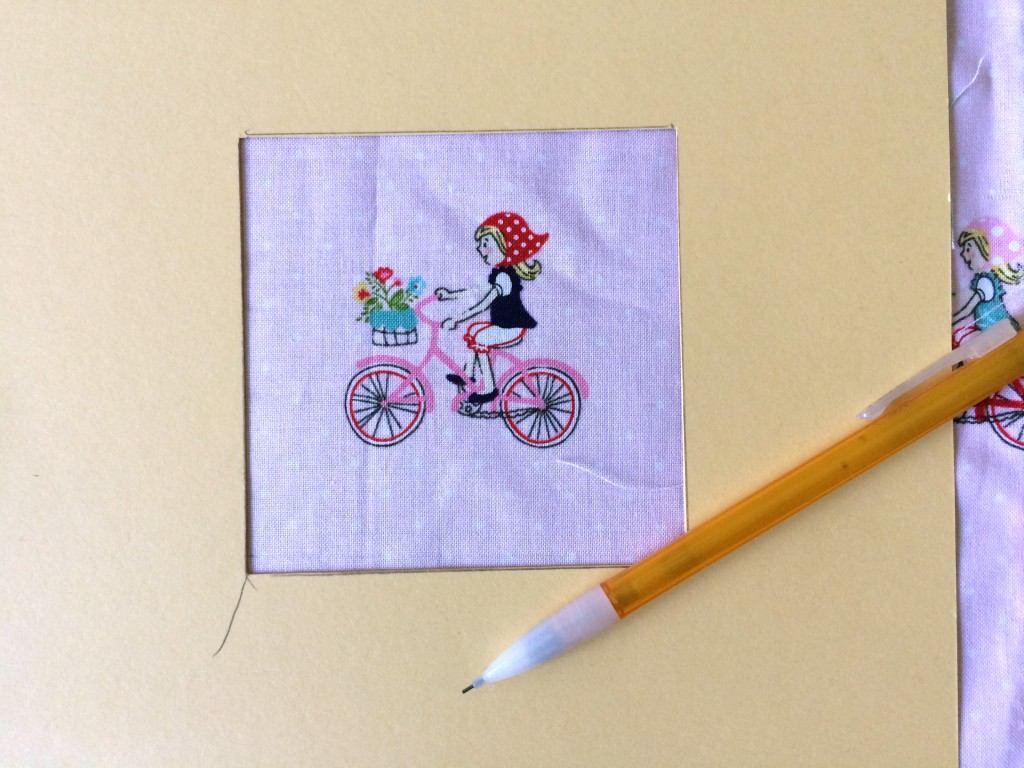
Using scissors do a rough cut around the pencil line. Then place the image on a cutting mat and use the pencil lines as a guide to line up the ruler. Make sure to match the ruler to the grid as the pencil marks might be off slightly. Any pencil marks shown will be caught in the seam allowance.
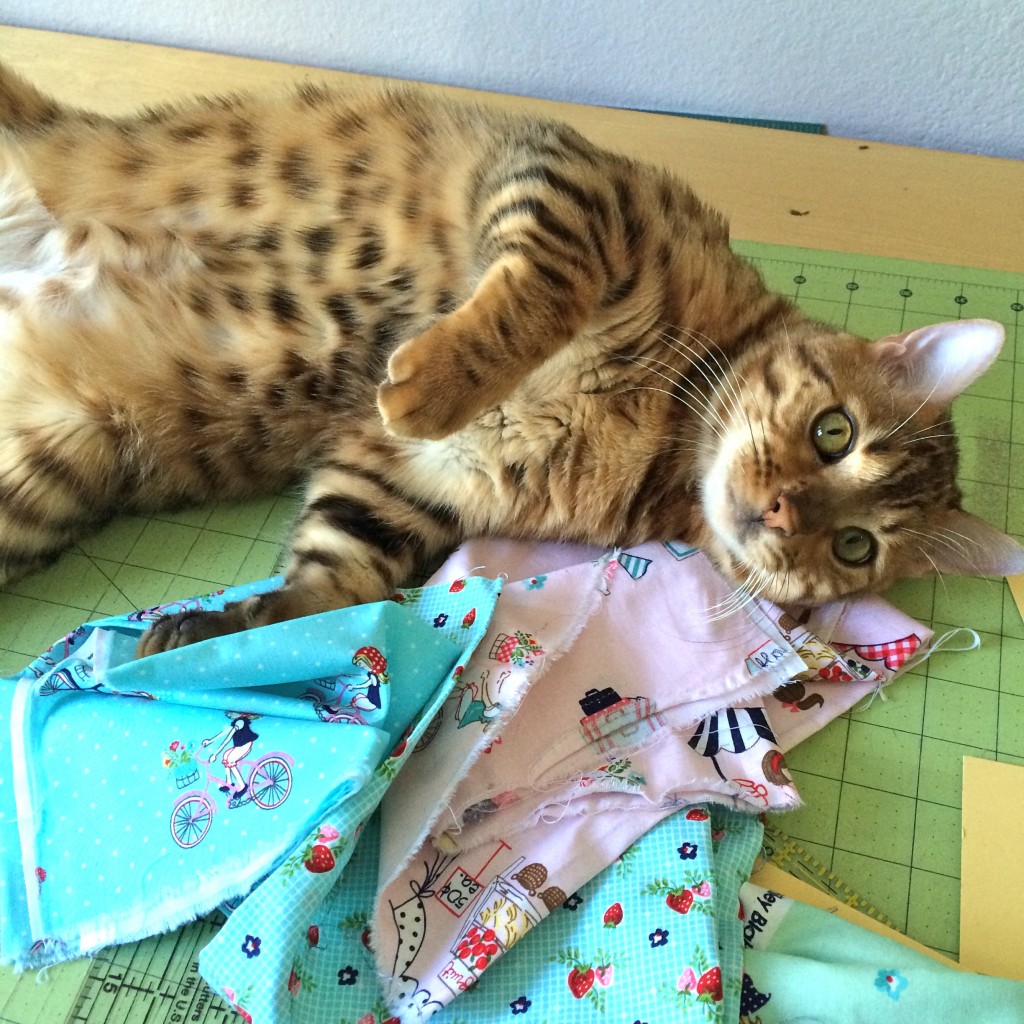
Next, wrangle your cat away from the fabric so you can continue with this project 🙂
Hour Glass Block
To make the hourglass block, cut a light 5″ charm square and a dark 5″ charm square. Draw a diagonal line on the back of the light square.
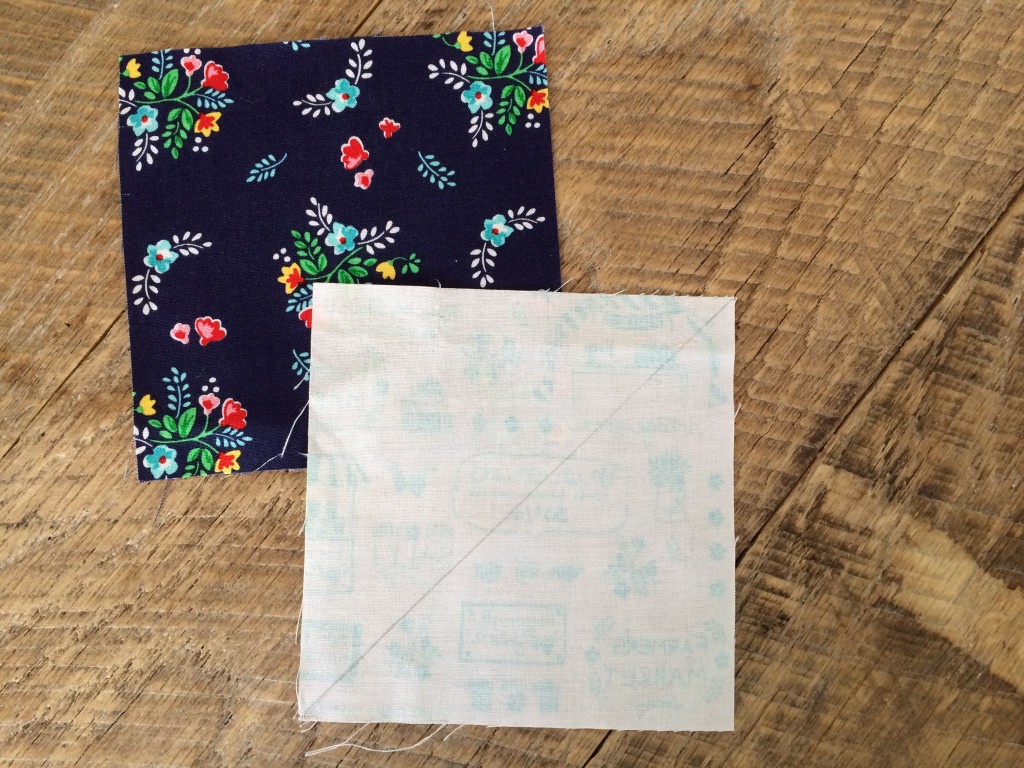
Place the light and dark squares right sides together. Sew 1/4″ seam along both sides of the pencil line. Cut apart and press toward the dark.
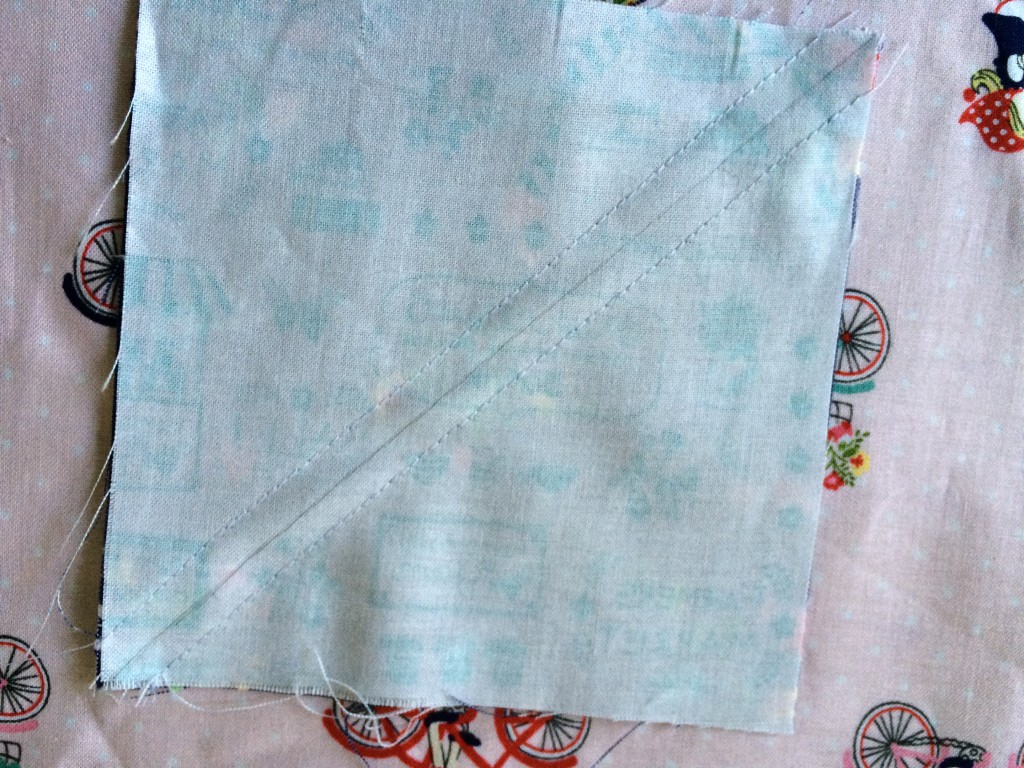
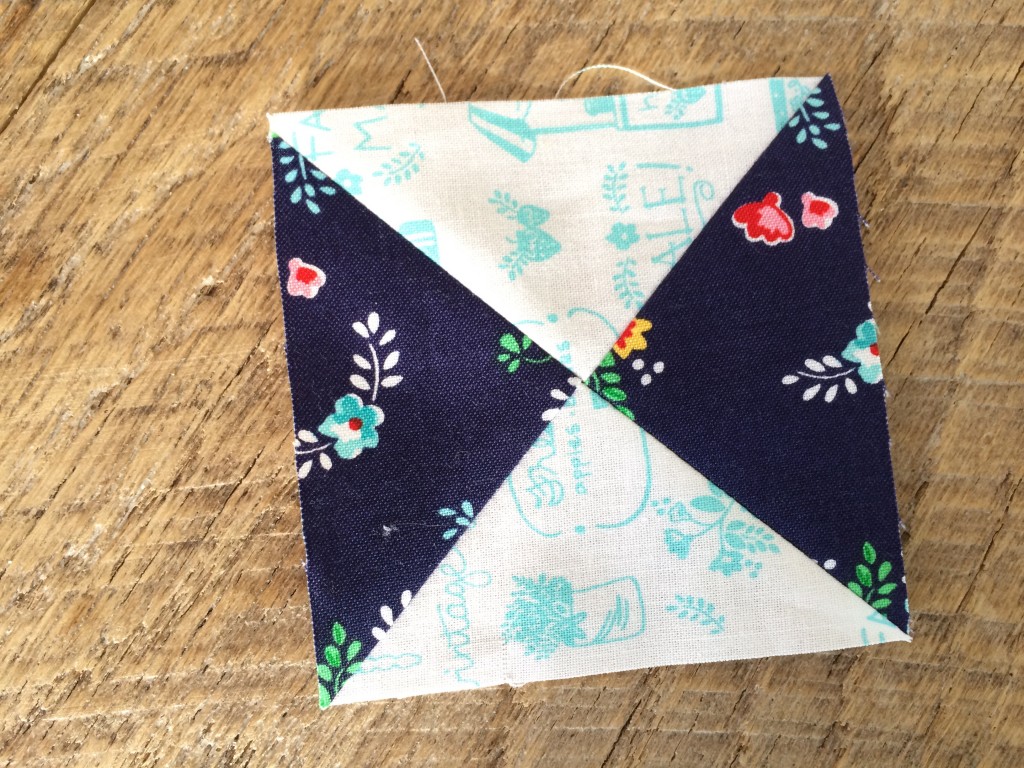
Take the two half square triangle (HST) units and draw a diagonal line on one of the wrong sides. Place the HST units together so the lights and darks are opposite, match the center seam. Sew 1/4″ along both sides of the drawn line. Cut apart along the pencil line and press the seams open.
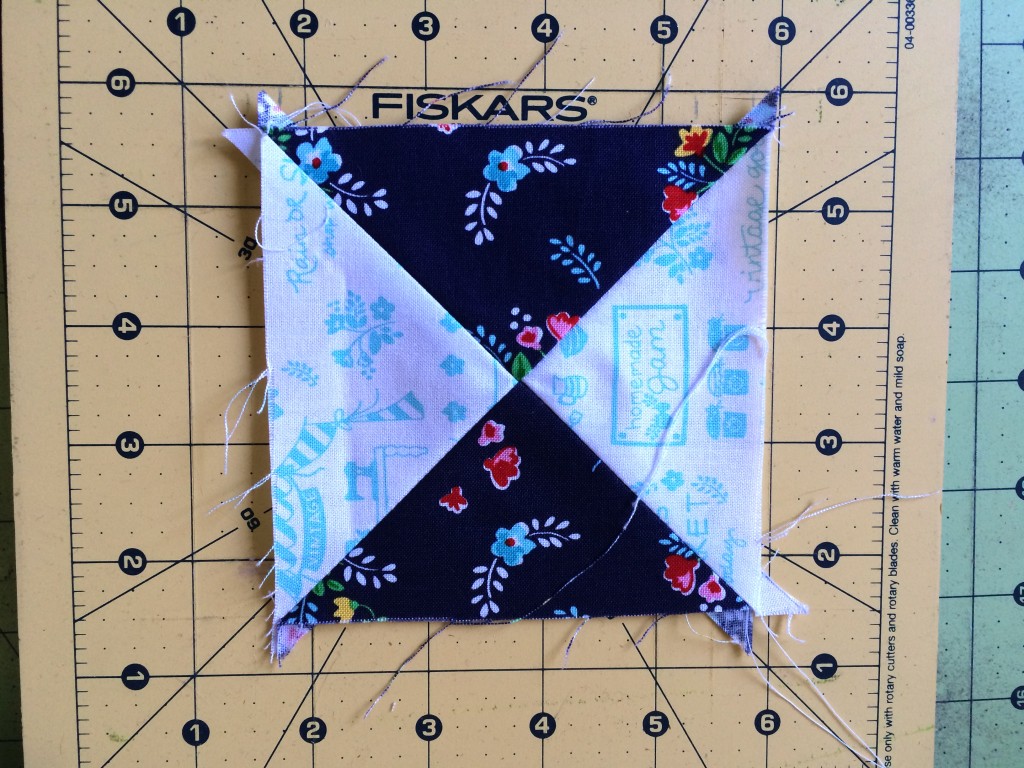
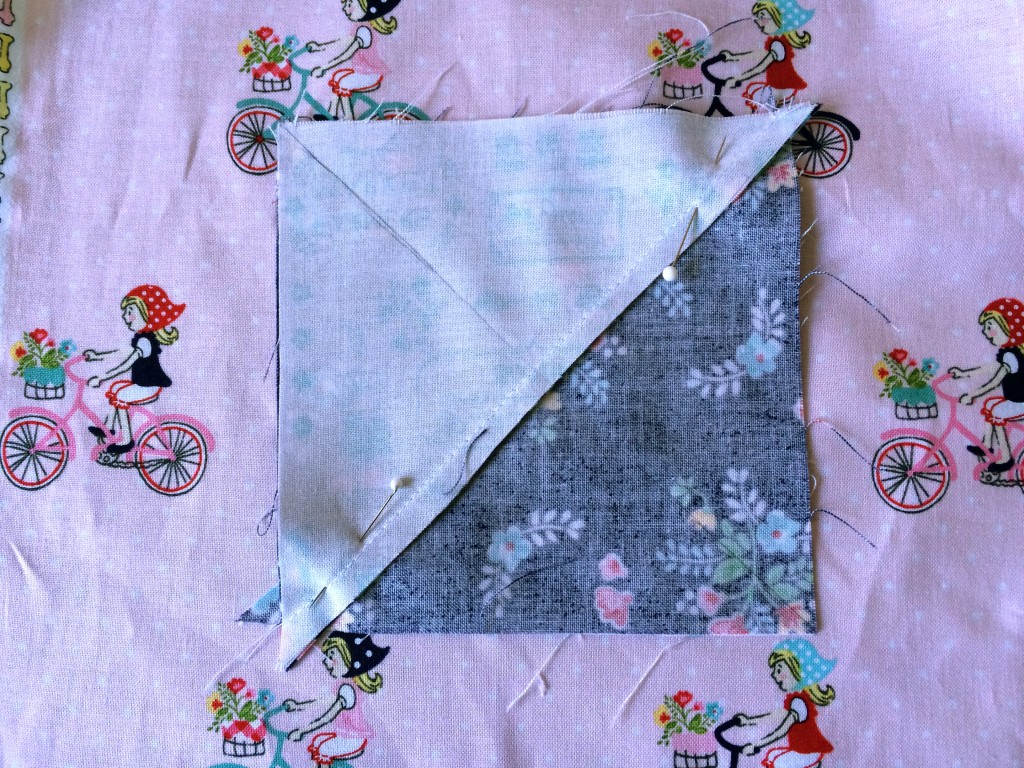 This will give you 2 hour glass blocks. Next, place the hourglass block on the cutting mat and “square up” to measure 3.5″. Make sure to align each diagonal seam with the 45 degree lines on the cutting grid.
It will look nice and perfect when you are done!
For the regular quad, you need (5) fussy cut squares and (5) hourglass blocks
For the large quad, you need (9) fussy cut squares and (9) hourglass blocks
If you are creating your own book cover with different measurements, you need enough squares to get closest to your measurement, but not to exceed the measurement. There will be accent strips to make up the difference.
Piece the quilt together using 1/4″ seams, block by block, pressing toward the fussy cut blocks. Then join the rows together, pressing seams open. The regular size of scriptures has 2 rows and the large size of scriptures has 3 rows.
For both sizes of scriptures, sew a 2″ strip along the top and bottom of the “quilt”. No need to measure, it can hang off, it will all get squared up soon. Press seams toward the strips.
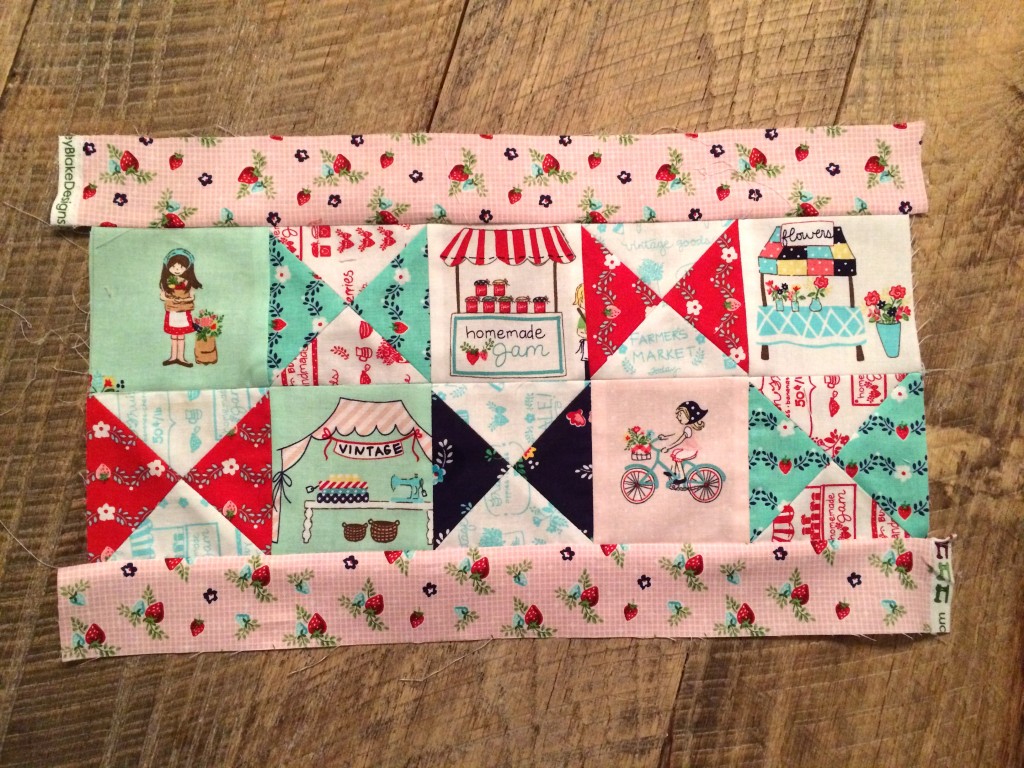
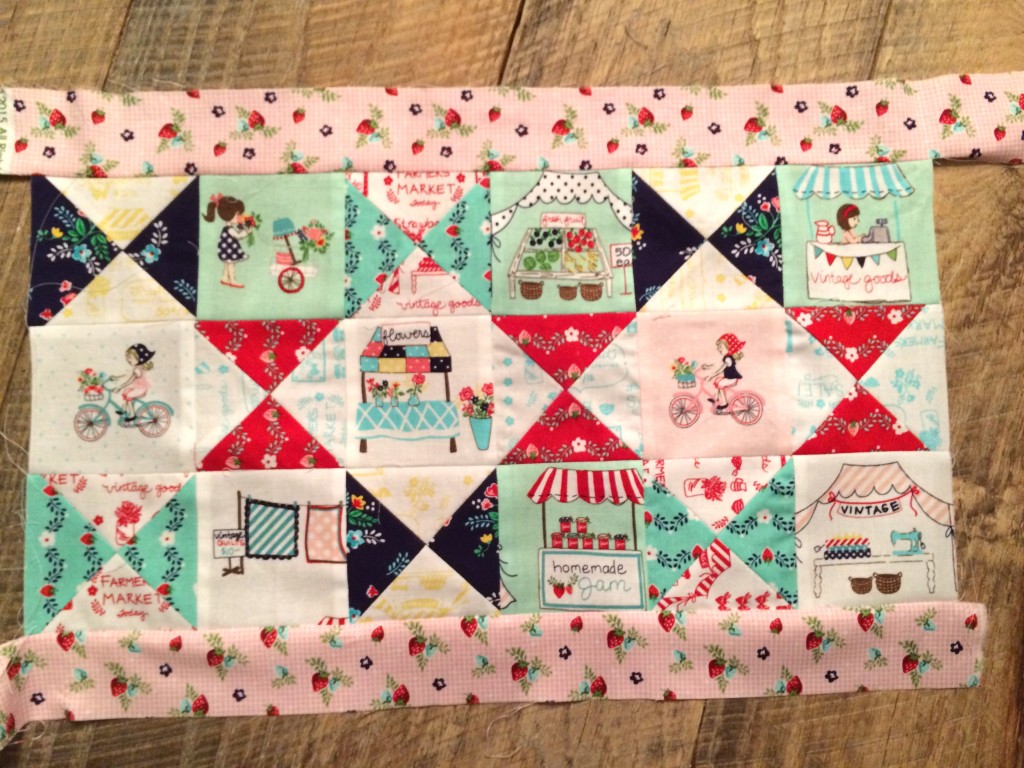
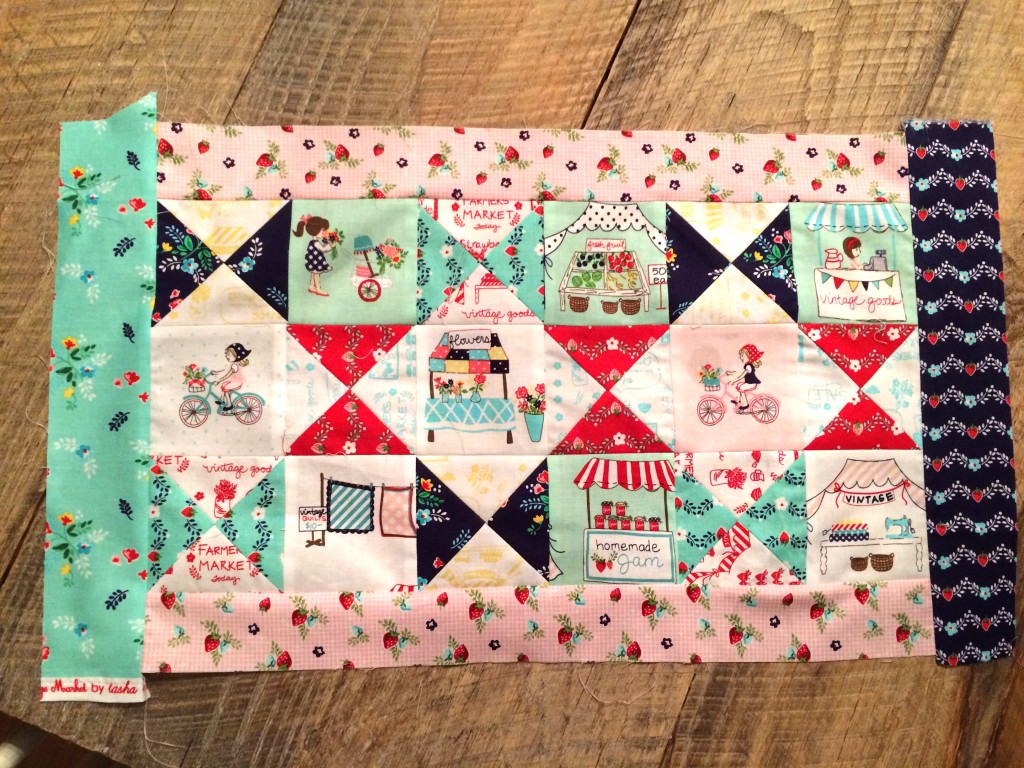
Square up the sides and sew a 2.5″ strip to the right side and a 2.5″ strip to the left side. Press seams toward the strips. It is best if these are different colors as they will be overlapping once the cover is finished.
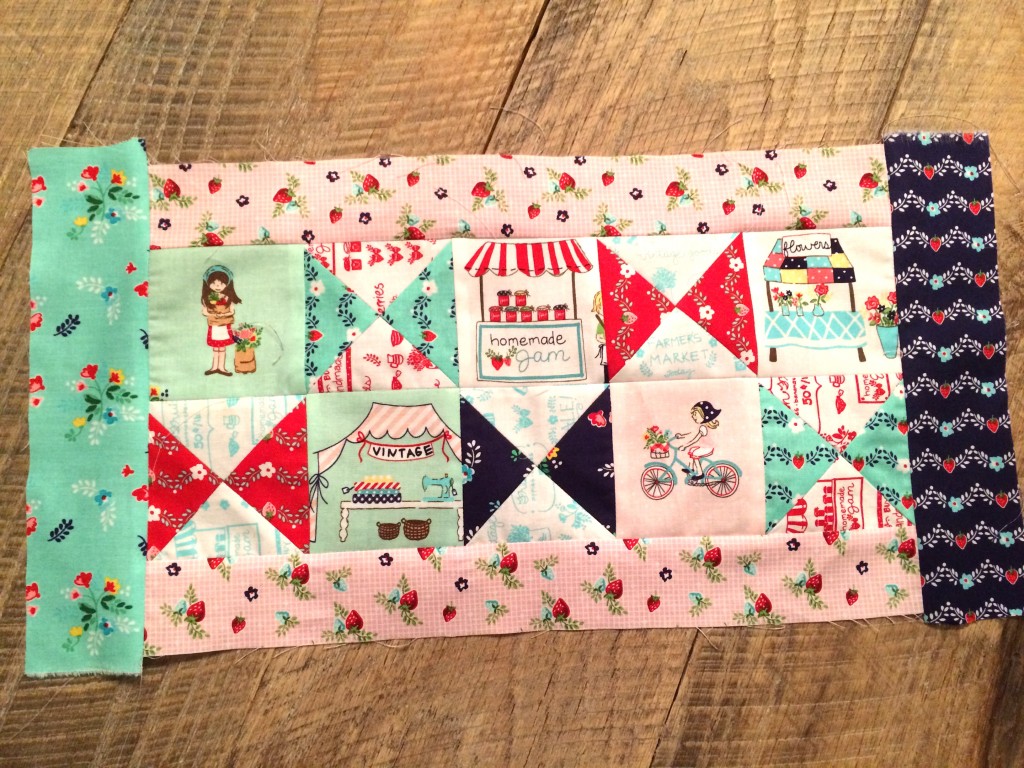
Again, do this no matter what size scriptures you are using.
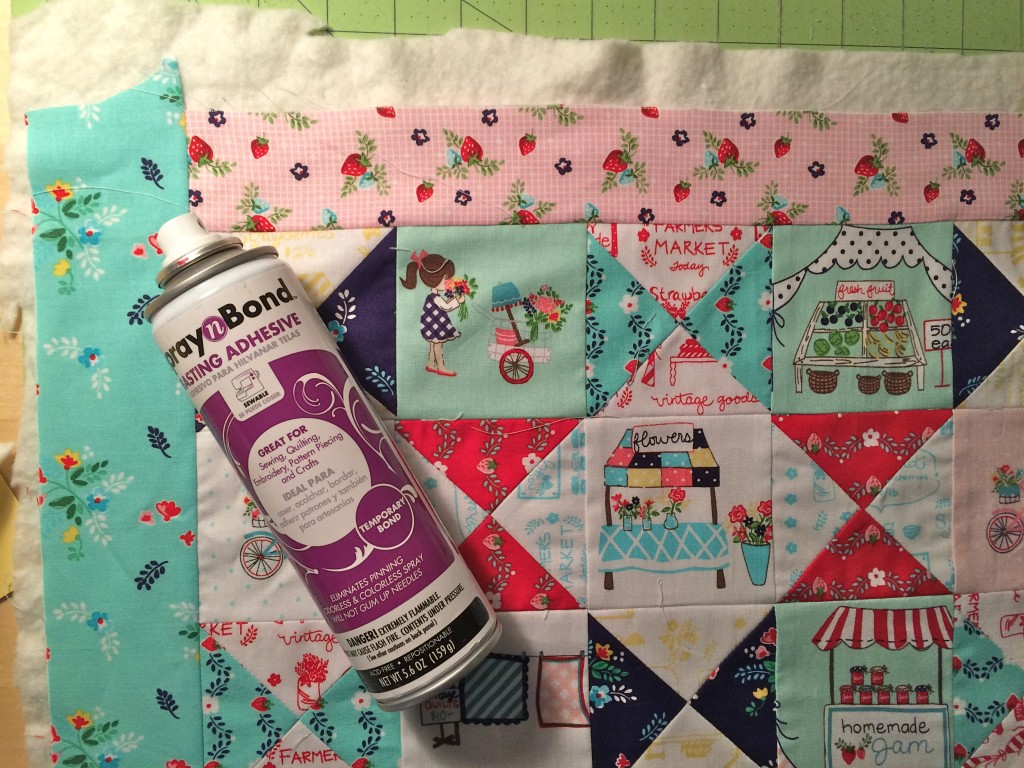
Baste the quilt to the batting. I love to use Spray n Bond because I can baste this little quilt in about 30 seconds!!! Quilt as desired.
Once it is quilted it is time to square up the finished quilt cover. Here are the measurements again:
For the regular quad: 8 1/4″ x 19″
For the large quad: 10 1/4″ x 21″
It is best to determine the center and than count each side out so the top and bottom strips look even.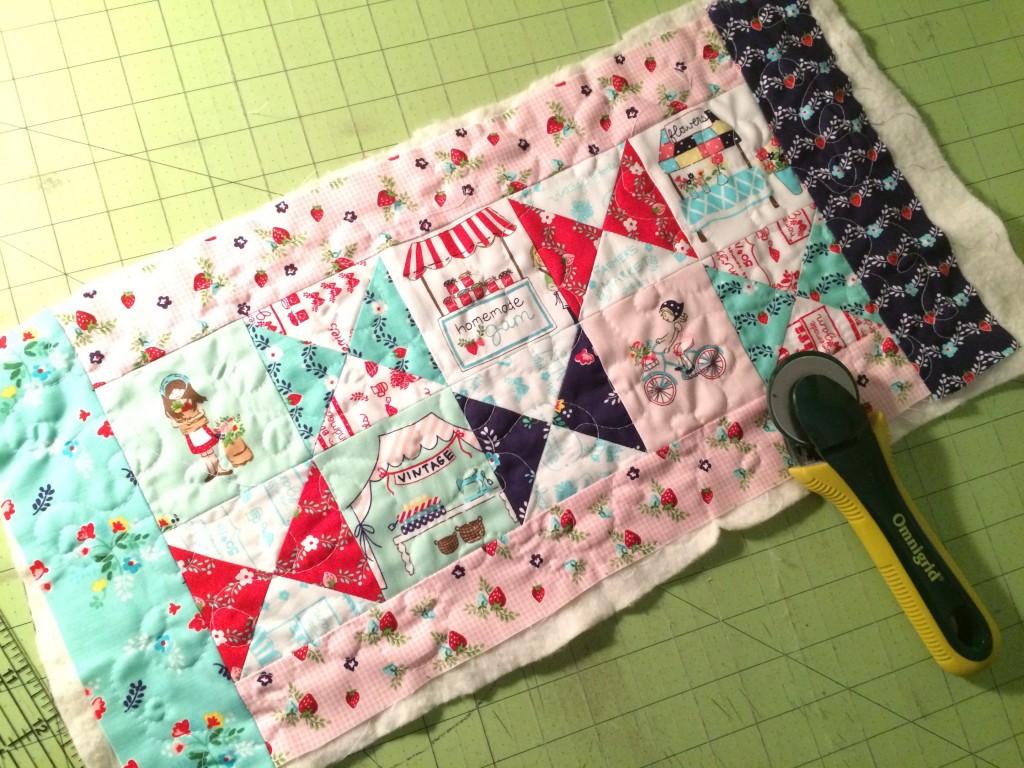
Next cut an angle off the LEFT side of the quilt. NOT THE RIGHT SIDE LIKE I DID.
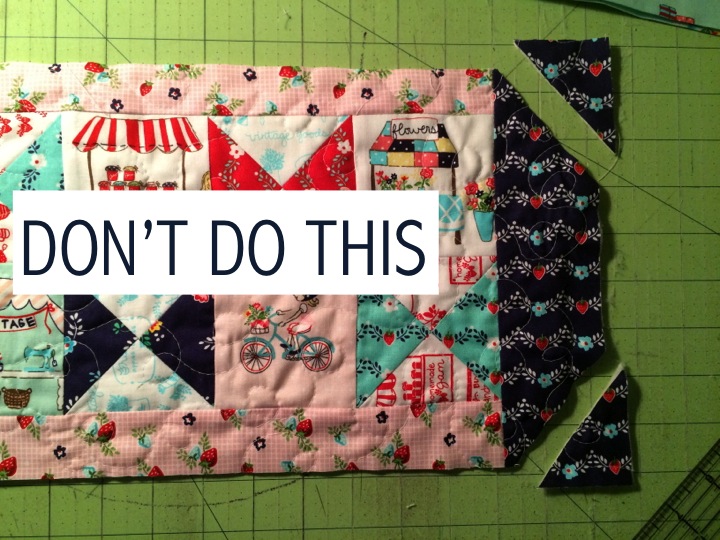
Cut the angle on the LEFT side. For the 2-row quilt, measure in 2″ and angle down 2.5″. Do this on both corners. For the 3-row quilt, change the measurements to 2″ in and 3″ down.
You can add lace or other decorative trim at this point.
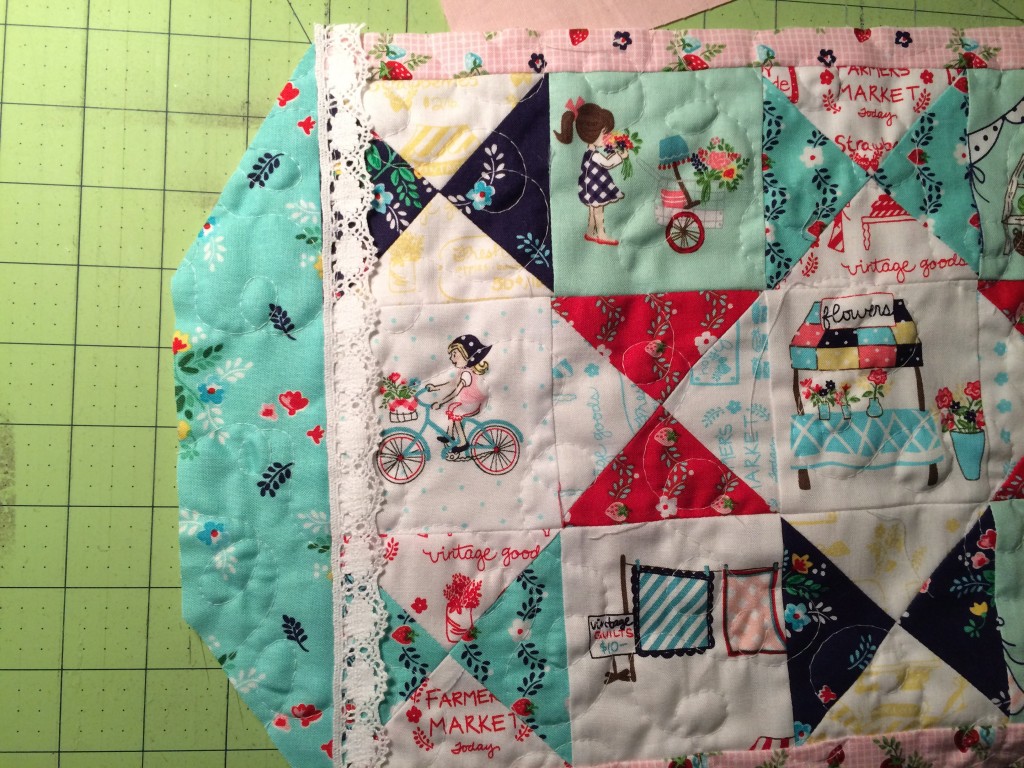
Our quilt is finished! WhoooHoooo!!!
Flaps
Prepare the flaps by cutting (2) squares the size of the width measurement. For the regular quad it is 8 1/4″ square and for the large quad it is 10 1/4″ square.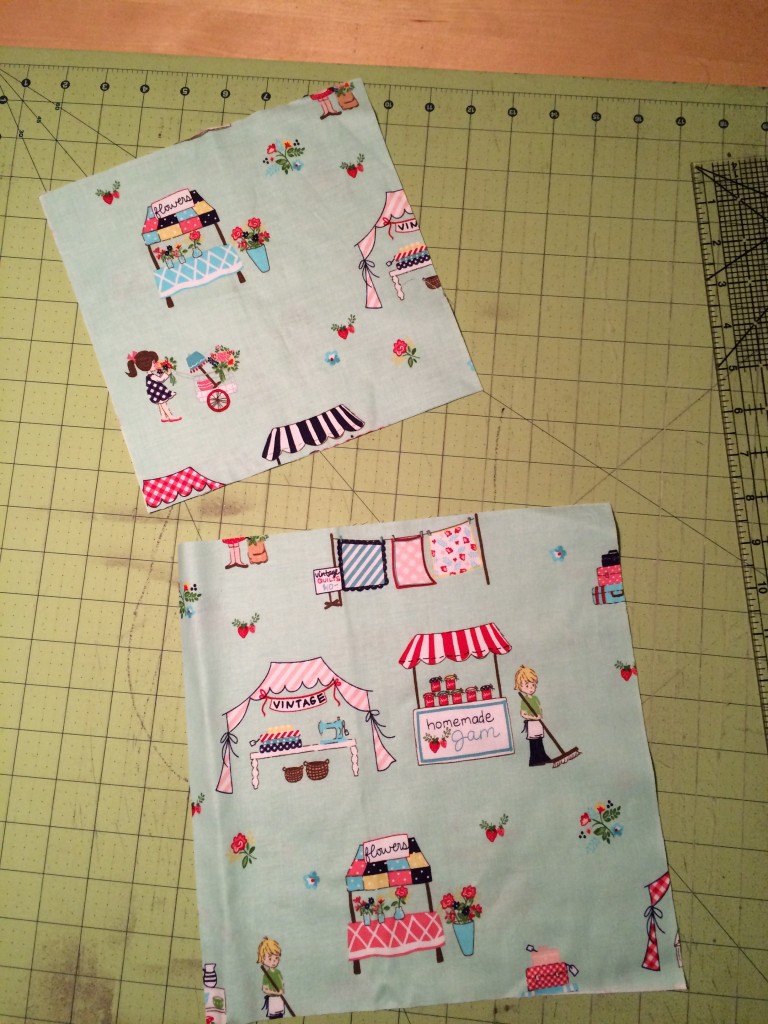
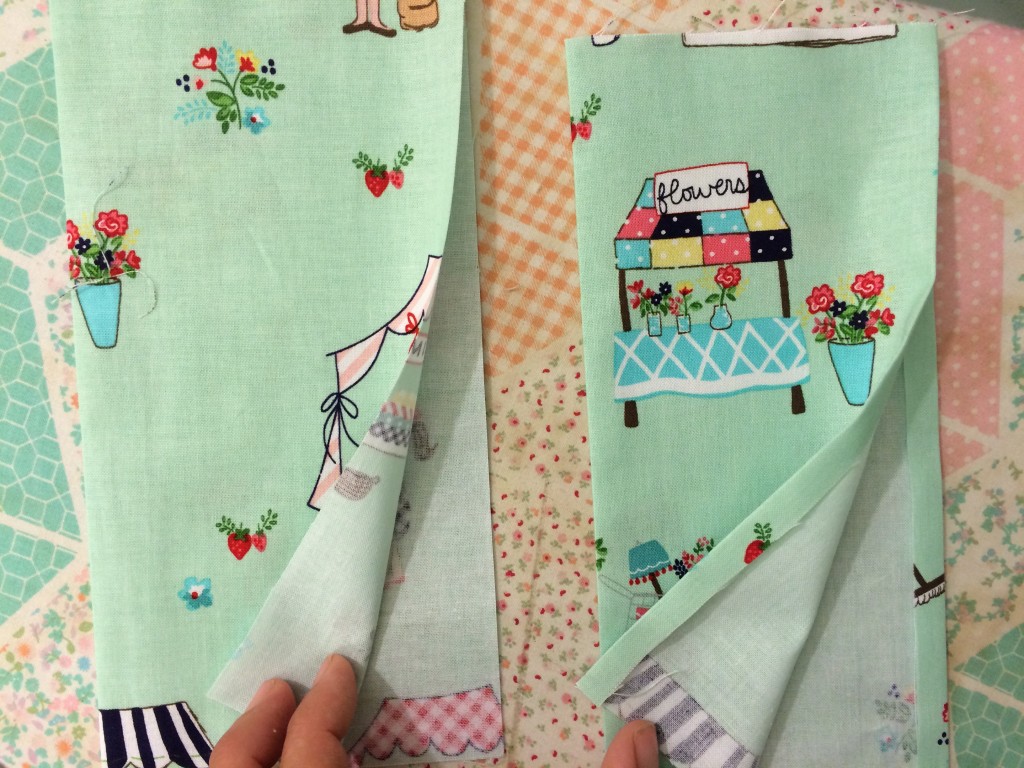
Press both flaps in half. Set aside one flap. On the second flap, press the edges opposite the half crease under 1/4″ inches like this:
Cut the lining piece (pink) the measurements of the quilt:
For the regular quad: 8 1/4″ x 19″
For the large quad: 10 1/4″ x 21″
Position the flap without the pressed seams on the left, aligning the raw edges and the folded part toward the center. 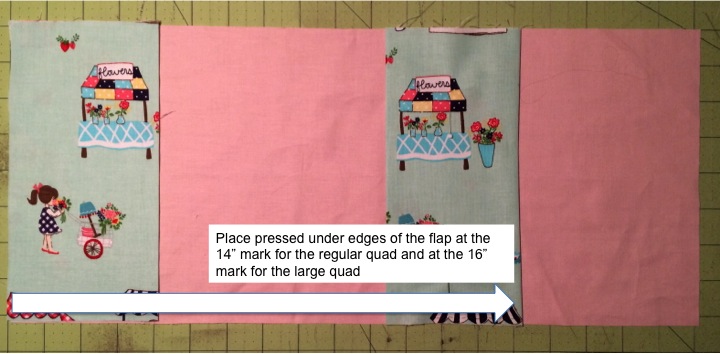
Place the flap with the pressed under edges at the 14″ mark for the regular quad scriptures and the 16″ mark for the large quad scriptures. If you are determining your own measurements you would subtract the length of the quilt by 5″. Pin the right flap in place and top stitch along the folded edges. The left flap will be caught in the final seam.
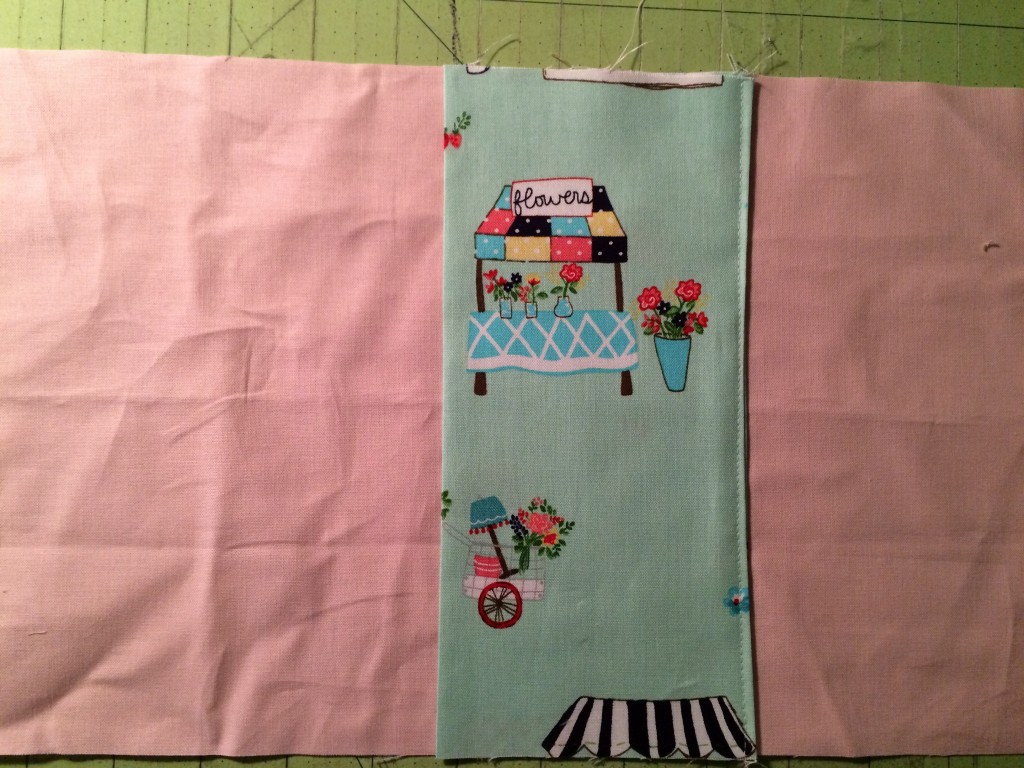
Place the quilted cover on the lining/flap piece, right sides together. Match all edges and pin in place. Don’t worry about the angles, we will cut them later.
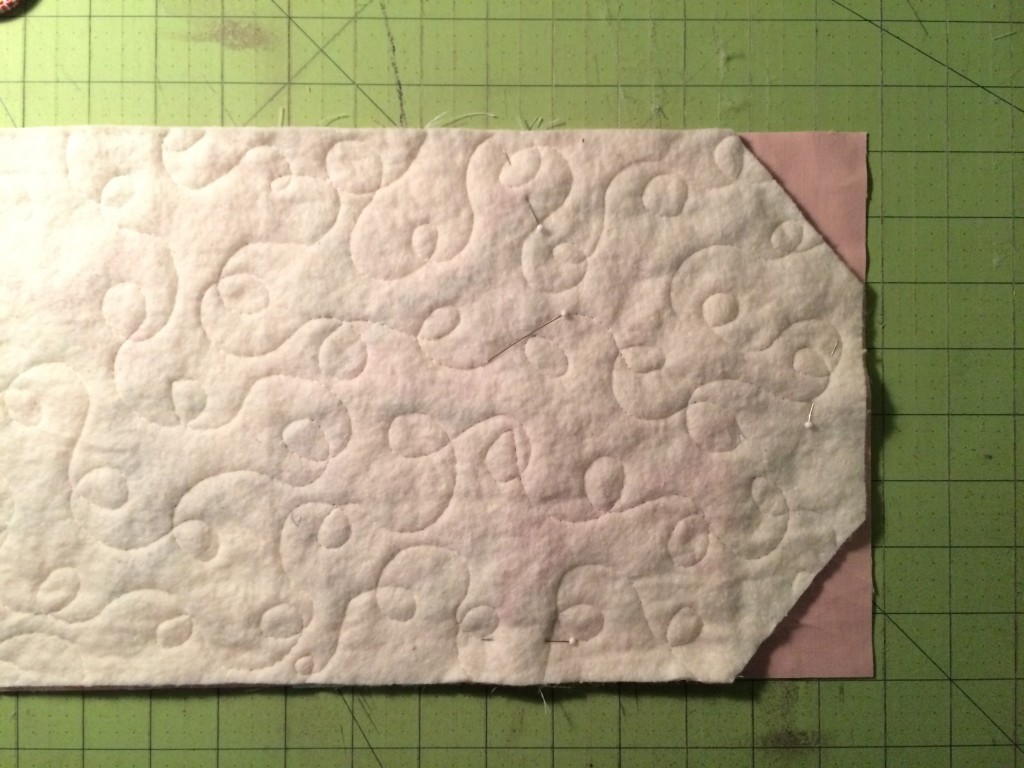
Leave an opening for turning where the colored pins are:
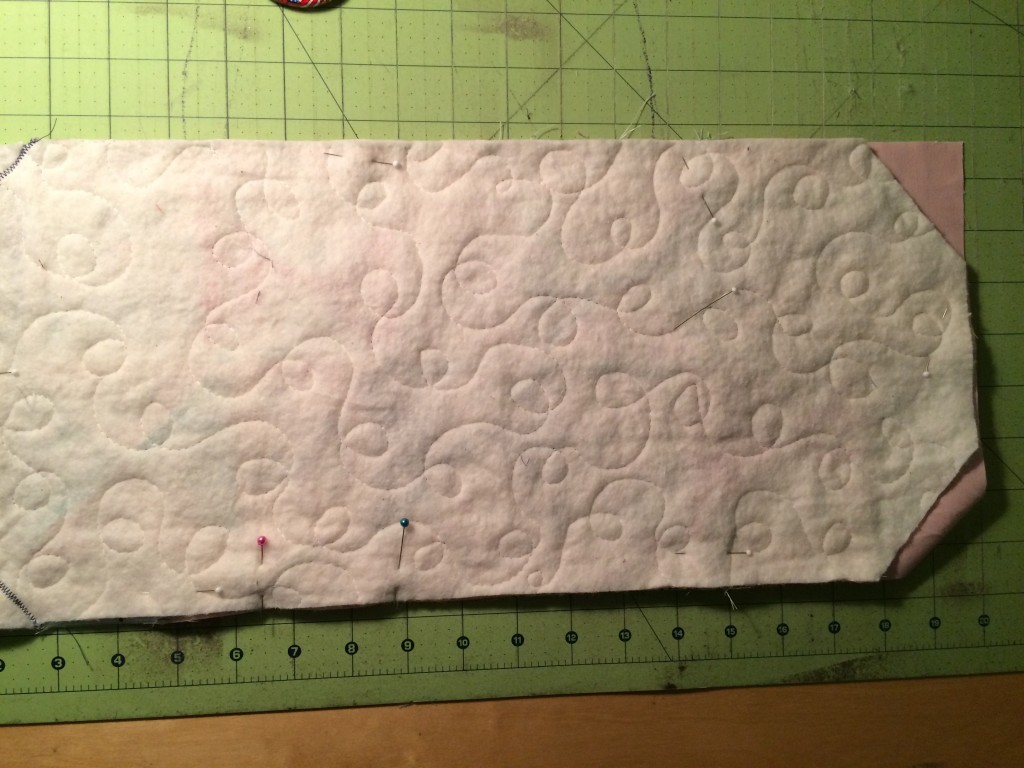
Sew all the way around the cover using 1/4″ seams. If your seams are larger the cover won’t fit. Trim off the excess lining where the angles are. Clip the corner and turn right side out. Press all edges and press opening edges under. Top stitch the opening closed.
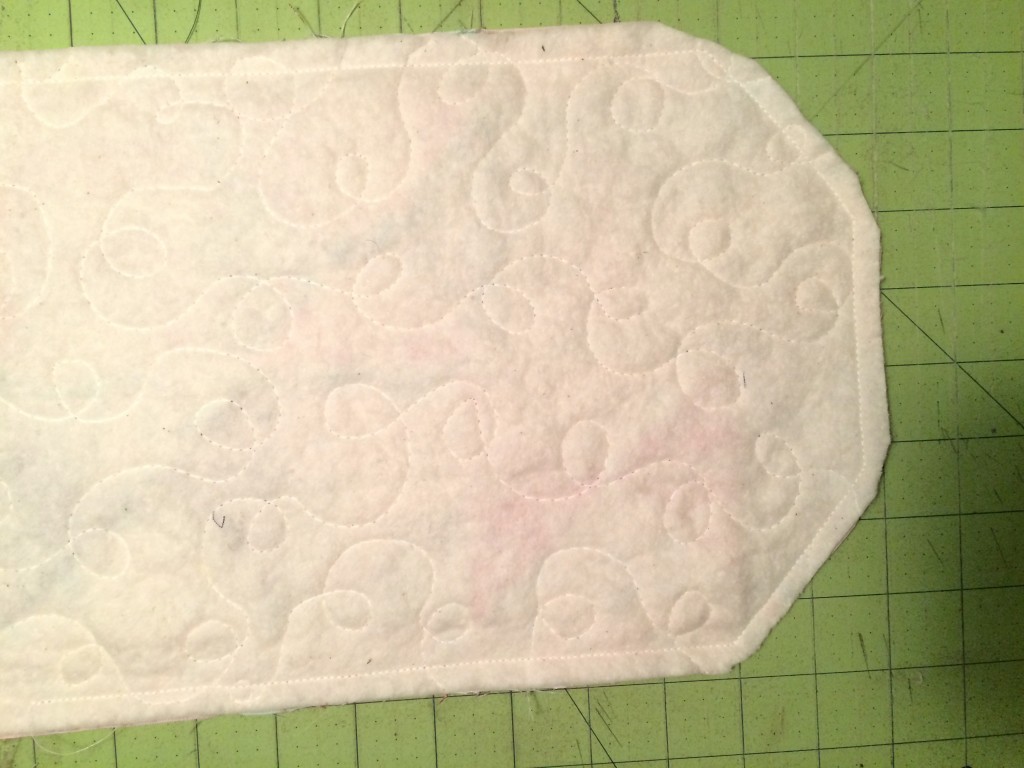
The inside should look like this (below). You can add a little top stitching around the angle flap. Don’t top stitch around the entire cover or the book won’t fit inside.
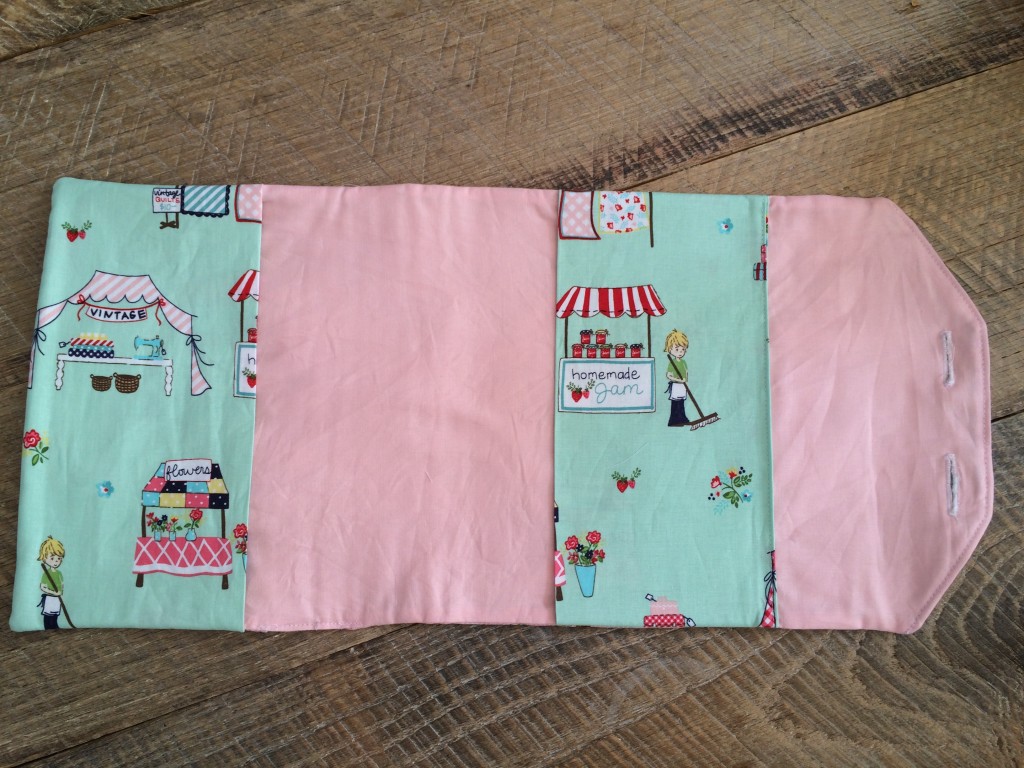
Insert the scriptures and mark where you want the button holes. If your measurements only call for 2 rows of quilt blocks, you only need 1 button. For the larger version with 3 rows of quilt blocks, it is helpful to have 2 buttons. Sew the button holes and then hand sew the buttons, making sure not to catch the thread in the flap.
You’re done!!!!
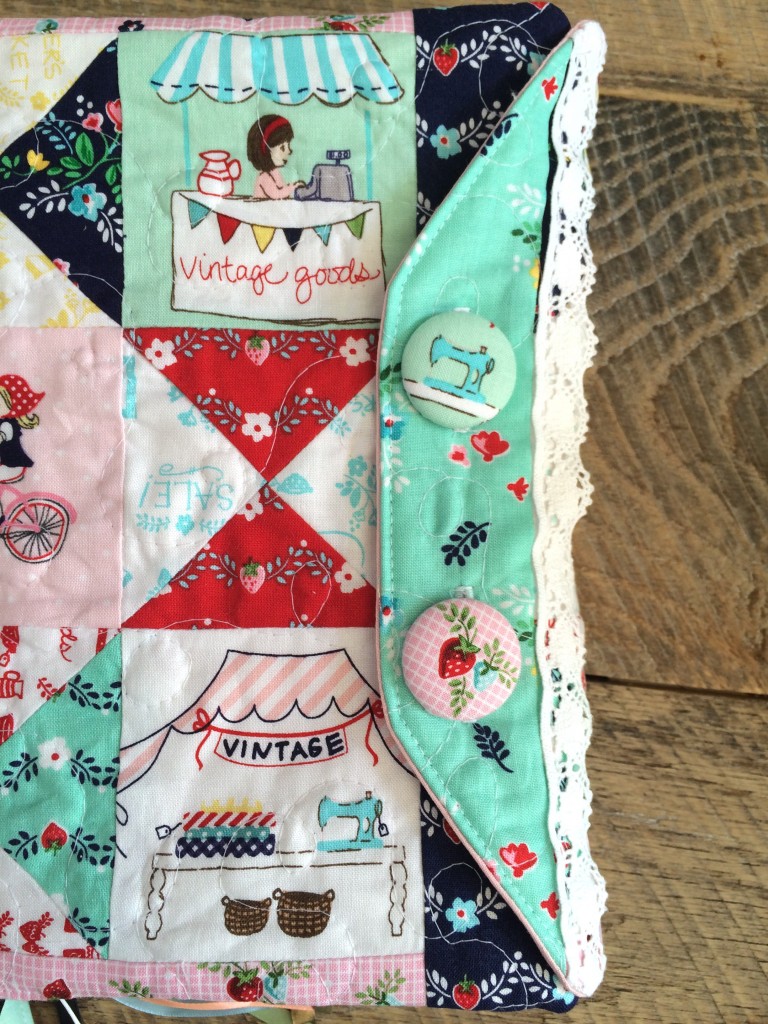
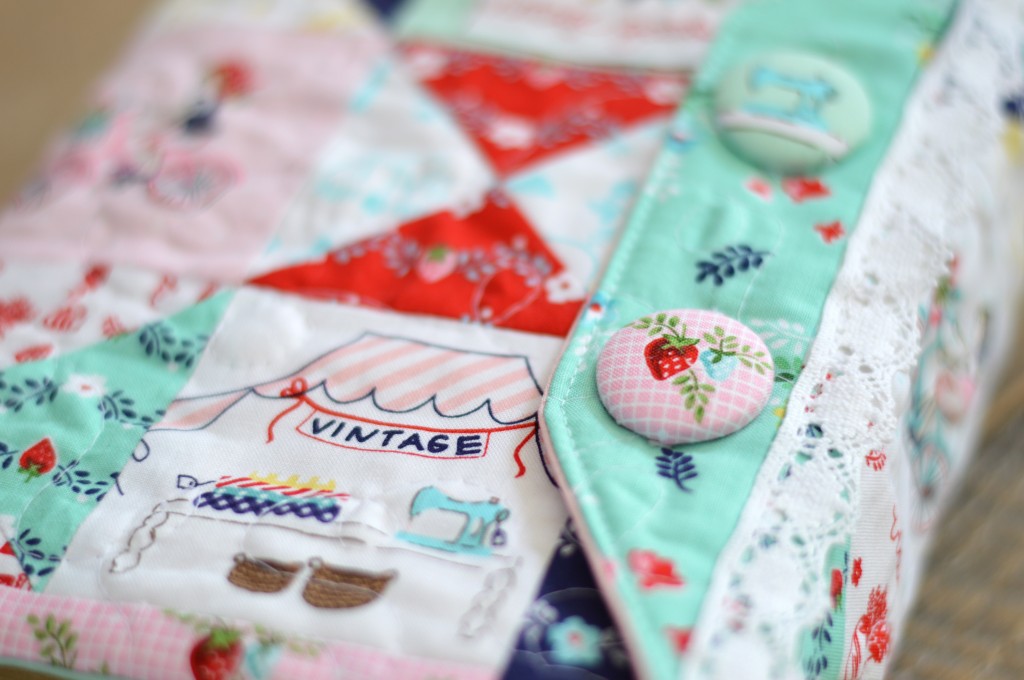
You can use regular buttons or make covered buttons like these ones:
True fact: If you have cute scriptures you are more likely to read them 🙂
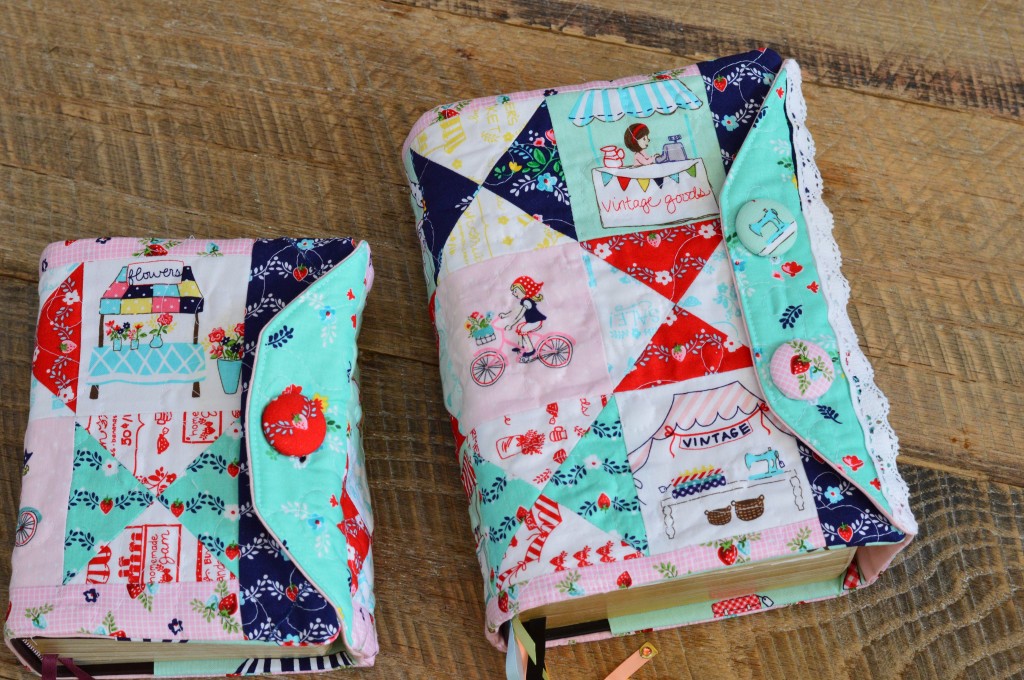
I hope you enjoy this tutorial! Let me know how yours comes out 🙂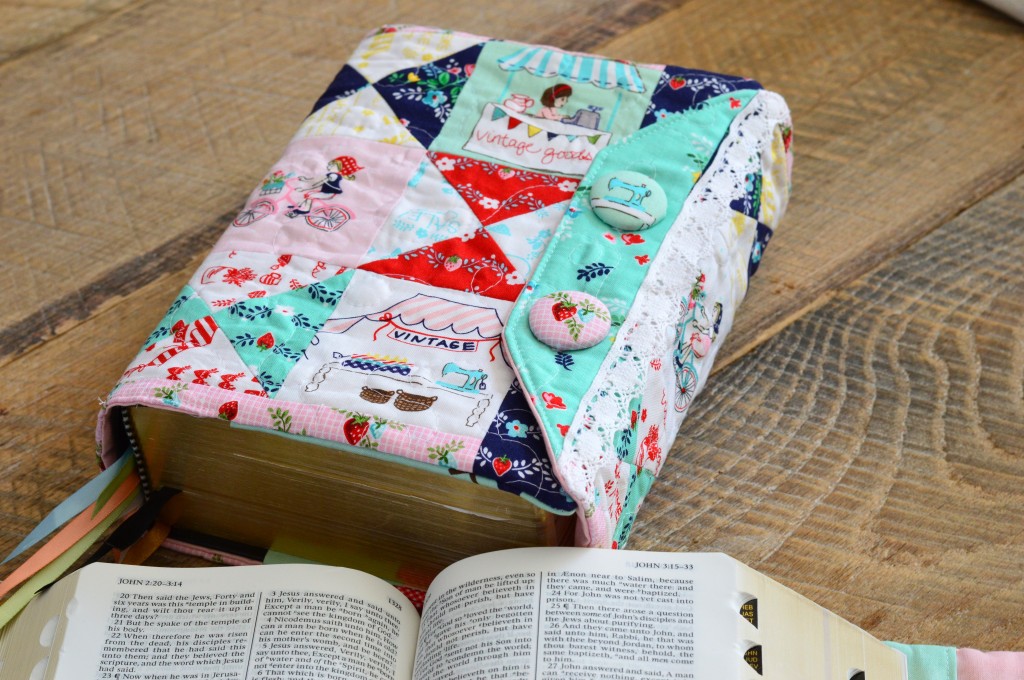




Thank you for the tutorial!
This is the cutest thing ever! My daughter is getting baptized in March, so I will be all over this for her new scriptures! Thanks so much for the awesome tutorial!