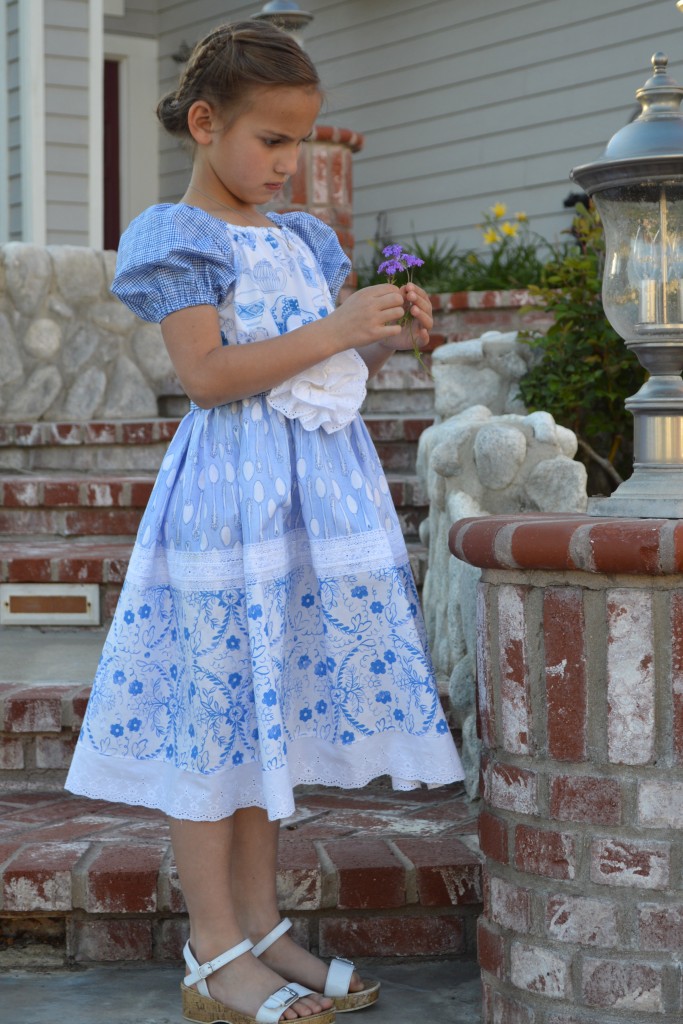
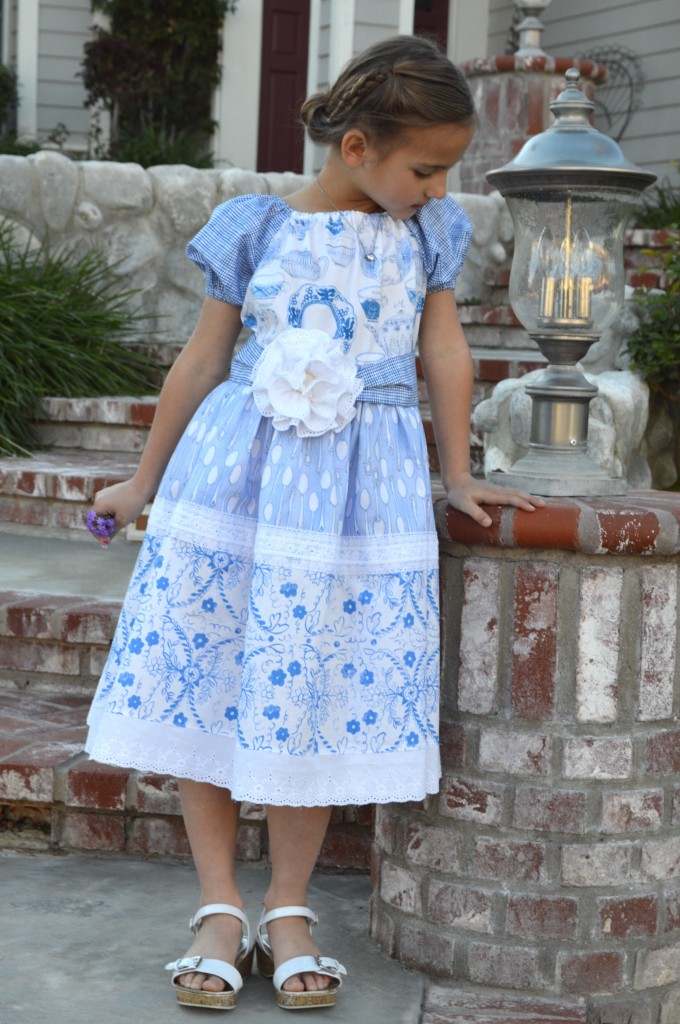
I am crazy about tea parties, china dishes, tea pots, tea cups, and silver spoons!! When I saw this amazing fabric from Blend called Tea Garden I could not contain myself. I new immediately I wanted to make Sally a Tea Party Dress. I love the blue and white – it just looks like fine china!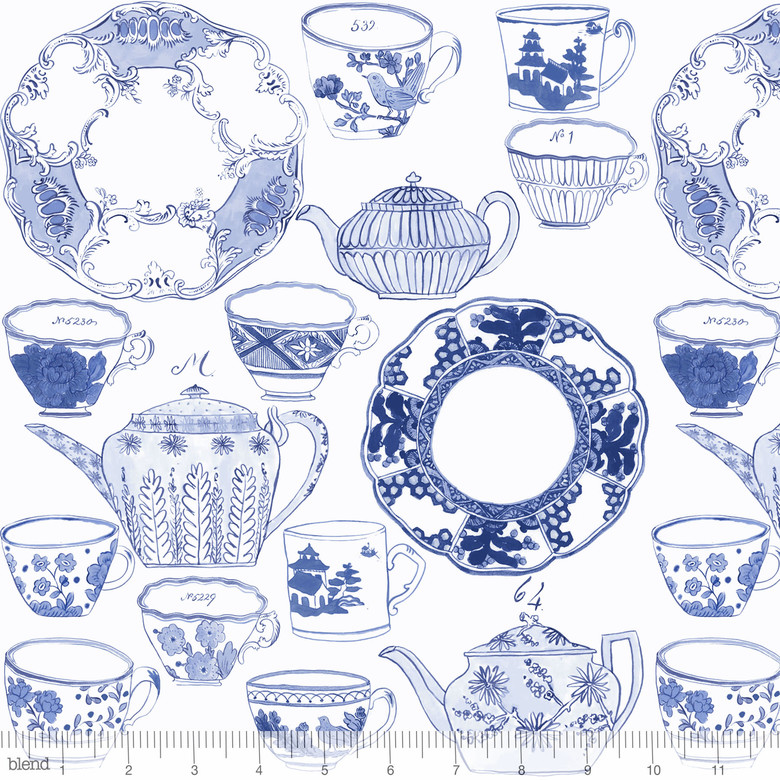
It’s not quite an English Garden, but I do have a few flowers growing!!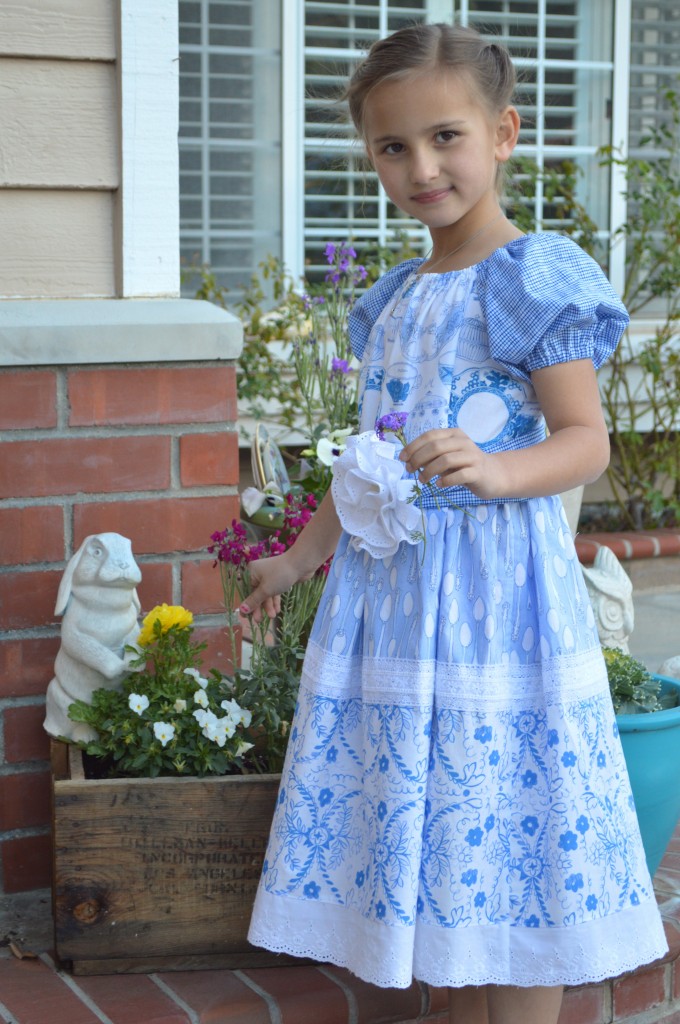
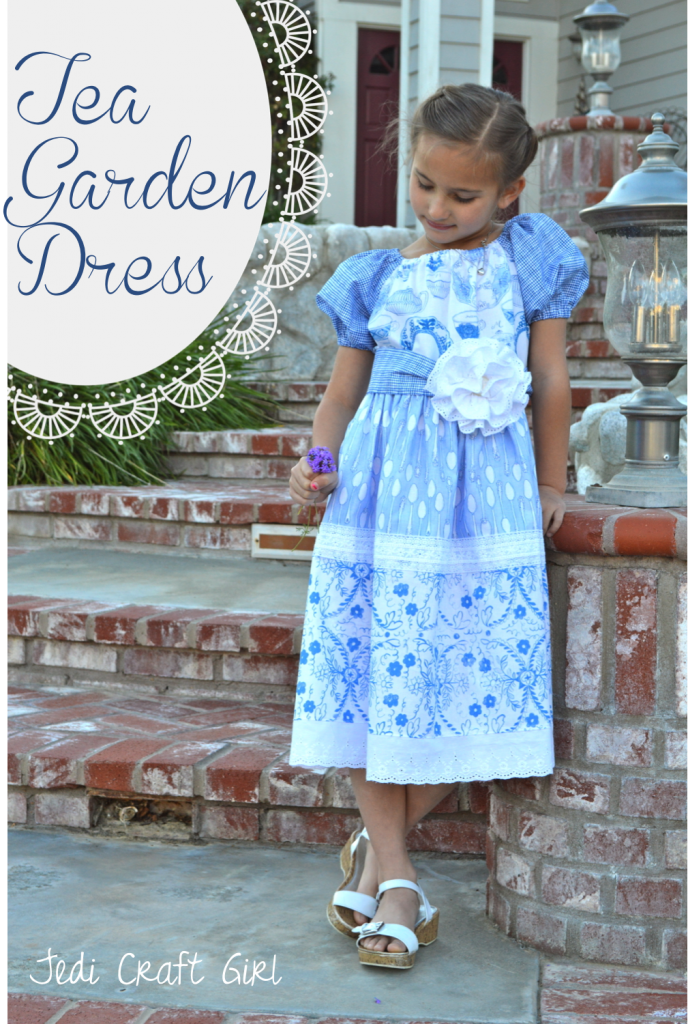
I absolutely love how this dress turned out – and I pretty much made it up as I went along. It’s a girls size 8 and it is perfect for Sally! 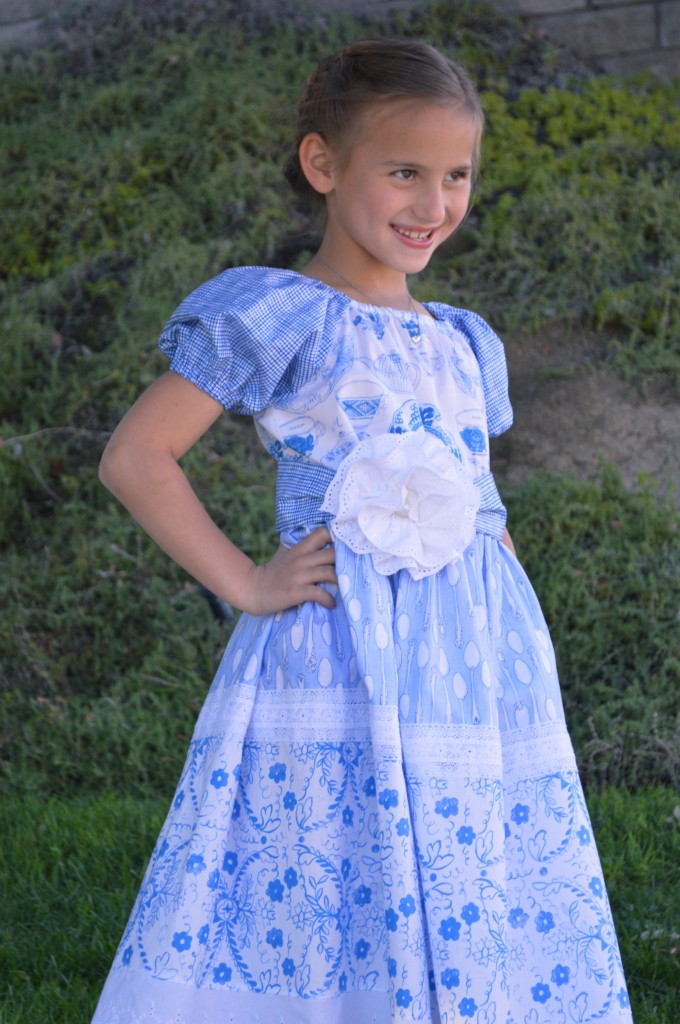
If you would like to make a Tea Garden dress, follow these steps:
Supplies:
Fabric – I only had generous half yard cuts of each of the 4 fabrics. Make sure you have 20″ or more of each fabric.
2 types of lace trim, 3 yards of each
Heat n Bond fusible stabilizer for the sash
velcro
scrap of felt
Create the peasant bodice. I am not a pattern designer. There are so many peasant dress patterns out there. Find one you like and cut out the size you want. Cut the bodice out of the Tea Garden Devonshire fabric and the sleeves out of the check. Follow the instructions until you have a completed bodice.
Assemble the skirt.
Cut (2) 10″ x WOF from the spoon fabric
Cut (2) x 10″ x WOF from the floral fabric.
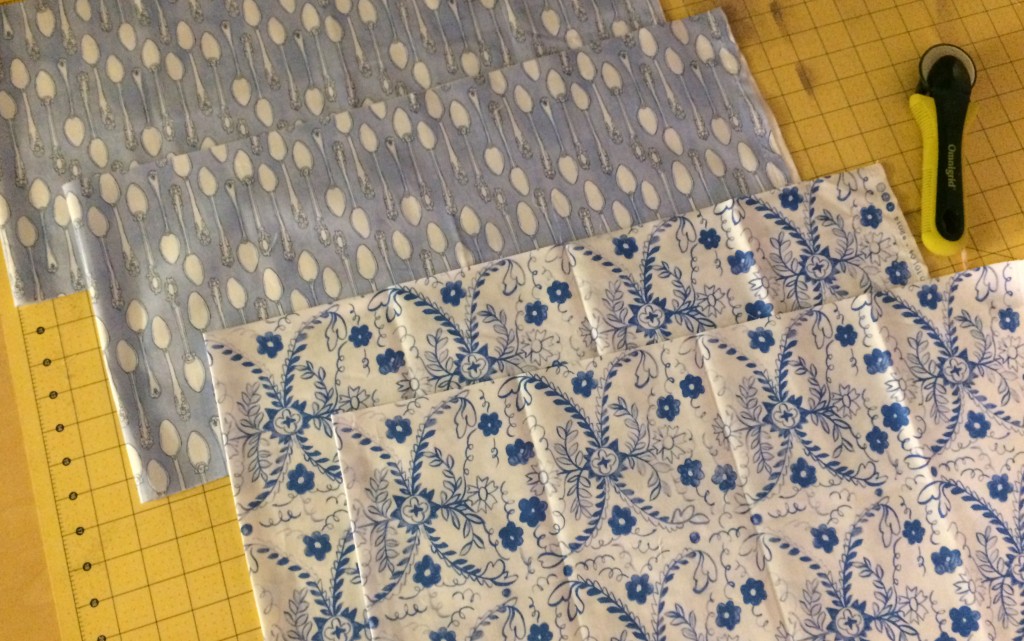
Sew the long ends of the spoon fabric together (1/4″ seam) joining the two pieces to form one long rectangle. Do the same with the floral fabric. Press the seam open. Next take the spoon fabric and the floral fabric and sew them together long ways using 1/4″ seam. Press toward the spoons.
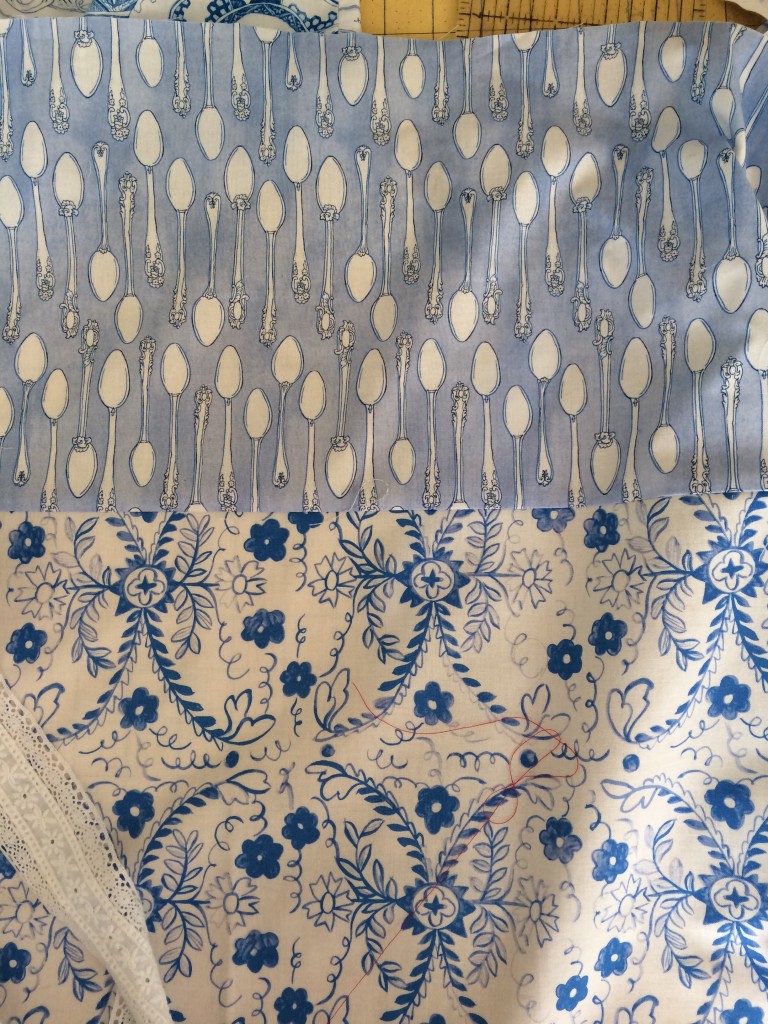
Top stitch the lace, centering over the seam.
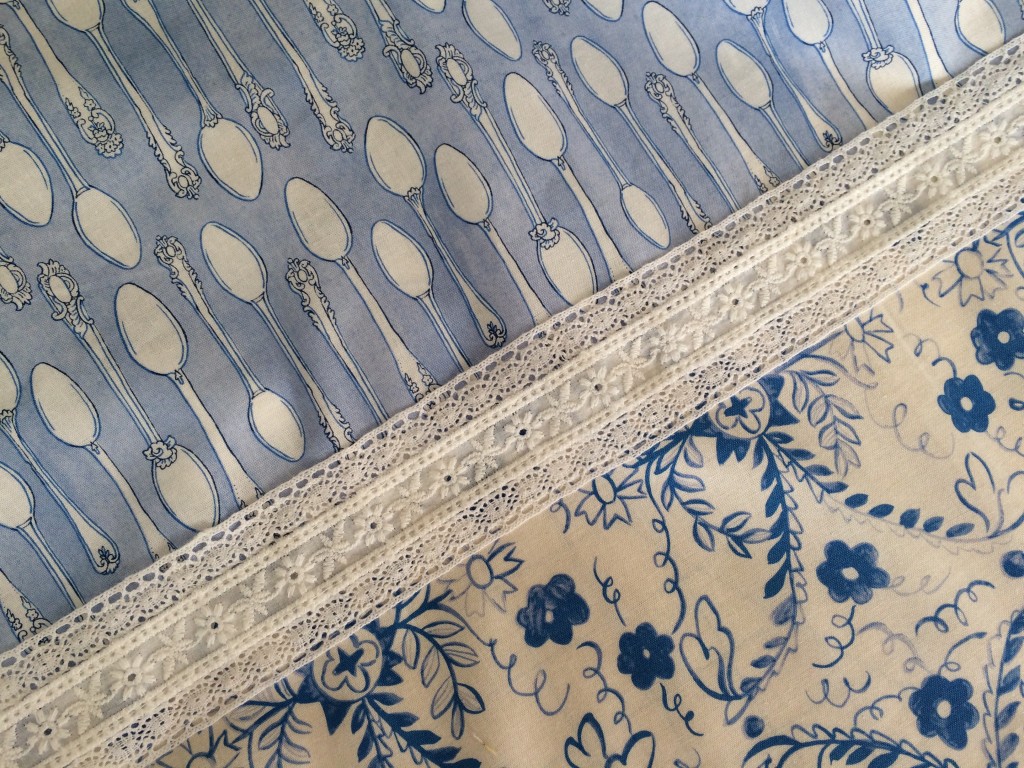
For the hem…. Lay the lace on the bottom edge of the floral fabric right sides together. Stitch along the lace. Ziz zag the seam. Press the lace under so it looks like this:
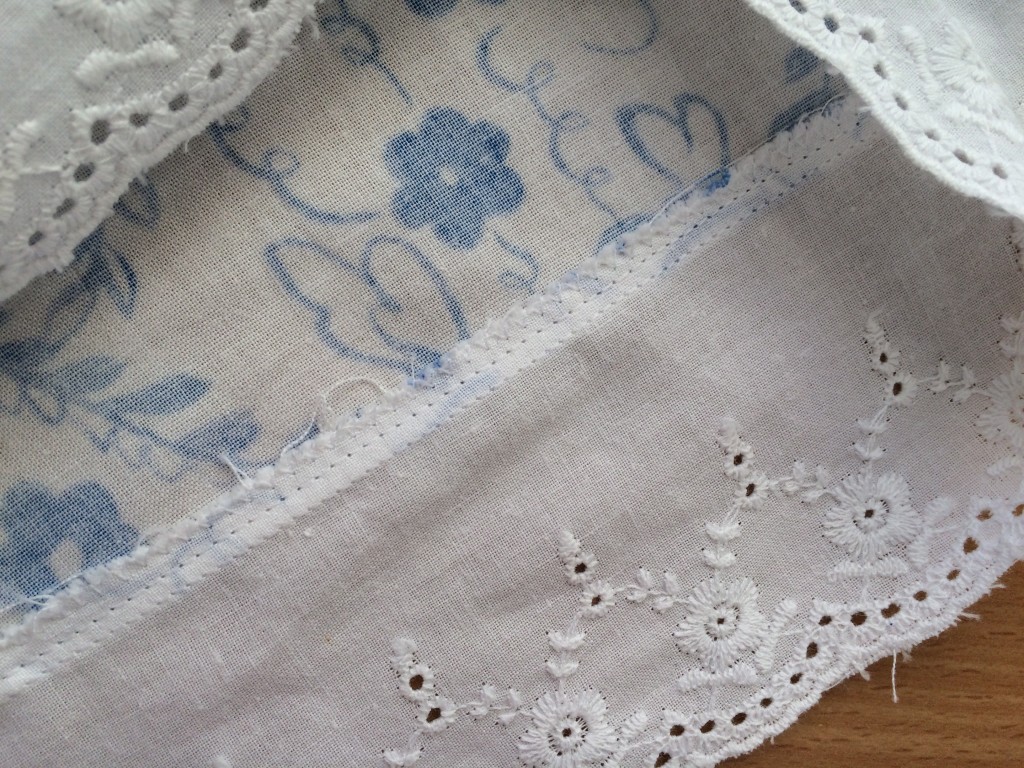
Top stitch all the way around 1/8″ away from the edge:
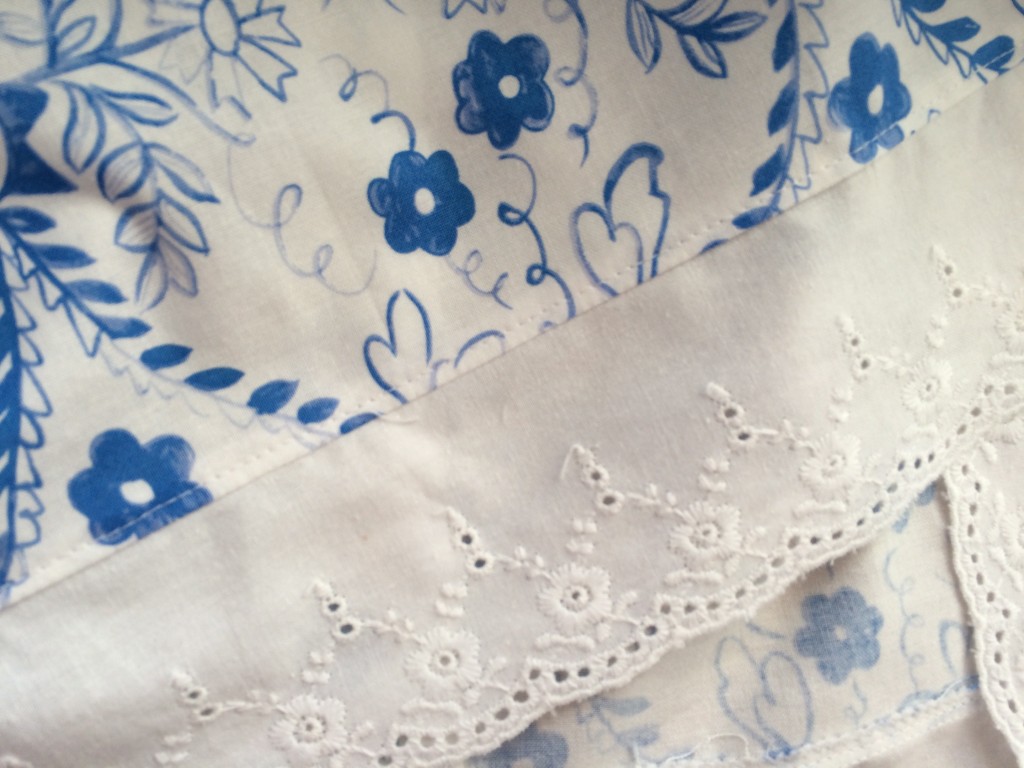
Now join the two ends of the skirt with a generous 1/4″ seam. Zig zag to finish seams, press to one side. The skirt is finished! Sew a gathering stitch along the top of the skirt, stopping and starting at each side seam. Sew one gather 1/2″ and another 1/4″ away from the top of the skirt. Pull up the threads and evenly distribute the ruffle to match the bodice, matching the side seams. Sew the skirt to the bodice and remove any gathering threads. Zig zag to finish the edge. Press the edge toward the bodice.
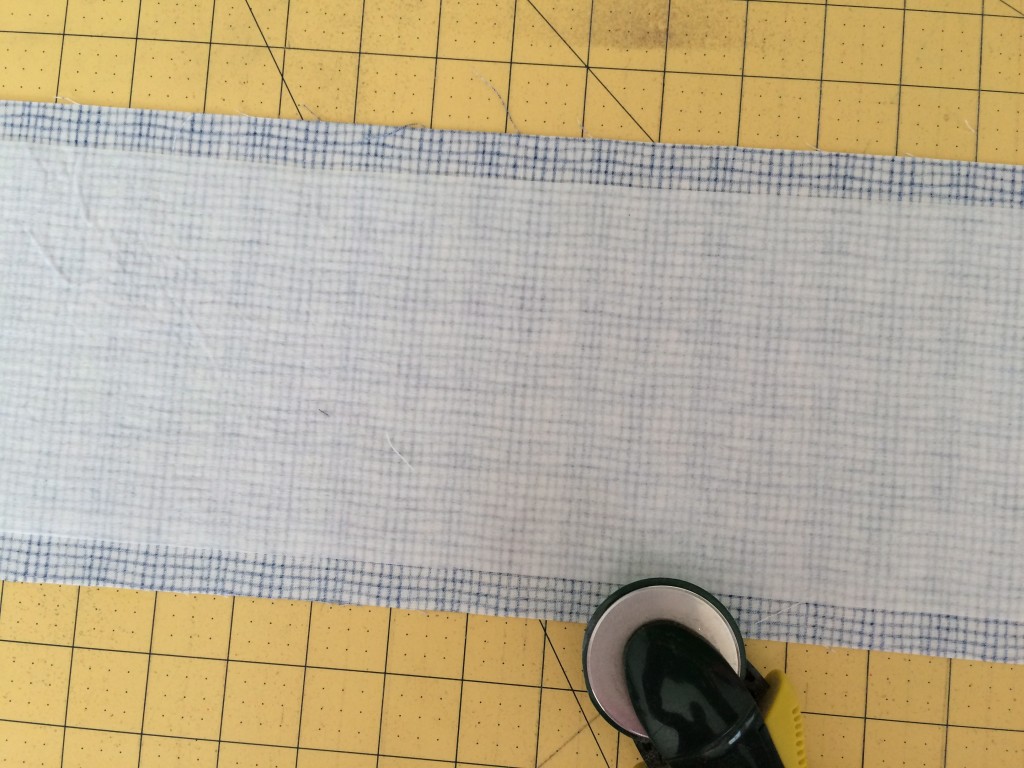
For the sash… Cut a piece of fabric 6.25″ x 30″. Measure your child’s waist to see if this needs to be adjusted. It will need to overlap a few inches for the velcro closure and for seam allowances.
Fuse the stabilizer to the wrong side of the sash fabric. I had a piece already cut and was slightly narrower, it will be fine 🙂
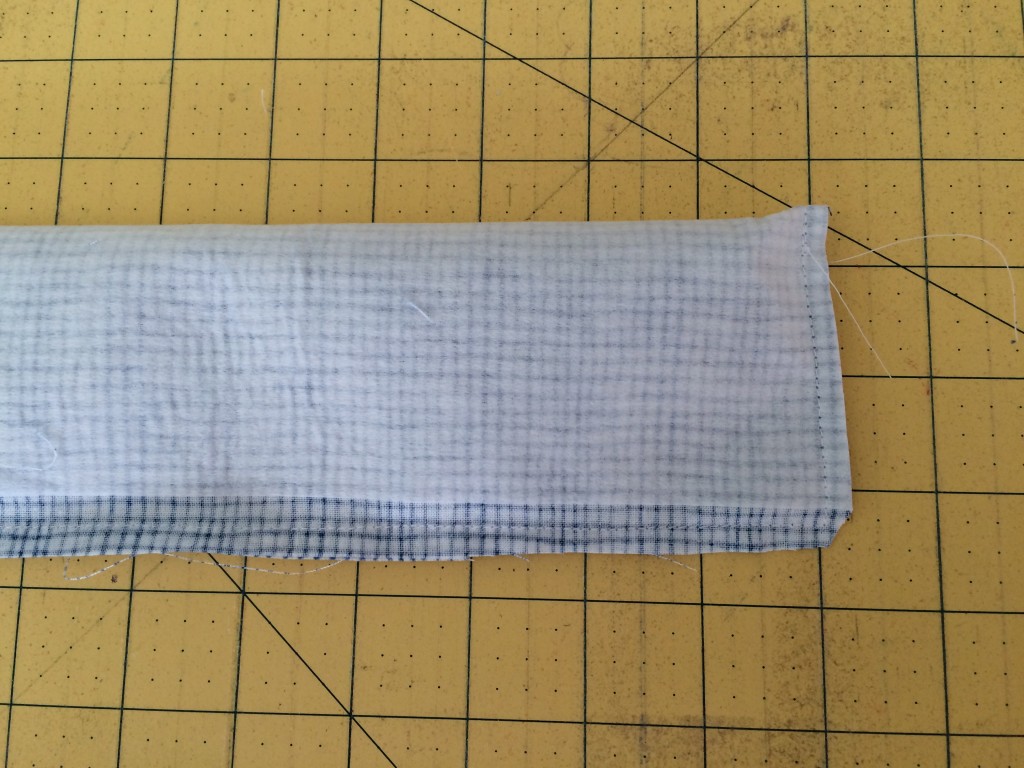
Fold the sash in half, right sides together. Sew using 1/4″ seams along the edge. Leave a 3″ opening in the center of the sash for turning. Clip the corners. Turn right side out. Press and top stitch.
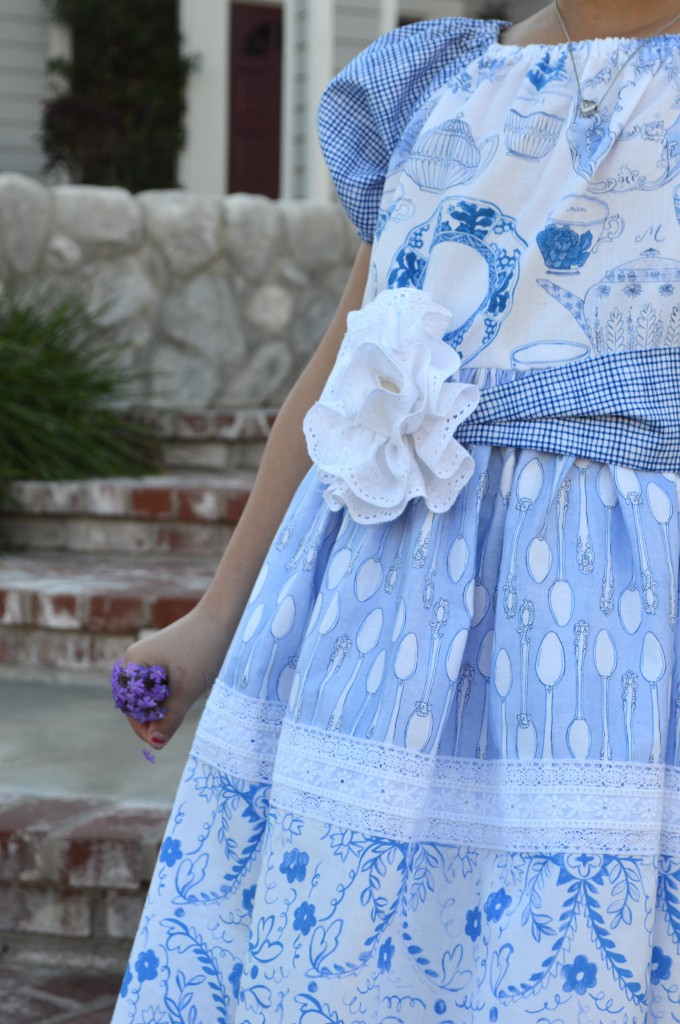
To make the rosette, cut about 2 yards of lace. Sew a gathering stitch along the edge. Pull up the gathers to form a ruffle.
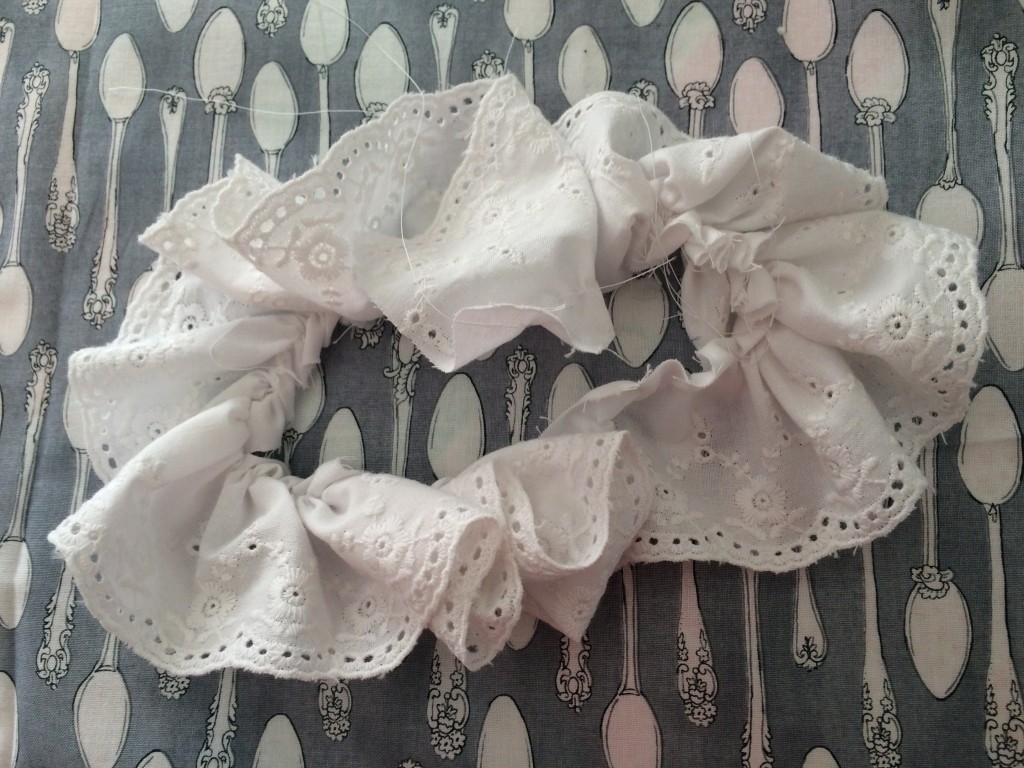
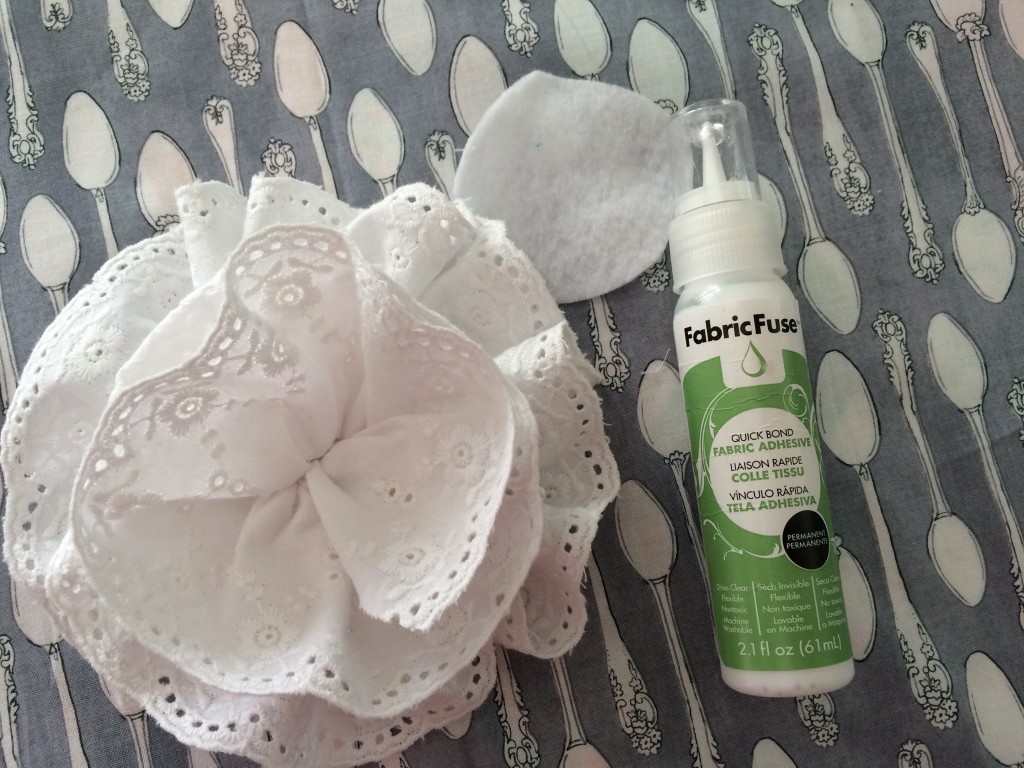
Start twirling the gathers around to form a rosette. Tuck the raw ends under. I used Fabric Fuse because I was too lazy to hand sew the ruffles. Hot glue would work, I just didn’t feel like getting burned 🙂 The fabric fuse is great because it is a super strong adhesive designed for fabric. Cut a piece of felt in a circle. Add dots of Fabric Fuse to hold the gathers in place and finally to anchor it to the felt circle. Let dry for a few hours.
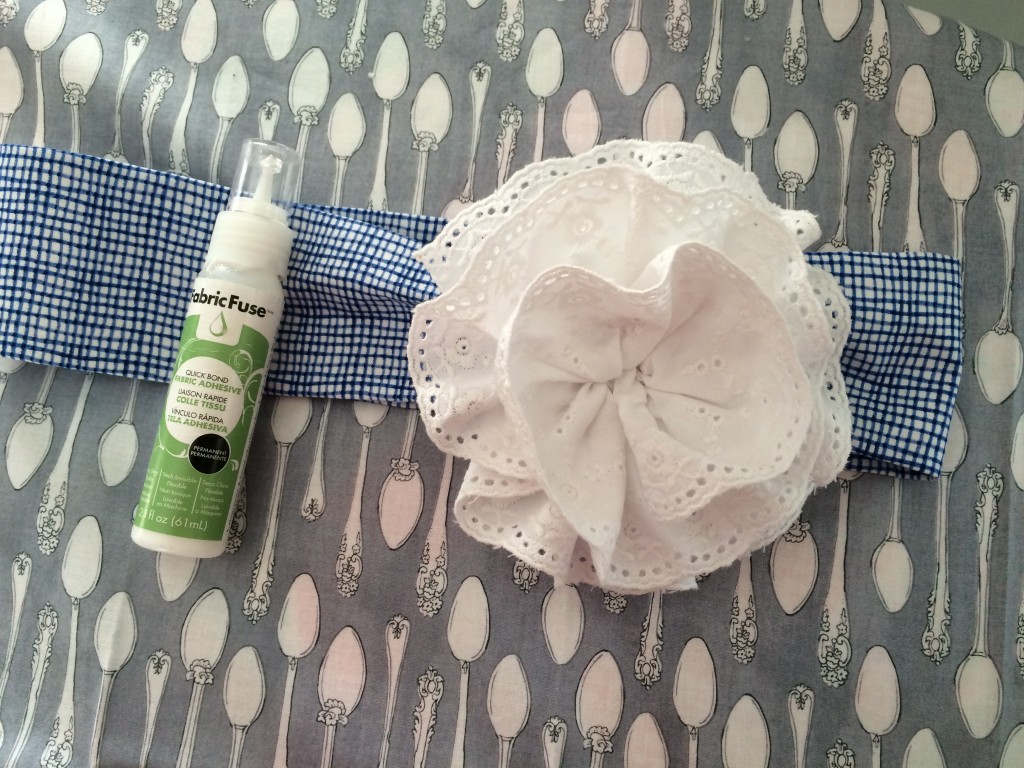
I added a little pleat in both ends of the sash. This is totally optional. Measure the sash to the waist one more time to determine the velcro placement. Sew the Velcro strips. Hand sew the rosette in place.
I think the sash and the flower give it just the right touch!
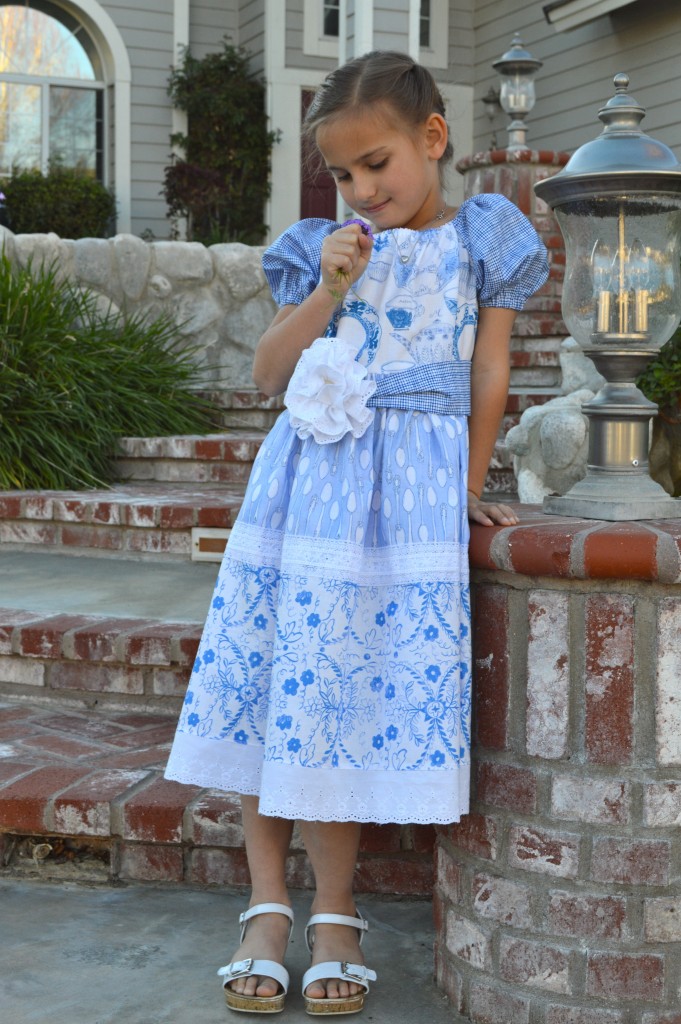
Whats also is great about this dress? Sally likes it!!! It’s super comfortable and she can move around in it. She didn’t want to take it off!!



Speak Your Mind