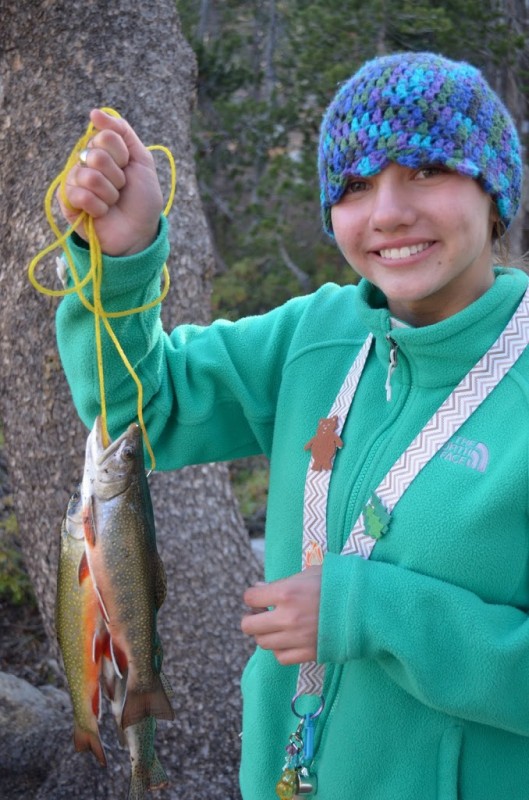
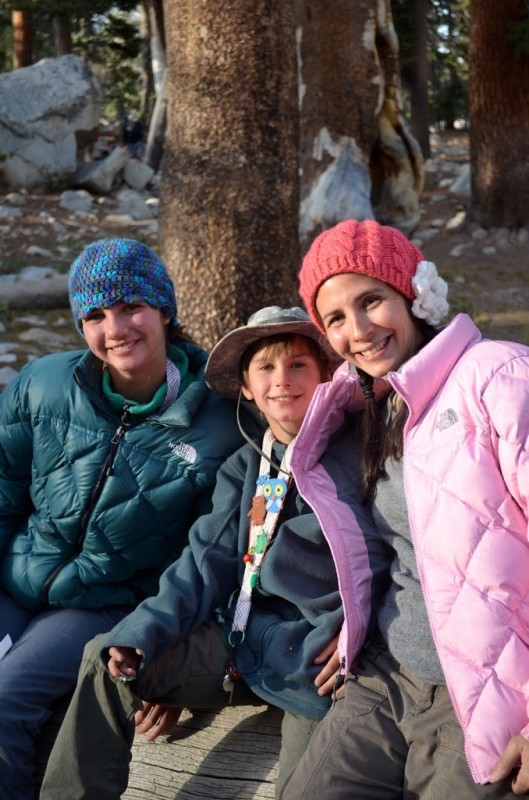
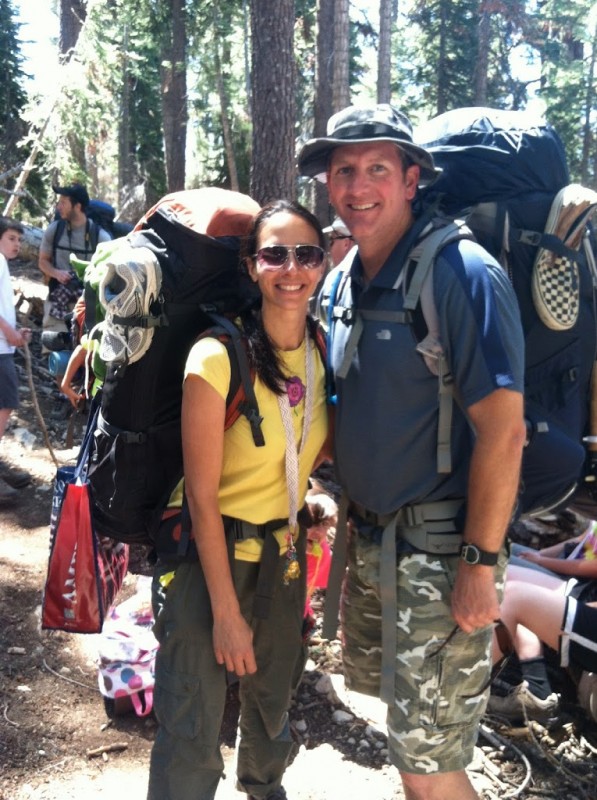
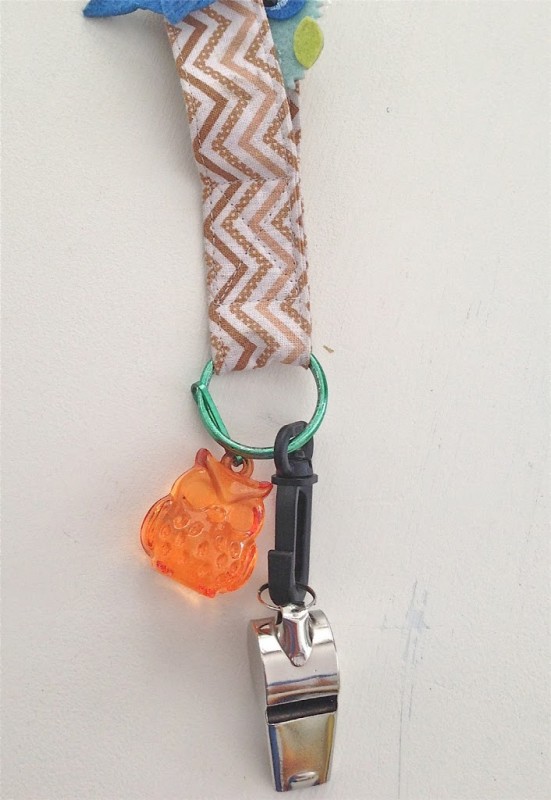
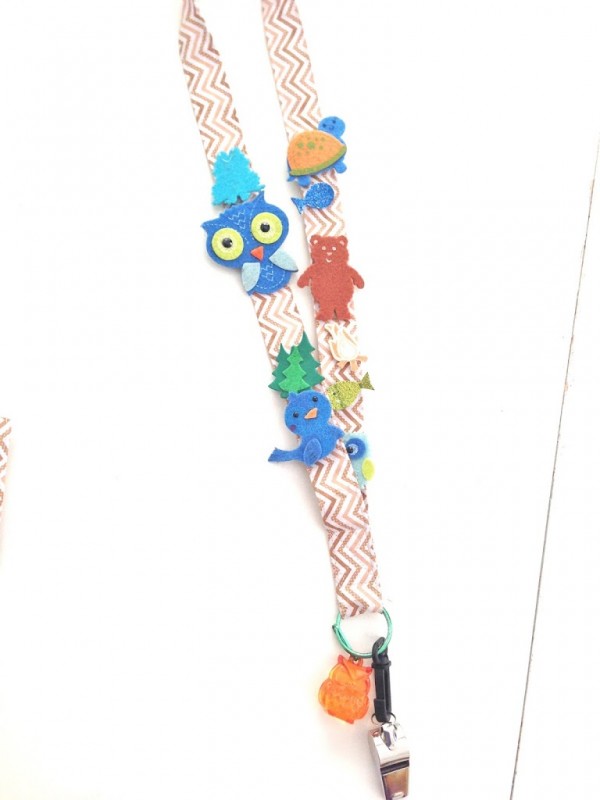
Over Memorial Day we went backpacking in the Sierras. This was my first real backpacking trip on over 20 years! We had a BLAST!!! I thought it would be fun to make the children lanyards for the trip. I bought felt stickers at Joann Fabrics and glued pins to them. Throughout the trip the children earned pins to put on their lanyard. I also attached a whistle to the end – just in case they got lost or saw a bear 🙂
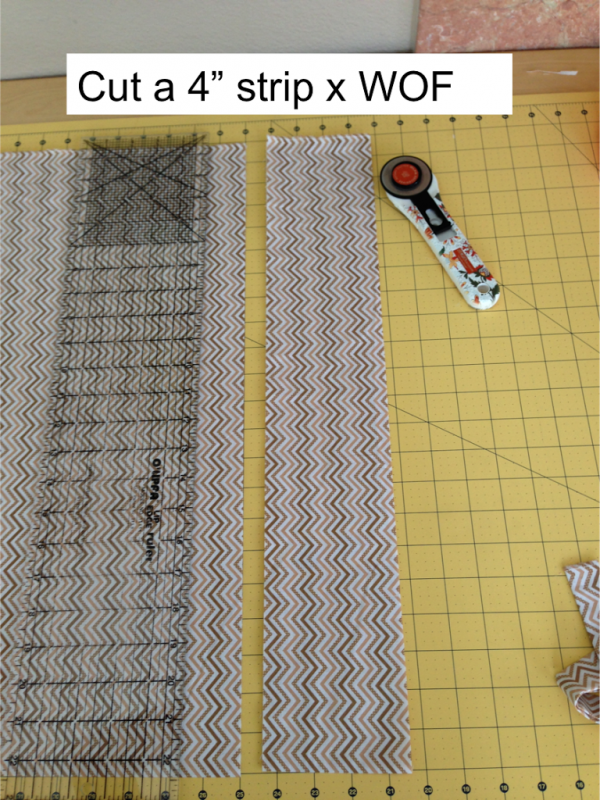
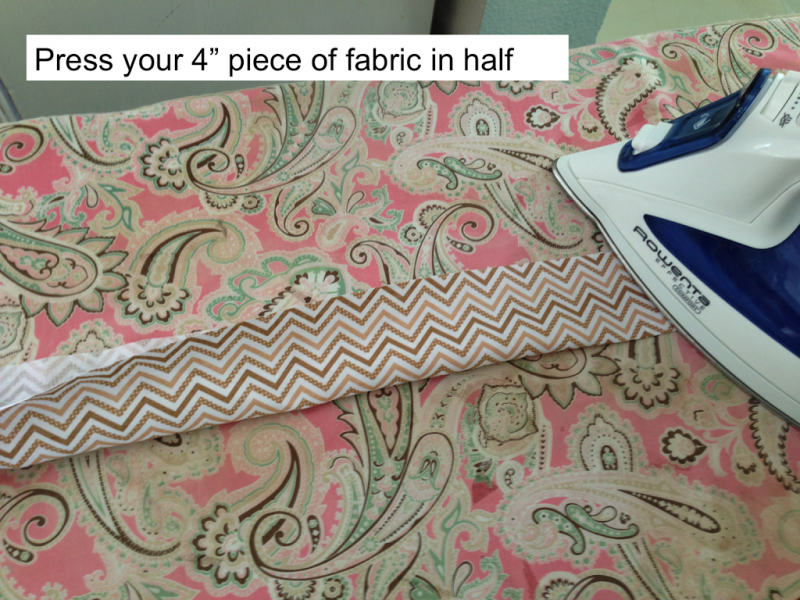
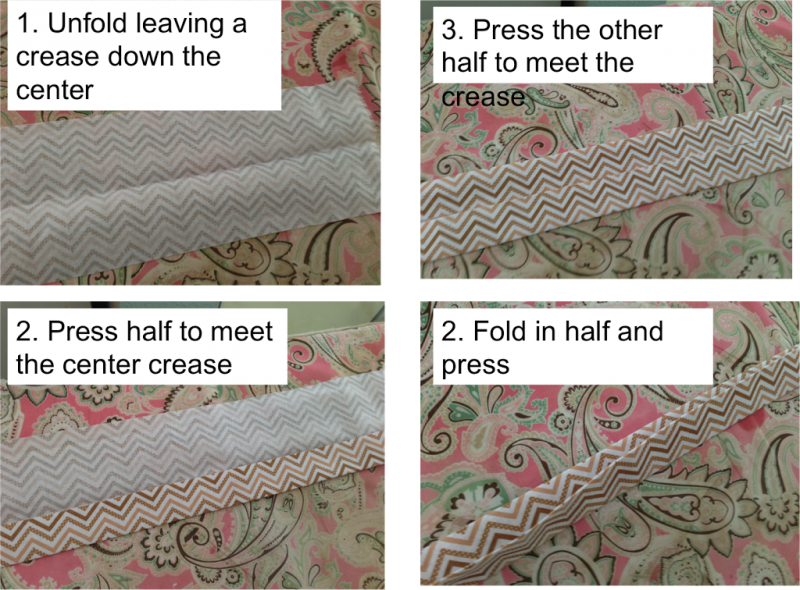
Here is how you can make one – they are super easy!! (excuse my ironing board cover – I need to get a new one!)
BEFORE YOU SEW THE ENDS TOGETHER…..slide a keychain ring or D-ring onto your lanyard.
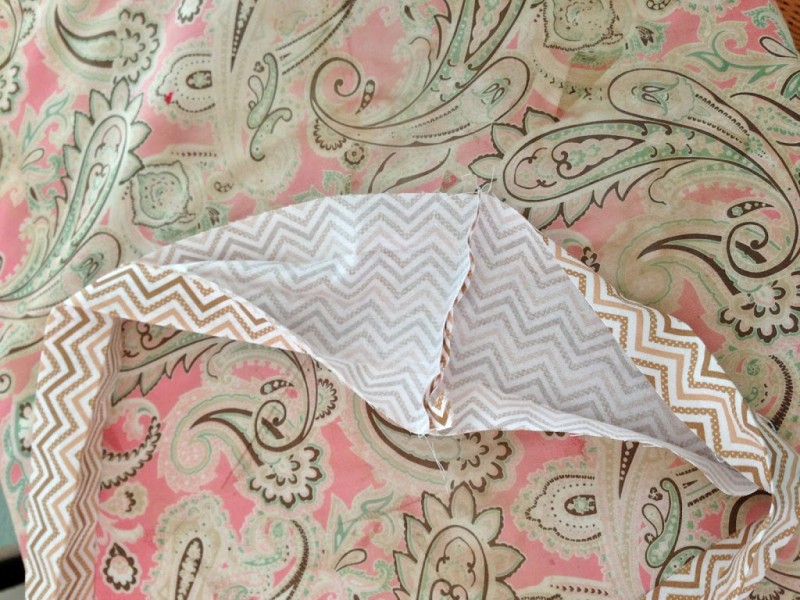
Now, unfold the ends and pin them right sides together. Sew a 1/4″ seam and press the seam. Then refold the lanyard and give it a final press.
Top stitch all the way around the lanyard on both sides close to the edge. Making sure the seam is at the back of the neck, s
lide your D-ring or keychain to the opposite end and sew a little square with an “X” to secure. (See photo below for placement)
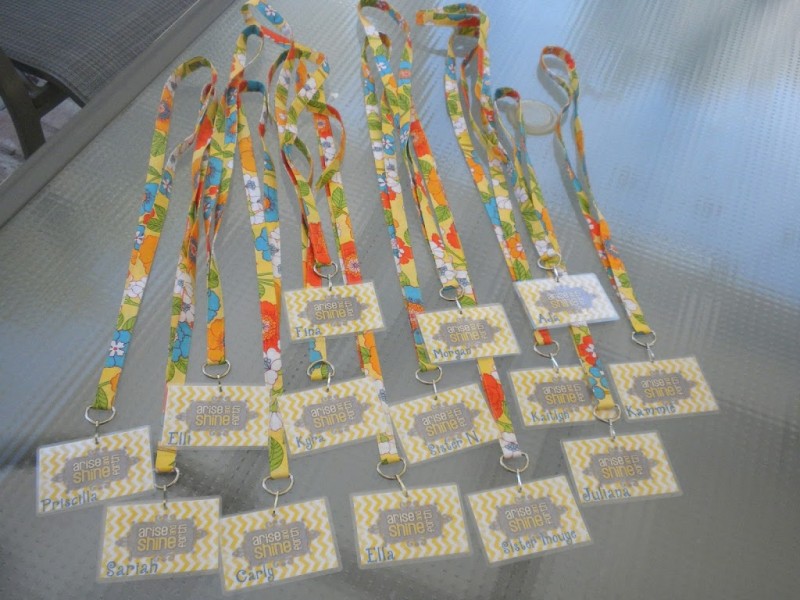
Last year, I sewed all these lanyards for Girl’s Camp. They are lots of fun to make – you can choose any fabric – you can even piece the fabric if you have time!


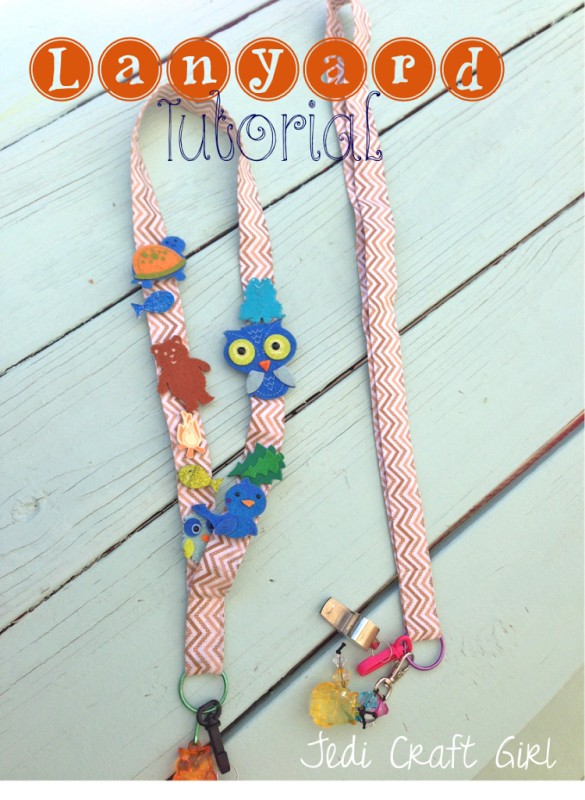


Hey what an effective idea. I need a lanyard for my quilt committee namebadge and I’m gonna challenge the rest of the committee to make thier own. Thanks so much for a great idea. I also love the idea of the kids earning the badges!
Again thanks so much!
I want to do these lanyards for girls camp as well. Where can I buy the plastic case thing for the end of the lanyards? I only need about 18-20. They are so cute!
Thanks for your question! I used laminating pouches and laminated them and punched a hole. If you don’t have a laminator then you can purchase ID Badge pouches – I have seen them at Wal Mart. They will clip on to the end of the lanyard. Hope this helps!