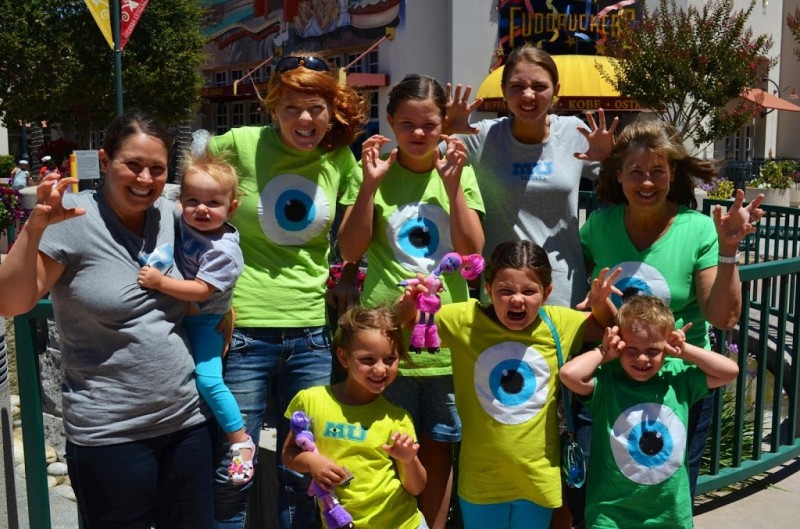
Monsters University Movie

Meet & Greet
Today I am a Co-Host for the Meet & Greet Blog Hop. It’s a great way to meet bloggers, get ideas, and have fun!
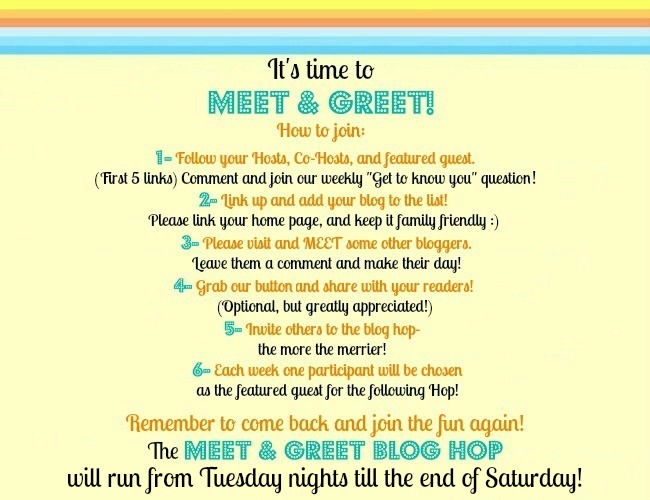
Welcome back to the Meet & Greet Blog Hop! Join in, meet some fellow bloggers, greet them with comments, and grow your blog with new friends! Interested in being a Co-Host? Send an email to 2justByou(at)gmail(dot)com with “Co-Host” in the subject line for consideration and include your blog link!
*Hosts*
Kim – from 2 just B you: At school one year, we made Mother’s Day and Father’s Day gifts at the same time (school always got out before Father’s Day, so it was great that the teacher did this). I made matching picture frames, one for Mom and one for Dad. And I remember being so proud of how they turned out. I had rushed home to unwrap them, put photos in, and then re-wrapped them!
Laurie – from Created By Laurie: My Father is away from home a lot for his work, so he really tries to relax when he is home. While he was away one time my younger brother sold his Xbox and all of his games for money. He didn’t have the funds to replace it so he was really disappointed. I bought a replacement along with a handful of games. It was put in an old Xbox box, so when he first opened his gift his eyes light up, “You bought me an Xbox?” “No,” I said laughing, “I just used the box” His smile went away for a second until he opened the box. “You did!” It felt great to give something back to him after he has done so much for me.
*Co Host*
Now it’s YOUR turn! What was your most memorable Father’s Day gift you gave to your dad? *Our Featured Guest this Week*
Diane– from DD Kimball Road Diane blogs about life, love, and the journey to becoming mommy. Check out her “All things Crafty” tab in her blog! Spread the Word, Grab Our Button!

* If you would like to sign up for email reminders for the Meet & Greet Blog Hop, please sign up below. (Your email address and info will not be used for any other purpose.)

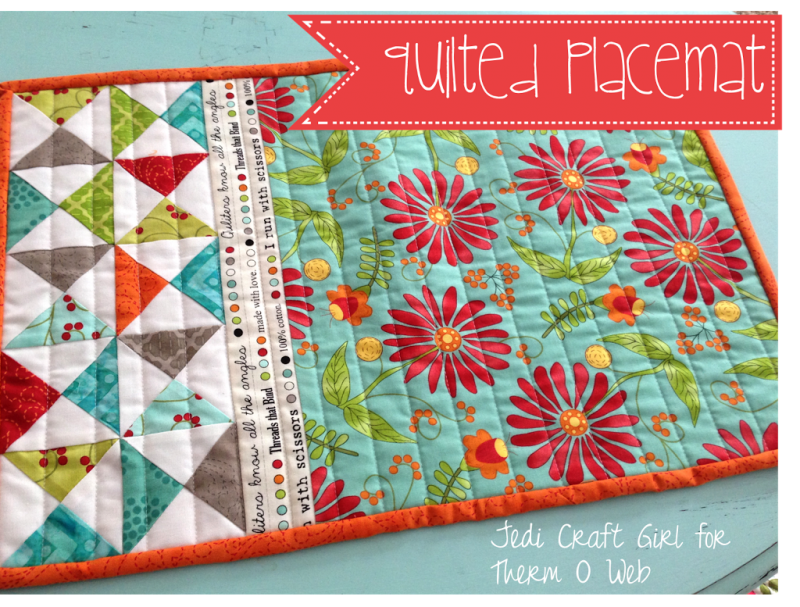
Quilted Placemats

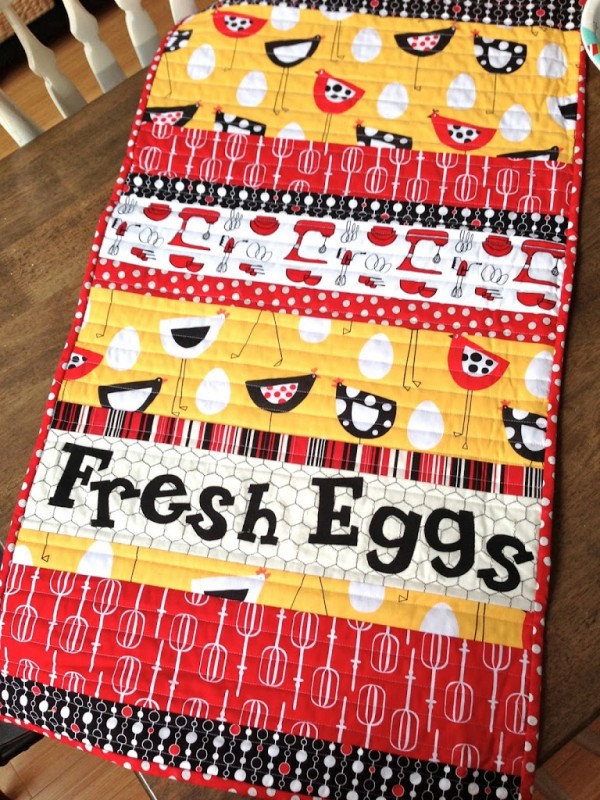
Funky Chicken Quilt Winner Announced

And the winner is…..

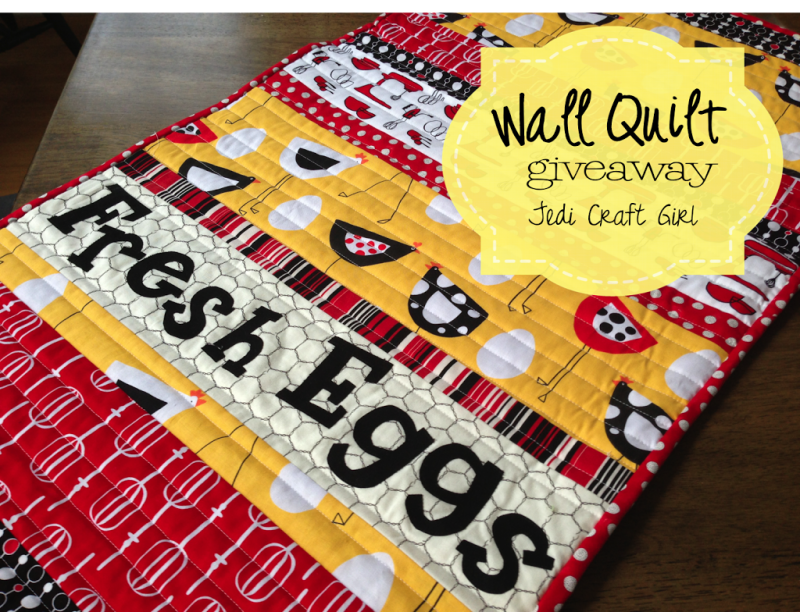
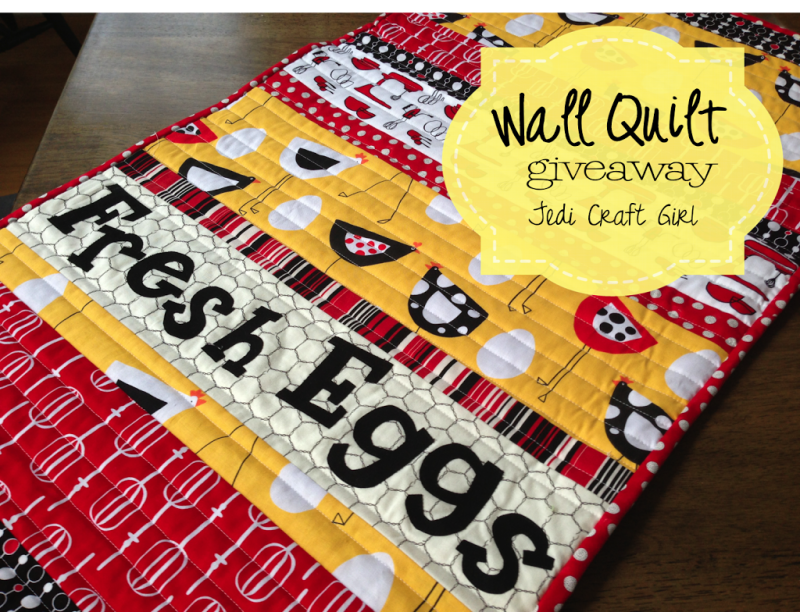
Wall Quilt Giveaway

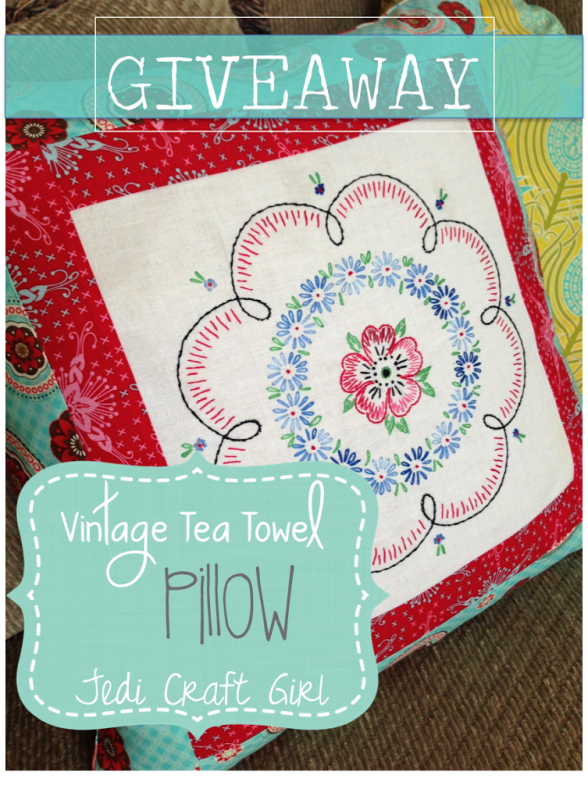
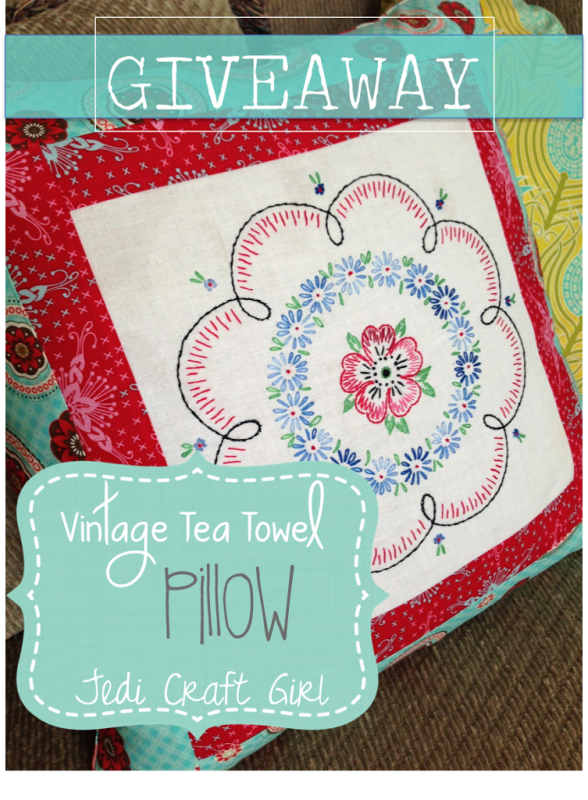
Vintage Tea Towel Pillow Giveaway

Pieced Chevron Pillow from Sewing Barefoot


[3] Once I had enough squares, I started sewing them together. I started by sewing the squares in each diagonal row together end on end. Once all of my rows were sewn together, I started sewing the long rows together. I worked block by block until everything was connected. It helped to have all of my blocks laid out in the correct pattern – that way, I could just pick up the next one in line. It helped to cut out any confusion.


[4] Once everything was sewn together, ironed everything nice and flat and cut off the extra points on all sides of my fabric to get nice straight edges. You want to end with a piece of fabric that is 1″ bigger than your pillow form. In my case, my chevron front was about 17″ (for a 16″ finished pillow).


[5] After the front was assembled, the rest was a piece of cake. I sewed my zipped pillow cover (using a full piece of my grey fabric for the back) and admired my new pillow:


Feed My Sheep

