Baby Clothes Memory Quilt

IMG_6594

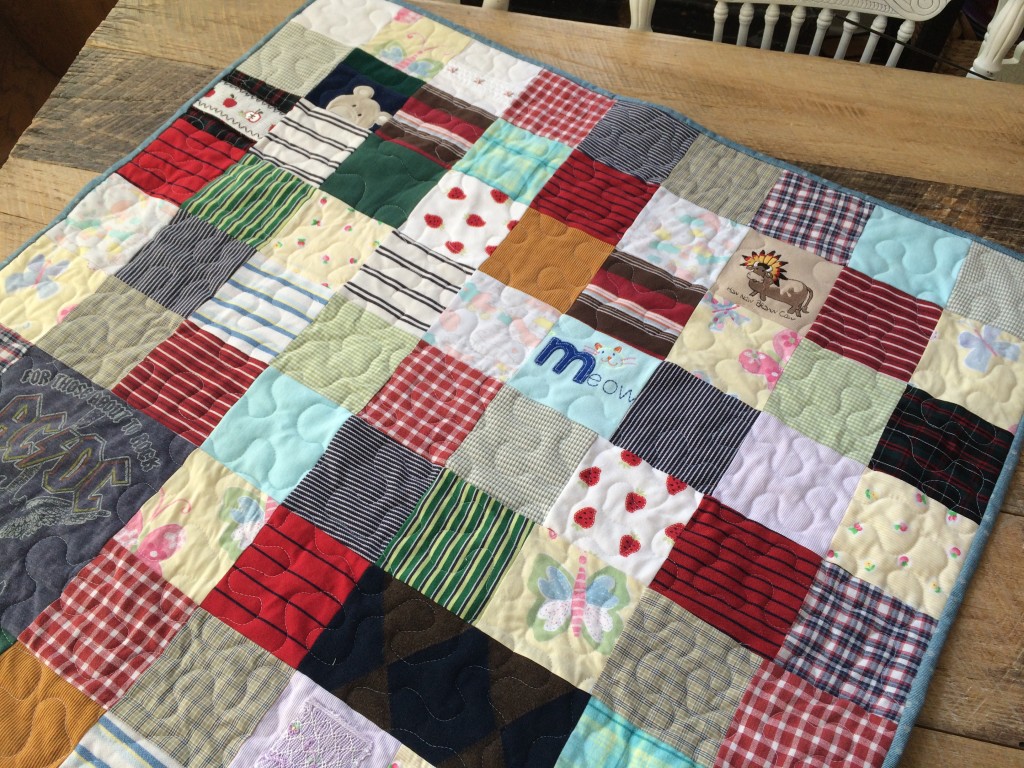
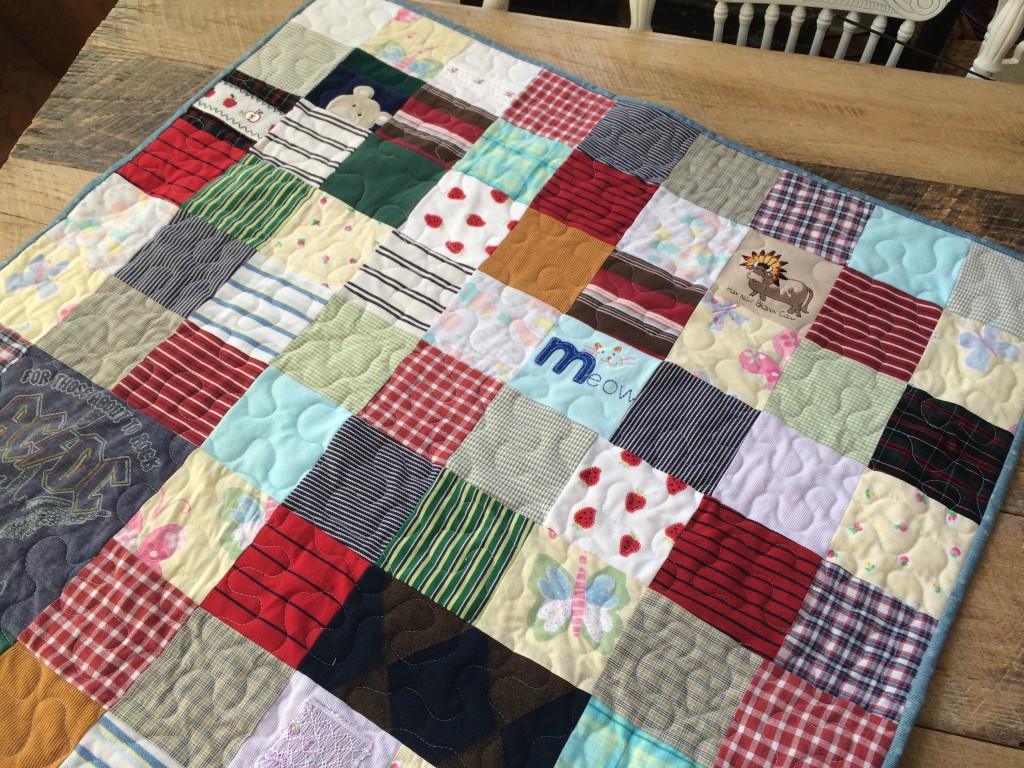
My friend and her daughter recently came to visit all the way from Washington, DC.  She brought with her a huge bag of baby clothes that she had saved from her 5 babies and I helped her make this keepsake quilt.  This is such a great idea!  How many of us have boxes of baby clothes we can’t stand to part with but lets face it no one will ever where again.  This quilt keeps the memory of those sweet clothes alive but is now functional and way more attractive then a pile of wrinkled and stained clothes 🙂
IMG_6470

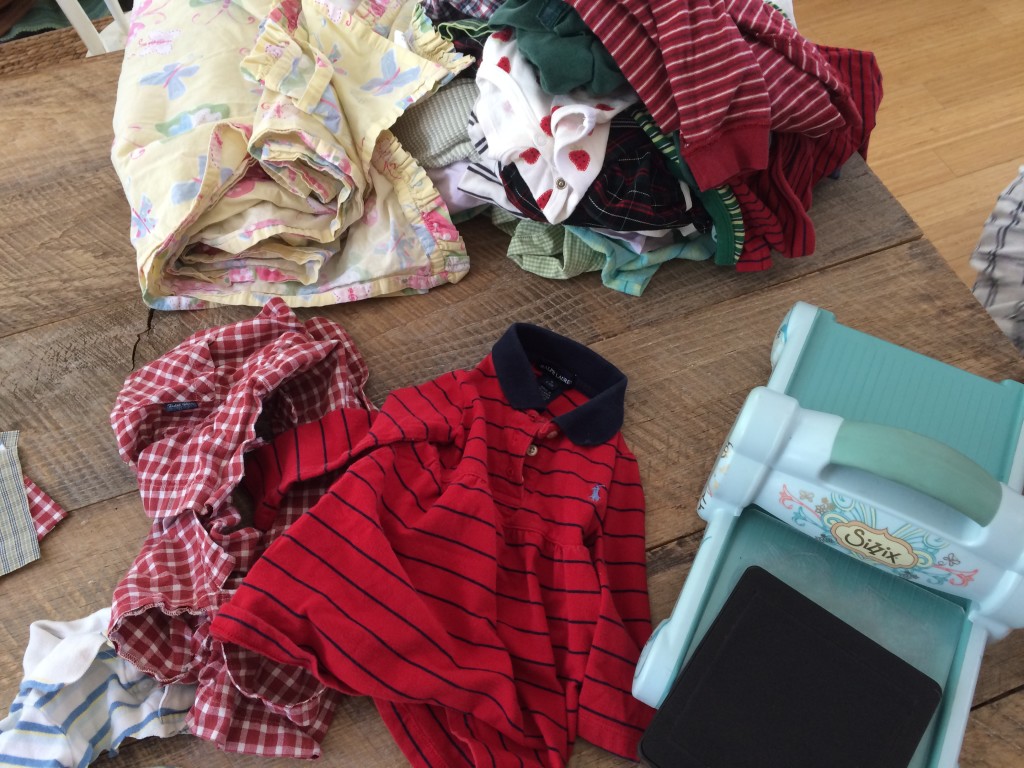
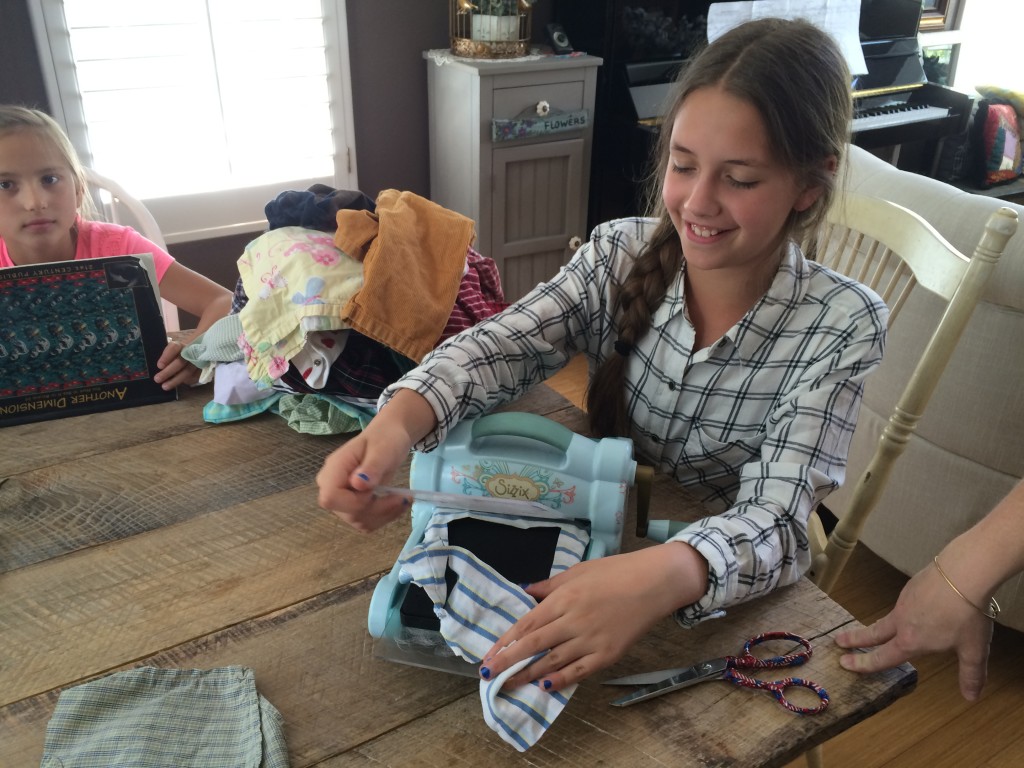
We used my Sizzix Bog Shot machine and even the kids could help on this project.
IMG_6467

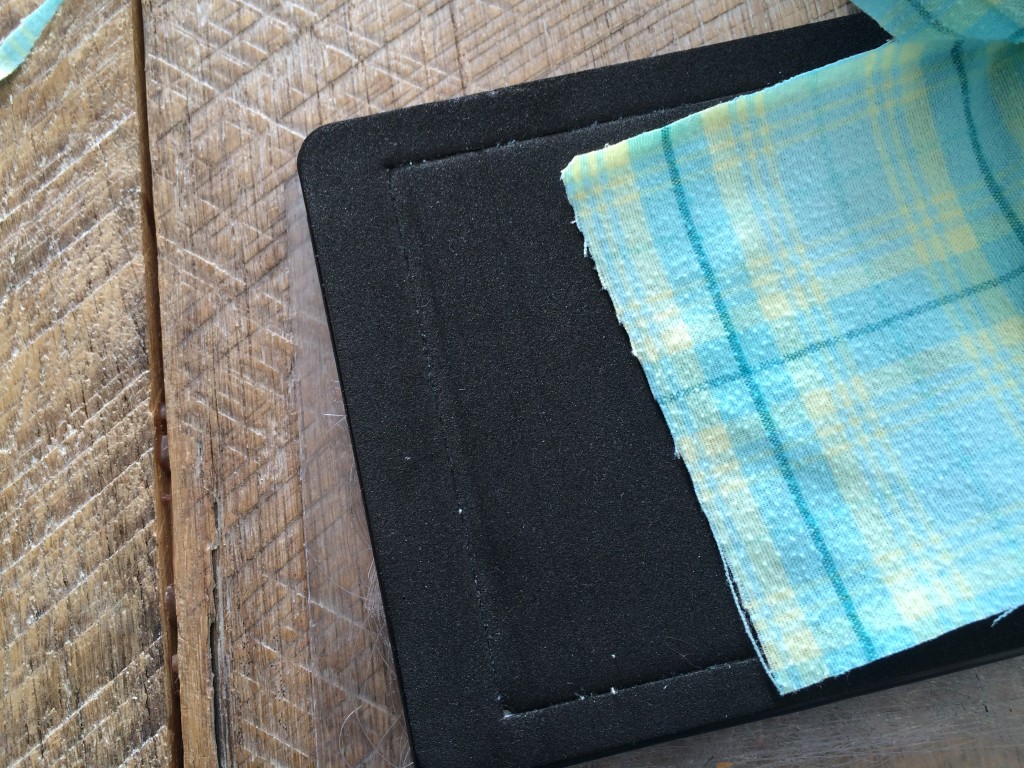
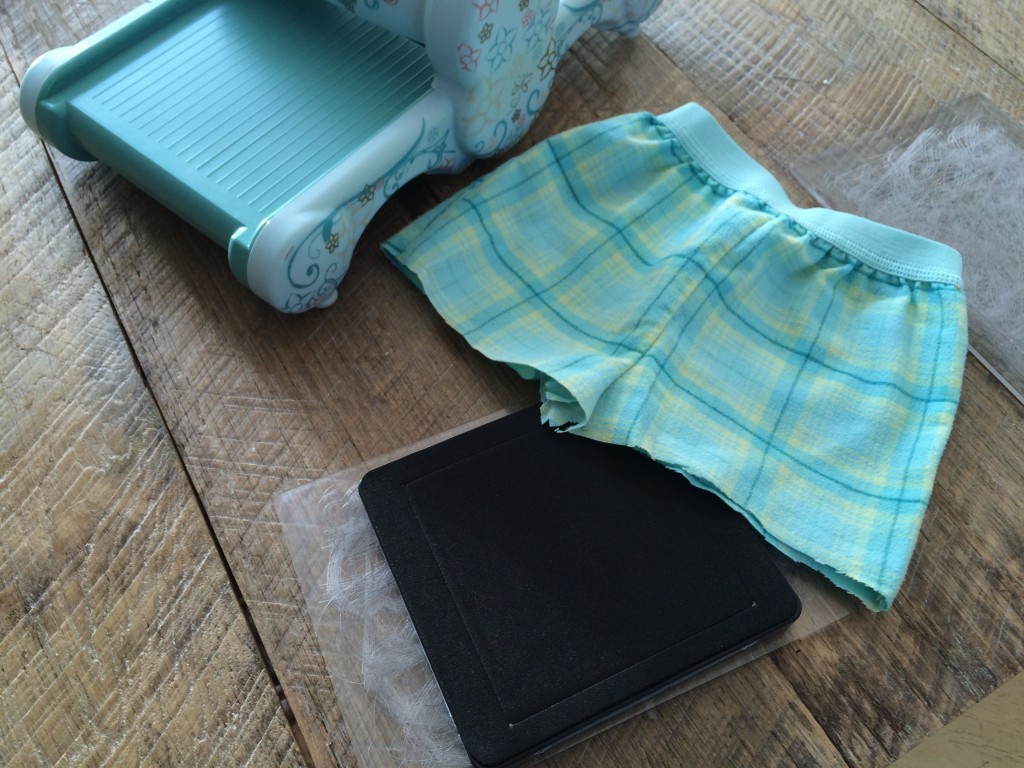
It was helpful to cut off snaps, arms and legs of the fabric.  We used the Sizzix 4 1/2″ square die.  This project would have been difficult to cut on the rotary mat.  To cut with the Sizzix simply lay the piece on the die, double or single layer, wrap the rest of the clothing around the back of the die and then crank it through!  Again, I love getting kids involved in the process and this is such a great tool to do so.
IMG_6578

IMG_6580

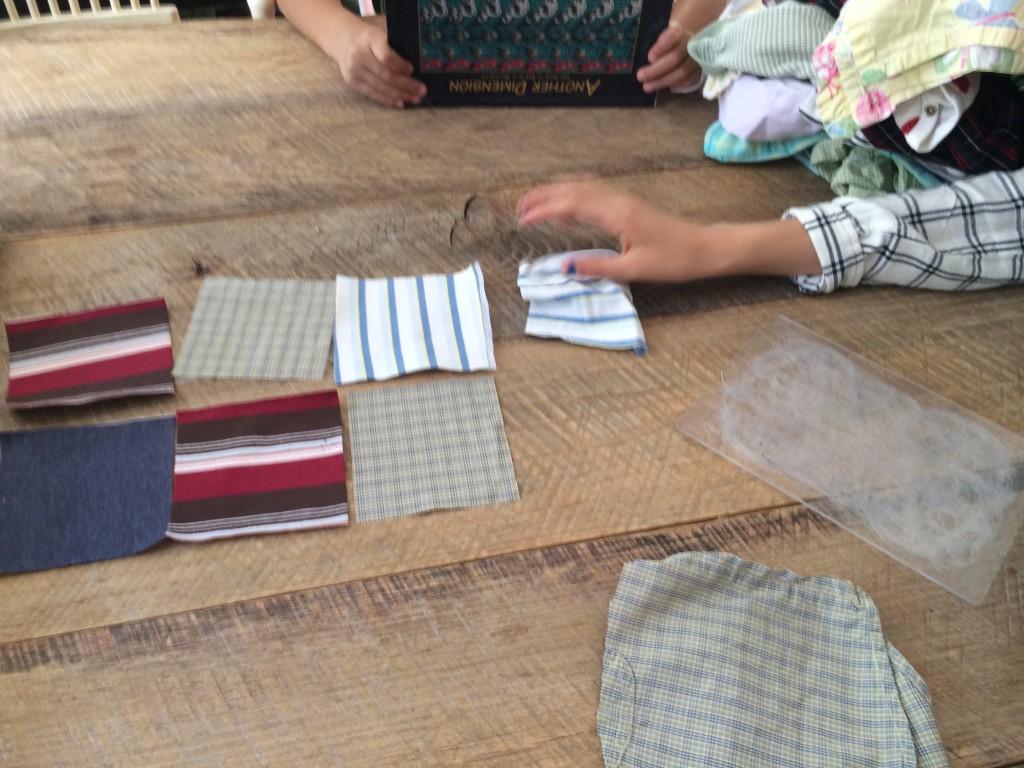
We used every type of clothing and it all worked great: knit, cotton, sweater, valuer, waffle, denim, polyester.  Just make sure that all fabrics can be ironed.IMG_6468
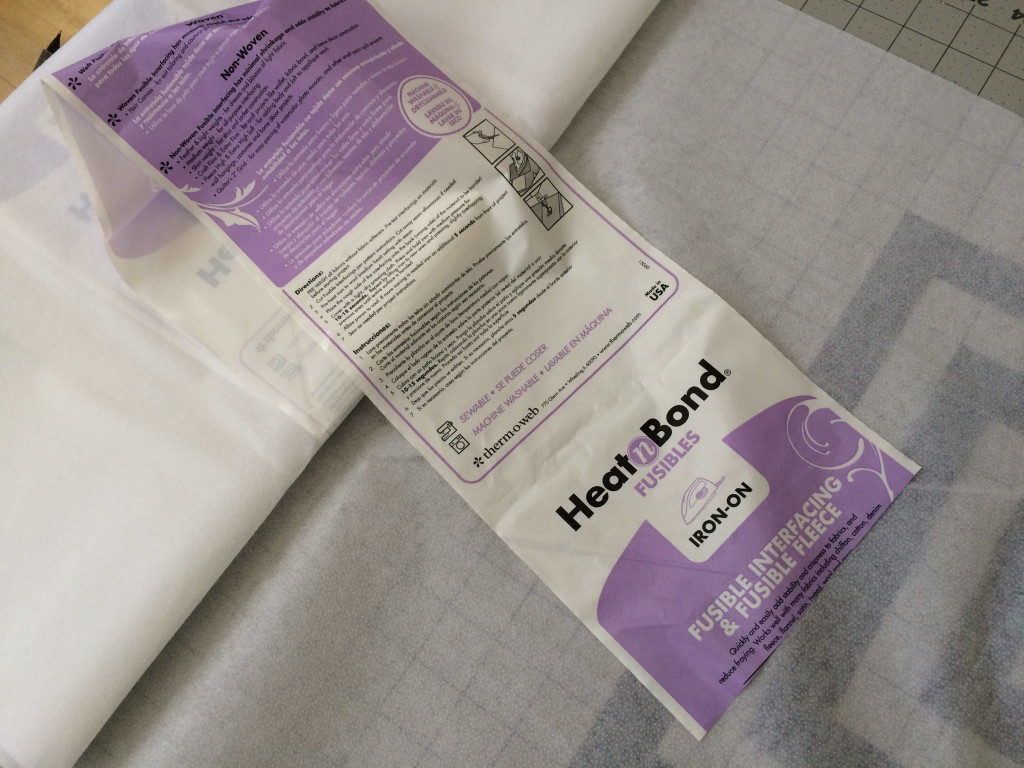
Since each fabric has a different degree of stretch, it is necessary to back each square that stretches with Heat n Bond fusible stabilizer, light or medium weight is fine.IMG_6469
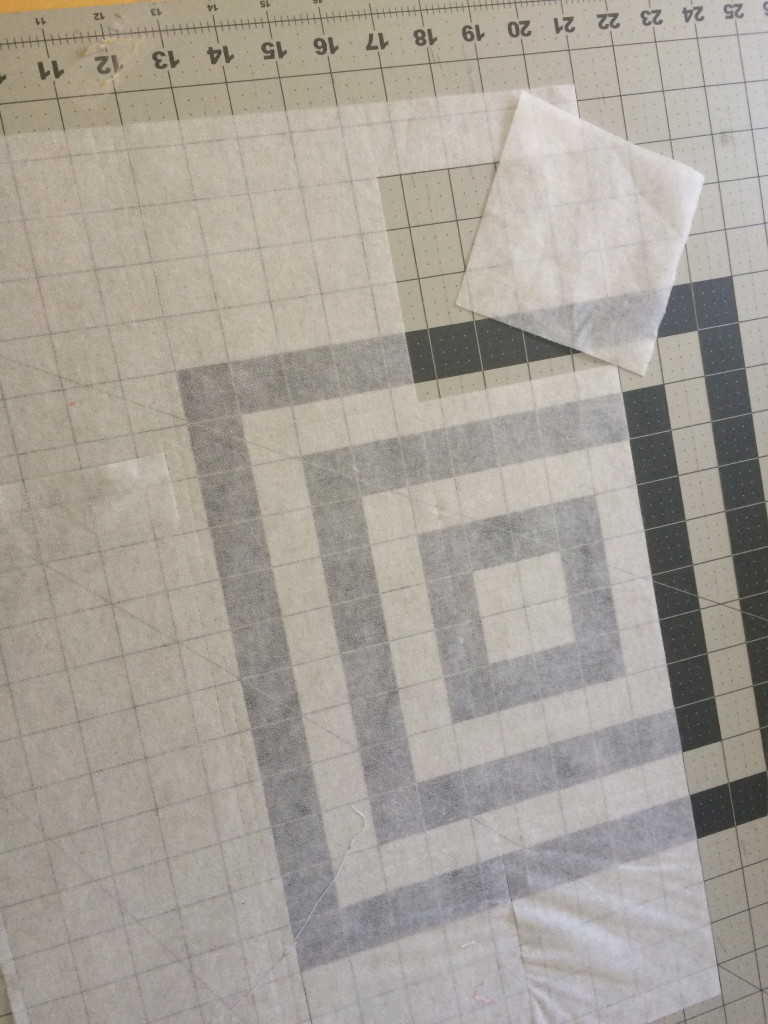
I cut the staibilizer in 4 1/2″ squares.  Fuse each stabilizer square to the wrong side of the fabric squares.
IMG_6509

Lay out the quilt as desired and then sew the squares together in rows and the rows together.  Make sure to press the top of the fabric and NOT the side where the stabilizer is.  I was still able to use 1/4″ seams because the stabilizer kept everything from shifting.
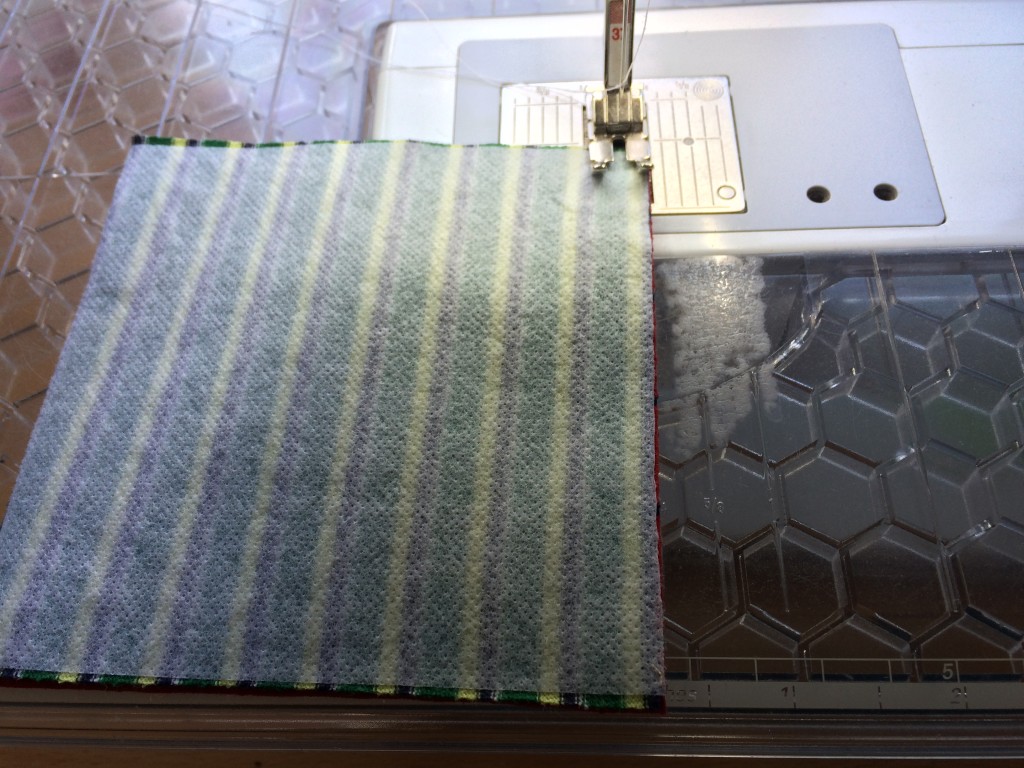
IMG_6546      I basted and quilted this just like a regular quilt.  I quilted a little slower just to account for the varying degrees of thickness.  I was able to put a sweatshirt piece next to a thin polyester pj fabric and it totally worked!IMG_6595
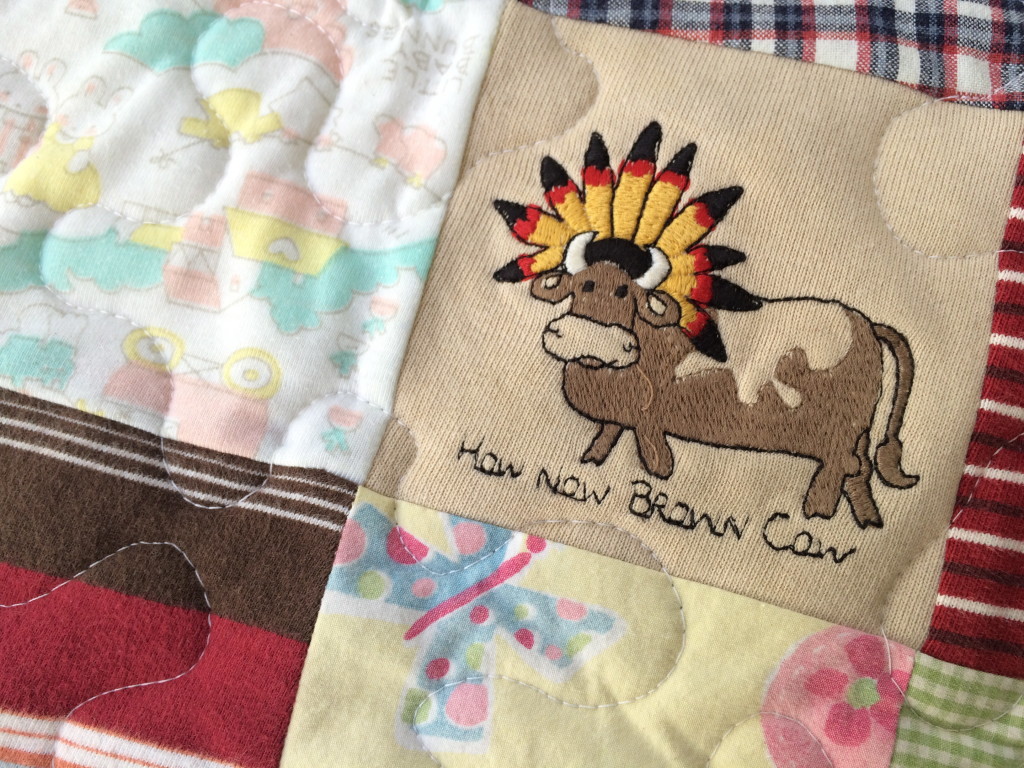
We cut a few pieces of trim and top stitched them onto the blocks.
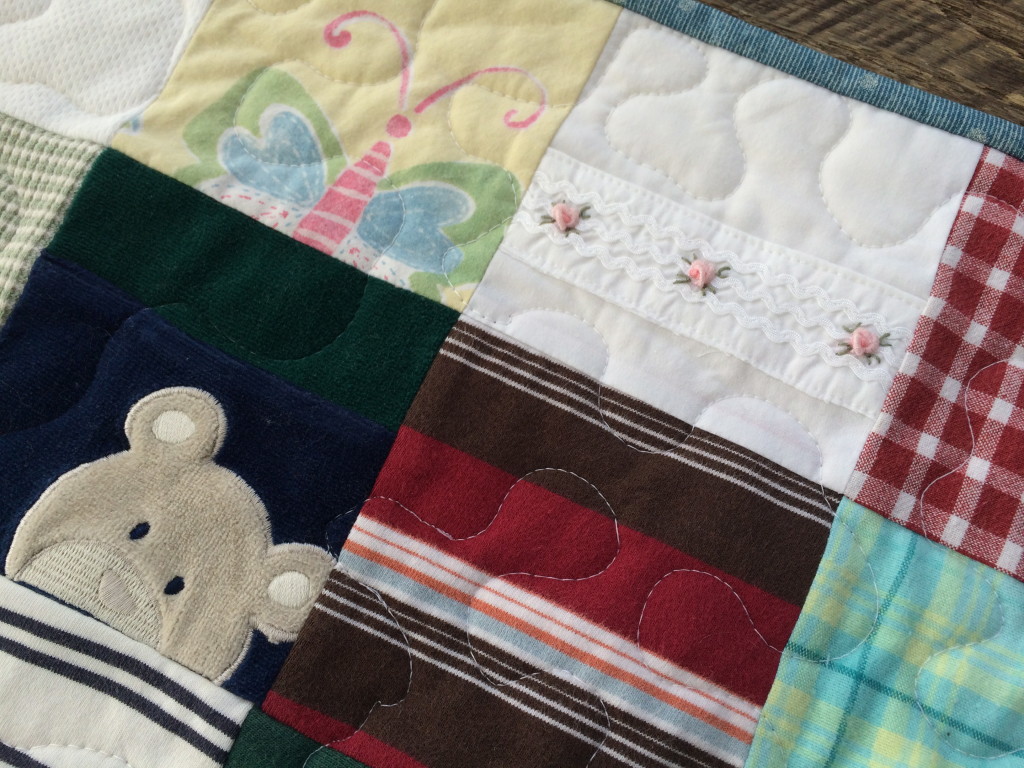
IMG_6596

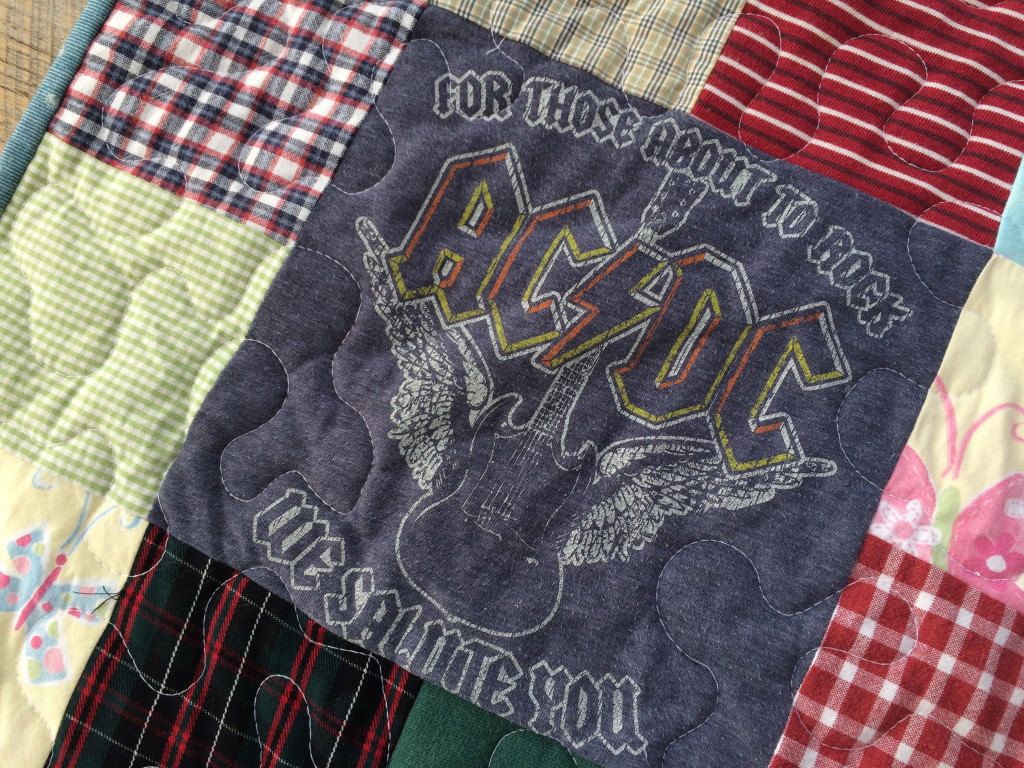
My favorite is the ACDC t-shirt!

IMG_6597

Best of all my friend loved how it turned out because each piece has such a special meaning!  IMG_6594
14 Day Walk With Christ 2016

2016 walk with christ


Every Easter my family participates in a “14 Day Walk With Christ”.  This takes place the 2 weeks leading up to Easter.  I feel life is so busy and rushed and Easter can come and go before we know it.  It has been extremely meaningful to focus extra attention on the Savior during these two weeks.  In the past we have had a lesson, activity, game, etc. about Jesus Christ.  Last year we did a service edition where we performed random acts of service every day.

I notice that the Walk With Christ changes a little bit every year according to how our family is changing. In the beginning my children were younger and were home more. We enjoyed spending time on a nightly lesson, activity, and treat. Now, with teenage children, it is different. Since we all are connected on our devices I decided to make this year’s Walk With Christ an Social Media version.

How it works:

Each day  I will post a quote or a scripture with a little assignment to be completed. I am hoping this might be a way we can shine our lights in our virtual lives and help bring others to Christ. I am also hoping that taking this extra time will bless us as we devote our thoughts to Jesus Christ.

Let your light so shine before men, that they may see your good works, and glorify your Father which is in heaven. Matthew 5:16.

I hope you join with me in making this Easter Season a time to come unto Christ.

Day #1

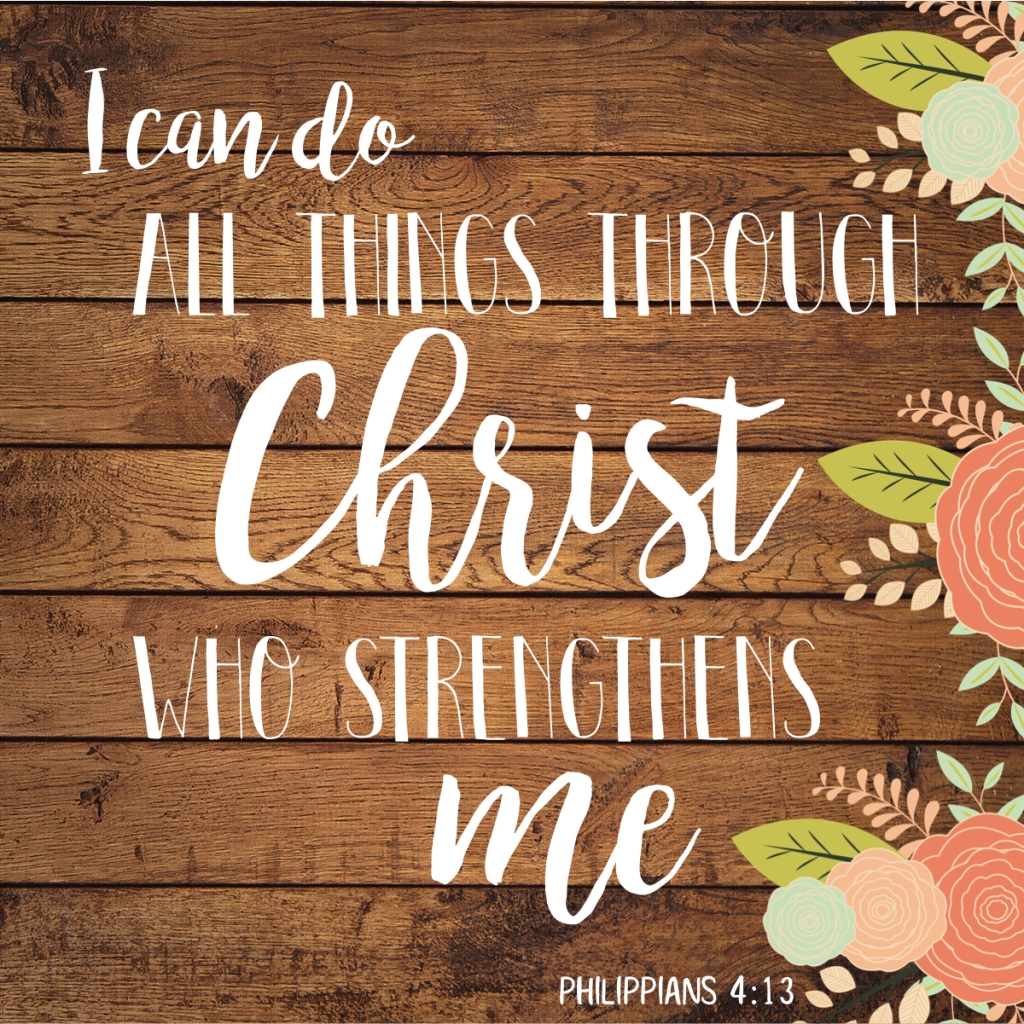
i can do all things

Put a picture of Jesus somewhere you will see often.  Even if you already have a picture displayed, add another one to remind you of the journey you are on for the next 2 weeks.  This might be a digital image you use as your phone lock screen or wallpaper.  I taped one in my car because that’s where I always am.  #walkwithchrist2016 #sharegoodness #helives


Sizzix Heart Quilt

sizzix heart quilt

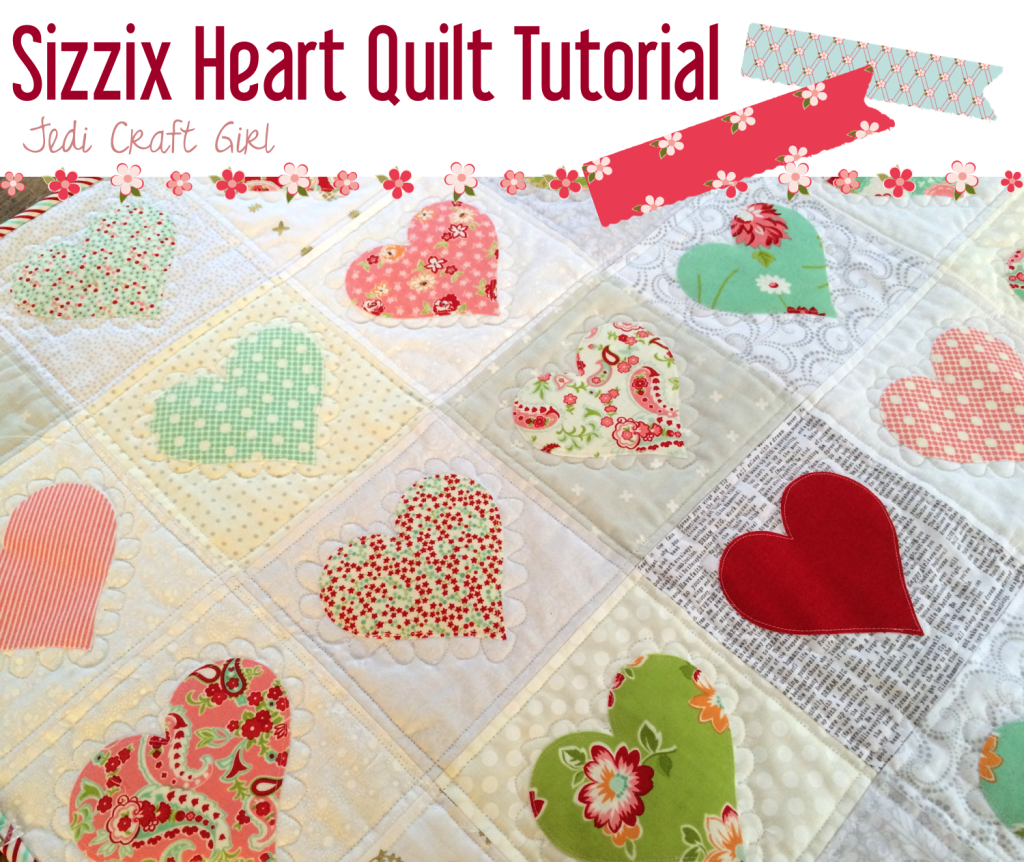
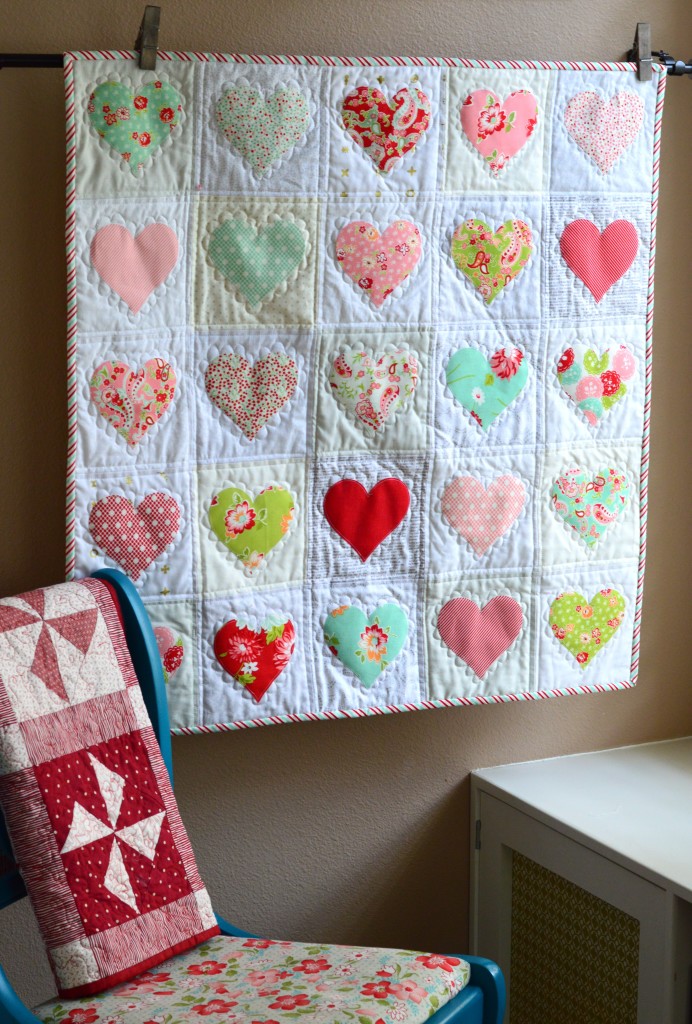
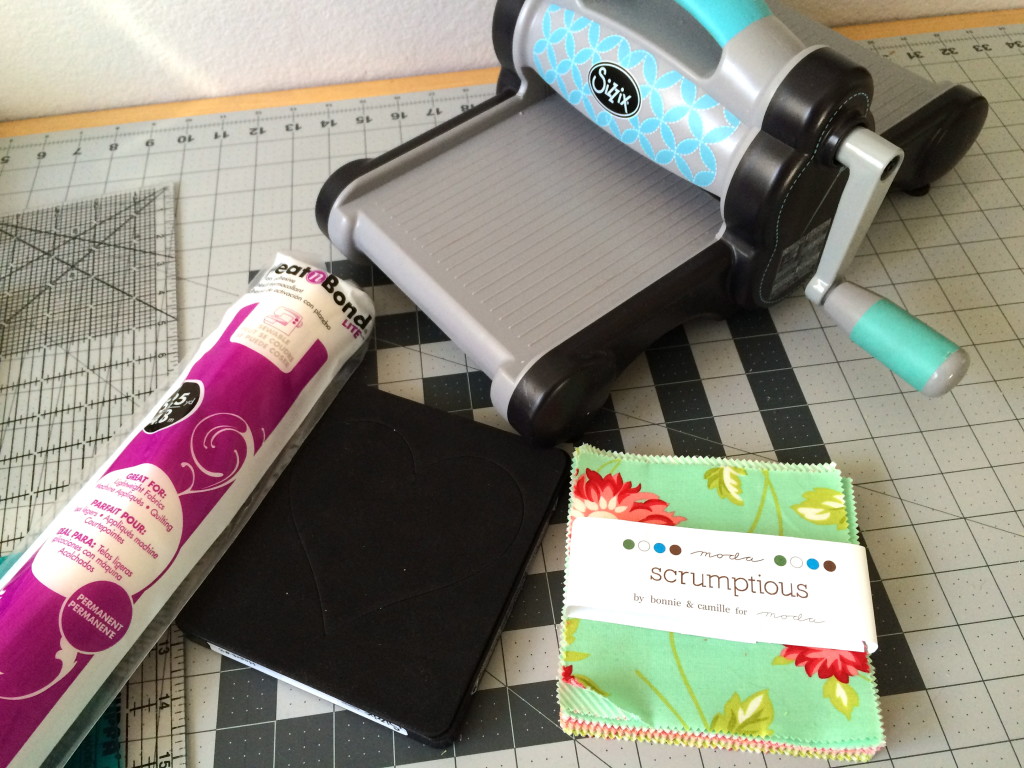
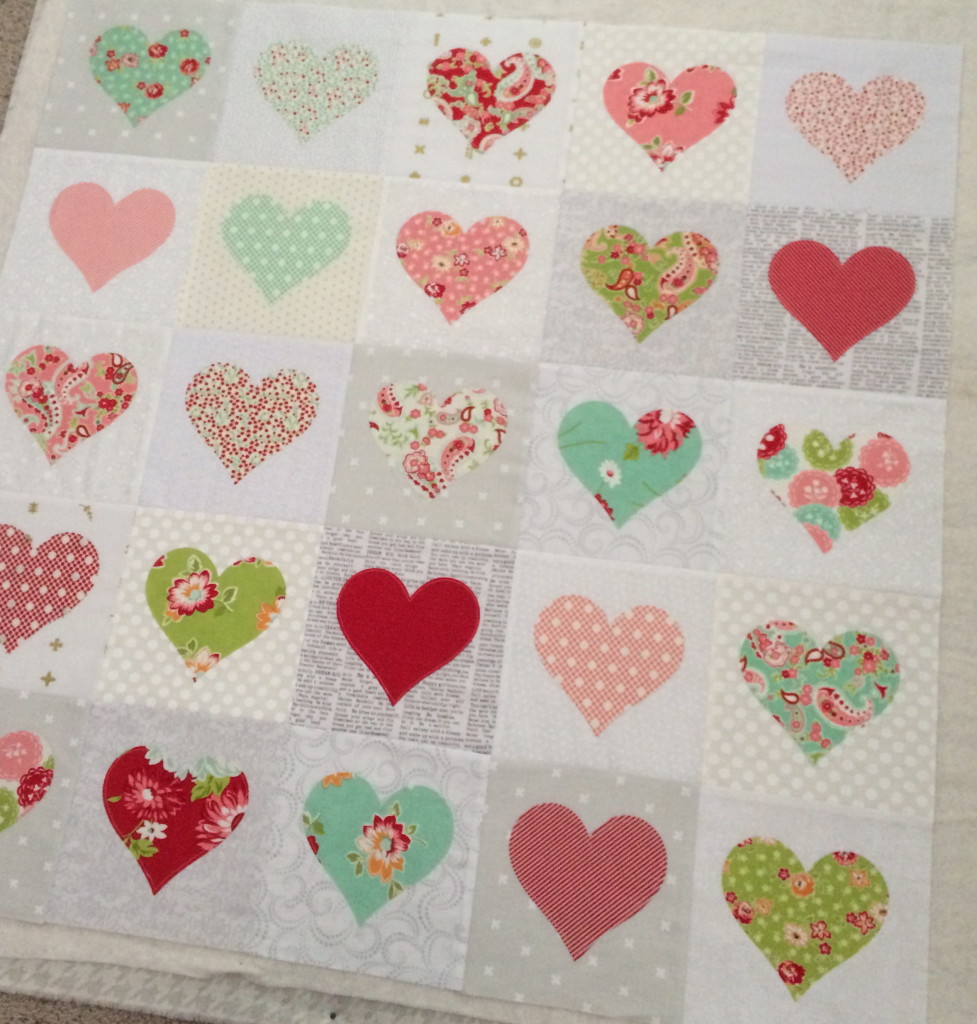
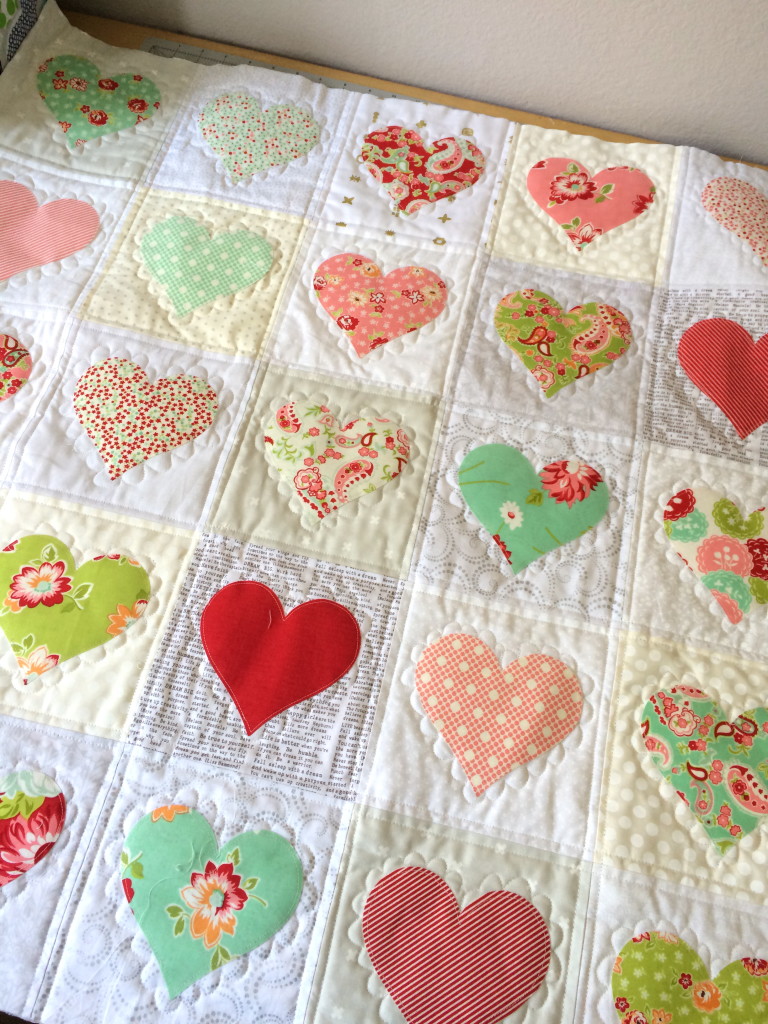
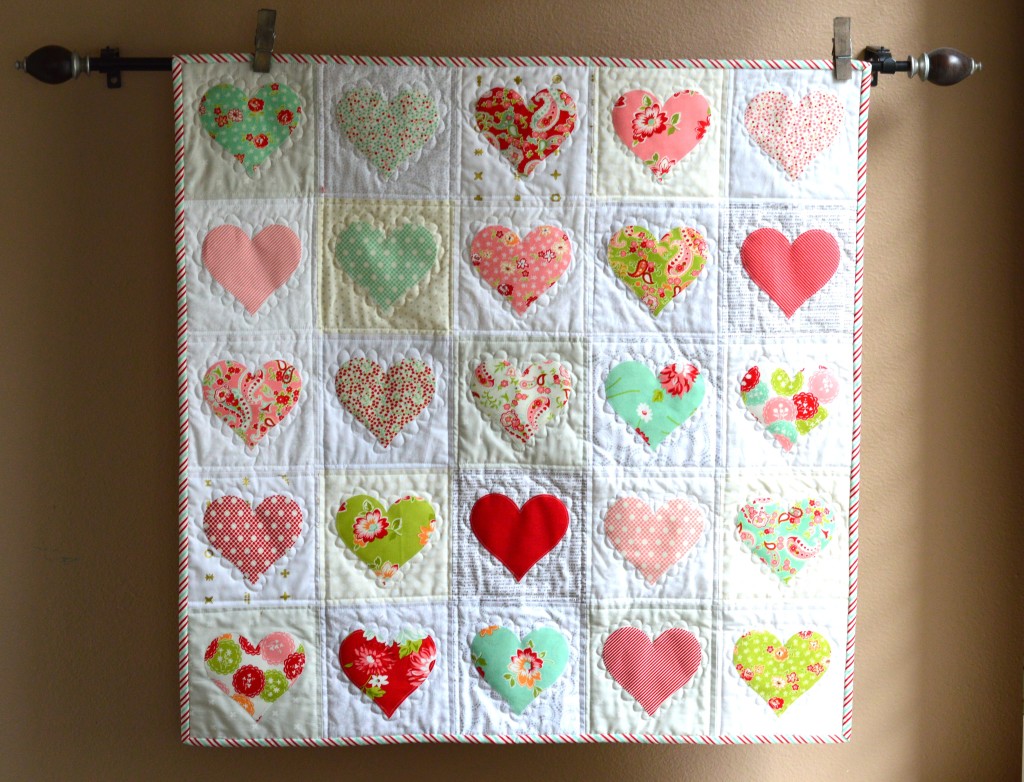
I think I love Valentine’s Day so much because it pulls me out of the “After Christmas Blues”.  It’s bright, and happy!  I love the simplicity of this quilt – a simple heart applique.  What makes it feel special is that no two hearts are the same and the backgrounds are a variety of low volume prints.  When ever I go to a quilt shop and I’m not sure what to buy, I end up purchasing charm packs.  I had this “Scrumptious” charm pack by Moda tucked away and it was perfect for this project.  sizzix heart quilt 3

DIY Heart Quilt: A Cozy and Sweet Make for Valentine's Day
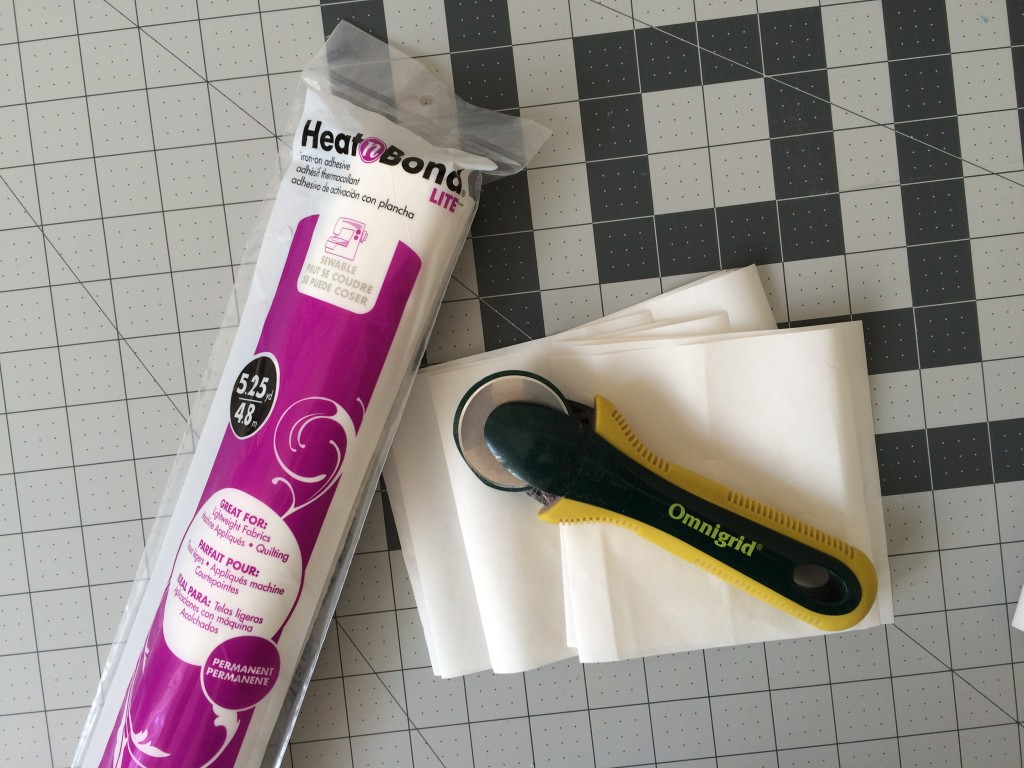
Heat n Bond Lite by Therm O Web is my go to for any Sizzix applique projects. I love it because it’s light weight, it fuses fast, and peels easy. Cut the Heat n Bond Lite into (25) 5″ squares.
DIY Heart Quilt: A Cozy and Sweet Make for Valentine's Day
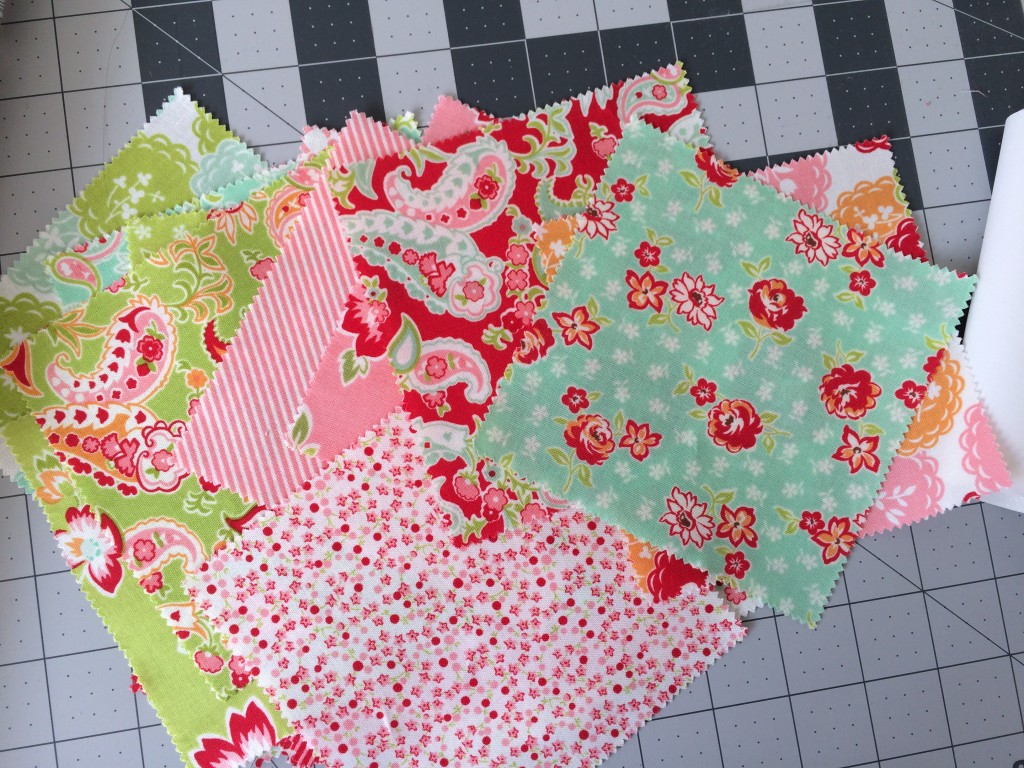
Select 25 of your favorite squares from the charm pack.
DIY Heart Quilt: A Cozy and Sweet Make for Valentine's Day
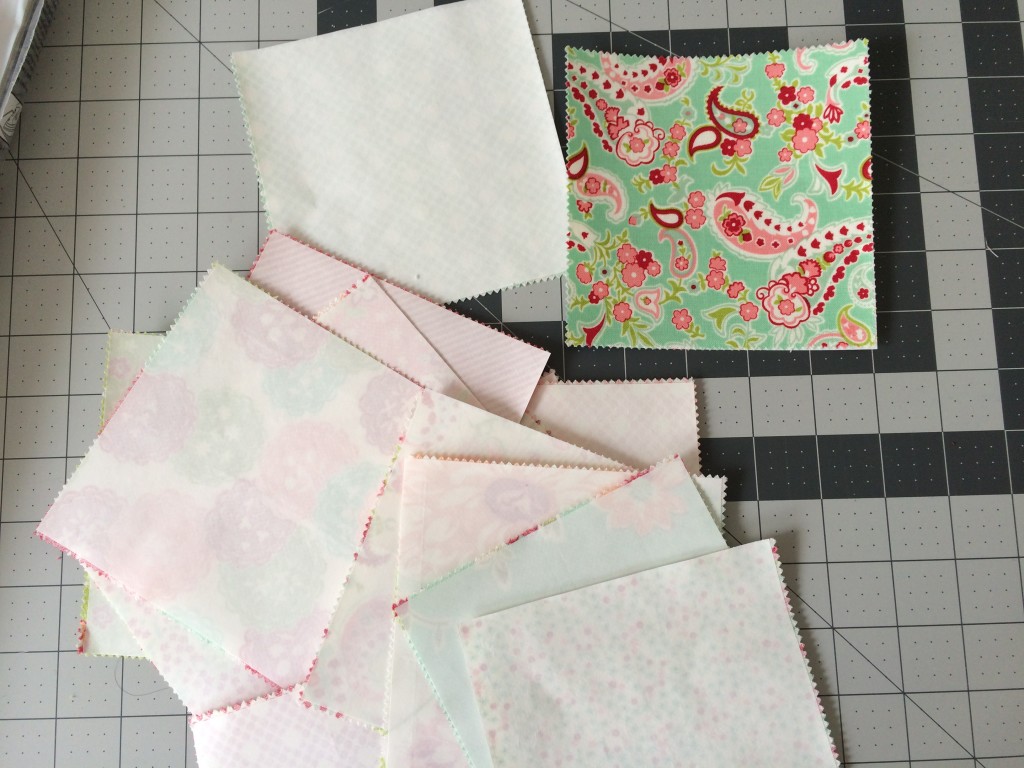
Fuse the Heat n Bond Lite to the wrong side of each of the 25 charm squares. Let cool.
DIY Heart Quilt: A Cozy and Sweet Make for Valentine's Day
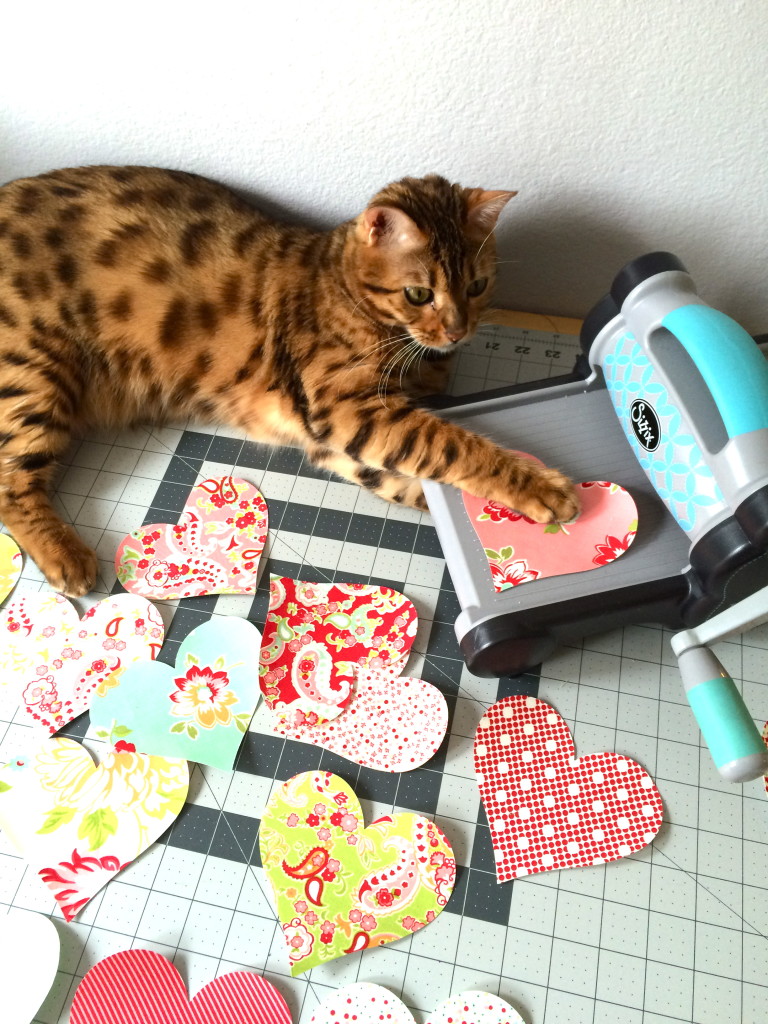
Make sure your cat helps with all the die cutting! Die cut each of the 25 squares using the Fabi heart. The squares are just big enough to cover the whole heart.
DIY Heart Quilt: A Cozy and Sweet Make for Valentine's Day
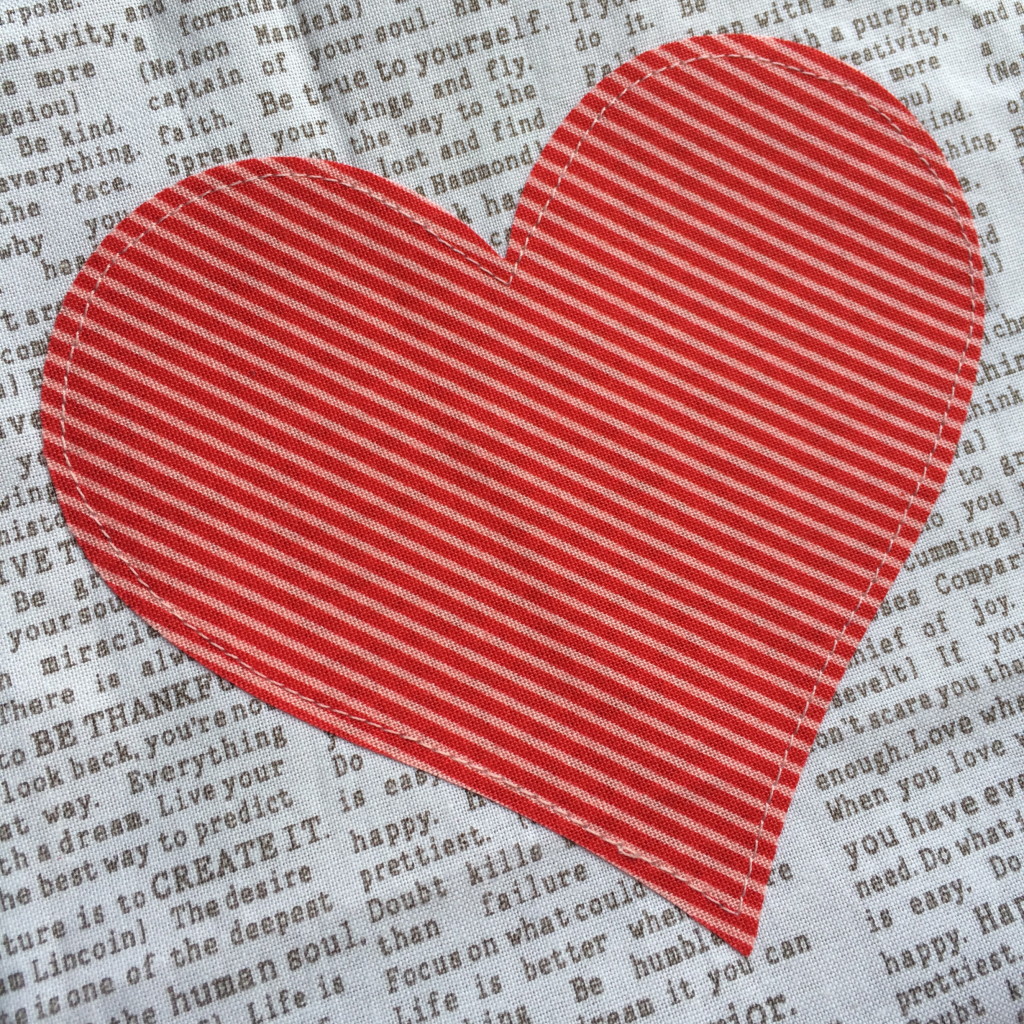
Cut a variety of low volume prints into 7″ squares. You will need 25 total. Peel off the backing paper and position the heart in the center of each of the 7″ squares. Heat set into place. Top stitch around each heart, I used light pink thread.
DIY Heart Quilt: A Cozy and Sweet Make for Valentine's Day
Lay out the blocks as desired. You could easily turn this into a table runner or add more blocks for a baby quilt or throw quilt. Sew each block together in rows using 1/4″ seams. Press each row alternately so it makes it easy to match seams. Sew the rows together and press in one direction. Quilt.
DIY Heart Quilt: A Cozy and Sweet Make for Valentine's Day
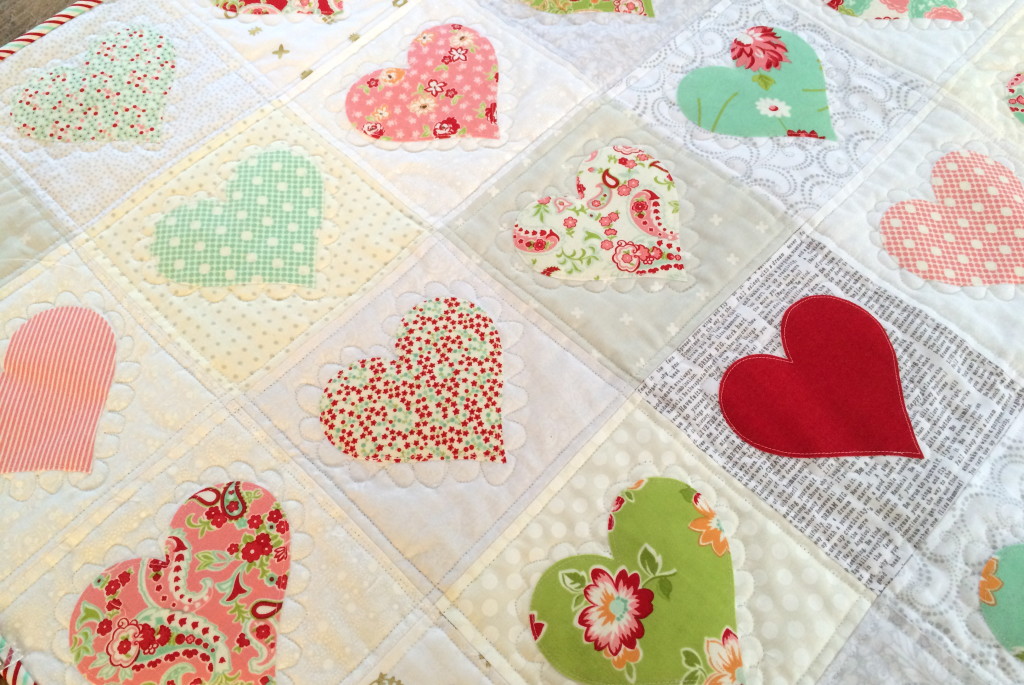
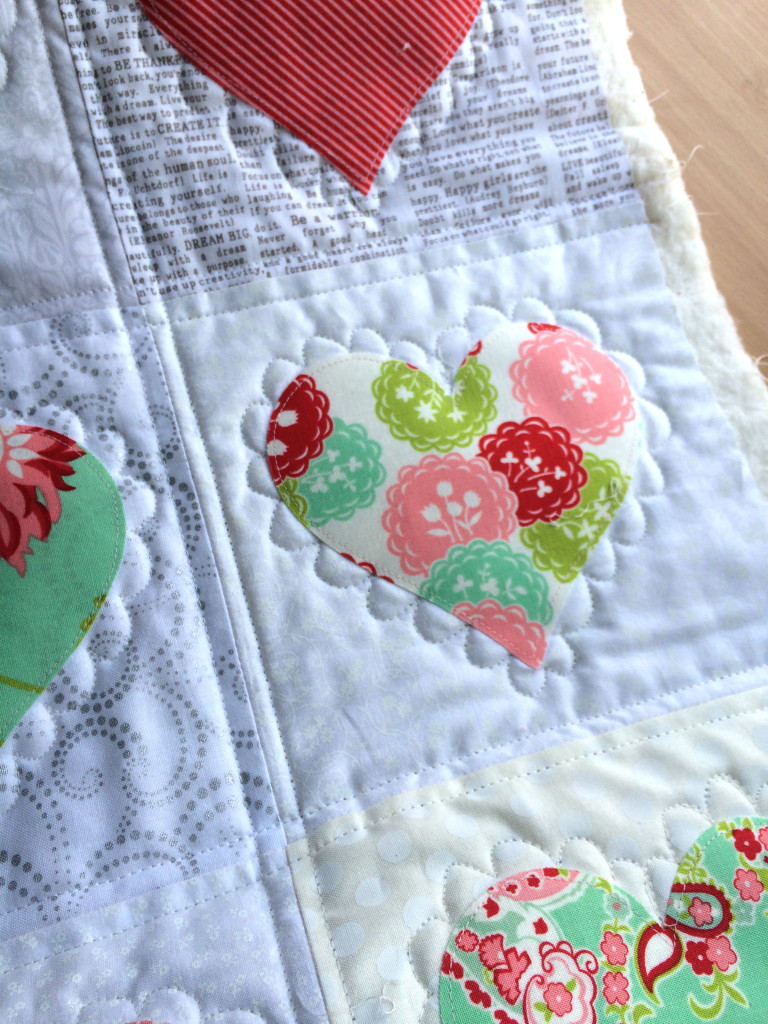
I quilted a scallop boarder around each heart to give it a “Valentine” feel. Then 1/4″ straight line seams. Add the binding and you’re done!
DIY Heart Quilt: A Cozy and Sweet Make for Valentine's Day


Little Joys Quilt Tutorial

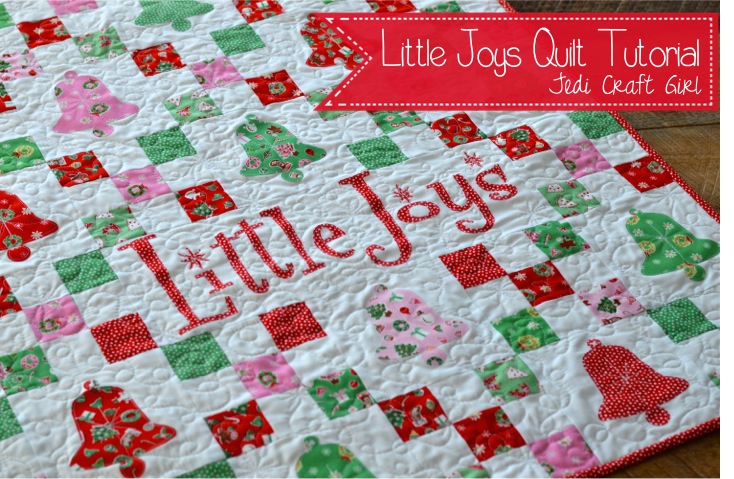
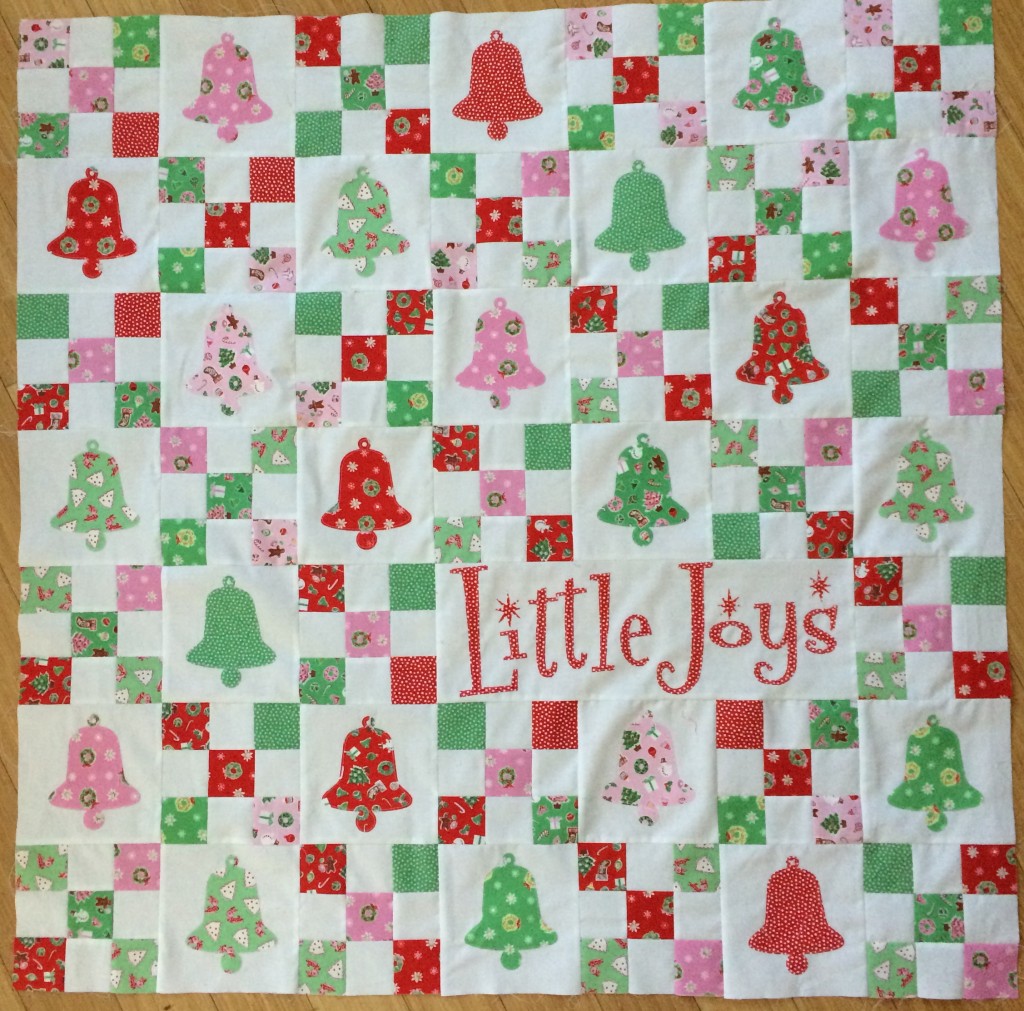
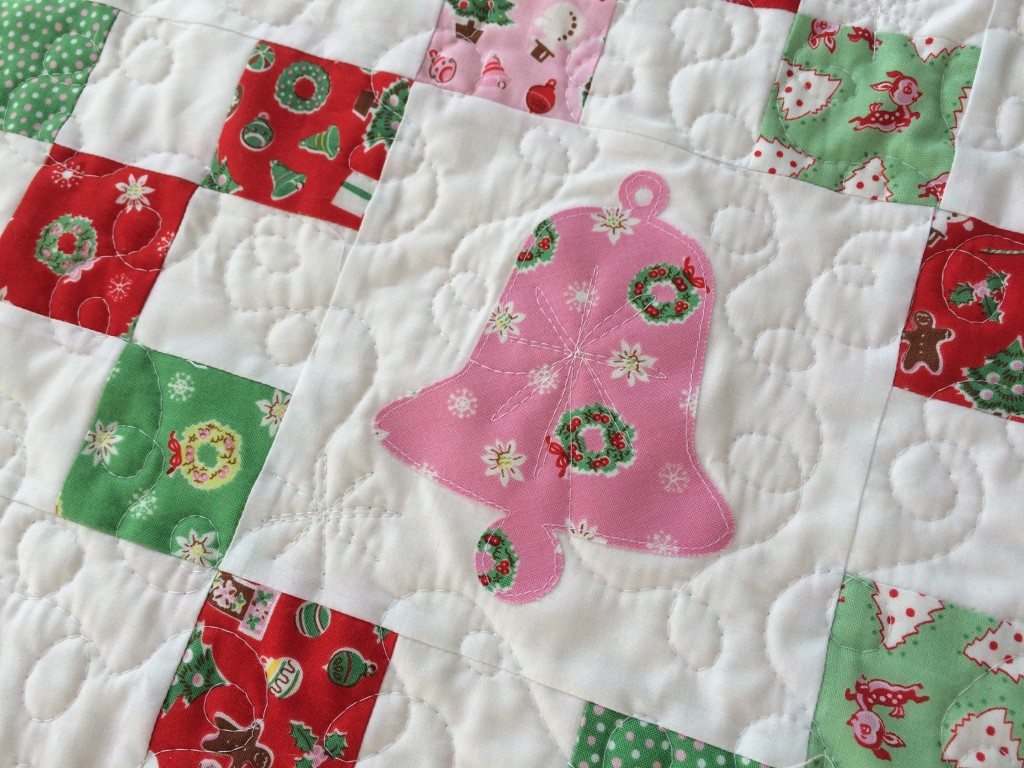
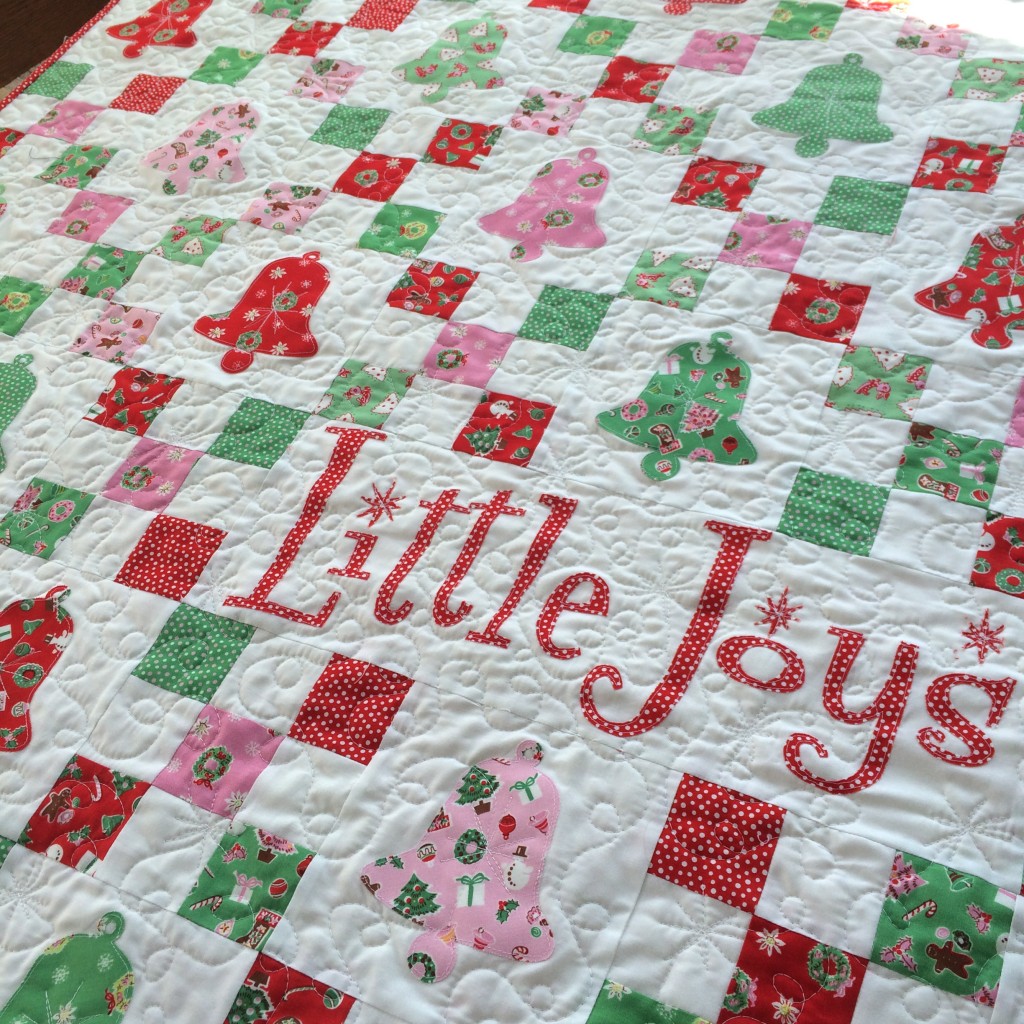
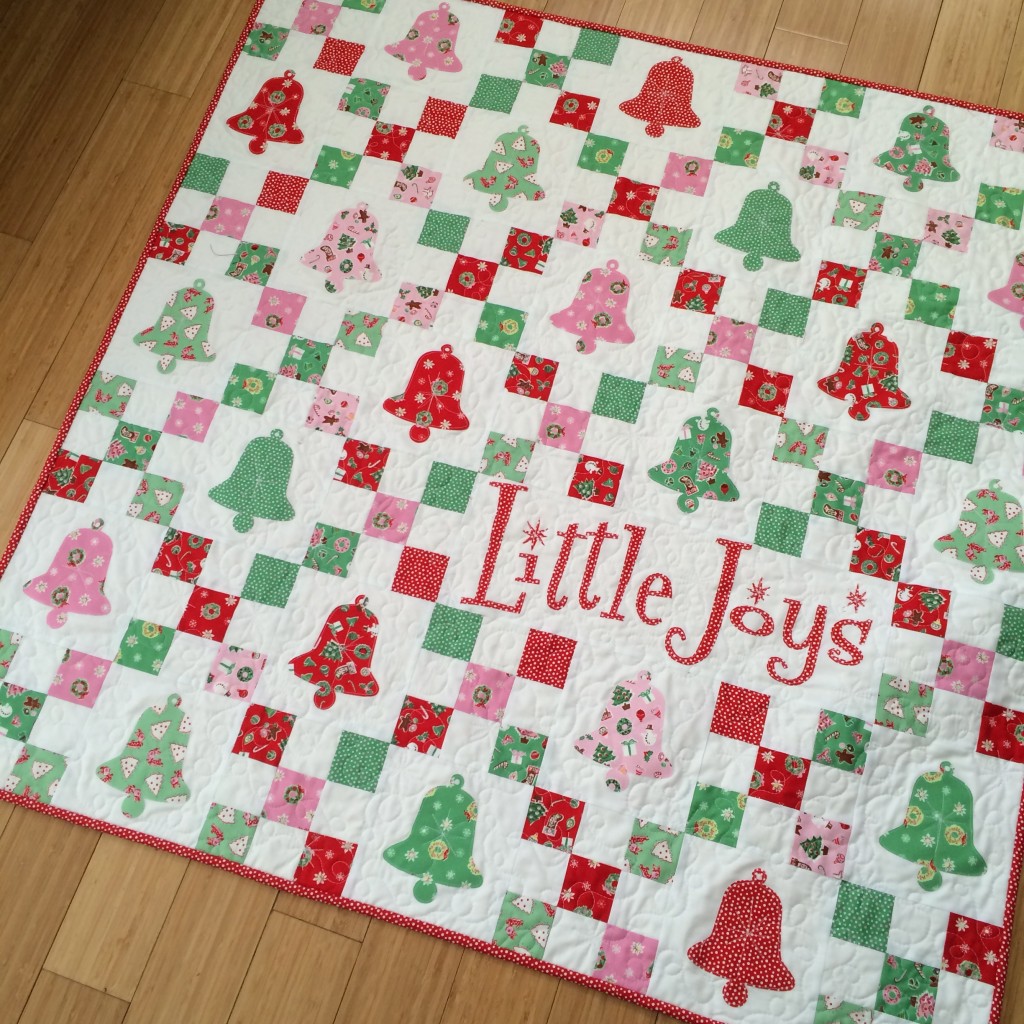
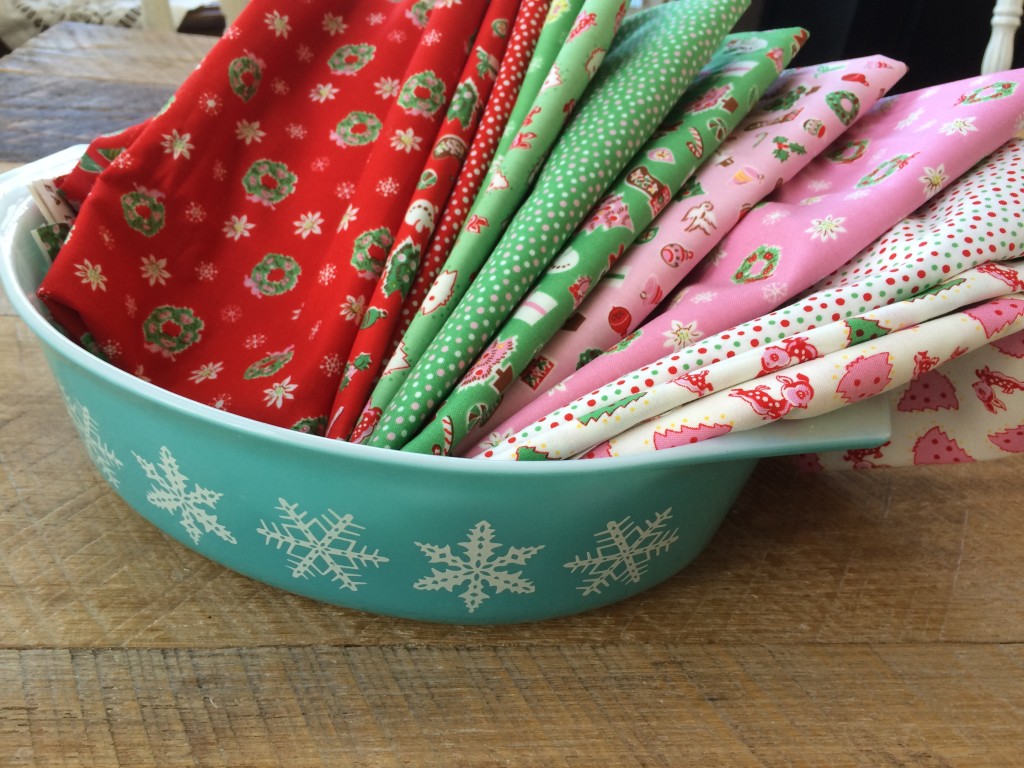
little-joys-quiltI wrote this pattern a few years ago for Penny Rose Fabrics.  I updated it and have the full tutorial available here!  I have always loved the Penny Rose “Little Joys” Christmas fabrics!  These sweet vintage prints make me think of a simpler time.  I love collecting vintage Christmas ornaments and decorations; this quilt is sure to fit into the mix!
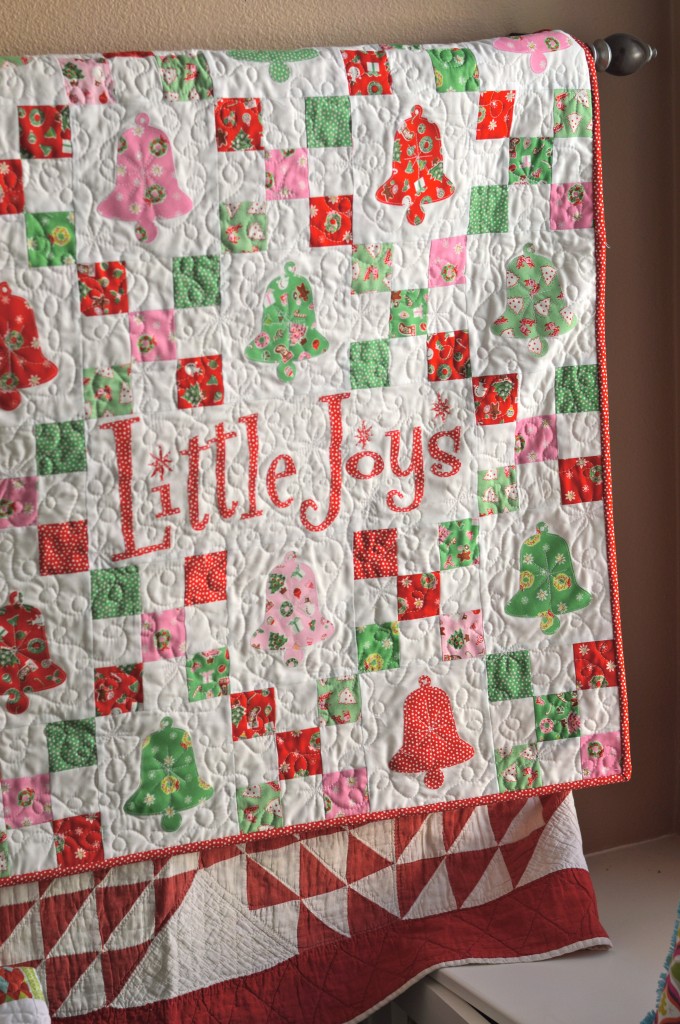
little joys quilt pattern christmas 35This quilt measures 42″ square and is a perfect size to hang on a wall, put at the end of a bed, or center on a table.  The quilt is made up of 6″ solid blocks with bell applique and  6″ nine-patch blocks that form a chain.

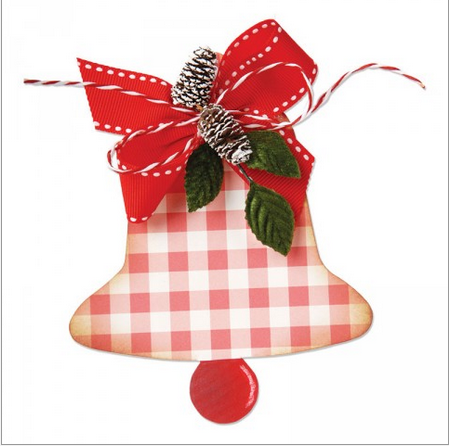
Screen Shot 2015-11-30 at 8.08.25 AMI used this Bell from Sizzix.  It is such a versatile die!

little joys quilt pattern christmas 15

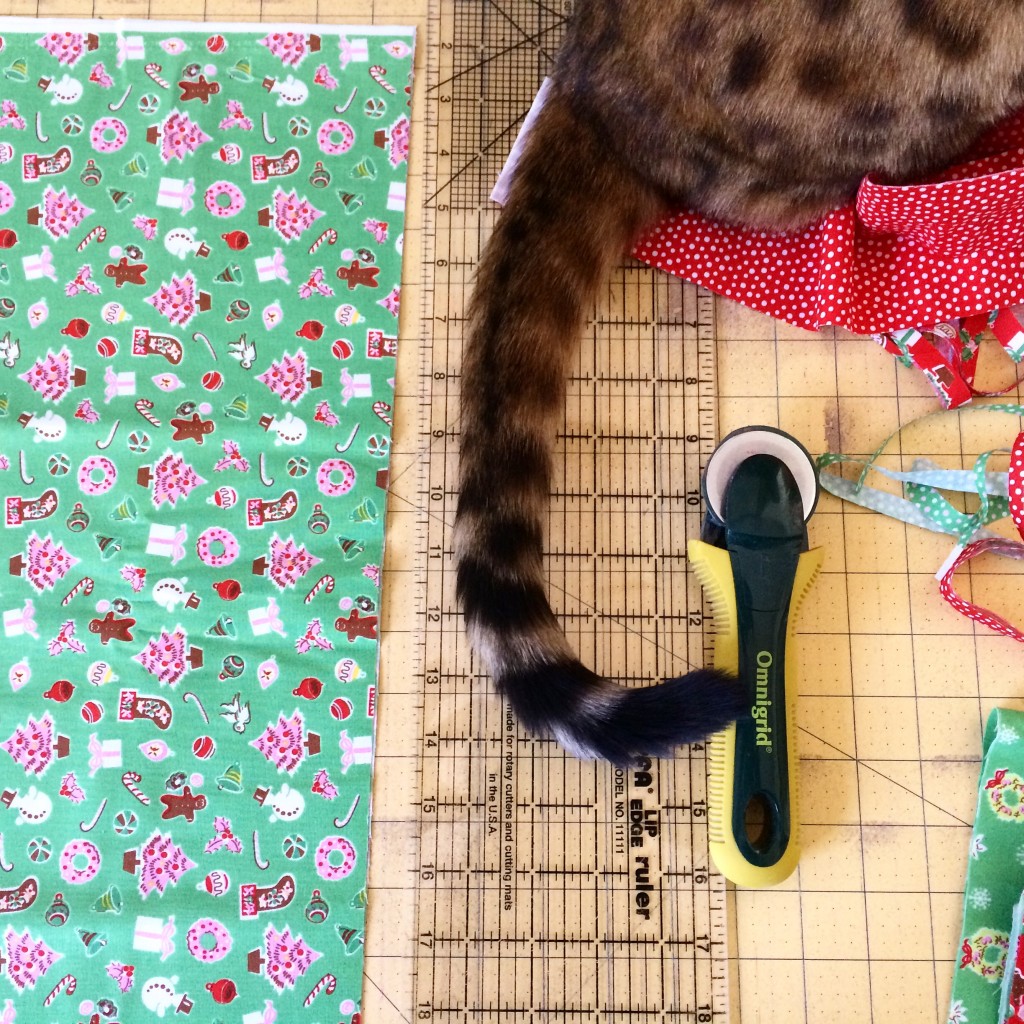
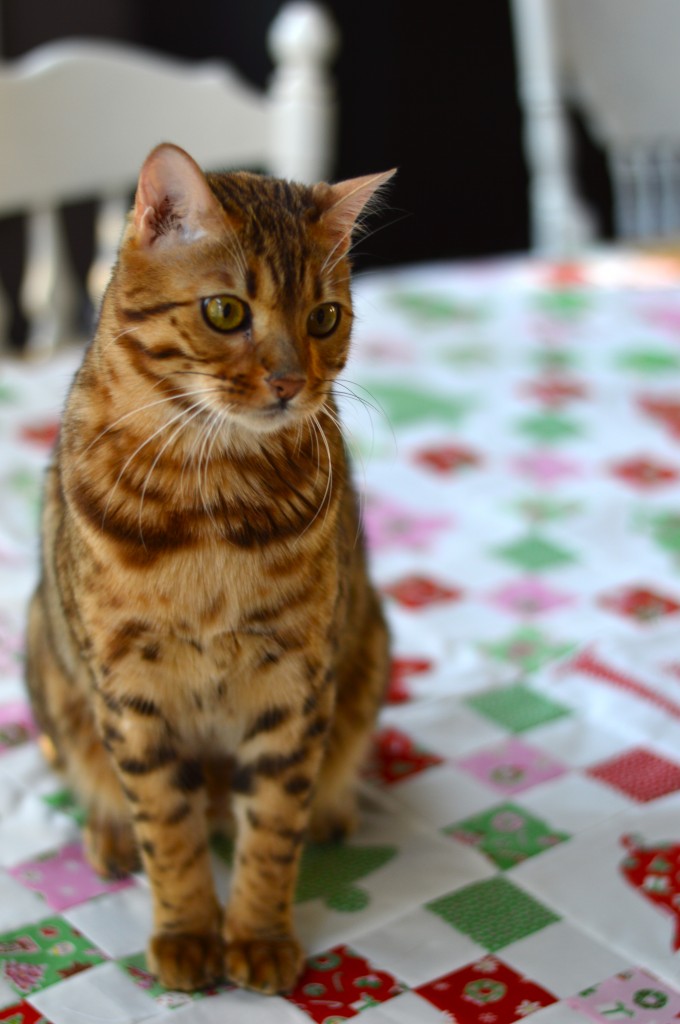
Mufasa was all over this project because it involved the Sizzix Fabi – his FAVORITE toy!little joys quilt pattern christmas 20

Fabric Requirements:


9 fat quarters (green, red, and pink) – this is a scrappy little quilt so there are different amounts of each color – the colors don’t form a pattern in this version, but if you would like a pattern it would be easy to do!

1 1/2 yards solid white fabric

Heat n Bond Lite for appliqué

1/2 yard binding

1 1/4 yard backing (the fabric needs to measure at least 43″ wide or you may need to piece it)

Cutting Instructions

Fat Quarters:

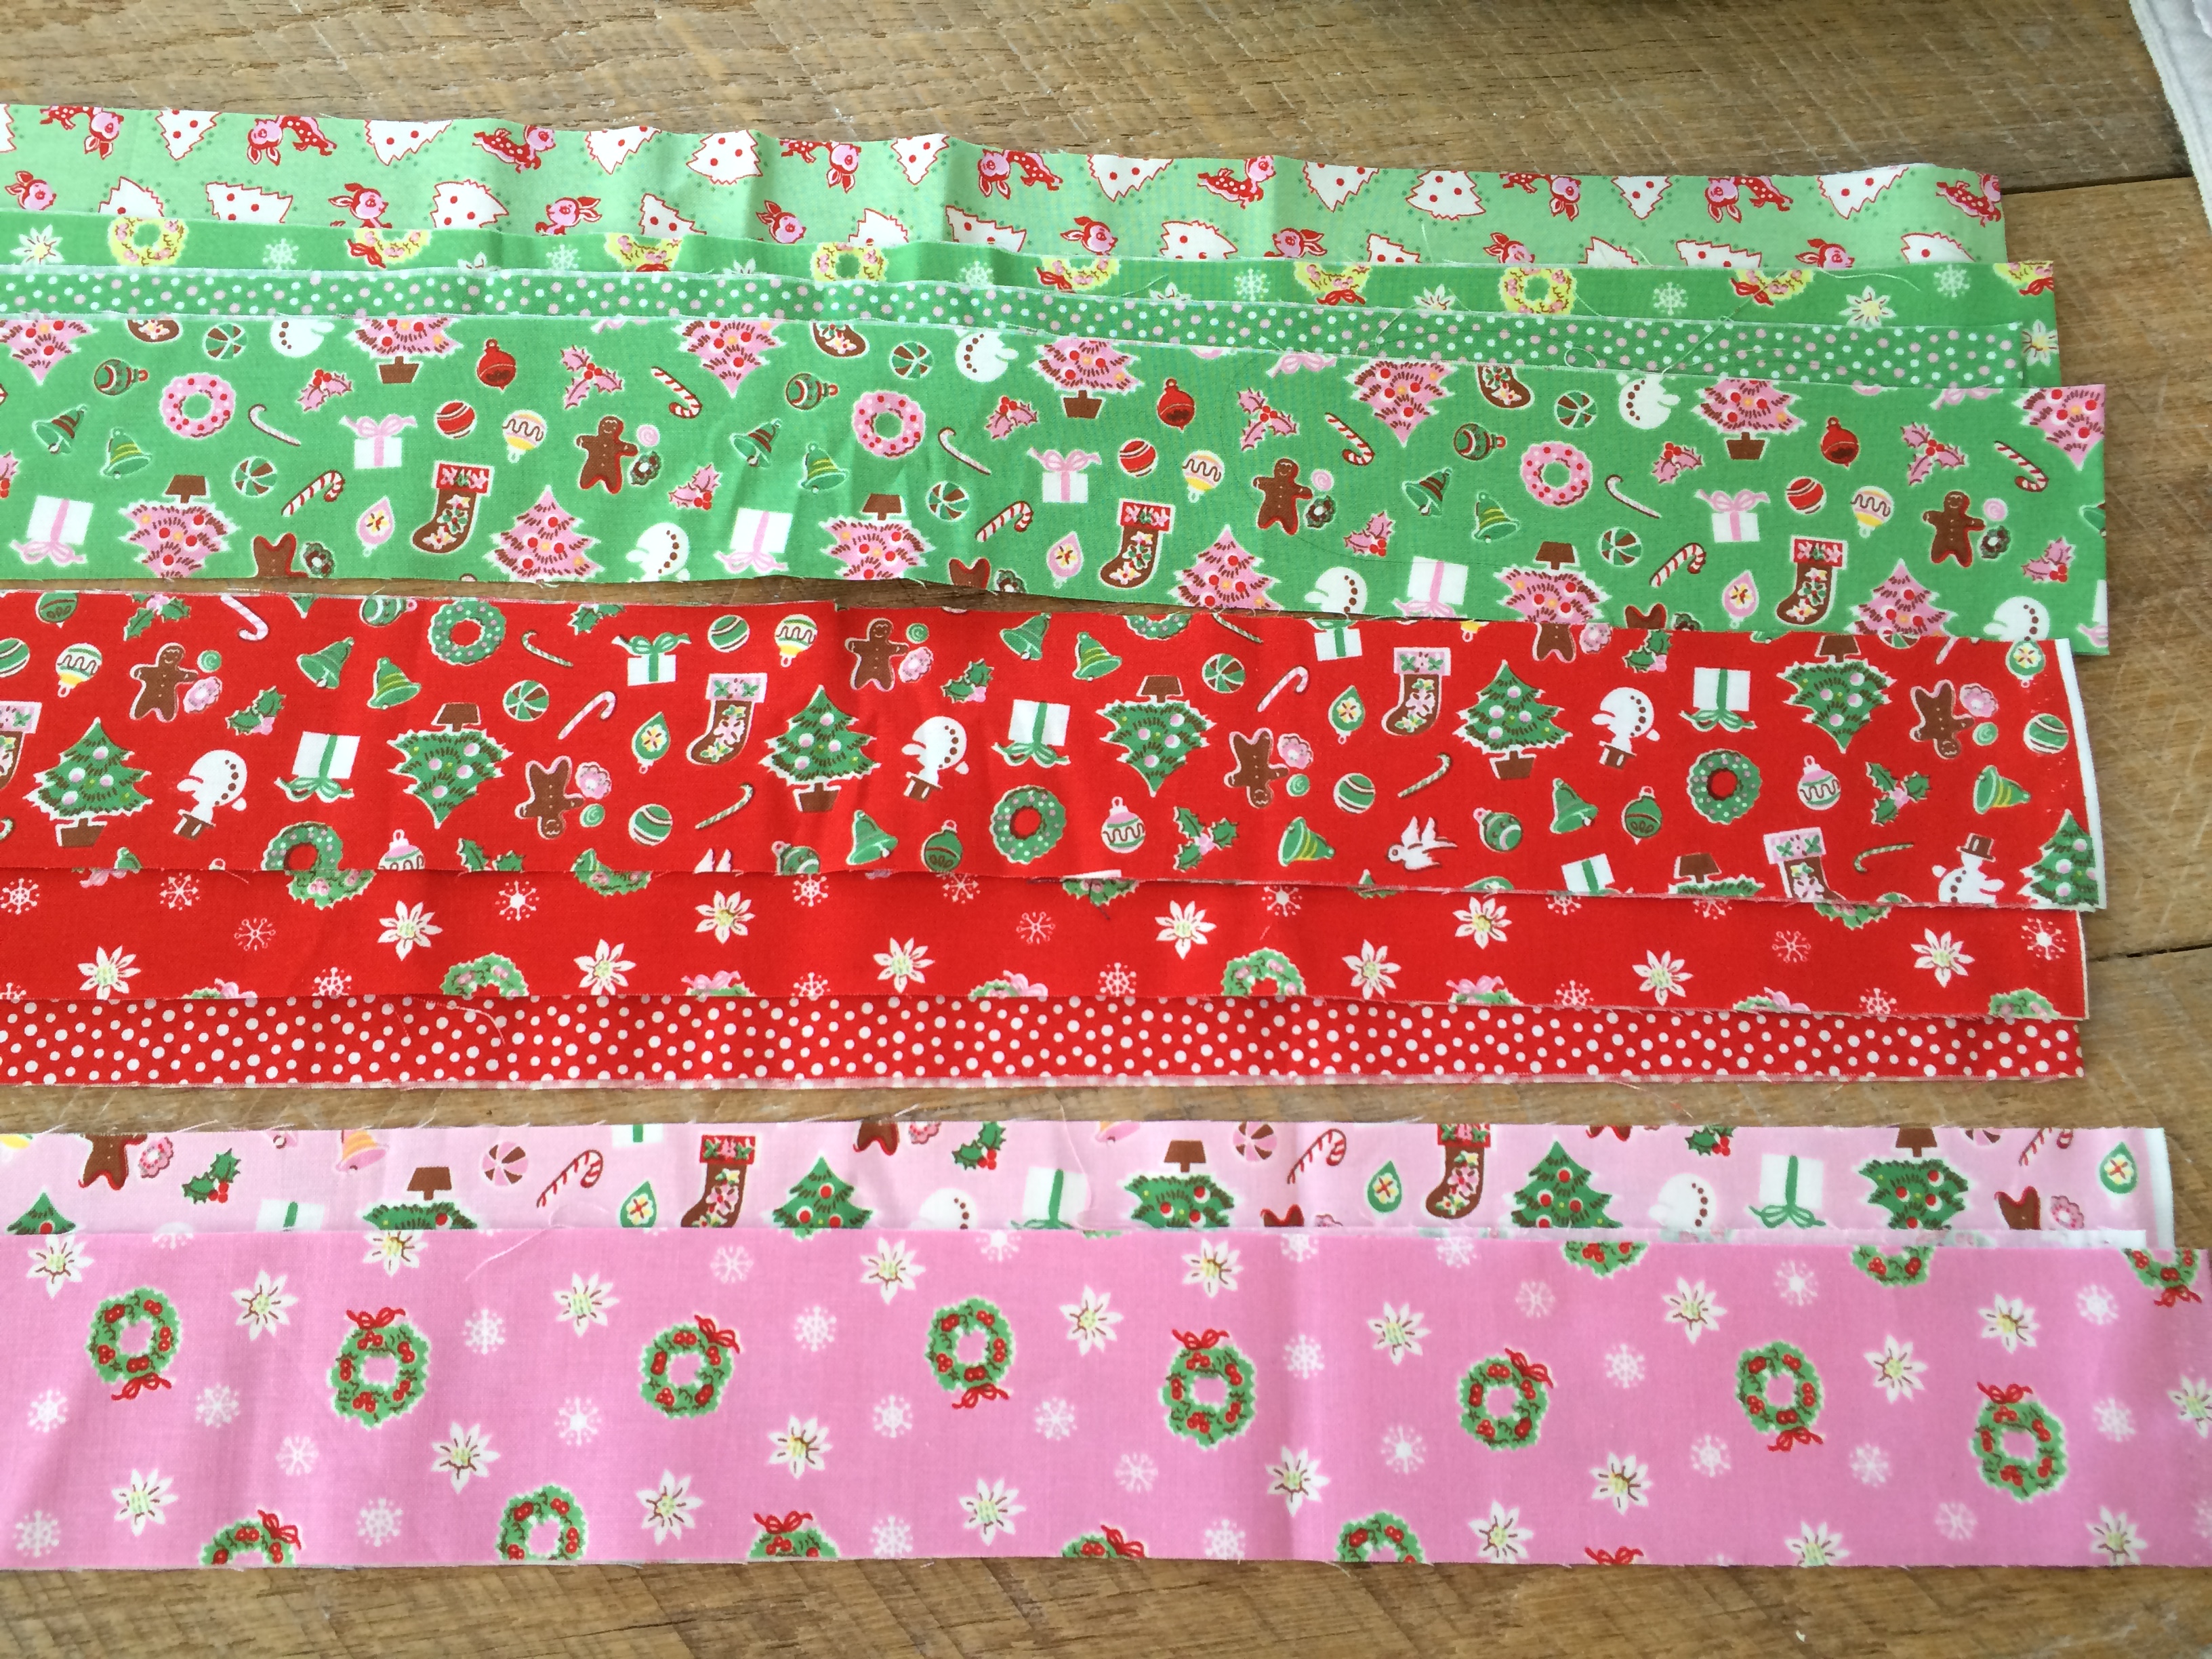
Cut (2) 2 1/2″ x WOFQ strips from each fat quarter. You will have a few extra.

Use remaining fabric for bell appliqué and letters

Solid White:

Cut (6) 2 1/2″ x WOF strips, cut them in half to give you (12) 2 1/2″ x 21″ strips.

Cut (5) 6 1/2″ x WOF strips, subcut into (22) 6 1/2″ squares and (1) 6 1/2″ x 18 1/2″ rectangle

little joys quilt pattern christmas 7

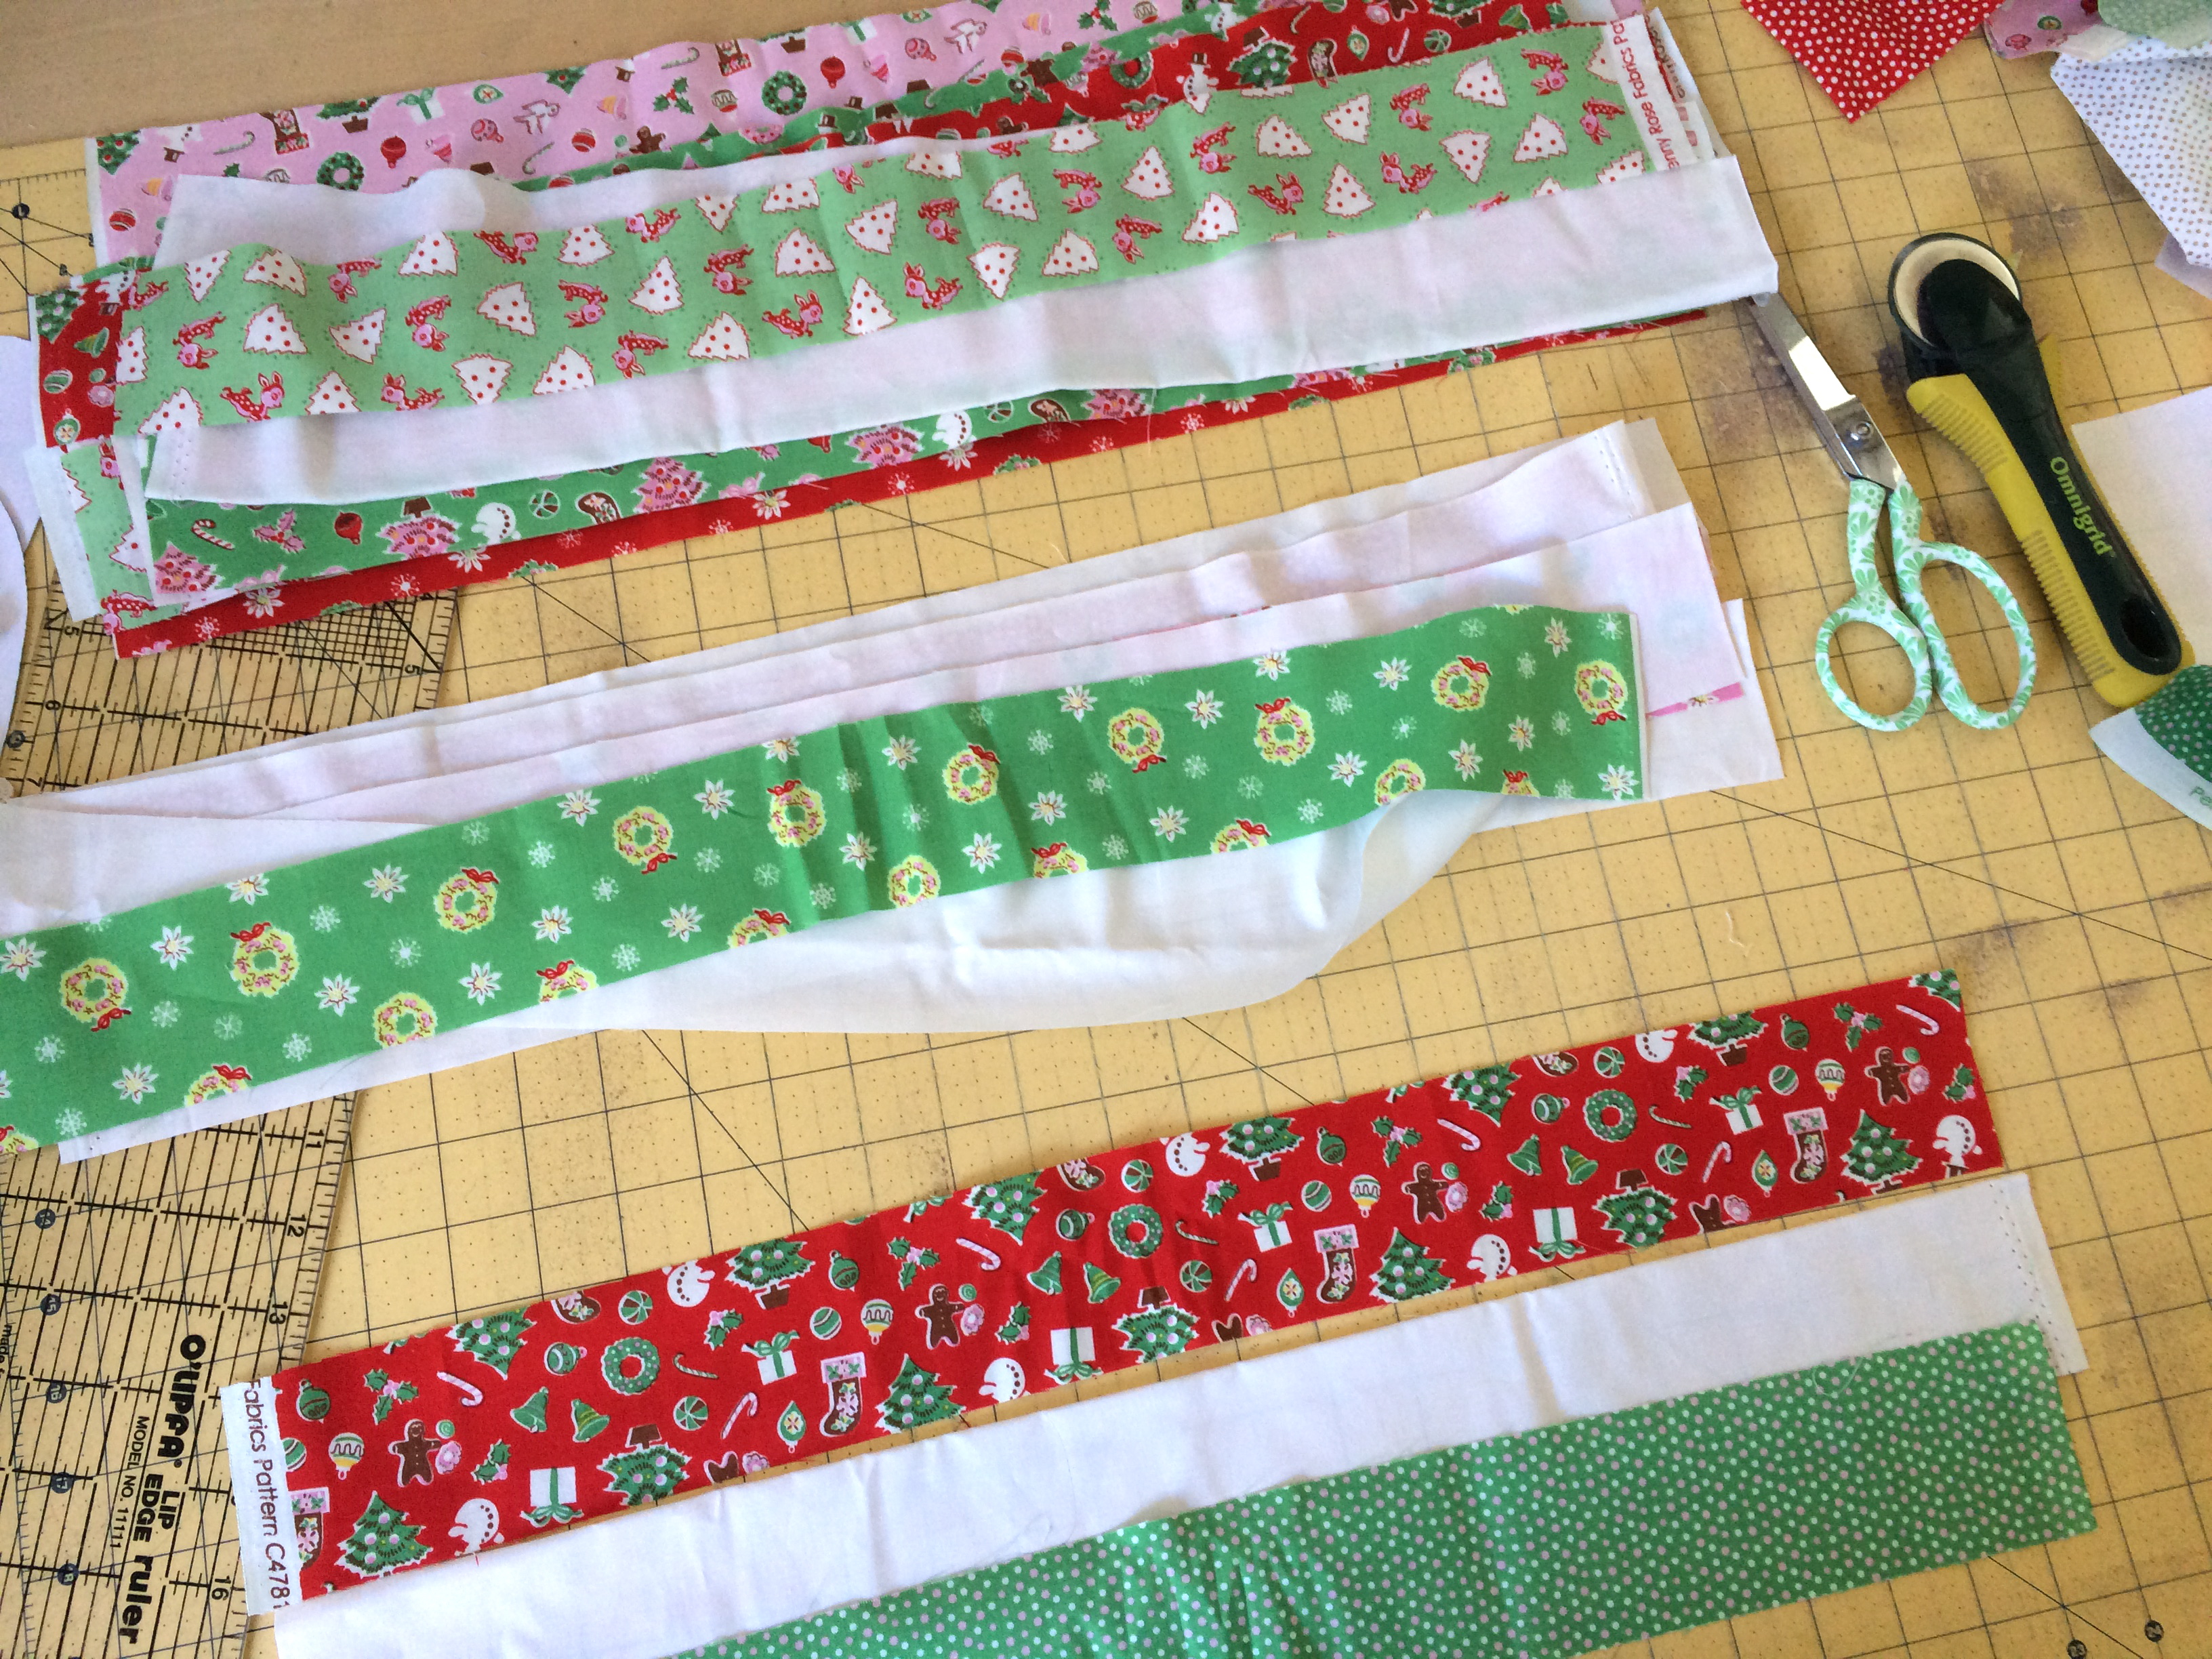
2 1/2″ strips are cut from each of the 9 fat quarters.

little joys quilt pattern christmas 3

6 white 2 1/2″ x WOF strips are cut and then cut in half to equal the width of the fat quarter strips.

little joys quilt pattern christmas 16

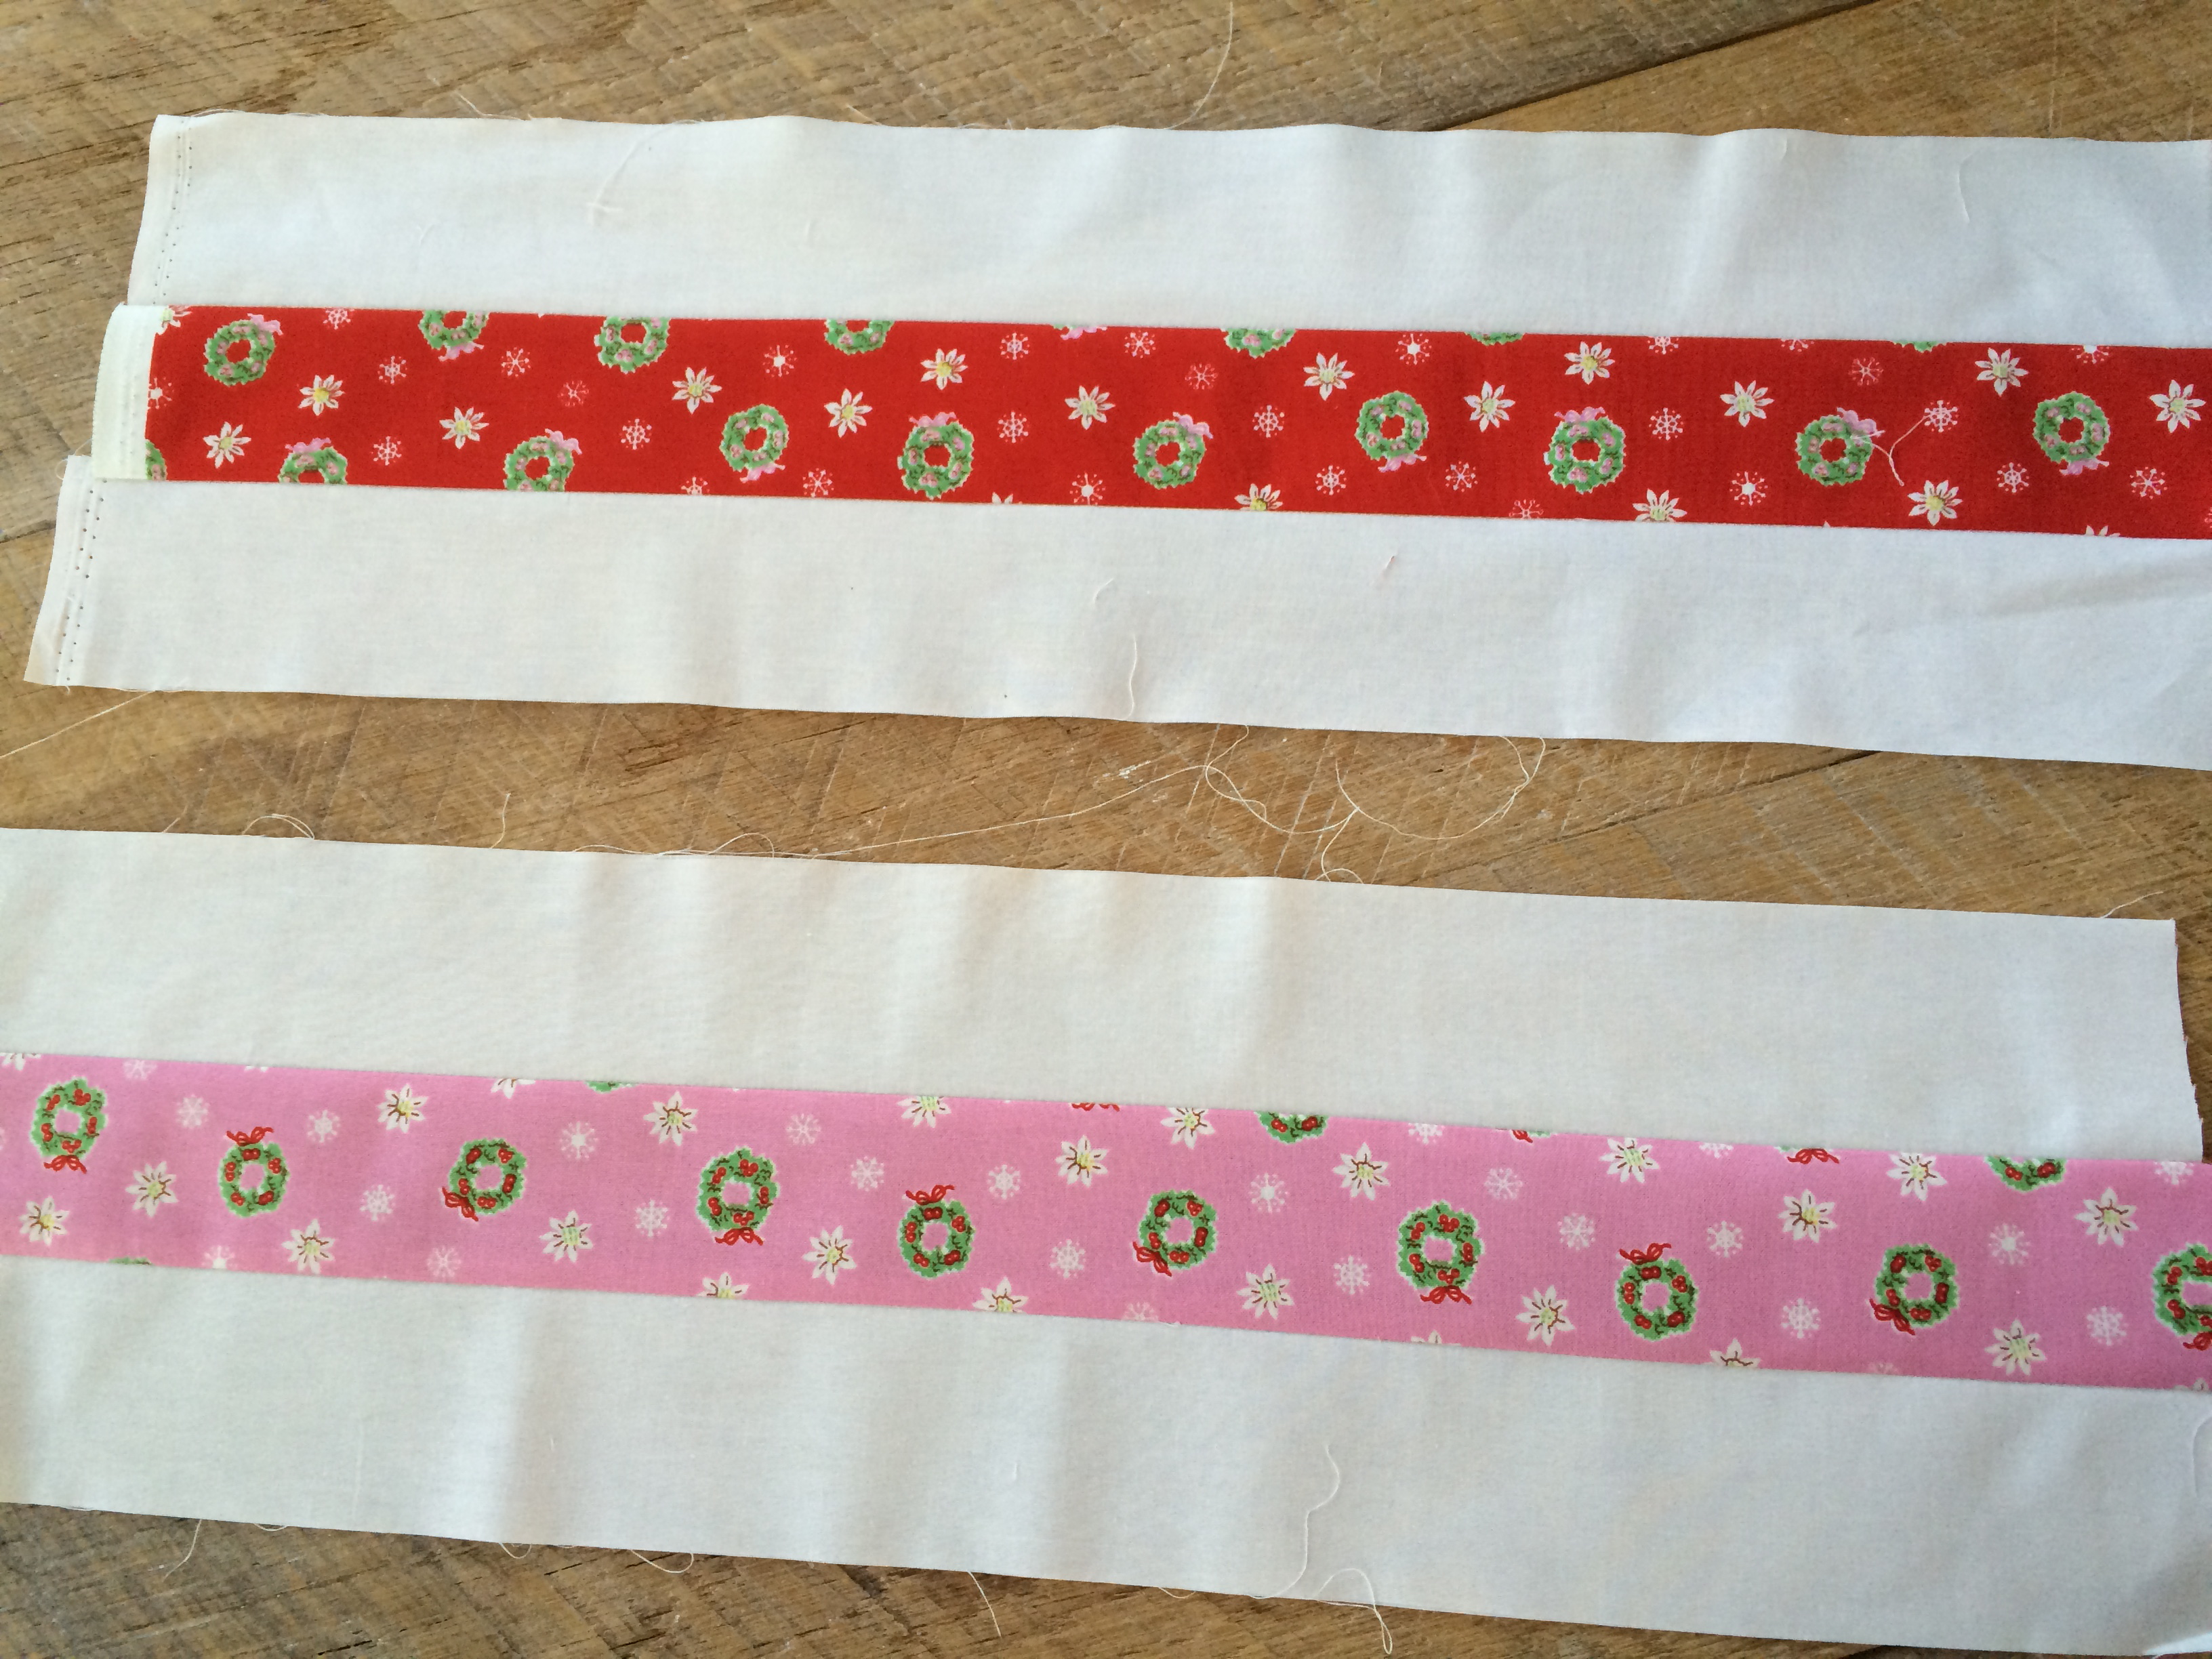
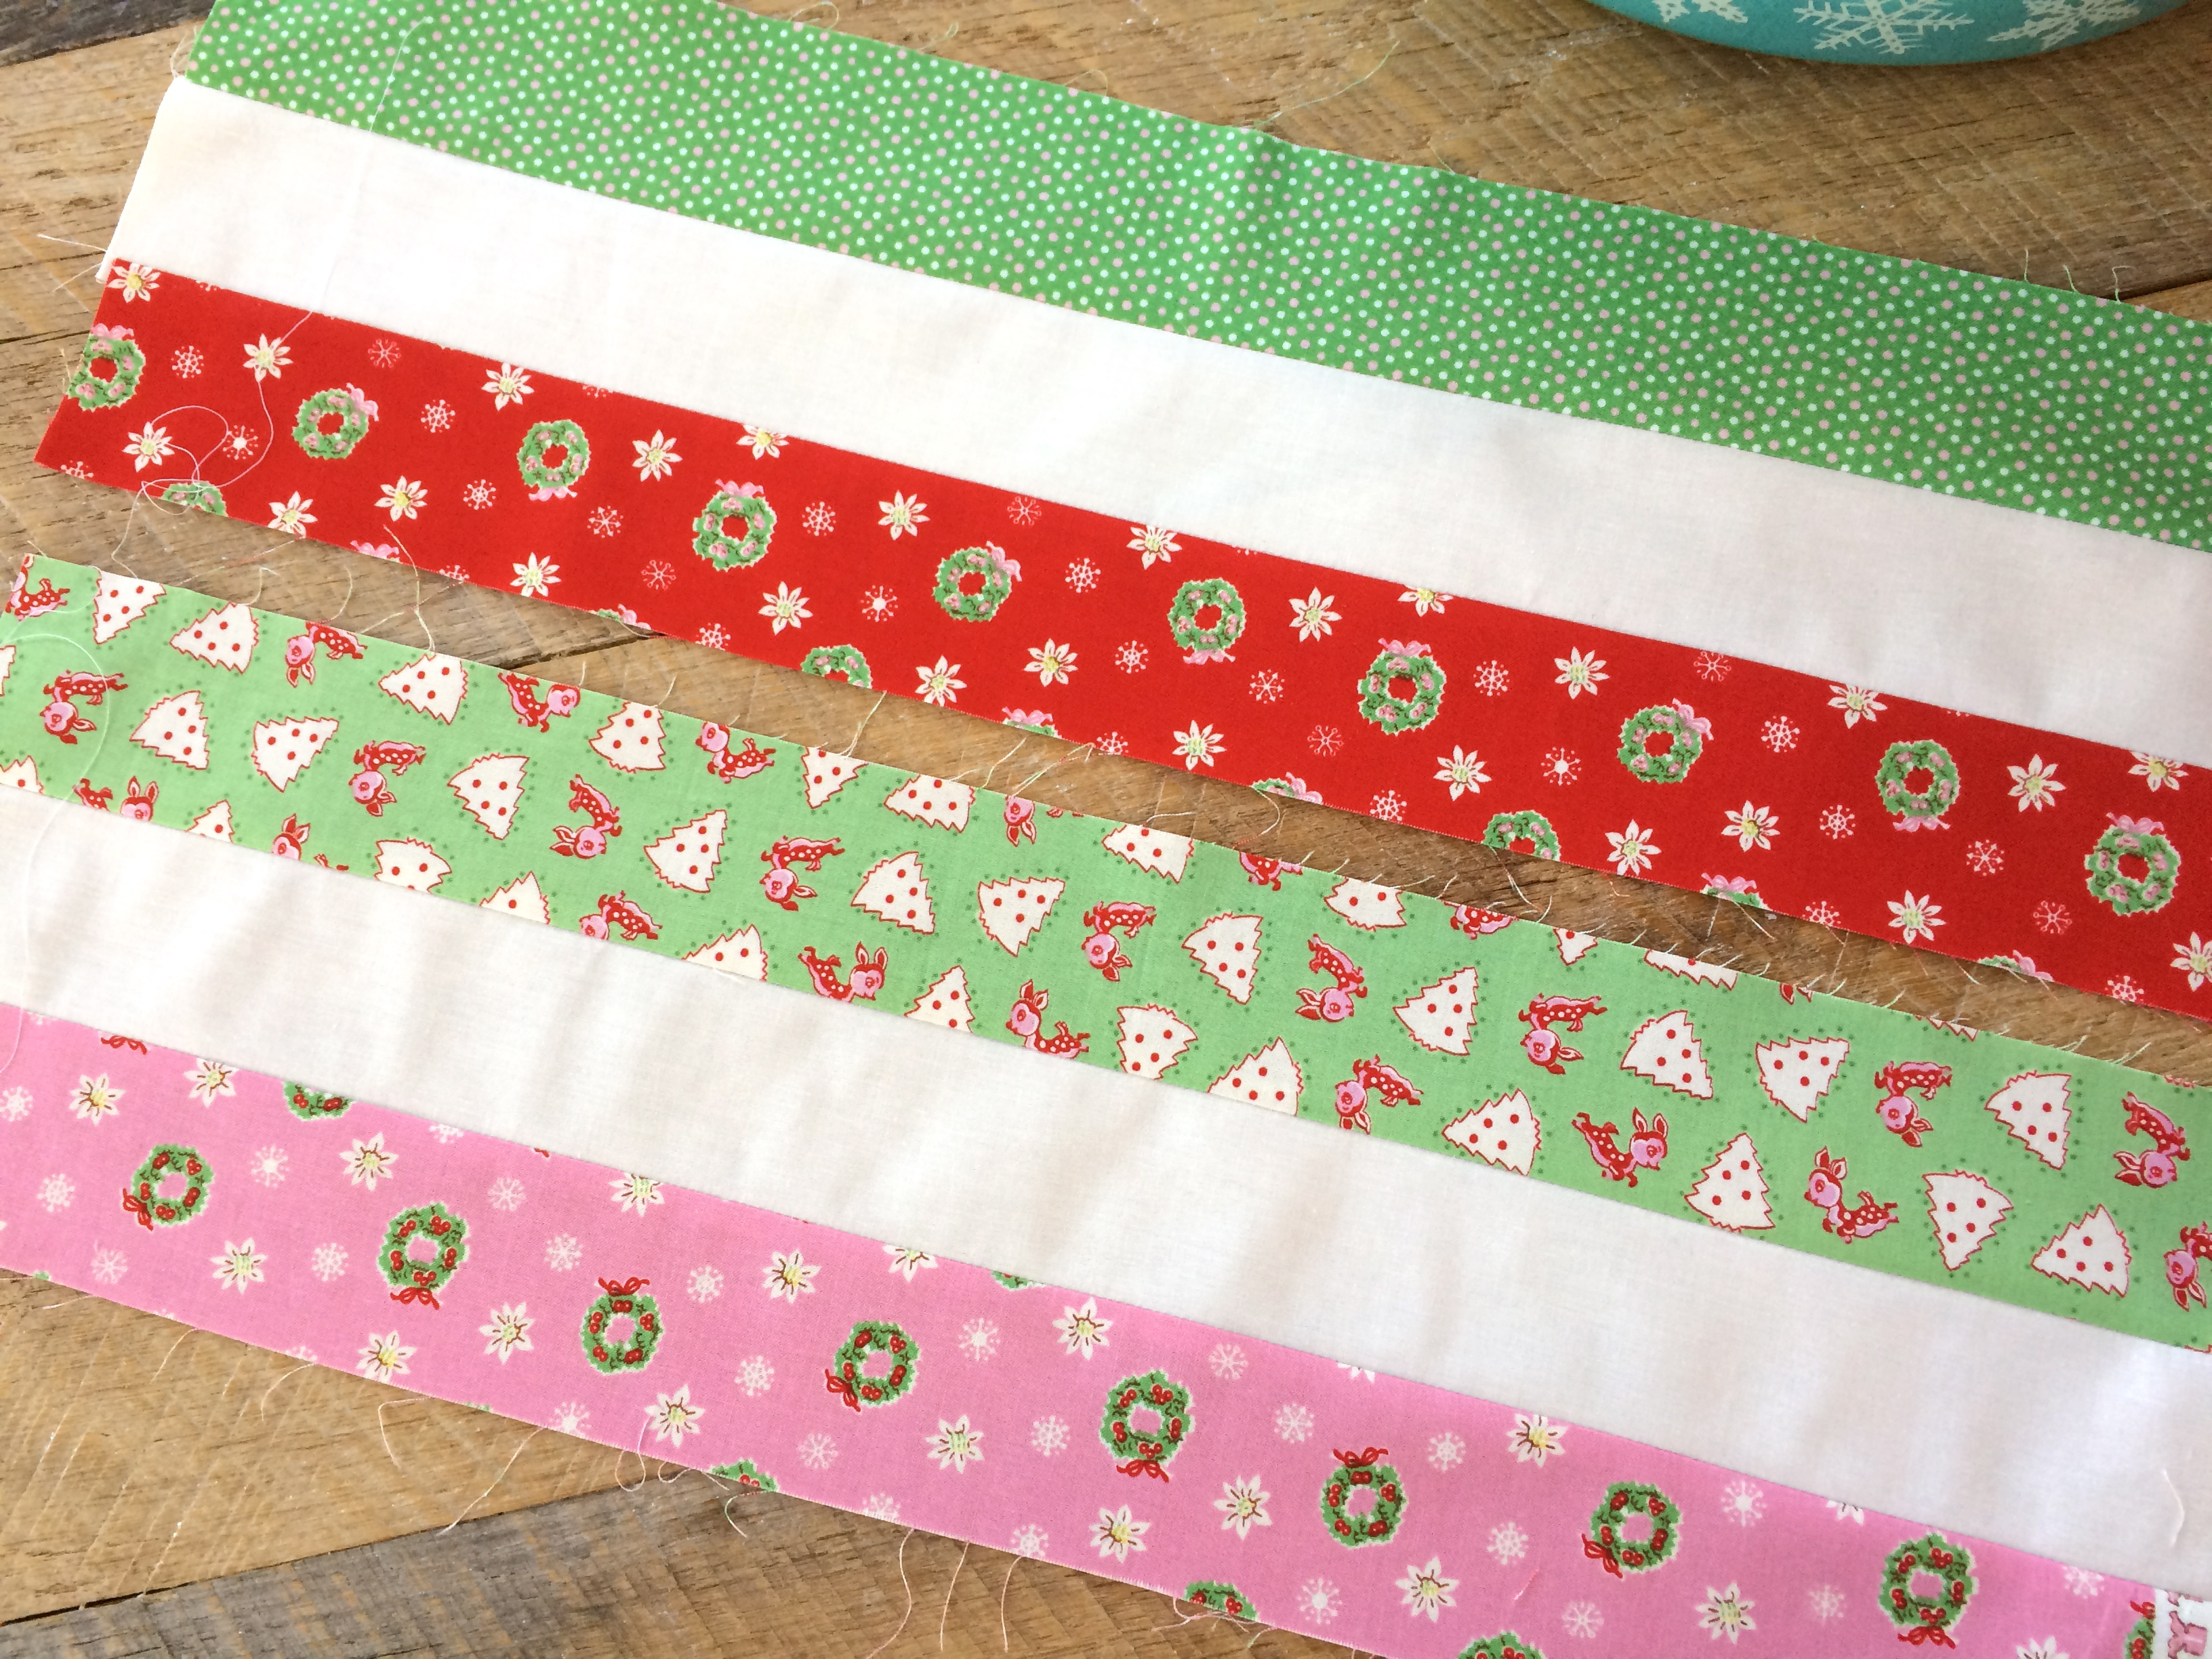
Sew white, dark, white strip sets together, making 3 strip set units.  Press toward the dark.

little joys quilt pattern christmas 5

Sew 6 strip units of the dark, white, dark pattern (above).  Press toward the dark.

little joys quilt pattern christmas 13

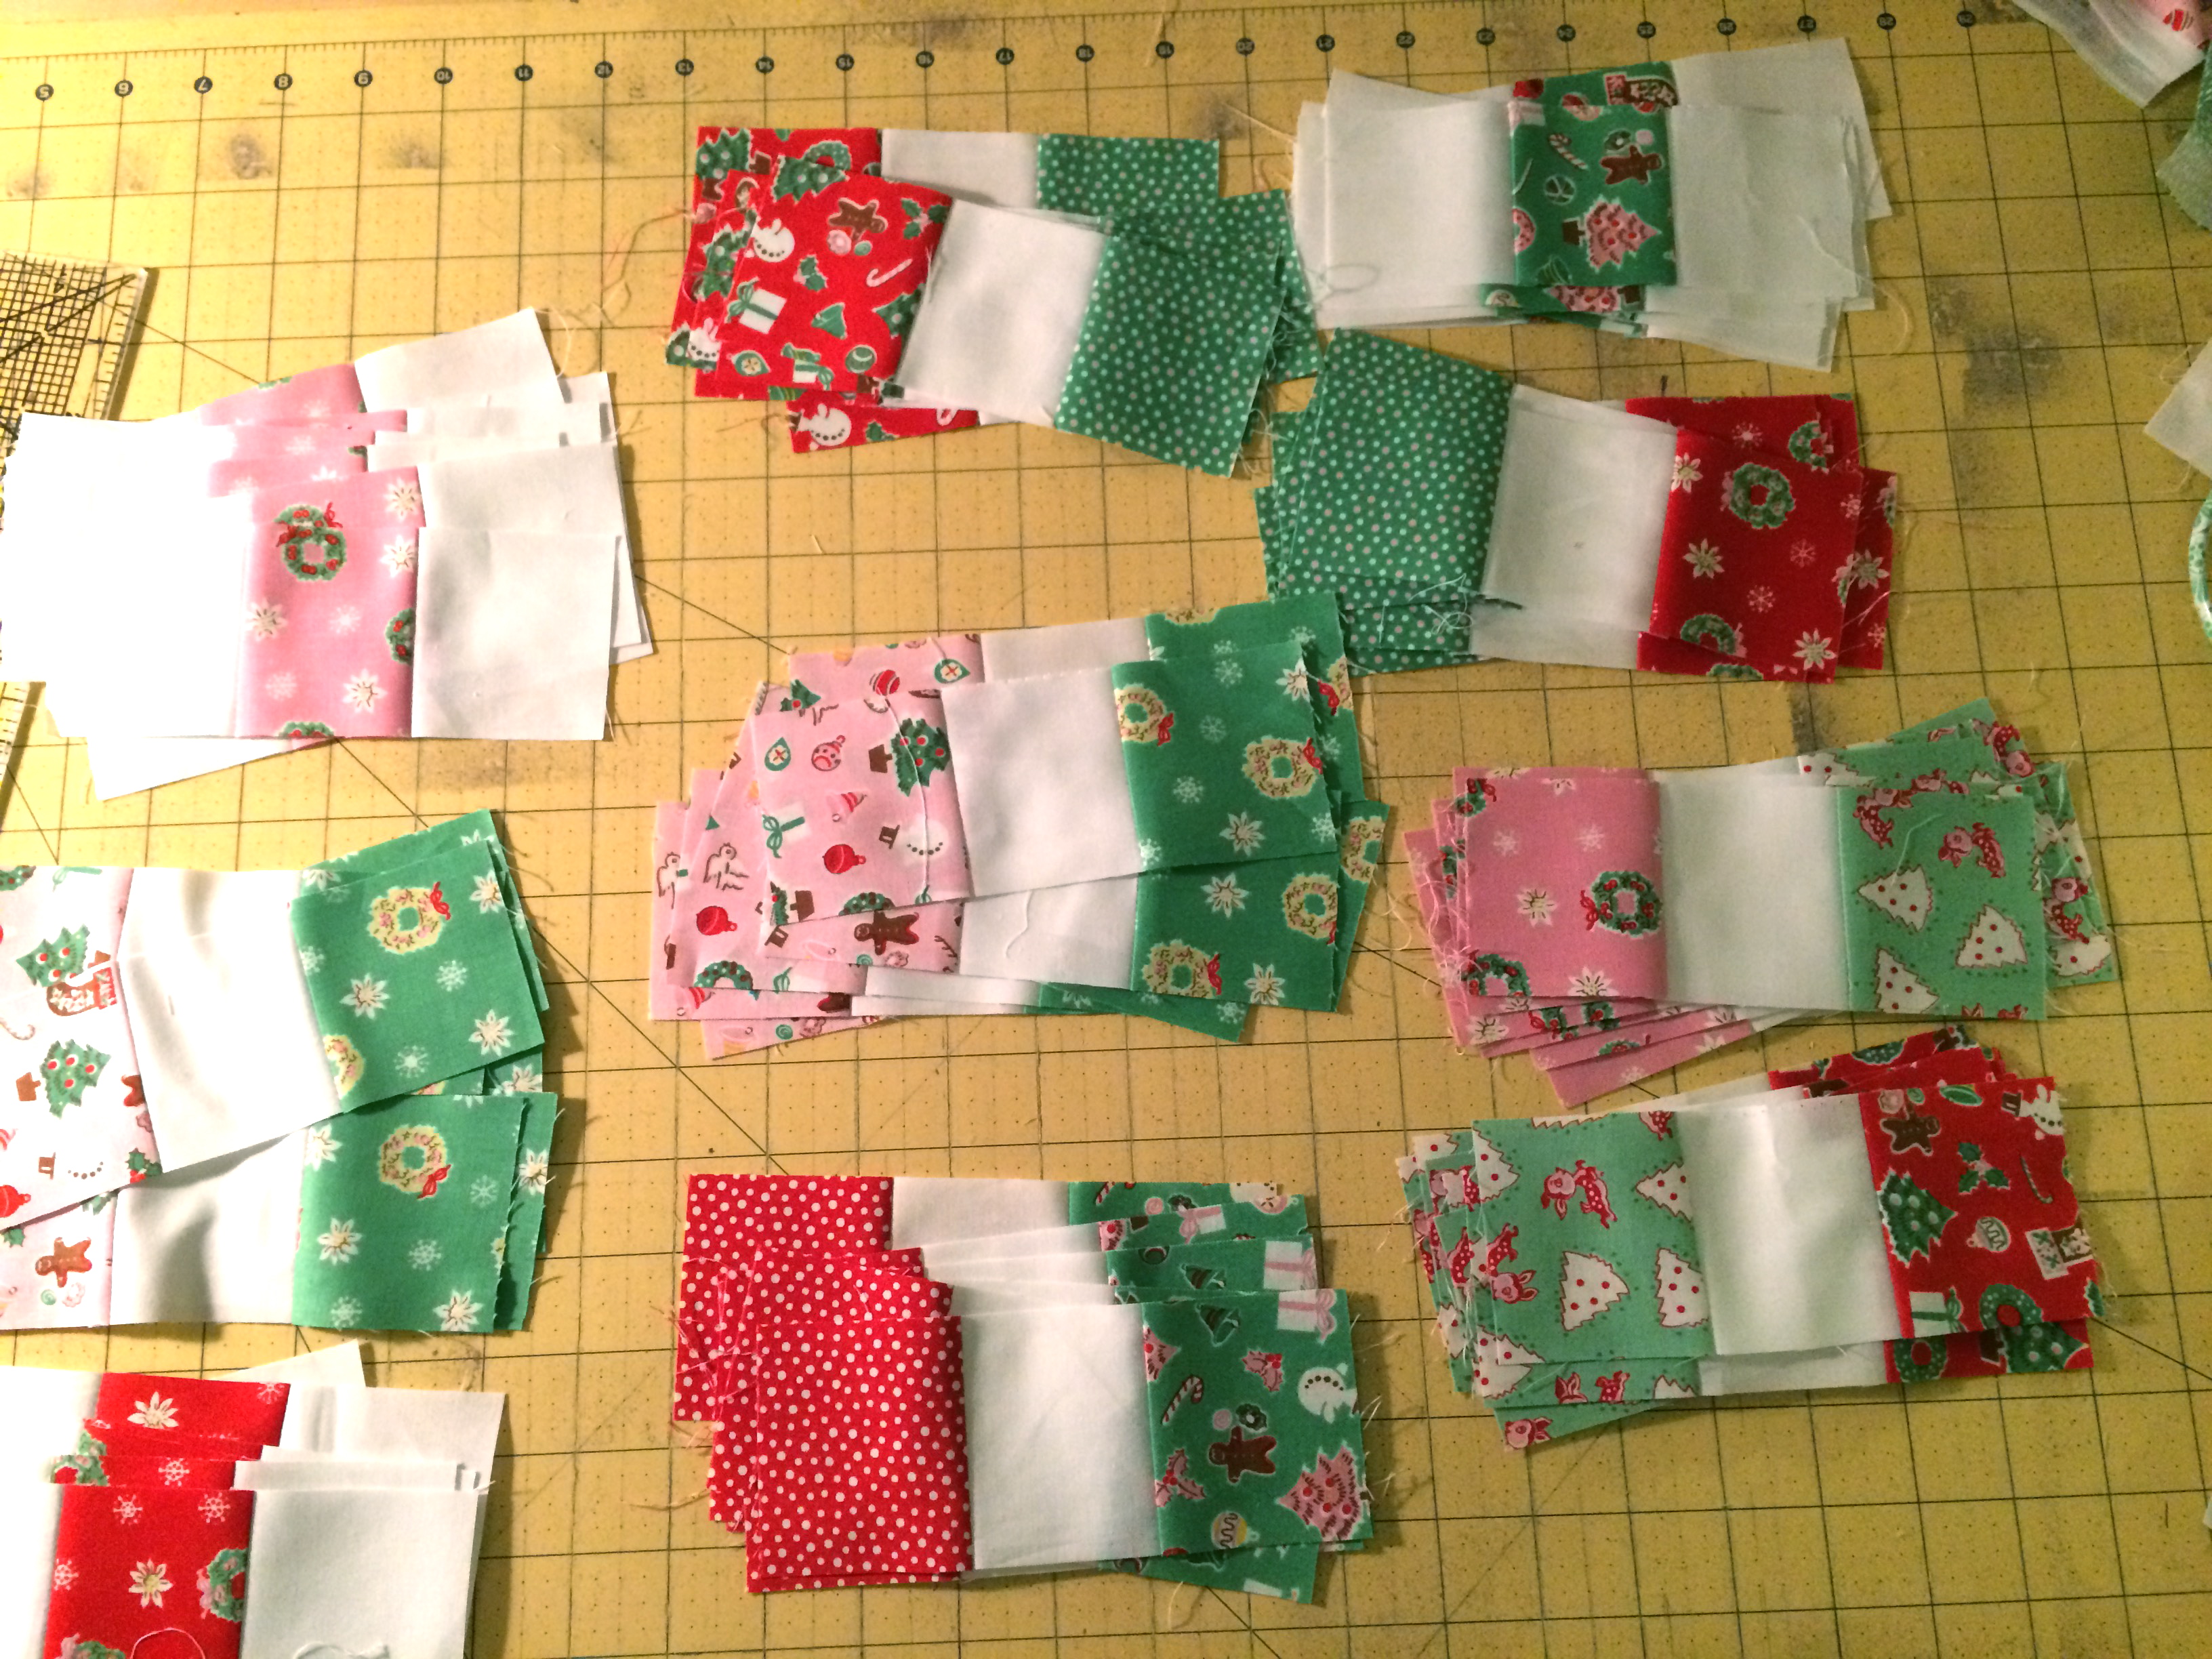
Sub cute each strip set in 2 1/2″ increments.  You should have 8 per strip set.

little joys quilt pattern christmas

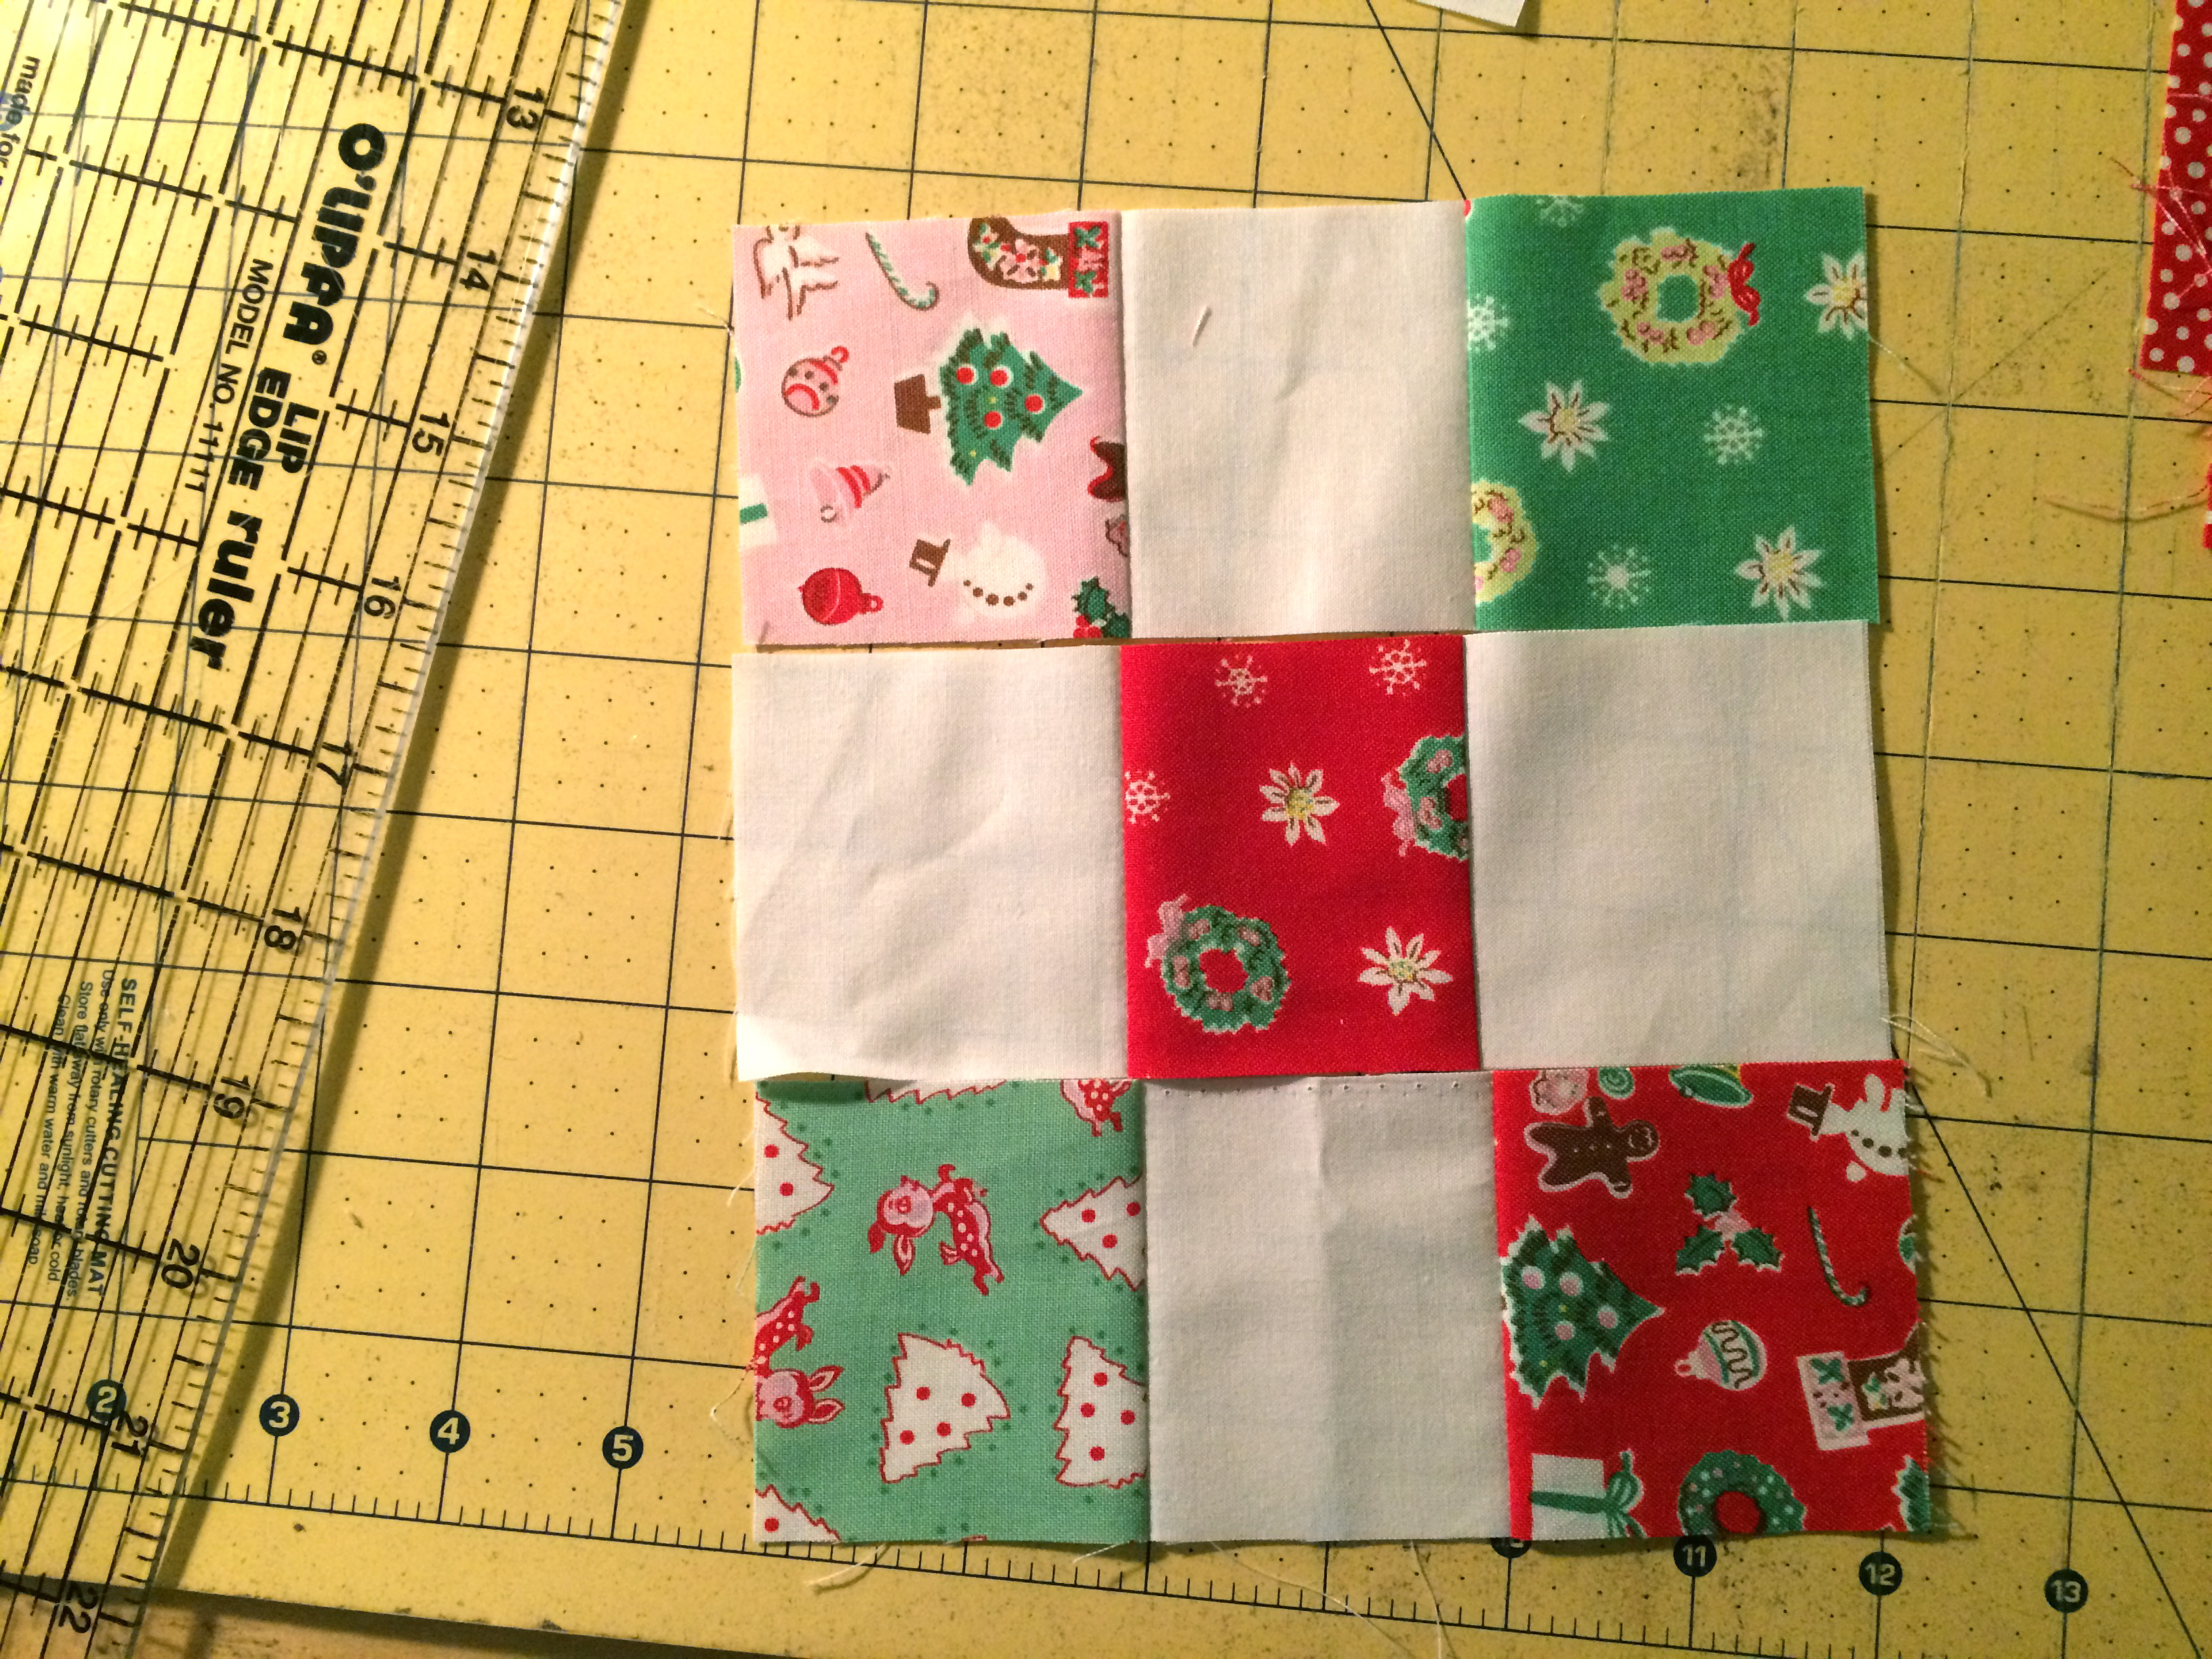
Lay out blocks making a checkerboard pattern.  Sew together, matching seams.  Press seams in one direction.  Continue this process making 24 total checkerboard blocks.

little joys quilt pattern christmas 11

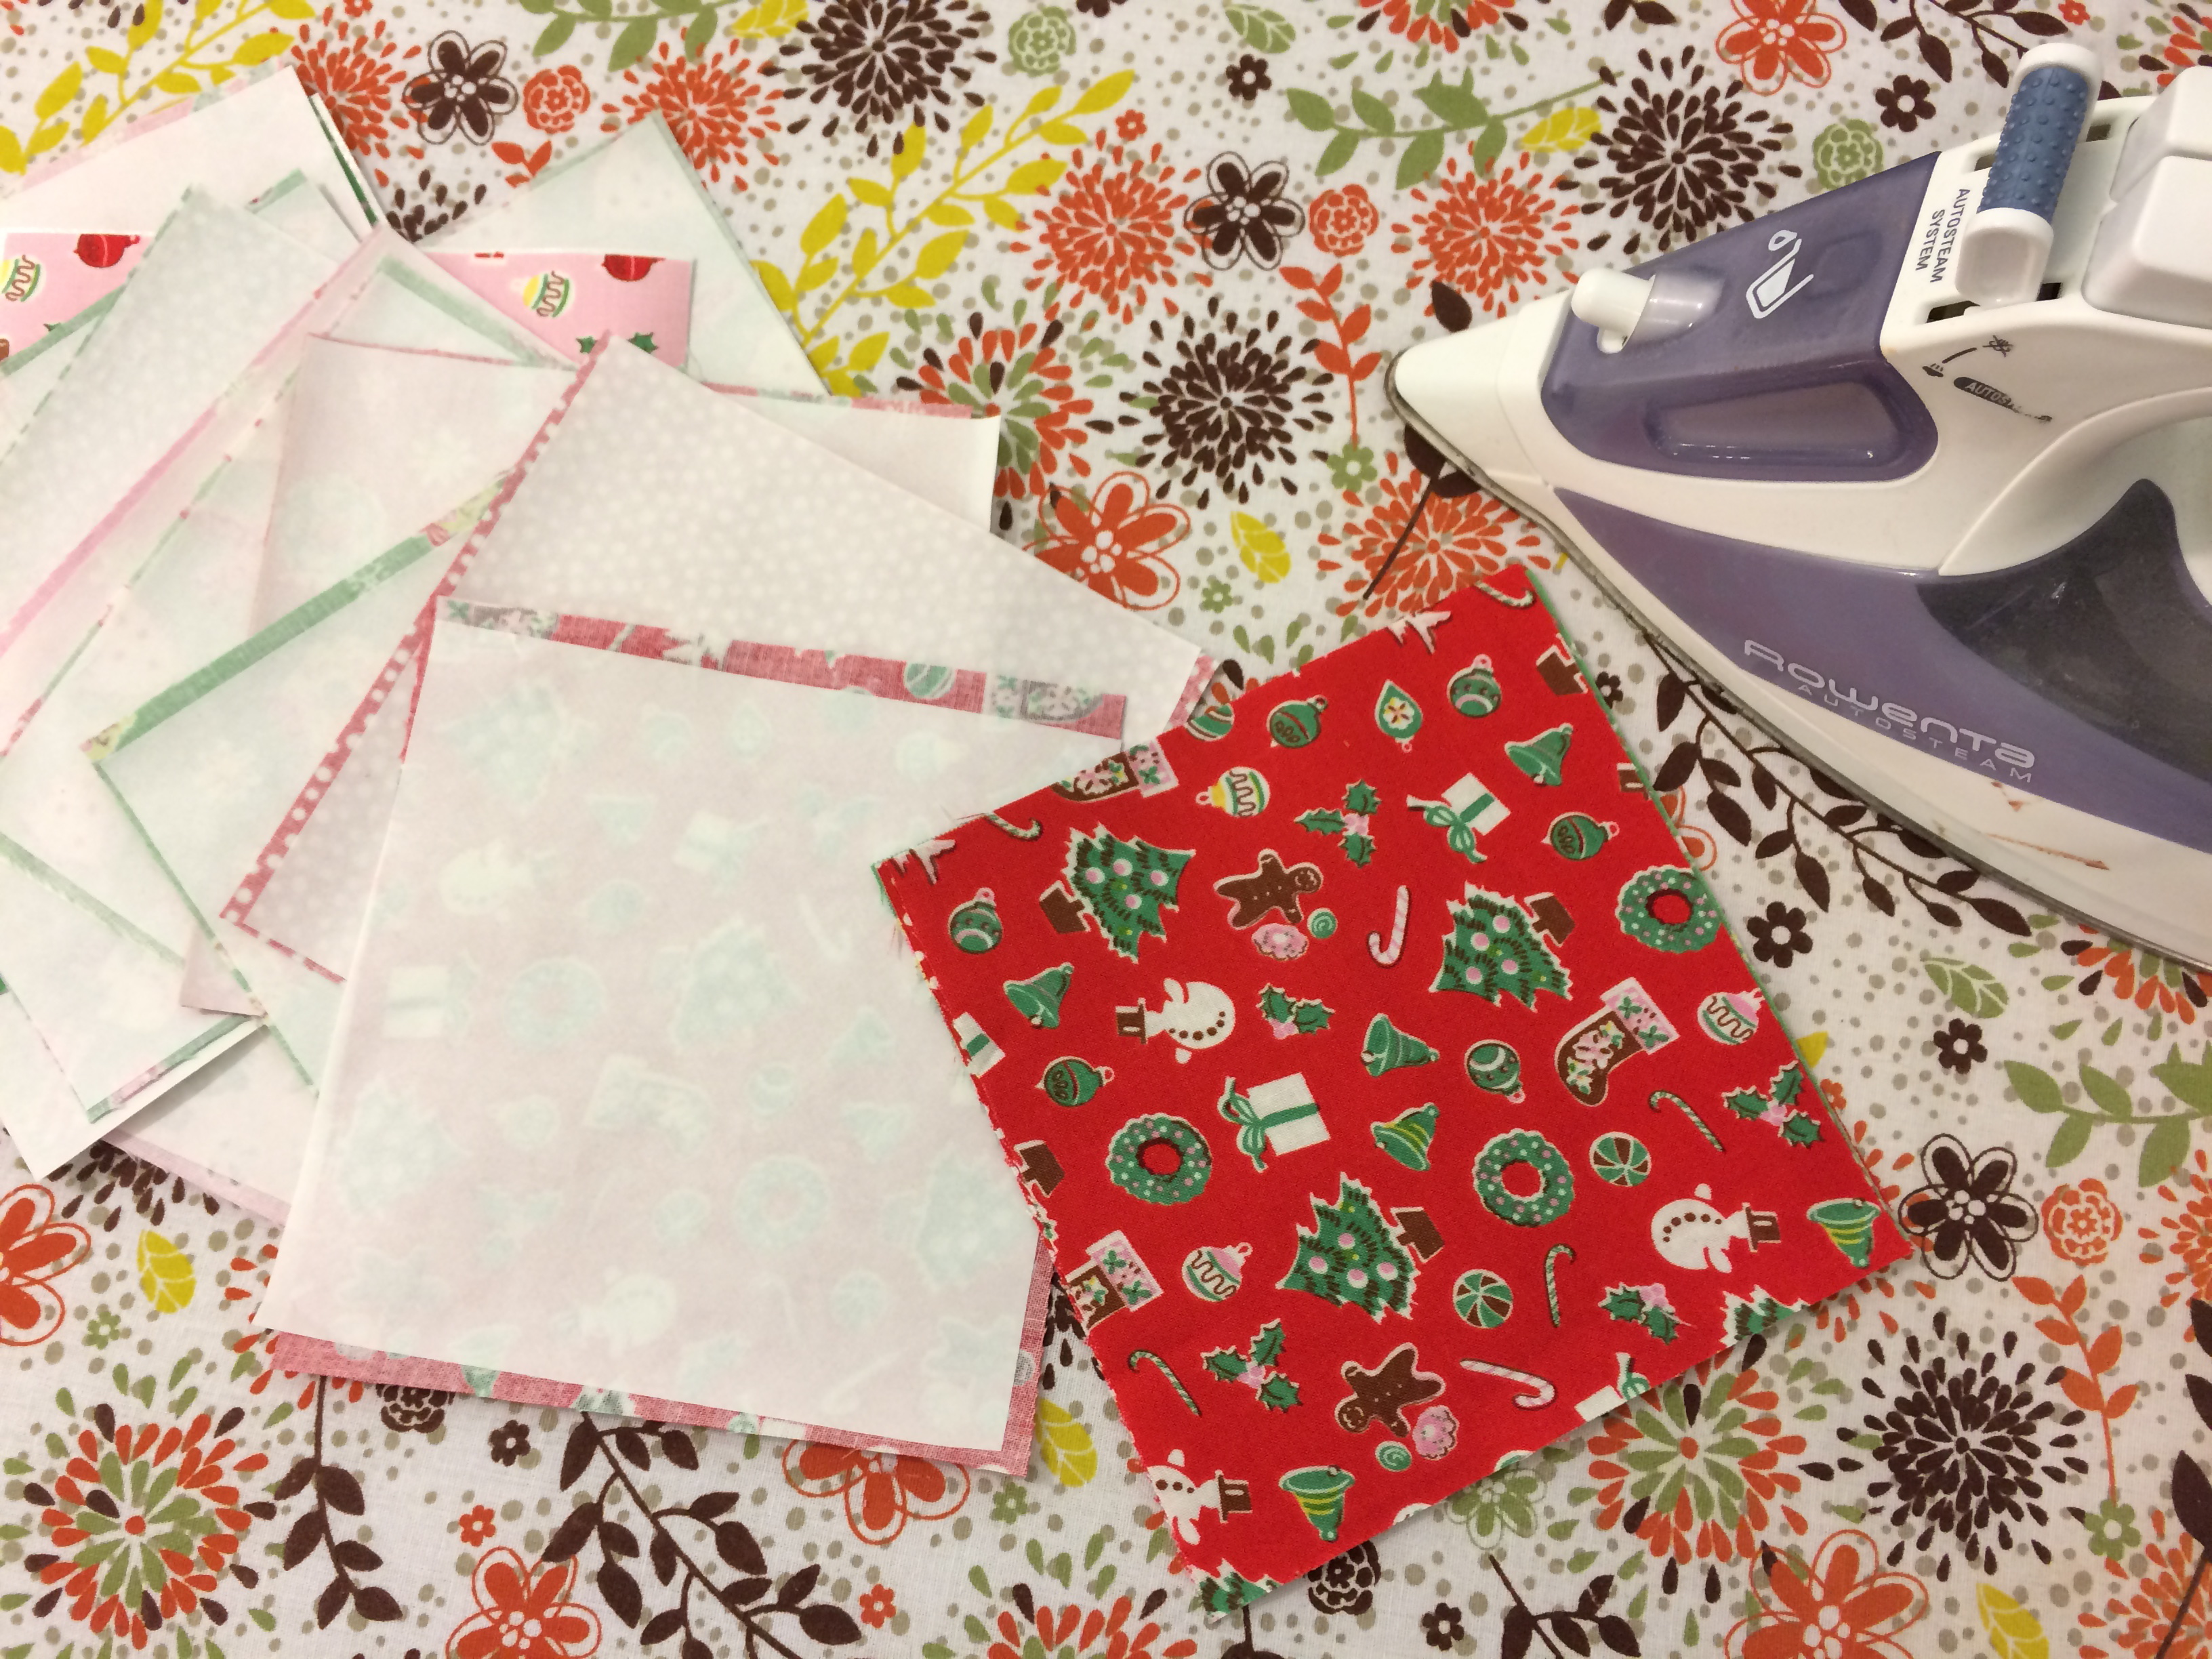
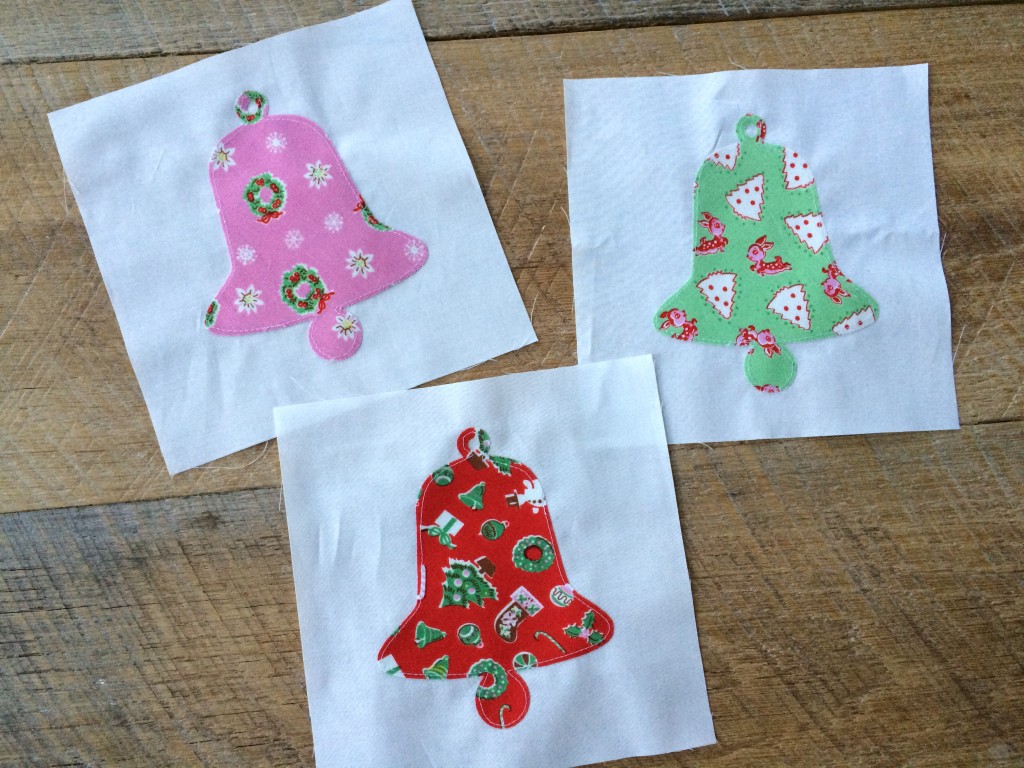
Cut the remaining fat quarters into 5″ squares and fuse Heat n Bond Lite to the wrong sides of the fabric (above).  Using the Sizzix Bell die, die cut 22 bell shapes.  Peel off backing paper and heat set to the centers of the 6 1/2″ white squares. Sew around each bell with a straight stitch.

little joys quilt pattern christmas 6

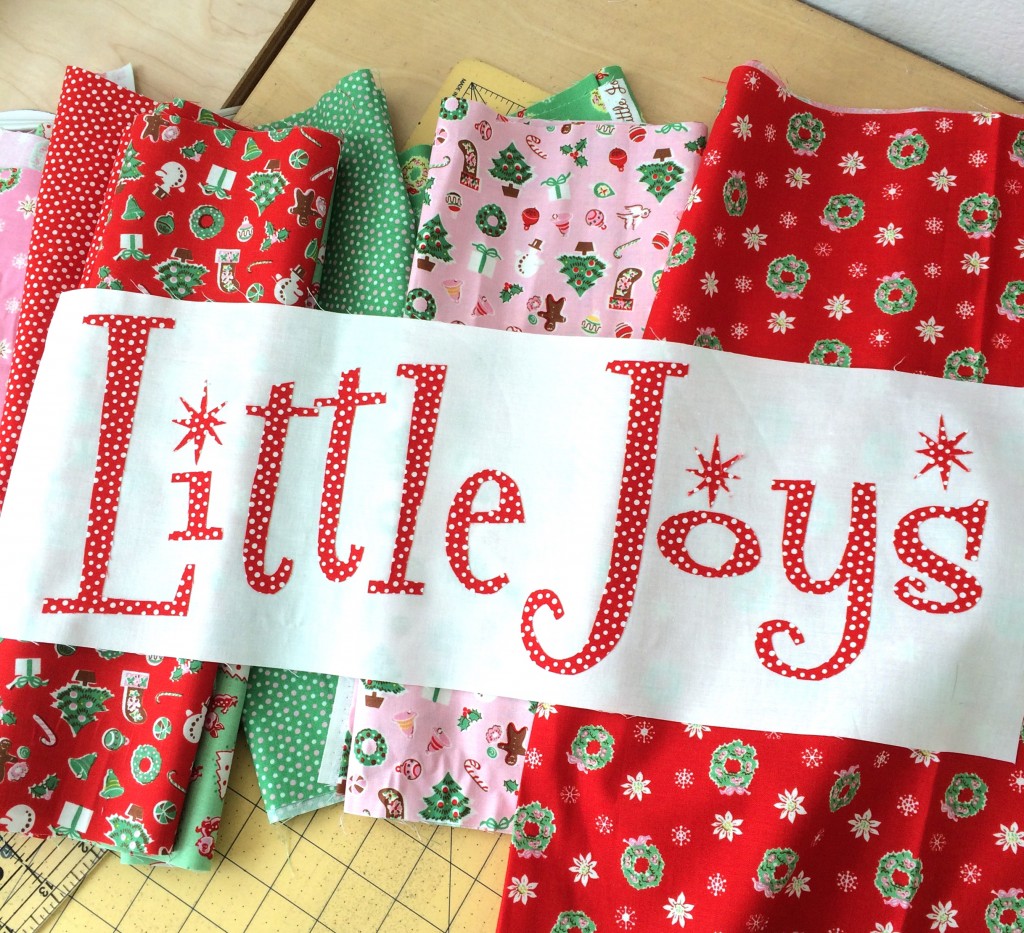
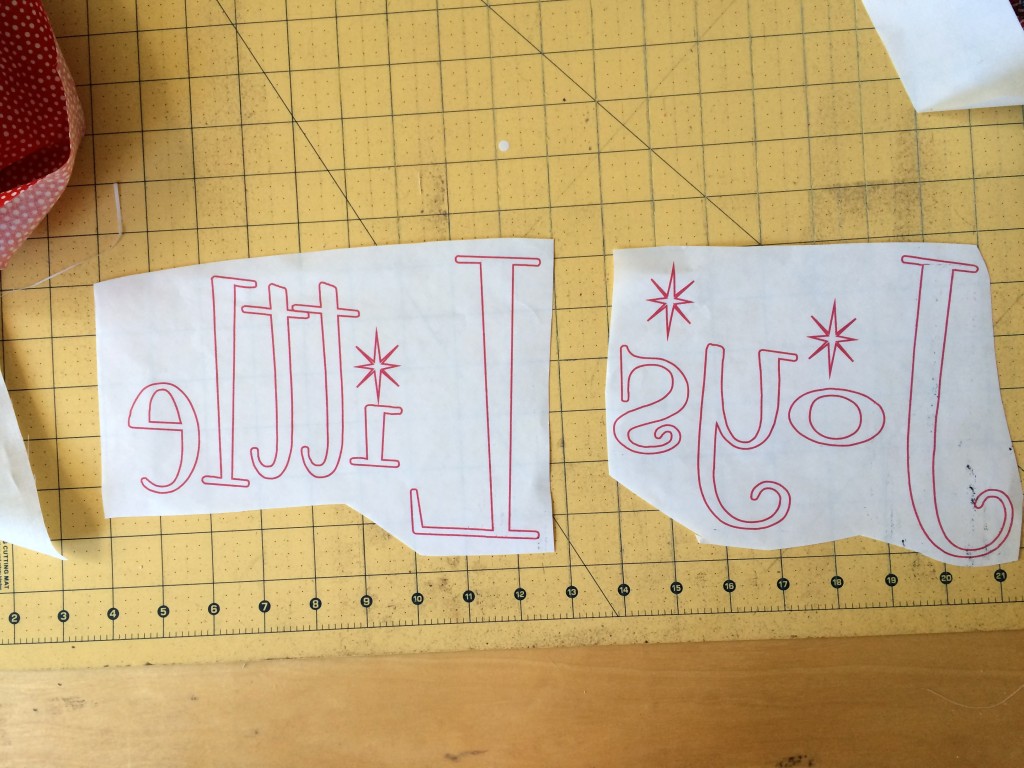
little joys quilt pattern christmas 12For the Little Joys word block I cut the letters by hand.  Download the Little Joys pattern HERE.  I printed the letters on Heat n Bond EZ print sheets.

little joys quilt pattern christmas 17You can also trace onto iron-on transfer paper.  The letters are in reverse.  Iron the heat n bond to the wrong side of the letter fabric.  Cut out by hand around each letter.  Peel off the backing and position on the white rectangle.  Heat set in place.  Sew around each letter.

little joys quilt pattern christmas 19

Now you’re ready to lay out the whole quilt!  Use the above photo as your guide.  Again, my colors are random but you can make a color pattern!

Sew each block together creating rows, pressing toward the applique blocks.  Then sew the rows together, pinning at intersections so seams match up.  Press all seams in one direction.

Baste, Quilt, Bind!


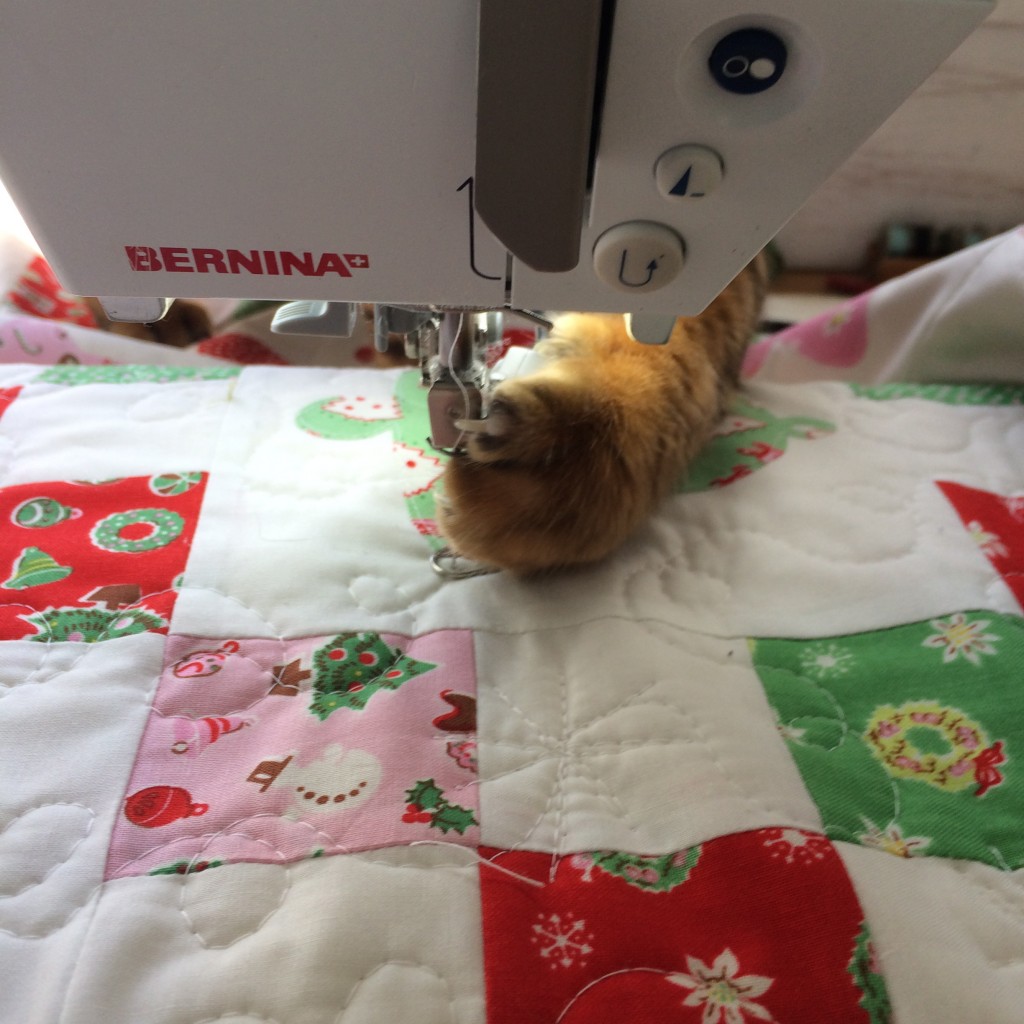
IMG_2019Mufasa also loves the sewing machine!  No animals were harmed in the quilting of this project!


little joys quilt pattern christmas 9Make sure your cat approves 🙂

little joys quilt pattern christmas 2I free motion quilted this with loop de loos and retro style stars.  I love how it turned out!  Add the binding and you’re finished!

little joys quilt pattern christmas 10

little joys quilt pattern christmas 14


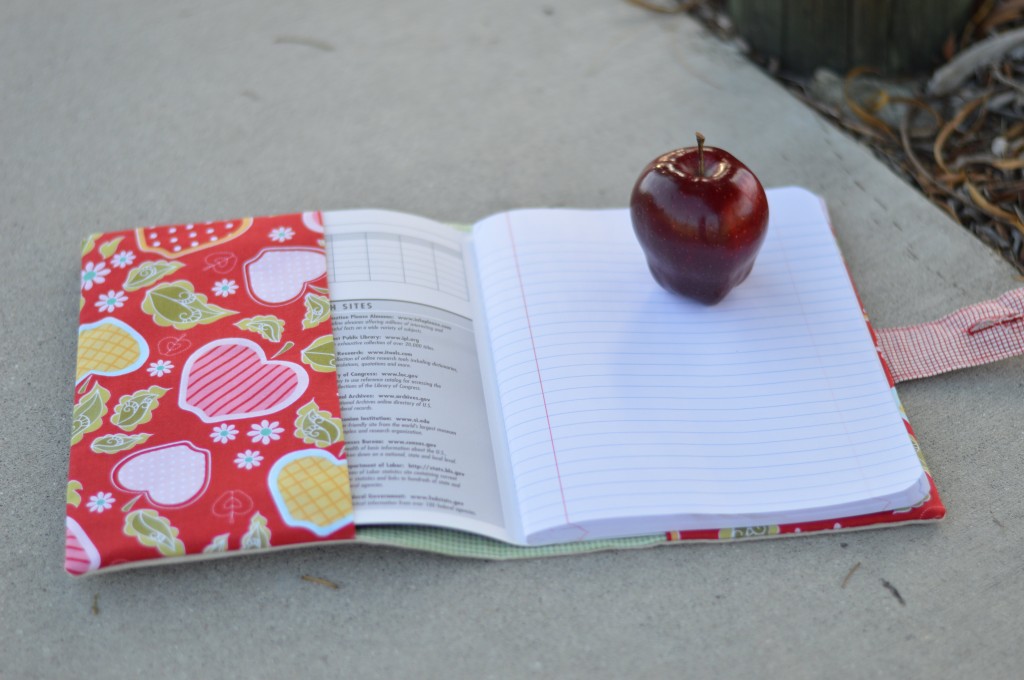
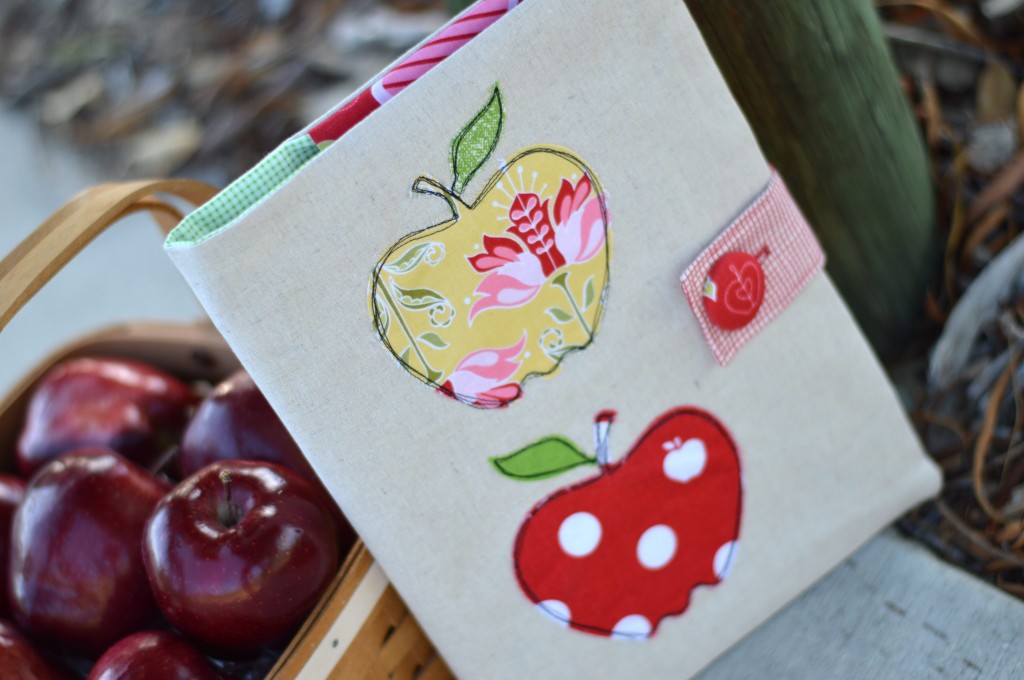
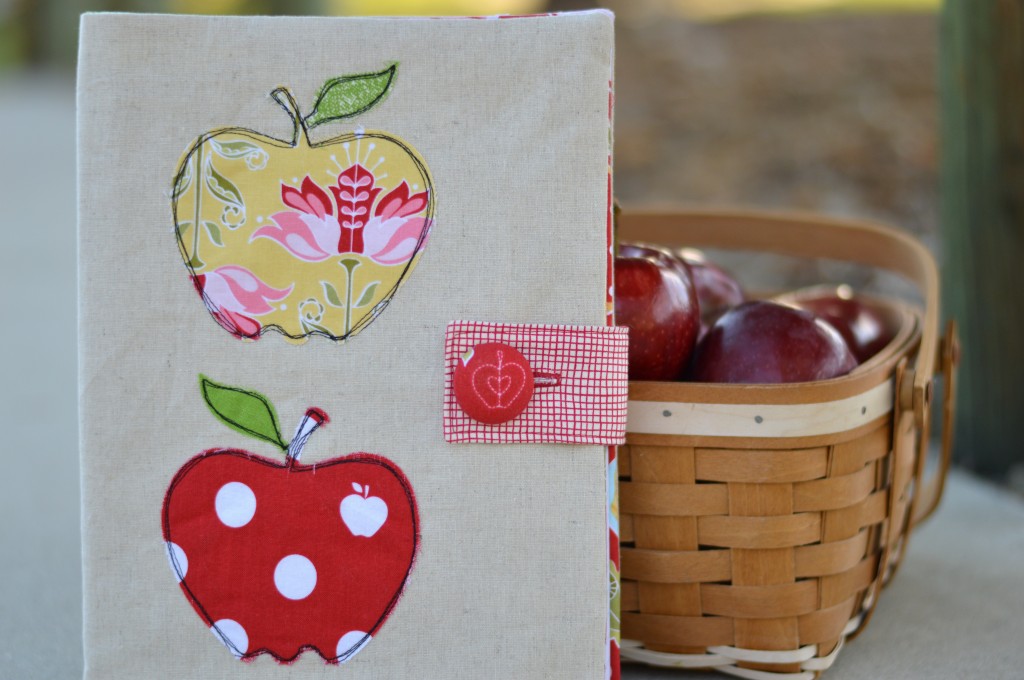
Apple Applique Composition Book Cover Tutorial

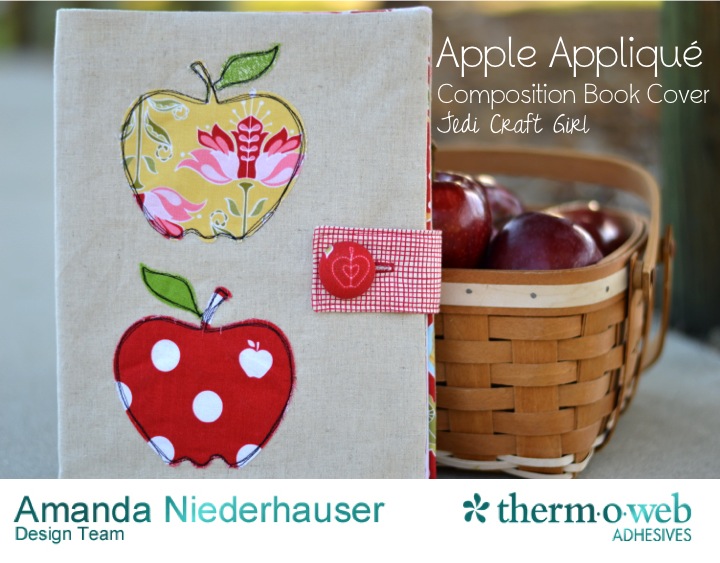
apple applique coverBack to School, Apples, Reading & Writing, School Supplies, the smell of pink erasers, lunchboxes, and alarm clocks….

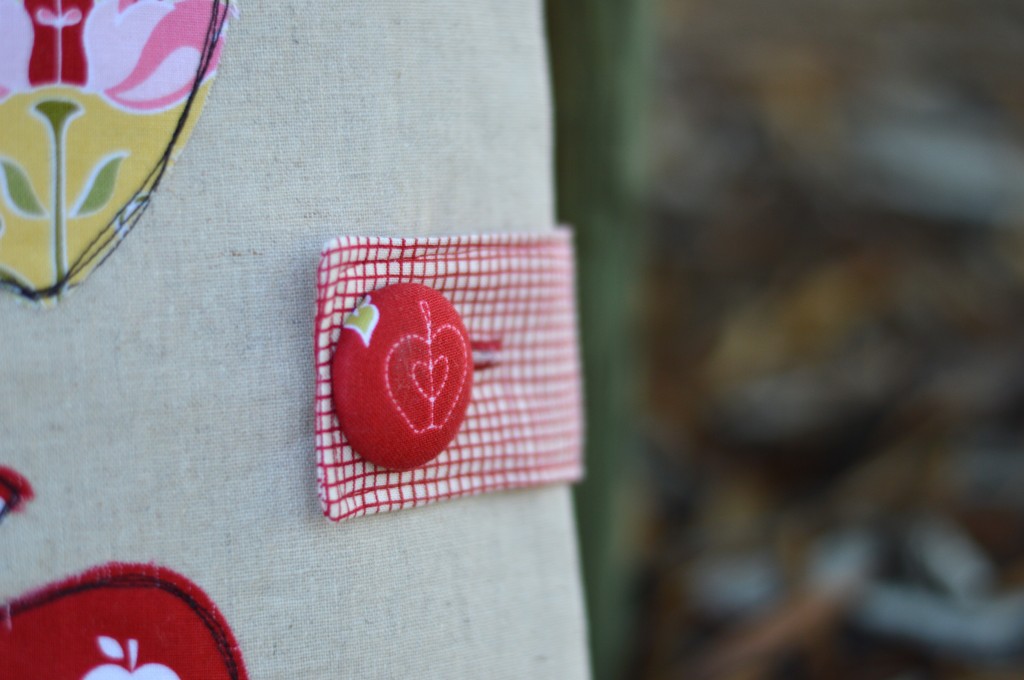
Today I am sharing my tutorial for this applique apple composition book cover.  I have written several composition book cover tutorials, they are my favorite and I can always be found carrying one around.  This one would make the perfect gift to give to a teacher on the first day of school 🙂

apple applique composition book 2

I used the apple die from Sizzix and the fabric is from one of my favorite Riley Blake Designs fabric lines called Apple of my Eye by the quilted fish.  I used Therm o Web Heat n Bond Featherweight and a medium weight stabilizer.  Hop on over to the Therm o Web blog for the full instructions!!

apple applique composition book 7

apple applique composition book 3

apple applique composition book 6


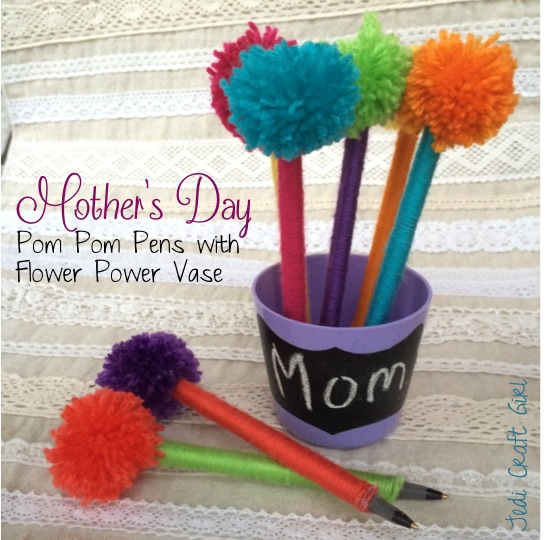
Mother’s Day Pom Pom Pen Bouquet

pom pom pens

I can’t believe how fast May is flying by!  And Mother’s Day is this weekend!  I thought this project would be great for moms or for Teacher Appreciation Week which is also going on here in our schools!  It’s pretty simple to make and the kids can get in on the fun!

Have you ever heard of Flower Power Vases?  I hadn’t until the cute little company sent me 2 vases to try out.  They wanted to see my thoughts  – so this is NOT a paid tutorial, just my thoughts and ideas 🙂flower power pom pom  8

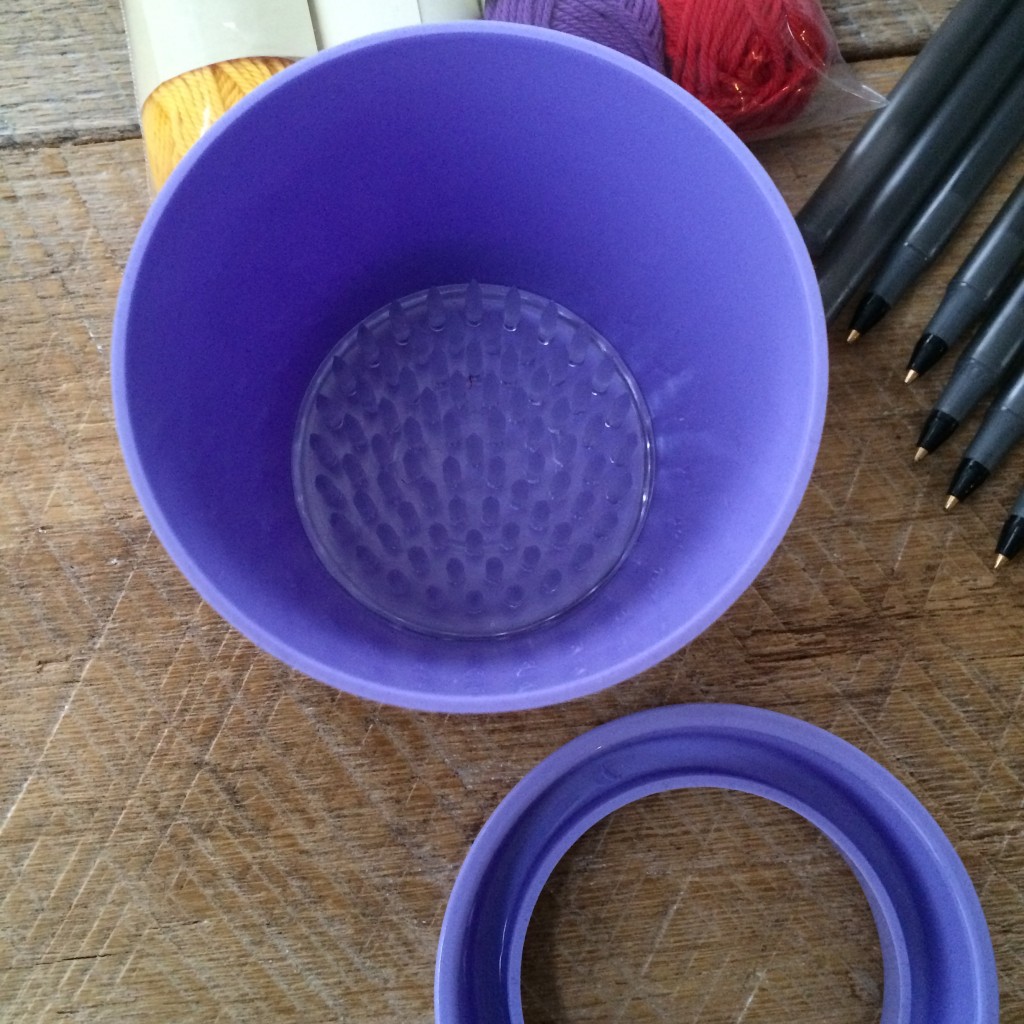
First of all, the little vases come in many colors.  They all have this special grippy thing in the bottom to hold cut flowers.

slideshow_4

flower power pom pom  2

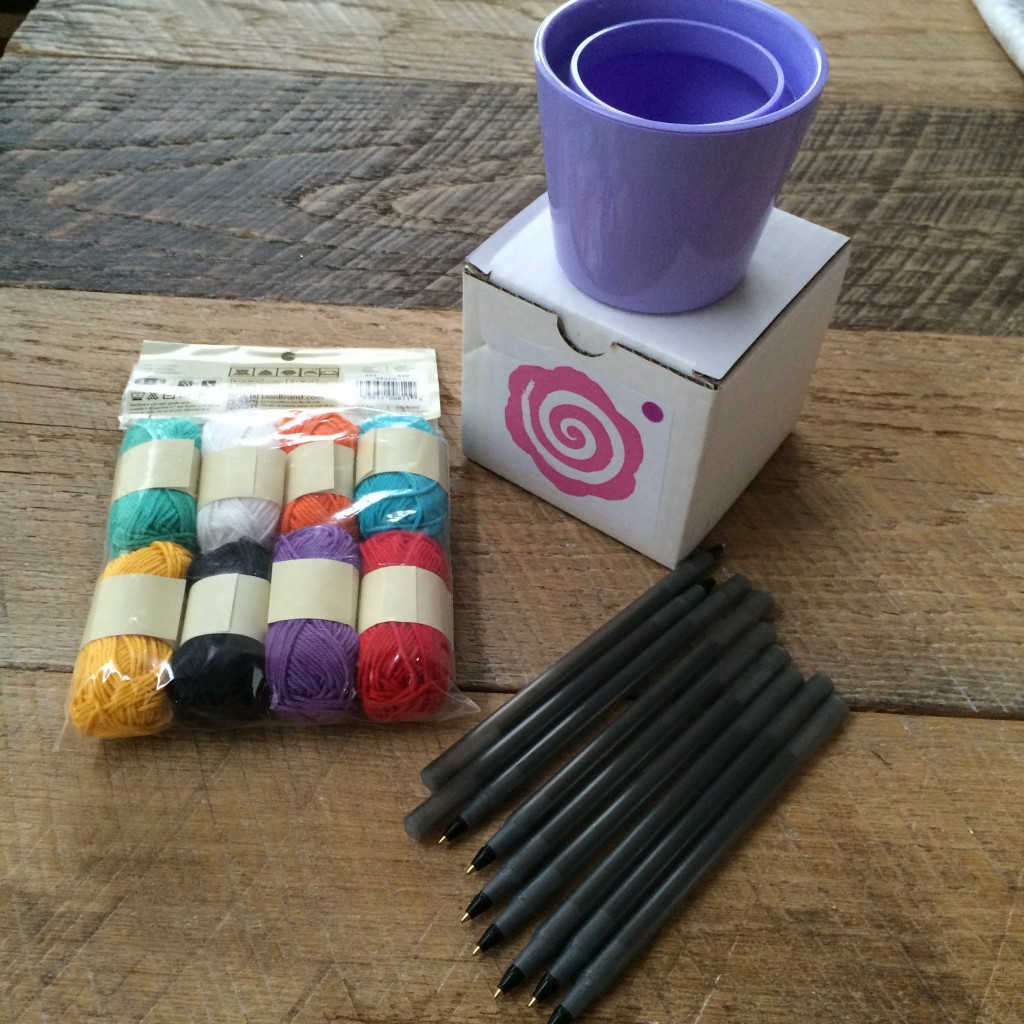
Of course they are perfect for cut flowers (and they fit in the cup holder of a car)….I wanted to turn it into a little crafty gift.  Here’s what you need:

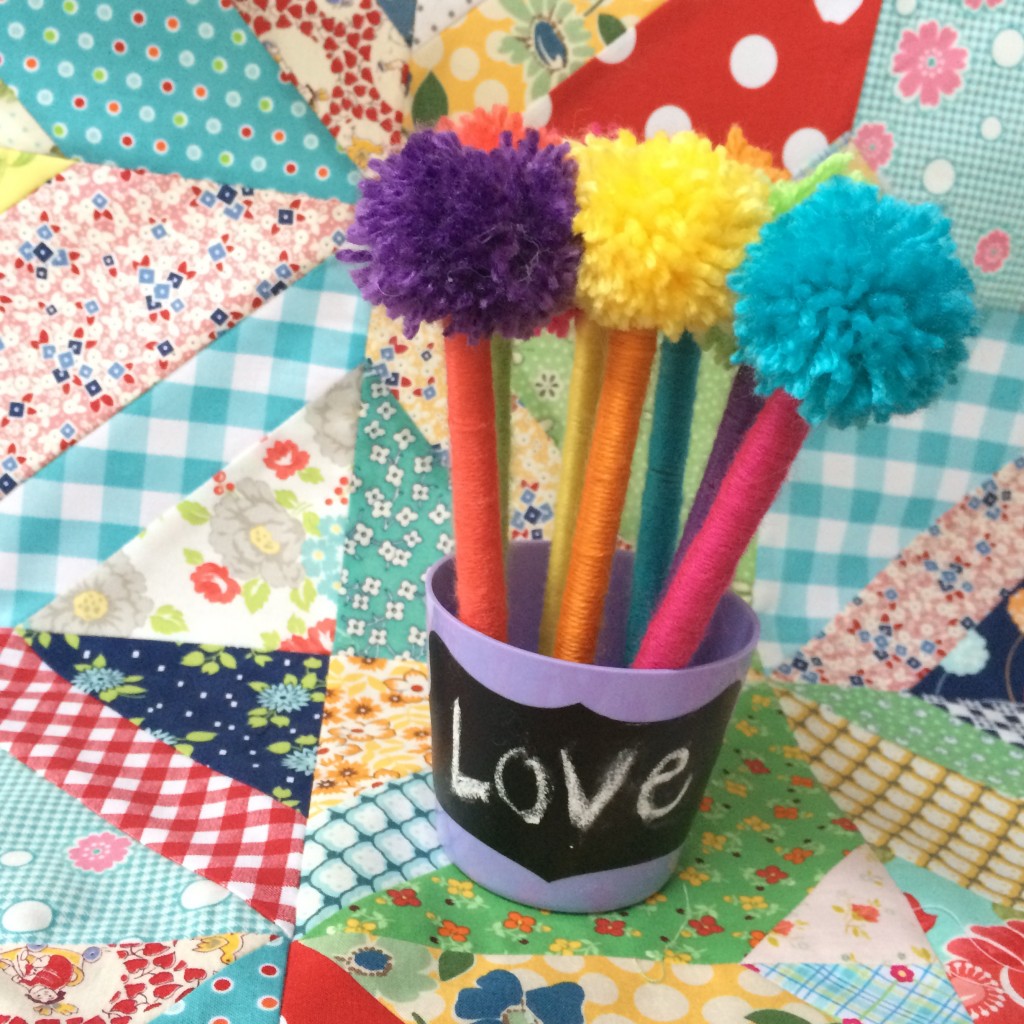
Pens, yarn, hot glue, small pom pom maker, and the Flower Power Vase.  I added a chalkboard label so you can change the word on the vase.

flower power pom pom

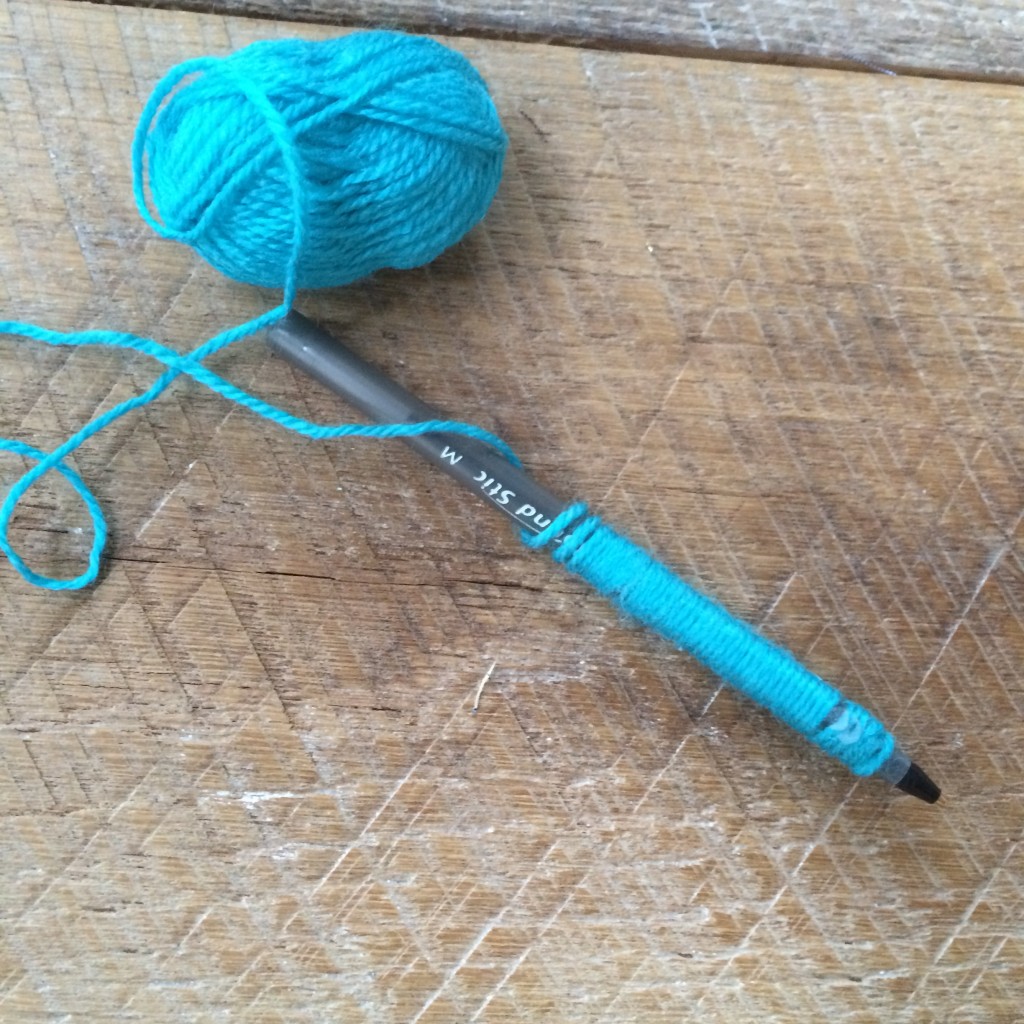
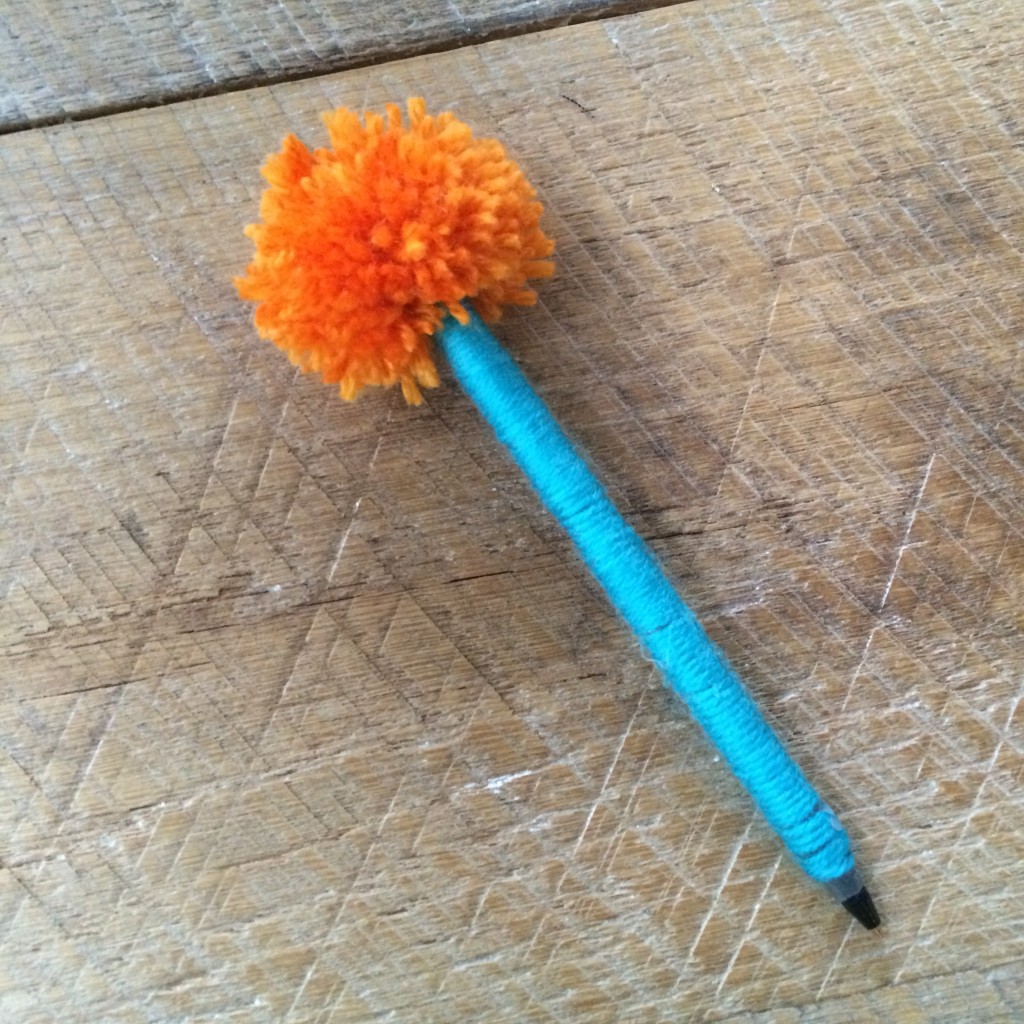
Begin by adding a dot of hot glue to the end of the pen to secure the yarn.  Wrap and wrap and wrap until you get to the other end of the pen and add another dot of hot glue.

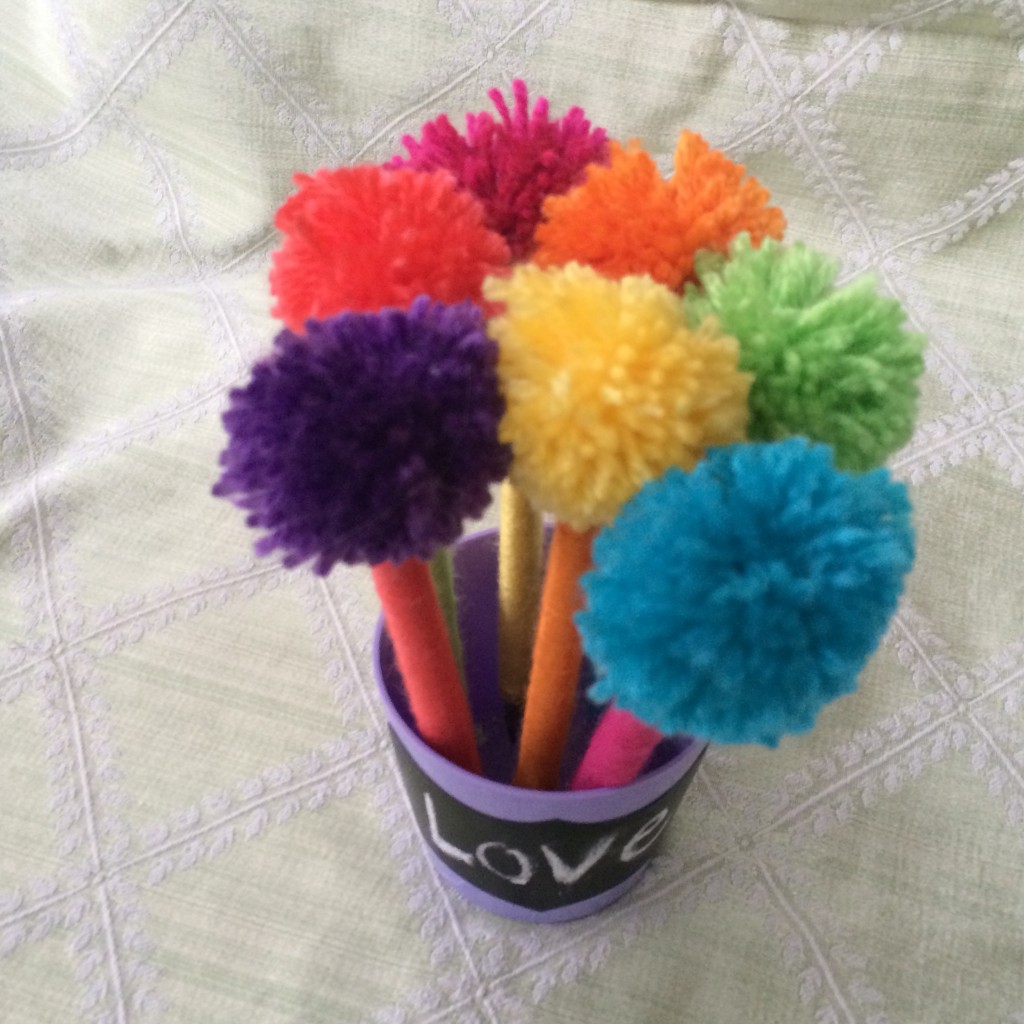
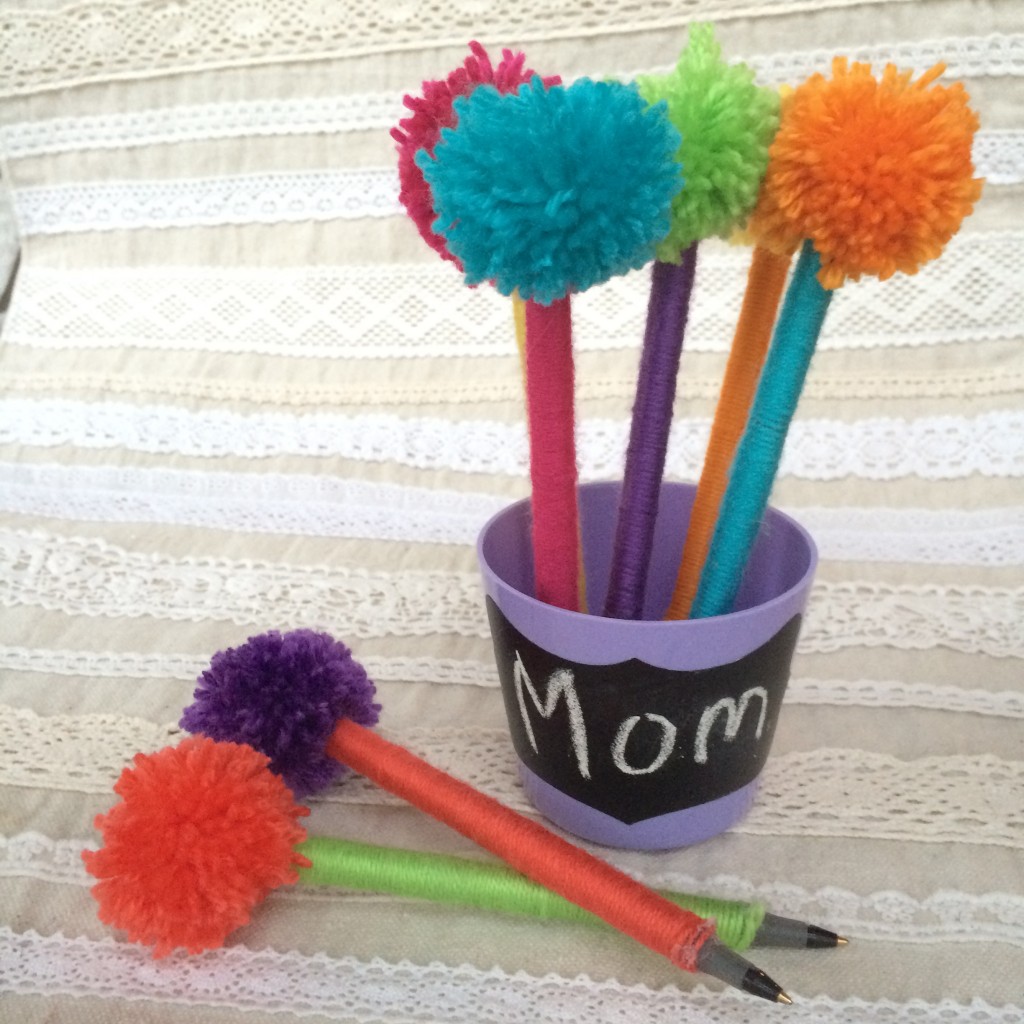
flower power pom pom  3Take the yarn and make a small pom pom.  I love the pom pom makers you can buy at craft stores.  My daughter made all of them for me….easy peasy!  Hot glue a pom pom to the end of the pen.  Continue this process until you have 7 or so pens.
flower power pom pom

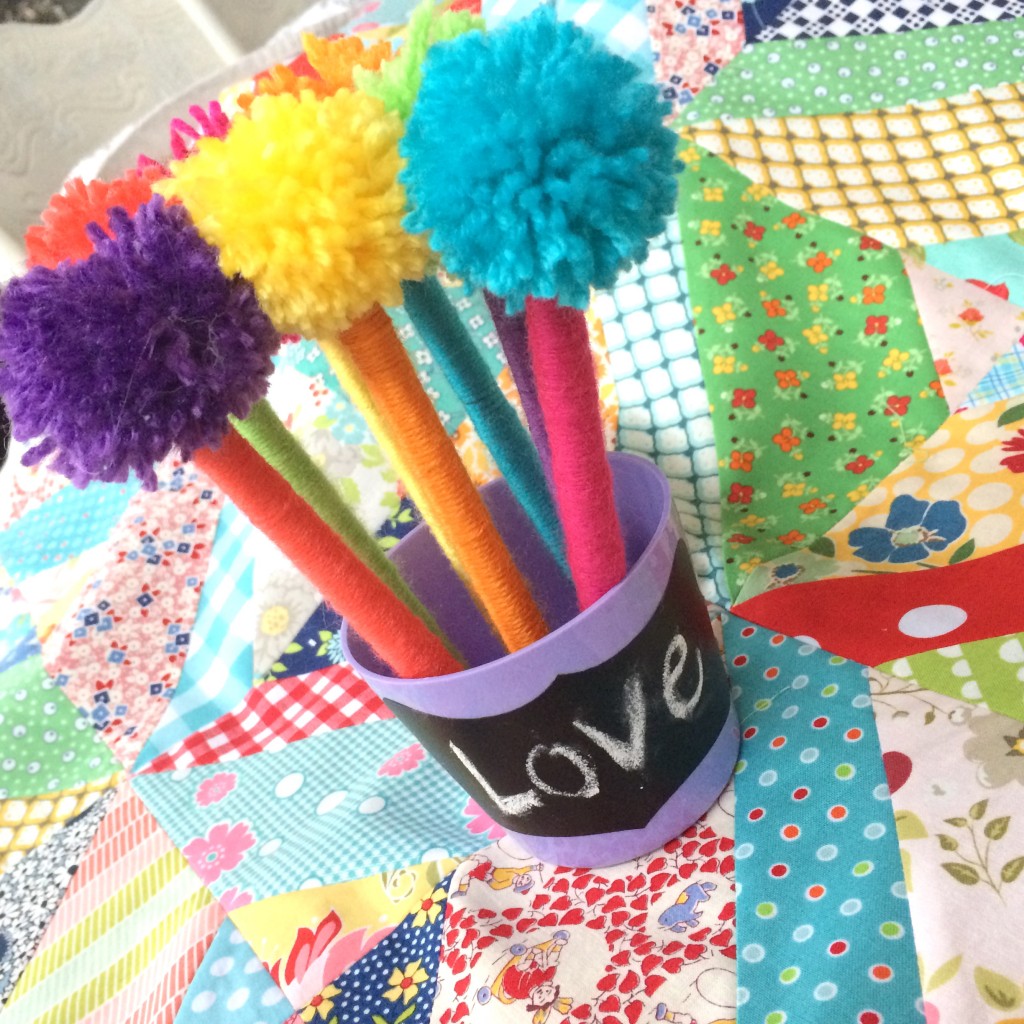
I first wrote the word “Love”, then changed it to “Mom”.
flower power pom pom  9

flower power pom pom  10

I think they are super fun!  And when your mom looses all the pens, she has a cute little vase to keep fresh cut flowers in!!!  They would also be super cute sitting on a teacher’s desk!  Or in my sewing room!  I need one!!!

flower power pom pom  12
logo
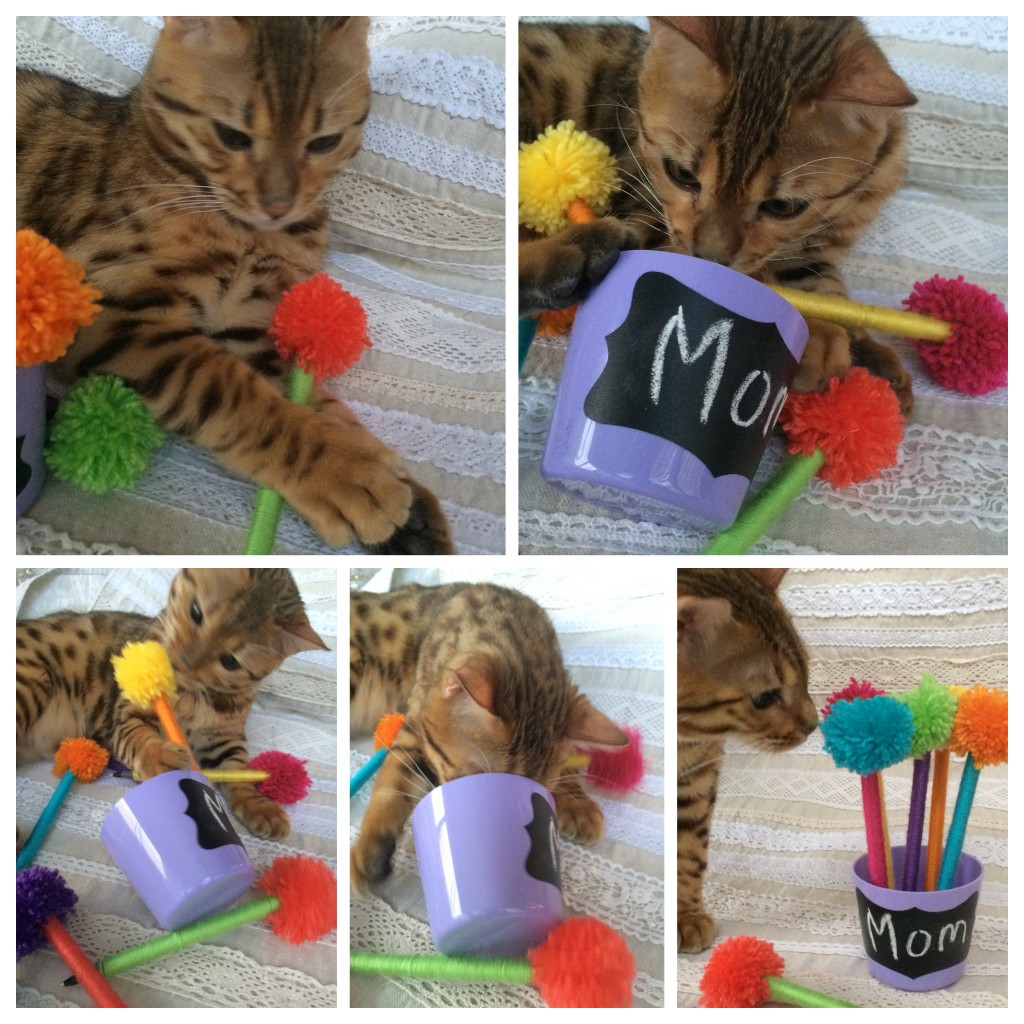
These also make GREAT cat toys!!!!!
IMG_6797

Star Wars Sewing Projects

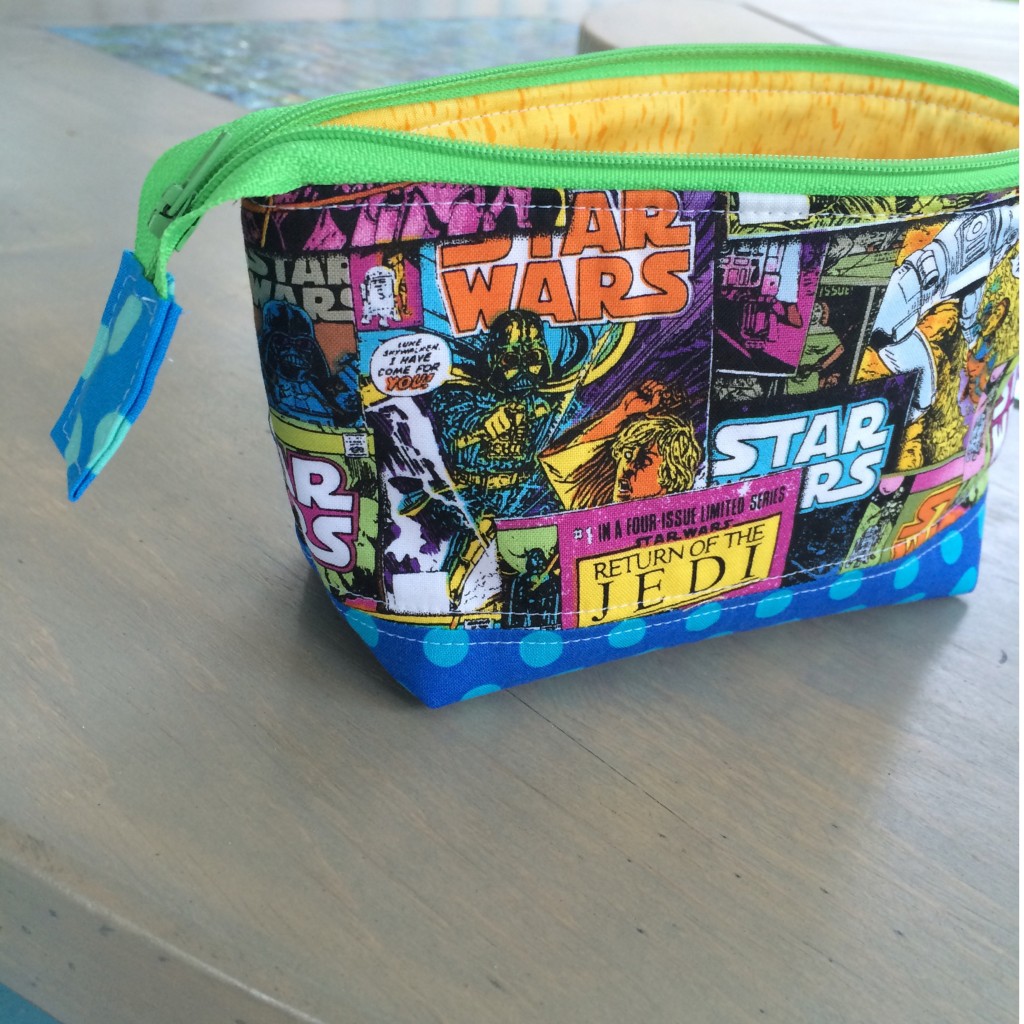
I love May the 4th!  I had too much fun sewing Star Wars projects!     IMG_6713

This cute comic book Star Wars  zipper pouch was made using this tutorial – I omitted the lace trim.  I just can’t get enough of this fabric!!  I used Heat n Bond fusible fleece and added some topstitching along the seam.

IMG_6621

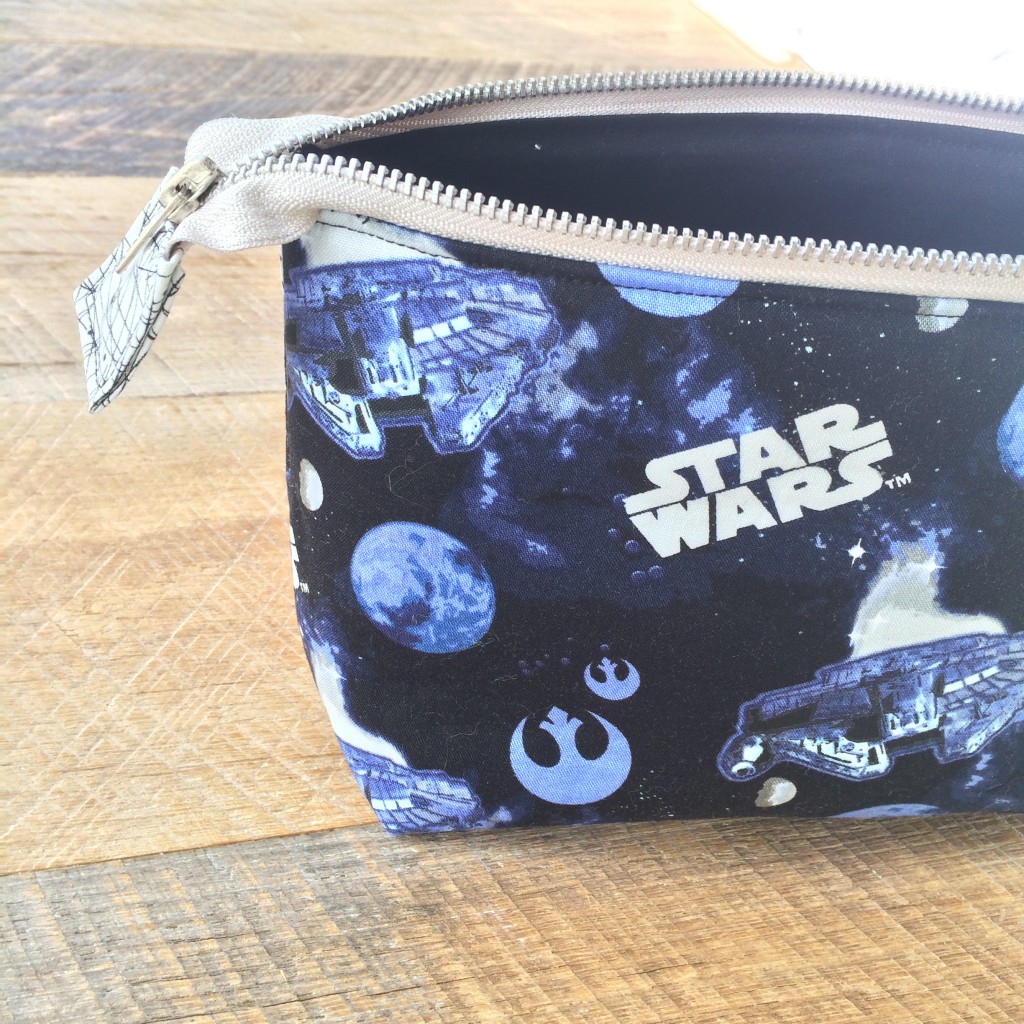
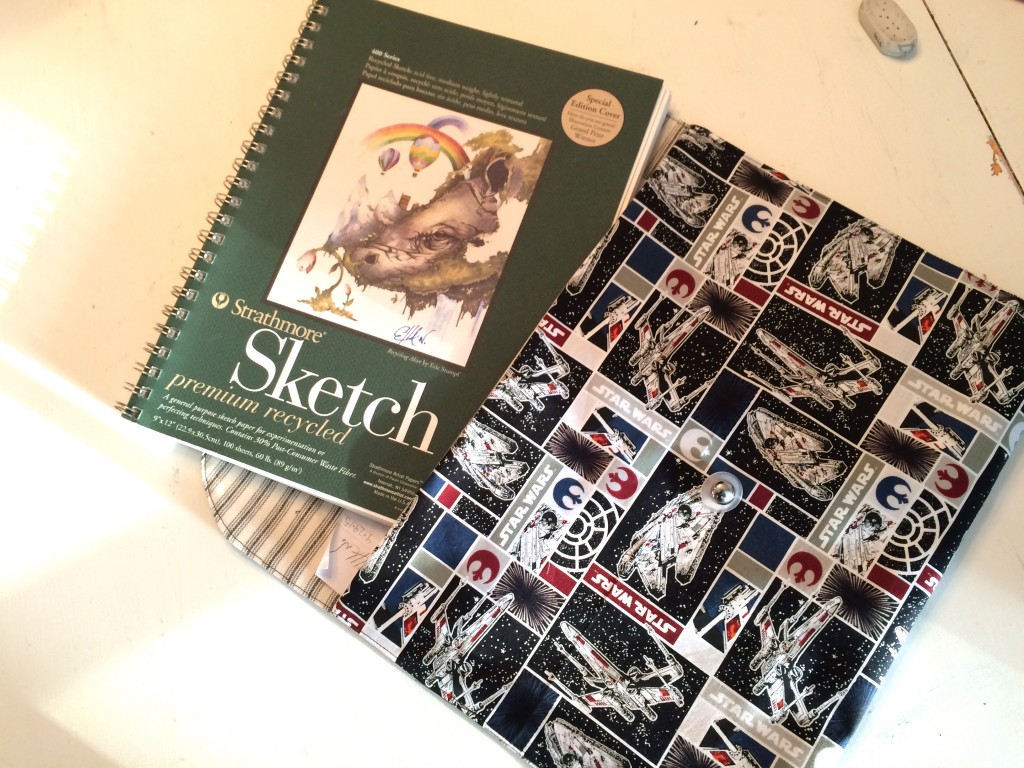
My brother’s birthday is May the 4th!  I made his this more “manly” zipper pouch using this tutorial.  I also used Heat n Bond fusible interfacing AND fusible fleece.  It has a really nice feel to it!IMG_6549My daughter takes a sketch book with her everywhere she goes!  She was in need of a new case.  To make this follow these instructions, but change the measurements to 26″ x 15″.  For this pouch I used Heat n Bond fusible stabilizer to give it a nice weight.


Day #8 You’ve Been Egged!

Hi! I’m Marci Coombs and I’ve been writing my own little lifestyle blog HERE for quite some time now.  I blog about everything from church topics and Young Women’s ideas to recipes, craft tutorials and party tips.

 
I have 1 husband + 3 sweet kiddos.
 
 
I’m addicted to the news, Diet Dr. Pepper, the color purple and trips to Disneyland.
 
Thank you Amanda for inviting me back to be apart of your 14 Day Walk With Christ: Service Edition.
 
I love love LOVE the emphasis on SERVICE this year.
In fact, every year as the week of Easter rolls around – – our
family likes to do a few different random acts of service to our friends and neighbors close by.
 
My kids’ FAVORITE activity includes ‘egging’ people.
No – – not the yucky, messy type of egging.
The fun EASTER-Y type of course.


Its really quite simple.
Just fill up 12 plastic eggs with treats.
Scatter them around your neighbor’s yard.
Then leave THIS printable inside of a basket, explaining to them that they’ve been EGGED and that it’s their turn to do it all again the next evening.
 
Knock on their door and then ‘run like the dickens’
 {my mom still to this day uses that phrase! what IS the ‘dickens’ anyways??} 
so that you don’t get caught. 
 
Part of the FUN of this is doing it all anonymously.  
 
My kids LOVE it!
I usually do up 3 baskets and let them each
 pick a house to EGG.
 
It’s sure to brighten someone’s night.
It always does!
 
Have a FABULOUS Easter Week!
I’d LOVE for you to follow me along at some of my very favorite places here:
 

PhotobucketPhotobucketPhotobucketPhotobucketPhotobucket
I also run a little Etsy shop HERE with all sorts of 
FUN Young Womens, Primary and Relief Society gifts! 
I’d love for you to stop by and say HI!


Show message history

Bunny Banner

bunny banner
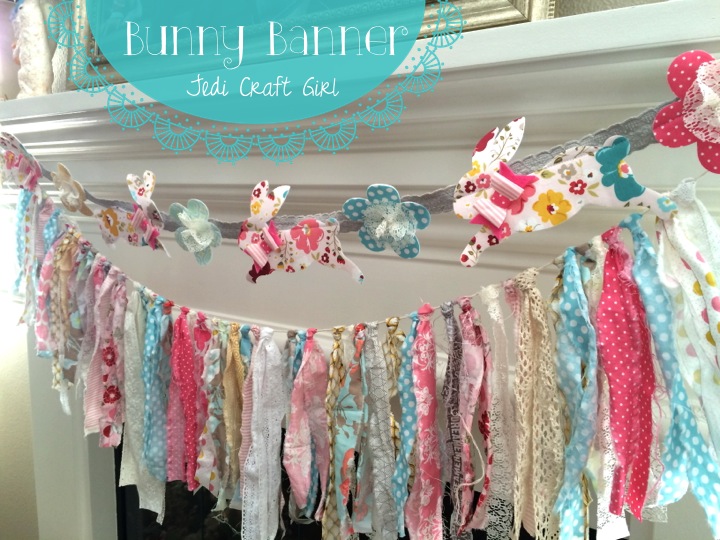
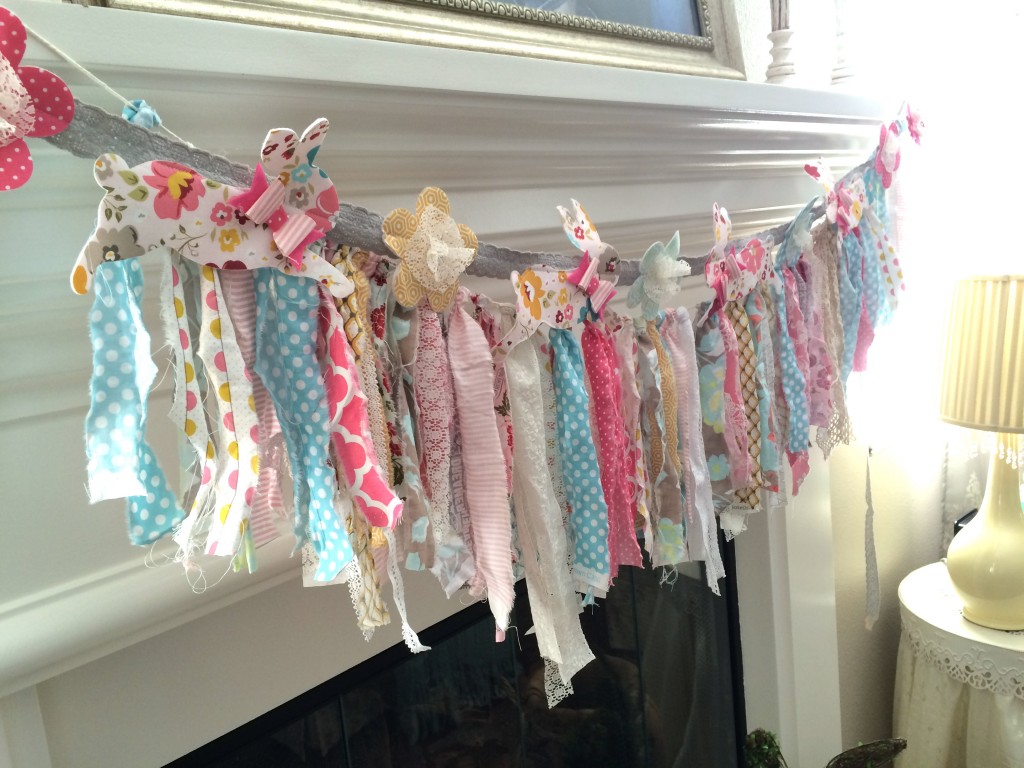
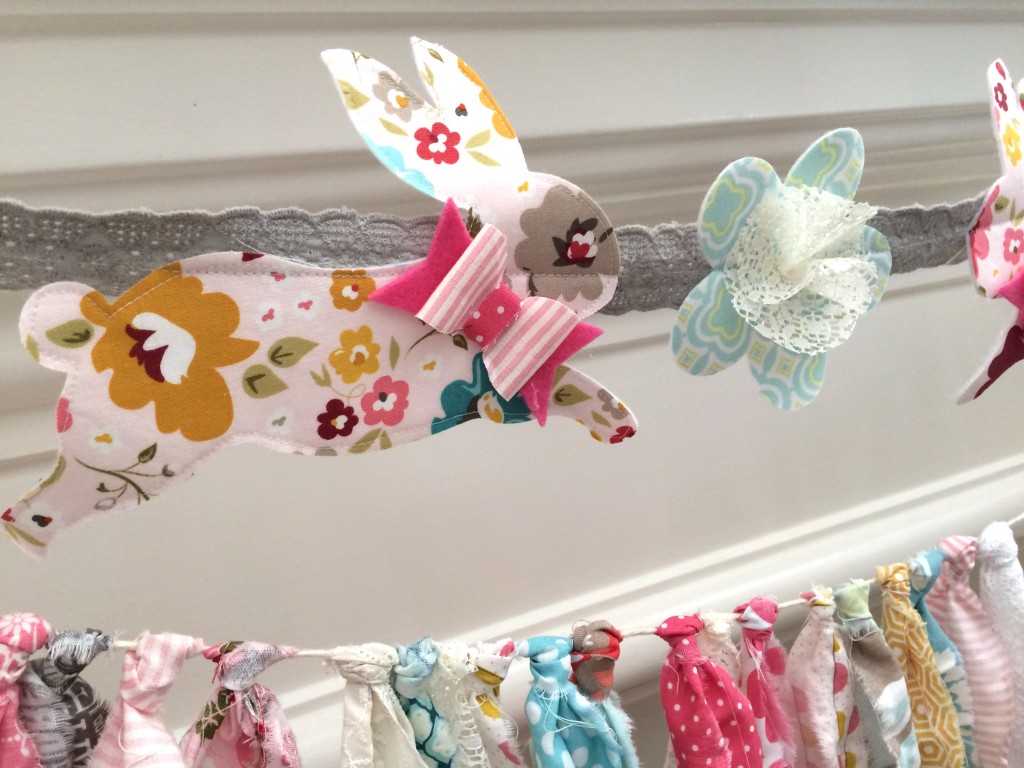
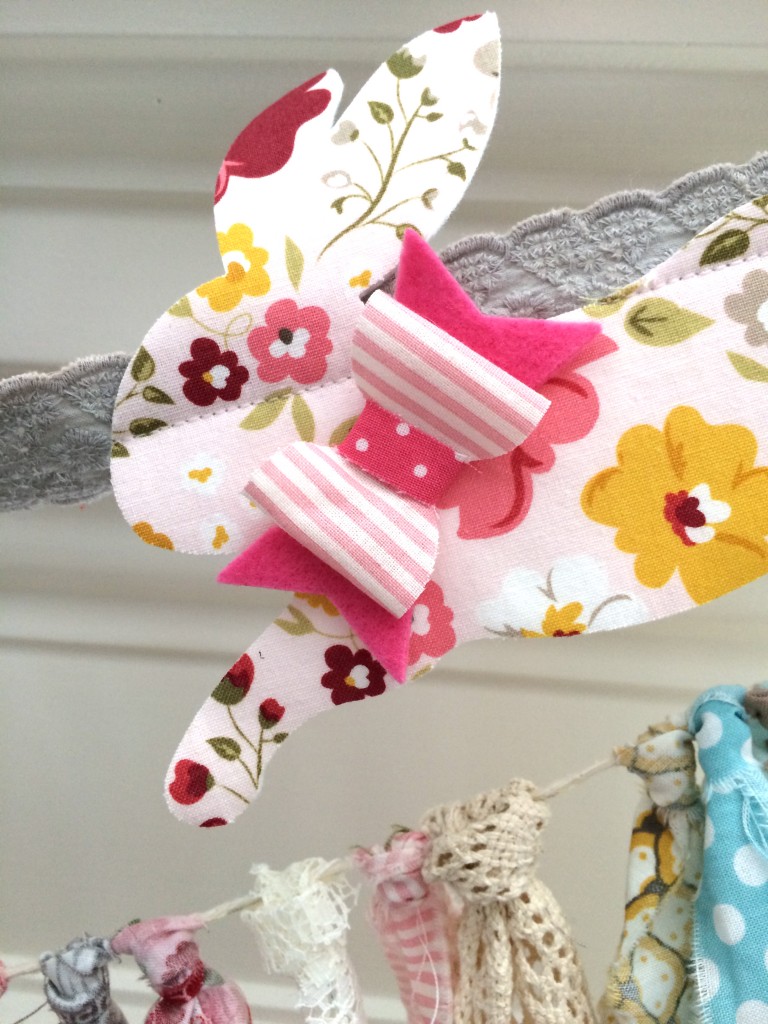
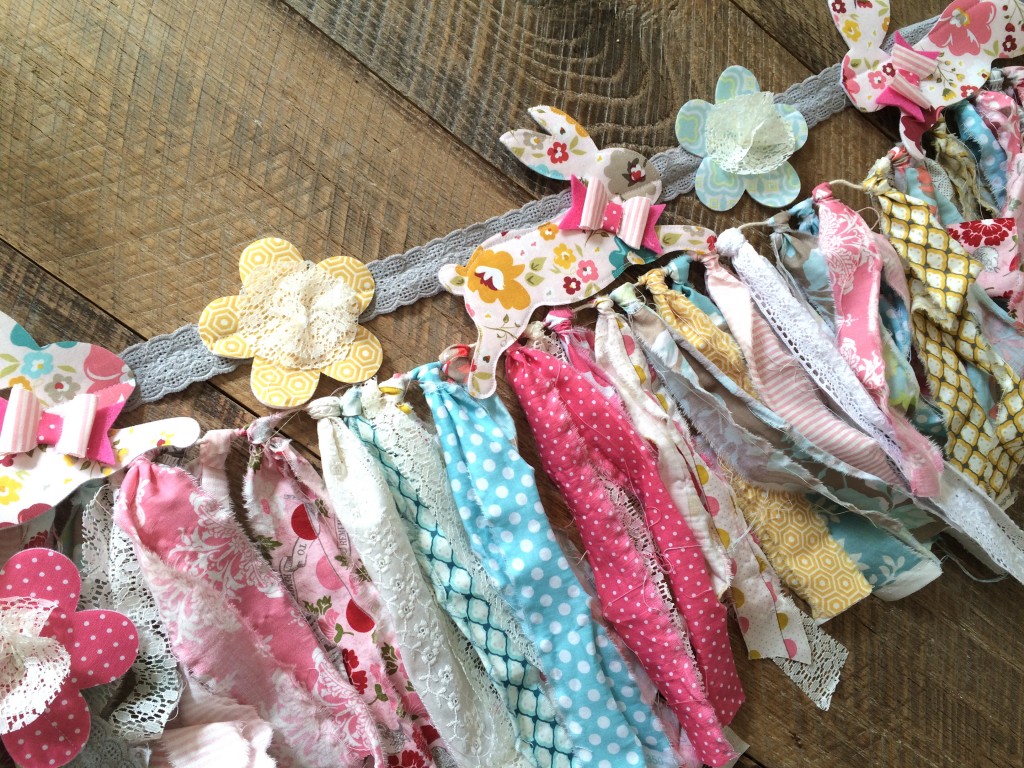
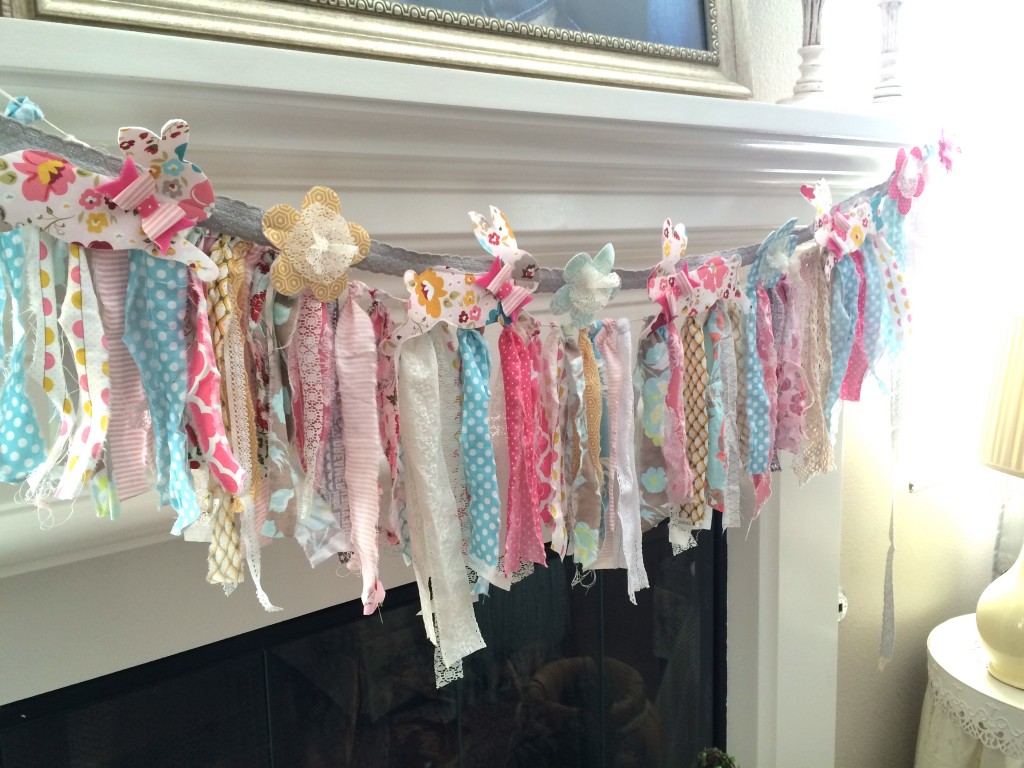
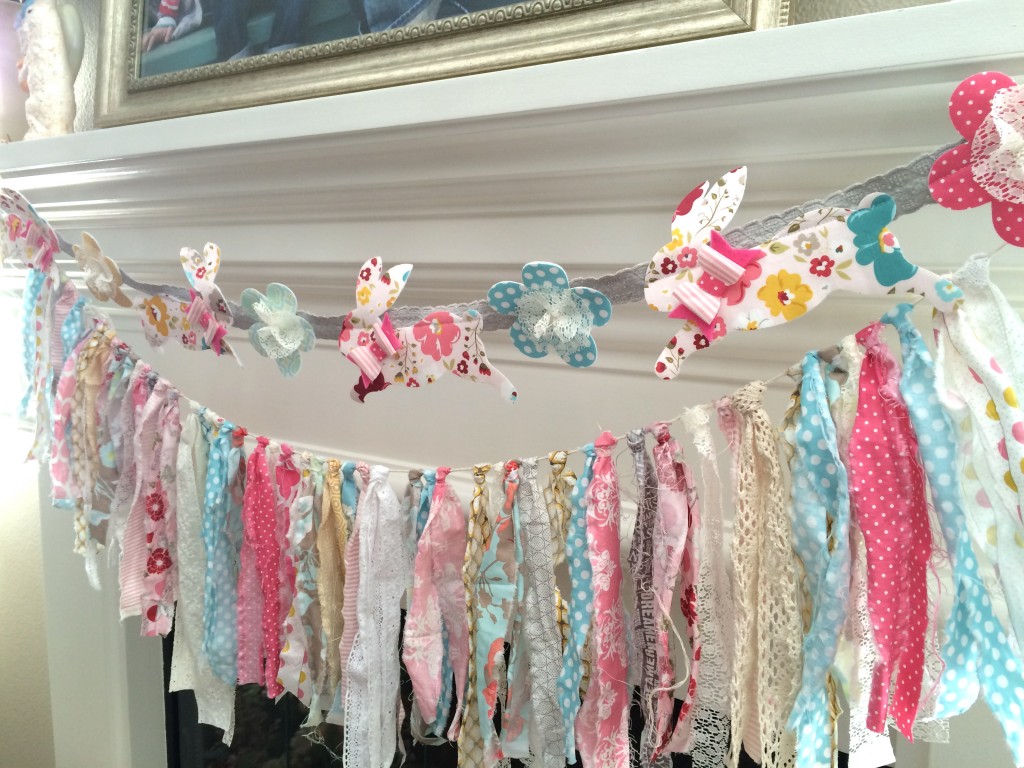
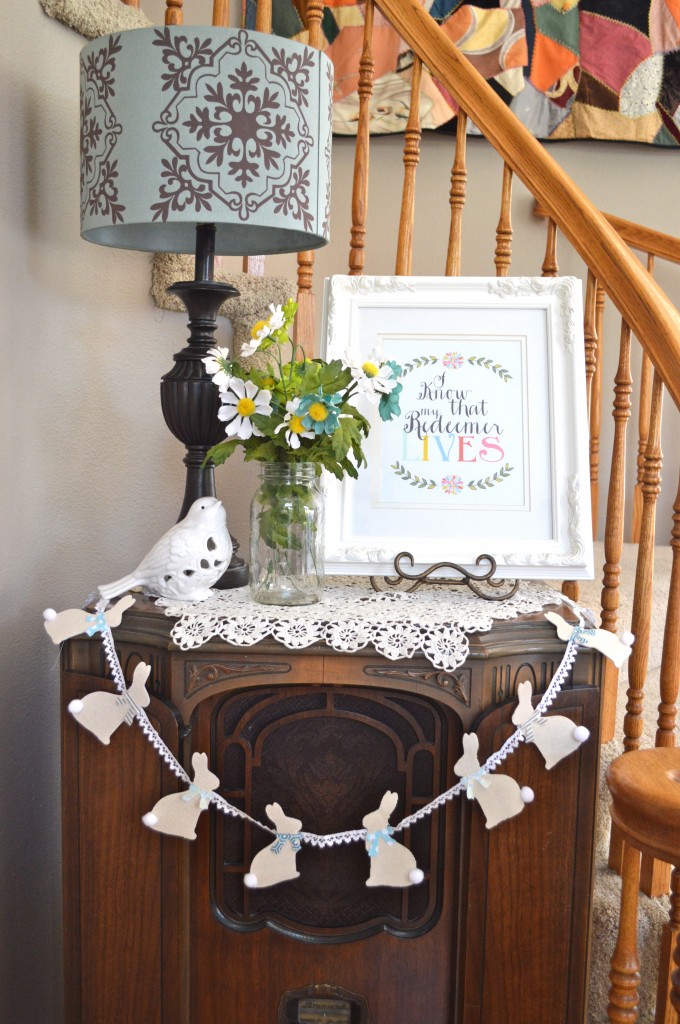
I’m so happy Spring is here!!!  All the trees have blossoms, the sun is shining, and it’s time to make things with bunnies!!  I love bunnies – they are the cats of spring 🙂  This garland is a quick project that lets you use your favorite fabrics and can be mad in a few hours.  I choose to use an assortment of Riley Blake Fabrics from lots of different fabric lines.  This is a great scrap buster project.  The bunny is cut with a Sizzix die cut – It’s my favorite!.  You can see my other bunny projects here and here and here 🙂  The bunnies are stabilized by ironing a piece of Heat n Bond lite to the fabric and then ironing it to felt.  Here’s how you can make one:
bunny banner 2

Supplies

Scraps of fabric

felt

cotton twine, cording, ribbon, etc for fabric ties

6-8 feet lace

scraps of lace

Heat n Bond Lite fusible applique paper

Sizzix Bunny die flower die and bow die

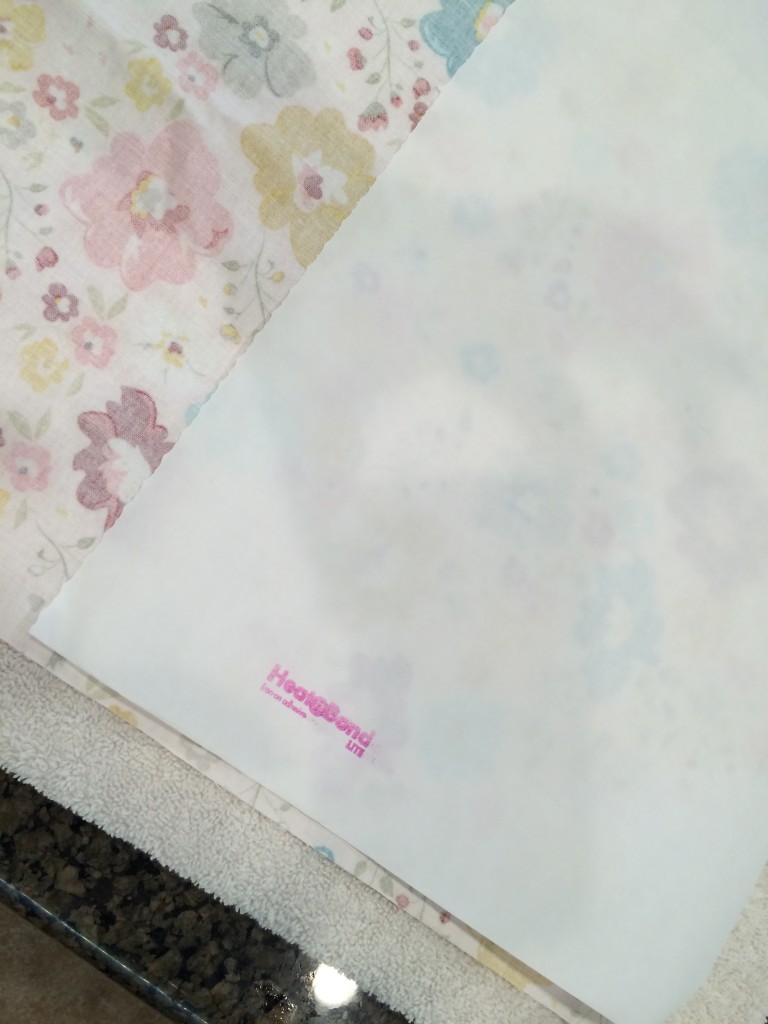
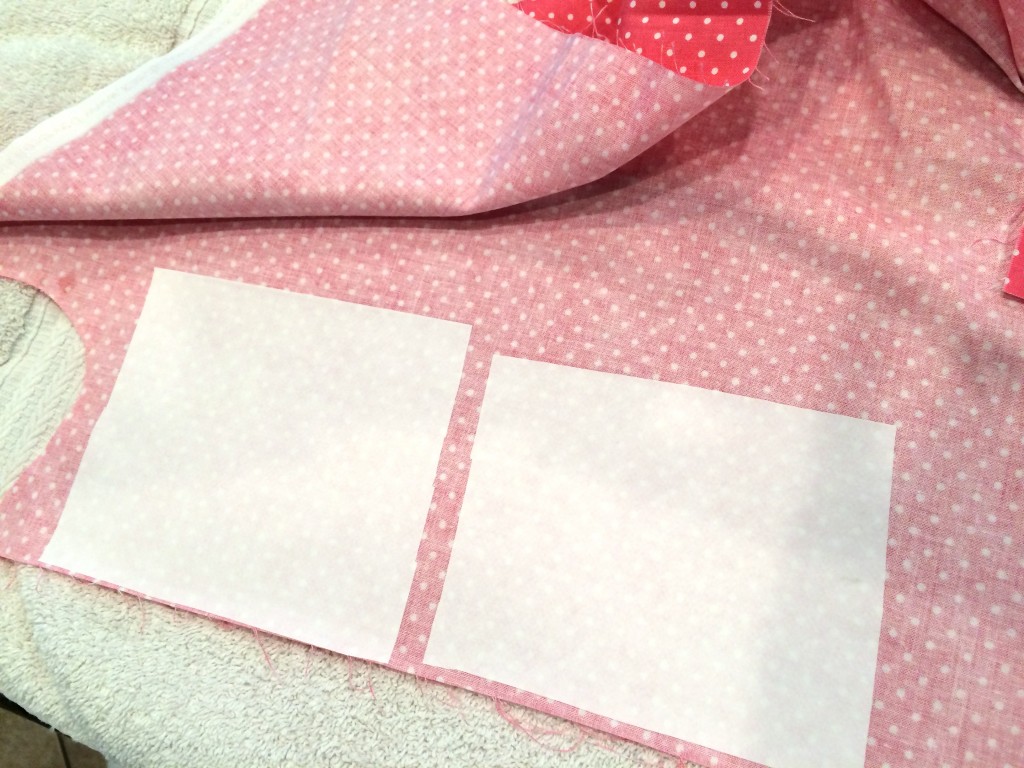
Begin by ironing a piece of Heat n Bond Lite to the wrong side of the fabric.

bunny easter garland

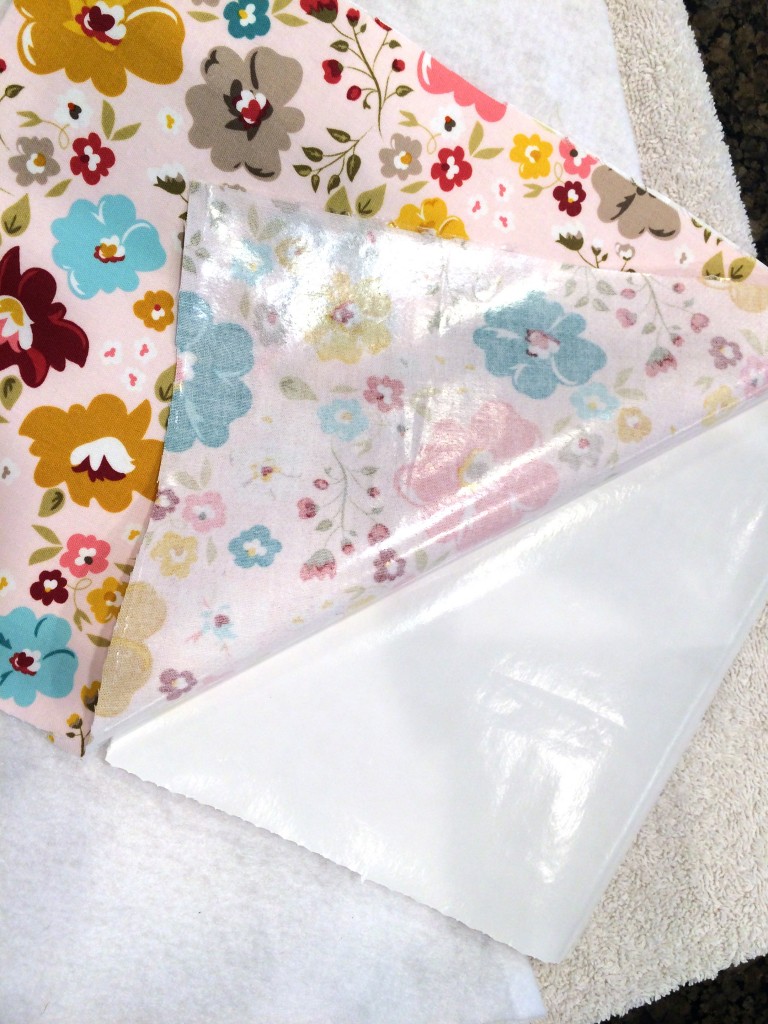
Peel off the backing paper and iron it to the felt.  Be careful when ironing to polyester felt, it can shrink and melt.  Place the iron on the fabric side and only press until the felt is adhered.

IMG_3858

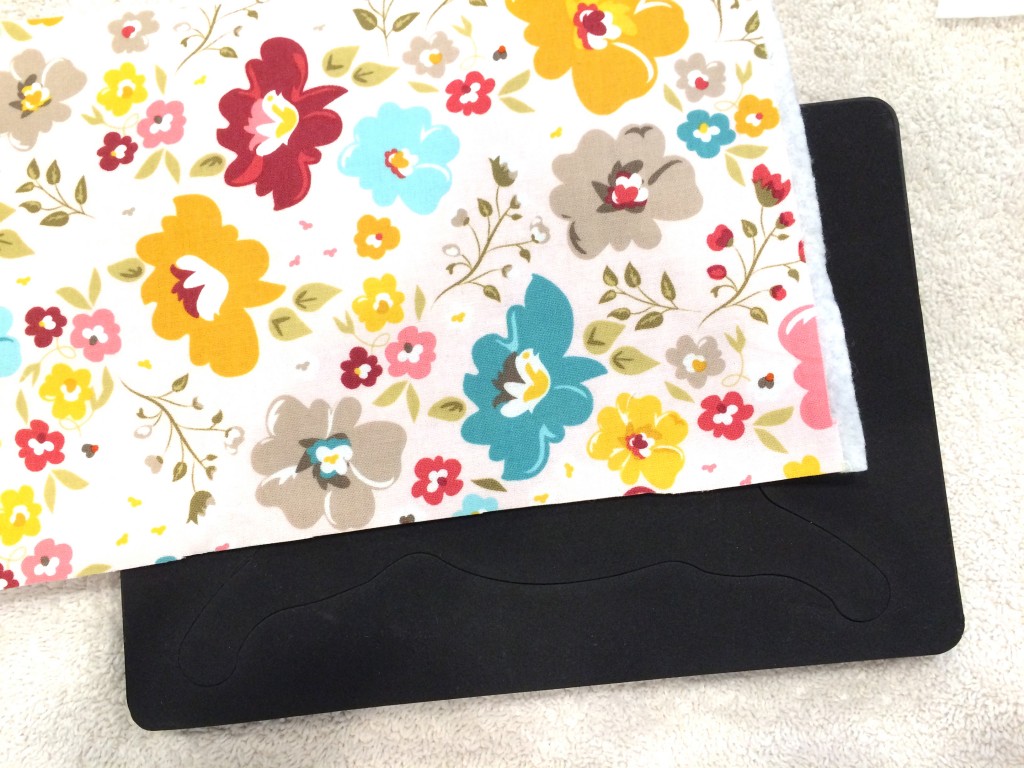
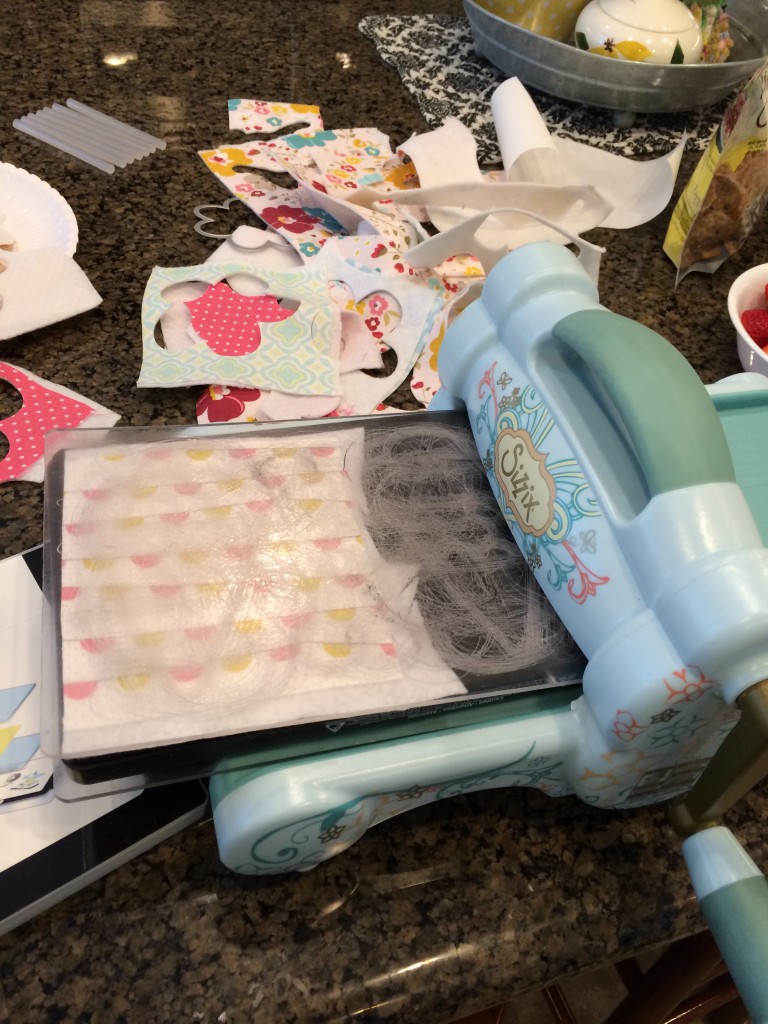
Trim the piece to fit on the Sizzix die.IMG_3859


Run it through the Big Shot Machine.bunny easter garland 5

Do the same thing with the flower pieces.IMG_3860

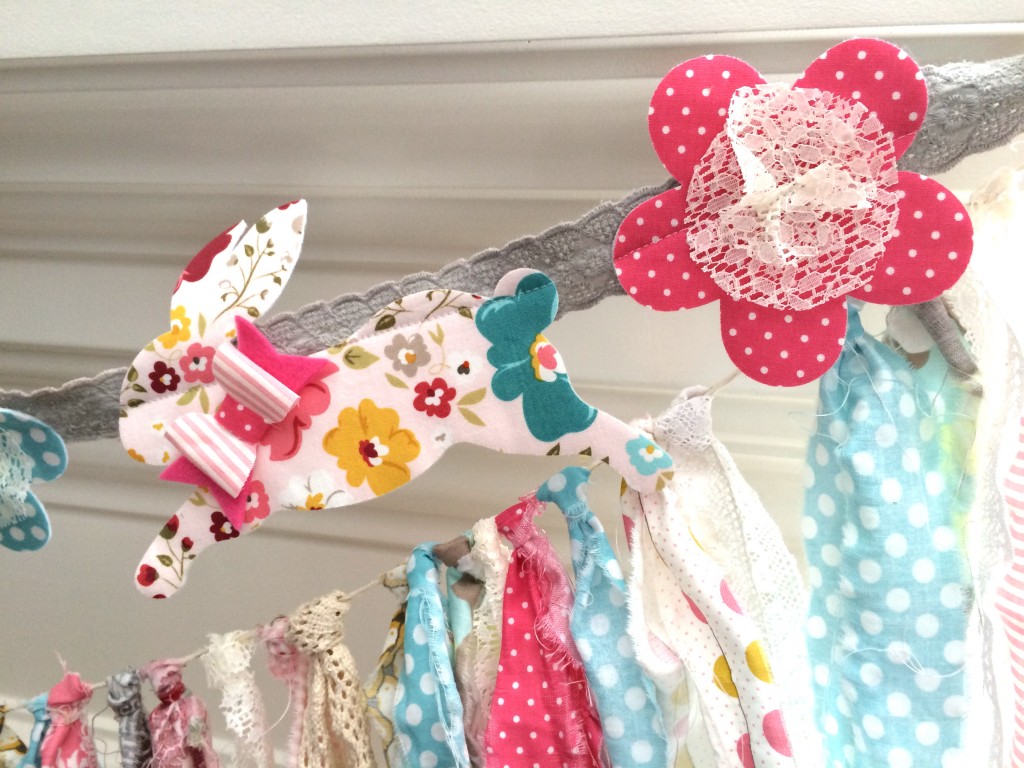
Once all the pieces are cut out, lay them on the desired length of lace.  Pin in place and sew using a straight stitch.  Make sure the bunnies are positioned just so the sewing catches the top of their back, if the bunnies are too high, they will flip over and hang upside down.  The same with the flower, make sure they are bottom heavy.  Once you have the shapes sewn to the lace, add the flower centers and bows.  The flower centers are made by cutting 2 pieces of lace in a 2.5″ or so circle.  Gather a little and tack down with the sewing machine.

bunny banner 5

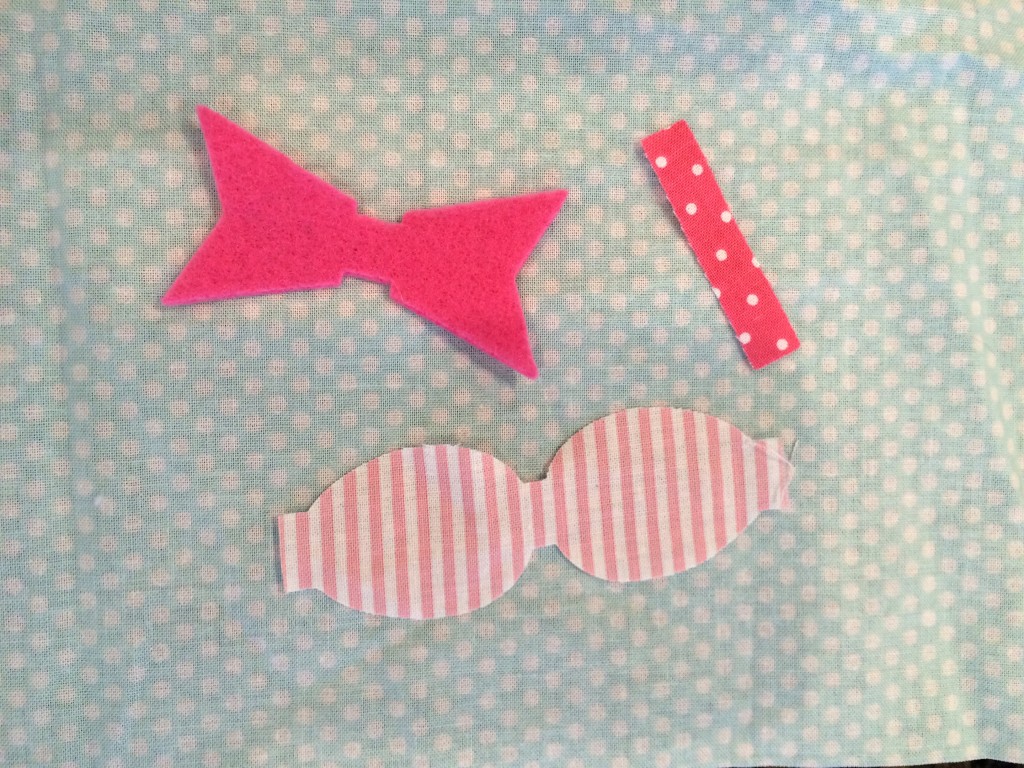
To make the bows, I used the Sizzix bow die.  I cut the background piece with felt, the “loops: with striped fabric and the center with dots.  I glued them together.  You can use hot glue if you like burning your fingers, or may I suggest Fabric Fuse for a burn free way of gluing fabric 🙂
bunny banner1

Glue the bow to the bunny.

bunny banner 9

bunny garland 2

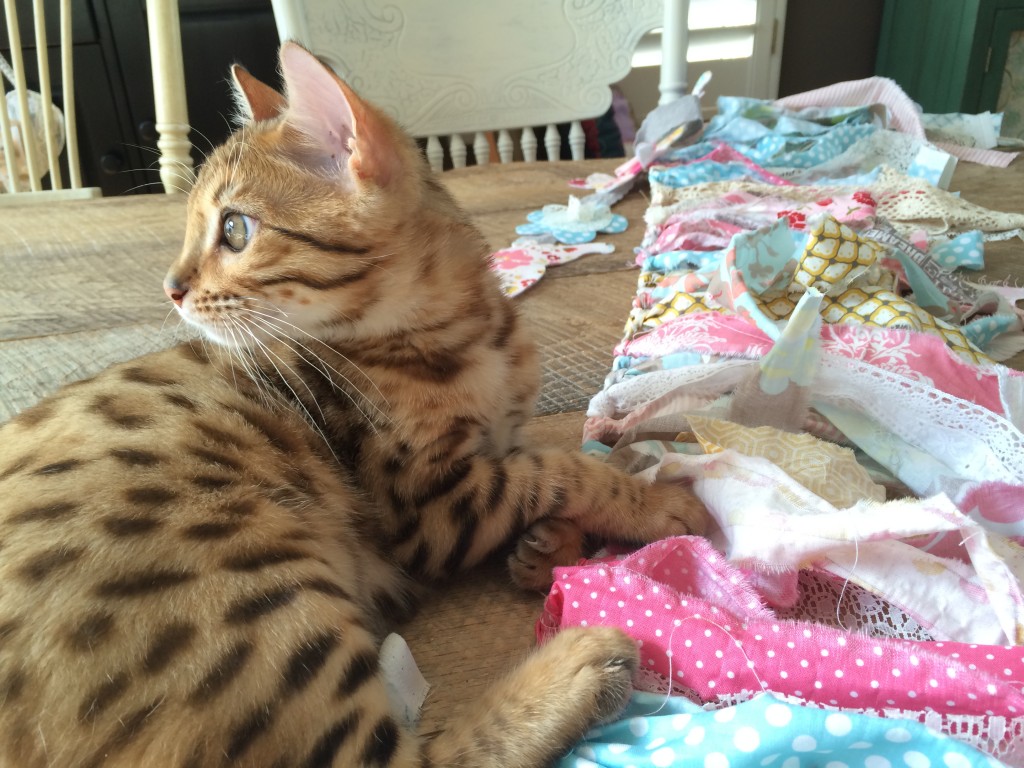
Baby Mufasa always loves helping 🙂

bunny garland 3

For the scrappy fabric garland, rip 1.5″ x WOF strips of fabric.  Each strip will give you 2.  Cut the strip in half and tie the fabric to the cotton twine.  You can also add in lace, ribbon, etc.  Keep tying and tying and tying!  My friend ties the end of the twine to her foot.  I found it helpful to tie the end of the twine to a door knob, you need to be able to pull the twine tight.

I like how the two look layered together.
bunny banner 3

You can also add a little space between them.

bunny banner 7
bunny banner 8

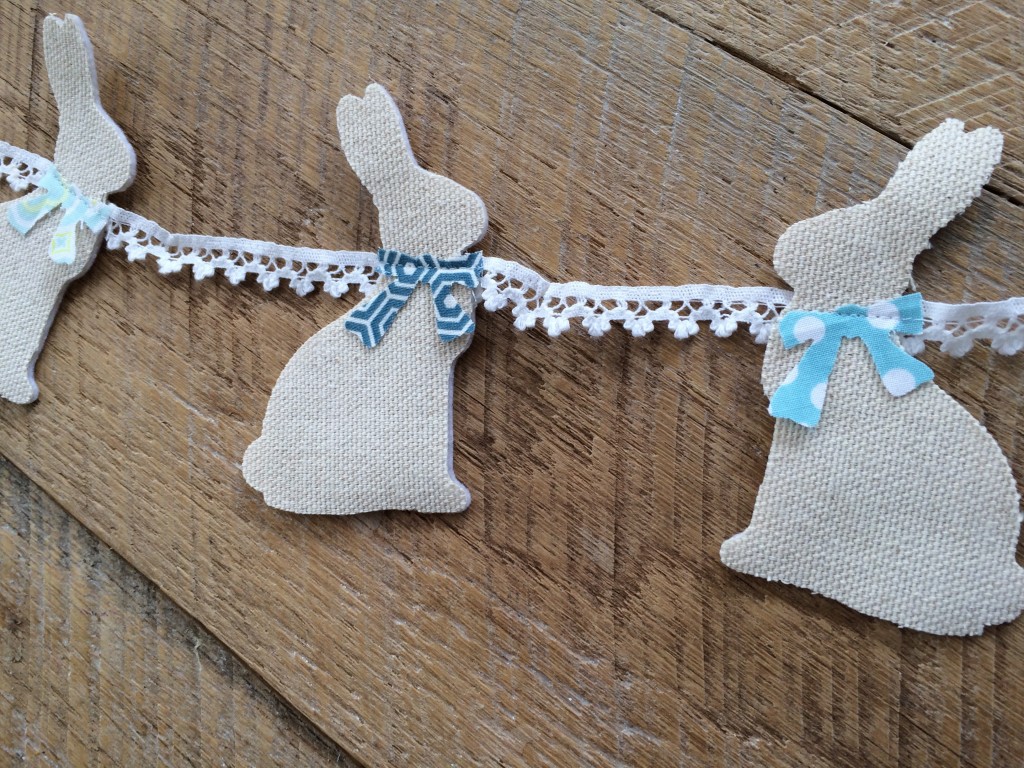
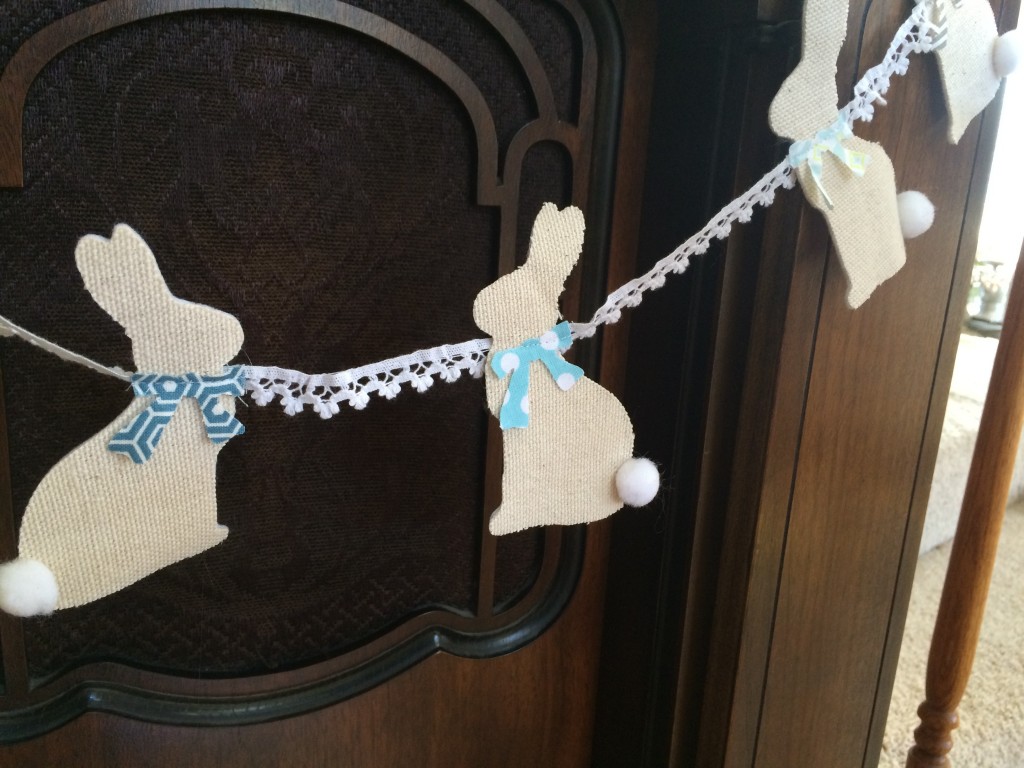
I have another Sizzix rabbit die – it’s a sitting rabbit.  I made this smaller garland the same only used a cotton canvas for a neutral bunny.  I might add some pom pom tails!
bunny banner 13


Ok, I just glued the pom pom tails on and I LOVE it!bunny garland 4

I found this cute Easter printable from Yellow Bliss Road

bunny garland

Heat & Bond One Direction Concert T-Shirts

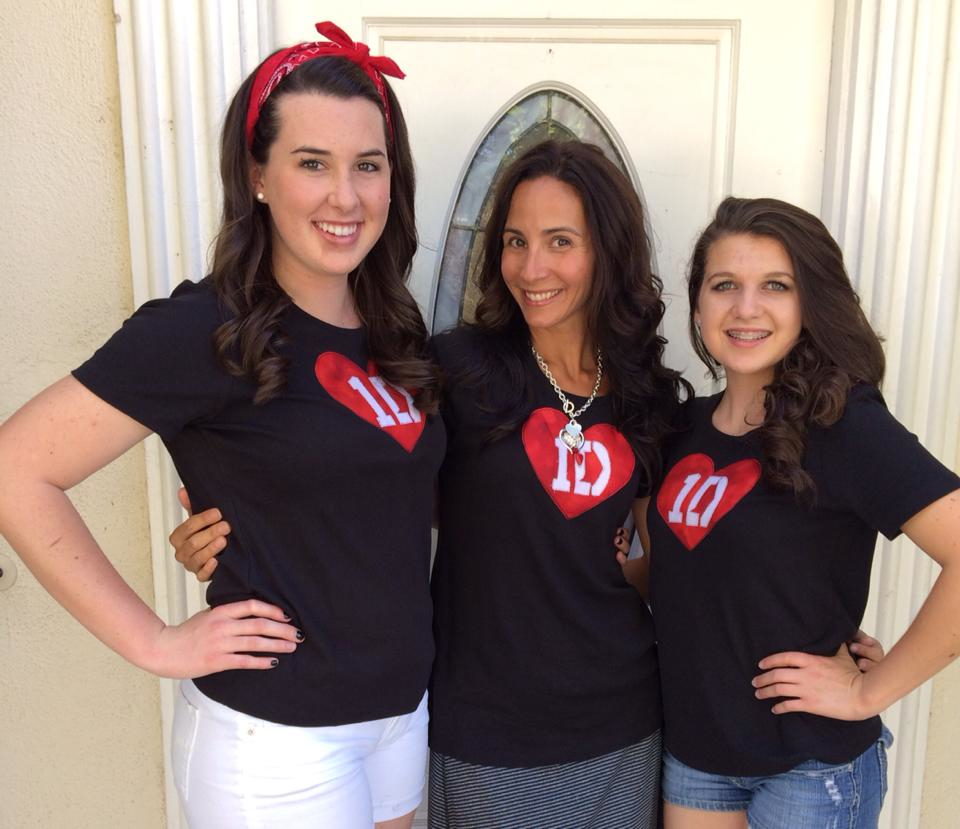
one direction concert t-shirt_7

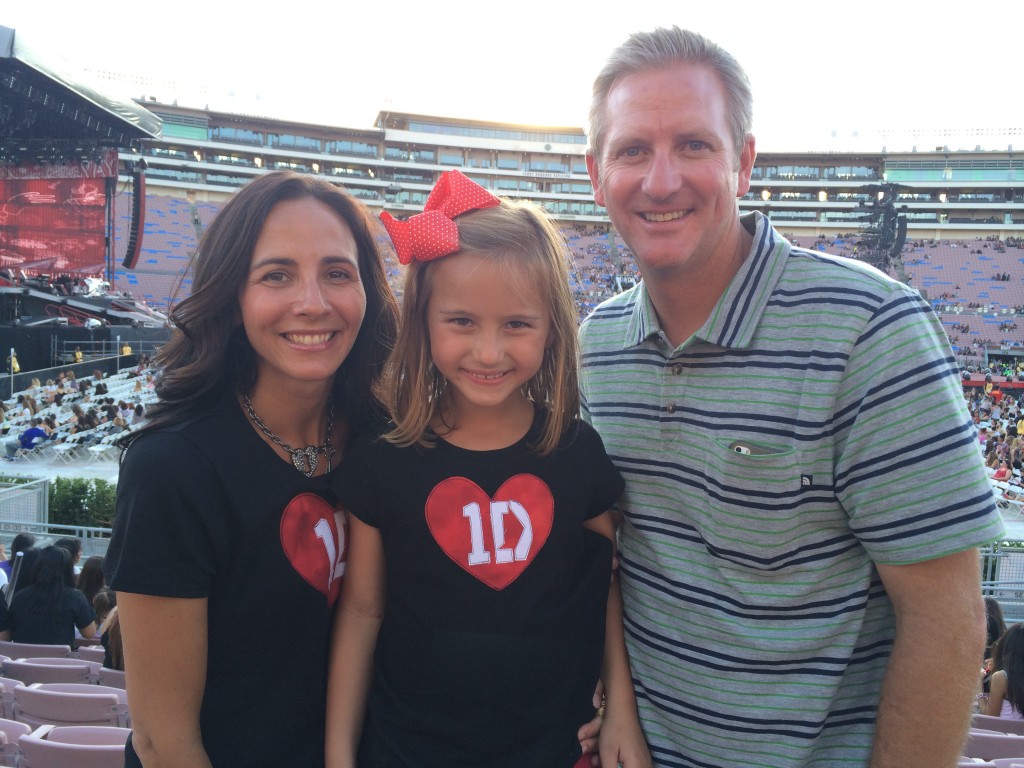
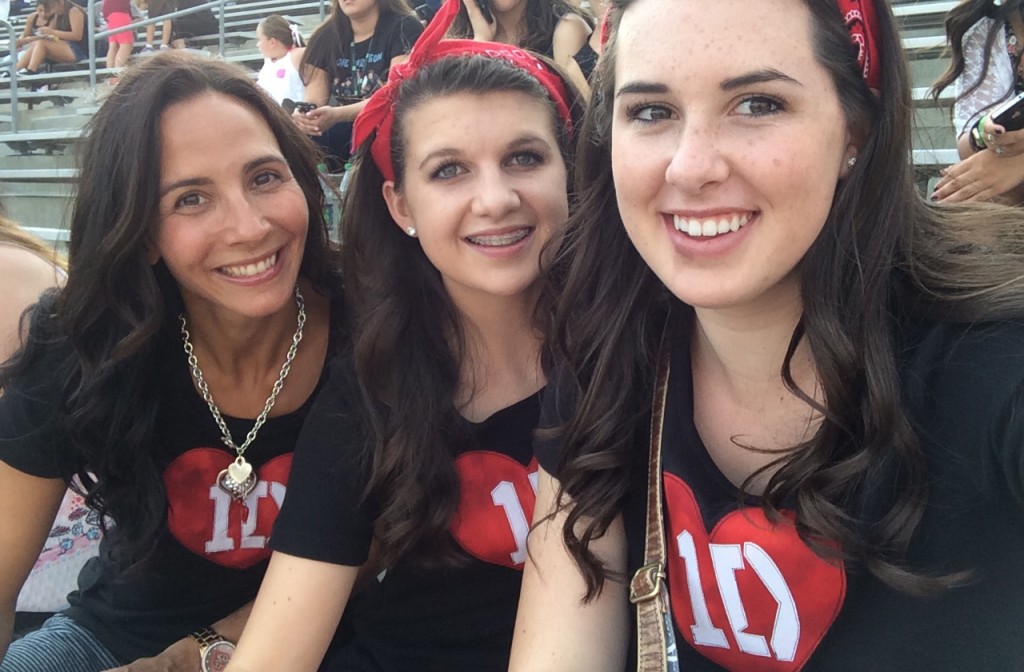
In celebration of One Direction’s  release of their new song, Steal My Girl, I thought I would share how to make your own 1D concert T-shirt.  I love going to concerts and we always make some kind of fun T-Shirt to celebrate the occasion.  (click HERE and HERE for Taylor Swift Concert T-shirt ideas) A few weeks ago One Direction was playing at the Rose Bowl so my husband and I took our 6 year old daughter.  To quote her, “This is my dream come true!”

Then the following night I took some cute girls (so their moms wouldn’t have to go) and we rocked out!  Yes – I am officially a One Direction Groupie!

DIY one direction concert t-shirt 2

Here is how you can make your own shirt!!

Supplies:

Small piece of red fabric

Small piece of white fabric

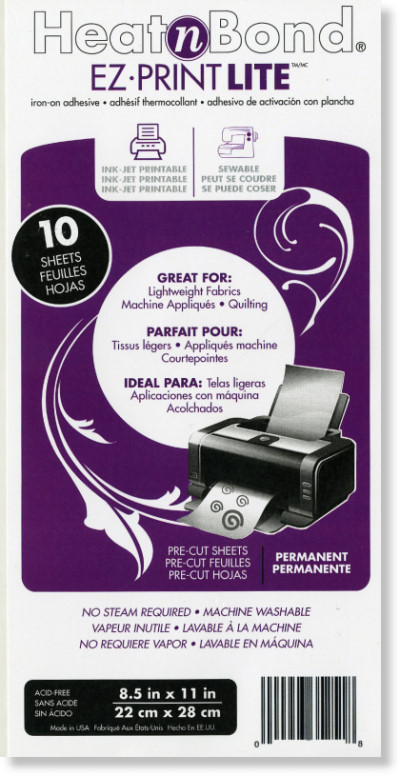
Heat n Bond Lite EZ print sheets

Black T-Shirt

Begin by printing a heart and 1D logo in reverse onto the EZ Print Lite sheets.  These sheets are great because you can run them through your printer and not have to draw the pattern.  I created the heart in MS Word and googled the 1D logo – easy peasy!  Once you print the images, roughly cut out the heart about 1/4″ away from the heart.  Press the heart to the wrong side of the red fabric.  Do the same with the 1D.  Cut out the heart and 1D on the pattern lines.

HeatNBond_EZPrintLite

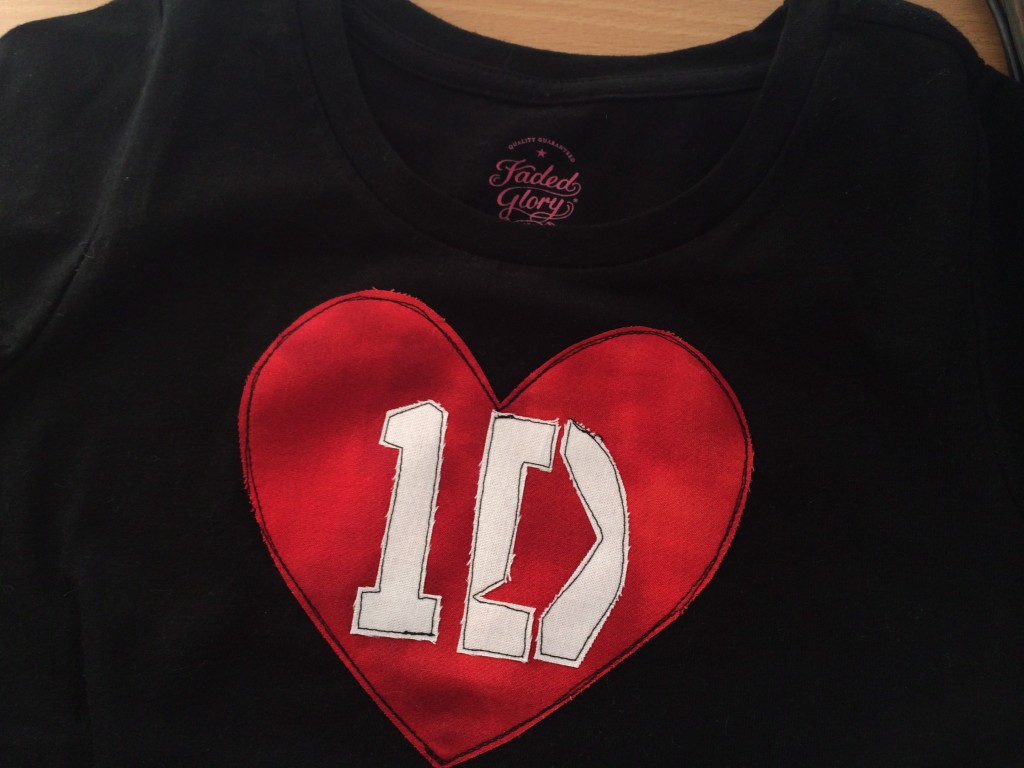
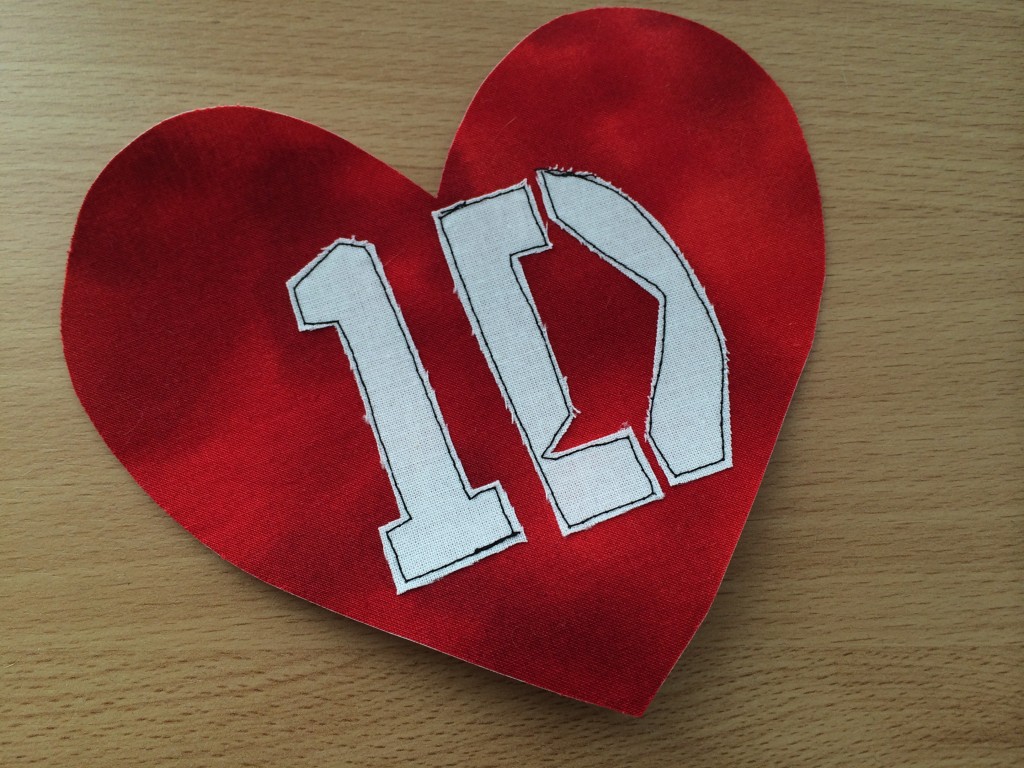
Next peel off the backing on the 1D and press onto the heart.  Leave the backing on the heart for now.
one direction concert t-shirt

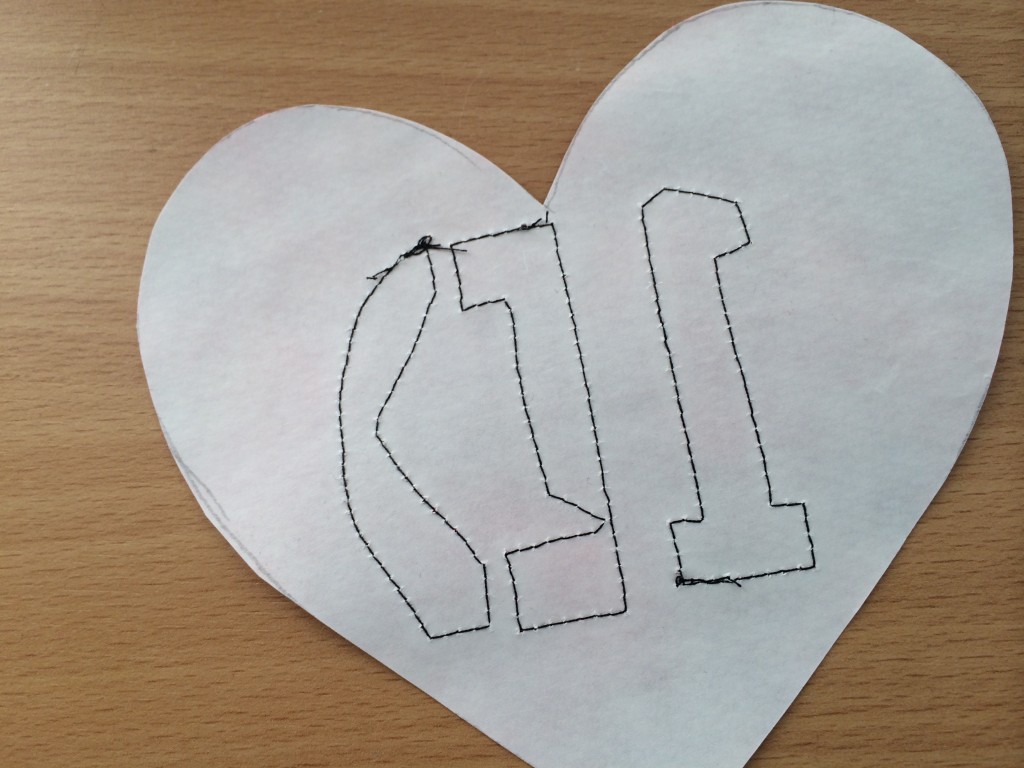
I thought it would be easier to sew the 1D and then iron the heart onto the T-shirt – it’s hard to maneuver a T-shirt in a sewing machine – especially a small, child’s t-shirt.  Sew around the 1D in black thread.

one direction concert t-shirt_3

This is how the back should look:
one direction concert t-shirt._2

Now, peel off the backing paper on the heart.  It may take a little time to peel off all the paper in-between the letters.  Now, press the 1D heart onto the black T-shirt.  Sew around the heart twice in black thread.one direction concert t-shirt._3


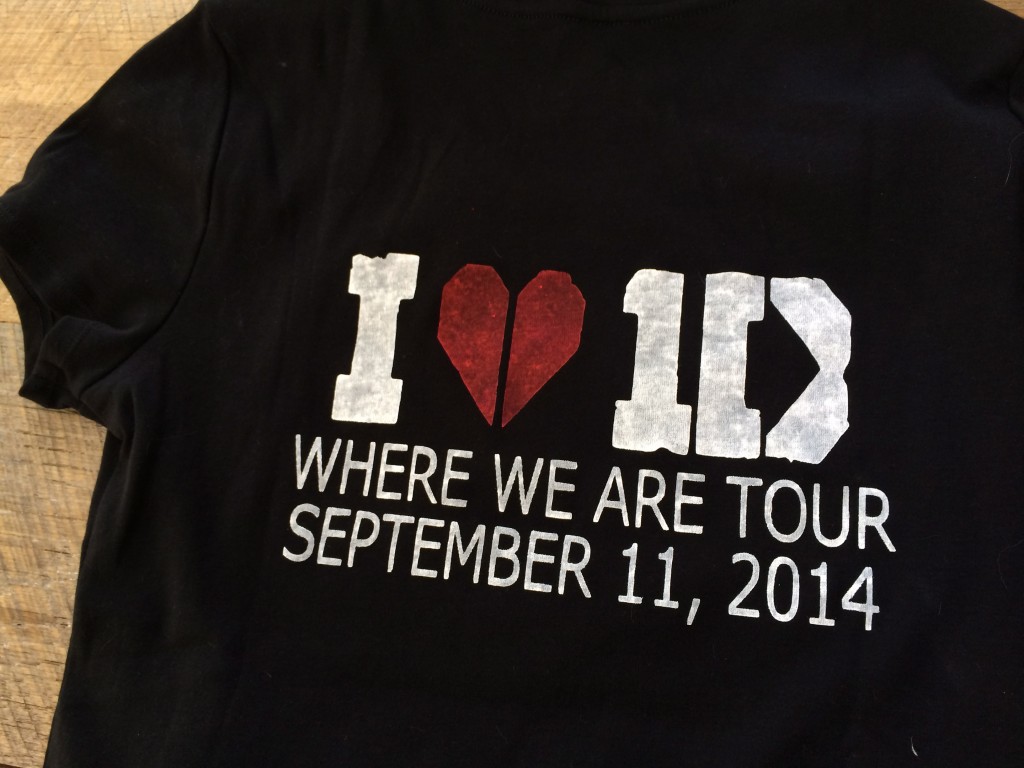
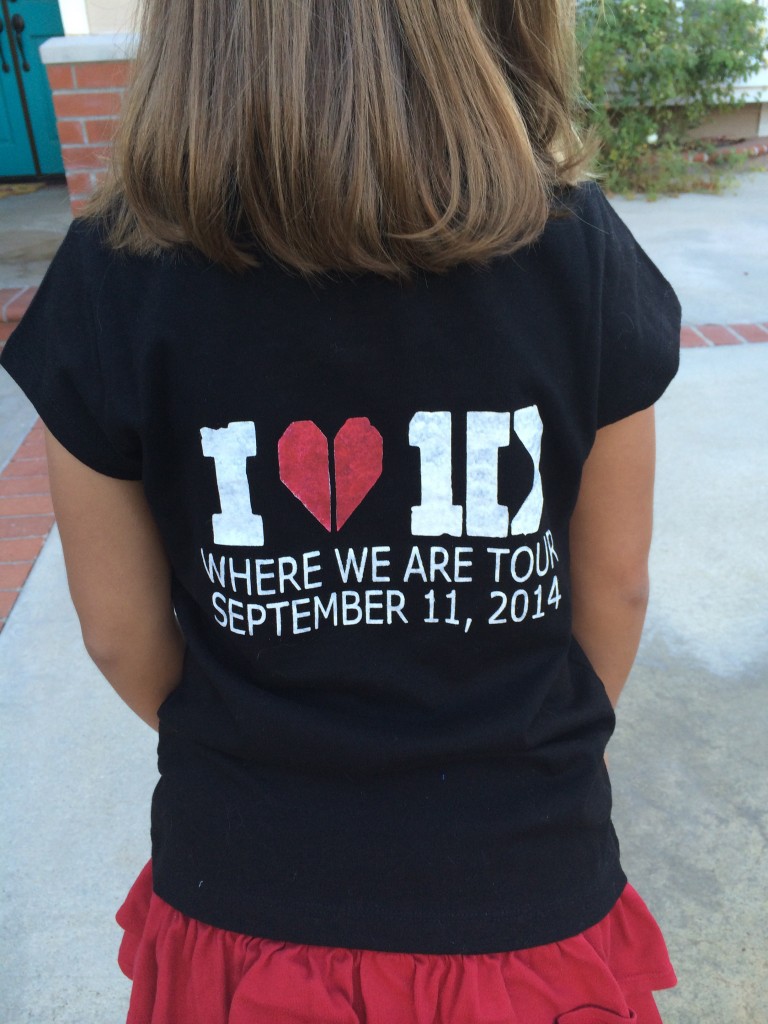
I love to personalize my concert T-shirts with the date of the concert.  I cut out the words on my cricut in vinyl.  Then I removed the letters to leave a “stencil”.  I put the vinyl stencil on the T-shirt and using a stencil brush and craft paint I stenciled the letters.  Let the paint dry completely then remove the vinyl.  It looks pretty good!!
one direction concert t-shirt diy

one direction concert t-shirt_5

DIY one direction concert t-shirt
one direction concert t-shirt_8
We had too much fun!  Here is a little video clip!!

1D Concert Clip