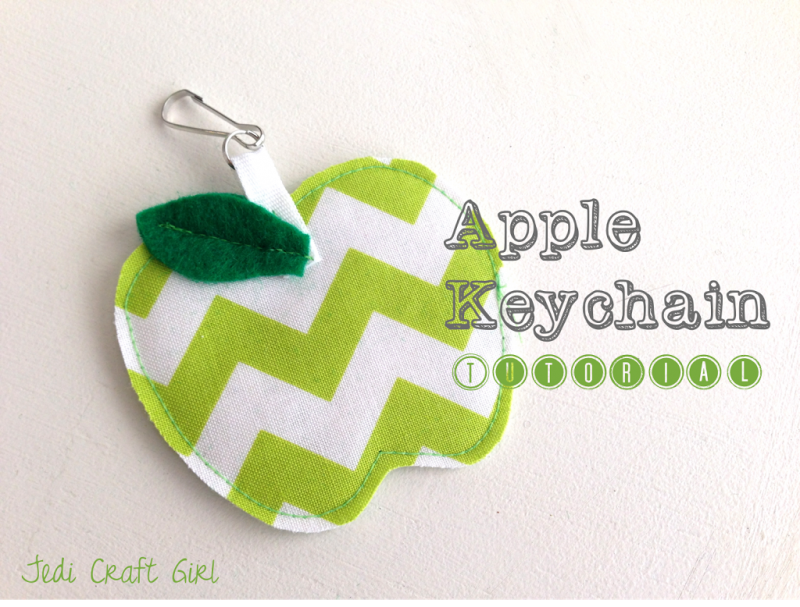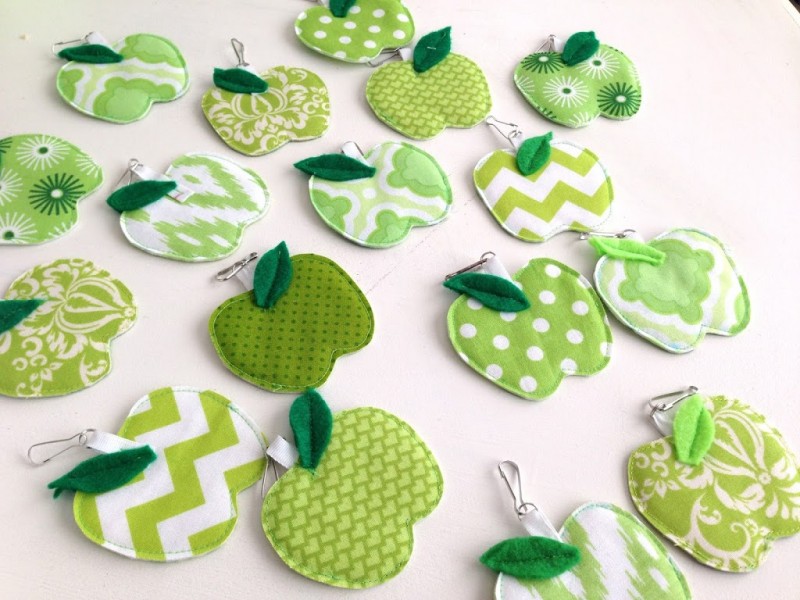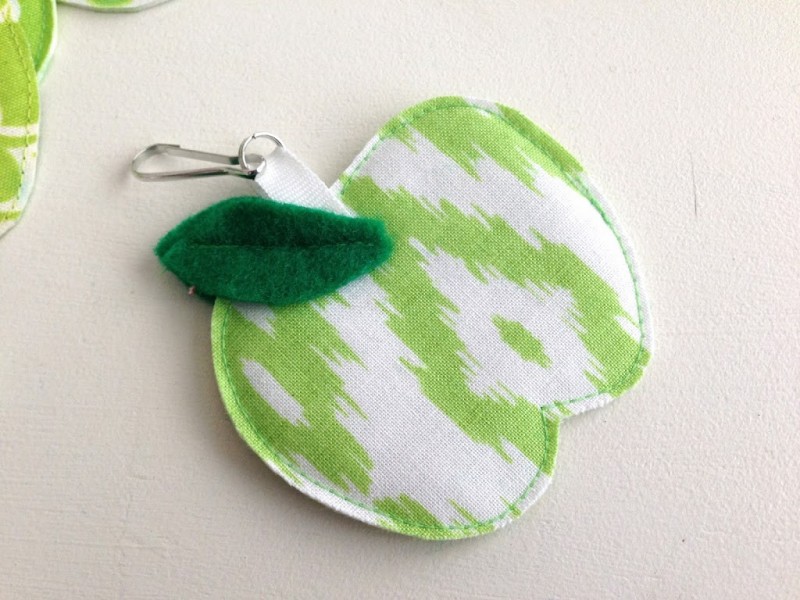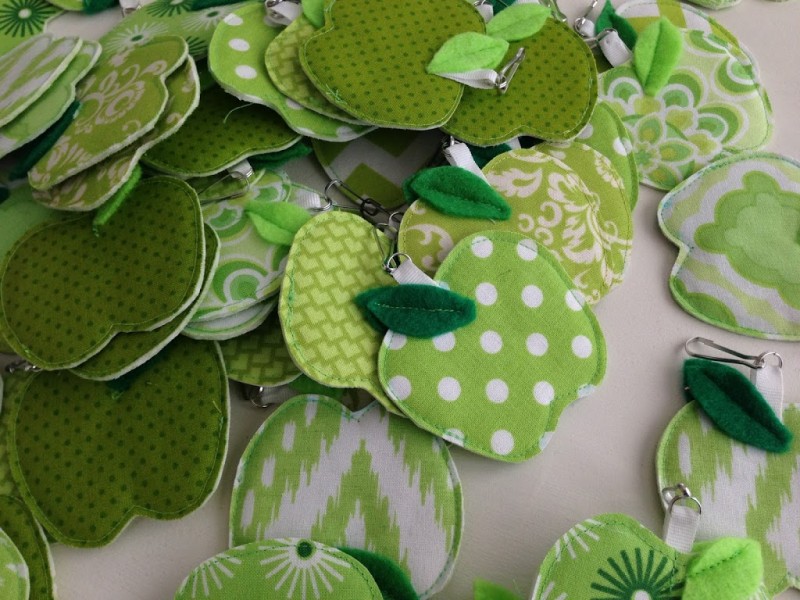
Apple Keychain Tutorial

9-Patch Big Block Quilt Tutorial
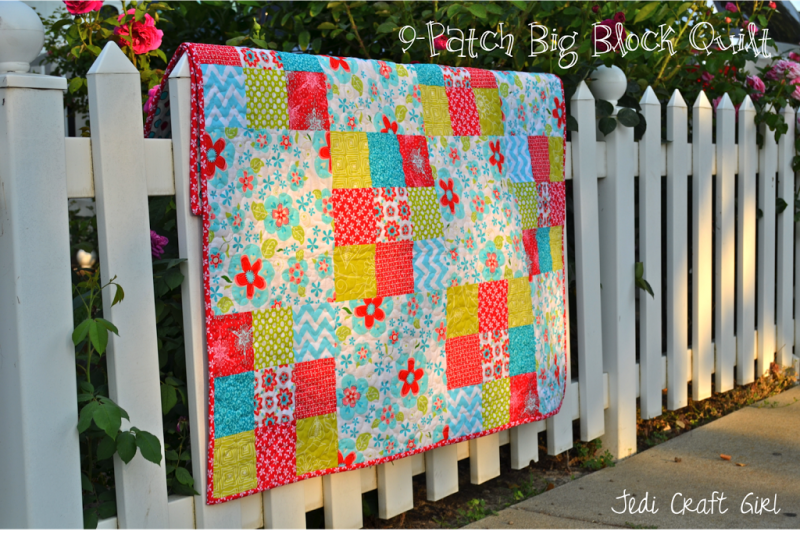
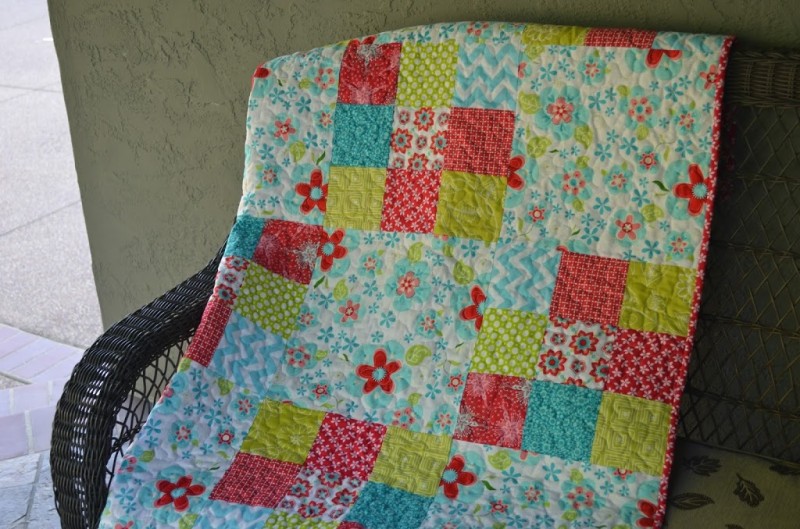
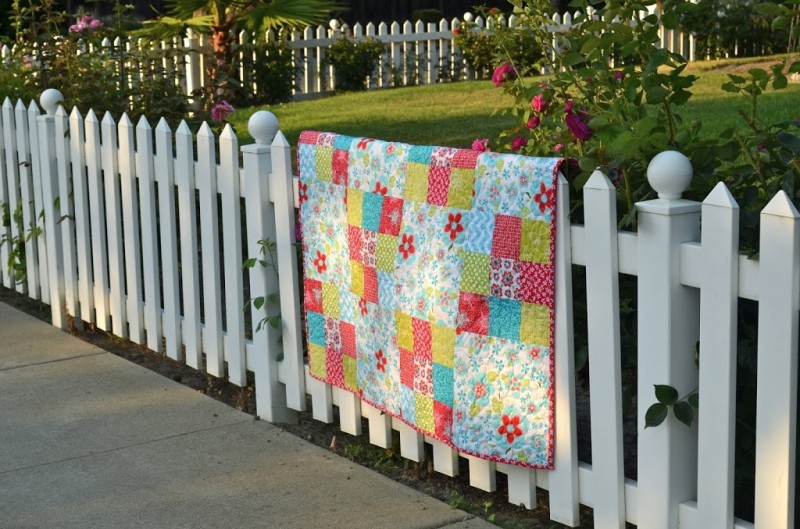
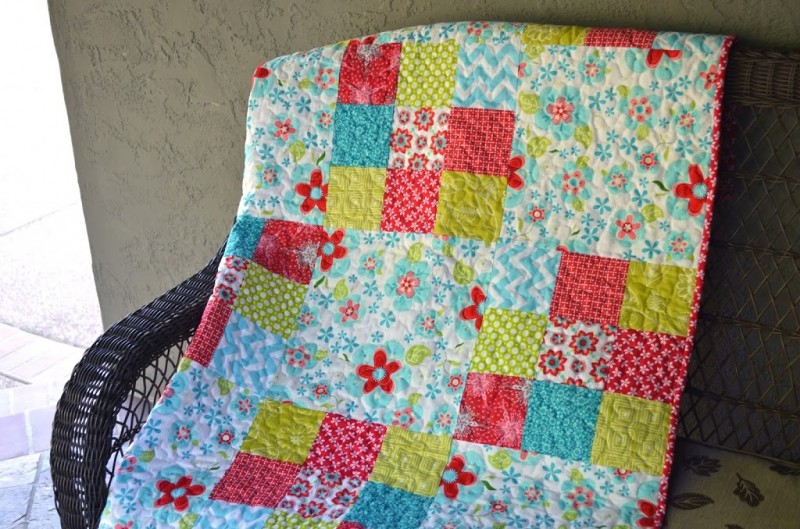
This quilt is made up of 9-patch blocks and plain blocks.
Quilt blocks measure 12″ finished
Make (10) 9-patch blocks
Cut (10) 12.5″ squares of theme print
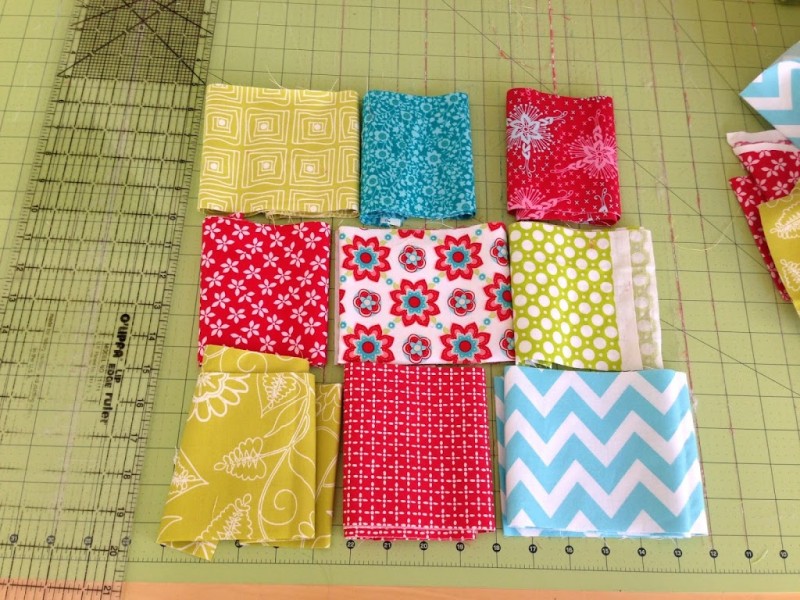
Select your fabrics and lay them out how you want them in the 9-patch. Cut them in strips of 4.5″x WOF
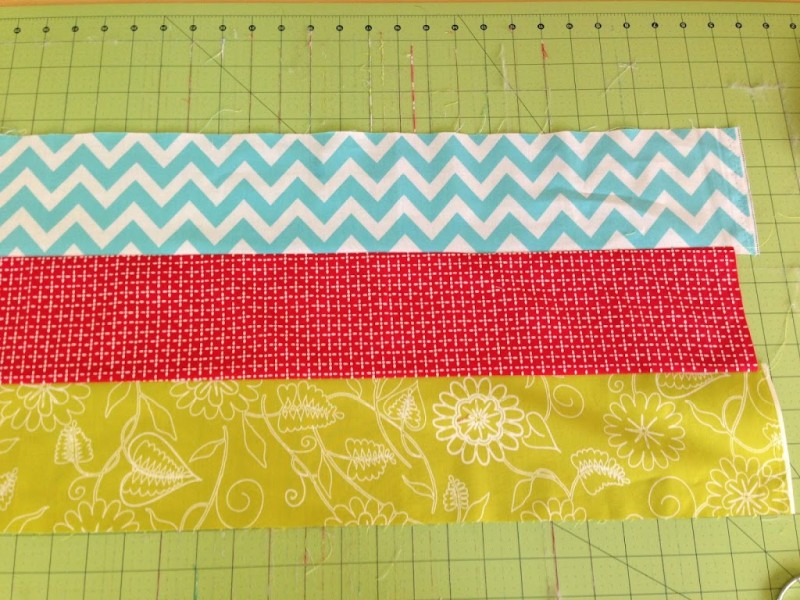
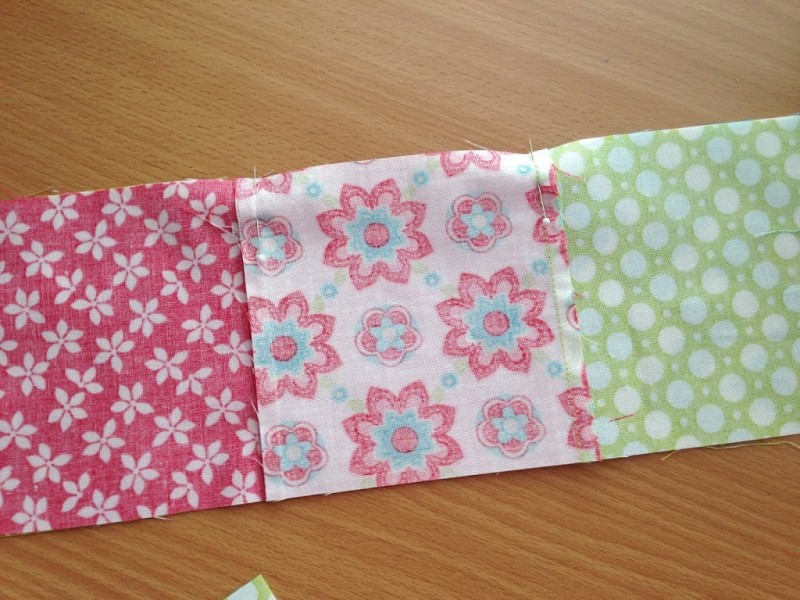
Sew them together in 3-strip sets: row 1, row 2, and row 3
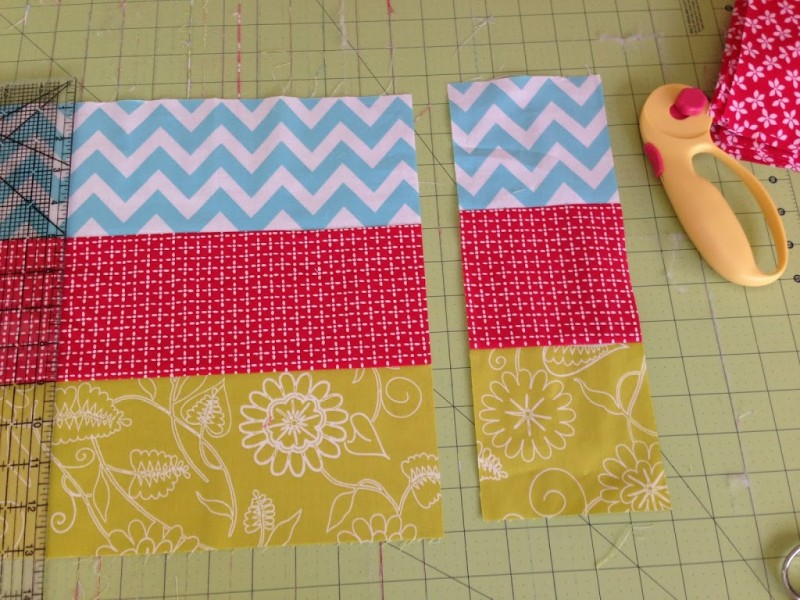
Press seams so they alternate for easy intersection pinning. Cut in increments of 4.5″
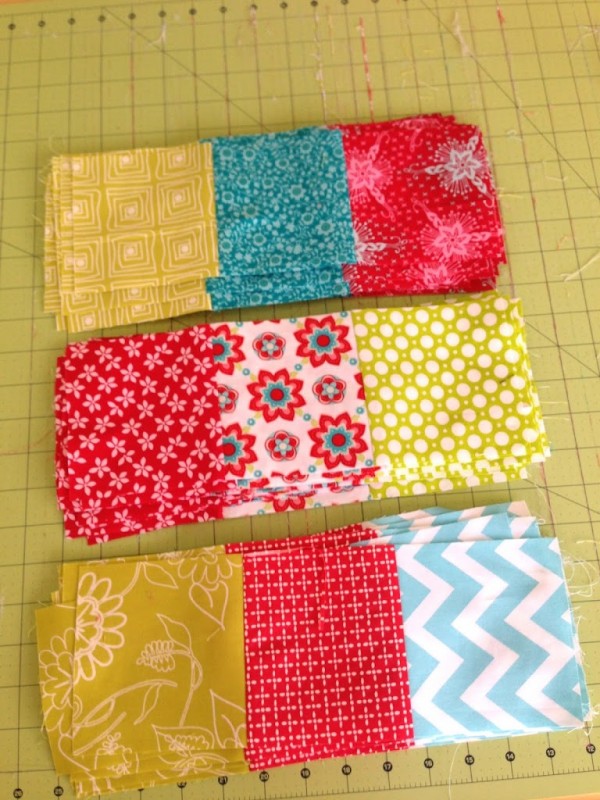
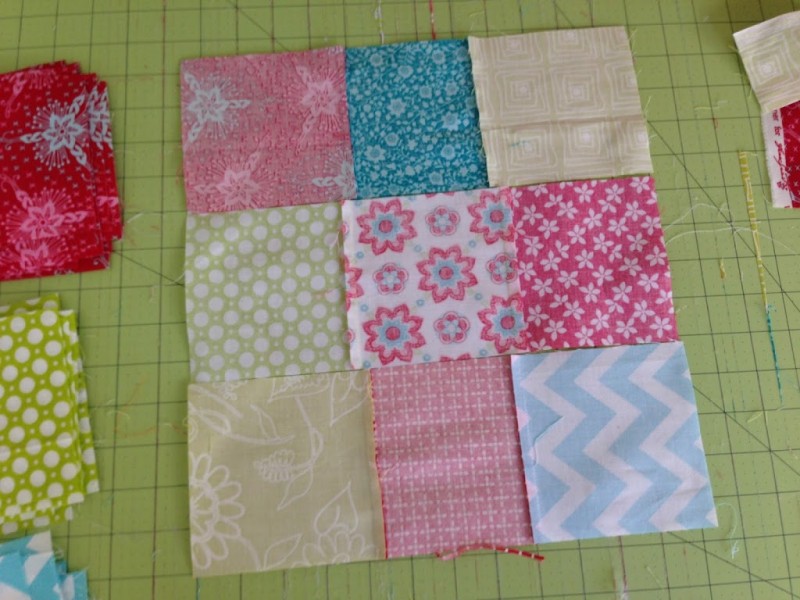
Do this with each of the strip sets until you have stacks that look like this:
Lay out your 9-patch blocks with your 12 1/2″ squares alternating. Sew them in rows and join rows together. This quilt is 4 squares across and 5 squares down.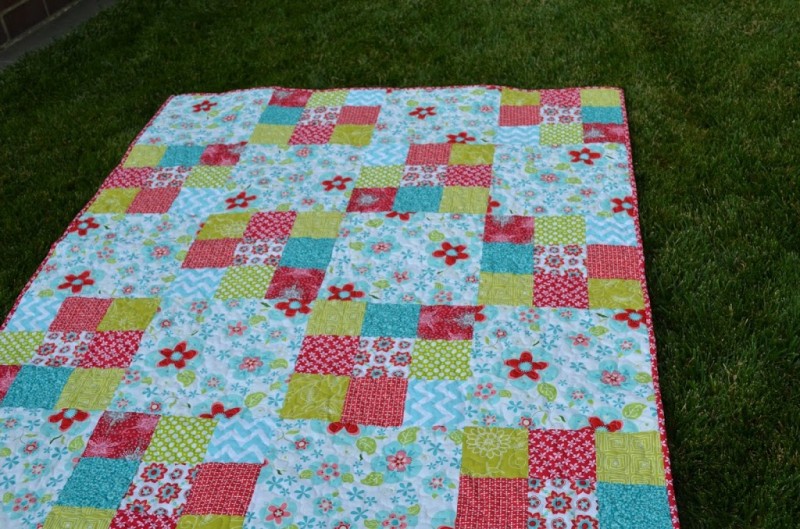

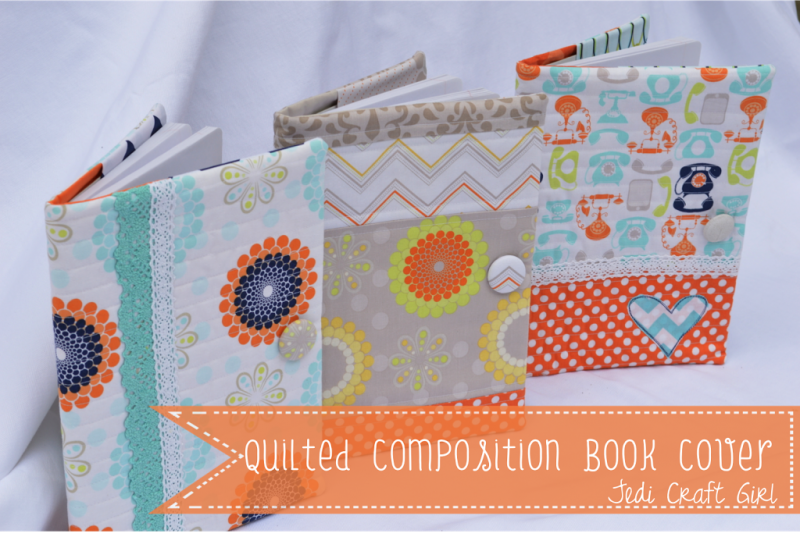
Quilted Composition Book Cover

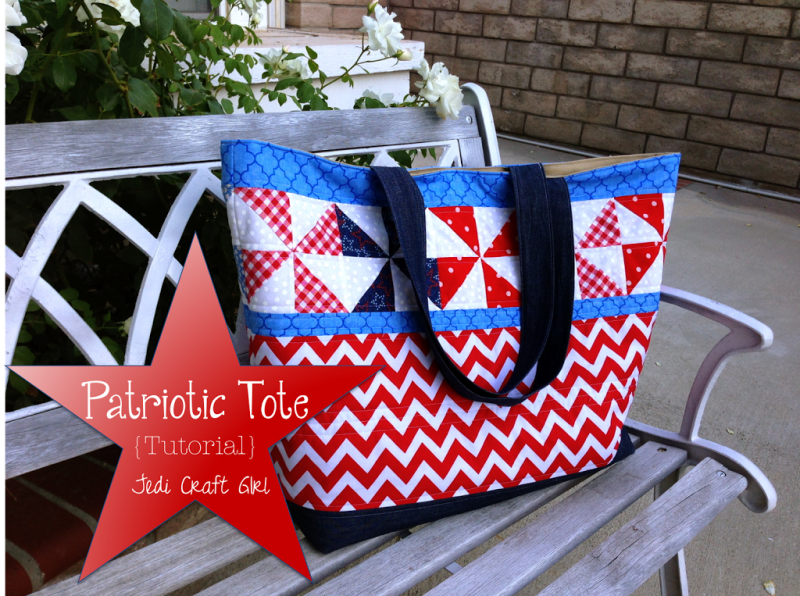
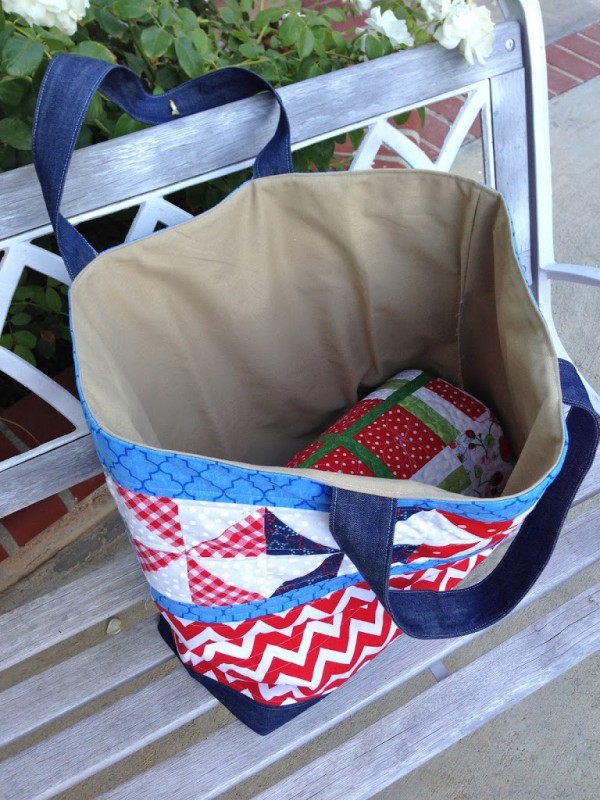
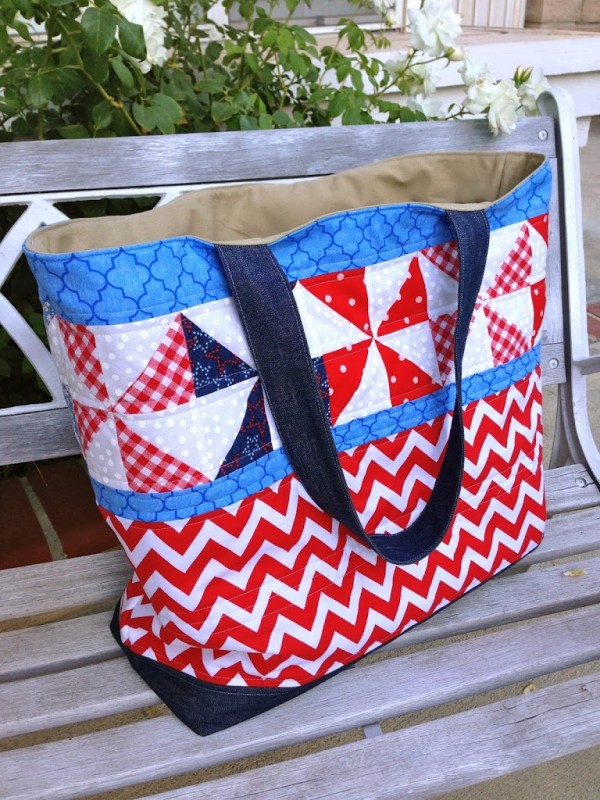
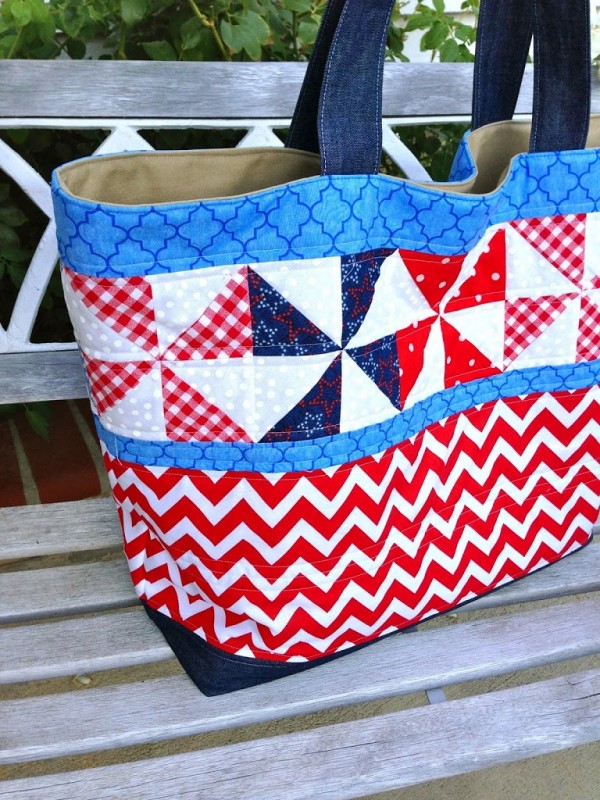
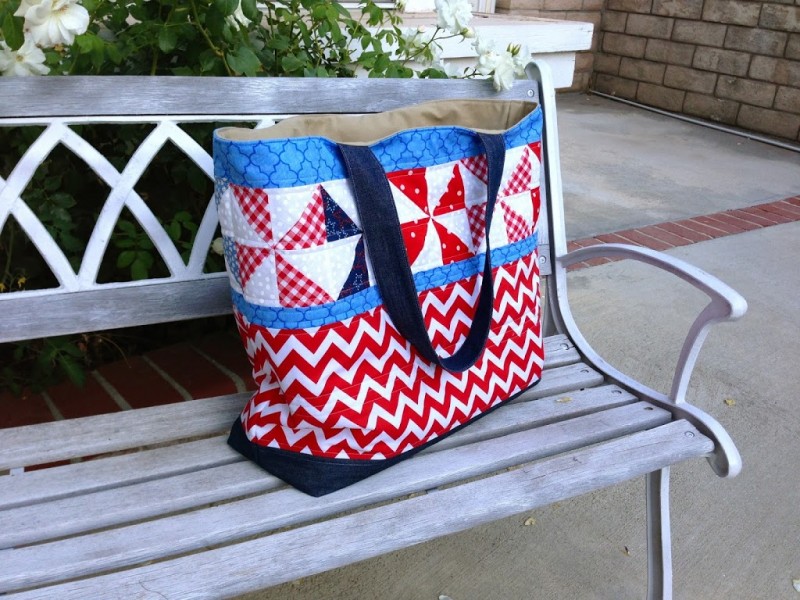
Patriotic Tote Bag Tutorial
Today my Patriotic Tote Tutorial is on the Therm O Web blog! Click here to read how you can make one of these fun totes for summer!! This tote is the perfect size for the beach, the pool, or the park.

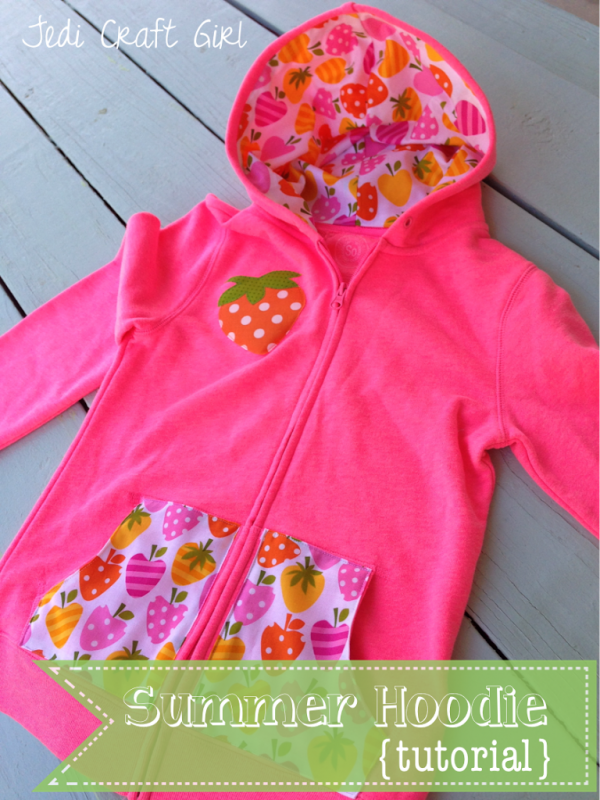
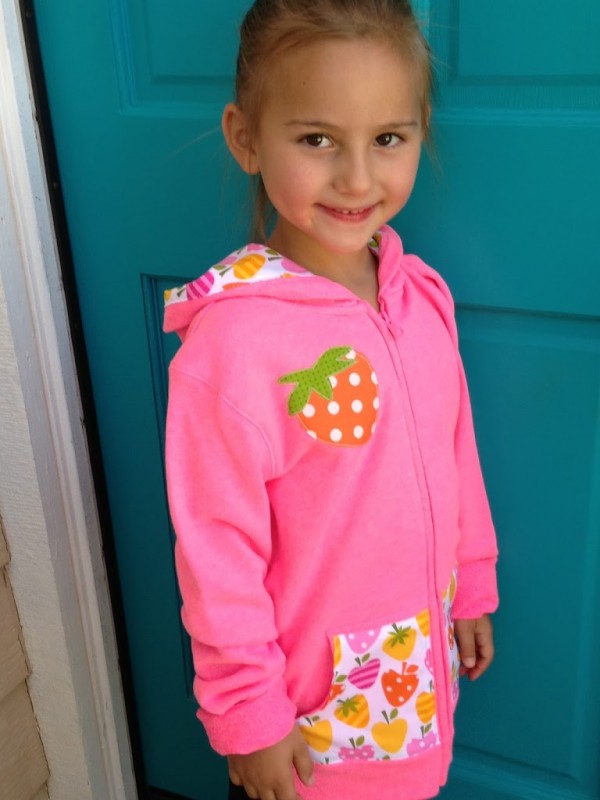
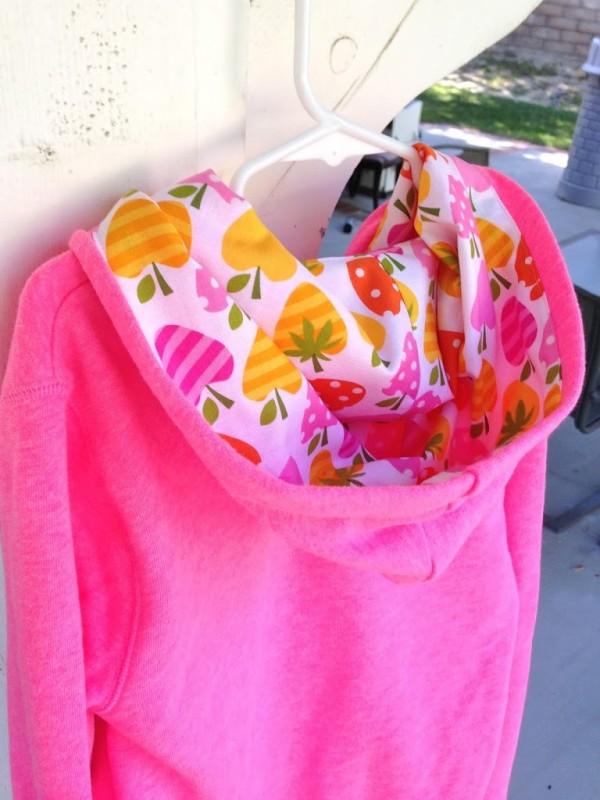
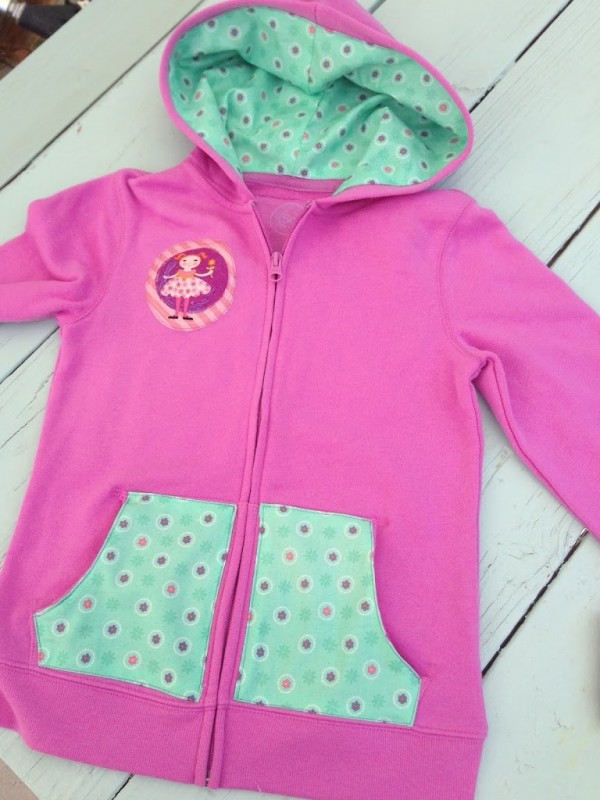
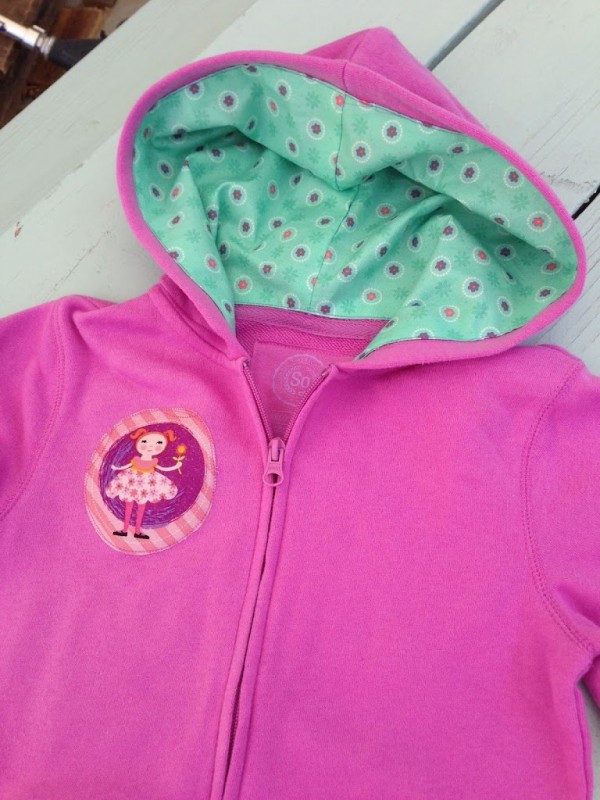
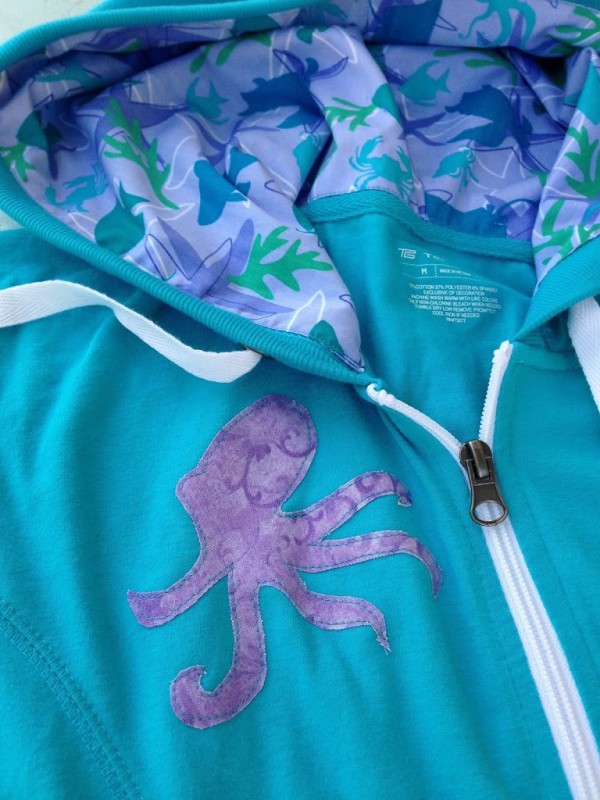
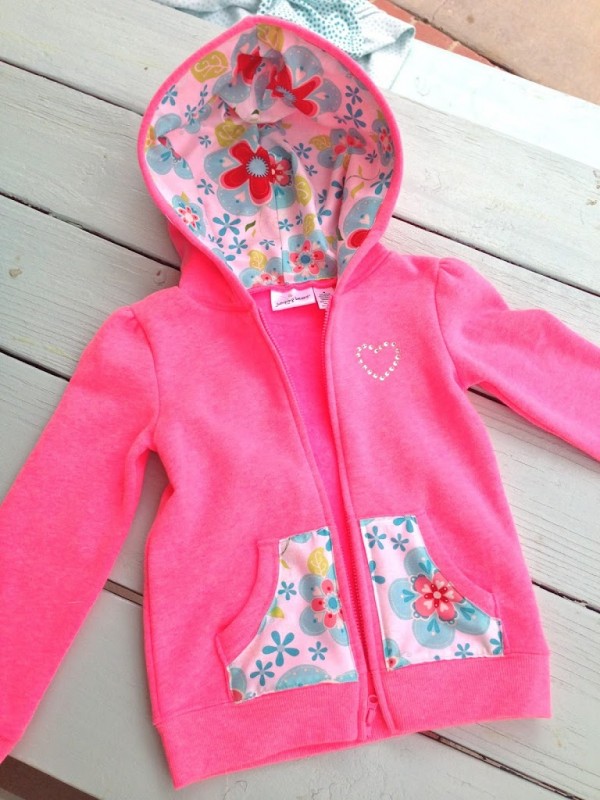
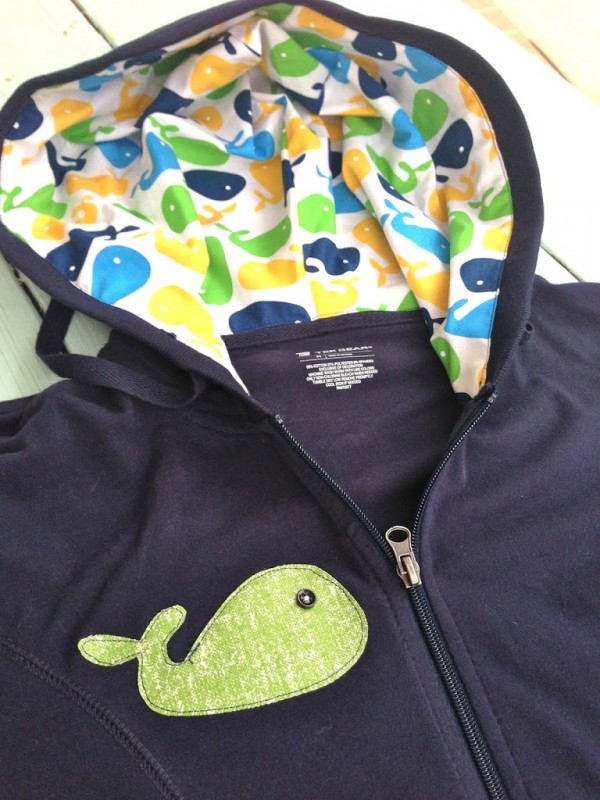
Summer Hoodie Tutorial

Vintage Kitty Pillow
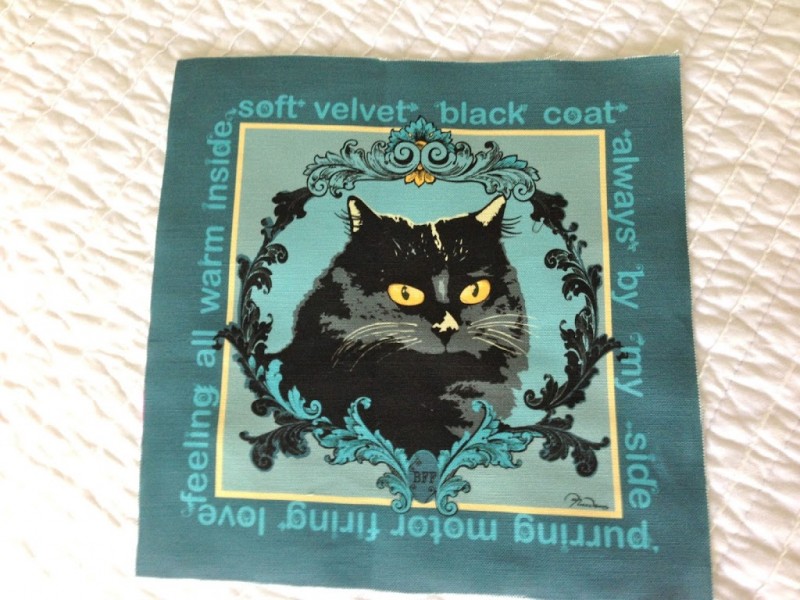
The day after my Toonces passed away, I was on Etsy looking at every item that had a black cat: fabric, clothing, jewelry, accessories, quilts, pillows, artwork, greeting cards….you get the idea – pretty pathetic! By the way, there are 37,221 items that come up when you search “Black Cat.” Anyway, I came across these fabric squares with original artwork of different breeds of cats. And one of them looked exactly like Toonces!
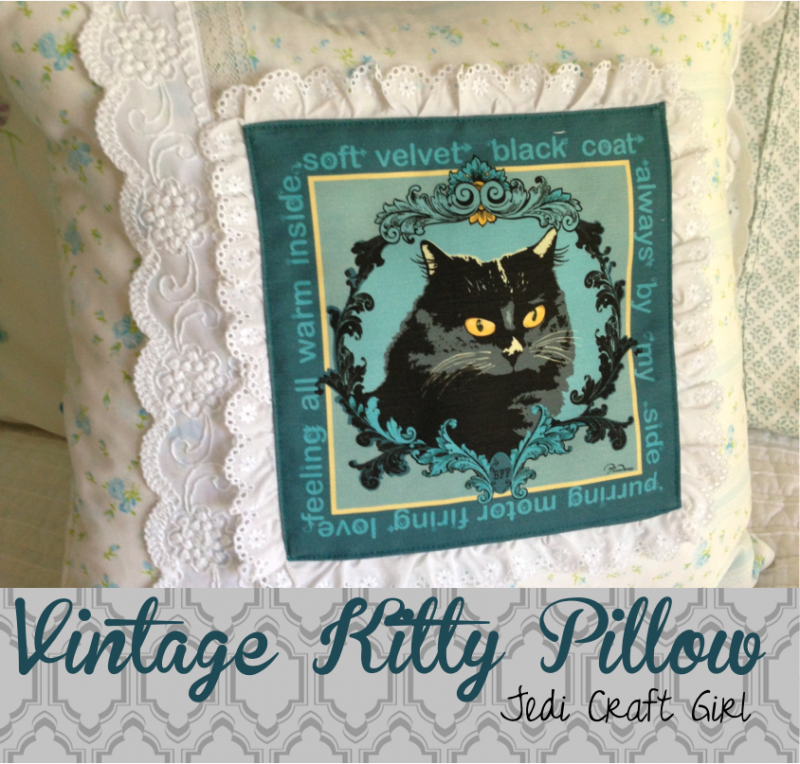
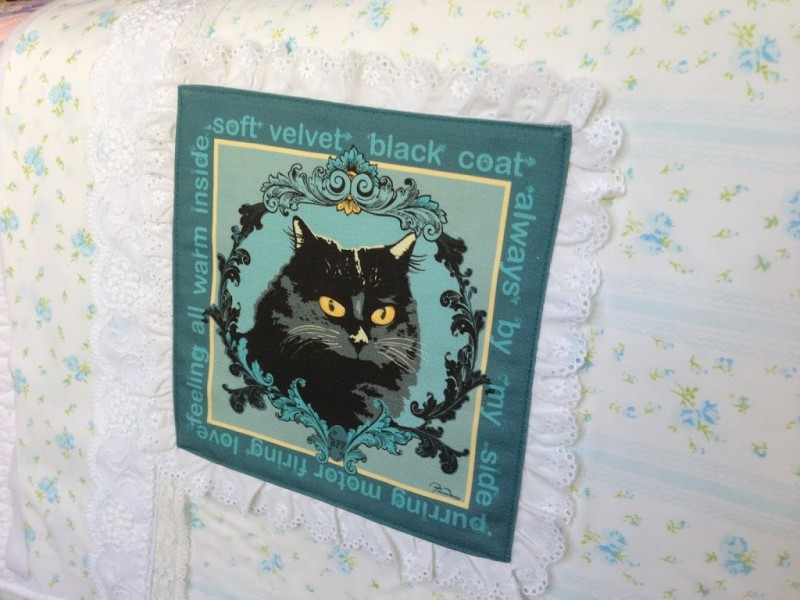
Isn’t it cute! I love what is says around the image:
Soft velvet black coat
Always by my side
purring motor firing love
feeling all warm inside
I had to have it! I contacted the seller to ask a few questions and you will never guess what….she lives 2 miles from my house! So I arranged to pick the items up so we could meet!
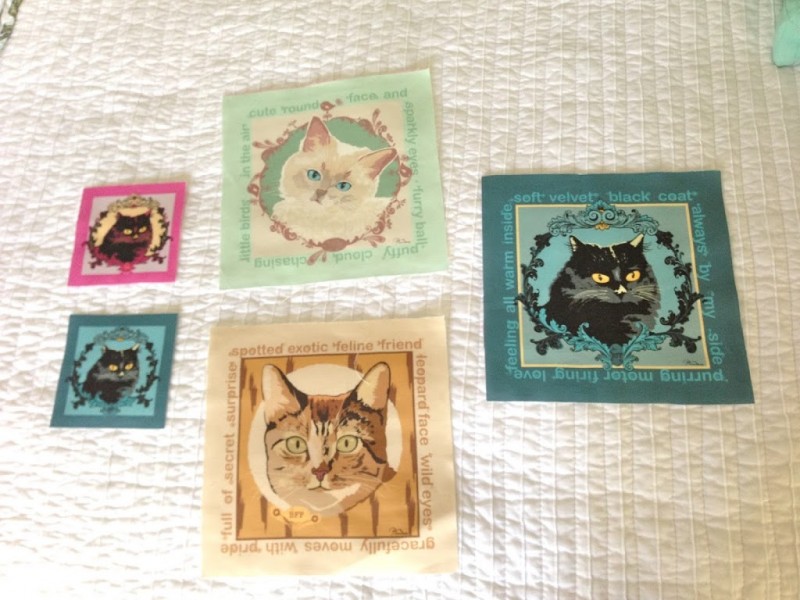
Her name is Maria Nicodemus. She paints these beautiful pictures of kitties and has them printed on high quality canvas-like fabric. You can find her Etsy shop HERE or her blog, Ginger Eyed, HERE.
Here are some of her creations:
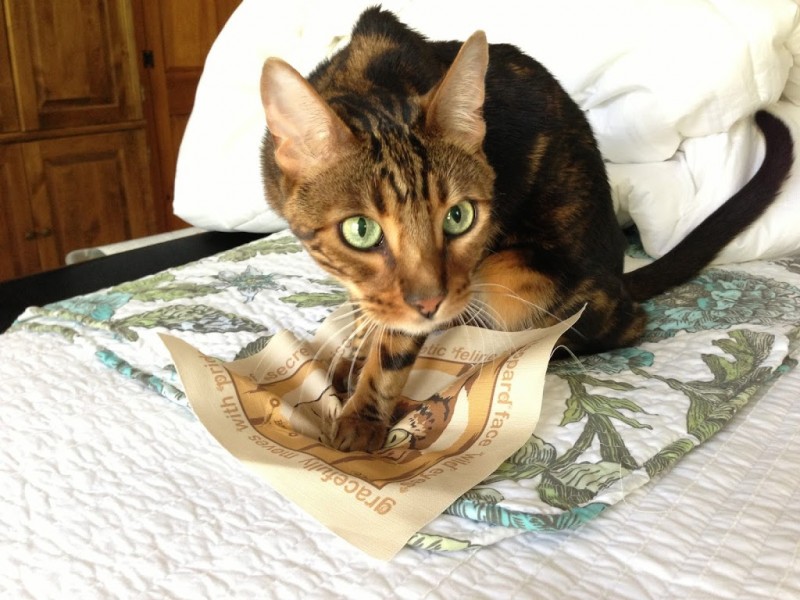
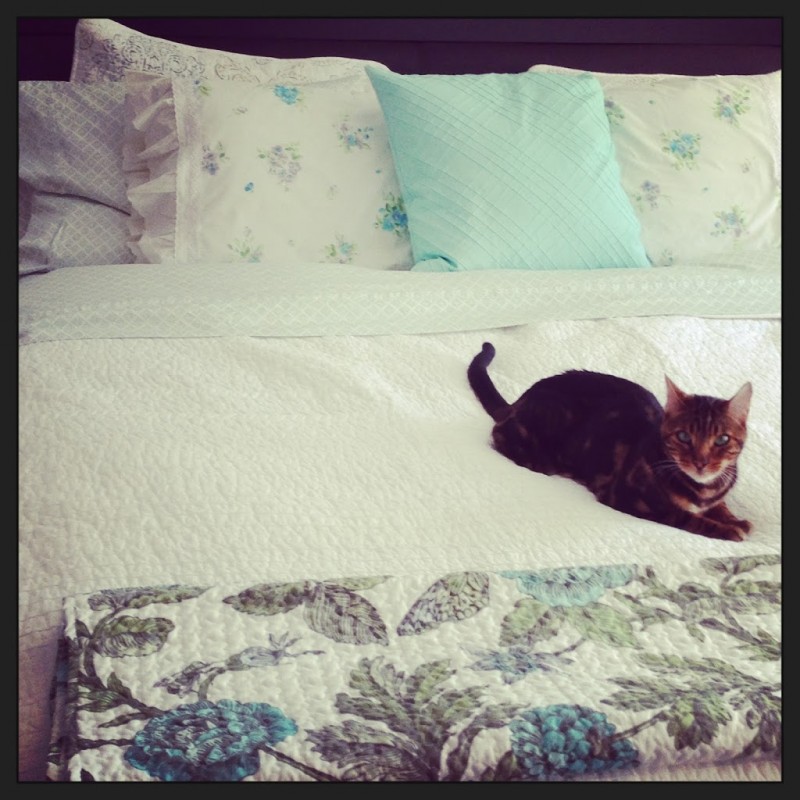
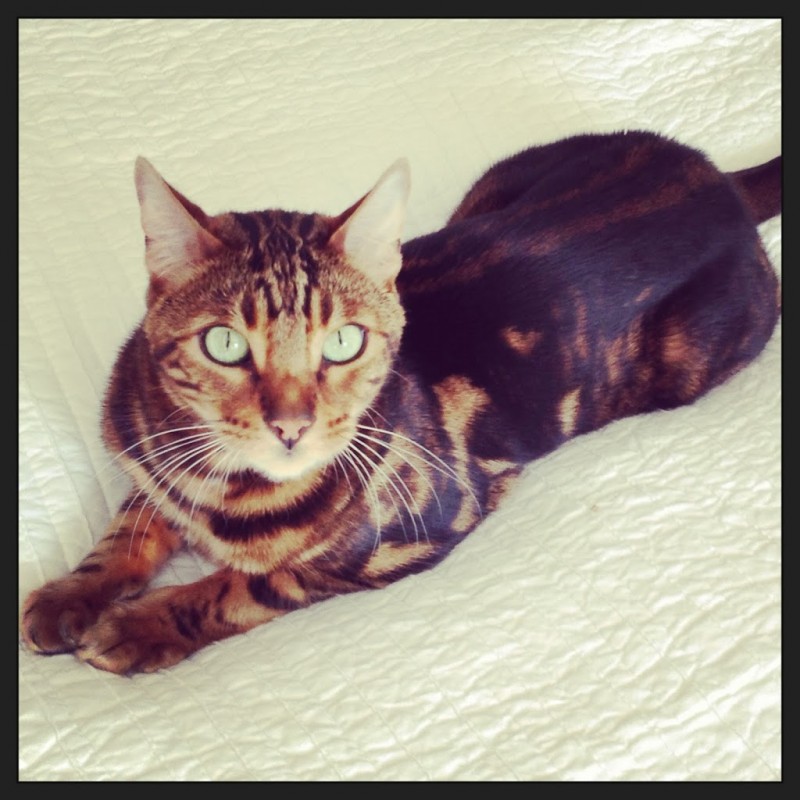
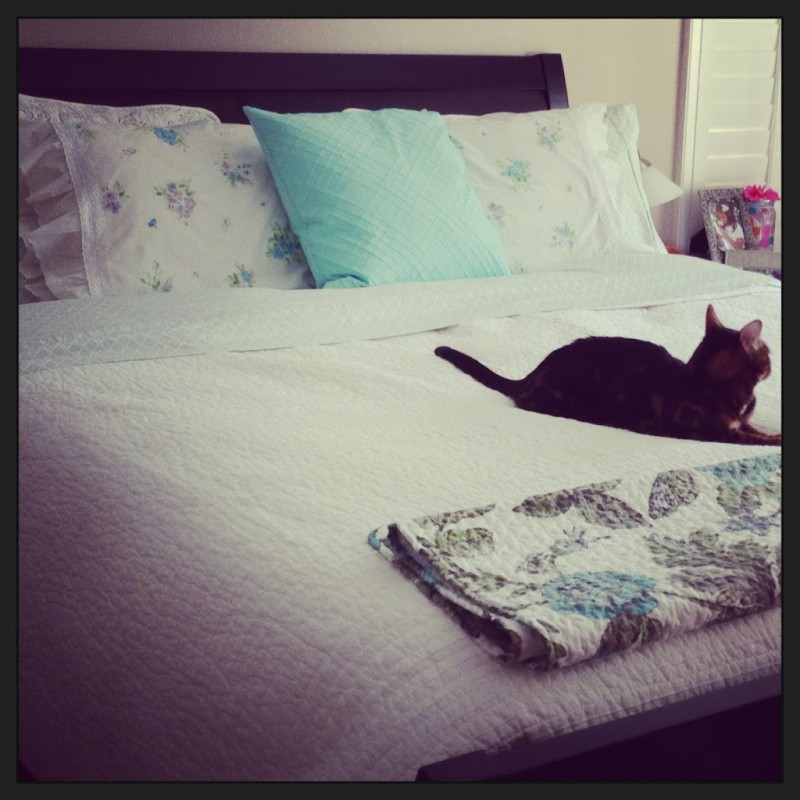
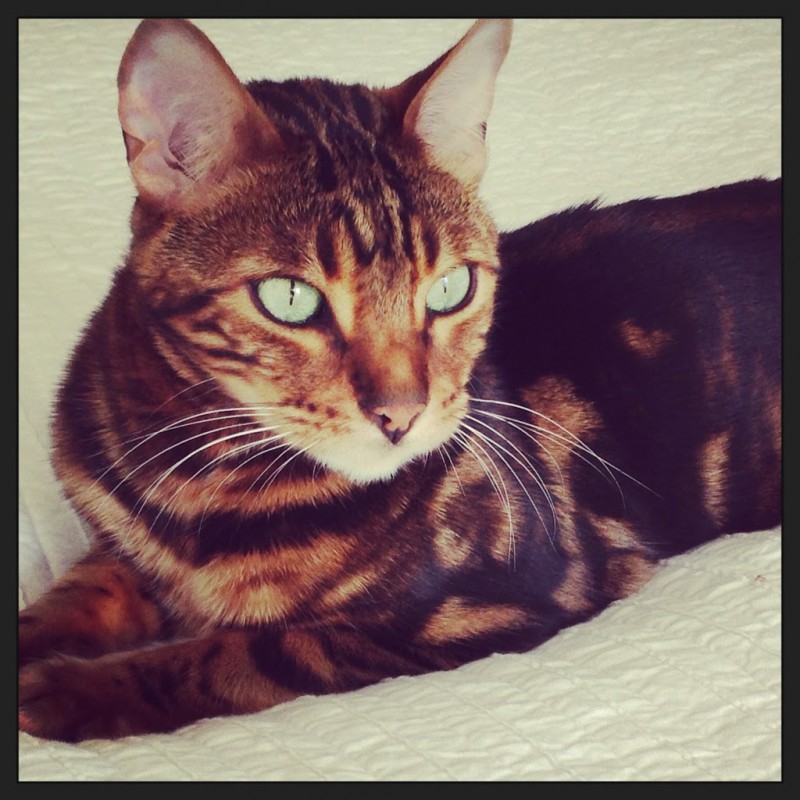
My daughter has a Bengal Kitty, so I bought this for her – I cant wait to make something WILD out of it!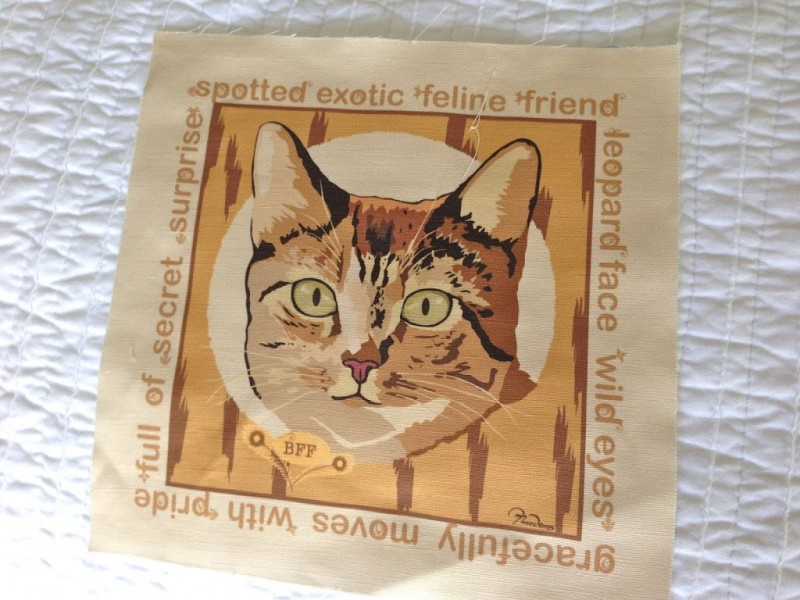
Here is Marbles already messing it up!
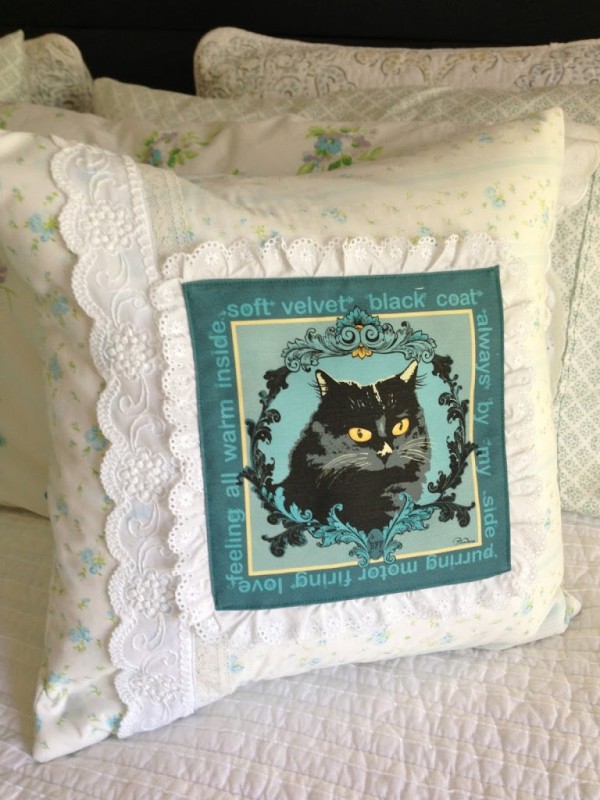
This is how I made my vintage black cat pillow:
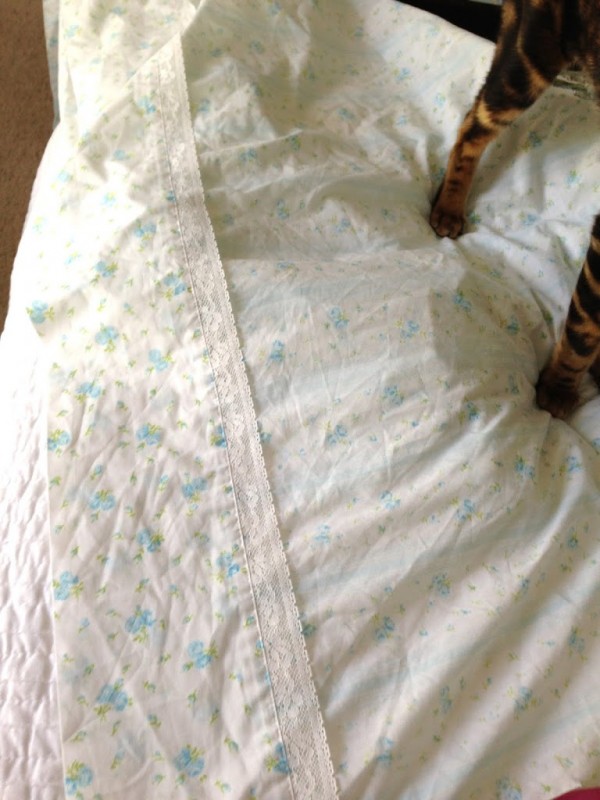
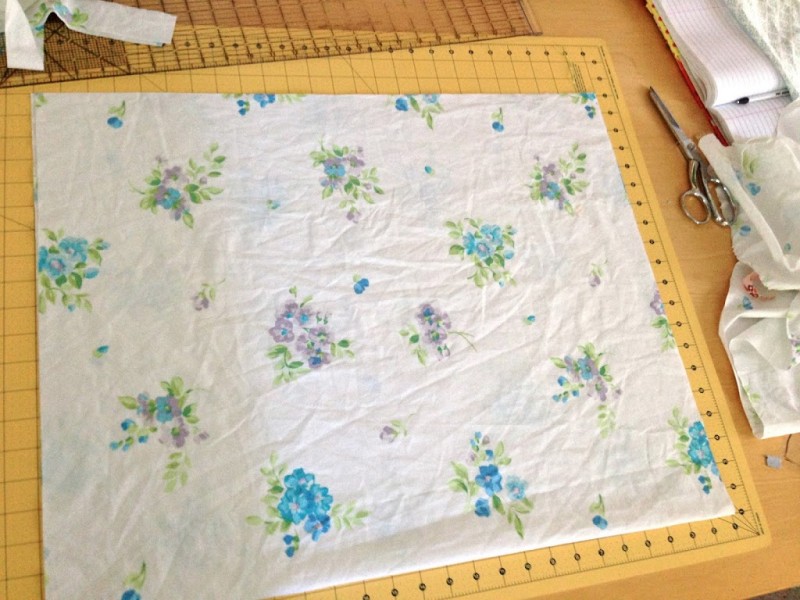
I have a large collection of vintage sheets – I pick them up everywhere I go. When we were preparing to burry our dear Toonces, I cut this sheet in half and used one half to wrap him in. (pass the Kleenex). I kept the other half. I thought it very fitting that I use this fabric to make this pillow.
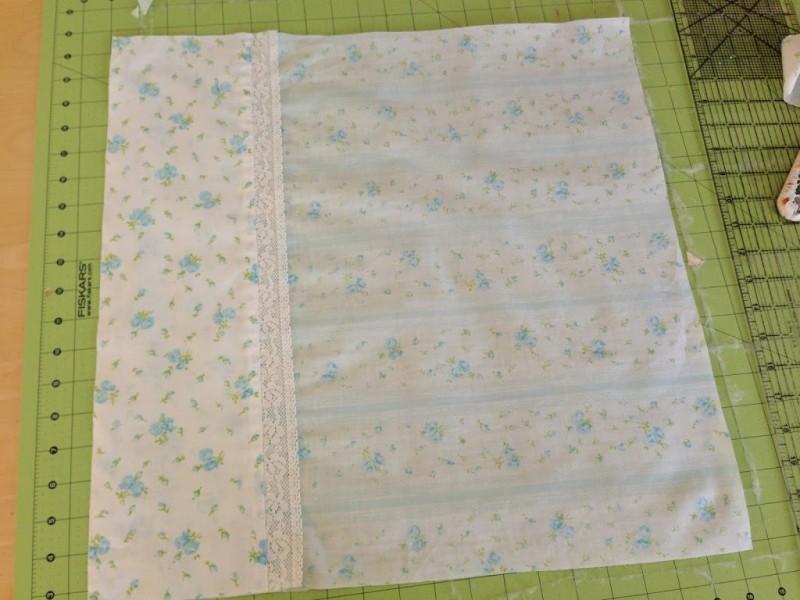
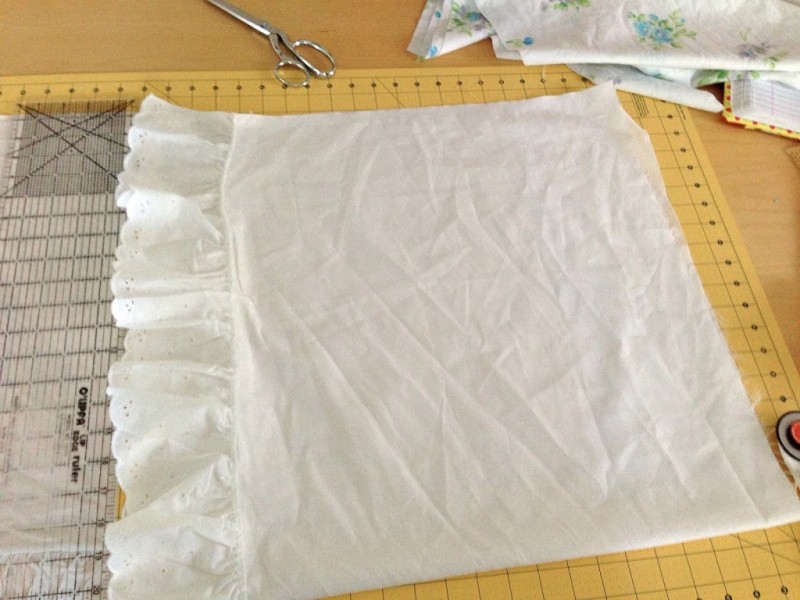
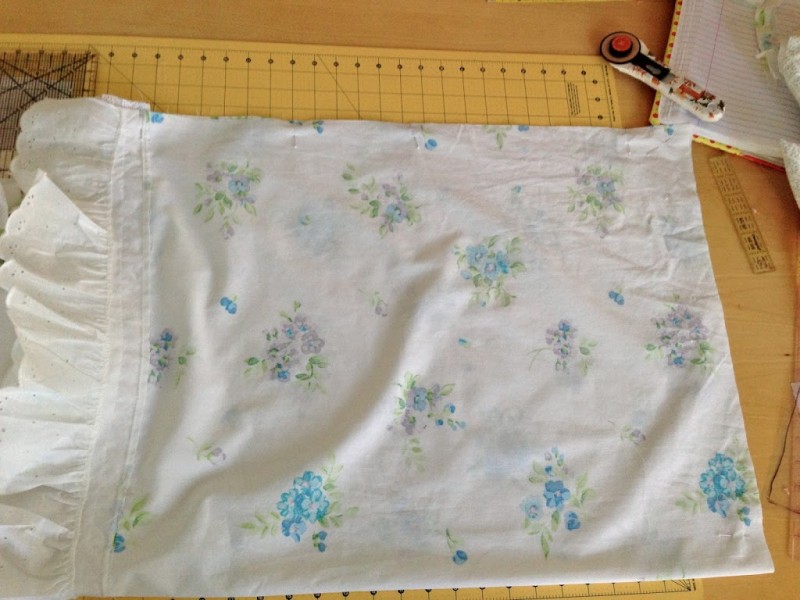
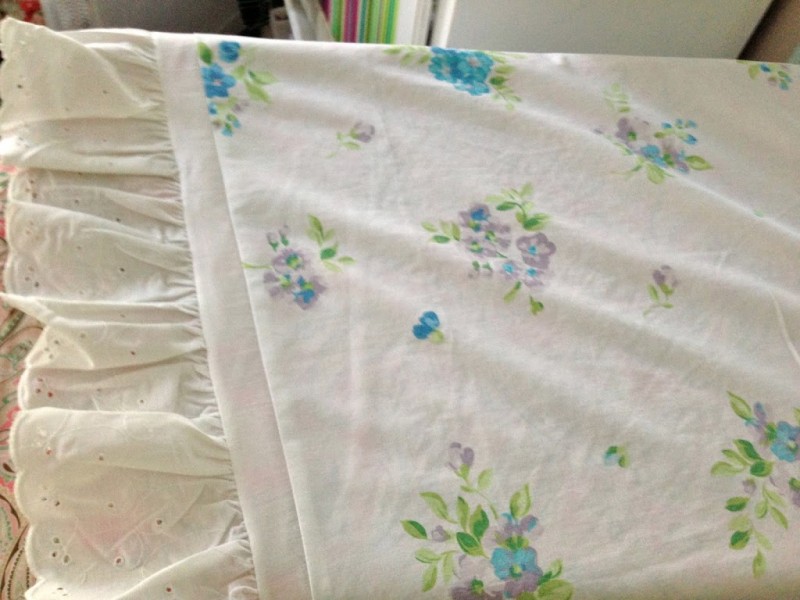
My pillow form is 18″ so I cut my fabric 19″. I loved how the hem of the sheet was in different fabric then the main part of the sheet and I wanted to use the lace trim also. I included the hem in the pillow body.
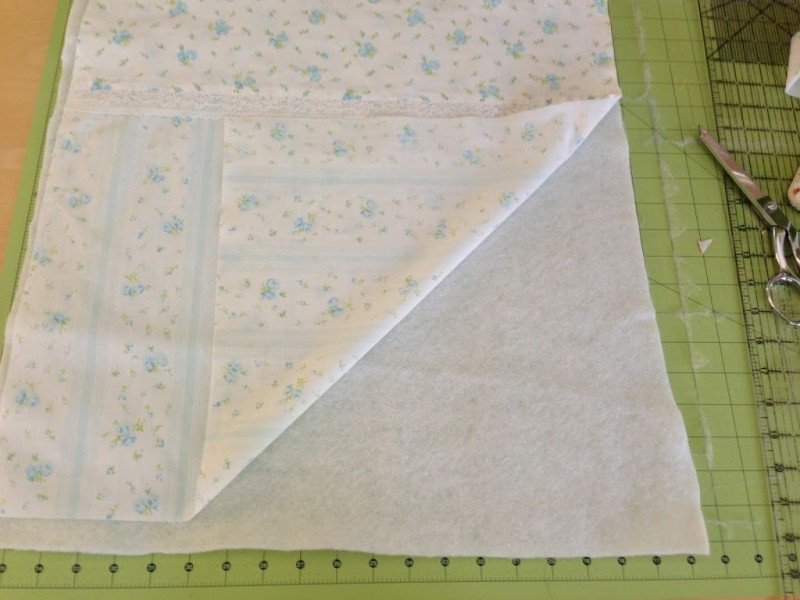
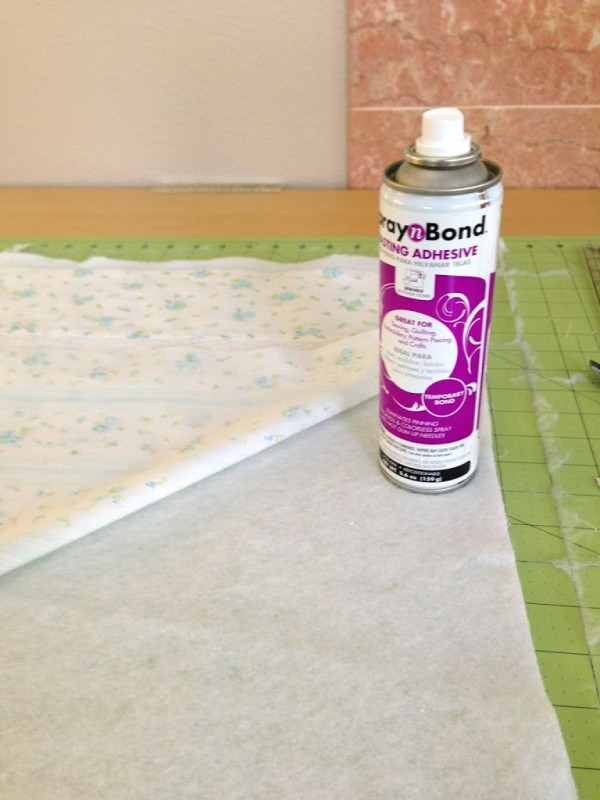
I ran out of my favorite Therm O Web fusible fleece, so I used their sew in fleece and Heat n Bond basting spray. (This stuff is amazing!) The sheet was pretty thin, so this gave it some soft stability.
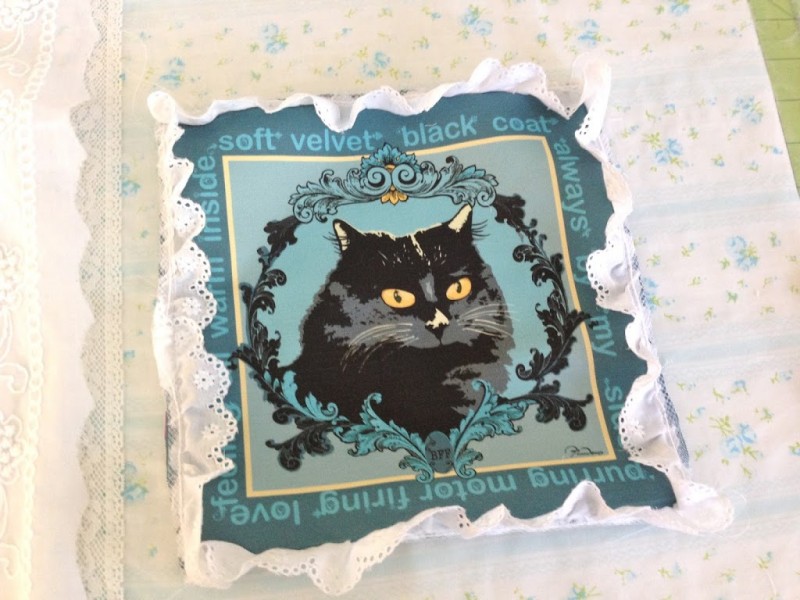
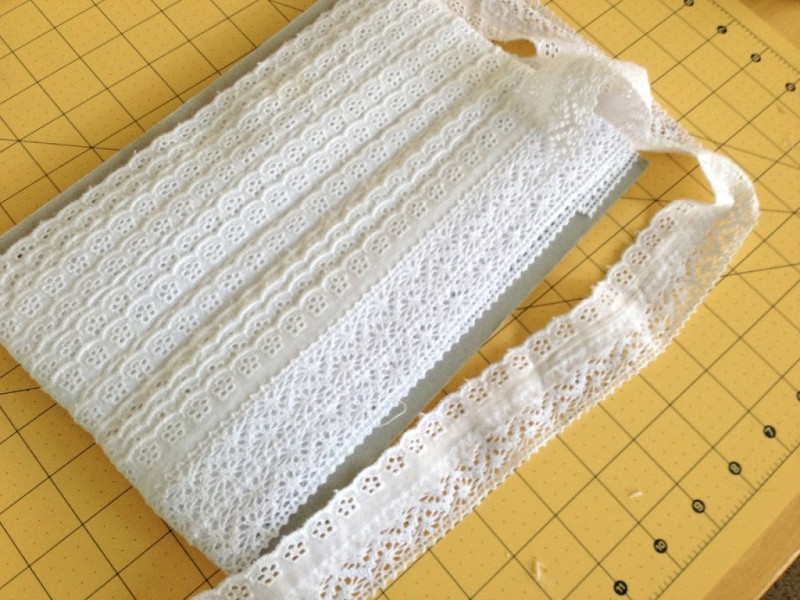
I couldn’t quite decide what to do around the cat image. I had some eyelet lace and sewed it to the cat square.
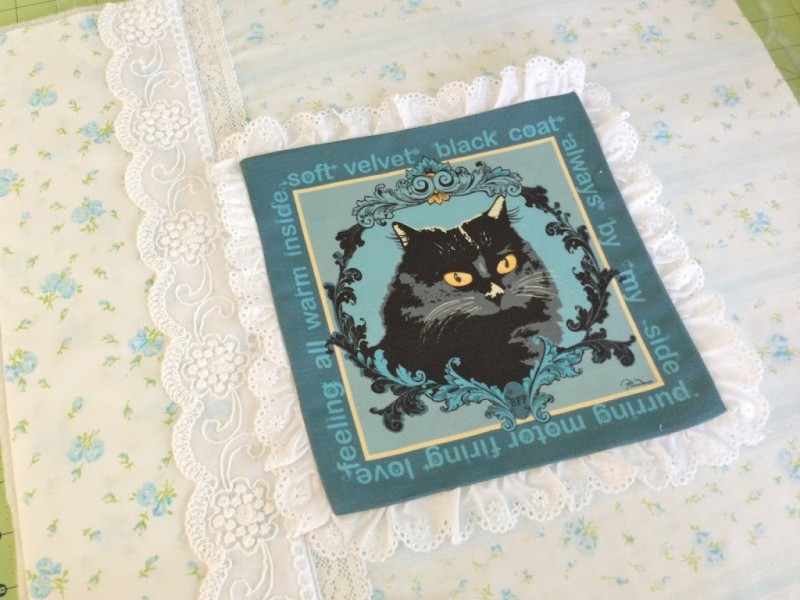
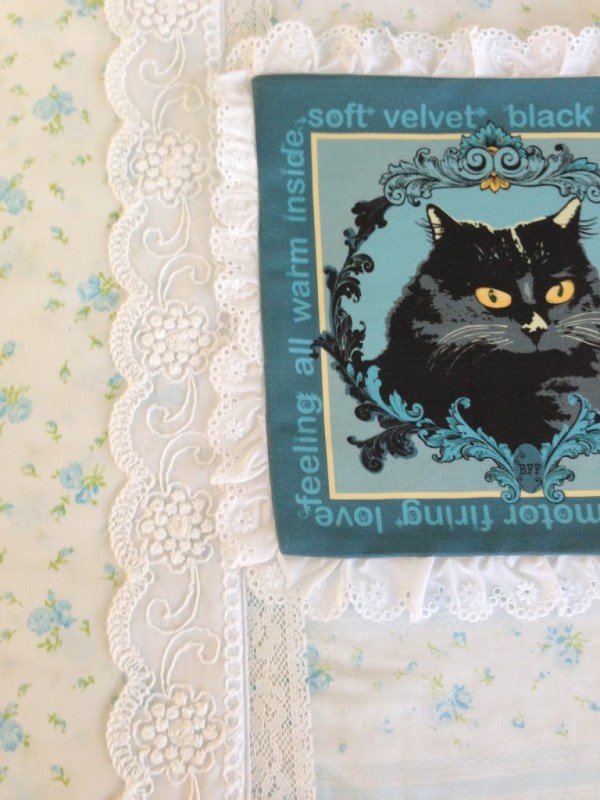
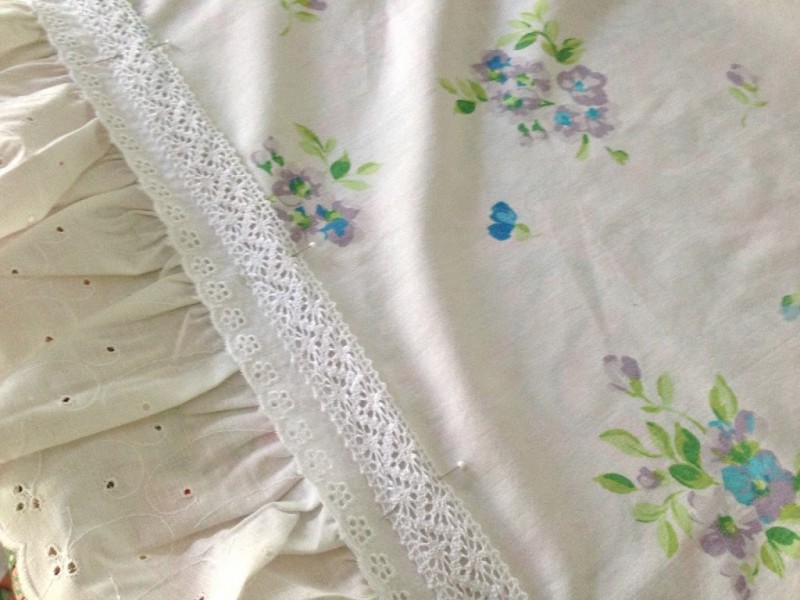
Then I pressed it under. I also added a larger piece of eyelet along the lace that was on the sheet.
I used basting spray under the cat image to hold it in place while I top-stitched it on.
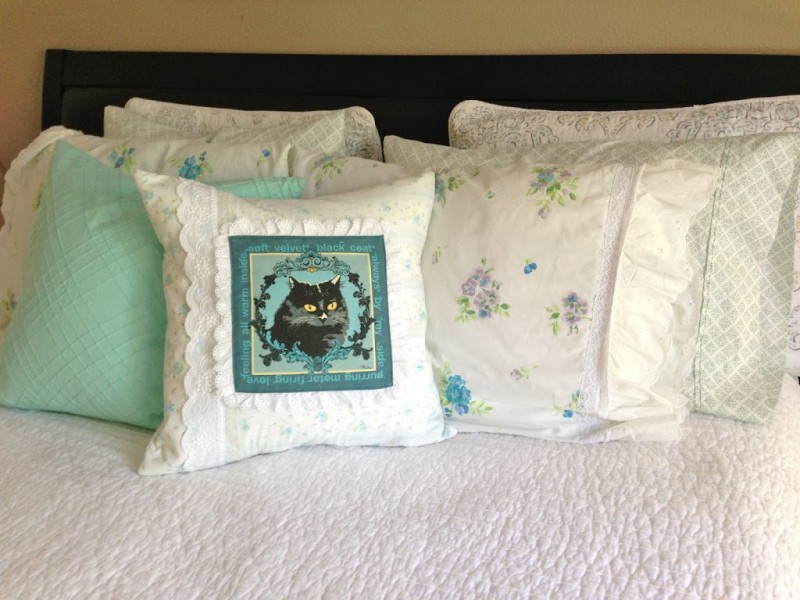
I finished the pillow with more of the sheet fabric on the back and an invisible zipper at the bottom. I put a down pillow form inside & it feels all soft and squishy….just like Toonces 🙂 I love how it turned out. Now every time I walk into my bedroom I see this pillow and it makes me smile 🙂
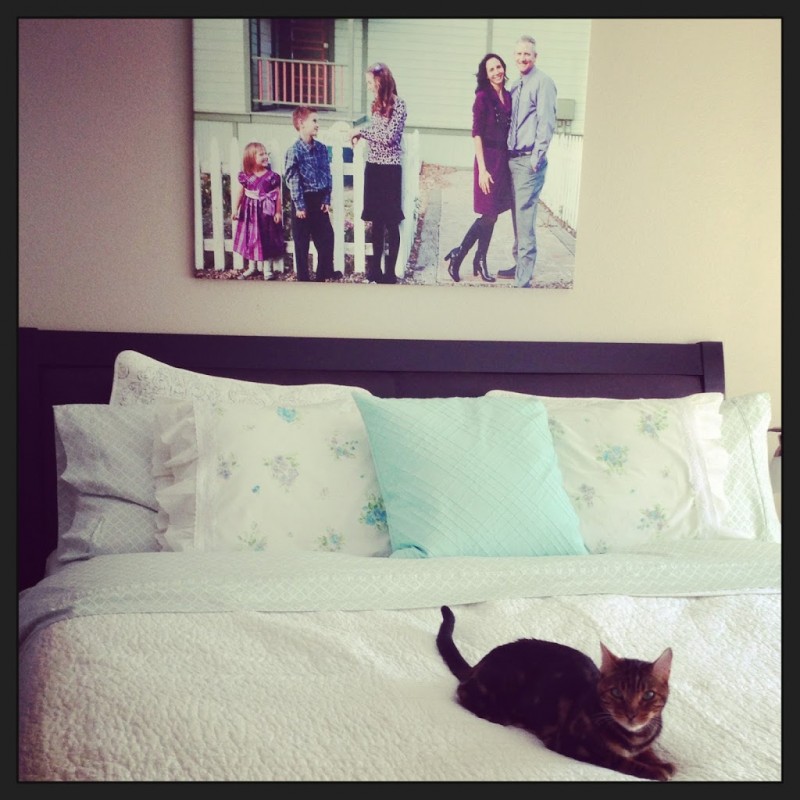
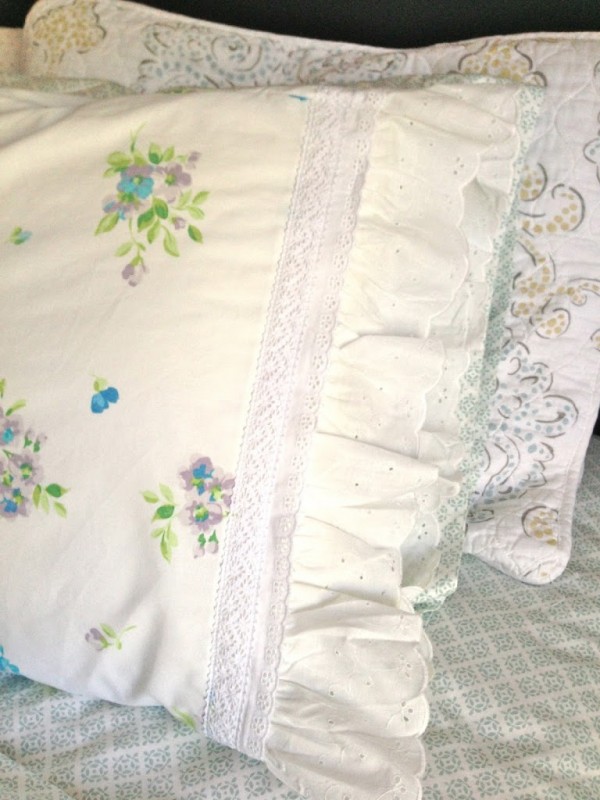
It matches the other vintage sheet pillowcases I made!

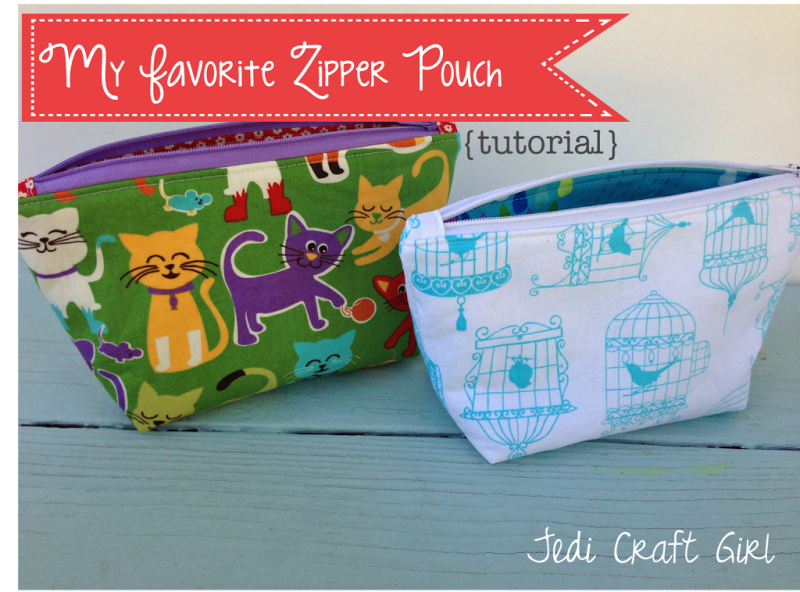
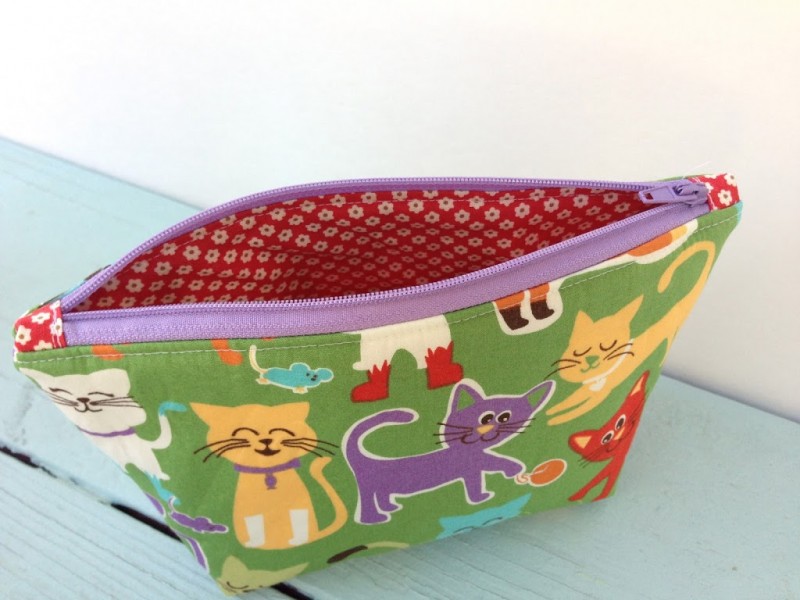
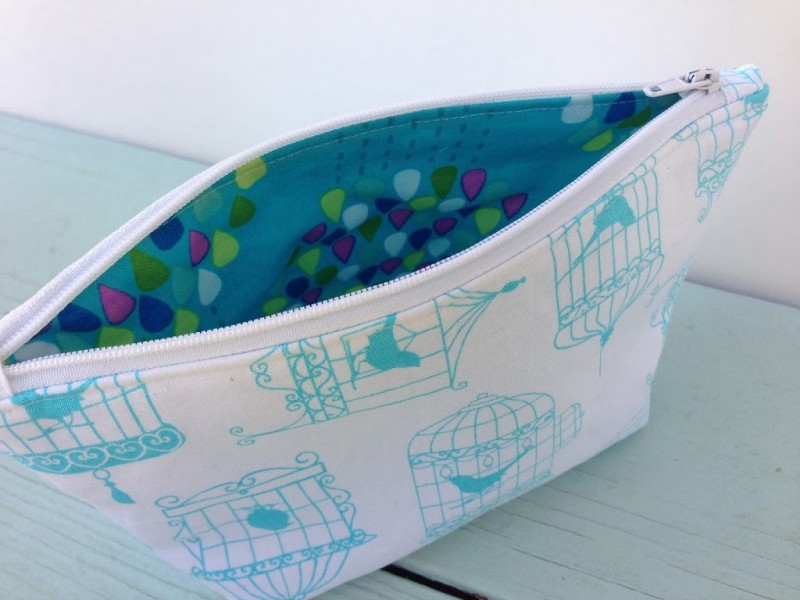
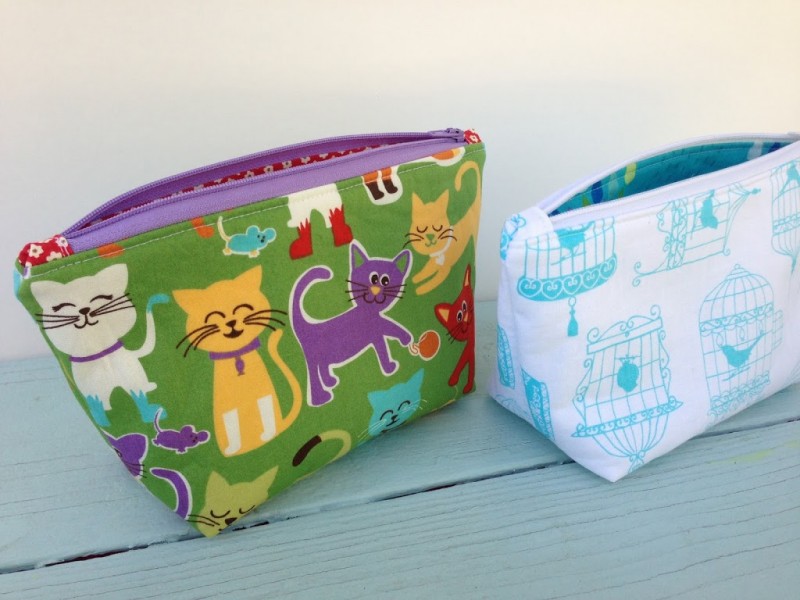
My Favorite Zipper Pouch {tutorial}

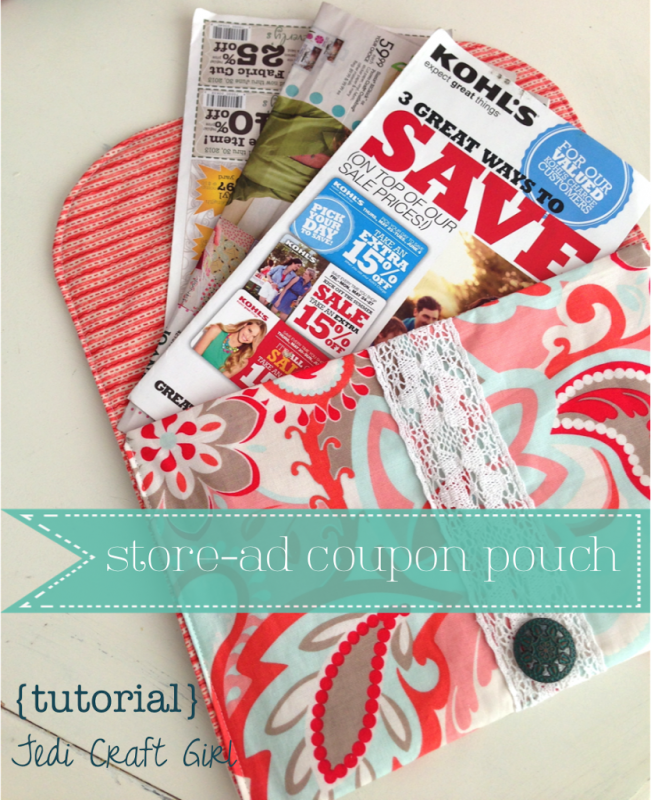
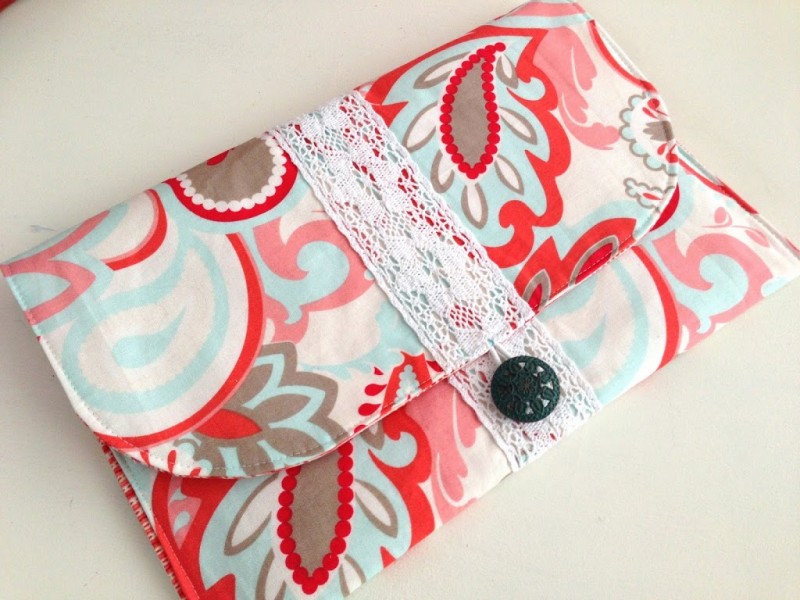
Store-Ad Coupon Pouch {tutorial}
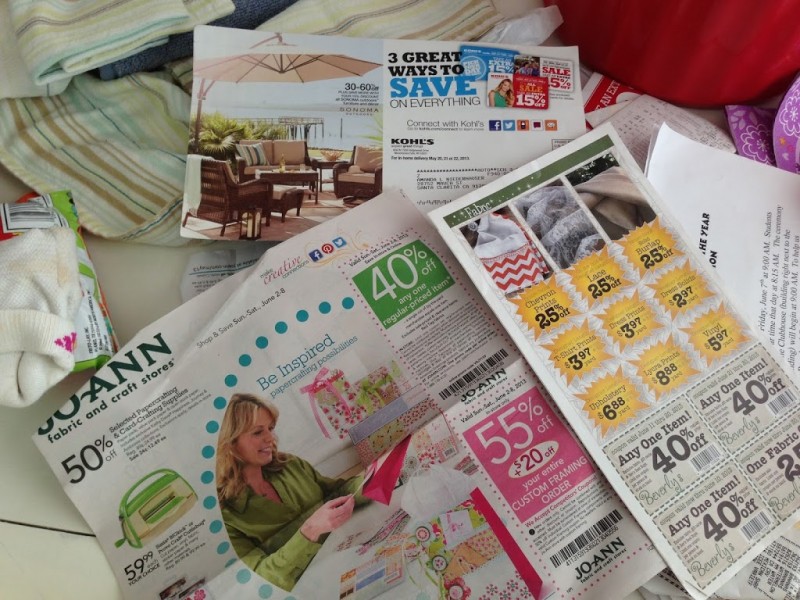
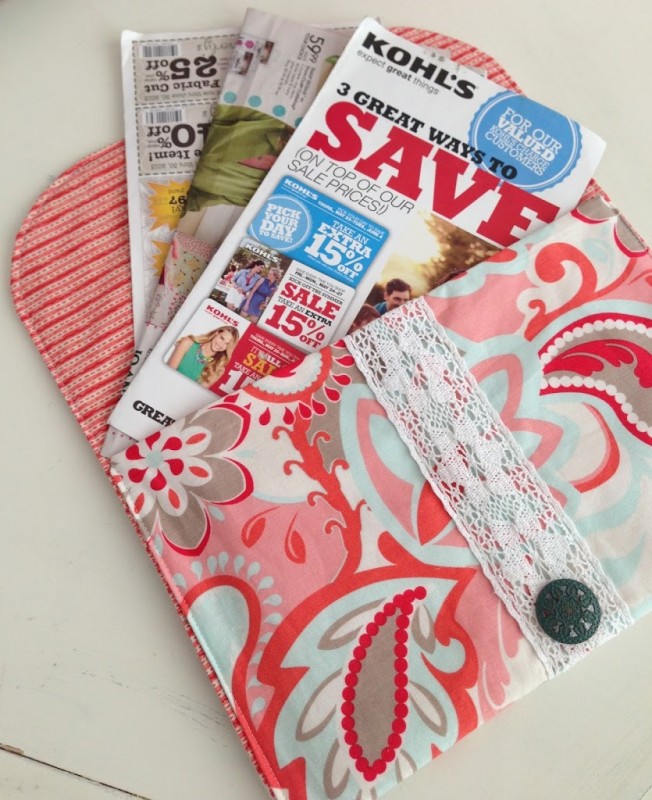
It is mostly store-ad coupons like Joann, Michaels, Kohls, Macy’s, etc. Some of my friends clip the coupons and put them in a little coupon wallet. For some reason, I like to save the entire ad. Most of the ads are good for a few weeks and I can’t always remember what is on special.
Yes, I know I can have all the coupons and ads I ever want on my phone. Did you know you can use your phone coupons AND your store coupons? So I will continue to have one foot on the cutting edge of technology and one foot back in ancient history of paper coupons!
For the past several years I have thought everyday, “I should sew something to keep all these papers organized in.” I woke up this morning and decided today was the day!! There are a lot of pouch tutorials out there. Instead of finding one that would work I just created my own. Here is how you can make one too!!
Materials:
1/3 yard outer fabric
1/3 yard lining fabric
44″ Therm O Web Heat n Bond fusible interfacing – light weight
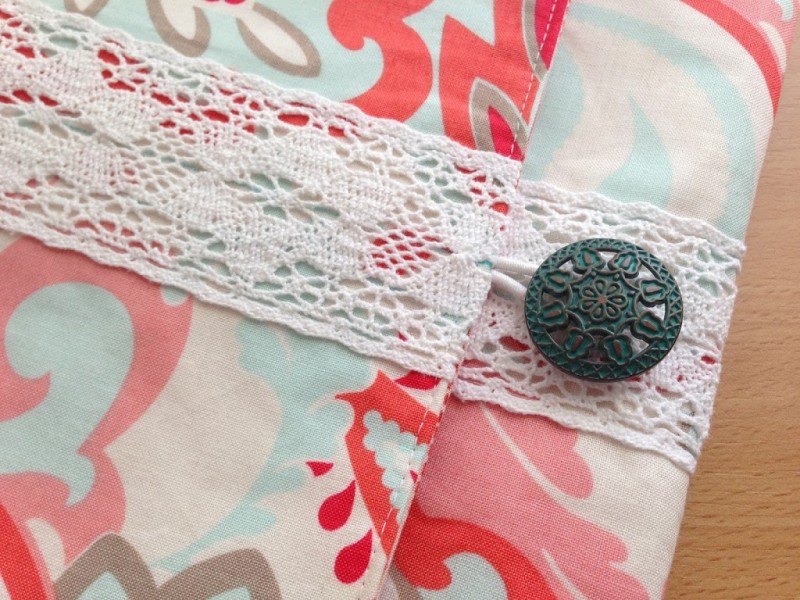
hair elastic
button
trim (optional)
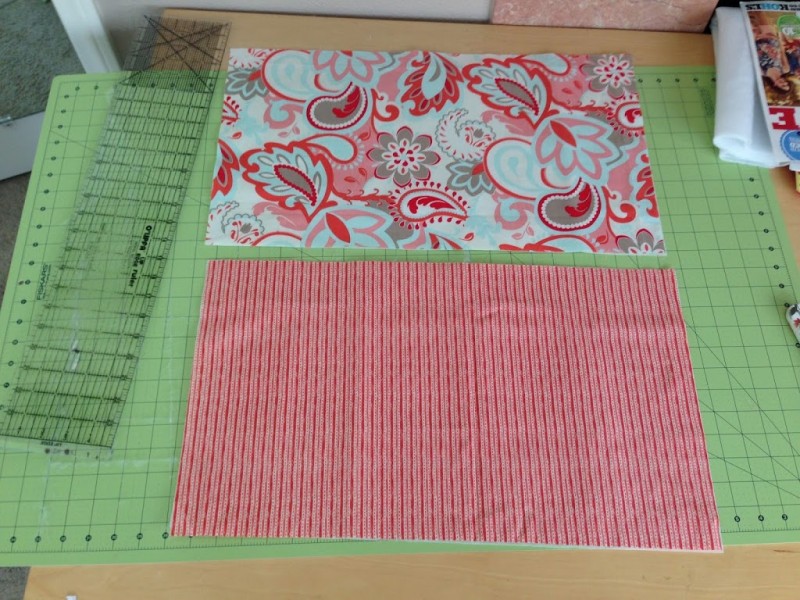
Begin by cutting your outer fabric and lining fabric 12 1/2″ x 21 1/2″
I LOVE Therm O Web products! I go through yards and yards of their fusible fleece. For this project I decided to use a Heat n Bond fusible interfacing. (For more info on Therm O Web products & how to order click HERE.) I wanted the pouch to be firmer. Cut 2 pieces of your fusible interfacing 12 1/2″ x 21 1/2″. Fuse them to the wrong side of your 2 pieces of fabric.
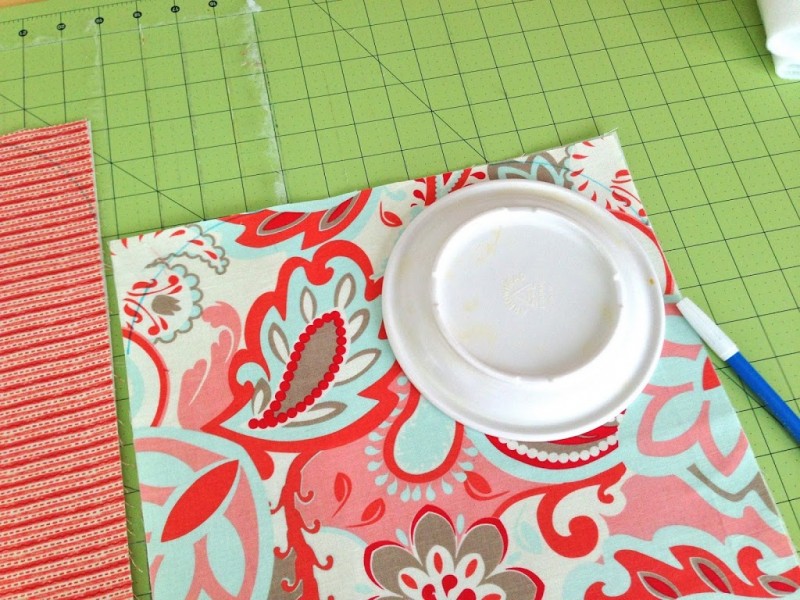
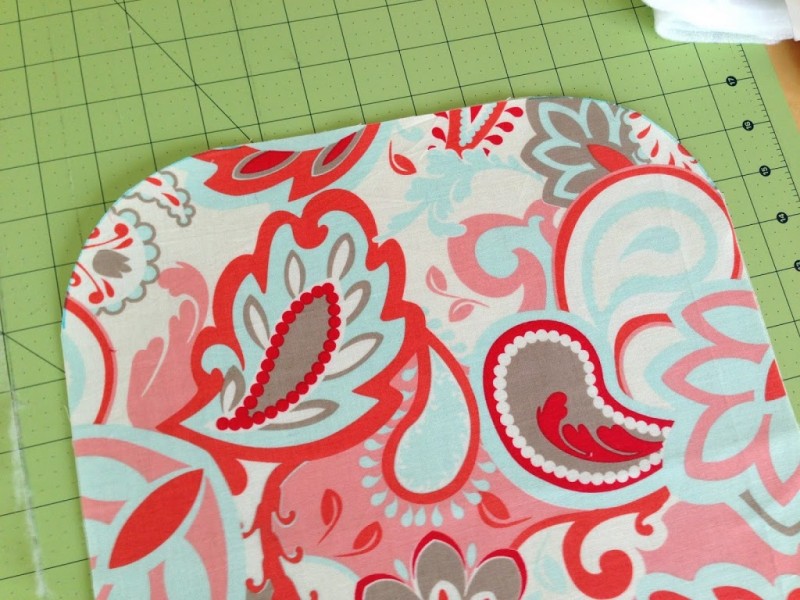
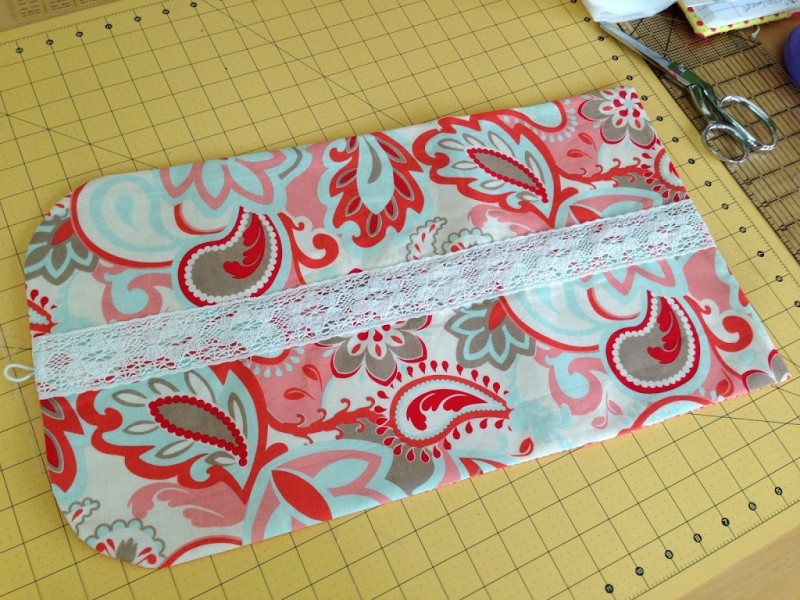
Get a small plate or bowl and trace to round the top 2 corners of your main fabric. Trim along your line.
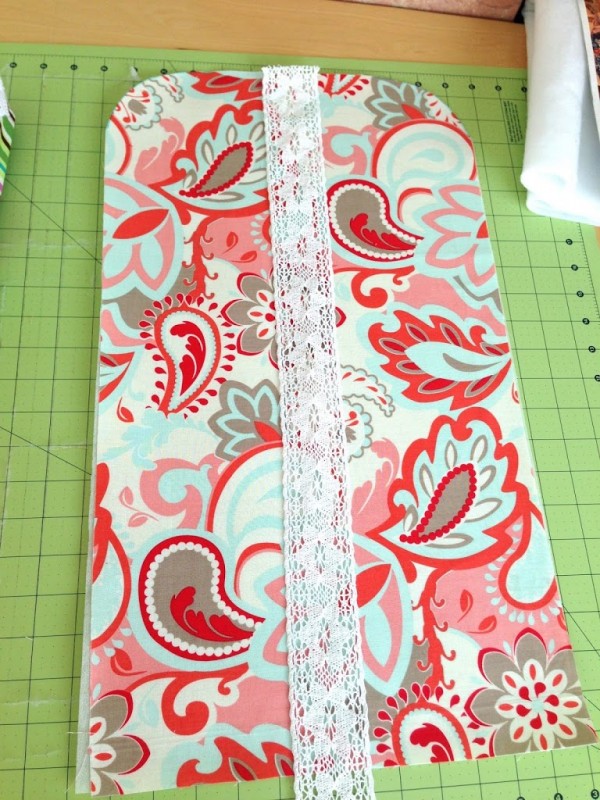
You can embellish this pouch any way you want. You can top stitch fabric, ruffles, ric rac, etc on the main piece. I choose to be speedy and added a piece of crochet lace to the center.
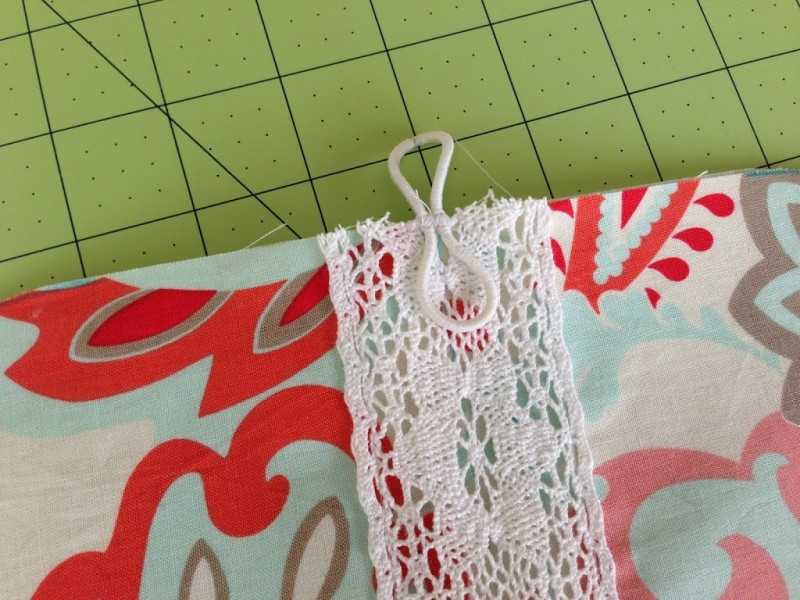
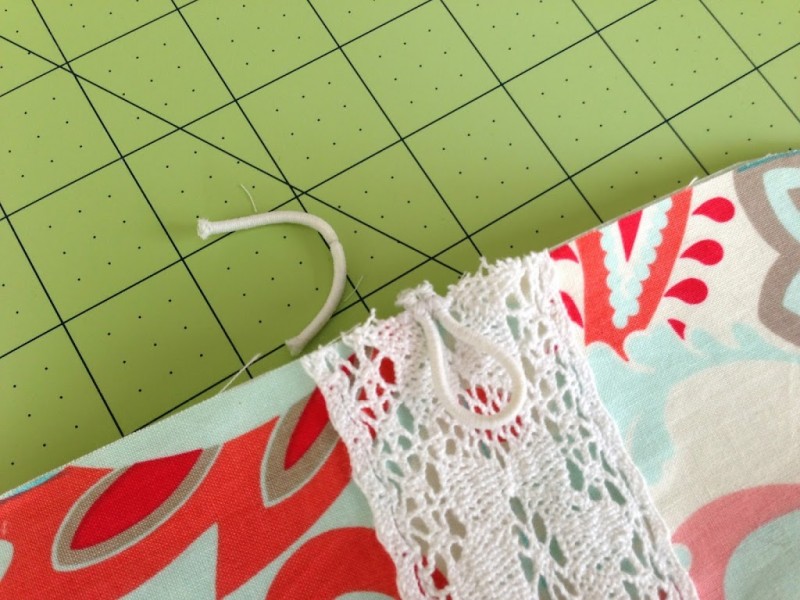
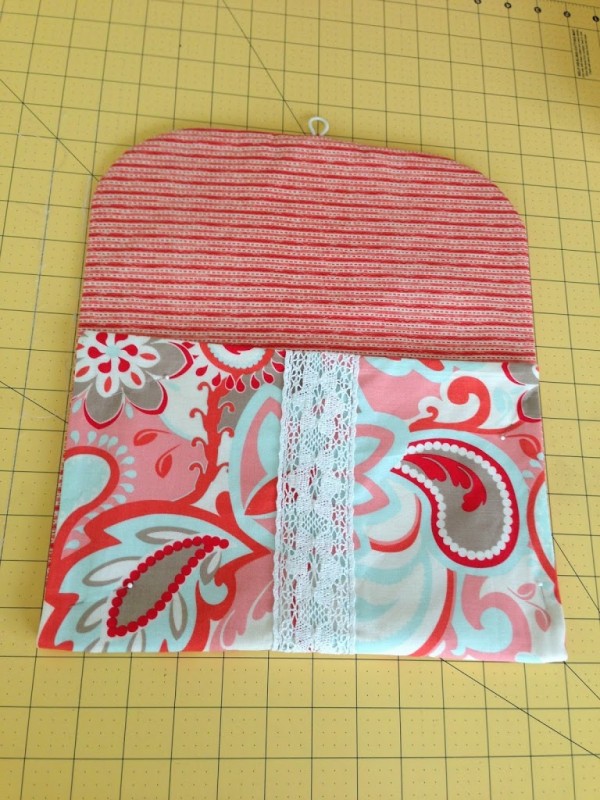
Take the pony tail holder and sew it in half like this. It only needs to stretch about an inch so you don’t need the whole thing. I sewed it back and forth a few times to make sure it doesn’t pull out.
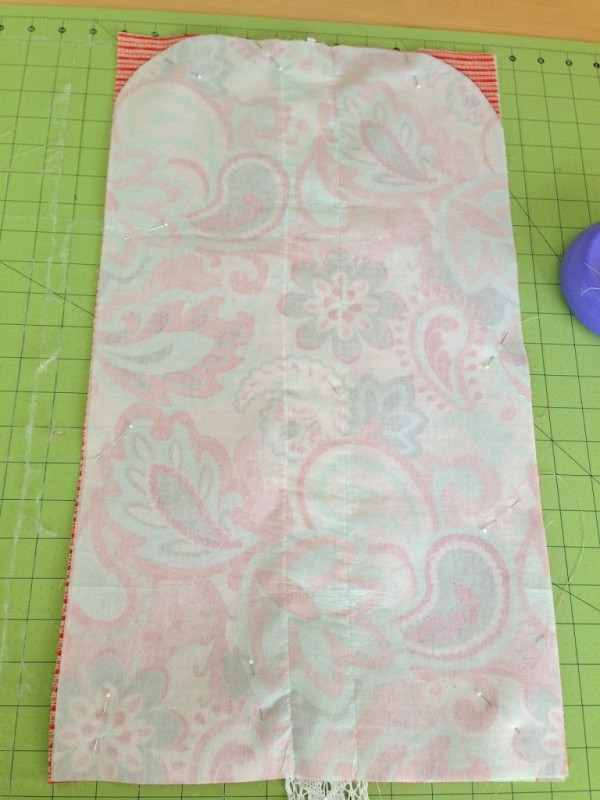
Now layer right sides together and pin. I used a generous 1/4″ seam. leave a 2″-3″ opening on the side to turn.
Clip the rounded corners and the square corners. Turn and press.
Fold the bottom half up 7 1/4″ and pin in place. Top stitch around the pouch.
Fill with coupons & now you are ready to shop!!
OK – I really love this! Can’t believe it took me so long to make one! You can make this project in under 30 minutes 🙂
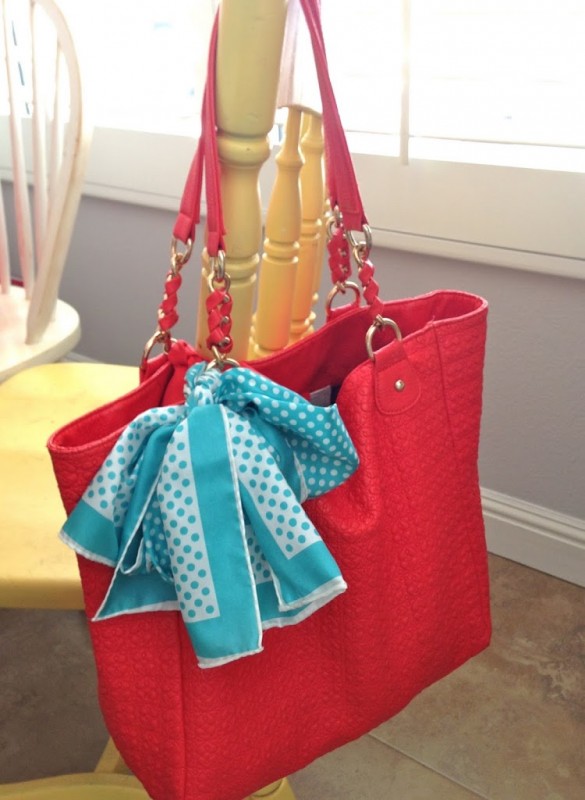
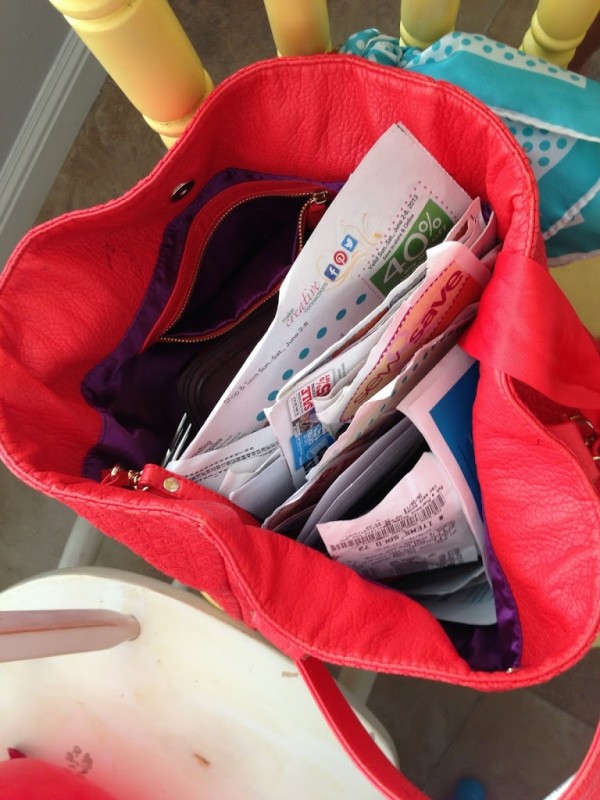
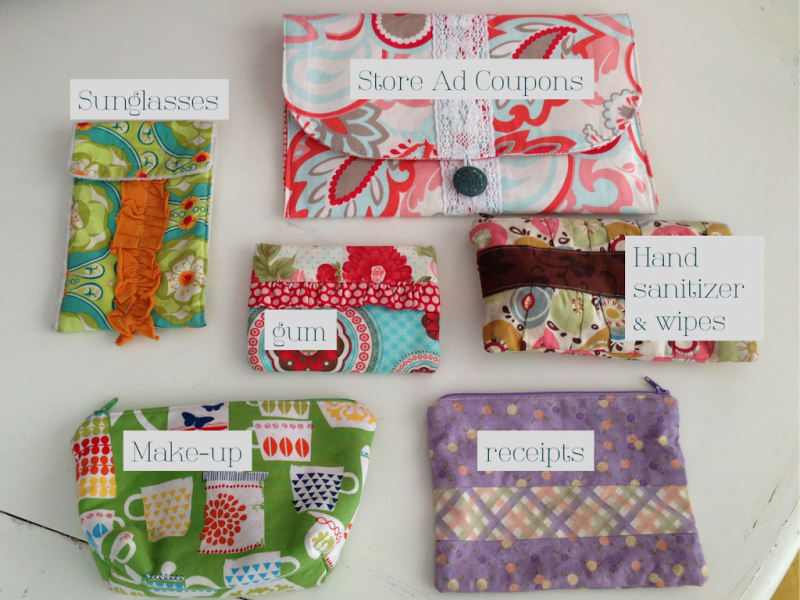
Here is a little peek into my purse and all my little pouches:

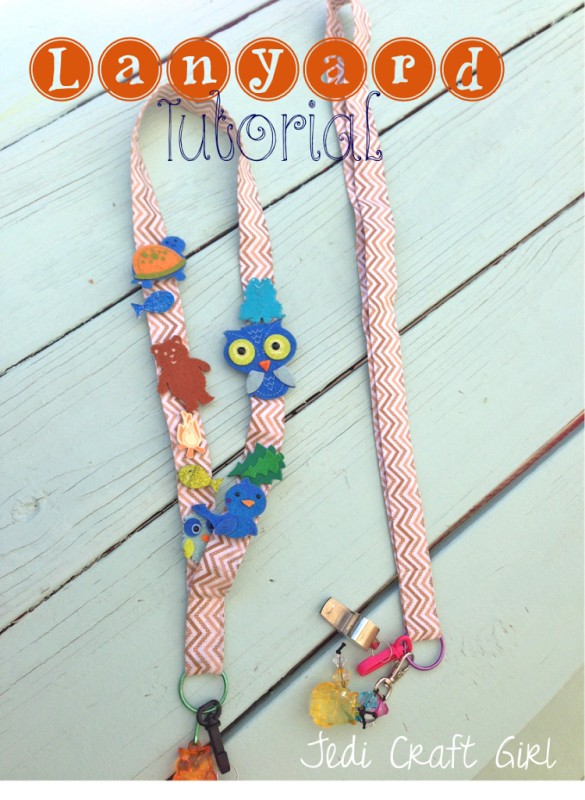
Lanyard Tutorial
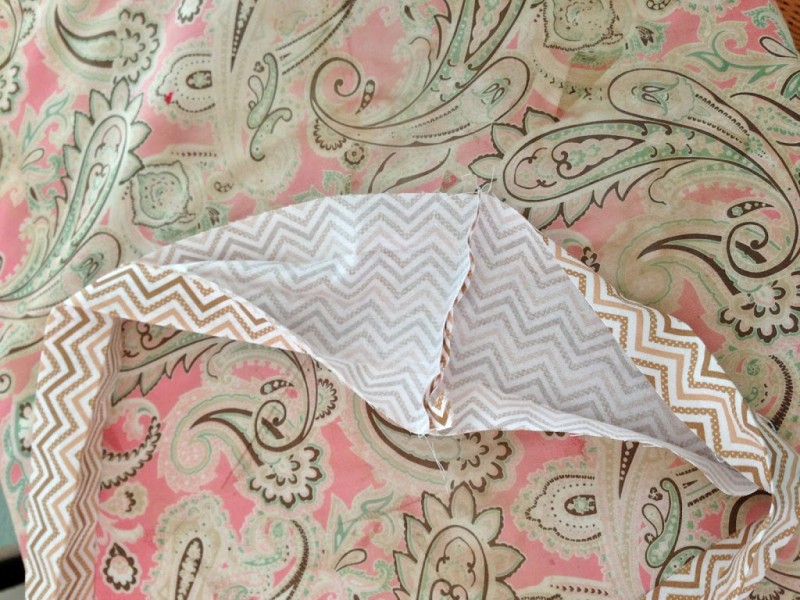
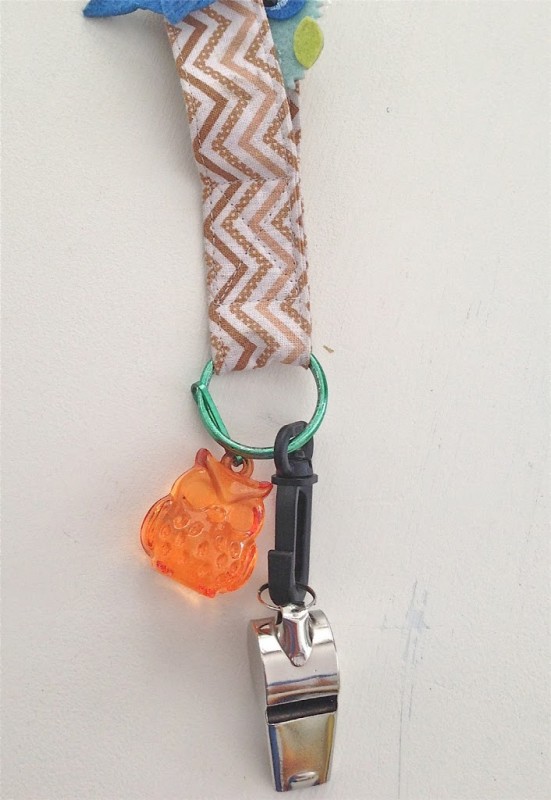
lide your D-ring or keychain to the opposite end and sew a little square with an “X” to secure. (See photo below for placement)
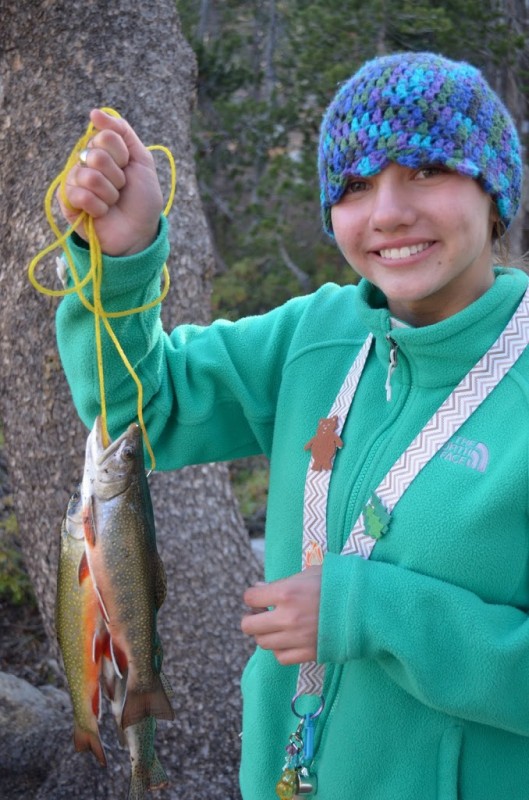
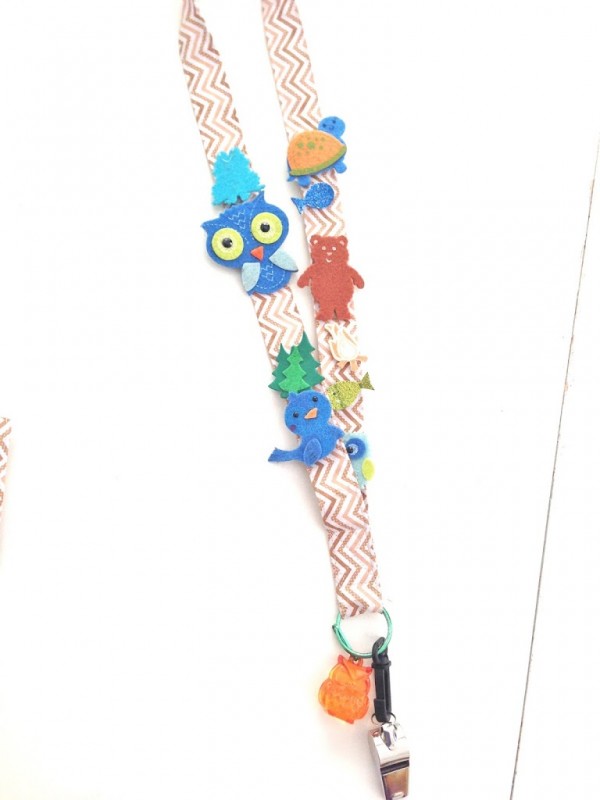
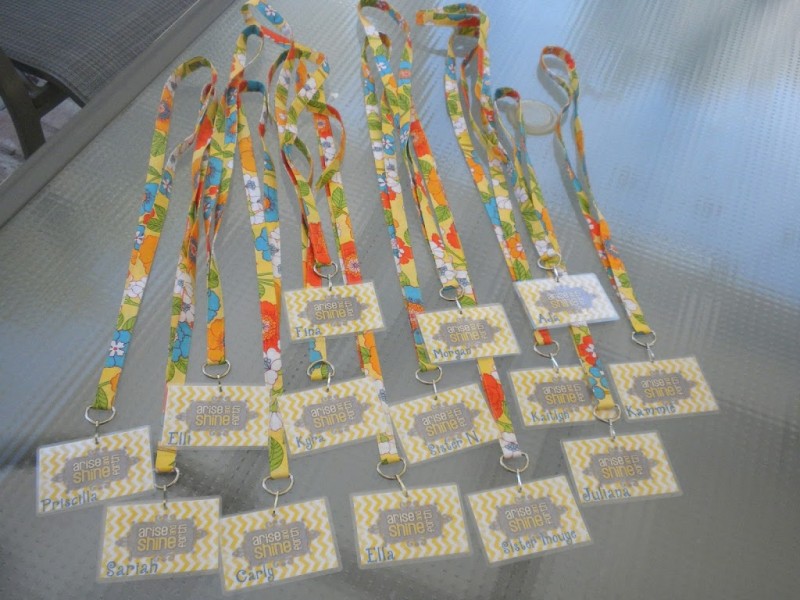
Last year, I sewed all these lanyards for Girl’s Camp. They are lots of fun to make – you can choose any fabric – you can even piece the fabric if you have time!

