Patchwork Acorns

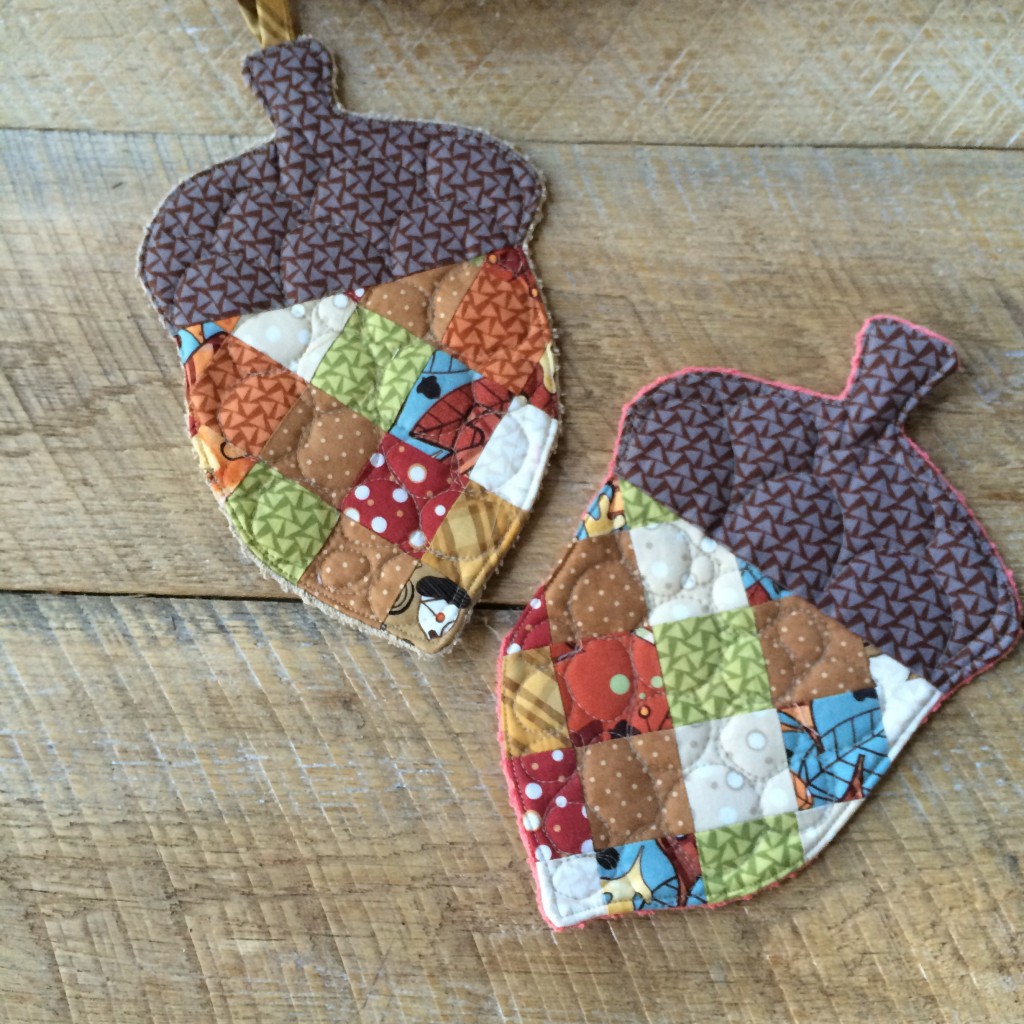
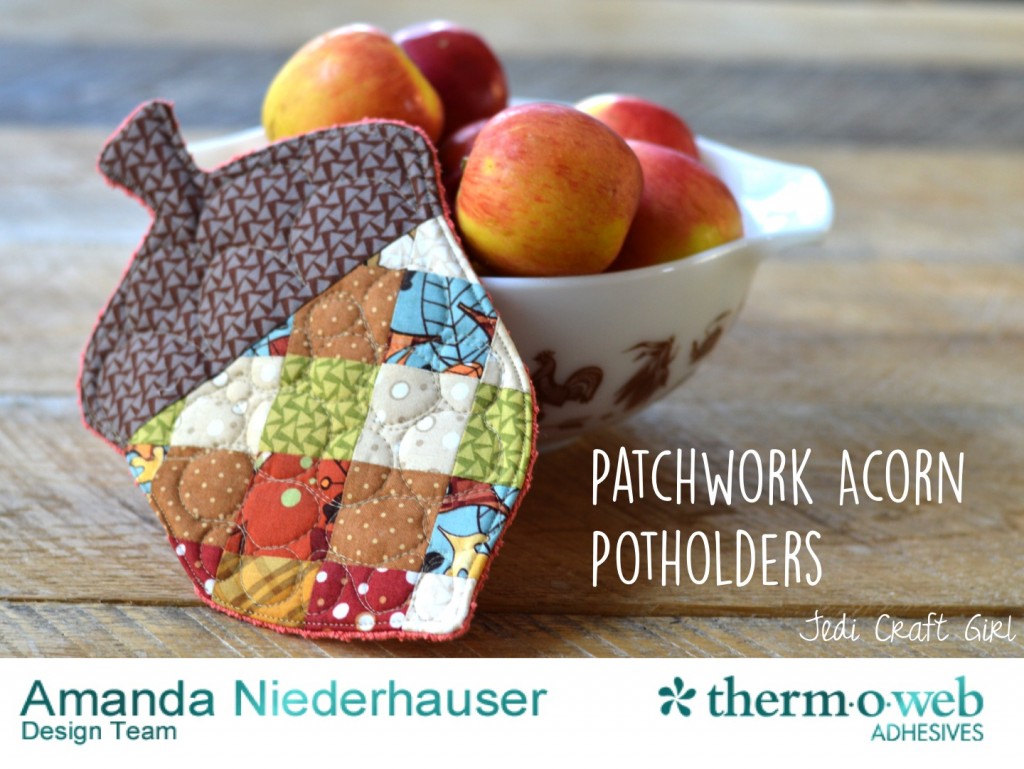
patchwork acorn potholdersI’m sharing my Patchwork Acorn Potholder tutorial over on the Therm O Web Blog.  You can download the pattern and read the instructions!!patchwork acorn potholder
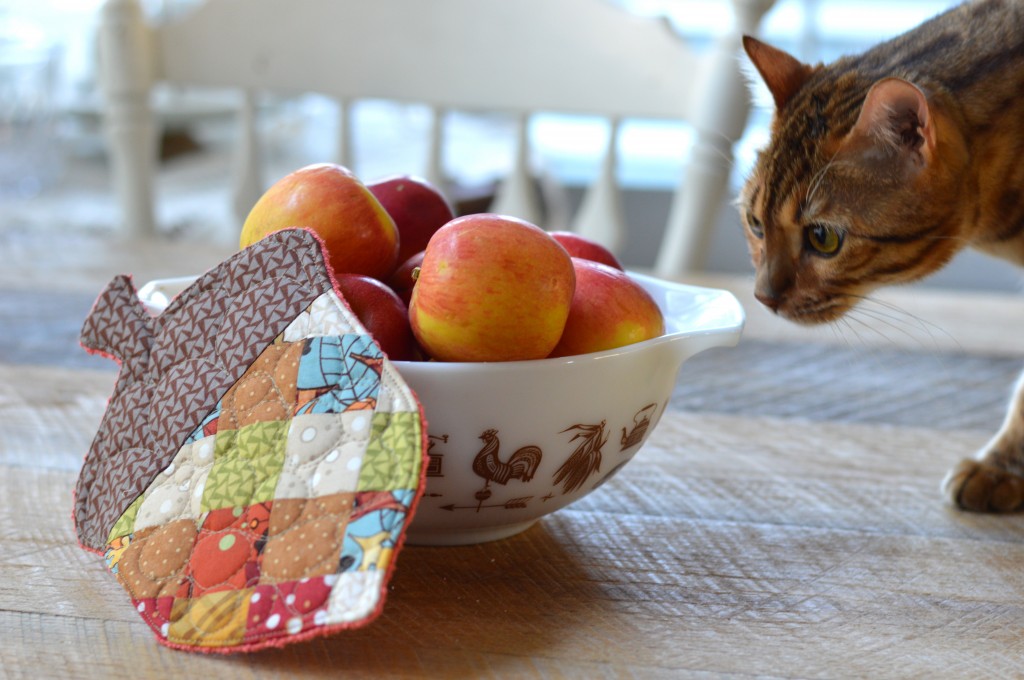
These are cute to use as potholders or as decorations in the kitchen!  I used a kitchen towel for the backing and the inside is fusible fleece.

patchwork acorn potholder 22

I also used the same pattern for the acorn and appliqued it onto burlap for a quick fall pillow!IMG_1846
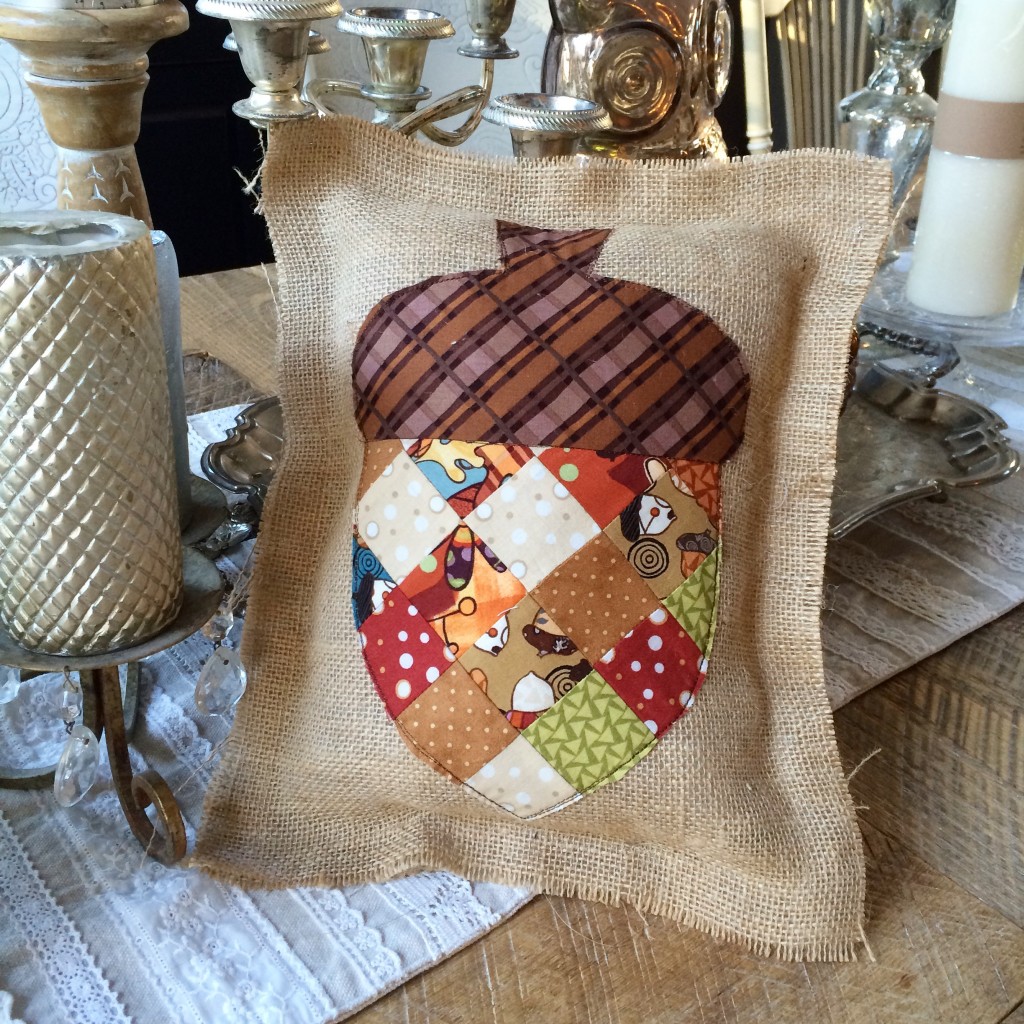
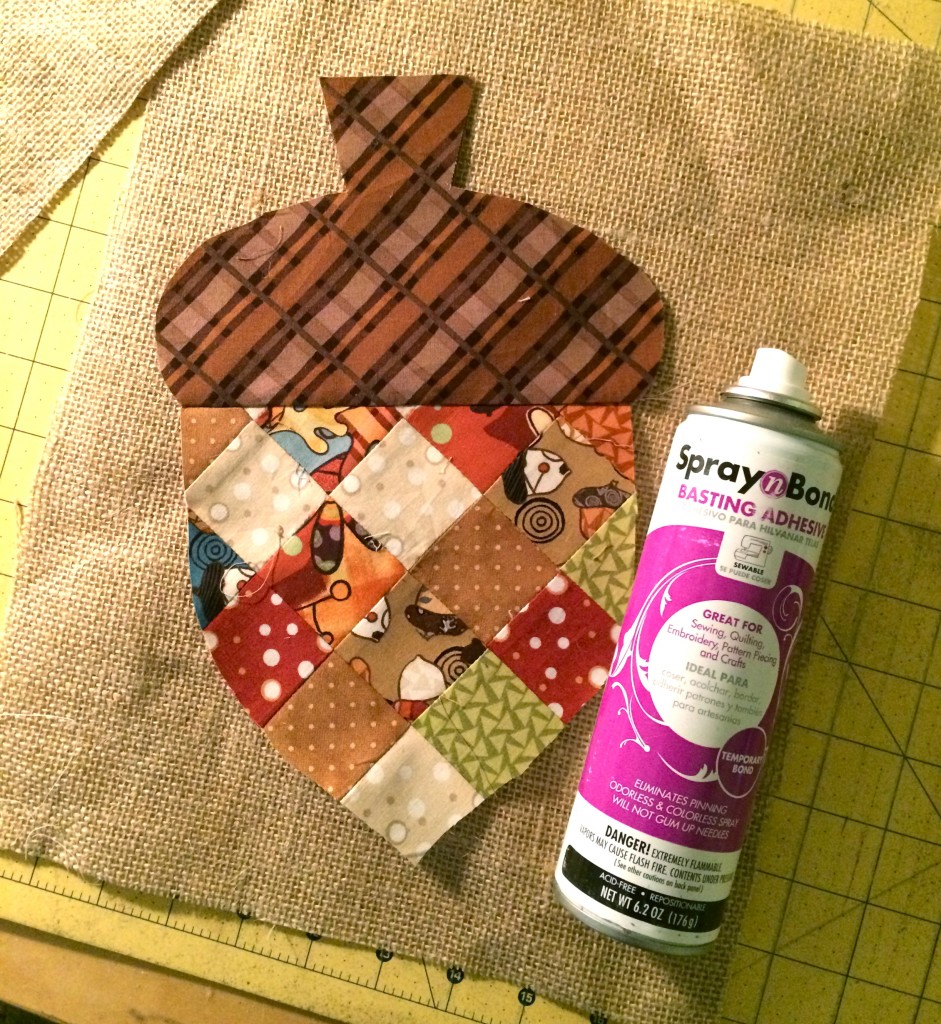
To make the pillow, use spray an bond basting spray to hold the acorn in place.  Top stitch a few times around the acorn.  Then sew a 1″ seam all the way around the pillow leaving an opening for stuffing.  Stuff, then sew closed.  Fray the edges of the burlap as desired.IMG_1836
Sizzix Quilted Deco Foil Pumpkin Pillow

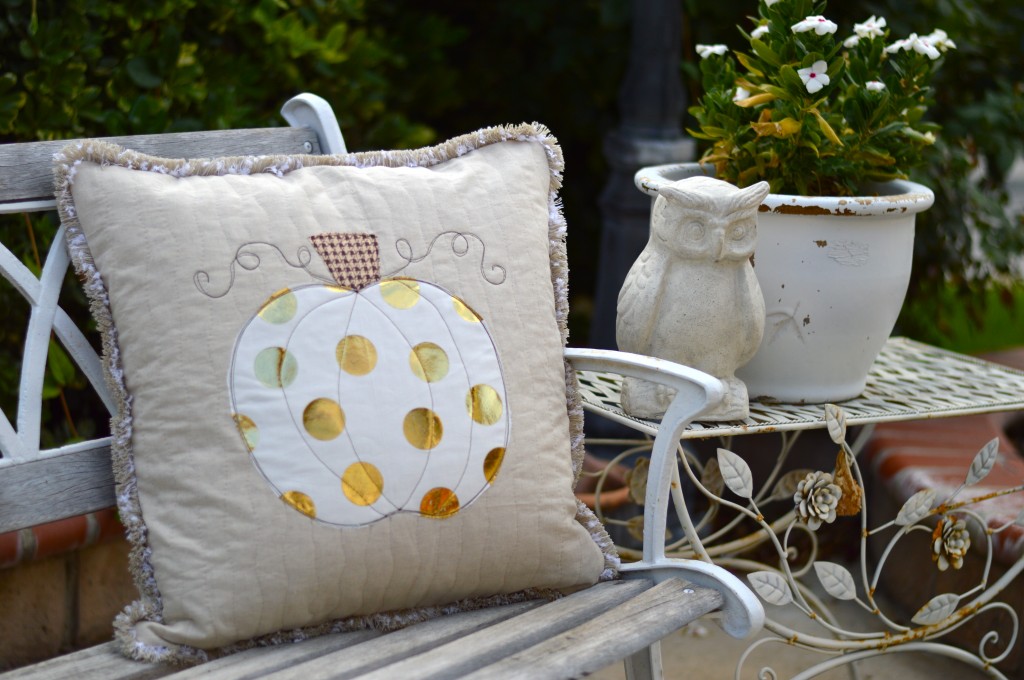
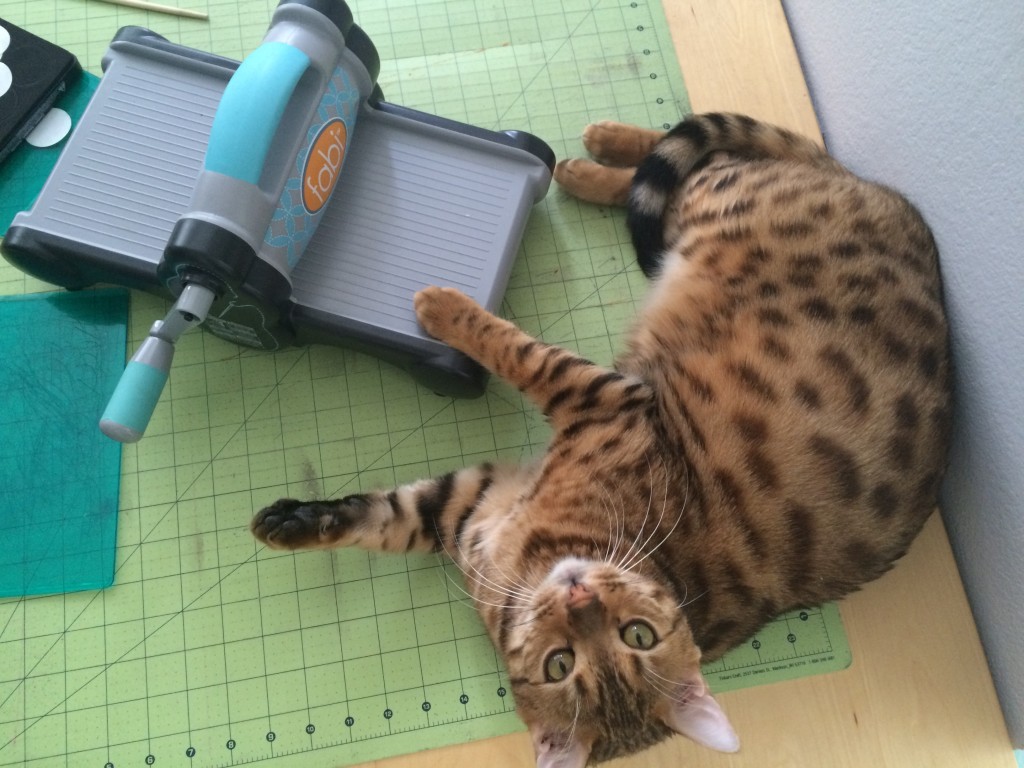
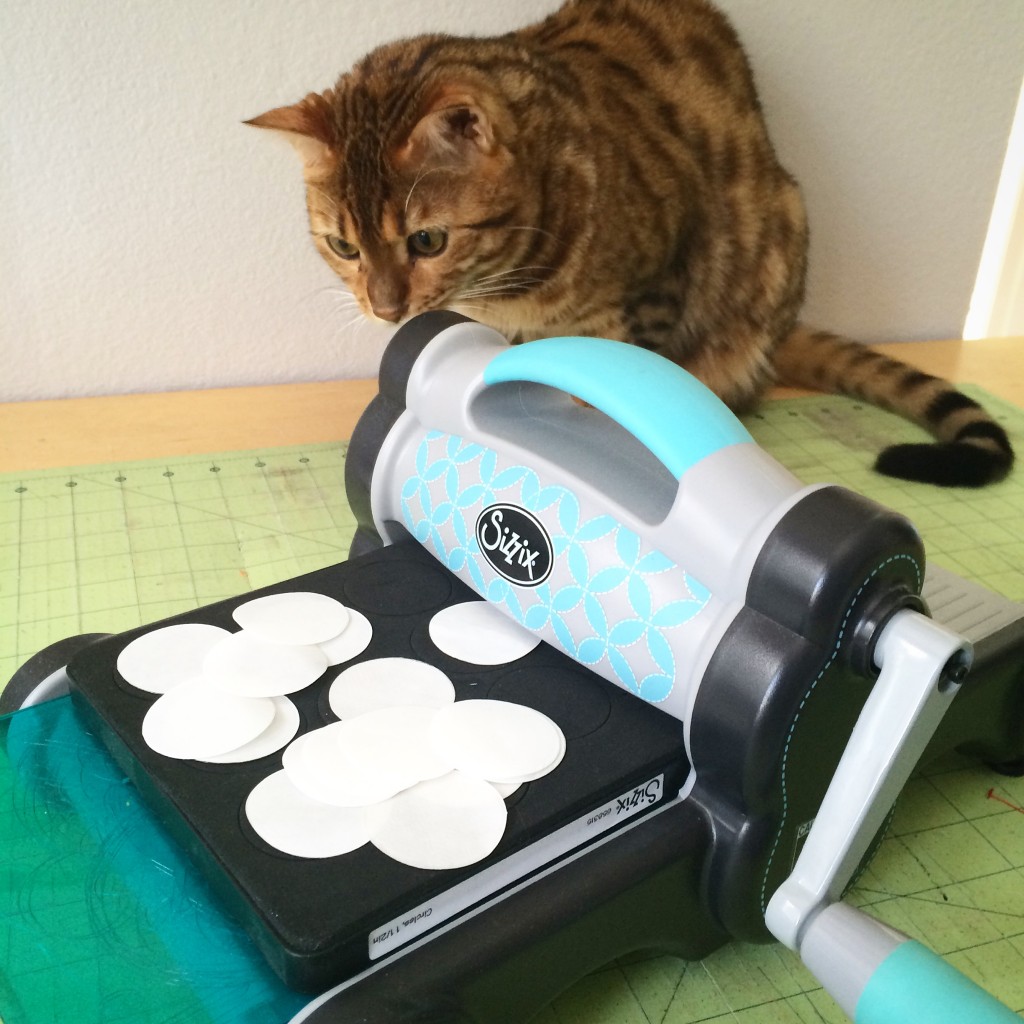
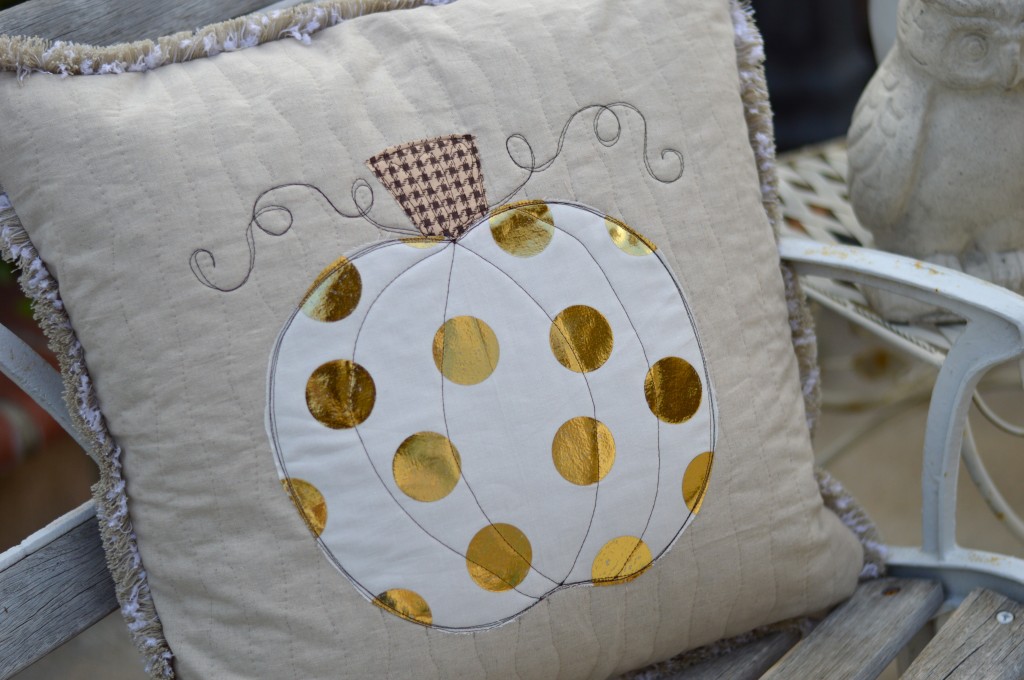
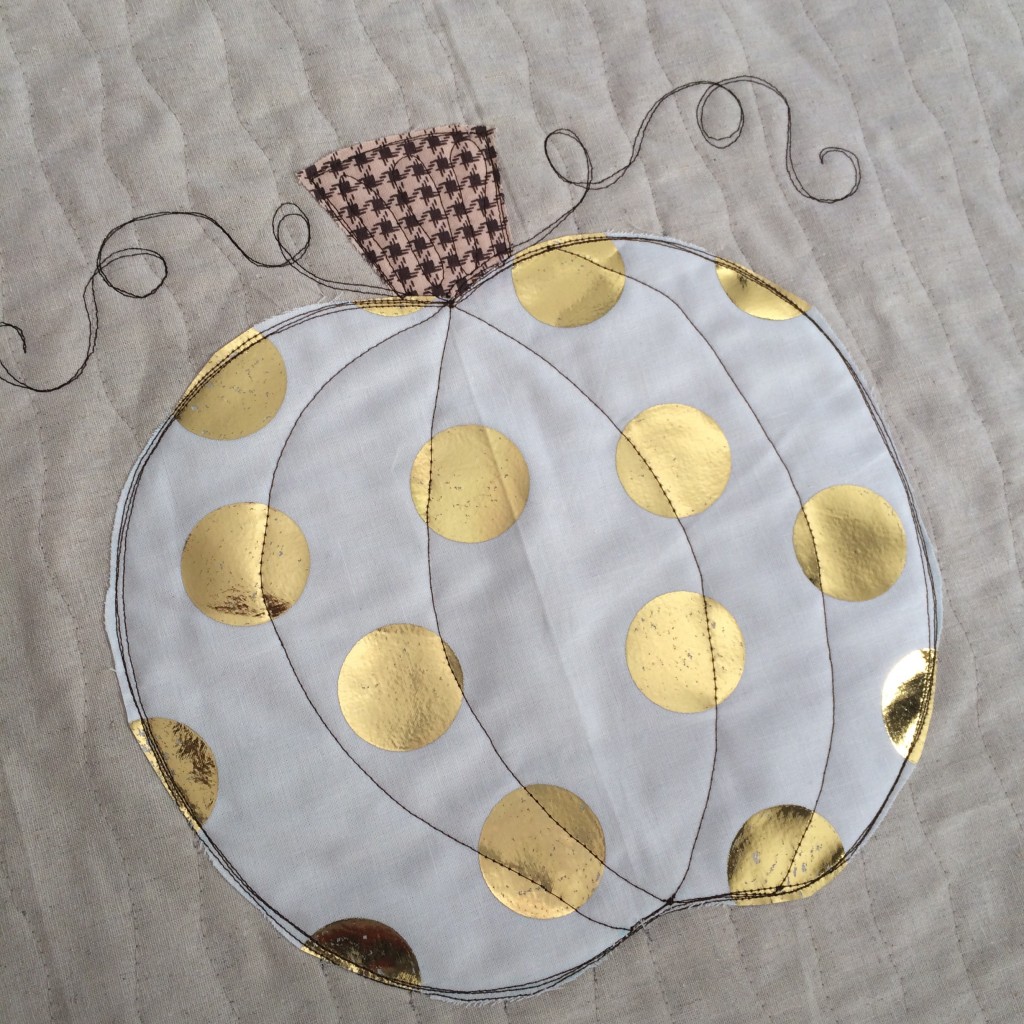
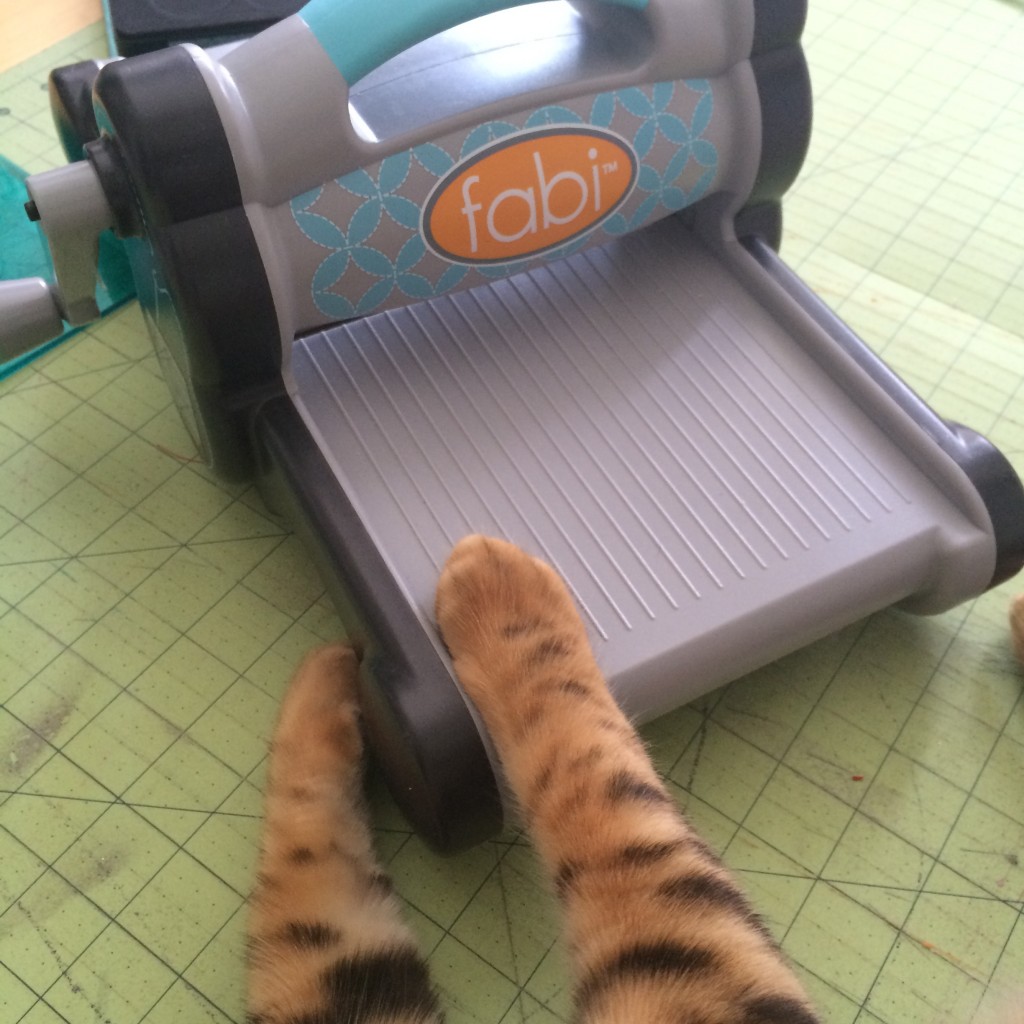
sizzix pumpkin pillow deco foil 2I am in love with gold polka dot pumpkins!  I created a smaller version of this pillow on the Therm O Web blog.  This version is a 20″ pillow and it’s actually quilted!  Have you used Deco Foils before?  They are a great way to add a little pop and pizzaz to a project.  To get perfect polka dots I used my Sizzix Fabi and a circle die.  Of course I needed a little help from Mufasa who is totally obsessed with the Sizzix Fabi!

sizzix pumpkin pillow deco foil 4

Using the Fabi you can cut circles in a snap!  I used the Therm O Web Hot Melt Sheets and die cut them.IMG_1595

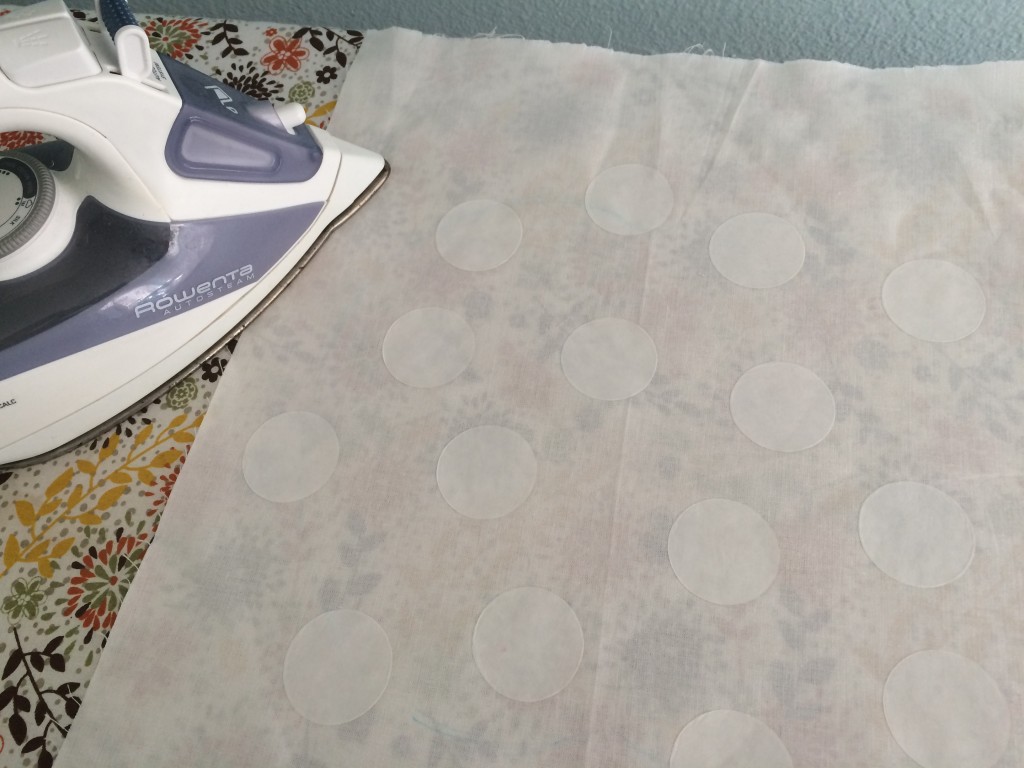
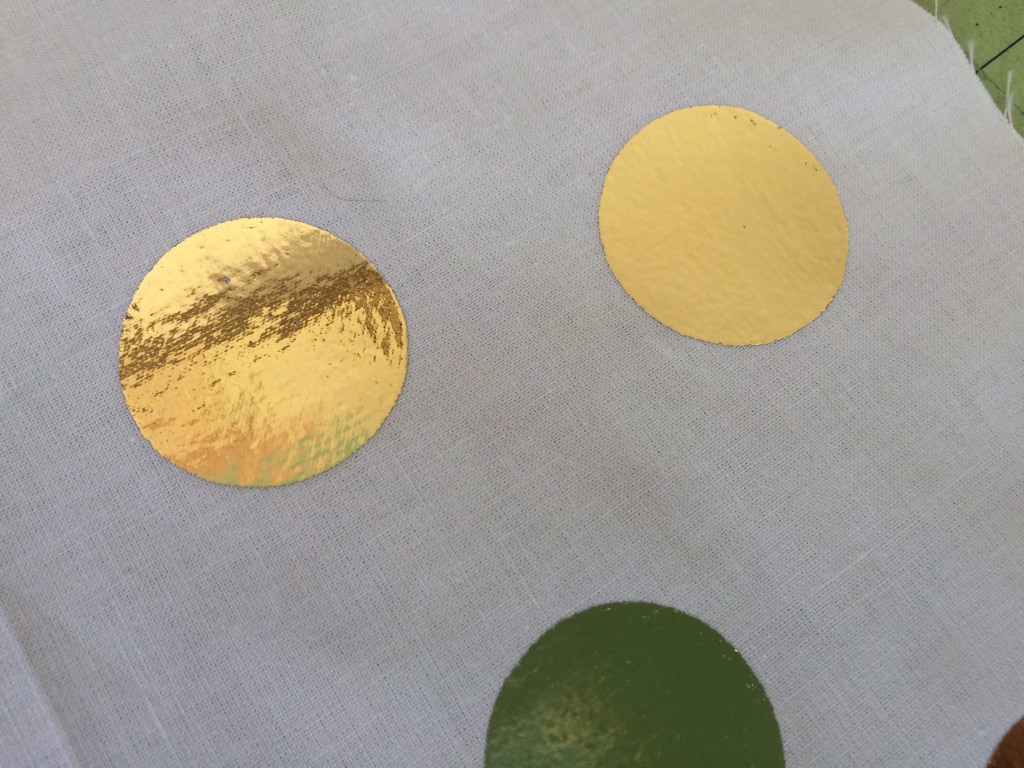
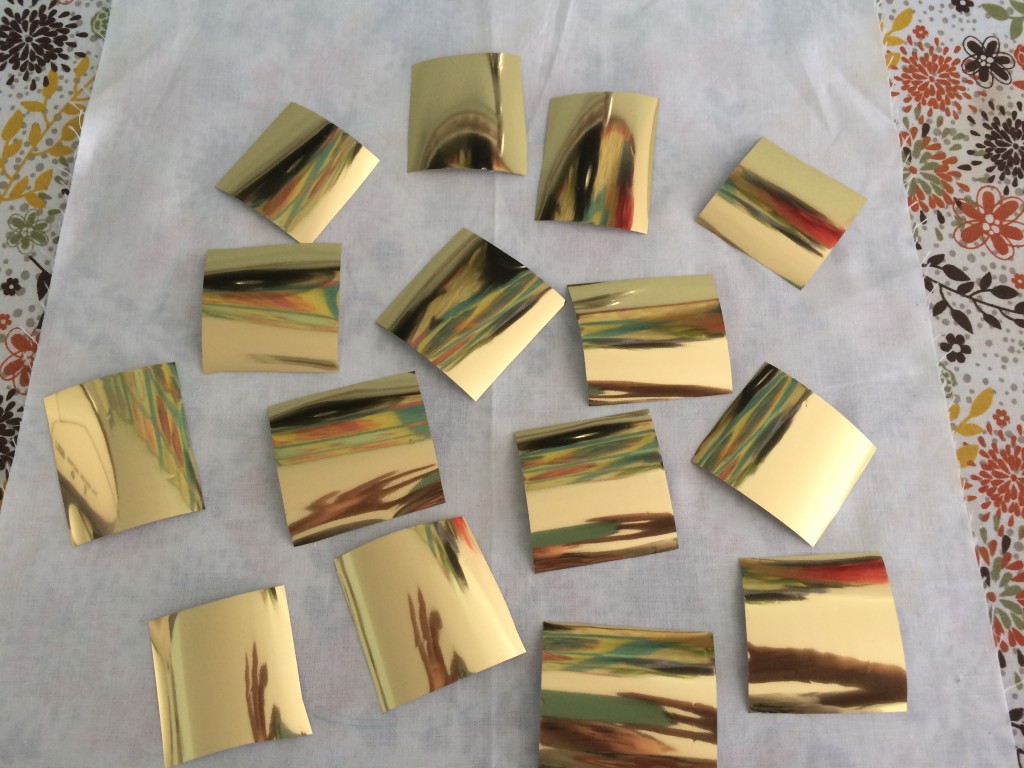
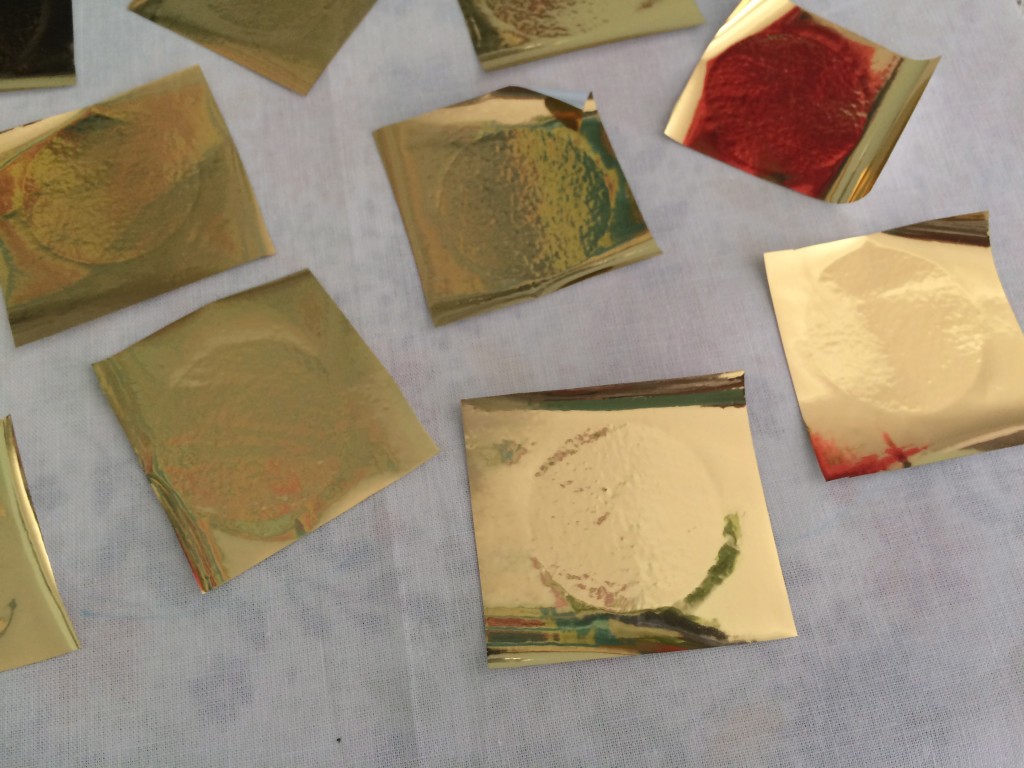
Draw a pumpkin on a white piece of fabric using a disappearing ink pen.  Position the circles all over the pumpkin including partially off the edge of the pumpkin.  You can use this pumpkin pattern, I enlarged it a bit so it fit the 20″ pillow.  Press using medium heat.  Let cool completely.  Peel off papers.IMG_1607Cut the Deco Foil into squares that are slightly larger than the circles.  Place on top of each hot melt circle.  Cover with a pressing paper and press for about 15-25 seconds using medium heat.  If I use the highest heat setting it singes the foil.
sizzix pumpkin pillow deco foil 7

sizzix pumpkin pillow deco foil 8Let cool completely.

sizzix pumpkin pillow deco foil 10Carefully peel off excess foil leaving gold circles!  Yes!  It’s magical!!!

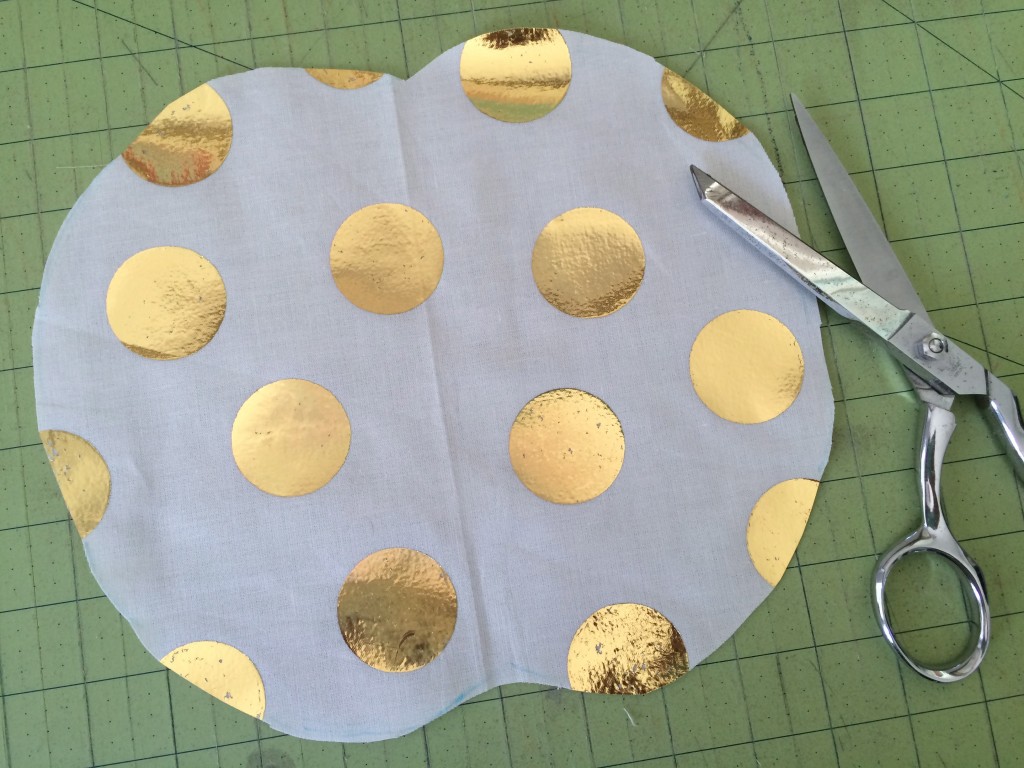
sizzix pumpkin pillow deco foil 12Cut the pumpkin out.  Cut the stem out.

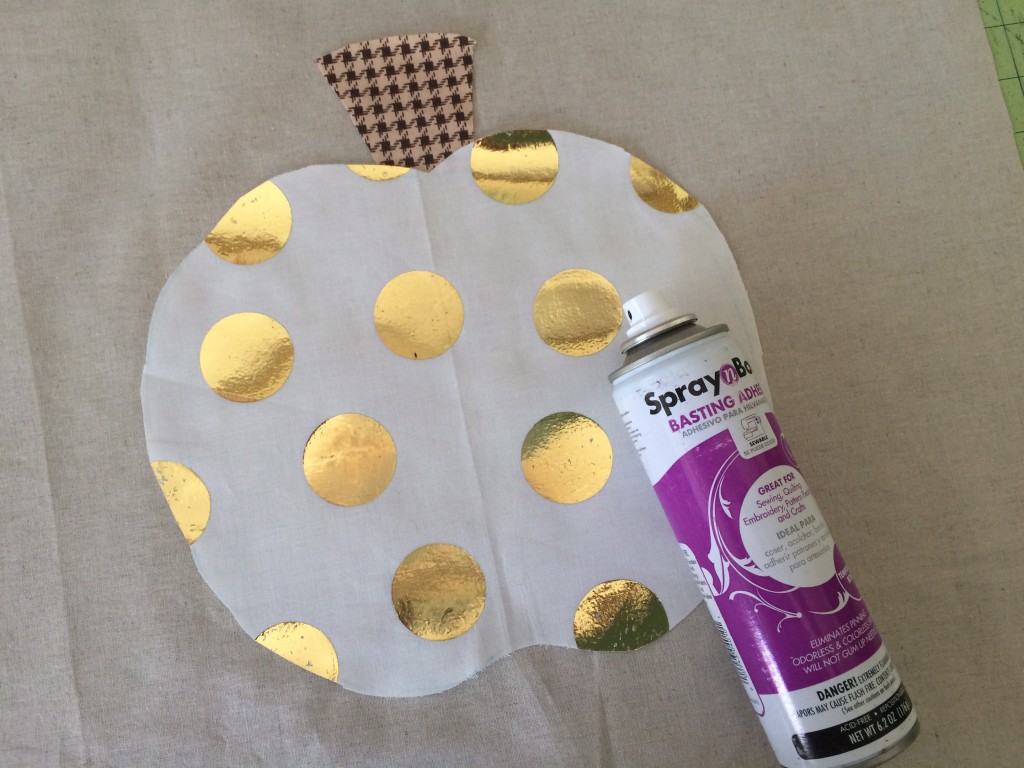
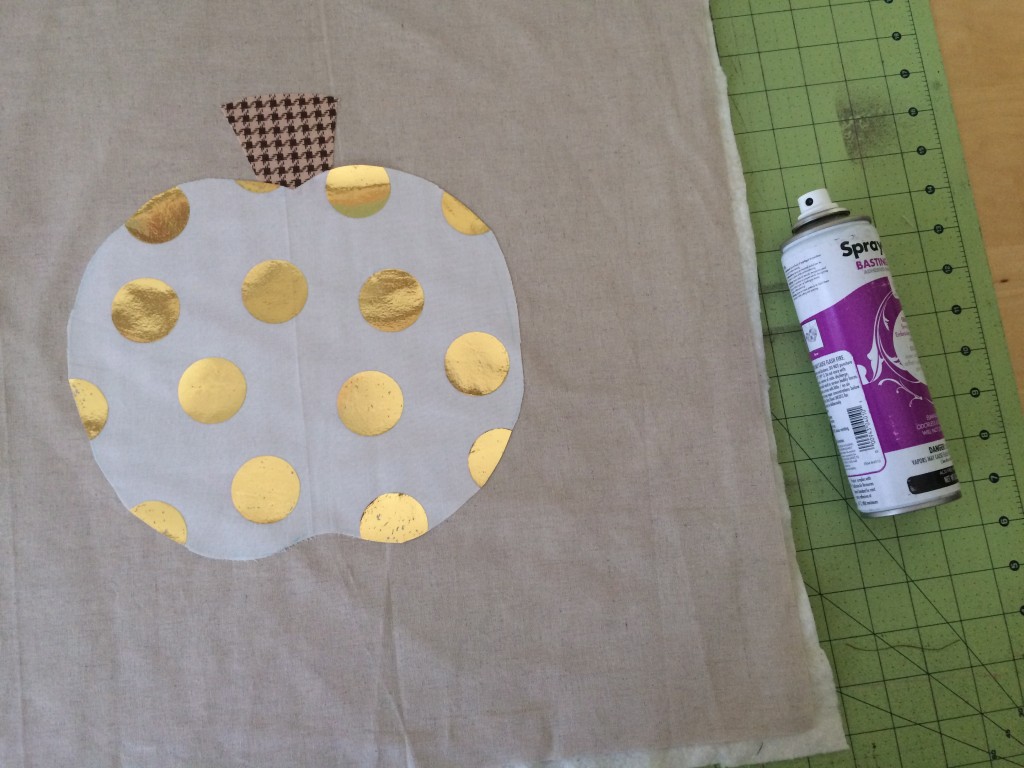
sizzix pumpkin pillow deco foil 13Cut (2) natural linen/cotton squares for the pillow.  Using Spray n Bond basting spray, adhere the pumpkin and stem to the square.

sizzix pumpkin pillow deco foil 14Using more basting spray, baste the square onto a piece of batting.

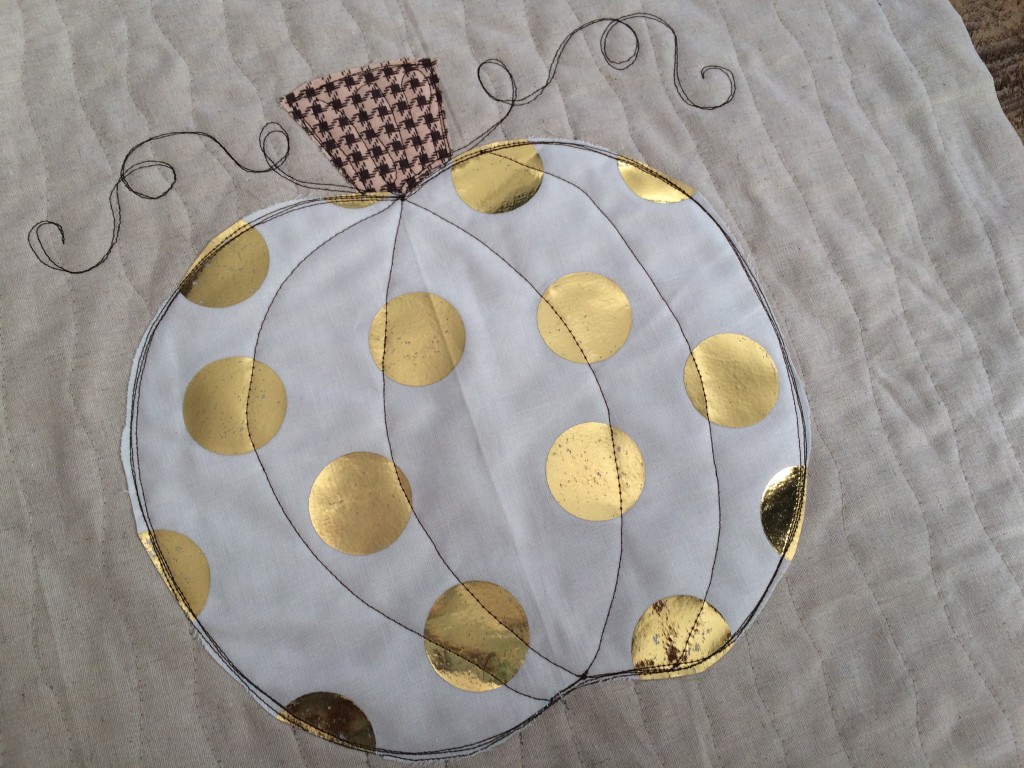
sizzix pumpkin pillow deco foil 15Sew around the stem and the pumpking 3 times in dark brown thread.  Add some swirly vines.  Then have some fun with the quilting!  I added detail to the pumpkin.  I also quilted wavy lines in the background.  I really like how it turned out.

sizzix pumpkin pillow deco foil 18To finish the pumpkin, add a zipper in the back 20″ square.  Baste in trim, and sew the pillow using 1/2″ seams.
sizzix pumpkin pillow deco foil 16

sizzix pumpkin pillow deco foil 3Mufasa needs to be a Sizzix model 🙂


Farmers Market Quilt Pattern featuring Riley Blake Designs Vintage Market

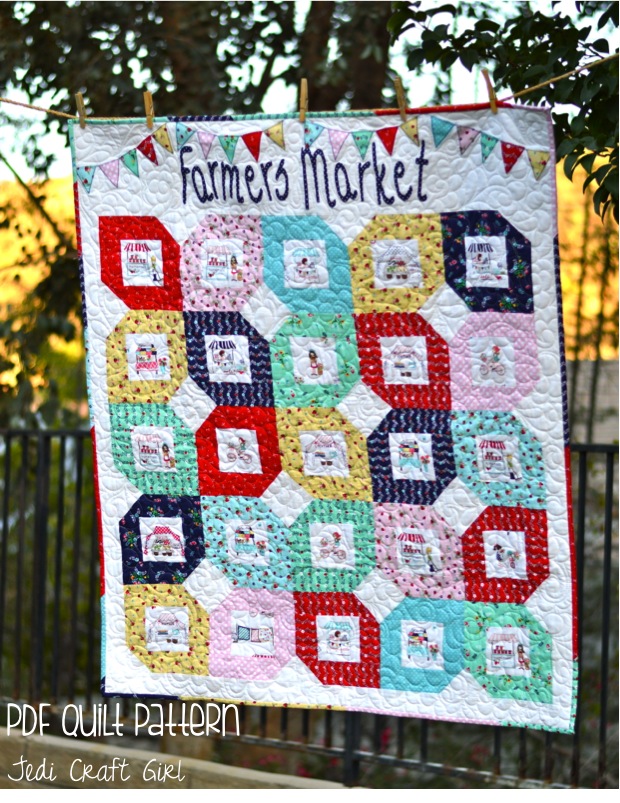
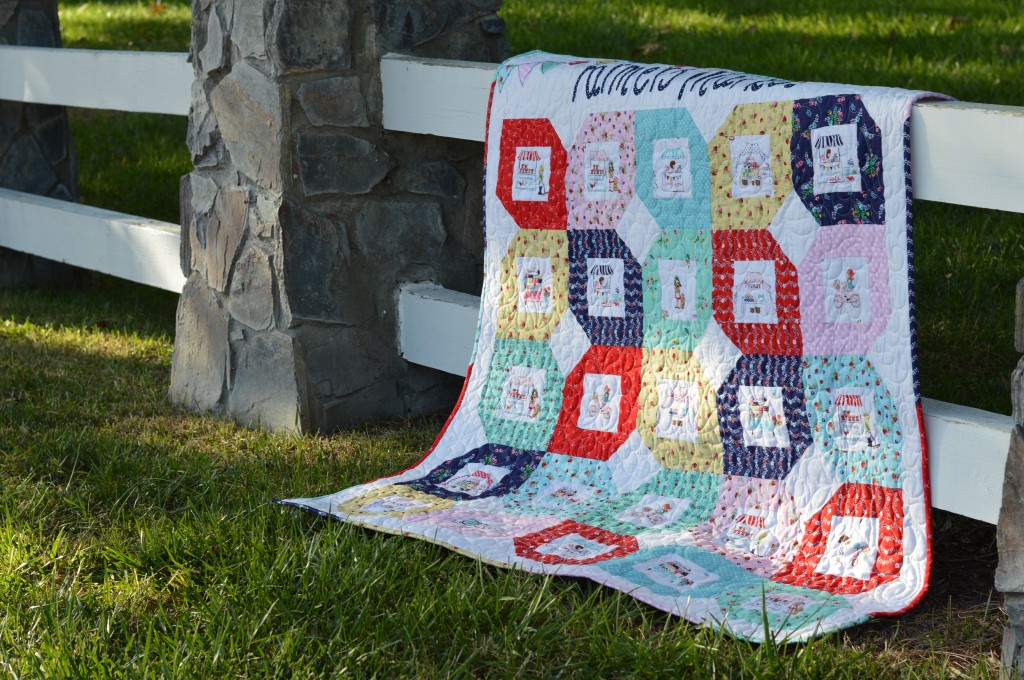
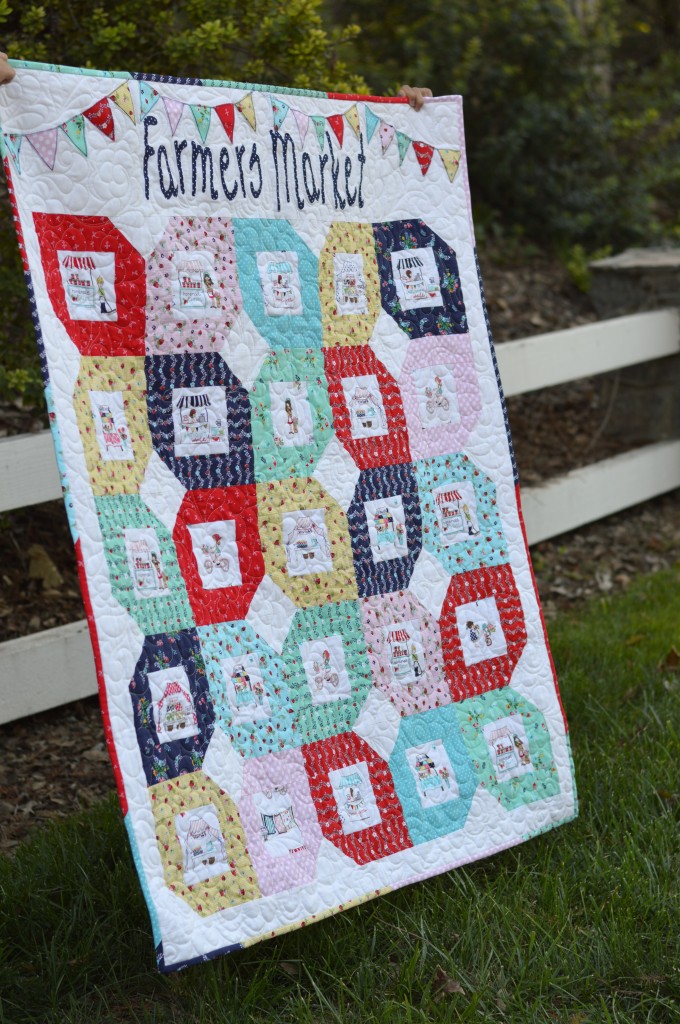
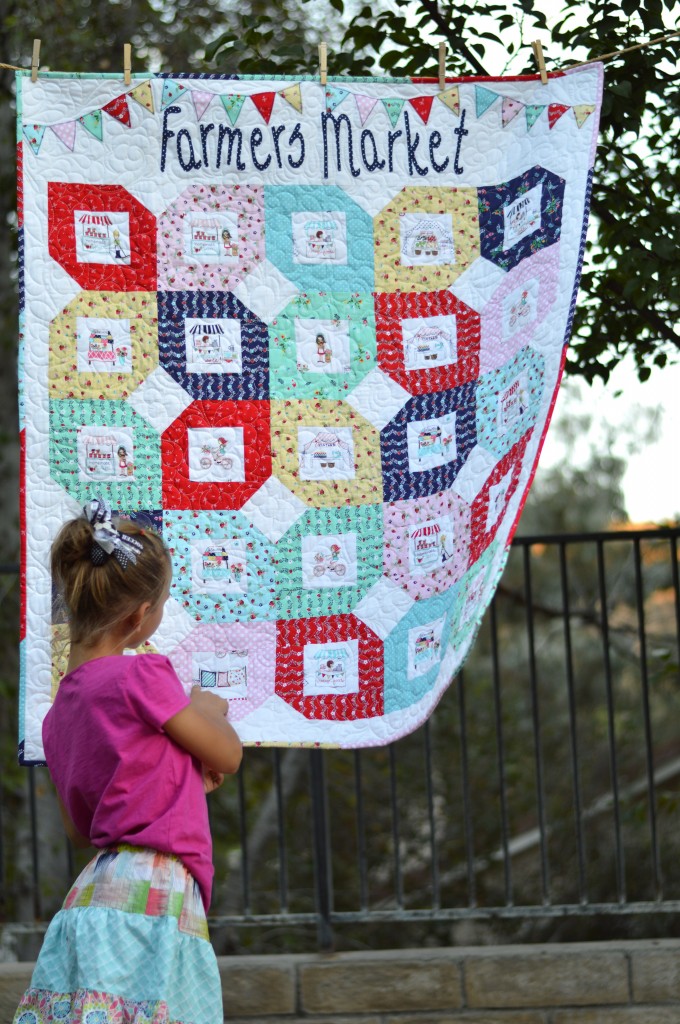
farmers market quilt coverI am so excited to share my newest pattern called Farmers Market!  The inspiration came from this amazing fabric by Riley Blake Designs called Vintage Market, designed by the super talented Tasha Noel.  This fabric has darling images of fruit stands, antique markets, and jam for sale.  All things I LOVE!!!  Plus the colors are fabulous!!!farmers market quilt vintage market

This pattern is available to you for FREE!  Click HERE to download the PDF pattern.  I hope you love making it – it was so much fun!

farmers market quilt vintage market 2

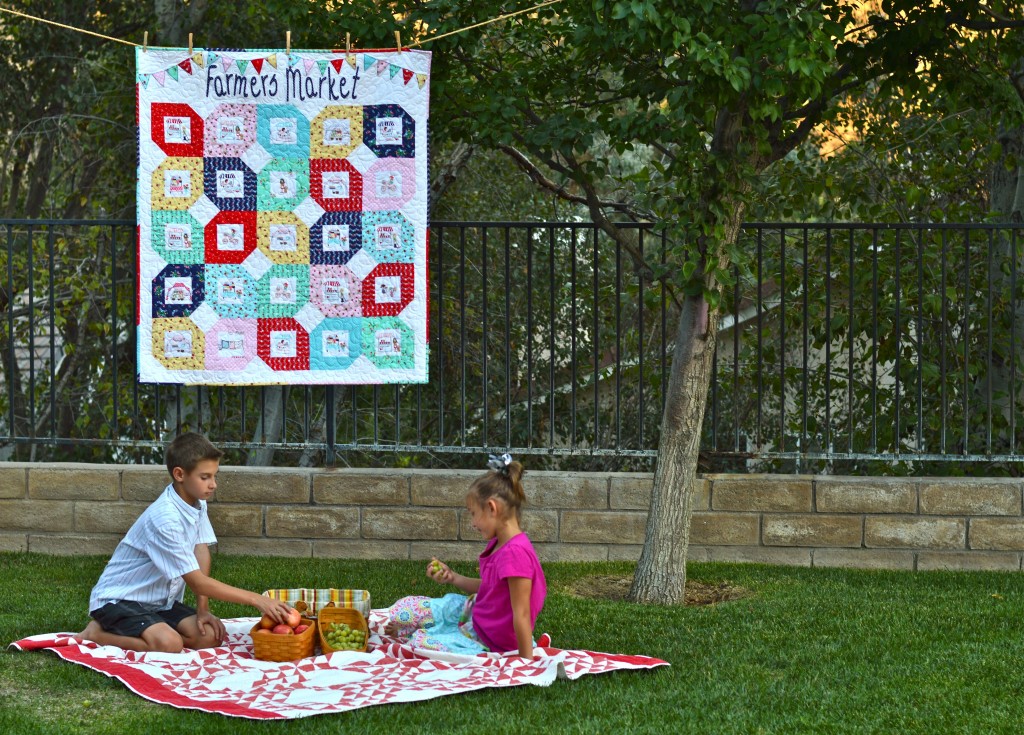
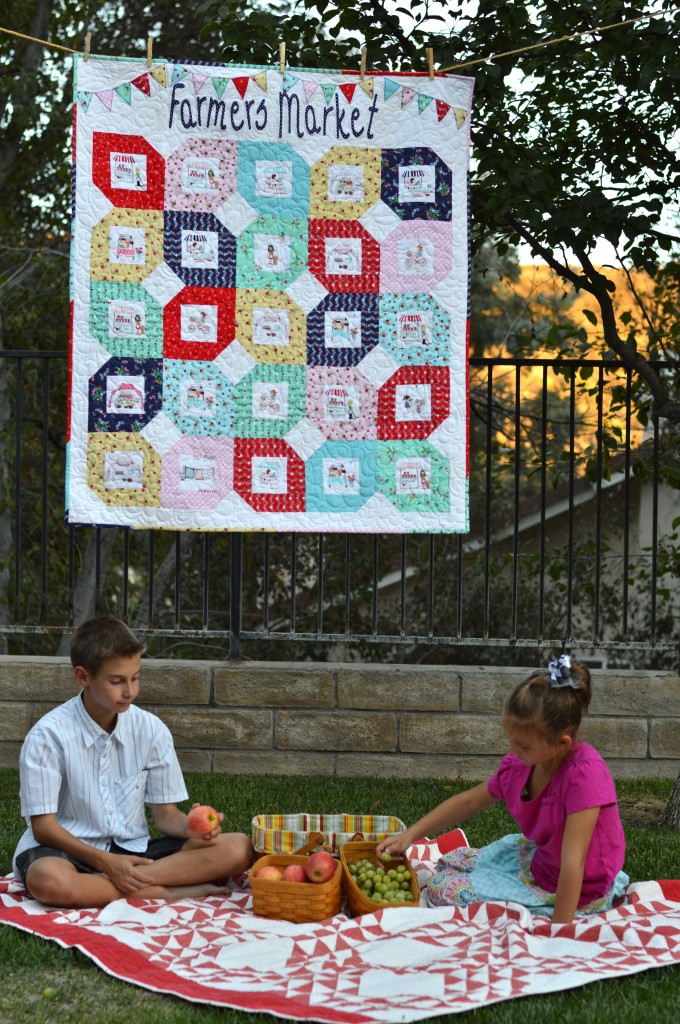
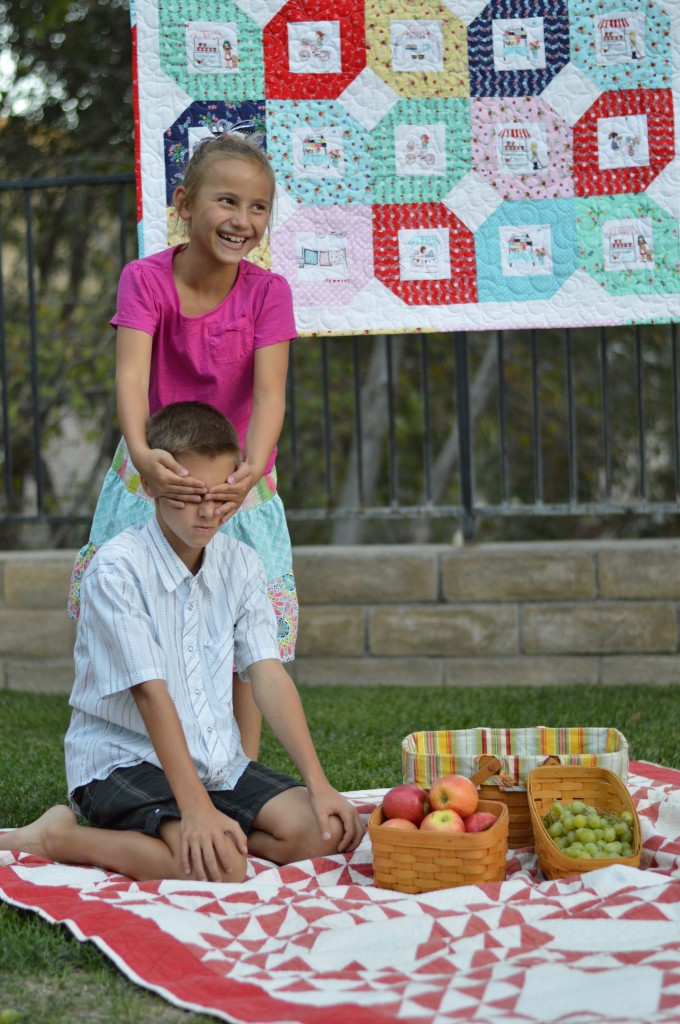
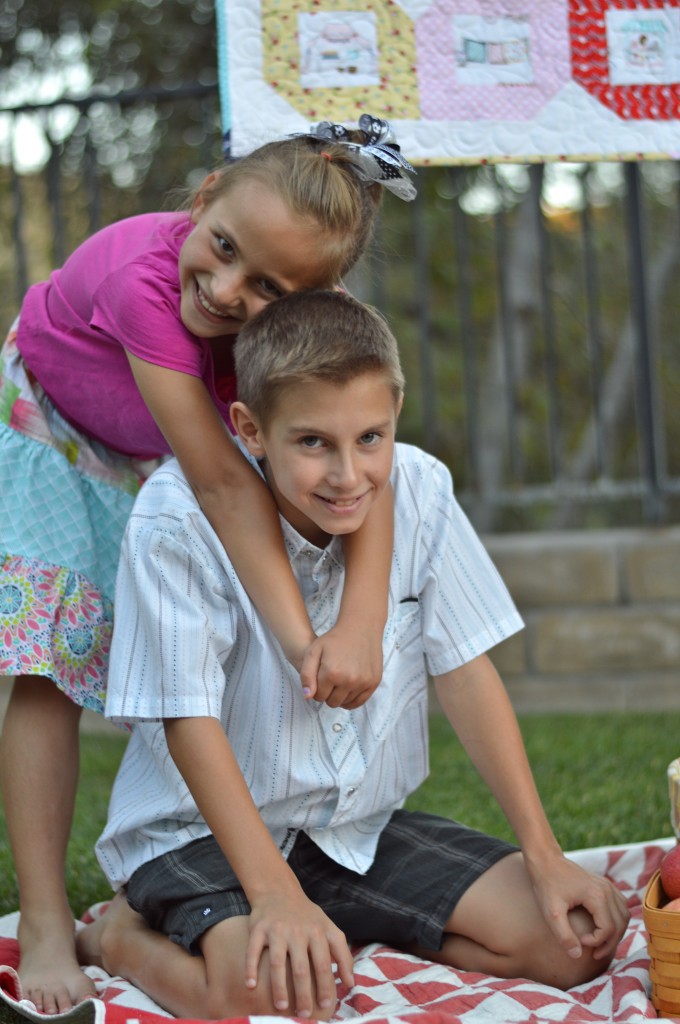
farmers market quilt vintage market 7Don’t my sweet children look like they are having such a lovely picnic!  You would ever know they were fighting with each other and I was yelling at them “just look at the fruit!!!!”

farmers market quilt vintage market 6  farmers market quilt vintage market 9

farmers market quilt vintage market 10

farmers market quilt vintage market 11

Happy Haunting Halloween Quilt

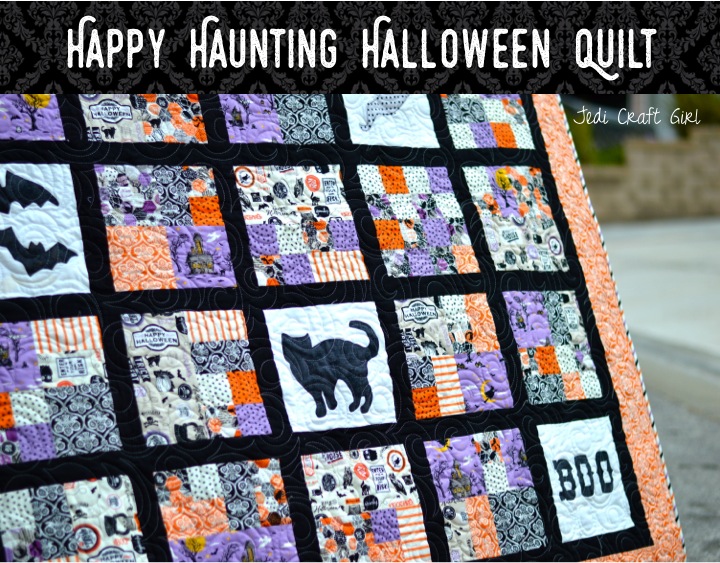
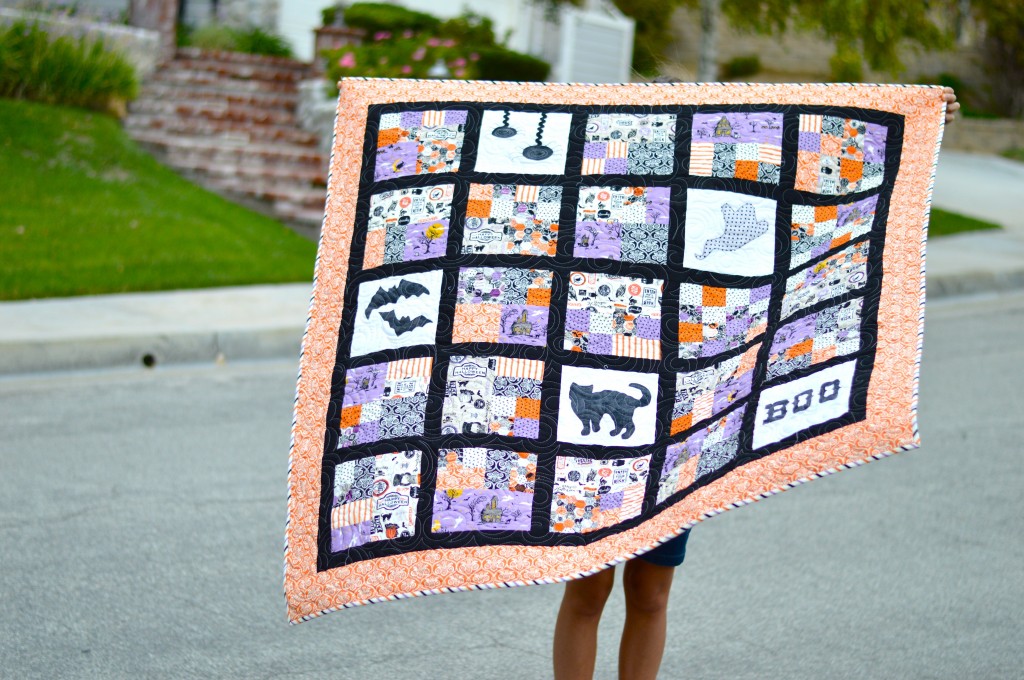
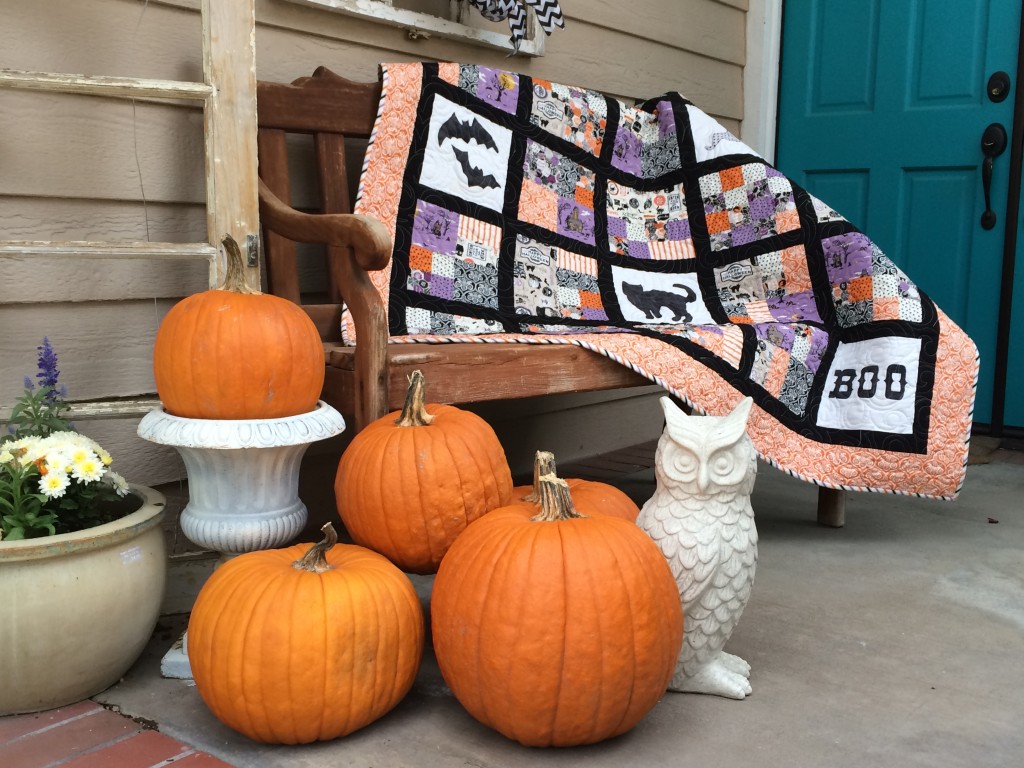
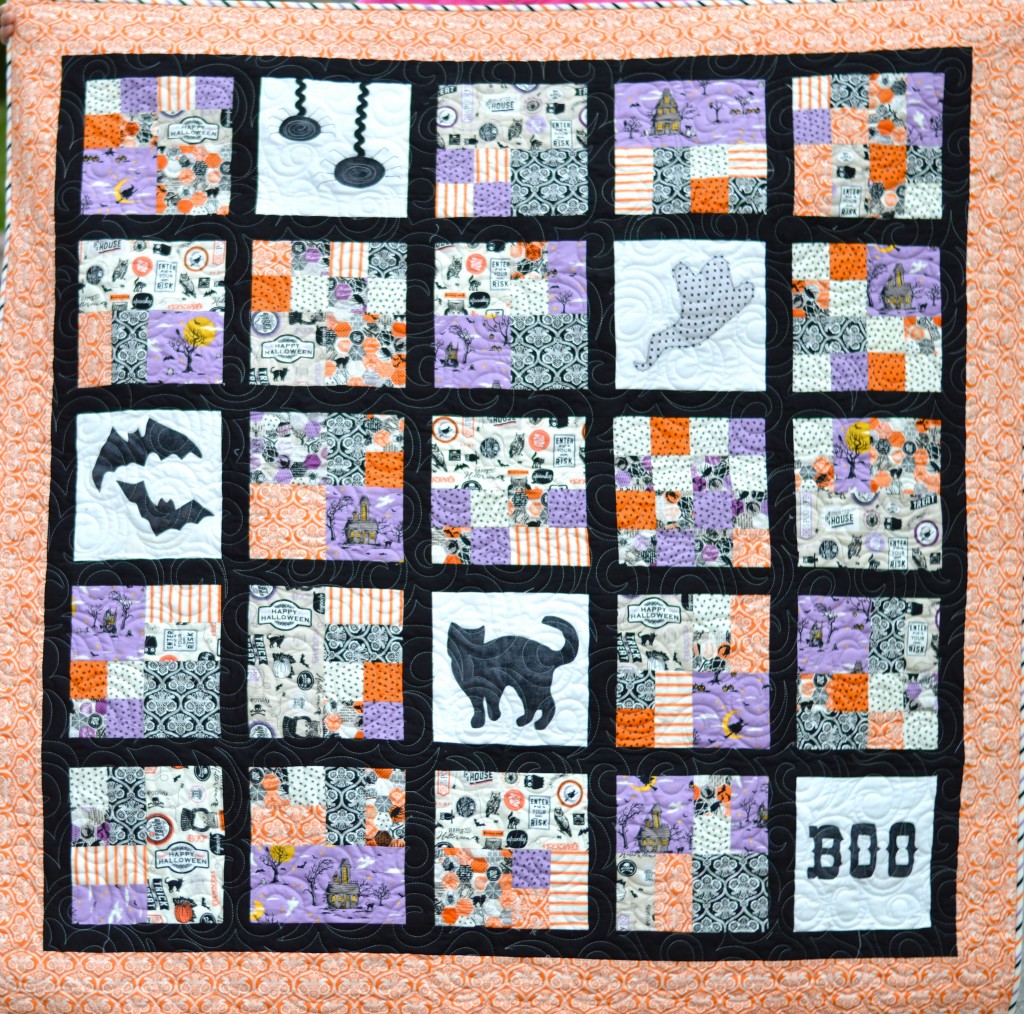
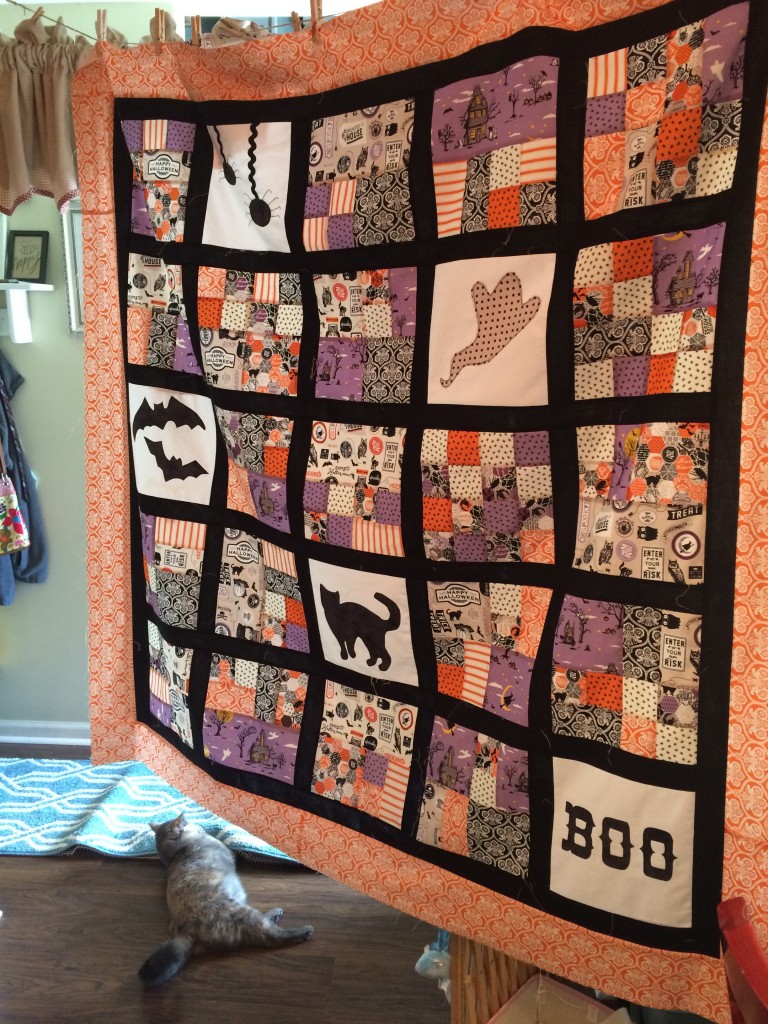
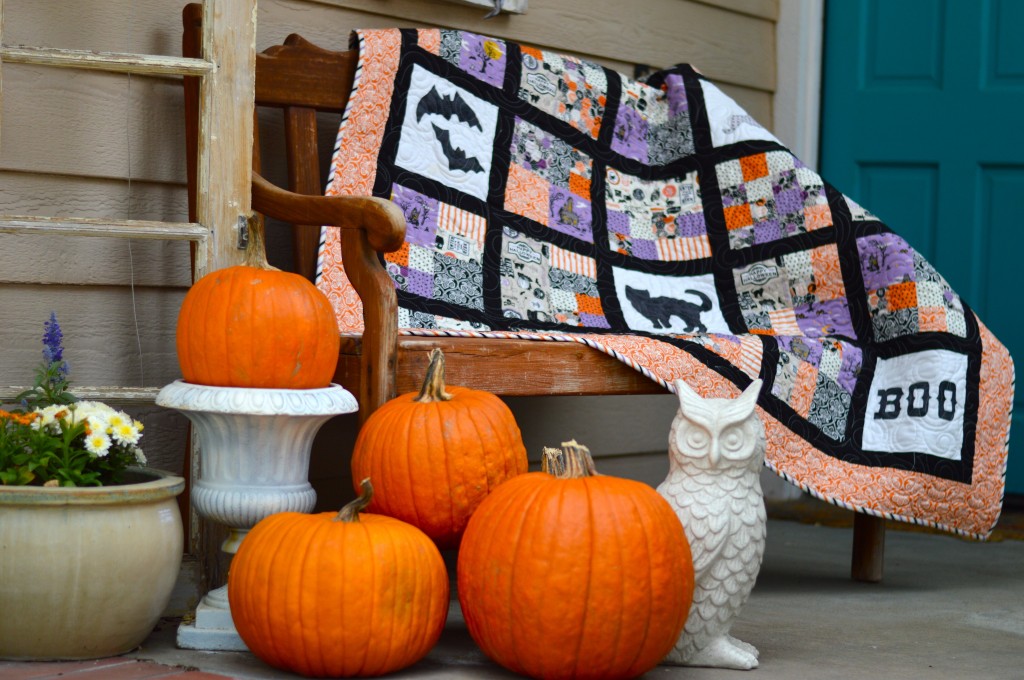
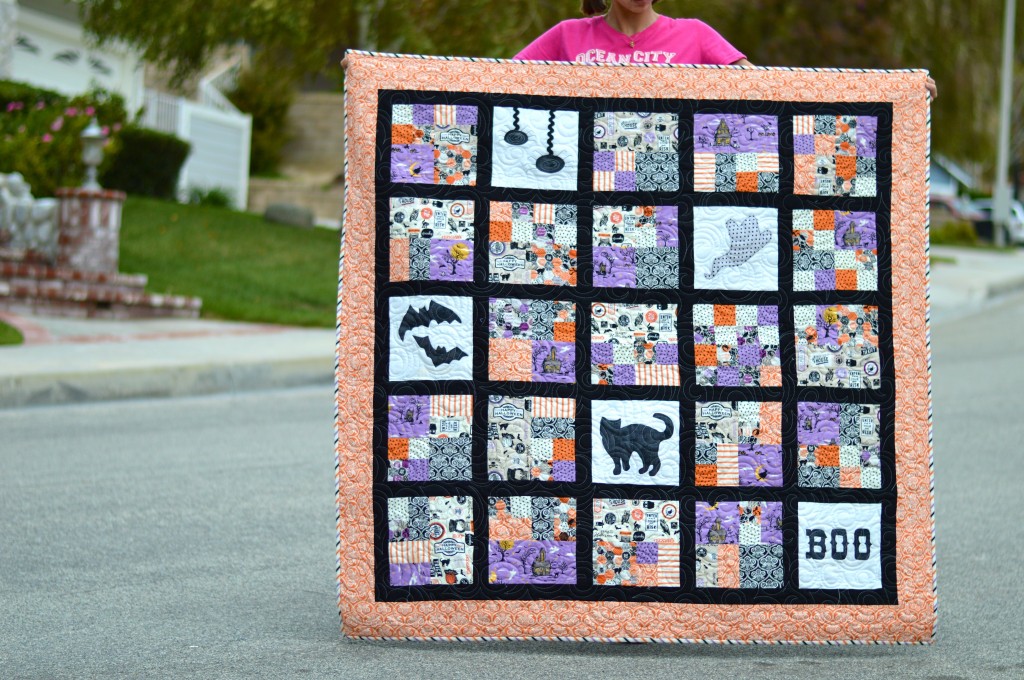
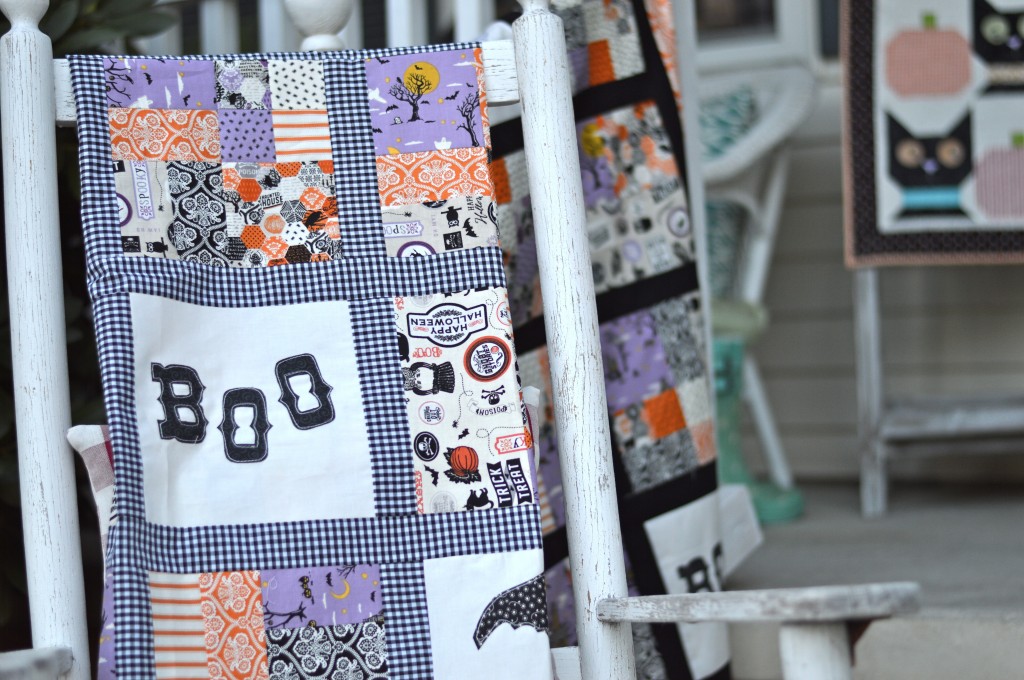
happy haunting halloween quilt coverIsn’t Halloween the best time of year for quilting?  I get so excited over orange and black and cats and bats!  I can’t have enough quilts!  I am so in love with this line from Deena Rutter called Happy Haunting by Riley Blake Designs.  It is everything Halloween should be!

happy haunting halloween quilt 2This quilt sews together fast and YOU get to pick the layout of each block.

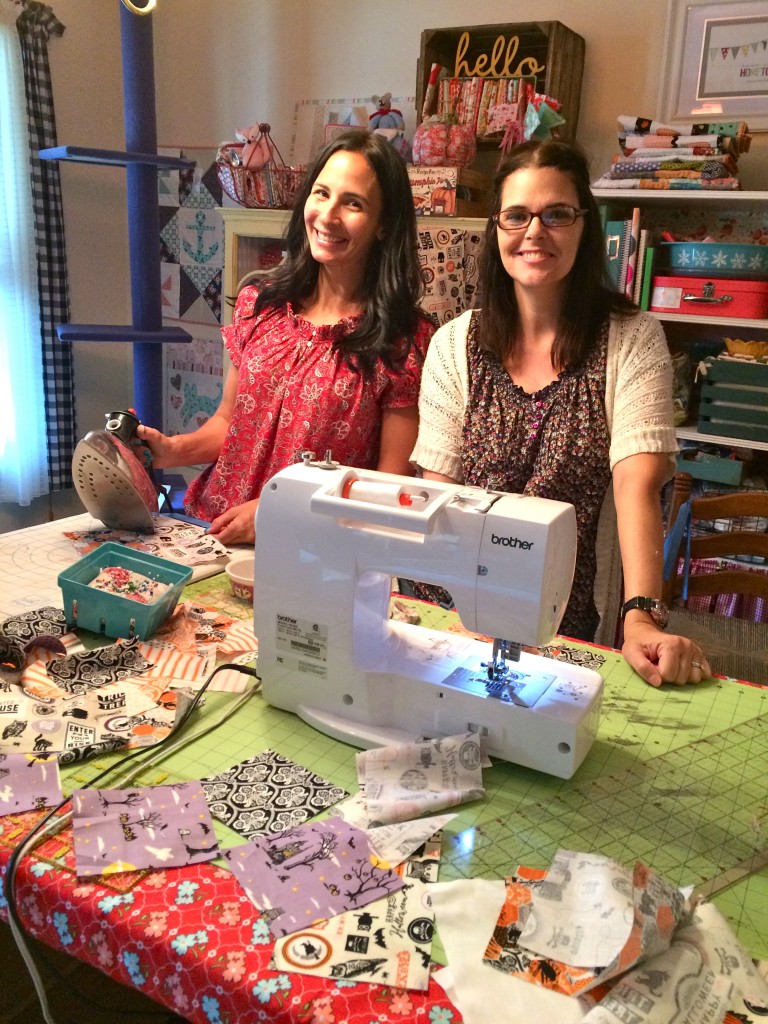
happy haunting halloween quilt 21This quilt is also best put together with a friend.  Tina from @emilyannskloset and I got together this summer for a Coast to Coast Kitty Quilter Retreat where we sewed about 15 hours each day for 4 days!

happy haunting halloween quilt 26  Let’s get started!

Finished Quilt 55″ x 55″

Supplies:

fat quarters or quarter yard cuts of Halloween prints

1 yard sashing

3/4 yard outer boarder

fat quarters for applique

1/3 yard for background blocks for applique

Heat n Bond Lite or Heat n Bond Lite EZ Print Sheets

Applique pattern, click HERE

1/2 yard binding

3 yards backing

FOR THE BLOCKS

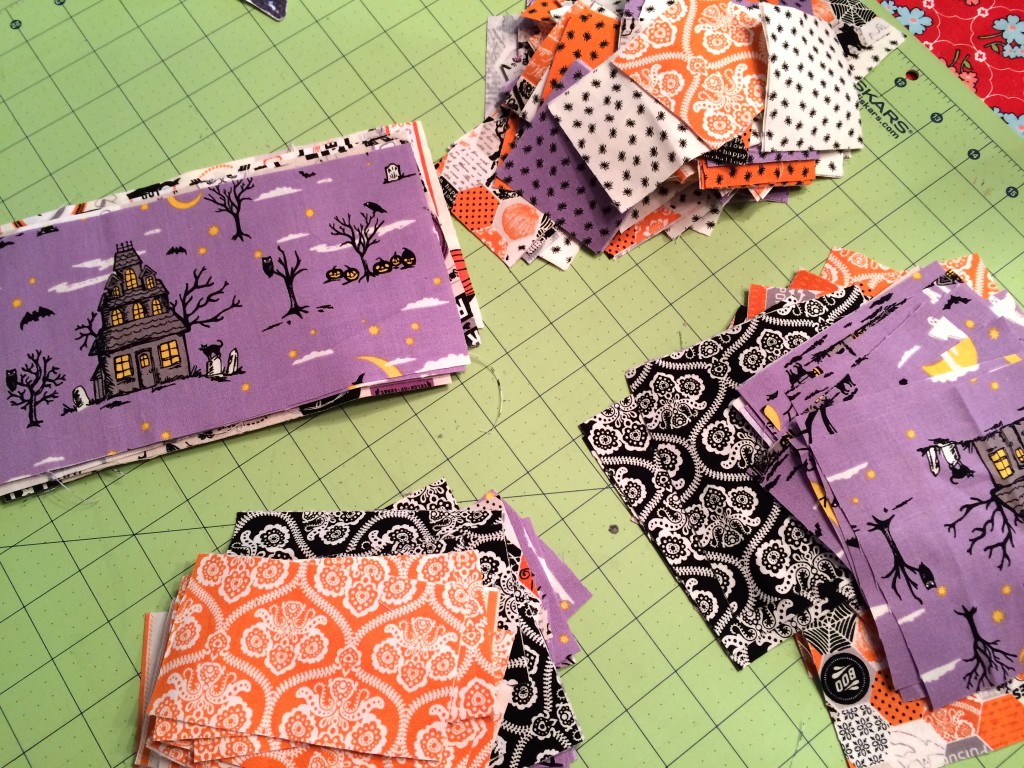
Begin by cutting the fabric into the following categories:

2.5″ squares

2.5″ x 4.5″ rectangles

4.5″ squares

4.5″ x 8.5″ rectangles

just keep cutting from a variety of fabrics until you have a sizable amount.

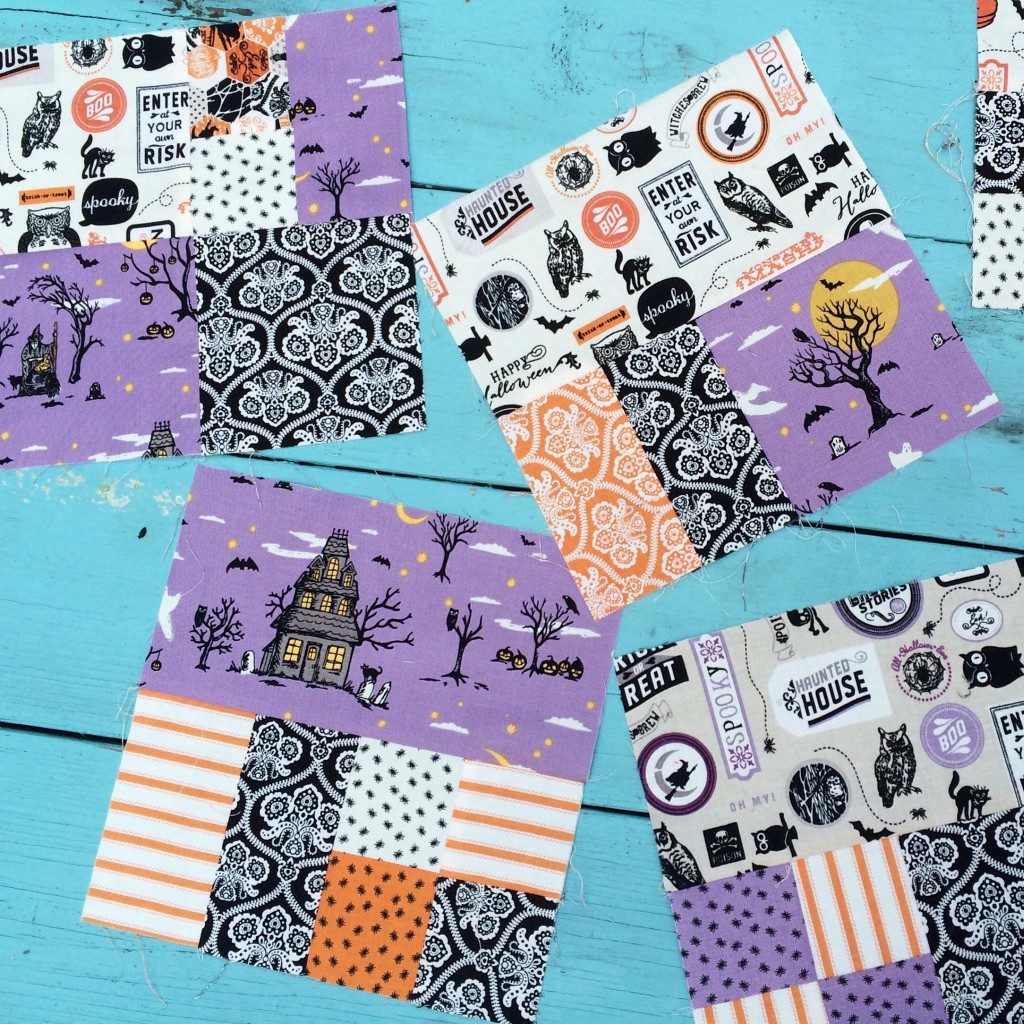
happy haunting halloween quilt 24Now the fun begins – don’t lay it out!  Just be totally random!  The goal here is to create 8.5″ blocks by using a combination of 4 patches, strip sets, and larger rectangles.  Below are a few examples, the combinations are endless!  Just be creative!

happy haunting halloween quilt 30

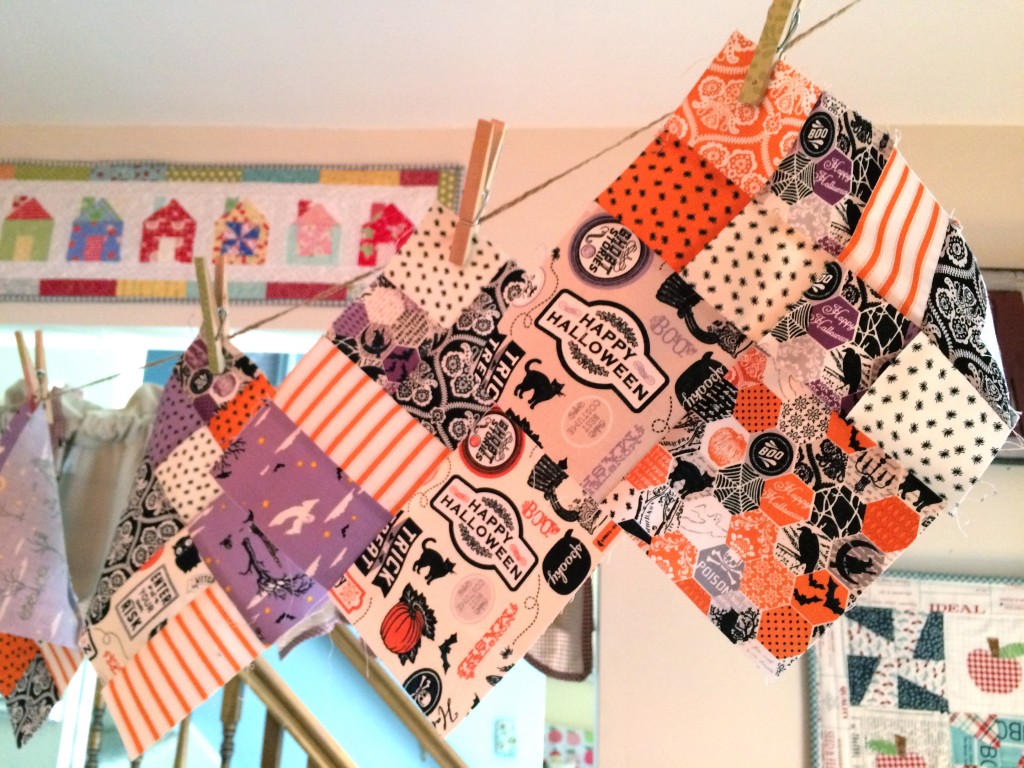
Each time we finished a block we hung it up on a clothes line and said “No, THIS is the cutest block!”

happy haunting halloween quilt 25For the finished quilt you will need 20 total pieced blocks and 5 applique blocks.  We even made a block that was all 2.5″ squares!

happy haunting halloween quilt 3 APPLIQUE

For the applique background squares, cut (5) 8.5″ white squares.  Trace the applique onto heat n bond lite or use the Heat n Bond EZ print sheets.  Iron the heat n bond to the wrong side of the fabrics and cut out the shapes.  Peel off the backing paper then press in place on the white squares.  The spiders have ric rac stitched onto the block and the legs are stitched with black thread. Top stitch around each image.happy haunting halloween quilt 29

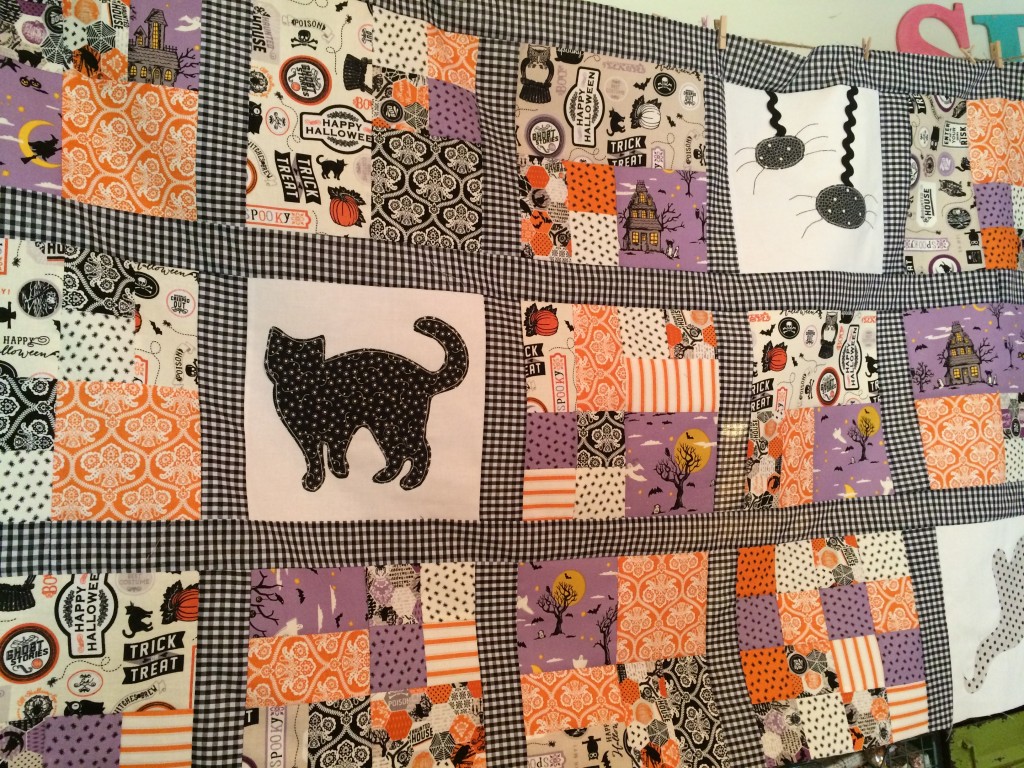
Once all the blocks are finished it’s time to sash.  I love that Tina choose black and white gingham to sash her quilt – it gives it a cozy country look!

FOR THE SASHING

Cut (20) 2″ x 8.5″ strips

you will need to piece the next sashing strips to give you the following measurements

(6) 2″ x 46.5″ strips for the horizontal rows

(2) 2″x 49.5 strips for the sides

Sew the 8.5″ sashing strips in between the blocks forming horizontal rows.  Then add the horizontal strips along the top, middle rows, and bottom.  Press.  Finish by adding the 2 side strips.

happy haunting halloween quilt 28

OUTER BOARDER
After sashing add the outer boarder.  I don’t measure at this point – do you?  Cut (6) 3.5″ x WOF strips for the outer boarder.  You will need to sew them together end to end to have enough length.  Sew the side strips on, square up, press and then sew the top and bottom strips on.

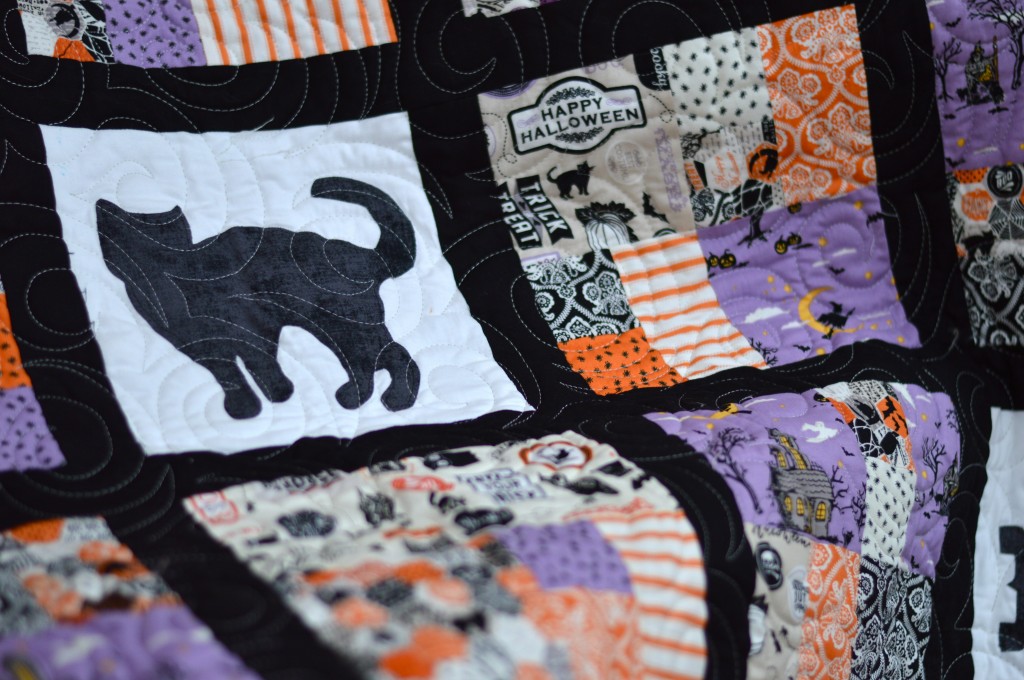
happy haunting halloween quilt 10I had my friend use her long arm quilter to sew swirls all over the quilt, even through the applique.  I LOVE it!happy haunting halloween quilt 8   I am totally in love with this quilt.  I cut the striped fabric on the bias for the binding.  Striped binding is my absolute FAVORITE!!!!happy haunting halloween quilt 4   happy haunting halloween quiltI had such a wonderful time putting this quilt together with my friend Tina.  Isn’t it fun to sew with friends and family!!!

IMG_1088

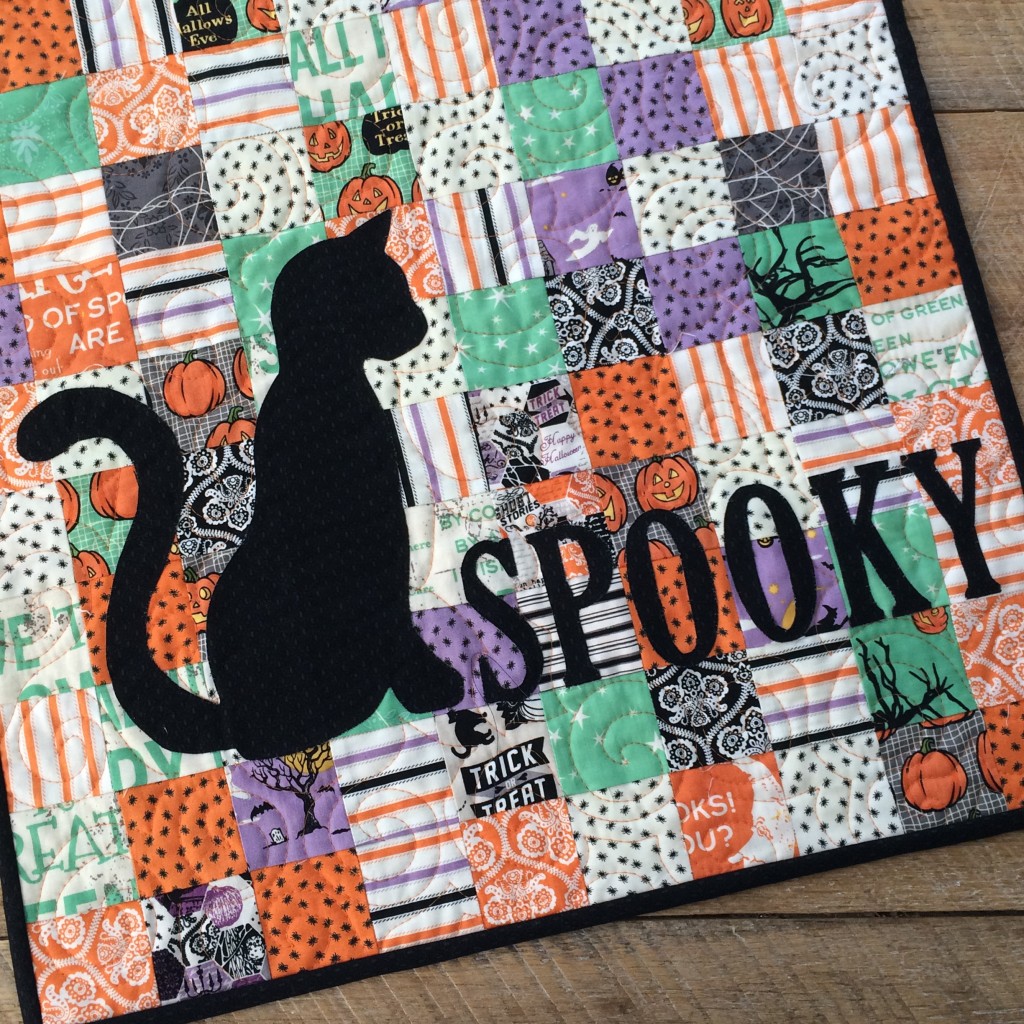
Spooky Mini Quilt

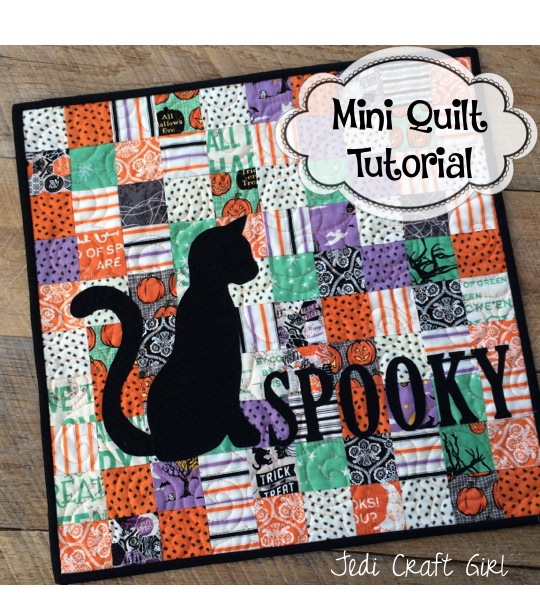
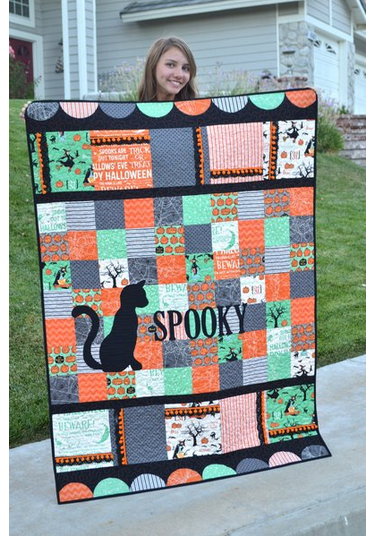
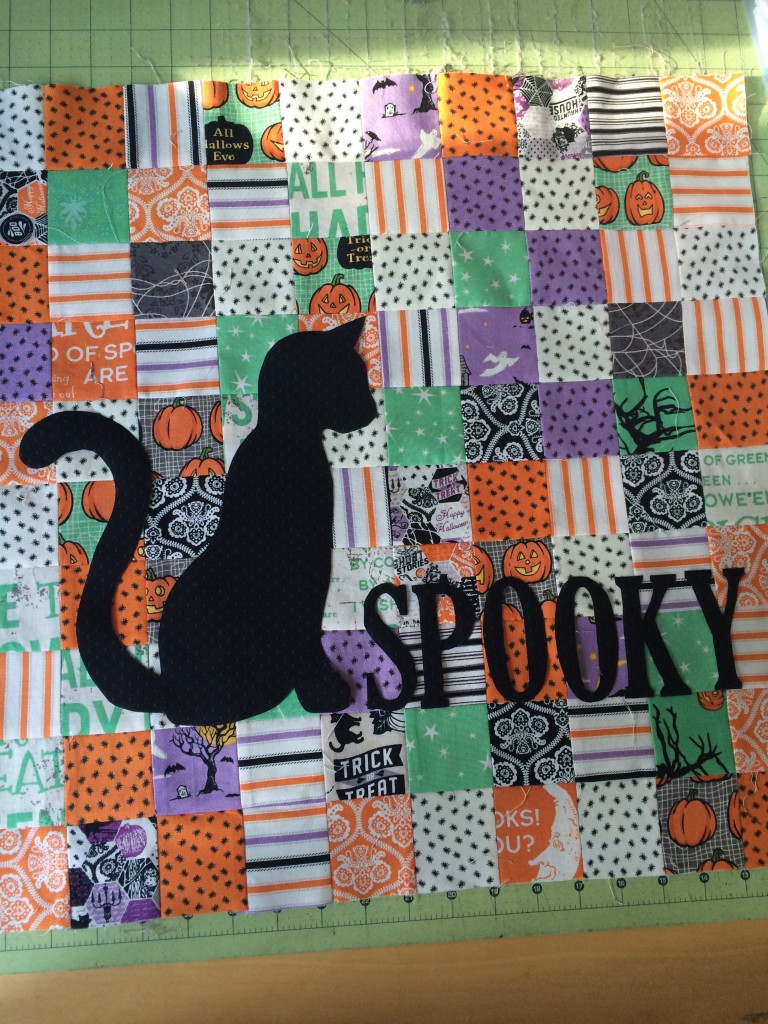
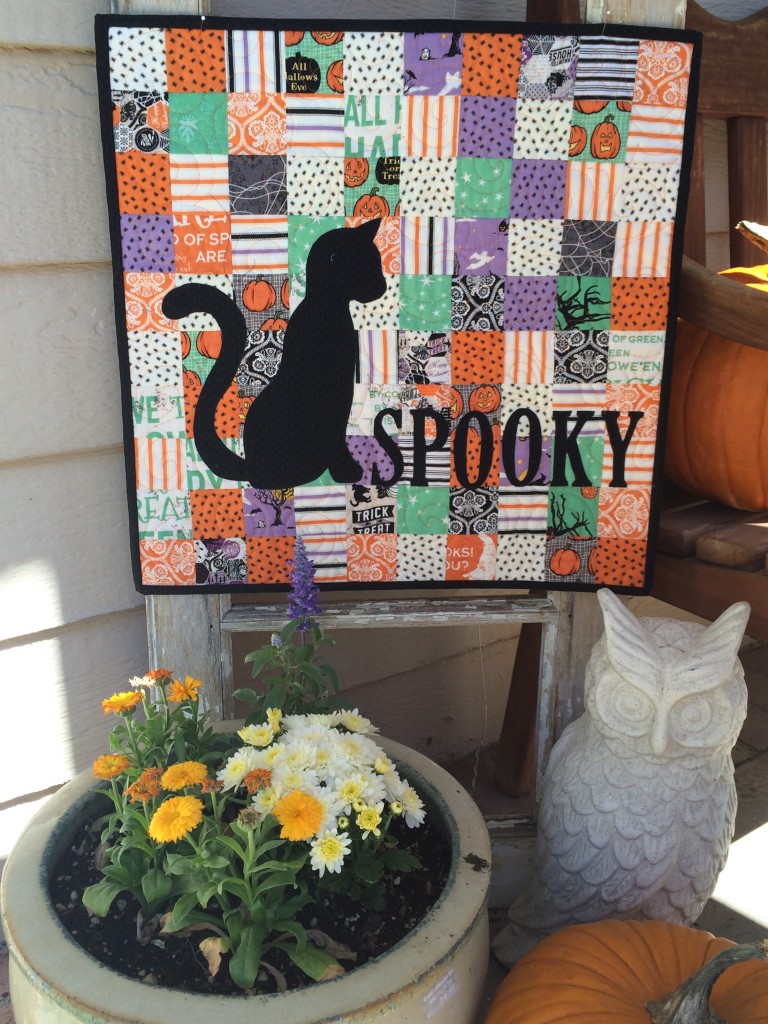
spooky mini quilt tutorialI love Spooky Sewing!  Halloween is such a fun time of year and the fabrics are so amazing!  This mini quilt pattern is inspired from a larger pattern I created.   You can find the pattern for the large version on the Riley Blake Designs website.  The fabrics are from last years and this years Riley Blake Designs Halloween fabrics.  They are purrrrfect for Halloween!Screen Shot 2015-09-30 at 2.46.16 PMSupplies:

scraps of Halloween prints

fat quarter or equivalent for applique

2/3 yard for backing

1/4 yard for binding

batting

Heat n Bond Lite EZ print sheets

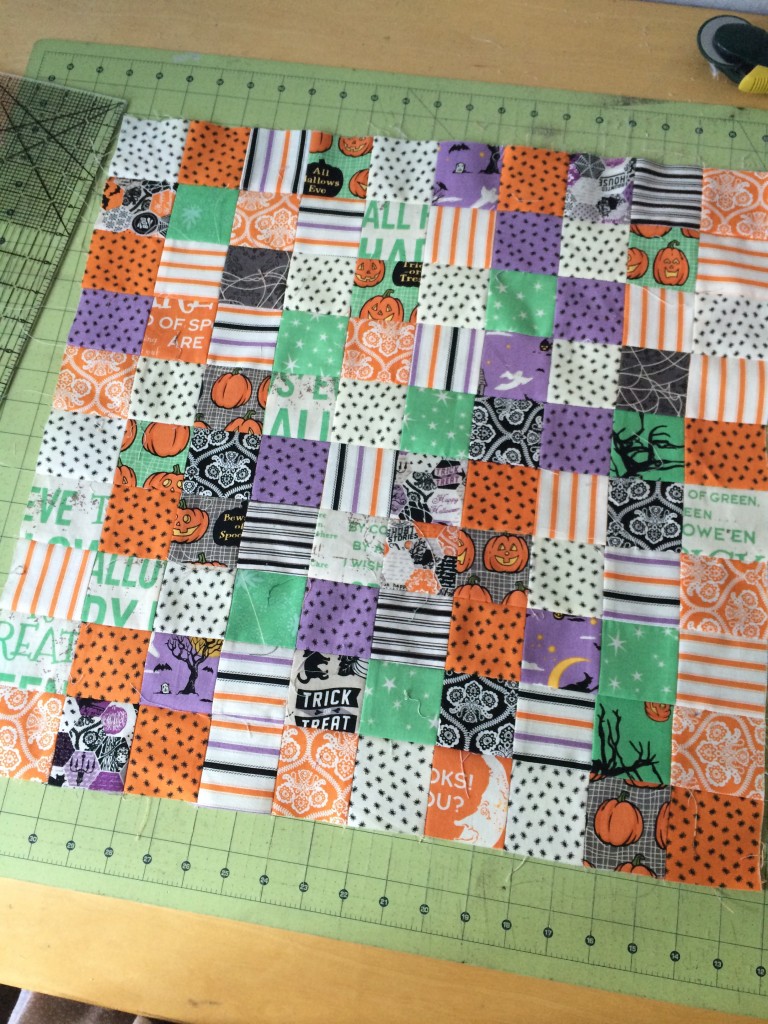
This small version measures about 20″ square.  It would make a great pillow too!  Begin by rummaging through all your scraps and cut 2.5″ squares.  You need 100 total.  There are 10 rows of 10.  I did mine totally random.  I just grabbed 2 fabrics and sewed them together.

spooky mini quilt I paired all the fabrics then sewed those pairs with other pairs, leaving 10 pairs out.  Once you sew the 2 sets of 2, you have strips with 4 squares.  Pair those up to give you 10 sets of 8 squares.  Then add the reserved pairs to the ends.  This was the fastest way I found.  I lined up the rows the best I could.  I tried to avoid having 2 like fabrics touching.  Press all seams.spooky mini quilt 3

To add the cat applique, click HERE for the cat and HERE for the Spooky.  Print them in reverse.  I like to use Heat n Bond EZ print sheets – no tracing!!!  Once you’ve got your applique ready, iron it into place and stitch around it with black thread.

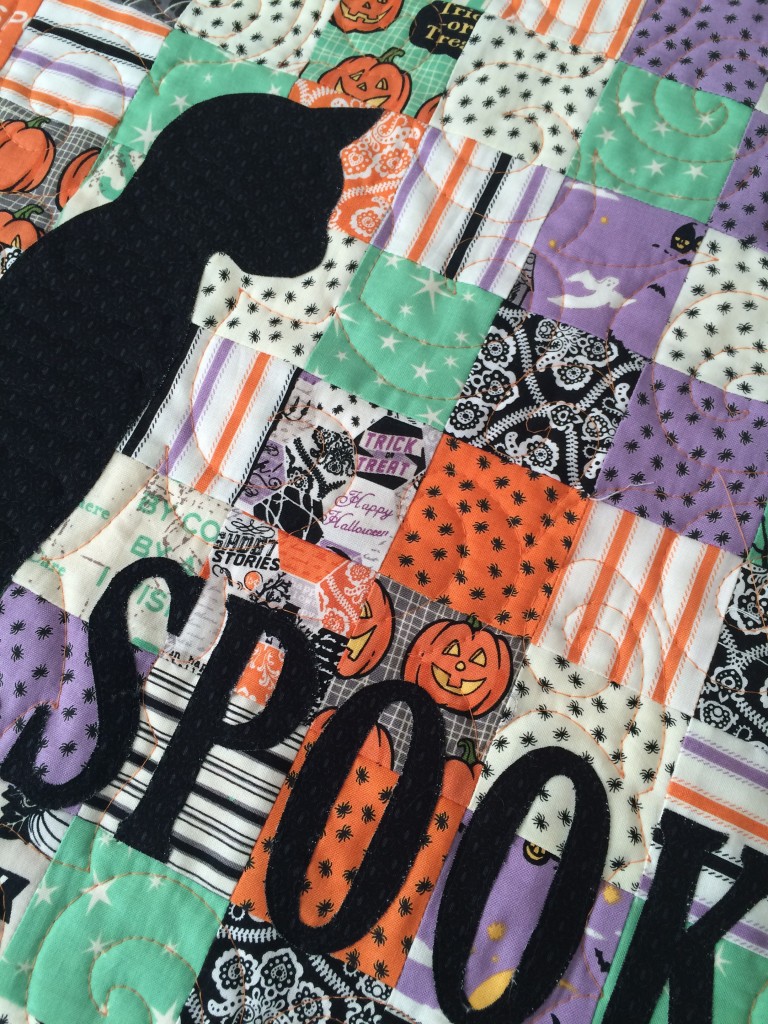
spooky mini quilt 2All that’s left is the quilting!  I quilted orange swirls.

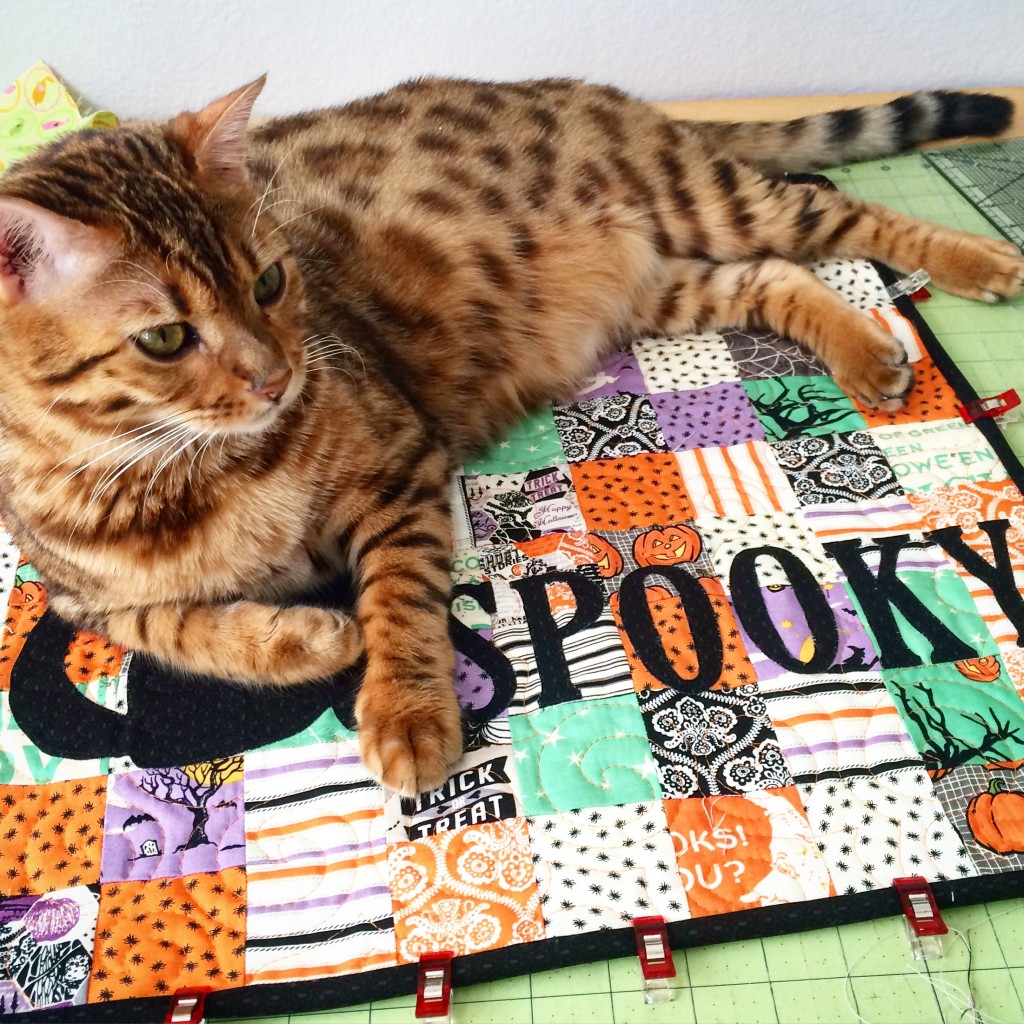
IMG_0813Add the binding and its done!  This might take a while if your cat decides to have a nap on it!!!  spooky mini quilt 4I love it so much!!!!

spooky mini quilt 5

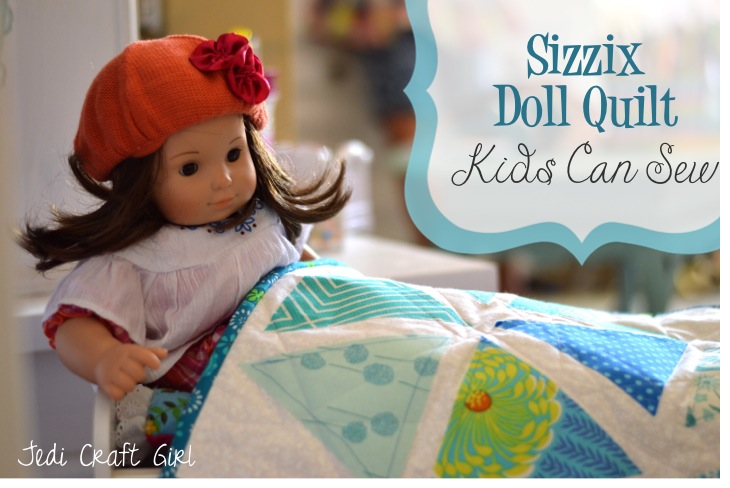
Kids Can Sew! Sizzix Doll Quilt

sizzix doll quilt kids can sewI love getting my girls involved in sewing!  In fact among the requirements for leaving home to go to college are: 1.  you must be able to bake a pie from scratch  2.  you must be able to successfully make the family roll recipe  3.  you must be able to construct a quilt start to finish by yourself!  I’m proud of my teenage daughter as she has mastered all of these skills.  Sally is 7 and we are beginning to sew on the machine.  She LOVES it!  I like projects that she can do most of the work; this one is perfect!

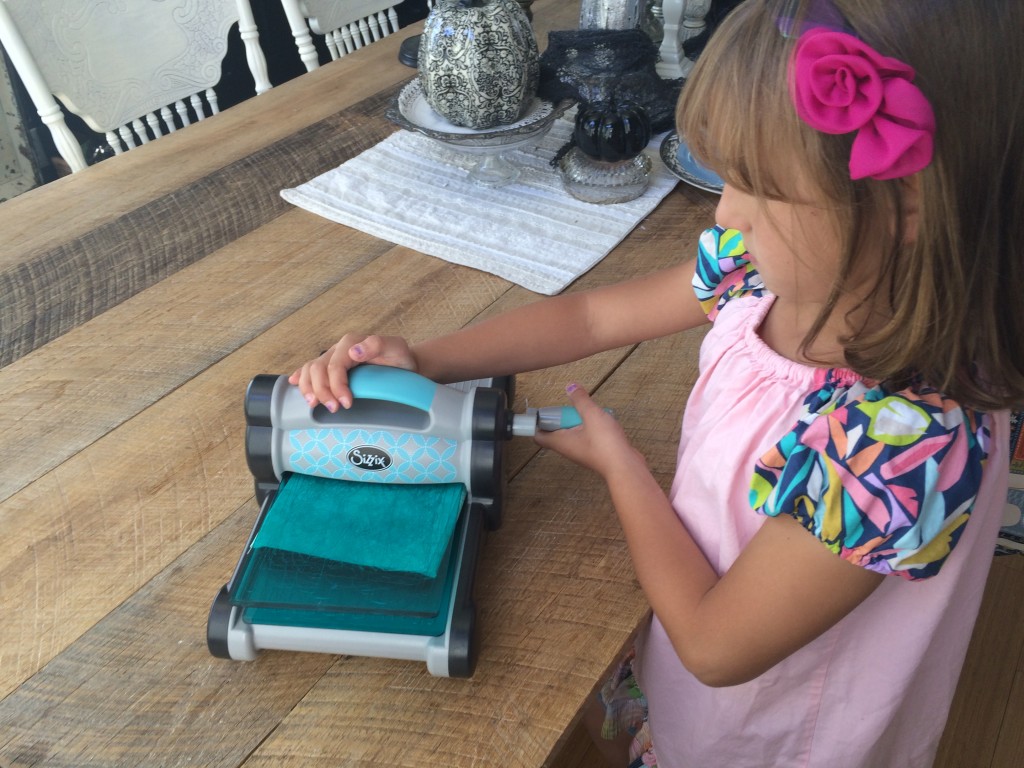
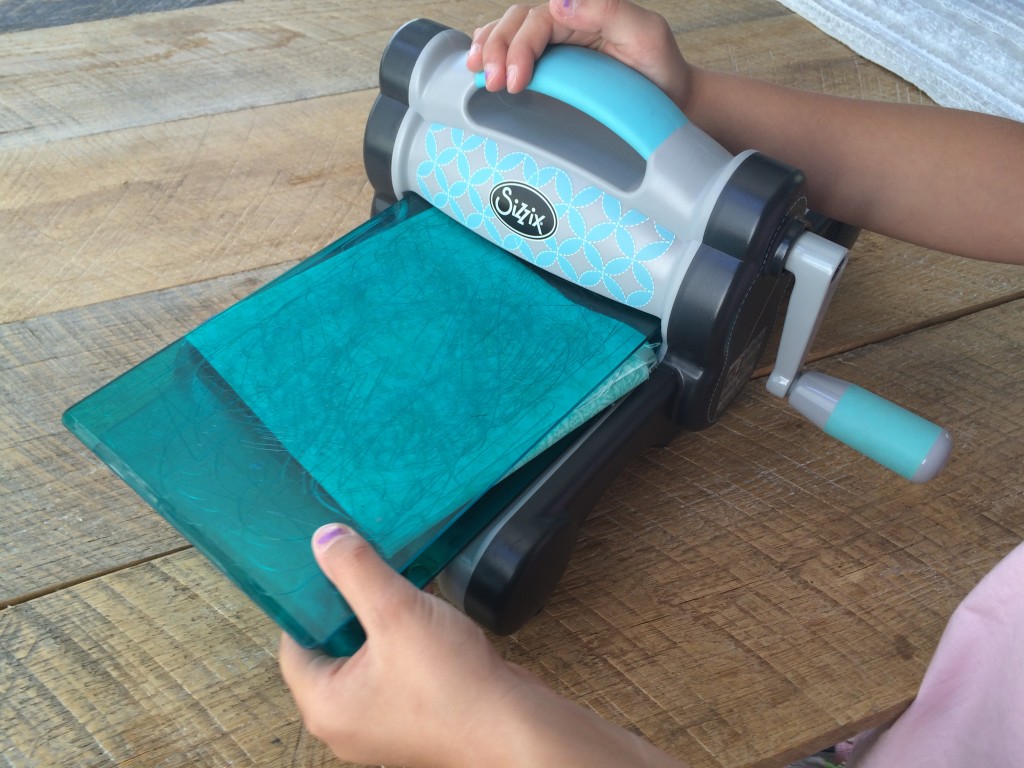
I love using the Sizzix for cutting because she is too young to use the rotary cutter.  This way, she gets to “cut” out her quilt.  She choose all the fabrics and the Sizzix die.  The triangle worked great because it was easy for her to follow.

sizzix doll quilt 6

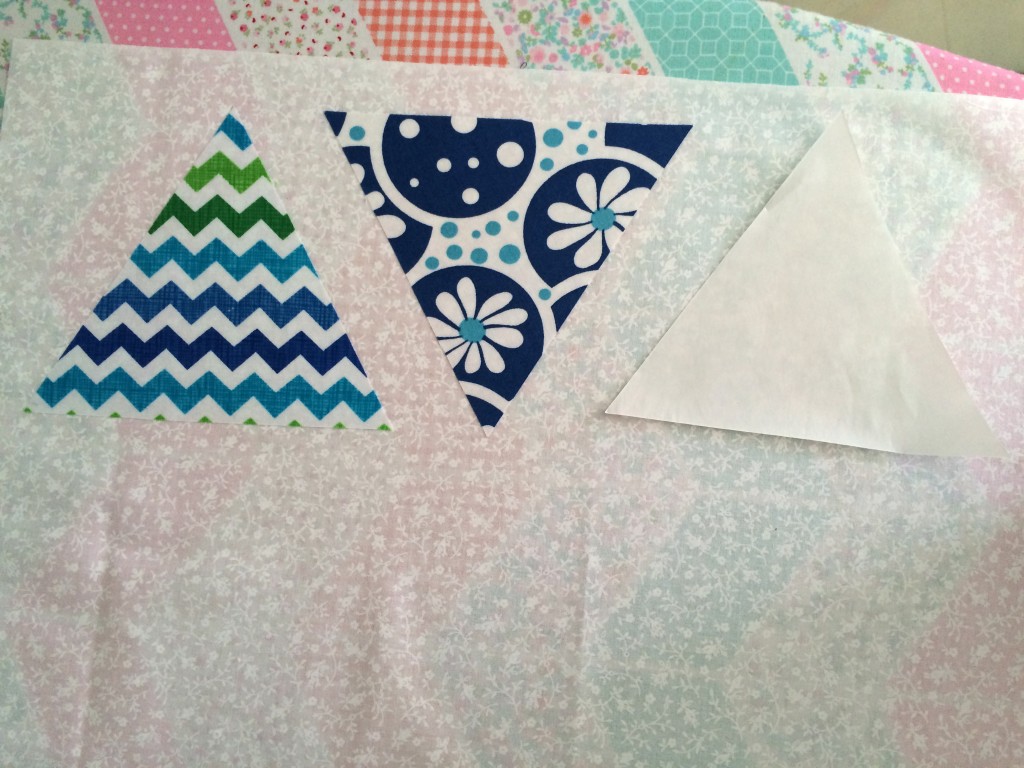
Once she had chosen all the fabrics, I ironed Heat n Bond Lite to the wrong side of the triangle fabric.  Then I let Sally loose with the Sizzix Fabi.

sizzix doll quilt 5I cut a piece of white fabric the size she wanted.  She positioned the triangles and I pressed them in place.

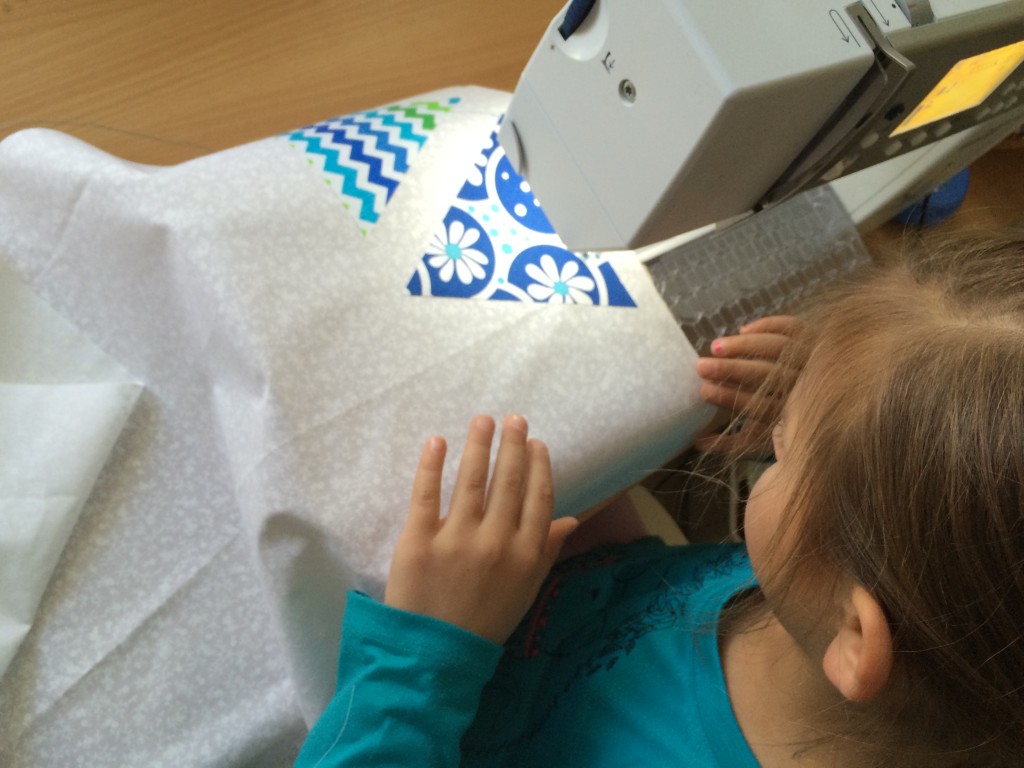
sizzix doll quilt 3She sat at the machine and I had her practice sewing 1/4″ seams along the triangles.  If she messed up, not to worry, the triangles would be fine.  This was such good experience.  She got to where she could start and stop and lift the presser foot and cut the thread all by herself!

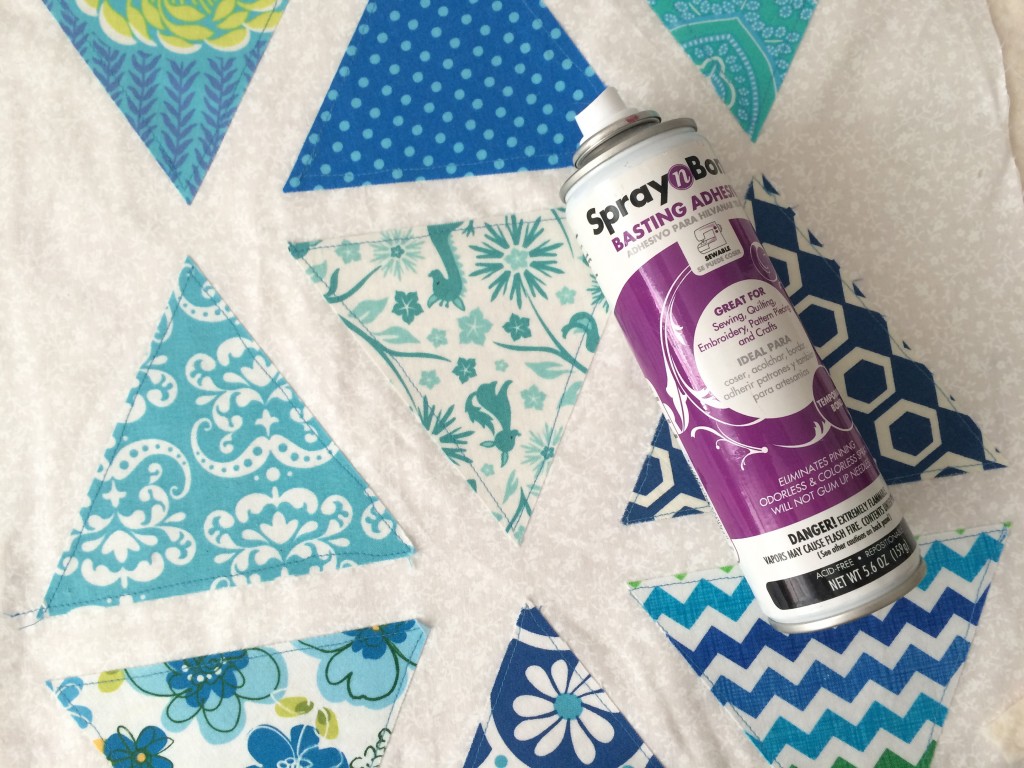
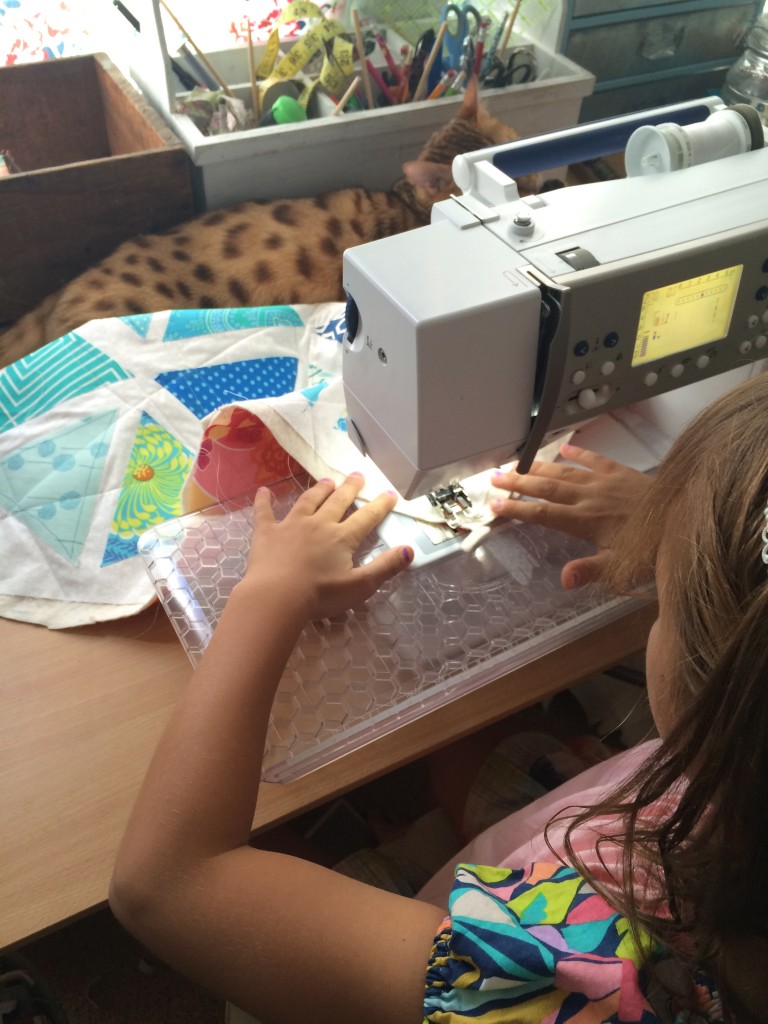
sizzix doll quilt 2Once all the triangles were stitched around, I used Spary n Bond to baste the quilt together.  This allowed for easy quilting and no messing with pins!  sizzix doll quilt 7I wanted her to do all the quilting.  I put the walking foot on and showed her how the machine can “sew by itself” and all she needed to do was steer the fabric, not push or pull it.  Once she saw how fun this was she was off!  I encouraged her to do random lines all over.  I love how it turned out!

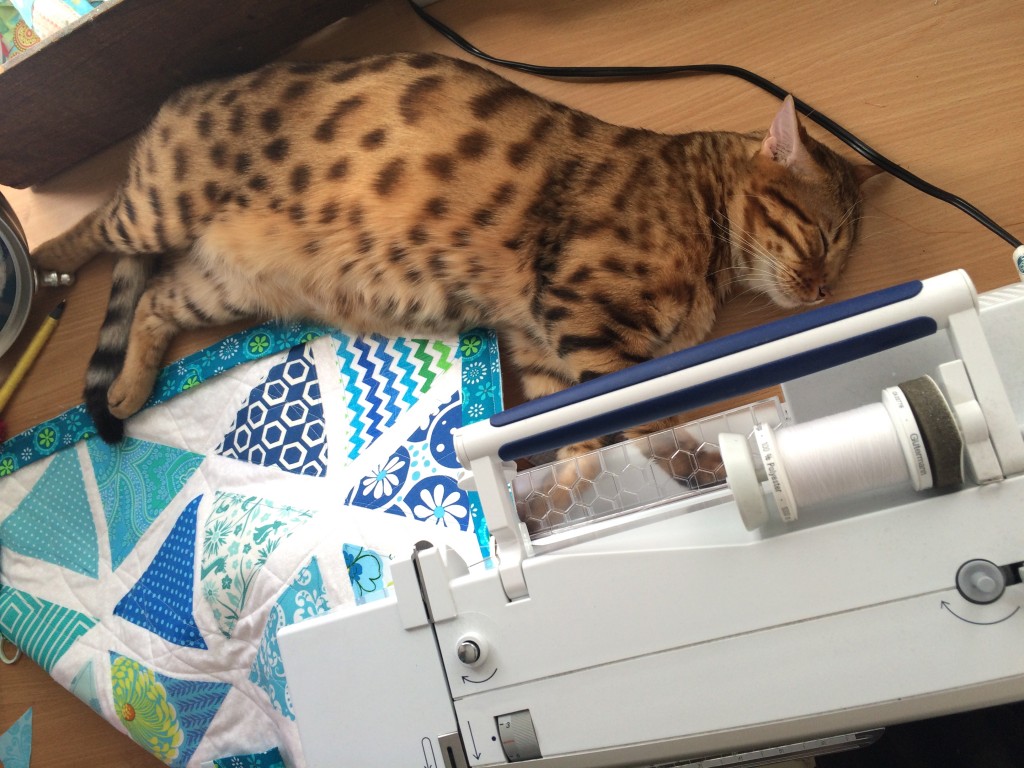
sizzix doll quilt 8Mufasa was quite a helper, he slept the entire time behind the sewing machine!sizzix doll quilt 9I let her sew the binding on, and I helped with the corners.  I then let her use the binding clips and clip the binding all the way around.  Finally we got out the needle and thread and did some hand sewing.  She did pretty good.  I helped with the hand binding so we could finish sometime this year!IMG_0838
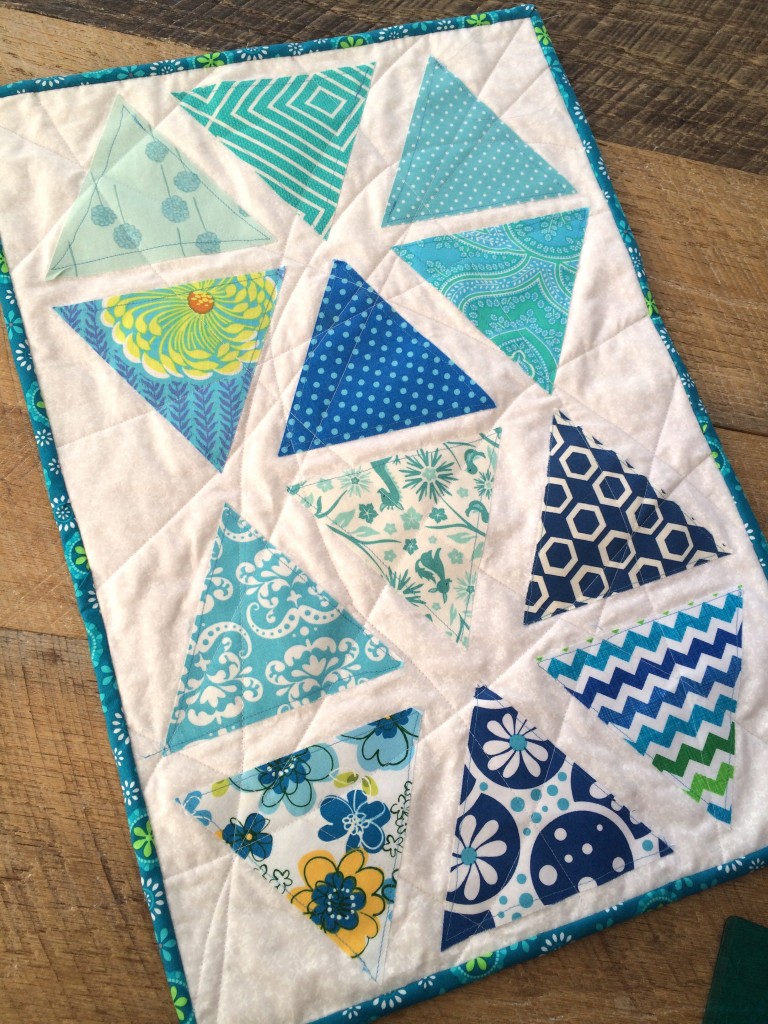
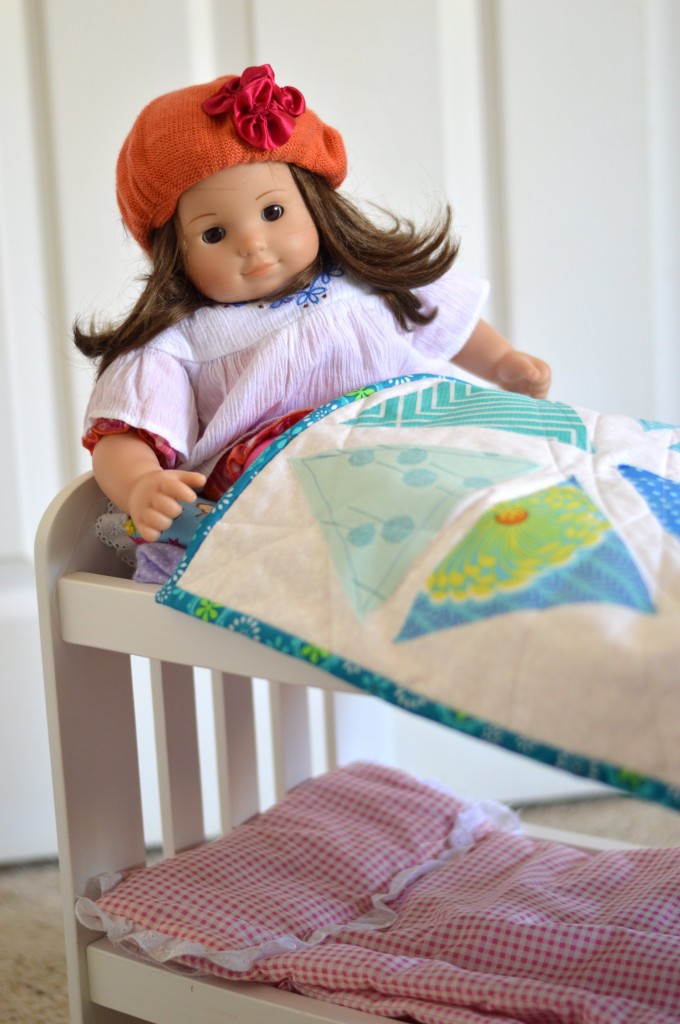
It’s the perfect size for her American Girl dolls and she is thrilled that she made it herself!  Do you sew with your kids?  Sally is excited to begin a new project!

sizzix doll quilt 20


Spooktacular Halloween Towels and Pillow

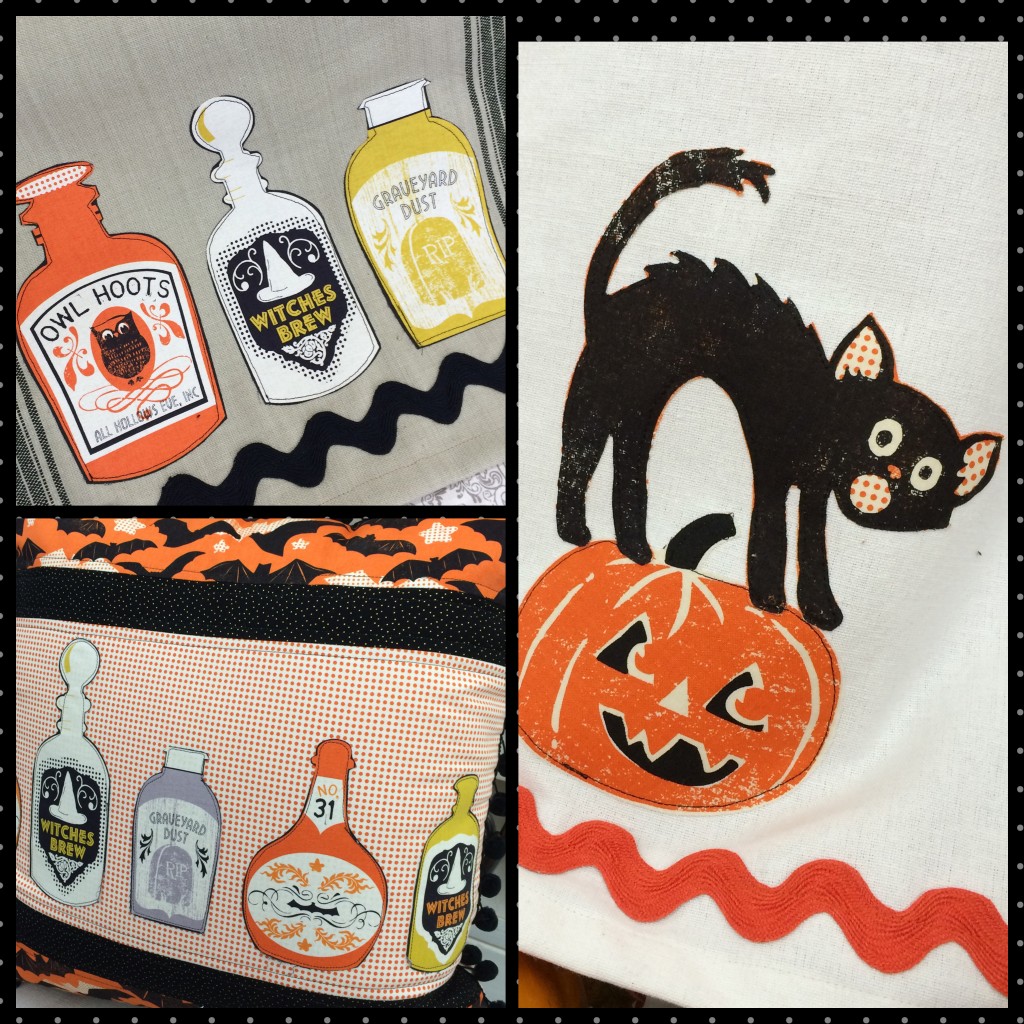
IMG_9978Kids are in school, mornings are cool and crisp, and I can’t get enough Halloween sewing!!  These projects are super quick and easy.  The images used for the applique are fussy cut from Blend Fabrics Spooktacular fabric line.  I love these big bold Halloween designs!

For the towels…

Supplies

1 yard toweling for each towel, or a finished tea towel

1/2 yard ric rac

Heat n Bond Feather Lite

Desired fabric

spooktacular applique towel 2

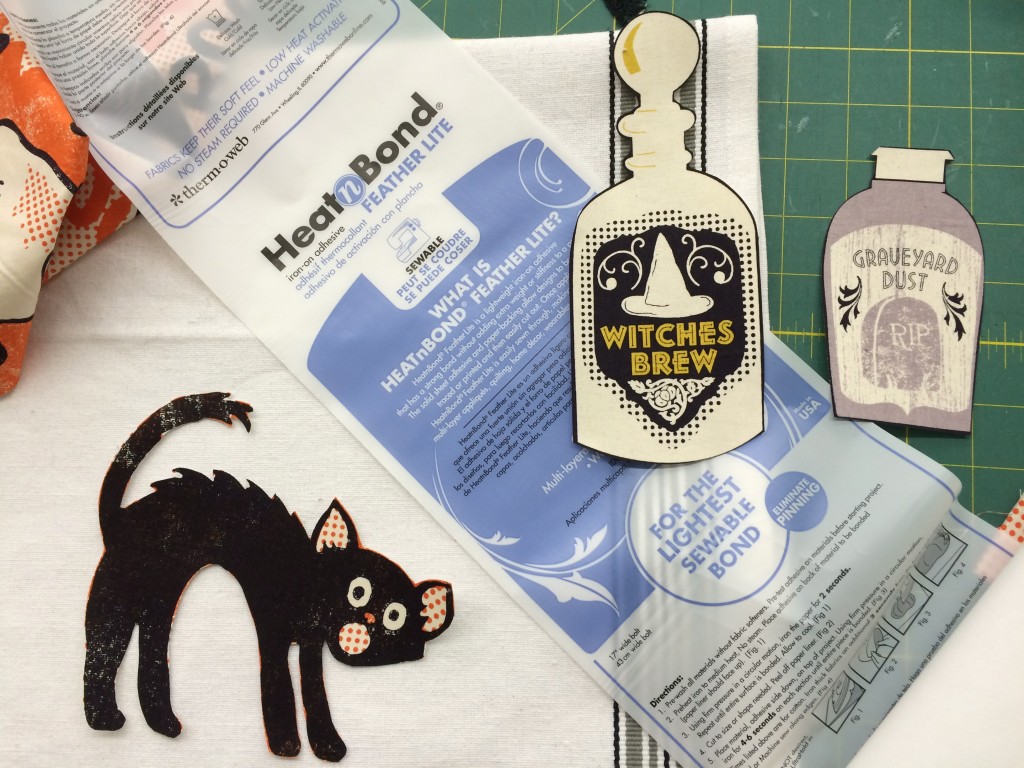
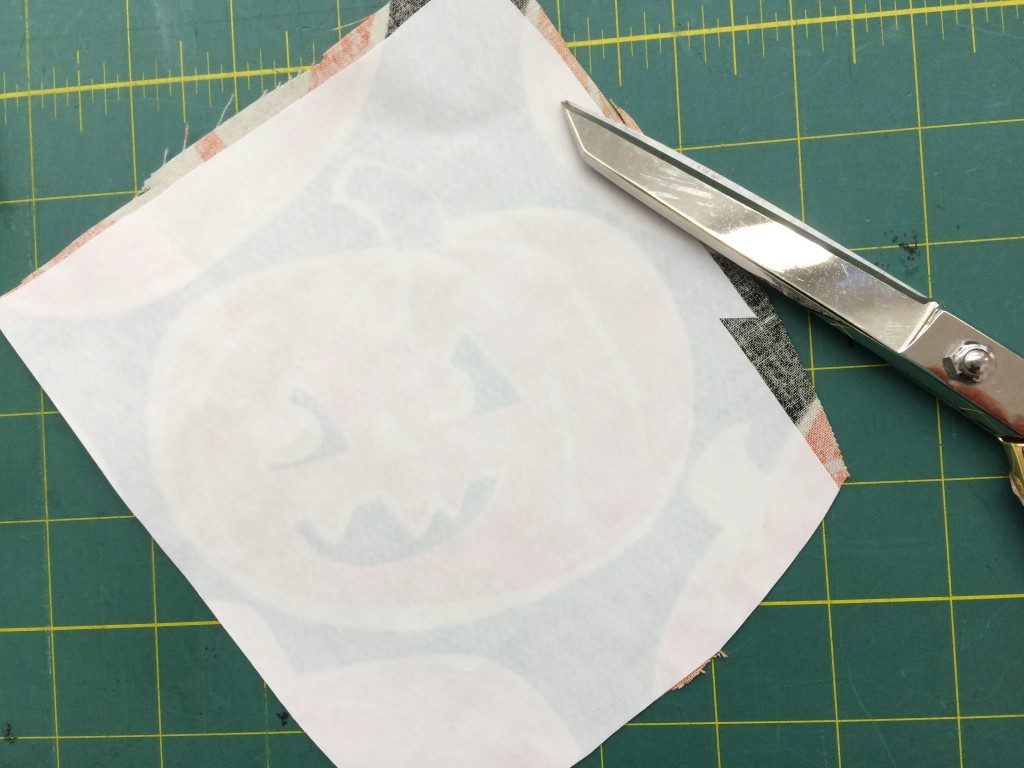
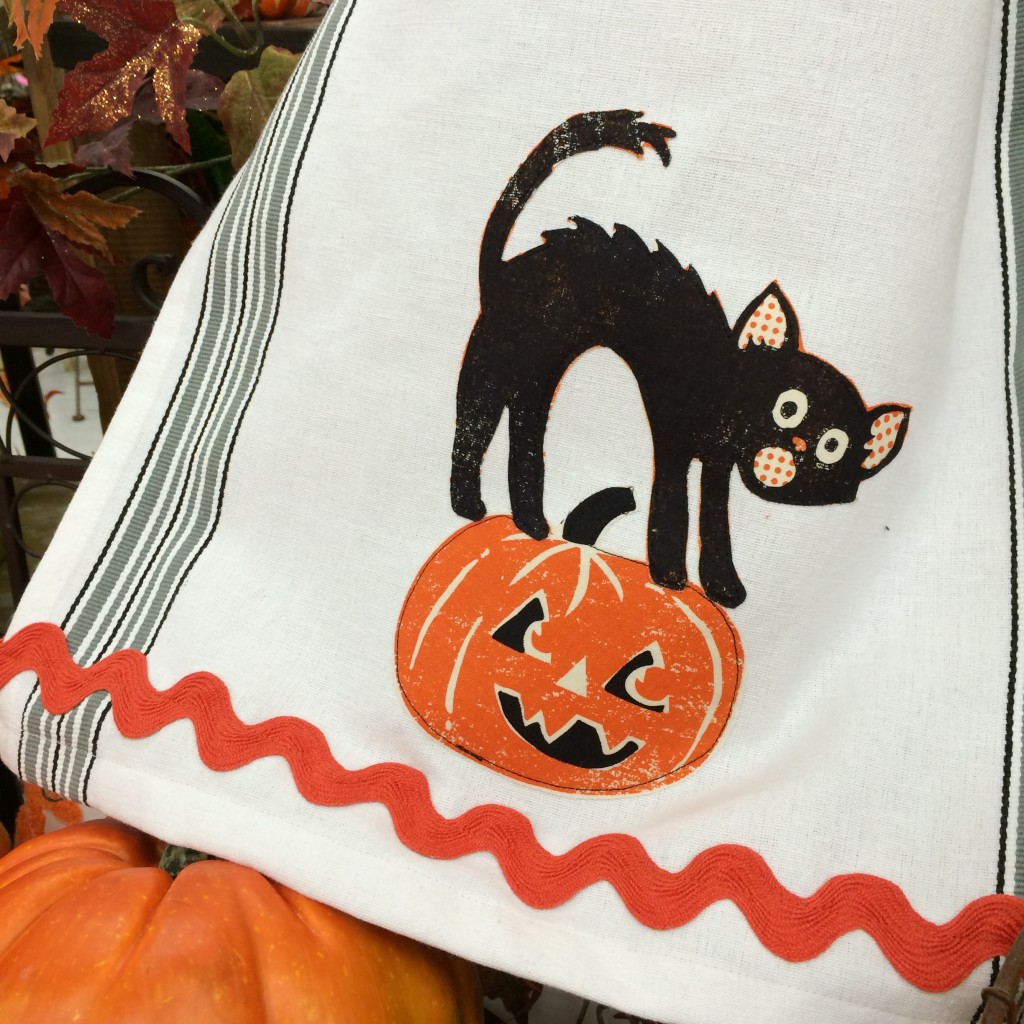
Begin by selecting the image you want to applique on the towel.  Cut a piece of Heat n Bond slightly larger than the image.  Iron it to the wrong side of the fabric.

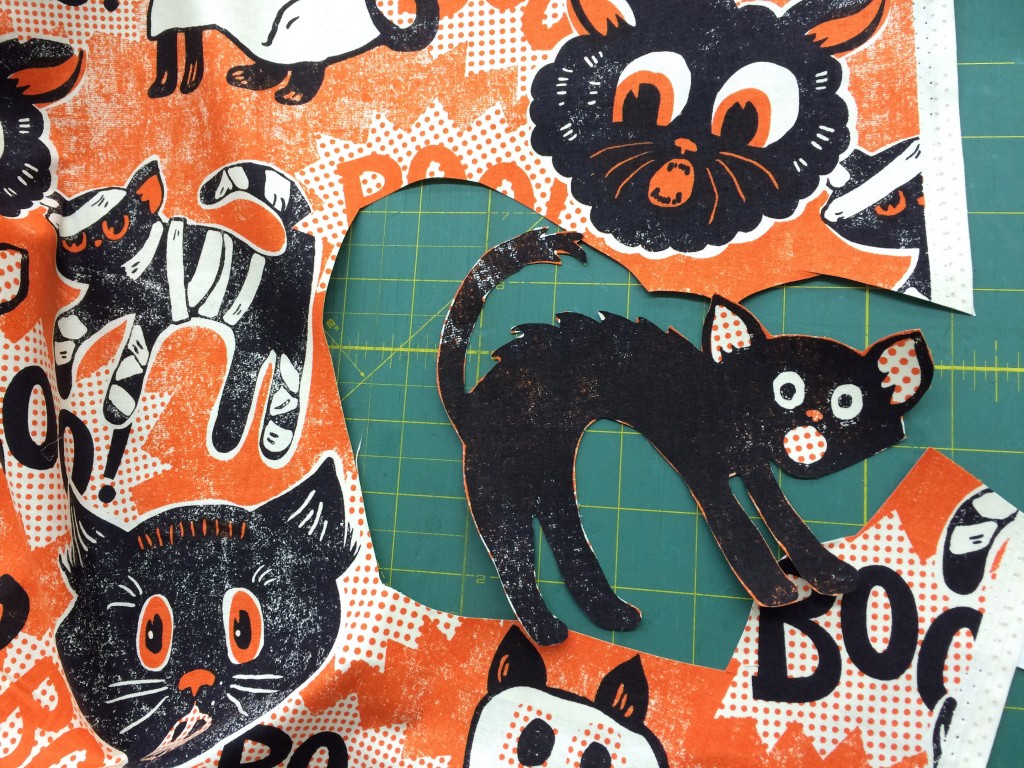
spooktacular applique towel 3Cut out the image.

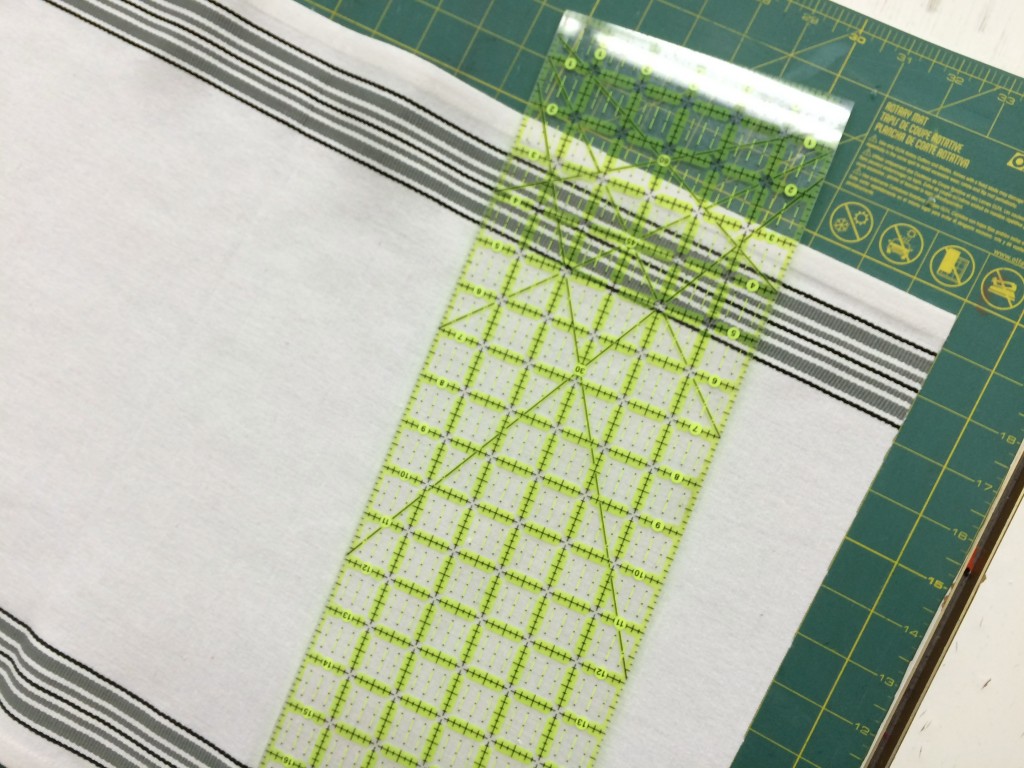
spooktacular applique towelEven up the toweling and sew a rolled hem on both edges.spooktacular applique towel 4Peel off the backing paper and press into place.  Top stitch around each applique piece.  Add ric rac or other decorative trim.

spooktacular applique towel 5These would make great gifts for friends or teachers!!!

spooktacular applique towel 6 For the pillow….

spooktacular halloween pillow 3

Supplies

quarter yard cuts of the 3 fabrics

1/2 yard ticking for back

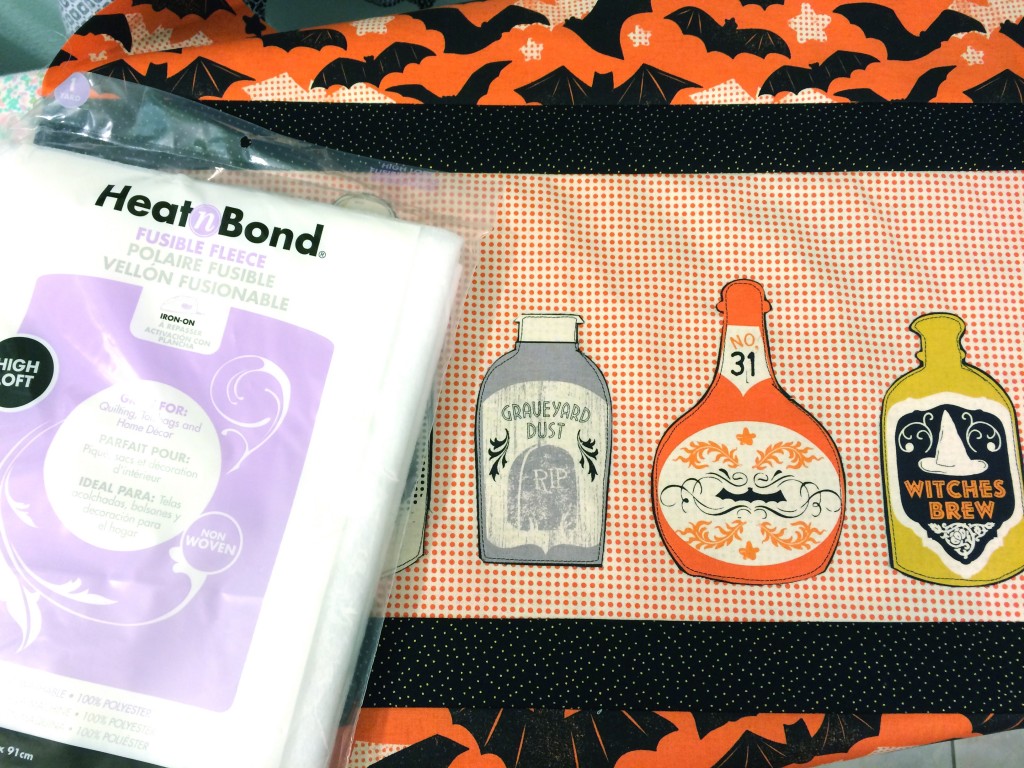
Heat n Bond fusible fleece

Zipper

Applique pieces

Heat n Bond Feather Lite

2 .5 yards black pom pom trim

20″ Pillow Form

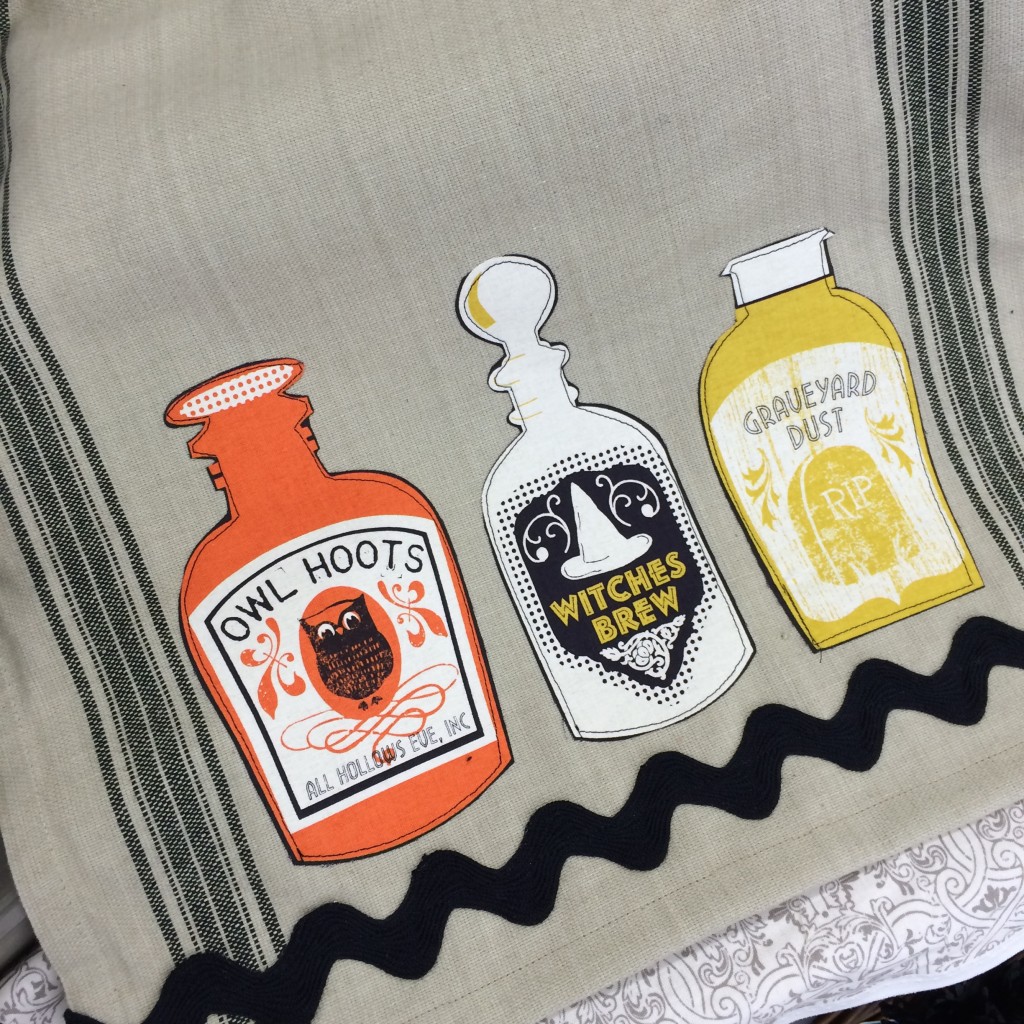
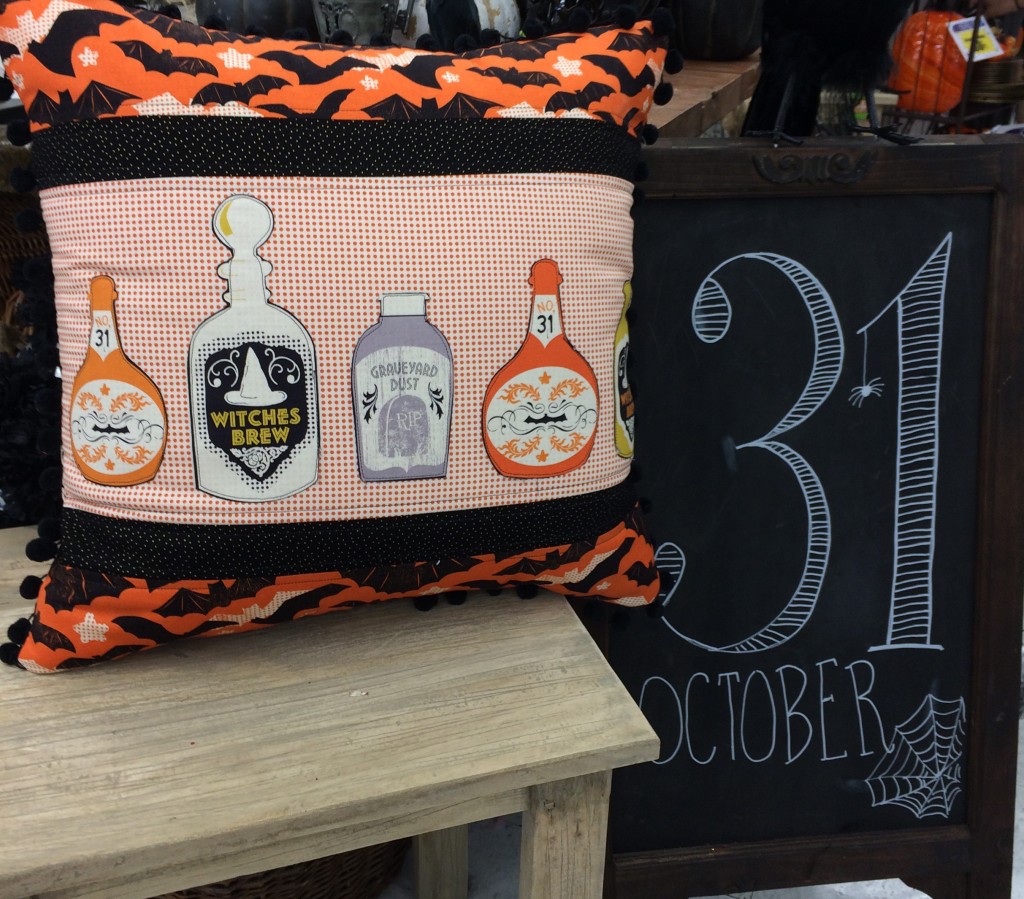
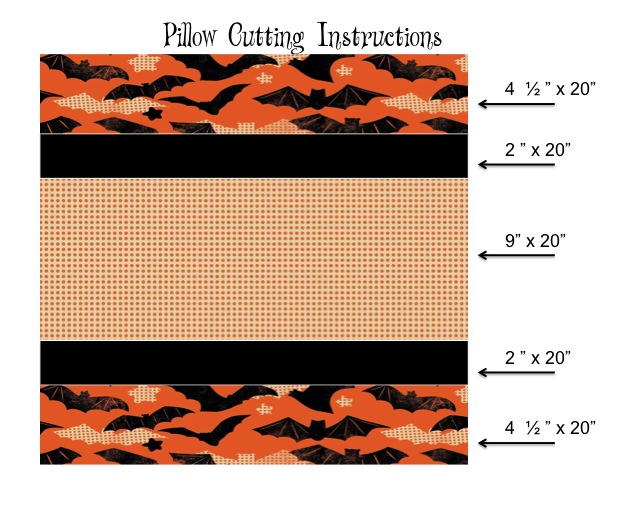
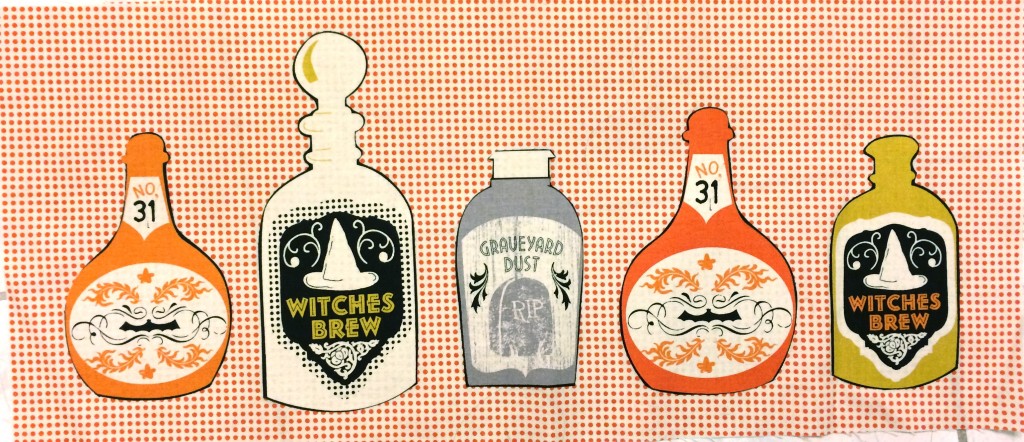
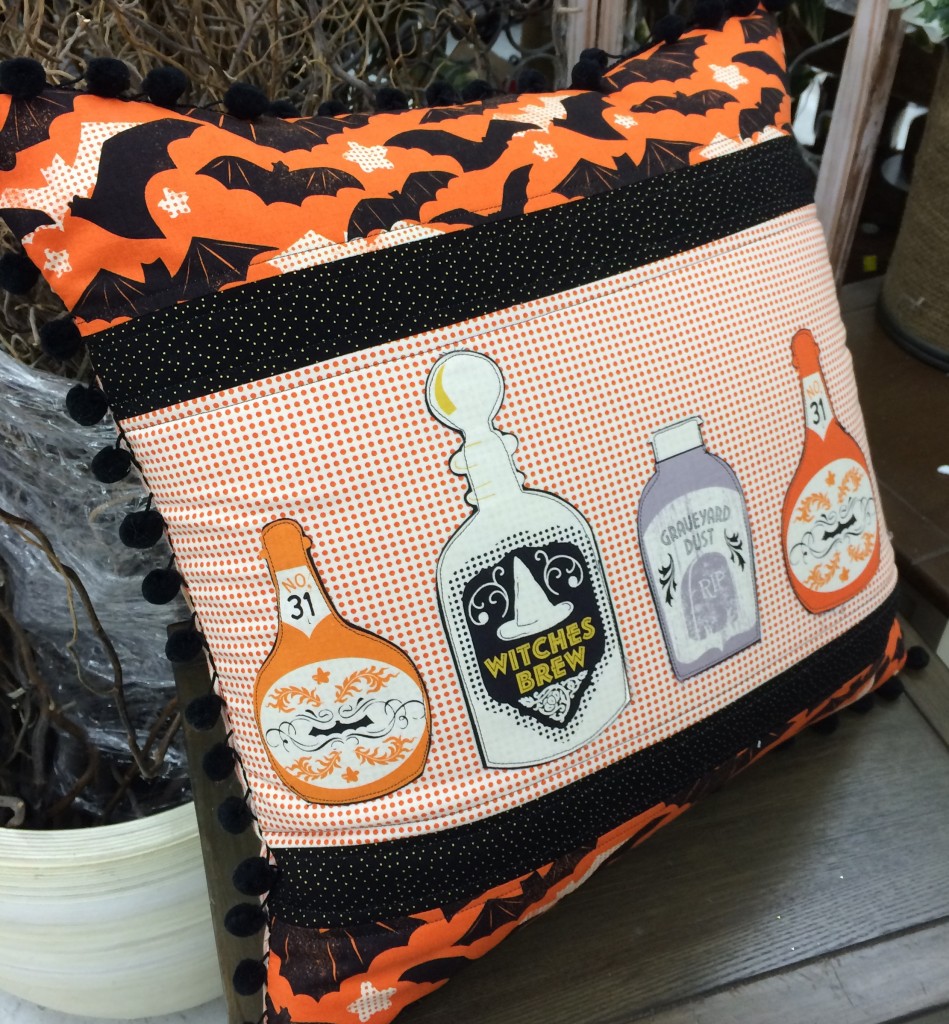
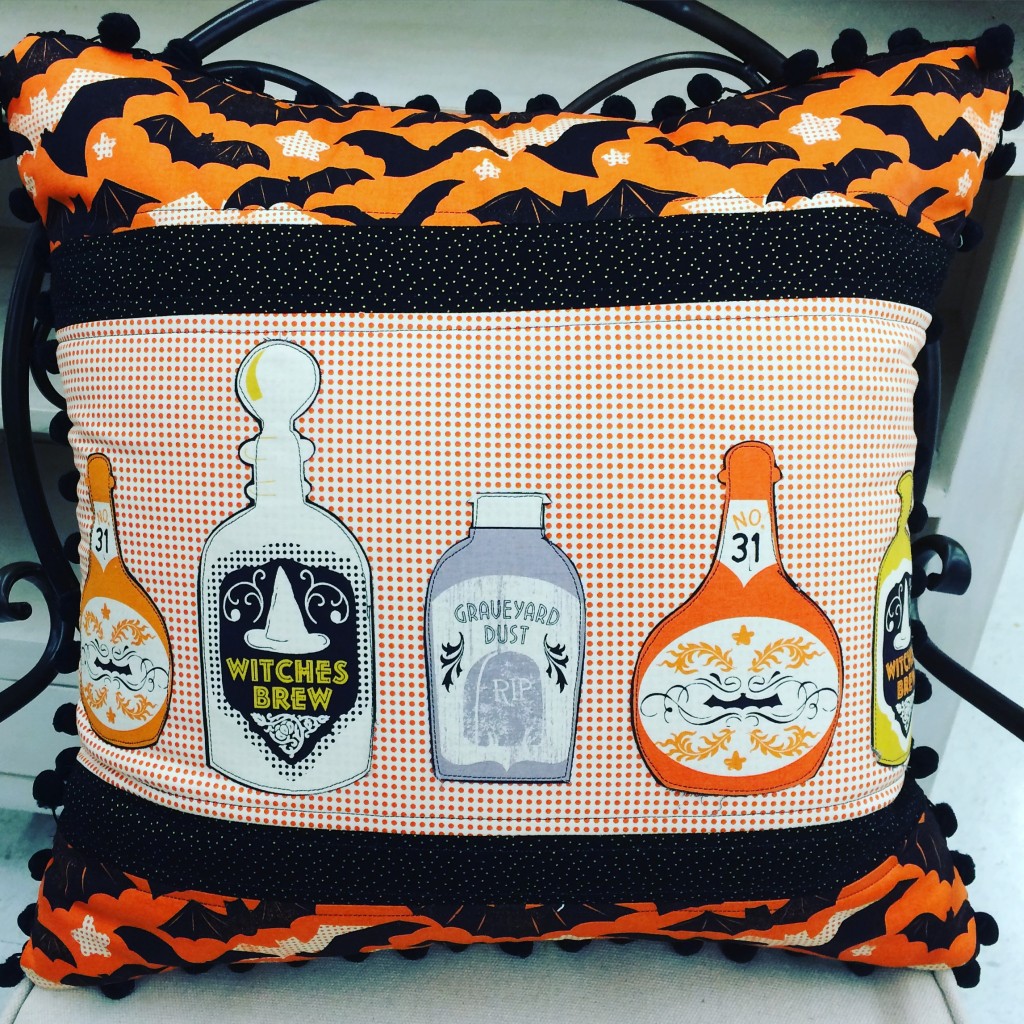
spooktacular halloween pillow 2Begin by using the method explained above to fussy cut each of the potion bottles.  Use the cutting guide below to cut each of the 3 fabrics.

spooktacular pillow cutting guideApplique the bottles to the center piece

spooktacular halloween pillowNext, sew the strips together using 1/4″seam allowance.  Press seams to one direction.

Cut a 20″ square of fusible fleece and iron it to the wrong side of the pillow front.  You can quilt the pillow at this point.  I added some straight line stitches along both sides of the seams.

Baste the pom pom trim around the pillow, starting and stopping at the bottom center of the pillow and curving the corners.

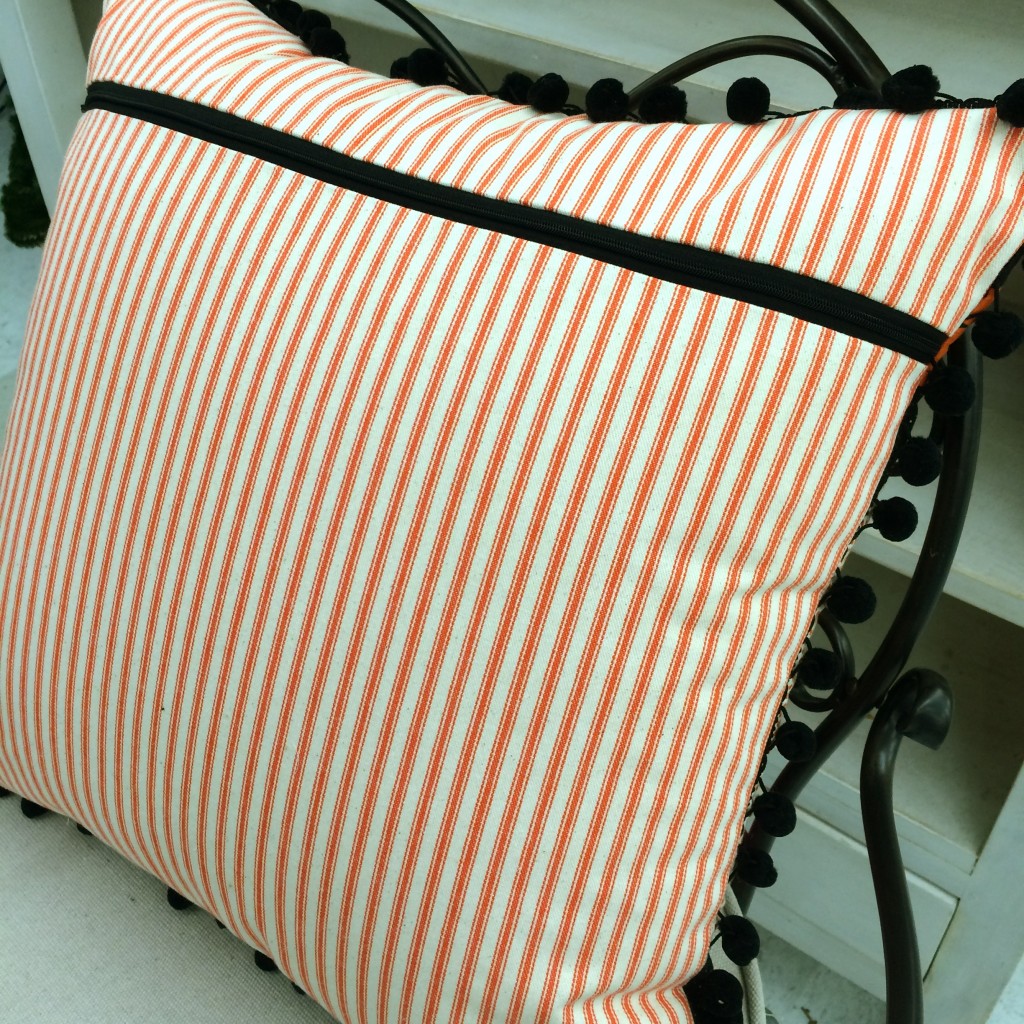
I like to put zippers in my pillow backs.  For instructions on how to do this, click here.

Sew the pillow front to the pillow back, right sides together. making sure to leave the zipper partially open.  Turn right side out and insert pillow form.

spooktacular halloween pillow 4

spooktacular halloween pillow 5
spooktacular halloween pillow 6

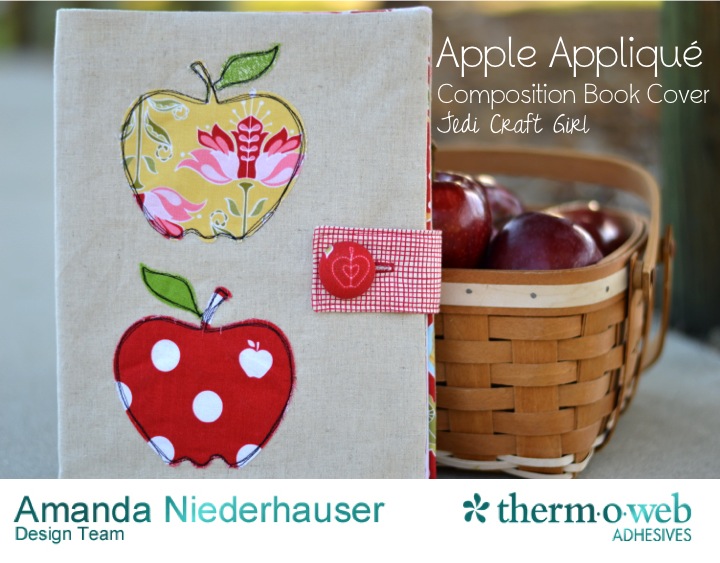
Apple Applique Composition Book Cover Tutorial

apple applique coverBack to School, Apples, Reading & Writing, School Supplies, the smell of pink erasers, lunchboxes, and alarm clocks….

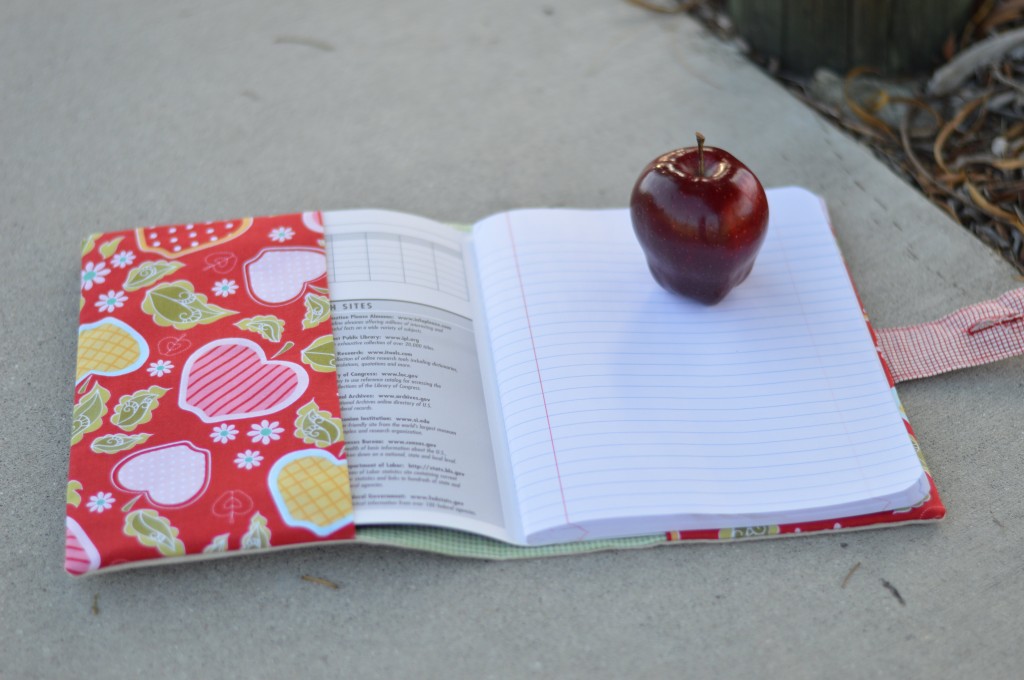
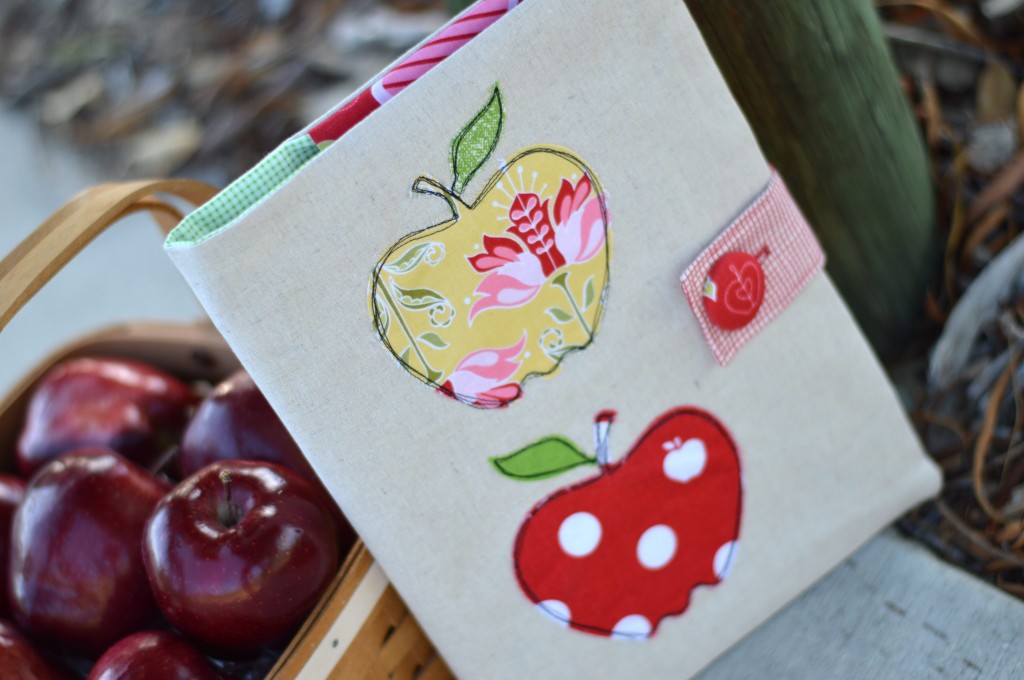
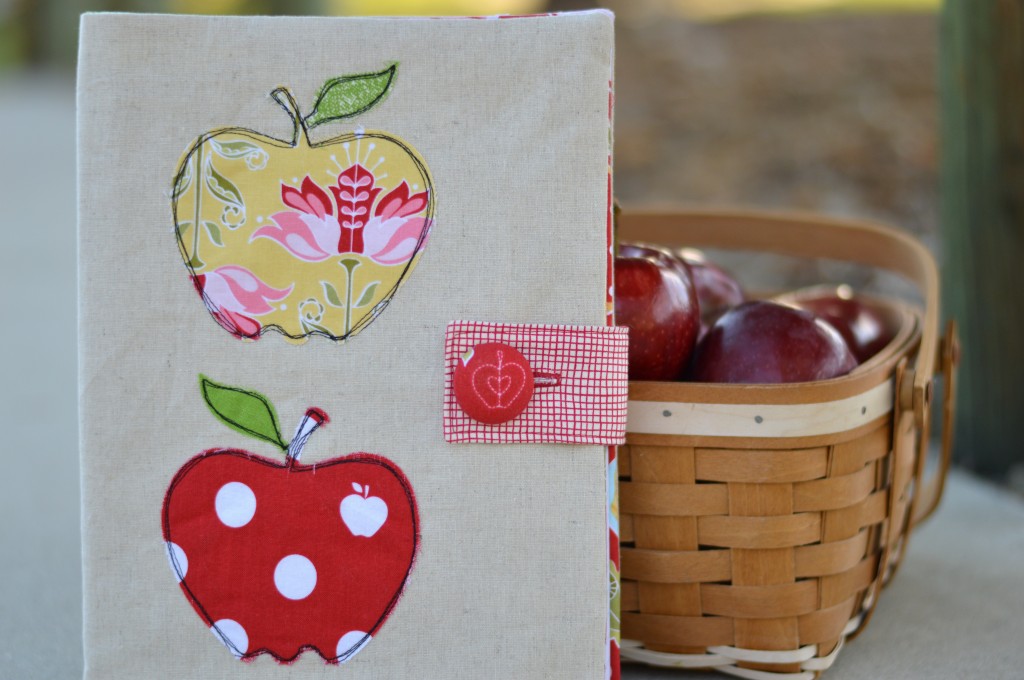
Today I am sharing my tutorial for this applique apple composition book cover.  I have written several composition book cover tutorials, they are my favorite and I can always be found carrying one around.  This one would make the perfect gift to give to a teacher on the first day of school 🙂

apple applique composition book 2

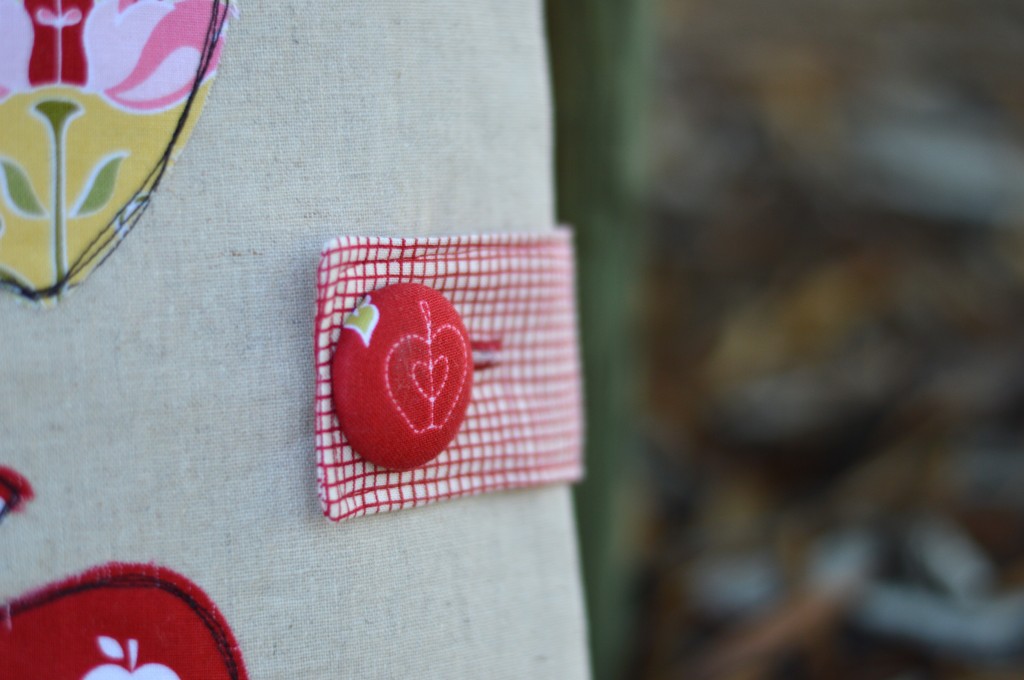
I used the apple die from Sizzix and the fabric is from one of my favorite Riley Blake Designs fabric lines called Apple of my Eye by the quilted fish.  I used Therm o Web Heat n Bond Featherweight and a medium weight stabilizer.  Hop on over to the Therm o Web blog for the full instructions!!

apple applique composition book 7

apple applique composition book 3

apple applique composition book 6


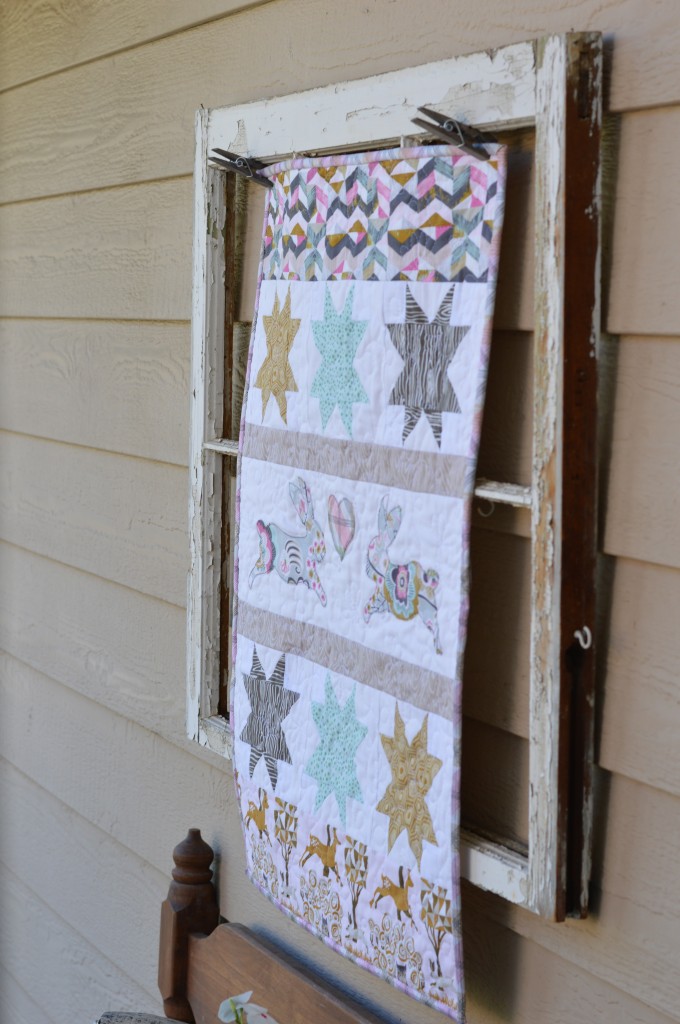
Sizzix Natural Wonder Bunny Mini Quilt


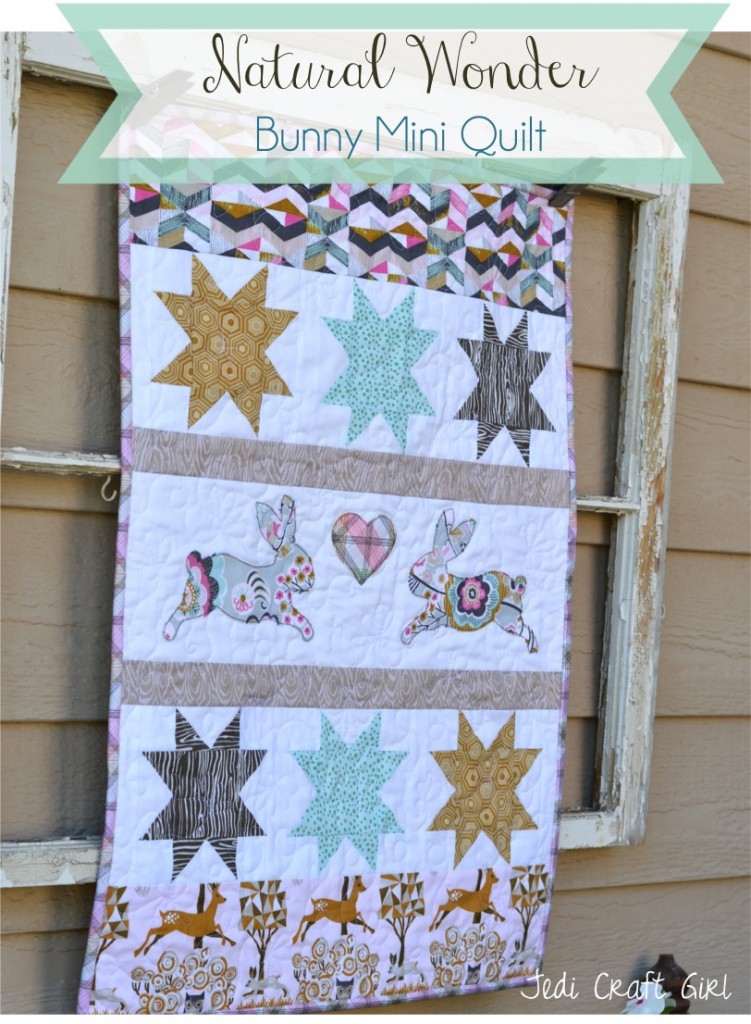
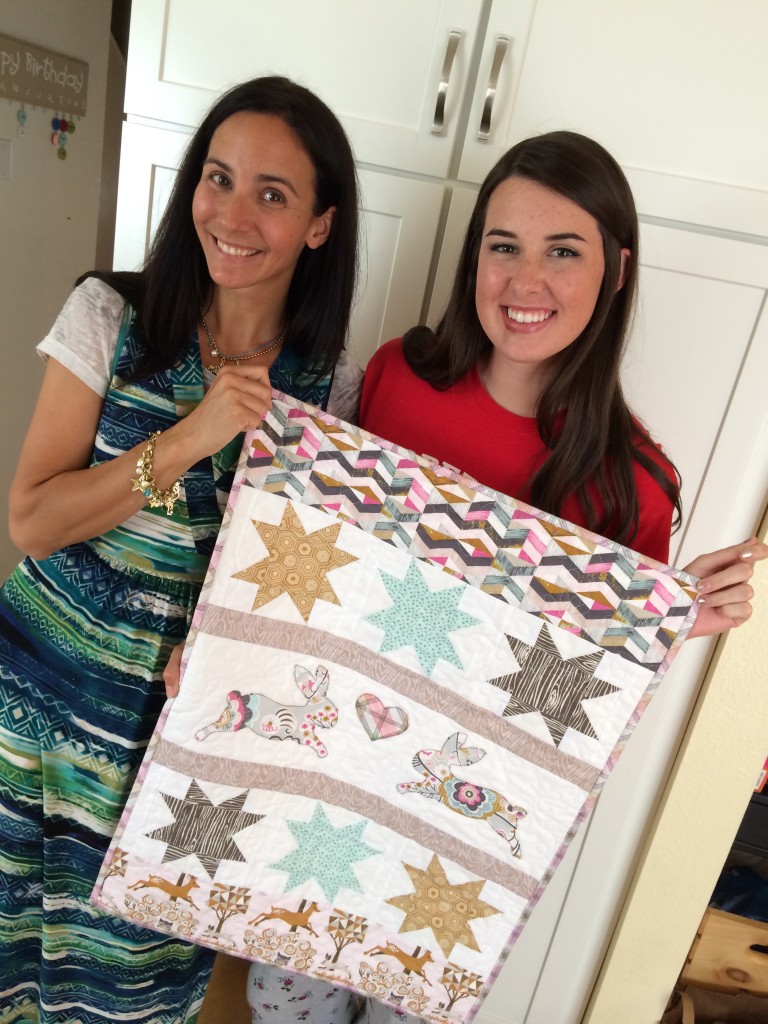
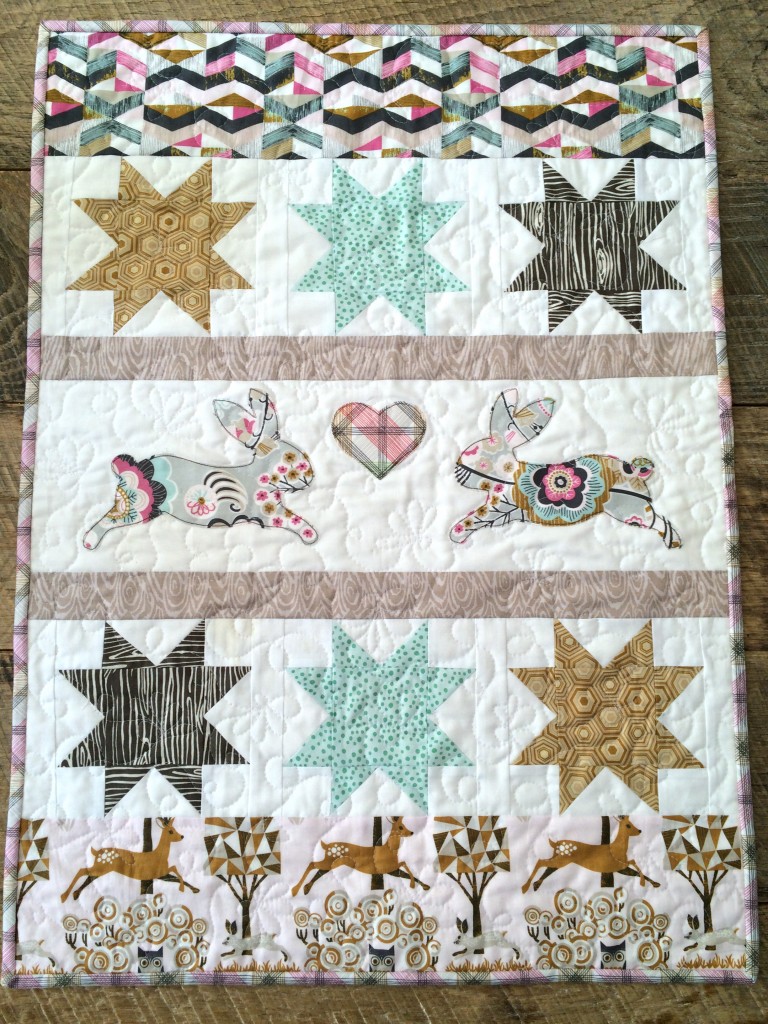
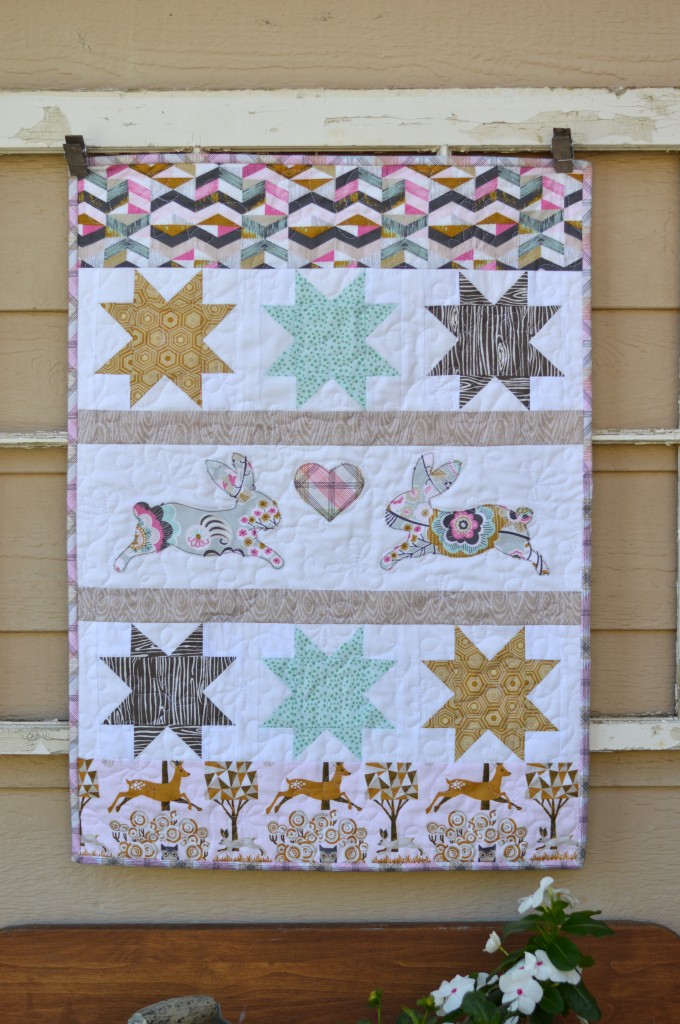
natural wonder bunny mini quilt sizzixI love to give handmade gifts, especially quilts.  My friend recently lost her bunny to a hawk.  I know how much it hurts to loose a beloved pet.  I wanted to make her something to show her I really cared so I created this bunny mini quilt.  She totally LOVED it!!

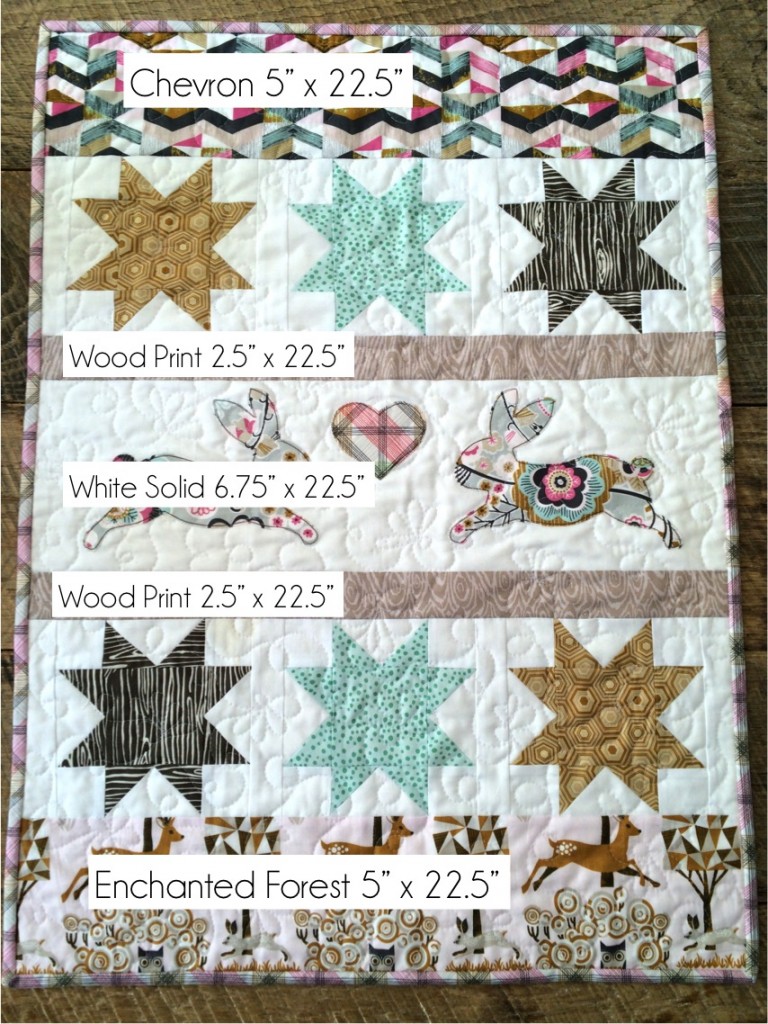
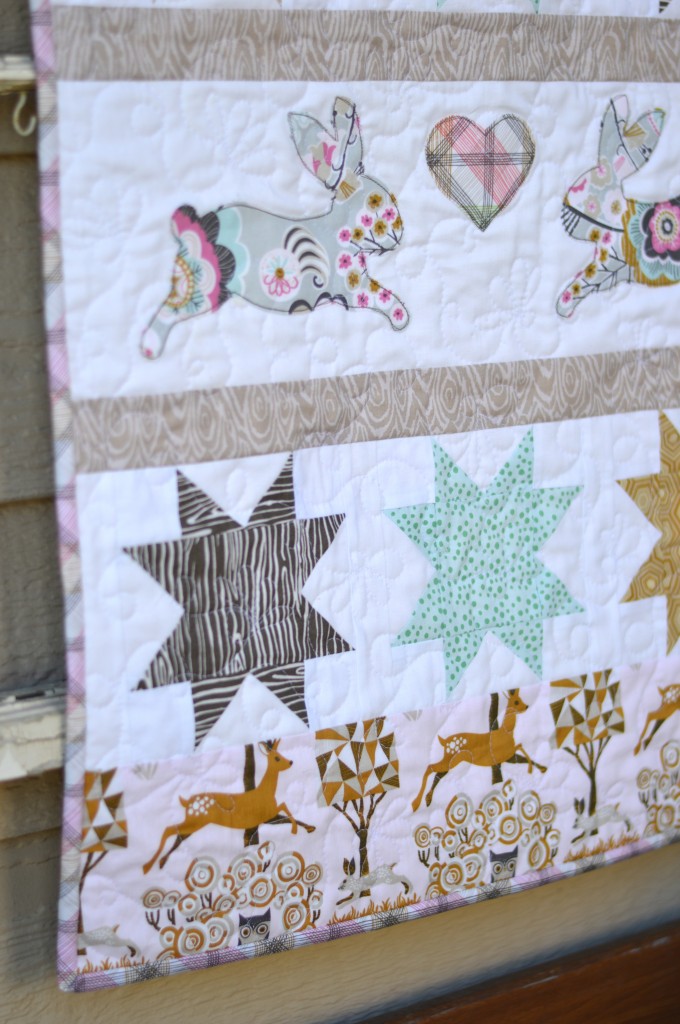
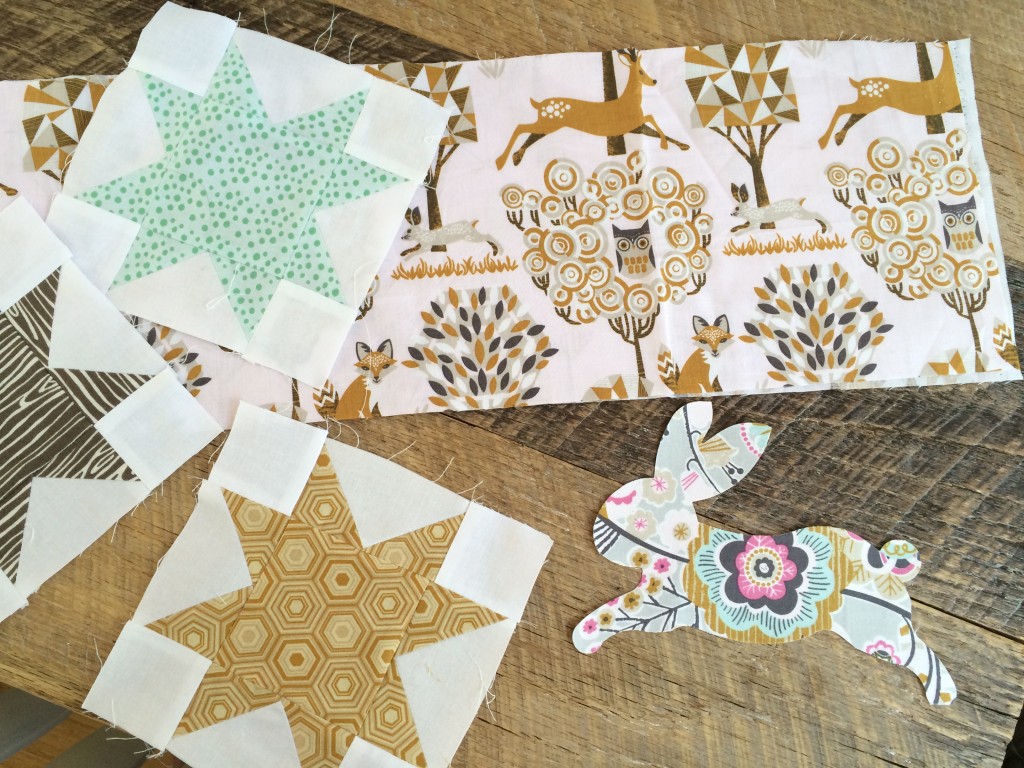
IMG_8870_2This little quilt features sawtooth blocks and appliqué.  The fabrics are from Blend Fabrics Natural Wonder fabric line.  I love that there are bunnies in the theme fabric.  The colors are soft and natural.  The bunny and hearts are cut with Sizzix dies.  Do you want to make one?  Here’s how!!
sizzix bunny blend natural wonder mini quilt 21/4″ seams used throughout 
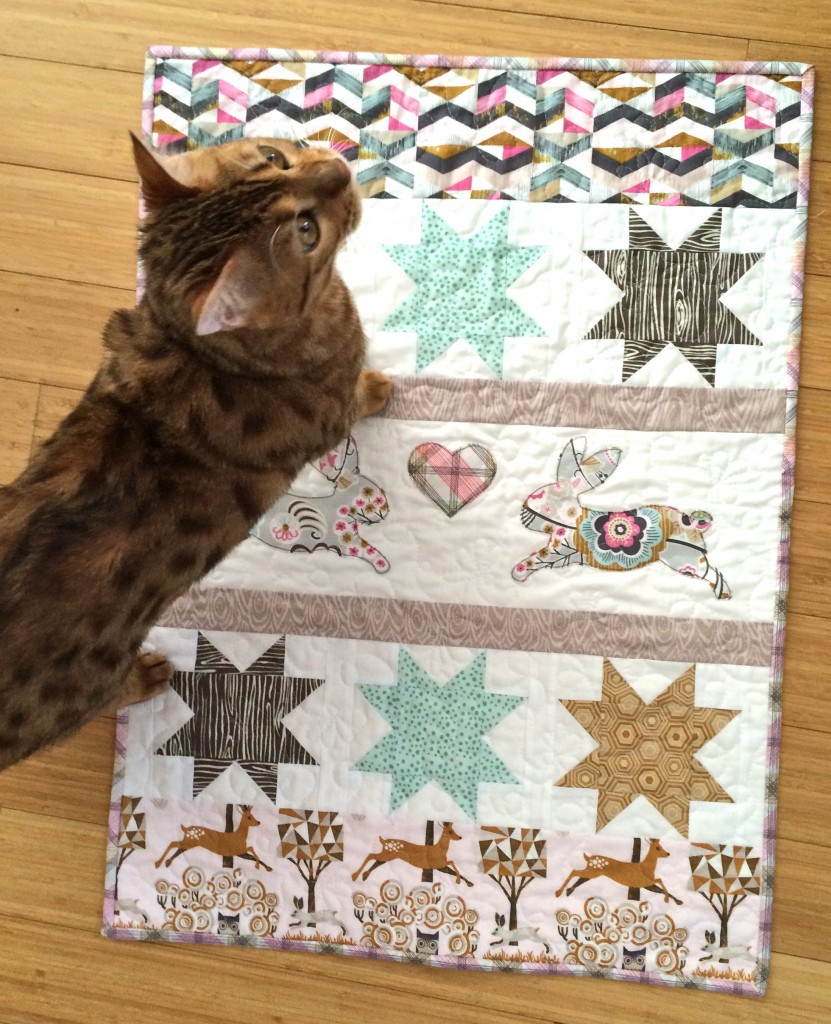
Begin by making (6) Sawtooth Star blocks.  

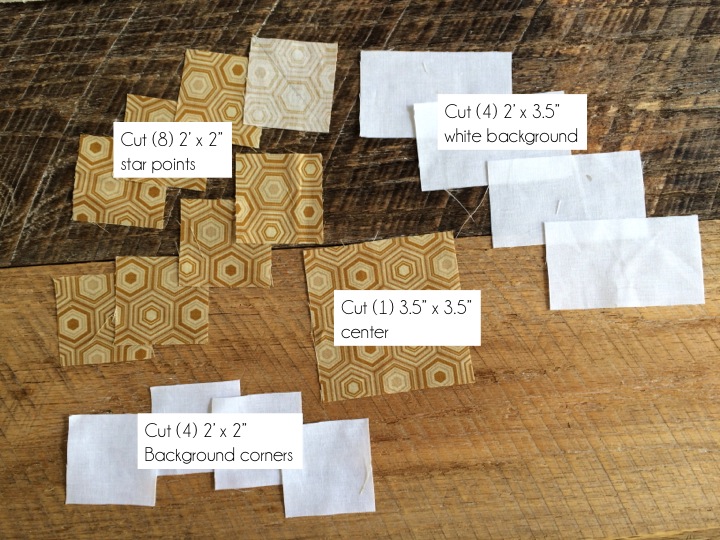
For each block cut the following measurements:
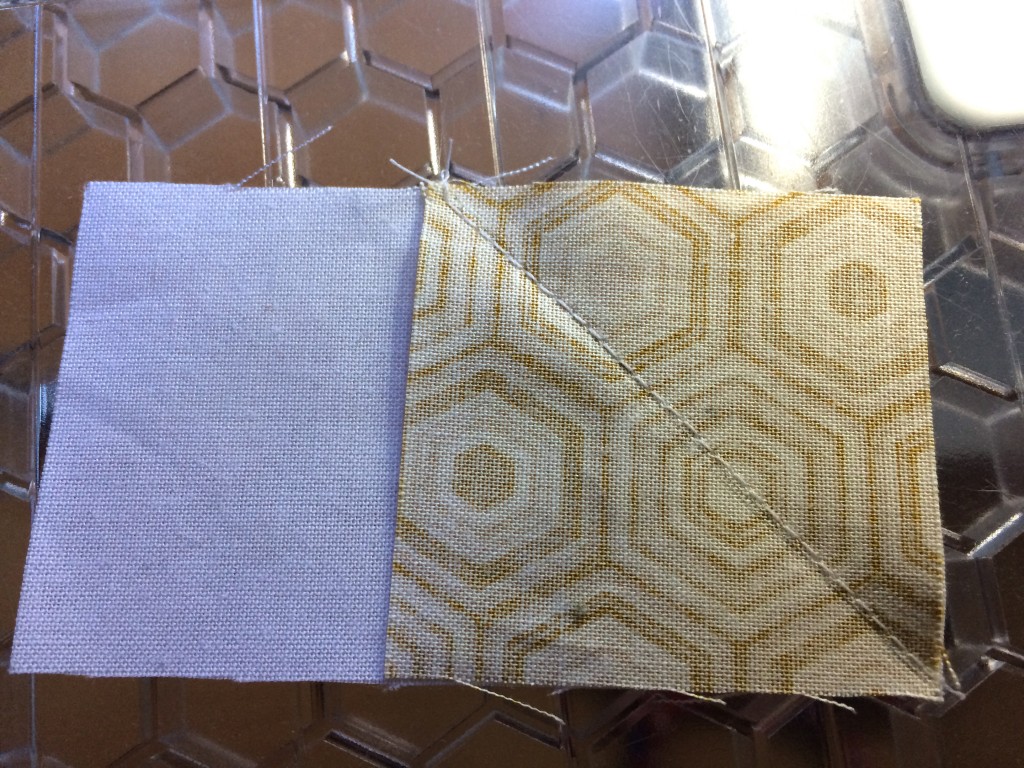
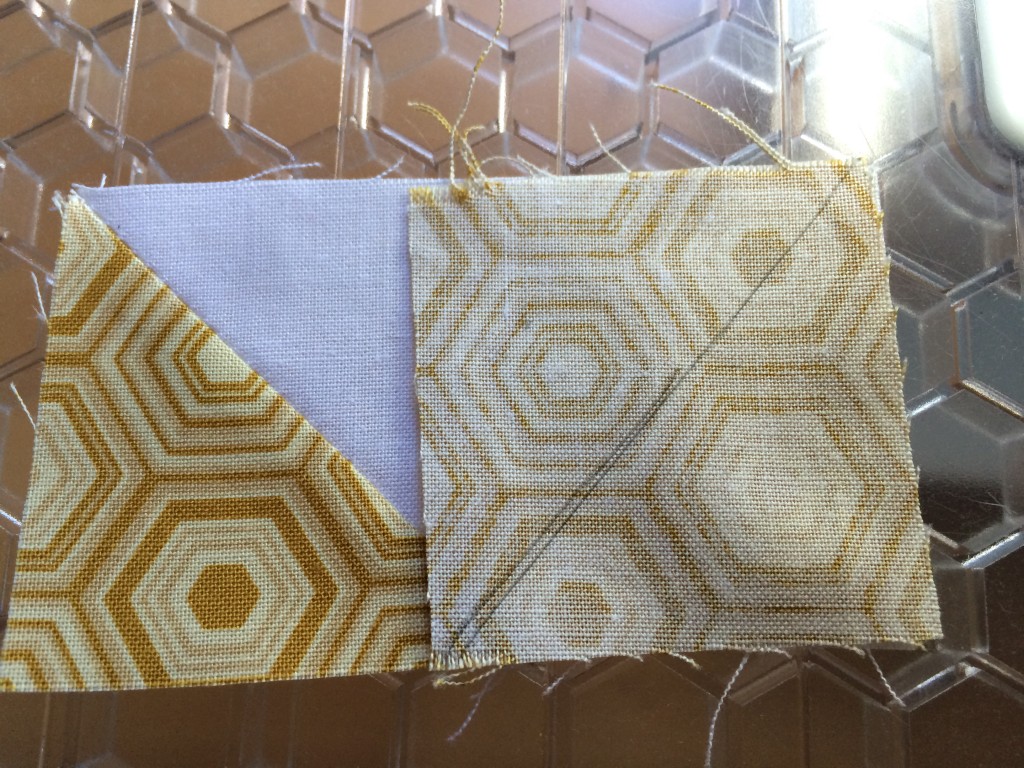
sawtooth instructionsDraw a diagonal line on the back of each of the 2″ x 2″ star points squares.  Position the 2″ x 2″ square a 2″ x 3.5″ background rectangle right sides together.  Sew along the diagonal line as pictured below:

sizzix bunny blend natural wonder mini quilt 5

Trim leaving 1/4″ seam allowance and press toward the dark.  Repeat the process on the other side of the background rectangle including trimming and pressing.
sizzix bunny blend natural wonder mini quilt 4

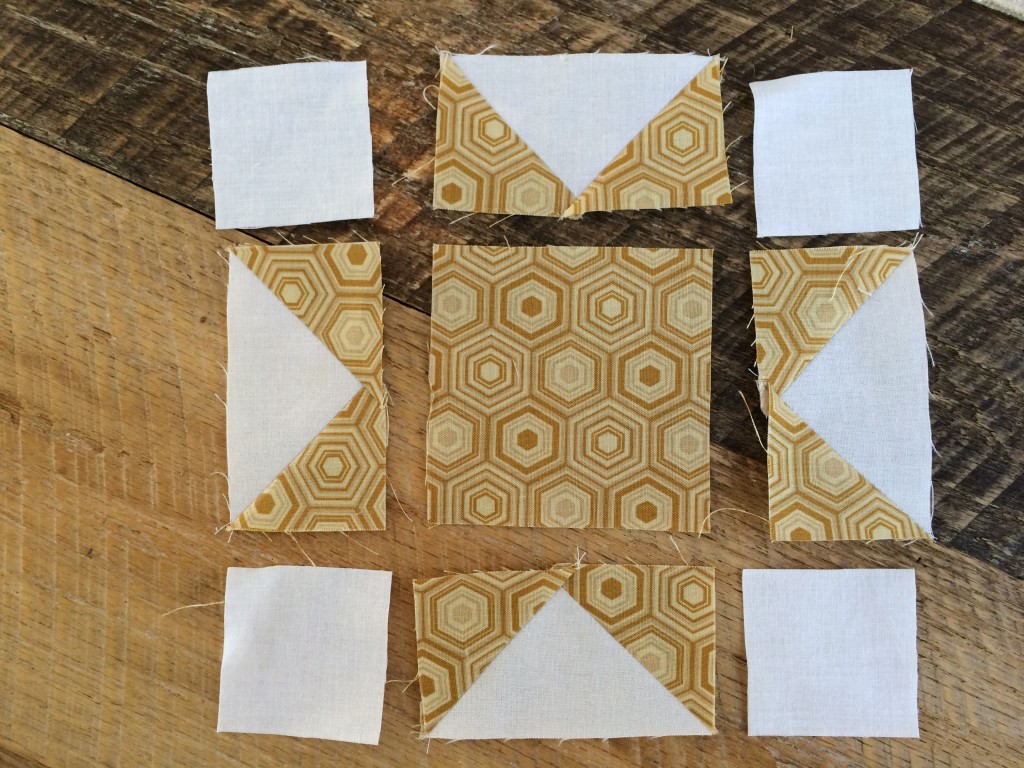
Lay the star block out like this:

sizzix bunny blend natural wonder mini quilt 3

Sew the pieces together in rows, and then the rows together.  Press seams open.  The finished sawtooth block is 6.5″

star instructions

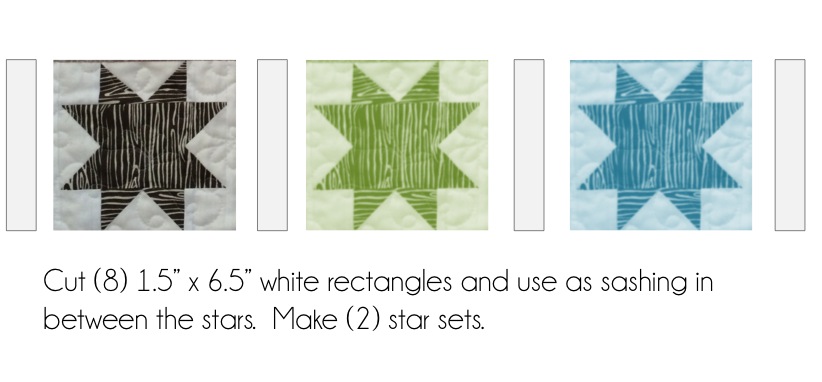
Sew the sashing strips creating (2) Star Sets.  Press the seams toward the sashing.

Cut the strips for the quilt following the cutting guide:

blend bunny quilt layout

Bunny Applique

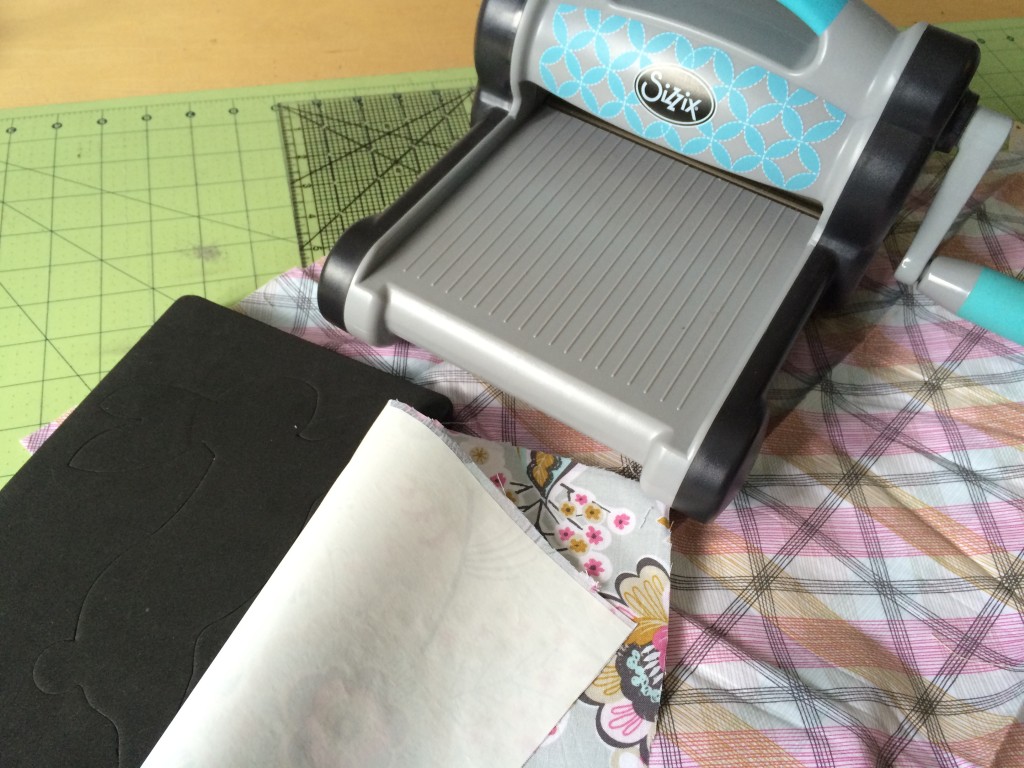
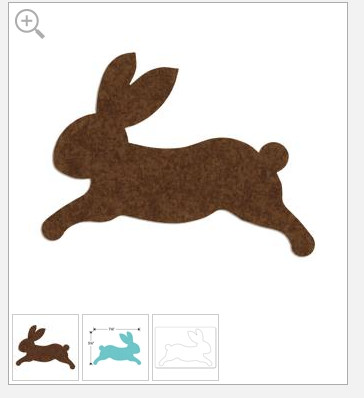
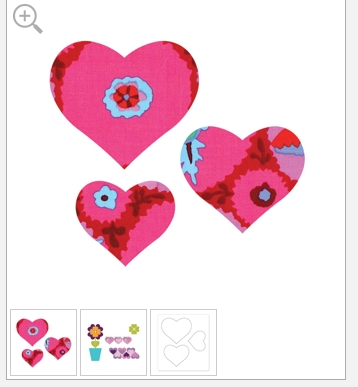
Iron Heat n Bond Lite to the back of the floral print fabric (Deco Park Gray).  Using the Sizzix Fabi and the Bunny Die, cut out two bunnies that face each other.  Using the hearts die, cut the larger heart out of coordinating fabric.


sizzix bunny blend natural wonder mini quilt Screen Shot 2015-07-27 at 11.43.43 AMScreen Shot 2015-07-27 at 11.46.12 AM
Peel off the backing paper and press the bunnies and heart onto the white fabric, centering.  Outline stitch two times in dark gray or taupe thread.  Sew the strips together as shown in the picture.  Press seams and quilt as desired.

sizzix bunny blend natural wonder mini quilt 12

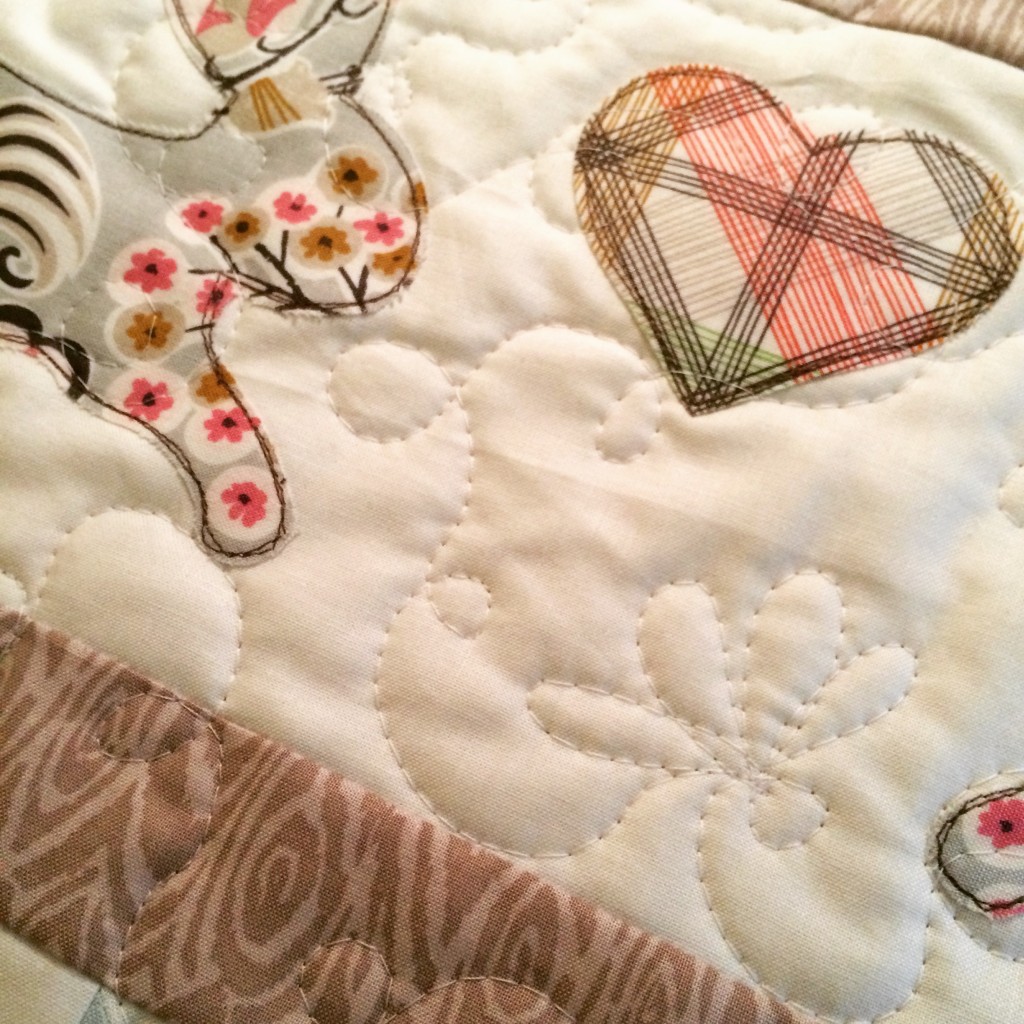
I quilted loop de loos and 4-petal clover flowers in an all-over design.

sizzix bunny blend natural wonder mini quilt 10
sizzix bunny blend natural wonder mini quilt 9

sizzix bunny blend natural wonder mini quilt 8

Make sure your #kittyquilter #kittyhelper approves of the finished quilt before you wrap it up!sizzix bunny blend natural wonder mini quilt 11
sizzix bunny blend natural wonder mini quilt 7

Supplies:

Sizzix Fabi

Sizzix Bunny Die

Sizzix Heart Die

Heat n Bond Lite or Featherweight fusible applique

1/4 yard each of the patterned fabrics from Blend Natural Wonder line

1/3 yard white solid fabric

1 yard backing

1/3 yard binding

cotton batting

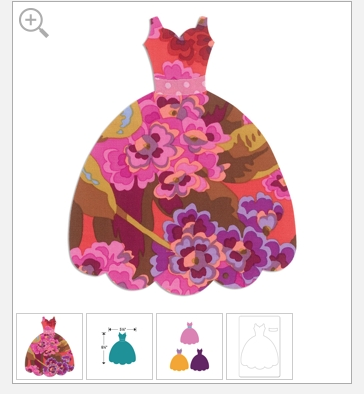
Fun With Sizzix Dresses

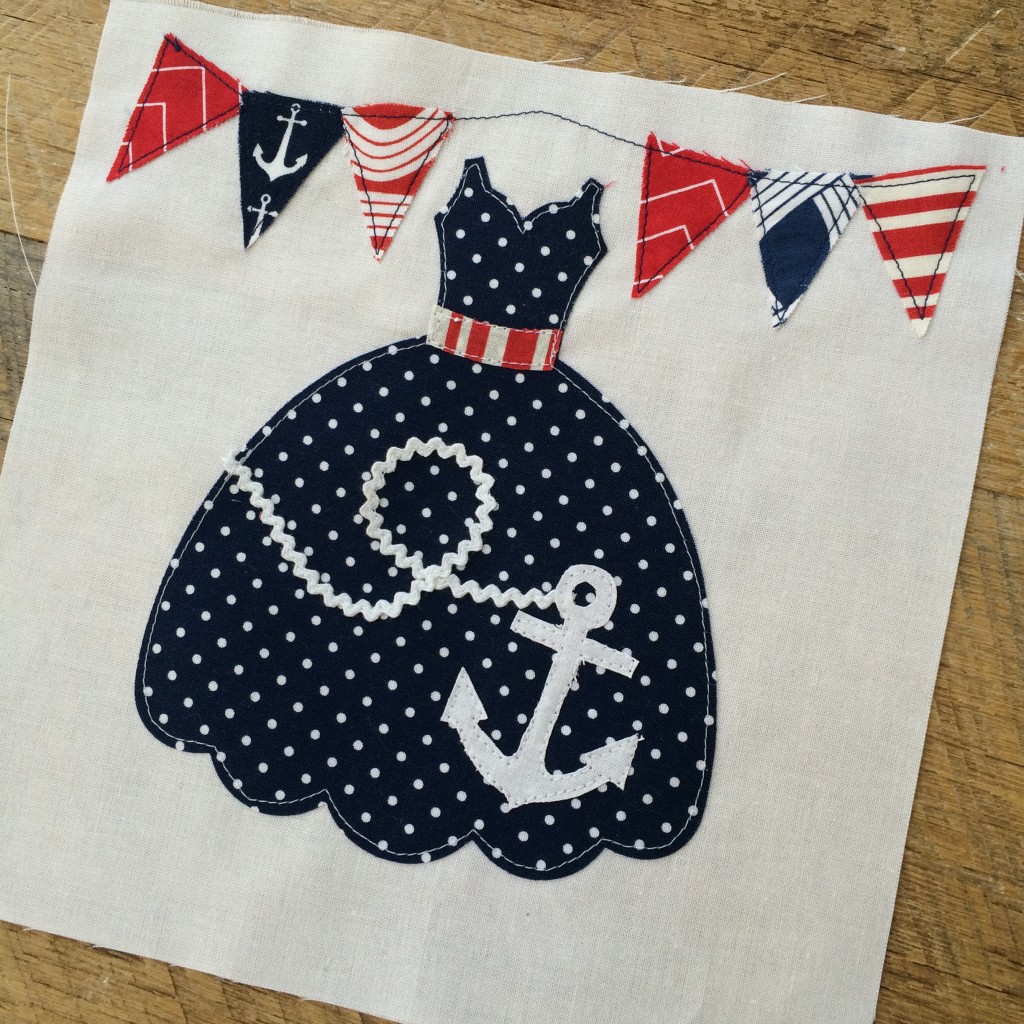
Today we are playing with the Sizzix Fabi and having lots of summer fun!  I used this dress die to create a nautical inspired quilt block.

sizzix dress 3

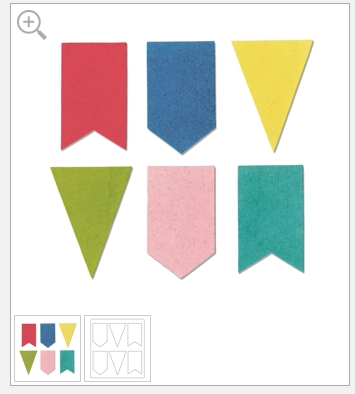
To create this block, I used the pennant die to cut the banner.

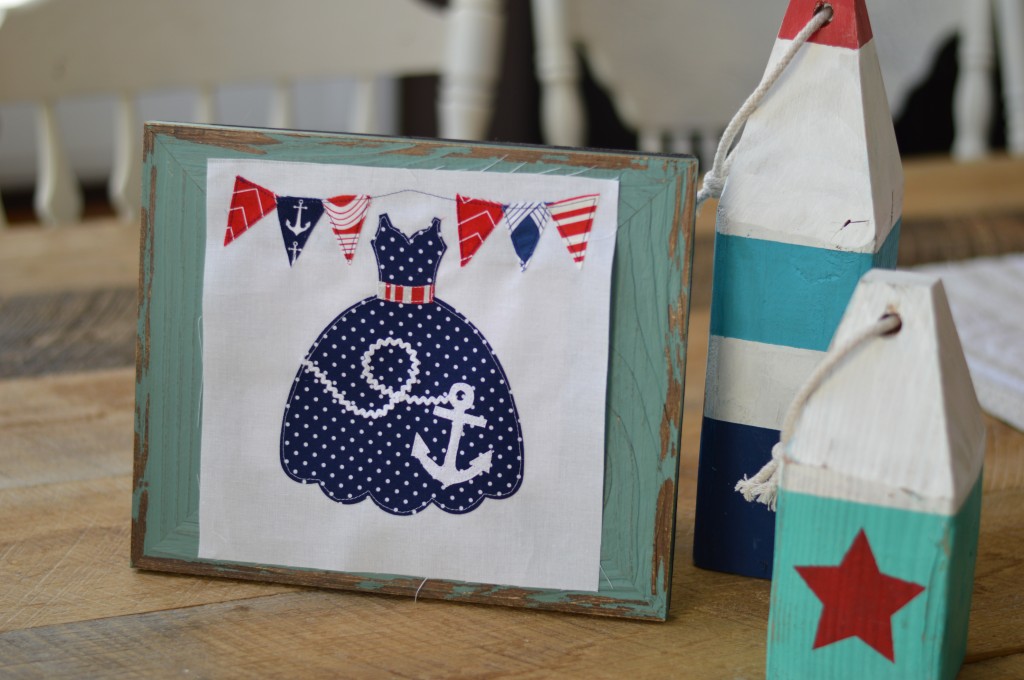
Screen Shot 2015-07-27 at 10.41.15 AMI trimmed it down slightly to make them smaller.  The dress is cut from navy dots and the sash from red and white stripe.  I used Heat n Bond Lite on the back of the dress and the pennants to adhere to the white 8.5″ square.  I drew an anchor on the Heat n Bond Lite and appliquéd it to the dress, adding small ric rac accents.  I stitched around all the pieces. Seriously, can I get this dress in my size!!!!!
sizzix dress


I am sending the dress block to Sizzix and they are sewing an entire quilt with dress blocks that designers create!  I can’t wait to see everyone’s block!!sizzix dress nautical anchor

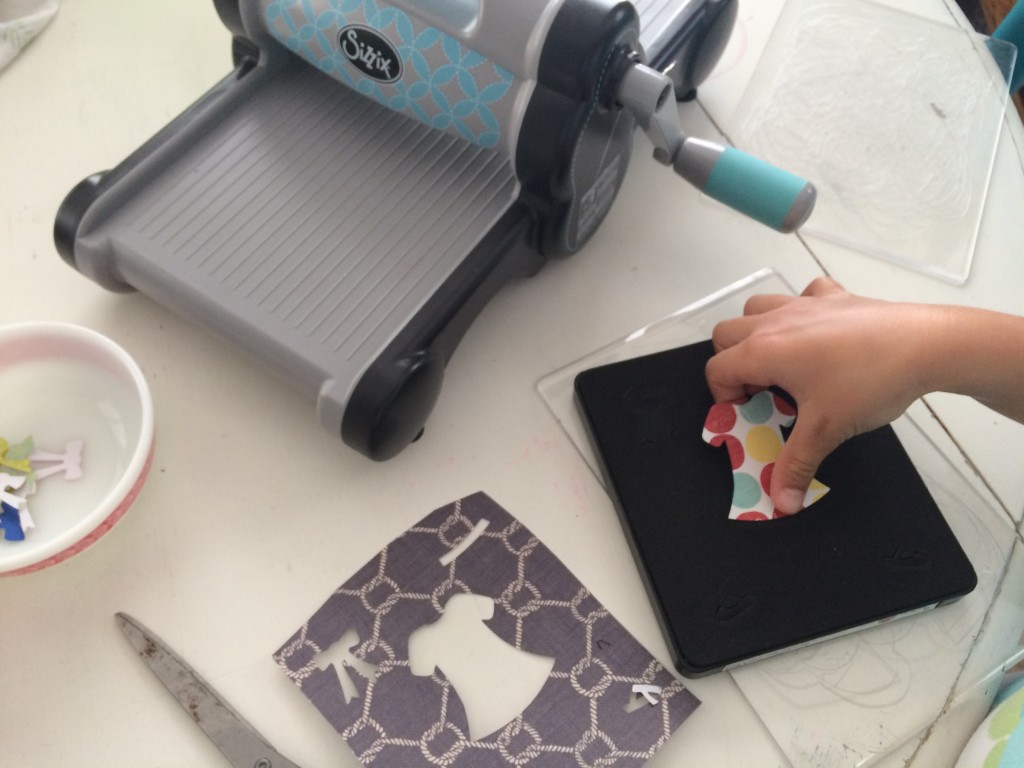
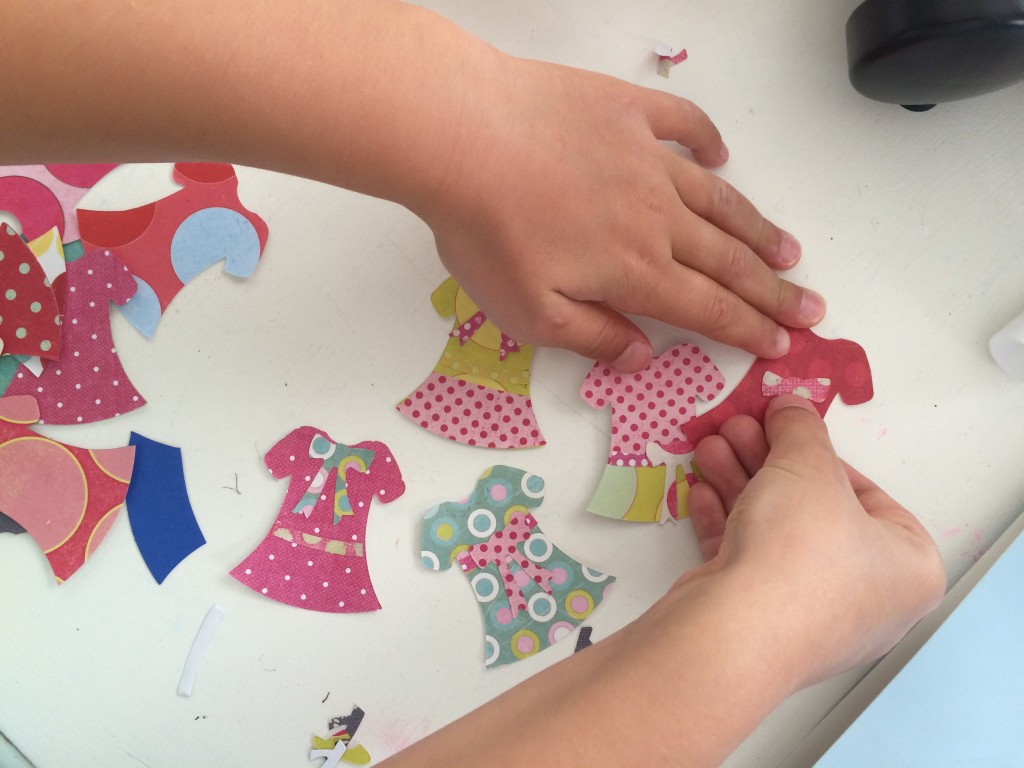
Sizzix also makes a little girl dress die.  I let Sally, my 7 year old, have at it with a box of paper, this Dress Die, and the Fabi.  She had hours and hours of fun designing her own fashions.  sizzix dress 2


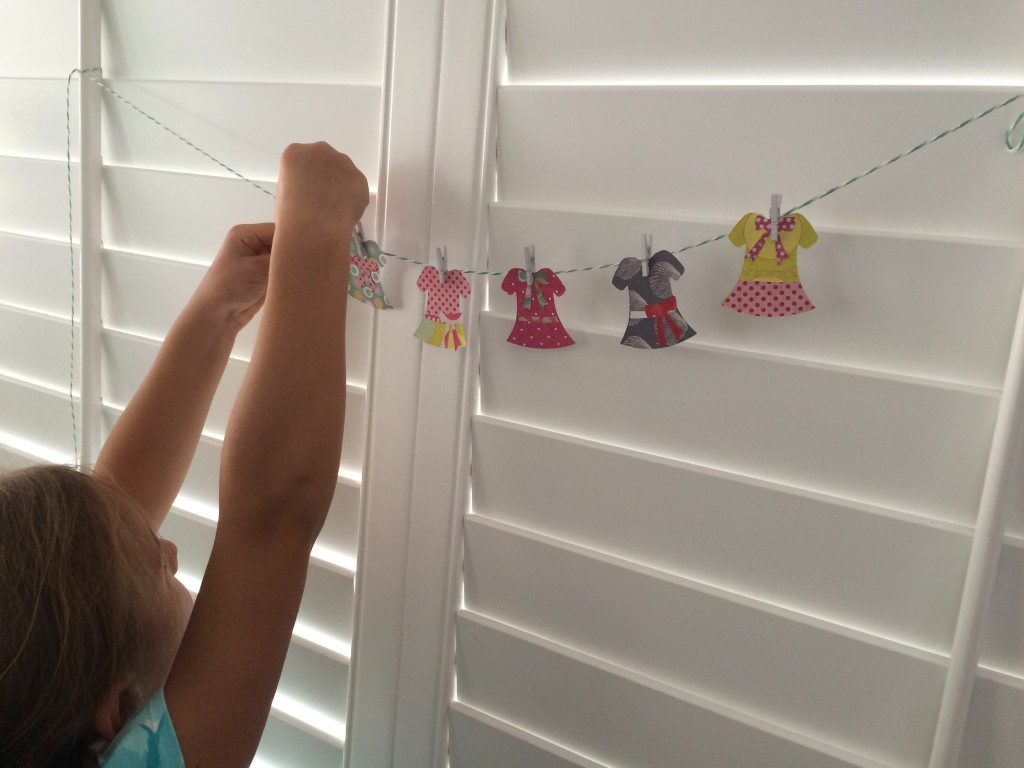
sizzix dress 6We used miniature clothespins to display all of her creations!
sizzix dress 5
I love that the Sizzix machines are simple to use.  My children and I love creating together 🙂