DIY Cake Plates


So maybe I am the last person on earth to try a “DIY Cake Plate” – but that’s ok because they are so much fun to make. I collected plates, bowls, candle holders and other odds and ends from thrift stores, garage sales, and my own garage! Here’s how you make them:

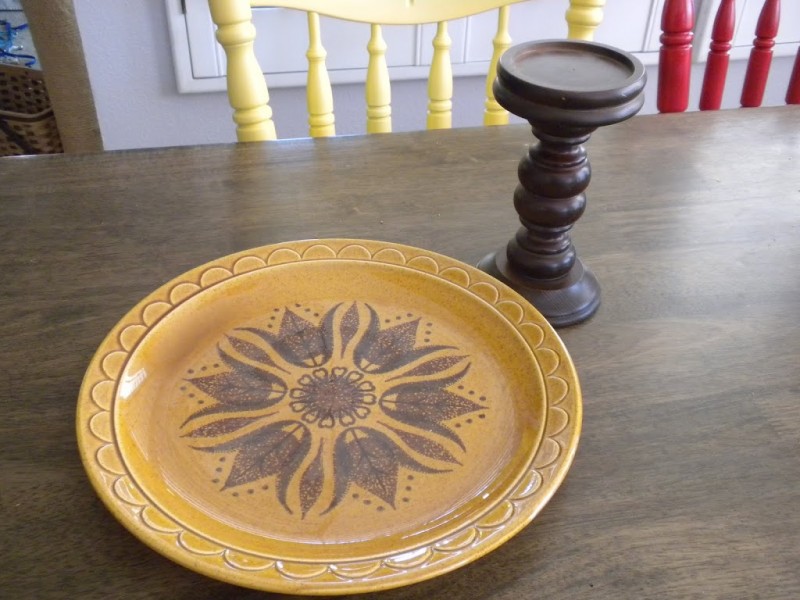
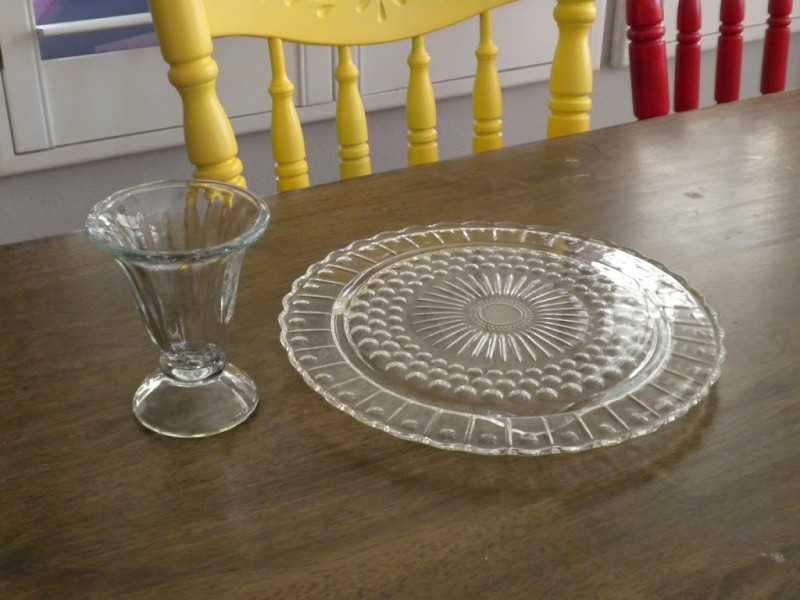
#1 – Clean all pieces (get all those impossible-to-remove labels off and any candle wax that has dripped down on candle holders). In this example I made 3 different ones.

Platter & wood candlestick


Glass plate & Ice cream sundae dish
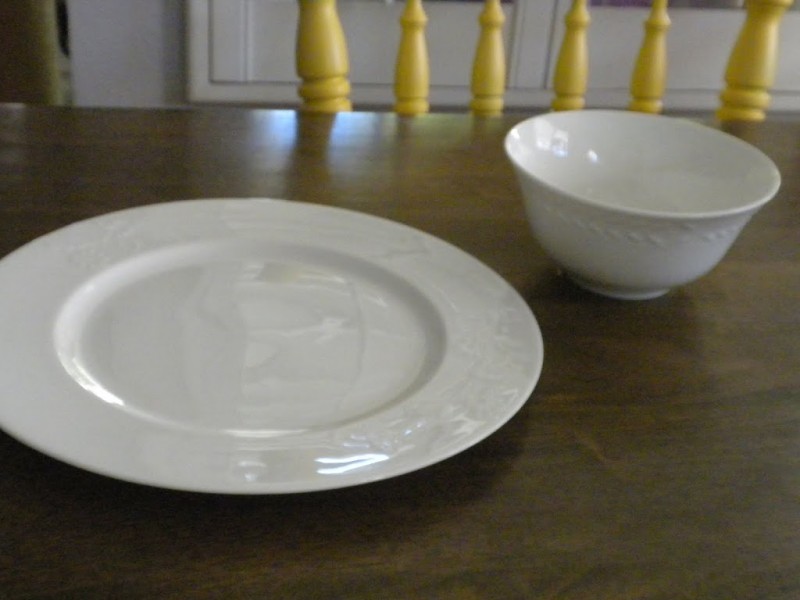
White plate & white bowl

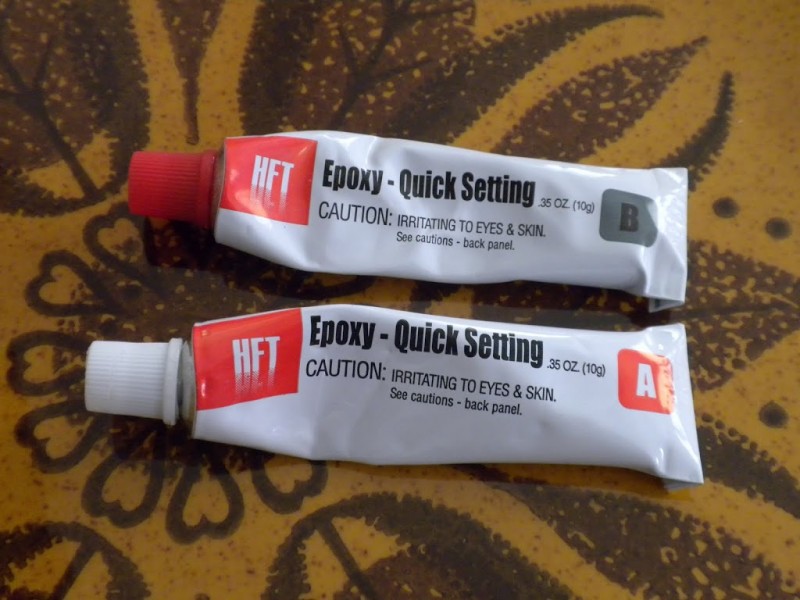
#2 – Mix the Epoxy. I just used a small amount at a time because it dries so fast. I love working with epoxy because it makes me feel smart – like I know all about Science!!! I used a toothpick to apply the epoxy to the base of my cake plate (the part you will attach to the plate).
#3 Center the cake plate base onto the bottom of the plate. I placed a book to add some pressure. Let dry.
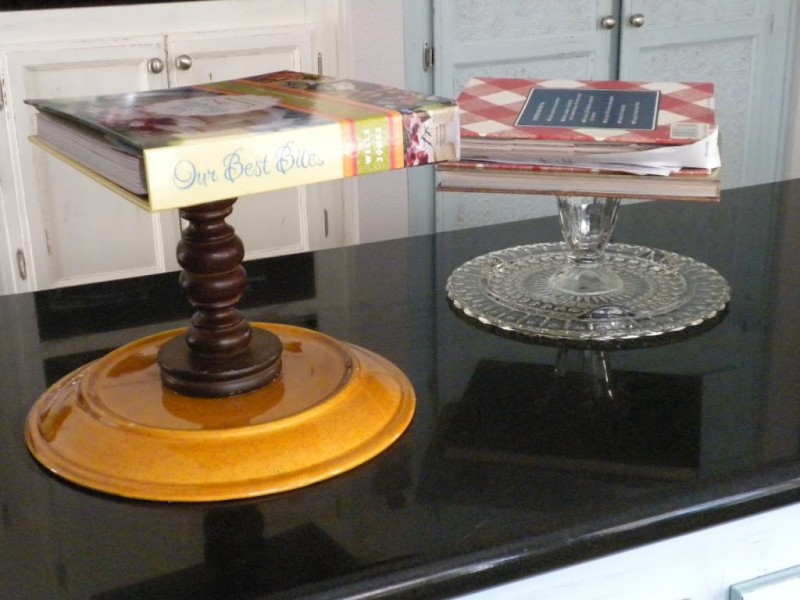
#4 Paint. If you love your plate & stand color & finish then you are done. If you don’t love them (like the gold plate above) then it’s time to spray paint. I primed the entire piece with spray primer then painted my plate gloss white. If you do paint the top of the plate, I don’t suggest placing food directly on the painted surface. Use a cardboard cake board or a doily.

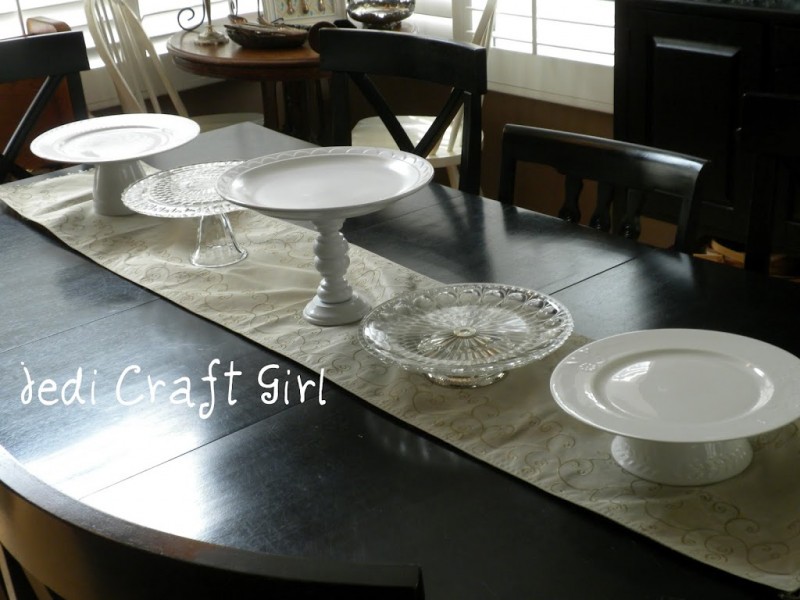
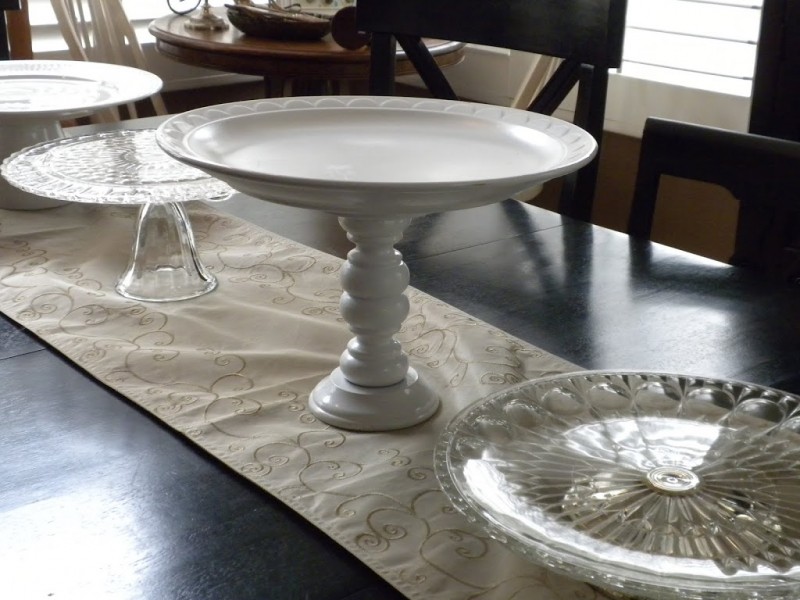
Here are the finished cake plates:
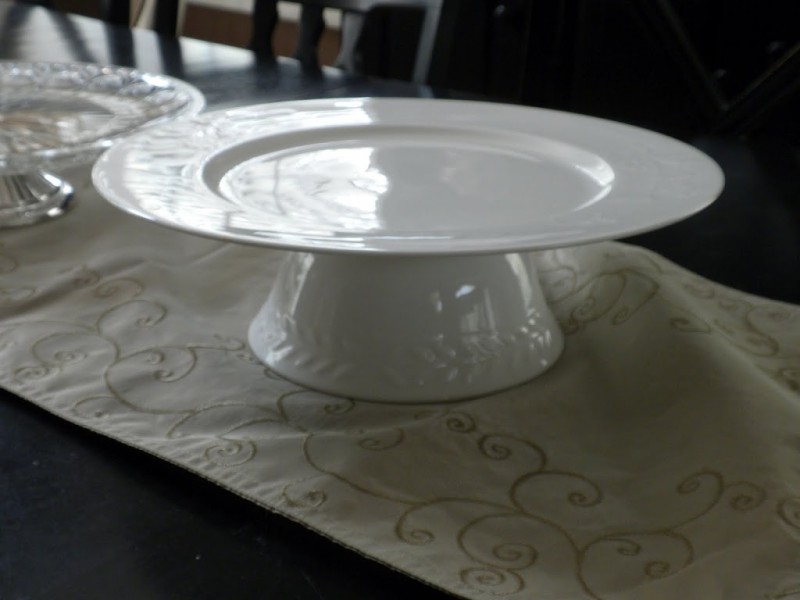
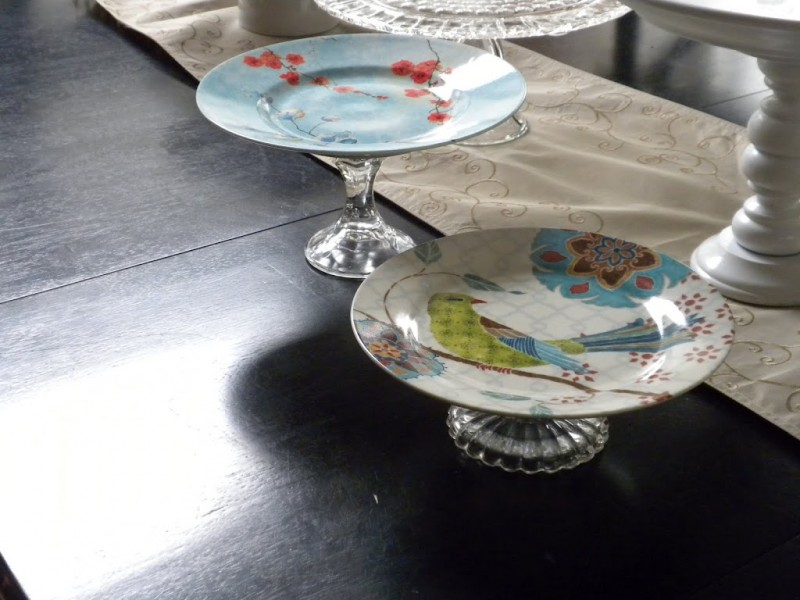
I also found these cute dessert plates at Home Goods in the clearance section. I epoxied cut glass candle holders to the bottom. The possibilities are endless!!!

DIY Cake Plates


So maybe I am the last person on earth to try a “DIY Cake Plate” – but that’s ok because they are so much fun to make. I collected plates, bowls, candle holders and other odds and ends from thrift stores, garage sales, and my own garage! Here’s how you make them:

#1 – Clean all pieces (get all those impossible-to-remove labels off and any candle wax that has dripped down on candle holders). In this example I made 3 different ones.

Platter & wood candlestick


Glass plate & Ice cream sundae dish
White plate & white bowl

#2 – Mix the Epoxy. I just used a small amount at a time because it dries so fast. I love working with epoxy because it makes me feel smart – like I know all about Science!!! I used a toothpick to apply the epoxy to the base of my cake plate (the part you will attach to the plate).

#3 Center the cake plate base onto the bottom of the plate. I placed a book to add some pressure. Let dry.
#4 Paint. If you love your plate & stand color & finish then you are done. If you don’t love them (like the gold plate above) then it’s time to spray paint. I primed the entire piece with spray primer then painted my plate gloss white. If you do paint the top of the plate, I don’t suggest placing food directly on the painted surface. Use a cardboard cake board or a doily.

Here are the finished cake plates:
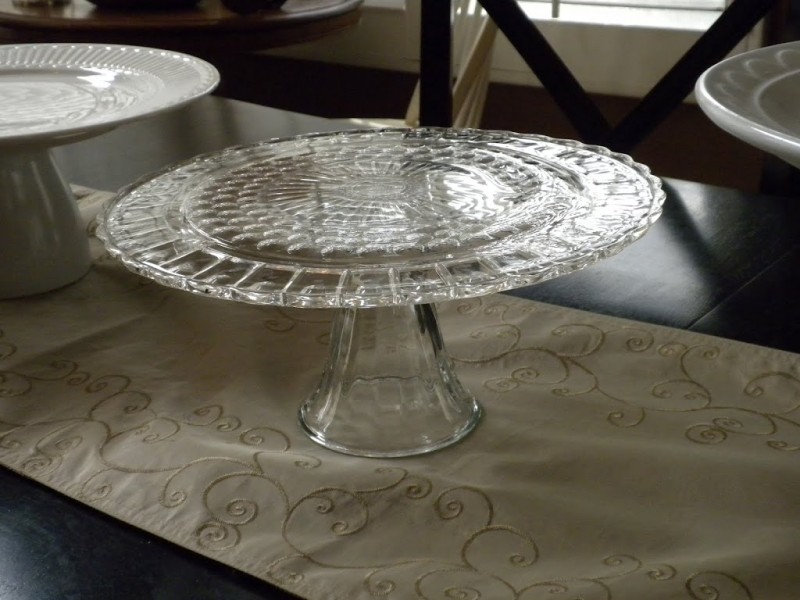
I also found these cute dessert plates at Home Goods in the clearance section. I epoxied cut glass candle holders to the bottom. The possibilities are endless!!!
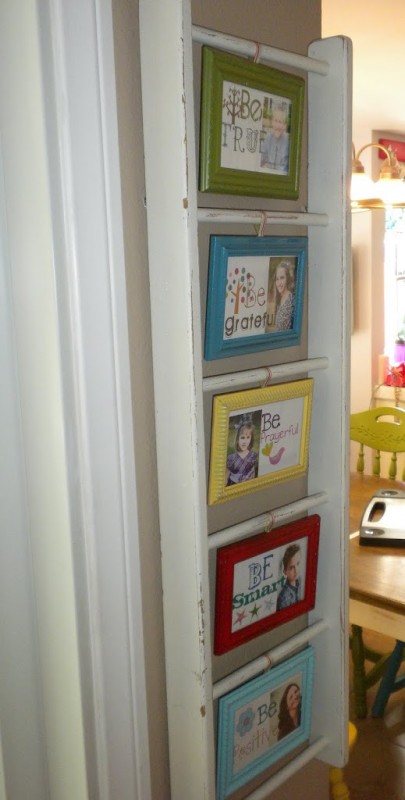
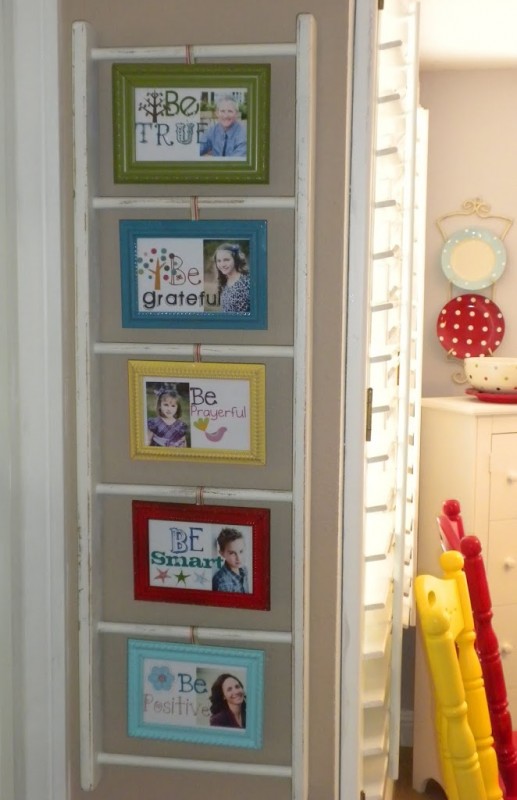
Finally – I found something to do with this Ladder!

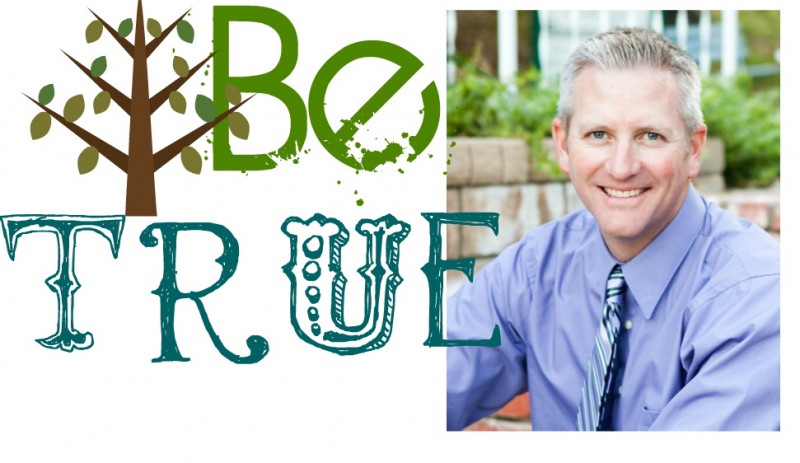
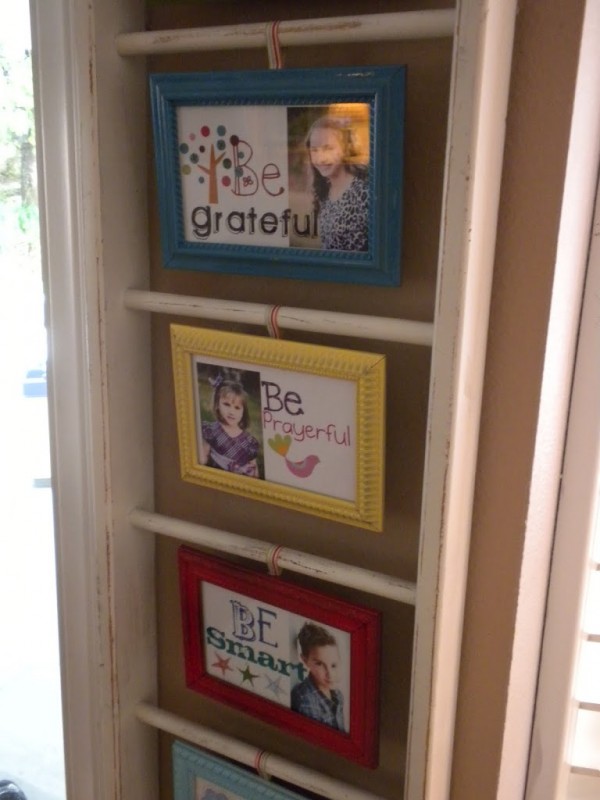
I bought this ladder 18 years ago when we got married. I used it to hang my collection of “Boyd’s Bears”. It was really cute at the time. I have held onto it all these years – keeping it in the garage. Finally – it has a new purpose! I printed off these “Be” sayings with photos of our family:


Then I spray painted dollar store frames 5 different colors – I wanted it to feel bright and cheery – I can’t have everything painted white 🙂

I hot glued a ribbon hanger to each frame – and it’s done & hanging up. I keep looking at it because it makes me happy.

Upstairs Hallway

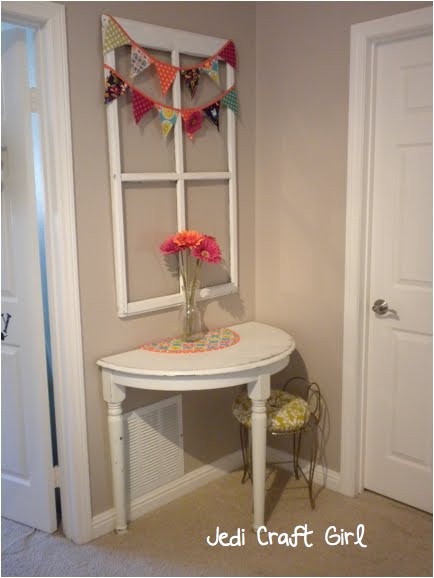
I bought a round table at a garage sale. I didn’t really want it, I had no idea where to put it. But the garage sale people were totally talking me into it! I finally got it down to $5. On the way home, I kept feeling like I got ripped off. Once I showed my hubby – I really felt like I got ripped off. He was inspecting it and telling me everything wrong with it – I was almost in tears!

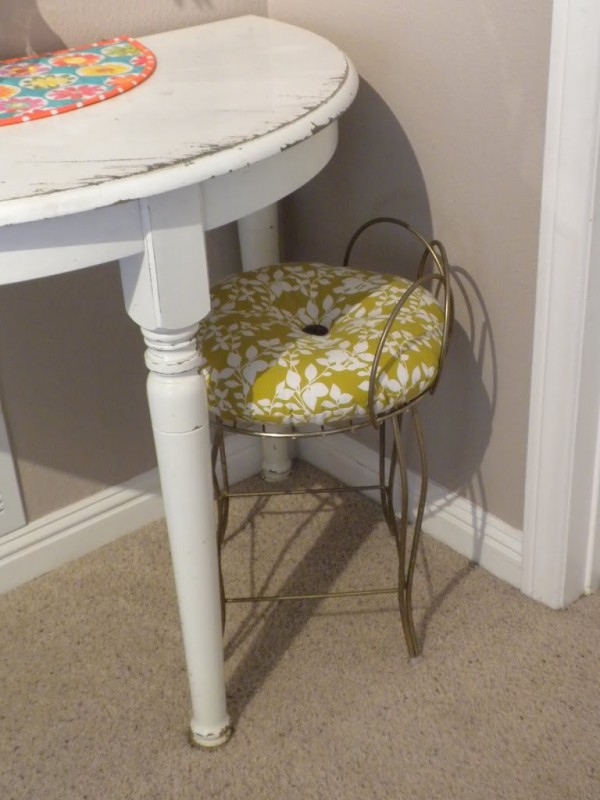
I pulled myself together and came up with a plan. Let’s cut it in half (the top was not level to begin with). So, hubby got to work and moved one of the legs, and chopped it right in half! Now it is a perfect little table in the upstairs hallway. I can never put a solid piece of furniture here because of the giant cold air return vent. I found this little chair at a garage sale for $2 and I sewed a new pillow for the cushion.

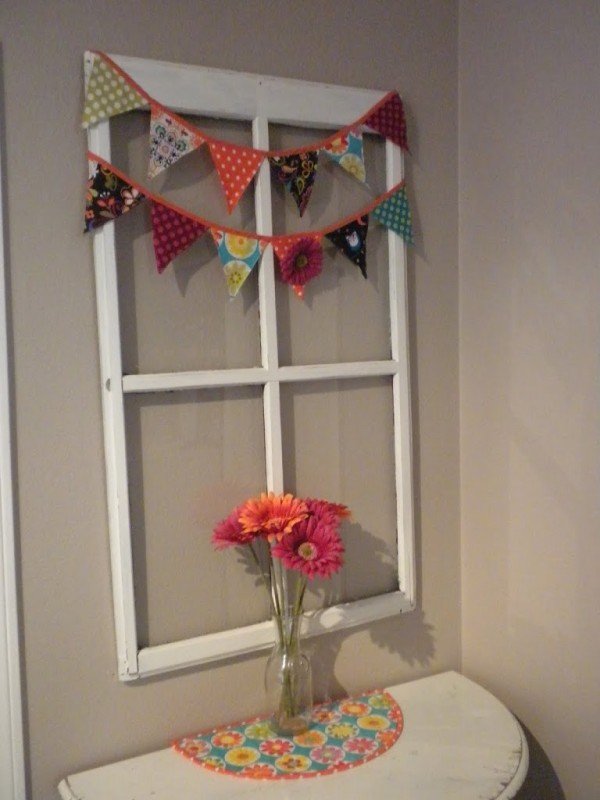
I painted this old window and sewed a little banner for it. Now when ever I walk by I smile!

Retro Telephone

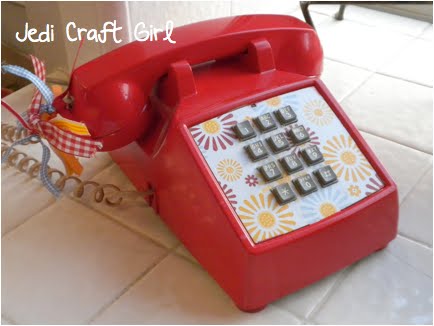
I know I’m the only person in the USA with a land-line! As long as I have a “home phone” I might as well be crafty about it! I found this telephone at a garage sale – and yes it works! I spray painted it bright red and then mod podged the face plate with some scrapbook paper. A few ribbons and it was done! I love how it sounds when it rings! Only no caller ID – but that’s ok because at least I always know where this phone is!!

Lamp Makeover

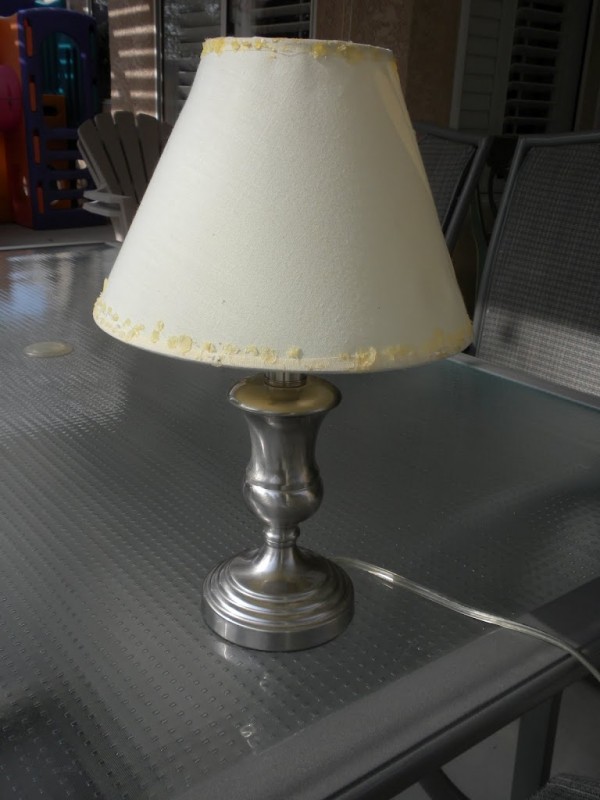
I bought this lamp at a thrift store over a year ago. It has been sitting in the garage ever since then. I either had to get rid of it or make it work.

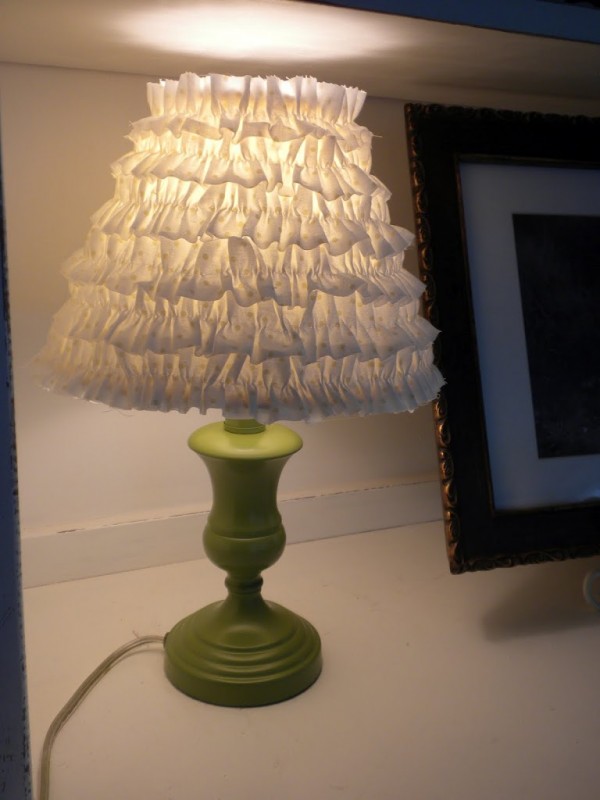
So I gave it a new chance at life! I spray painted it green. Then I sewed long strips of 1 1/2 inch ruffles and hot glued them to the lamp shade. It took about 5 minutes! The longest part was waiting for the glue gun to heat up!! (I have to drill a hole in the book shelf so I can put the cord through the back.) I think it is darling!!