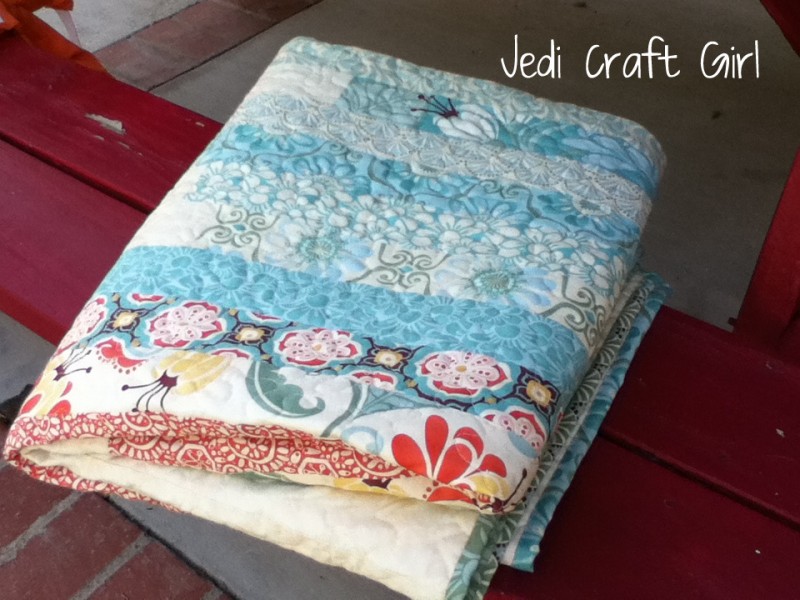
Quilted Tote Bag Tutorial


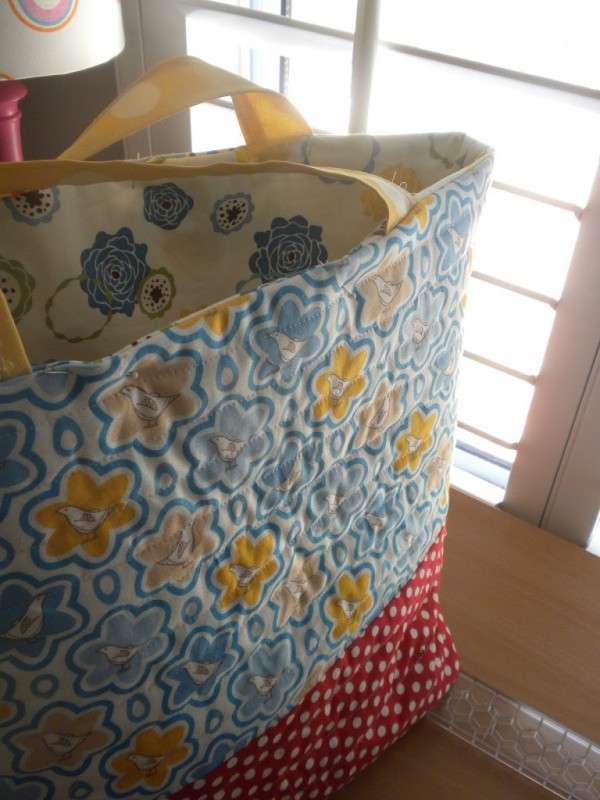
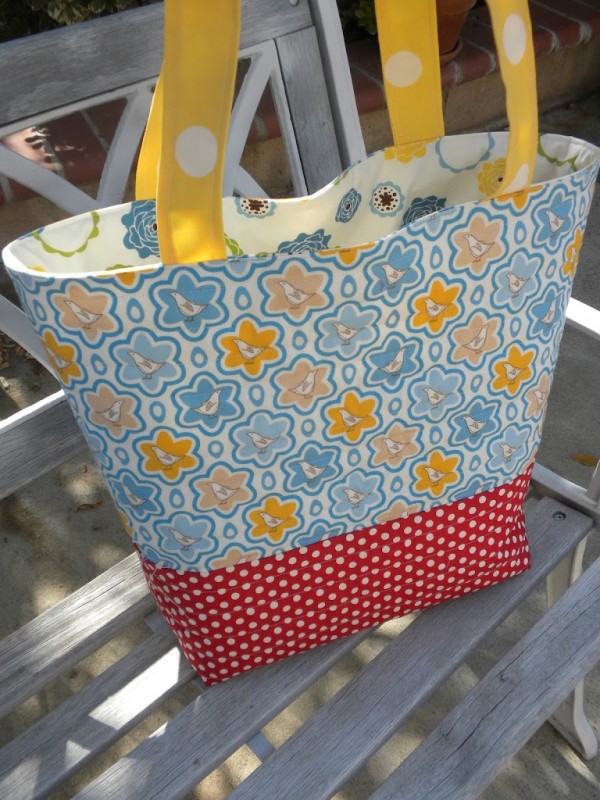
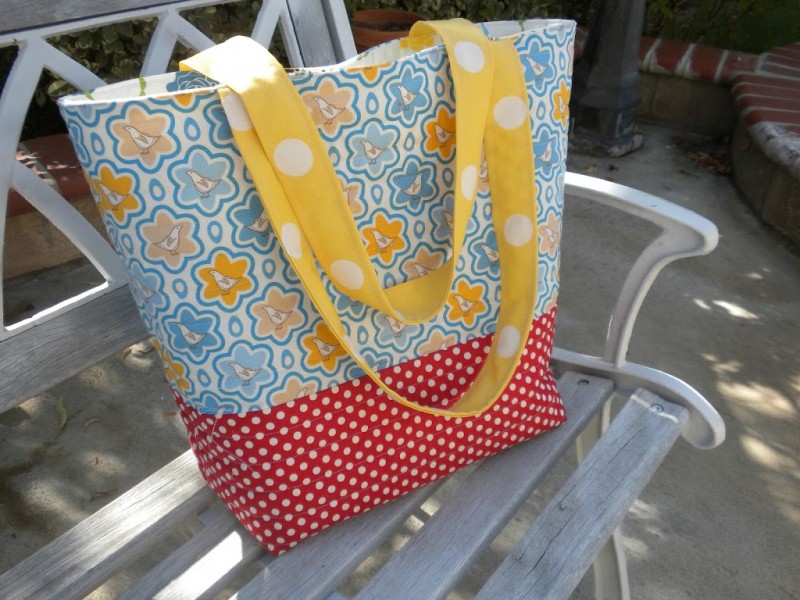
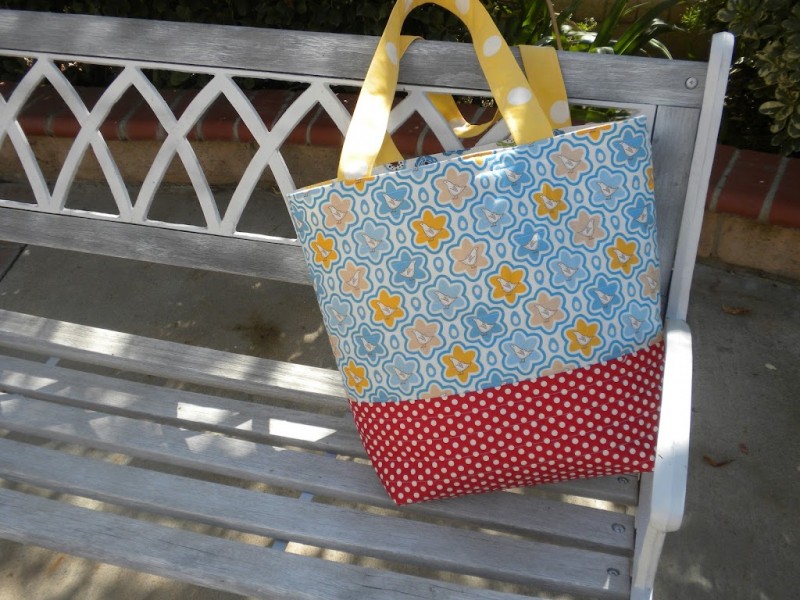
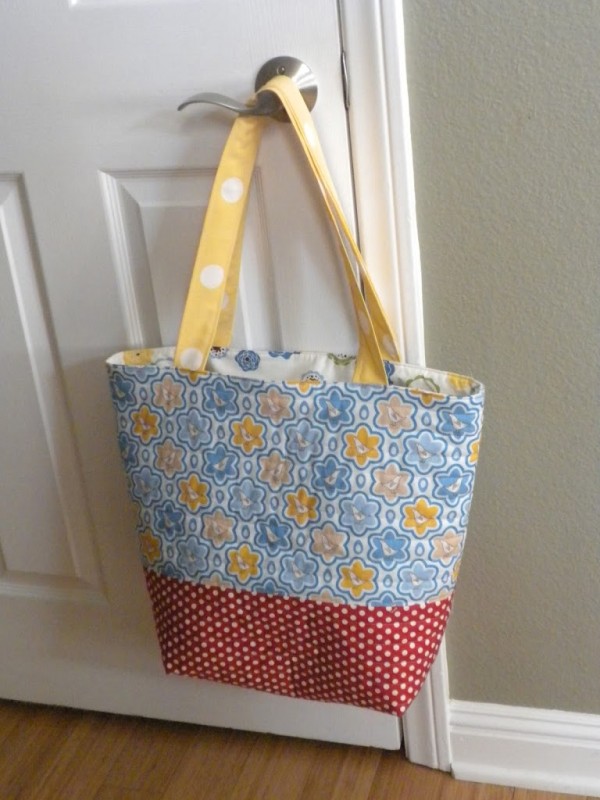
This is my favorite tote bag.  Of course I didn’t invent the quilted tote 🙂  Here is my tutorial for how I made this one.  Hope you love it!

Supplies:
1/3 yard main outer fabric
1/3 yard bottom contrast outer
3/4 yard muslin or other light weight for the back of the quilting
3/4 yard bag lining
1/4 yard handles
quilt batting
911 feather weight interfacing (optional)
1/3 yard contrasting fabric for pocket (optional)

Instructions
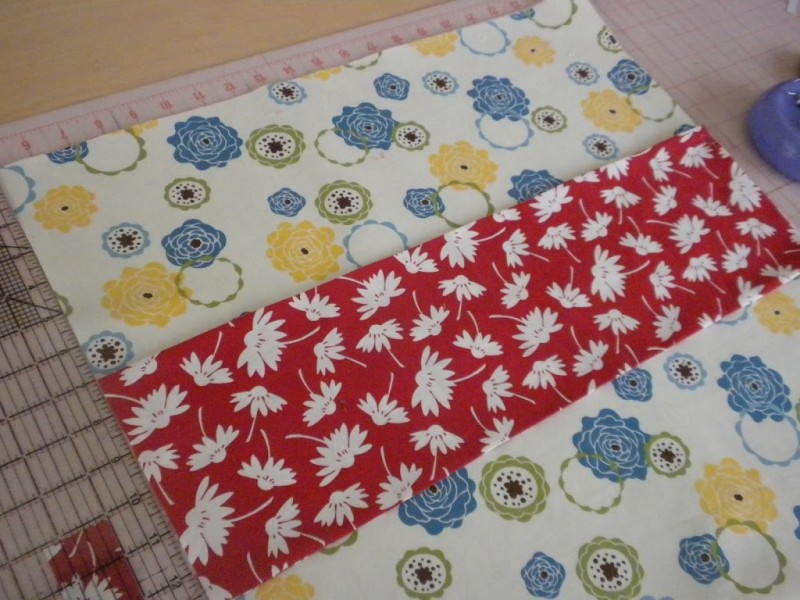
Cut your main outer fabric (top piece) 2 pieces 10.5″ x 20″
Cut your bottom contrast fabric 2 pieces  9.5″ x 20″
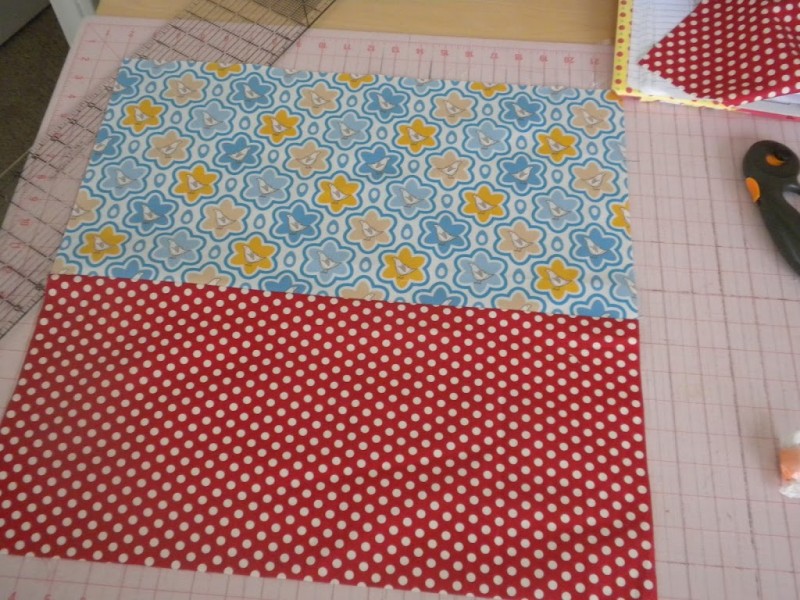
Sew these two pieces together and press. 

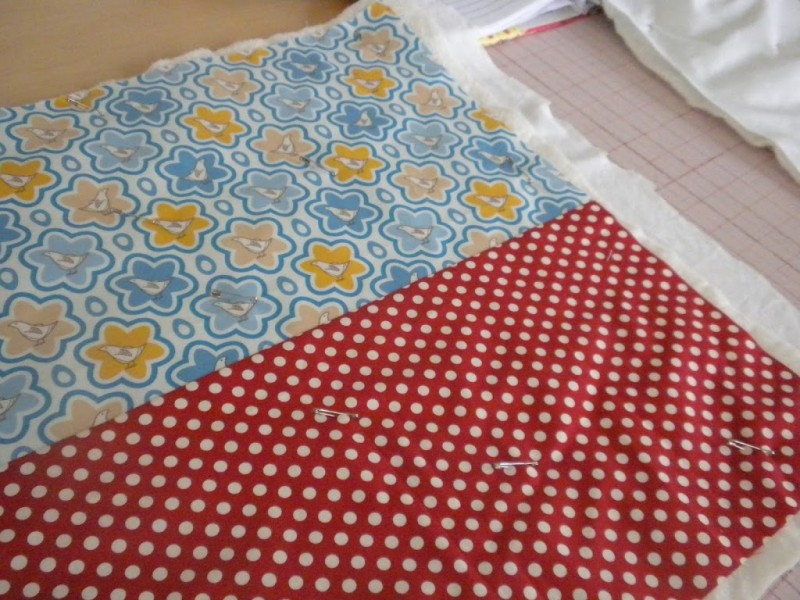
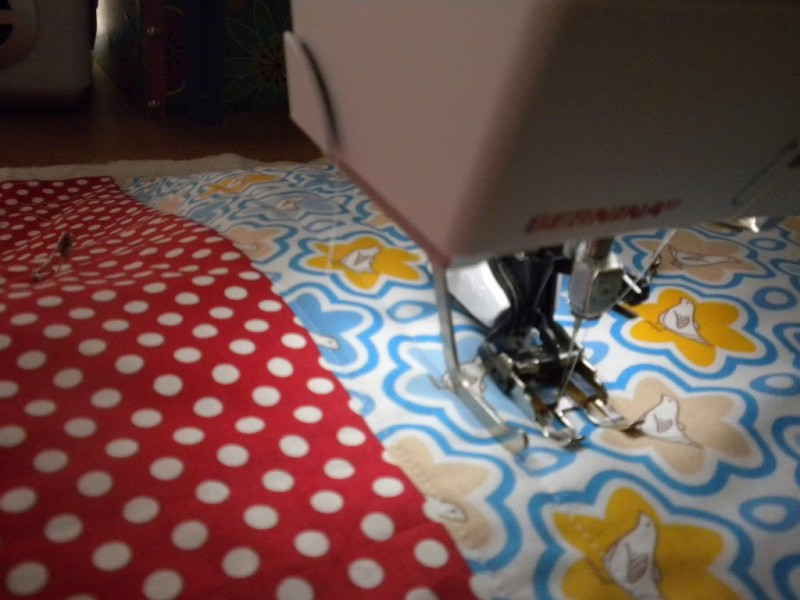
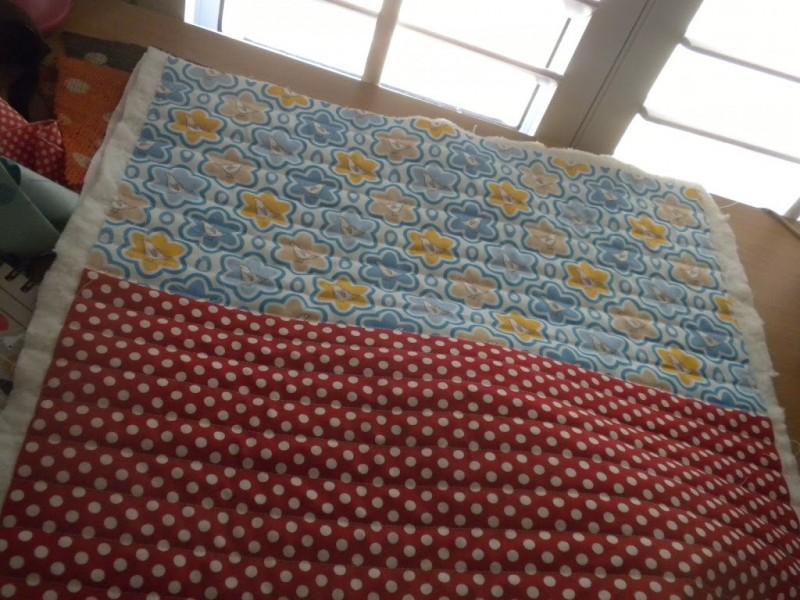
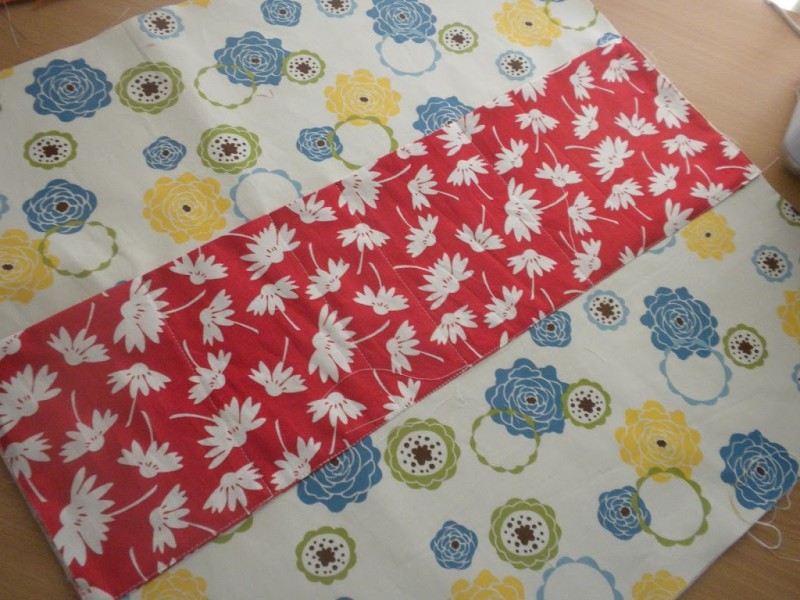
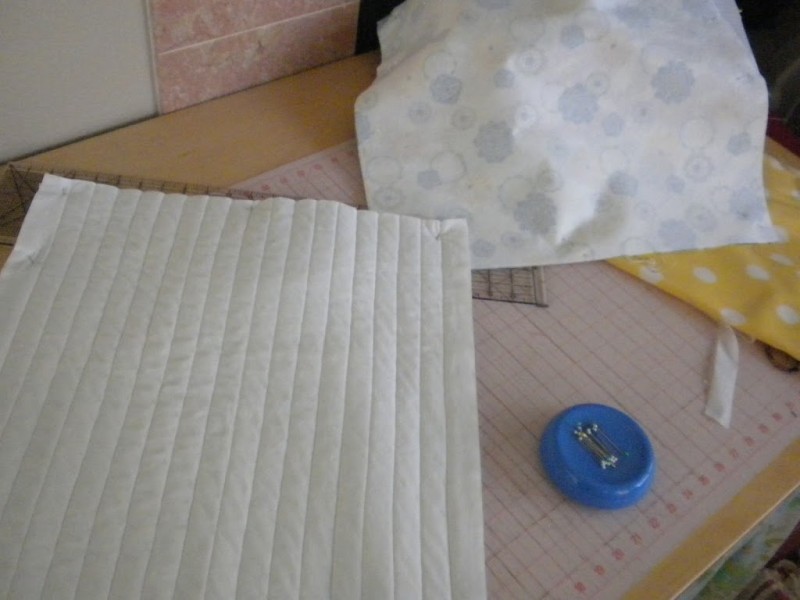
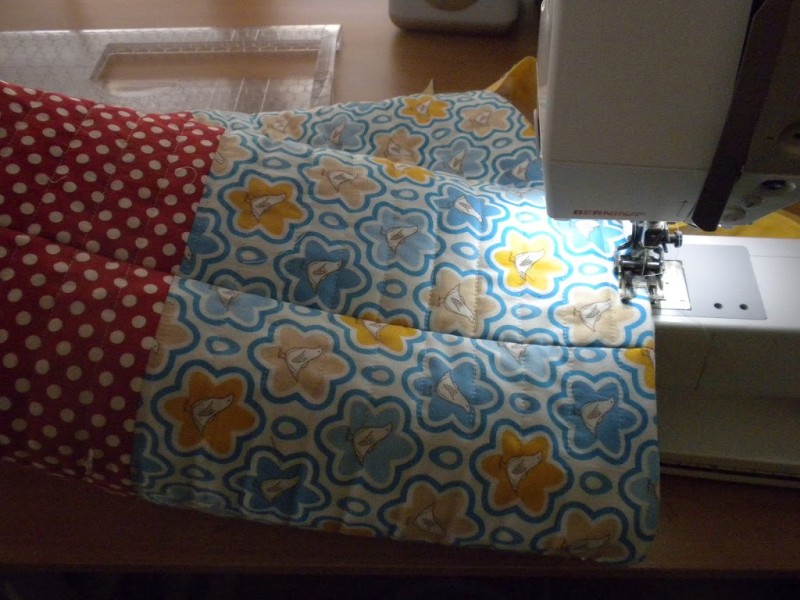
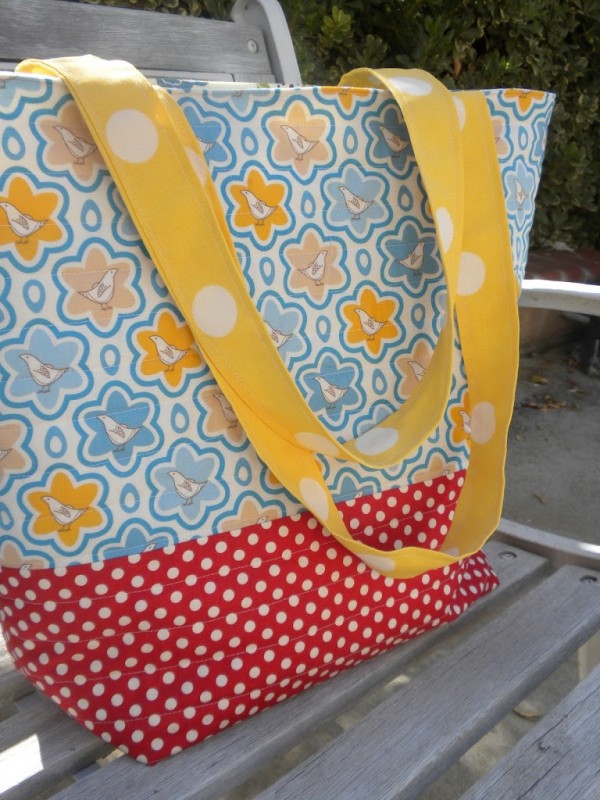
I pin basted my two outer bag pieces and straight lined quilted every 1 inch.  You can quilt how you want it.  I actually used an old sheet for the back of this part – you will never see it – it just adds stability to the quilting.

Quilt both pieces

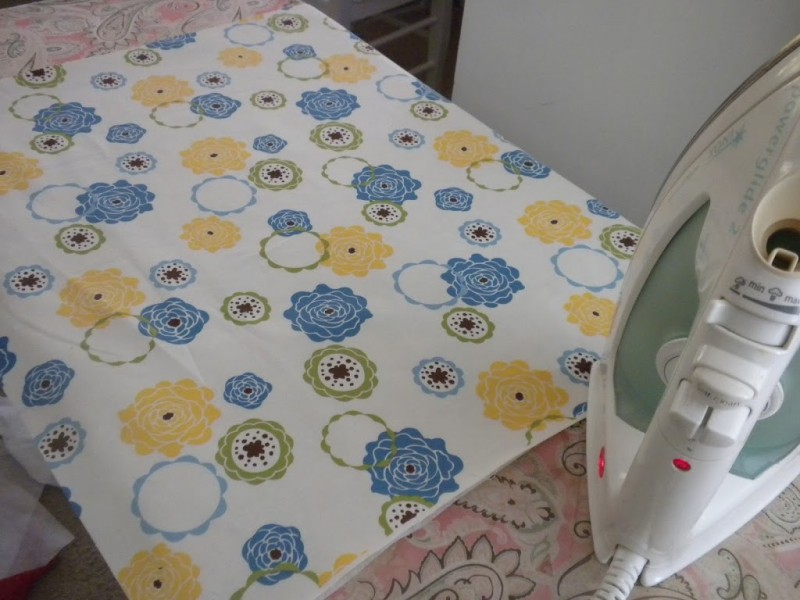
Cut your lining (2 pieces) 19.5″x20″.  (I had to cut 1/4 inch off the 19.5″ piece because the outer bag shrunk from the quilting.  So mine measured 19.25″ x 20″)  Iron the fuseable Pelon to the wrong side of your bag lining fabric – this is optional.  Once I finished mine, I thought this step really wasn’t necessary.

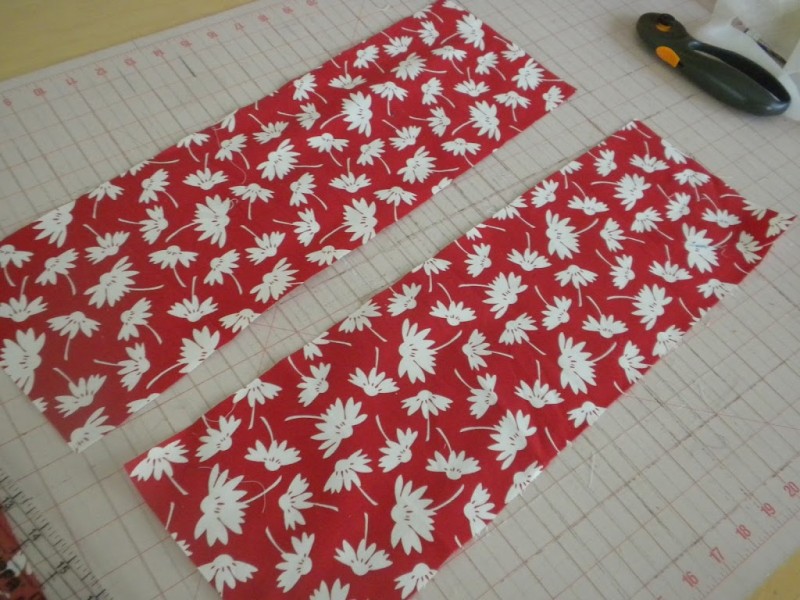
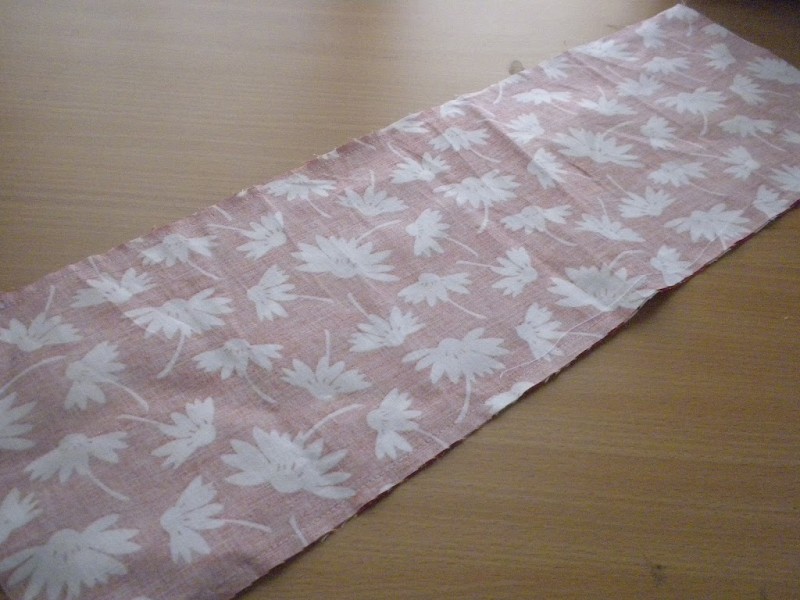
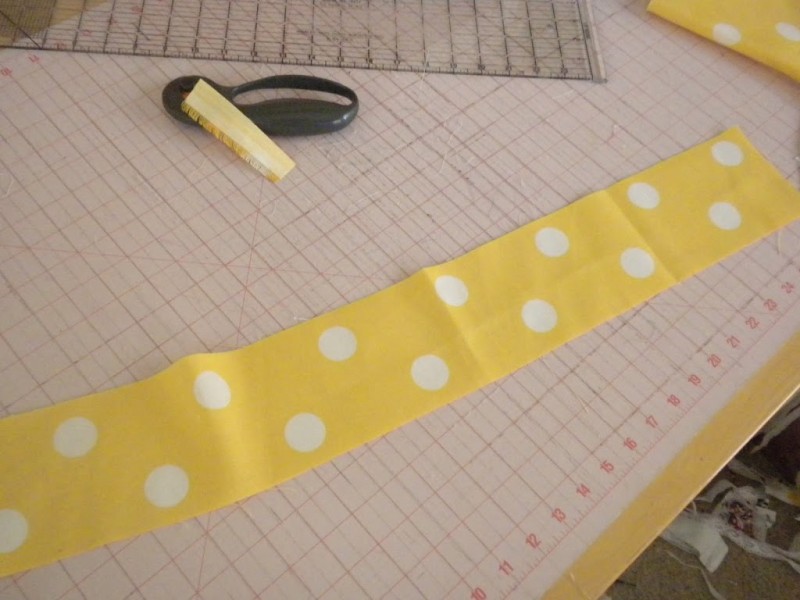
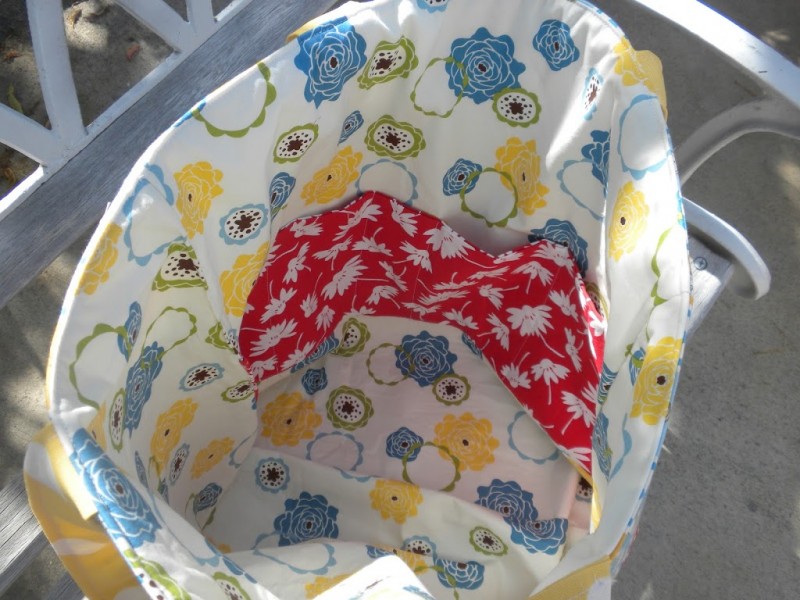
Next, prepare your pocket. Cut 2 strips 6.5″ x 20″.  Sew the two pocket pieces right sides together.

Sew 1/4 inch along the top and bottom – leaving edges open.

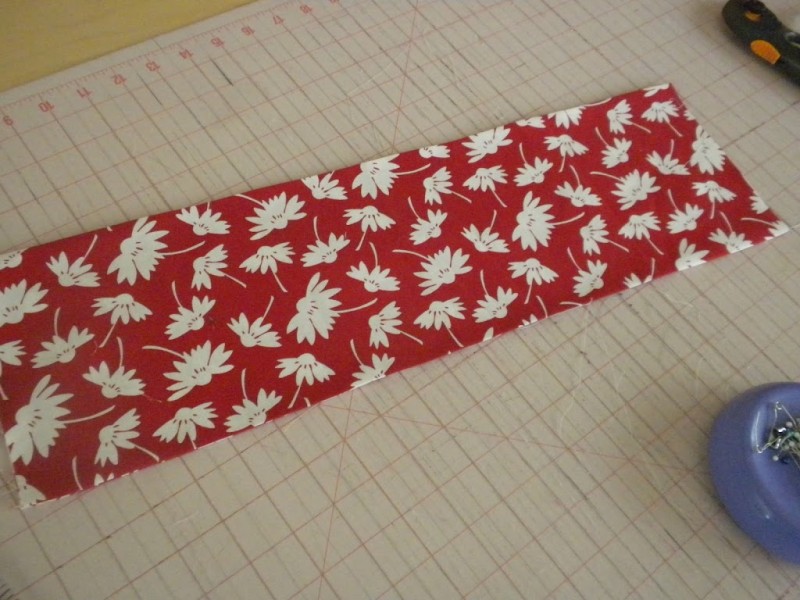
Turn and press.  Top stitch along just the top of the pocket piece.

Pin the pocket band where you want the pocket to hit.  I pinned mine 7 inches from the top of the bag.

Now sew along the sides and the bottom using a narrow 1/8 inch seam allowance.  Then sew lines going down the pocket piece to form the pockets.  I just eyeballed mine.  Some are narrow for pencils, others are wider.

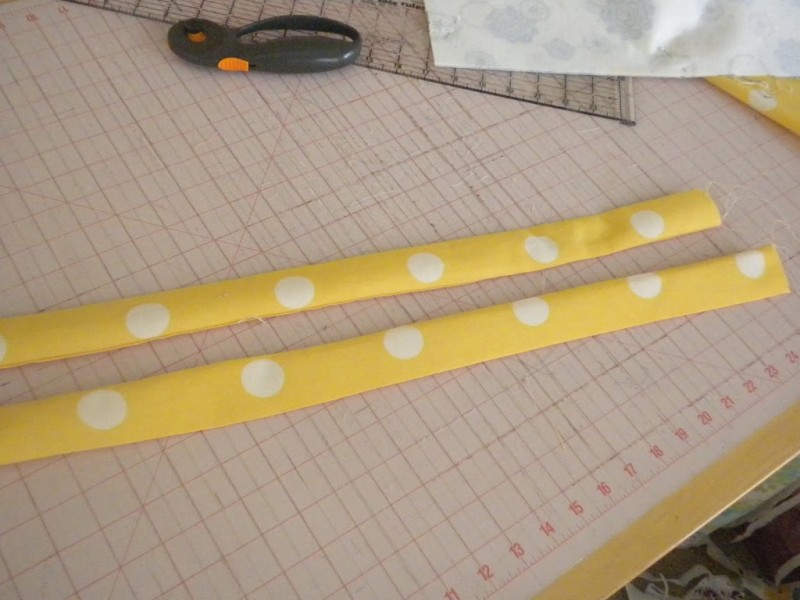
Prepare the handles.  Cut 2 strips 28″ x 4″.  If your fabric is thin, iron fusable interfacing to handle pieces before sewing.  This fabric was kind of canvas-like.  Fold longways and sew along the side leaving the ends open to turn.

Turn and press both handles.  Top stitch both sides of handles.

Now, pin your outer bag right sides together, matching the side seams.  Also, pin your lining together right sides together.  Sew around both pieces leaving the top open.  I used about a 1/2 inch seam.  Make sure your seam allowance is exactly the same for both bags or they won’t match up!

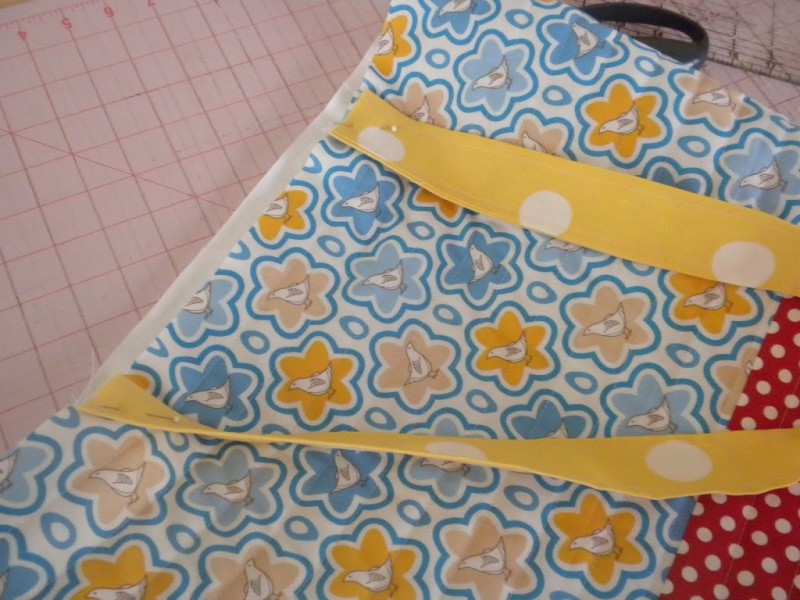
Place your handles as desired.  Use this point to shorten the handles if you want.  Baste the handles on to the outer bag using a 1/8 inch seam.

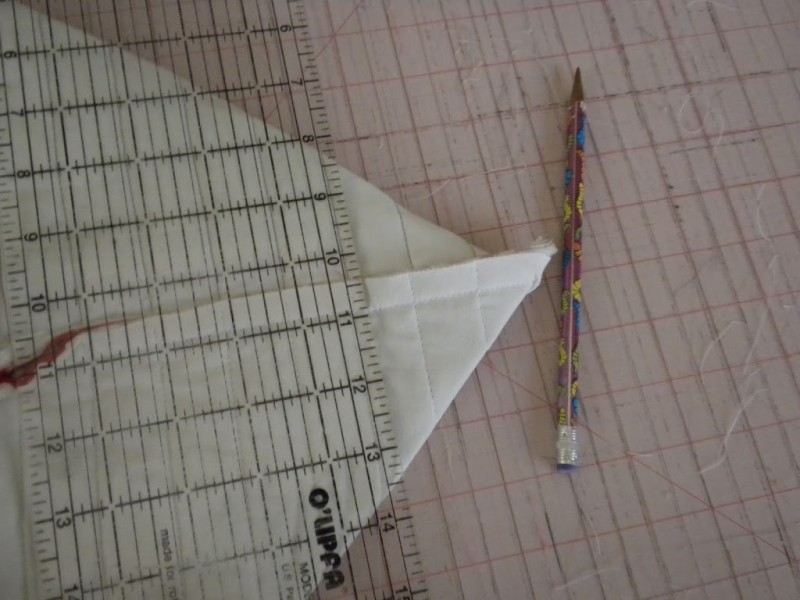
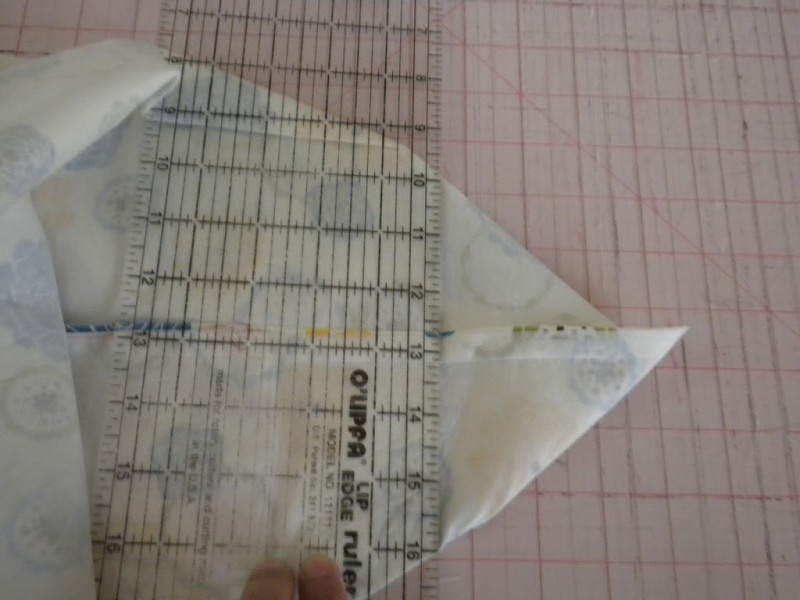
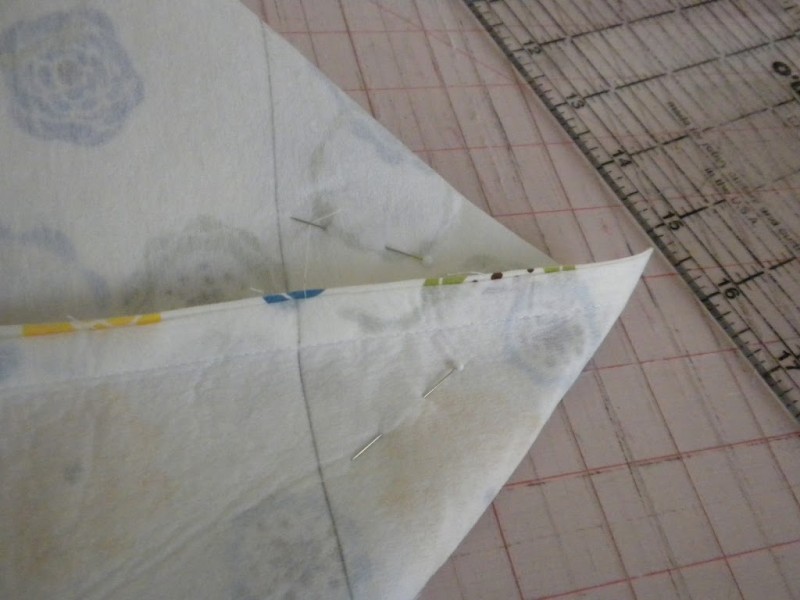
Push out the bottom of the bag – while it is wrong side out.  Flatten and measure 3 1/2″ from the point and draw a straight line.  Do this to both ends of the outer bag and the lining.

Pin in place and sew along your line – back-stitching to start and stop.

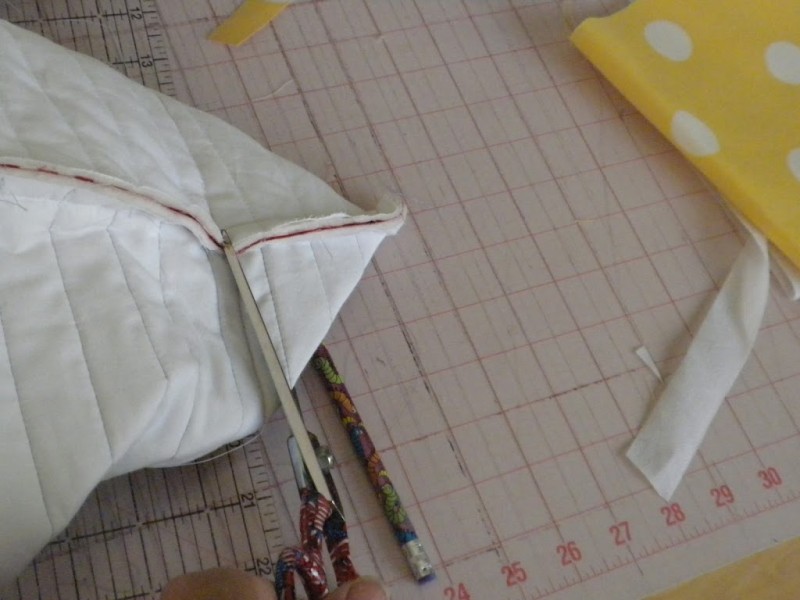
Trim along your seam about 1/4 inch.

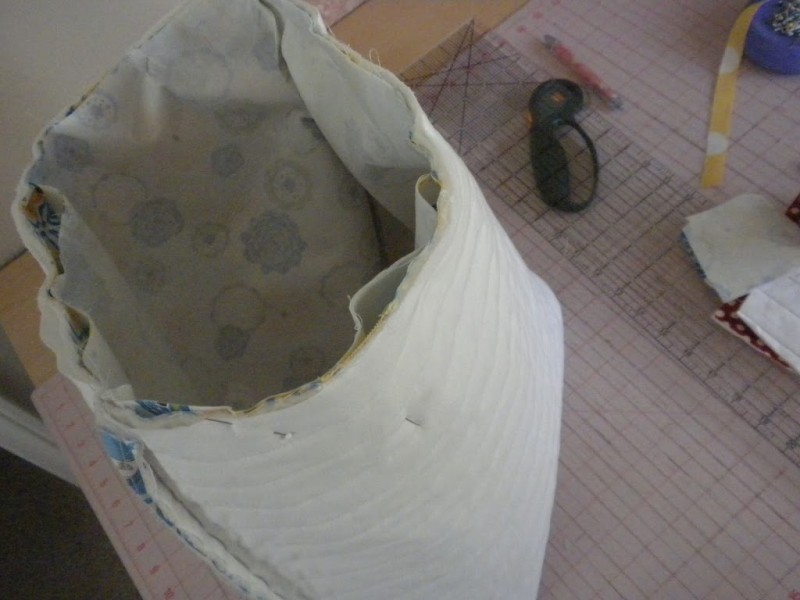
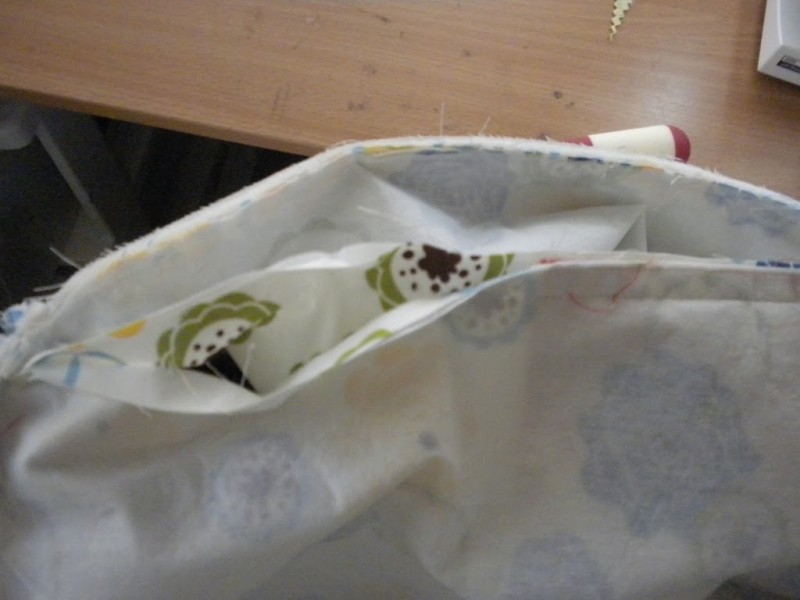
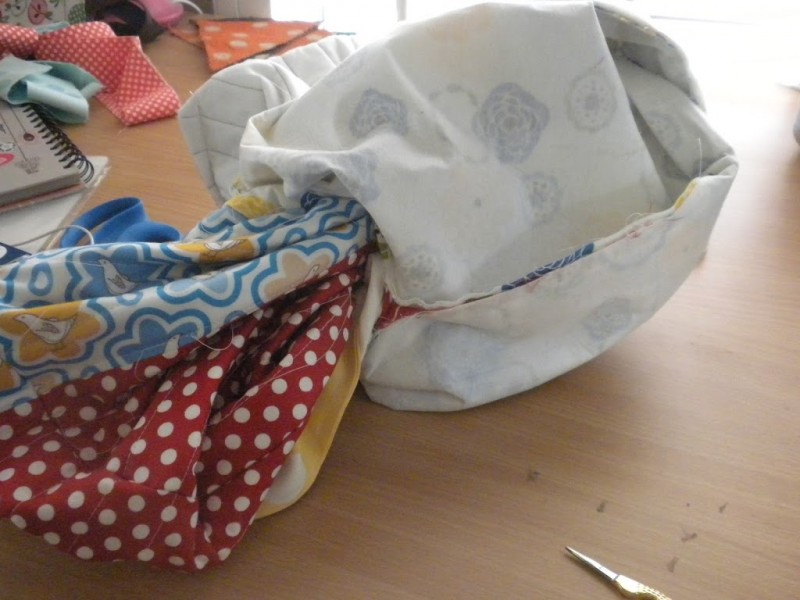
You are almost done!  Now the fun part!  Leaving the outer bag wrong side out, put the lining (right side out) inside the quilted bag.  Match the side seams and pin all the way around the bag.  It should line up perfectly.

Sew a 1/4 inch seam all around the entire bag.

Unstitch a little place on the side lining of the bag to turn the bag right side out.

Turn bag right side out and top stitch the opening closed using matching thread.

Press the lining down so the top of the bag is flat (it will want to puff out the top).

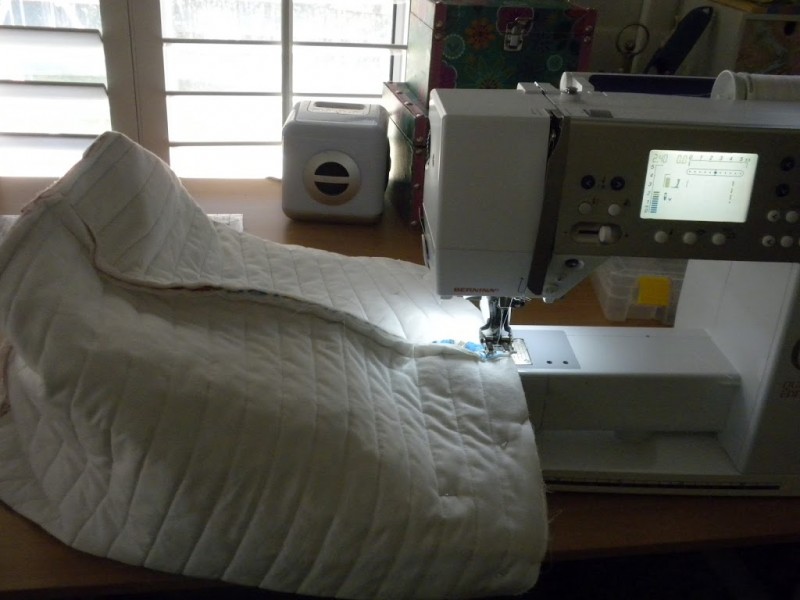
Top stitch using 1/8″ seam all around the bag.
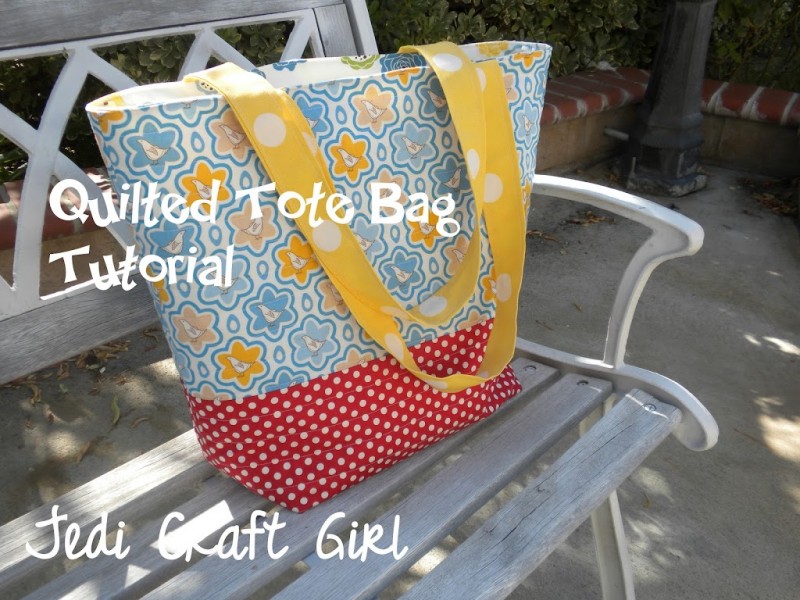
You are done!!!!


Pillow Shams for the Rapunzel Room

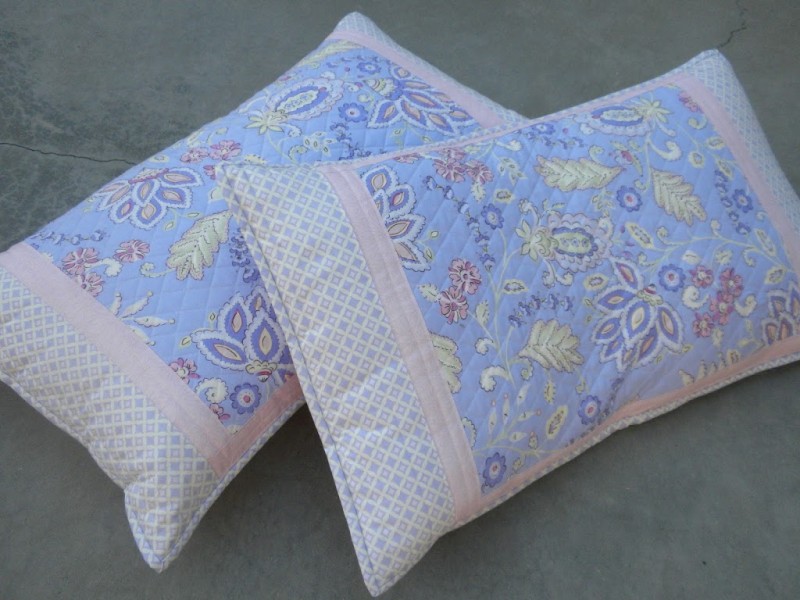
 I Decorated Sally’s Room over a year ago with a Rapunzel theme.  I have wanted to make these pillow shams for the past year – and I finally got to it.  What motivated me?  Sally was trying to cut the fabric up & sew them herself!  Yikes – she’s only 4!

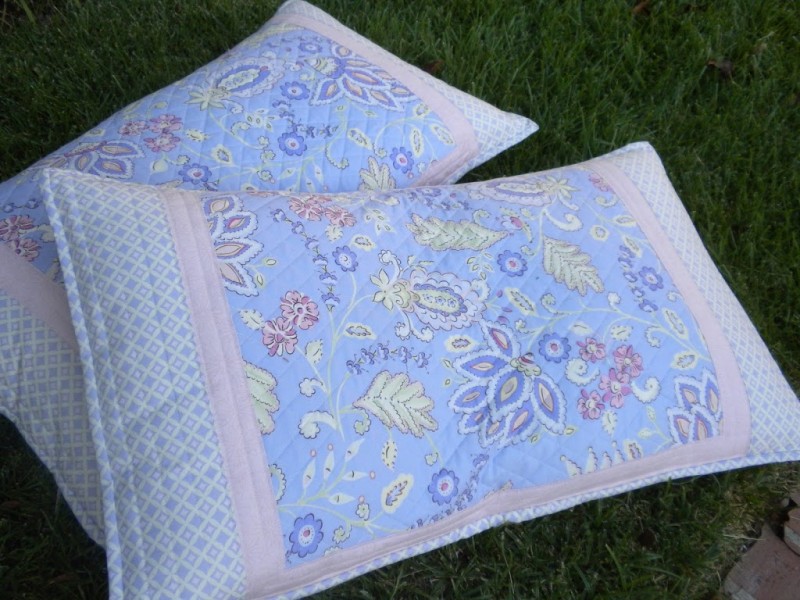
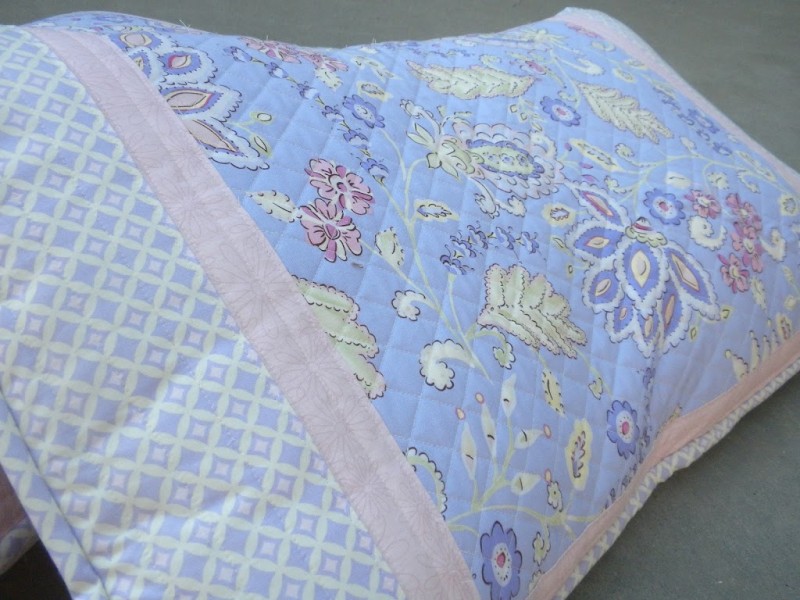
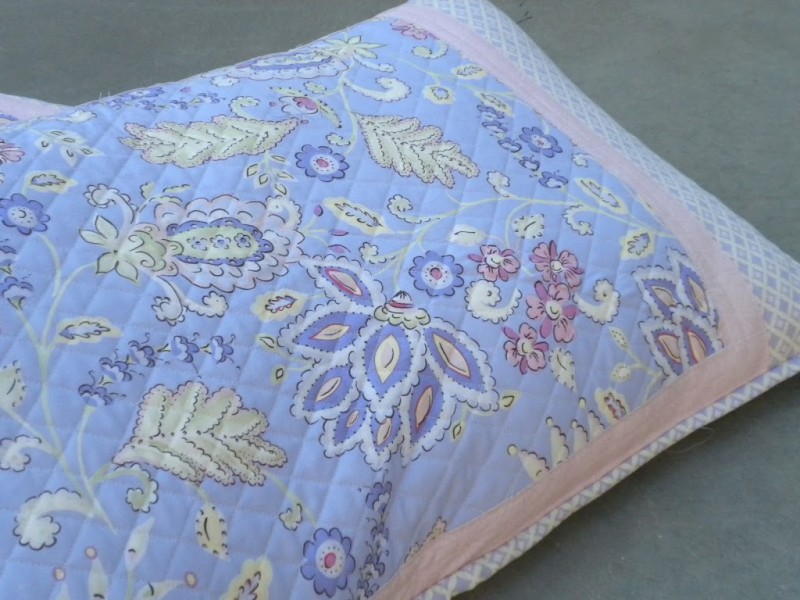
 I love how they turned out.  I didn’t want them super “piecy” because I love this fabric so much.  I did spend a lot of time with all the quilting.  The center is quilted in 1 inch lines diaoglally criss-croseed.
The top is pretty much a quilt with binding and everything – it just happend to have a pocket on the back where the pillows insert.  Now I am off to find the floating lanterns and hopefully Flynn Rider 🙂


Animal Taggie Baby Quilt

If you are joining me from the Blogger’s Quilt Festival – welcome!  My name is Amanda and I am the Jedi Craft Girl.  I love crafting, sewing, and of course quilting!!  Thanks for taking the time to view my quilt. 

Category: Baby Quilt Entry #625

What makes quilting so rewarding is being able to give the finished quilt to someone I care about.  Quilting takes a lot of time – from choosing the fabrics, deciding on a pattern, and then putting it all together.  When I am making a quilt for someone I am thinking about the recipient through the whole process.  I think giving a quilt is truly a gift that comes from the heart and a quilt is my favorite gift to give.

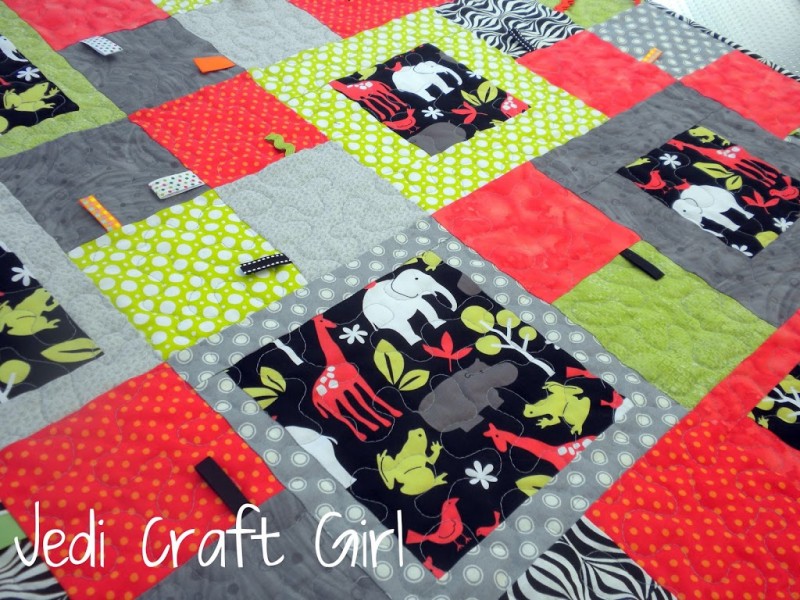
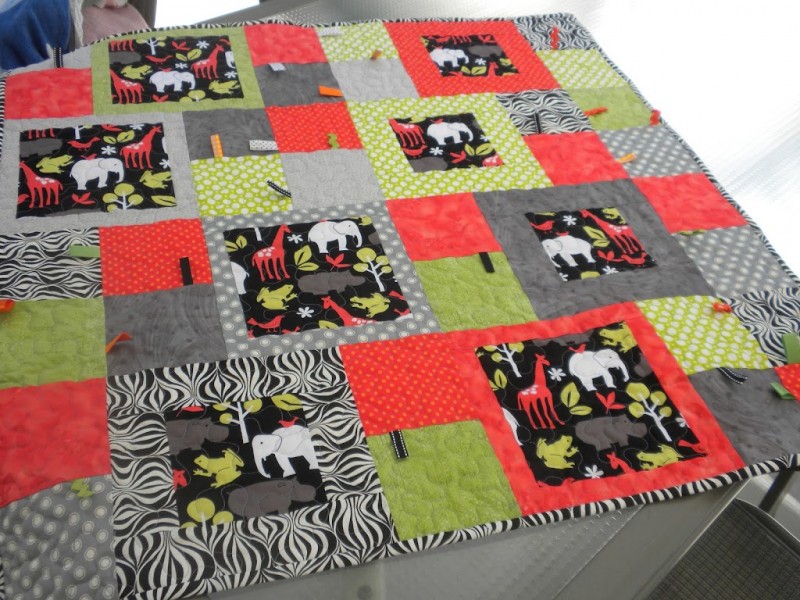
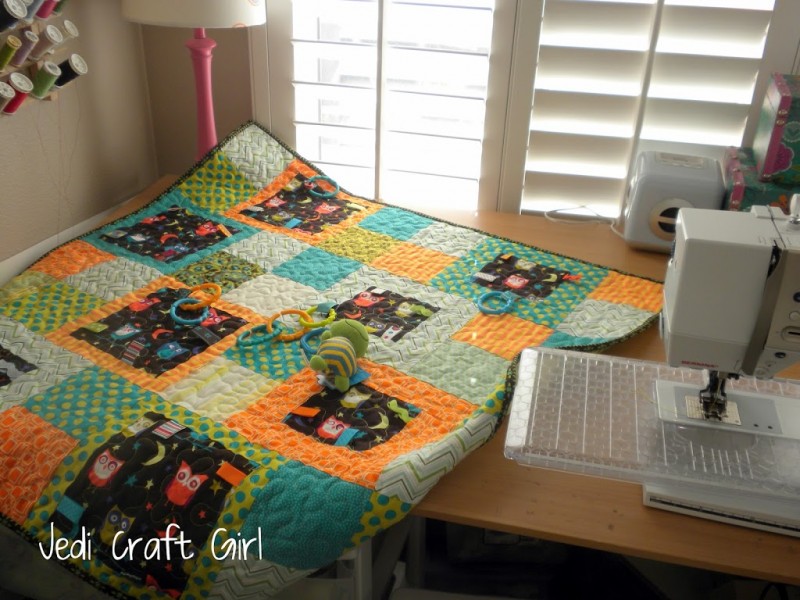
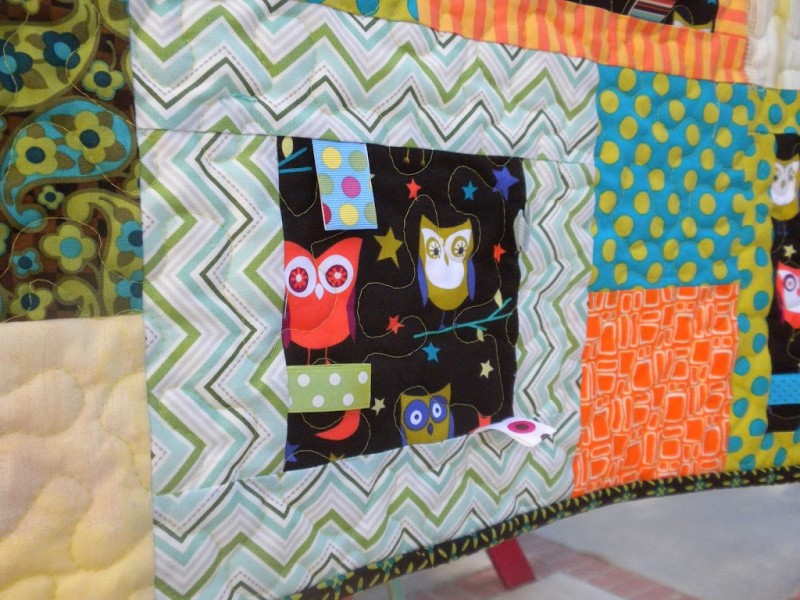
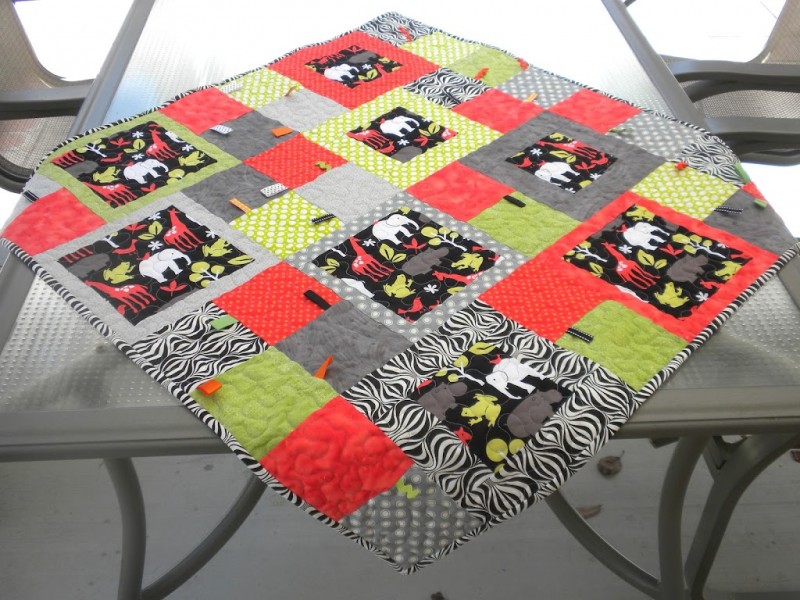
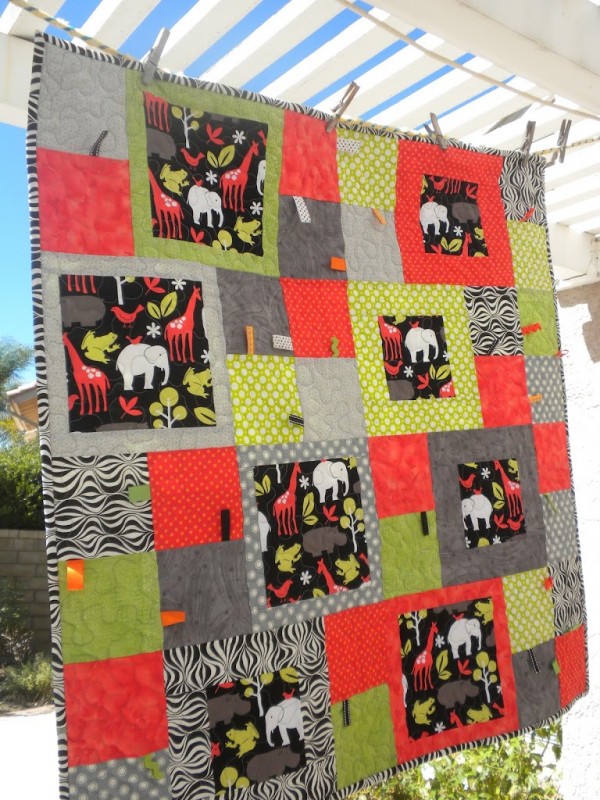
I was able to sew this quilt for a dear friend who just had her fifth baby boy.  I love the colors in this quilt – they are a nice change from the traditional baby blue.  What is also special about this quilt is there are little “tags” sewn into the seams.  This is fun for baby to play with or chew on.  You can also clip toys to the little loops or even use the loops to clip the quilt to a stroller so the quilt won’t fall on the ground.

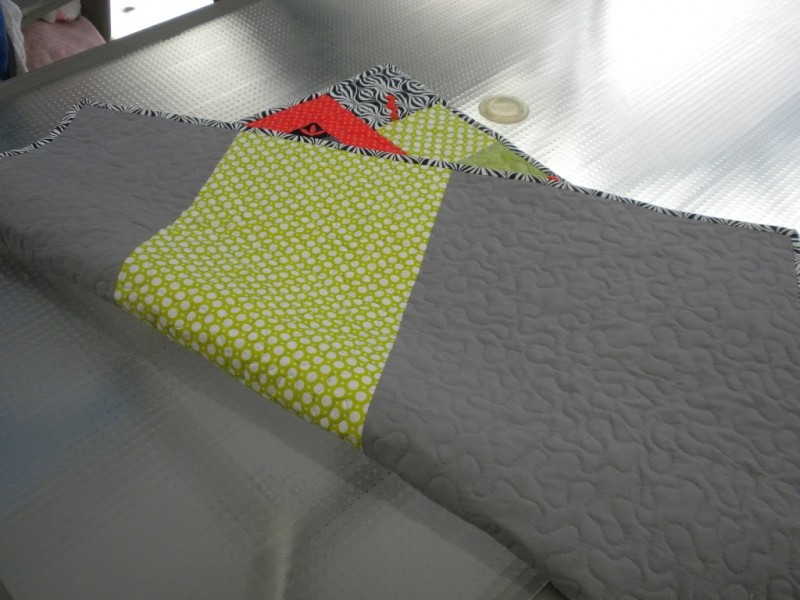
The back of the quilt is grey flannel with a stripe of polka dots .

This quilt measures 40″ square.  It was machine quilted by me in a stippeling pattern.

Baby Taggie Owl Quilt

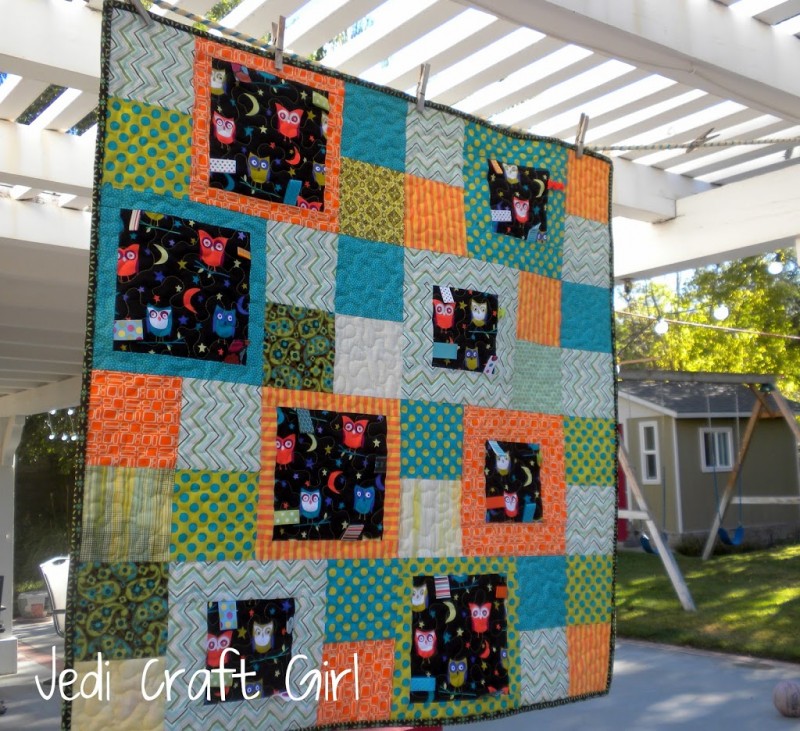
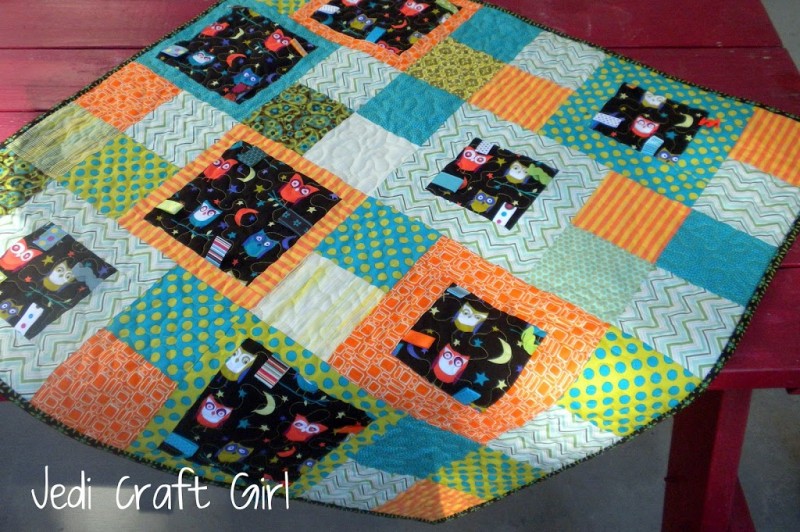
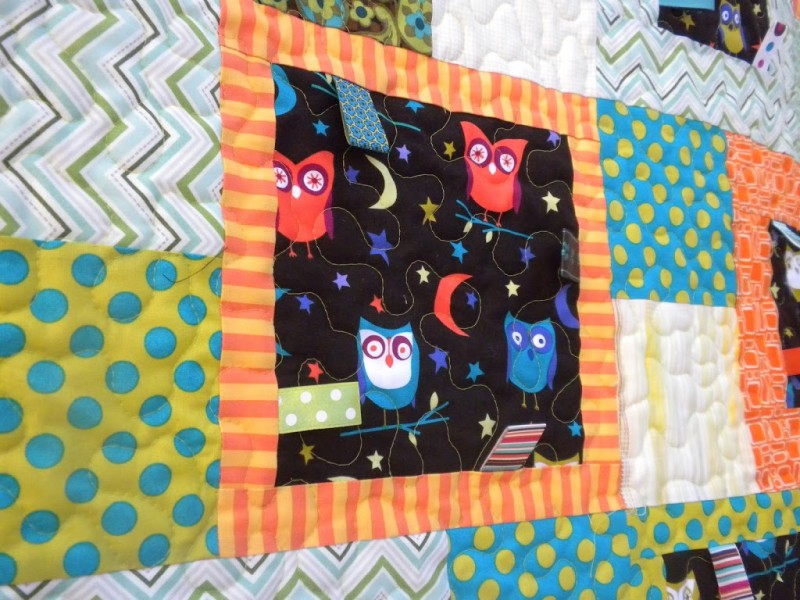
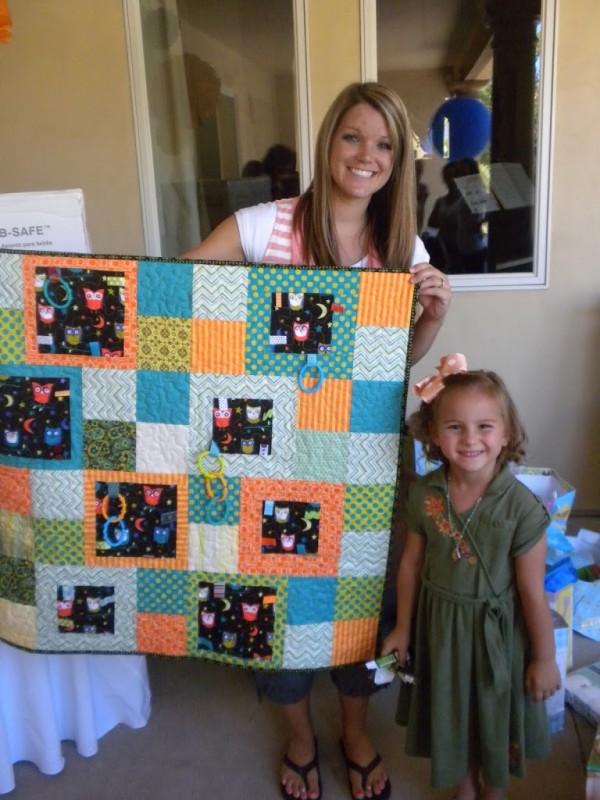
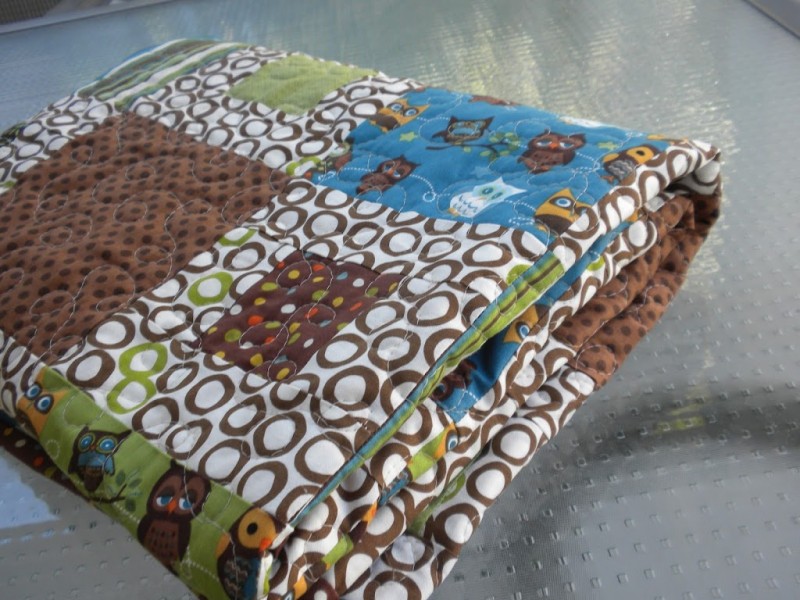
 I just made this baby quilt for a friend.  It’s a new pattern I found.  Each of the owl blocks has “taggies” sewn into the seams – little loops of ribbon or ric rac for baby to play with.  This is my new favorite baby quilt!!!  I also love the teal, orange and green in this quilt – super cute!

 Here you can see the ribbon loops

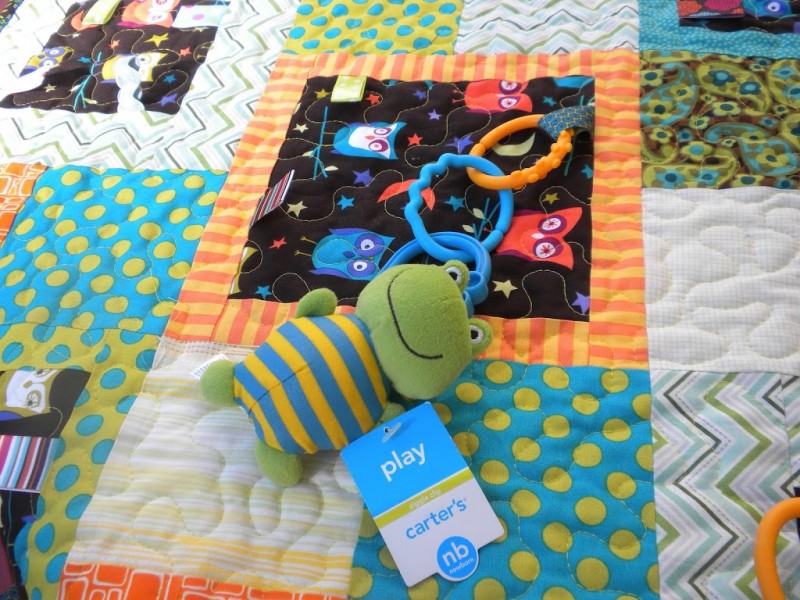
Sally picked out a toy for the new mom.  I looped some plastic baby rings into the ribbons and now you can attach toys.  You can also use the loops to attach it to a stroller or car seat so it doesn’t fall down.  The possibilities are endless!  There is flannel on the back so it’s really soft.

The new mommy-to-be loved her quilt!

Quilt Shops in St. George, Utah


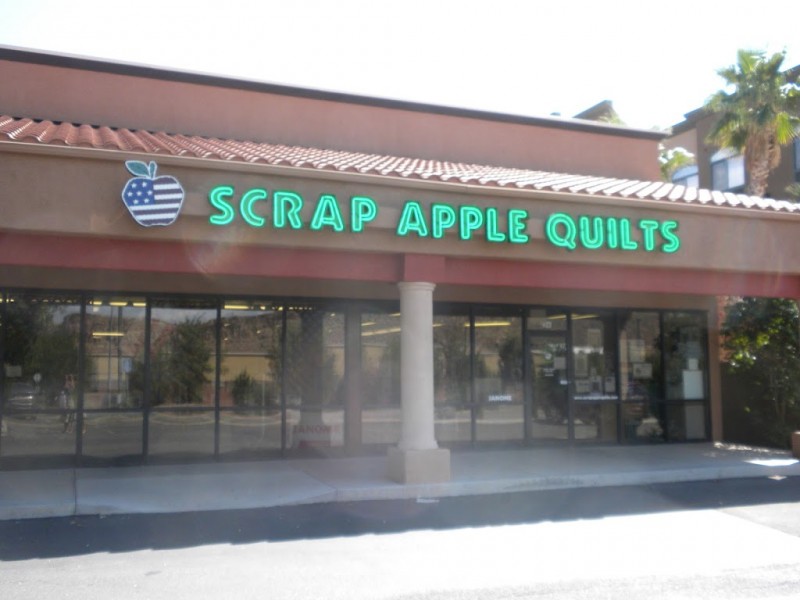
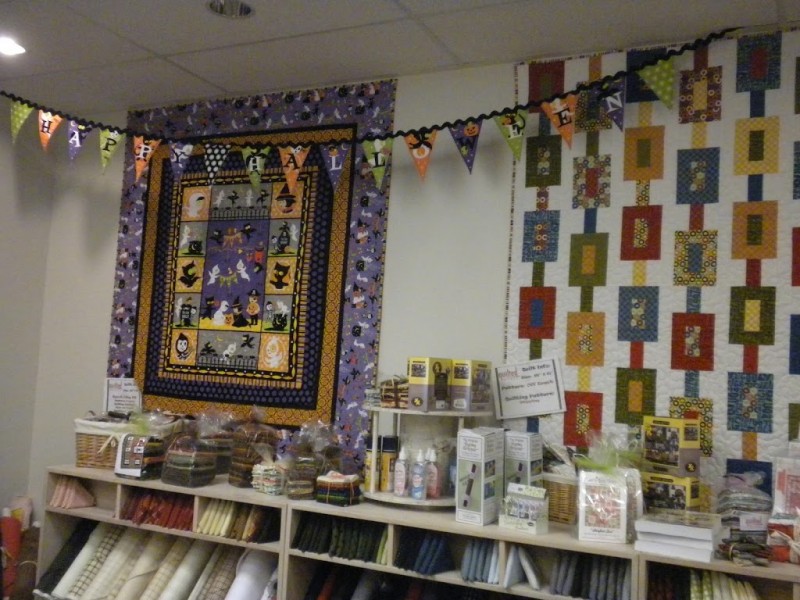
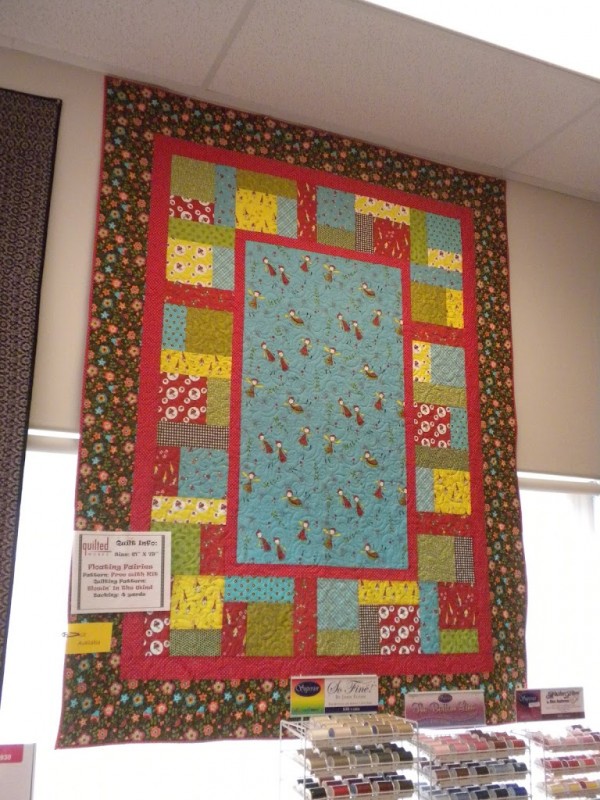
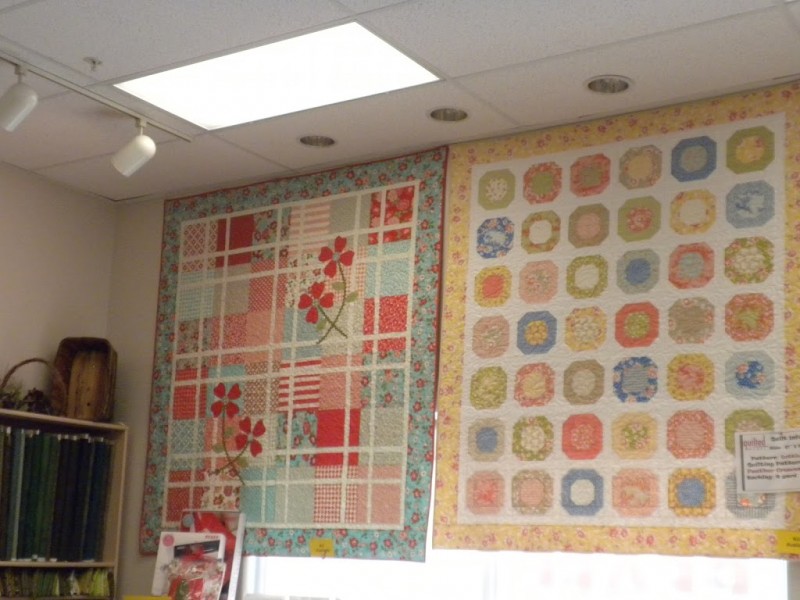
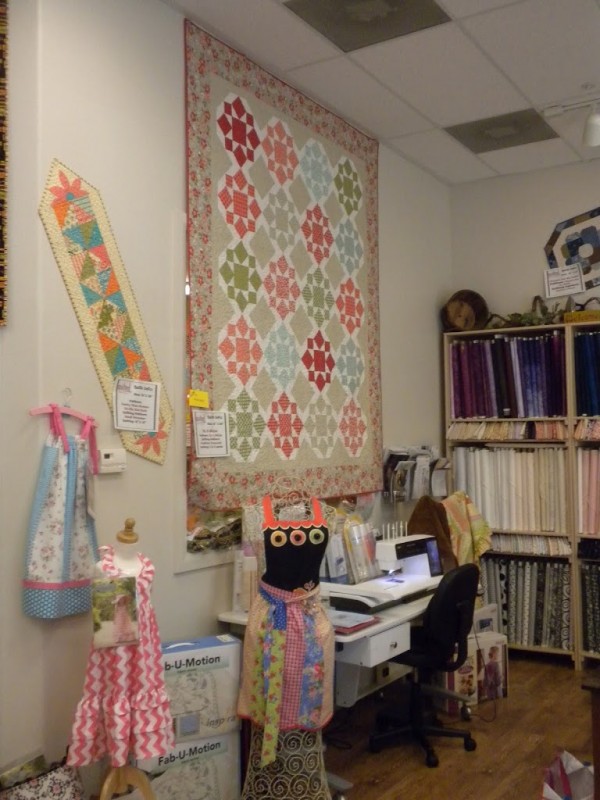
 On our way up to Logan, I made David and the kids stop in St. George while I “ran” into 2 quilt shops.  They literally sat in the running car (107 degrees outside) while I tried to browse through 2 quilt shops I had never been to!  That takes talent!  The first shop was Scrap Apple Quilts.

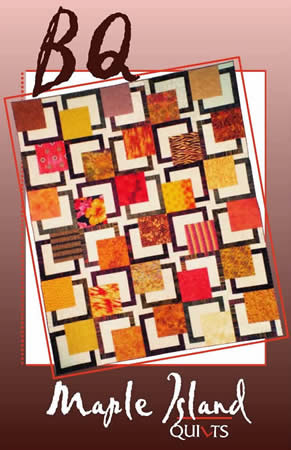
The first thing that caught my eye was this pattern:

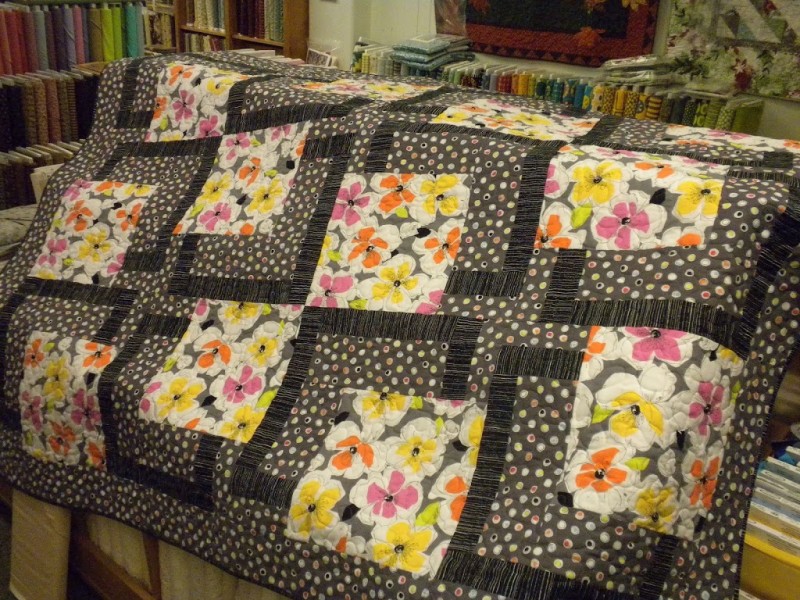
They had it done up in these colors:

 So cute!  I bought the pattern and am determined to make one!!

 They had so many cute things to look at – I could have spent at least an hour there!  I quick grabbed a Halloween Panel by Henry Glass and some fat quarters & left.

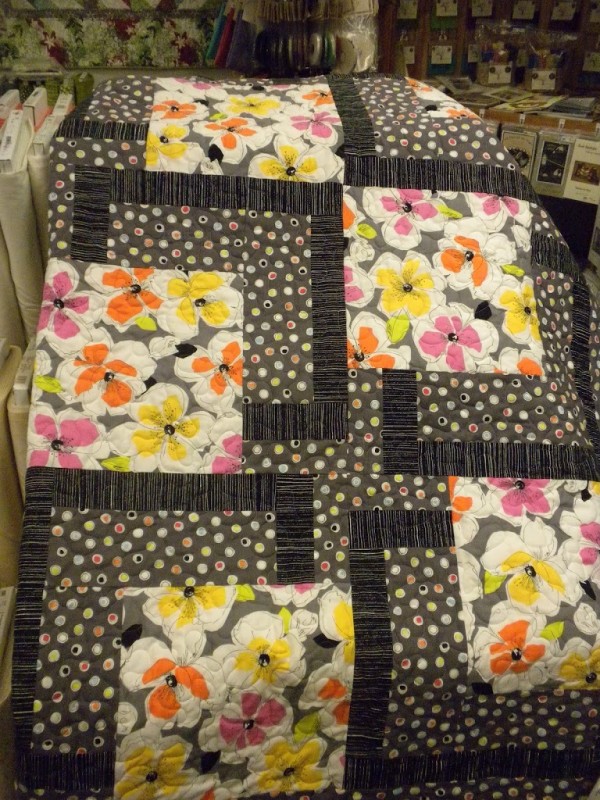
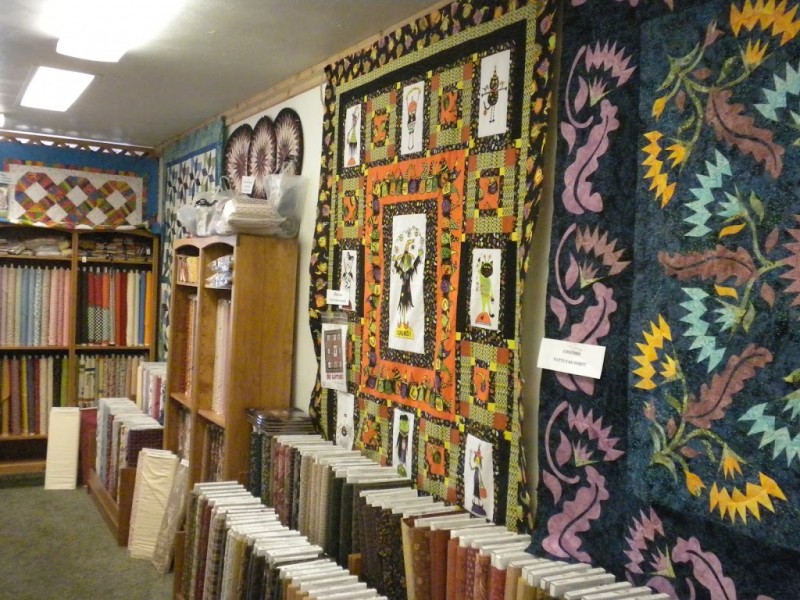
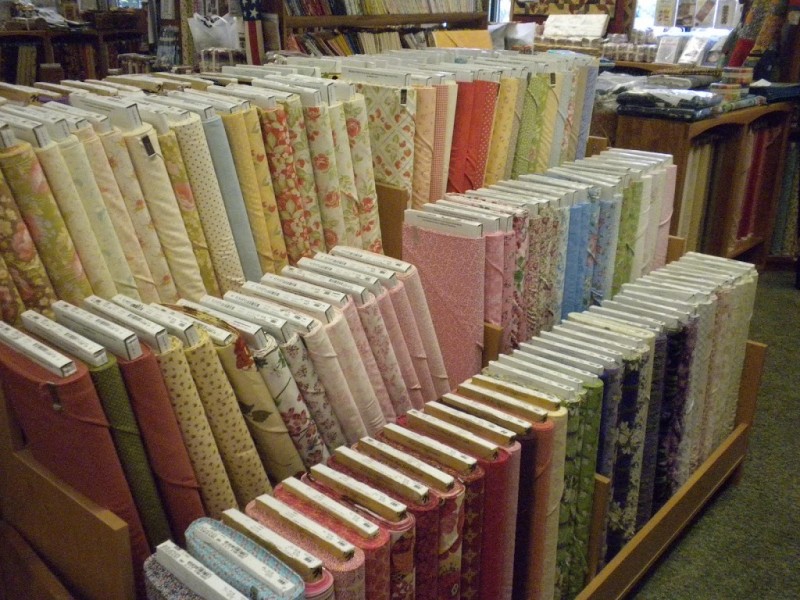
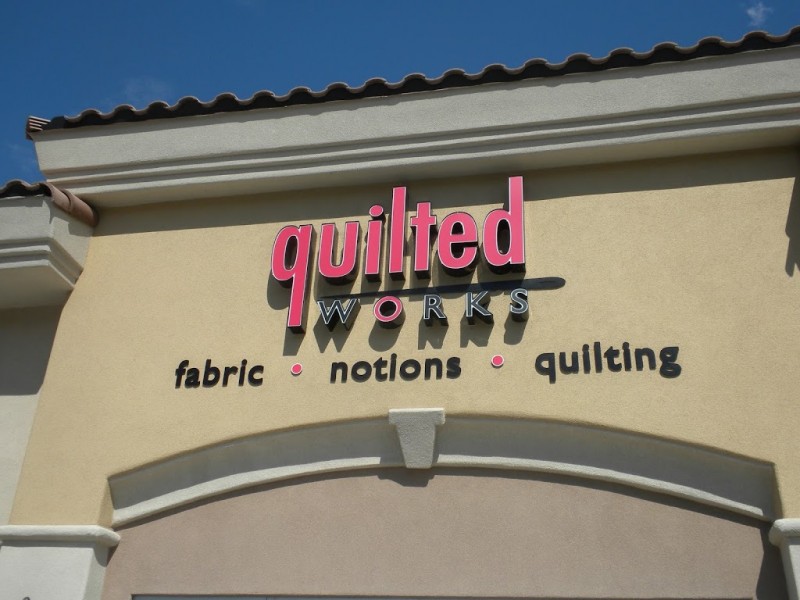
Then we headed over to Quilted Works – also super cute and inspiring.  They have a blog!  Check it out!
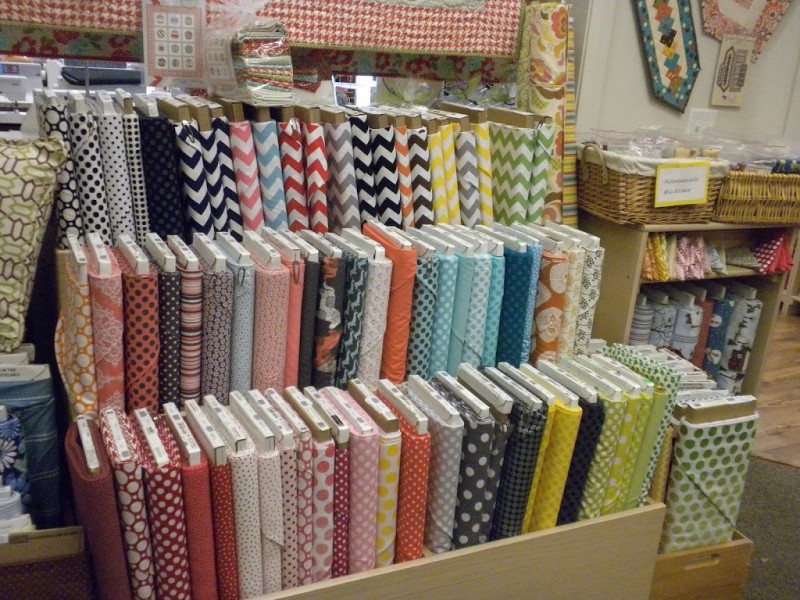
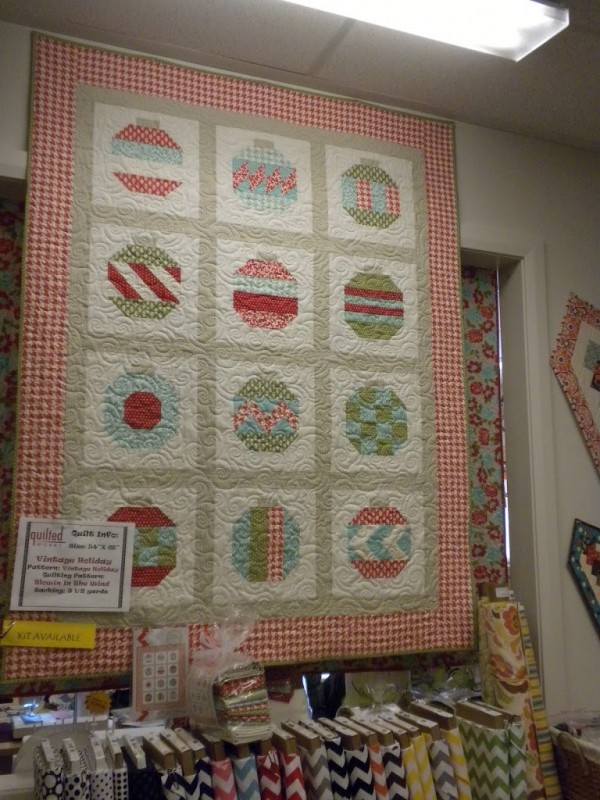
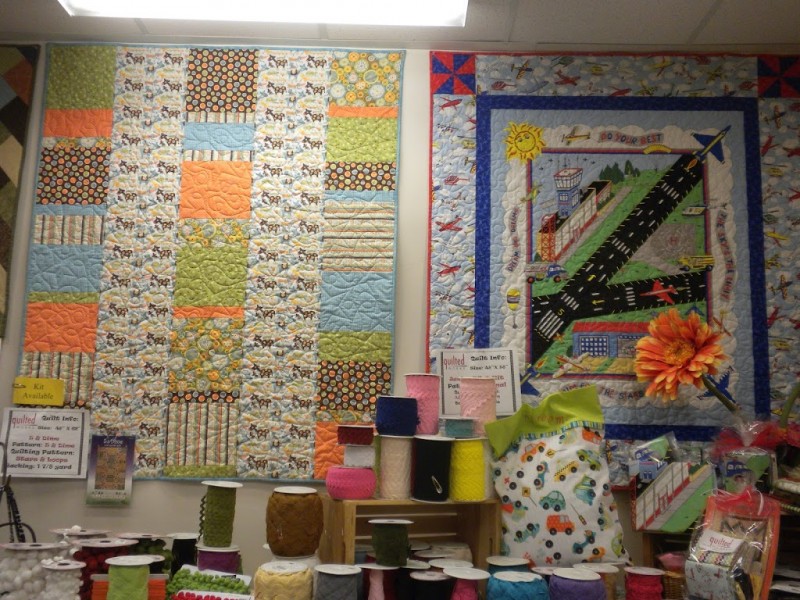
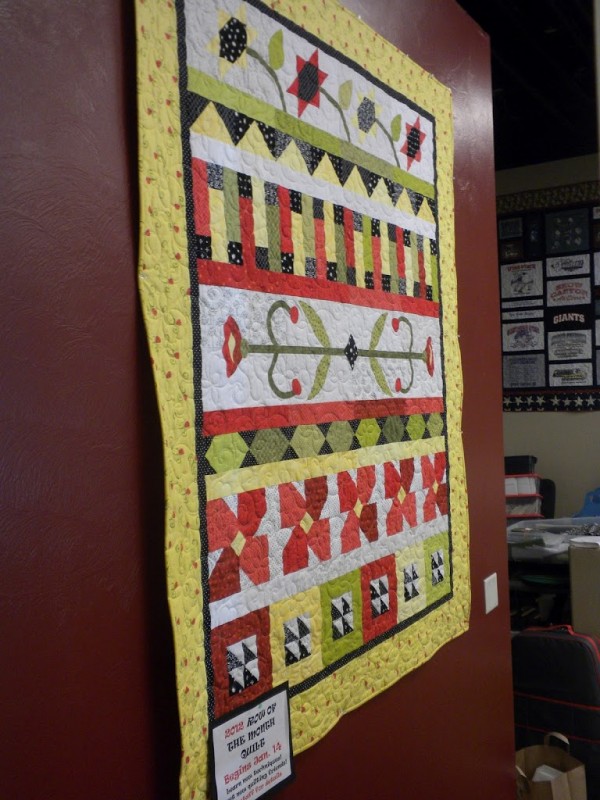
 Again, I had only a few minutes.  So I bought a few patterns, some yardage and fat quarters.  I have so many projects in my head!!  These are a few photos I took of their shop.  I wish I had a quilt shop in my area!!

 So much fun!  I wish I had more time!!


A Quilt Gift

Wanted to share this quilt I made.  I sent this quilt to a friend who has suffered a terrible loss in her family.  I think quilts have special powers to lift, brighten, and comfort.  I used the pattern from Diary of a Quilter found Here – only I made it larger to be a throw size for an adult.   I love how it turned out!!

Cre8 + 2 = Me and You


I am entering this post in the Family Ever After “Cre8 + 2 = Me and You” Contest
Sewing and quilting are the things I love most – they are rewarding, challenging, and exciting.  However, when I get the opportunity to sew with the people I love, the experience changes; Sewing becomes more than a hobby, it strengthens our family bonds, creates lasting memories, and allows us to enjoy the simple things in life.  Here is my latest sewing memory.
Meet Sally
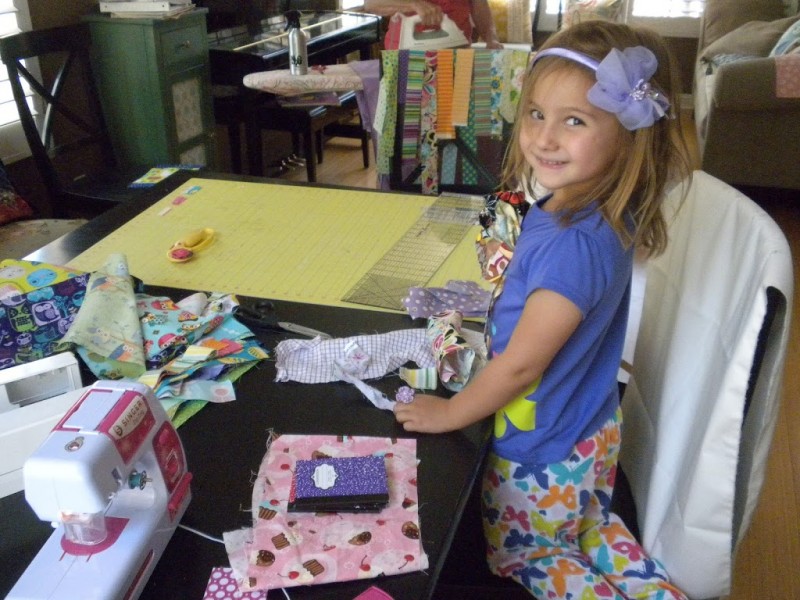
Sally is 4 years old and she has her own sewing machine, rotary cutter (minus the blade), iron & ironing board (toys of course), and giant basket of fabric.  She has an extensive button and zipper collection as well.  She is a talented fabric shopper – all the ladies at the fabric shop know her by name!  Sally loves to pick up the latest princess fabric or anything pink and purple. 

Meet Ella
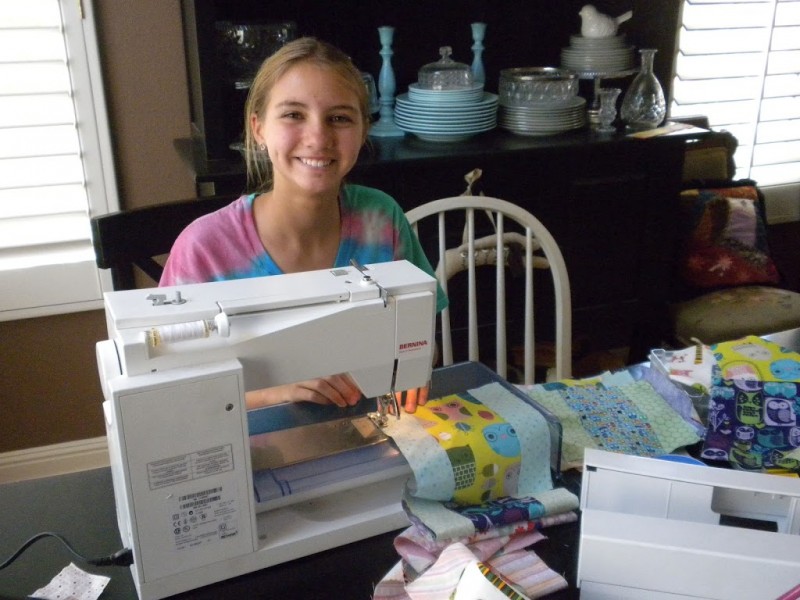
Ella is 12 years old and has spent her whole life by my side at the sewing machine.  Two years ago she inherited my Bernina Quilters Edition.  She is a talented crafter & sewer.  She has designed and sewn many quilts, softies, and bags.  When we go fabric shopping, I can always bet that Ella will be bringing home fabric with a face on it (cats, birds, owls, fish, dolphins, etc).
Meet Mary Beth

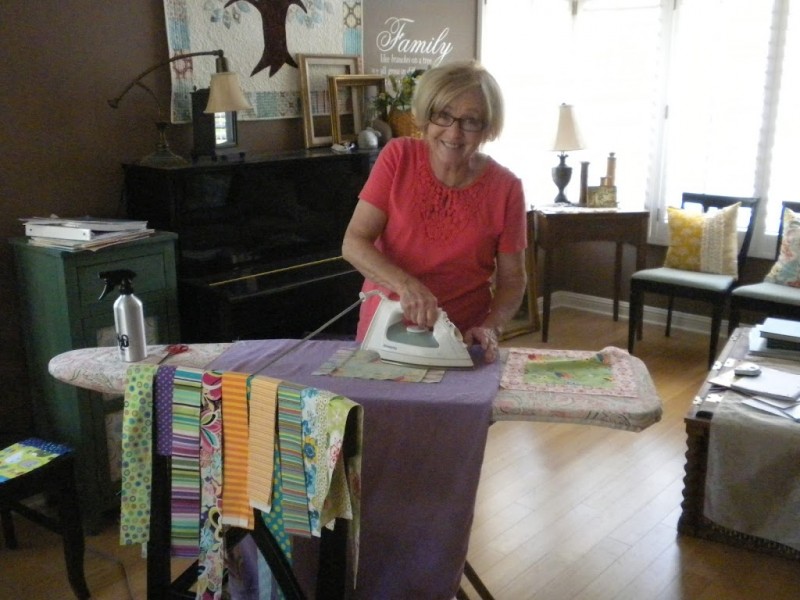
Mary Beth is my mother-in-law.  She lives in Utah and I live in California, so we don’t see each other too often.  But when we get together you know the sewing machines will be going & there will be yummy treats in the oven.  Mary Beth has been sewing and quilting her whole life – most of which have been for other people.   Oh the projects we have made together these past 18 years!!

The Project

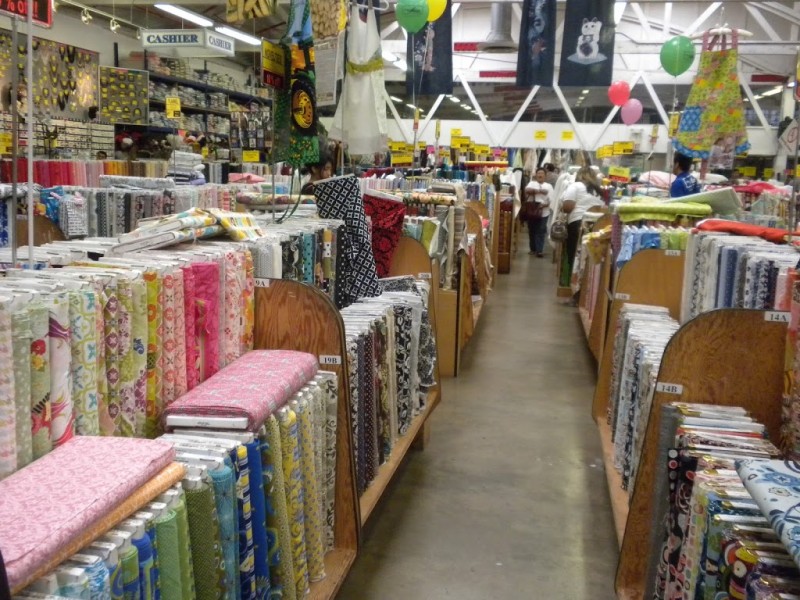
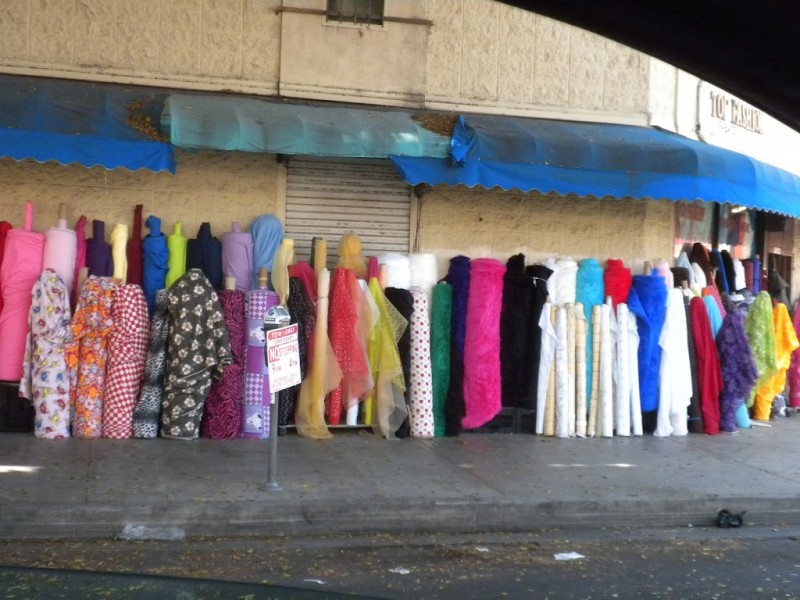
While we were all together last week we decided to go to the LA Fabric District.  (If you haven’t been, you should go, it’s quite an experience!)


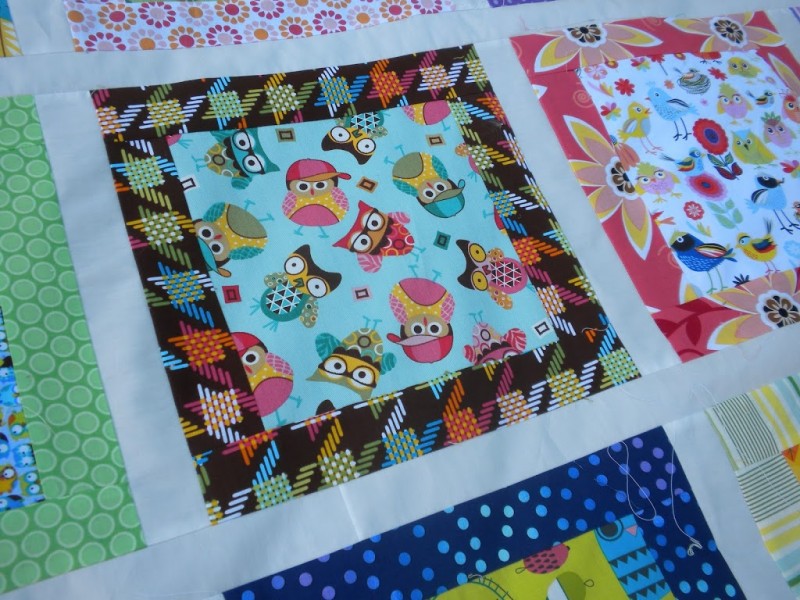
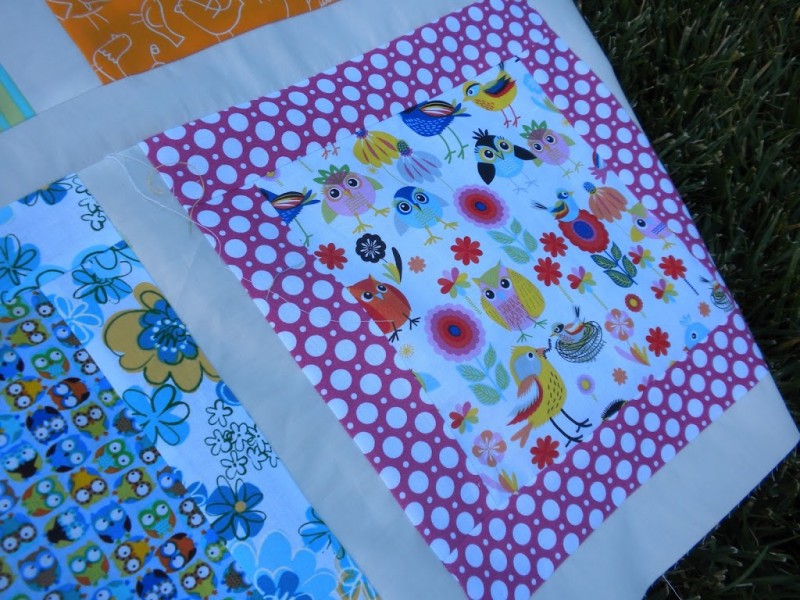
We didn’t really have plans to sew, but once we got into the Michael Levine quilting department there was no choice!  Ella was picking out owl fabric left and right.  Then she explained how all her quilts are too small for her & she NEEDS a new one!  That’s all I had to hear and we were having yardage cut!

Of course she wants minky on the back, so we head to the minky store ($8 a yard!).
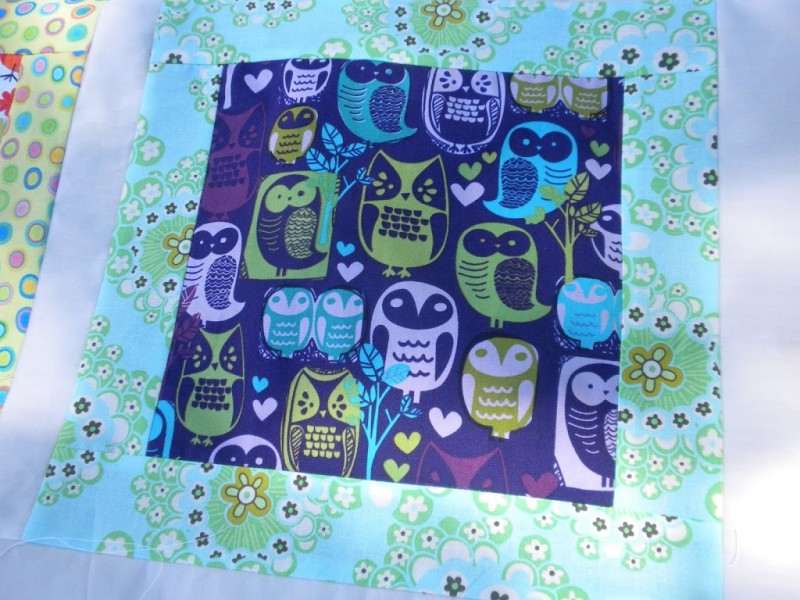
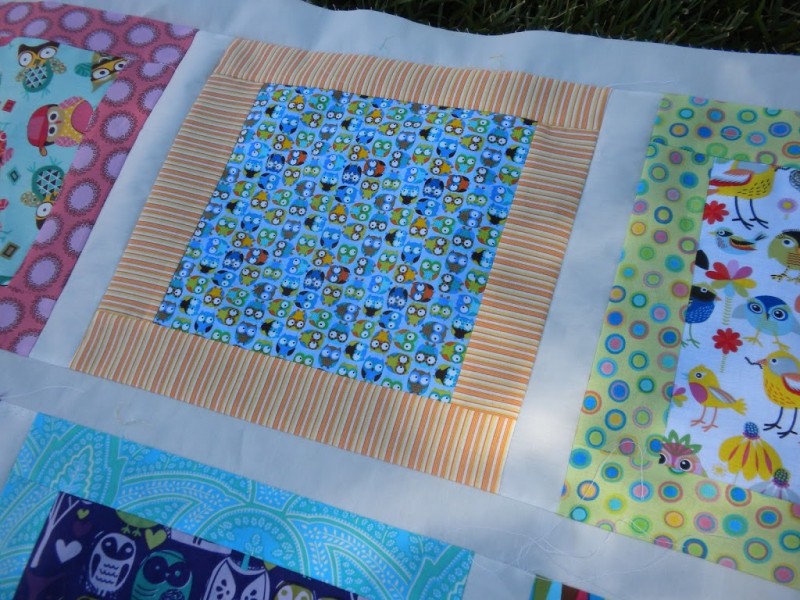
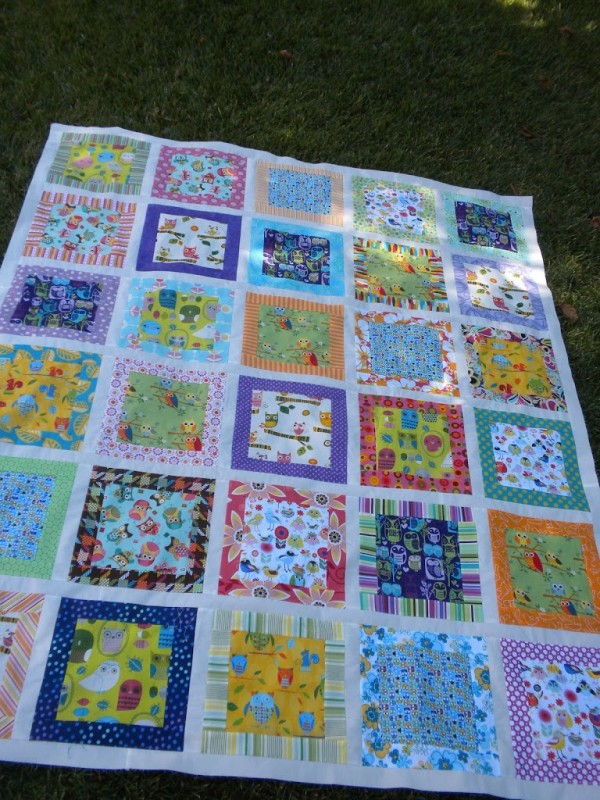
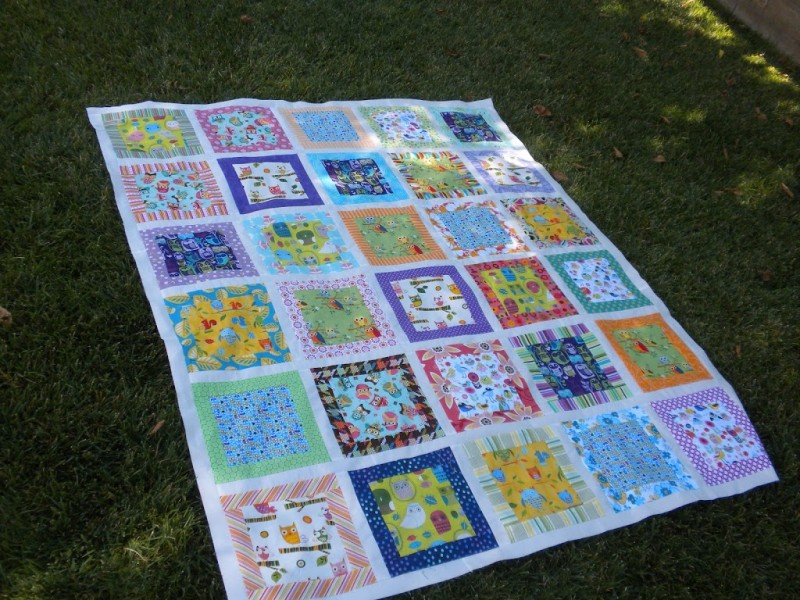
That night we all spent together looking through quilt magazines, pinterest, and blogs looking for just the right quilt inspiration for Ella’s owl quilt.  We came up with a simple design to show off all the owl prints.  It’s an 8″ square with a colored border all sashed in a Kona white.  We had fun looking through my stash for all the coordinating fabrics – not any of them are the same!
Sewing:
We spent that whole next day in the dining room putting the quilt together.  We all have our stations:  Ella was on the sewing machine (her 1/4″ seams are amazing!), Mary Beth was the presser, and I was the pinner.  We make quite a team! 
   

Meet Marbles
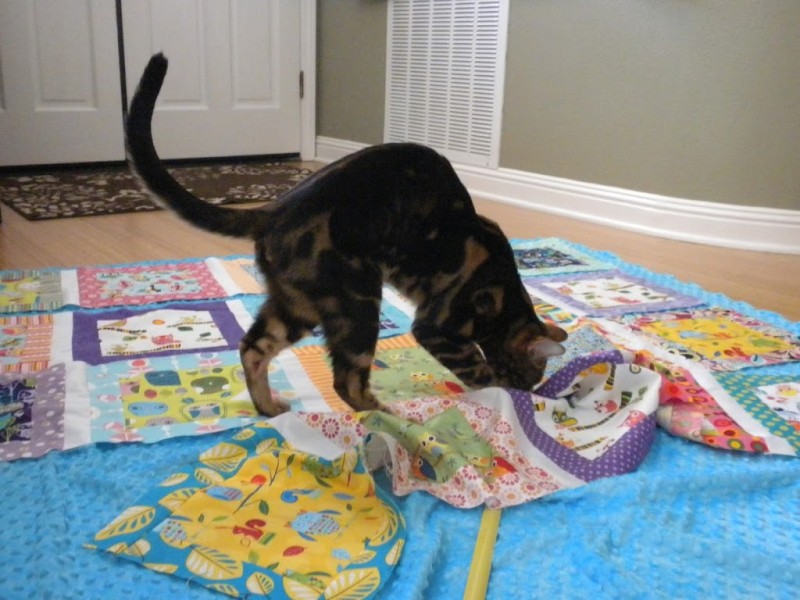
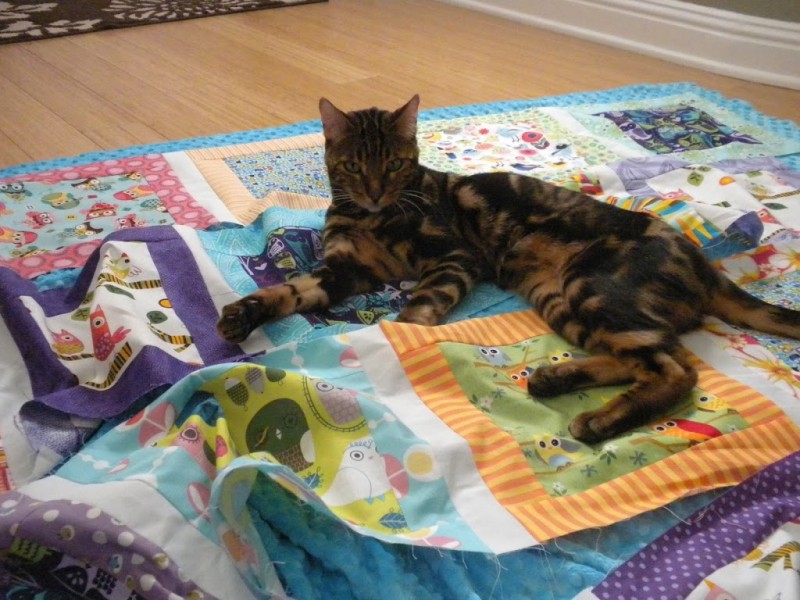
There is one more person involved our family quilt day I forgot to mention: Marbles, Ella’s Bengal cat.  As soon as we began laying the rows out on the floor he was all over it.  At one point the strips were all swirled in a nest around him!  After he is done playing in the quilt, he tires and naps!  It just wouldn’t be quilting without a cat!!
  

It’s More
There is a song by Trace Adkins called “Just Fishin” about a daddy and a little girl who go fishing.  The little girl thinks the outing is just about fishing, but the daddy recognizes it’s much more – it’s a memory he will have forever.  I feel this way about my time spent with my girls and my mother-in-law.  Yes, we make some pretty darn cute stuff, but more importantly, we make memories.  The quilts may not always be around – but those memories are forever.  There is nothing more important than time spent together with the ones you love.  I hope when ever Ella uses her new quilt, she will remember her Grandma coming to visit, our fun & crazy trip to the Fabric District, and our day spent sewing & chatting.  That’s why I sew 🙂


Square In a Square Baby Quilt Tutorial

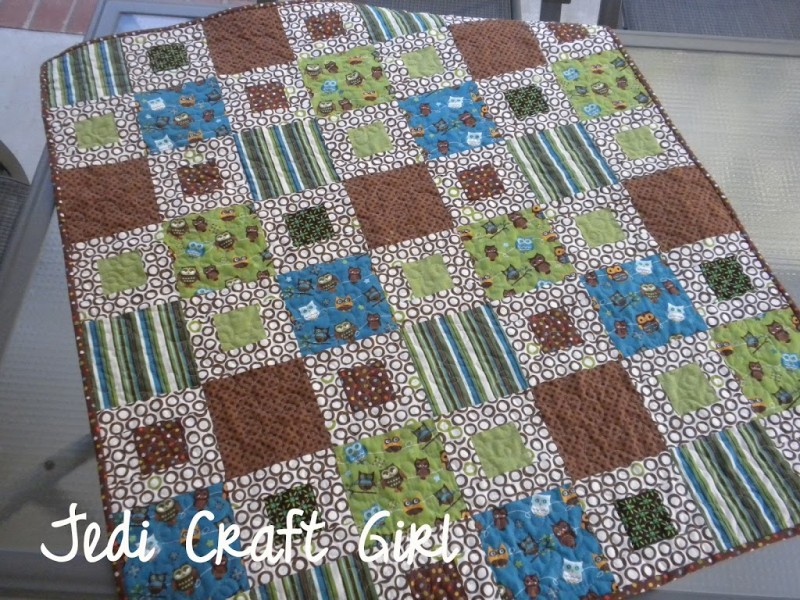
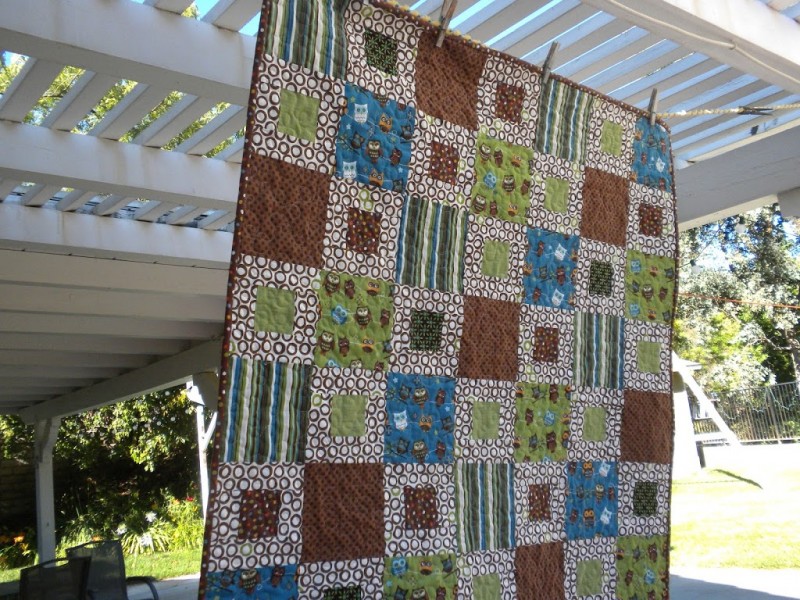
 Here is a fun quilt tutorial I came up with.  I made this for a friend who is having a baby boy.
What you Need:
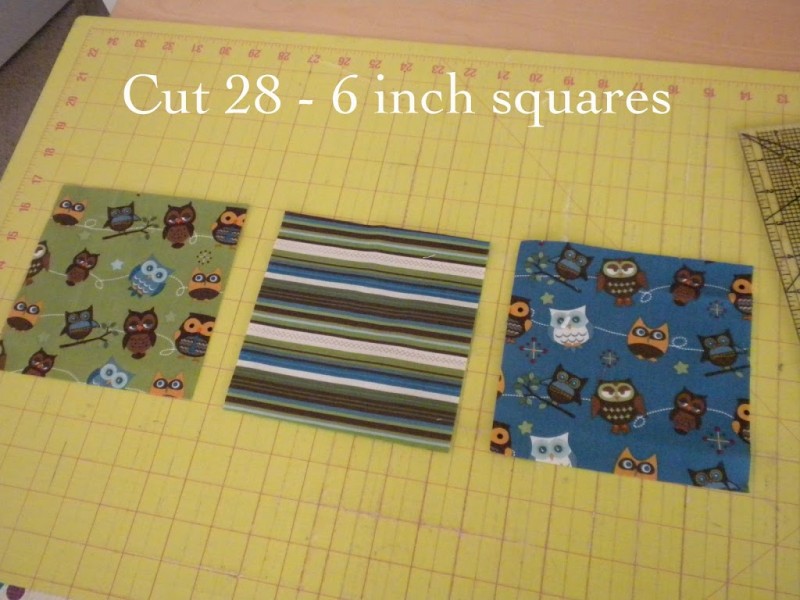
(28) 6 inch squares of theme fabrics
(8) 2-inch WOF strips – (mine are cream with brown circles) for outside of blocks
(4) 3-inch WOF strips of center block fabric (mine are all different)
Fabric for binding and back
Here’s what you do: (Make sure to use 1/4″ seam allowances and press after each step)
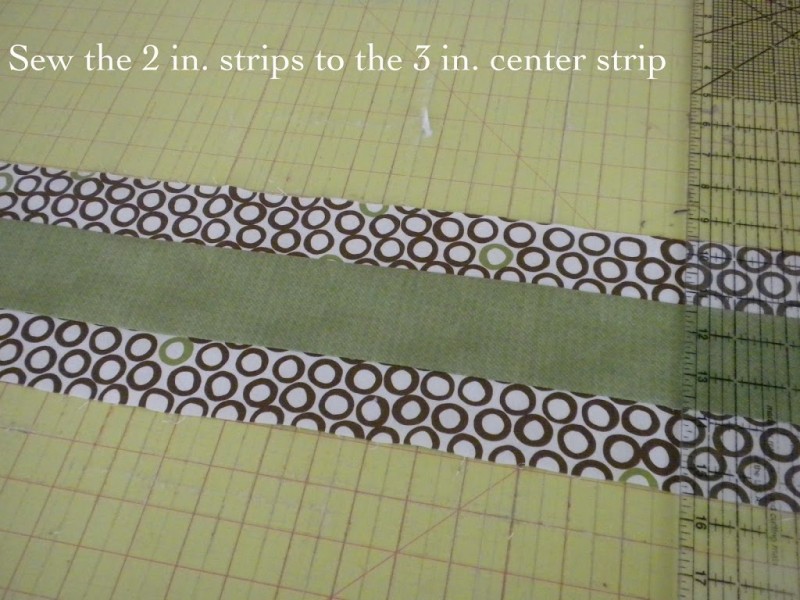
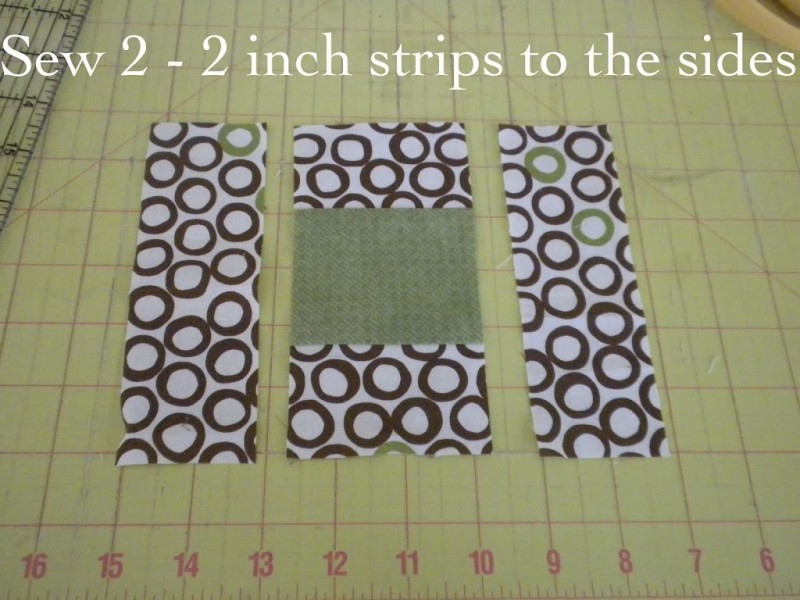
Sew 4 strip sets of (2) 2-inch strips with the 3-inch strip in the center 


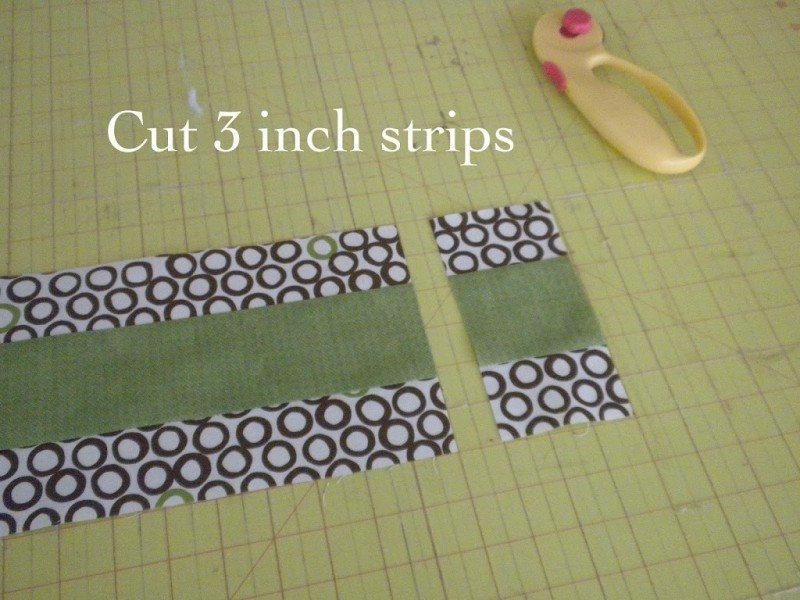
 Chop the strip up into 3-inch increments


 This makes a 6-inch block.  You need 28 of them.

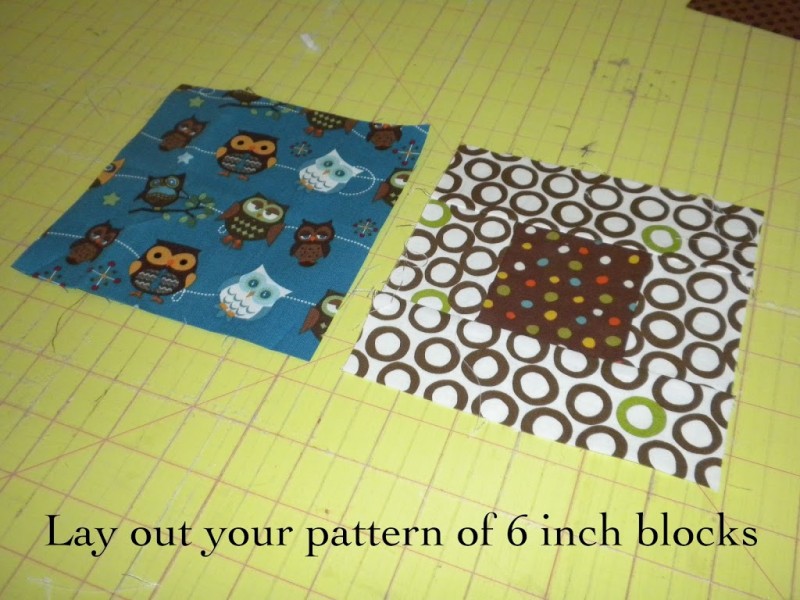
Lay out your pattern – Mine measures 7 blocks across and 8 blocks down.

 Sew the blocks together in rows.  Sew the rows together.  Make sure to press seams going opposite direction so they line up.  Quilt as desired


Strippy Qult

I am entering my “Strippy Quilt” in the Summer Sewing Contest over at Ellison Lane Quilts.  There I are so many fun entries – you should check them out!!
 

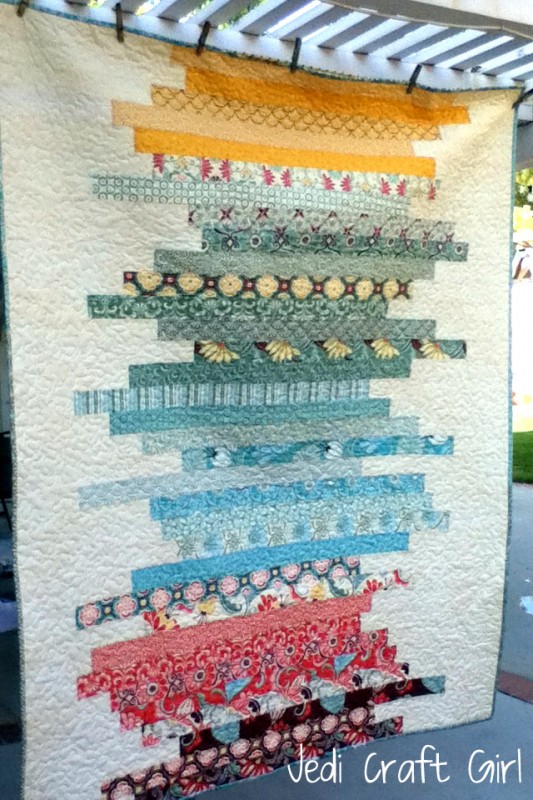
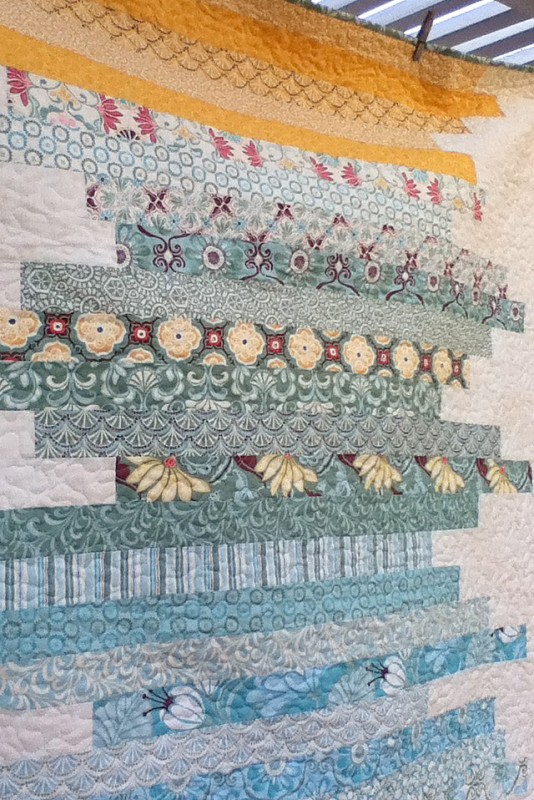
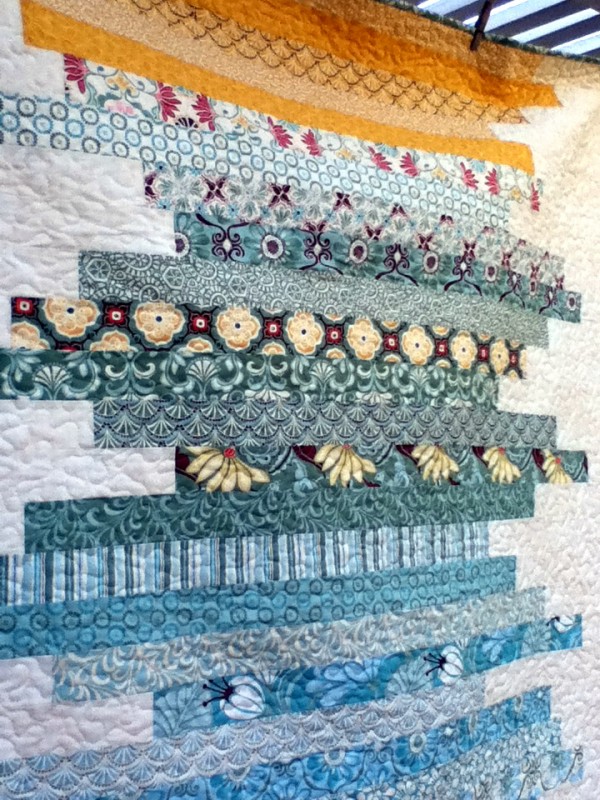
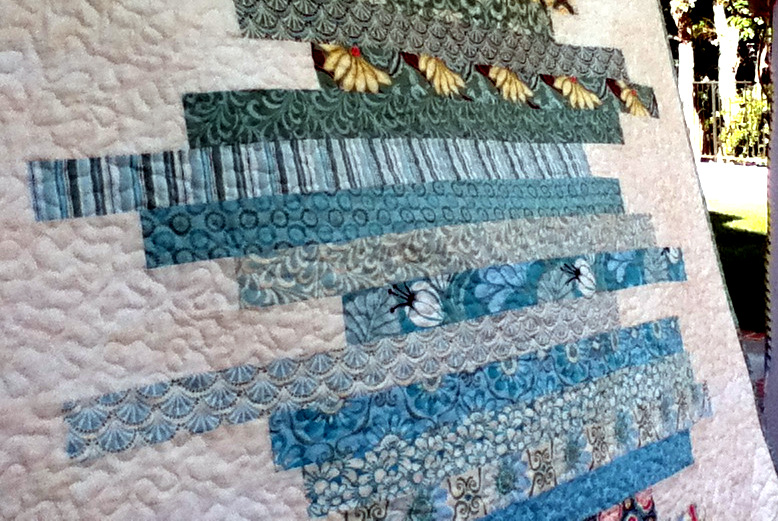
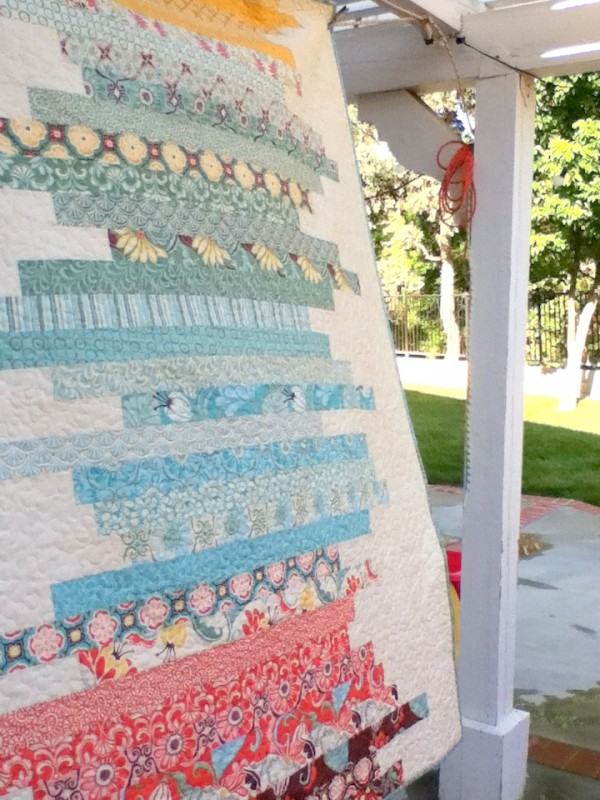
I used a Moda Fandango Jelly Roll for this quilt.  It measures 62 1/2″ x 74 1/2″.  You can get the pattern HERE for free!

This quilt is entirely made of 2 1/2 inch strips.  But don’t let that fool you!!  This created it’s own set of challenges.  Since there are no blocks or intersections, there is nothing to line up the strips with and it’s easy to get wonky!  The method of construction is to sew cream pieces on each of the ends of the colored fabric.  Then you offset each row how you want.  When I was piecing I was left with a huge quilt top that had uneven sides to be “squared up”.  I was taping it to the wood floors – trying to use the lines in the floor to measure the sides.  I spent as much time sewing the quilt top as getting it even! 

 Once that was done it was fun to quilt and even funner to use!  (Yes “funner” is a word in my house!)


Thanks for stopping by!

I won!!!

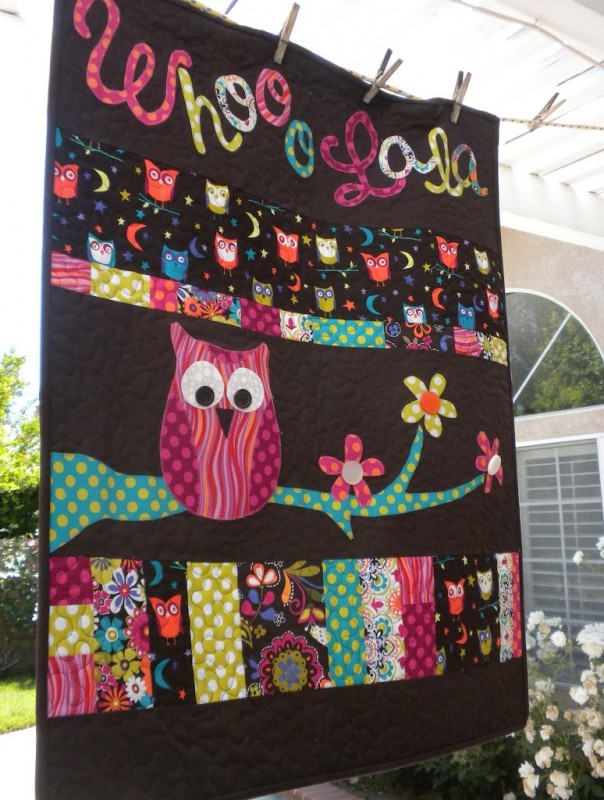
I am so excited!  I won favorite wall hanging in the Blogger’s Quilt Festival at Amy’s Creative Side!  Thank you to those who voted for my Whoooo La La owl wall hanging.  I didn’t even think I had a chance.  It is the first thing I have won!!