Blend Fabrics Luckie Girl Quilt Pattern {free}

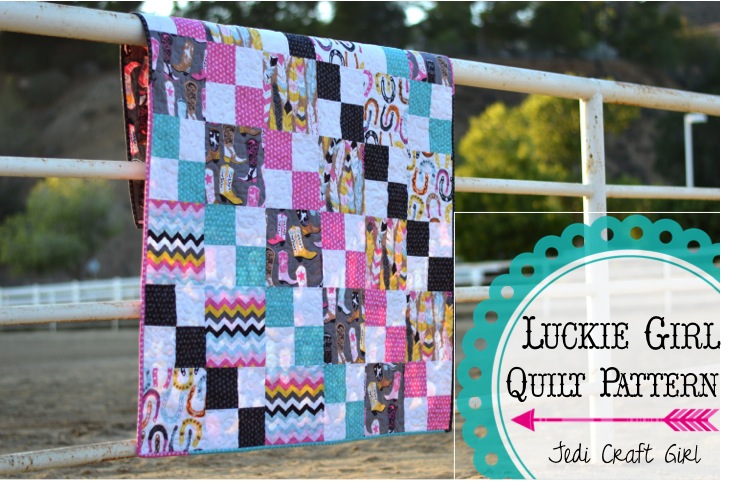
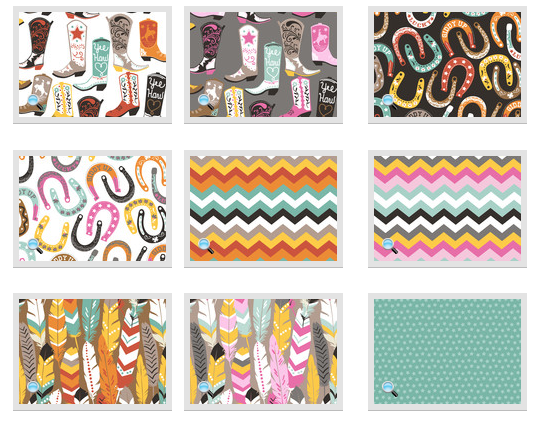
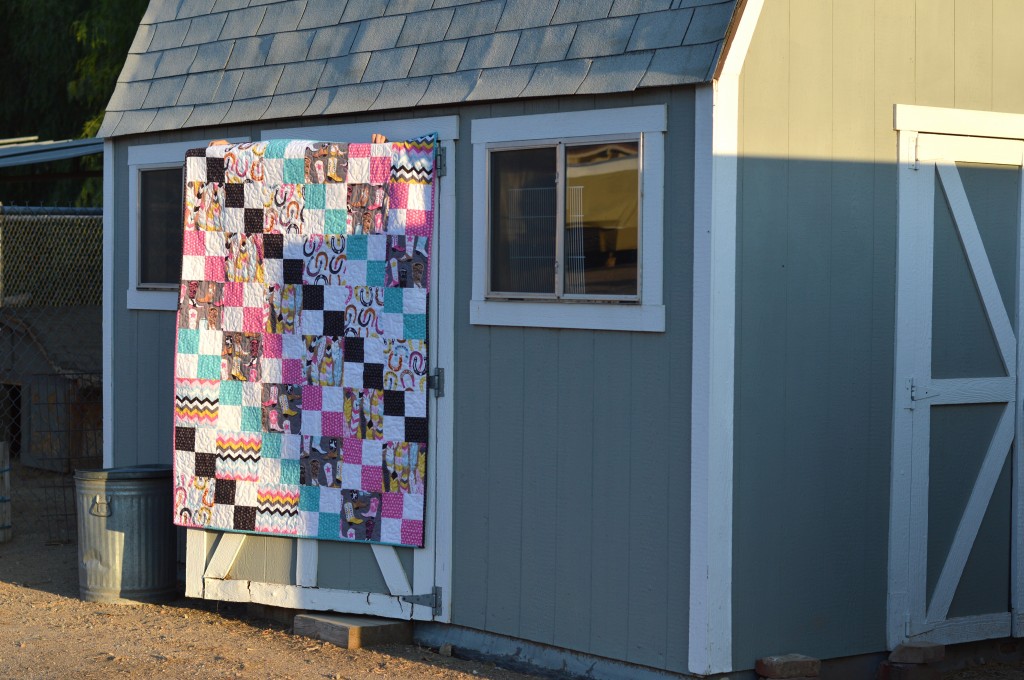
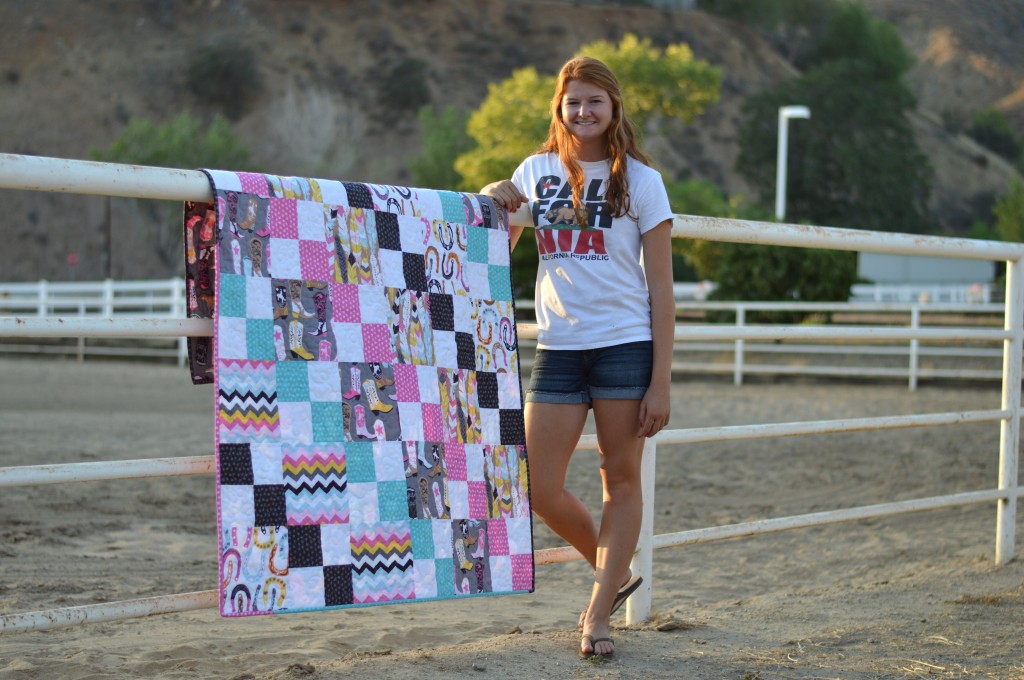
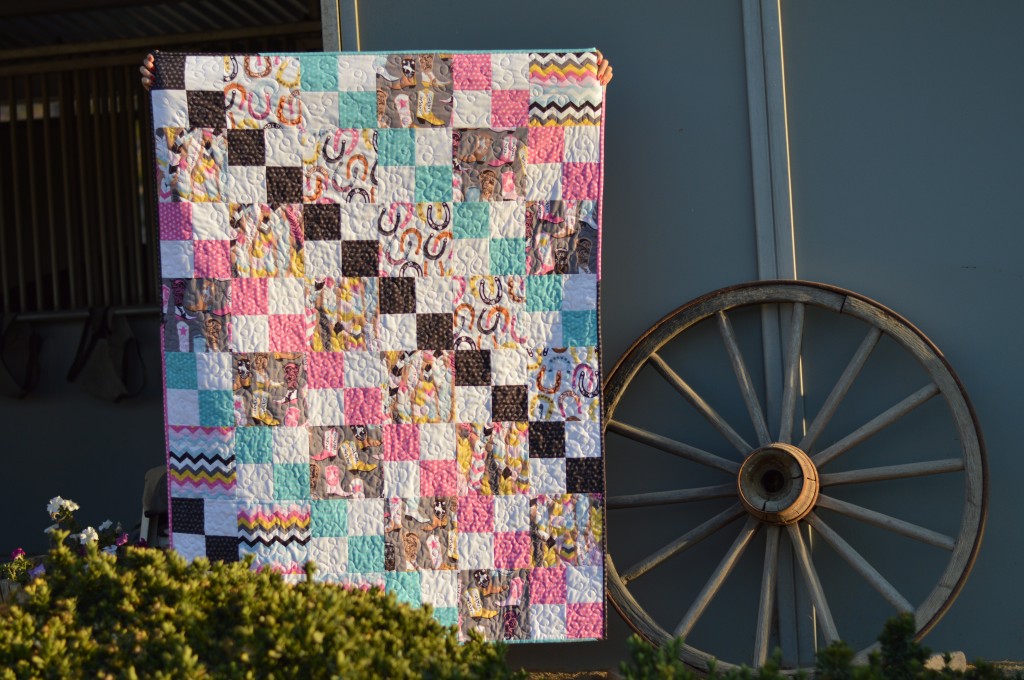
luckie girl quilt patternI am so excited to share this pattern with you!  I love theme prints and I am always trying to find ways to make quilts with these wonderful theme prints I collect.  This pattern is super fun, it’s a perfect beginning quilters, and it looks a little more complicated than just sewing squares together.  The fabrics are from Blend Fabrics Luckie Girl Collection.   I am head over heals for these pink, turquoise and gray boots and horse shoes!!  I am sharing this PDF pattern with you for FREE!  Just click HERE!!!

Screen Shot 2015-09-08 at 7.36.11 PMThe boots are the cutest!!  blend luckie girl quilt pattern 7

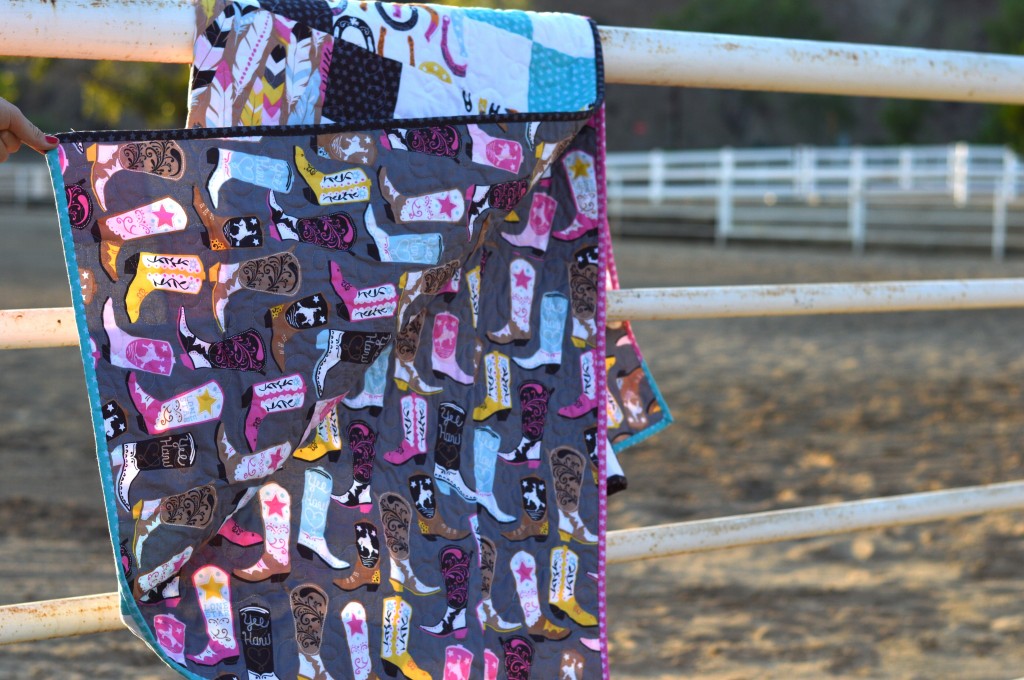
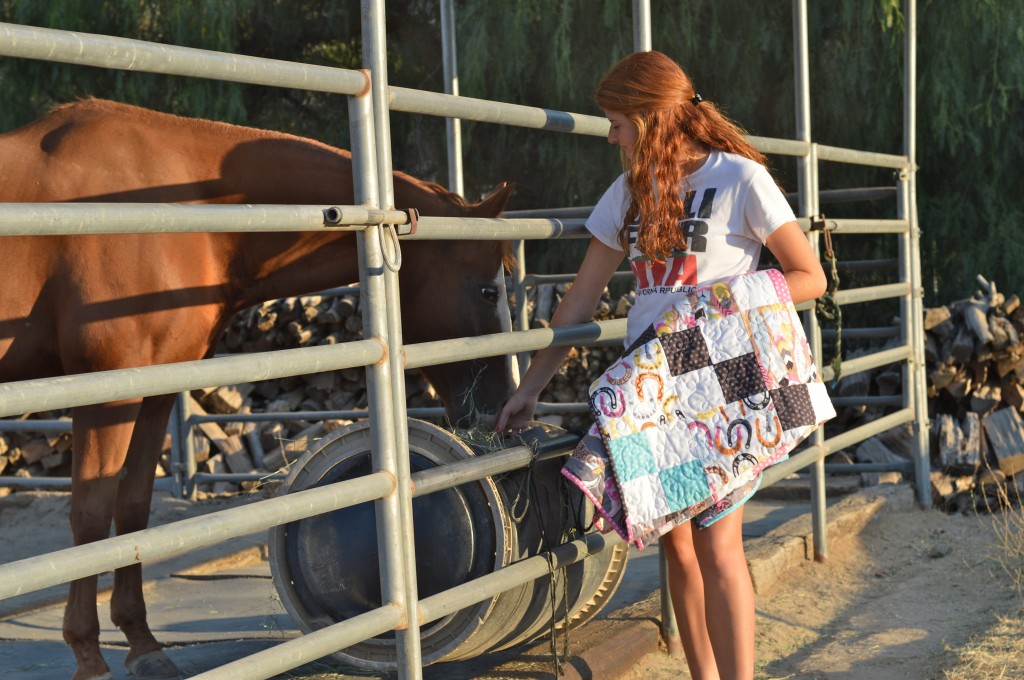
blend luckie girl quilt pattern 6I made this quilt as a graduation gift for a sweet gal who grew up riding horses and competing in Rodeo.  She’s off to college in Idaho.

blend luckie girl quilt pattern 5

blend luckie girl quilt pattern 9

I hope you have as much fun making this quilt as I did!  blend luckie girl quilt pattern 4

Spooktacular Eve Big Block Quilt Pattern

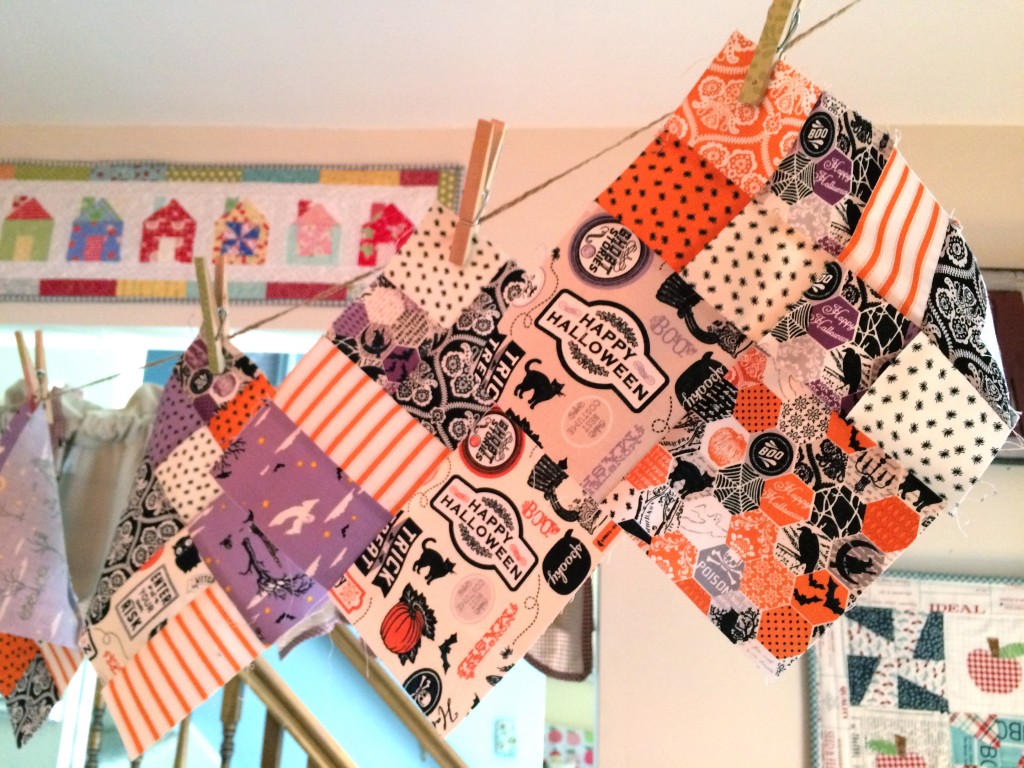
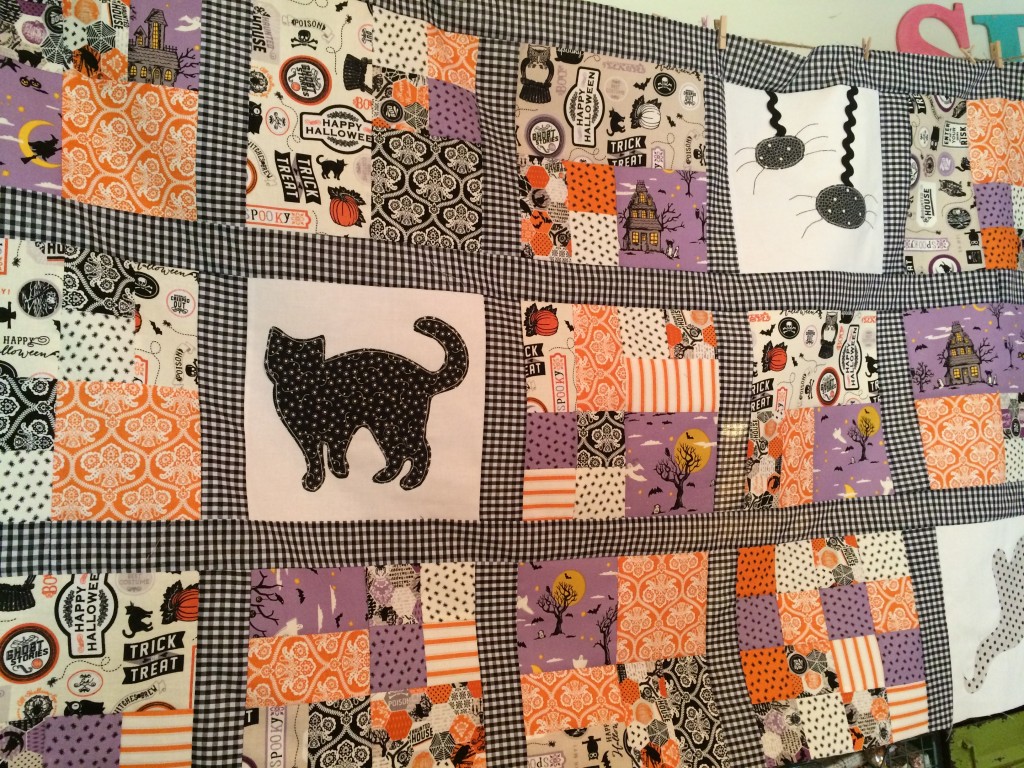
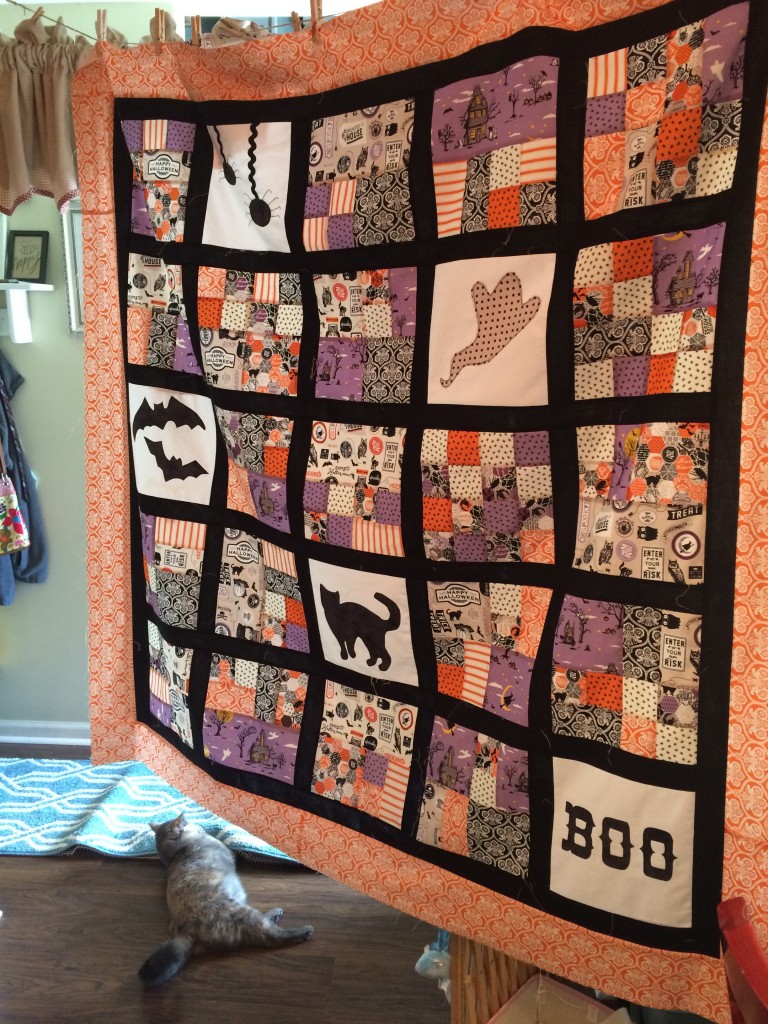
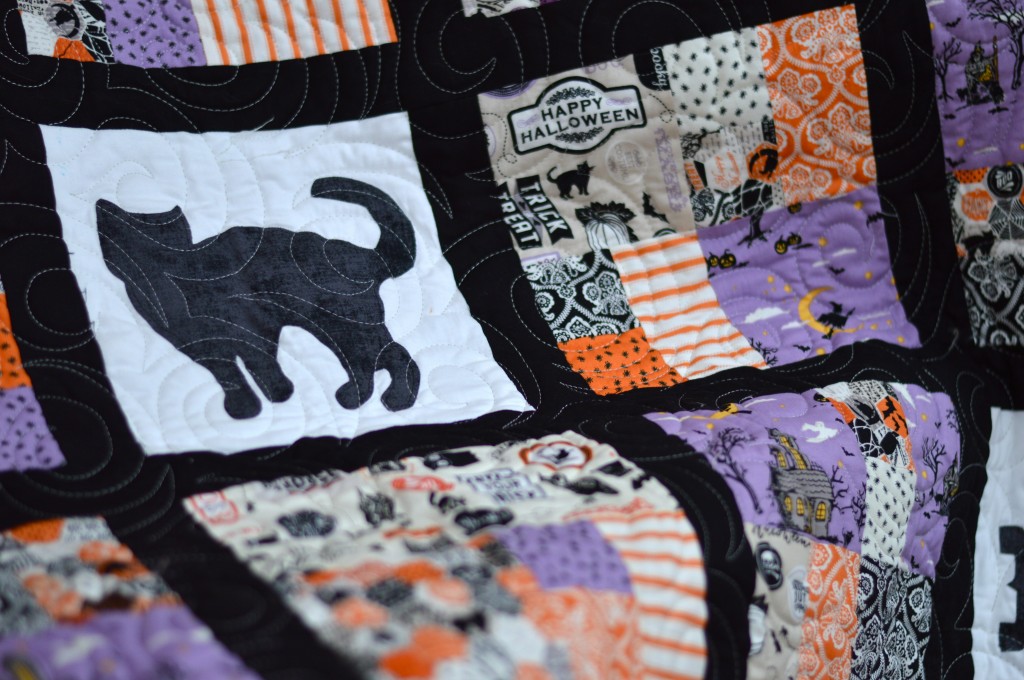
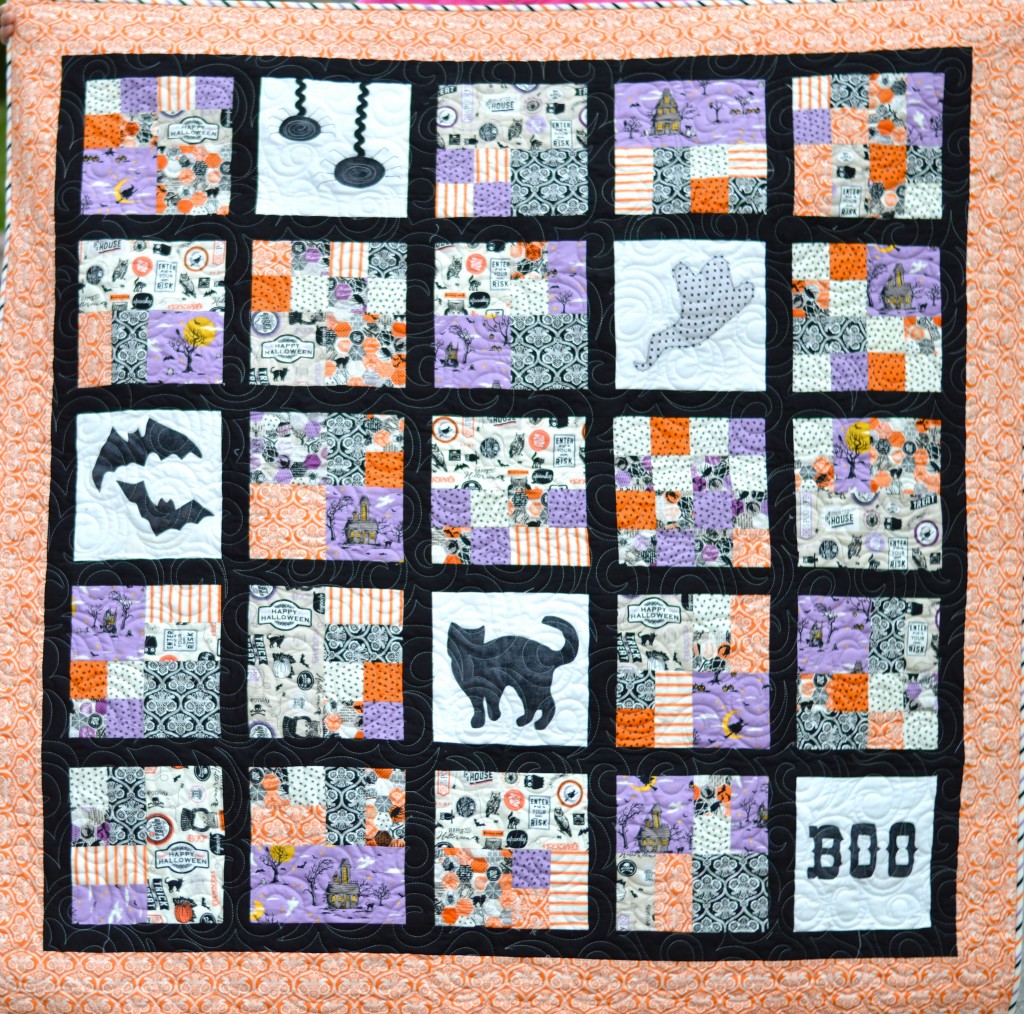
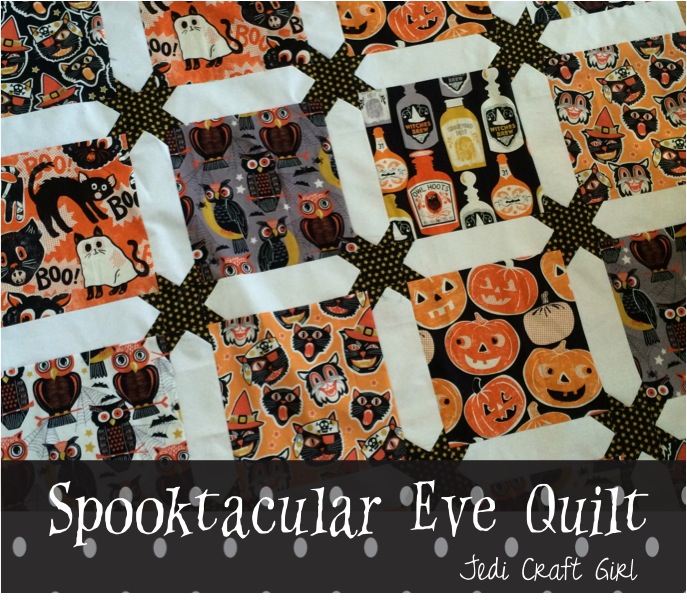
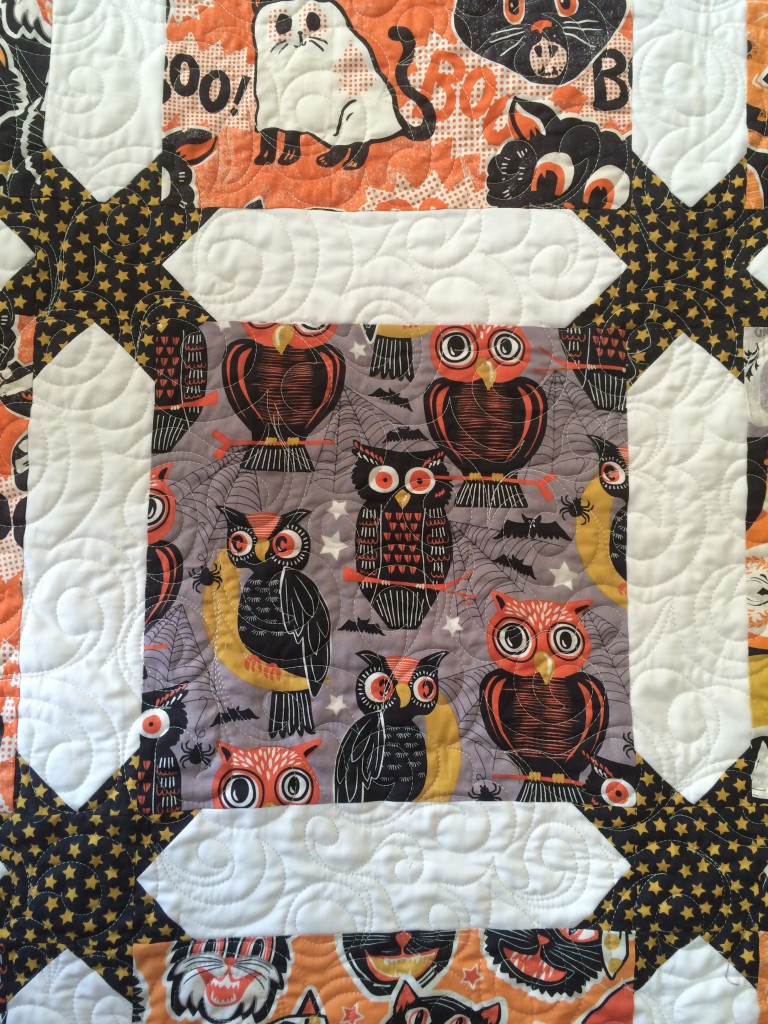
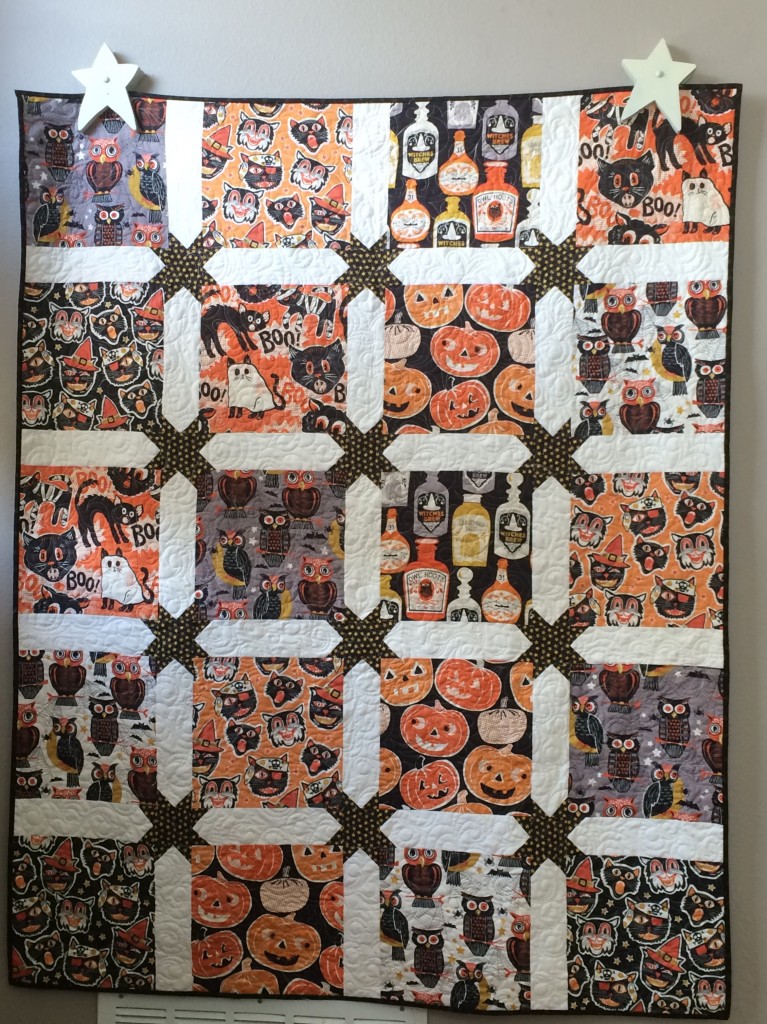
spooktacular eve halloween quiltI LOVE Halloween fabric!!!  When I met Spooktacular Eve by Blend Fabrics it was Love at first sight!  These patterns have a fun vintage feel which makes them timeless!  I didn’t want to cut into the fabrics too much so I created this Big Block quilt pattern just for you!!!  It’s a fast and easy way to show off those bold prints!

spooktacular eve quilt 6I can’t decide which print is my favorite!  If you would like to make this quilt click HERE for the PDF download version.

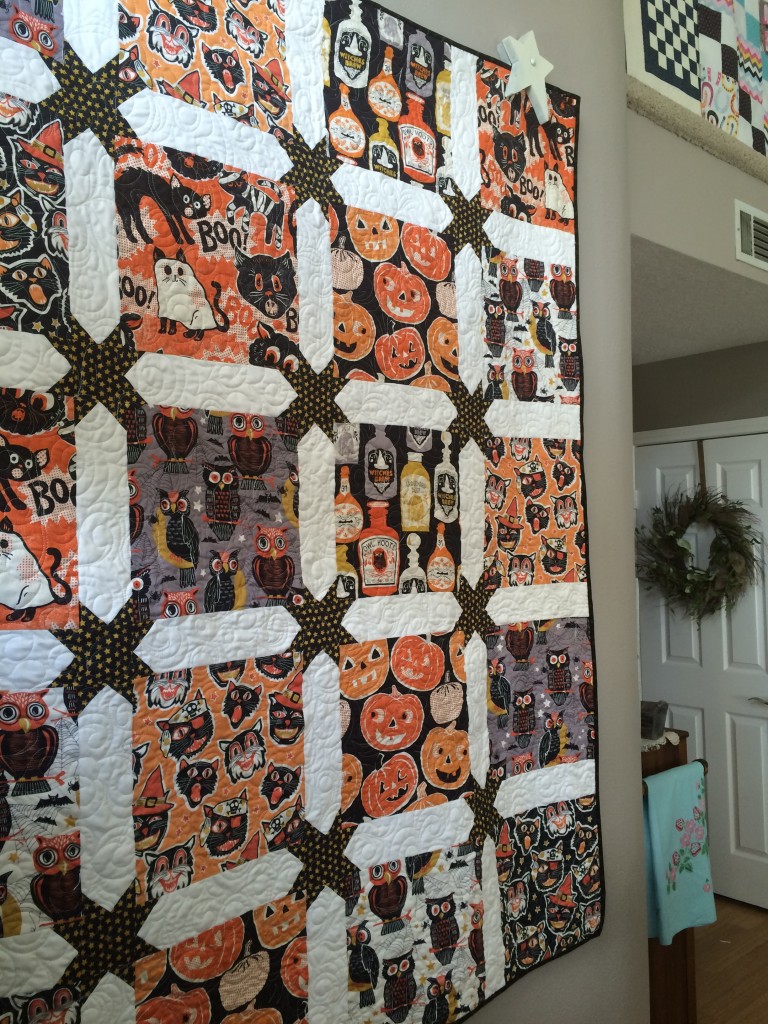
spooktacular eve quilt 7I have this quilt hanging in my entry way.  The finished quilt measures 55″ x 70″ which also is a perfect throw quilt size!

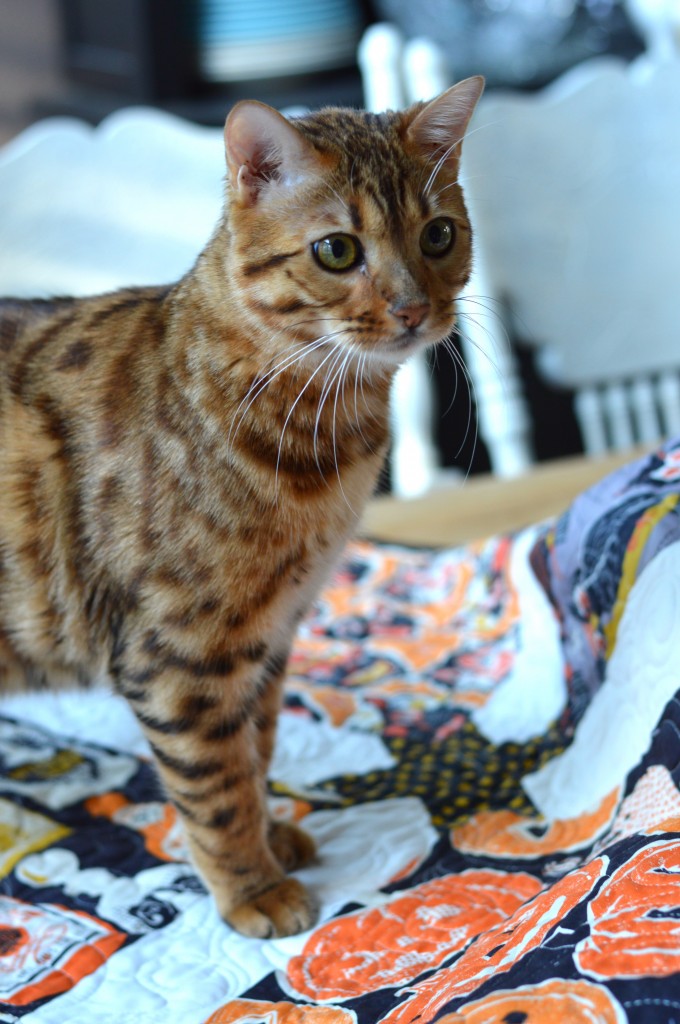
spooktacular eve quilt 2Even better – it’s Mufasa approved!!!

spooktacular eve quilt 2 5I hope you love making this quilt!!!

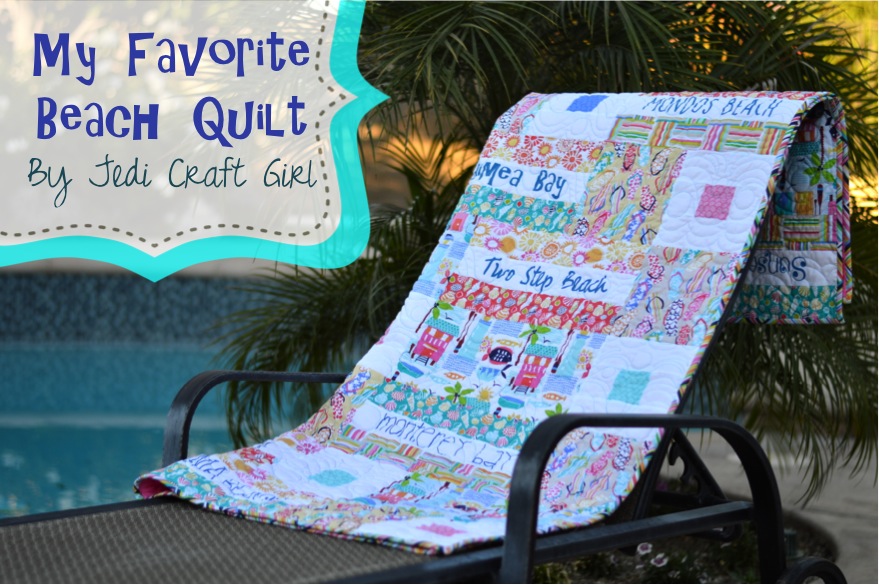
My Favorite Beach Quilt {Blend Sun-sational}

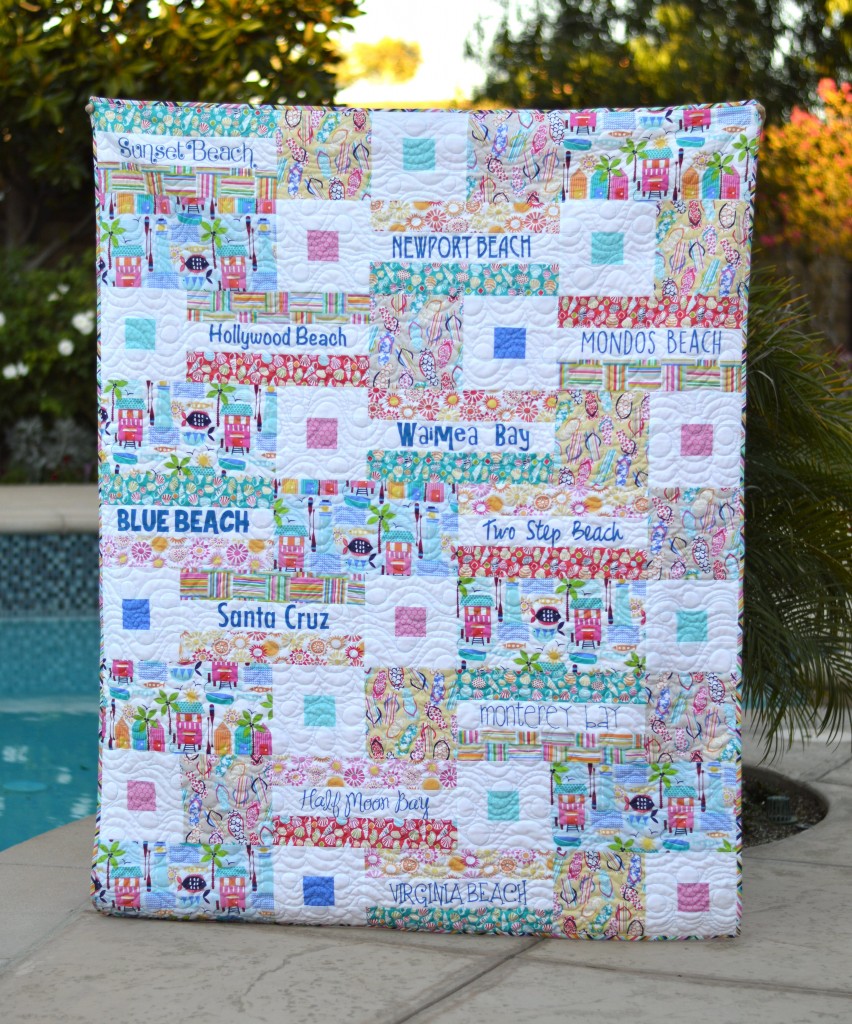
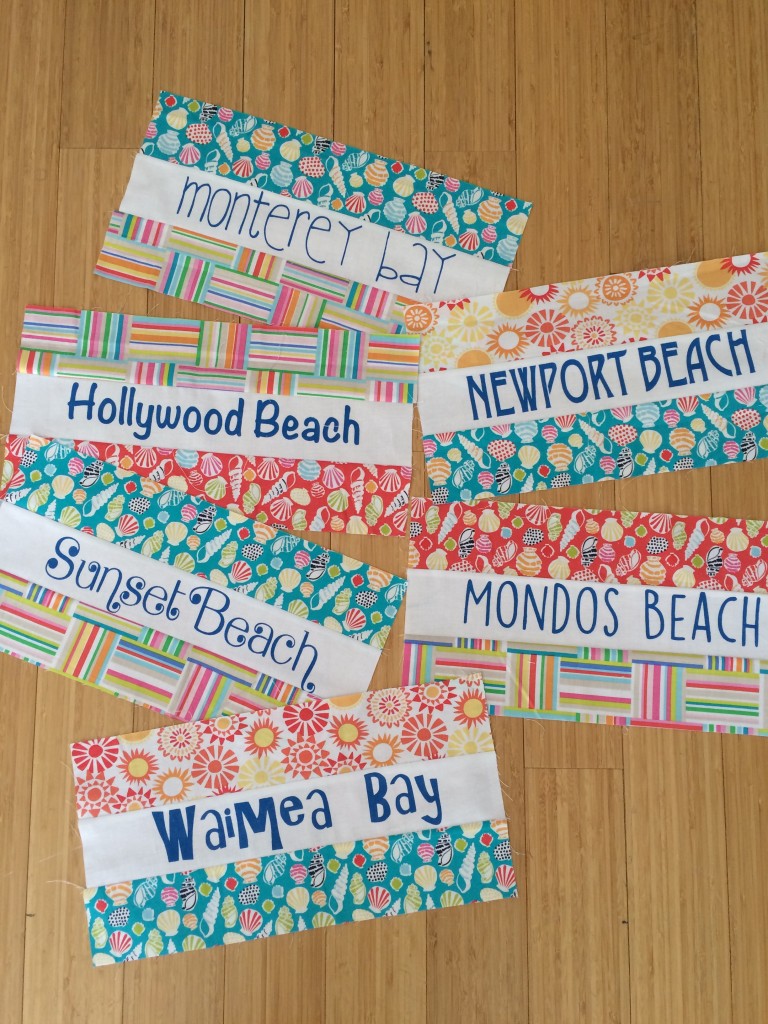
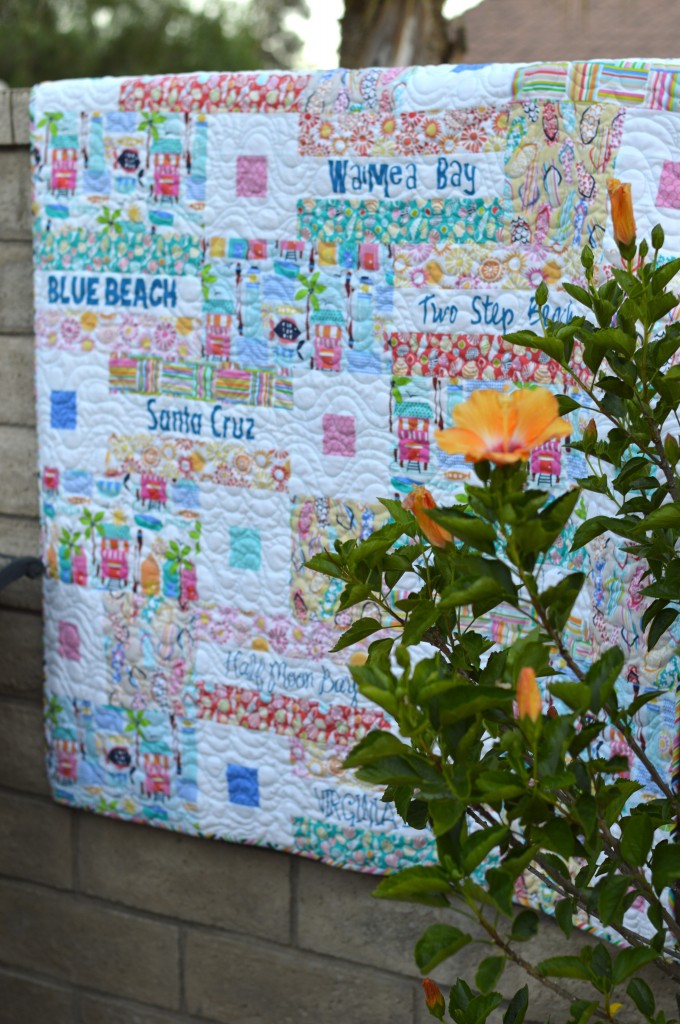
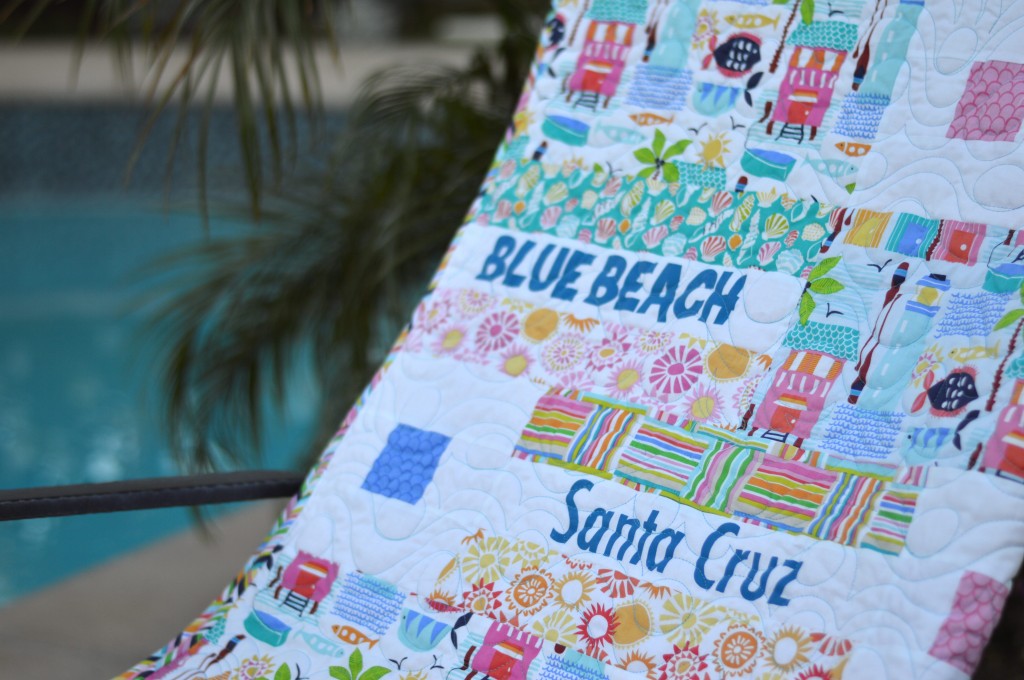
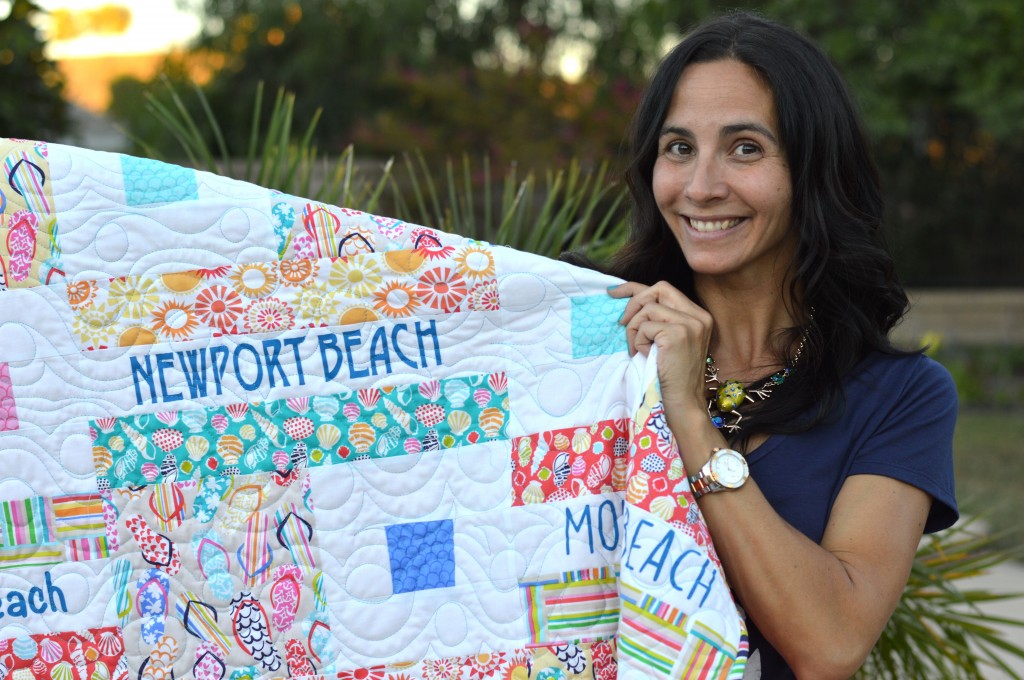
my favorite beach quilt        It’s still August and I am going to enjoy every last minute of summer!  I love the Sun-sational fabric line from Blend Fabrics.  Just looking at them makes me feel like I’m enjoying summer at the beach.  I am a California girl who was raised loving the beach.  Through the years my family has come to love many beaches.  I thought it would be great to include the names of these beaches in the quilt.

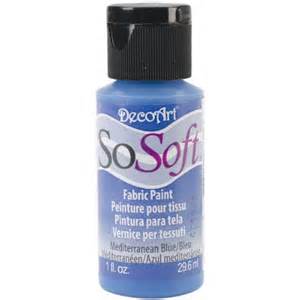
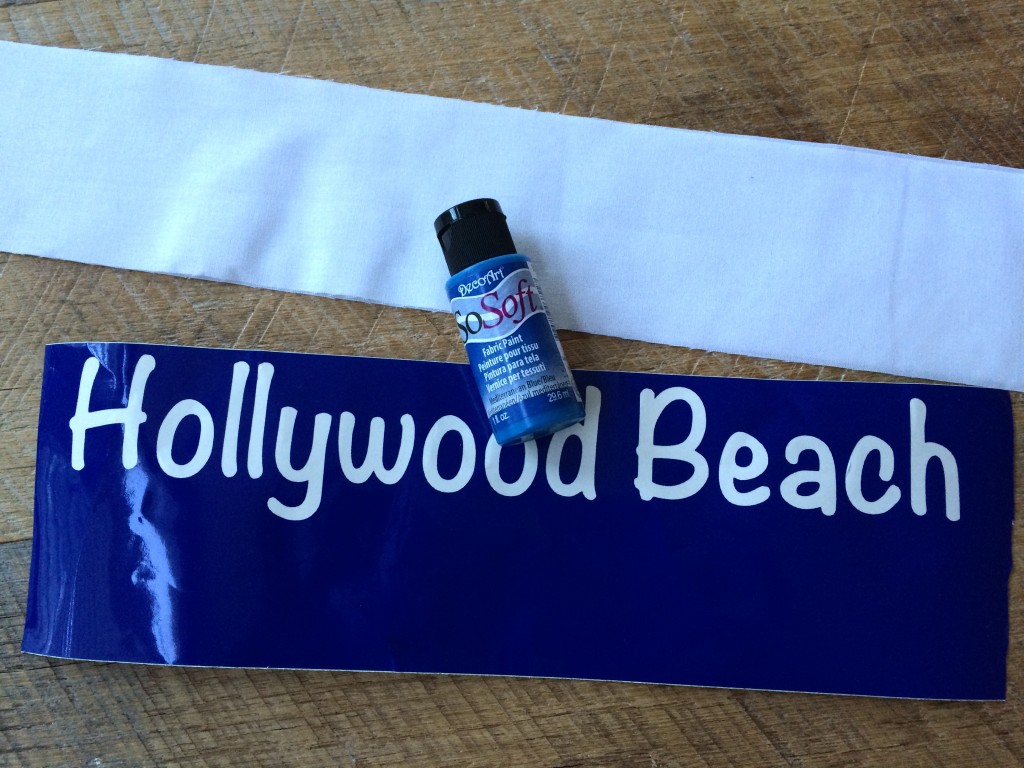
my favorite beach quilt blend fabrics 108 It makes it so personal!  I used SoSoft Fabric Paint by DecoArt.  I purchased at my local Beverly’s Fabric and Craft store.  I’ve painted on T-shirts and fabric before with acrylic paint.  It kind of leaves a rough texture after it dries.  I wanted something soft that would blend nice with the fabric.  This totally did the trick!  After it dried I could hardly feel it was paint – it just felt like the fabric!

decoart sosoft paintHere is how you can make this quilt:

51″ x 64″ Finished quilt

Supplies:

Fat quarters of assorted beach prints

1.5 yards white cotton fabric

1/2 yard for binding

3 yards backing

So Soft fabric paint

Vinyl stencils

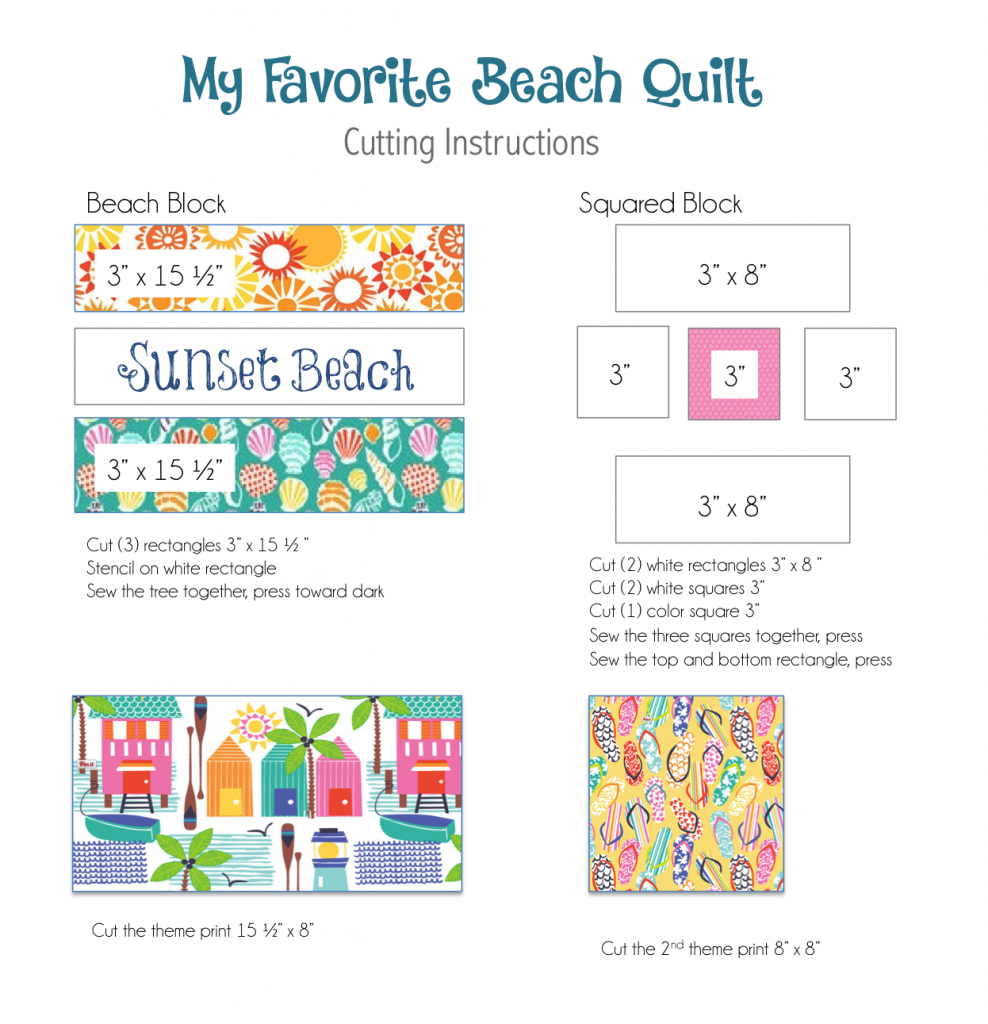
This quilt is made of up 4 “blocks”.  Two are rectangles and two are squares.  Below is the cutting instructions for each block.  You can make this quilt larger or smaller, or mix up the blocks to create a totally different pattern!

You will need:

(11) Beach Name Blocks

(15) Squared Blocks

(9) 8″ square theme print blocks

(8) 8″ x 15.5″ theme print rectangles

cutting instructions beach quilt

Once everything is cut prepare the stencil for the beach names.  I cut vinyl on my Cricut and peeled out the inside of the letters to leave a vinyl stencil.  Each beach name is a different font.  I put the vinyl on the 3″ x 15.5″ white strip and stenciled using the SoSoft paint.  I let dry completely then removed the vinyl.  I made sure to heat set the paint while I was pressing the block.

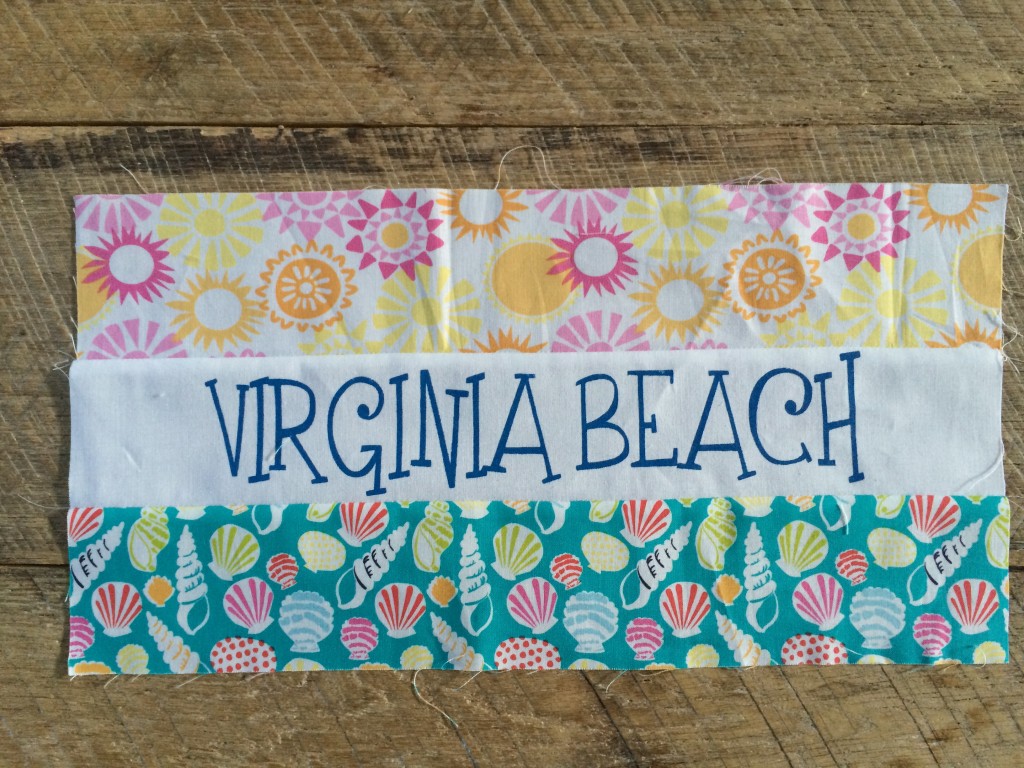
sunsational beach quilt blend fabrics 2

Once the paint is dry, sew the beach name block together. 1/4″ seams throughout.

sunsational beach quilt blend fabrics 6I love how they turned out!  Do you have any of the same favorite beaches as we do?

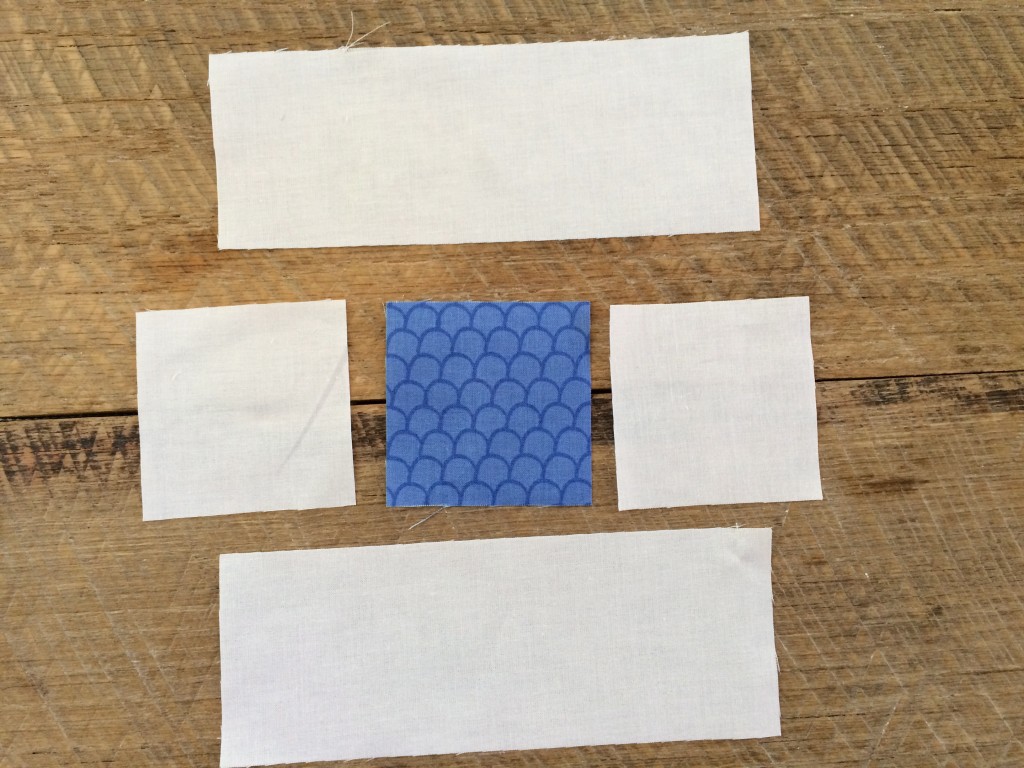
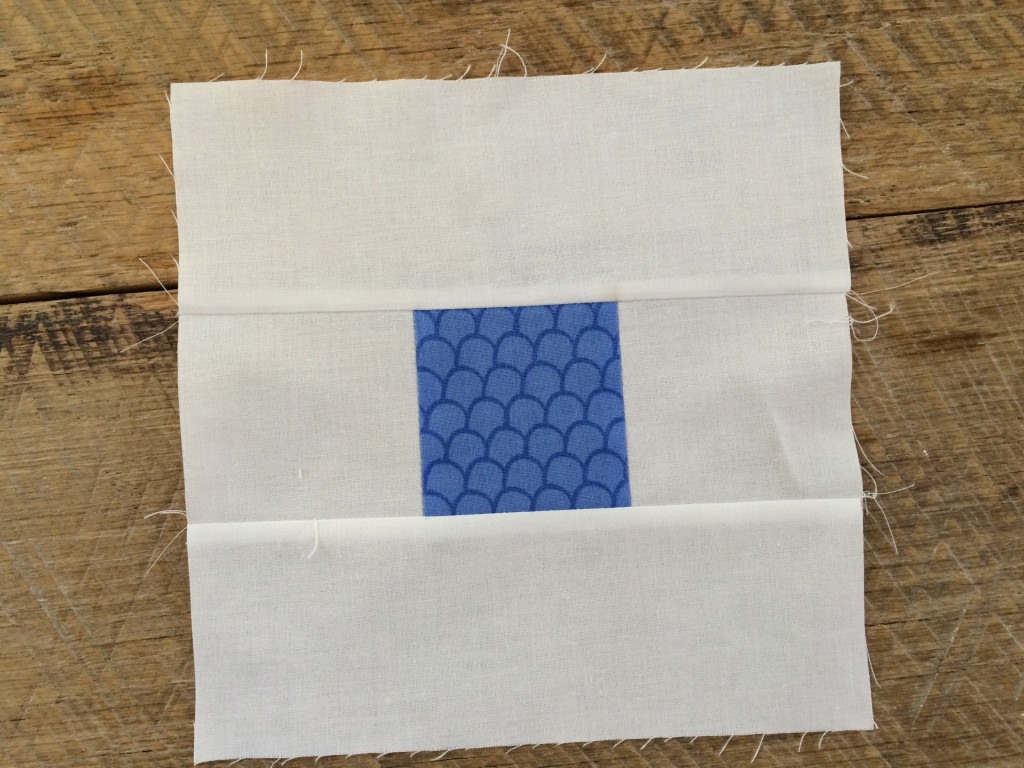
sunsational beach quilt blend fabrics 4Sew the squared blocks together by sewing a white square to both sides of the center blue square.  Press.  Add the top and bottom rectangles, press.

sunsational beach quilt blend fabrics

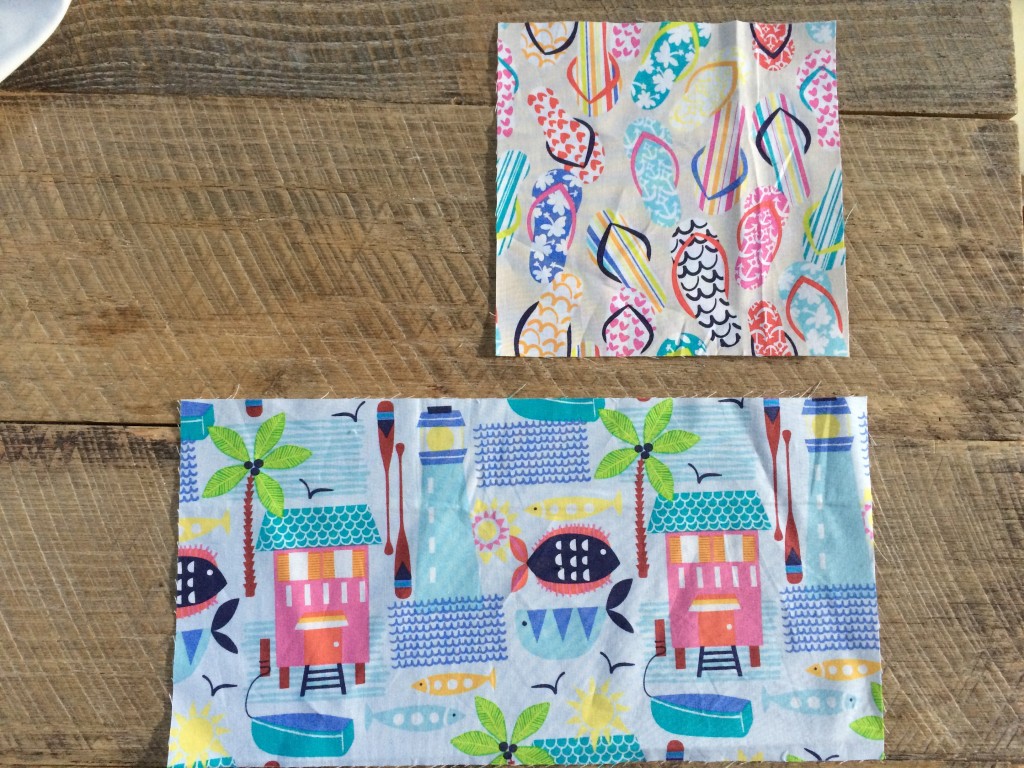
sunsational beach quilt blend fabrics 3Cut the remaining theme print blocks, you can use as many theme prints as you want!

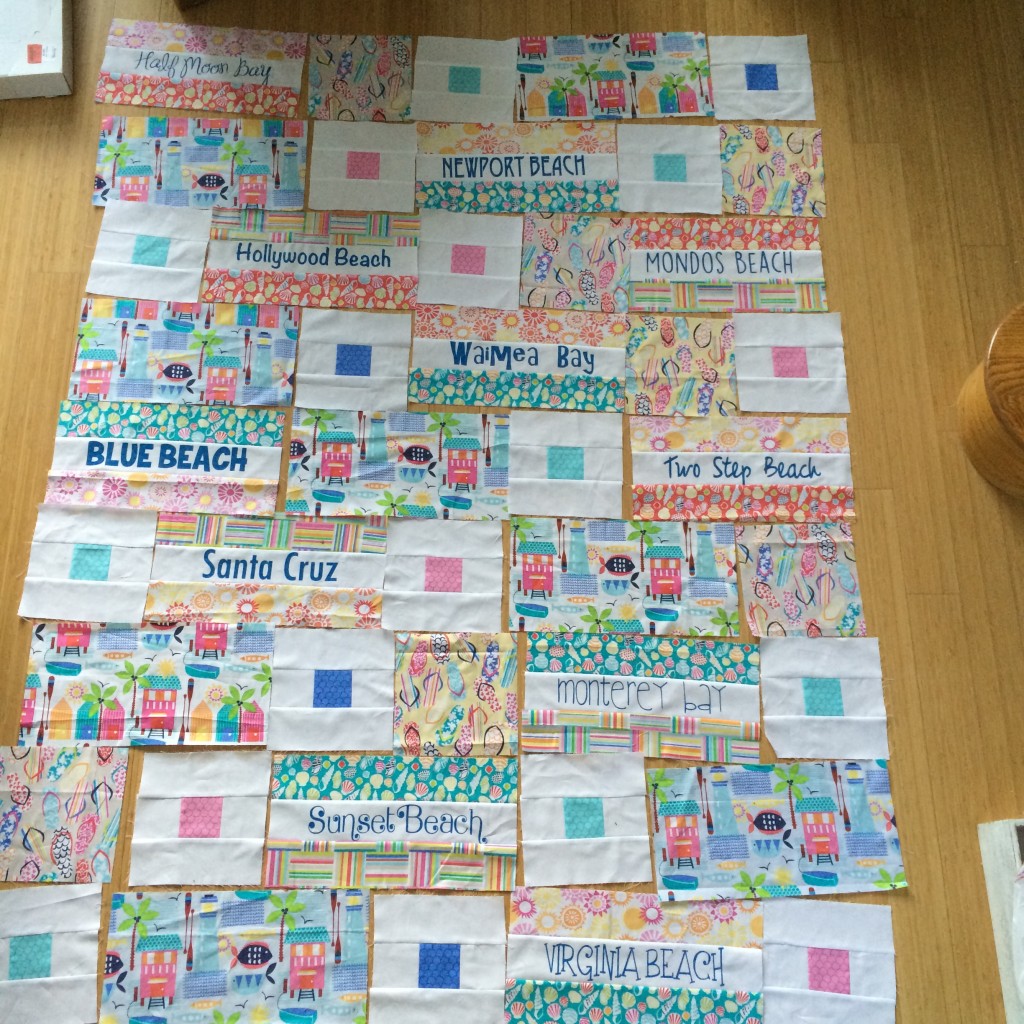
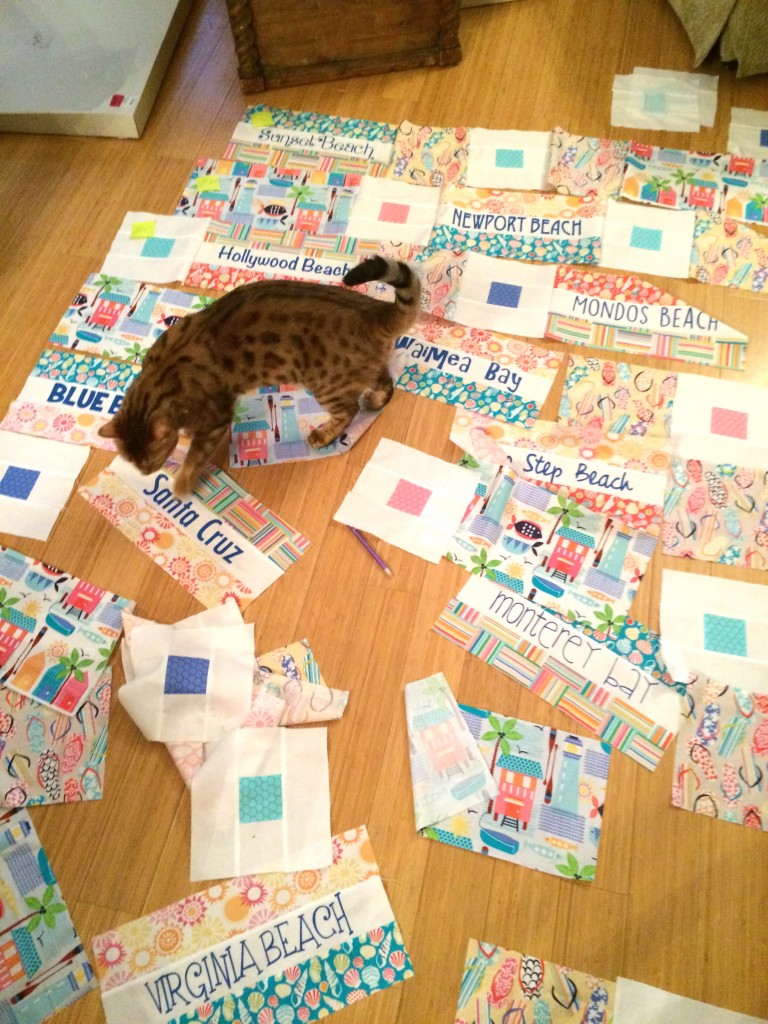
sunsational beach quilt blend fabrics 7  Next comes the fun part – laying it out.  I played with several different patterns until I decided on this one.  There is not really a pattern to it, kind of random 🙂

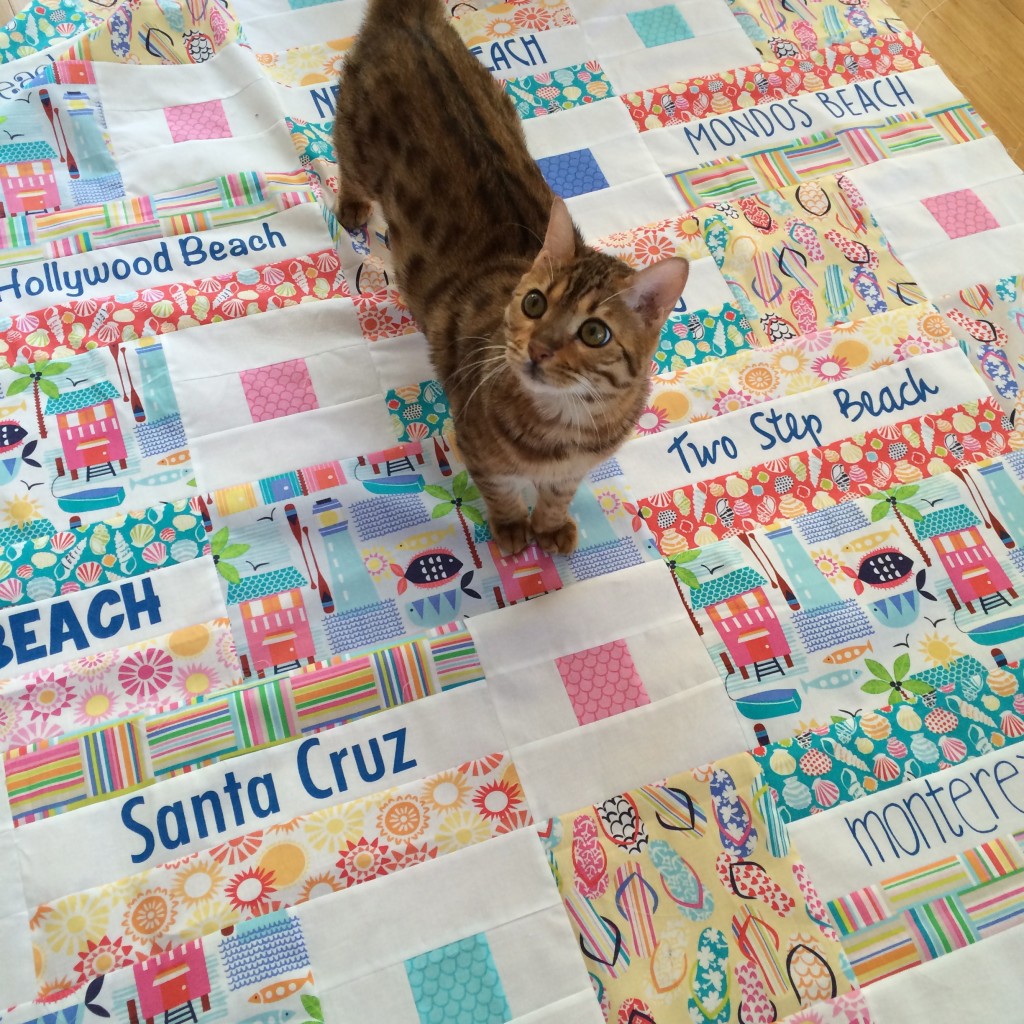
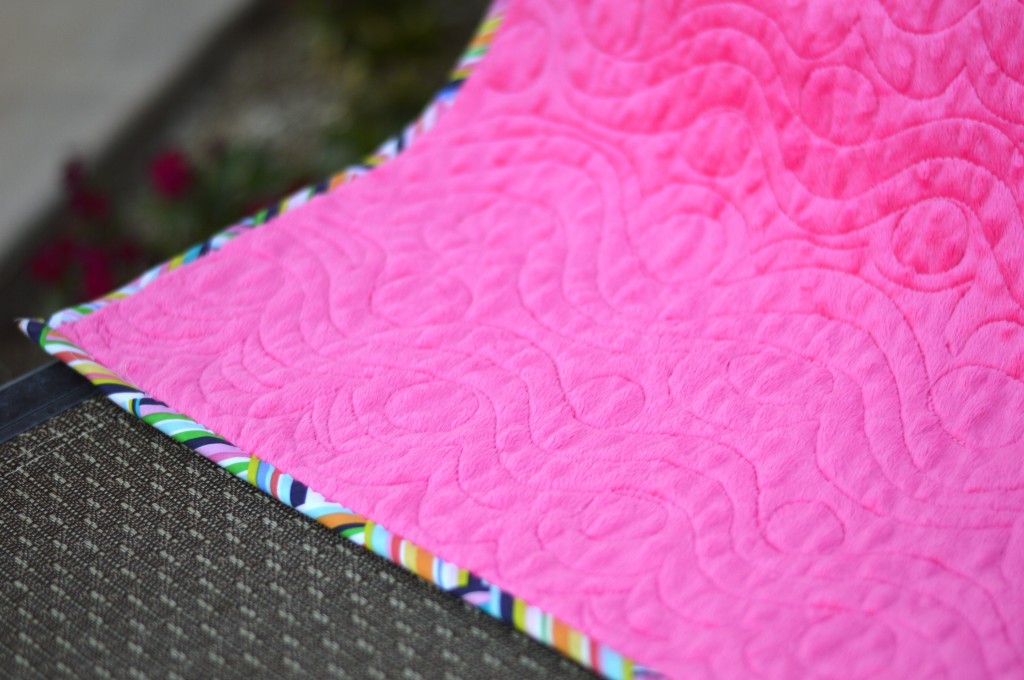
sunsational beach quilt blend fabrics 9  It’s always a good idea to photograph your quilt layout, especially if you have a #kittyquilter in your home!  Mufasa!!!!!sunsational beach quilt blend fabrics 10Sew the blocks together in rows and the rows together, matching seams that intersect.  Make sure #kittyquilter inspects all finished work!!  Quilt as desired.sunsational beach quilt blend fabrics 11I put minky on the back and had my friend use her long arm quilting machine to quilt it.  I love the pattern she did!!

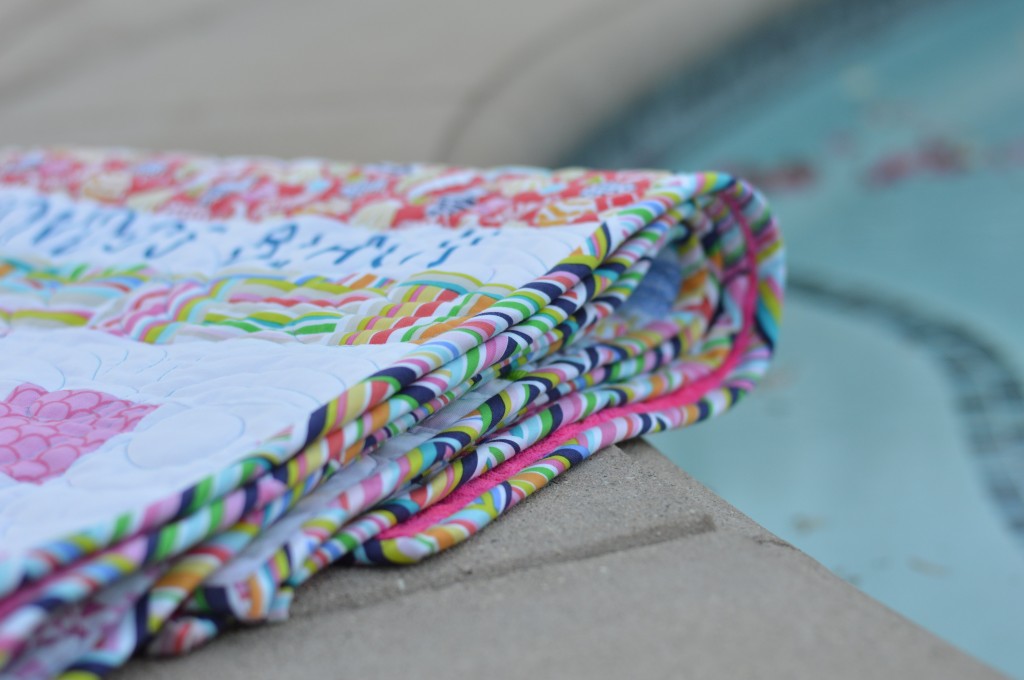
my favorite beach quilt blend fabrics 106The binding is cut on the bias, my favorite way to make binding!!

my favorite beach quilt blend fabrics 100

my favorite beach quilt blend fabrics 104I’m so ready for a beach vacation now!!!

my favorite beach quilt blend fabrics 102

my favorite beach quilt blend fabrics 107Thanks for stopping by!!!  Surfs up!!!
my favorite beach quilt blend fabrics 105

Quilt Design Board DIY

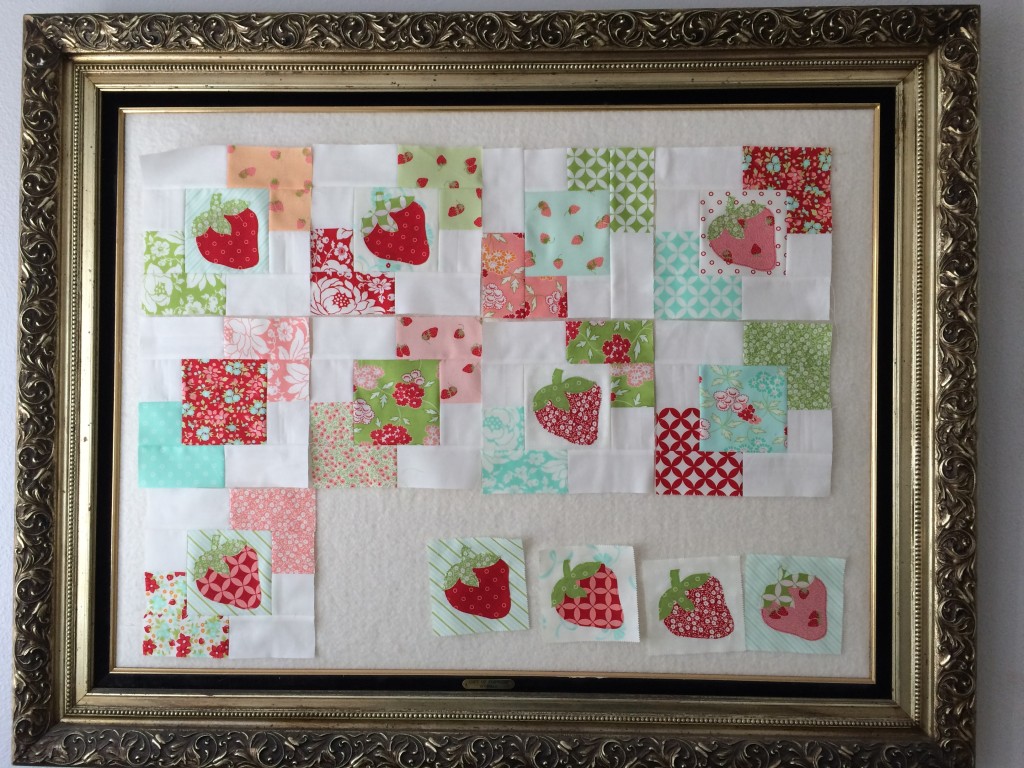
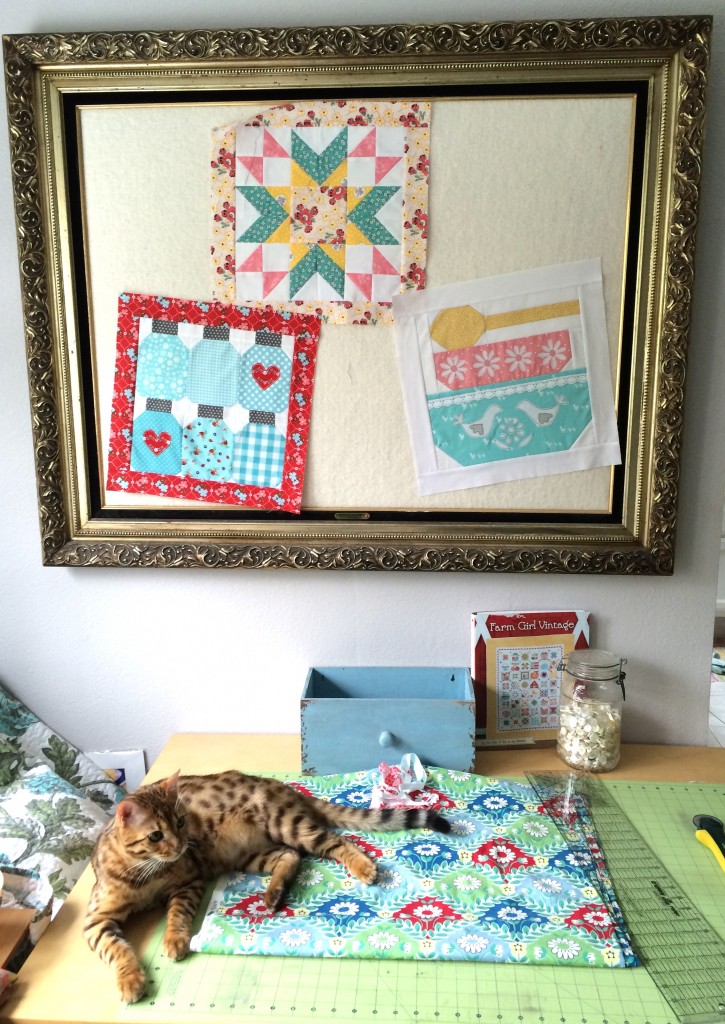
quilt design board diy 7

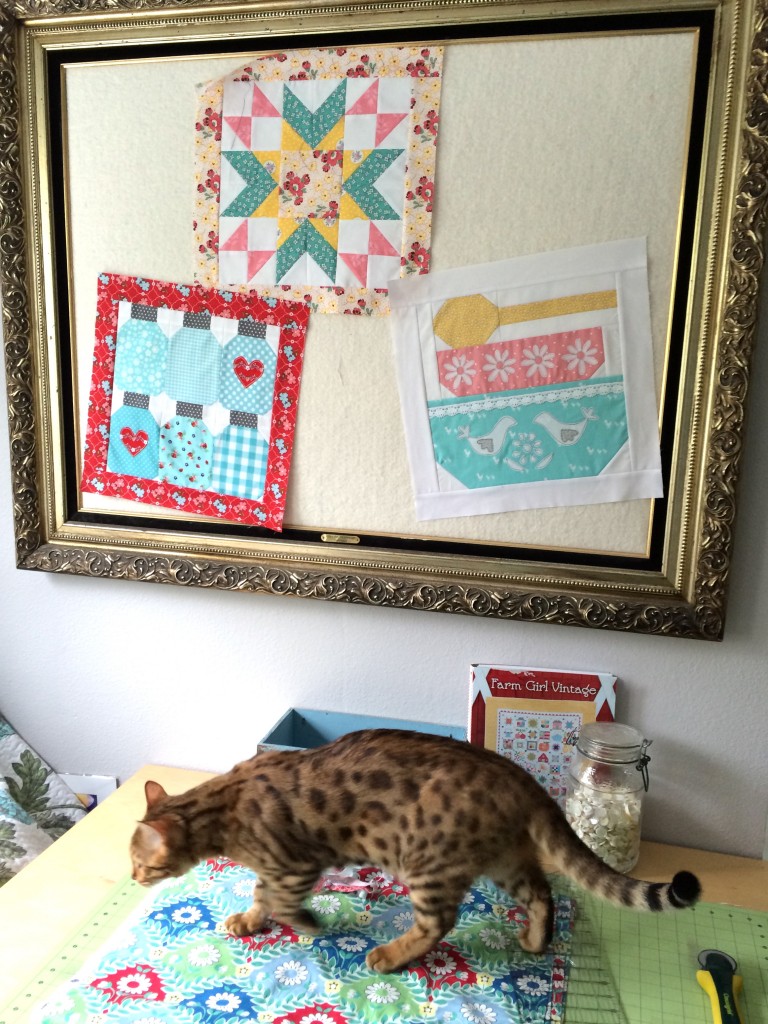
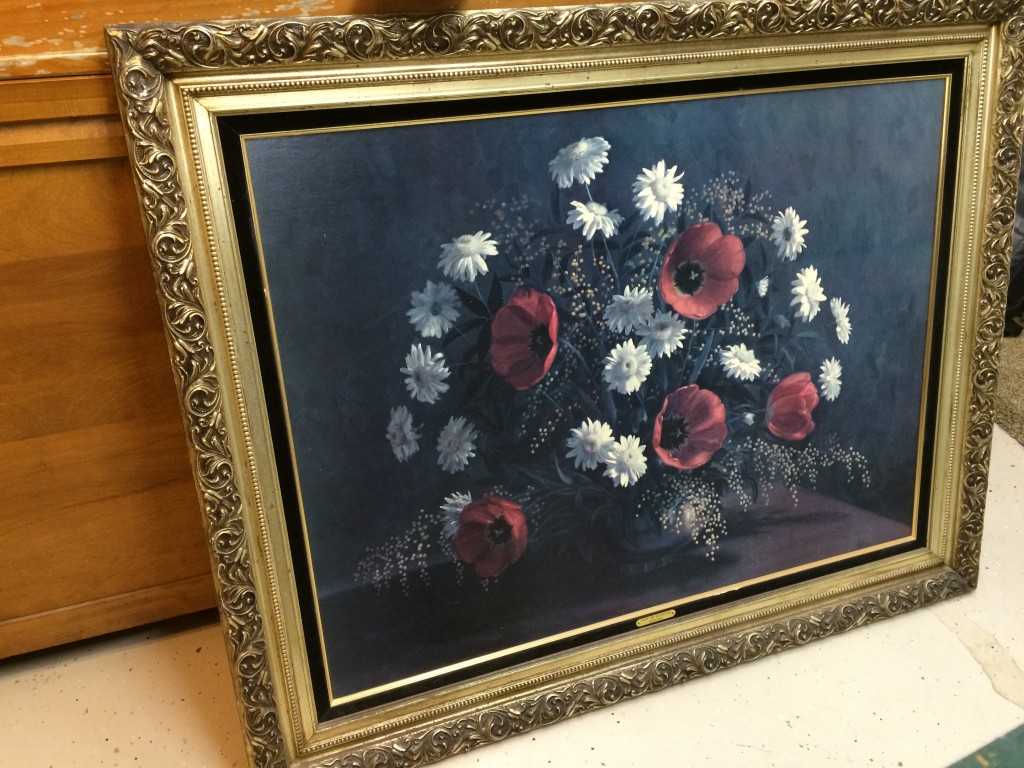
I purchased this rather large frame off of Craigslist last year.  It’s been sitting in my garage and I didn’t know what to do with it.  The other day I though, “Gee it would be nice to have a quilt block design board!”  The hamsters in my brain began spinning their little wheel and I put 2 and 2 together!  Here’s how you can make one!

IMG_7564

quilt design board diy

Supplies:

a large frame with an ugly picture 🙂 – you can totally paint the frame, I liked the vintagey metallic of this frame

If your frame is empty, you will need a piece of 1/4″ plywood that is cut to fit inside the frame

Batting, enough to fill the frame plus 2.5″ on each side 2 times

Hot glue

Nails

quilt design board diy 3

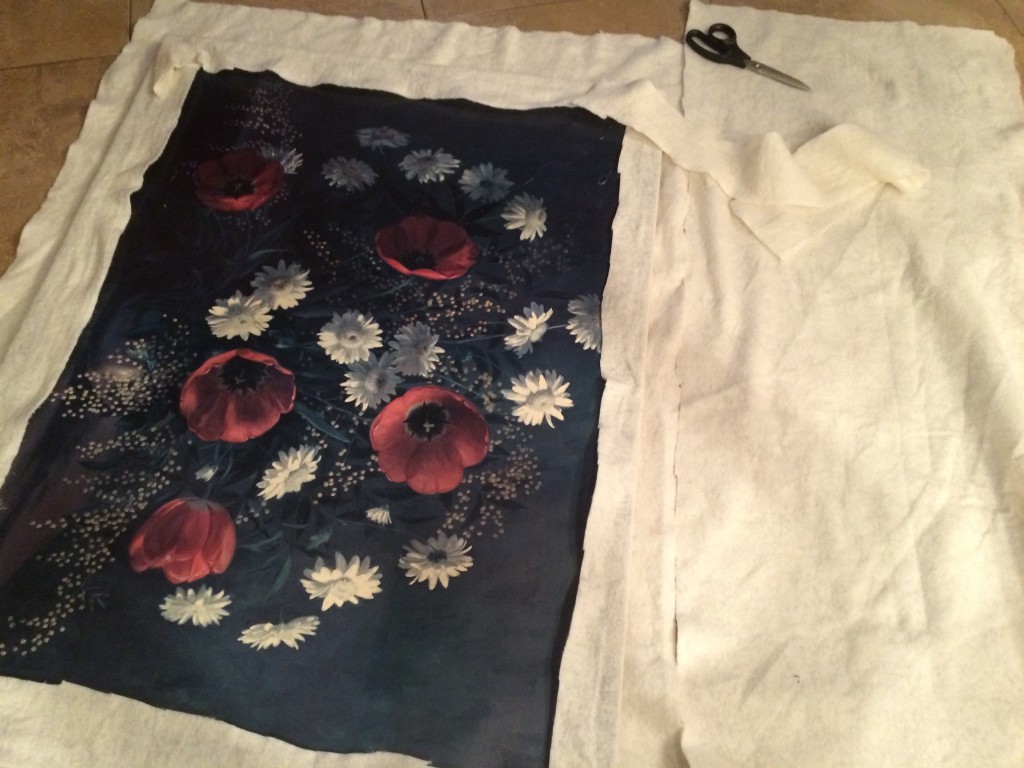
Begin by laying the picture or plywood on the cotton batting.  Cut around the picture leaving about 2.5″ on each side.  Then cut another piece of batting the same size.

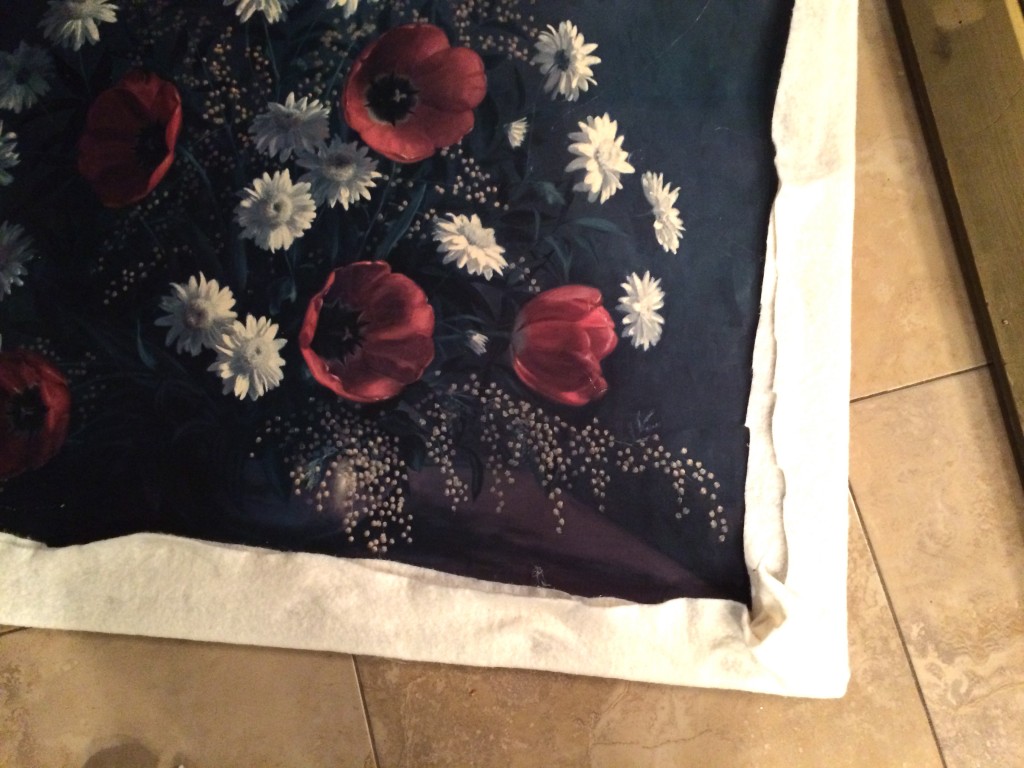
Place the picture or plywood in the center of the first piece of batting.  Begin hot gluing around the edges and adhering the edge of the batting – pulling so the batting is taught.  Continue gluing all the way around.  Then repeat this process with the second piece of batting, pulling and gluing and burning your fingers.
quilt design board diy 2

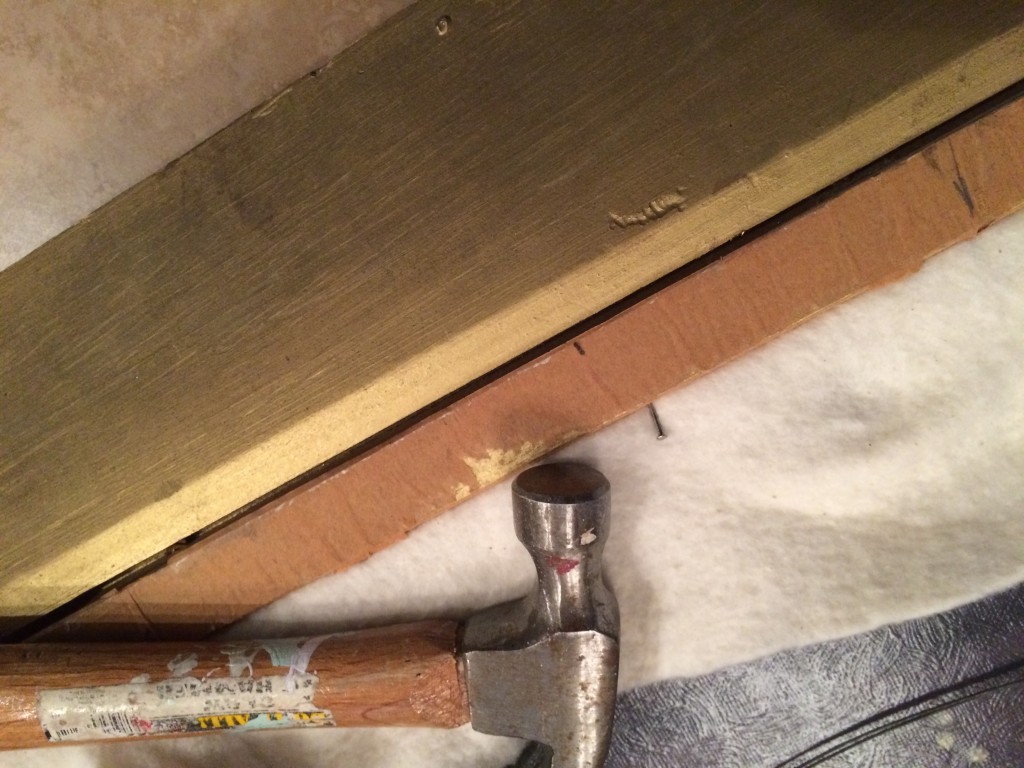
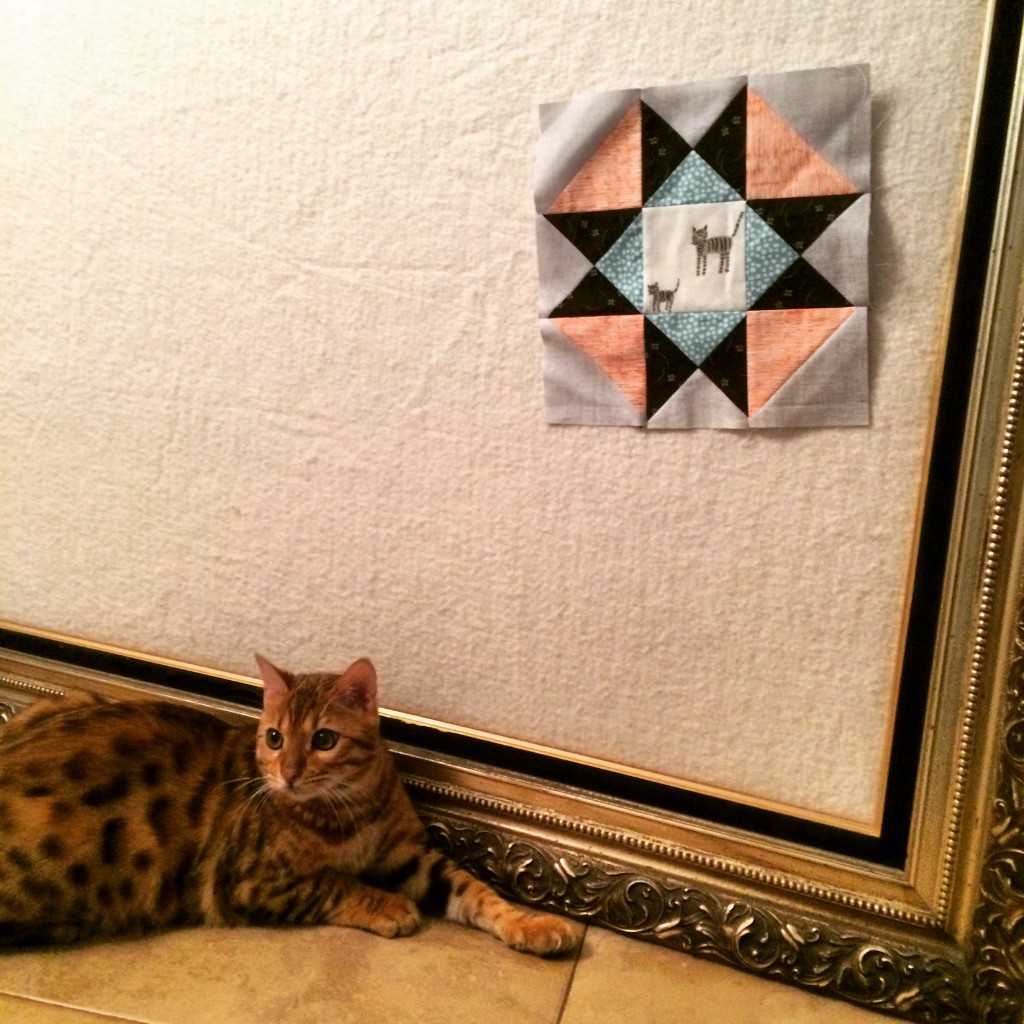
I was a little worried the picture with 2 layers of batting would be too thick for the frame, but it fit perfectly, it almost didn’t need to be secured.  Insert the batting covered board into the frame.  Hammer a few nails around the frame to secure.  Then add picture hanging wire, making sure it’s the proper weight for the frame.  Tada – done in about 5 minutes!!!
quilt design board diy 5Baby Mufasa approves!  I had to hurry and hang it so he wouldn’t claw it!!
quilt design board diy 6

It’t perfect to display all your blocks in progress.  I like that mine is always different depending on what I’m working on.  It’s like having a new picture everyday!

IMG_7566

Come Sail Away With Me {pattern}

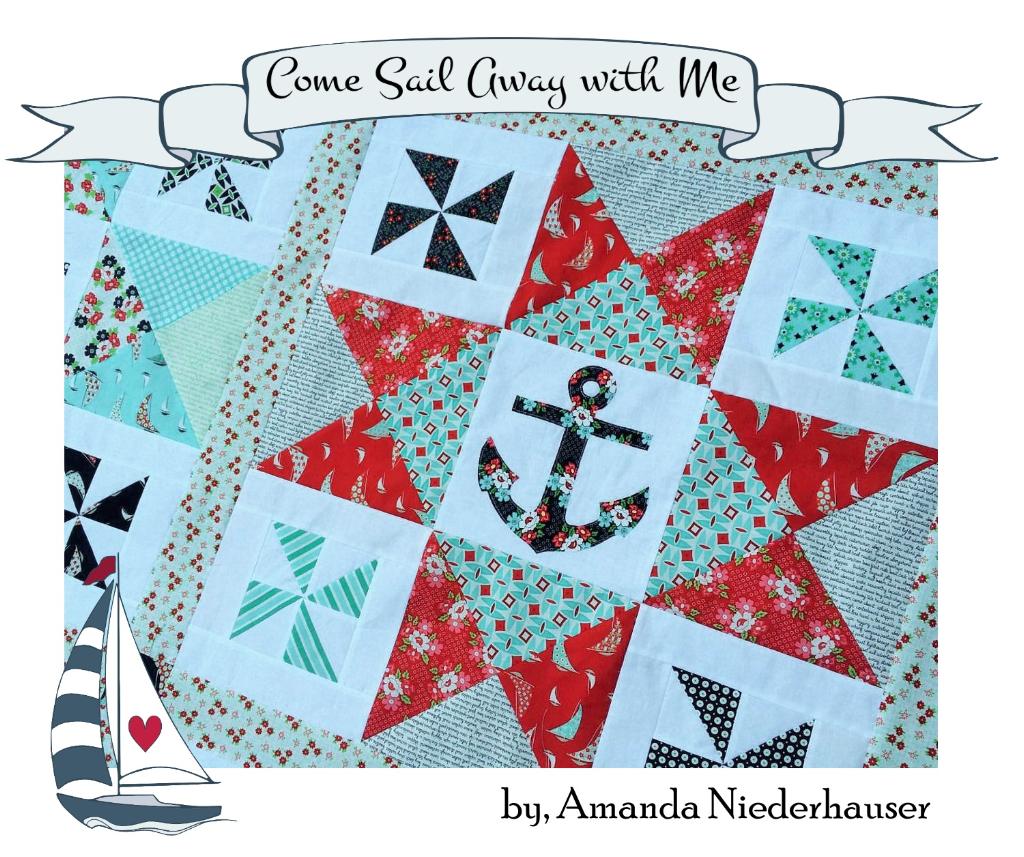
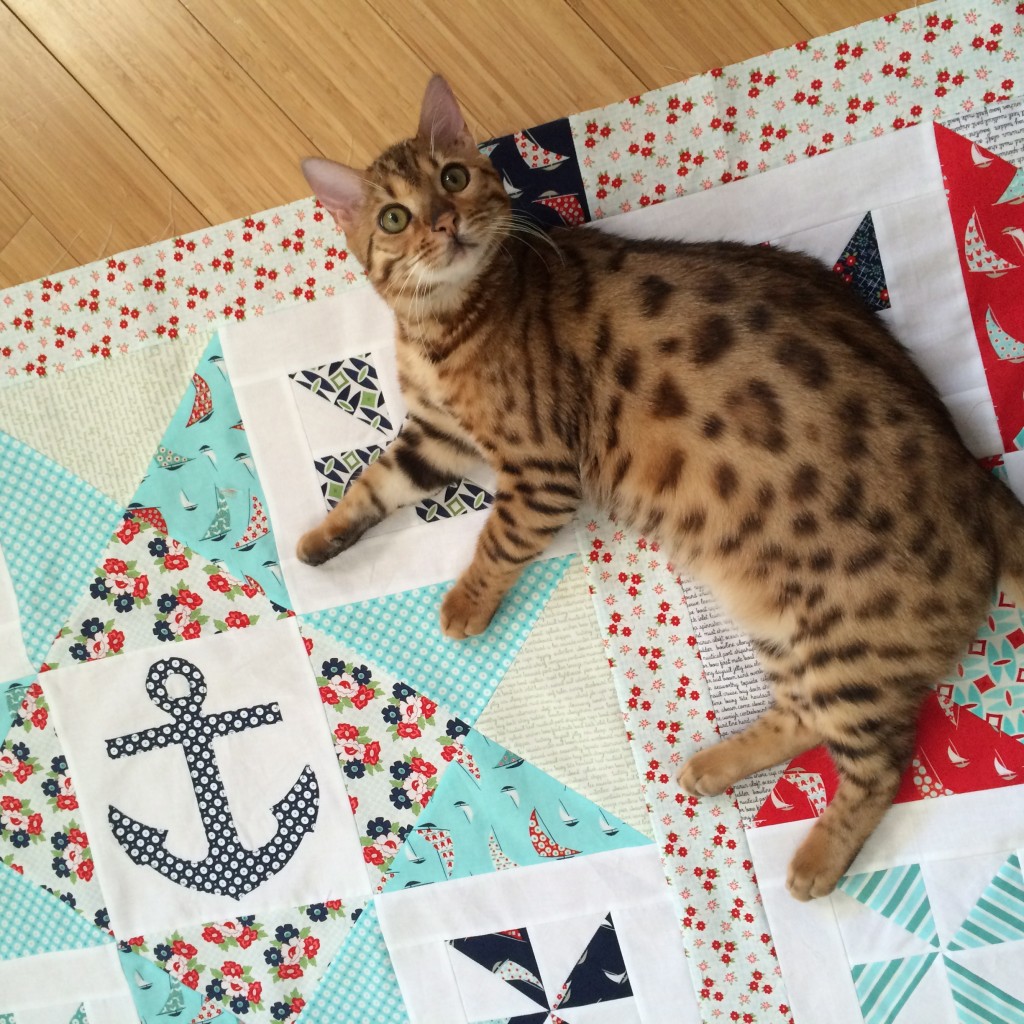
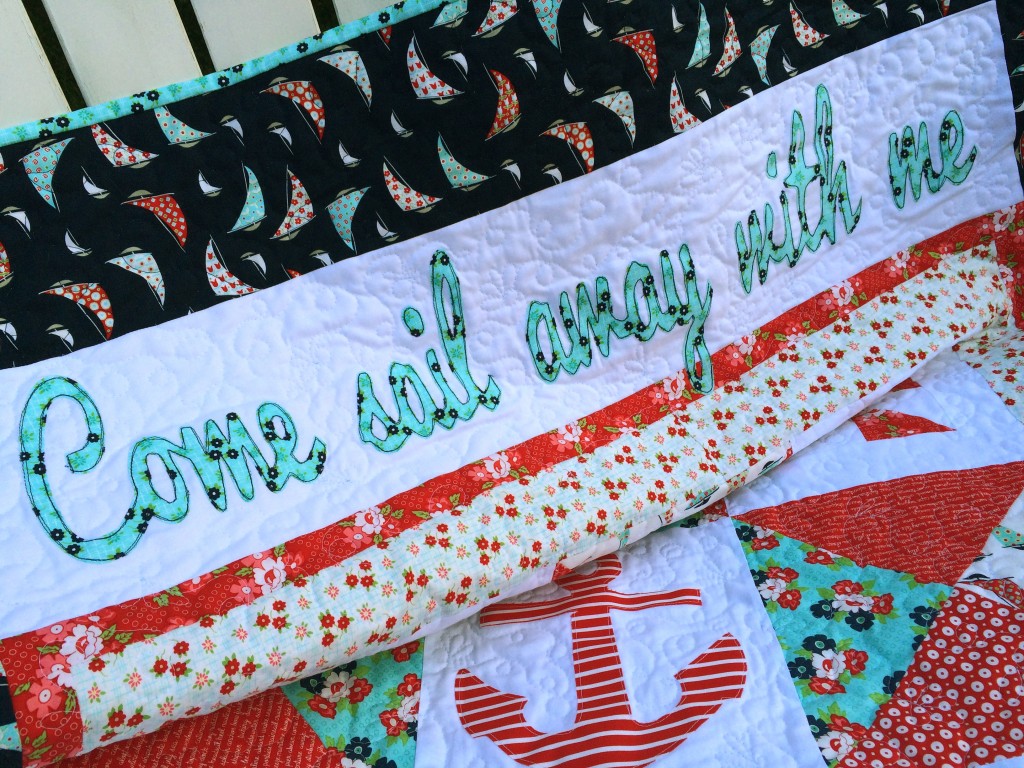
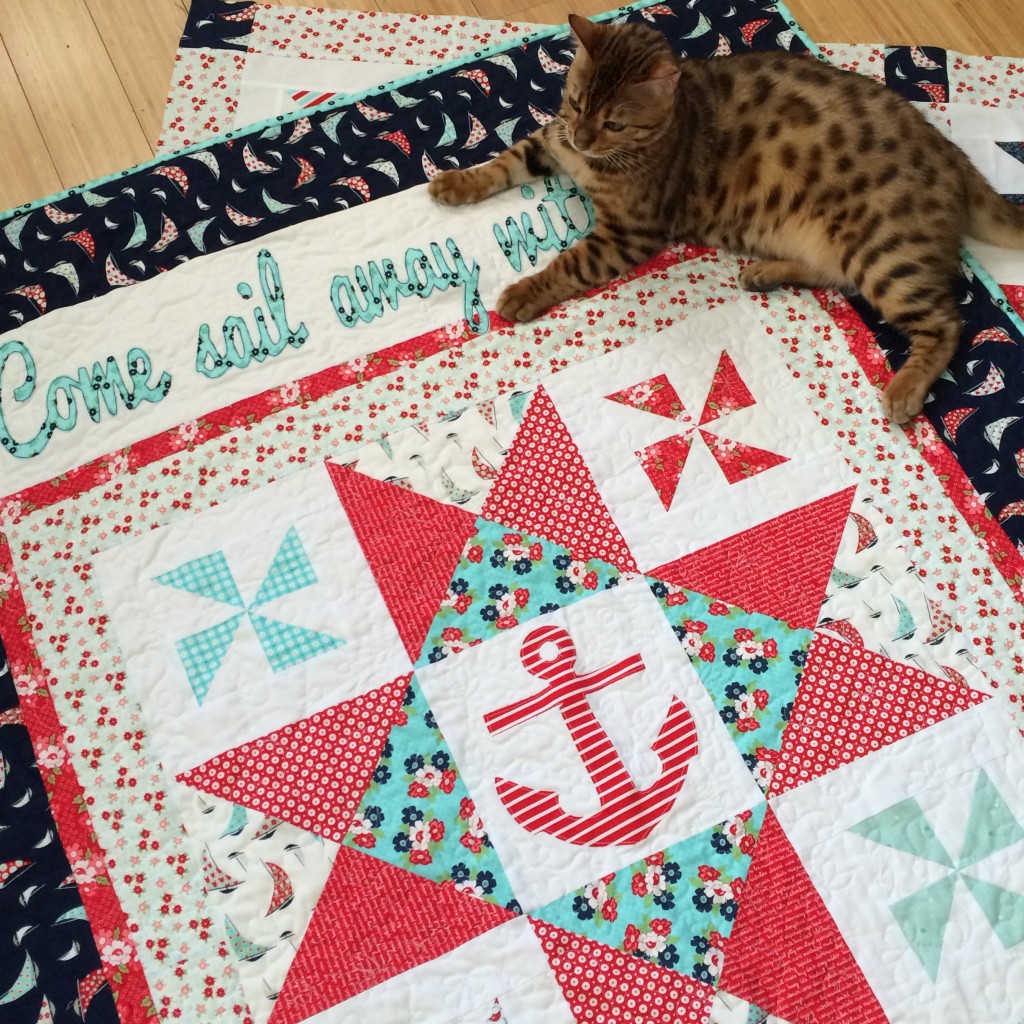
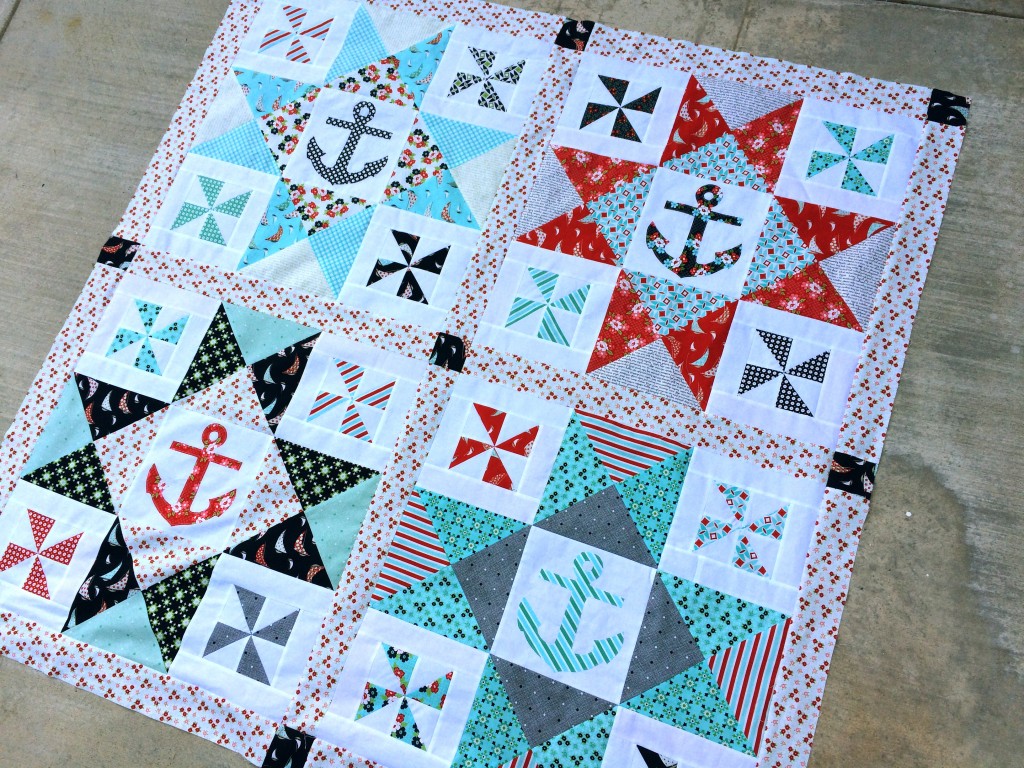
IMG_7534I am sooooo excited to announce the release of my new pattern!  I had so much fun creating it.  I was inspired by all the wonderful prints in the Day Sail fabric line by Moda.  The fabrics are AMAZING!  I didn’t want to cut it up into tiny pieces, I wanted the fabrics to shine!  I feel like they do in this quilt.  I love all things nautical and I NEEDED a nautical quilt!  So meet Come Sail Away With Me!!
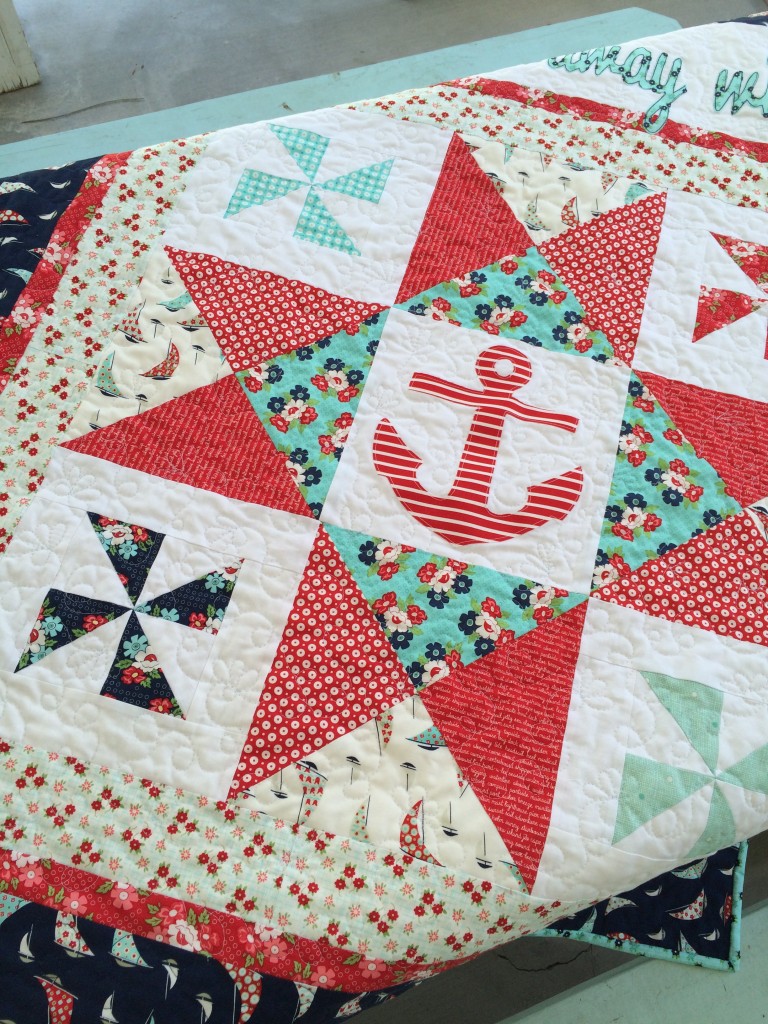
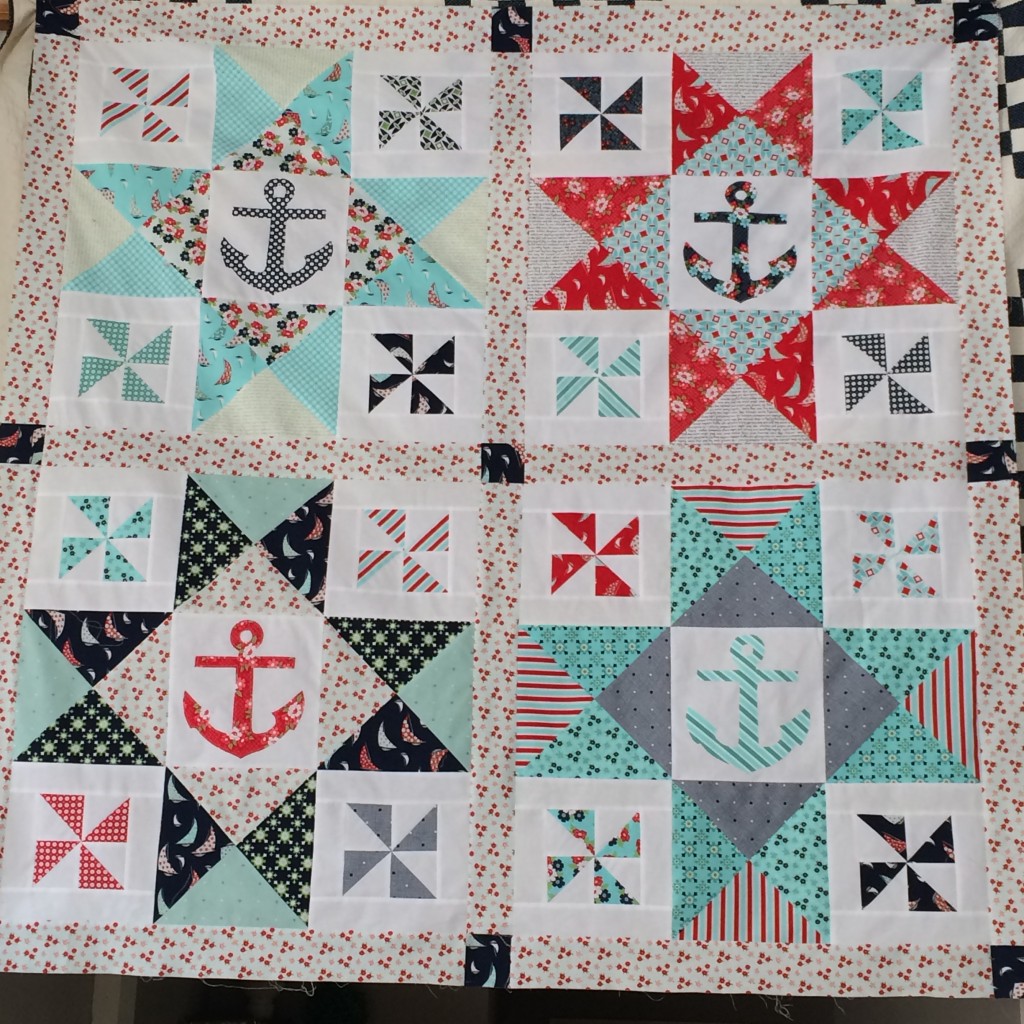
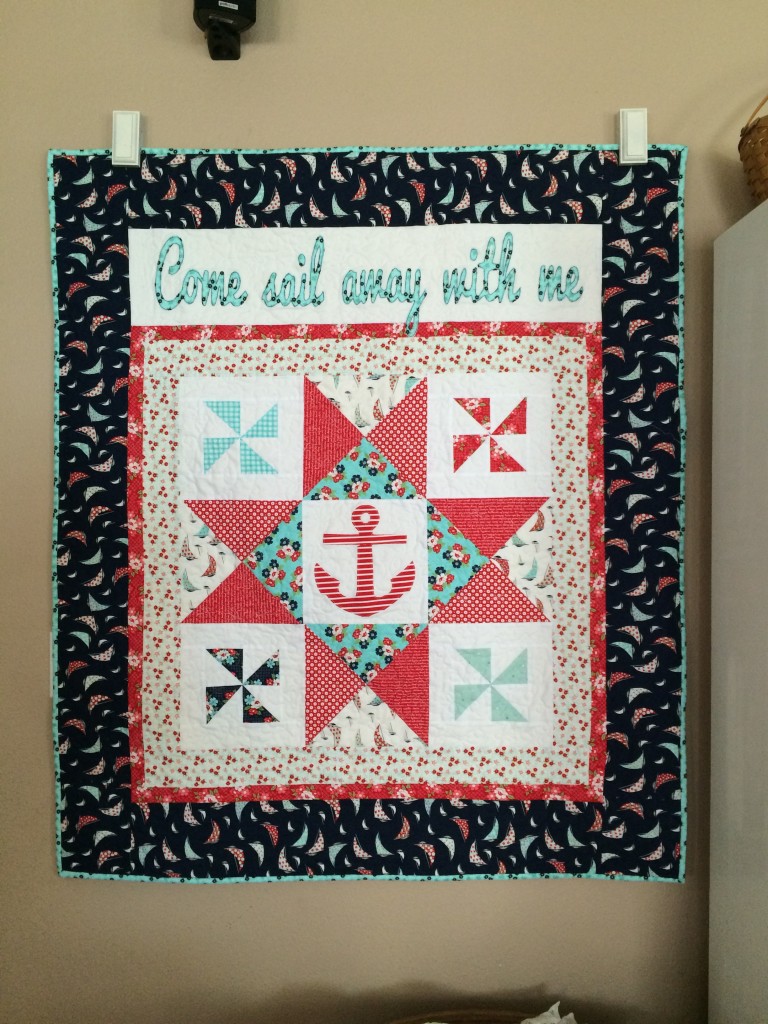
This pattern also includes a bonus wall quilt pattern.  The pattern is available to purchase HERE.

day sail nautical quiltThe large quilt measures 59″ square.  The perfect size for a picnic, day at the beach, or to take on your sail boat…..heehee I wish I had a sail boat!  day sail nautical quilt

The Wall Quilt measures 41″ x 48″ – perfect to hang, fold over a couch or lay on a table.

daysail moda nautical quilt

Baby Mufasa was very helpful in creating this quilt!!  #kittyquilter

IMG_7502


daysail by moda nautical quilt pattern
I hope you love these quilts as much as I do!  Thanks for stopping by!
Day Sail Moda Quilt Nautical

Day Sail Nautical Quilt patern

IMG_7535

Hang Paw Quilt Featuring Surfing Cats

hang paw quilt

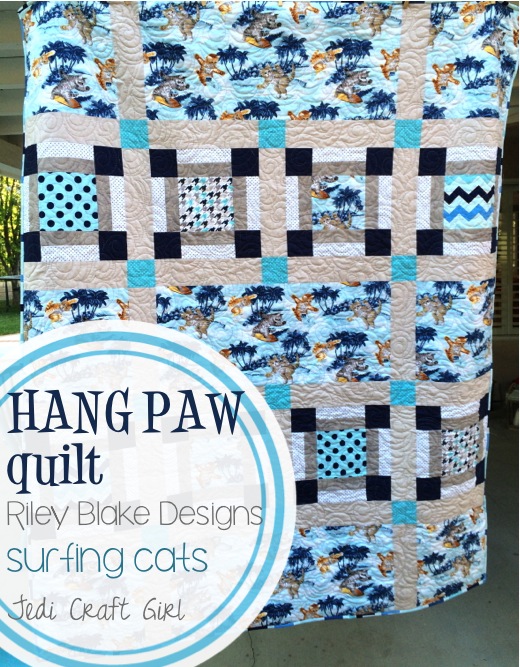
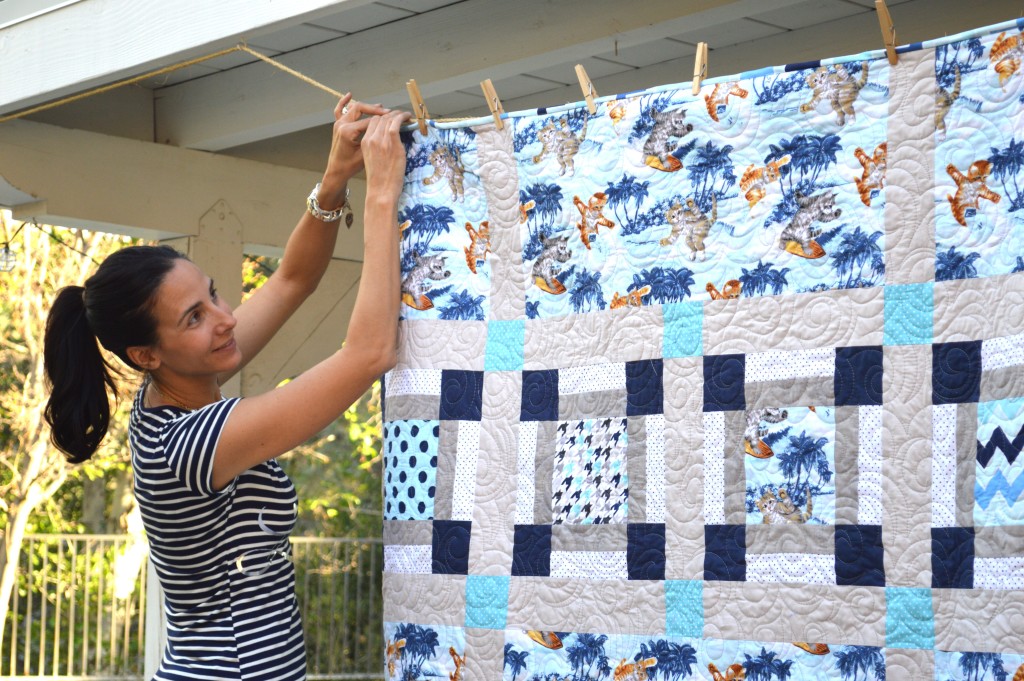
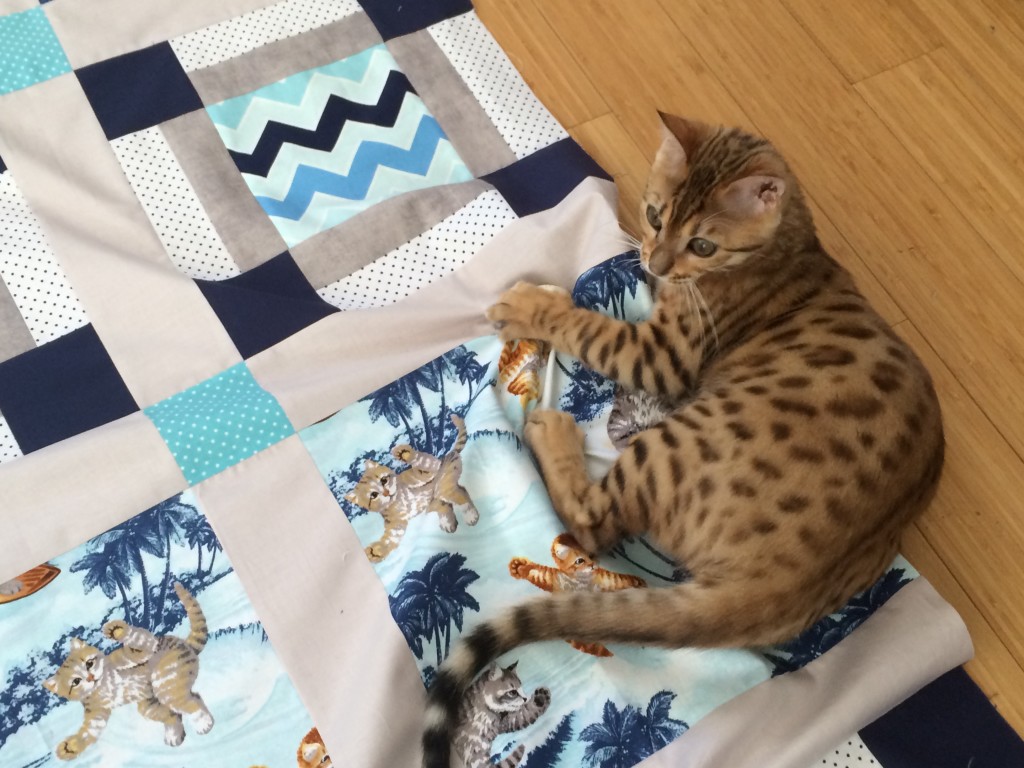
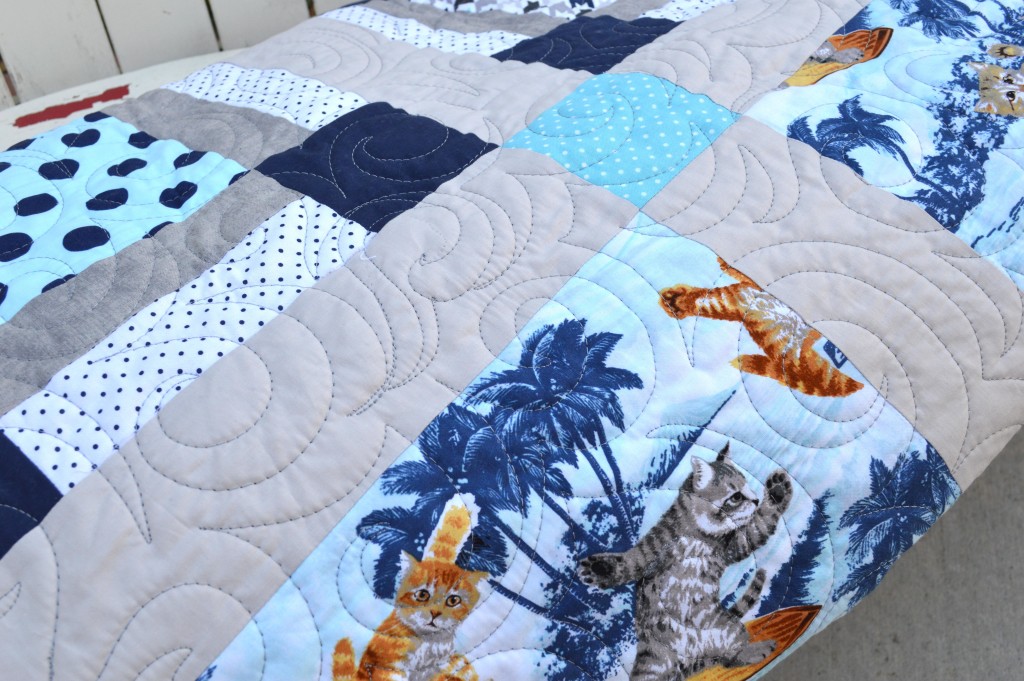
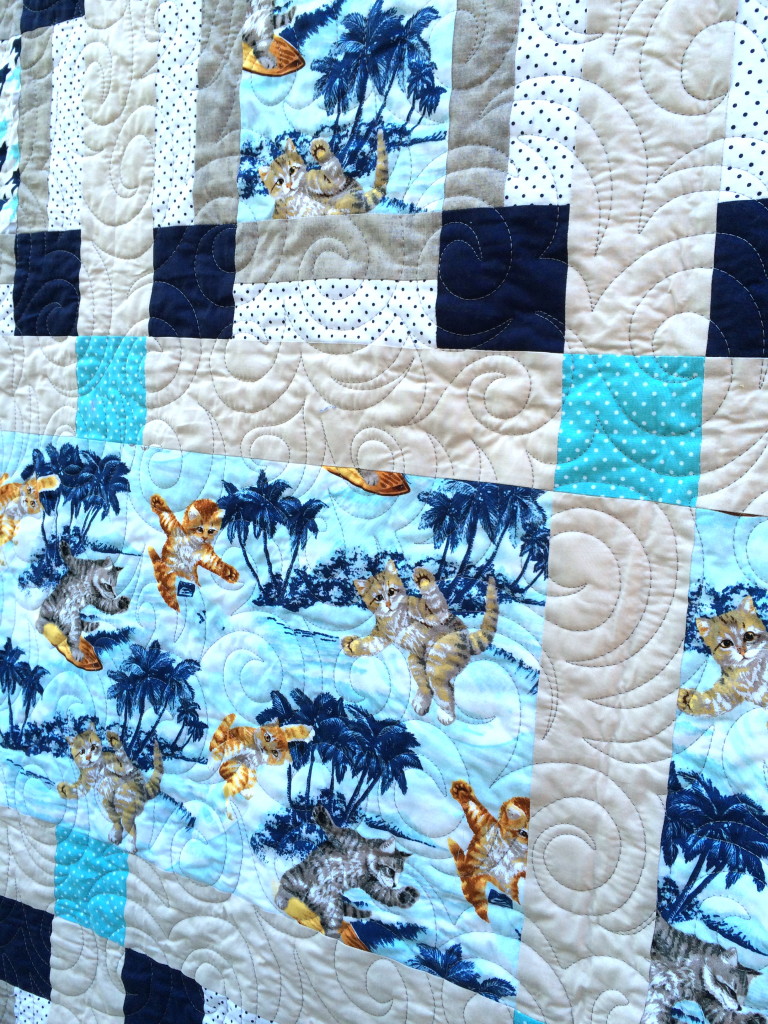
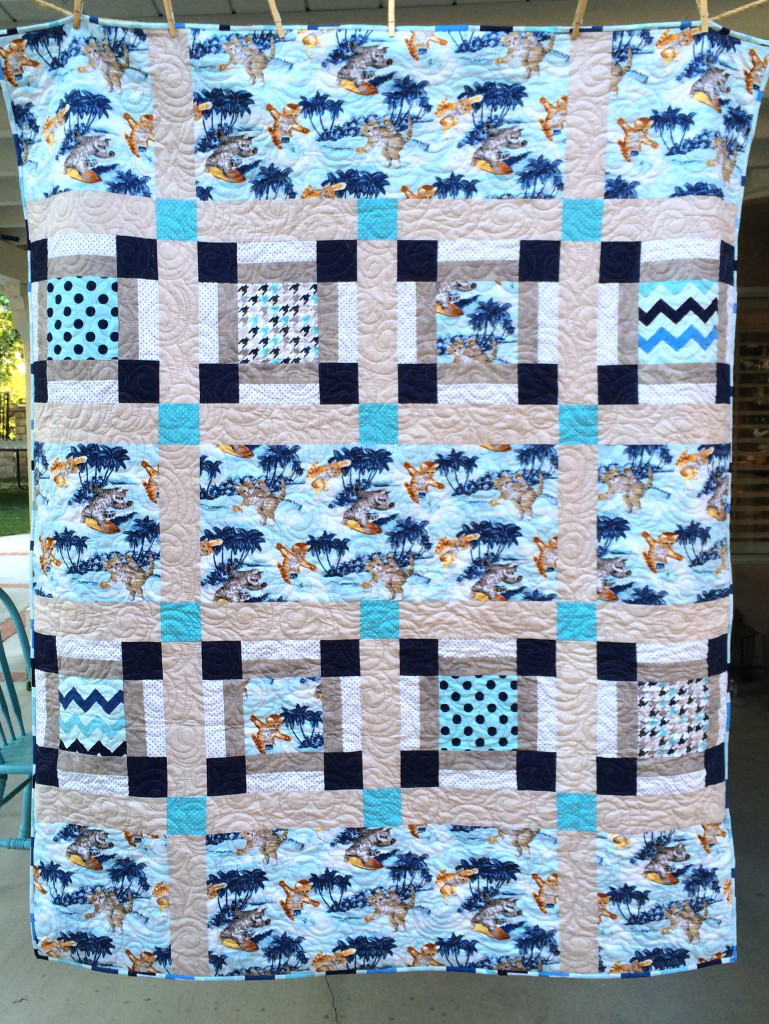
I can not contain my excitement for sharing this quilt pattern!!  I am a California girl through and through.  I spent most of my teenage years at the beach trying to surf but really I was there to watch the cute surfer boys.  I am also a crazy cat lady and I have been my whole life.  I also have loved quilting and sewing for pretty much my whole life. SOOOOOO when I saw this Surfin’ Cats fabric from Riley Blake Designs – I died!  It literally combined three of my passions in one project: the beach, cats, and quilting.  BRILLIANT!!

When ever we go to the beach we make sure to always bring sweatshirts and a blanket.  It can be 112 degrees at our home and 35 miles away the coast will be a chilly 66 degrees.  I thought this was the purrrrrfect blanket to take to the beach on those windy days.  I love big theme prints and this pattern is a great way to show off the wonderful design of the fabric without cutting it up to much.  You can make this in a day – easy!

surfing cats quilt 2

Here’s how you can make it:

Supplies:

  • 1.5 yards surfin cats
  • 1.5 yards gray sashing fabric
  • 1/2 yard navy blue
  • quarter yard cuts of coordinating fabrics – I love the RBD basics – I used the chevron, houndstooth and polka dots
  • 1/2 yard gray basic shades
  • 1/2 yard white small dots
  • 1/2 yard binding – I used the chevron
  • 2 1/2 yards for back

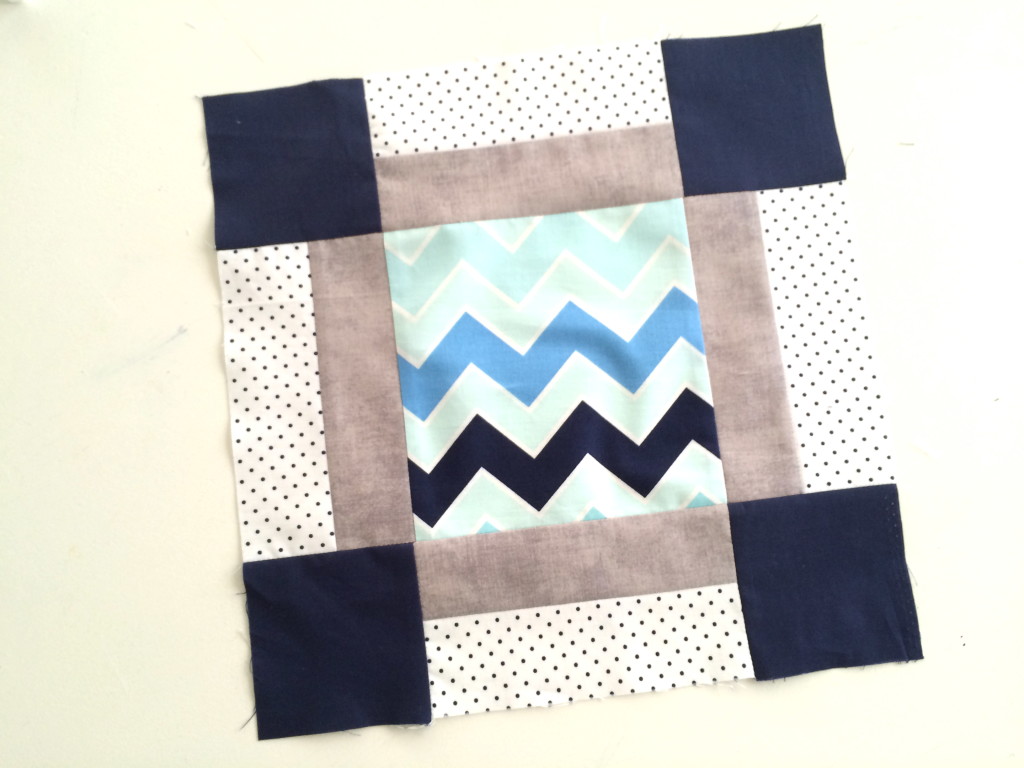
The quilt consists of 8 pieced blocks that are 12″ finished in size and 3 larger sections of Surfin’ cats.  All seams 1/4″.  Finished Quilt measures 57.5″ x 72.5″

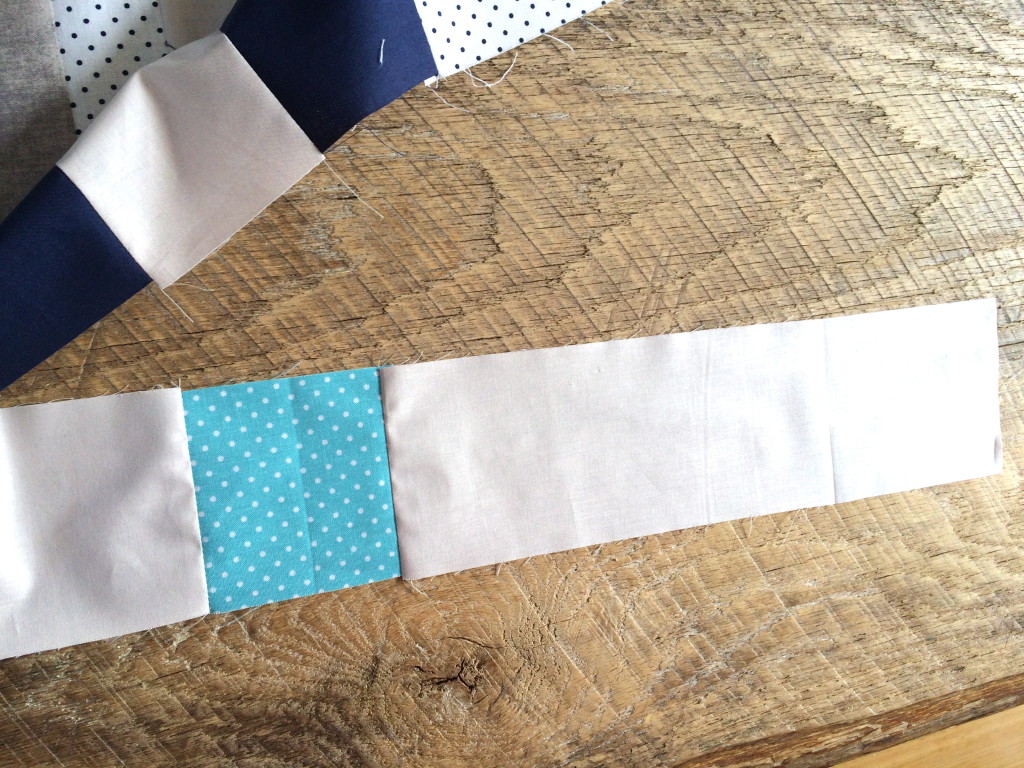
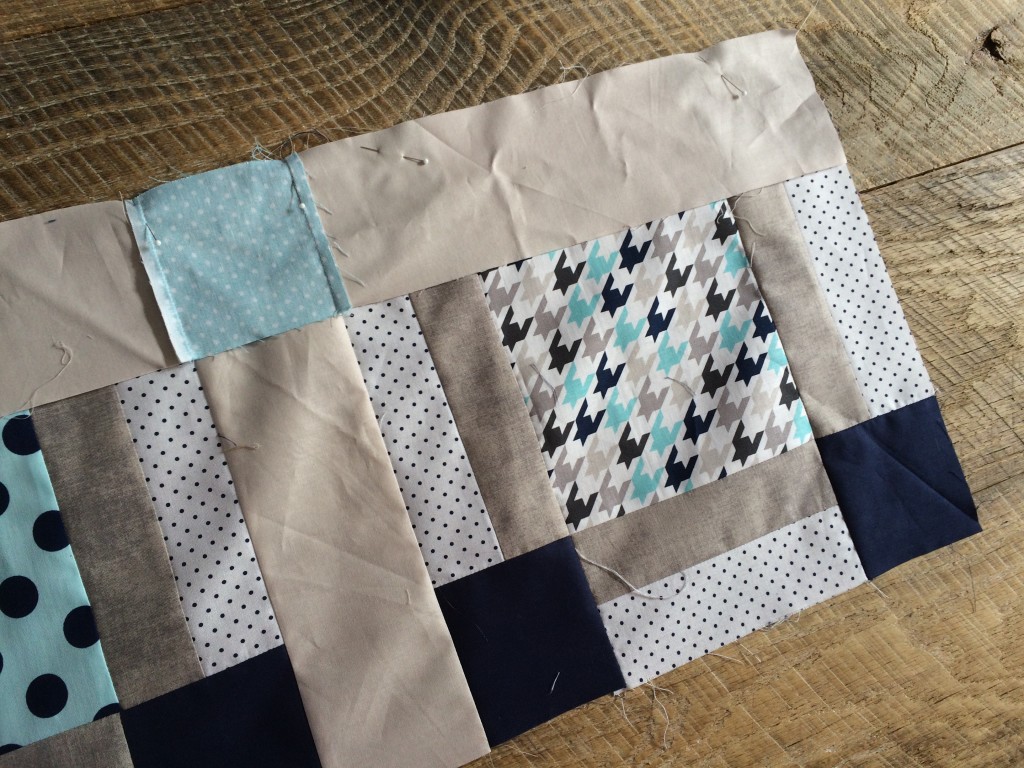
I choose to cut 2″ x WOF strips of the white small dot and the grey basic shades and piece the strips lengthwise.  Then I cut the strip sets into 6.5″ increments. Sew the block in rows and the rows together, alternating seems for pressing and matching intersecting seams.

surfing cats quilt 26

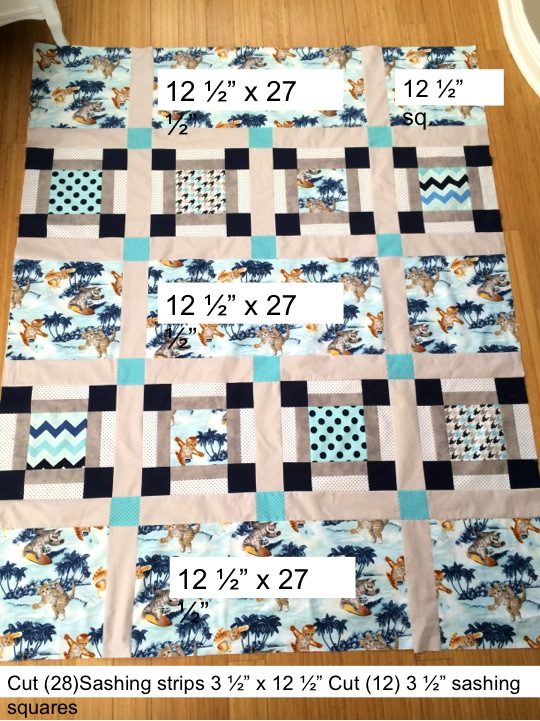
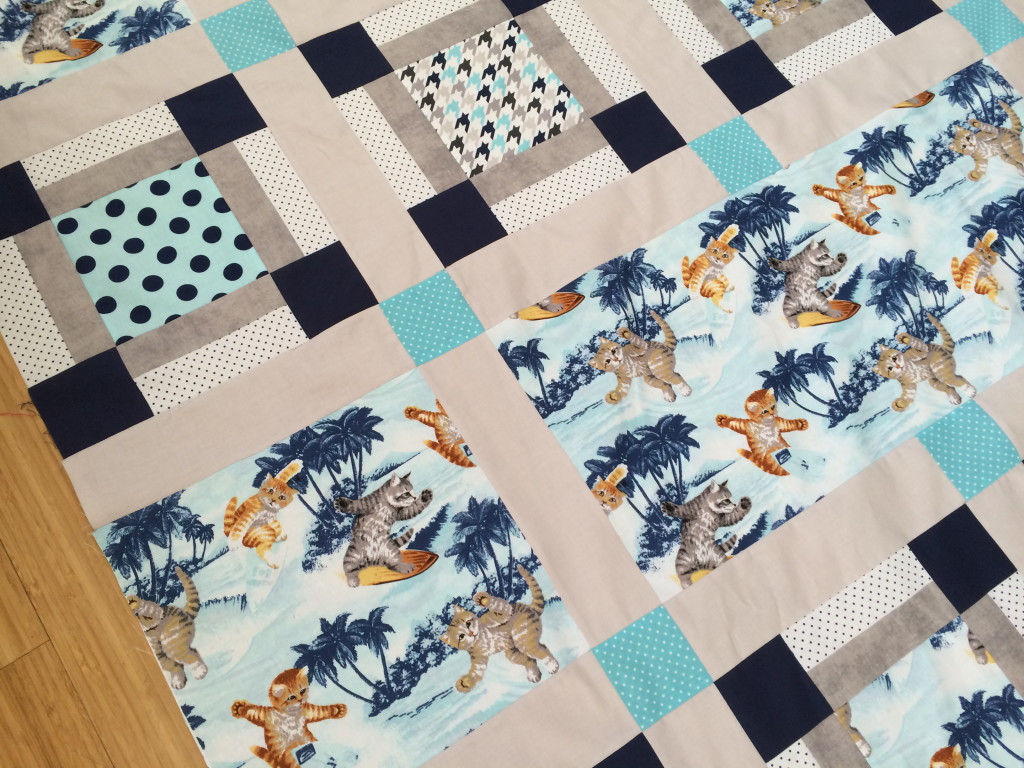
Once you have the 8 blocks finished, begin making the Surfin’ Cats section.  I labeled the quilt layout with the cutting measurements – I’m a visual learner & quilter!  All the surfin’ cats squares are cut 12 1/2″.

quilt layout

Sew the rows together how they are laid out, pressing seams alternately so they go together nicely.

surfing cats quilt 13

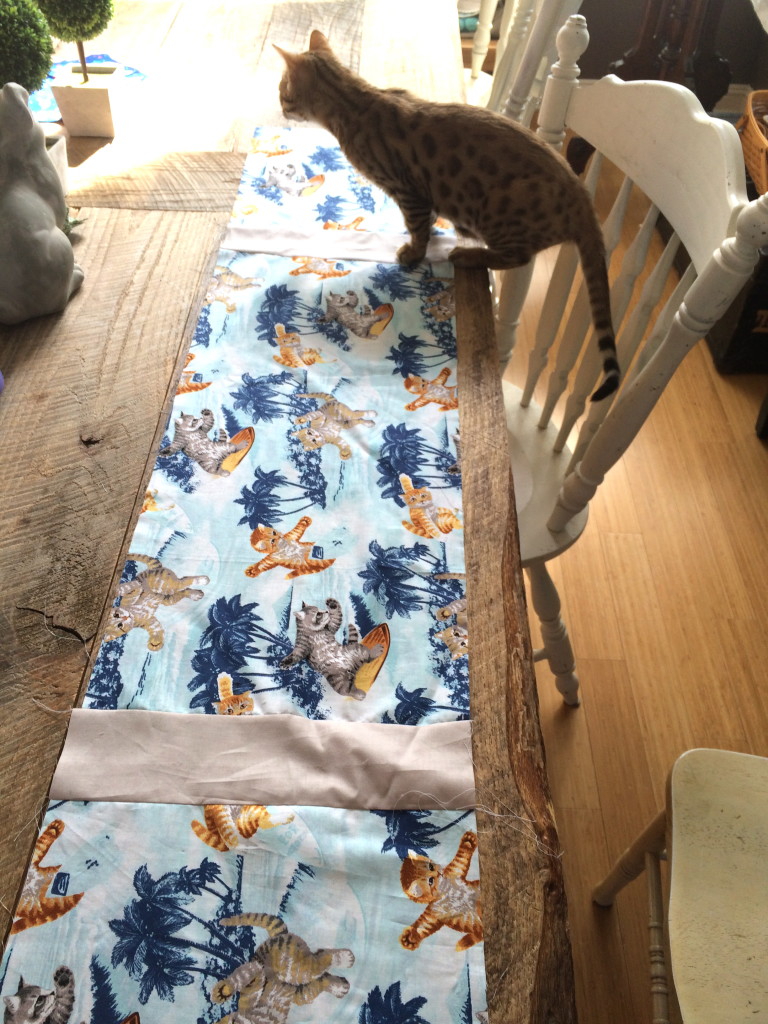
Make sure your cat helps in each step of the process!

surfing cats quilt 11

Pin all the rows together and sew.  Press the seams to one side.IMG_4020

The quilt top is done!  Super easy!!!

surfing cats quilt 15

surfing cats quilt 17

I had my friend quilt the quilt with her long arm machine.  She did a great job and I love all the swirly waves – it’s the purrrrfect finishing touch.

surfing cats quilt 4

surfing cats quilt 23

DSC_1444

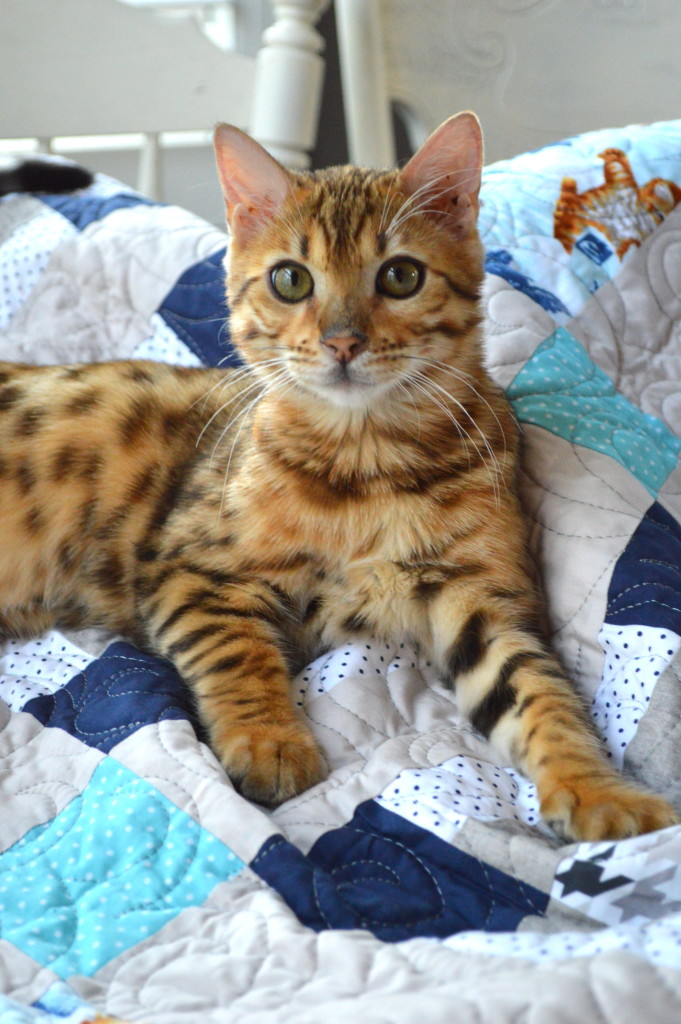
Mufasa totally loves it!!!     surfing cats quilt 22

Strawberry Patch Quilt Pattern – Available Now!

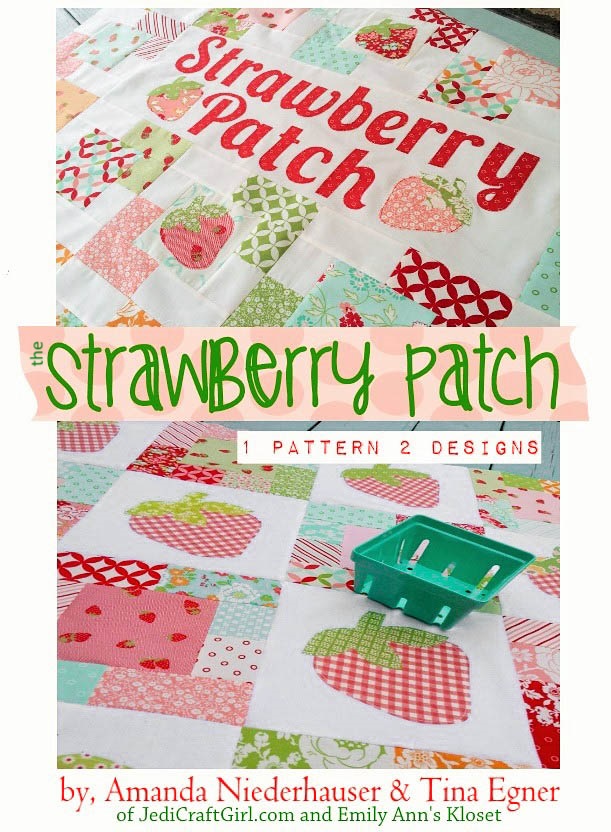
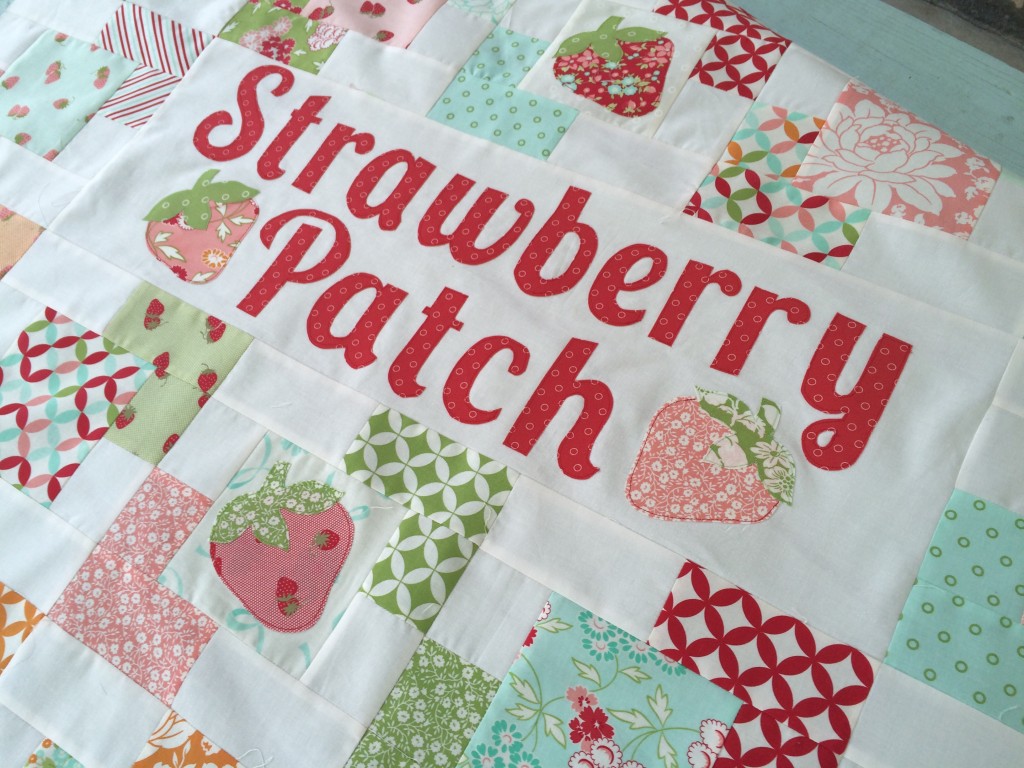
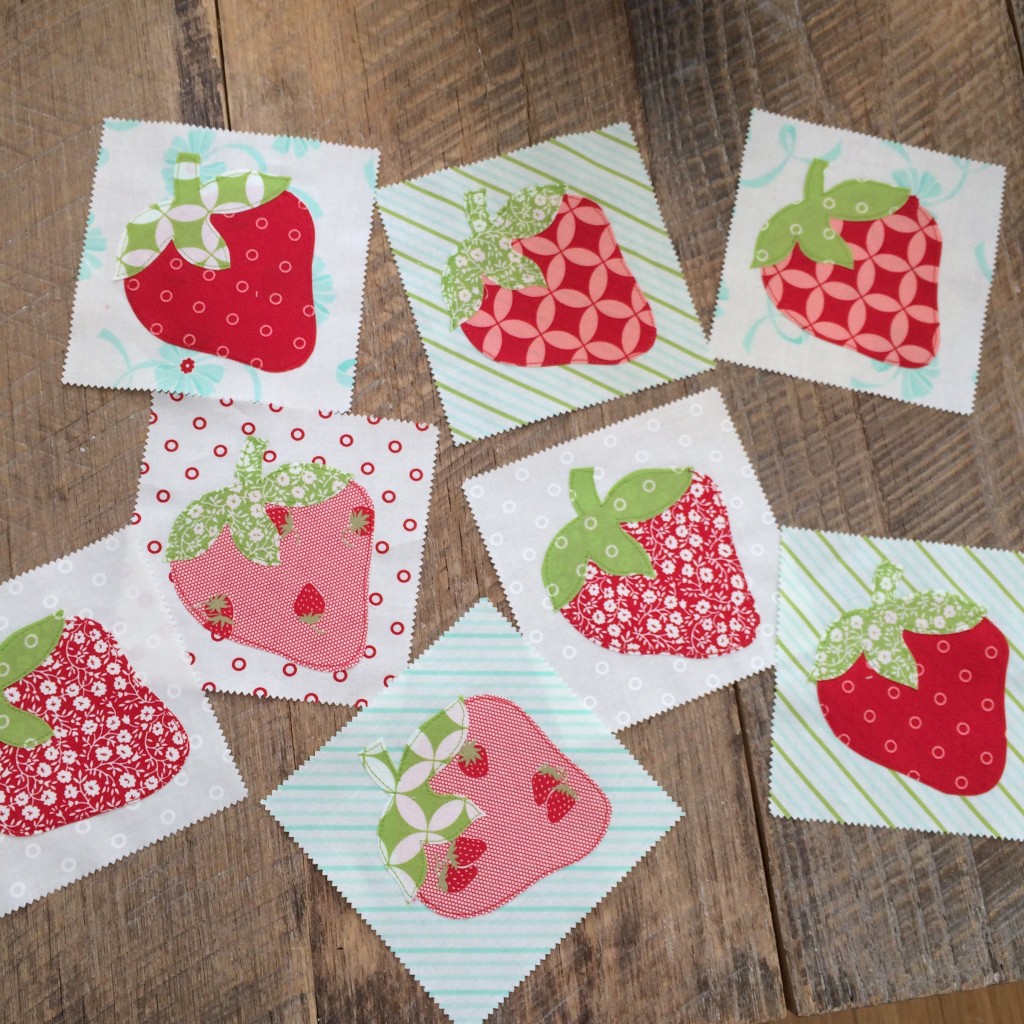
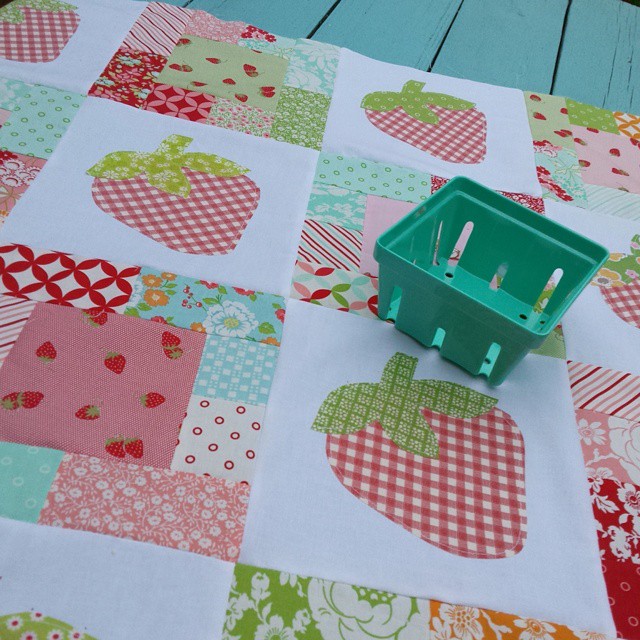
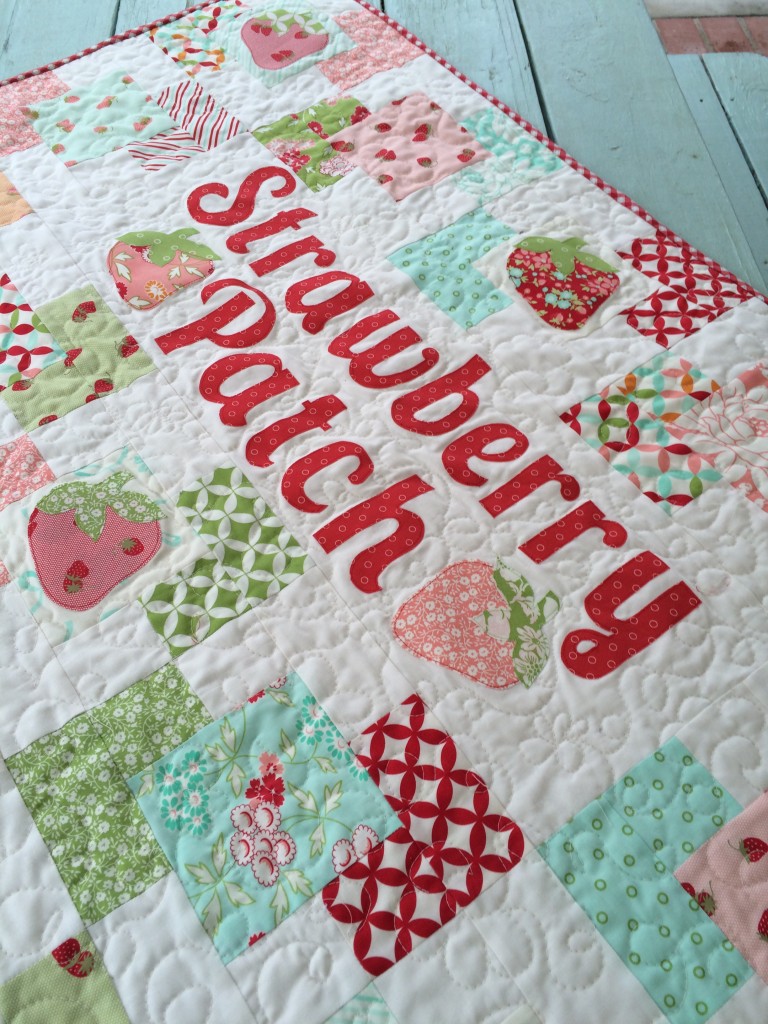
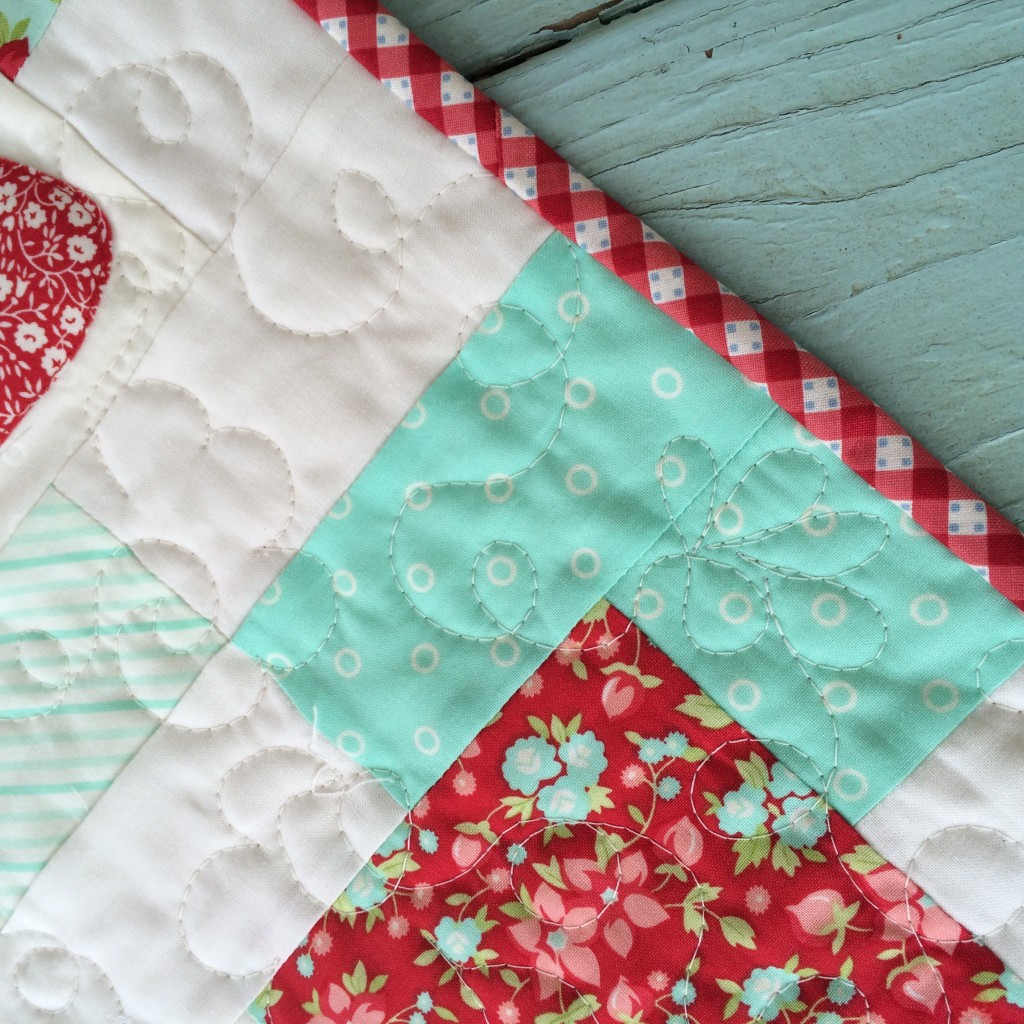
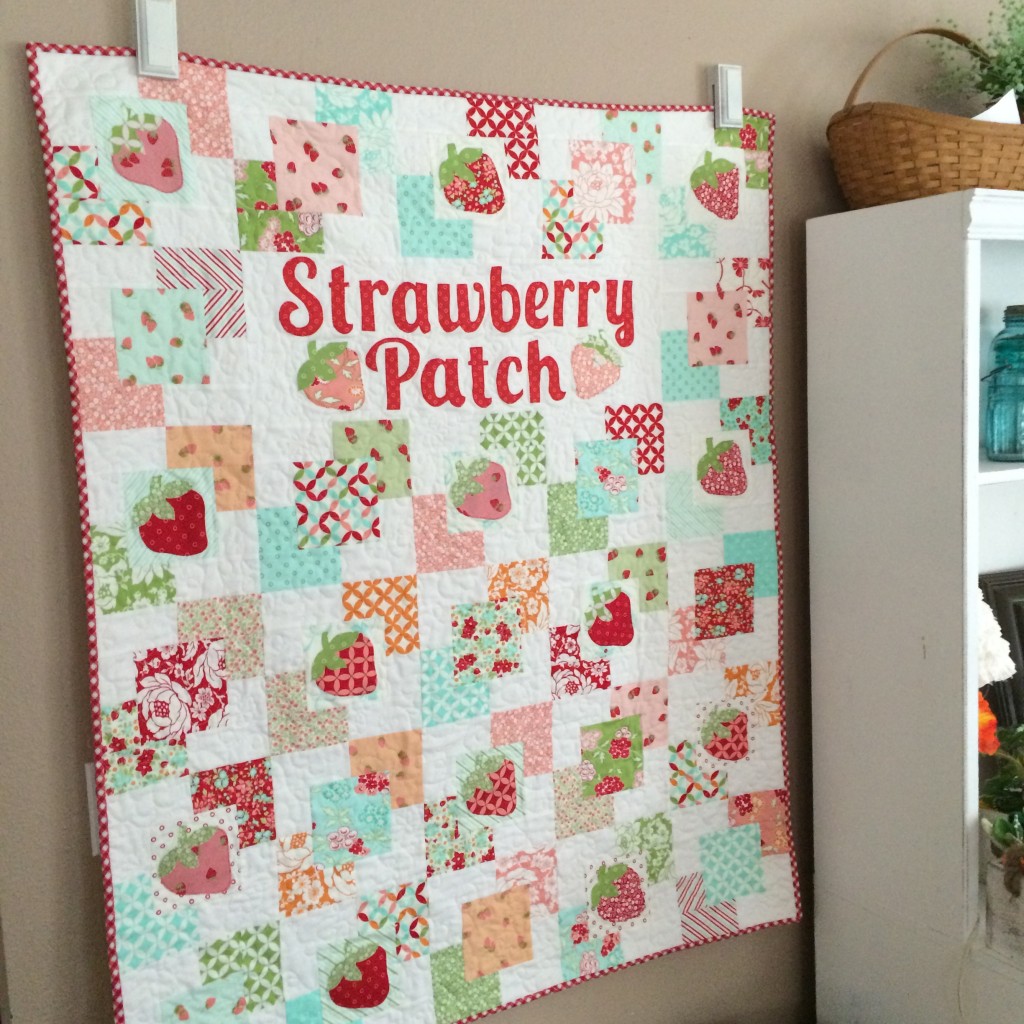
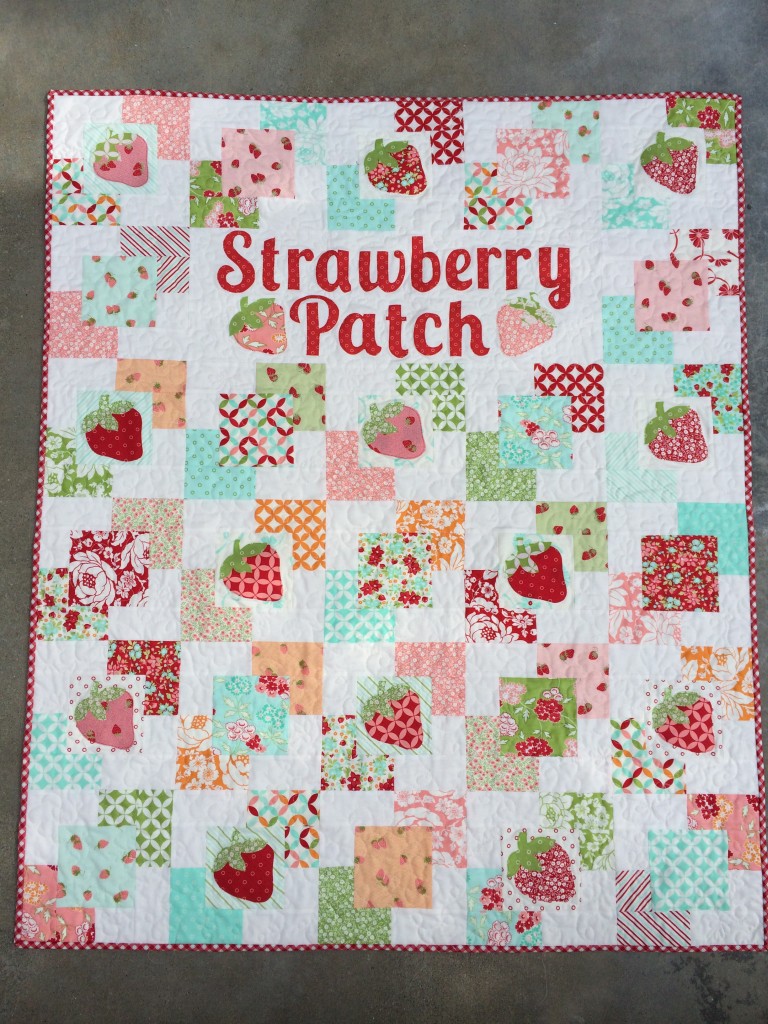
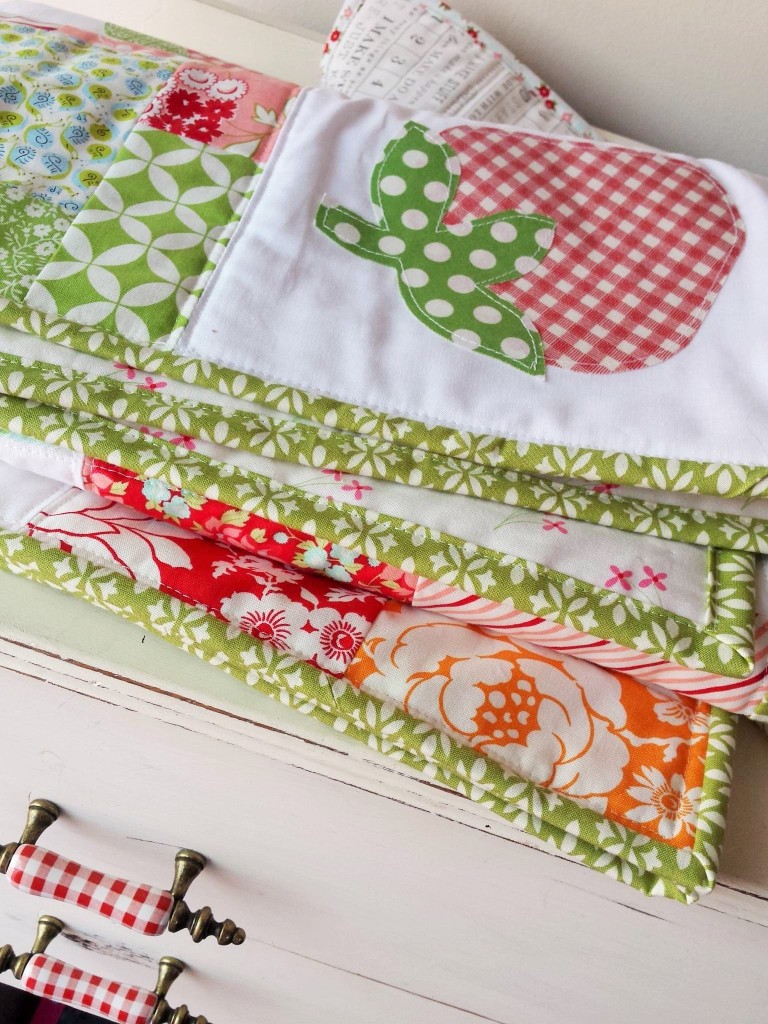
strawberry-patch-coverHomegrown strawberries in a New Jersey backyard, berries being grown all year round in Sunny California and two friends who lives miles apart….came together to design these yummy strawberry quilts…. JUST FOR YOU!  Tina from Emily Ann’s Klsoet and I had so much fun making these quilts – we know you will love the pattern as well!  It’s one pattern but there are 2 versions you can choose from!  The Strawberry Patch pattern is available in paper copy or PDF.  Come take a peek over at Emily Ann’s Kloset.
strawberry patch quilt hello darling moda 13

strawberry patch quilt hello darling moda 2

These yummy fabrics are from the Moda fabric line “Hello Darling”.  strawberry patch quilt hello darling moda 3

strawberry patch quilt hello darling moda 15
strawberry patch quilt hello darling moda 5

strawberry patch quilt hello darling moda 6

I have my quilt hanging in my family room – I smile whenever I walk by it 🙂
strawberry patch quilt hello darling moda 8


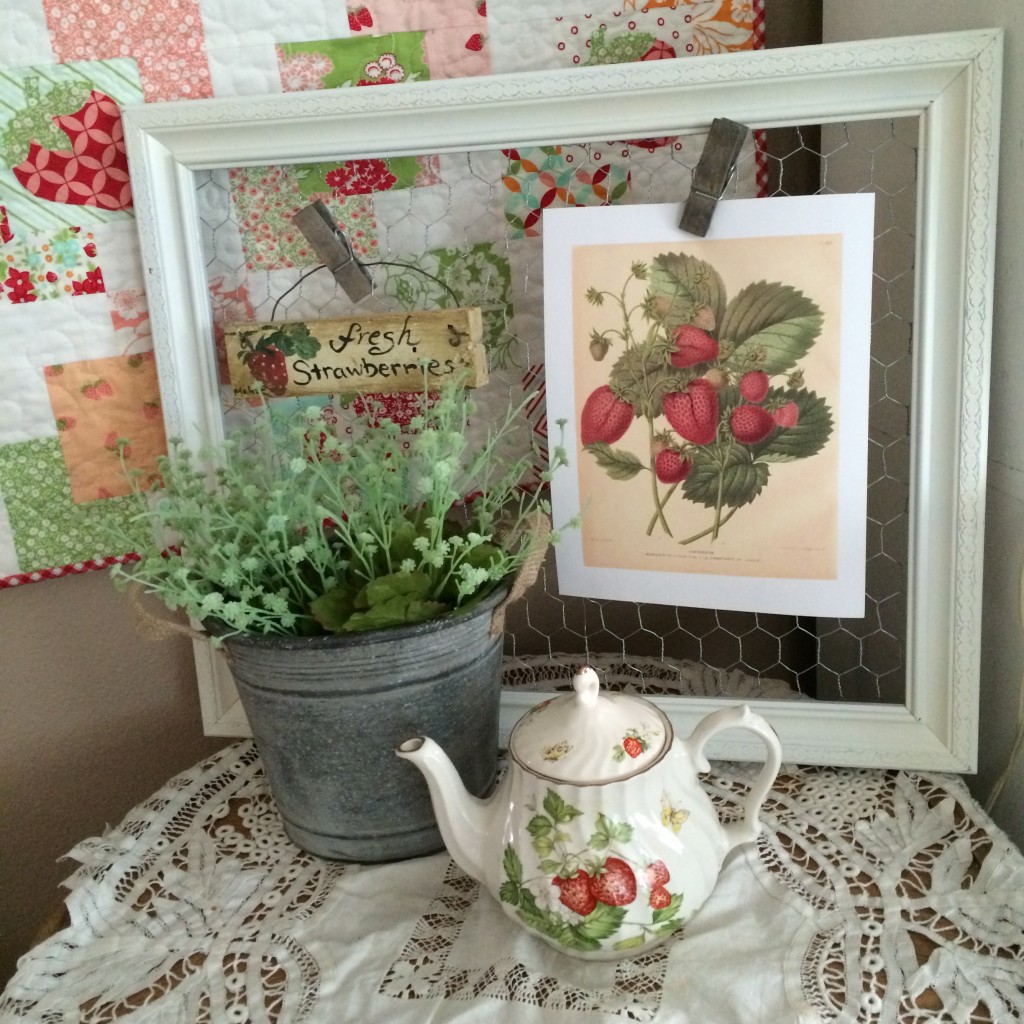
I even updated some decor times to have a strawberry theme.  It just feels so happy!!!strawberry patch quilt hello darling moda 9


I hope you love this quilt as much as I do!!!strawberry patch quilt hello darling moda 10

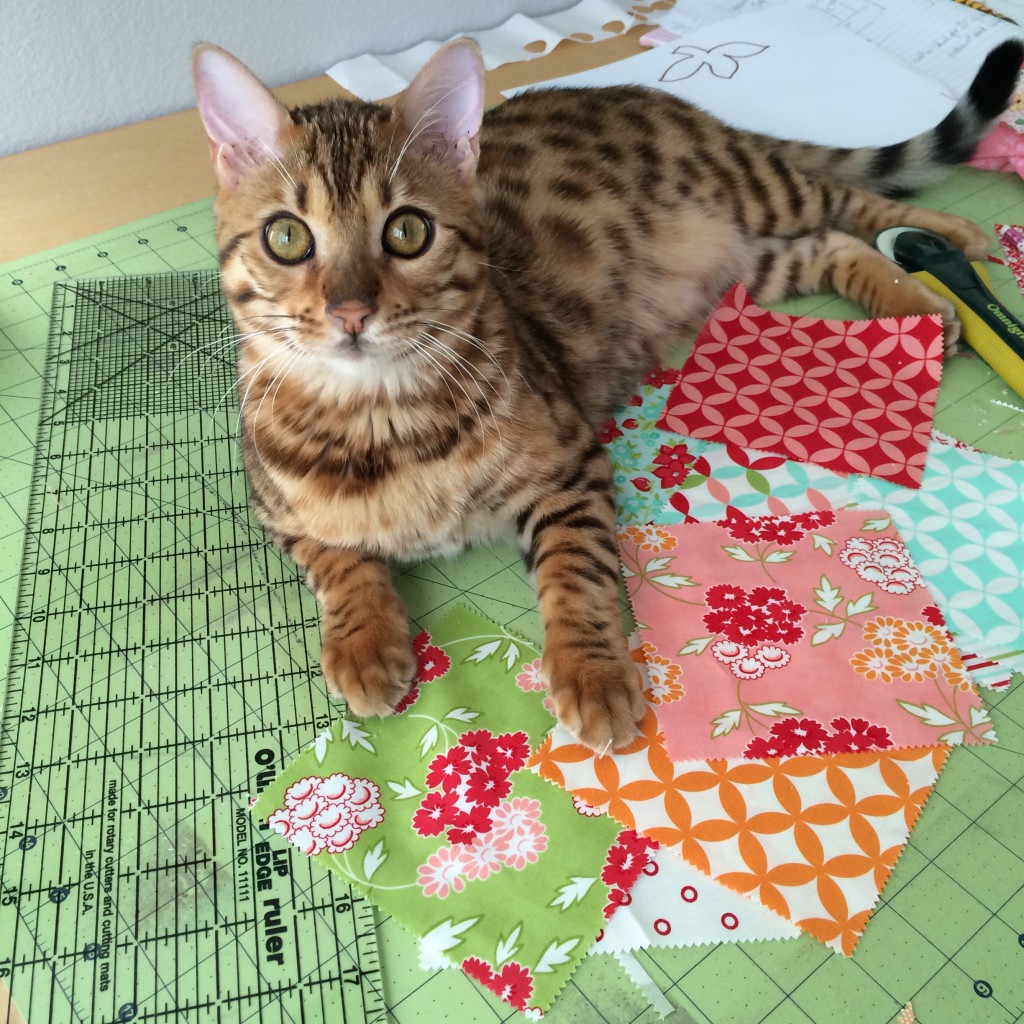
Baby Mufasa was very helpful in the quilt making process!!!
strawberry patch quilt hello darling moda

Choose Happy {quilt pattern}

choose happy cover

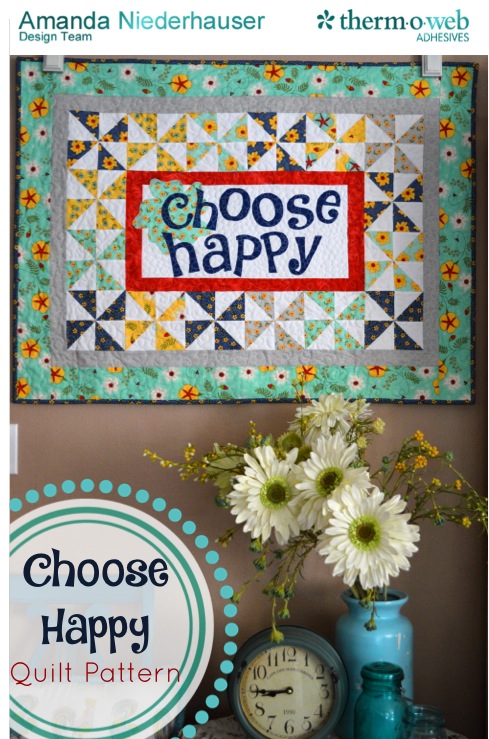
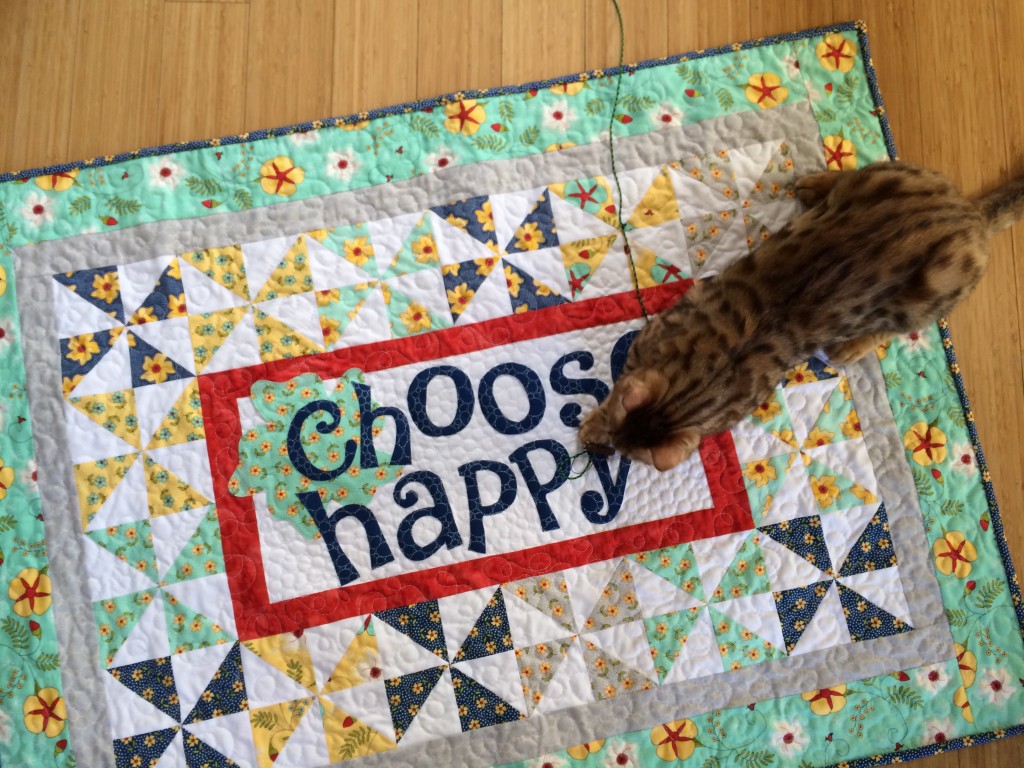
Meet my newest quilt pattern “Choose Happy”!!!!!  Its a free pattern available on the Therm O Web Blog.  The fabrics are from Pat Sloan’s newest Moda line called “The Sweet Life”.  They are so bright and cheerful and HAPPY!!!

choose happy quilt 25

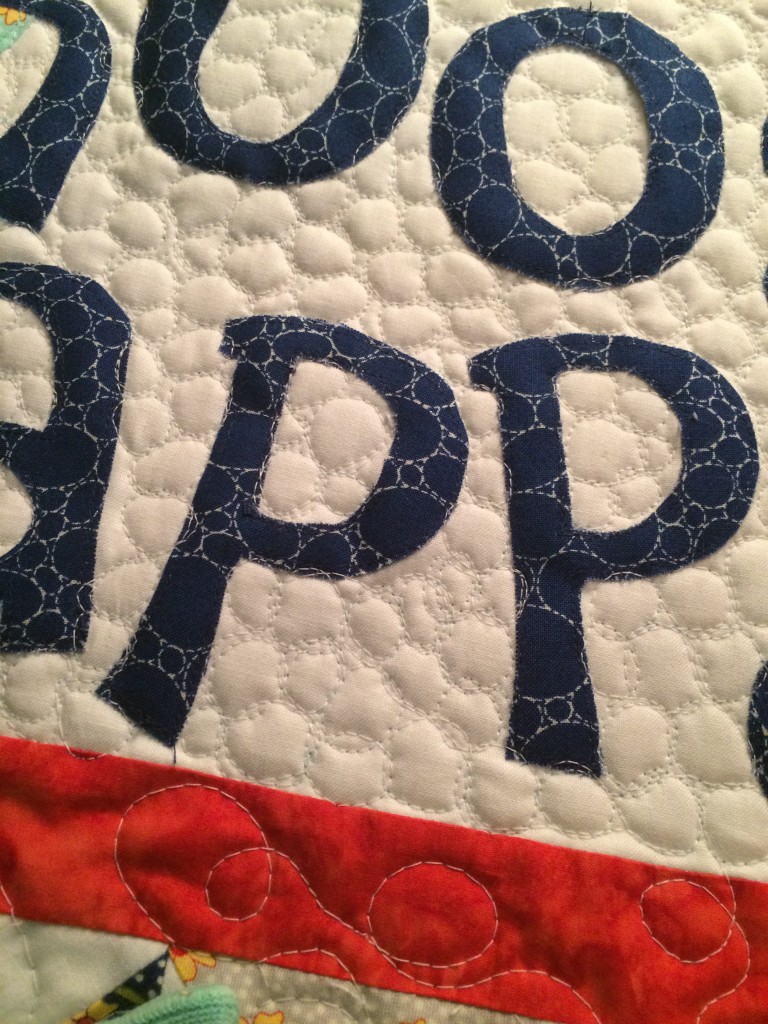
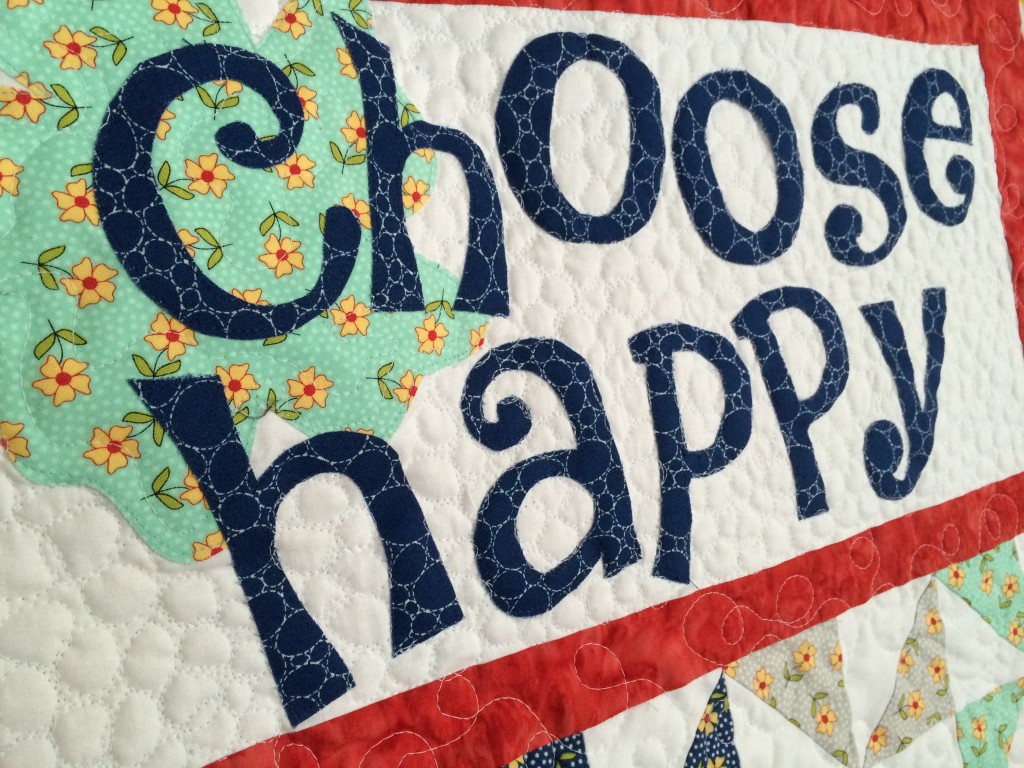
Of course my #kittyquilter Mufasa had to get his paws on the project 🙂  The letters and flower are appliquéd using Heat n Bond Lite EZ print sheets.  You can print the patterns from the Therm O Web Blog.  I love pinwheels and I thought they were perfect to use with this fabric!  The center quilting is “pebbles” and the main part of the quilt is loop-de-loos.choose happy quilt 24

This would quilt would be darling on your sewing room wall or as a sweet gift for a friend.  I’m going to sew up another one soon!!!
choose happy quilt 26

Nautical Mini Quilt Pattern & Giveaway

nautical week 2

When I told my daughter I was hosting Nautical Week she said, “Isn’t every week Nautical Week for you?”  I had to laugh because it’s totally true!!  

I am so excited to announce that I will be teaching a nautical themed modern quilt aboard the Made Modern Quilt Cruise next year in March!

As much as I love to wear sporty nautical wear, I’ve never actually been on a cruise….gasp!!!  I am happy to be joining two AMAZING quilters: Allison Harris of Cluck Cluck Sew and Amy Ellis of Amy’s Creative Side.  You can read all about the details of the cruise at Stitchin’ Heaven Travel.

stitchinheaven-footer-logoEscape to the Caribbean, make new friends, learn a new technique, & sew all you want! How can it get any better?  Join us for a 7-night Western Caribbean Cruise!  Isn’t this concept brilliant?  Quilting & vacationing at the same time!!!

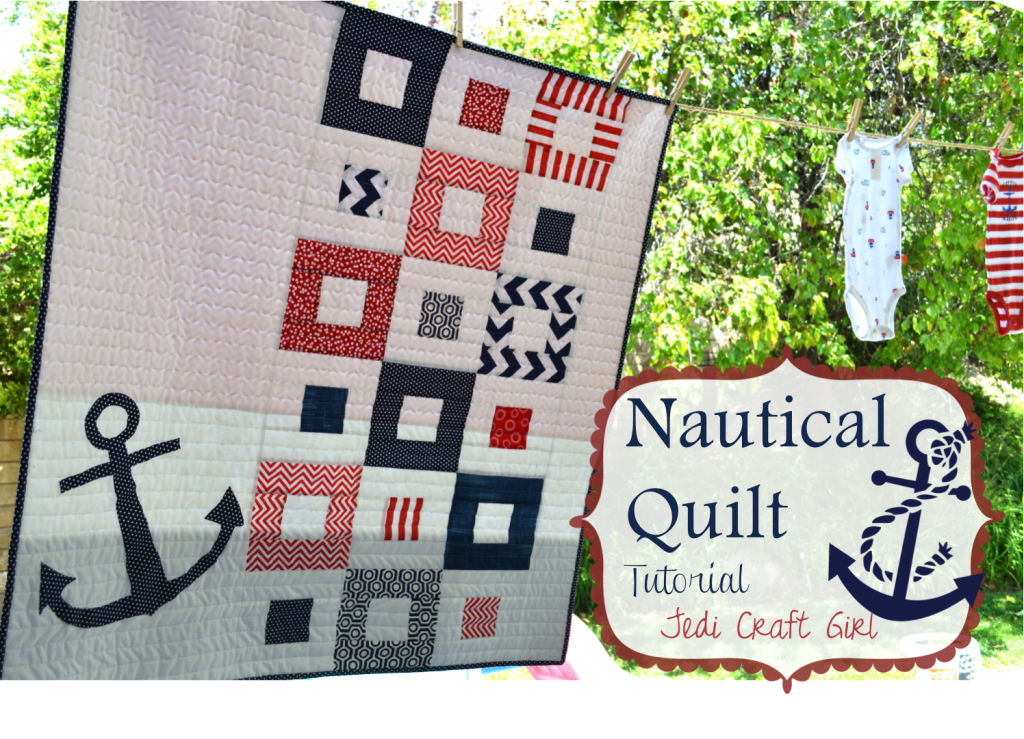
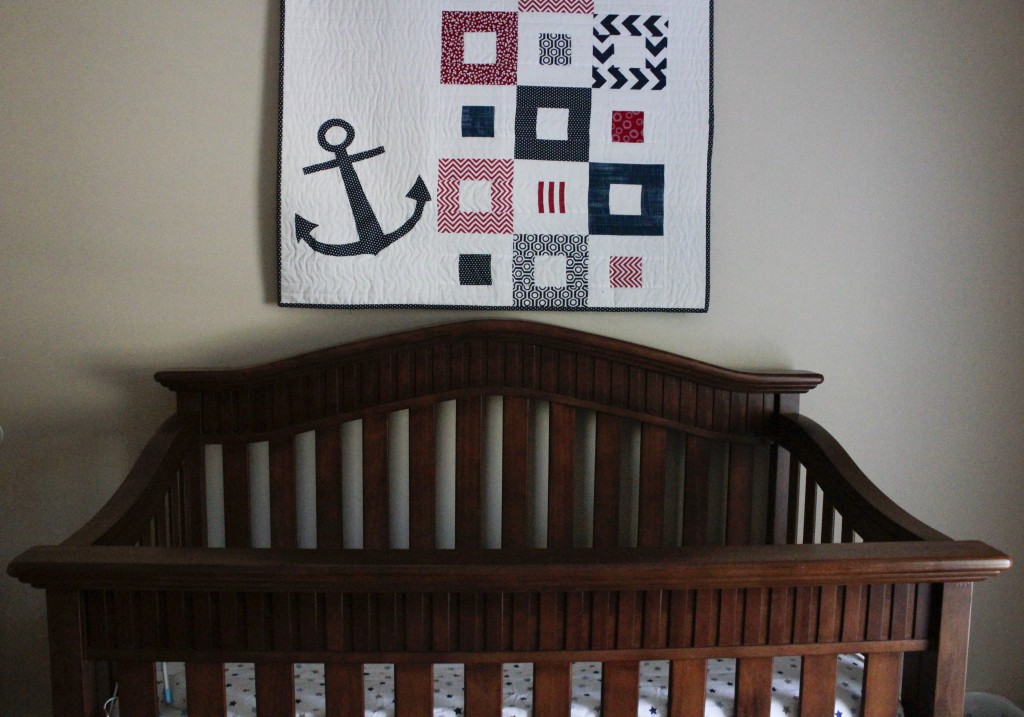
Modern2016_header-2I will be teaching a throw-size version of my Nautical Baby Quilt.  Did I mention I love anchors?

nautical_quilt_tutorial_baby_shower

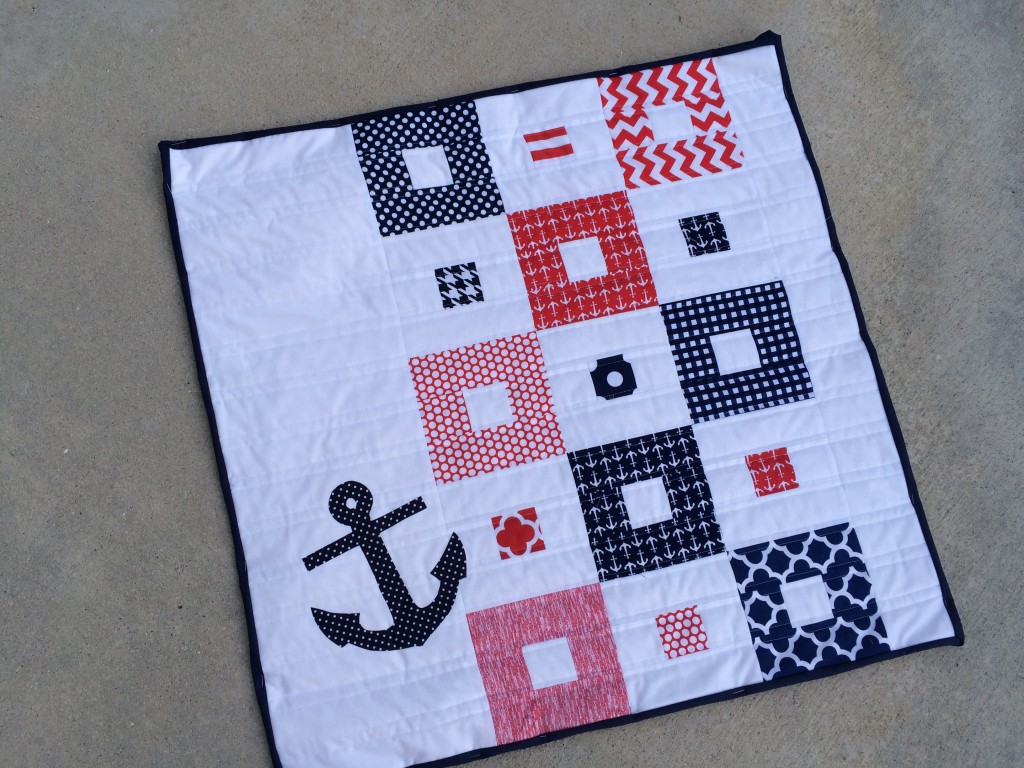
_MG_0559copyToday I am sharing with you a mini version of this quilt – something you can make in an afternoon!  It measures 30.5″ square.  And even better – you can go to my Instagram and enter to WIN this mini quilt!!
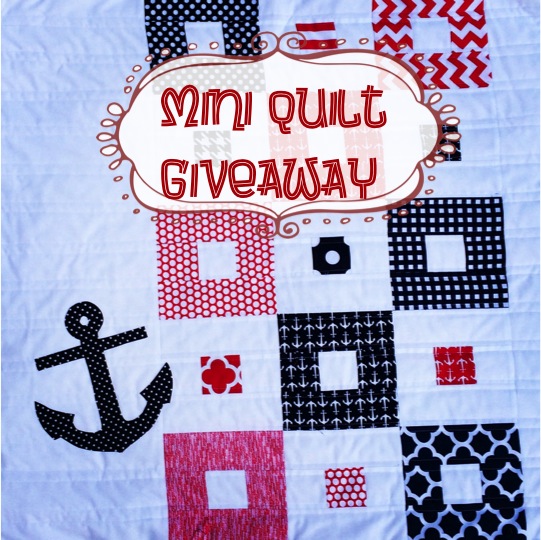
mini quilt giveaway

nautical mini quilt 7

Here’s how you can make one:

Block size 6″ quilt size 30.5″

Supplies:

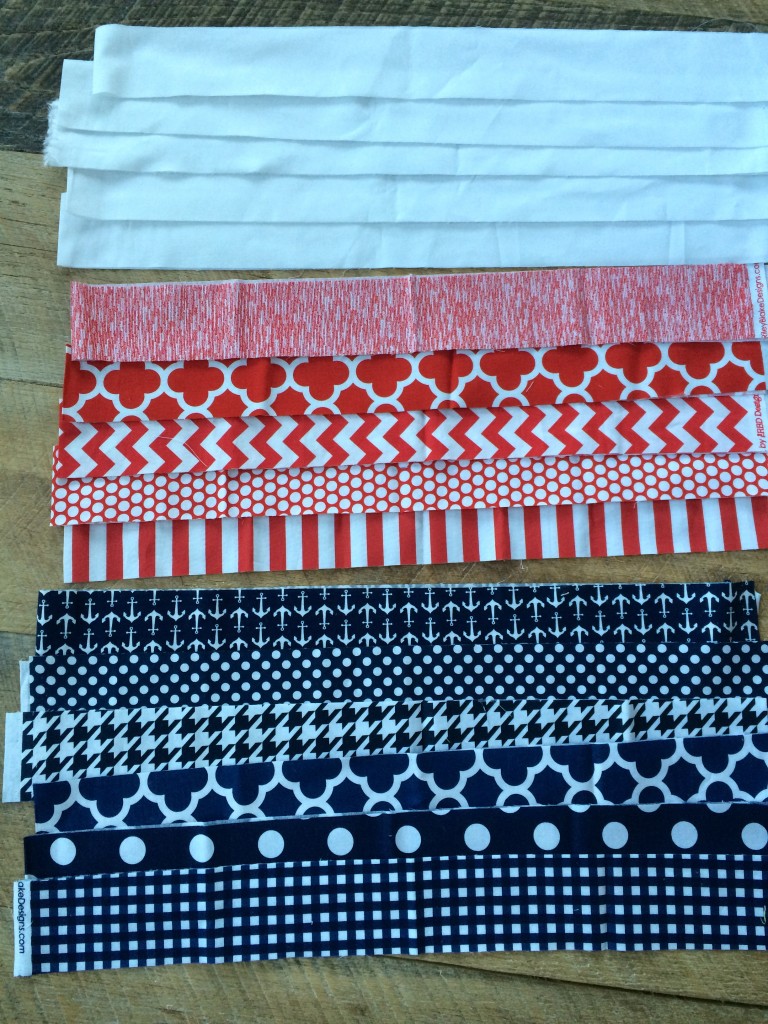
8 or more 2.5″ x WOF strips of Navy print and Red Print.  I used Riley Blake’s Basics.

Fat quarter of navy dot for anchor

1 yard white solid fabric

1 yard backing fabric

Anchor pattern

Heat n Bond EZ Print sheets

1/3 yard binding

cotton batting

nautical mini quilt

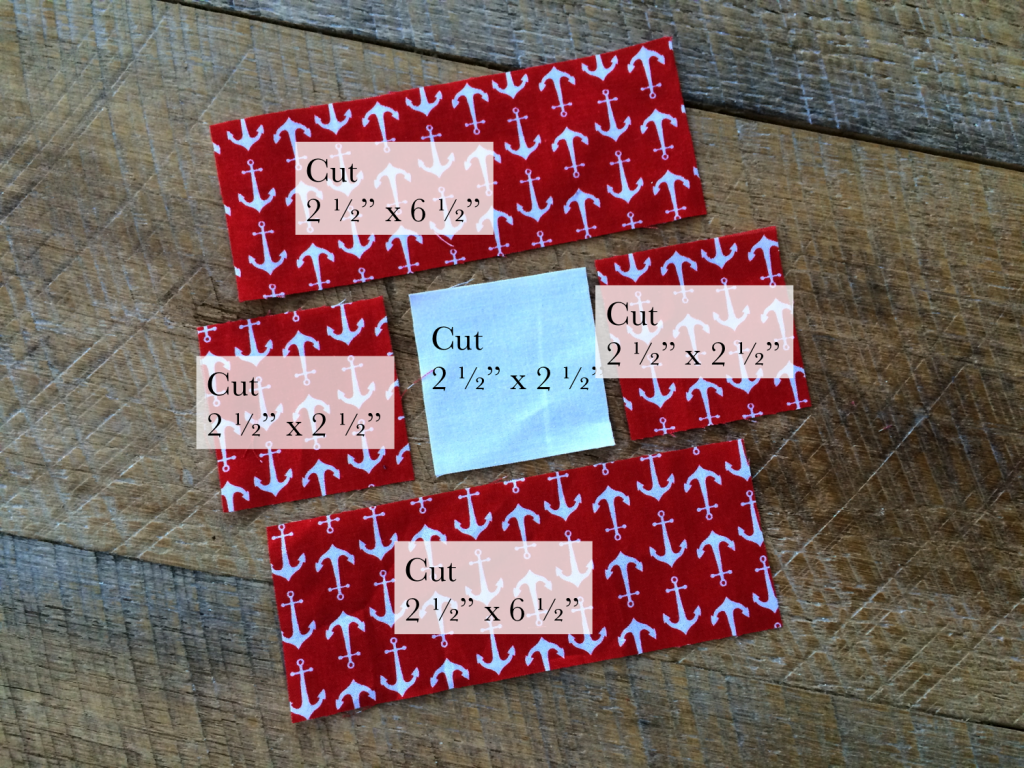
Cut the 2.5″ strips in the following dimensions for each block (12 blocks total)

block insturctions

Sew (1/4″ seams throughout) the (3) 2.5″ squares together in a row, pressing toward the dark.  Then sew the 6.5″ strips to the top and bottom, pressing toward the dark.

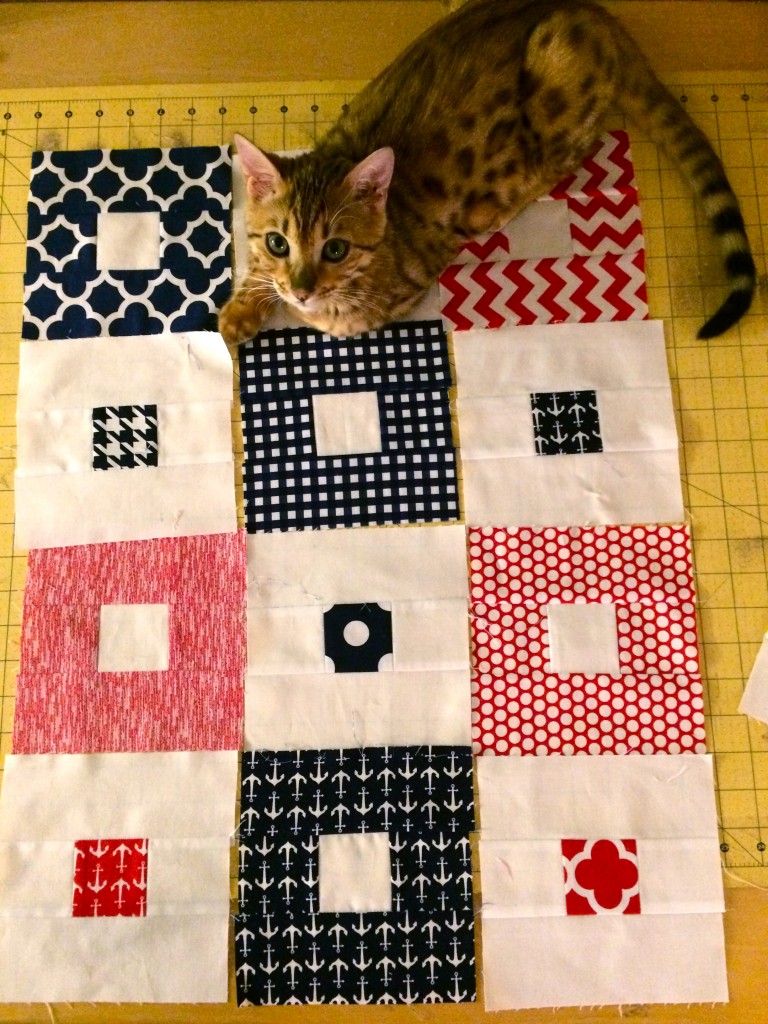
Once you have 6 dark blocks and 6 light blocks completed, have your kitty help you lay them out.

nautical mini quilt 3

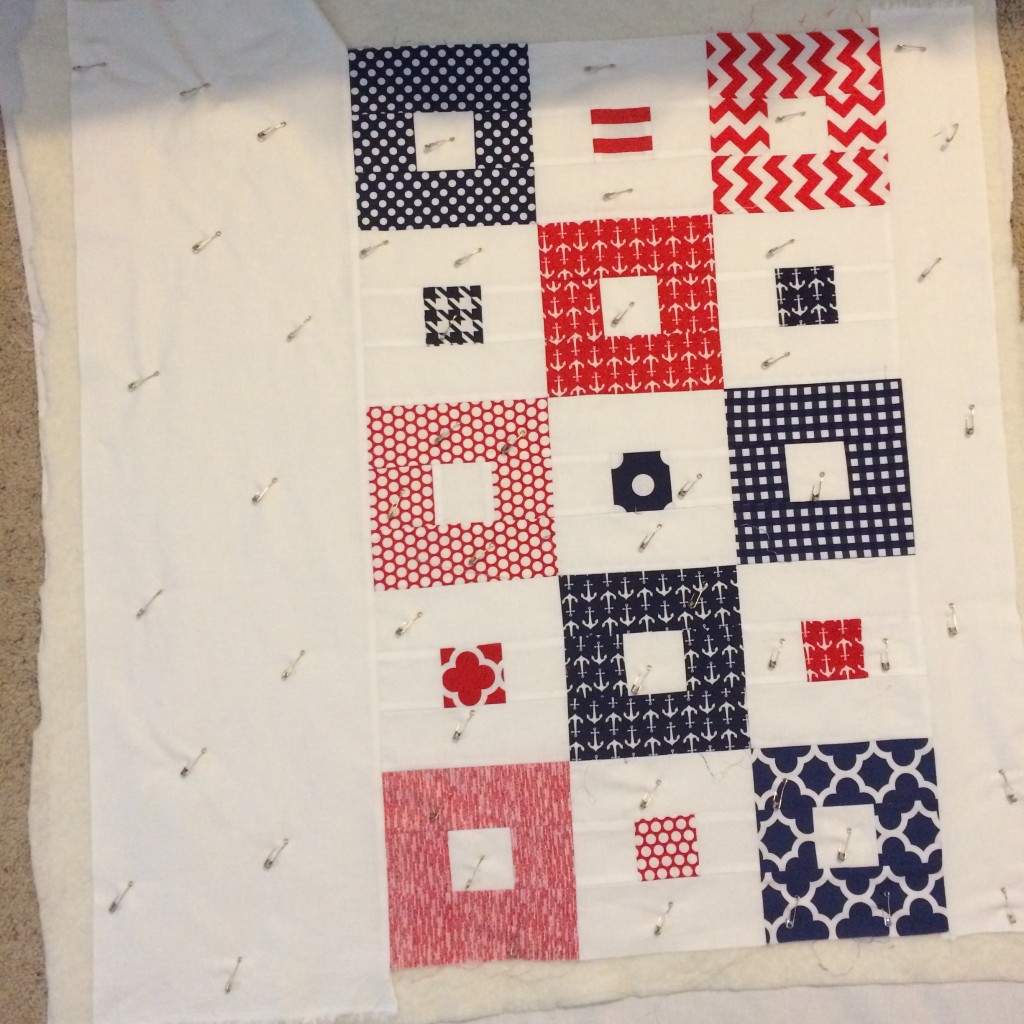
Sew these together in rows.

Cut a 9.5″ x 30.5″ strip from the solid white

Cut a 3.5″ x 30.5″ strip from the solid white

Attach these to the sides:

nautical mini quilt 2
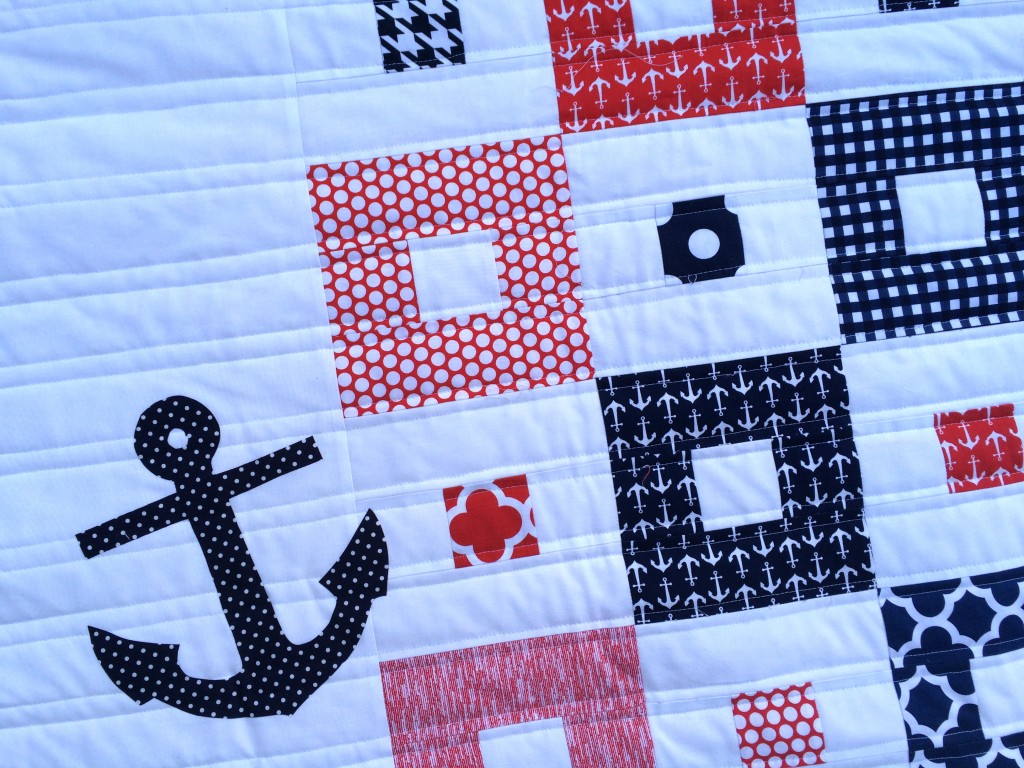
I added the anchor last, after I quilted it.  I didn’t want to quilt over the anchor.  I wouldn’t recommend this normally.

nautical mini quilt 4

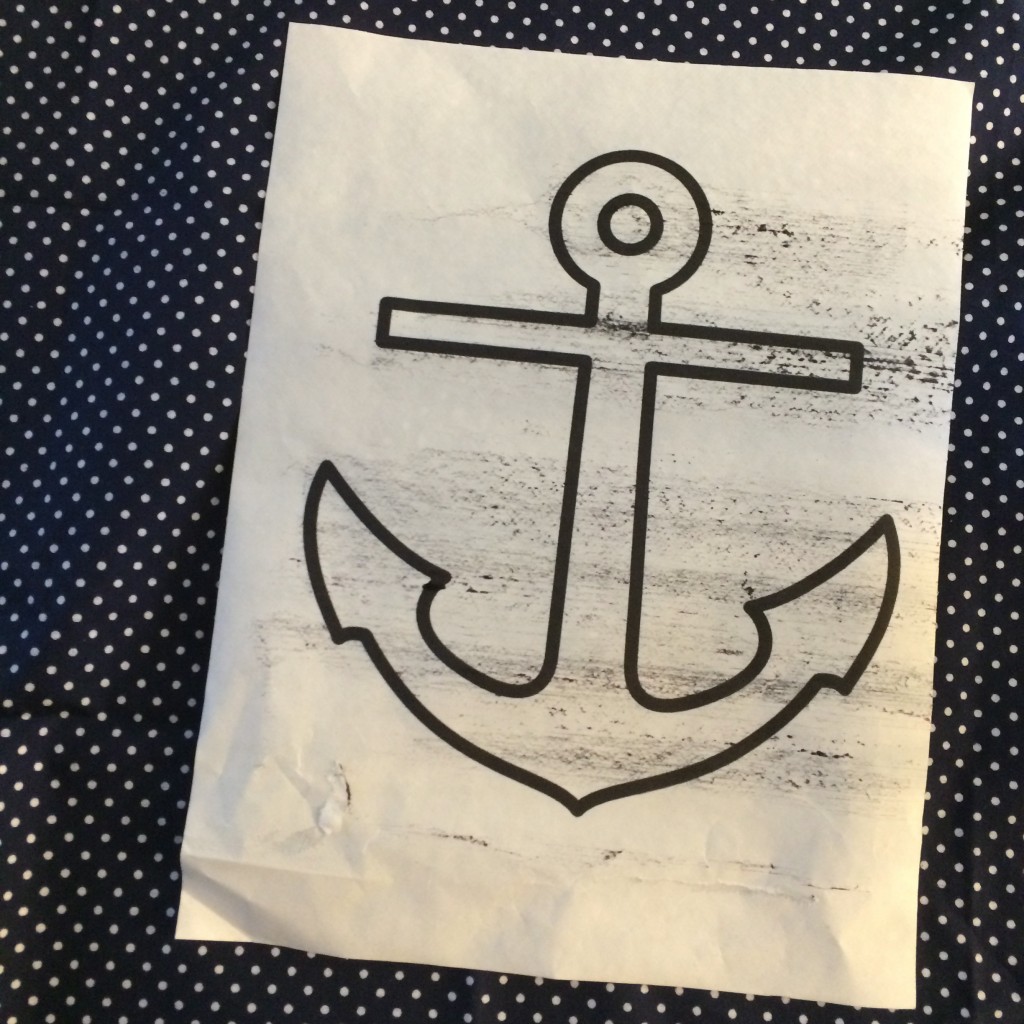
After quilting, print the anchor pattern on the Heat n Bond EZ print sheets (or trace it to appliqué paper) and it to the wrong side of the navy dot fabric.  Cut out around the anchor.  Press the anchor into place and top stitch to secure.  Add binding.
nautical mini quilt 6Head over to my Instagram and enter to win this quilt!!!

Kitty Mini Quilt

minikittycover

My Mini Kitty Quilt Pattern is available to purchase from Emily Ann’s Kloset.  The inspiration from this quilt came when I heard from a friend that her 6 month old kitten was diagnosed with a fatal disease.  My heart broke in half.  Of course this was devastating to her and her children. I have lost 2 kitties in the last 2 years and it hurts really bad 🙁  I wanted to send her something to show I cared.  I came up with this Mini Kitty Quilt.  I was inspired by folk art paintings of flying cats.

Kitt Quilt 2

Of course my Kitty Muasa was very helpful in making this quilt!

kitty love mini quilt 15

Here are a few other versions of the Mini Kitty Quilt in different colors.  It is such a fun quilt to make and you can make it in about an hour!mini kitty quilt 5

mini kitty quilt 3

mini kitty quilt 2

mini kitty quilt

kitty quilt