Big Print Baby Quilt {Free Quilt Pattern}

big print baby quilt

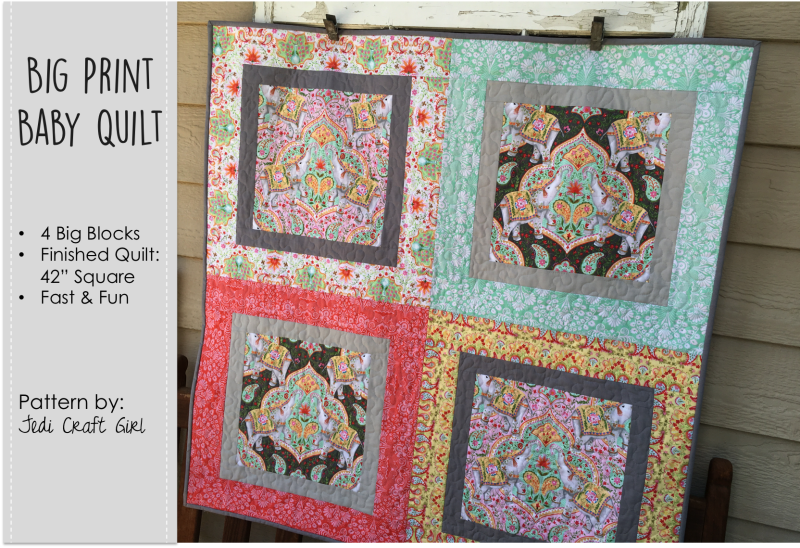
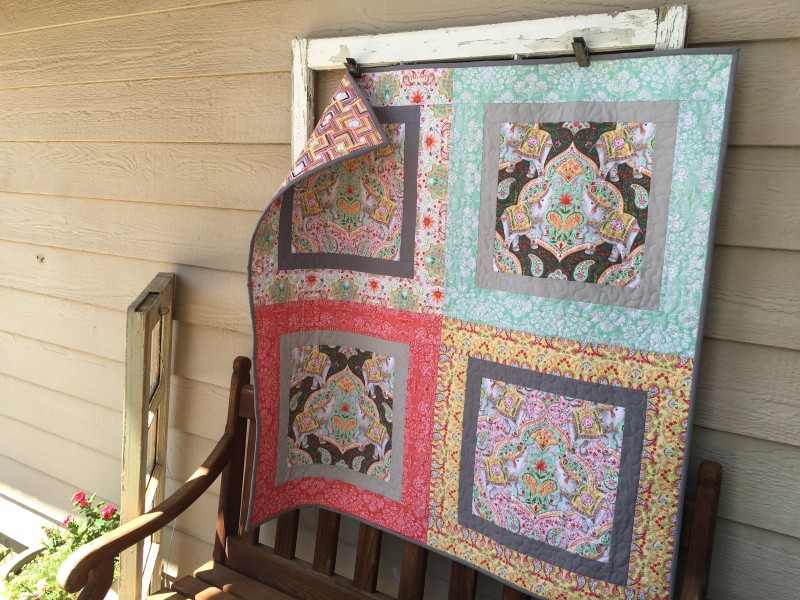
I love big prints and I cannot lie!  Especially big prints with animals!  Sometimes it’s hard to figure out what to do with big theme prints and it seems all the quilt patterns out there require cutting fabric into tiny pieces.  I came up with this quilt pattern because I wanted to showcase the large elephant print in this new line of fabric by Blend called Season of Love.  My friend recently had a baby girl and she loves elephants!  So this was the answer!  The quilt consists of 4 big blocks sewn together in a 4-Patch.  All you need is about an hour to put the quilt top together – whooo hoooo!!!

Here’s how you can make one!  All seams 1/4″

Fabric Requirements:

1/2 yard dark theme print

1/2 yard light theme print

1/3 yard light gray

1/3 yard dark gray

1/4 yard (4) different accent fabrics

1/2 yard binding

1 1/2 yard backing
big-print-quilt-measurements

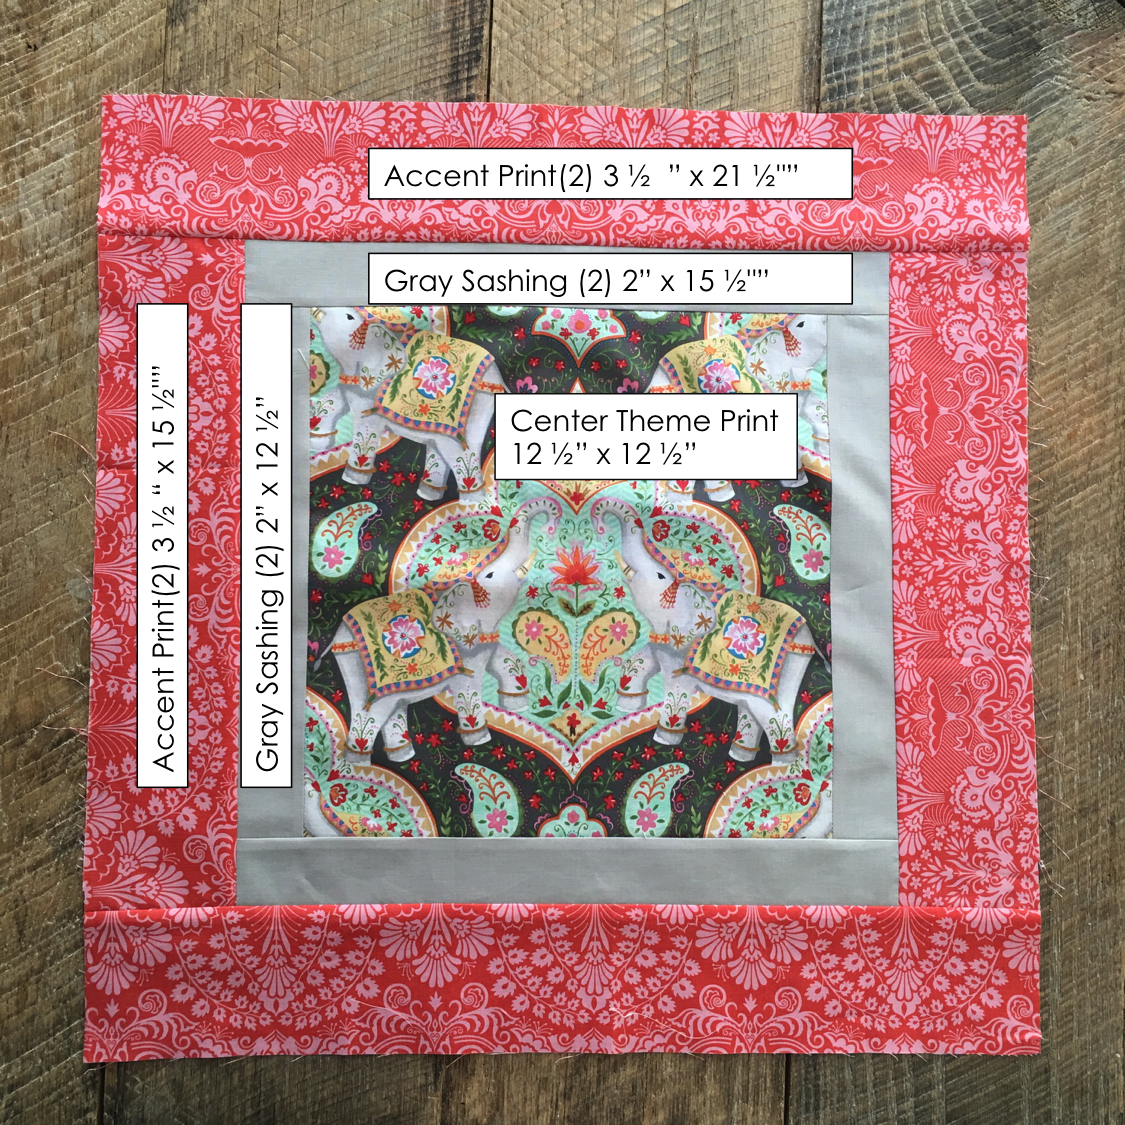
Begin by cutting the fabric according to the cutting diagram above.  Sew the side gray sashing strips to the theme print center.  Press.  Sew the top and bottom gray sashing strips.  Press.  Sew the side accent print strips.  Press.  Sew the top and bottom accent prints.  Press.  Make 4 big blocks.
IMG_0041

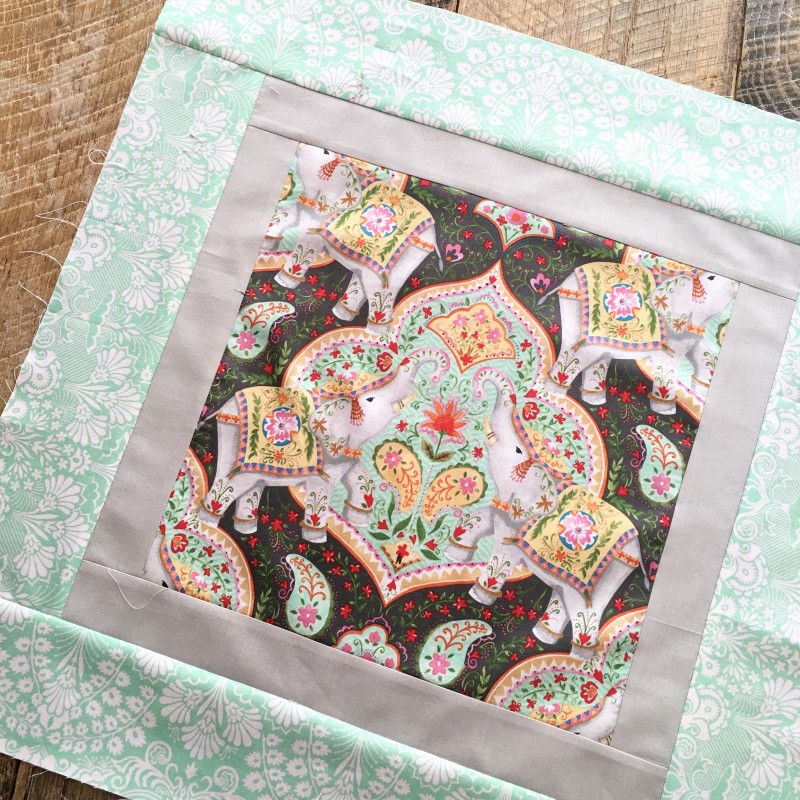
Notice the light theme print has dark gray sashing and the dark theme print has light gray sashing.  Sew the 4 big blocks together as you would a 4-patch.  Press.  IMG_0043
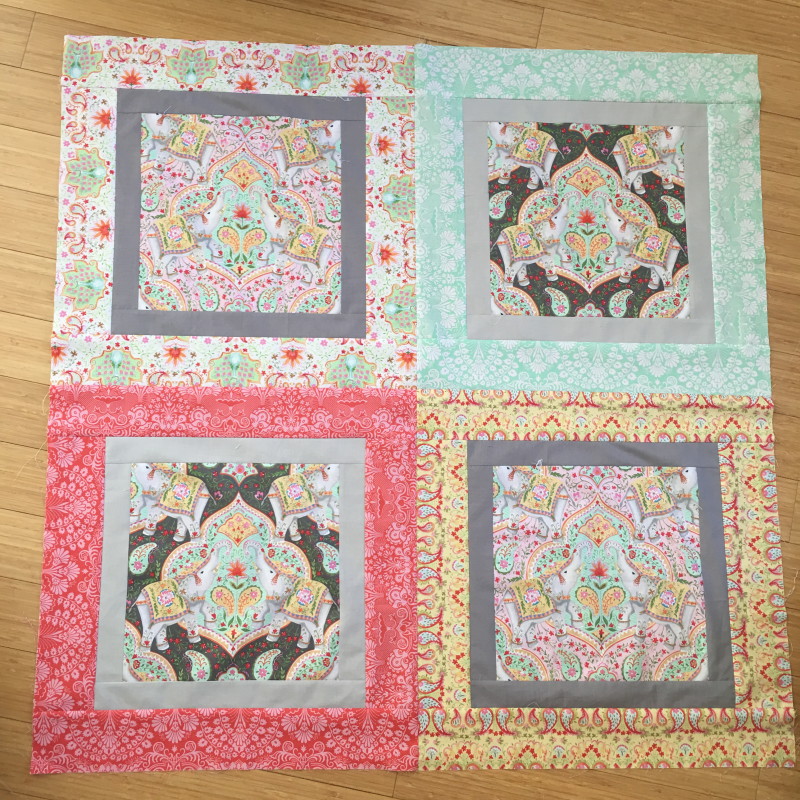
Baste the quilt to the batting and backing fabric and quilt and bind.
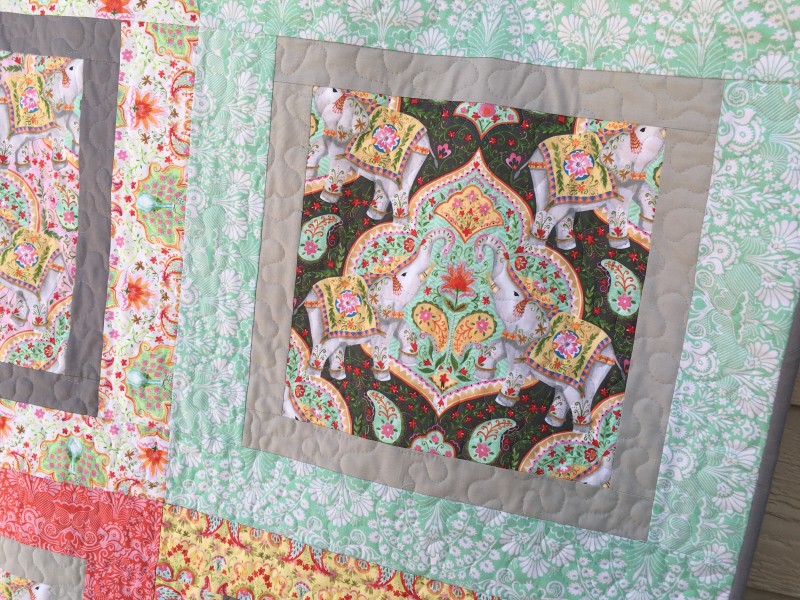
IMG_0375

I love how this turned out!  You really get a feel of the theme print – and it is a large print!!
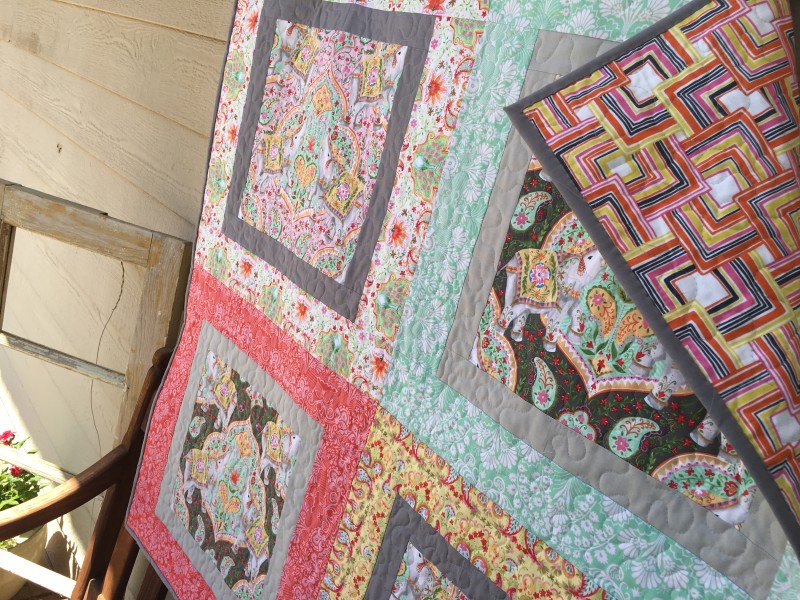
IMG_0374

I can’t wait to make another one of these in different fabrics!!! I’m thinking whales?  Cats?  Foxes?
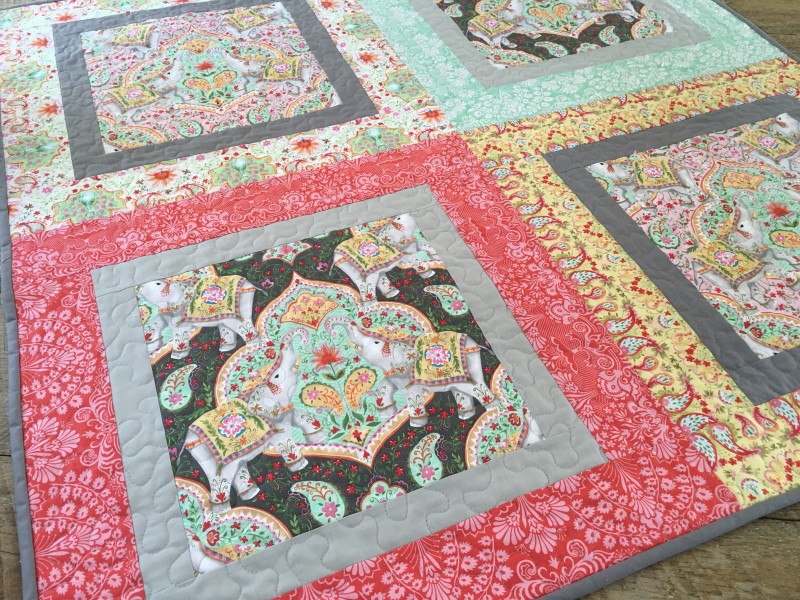
IMG_0351

What are you waiting for!!  Go fetch some large prints!!!IMG_0353
Save

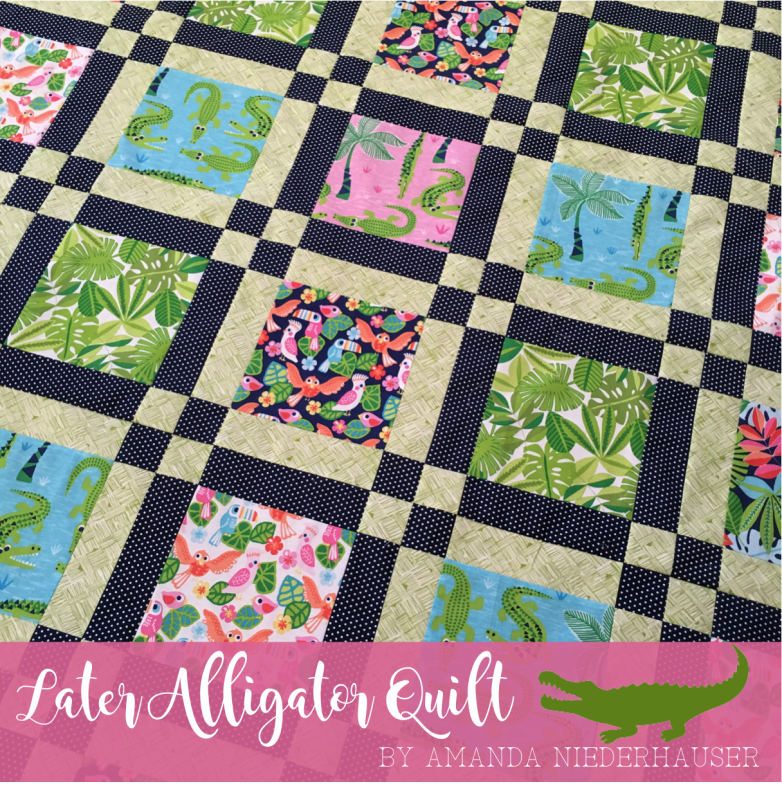
Later Alligator {Free Quilt Pattern}

later alligator cover

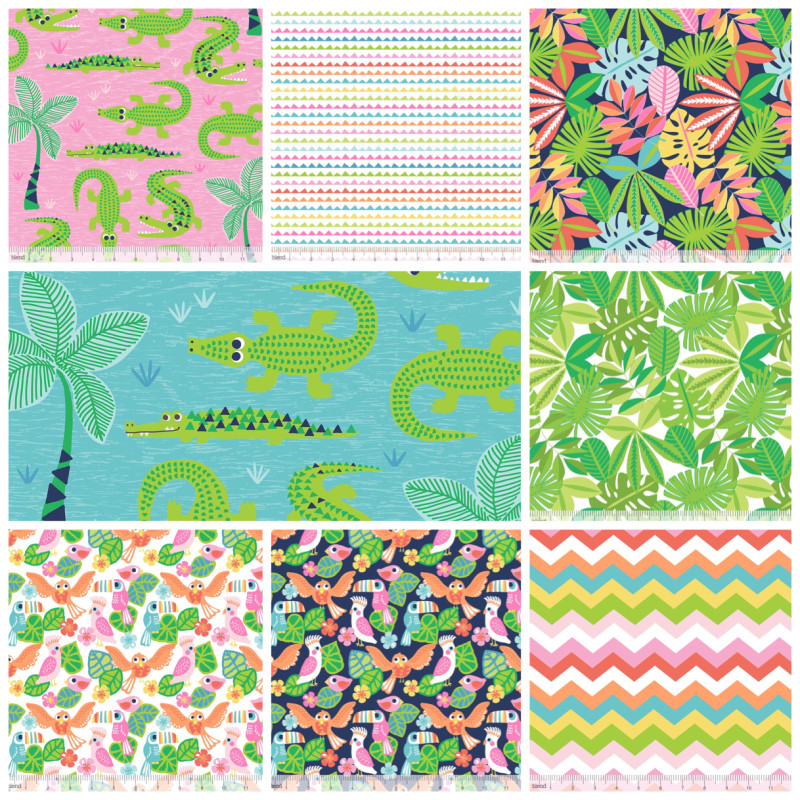
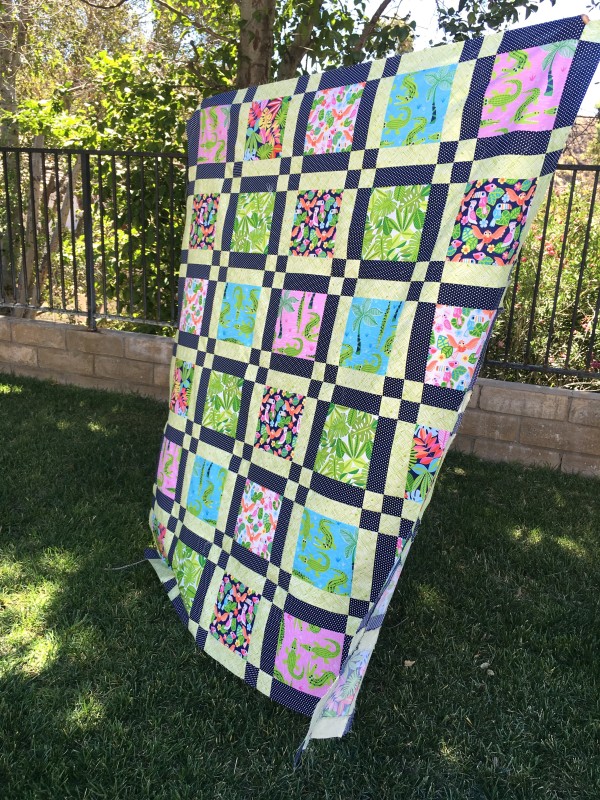
Sometimes you find a fabric and you just have to drop everything you’re doing and sew something with it!  That’s how I felt about this new line of fabric from Blend Fabrics called See You Later.IMG_0010

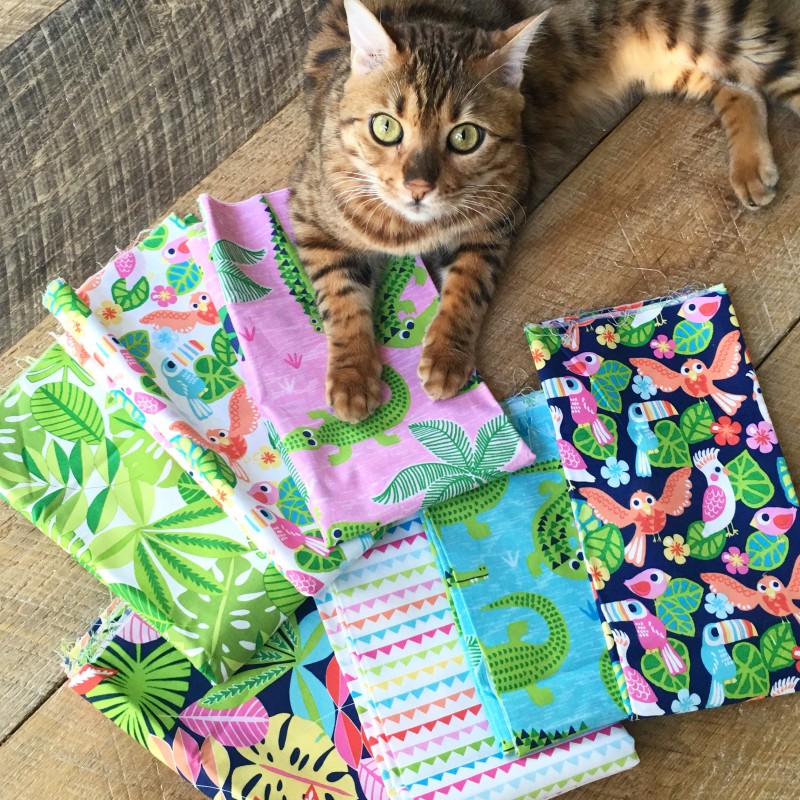
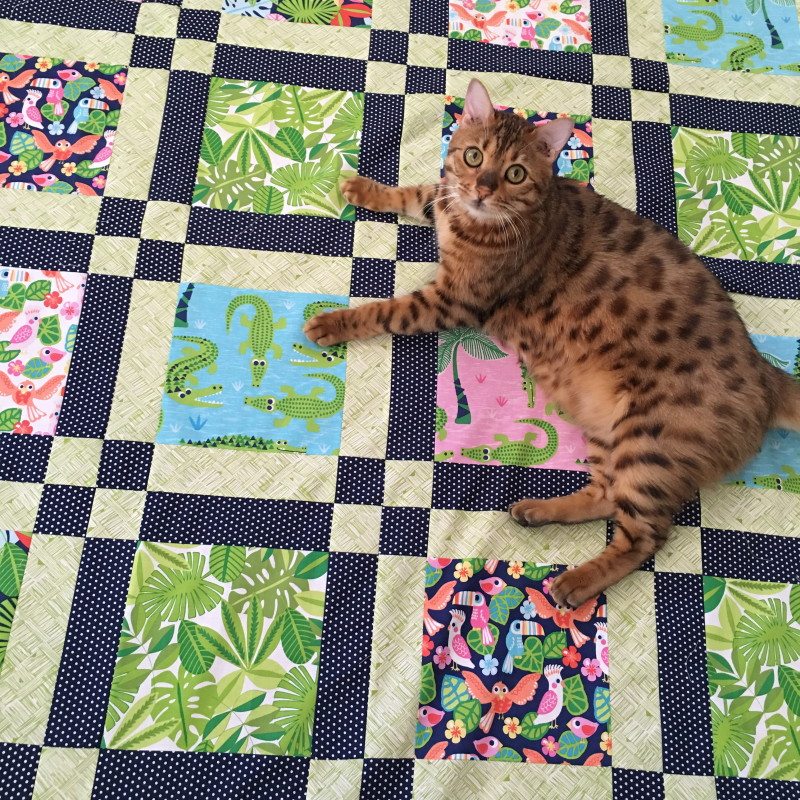
Mufasa was even smitten with the fabric and appeared to be guarding it!!

IMG_0060

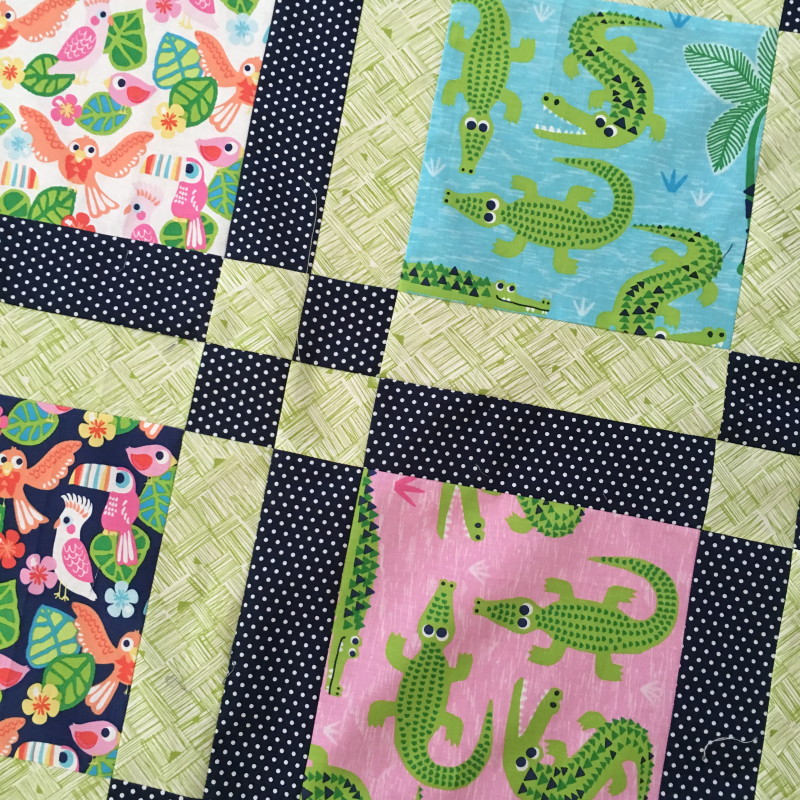
The colors are bright and the patterns are whimsical.  They would be perfect for a boy or a girl!

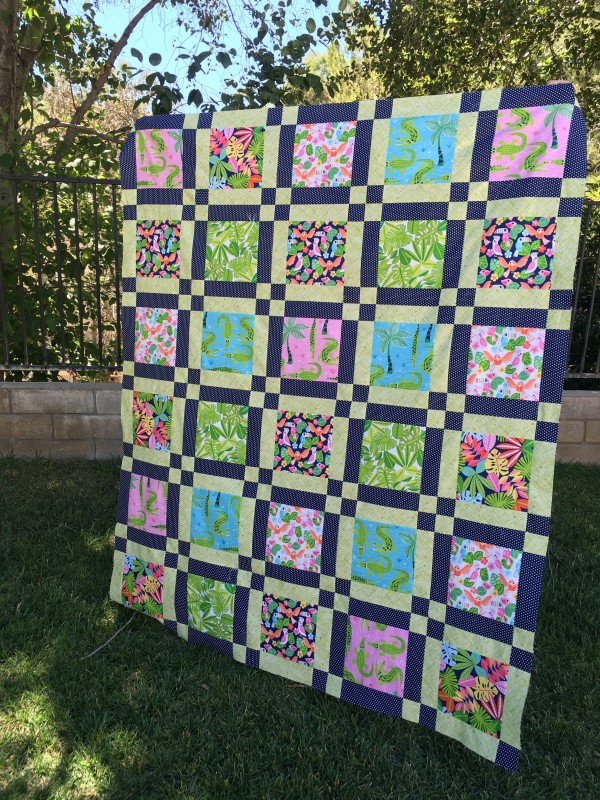
see you later quilt

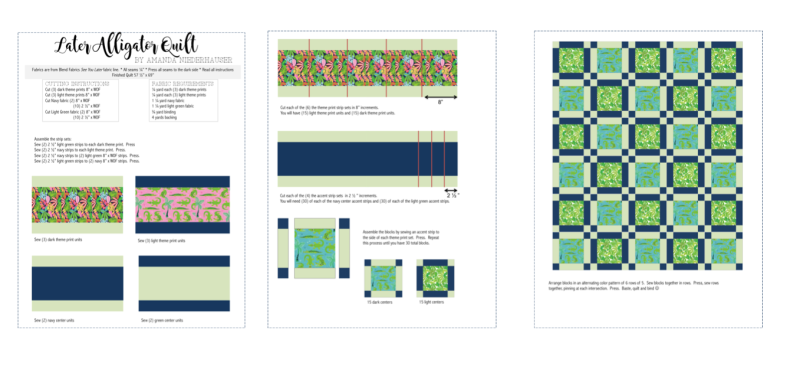
I created a pattern for you to download for FREE.  This is one of my favorite ways to show off big prints.  Click HERE to download the 3-page pattern.

pattern overview

IMG_0090

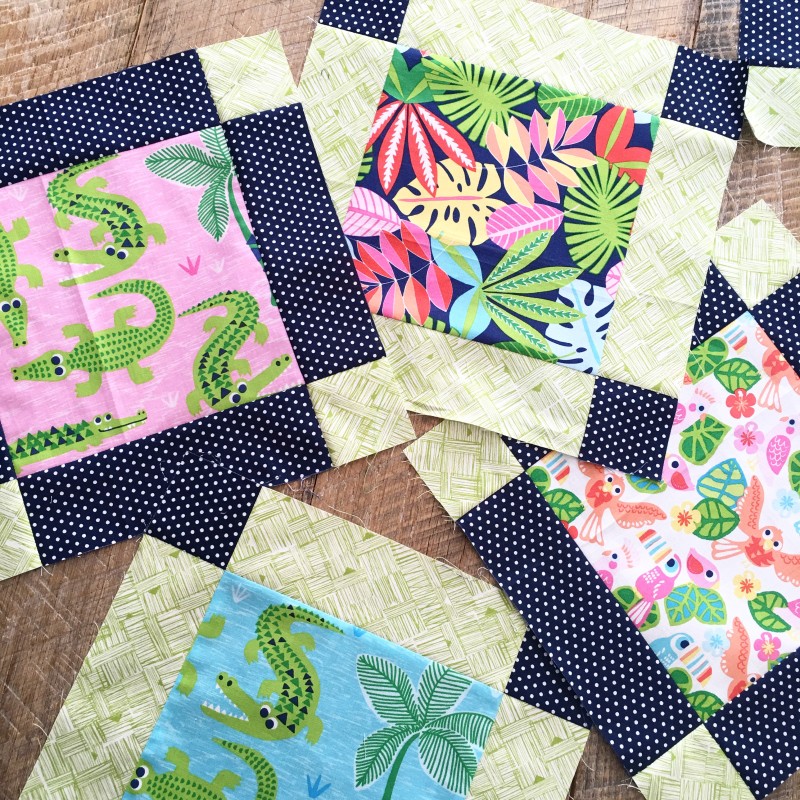
The pattern looks like I used solid navy and solid green, but actually I used a navy and white dot and a green and white print.  The quilt is made up of only 1 block made from 2 different color ways.

IMG_0048

It sews up really fast and is the perfect project if you want to sew a quilt top in an afternoon.  That’s usually all the time I’ve got!

IMG_0096

Mufasa thinks the quilt is his and my 16 year old daughter also claimed it for her own!   see you later quilt 2

Pixie Noel Blog Tour – Snowflake Quilt Tutorial

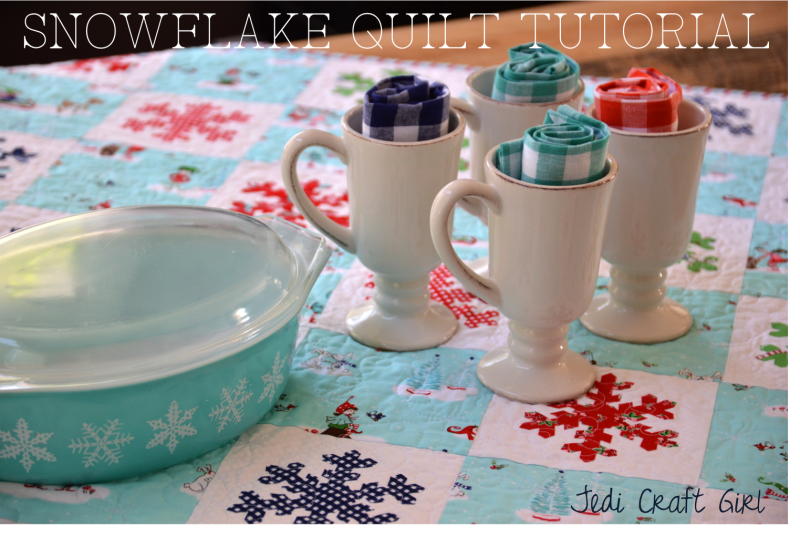
snowflake quilt tutorial

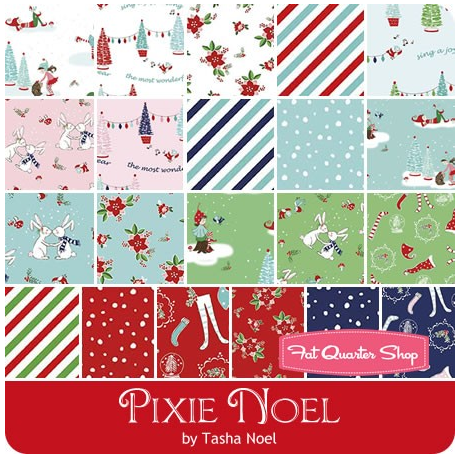
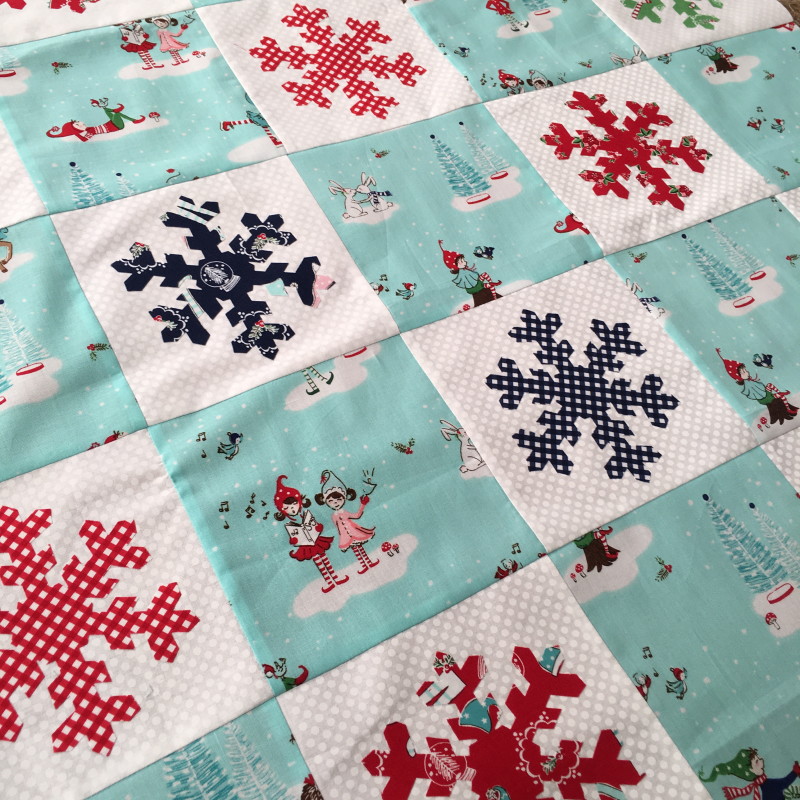
It’s my turn on the Pixie Noel Blog Tour!  Yay!  I have been in love with this fabric as soon as I saw Tasha Noel post a few sneak peeks months and months ago!  I love how whimsical her art is and I love her choice of colors!

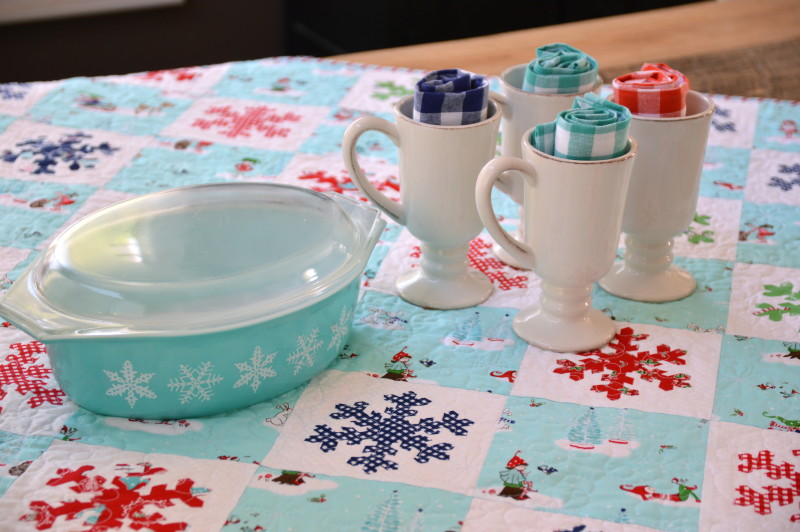
Screen Shot 2016-07-24 at 1.33.33 PM It was a little bit challenging to sew with winter fabric when the temperatures here in Southern California have been in the 110’s and our town is literally ablaze!   I decided to beat the heat by creating this whimsical snowflake quilt.
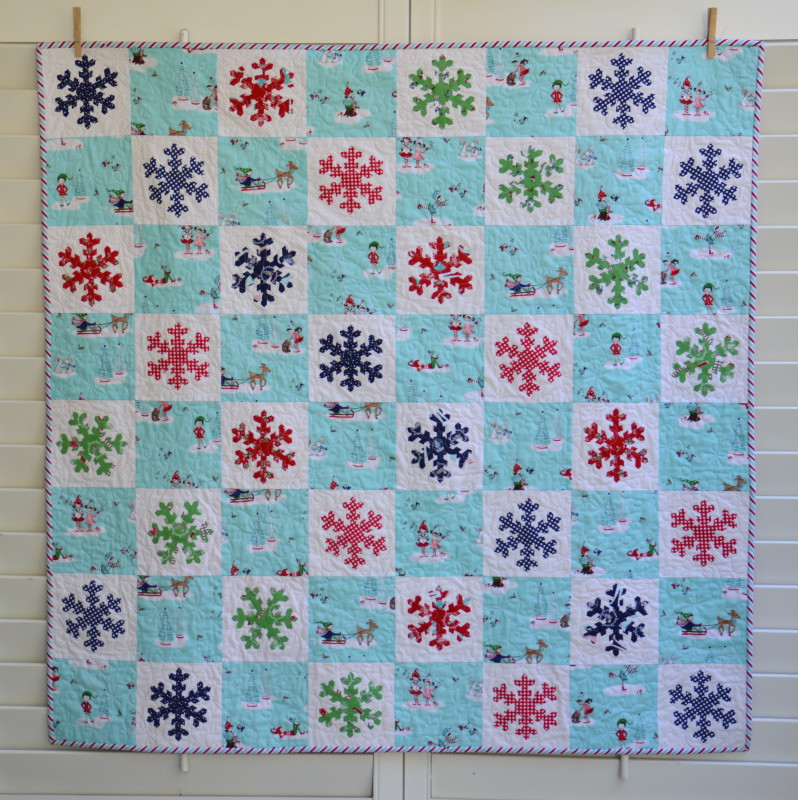
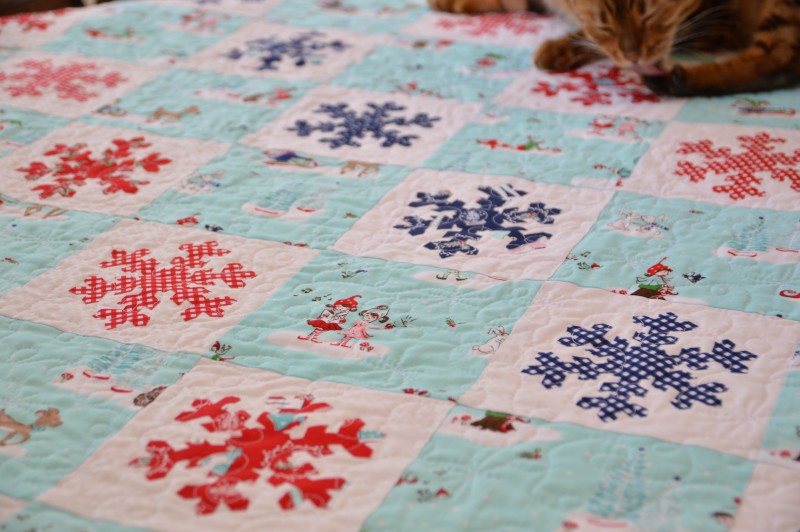
I don’t know about you, but cutting snowflakes and sewing snowflakes is not on my top 10 list of favorite things to do.  Super time consuming!  This quilt has 2 amazing shortcuts that will have you whipping one up in an afternoon.

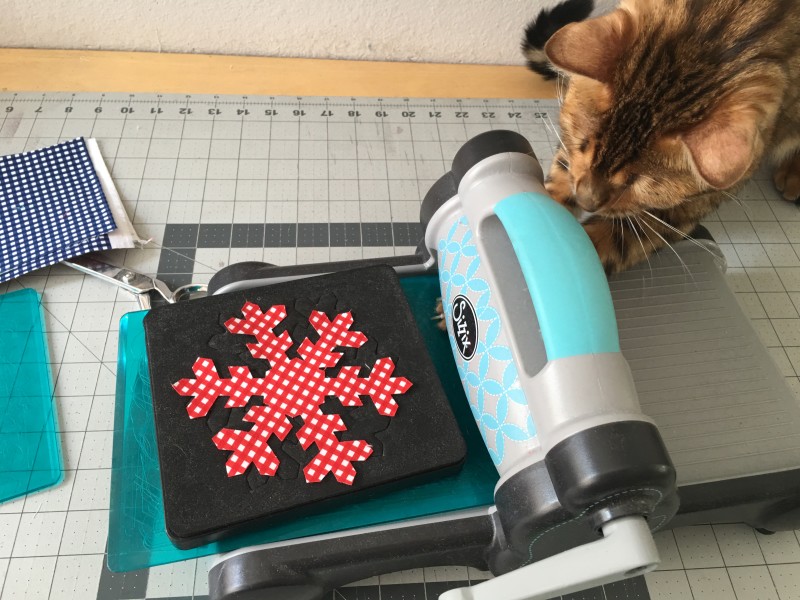
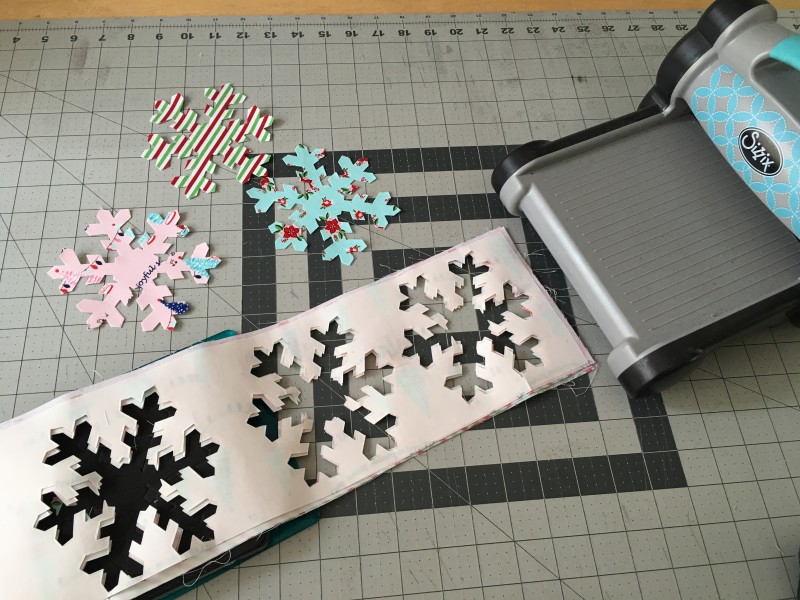
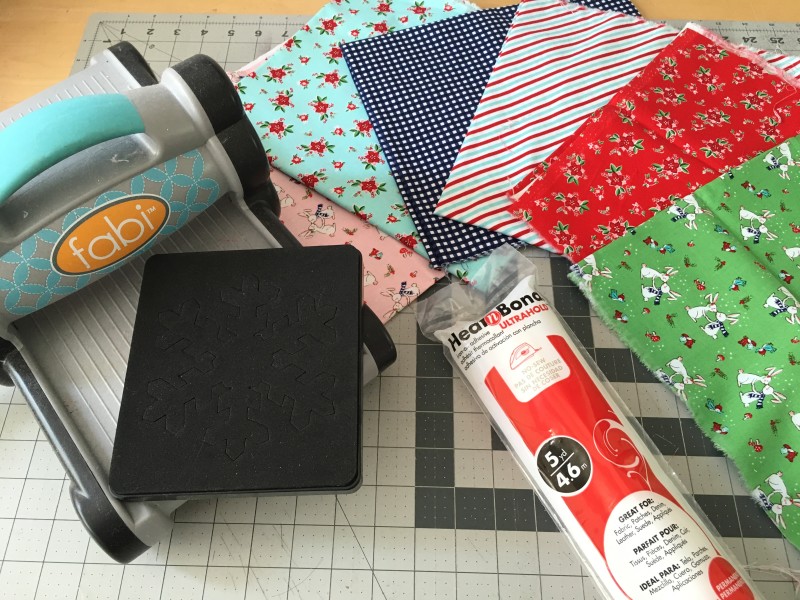
First, all the snowflakes were die cut on my Sizzix Fabi – 3 at a time!

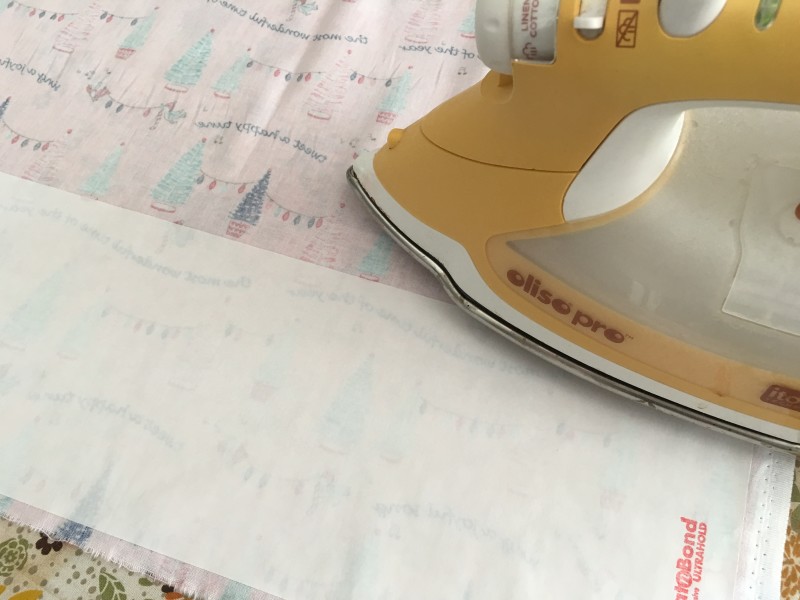
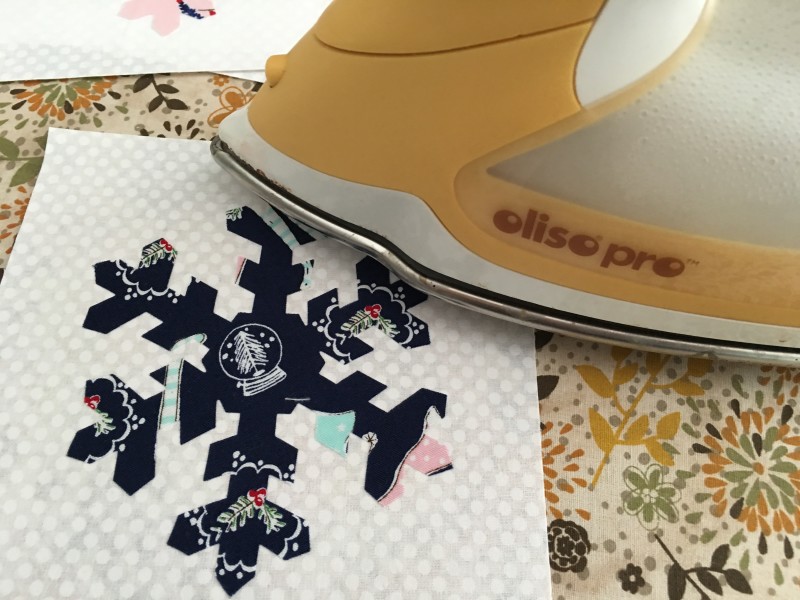
Second, the snowflakes are appliqued using Heat n Bond Ultra which means no tedious applique top stitching necessary!  Heat n Bond Ultra is heavier than Heat n Bond Lite which I normally use for applique.  The Ultra requires no sewing.   Just cut, press, and go!  The snowflakes get sewn over during the quilting process – which helps incorporate them into the quilt and makes it even more durable.

DSC_0547

Here’s how you can make one:

Supplies:

55″ Heat n Bond Ultra

Sizzix snowflake die

1 yard white fabric

1 yard aqua main fabric (or additional if you want to fussy cut)

fat quarters for applique, red, navy, green

IMG_0231

Instructions:

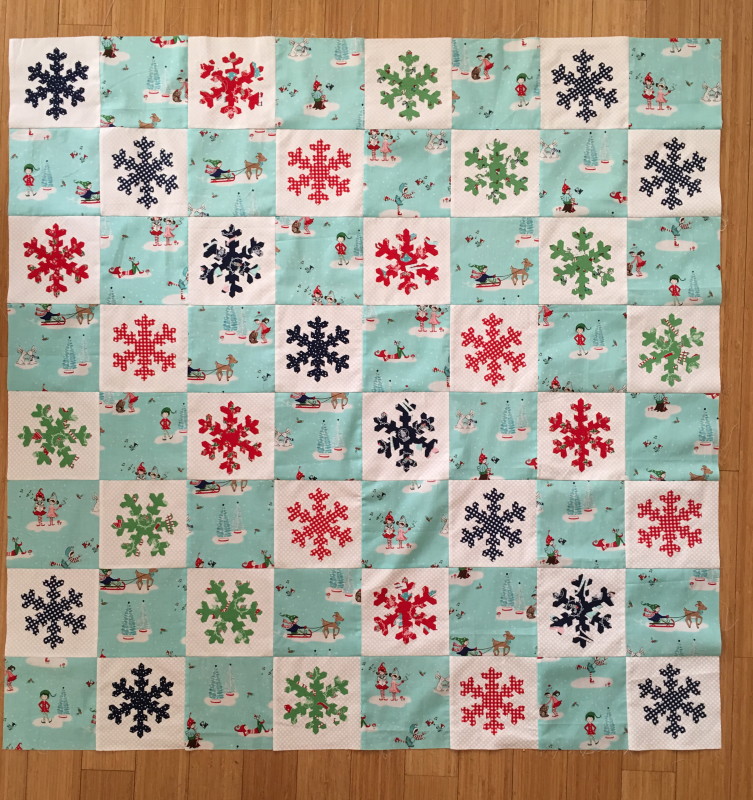
Cut (32) 6.5″ squares of white fabric

Cut (32) 6.5″ squares of the aqua Pixie Noel theme print

Cut the Heat n Bond Ultra into 5″ strips.  Fuse to the wrong side of the snowflake fat quarters.

IMG_0232

Make sure your cat helps you die cut the snowflakes.

IMG_0235

We cut 3 at a time.

IMG_0234Peel off the backing.

Center the snowflakes on the white squares and heat set with hot dry iron.

IMG_0252

Die cut 6 green snowflakes, 12 navy snowflakes, and 12 red snowflakes.

Lay out the quilt according to the diagram below:

IMG_0259

Sew the squares together in rows using 1/4″ seams.  Press each row alternately.  Sew rows together pinning at each intersection.

IMG_0256

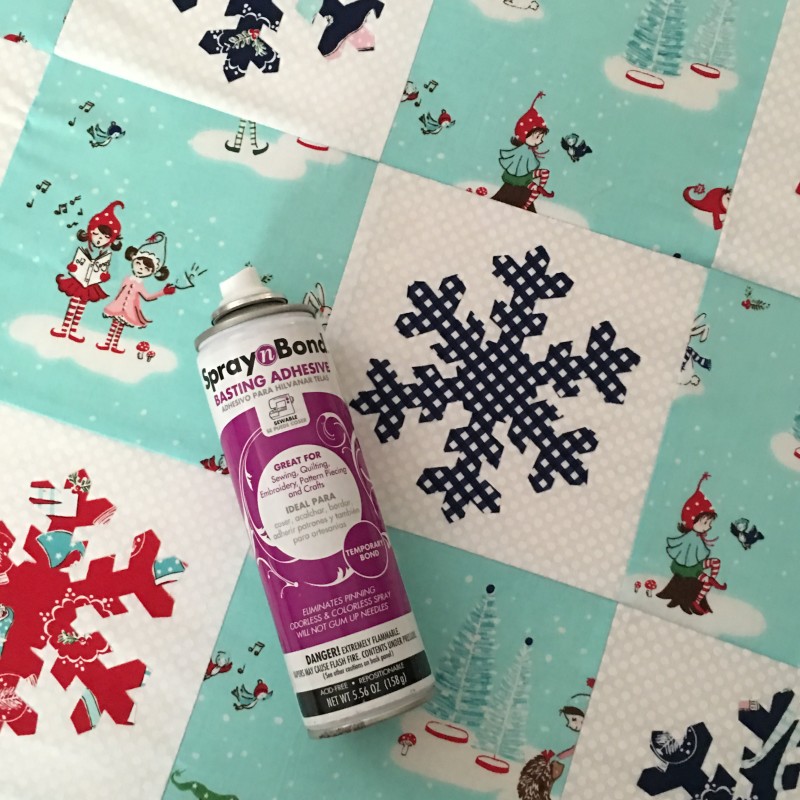
I always use Spray n Bond to baste my quilts – its fast, secure, and no pinning!  Seriously this quilt can be made in a matter of hours!!

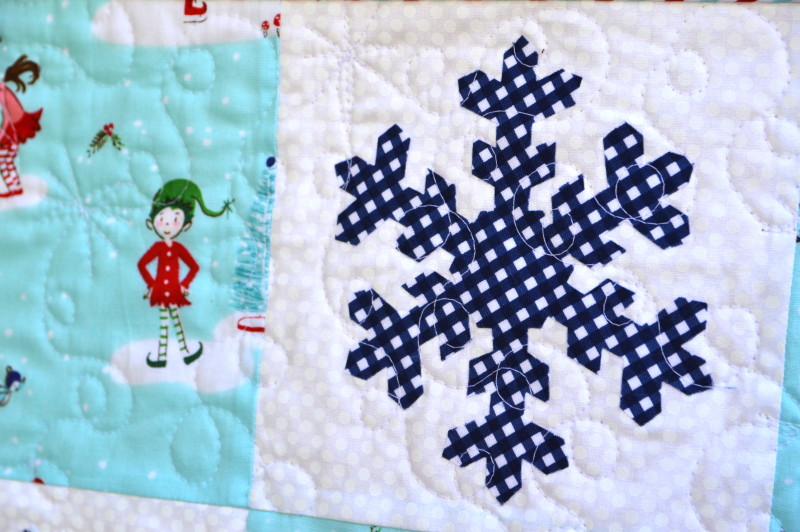
I quilted loops and stars.  I sewed right over the snowflakes.  It helps to make them feel like part of the quilt and not puff out.

DSC_0559

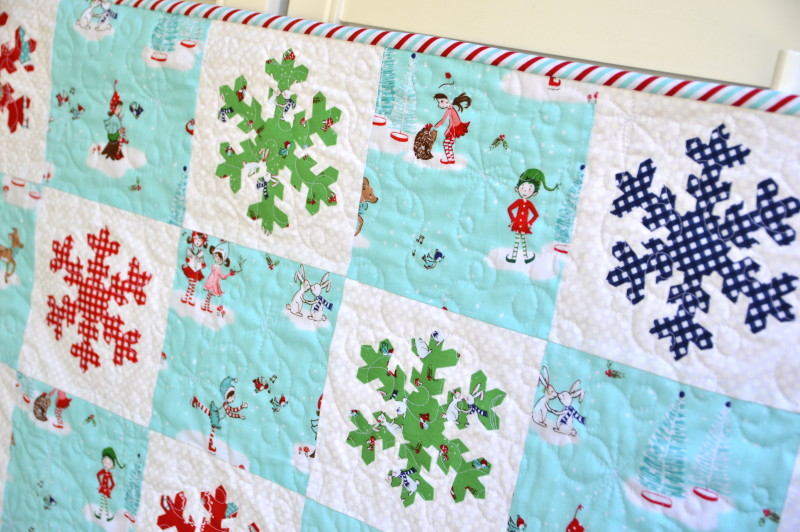
I love that there are 3 stripe colors to choose from in Pixie Noel.  Even better, they are printed on the bias which makes cutting bias striped binding a snap!!!

DSC_0561

DSC_0516

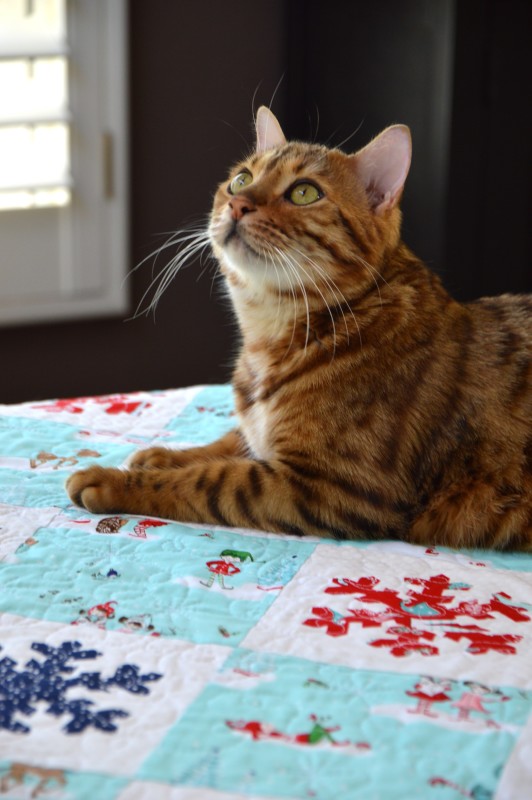
Mufasa loves the quilt!  Don’t tell him it’s not for him 🙂

pixie noel quilt 5

Thanks for stopping by!!!!  Happy Christmas in July 🙂  pixie noel quilt

Pandalicious Quilt {Art Gallery + Fat Quarter Shop}

Palisades-Header

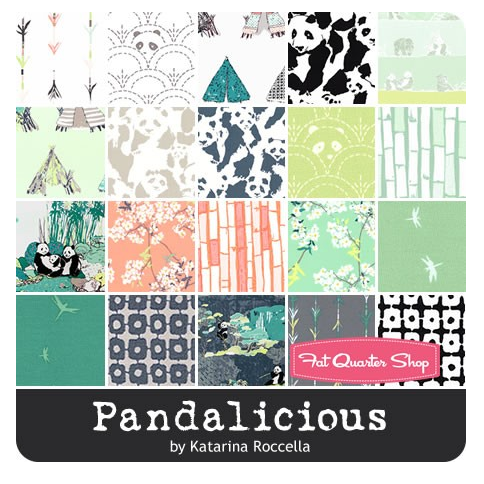
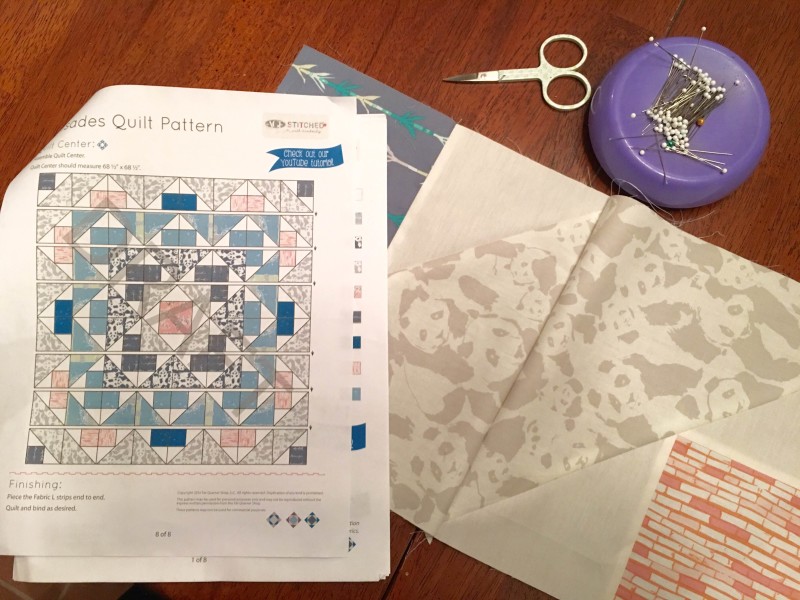
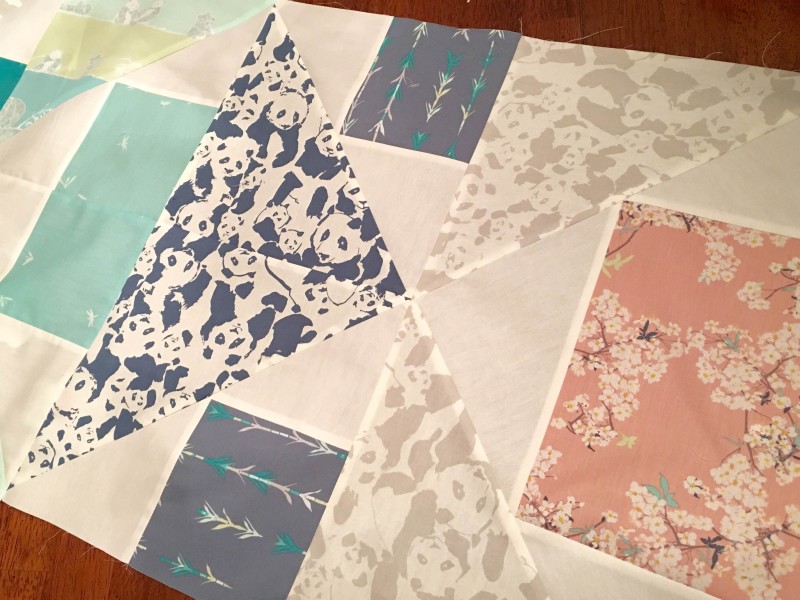
Isn’t this the cutest fabric from Art Gallery!!  It’s called Pandalicious and it makes me want to go to the zoo and see some pandas!  Cherry blossoms, bamboo teepees and cuddly pandas!

Screen Shot 2016-07-11 at 10.50.50 AM

image003

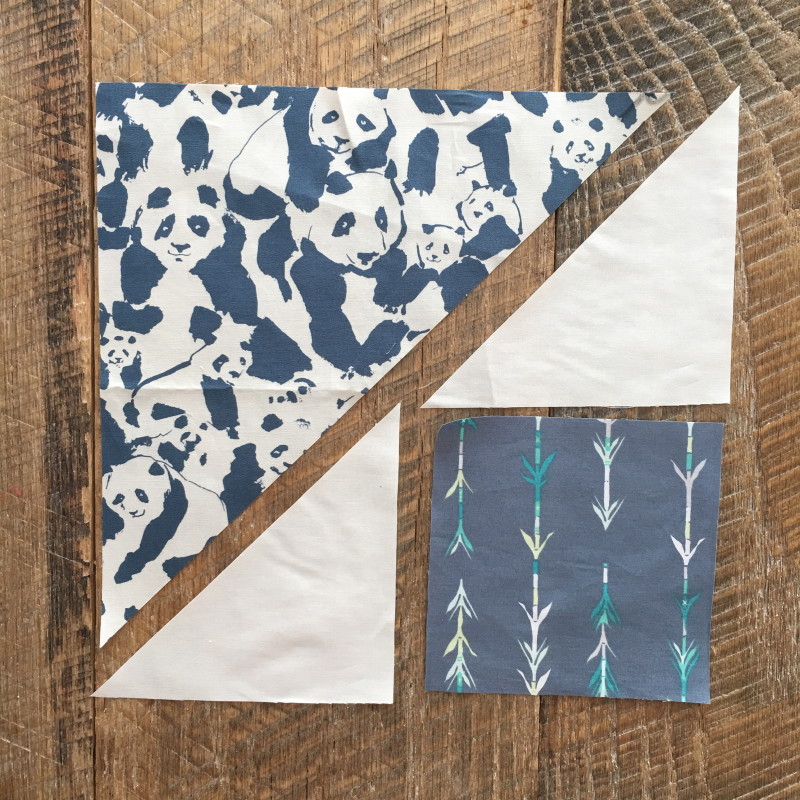
I had so much fun putting this quilt together.  It looks complicated but its really rather simple.  It consists of lots of these blocks:IMG_9695

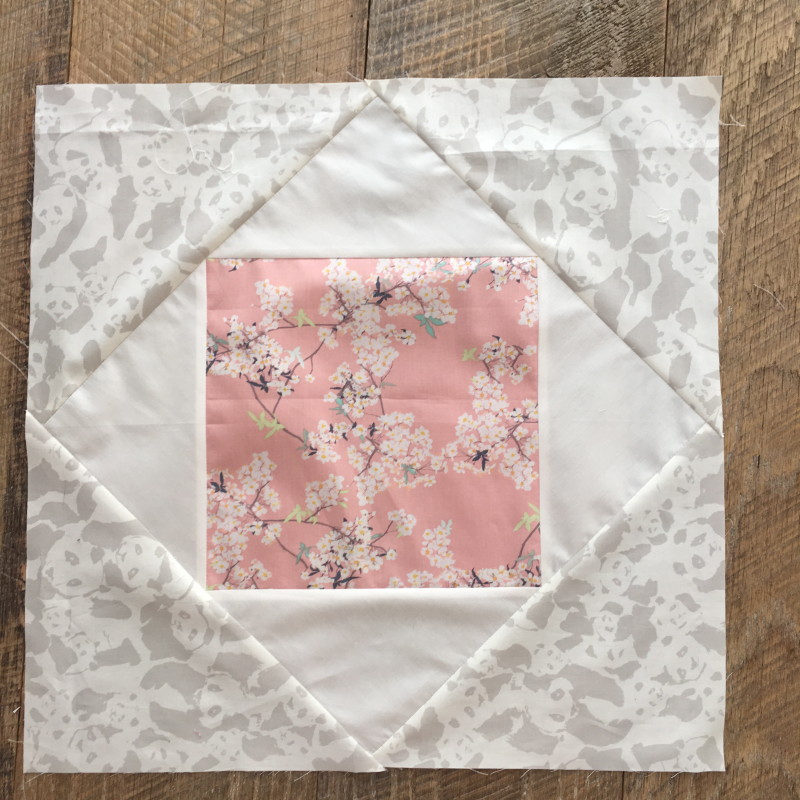
and a center block:

IMG_9693

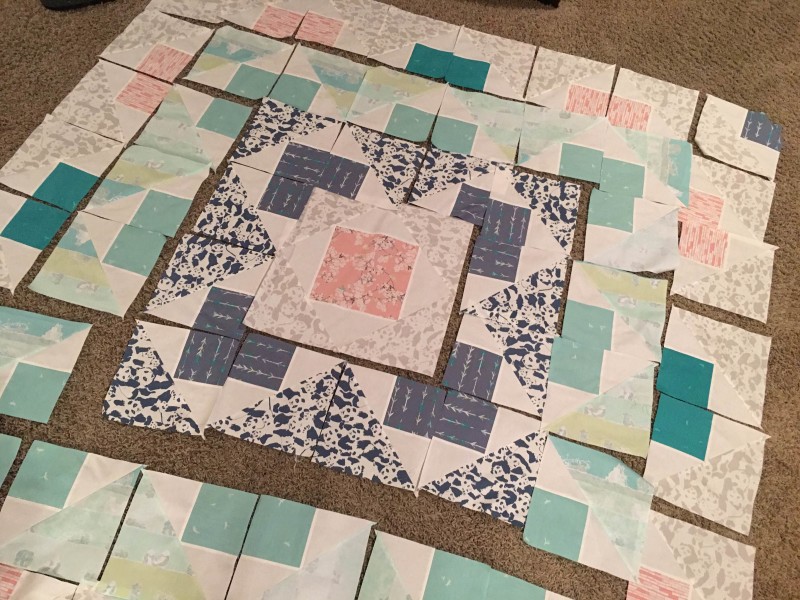
Once all the blocks are sewn together the assembly of the quilt is as easy as sewing squares together!

IMG_9709

Just make sure to follow the placement carefully as shown in the pattern.  It is so cool when it comes together!  I will totally make this again.  I’m even thinking just the center portion of this quilt would make a fun table quilt or wall hanging!

IMG_9710

The colors are amazing in person and the pandas are just the cutest!  I hope you get a chance to make this quilt!!

IMG_9712

Check out the other designers who have put together a Palisades Quilt!!!

Tina from Emily Ann’s Kloset

Amy from Diary of a Quilter

Maureen from Maureen Cracknell Handmade

Erica from Kitchen Table Quilting

Melissa from Happy Quilting

Karin from Leigh Laurel Studios

Rachael from The Floral Suitcase

Amanda from Jedi Craft Girl

Megan from Quilt Story

Heather from Quilt Story

Melanie from Mostly Crafty

Brooke from Silly Mama Quilts

Afton from Quilting Mod

Little Ruby Quilt Along – Finished Quilt

LittleRuby-Quilt

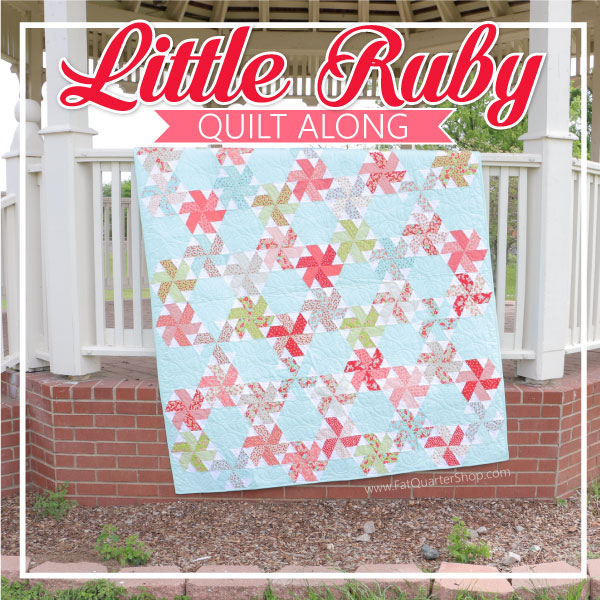
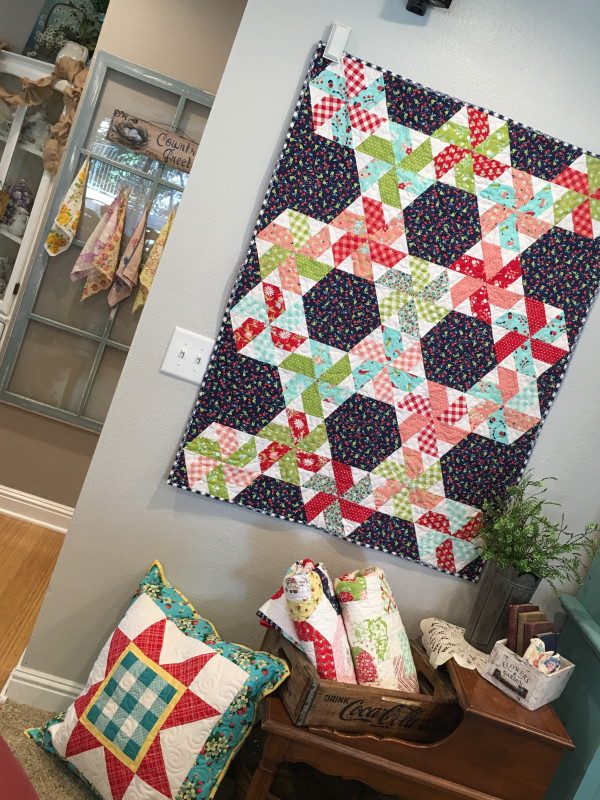
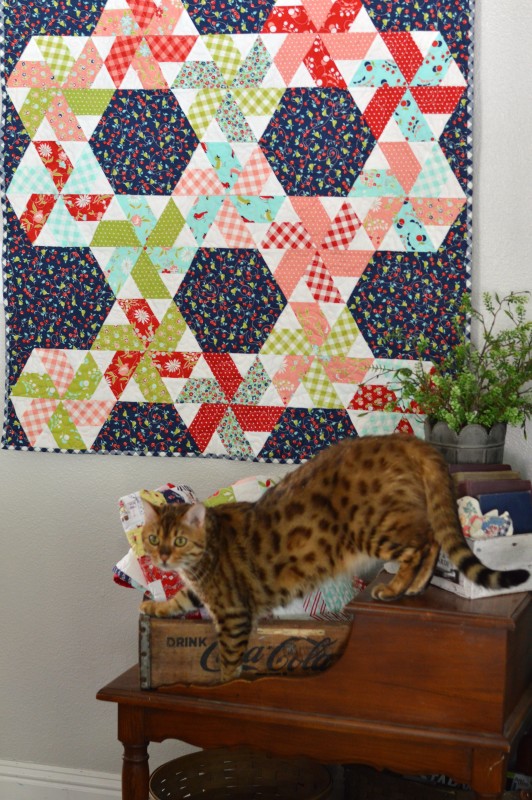
This has been such a fun quilt along from Fat Quarter Shop!  You’re not too late if you want to make this quilt!  I’ve attached each of the videos below if you would like to make one.  If I’m being honest, this kind of quilt (one that requires special rulers and templates) is so NOT my style.  BUT I have to say I have TOTALLY LOVED making this quilt!

IMG_9641 It’s so good to jump out of your comfort zone and try something totally new!  You will love how fun this quilt is – the templates make everything fit together perfectly.
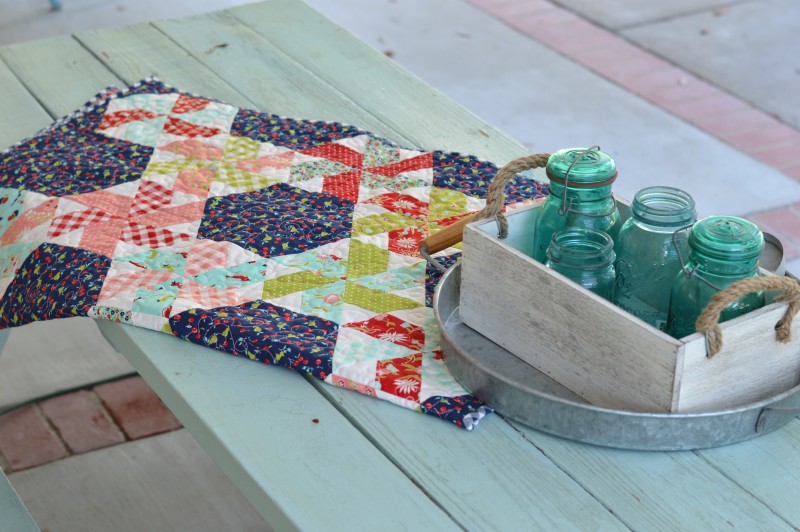
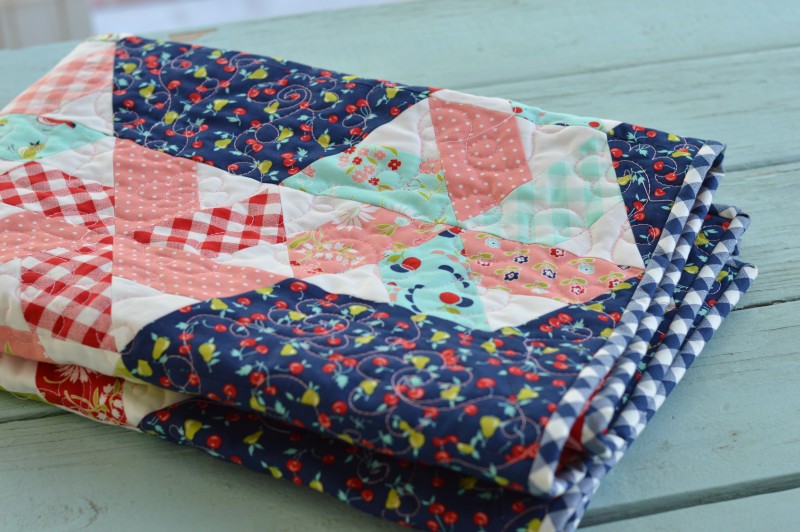
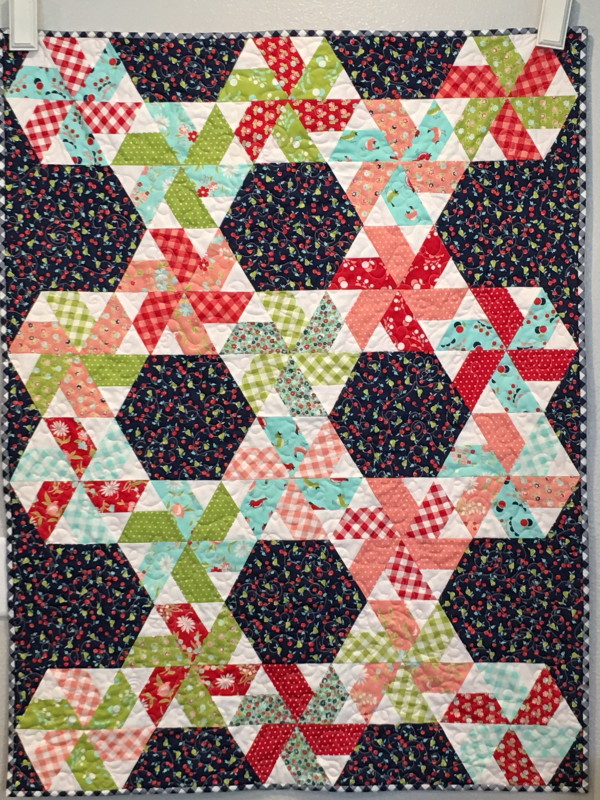
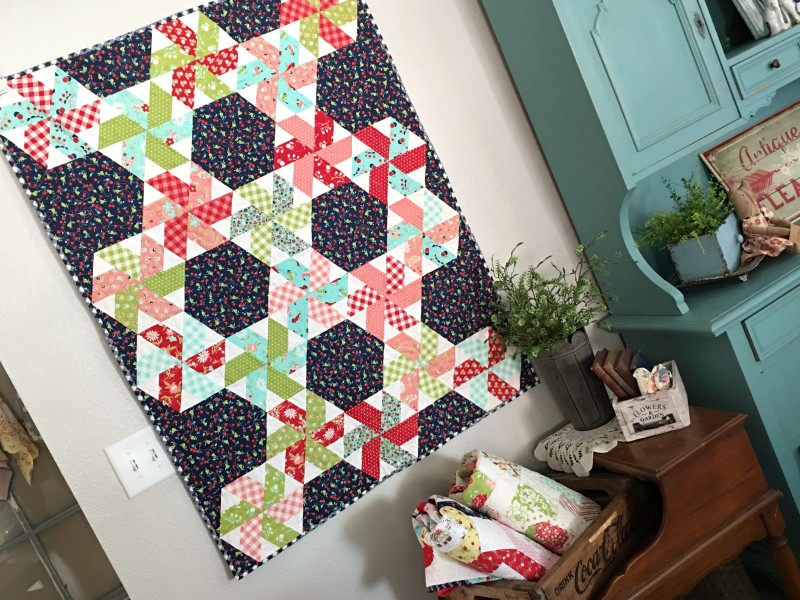
little ruby quilt vintage picnic moda fabric

Click for Fabric requirements 🙂

vintage picnic little ruby quilt 4

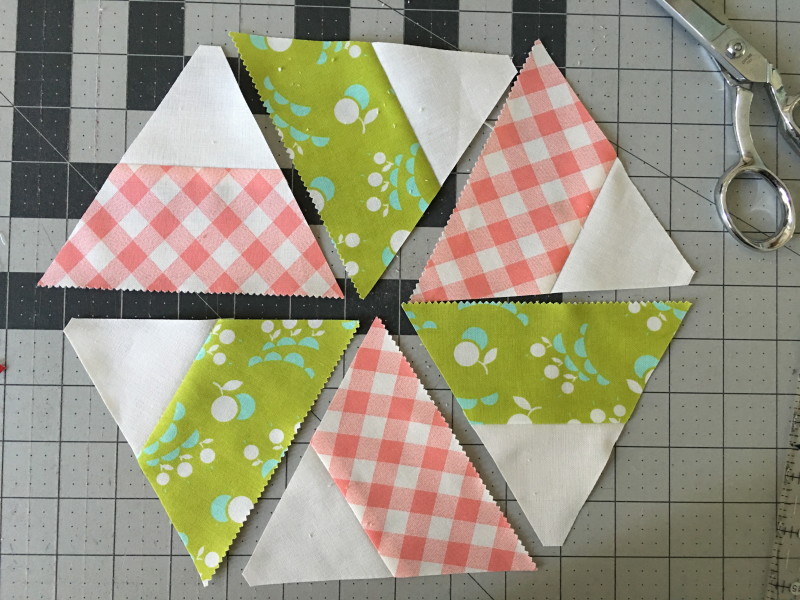
Here’s a little overview of the pattern.IMG_8848

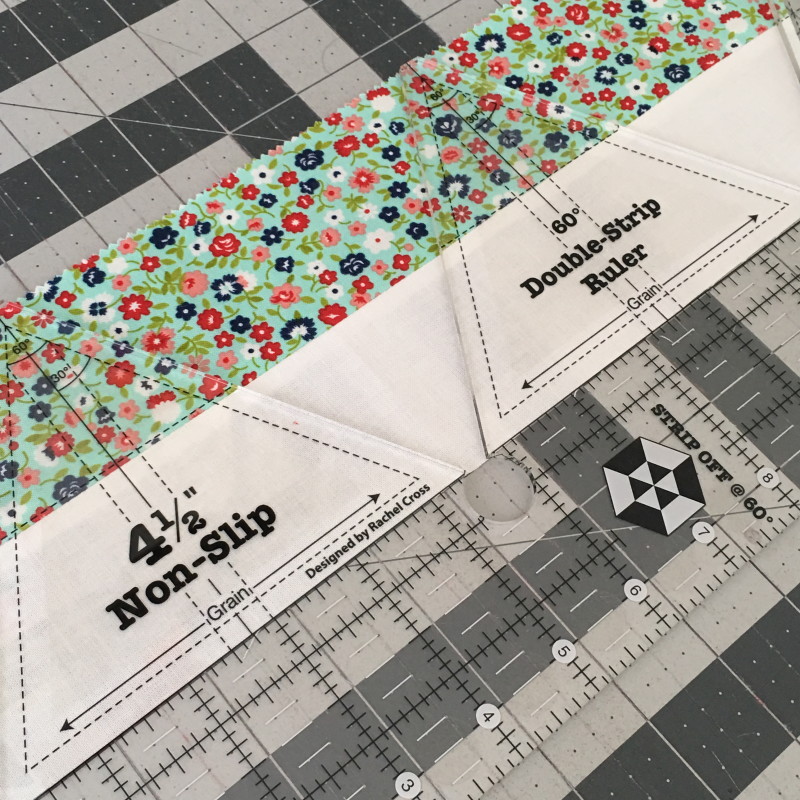
The pattern calls for 2 1/2″ strips.  You sew them together and use this cook ruler to cut the exact size triangle.  vintage picnic little ruby quilt 6

The triangles spin around to form a pinwheel type pattern – cool huh 🙂vintage picnic little ruby quilt 7

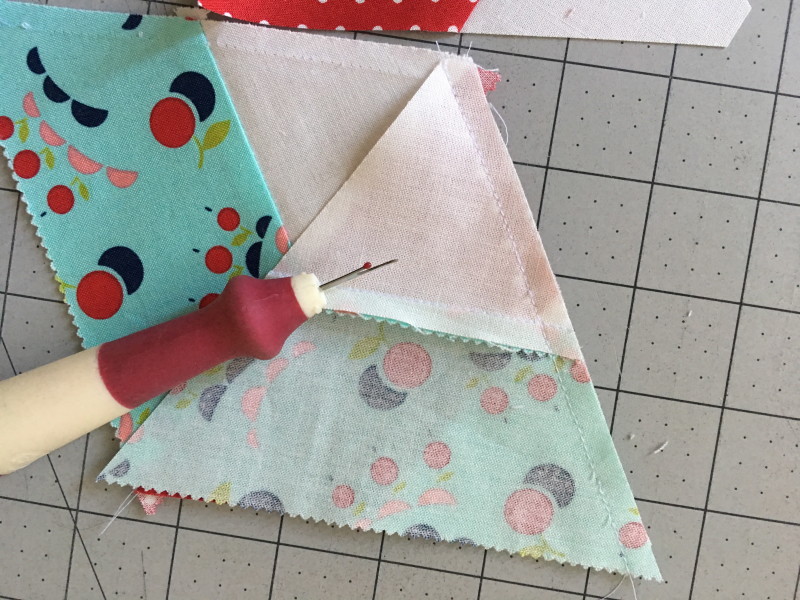
I read all the instructions and watched the videos and still managed to sew my first 2 triangles together the wrong way – 3 times – YIKES!  Once I got that out of my system it was smooth sailing!vintage picnic little ruby quilt 8

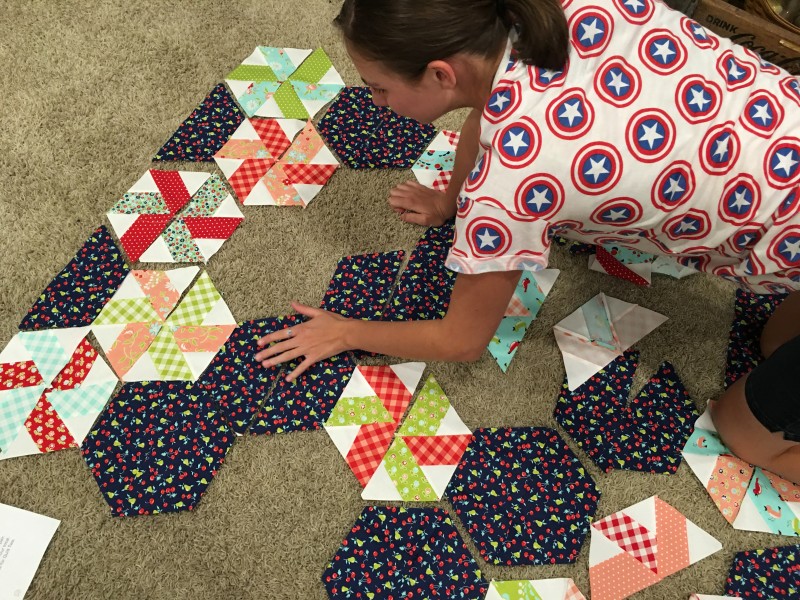
I love having Ella around because I hand her a stack of blocks and she puts them together for me.  We did a little experimenting with the pattern for fun.

The blocks sewed together like a dream.  I just love this fabric!vintage picnic little ruby quilt 10

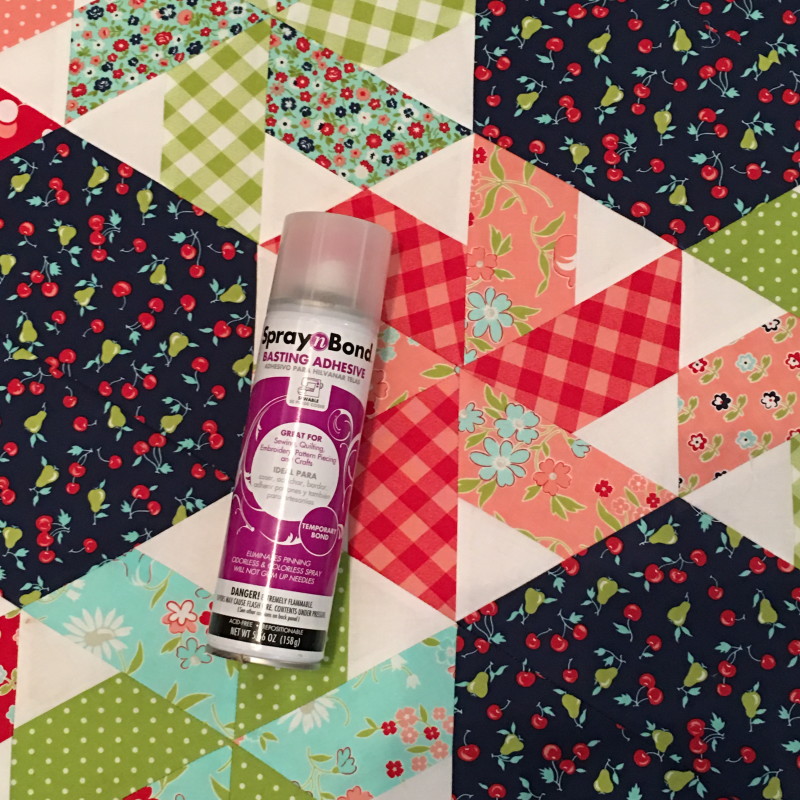
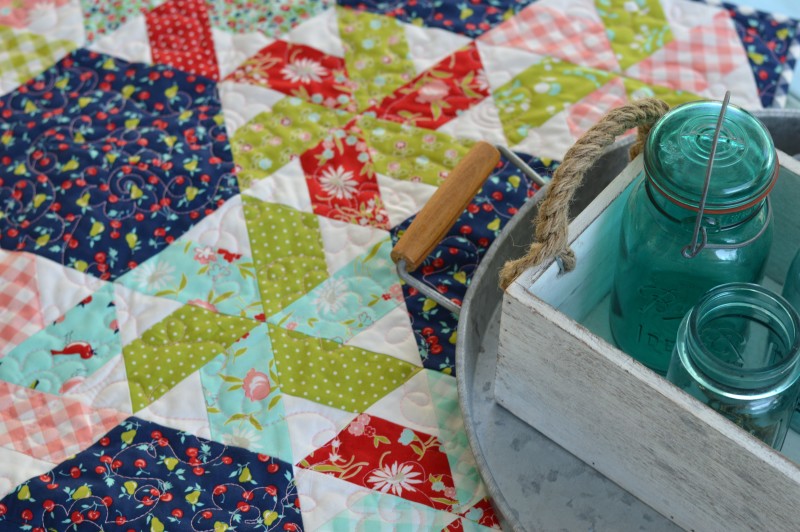
I used my Spray n Bond basting spray to baste the quilt and then machine quilted myself using a loopy floral design.

vintage picnic little ruby quilt 3

I love bias gingham binding!  The great thing about Vintage Picnic is that the gingham is printed on the bias so it saves fabric and is easy to cut!

vintage picnic little ruby quilt 13

I am thrilled with my Vintage Picnic fabric choice.  I will be keeping this quilt out all summer long!  I did modify my quilt slightly in that I made it a touch smaller.

vintage picnic little ruby quilt 11

vintage picnic little ruby quilt 5 Mufasa seems pretty comfy on the new quilt!
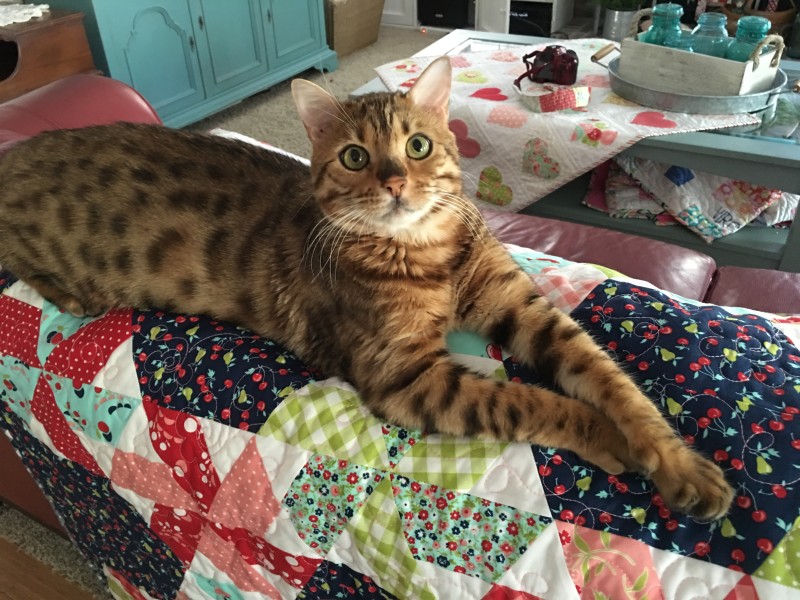
vintage picnic little ruby quilt 14


Be sure to check out the completed quilts from these amazing bloggers!

Melissa from Happy Quilting
Angie from Gnome Angel
Erin Cox from Why Not Sew
Andy from A Bright Corner
Heidi from Buttons & Butterflies
Pat from Pat Sloan
Peta from She Quilts a Lot
Heather from Quilt Story
Megan from Quilt Story
Amanda from Jedi Craft Girl
Gerri from Planted Seed Designs
Sherri from A Quilting Life
Rebecca from Bryan House Quilts
Sherri from This & That Patterns
Jemima from Tied with a Ribbon
Alyce from Blossom Heart Quilts
Stephanie from Modern Sewciety
Brooke from Silly Mama Quilts
Carrie from Moda’s United Notions

Sizzix Anchor Baby Quilt

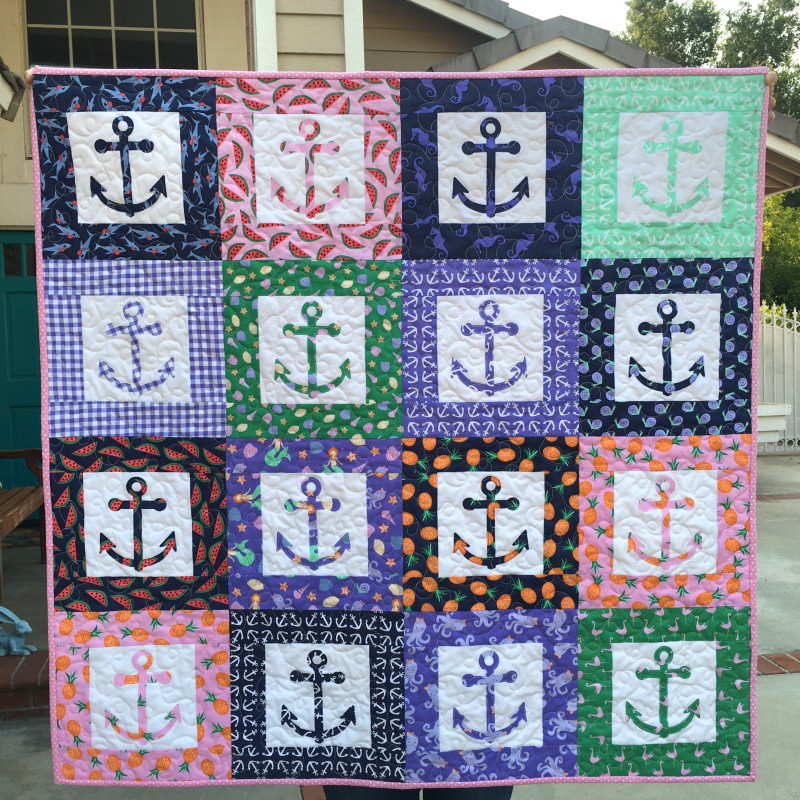
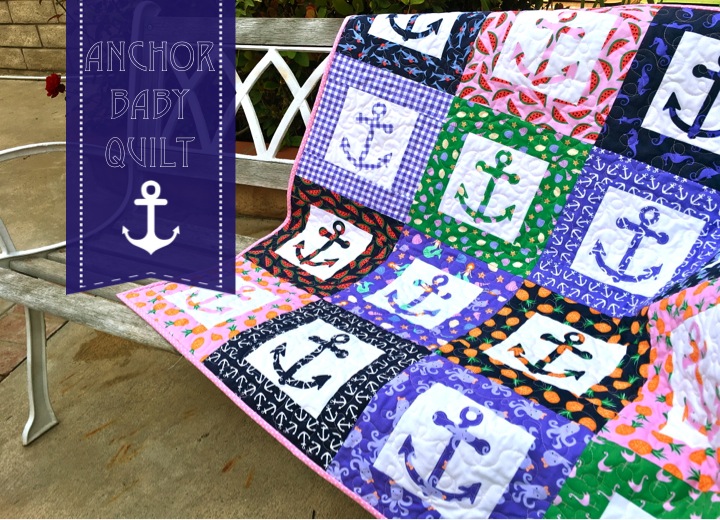
anchor baby quilt cover

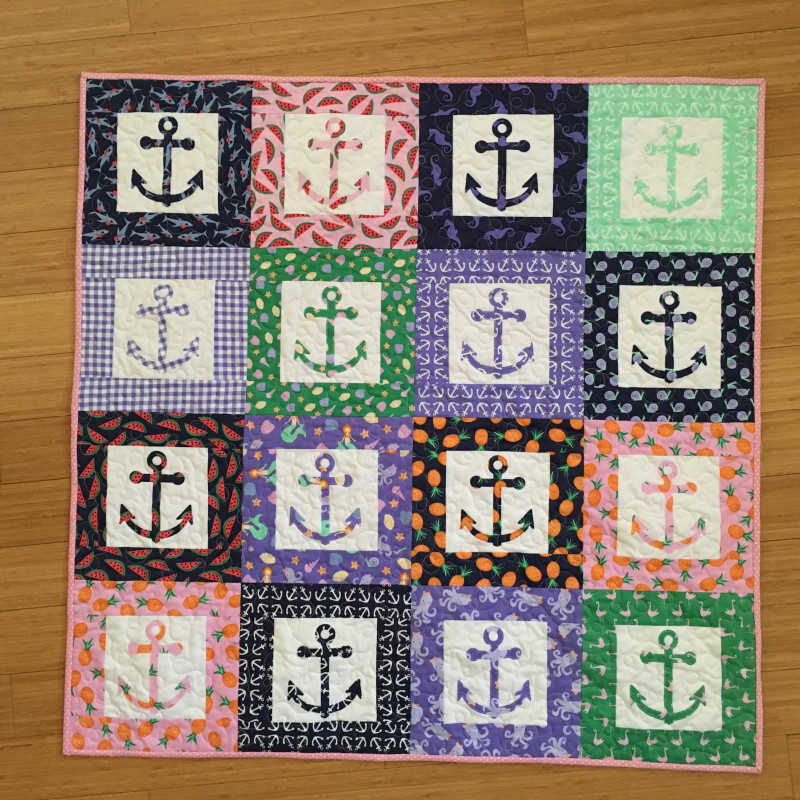
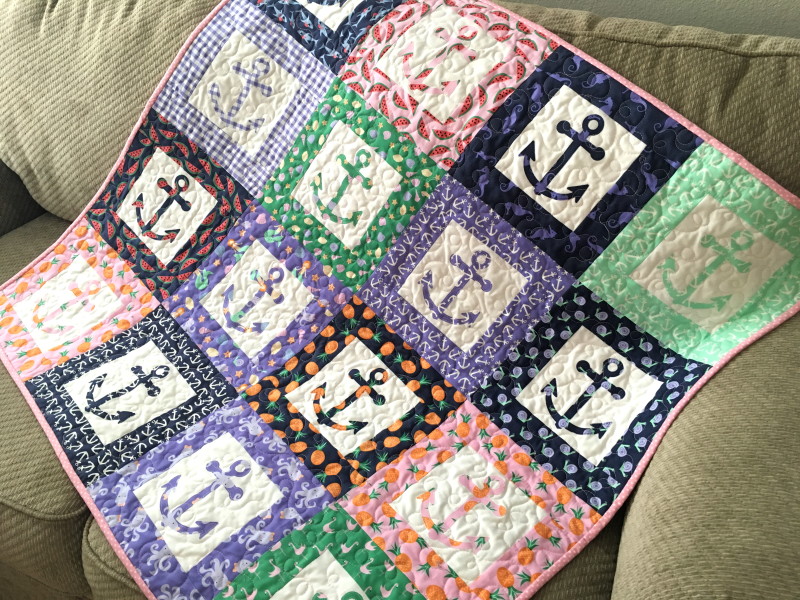
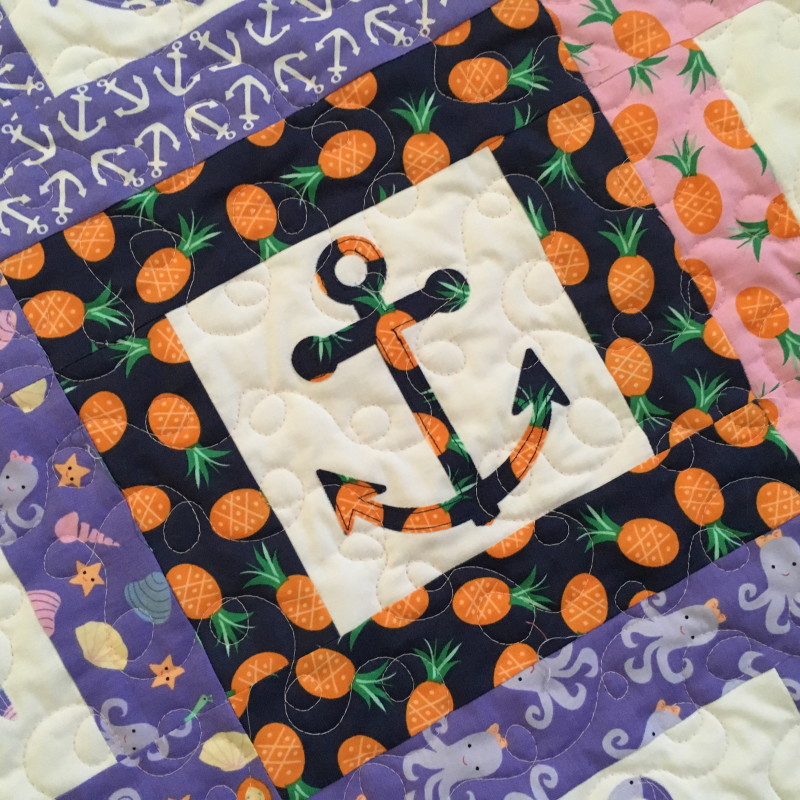
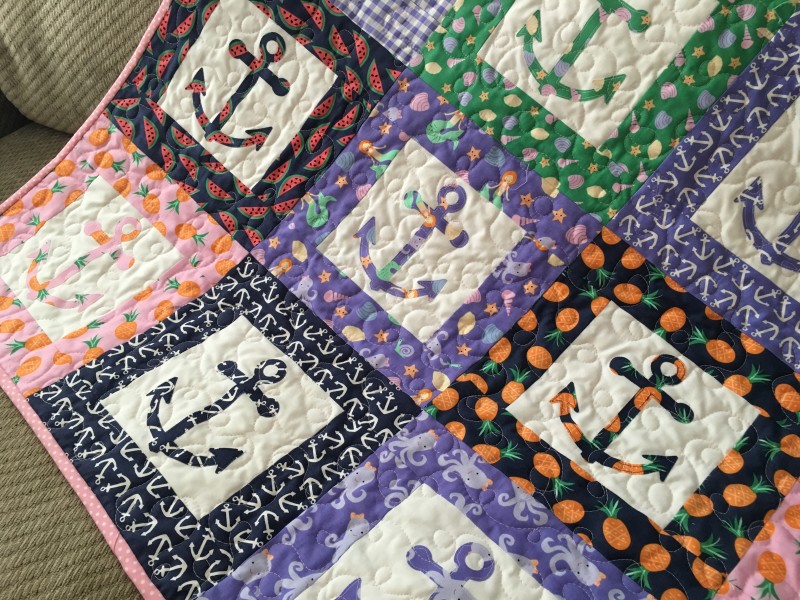
I’m super exited to be sharing my latest pattern for this adorable nautical baby quilt on the Sizzix blog !  I love giving quilts as gifts and this is the perfect pattern that you can sew up in a day.  The fabrics are from Dear Stella and I love that they are not traditional baby girl fabrics.  I know my ocean-loving Sister-In-Law will just love this!IMG_8957

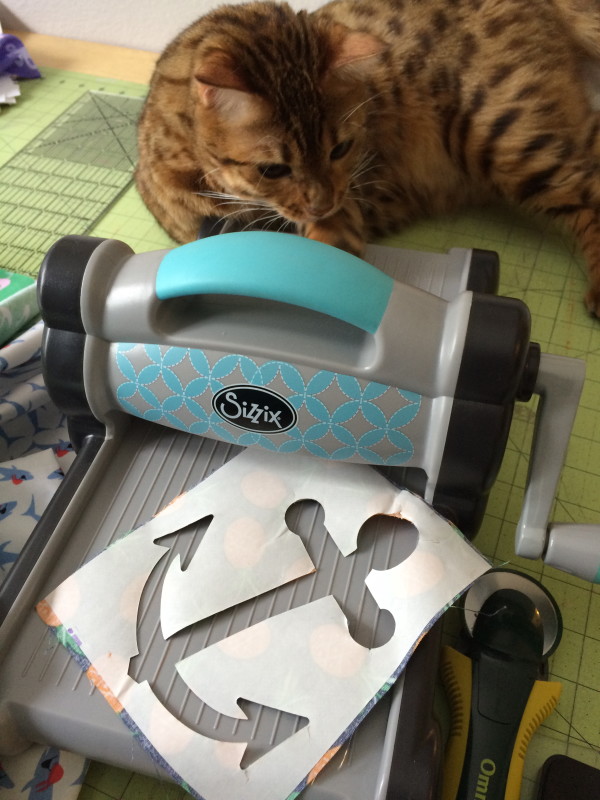
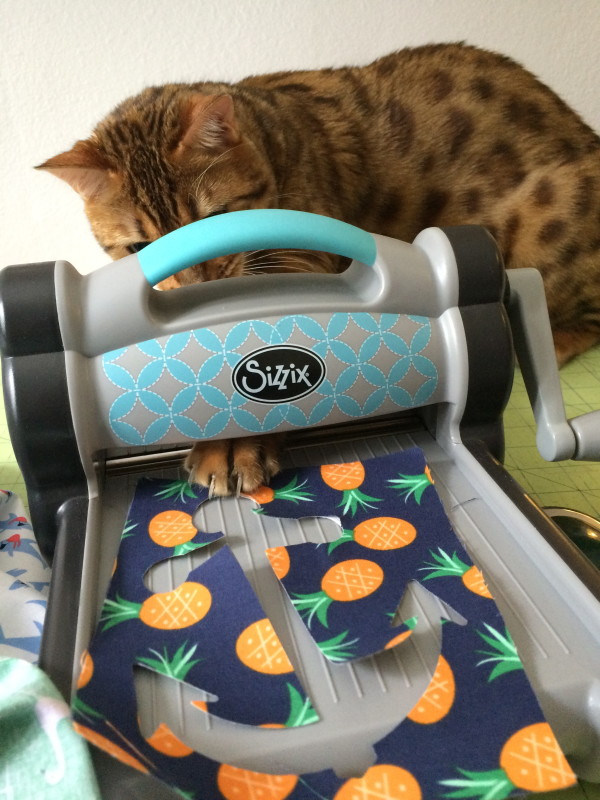
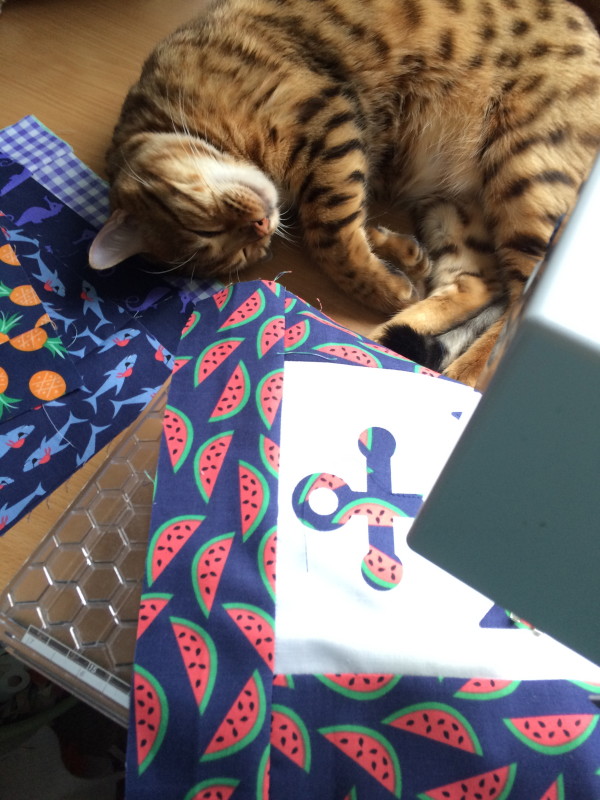
Mufasa was very helpful on this project!

IMG_0999

IMG_0997

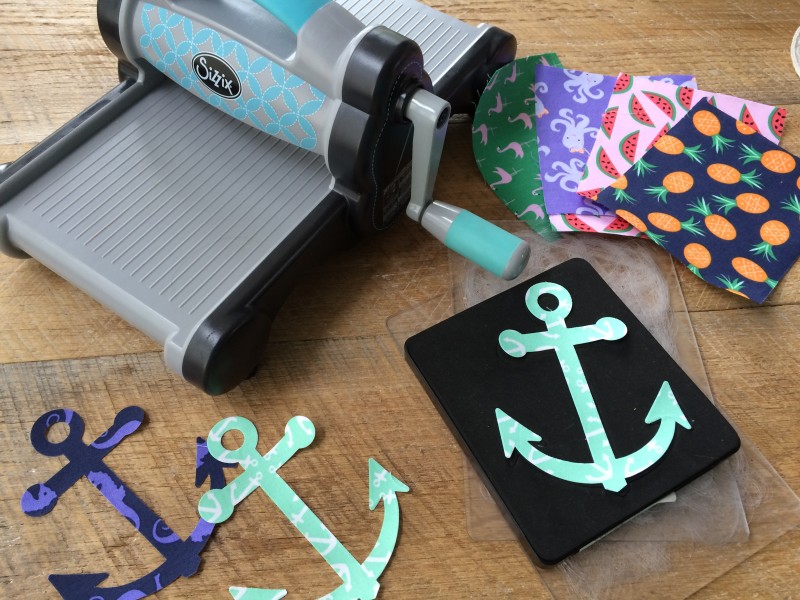
You can read the full tutorial here. It can totally be made start to finish in a day!  The best kind of project!!

IMG_1010


IMG_1033


IMG_8943

IMG_8941

This is such a great size baby quilt and you could easily change up the center die for a heart, flower, animal, or holiday die!!

IMG_8947

IMG_8942

Little Ruby Quilt Along {Fat Quarter Shop}

LR-Part1-Header

DSC_0035

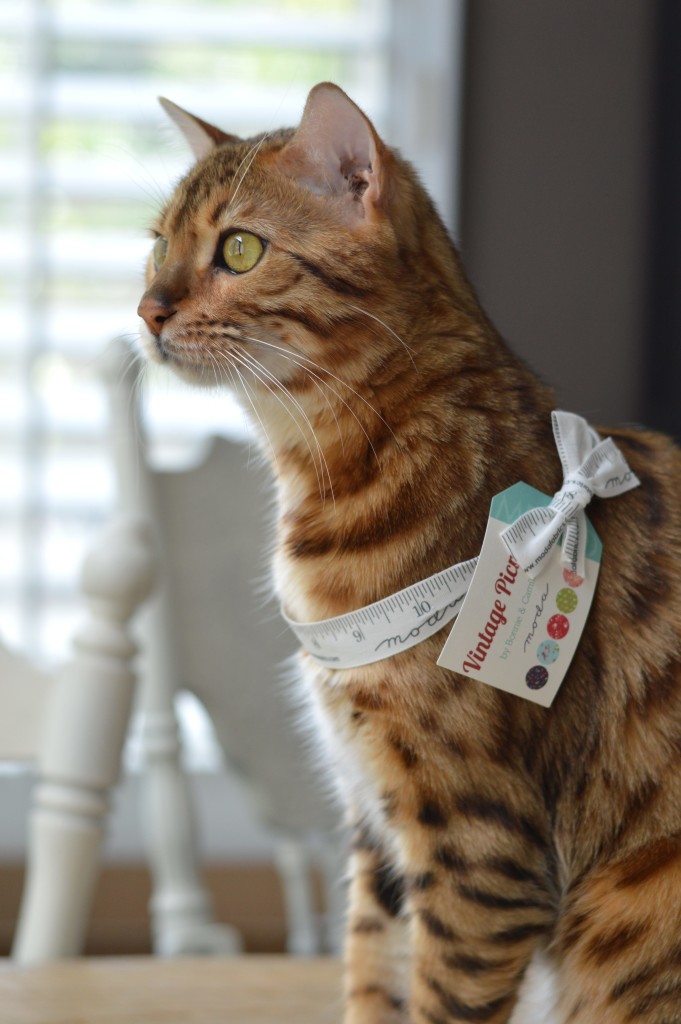
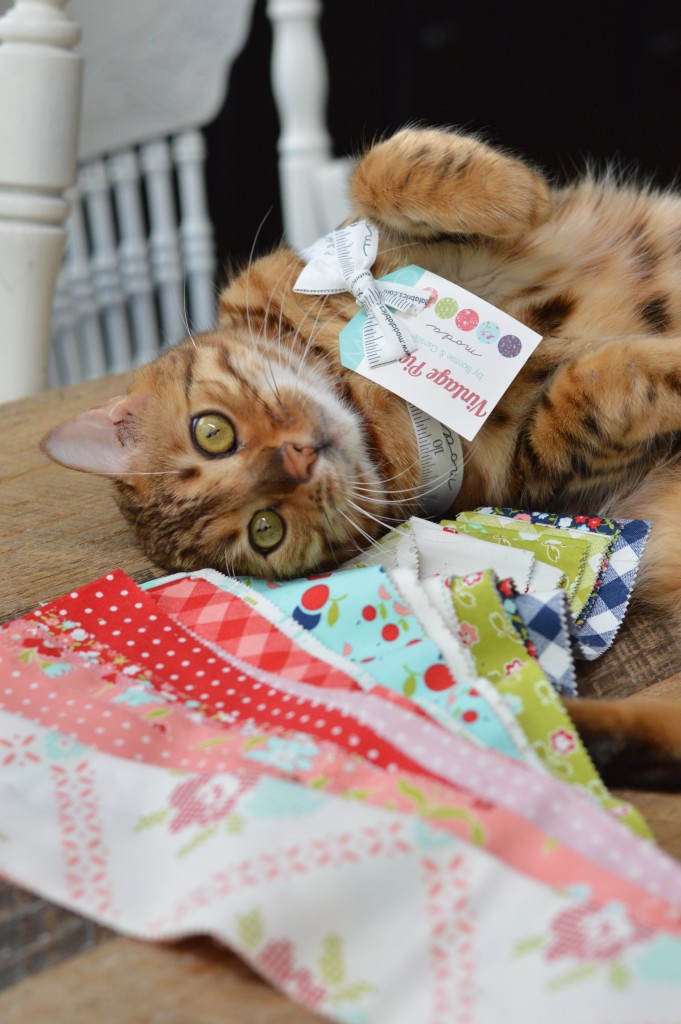
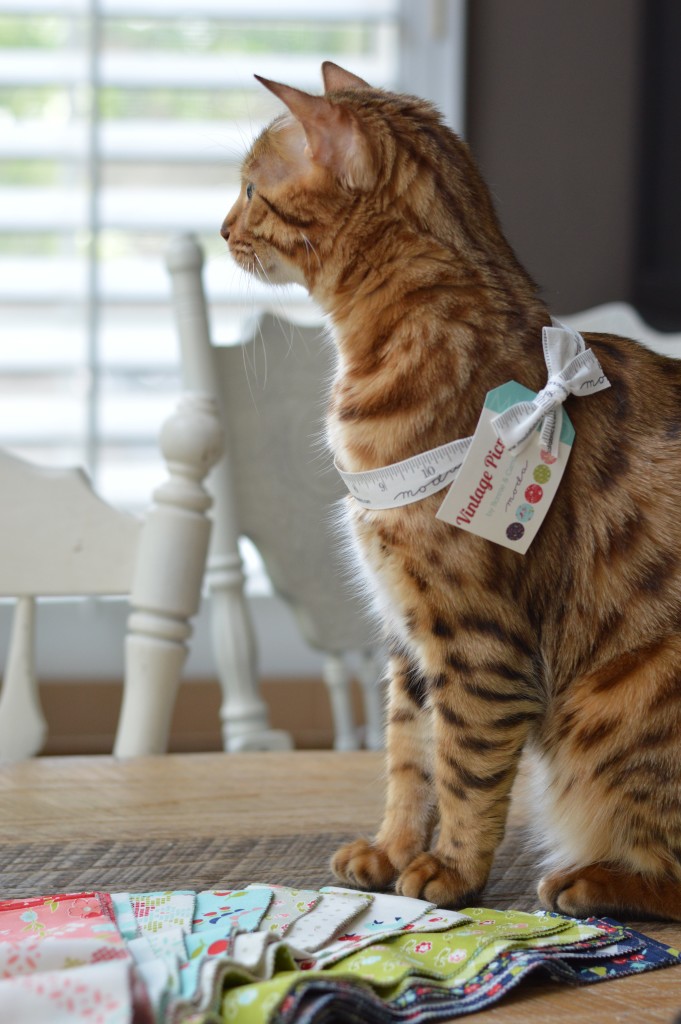
You’re invited to join in the Little Ruby Quilt Along by the Fat Quarter Shop!   Mufasa and I are excited to put together this fun quilt with you!LittleRuby-Quilt

This week we are choosing our fabrics, gathering supplies and getting familiar with the pattern.  Watch this video to learn more 🙂

vintage picnic kitty 2

Mufasa and I have chosen to use Vintage Picnic by Moda.

Here is the schedule:

Part 1: today! Choose your fabric, gather supplies, and read the pattern

Part 2: Monday, June 13th– star blocks:

Part 3: Monday, June 27th – quilt assembly:

Part 4: Monday, July 11th – Your finished quilt:

moda kitty vingate picnic    You can check out the amazing bloggers who are participating in this Sew Along!
Melissa from Happy Quilting

Angie from Gnome Angel

Erin Cox from Why Not Sew

Andy from A Bright Corner

Heidi from Buttons & Butterflies

Pat from Pat Sloan

Peta from She Quilts a Lot

Heather from Quilt Story

Megan from Quilt Story

Amanda from Jedi Craft Girl

Gerri from Planted Seed Designs

Sherri from A Quilting Life

Rebecca from Bryan House Quilts

Sherri from This & That Patterns

Jemima from Tied with a Ribbon

Alyce from Blossom Heart Quilts

Stephanie from Modern Sewciety

Brooke from Silly Mama Quilts

Carrie from Moda’s United Notions

Spring Quilt Market Re-Cap

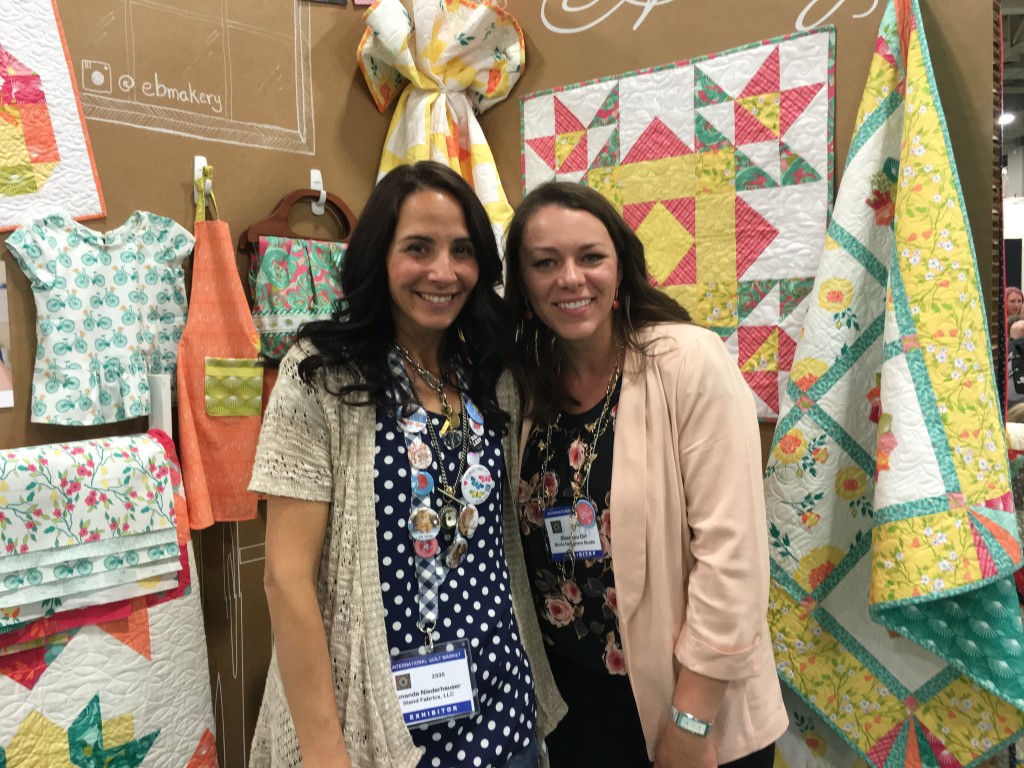
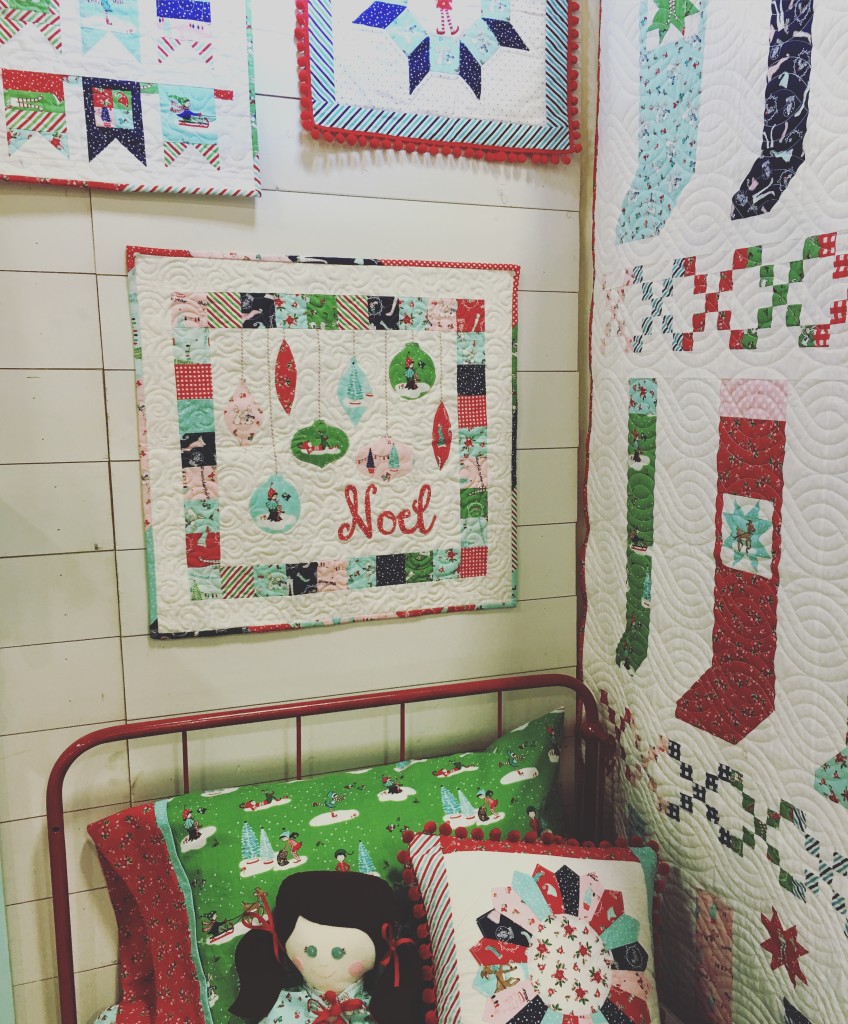
IMG_8371This was my first time EVER going to Quilt Market!  For years and years I have watched and stalked peoples posts to catch a glimpse of what it might be like.  The best way to describe it is Disneyland for Quilters!  I have never had so much fun!  That’s my little Noel Mini Quilt in Tasha’s booth!!
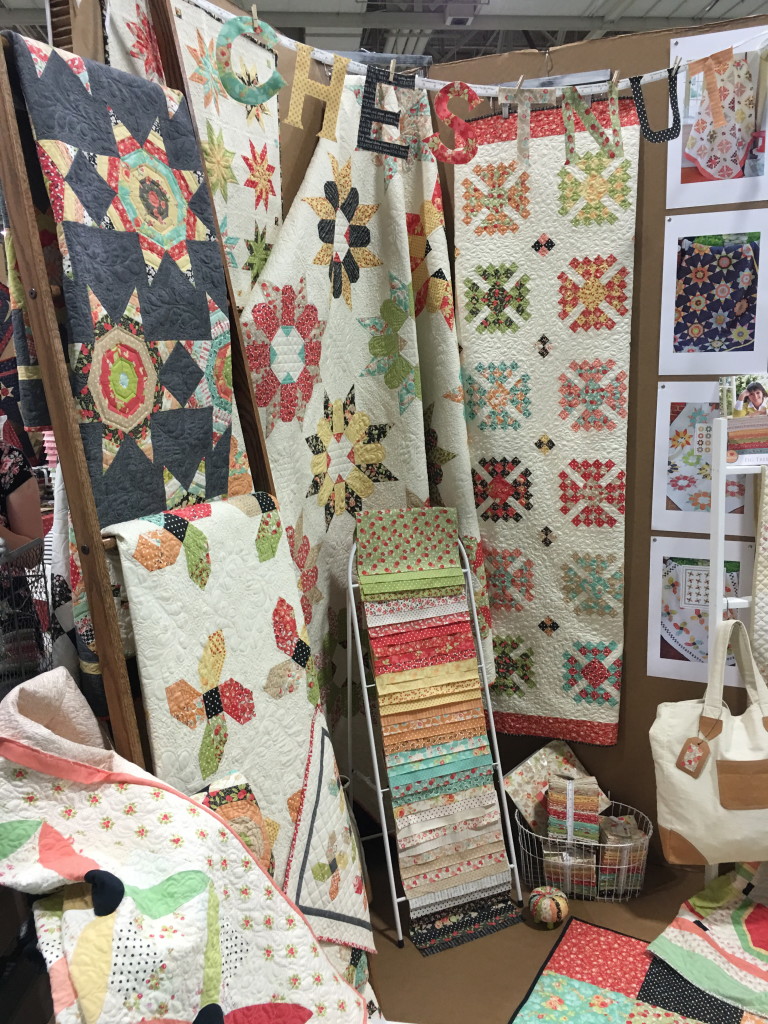
IMG_8254

The best part of Market is being able to connect with people in real life!  It is so great to be with people who love quilting!  I spend much of my time sewing with only Mufasa to talk to about fabric, patterns, designers, and ideas.  It’s a lonely little world with most people giggling when you tell them you are a quilter.  At Quilt Market I am with my people!!!!

IMG_8212

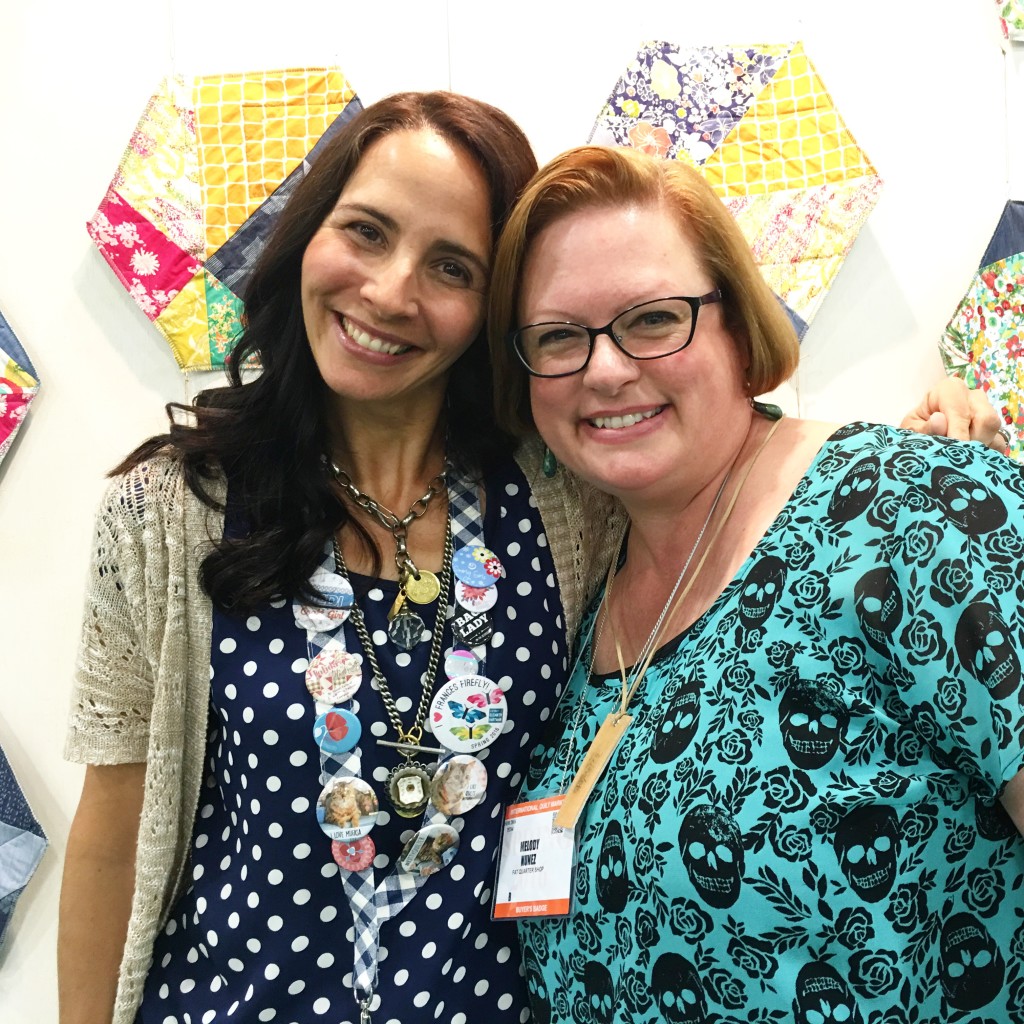
I loved meeting Melody from Fat Quarter Shop in real life!  We’ve worked together on projects for years!

IMG_7913

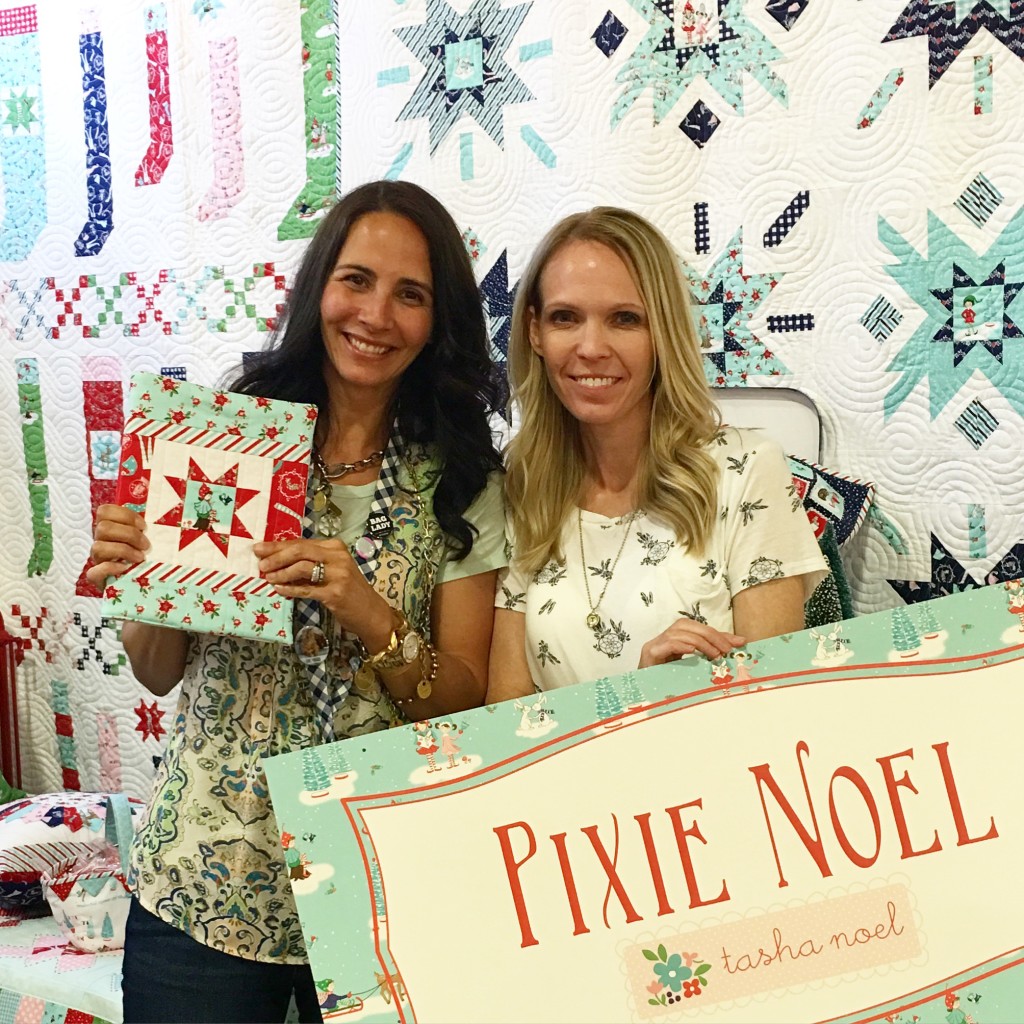
I loved meeting Tasha Noel for the first time!  I have been a fan of hers forever!

IMG_8298

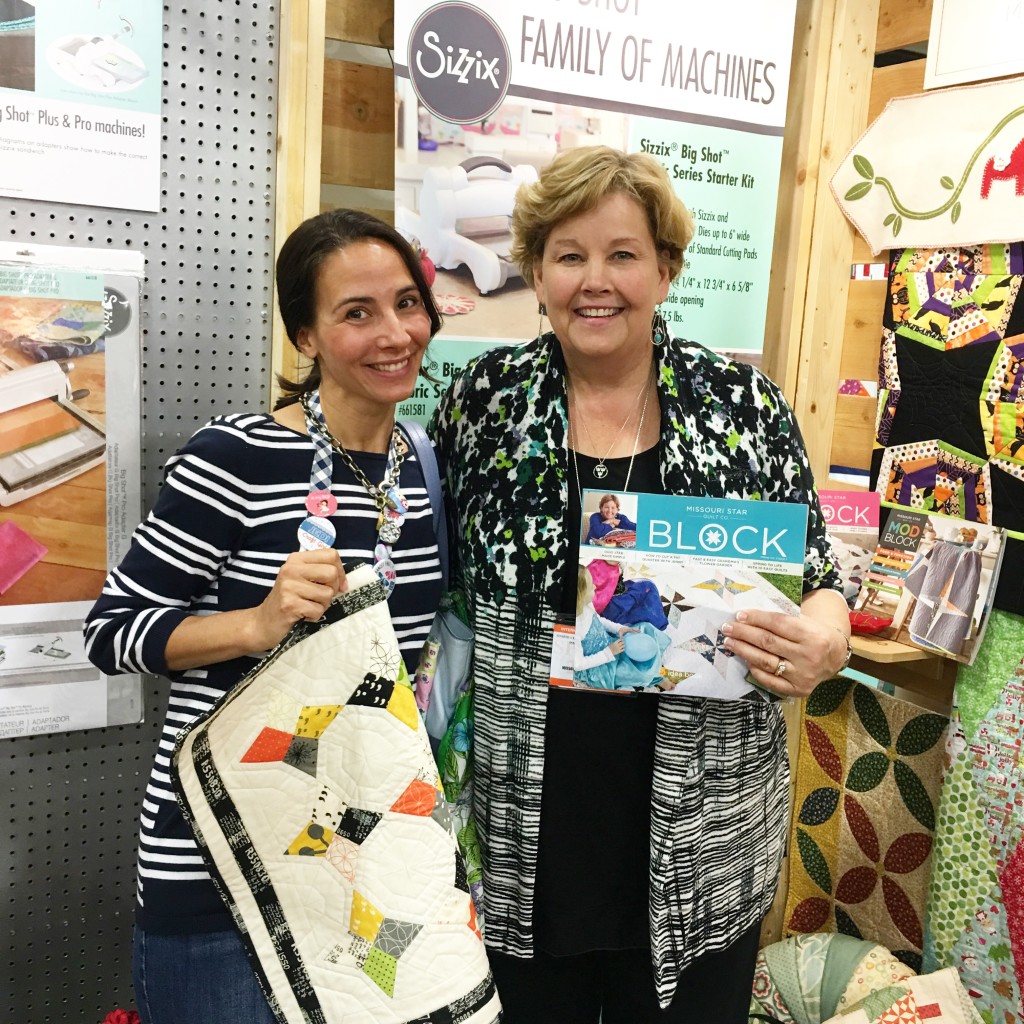
Meeting Jenny from Missouri Star was amazing!  She is the nicest person ever!!!

IMG_8256

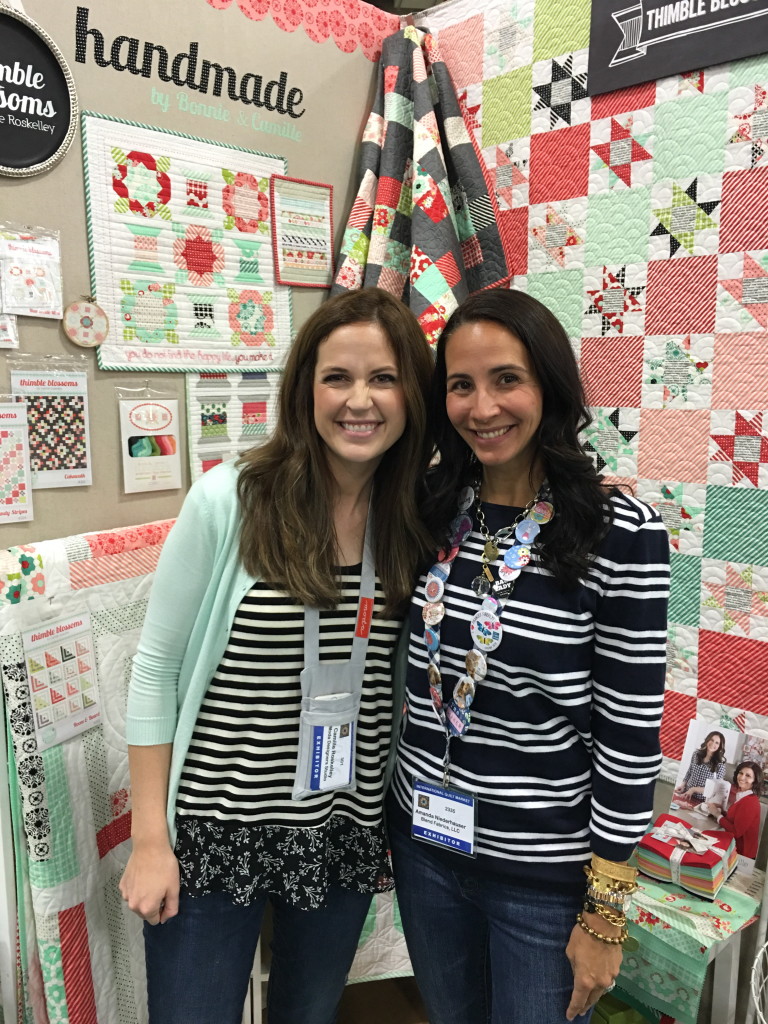
I was totally star-struck meeting Camille!  I totally didn’t play it cool and went up to her and said how much I loved her.  She’s a doll 🙂

IMG_8251

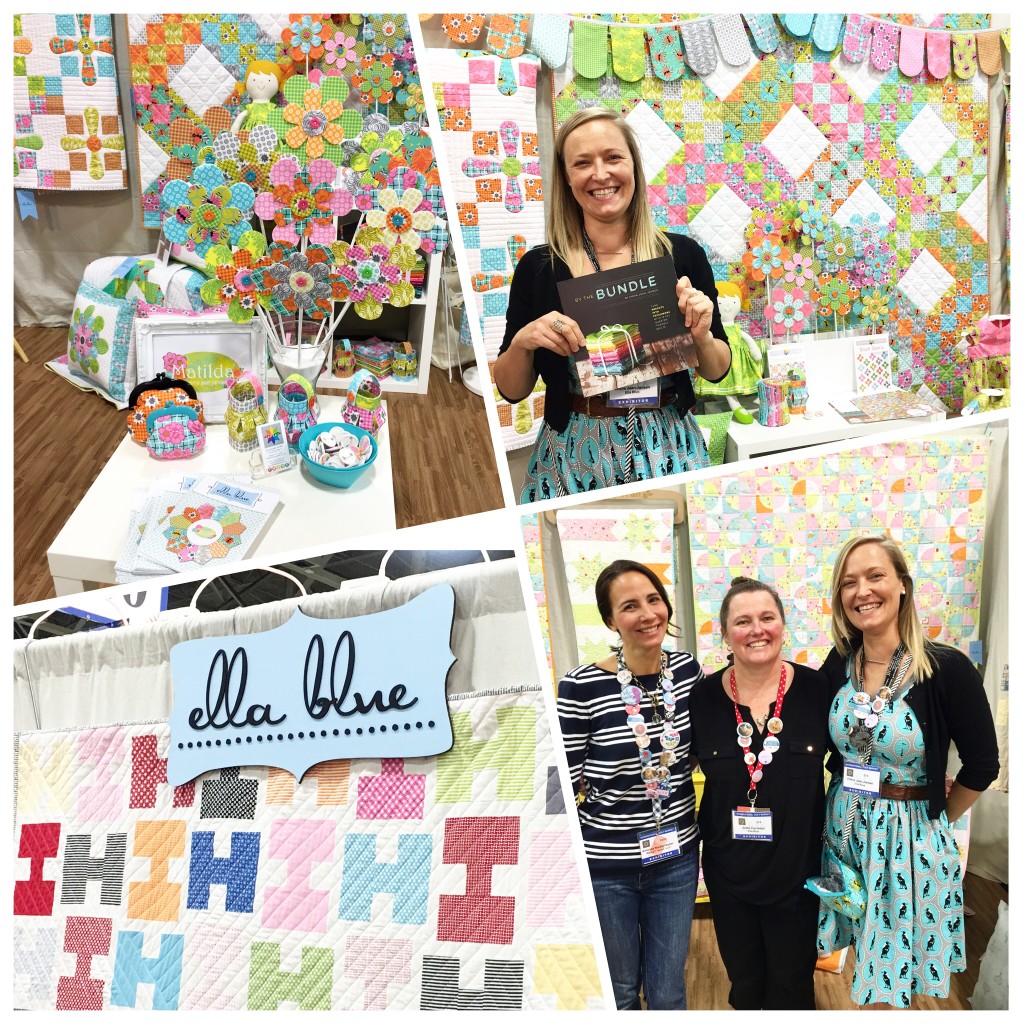
I got to meet my cute friends from Ella Blue all the way from Australia.  We follow each other on Instagram and it was fun to be together in real life!IMG_8303

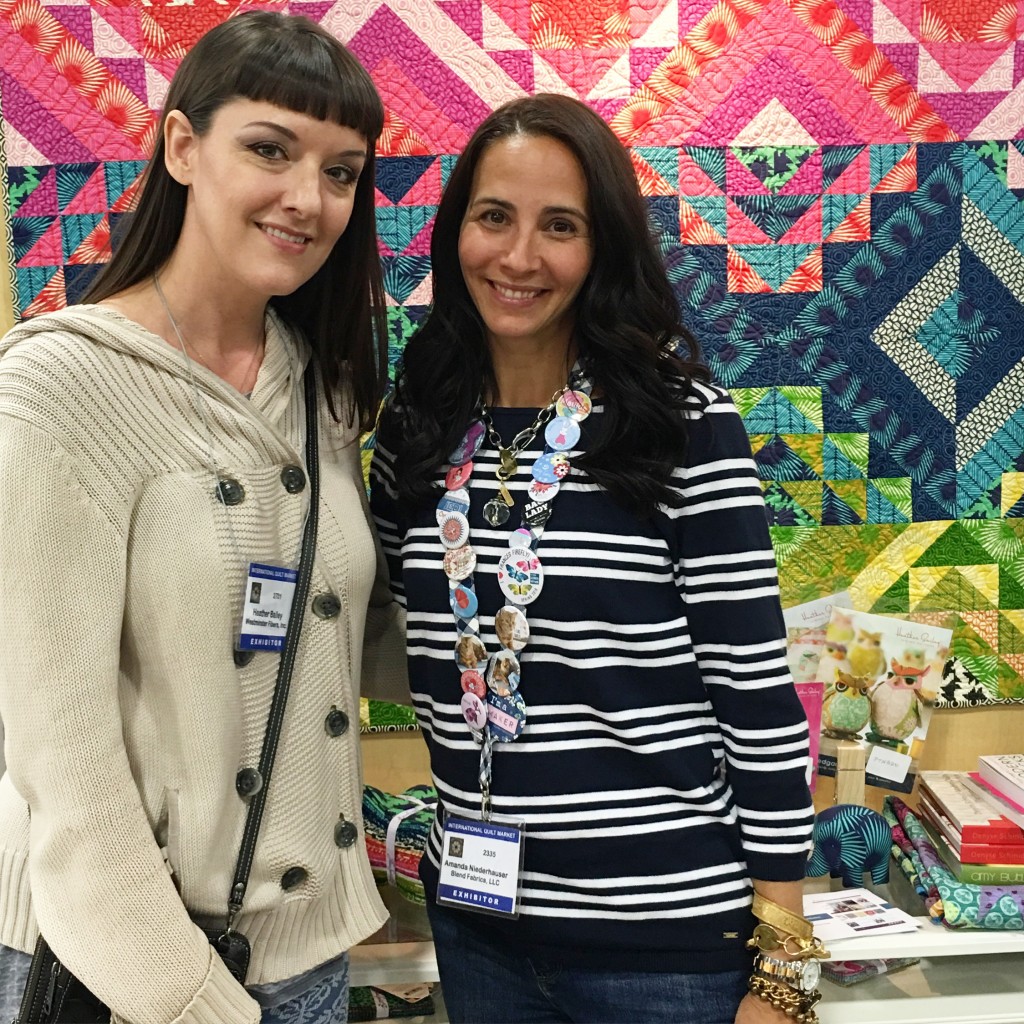
I’m always star struck meeting Heather Bailey.  She is super talented and very sweet!  IMG_8297

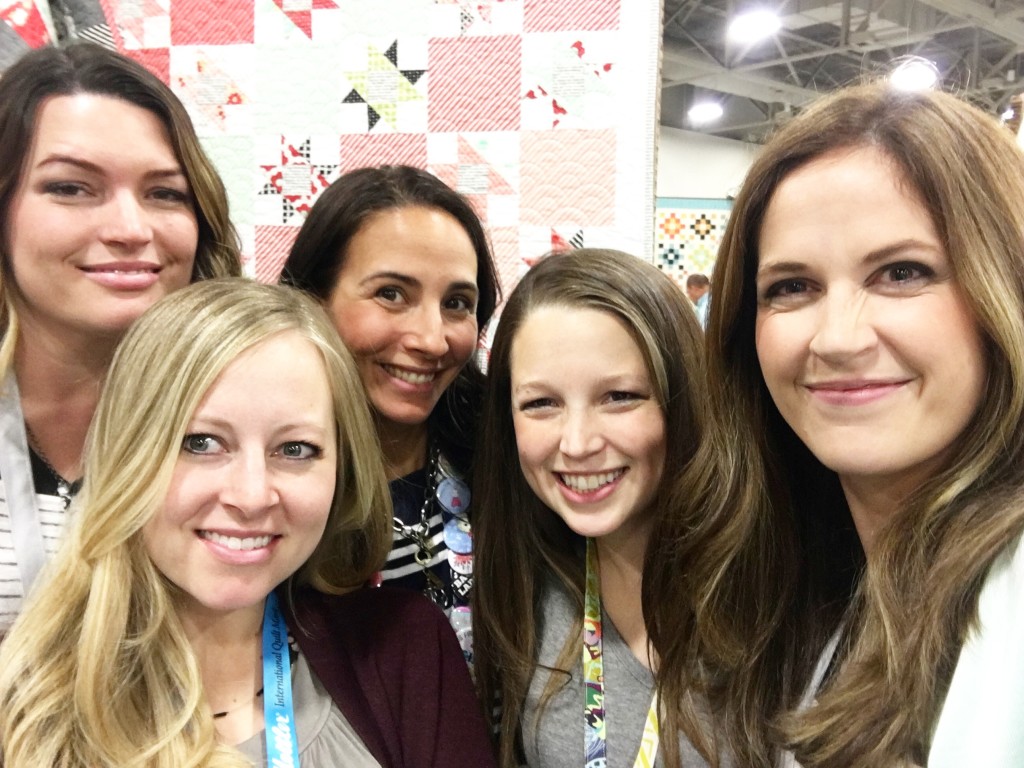
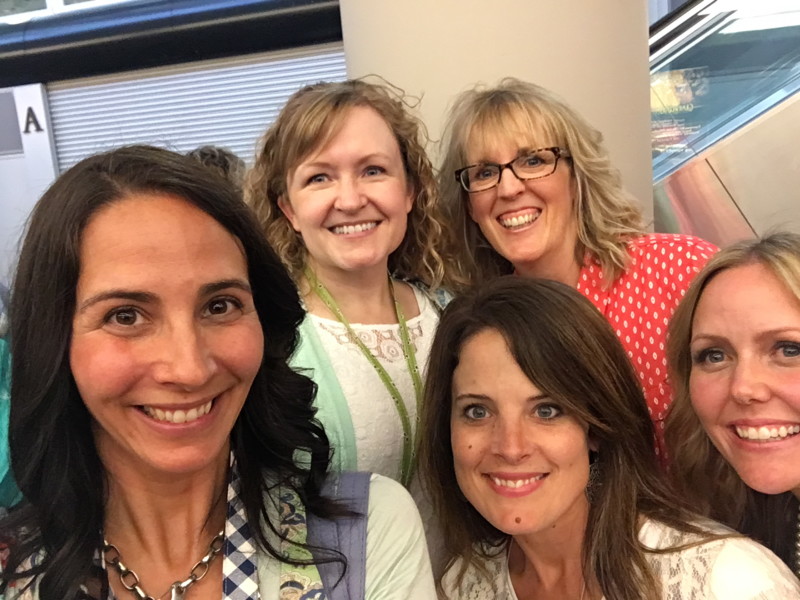
A fun little selfie that Camille took of Holly, Rachel, me, Amber, and Camille.

IMG_8255

How cute is Vanessa from Lele Boutique!  Her new fabric line is even more beautiful in person!

IMG_8211

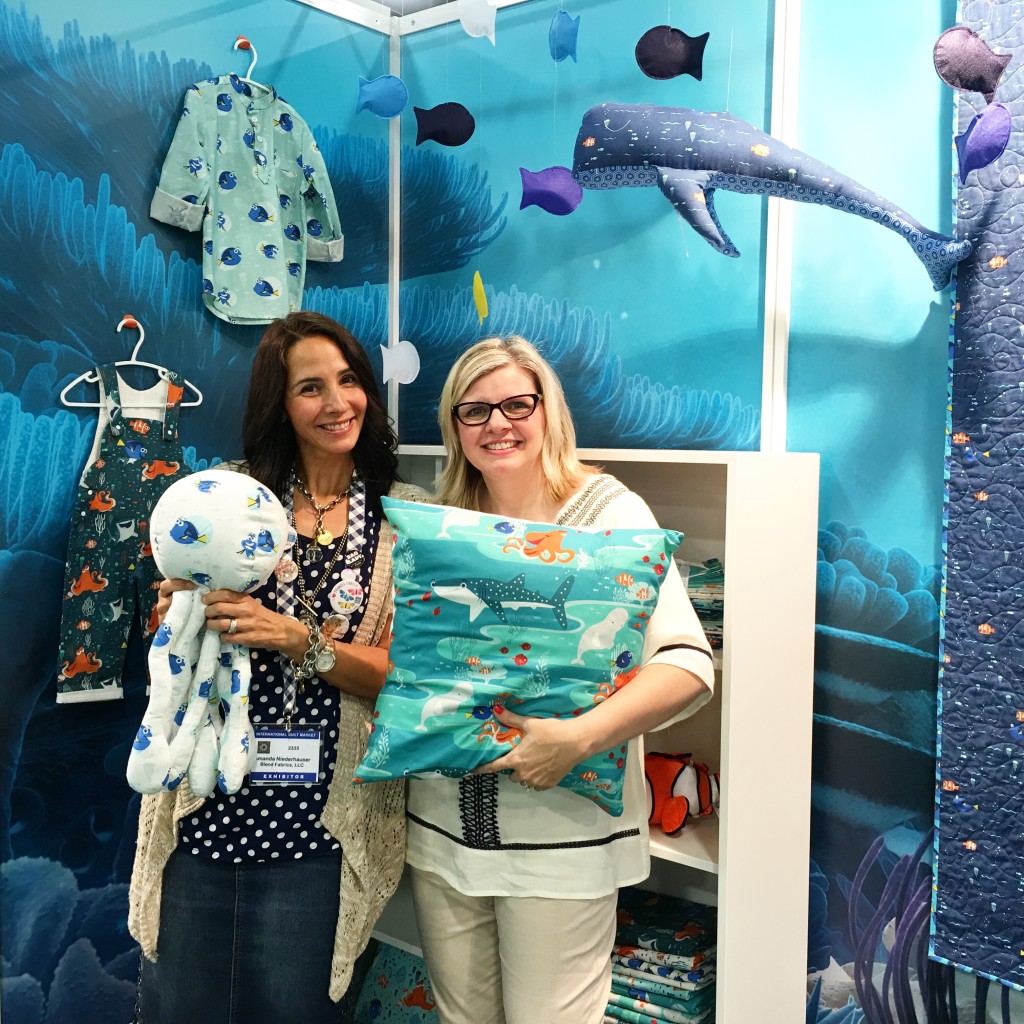
I was thrilled to meet Kimberly from Fat Quarter Shop!  And how cute is the new Finding Dorey fabric coming out soon!  I can’t wait to get my hands on some!!!

IMG_8049

Liz & Liz from Simple Simon are the cutest ever!  Their booth was amazing and so is their book!  I love those girls!!

IMG_7912

Melissa is such a sweetheart and I’m so excited that Riley Blake is coming out with a Wonderland 2!!

IMG_8059

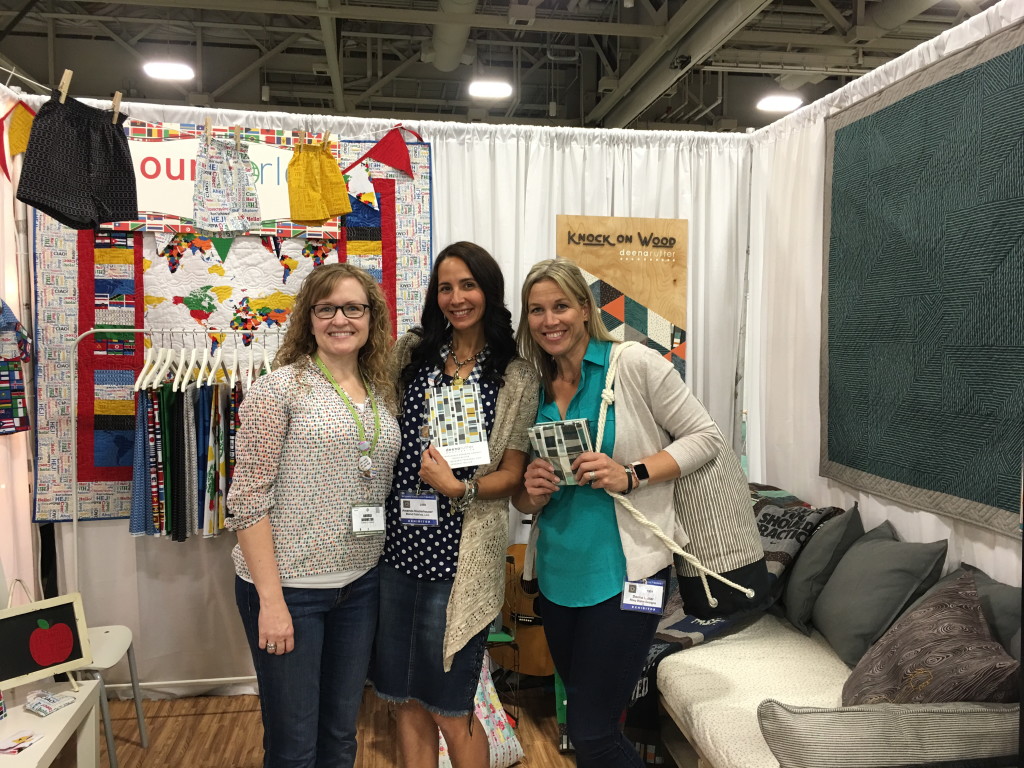
My sweet friend Andy from A Bright Corner and Deena Rutter!

IMG_8209

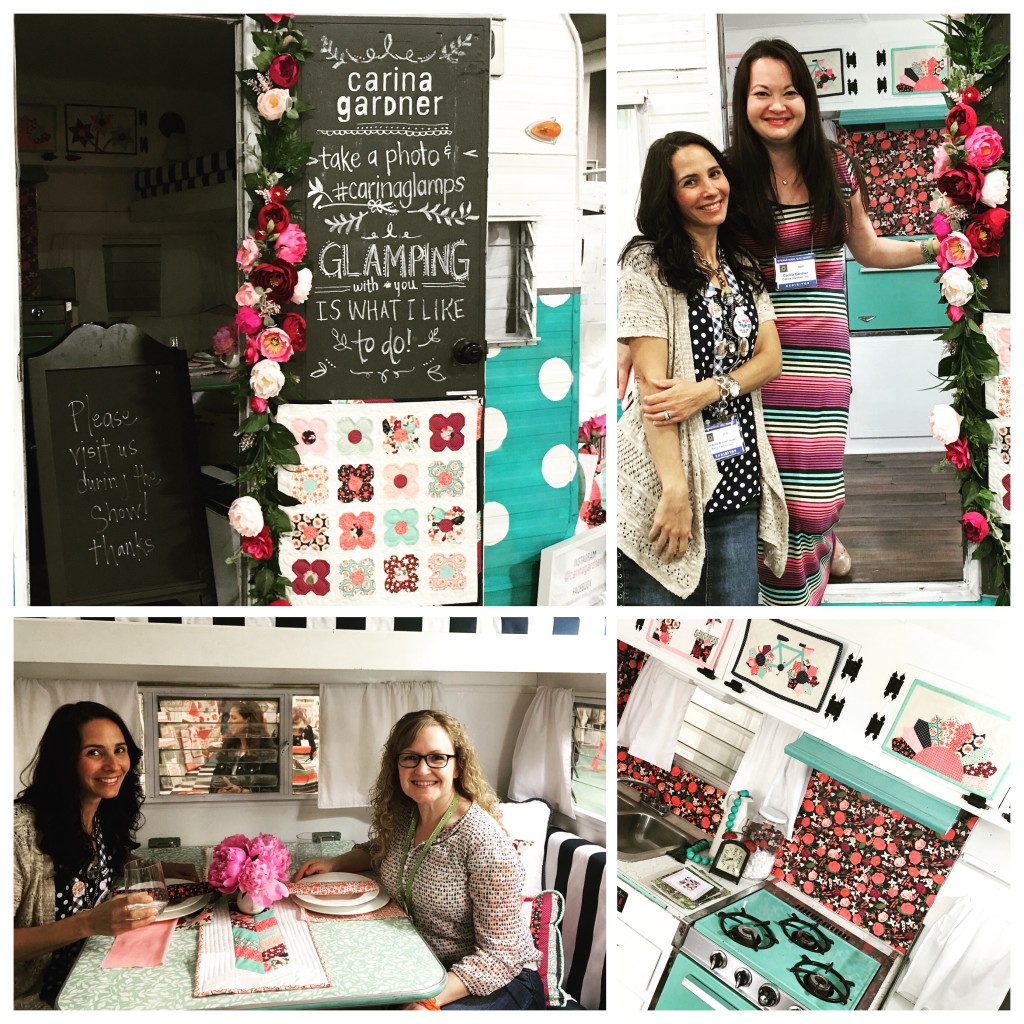
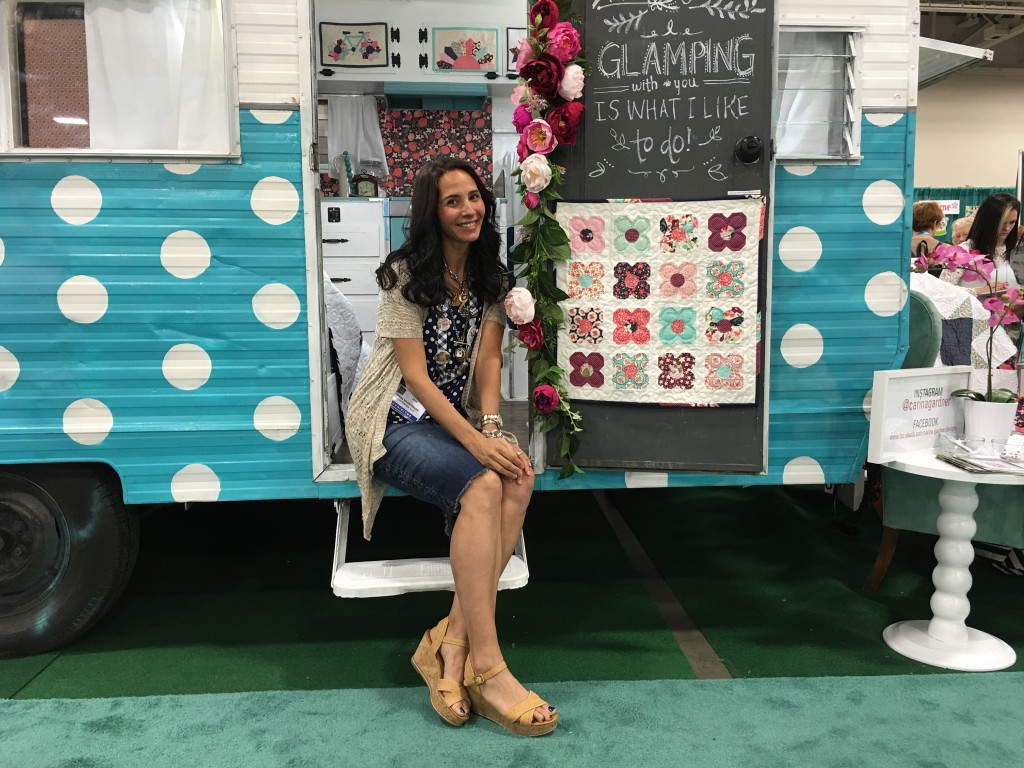
I loved getting to see Carina’s Glamper in real life!  It is so perfectly adorable!!

IMG_8062

That’s my little mini quilt on the door 🙂
IMG_8213

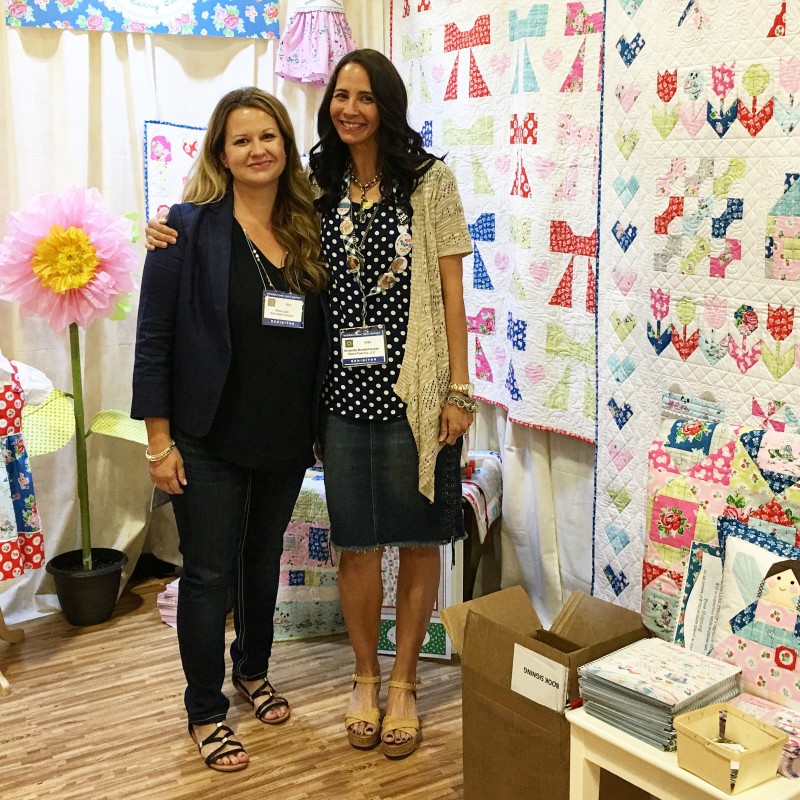
I loved meeting Elea Lutz from Riley Blake!  She is so sweet.  We even got to go dancing one night!

IMG_8095

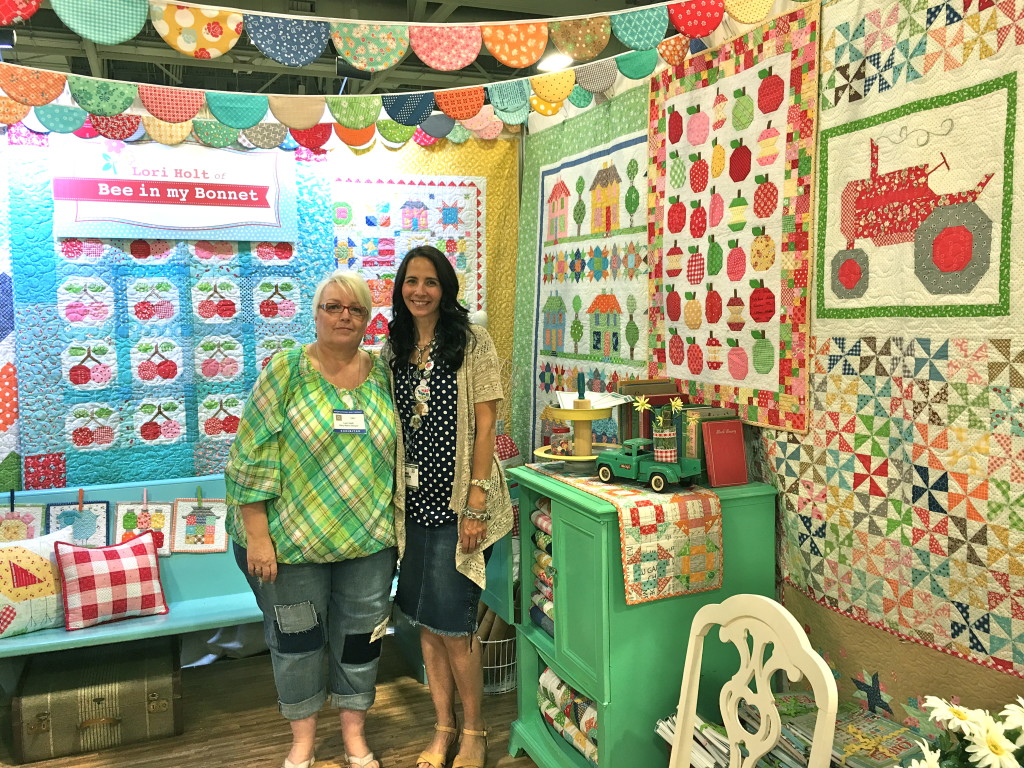
Lori’s booth was like stepping inside one of her beautiful quilt books!  I didn’t want to leave 🙂

IMG_8163

My cute friend Shannon was there with her first line of fabric from Moda!  It’s called Acreage and it’s amazing!!IMG_8296

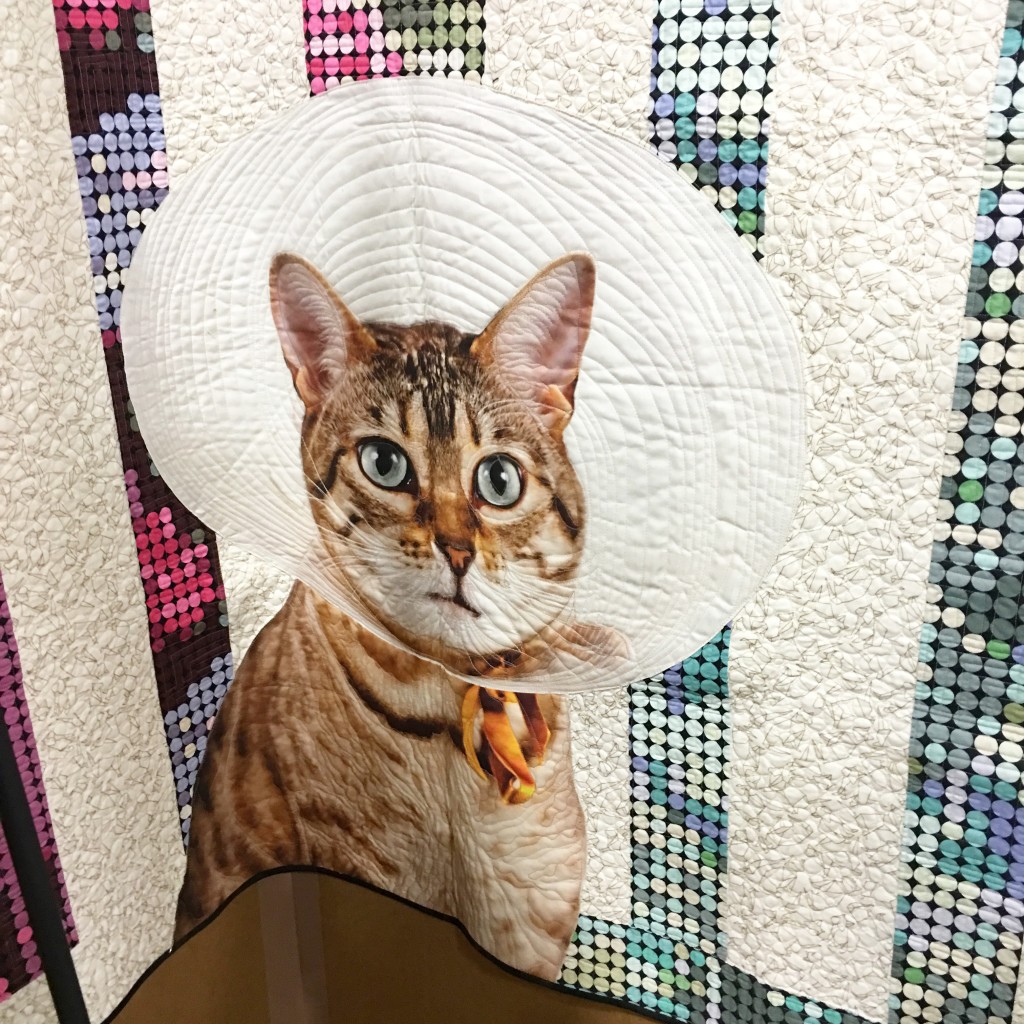
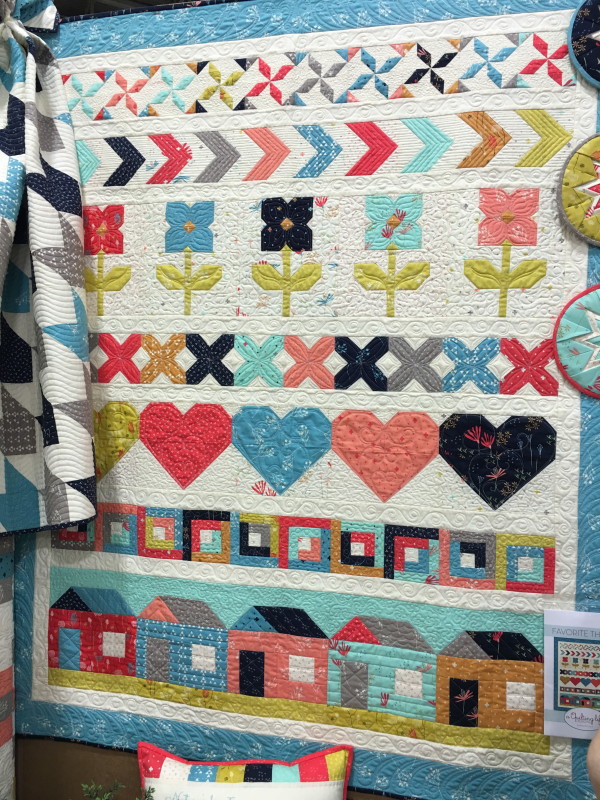
This awesome quilt was in the Moda booth and I can’t wait to make a giant quilt with Mufasa on it – maybe not with a cone though 🙂        IMG_8241

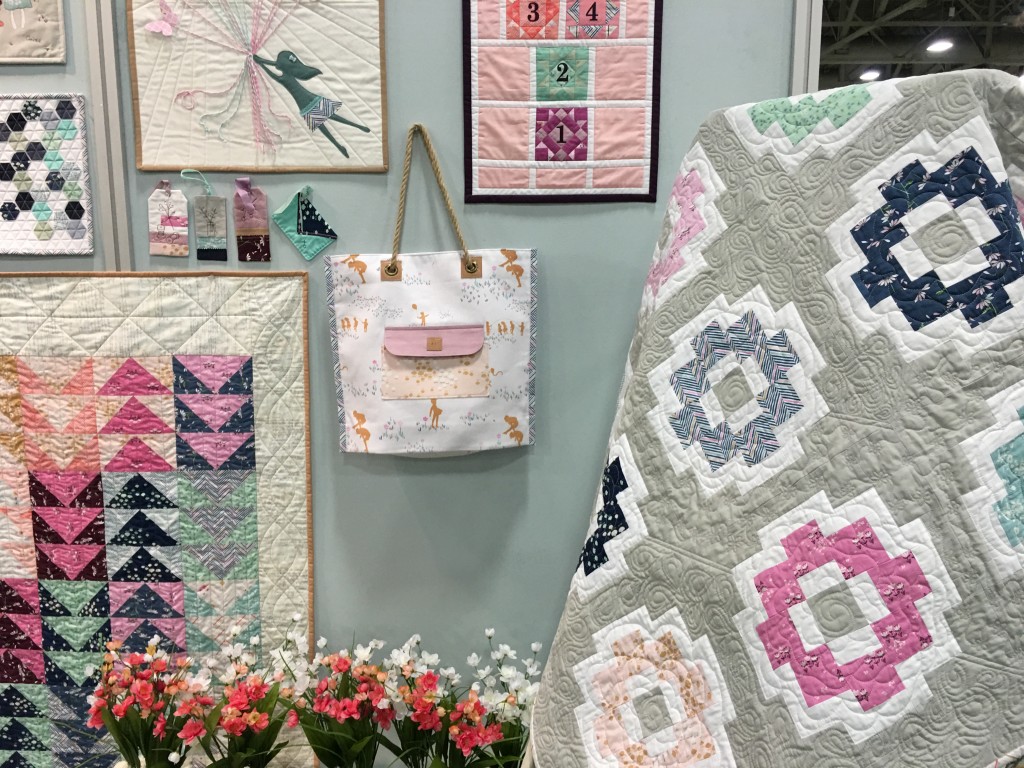
Everything at Market is so perfect and beautiful!IMG_8238

I can’t even choose what I liked the best!IMG_8228

IMG_8215

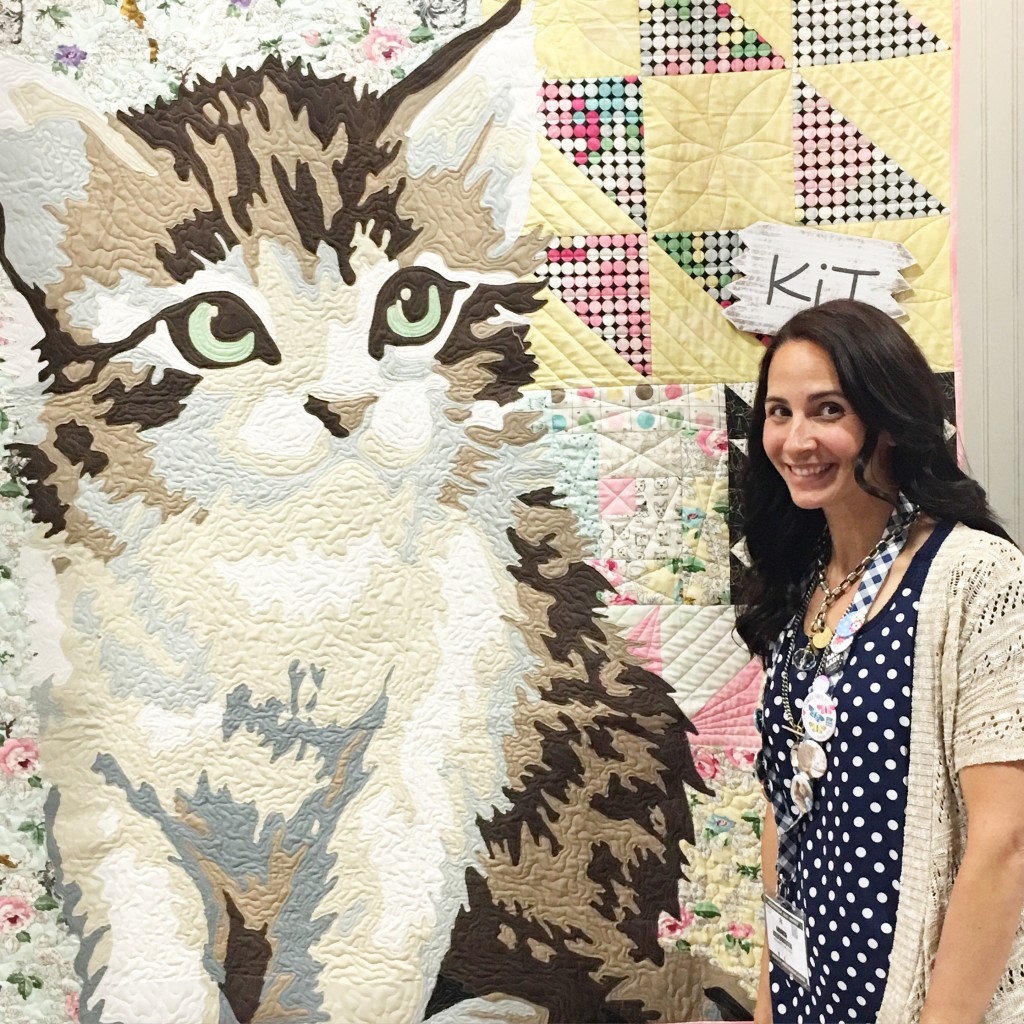
Wait, maybe I can – it’s this huge cat quilt in the Moda booth!     IMG_8192

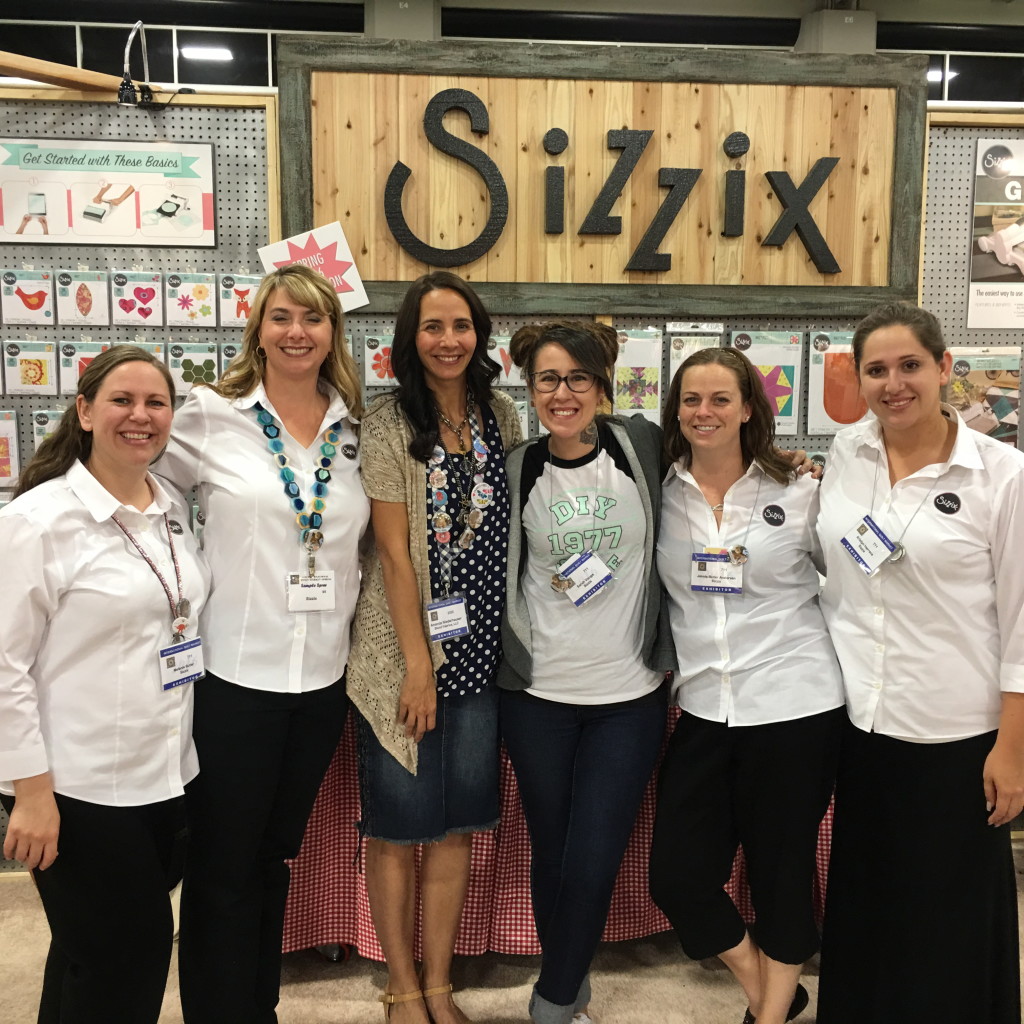
I got to meet all my friends from Sizzix!  They are so awesome!      IMG_8092

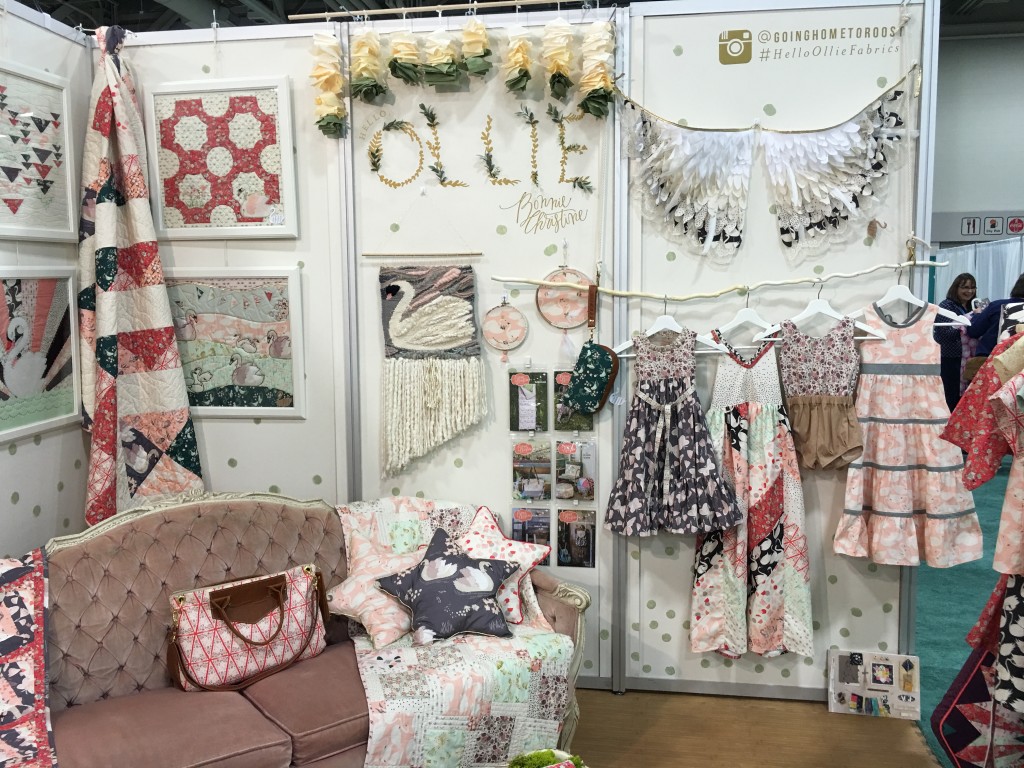
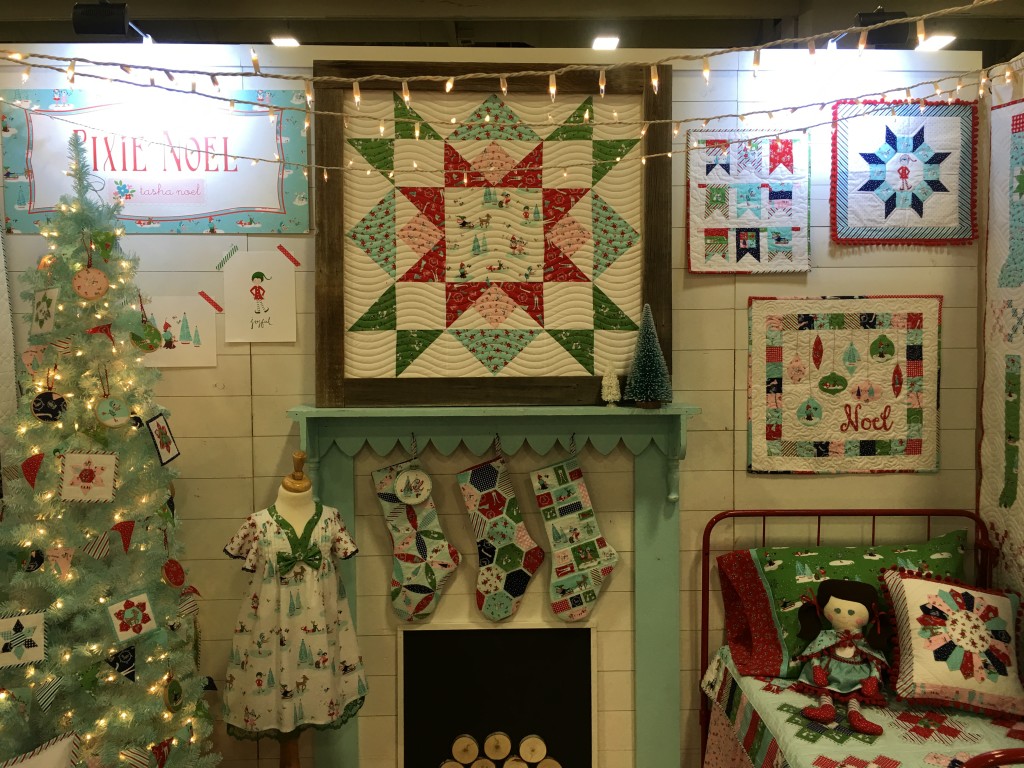
Tasha’s booth made me wish it was Christmas already – and that’s hard to do!             IMG_7895

I had fun hanging out with Andy (A bright Corner), Jodi (Pleasant Home) and Amber (Gigi’s thimble) and Brittney, Amber’s sister.  We spent an hour in line waiting for sample spree to start – after that it was everyone for herself!IMG_8087

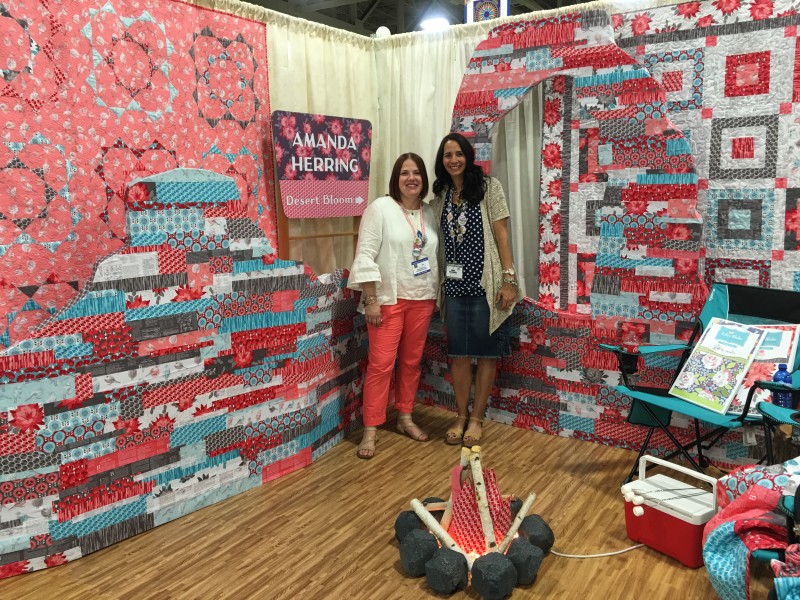
Amanda Herring’s booth was super awesome and I loved getting to see her again.IMG_8253I cried when I had to go home.  Back to life, back to reality, but at least I have lots of fun memories and at least there’s Instagram to stay connected 🙂
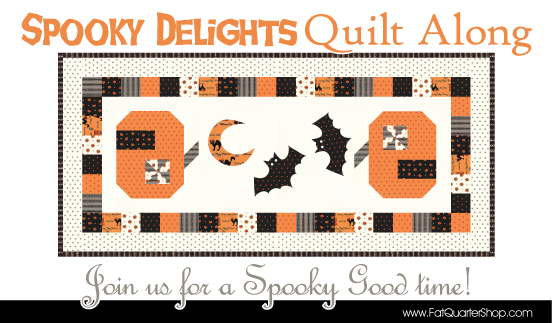
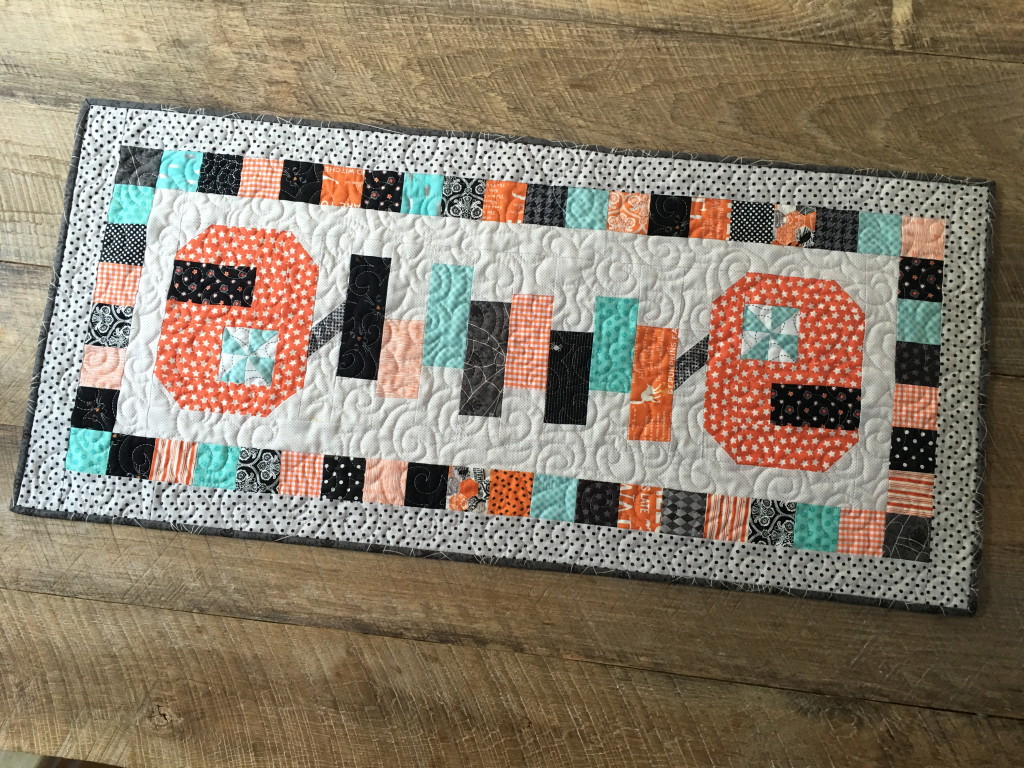
 

Spooky Delights Table Runner Finish

SpookyDelights-SM2

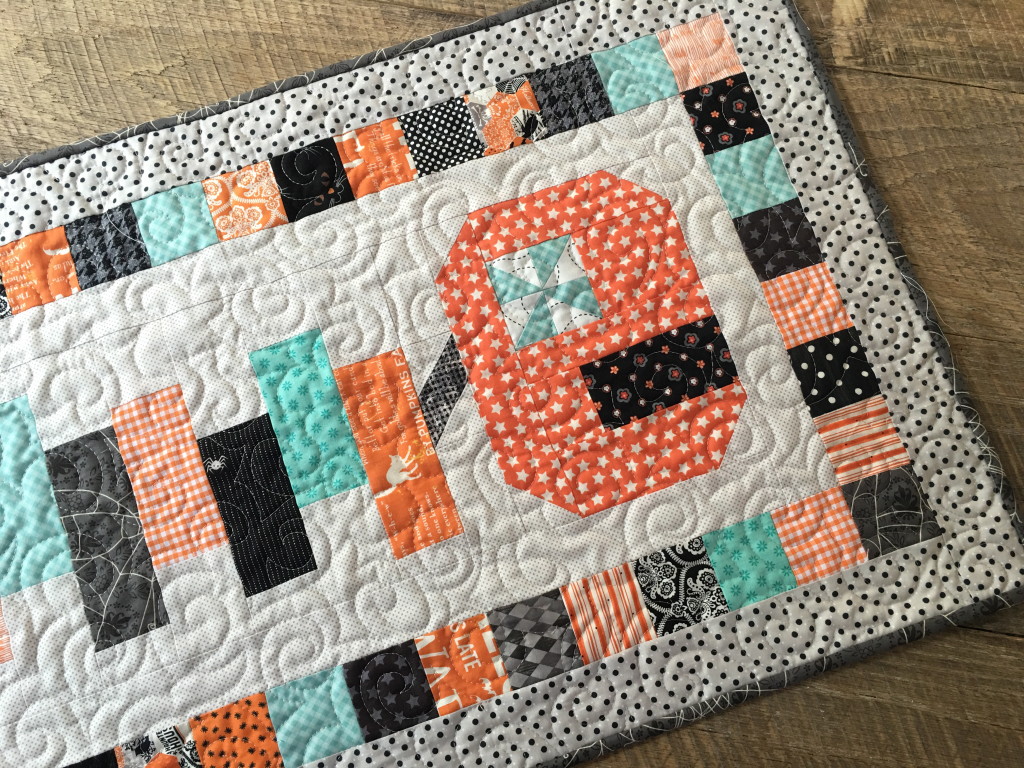
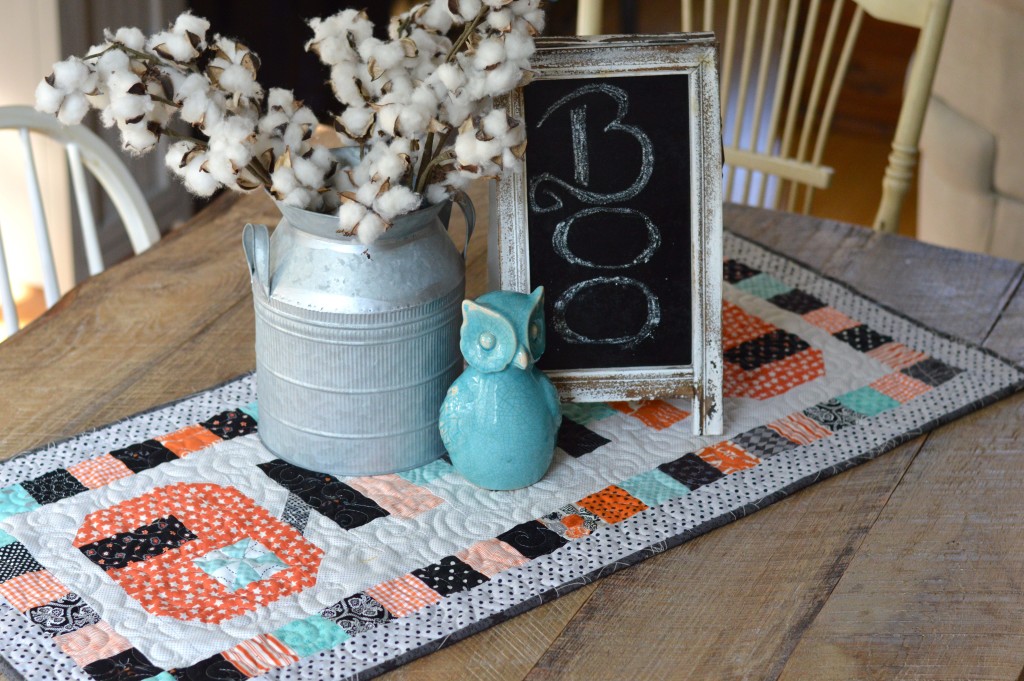
Today is the final day of the Spooky Delights Table Runner from Fat Quarter Shop!  I love how mine turned out!  It was such a fun little quilt to put together.  My favorite part of the whole quilt is the patchy border.  I just love it!  You can download the final instructions from Fat Quarter Shop HERE. spooky delights table runner 2

I am so happy to have this finished!  I can tuck it away for a few months and when I get it out in October I will be like opening a present just for me!

IMG_7250

I quilted it with swirls – I wanted it to look spooky 🙂

spooky delights table runner 3

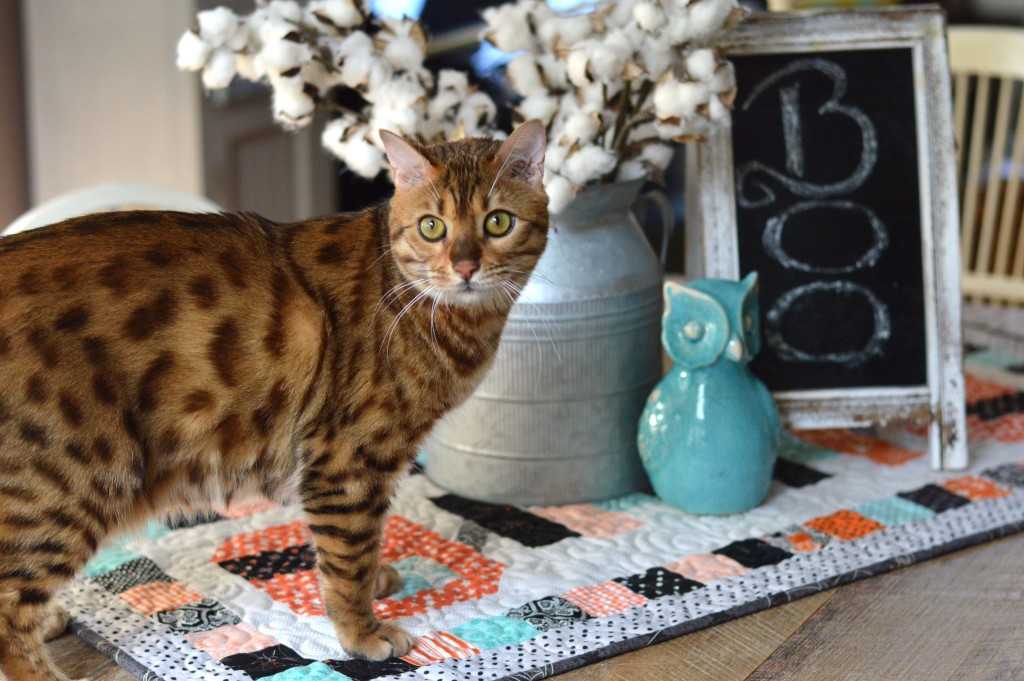
Mufasa the quilt model is thrilled with it 🙂IMG_7252 Now it’s your turn – get sewing!!!
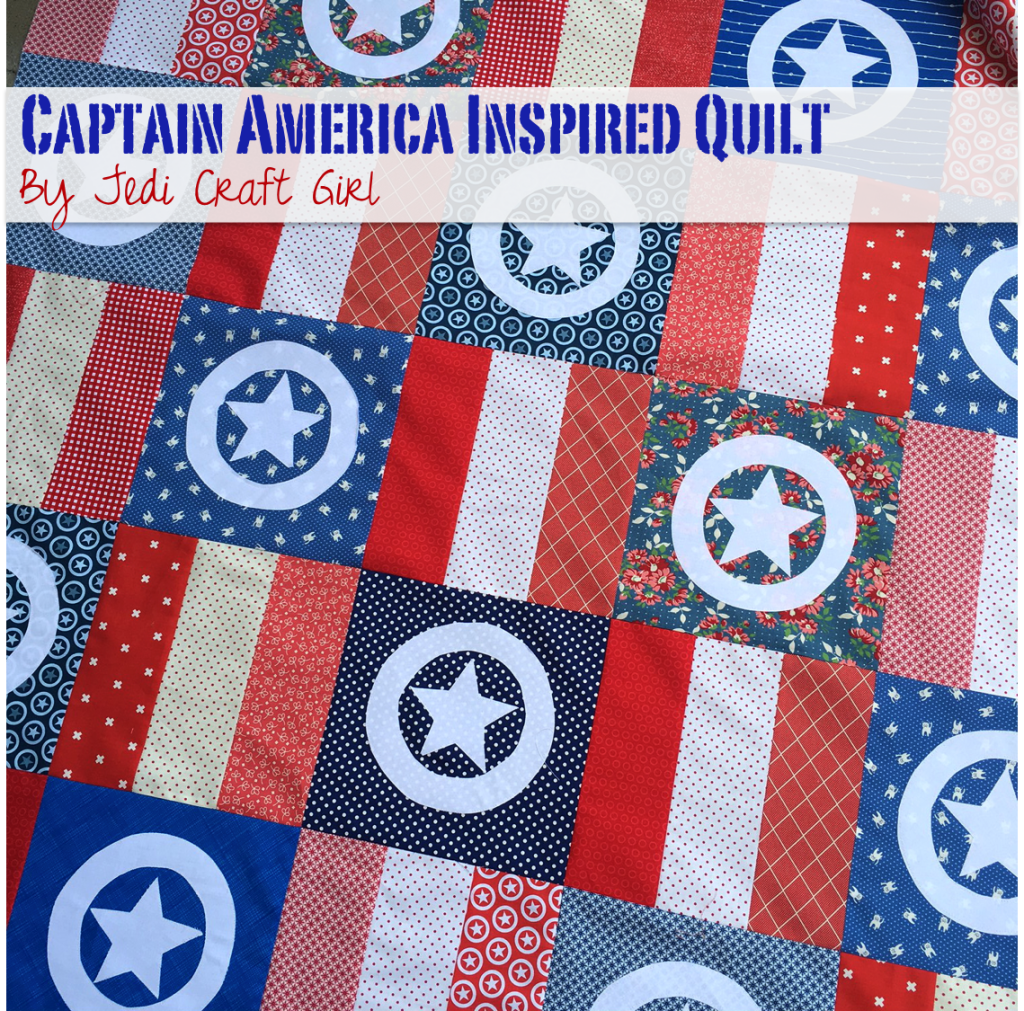
Captain America Inspired Quilt {a patriotic quilt}

captain america cover

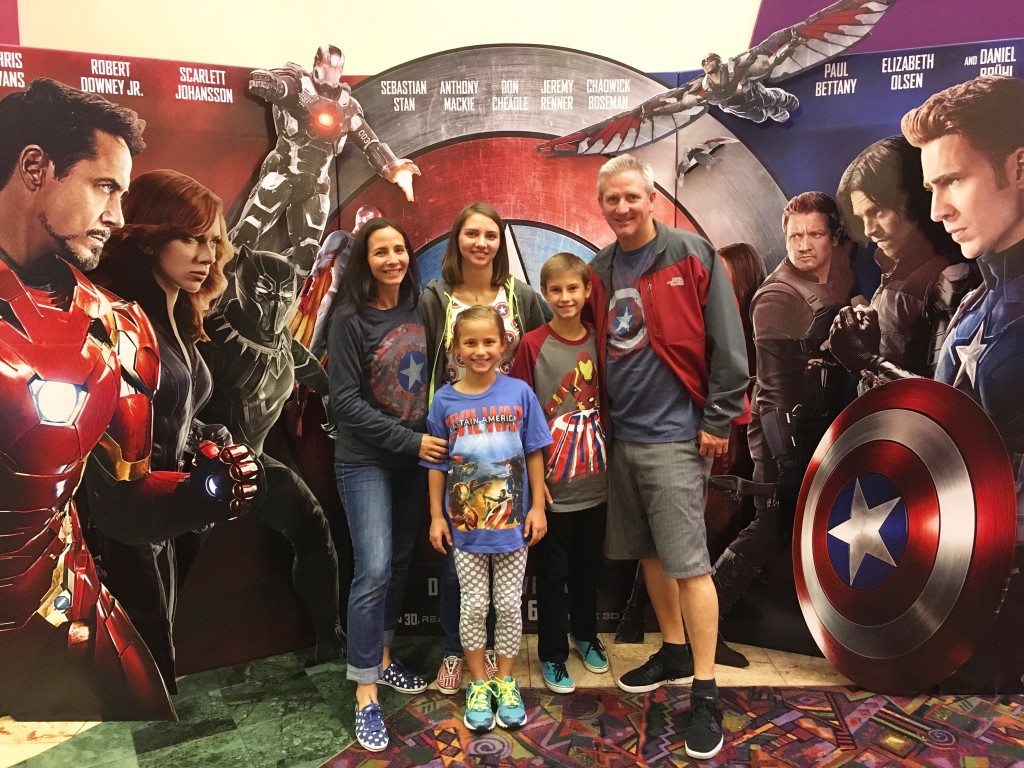
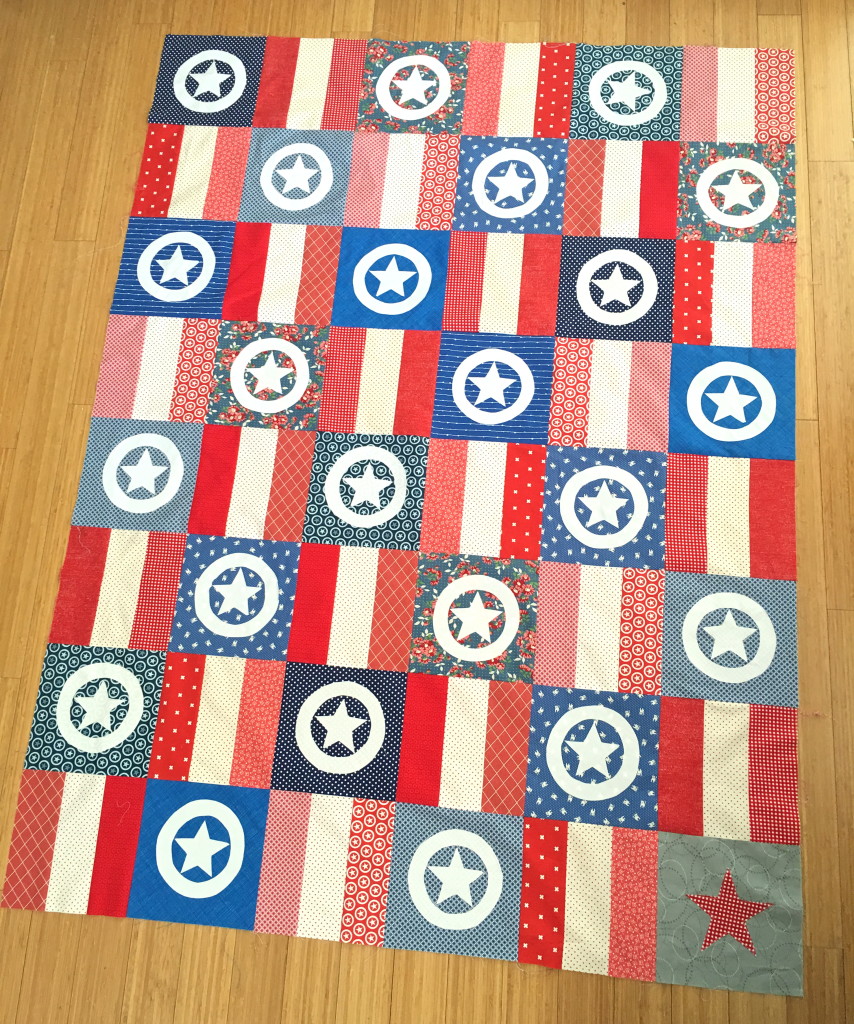
I couldn’t resist putting this quilt together.  My family is totally obsessed with the Avengers, especially  Captain America and Iron Man.  We were so excited for the movie to come out!!!  We went to the first showing at 9:30 pm last night!  I was so much fun.  I love going to movies when the theater is packed with fans who cheer and clap together!

captain america quilt 11

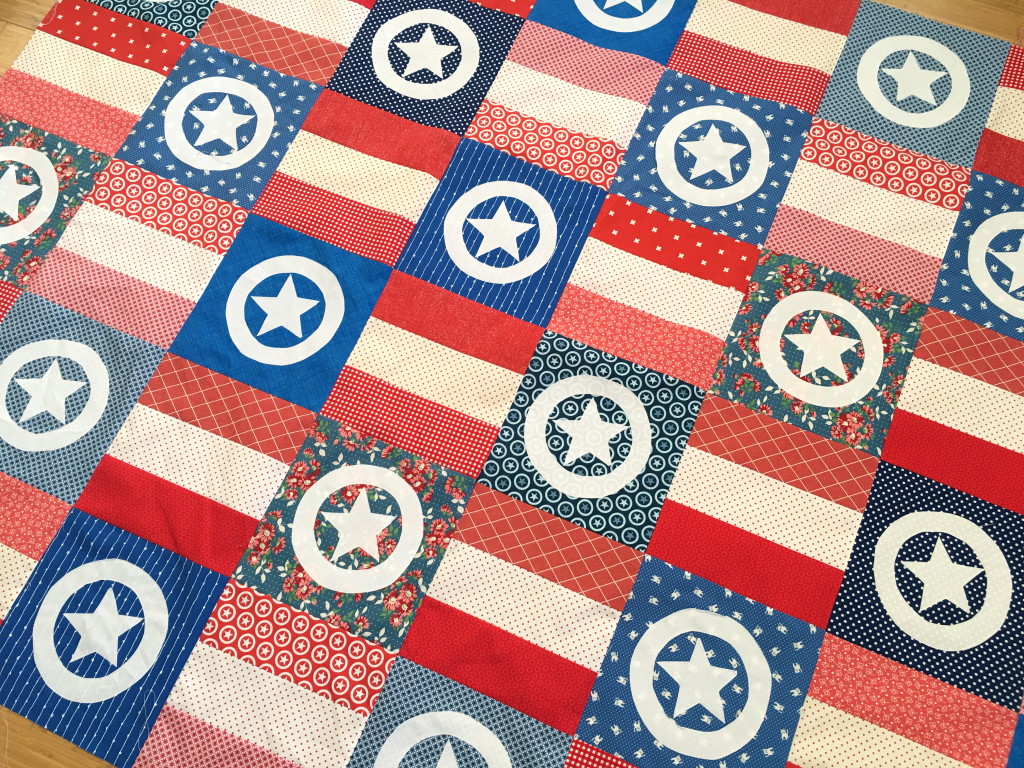
To celebrate this milestone in Marvel history, I created this quilt inspired by Captain America.  My 8 year old daughter is totally in love with him.  I guess we will be fighting over the quilt!

captain america quilt 15

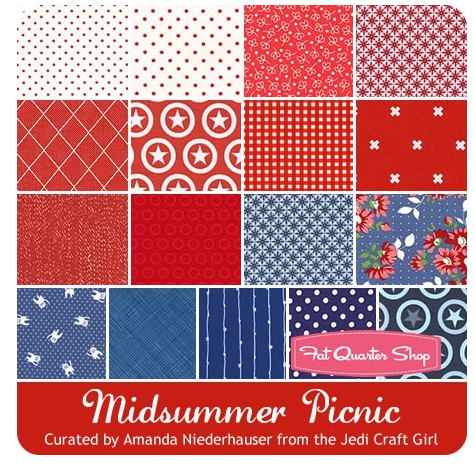
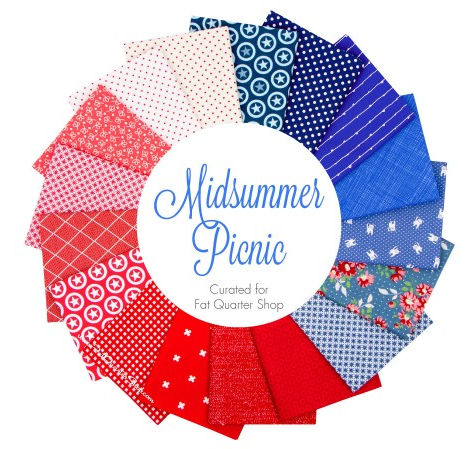
I curated this selection of Fat Quarters from Fat Quarter Shop just for this project.  You can view it here.  I wanted a fun mix of red, white, and blue fabrics.  This quilt totally works for a summer patriotic quilt if you’re not into #teamCap.

Screen Shot 2016-05-06 at 11.30.10 AM

Lets Get Started

Finished block 9″, Finished Quilt 54″x72″

All Seams 1/4″

Supplies:

18 Fat Quarters (I used each one pictured above)

1.5 yards solid white

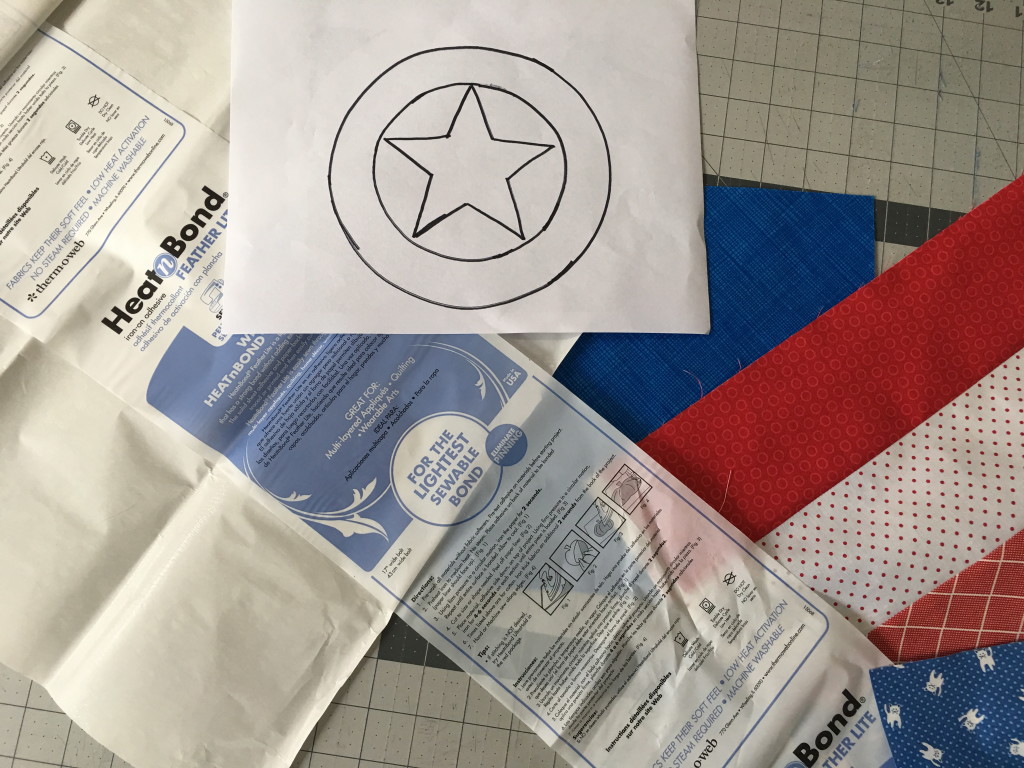
3 yards Heat n Bond Feather Lite Fusible Applique

Pattern, click HERE

captain america quilt

Make the Stripe Block

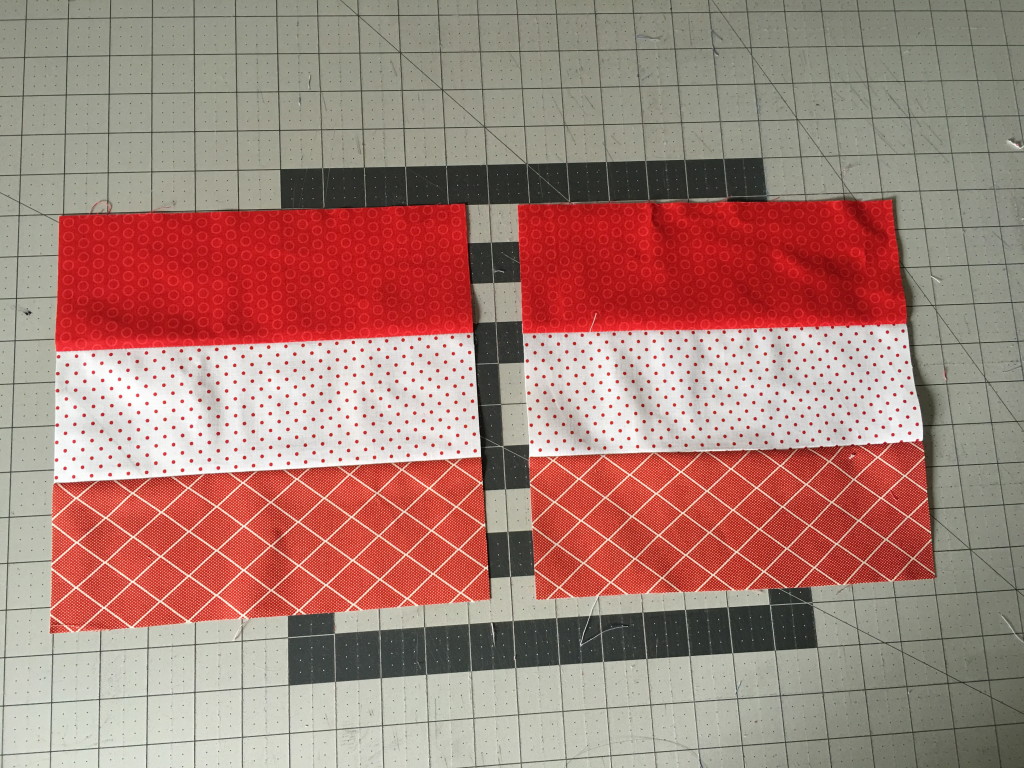
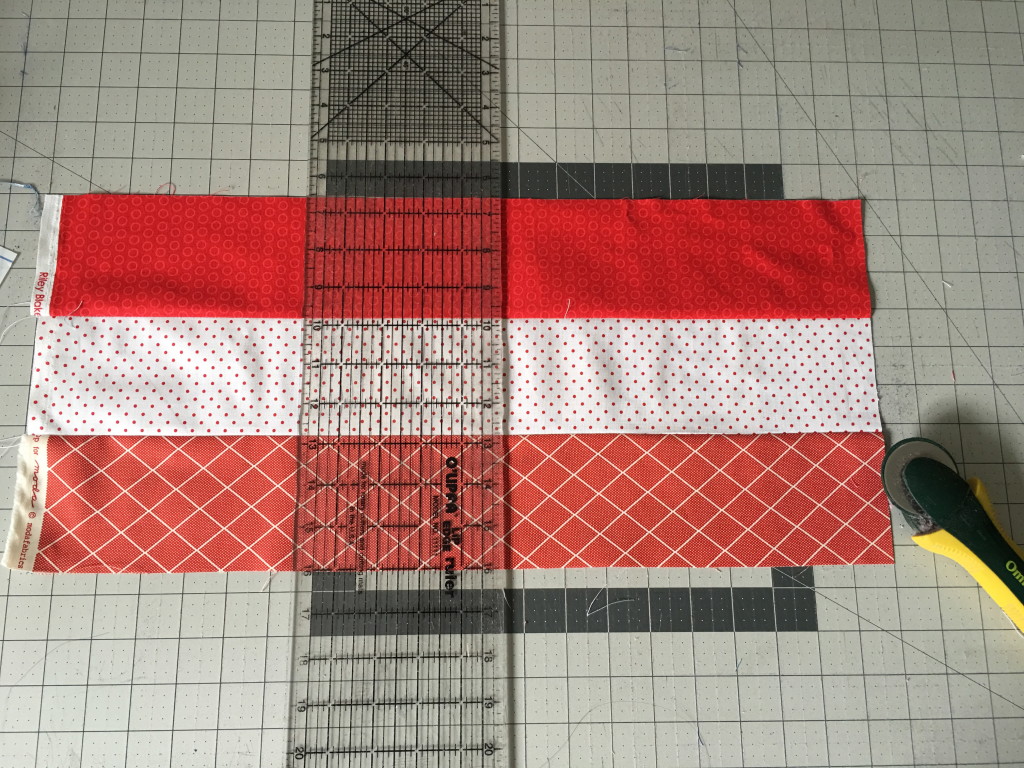
Cut the red prints and white prints into 3.5″ strips.  (Since we are using Fat Quarters, they will be half the WOF long)

Sew in strip sets of red, white red.  Press toward the dark.

captain america quilt 3

Cut each strip set in increments of 9.5″.  Each block should measure 9.5″ square.

captain america quilt 4

For the applique block…

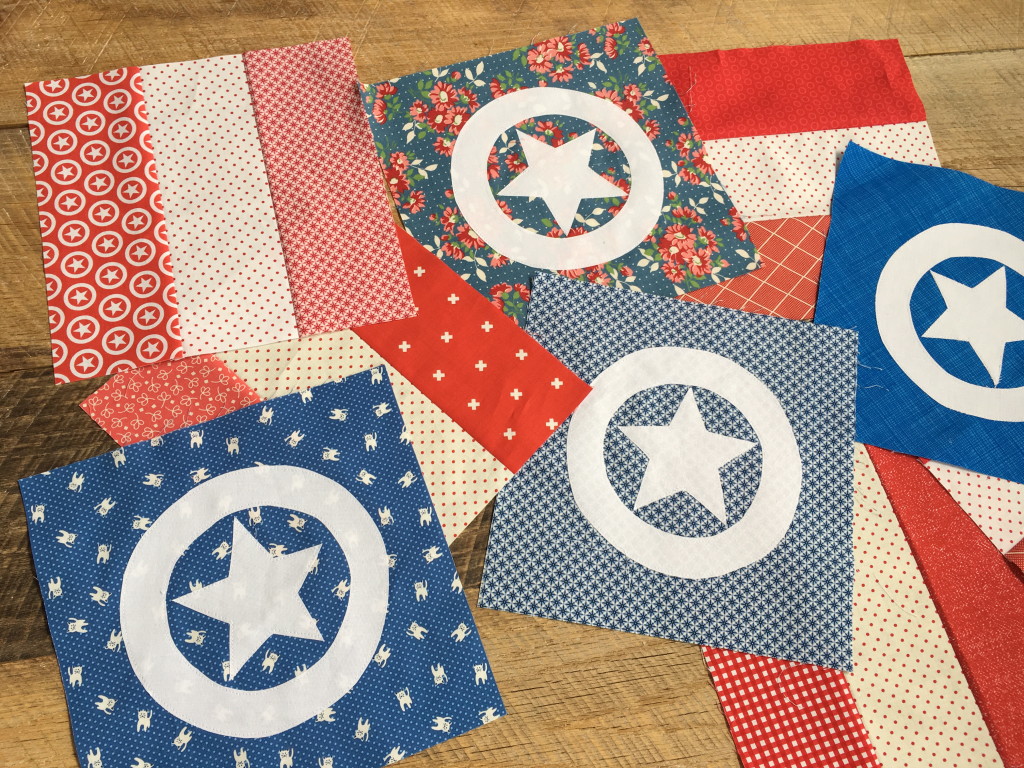
Cut 24 blue squares 9.5″

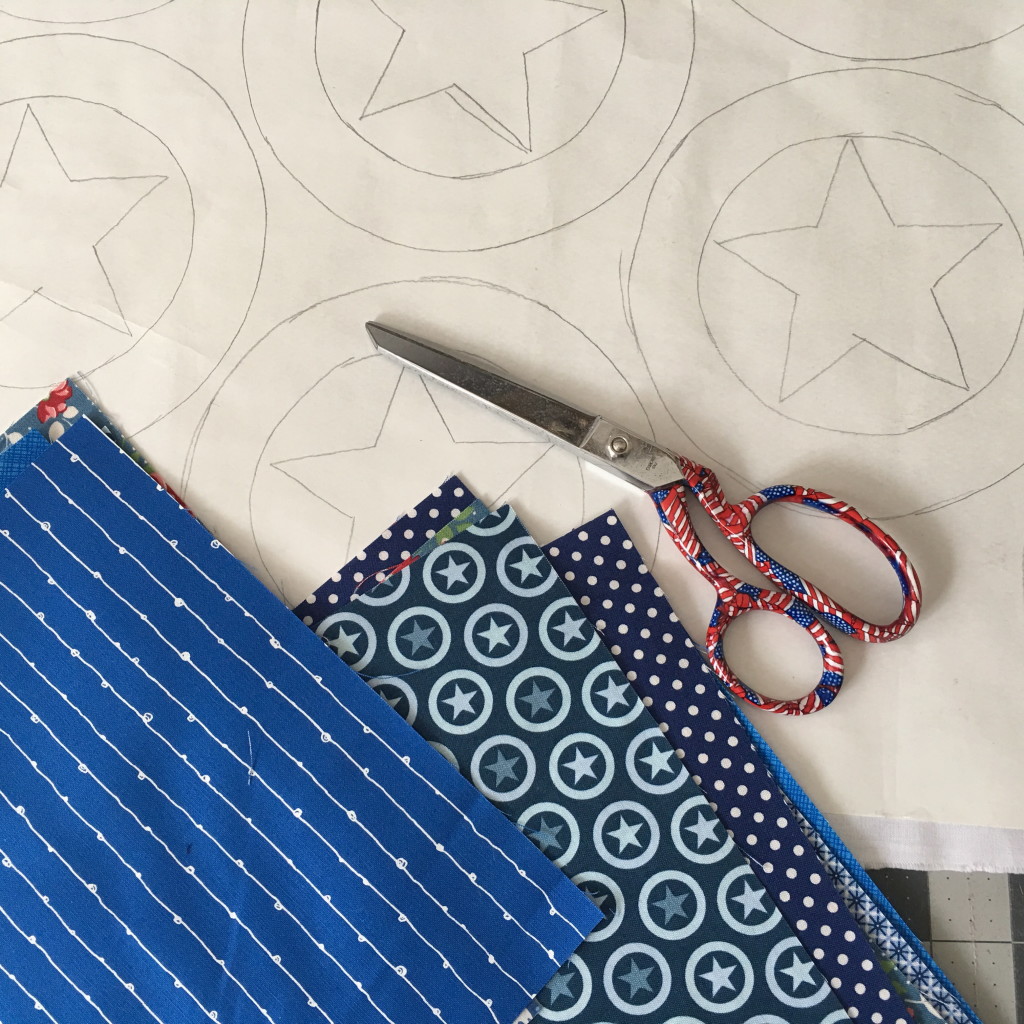
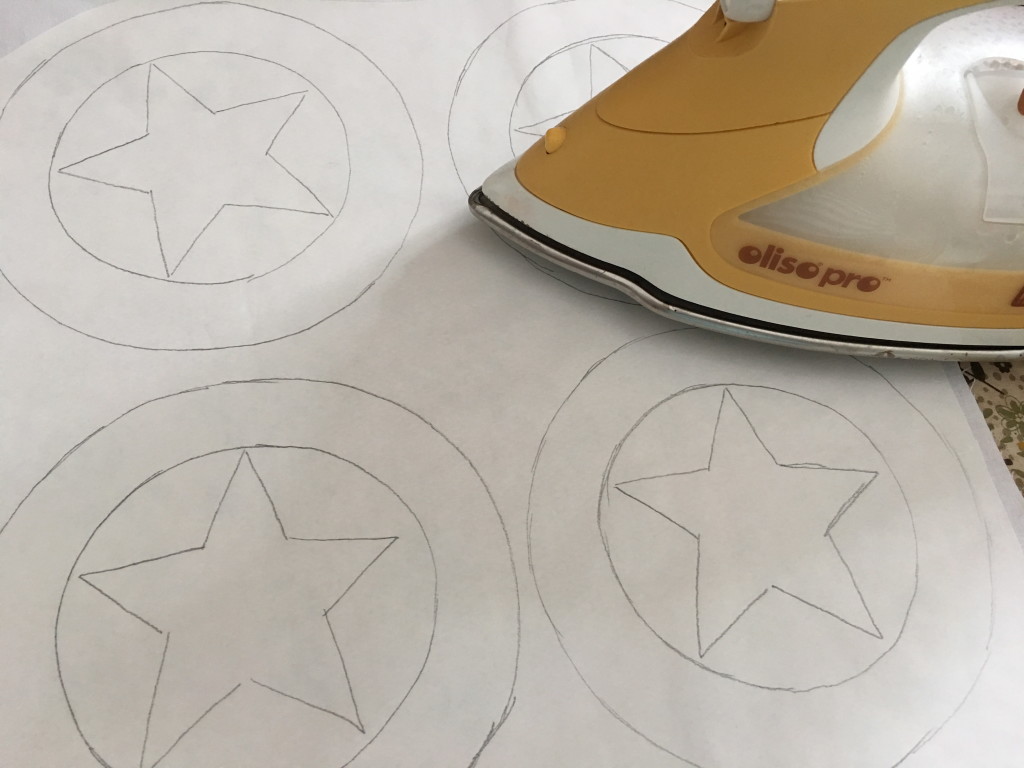
Draw the pattern onto the Heat n Bond Feather Lite.  You will need 24.  I like to used the Feather Lite because it doesn’t add any weight or stiffness to your quilt.  It holds it in place just long enough to cut and sew it.

captain america quilt 9

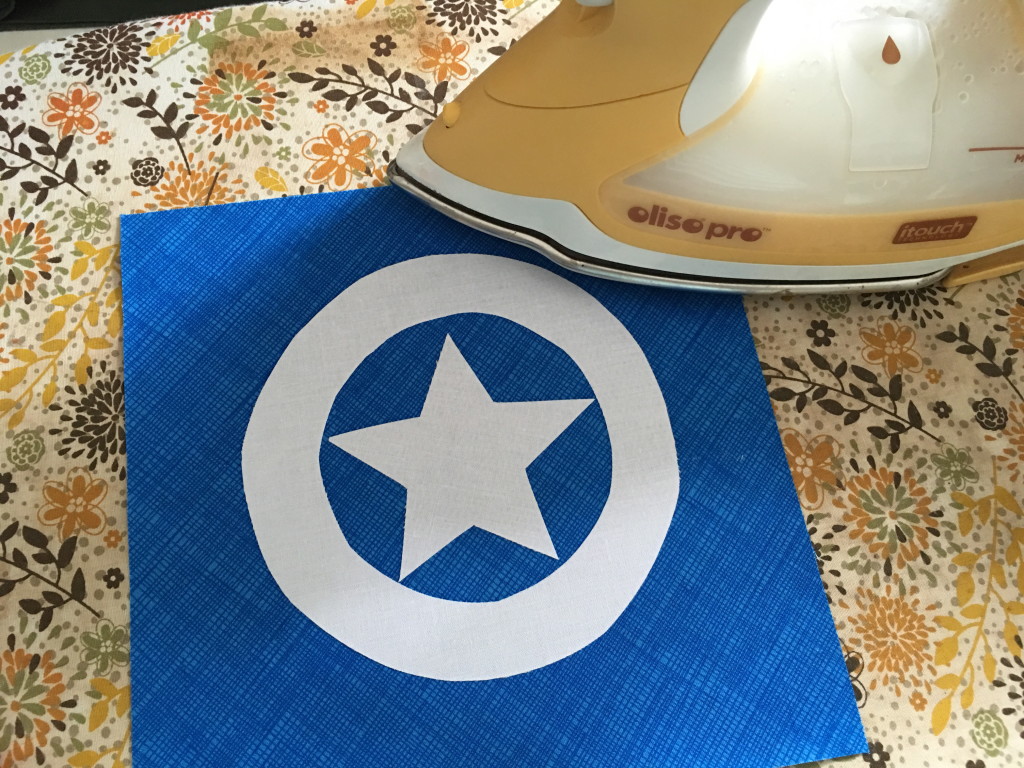
Press the heat n bond to the wrong side of the white solid fabric.

captain america quilt 2

Put on Captain America I and II and cut out all the circles and stars following the pattern line.

captain america quilt 5

Position the circle and star in the center of each blue block and heat set in place.

captain america quilt 8

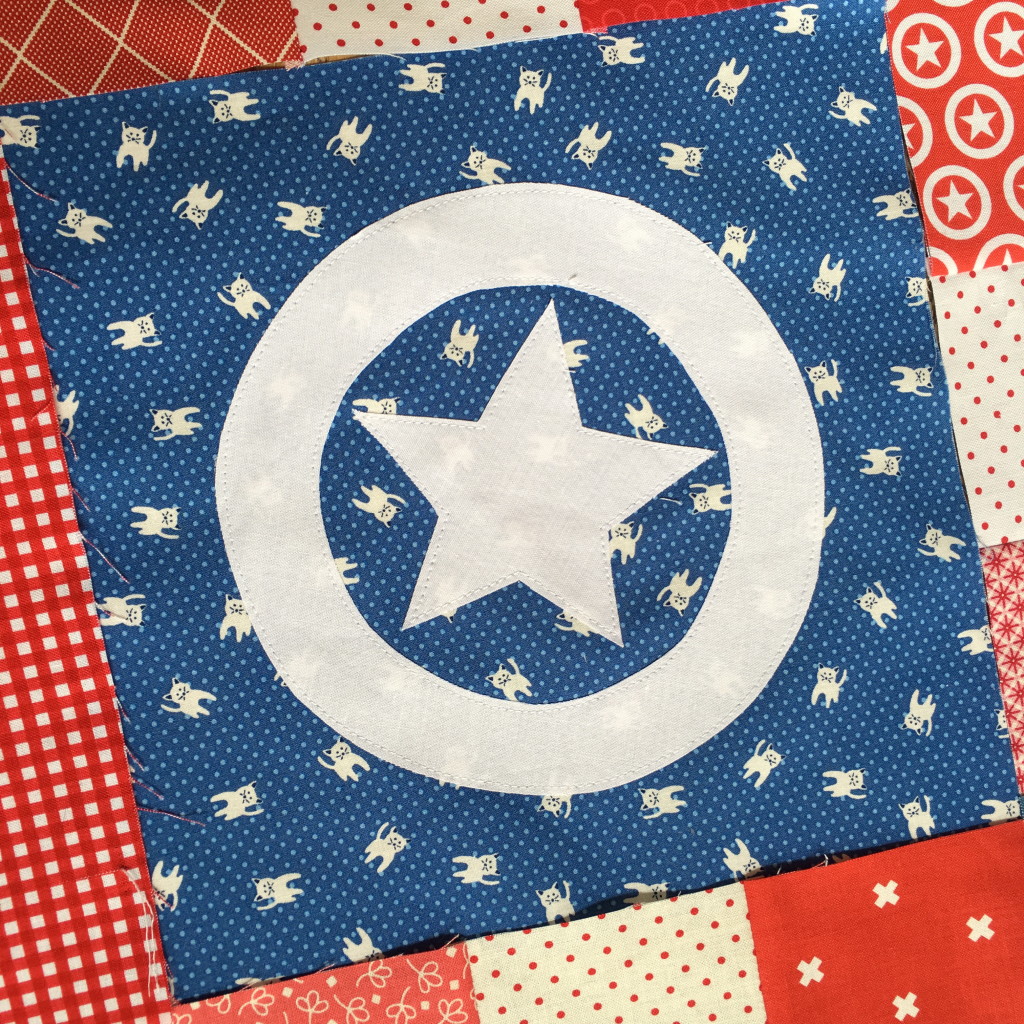
Top stitch around each piece with white thread.

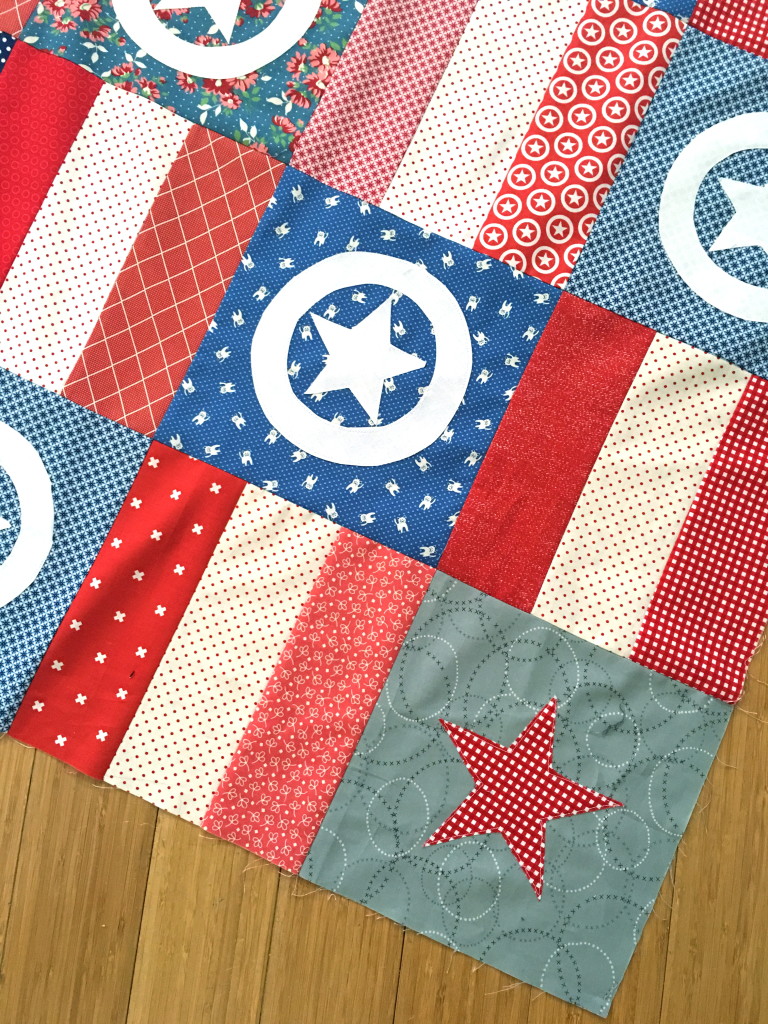
***Optional **  “Winter Solider” Block.  My teenage daughter is in love with Bucky the Winter Solider so she insisted we represent him in the quilt.  We switched out one of the blue blocks for a gray block with red star applique.

captain america quilt 13

Now it’s time to have some fun with all the blocks!  I hand them all to my daughter and she lays out the quilt for me.

captain america quilt 7

Sew the quilt together in rows, pressing after each and matching each seam intersection.

captain america quilt 20

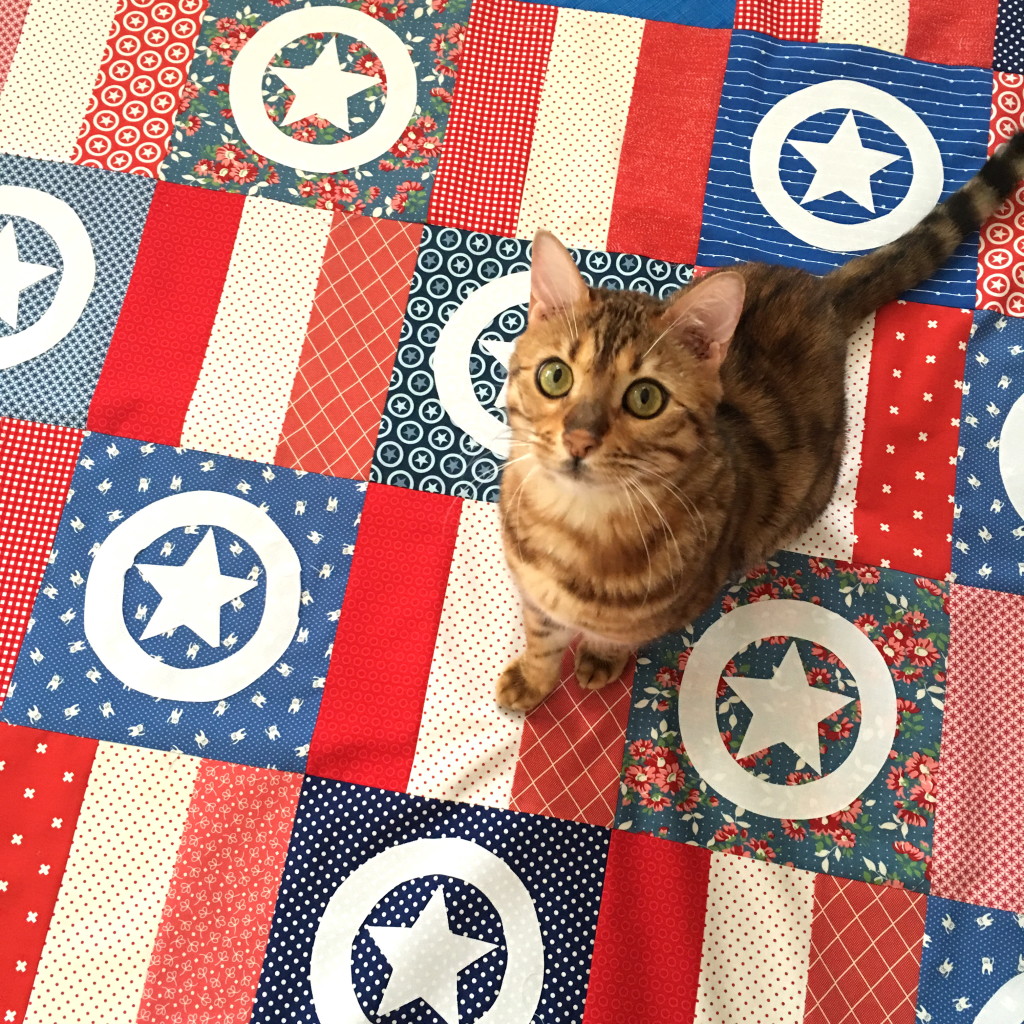
This quilt is totally Mufassa approved!

captain america quilt 12

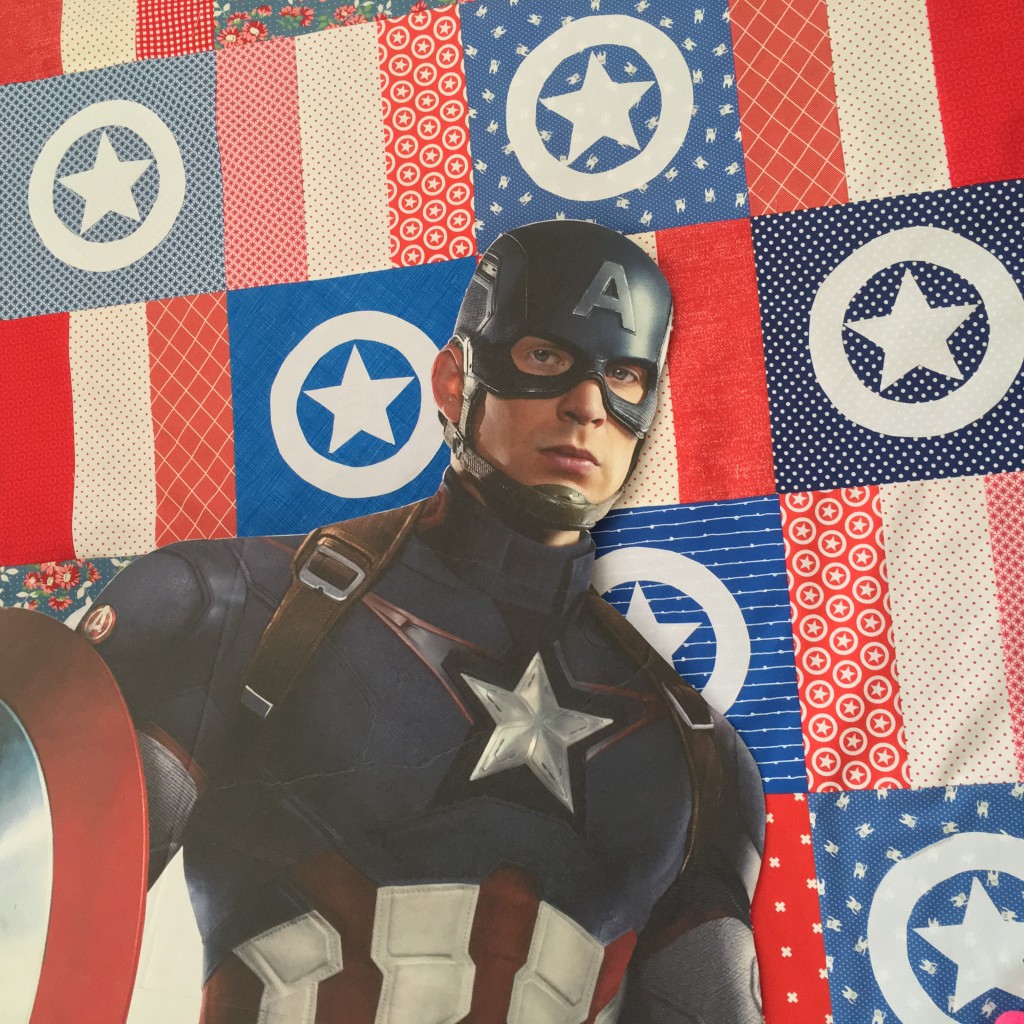
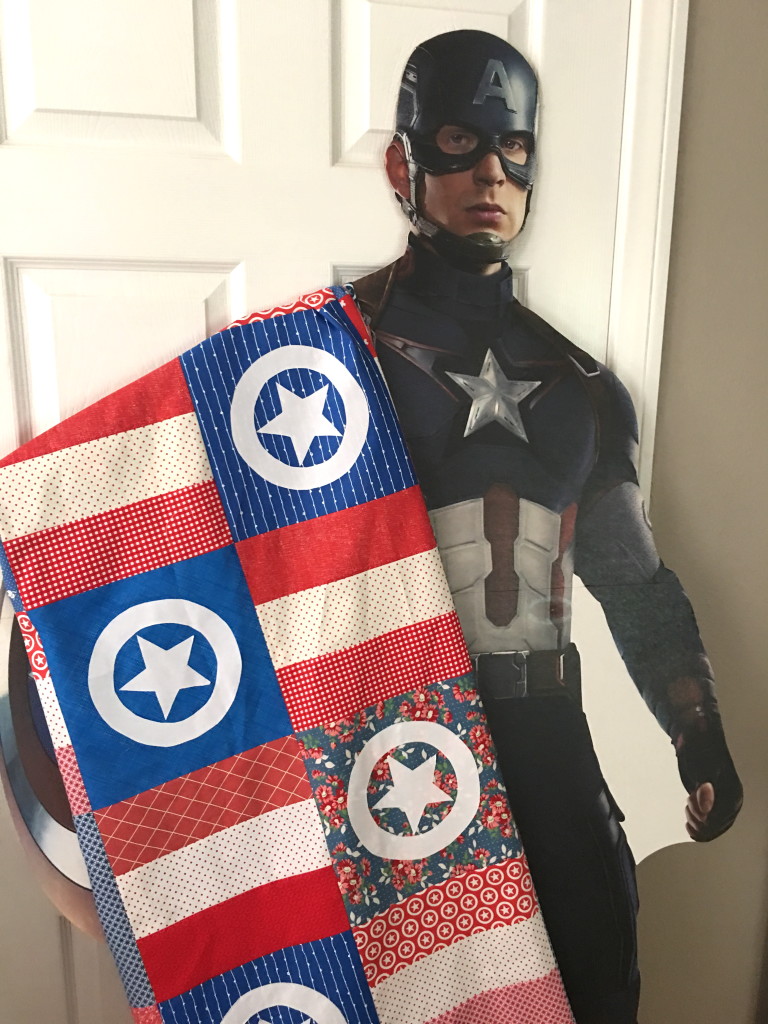
And approved by The Captain himself!  (Yes we have a giant cardboard cut out of Captain Rodgers!!!)

captain america quilt 18

OK, I am seriously in love with it!  It screams summer picnic!!!!

captain america quilt 19                  Screen Shot 2016-05-06 at 11.29.54 AM