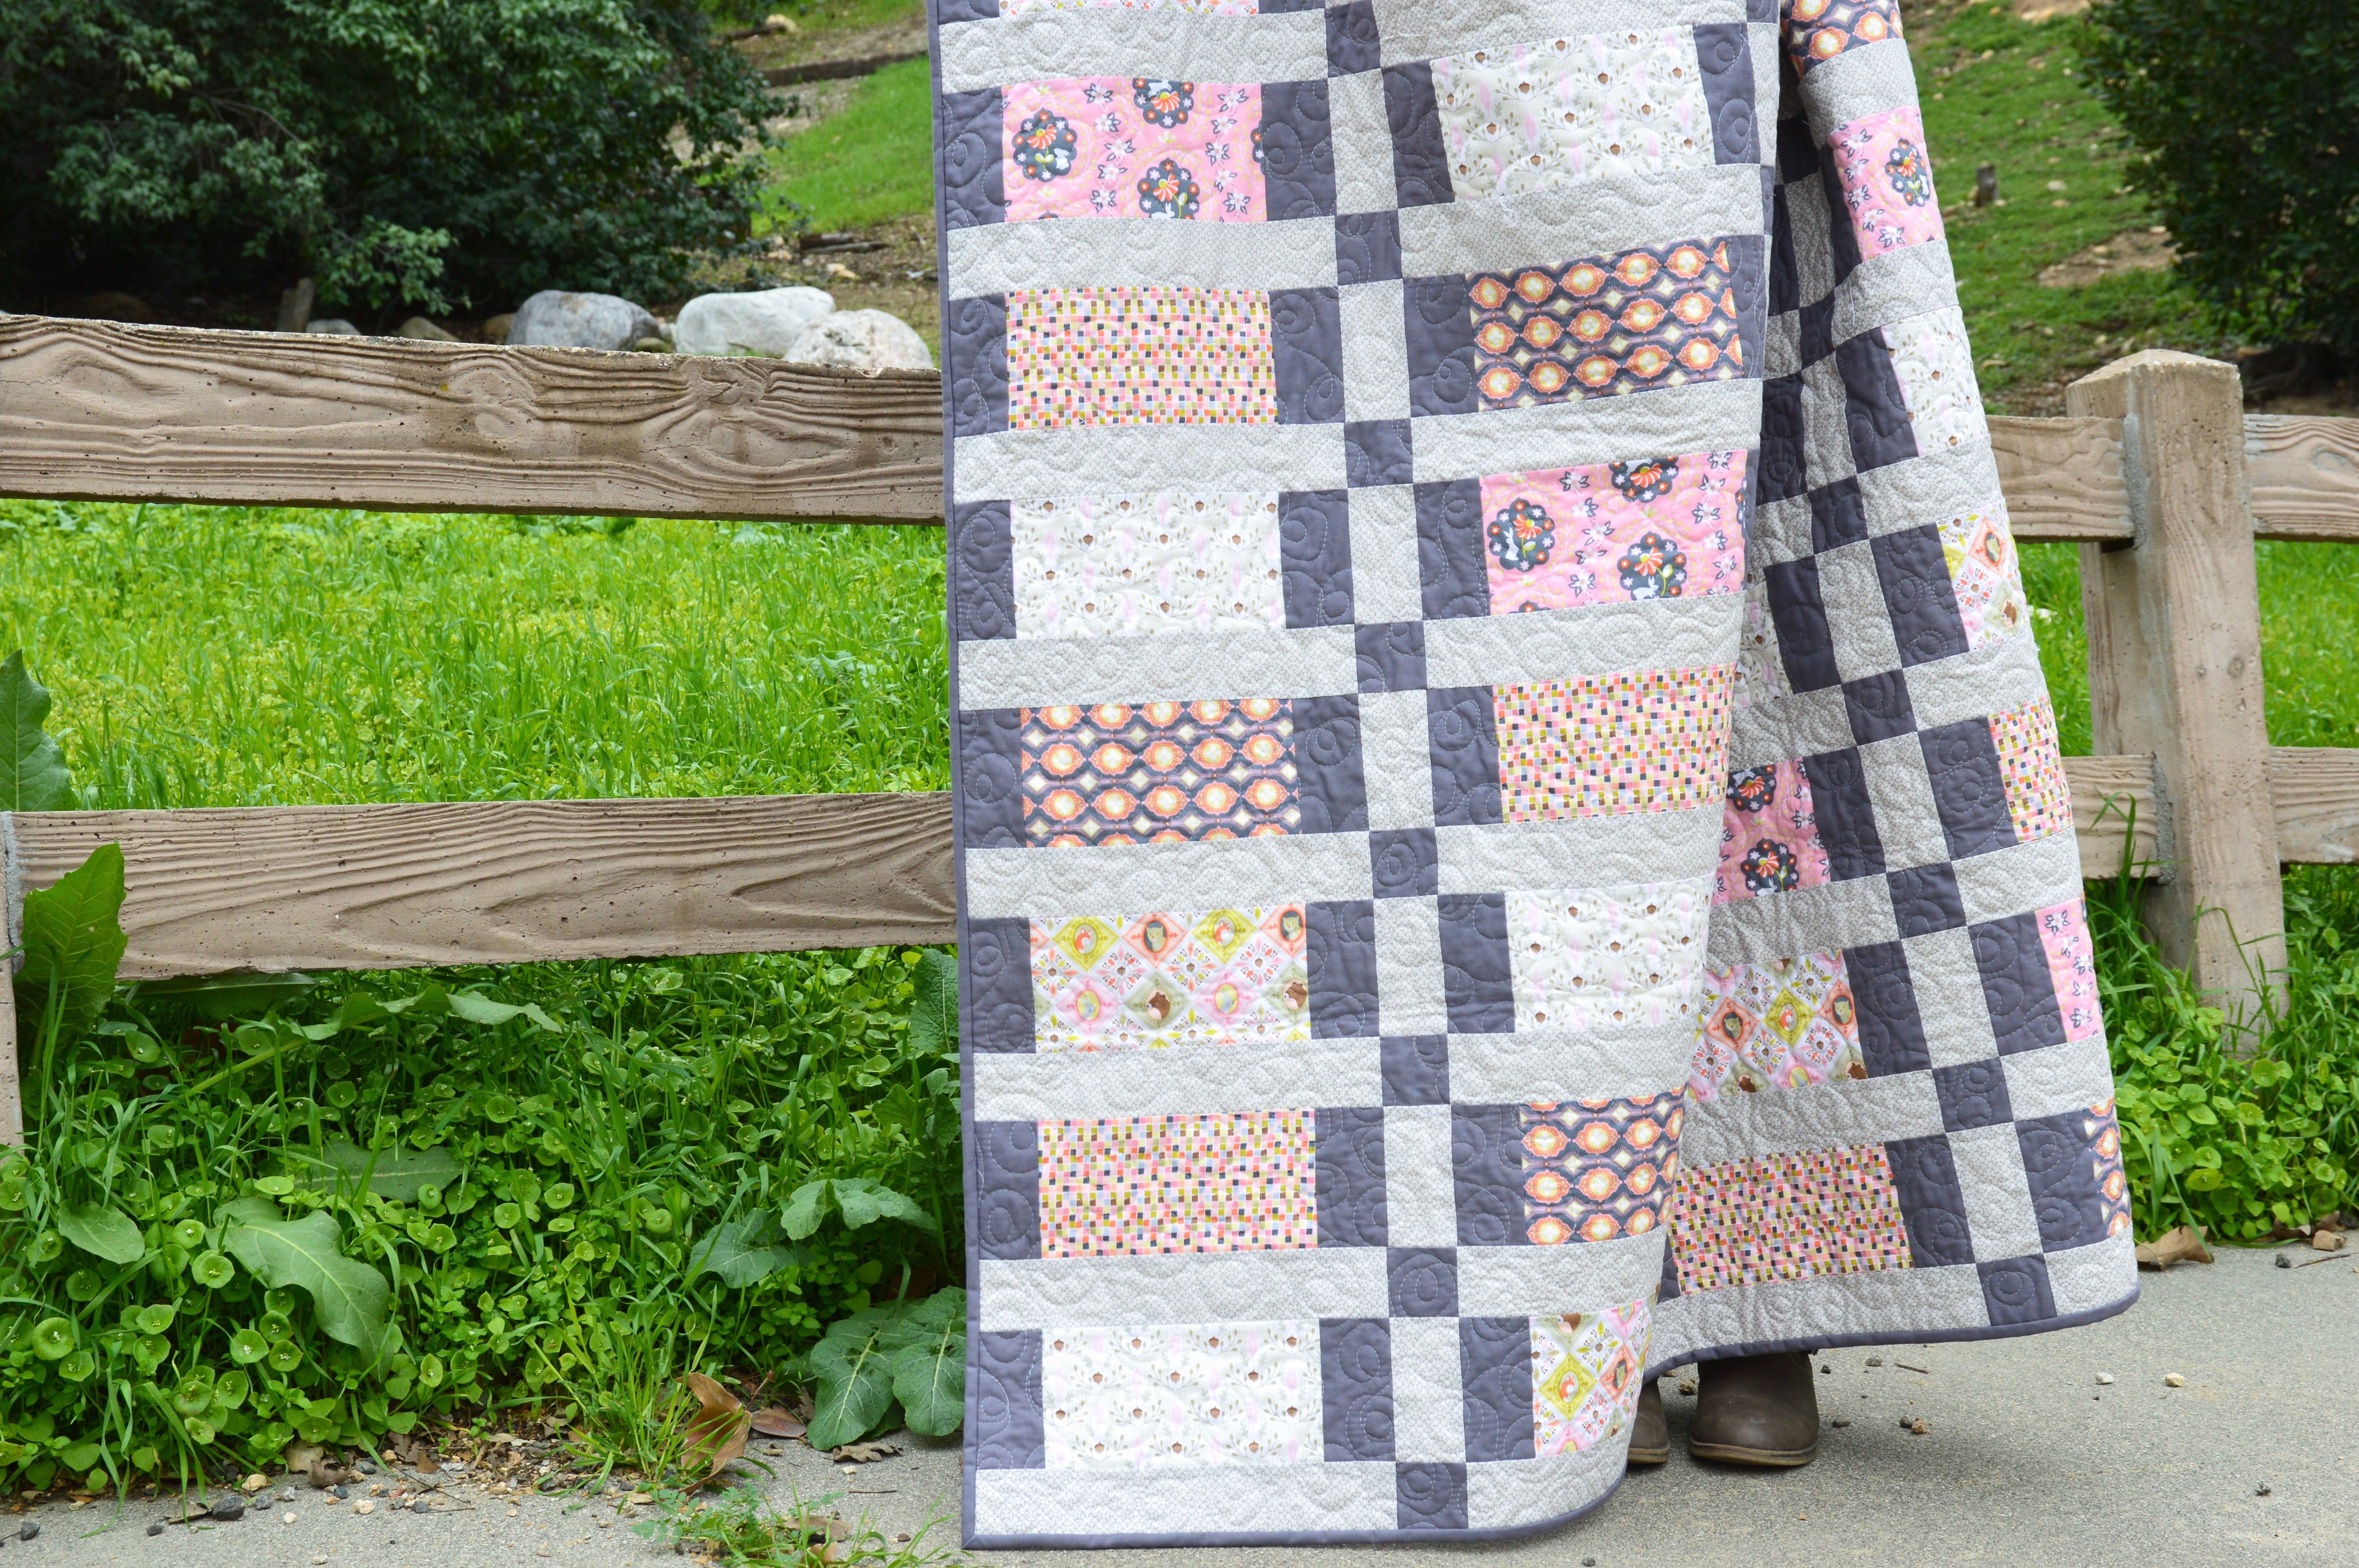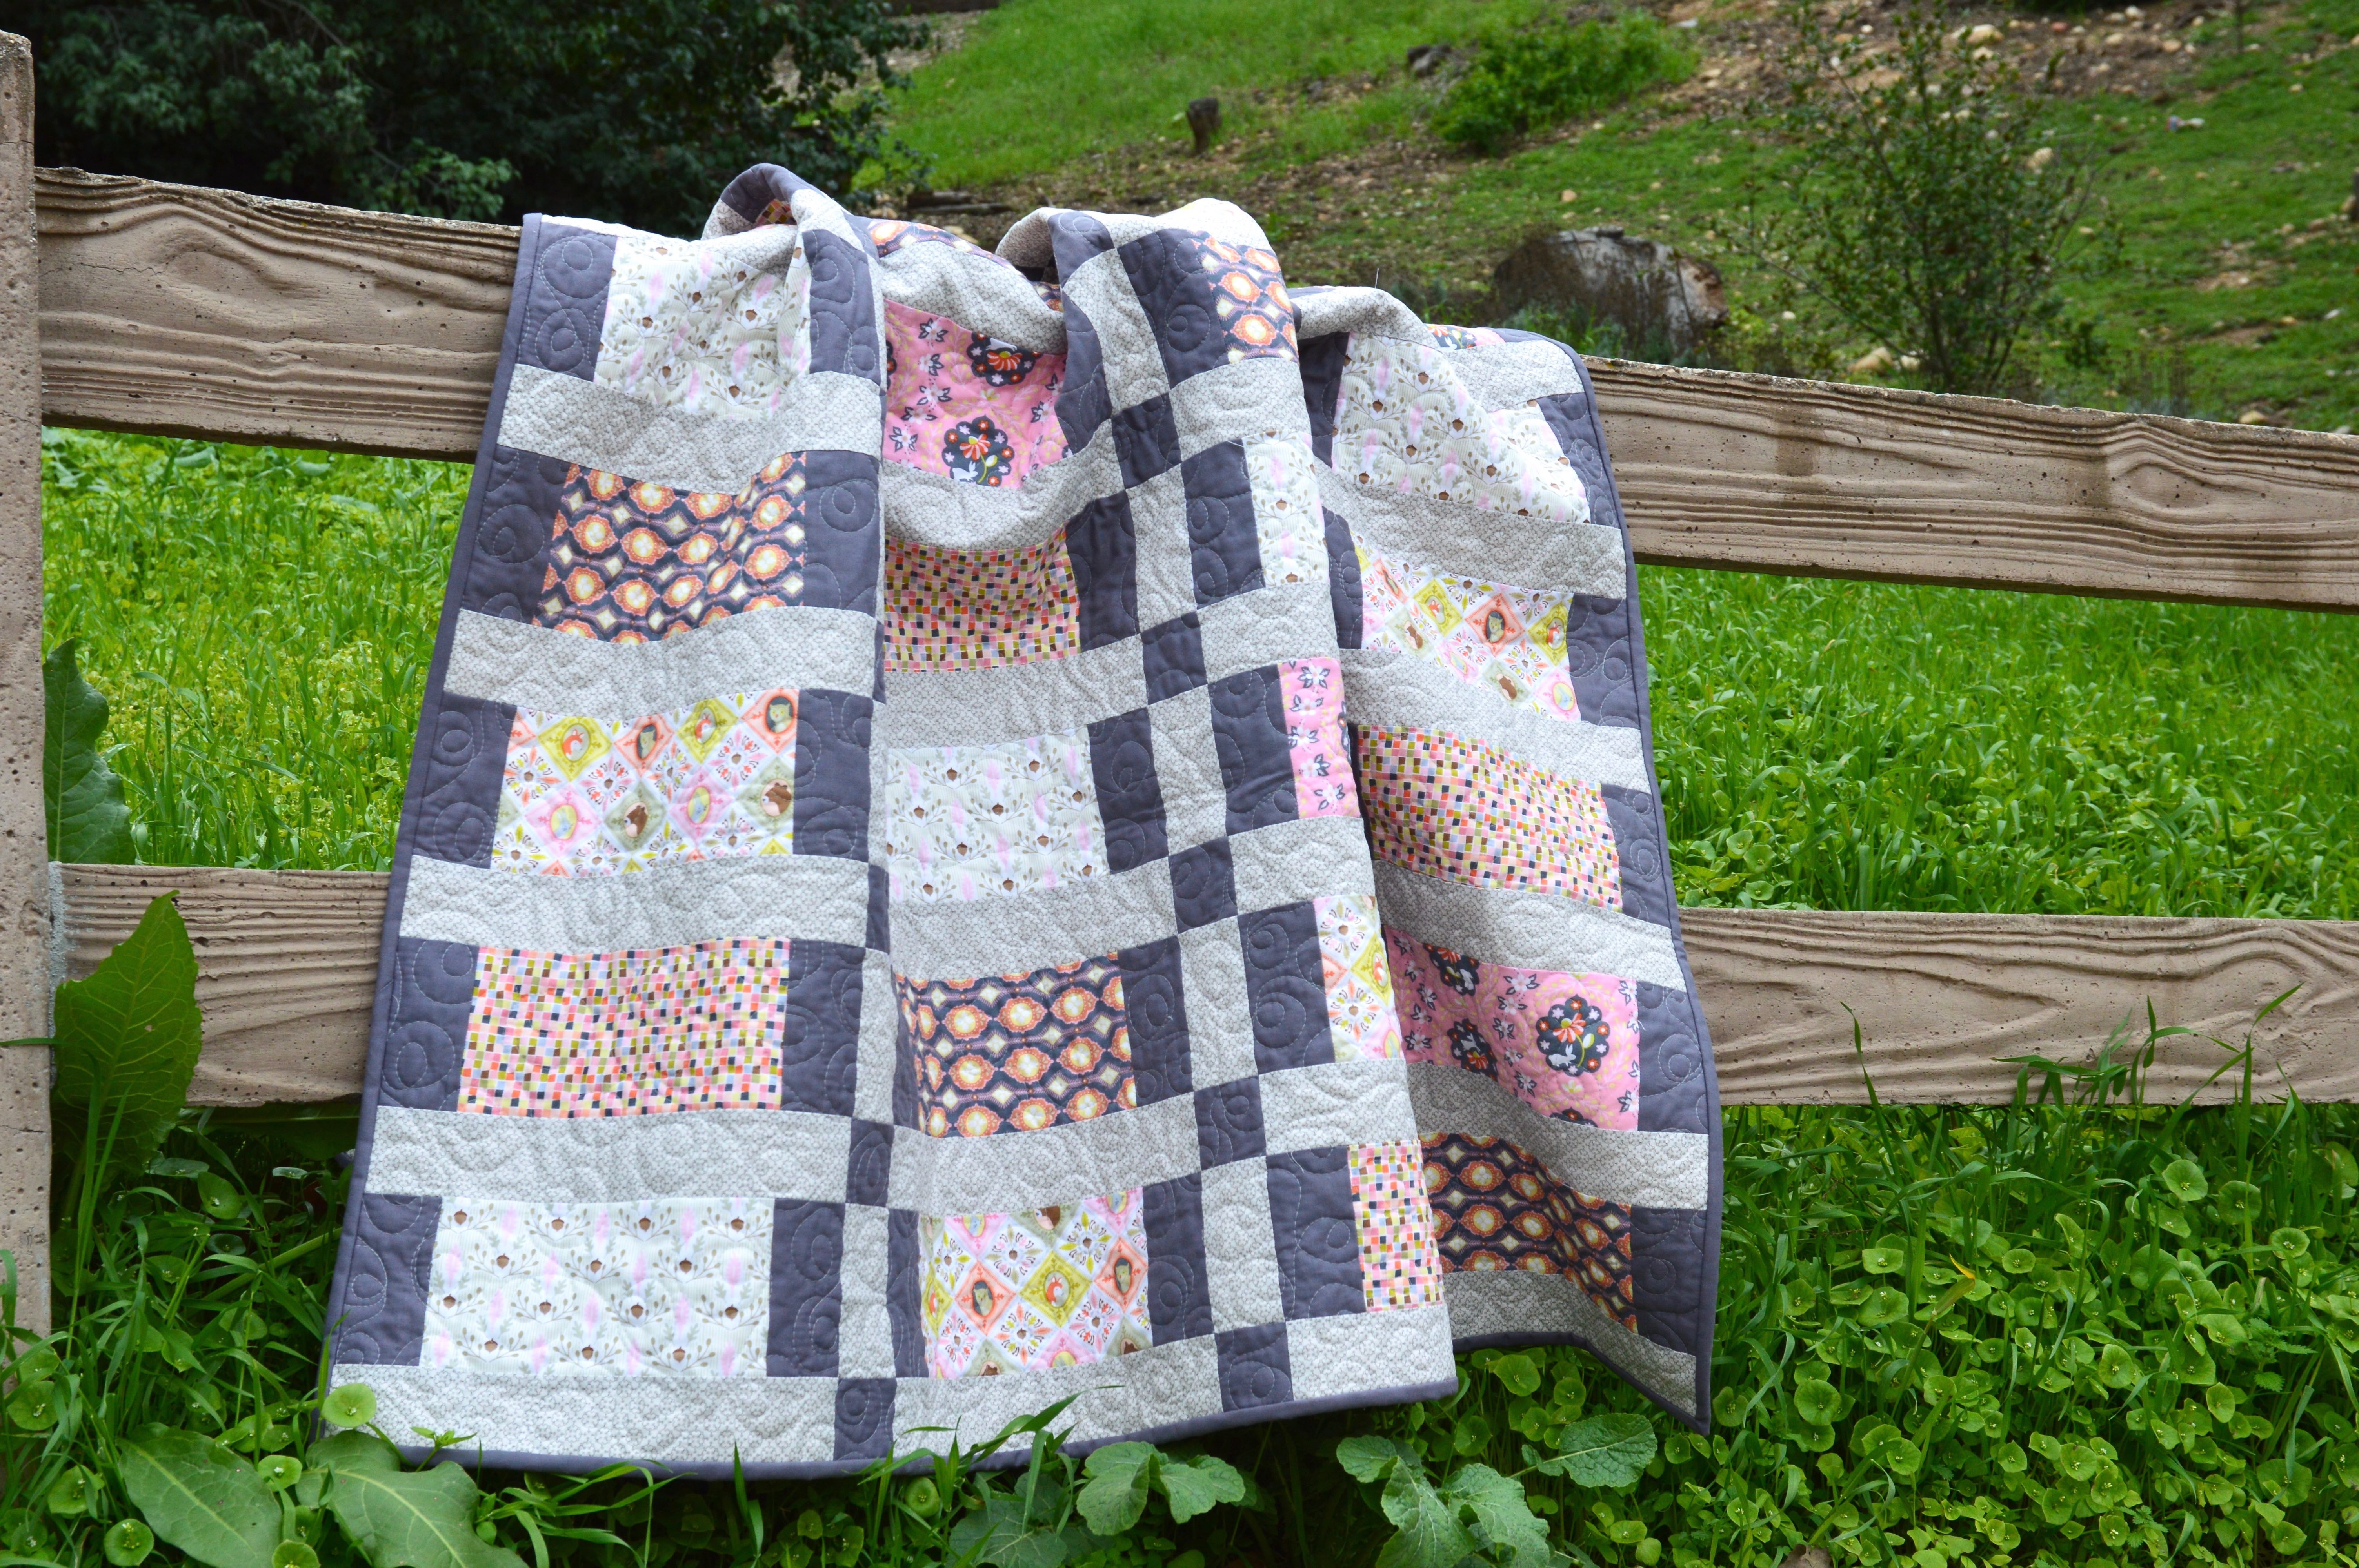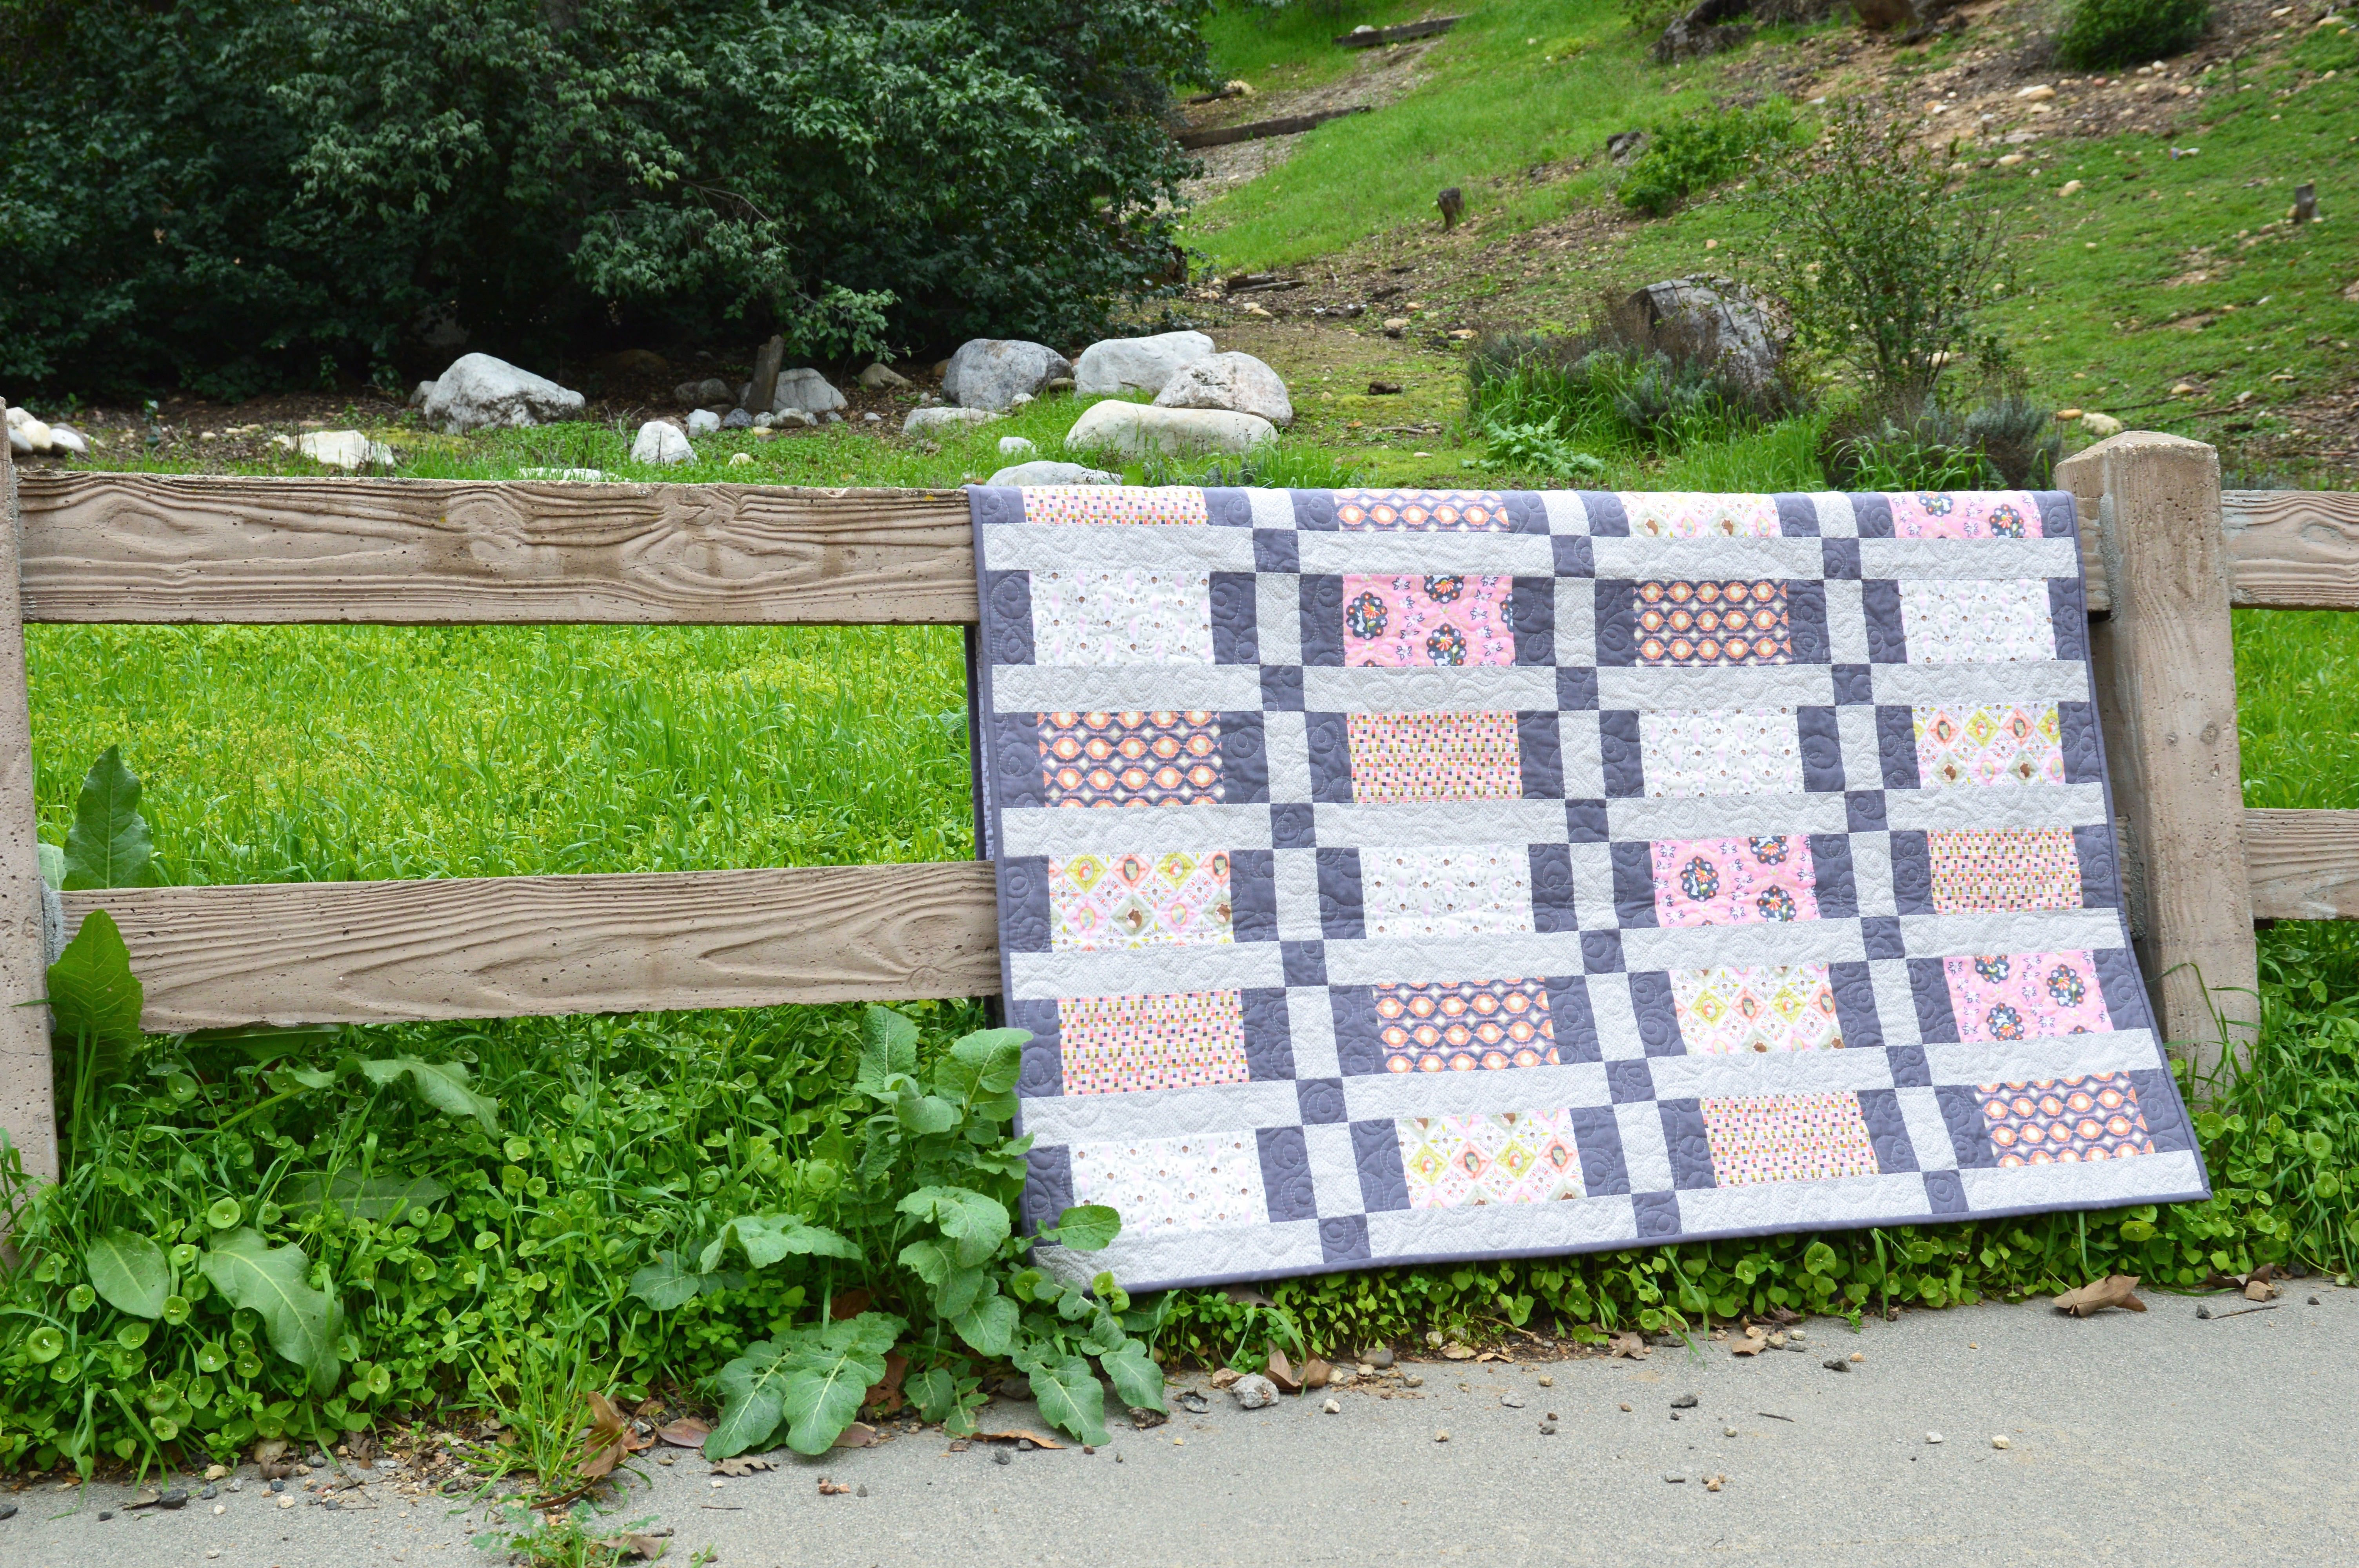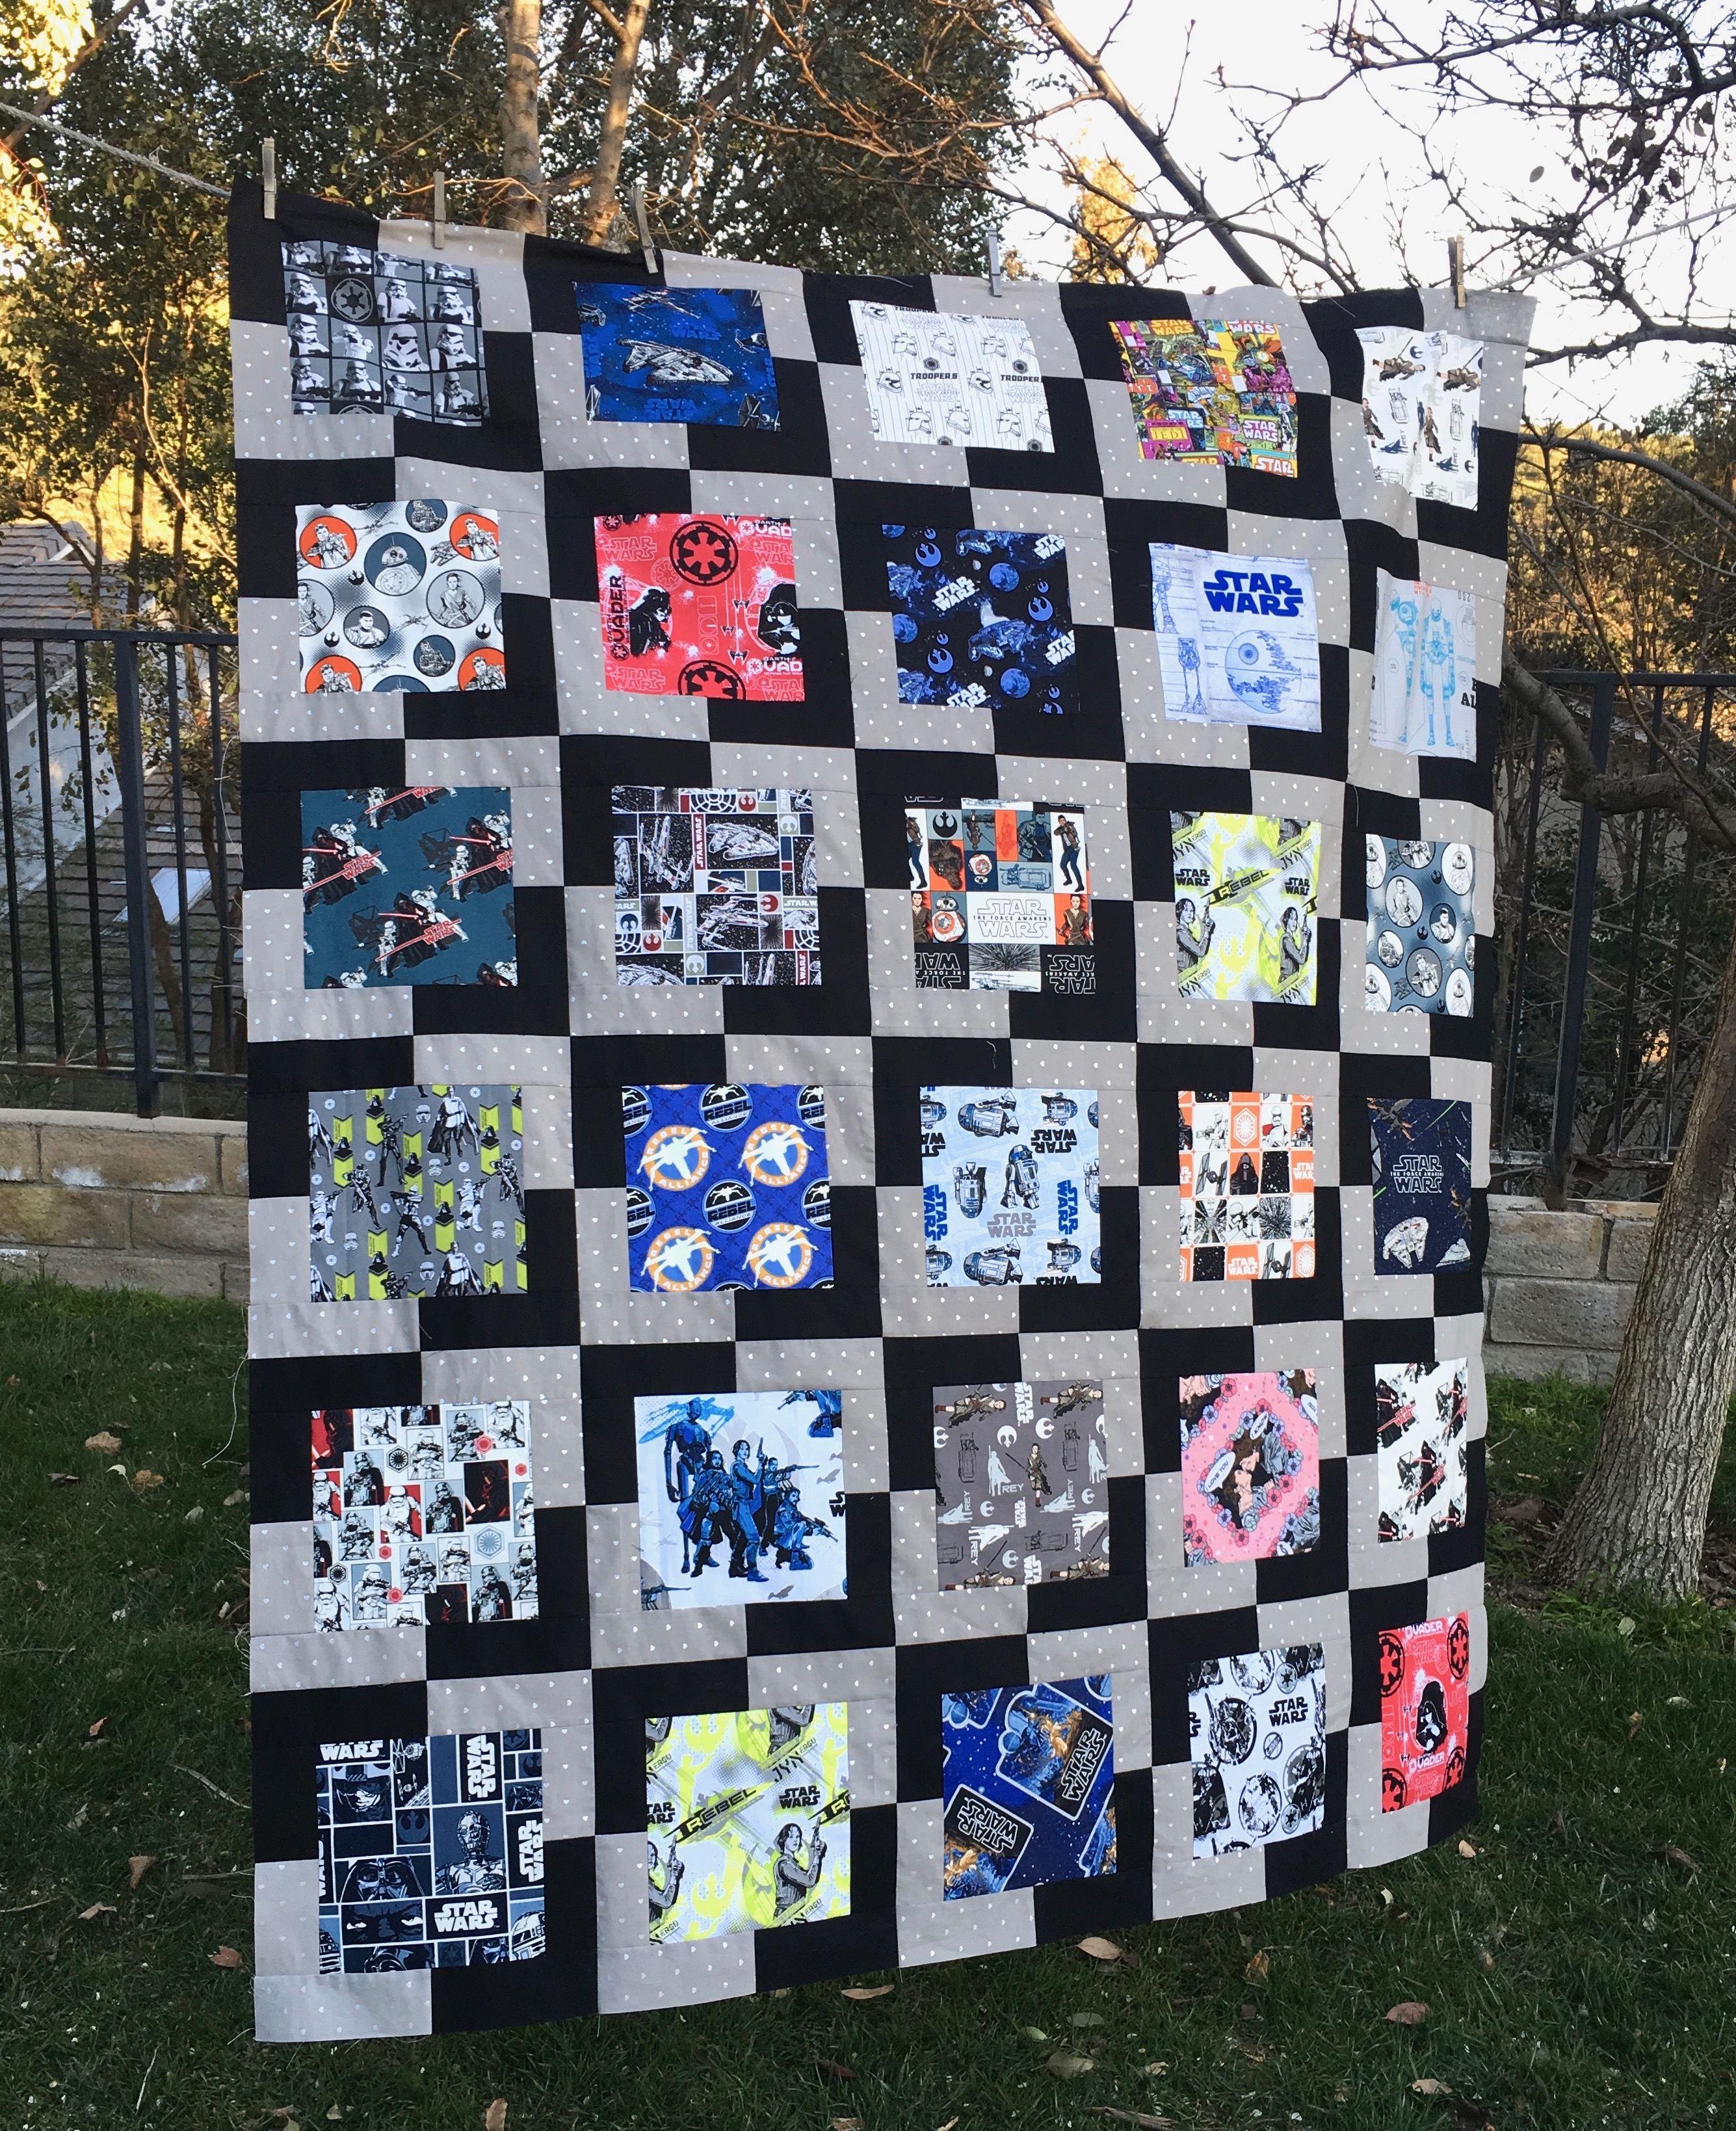
EPIC Star Wars Throw Quilt

star wars quilt 2

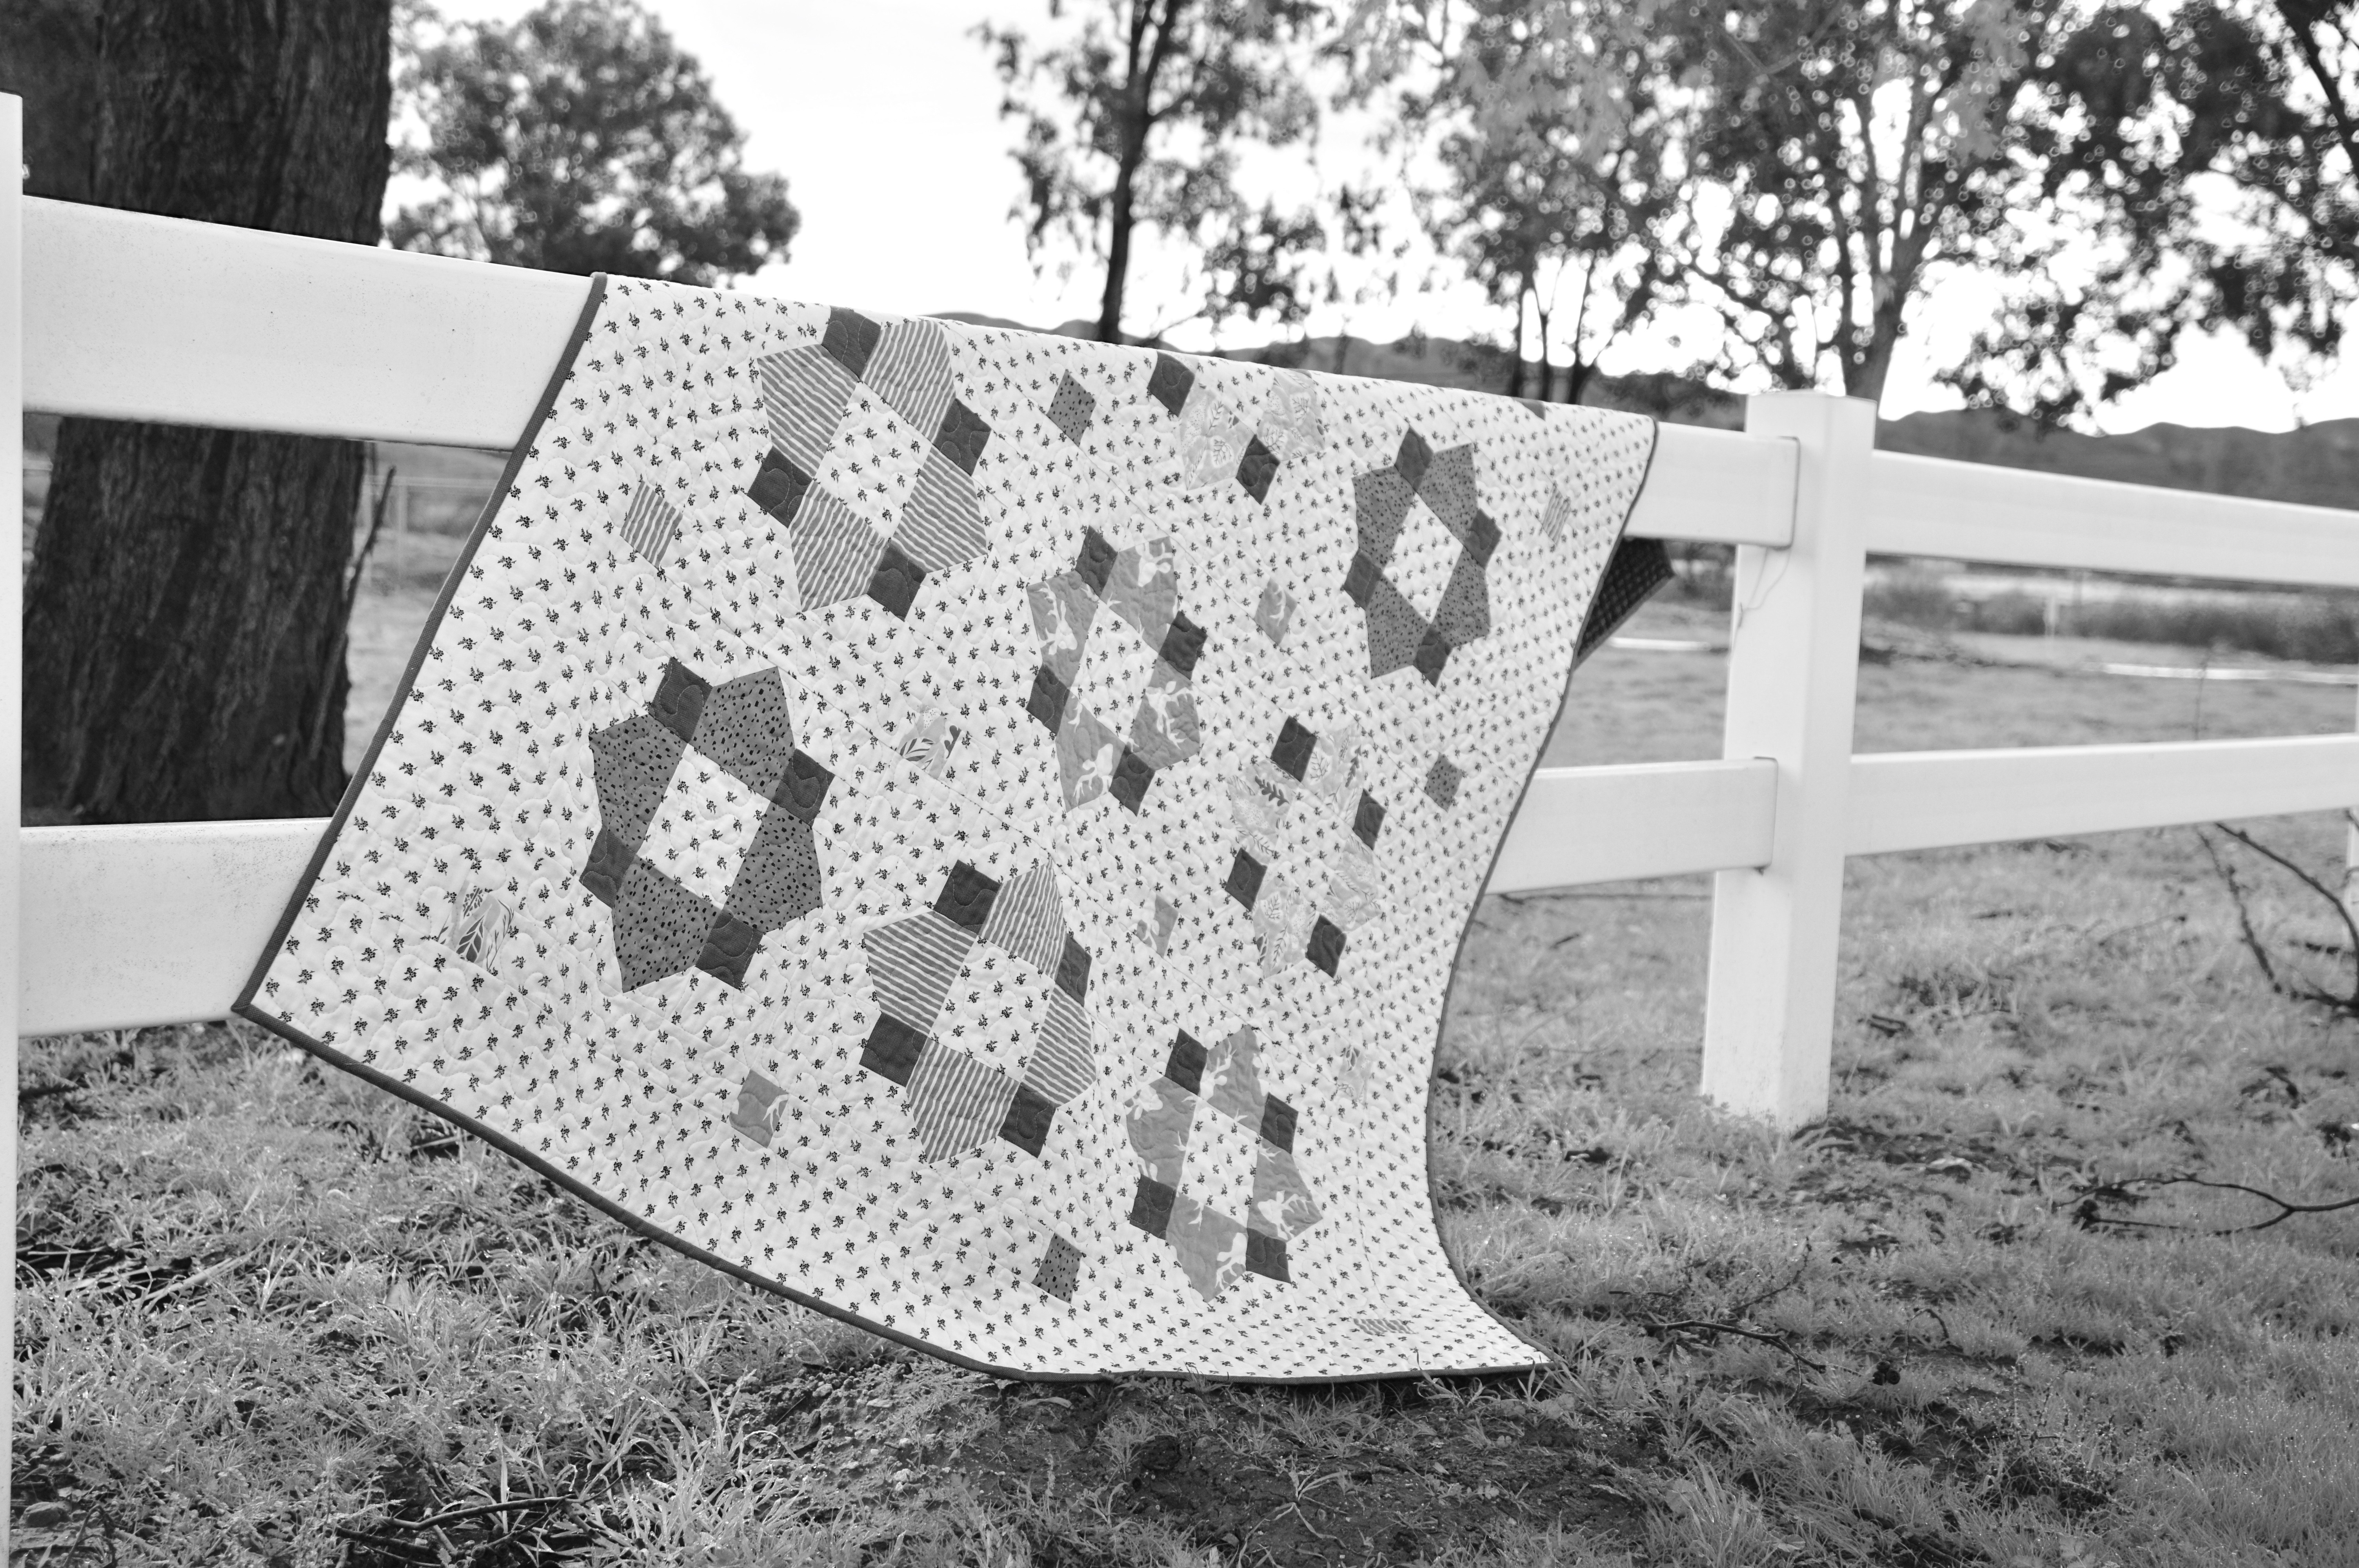
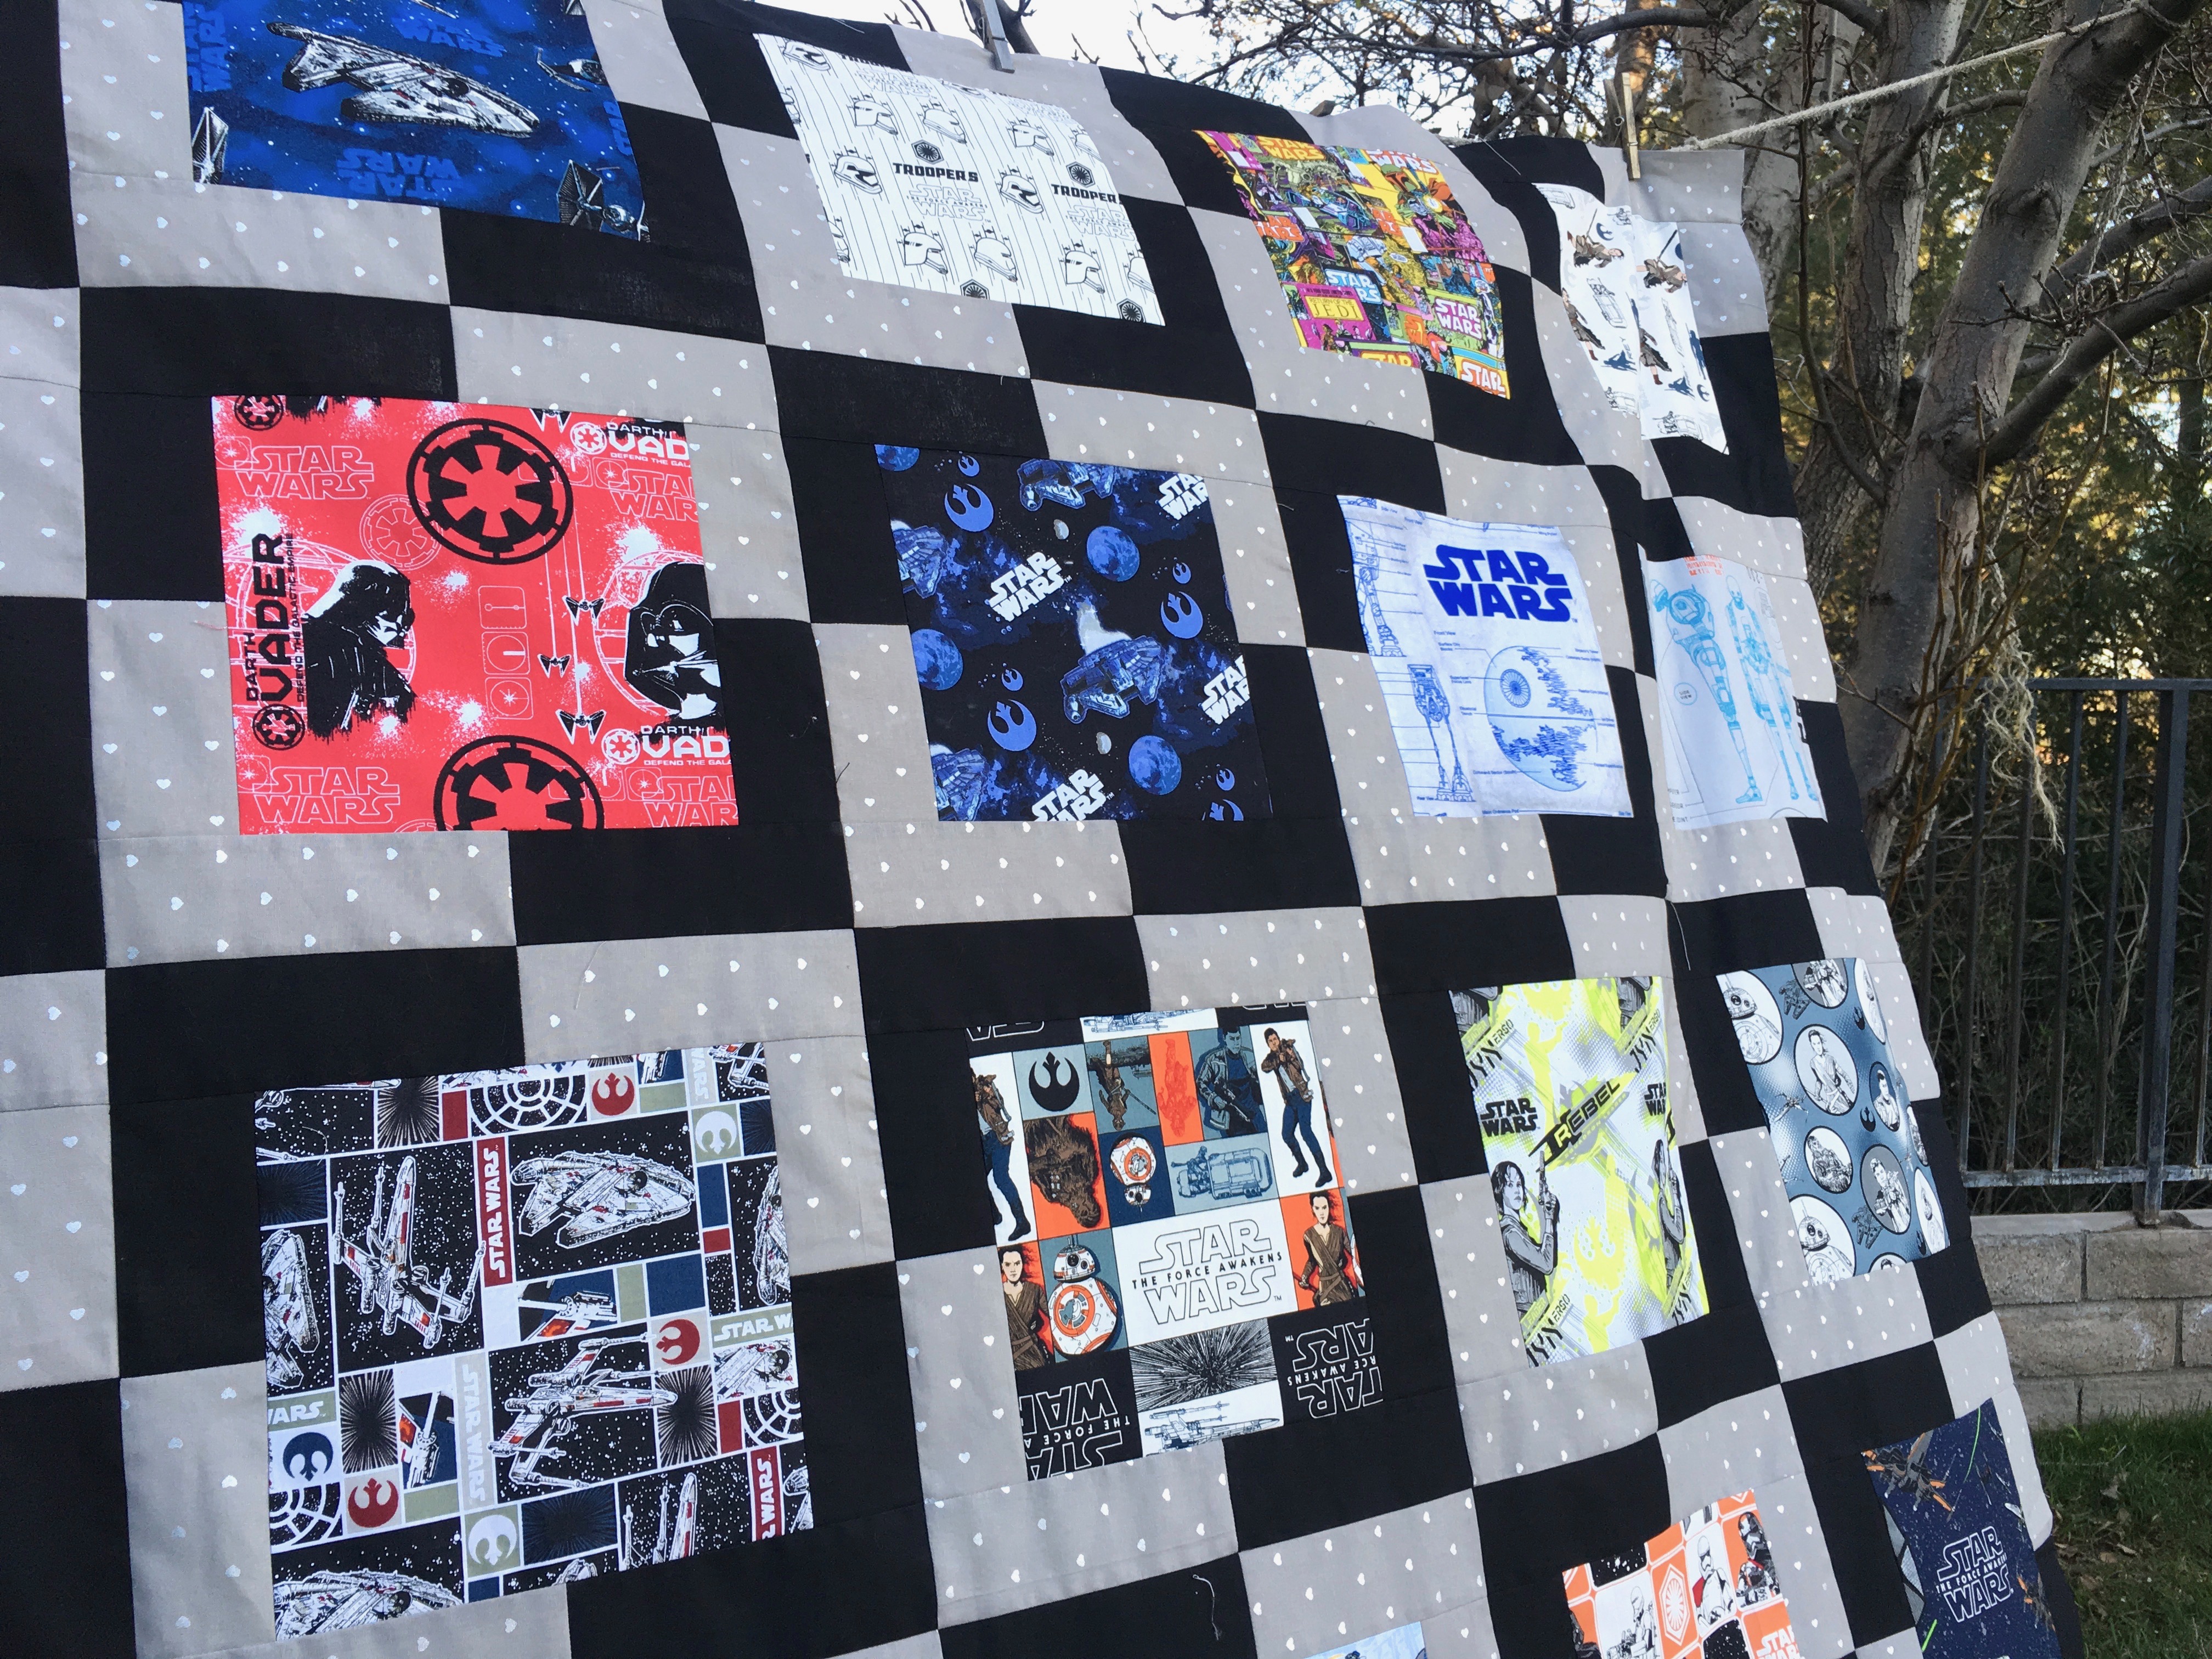
I have been collecting Star Wars fabric for quite a while!  I just purchased some Rogue One fabrics from Fat Quarter Shop to complete my collection!  My daughter and I thought it would be fun to make a super nerdy Star Wars Quilt for her BFF and fellow Star Wars nerd!!  We found this gray fabric with silver hearts and we knew it would be the perfect touch for this girls Star Wars Quilt!  Each of the Star Wars movies is represented in this quilt – yes it’s EPIC!!!
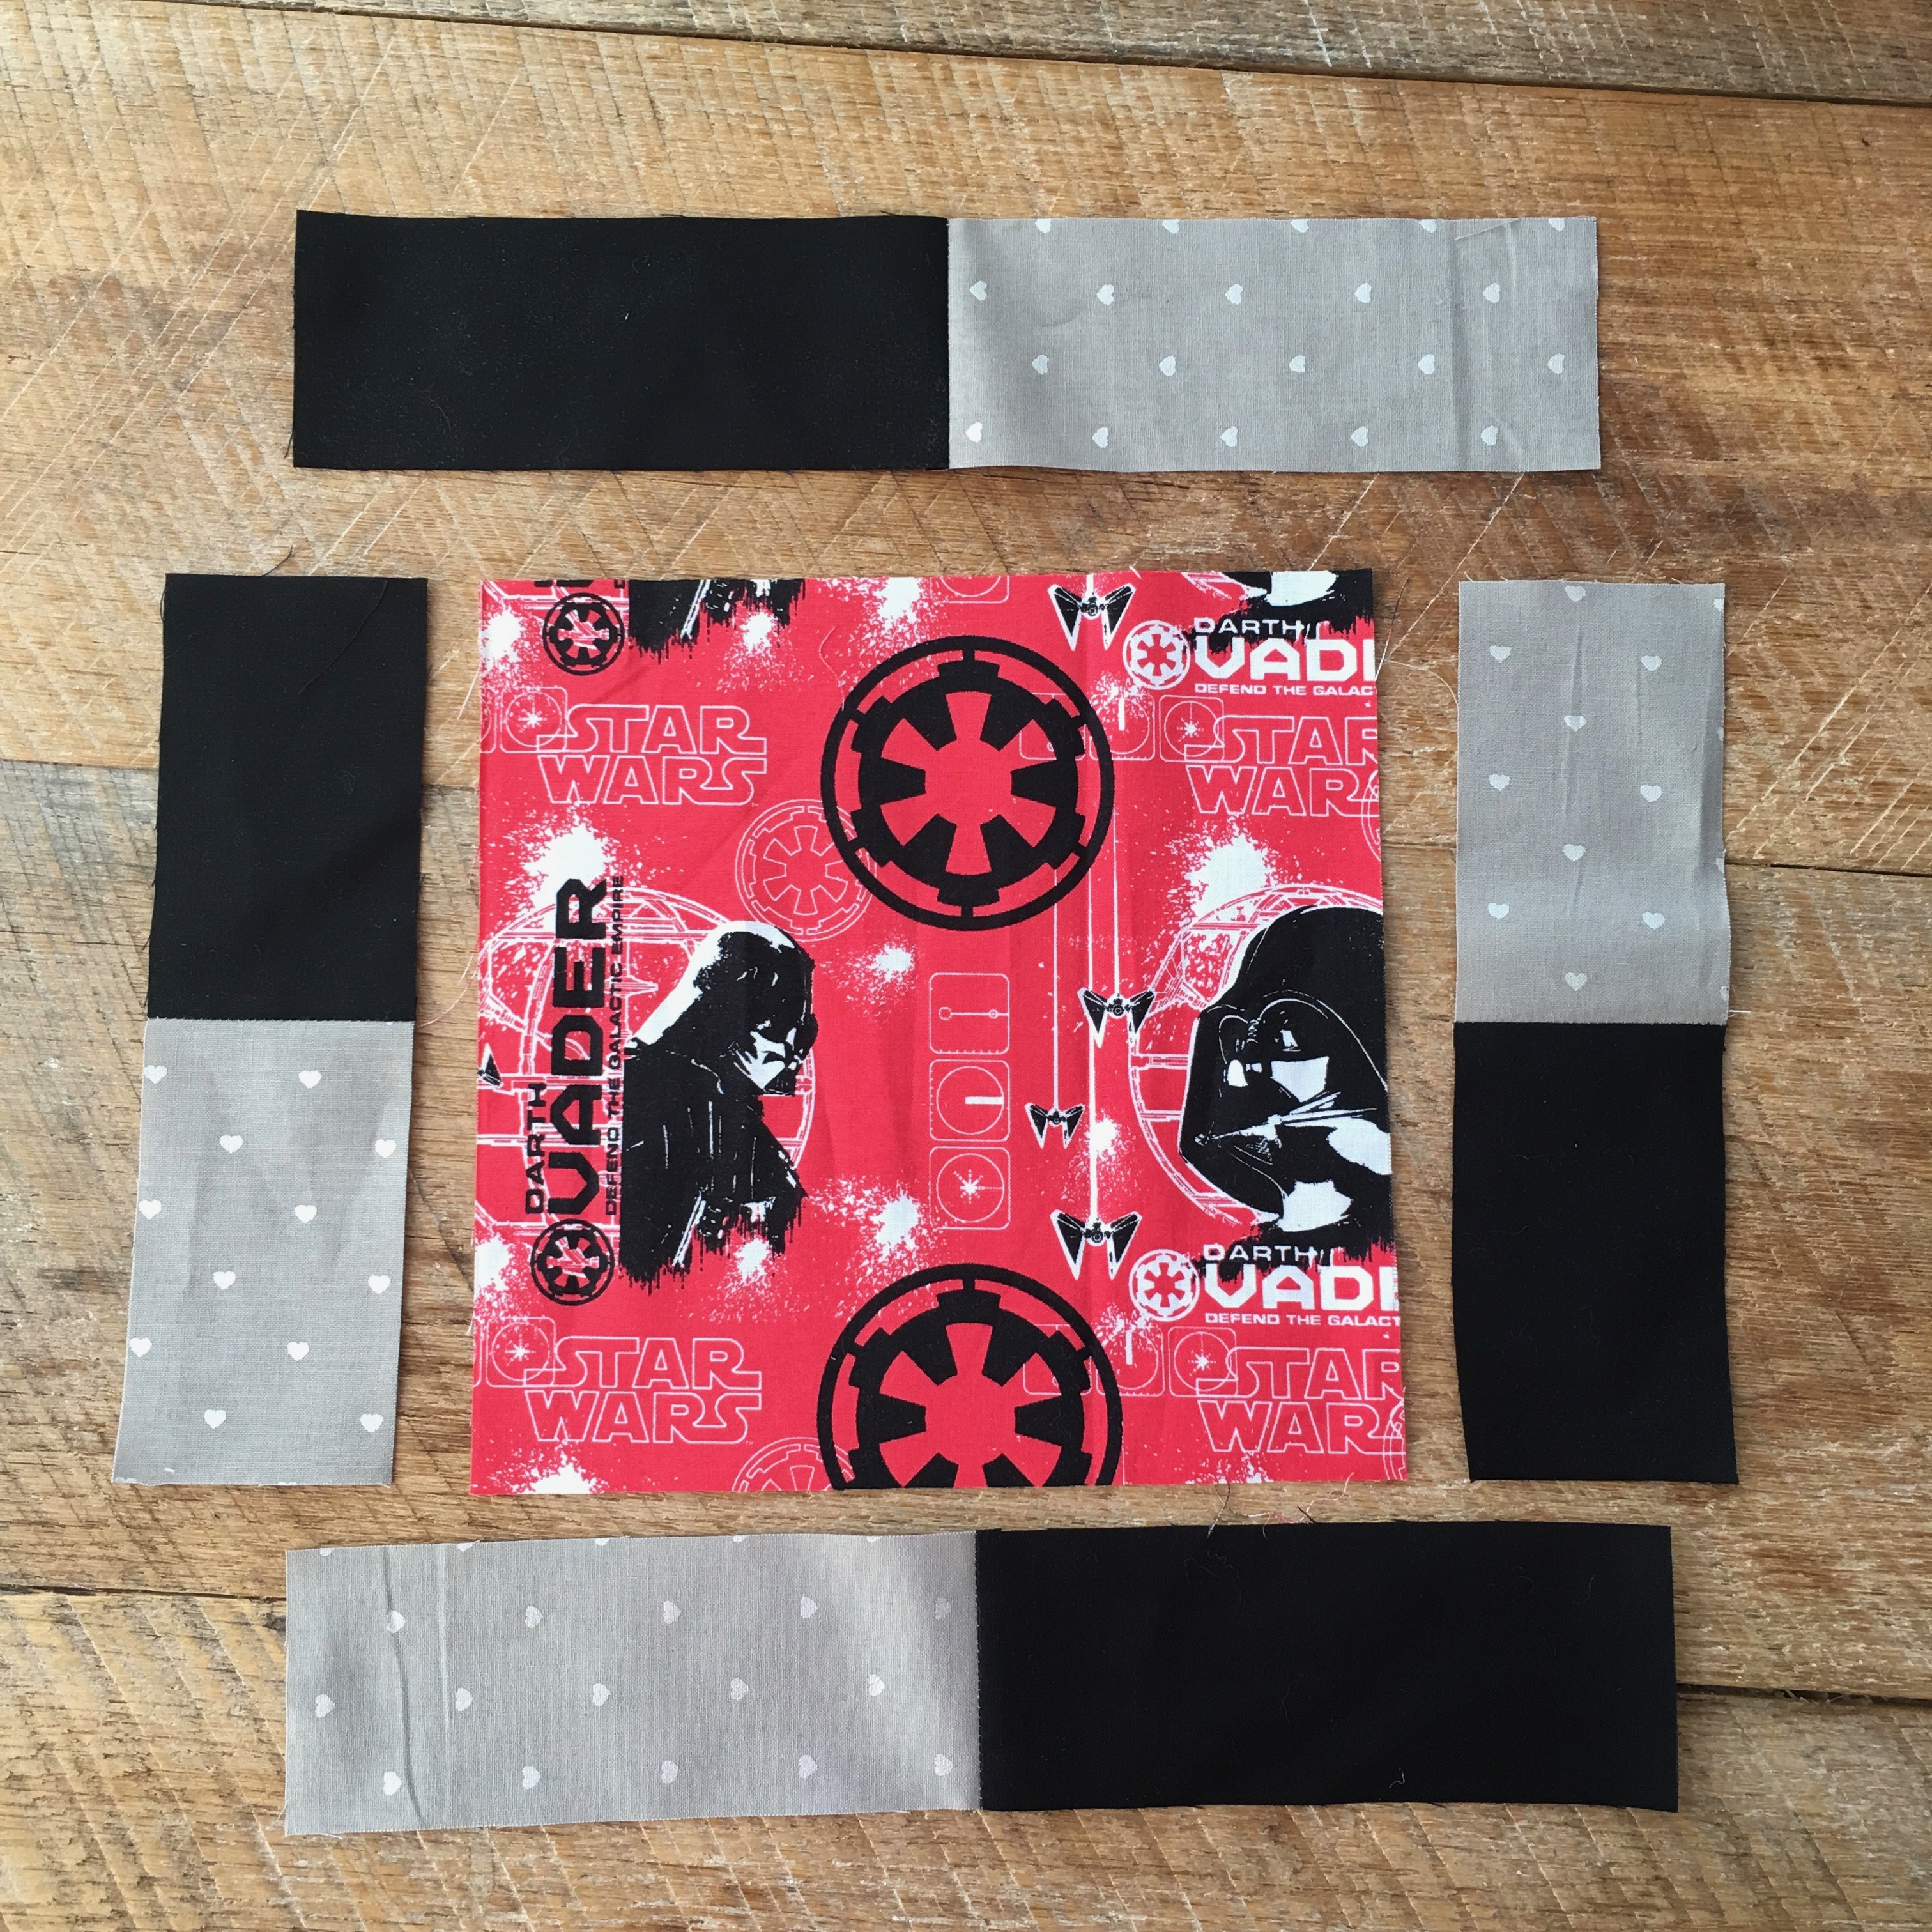
star wars quilt

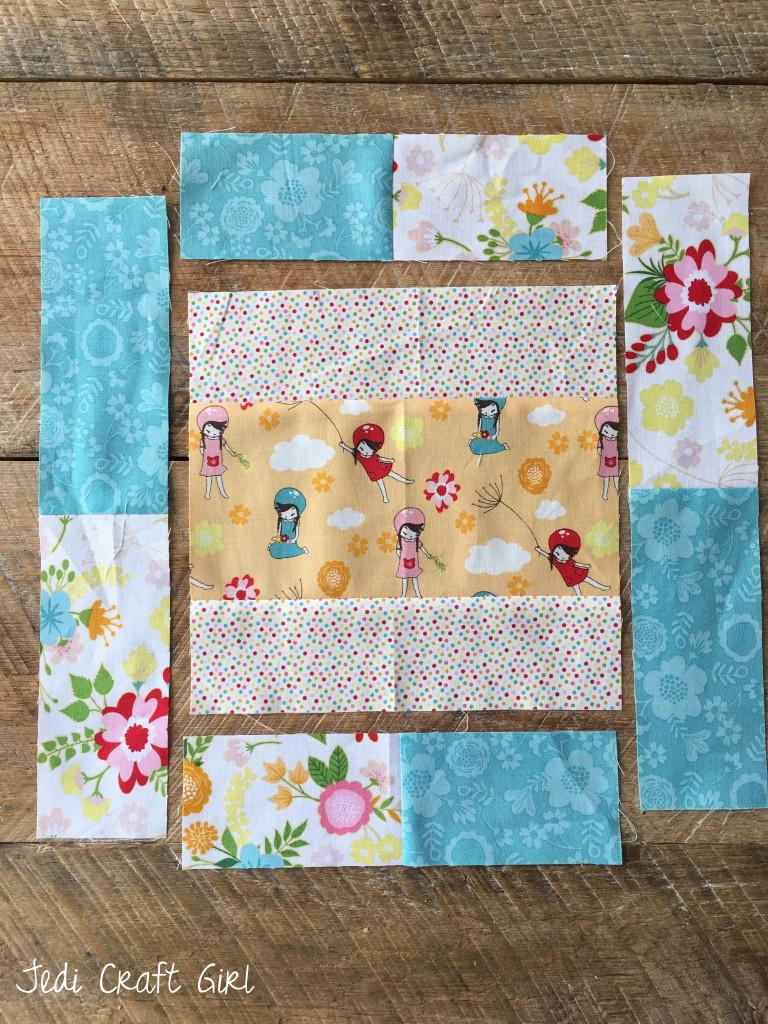
I modified the block from my Windy Girls Quilt Tutorial.  The center square is cut 8 1/2″ square.  I followed the instructions as to how to make the border strips.  Since this quilt is larger than the Windy Girls pattern, I added additional yardage and sewed more strip units.  It sews together super fast!!  There are 5 blocks across and 6 rows down.  Each block finishes 12″ so that makes the quilt 60″ x 72″.star wars quilt 3
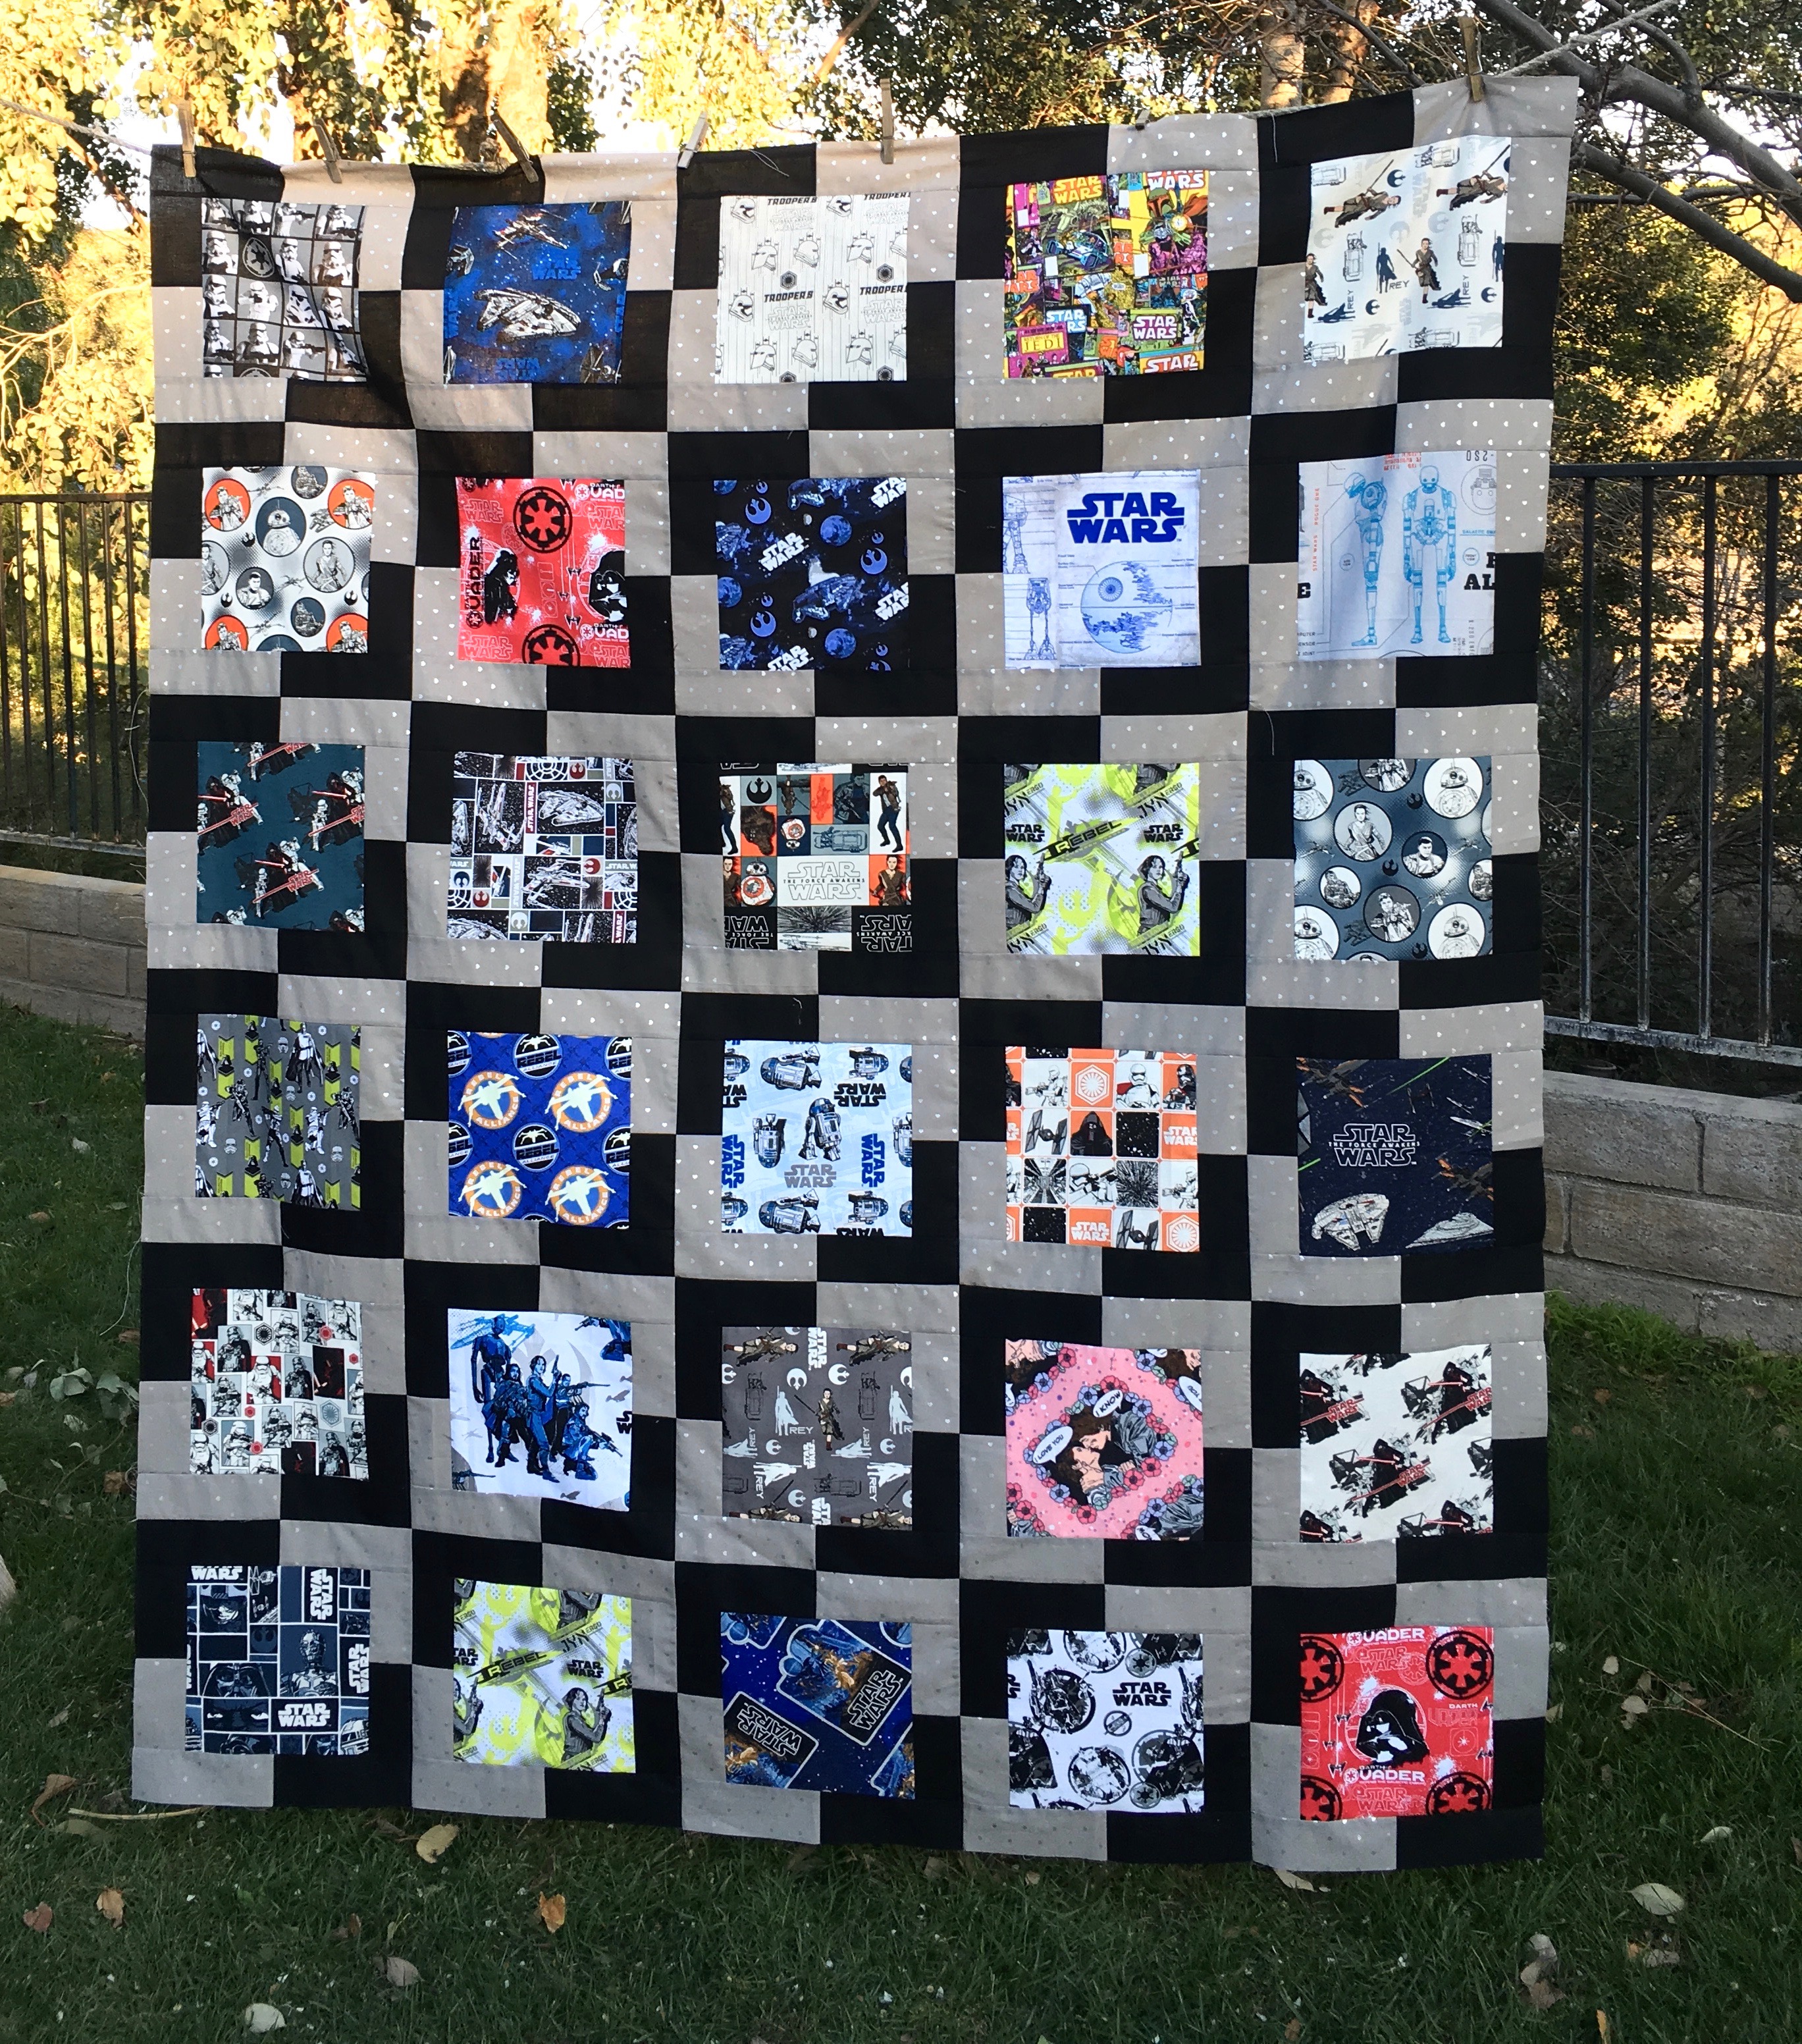
This is such a great quilt to make for a graduation gift or a birthday gift and you can use your favorite theme prints and really customize it to the recipent.  I think I need to make another one!  We sent it off to the quilter today and we are putting magenta minky on the back – to complete the total nerdy-ness – the quilting will be rainbows and hearts – quilted by my friend Nicole of Kwiltit.com!  I can’t wait!!!!star wars quilt 4
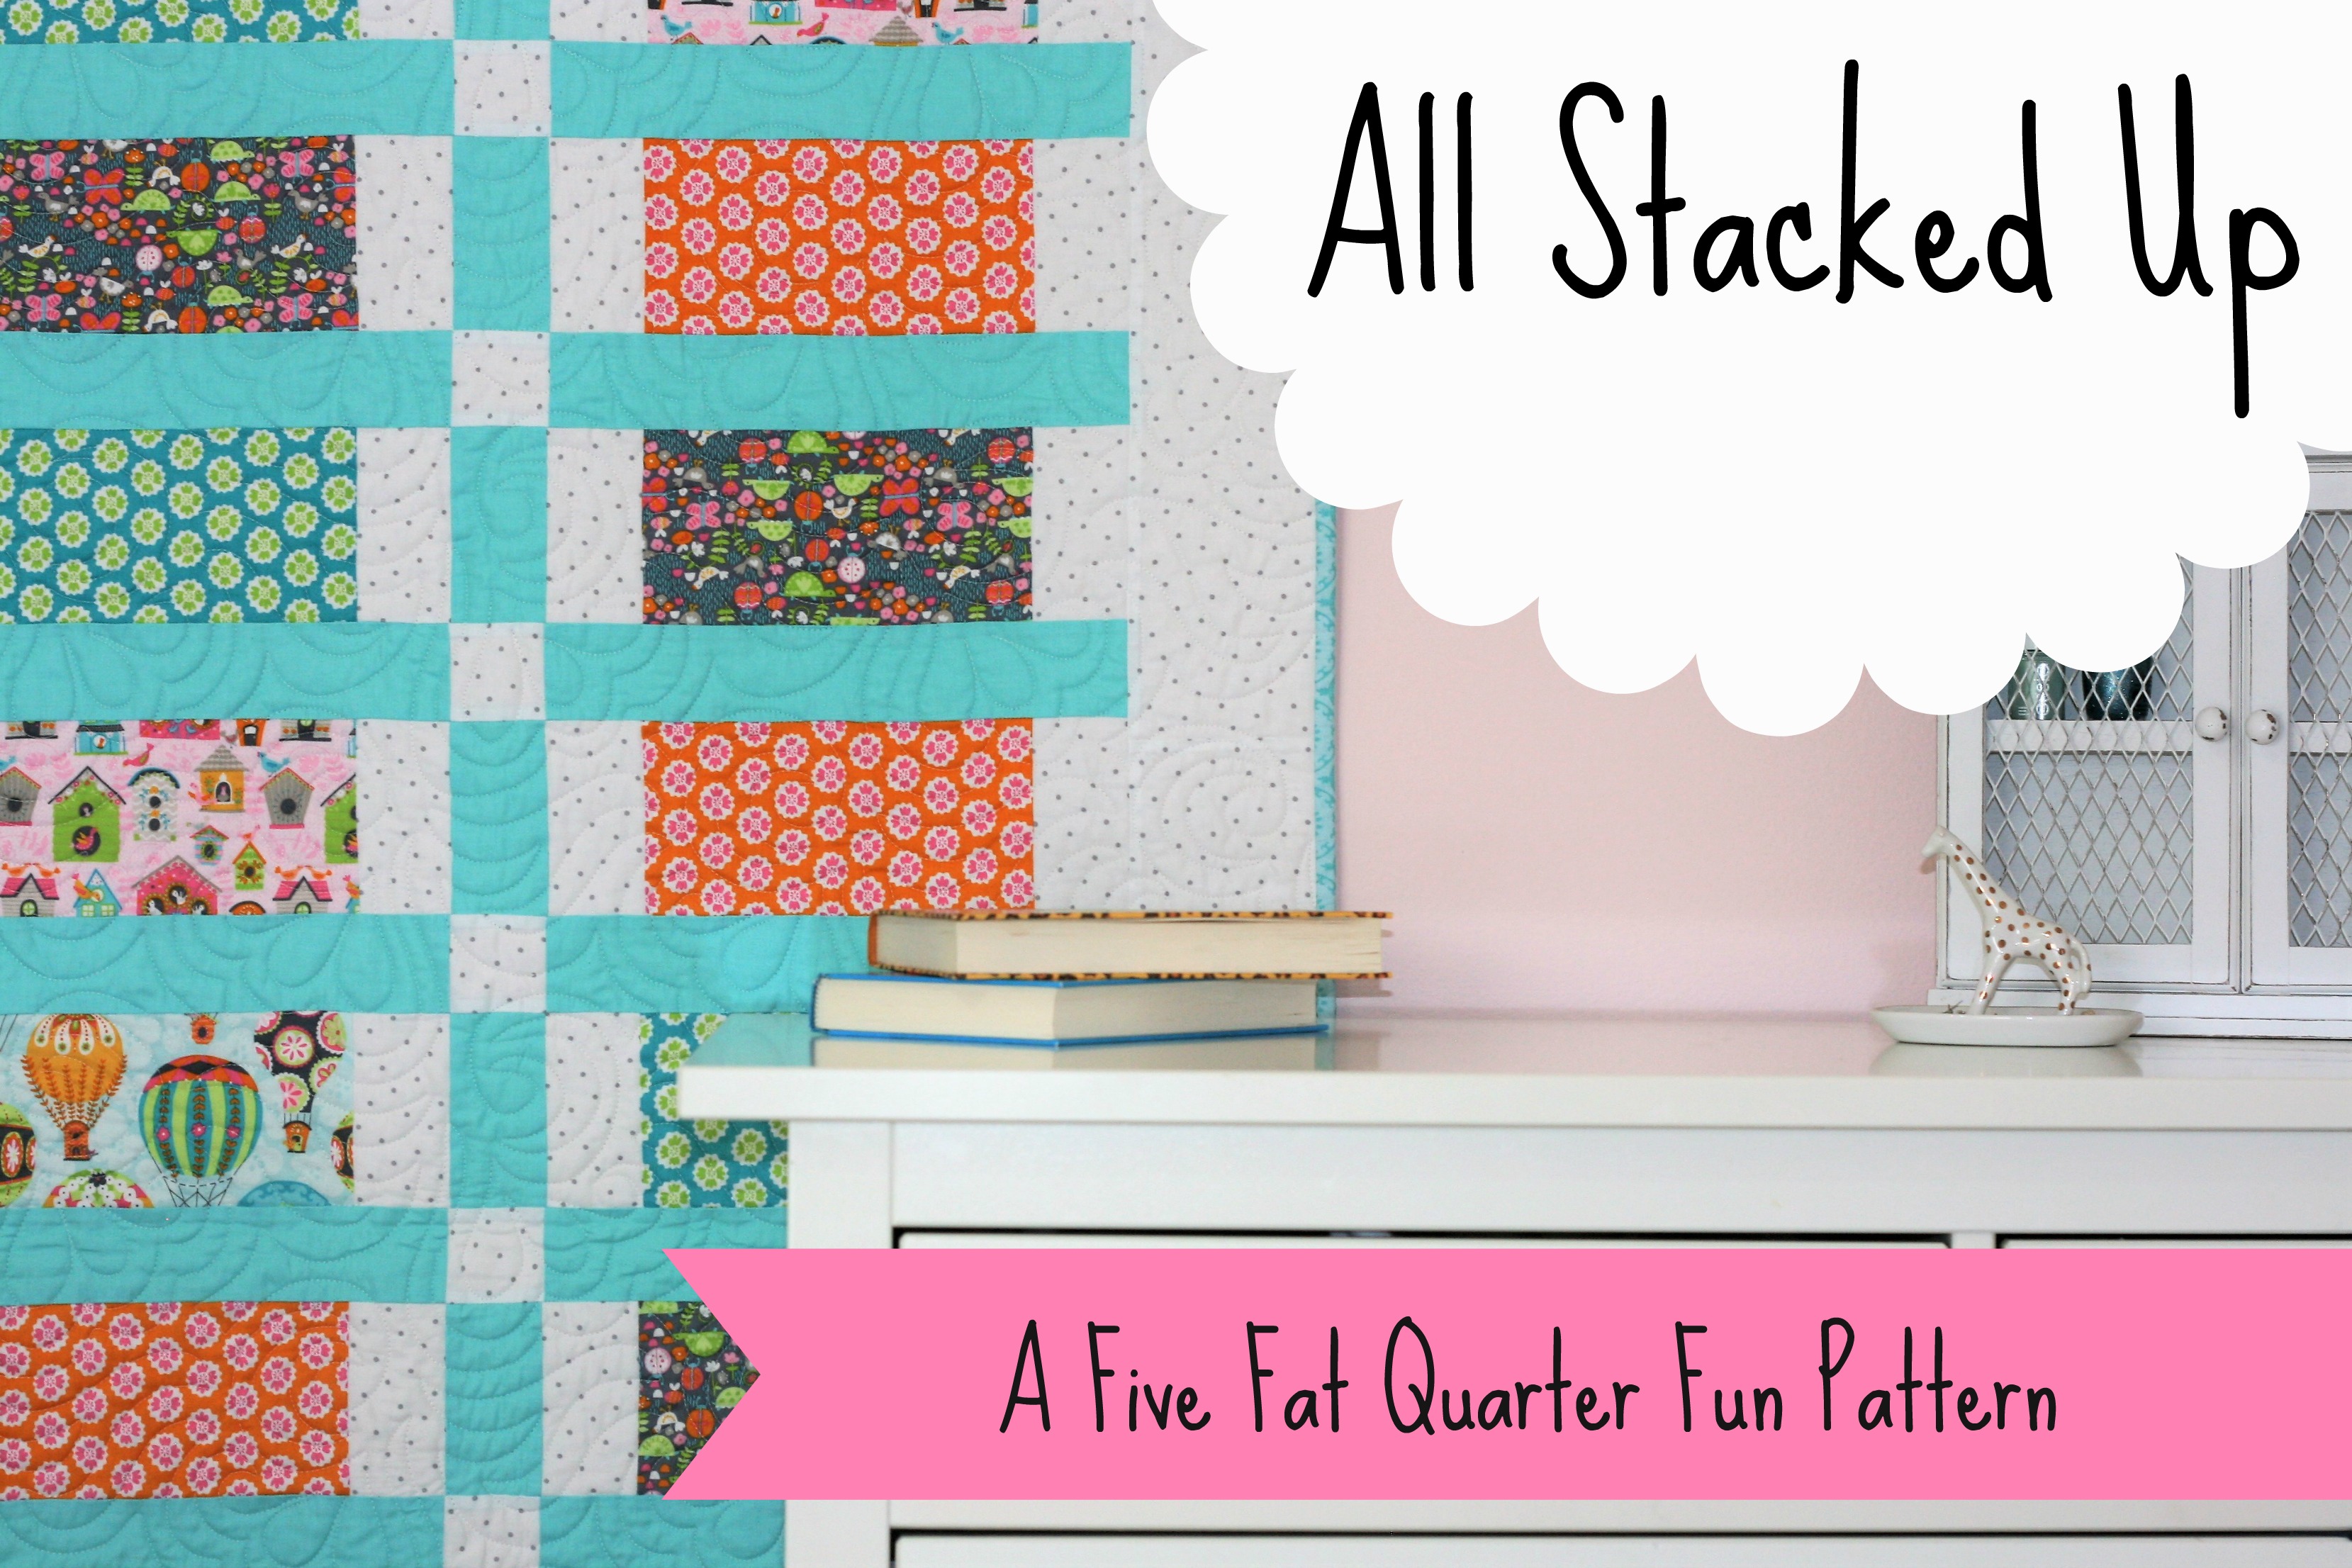
All Stacked Up {5 Fat Quarter Fun Quilt}

5 fat quarter fun logoIMG_7725a

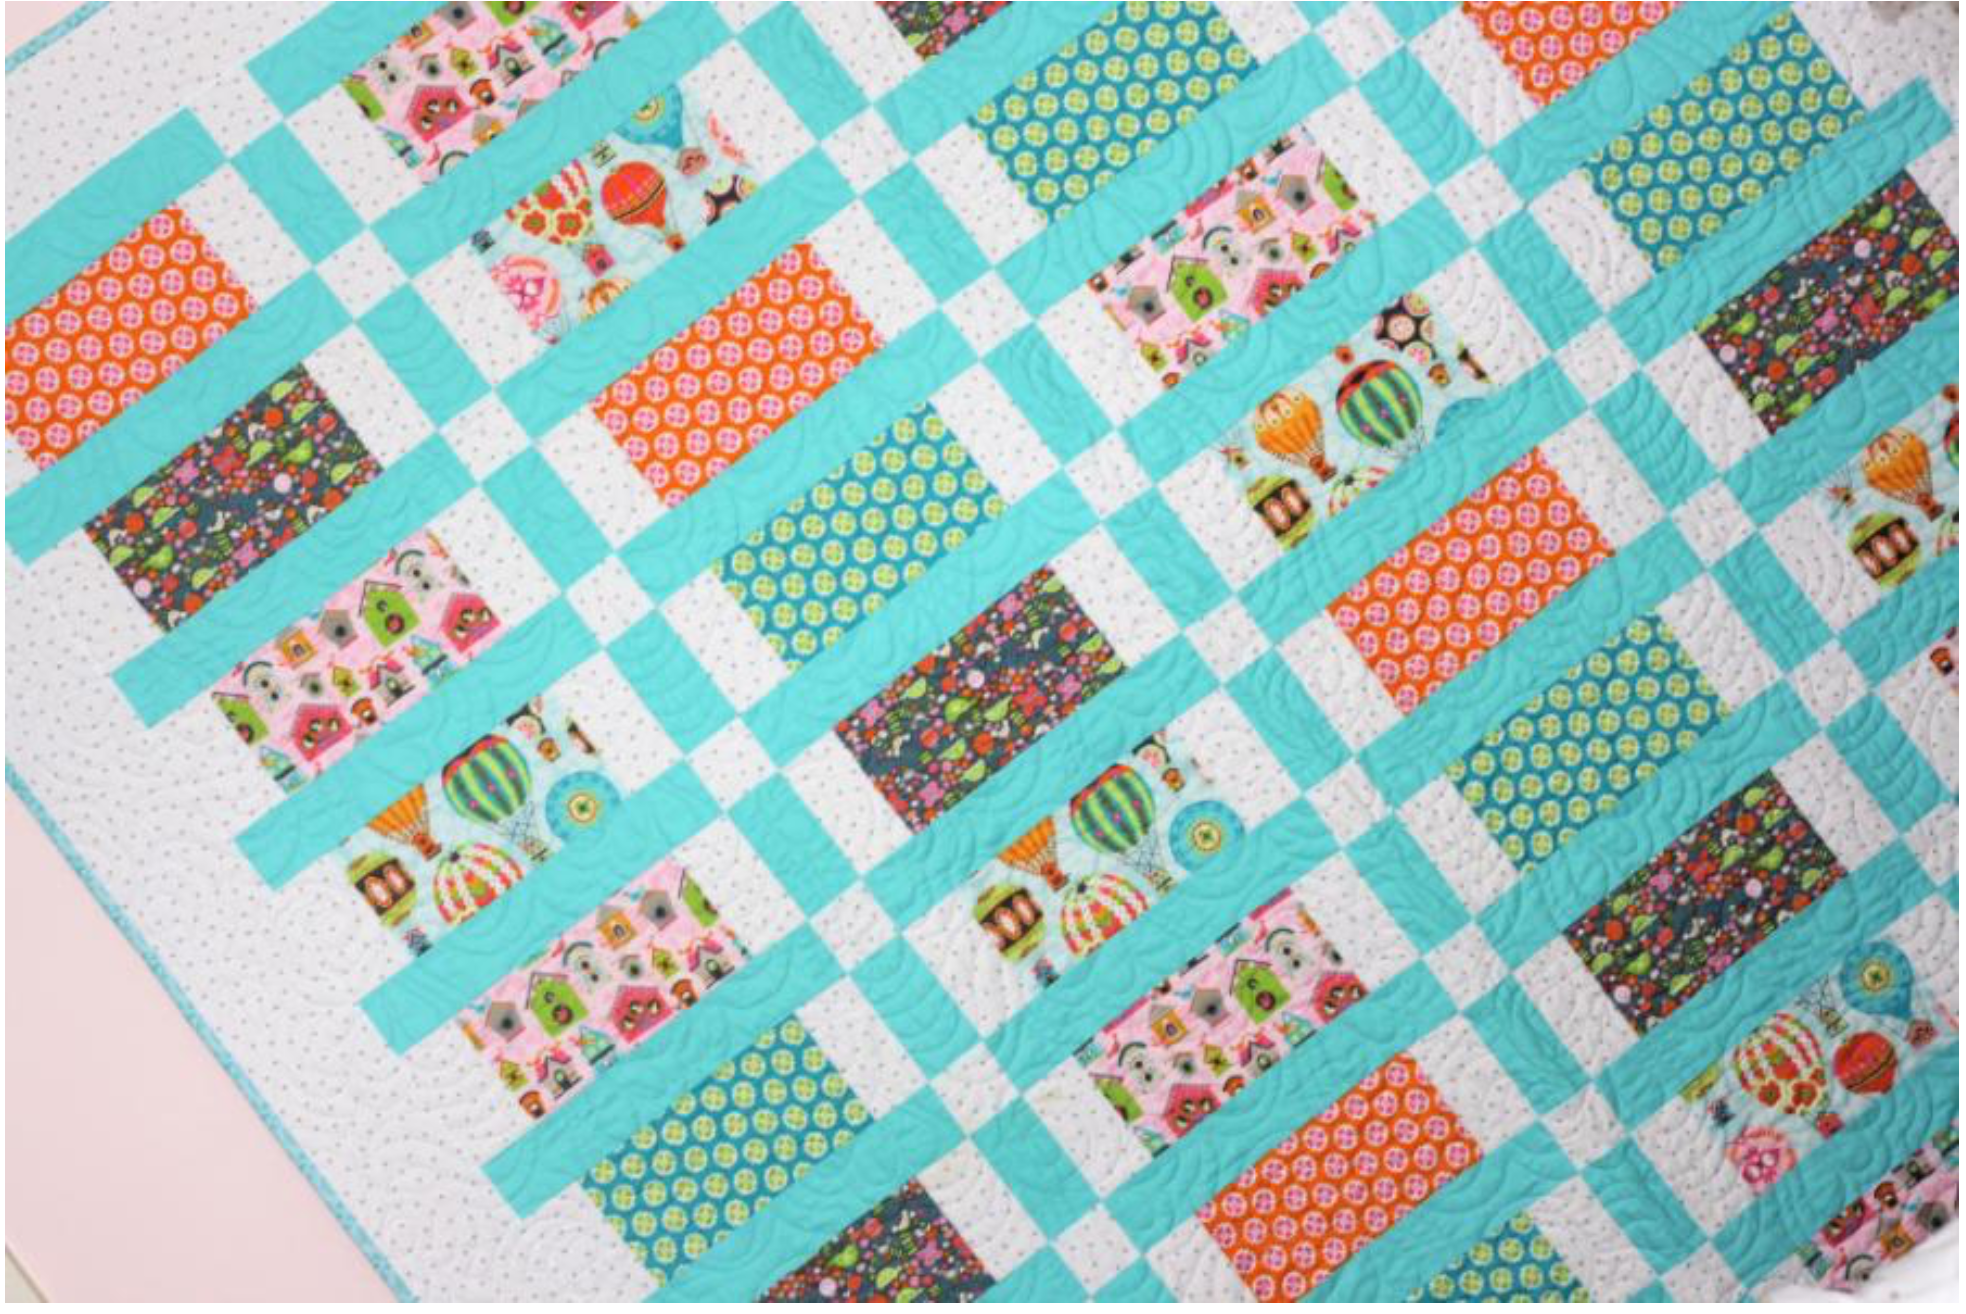
Welcome to the 4th edition of the Five Fat Quarter Fun Sewing Series!!  Amber and I have teamed up to bring you a super fun quilt that you can make with only 5 fat quarters and some additional background yardage!  This month we are focusing on theme prints.  This quilt pattern is great to use with large prints and puts them as the focus of the quilt.

DSC_0262

We each choose a collection of 5 fat quarters from one of Blend Fabrics’ current lines.  Amber used Flutter & Float FullSizeRender-2

and I used Born Wild.

FullSizeRender

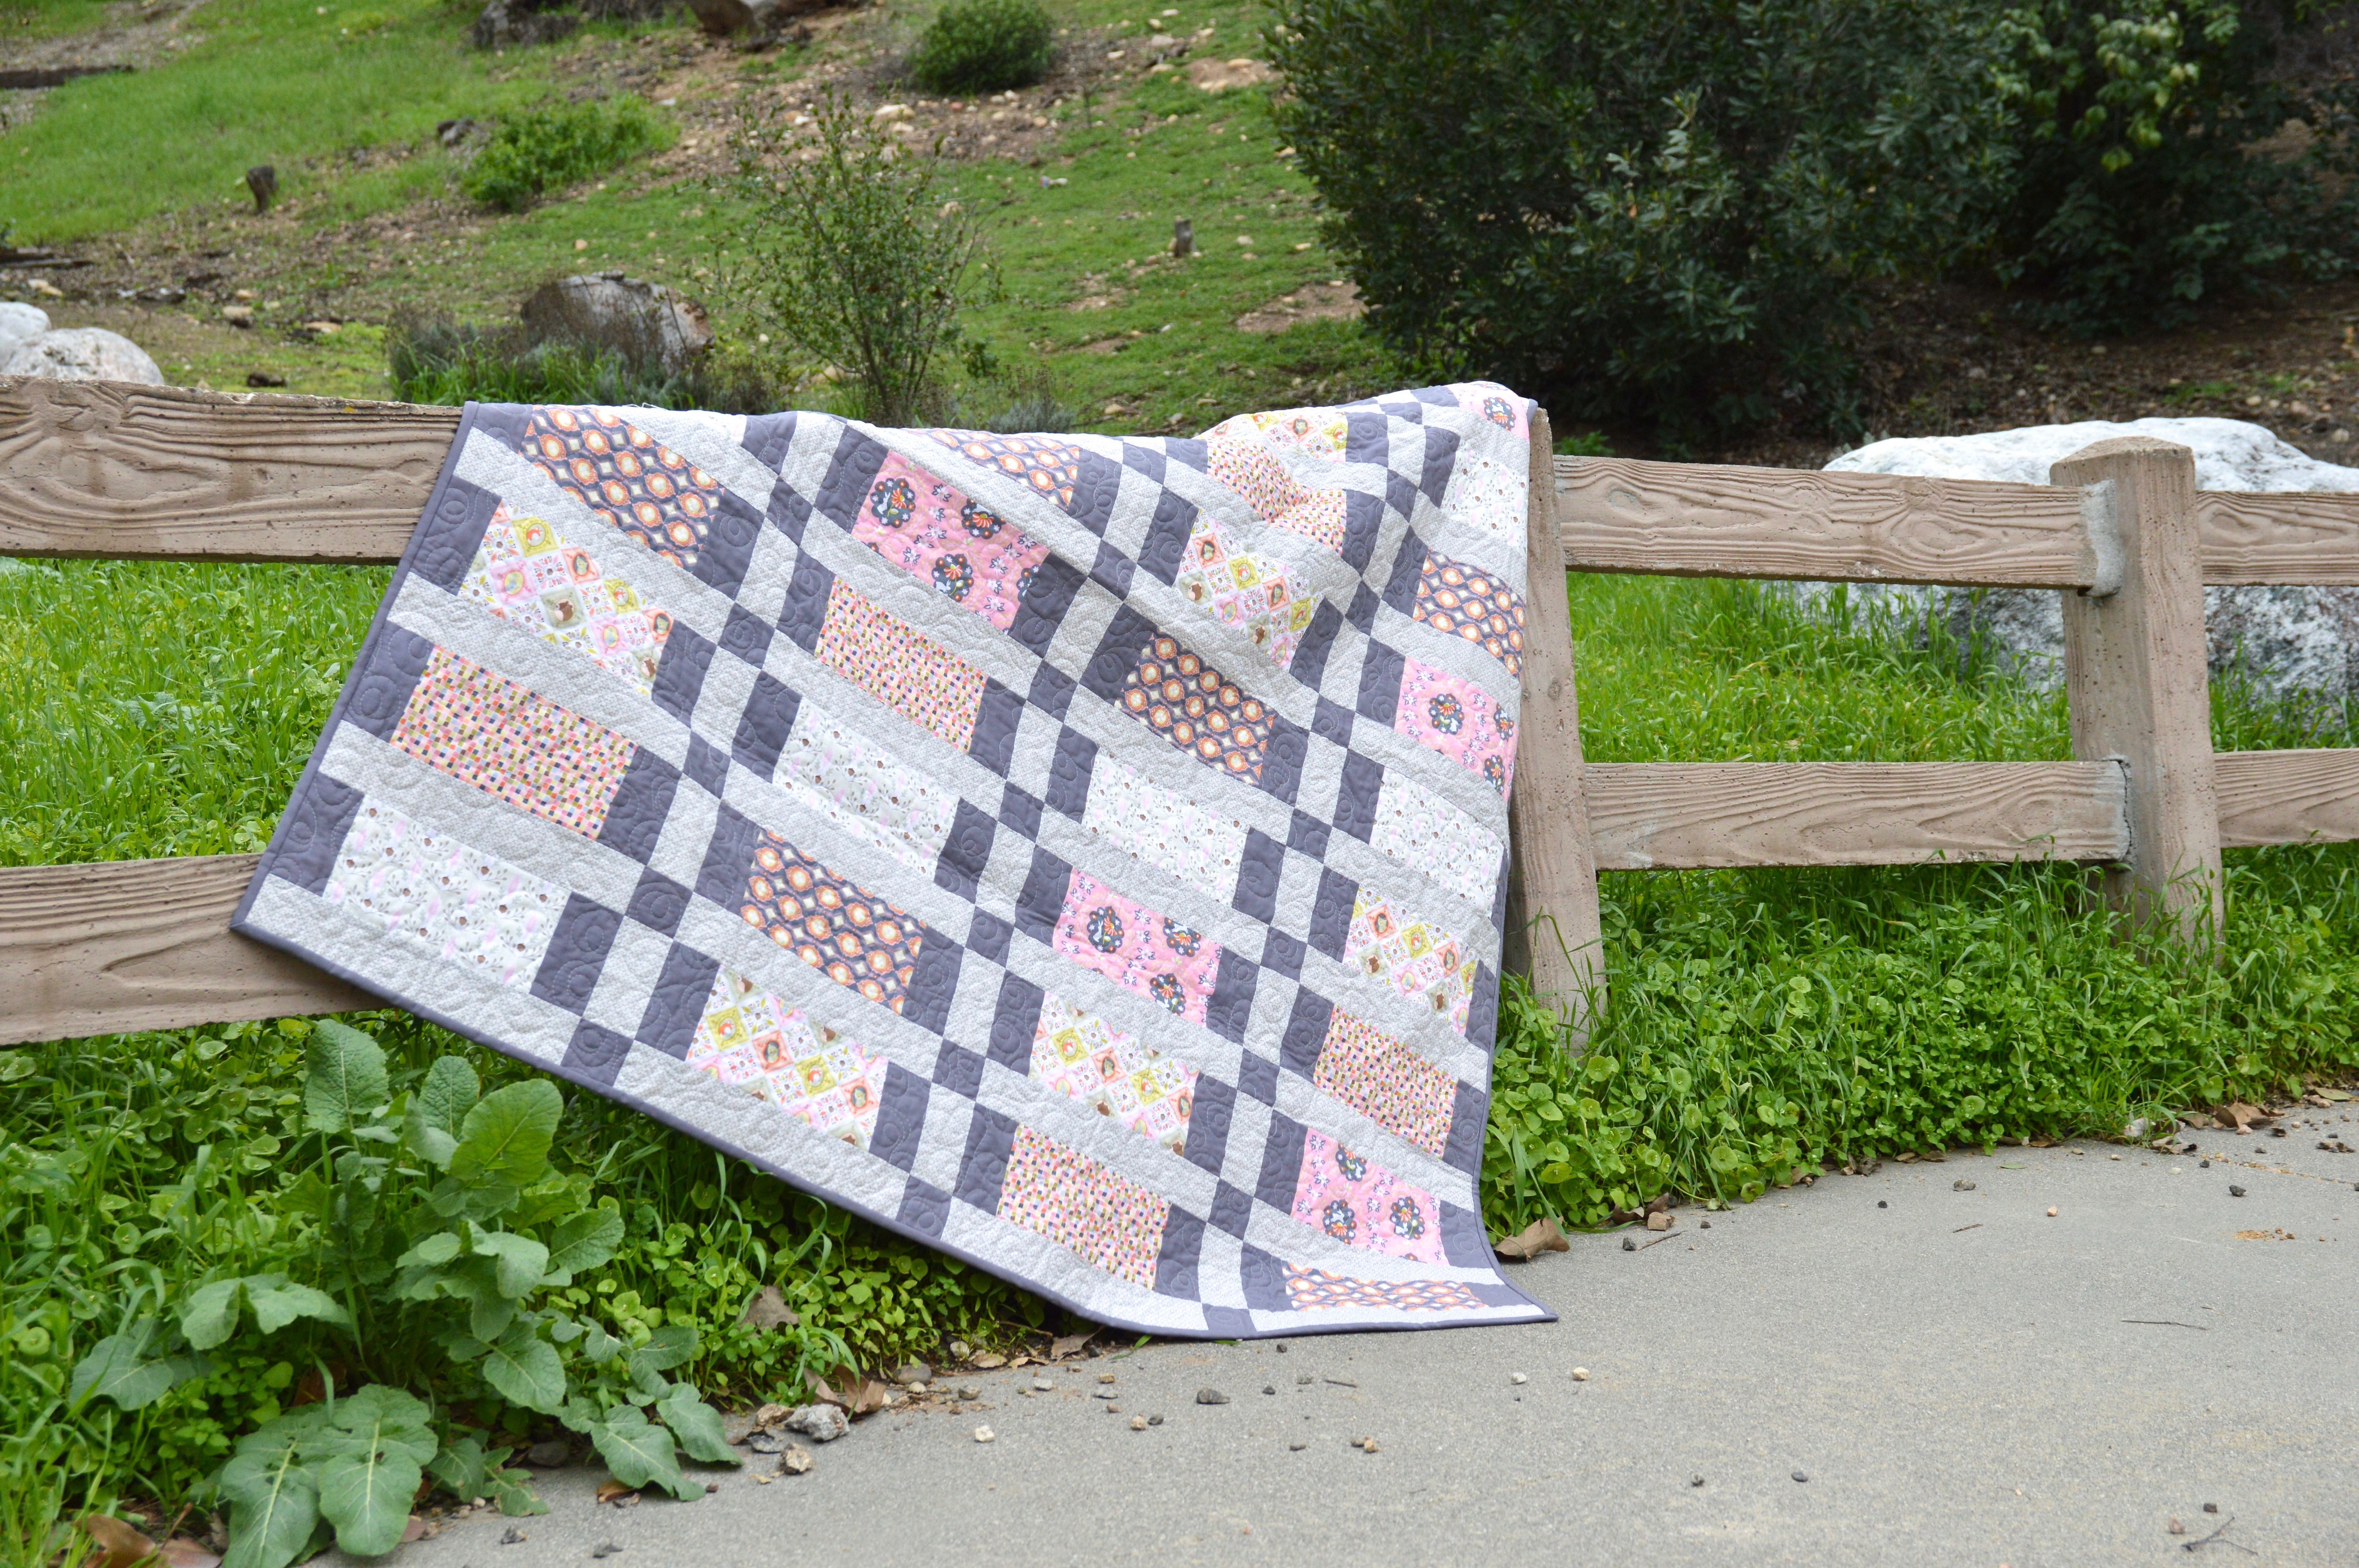
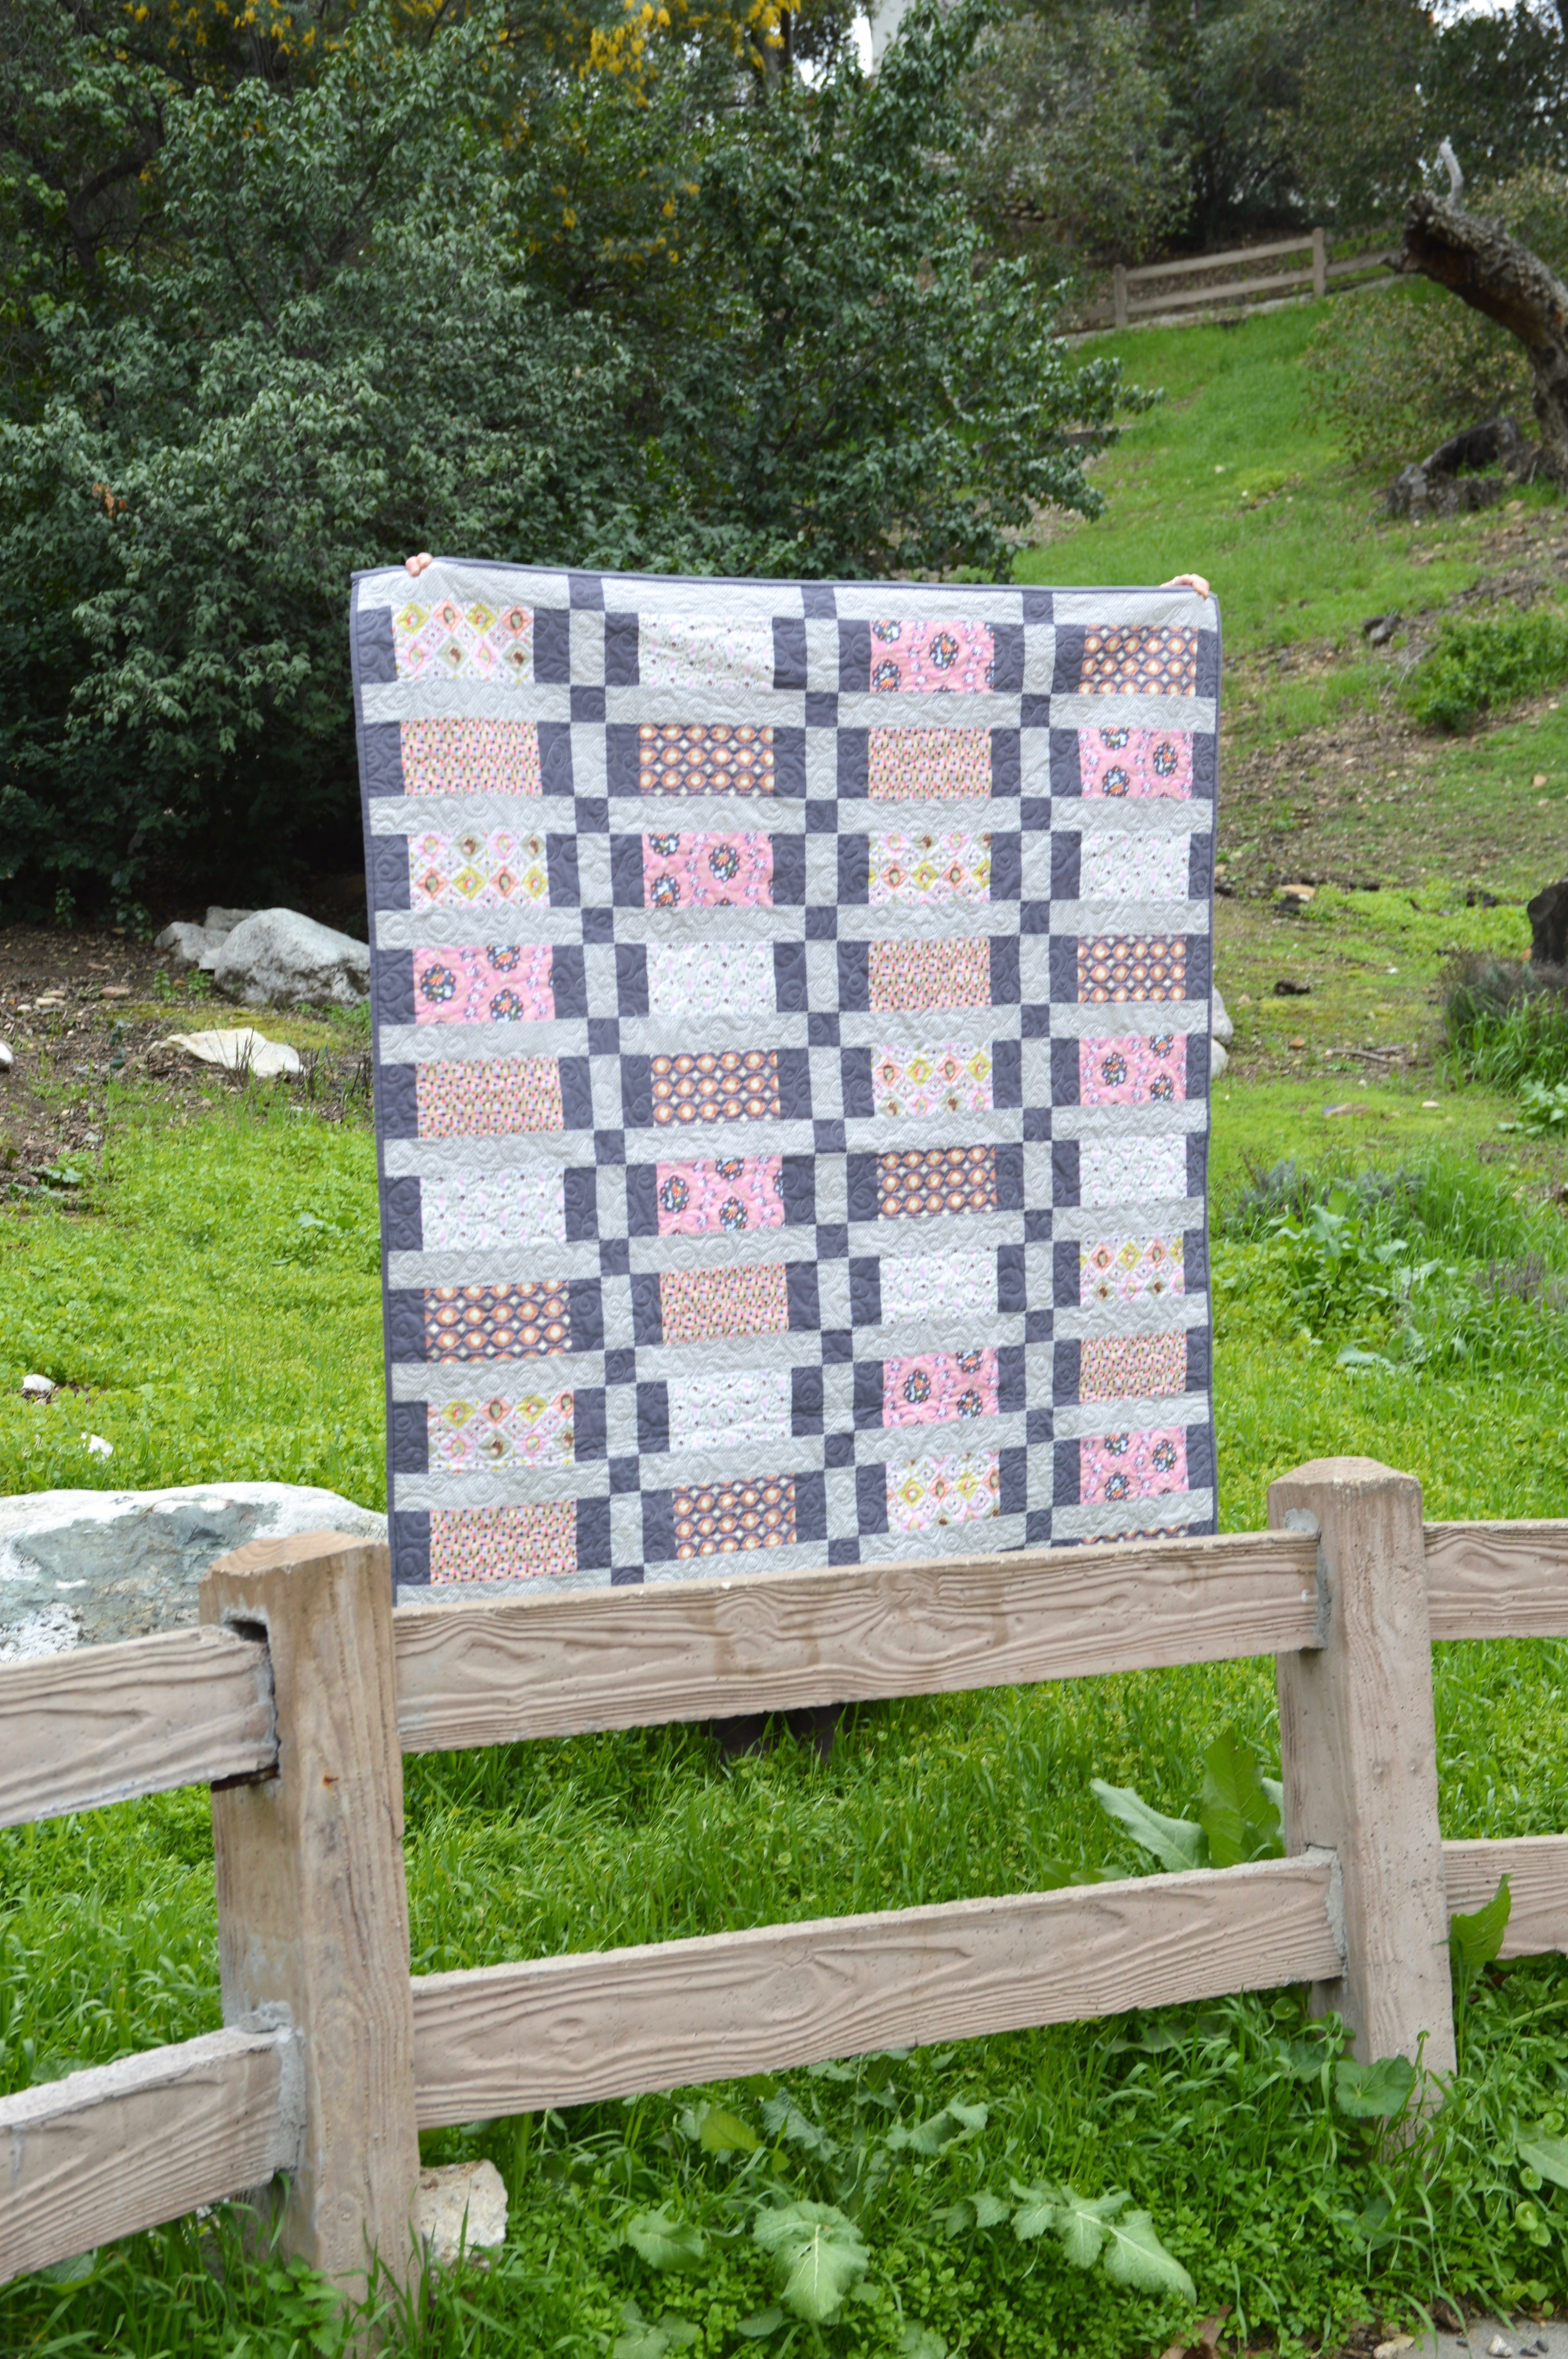
The finished quilt is approximately 62″ x 70″.  I put flannel on the back of mine and it’s the perfect lap quilt!!!

DSC_0296

Screen Shot 2017-02-27 at 10.03.14 PM

I love how the quilt pattern will change a bit if you switch the dark and light background prints!!  The same pattern but two totally different looks!!
DSC_0276

You are going to love making this quilt!  Hop over to Amber’s blog to download the free pattern.  And remember….make sure to tag us on Instagram (@jedicraftgirl and @gigi’s_thimble)!  We want to see your fabrics and your process as well as the finished quilt!  Use the hashtag #fivefatquarterfun and #allstackedupquilt 🙂

DSC_0285

I quilted double loop-de-loos all over the quilt, don’t look too close – it’s so not perfect!!!

DSC_0289

Thanks for stopping by and we hope you love making this quilt!!!

Bunny Hop Quilt Pattern {Free}

bunny hop cover
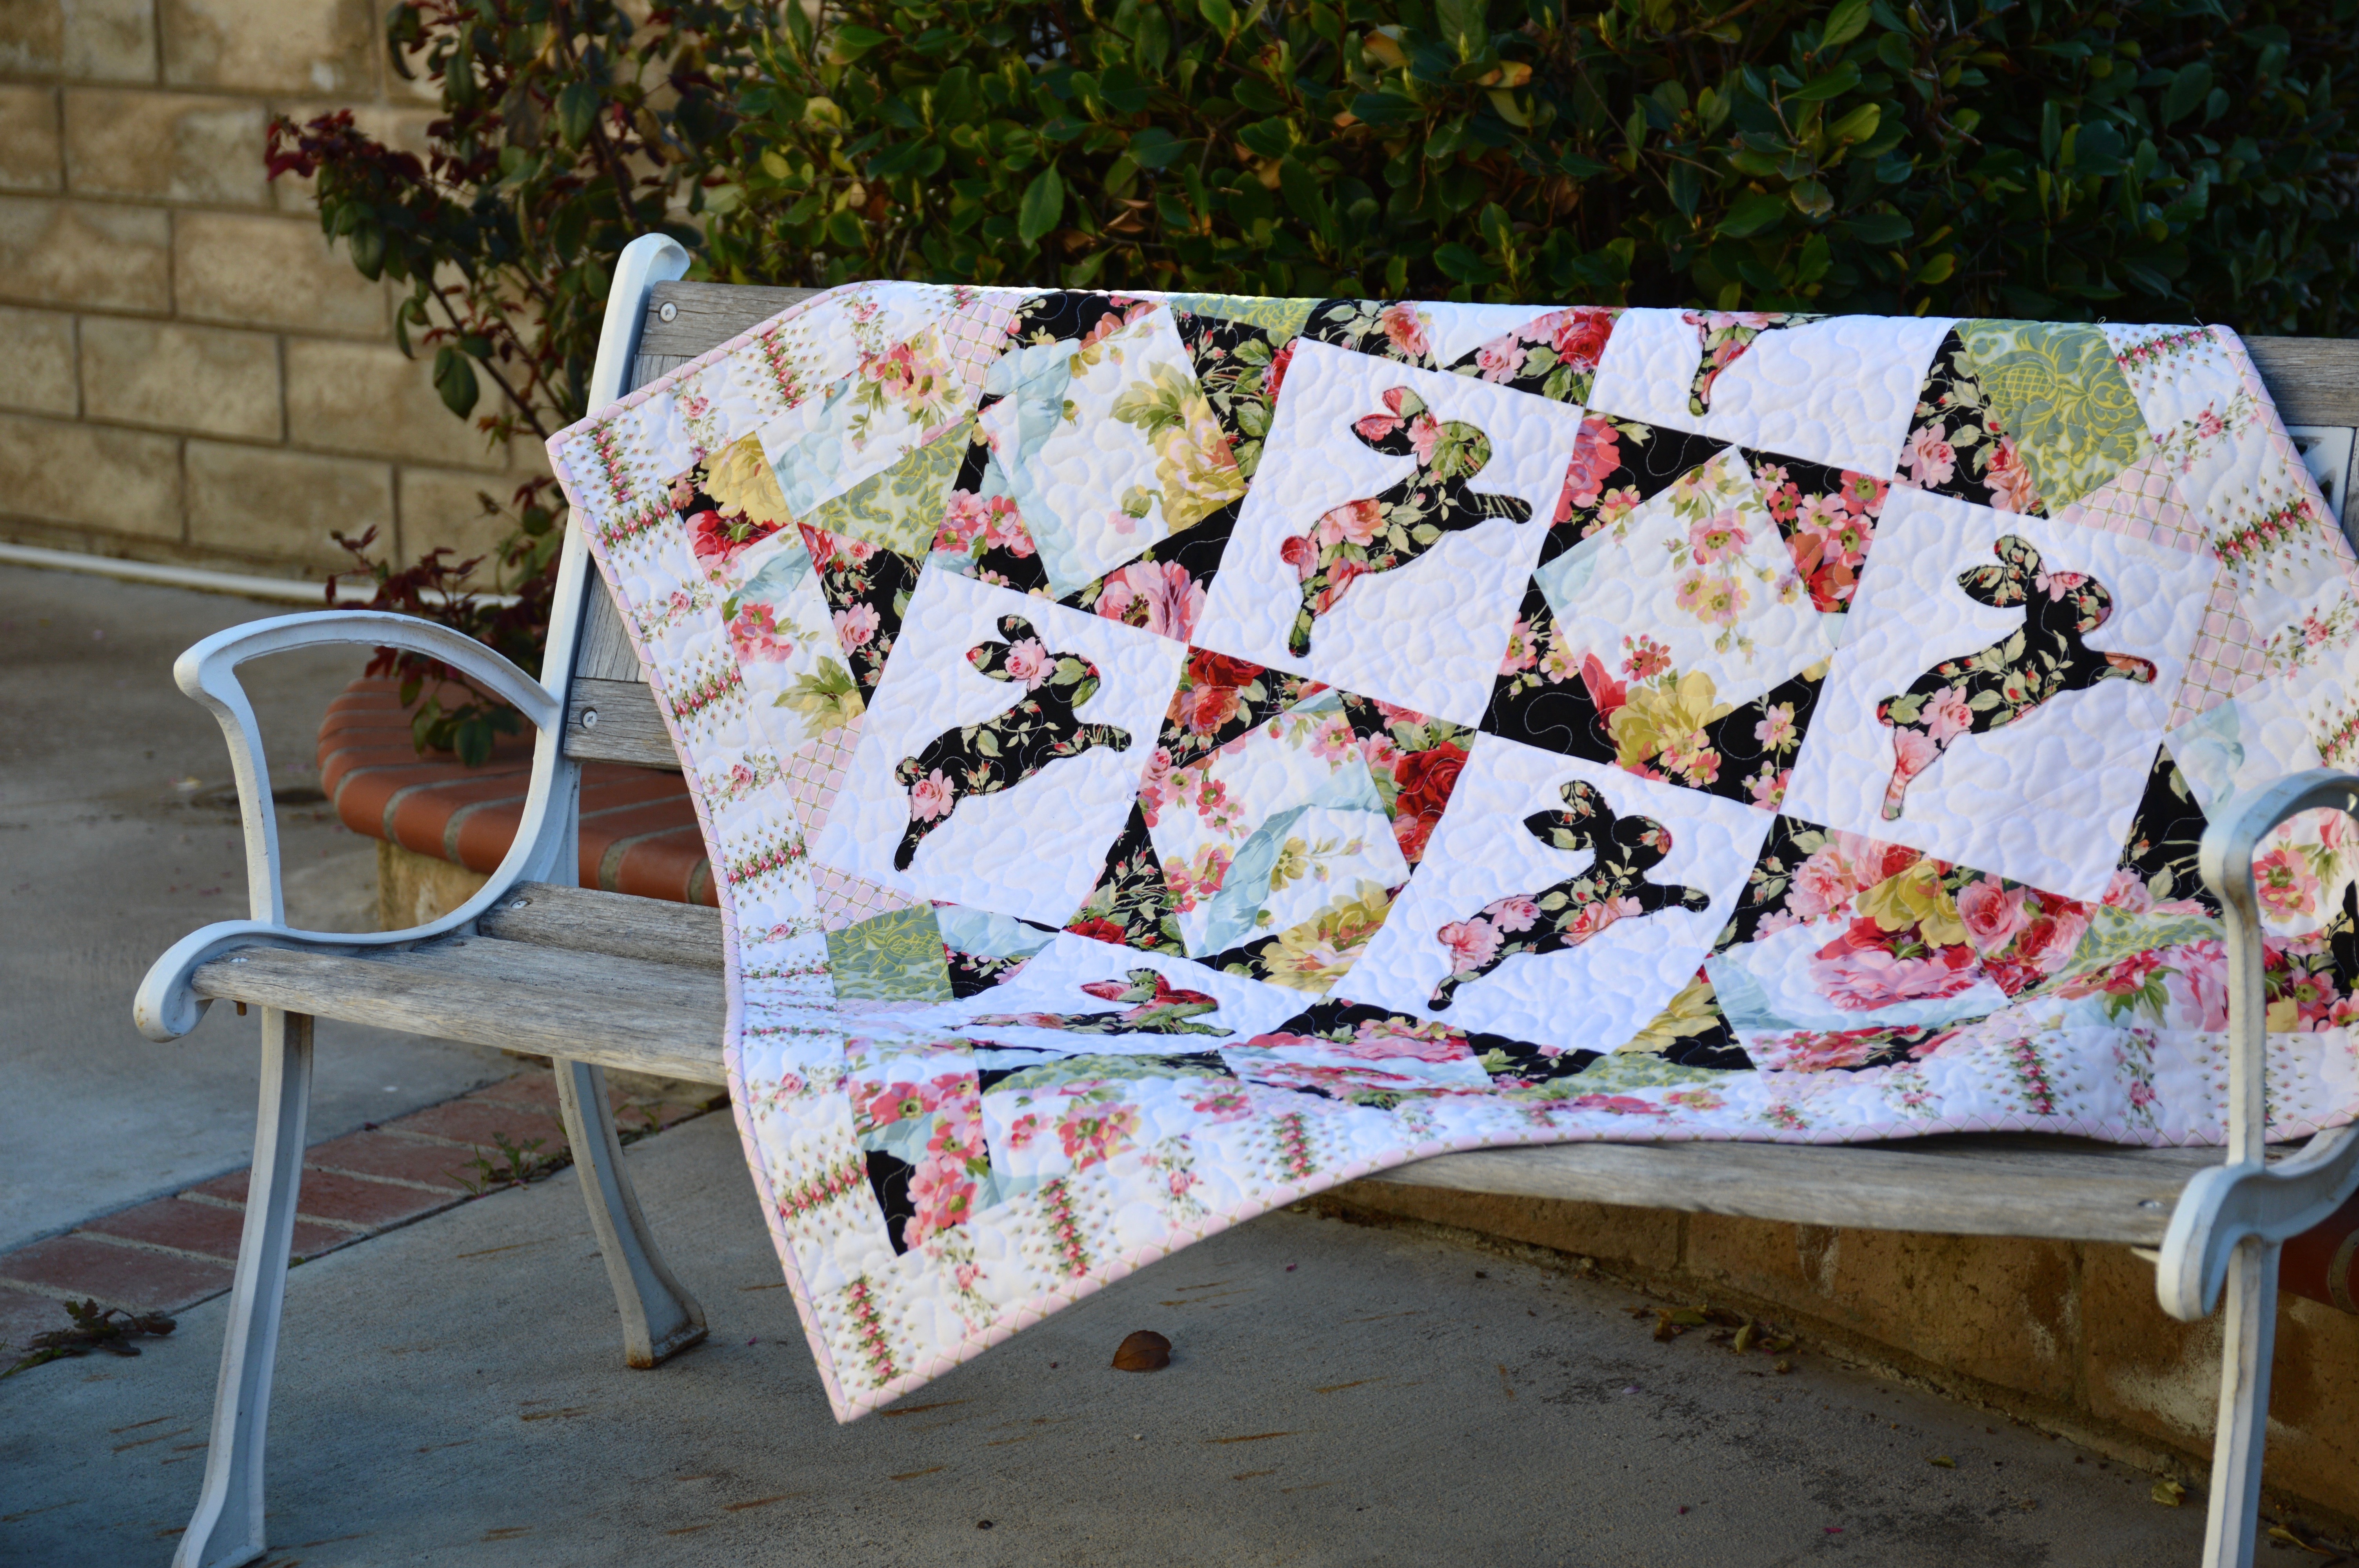
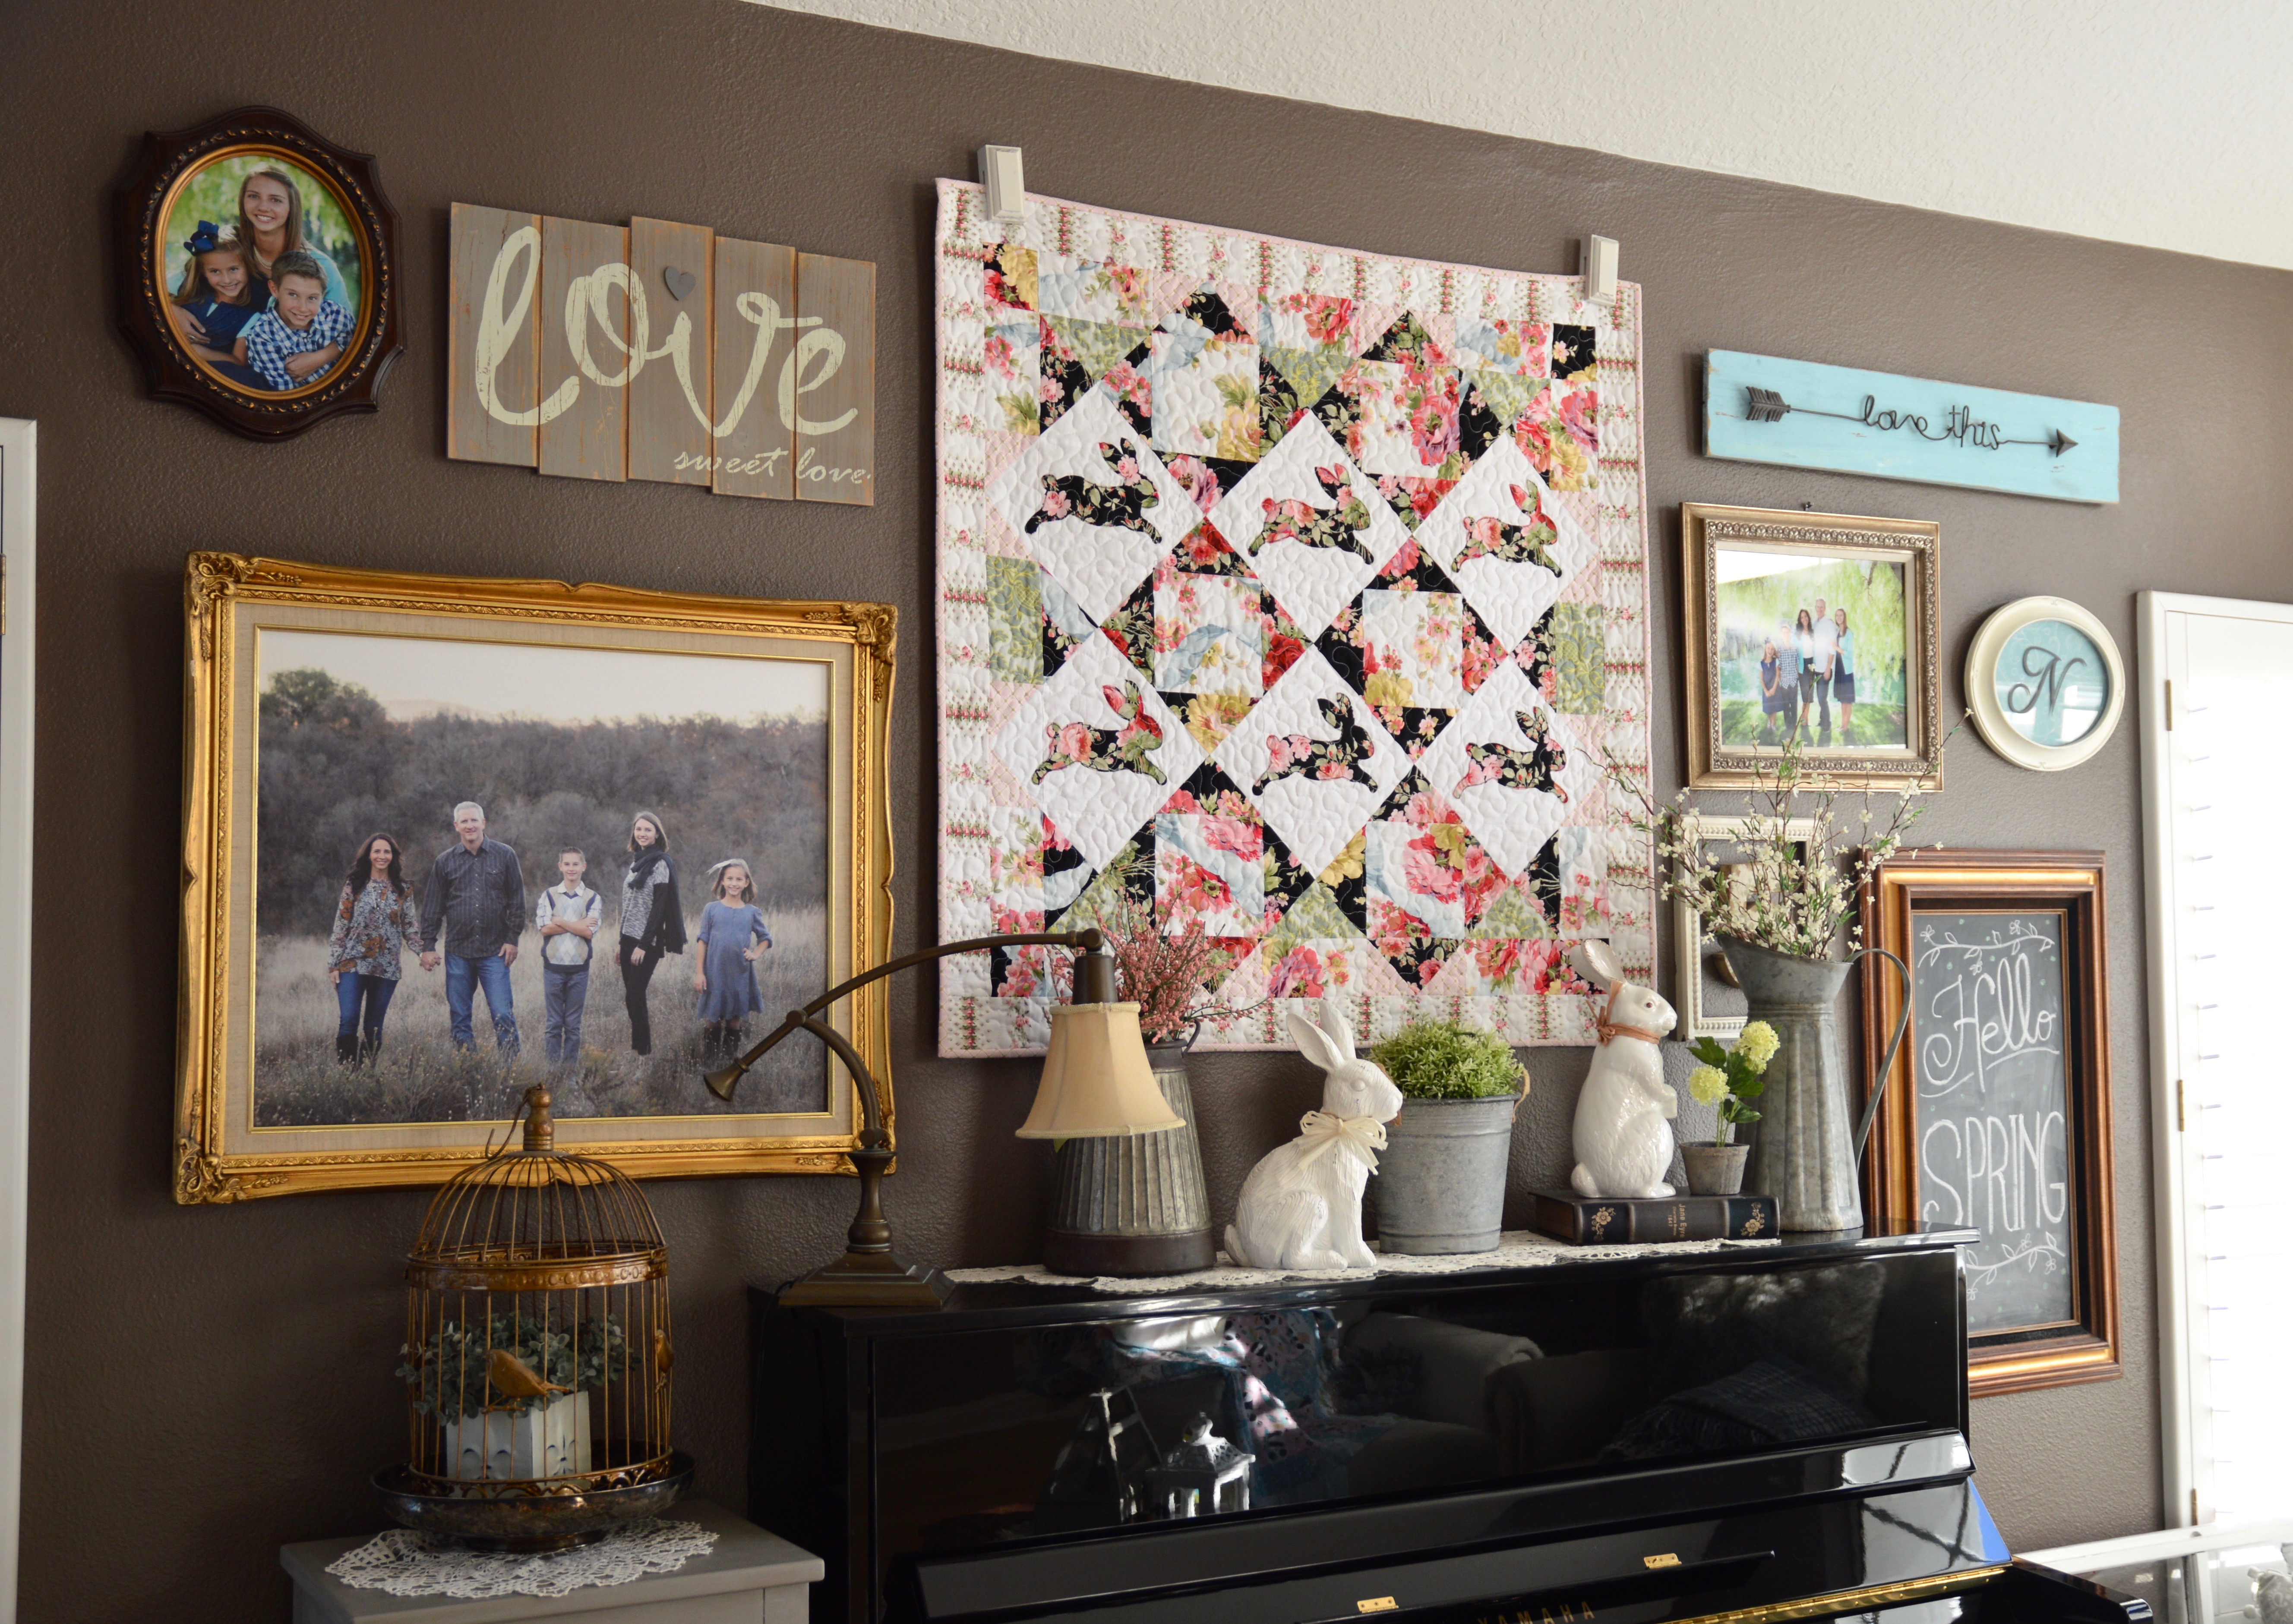
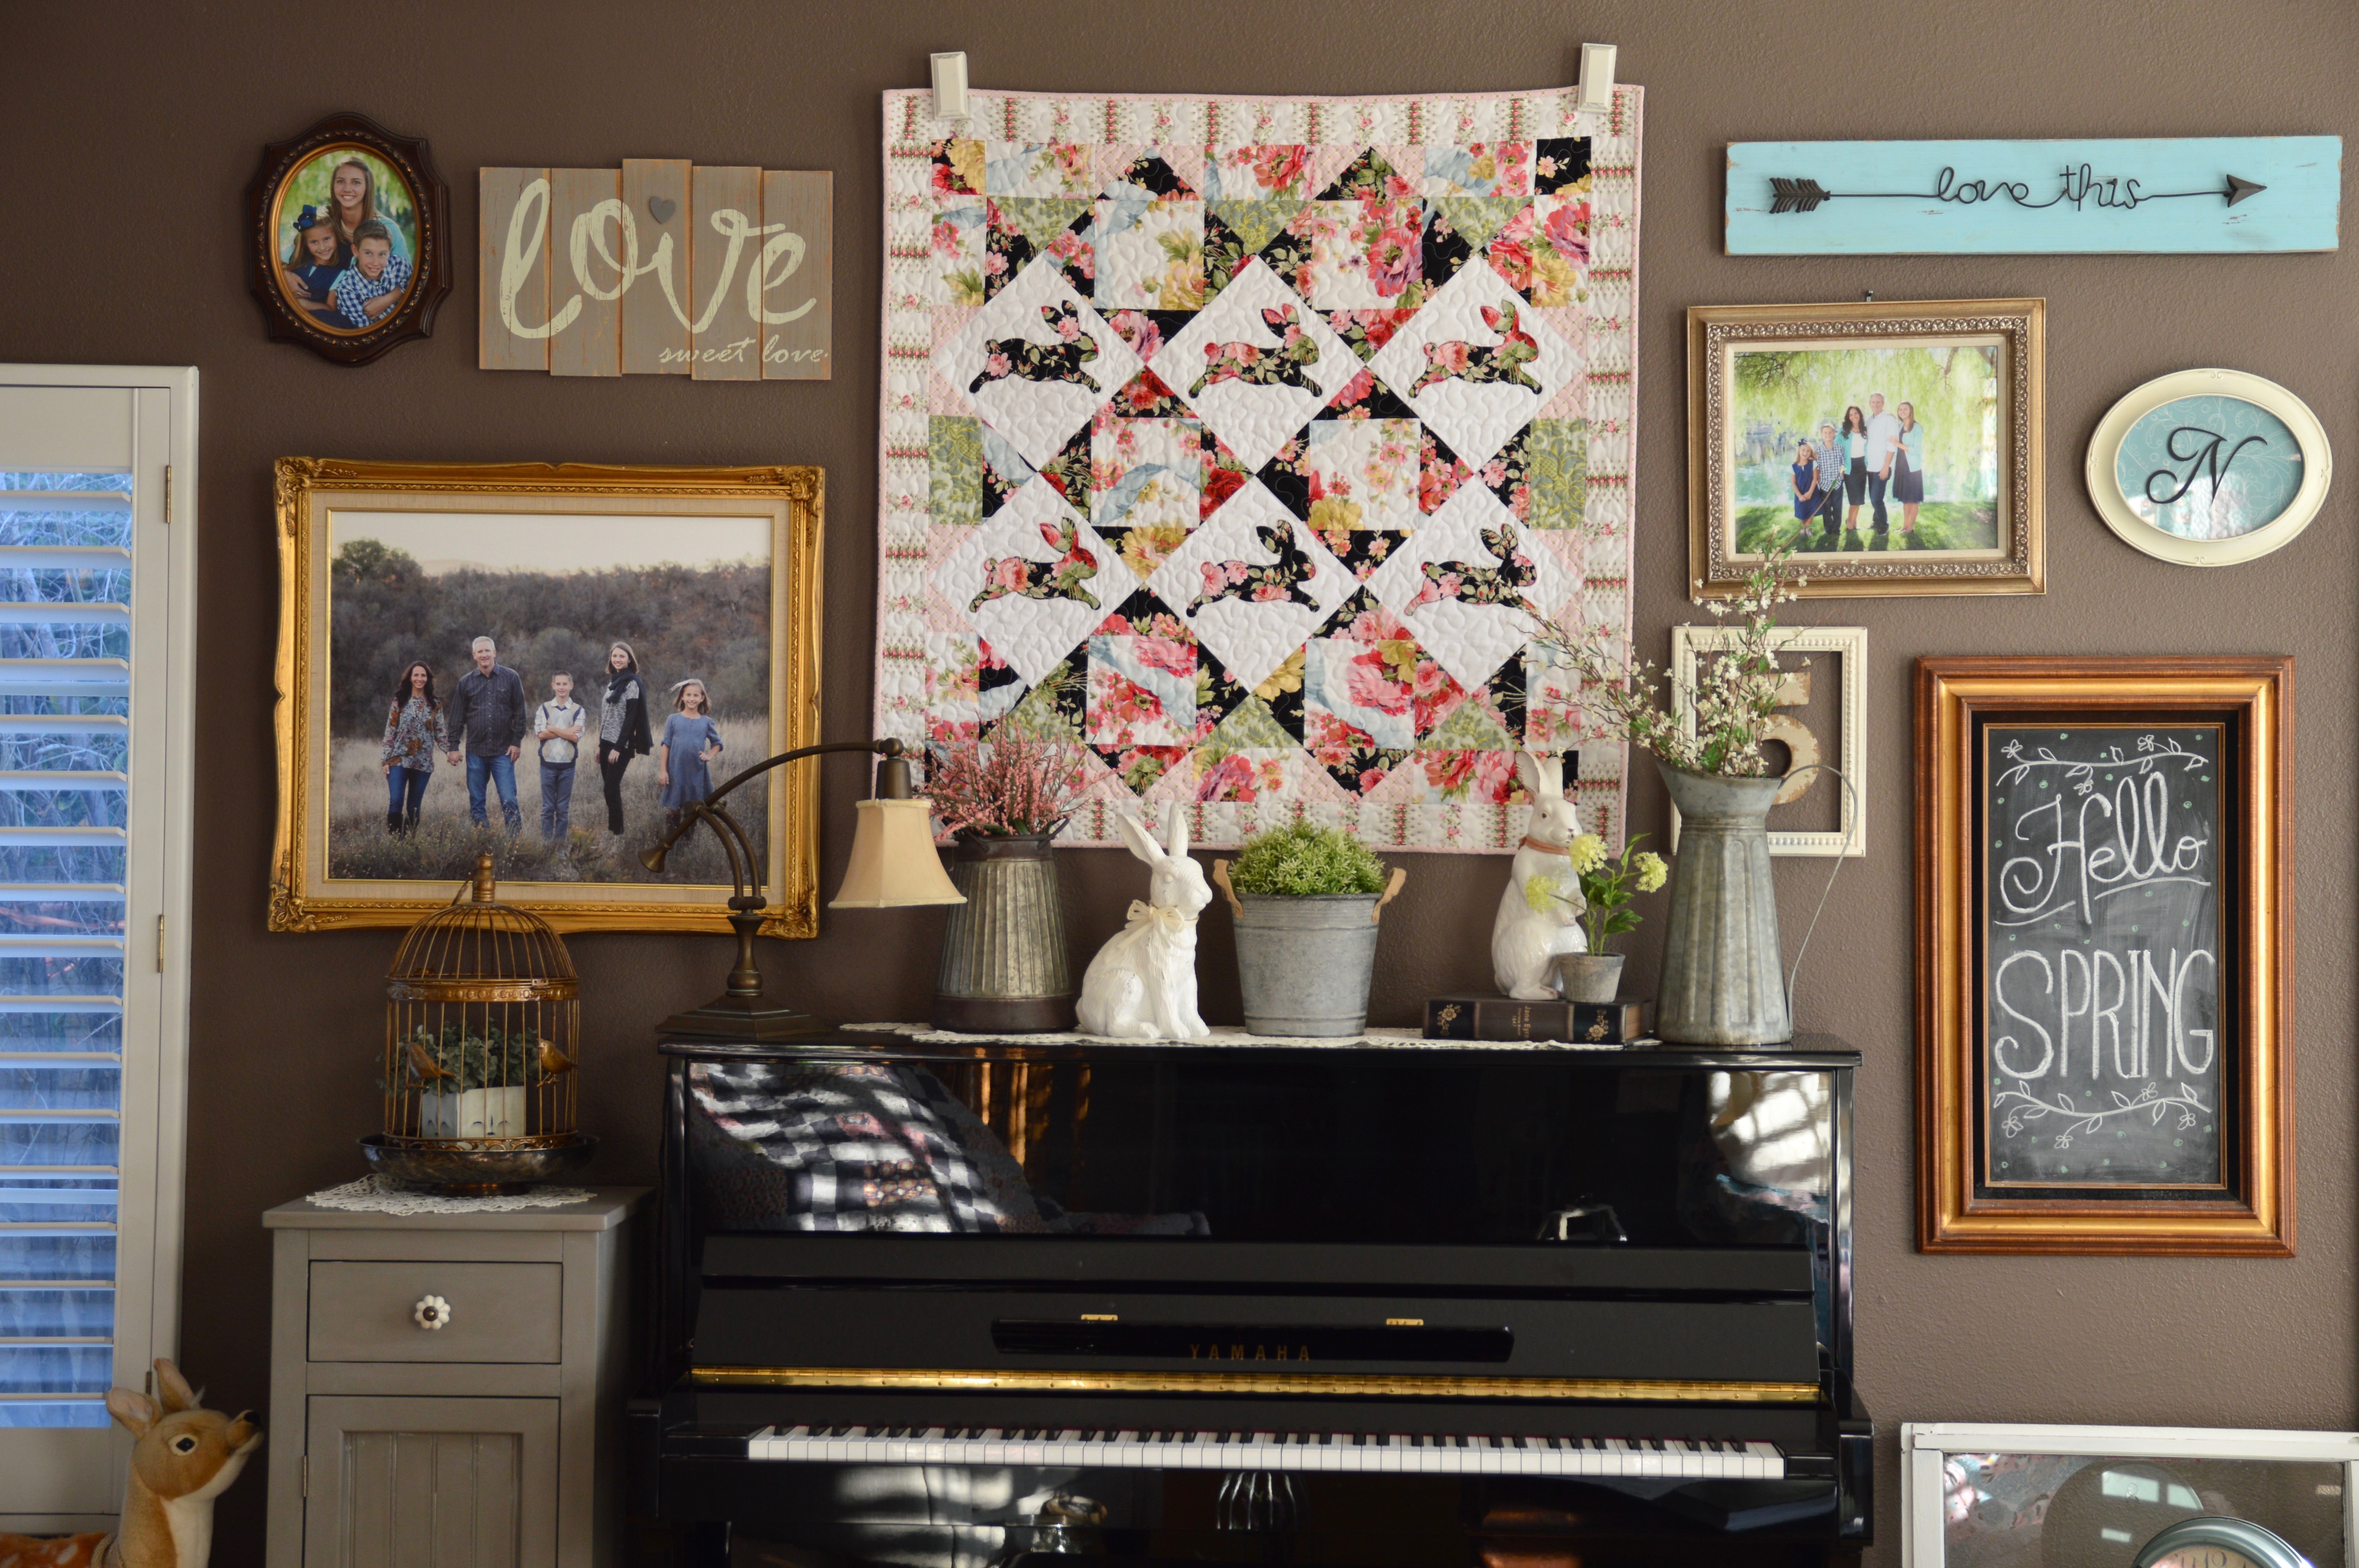
Today I’m sharing my latest pattern for this fun spring wallhanging.  There is just something about hanging a new quilt that makes your house feel all happy!!

bunny quilt 3This quilt measures 40″ square and is perfect for hanging, placing on a table or couch.  I used my Sizzix dies for all the triangles and the bunny appliqué!  You can download the pattern by clicking HERE.
bunny quilt

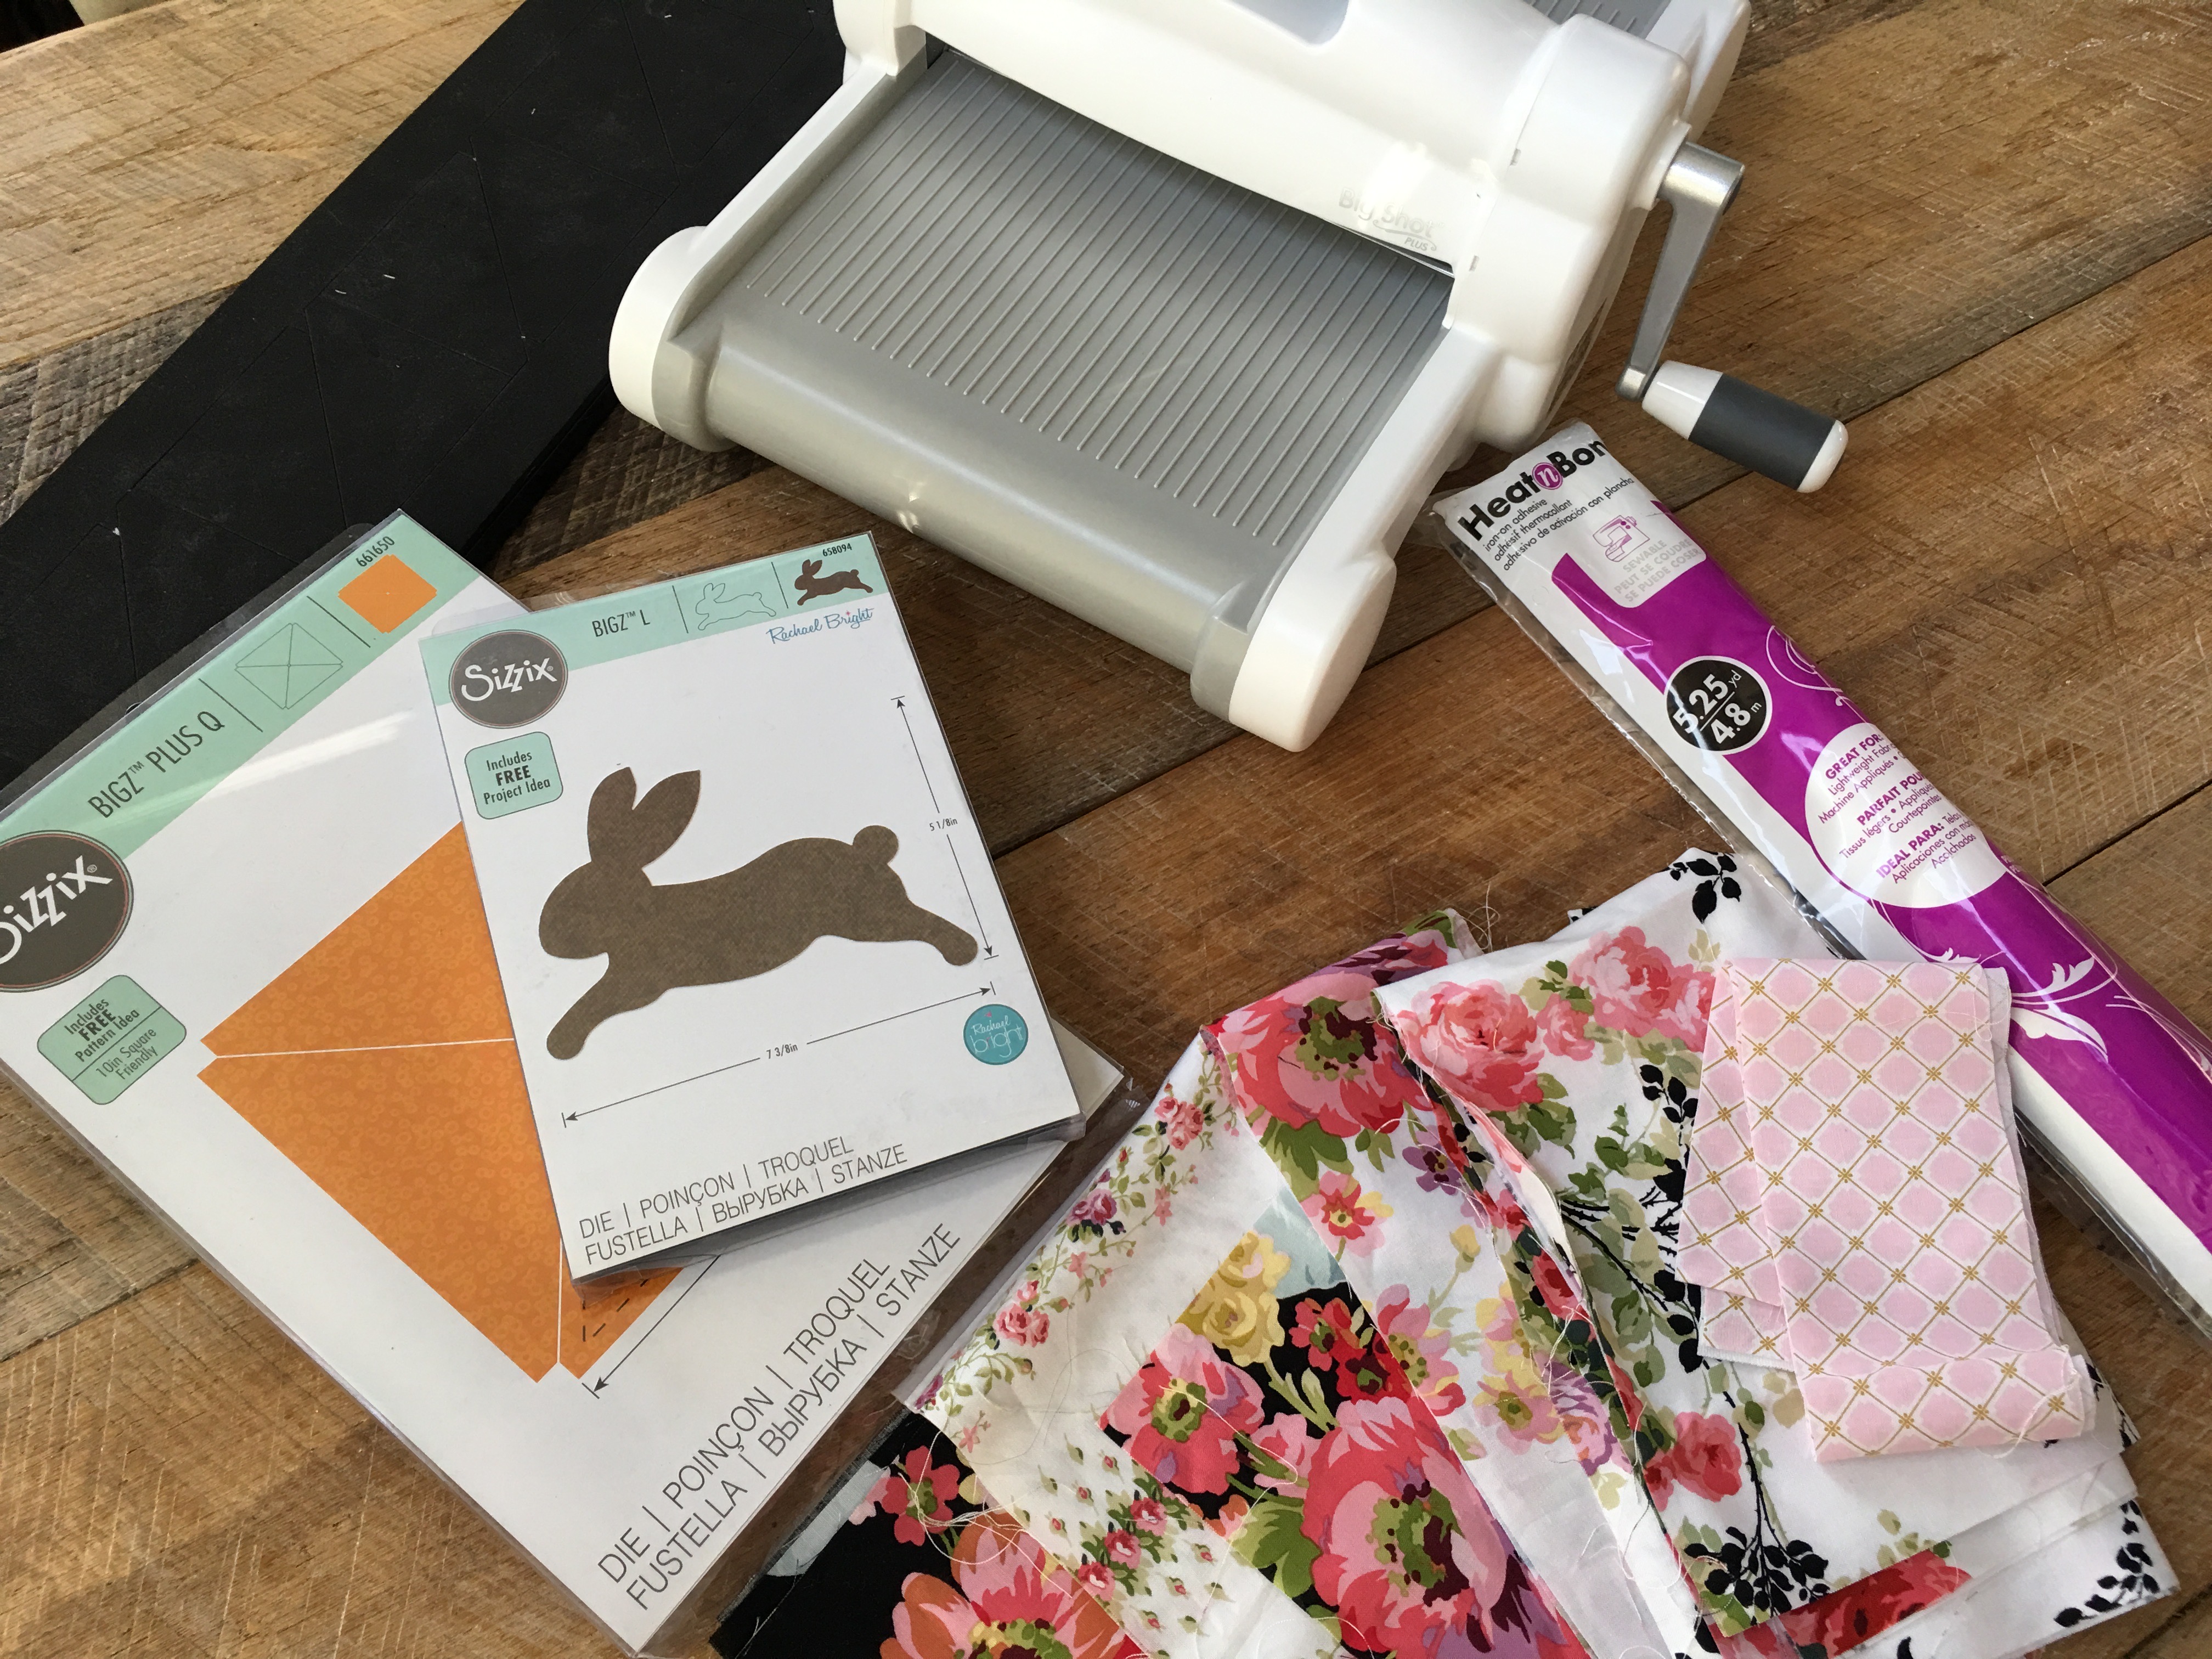
Here’s what you need to get started: (All fabrics from The Rose Collection by Anna Griffin).

bunny quilt 14

Fabric Requirements

½ yard solid white

½ yard white floral

1 yard black floral for blocks and rabbits

¼ yard green floral

¼ yard pink print

½ yard floral stripe (border)

½ yard pink print (binding)

1 yard backing

45” square batting

Heat n Bond Lite fusible applique

Sizzix Bunny Die

Sizzix 6 ½” Hourglass die

Sizzix 3 ½” Half Square Triangle Die


bunny quilt 5

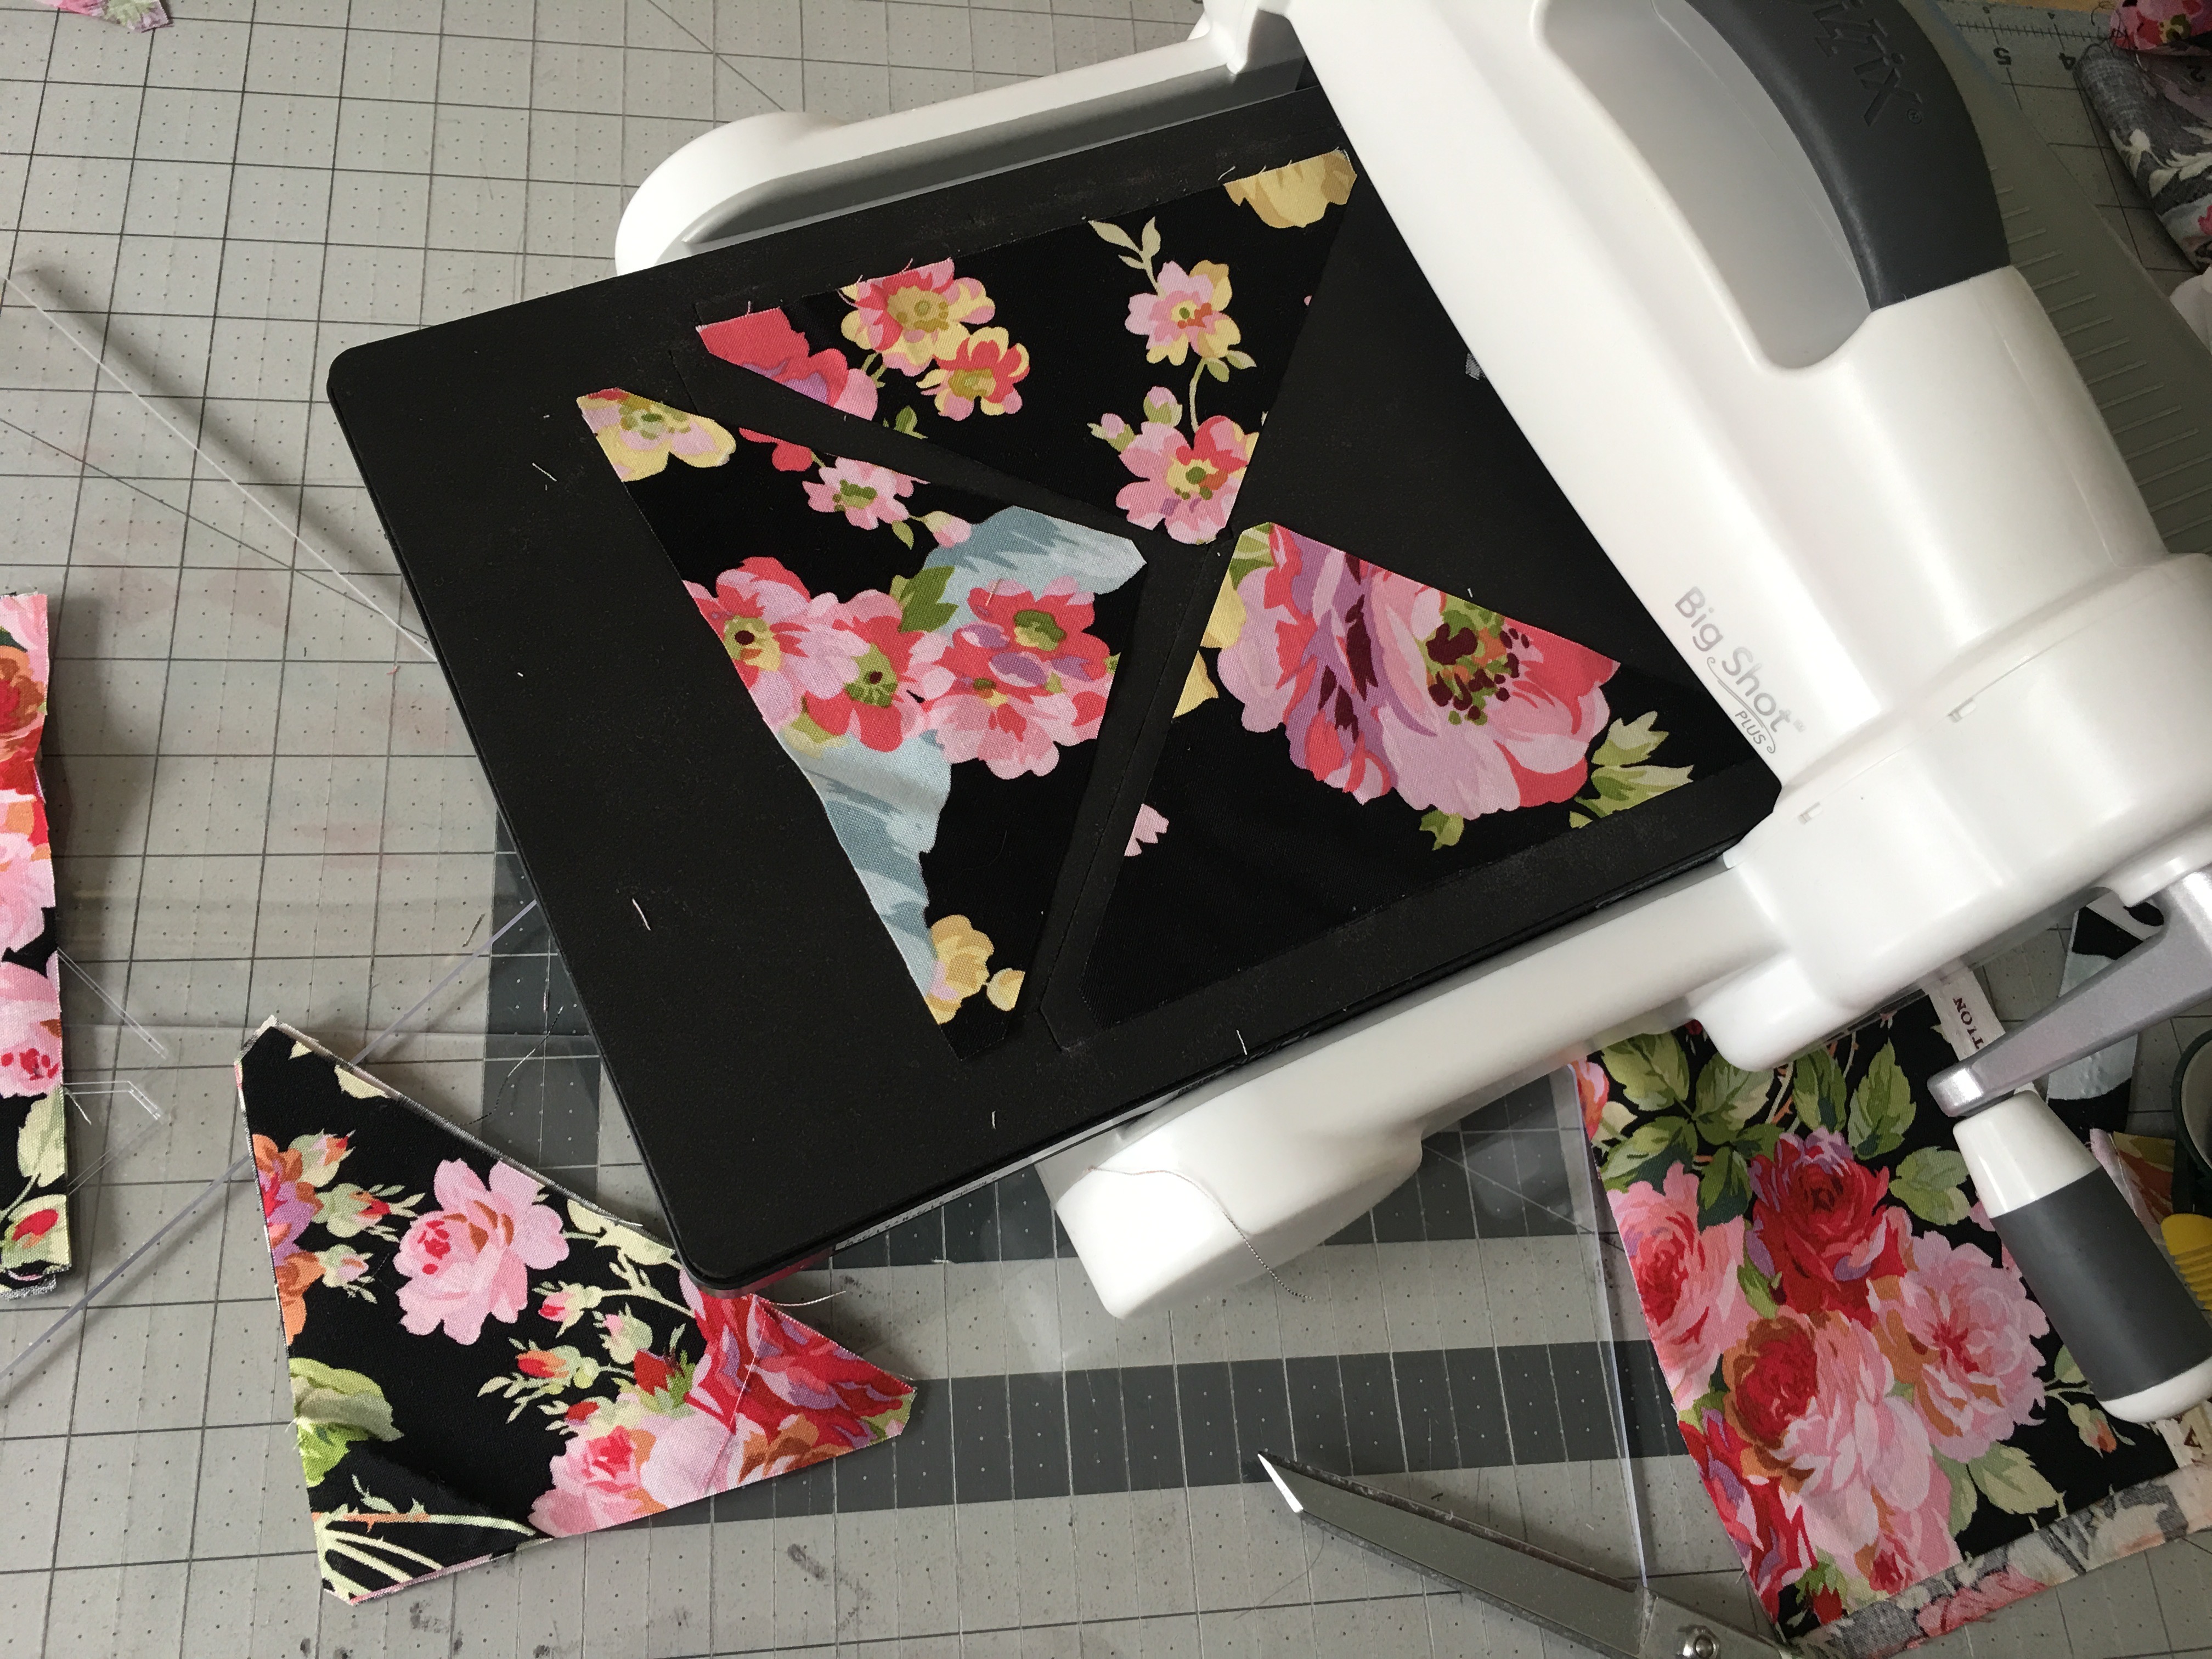
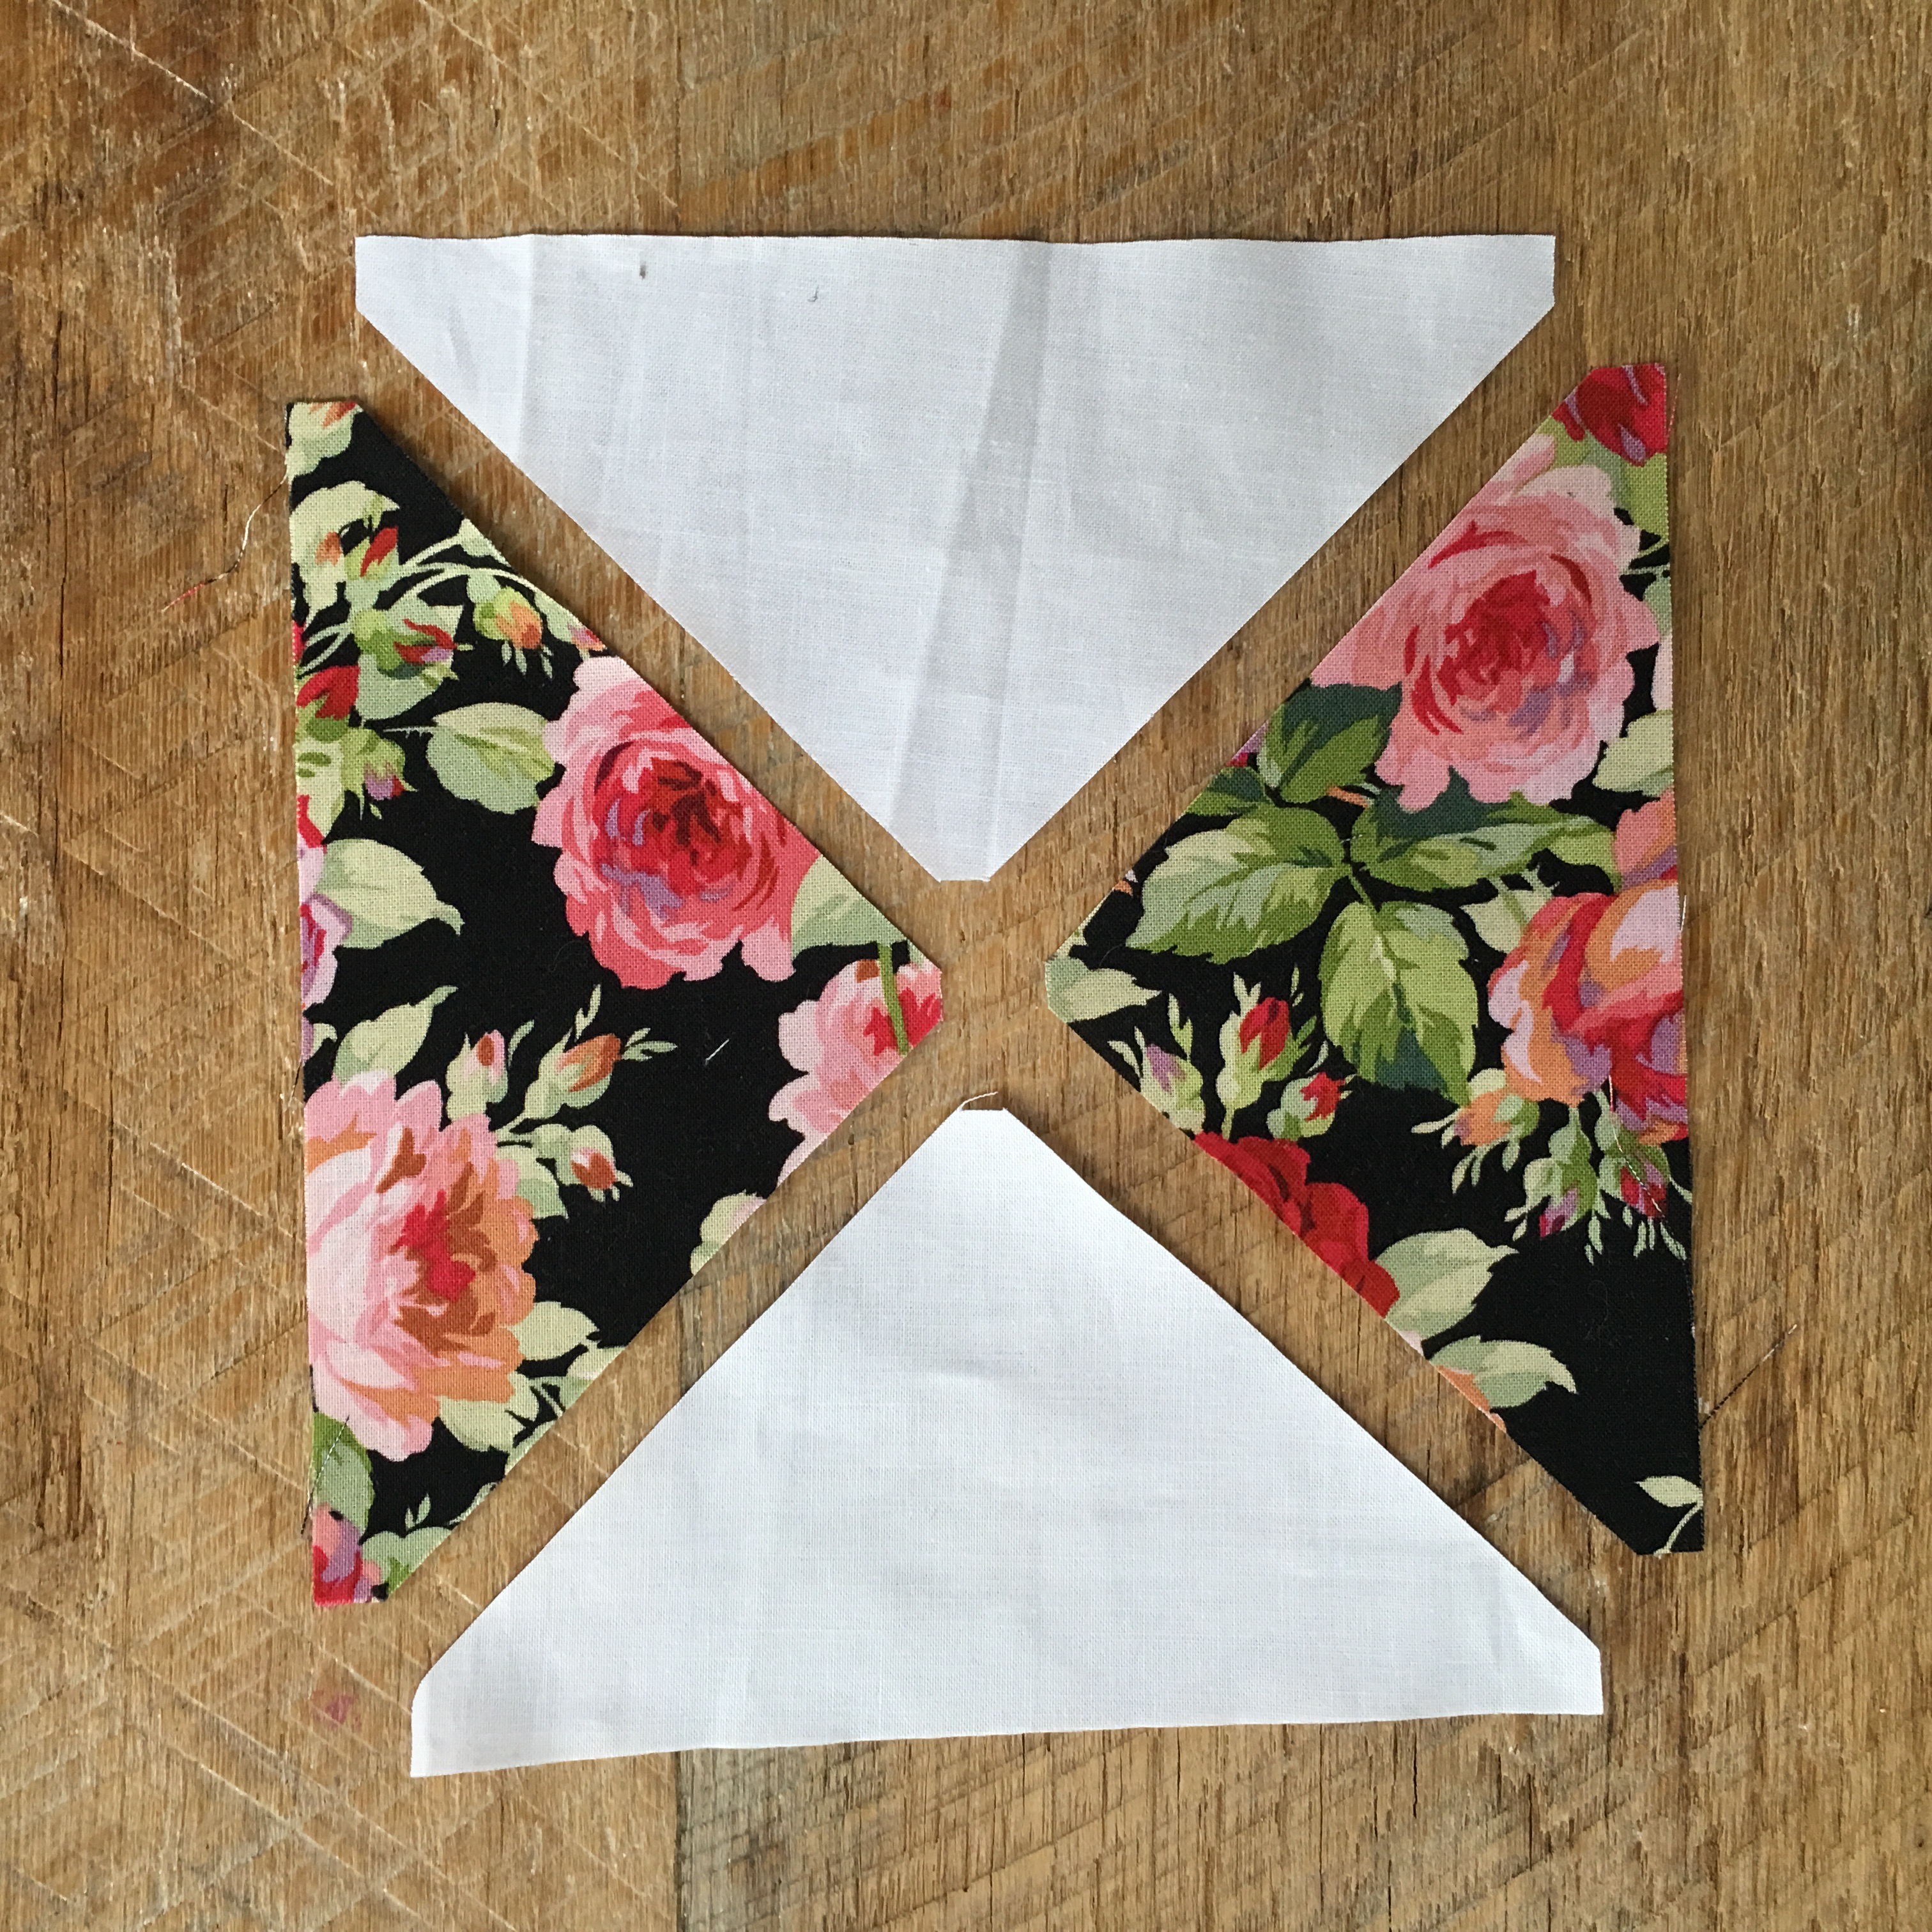
I die cut all the triangles with the Sizzix dies.  It saves on fabric and makes for fast and easy piecing!!

bunny quilt 7

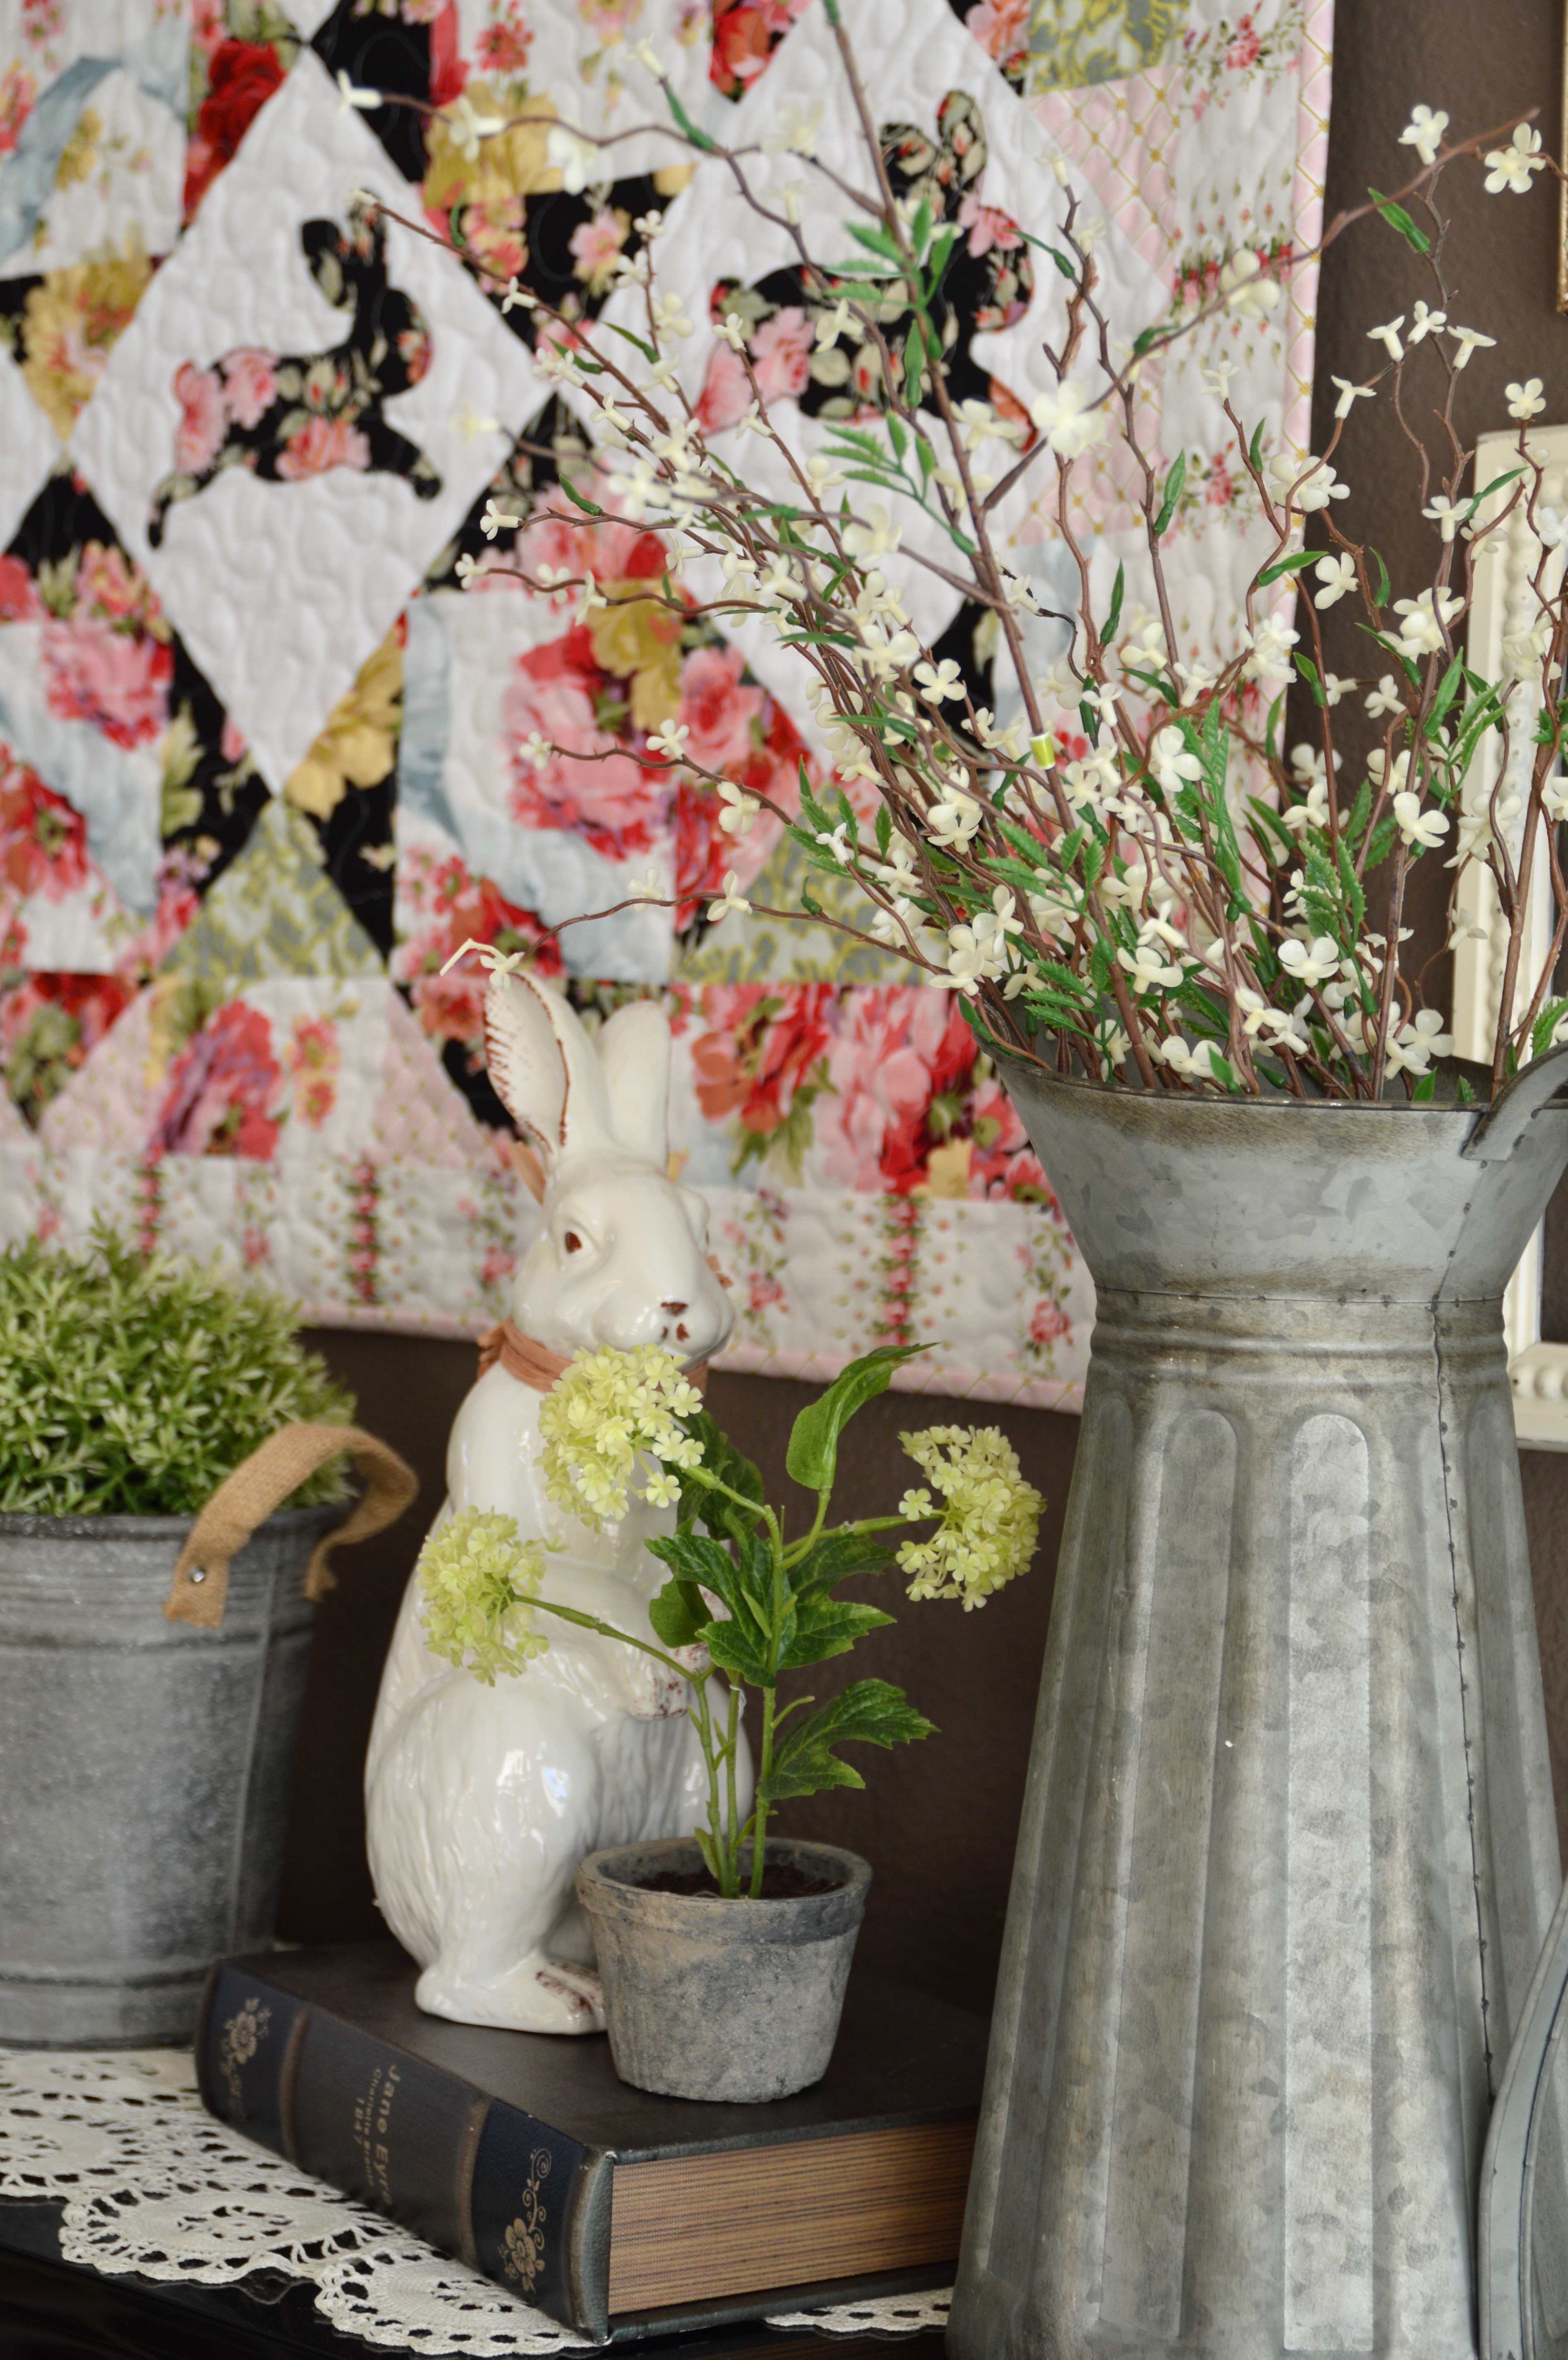
I love how it brightens up my living room!  I’m all ready for spring now!

bunny quilt 2

bunny quilt 1

Four-Patch Heart Mini Quilt

I can’t get enough valentine sewing!  I think its just the pick-me-up I need during wintertime!  I created this fun mini quilt that is perfect to hang on a wall, put on a table or give to someone you love.

4 patch heart cover
IMG_9234

The finished quilt measures 26″ square and is made up of 4 quilt blocks that measure 10″.
IMG_9178

These fabrics from Moda are sure to brighten your day!  The line is called Just Another Walk in the Woods – and it’s ADORABLE!!! Don’t you just love cracking open a Jelly Roll!  It’s a little bit magical!

IMG_9177

4-Patch Heart Mini Quilt Featuring Heat n Bond Lite

Here’s what you need to get started:

1/2 a Jelly Roll (or equivalent)
1/3 yard background fabric
Aurifil Threads – 2530 &
Heat n Bond® Lite EZ print sheets
1/2 yard for backing
1/3 yard binding – or you can use left over Jelly Roll Strips

Click Here to download the heart Pattern

All seams 1/4″


IMG_9186

Begin by cutting 15-18 of the jelly roll strips into 2 1/2″ squares.

Cut the background fabric:

  • (4) 6 1/2″ squares
  • (16) 2 1/2″ squares for block corners
  • (32) 2 1/2″ squares for Half Square Triangles (HST)
4-Patch Applique Hearts

Select (4) groups of (4) fabrics for the hearts.  I selected like colors for each heart but you can make it scrappy if you want!  Sew the group of 4 fabrics together in a 4-patch, pressing seams.

IMG_9183

Print (or trace) 4 hearts onto Heat n Bond Lite.

Cut out 1/8″ around each heart.

IMG_9182

Center the heart on the wrong side of each 4-patch.  Heat set.

IMG_9184

Cut out each heart and peel off the backing paper.  Fuse hearts to the center of the (4) white 6 1/2″ squares. Sew 2 times around each heart with a straight stitch.  Set aside.

IMG_9192

HSTs –  Half Square Triangles

You can make the HSTs however you prefer.  I used my Sizzix machine for quick cutting.  They need to measure 2 1/2″ when they are finished.  You will need a total of 32 HST to make the 4 blocks.

(Quick HST instructions: Draw a diagonal line on the wrong side of the (32) 2 1/2″ back ground squares.  Pair right sides together with a 2 1/2″ square cut from the jelly roll fabric.  Sew along the diagonal line.  Trim 1/4″ along the seam and press toward the dark.)

IMG_9189

Follow the chart below to construct the block:

heart block

Use the (16) background 2 1/2″ squares for the block corners and (16) low volume 2 1/2″  squares from the Jelly Roll for the center squares.

Make 4 blocks.  I chose a color for each block, but you could totally mix up the colors and make them all scrappy!!

IMG_9200

Once the blocks are finished, take the remaining 2 1/2″ squares from the Jelly Roll and piece the sashing and borders. Press all seams open.

Sew (2) strips of 5 squares for the short sashing.  Press

Sew (3) strips of 11 squares for the top, middle, and bottom sashing. Press

Sew (2) strips of 13 squares for the side sashing.  Press

heart block sashing

Make sure to match each seam and pin.

IMG_9210

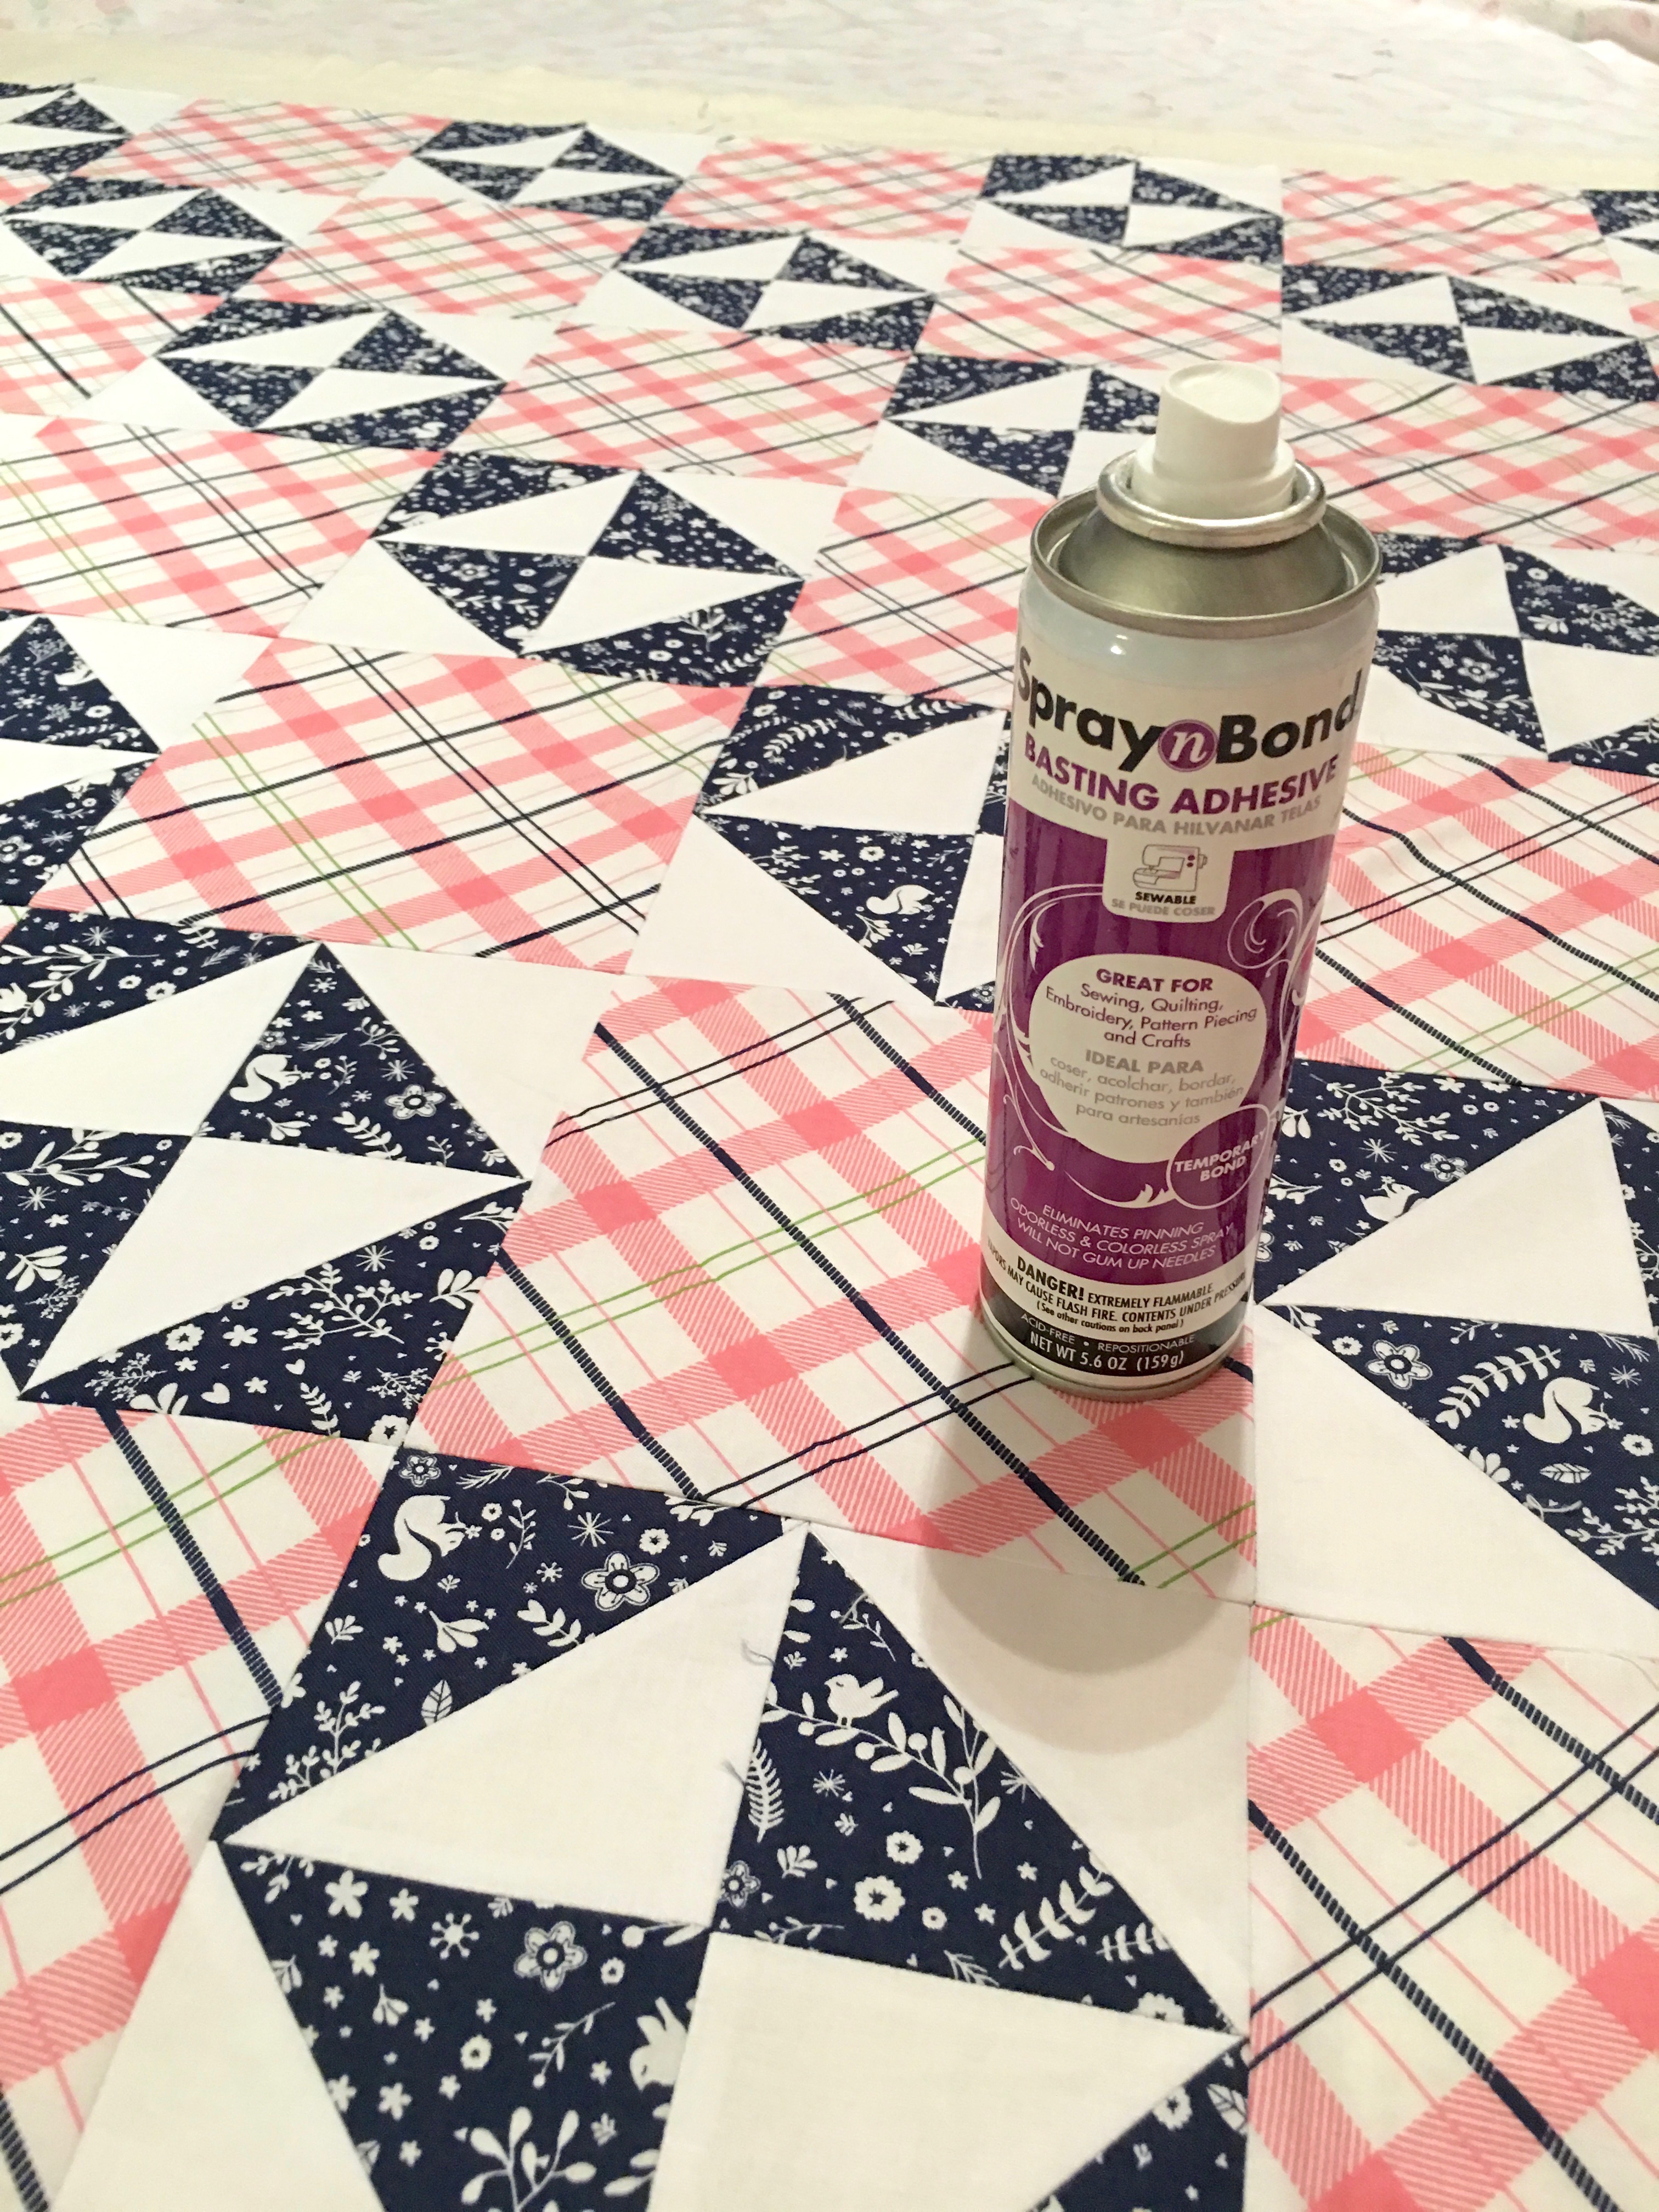
Use Spray n Bond® for quick basting!  I can’t live without it!!!

IMG_9229

Quilt as desired.  Bind.
IMG_9245

IMG_9236I hope you love making this!!
DSC_0302

My Favorite Baby Quilt Pattern

IMG_9735

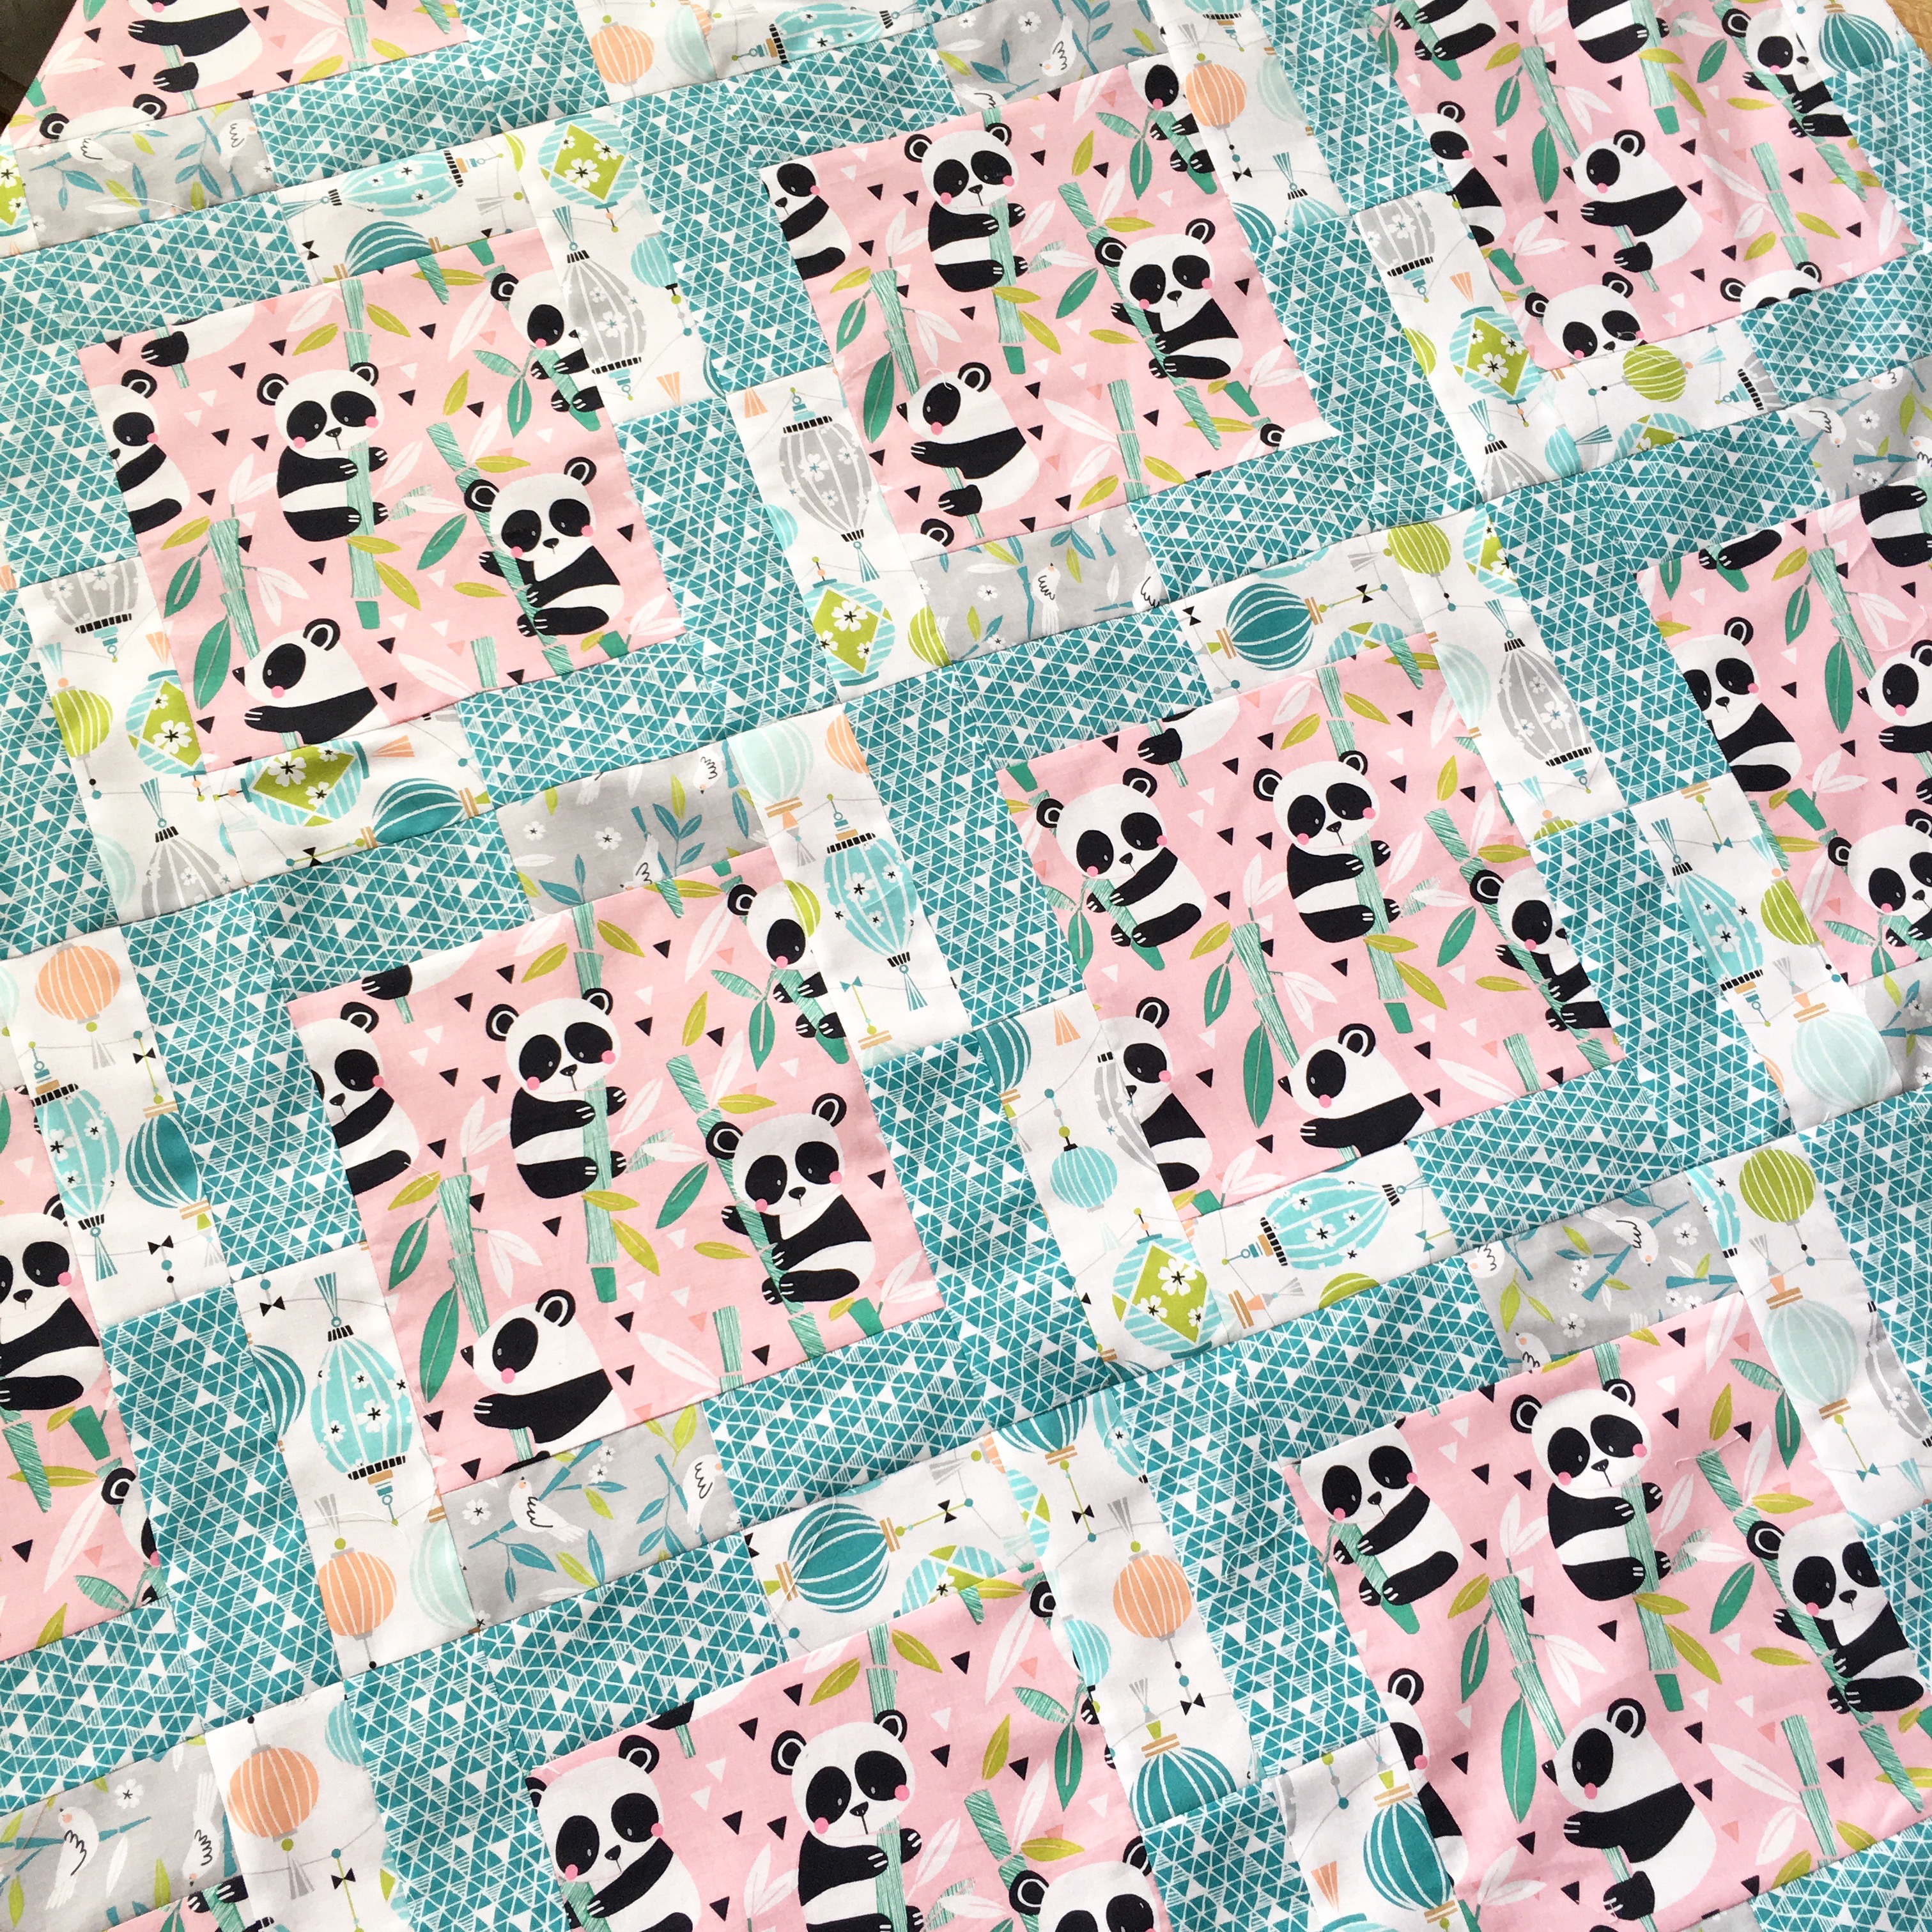
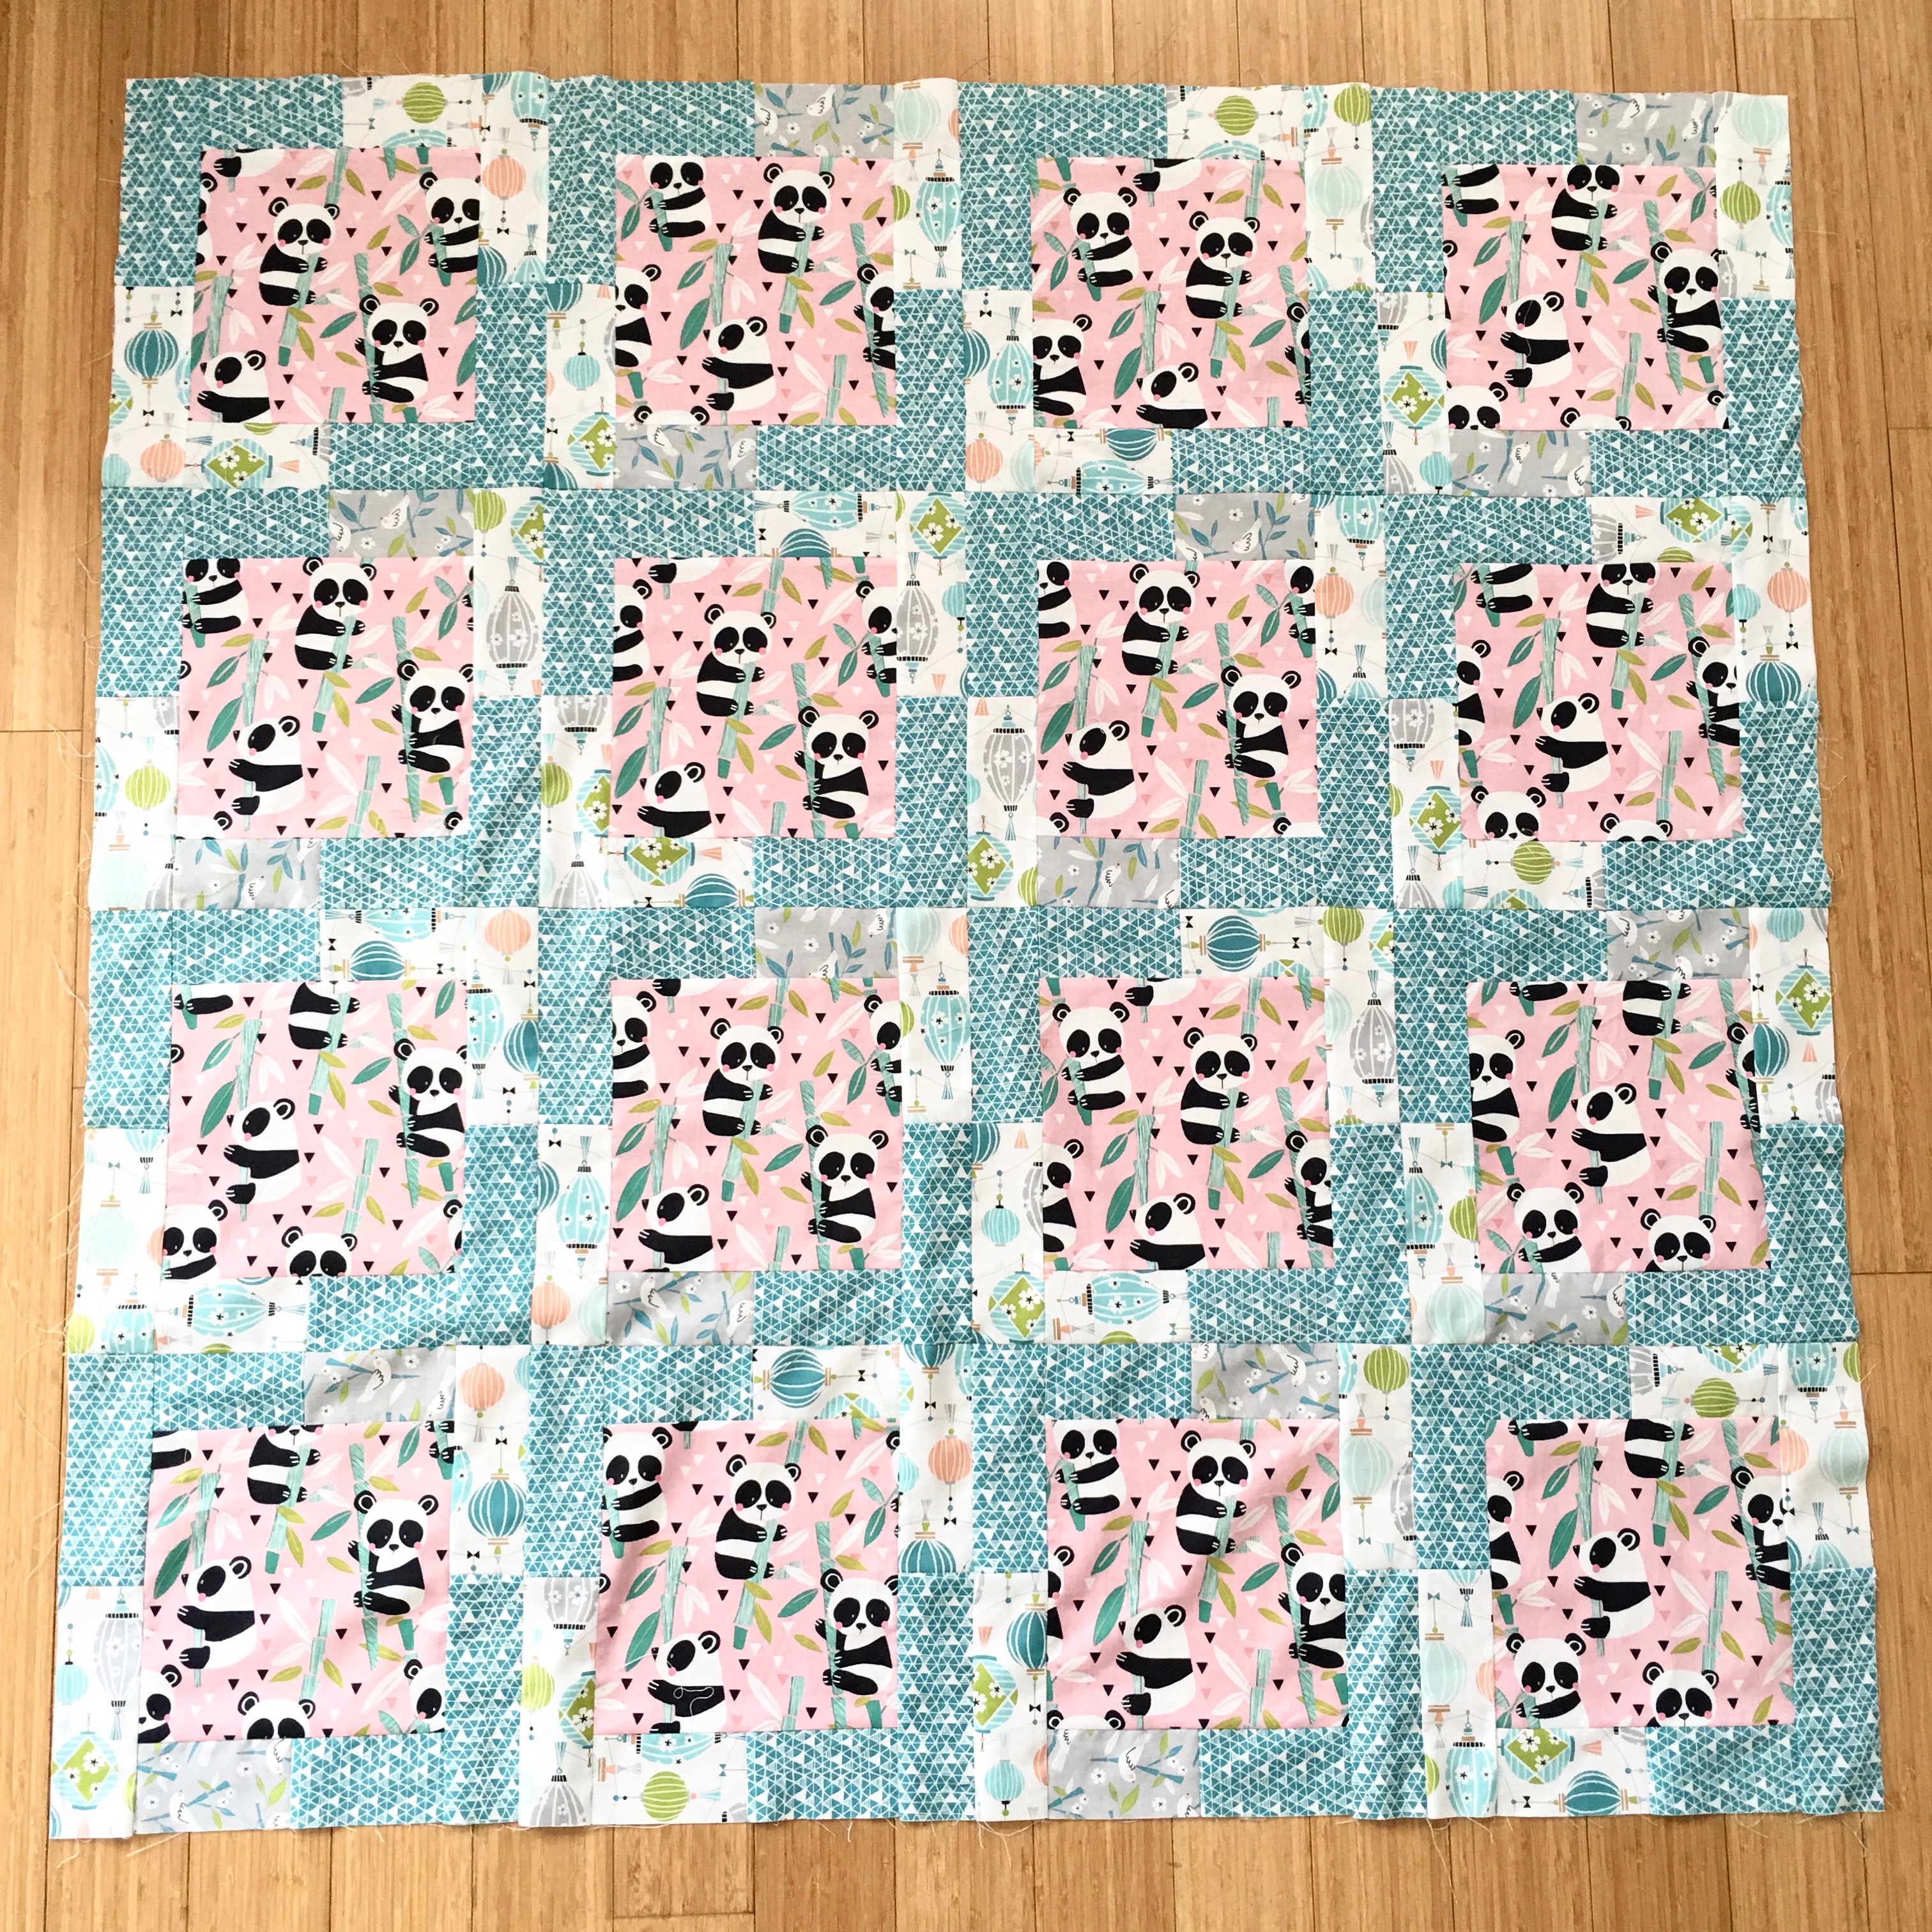
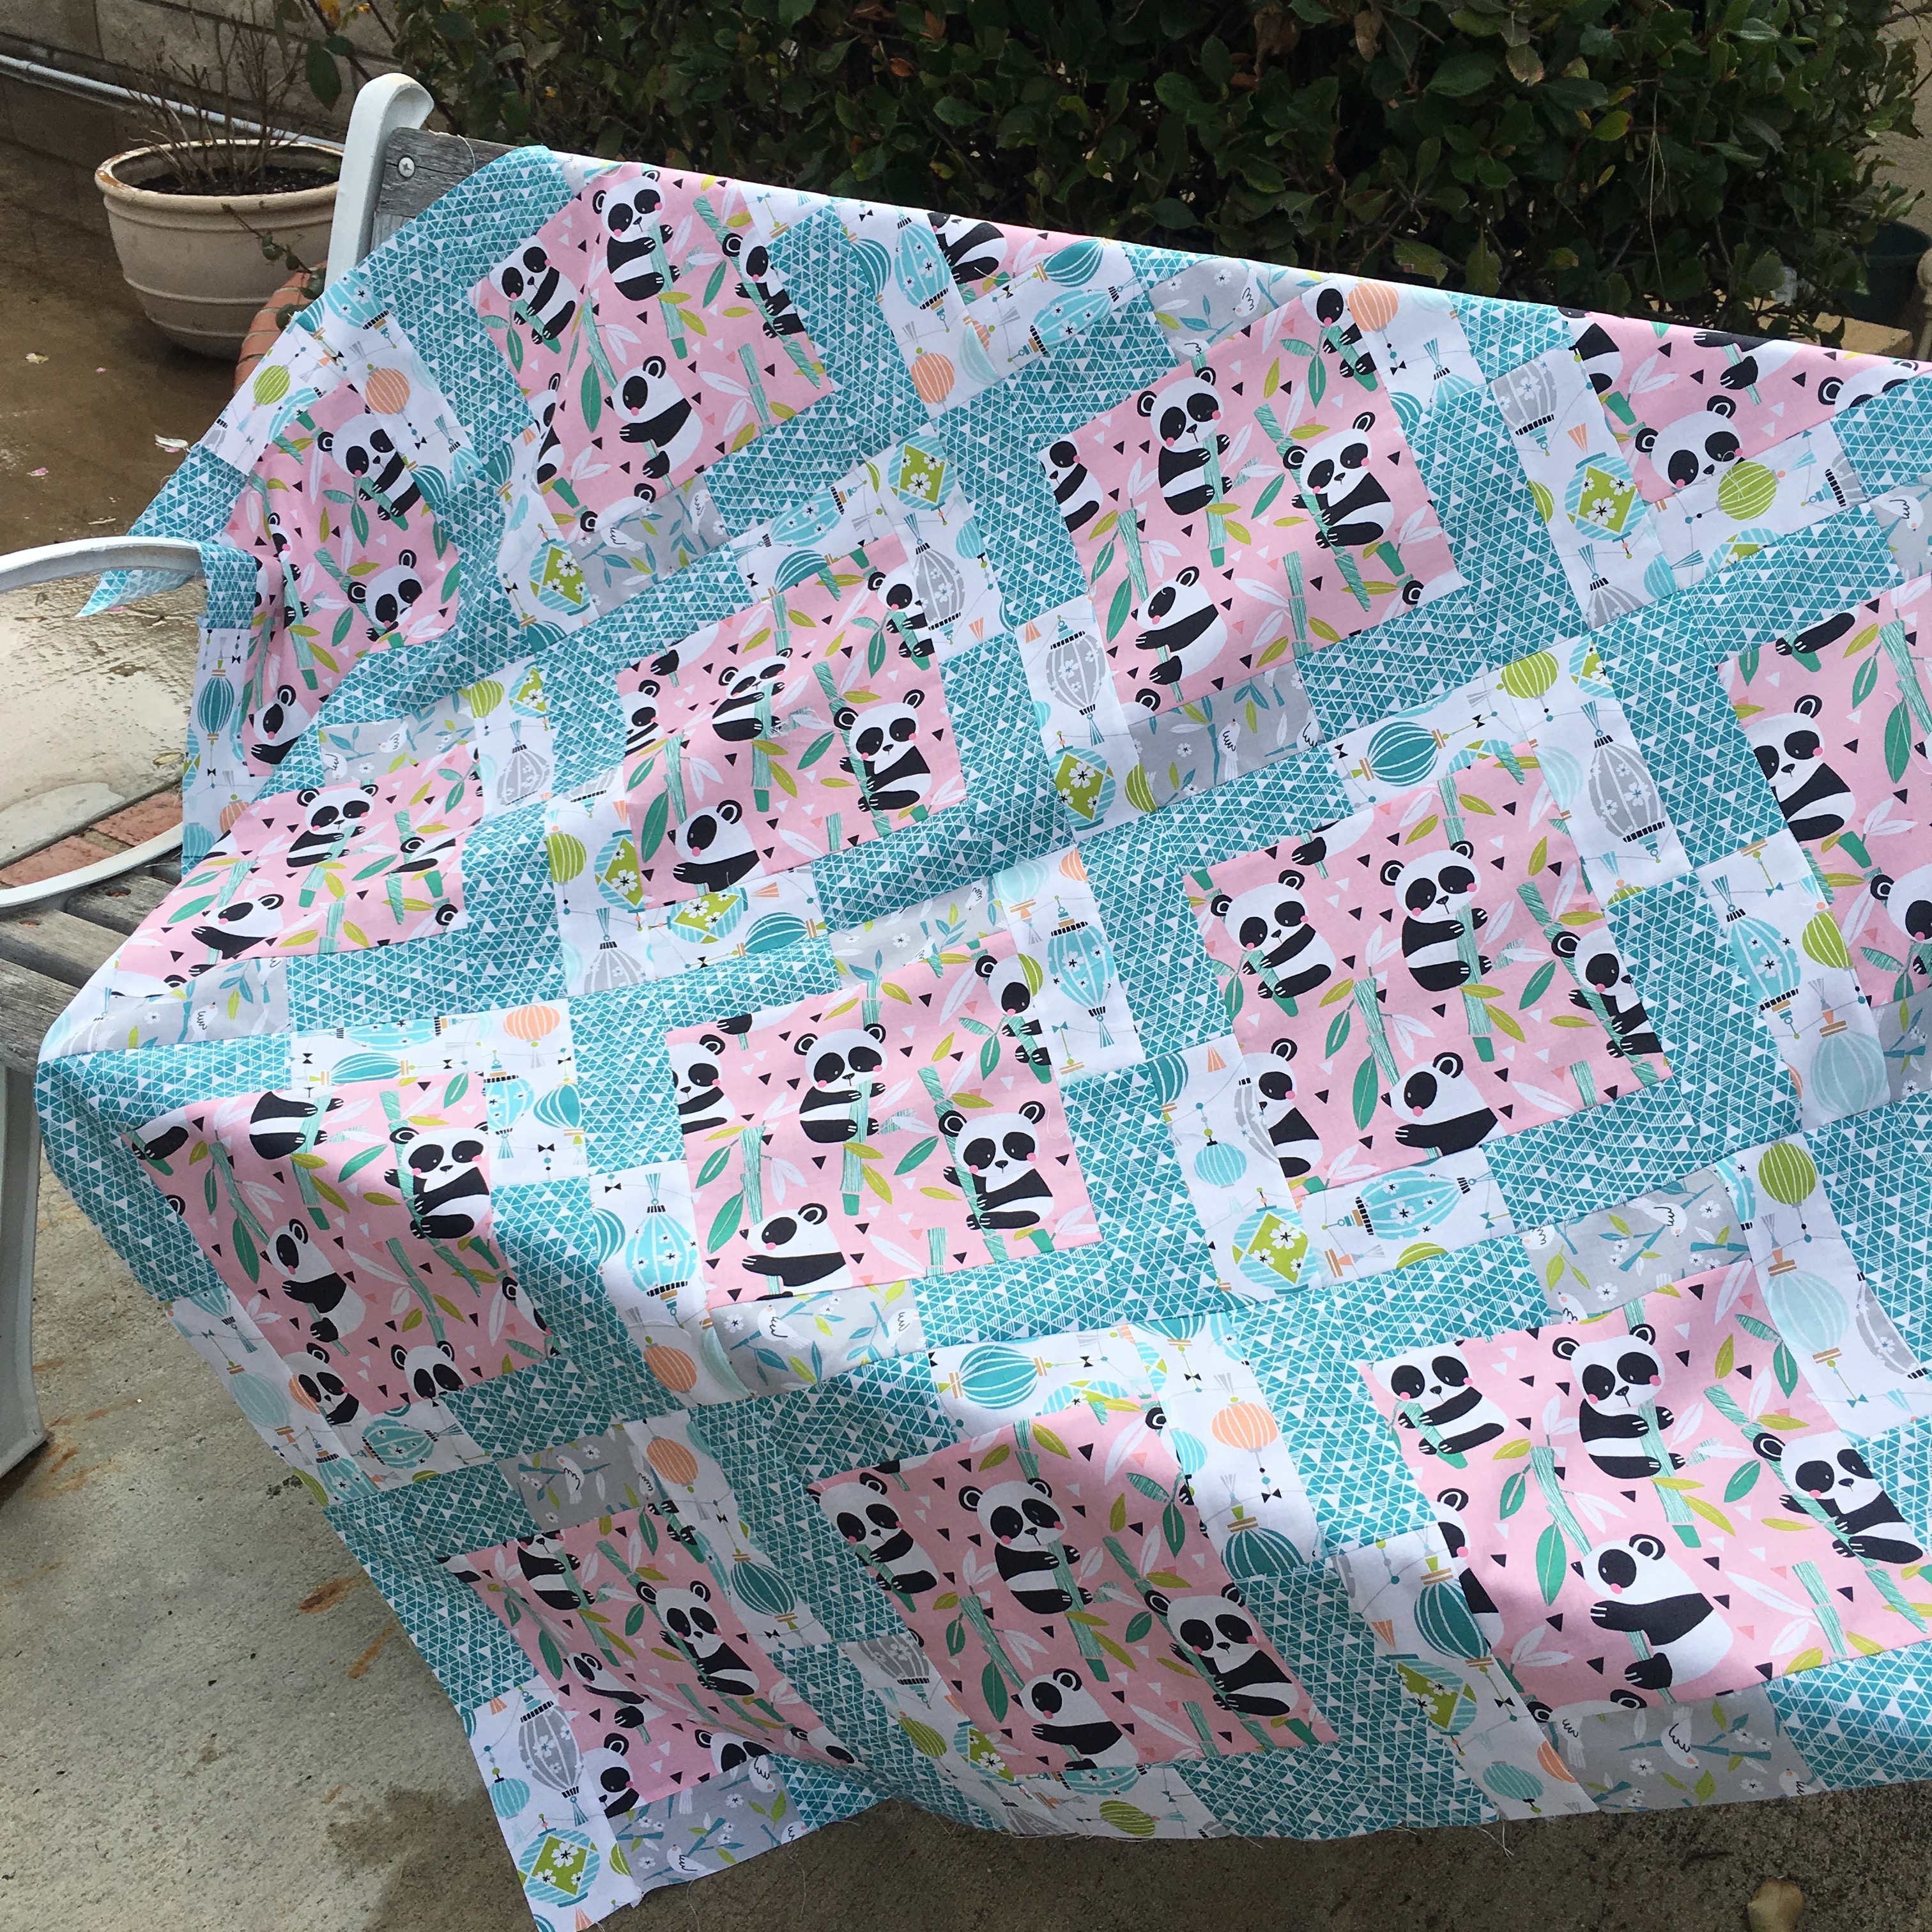
I love to give quilts for baby gifts!  Sometime there isn’t enough time for an elaborate pattern.  This is my Go-To pattern for a baby quilt.  I put this Panda themed quilt top together in 1.5 hours this morning – which included choosing fabrics and cutting!  I love this pattern with theme prints and these panda bears have stolen my heart!  All the fabrics are from Panda-Rama by Blend Fabrics.

The panda quilt is an adaptation from my Windy Girls Quilt Tutorial.

cover

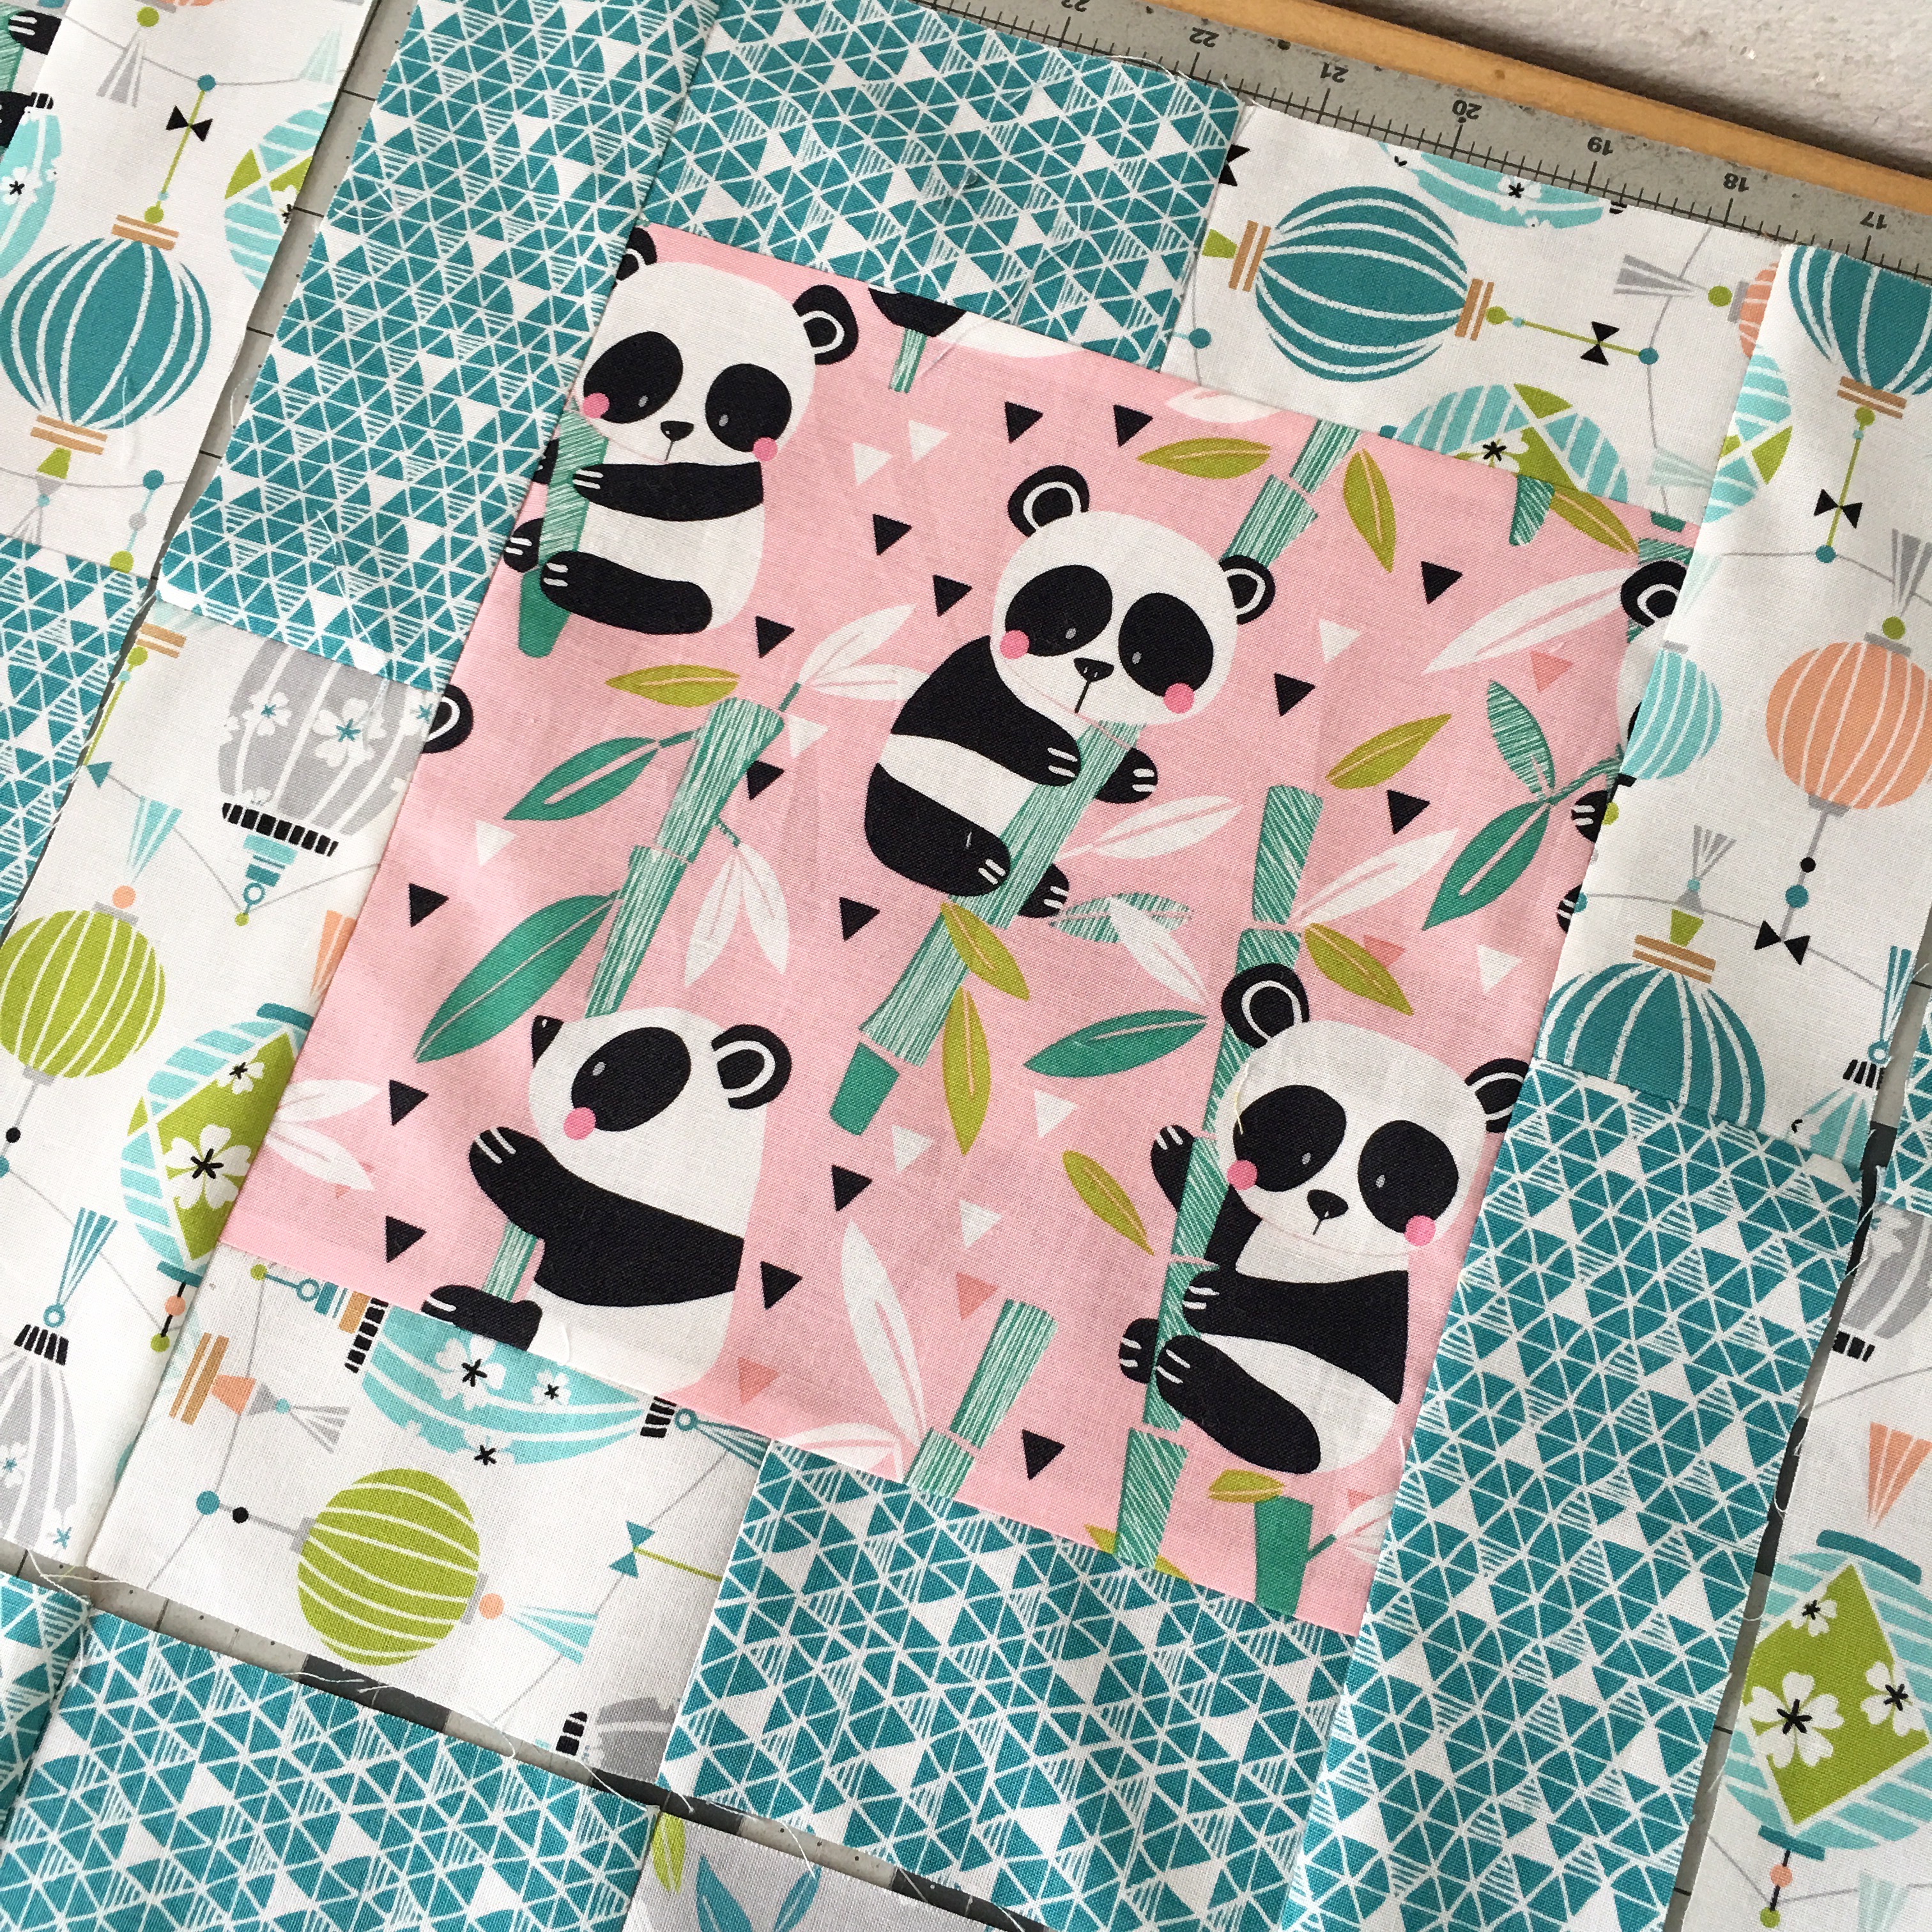
I made 2 changes: First, I didn’t piece the centers, I omitted the first step and I cut the pandas 8 1/2″ square.  This saves a step, saves time, and lets you use super large prints in the center.

IMG_9662

Here you can see the difference in the blocks.

IMG_9731

The Windy Girls pattern has 20 blocks – I made this Panda quilt with 16 blocks.  This is plenty big for a baby quilt and it saves on fabric and time!

IMG_9747

The second change I made was not to rotate the blocks, but keep them going all the same way.  I didn’t want sideways pandas.  It creates a fun little pattern.  If you look close you can see a few gray strips I had to subside in because I ran out of the white.  You could totally make this scrappy or keep it simple.  I would love to hear how fast you can piece the top in!  Can you beat me?  🙂

IMG_9733


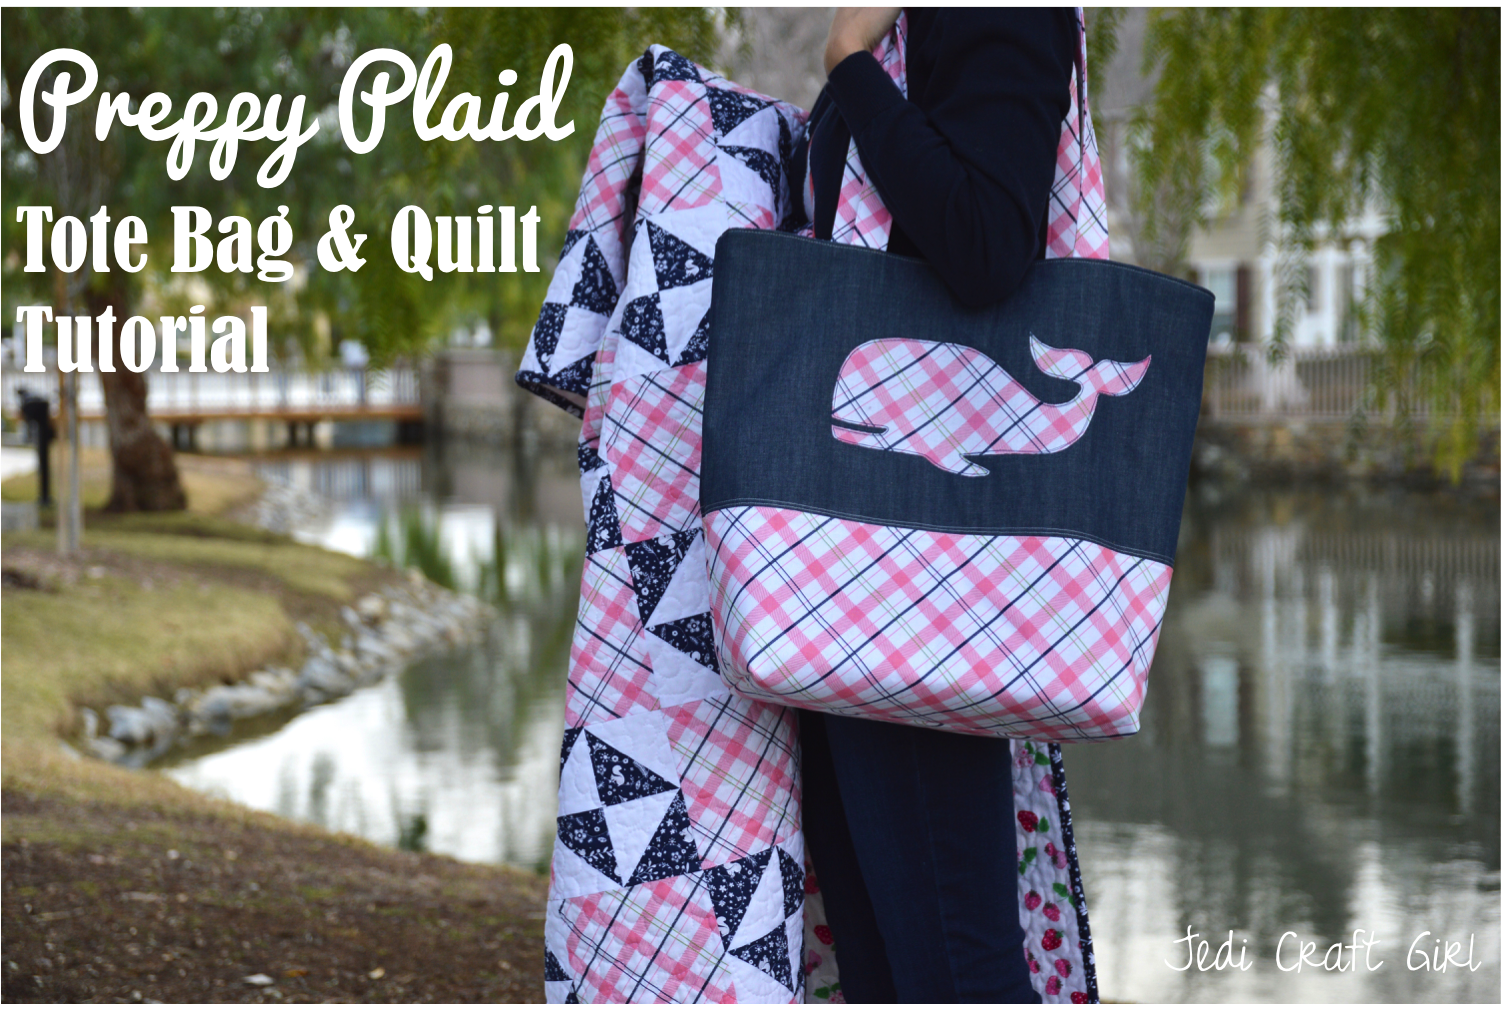
Preppy Plaid Tote Bag & Quilt Tutorial

Enchanted blog logo

I am so totally excited to be a part of the Enchanted Blog Tour sponsored by Riley Blake Designs!  You can see the entire collection designed by Dodi Poulsen of Two Sisters at Squirrel Hollow by clicking here 🙂
preppy plaid

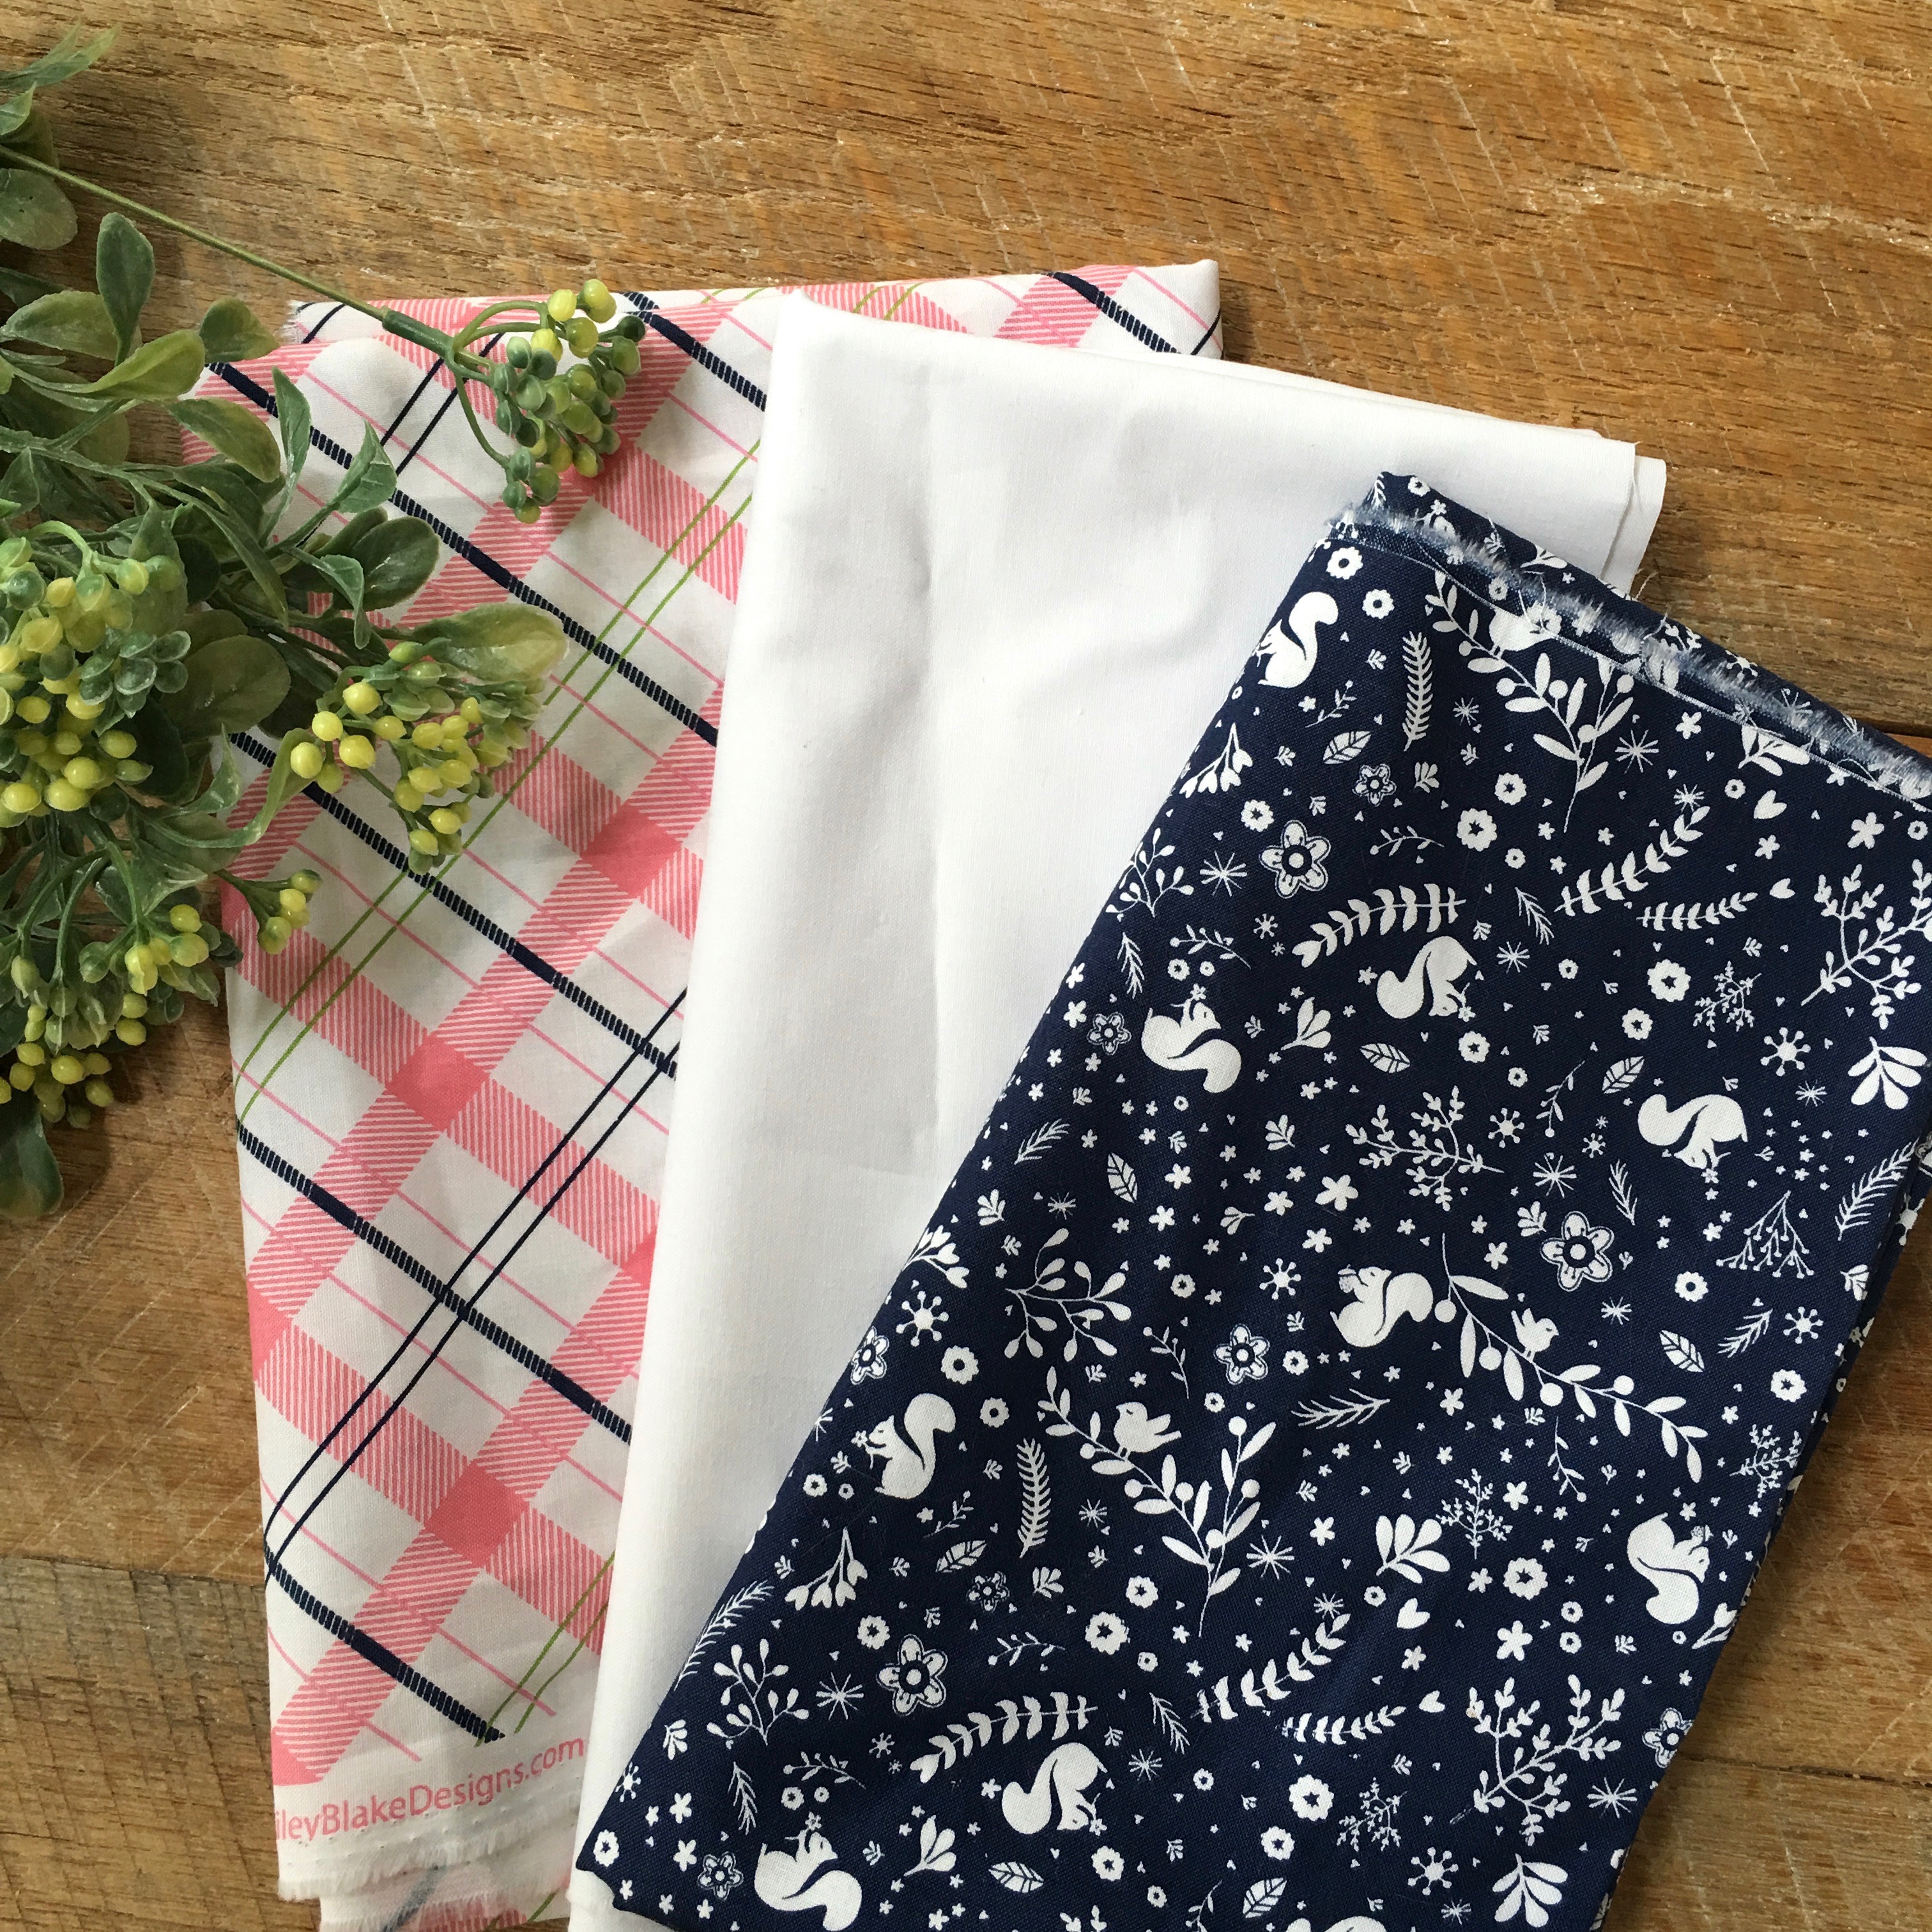
When I saw this new fabric line from Riley Blake Designs called Enchanted, my heart stopped.  I took one look at this pink, navy and white plaid and immediately I was transported to a Cape Cod dream!  Sailboats, lobsters, quaint homes and preppy boys on vacation from Harvard 🙂

DSC_0188


IMG_9070
Ok Ok, so I’ve never been to the Cape but a girl can dream right?  I knew I wanted to design something that let this preppy plaid be the focus and something that would be perfect for my sailboat (hahaha).

DSC_0167

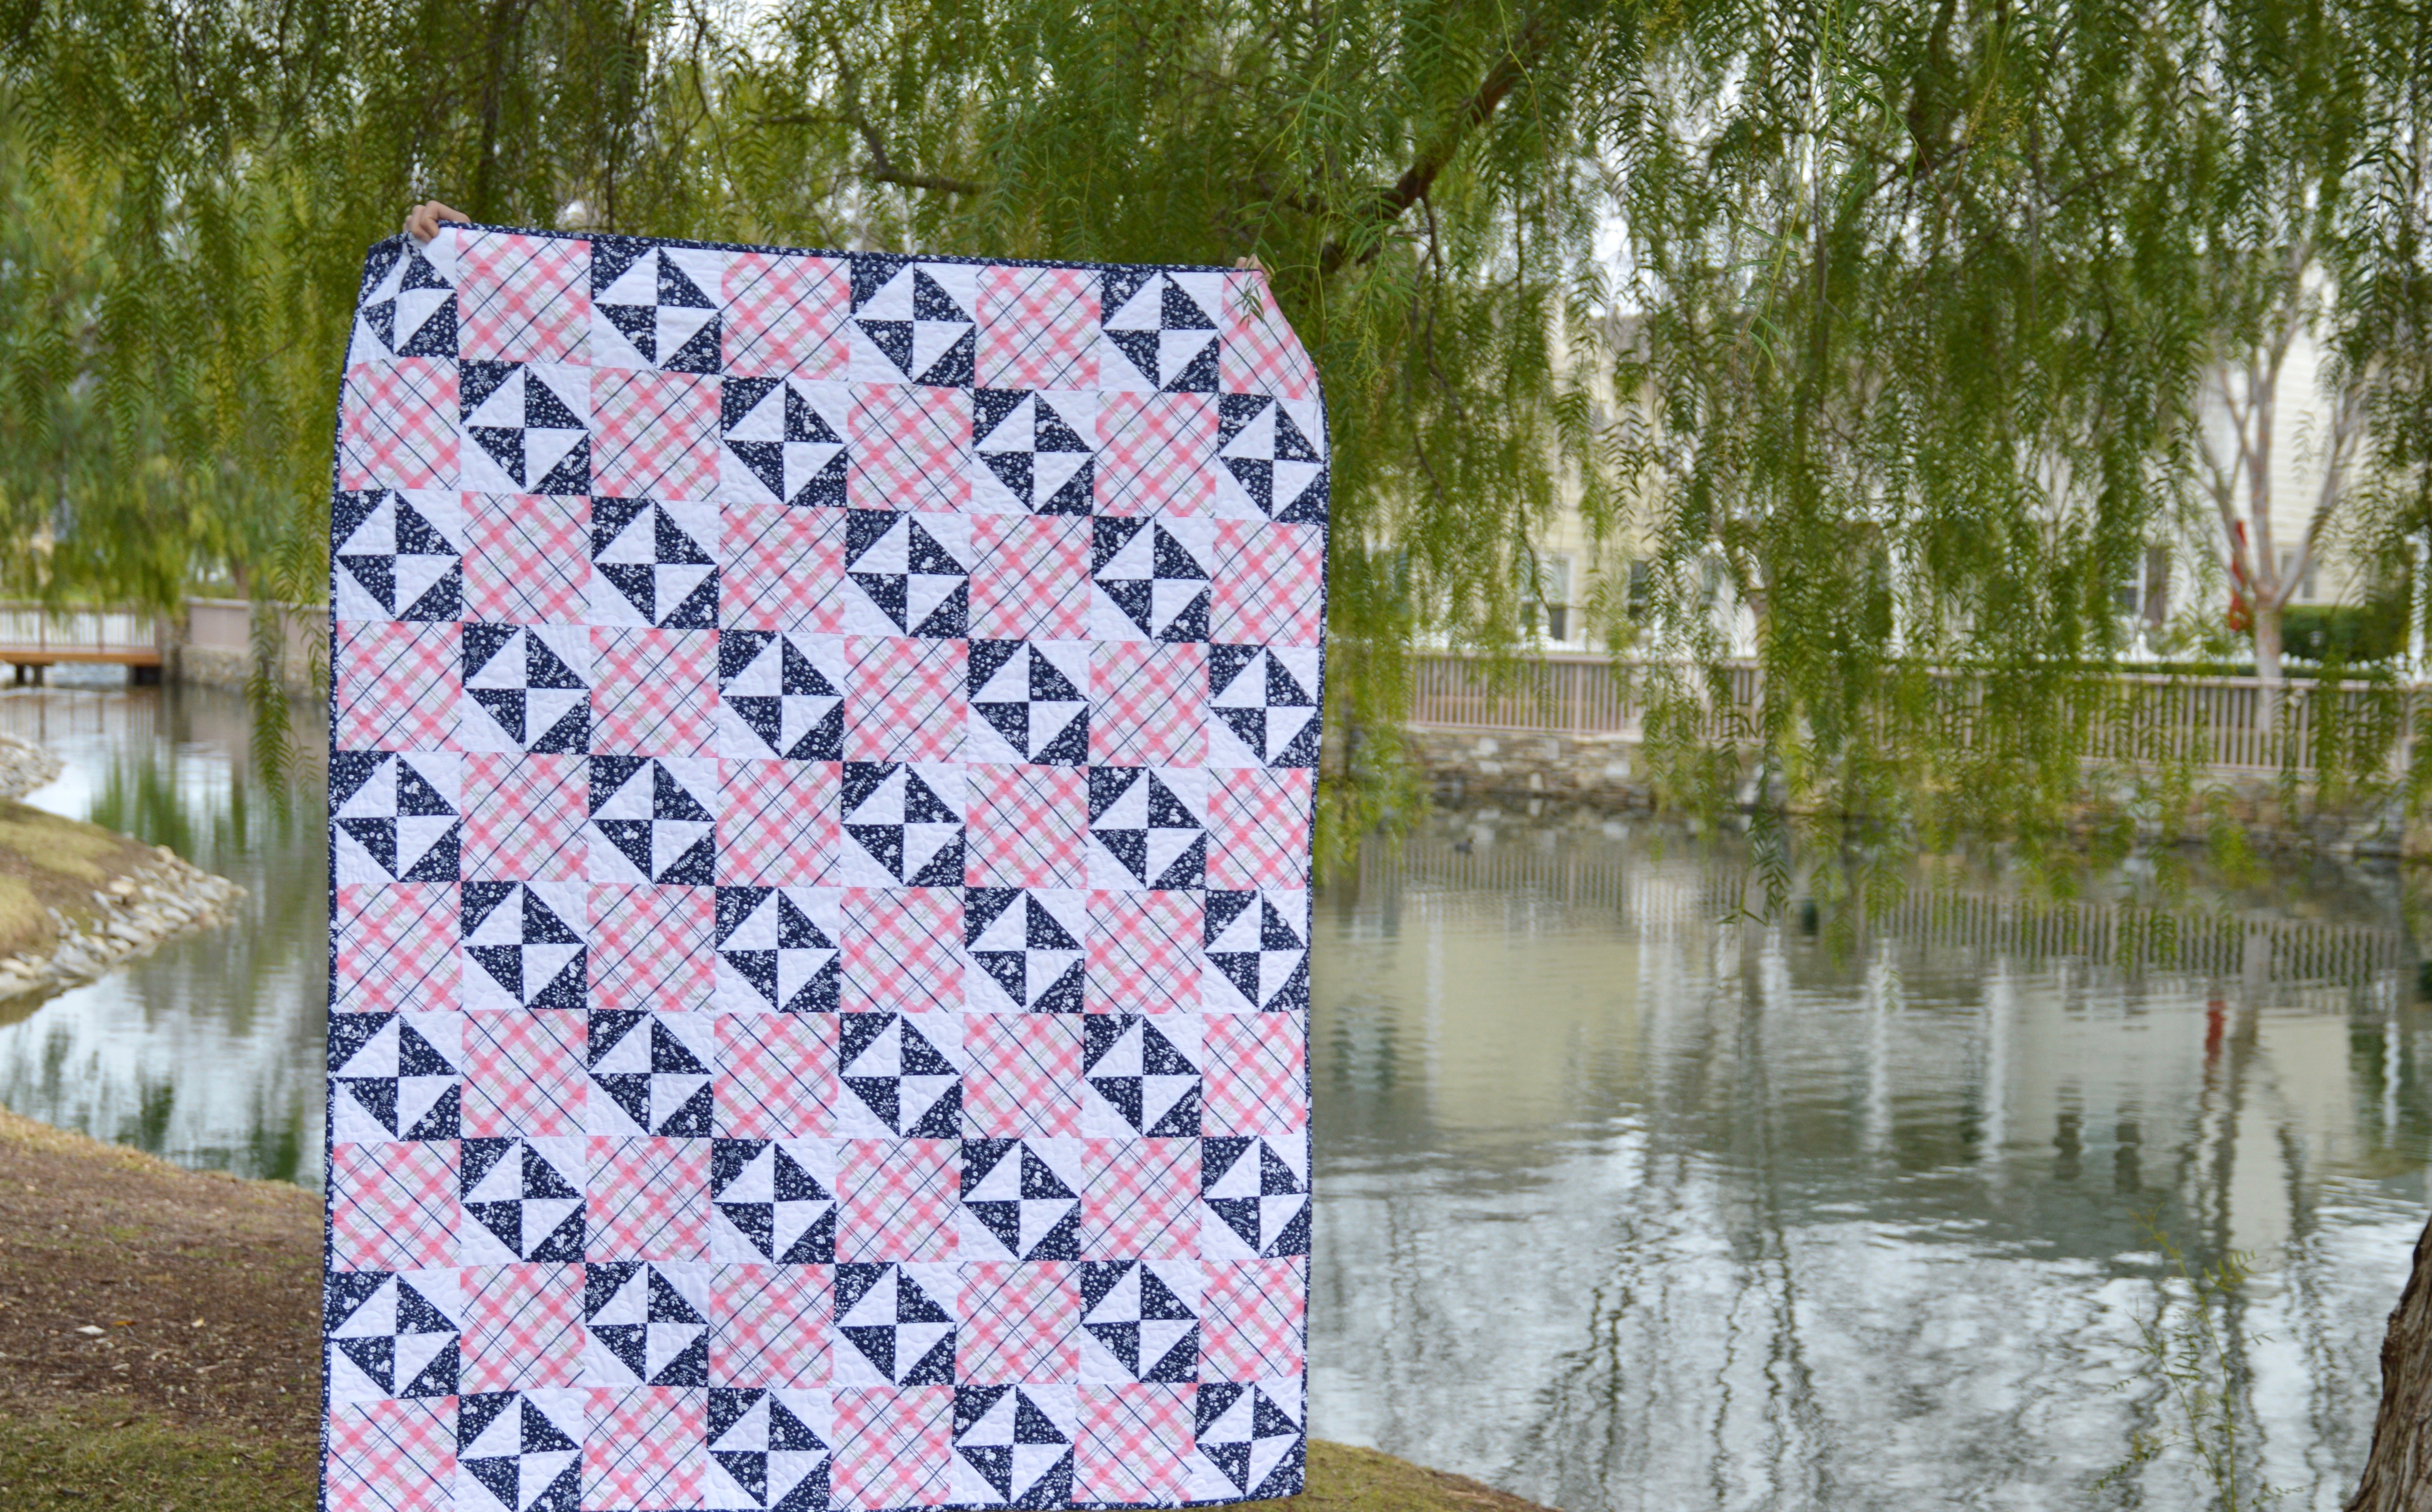
I came up with a simple quilt pattern that uses plaid, navy and white.  When only two prints arrived in the mail I began to panic wondering if I had made a terrible decision to make a quilt using only two prints!  I decided to go with my instincts and make the quilt……and I am totally in LOVE!!!!

This quilt really lets the plaid shine in and it’s a great pattern to use if you fall in love with a single fabric print.  The accent blocks are made of 4 half square triangle blocks.

DSC_0213

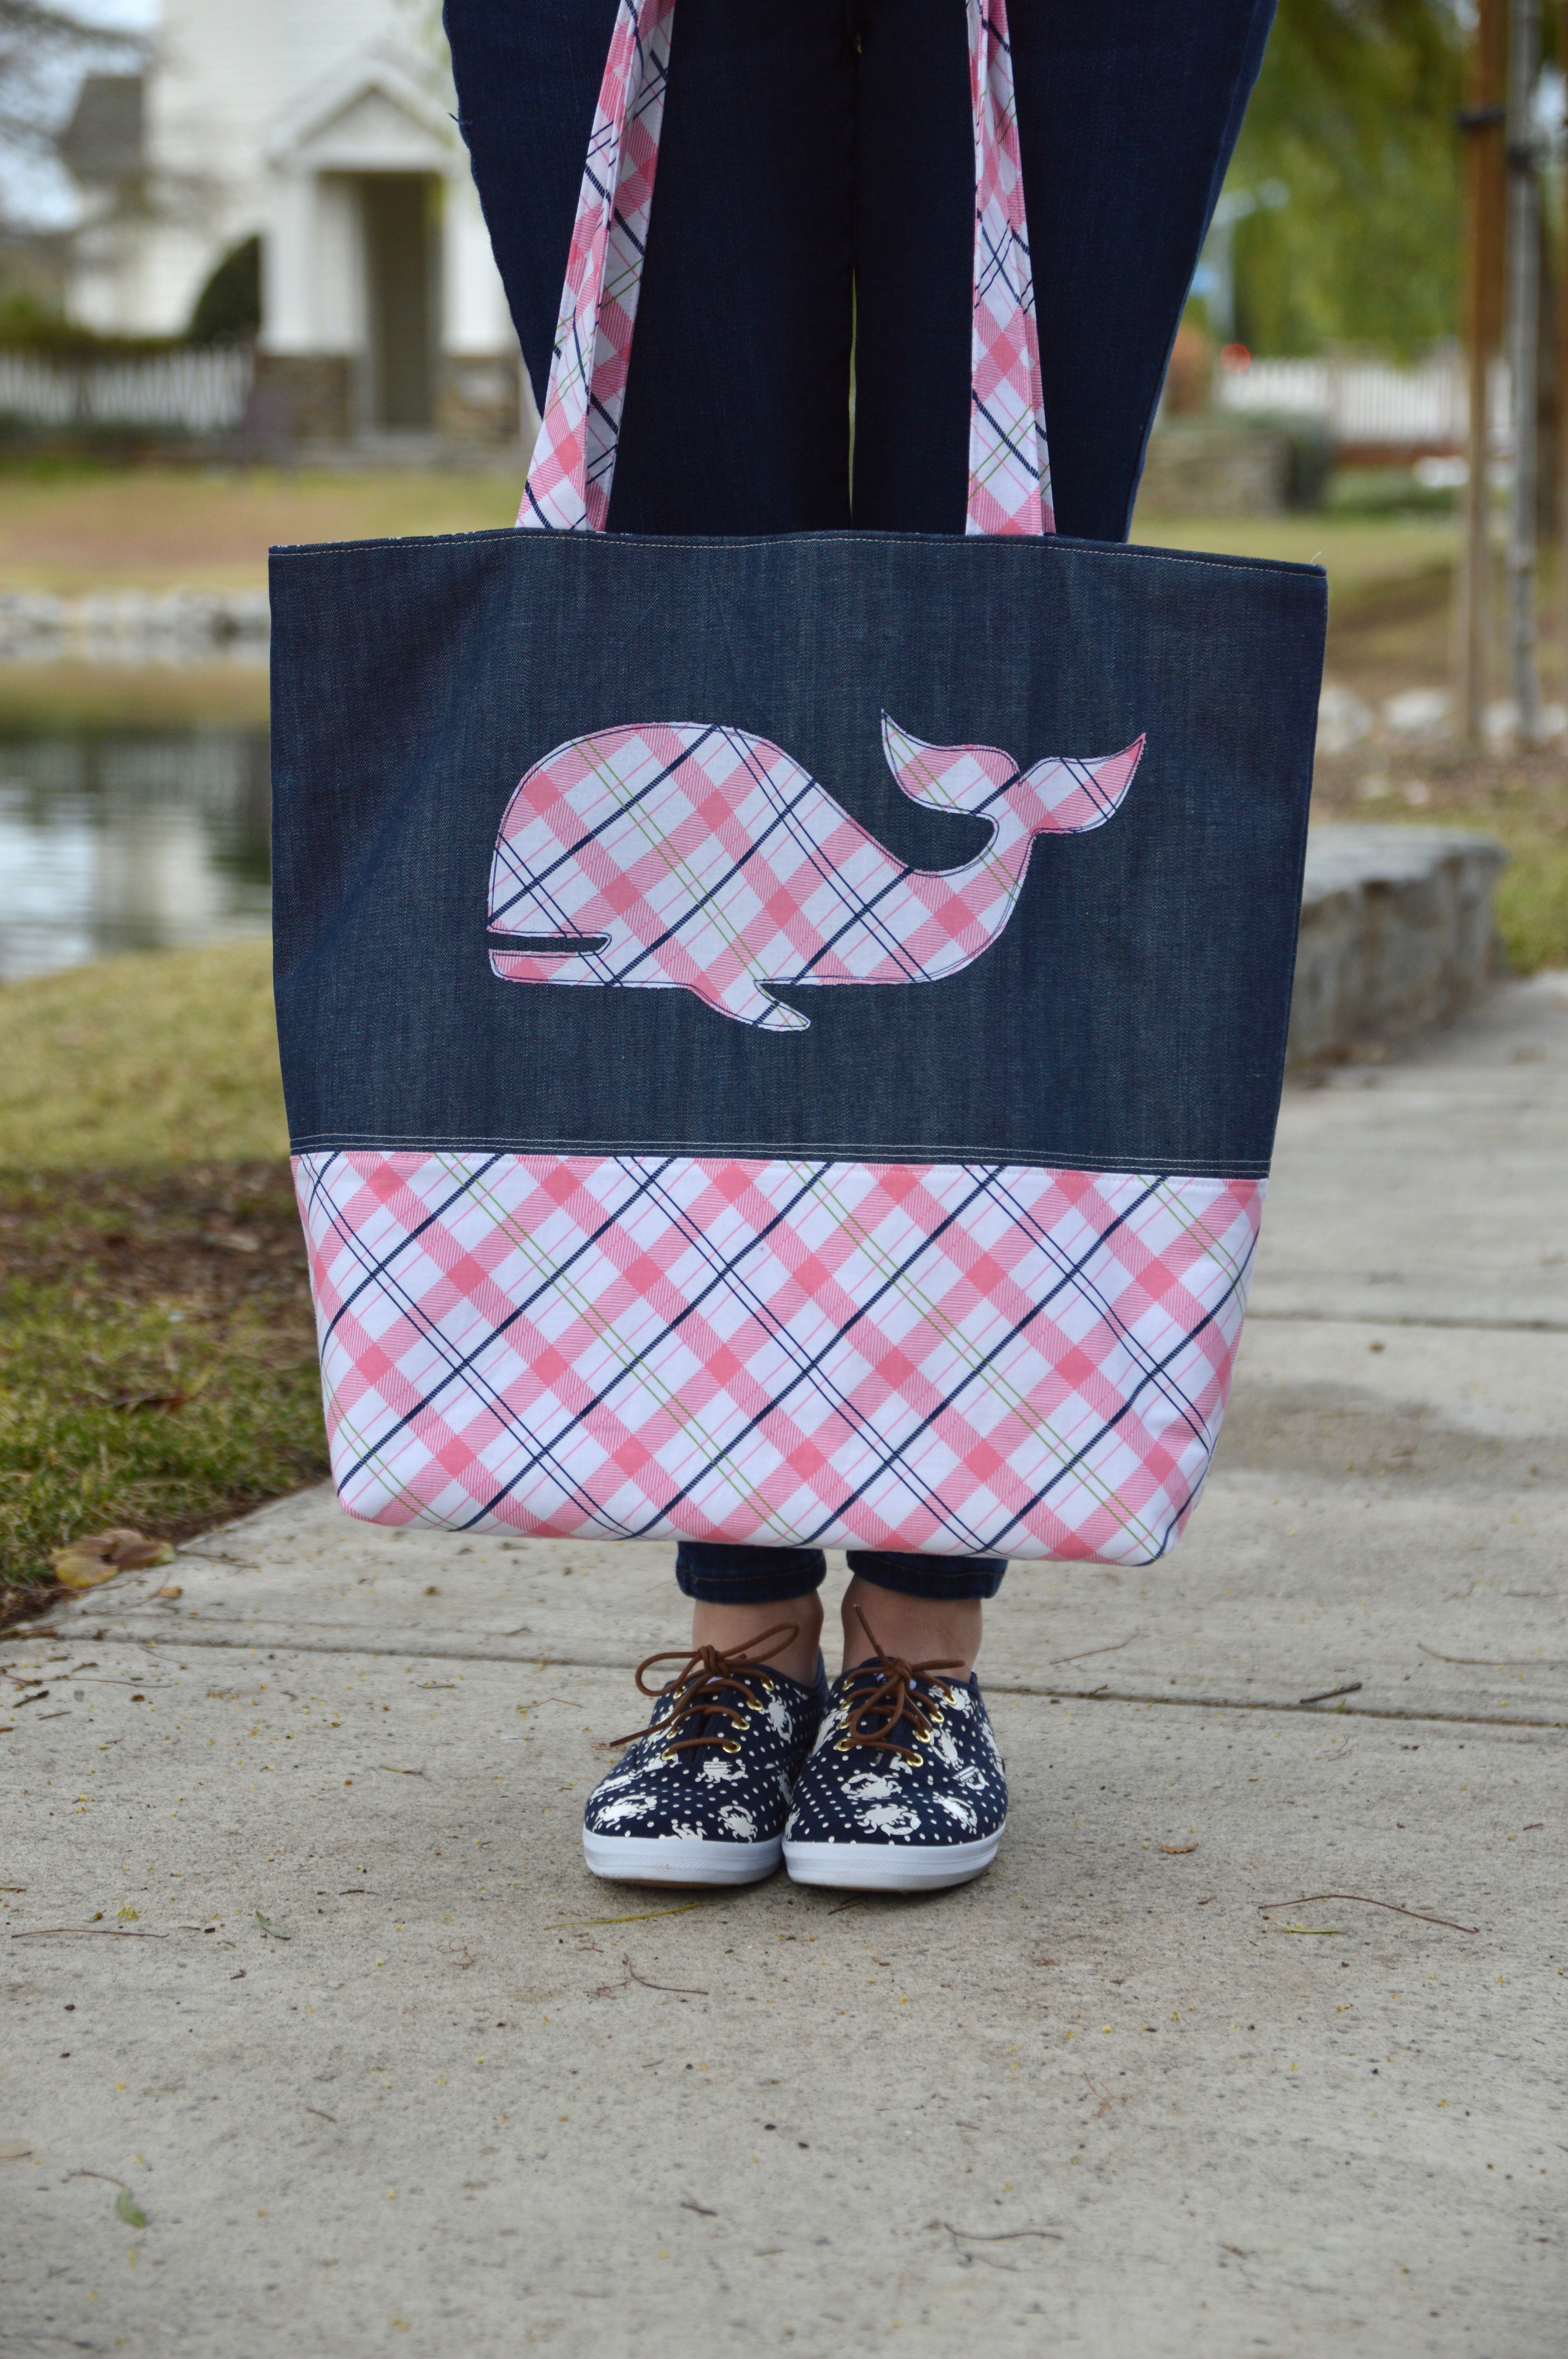
…..and the quilt fits nicely inside this preppy plaid whale tote bag – made with denim, plaid, and Heat n Bond Fusible fleece.  So, are you ready to set sail for the Cape?  Grab your fabrics and lets get sewing!

DSC_0154

Preppy Plaid Quilt

1/4″ seams 

Supplies

2 yards plaid print

1 yard navy print

1 yard white

Begin by cutting the plaid into (40) 6.5″ squares.

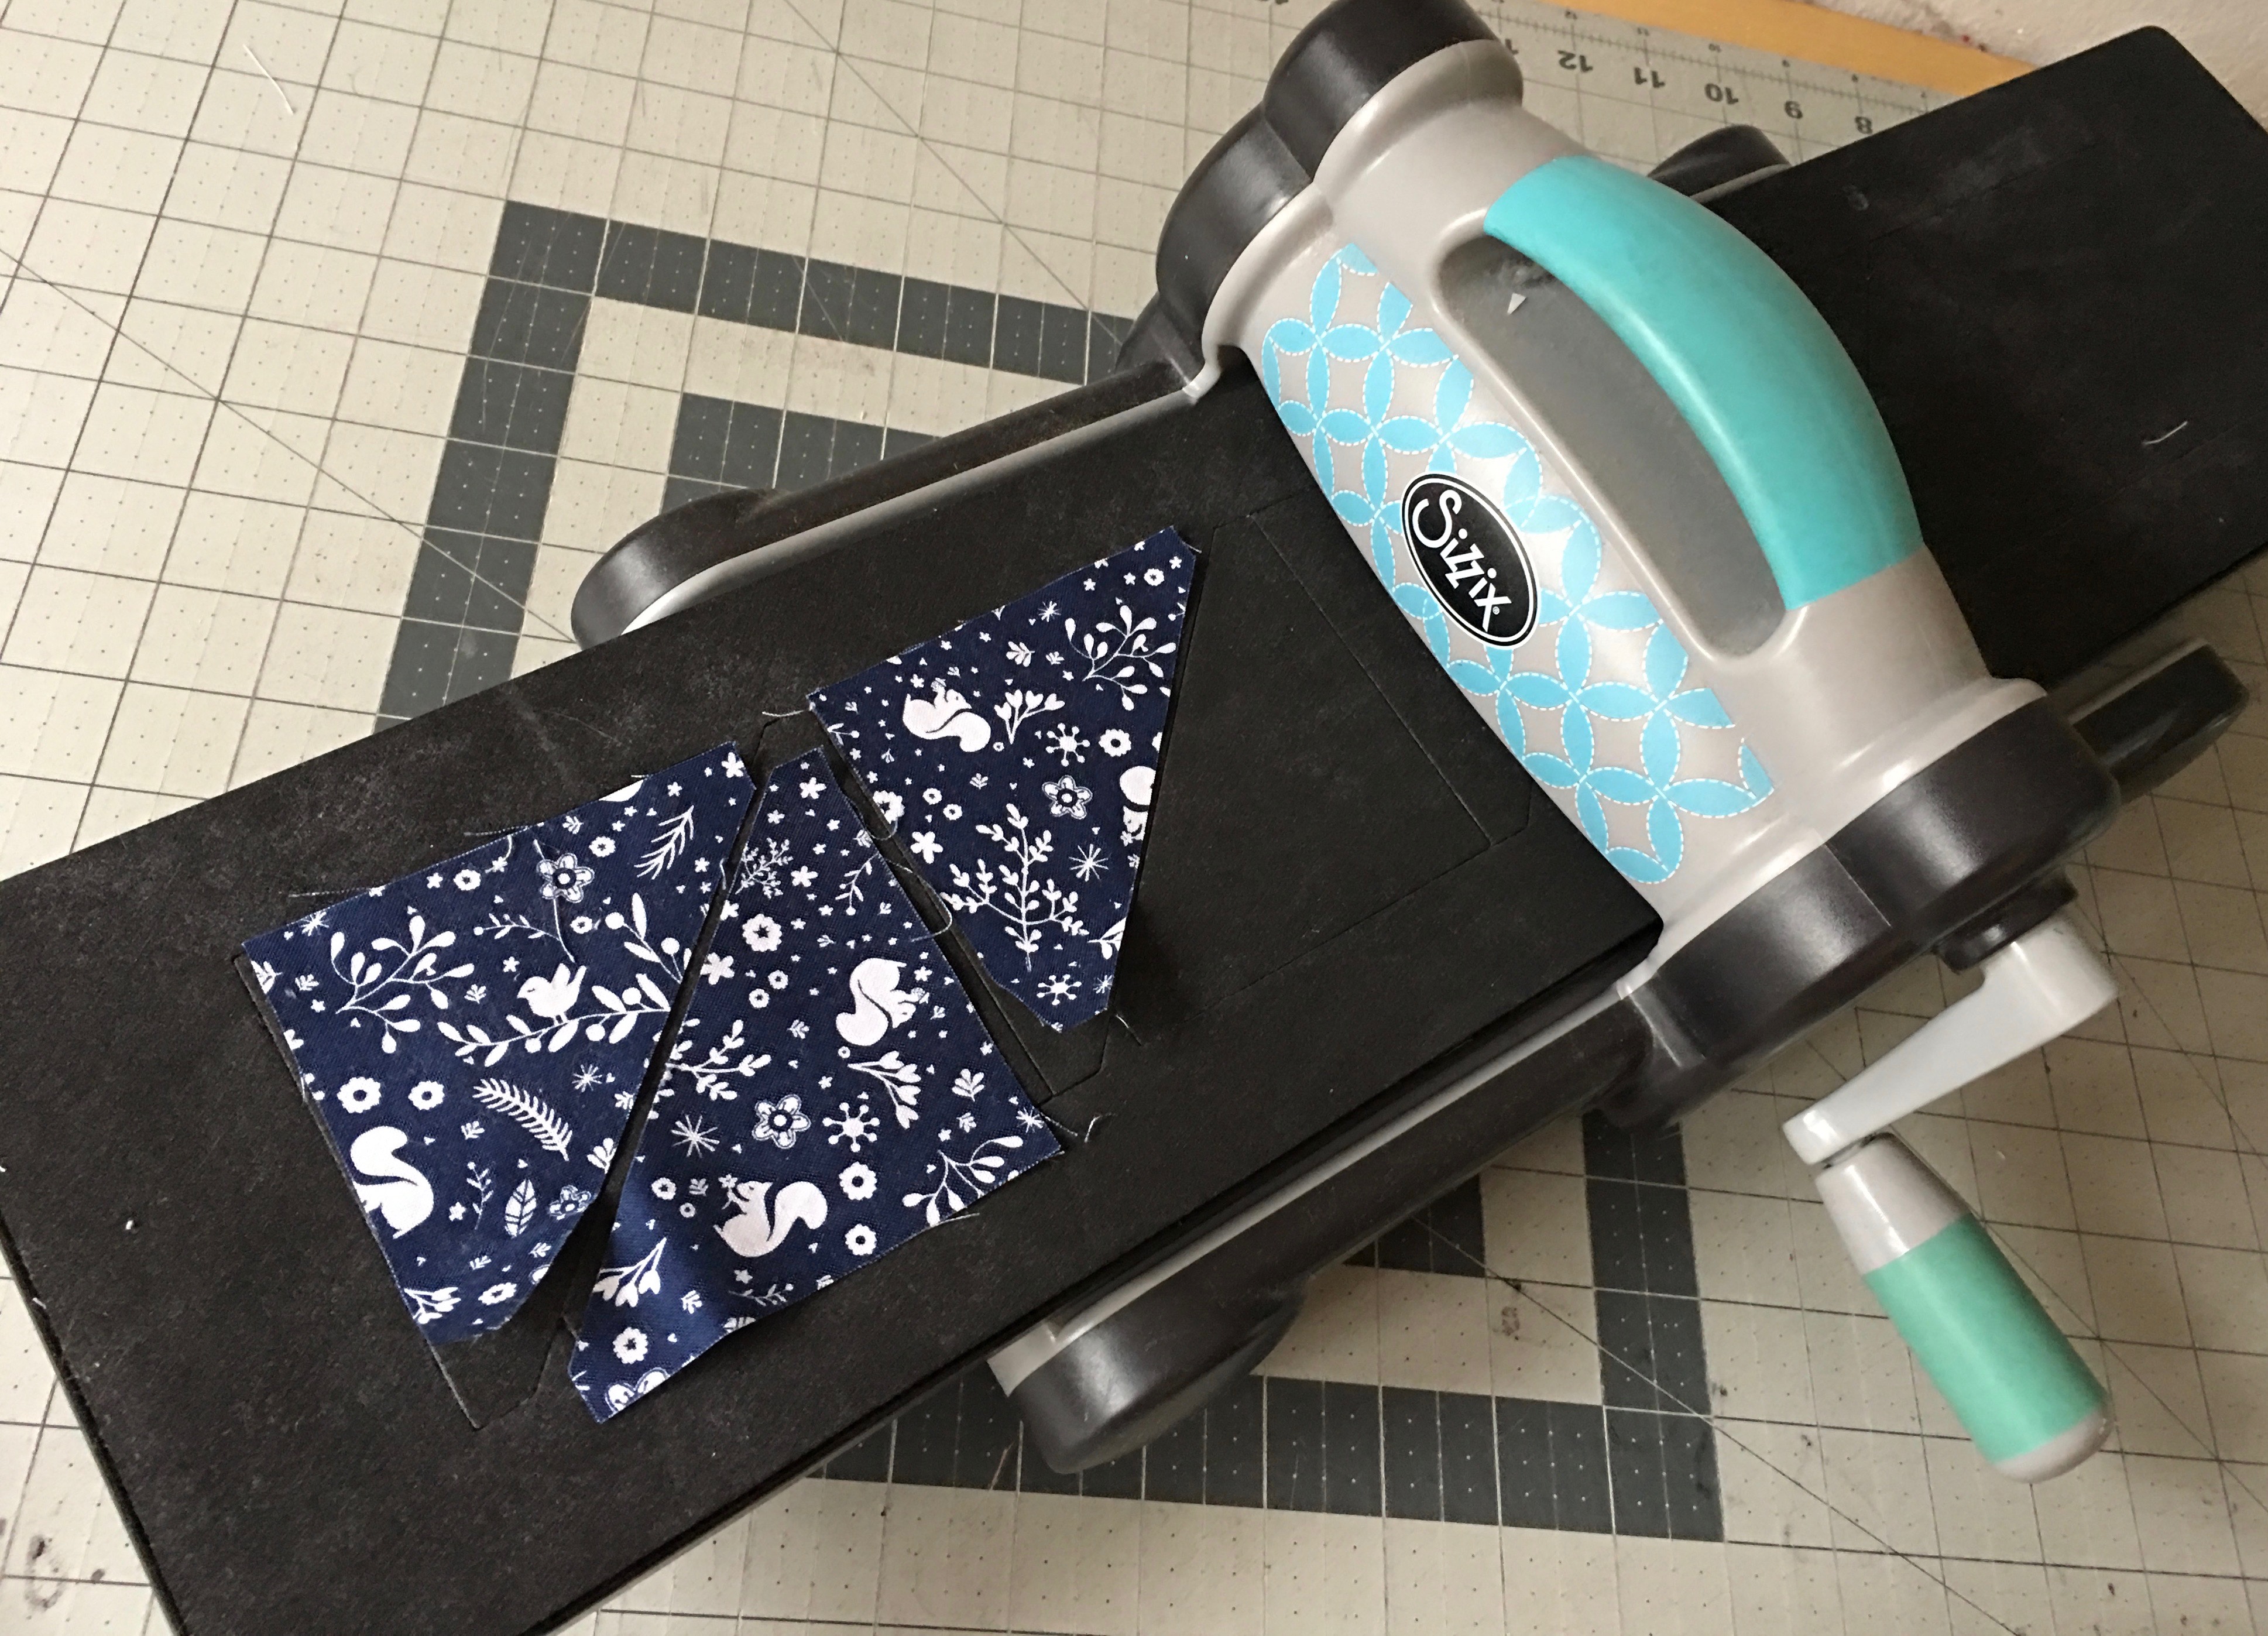
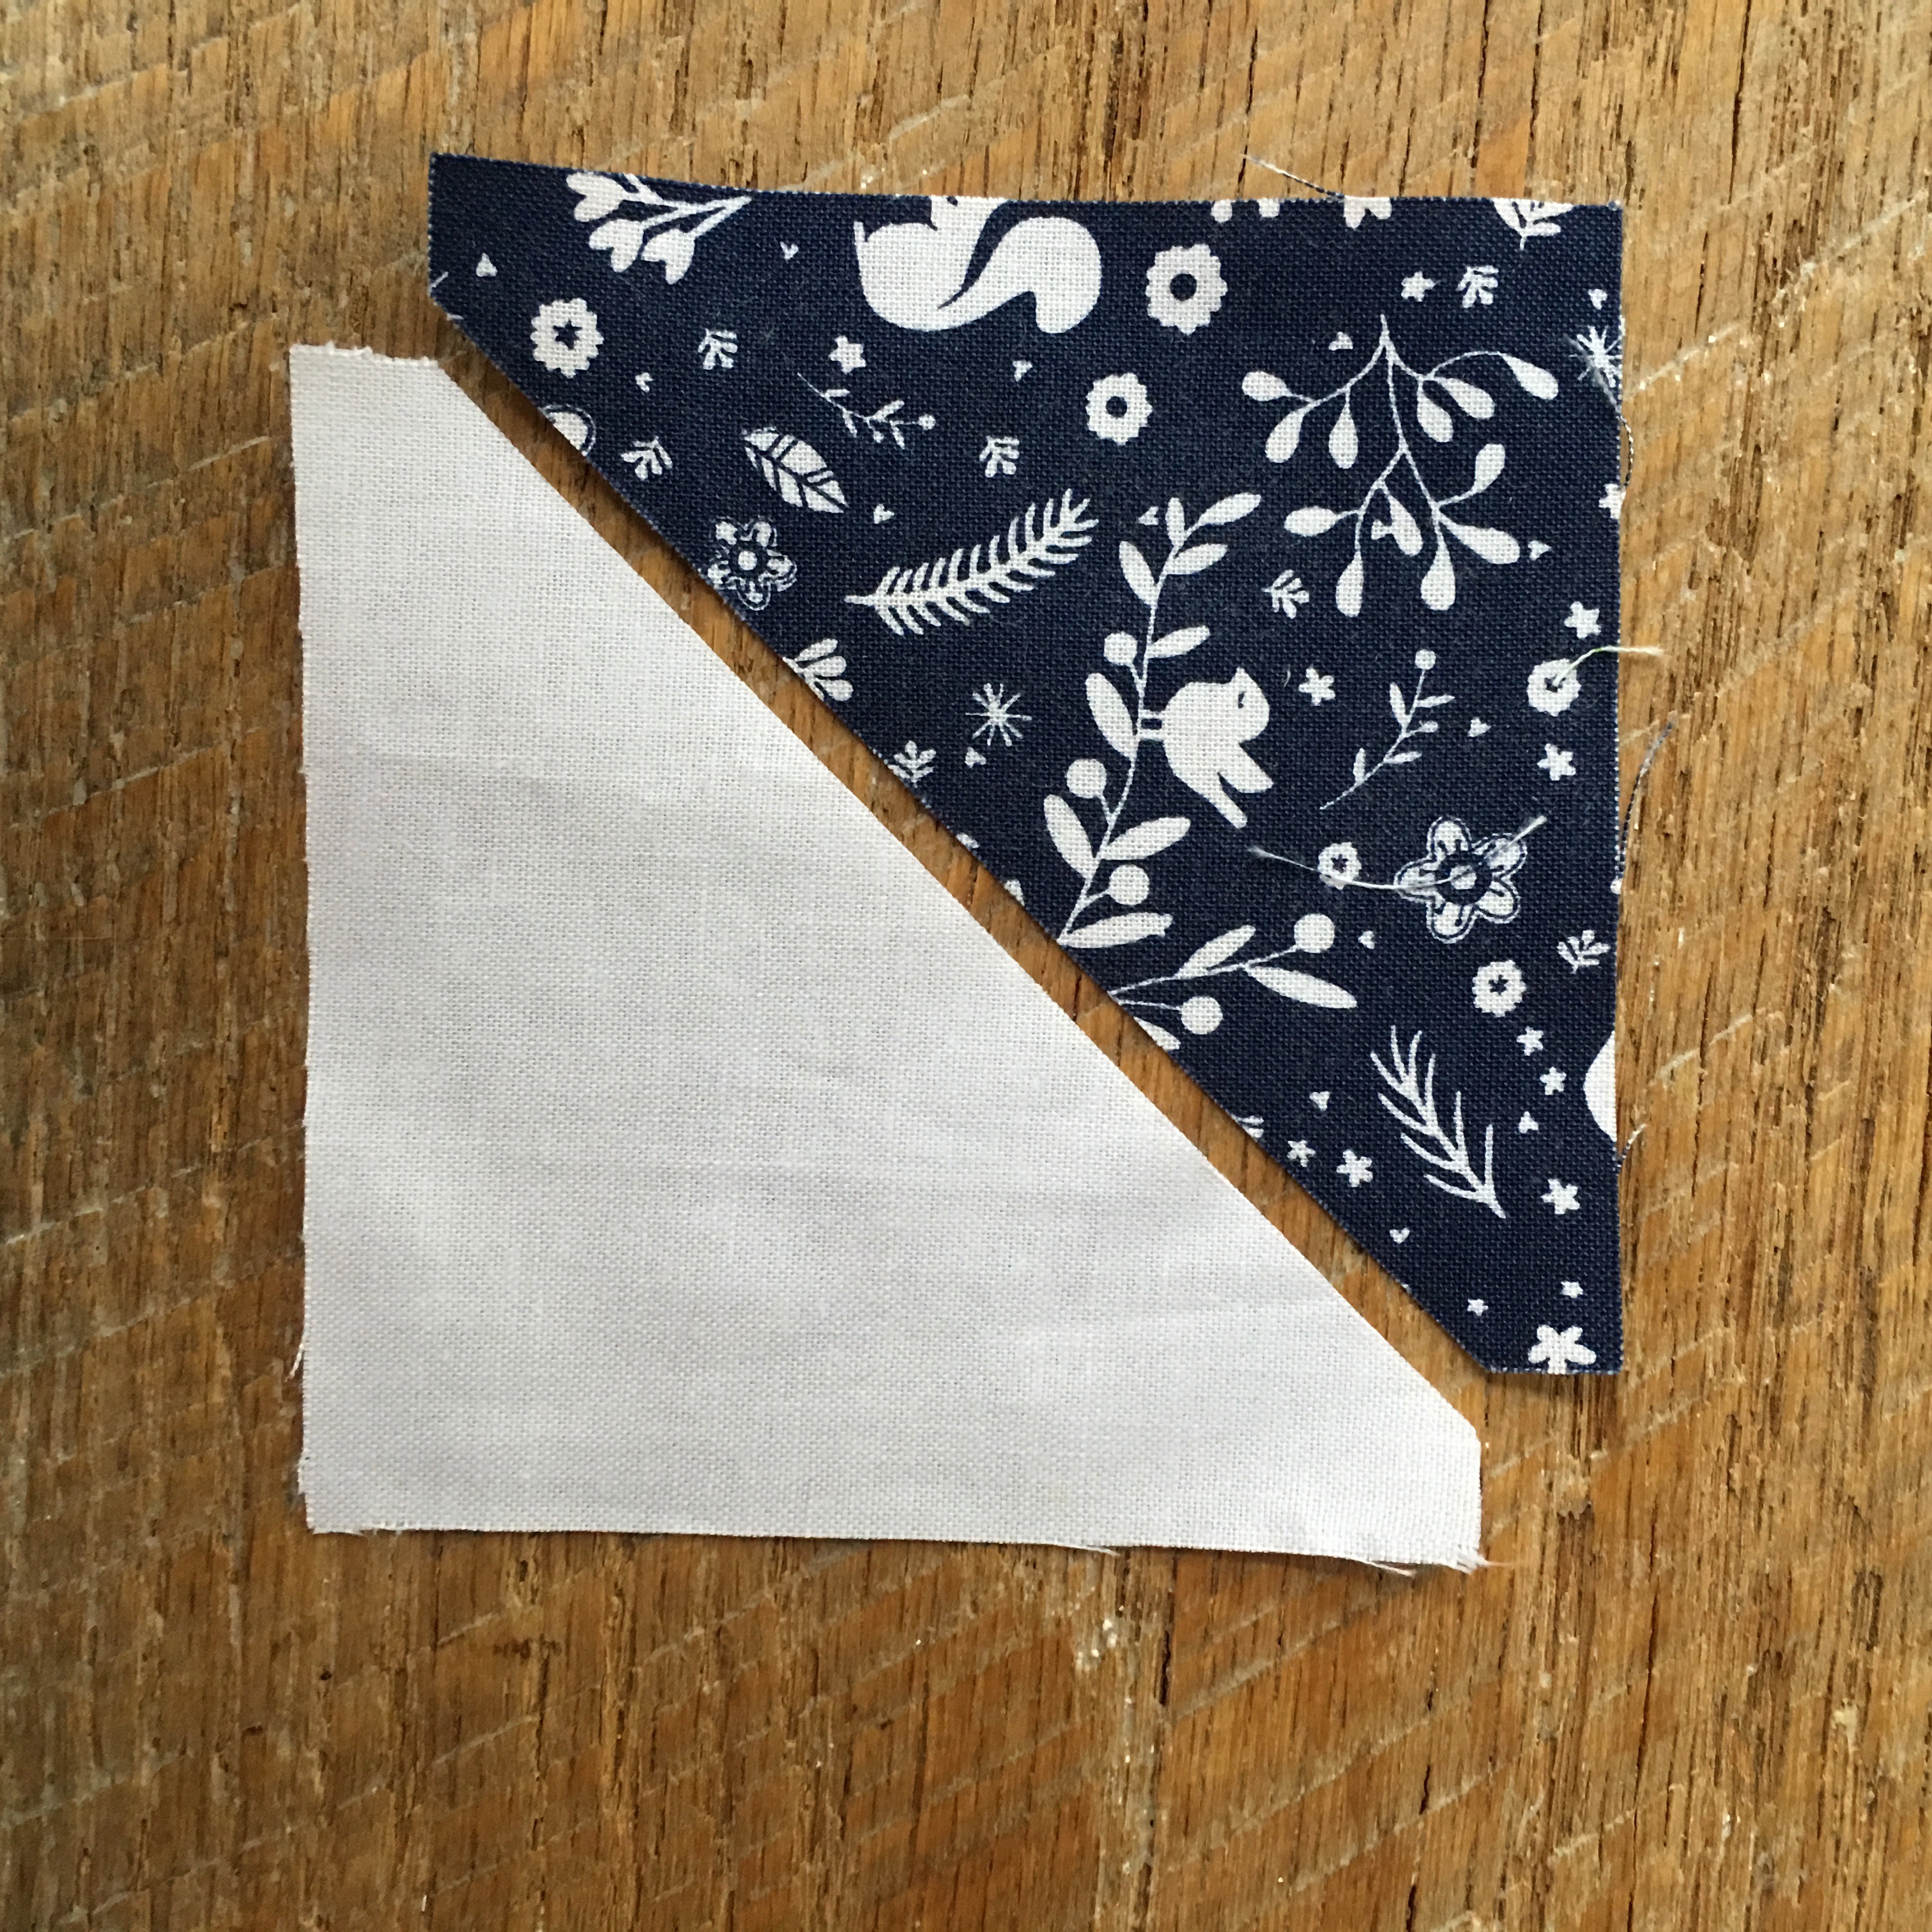
Using the navy blue print and white print sew (160) half square triangles (HST) that measure 3.5″.  You can use any method you like.  I use my Sizzix half square triangle dies!  It is super fast, super easy and no squaring up – just perfection!!

IMG_9037

Die cut 160 navy HSTs and 160 white HSTs.

IMG_9038

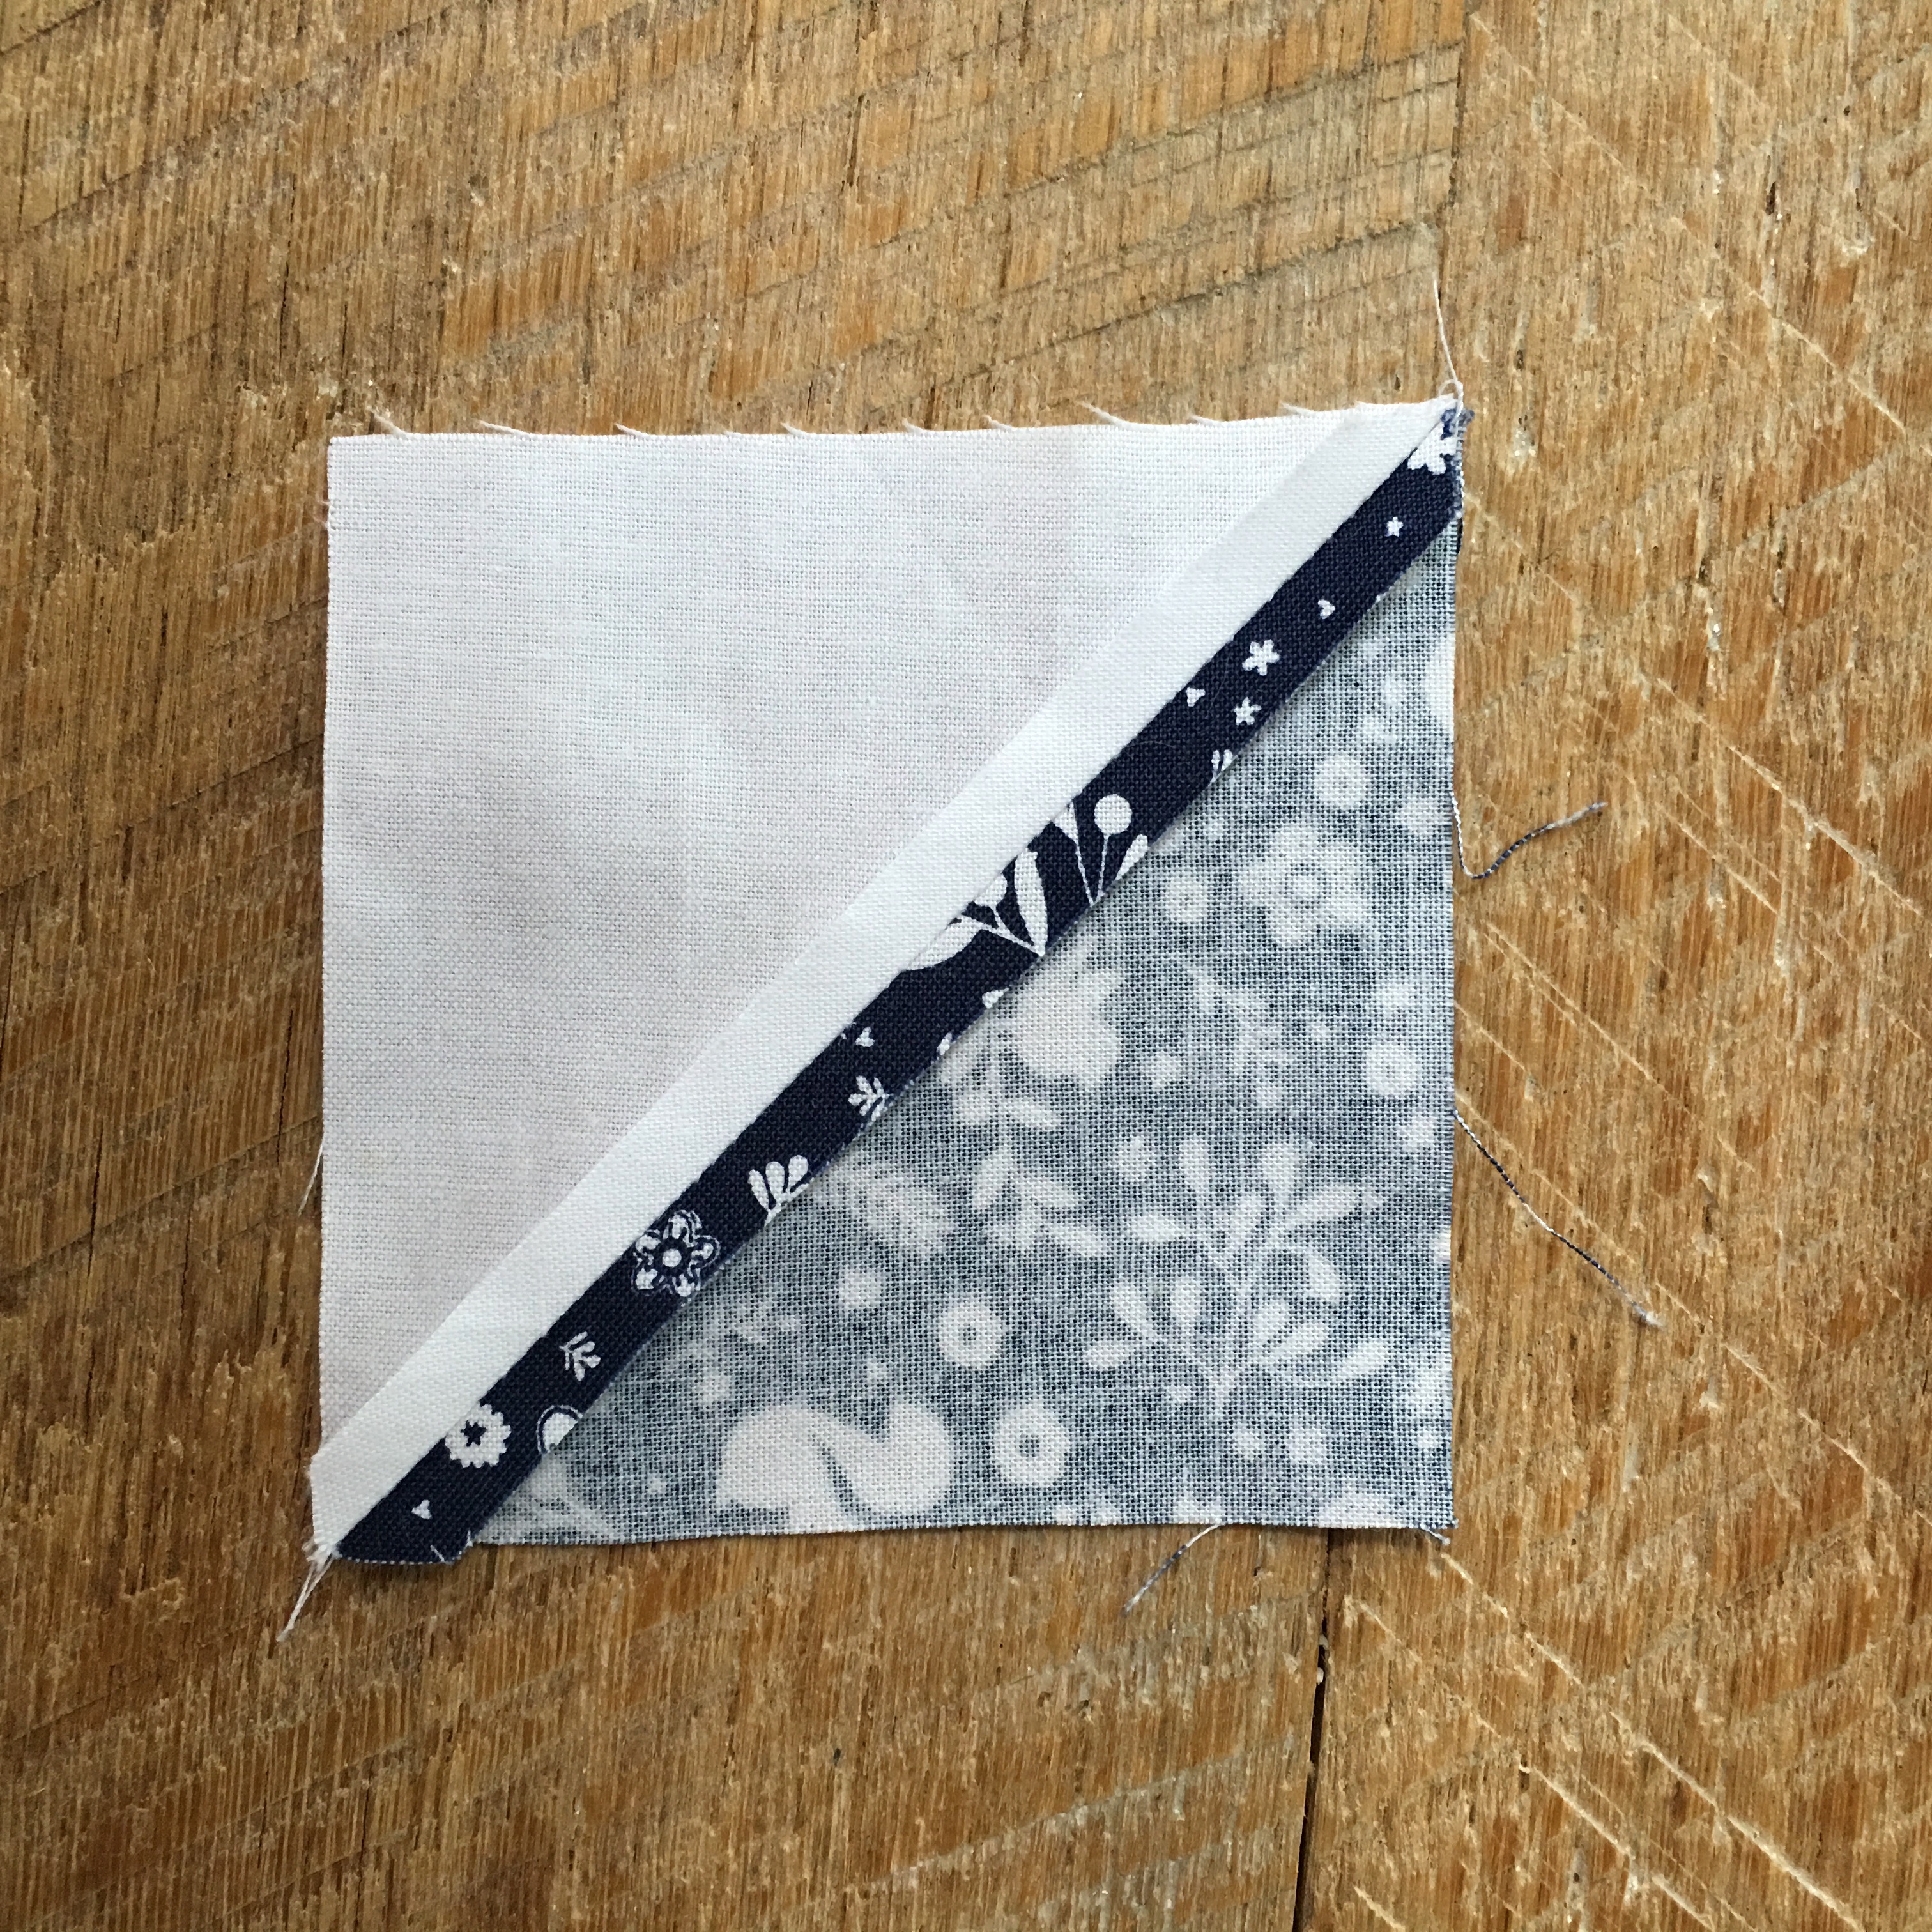
Sew the navy and white HSTs right sides together using 1/4″ seam.

IMG_9043

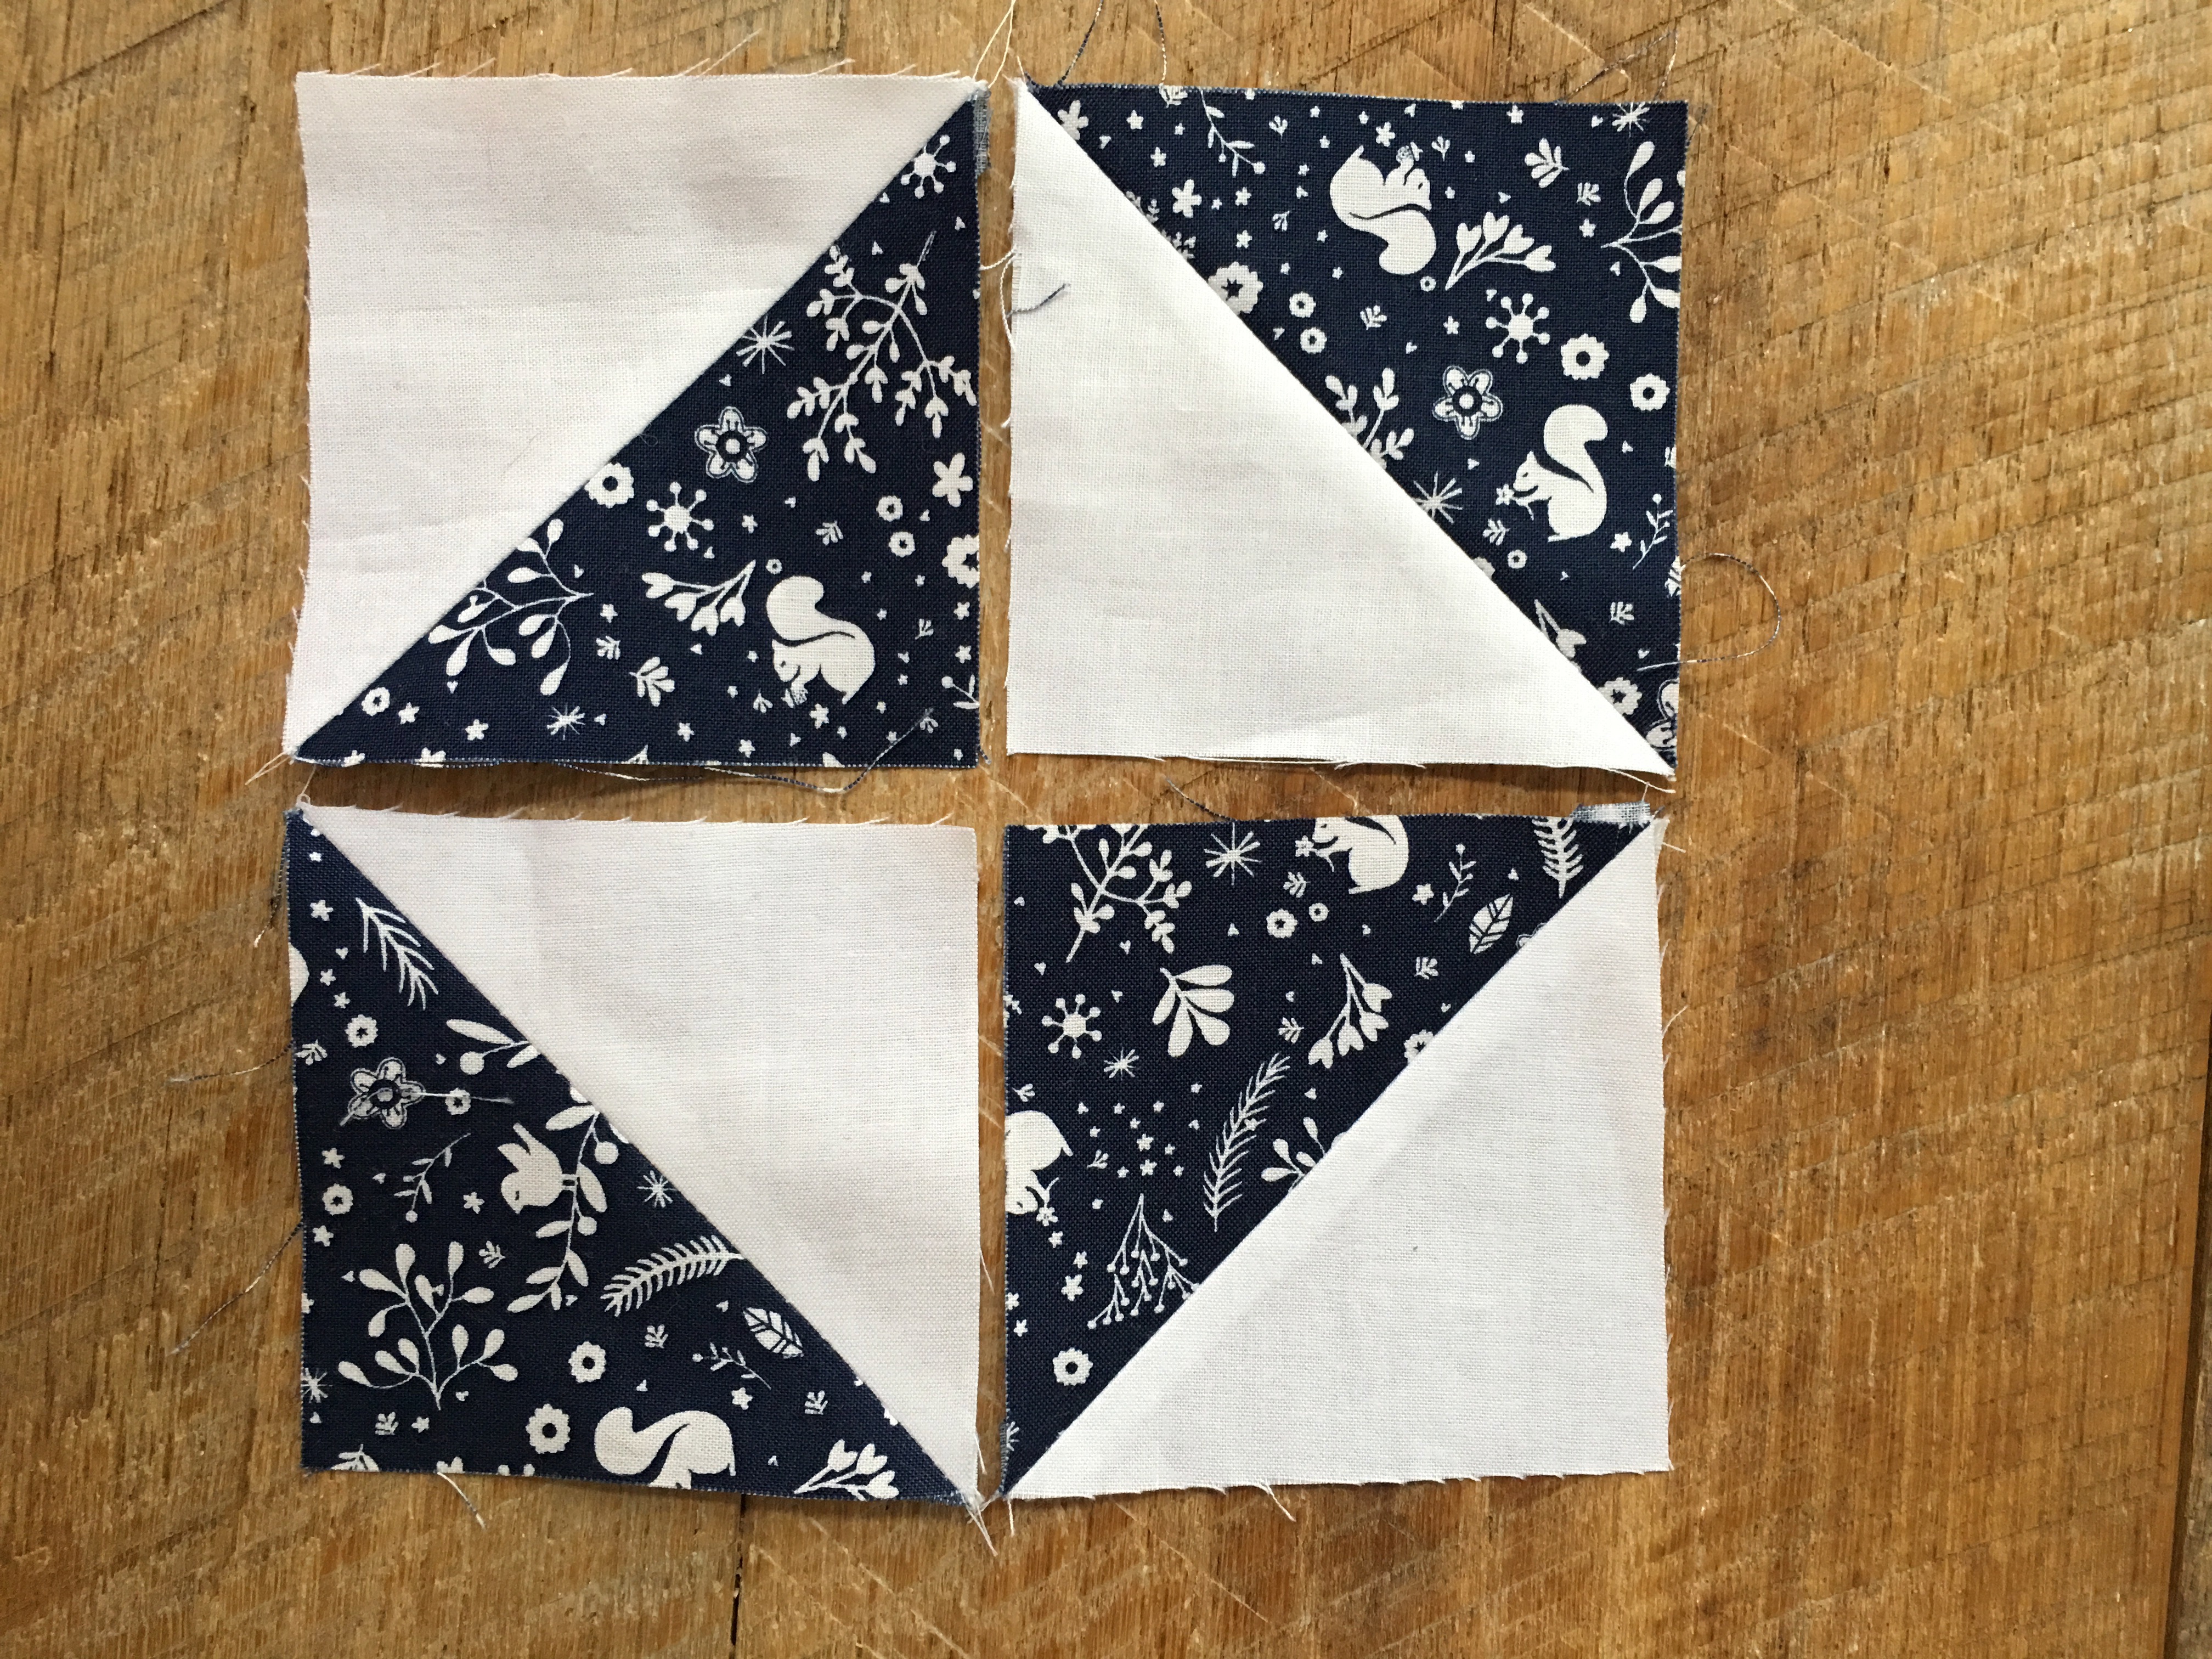
Press seams open.  Continue until you have 160 HSTs.  It’s probably a good idea to put on a movie while doing this!

IMG_9042

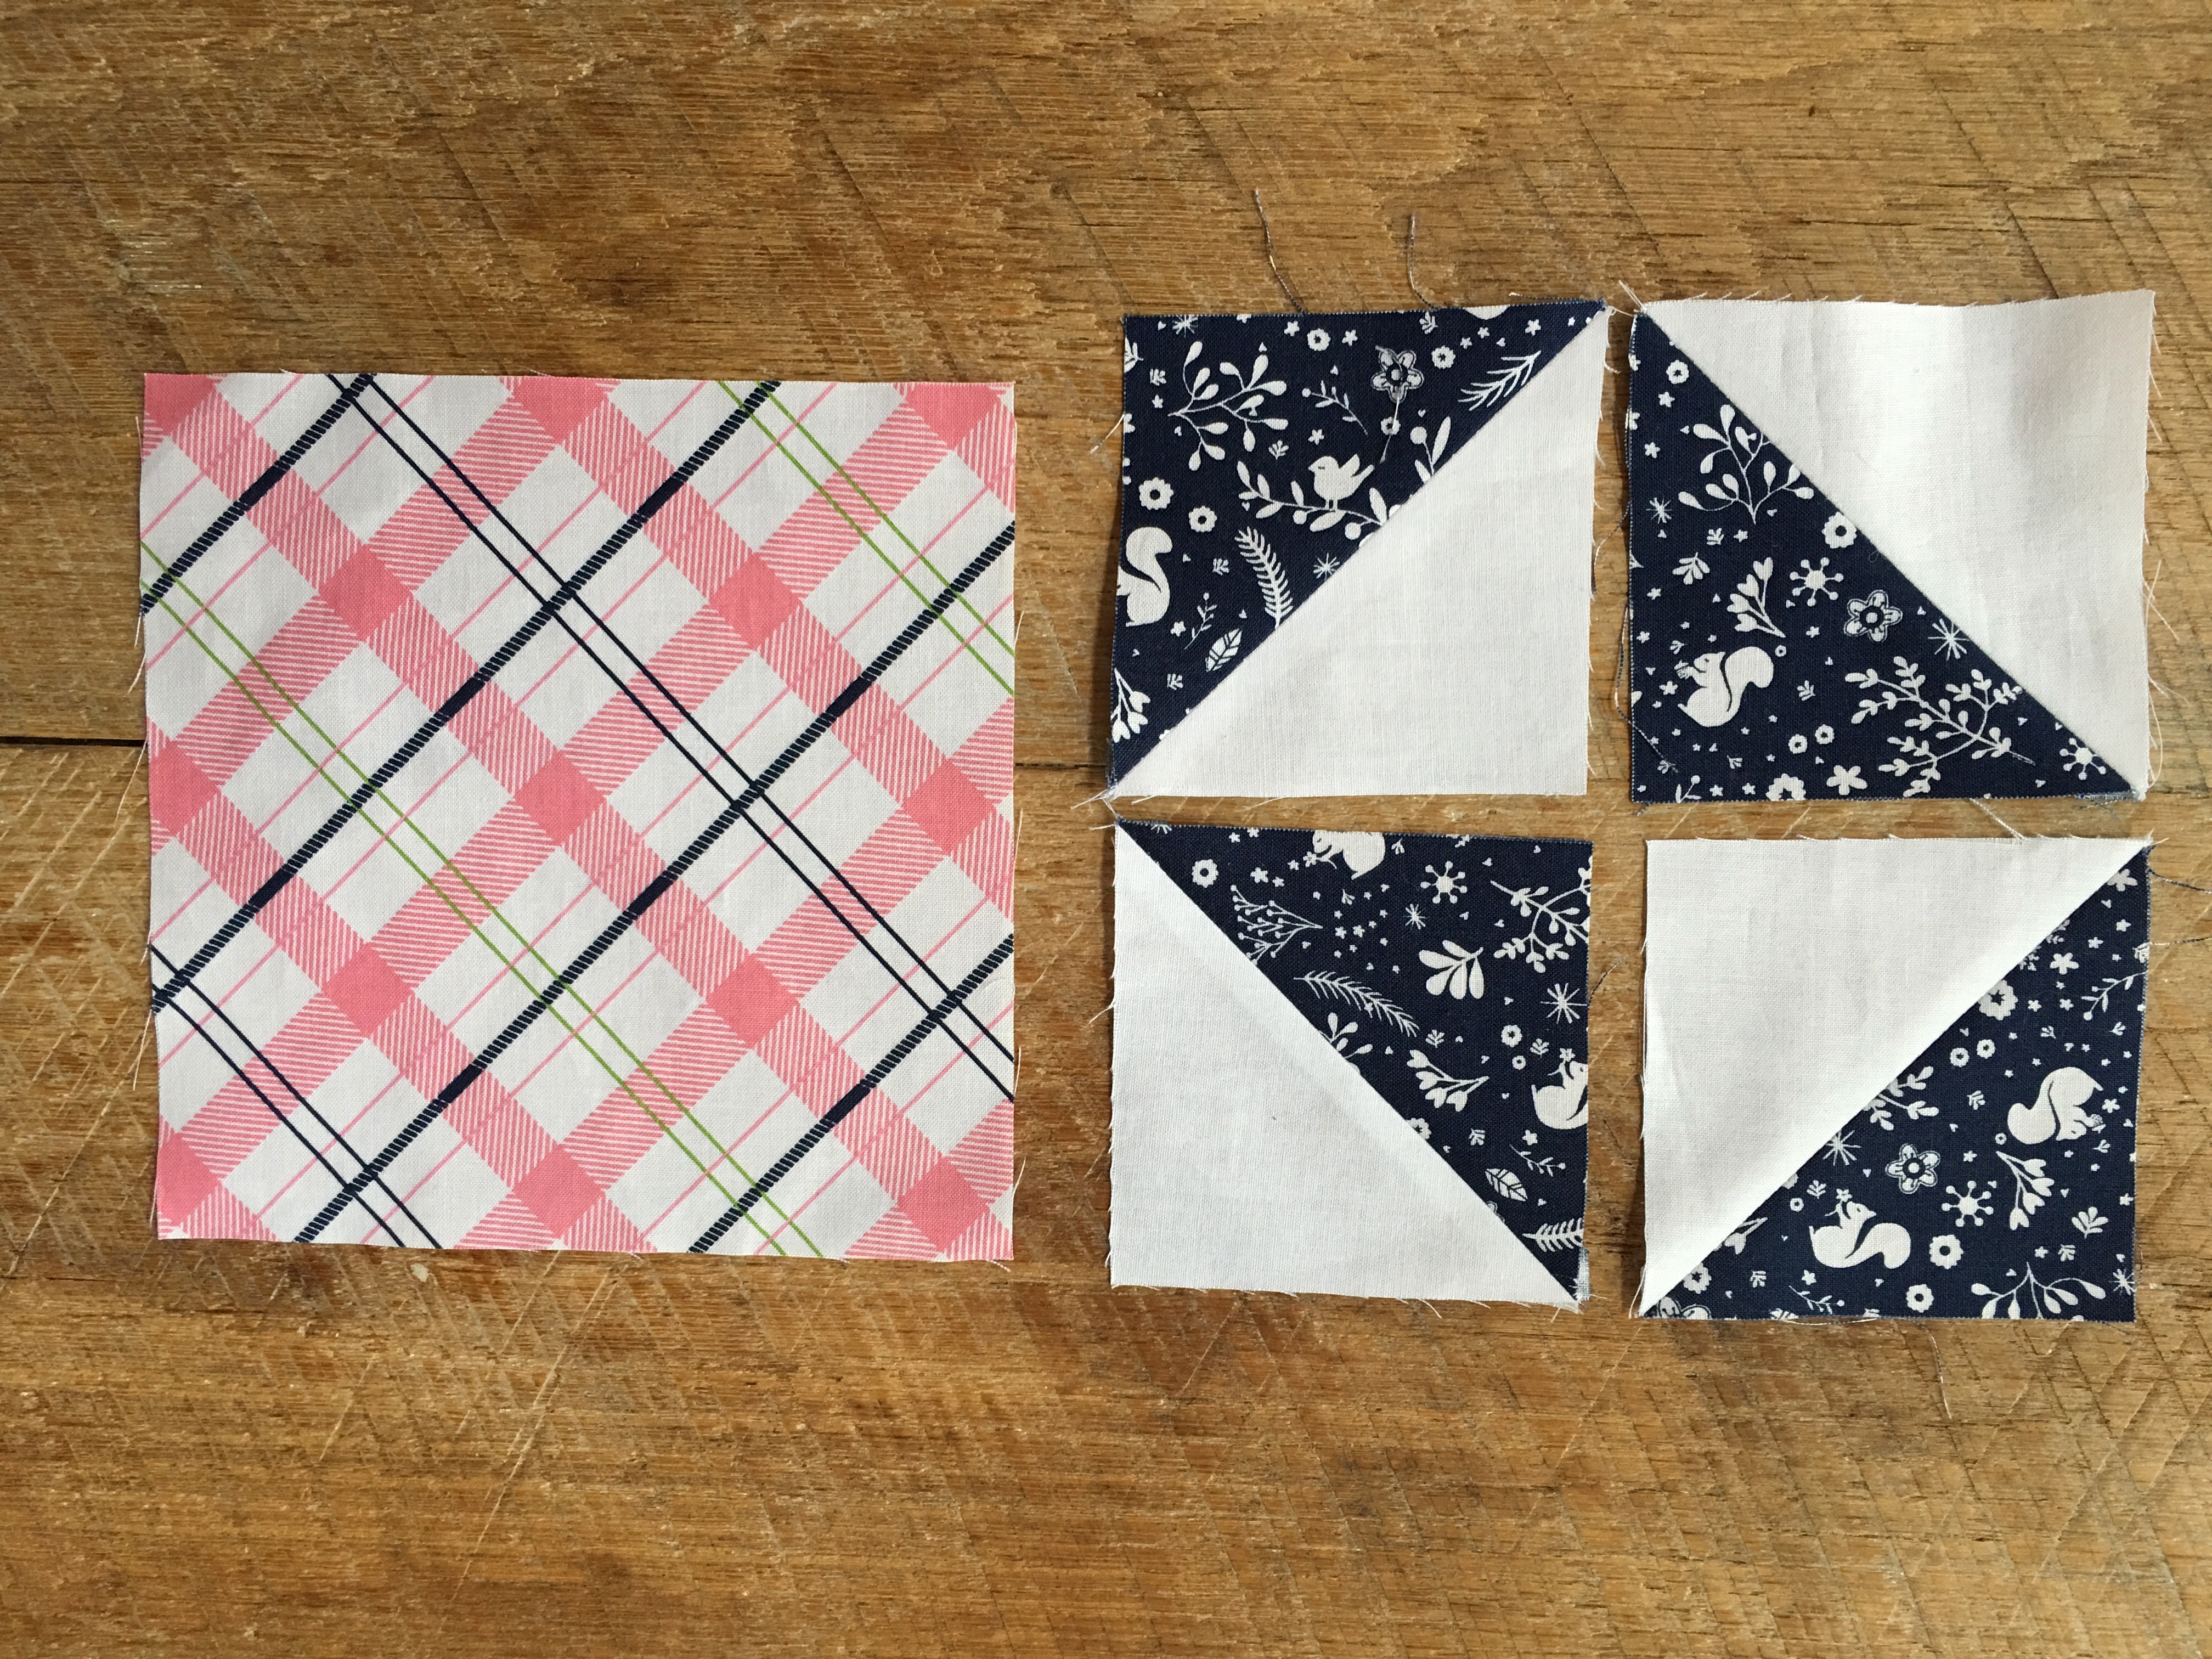
Lay out 4 HSTs to make the pattern above.  Sew together as you would a 4-patch.  Press seams open.  Finished block will measure 6.5″.  Make 40 of these blocks.

IMG_9045

Cut 40 squares measuring 6.5″ out of the plaid.

DSC_0121

Sew the blocks together (1/4″ seams) as you would a checkerboard, alternating each block.  Make sure the pieced blocks are going the same direction.  Press the seams toward the plaid.  There are 8 blocks across and 10 rows down.

IMG_9046

Baste (I always use Spray n Bond basting spray)

IMG_9056

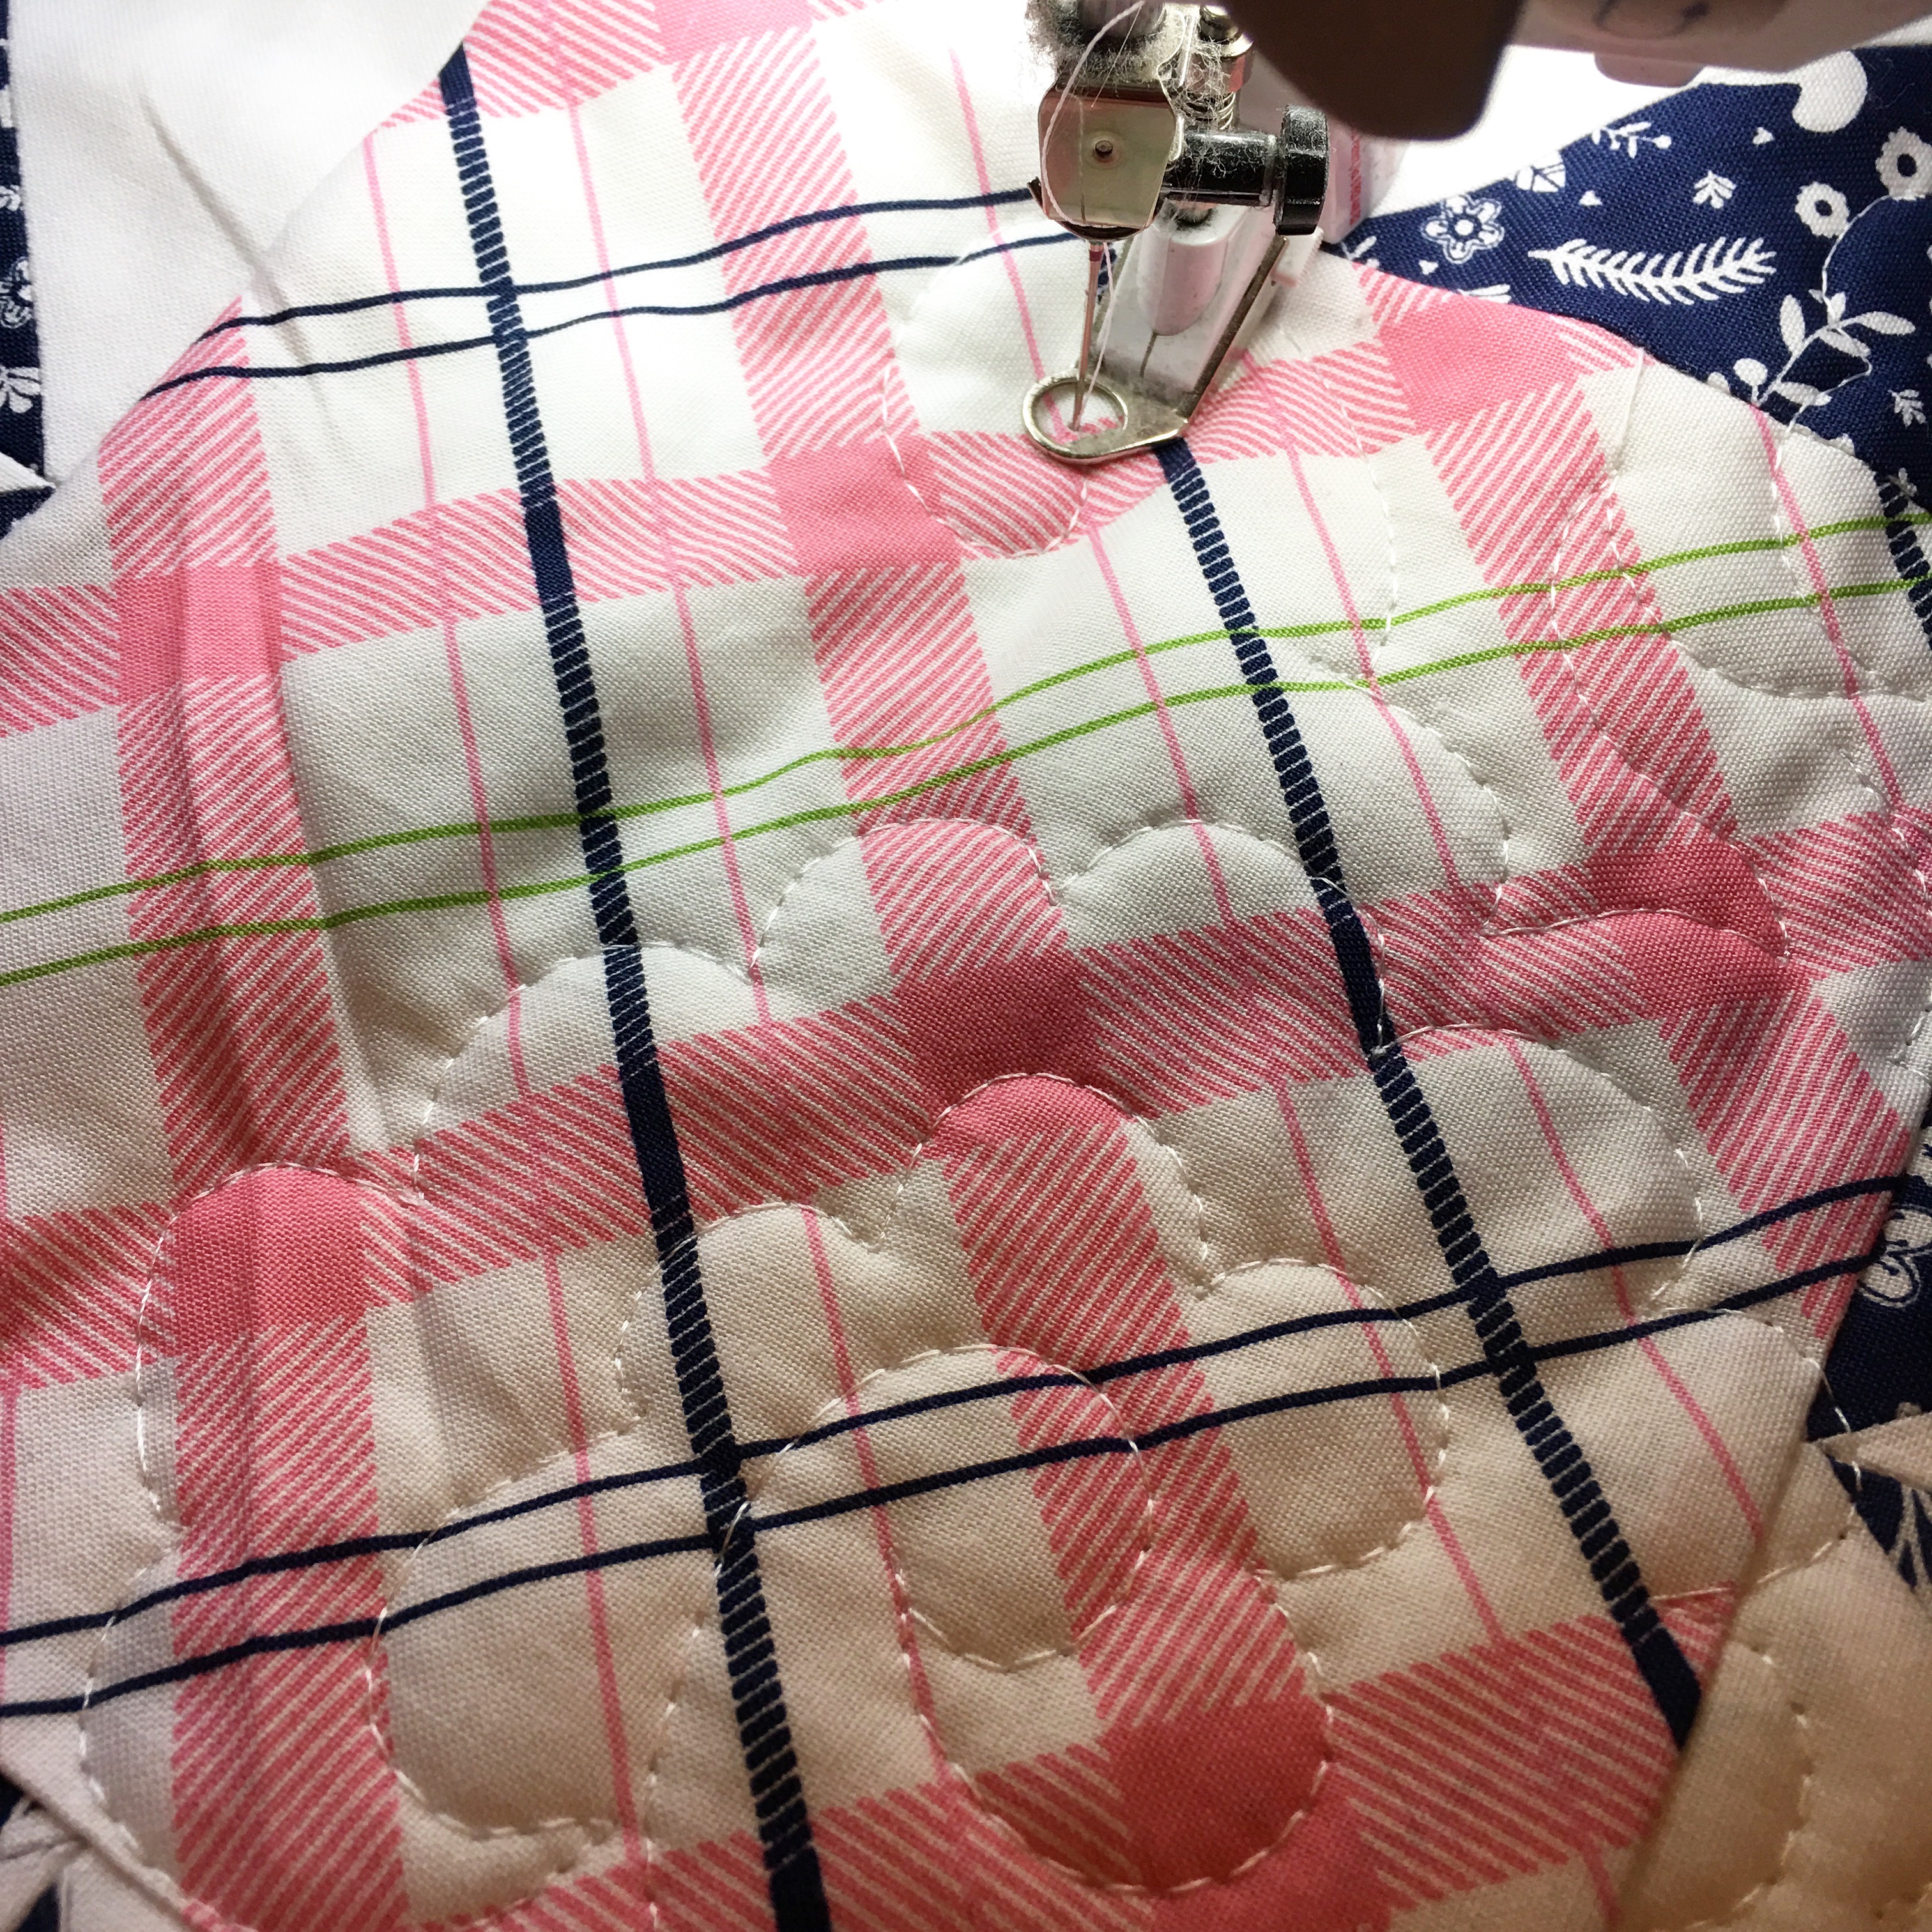
Quilt.

IMG_9075

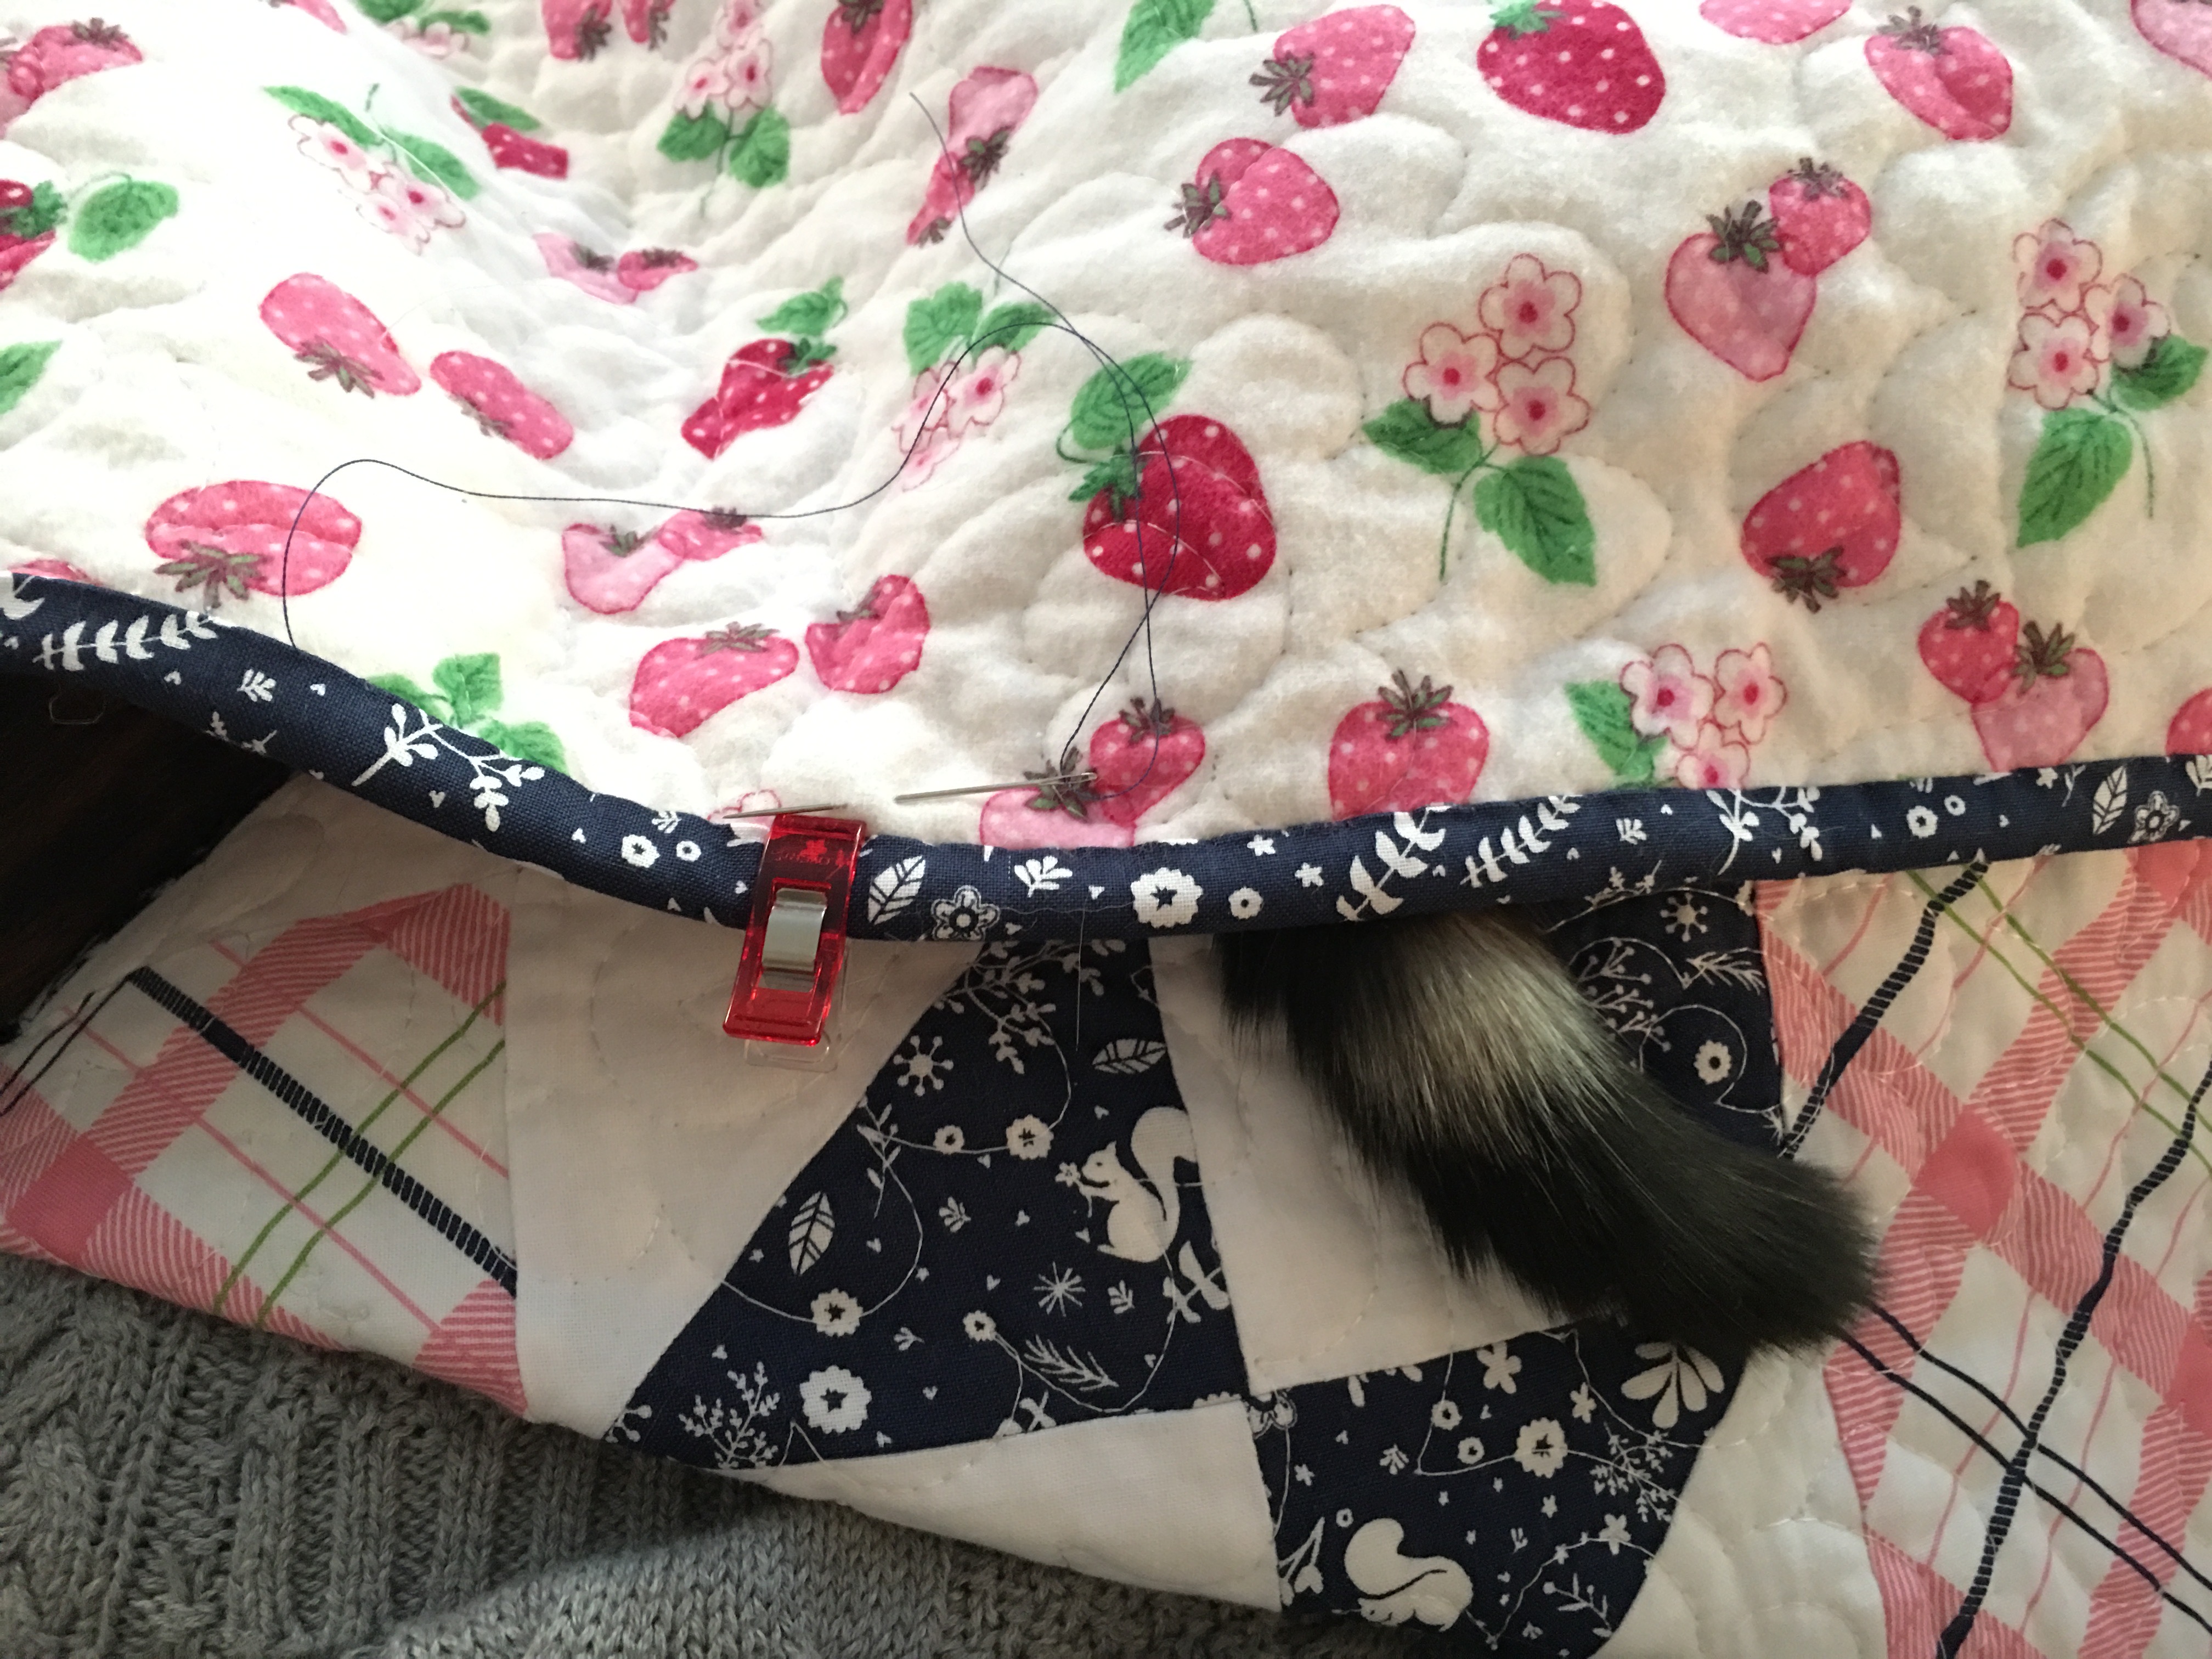
Bind.

DSC_0142

Love.

DSC_0089

Mufasa and I love sewing on rainy days!!

DSC_0098

DSC_0220

Tote Bag Instructions

I used my pattern, Quilted Tote Bag, for the measurements.  I followed the pattern pretty closely with the following exceptions:

  • I added an appliqué to the main bag.
  • I used denim.
  • I did not quilt the bag; I stabilized it with fusible fleece.
  • I came up with a new way to sew the handles (continue reading)
  • I omitted the inside pocket
  • I simplified how to make the bag bottom

Supplies

Denim (2) 20″ x 10.5″

Plaid (2) 20″ x 9.5″

Lining (2) 20″ x 19.5″

Plaid for handles (2) 5″ x 28″

Heat n bond medium stabilizer (2) 5″ x 28″

Heat n Bond Fusible Fleece (2) 20″ x 19.5″

Piece of plaid for the whale

Heat n Bond Lite

Appliqué the whale  Click HERE for the whale pattern.

IMG_9093

You can print the whale directly on Heat n Bond Lite EZ print sheets, or trace the whale onto Heat n Bond Lite.

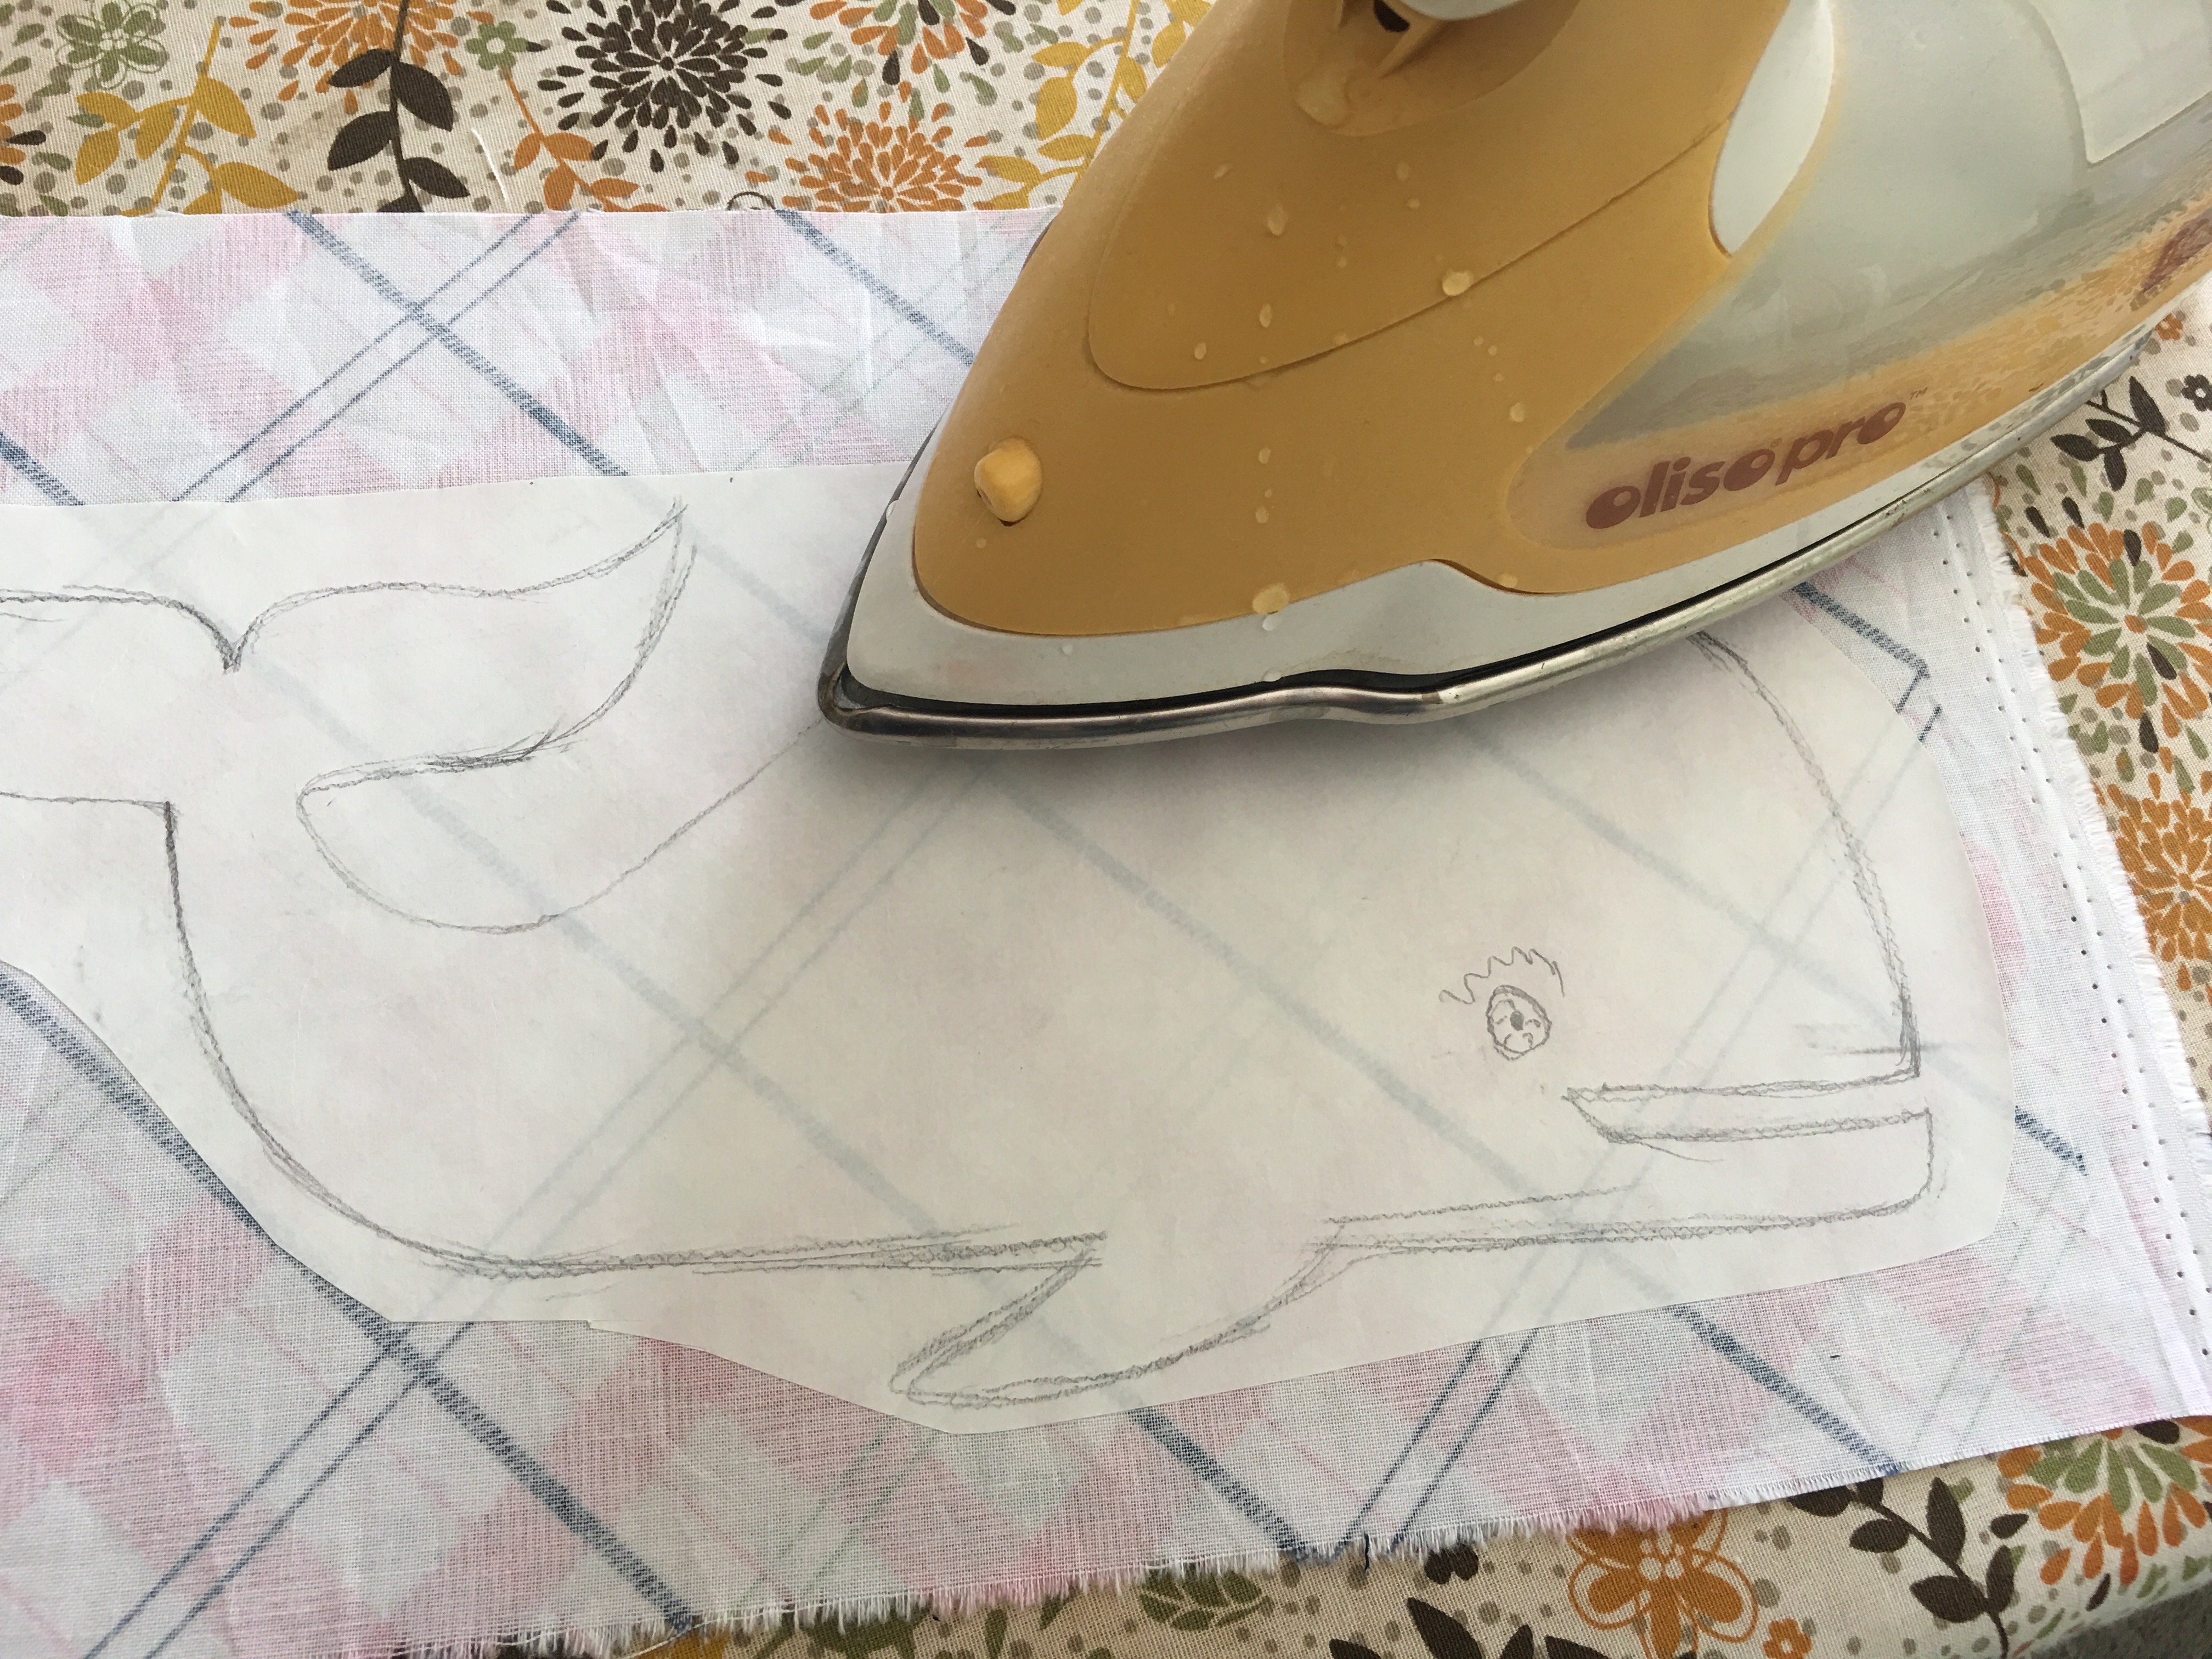
Heat set the whale to the wrong side of the plaid fabric.

Cut out the whale.  Peel off the backing paper.

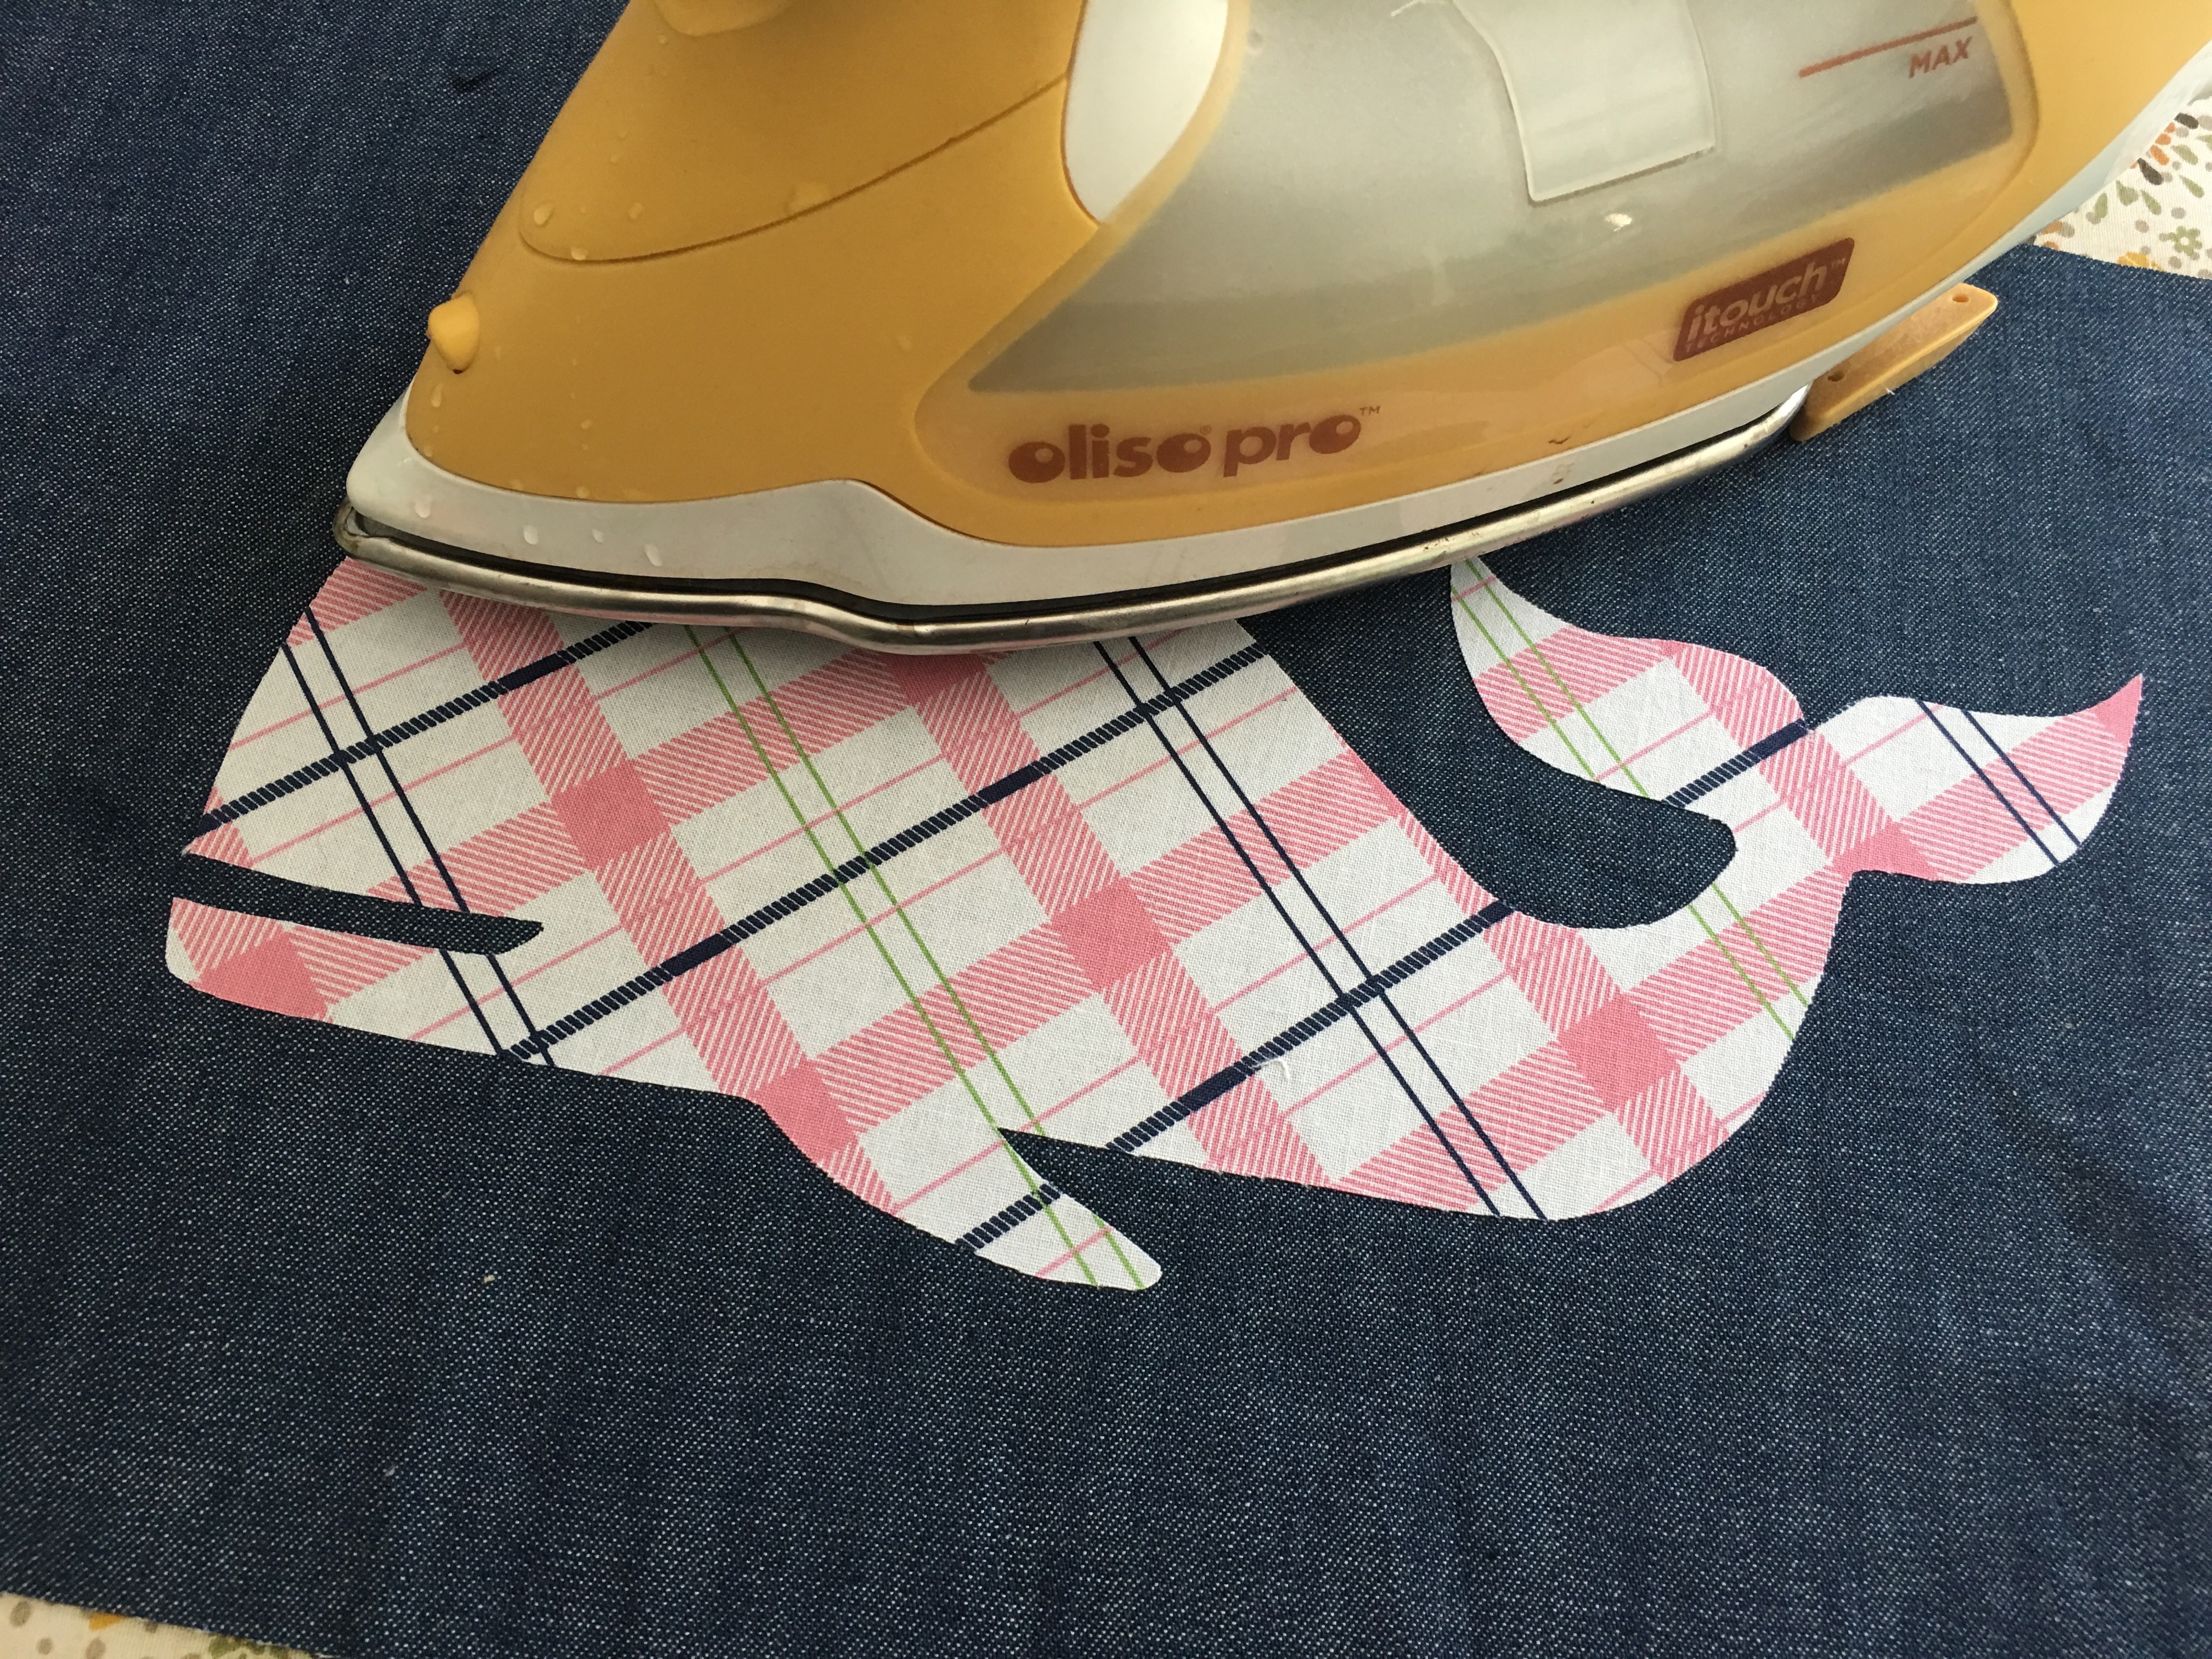
IMG_9094

Press it onto one of the denim pieces, centering.  Using 1/4″ seams, sew the denim piece to the plaid piece to make the bag front and back.  Press seams.

IMG_9099

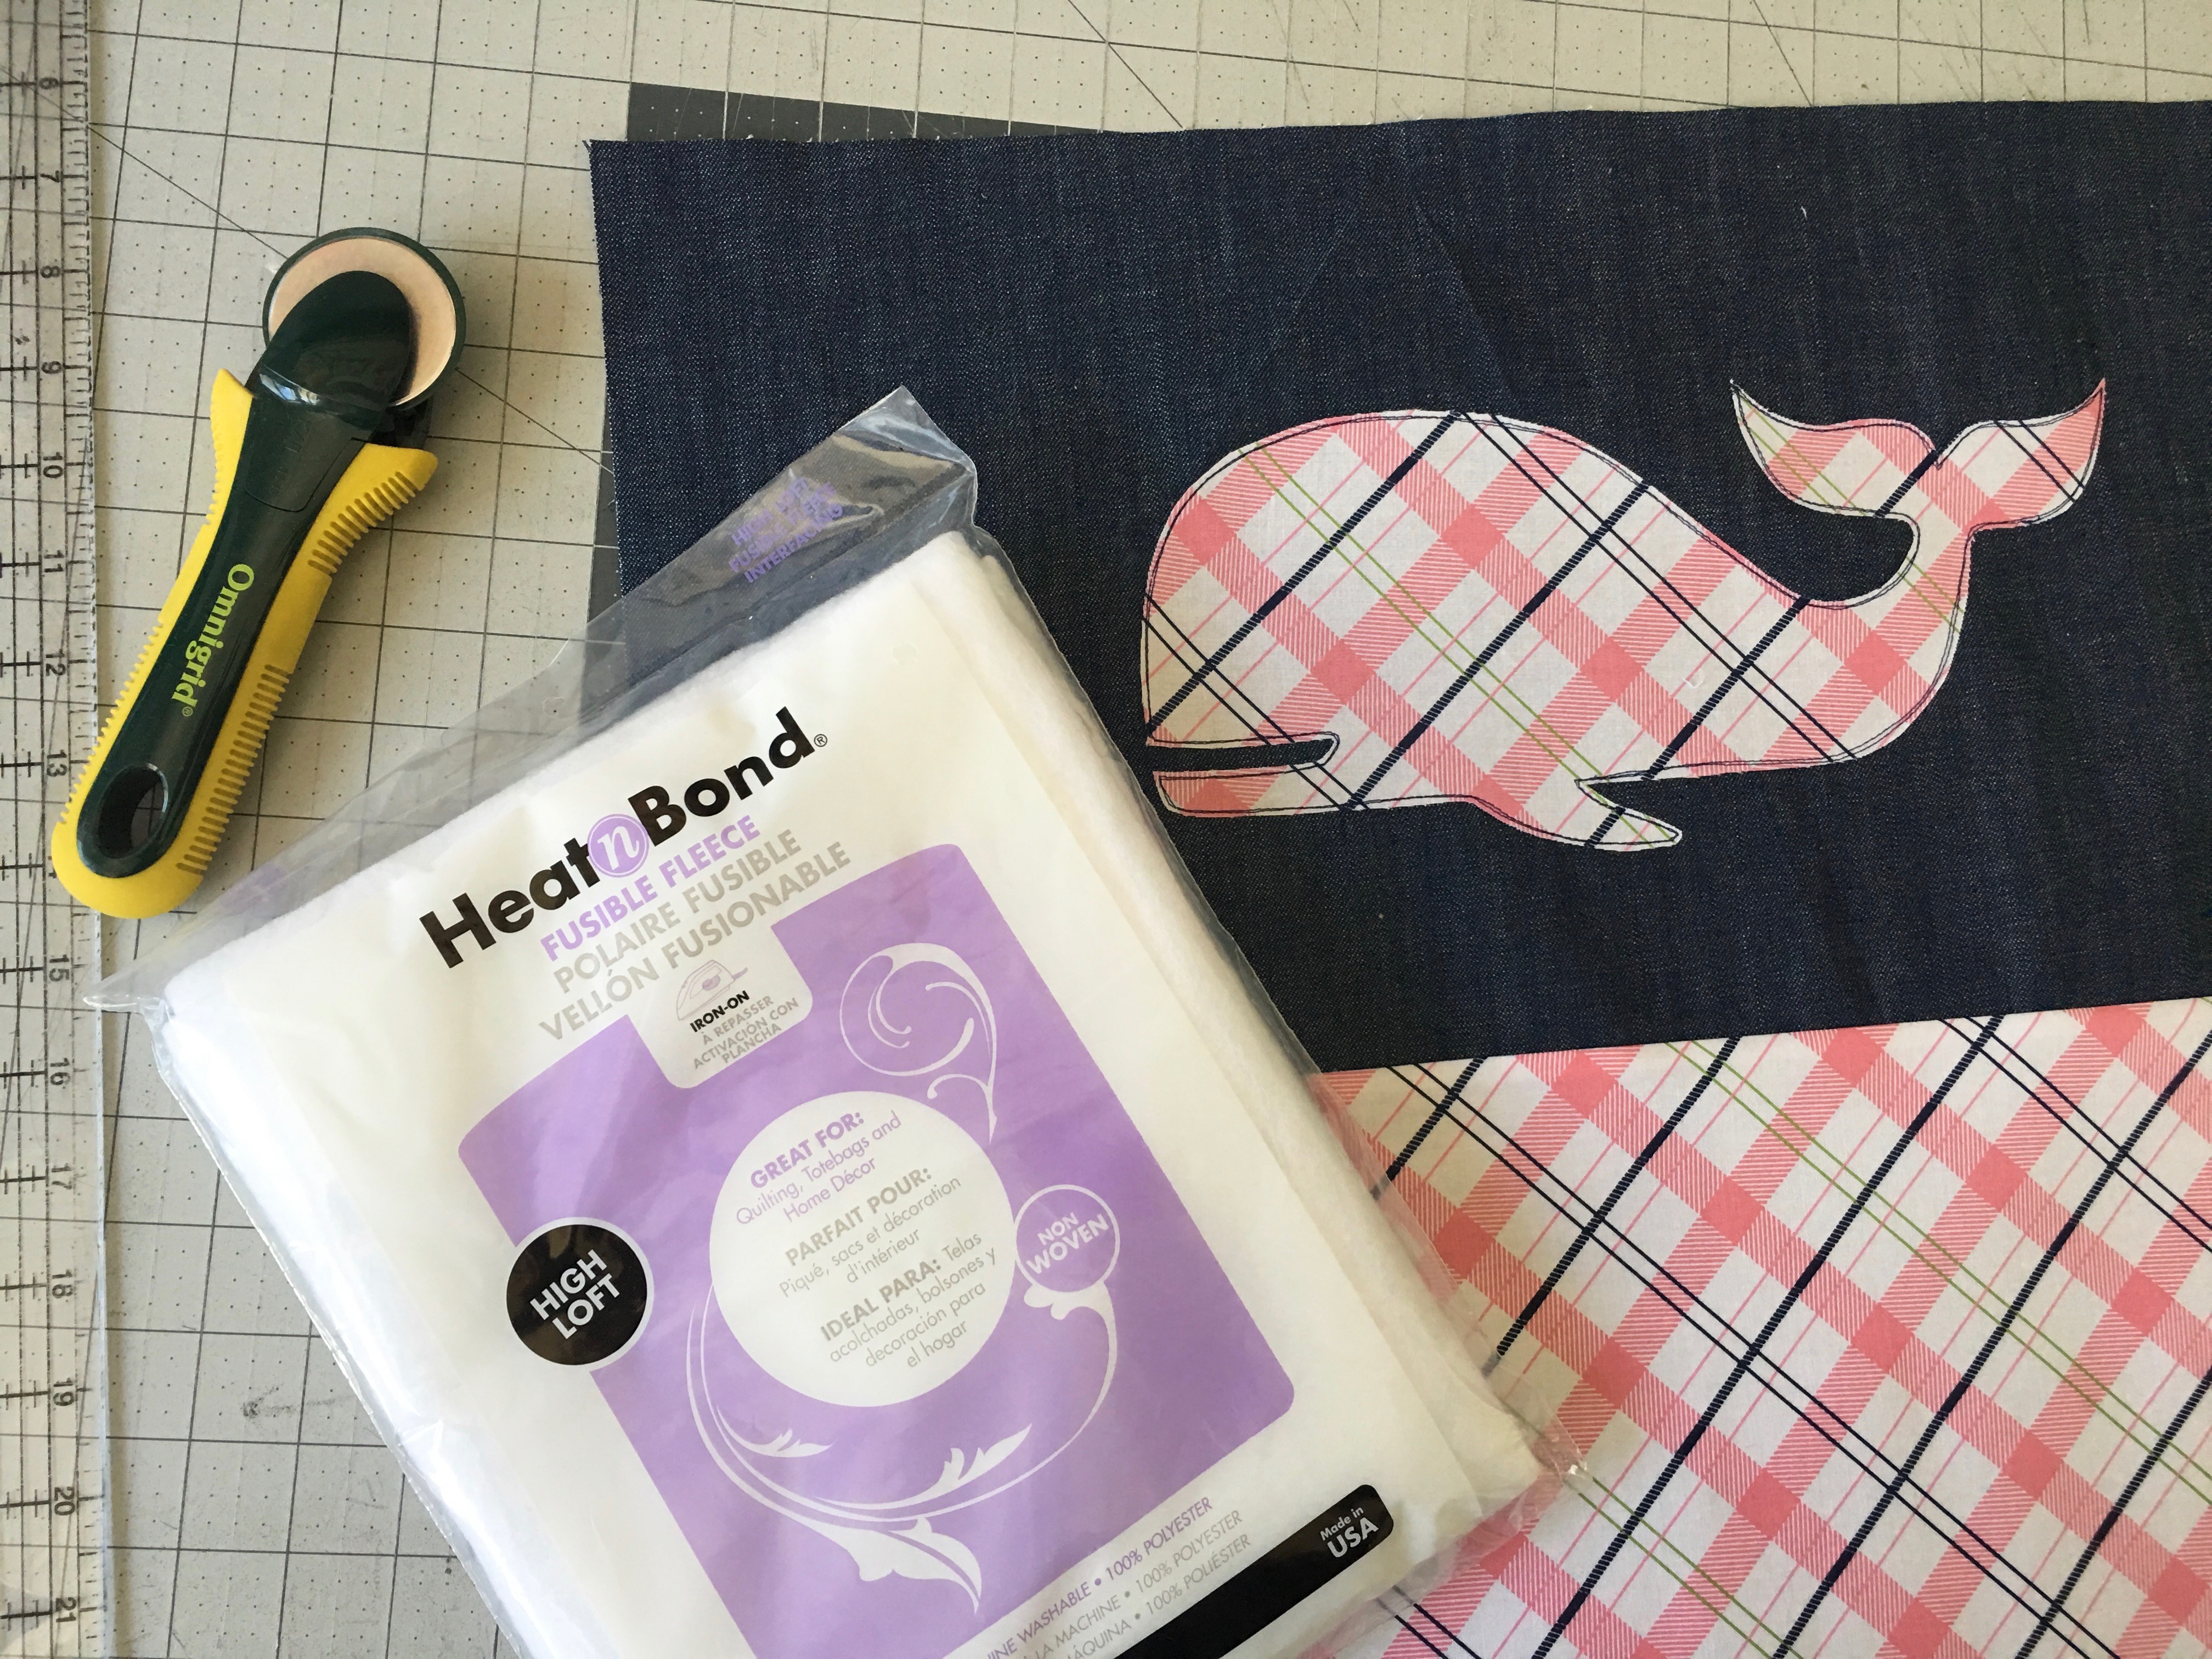
Fuse the Heat n Bond Fusible fleece to the wrong side of the bag front and the bag back.  Add some accent stitching along the seam.

Bag Handles

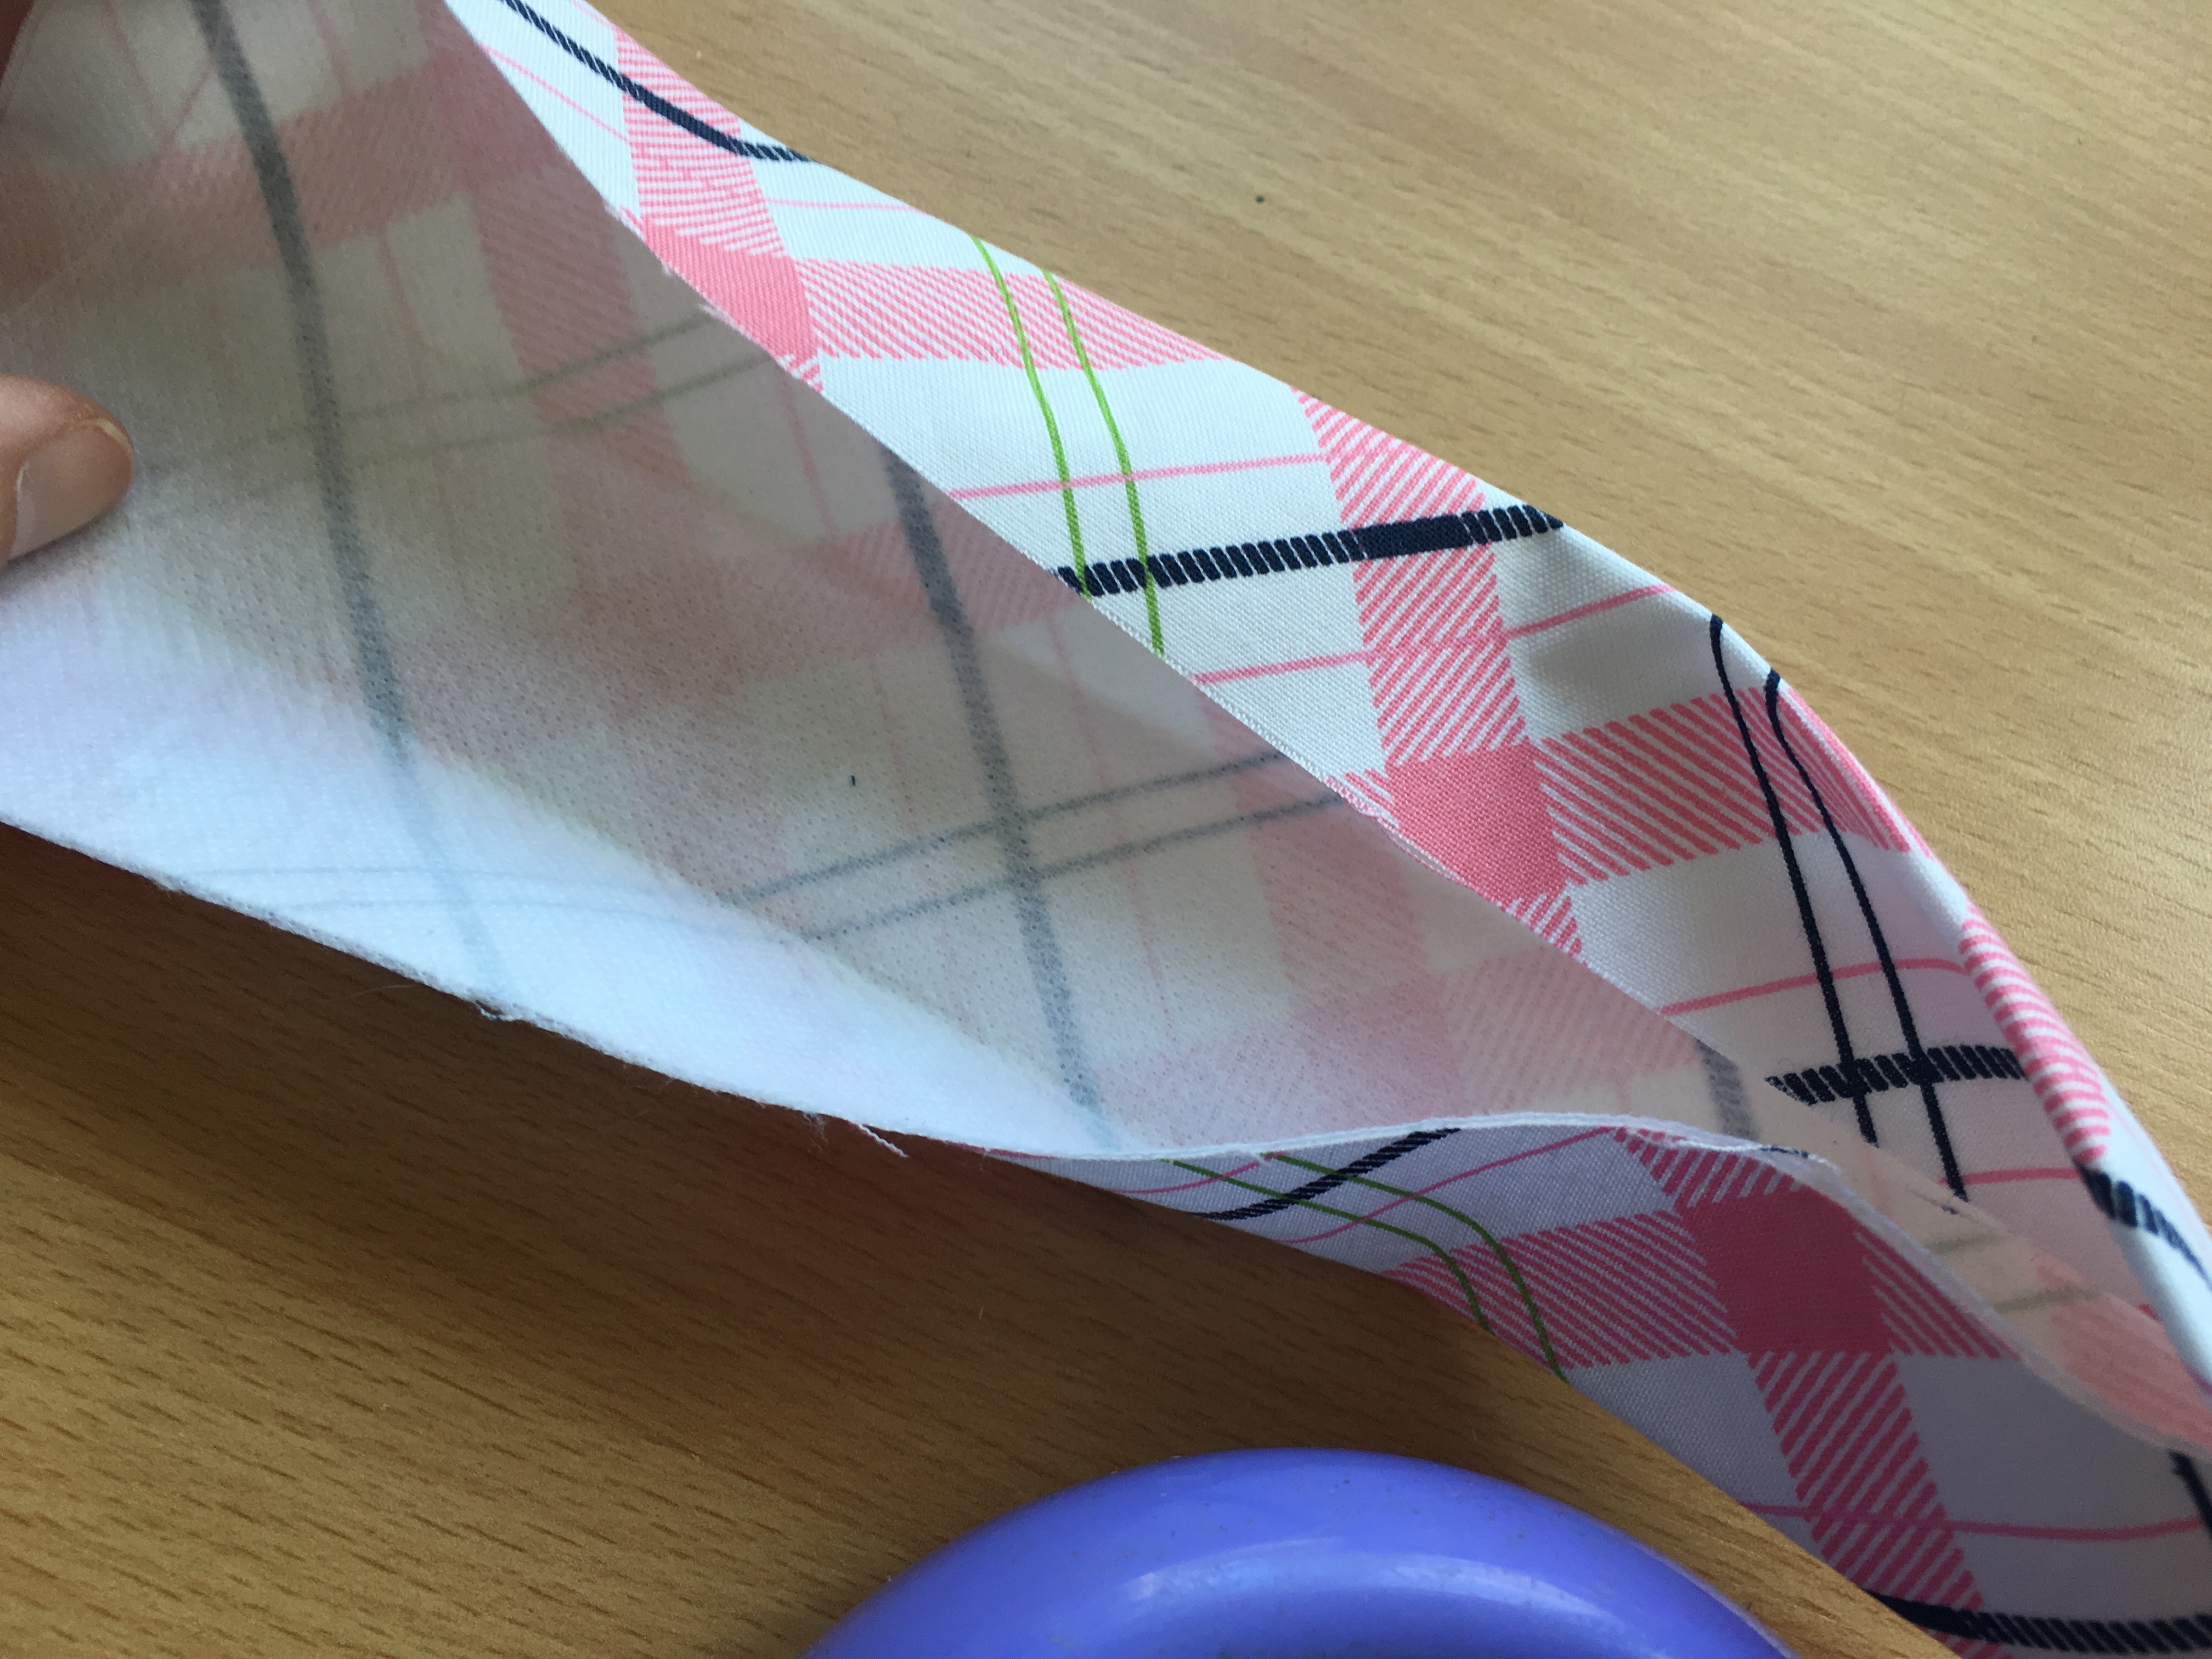
Fuse the stabilizer to the wrong side of each of the handle strips.

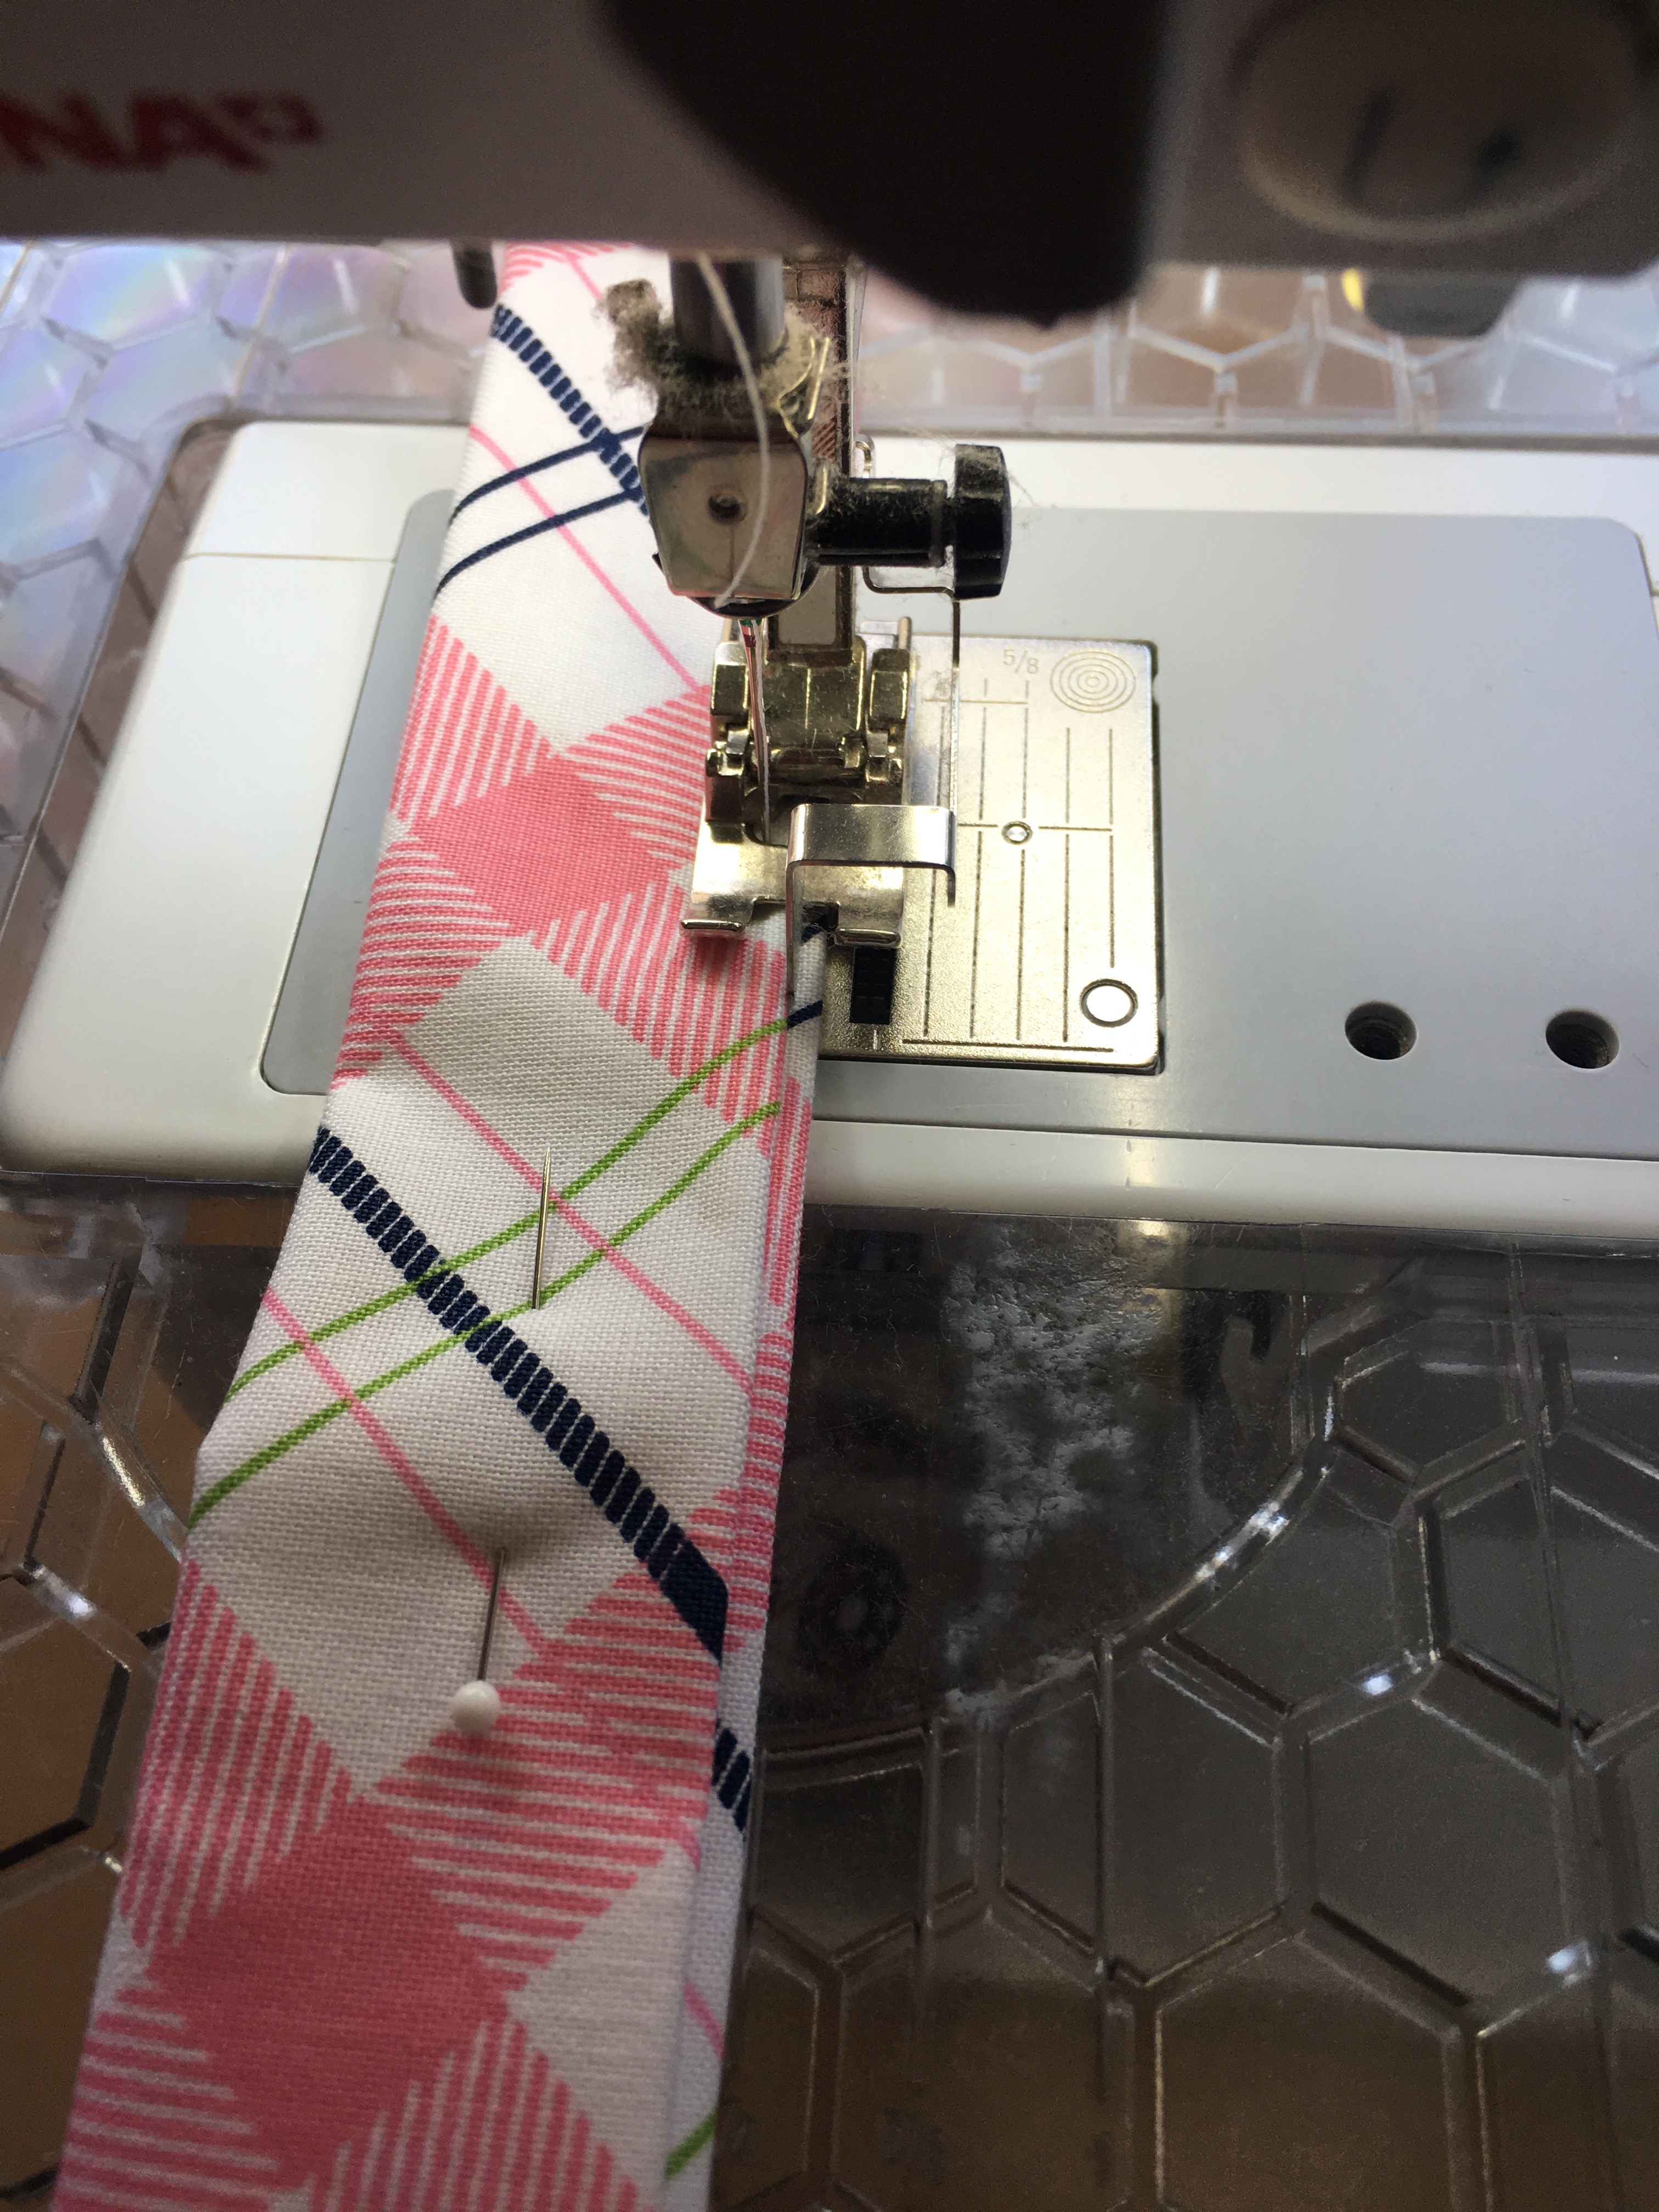
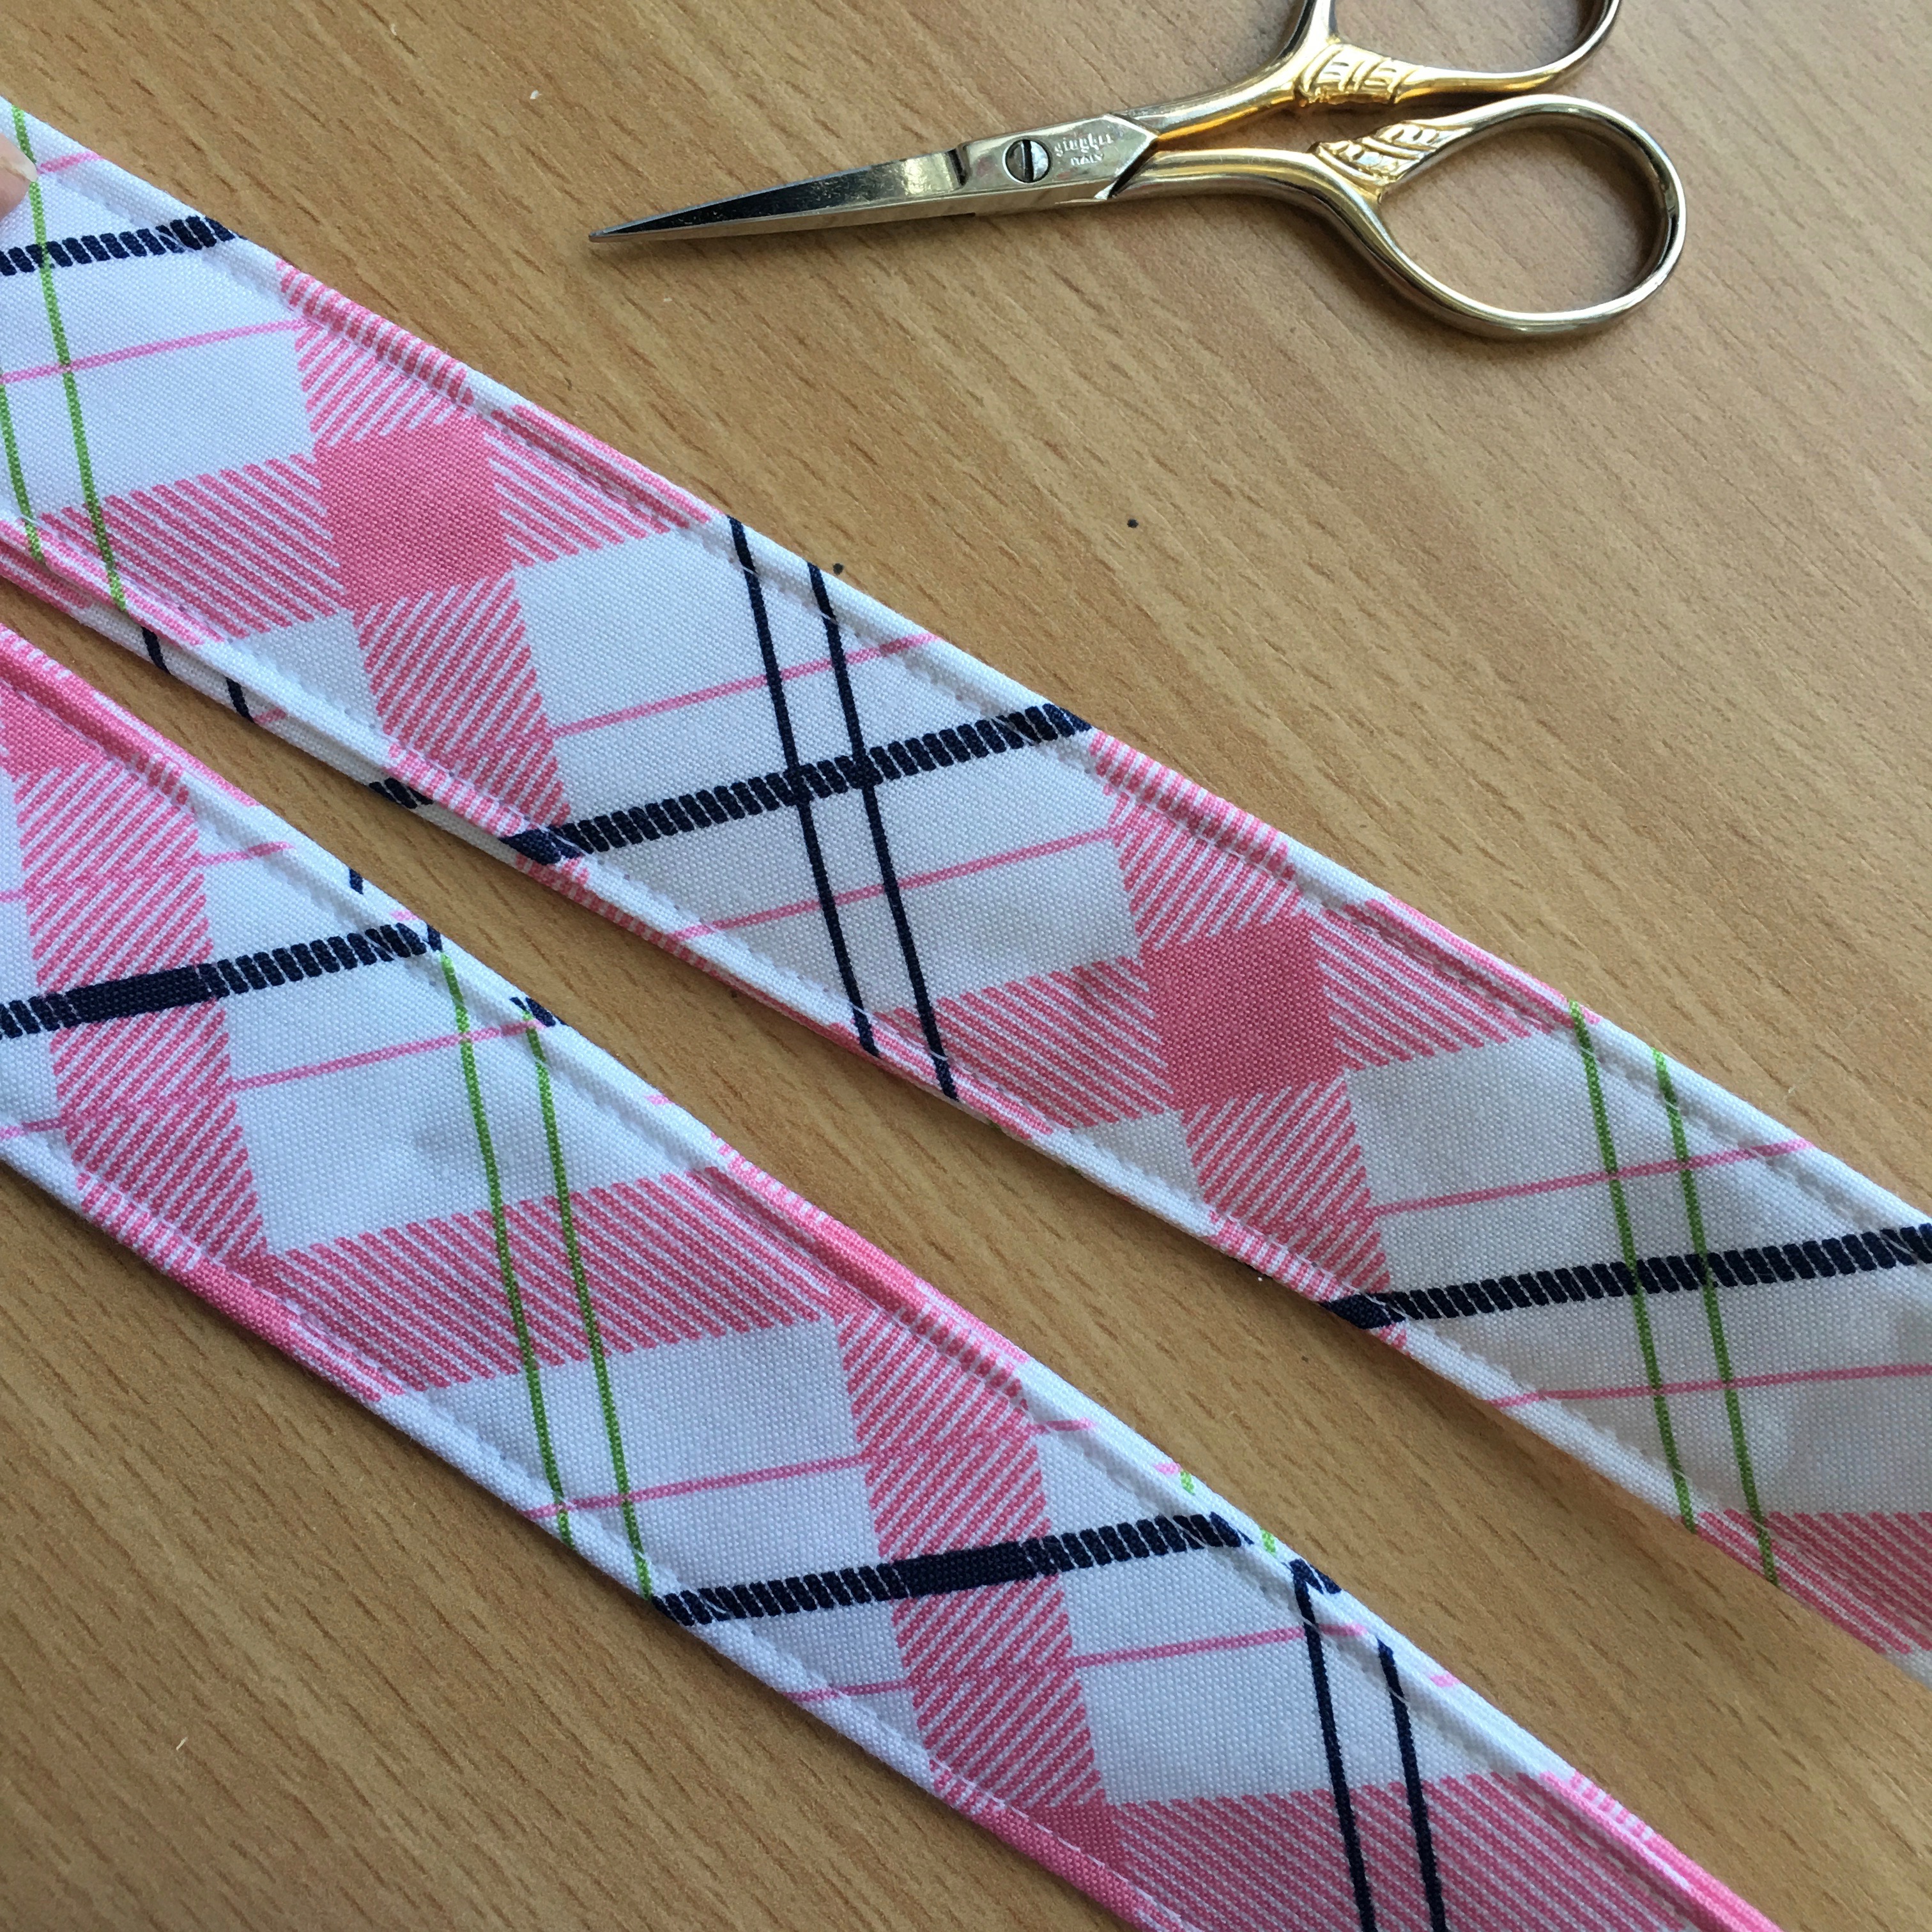
Press in half lengthwise.  Open up and press the long ends in to meet the center.  Press.  Then press in half again.  This makes a super sturdy handle!

IMG_9095

Topstitch along both of the long edges of each handle.

IMG_9096

IMG_9097

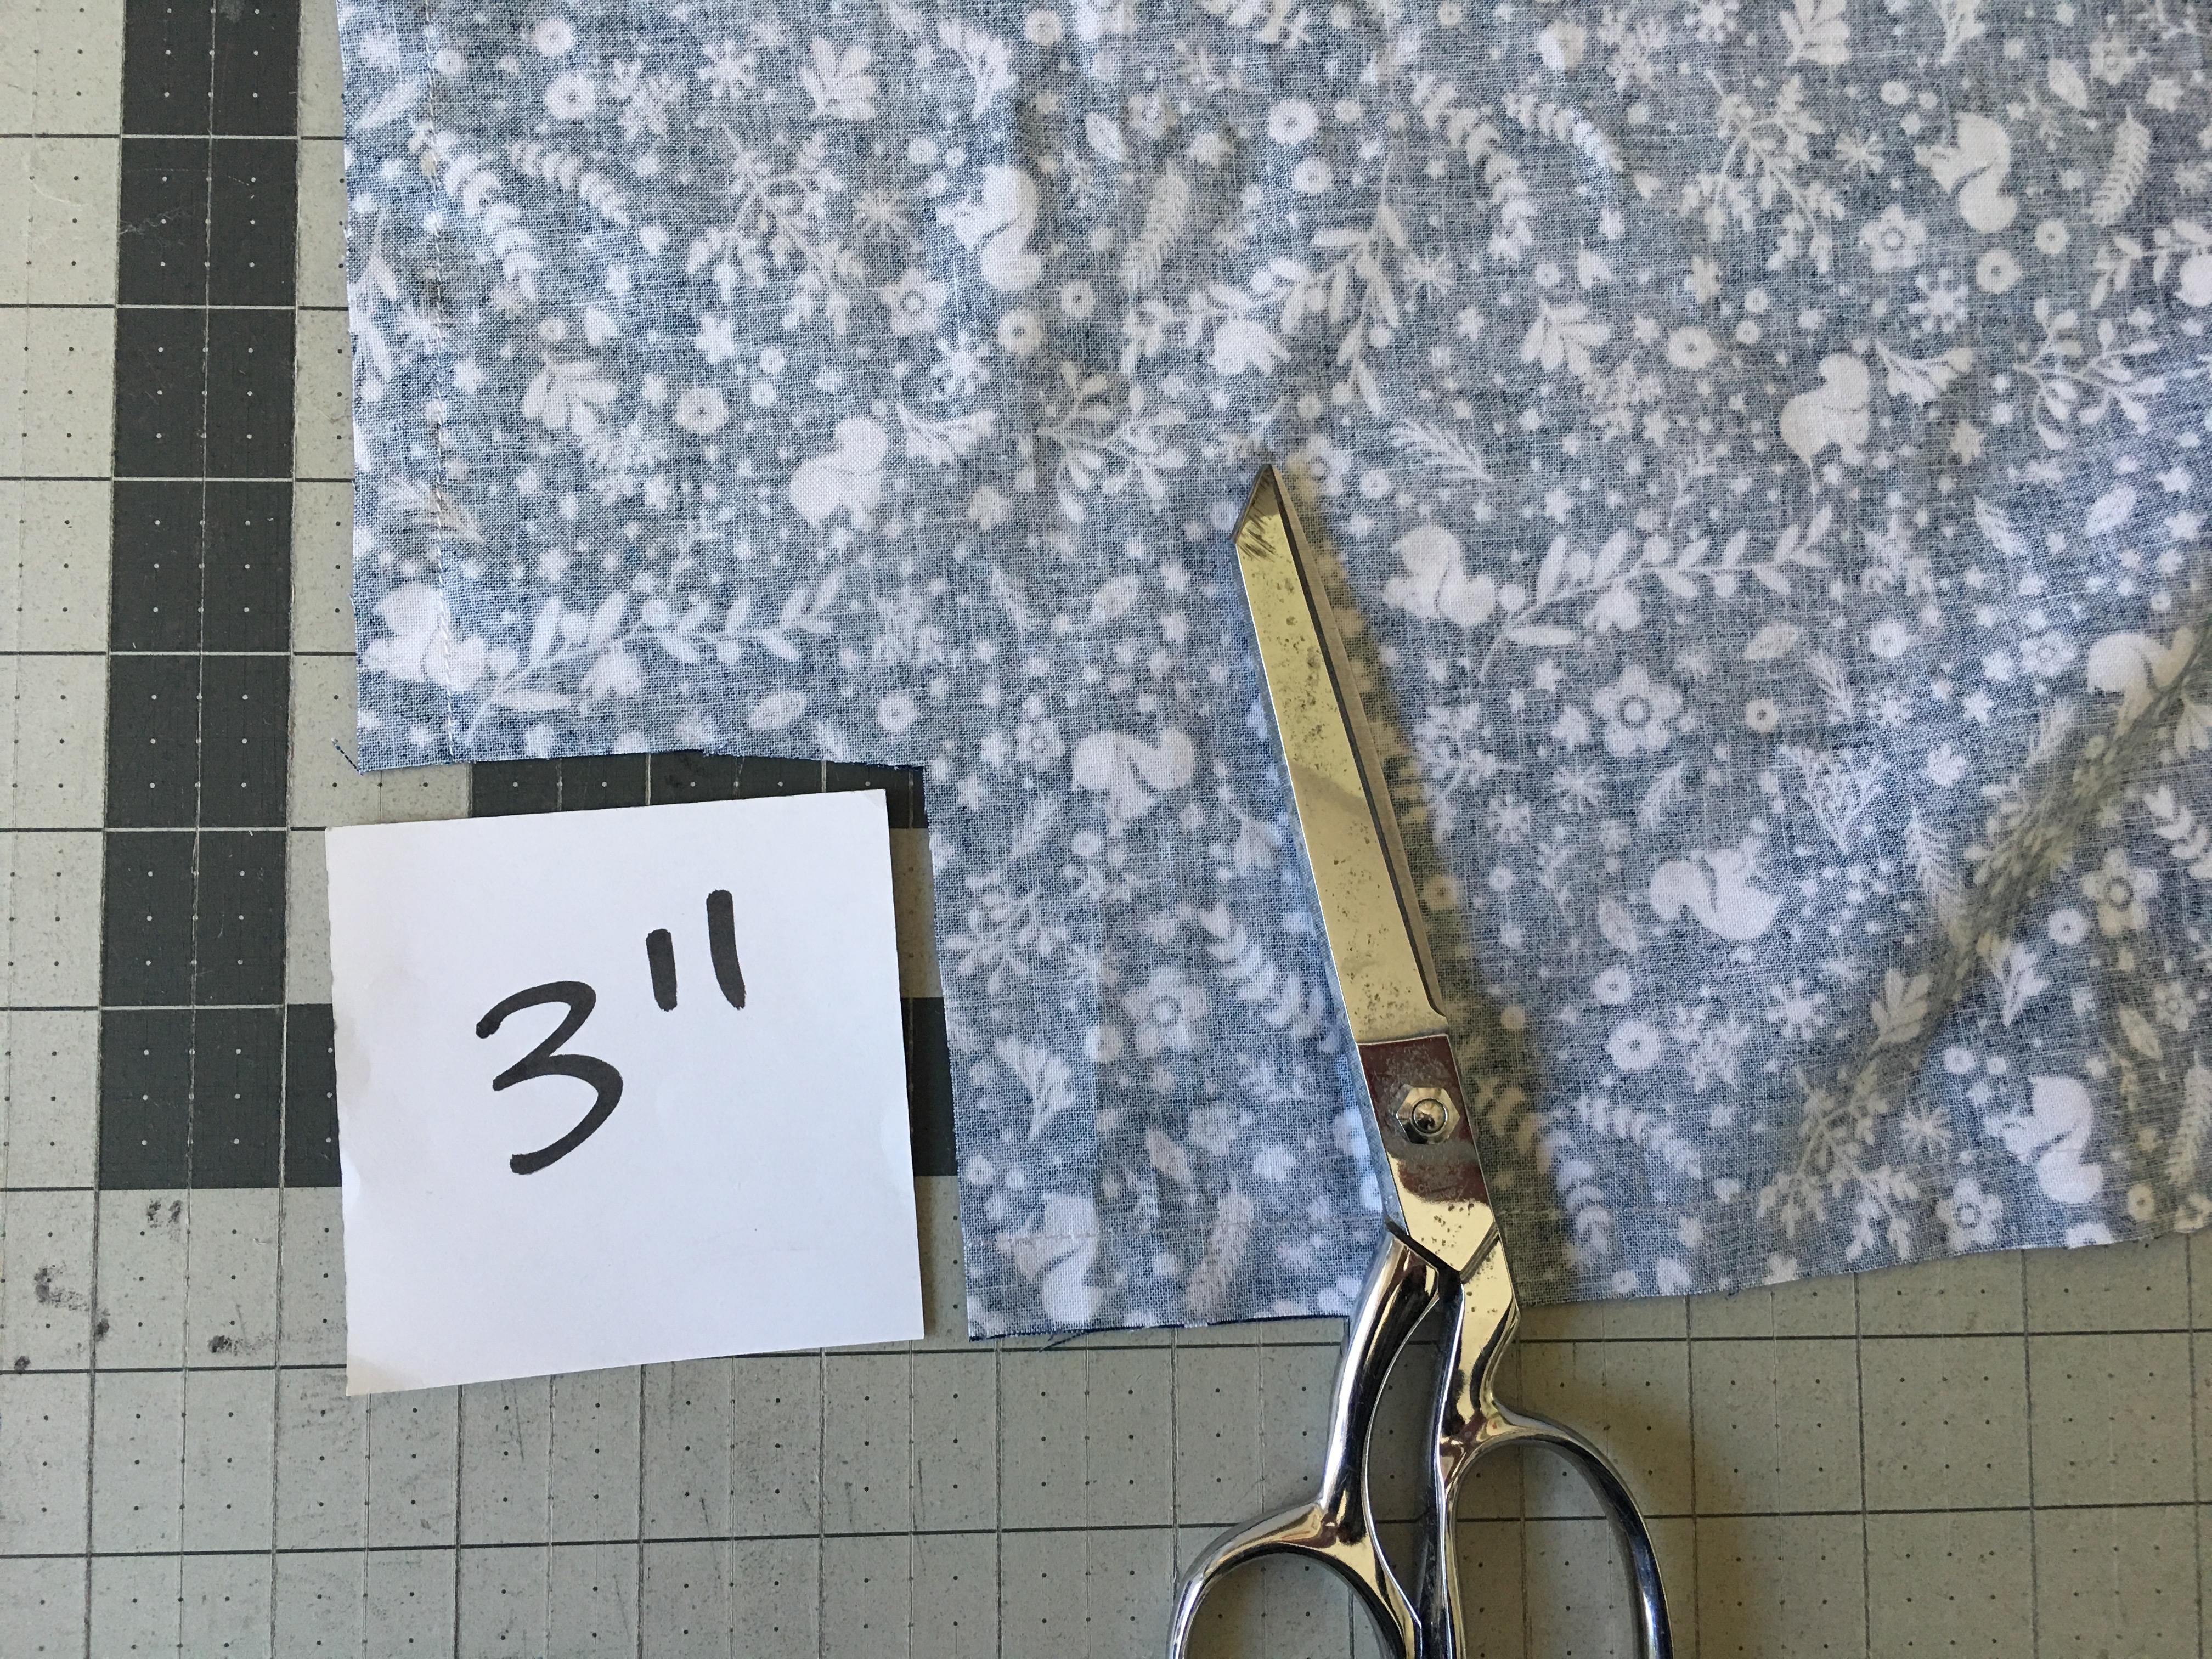
Continue following the bag instructions from this tutorial to complete the bag.  To make the bag bottom, cut a 3″ notch out of the bottom corners of the bag and the lining.

IMG_9100I am so in love with this tote bag!  It is such a great size, and if feels sturdy and it is super preppy plaid cute!!
DSC_0136I’m ready for an Eastern Seaboard Vacation!!!
Together they make the Perfect Preppy Plaid Pair!!!!!
DSC_0110

Enchanted logo 2

Be sure to check out these amazing designers to see what they’ve created using Riley Blake’s Enchanted Fabric!!!

Blog Tour Schedule

Monday, Jan 23rd – Little Londyn

Tuesday, Jan 24th – Jedi Craft Girl

Wednesday, Jan 25th – Loose Threads

Thursday, Jan 26th – Meags and Me

Friday, Jan 27th – Pretty by Hand

Monday, Jan 30th – Tie Dye Diva

Tuesday, Jan 31st – Two Sisters as Squirrel Hallow

Wednesday, Feb 1st – Striped Swallow Designs

Thursday, Feb 2nd – Izzy and Ivy

Friday, Feb 3rd – Ellis and Higgs

Monday, Feb 6th – Aurifil

Tuesday, Feb 7th – The Crafy Quilter

Wednesday, Feb 8th – Two Sisters at Squirrel Hallow

Thursday, Feb 9th – Jina Barney Designz

Friday, Feb 10th – Riley Blake

You could win a bundle of Enchanted fabric by visiting Dodi’s blog, Loose Threads (www.sashgals.com) and leaving a comment.

One entry per blog post, per day of the Blog Tour, there on Loose Threads.

Enter every day to increase your chance of winning!!!

Five Fat Quarter Fun {Cabin Fever}

5 fat quarter fun logo

five fat quarter fun quilt

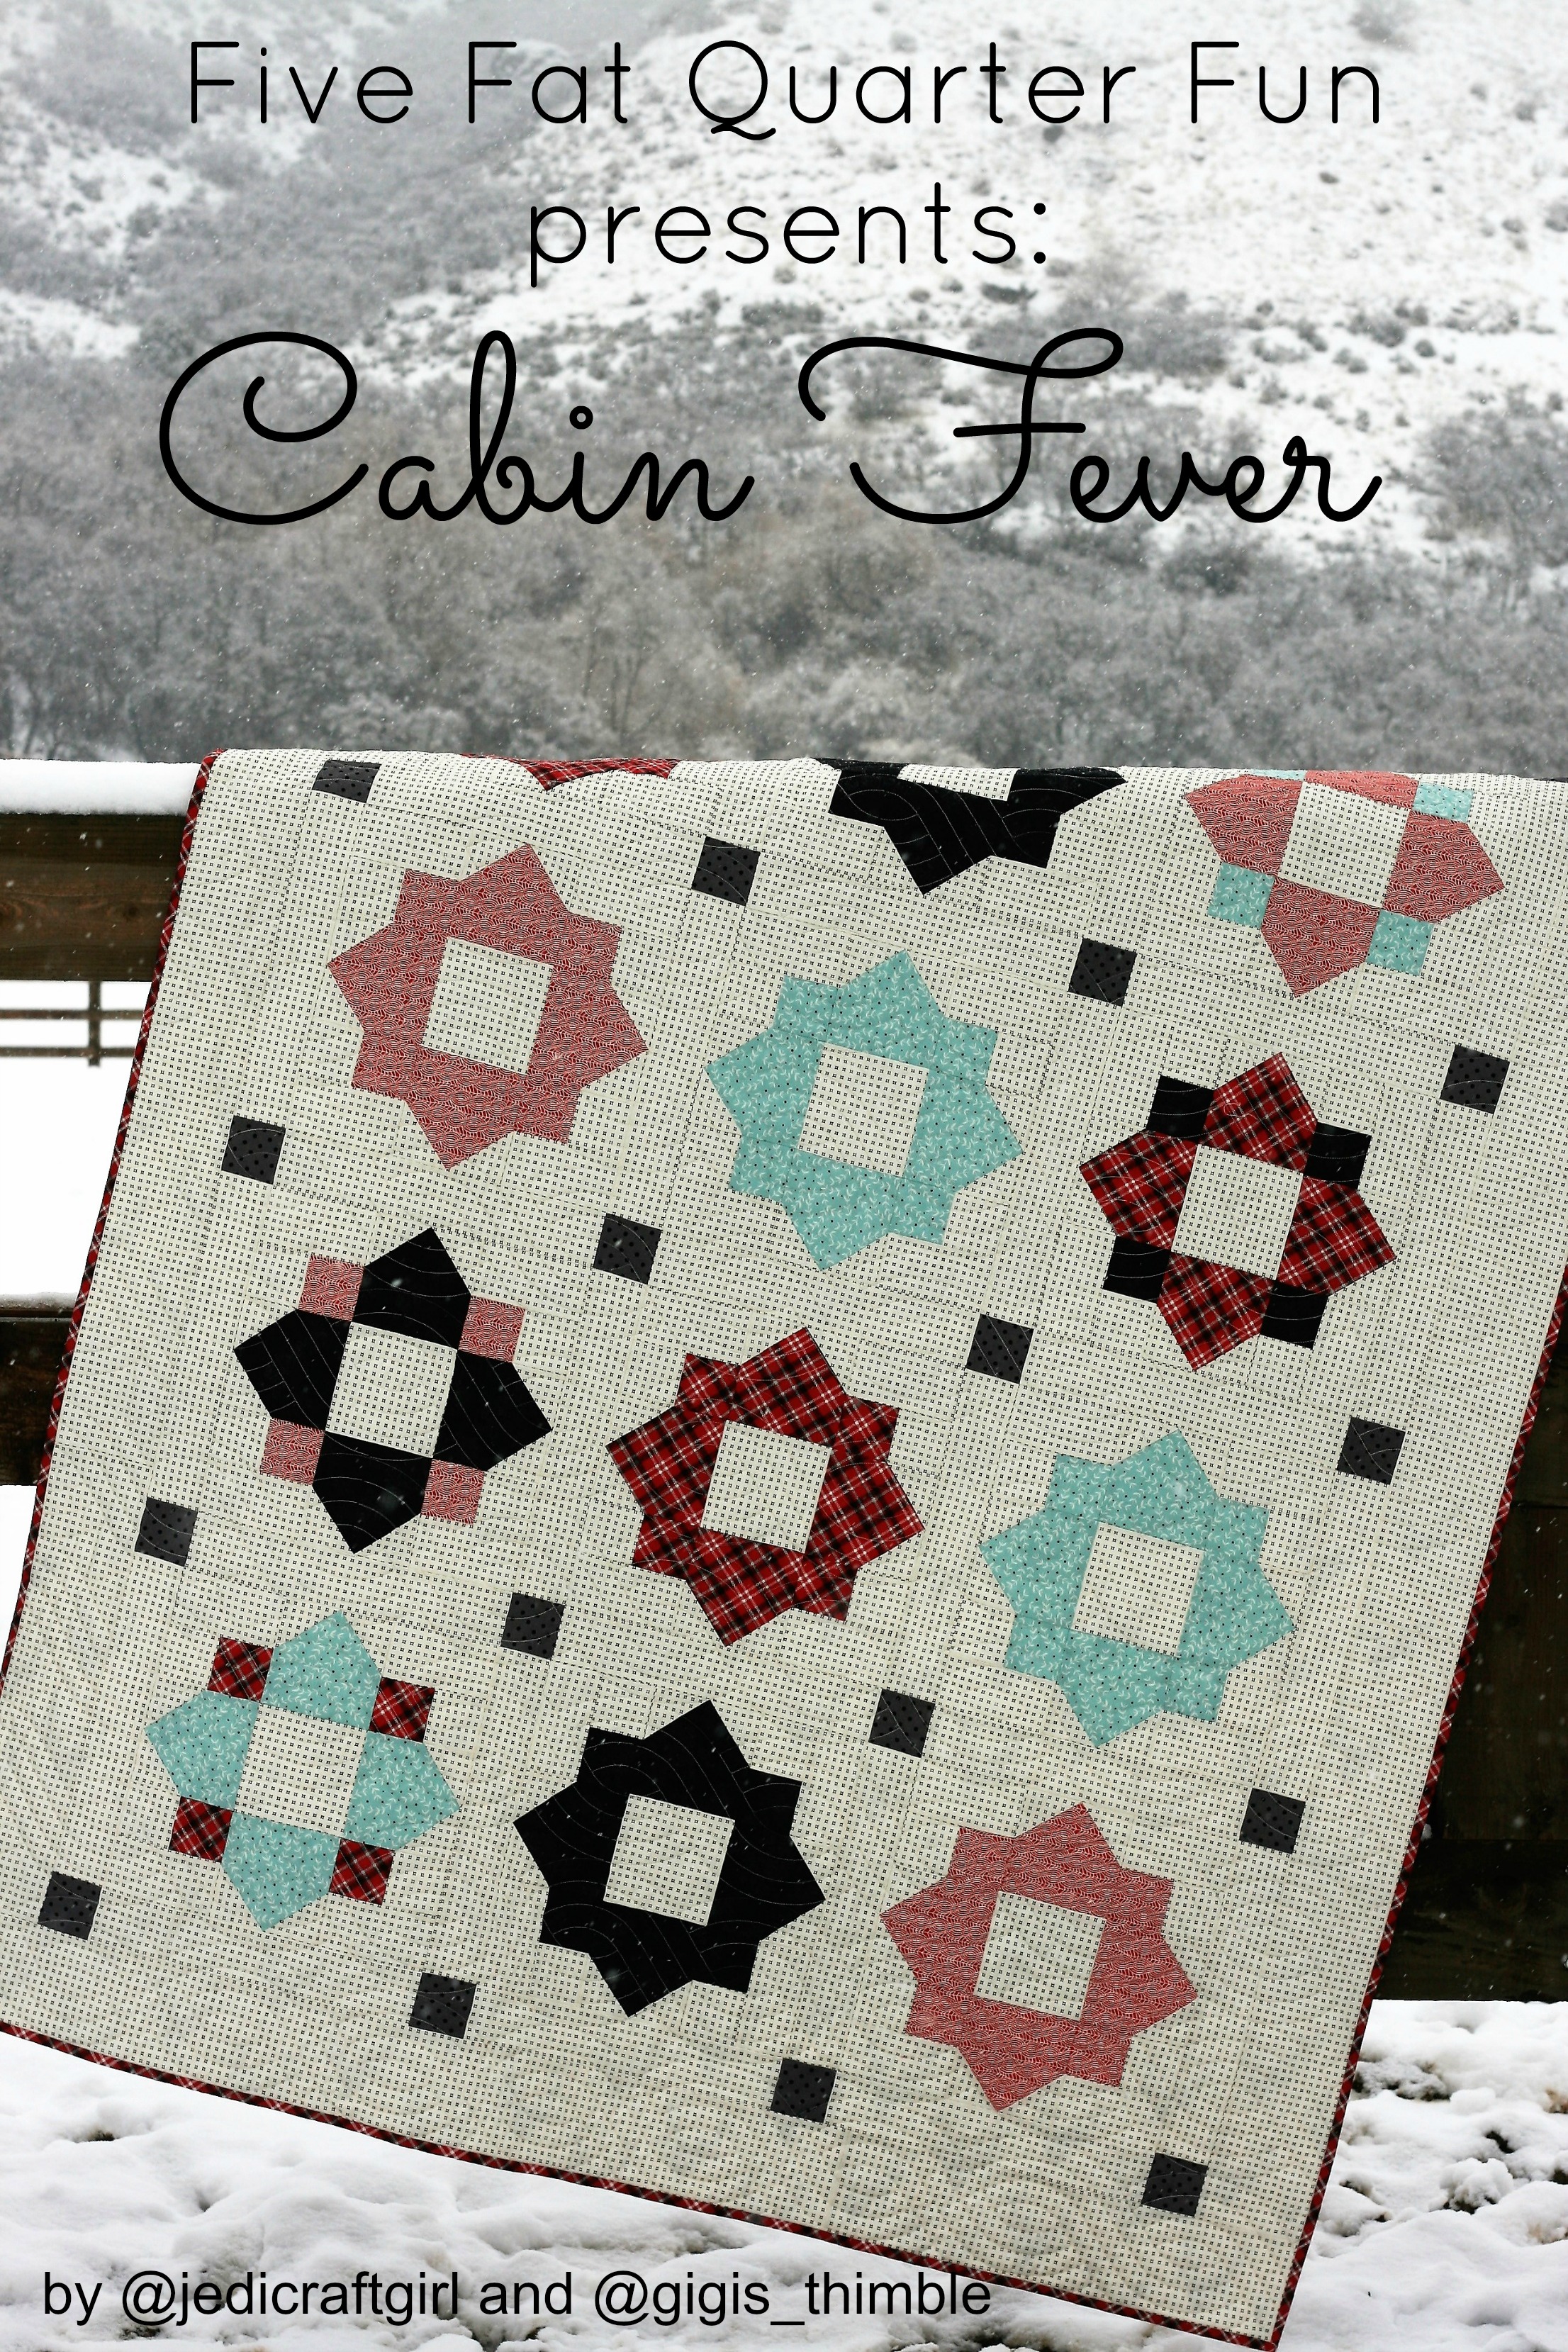
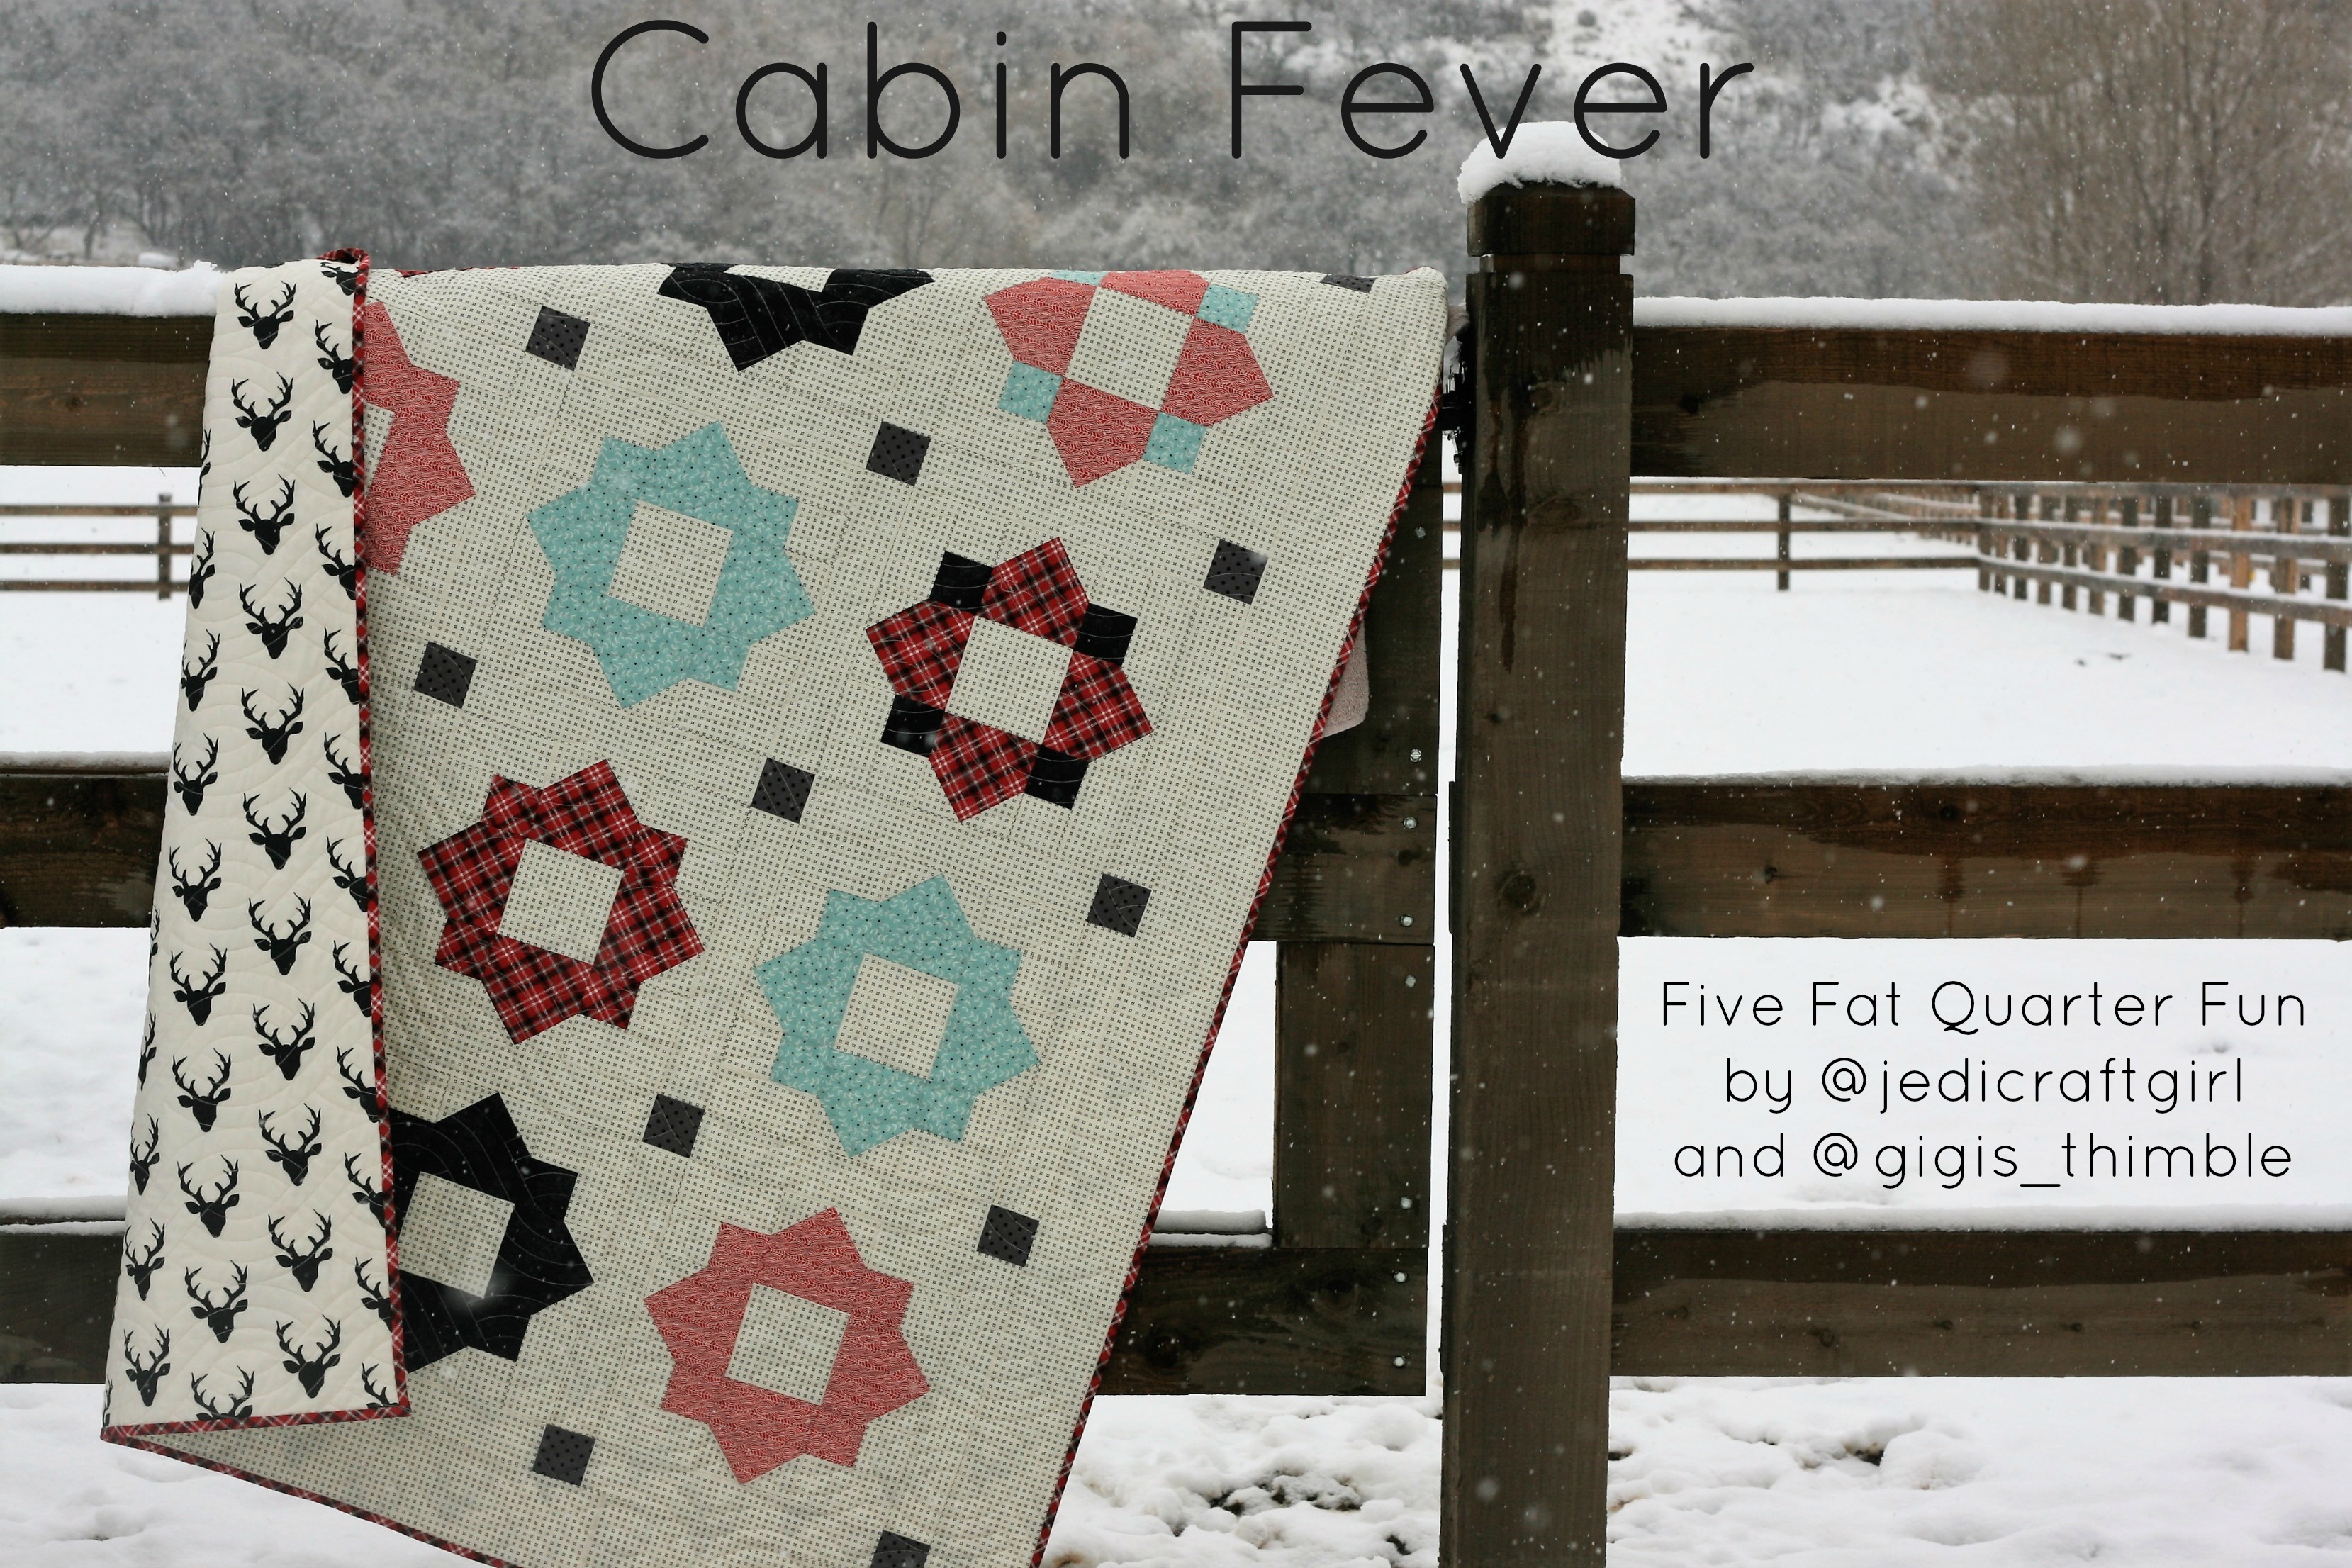
We are super excited to bring you the second edition of 5 Fat Quarter Fun!!!  Amber from Gigi’s Thimble and I have been cooped up all January – she lives in the snow and it’s been raining every day here in Southern California!  This quilt is the perfect quilt to snuggle with on the couch while you watch the winter weather.  And best of all…..you only need 5 fat quarters and background yardage to get started!!DSC_0930 2

I love how Amber and I used the exact same pattern and our quilts have totally different looks!  So fun!!!

DSC_0974

fat quarter fun quilt

DSC_0945
You can download the quilt pattern over on Amber’s blog, click HERE.IMG_8710

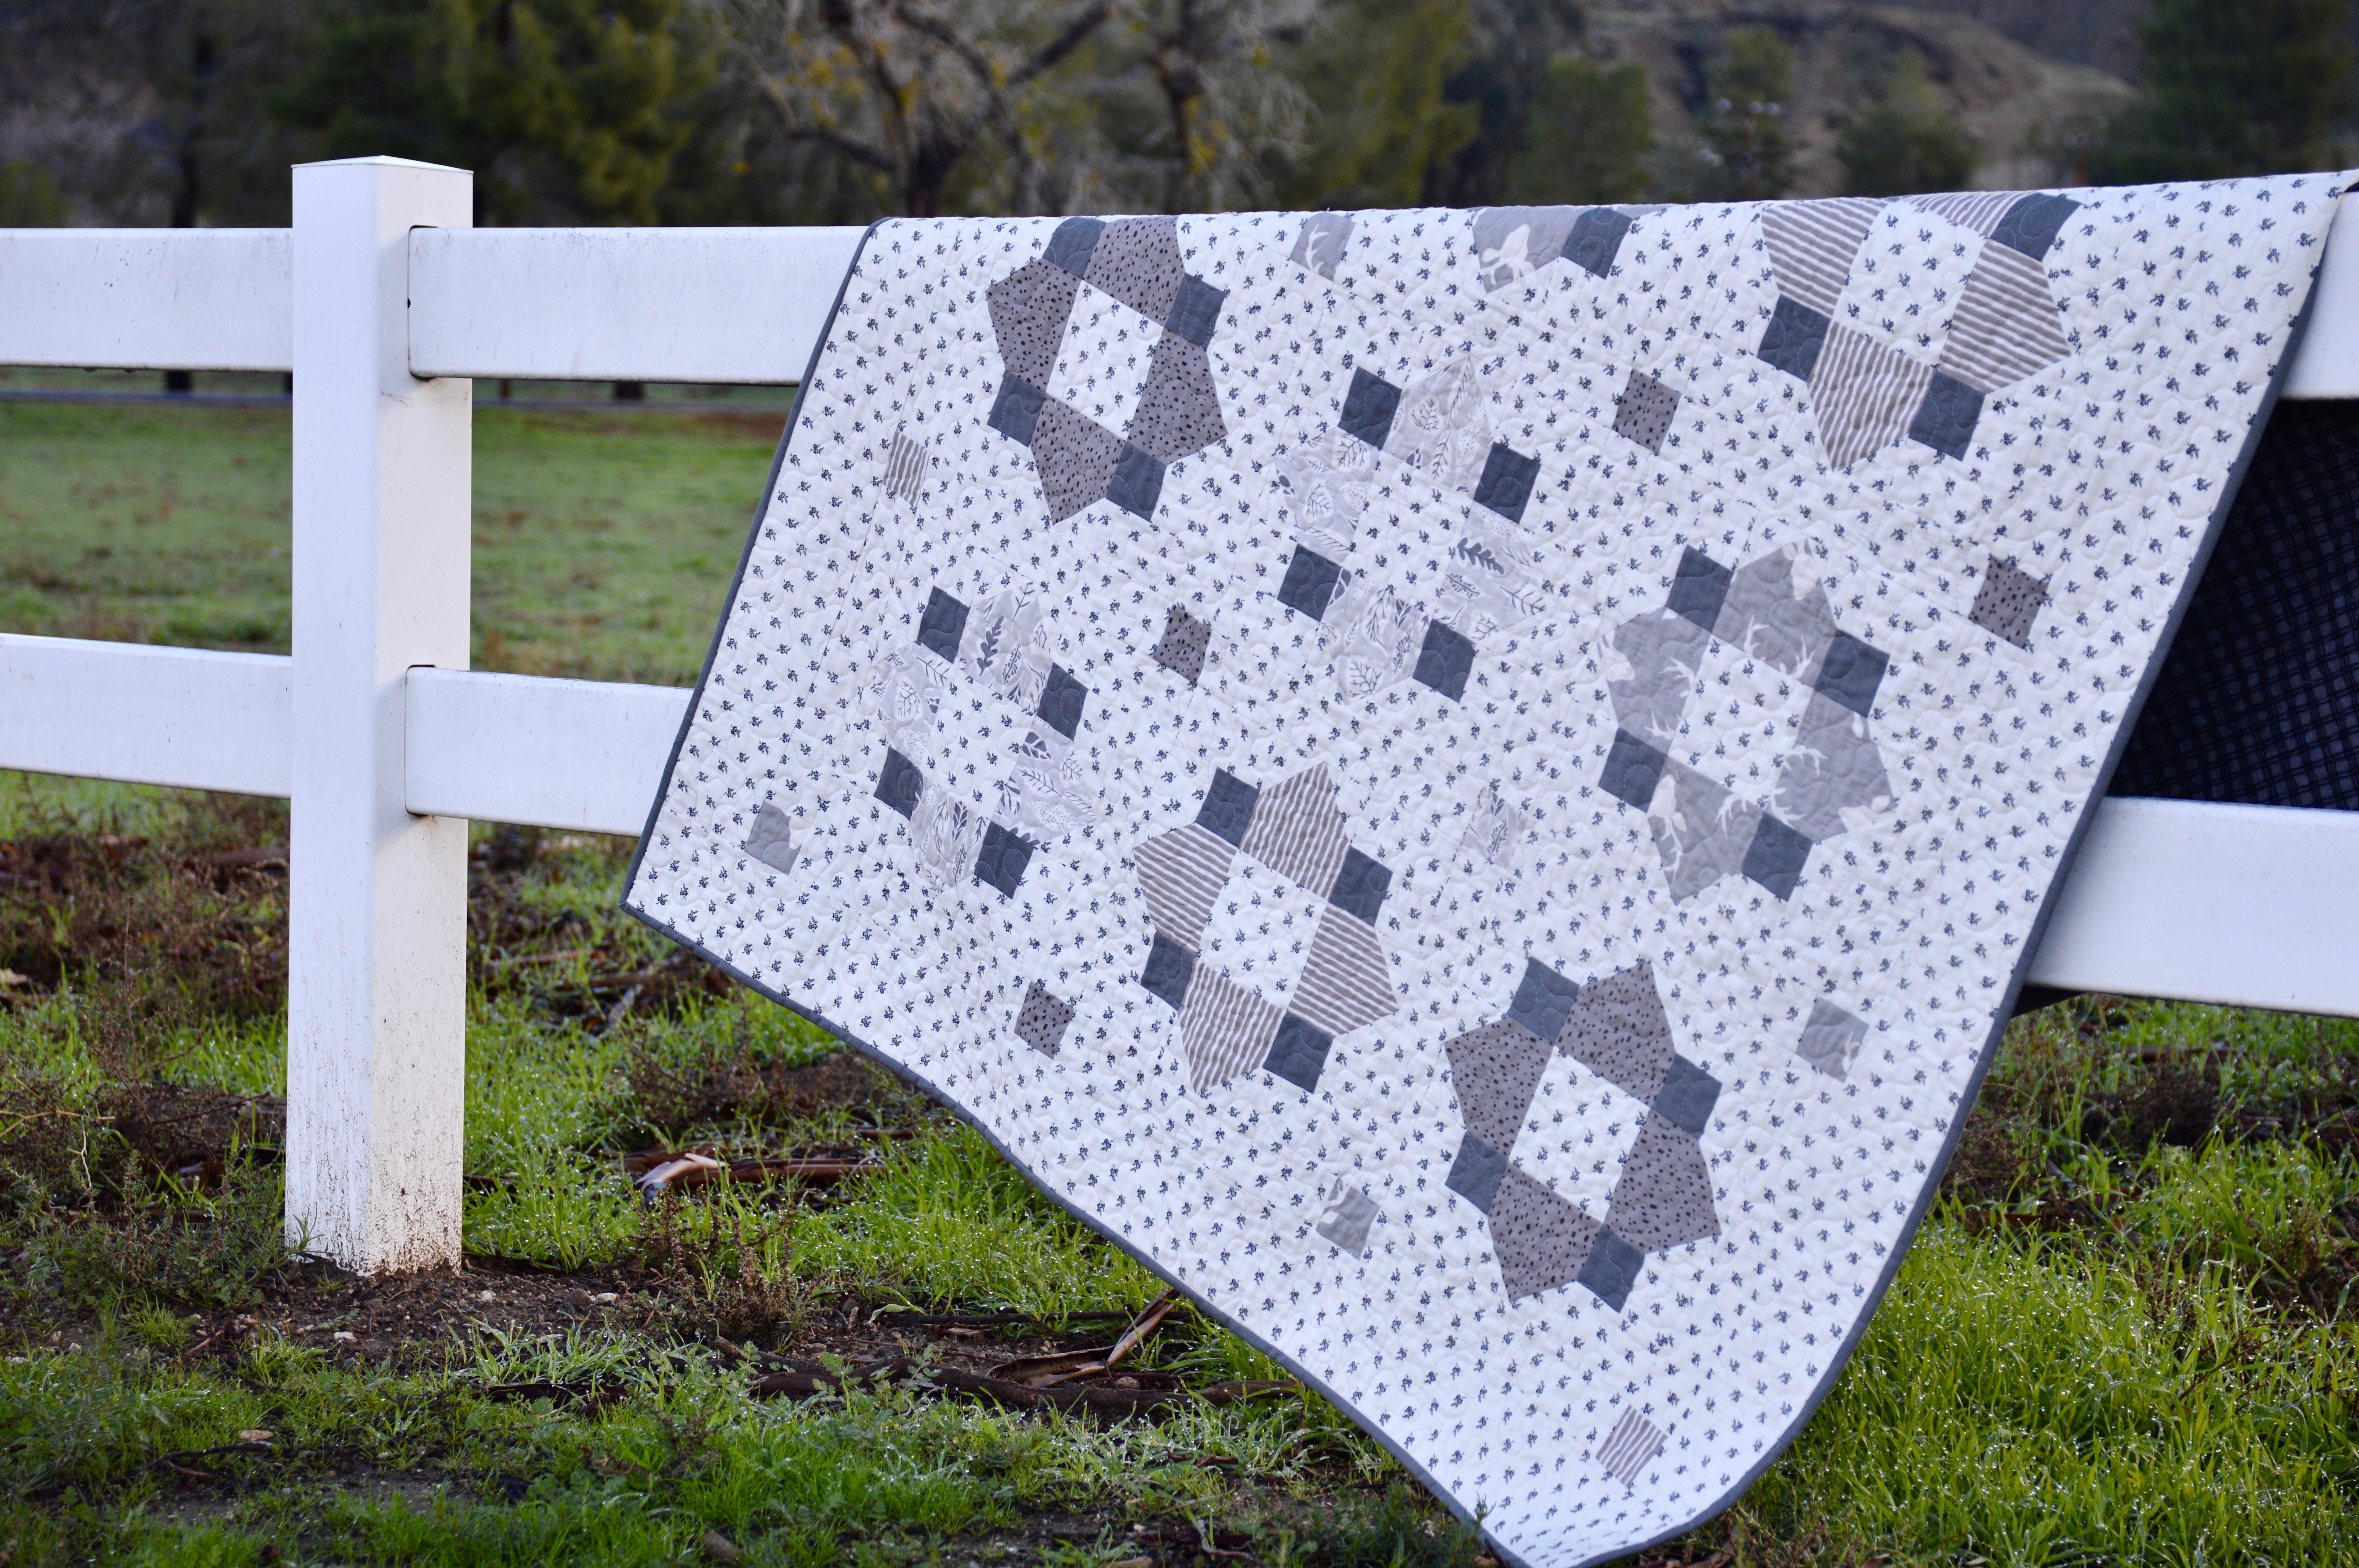
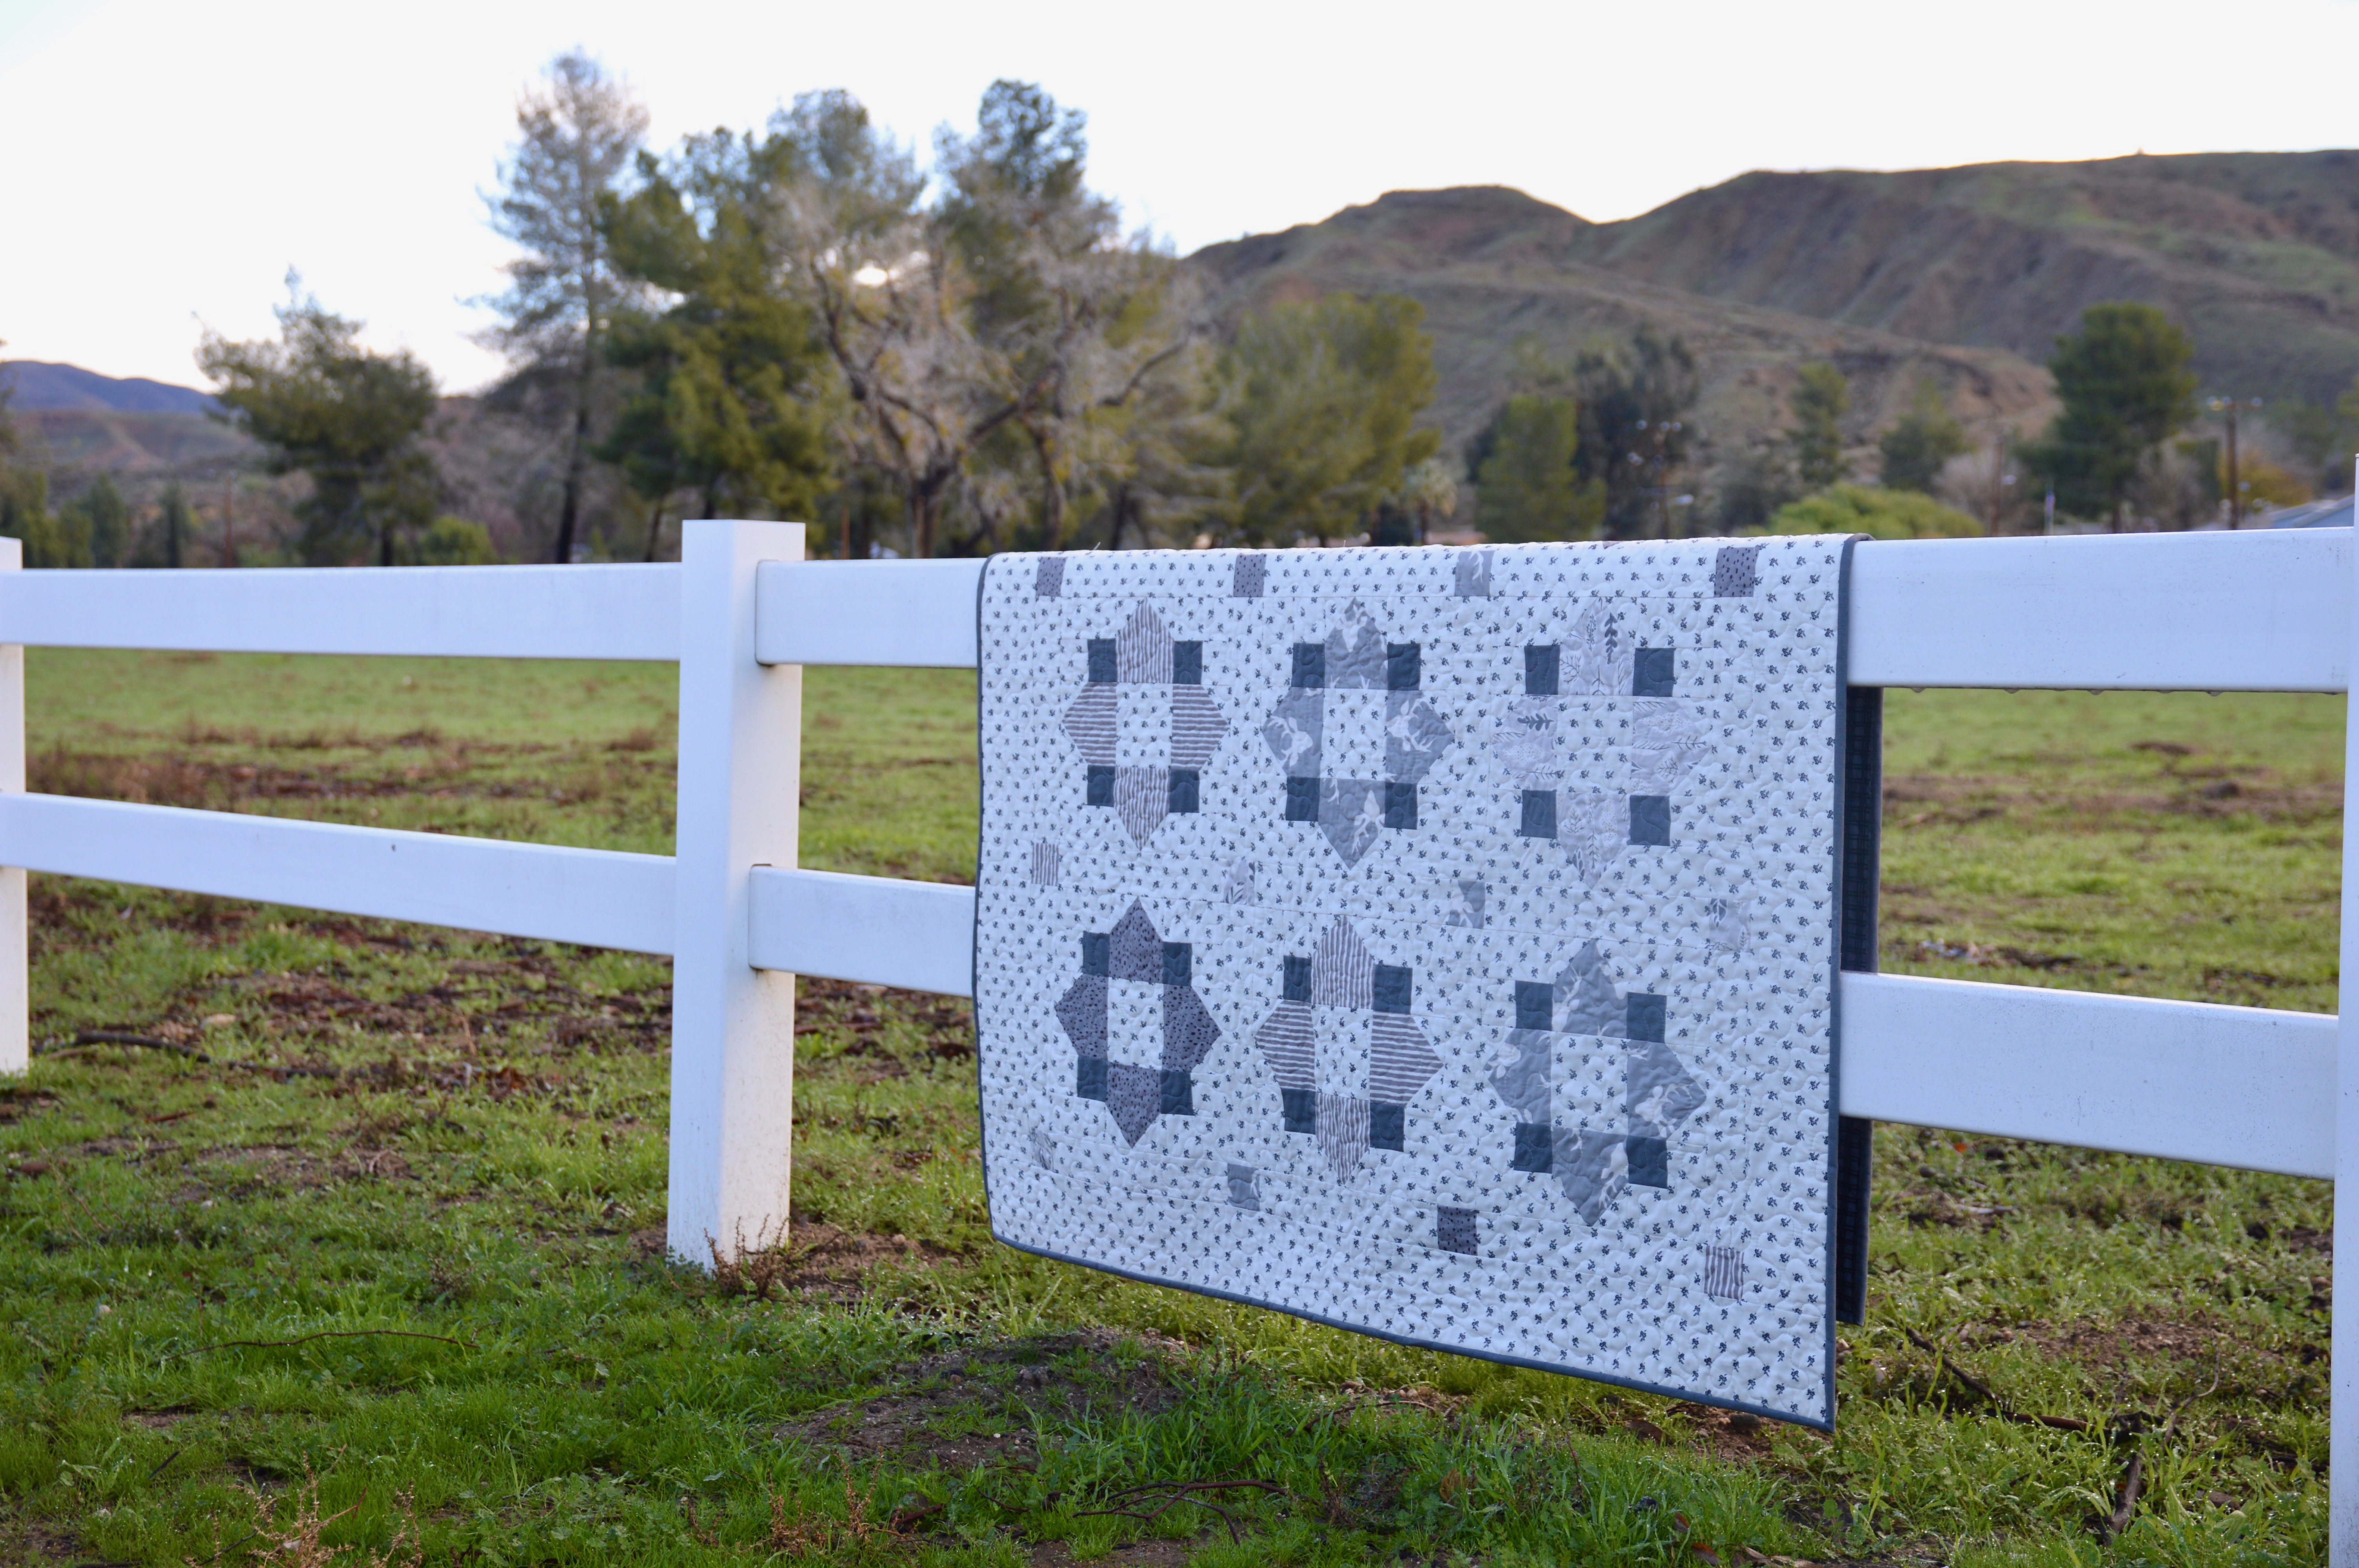
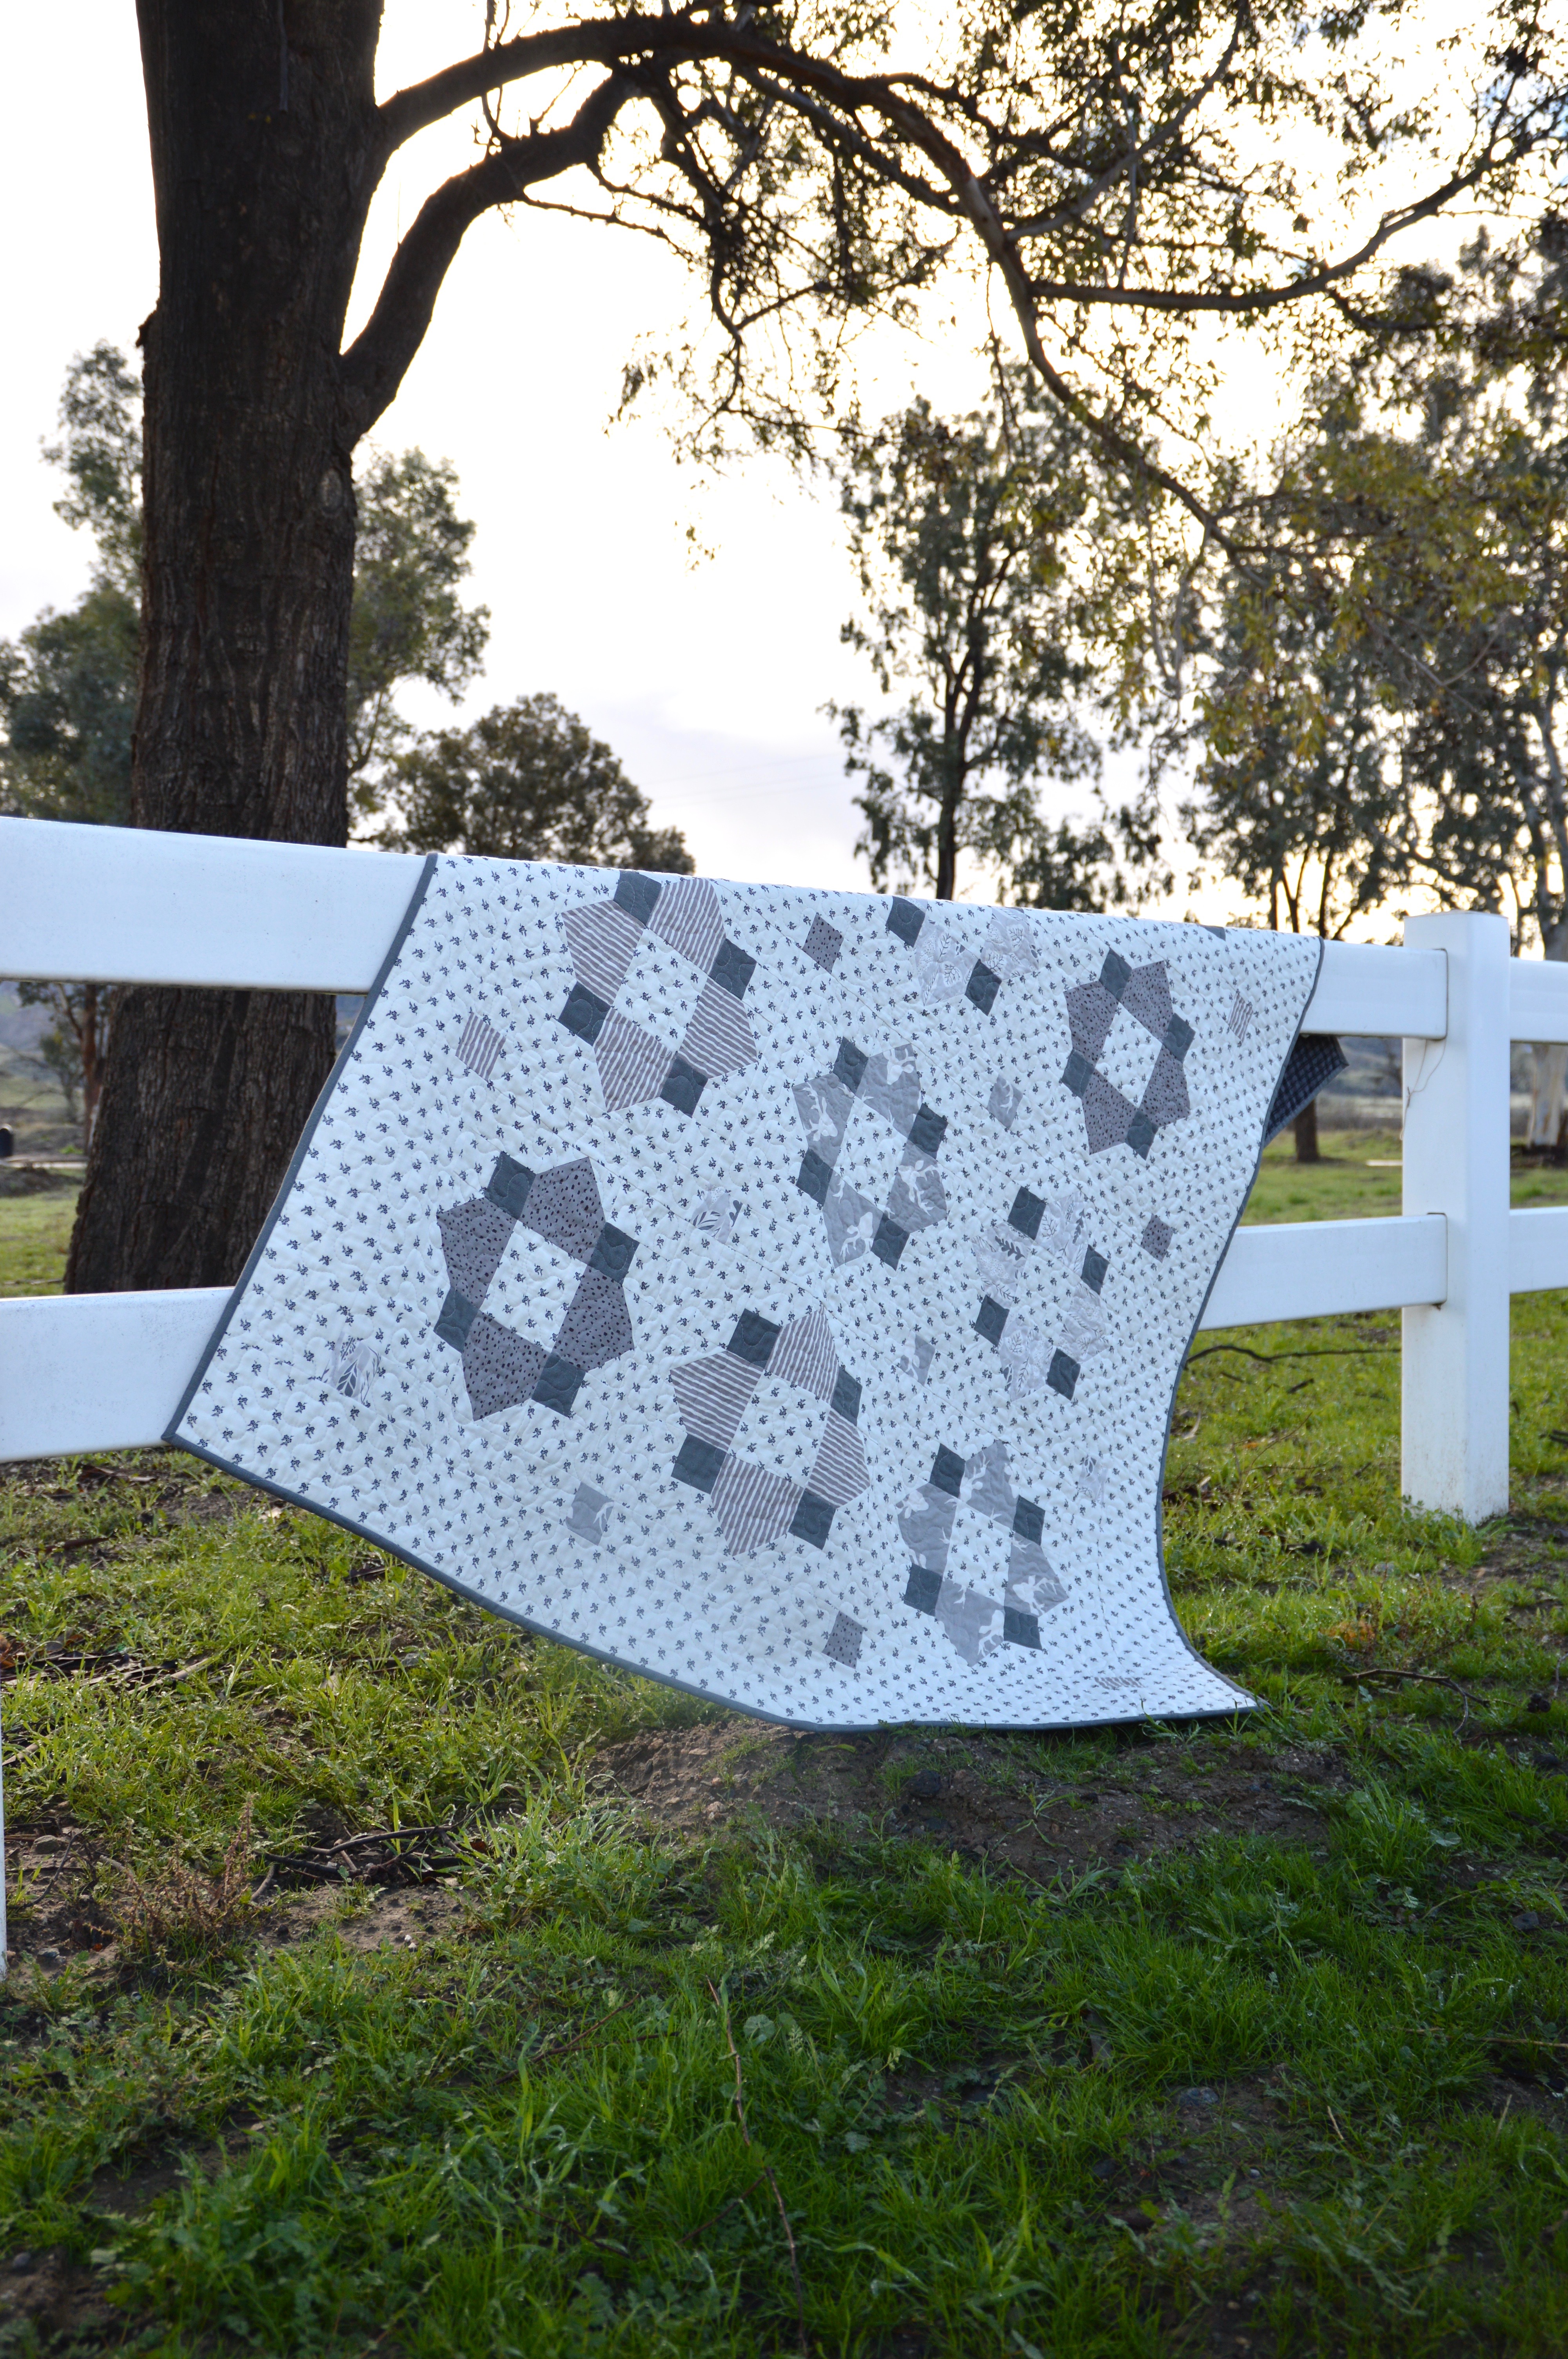
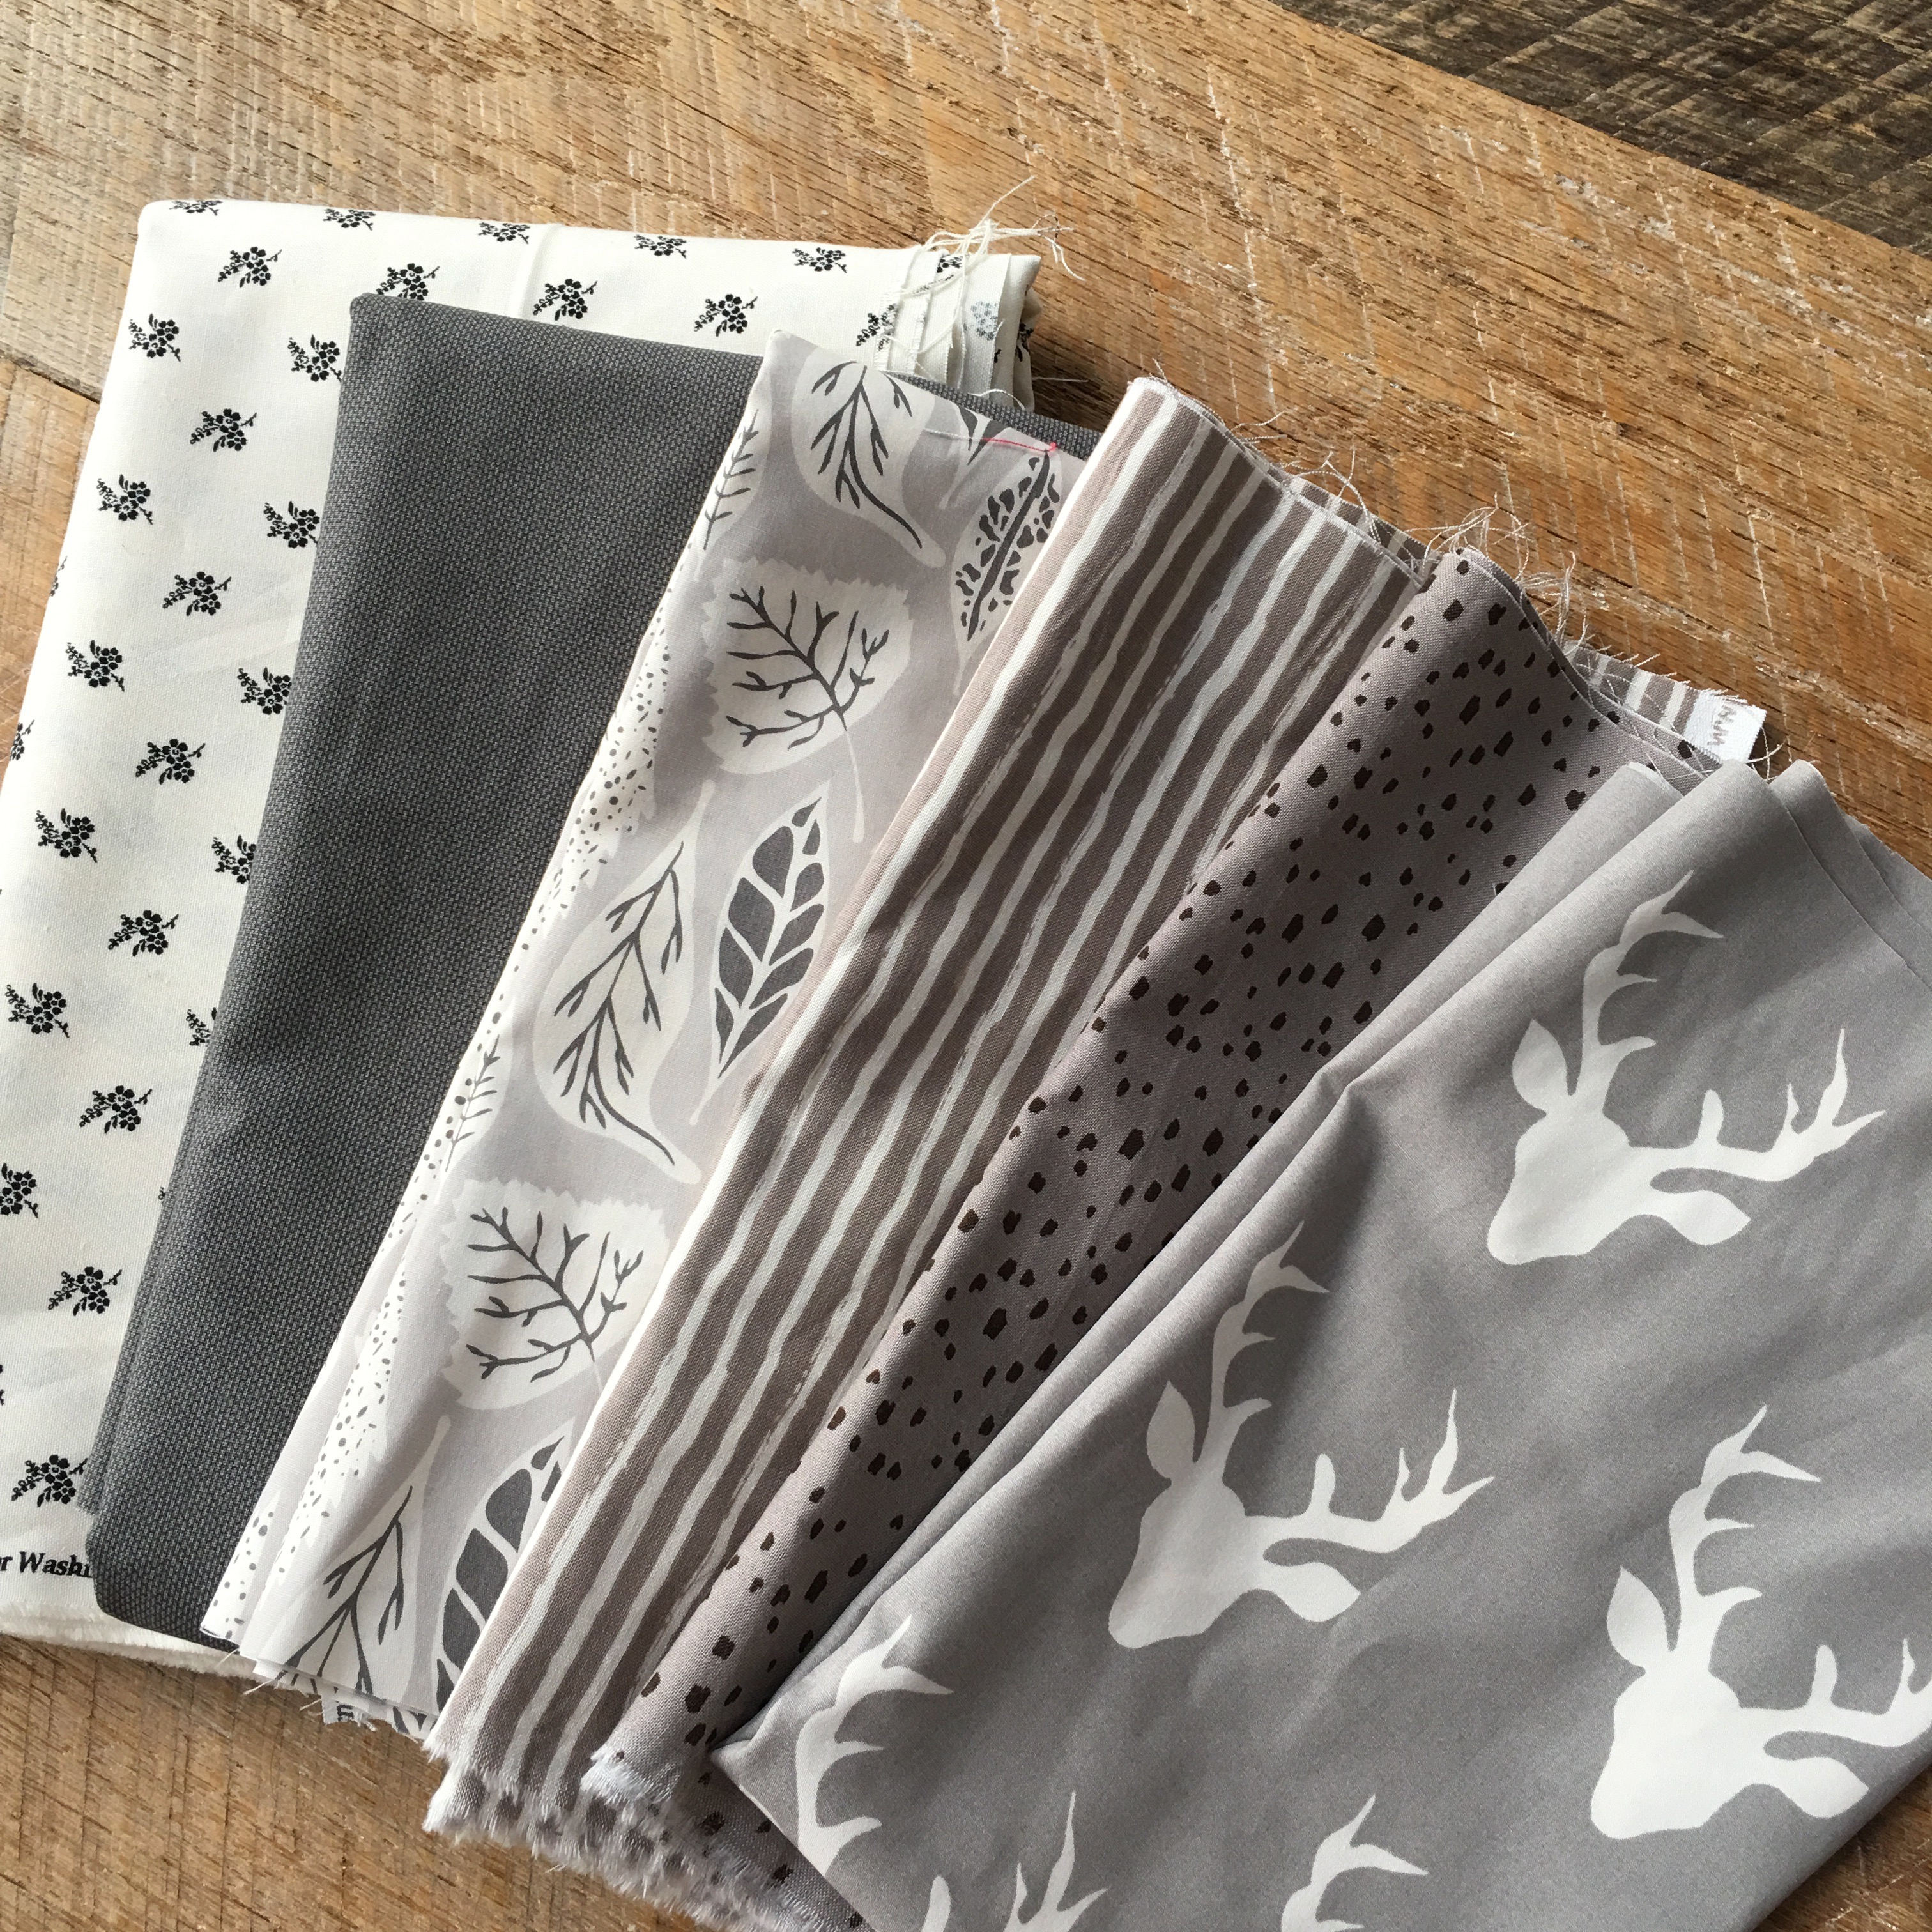
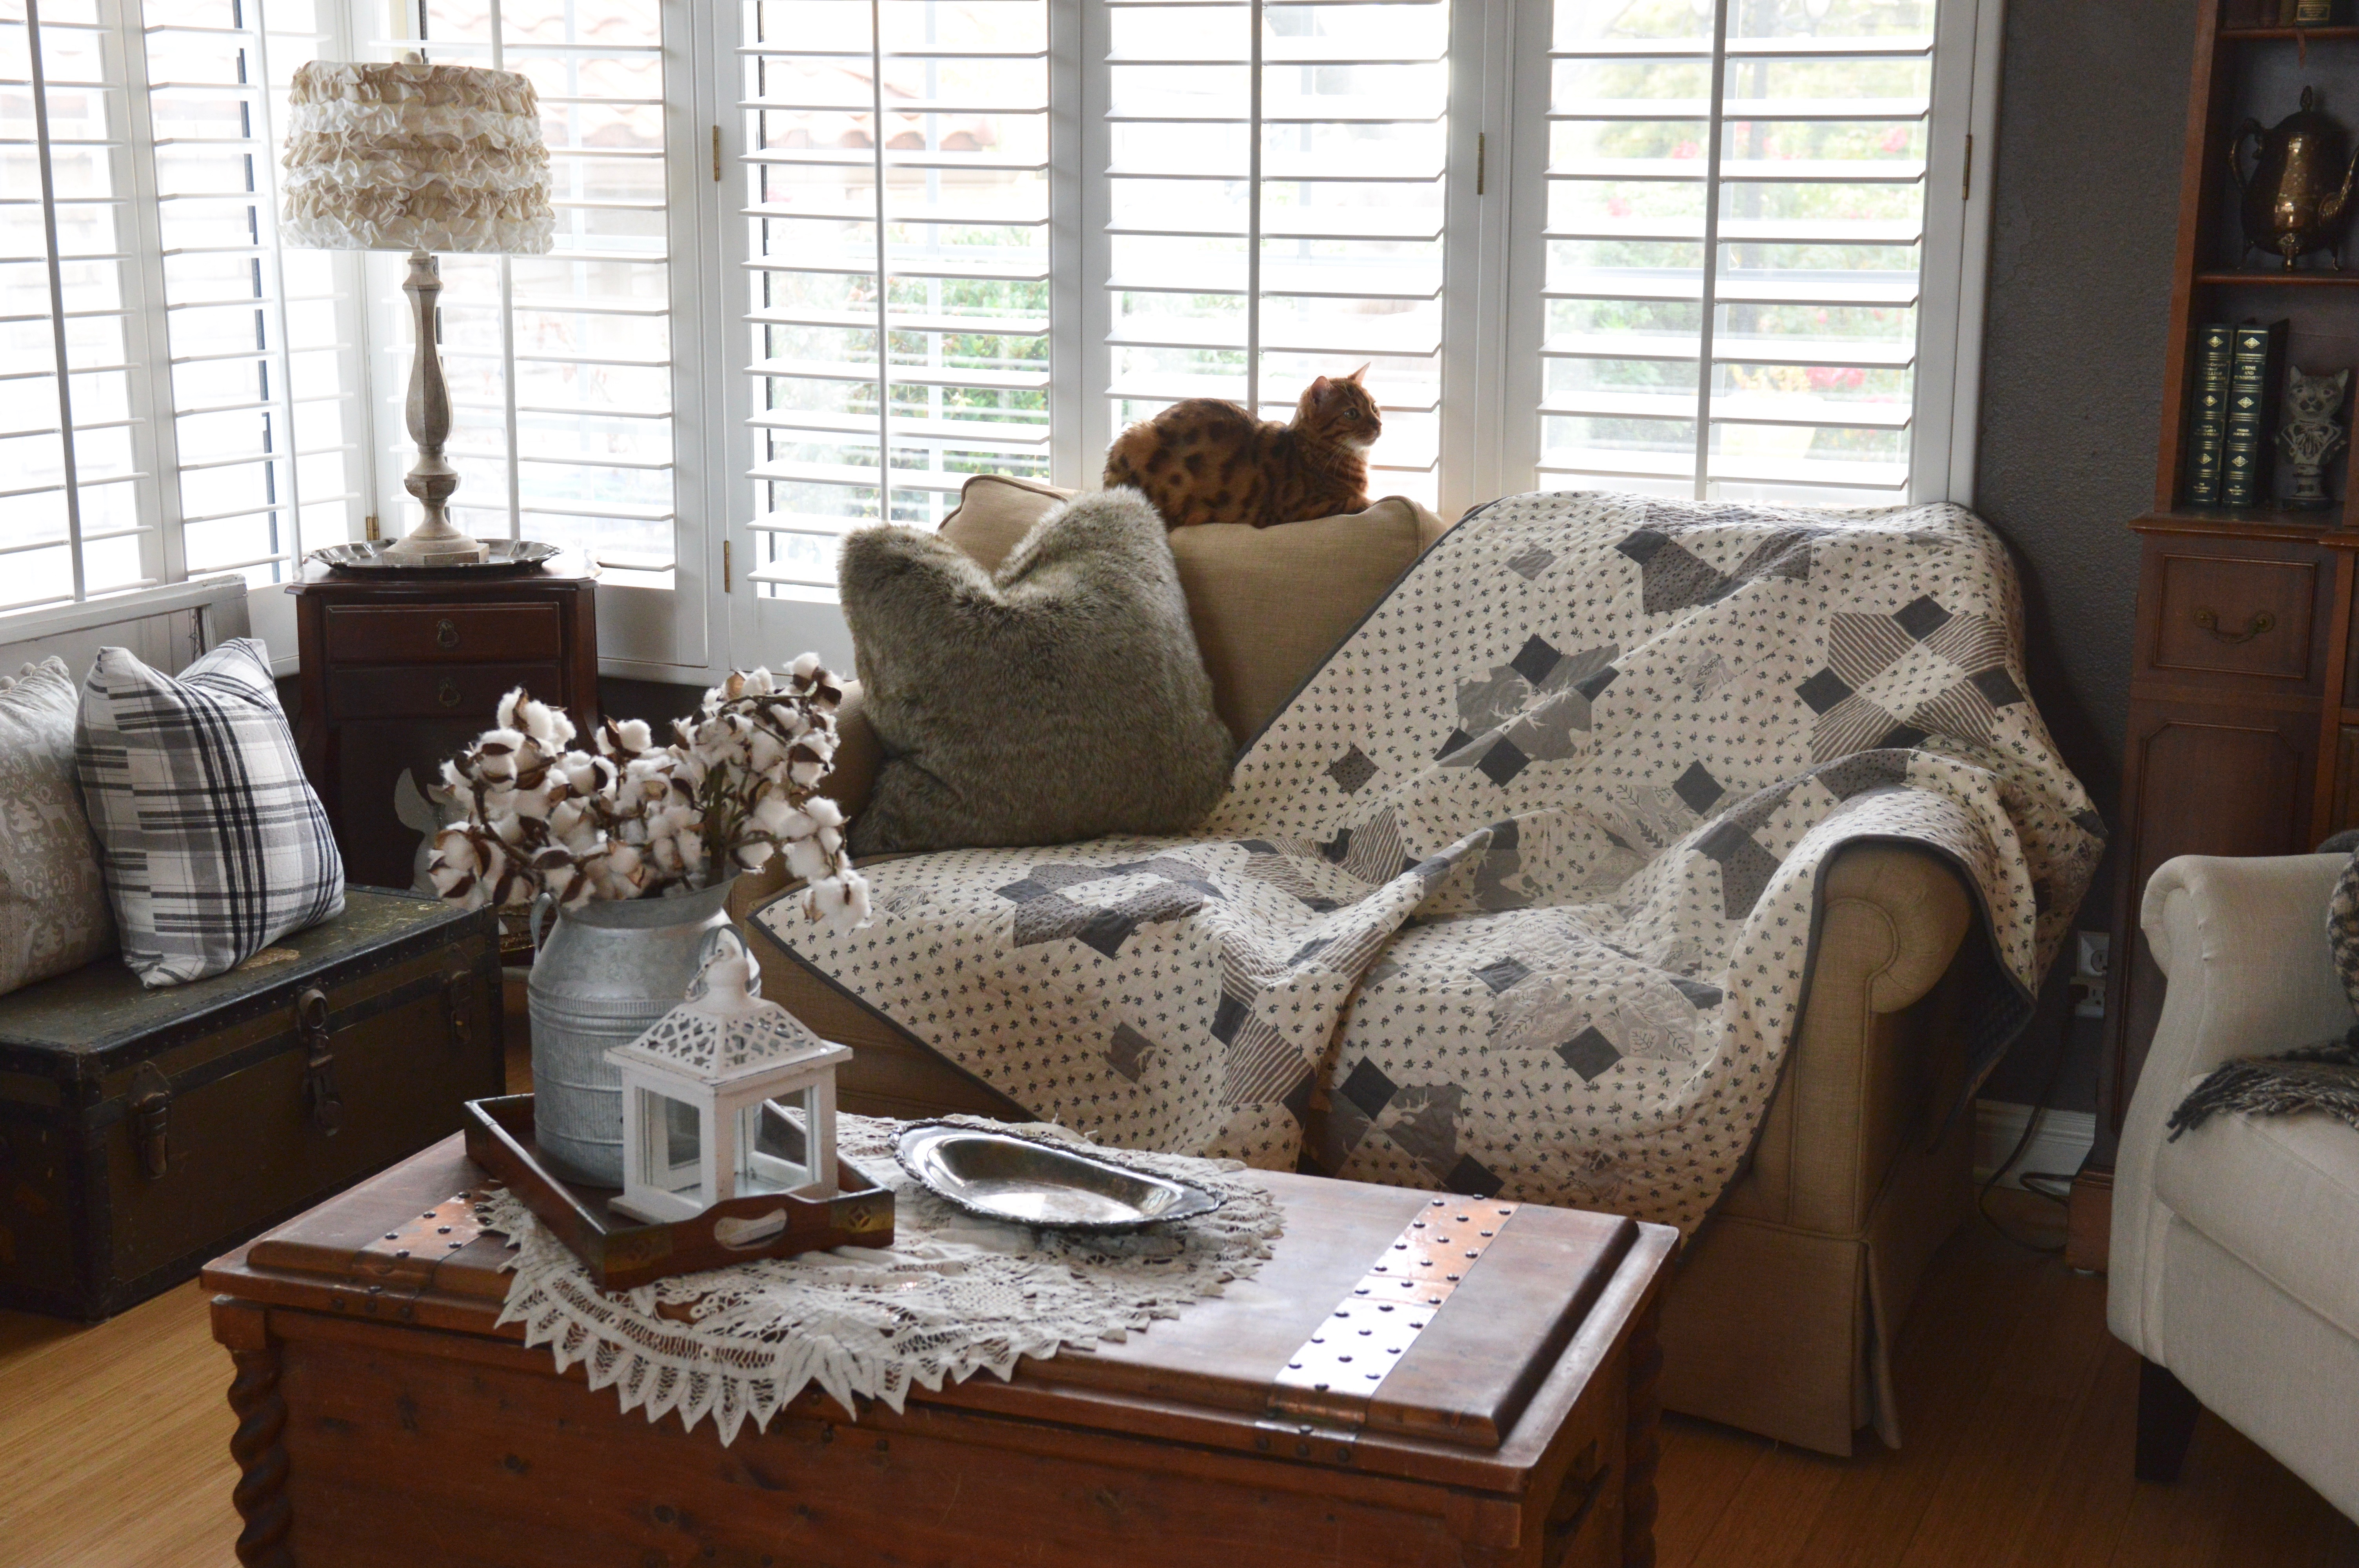
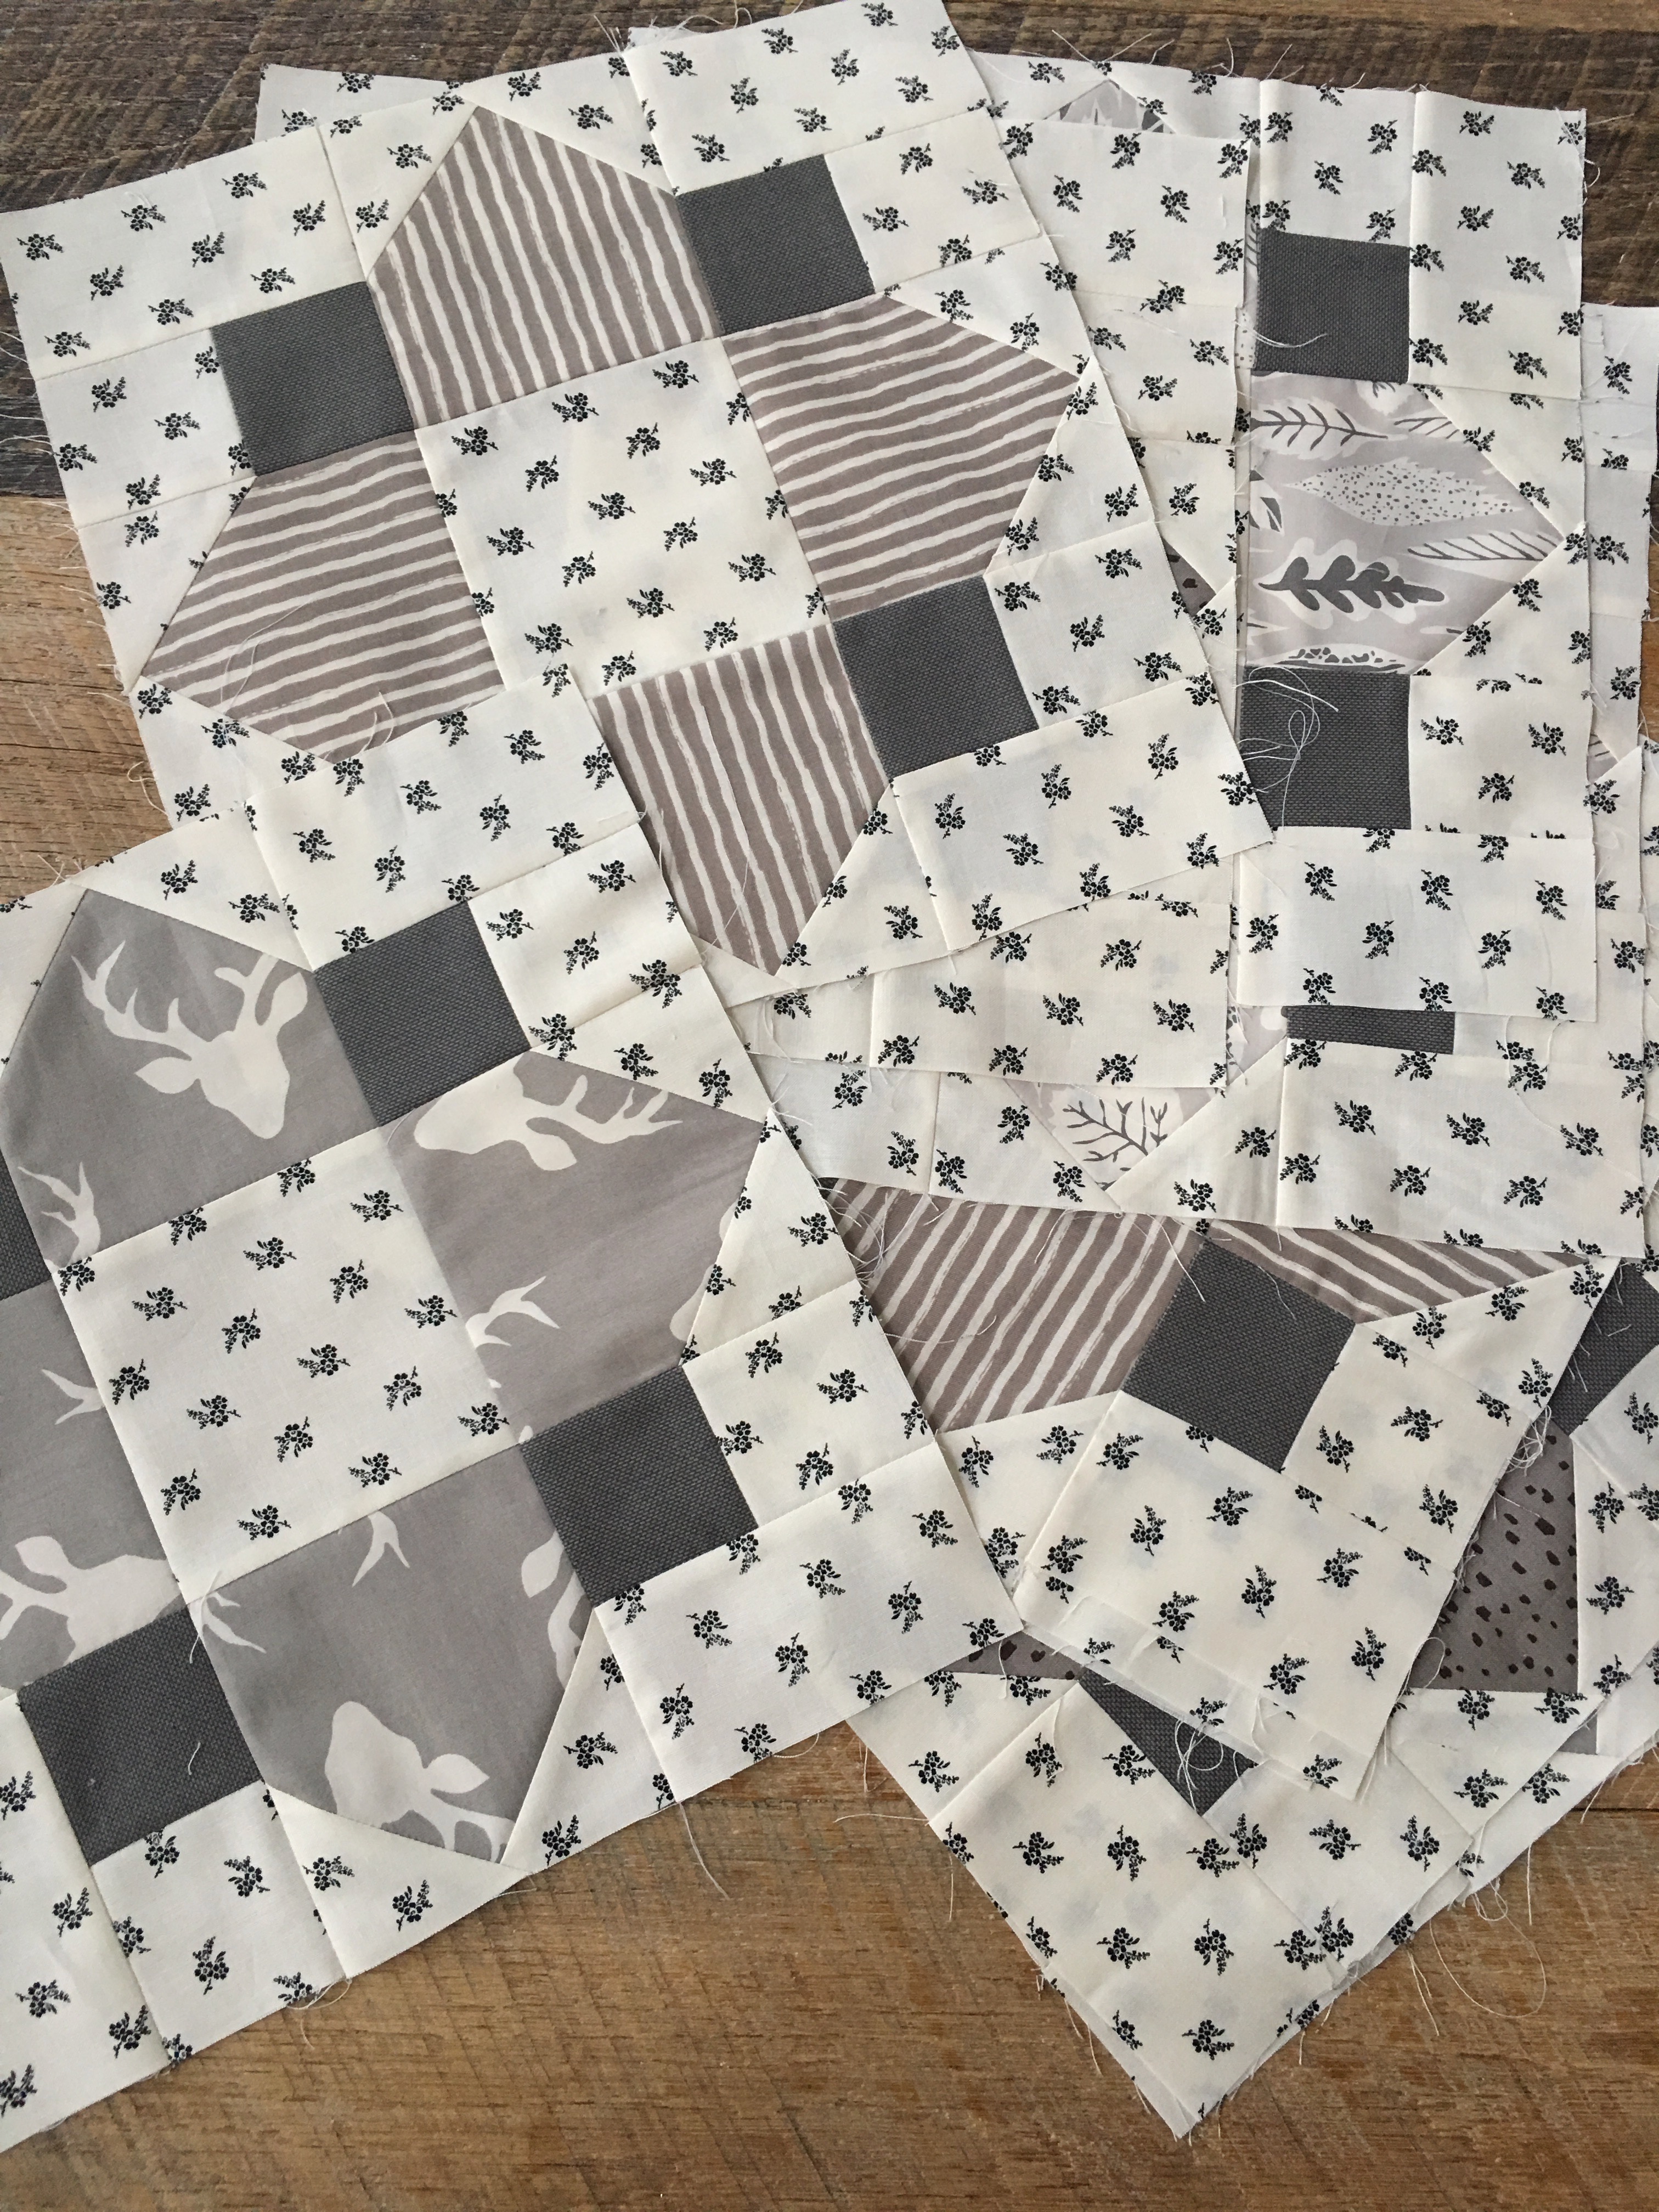
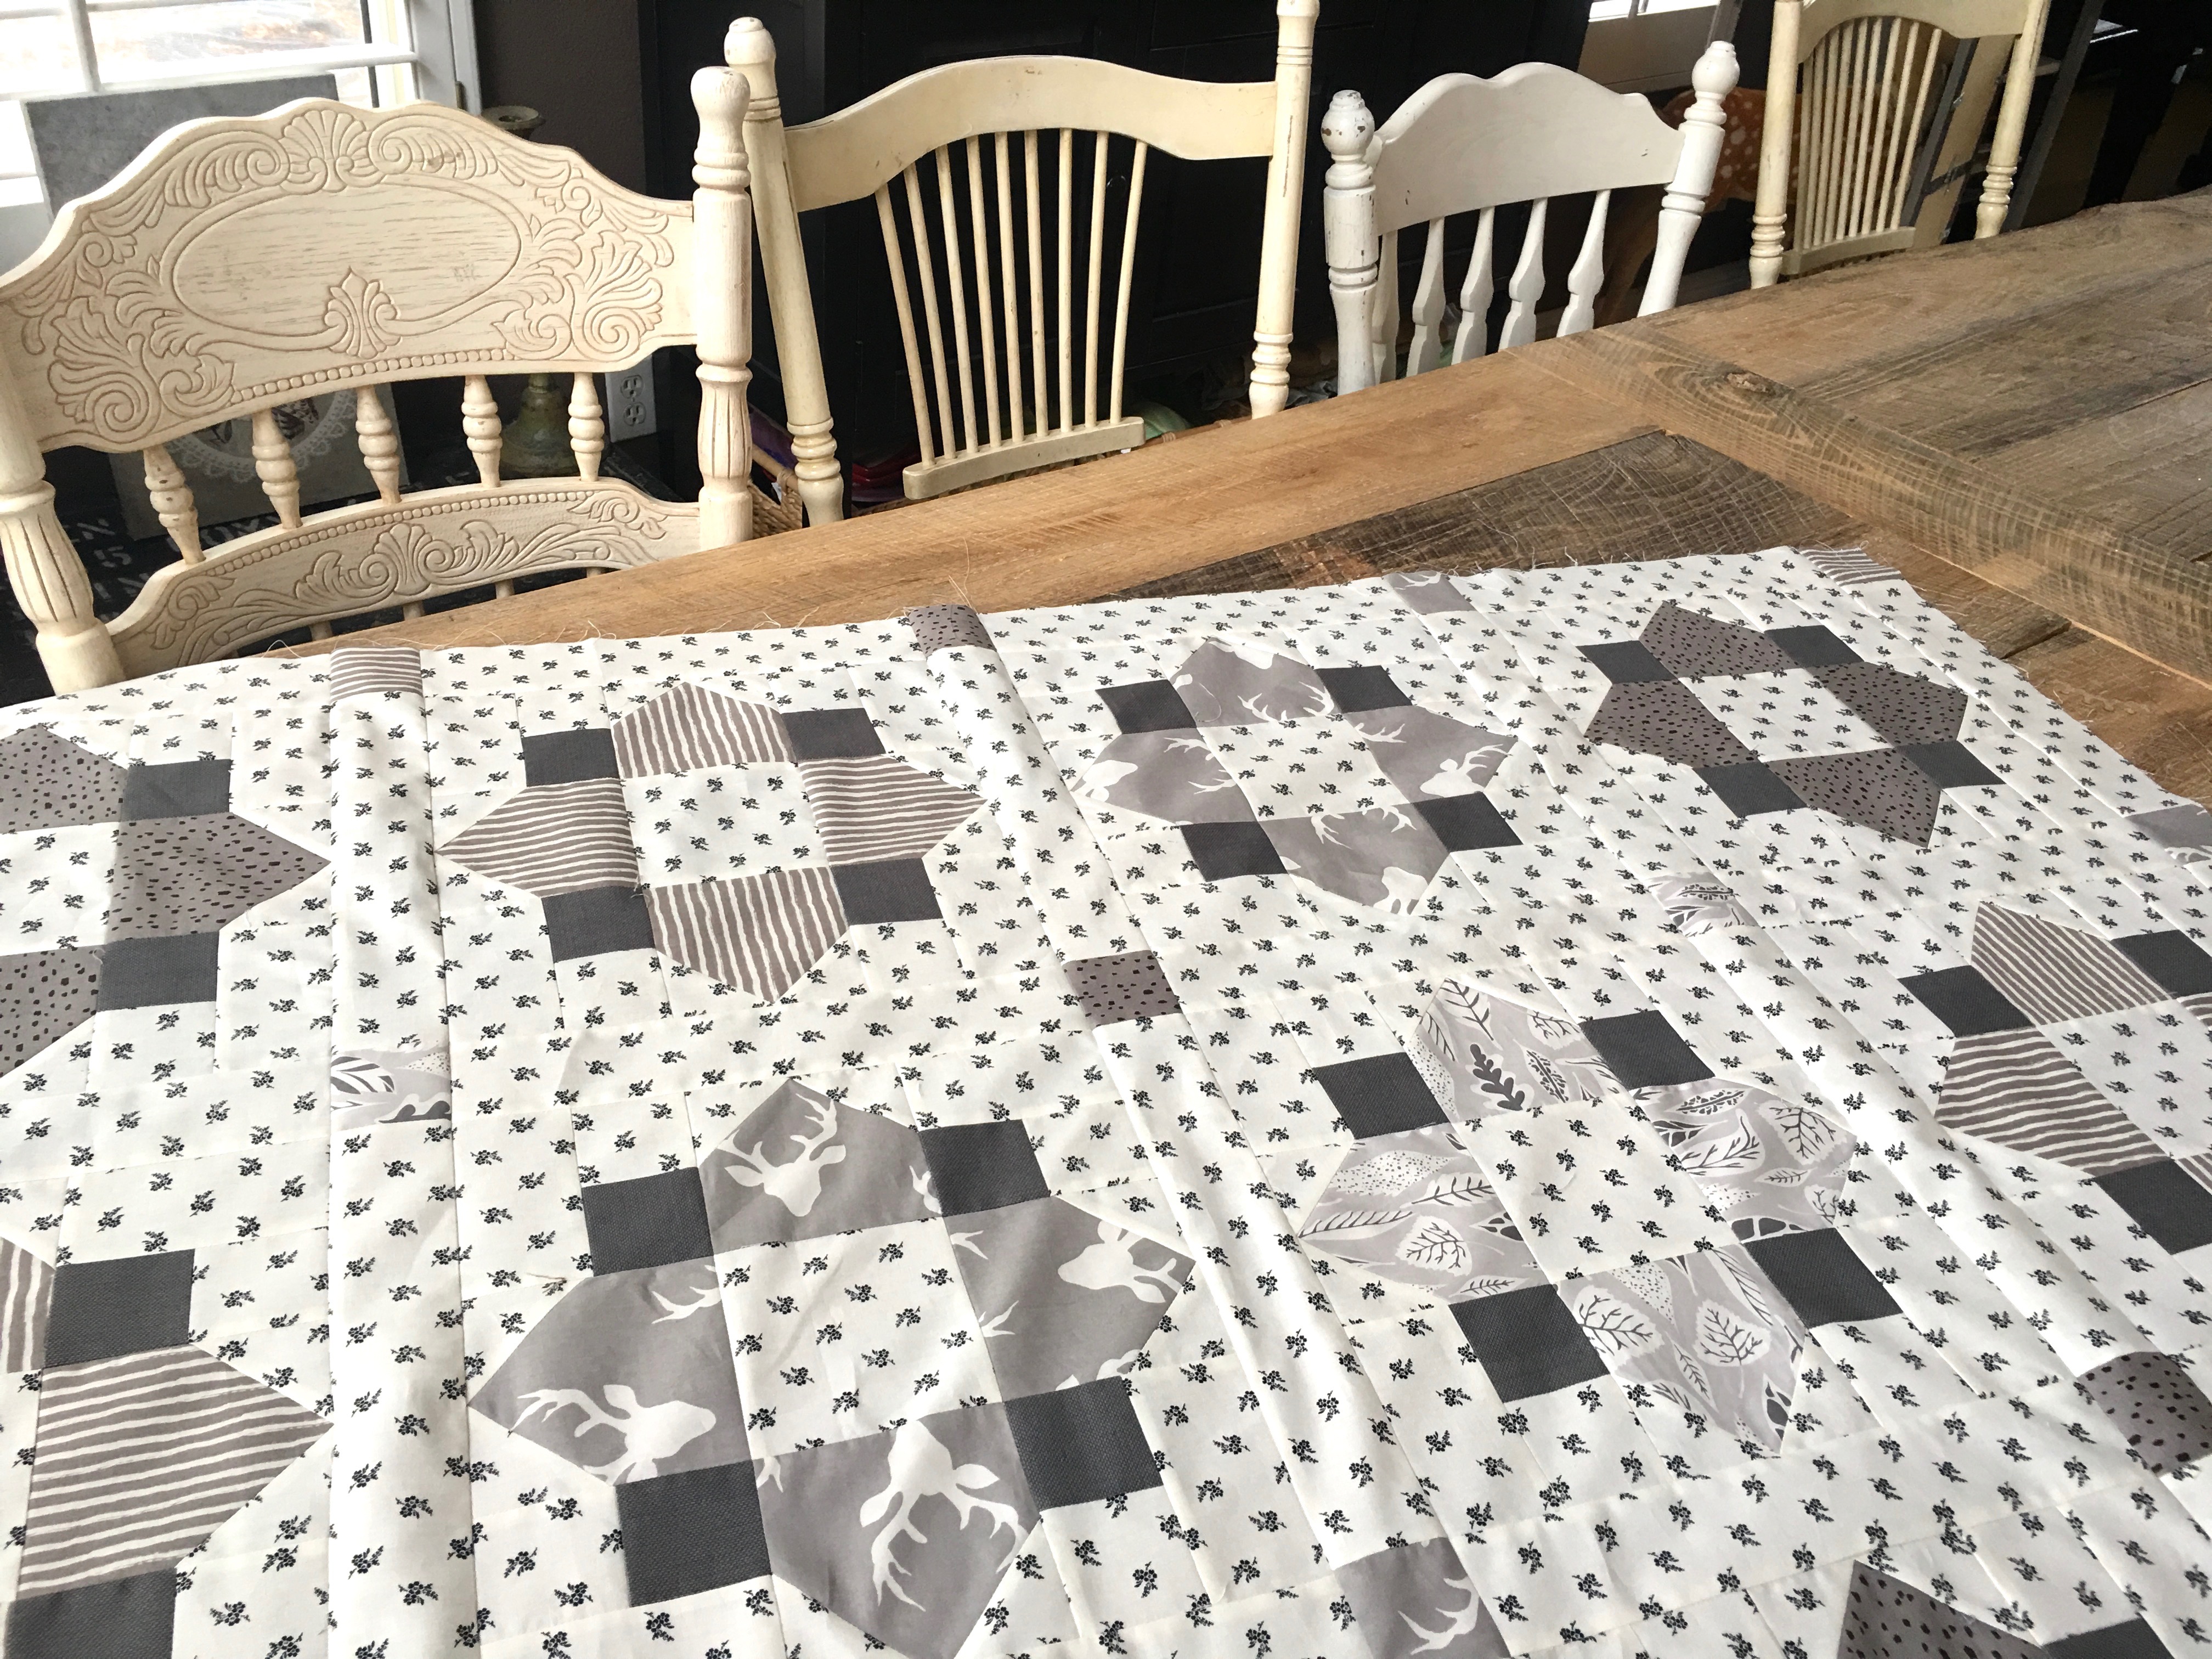
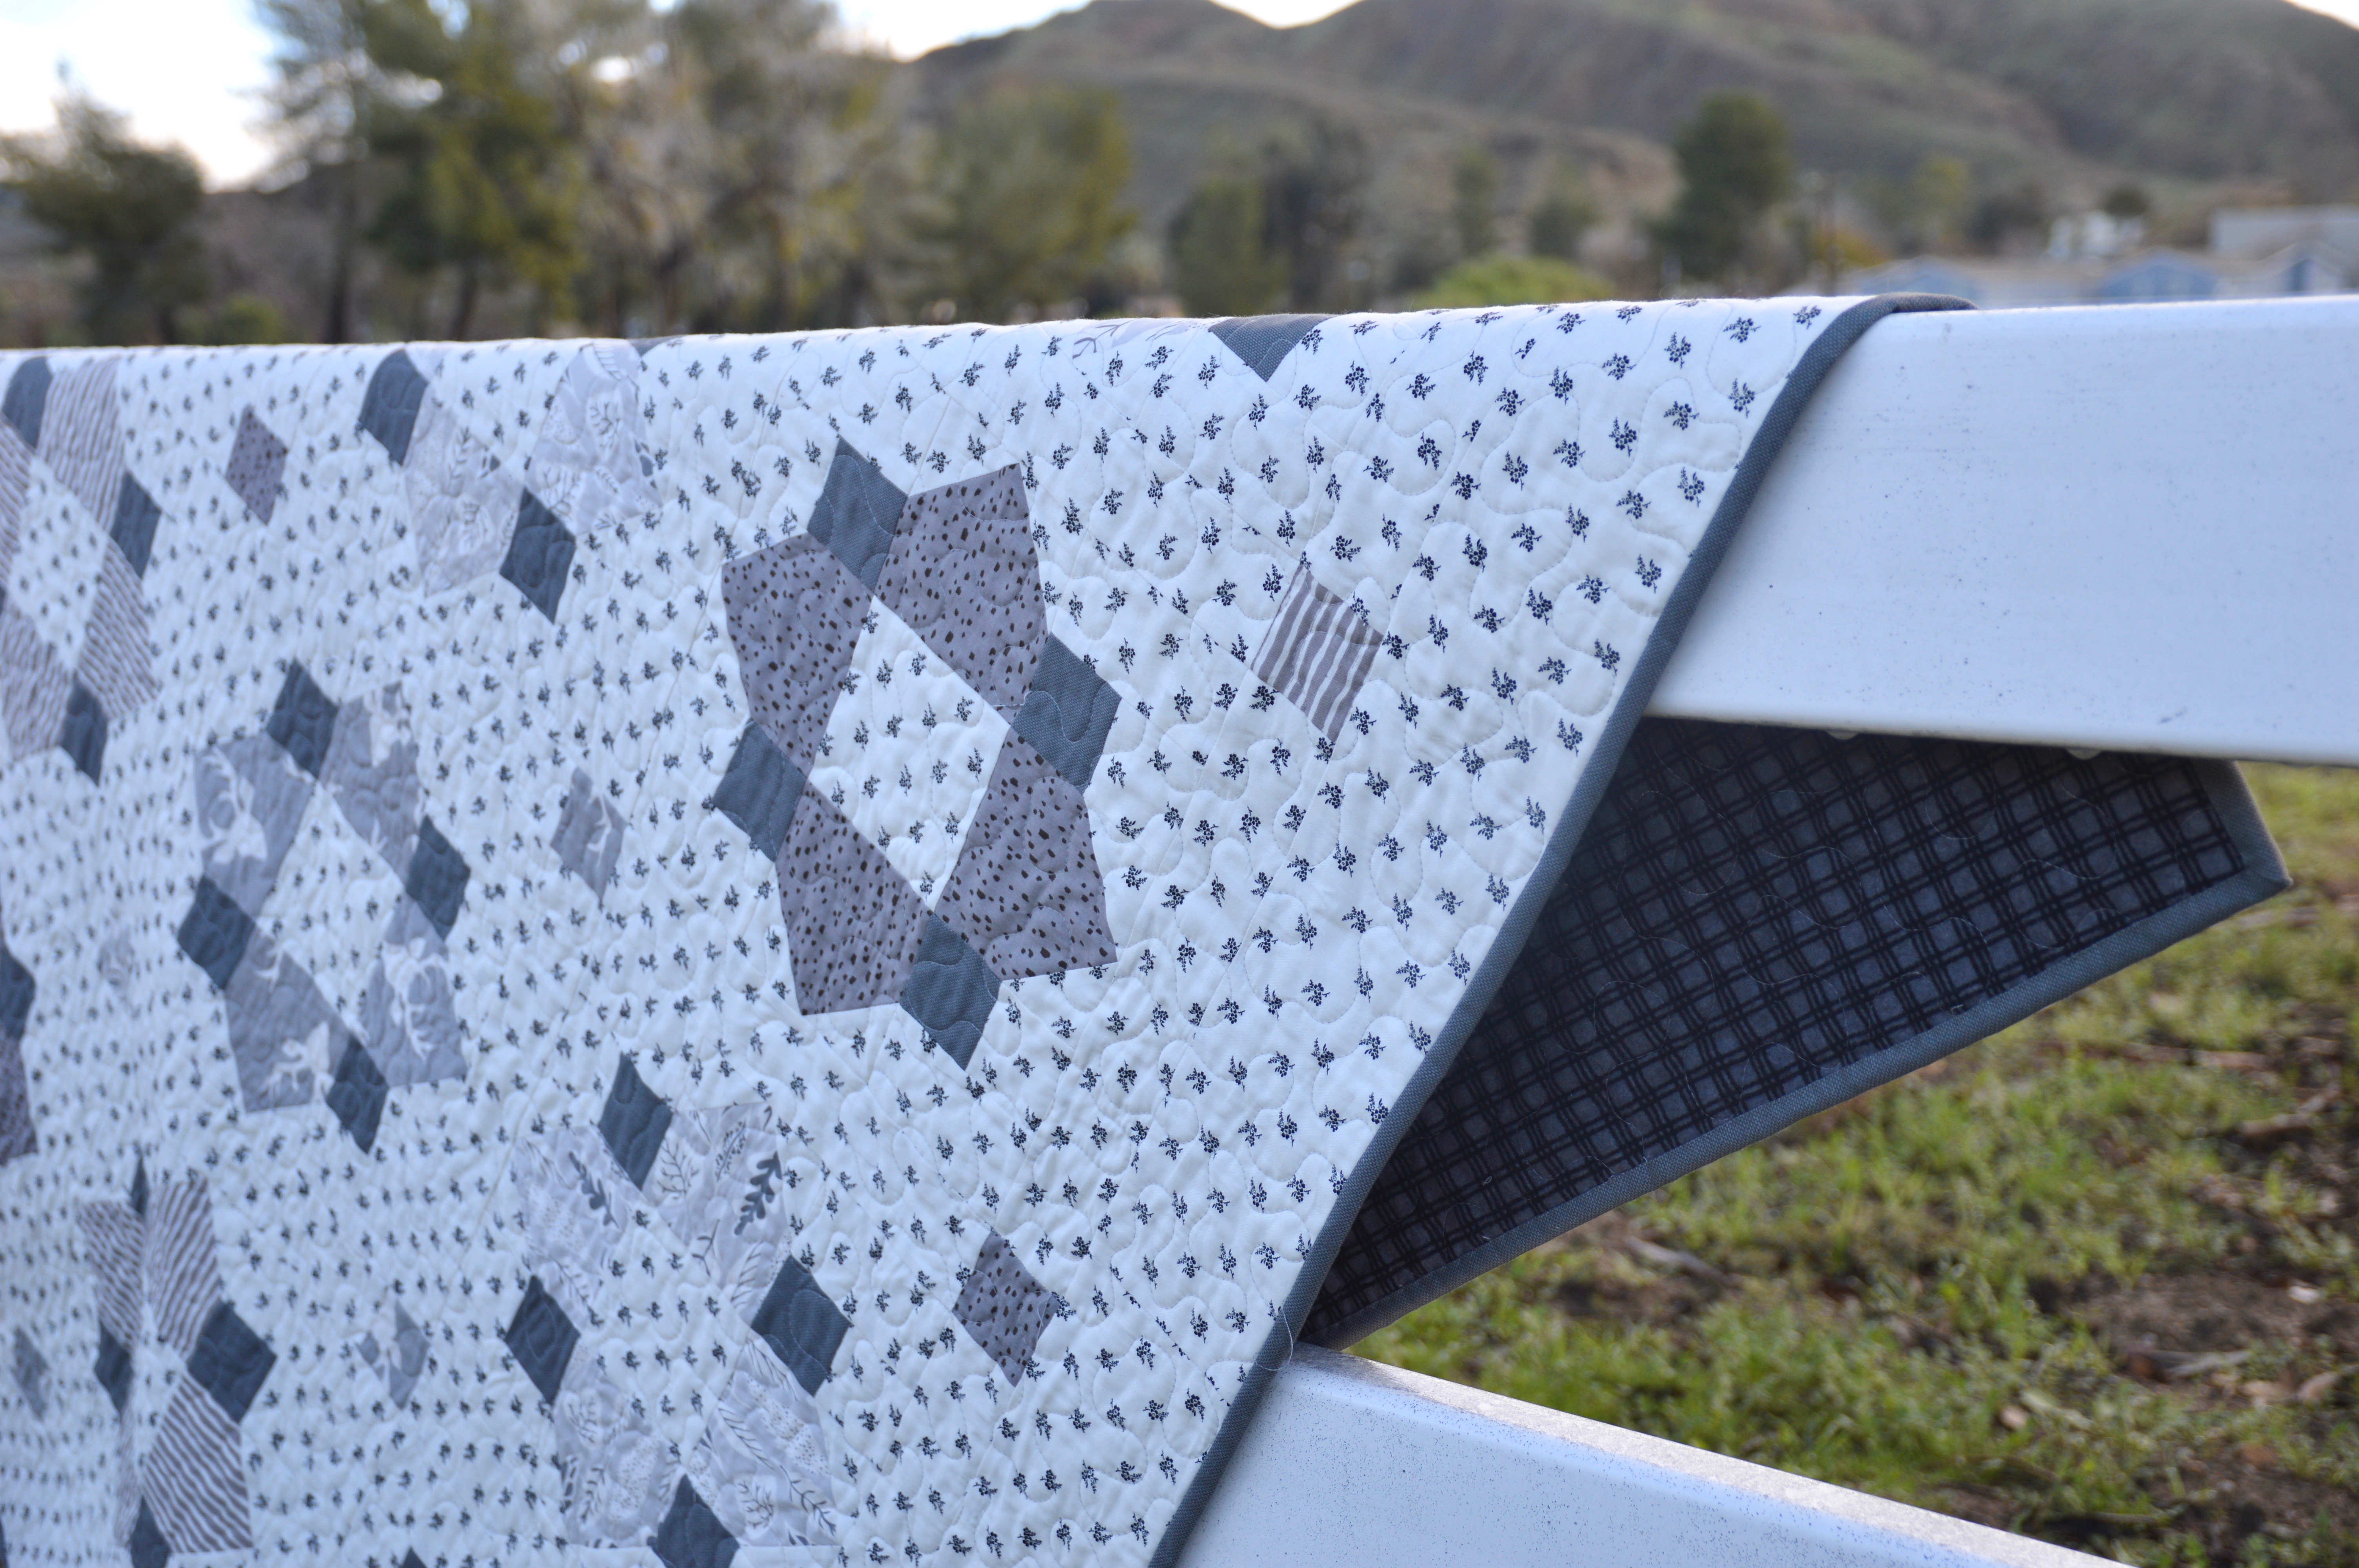
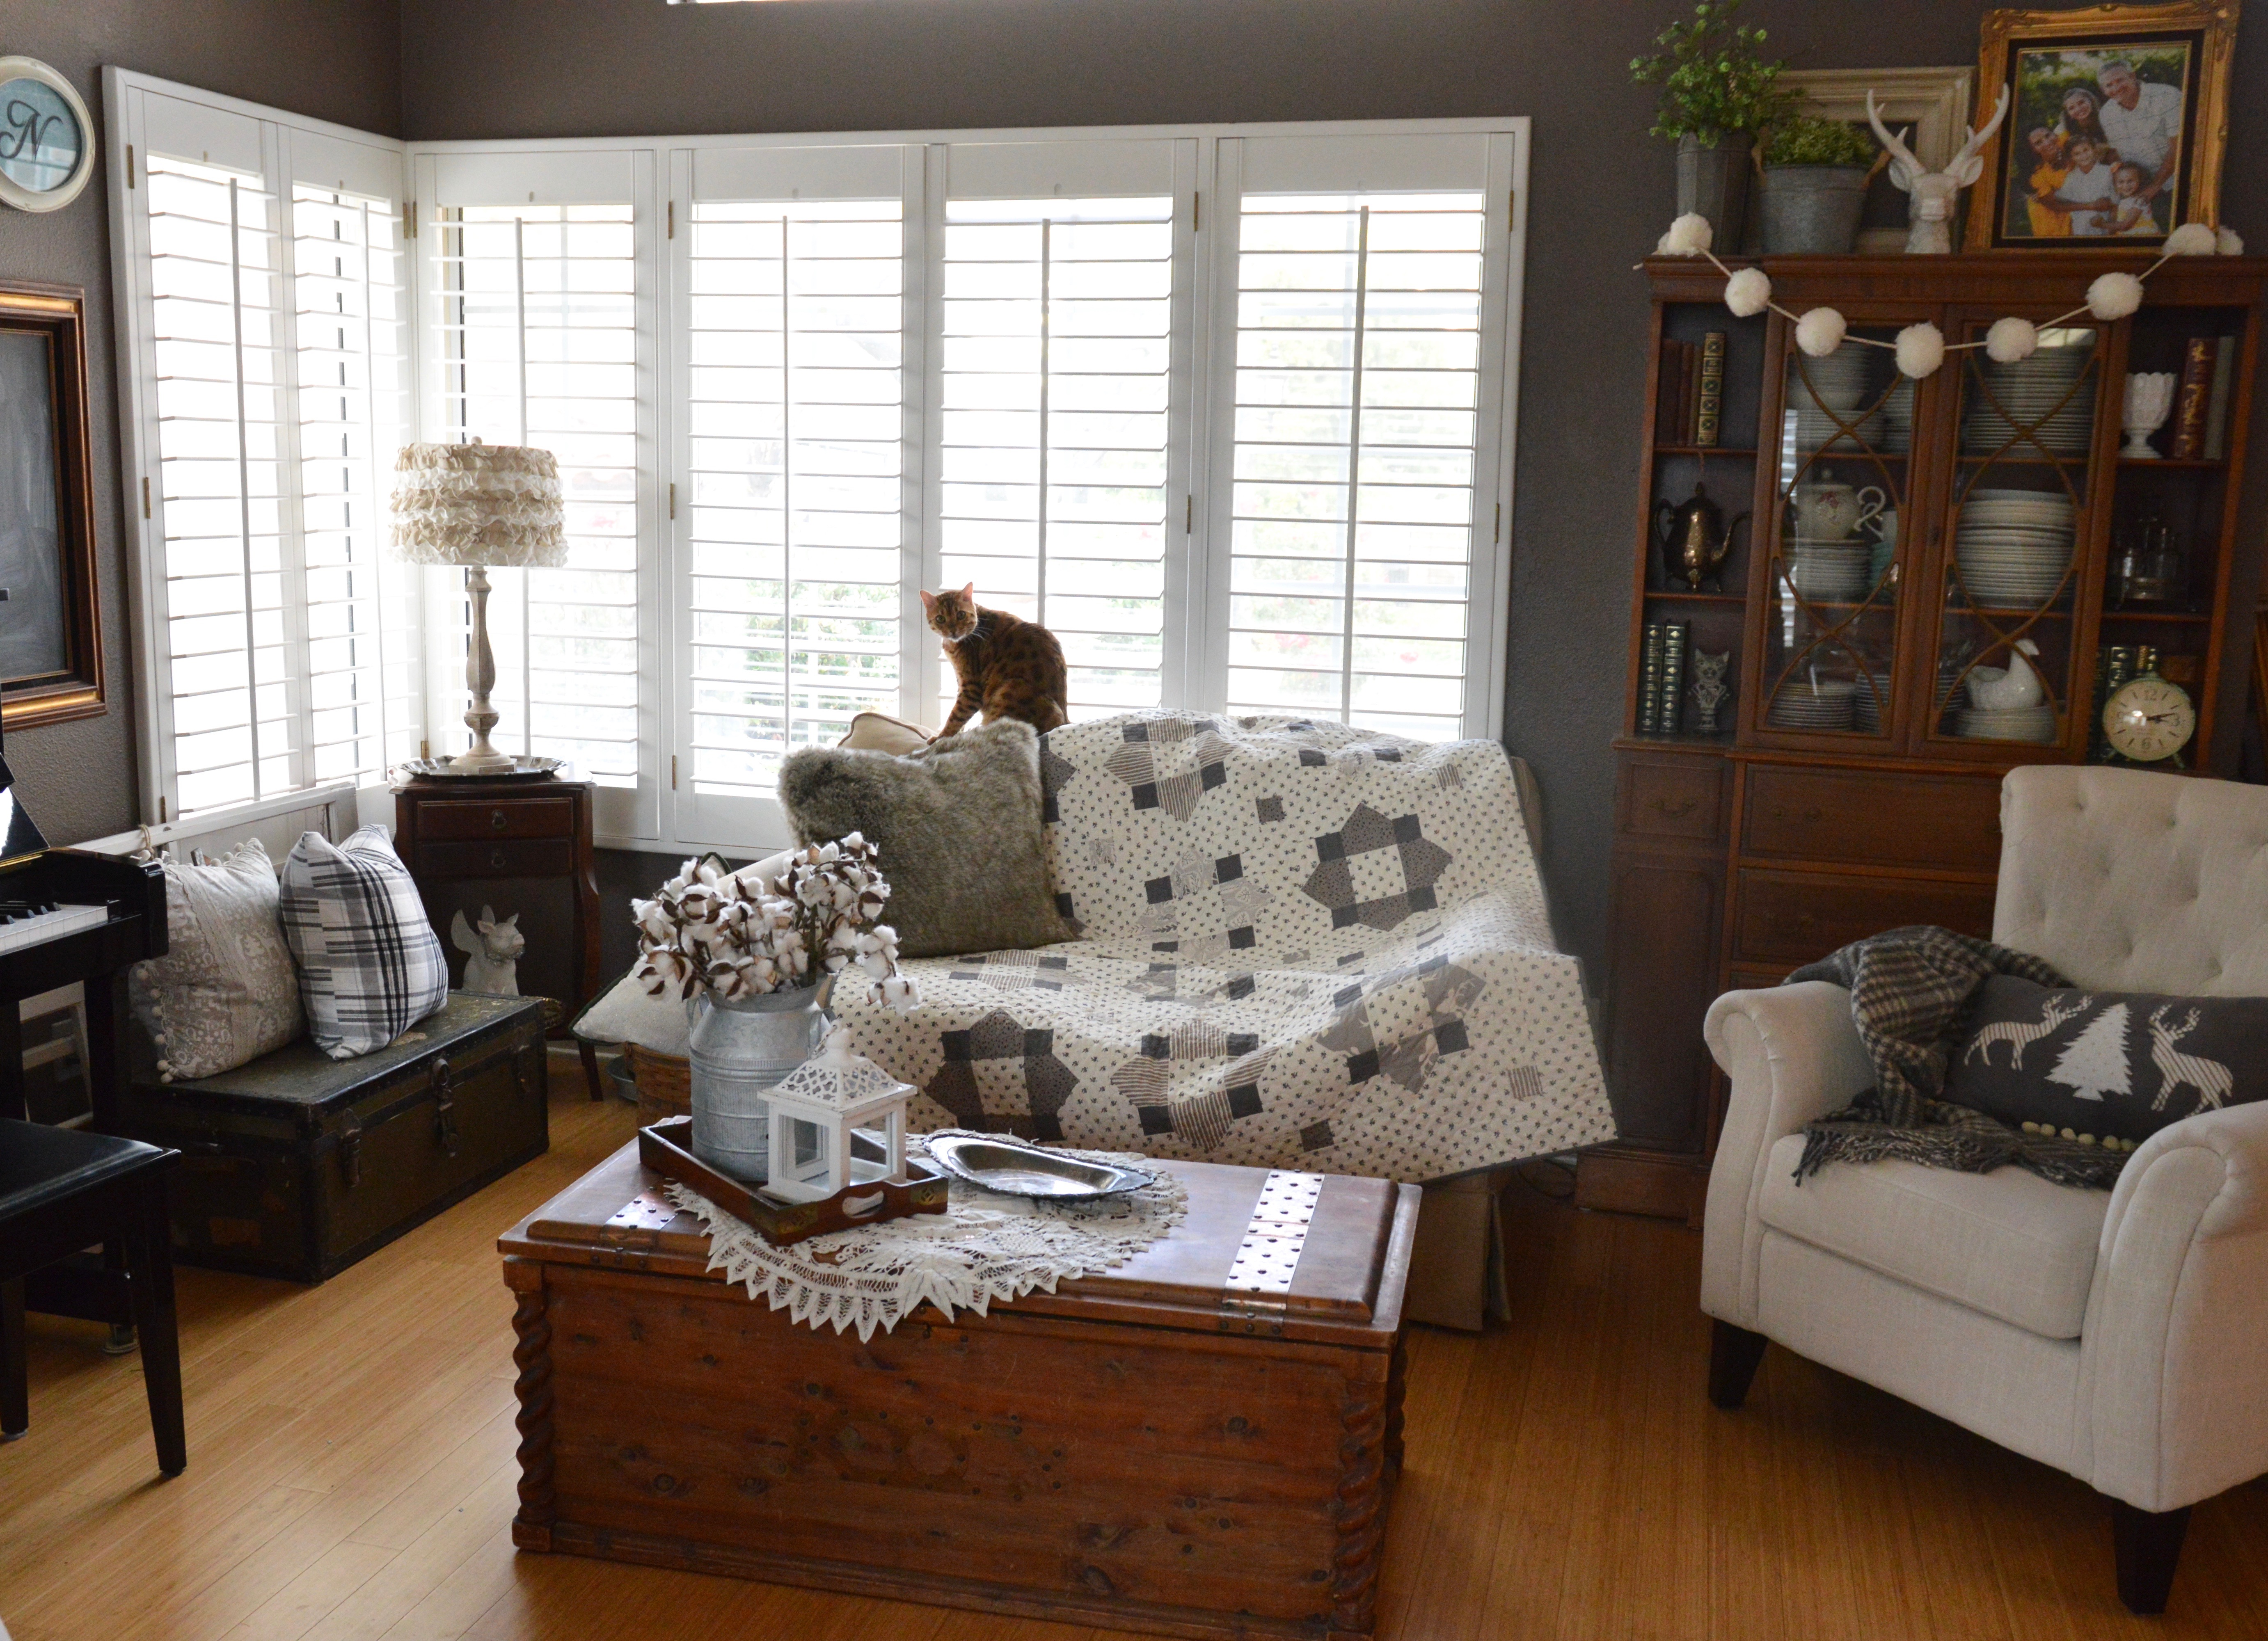
I choose a mixture of wintery grays.  My living room and dining room are decorated farmhouse neutral and all my quilts are bright colors – which means I have zero quilts in my living room (gasp).  This quilt is going to look perfect on my couch with my fur pillows and galvanized buckets!!!  I can’t sew fast enough!

DSC_0905

IMG_8747

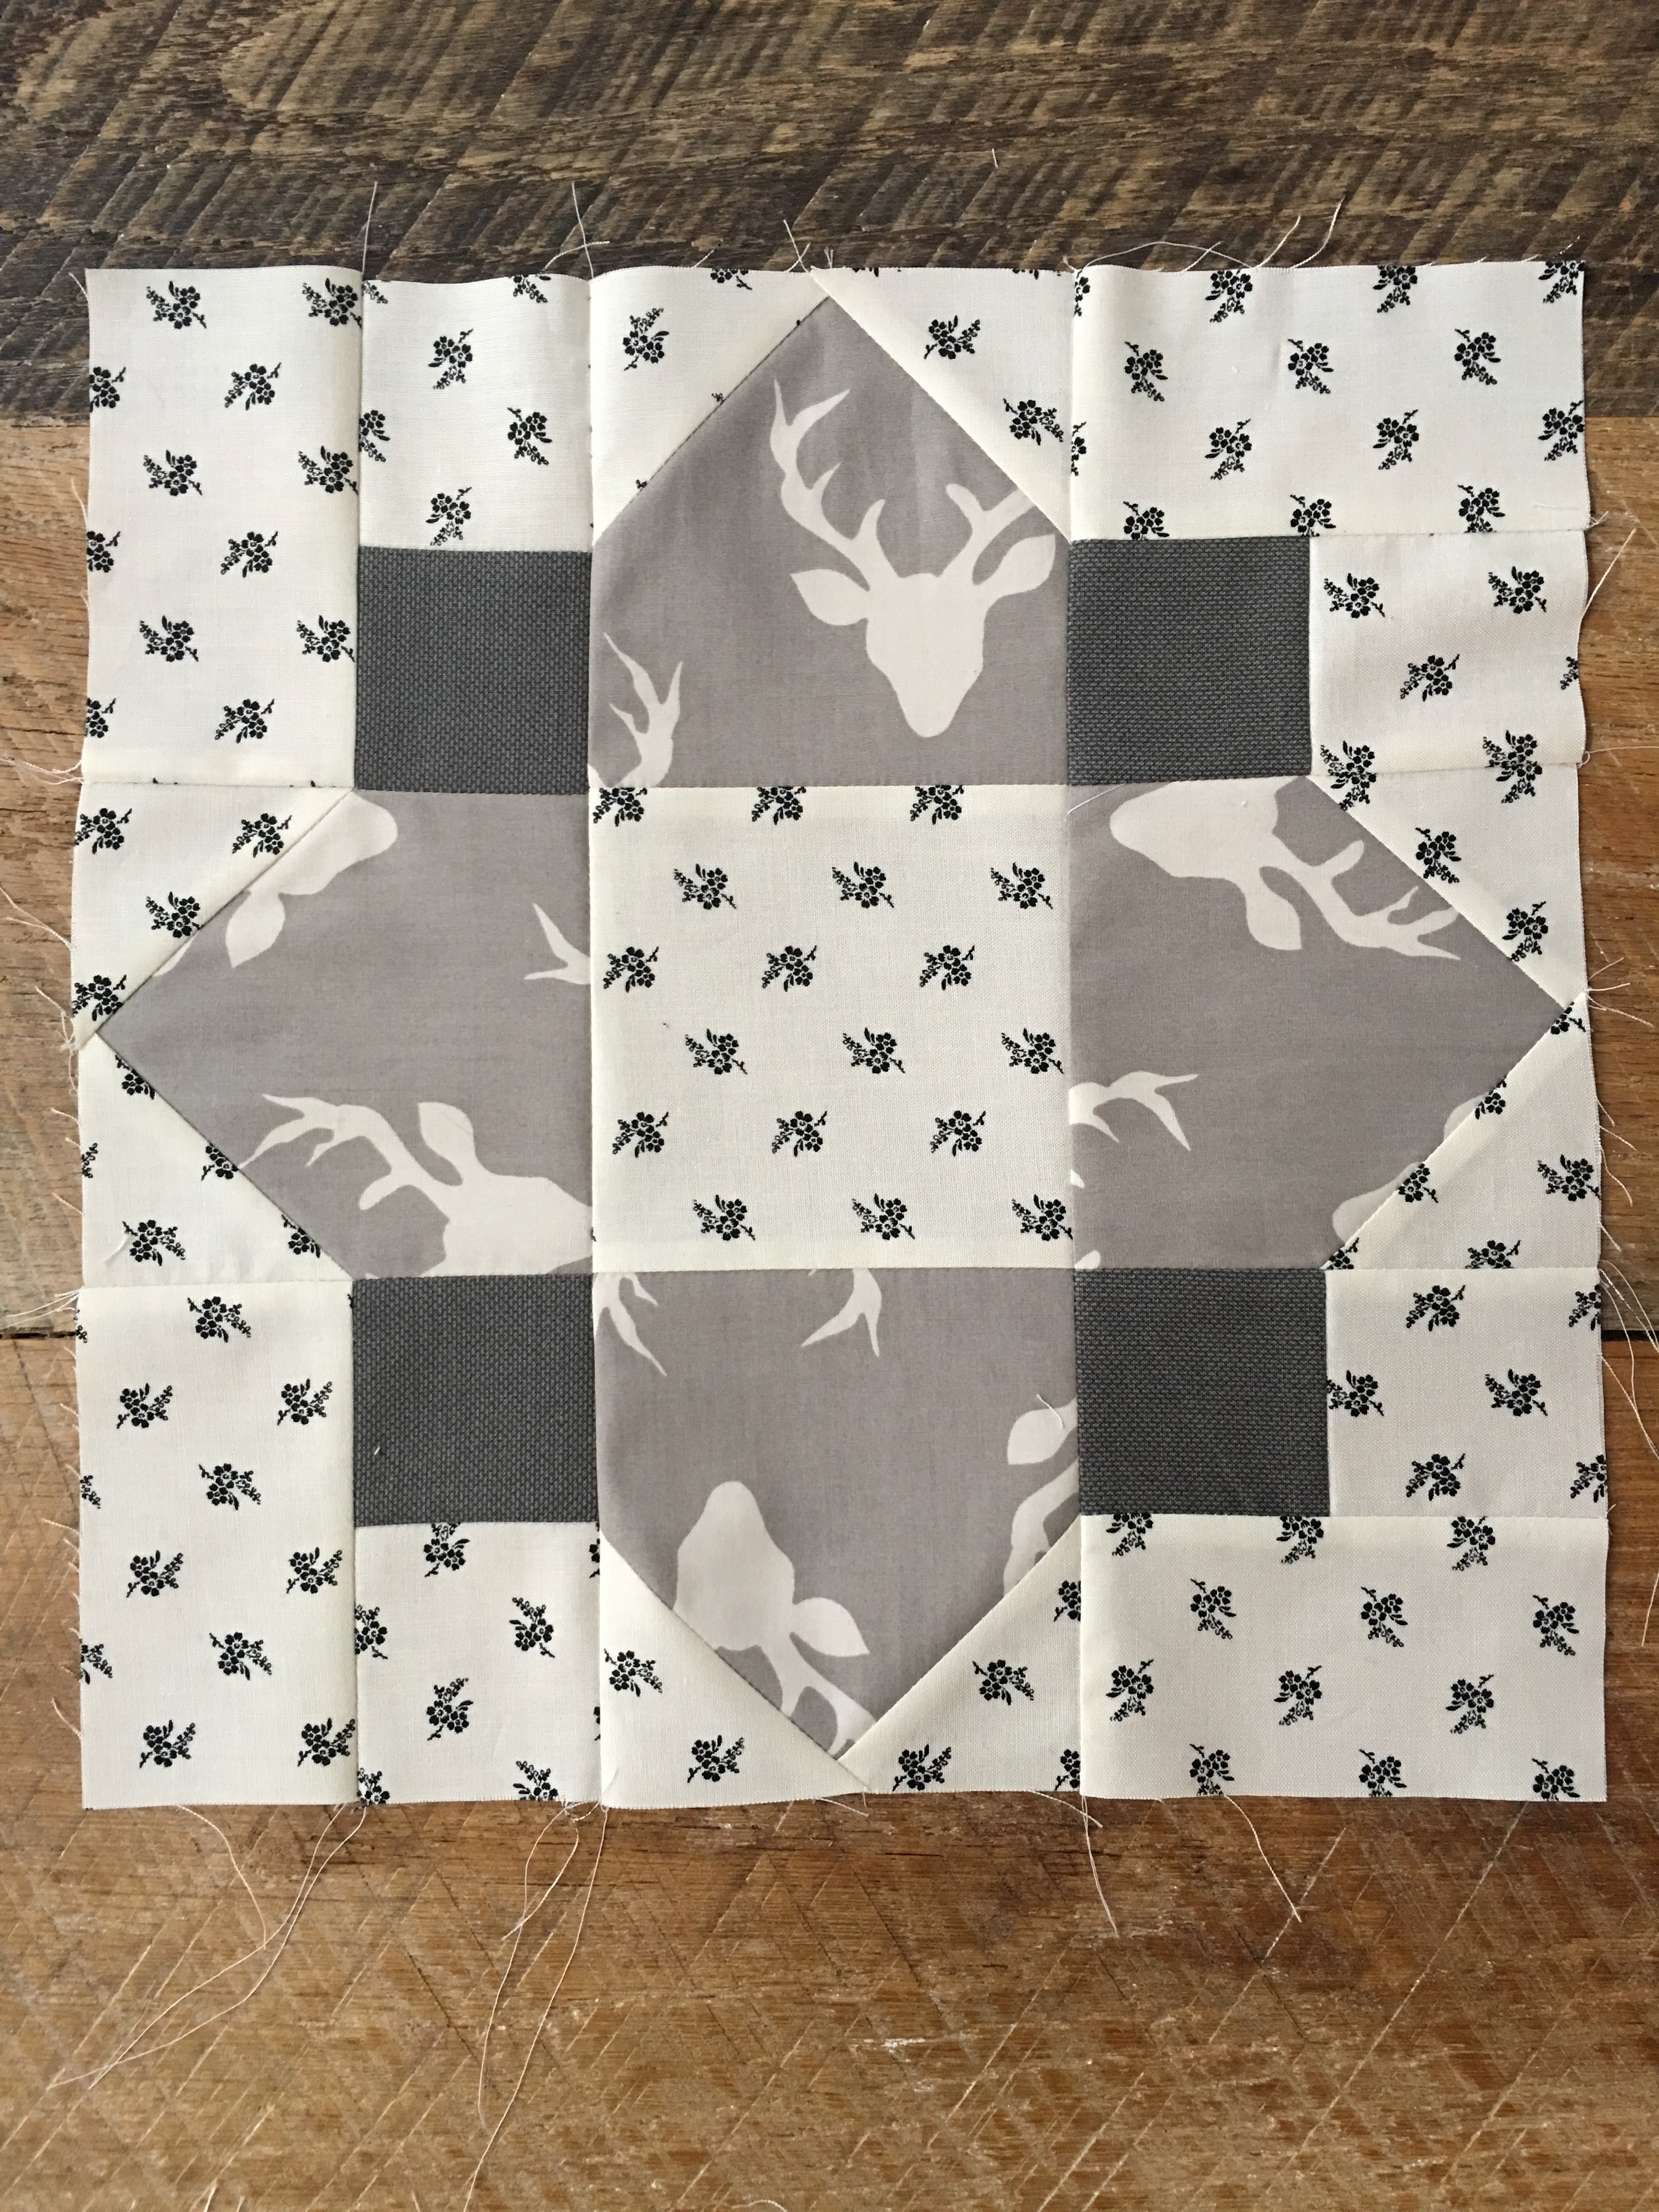
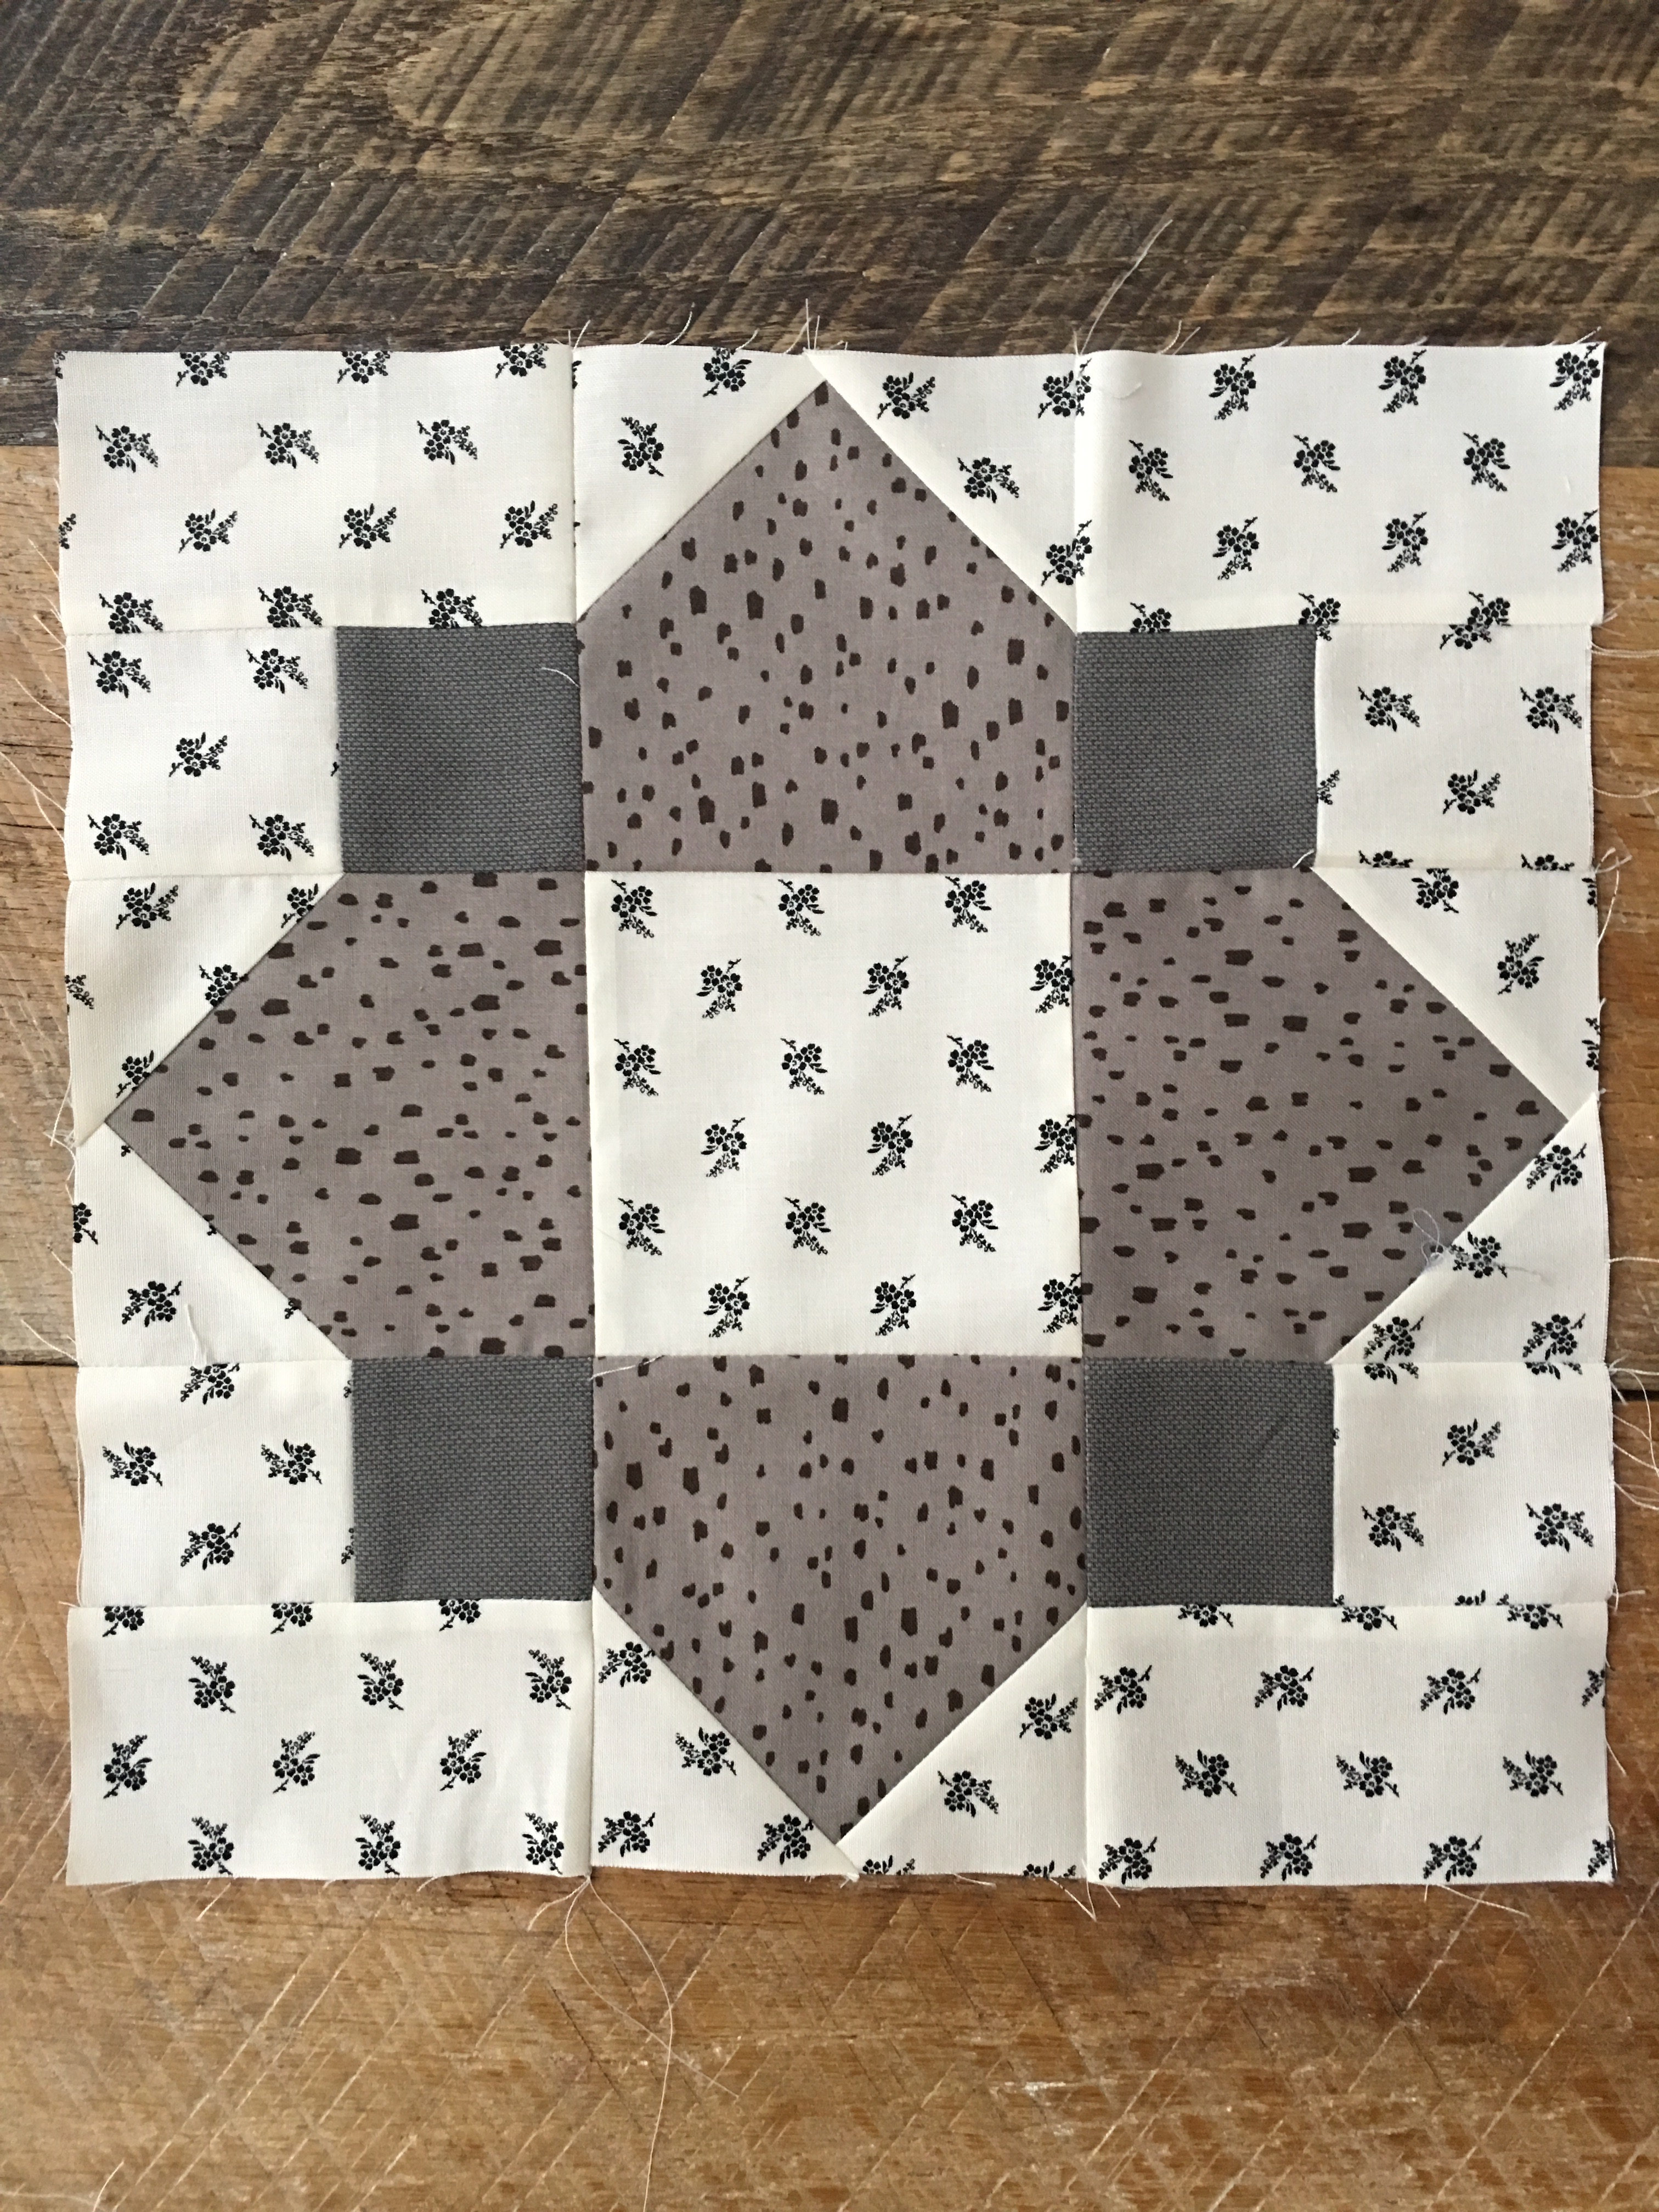
This is such a fun block!  It looks more complicated than it really is!  You can sew them up in a snap!IMG_8748

After you sew the 12 blocks you are ready for sashing!!IMG_8751

Now I wish I had a table runner to match!!!IMG_8778

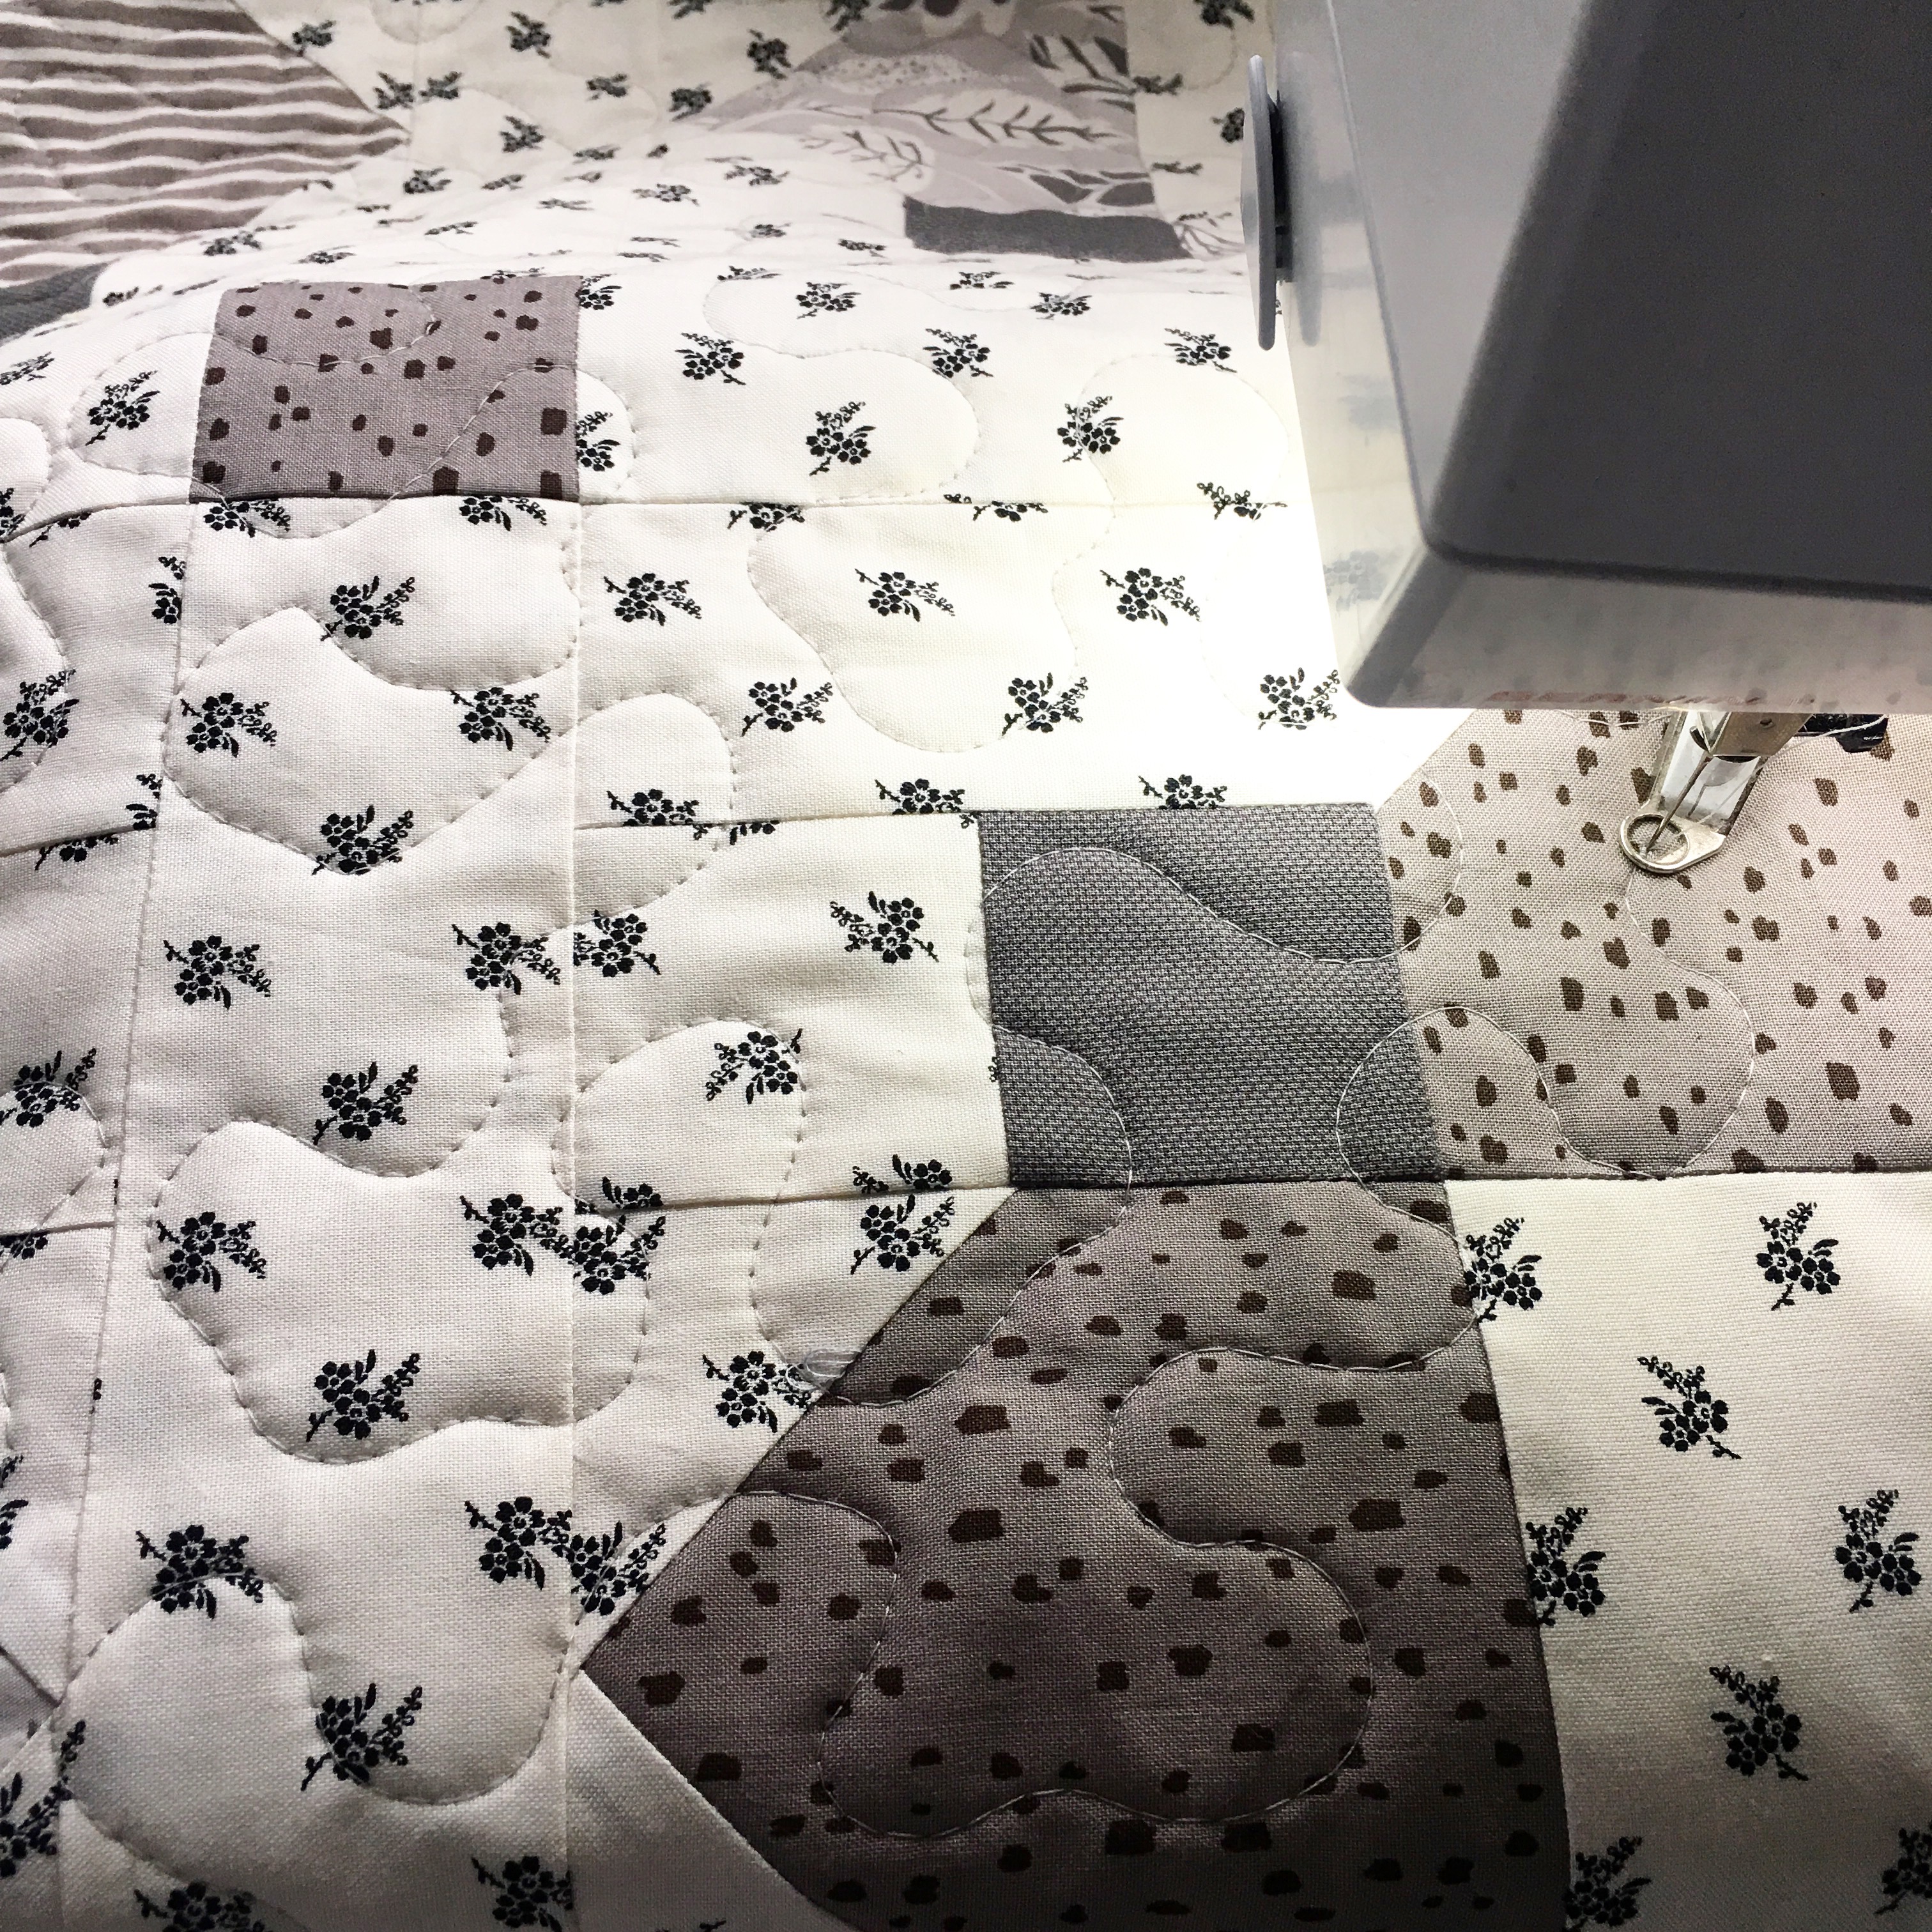
I quilted this myself – which is never my favorite but I did it!  I chose a black and gray plaid flannel for the back and quilted meandering lines all over.
IMG_8787

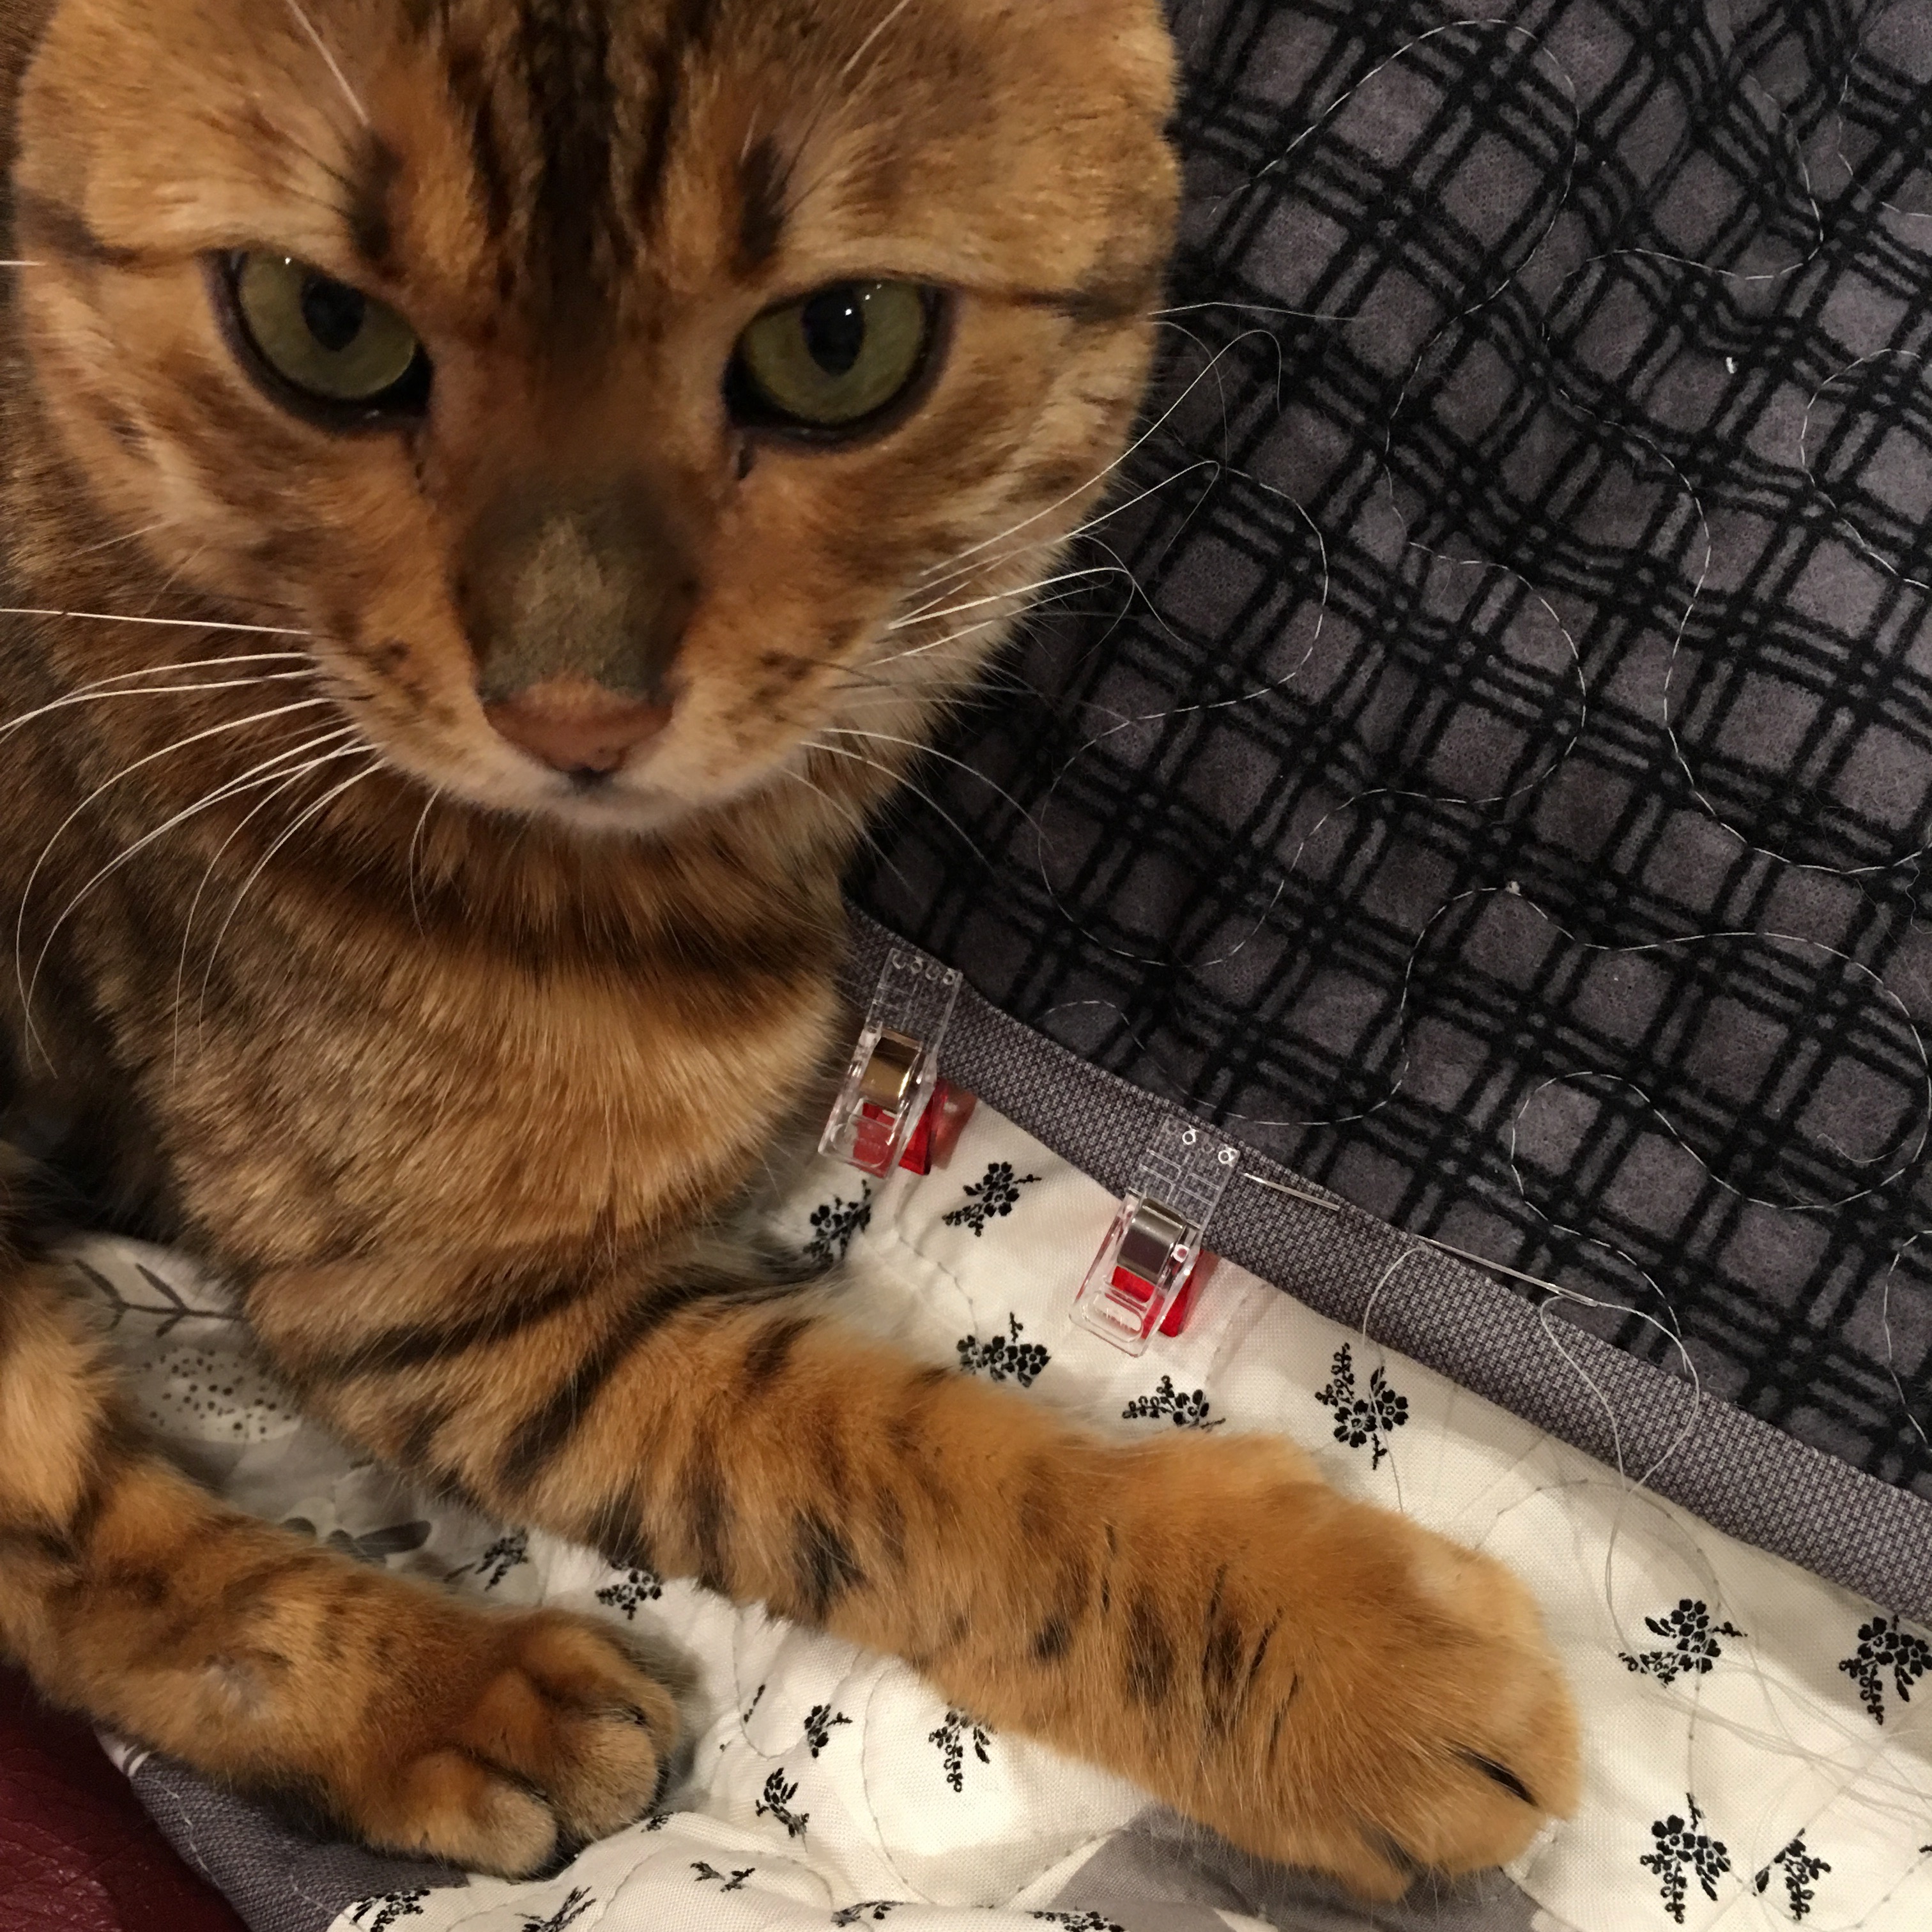
I stayed up late with my little helper binding because I am super exited to get it finished!!!!
IMG_8794

DSC_0961

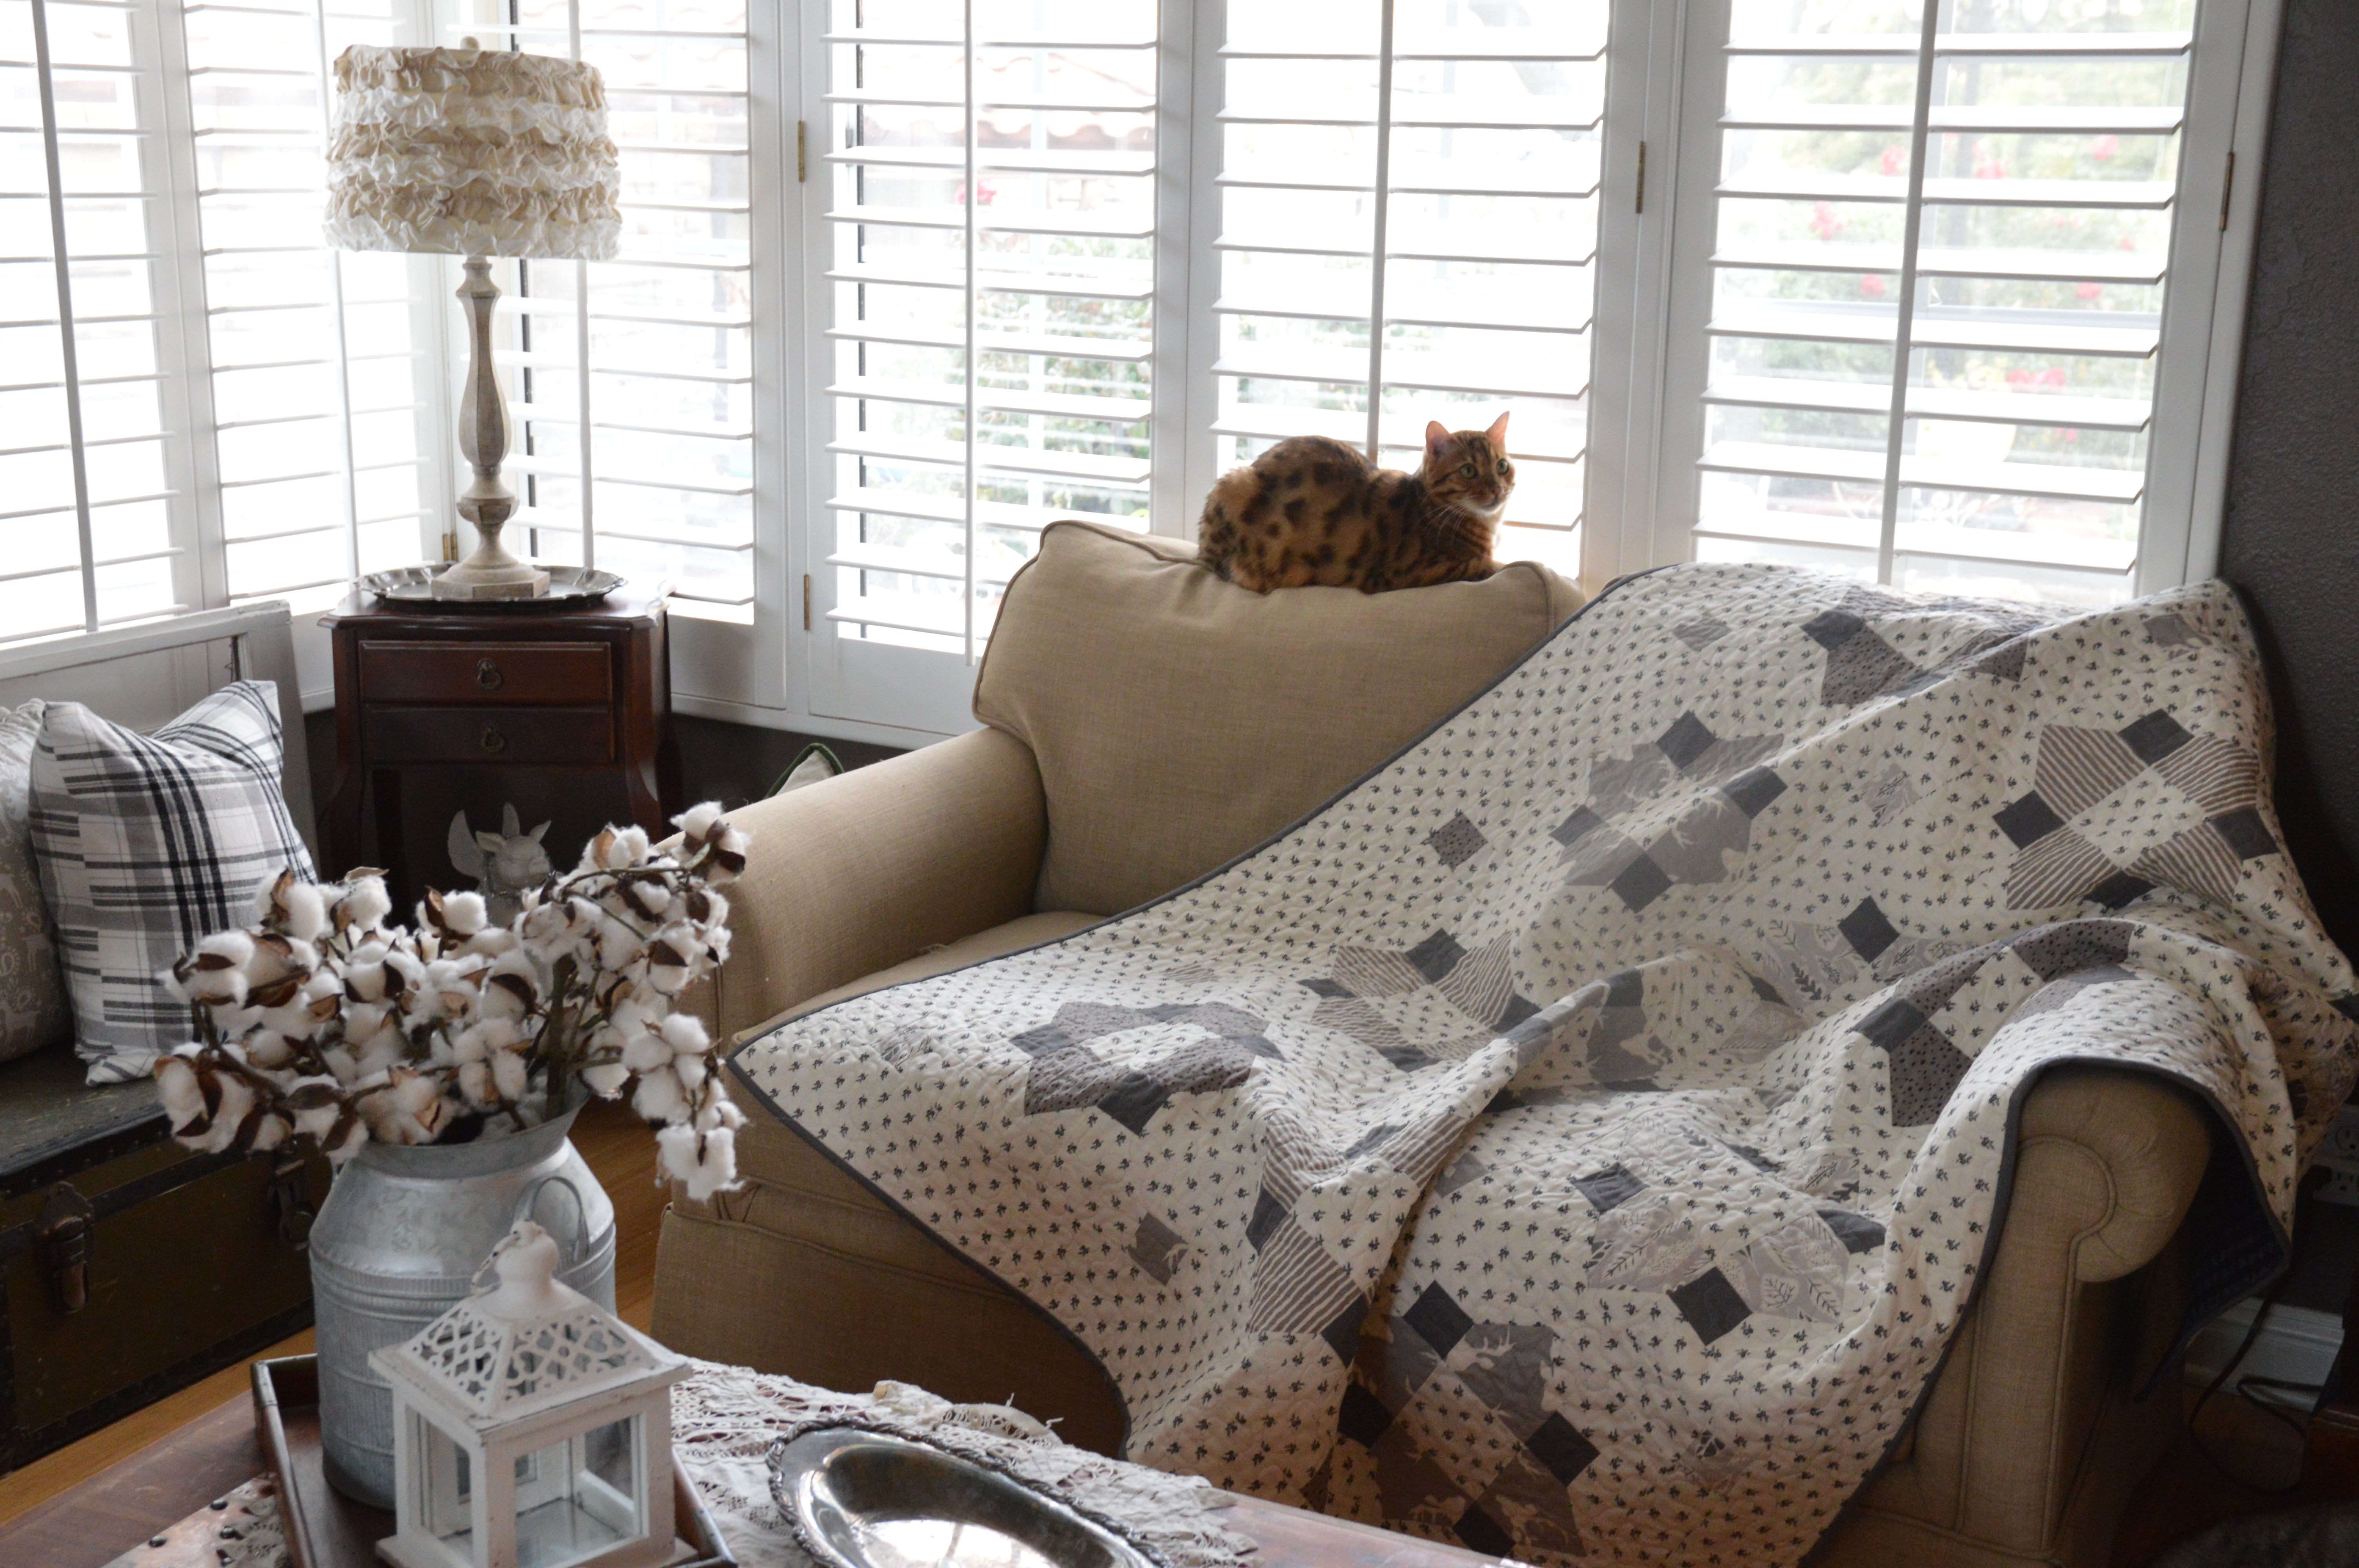
I LOVE how it looks in my living room!  I don’t think I need tons of neutral quilts in my life but this one is a perfect fit!!

DSC_0888

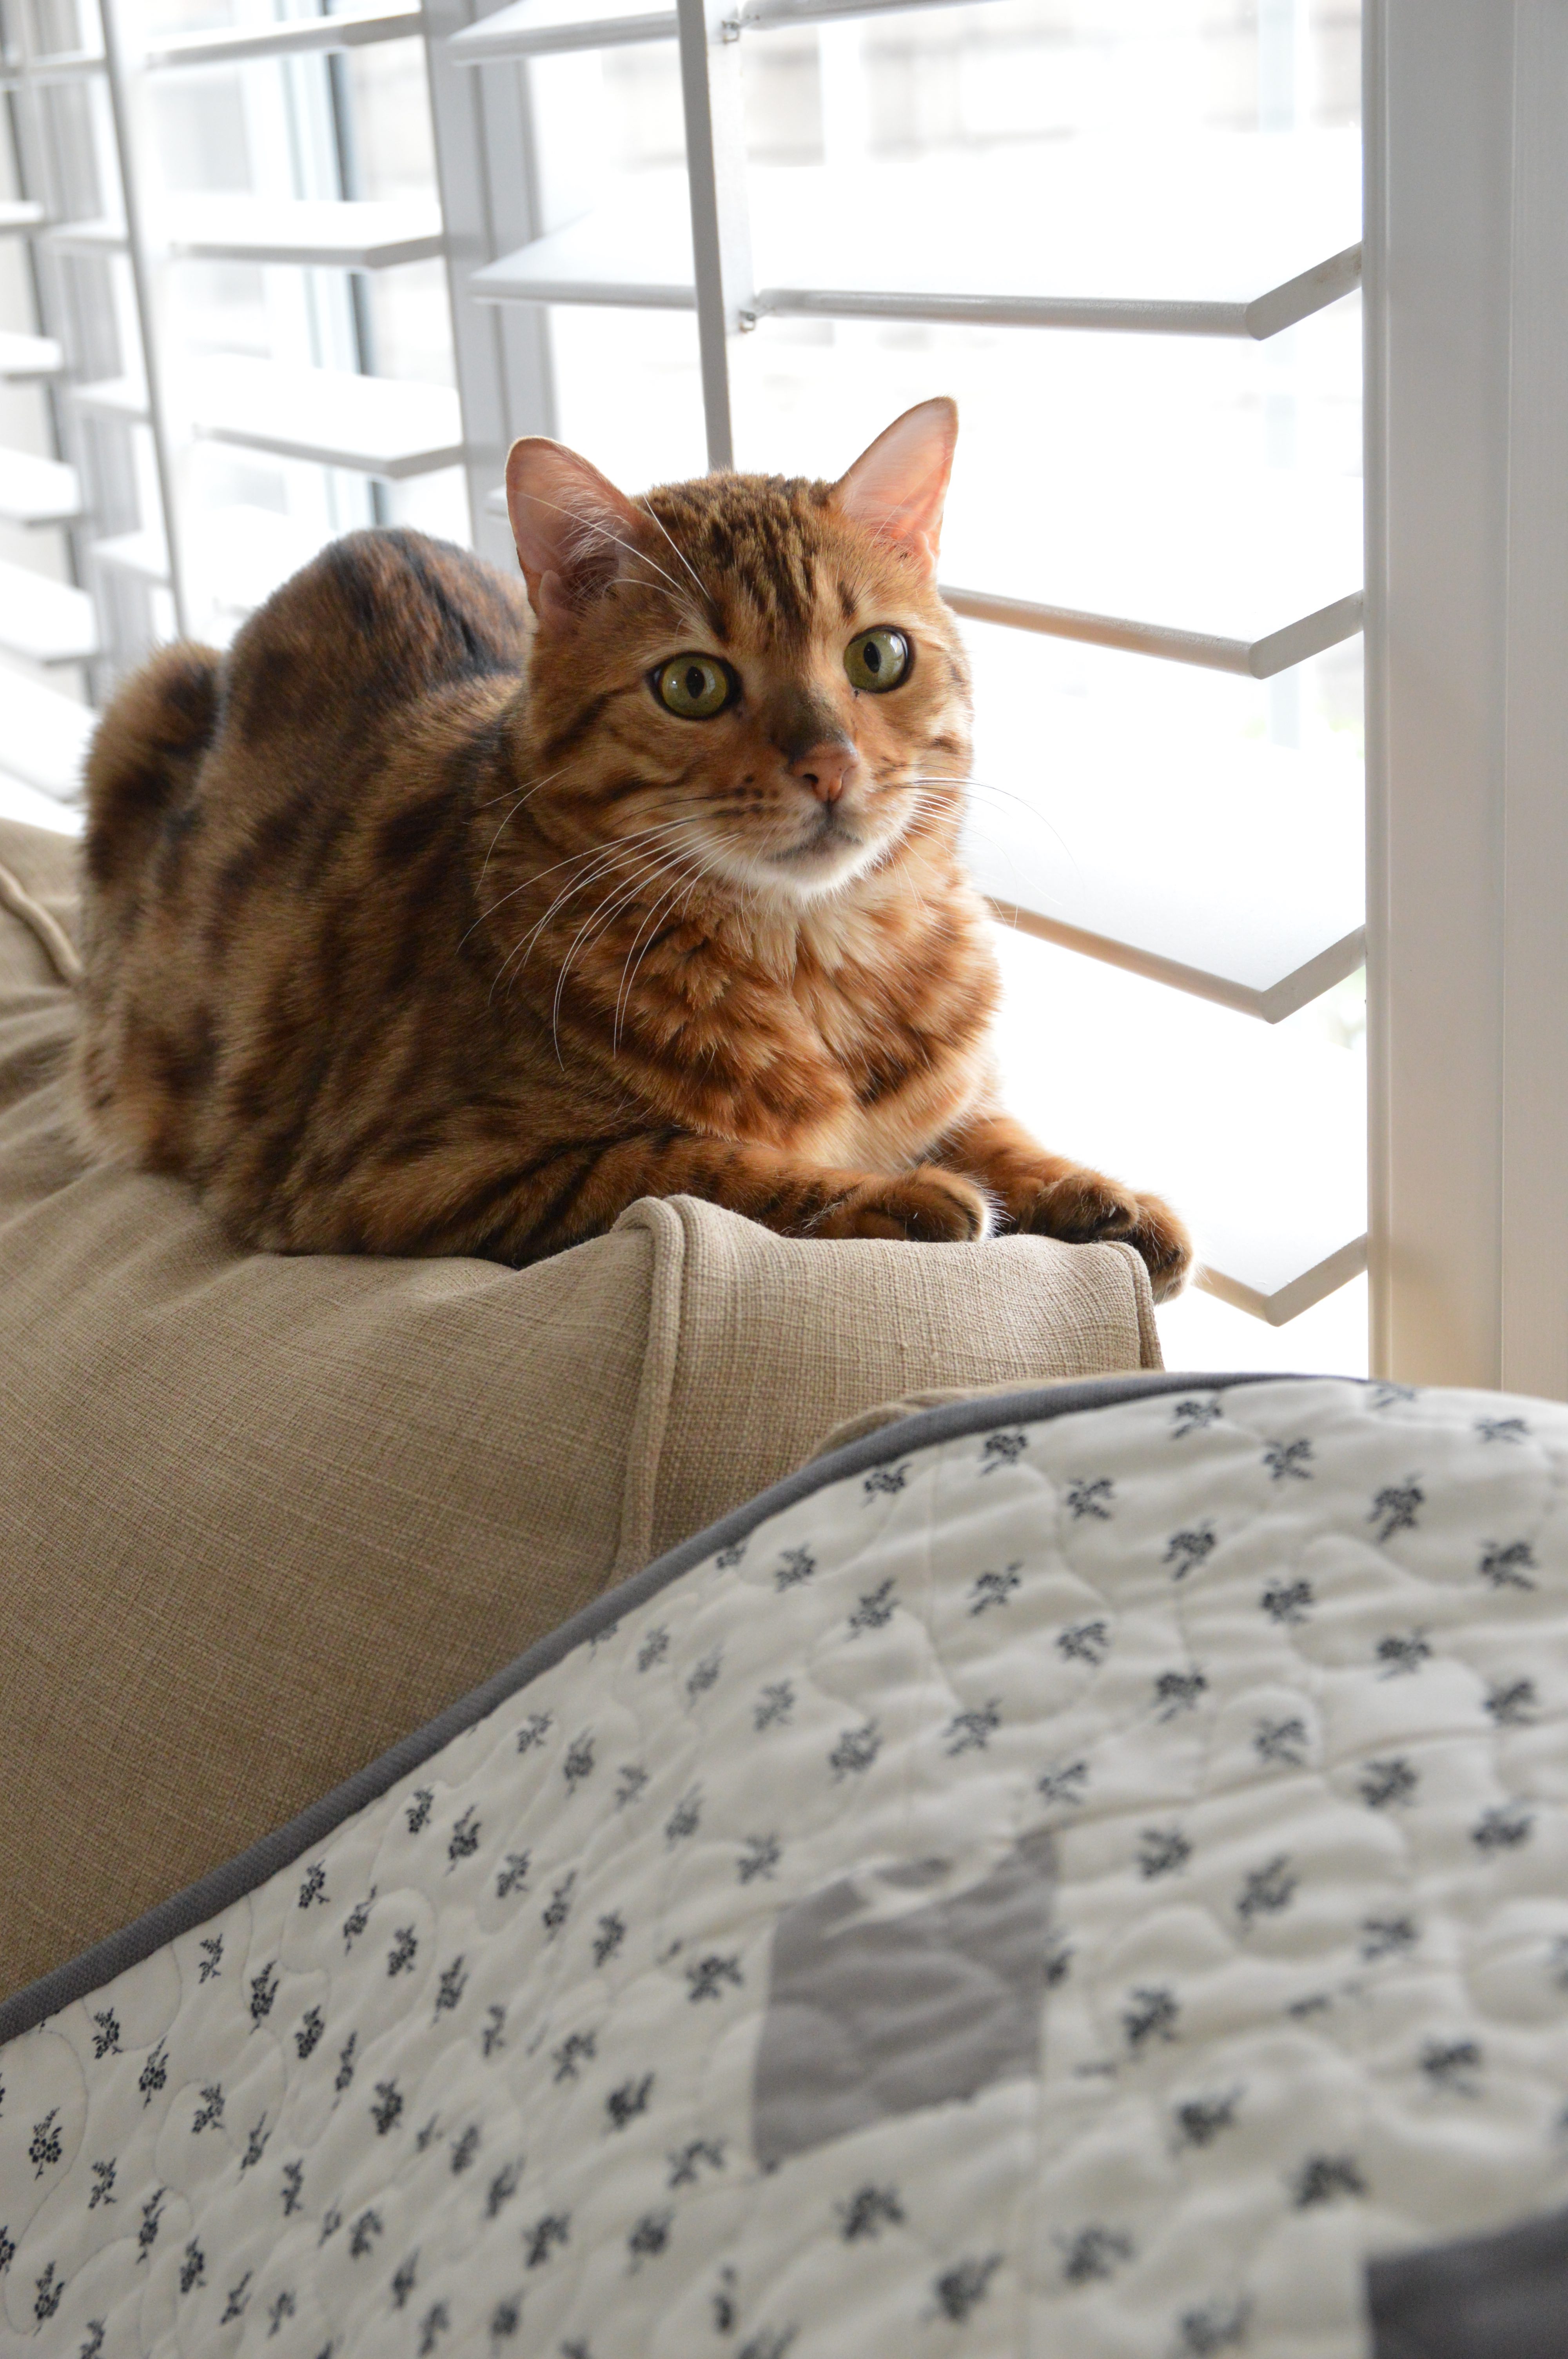
Mufasa loves it too!!!

Mufasa cabin fever

farm house style

DSC_0952

Kitty Love Quilt Pattern is Here!!

screen-shot-2017-01-10-at-12-07-43-pm

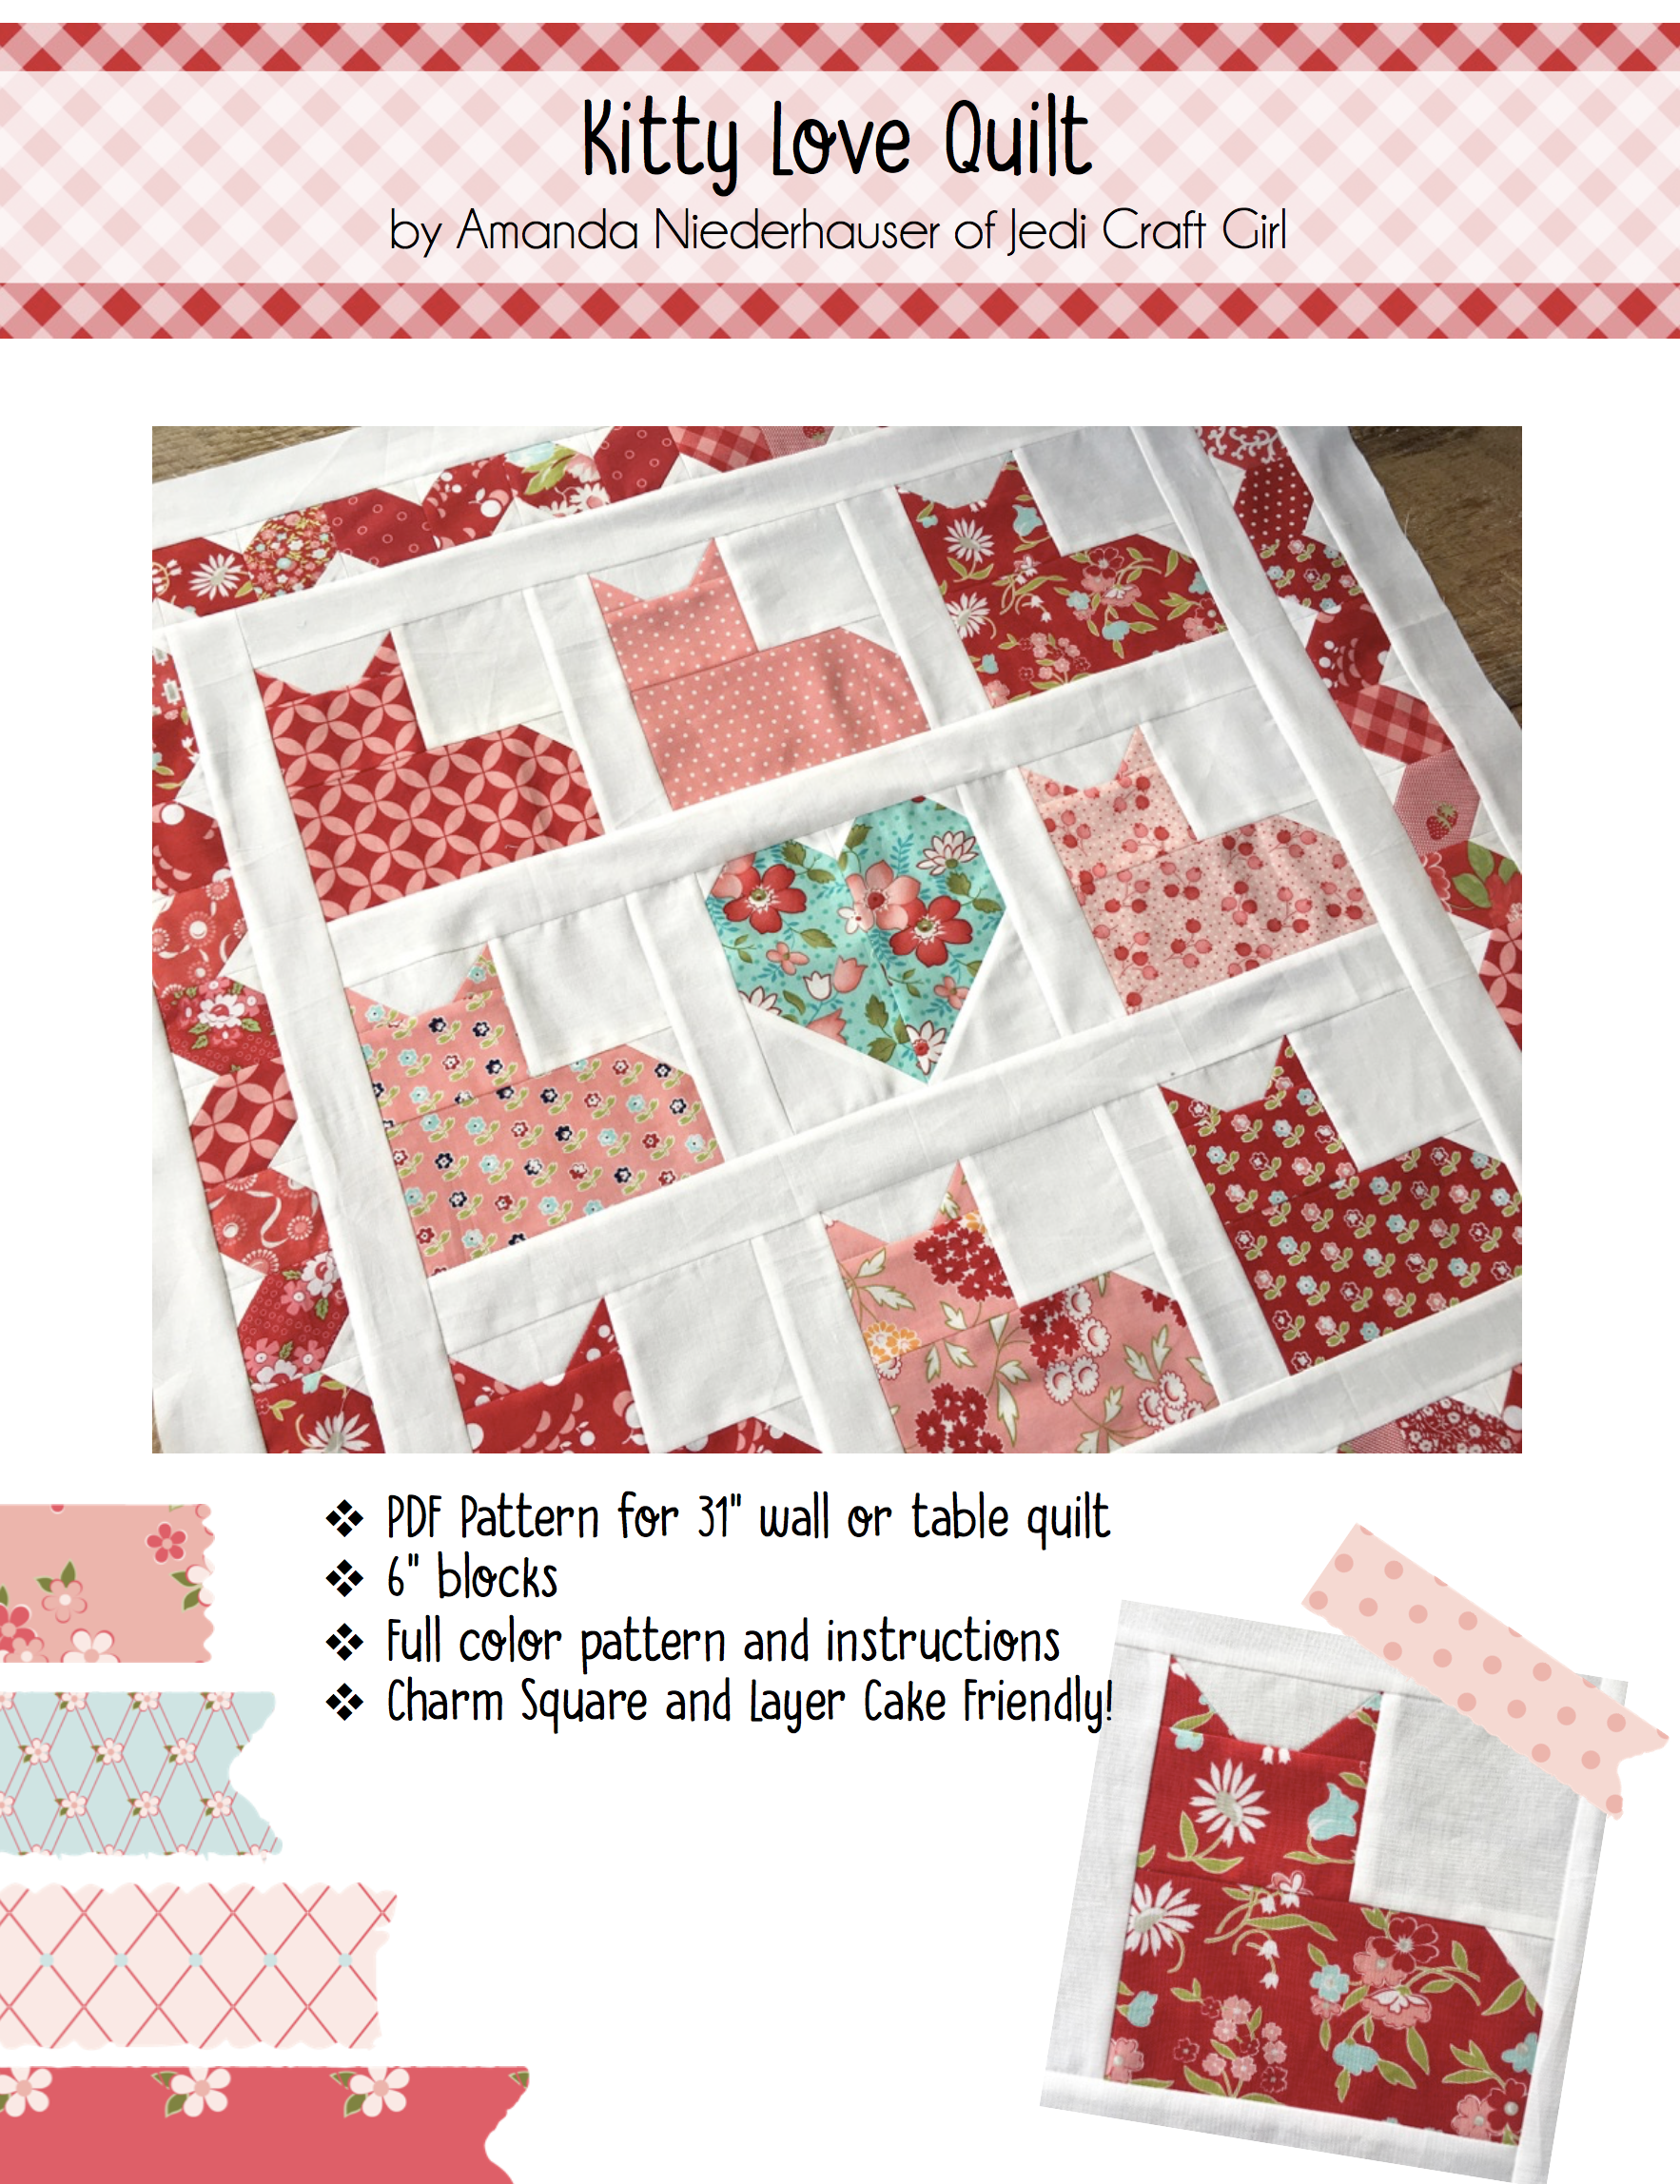
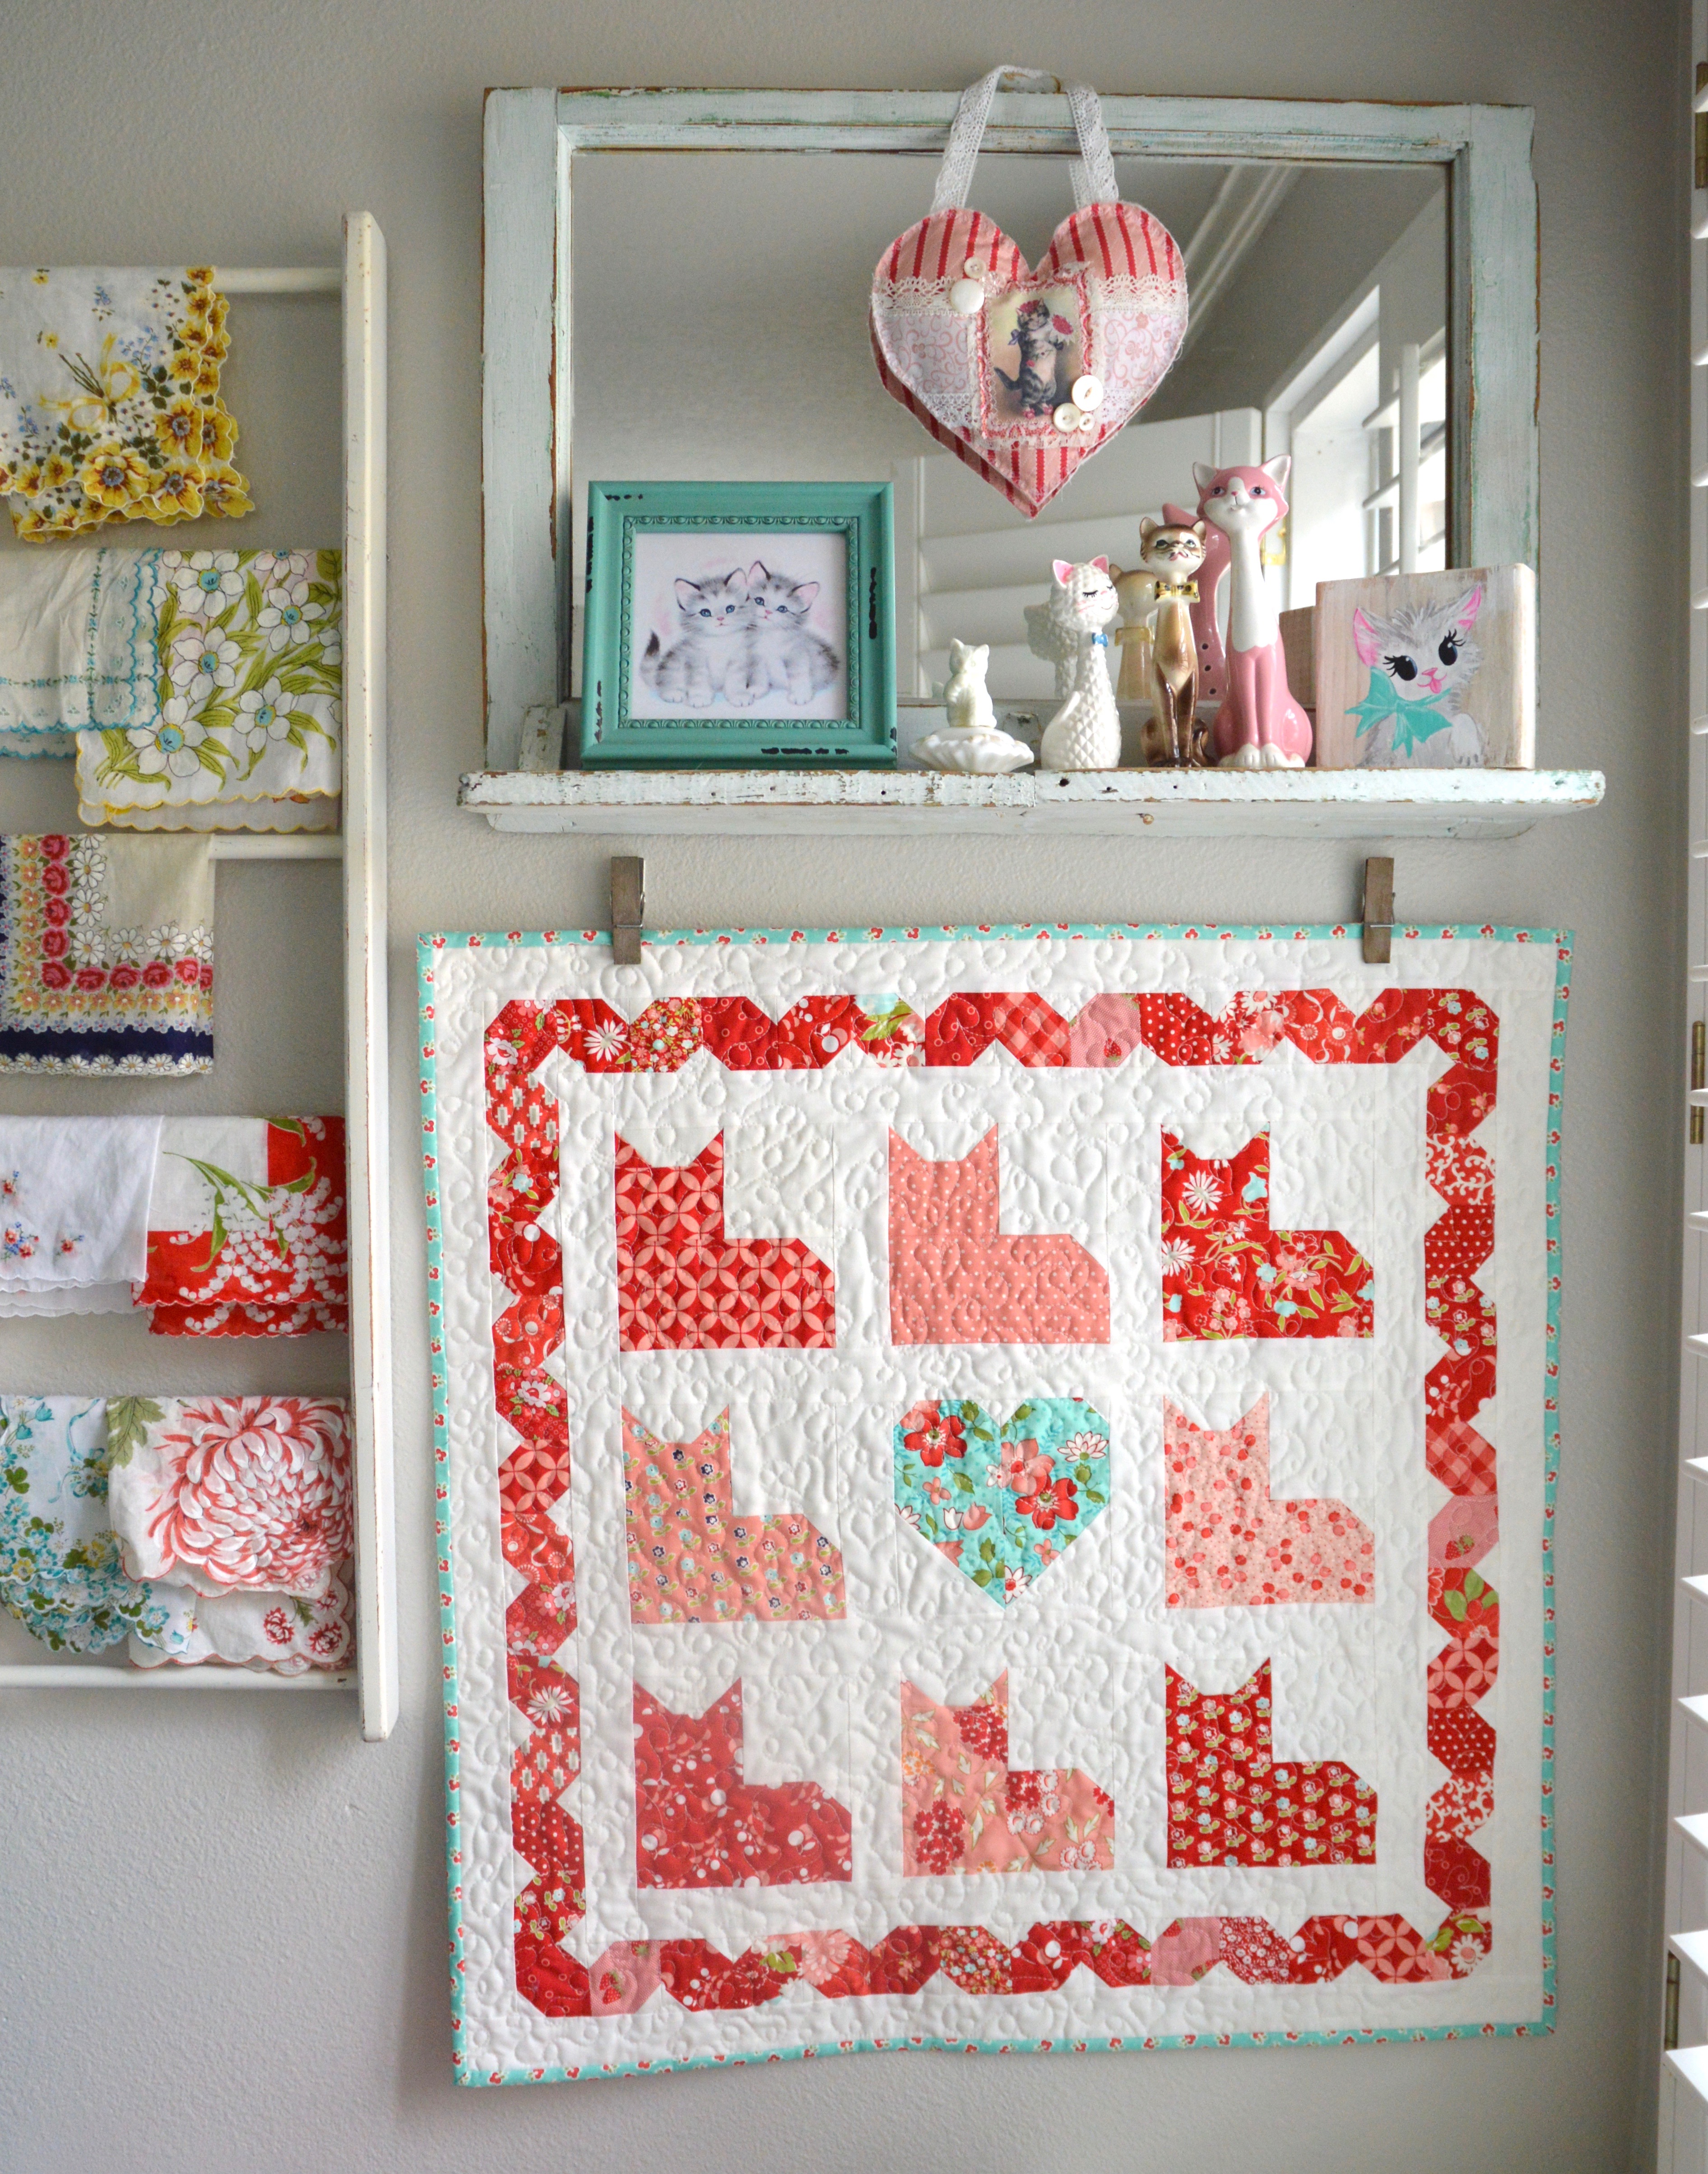
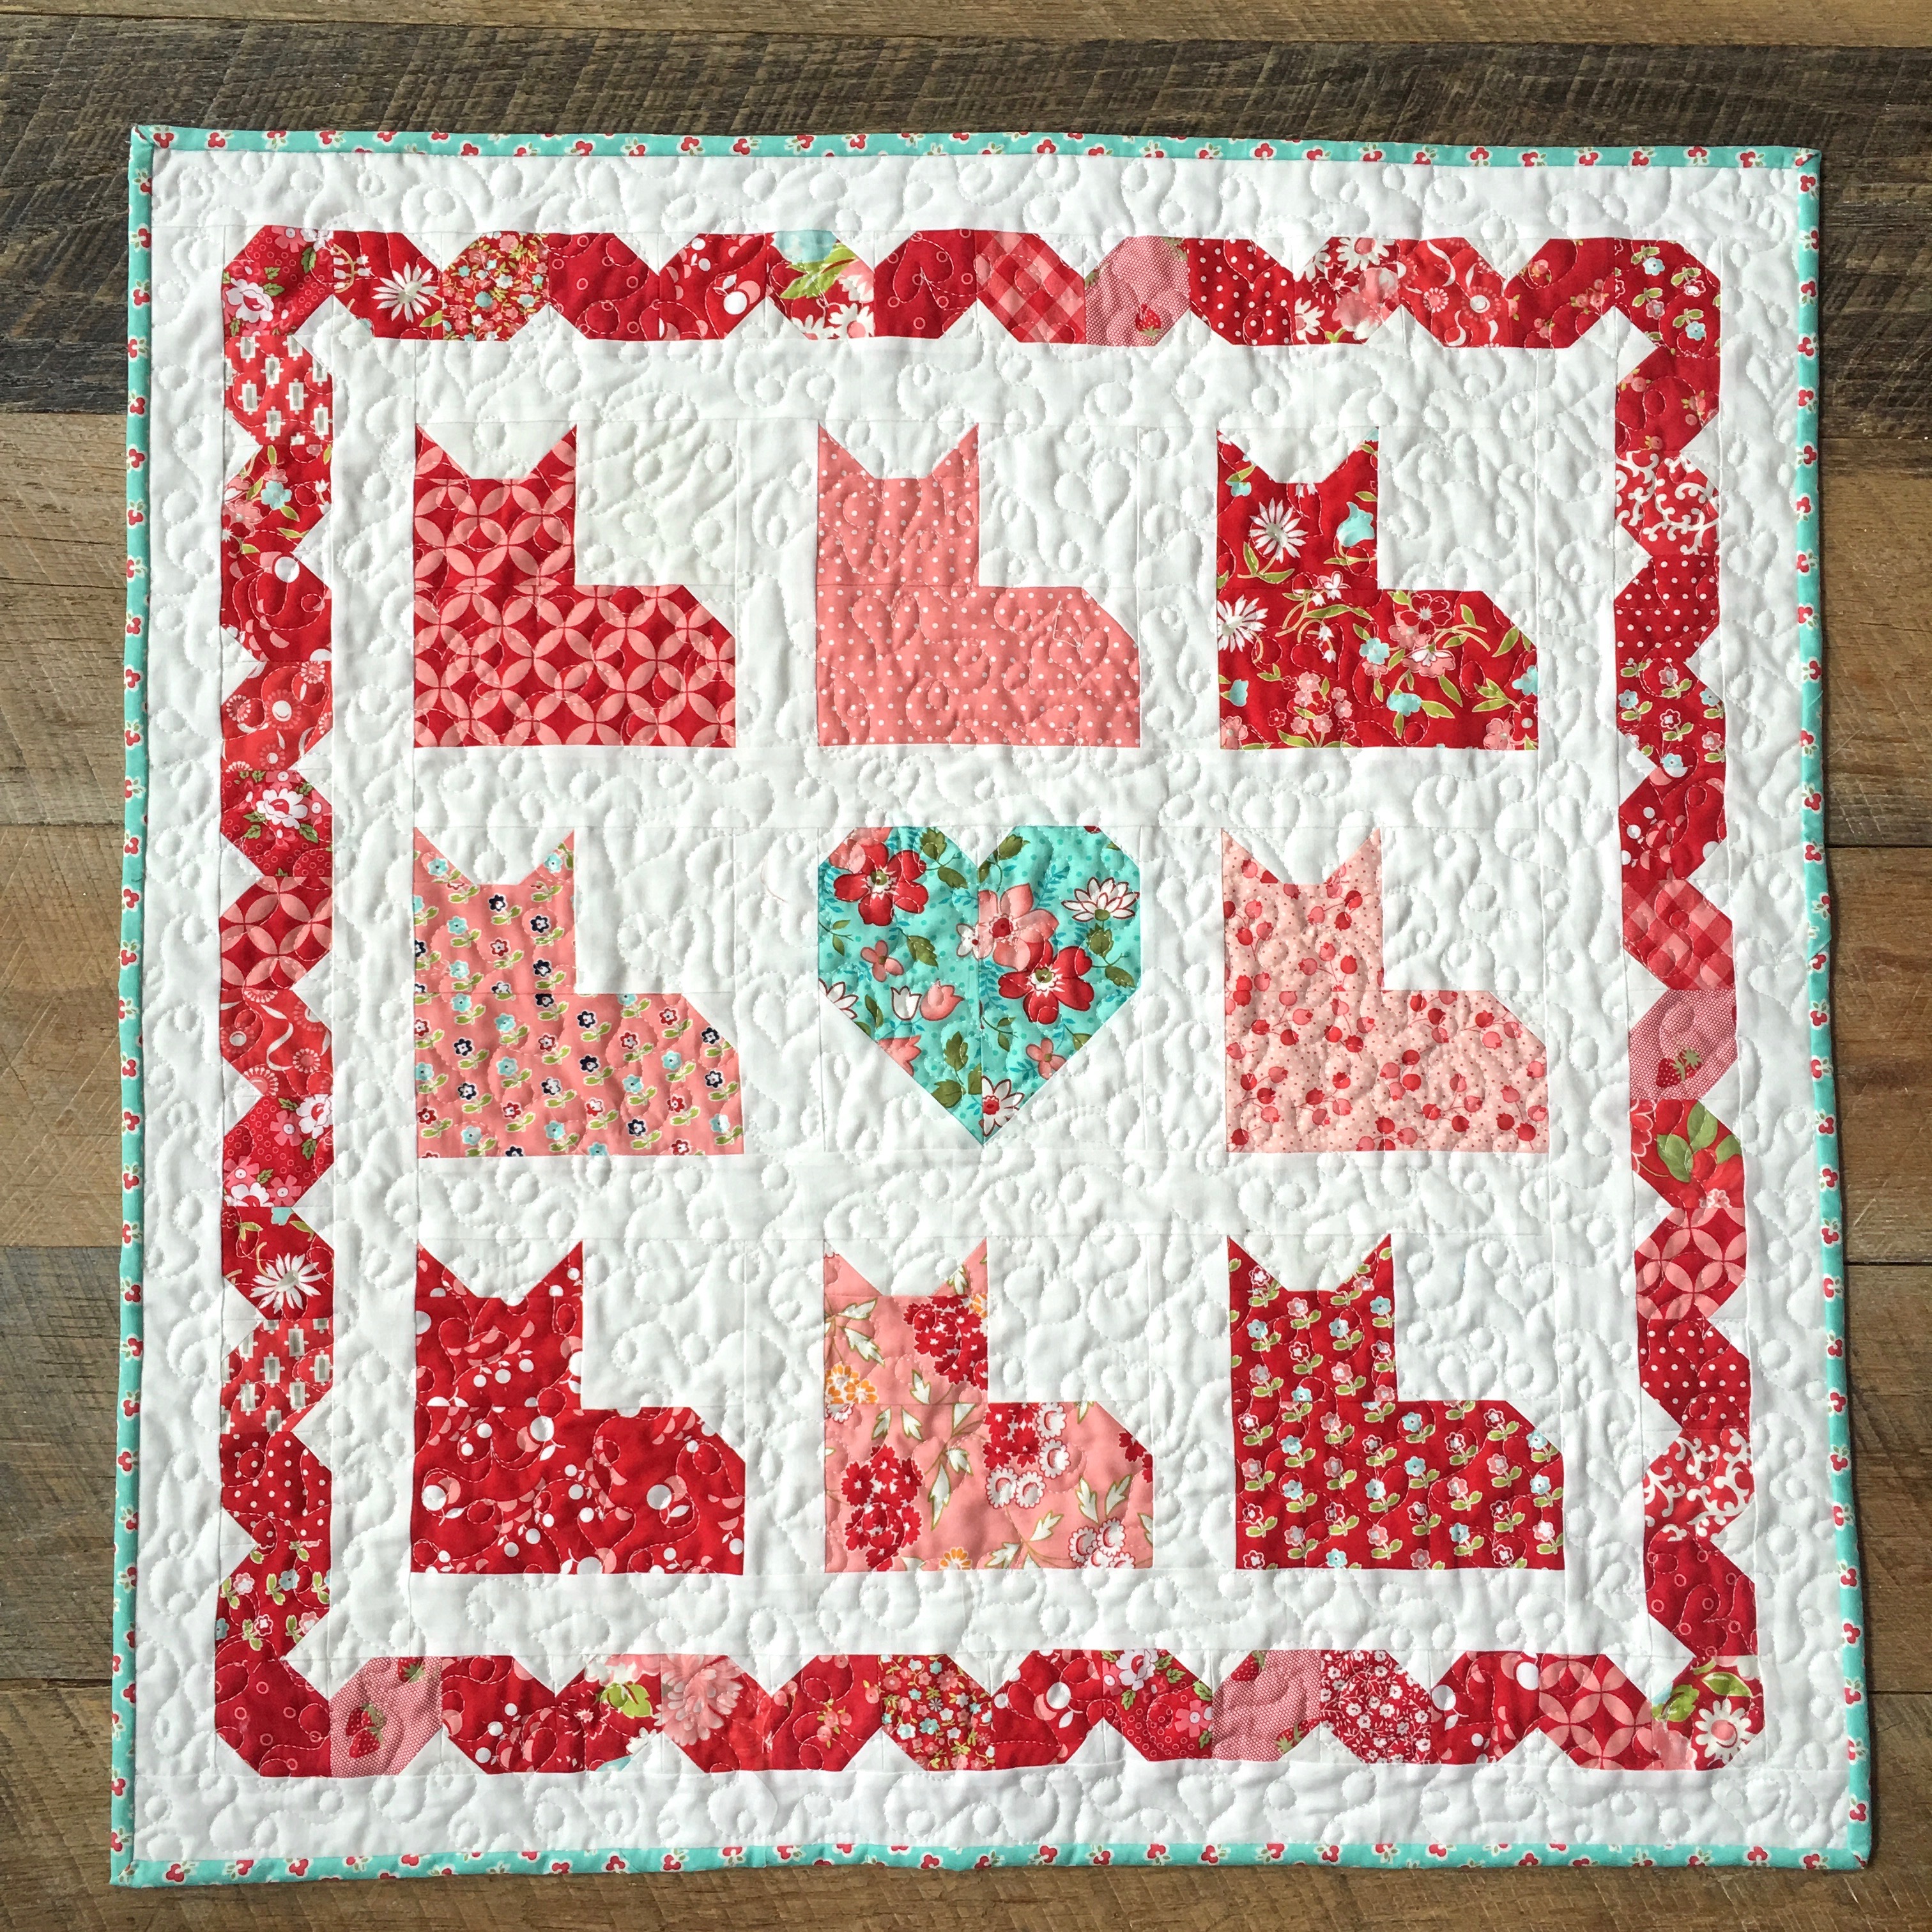
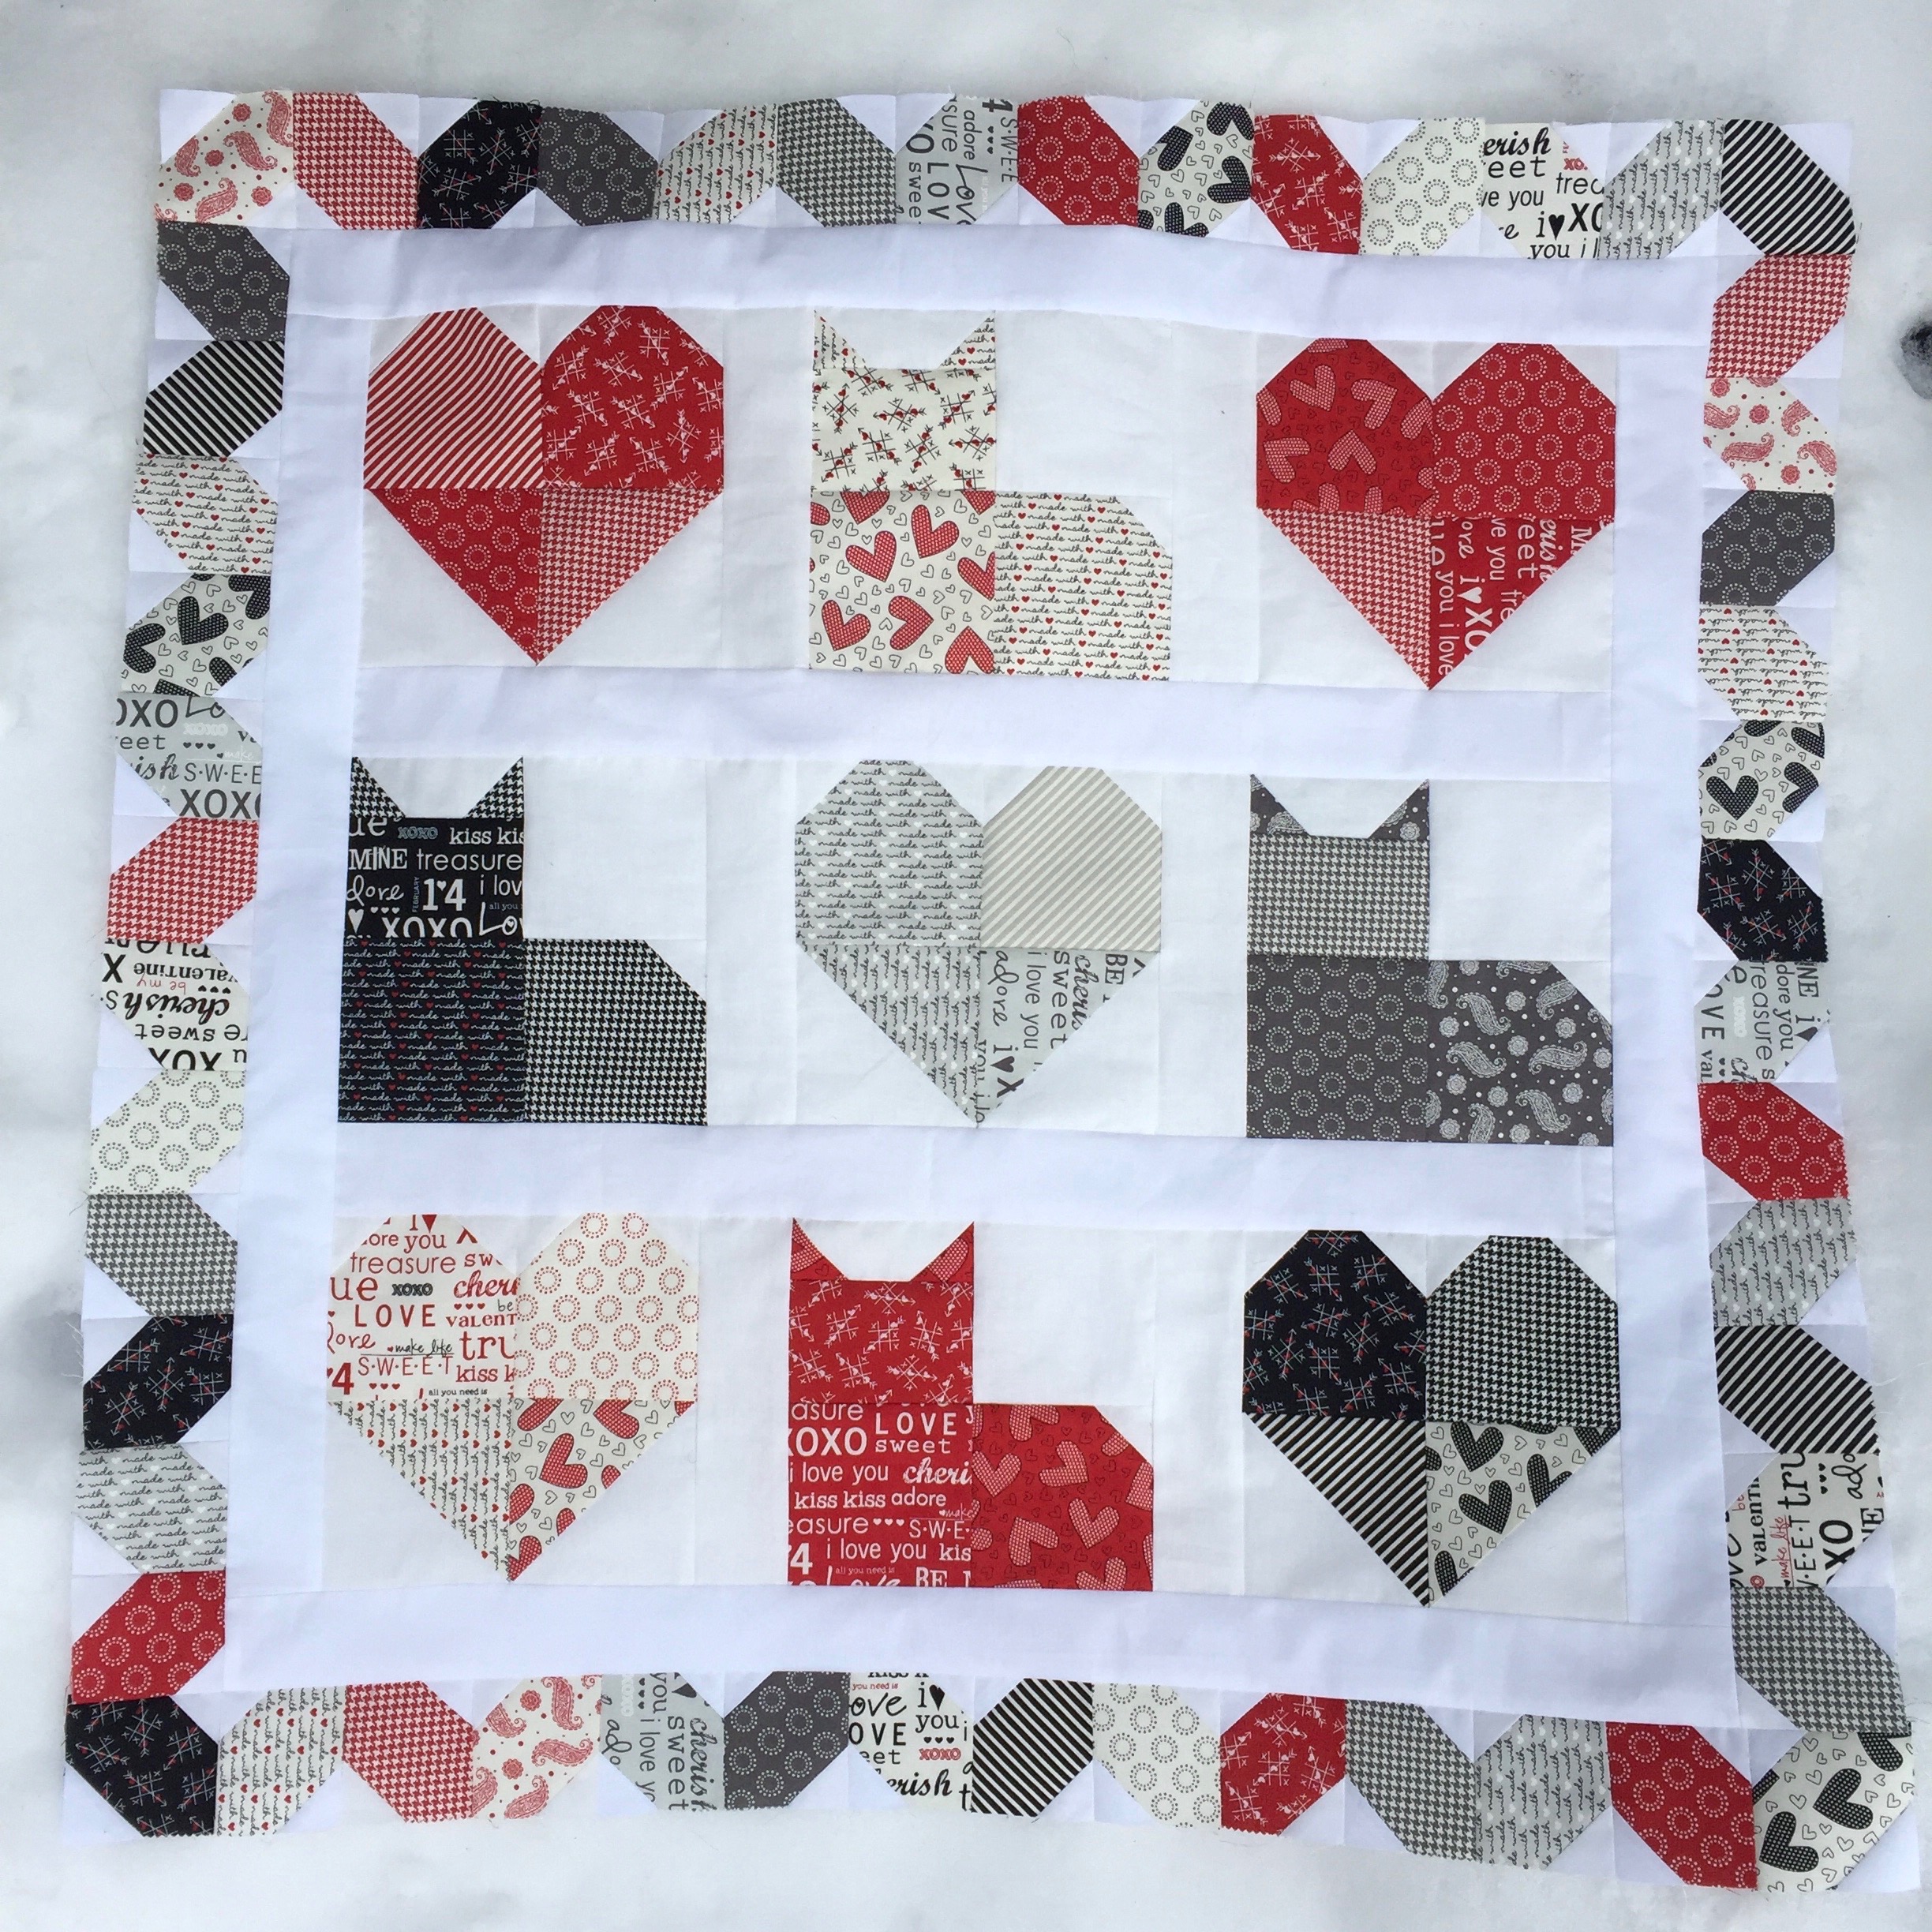
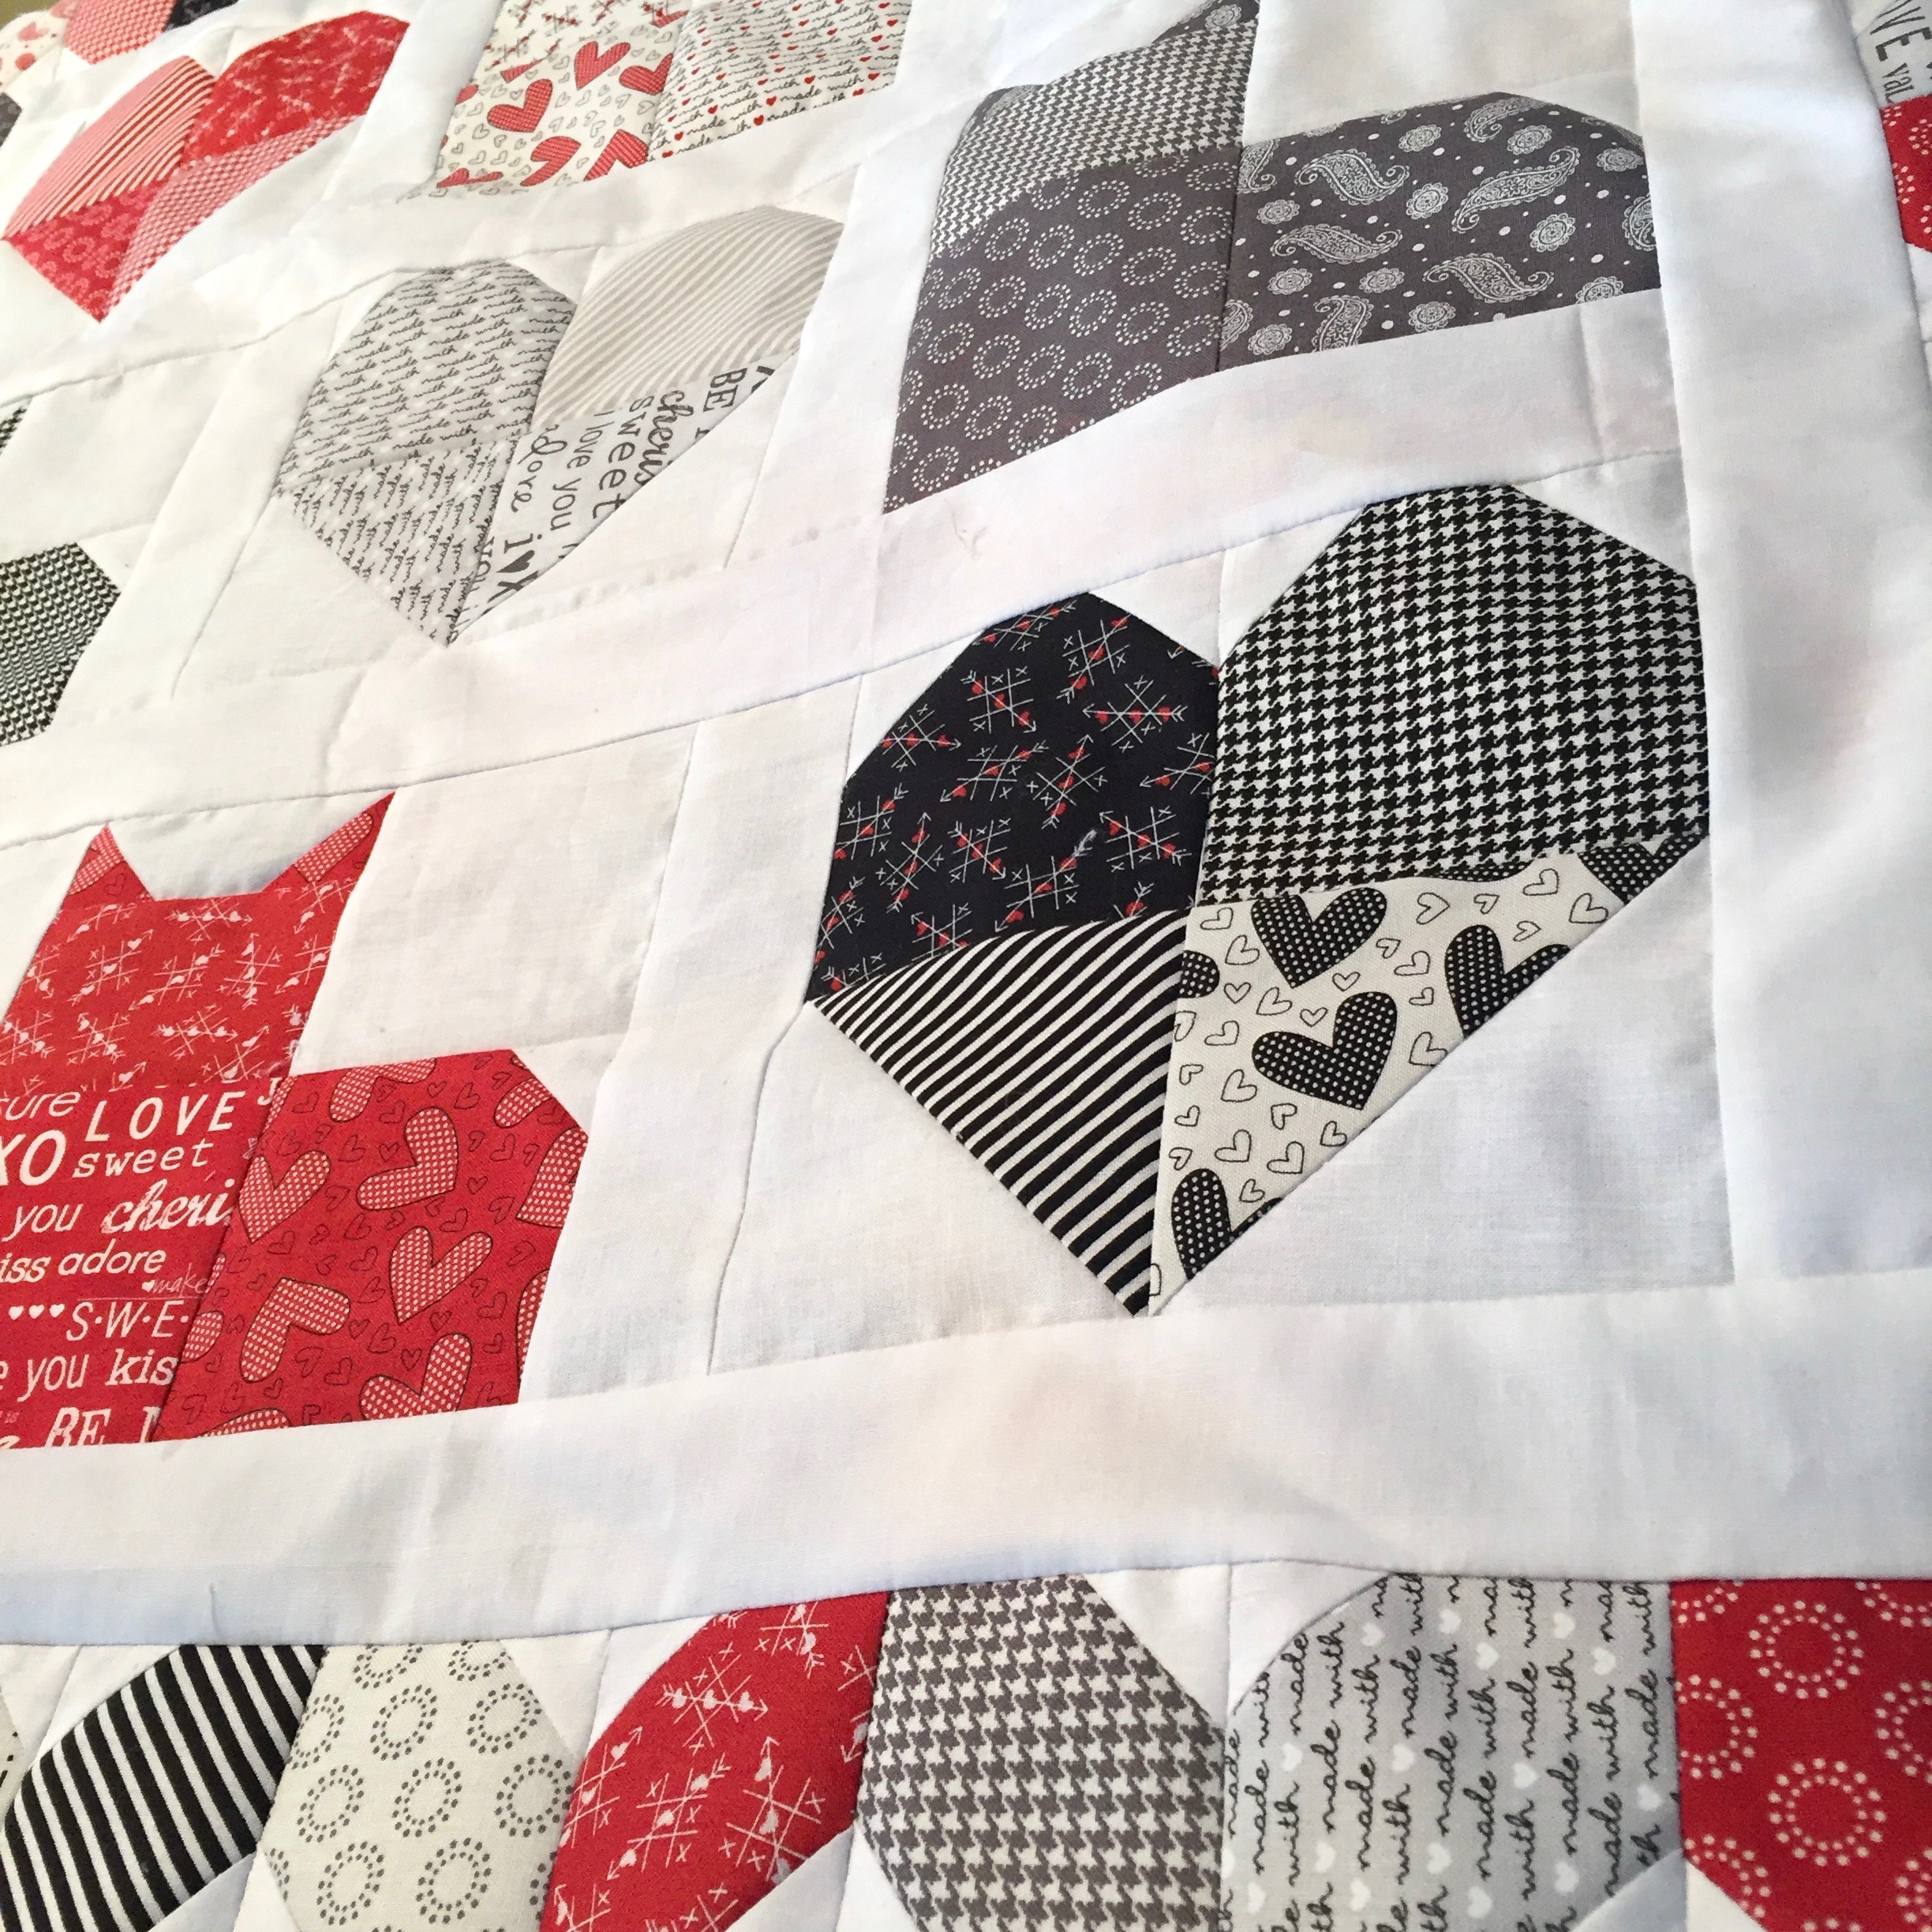
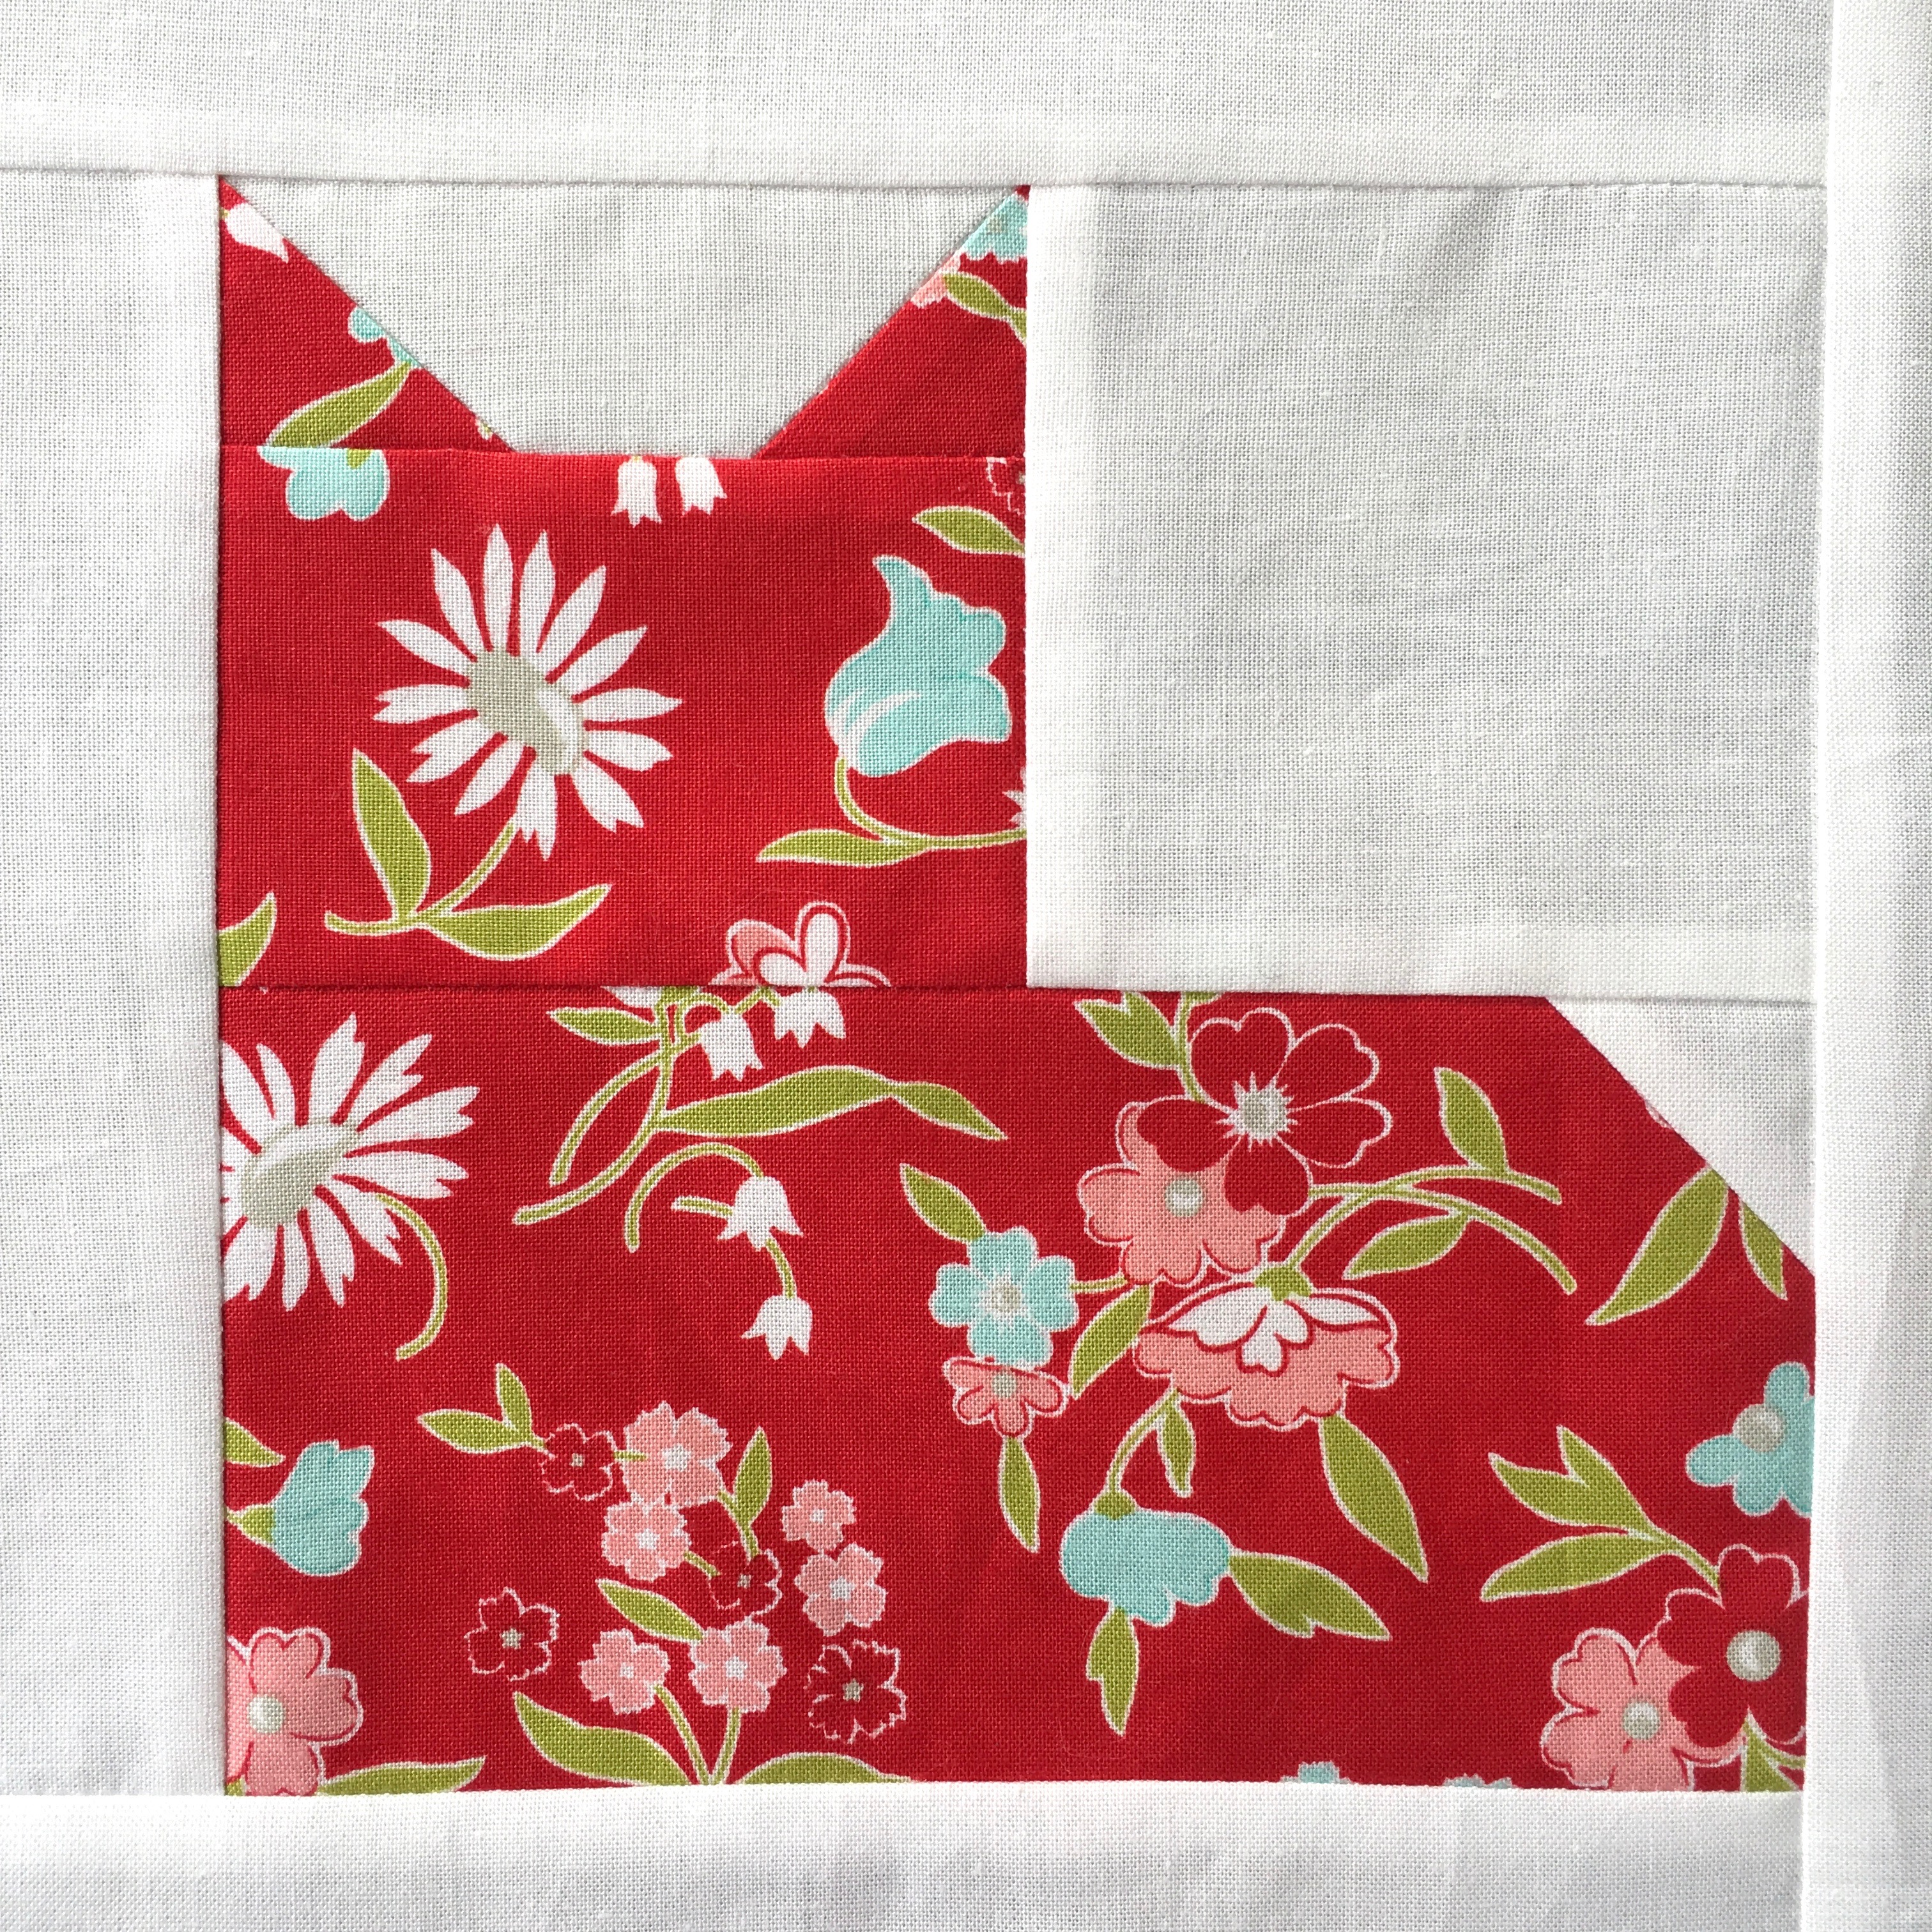
It’s here!  It’s here!  My latest quilt pattern, Kitty Love!!!   January is feeling quite dreary!!!  I created this cheery Valentine pattern to brighten things up around here!  It is available for purchase in my Etsy shop.  The pattern is a PDF and has full color instructions and diagrams.  dsc_0861

I made this quilt with a variety of Bonnie & Camille fabrics by Moda: Vintage Picnic, Hello Darling, Vintage Modern and Day Sail.

img_8676

This quilt measures 31″ square and is perfect to hang on a wall or put on a table.  What I love about this pattern is that it is super versatile!  I have included instructions to sew the quilt with charm packs and background fabric!  I love my friend,  Tina’s version – she made 5 heart blocks and 4 heart blocks all with charm squares!!

img_8693

img_8691

Also included in the pattern is a pumpkin block so you can make balck cats and orange pumpkins for Halloween!!

img_8610

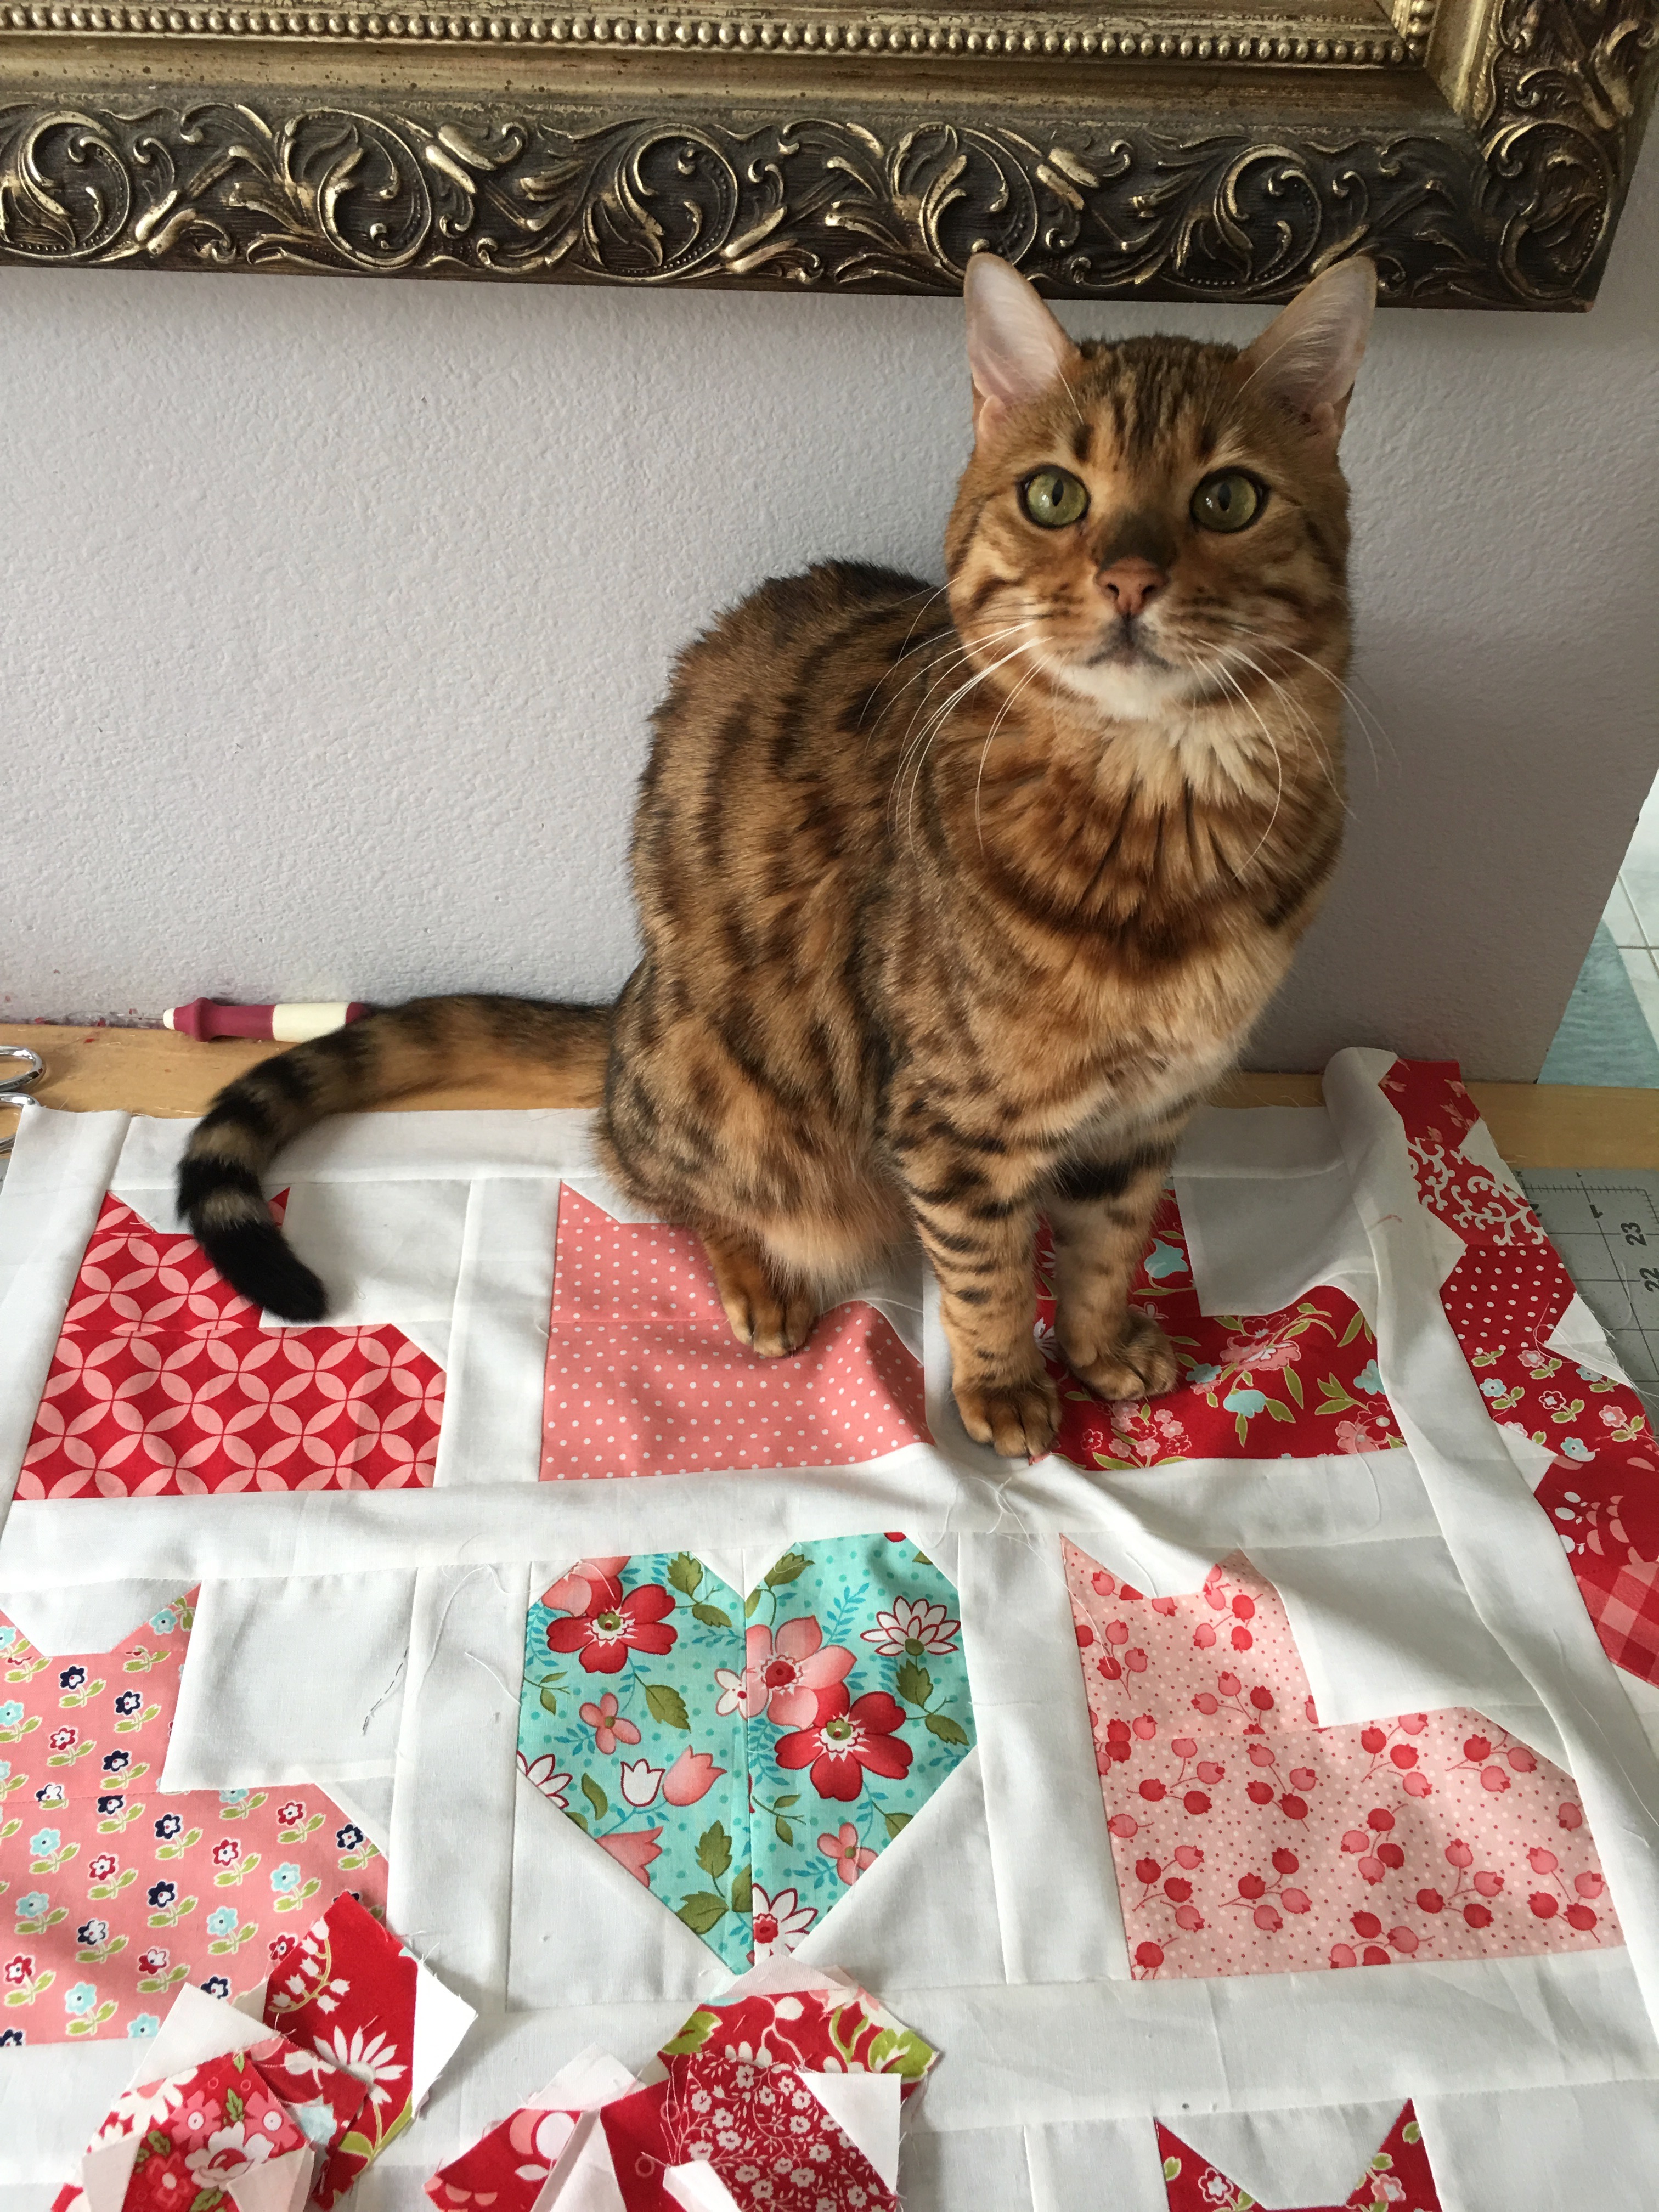
Mufasa is totally thrilled with this fun quilt and I know you will be too!!!

img_8638

Riley Blake Speedster Quilt Tutorial

speedster-quilt-tutorialA little update on one of my favorite quilts…..
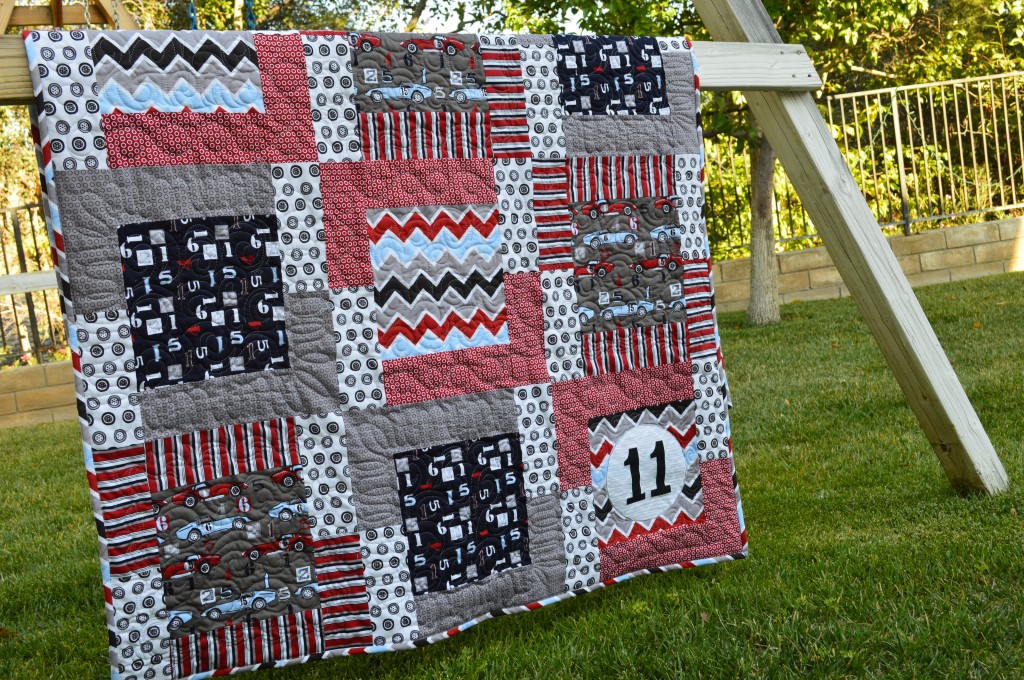
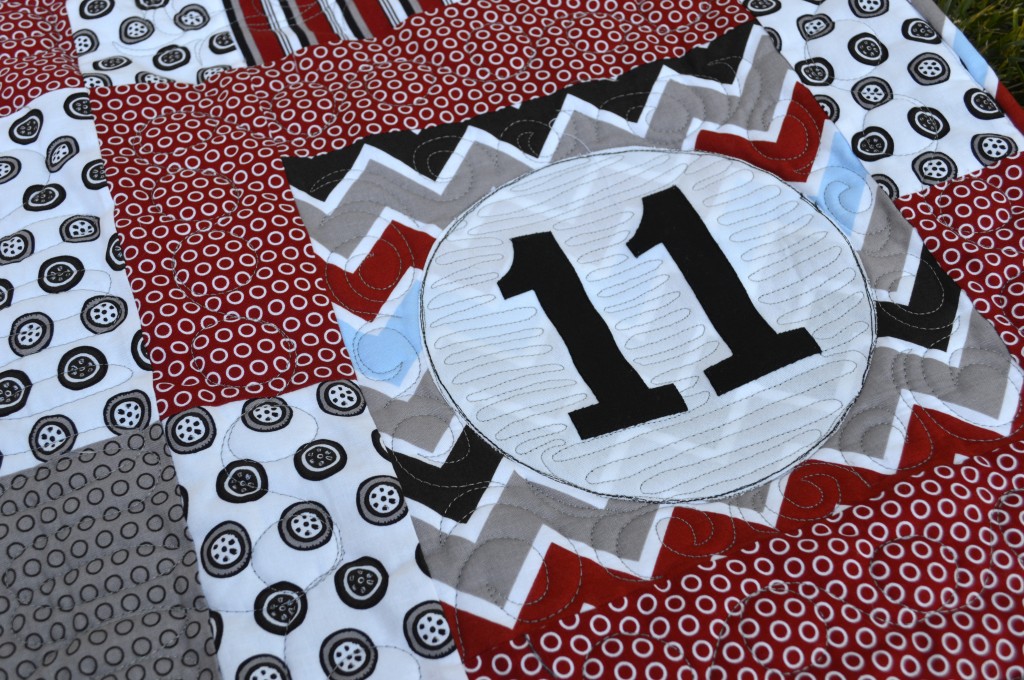
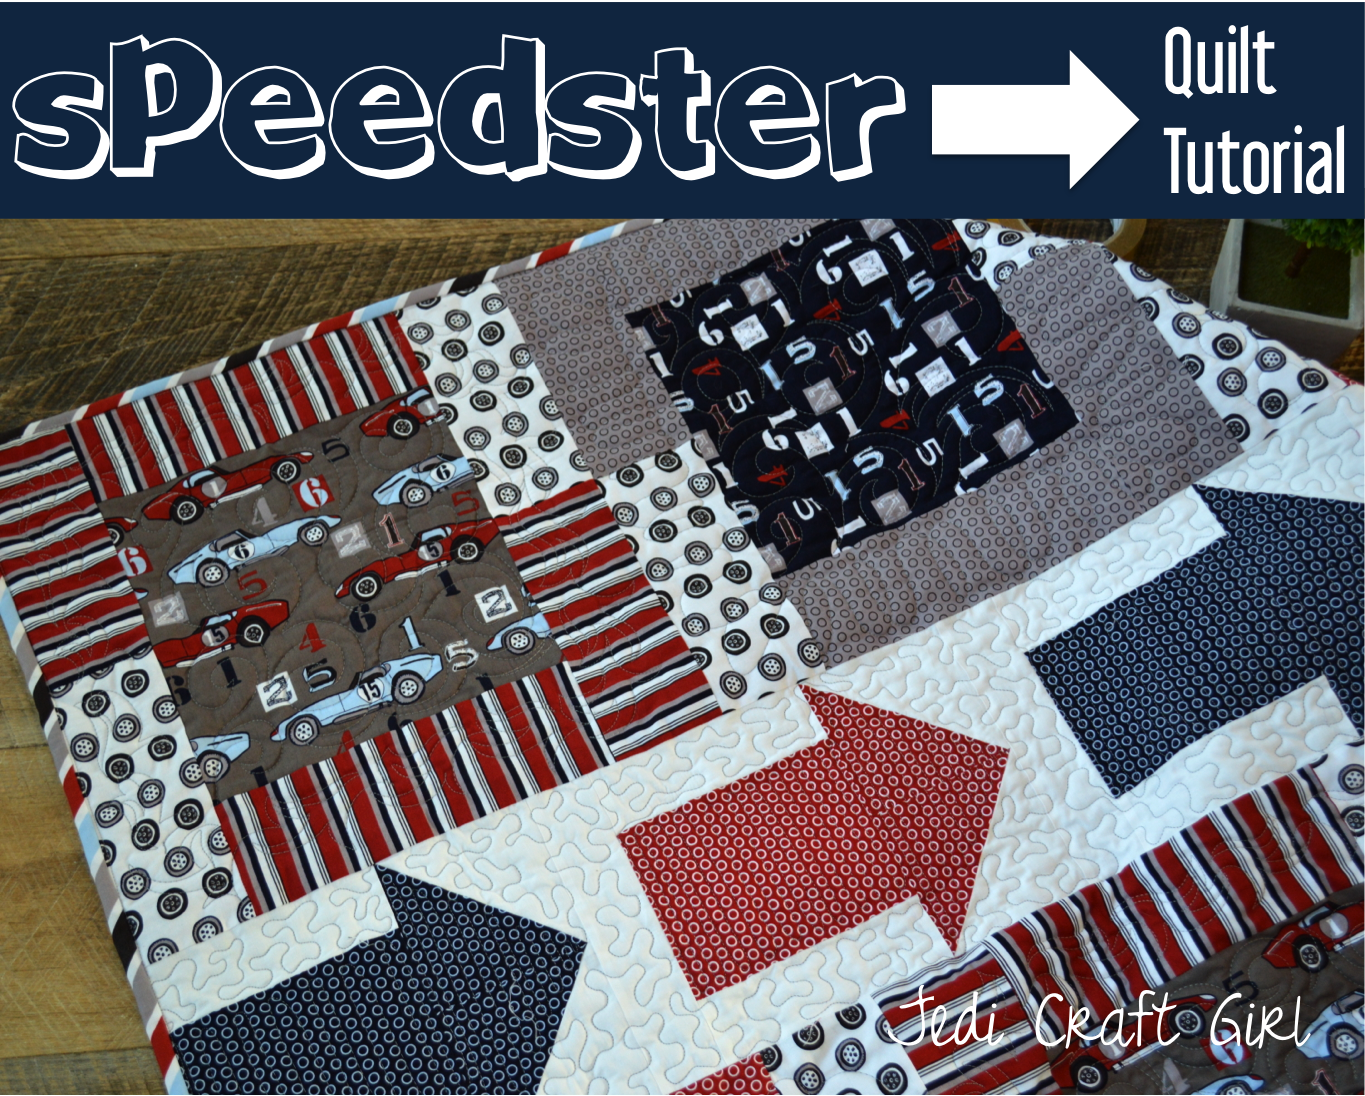
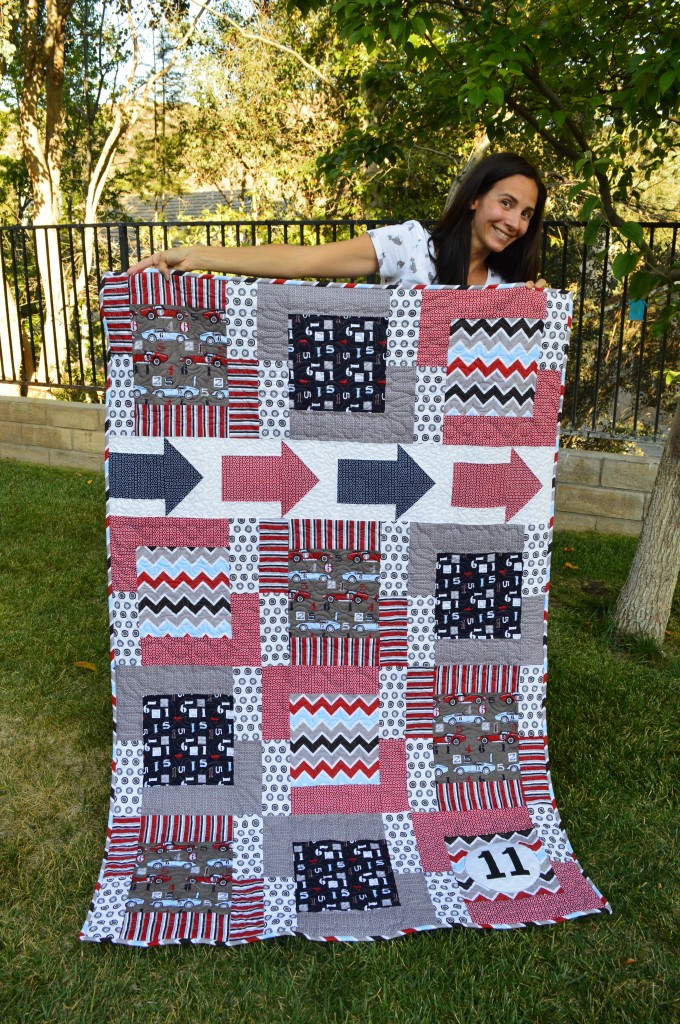
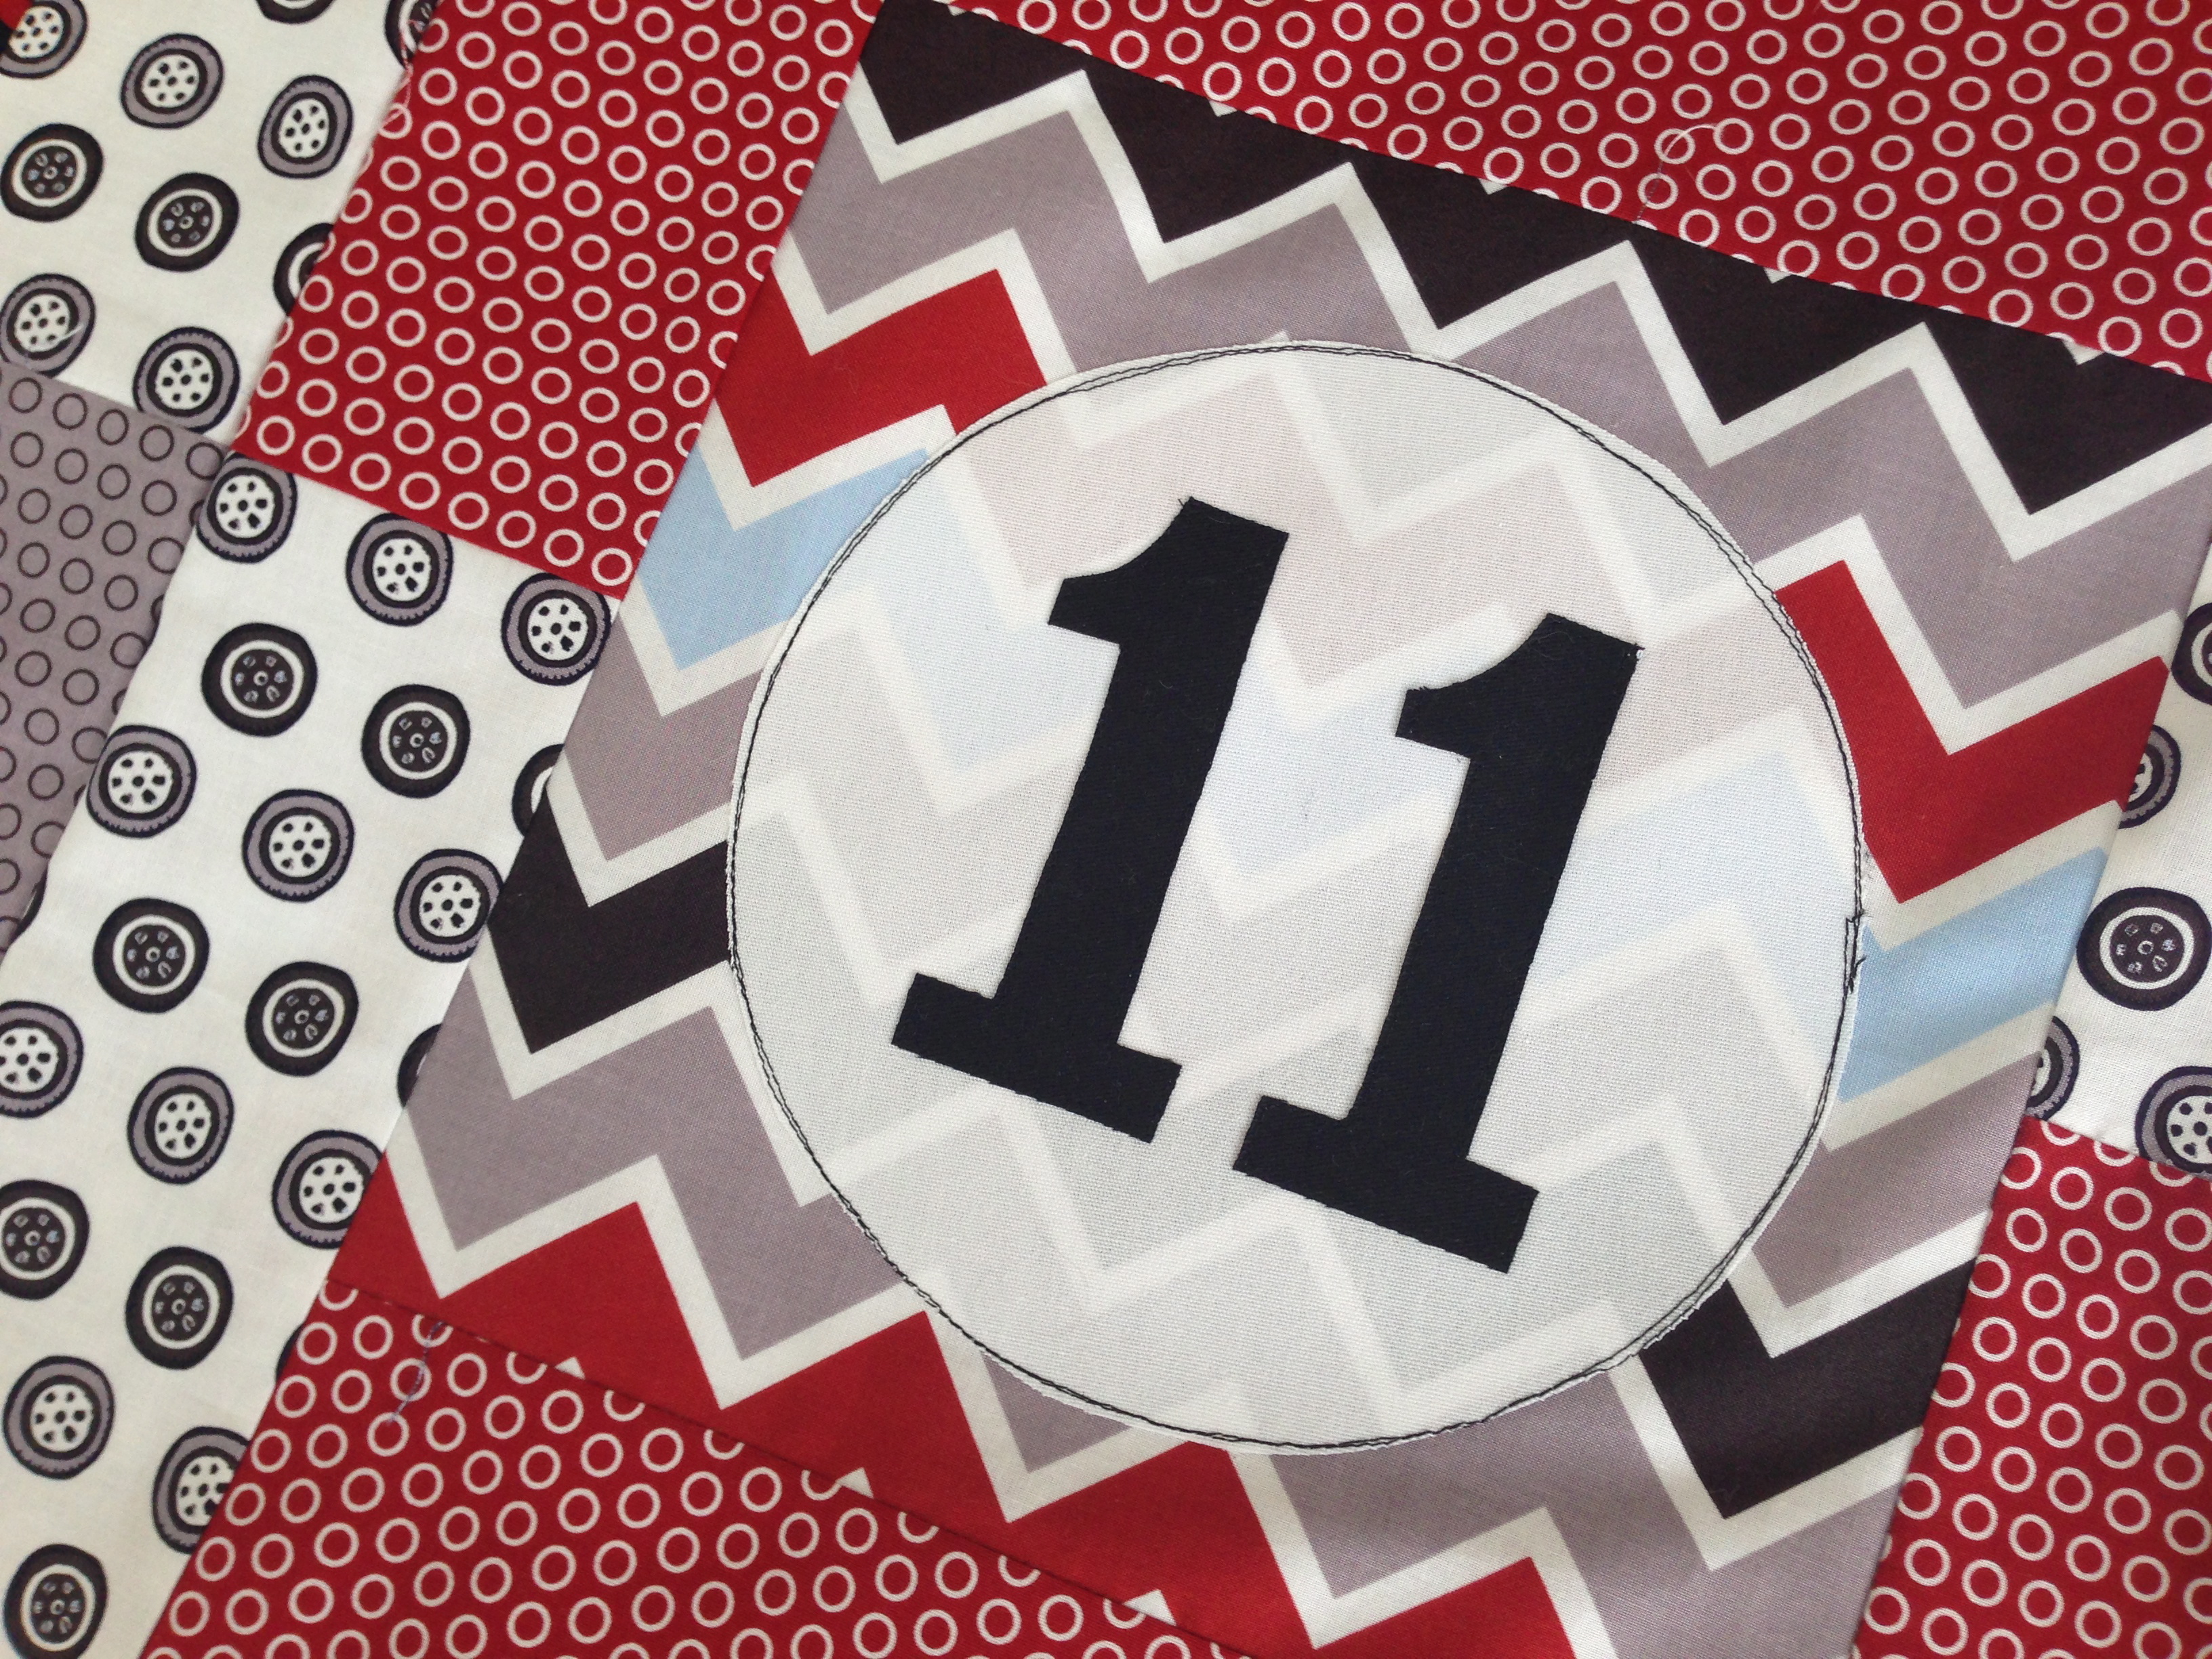
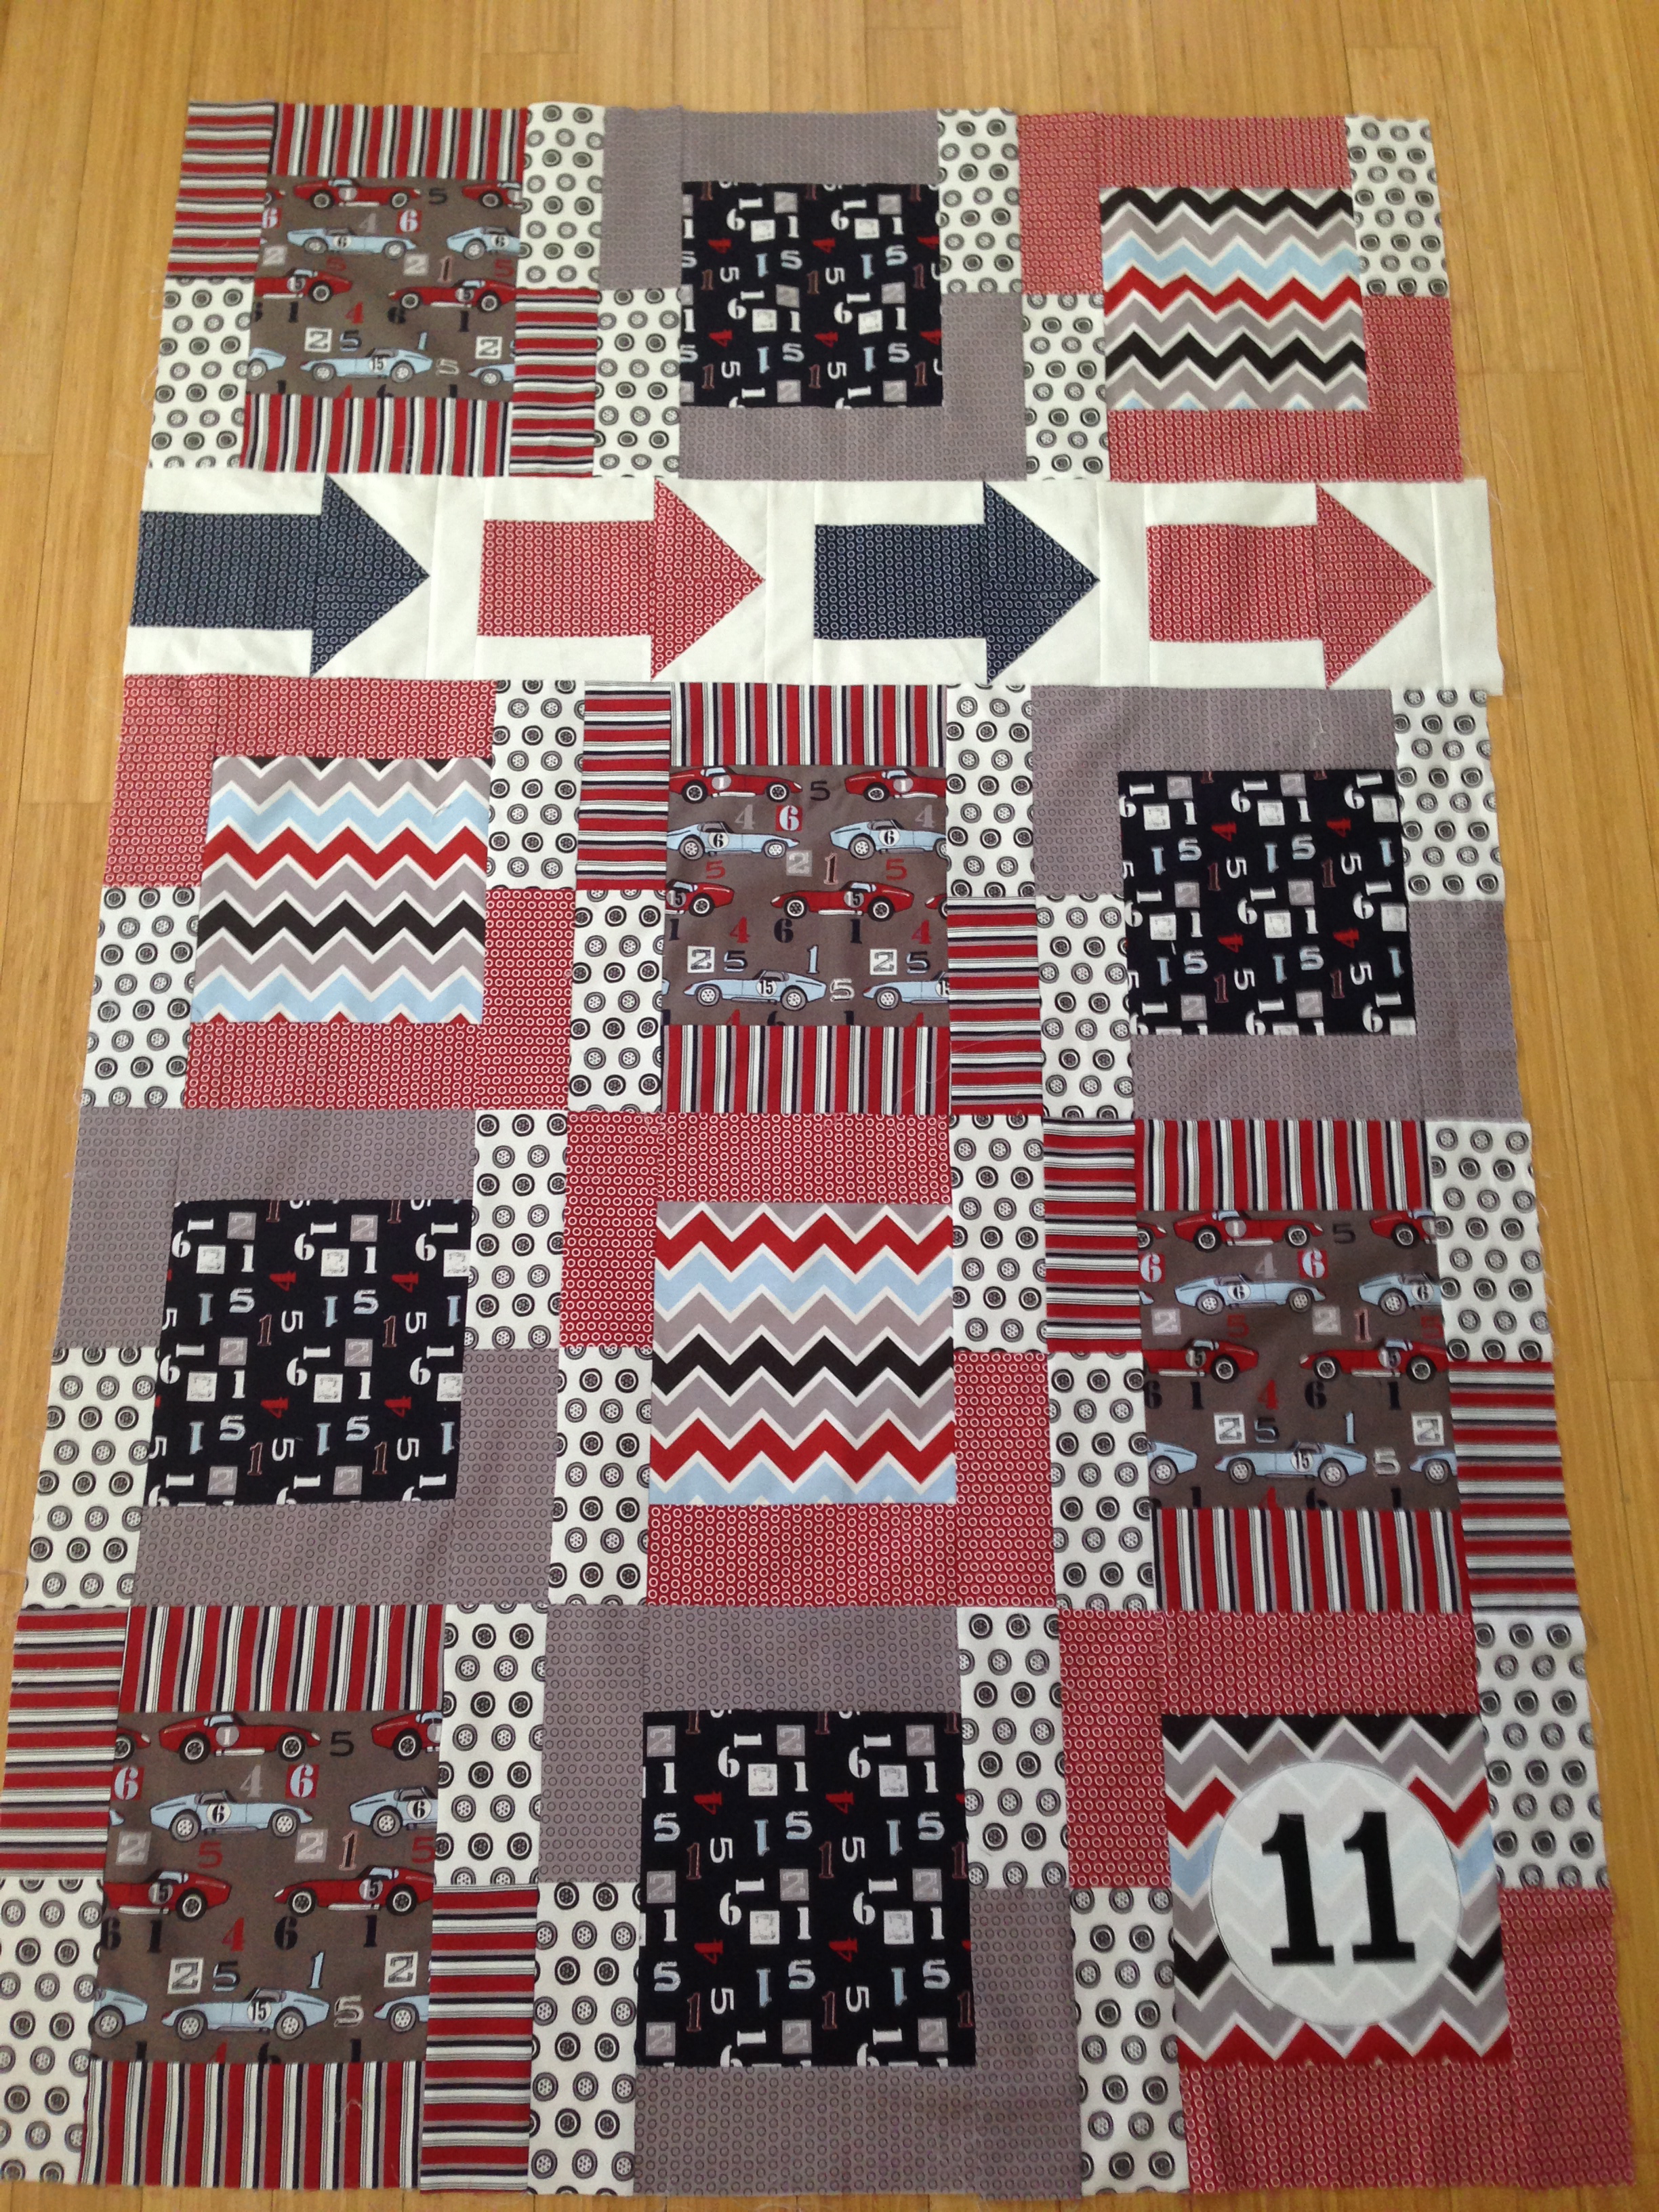
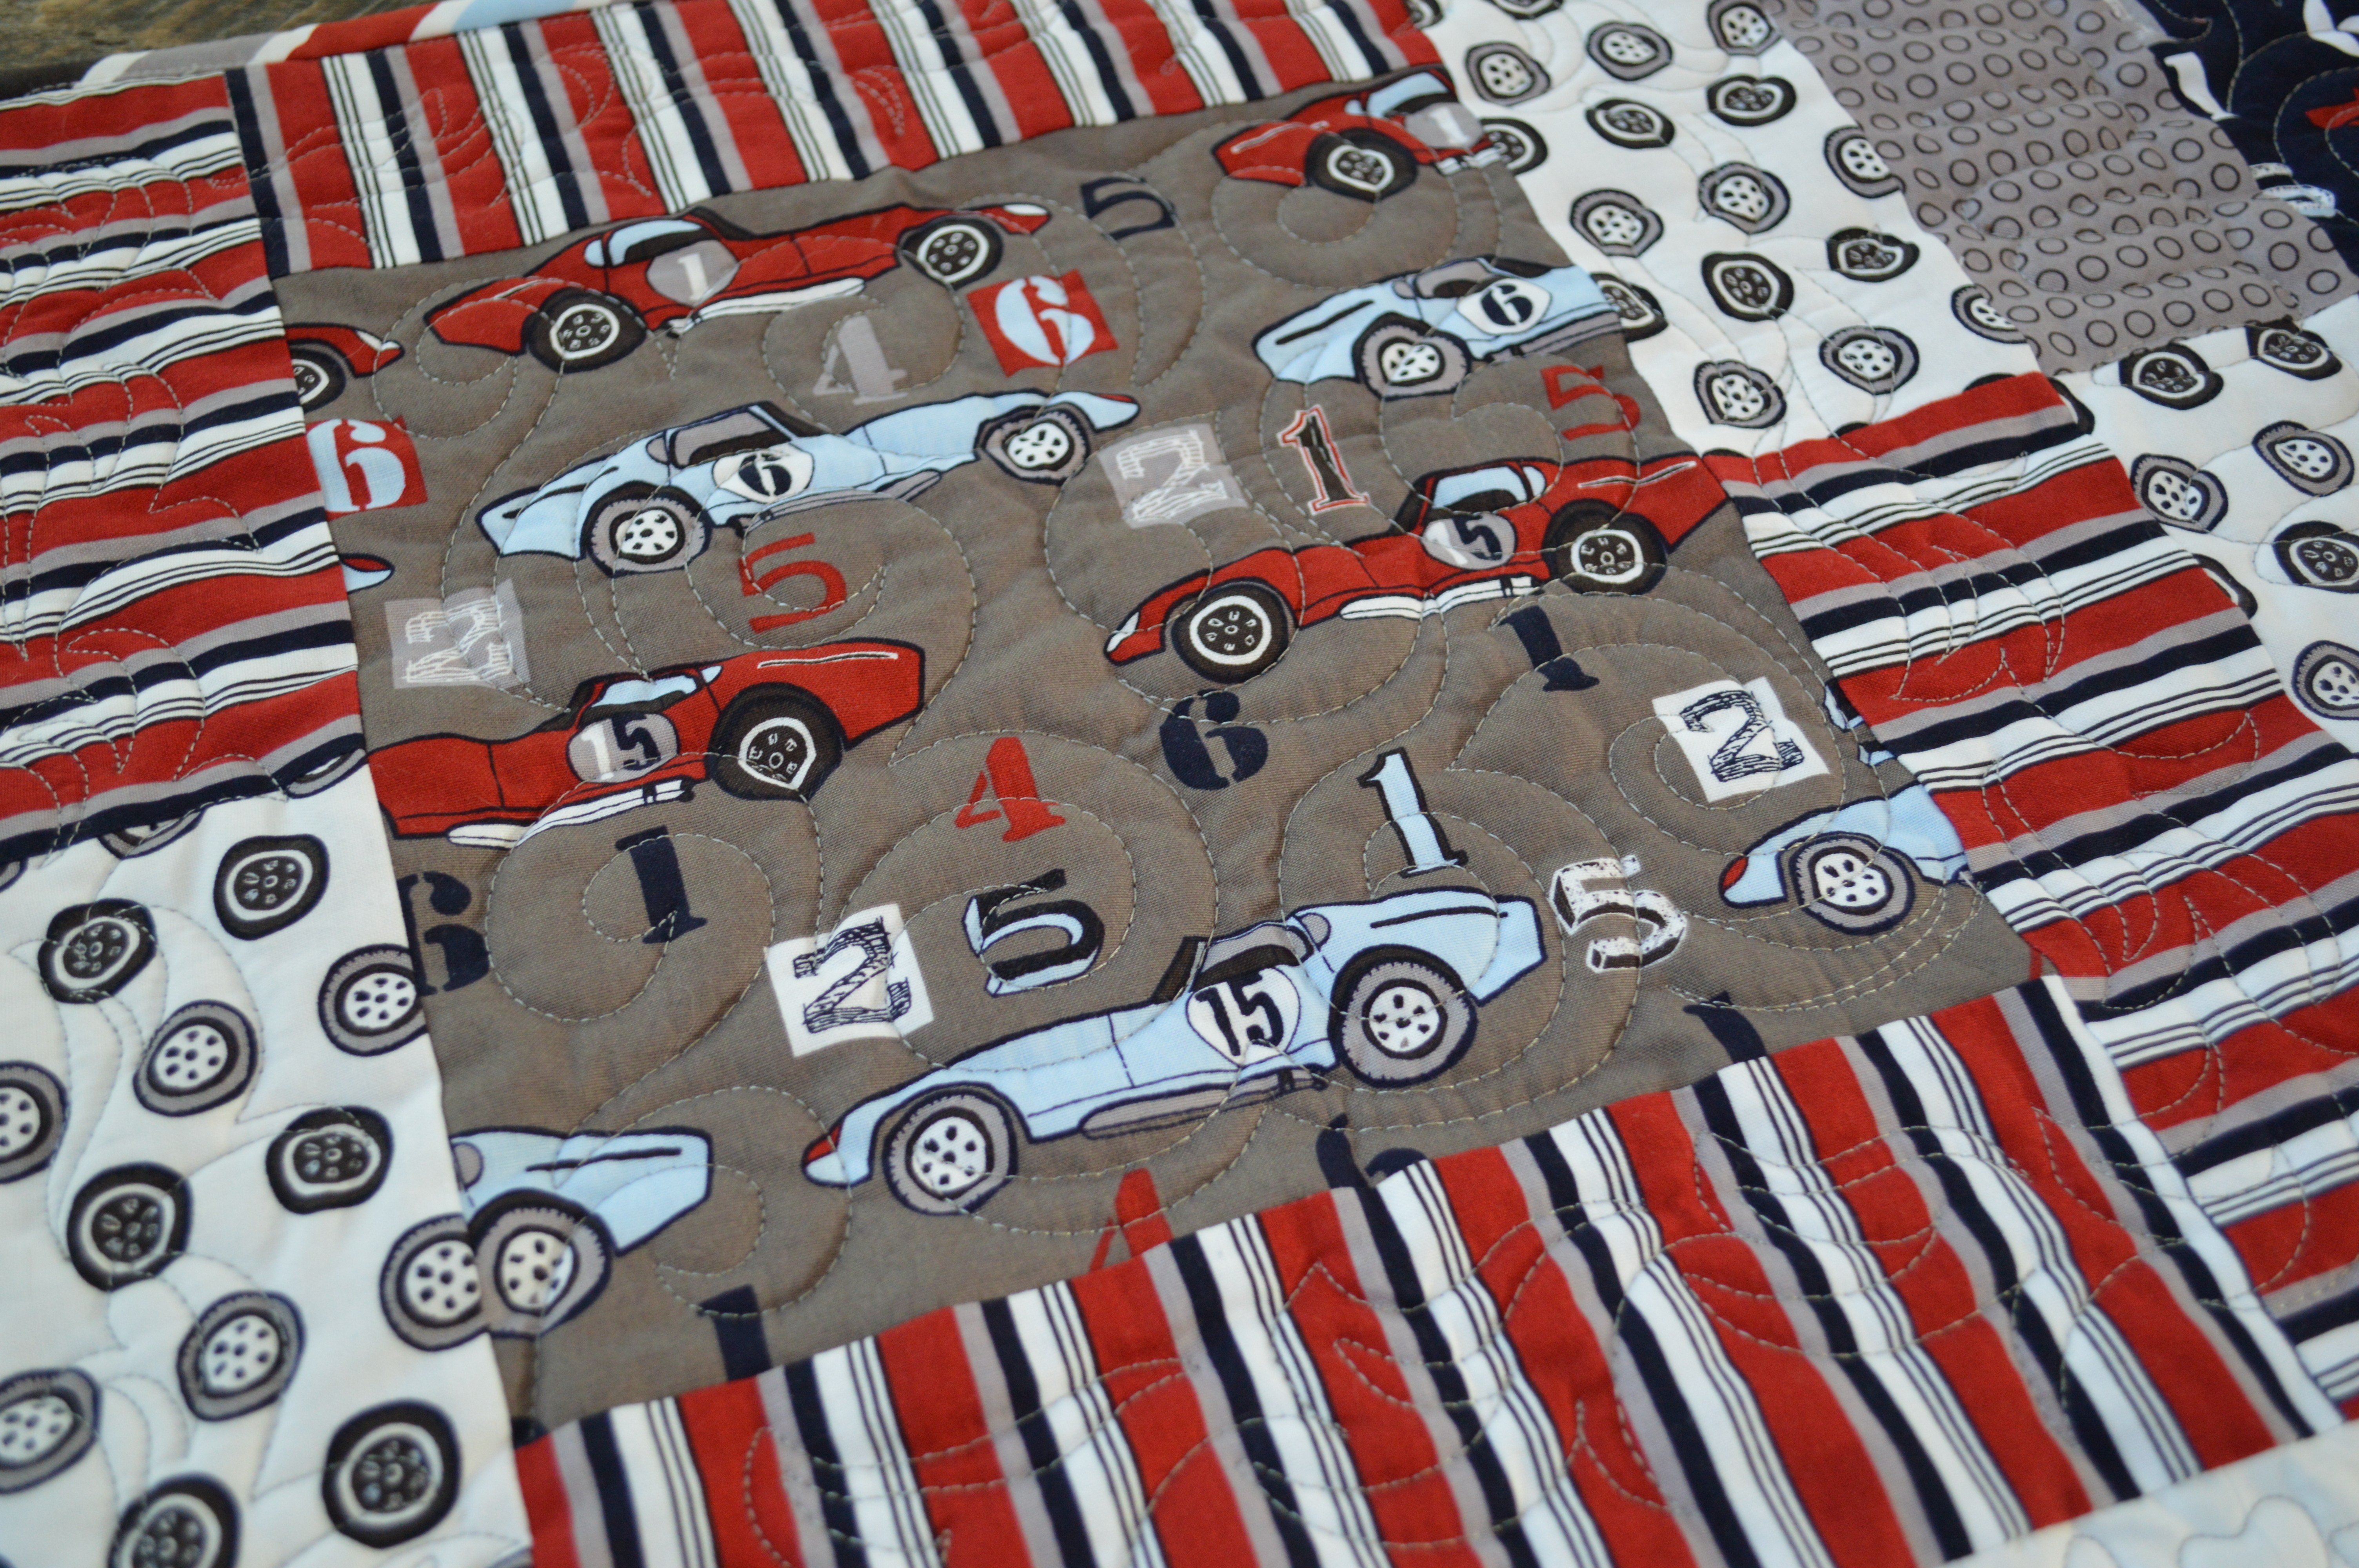
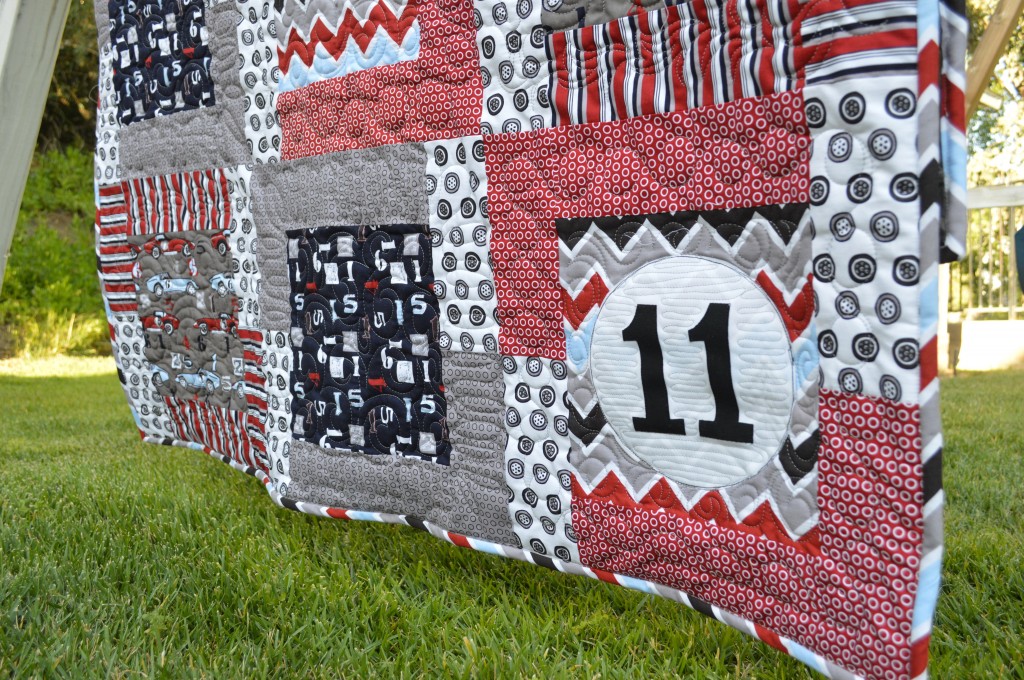
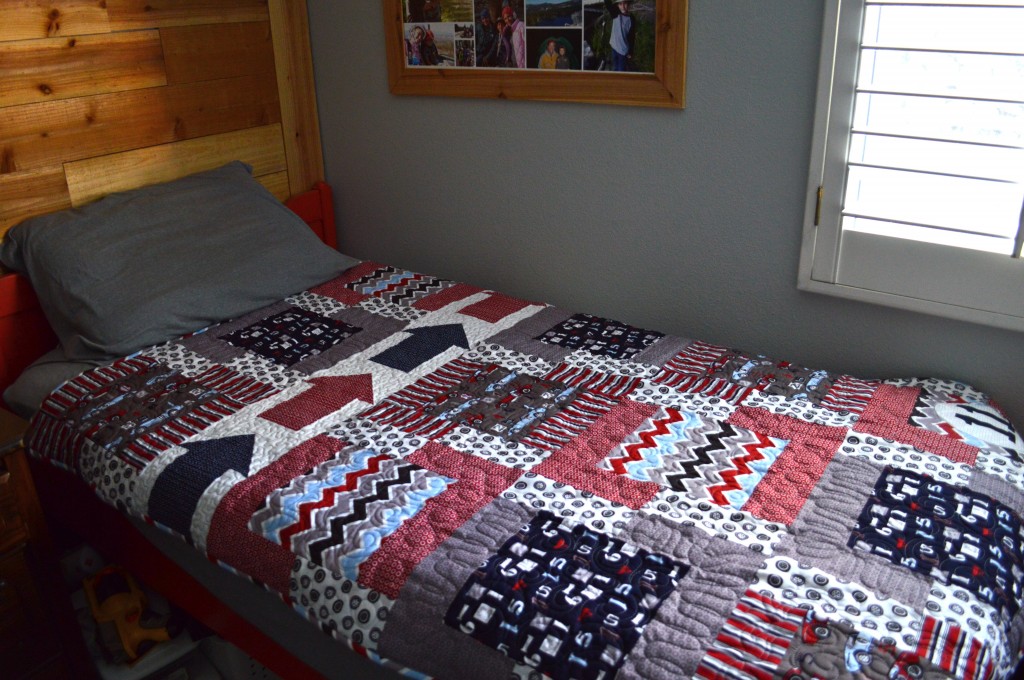
I am so in love with this fabric called Speedster by Riley Blake Designs!!!  I created this quilt for my son, Ryan, for his 11th birthday. riley_blake_speedster_quilt_tutorial_6You can personalize the quilt by adding a favorite number, team number, or in this case, a special birthday age.riley_blake_speedster_quilt_tutorial_7 This is a great pattern to use with large print fabrics.
riley_blake_speedster_quilt_tutorial_8

This quilt pattern is great because it shows off the wonderful prints in this fabric line.

Finished quilt: 45″ x 67″

Block size: 16″

Let’s get started!  Here’s how you can make one:

Supplies:

Assorted prints of Speedster 1/3 yard cuts or fat quarters

Heat n Bond Lite

Instructions

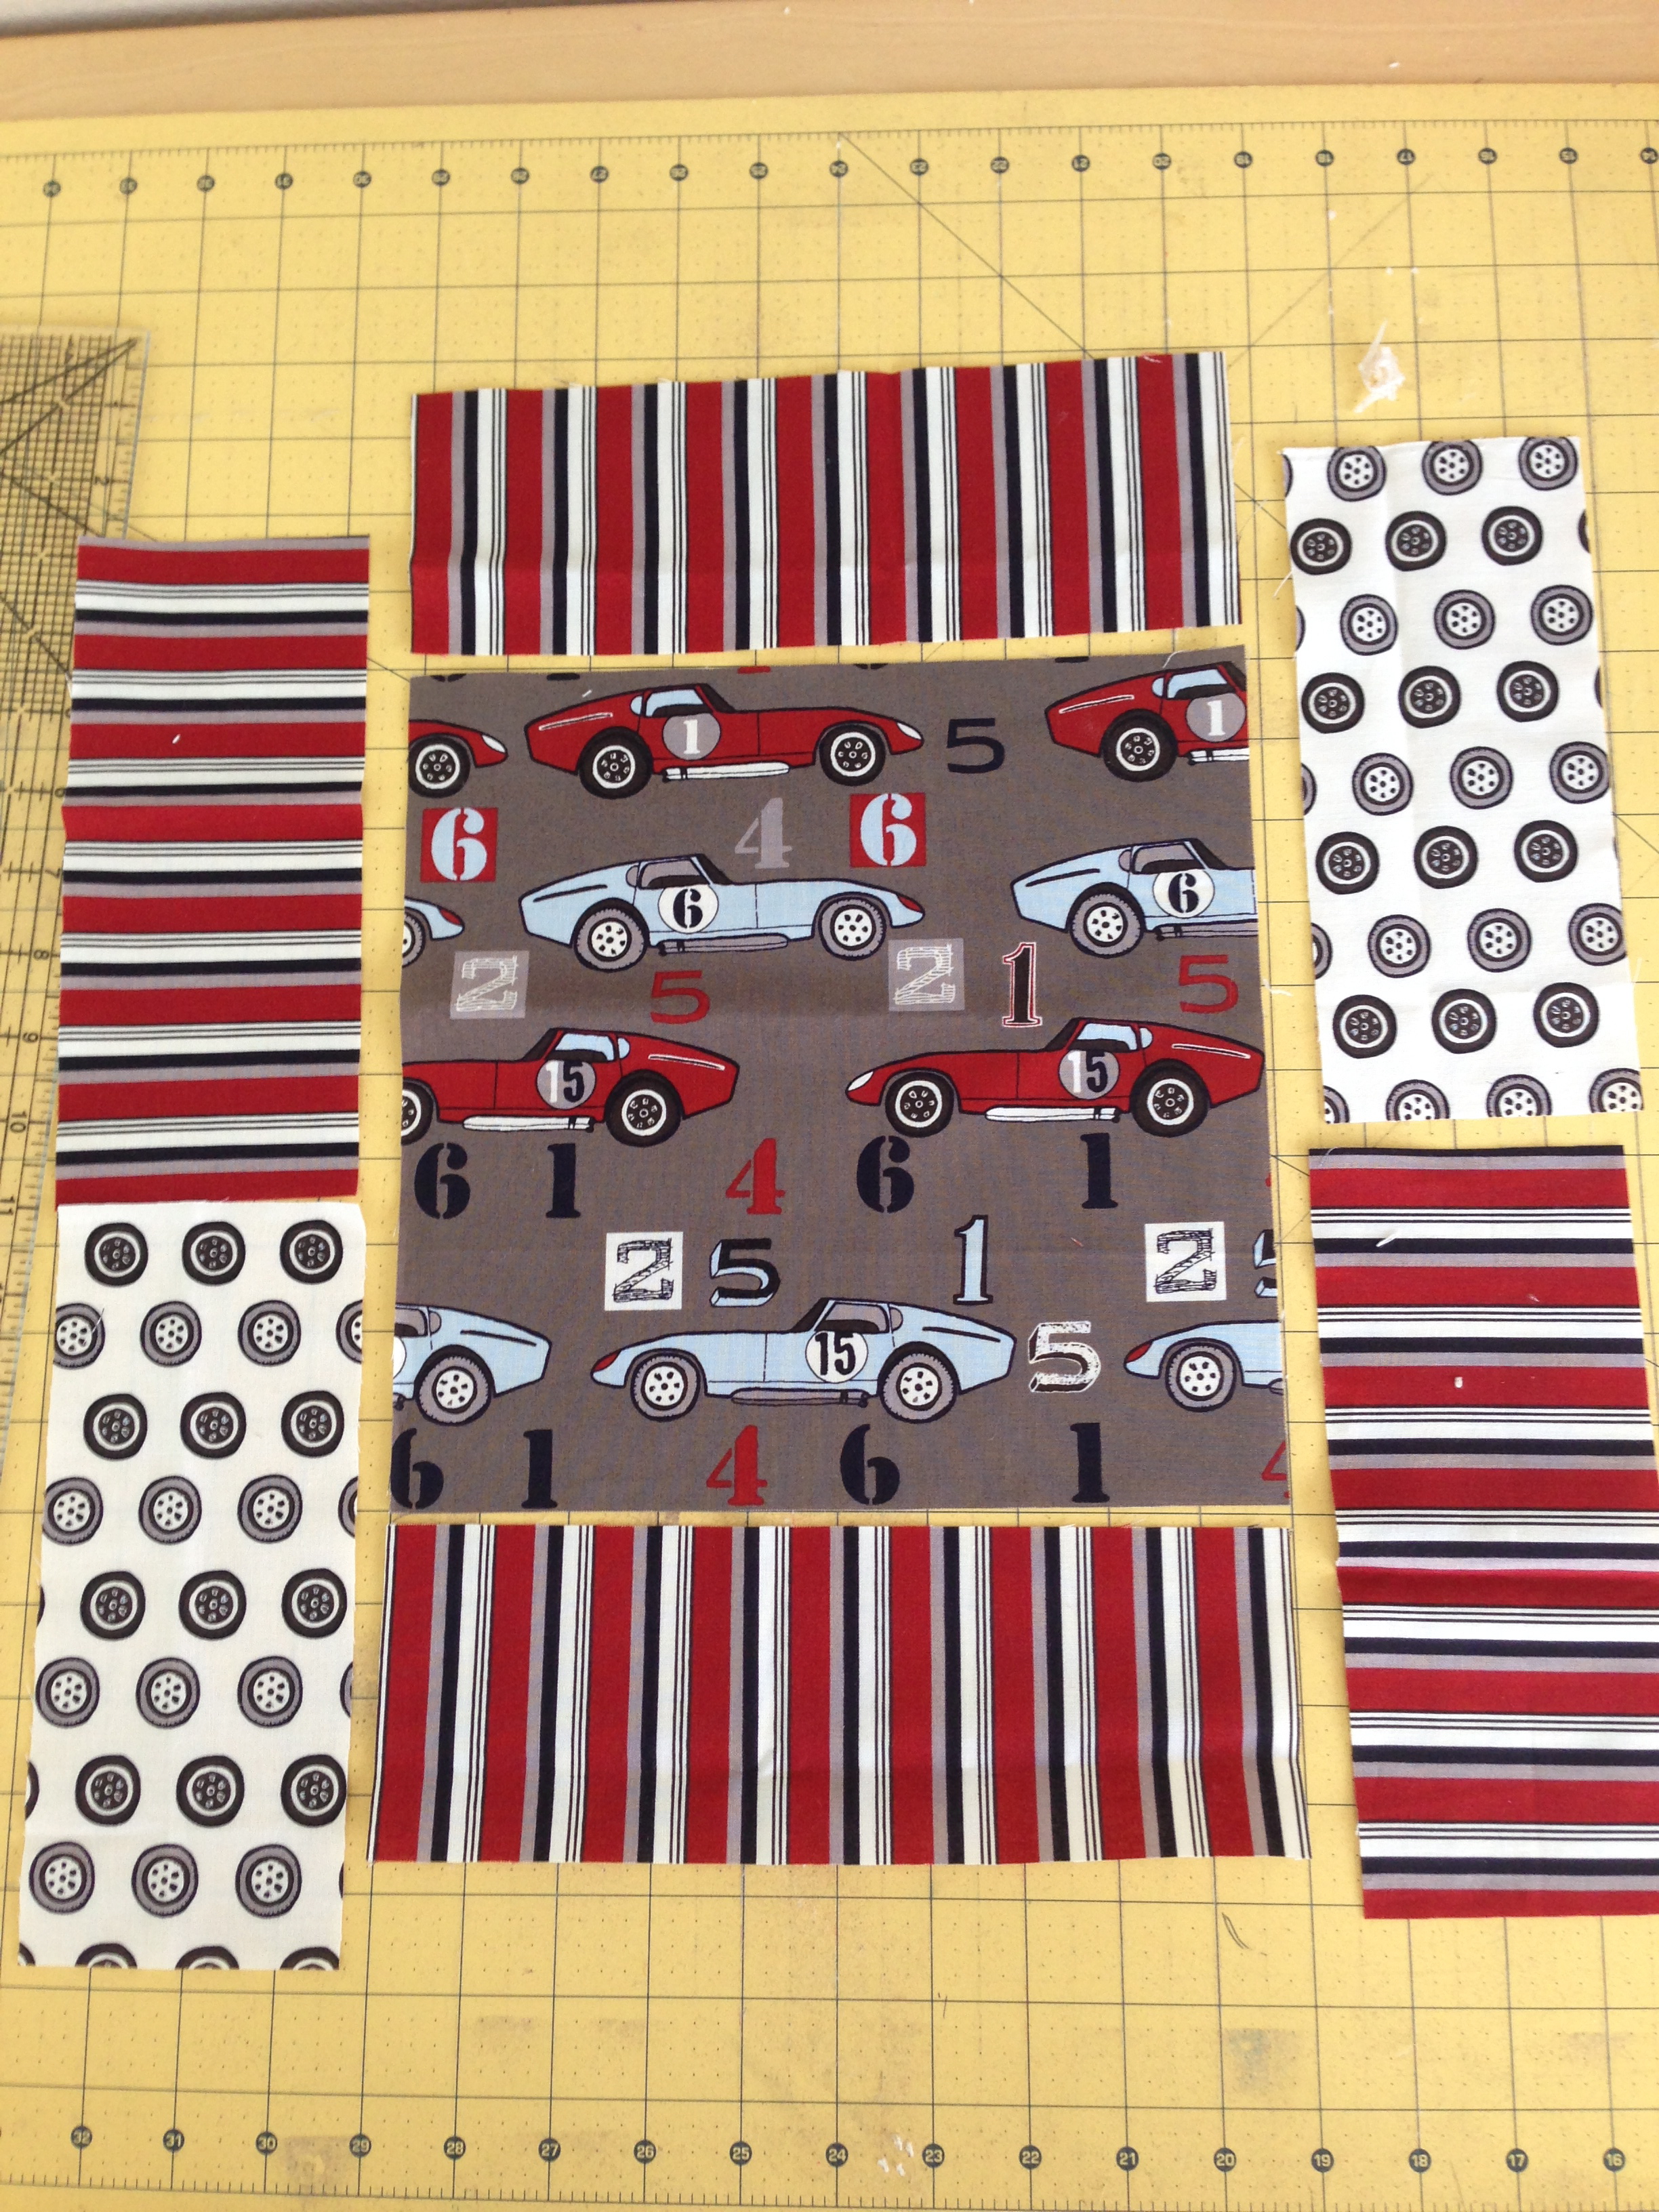
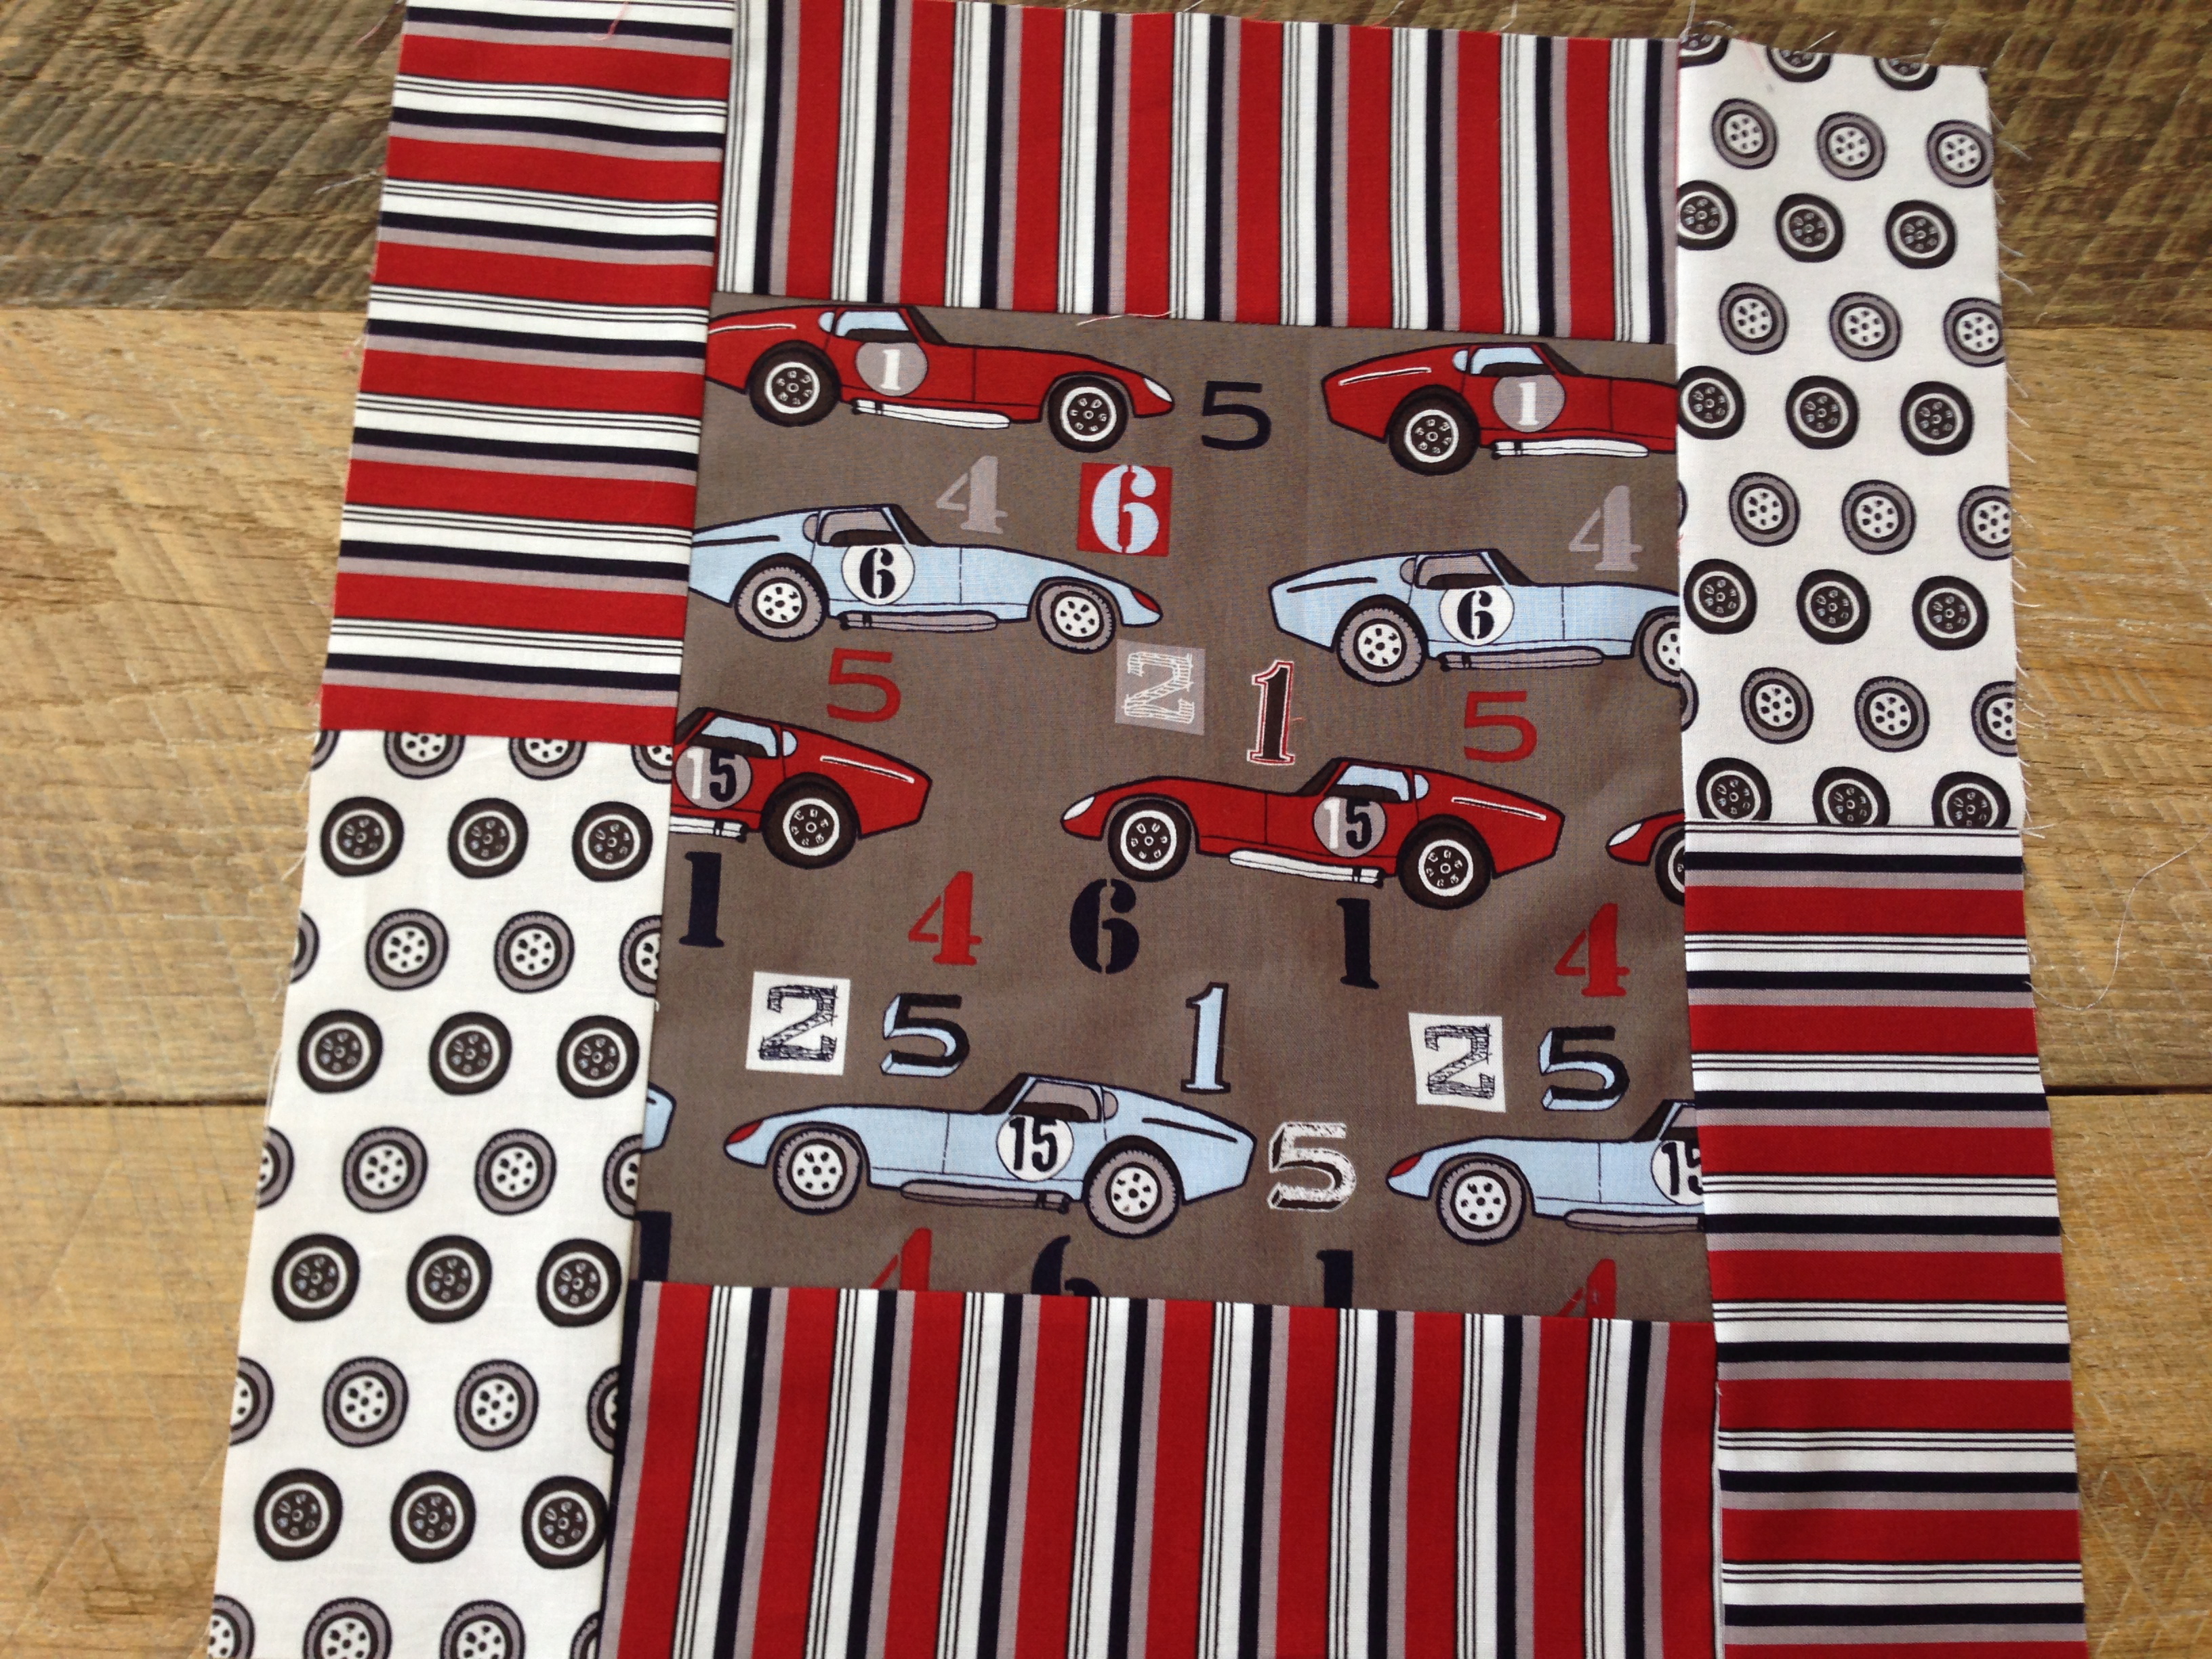
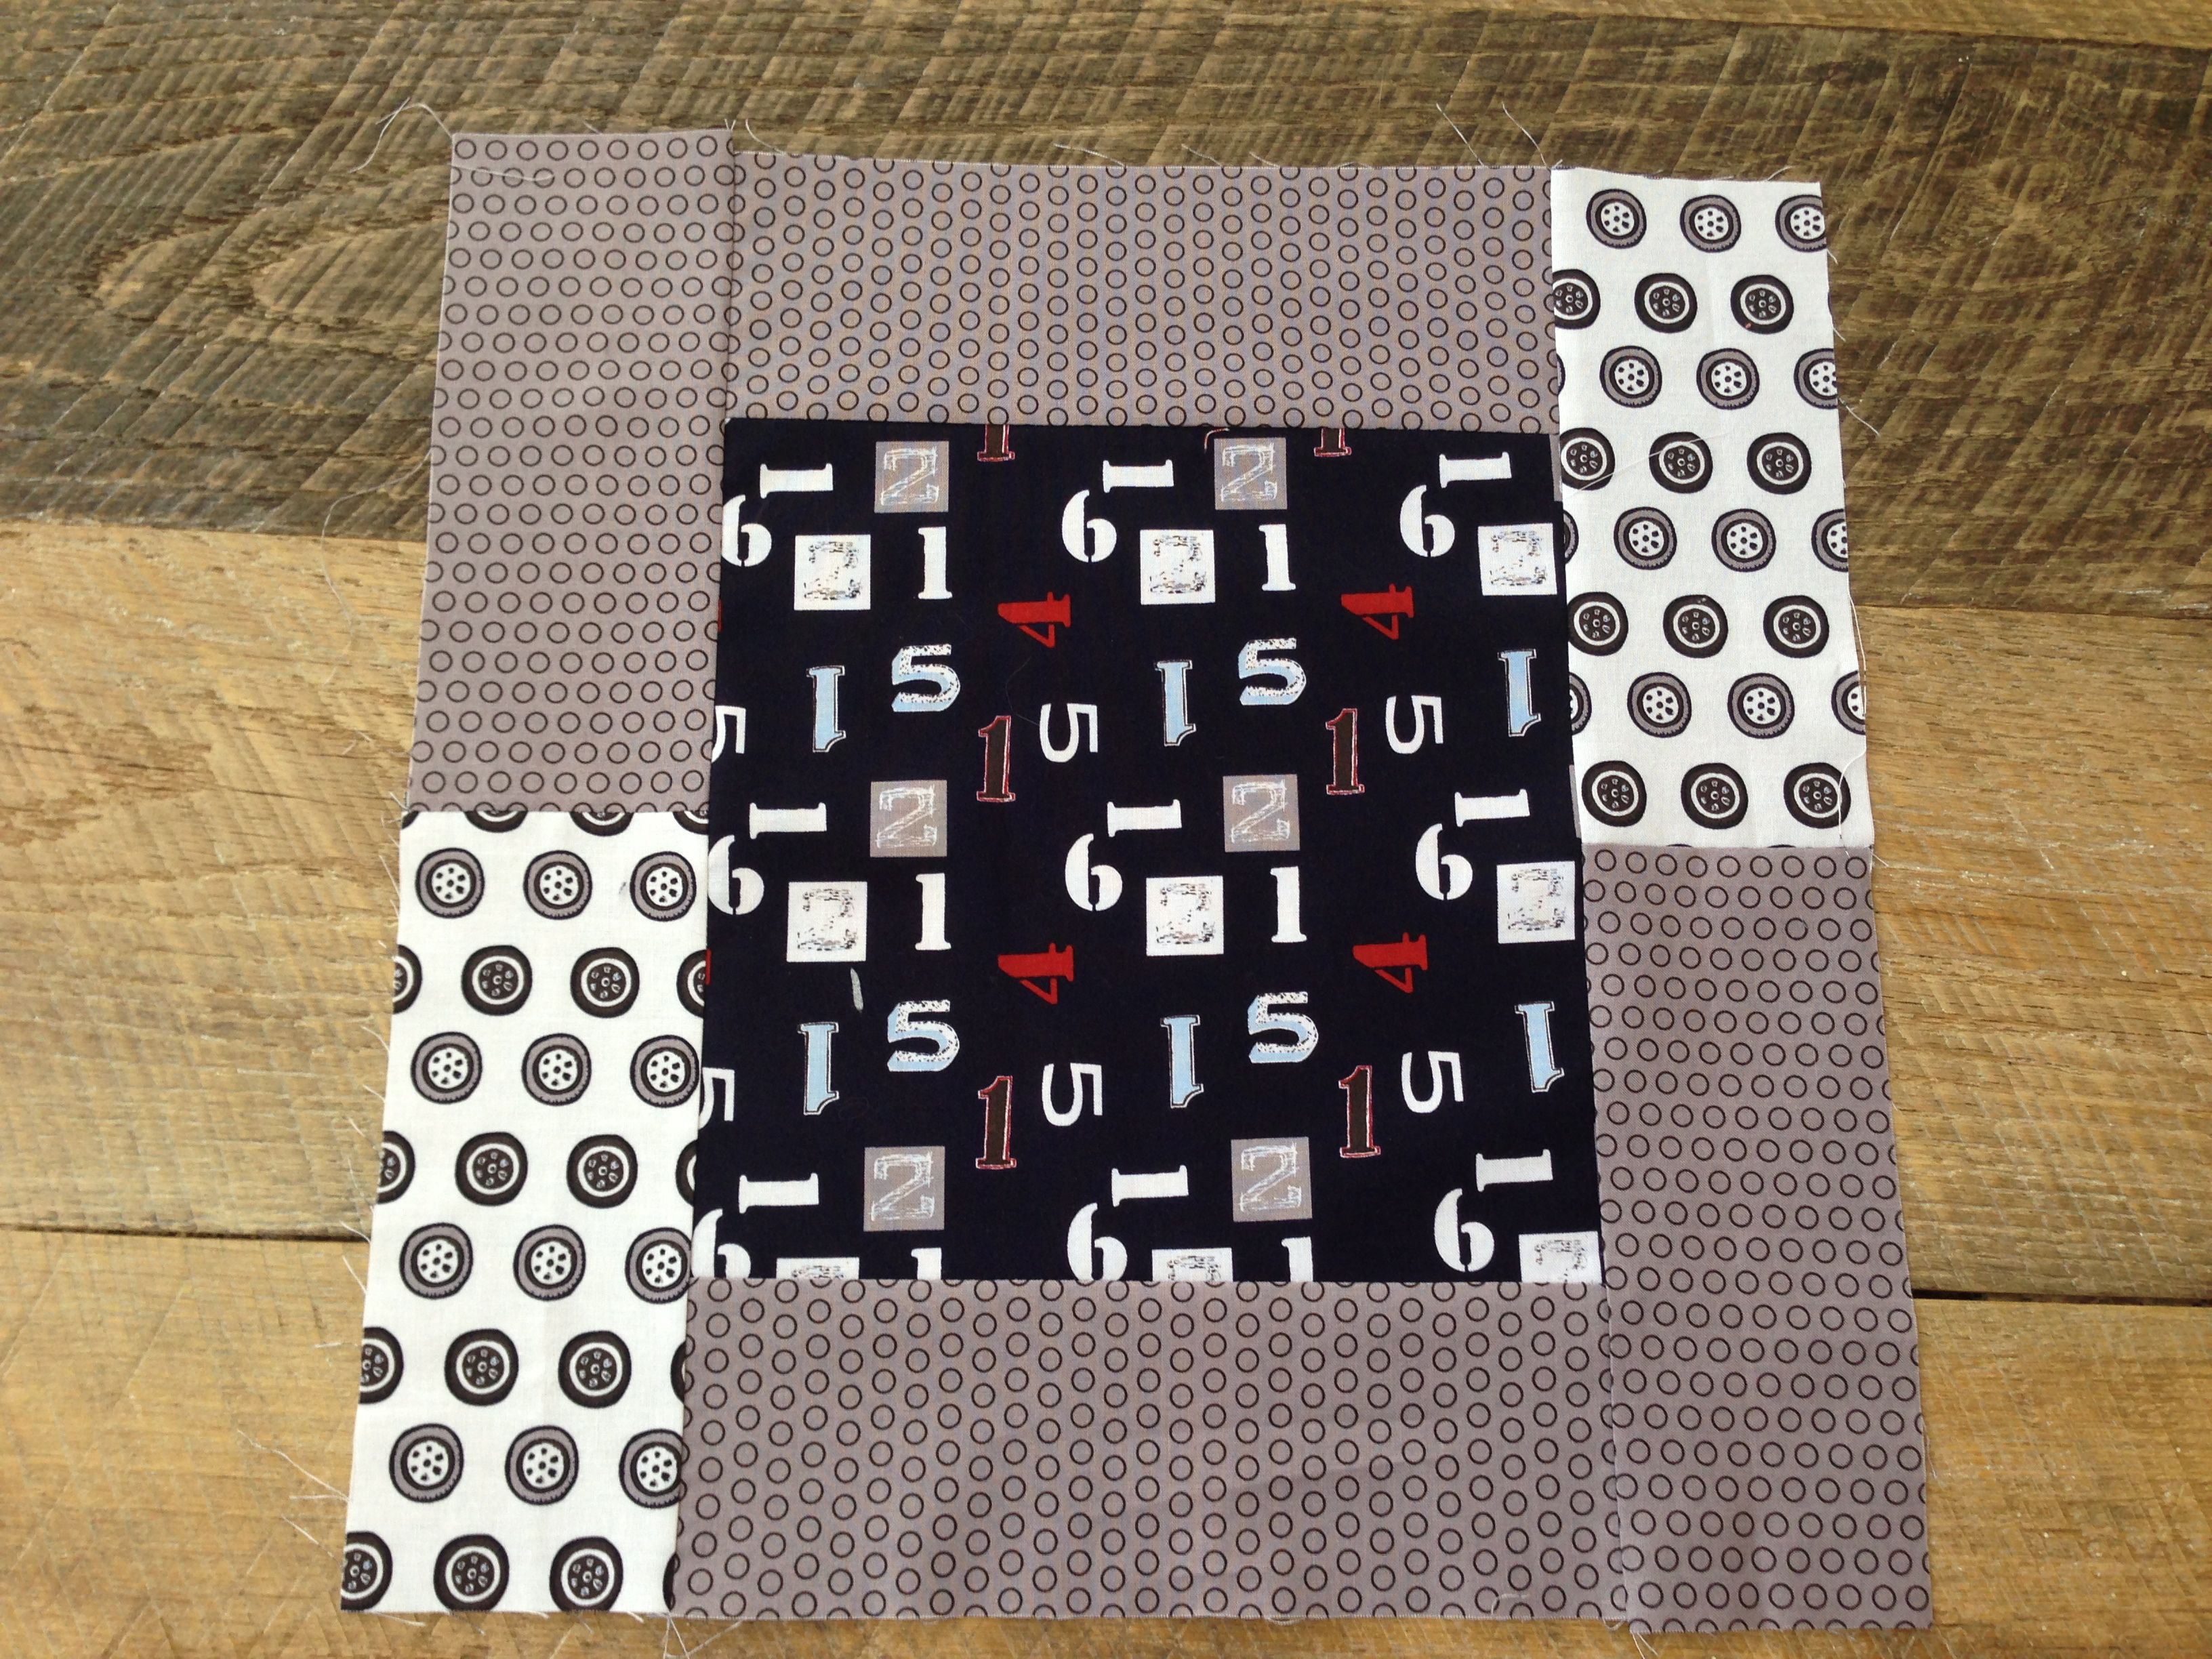
Cut the center theme blocks (12) 10″ square

Top and bottom strips (2) 3.5″ x 10″

Side strips (2) of each print 3.5″ x 8.25″

Lay the block out like this:

riley_blake_speedster_quilt_tutorial_10

Sew the top and bottom strips to the theme block. (1/4″ seams throughout) Press seams.  Sew the 2 side rectangles together to make the left and right strips.  Press the seams toward the dark.  Sew to the sides of the block, press.  This completes a block.

Continue until you have 12 blocks.  I used 3 different theme prints.

riley_blake_speedster_quilt_tutorial_13

riley_blake_speedster_quilt_tutorial_12


riley_blake_speedster_quilt_tutorial_11

For the arrow blocks:

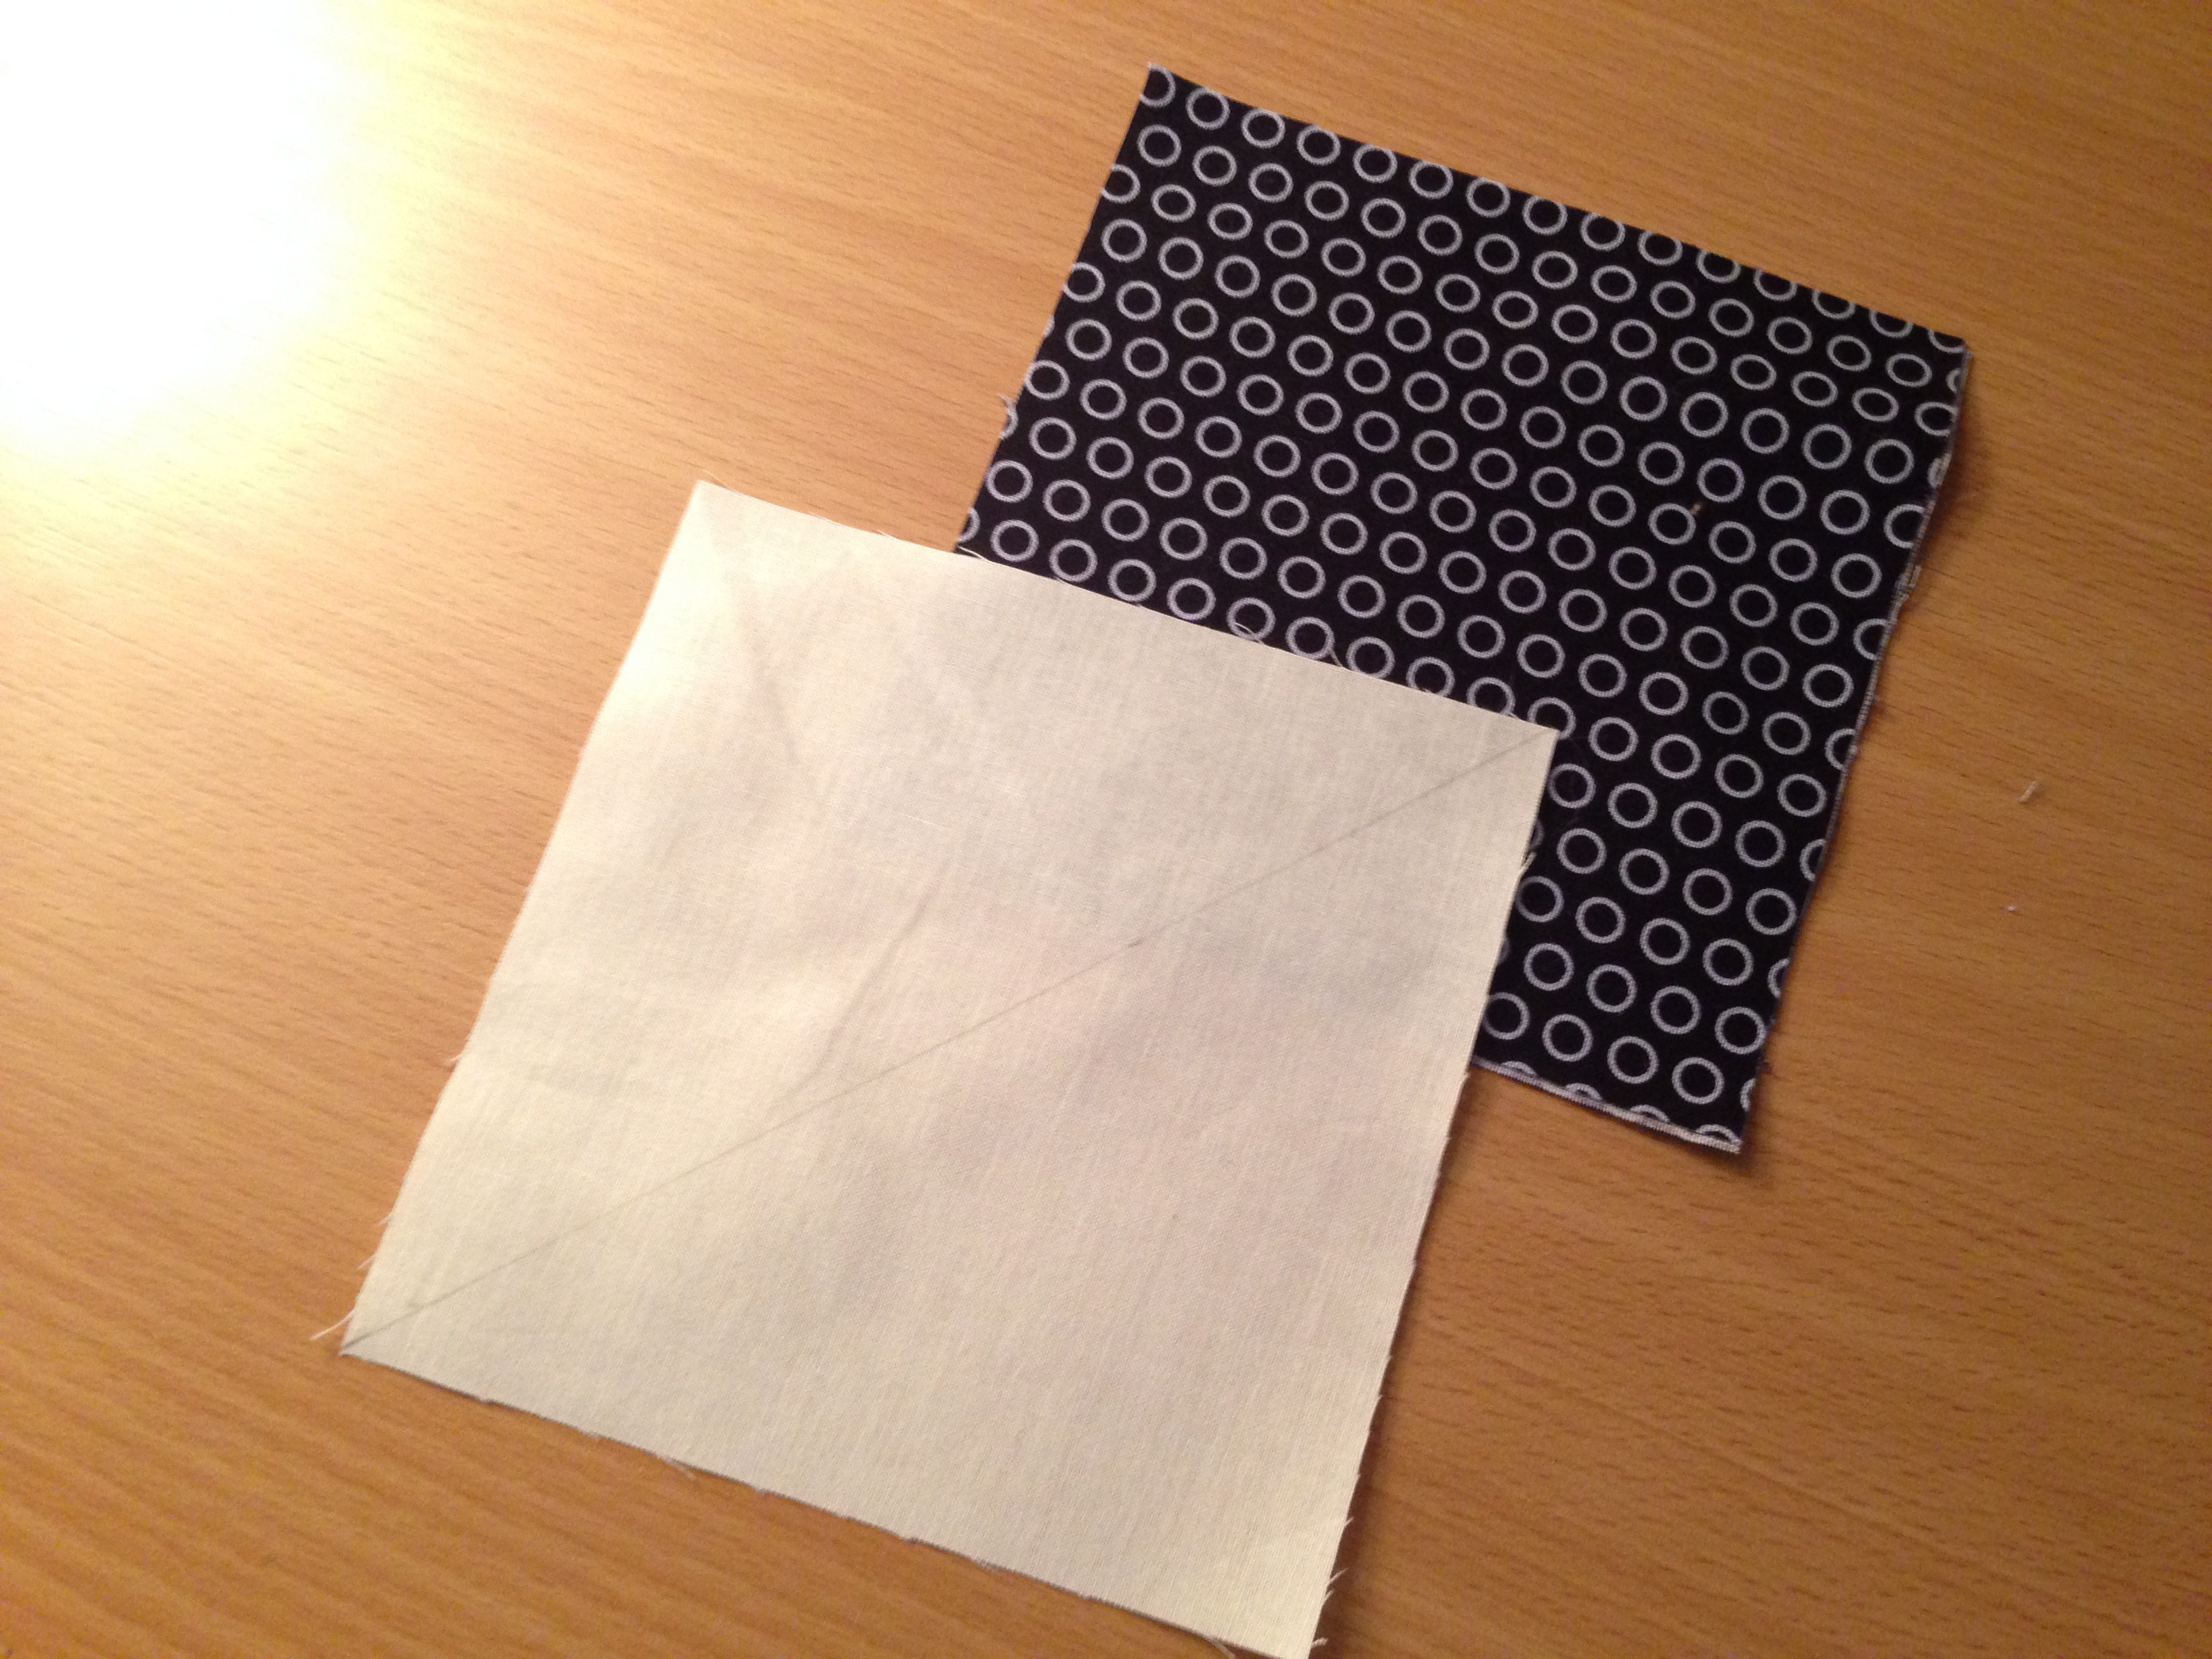
Cut a 5″ square of white

Cut a 5″ square of Navy

Draw a diagonal line on the wrong side of the white square.

riley_blake_speedster_quilt_tutorial_14

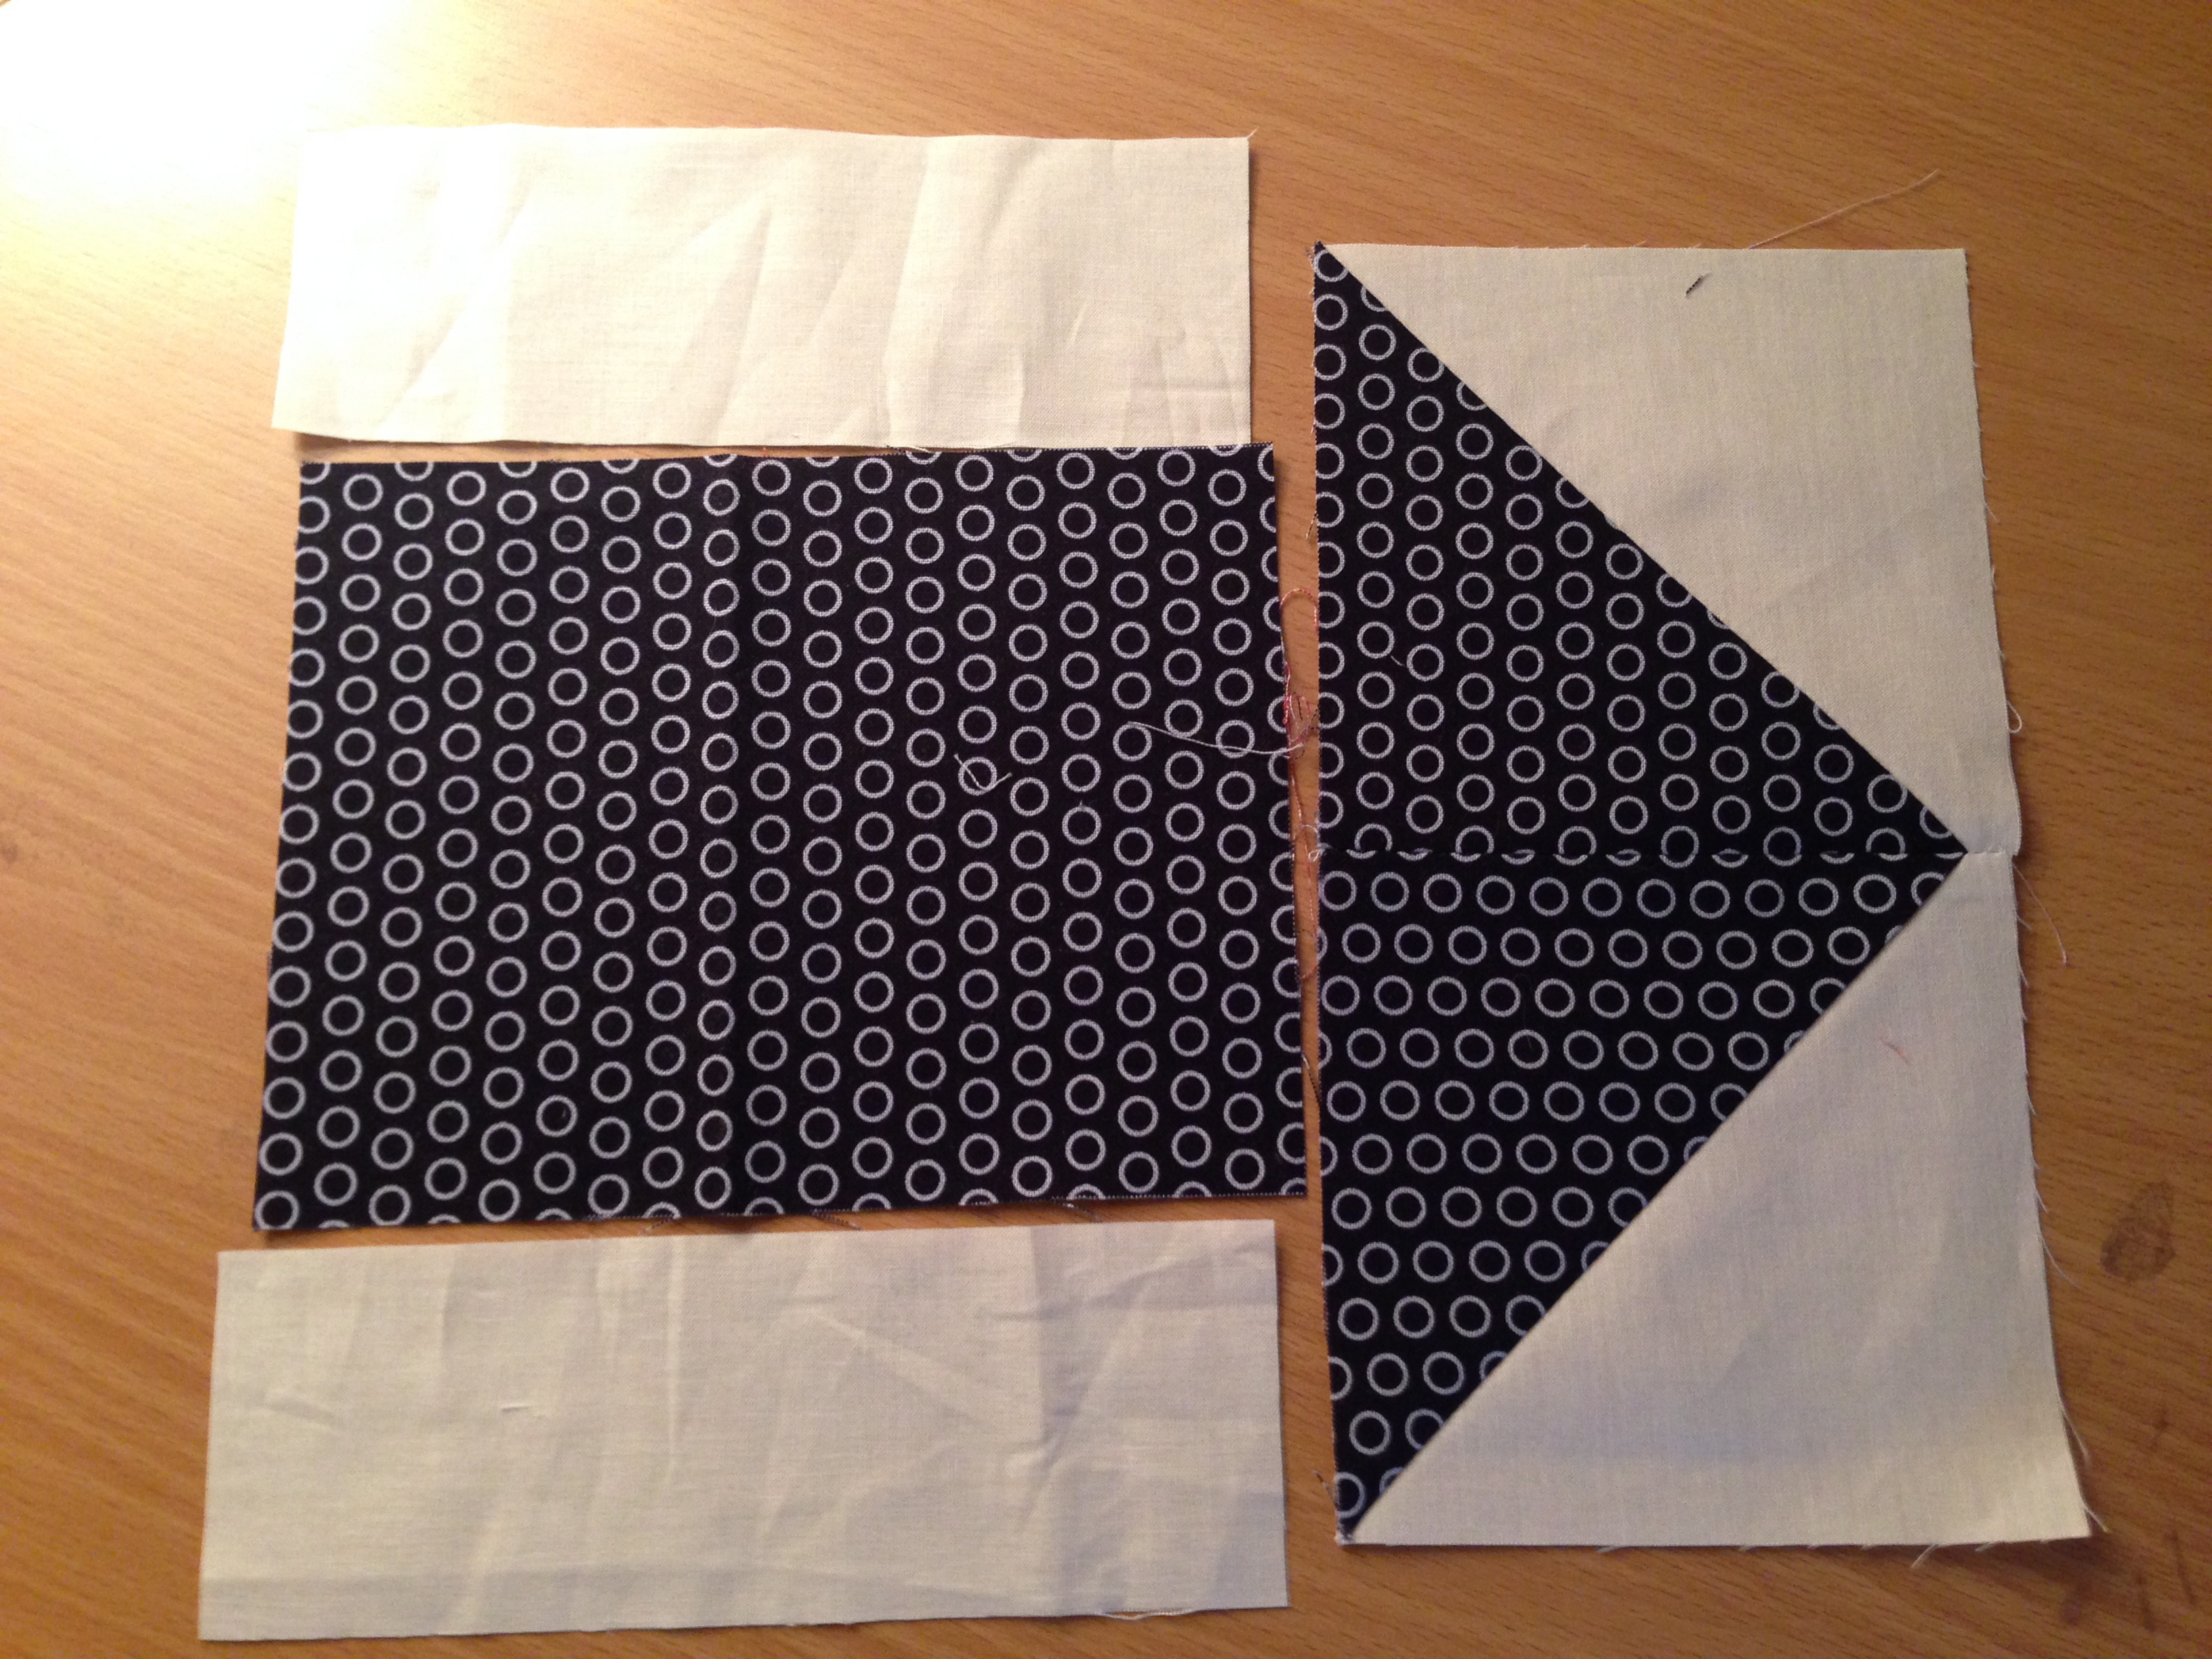
Layer the white and navy squares right sides together.  Sew 1/4″ along both sides of the diagonal line.  Cut on the drawn line to make 2 half square triangles (HST).  Press toward the dark.  Square up to 4.5″ finished block.

Cut a navy rectangle 6.5″ x 5″

Cut (2) white rectangles 2.25″ x 6.5″

Sew in this order and press toward the dark:

riley_blake_speedster_quilt_tutorial_16

Sew the two block sections together and press.  Make 4 arrow blocks and sew them together all going the same direction.  You will need to add a 2.5″ x 8.5″ strip of white fabric to the pointy end of the arrow row.

Prepare the applique block:

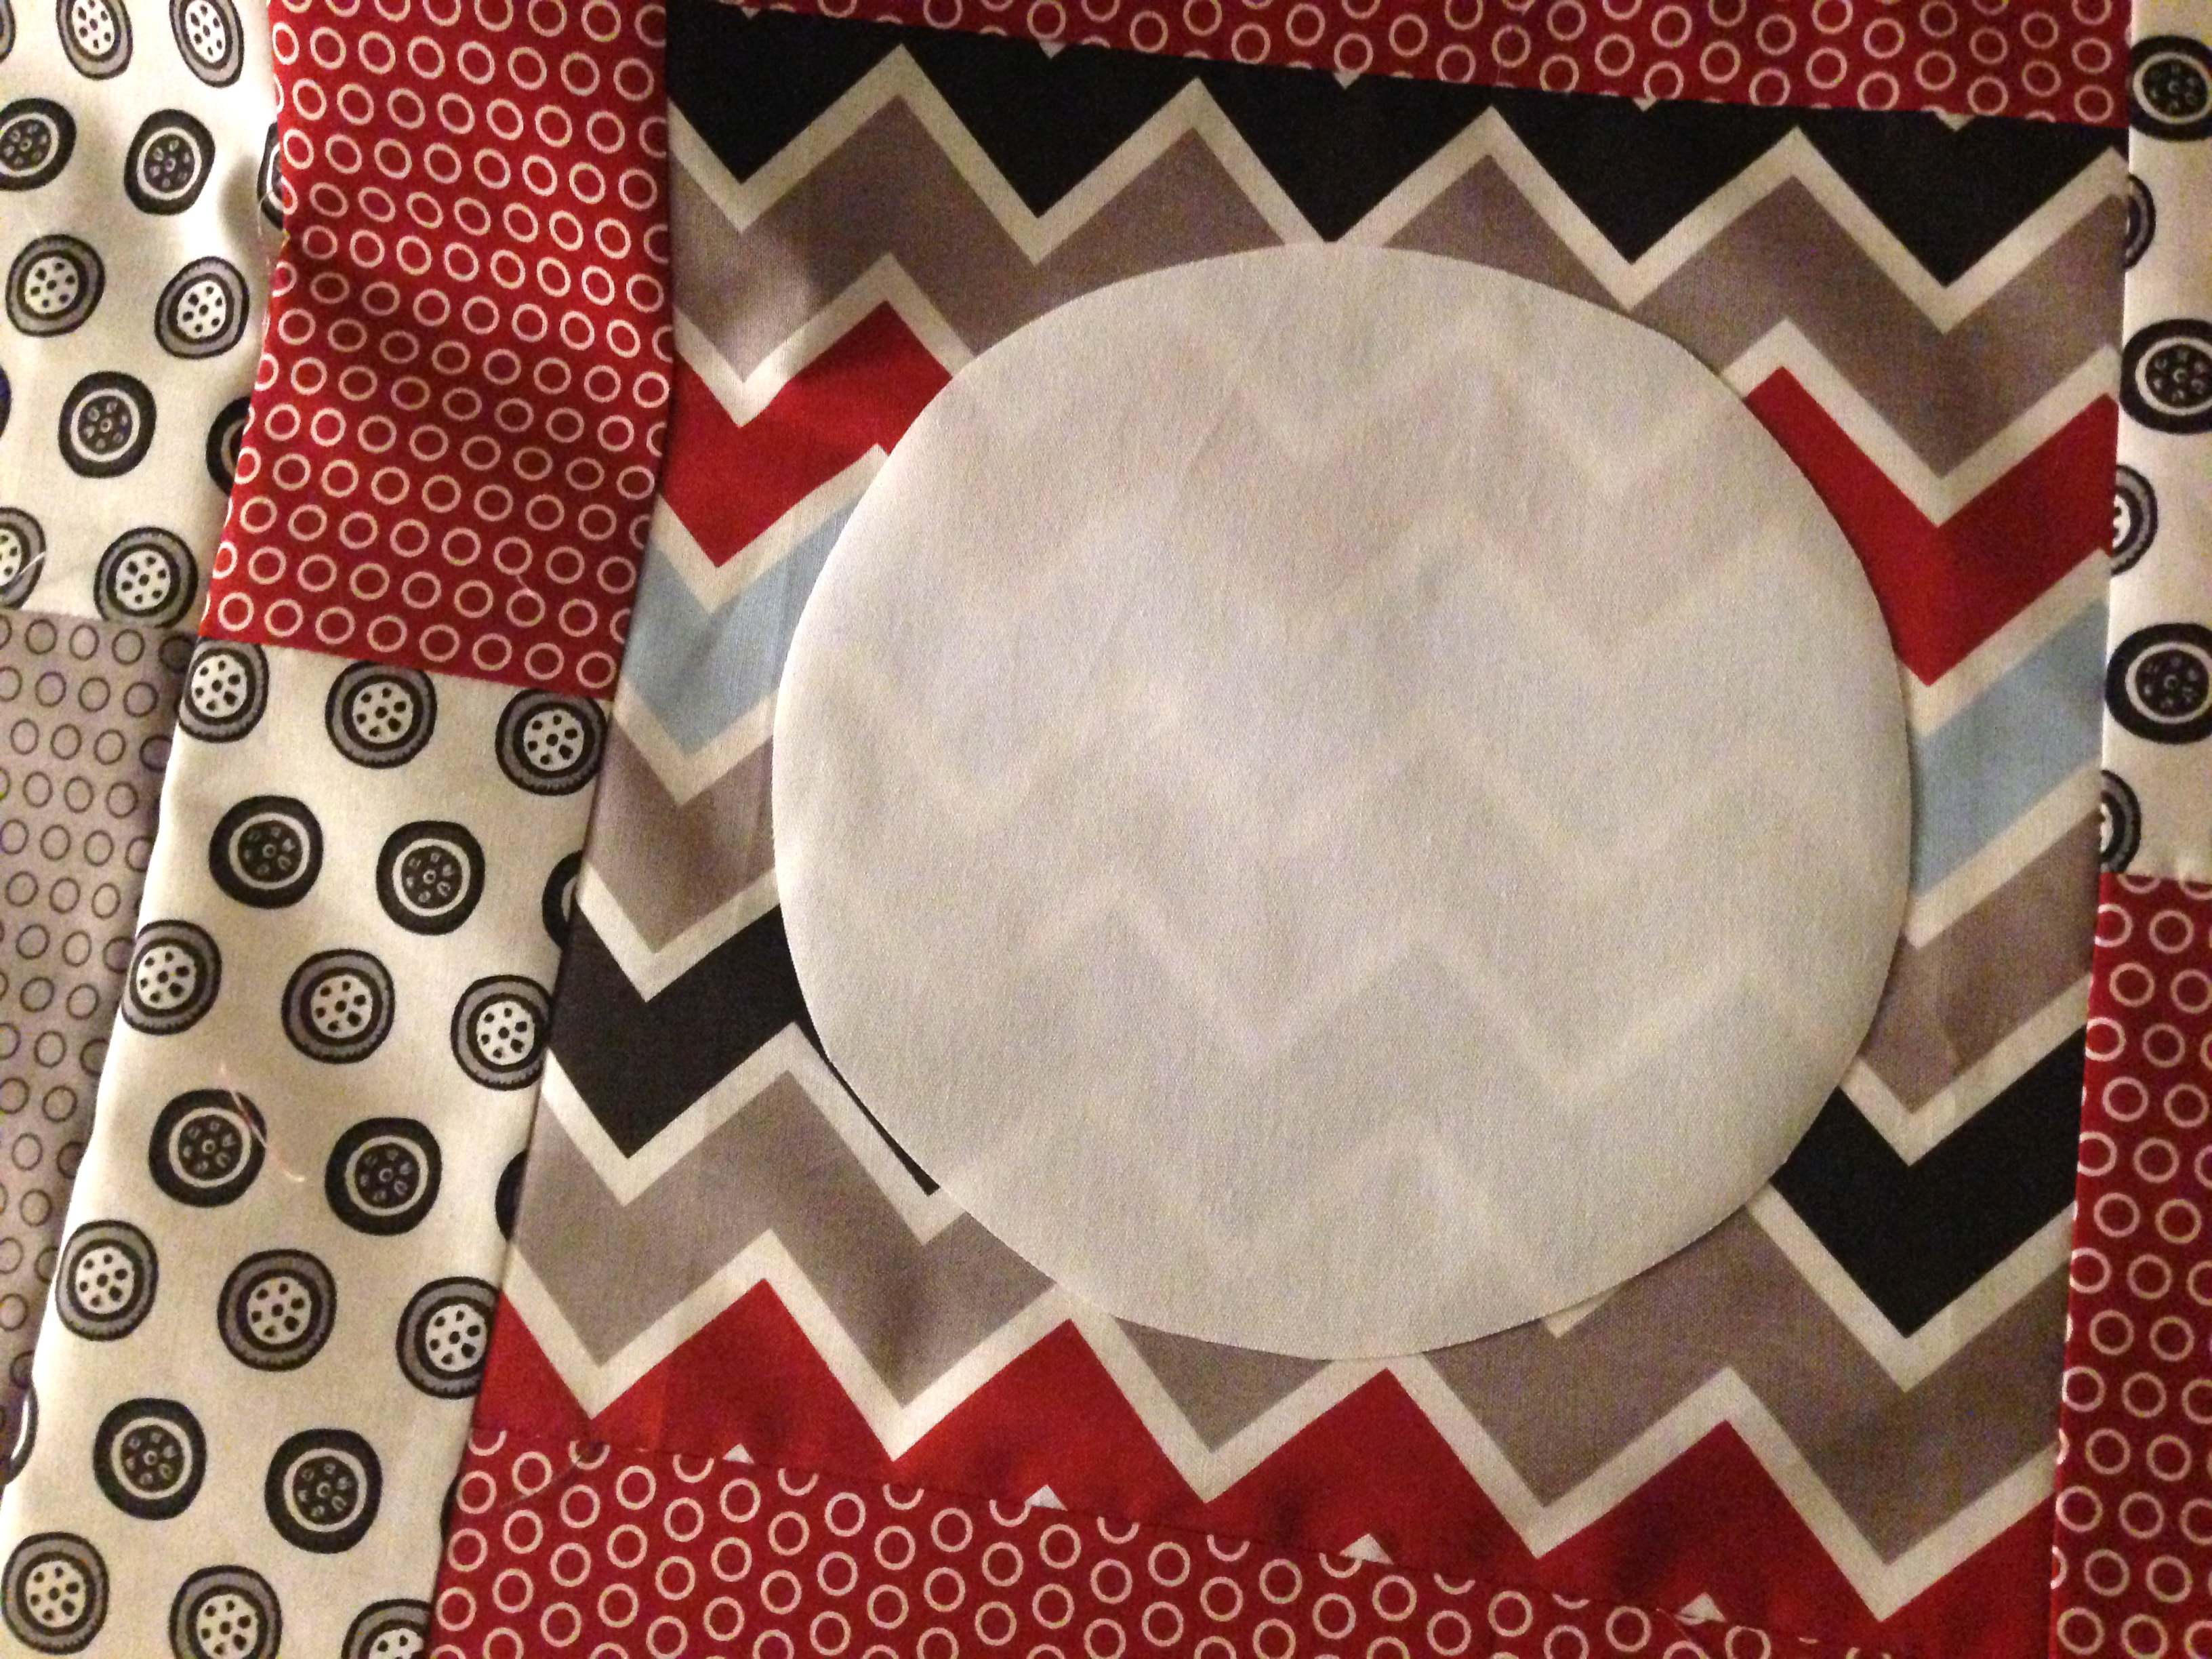
Trace a 8″ circle on the Heat n Bond Lite.  Iron to the wrong side of the white fabric.  Cut the circle and fuse in the center of a block.  Top stitch around the circle two times in black thread,

riley_blake_speedster_quilt_tutorial_18

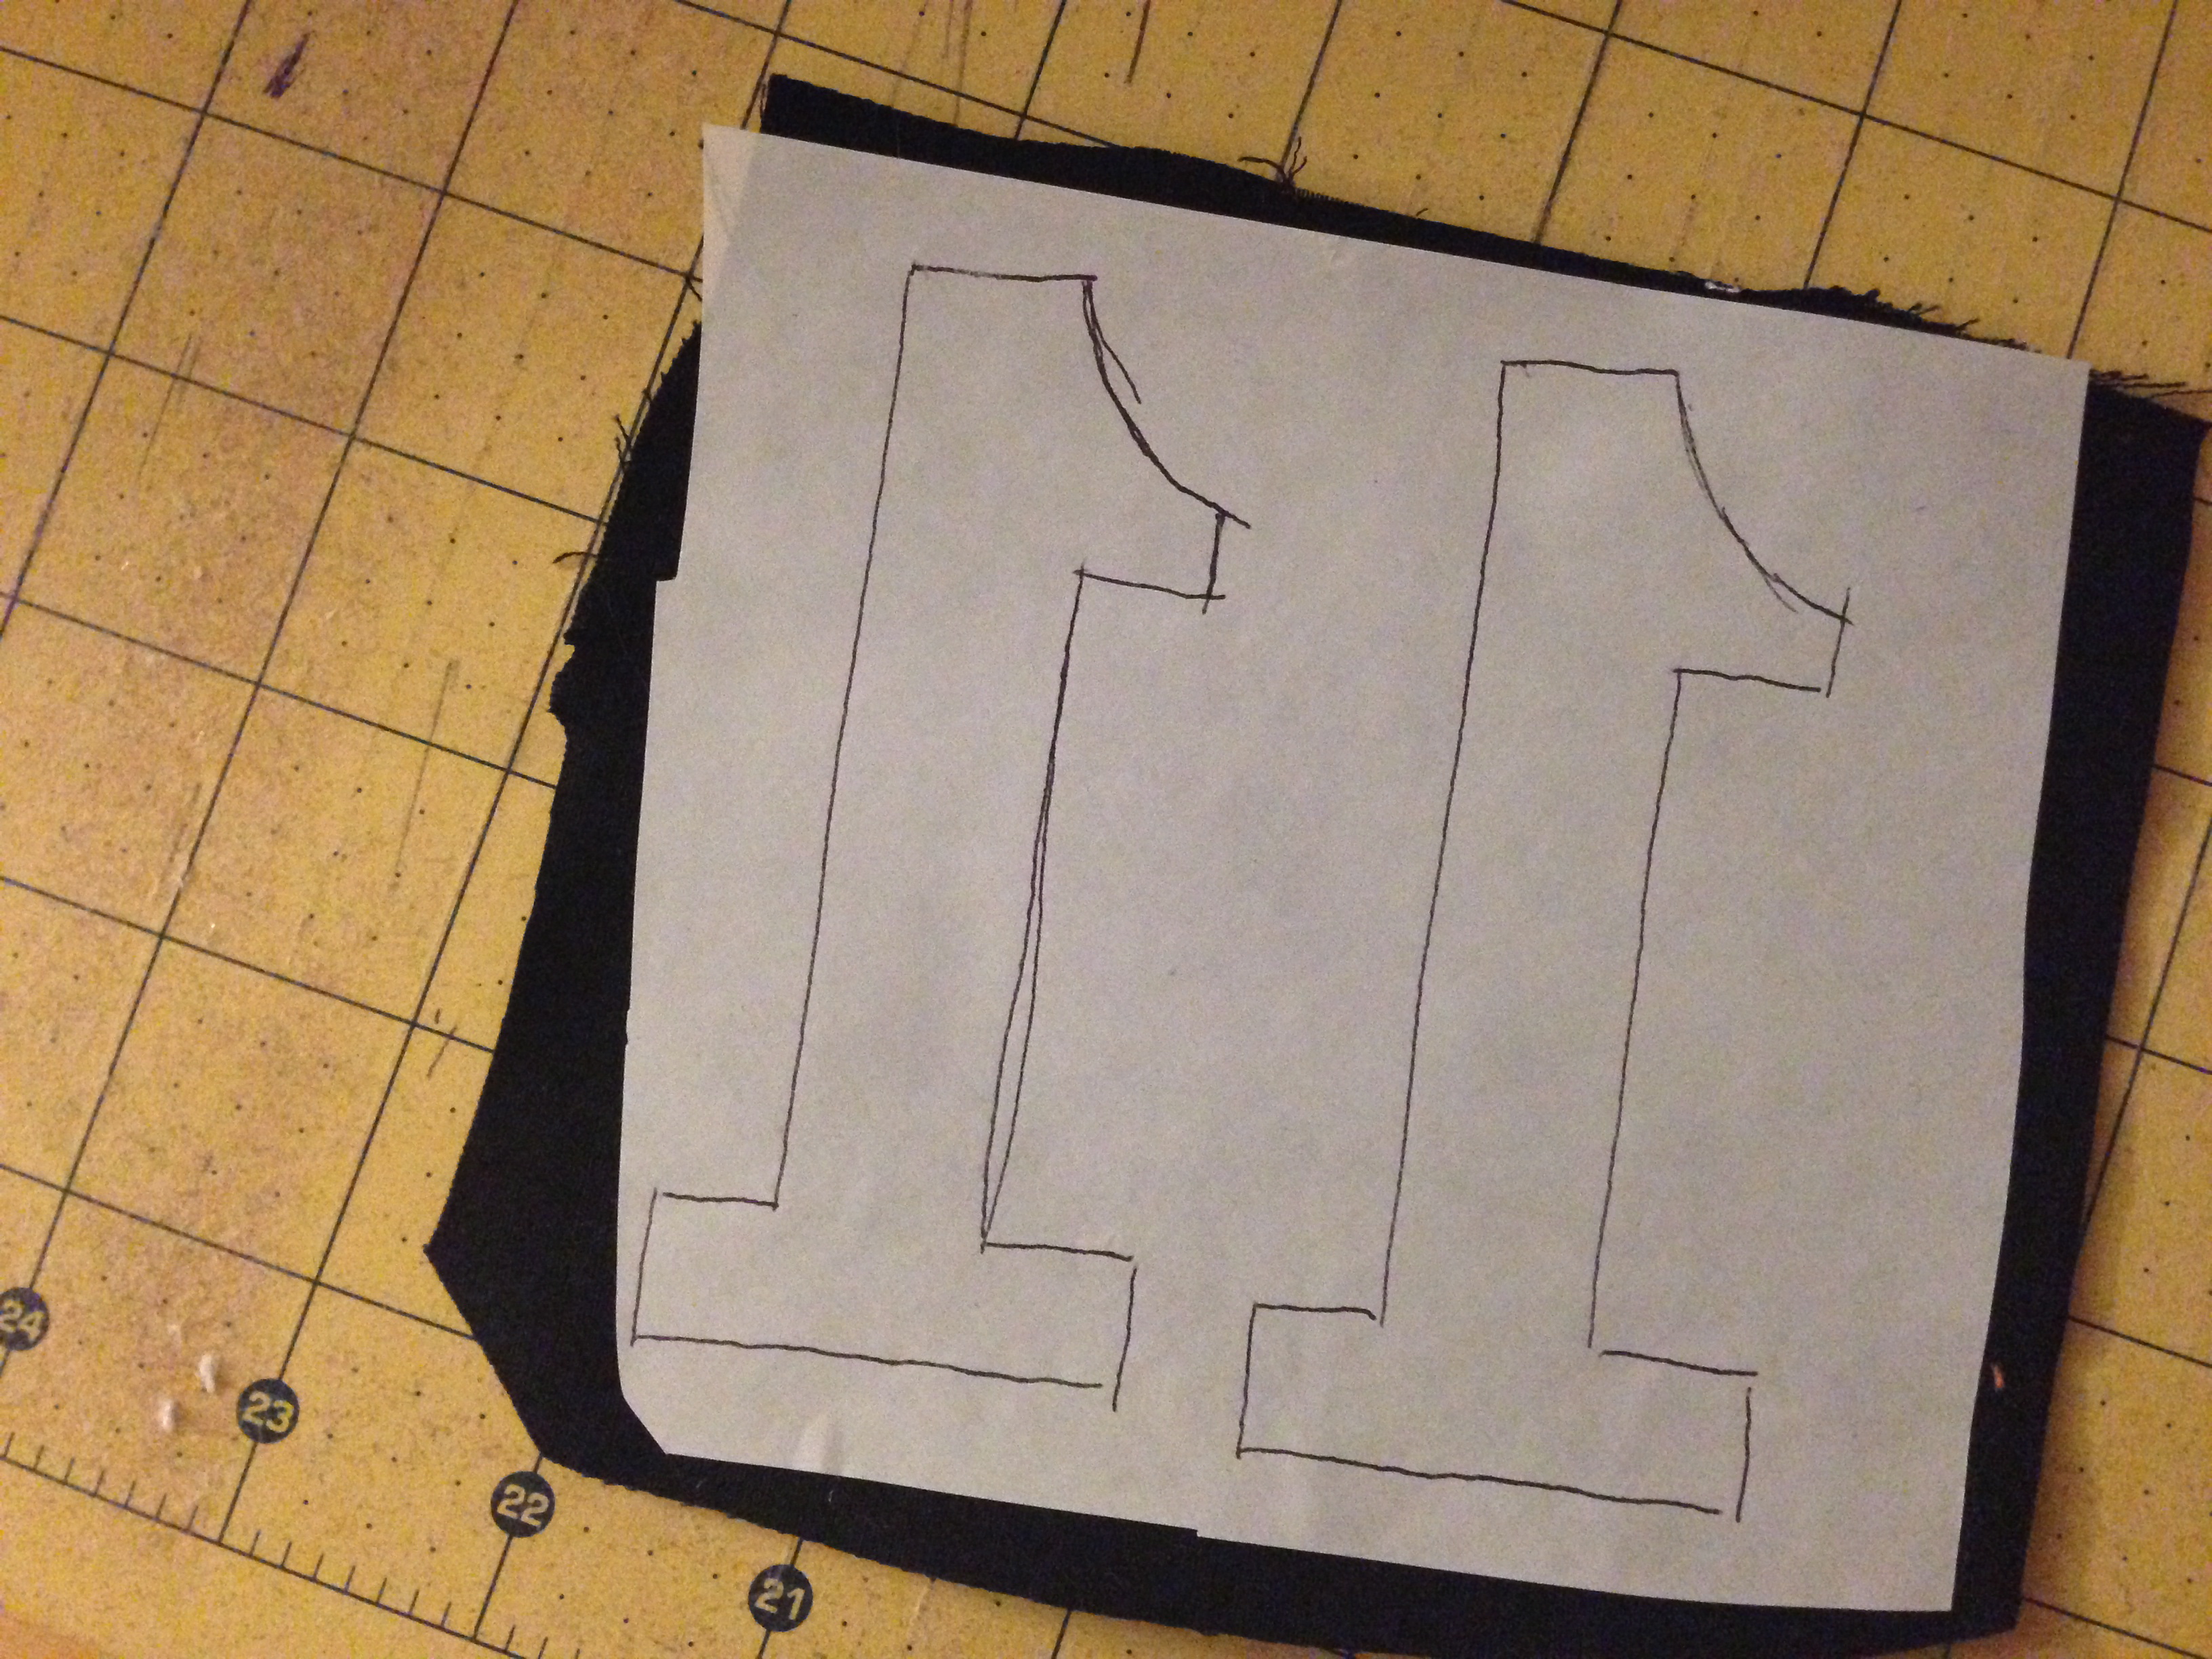
Print out the number in reverse.  I tried to find a font that matched the numbers in the fabric.  Trace the number on the Heat n Bond Lite.  Iron to the wrong side of the black fabric.  Cut out numbers, press in place and top stitch in black thread.

riley_blake_speedster_quilt_tutorial_20

riley_blake_speedster_quilt_tutorial_21

Assemble the quilt:

Sew blocks together in rows.  Press each row alternating directions.  Pin the seam intersections.

(notice the white rectangle next to the red arrow.  This needs to be squared up.)

riley_blake_speedster_quilt_tutorial_22

Quilt as desired.  I put minky on the back of mine so it is super cuddly!!!

riley_blake_speedster_quilt_tutorial_3

I love how the quilt turned out and I can’t wait to give it to my son!  If you are making this quilt for a smaller boy, you could use 9 blocks instead of the 12 blocks.

riley_blake_speedster_quilt_tutorial_5

riley_blake_speedster_quilt_tutorial_9

Save

Five Fat Quarter Fun {Free Quilt Pattern} Fresh Eggs

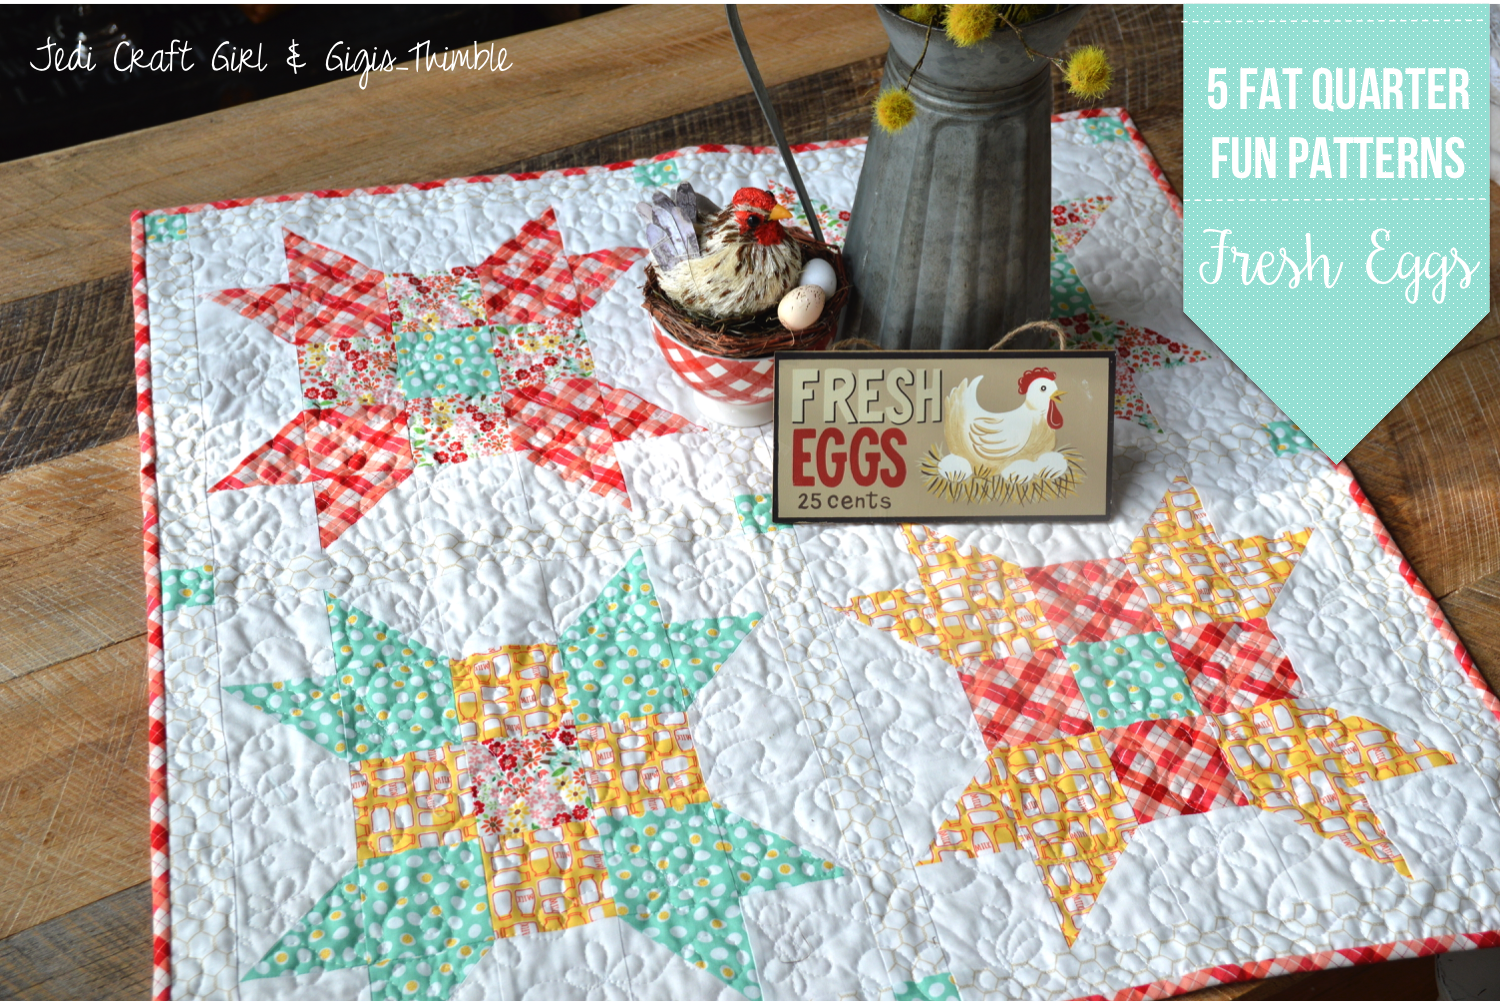
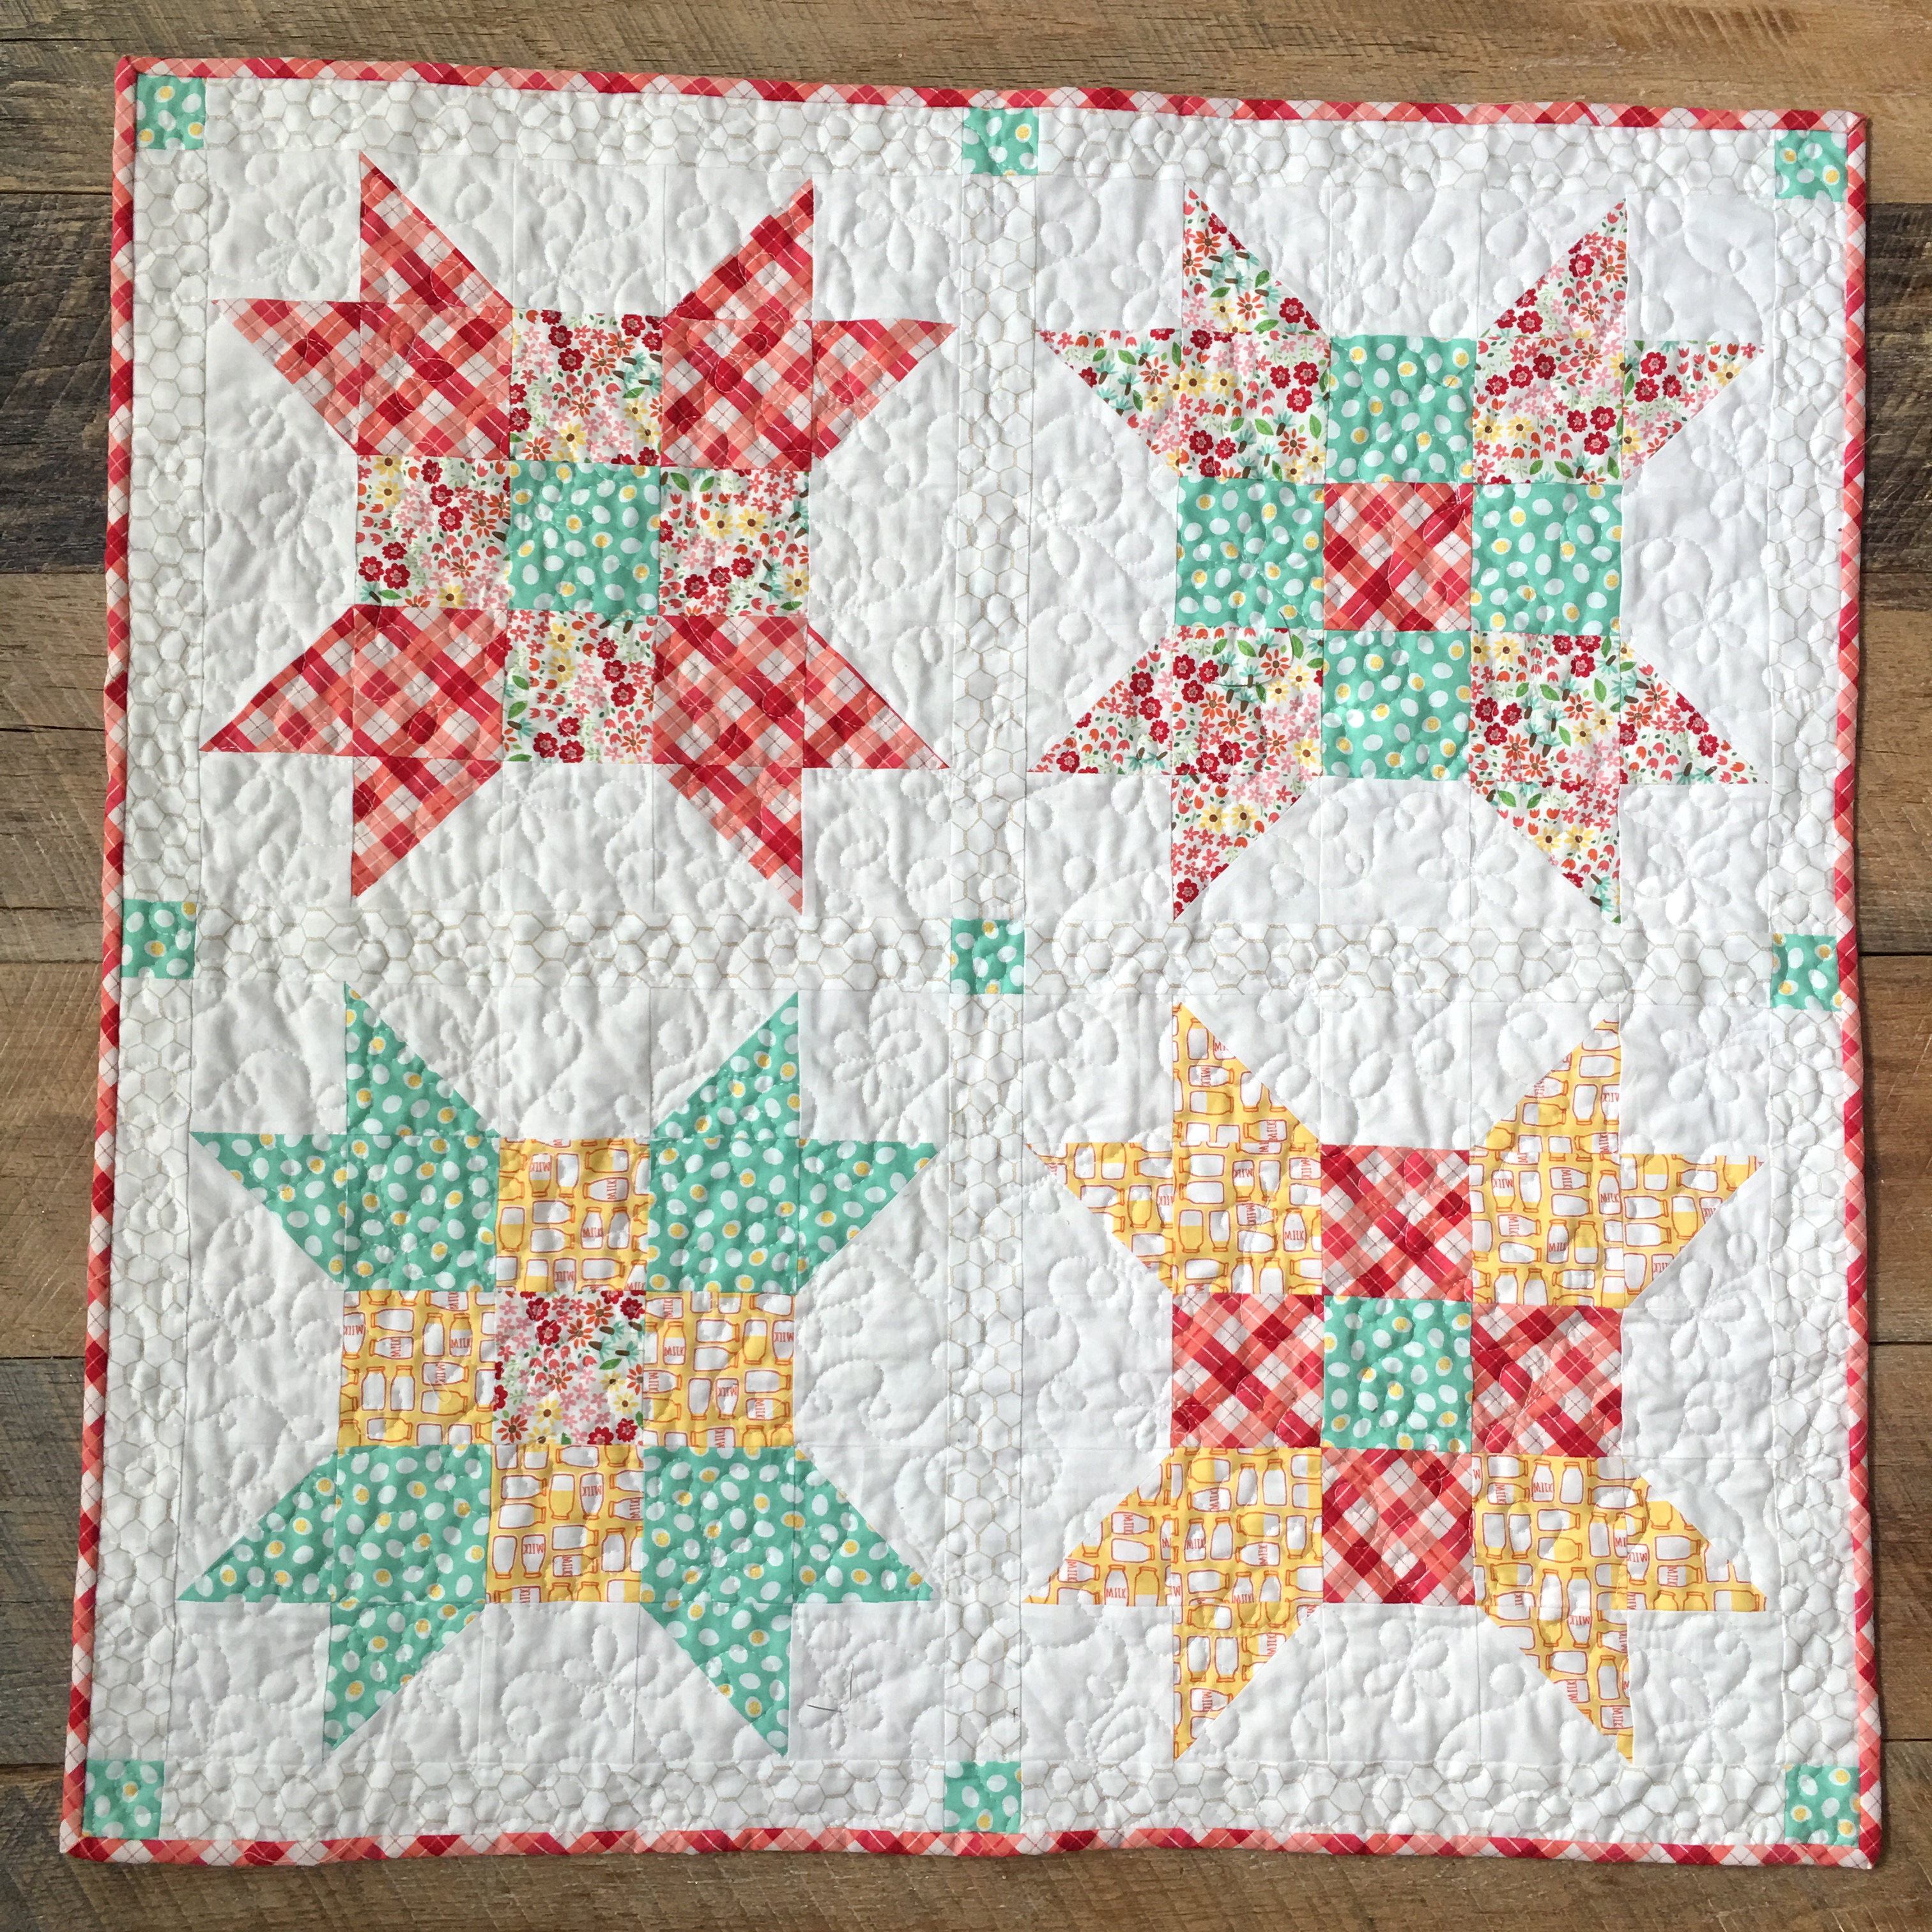
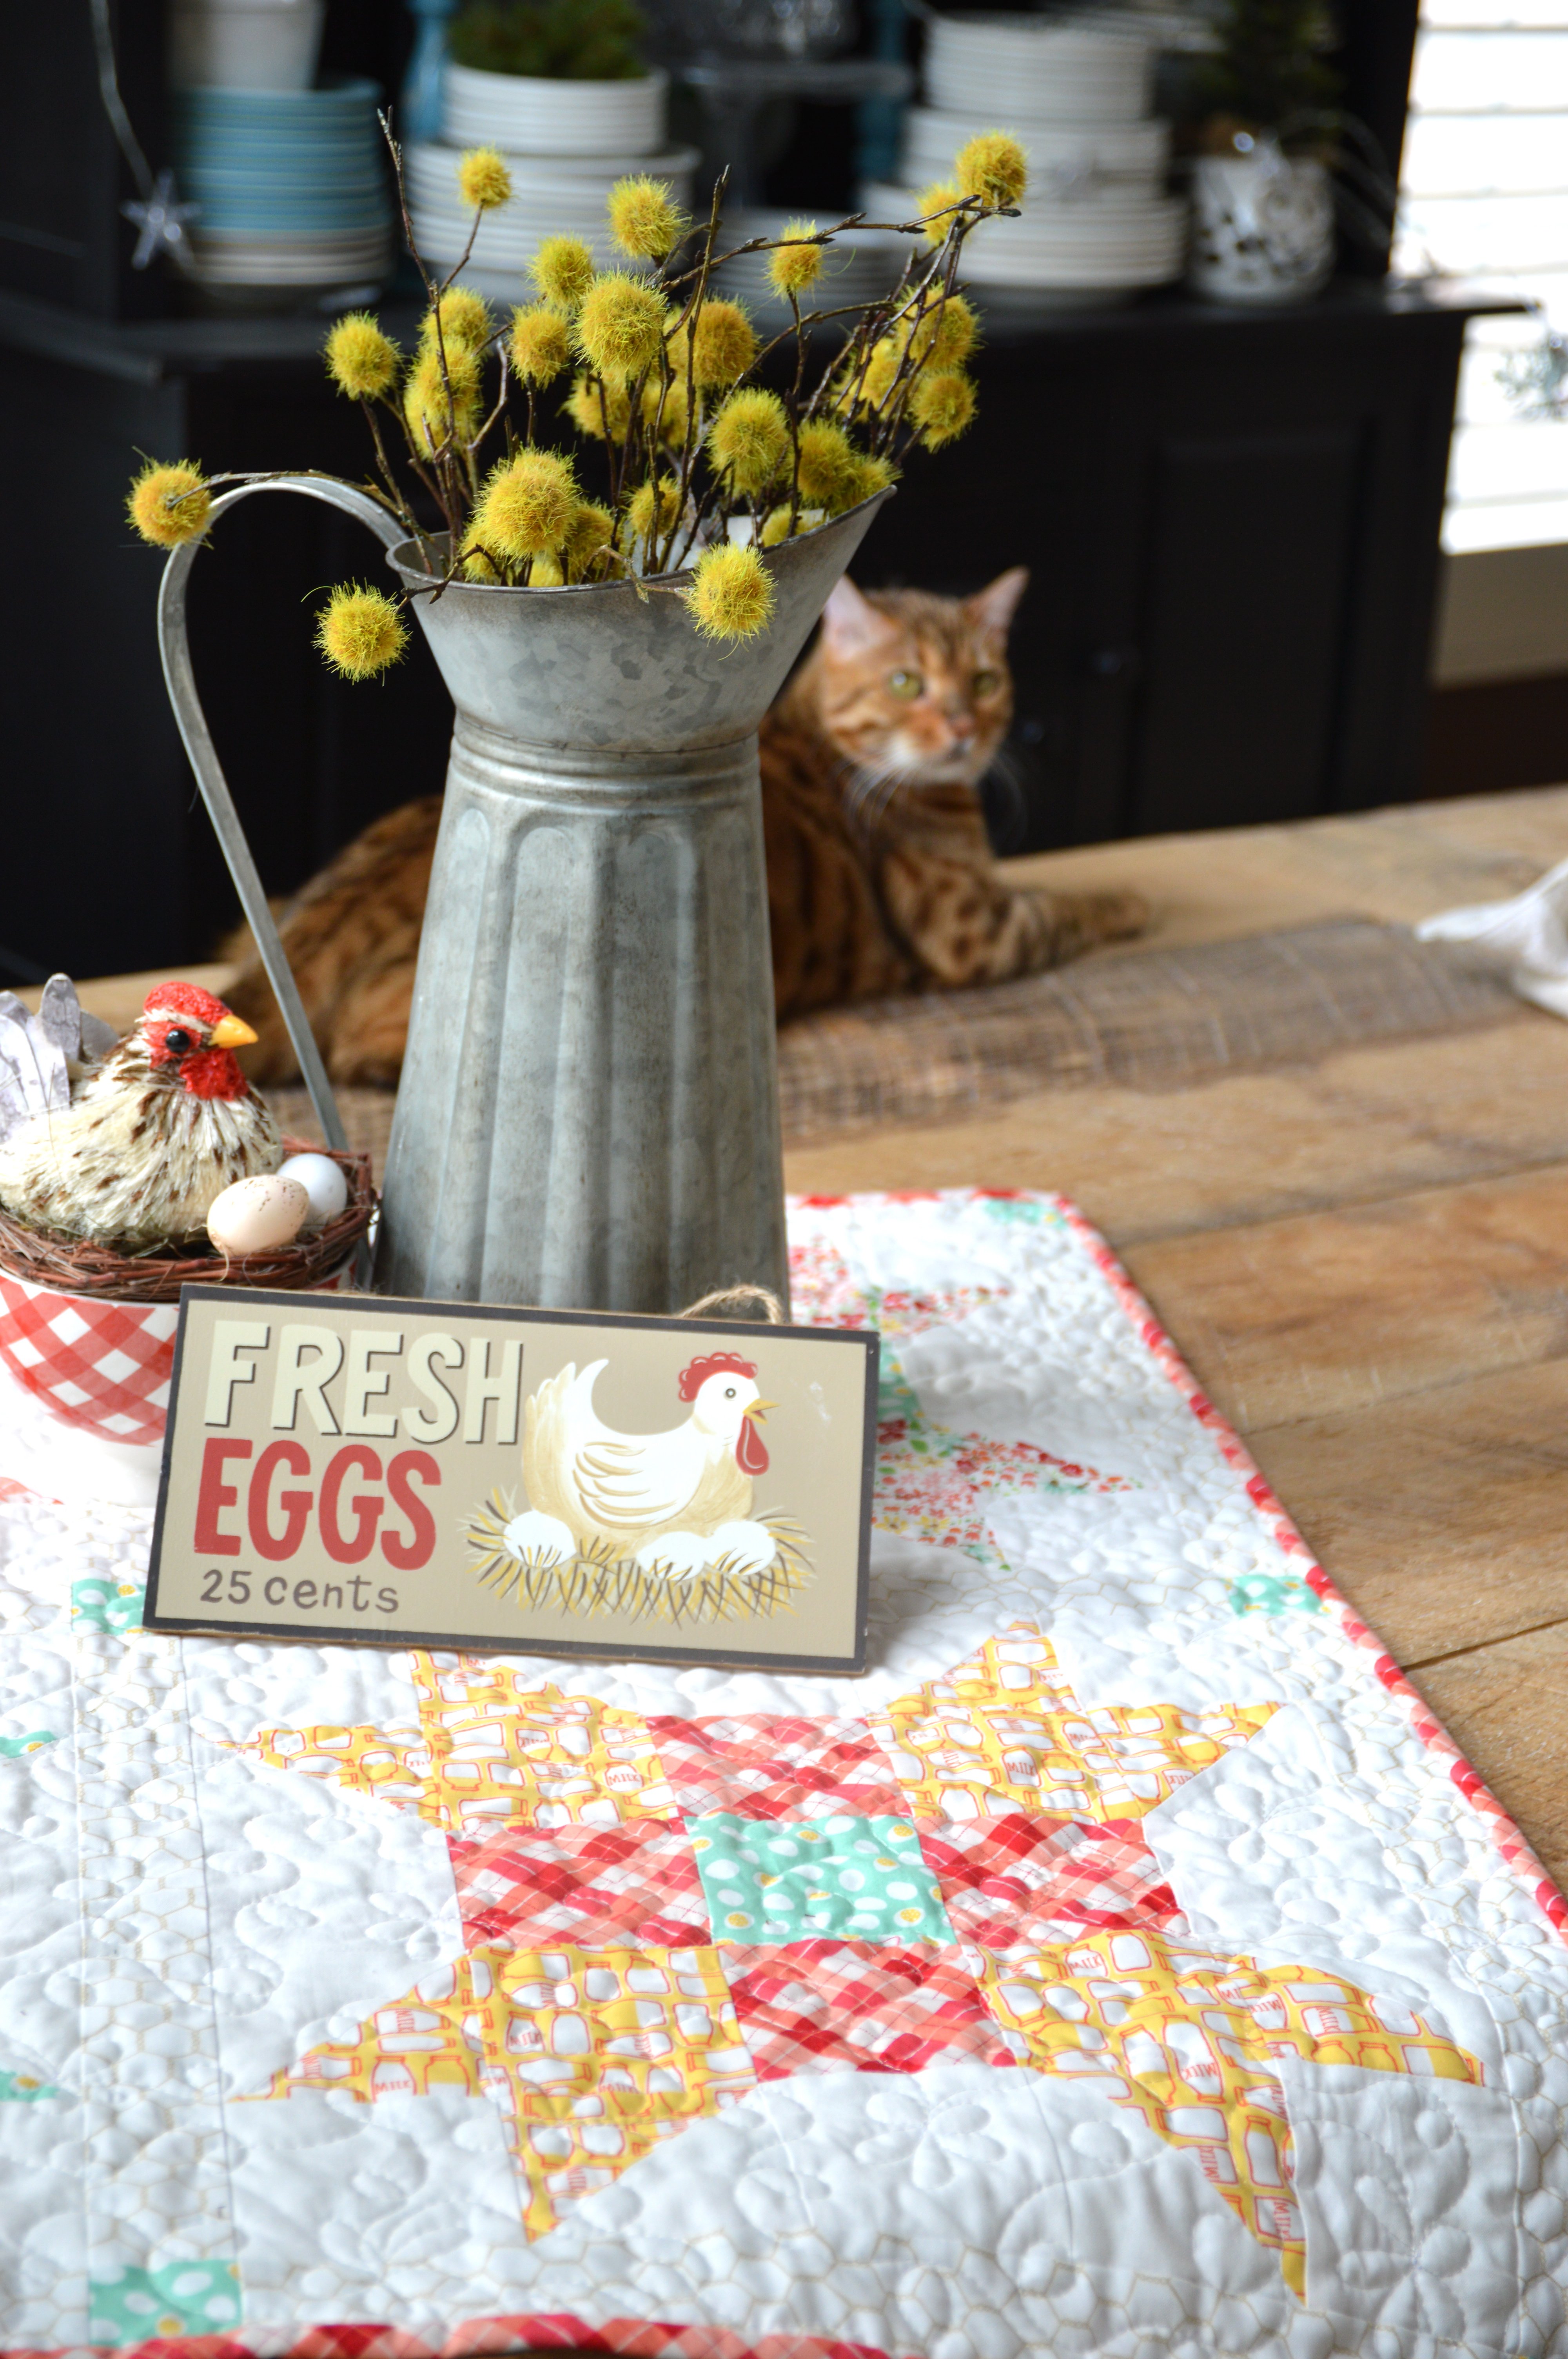
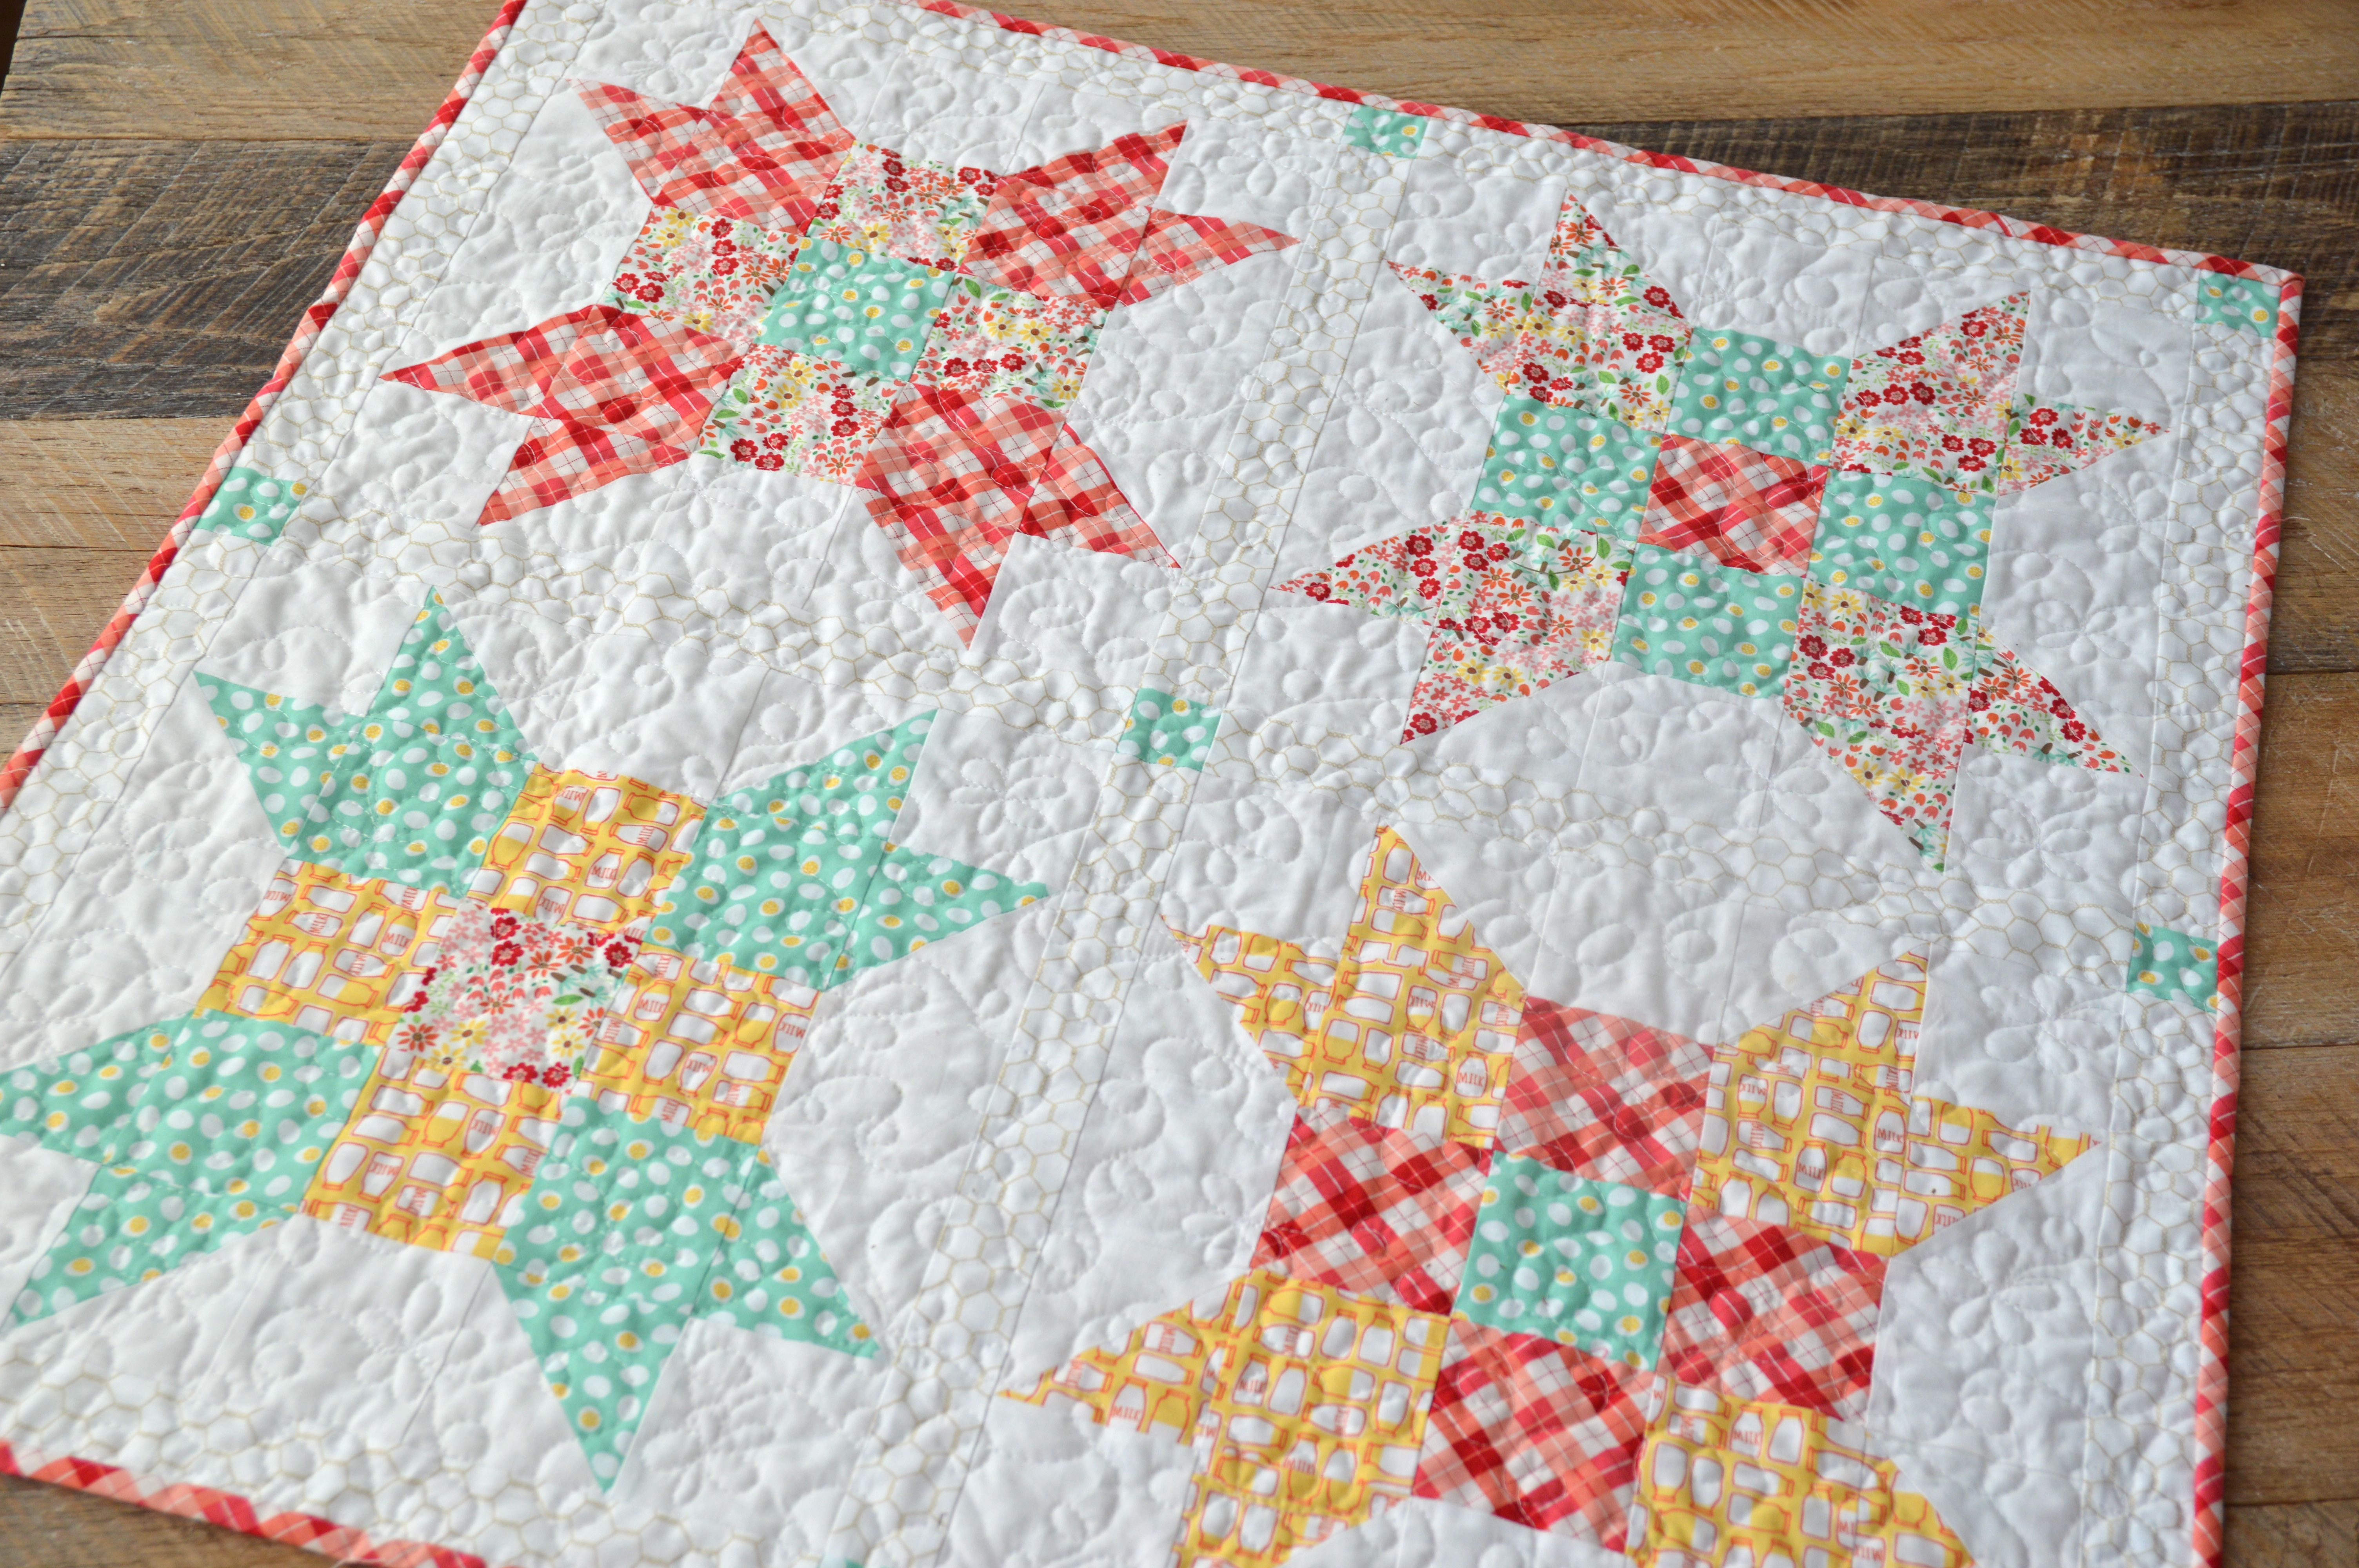
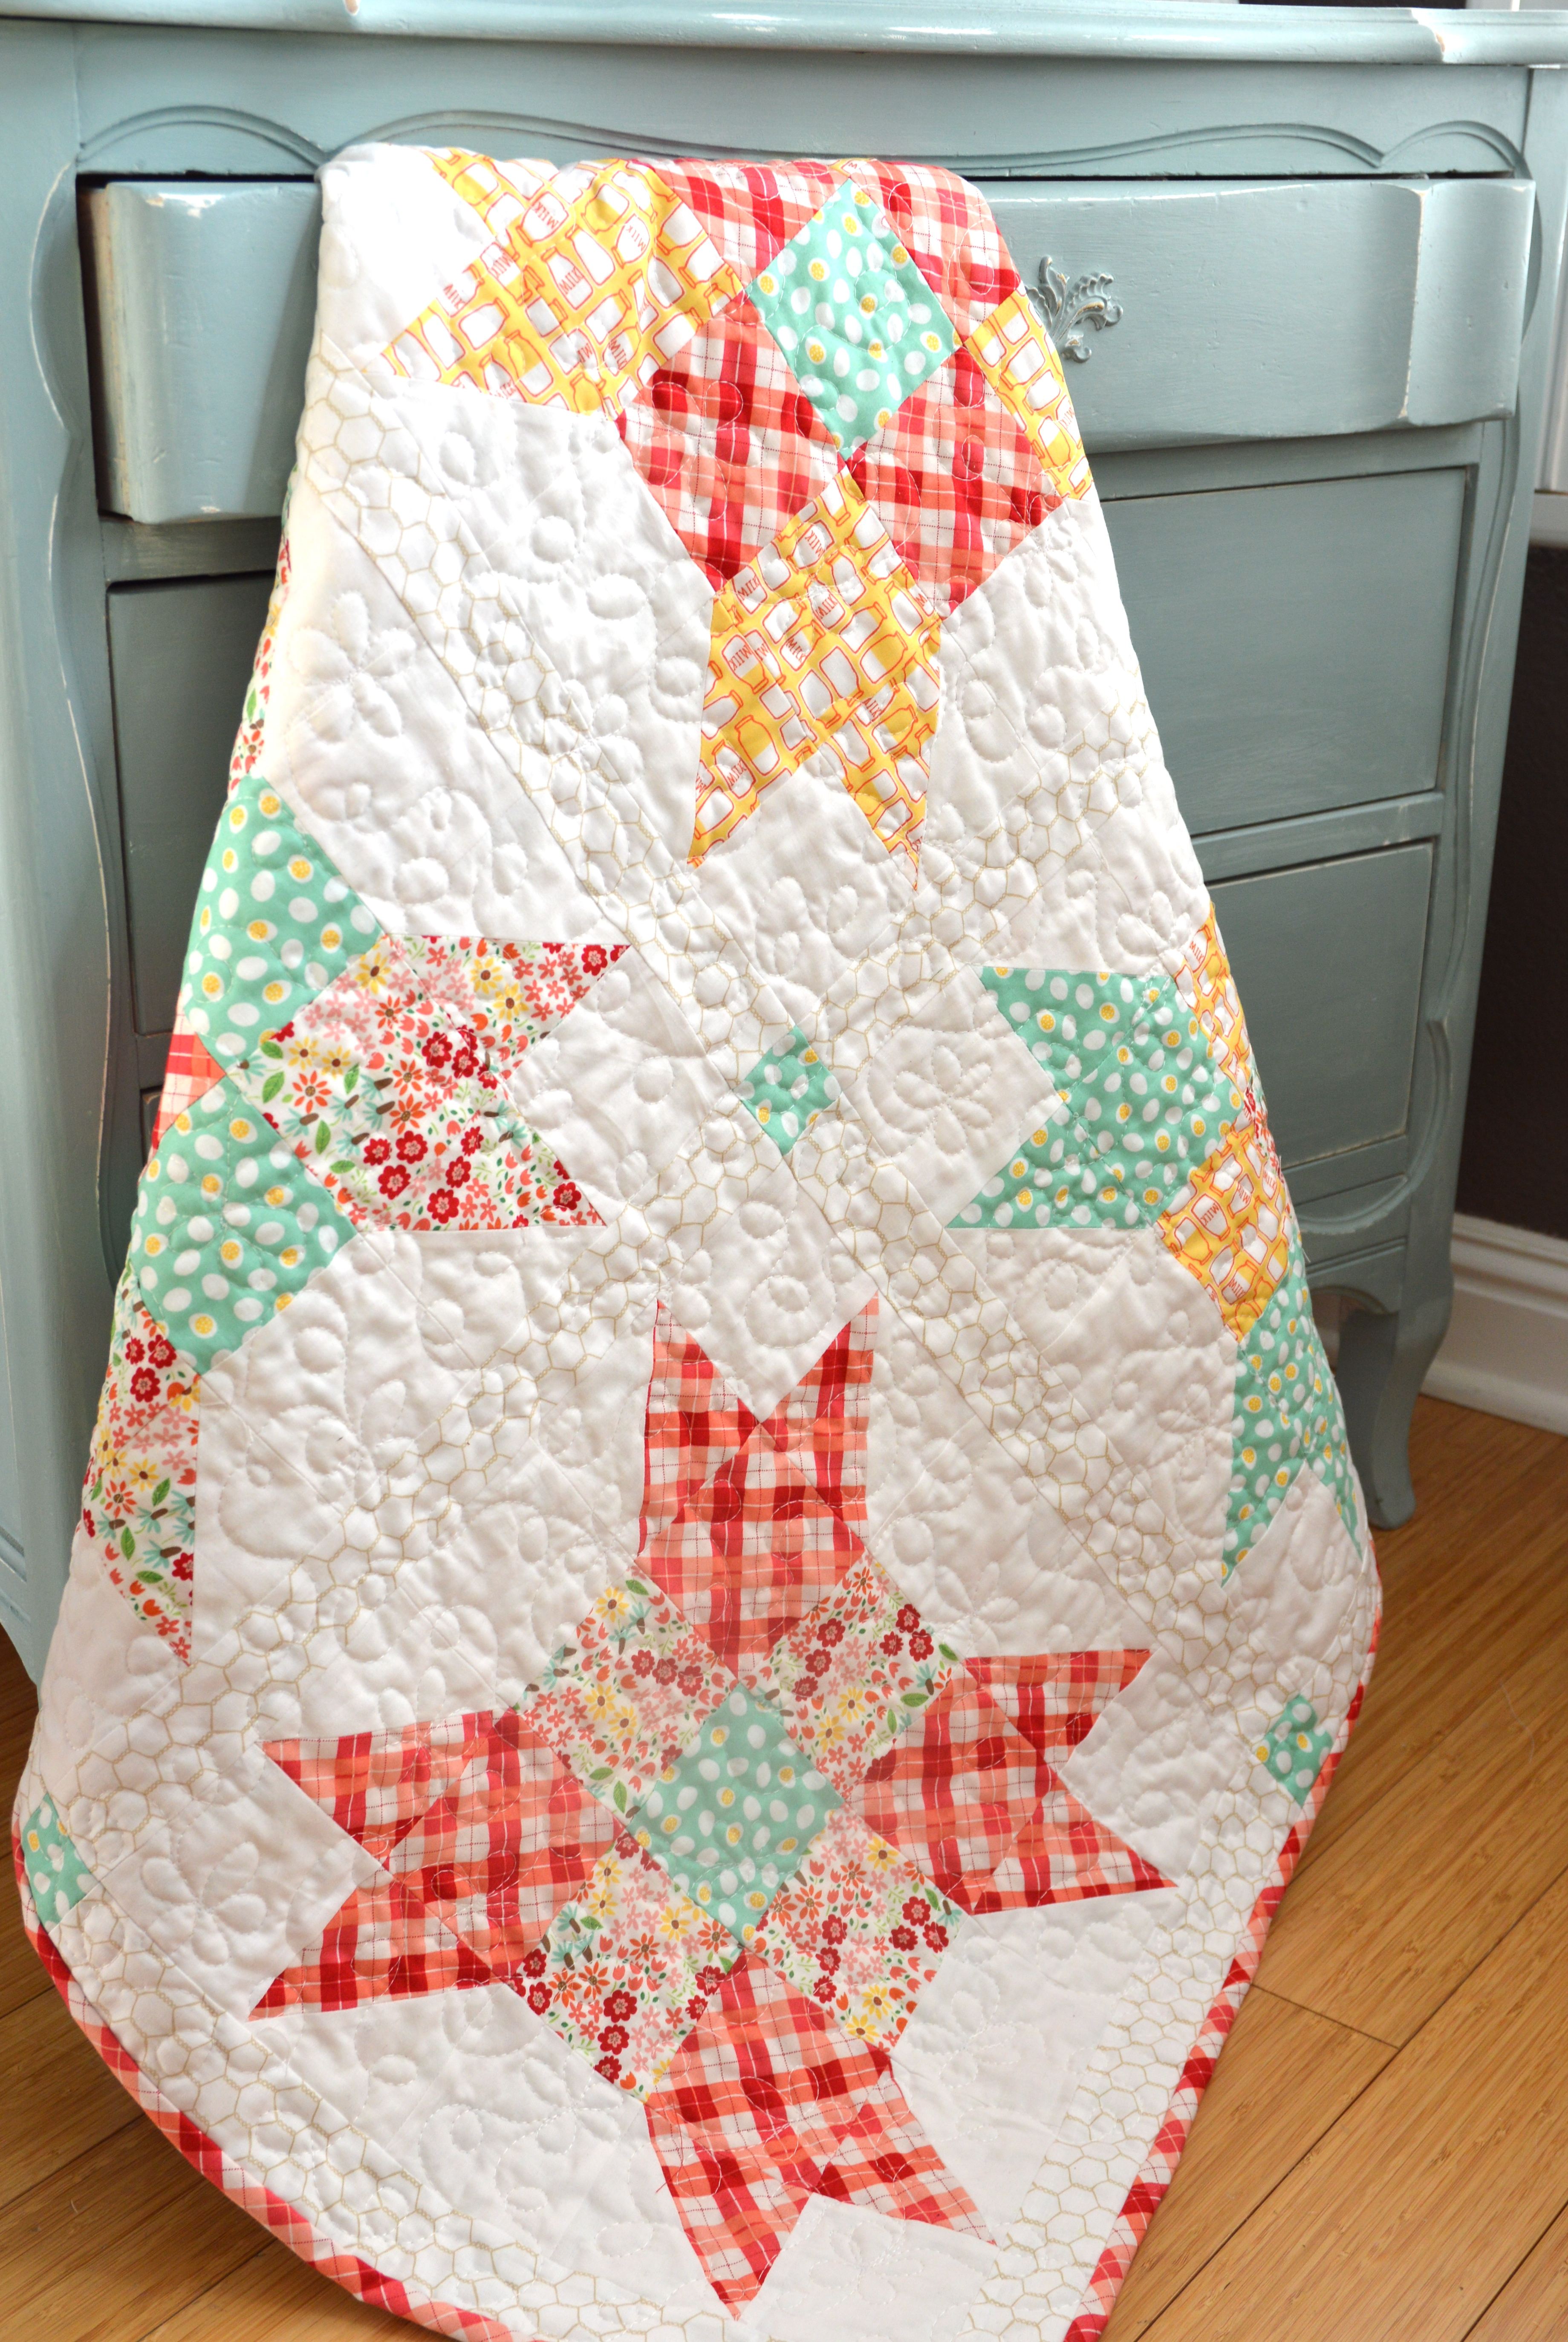
5 fat quarter fun logofresh eggs It’s so fun to loose yourself at the local quilt shop!! Sometimes it’s hard to know what to buy with so many amazing choices! Fat Quarters are a fun way to bring a little sampling home with you! This pattern was created after Amber, from Gigi’s Thimble, and I met up at a quilt shop while in St. George, Utah. All you need is 5 fat quarters and some background fabric to put the top together! It’s even more fun when you shop and sew with friends!!  You can download the PDF by clicking HERE.
5-fq

img_7561

The finished quilt measures 34″ square and is perfect for a table or to hang on the wall!

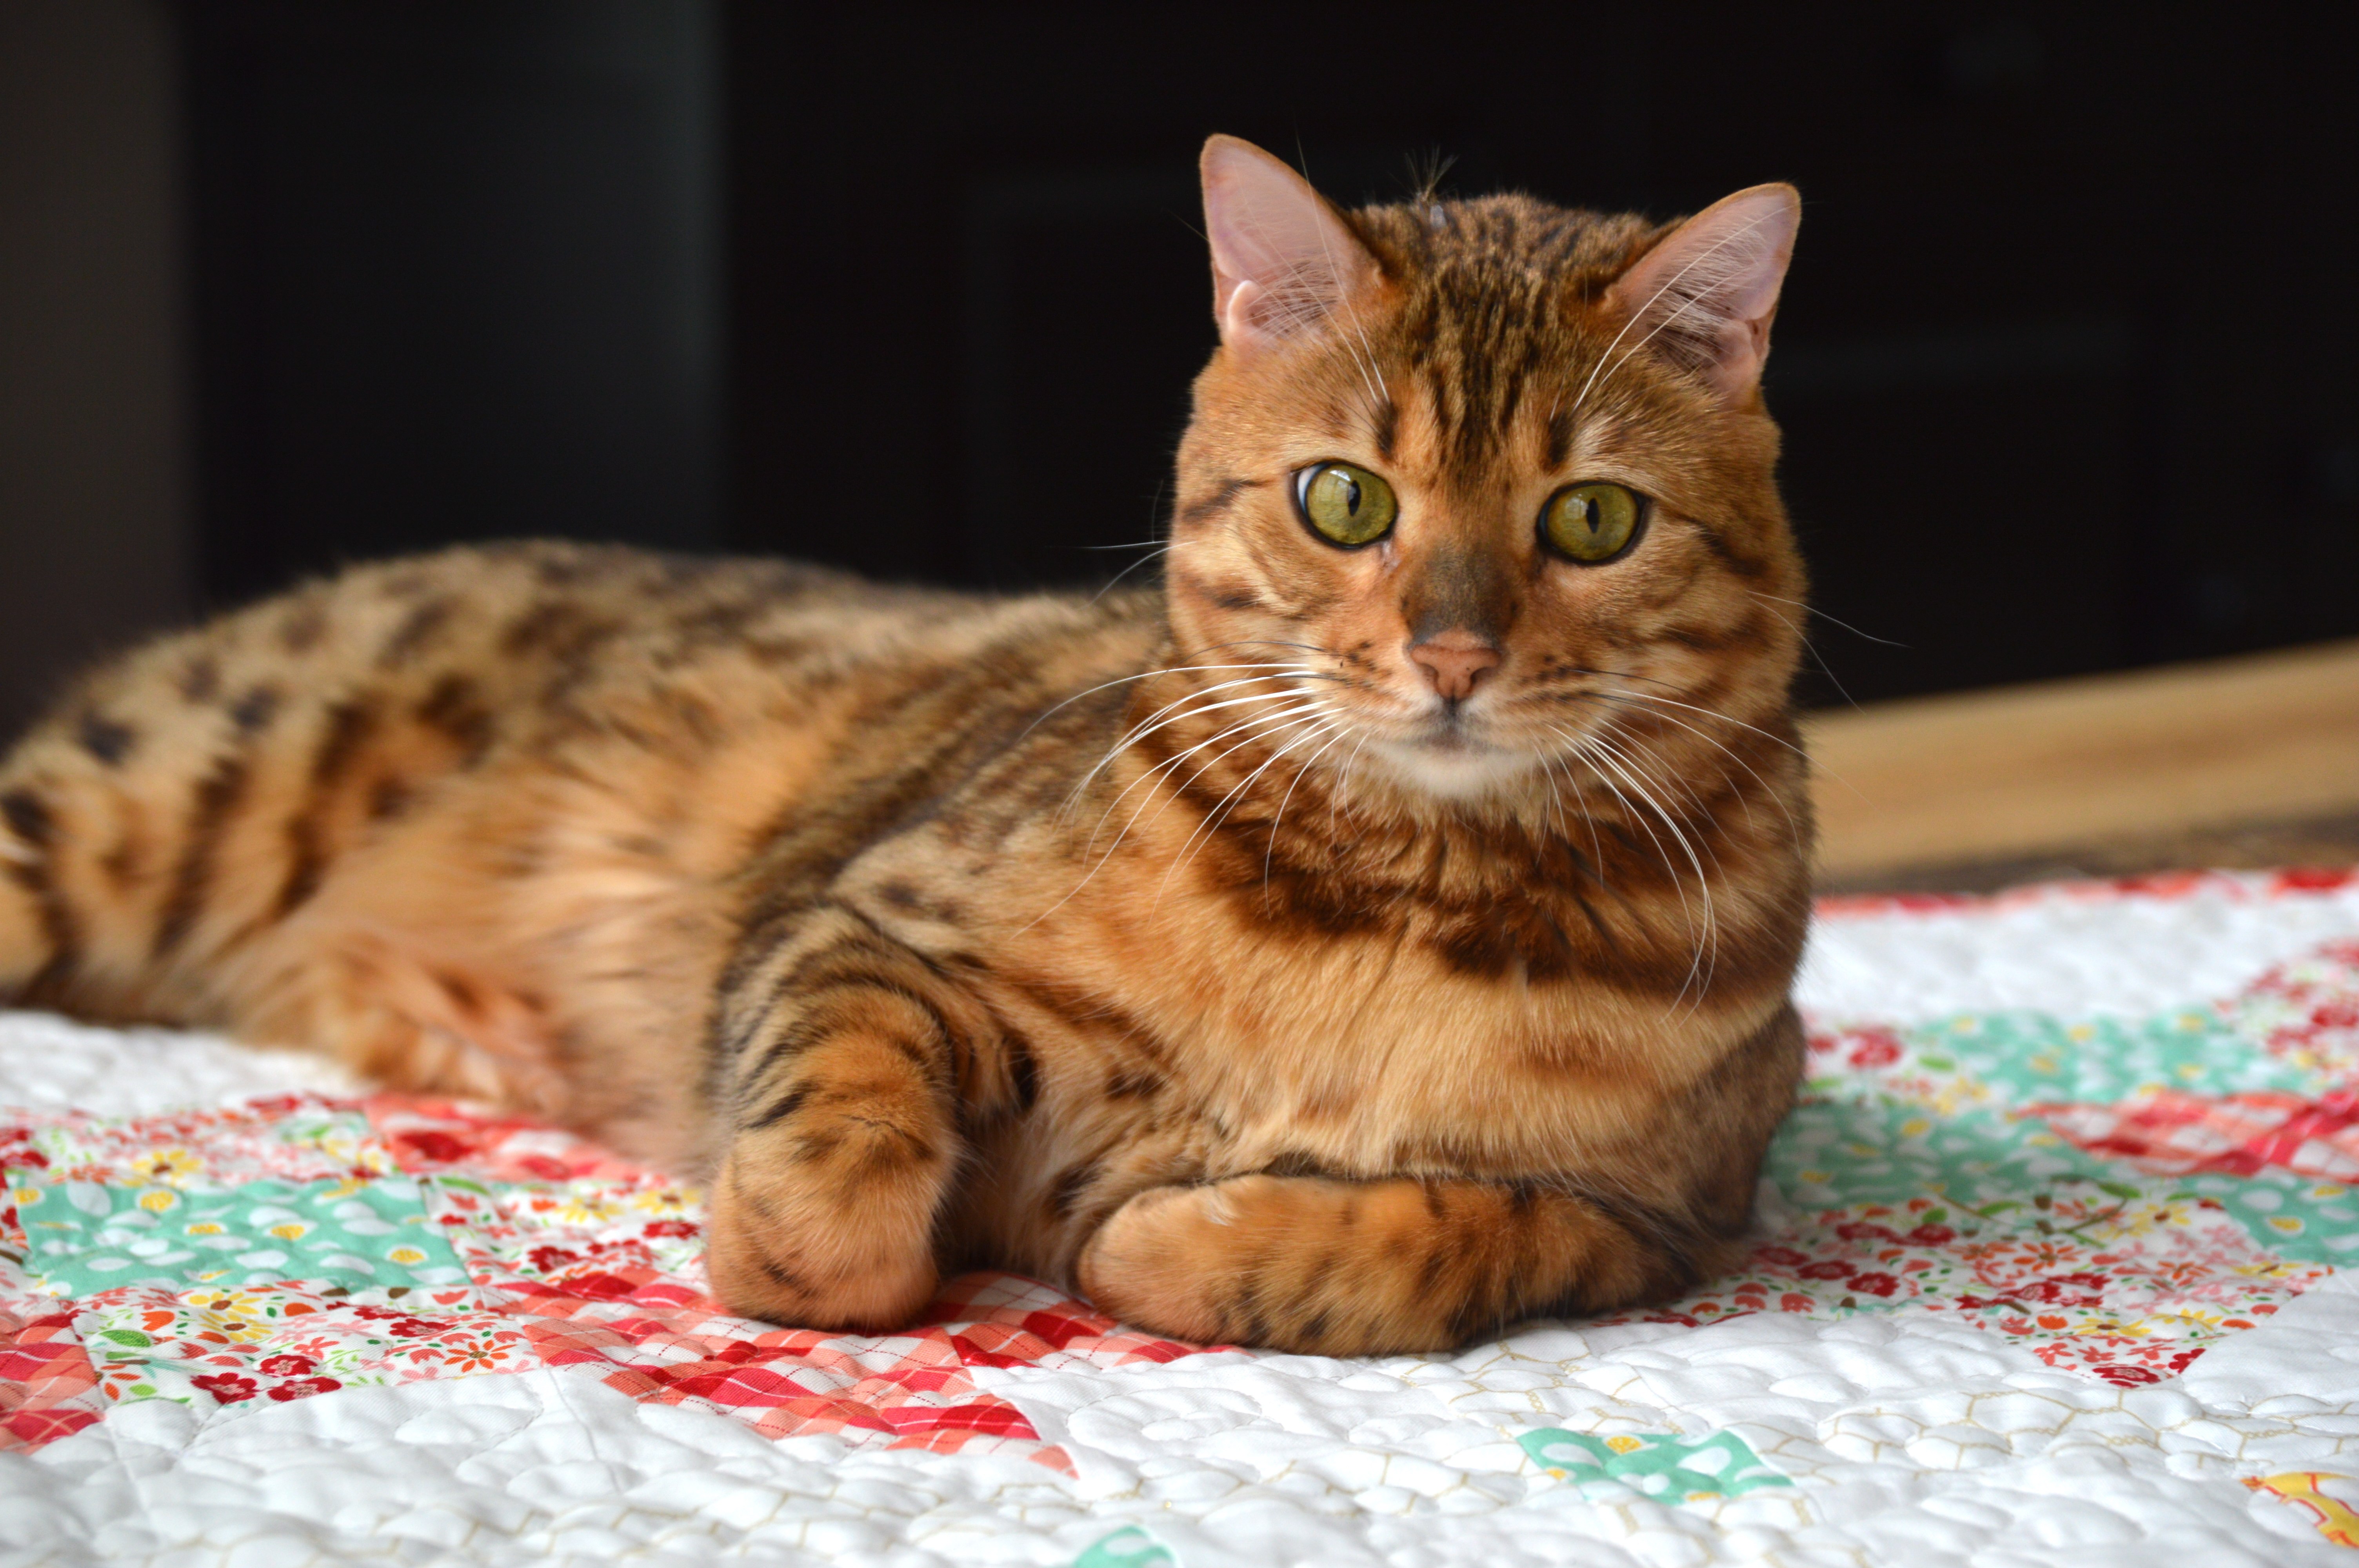
mufasa

Or it makes a purrrrrfect cat bed 🙂

five-fat-quarter

I love Amber’s version – she did straight line quilting 🙂

IMG_2507

5-fat-quarter

Click HERE for an index of all the Five Fat Quarter Fun Patterns!!

Save

Save

Save