Scripture Cover Tutorial Featuring Vintage Market from Riley Blake Designs

scripture cover tutorial

My daughter and I recently received new scriptures and with new scriptures comes a need for new covers!  I love these little quilted covers, I think of them as blankets for your bibles….heehee 🙂  The Riley Blake Designs fabric I am using is called Vintage Market Fabric by Tasha Noel.  Absolutly everything Tasha designs is too cute for words.  I can’t decide which little scene is my favorite!  I love jam, bicycles, quilts, sewing machines, and all vintage goods.  I guess I love it all!!!

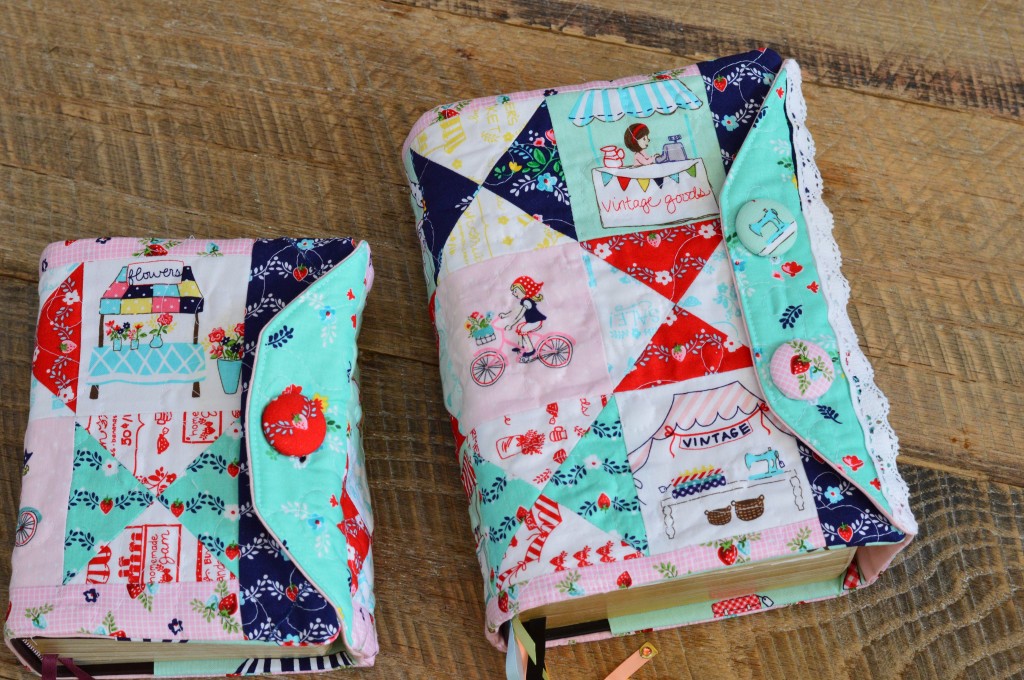
This pattern will walk you through the steps of determining the measurements for your bible or book and how to create a quilted cover.  The two examples shown are a set of regular “quad” scriptures and then the larger “quad” scriptures.  scripture cover  vintage market 5
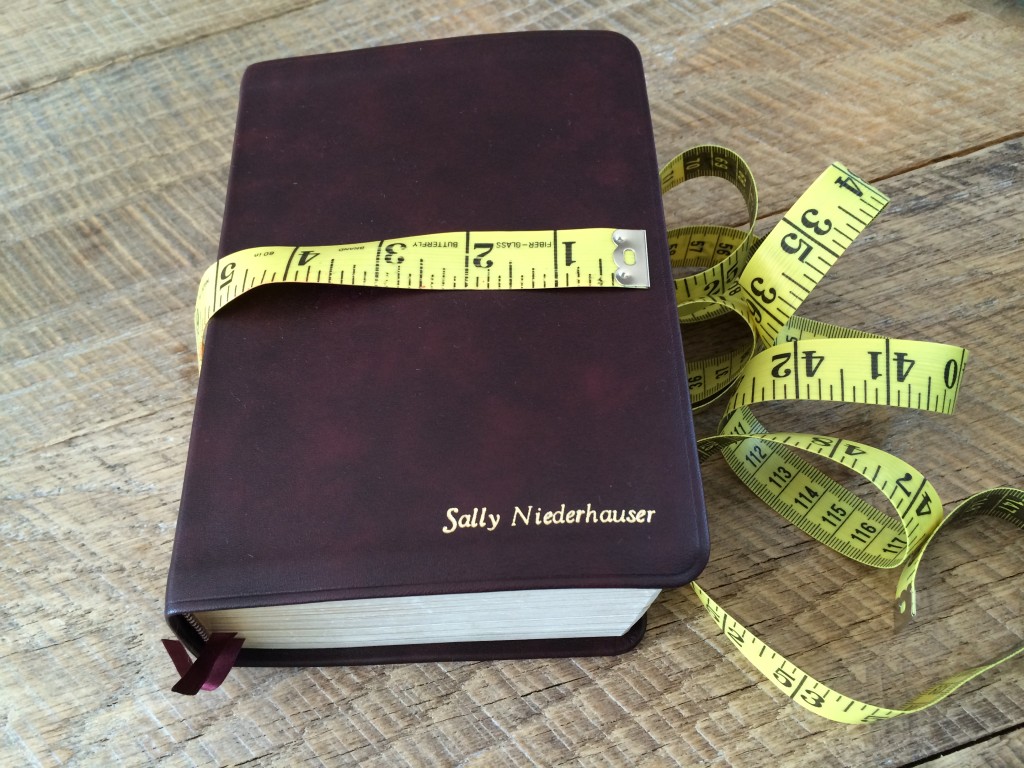
The first step is to take the measurements of the book.  Hold the tape measure from cover to cover with the book closed as pictured below.  Write down that length measurement.  Then do the same thing width wise and record that number.

scripture cover tutorial riley blake designs vintage market

MEASUREMENTS

To determine the measurements for the width (top to bottom), add 1″ to the width measurement and then subtract 1/8″.

To determine the measurements for the length (side to side), measure the length and add 6″.

For the regular quad, the book measures:  7 3/8″ x 13″ so the number we are after is 8 1/4″ x 19″

For the large quad, the book measures: 9 3/8″ x 15″ so the number we are after is 10 1/4″ x 21″

Overview

IMG_8804

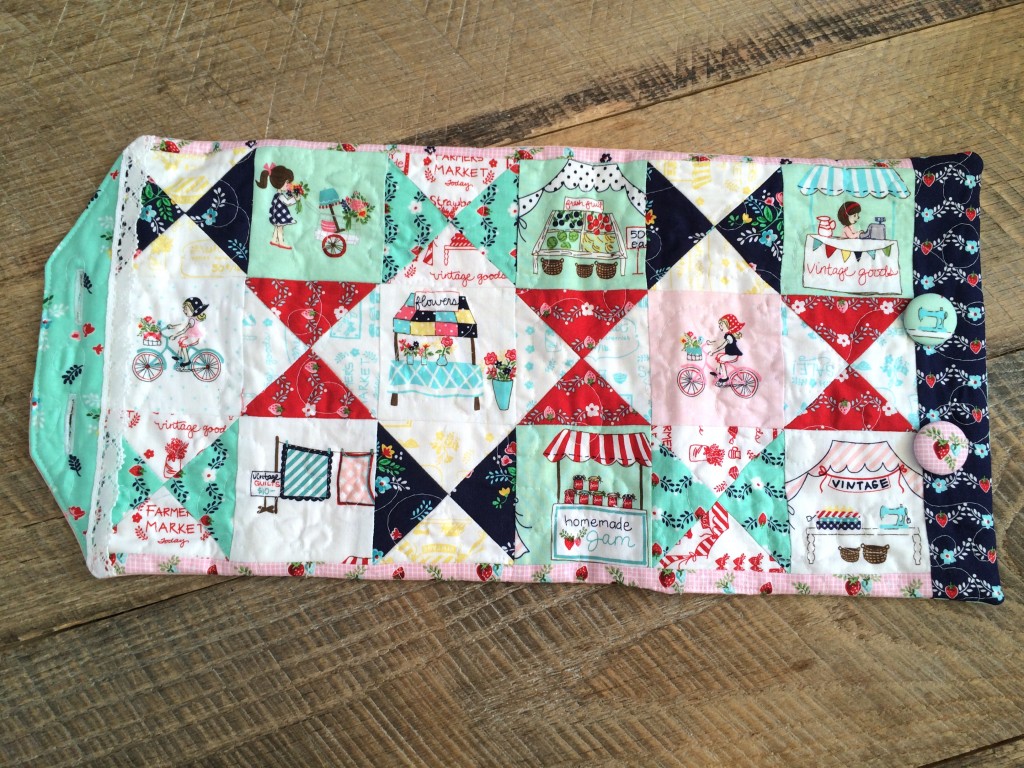
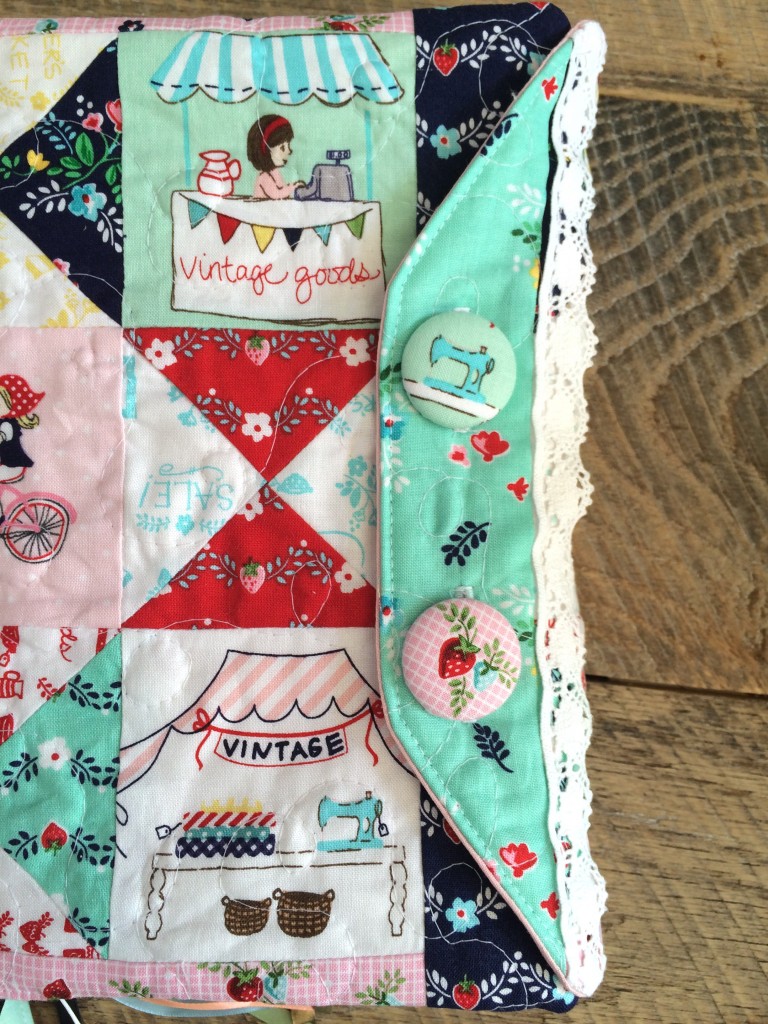
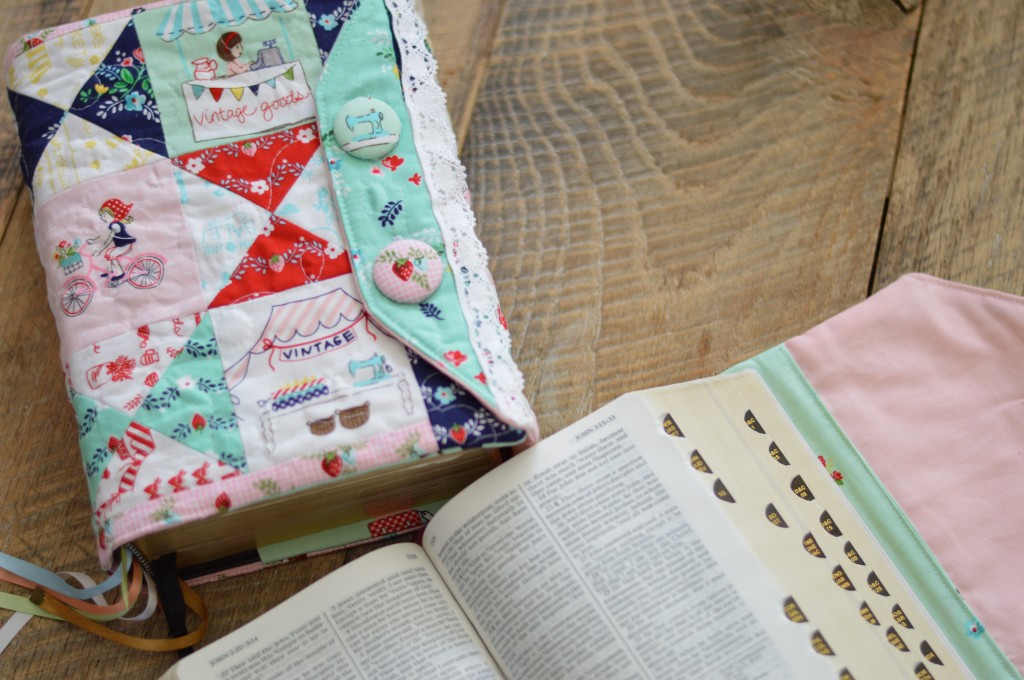
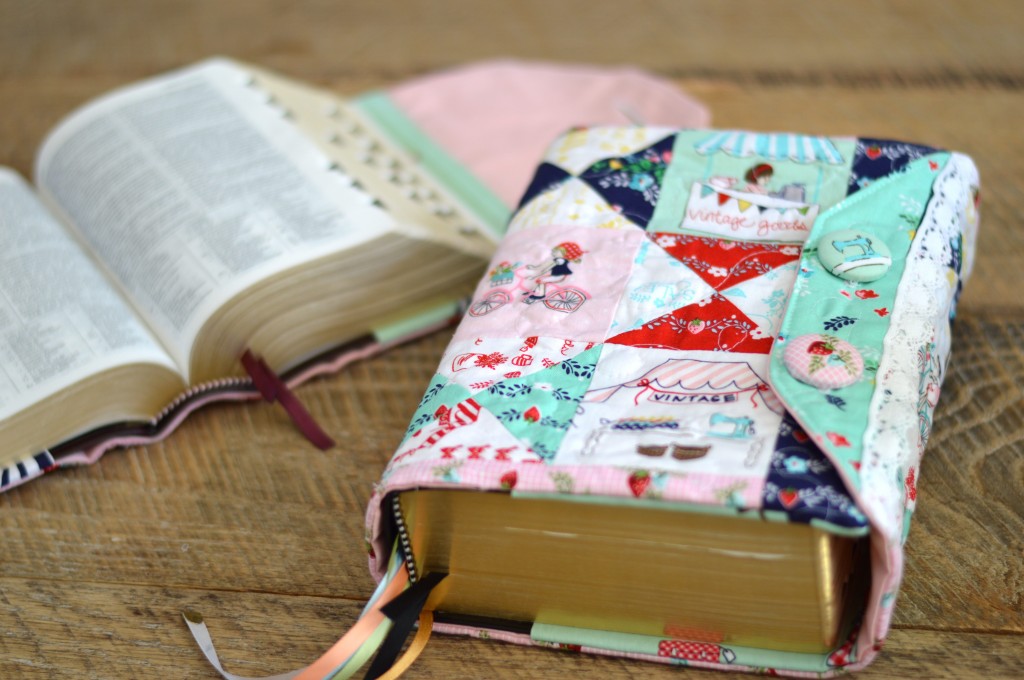
Here is a photo of what the finished cover looks like.  The inside consists of 2 flaps to insert the book cover.  The cover also extends beyond the book so it wraps around and buttons to close.IMG_8802
Construct the Quilted Cover

Following the instructions for the “quilt” will give you a quilt that is slightly larger than the measurements required.  Not to worry, I have put a little “extra” in as the quilt tends to shrink after being quilted.  Once it is pieced and quilted you will square it up to the measurements you determined at the beginning.

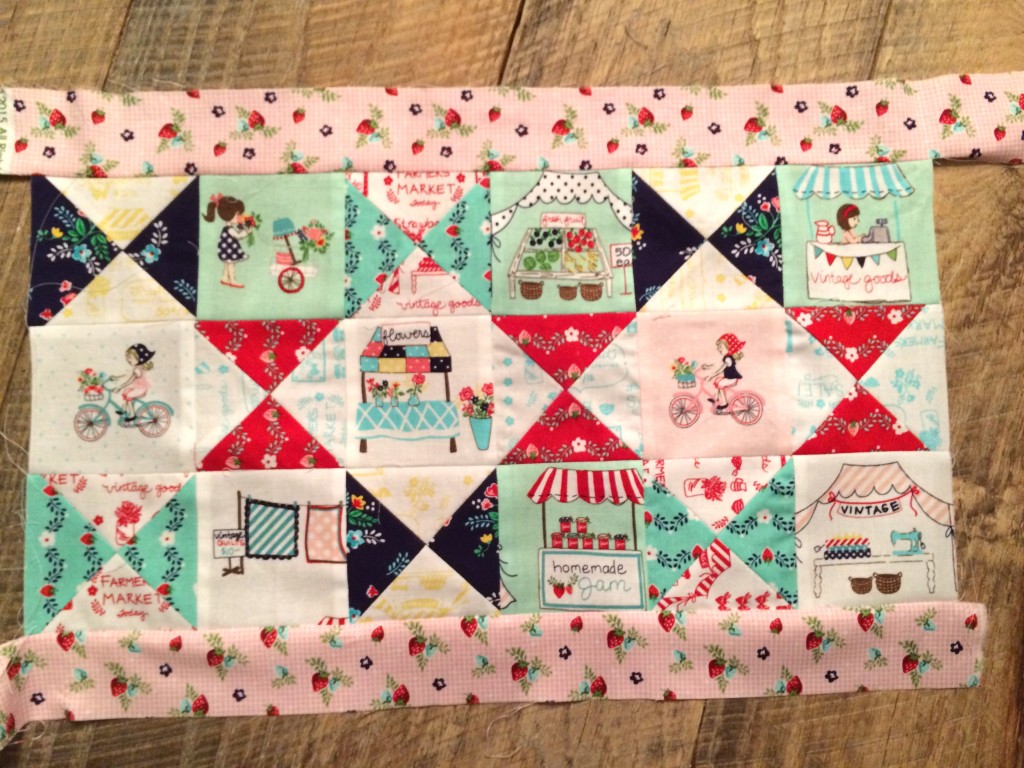
The quilt consists of 3.5″ cut blocks that finish 3″ square.  The Vintage Market motifs are fussy cut.  They are alternated with hourglass blocks.

How to Fussy Cut

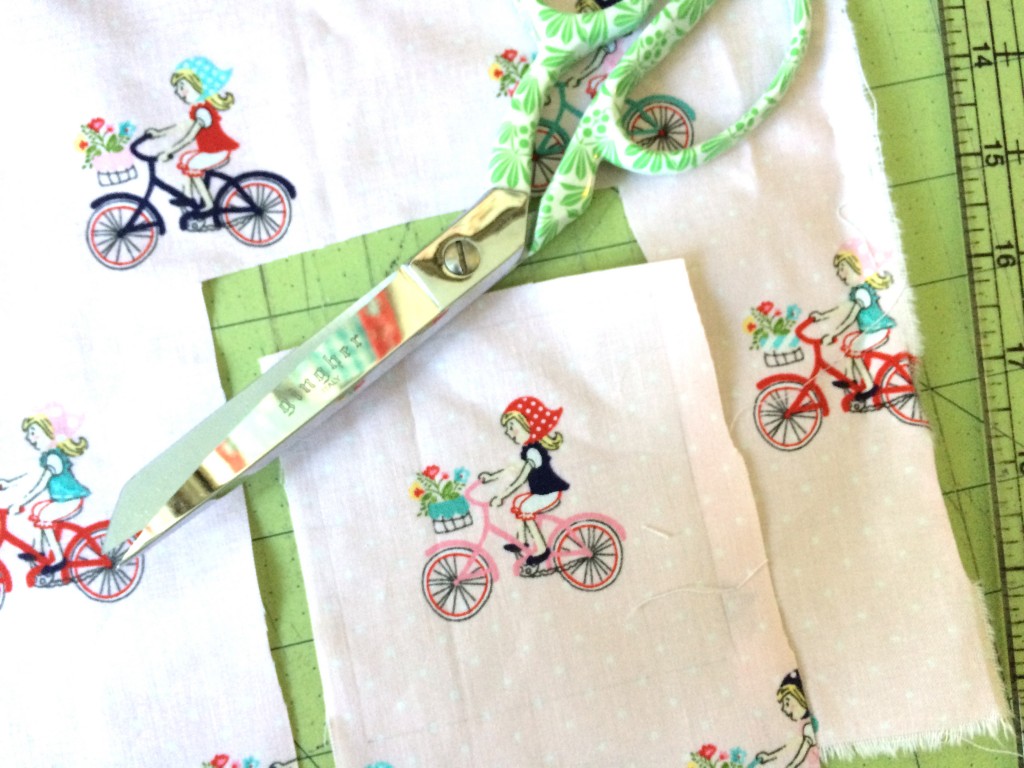
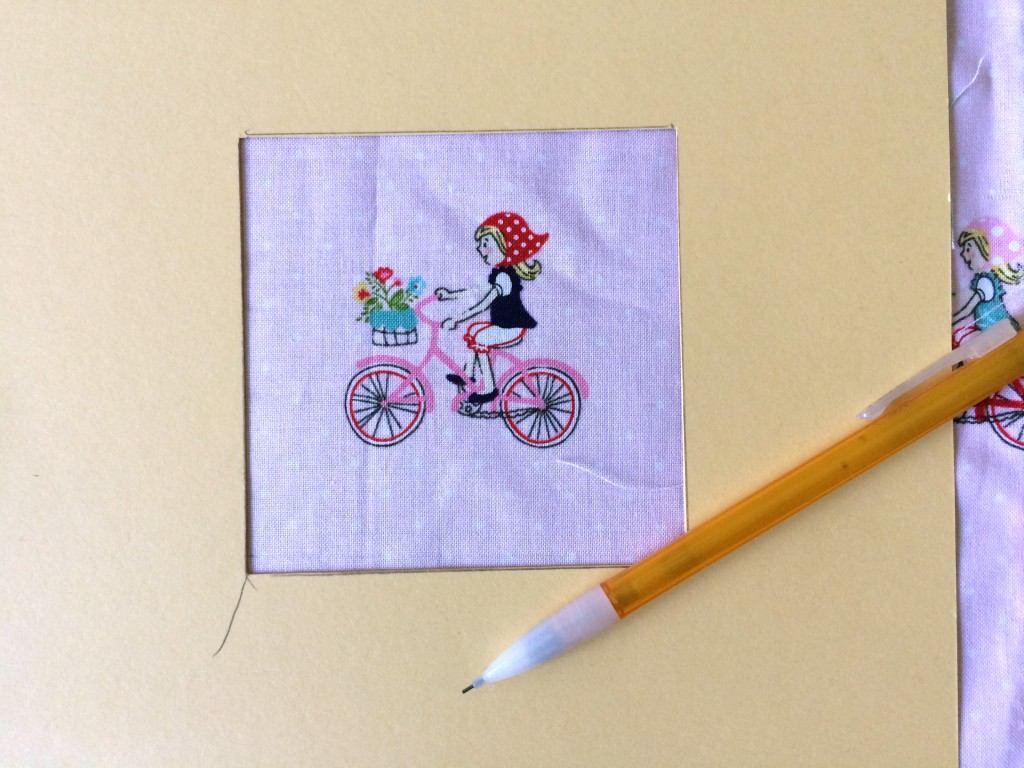
There are many ways to fussy cut an image, this is my method.  Cut a 3.5″ square out of a piece of card stock.  Use this as a little window to center the motif.  Draw a pencil line around the 3.5″ square.  Keep in mind you will have 1/4″ seam allowances.
scripture cover tutorial riley blake designs vintage market 4

Using scissors  do a rough cut around the pencil line.  Then place the image on a cutting mat and use the pencil lines as a guide to line up the ruler.  Make sure to match the ruler to the grid as the pencil marks might be off slightly.  Any pencil marks shown will be caught in the seam allowance.

scripture cover tutorial riley blake designs vintage market 5

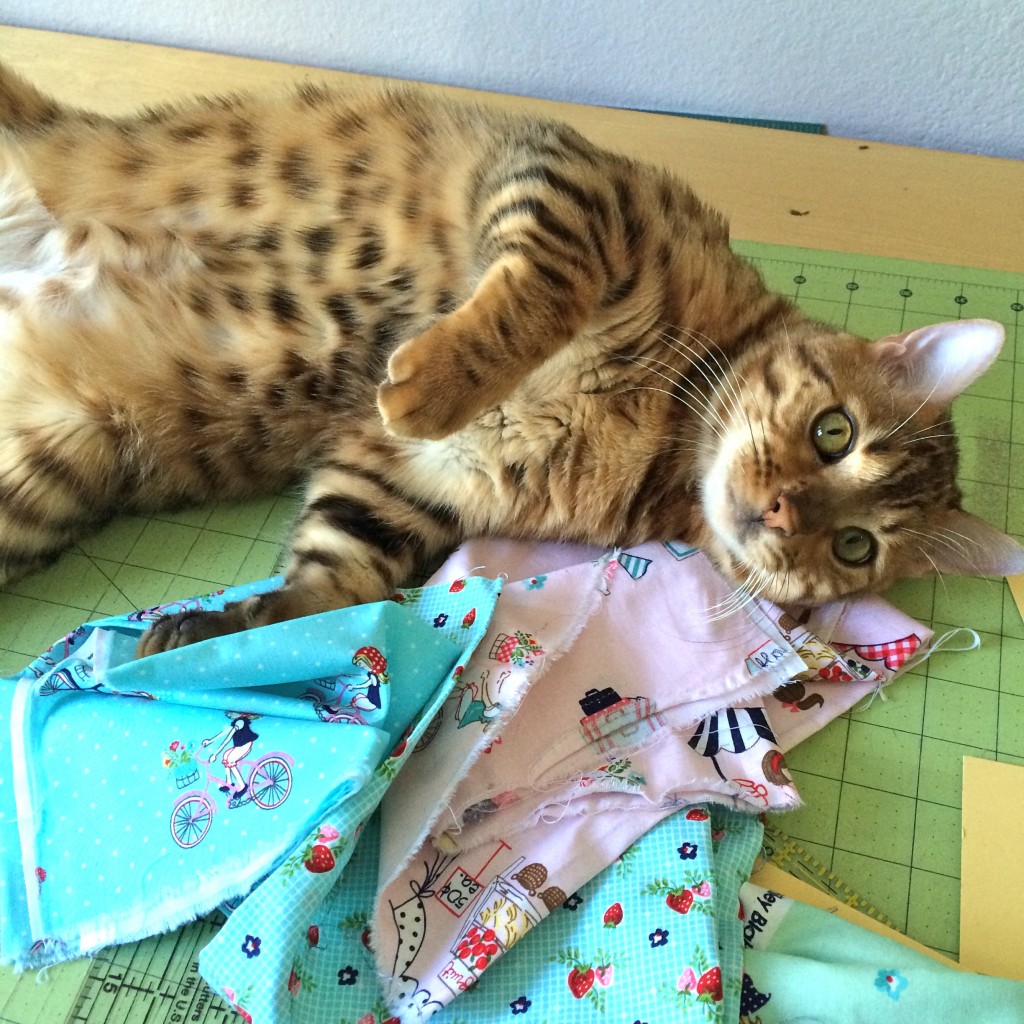
Next, wrangle your cat away from the fabric so you can continue with this project 🙂

scripture cover tutorial riley blake designs vintage market 6

Hour Glass Block

To make the hourglass block, cut a light 5″ charm square and a dark 5″ charm square.  Draw a diagonal line on the back of the light square.
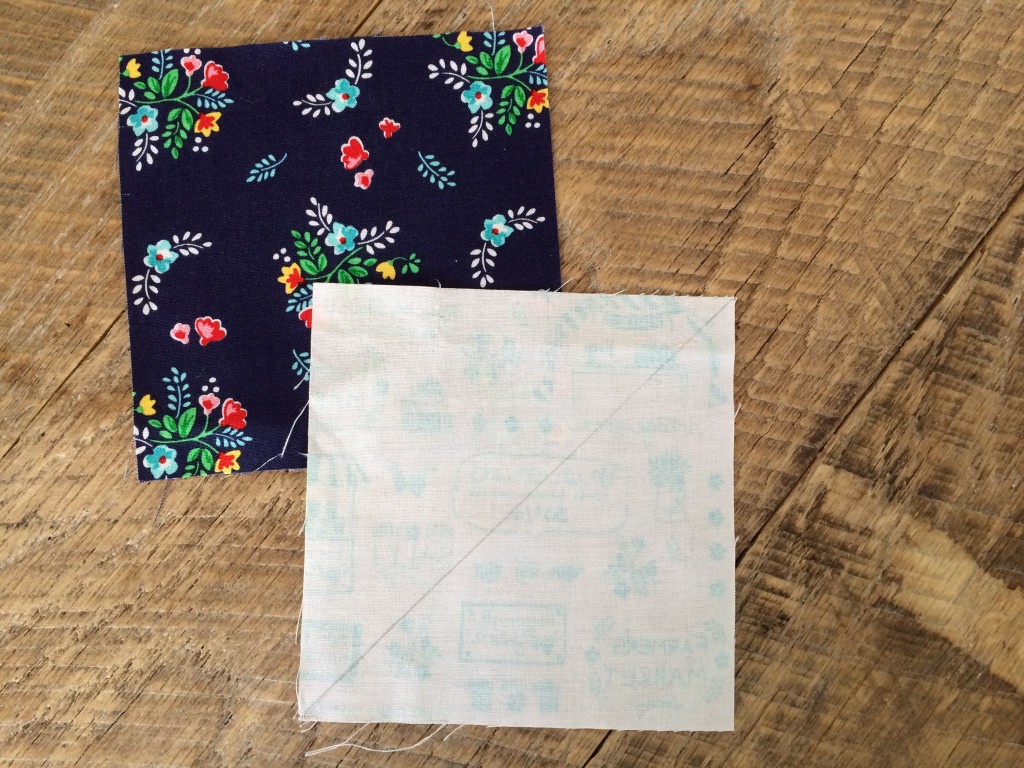
scripture cover tutorial riley blake designs vintage market 7

Place the light and dark squares right sides together.  Sew 1/4″ seam along both sides of the pencil line.  Cut apart and press toward the dark.  
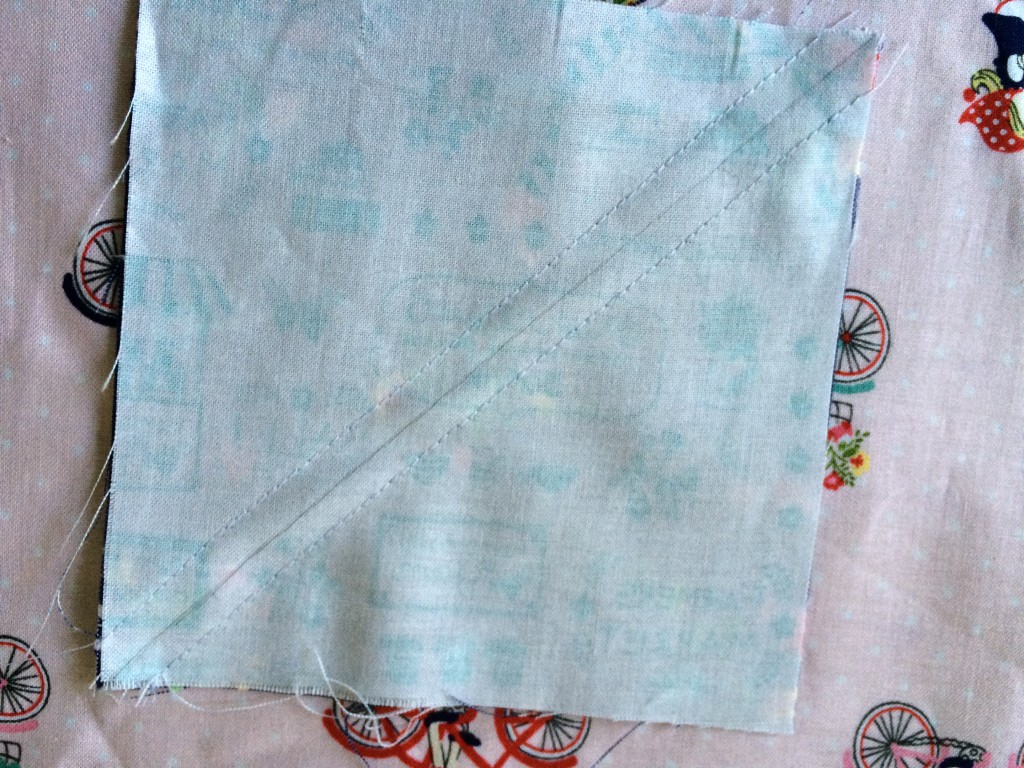
scripture cover tutorial riley blake designs vintage market 8

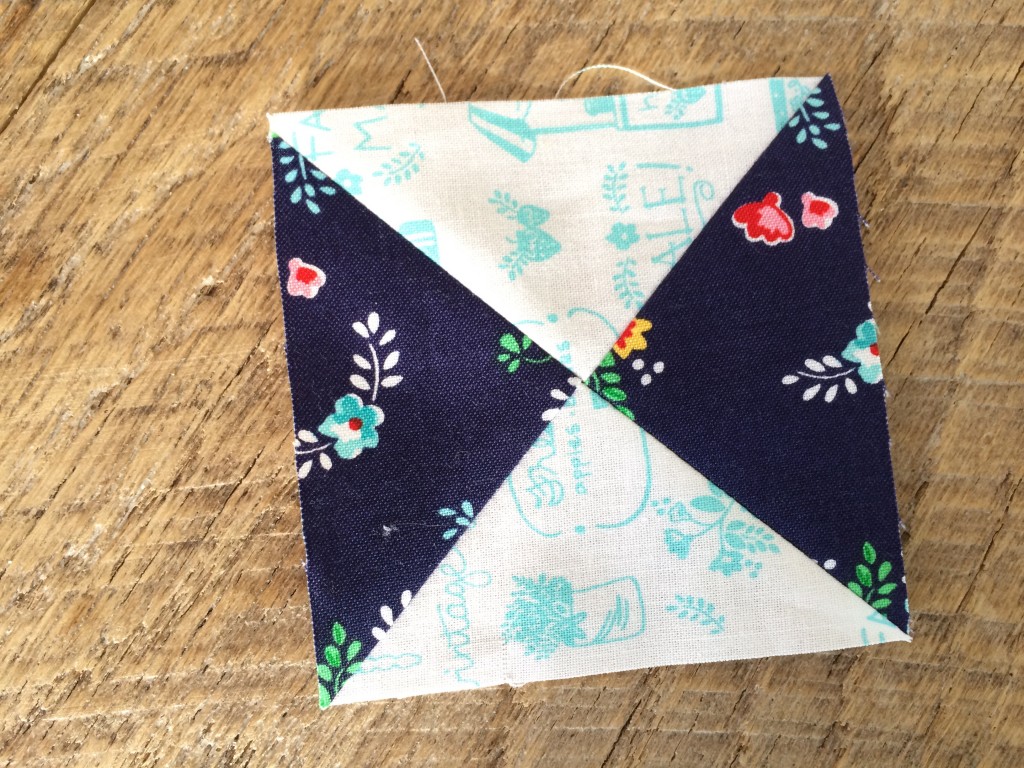
Take the two half square triangle (HST) units and draw a diagonal line on one of the wrong sides.  Place the HST units together so the lights and darks are opposite, match the center seam.  Sew 1/4″ along both sides of the drawn line.  Cut apart along the pencil line and press the seams open.
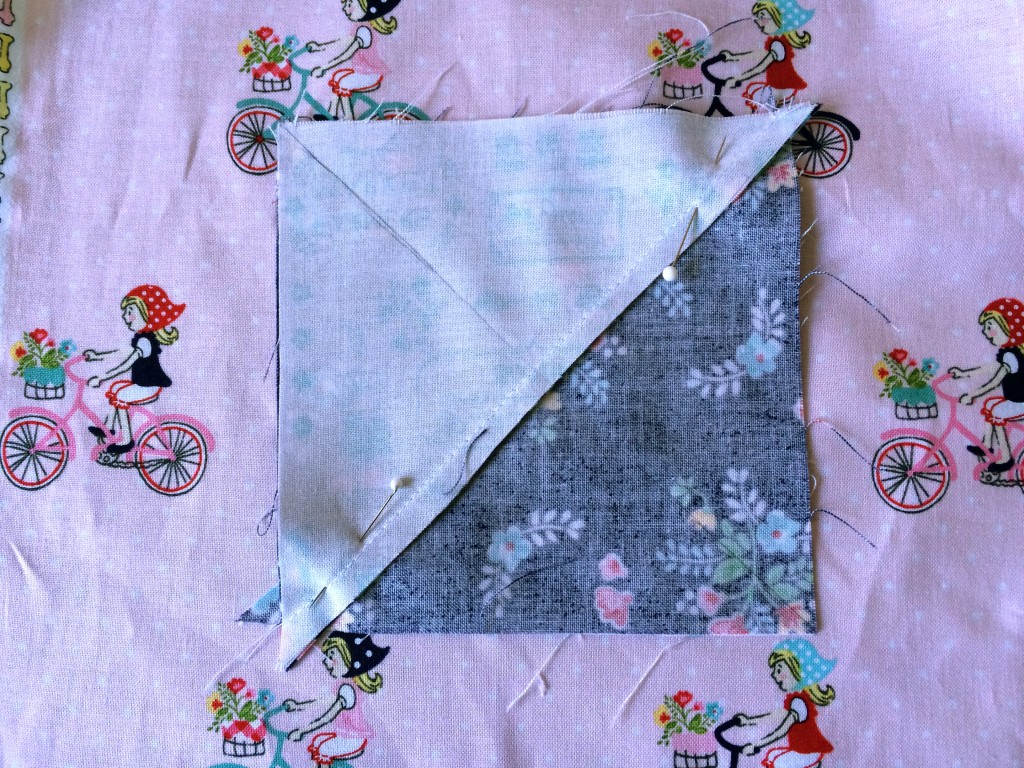
scripture cover tutorial riley blake designs vintage market 10
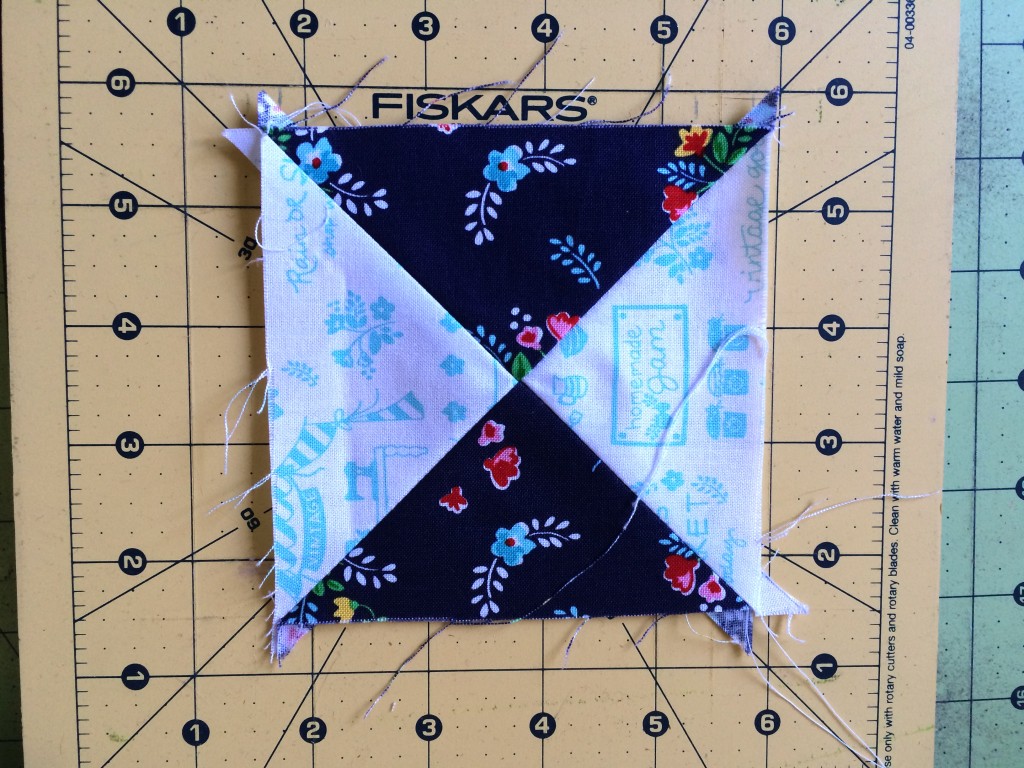
This will give you 2 hour glass blocks.  Next, place the hourglass block on the cutting mat and “square up” to measure 3.5″.  Make sure to align each diagonal seam with the 45 degree lines on the cutting grid.

scripture cover tutorial riley blake designs vintage market 11

It will look nice and perfect when you are done!

scripture cover tutorial riley blake designs vintage market 13

For the regular quad, you need (5) fussy cut squares and (5) hourglass blocks

For the large quad, you need (9) fussy cut squares and (9) hourglass blocks

If you are creating your own book cover with different measurements, you need enough squares to get closest to your measurement, but not to exceed the measurement.  There will be accent strips to make up the difference.

Piece the quilt together using 1/4″ seams, block by block, pressing toward the fussy cut blocks.  Then join the rows together, pressing seams open.  The regular size of scriptures has 2 rows and the large size of scriptures has 3 rows.

For both sizes of scriptures, sew a 2″ strip along the top and bottom of the “quilt”.  No need to measure, it can hang off, it will all get squared up soon.  Press seams toward the strips.
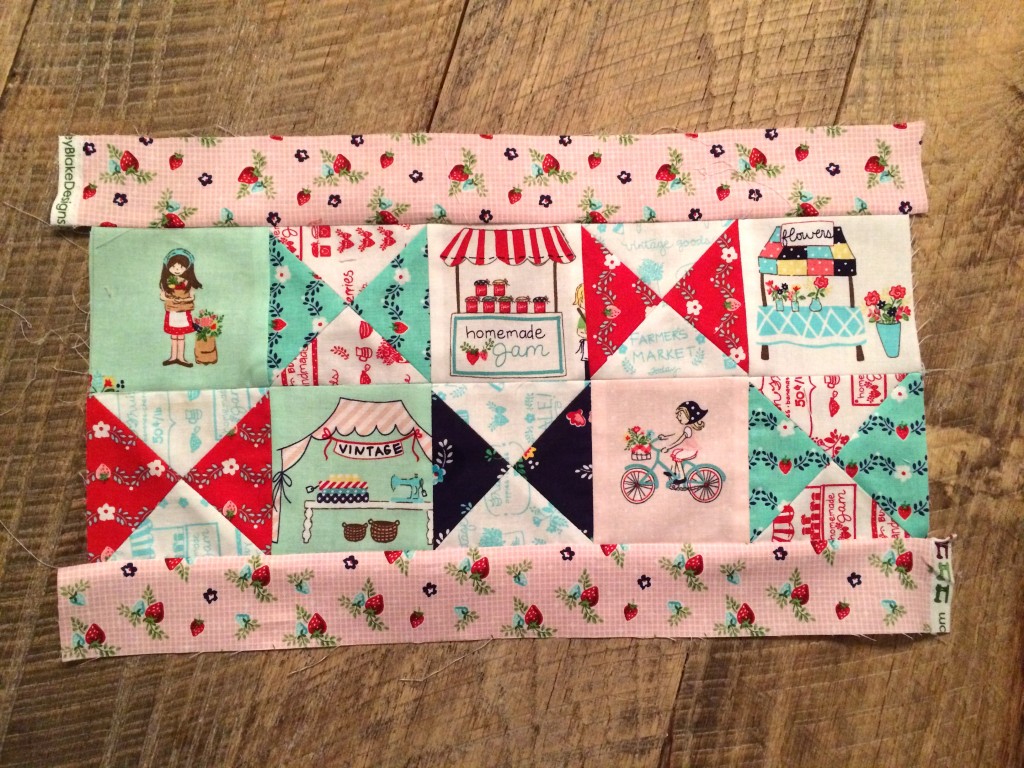
scripture cover tutorial riley blake designs vintage market 14

scripture cover tutorial riley blake designs vintage market 15

Square up the sides and sew a 2.5″ strip to the right side and a 2.5″ strip to the left side.  Press seams toward the strips.  It is best if these are different colors as they will be overlapping once the cover is finished.
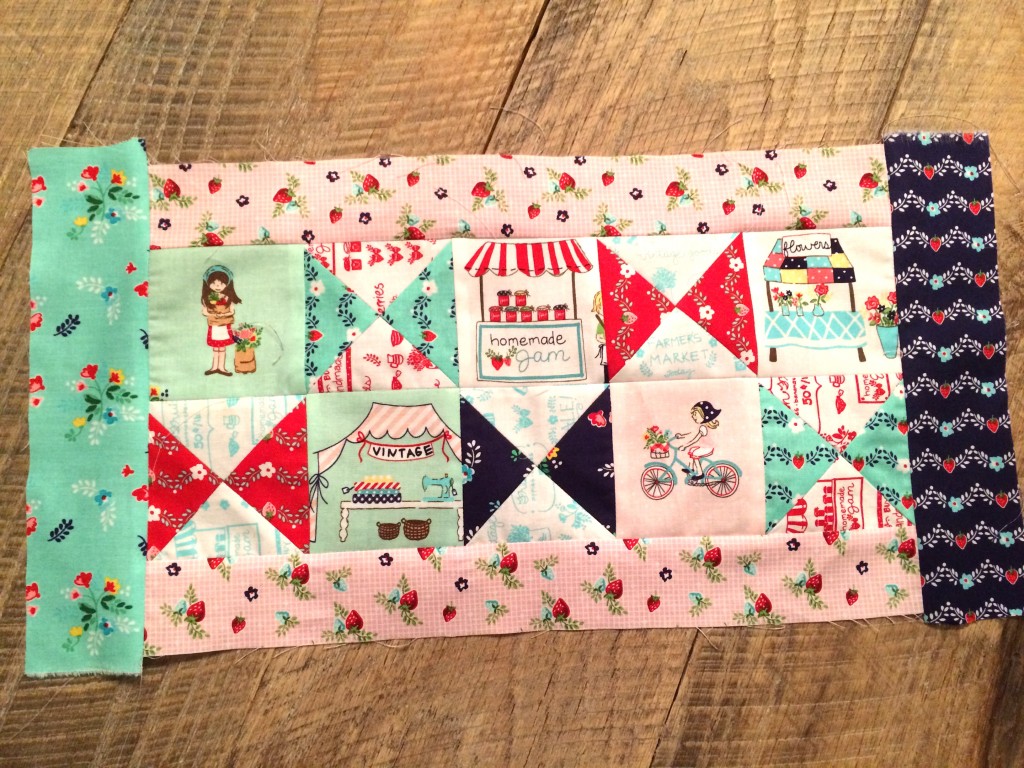
scripture cover tutorial riley blake designs vintage market 16

Again, do this no matter what size scriptures you are using.
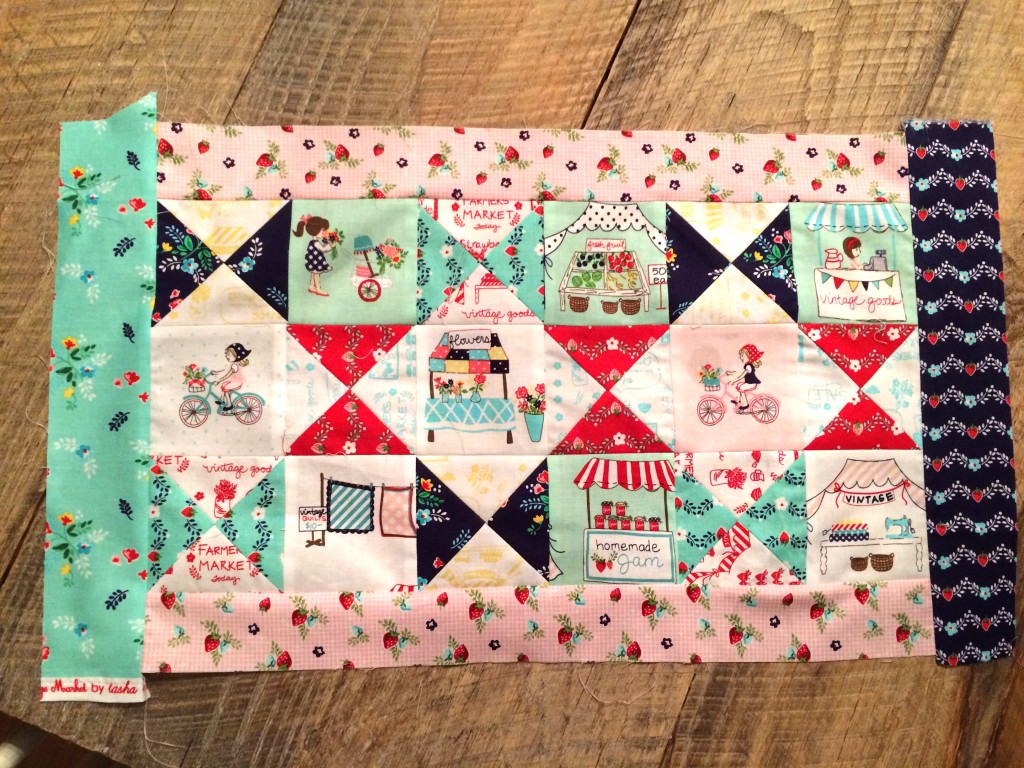
scripture cover tutorial riley blake designs vintage market 18

Baste the quilt to the batting.  I love to use Spray n Bond because I can baste this little quilt in about 30 seconds!!!  Quilt as desired.
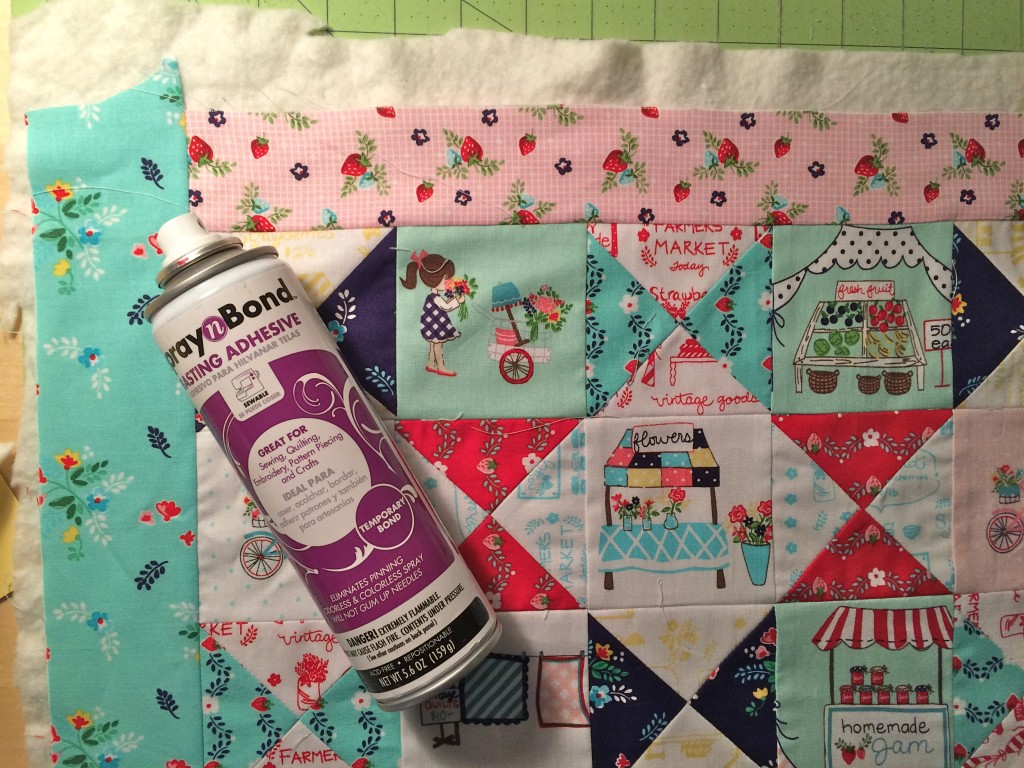
scripture cover tutorial riley blake designs vintage market 19

Once it is quilted it is time to square up the finished quilt cover.  Here are the measurements again:

For the regular quad: 8 1/4″ x 19″

For the large quad: 10 1/4″ x 21″

It is best to determine the center and than count each side out so the top and bottom strips look even.scripture cover tutorial riley blake designs vintage market 20
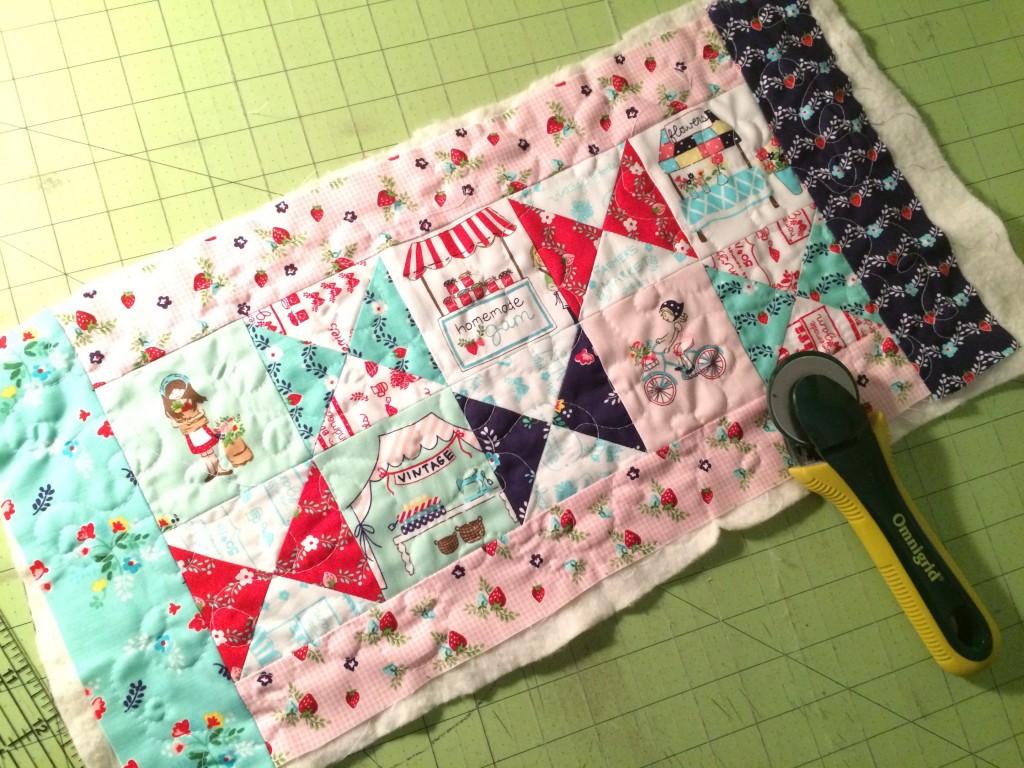
Next cut an angle off the LEFT side of the quilt.  NOT THE RIGHT SIDE LIKE I DID.
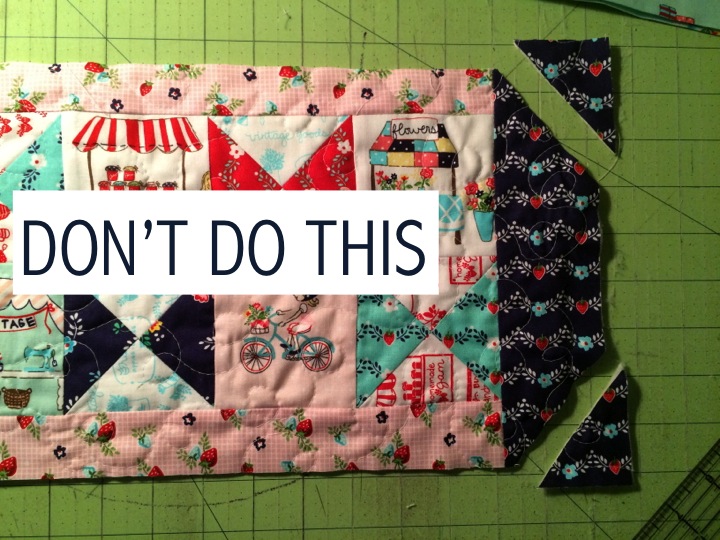
DON'T

Cut the angle on the LEFT side.  For the 2-row quilt, measure in 2″ and angle down 2.5″.  Do this on both corners.  For the 3-row quilt, change the measurements to 2″ in and 3″ down.

cutting

You can add lace or other decorative trim at this point.
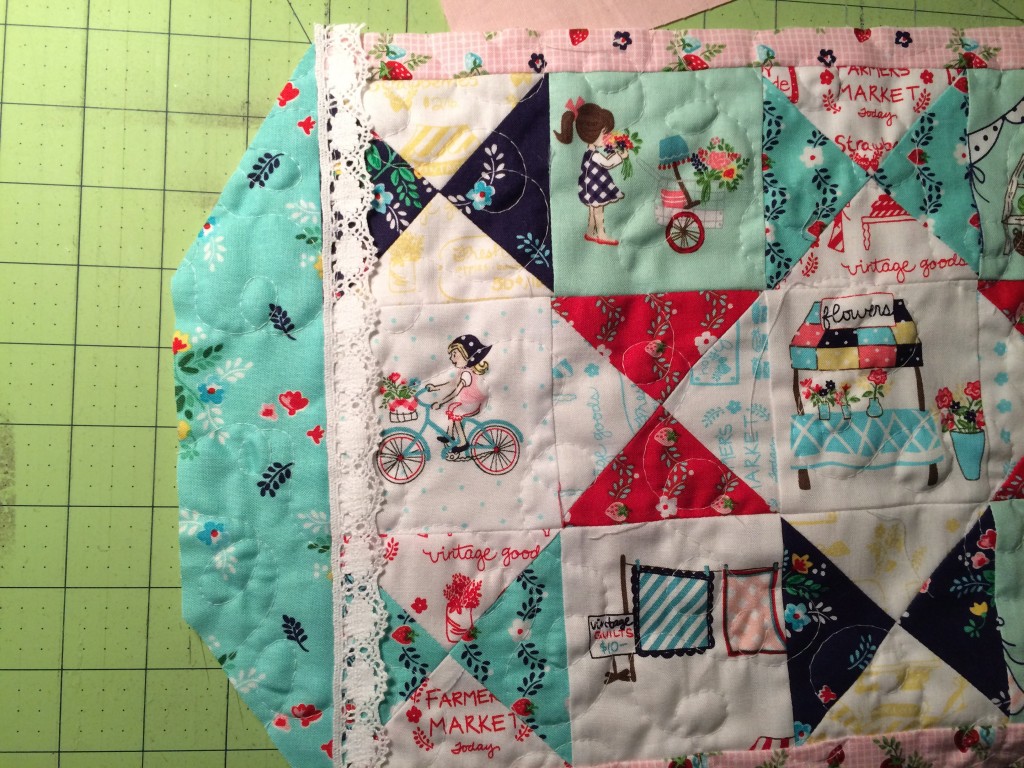
scripture cover tutorial riley blake designs vintage market 30

Our quilt is finished!  WhoooHoooo!!!

Flaps

Prepare the flaps by cutting (2) squares the size of the width measurement.  For the regular quad it is 8 1/4″ square and for the large quad it is 10 1/4″ square.scripture cover tutorial riley blake designs vintage market 22
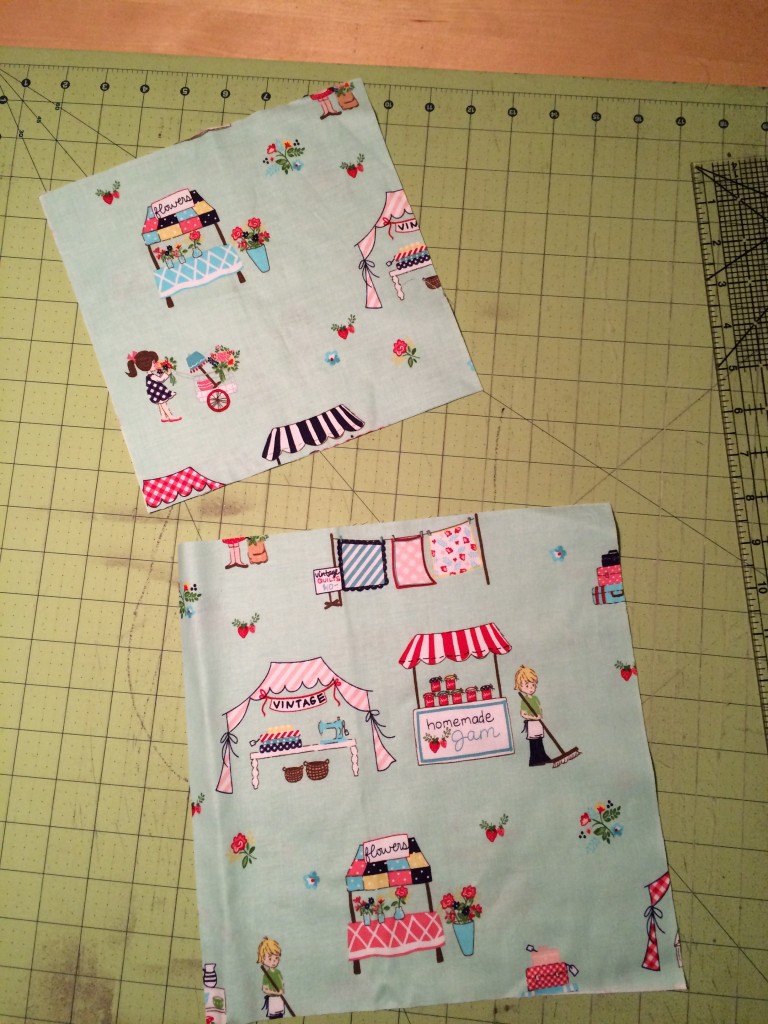
Press both flaps in half.  Set aside one flap.  On the second flap, press the edges opposite the half crease under 1/4″ inches like this:
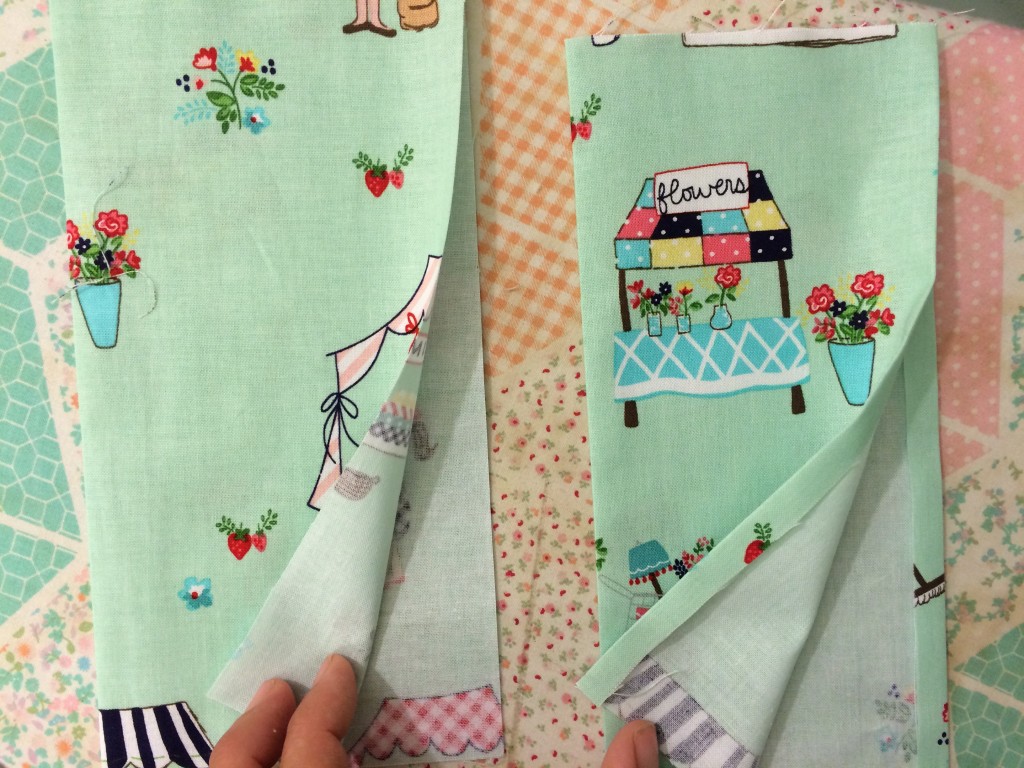
scripture cover tutorial riley blake designs vintage market 23

Cut the lining piece (pink) the measurements of the quilt:

For the regular quad: 8 1/4″ x 19″

For the large quad: 10 1/4″ x 21″

Position the flap without the pressed seams on the left, aligning the raw edges and the folded part toward the center. flap placement
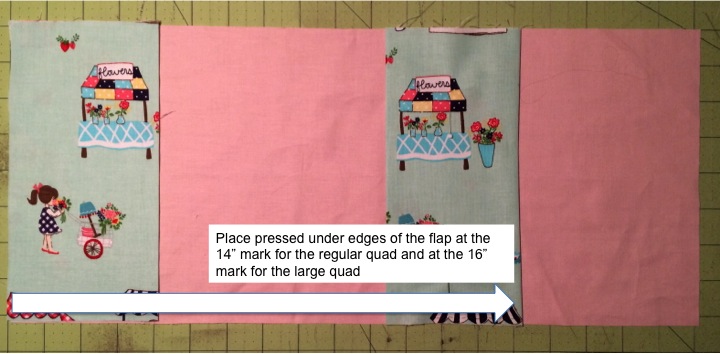
Place the flap with the pressed under edges at the 14″ mark for the regular quad scriptures  and the 16″ mark for the large quad scriptures.  If you are determining your own measurements you would subtract the length of the quilt by 5″.  Pin the right flap in place and top stitch along the folded edges.  The left flap will be caught in the final seam.
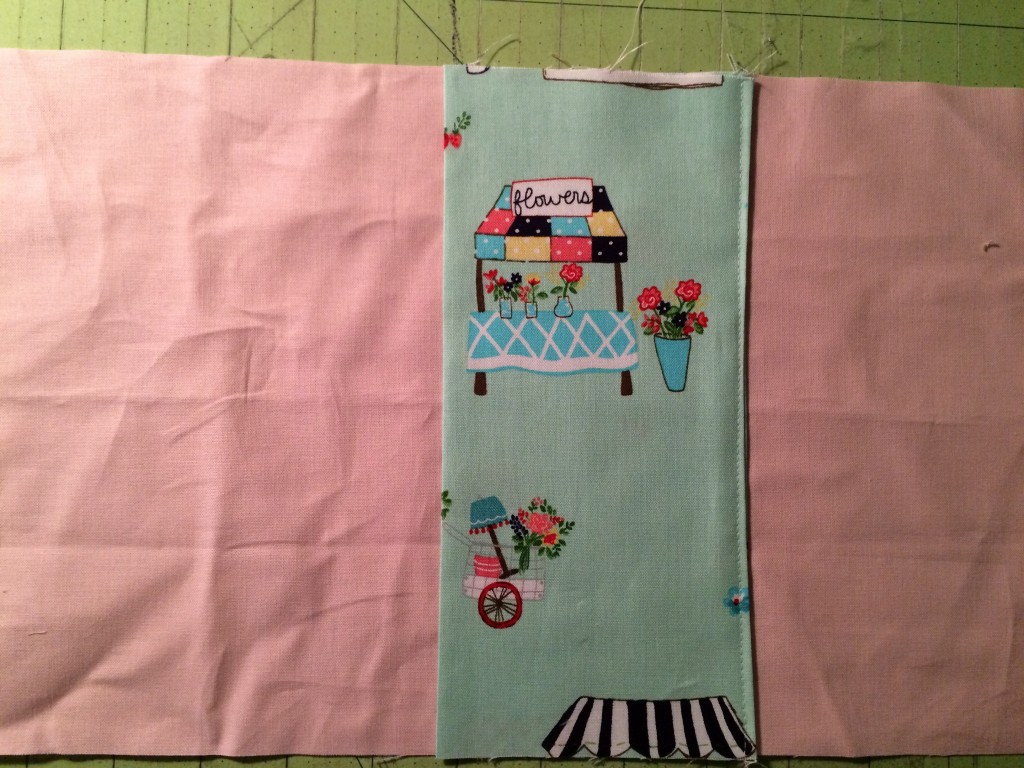
scripture cover tutorial riley blake designs vintage market 26

Place the quilted cover on the lining/flap piece, right sides together.  Match all edges and pin in place.  Don’t worry about the angles, we will cut them later.
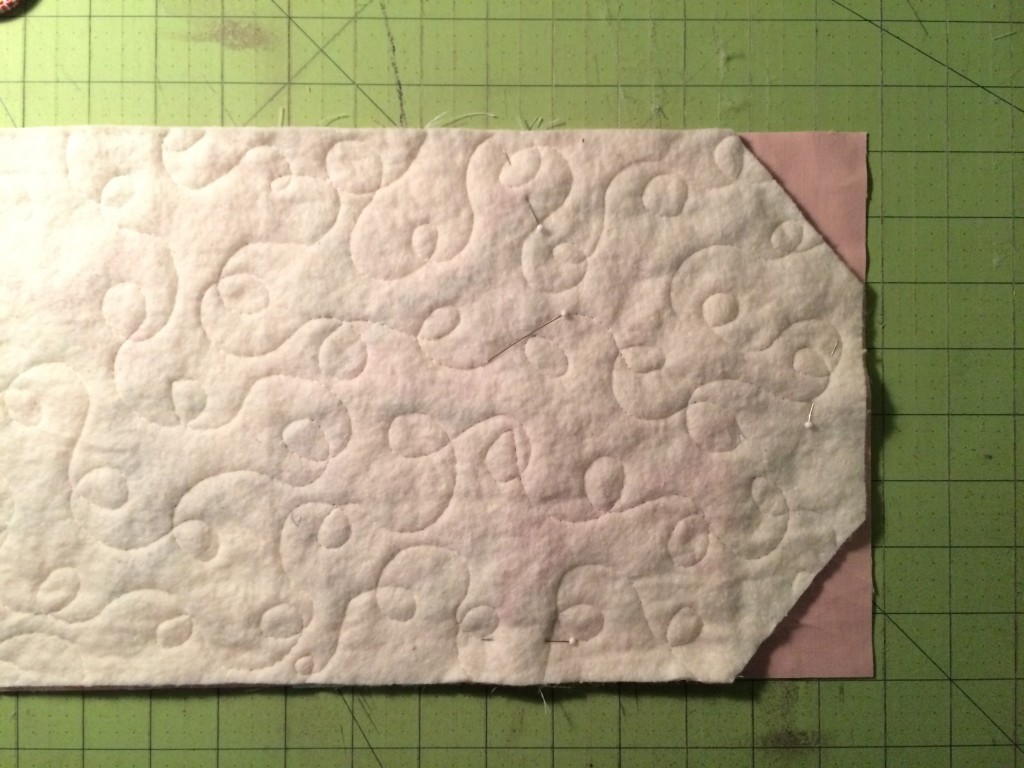
scripture cover tutorial riley blake designs vintage market 27

Leave an opening for turning where the colored pins are:
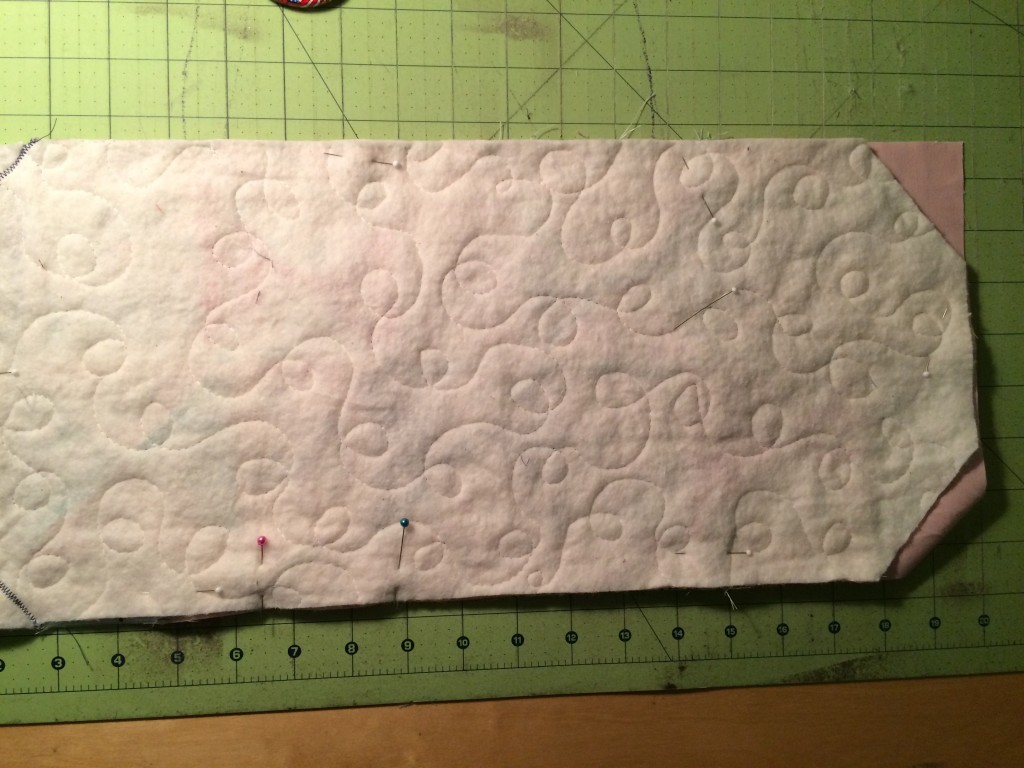
scripture cover tutorial riley blake designs vintage market 28

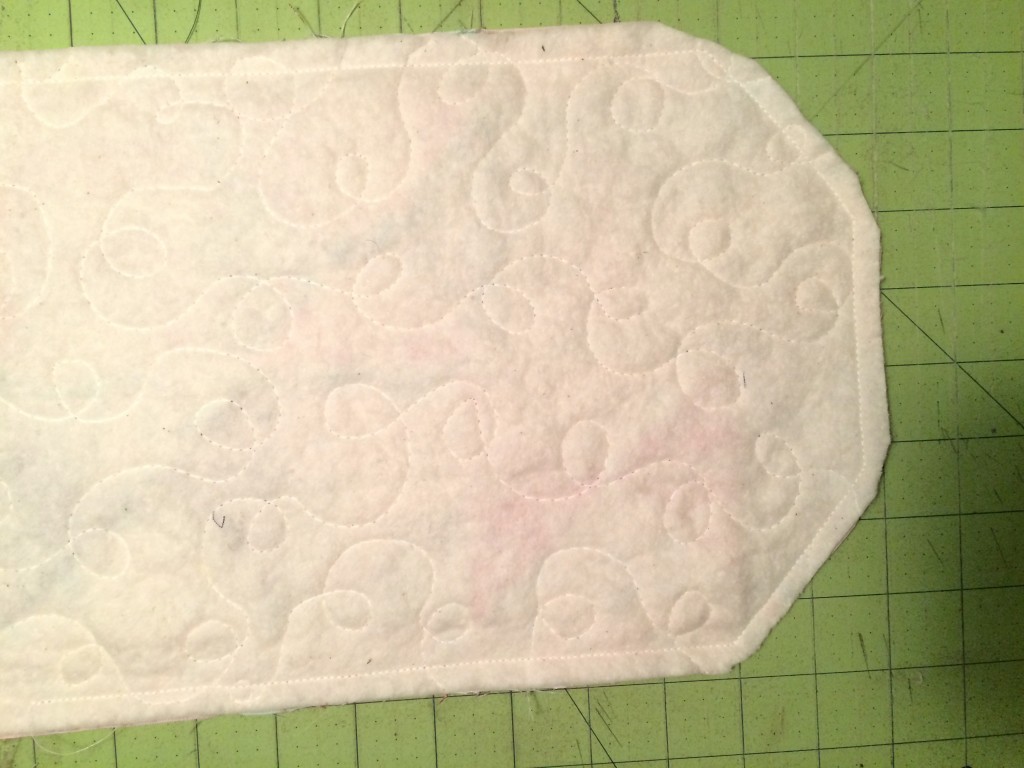
Sew all the way around the cover using 1/4″ seams.  If your seams are larger the cover won’t fit.  Trim off the excess lining where the angles are.  Clip the corner and turn right side out.  Press all edges and press opening edges under.  Top stitch the opening closed.
scripture cover tutorial riley blake designs vintage market 29

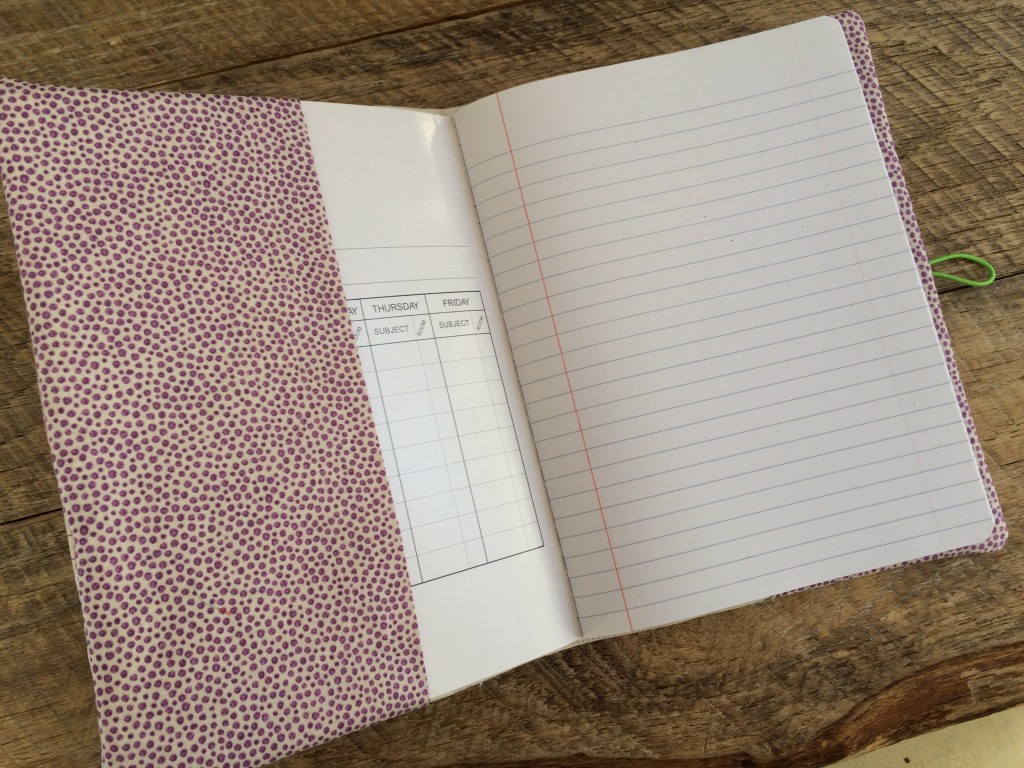
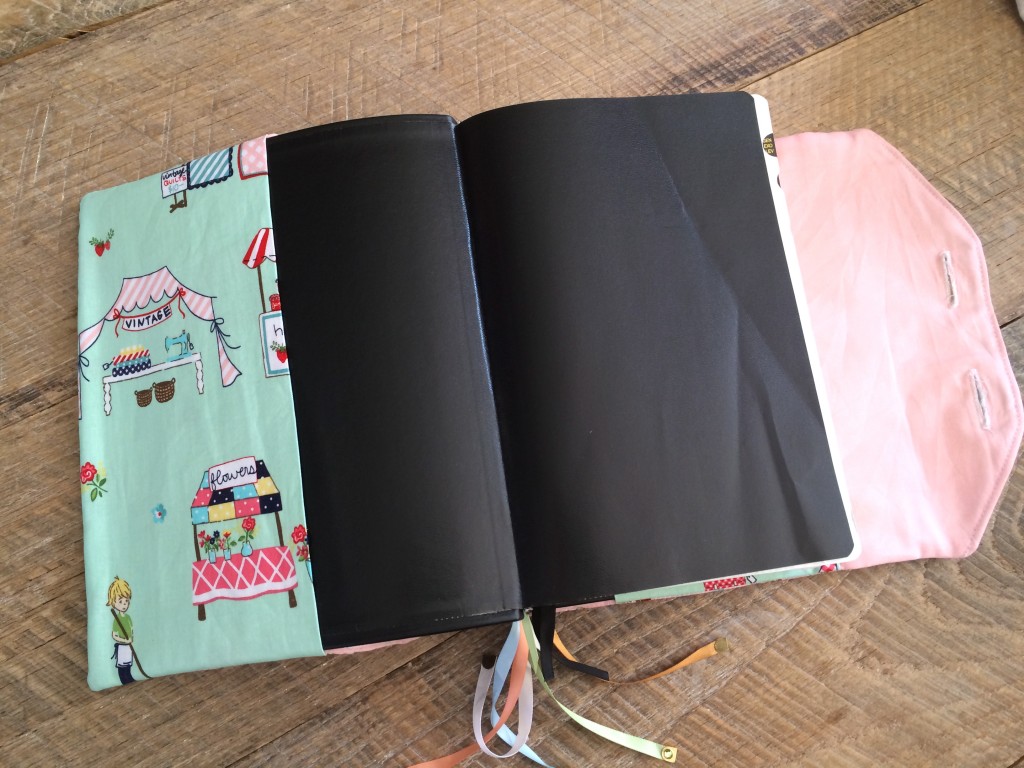
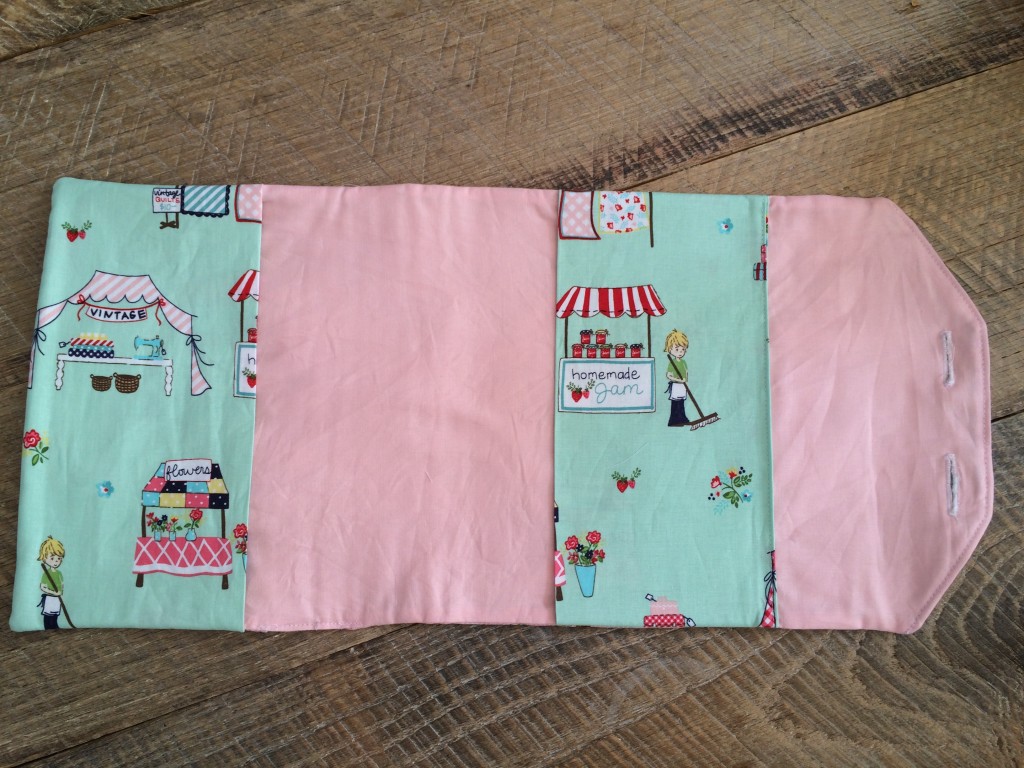
The inside should look like this (below).  You can add a little top stitching around the angle flap.  Don’t top stitch around the entire cover or the book won’t fit inside.
IMG_8803

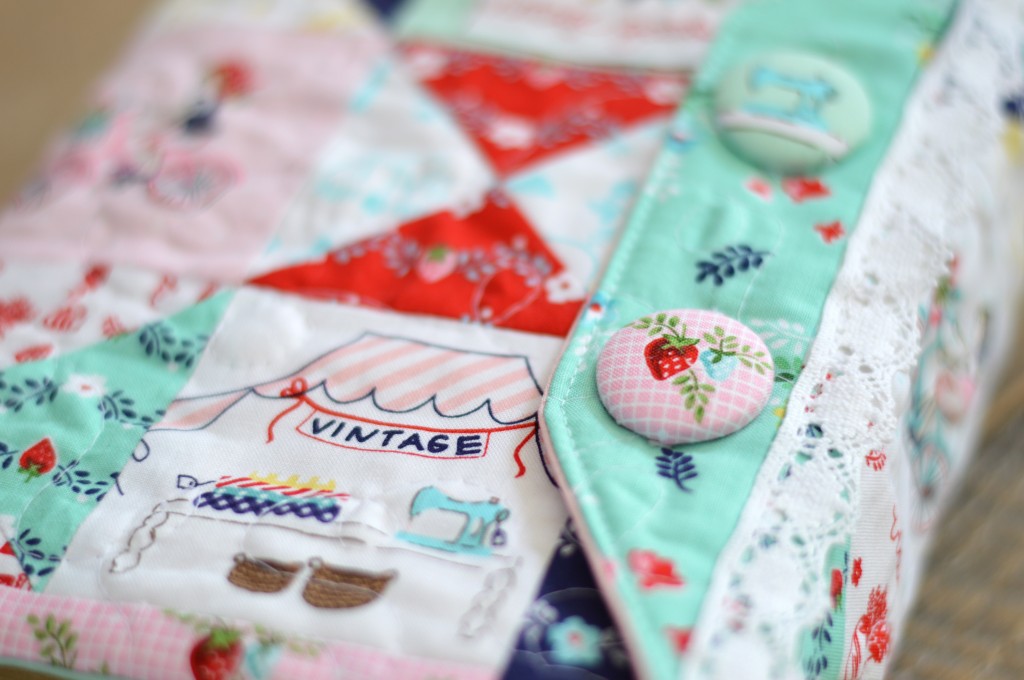
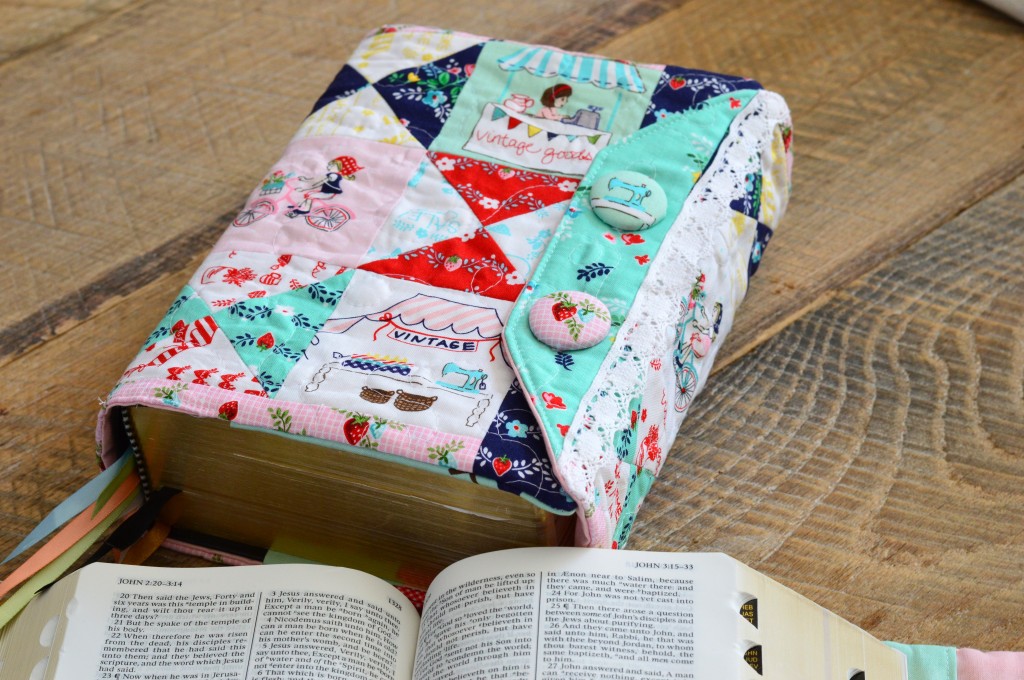
Insert the scriptures and mark where you want the button holes.  If your measurements only call for 2 rows of quilt blocks, you only need 1 button.  For the larger version with 3 rows of quilt blocks, it is helpful to have 2 buttons.  Sew the button holes and then hand sew the buttons, making sure not to catch the thread in the flap.

You’re done!!!!

You can use regular buttons or make covered buttons like these ones:

IMG_8815

True fact:  If you have cute scriptures you are more likely to read them 🙂
scripture cover vintage market

scripture cover vintage market 4

scripture cover vintage market 2

I hope you enjoy this tutorial!  Let me know how yours comes out 🙂scripture cover vintage market 3
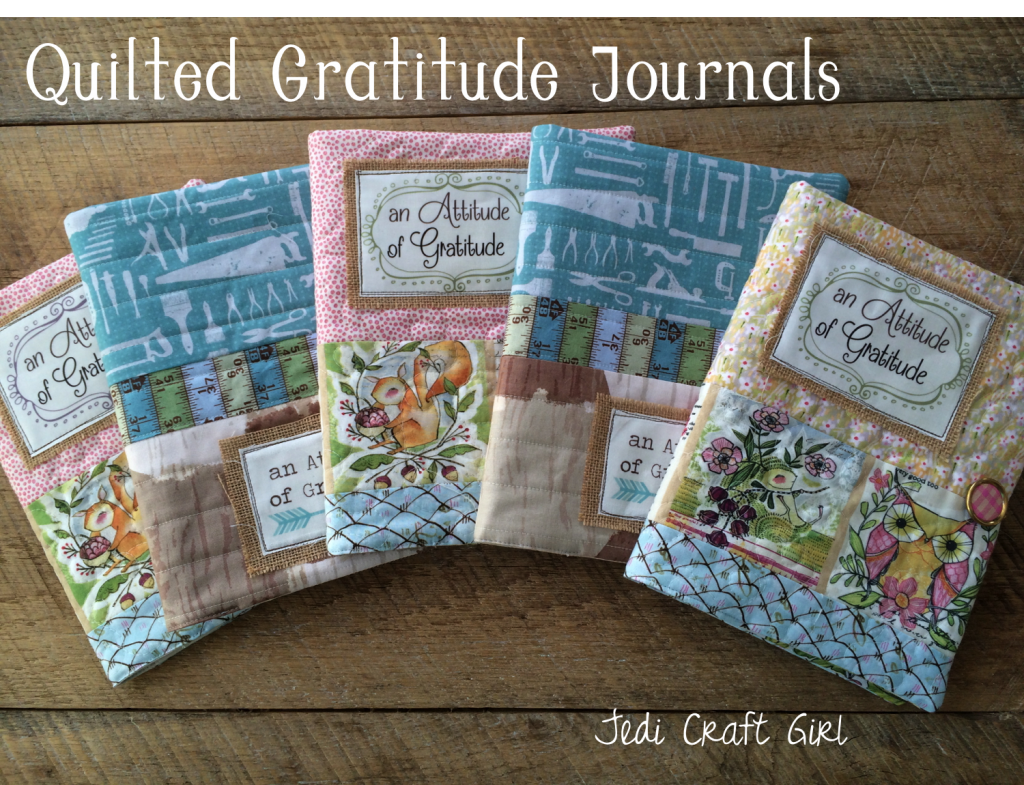
An Attitude of Gratitude Quilted Journals

quilted gratitude journal tutorial


I am so excited it’s November!  Yes, it’s all going a bit too fast, I will admit 🙂  Every year we do a “thankful campaign”  in the month of November.  When my children were small we wrote what we were thankful for on leaves and taped them to a big tree I had placed on the back of the front door.  As the children got a little older, we wrote what we were thankful for everyday and then put it in the “Thankful Bucket”; we read all the thankful papers out loud on Thanksgiving.  This year I want something a little more meaningful and something that can be adopted into a habit.  Gratitude journals are not a new idea, but I decided it’s time every member of my family have a Gratitude Journal and we write each day at least 10 things we are grateful for.  Pretty much, you open the book and you write what ever it is you are thankful for – it can be a word or many paragraphs.
I’ve done a lot of reading on Gratitude and I even have a Pinterest board for all the wonderful Gratitude ideas and quotes there are out there.  My favorite quotes are:

Gratitude Turns What We Have Into Enough and A Thankful Heart is the Parent of All Virtues

I am hoping by helping my family turn our hearts into grateful hearts, we will have more love for each other and for those around us and we will feel closer to God and His Son, Jesus Christ.

Here is how you can make a Quilted Gratitude Journal!!

Supplies:

fat quarters or small cuts of fabric for the pieced journal front

1/3 yard fabric for lining

1/3 yard for journal cover flaps

cotton batting

hair elastic

button

Spray n Bond Basting Spray

Scrap of burlap

“An Attitude of Grattitude” printable, click HERE

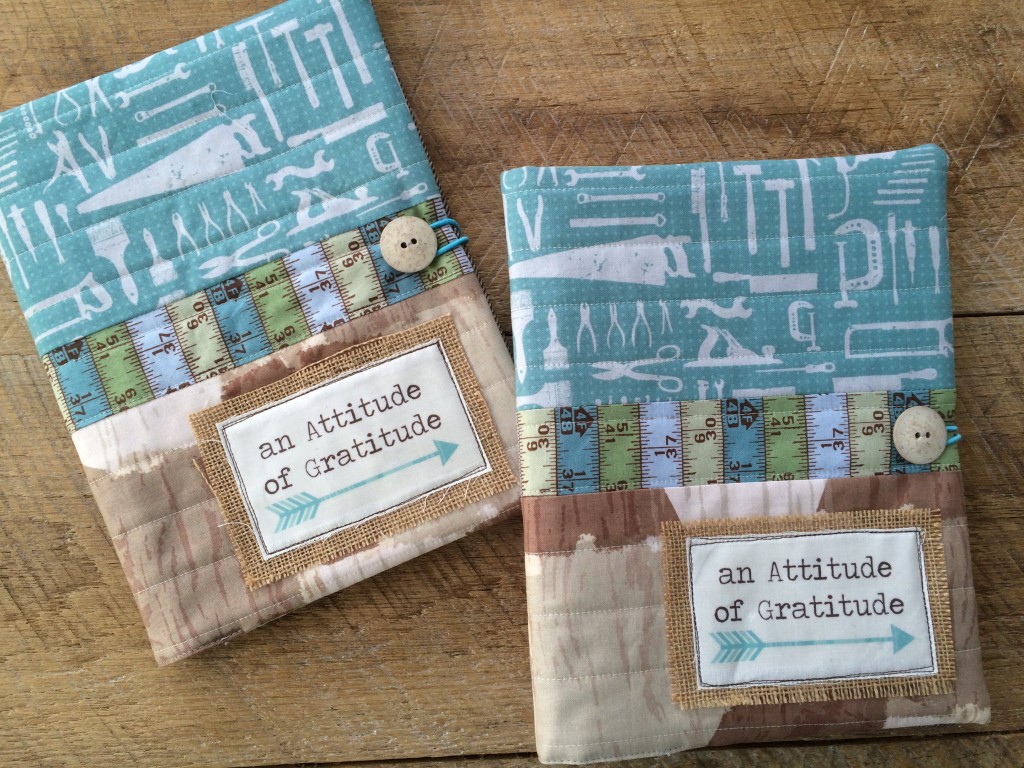
For the “boy” journal I used fabric from Blend’s “Hammer and Nails” line – I love finding mature boy fabric – it’s hard to come by, but I thought this was perfect for my 11 year old son and my husband with out being cheesy 🙂
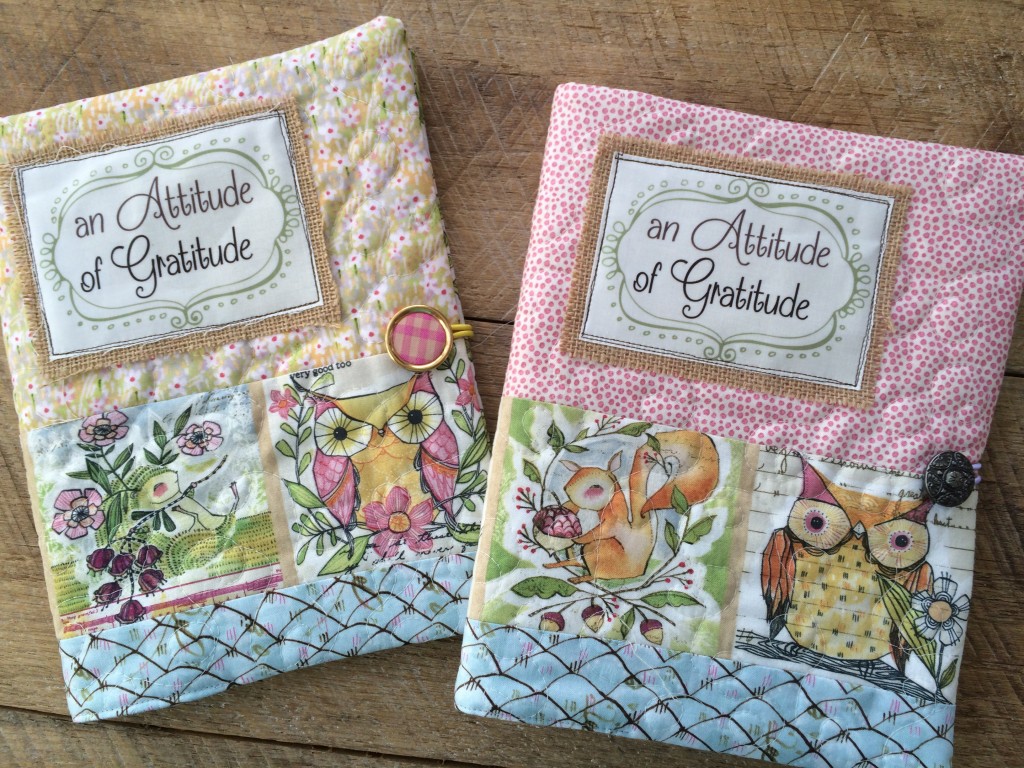
For the “girl” journal I used fabric from Blend’s “Good Company” line – super cute – reminds me of feminine fall fabrics

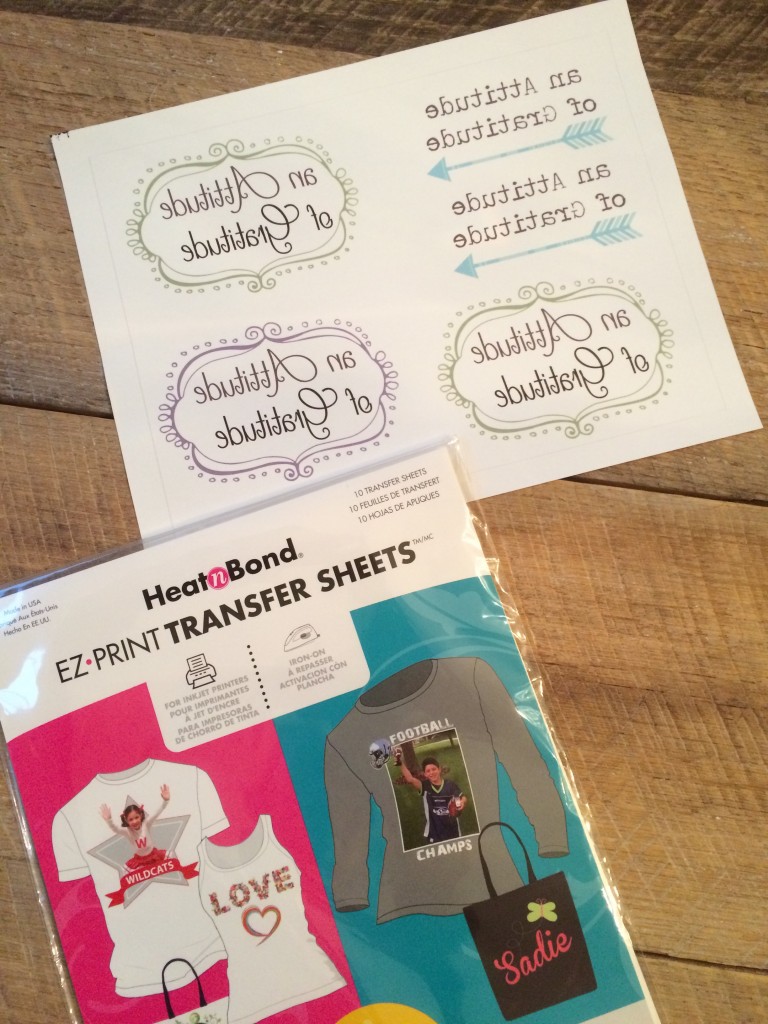
Therm O Web’s Heat n Bond’s EZ Print Transfer Sheets


Begin by cutting the strips for the outer part of the journal:

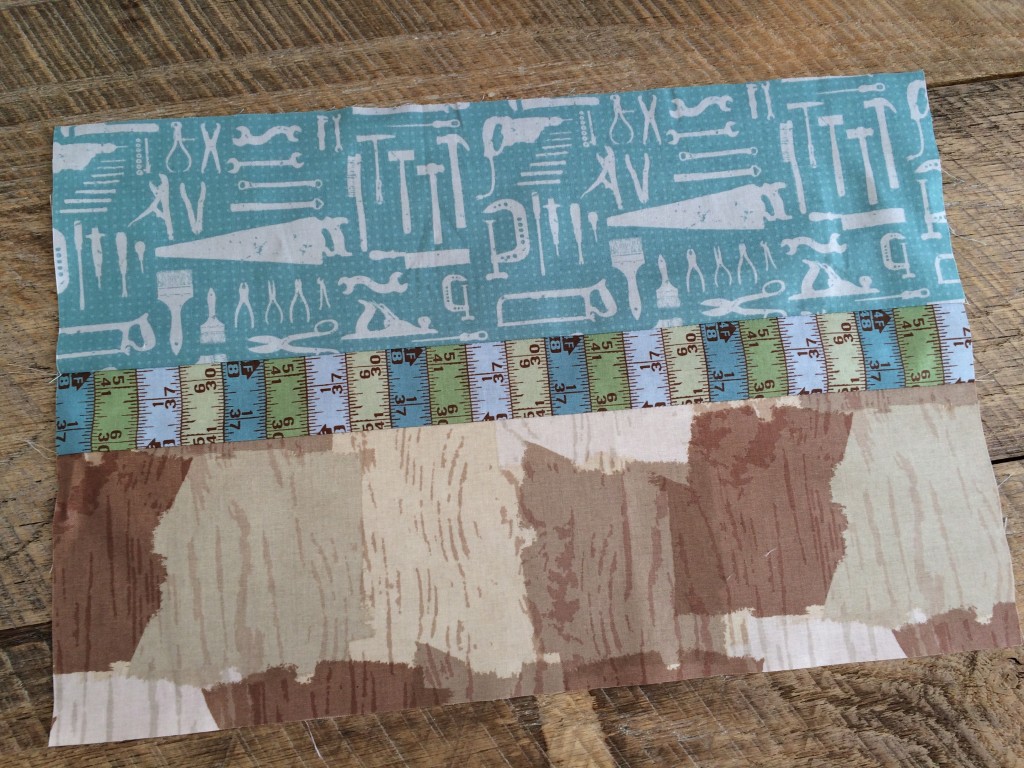
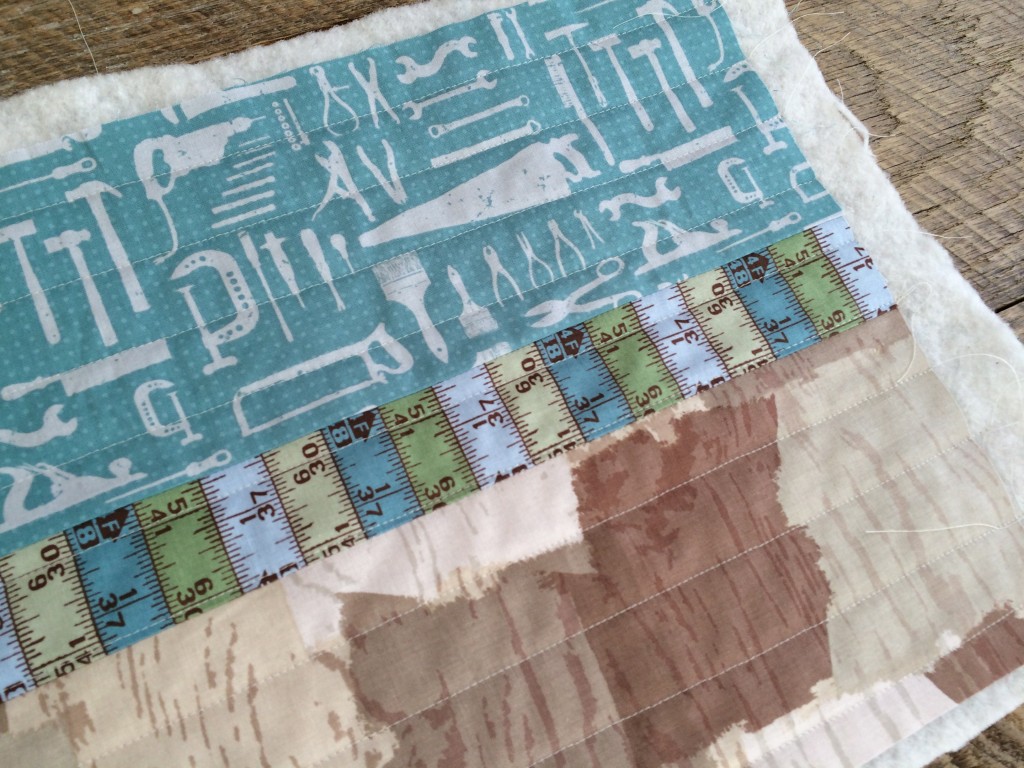
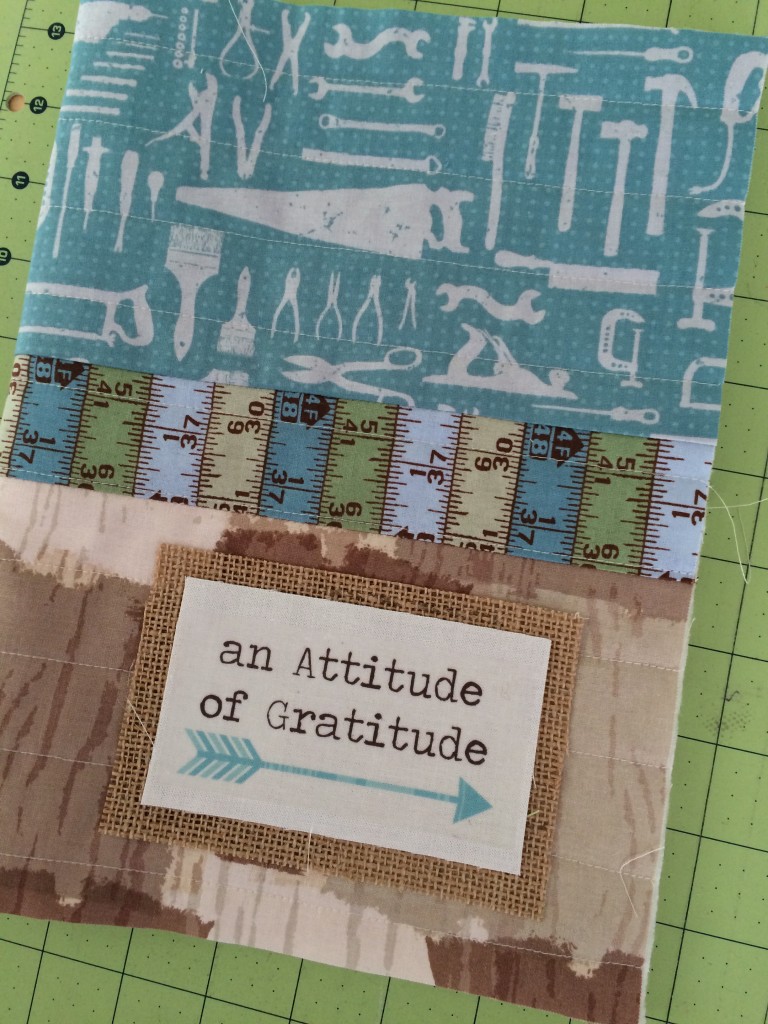
For the boy version, cut the blue fabric 5″ x 16.5″, the measuring tape fabric 2″ x 16.5″, and the wood fabric 5″ x 16.5″ .  Sew them together in this order using 1/4″ seams.

quilted gratitude journal tutorial__3

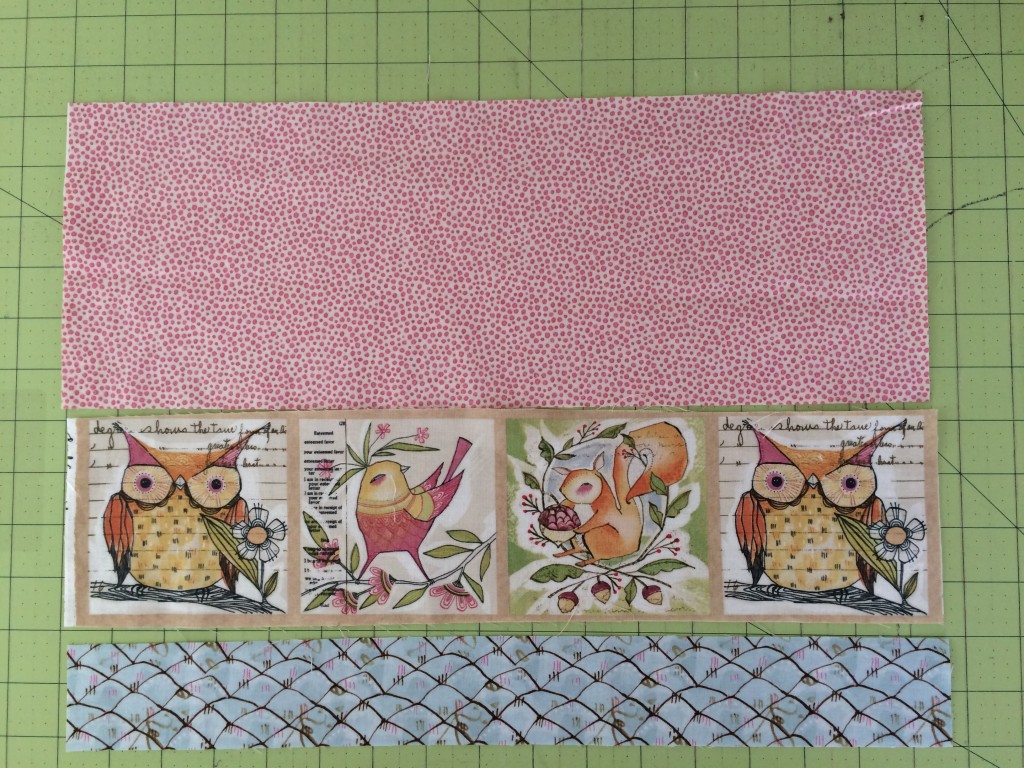
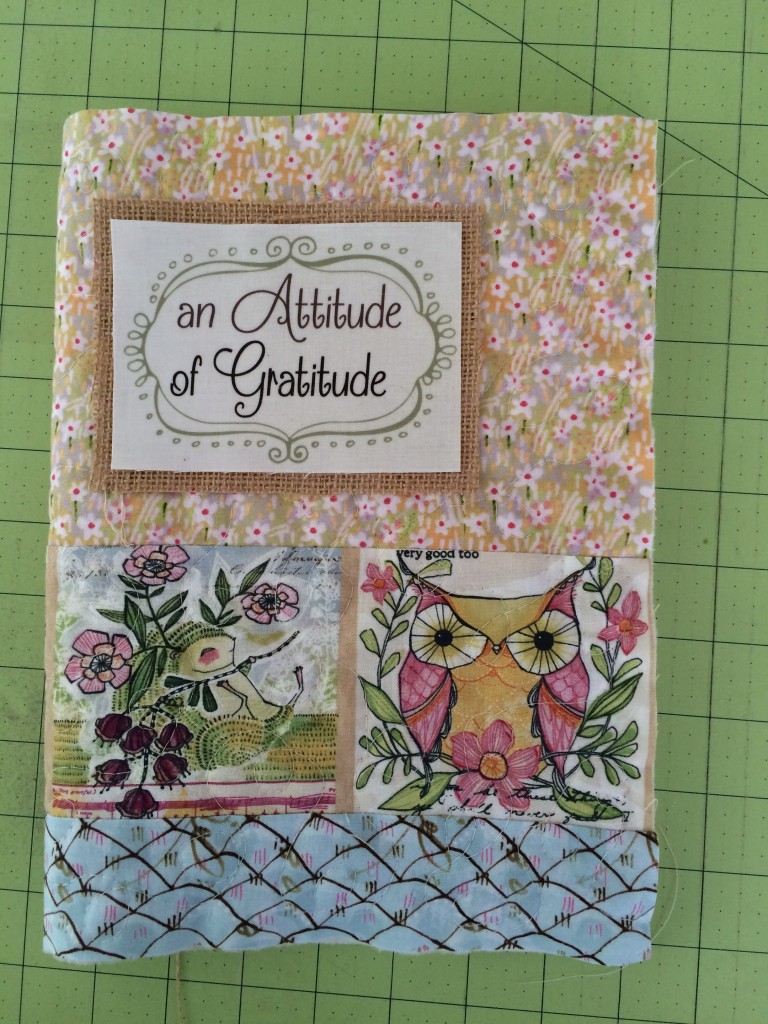
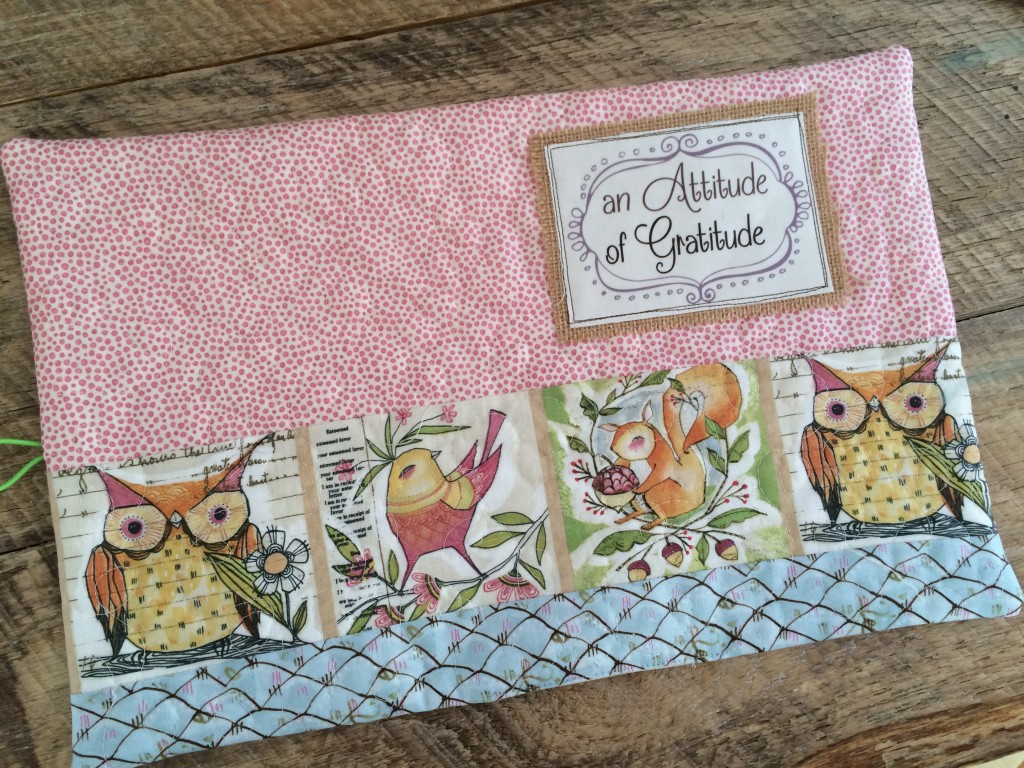
For the girl version, cut the top pink piece 6″ x 16.5″, the owl & squirrel print 4″ x 16.5″, and the blue print 2″ x 16.5″.  Sew together in this order using 1/4″ seams.

quilted gratitude journal tutorial_6

Basically, the final measurement should be 16.5″ x 11″ if you want to design your own pattern.

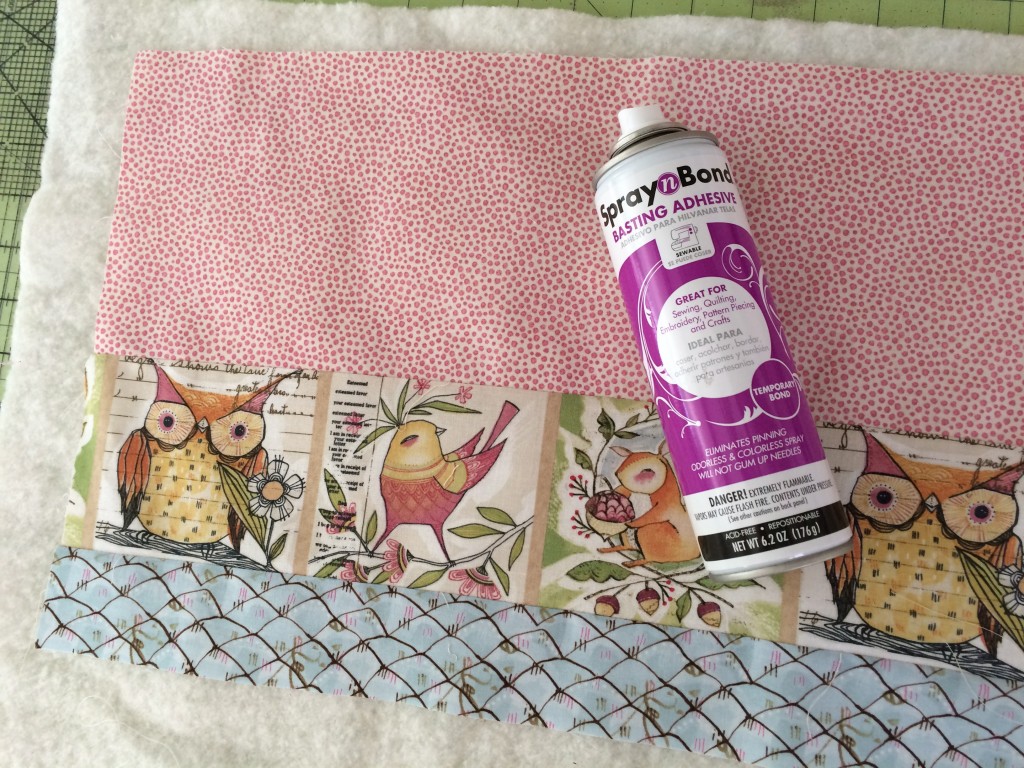
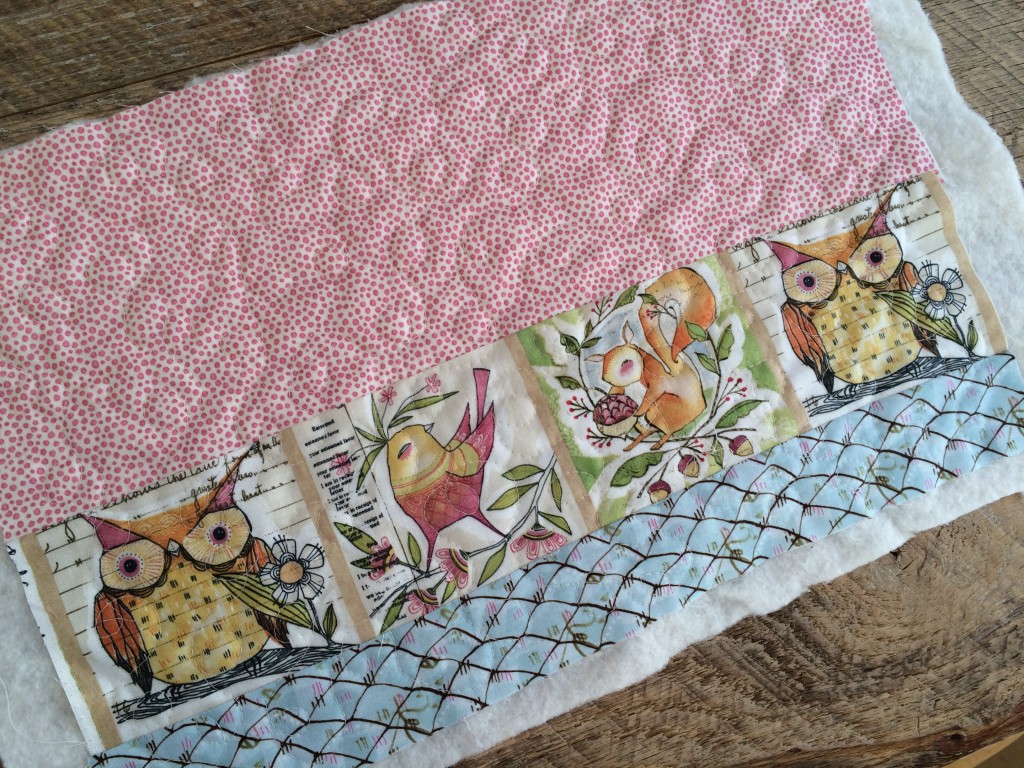
Using Spray n Bond, baste the journal top to the cotton batting and quilt as desired.

quilted gratitude journal tutorial_7

On the girl journal I quilted loop-de-loos…..

quilted gratitude journal tutorial_8

On the boy journal I quilted straight lines….

quilted gratitude journal tutorial_9

Square up the journal top by trimming the excess batting.  It’s OK if the journal top shrinks a bit due to quilting.

Next, prepare the “gratitude saying” by printing in reverse on the EZ Transfer Sheets.

quilted gratitude journal tutorial_


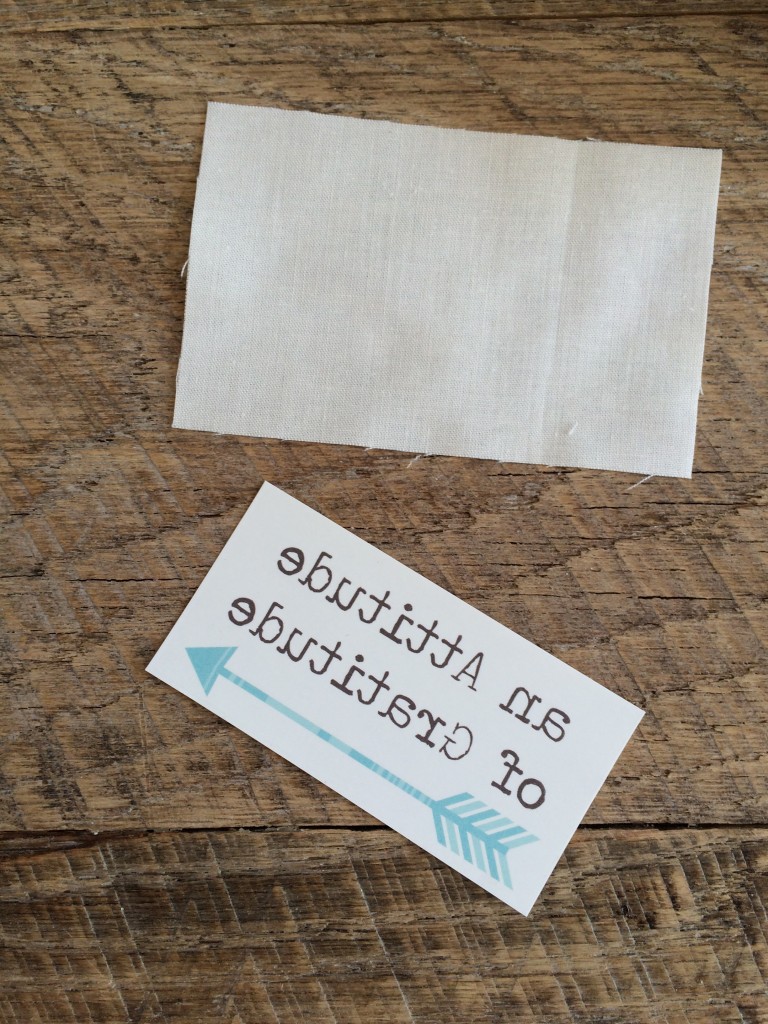
Cut out a rectangle of  solid cream fabric the size you want it – the girl’s one was 4.75″ x 3.5″ and the boy’s one was 4.75 x 3″quilted gratitude journal tutorial_2


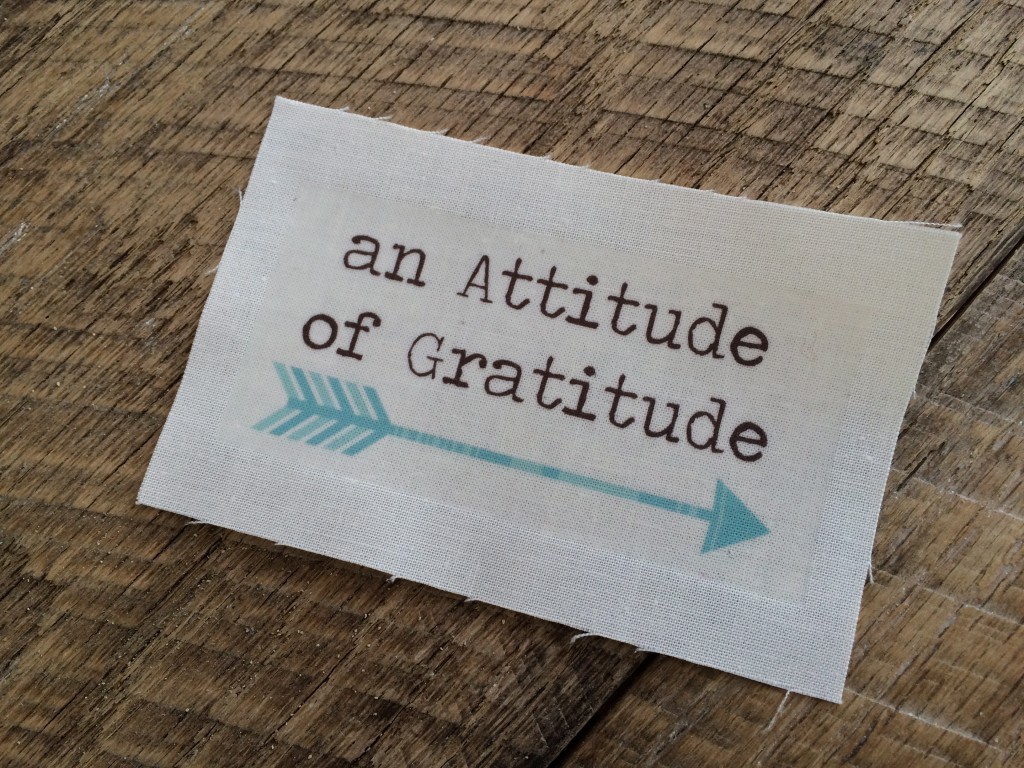
Trim down the EZ transfer sheets and read the directions on the package.  Pretty much you put it face down on the cream fabric and press with a dry hot iron.  Then peel off the backing paper.  I love using these sheets – expect to see more projects with words and quotes 🙂quilted gratitude journal tutorial_4

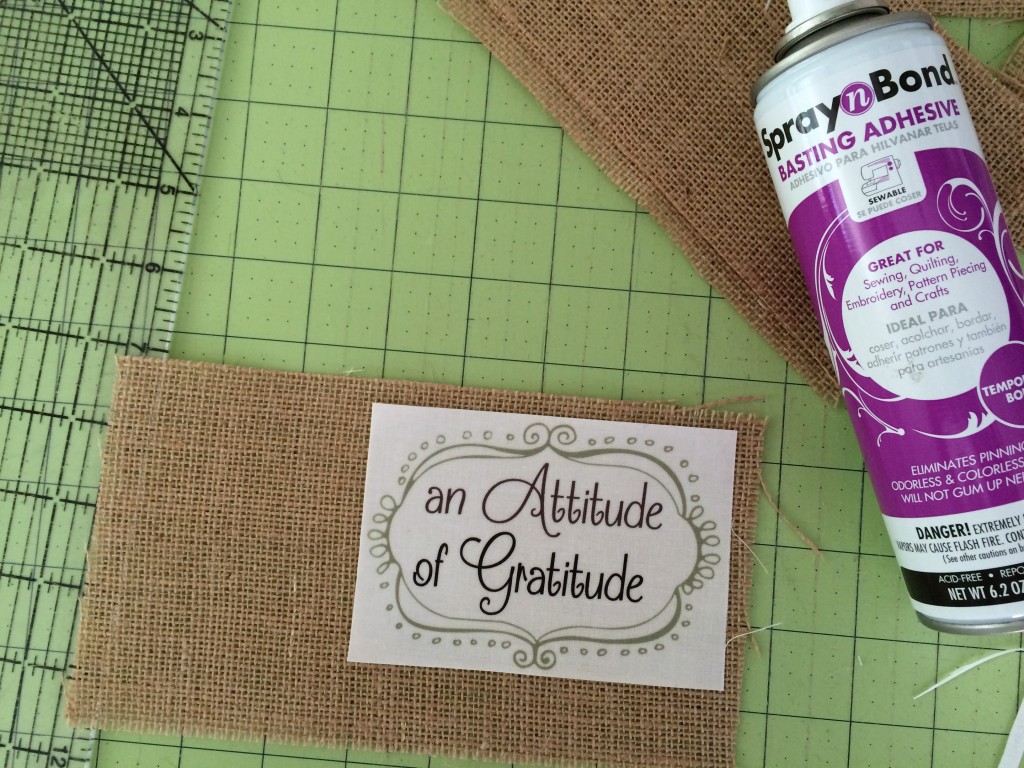
Cut the burlap so as to “frame” the word square.  Using the basting spray, baste the word piece to the burlap, then the to the journal cover.

quilted gratitude journal tutorial_10


Position as desired.quilted gratitude journal tutorial_11

quilted gratitude journal tutorial_12


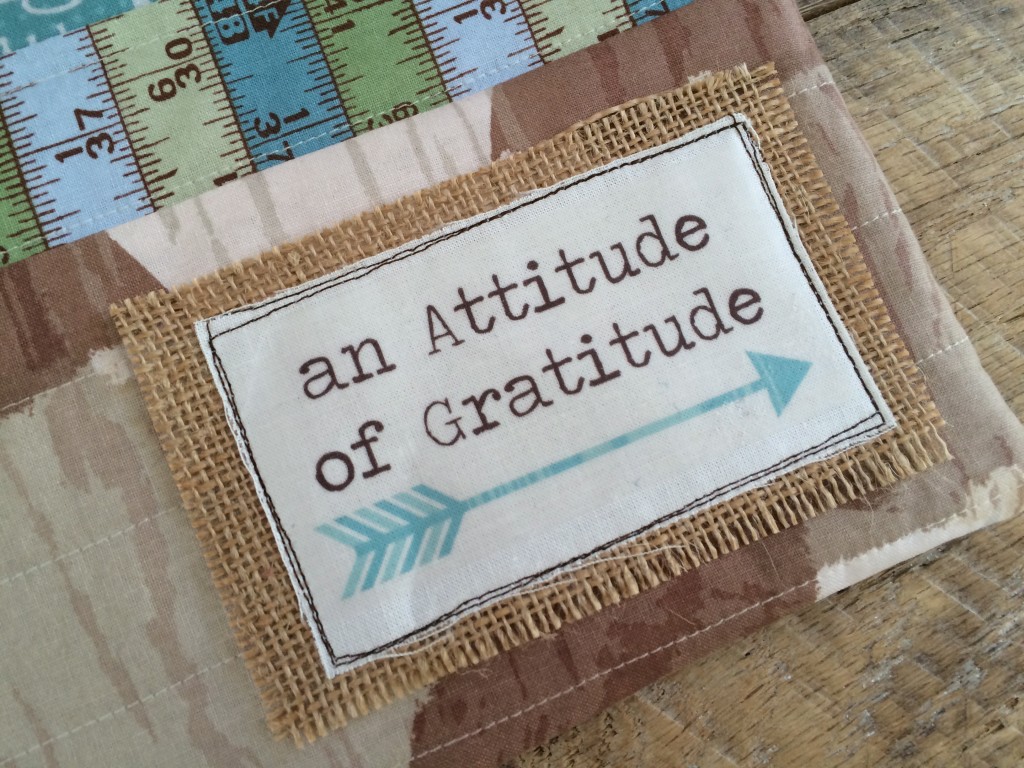
Sew around it twice with dark brown thread.quilted gratitude journal tutorial_21

Cut the “flap” fabric (2) 10″ x 11″ squares and press in half lengthways.

quilted gratitude journal tutorial_13


Cut the lining fabric 16.5″ x 11″.  then lay the flaps like this matching raw edges.quilted gratitude journal tutorial_15

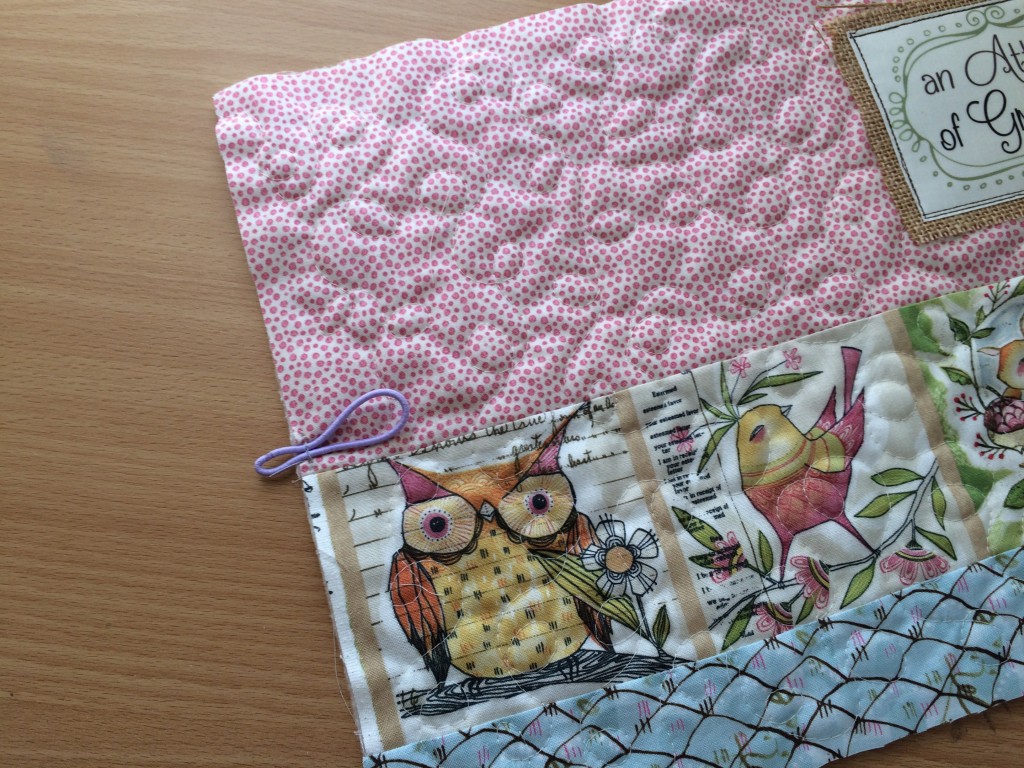
Baste the hair elastic in the center of the back of the journal cover:

quilted gratitude journal tutorial_14

Place the journal top right sides together with the lining/flap piece an pin all the way around.  Sew around the whole piece using 1/4″ seams and leaving an opening to turn at the bottom center.  Turn right side out.  Press.  Top stitch the opening closed with matching thread.

quilted gratitude journal tutorial_16

Insert the composition book into the cover and mark where the button should go.  Sew the button on with needle an thread, careful not to catch the flap.

quilted gratitude journal tutorial_18

quilted gratitude journal tutorial_23

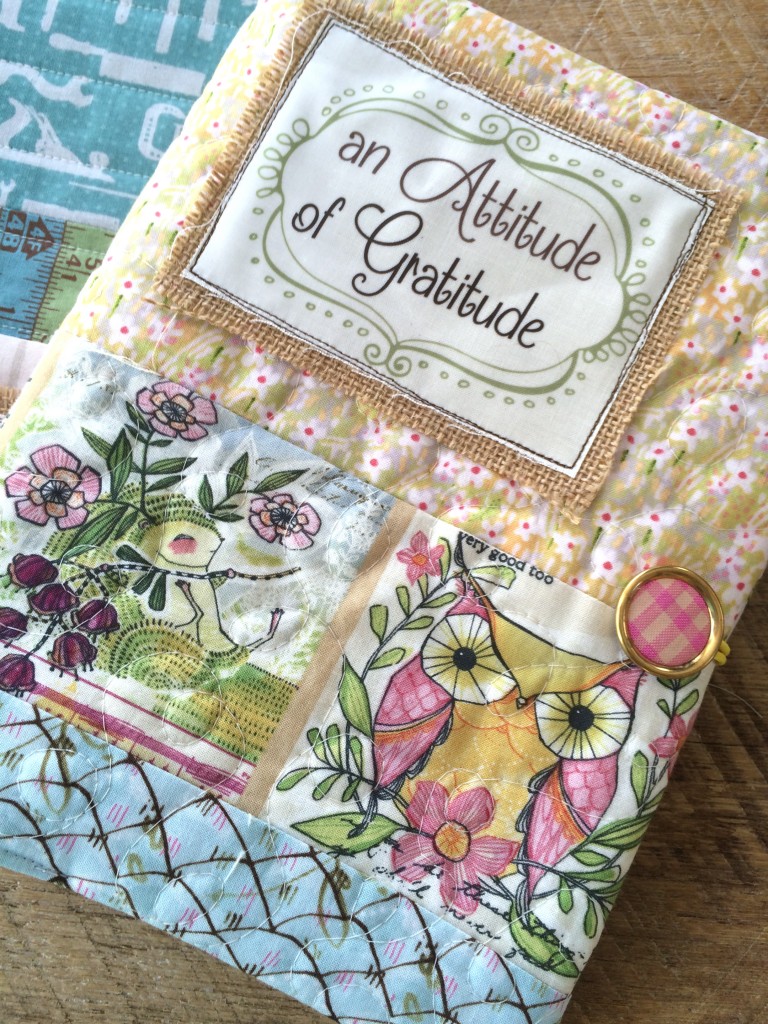
I love how they turned out and my children were super excited to receive one of these tonight during our Family Home Evening!!

quilted gratitude journal tutorial_24

quilted gratitude journal tutorial_26


“Manly” Zipper Pouch, aka I LOVE Bacon


zipper pouch father's day


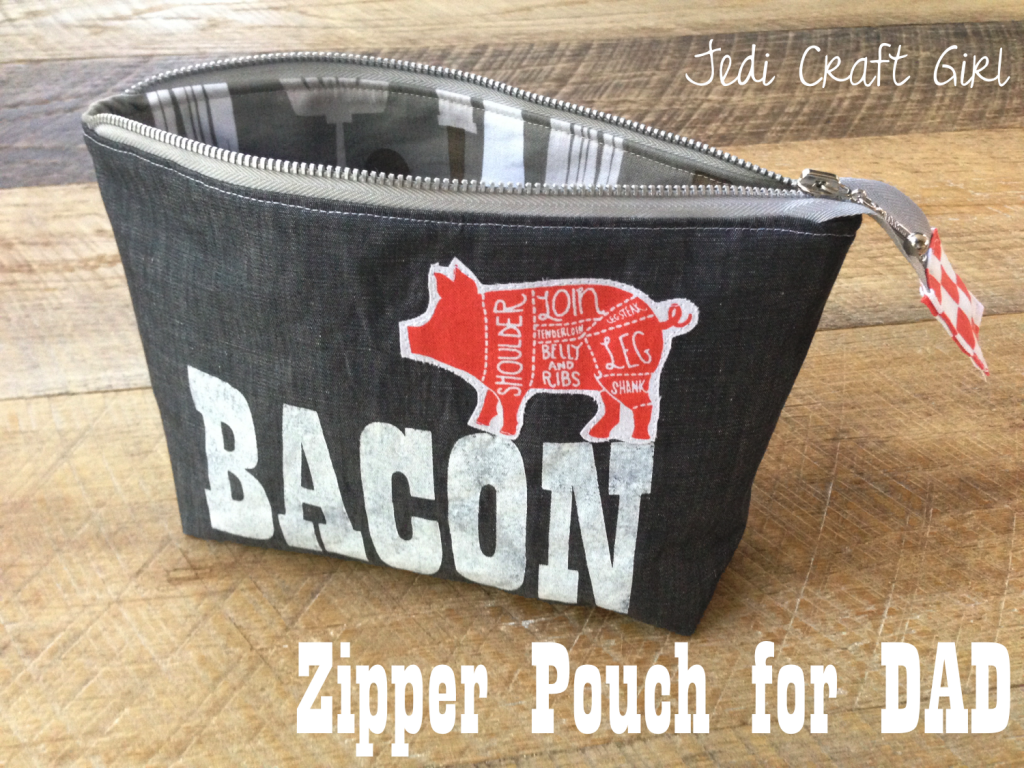
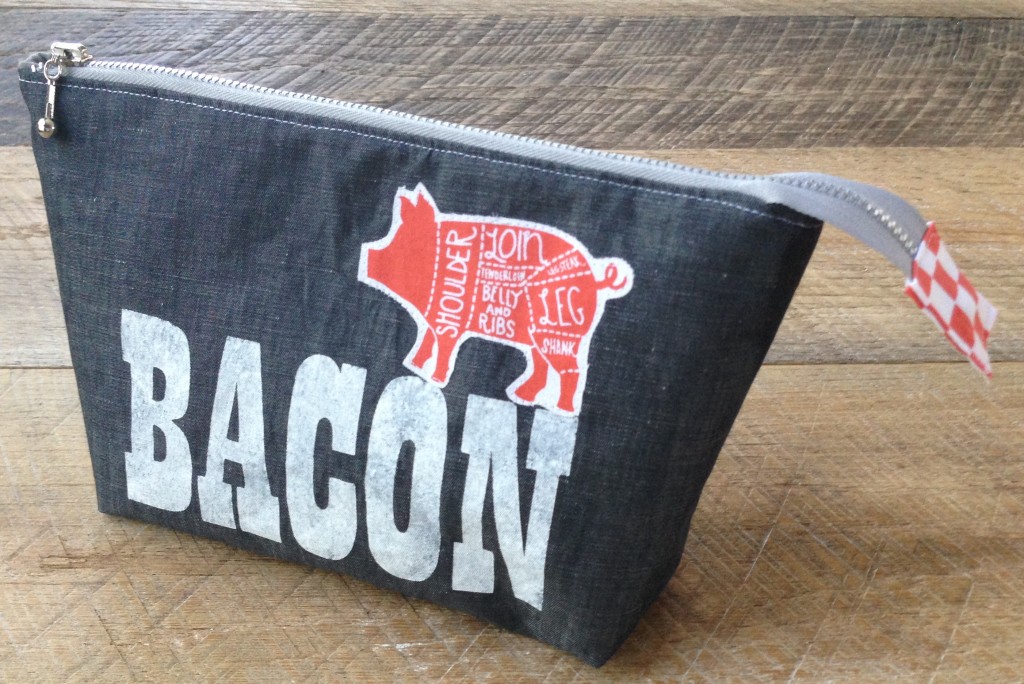
Do the men in your life LOVE bacon?  The ones in my life do 🙂  Bacon themed items are super popular and what I love most about the bacon trend is Jim Gaffigan’s comedy bit about bacon – if you haven’t heard it -click HERE … you will laugh so hard!!  This week at Jedi Craft Girl has been all about the fabric line Ribs & Bibs and Father’s Day
.  I love this zipper pouch because it is “manly”.  I used a light weight black denim on the outside, a chunky metal zipper, and the taupe utensil fabric on the inside.  I used white house paint to stencil the word “Bacon” on the bag.  Therm o Web fusible stabilizer gives the bag more stability.  This zipper pouch is my new FAVORITE!!!

101.113.05.2_Web

Here’s how you can make one:

Supplies

fat quarters of outer lightweight denim fabric

fat quarters of lining – I used taupe “grill master

fat quarter “open pit” for pig motif

Therm O Web Fusible interfacing, medium weight

Heat n Bond Lite fusible applique

White paint

Zipper

Letter stencils or cutting machine


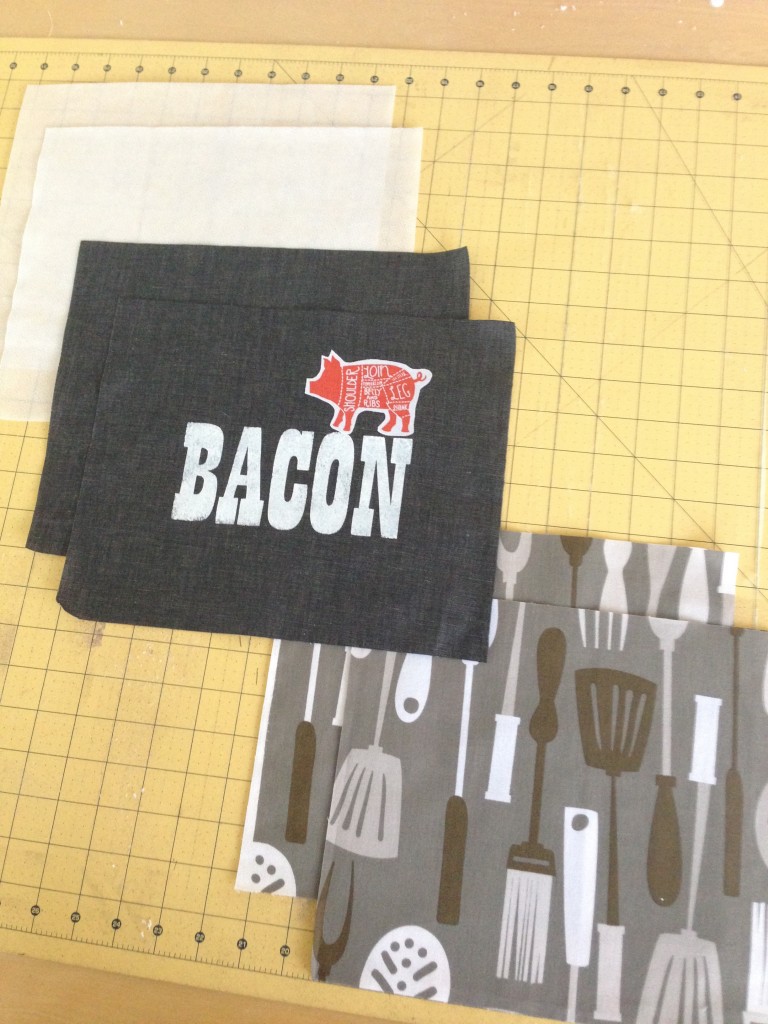
Cut (2) lining pieces (2) denim pieces and (4) interfacing pieces 8″ x 11″

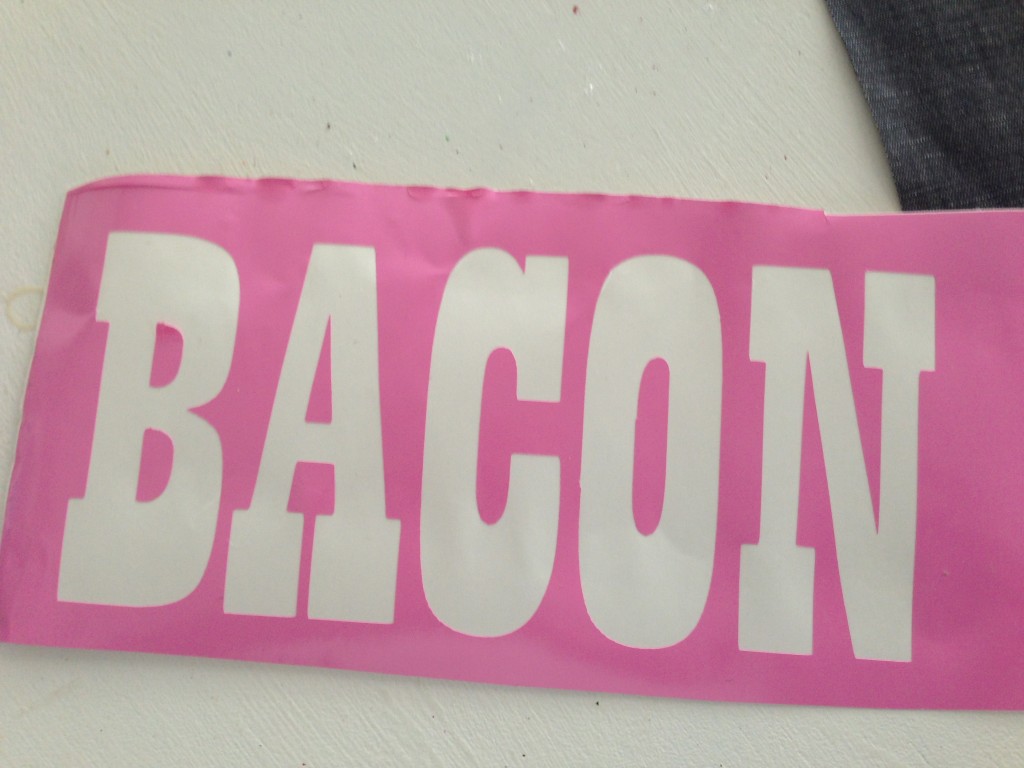
Begin by preparing the stencil  I used some extra vinyl I had laying around (that’s why it’s pink) and ran it through my Cricut.  I used the font “Playbill”, weed the letters to leave the outline.
bacon zipper pouch father's day tutorial


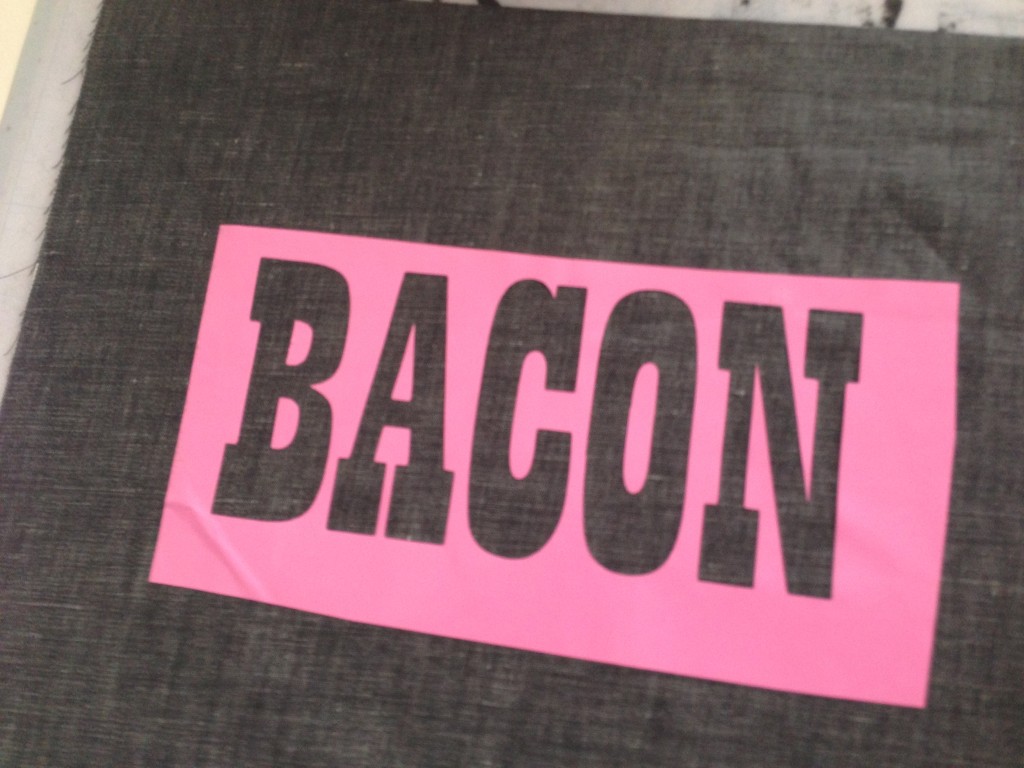
Using a masking strip to adhere the stencil, place the Bacon word on the center of the denim piece.bacon zipper pouch father's day tutorial_4

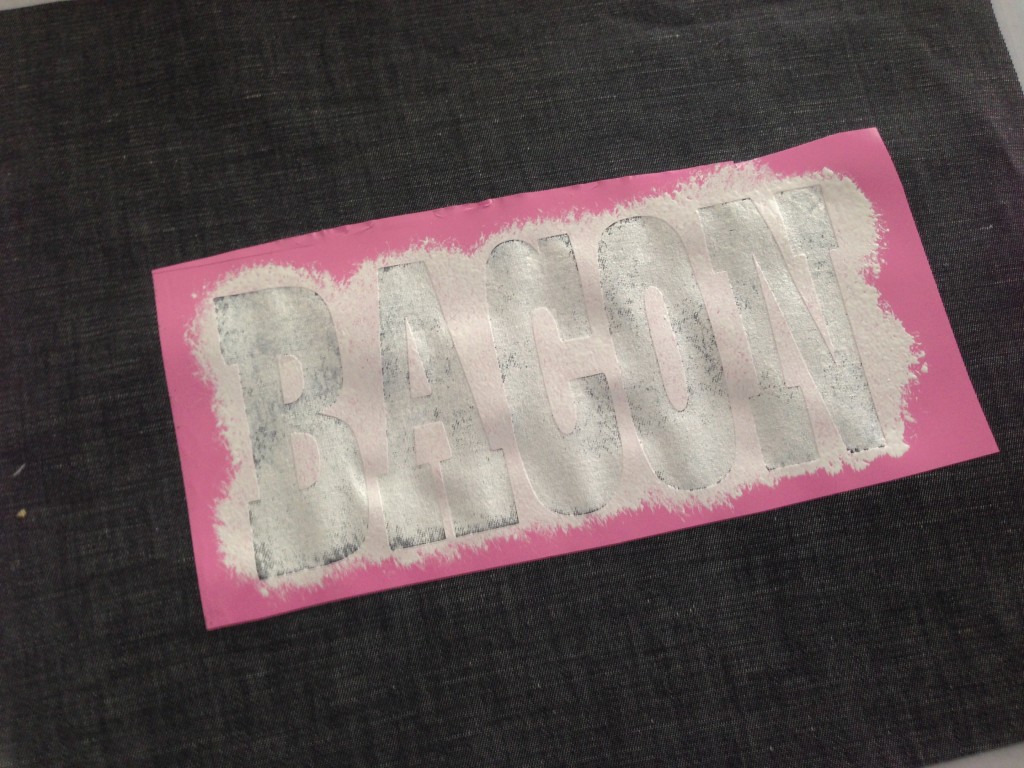
Using a stencil brush, stencil with white paint.  I literally used the trim paint from my house.
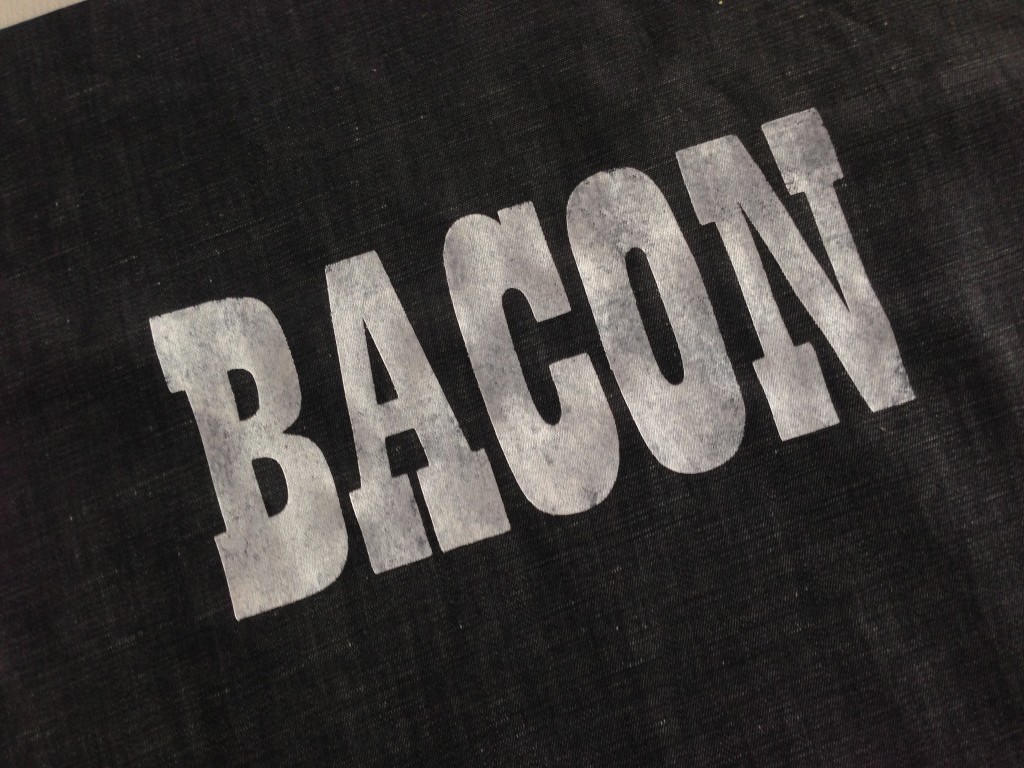
bacon zipper pouch father's day tutorial_2Let it dry then peel off the stencil.  I love how it turned out!

bacon zipper pouch father's day tutorial_5

Here are the pieces you should have cut 8″ x 11″

bacon zipper pouch father's day tutorial_6

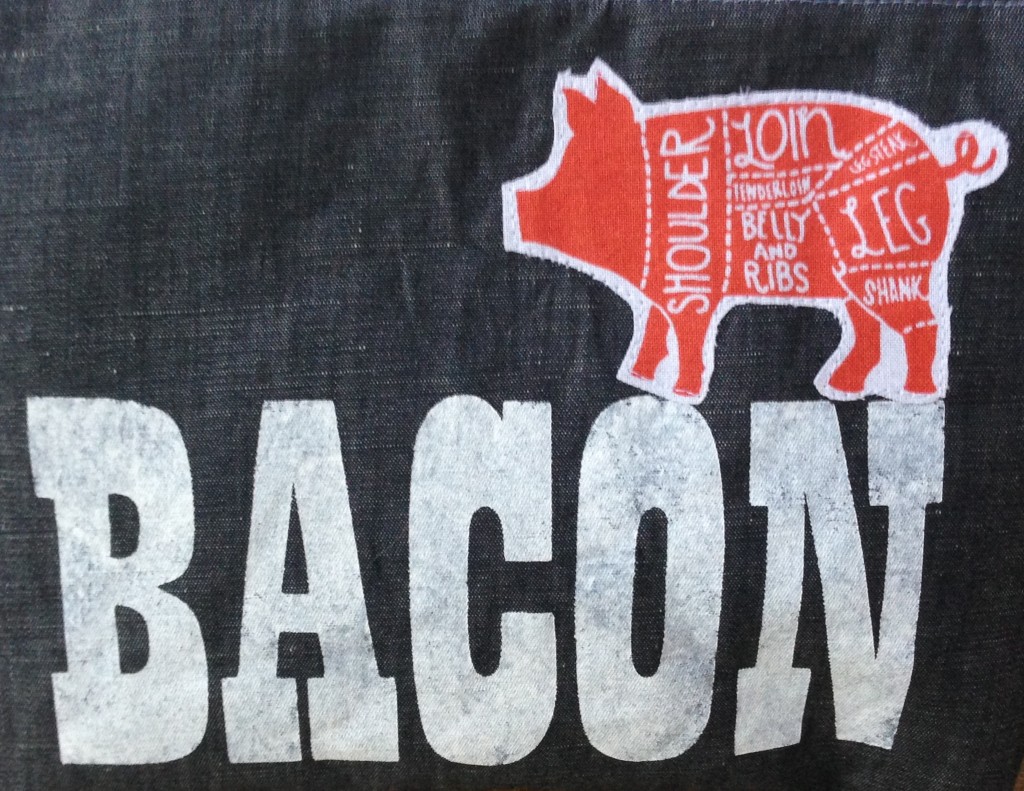
Iron the interfacing to the wrong side of both the lining pieces and both the outer bag pieces – 4 total.  Iron a piece of Heat n Bond to the wrong side of the pig fabric.  I liked the red pig the best.  Cut out around the pig leaving a little white boarder.  Stitch around the pig in white thread.  Press the front of the bag, heat setting the painted letters.bacon zipper pouch father's day tutorial_7

Now you are ready to construct the bag.  Follow this tutorial here.   A word of advice if you are using a chunky metal zipper…..It was my goal to not break my needle.  I was super careful to hand move the needle when near the zipper – that way the needle can find it’s way around the zipper teeth.  I thought I was in the clear and then resumed with the pedal and snap – the needle broke – darn!  I bet you can do it without breaking the needle 🙂
bacon zipper pouch father's day tutorial_8

I just love this project to pieces!  I might need one for myself – my kids all want one too!!


Frozen Sketch Book Case

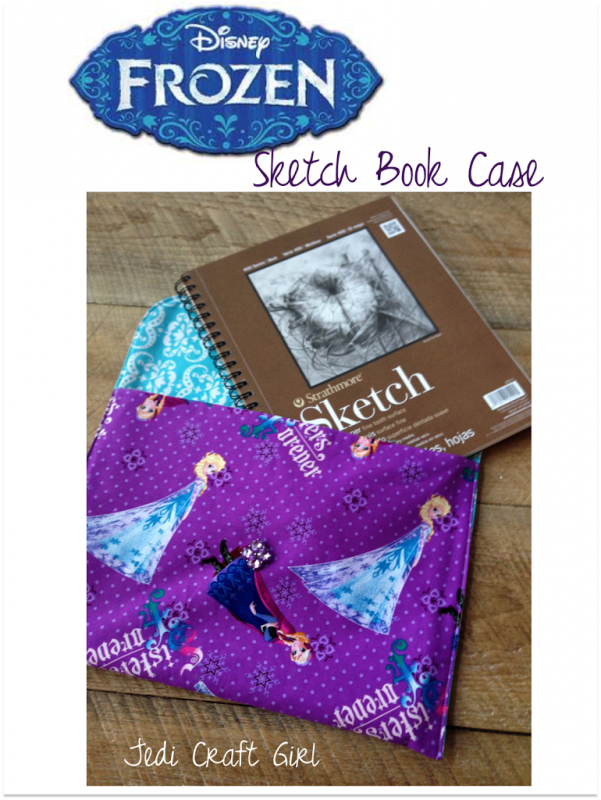
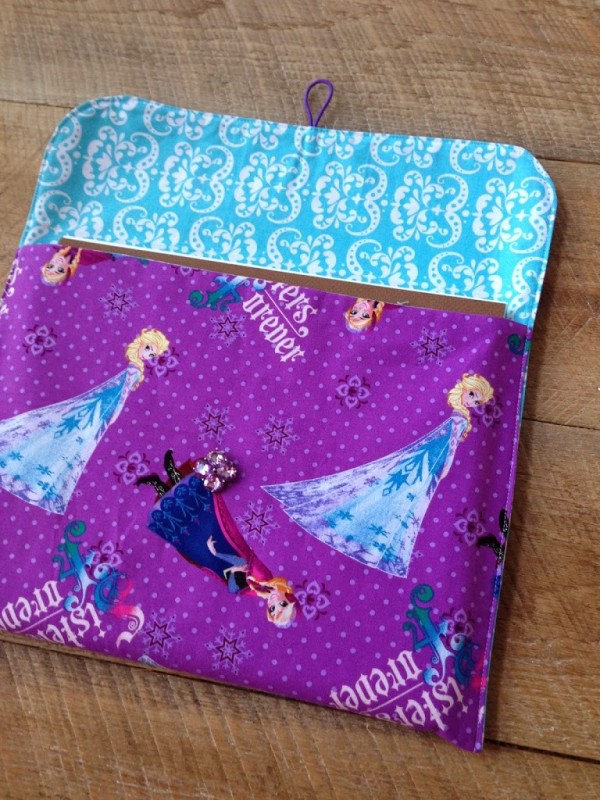
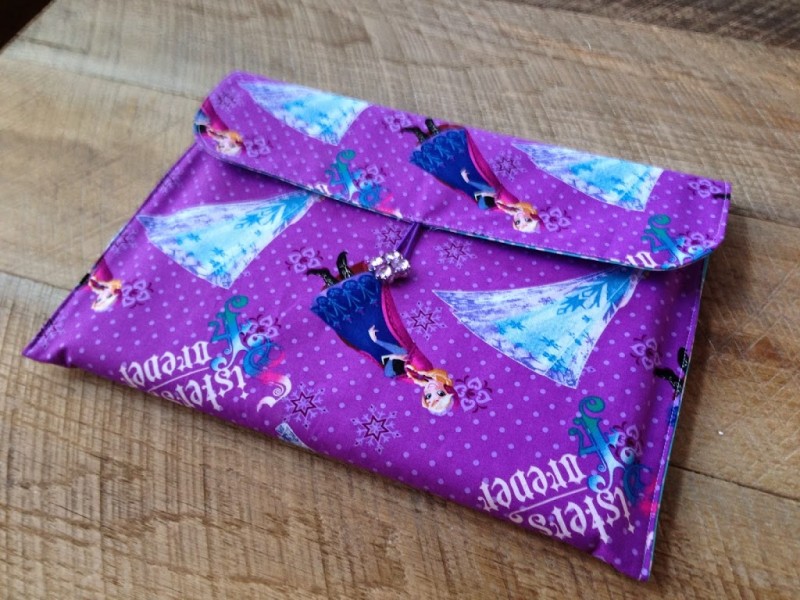
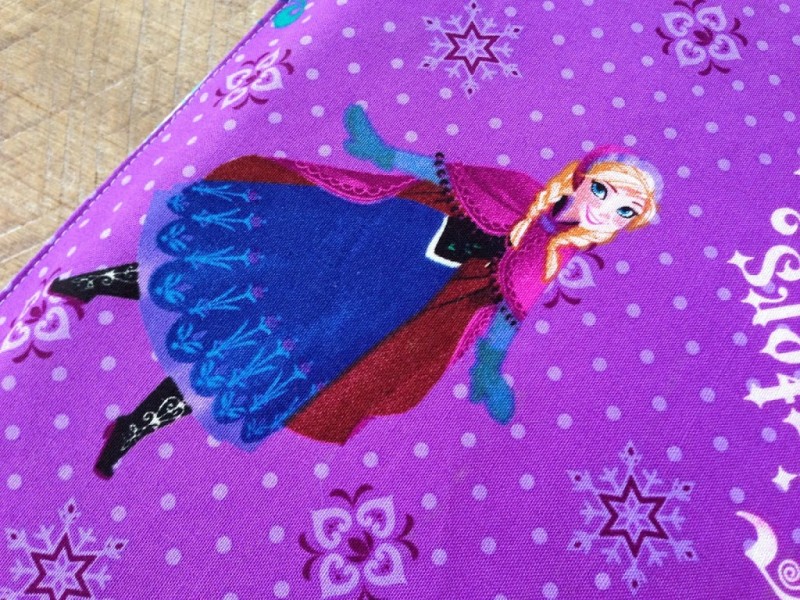
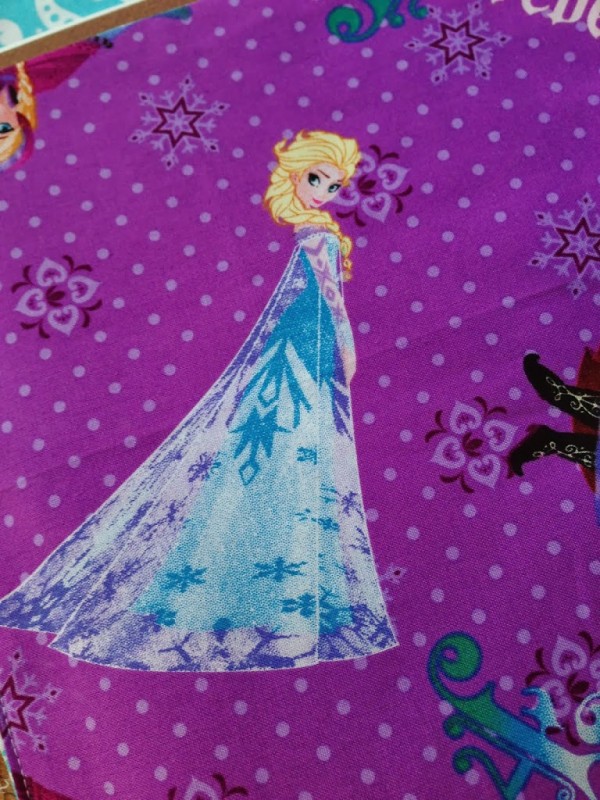
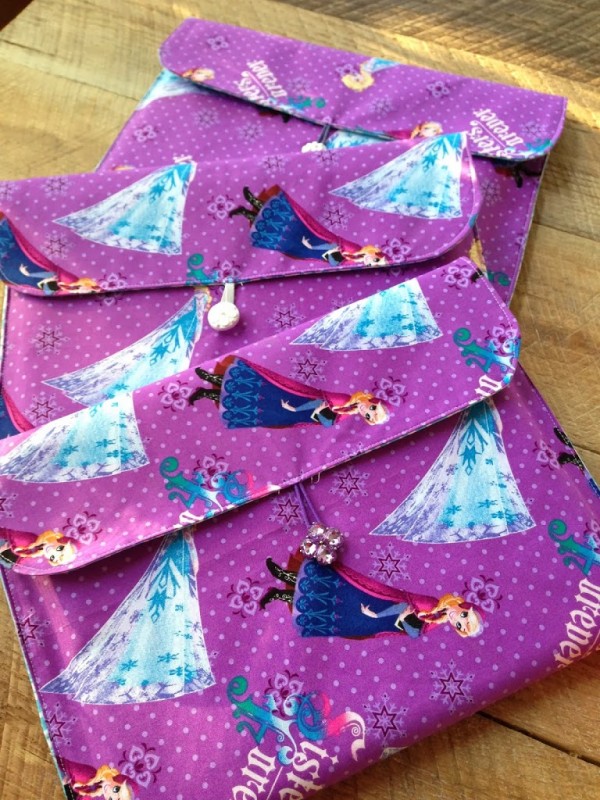
 My 14 year old and her friends are obsessed with the Frozen movie!  They have seen it 3 times, they spend all their time drawing images from the movie and listen to the songs over and over.  For Christmas I thought it would be cute to get them each a new sketch book and make a case for it out of Frozen fabric.  I am not big into “Character” fabric, but I really liked this print.

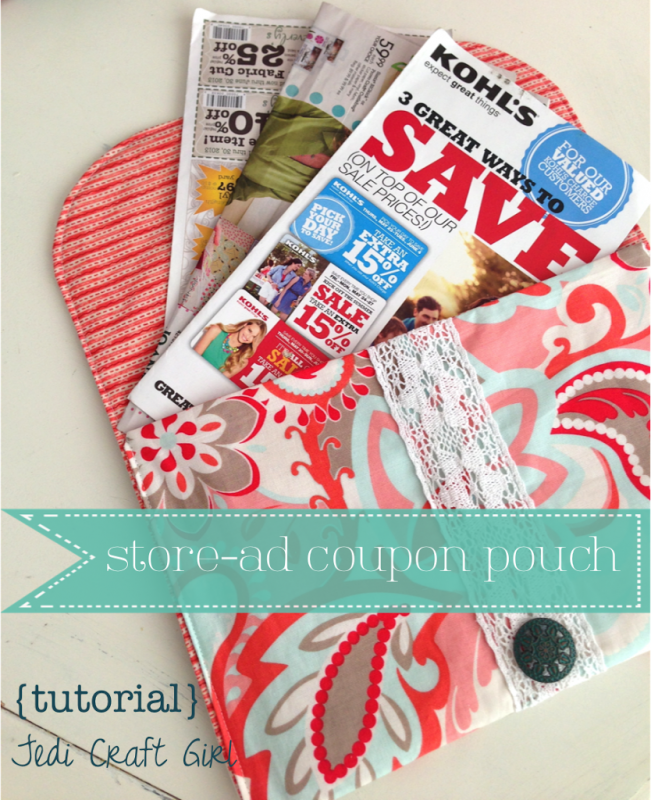
I used my Coupon Pouch Tutorial and changed the dimensions to 26″ x 15″.  Everything else is exactly the same!

They freaked out when they opened them today!

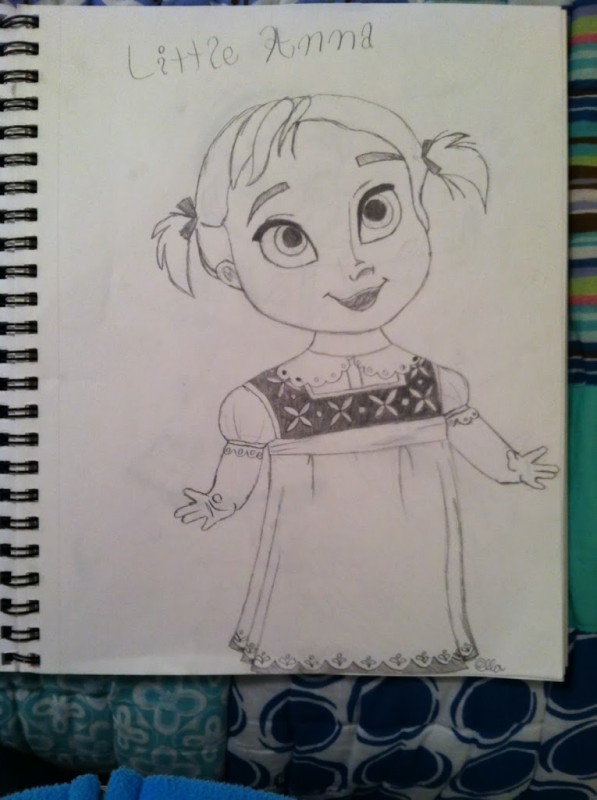
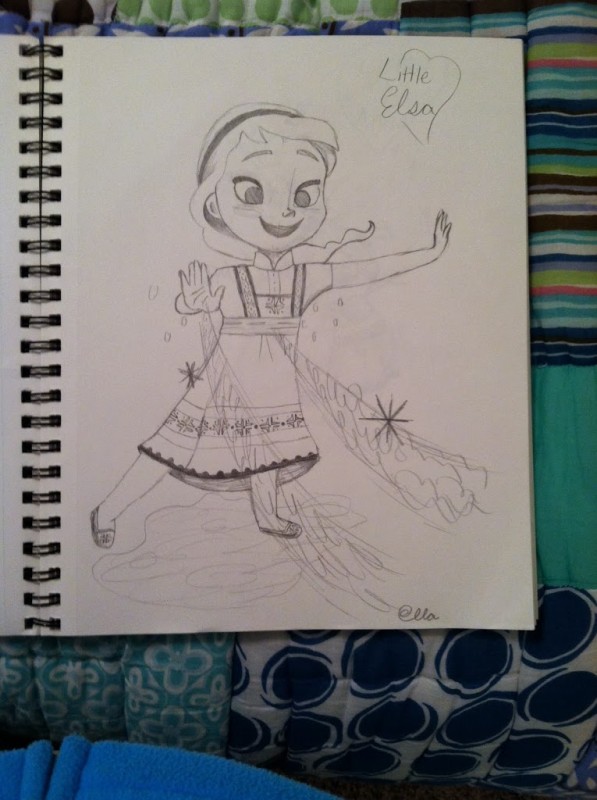
These are some of Ella’s latest drawings, I think they are so cute!

I kind of want one for myself 🙂
Amanda

Rustic Farm Table Reveal

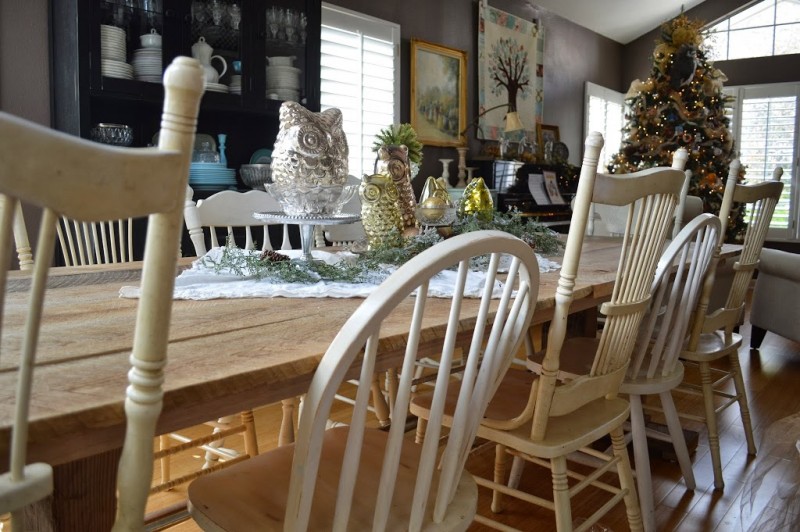
It’s finally here – the day I have been waiting for!  My rustic farm table is finally finished!!  This project all started when I got the crazy idea to sell my dining room set to my friend and use the money to purchase reclaimed lumber and have my husband build me a table!  It all started in February…..

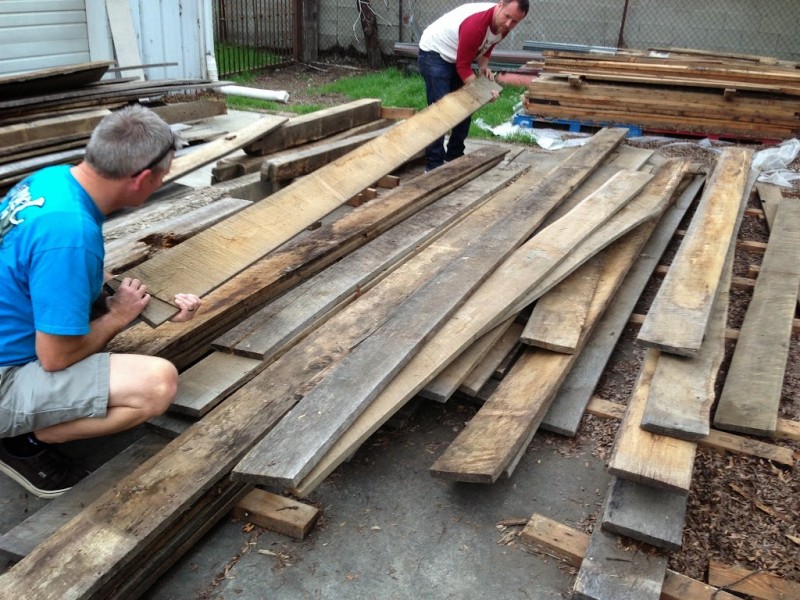
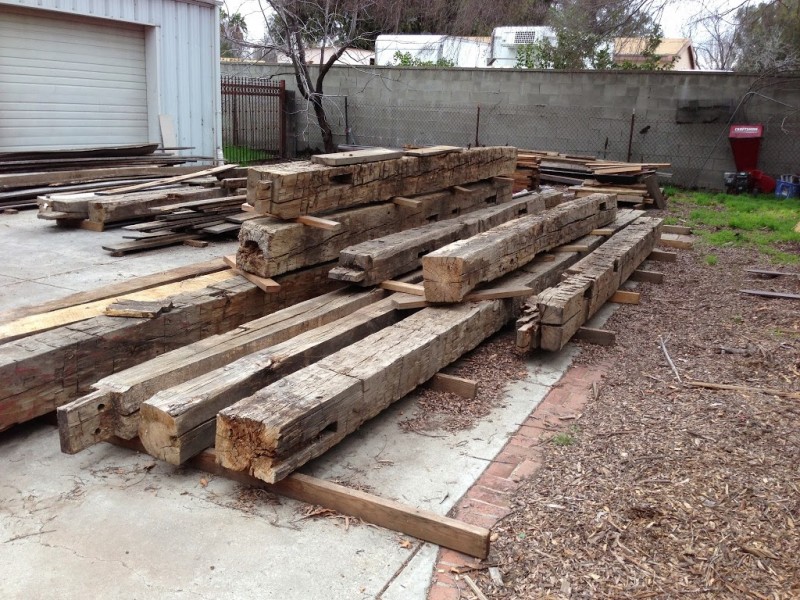
Living in California, reclaimed lumber is hard to find and it is expensive!  I called and researched places that sold reclaimed wood.  There wasn’t too many to pick from in the LA metro area.  We ended up driving out to the valley where this guy had a huge garage/yard full of lumber.  We choose Michigan Oak that was used in a subfloor of a barn.  I am guessing its 60 to 80 years old.  For the price of my dining room table & 8 chairs – I got a truck load of lumber.  Seems reasonable!!

Oh the projects we could make!!!!

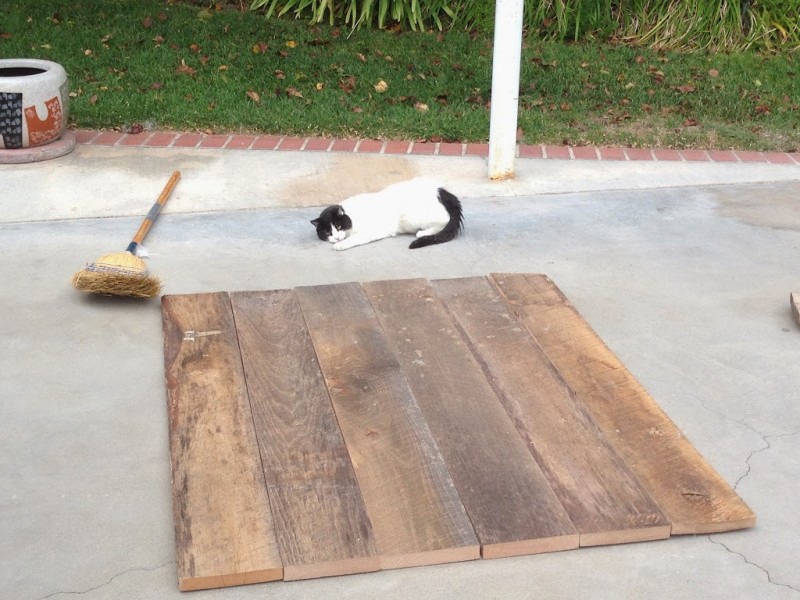
The wood sat in our back yard for about 6 months while we gathered the right tools, additional lumbar, etc….and while my husband came up with a plan for the construction.  Then, one day in September, it happened, the table started coming together.

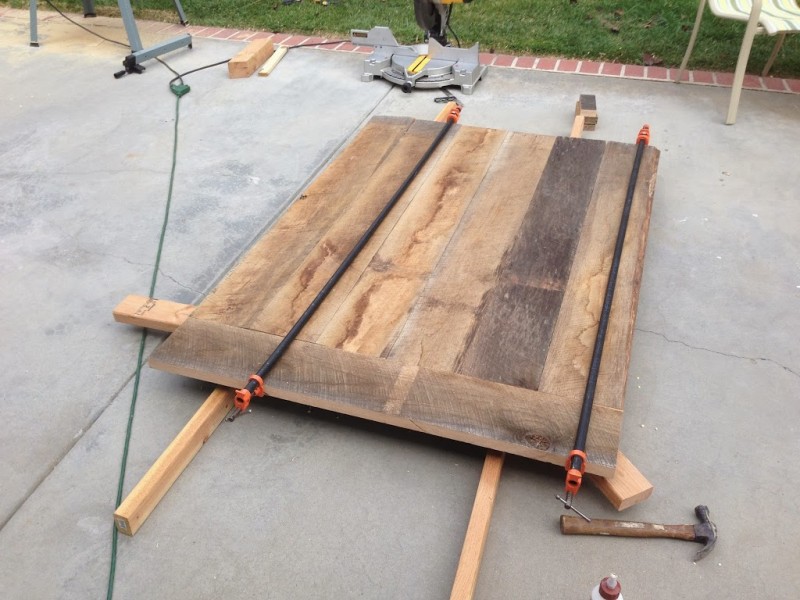
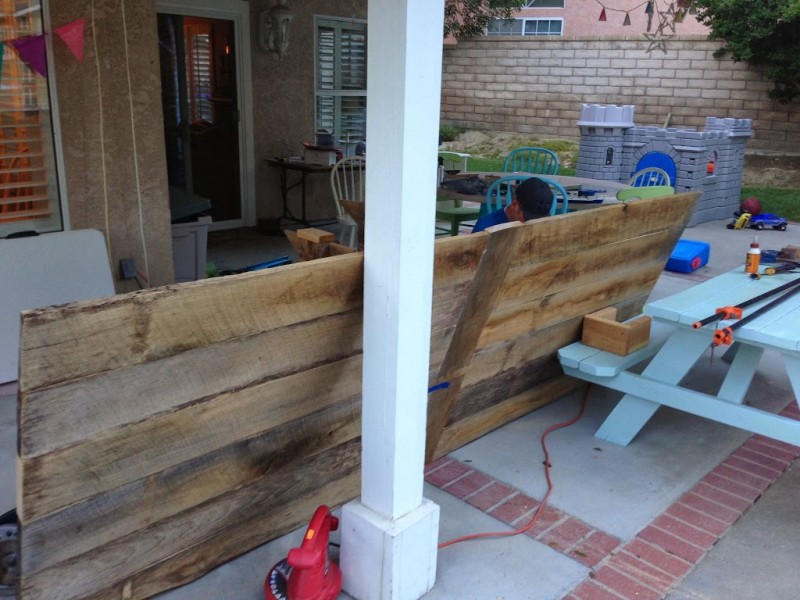
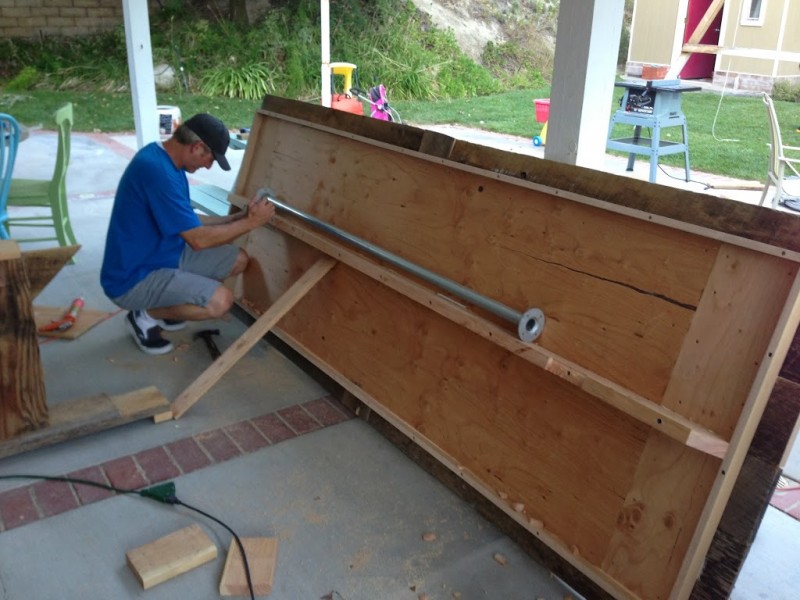
We constructed it in 2 sections.

I am not going to write too much detail on the construction.   If you want to build one, leave me a comment, and I can send more detailed instructions 🙂

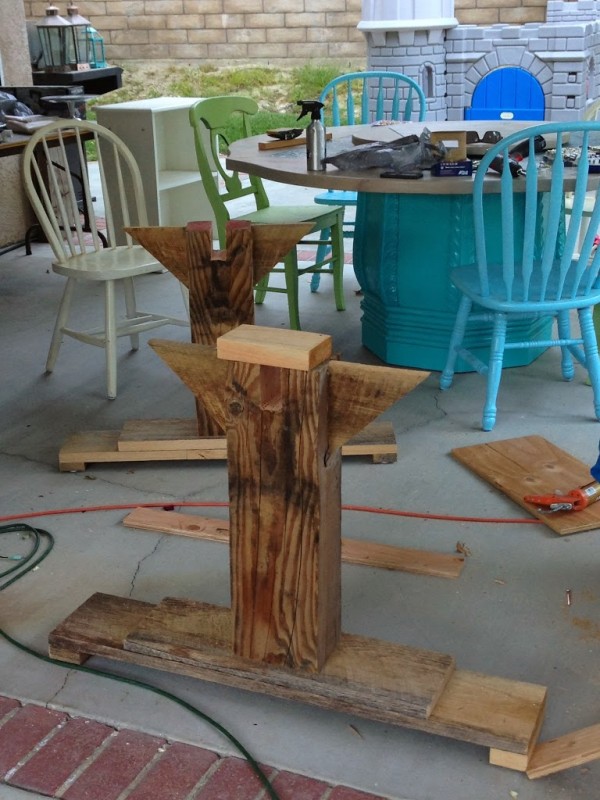
These are the pedestals for the table.
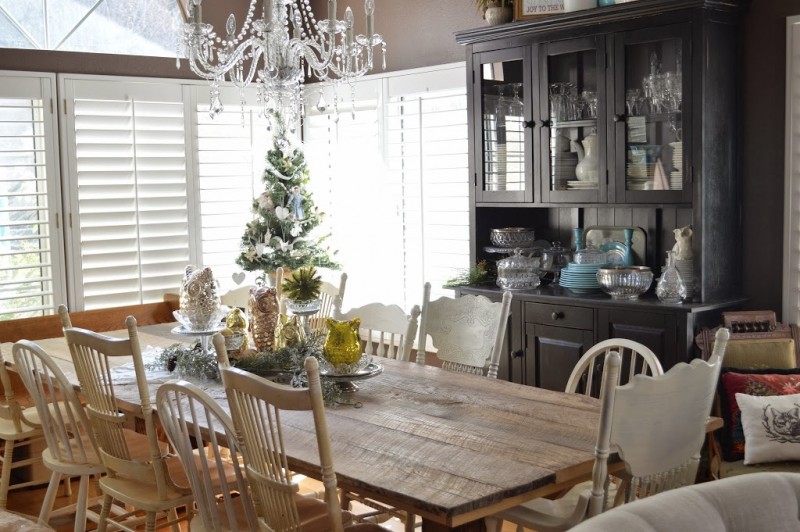
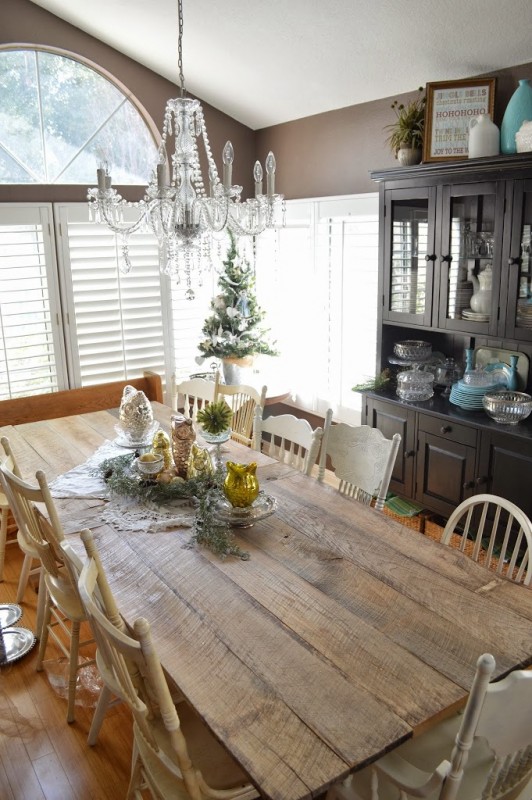
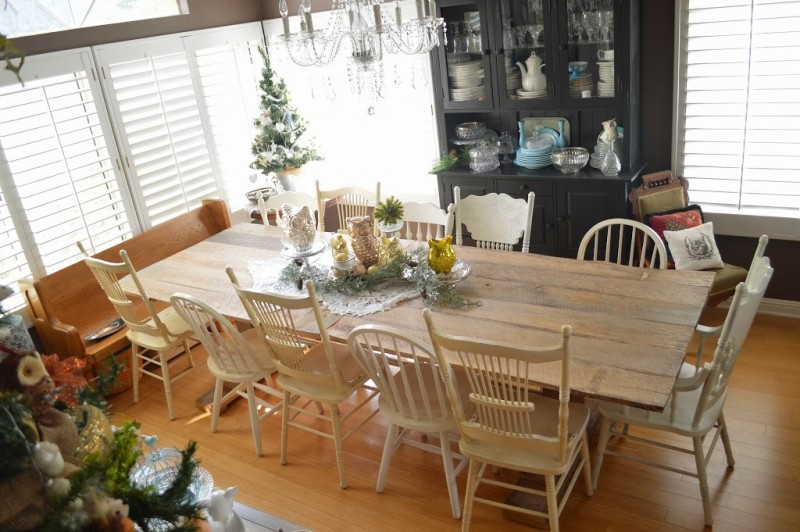
Here it is all finished.  It took 3 men to get it into the house!  It is super heavy!  I wasn’t sure what type of protective finish to put on the top.  I didn’t want a shiny or thick polyurethane.  I looked into linseed oil, but didn’t feel good about that choice.  I went with Minwax finishing wax.  I have used it before and it turned out to be the perfect finish for the table.  It still feels like the original wood and will repel moisture.
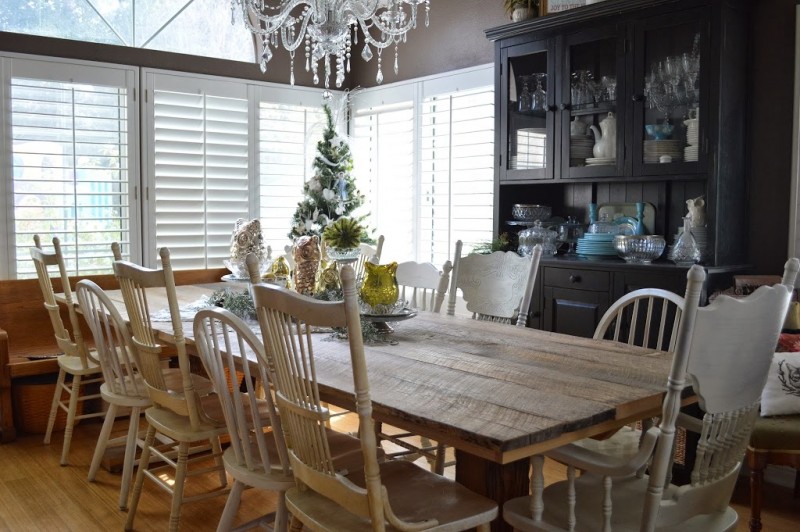
The chairs are mismatched: some are chairs I had and others are from my adventures garage sailing!  They are white, antique white, heirloom white, and ivory. 

 I love that the table seats 14 people!  5 on each side and 2 on each end.

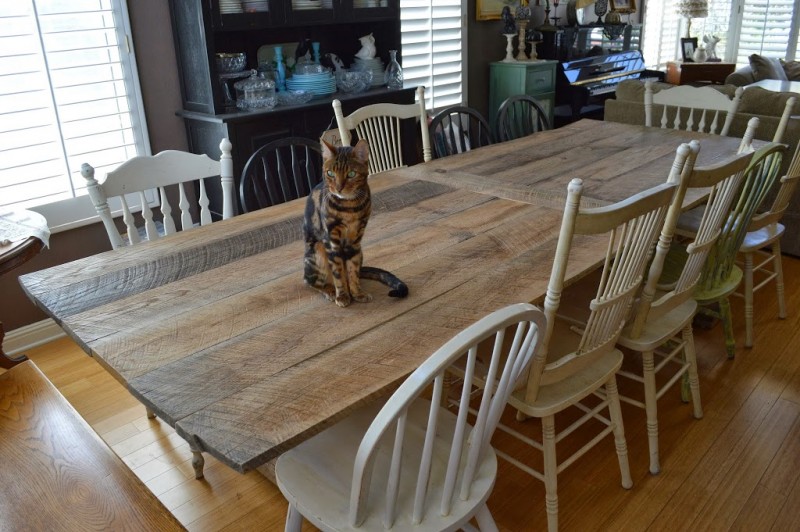
This photo really shows all the different tones in the wood – I love that darker piece.

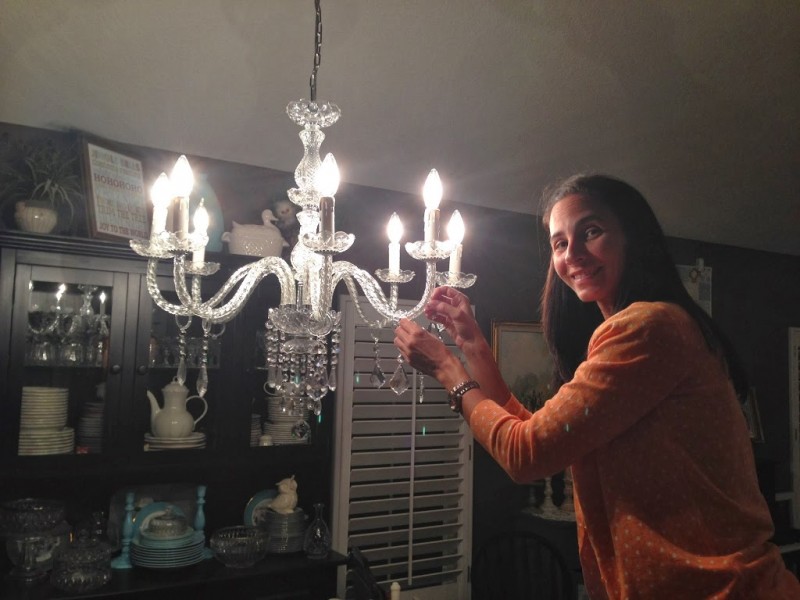
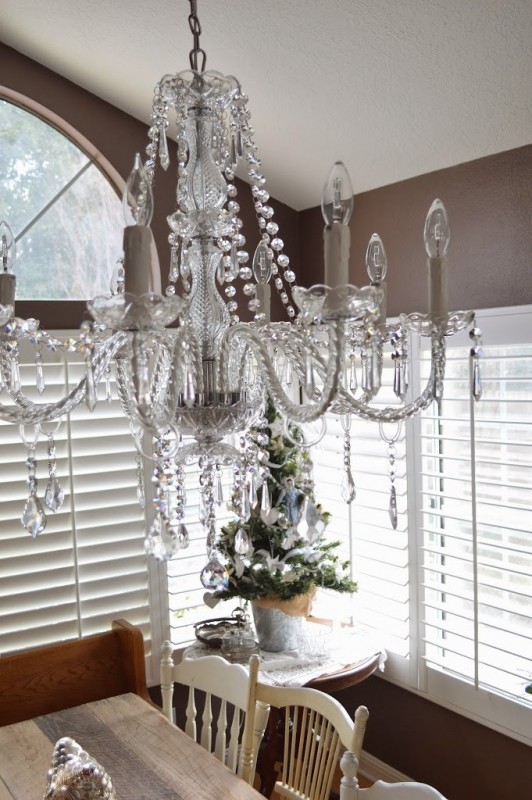
I bought a new chandelier to go over the table – that was a project in itself.  I ordered it from Amazon.  I really like it – it just took a long time to rewire everything because the wire it came with was way to short.  It is really bright and sparkly!  This is me adding each crystal one at a time!

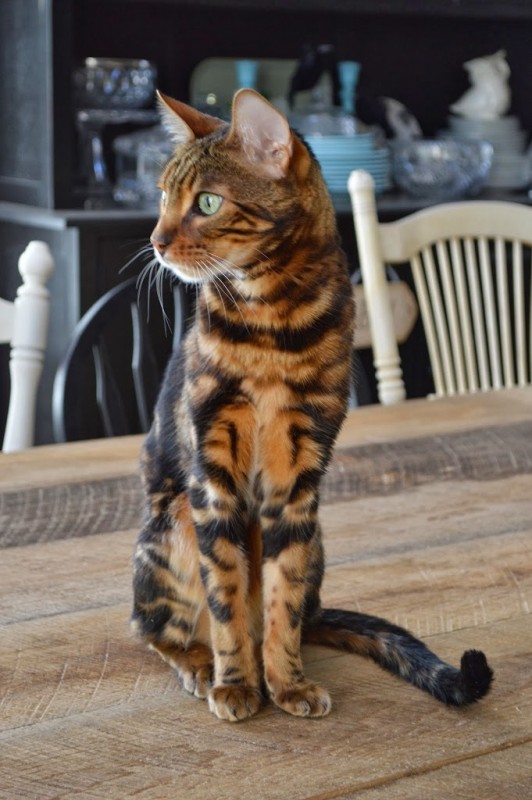
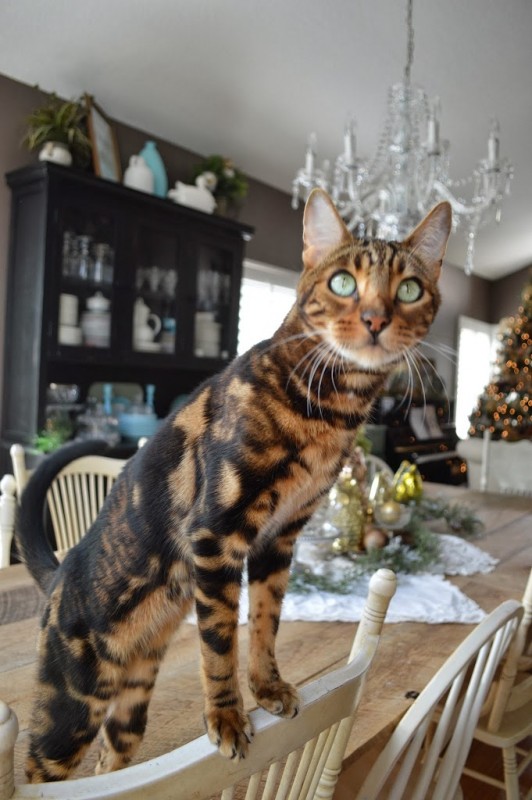
Marbles also loves the table!!
 

Amanda

Outdoor Table Re-Do

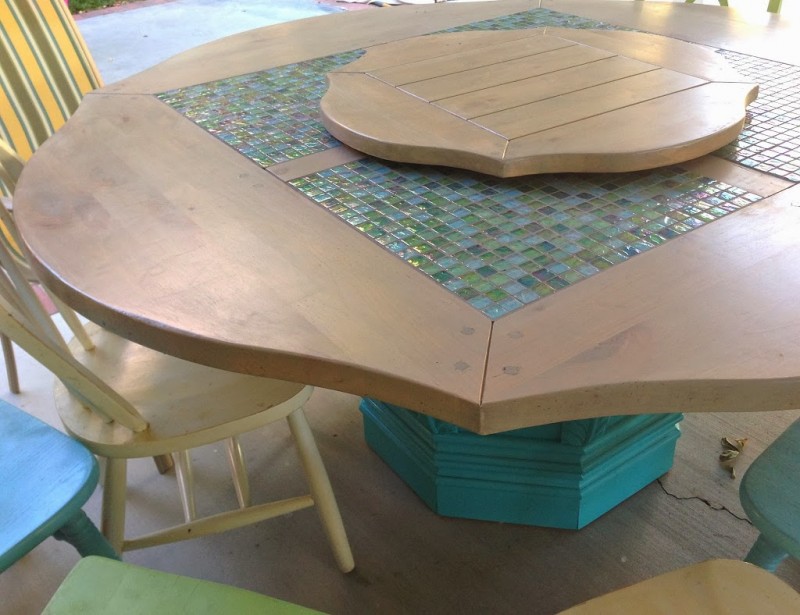
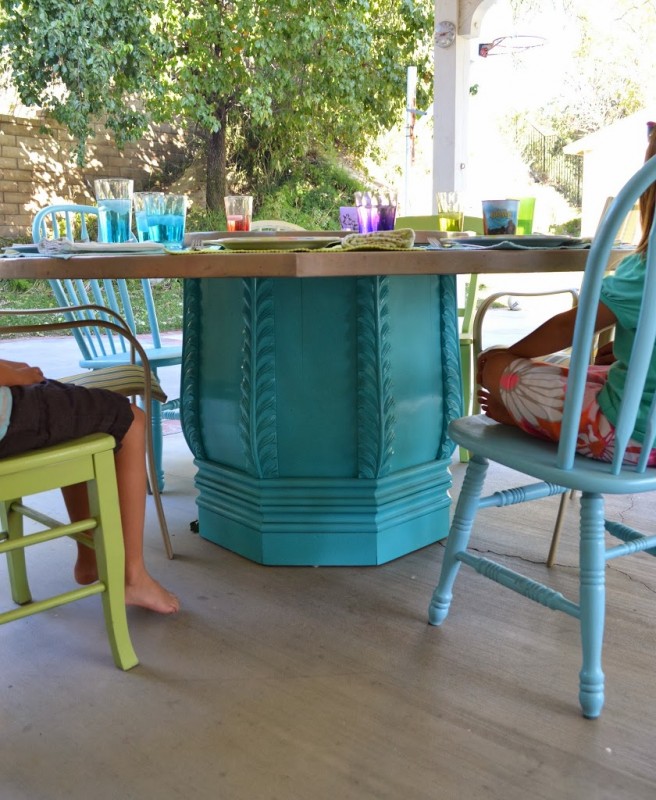
My friend gave me her mother’s kitchen table.  It’s not your average kitchen table…..It’s HUGE and ROUND!!!  I think the table originally cost $$$$.  It was in bad shape when I got it.  The mom had caught a floral arrangement on fire and burned part of the table.  Then she cleaned it with some harsh cleaner and it reacted with the finish, turning it into a sticky mess!  Of course we’ll take the table!!!
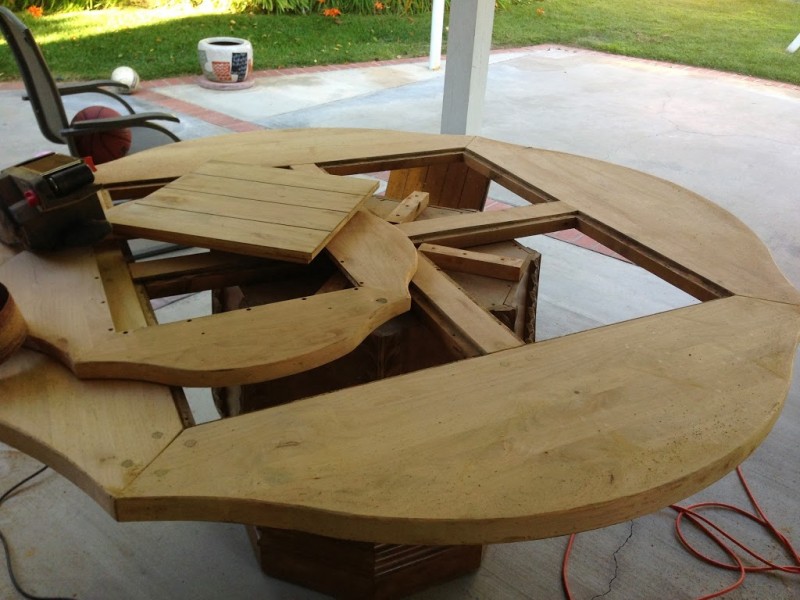
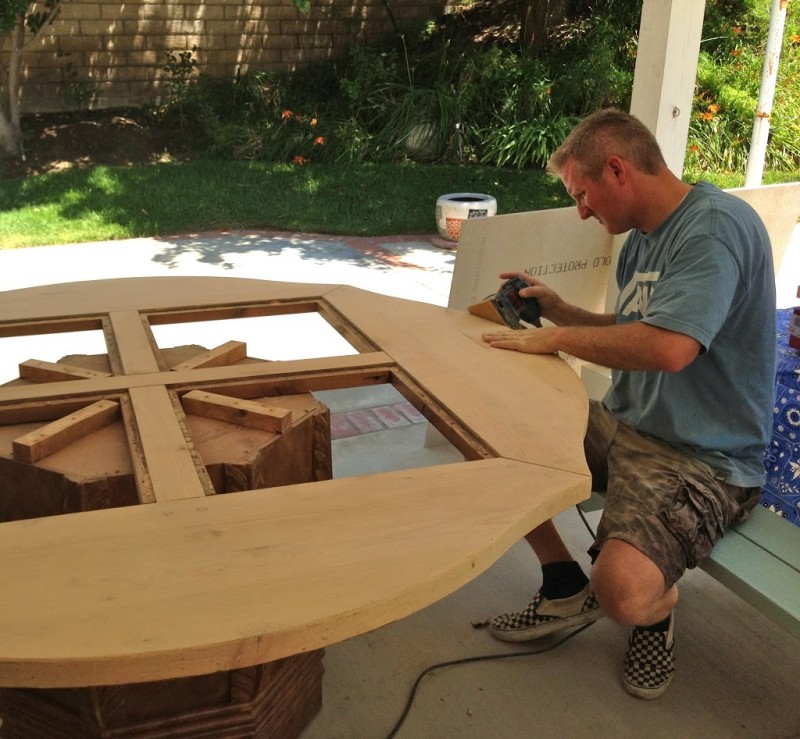
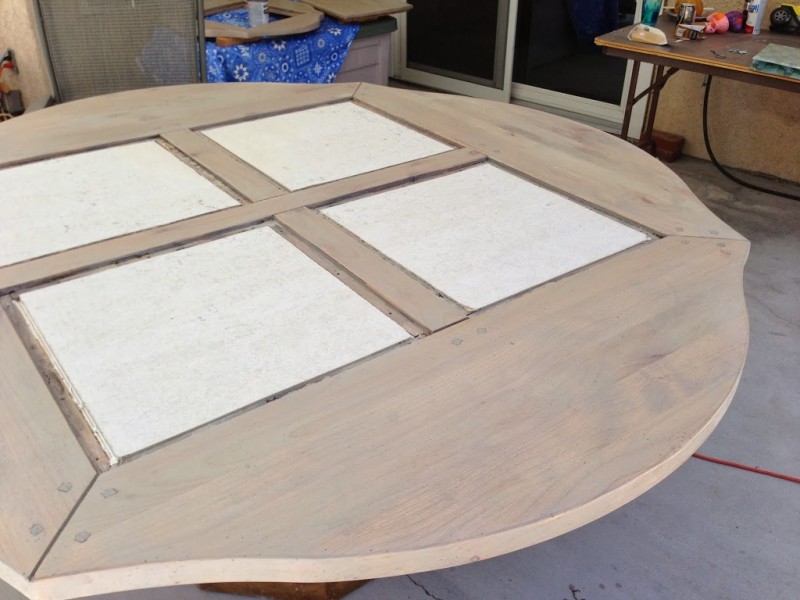
I didn’t get a good before picture – but this is it after hubby took it apart.  I just love power tools!!!  We plained it down pretty good – it took the burn mark right.  Then finished with light sanding to get it really smooth.  I didn’t bother sanding the base – it is getting paint!
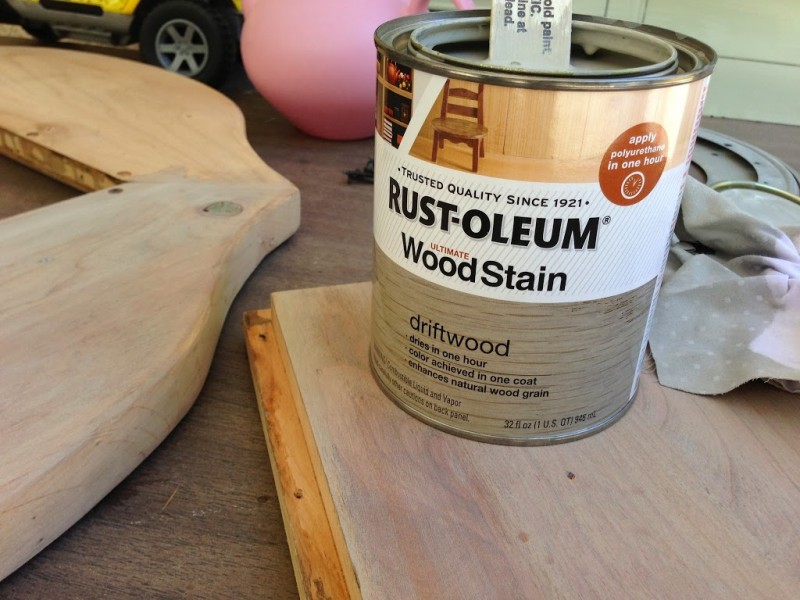
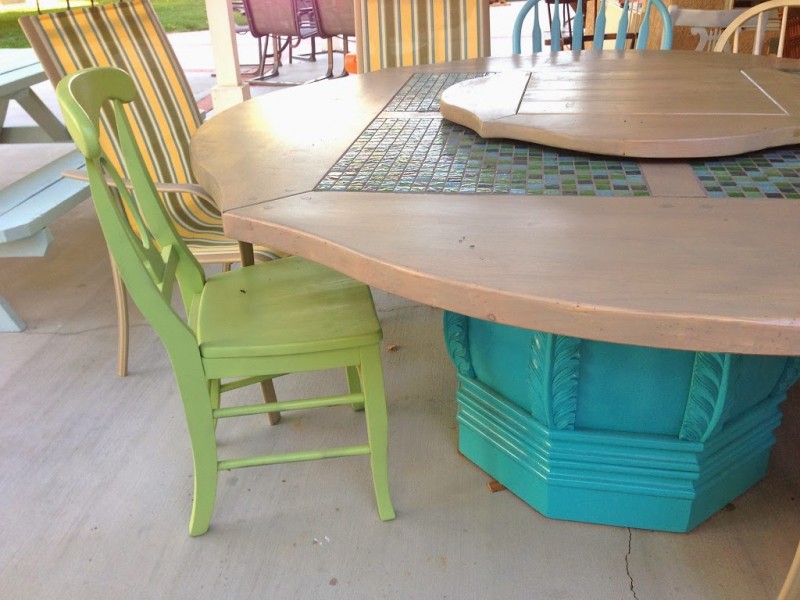
Meet my new favorite stain – Rust-Oleum’s “Driftwood”.  That’s exactly what it looks like!  It’s perfect for this project because it will be living outside!
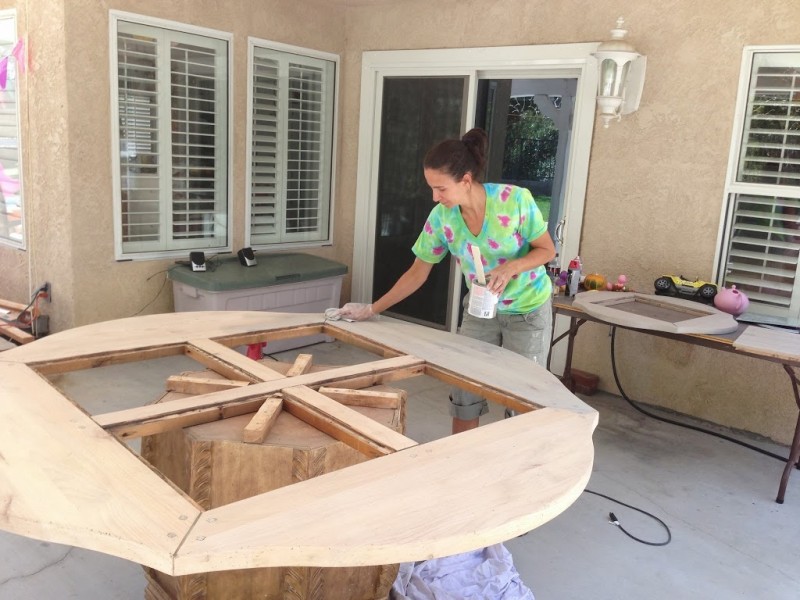
That’s me!!  Of course I do all my DIY projects in tie-dye!!
We took out the rotten fake wood inlays and prepared the surface for tile!!
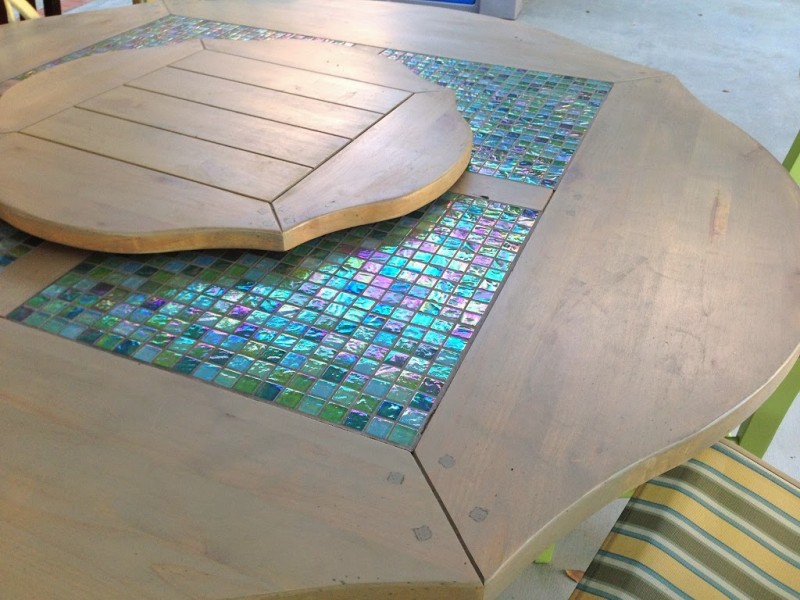
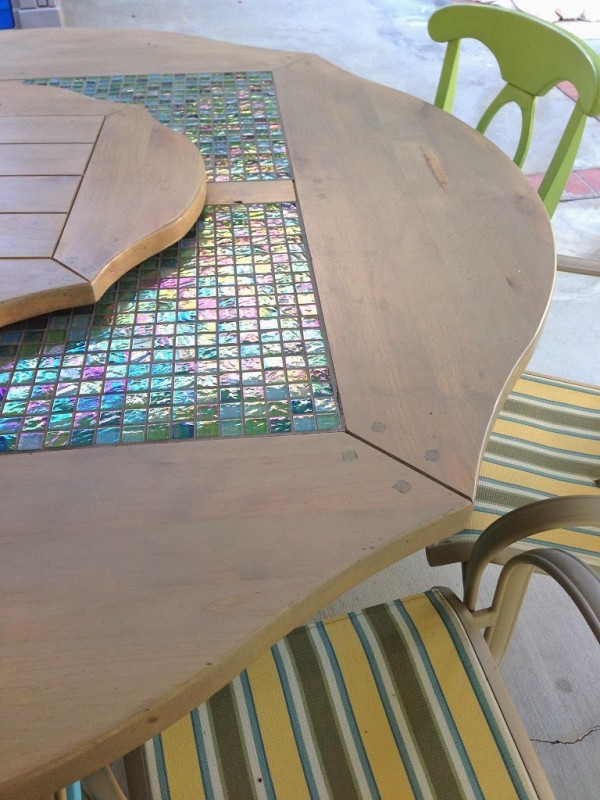
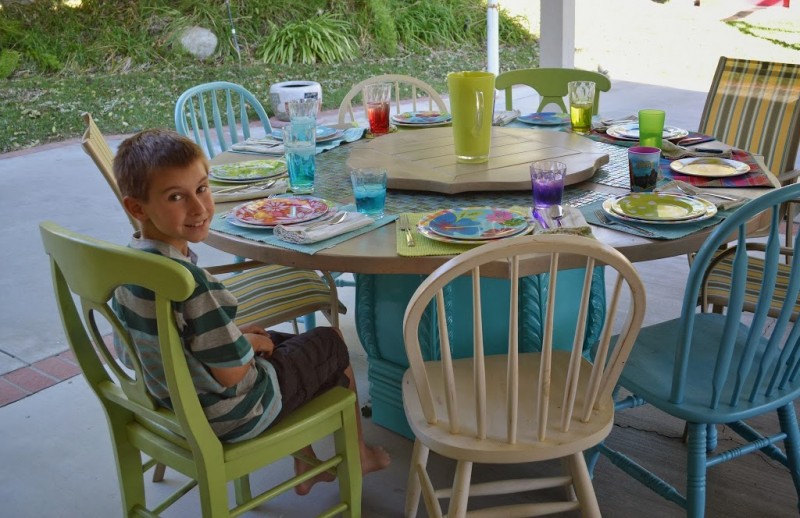
And here it is with super cute 1″ tiles.  It makes me think of the ocean!!  Don’t you love the Lazy Suzan on top!  My kids LOVE this – we’ve never had one before!
I sealed it with Rust-Oleum’s Ultimate Spar Varnish.  It has maximum weather protection!!
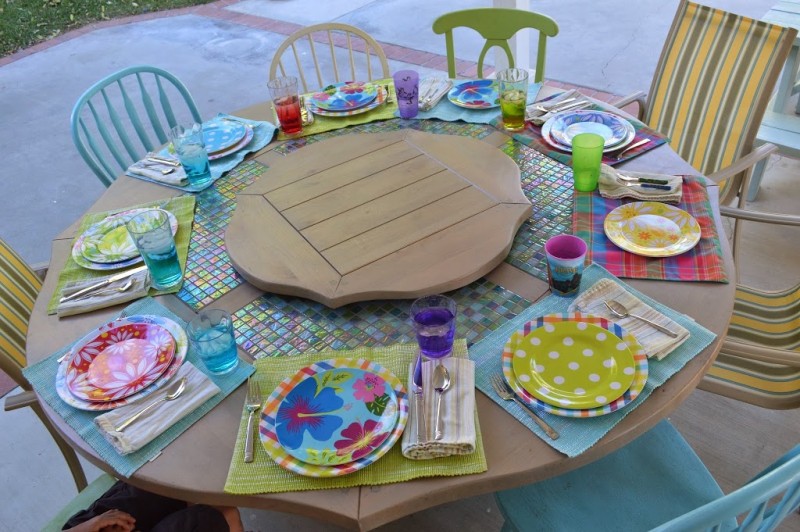
I love that it can seat 10 people comfortably!

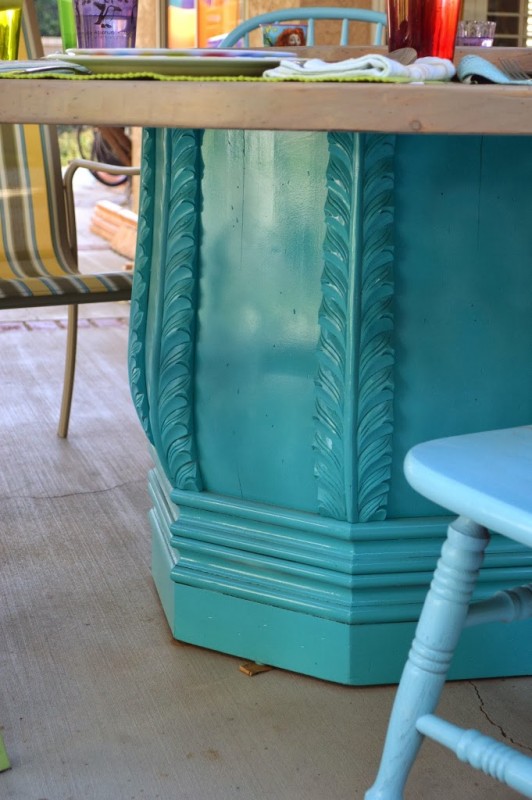
I couldn’t resist painting the base a bright turquoise color!  Spray paint, of course!!

It’s pretty bright, but the outdoors can handle it!!


I love how it turned out – it’s totally me!!

Amanda

DIY Soccer Banner Tutorial

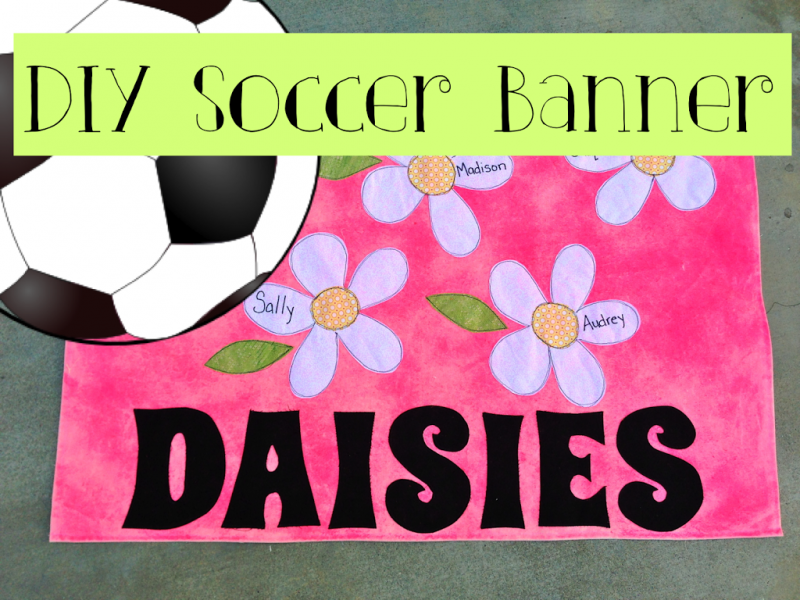
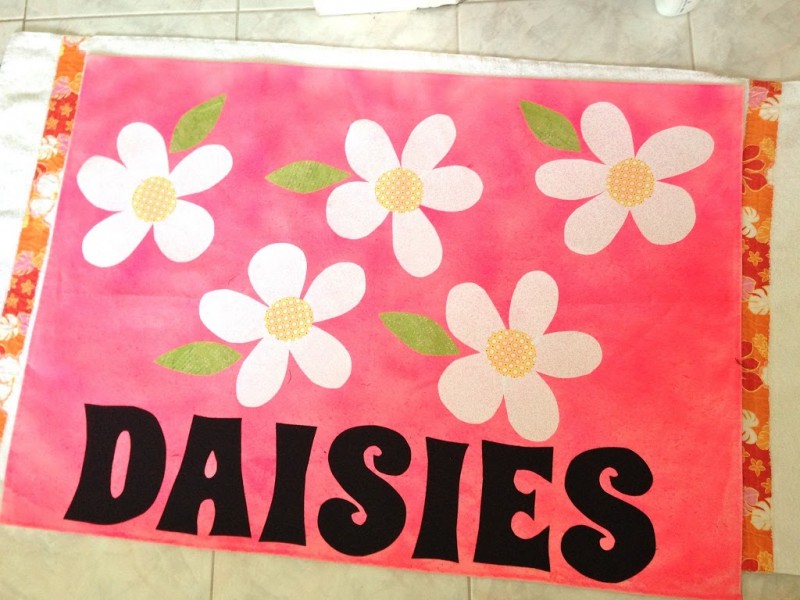
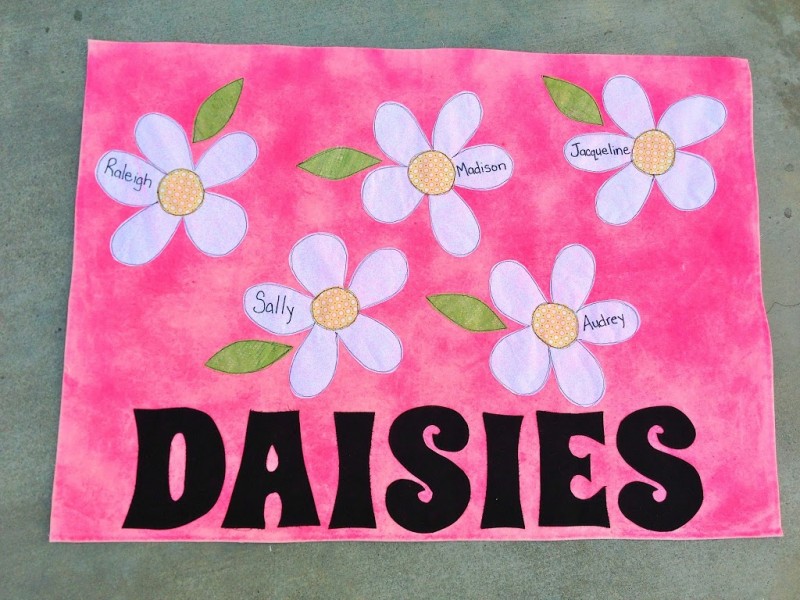
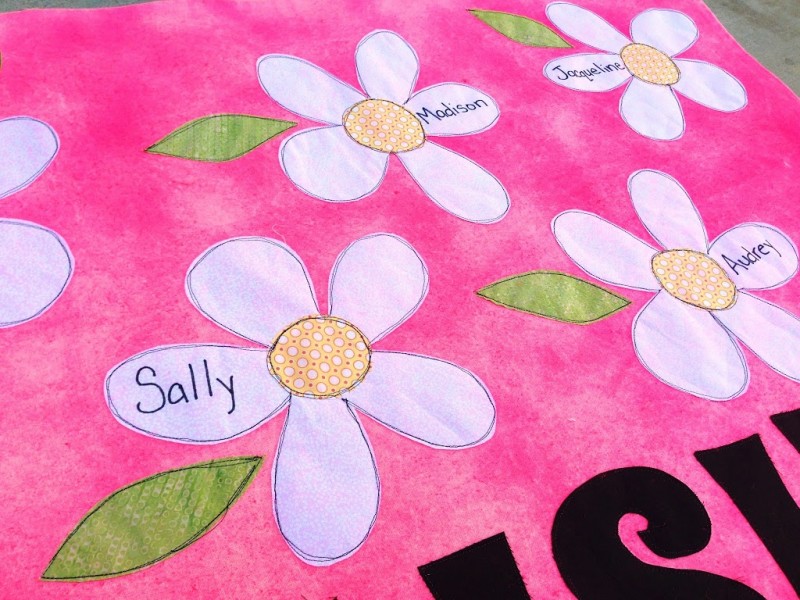
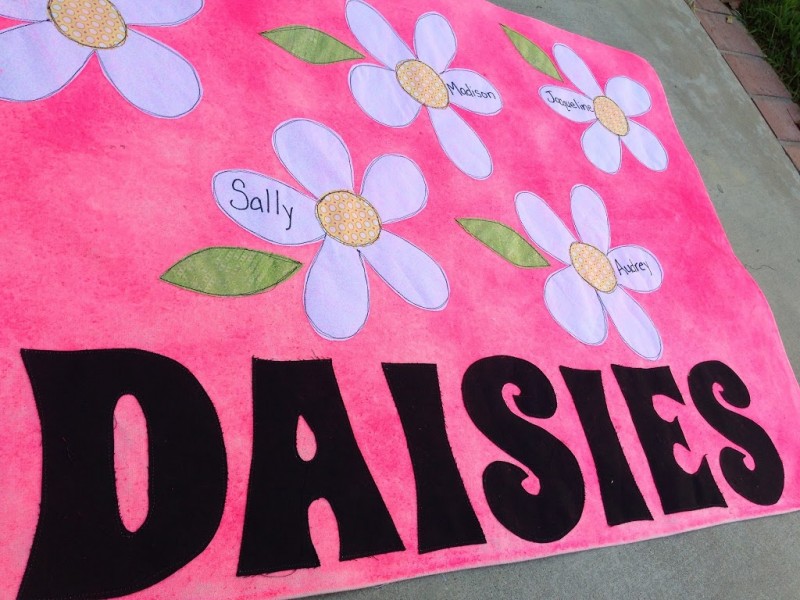
This is my first soccer banner ever!  I had no idea what I was doing and I was determined to use only materials I had on hand.  This is what I came up with! We are the Daisies (white) and there are 5 girls on our team.  So – 5 daisies on the banner!  Not too hard!!

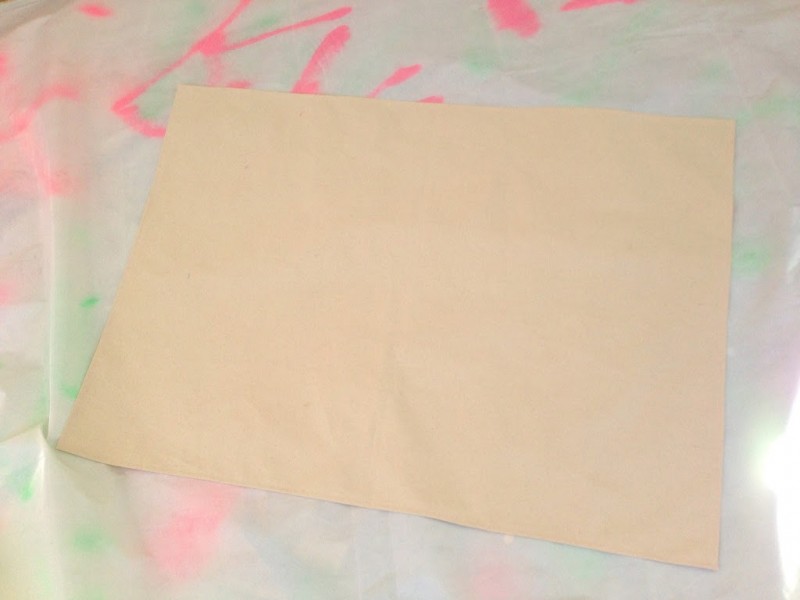
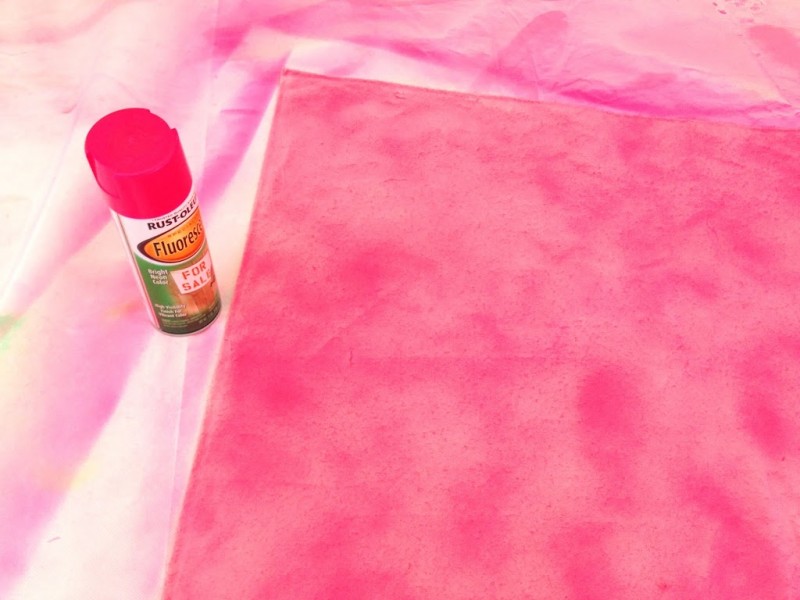
Start with canvas or duck cloth.  I was happy I had bought this in the fabric district for $2 a yard!  Only it was a tan/cream color – not very 5 year old!  Luckily I had just purchased NEON pink spray paint!  I hemmed the edge of the canvas then spray painted it with the neon pink.

Neon pink does not photograph very well in bright sun.  I like how it finished kind of patchy, I have quilting fabric like this.  (it’s nice to know you can spray paint anything!!)

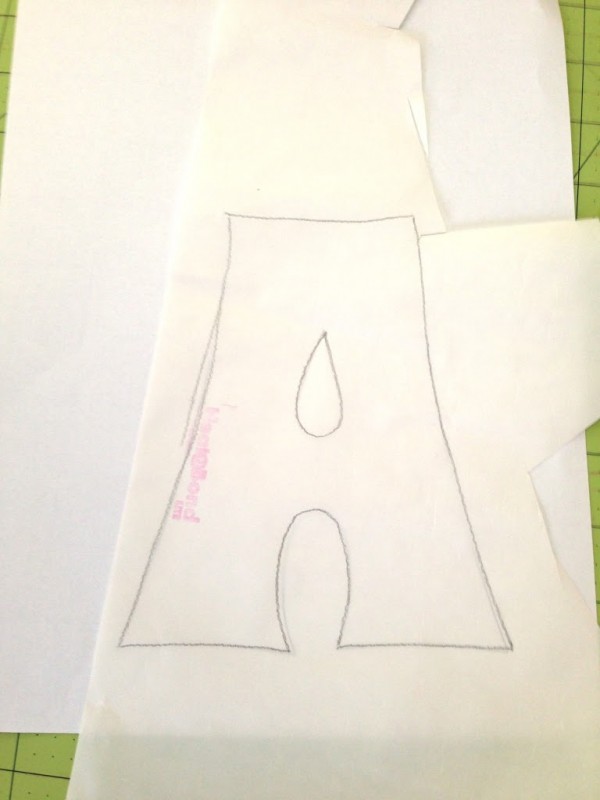
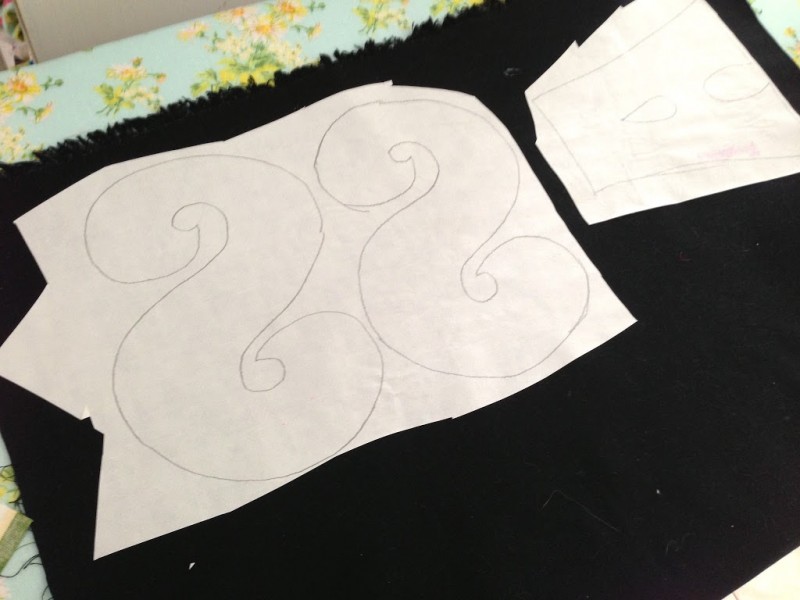
I got out my Therm O Web Heat n Bond and traced the block letters and daisies.

Iron the Heat n Bond to the wrong side of the fabric and cut out on the line.

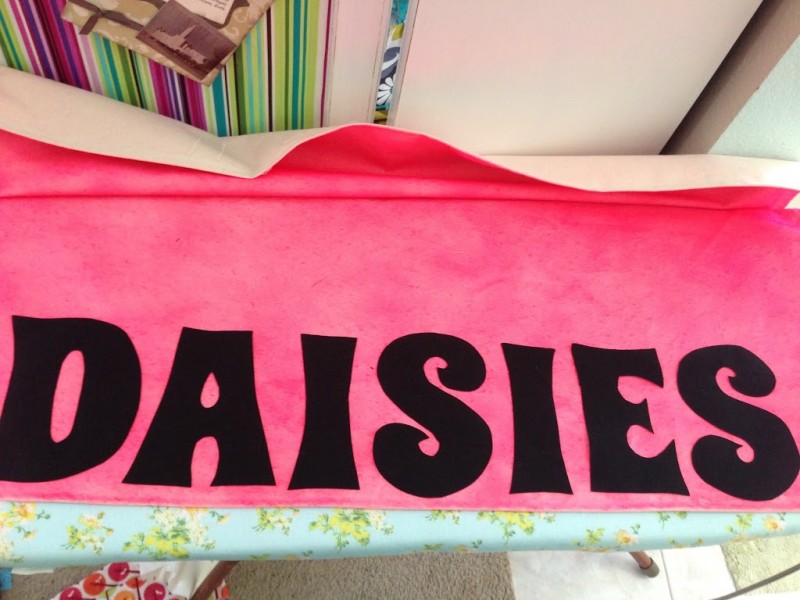
Peel off the paper and lay out the words.

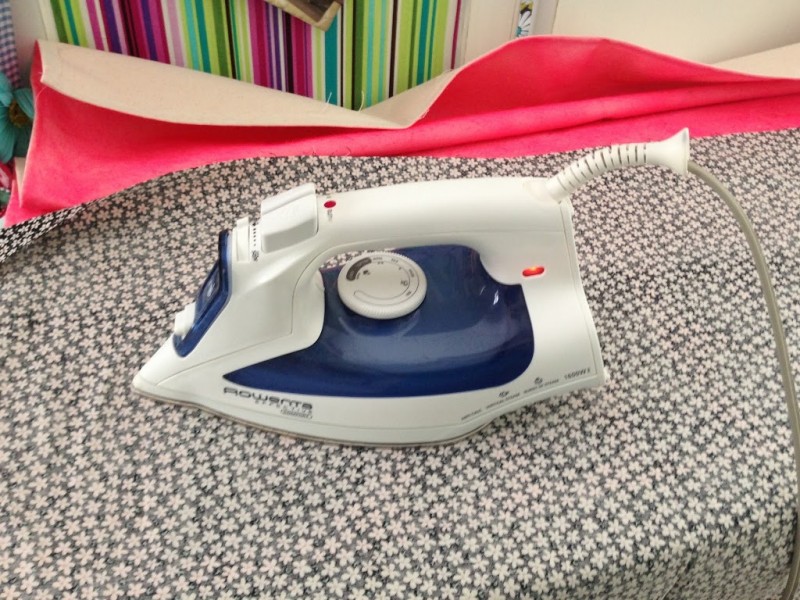
I was afraid to iron directly on the spray paint so I grabbed an old piece of fabric and laid it on top.  It took a few seconds to get the Heat n Bond to melt.

I put an old towel on the tile floor then laid out the rest of the banner.  I ironed it on the floor – I didn’t want to move it to the ironing board.

I sewed around all of the appliqué pieces in black thread.  On the daisies I sewed around 3 times.

If I would have time, I would have hand stitched the names, but I had 10 minutes left before team pictures, so a sharpie did the trick in putting the girls names on the flowers.

I love it!!!  The neon really makes it!

 My husband assembled a PVC pipe stand and we took it to our first game on Saturday!!

Amanda

DIY Lego Minifigure Storage Shelves Tutorial

 
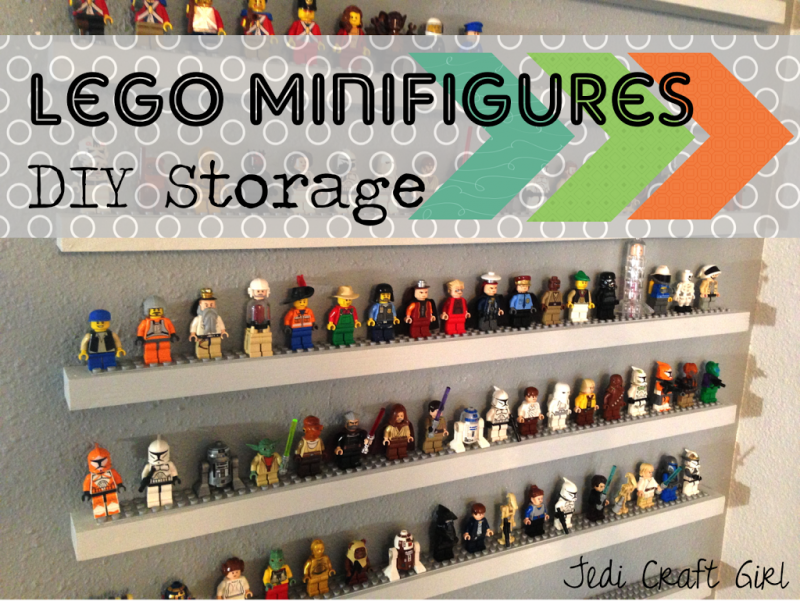
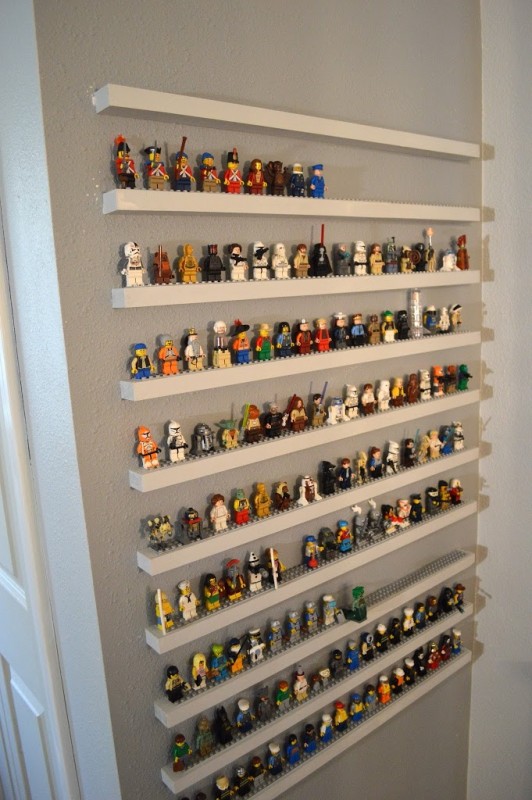
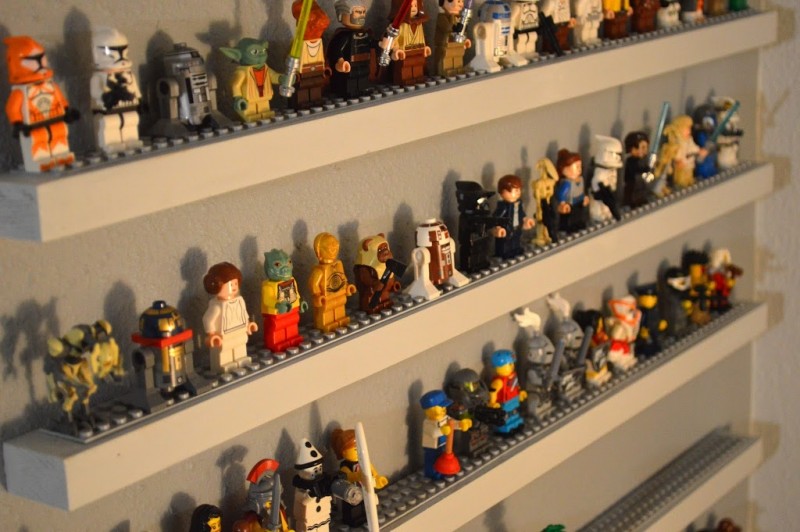
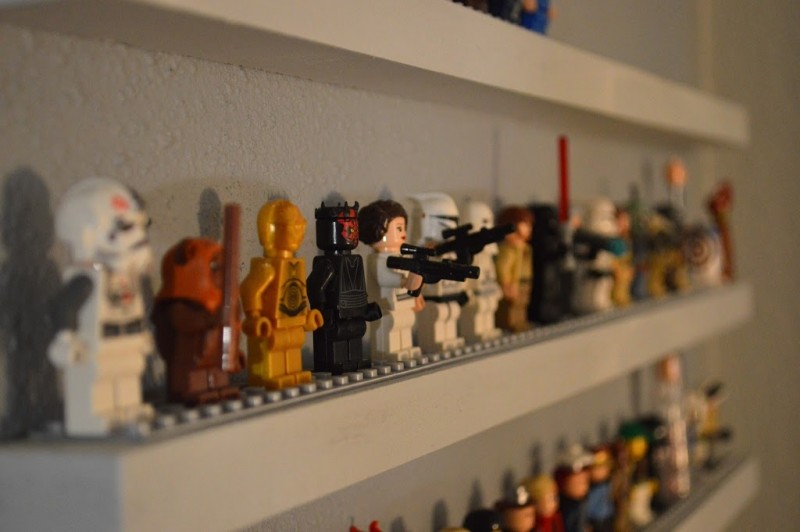
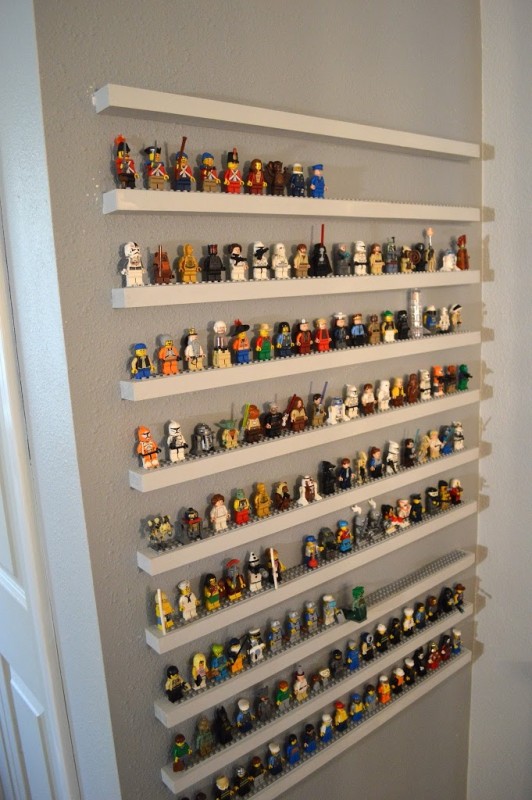
Do you have little person living with you that is obsessed with Legos?  I do!!  We love the Lego Minifigures at our house!!!  I wanted to find a way to display and store them.  I think this works well and it has lots of room so we can buy more Legos!!!!
Supplies:
3/4″ wood (pine, MDF, etc.)
Lego building board (available at Lego store or Lego online)
utility knife
paint
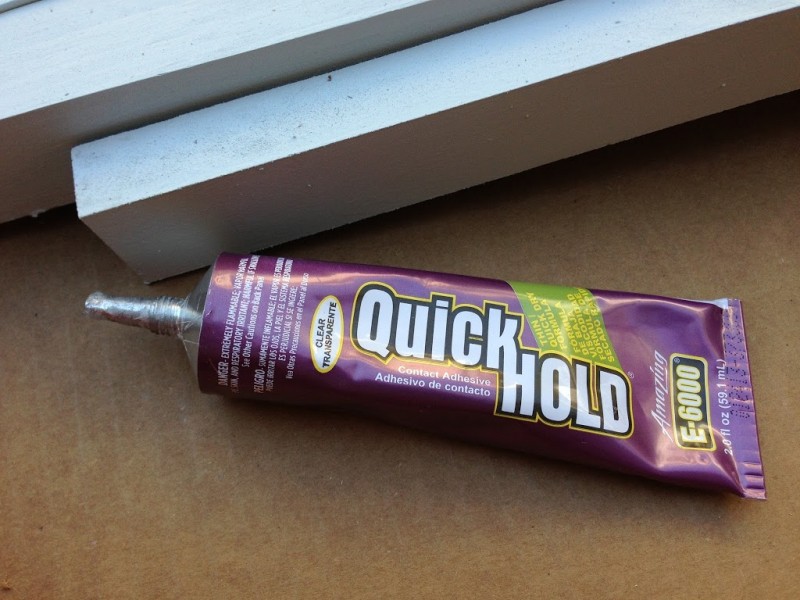
Quick Hold E-6000 glue (or similar)
nail gun
Begin by cutting the 3/4″ wood into 1 1/4″ strips.  You can make as long you want.  Mine are 23 3/4″ long because that is what looked best on the wall.
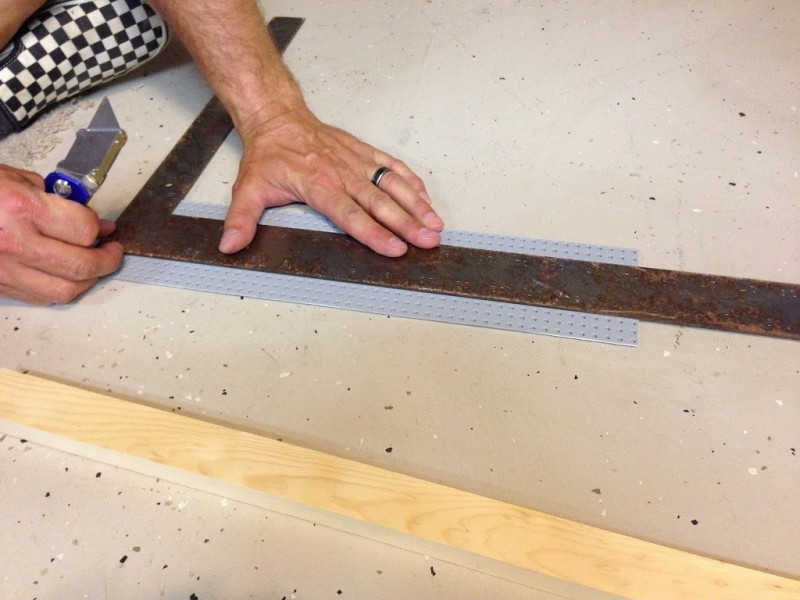
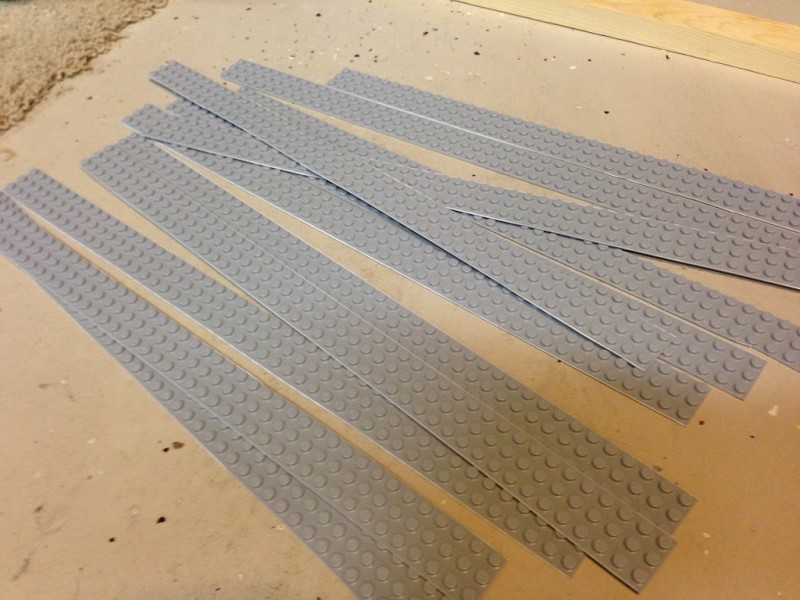
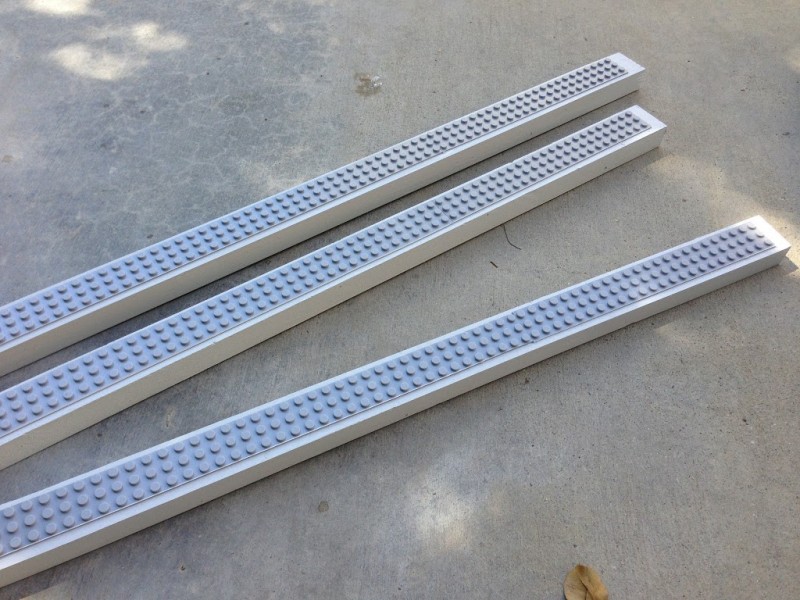
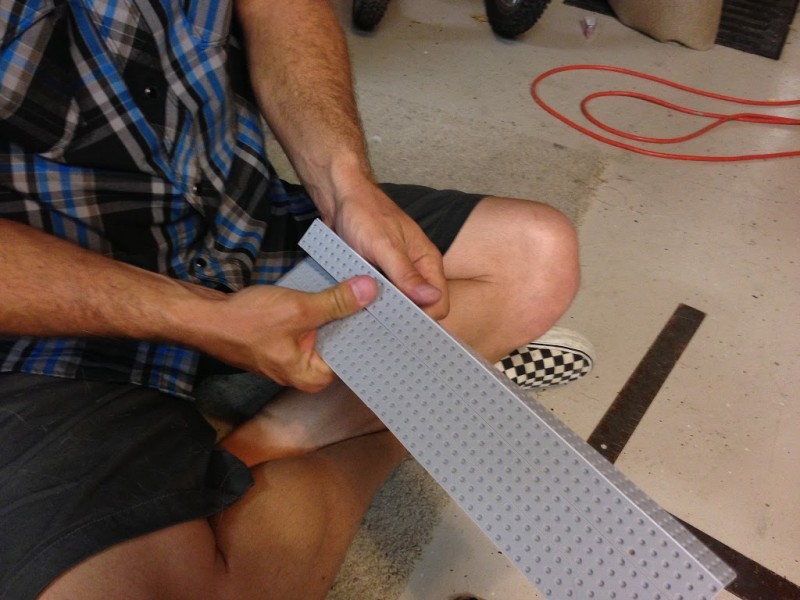
Next cut the Lego board.  Using a utility knife, cut the Lego board every “3 circles”. 
Once they are cut, bend them a little bit to break them apart.
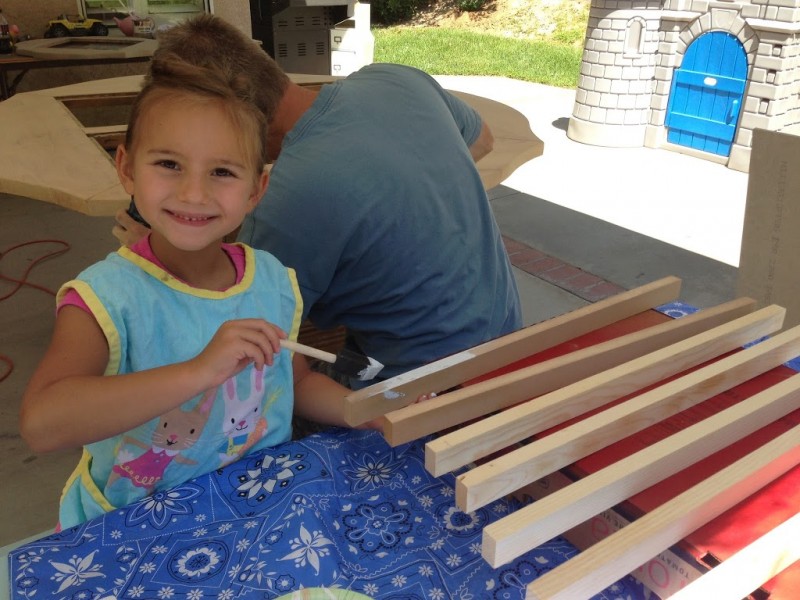
Paint the boards.
Glue the Lego strips down.  I used one and a half of the Lego strips on each board.

 Once everything is dry, measure the wall for placement.  Using a nail gun, nail the boards into the wall, making sure to hit studs.  Patch the nail holes and touch up the paint where the patches are.

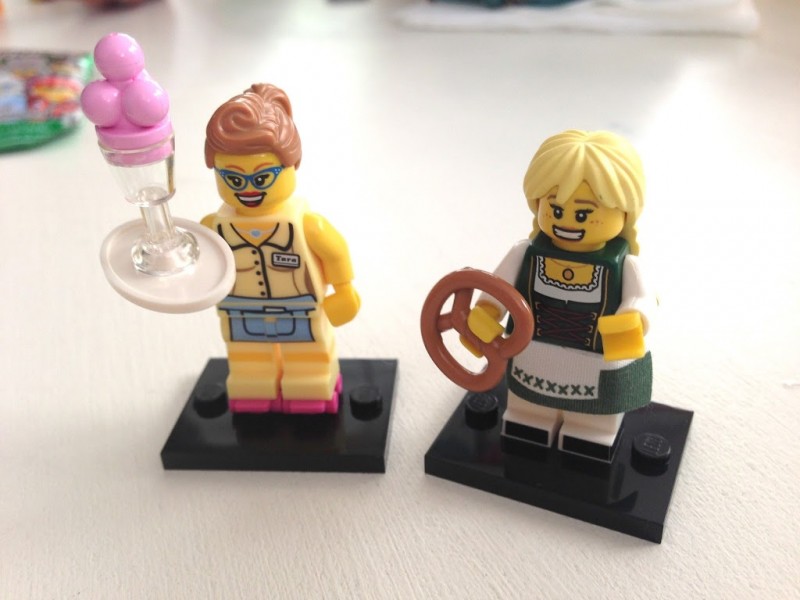
My son made me this “Keith Urban” minifigure.

We just bought our series 11 Lego Minifigures today.  These are mine!  50″s girl and pretzel girl!!

Amanda

Vintage Sheet Peasant Dress

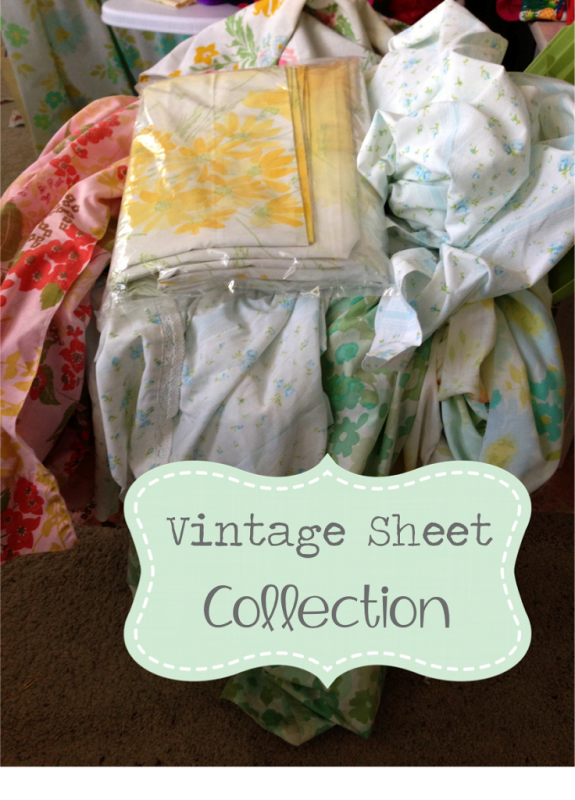
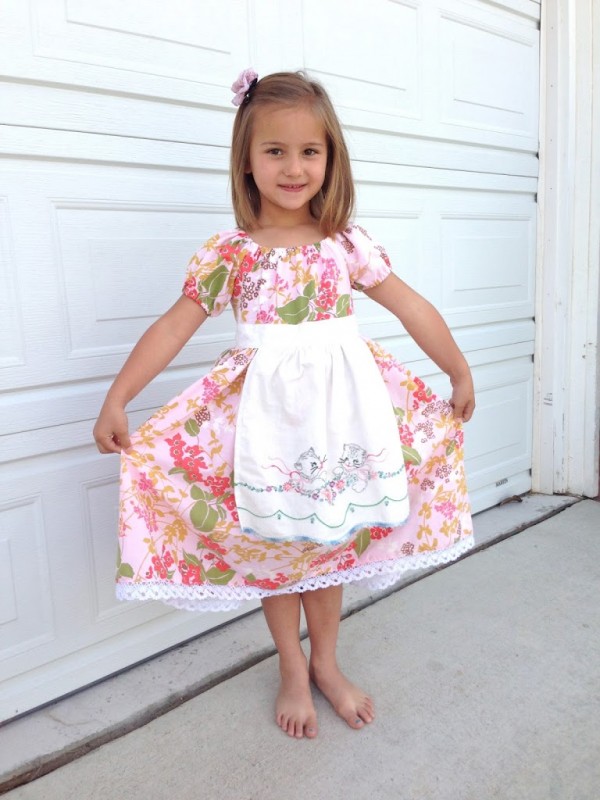
I am participating in “The Easiest Sew-Along Ever” over at Windsor & Main.  This dress is my project.  It began with a big box of vintage sheets. 

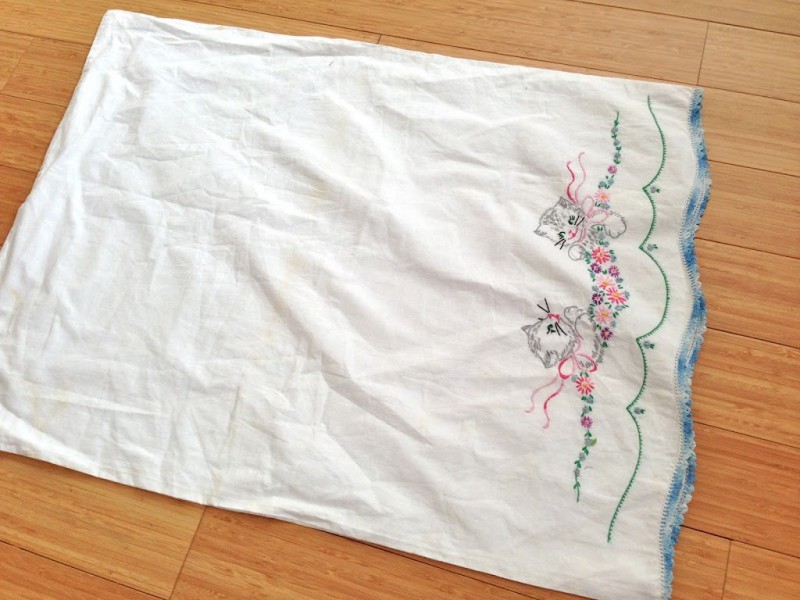
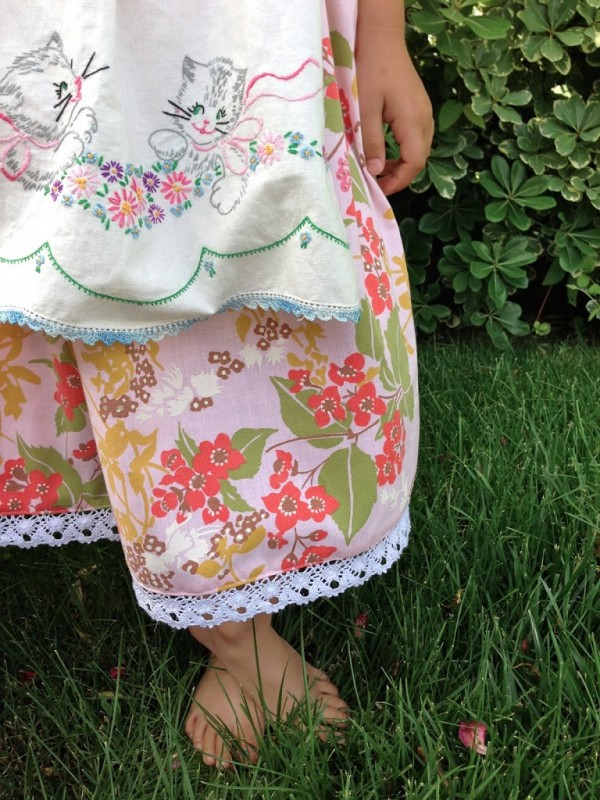
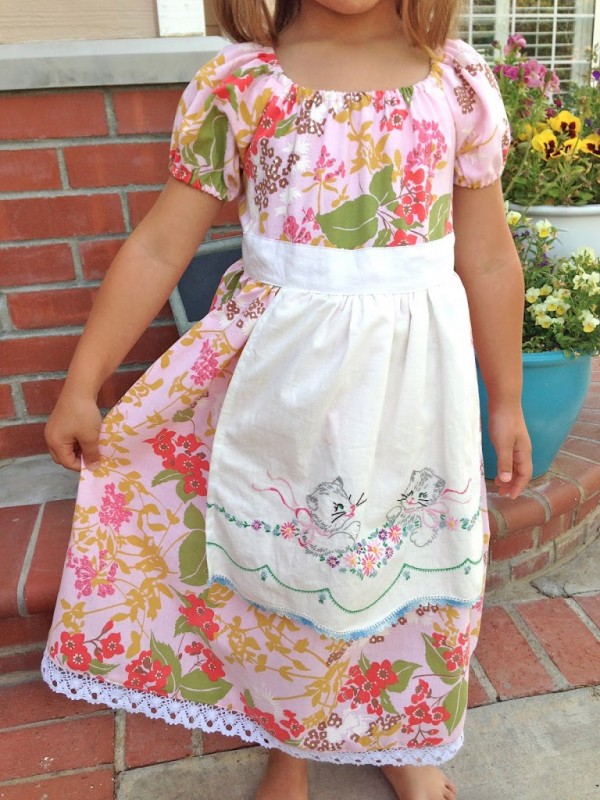
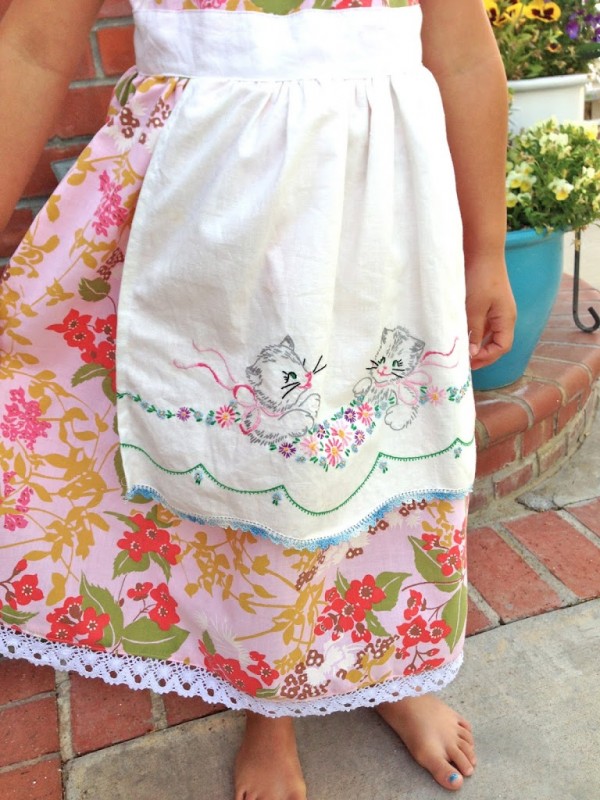
 I narrowed it down to a pink set of sheets.  I bought these at a thrift store in Virginia when I was out there for spring break.  I love them!  The fabric is so soft.  I also had this pillow case with embroidered kitties on it.  The pillowcase had stains on it.  I decided to make a little apron for the dress using the kitties.
 
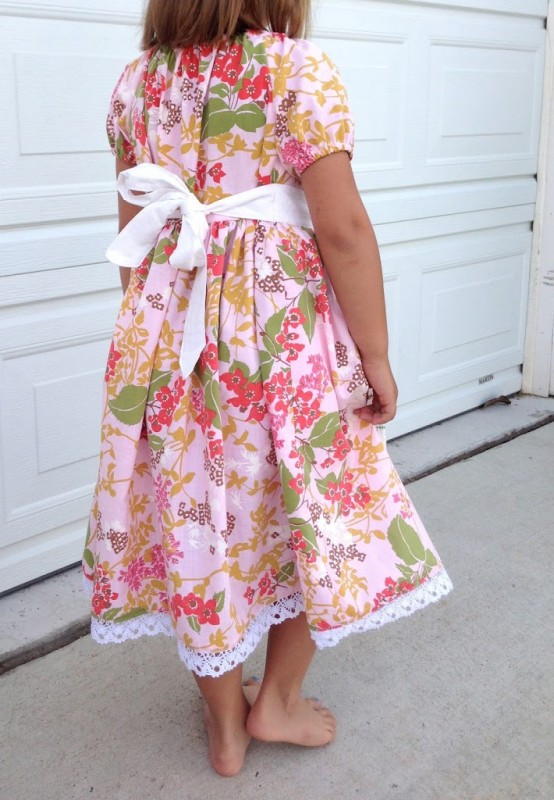
The apron is attached to the dress.  I also added some crochet lace to the hem of the dress.  The tie of the dress is made using a white sheet.  This dress is 100% upcycled!!!  I love it!


Amanda

New Paint for my Front Door

 
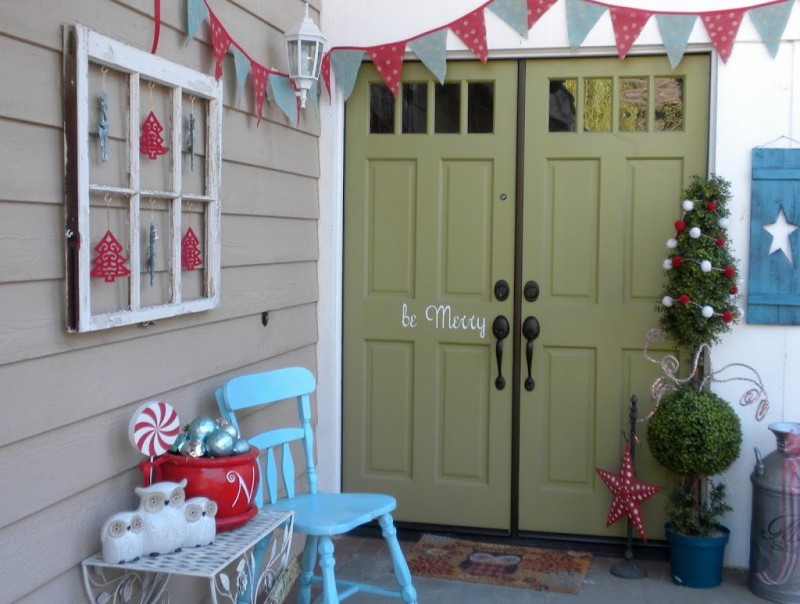
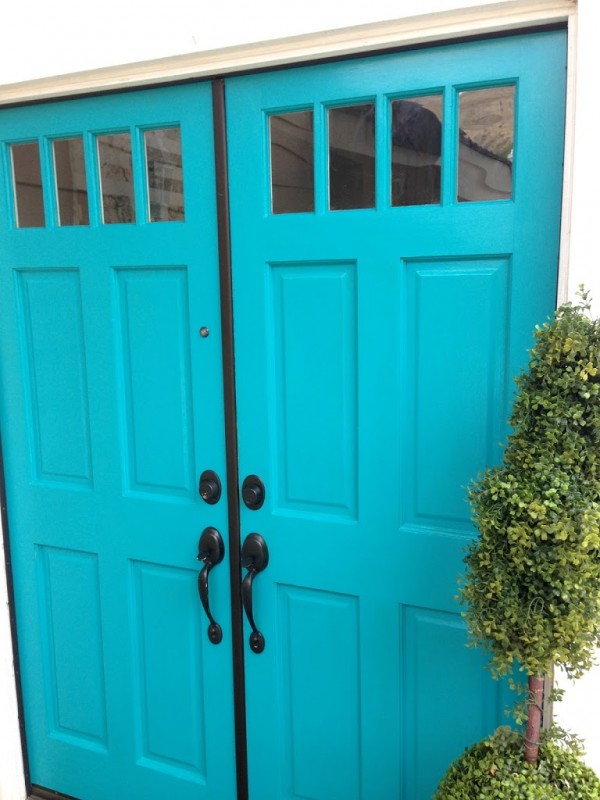
Nothing makes me feel better than a new coat of paint!  (well maybe new fabric!!)   Two years ago I painted my front doors this apple green – which I liked.  Last Christmas, I thought it would be fun to put some vinyl lettering on my door.  It was cute until after Christmas I pealed it off and it pulled the paint and some of the wood off.  Get out the sander and a new color paint!!
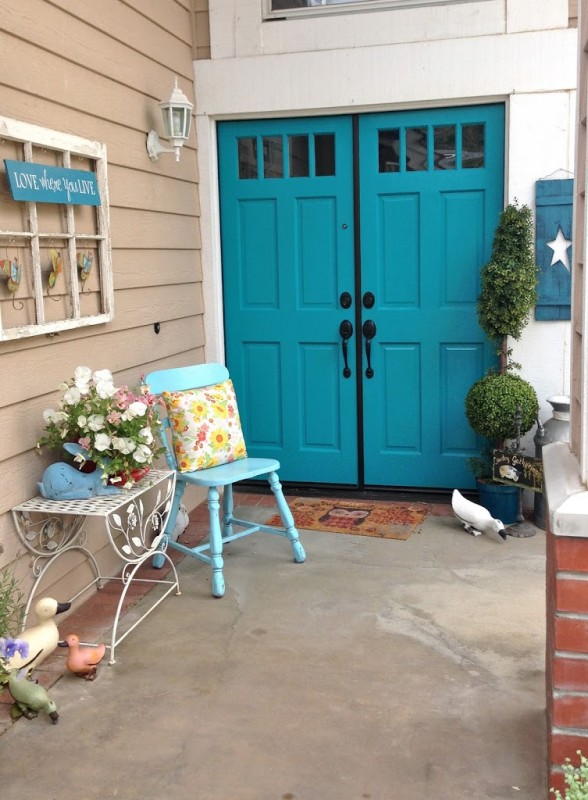
Enter in Sherwin-Williams “Splashy”.  Only my new favorite paint color!!!


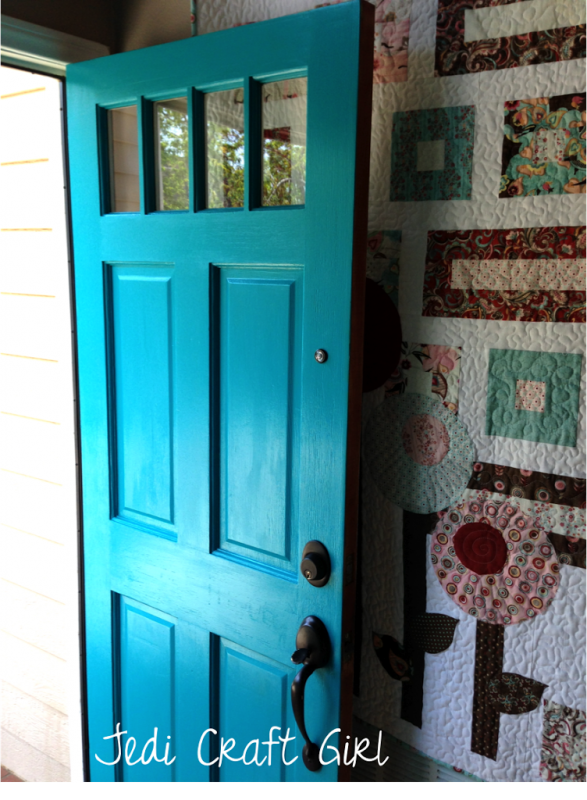
 I love how it turned out!  I definitely have the brightest doors on my street.  I love driving by my house and seeing my front doors.  Makes me feel happy!!


Amanda