Caturday Sew Along October

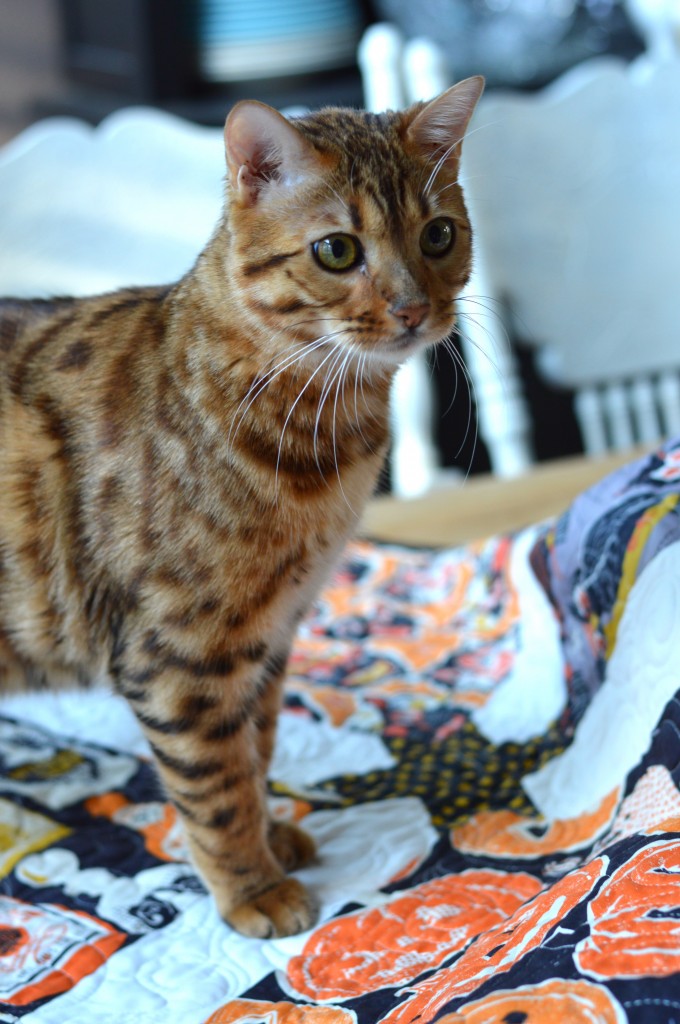
caturday octoberWelcome to the Caturday Sew Along!  I love cats and sewing!!!  I know a lot of you love sewing with your fur babies too!    Each month I will post a cat themed quilting project that we can sew together.  Post your progress on Instagram and tag it with #caturdaysewalong.  For October choose any variation of these three projects that use a cat silhouette and SPOOKY applique.  Click the links for the patterns.
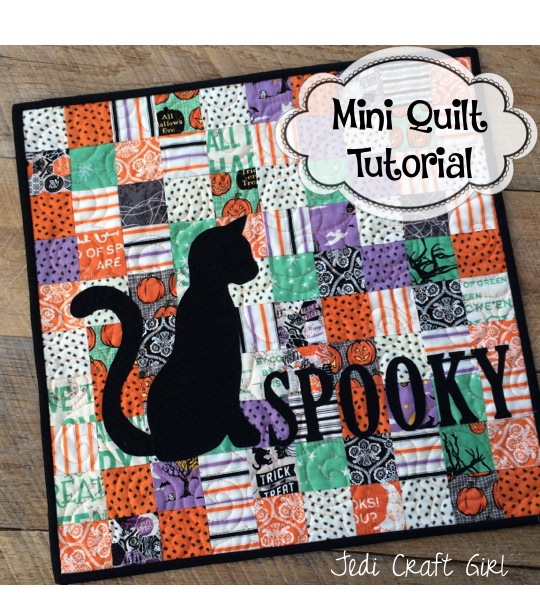
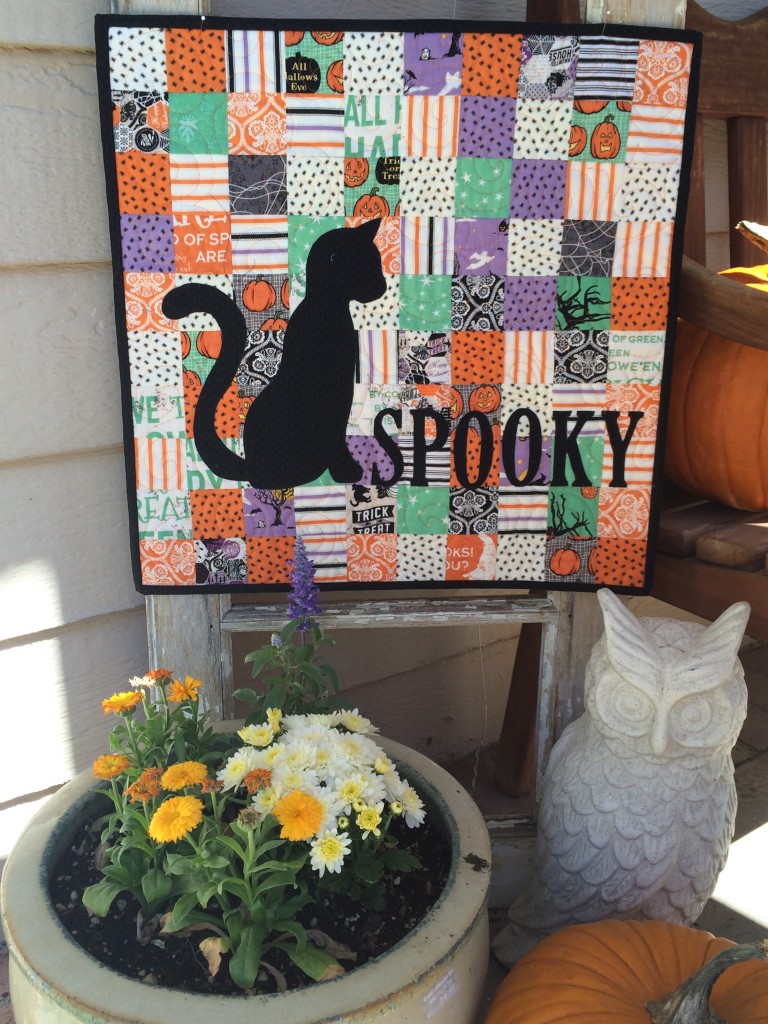
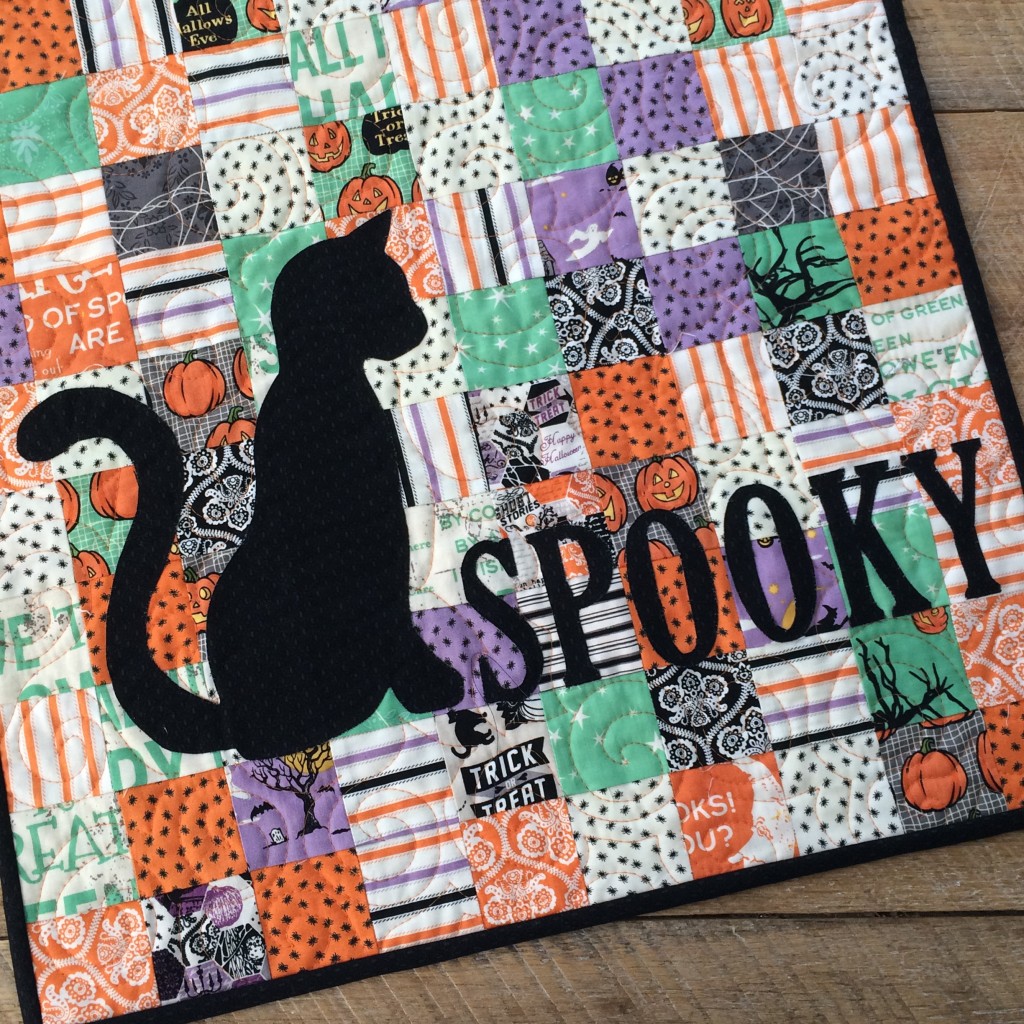
spooky mini quilt tutorialThis Spooky mini quilt measures 20″ square and uses 2.5″ squares to complete.  It’s such a fun way to use up those Halloween scraps you’ve been saving!!  Click HERE for the tutorial.
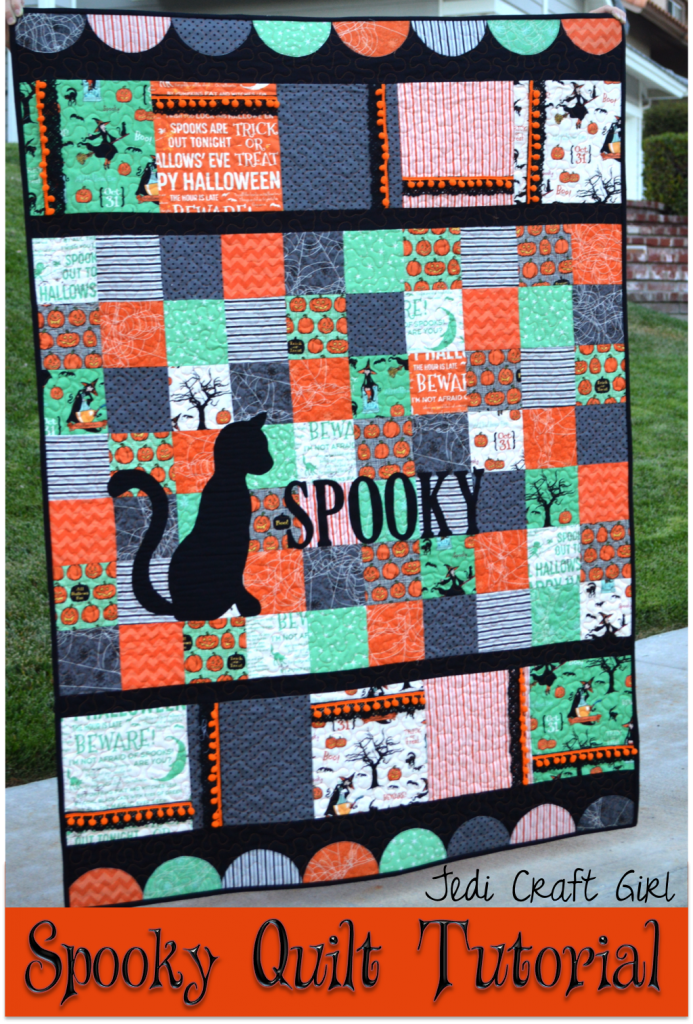
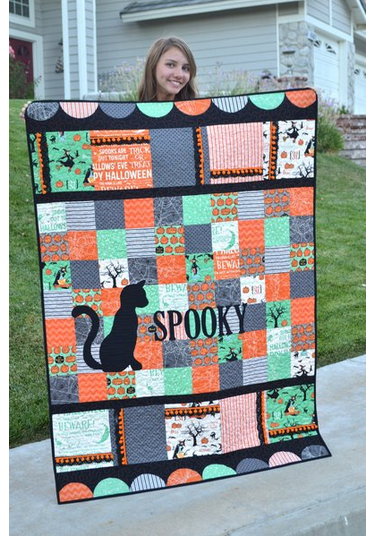
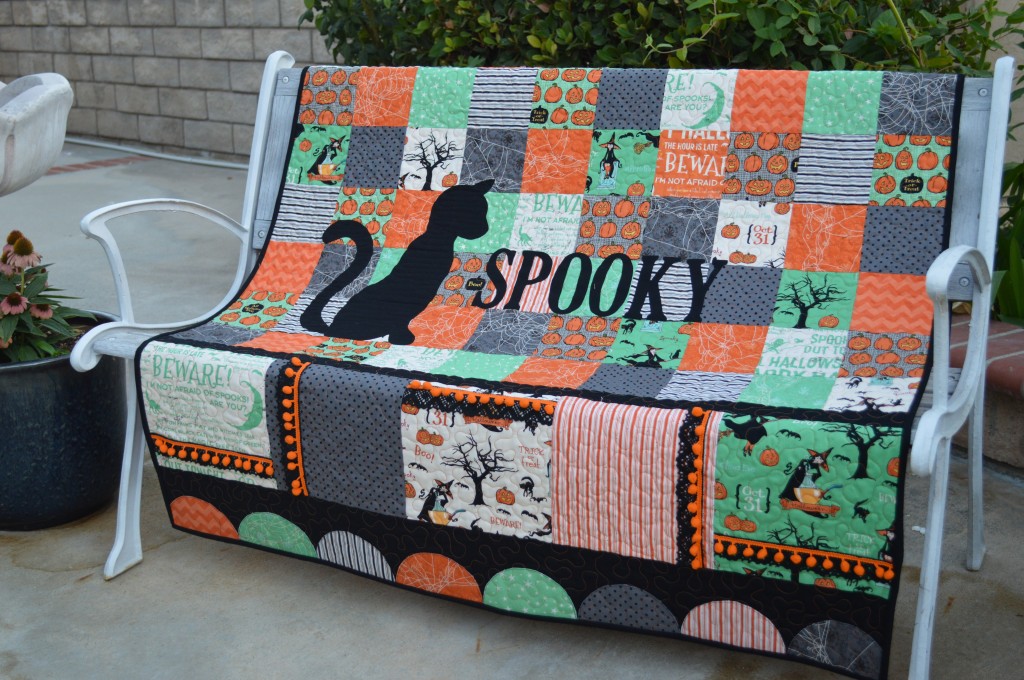
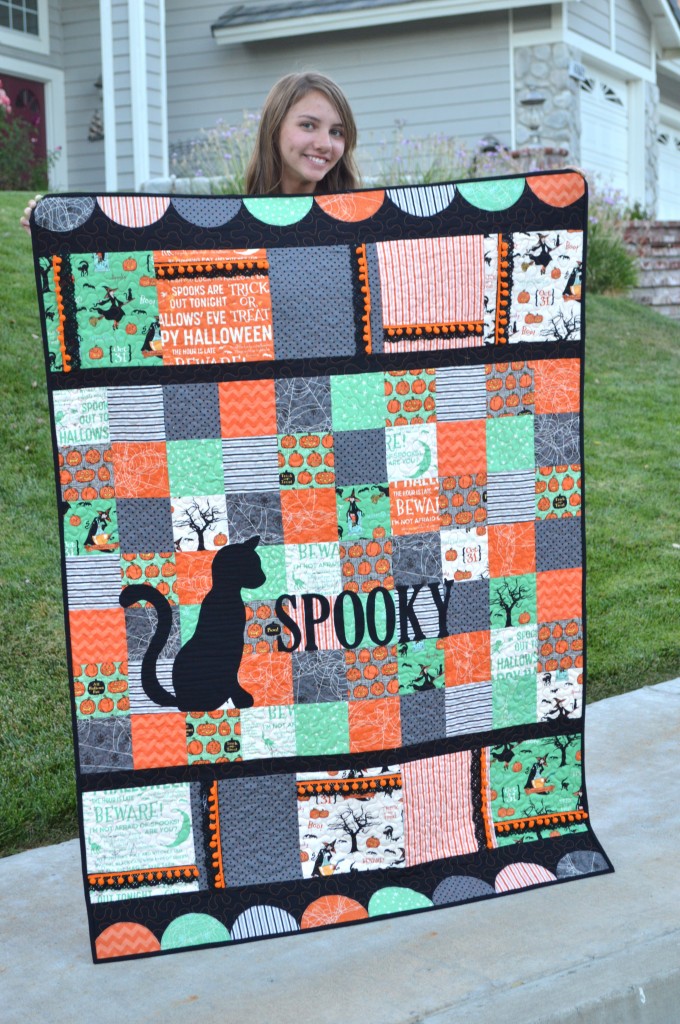
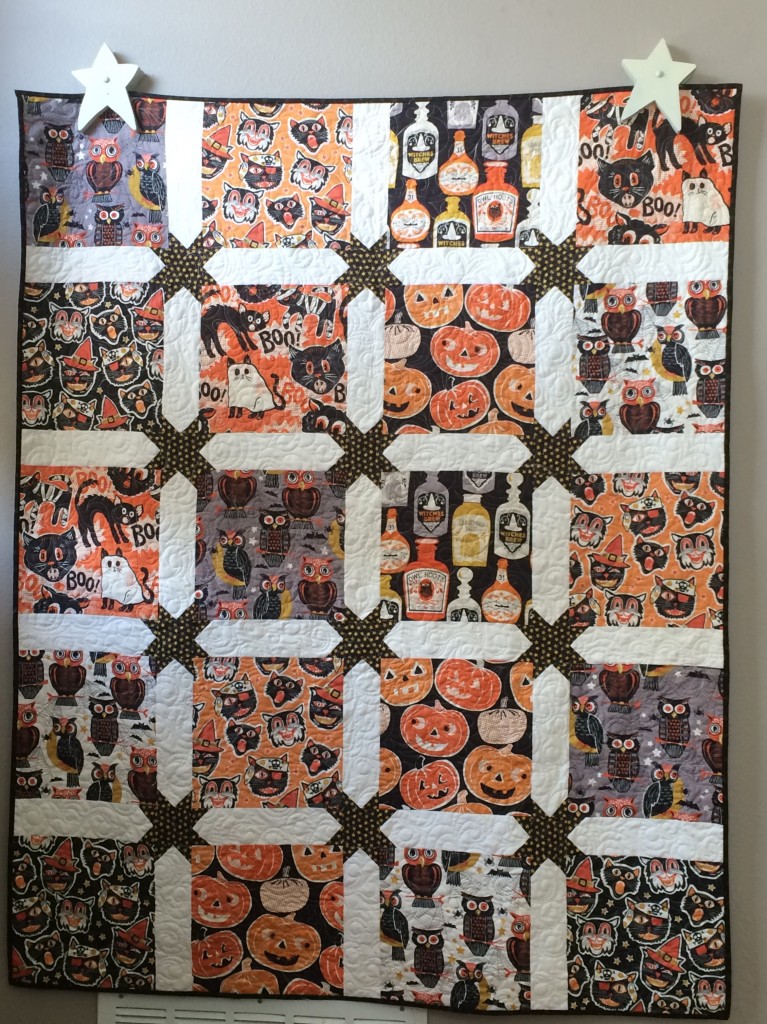
spooky_quilt_tutorialThis larger version measures 44″ x 60″ and it uses 5″ charm squares for the center.  It’s my favorite Halloween quilt.  Click HERE for the tutorial.
Halloween_quilt_tutorial_1

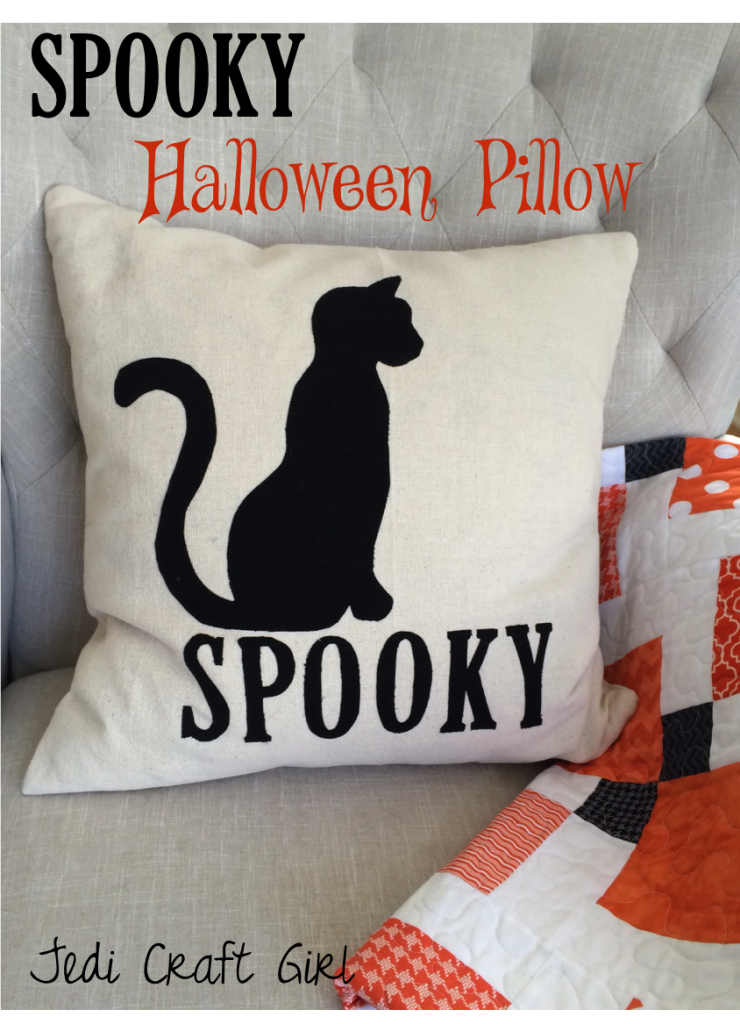
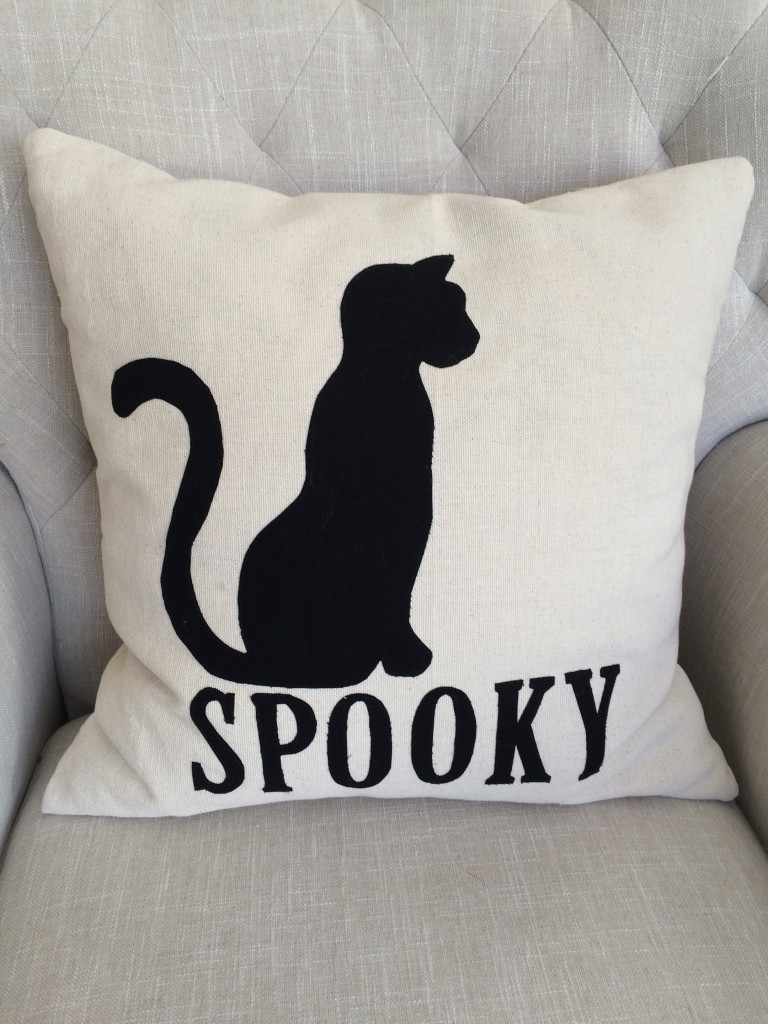
spooky Halloween pillow_10If you find yourself pressed for time but still want to sew something SPOOKY, try this quick pillow tutorial!  Click HERE
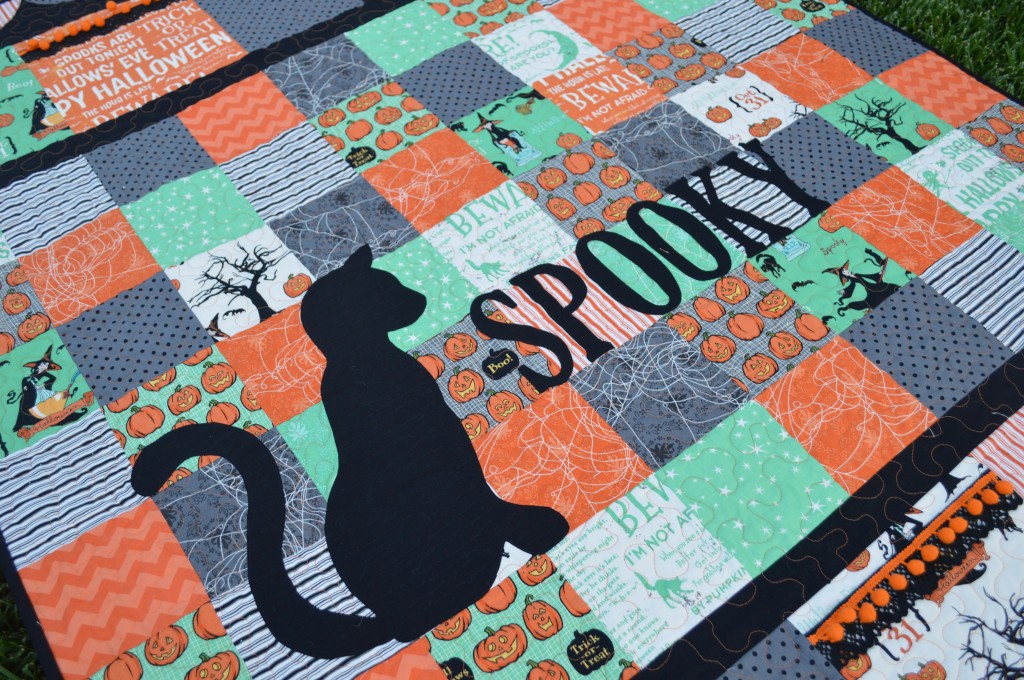
Spooky Mini Quilt

spooky mini quilt tutorialI love Spooky Sewing!  Halloween is such a fun time of year and the fabrics are so amazing!  This mini quilt pattern is inspired from a larger pattern I created.   You can find the pattern for the large version on the Riley Blake Designs website.  The fabrics are from last years and this years Riley Blake Designs Halloween fabrics.  They are purrrrfect for Halloween!Screen Shot 2015-09-30 at 2.46.16 PMSupplies:

scraps of Halloween prints

fat quarter or equivalent for applique

2/3 yard for backing

1/4 yard for binding

batting

Heat n Bond Lite EZ print sheets

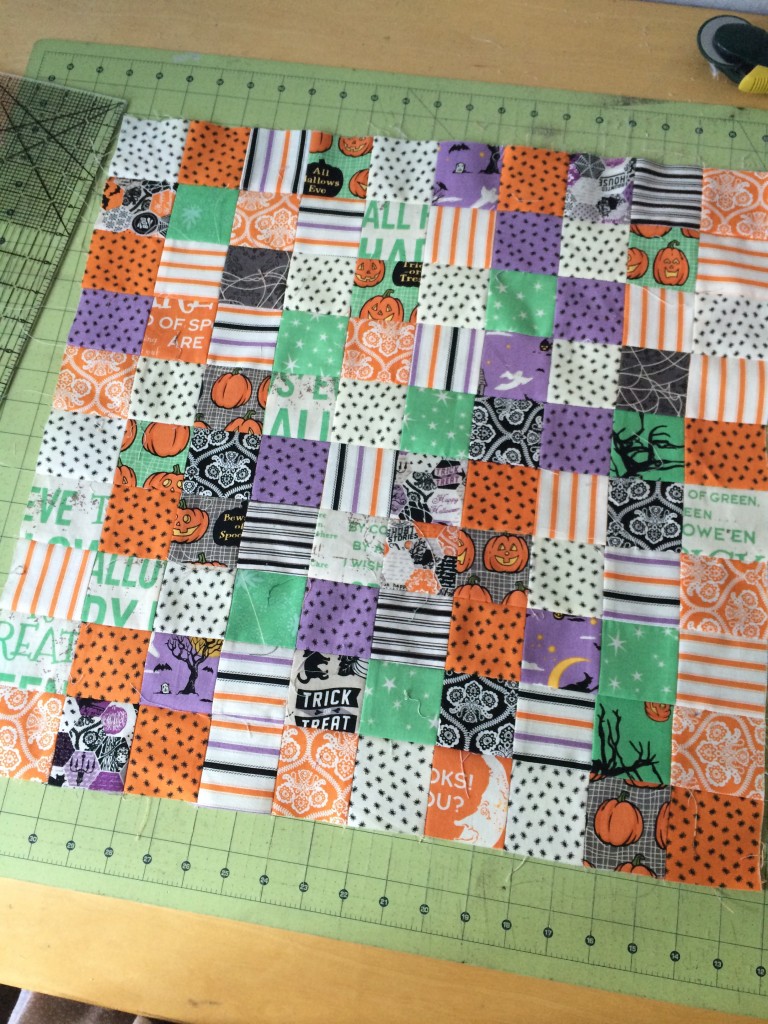
This small version measures about 20″ square.  It would make a great pillow too!  Begin by rummaging through all your scraps and cut 2.5″ squares.  You need 100 total.  There are 10 rows of 10.  I did mine totally random.  I just grabbed 2 fabrics and sewed them together.

spooky mini quilt I paired all the fabrics then sewed those pairs with other pairs, leaving 10 pairs out.  Once you sew the 2 sets of 2, you have strips with 4 squares.  Pair those up to give you 10 sets of 8 squares.  Then add the reserved pairs to the ends.  This was the fastest way I found.  I lined up the rows the best I could.  I tried to avoid having 2 like fabrics touching.  Press all seams.spooky mini quilt 3

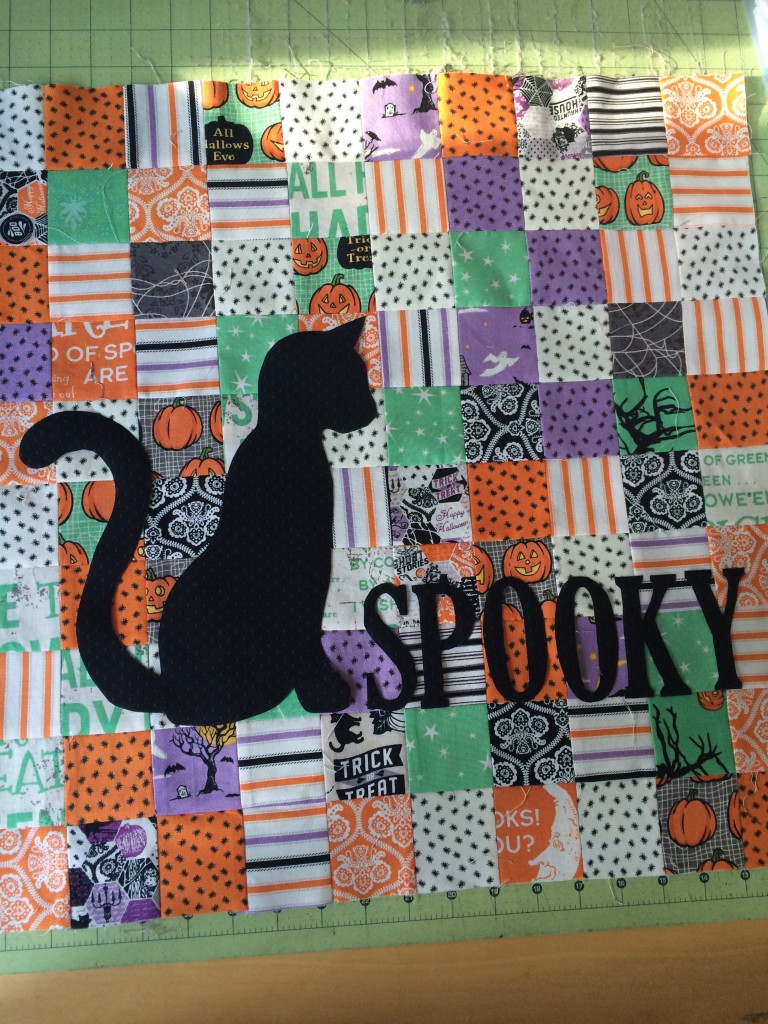
To add the cat applique, click HERE for the cat and HERE for the Spooky.  Print them in reverse.  I like to use Heat n Bond EZ print sheets – no tracing!!!  Once you’ve got your applique ready, iron it into place and stitch around it with black thread.

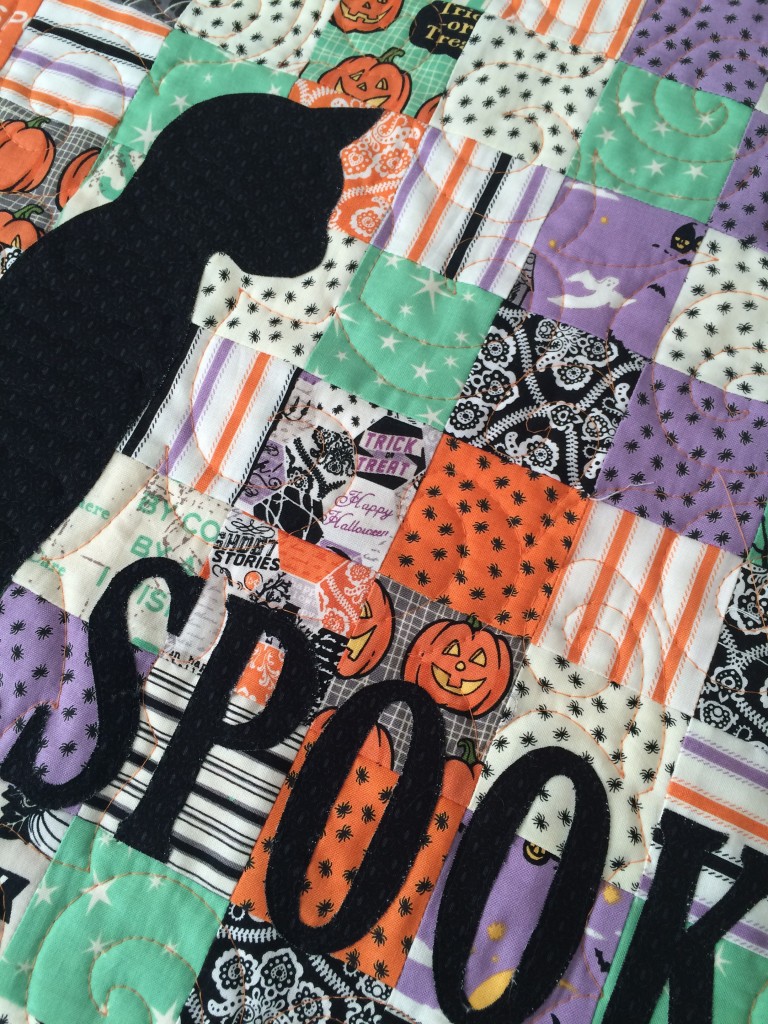
spooky mini quilt 2All that’s left is the quilting!  I quilted orange swirls.

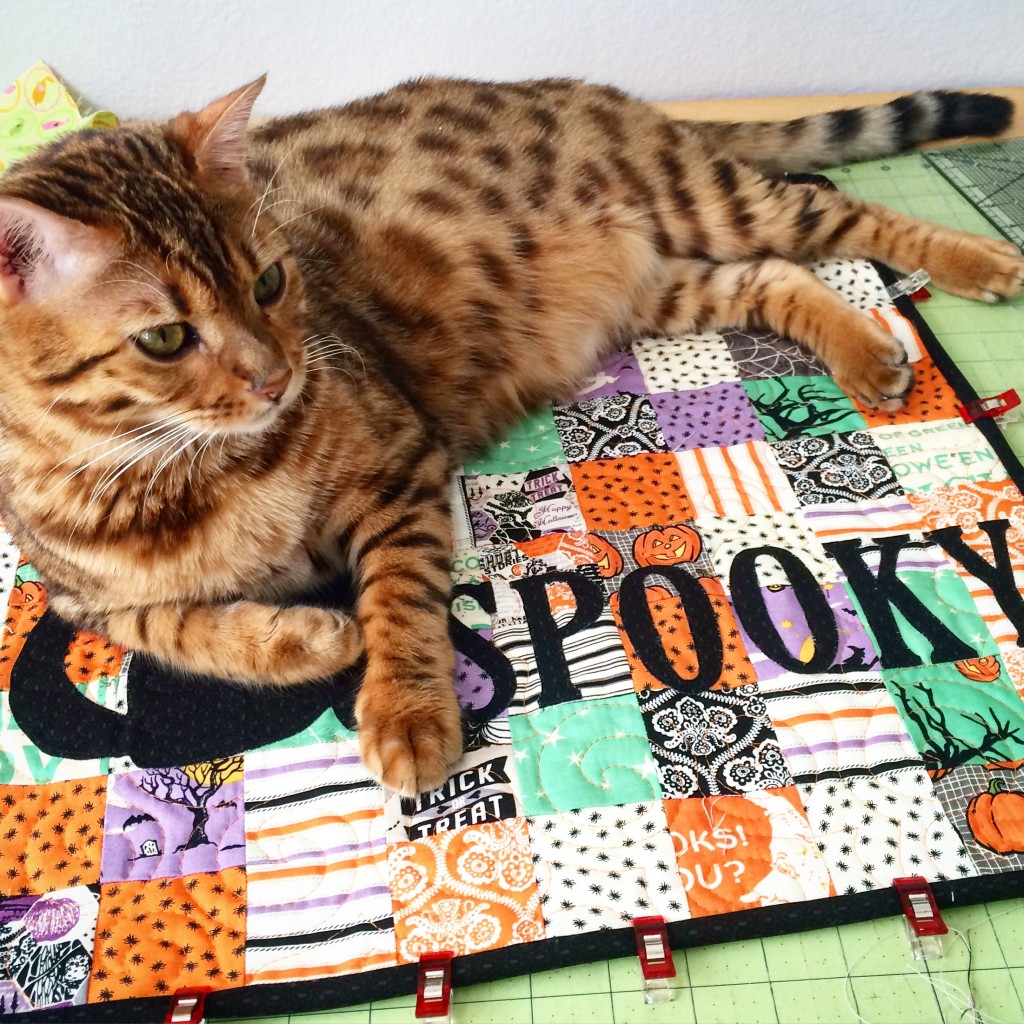
IMG_0813Add the binding and its done!  This might take a while if your cat decides to have a nap on it!!!  spooky mini quilt 4I love it so much!!!!
spooky mini quilt 5

Spooktacular Halloween Towels and Pillow

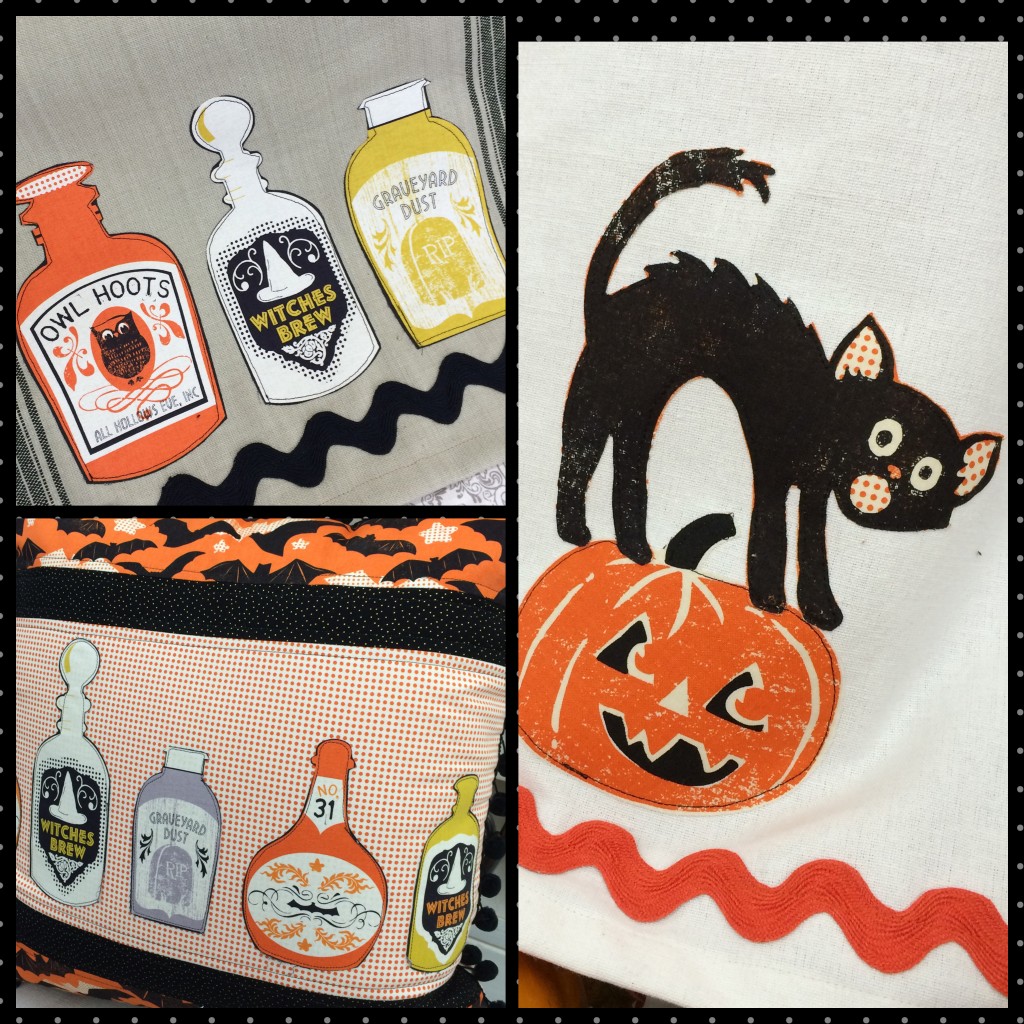
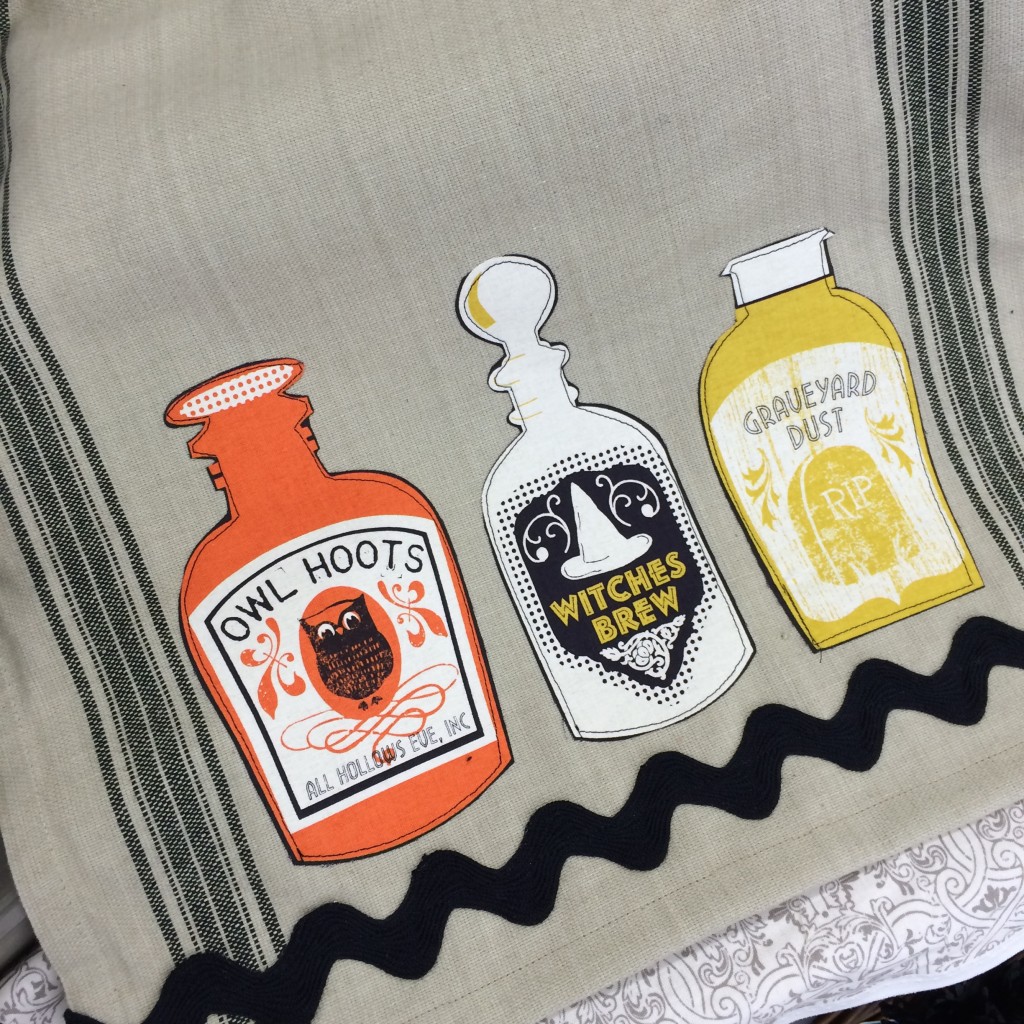
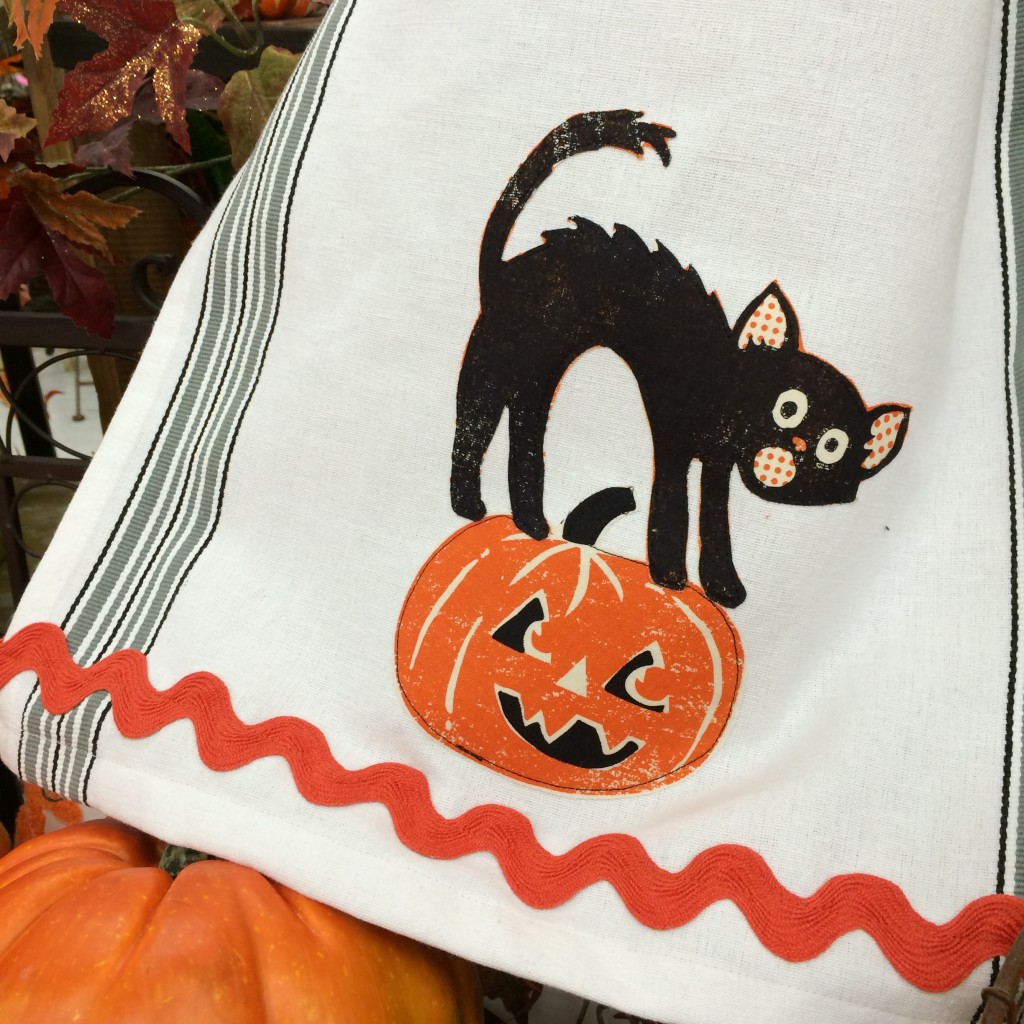
IMG_9978Kids are in school, mornings are cool and crisp, and I can’t get enough Halloween sewing!!  These projects are super quick and easy.  The images used for the applique are fussy cut from Blend Fabrics Spooktacular fabric line.  I love these big bold Halloween designs!

For the towels…

Supplies

1 yard toweling for each towel, or a finished tea towel

1/2 yard ric rac

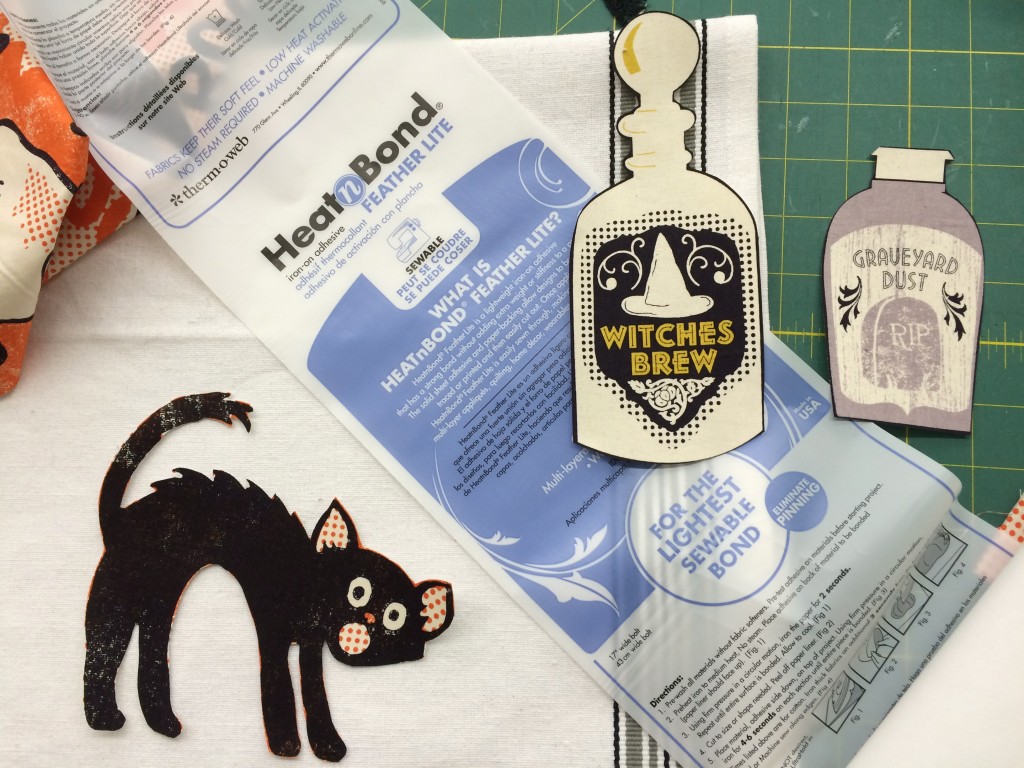
Heat n Bond Feather Lite

Desired fabric

spooktacular applique towel 2

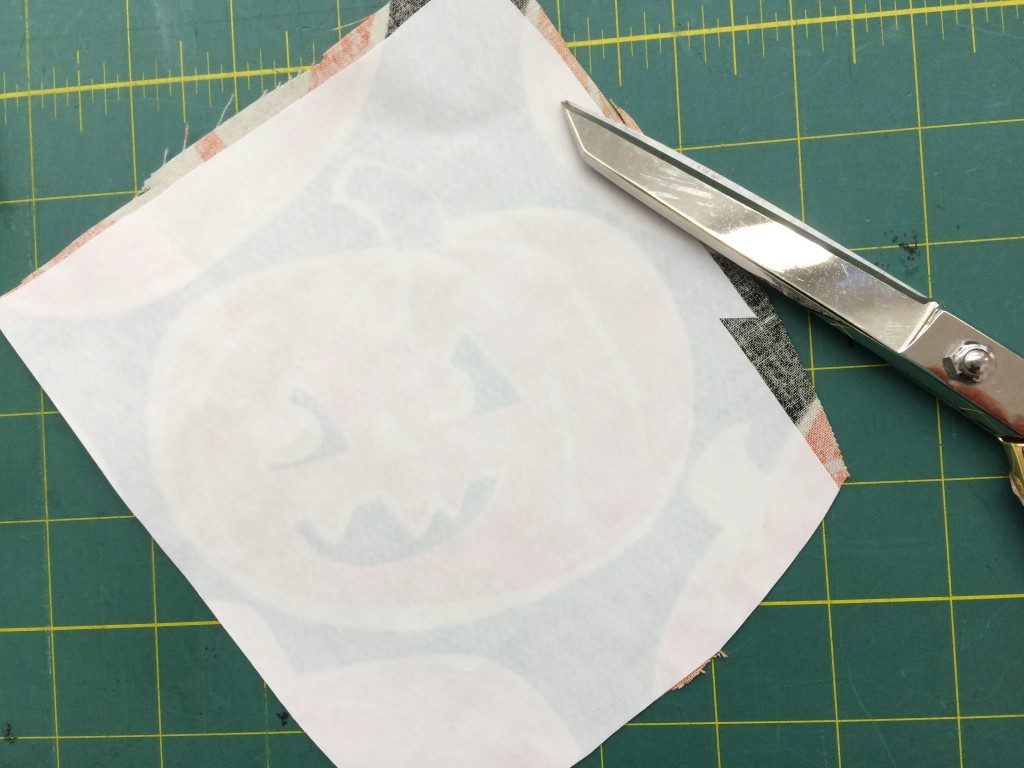
Begin by selecting the image you want to applique on the towel.  Cut a piece of Heat n Bond slightly larger than the image.  Iron it to the wrong side of the fabric.

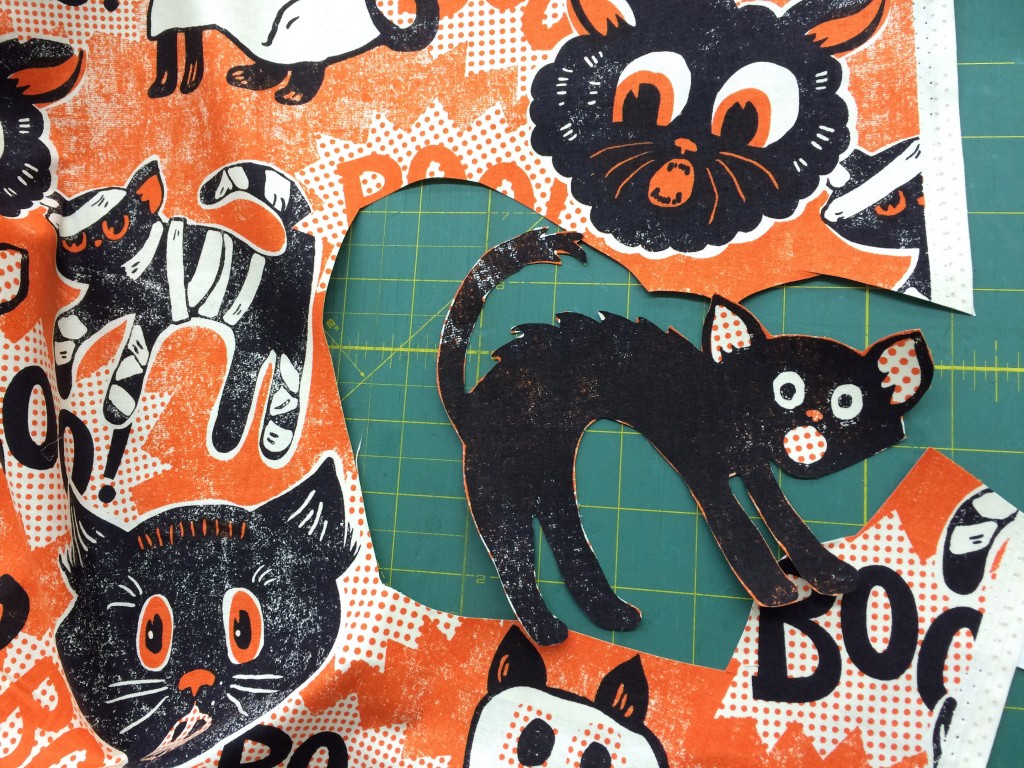
spooktacular applique towel 3Cut out the image.

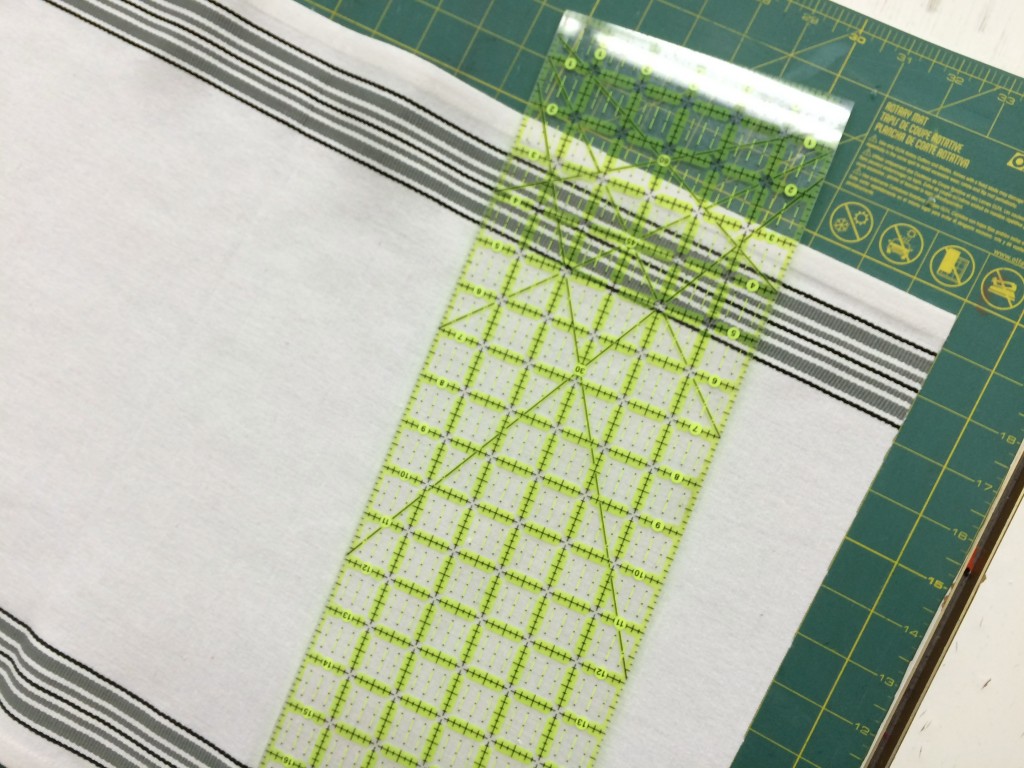
spooktacular applique towelEven up the toweling and sew a rolled hem on both edges.spooktacular applique towel 4Peel off the backing paper and press into place.  Top stitch around each applique piece.  Add ric rac or other decorative trim.

spooktacular applique towel 5These would make great gifts for friends or teachers!!!
spooktacular applique towel 6 For the pillow….

spooktacular halloween pillow 3

Supplies

quarter yard cuts of the 3 fabrics

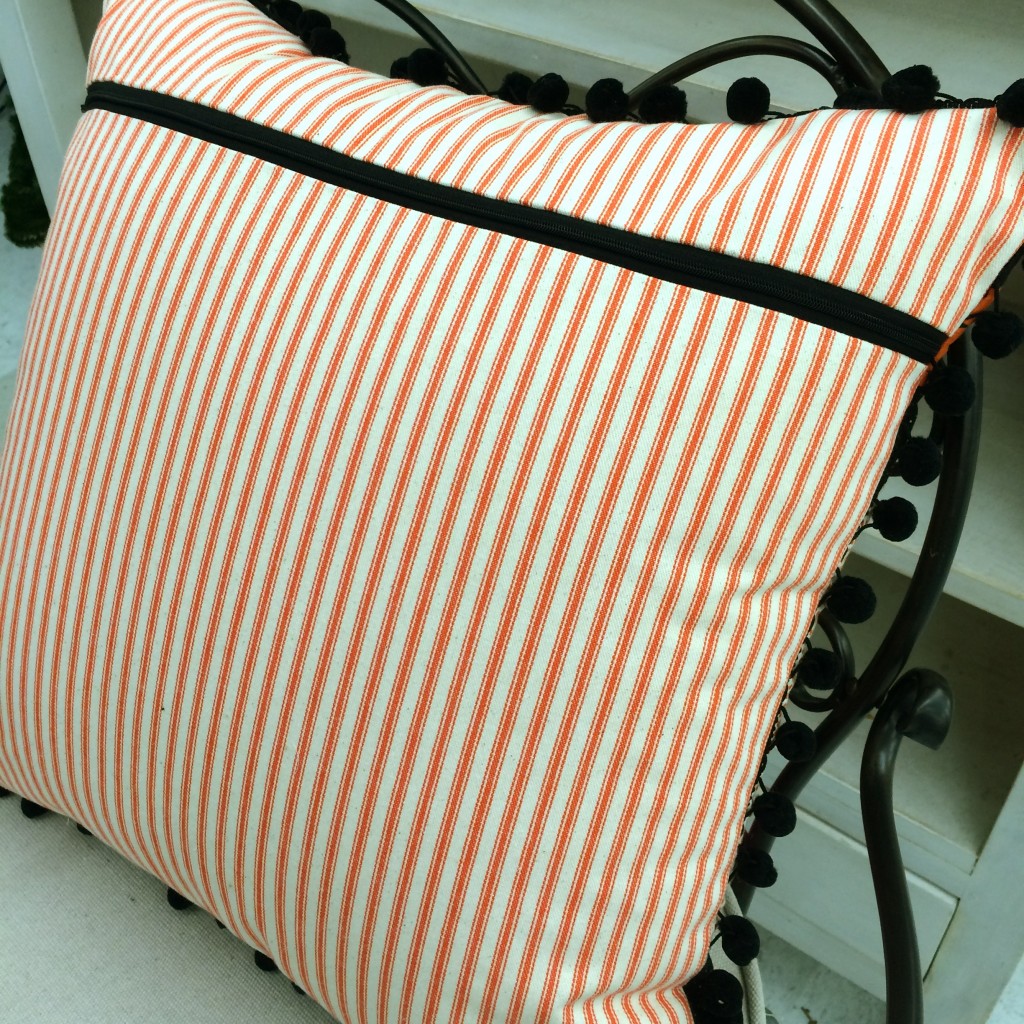
1/2 yard ticking for back

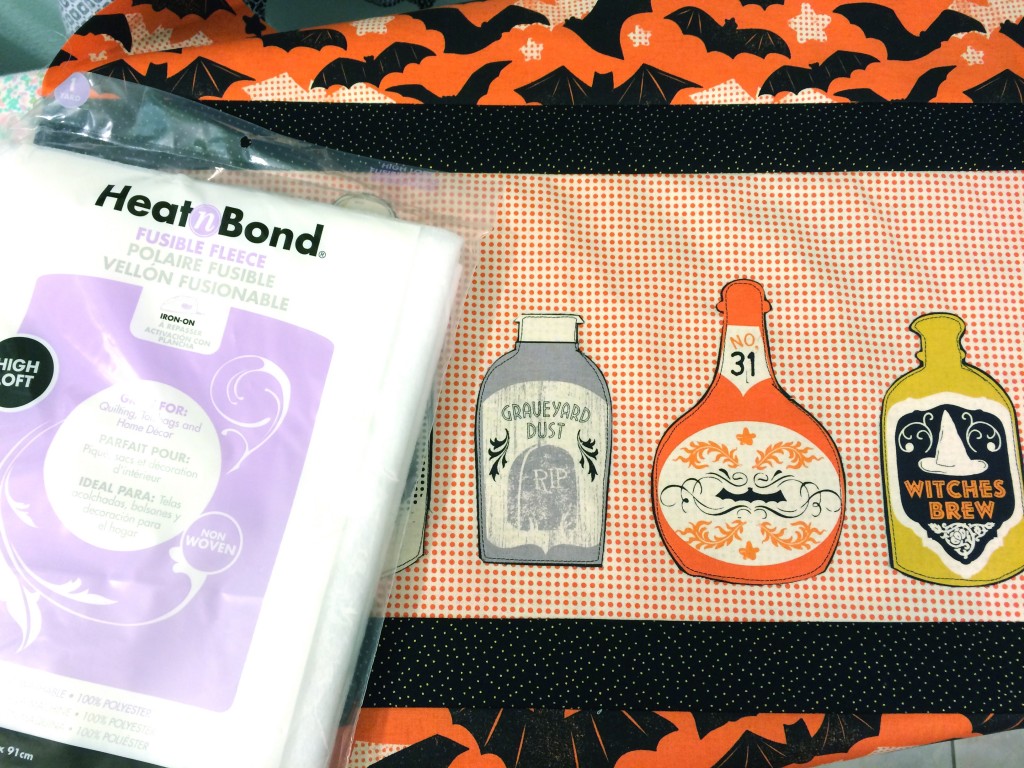
Heat n Bond fusible fleece

Zipper

Applique pieces

Heat n Bond Feather Lite

2 .5 yards black pom pom trim

20″ Pillow Form

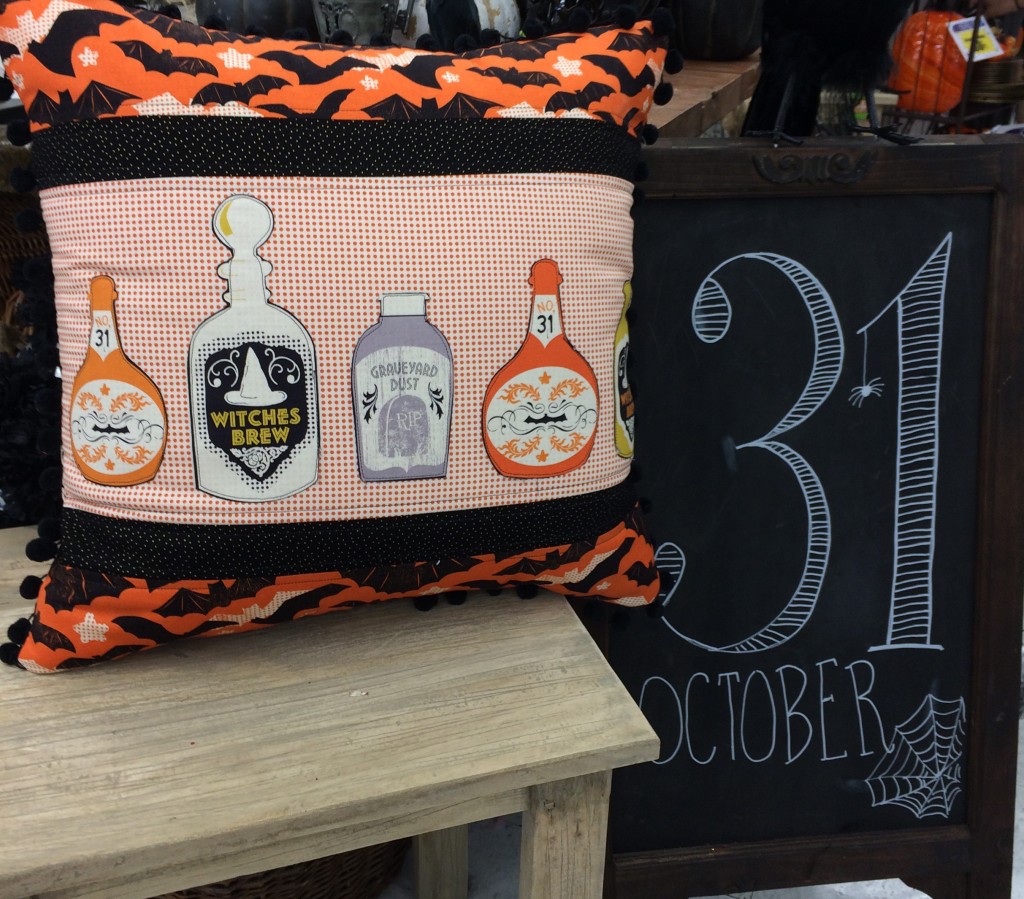
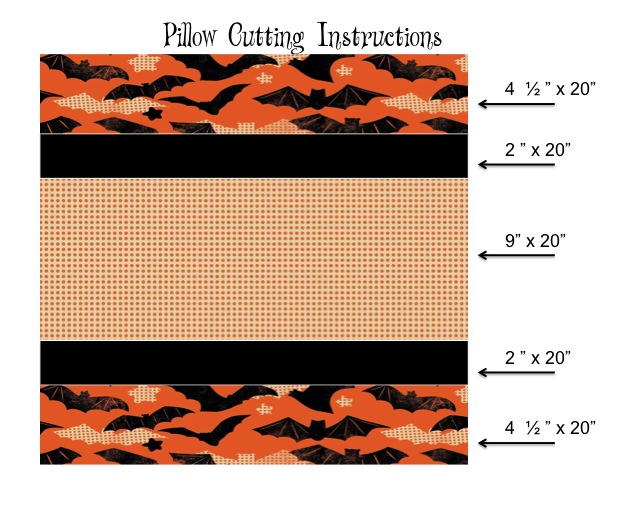
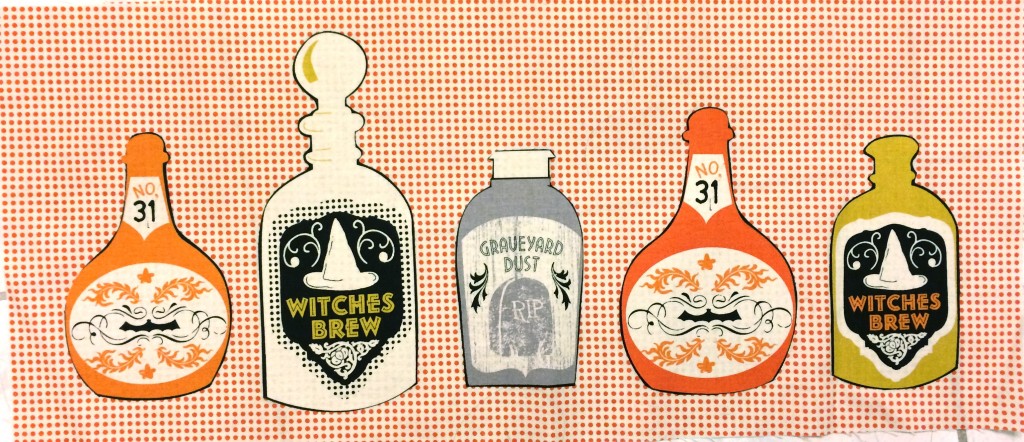
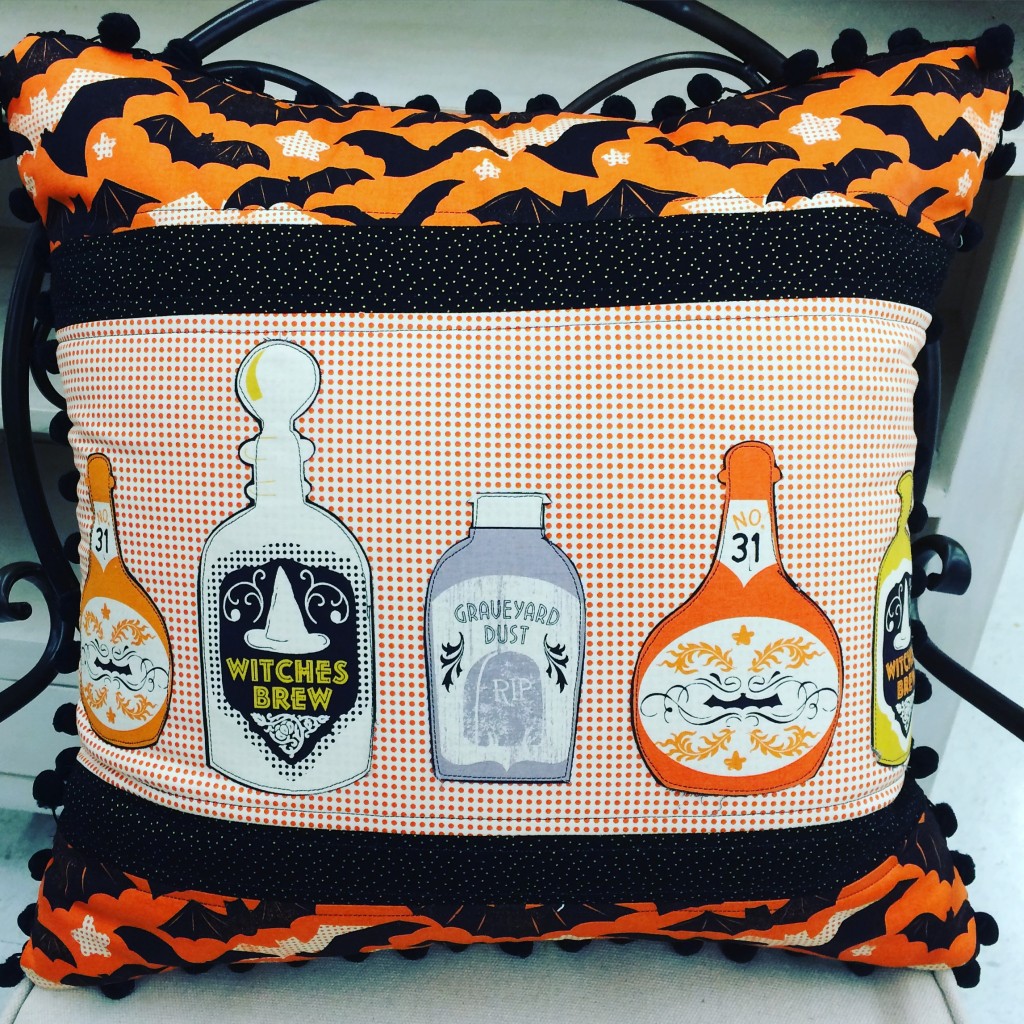
spooktacular halloween pillow 2Begin by using the method explained above to fussy cut each of the potion bottles.  Use the cutting guide below to cut each of the 3 fabrics.

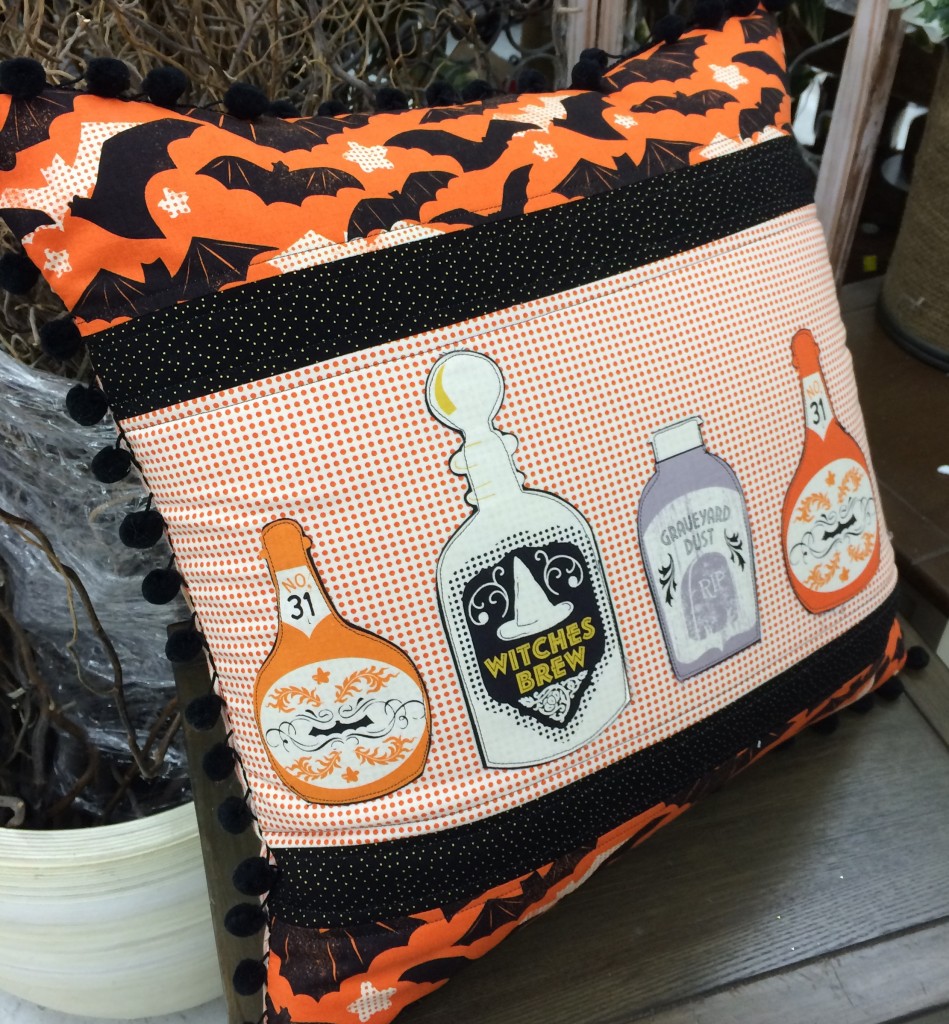
spooktacular pillow cutting guideApplique the bottles to the center piece

spooktacular halloween pillowNext, sew the strips together using 1/4″seam allowance.  Press seams to one direction.

Cut a 20″ square of fusible fleece and iron it to the wrong side of the pillow front.  You can quilt the pillow at this point.  I added some straight line stitches along both sides of the seams.

Baste the pom pom trim around the pillow, starting and stopping at the bottom center of the pillow and curving the corners.

I like to put zippers in my pillow backs.  For instructions on how to do this, click here.

Sew the pillow front to the pillow back, right sides together. making sure to leave the zipper partially open.  Turn right side out and insert pillow form.

spooktacular halloween pillow 4

spooktacular halloween pillow 5
spooktacular halloween pillow 6

Spooktacular Eve Big Block Quilt Pattern

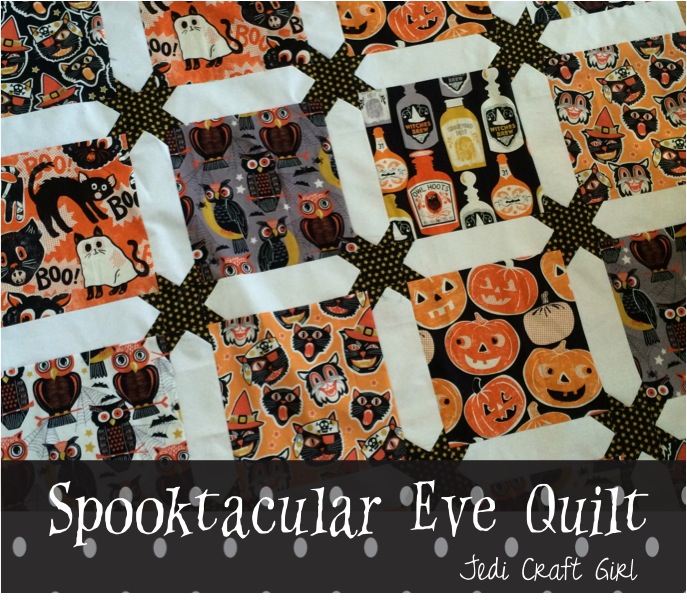
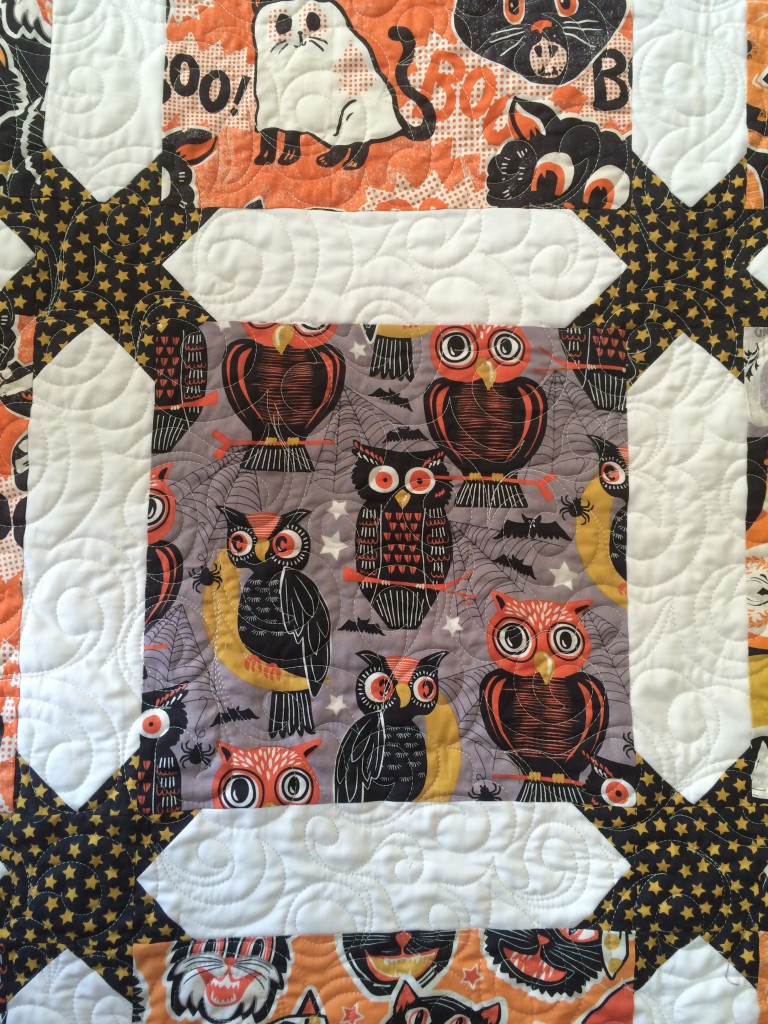
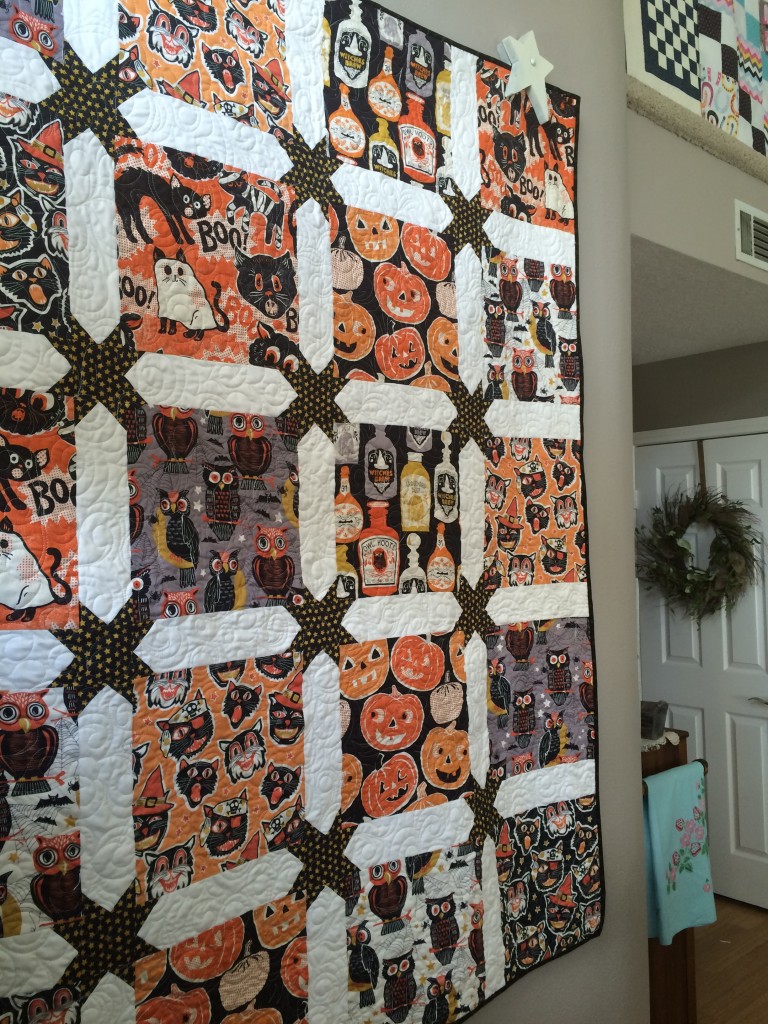
spooktacular eve halloween quiltI LOVE Halloween fabric!!!  When I met Spooktacular Eve by Blend Fabrics it was Love at first sight!  These patterns have a fun vintage feel which makes them timeless!  I didn’t want to cut into the fabrics too much so I created this Big Block quilt pattern just for you!!!  It’s a fast and easy way to show off those bold prints!
spooktacular eve quilt 6I can’t decide which print is my favorite!  If you would like to make this quilt click HERE for the PDF download version.

spooktacular eve quilt 7I have this quilt hanging in my entry way.  The finished quilt measures 55″ x 70″ which also is a perfect throw quilt size!

spooktacular eve quilt 2Even better – it’s Mufasa approved!!!

spooktacular eve quilt 2 5I hope you love making this quilt!!!

SPOOKY CAT Pillow

spooky halloween pillow

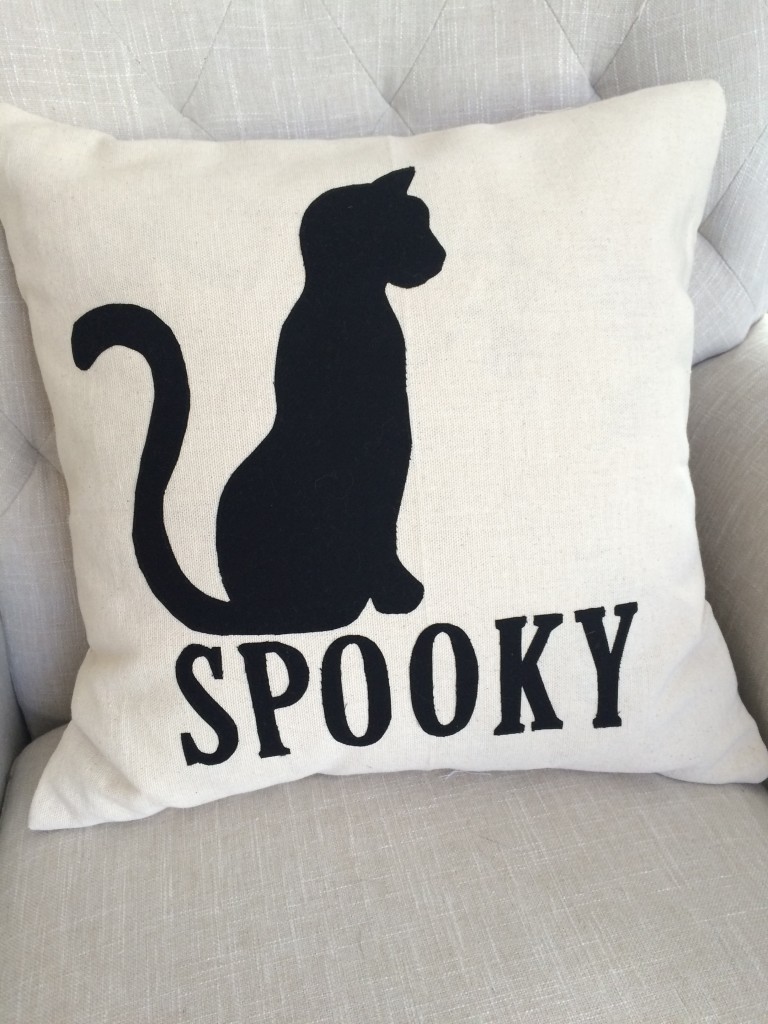
Can you believe how fast October is flying by?????  It’s crazy!  Here is a quick Halloween project – with a black cat of course – that you can sew in about 30 minutes.   By using their Heat n Bond EZ print sheets, you can print the pattern pieces onto the appliqué paper in your own printer!


Supplies

20″ x WOF duck cloth or neutral light weight canvas
fat quarter or similar black fabric
Heat n Bond® Lite EZ print sheets
22″ or longer zipper
20″ pillow form

Instructions

Begin by cutting (2) 20″ squares from the neutral fabric

Print the cat pattern (here) and SPOOKY pattern (here) then iron them to the wrong side of the black fabric.  Cut out on the pattern line and peel off backing.

spooky Halloween pillow

Position the pattern pieces as desired or as pictured below on the 20″ square and press into place.  Using black thread, stitch around each appliqué piece.
spooky Halloween pillow_2

To finish the pillow take the second 20″ square (pillow back) and cut 3″ off:
spooky Halloween pillow_4


Insert the zipper and press.  Trim off excess zipper.spooky Halloween pillow_5

With zipper pull positioned in the center of the pillow, pin the pillow front and the pillow back right sides together.  Sew all the way around the pillow using a 1/2″ seam.spooky Halloween pillow_6

Turn right side out and insert pillow.

spooky Halloween pillow_7

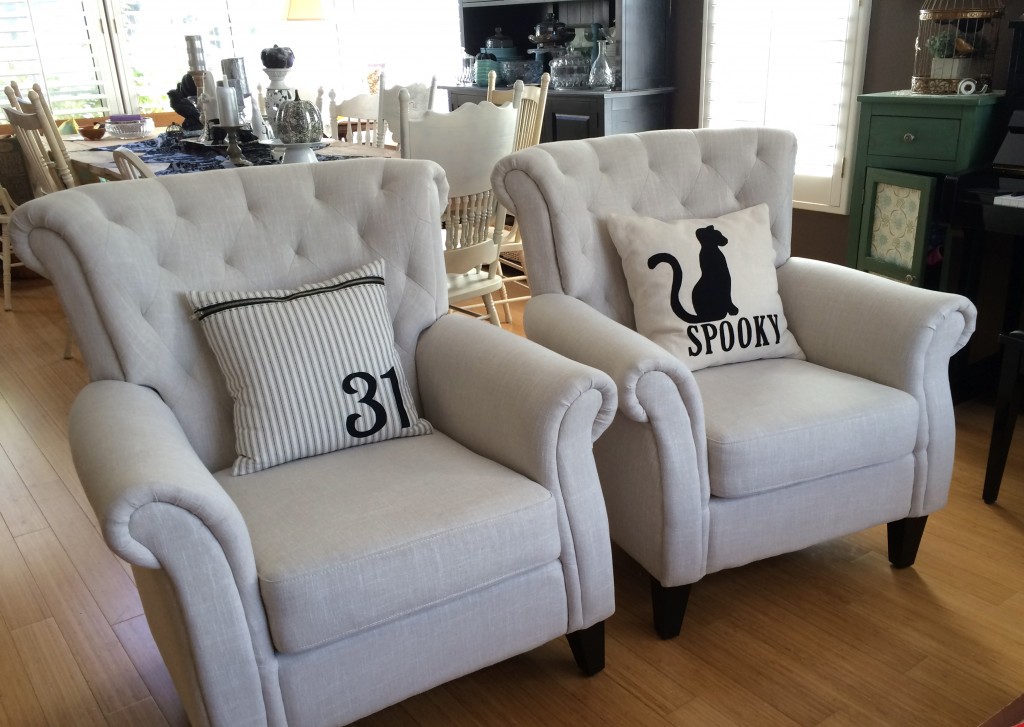
In my dining/living room I like to decorate only with black, white, neutrals, and metallics.  I love how the pillow looks on the neutral chair – a perfect compliment to the “31” pillow!!

spooky Halloween pillow_8

It also looks cute in the family room with some pops of orange!!spooky Halloween pillow_9


Halloween Pillow Tutorial

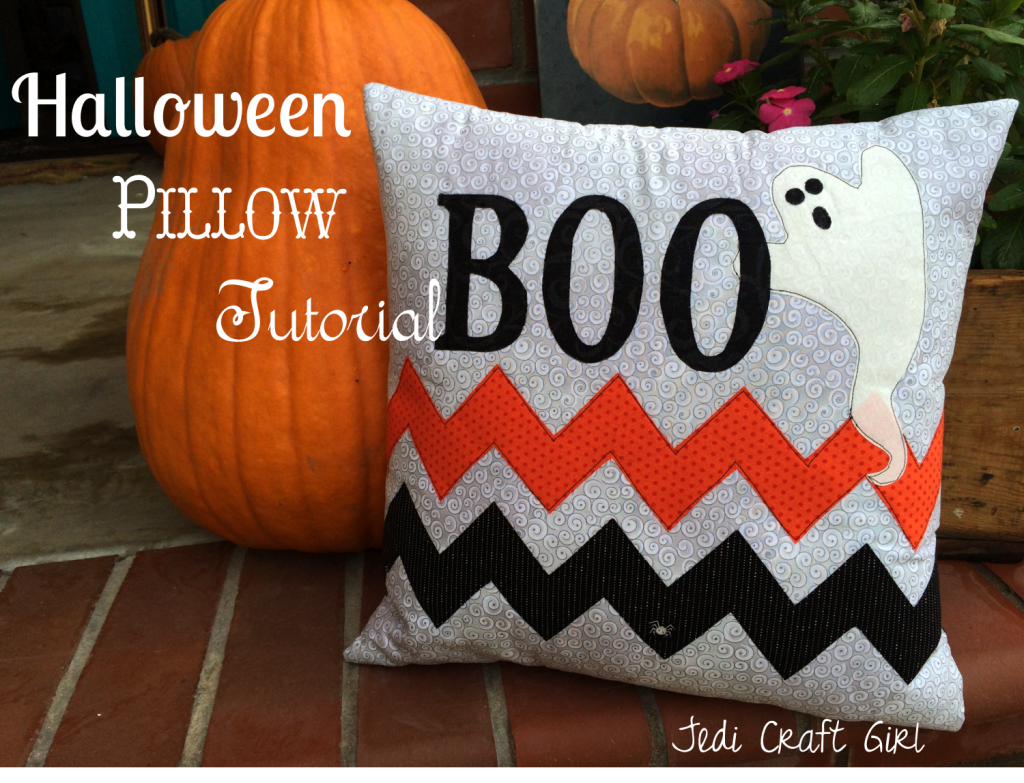
halloween_pillow_tutorial

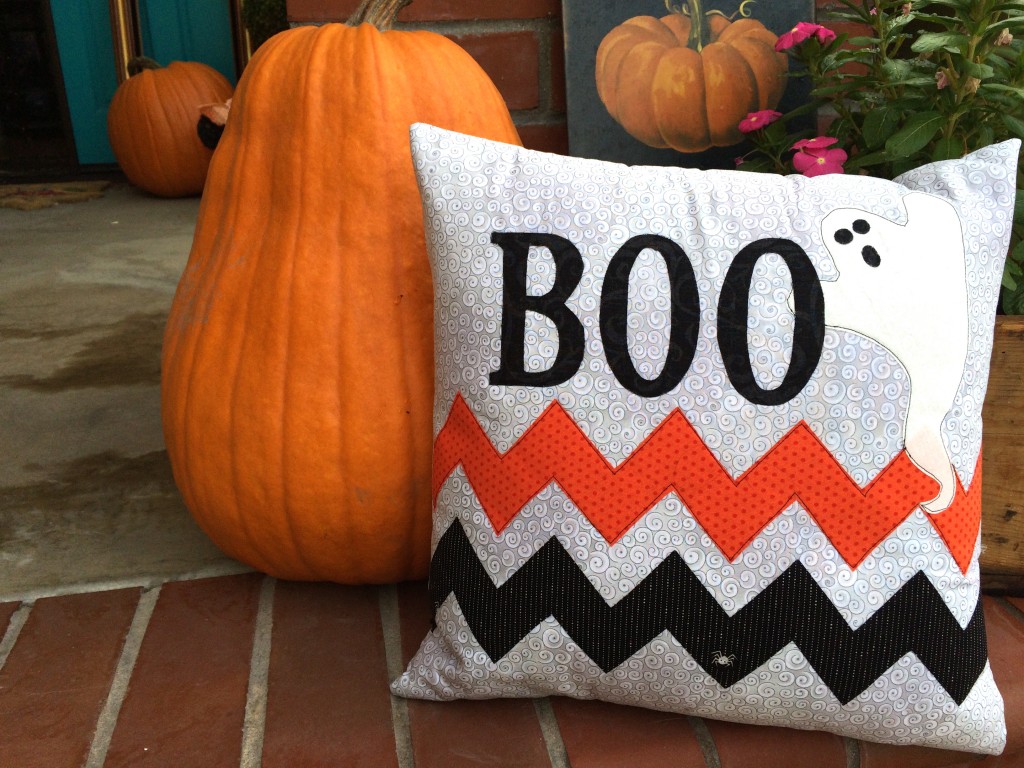
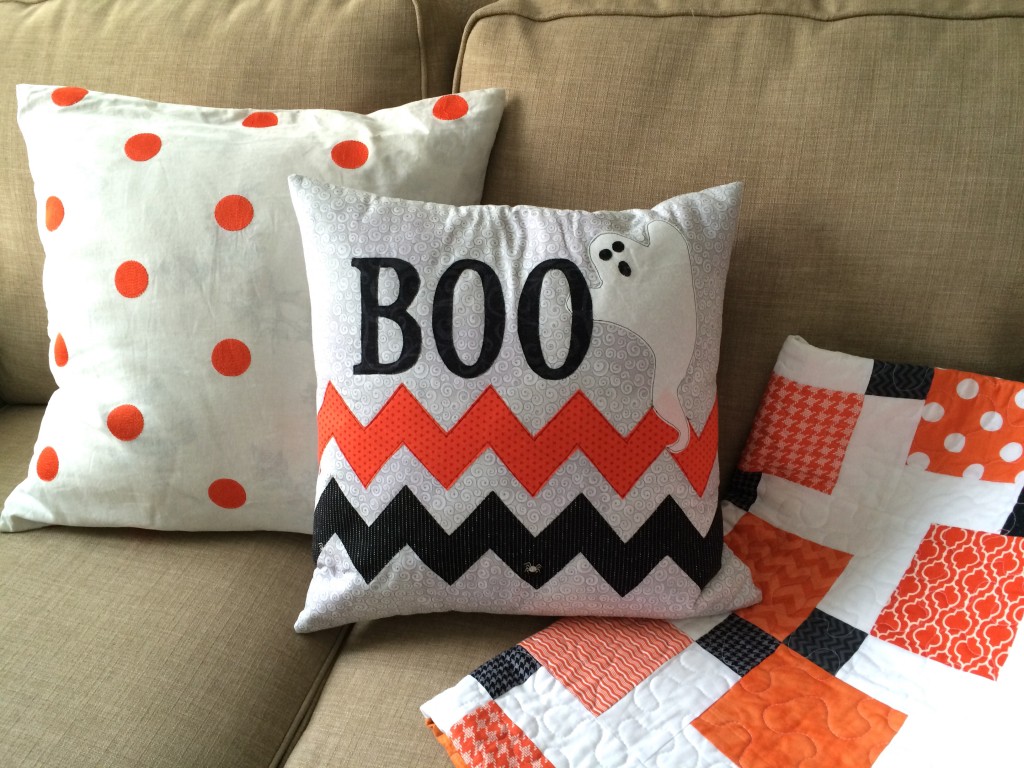
I can’t believe how fast October is flying by!!  I made this festive pillow for a friend for her October pillow.  Here’s how you can make one:


Supplies:

20″ x WOF background pillow fabric

1/4 yard orange fabric

1/4 yard black fabric

scrap of white fabric

Therm O Web Heat n Bond Lite

20″ pillow form

22″ or longer zipper

Pattern, Click HERE

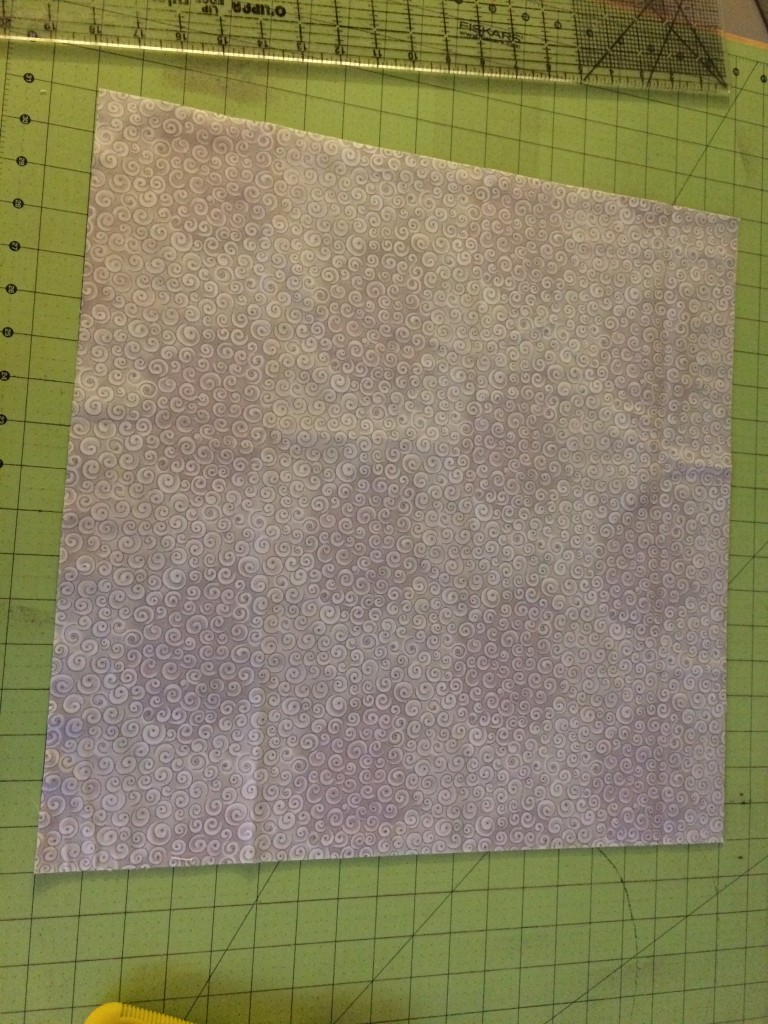
Begin by cutting (2) 20″ squares of the background pillow fabric

Halloween_Pillow_1


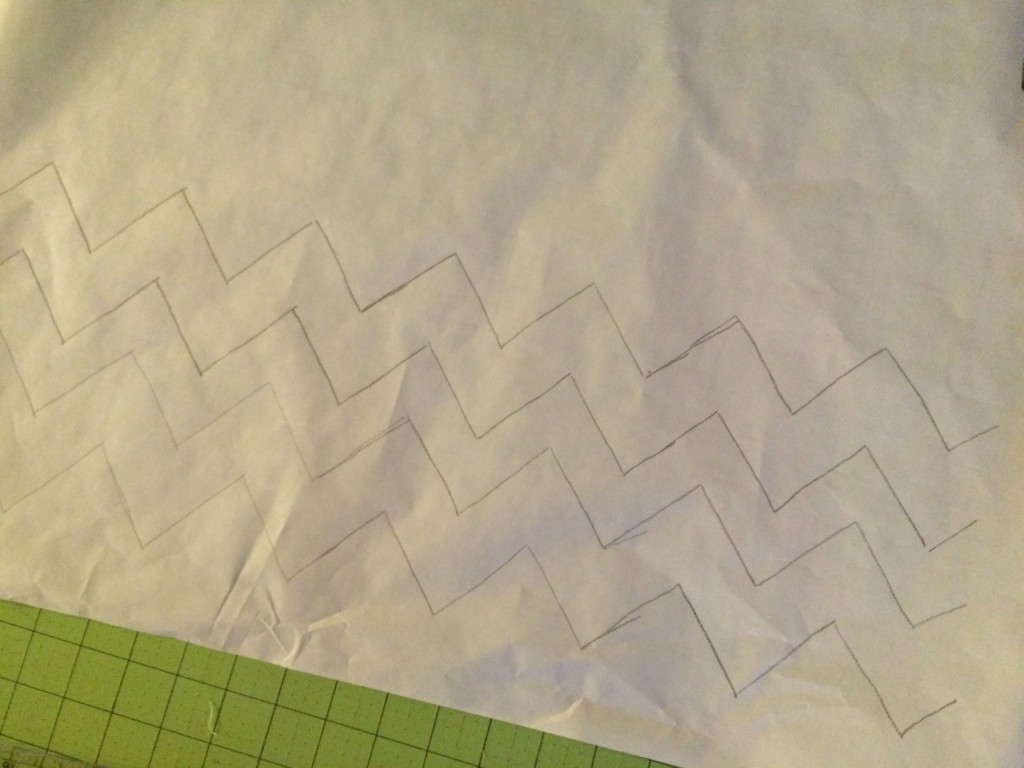
Trace the chevron print on the Heat n Bond Lite.  You will need (2) 20″ sections of chevron

Halloween_Pillow_2

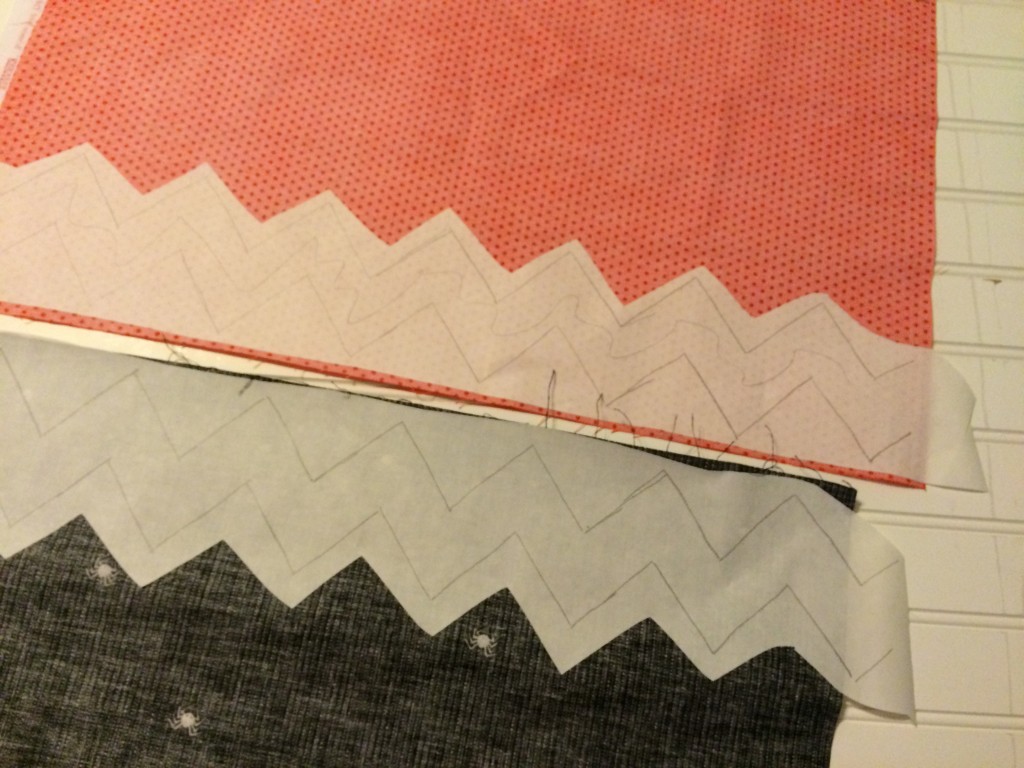
Roughly cut the chevron strips out and press them to the wrong side of the orange and the black fabric.  Then cut along the chevron pattern lines.Halloween_Pillow_3


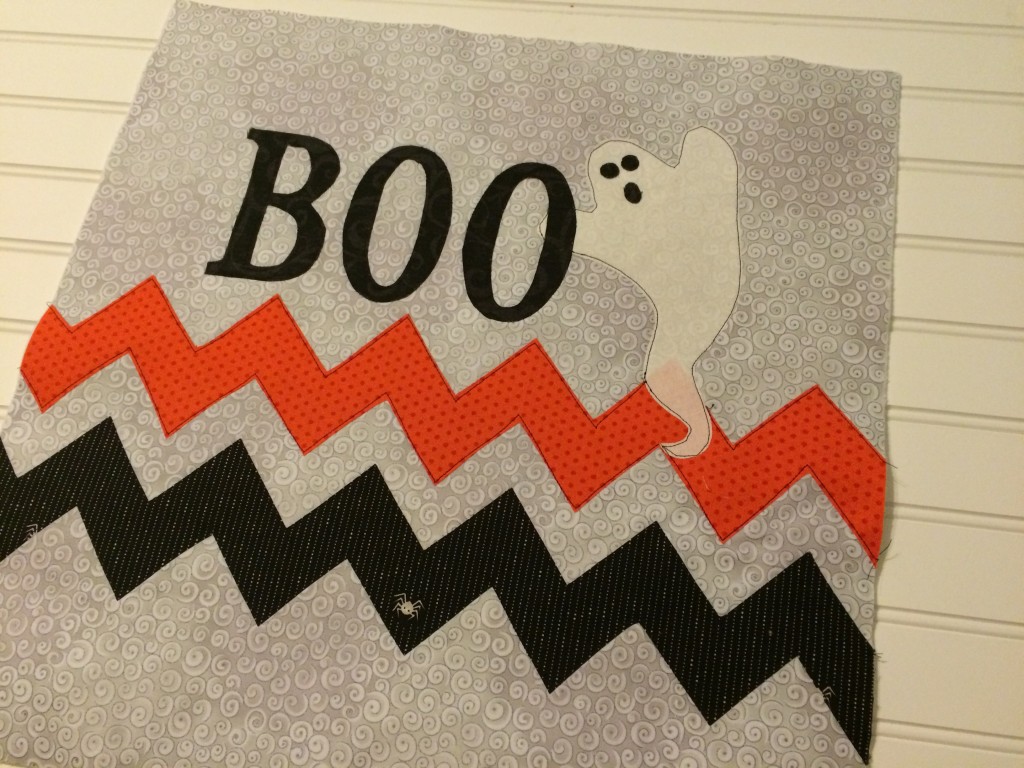
Trace the BOO onto the Heat n Bond Lite or print on the Heat n Bond EZ Sheets.  Iron it to the back of the black fabric.  Do the same with the ghost pattern and iron it on the back of the white fabric.  Peel the paper back off the Heat n Bond and position as pictured below.  Press into place.  Outline stitch with black fabric.  Cut 3 small circles/ovals for the ghost eyes and nose out of the scraps of the black fabric with heat n bond on the back.  Add to the ghost.
halloween applique

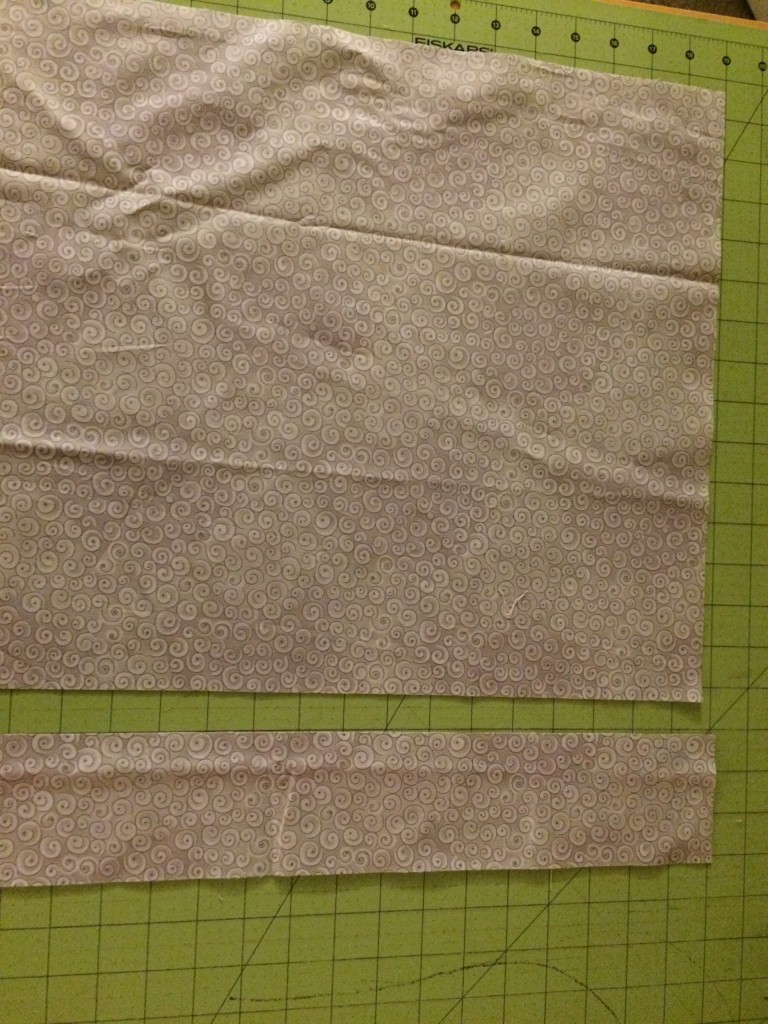
For the pillow back, cut a 3″ strip off of the 20″ pillow back.  This is where the zipper will go.
Halloween_Pillow_5

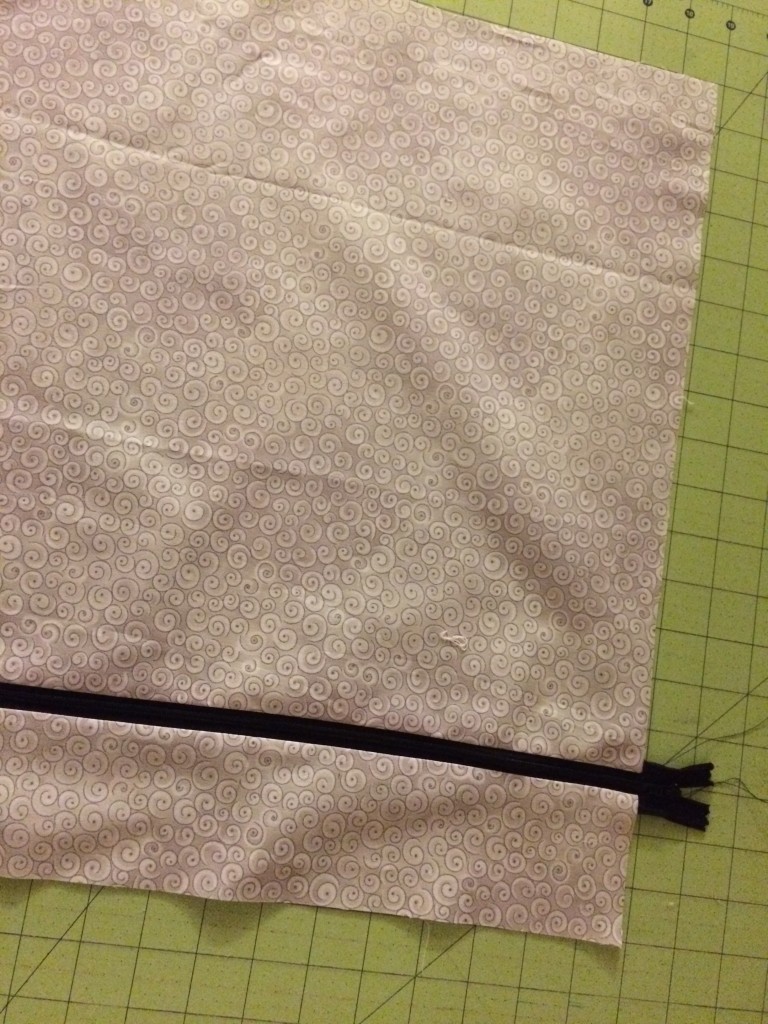
Sew the zipper joining the 2 pieces of the pillow back.  Press.Halloween_Pillow_6

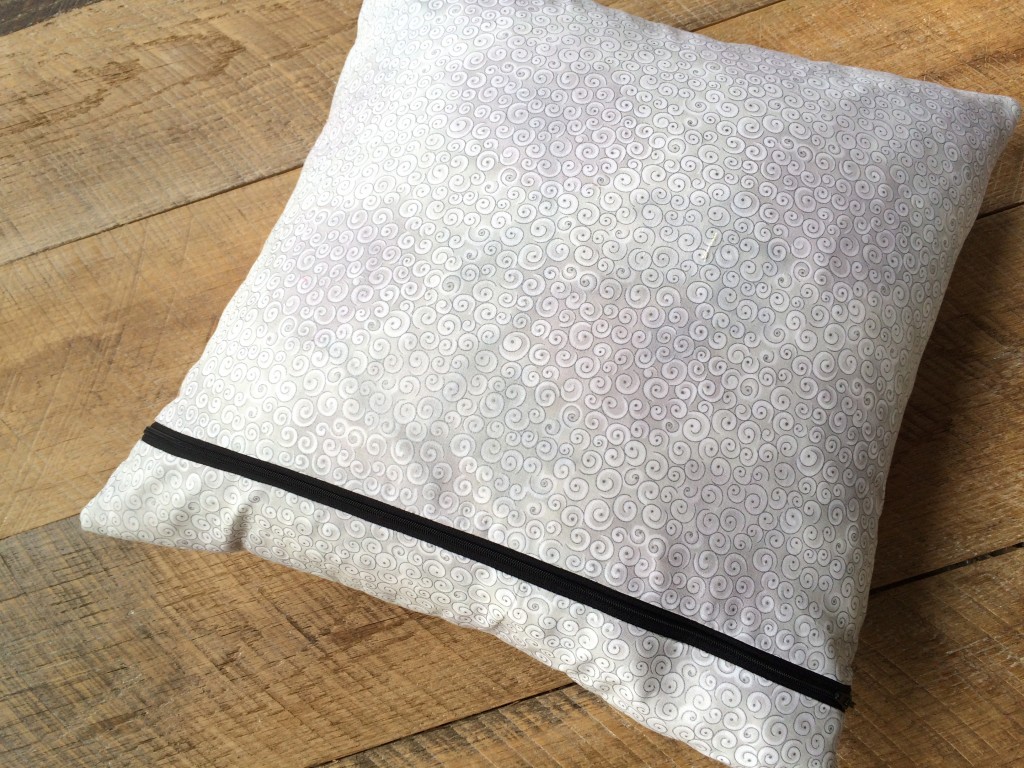
Trim the excess zipper off and position the zipper pull in the center of the pillow.  Place the pillow front and the pillow back right sides together, aligning the edges.  Pin.  Sew, using a 1/2″ seam all the way around the pillow.  Then turn right side out.  Insert pillow form.Halloween_Pillow_7

Halloween_Pillow_8


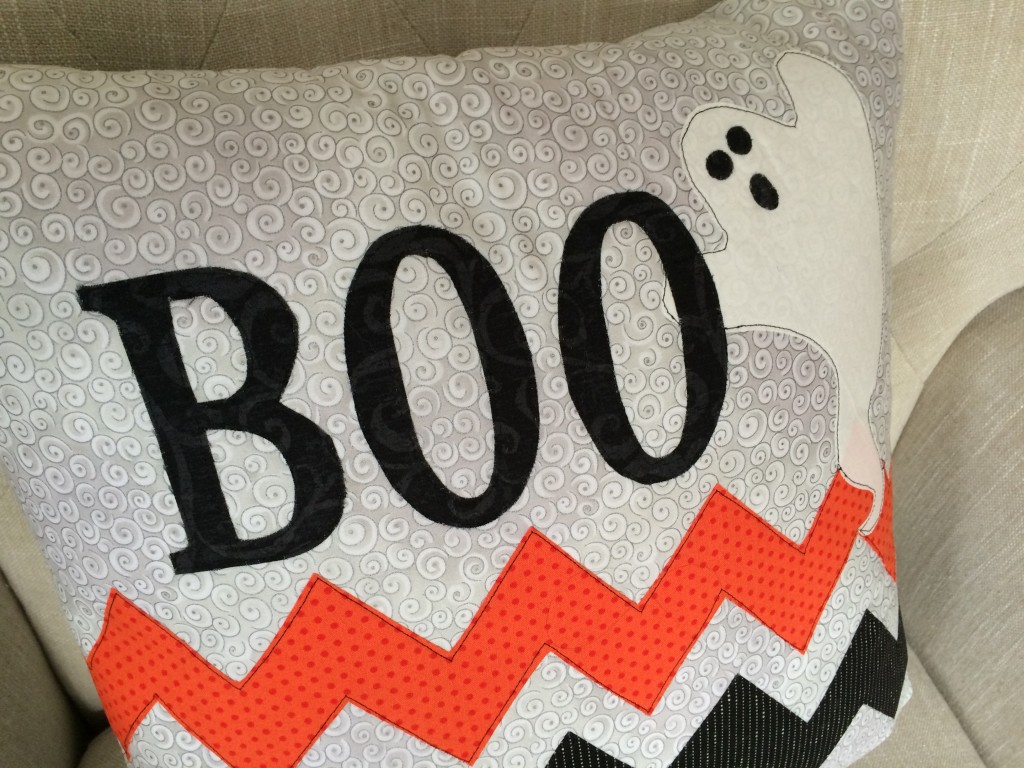
It’s so cute – I may need to keep it 🙂Halloween_Pillow_9


It looks so perfect with my Halloween Disappearing 9-Patch quilt!!Halloween_Pillow_10
owee

Garage Sale Halloween Wreath {DIY}


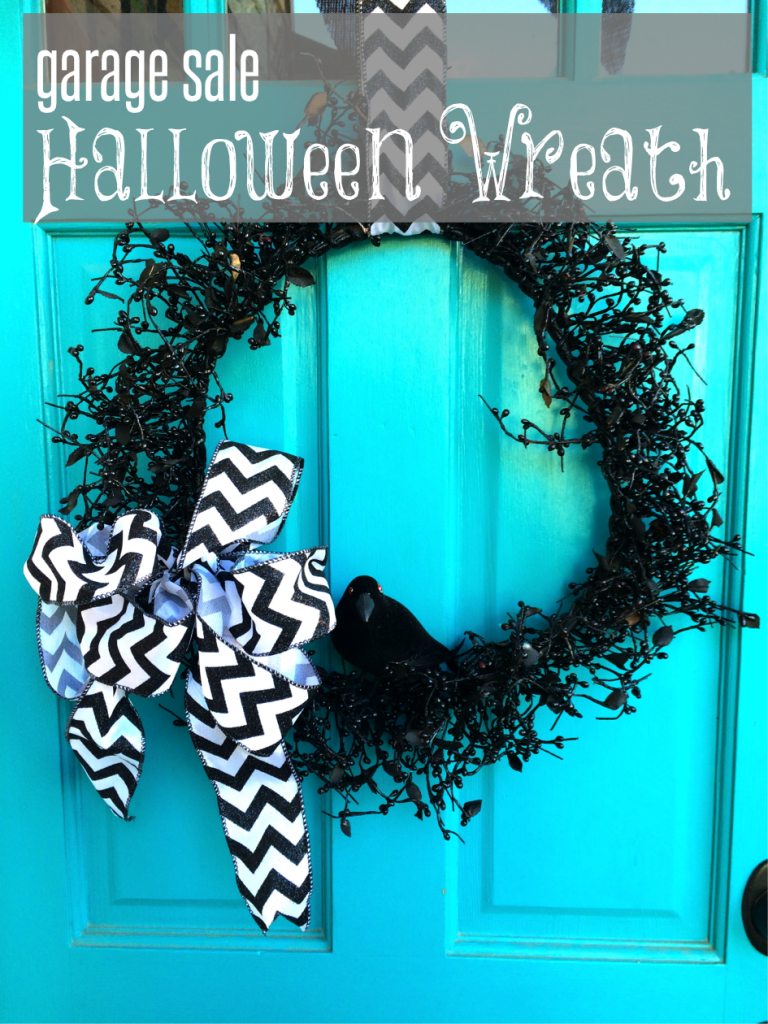
garage sale halloween wreath


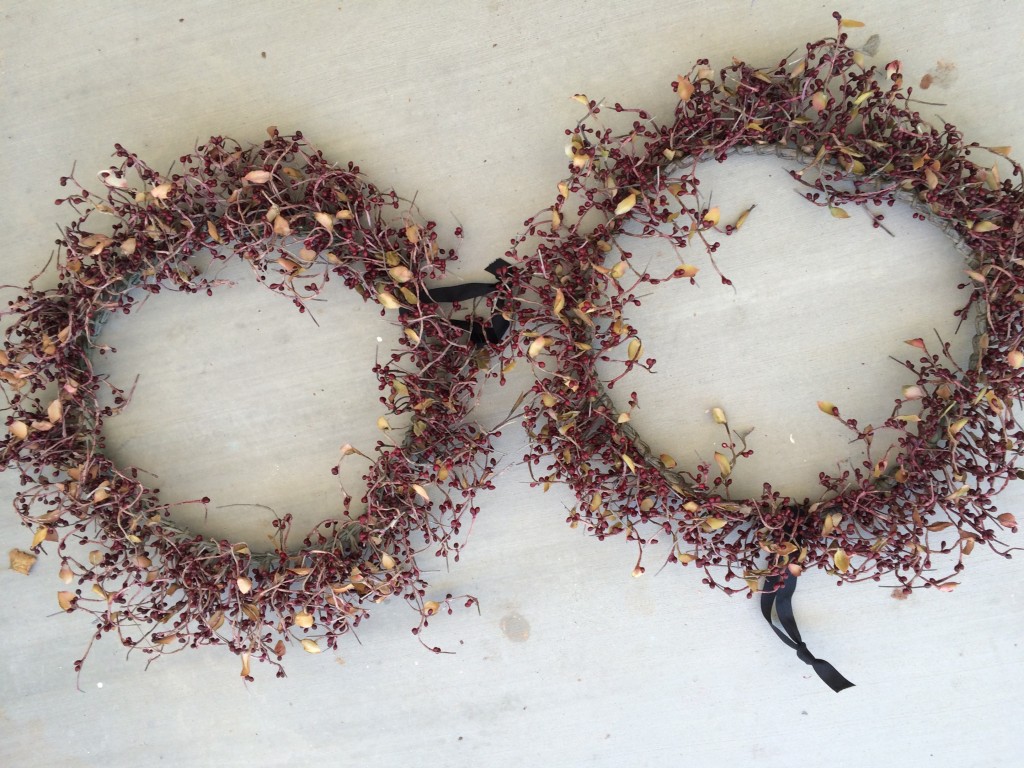
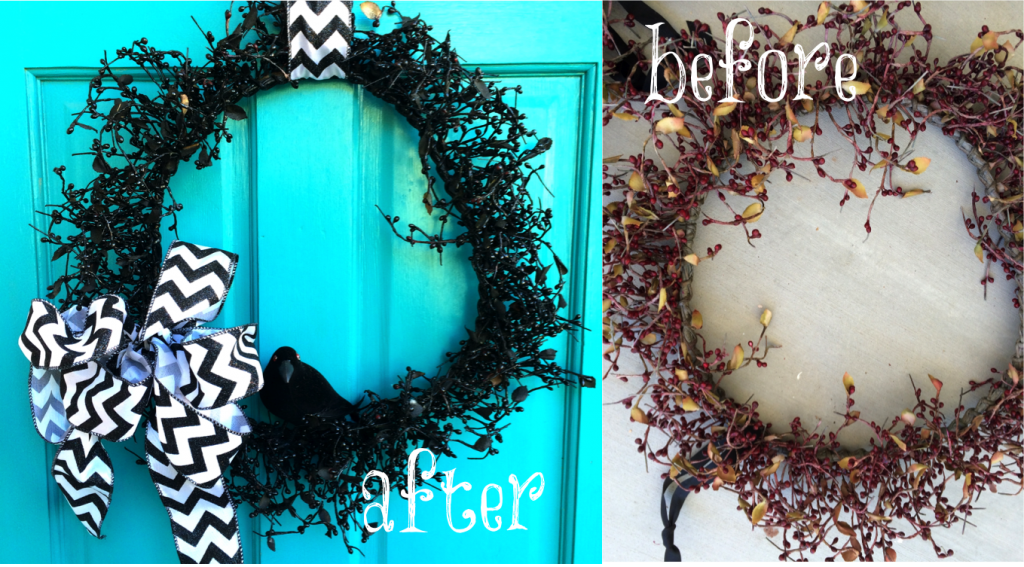
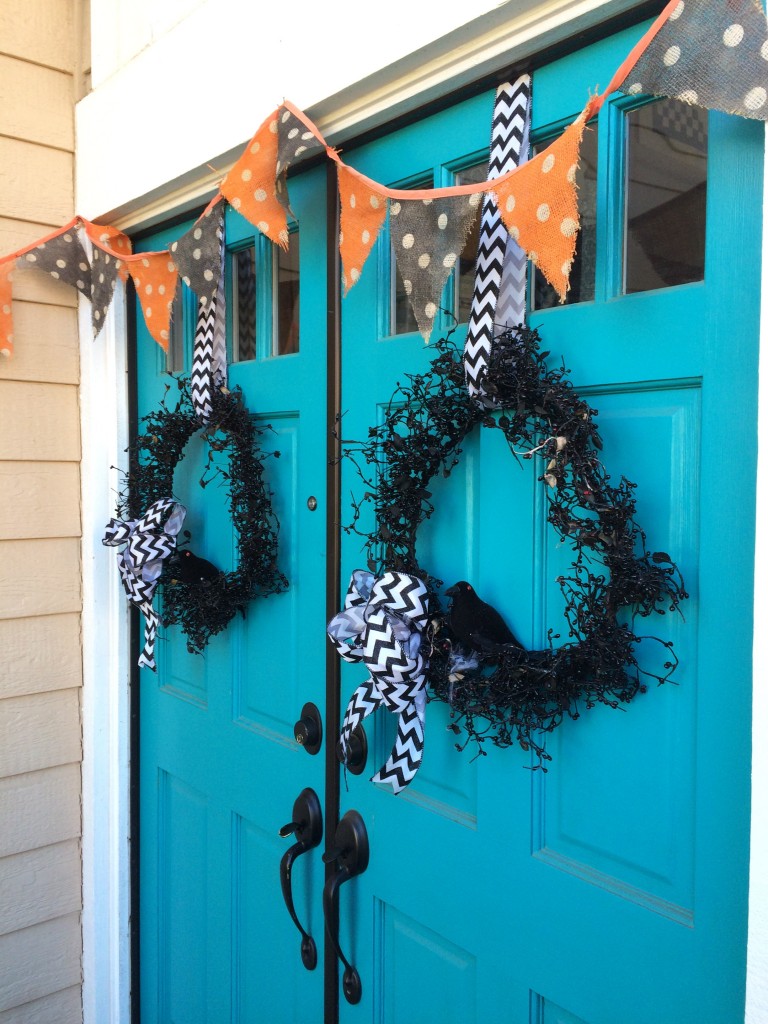
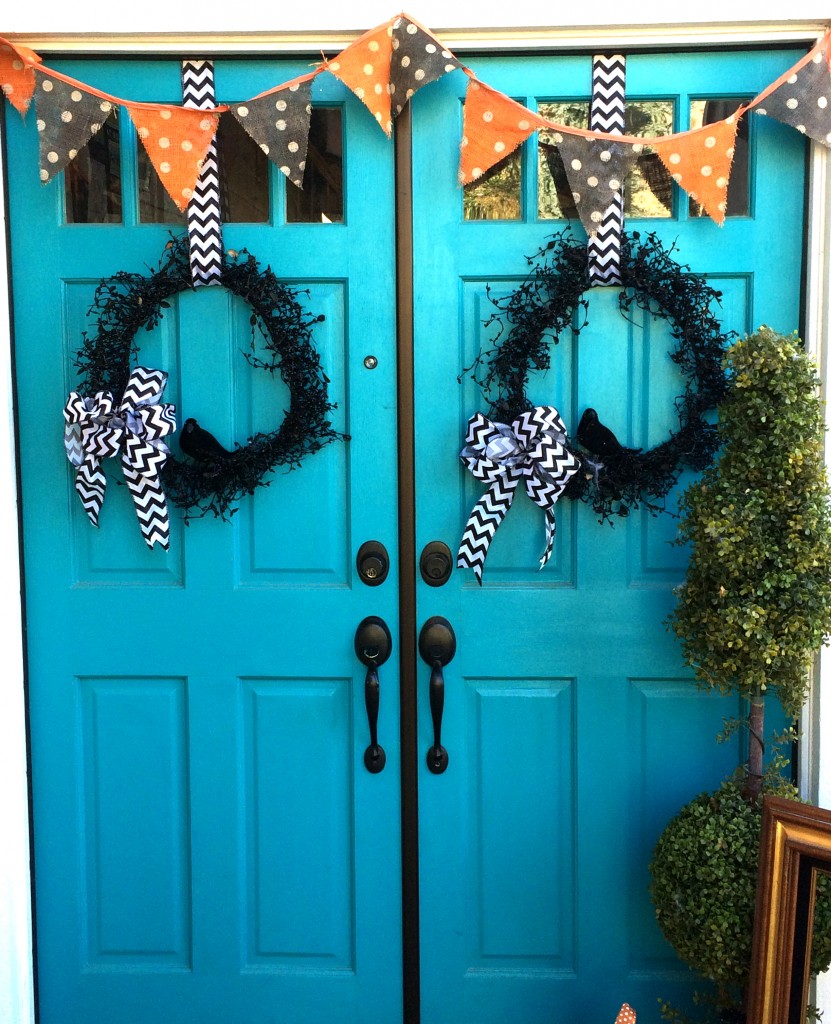
I have two front doors and I never know what to hang on them.  Do I just hang one wreath?  Do I leave them plain?  Oh, and it can’t be anything heavy that will scratch the paint when the wind blows or the door opens.  And one more thing, I don’t want to spend a lot of money, because I like to spend all my money on fabric 🙂  That being said, I found these red berry wreaths at a garage sale for $1 each.  I actually think these might have really been my wreaths from 20 years ago 🙂  I knew they had some Halloween potential.Halloween Wreath 2

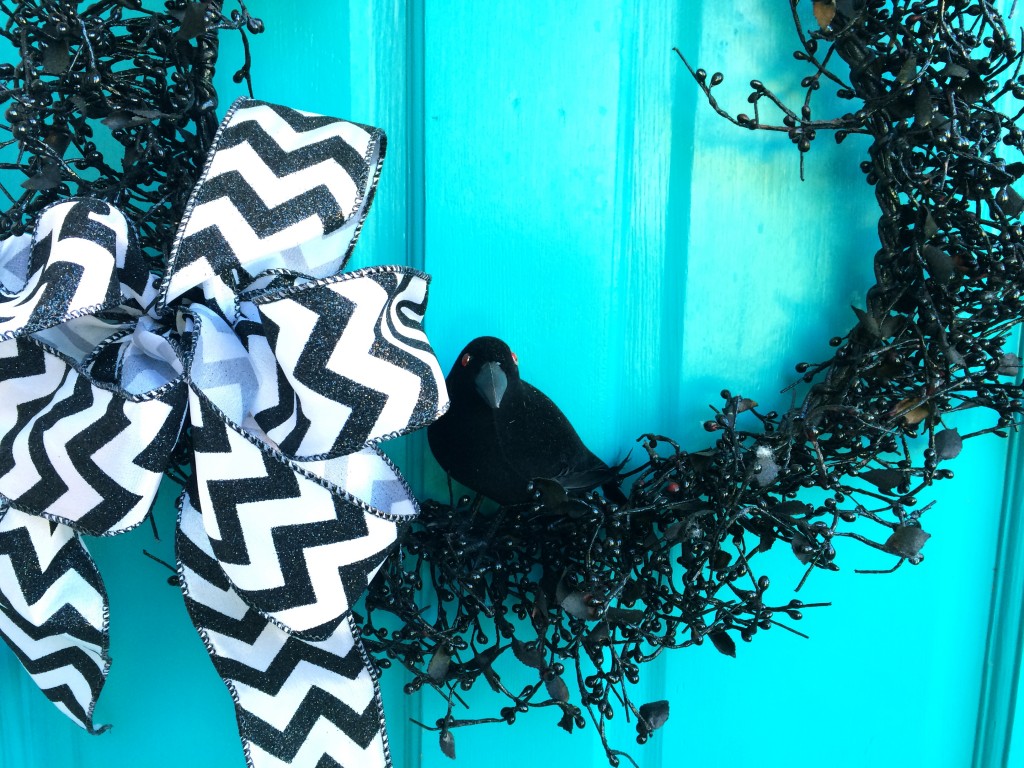
Black spray paint is your best Halloween decorating friend.  One coat of shiny black spray paint, some chevron ribbon left over from last year and a black crow…..It’s the perfect CHEAP Halloween wreath for my door.

halloween wreath diy craft

Halloween Wreath 1
And there are two of them!  Cheap, won’t scratch, and spooky!Halloween wreath 3 Halloween wreath 4


G

Halloween Disappearing 9-Patch Quilt

halloween_quilt_disappearing_nine_patch


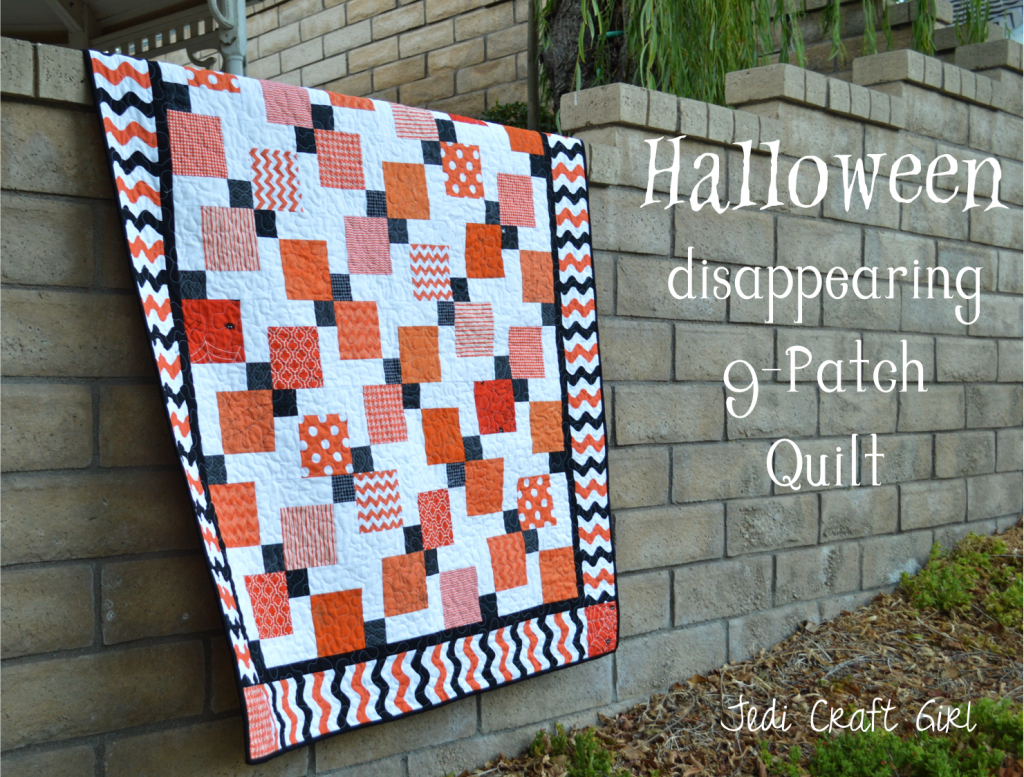
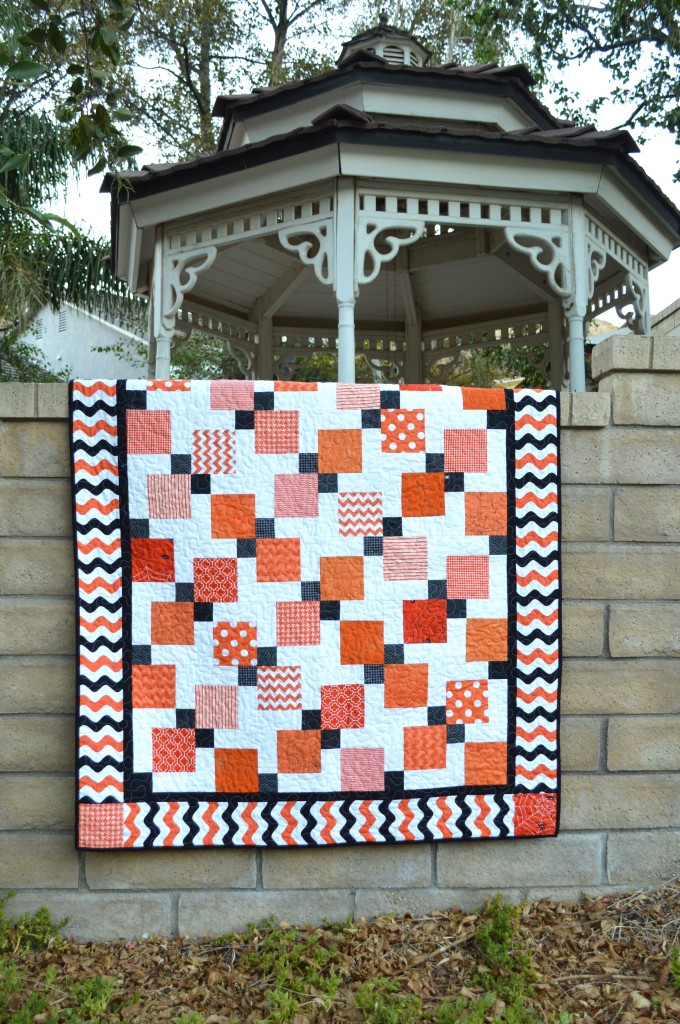
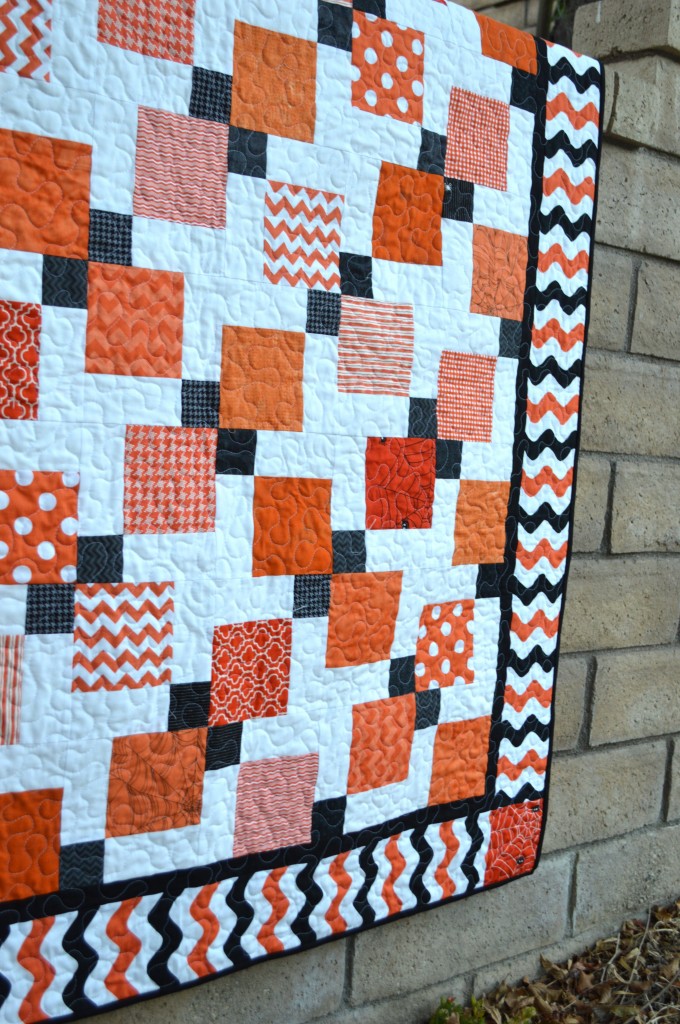
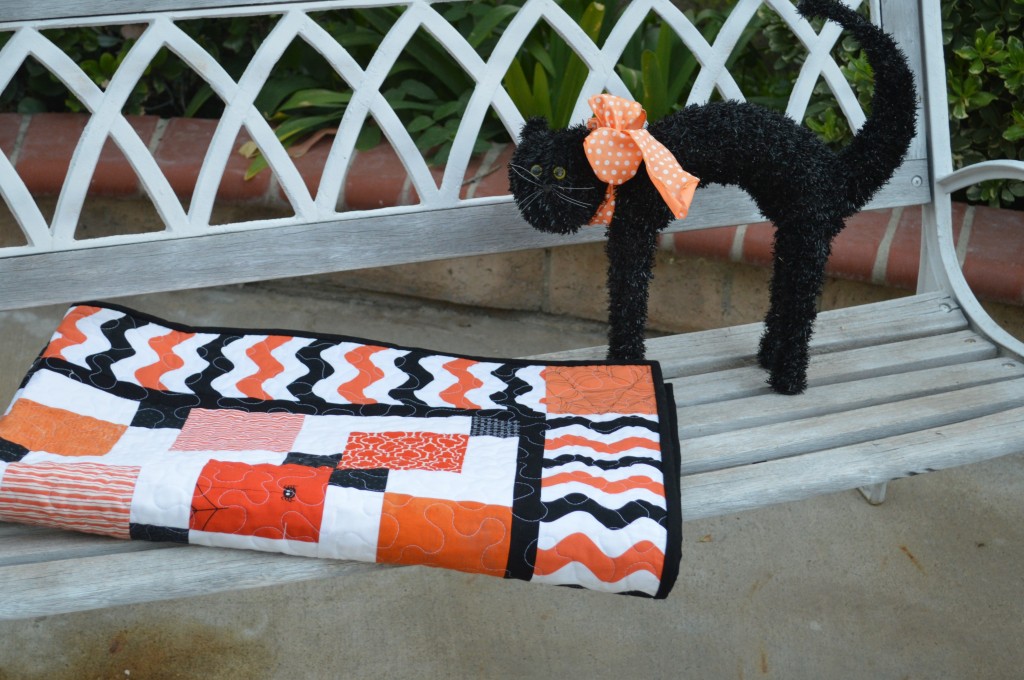
Have you ever made a “Disappearing Nine-Patch Quilt”?  This is such a fun pattern and great for beginner quilters.  You can change the pattern of the quilt by changing the colors of the patches and the layout.  It is made by sewing a simple 9-Patch block and then cutting it in quarters and repositioning the new blocks.  I love the simple Halloween colors of Black, White and Orange.  I found this black, orange and white wavy boarder from Riley Blake Designs.  I think it totally makes the quilt!  Here’s how you can make one:

Finished quilt: 49″ x 62″

Materials:

assorted orange and black fabric

1 yard solid white

3/4 yard solid black for inner boarder and binding

3/4 yard orange and black wavy stripe

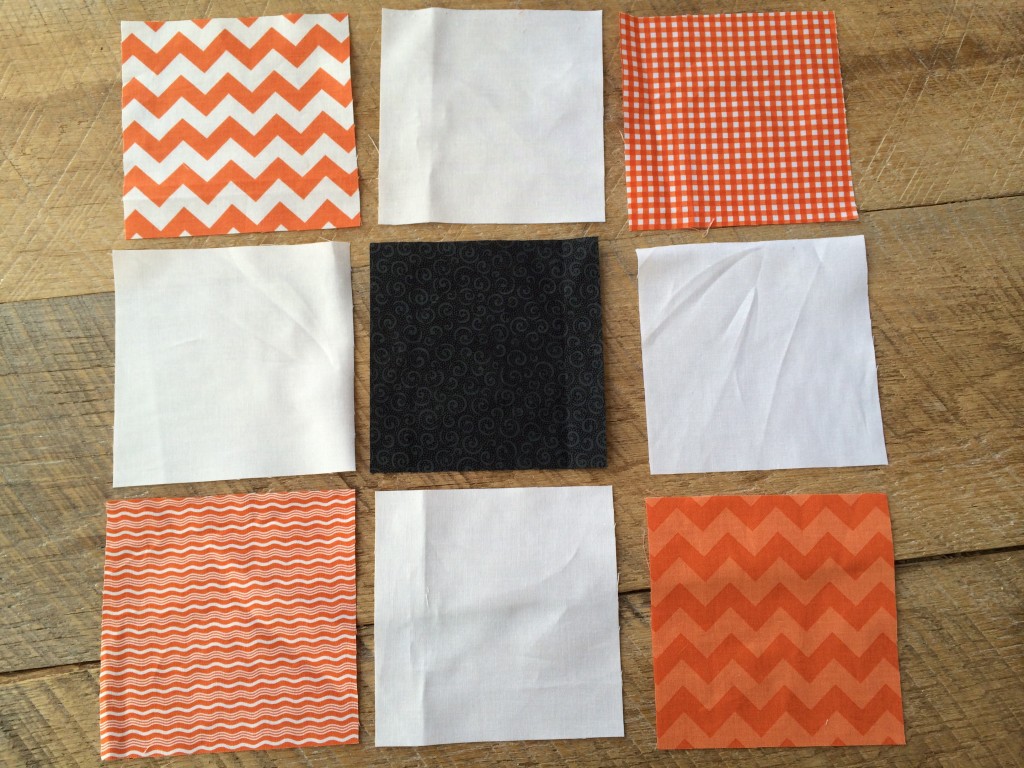
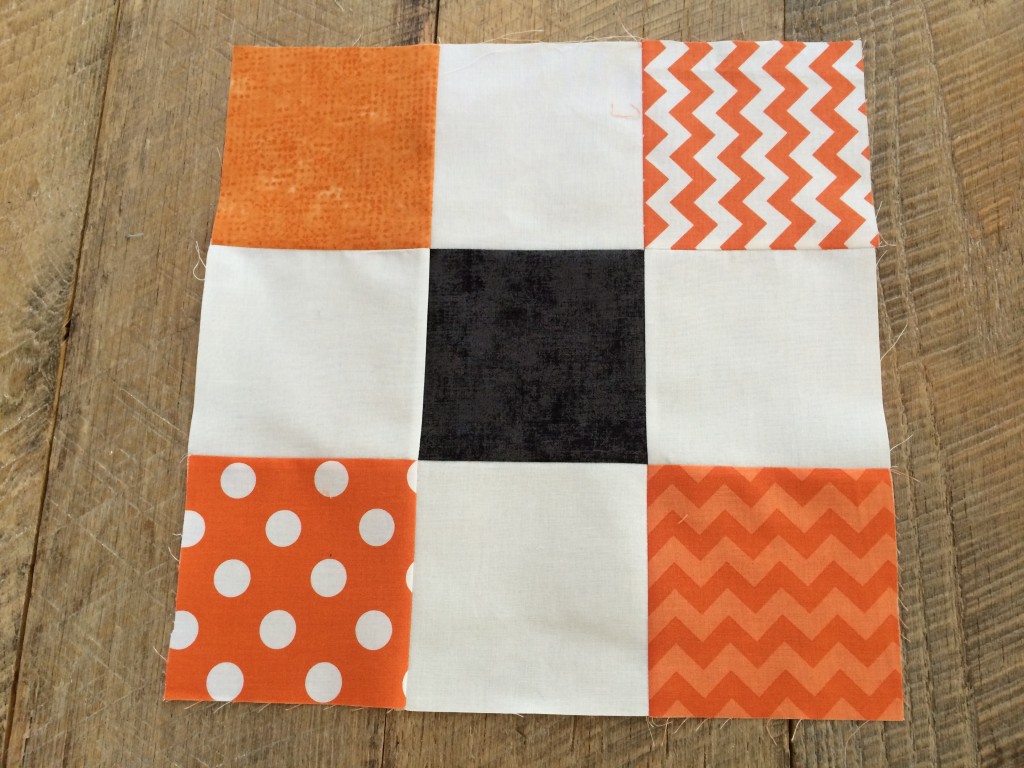
Begin by cutting 5″ squares of orange, white and black.  For this quilt I pieced (12) nine-patch blocks.  Each block had the same color values: orange corners, white side centers and black center.  I used a variety of oranges and blacks.

cut (12) black 5″ squares

cut (48) orange 5″ squares

cut (48) white 5″ squares.disappearing_nine_patch_quilt_halloween_8

Using 1/4″ seams throughout, sew squares together in rows and then rows together to form the block.  Press toward the dark.  The block will look like this:

disappearing_nine_patch_quilt_halloween_9

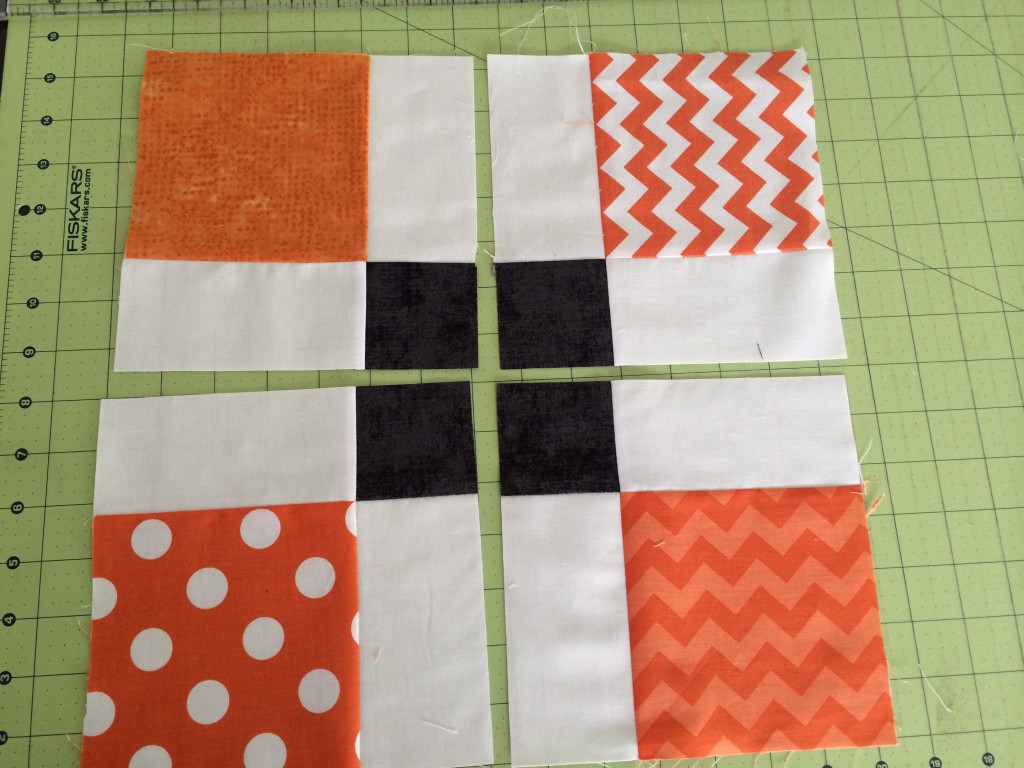
Cut in quarters.  Since the block at this point measures 14″ square, cut it at the 7″ point on both sides:

disappearing_nine_patch_quilt_halloween_10

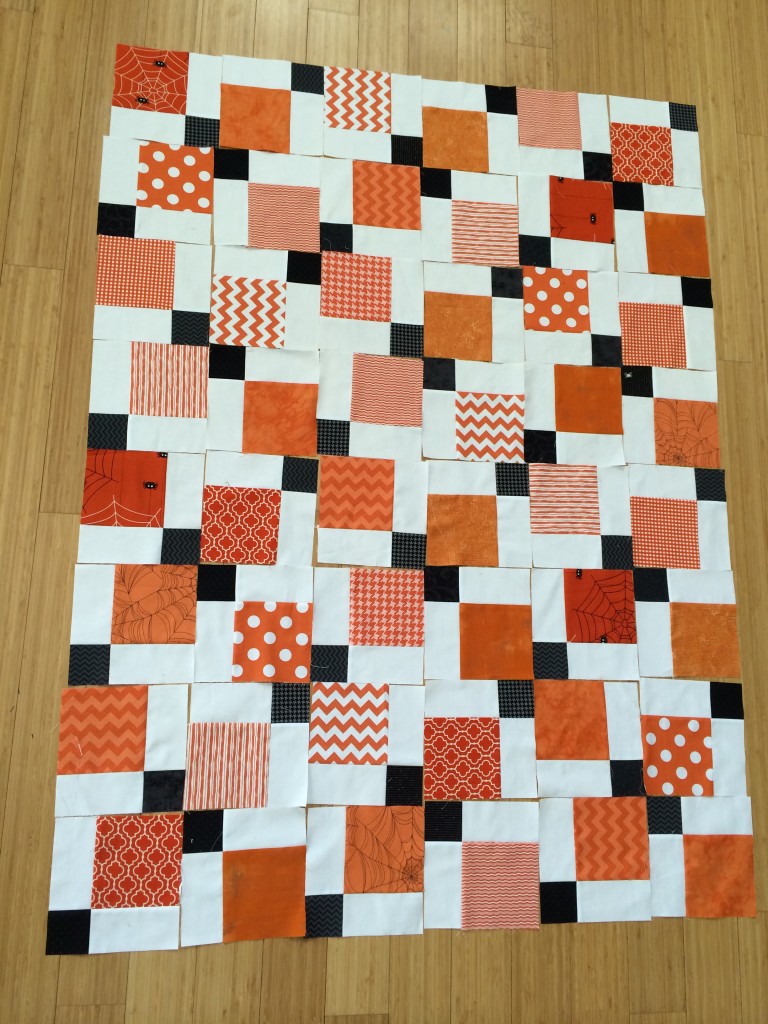
Next comes the fun part of playing with the layout.  I choose to lay mine out like this so the small black squares made a pattern.

disappearing_nine_patch_quilt_halloween_11

Sew the blocks together in rows and the rows together and press.

For the boarder:

The black inner boarder is cut 1.5″ wide.  I didn’t measure the length, I sewed it to the sides of the quilt and trimmed the excess.

The wavy outer boarder is 5″ wide.  I matched the stripes when piecing the boarder together.  I added 5″ squares to the corners of the boarder.

disappearing_nine_patch_quilt_halloween_4

I LOVE how it turned out!  I have it on my couch and it makes me happy to look at it.  Now, to just keep the cat off it 🙂


disappearing_nine_patch_quilt_halloween_5
disappearing_nine_patch_quilt_halloween_7

“Spooky” Quilt for Riley Blake Designs

spooky_quilt_tutorial

I am so excited to share this quilt!  Did you know I love Halloween and I love black cats?  The fabric in this quilt is Riley Blake Design’s “Witch Hazel.”  I love the vintage feel of the prints and the colors.  I enlarged the cat from the theme print to create this cat silhouette.  The pattern is being featured over at the Riley Blake Design Blog  “Cutting Corners” if you want to make one 🙂Halloween_quilt_tutorial_1


It’s 100 degrees here but all this Halloween sewing is helping me get in the mood for Fall. This quilt is hanging in my family room and it makes me smile every time I look at it….and it makes me want to adopt another black cat!!
Halloween_quilt_tutorial_3

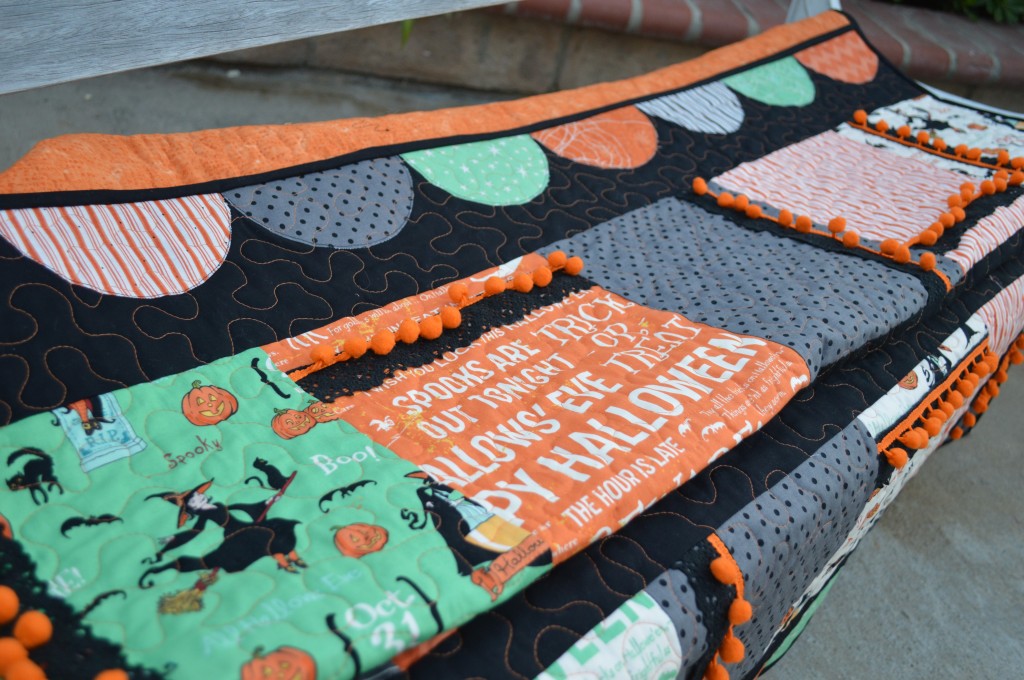
There are many different parts to the quilt: a patchy center, appliqué, lace and pom pom trim and an appliqué scallop top and bottom border!Halloween_quilt_tutorial_4

Halloween_quilt_tutorial

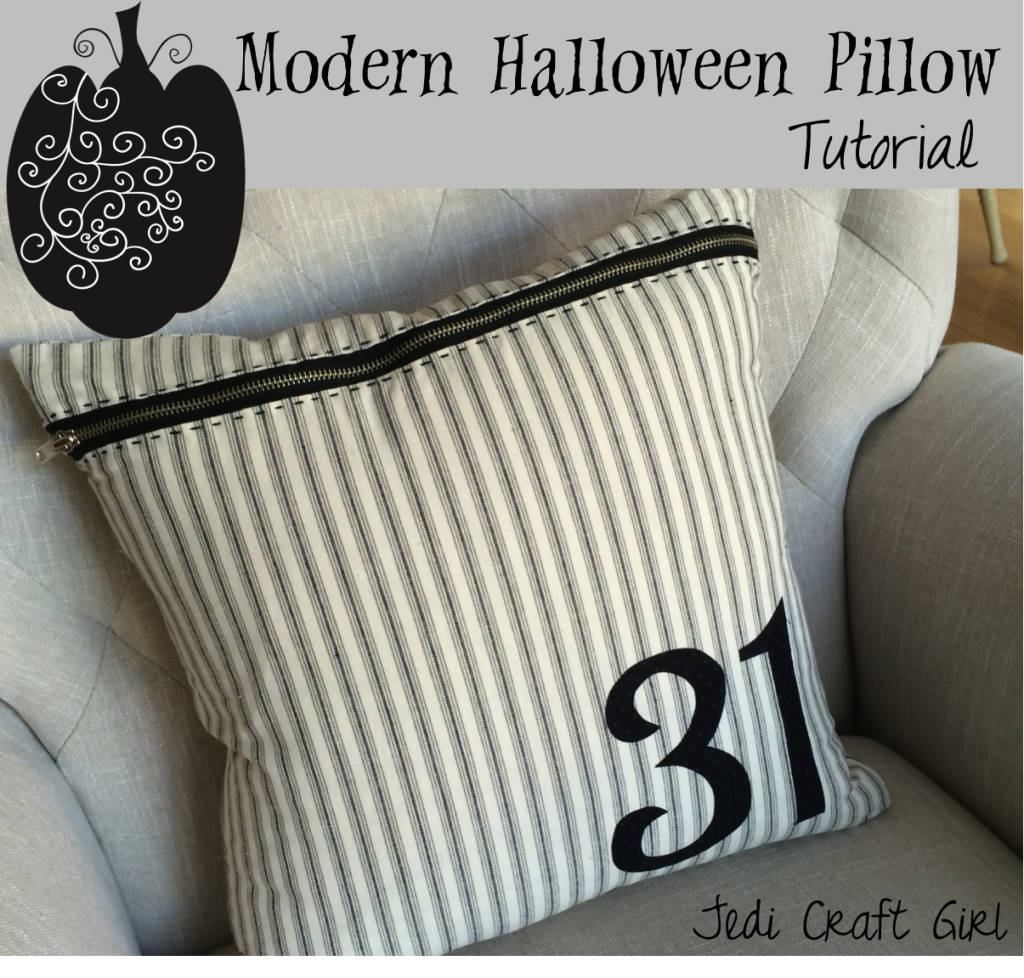
Modern 31 Halloween Pillow


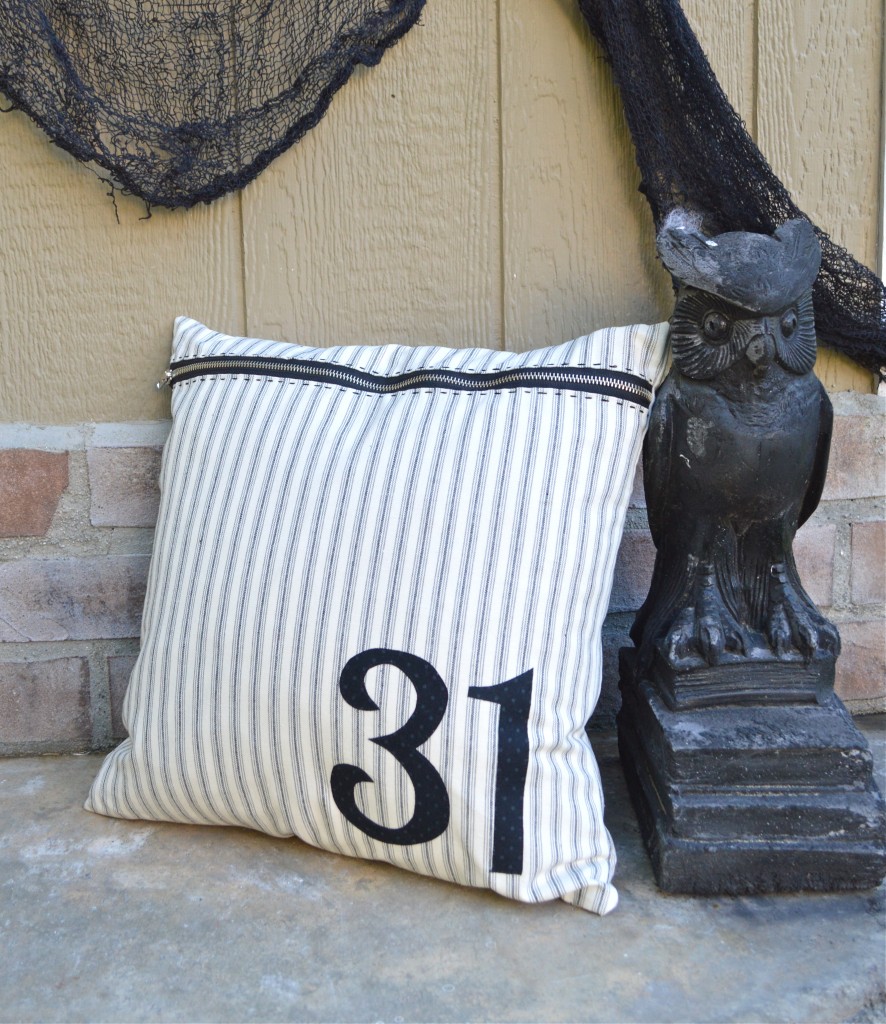
modern_halloween_pillow_tutorialIt’s September which means my house is decorated for Halloween and I’m gearing up for a super crazy fall family schedule!!  Don’t you feel like time just flies between now and Christmas?  We better get the Halloween sewing done!!
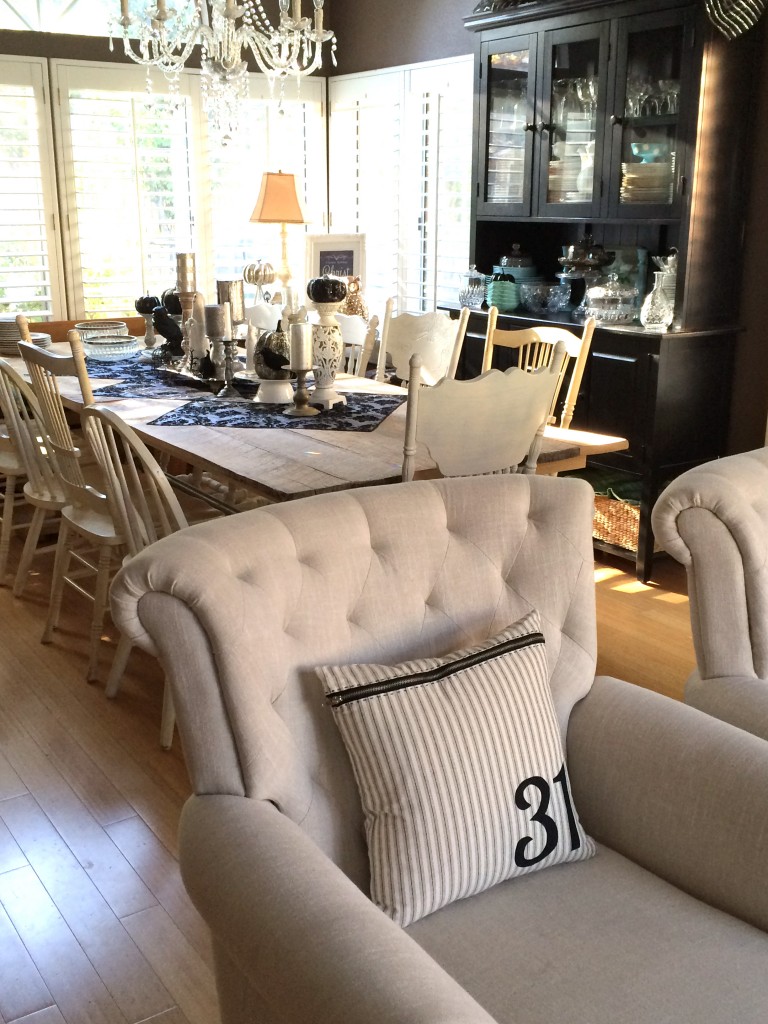
 

halloween house

I decorate my dining and living room for Halloween in Black and White and silver.  I like how this pillow is slightly understated for Halloween.  Here’s how you can make one…


Supplies:

16″ pillow form

1/2 yard black and white ticking

scraps of black fabric for numbers

Heat n Bond EZ print sheets or Heat n Bond Lite

Black metal zipper

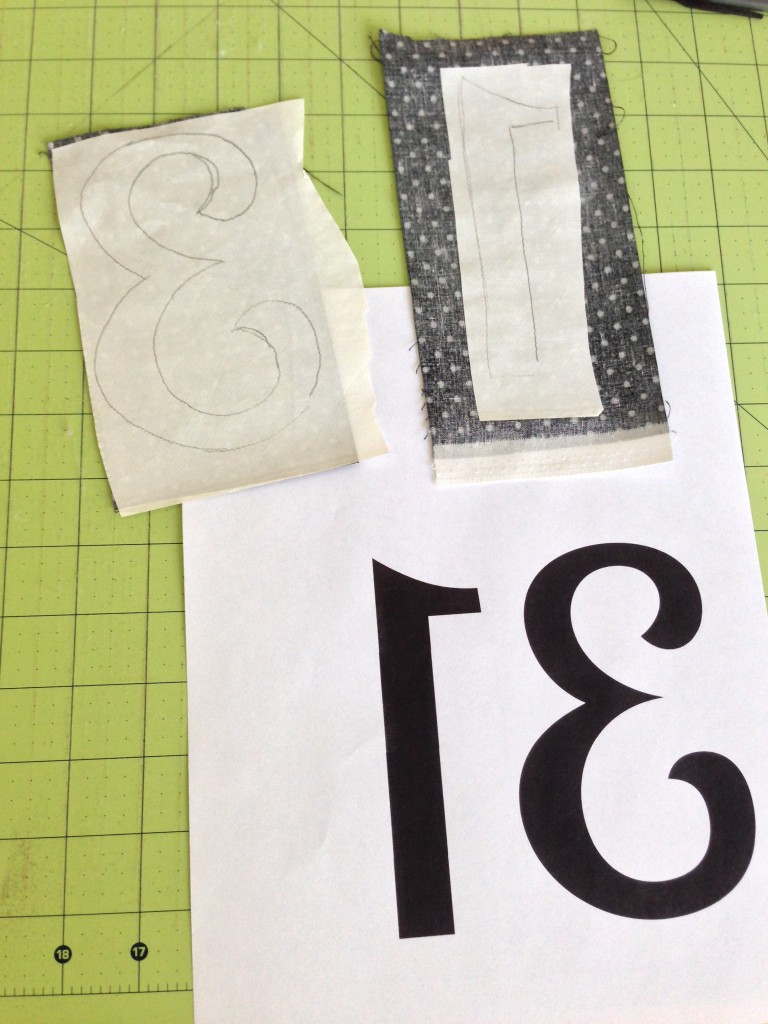
31 pattern HERE


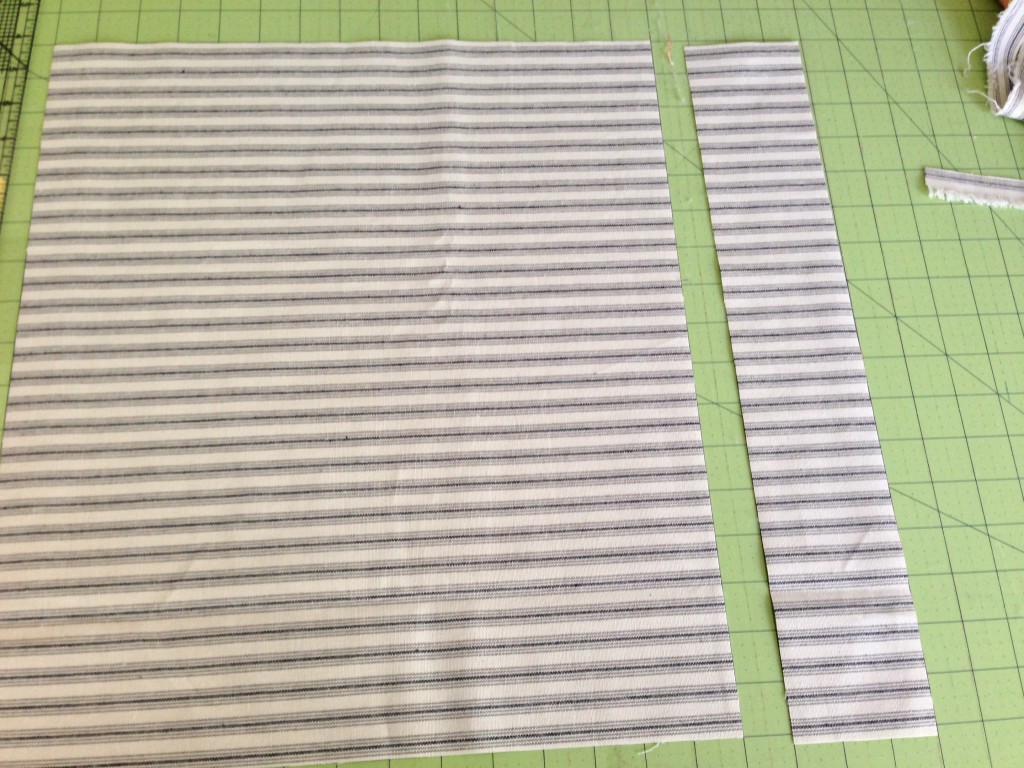
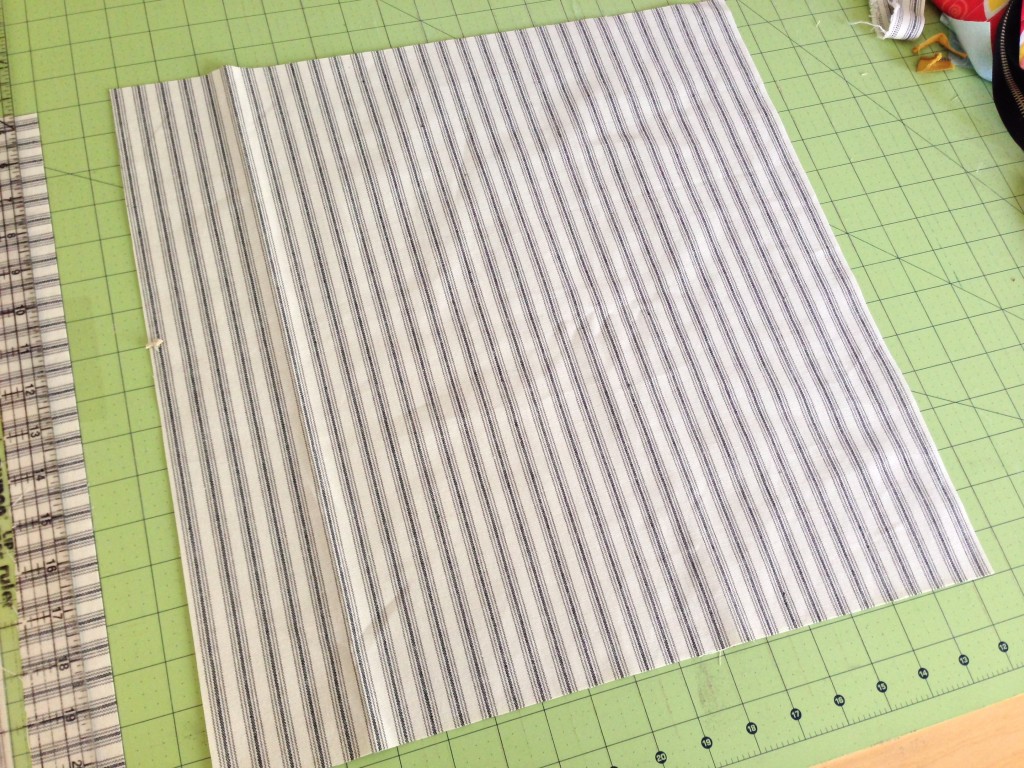
Begin by cutting (2) 17″ squares from the black and white ticking, set one aside for the pillow back.31_halloween_pillow_3


Cut a 3″ strip off the top:31_halloween_pillow_4


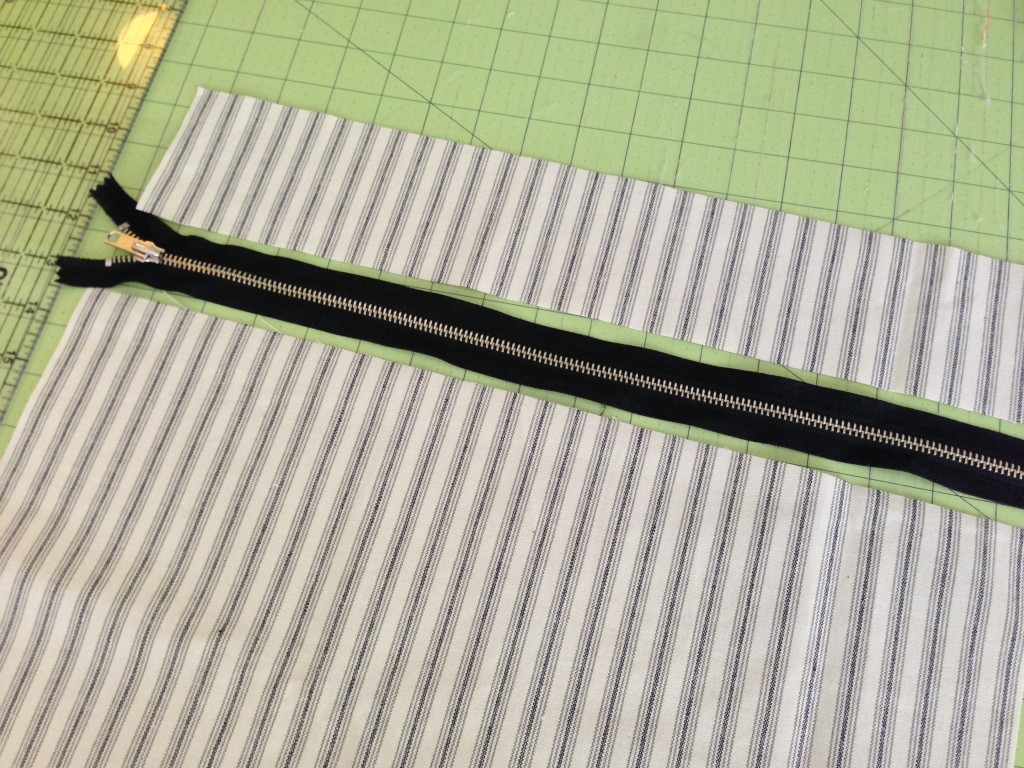
Lay out the pieces like this with the chunky zipper between:31_halloween_pillow_5


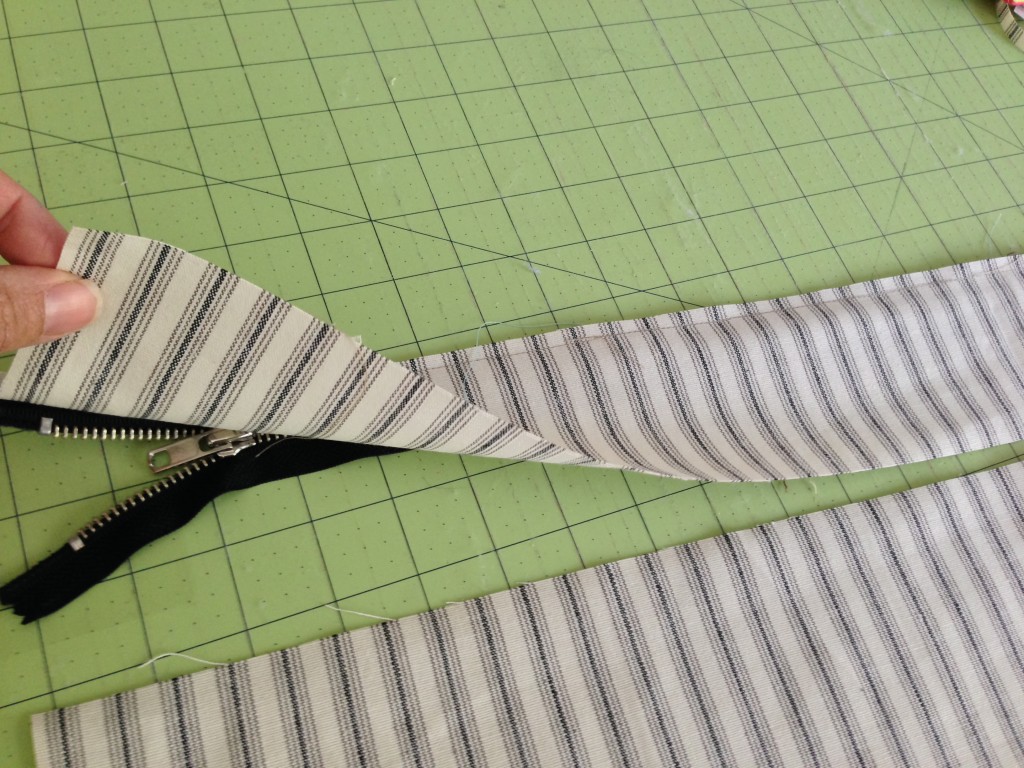
Place the small strip right sides together with the zipper and using a zipper foot sew along the length:31_halloween_pillow_6


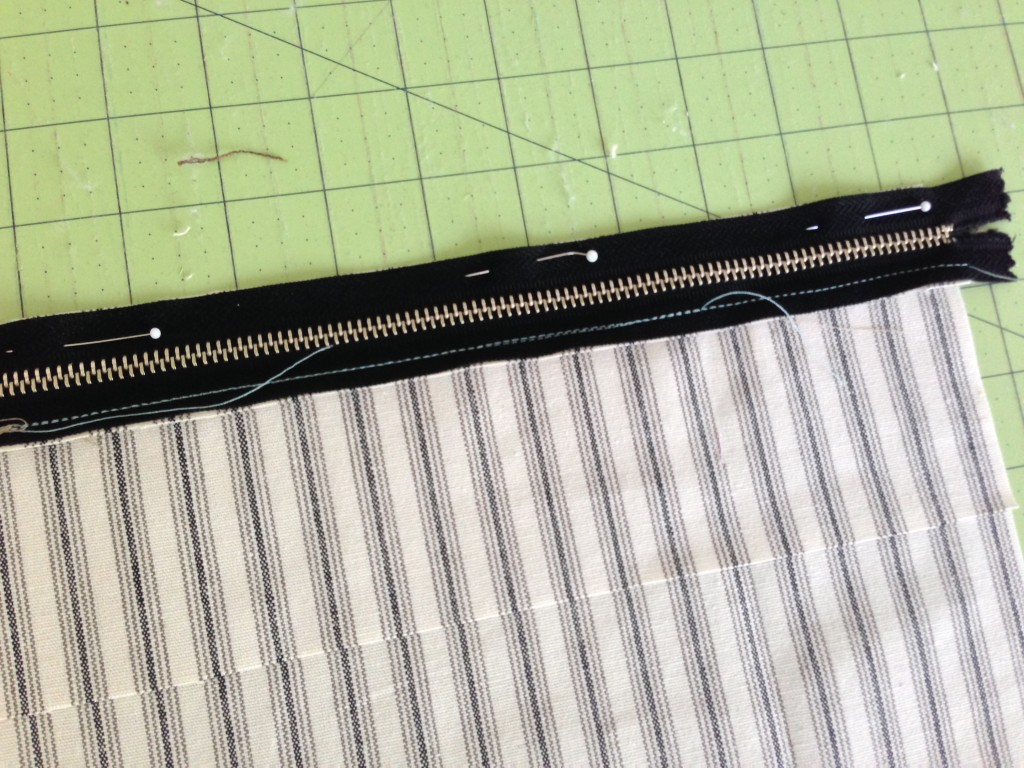
Repeat with the other side:31_halloween_pillow_9


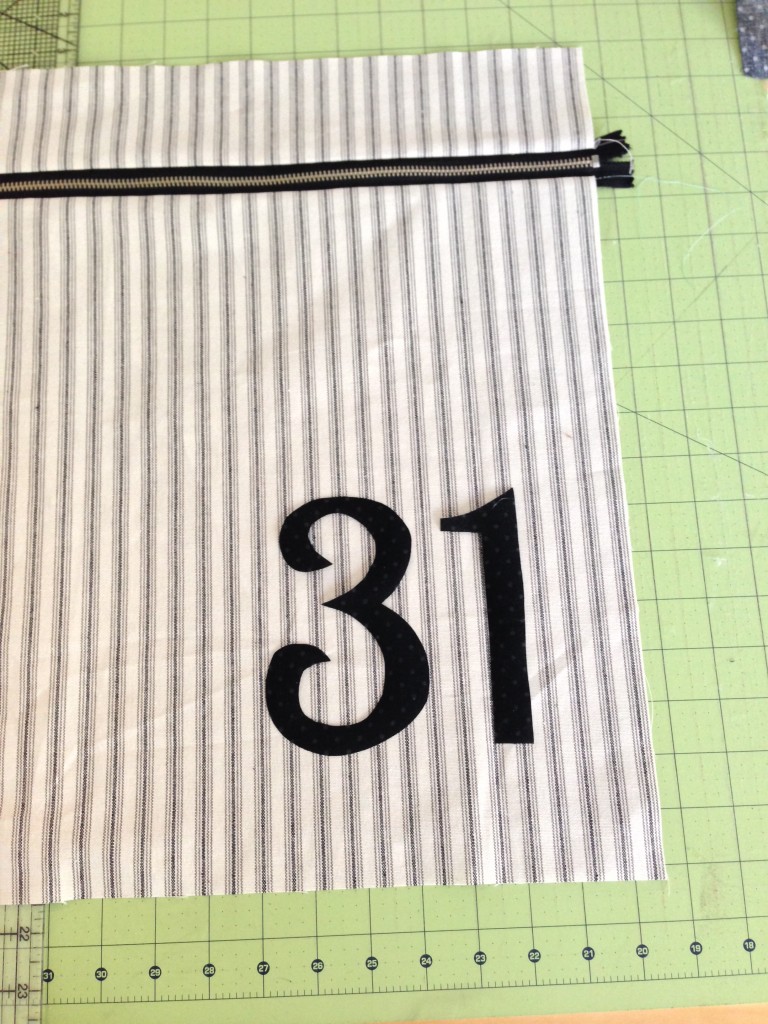
Once the zipper is sewn in, press the seams.  Prepare the appliqué by printing 31 on Heat n Bond EZ sheets or tracing on to Heat n Bond Lite.  Iron the numbers to the wrong side of the black fabric.  Cut out and press onto the pillow front.  Top stitch around the numbers in black thread.

31_halloween_pillow_11

Using scissors you are not fond of, cut off the excess zipper on both ends.

31_halloween_pillow_12


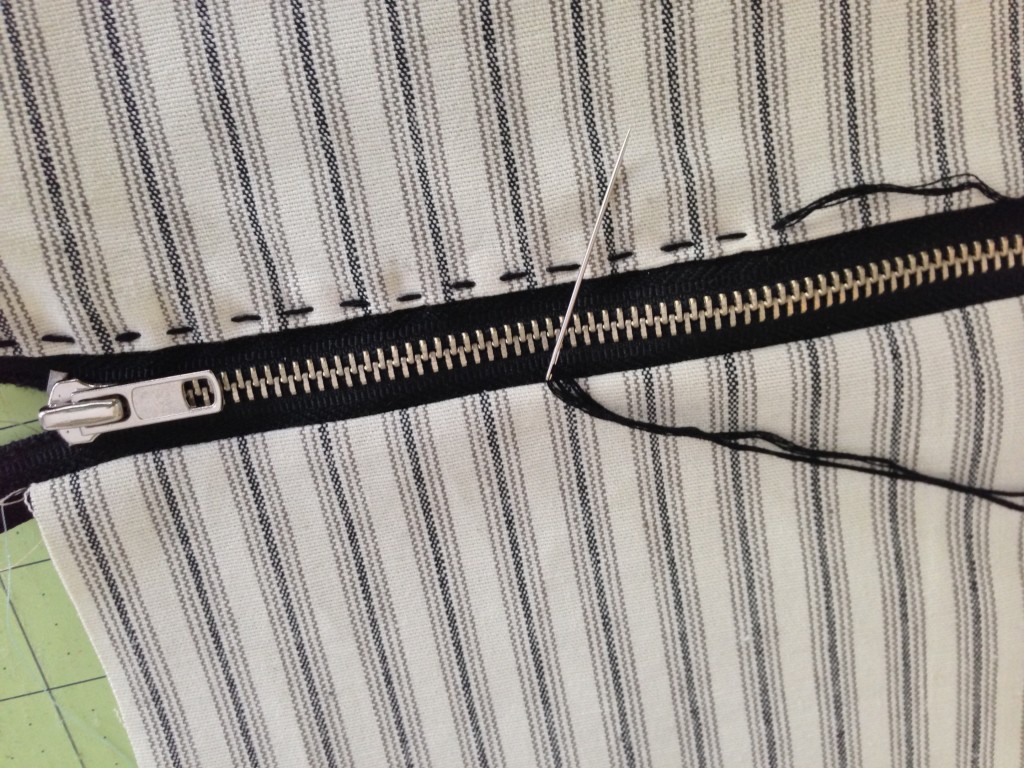
Add a hand stitched detail by sewing a running stitch along both sides of the zipper with black embroidery floss.31_halloween_pillow_13


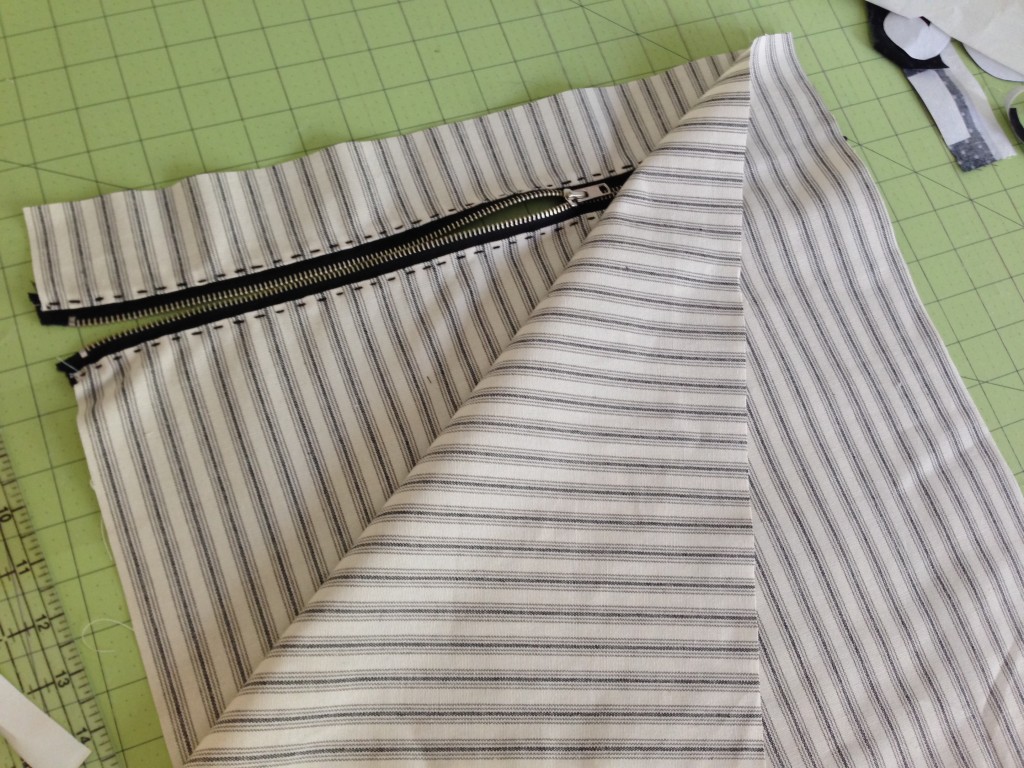
Place the pillow back and pillow front right sides together and pin around the entire pillow.  Make sure the zipper is open.  31_halloween_pillow_14


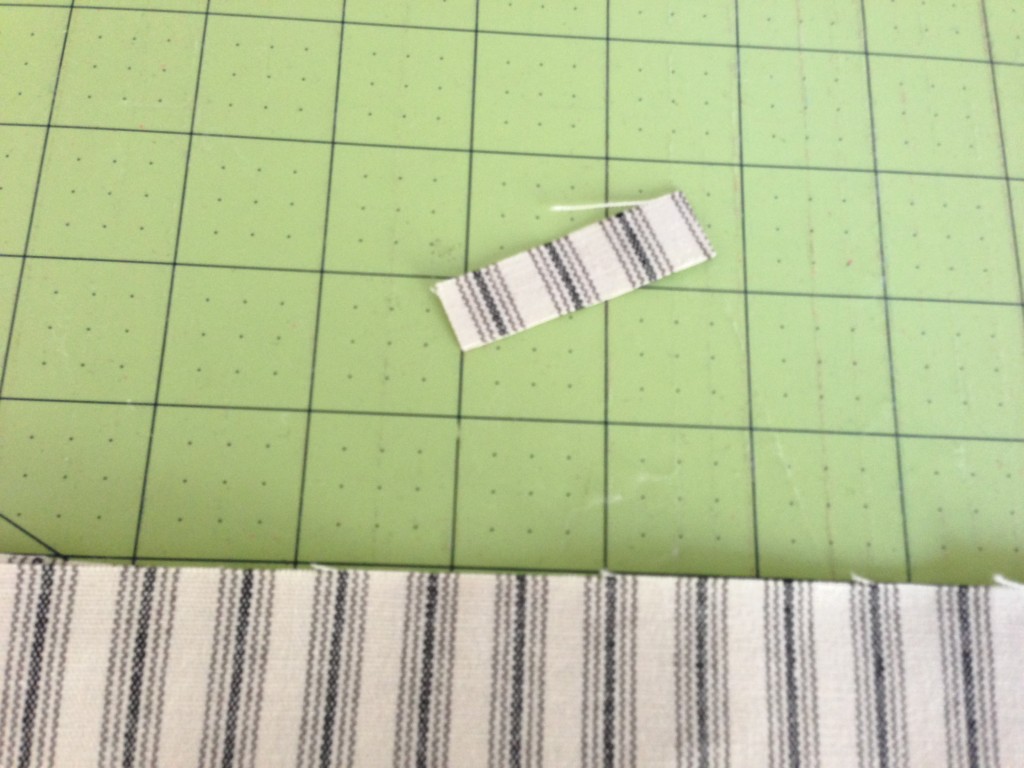
I cut 2 small strips of fabric and added them to both sides of the zipper where the seam would be to give it strength.  Otherwise the only thing holding the zipper is a seam of thread.  I also like to back stitch a few times over the zipper.  With the metal zipper it is best to slow down the sewing speed and even manually move the needle so it can find its way around the zipper teeth.  Sew around the entire pillow using 1/4″ seams31_halloween_pillow_15

Turn right side out and add the pillow, it’s done!


31_halloween_pillo2


Click the button for or more Halloween Projects