Captain America Child’s Apron

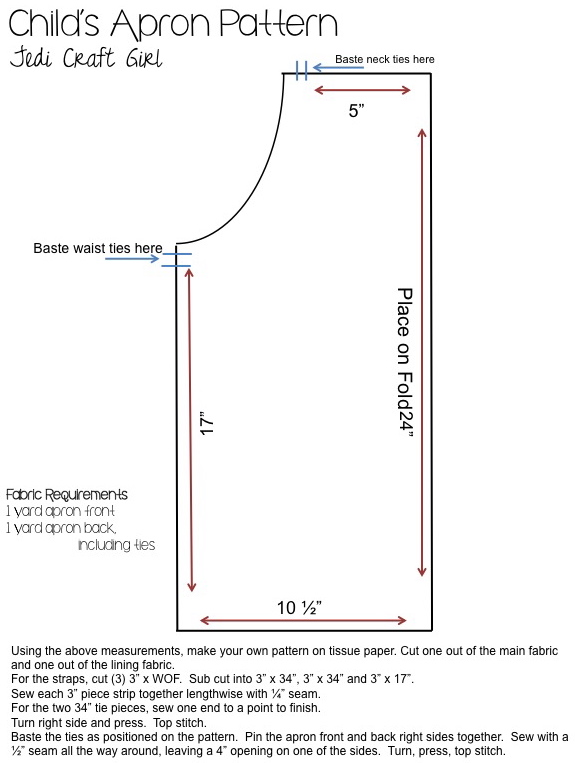
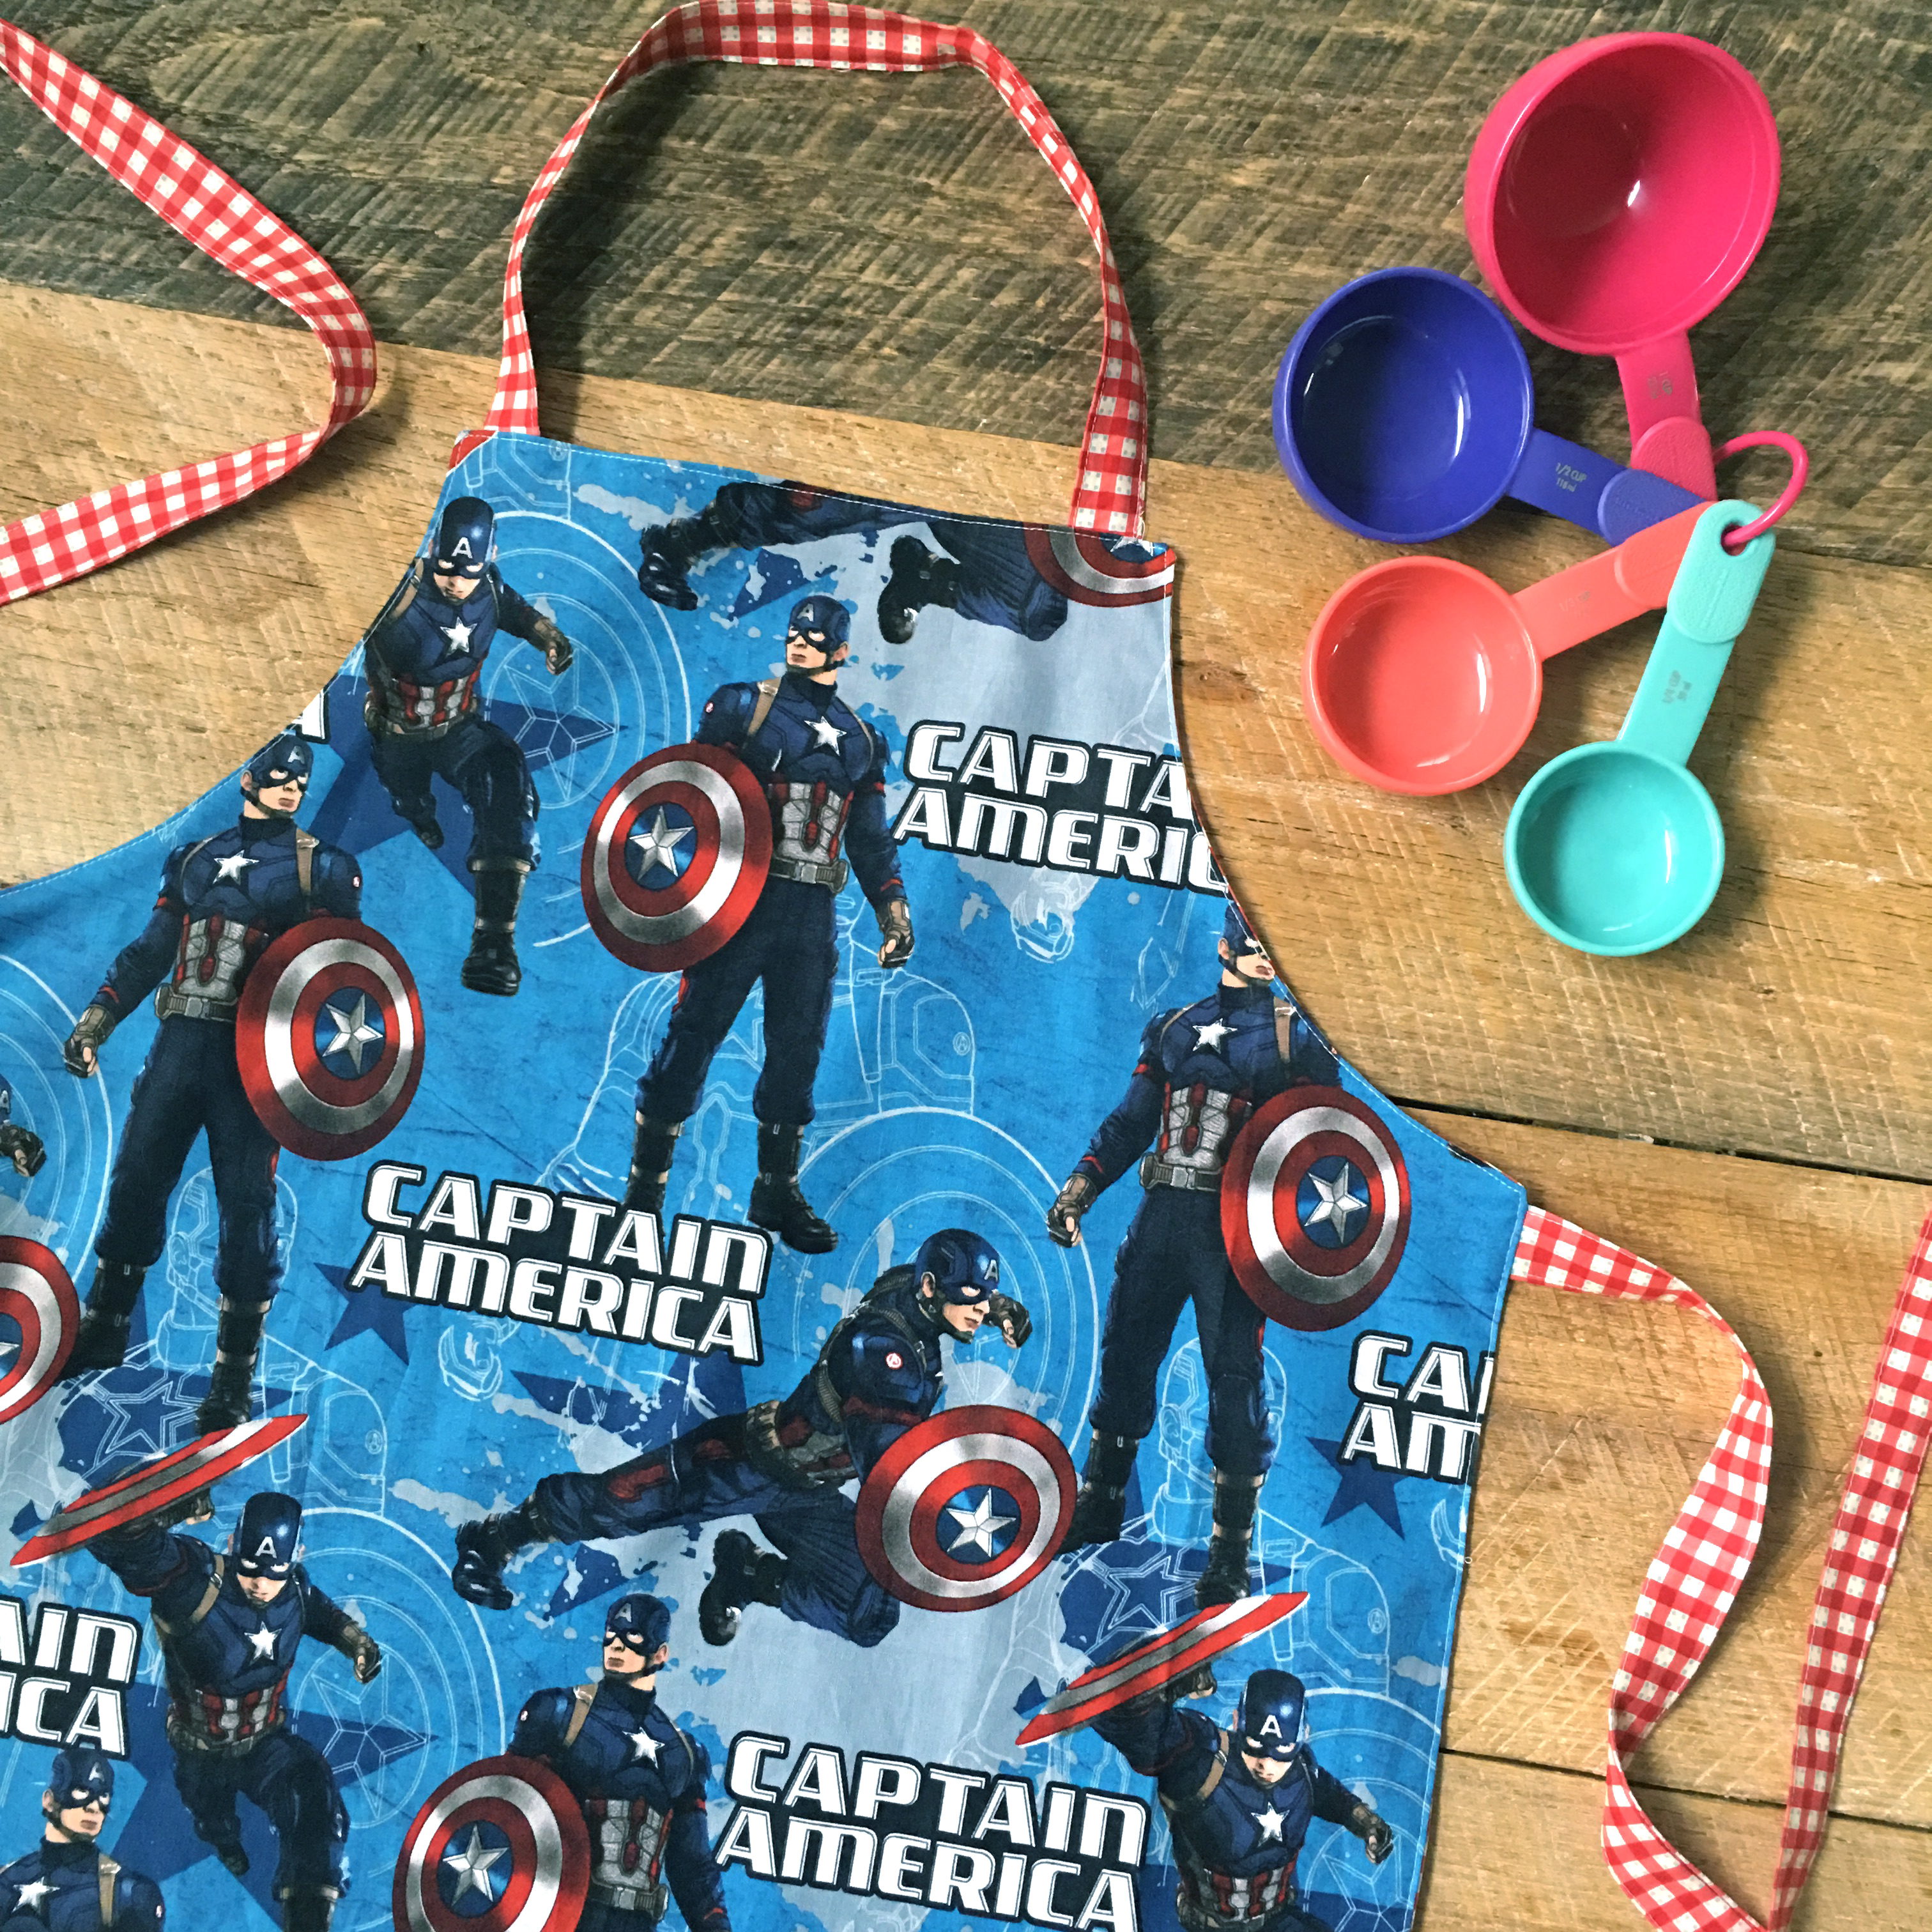
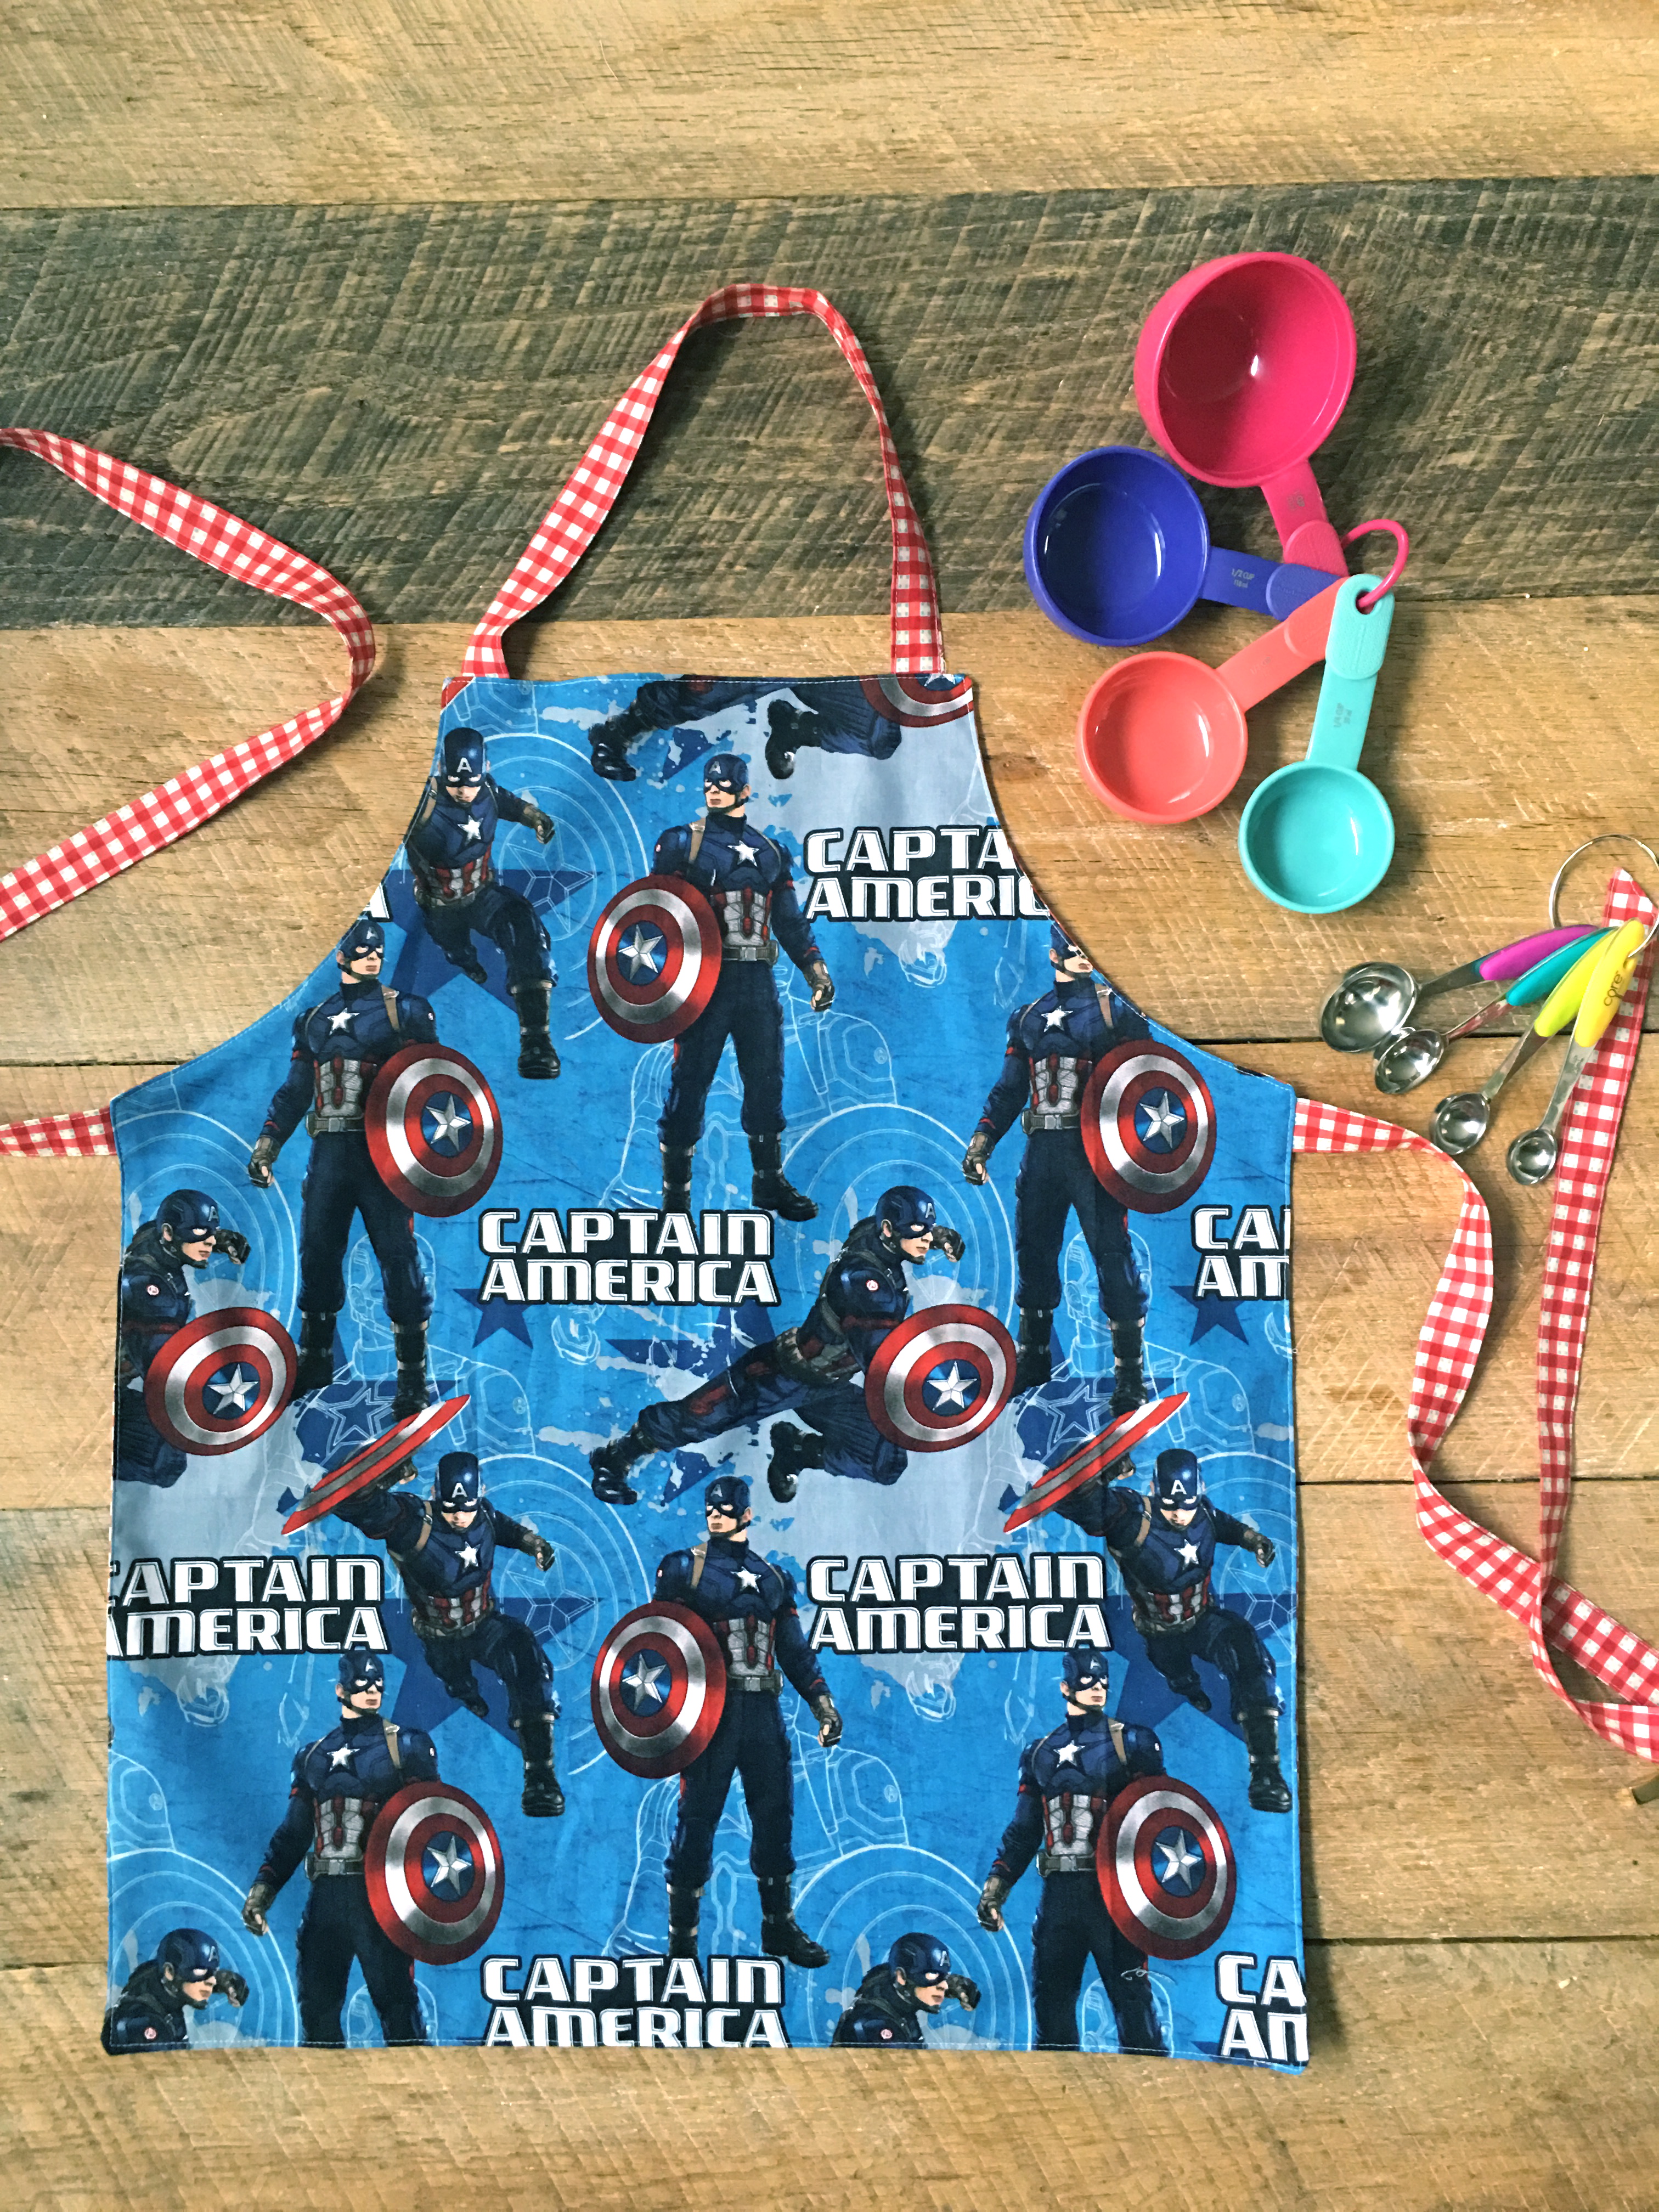
Do you have a little kitchen helper at your house?  Sally bakes everything with me!!  At 8 years old she has a few recipes she can make all by herself!  For Christmas I thought she needed her own measuring cups and spoons and Captain America Apron!!!  This is a basic pattern that can be made in 30 minutes.  You can get creative and add a pocket, ruffle, or fabric accent.  I kept it simple because its all about “Cap” for Sally.  This is a big kids size – would fit from a 6X up to a kids 12.
apron-pattern

img_7948

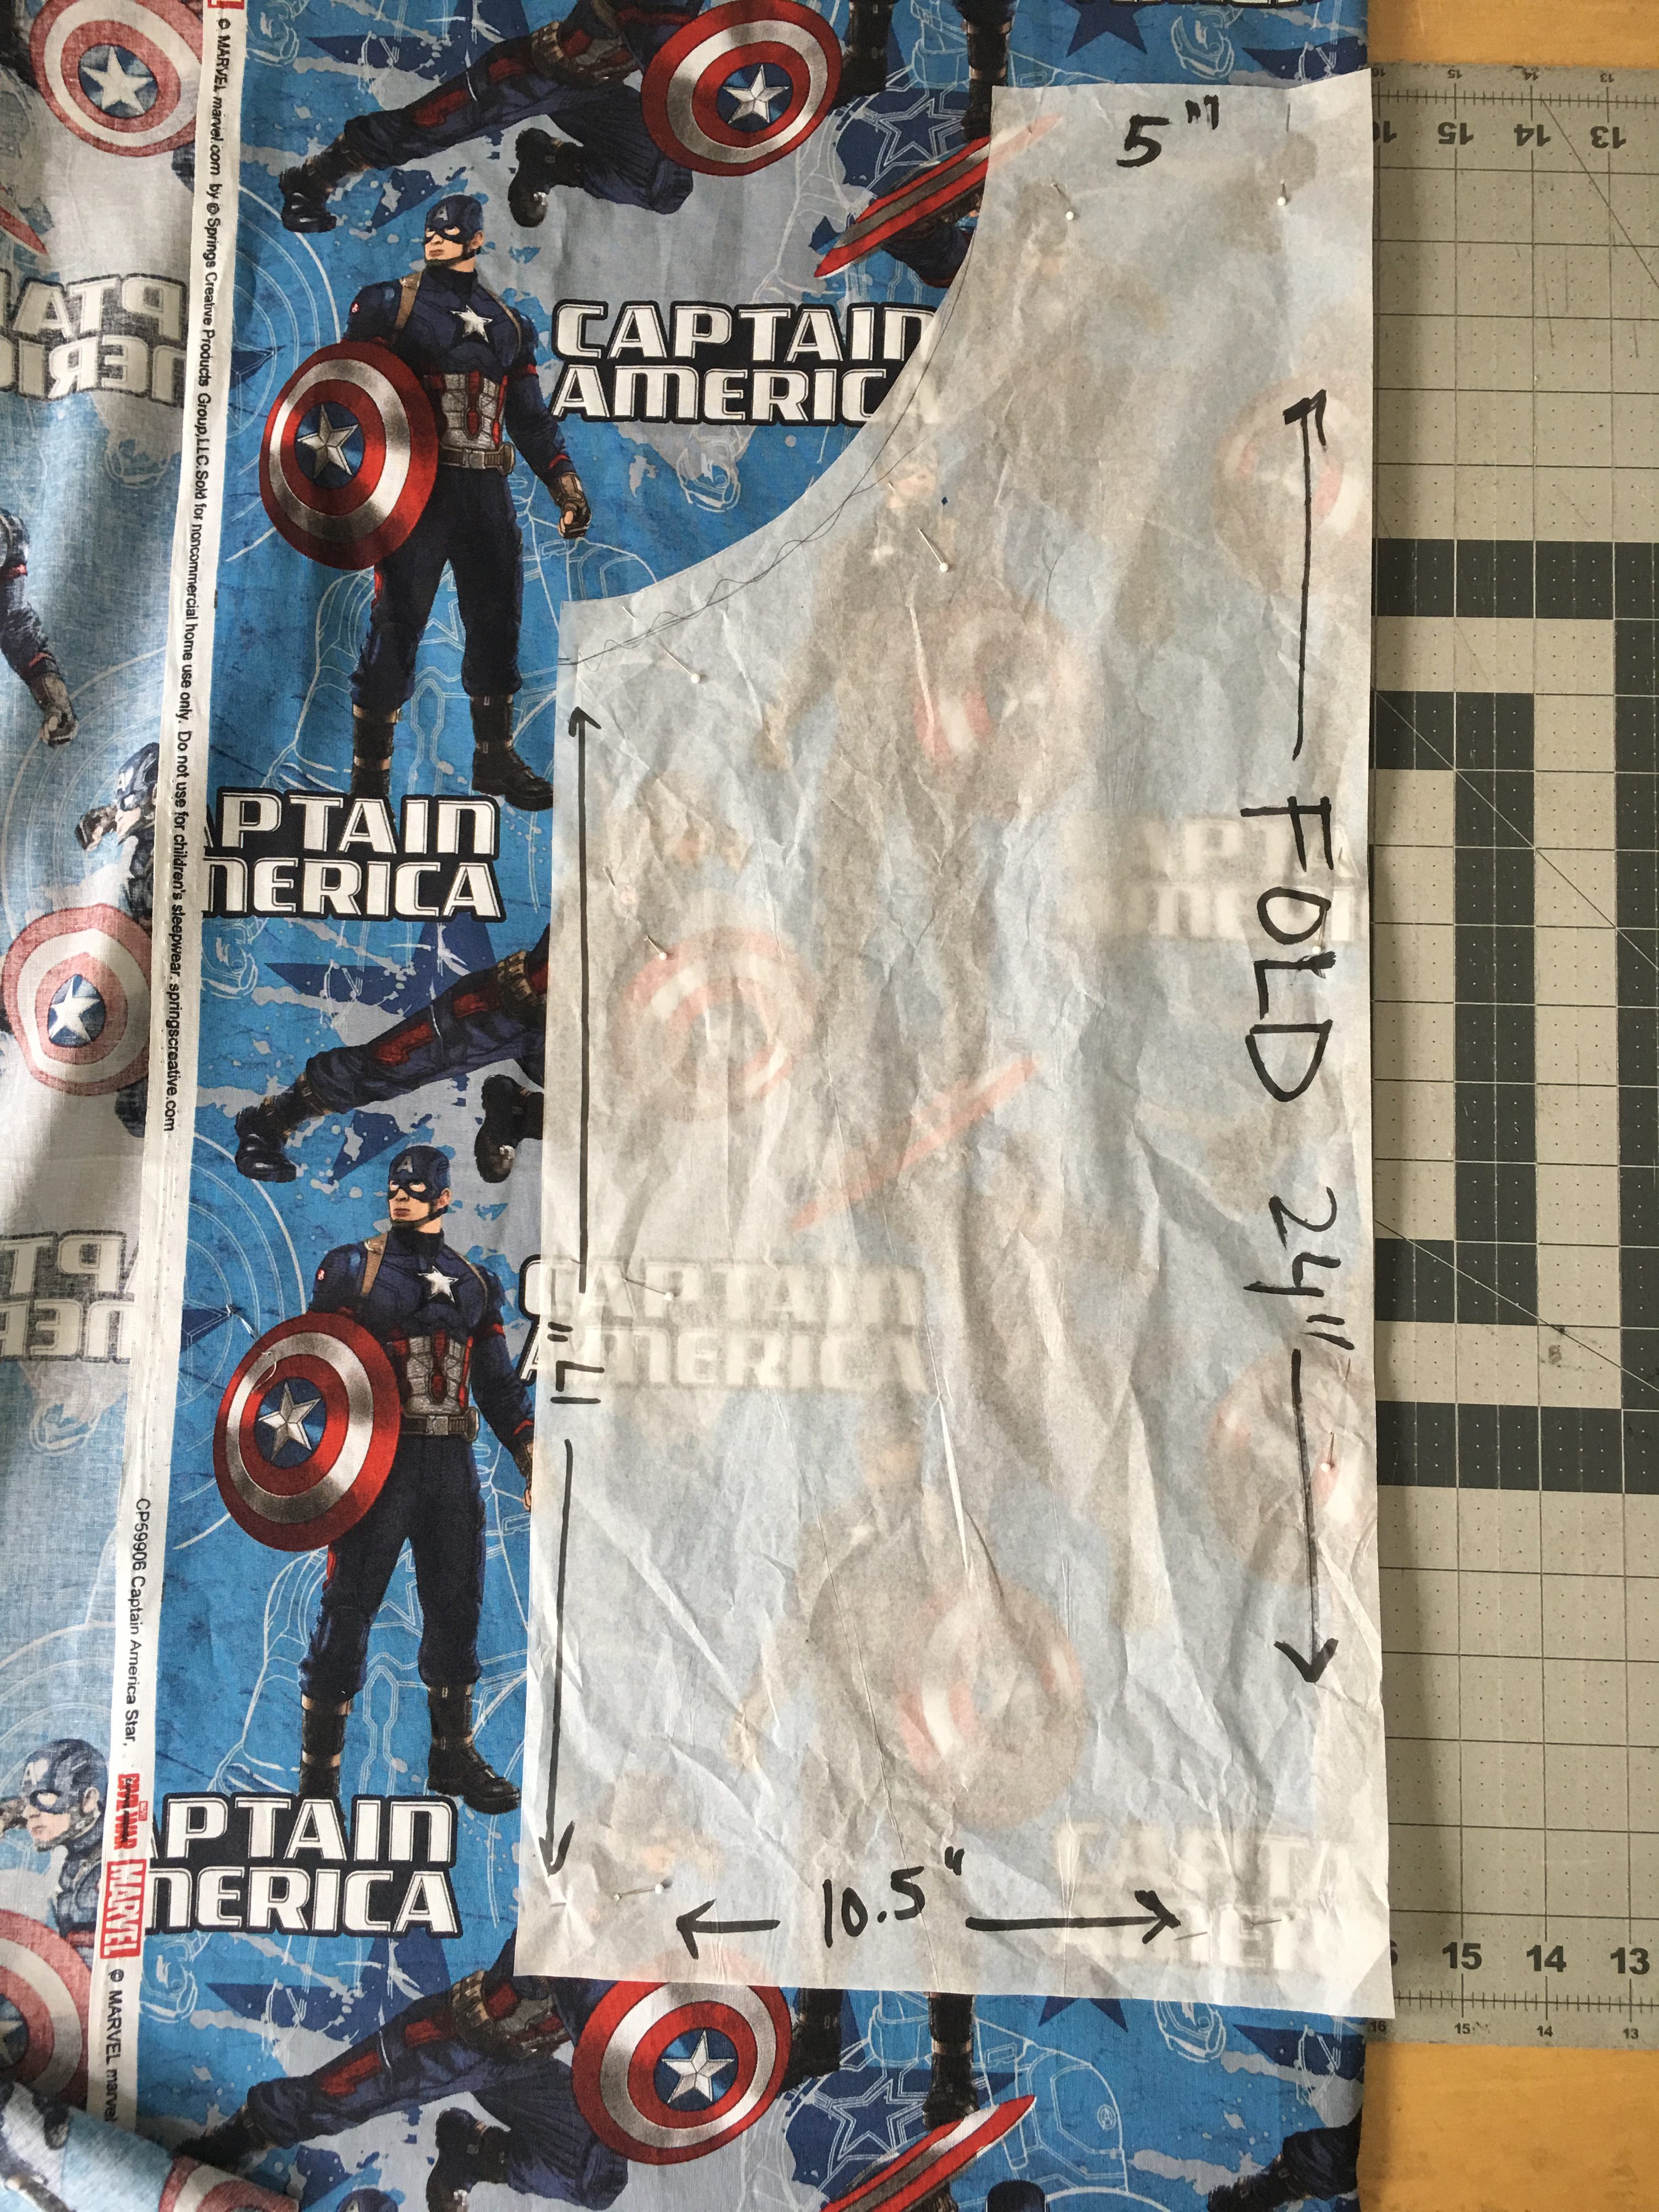
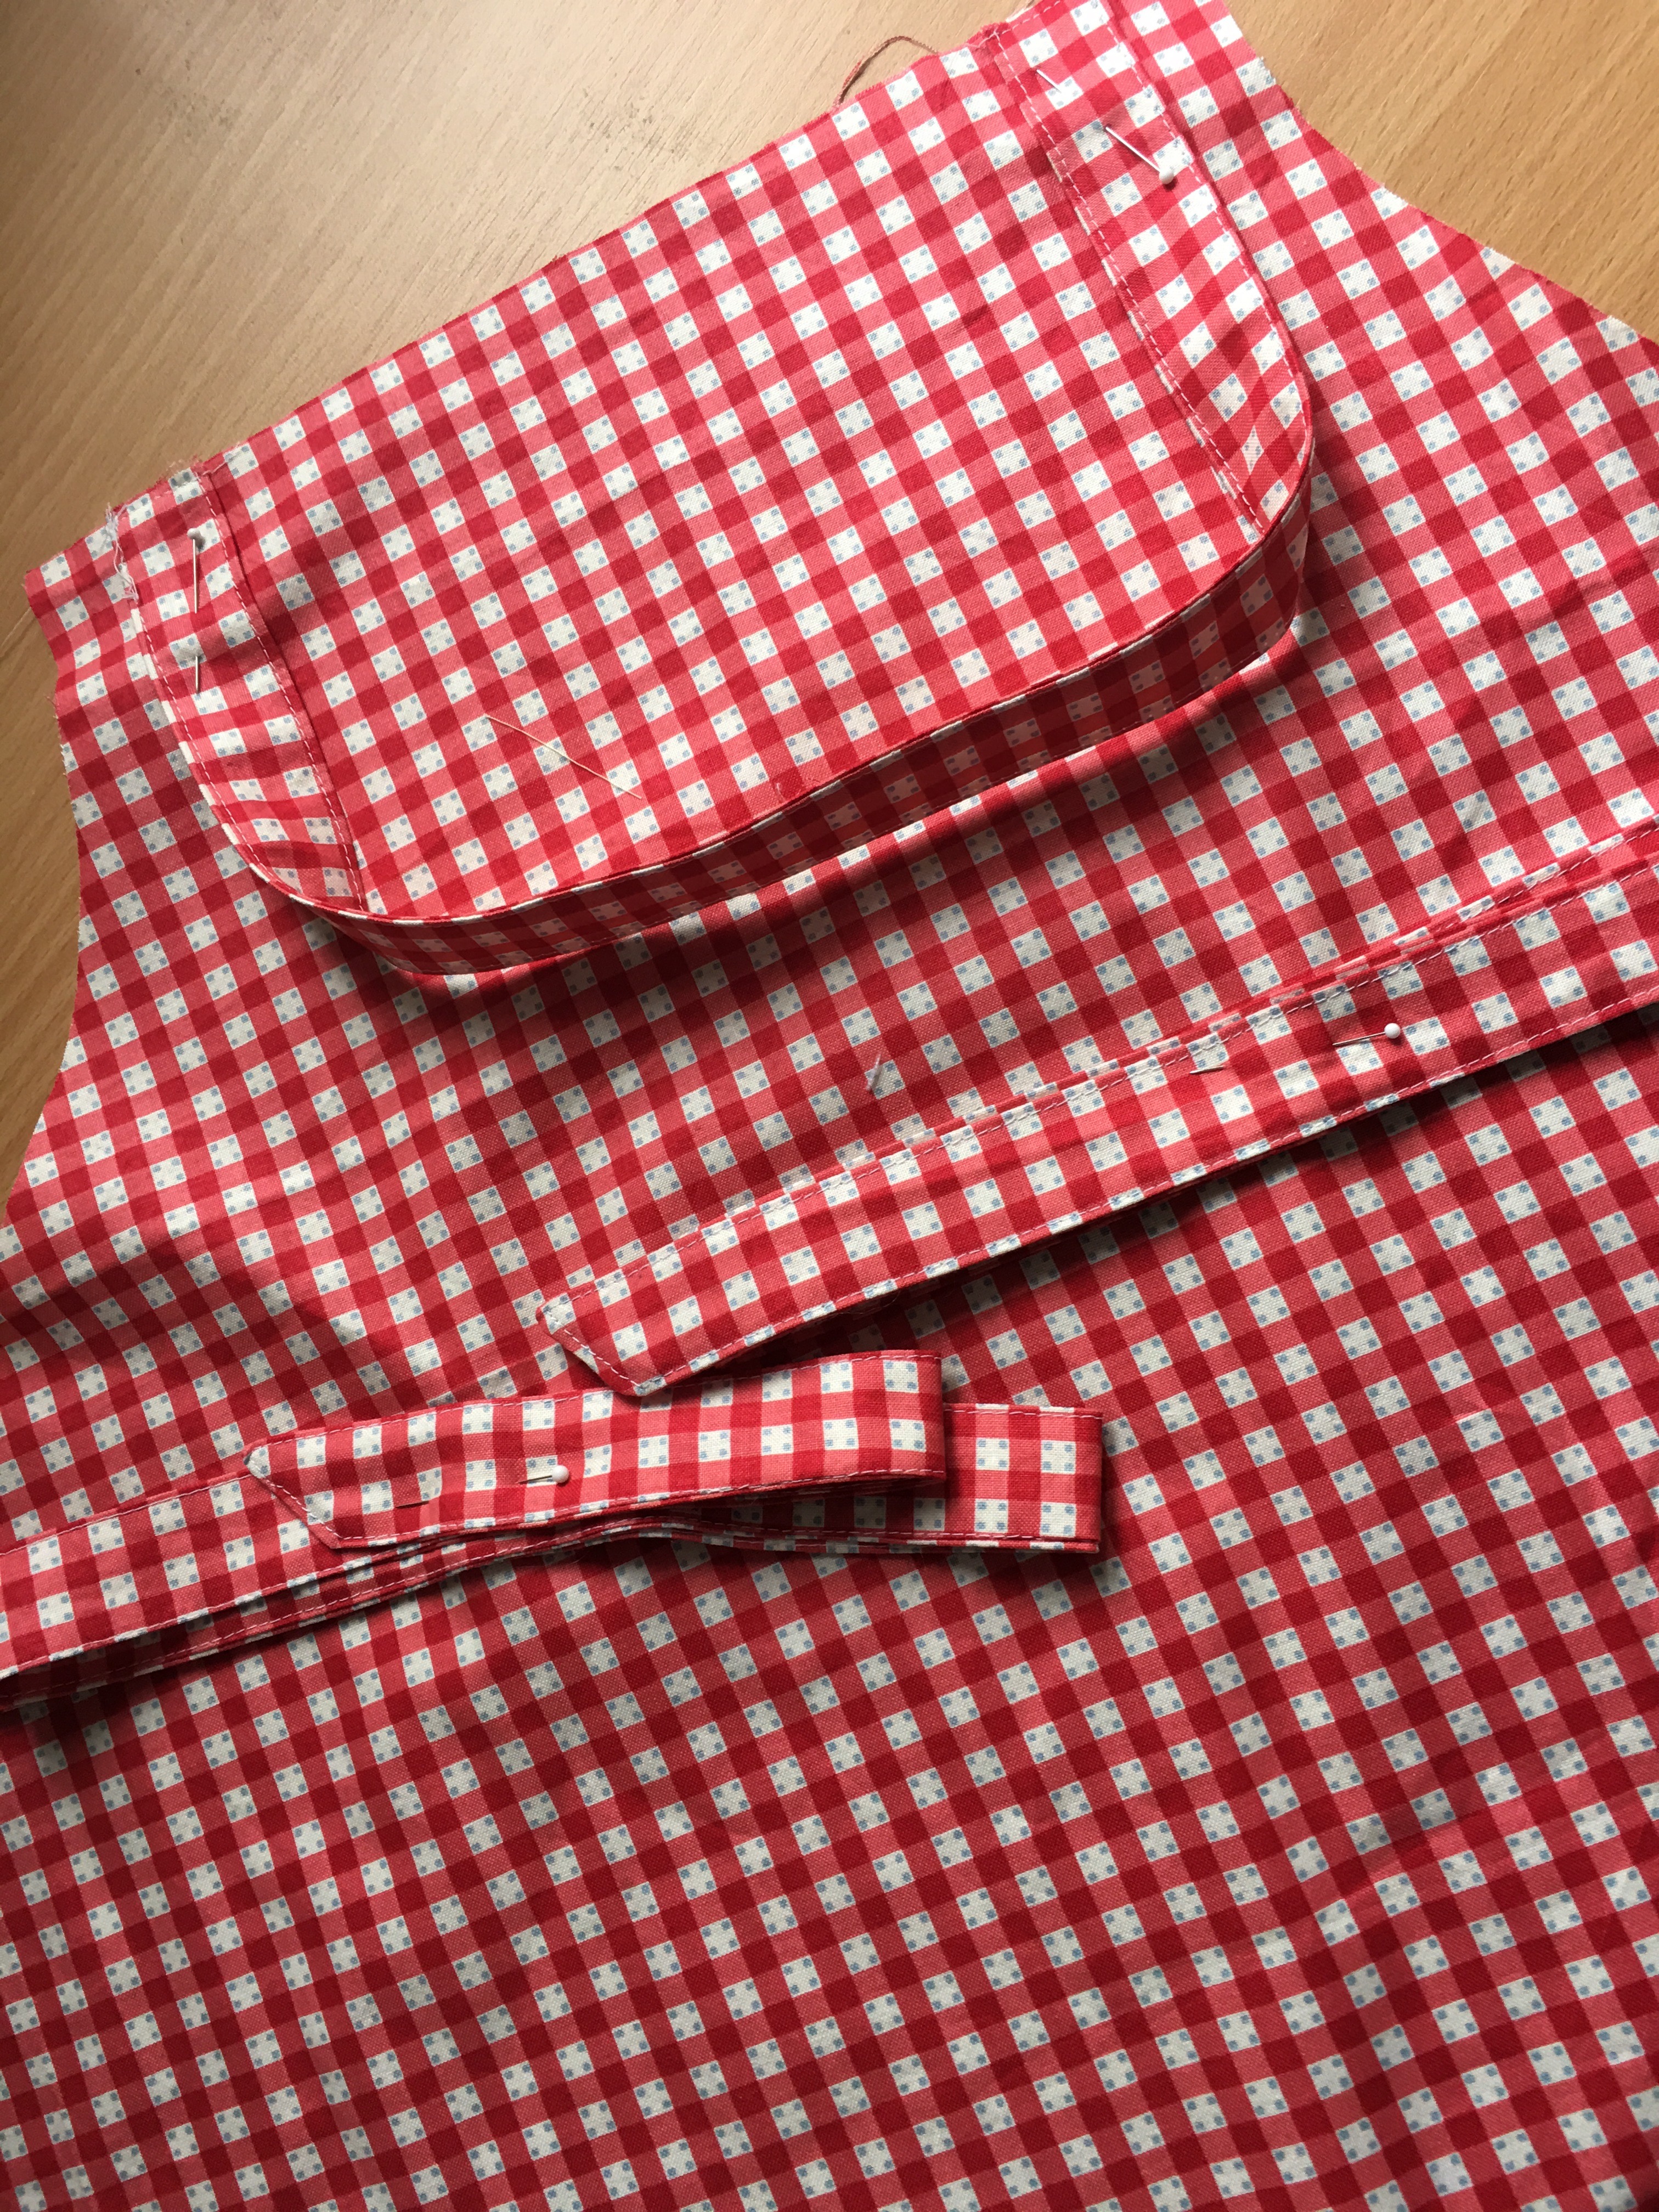
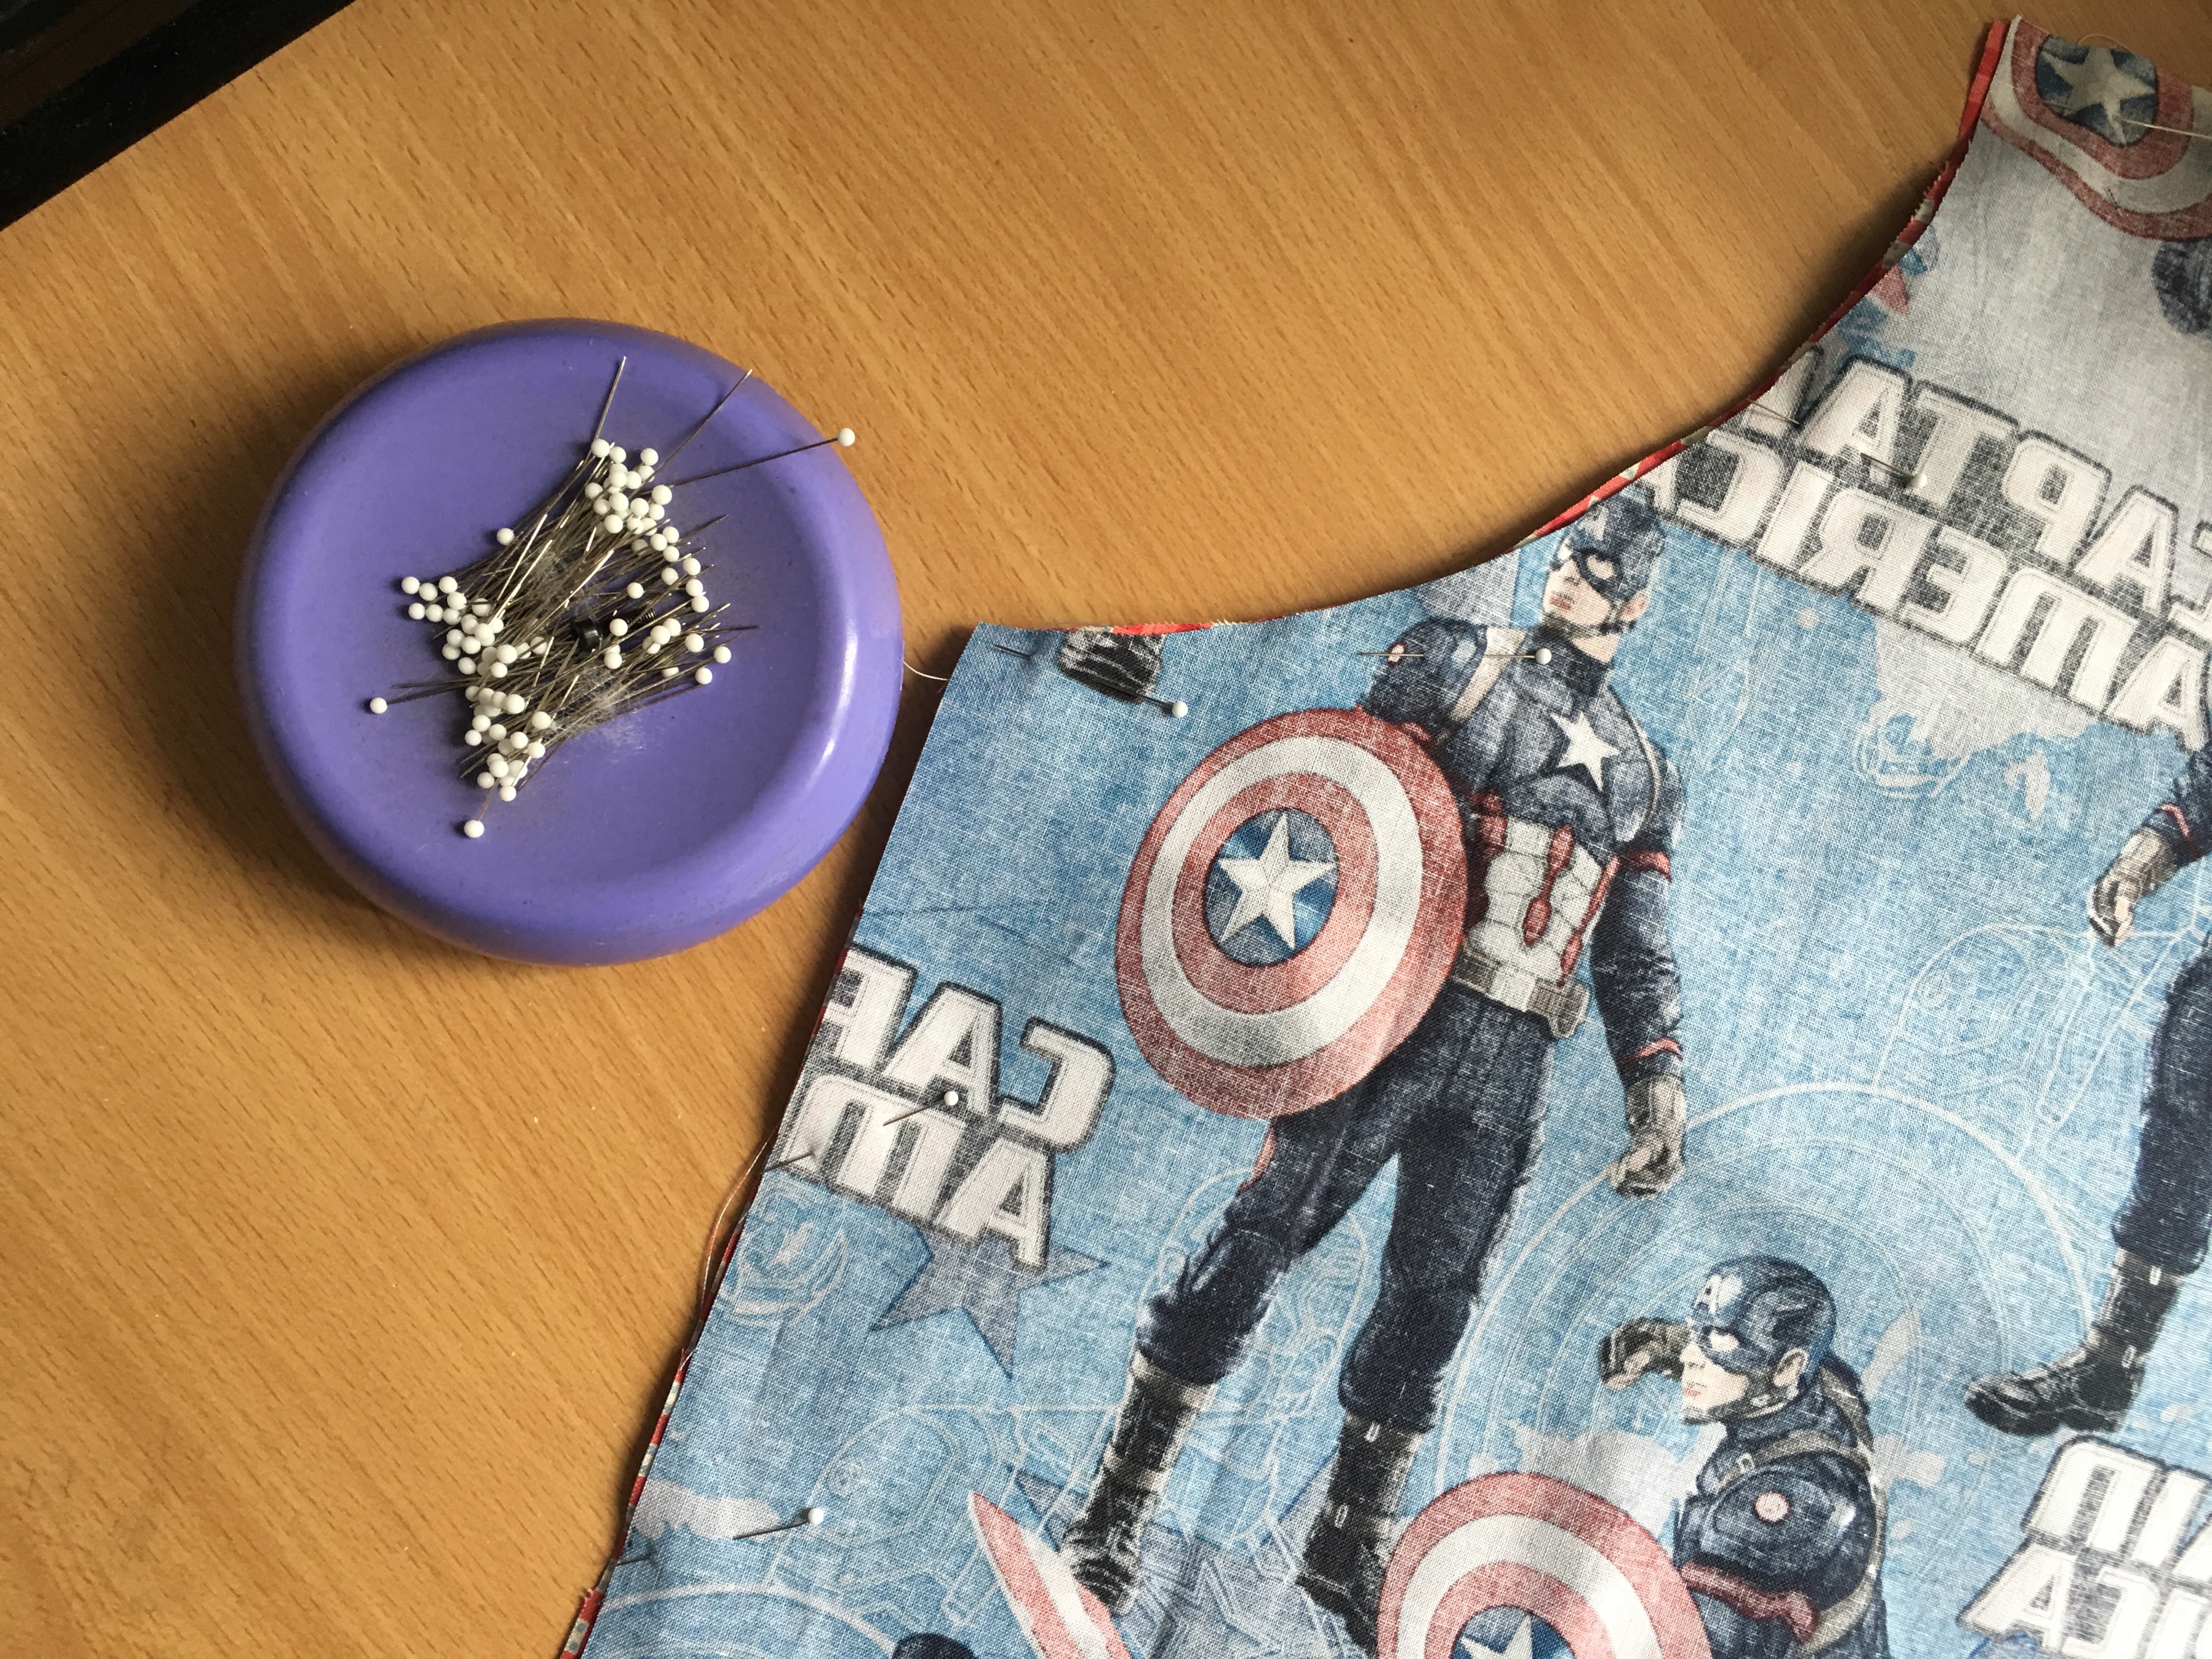
Place the pattern on the fold – I made sure to center the Cap 🙂  Cut one front and one lining.fullsizerender2Once you make the straps, baste them according to the pattern.  Then pin them to keep them from getting in the way of the apron seam.
fullsizerender1

Pin right sides together and make sure to leave a 3″-4″ opening on the side for turning.
img_8130

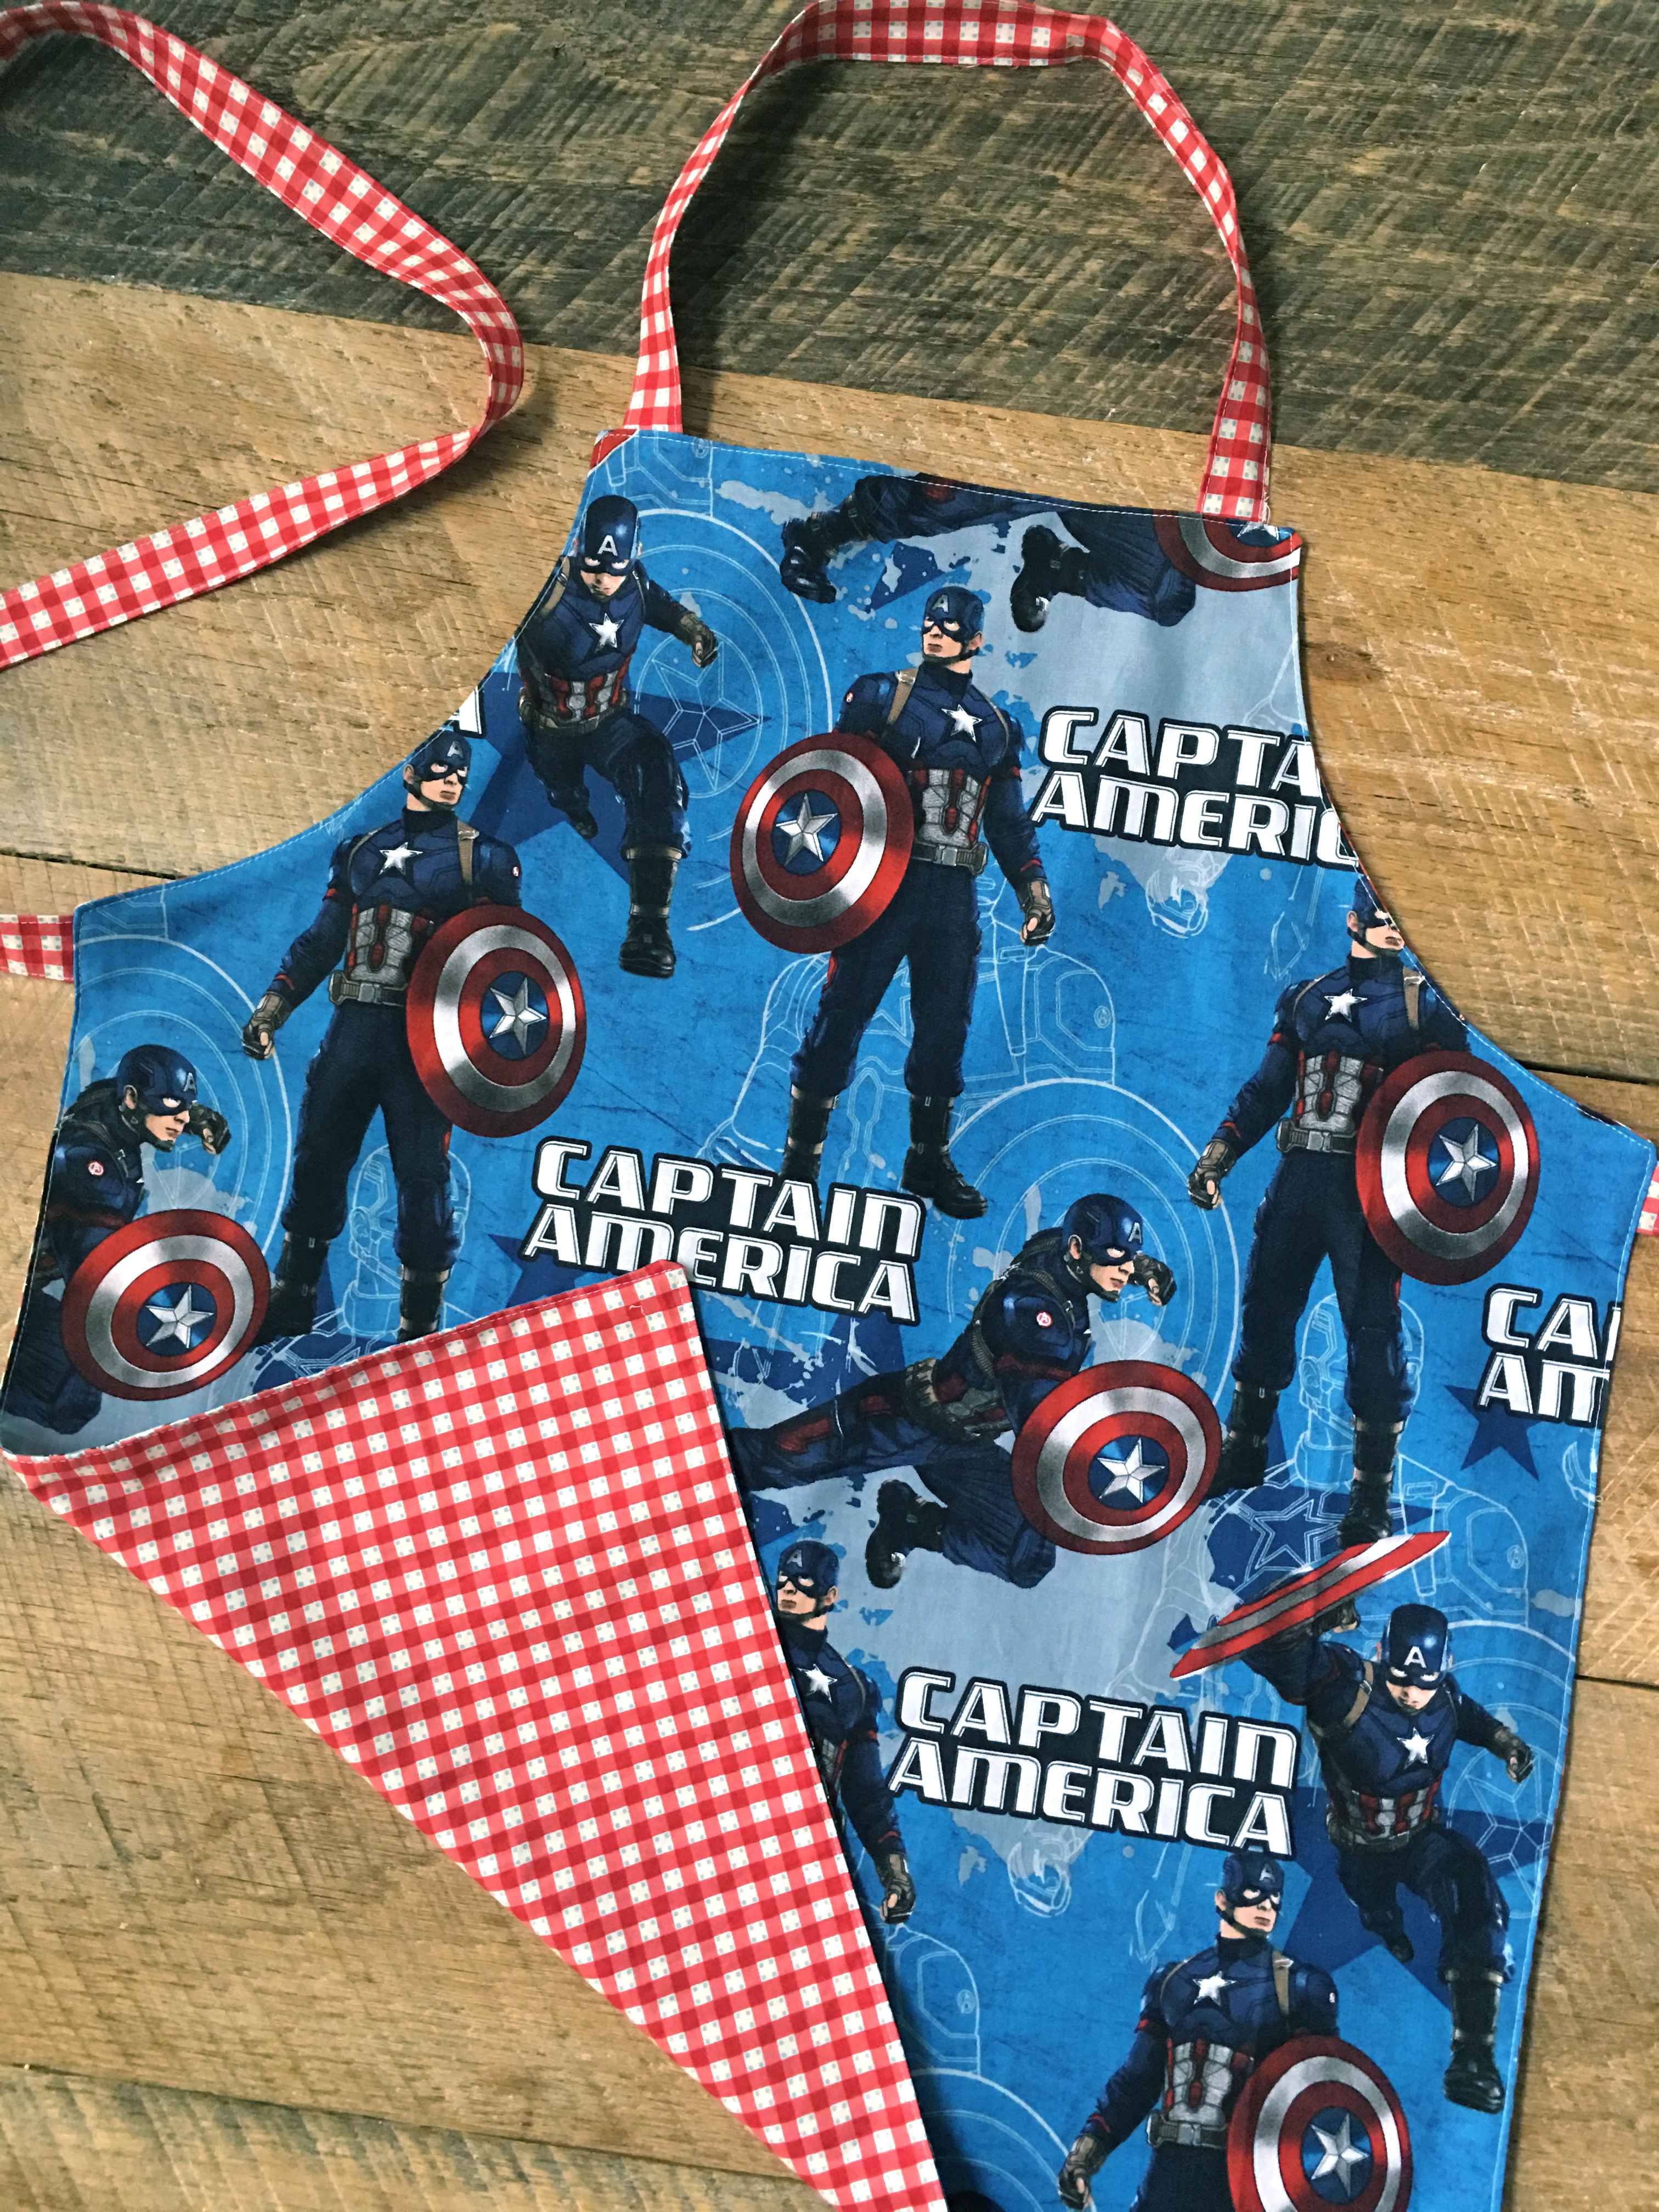
I love how it turned out – and it’s reversible!!!
img_8135

Save

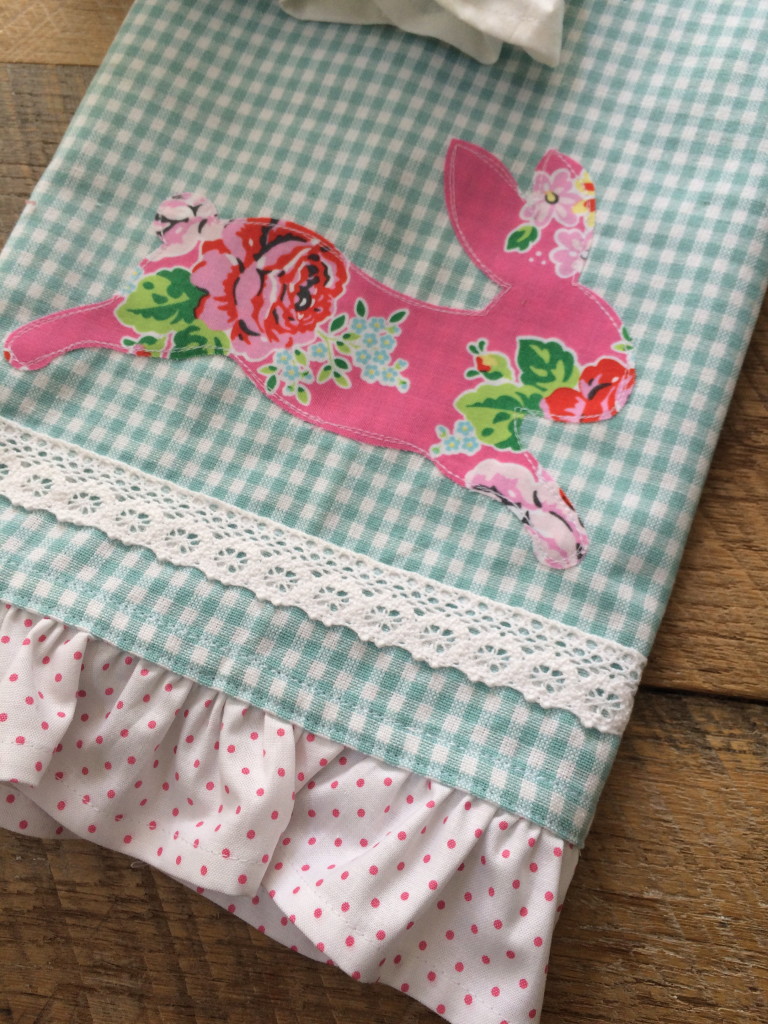
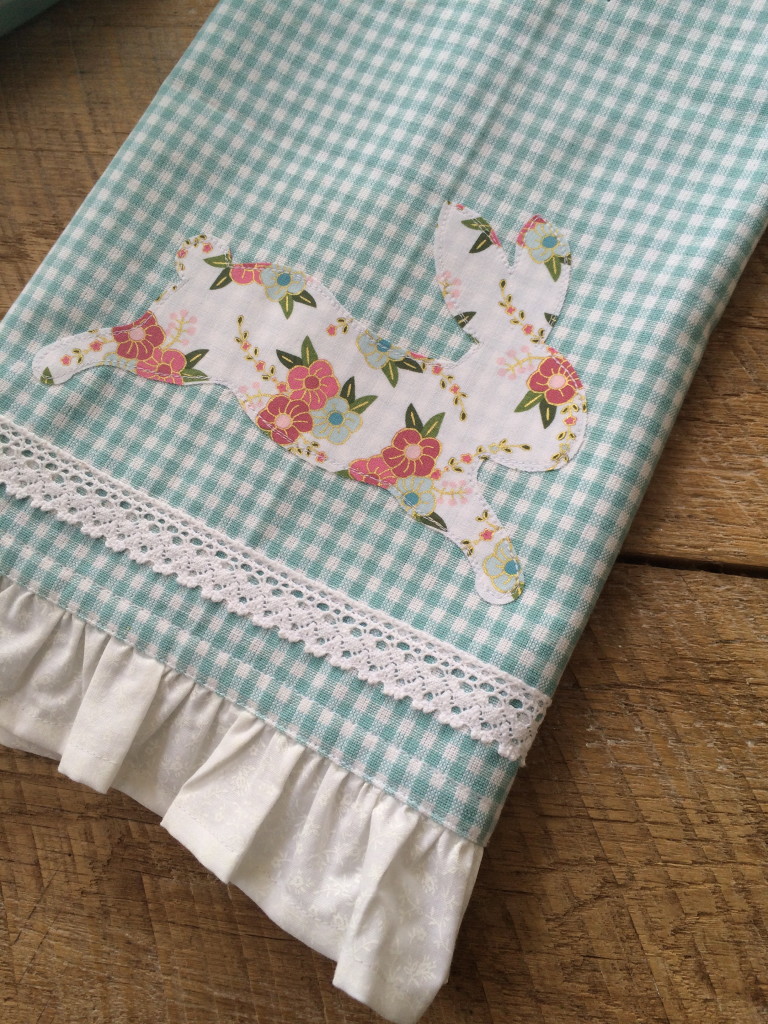
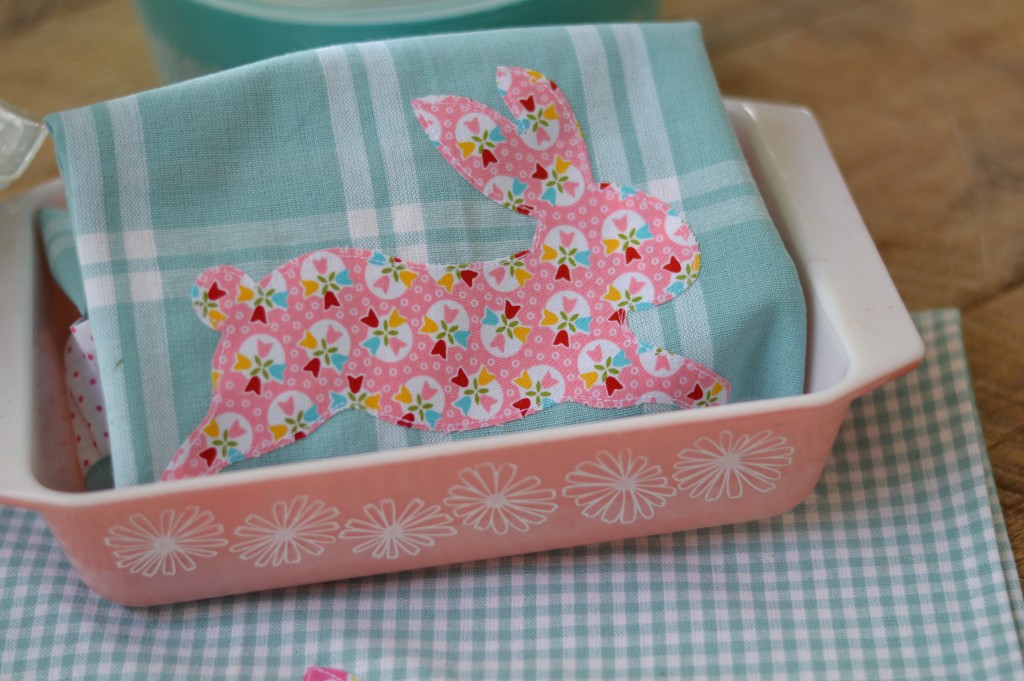
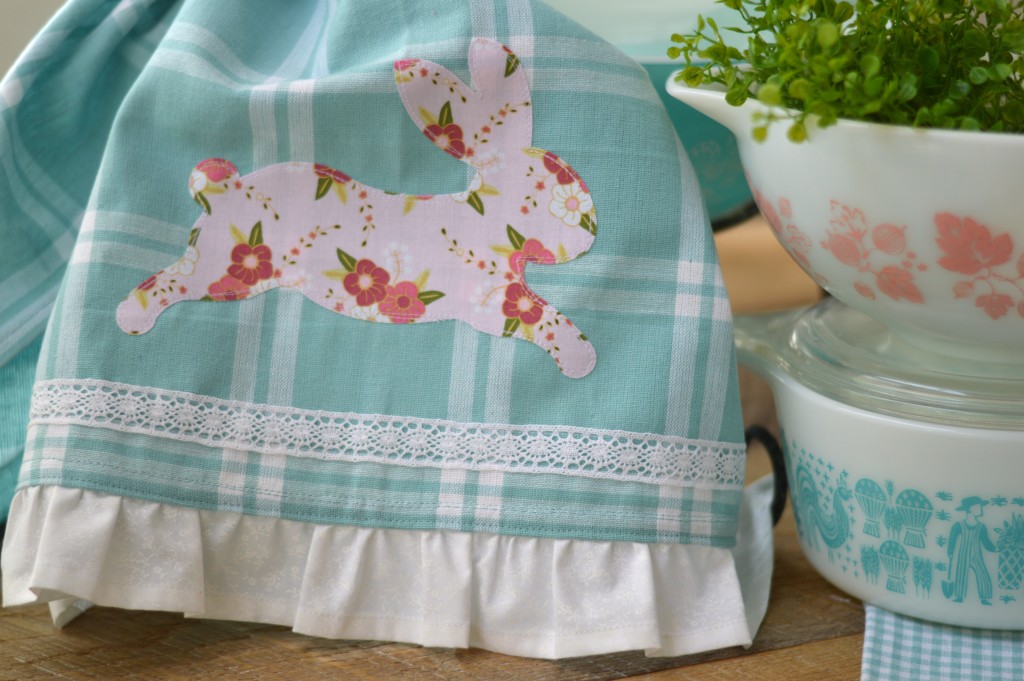
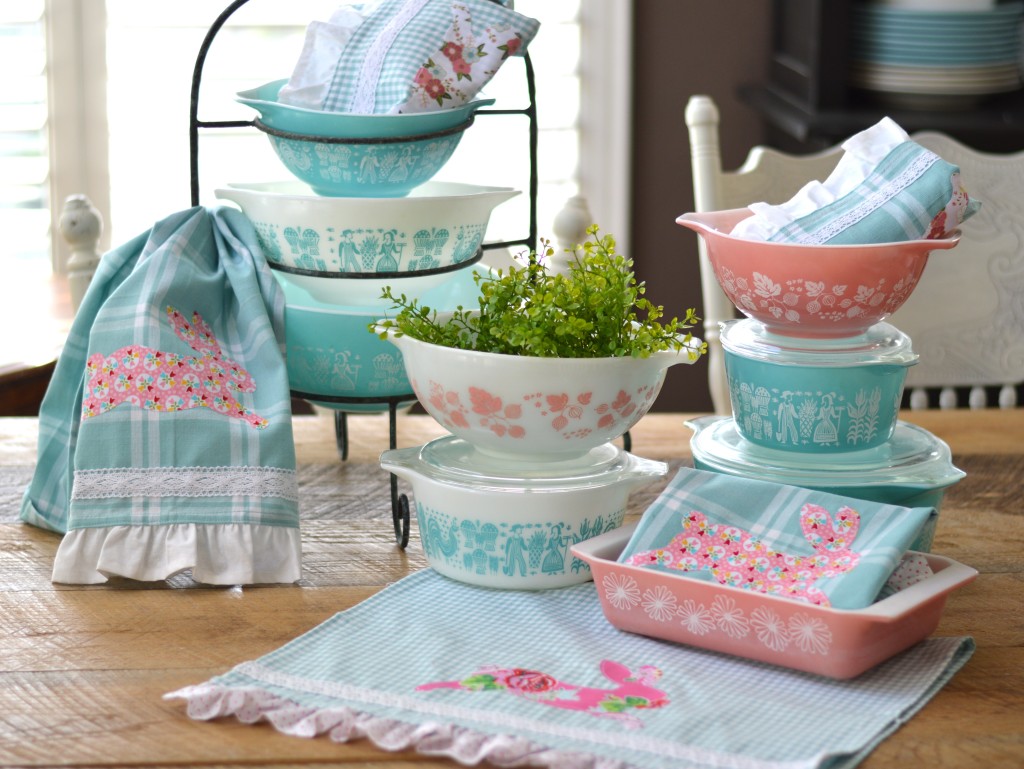
Sizzix Bunny Kitchen Towel

bunny towel

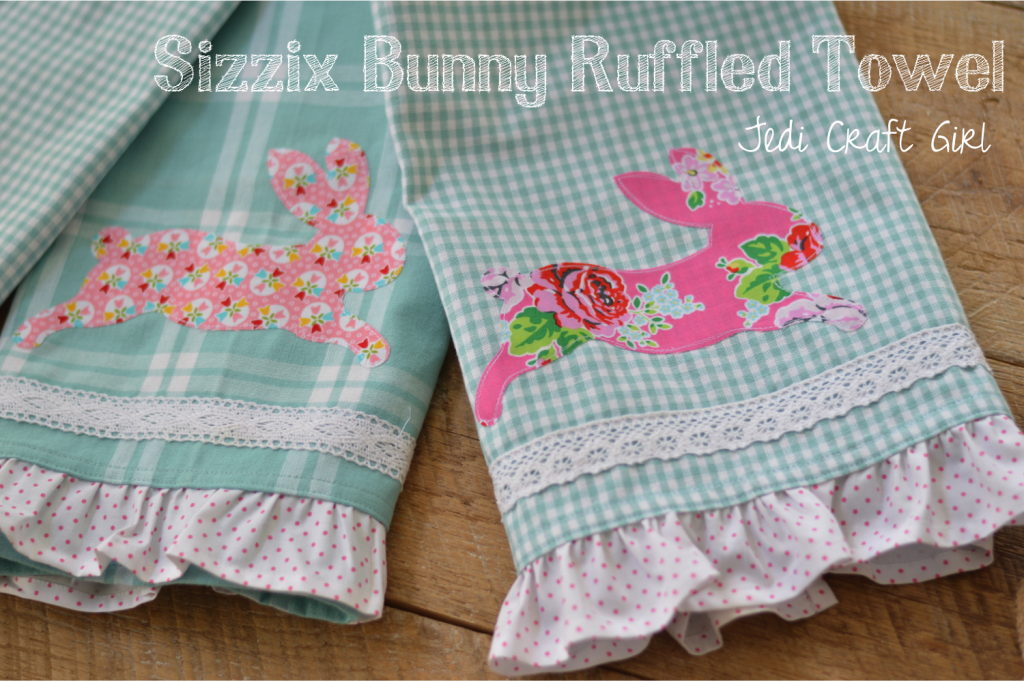
Today, on the Sizzix blog, I am sharing one of my favorite little projects to sew: Kitchen Towels!  Hop on over there for the full tutorial!

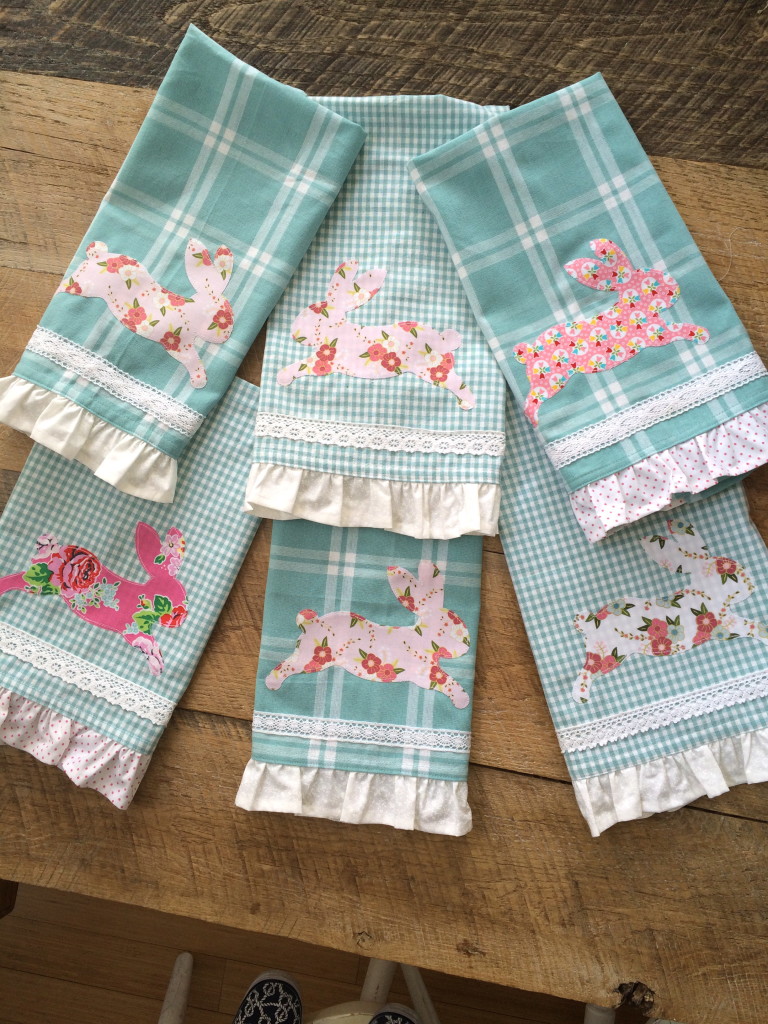
sizzix bunny towel 5 Kitchens usually don’t have a lot of wall space or places to hang quilts or cute crafty projects.  I love hanging home made towels on my oven, it gives the kitchen that cozy feeling!  Theses sweet towels also make the perfect gift!  Who wouldn’t want one of these!  I choose some of my favorite Riley Blake Fabric Prints from some of my favorite designers.  sizzix bunny towel 10
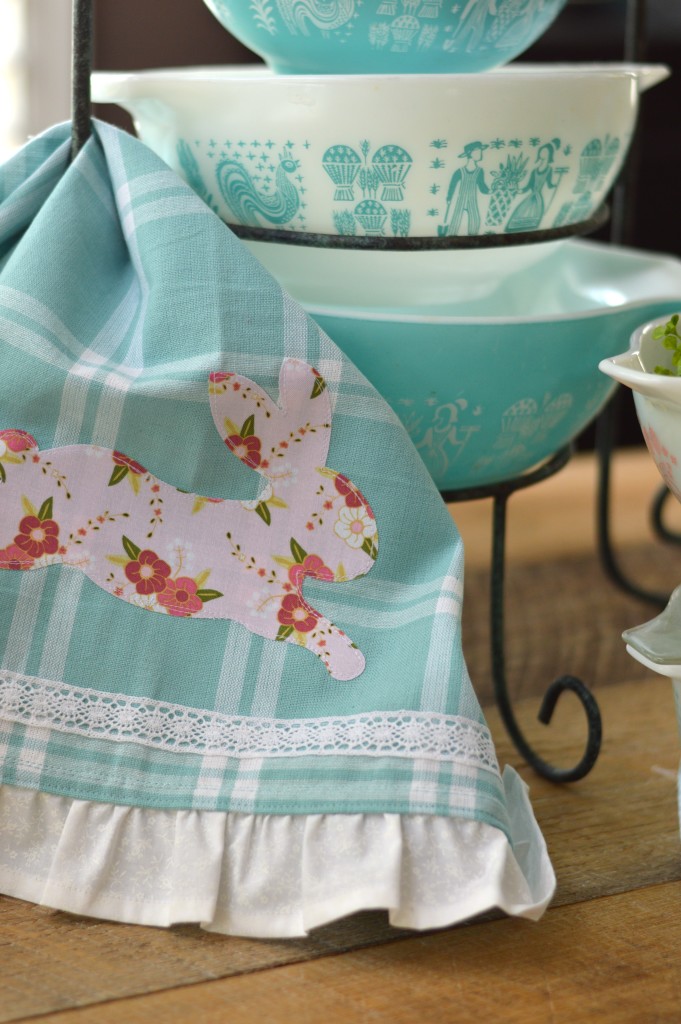
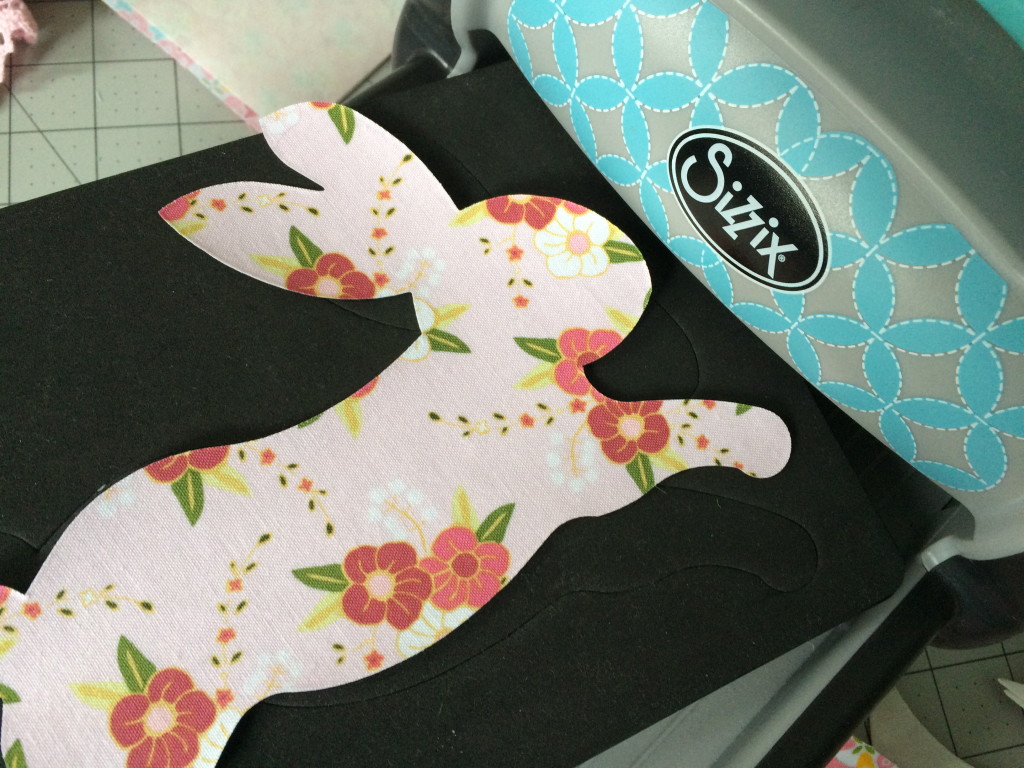
I am also using my most favorite Sizzix Bunny Die (I’m sure I’ve said that many times!!)  I love using my Sizzix Fabi to cut these bunnies!  It’s so fast and easy!

IMG_4954

And you can die cut several at one time!

IMG_4969

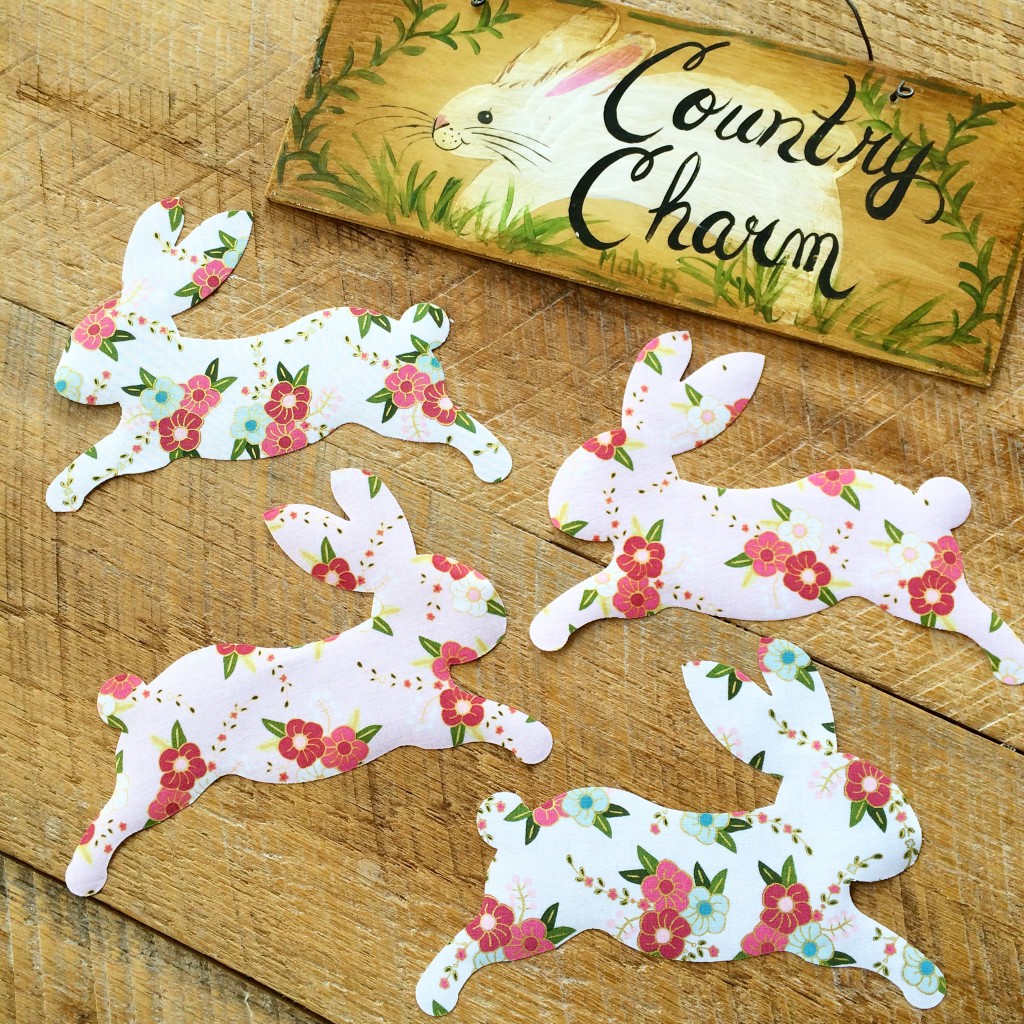
I could cut these bunnies out all day long!  They are so much fun and oh so cute when they are leaping all over!

IMG_4958

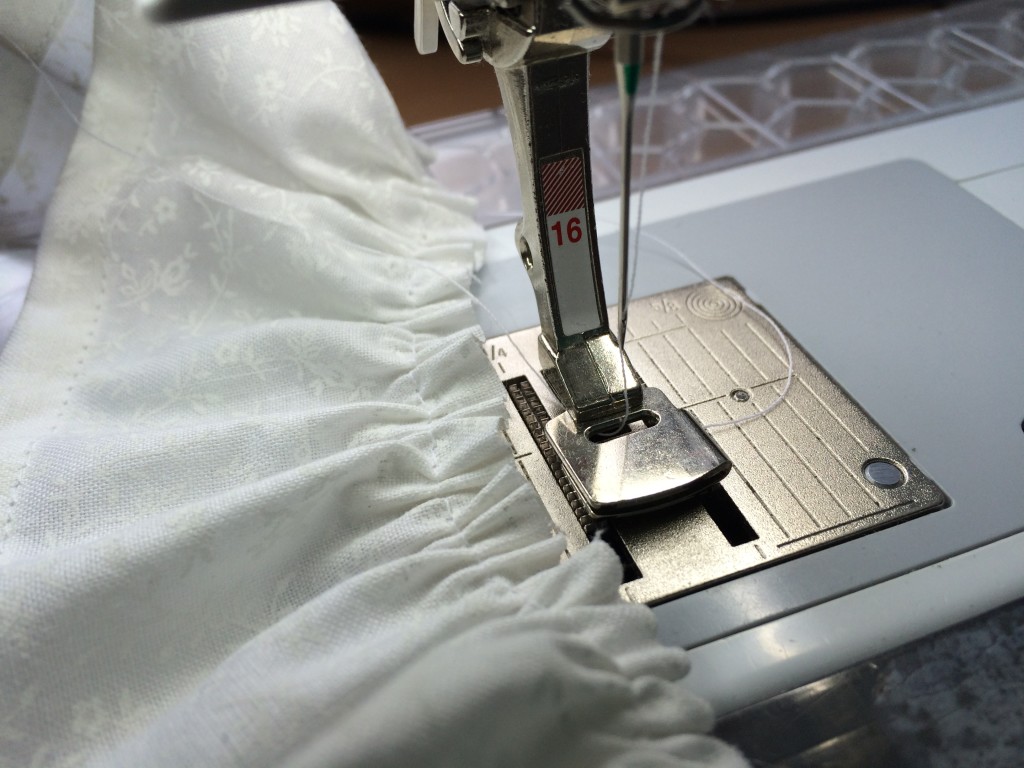
I used my ruffling foot to sew the ruffle – this is also a time saver!

IMG_4980

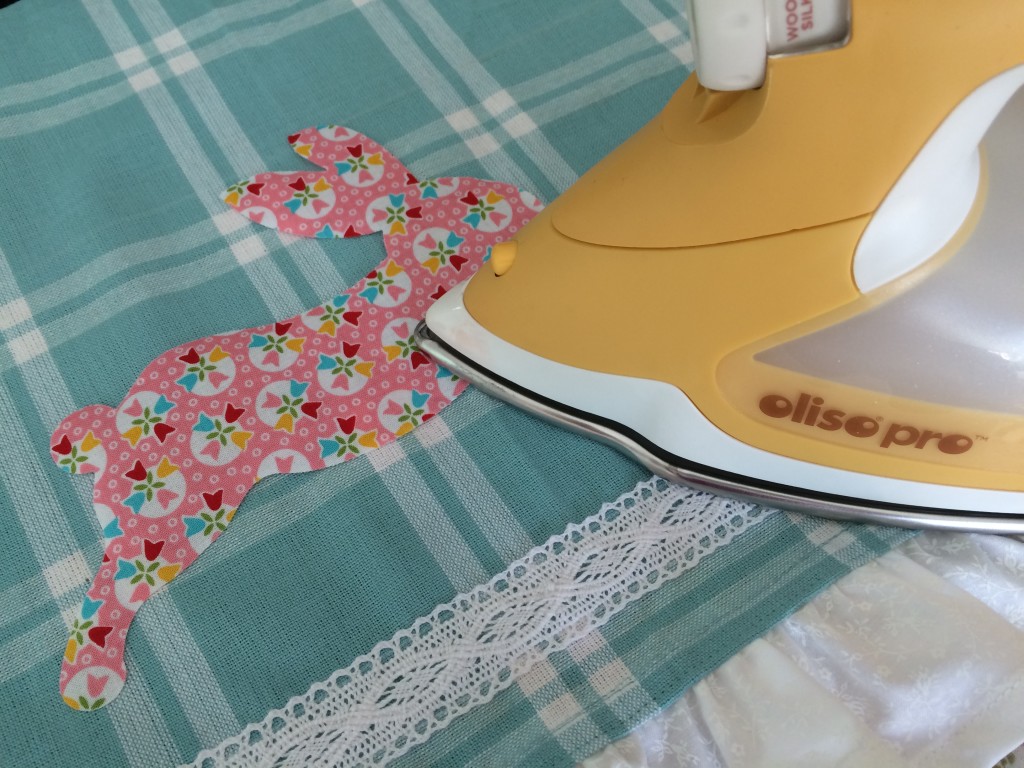
I used Heat n Bond Lite to fuse the bunny.  I also used my new Oliso Pro iron.  It’s a dream!!!

IMG_5041

I love how sweet they are with the soft colors!

IMG_5042

IMG_5039

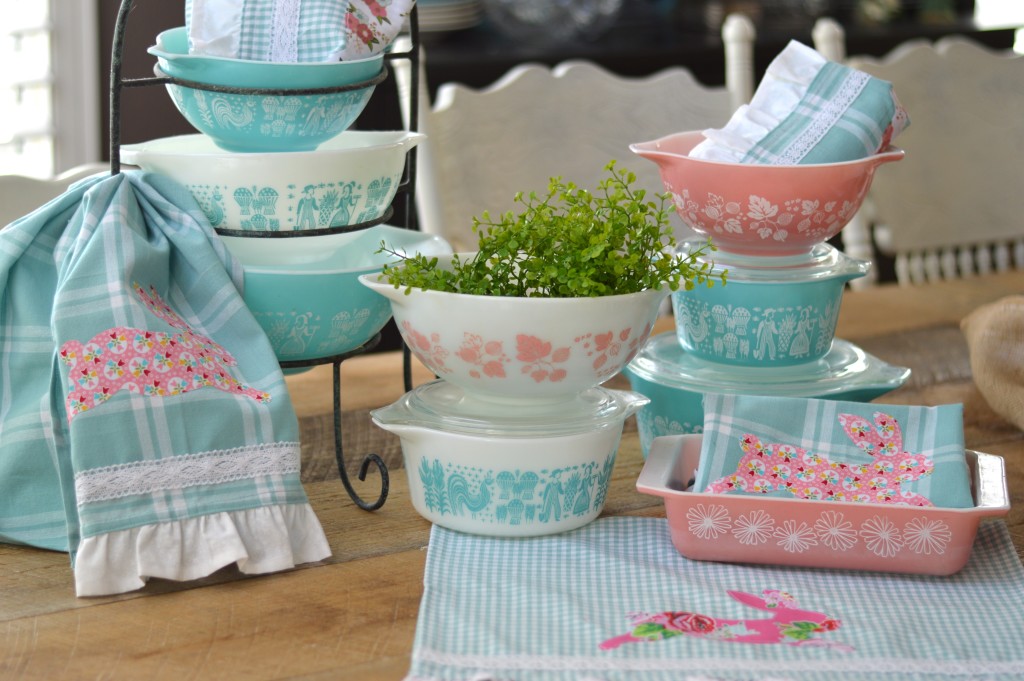
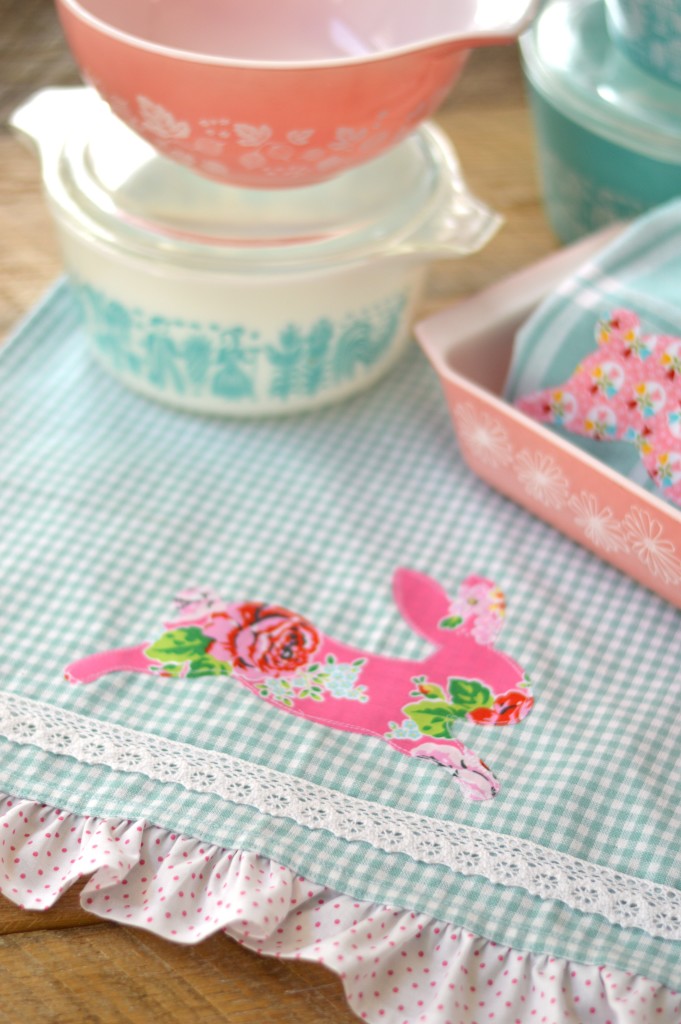
I want to keep them all for myself!!     I love that these colors are perfect Pyrex colors!  I might just have a slight Pyrex obsession!!sizzix bunny towel 3

sizzix bunny towel 7

sizzix bunny towel 6        sizzix bunny towel 4

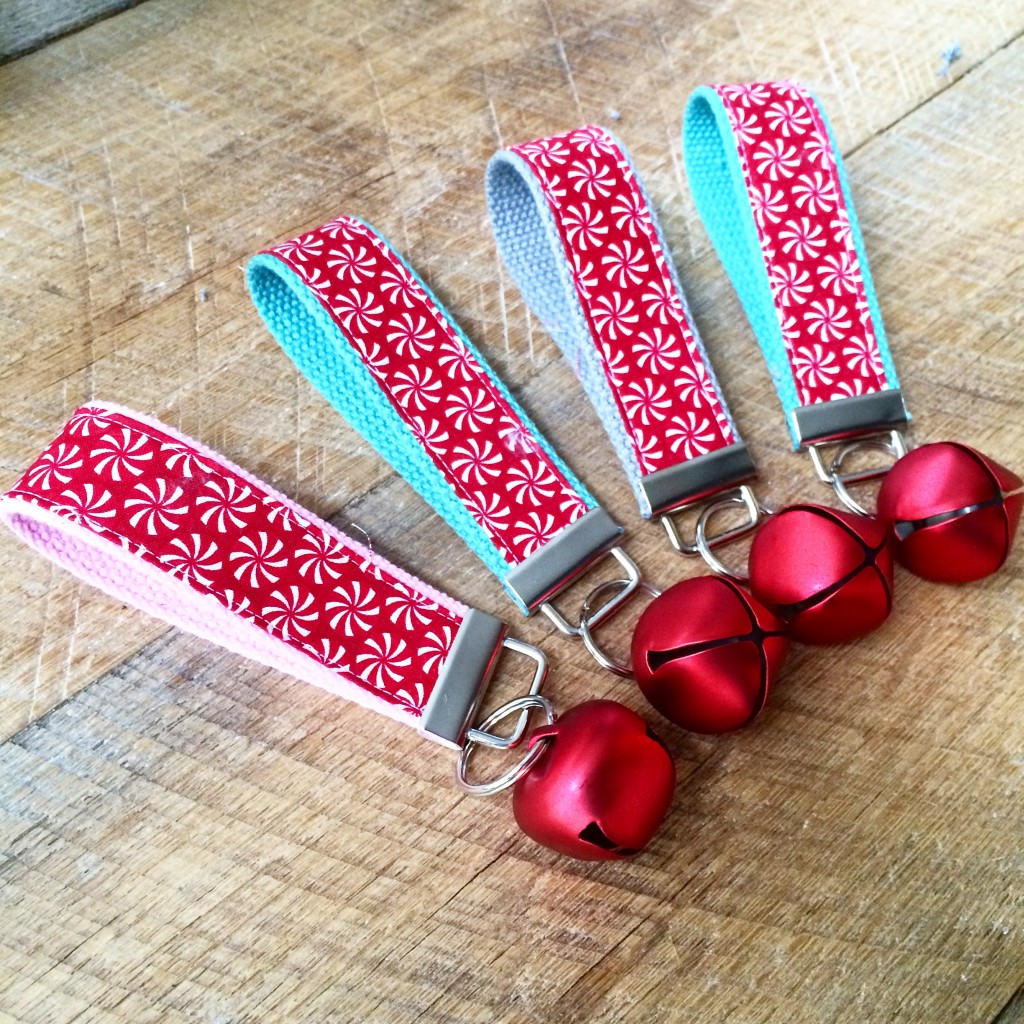
Holly Jolly Jingle Bell Key Fobs

christmas key fobI whipped up a few of these Jingle Bell Key Fobs because it’s nice to jingle everywhere you go in December!  They make fun gifts and I really do love having one on my key chain.  If you would like the tutorial, click HERE.

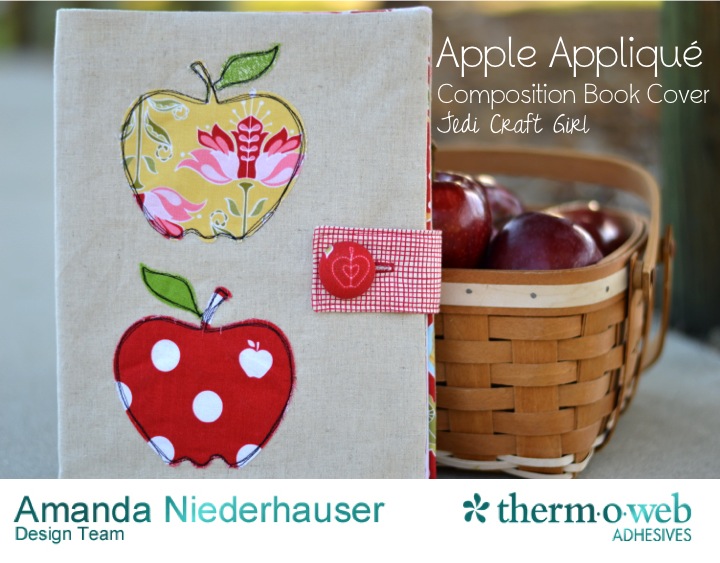
Apple Applique Composition Book Cover Tutorial

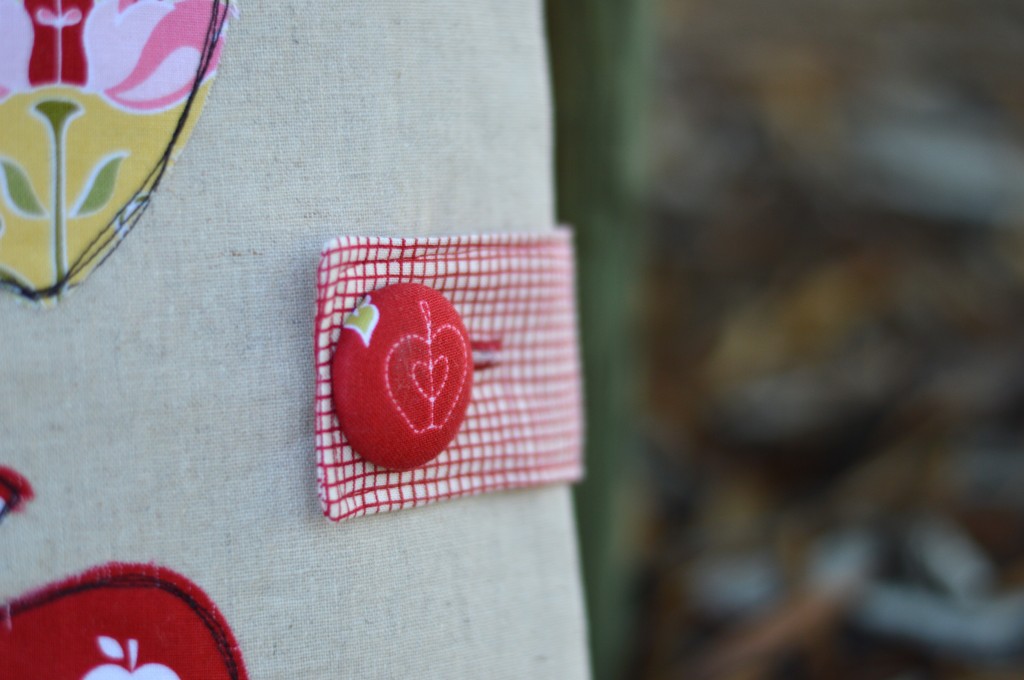
apple applique coverBack to School, Apples, Reading & Writing, School Supplies, the smell of pink erasers, lunchboxes, and alarm clocks….

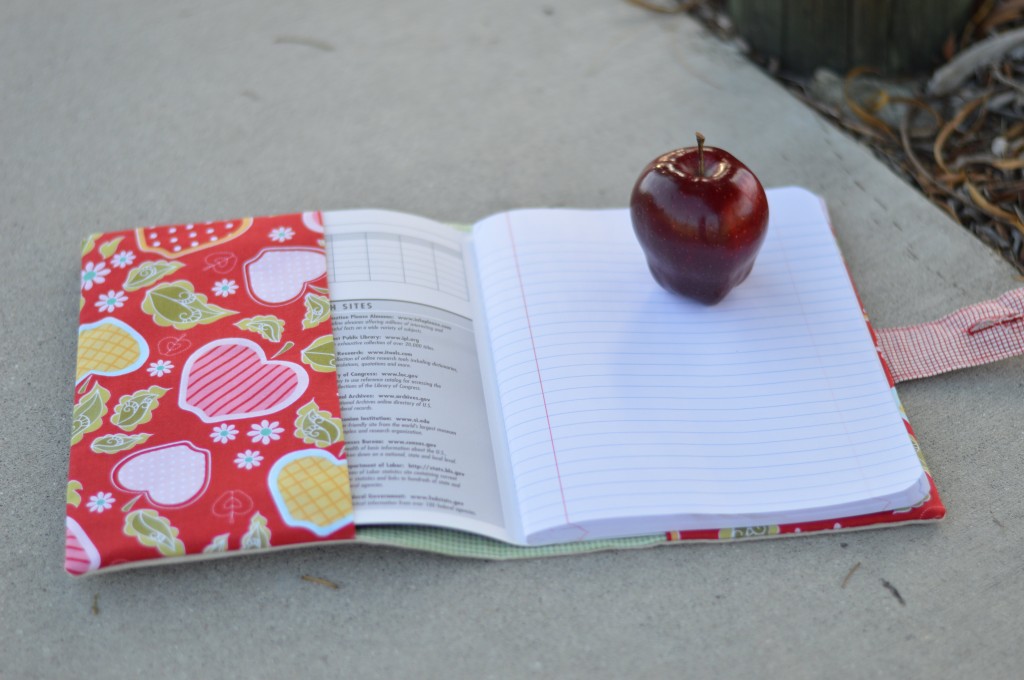
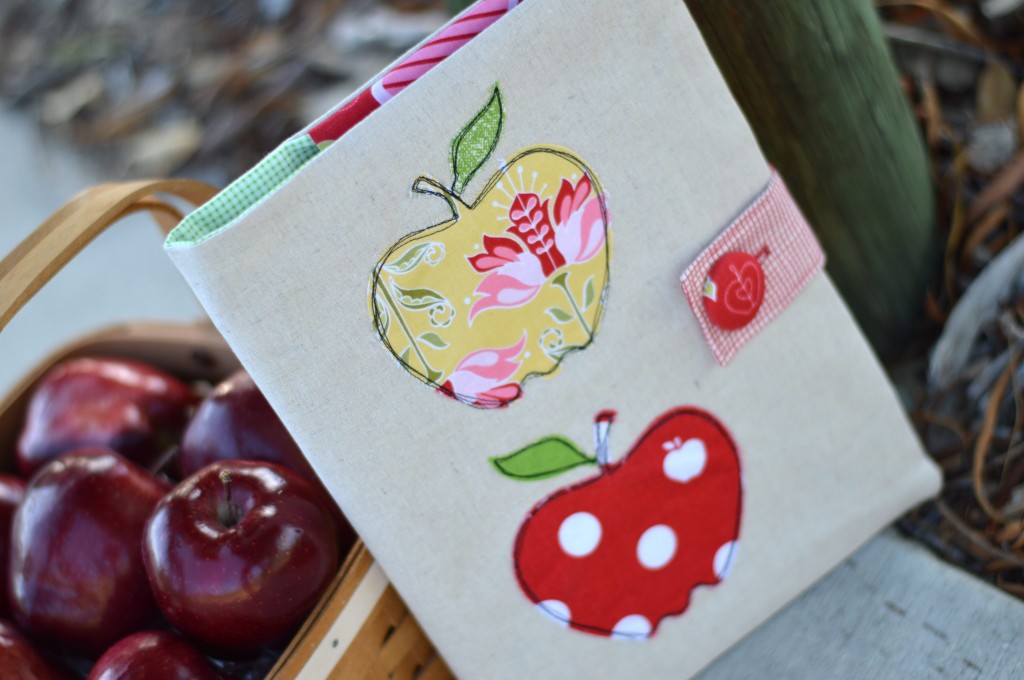
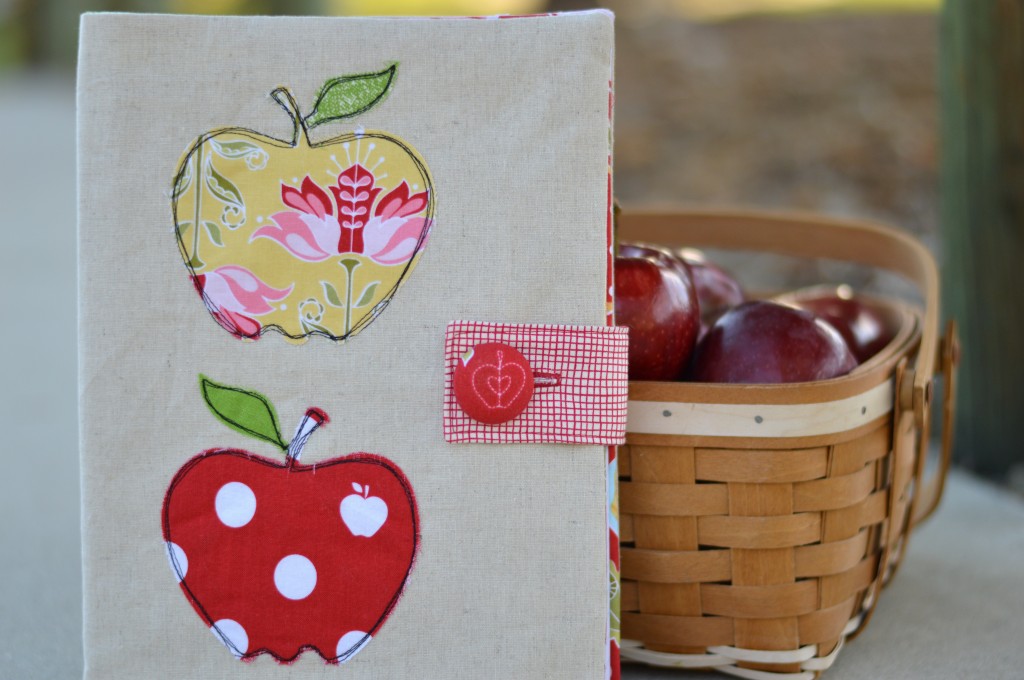
Today I am sharing my tutorial for this applique apple composition book cover.  I have written several composition book cover tutorials, they are my favorite and I can always be found carrying one around.  This one would make the perfect gift to give to a teacher on the first day of school 🙂

apple applique composition book 2

I used the apple die from Sizzix and the fabric is from one of my favorite Riley Blake Designs fabric lines called Apple of my Eye by the quilted fish.  I used Therm o Web Heat n Bond Featherweight and a medium weight stabilizer.  Hop on over to the Therm o Web blog for the full instructions!!
apple applique composition book 7

apple applique composition book 3

apple applique composition book 6


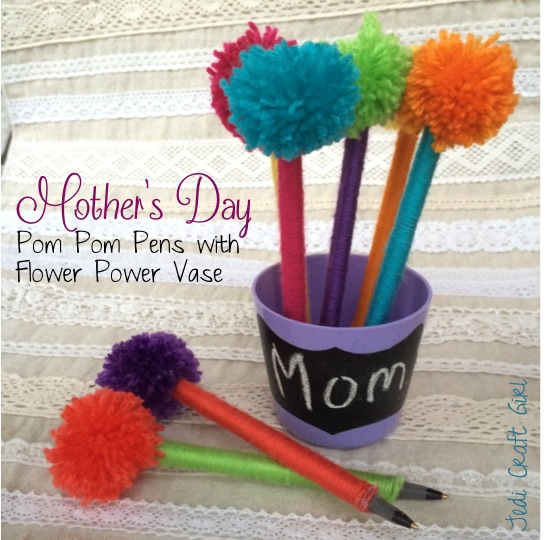
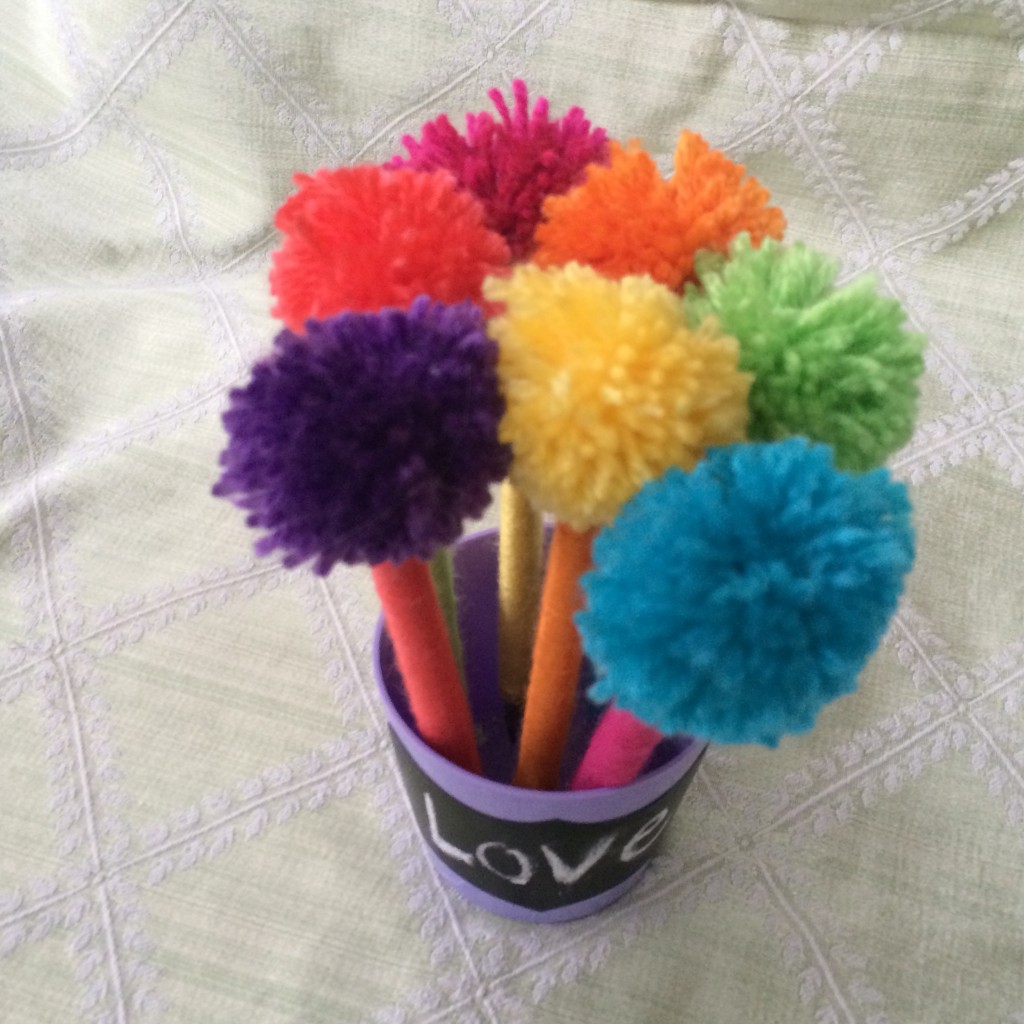
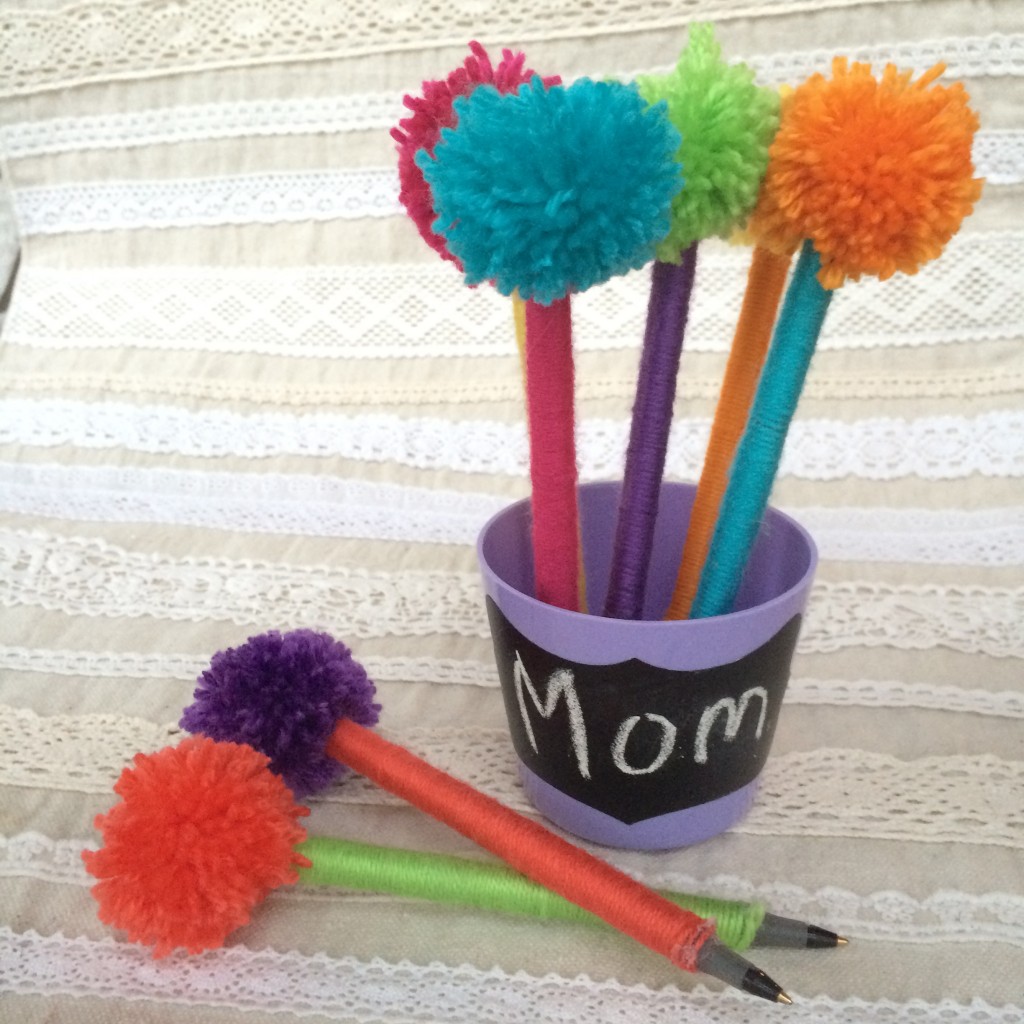
Mother’s Day Pom Pom Pen Bouquet

pom pom pens

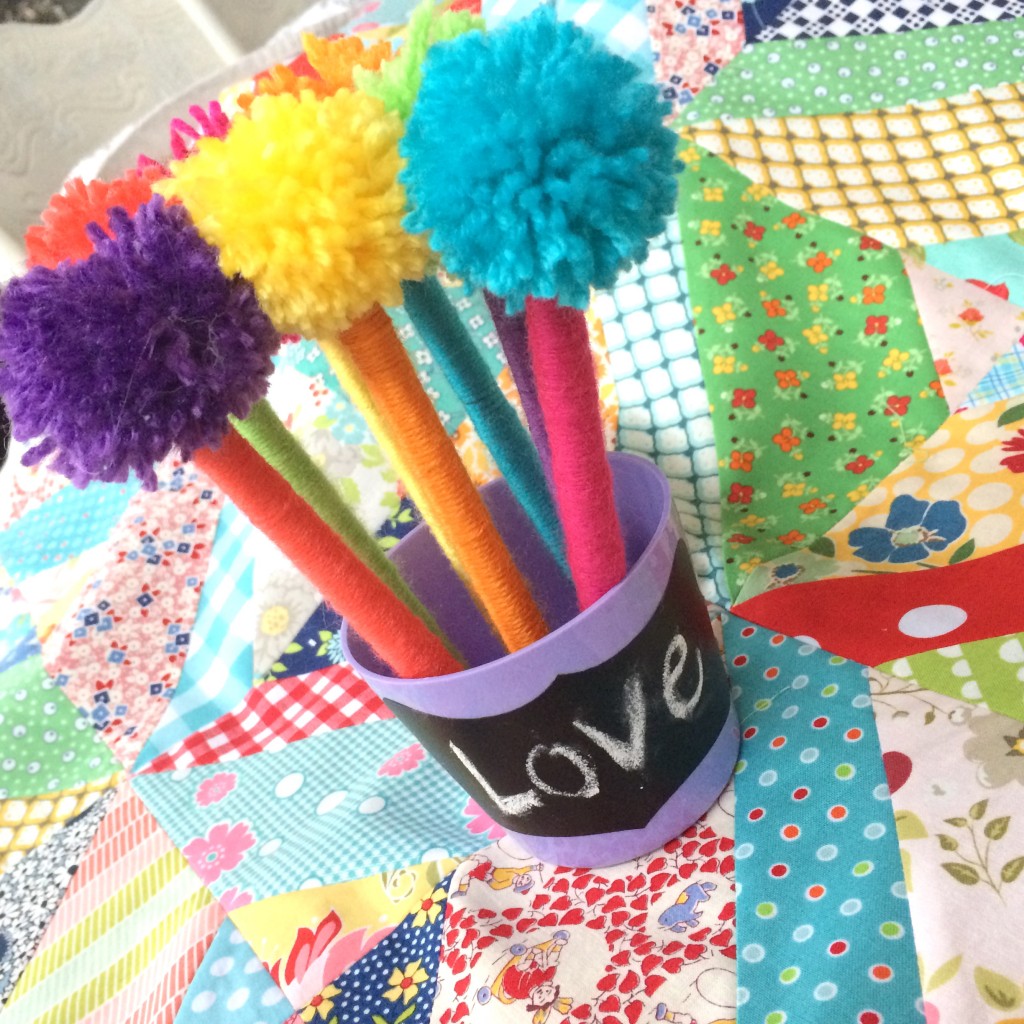
I can’t believe how fast May is flying by!  And Mother’s Day is this weekend!  I thought this project would be great for moms or for Teacher Appreciation Week which is also going on here in our schools!  It’s pretty simple to make and the kids can get in on the fun!

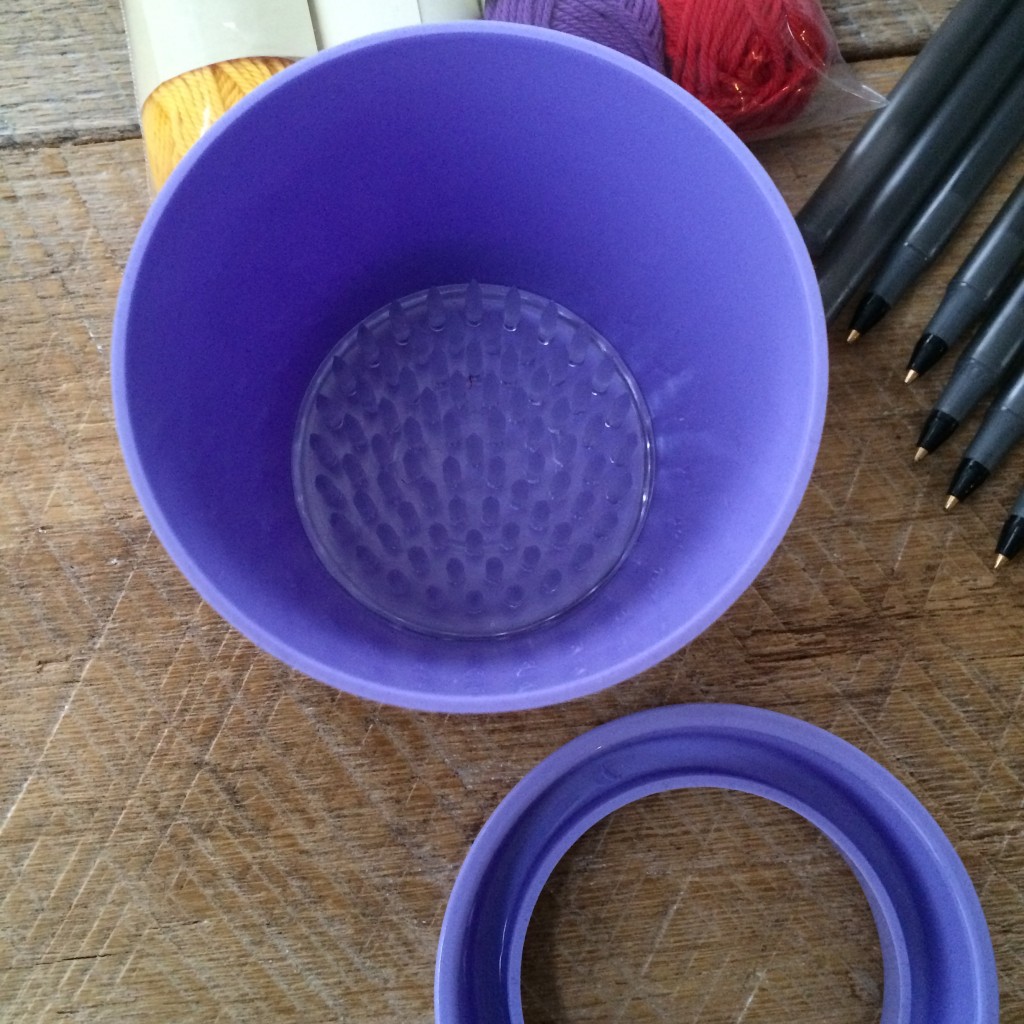
Have you ever heard of Flower Power Vases?  I hadn’t until the cute little company sent me 2 vases to try out.  They wanted to see my thoughts  – so this is NOT a paid tutorial, just my thoughts and ideas 🙂flower power pom pom  8

First of all, the little vases come in many colors.  They all have this special grippy thing in the bottom to hold cut flowers.

slideshow_4

flower power pom pom  2

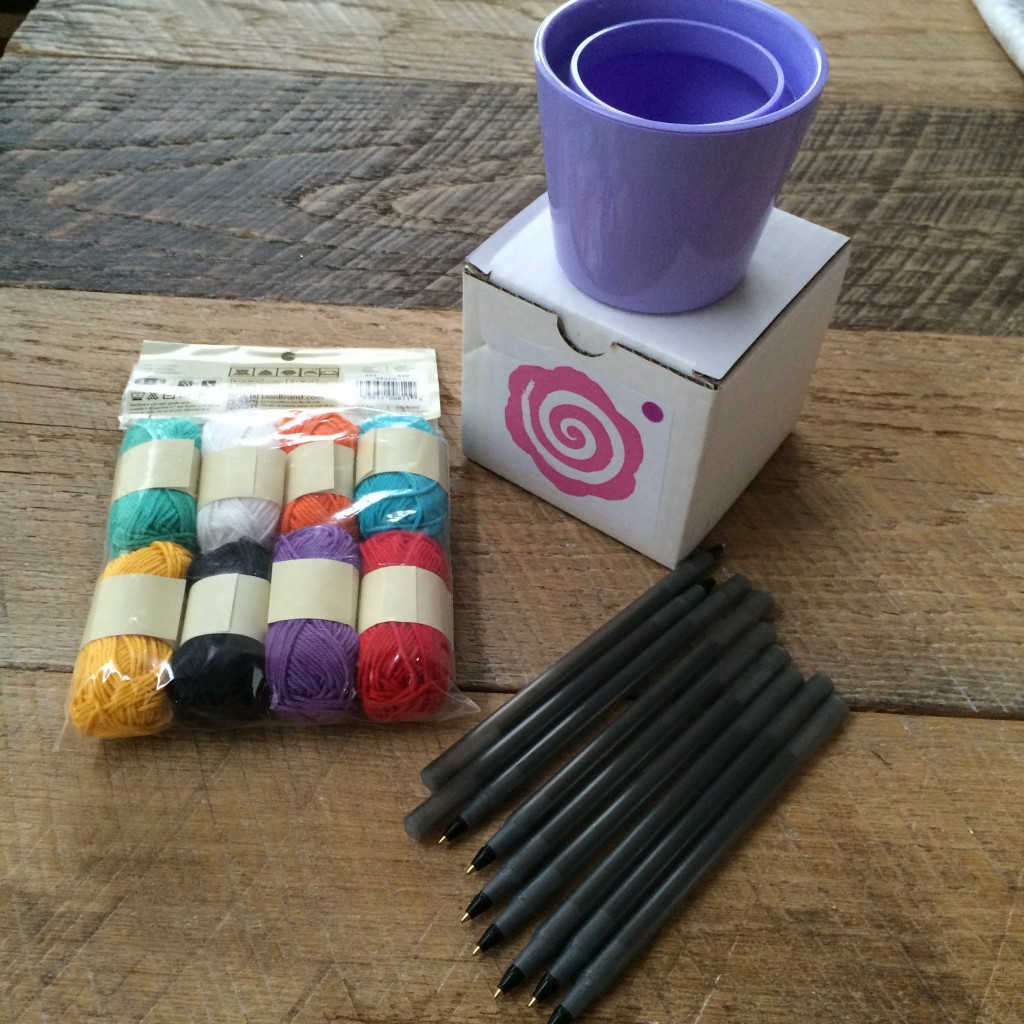
Of course they are perfect for cut flowers (and they fit in the cup holder of a car)….I wanted to turn it into a little crafty gift.  Here’s what you need:

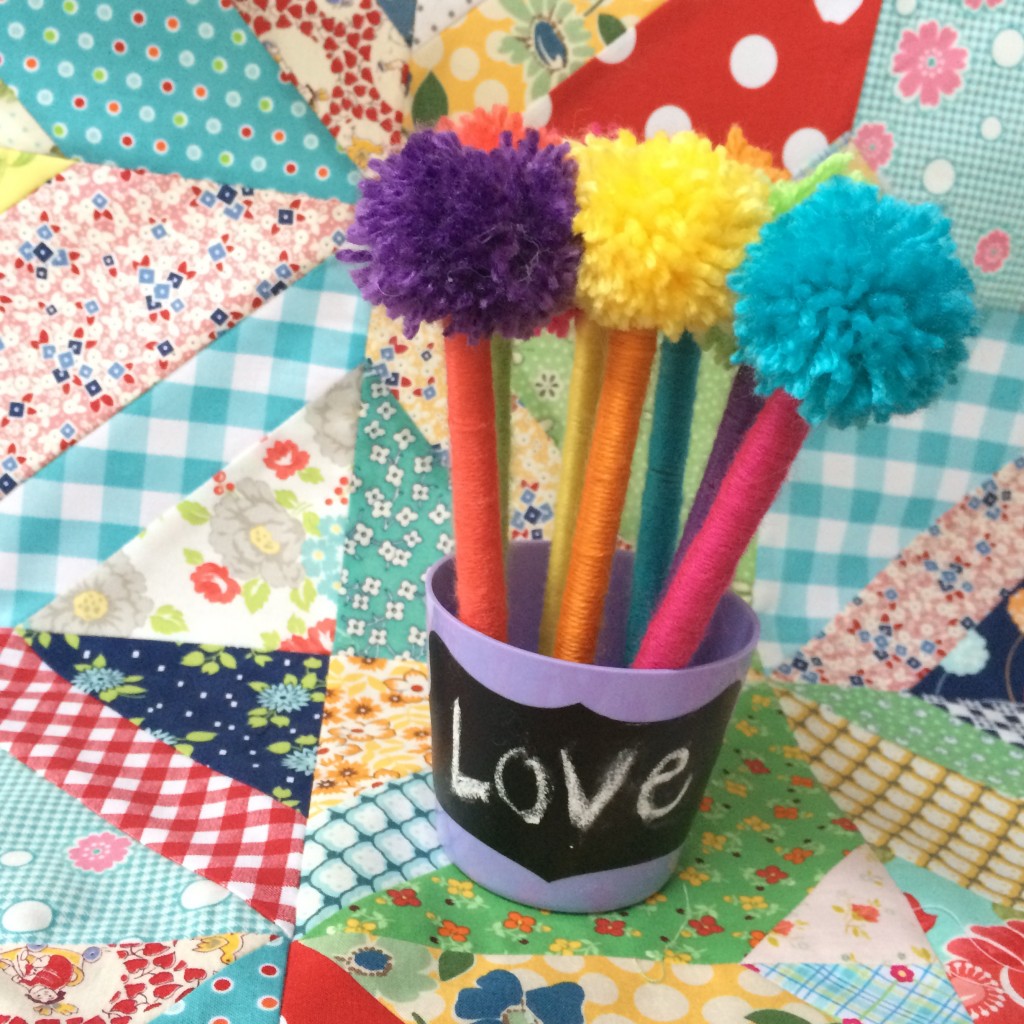
Pens, yarn, hot glue, small pom pom maker, and the Flower Power Vase.  I added a chalkboard label so you can change the word on the vase.

flower power pom pom

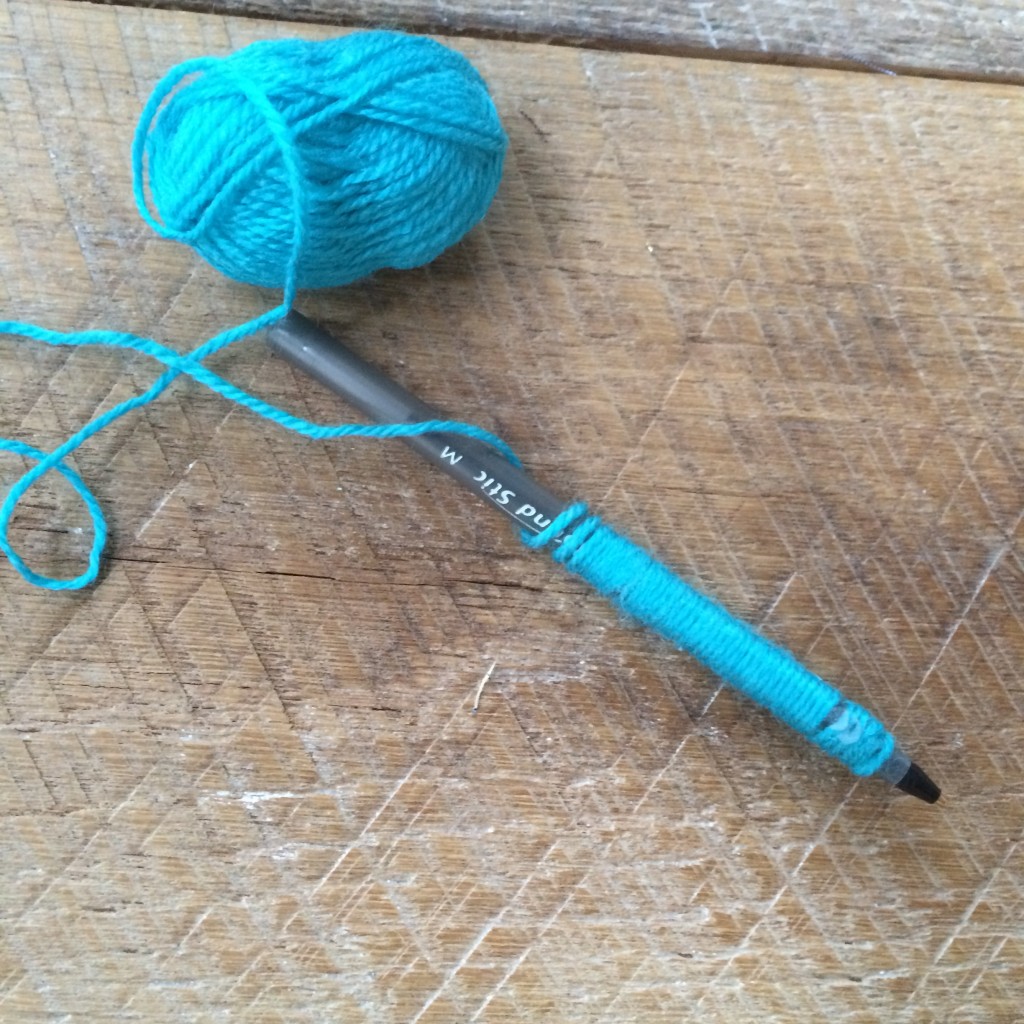
Begin by adding a dot of hot glue to the end of the pen to secure the yarn.  Wrap and wrap and wrap until you get to the other end of the pen and add another dot of hot glue.

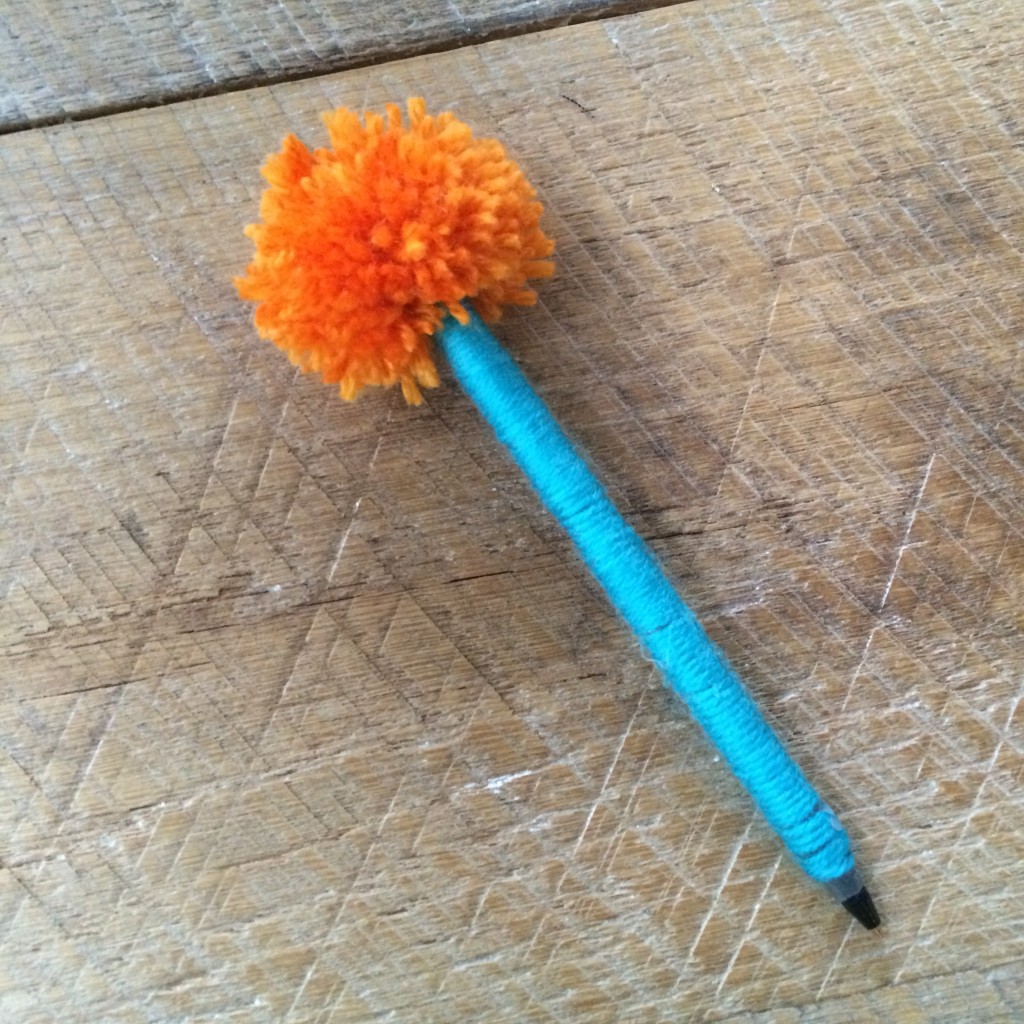
flower power pom pom  3Take the yarn and make a small pom pom.  I love the pom pom makers you can buy at craft stores.  My daughter made all of them for me….easy peasy!  Hot glue a pom pom to the end of the pen.  Continue this process until you have 7 or so pens.
flower power pom pom

I first wrote the word “Love”, then changed it to “Mom”.
flower power pom pom  9

flower power pom pom  10

I think they are super fun!  And when your mom looses all the pens, she has a cute little vase to keep fresh cut flowers in!!!  They would also be super cute sitting on a teacher’s desk!  Or in my sewing room!  I need one!!!

flower power pom pom  12
logo
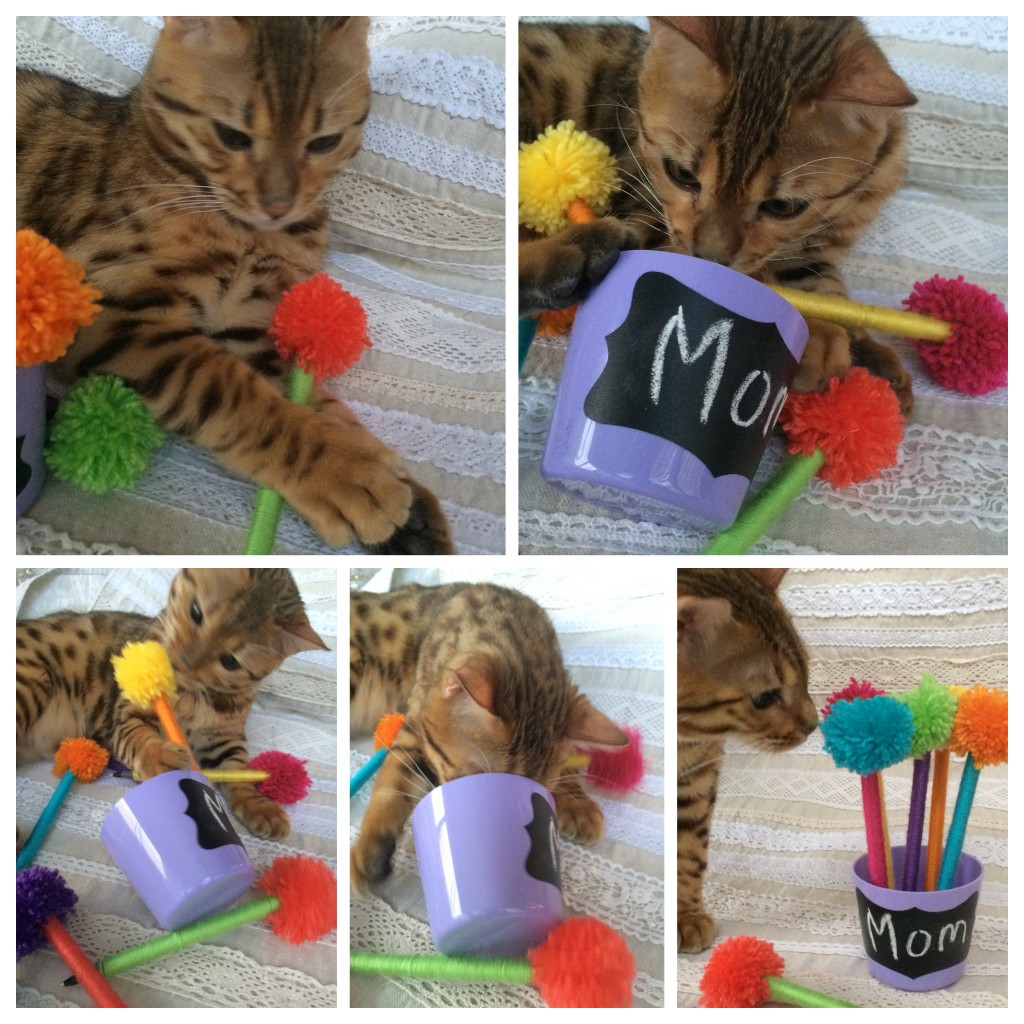
These also make GREAT cat toys!!!!!
IMG_6797

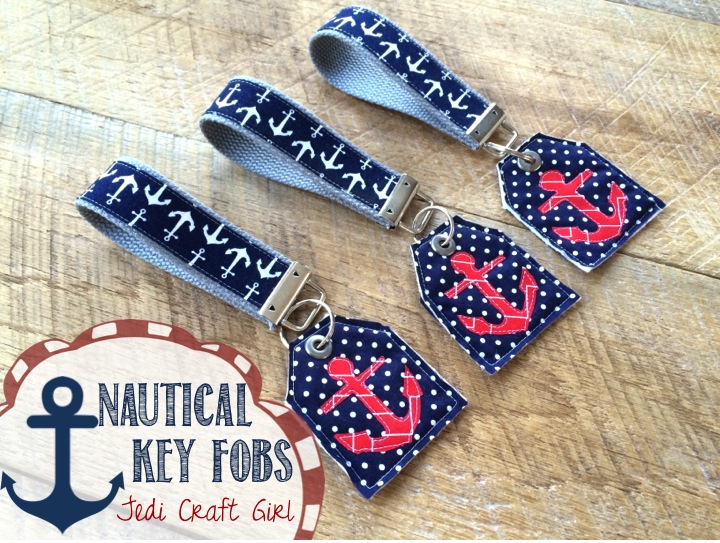
Nautical Key Fob Tutorial

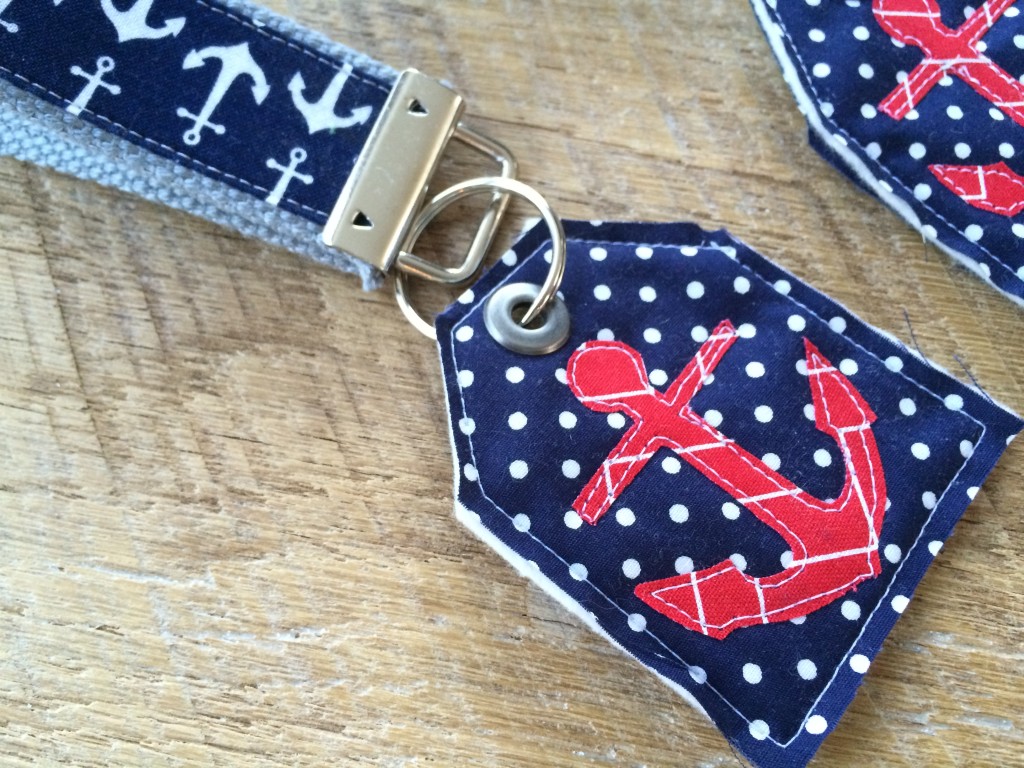
nautical key fobsI like to make a statement with my key chains.  For Christmas I enjoyed jingling everywhere I went with this keychain.  Now that it’s spring, I definitely need to be saying “I love everything Nautcial” with my keychain.  These make great gifts and you can sew one in about 20 minutes.  I used Riley Blake’s Anchor print for the fabric on the key fob.  The gray cotton twill tape I ordered from Everything Ribbons on Etsy.  The twill tape and hardware are 1.25″ wide and are available at that shop in a wide variety of colors.
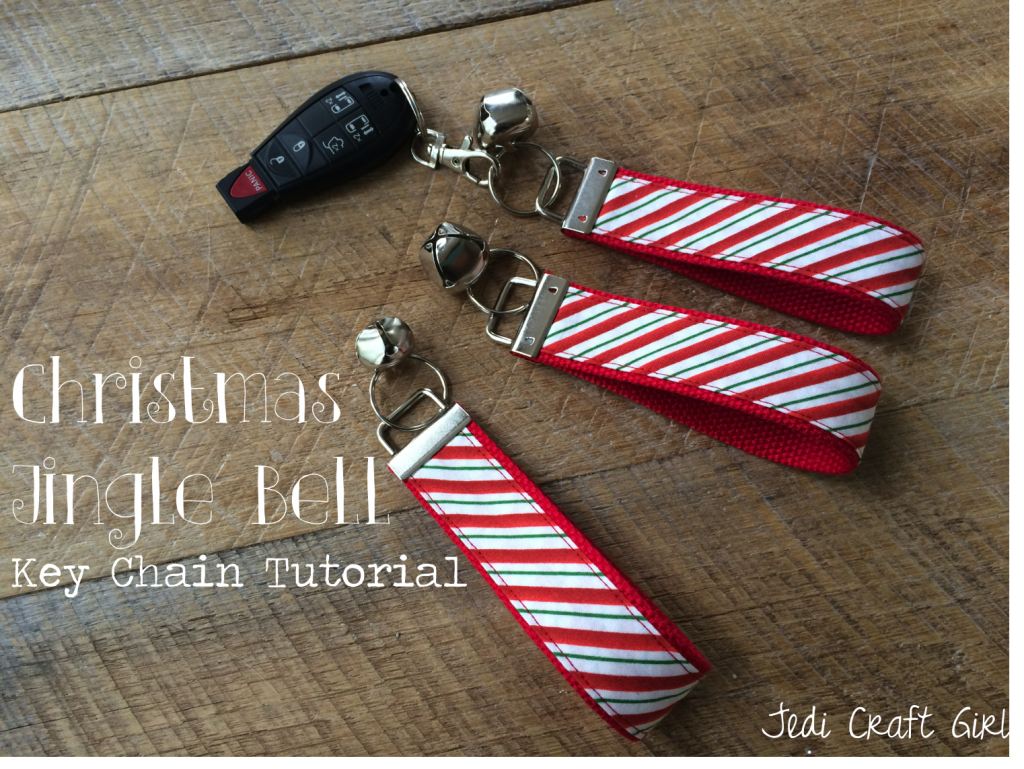
Follow my tutorial here to complete the key fob portion.

To make the anchor tag, you need a few scraps of fabric, cotton batting, and some Therm O Web Heat n Bond Lite EZ print sheets.  I used an antique metal grommet to attach it to the key ring.
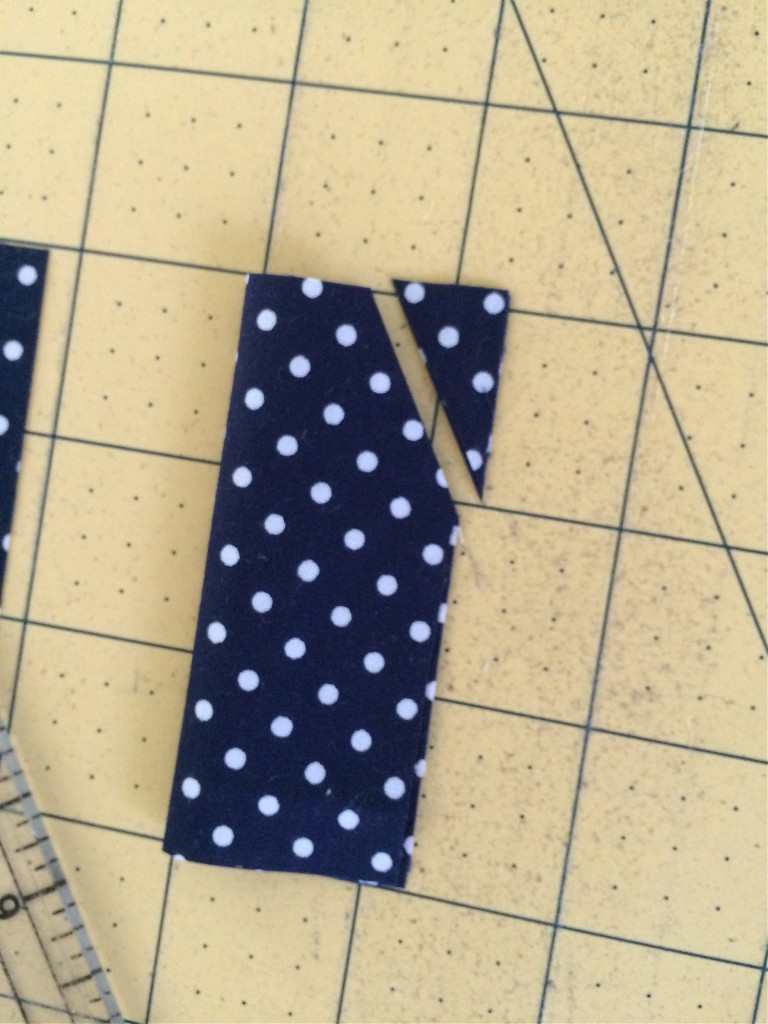
Cut a piece of navy dot fabric 2.5″ x 3″.  Fold in half and cut off an angle like this:

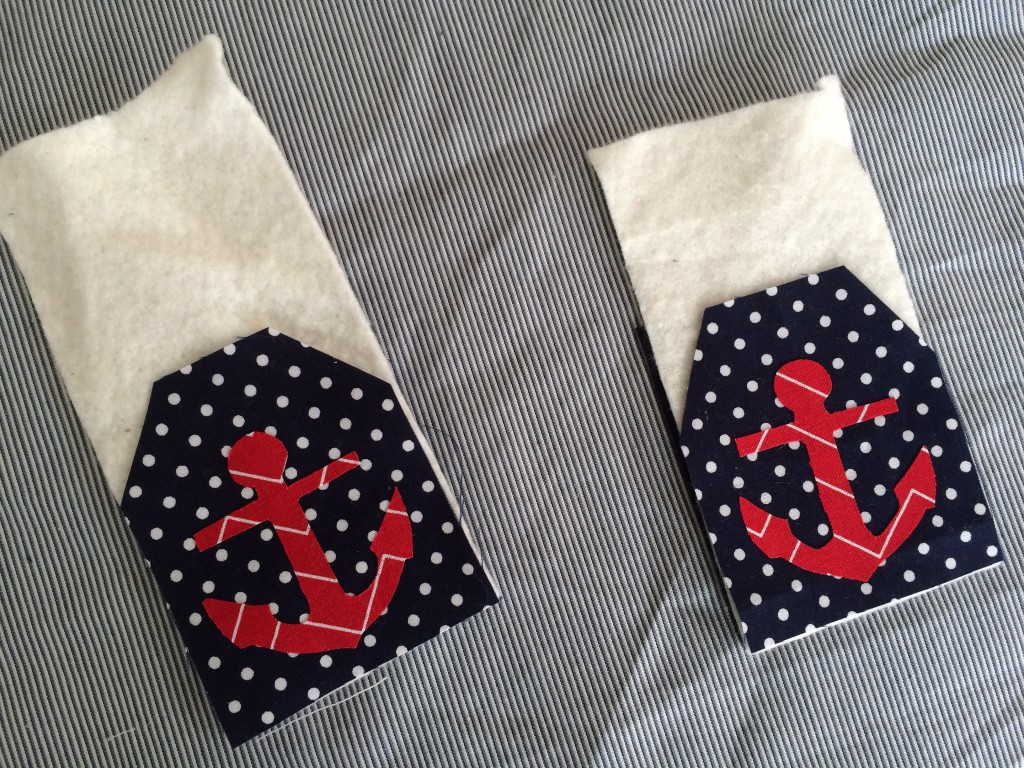
anchor keychainDownload the anchor pattern here and print it on the EZ print sheets.  Cut out around the anchor, iron it to the wrong side of the anchor fabric.  Cut out the anchor and peel off the backing paper.

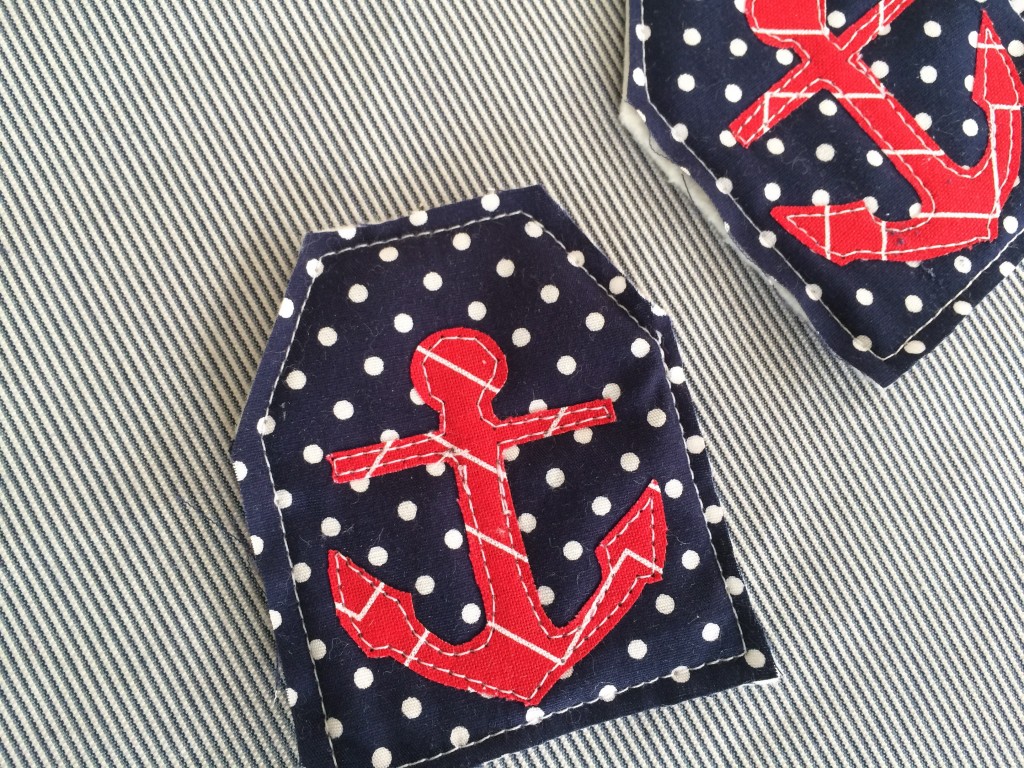
Cut another piece of navy dot fabric 2.5″ x 3″ but don’t cut the angles.  Layer them together like a quilt and sew all the way around the tag shape.  Then sew around the anchor.

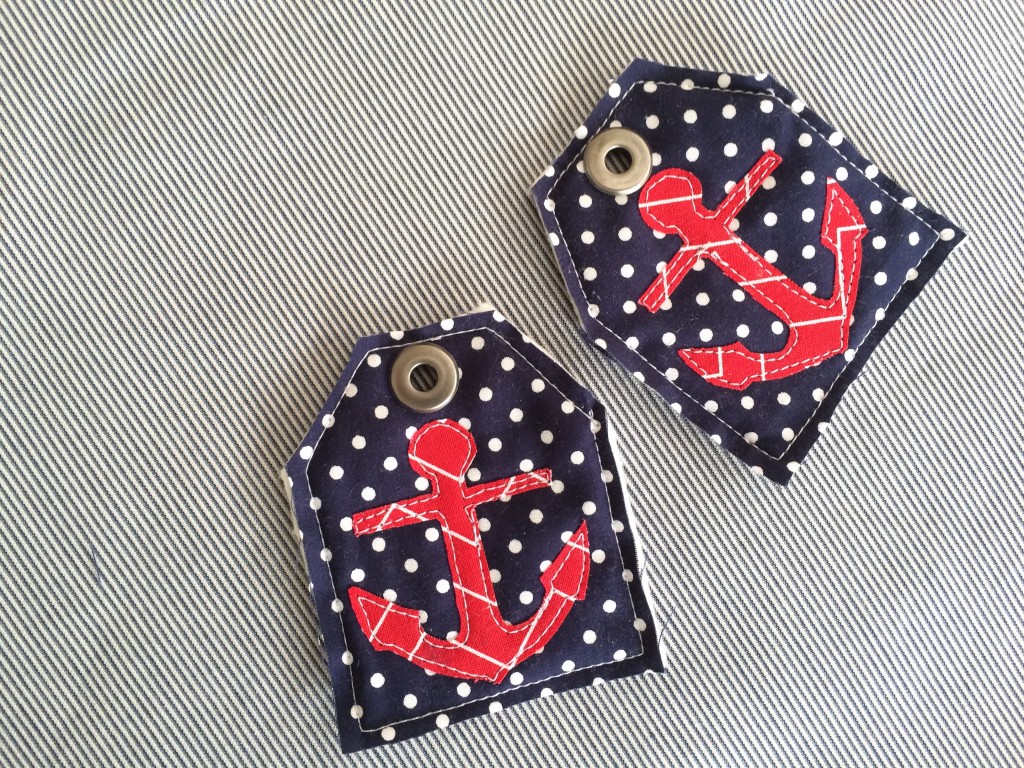
anchor keychain 2Cut the excess off around the tag.anchor keychain 3Attach the grommet and put a split ring on.anchor keychain 4Attach it to the key fob.
anchor keychain 6Let me know if you like this project!  I love to give handmade gifts and this is a great one to whip up in a short amount of time.

Baby Swaddler and Burper Shower Gift

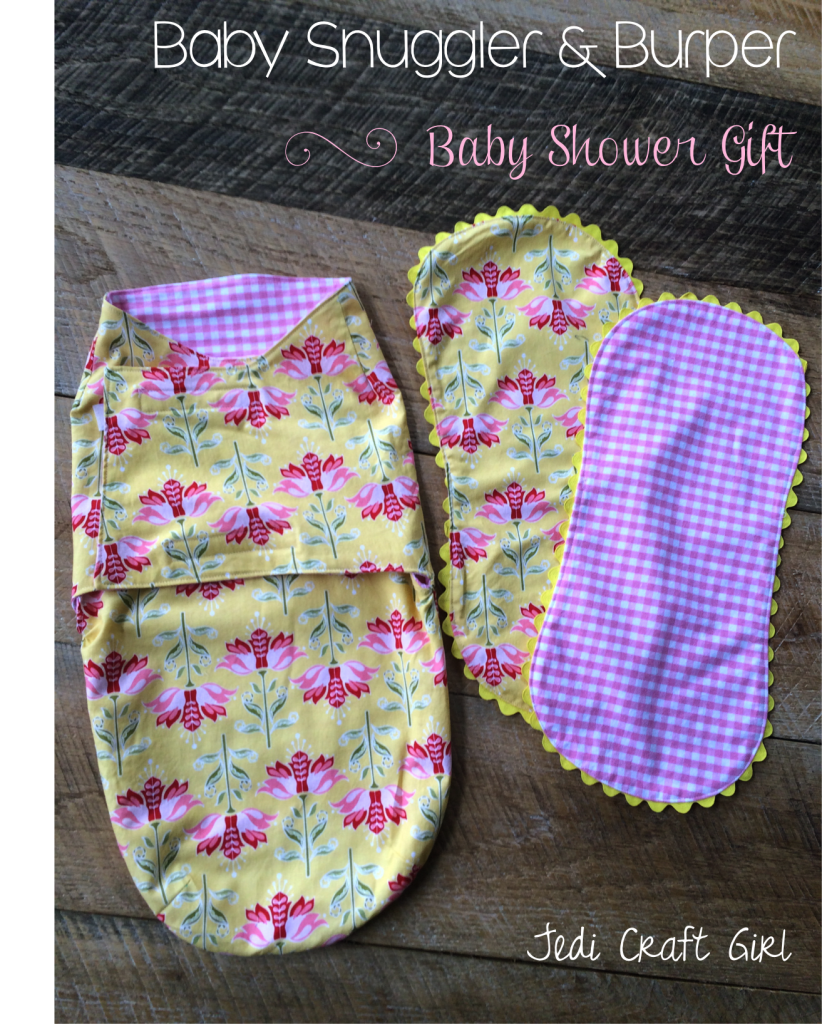
baby snuggler & burper

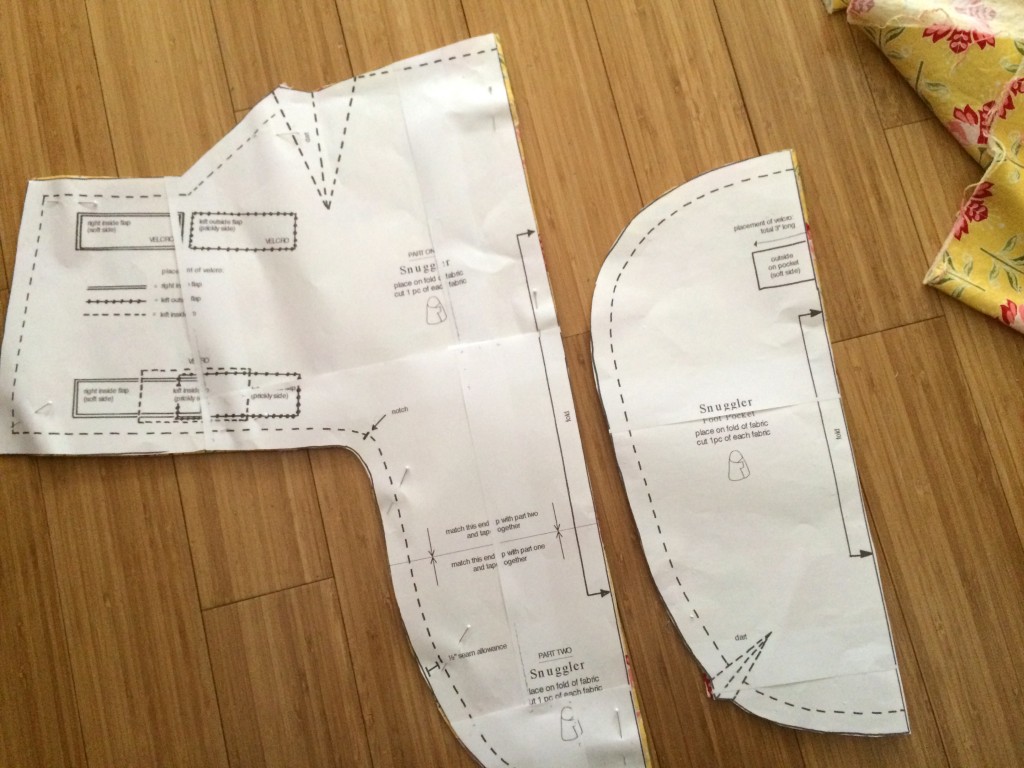
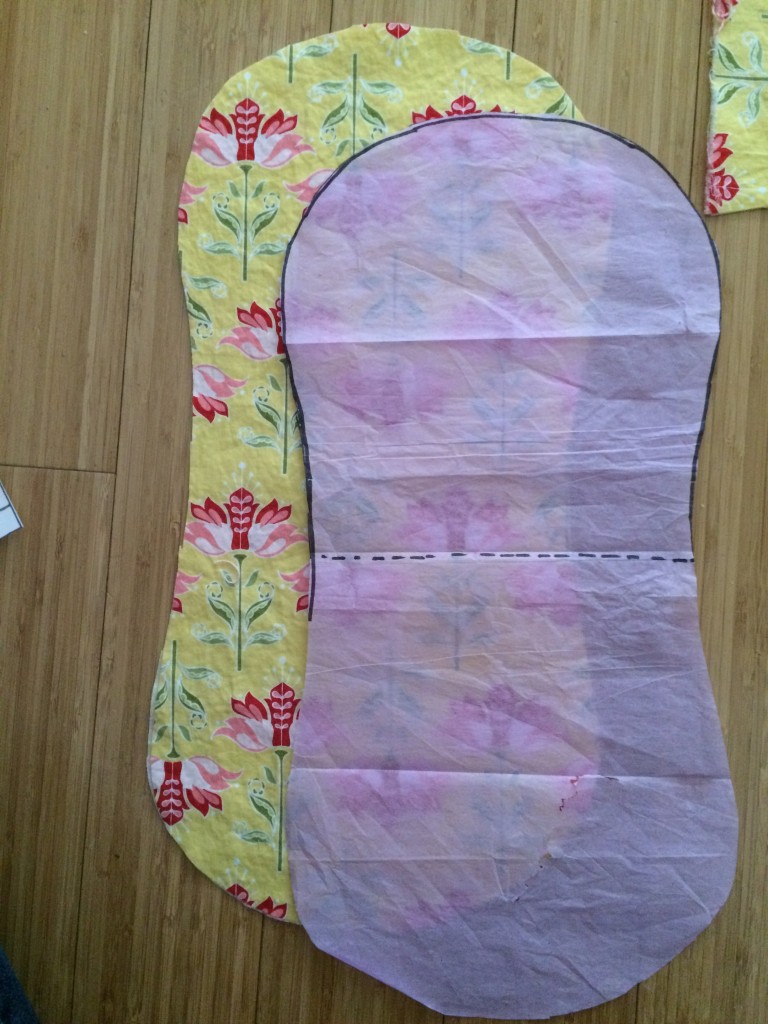
I was invited to a baby shower this weekend and I had a hard time figuring out what to give as a gift.  I love giving handmade items, especially quilts.  Sometimes it isn’t possible to make a quilt in time for a shower.  I came across this free pattern for a “Baby Snuggler or Baby Swaddler” by Lotta Jansdotter and I thought I would give it a whirl.  You can print the pattern HERE.  I read a few reviews and they all mentioned it was hard to print the pattern.  I agree.  I tried a few different browsers and printed in each.  Then I pieced them together the best I could.  This was the hardest part of the project.  I thought a picture of the pattern pieces all put together would be helpful:

IMG_3810

baby swaddler

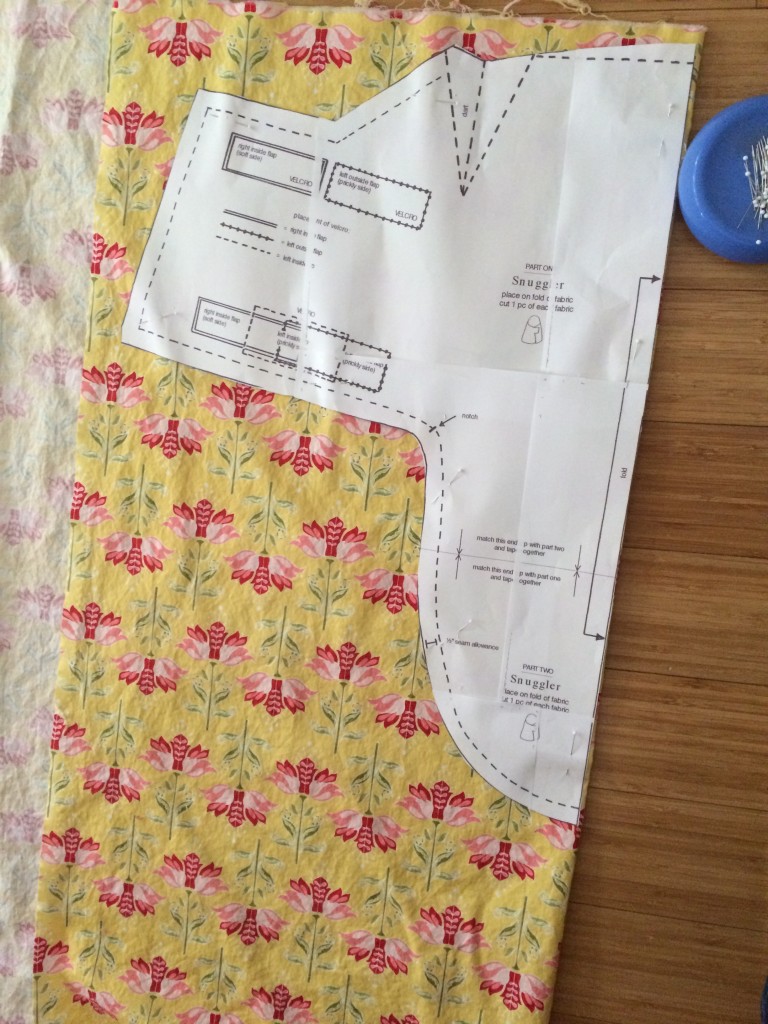
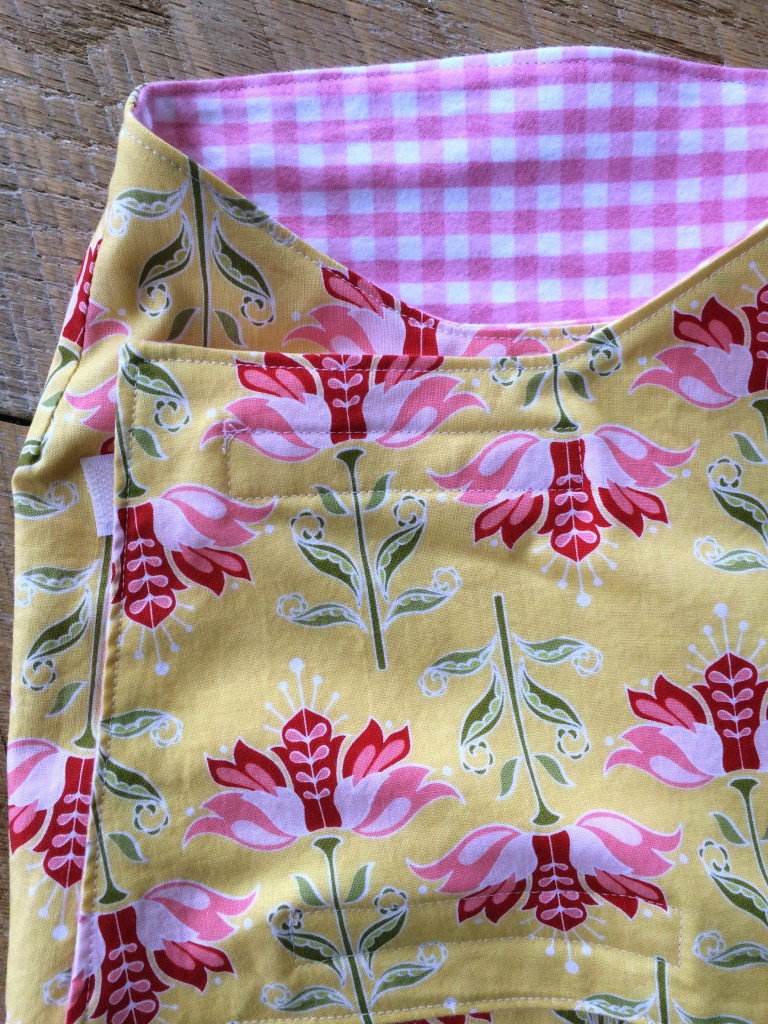
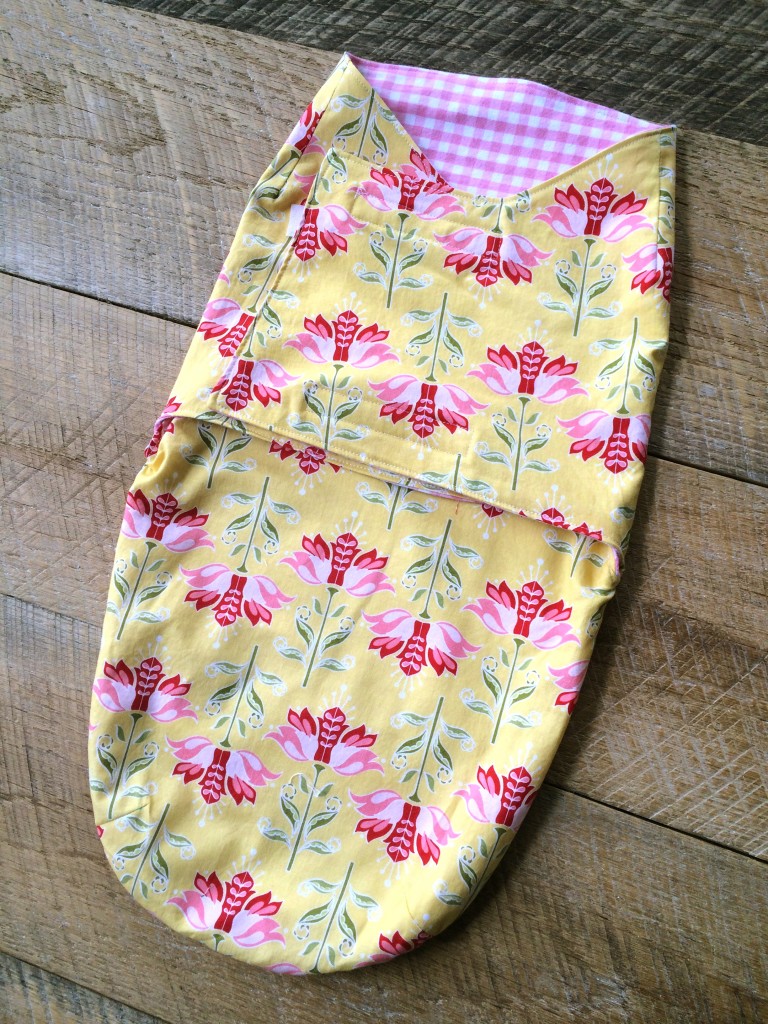
The pattern calls for 1 yard of outer fabric and 1 yard of minky fabric.  I choose this cute print from Riley Blake Designs Apple of my Eye.  Instead of working with Minky (it’s a love-hate thing) I choose this sweet flannel check also from Riley Blake Designs.  I pre-washed my fabrics.  The pattern sewed up really quick.  It consists of a main body and the pouch part and Velcro closures.   I choose to top stitch my snuggler which I don’t think it said in the pattern.

baby swaddler 10


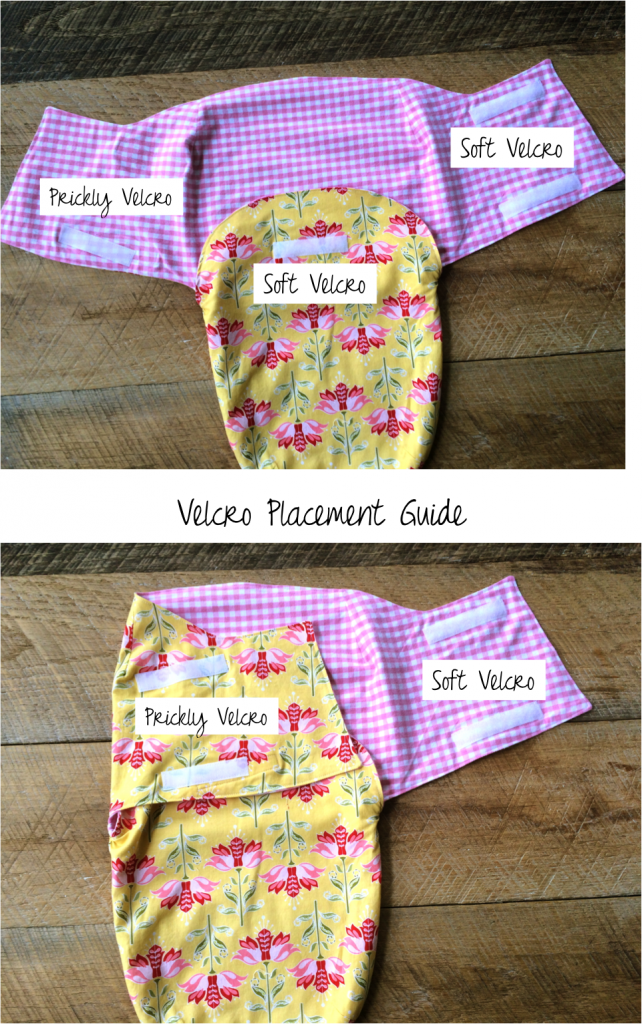
One thing I found confusing was the placement of the Velcro. I had seen this pattern sewn up in person it would have made more sense.  I made this little Velcro guide to make it clear which side of the Velcro to put where.  The pattern has the placement for the Velcro. baby snuggler

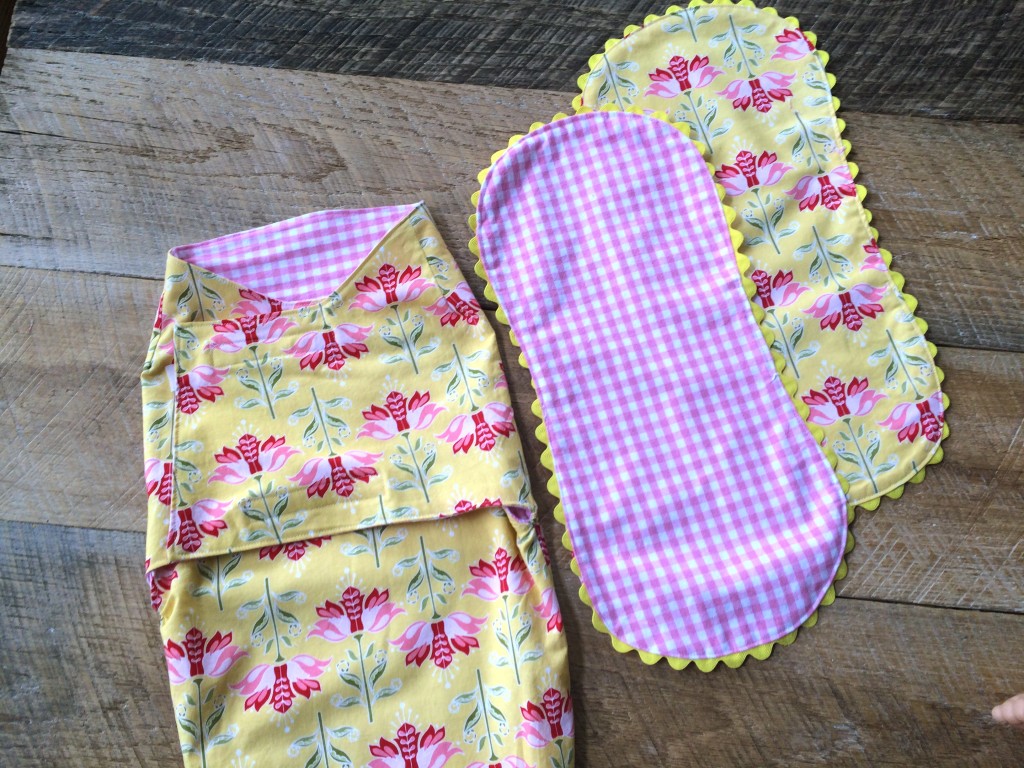
There is enough fabric left over to sew 2 matching Burpers.   They are still my favorite!  You can download my “Old School Baby Burper” pattern HERE.  Cut 2 from the flannel and 2 from the floral.    All you need is some ric rac.  Baste the ric rac to the yellow floral piece starting and stopping on a straight side.  Then put right sides together, sew around, following the basting stitch, leaving a 3″ opening on the side.  Turn, press, and top-stitch all the way around making sure to catch the opening.

baby swaddler 3

I think it makes a darling set!  I wish I had made these swaddlers when I had babies!!

baby swaddler 8

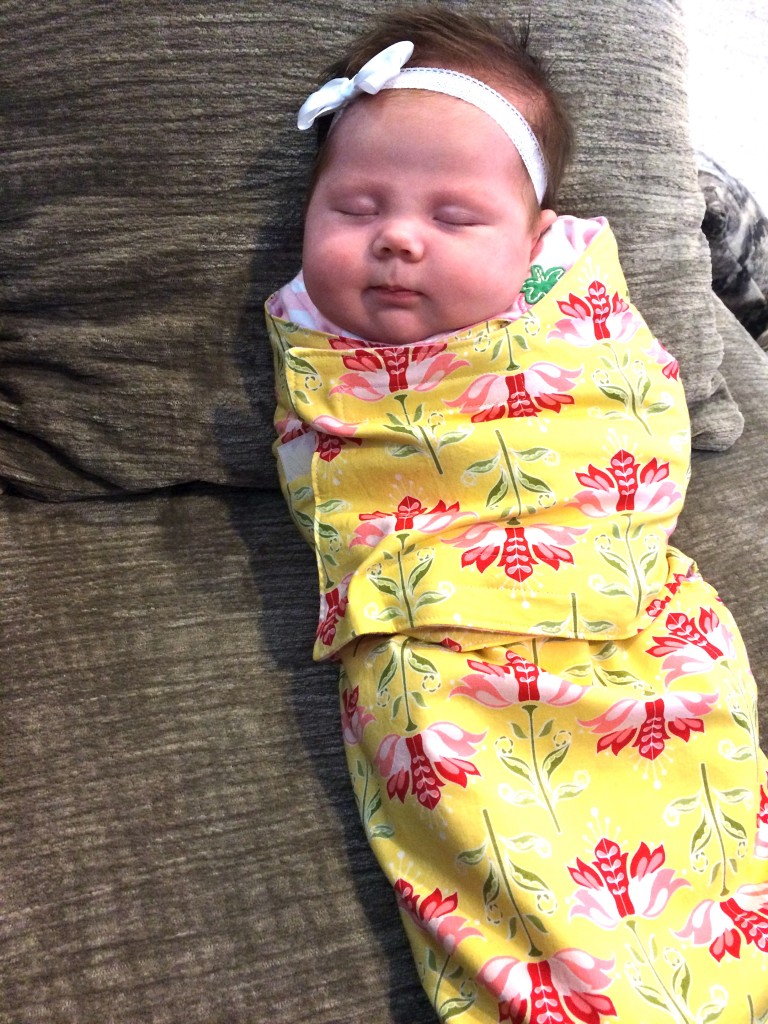
While I was at the shower, I borrowed my friends baby and tried out the swaddler.  It fits perfectly!
baby swaddler 16
I am for sure going to make more of these!!!
baby swaddler 7

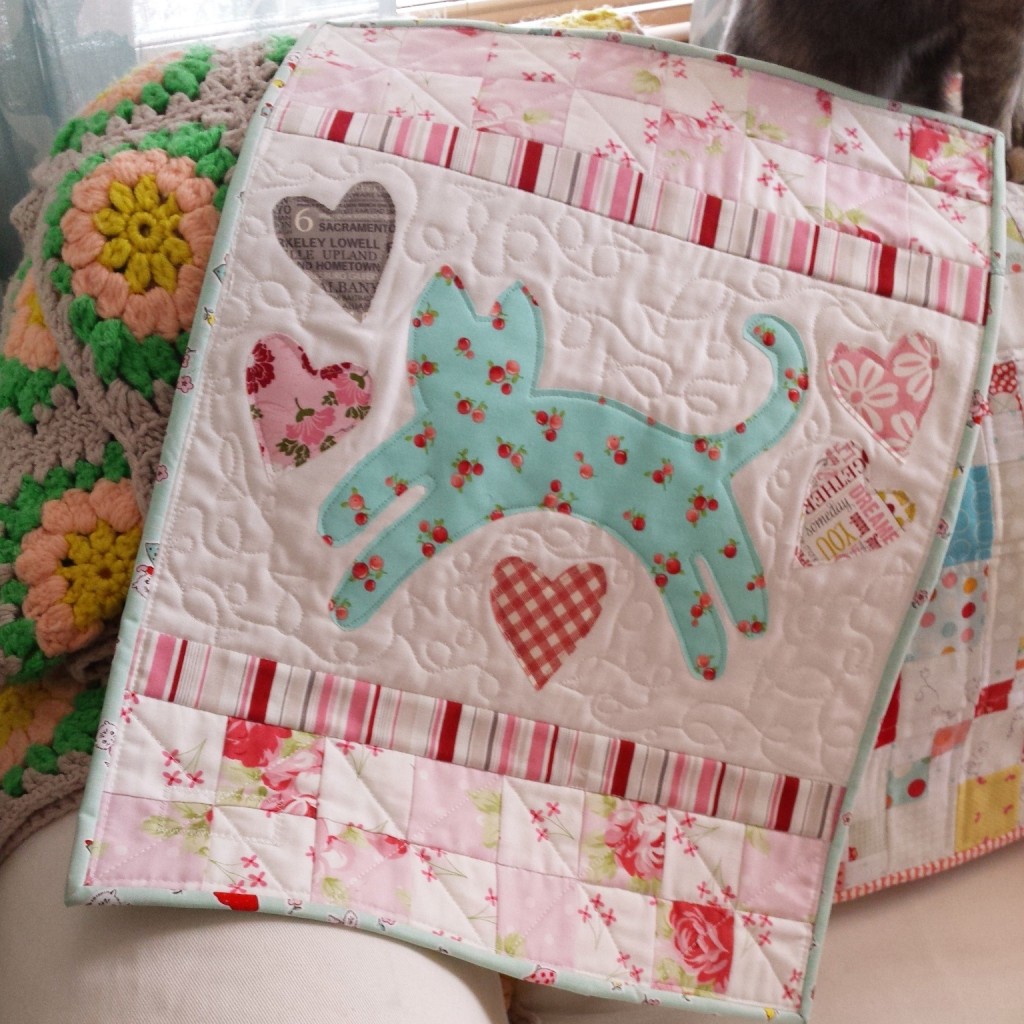
Kitty Mini Quilt

minikittycover

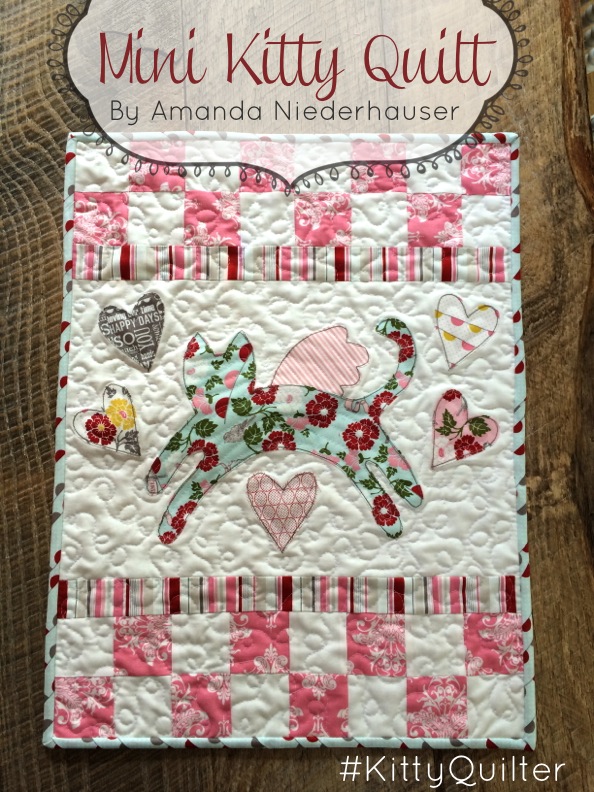
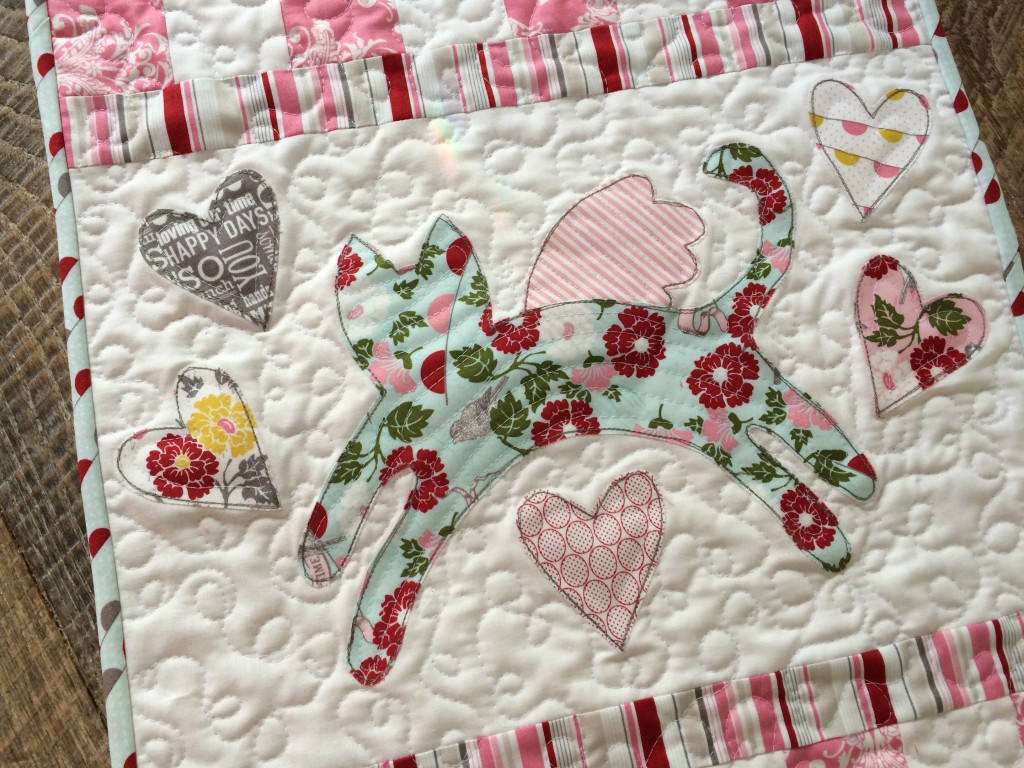
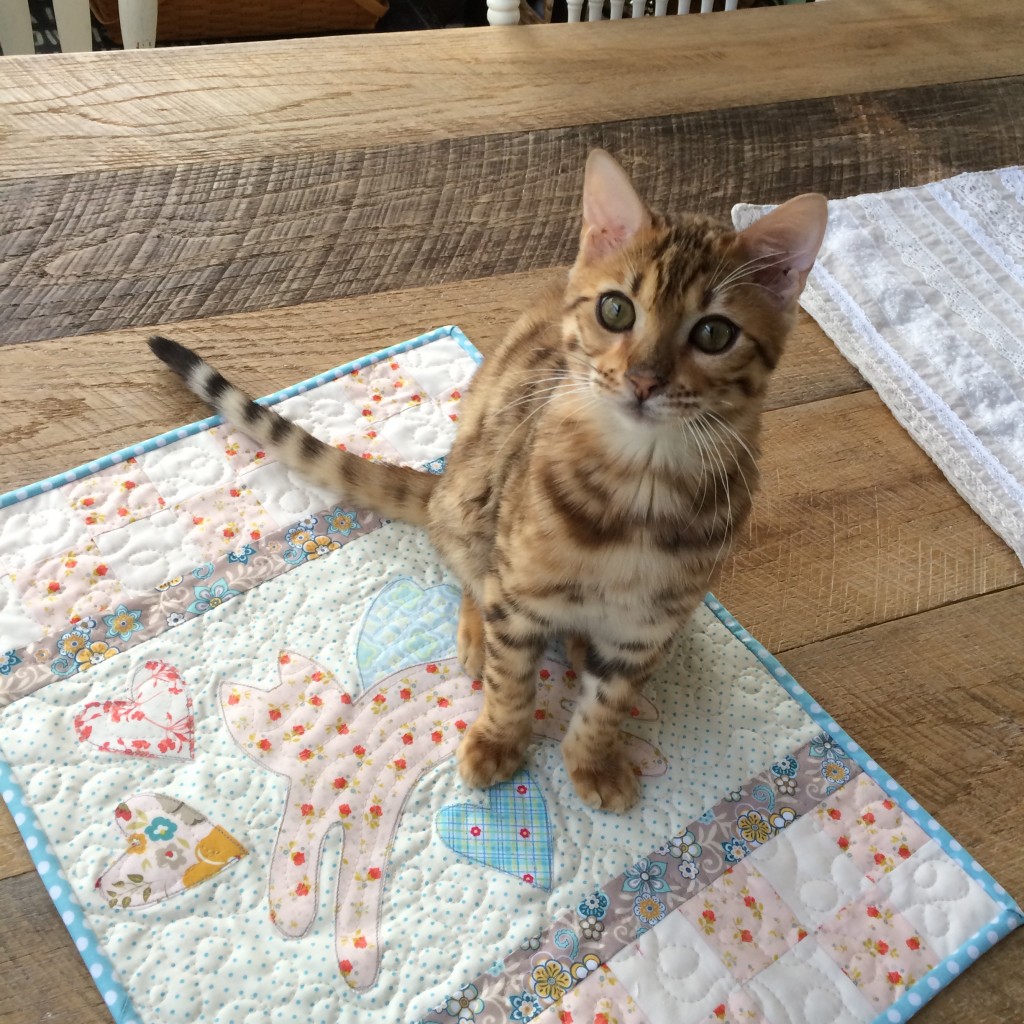
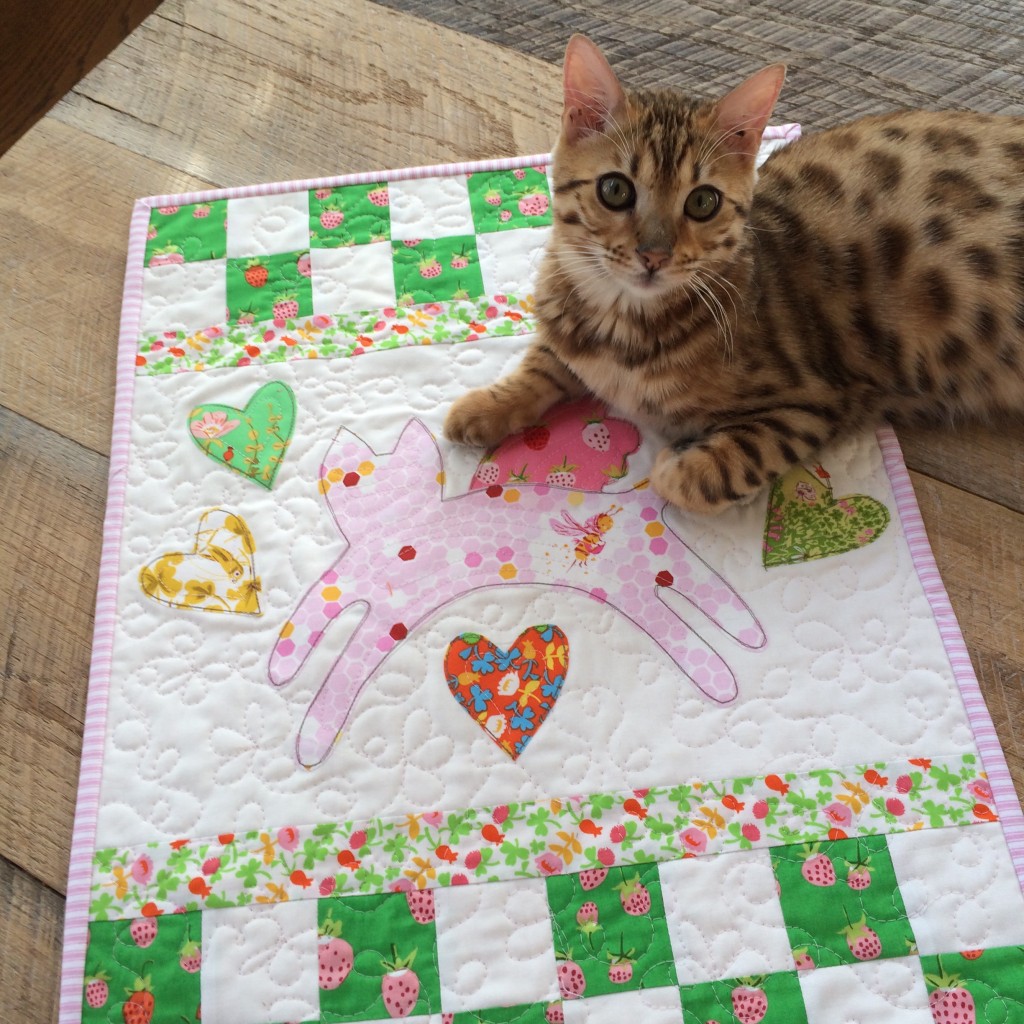
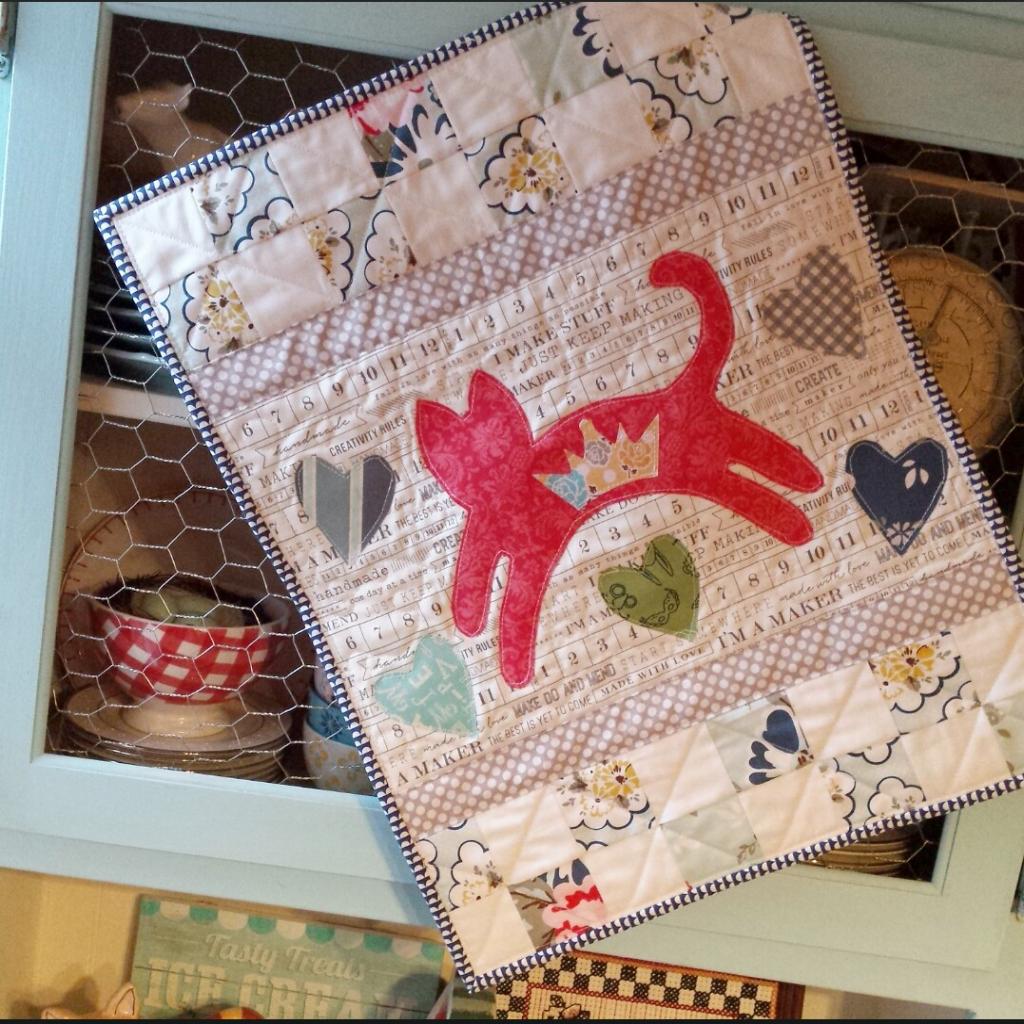
My Mini Kitty Quilt Pattern is available to purchase from Emily Ann’s Kloset.  The inspiration from this quilt came when I heard from a friend that her 6 month old kitten was diagnosed with a fatal disease.  My heart broke in half.  Of course this was devastating to her and her children. I have lost 2 kitties in the last 2 years and it hurts really bad 🙁  I wanted to send her something to show I cared.  I came up with this Mini Kitty Quilt.  I was inspired by folk art paintings of flying cats.

Kitt Quilt 2

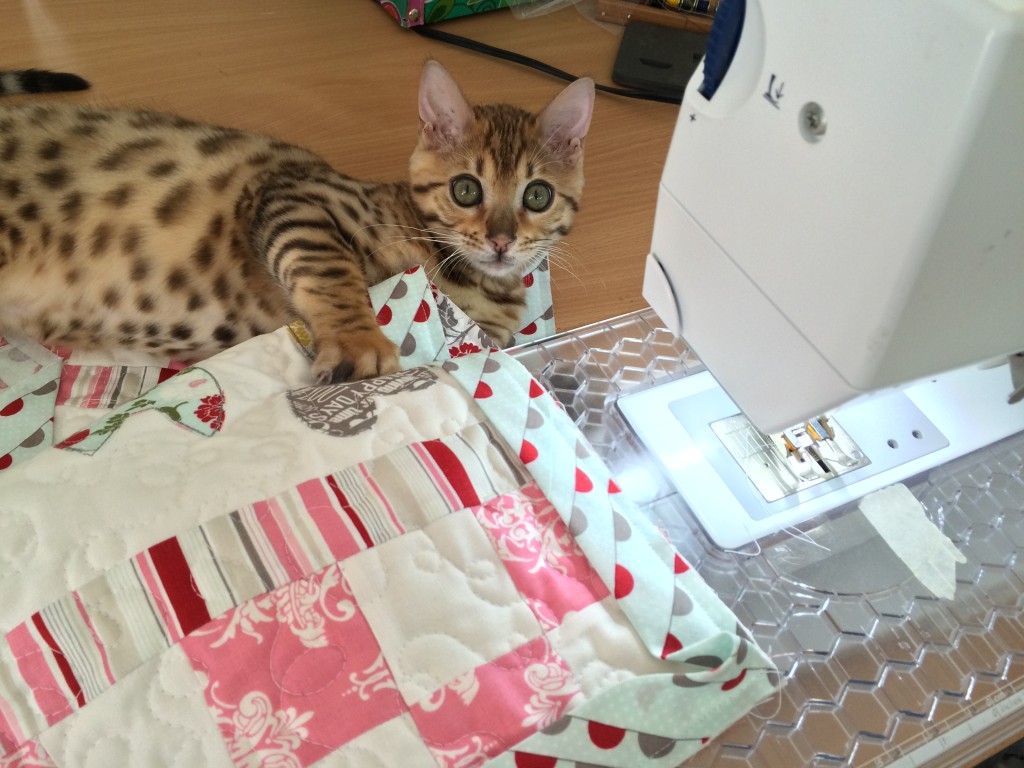
Of course my Kitty Muasa was very helpful in making this quilt!

kitty love mini quilt 15

Here are a few other versions of the Mini Kitty Quilt in different colors.  It is such a fun quilt to make and you can make it in about an hour!mini kitty quilt 5

mini kitty quilt 3

mini kitty quilt 2

mini kitty quilt

kitty quilt


Salt Air Quilt with Lucy’s Crab Shack Beach Blanket Pattern

beach blanket quilt


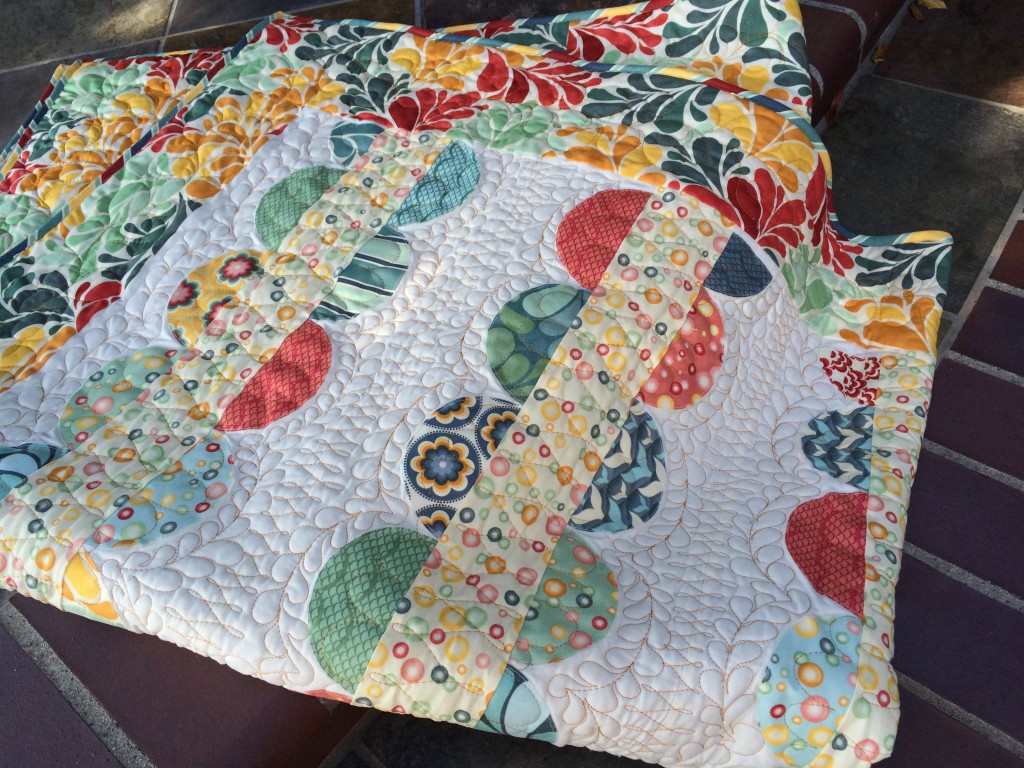
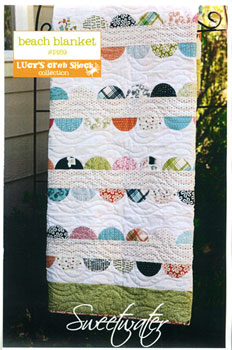
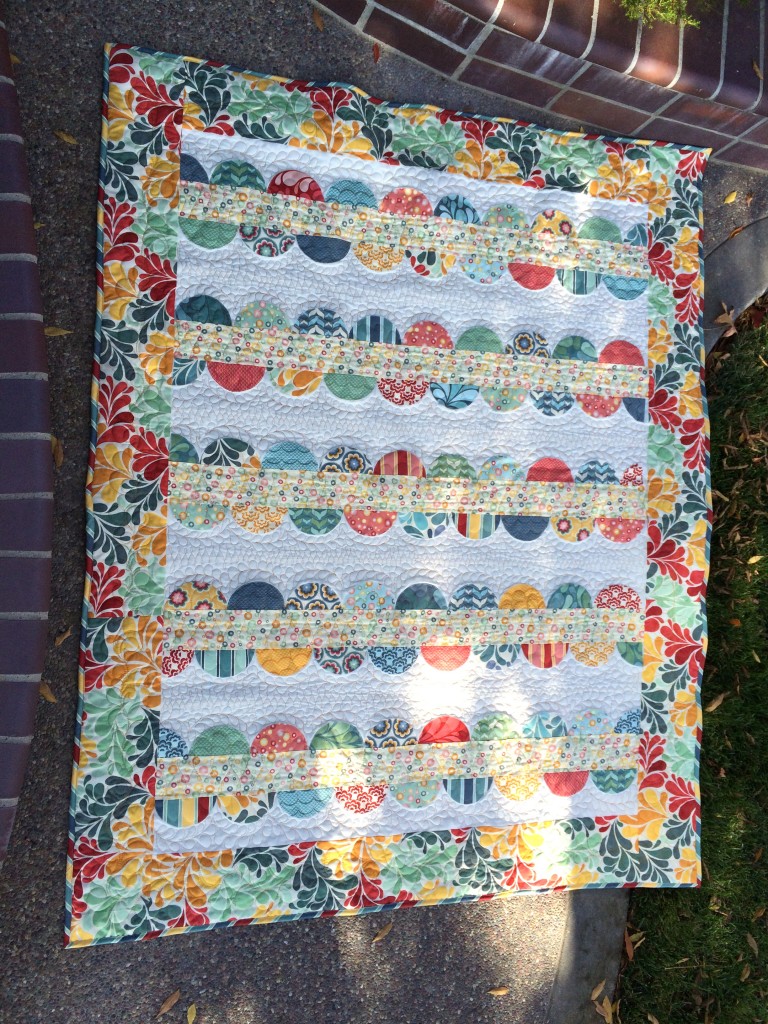
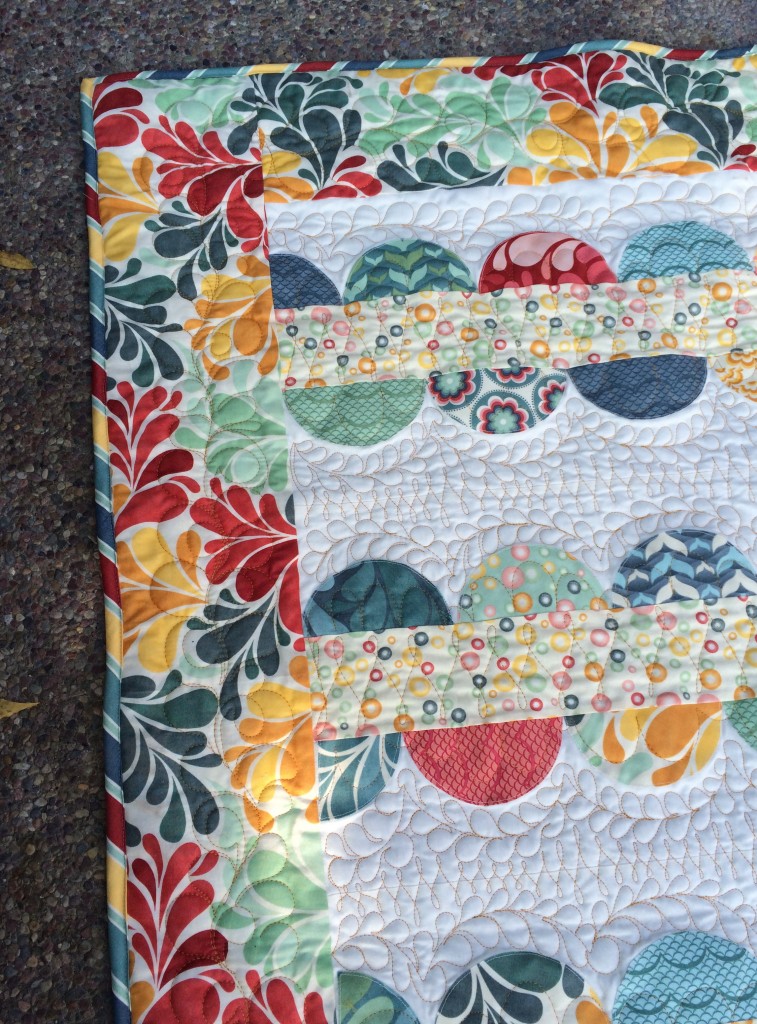
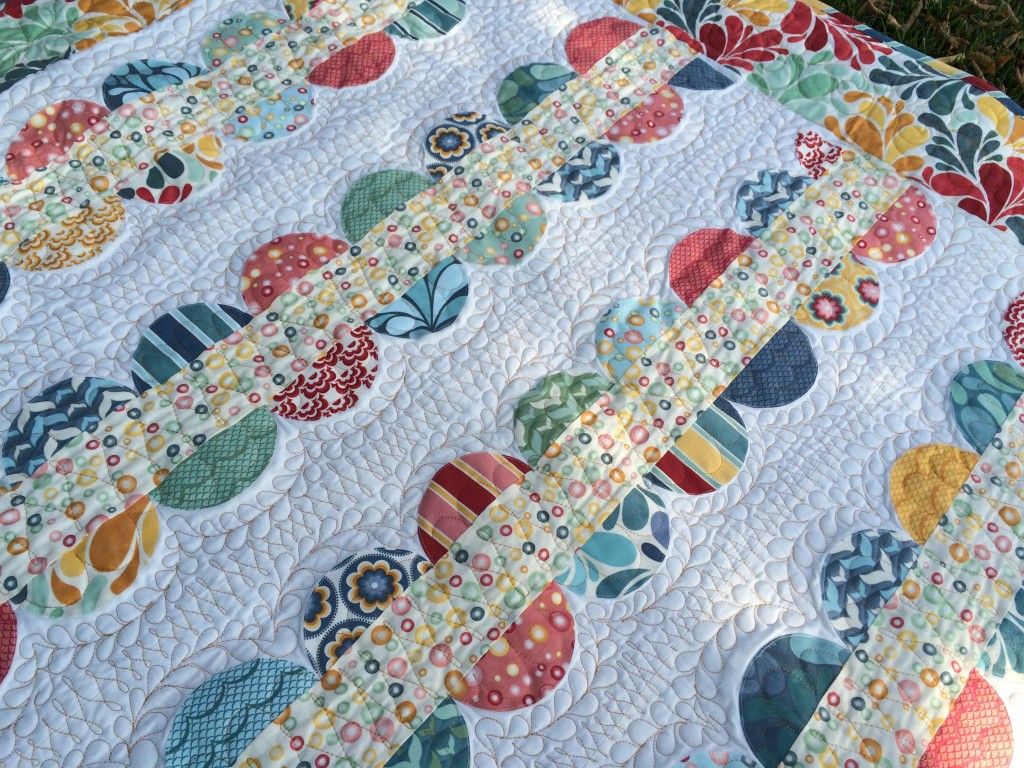
I purchased this pattern Sweetwater’s Lucy’s Crab Shack Beach Blanket over a year ago.  Along with it I picked up some pre cuts and yardage of Moda’s Salt Air line.  I love this line of fabric and I knew it would be perfect in my parent’s home.  beachblanketp189

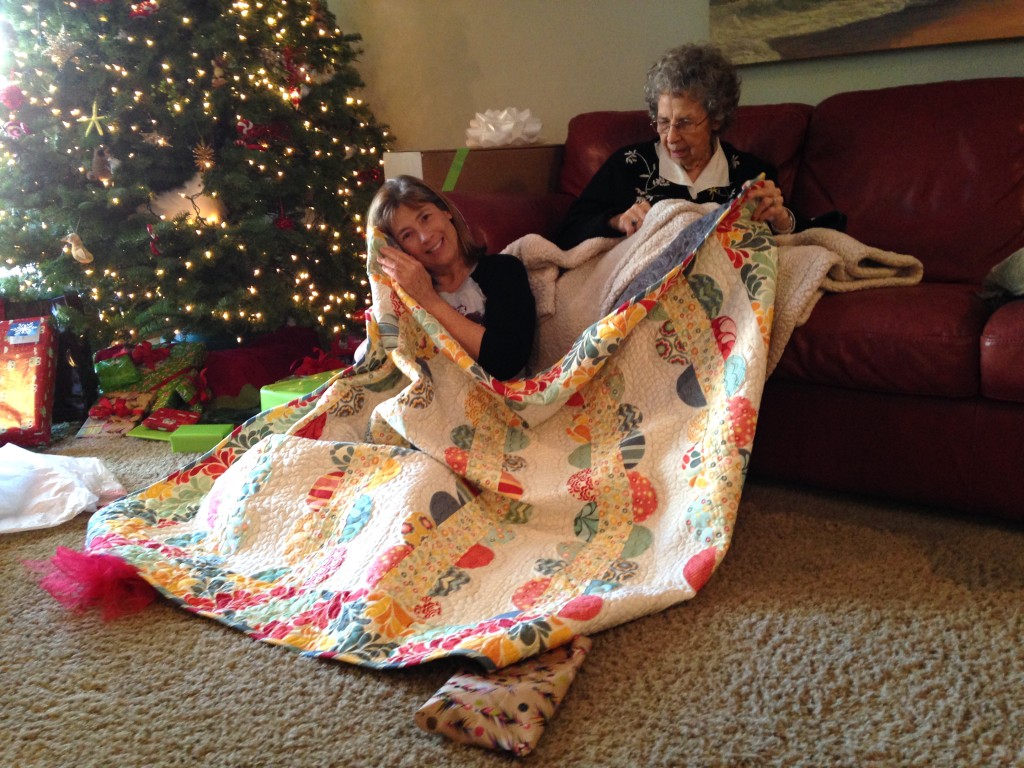
I hoped to sew it for my parent’s anniversary, then Christmas, and then time just went to fast.  So, finally, this past summer, I finally put it together and had it quilted.  I wrapped it up and gave it to them for Christmas.  It’s the cutest!beach blanket quilt salt air6

This pattern is super fun to sew and fairly easy.  The half circles are drawn on Heat n Bond Lite appliqué paper and then ironed on and top stitched.  I changed the pattern a little bit by omitting the inner boarder and adding a few more half circles so my quilt was a larger throw size.
beach blanket quilt 2


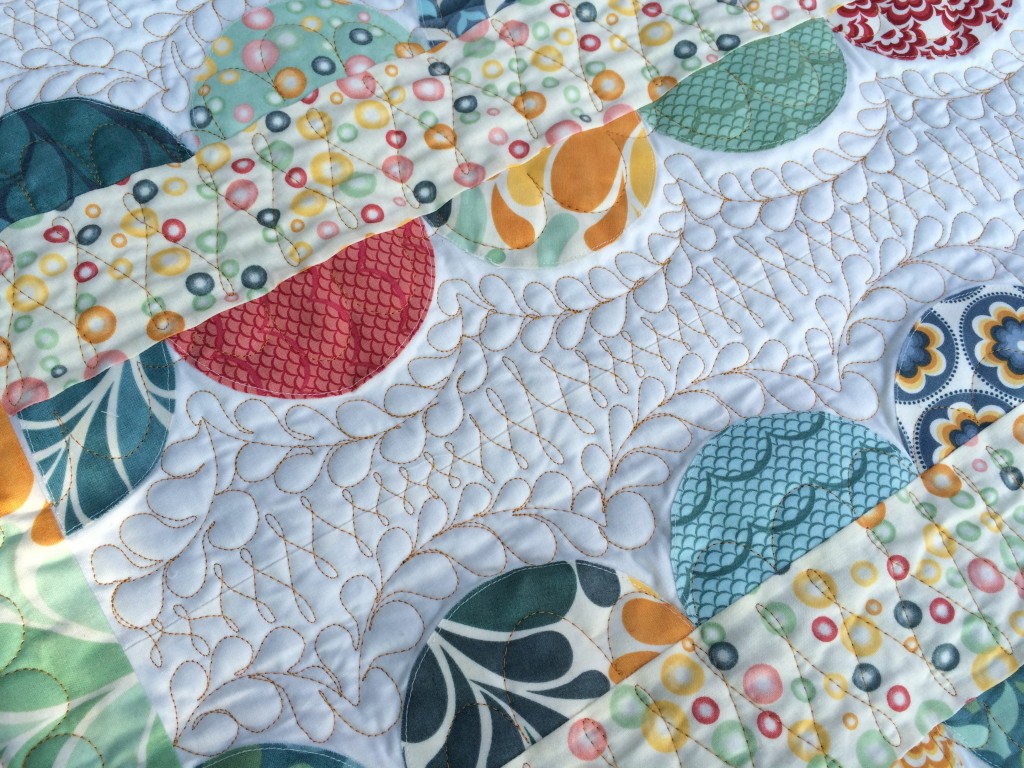
My quilter, Janika from Springville, Utah did and AMAZING job on the quilting!  When she gave it back to me, thoughts of keeping it for myself entered into my head 🙂beach blanket quilt salt air 3

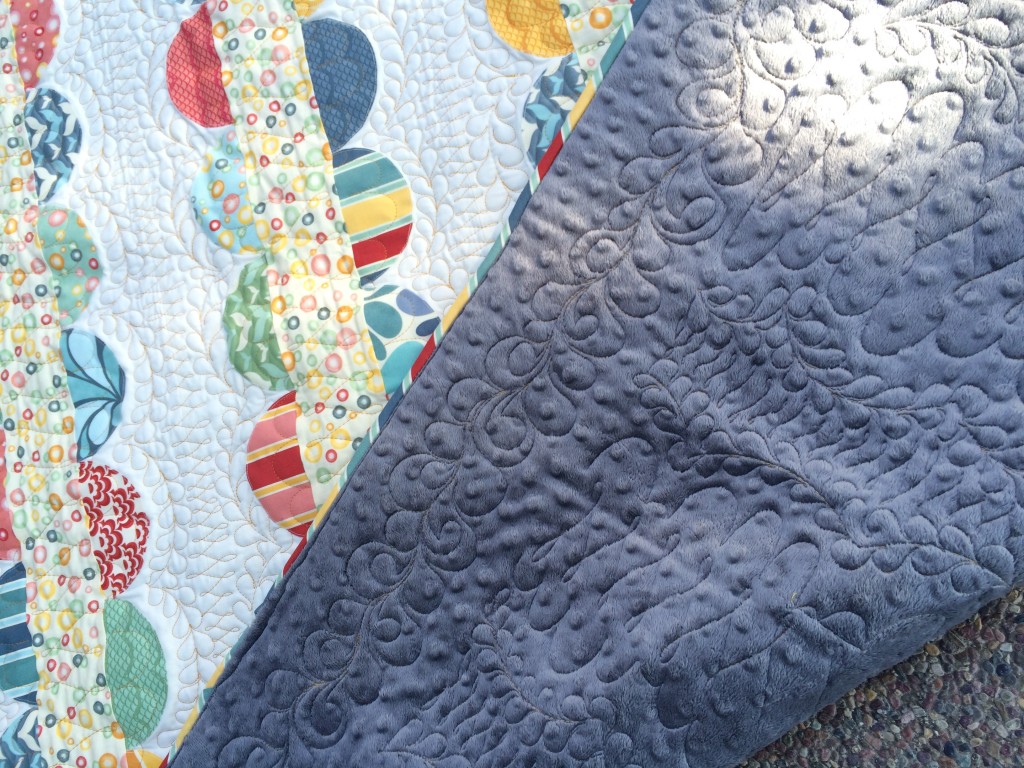
It’s extra cozy with this soft gray minky on the back.

beach blanket quilt salt air 2


beach blanket quilt salt air 4


My favorite print in this collection is the whale’s tails…..see if you can spot them!!beach blanket quilt salt air


Christmas Jingle Bell Key Chain Tutorial

christmas key chain tutorial

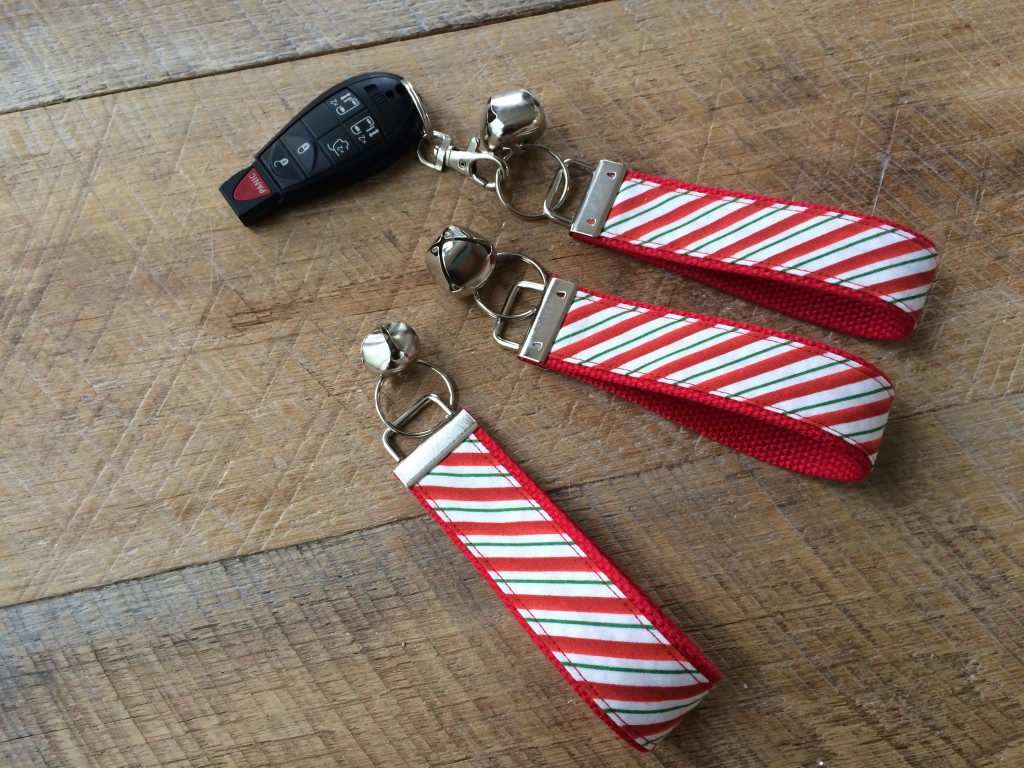
December is well underway and there is so much to be done!  Is anyone else going crazy!!!   I love these fabric key chains – they make it super easy to find your keys in your purse and you can slide your keys on your wrist.  I wanted something festive for the holidays so I made candy cane stripe ones and added a jingle bell.  I love the fact that I jingle where ever I go!!  These make great gifts and you can whip up a bunch in an afternoon.

Supplies:

10″ red cotton webbing 1.25″ wide, I bought mine here

10″ x 2″ strip of striped fabric

Spray n Bond

Key fob hardware, I bought mine here

Jingle Bell

strip of card stock 1″ wide

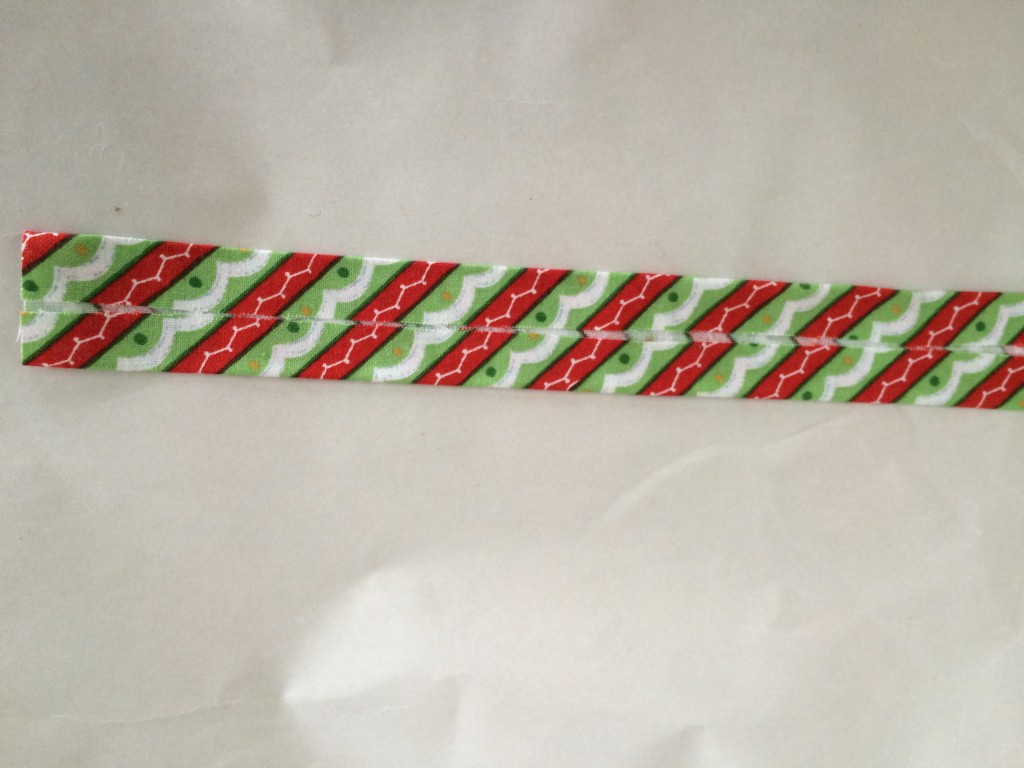
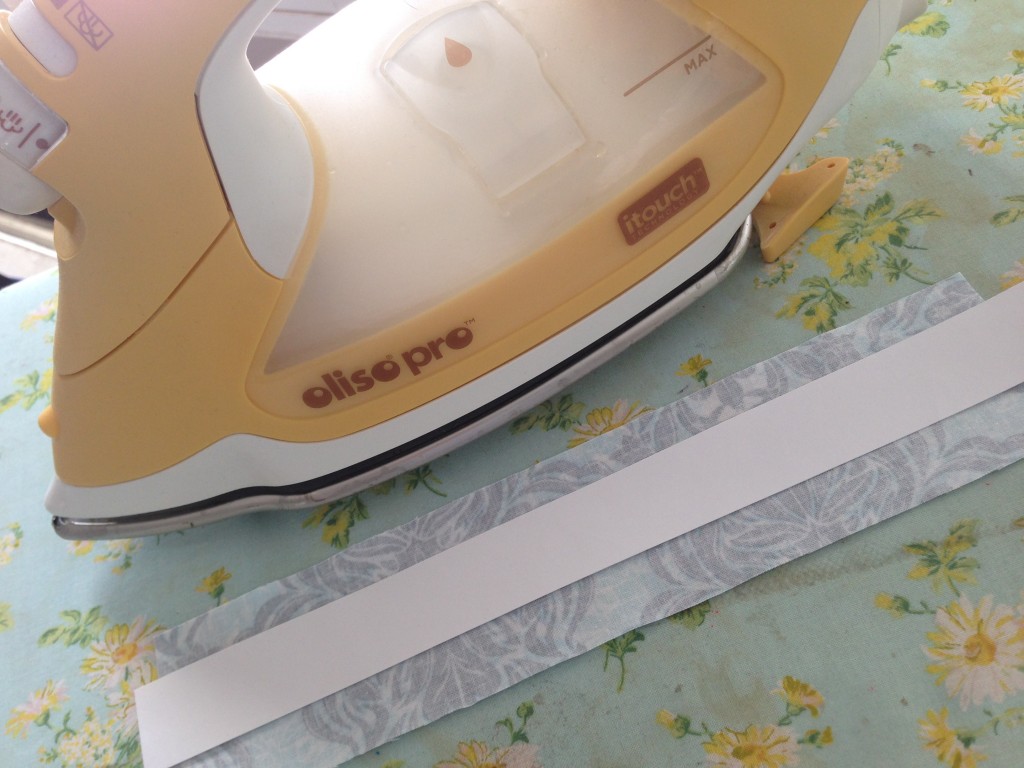
Begin by cutting the fabric 2″ x 10″.  Center the 1″ strip of card stock in the center of the wrong side of the fabric.  Use the card stock as your guide to press the sides in evenly.  Remove the card stock.

keychain_tutorial_fabric_3

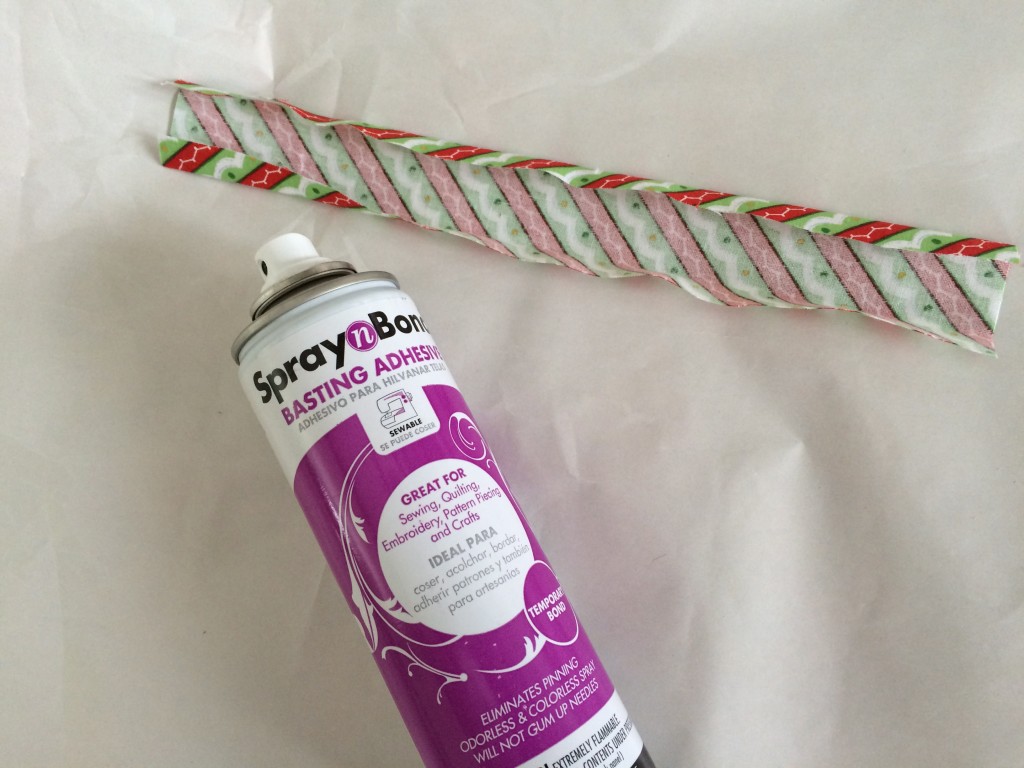
In my previous keychain tutorial I suggested using fusible hem tape to fuse the fabric to the webbing.  While this works great, I choose to use Basting Spray – it’s faster and goes farther.  A few tips about the basting spray: put down a disposable protective surface because there will be some overspray.  I made quite a few so I used some old wrapping paper which could be rolled and discarded to give me a clean surface.  If you are doing a lot I would wear gloves because you may get it on your hands.  

christmas key chain

Open the folds and spray a line down the center of the fabric.  Pat the folds in and smooth to hold in place.  Spray the folds again with the basting spray and center on the 10″ strip of webbing.

christmas key chain 2

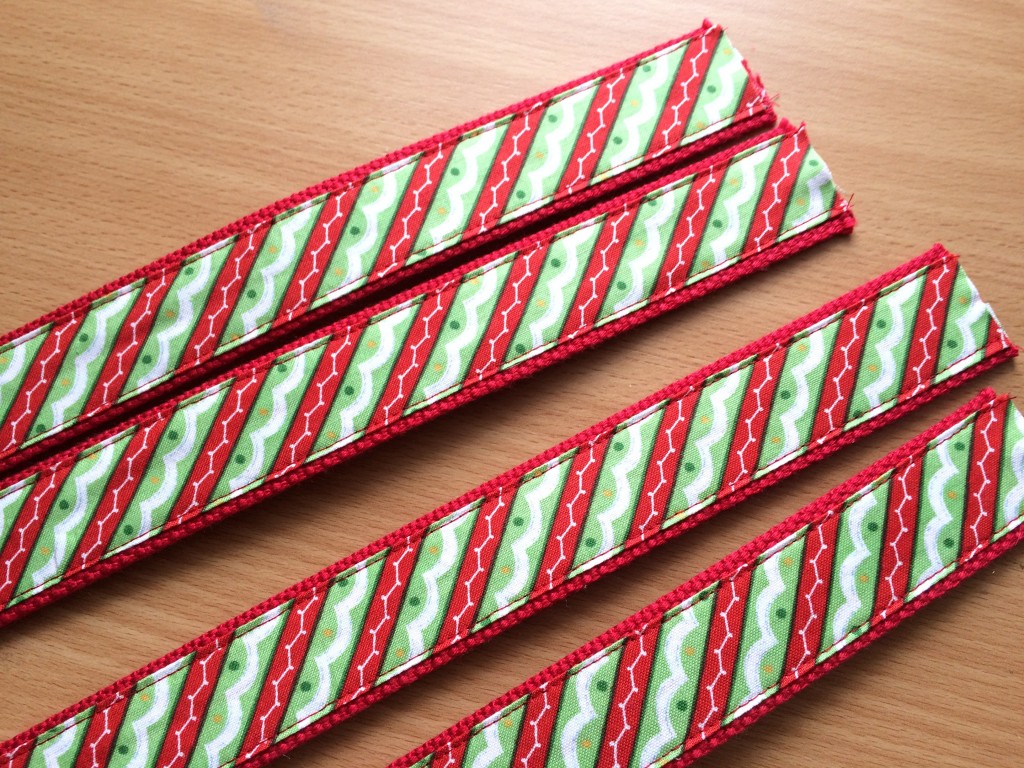
Top stitch about 1/8″ away from the edge.

christmas key chain 3

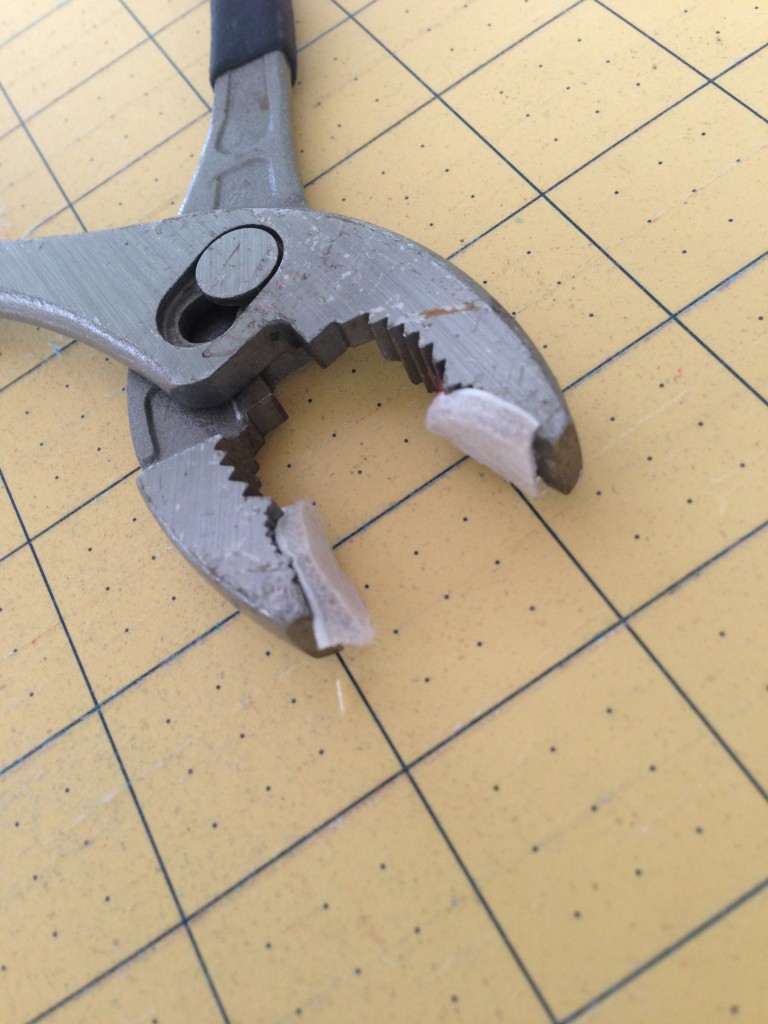
Using pliers with some padding attached, fold the strip in half and pinch the hardware around the ends to secure.  Add a split ring and jingle bell.

keychain_tutorial_fabric_9

IMG_2062
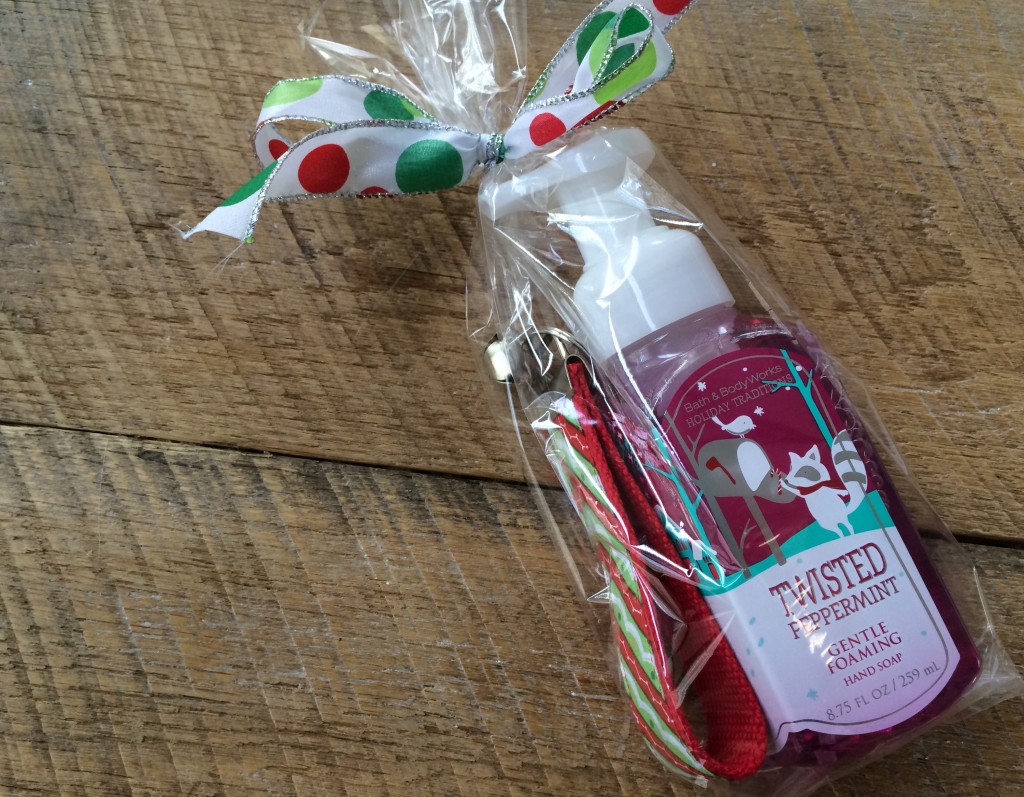
I packaged mine up with some Holiday Bath and Body Works soaps and lotions.  Now I’m off to deliver them!
IMG_2064_2