SPOOKY CAT Pillow

spooky halloween pillow

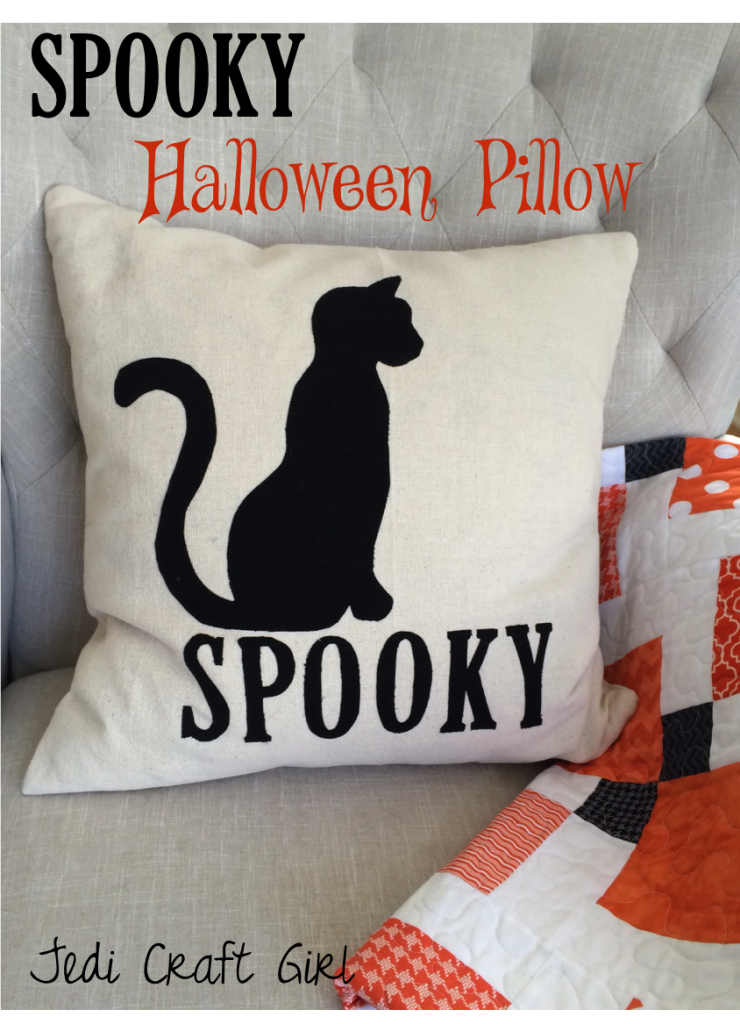
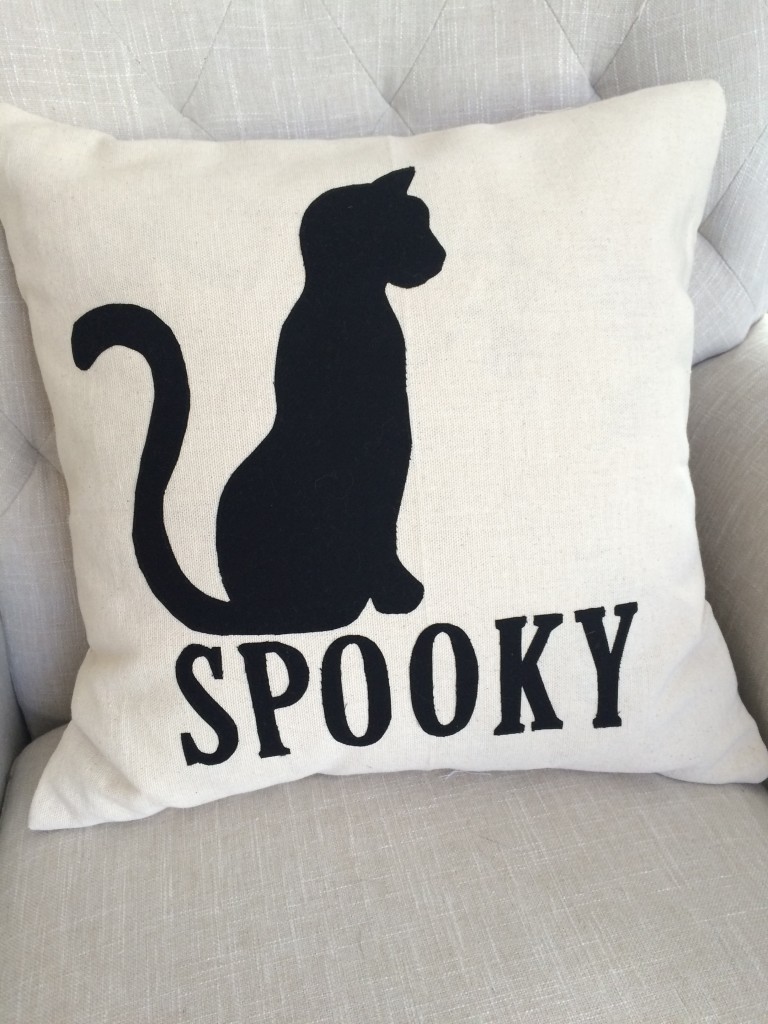
Can you believe how fast October is flying by?????  It’s crazy!  Here is a quick Halloween project – with a black cat of course – that you can sew in about 30 minutes.   By using their Heat n Bond EZ print sheets, you can print the pattern pieces onto the appliqué paper in your own printer!


Supplies

20″ x WOF duck cloth or neutral light weight canvas
fat quarter or similar black fabric
Heat n Bond® Lite EZ print sheets
22″ or longer zipper
20″ pillow form

Instructions

Begin by cutting (2) 20″ squares from the neutral fabric

Print the cat pattern (here) and SPOOKY pattern (here) then iron them to the wrong side of the black fabric.  Cut out on the pattern line and peel off backing.

spooky Halloween pillow

Position the pattern pieces as desired or as pictured below on the 20″ square and press into place.  Using black thread, stitch around each appliqué piece.
spooky Halloween pillow_2

To finish the pillow take the second 20″ square (pillow back) and cut 3″ off:
spooky Halloween pillow_4


Insert the zipper and press.  Trim off excess zipper.spooky Halloween pillow_5

With zipper pull positioned in the center of the pillow, pin the pillow front and the pillow back right sides together.  Sew all the way around the pillow using a 1/2″ seam.spooky Halloween pillow_6

Turn right side out and insert pillow.
spooky Halloween pillow_7

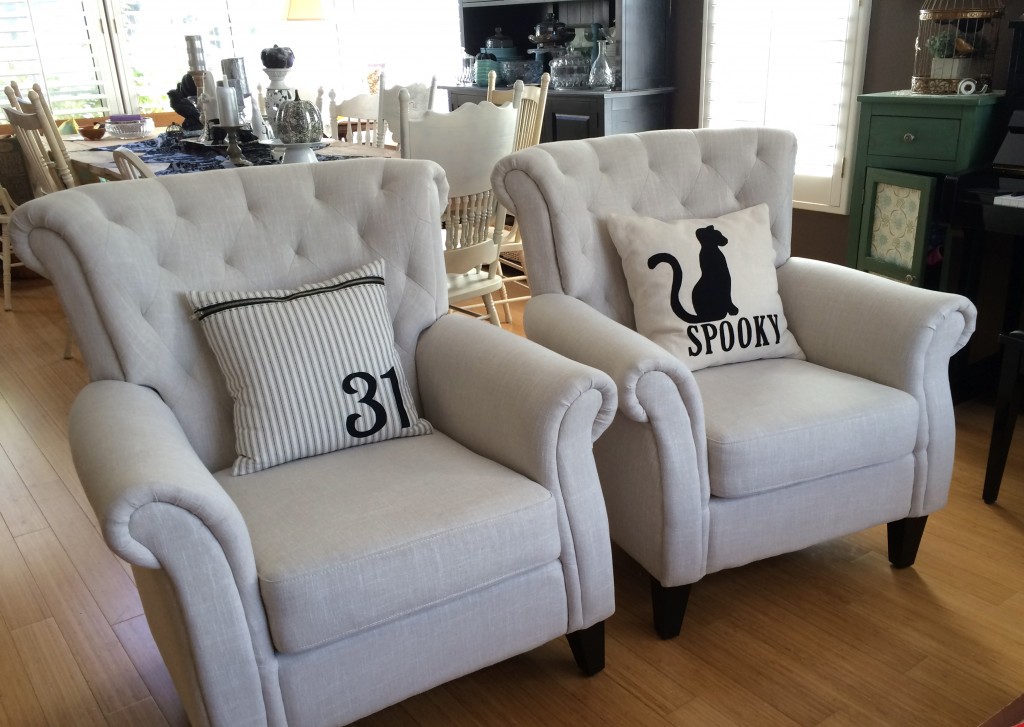
In my dining/living room I like to decorate only with black, white, neutrals, and metallics.  I love how the pillow looks on the neutral chair – a perfect compliment to the “31” pillow!!
spooky Halloween pillow_8

It also looks cute in the family room with some pops of orange!!spooky Halloween pillow_9


Halloween Pillow Tutorial

halloween_pillow_tutorial

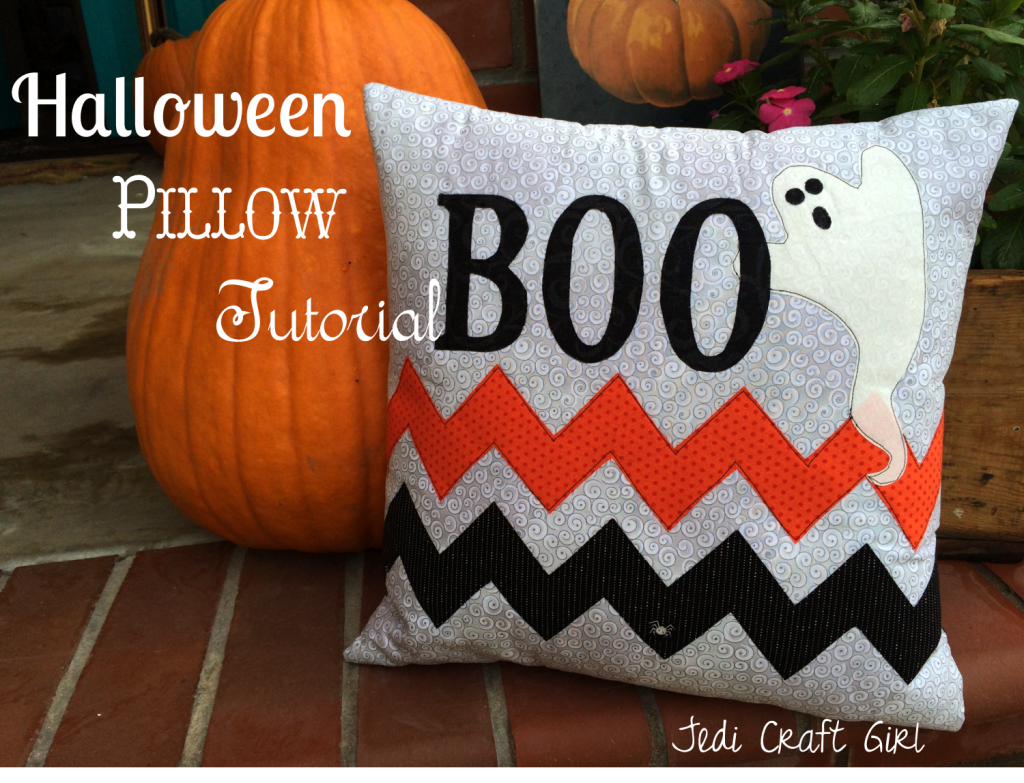
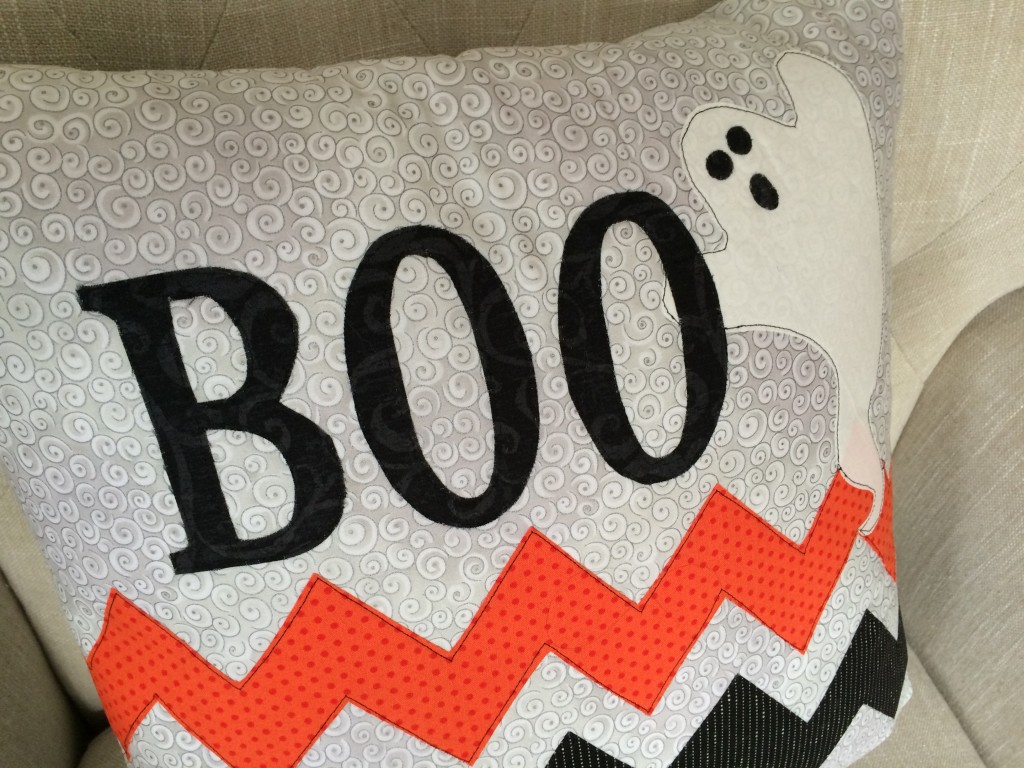
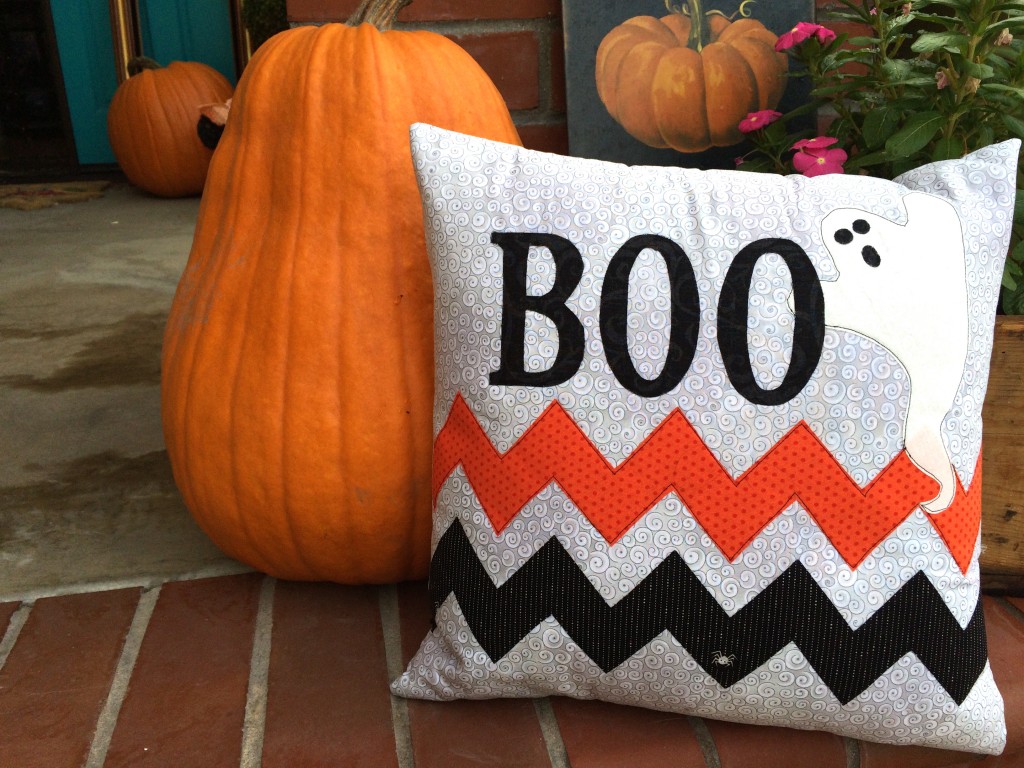
I can’t believe how fast October is flying by!!  I made this festive pillow for a friend for her October pillow.  Here’s how you can make one:


Supplies:

20″ x WOF background pillow fabric

1/4 yard orange fabric

1/4 yard black fabric

scrap of white fabric

Therm O Web Heat n Bond Lite

20″ pillow form

22″ or longer zipper

Pattern, Click HERE

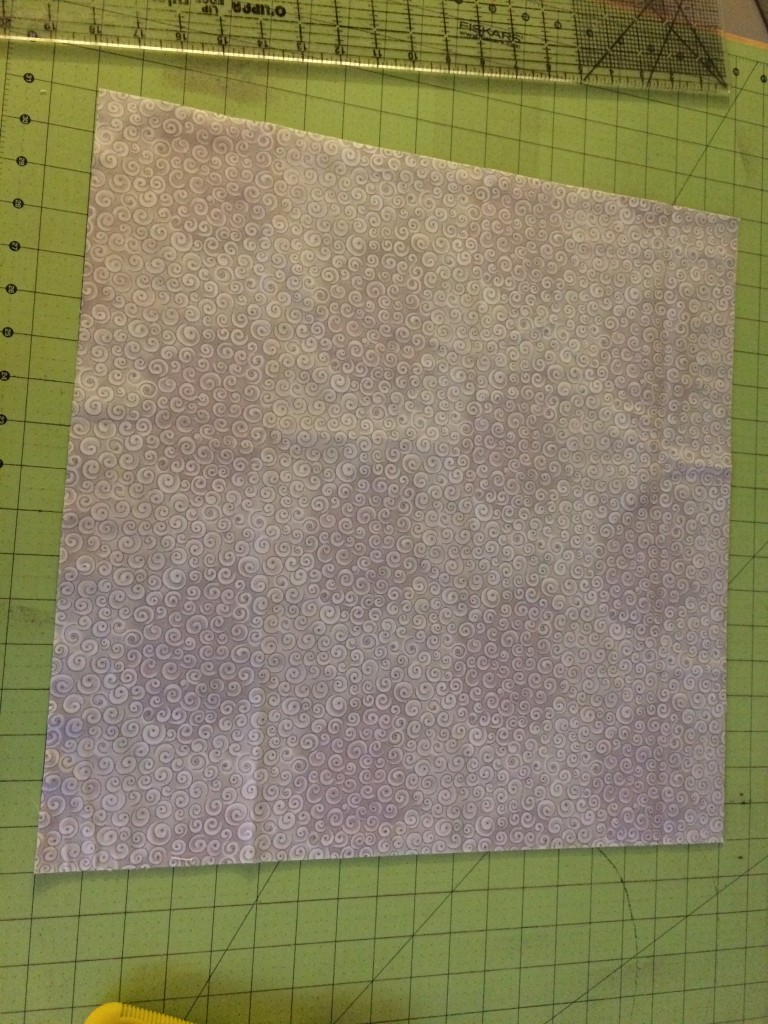
Begin by cutting (2) 20″ squares of the background pillow fabric

Halloween_Pillow_1


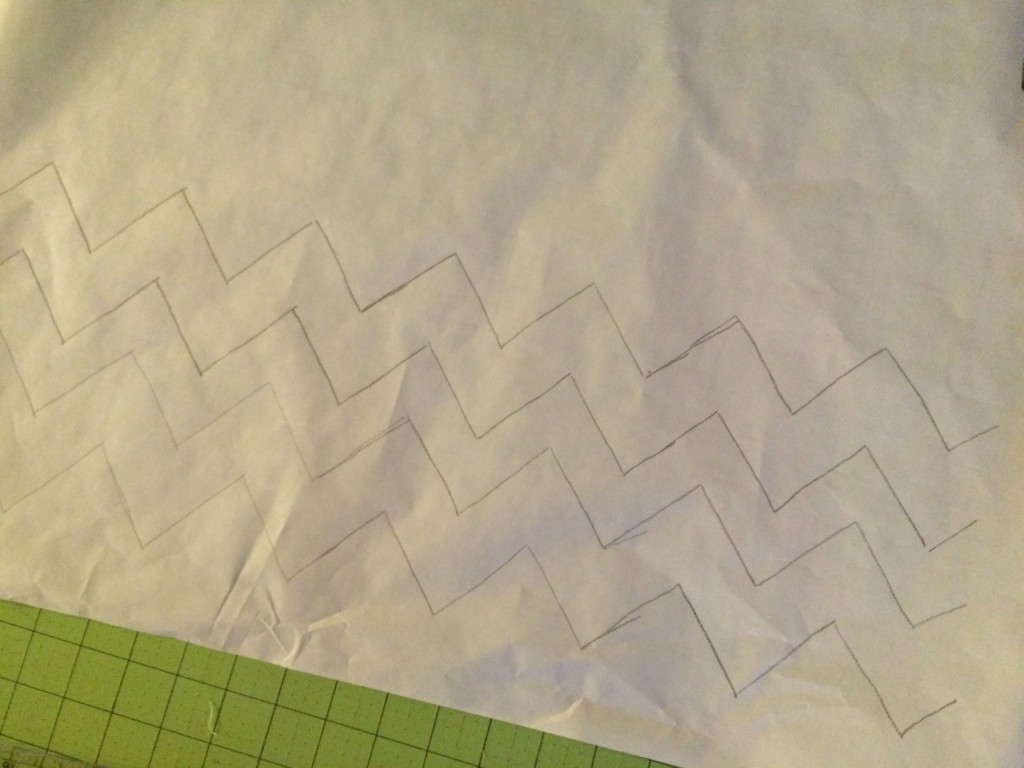
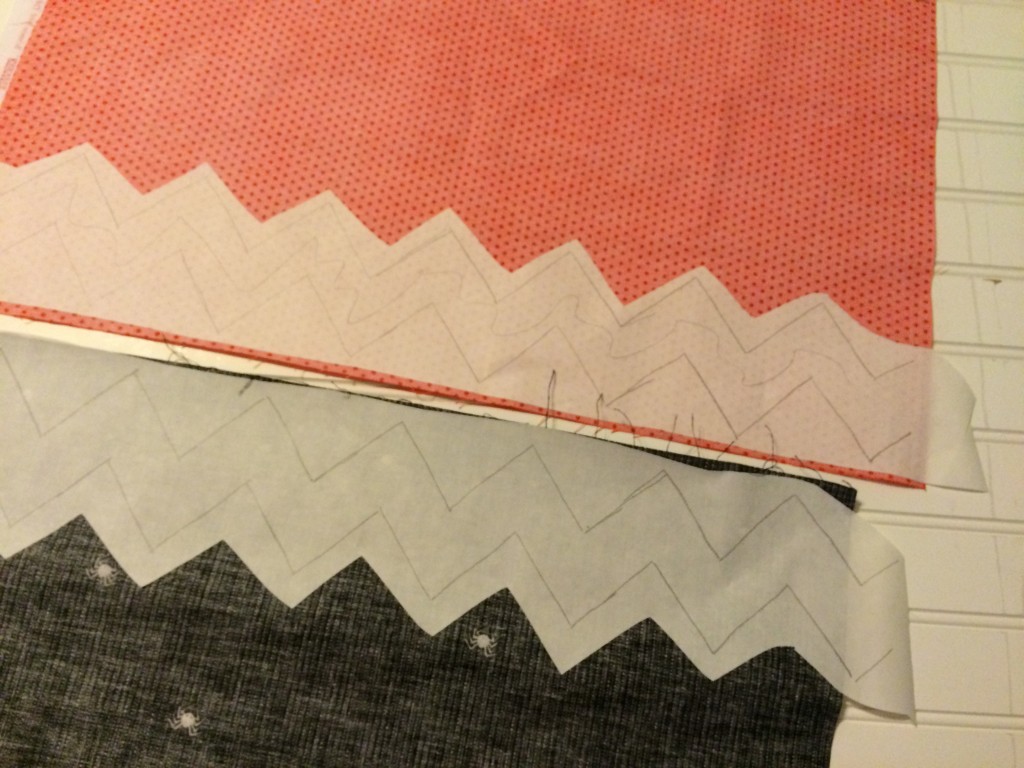
Trace the chevron print on the Heat n Bond Lite.  You will need (2) 20″ sections of chevron

Halloween_Pillow_2

Roughly cut the chevron strips out and press them to the wrong side of the orange and the black fabric.  Then cut along the chevron pattern lines.Halloween_Pillow_3


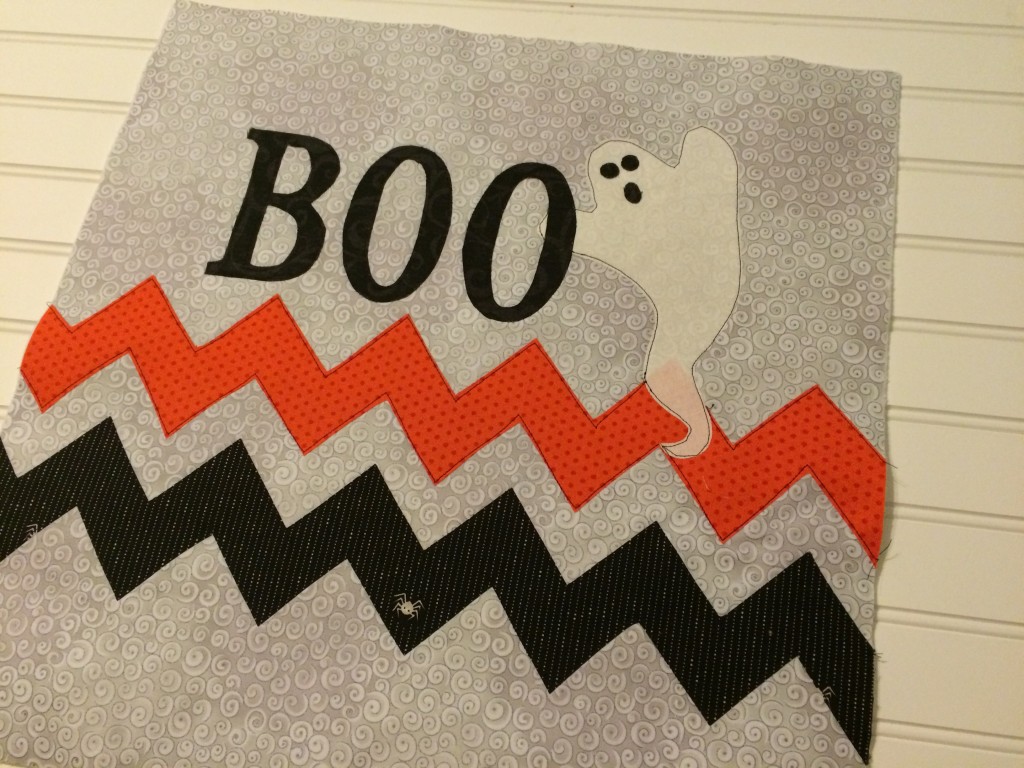
Trace the BOO onto the Heat n Bond Lite or print on the Heat n Bond EZ Sheets.  Iron it to the back of the black fabric.  Do the same with the ghost pattern and iron it on the back of the white fabric.  Peel the paper back off the Heat n Bond and position as pictured below.  Press into place.  Outline stitch with black fabric.  Cut 3 small circles/ovals for the ghost eyes and nose out of the scraps of the black fabric with heat n bond on the back.  Add to the ghost.
halloween applique

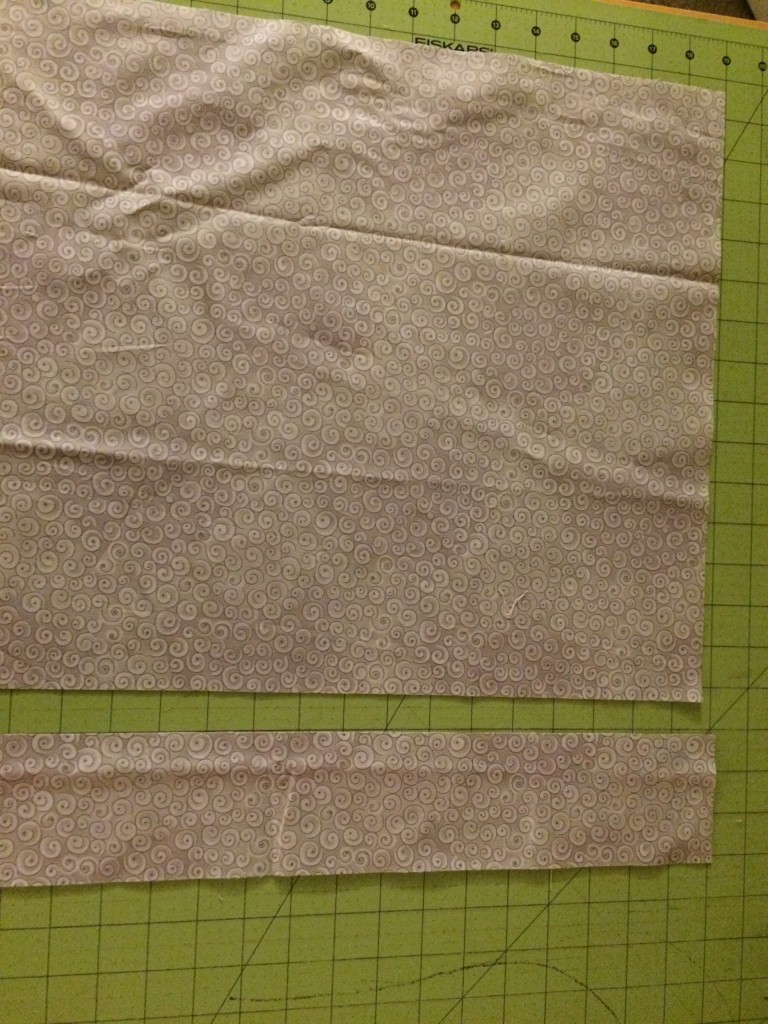
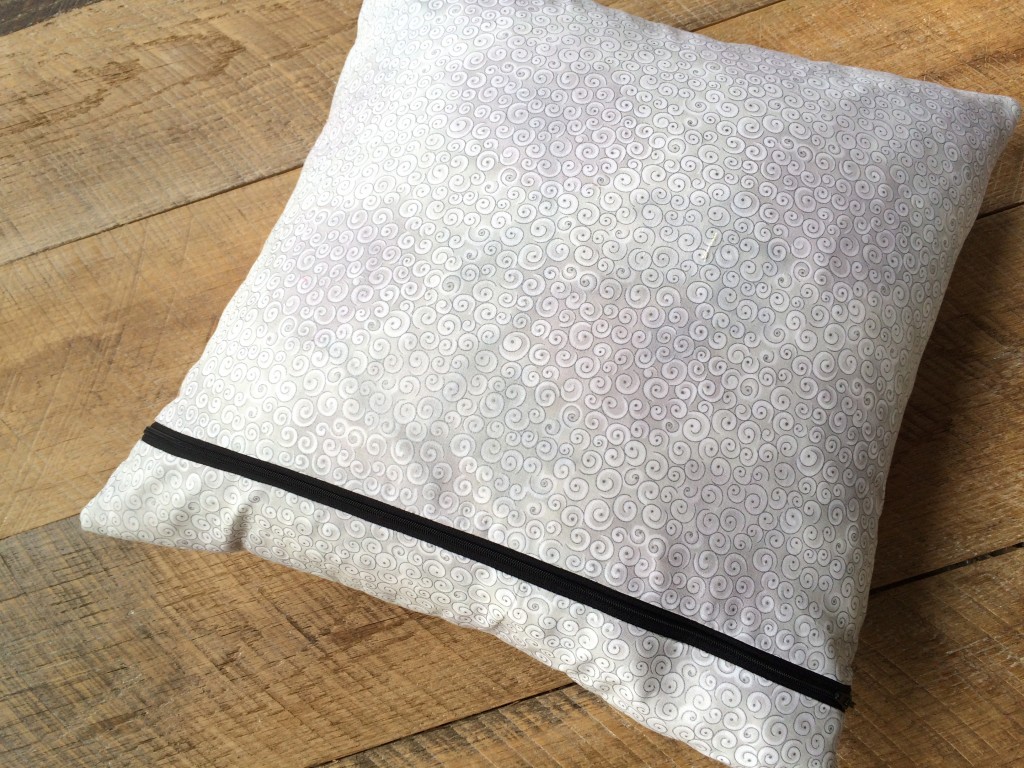
For the pillow back, cut a 3″ strip off of the 20″ pillow back.  This is where the zipper will go.
Halloween_Pillow_5

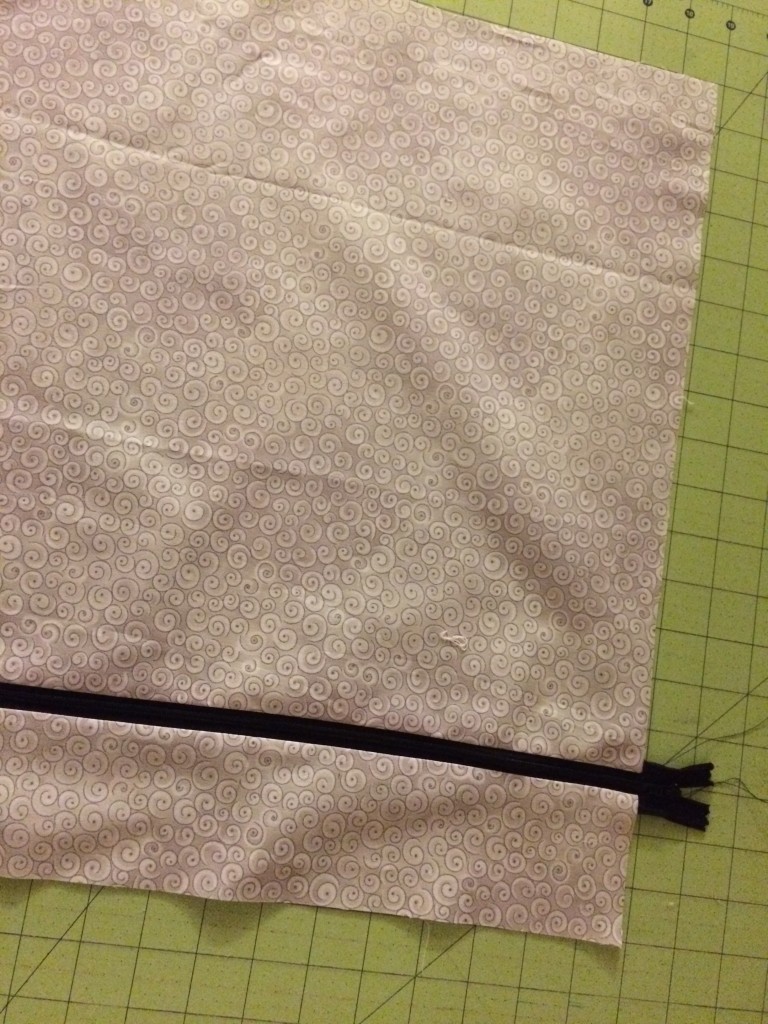
Sew the zipper joining the 2 pieces of the pillow back.  Press.Halloween_Pillow_6

Trim the excess zipper off and position the zipper pull in the center of the pillow.  Place the pillow front and the pillow back right sides together, aligning the edges.  Pin.  Sew, using a 1/2″ seam all the way around the pillow.  Then turn right side out.  Insert pillow form.Halloween_Pillow_7

Halloween_Pillow_8


It’s so cute – I may need to keep it 🙂Halloween_Pillow_9


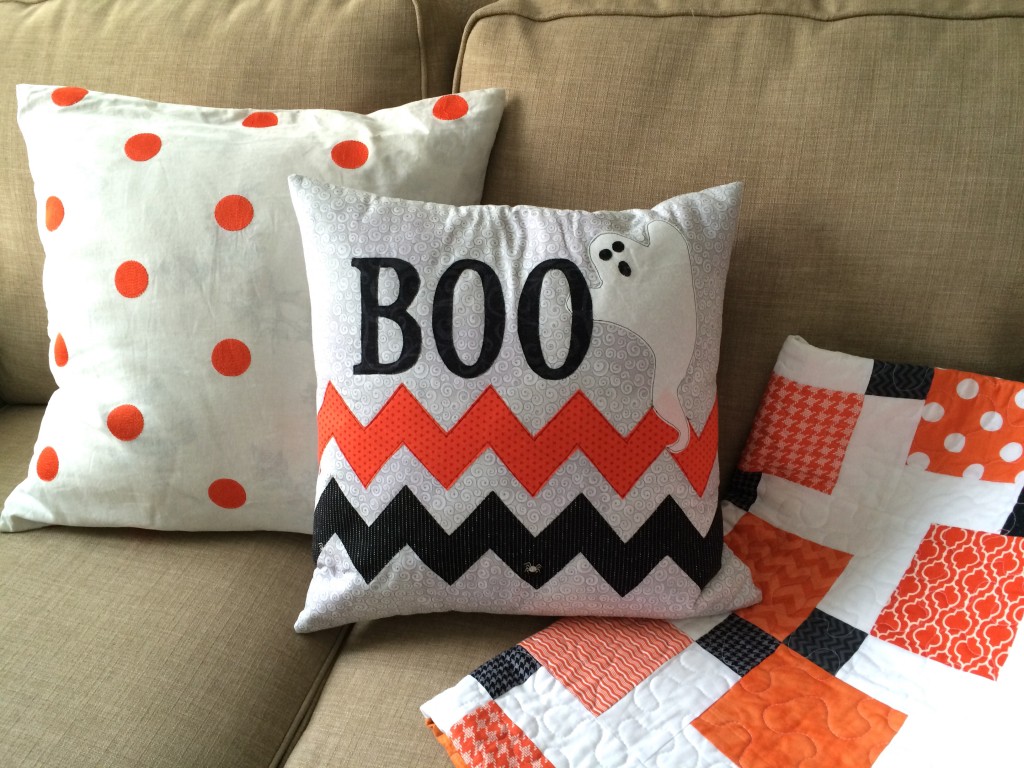
It looks so perfect with my Halloween Disappearing 9-Patch quilt!!Halloween_Pillow_10
owee

Riley Blake Flannel Baby Quilt and Burpers Tutorial

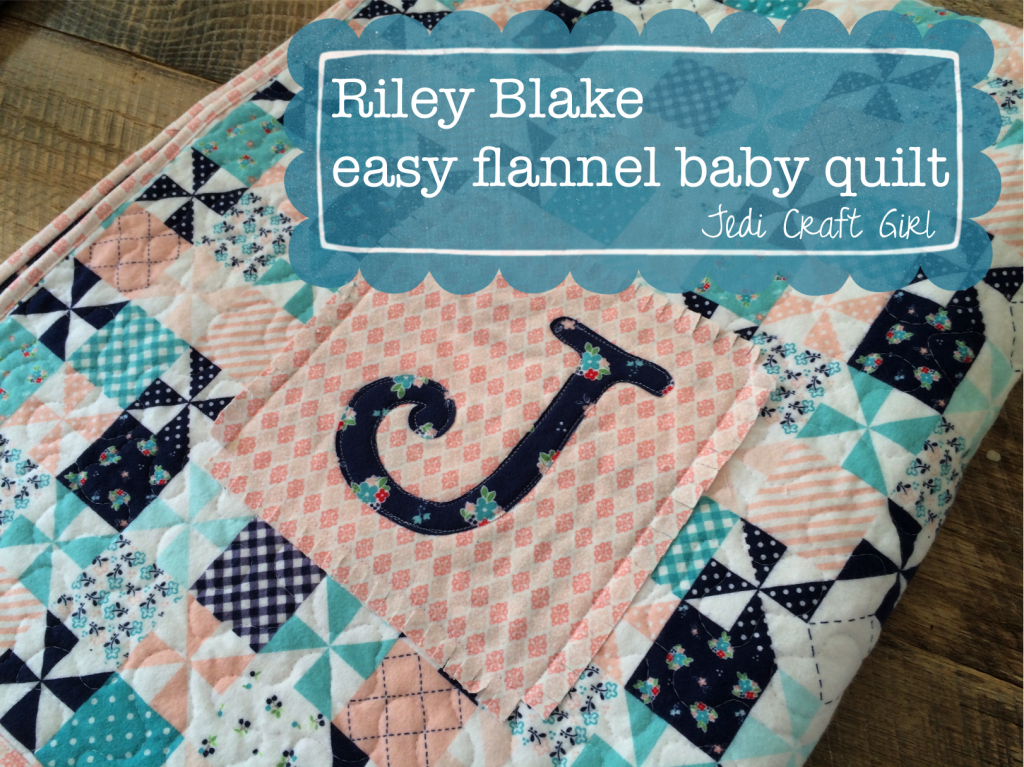
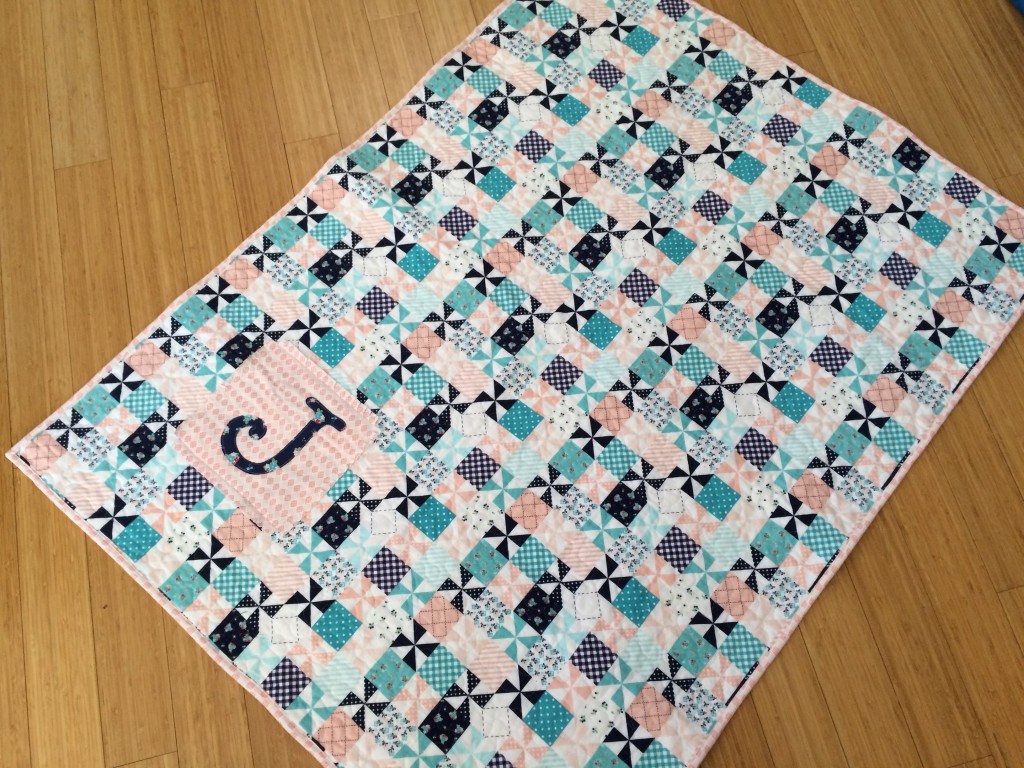
flannel baby quiltI am so excited to be participating in the Riley Blake Flannel Blog Hop!  Thanks for stopping by!  Let me introduce myself….I’m Amanda, a Southern California mom of 3 children who LOVES fabric, sewing and quilting!  I love sharing my projects and patterns on my blog and connecting with people who share my same interests.
First let me just say how much I love Riley Blake flannels.  I have been sewing with flannel for years and the quality and durability of Riley Blake flannel is amazing – plus it comes in so many cute prints!  My tutorial today is for two projects.  #1 Easy Quilted Flannel Baby Blanket and #2 “Old School” Baby Burpers

riley_blake_flannel_baby_quilt_20


…..yes I know super “Old School” but this burper pattern has been in the family for 40 years – since I was a baby!!  Each generation of babies and mommies has loved using these.
riley_blake_flannel_baby_quilt_21

Let’s get started….

Quilted Flannel Baby Blanker

Supplies:

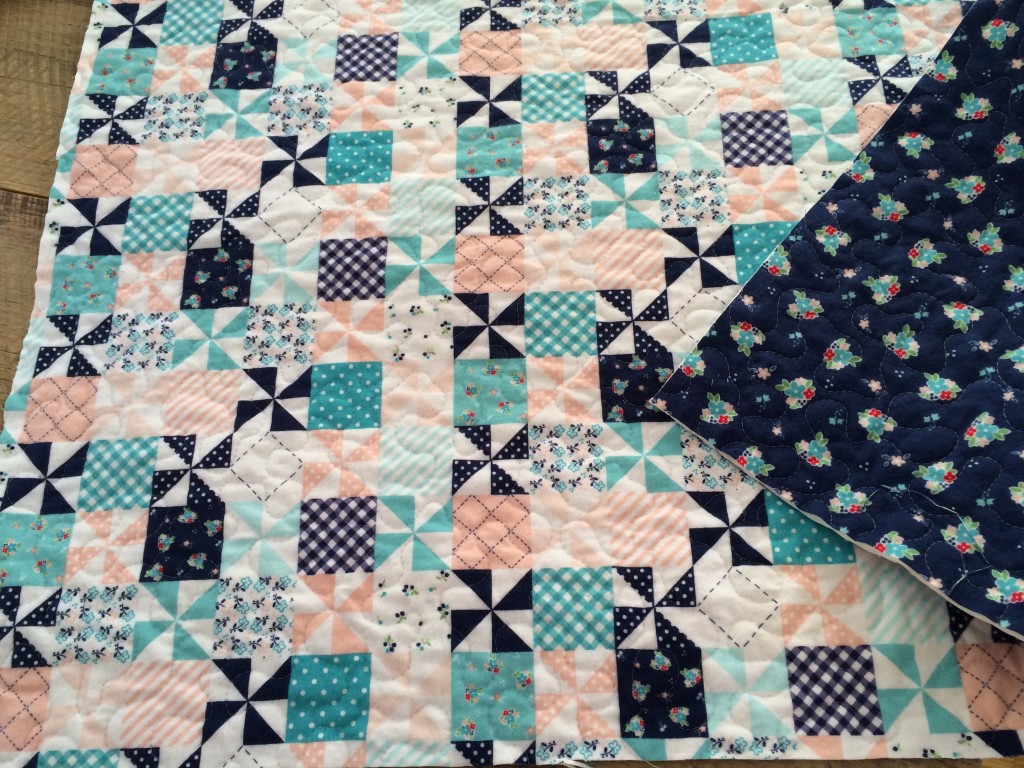
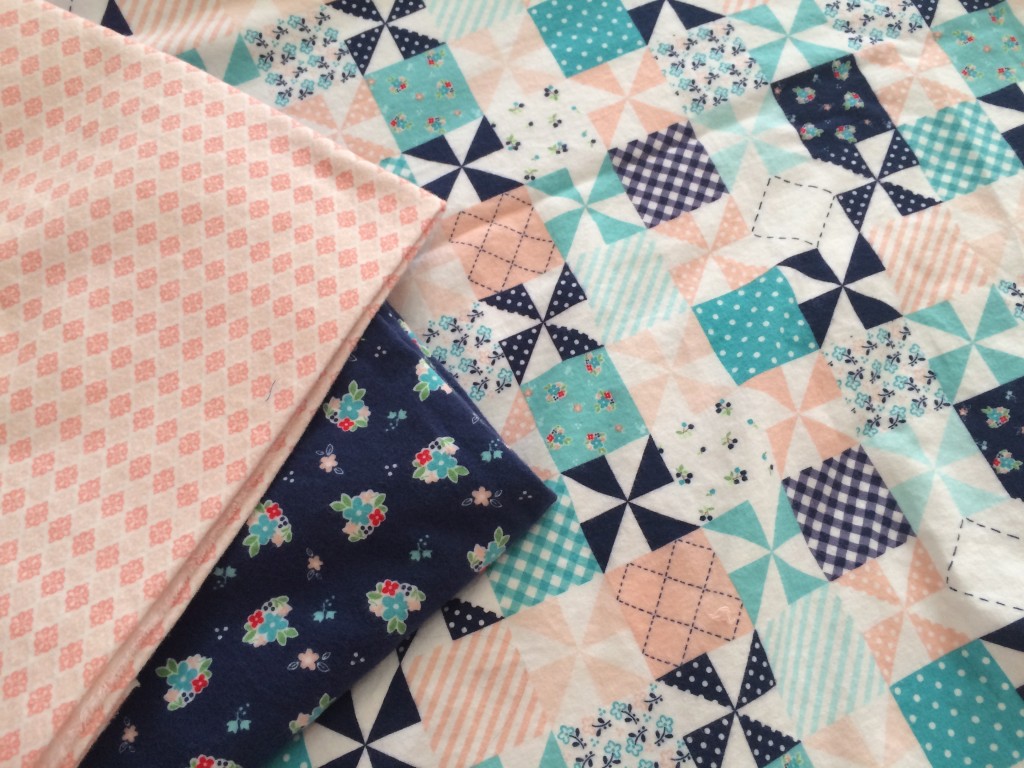
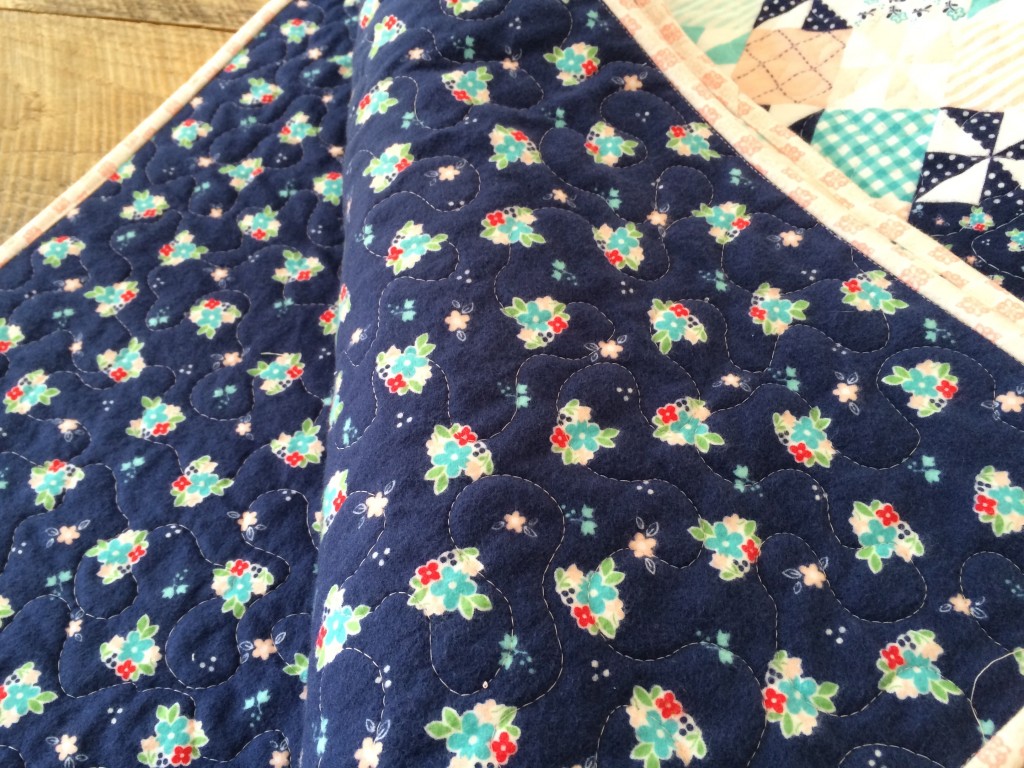
1.5 yards top fabric, I used Riley Blake Country Girls Patchwork in Pink….I love this because it already looks like a darling quilt

1.5 yards back fabric, I used Riley Blake Country Girls Country Floral Navy plus extra for the appliqué letter

1/2 yard flnnel for binding and accent square

cotton batting

Heat n Bond Lite

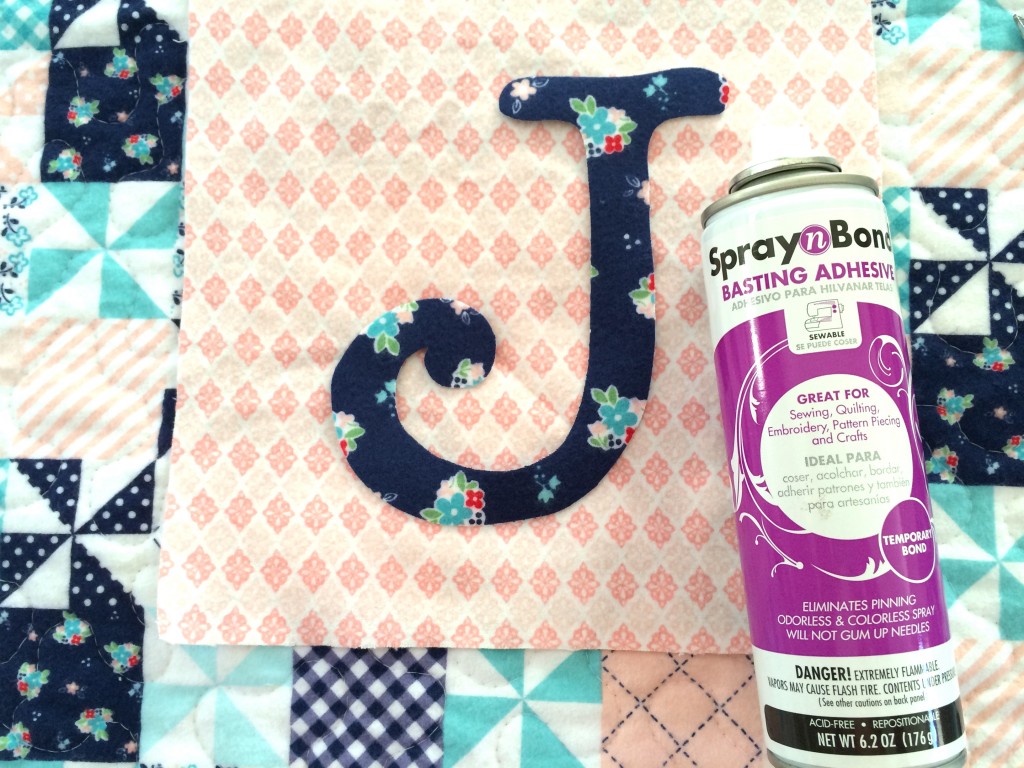
Basting spray

I love sewing with flannel, especially quilting because it is soft and it doesn’t move around when you sew!  I always prewash my flannel.  
riley_blake_flannel_baby_quilt_


The first part of the project is pretty much just quilting the two 1.5 yards of fabric together.  Pin baste the back, batting, and top fabrics of your quilt just like you would any quilt.  If the edges don’t line up perfectly, don’t worry.  After you quilt it you will square it up.  Quilt as desired.  I quilted free motion meanders.  Square up.riley_blake_flannel_baby_quilt_2

Attach the monogram:

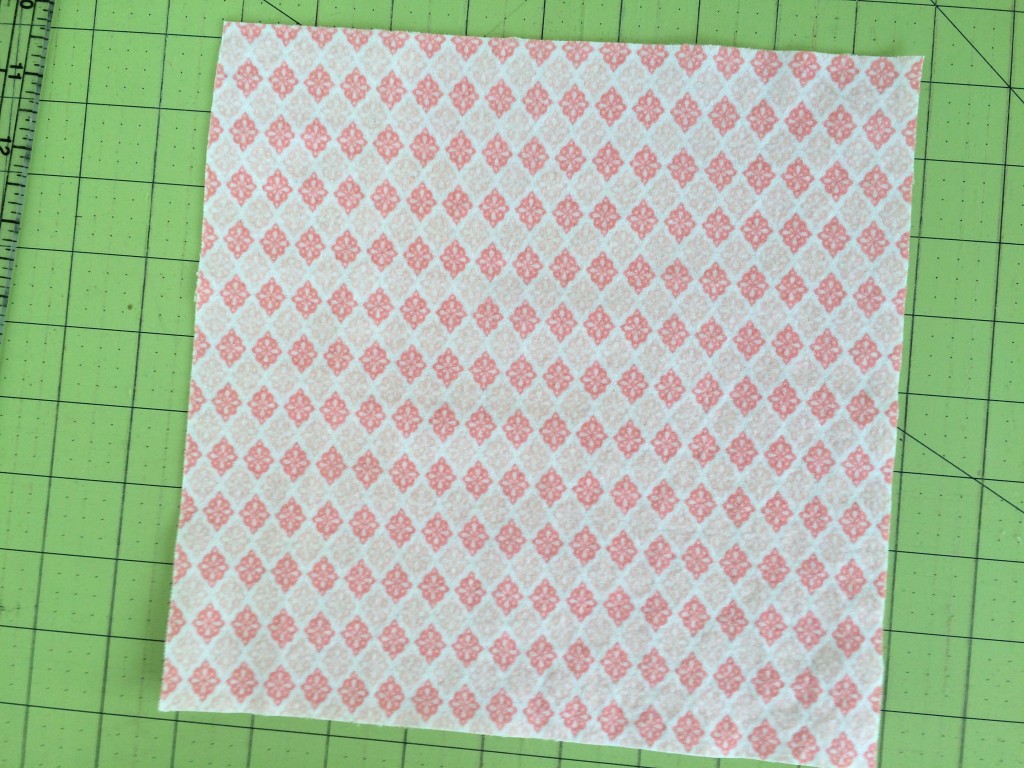
Cut a 9″ square of accent flannel.

riley_blake_flannel_baby_quilt_1

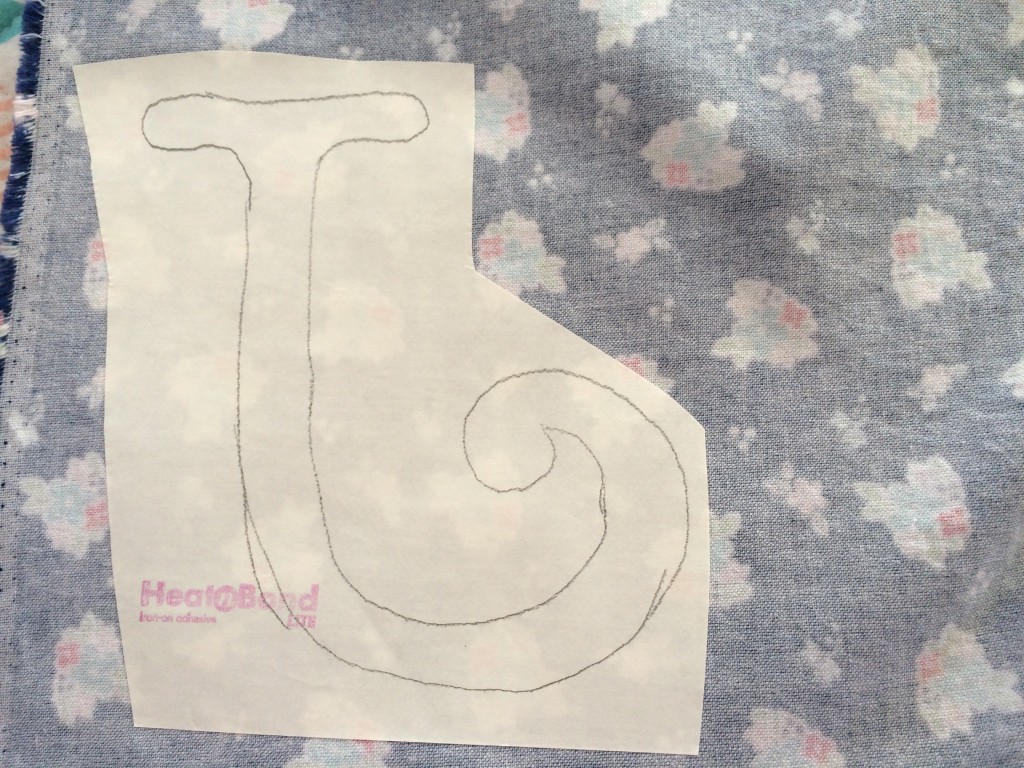
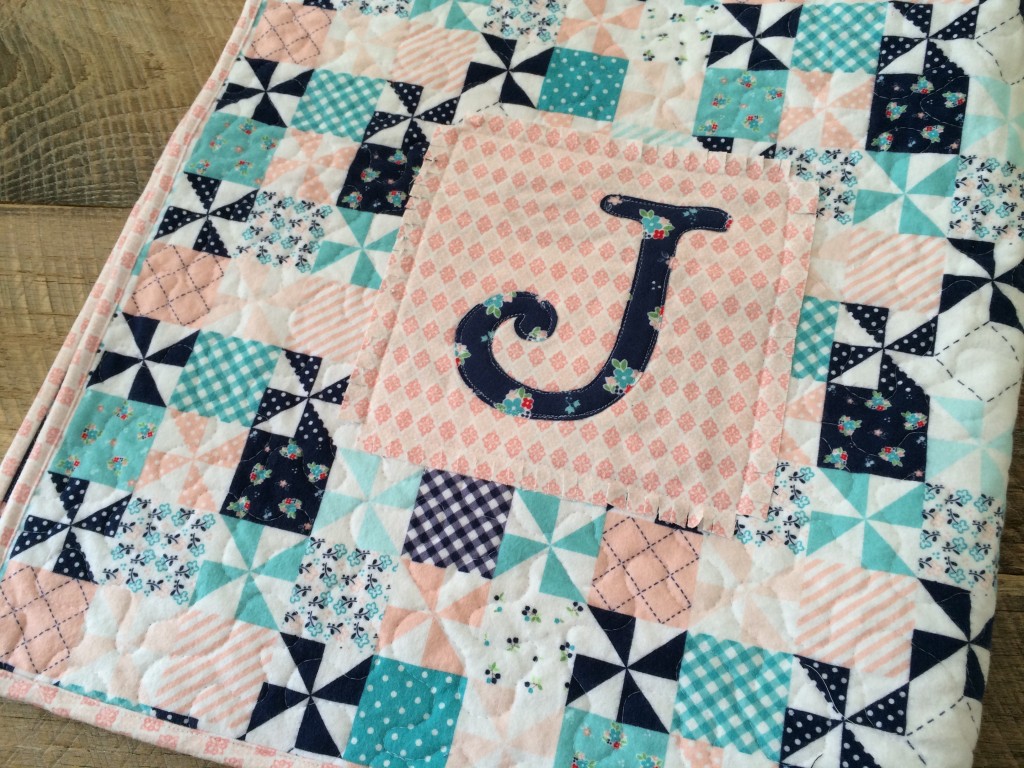
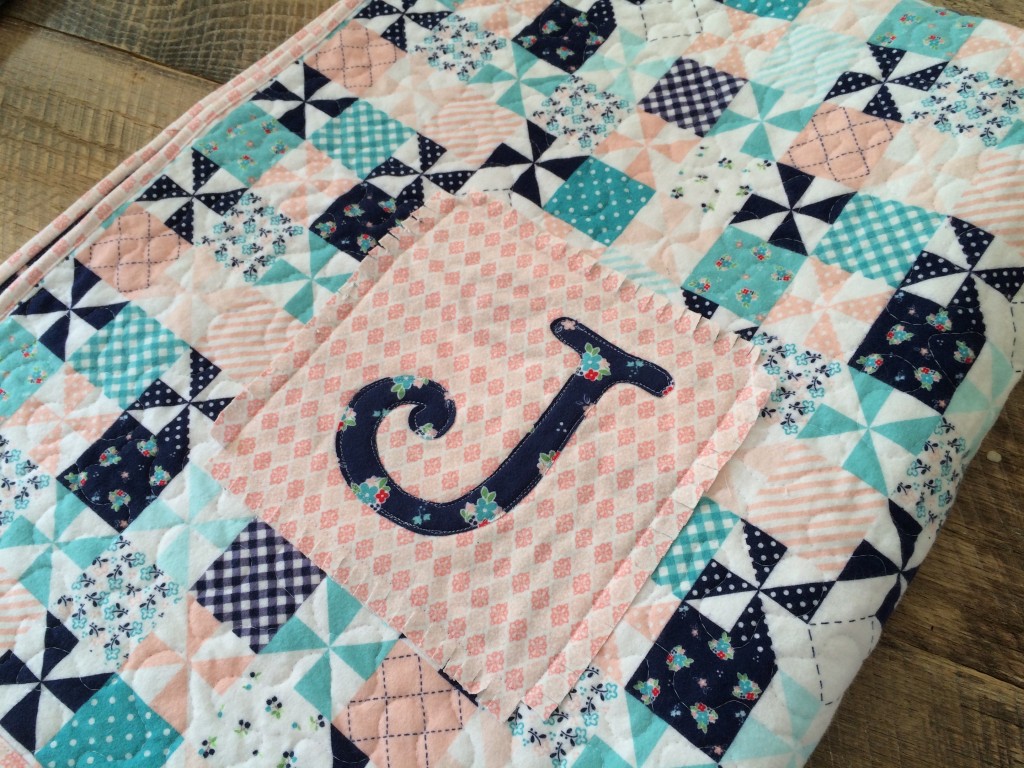
Print your desired letter in reverse.  I choose a “J” because I am giving this to my friend who is having a girl and naming her Juliette.  Trace the letter onto the Heat n Bond Lite and iron it to the wrong side of the flannel.

riley_blake_flannel_baby_quilt_3

Cut out the letter, peel off the backing paper and press it to the center of the 9″ accent square.  Using basting spray or pins, position the accent square as desired on the quilt.

riley_blake_flannel_baby_quilt_4

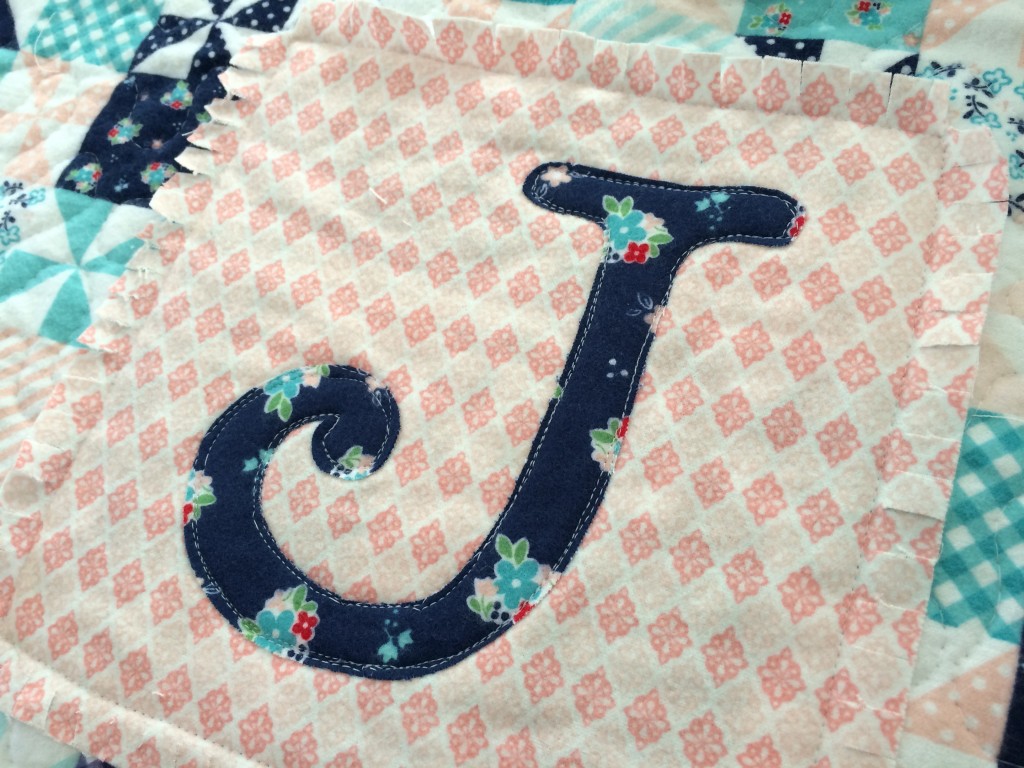
Using a 1″ seam, sew around the square.  Then sew around the letter sewing close to the edge.  Cut little slits into the edge of the square like this:

riley_blake_flannel_baby_quilt_6

I choose to add the letter after the quilting so the letter would have a quilted look as well.  After a few washings, the fringed edge of the square should look more ruffley similar to a rag quilt.

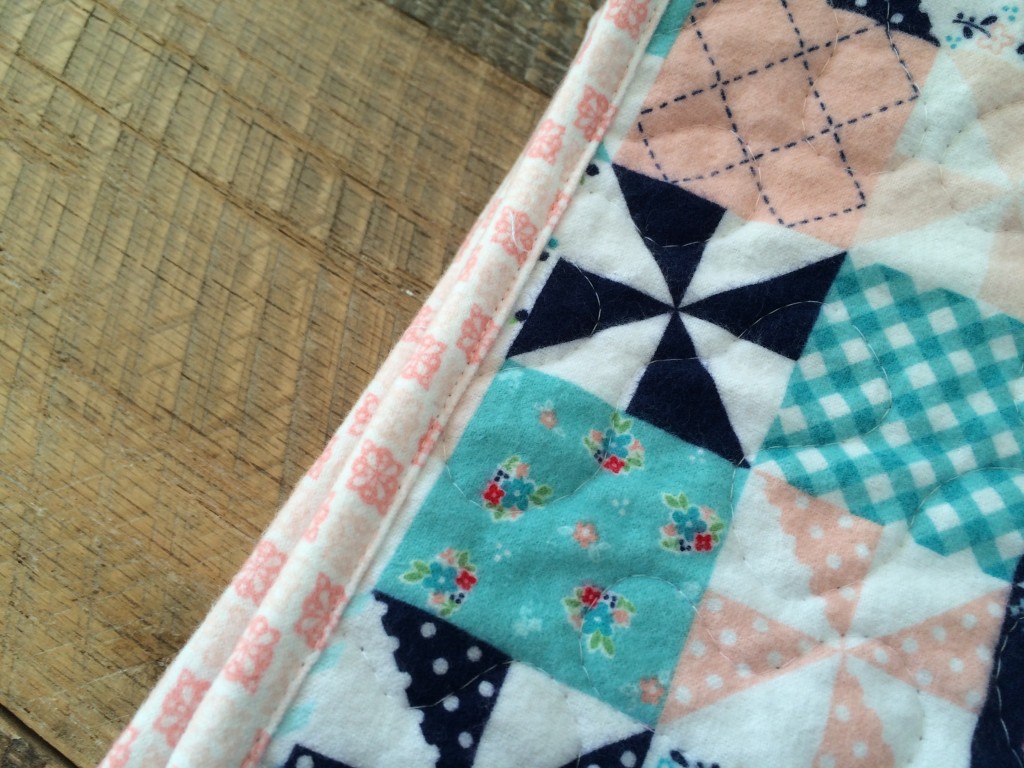
Cut (6) 2.5″ strips of flannel for the binding.  I choose to machine sew my binding on so it would hold up nicely after many washings.

riley_blake_flannel_baby_quilt_23 I think it turned out so cute!  and it’s sooooo soft and snuggly!
riley_blake_flannel_baby_quilt_19

riley_blake_flannel_baby_quilt_16

Old School Baby Burpers

riley_blake_flannel_baby_quilt_17

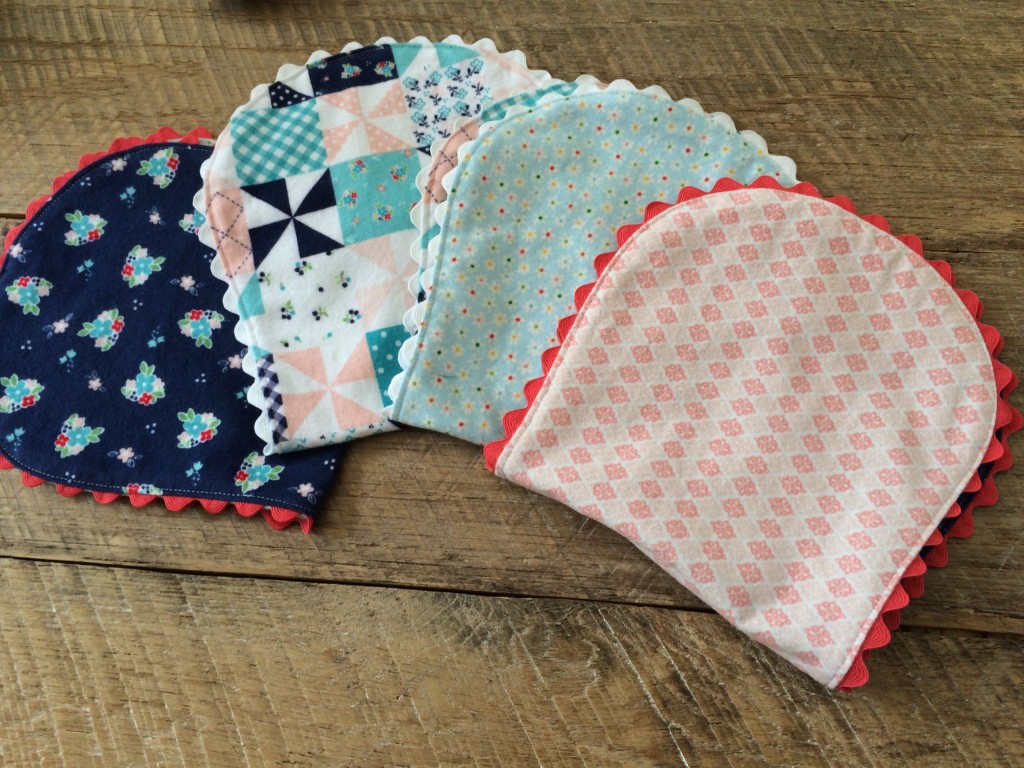
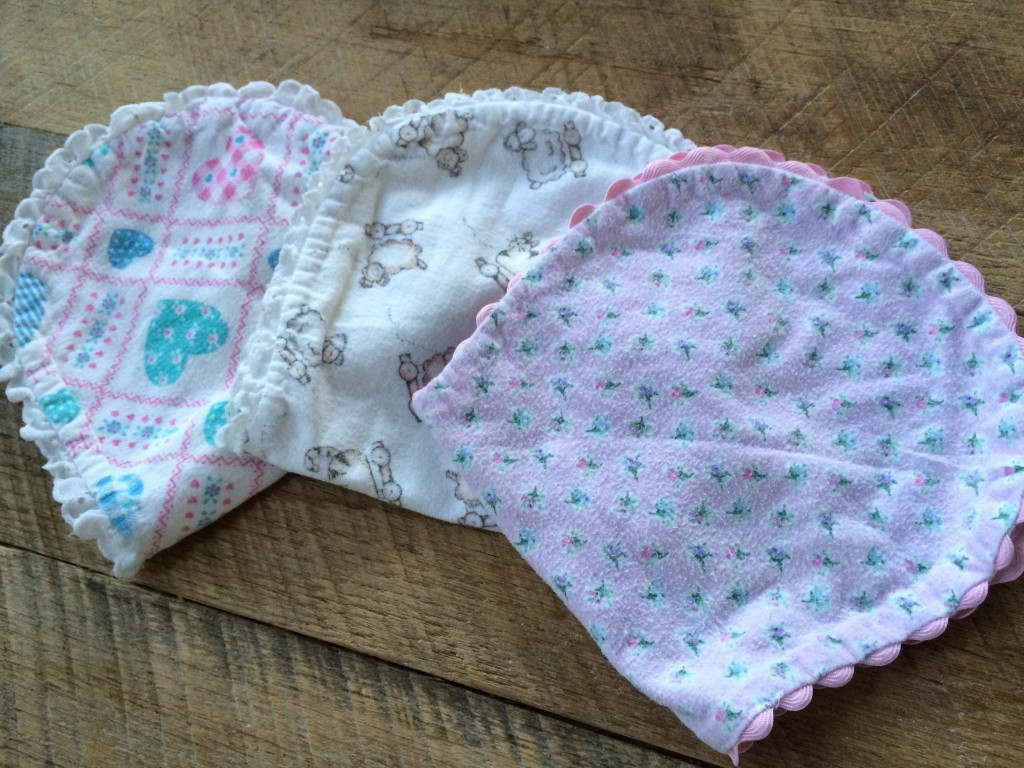
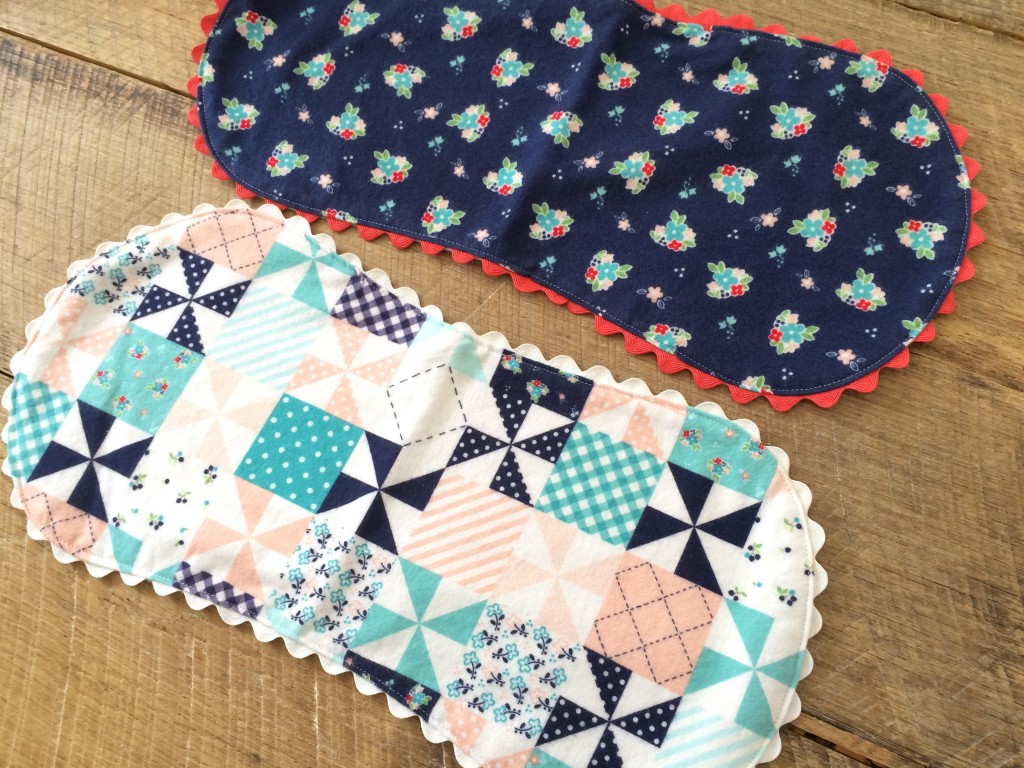
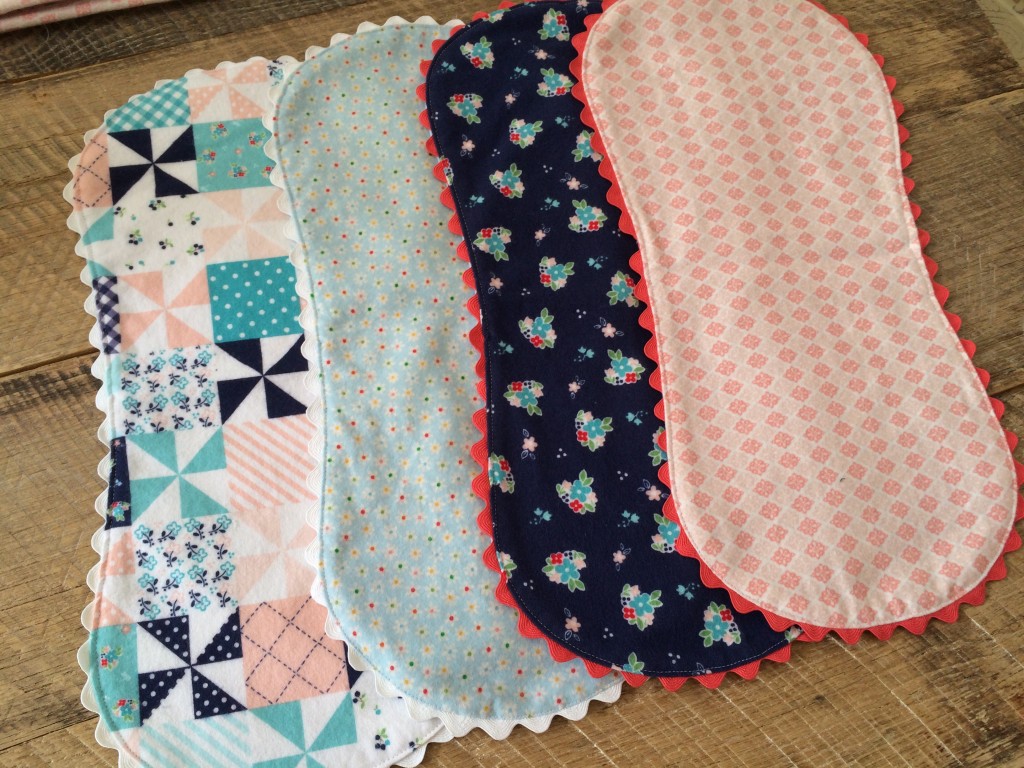
Just a word about these baby burpers…..  My mom sewed this same style burper when I was a little baby.  As a toddler I would carry one around like it was a little blankie.  I called them “Night Nights”.  I’ve continued the tradition with my children.  Below are ones I sewed 16 years ago for my first baby.  The flannel selections were so sad back then – but I made do!  I made stacks and stacks of these and boy did we go through them!  Since my children are older, I found a new use for them – dusters!  They are perfect for dusting the piano, the china hutch and for other finishes you don’t want scratched!!

IMG_0902

Supplies

1/2 yards of assorted flannels

ric rac

Pattern, click HERE

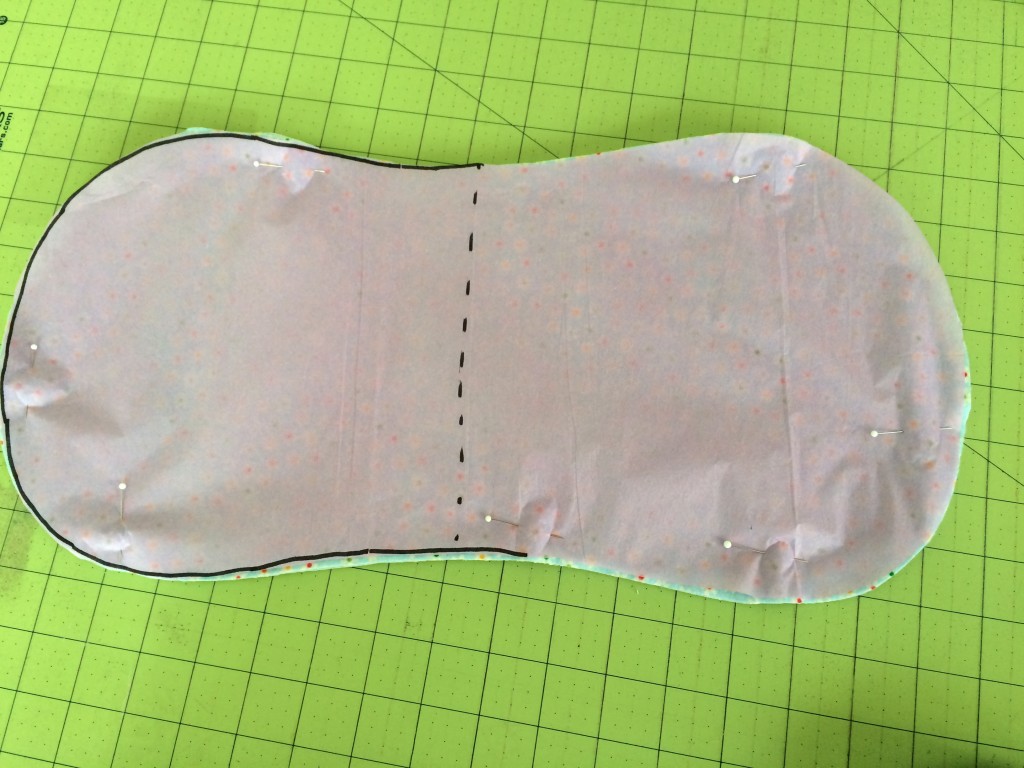
Begin by printing the pattern and tracing it onto tissue paper.  Note, the pattern is only for half the burper, trace both sides onto the tissue paper and cut it out.  Pin it to the flannel, I like to cut 4 out at a time.  Cut around the pattern line.

riley_blake_flannel_baby_quilt_7

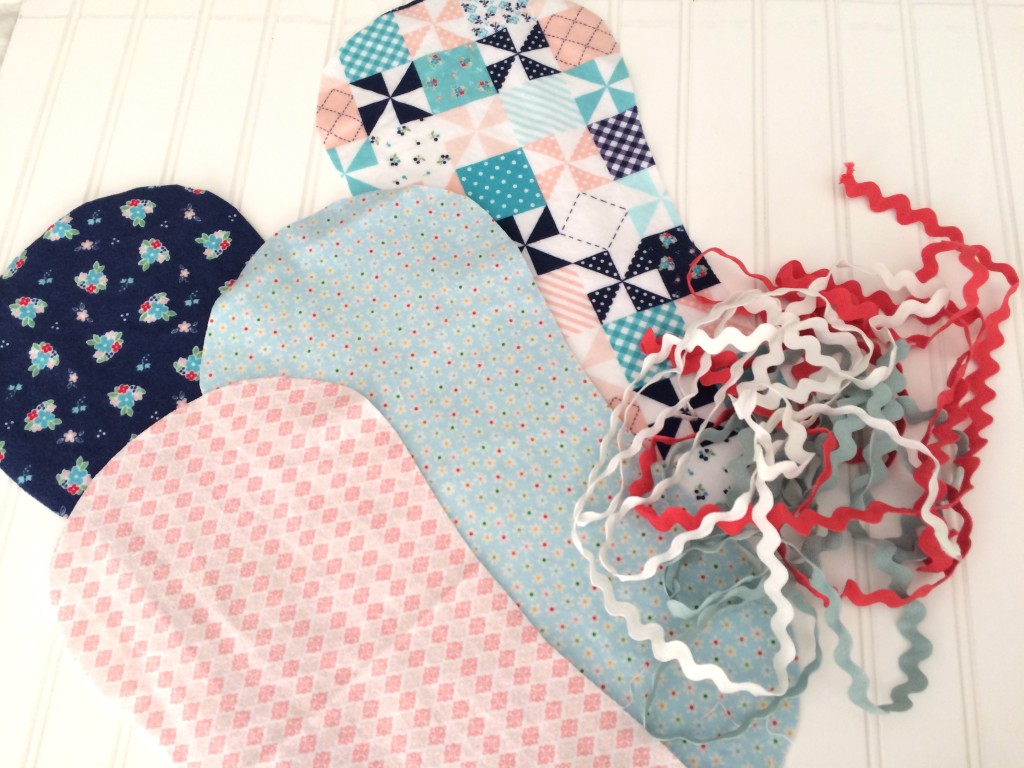
Cut the desired amount and choose matching ric rac.

riley_blake_flannel_baby_quilt_8

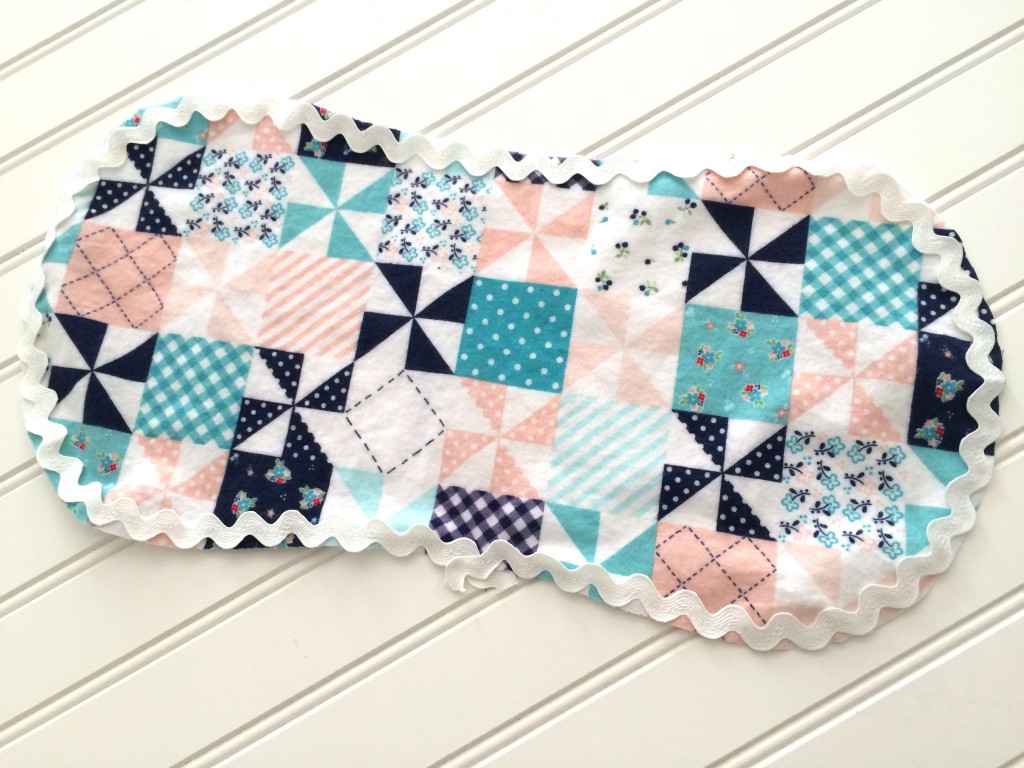
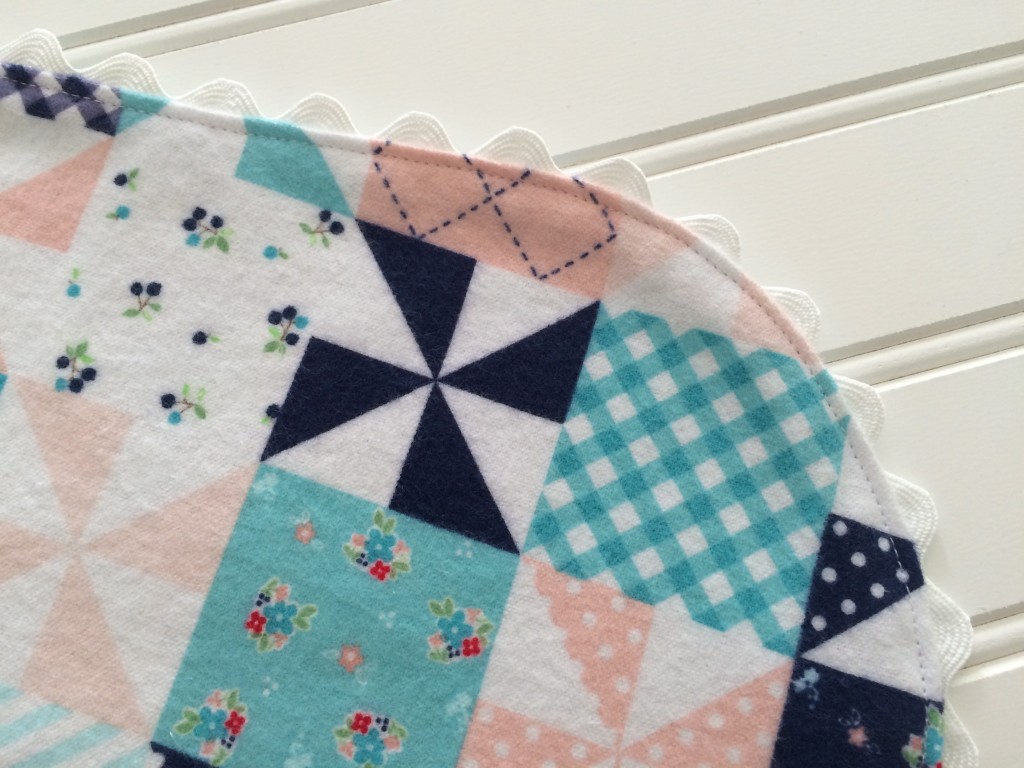
Beginning and ending on the side of the burper, take one of the pieces you’ve cut and sew the ric rac on; line up the edge of the ric rac with the edge of the burper.  Sew the seam in the center of the ric rac.  Start and stop on the side, overlapping the ric rac and having the edges outside of the seam like this:

riley_blake_flannel_baby_quilt_9

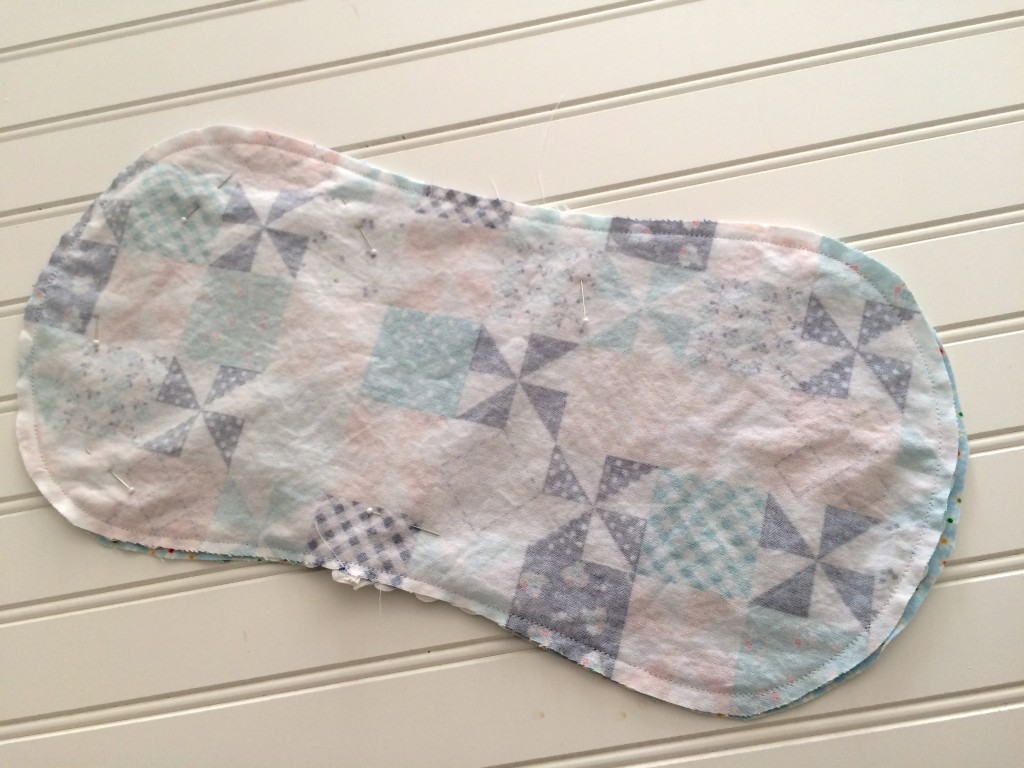
Pin the second piece right sides together with the first piece.  Sew along the seam created by sewing the ric rac.  Start and stop on the side leaving a little opening to turn.

riley_blake_flannel_baby_quilt_10

Turn right side out, press seams so they lay flat and edges curve nicely.  Top stitch.  This will close the opening that was left open for turning.

riley_blake_flannel_baby_quilt_12


Now do this over and over until you have a nice stack!  These are great to make and keep on hand for baby gifts.
riley_blake_flannel_baby_quilt_18

I love that they are coordinating!  What a perfect gift!

riley_blake_flannel_baby_quilt_14
Thanks for stopping by!!!


Monogram Peasant Top, a modified tutorial

Geofabulous_Peasant_Top_monogram_8

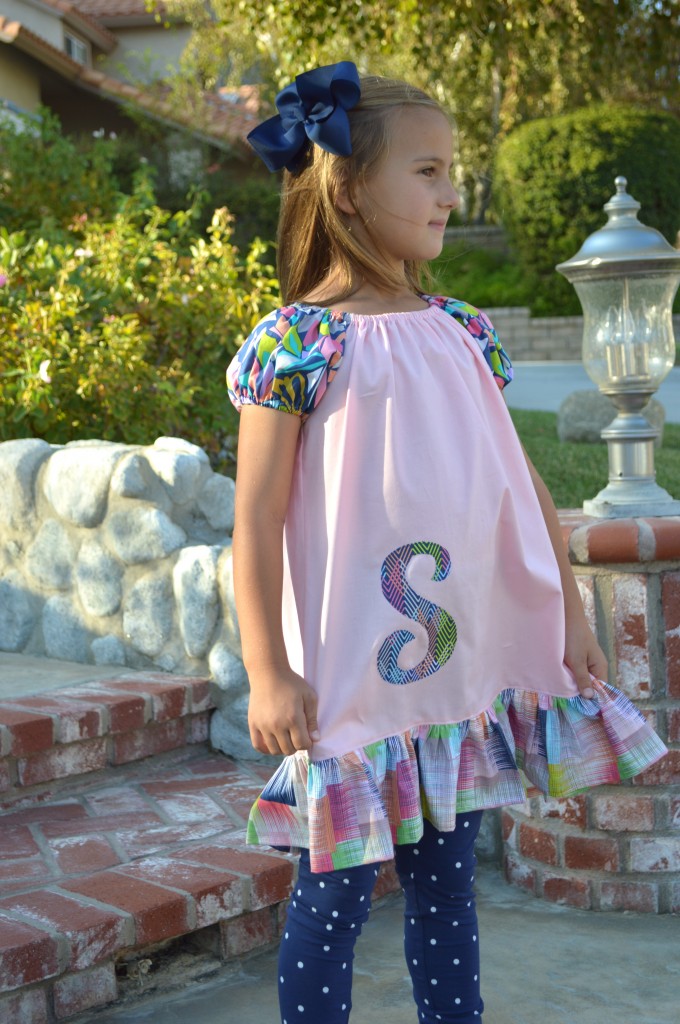
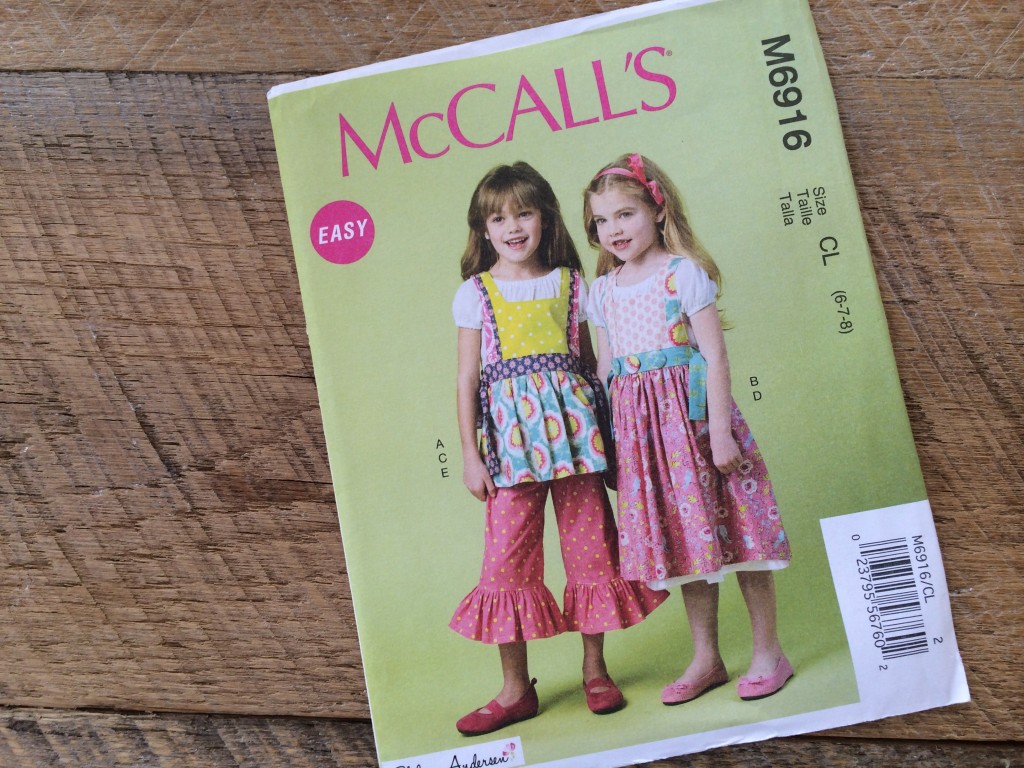
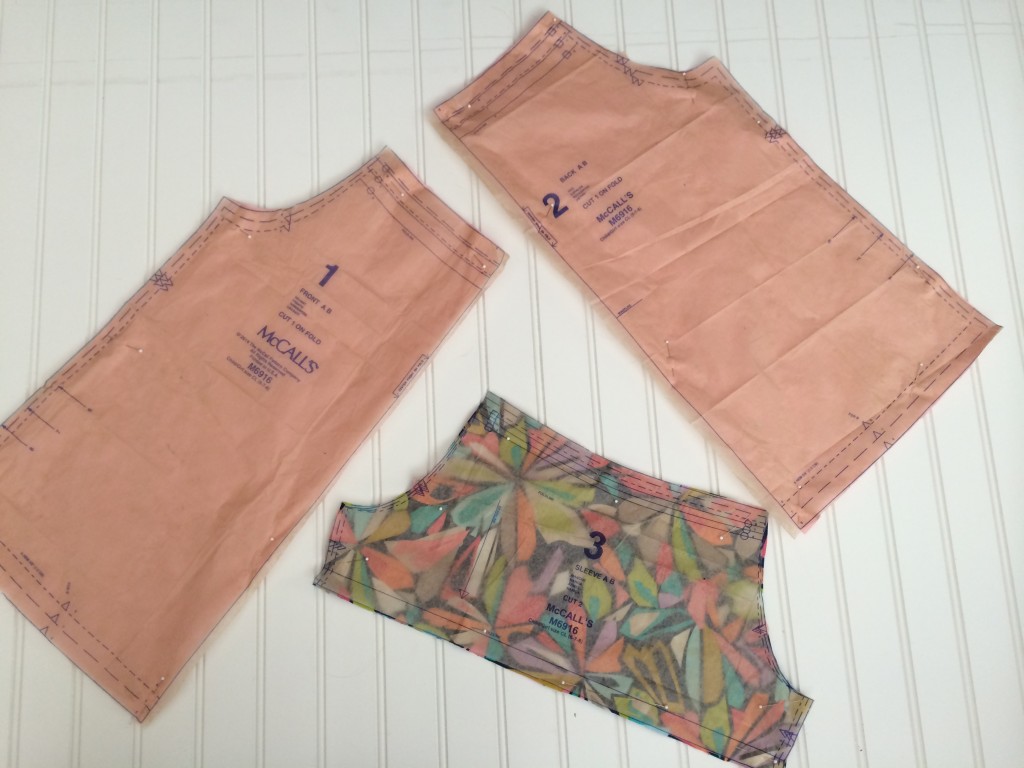
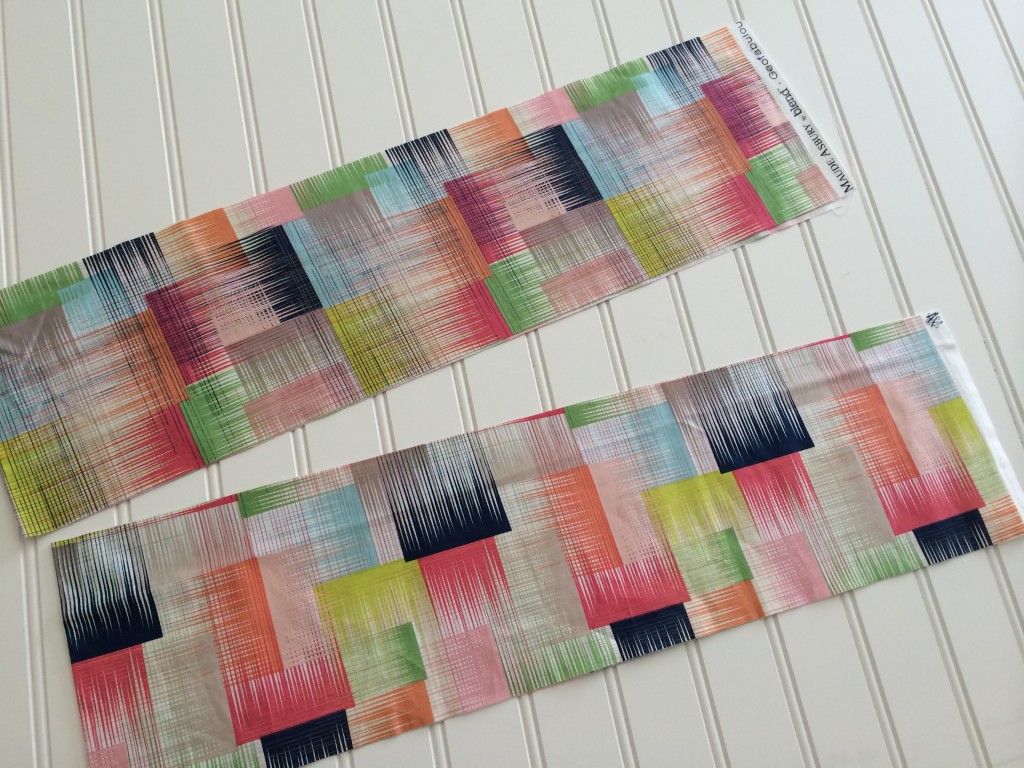
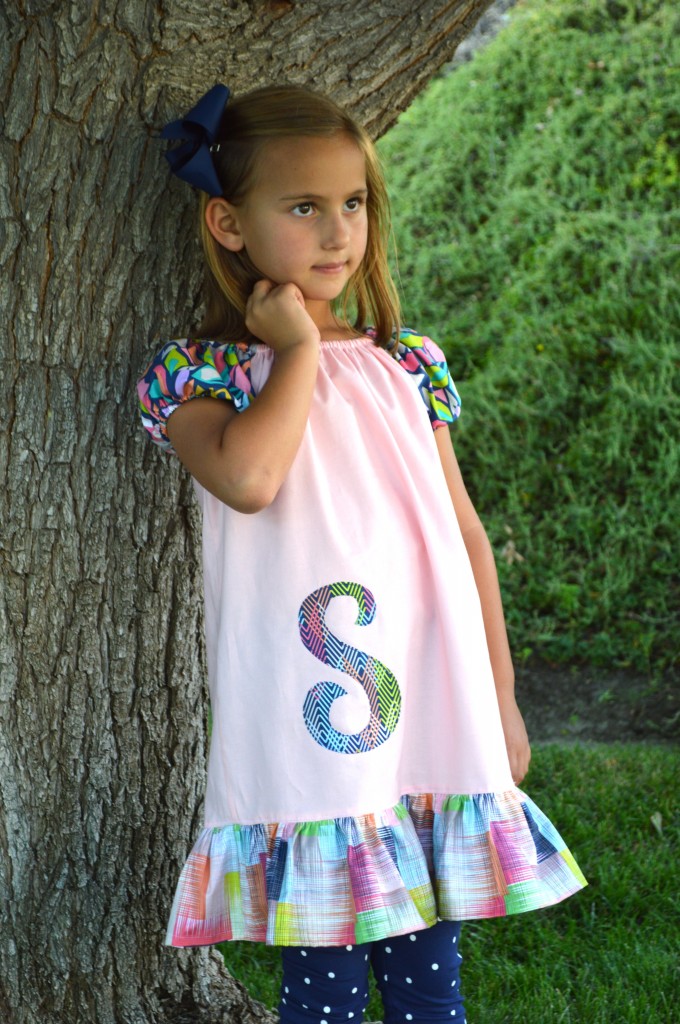
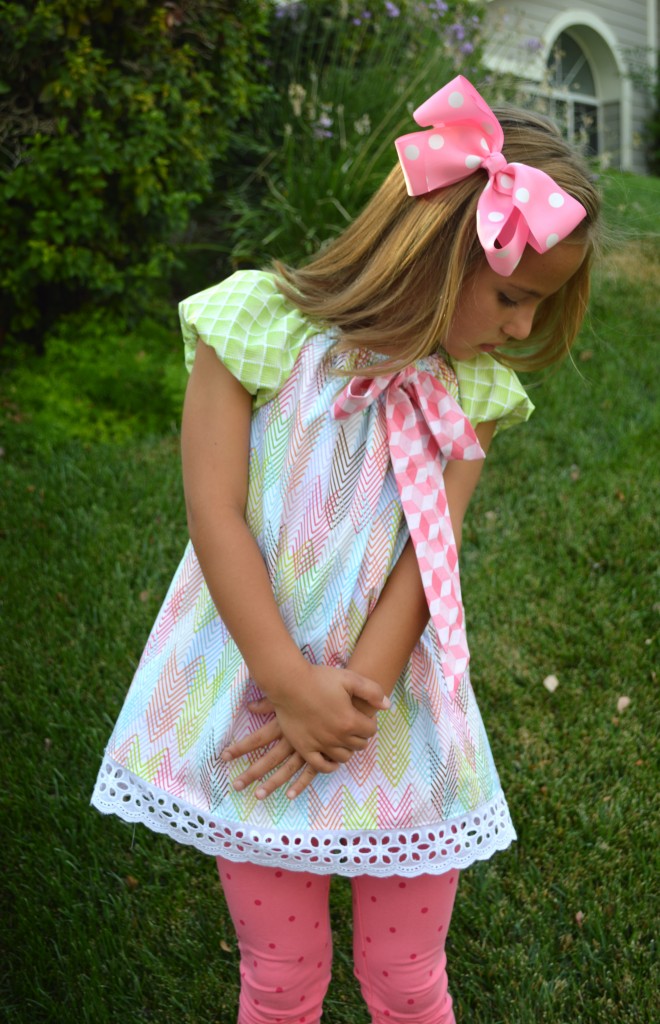
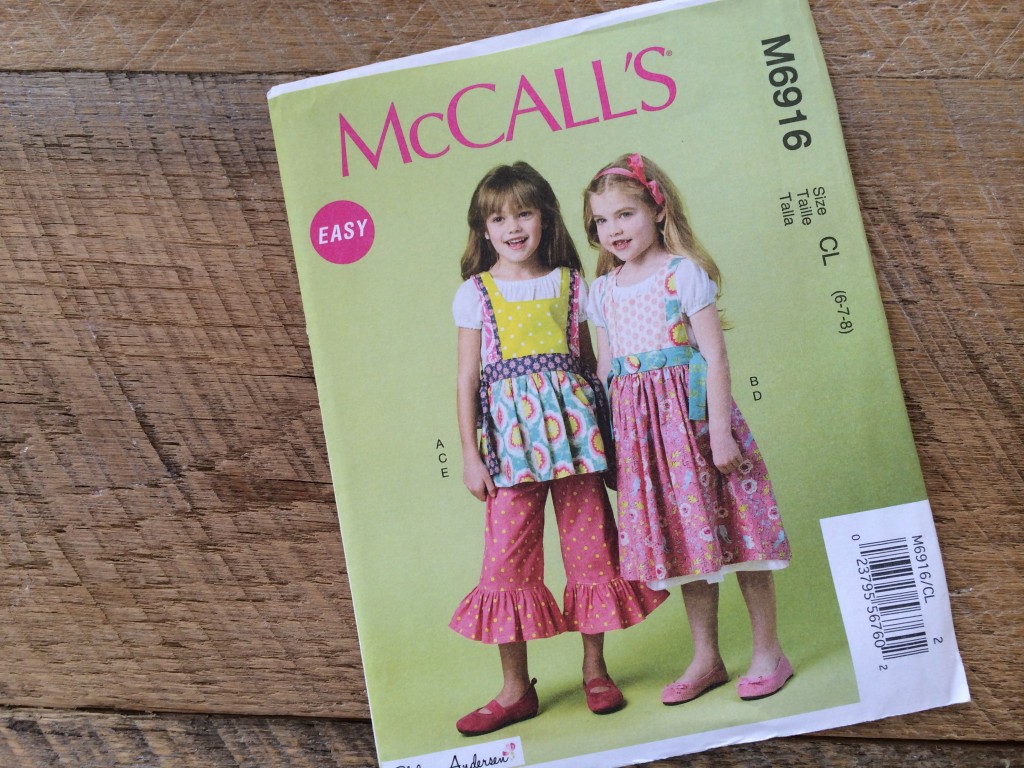
I am still loving Geofabulous from Blend fabrics!  Here is outfit #3 for Sally!  I followed the peasant shirt pattern in this McCall’s pattern:Geofabulous_Peasant_Top_monogram_9
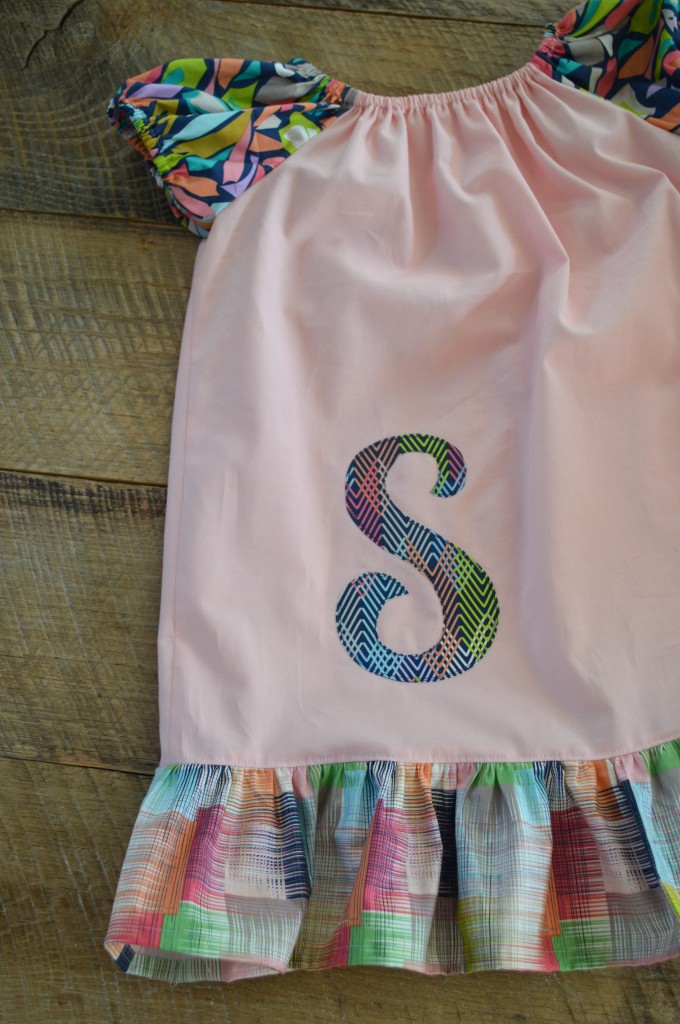
The front and back pieces are cut out of solid pink cotton and the sleeves are the Stained Glass Navy print.Geofabulous_Peasant_Top_monogram_4

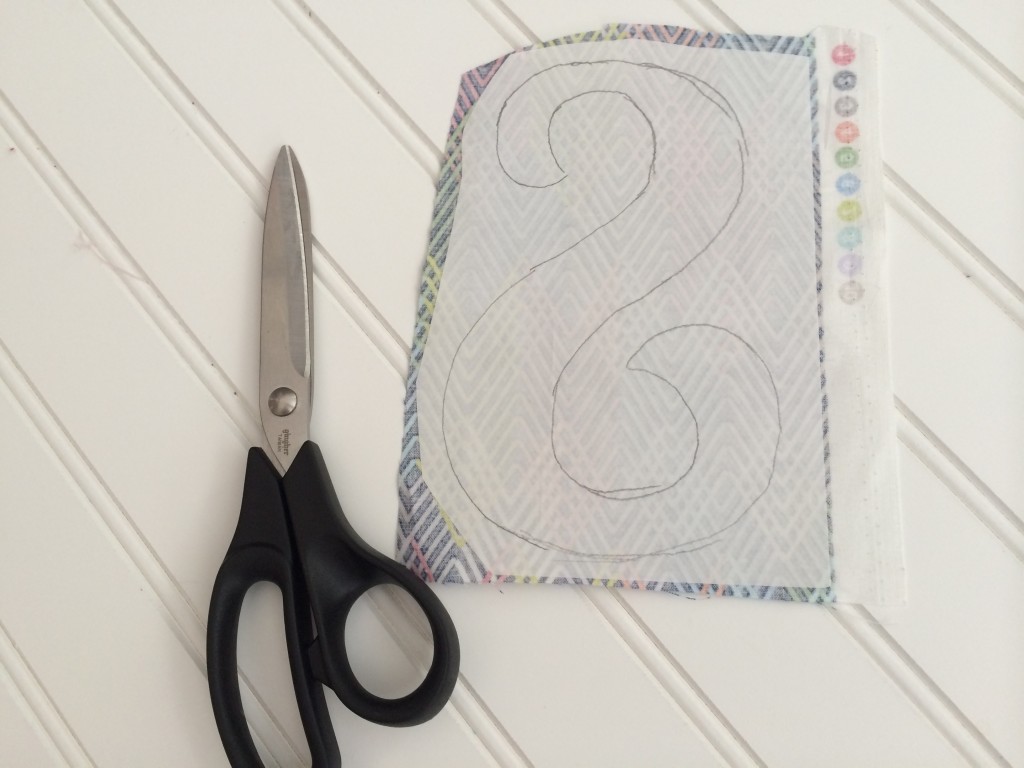
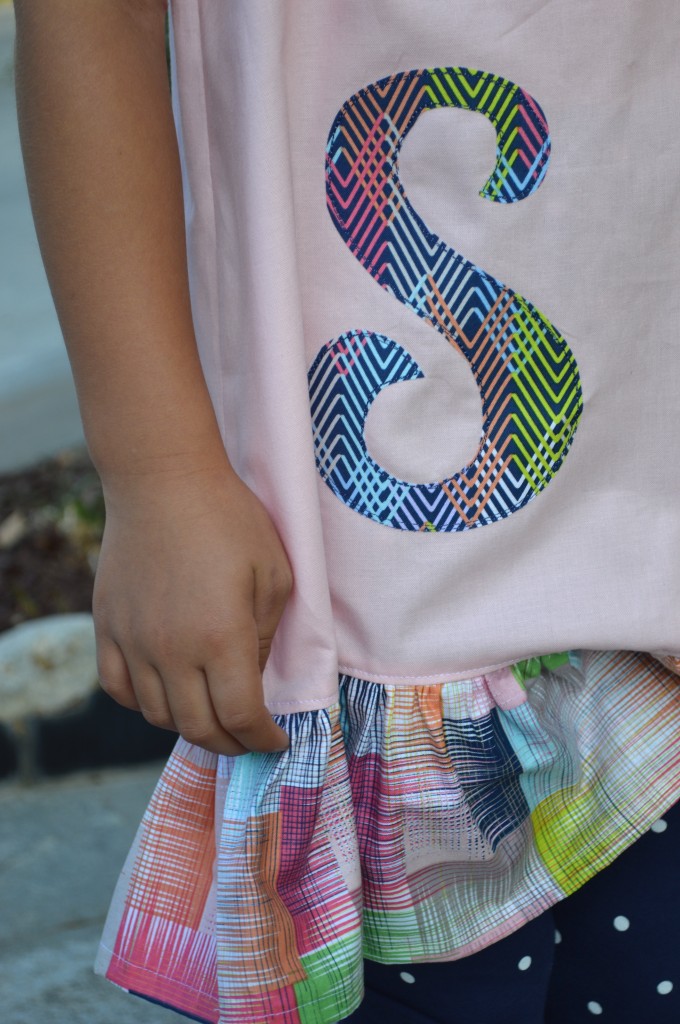
I printed the letter “S” on my computer and traced it to Heat n Bond Lite in reverse.  Iron it to the wrong side of the monogram fabric.  Cut out the letter, peel the back off and press to the front of the peasant top piece.  Top stitch in matching thread.

Geofabulous_Peasant_Top_monogram_2

Follow the instructions in the pattern to complete the top.  I added a ruffle to the bottom.  To do this, cut (2) 5″ x WOF pieces of coordinating fabric, I used Symmetry Pink.

IMG_0738

Sew the (2) strips end to end, forming a big loop.  Sew a rolled hem by folding the bottom edge up 1/4″ and then another 1/4″ and stitch close to the fold.  Gather the top of the ruffle pieces by lengthening the stitch length to the maximum.  Pull up threads and gather by hand.  Match the seams on the ruffle with the side seams on the peasant top.  Pin into place, distributing the ruffles.  Sew along gathering stitching.  Press the seam and top stitch if desired.
Geofabulous_Peasant_Top_monogram_5


Geofabulous_Peasant_Top_monogram_7


Geofabulous_Peasant_Top_monogram_6

Geofabulous Girls Peasant Top

geofabulous_peasant_top_3

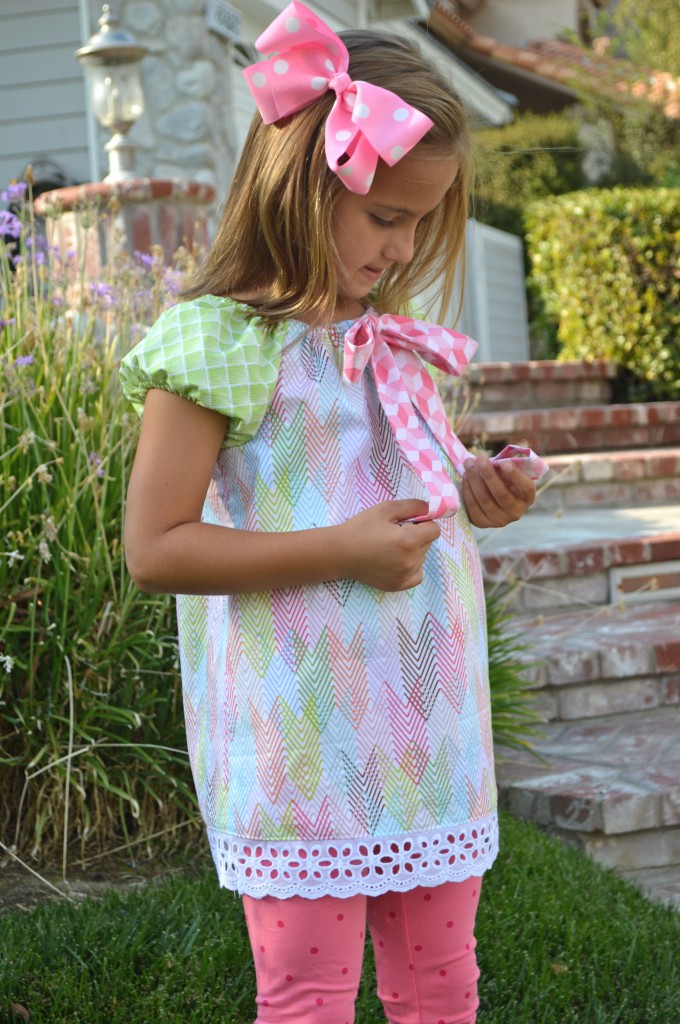
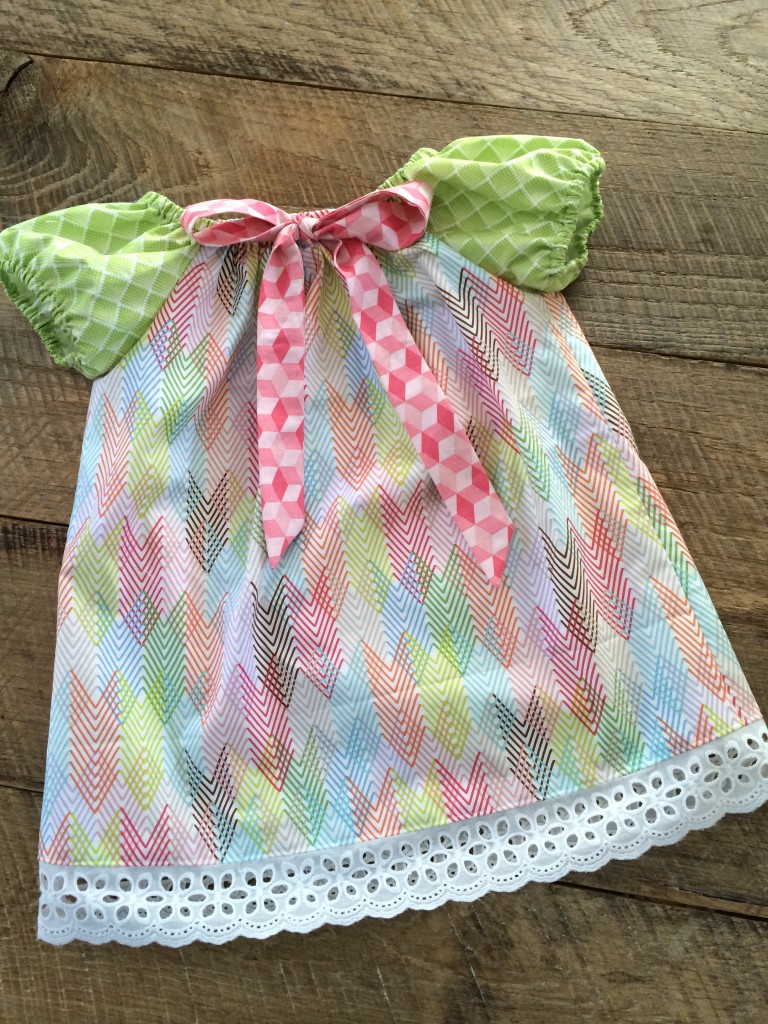
I am the world’s most impatient sewer.  It’s a problem of mine I’ve been working on for some time – there are just too many things I want to sew!  I love being able to sew for my daughter and what I love even more is being able to sew her a peasant top in about 30 minutes!!  The fabrics for this top are from Blend’s Geofabulous line – and the fabrics just happen to have every one of Sally’s favorite colors!!  I wish I had a brand new peasant top pattern you can just download for free – but 99 cent patterns at JoAnn Fabrics are the next best thing!  I picked this pattern up not loving it but thinking for 99 cents I can do something with it.  You wouldn’t know it from the picture but there is a pattern for a peasant top and peasant dress (the white clothing worn underneath the jumpers)!!  I followed the pattern, using different fabrics on the sleeves then on the main body, I added lace trim to the bottom and a fabric bow for some detail.  Super quick and easy!!!!!geofabulous_peasant_top_2

…and we do need a nice cool, breezy shirt as it is 110 degrees today!!!  I think I might sew one more of these while I have all the fabric and pattern pieces all over, I mean neatly folded on my cutting table 🙂
geofabulous_peasant_top_4

geofabulous_peasant_top

Blend Geofabulous Skirt & Shirt

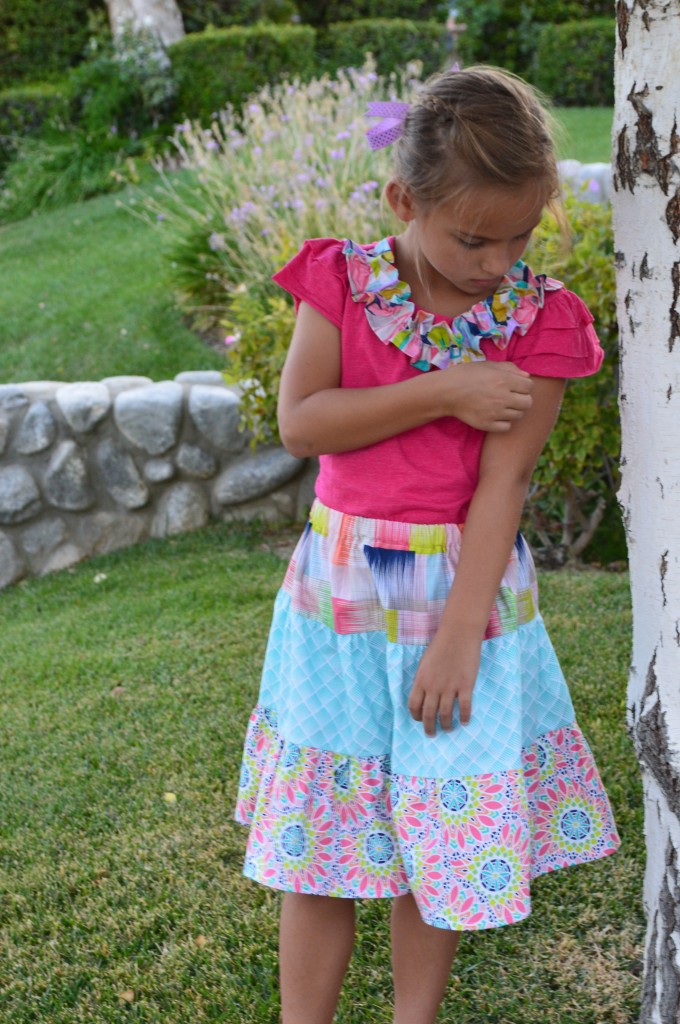
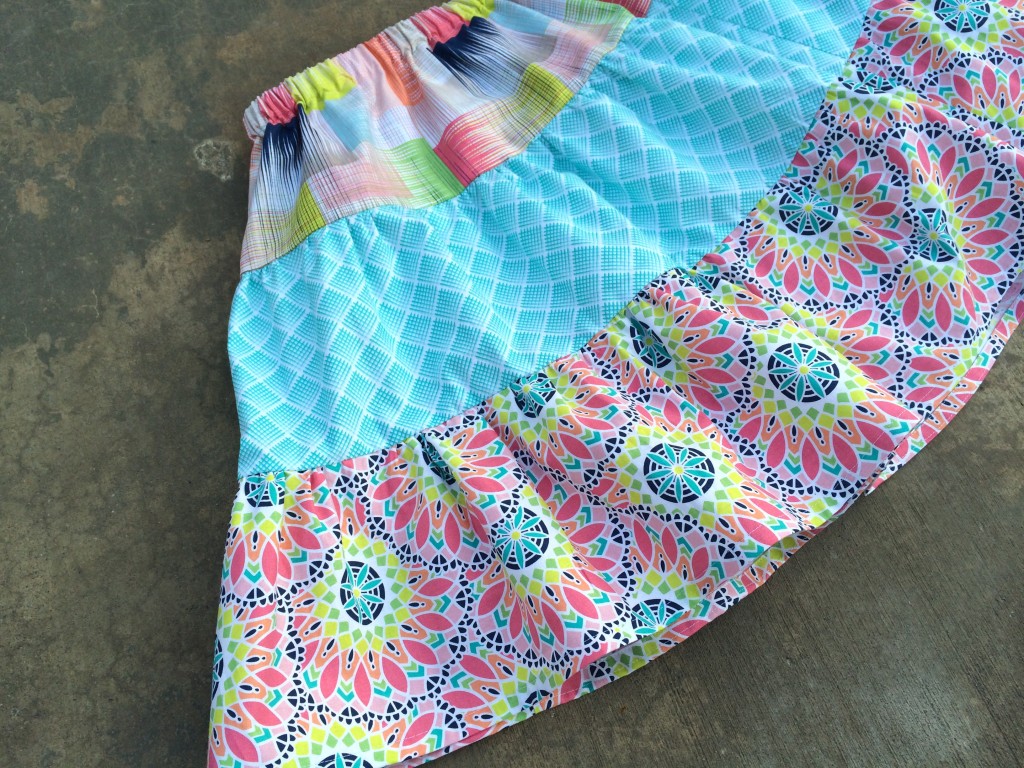
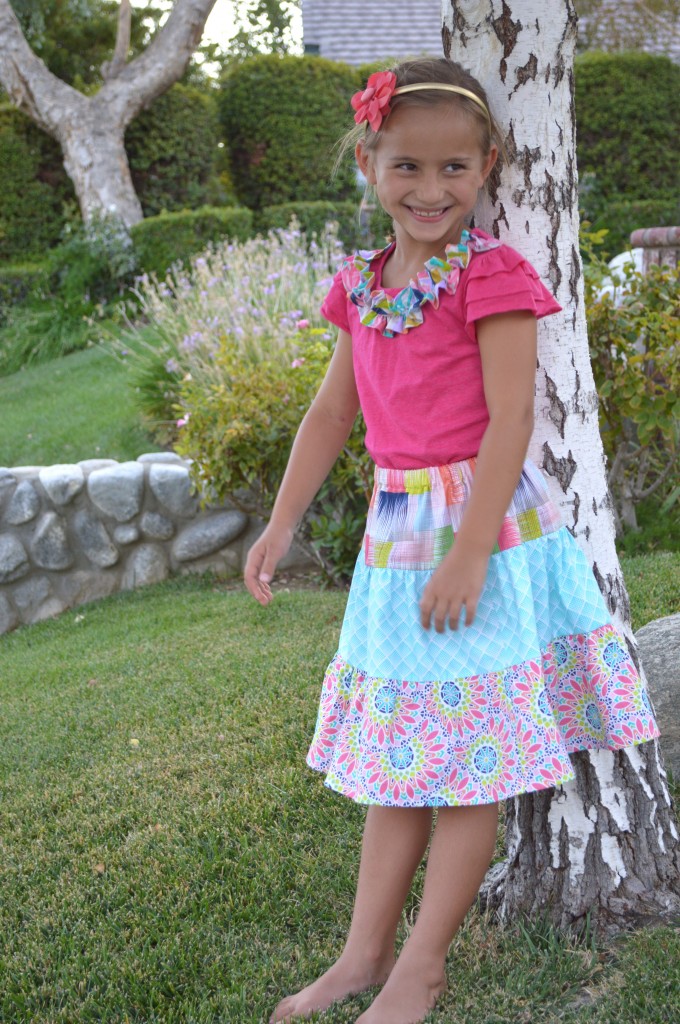
No matter how much fall baking or decorating I do it doesn’t change the fact that it’s still over 100 degrees here!  Everything in the stores is long pants, long sleeves and sweaters. I decided to make this fun girl’s outfit – perfect for a HOT September day.  The fabrics are from Blend’s Geofabulous fabric line.  The colors are amazing!

geofabulous_skirt_shirt_4

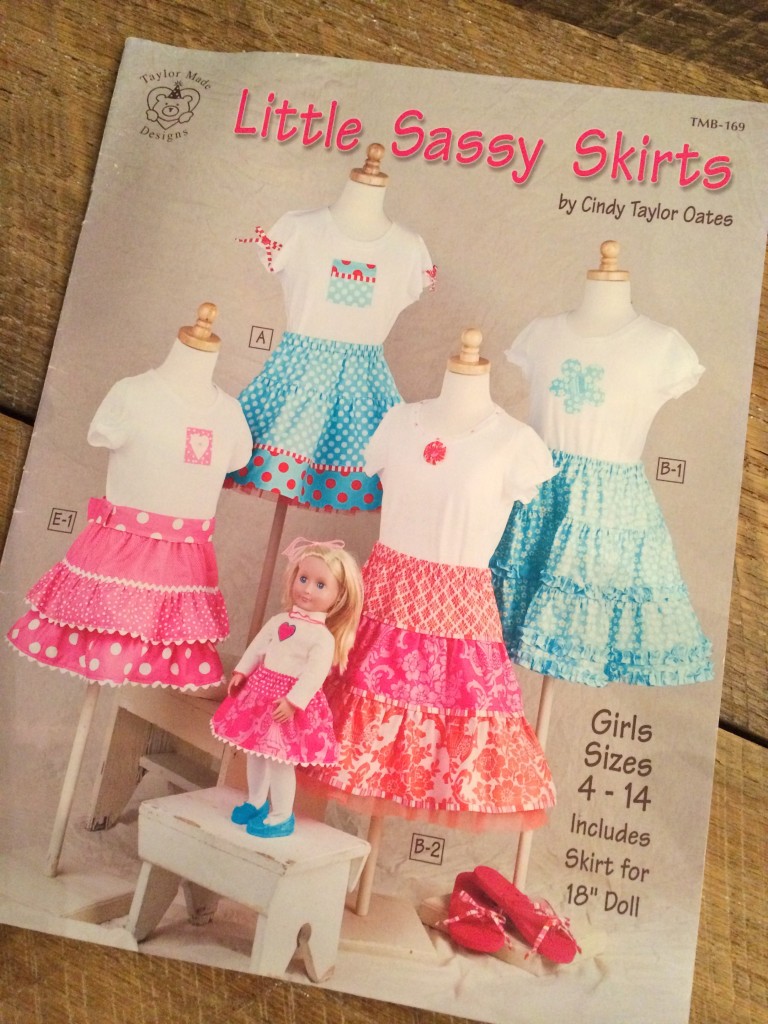
The tiered skirt pattern is from the Sassy Skirts book, my go-to skirt book for girls.  Super quick & easy!
IMG_0709
sassy skirts

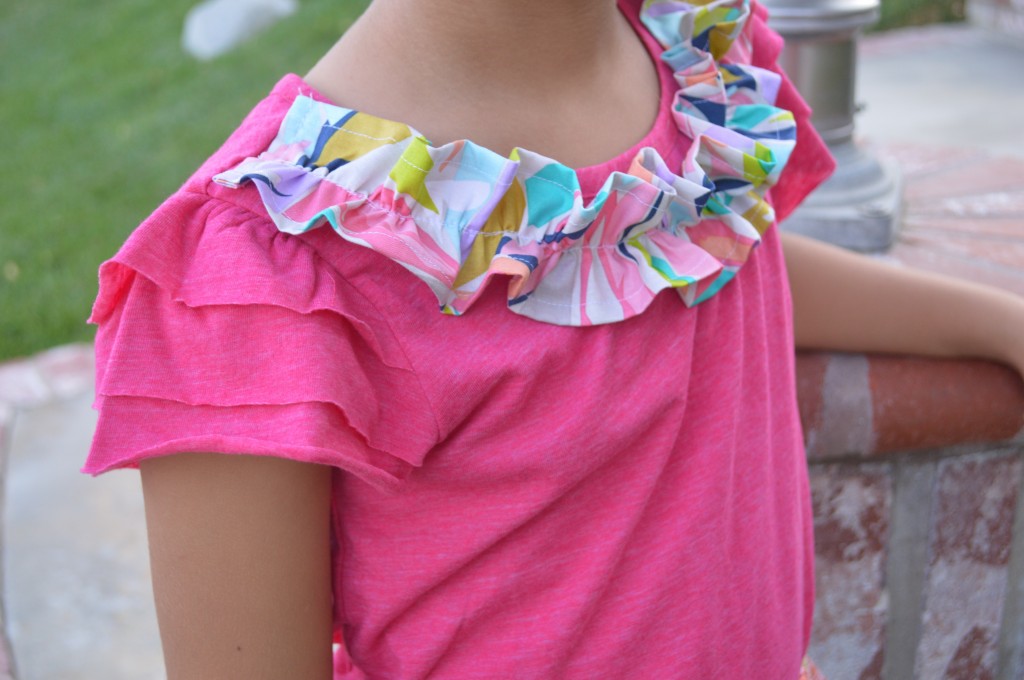
The matching shirt needed a little embellishing.  I decided to try something beyond my standard quick appliqué shirt.  To make a ruffle for a shirt, cut a 3.5″ strip by 2 times the length of the neck from shoulder seam to shoulder seam.  Sew a rolled hem on both lengths of the ruffle.  Then hem the 2 ends.  Sew a gathering stitch down the center and gather.  Fit the ruffle around the neck, pinning as you go.  Then sew along the gathering stitch.  I had plans to add a flower, but I ran out of time.
geofabulous_skirt_shirt_1


Super quick an easy – and better than getting in a hot car and driving to the store to look for a new skirt.  It’s 108 today!
geofabulous_skirt_shirt_2
For some other fun projects using the Gefabulous line, check out these links!

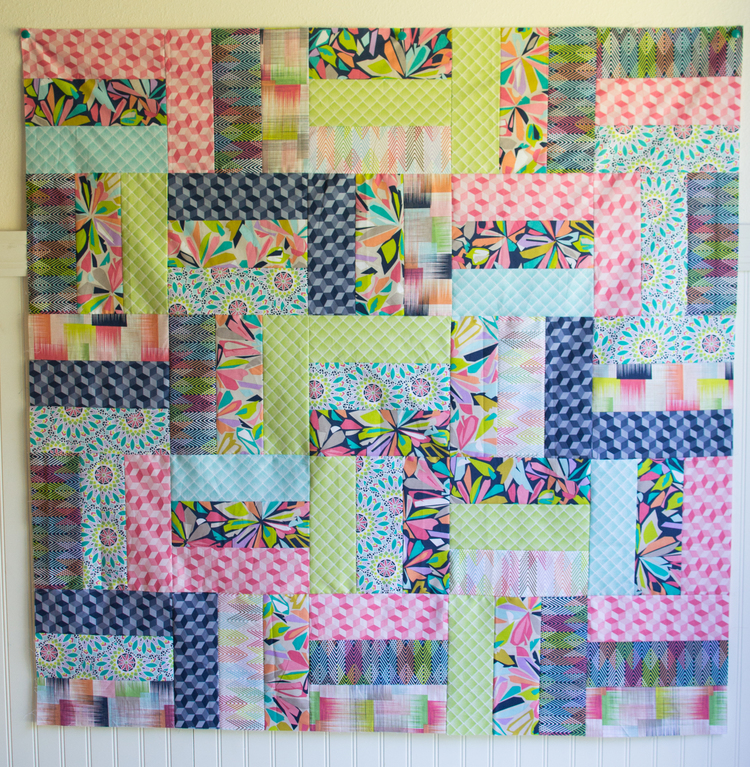
Rail Fence Quilt by Sew Can She

1409374309656

Gathered Pouch Pocket by Tie Die Diva
IMG_0175


Halloween Disappearing 9-Patch Quilt

halloween_quilt_disappearing_nine_patch


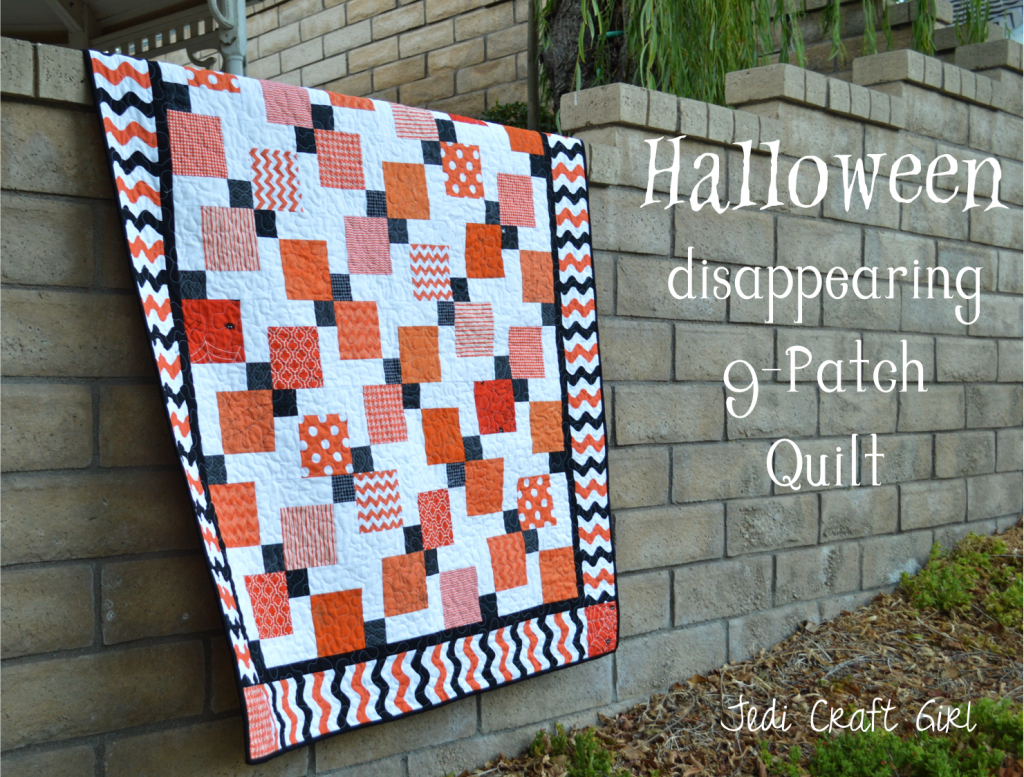
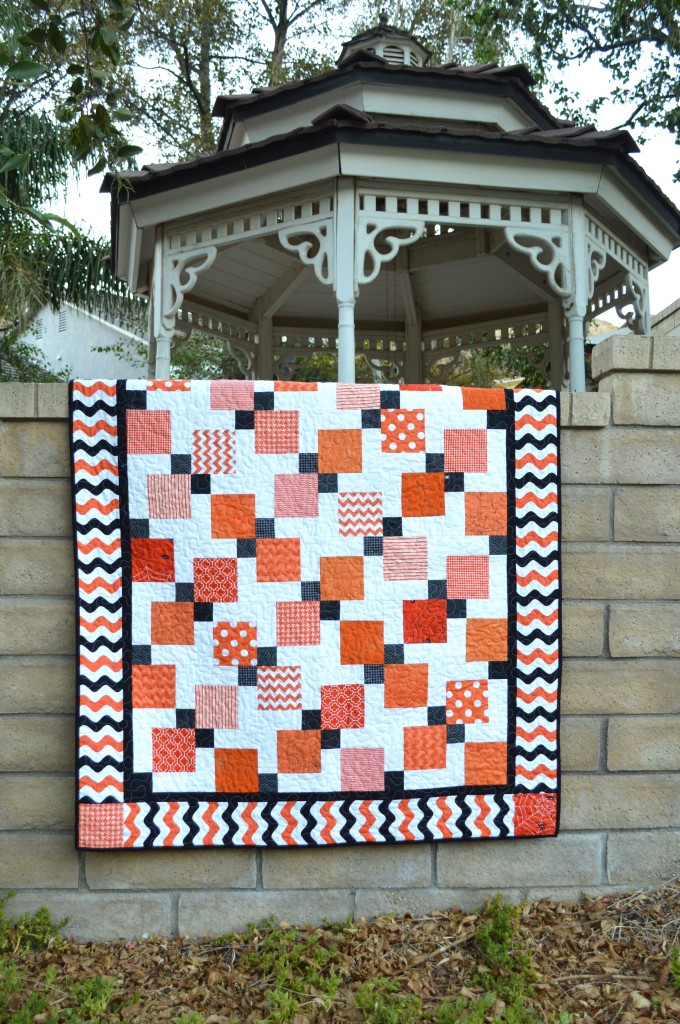
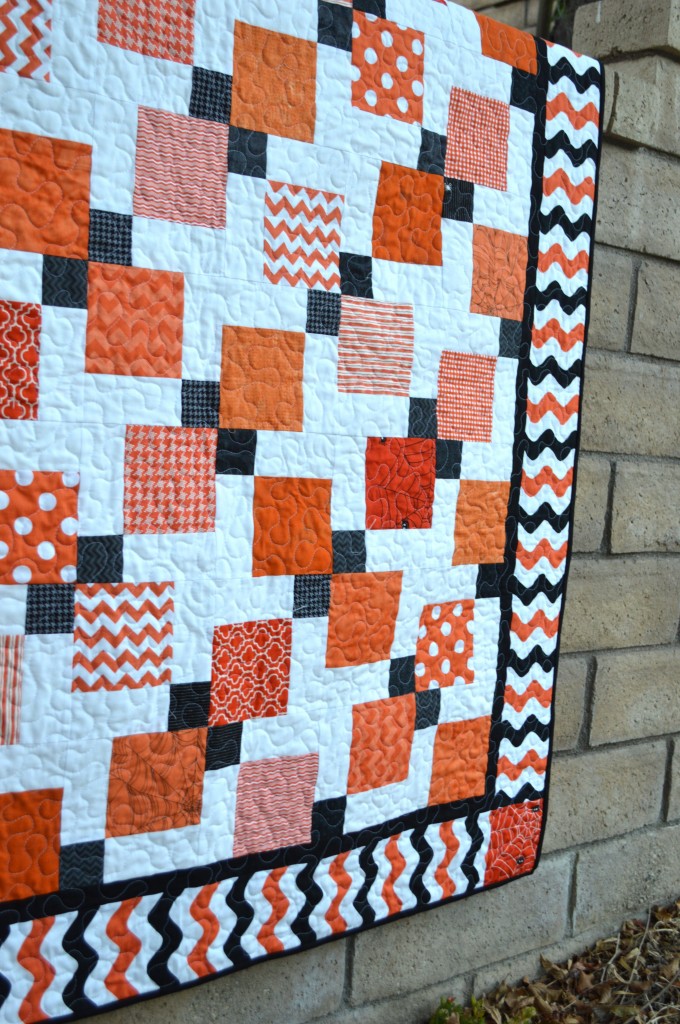
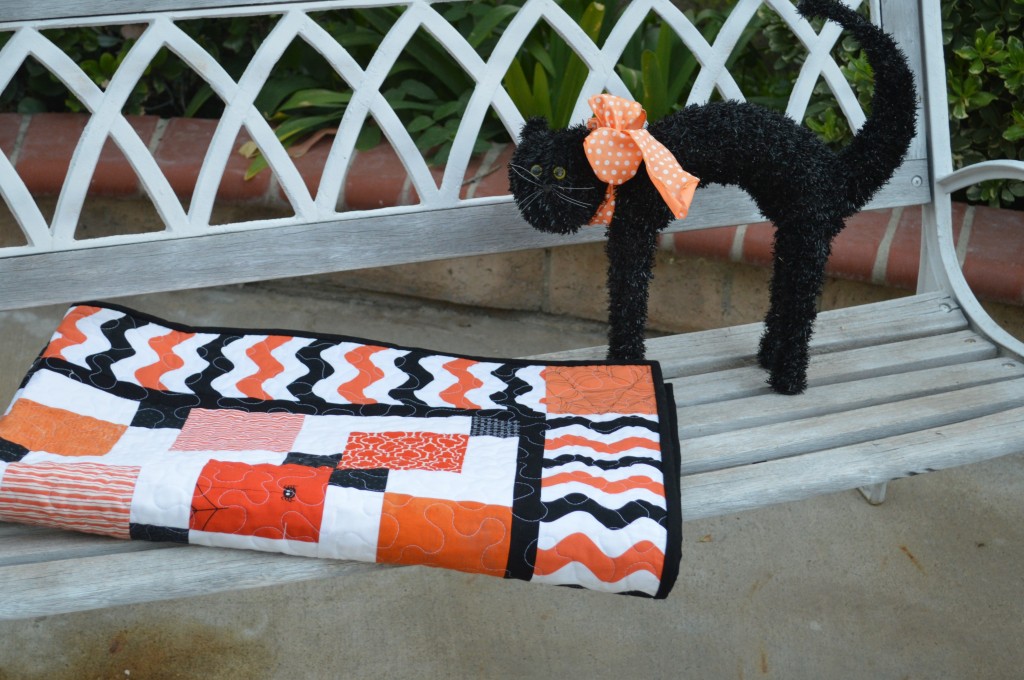
Have you ever made a “Disappearing Nine-Patch Quilt”?  This is such a fun pattern and great for beginner quilters.  You can change the pattern of the quilt by changing the colors of the patches and the layout.  It is made by sewing a simple 9-Patch block and then cutting it in quarters and repositioning the new blocks.  I love the simple Halloween colors of Black, White and Orange.  I found this black, orange and white wavy boarder from Riley Blake Designs.  I think it totally makes the quilt!  Here’s how you can make one:

Finished quilt: 49″ x 62″

Materials:

assorted orange and black fabric

1 yard solid white

3/4 yard solid black for inner boarder and binding

3/4 yard orange and black wavy stripe

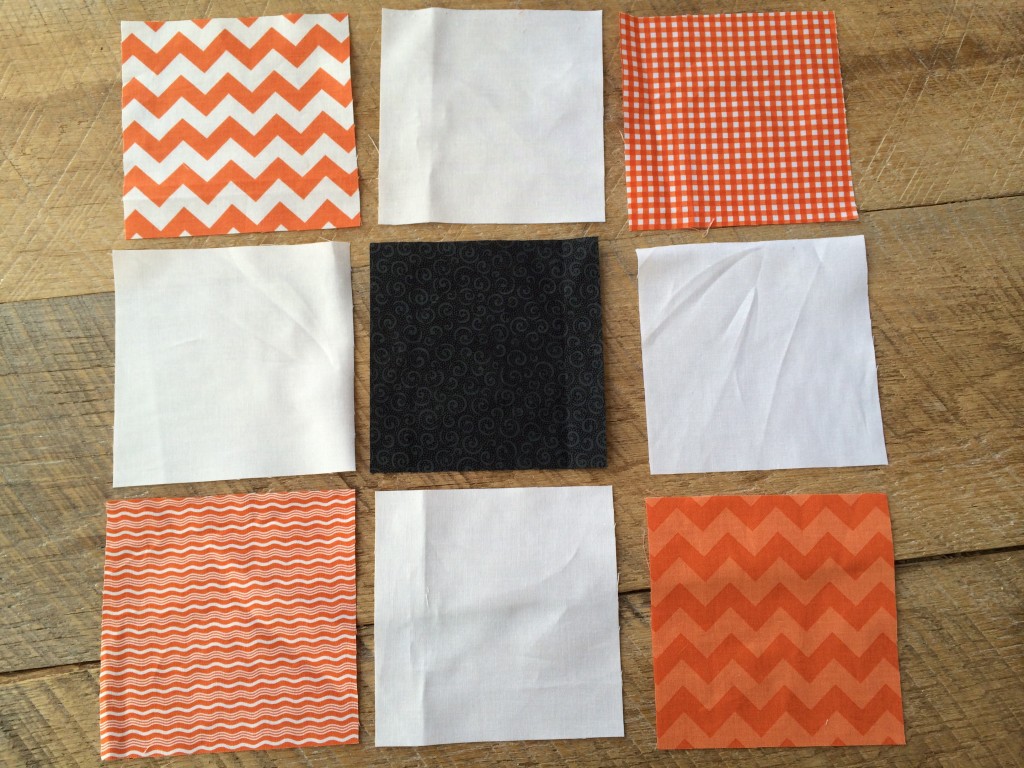
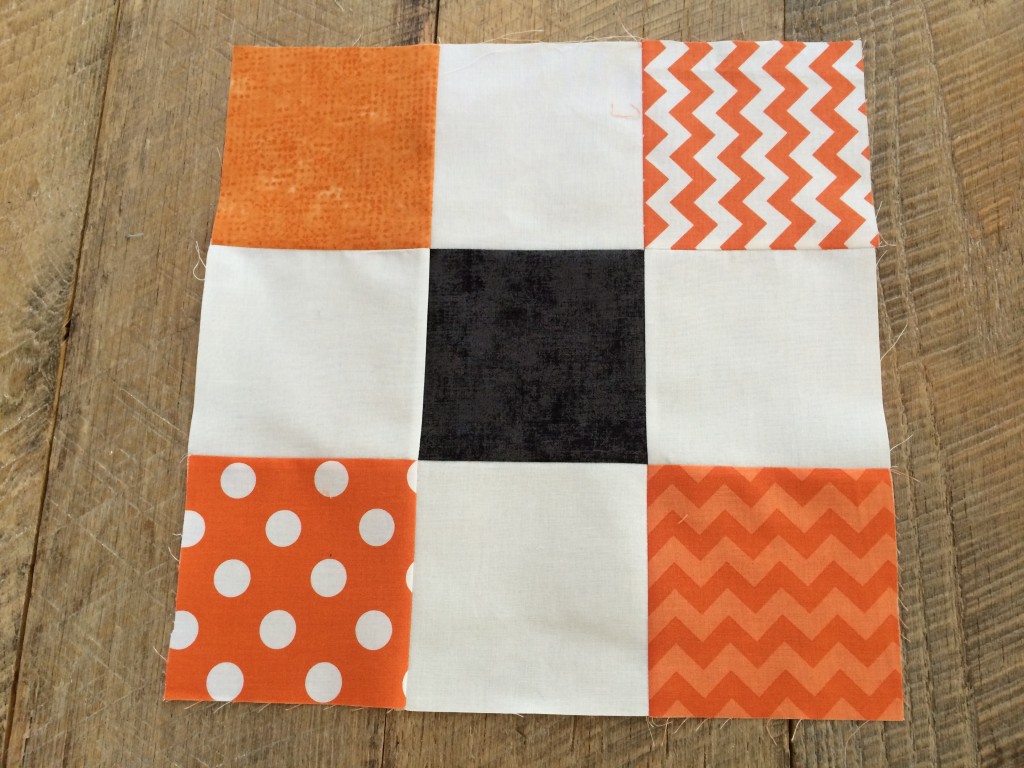
Begin by cutting 5″ squares of orange, white and black.  For this quilt I pieced (12) nine-patch blocks.  Each block had the same color values: orange corners, white side centers and black center.  I used a variety of oranges and blacks.

cut (12) black 5″ squares

cut (48) orange 5″ squares

cut (48) white 5″ squares.disappearing_nine_patch_quilt_halloween_8

Using 1/4″ seams throughout, sew squares together in rows and then rows together to form the block.  Press toward the dark.  The block will look like this:

disappearing_nine_patch_quilt_halloween_9

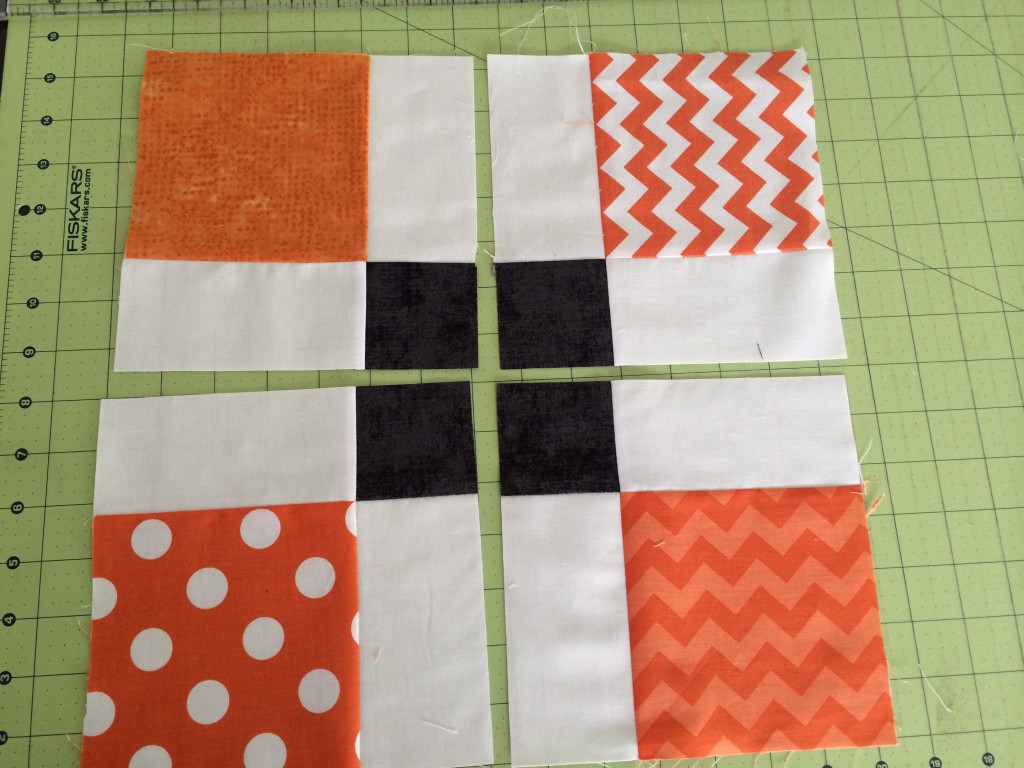
Cut in quarters.  Since the block at this point measures 14″ square, cut it at the 7″ point on both sides:

disappearing_nine_patch_quilt_halloween_10

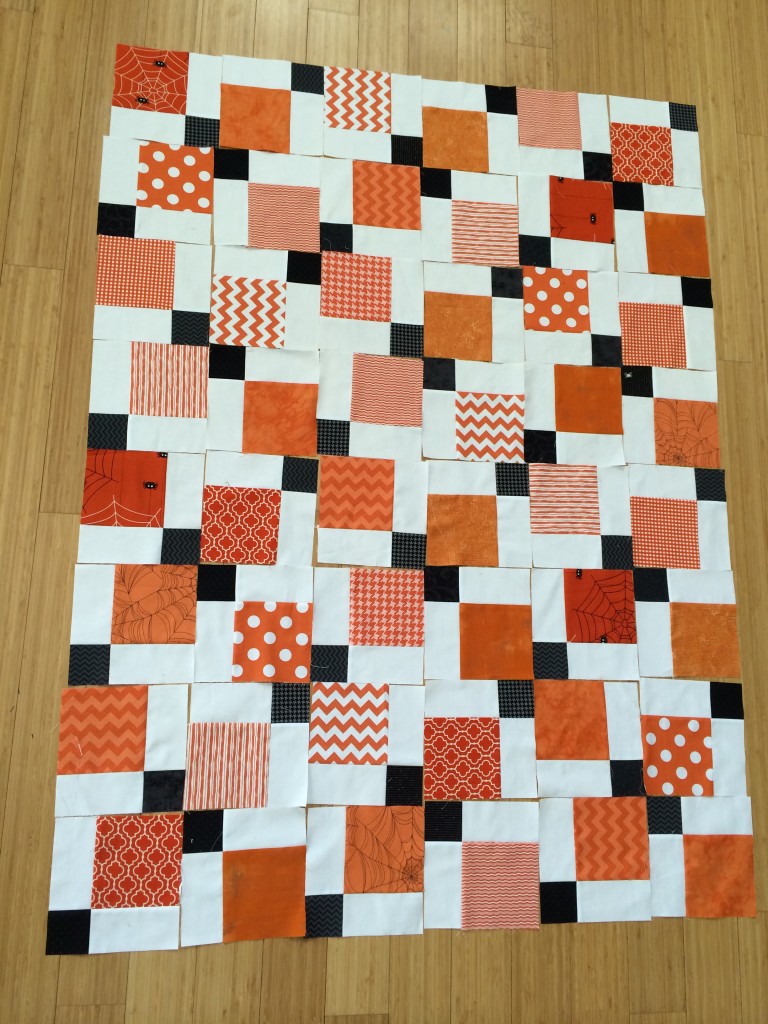
Next comes the fun part of playing with the layout.  I choose to lay mine out like this so the small black squares made a pattern.

disappearing_nine_patch_quilt_halloween_11

Sew the blocks together in rows and the rows together and press.

For the boarder:

The black inner boarder is cut 1.5″ wide.  I didn’t measure the length, I sewed it to the sides of the quilt and trimmed the excess.

The wavy outer boarder is 5″ wide.  I matched the stripes when piecing the boarder together.  I added 5″ squares to the corners of the boarder.

disappearing_nine_patch_quilt_halloween_4

I LOVE how it turned out!  I have it on my couch and it makes me happy to look at it.  Now, to just keep the cat off it 🙂


disappearing_nine_patch_quilt_halloween_5
disappearing_nine_patch_quilt_halloween_7

“Spooky” Quilt for Riley Blake Designs

spooky_quilt_tutorial

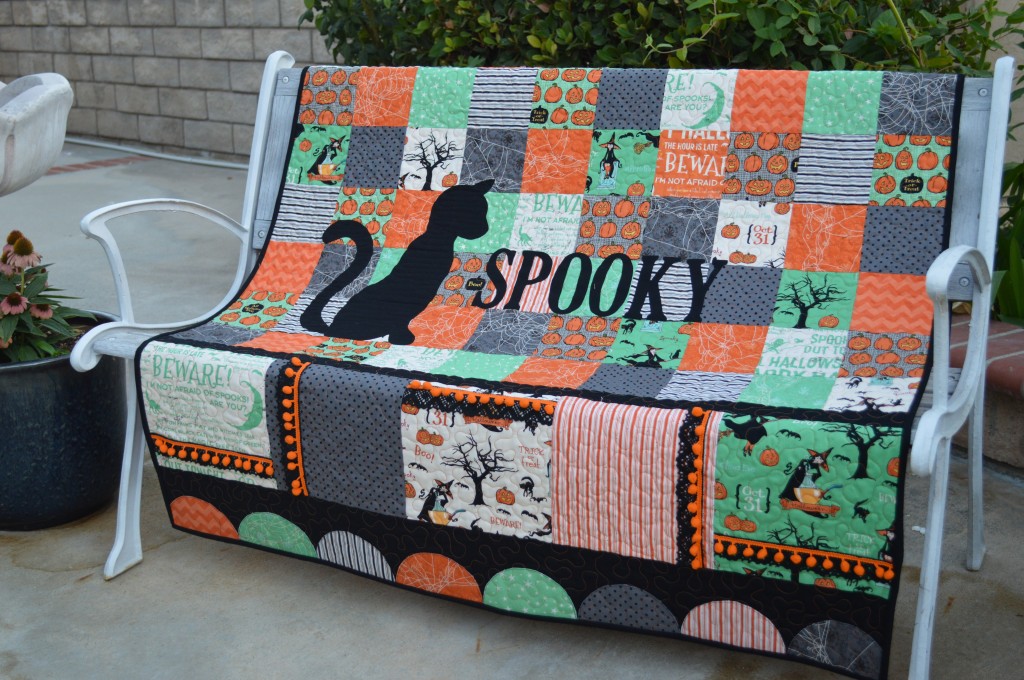
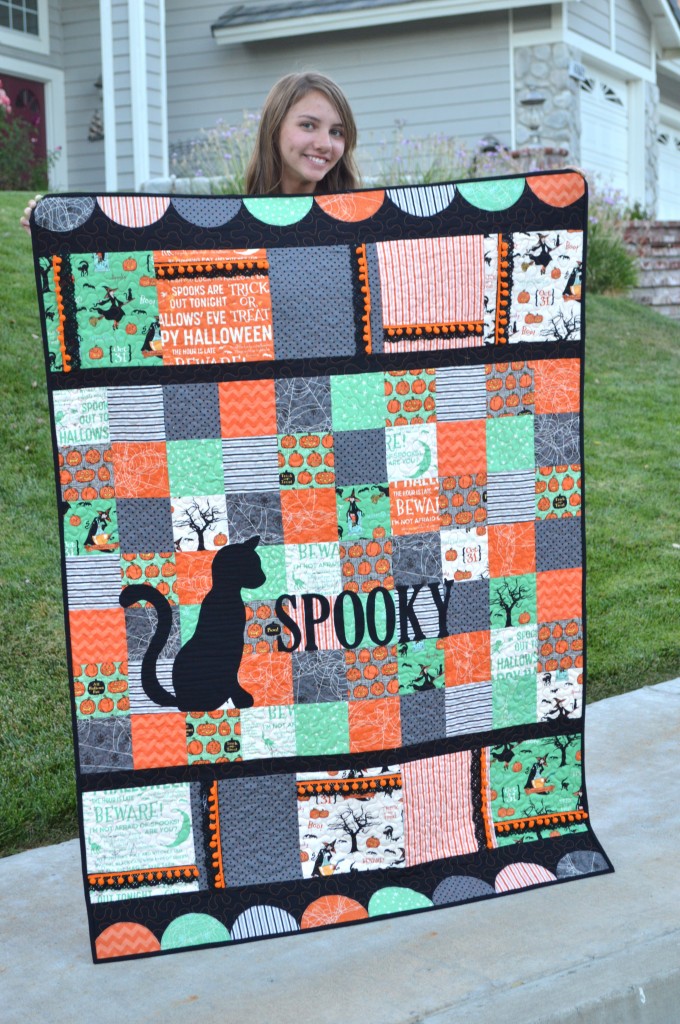
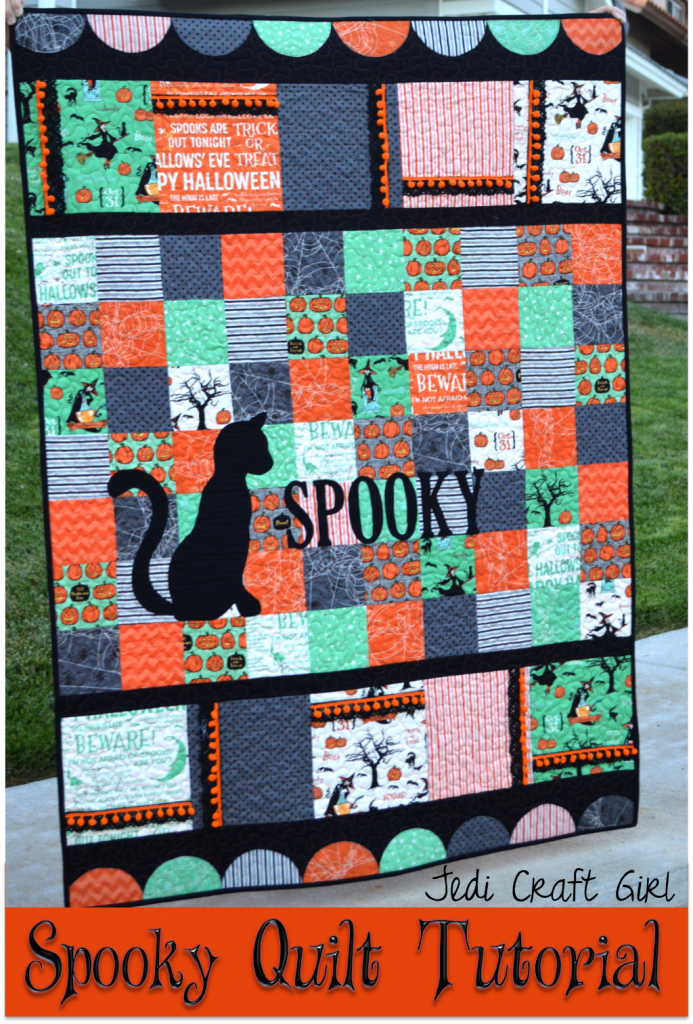
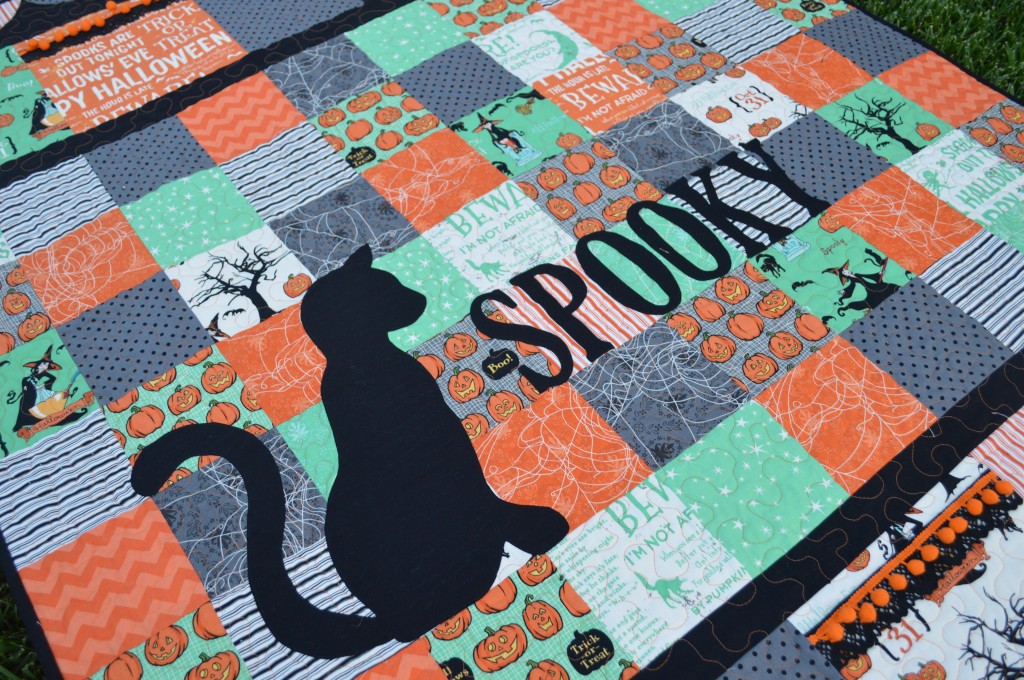
I am so excited to share this quilt!  Did you know I love Halloween and I love black cats?  The fabric in this quilt is Riley Blake Design’s “Witch Hazel.”  I love the vintage feel of the prints and the colors.  I enlarged the cat from the theme print to create this cat silhouette.  The pattern is being featured over at the Riley Blake Design Blog  “Cutting Corners” if you want to make one 🙂Halloween_quilt_tutorial_1


It’s 100 degrees here but all this Halloween sewing is helping me get in the mood for Fall. This quilt is hanging in my family room and it makes me smile every time I look at it….and it makes me want to adopt another black cat!!
Halloween_quilt_tutorial_3

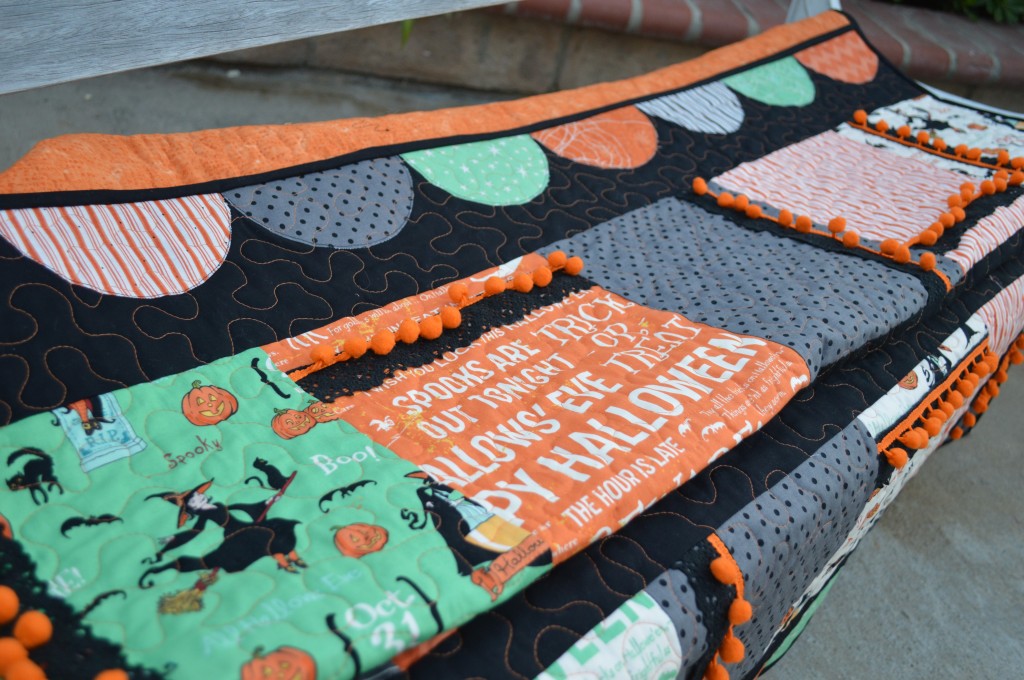
There are many different parts to the quilt: a patchy center, appliqué, lace and pom pom trim and an appliqué scallop top and bottom border!Halloween_quilt_tutorial_4

Halloween_quilt_tutorial

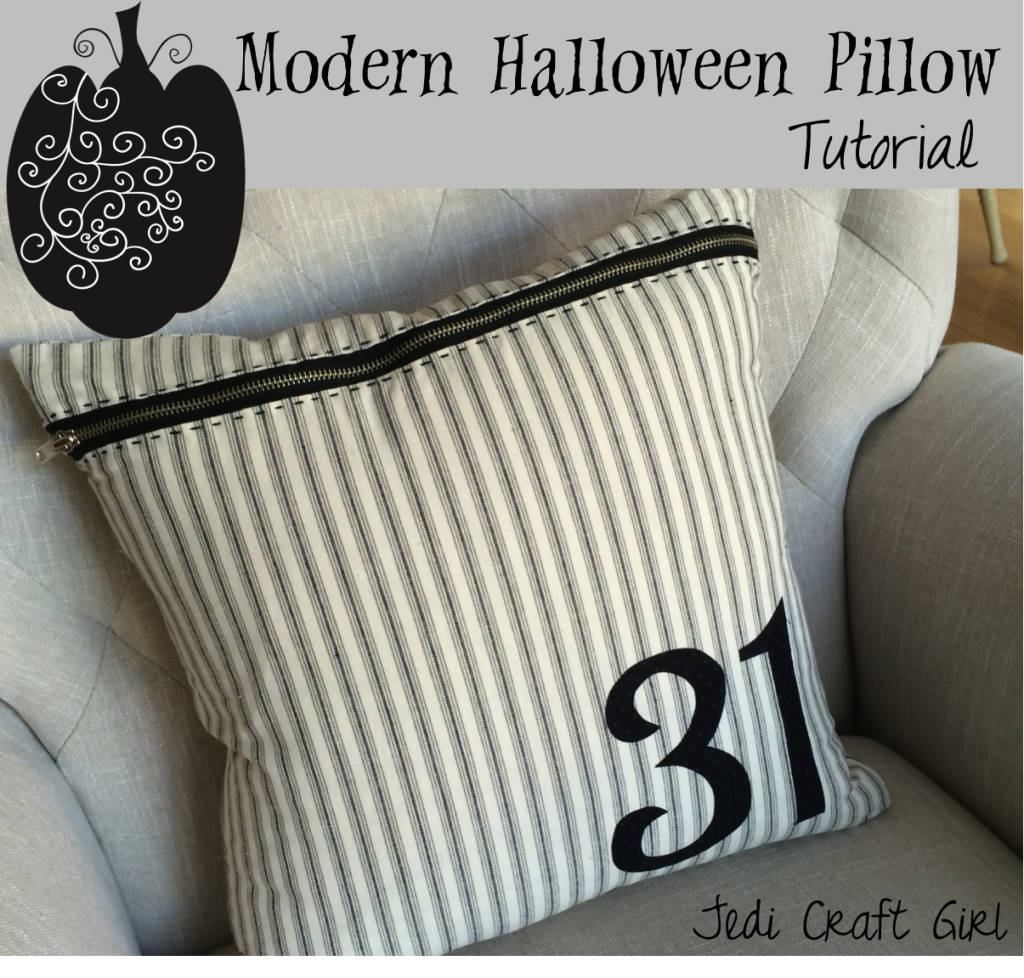
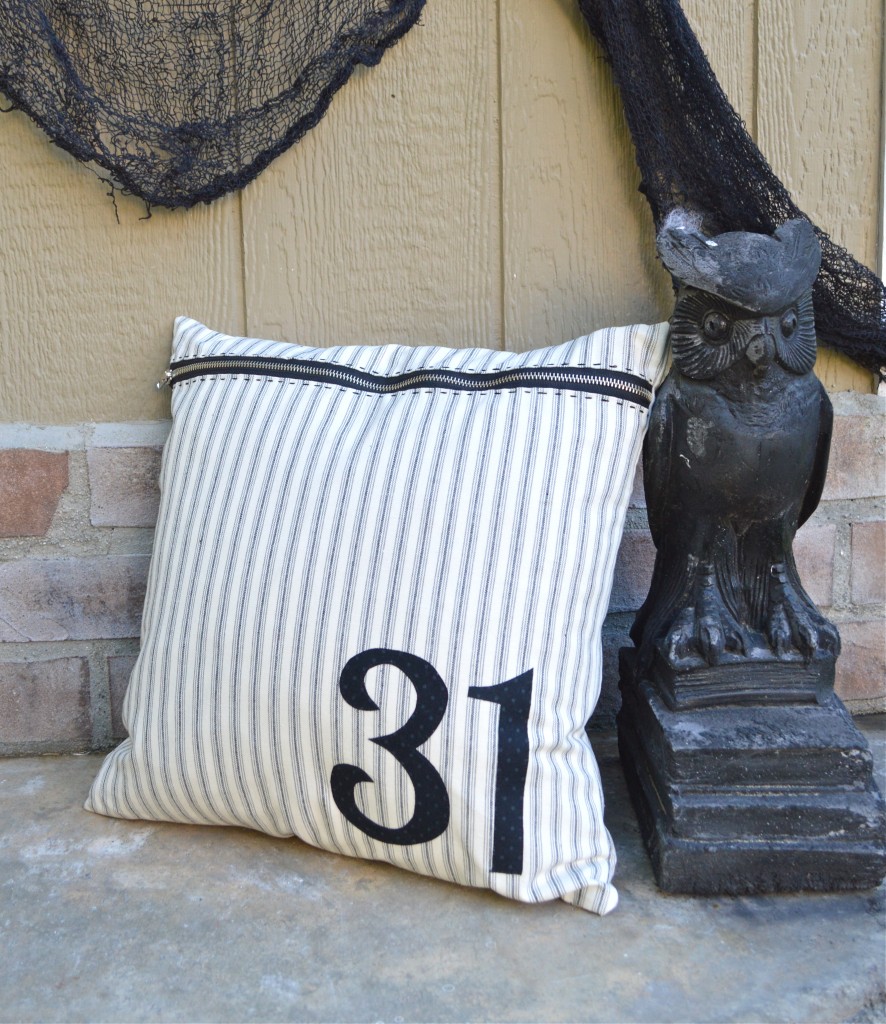
Modern 31 Halloween Pillow


modern_halloween_pillow_tutorialIt’s September which means my house is decorated for Halloween and I’m gearing up for a super crazy fall family schedule!!  Don’t you feel like time just flies between now and Christmas?  We better get the Halloween sewing done!!
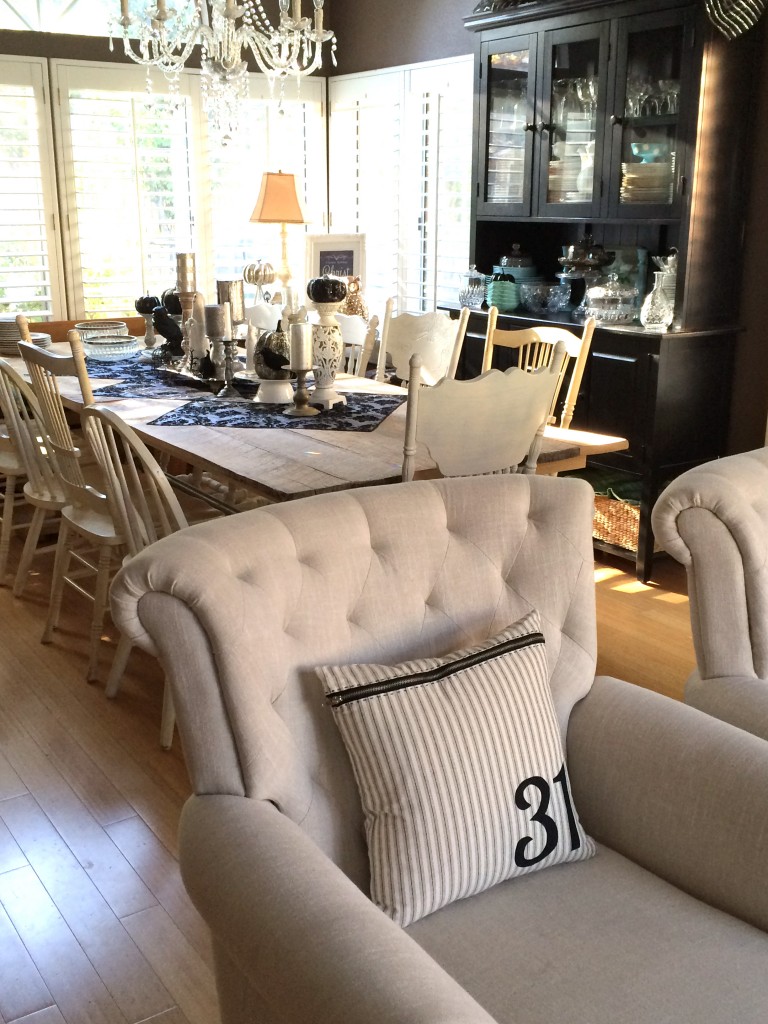
 

halloween house

I decorate my dining and living room for Halloween in Black and White and silver.  I like how this pillow is slightly understated for Halloween.  Here’s how you can make one…


Supplies:

16″ pillow form

1/2 yard black and white ticking

scraps of black fabric for numbers

Heat n Bond EZ print sheets or Heat n Bond Lite

Black metal zipper

31 pattern HERE


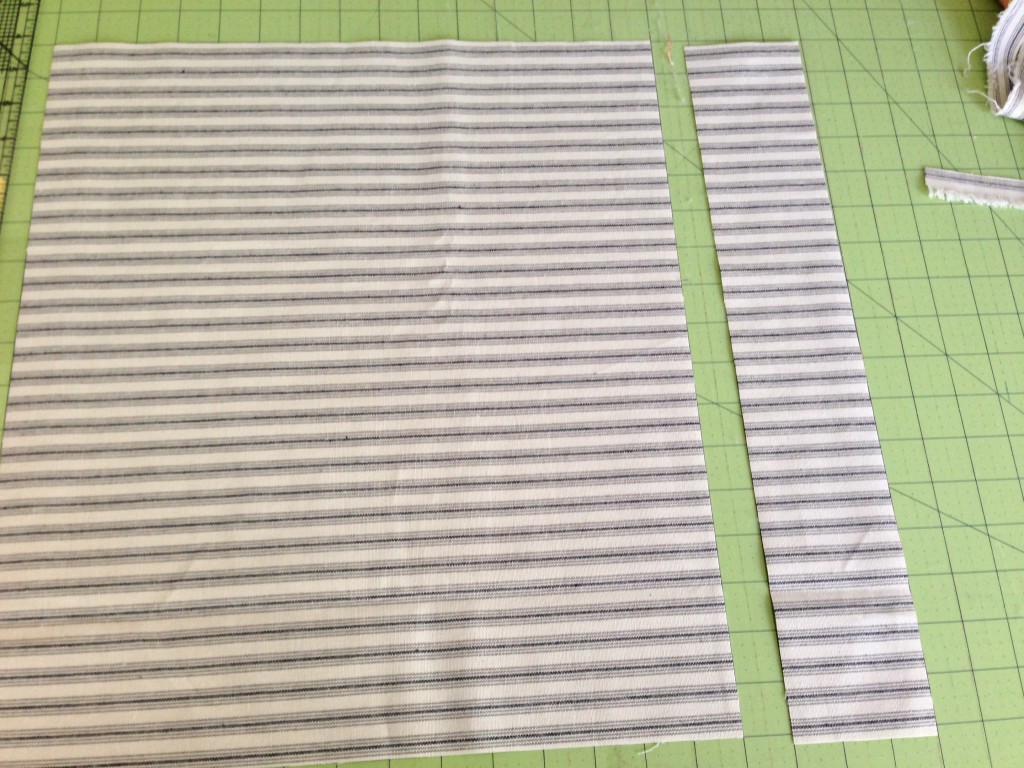
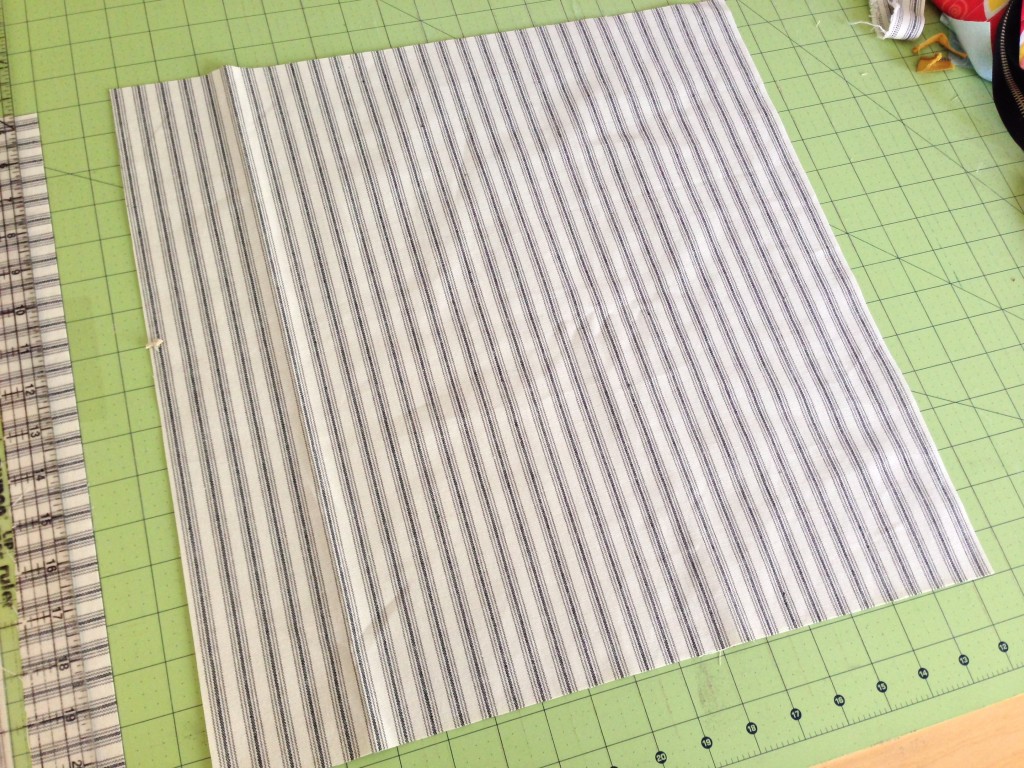
Begin by cutting (2) 17″ squares from the black and white ticking, set one aside for the pillow back.31_halloween_pillow_3


Cut a 3″ strip off the top:31_halloween_pillow_4


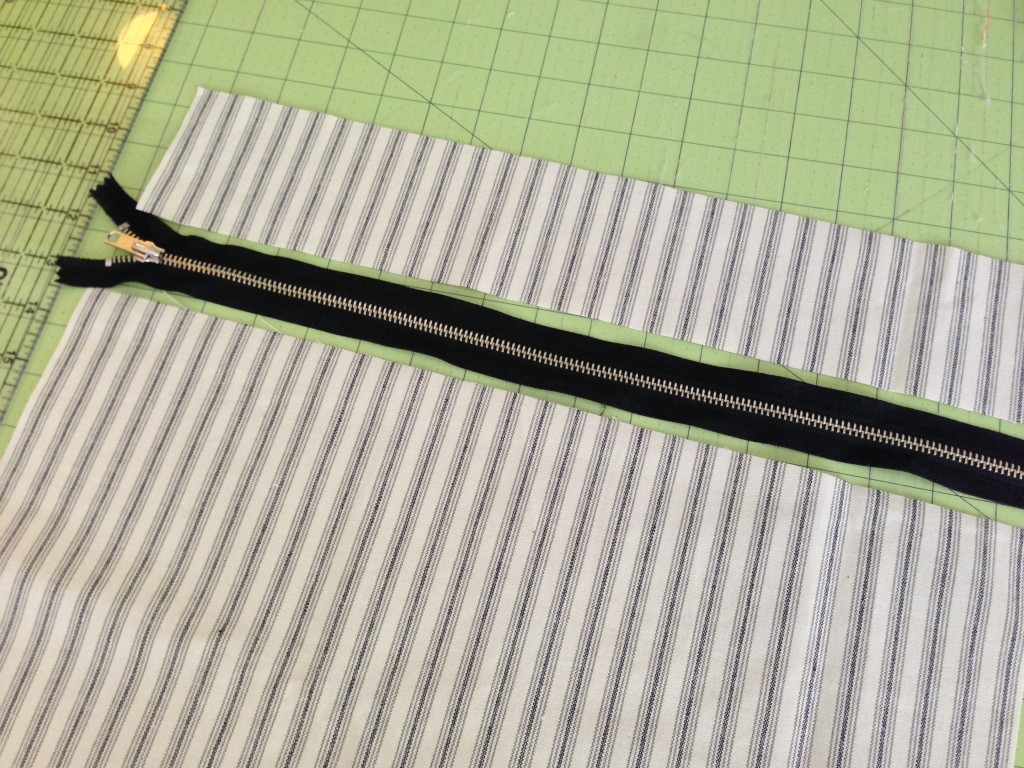
Lay out the pieces like this with the chunky zipper between:31_halloween_pillow_5


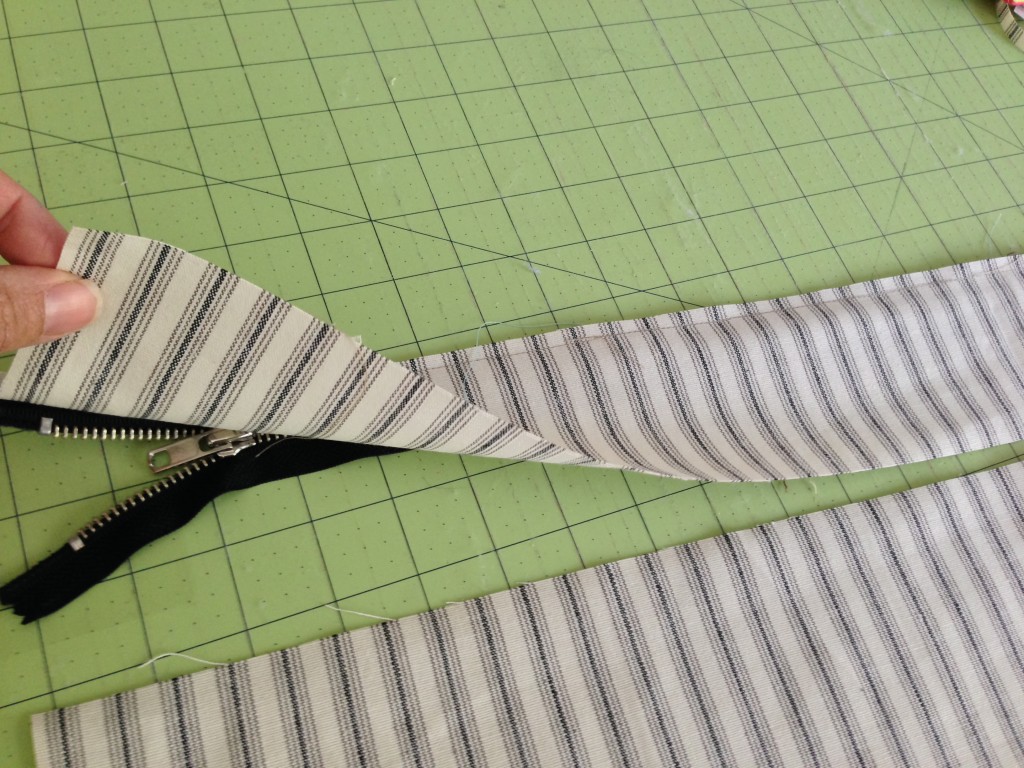
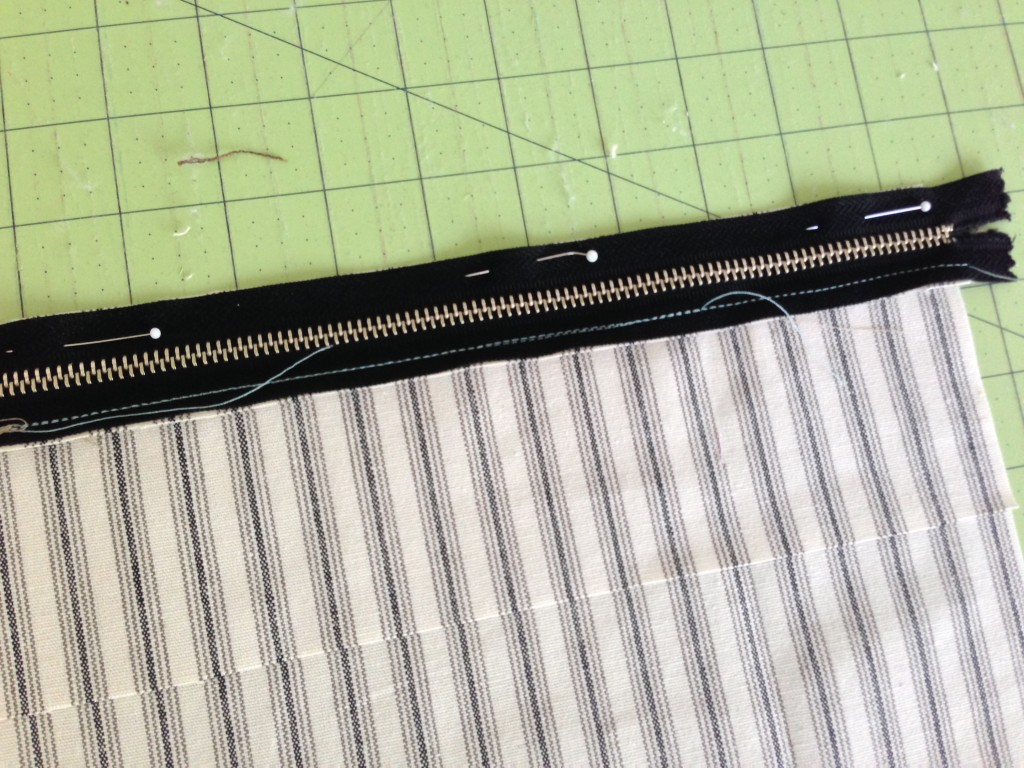
Place the small strip right sides together with the zipper and using a zipper foot sew along the length:31_halloween_pillow_6


Repeat with the other side:31_halloween_pillow_9


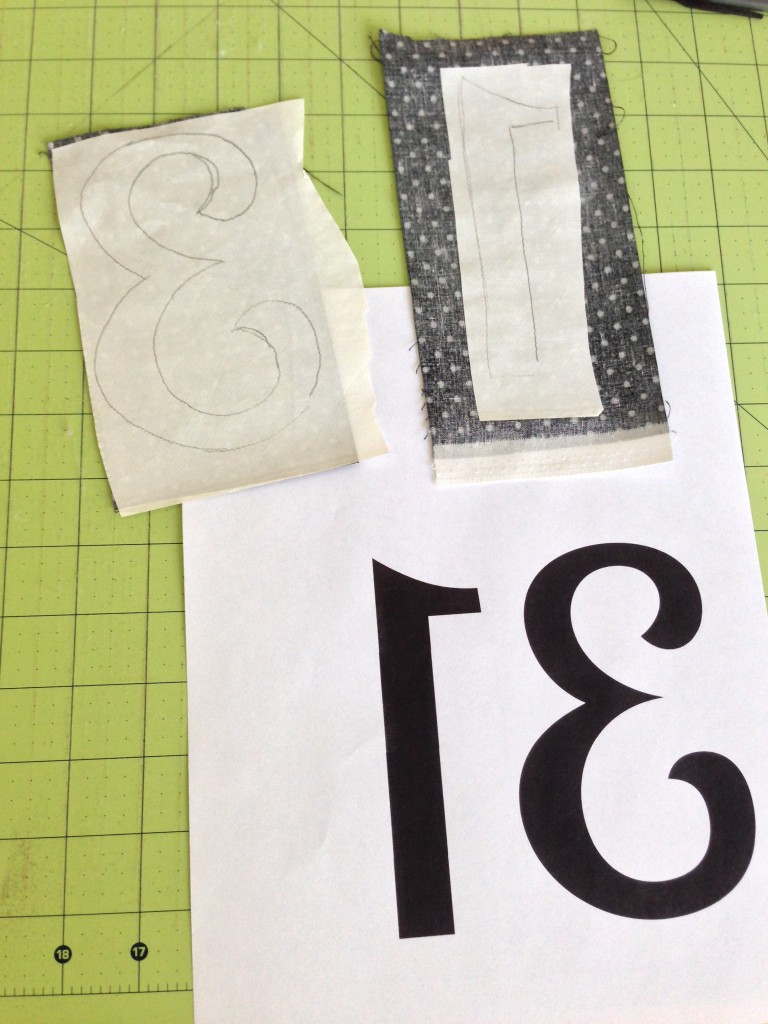
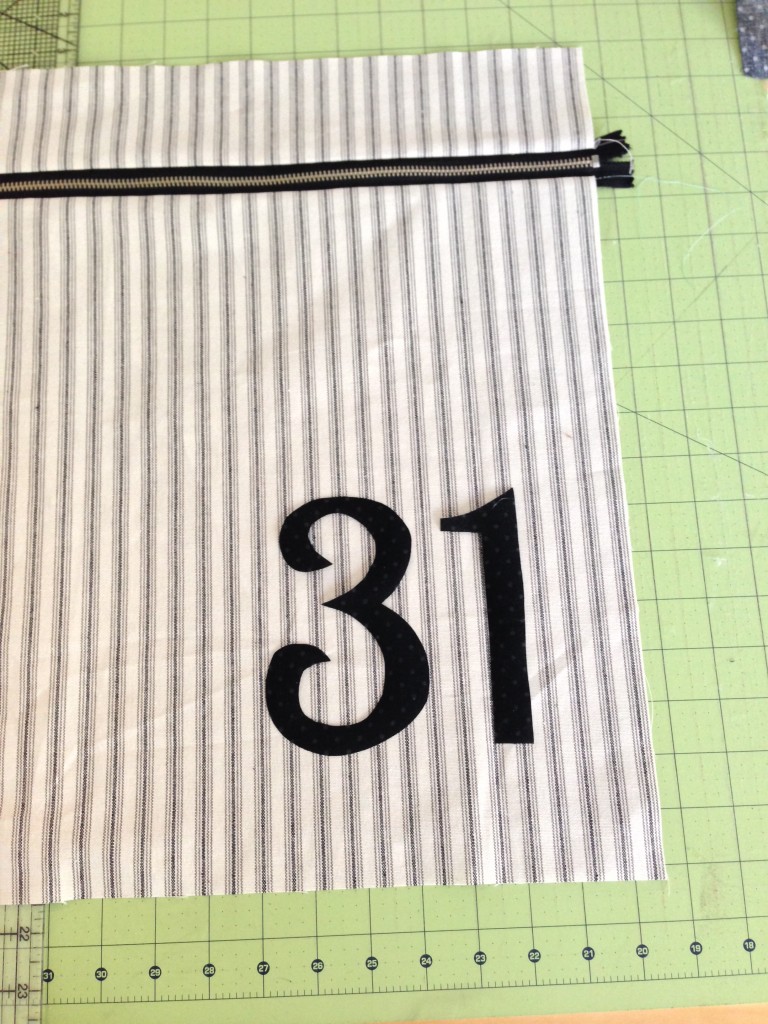
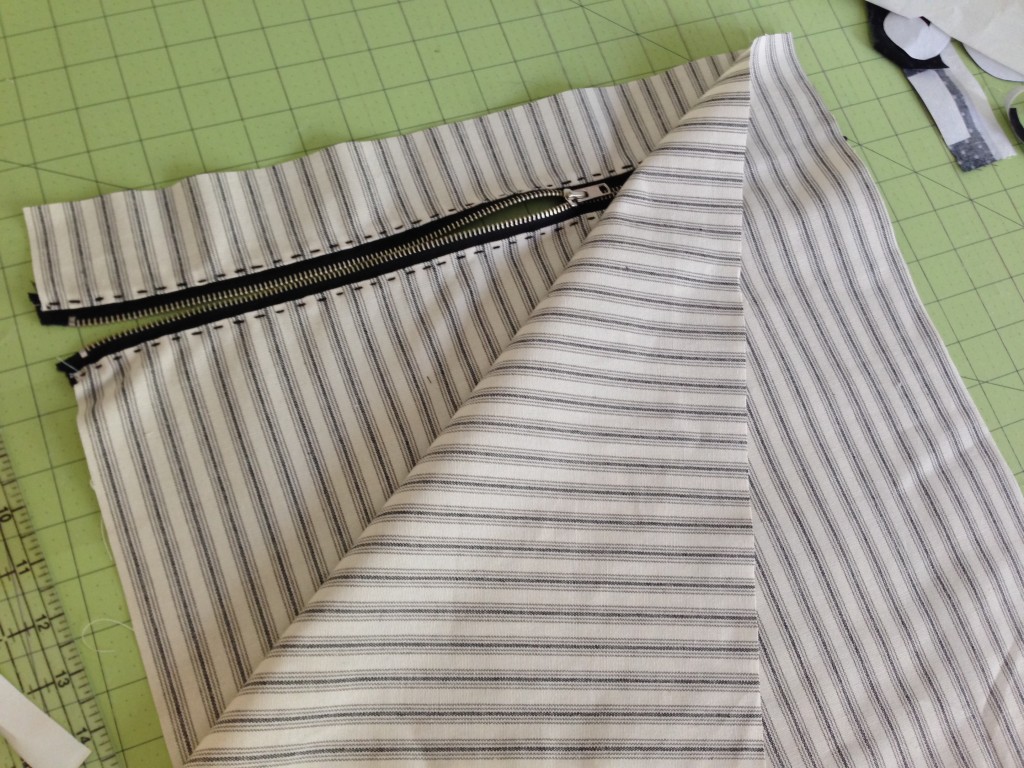
Once the zipper is sewn in, press the seams.  Prepare the appliqué by printing 31 on Heat n Bond EZ sheets or tracing on to Heat n Bond Lite.  Iron the numbers to the wrong side of the black fabric.  Cut out and press onto the pillow front.  Top stitch around the numbers in black thread.

31_halloween_pillow_11

Using scissors you are not fond of, cut off the excess zipper on both ends.

31_halloween_pillow_12


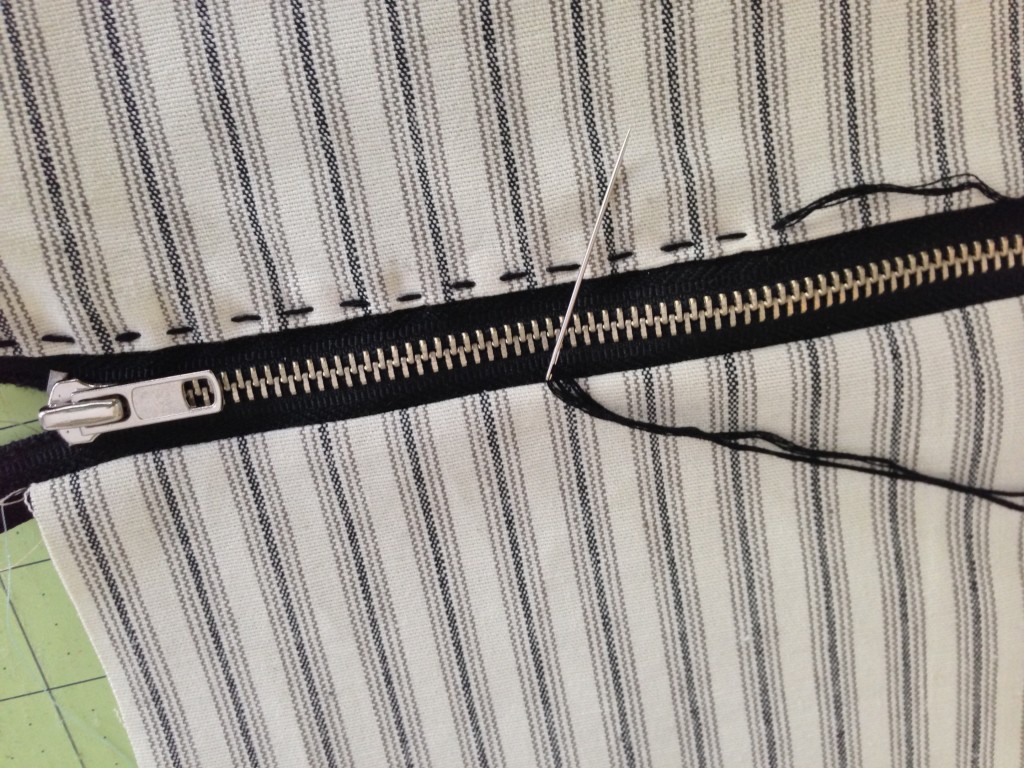
Add a hand stitched detail by sewing a running stitch along both sides of the zipper with black embroidery floss.31_halloween_pillow_13


Place the pillow back and pillow front right sides together and pin around the entire pillow.  Make sure the zipper is open.  31_halloween_pillow_14


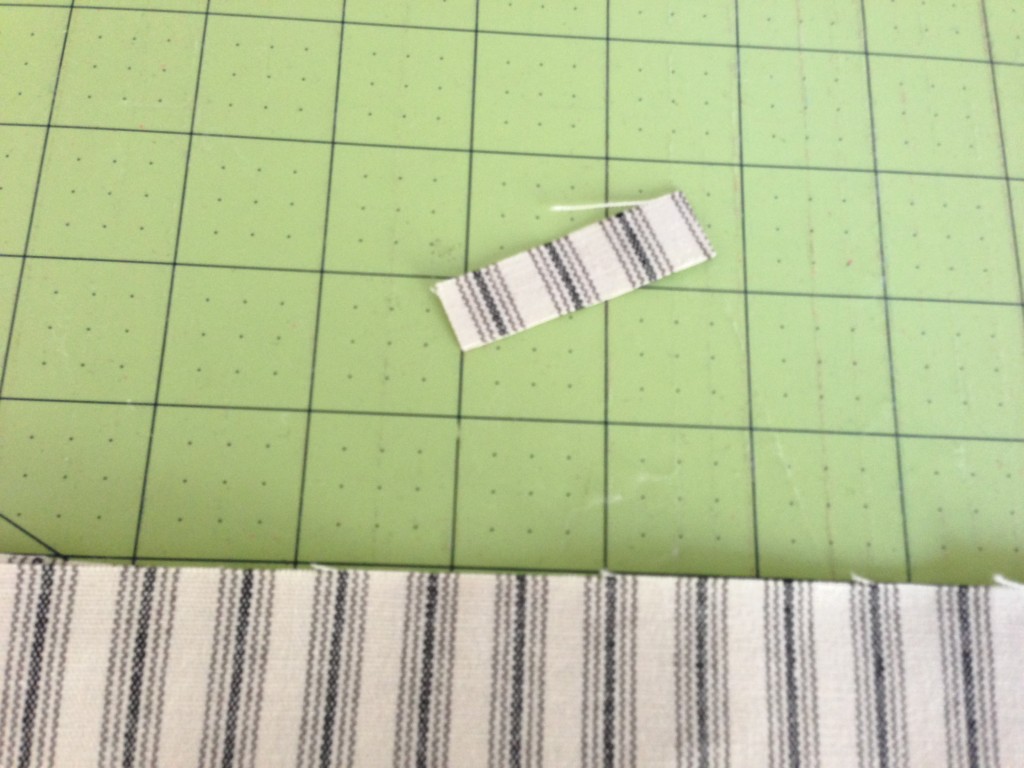
I cut 2 small strips of fabric and added them to both sides of the zipper where the seam would be to give it strength.  Otherwise the only thing holding the zipper is a seam of thread.  I also like to back stitch a few times over the zipper.  With the metal zipper it is best to slow down the sewing speed and even manually move the needle so it can find its way around the zipper teeth.  Sew around the entire pillow using 1/4″ seams31_halloween_pillow_15

Turn right side out and add the pillow, it’s done!


31_halloween_pillo2


Click the button for or more Halloween Projects


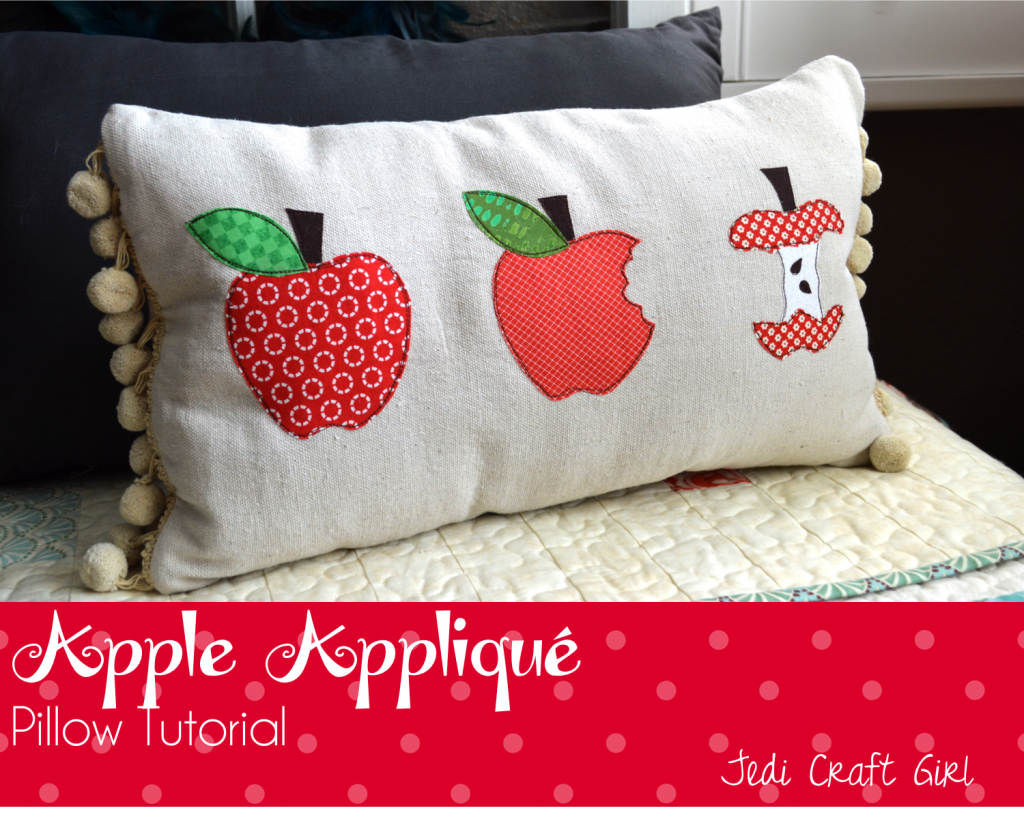
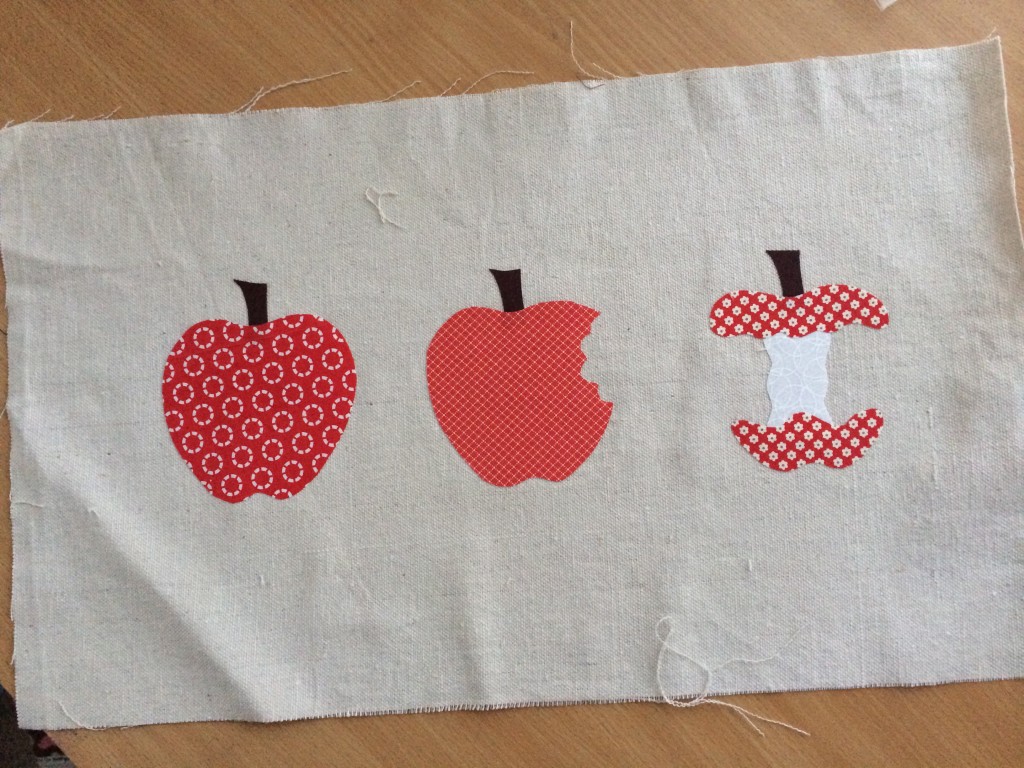
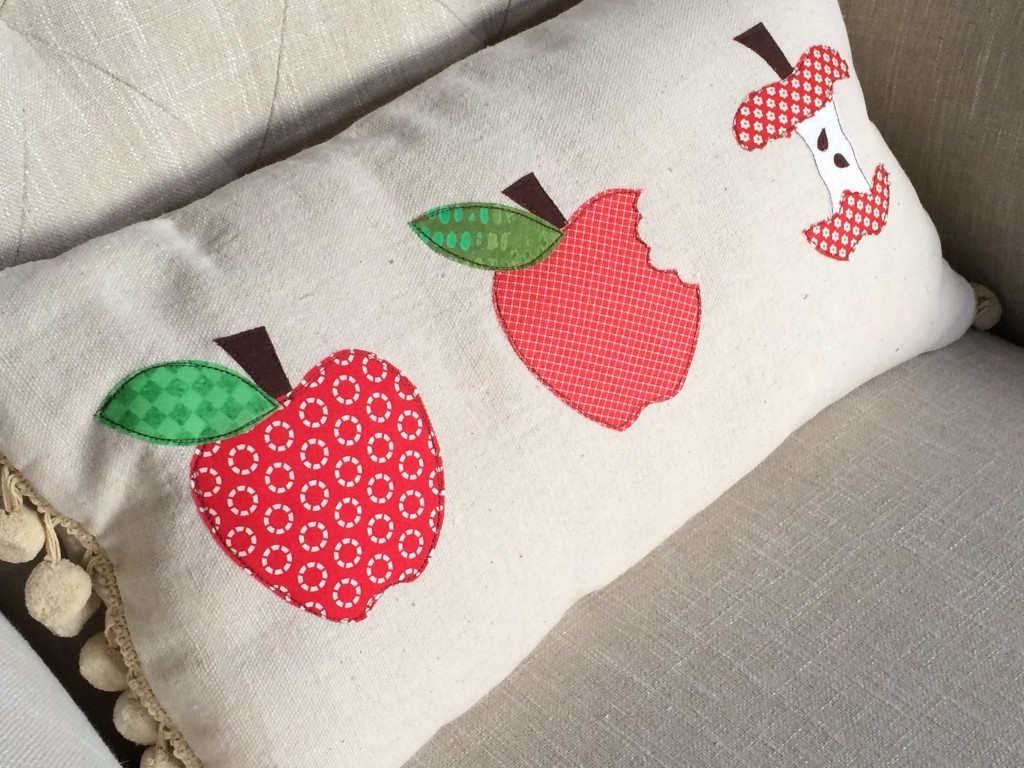
Apple Appliqué Pillow Tutorial

apple applique

We are getting ready to start school next week.  I thought this pillow would be a fun back to school decoration or even a thoughtful gift for a teacher.  My tutorial is over on the Therm O Web Blog!  I used Heat n Bond Lite which made the appliqué a snap!  apple_pillow_tutorial


I think I could add pom poms to ever project I make 🙂apple_pillow_tutorial_1