Sizzix Whale Bookmark Tutorial

whale bookmark tutorial

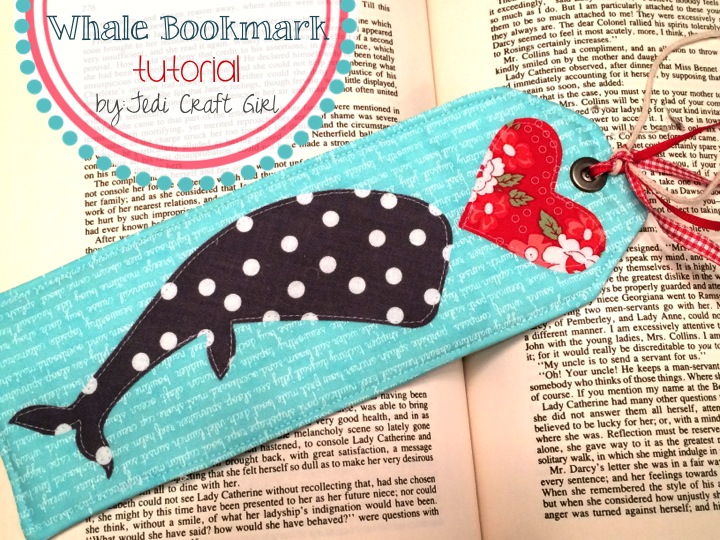
In celebration of Earth Day, today, I thought I would share this fast and fun tutorial for a whale bookmark using the Sizzix Whale Die.  I have loved whales my whole life.  I remember as a little girl saving up my money to buy a $5 gold colored whale necklace; I was so excited because a portion of the money would go to the “Save the Whales” fund.

sizzix whale bookmark 8

Here’s what you need to make the bookmark:

scrap of aqua, gray dots, and red fabrics

Heat n Bond Fusible Fleece

Sizzix Whale Die

Heat n Bond Lite fusible applique

Grommet or large eyelet

scraps of ribbon/trim

Instructions

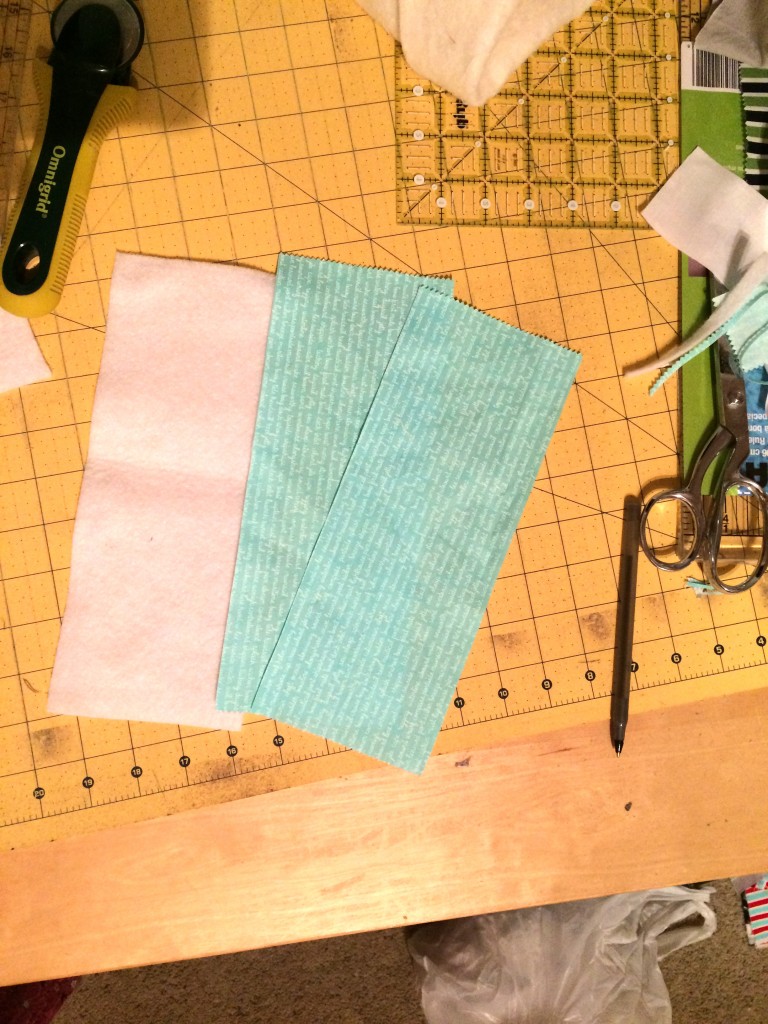
Begin by cutting the aqua fabric (2) 4″ x 10″

Cut the Fusible Fleece the same size, 4″ x 10″

(sorry for the photo quality, I do my best work late at night!!!!)
sizzix whale bookmark 2

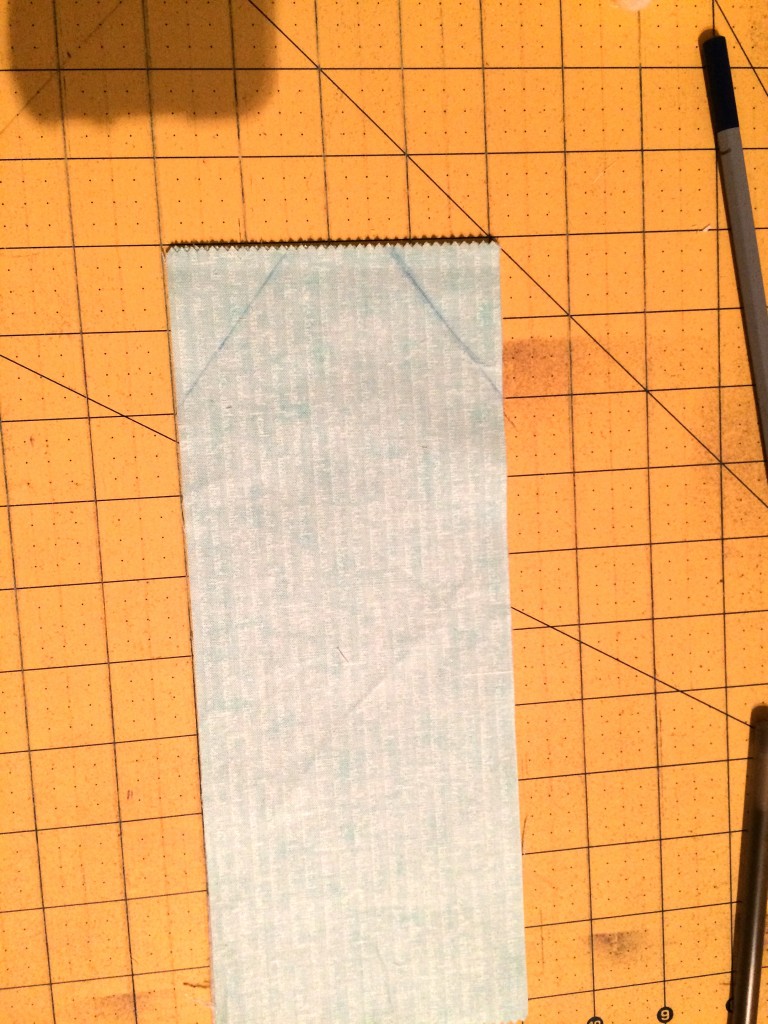
Draw an angle in the upper corners to form the shape of a tag.  Notice where I positioned my lines in comparison to the grid:
sizzix whale bookmark 4

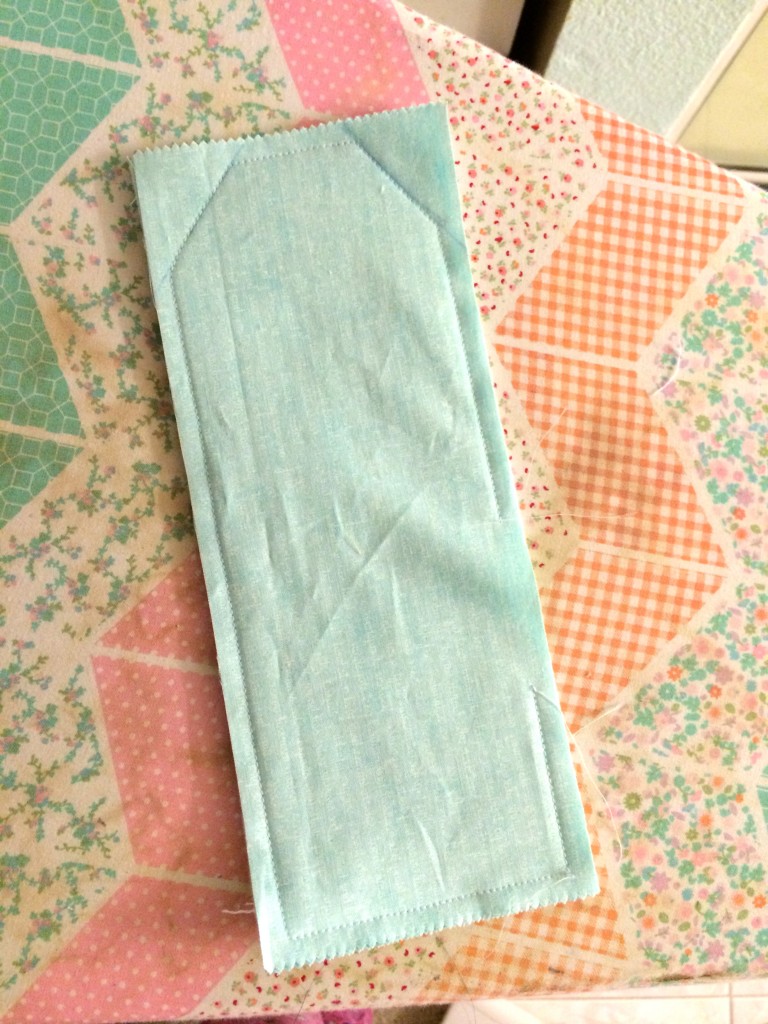
Iron the fusible fleece to one of the aqua pieces on the wrong side.  Plaace right sides of the bookmark pieces together. Sew around the bookmark,using a generous 1/4″ seam.  Leave an opening along the side for turning.  Trim the edges close to the seam and clip corners.  Turn right side out, press.  Top stitch.
sizzix whale bookmark 5

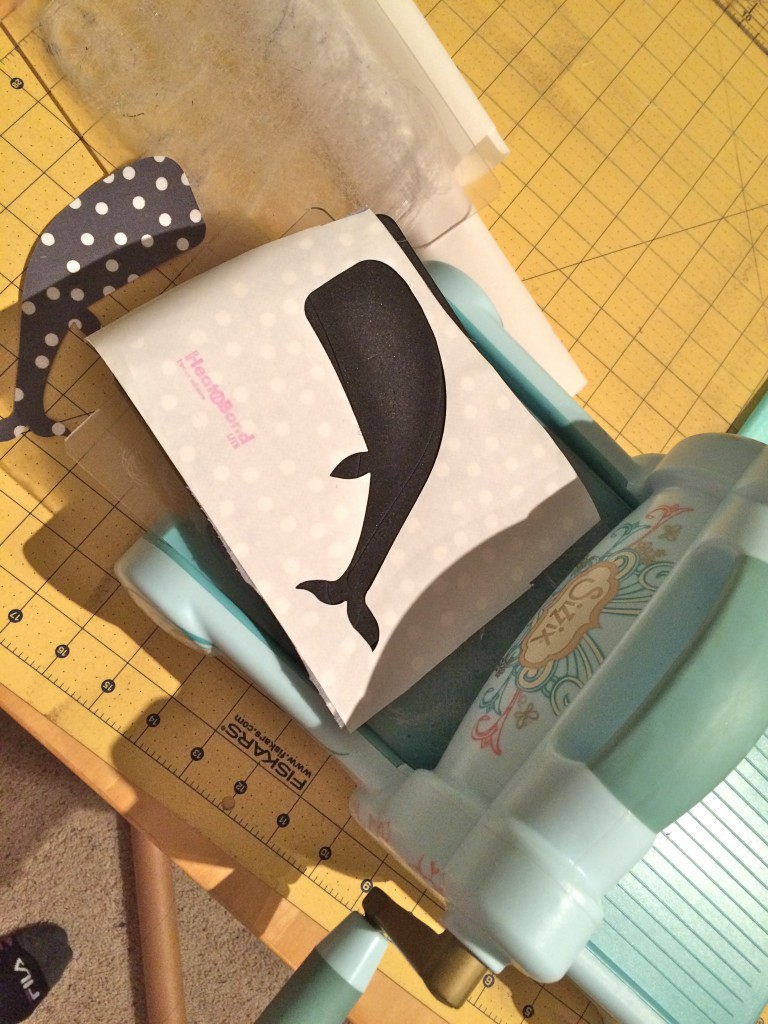
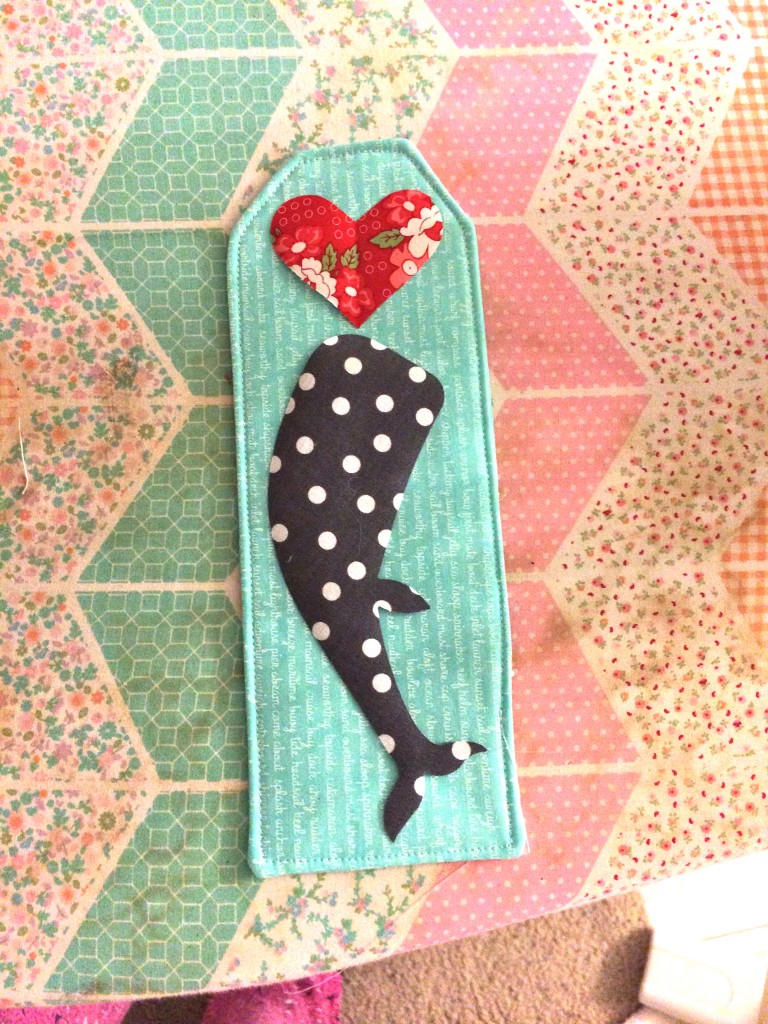
For the whale and heart appliqué pieces, iron the Heat n Bond Lite to the wrong side of the gray fabric.  Cut out a rectangle roughly the size of the Sizzix Whale Die.  Run it through the Big Shot or Fabi Machine.  For the heart, I cut it freehand.  Peel the backing paper off.sizzix whale bookmark 3
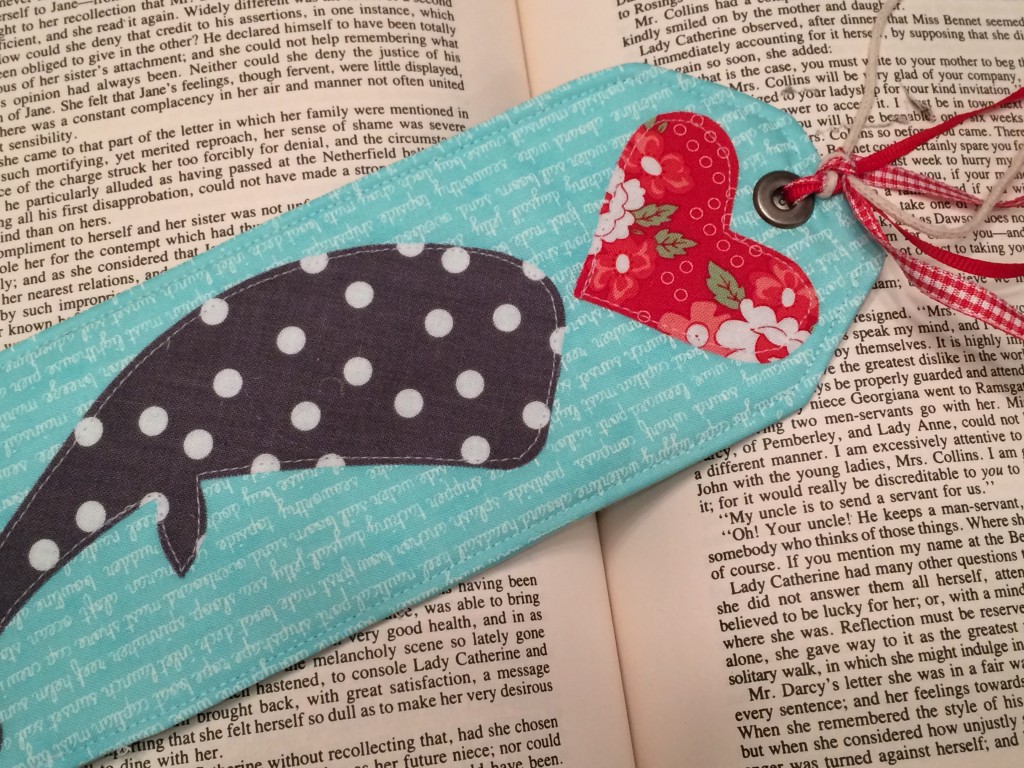
Position the appliqué pieces as desired.  Iron in place.  Top stitch around the whale and the hart.
sizzix whale bookmark 6

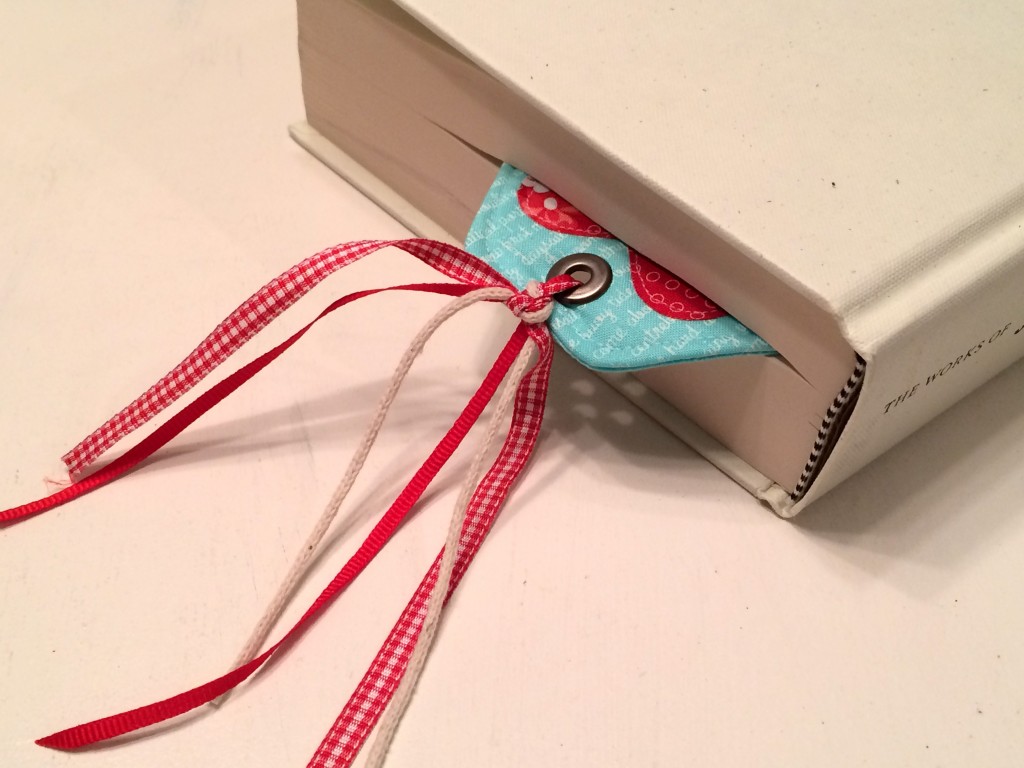
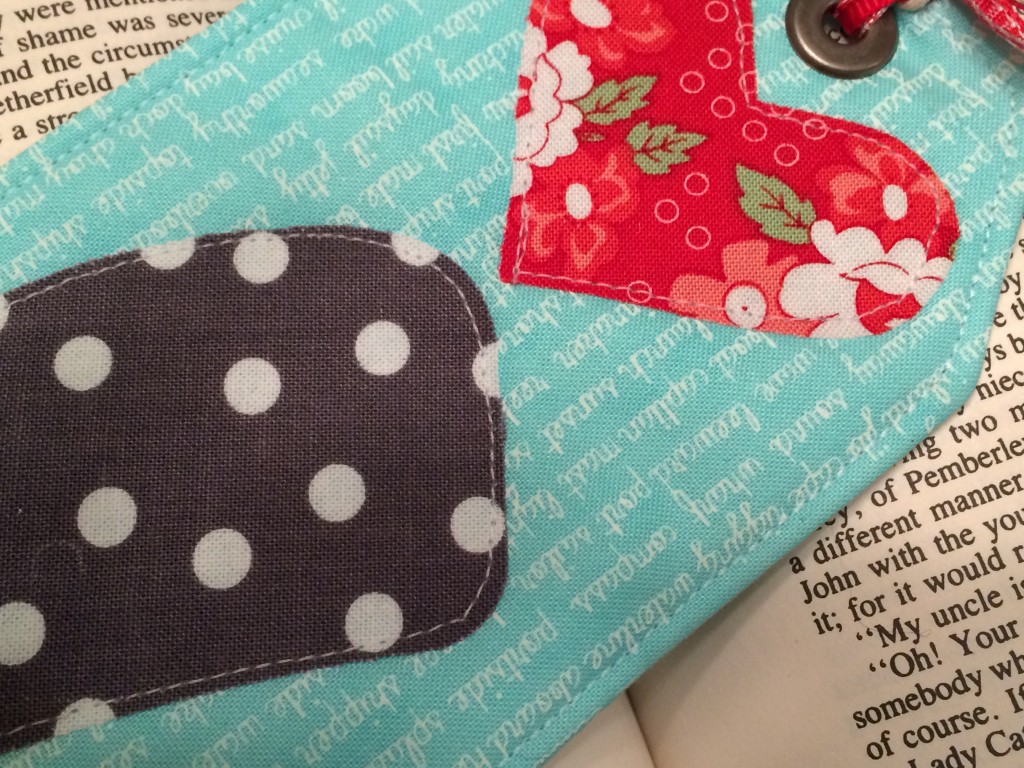
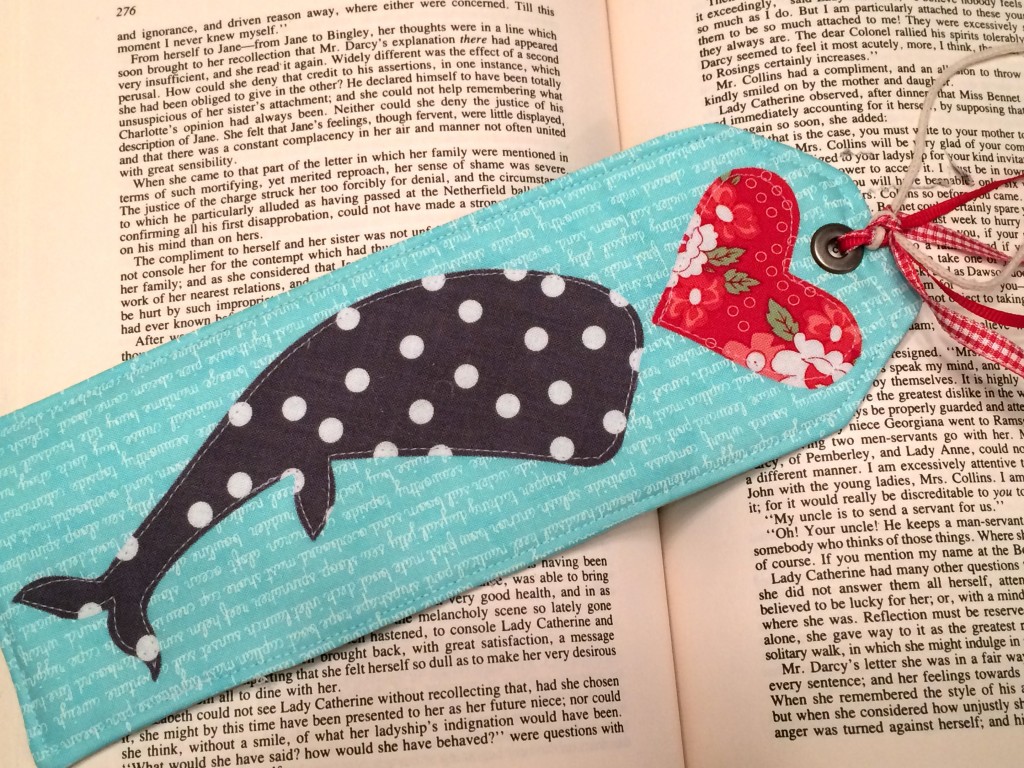
When you are finished, add a grommet or eyelet and tie ribbons through it.
sizzix whale bookmark 10

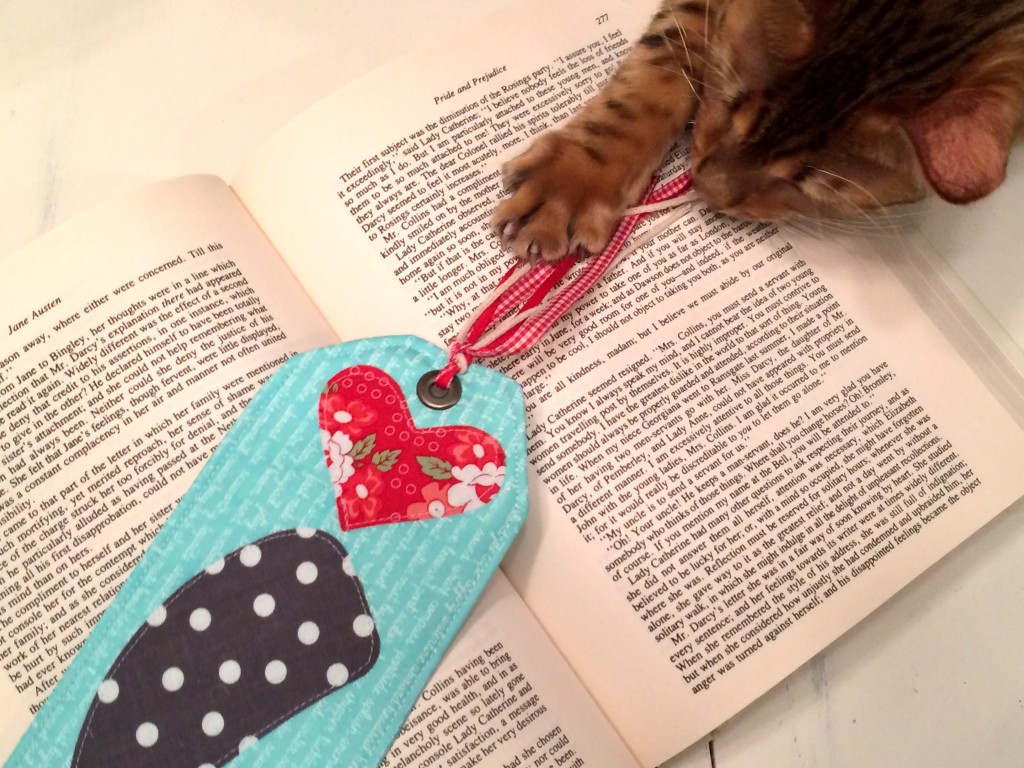
It also doubles as a cat toy!!!sizzix whale bookmark 7

I think it’s the cutest and I totally needed an new bookmark!!!
sizzix whale bookmark 9
sizzix whale bookmark 11

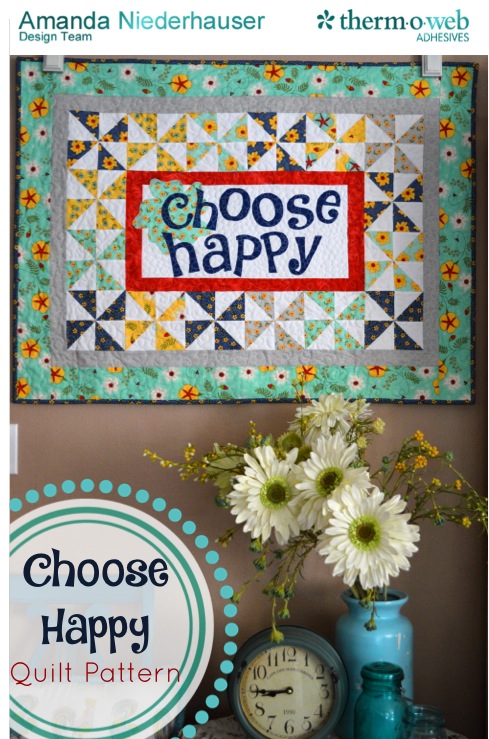
Choose Happy {quilt pattern}

choose happy cover

Meet my newest quilt pattern “Choose Happy”!!!!!  Its a free pattern available on the Therm O Web Blog.  The fabrics are from Pat Sloan’s newest Moda line called “The Sweet Life”.  They are so bright and cheerful and HAPPY!!!

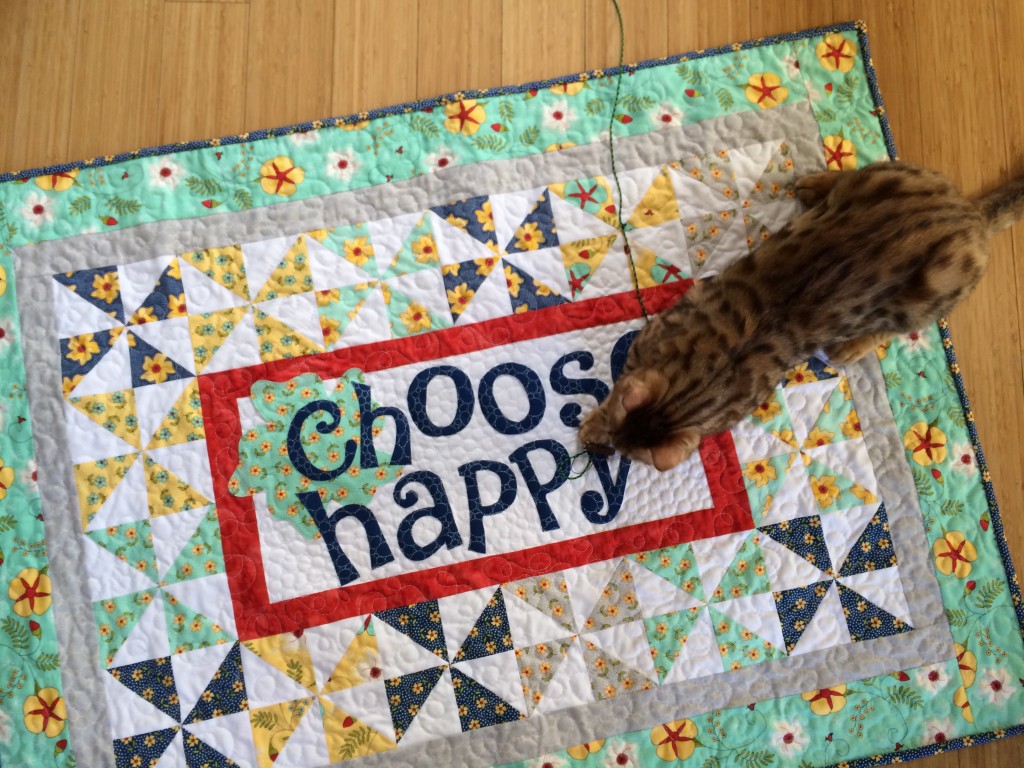
choose happy quilt 25

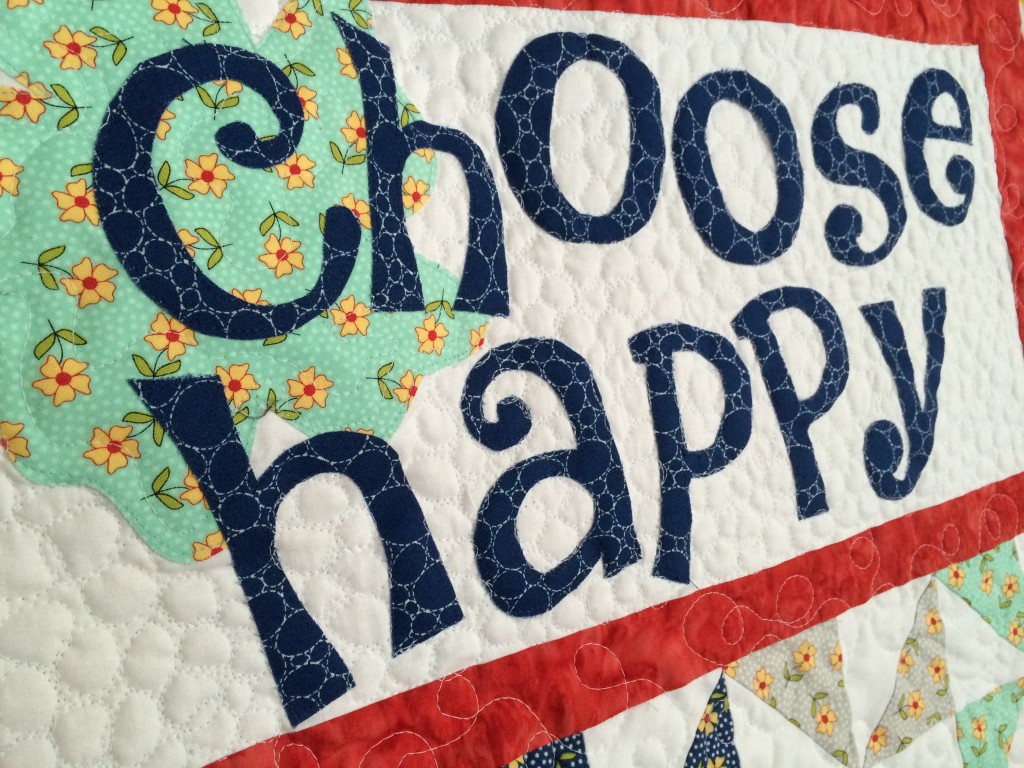
Of course my #kittyquilter Mufasa had to get his paws on the project 🙂  The letters and flower are appliquéd using Heat n Bond Lite EZ print sheets.  You can print the patterns from the Therm O Web Blog.  I love pinwheels and I thought they were perfect to use with this fabric!  The center quilting is “pebbles” and the main part of the quilt is loop-de-loos.choose happy quilt 24
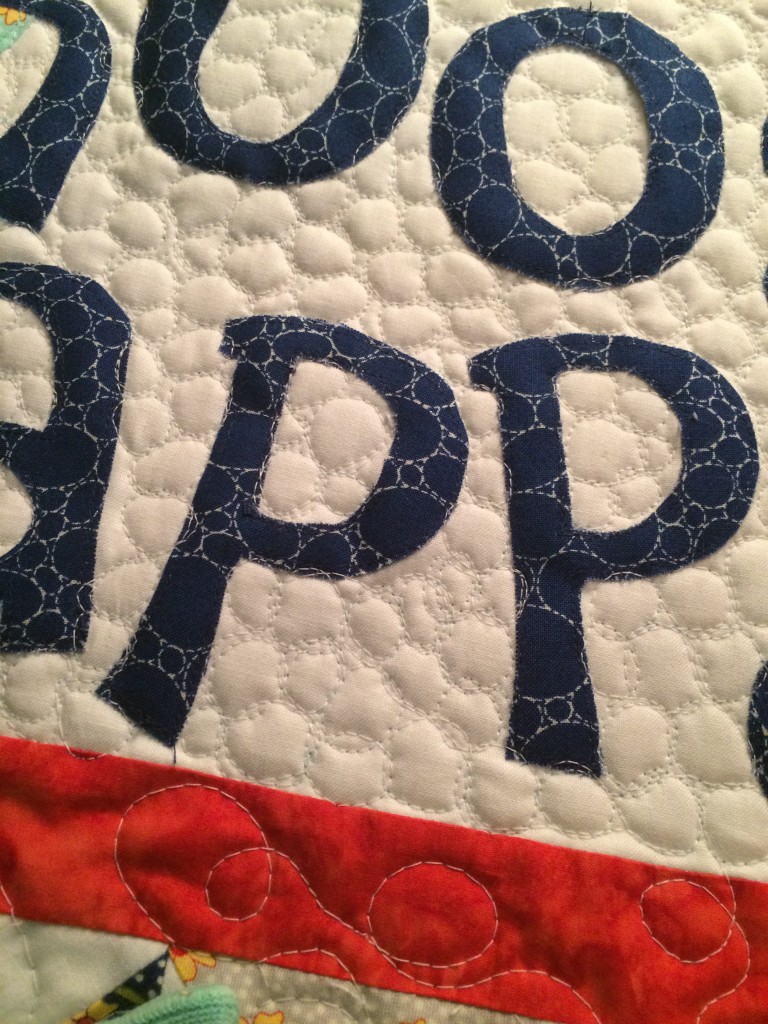
This would quilt would be darling on your sewing room wall or as a sweet gift for a friend.  I’m going to sew up another one soon!!!
choose happy quilt 26

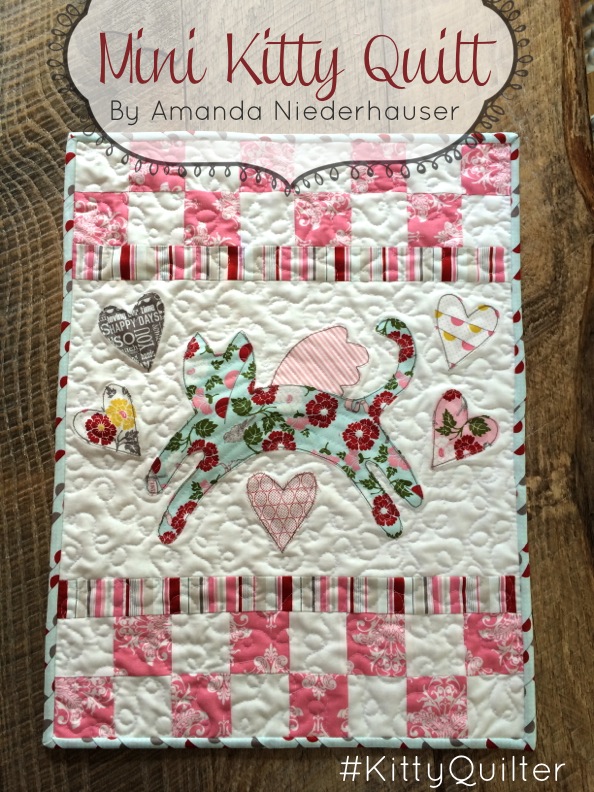
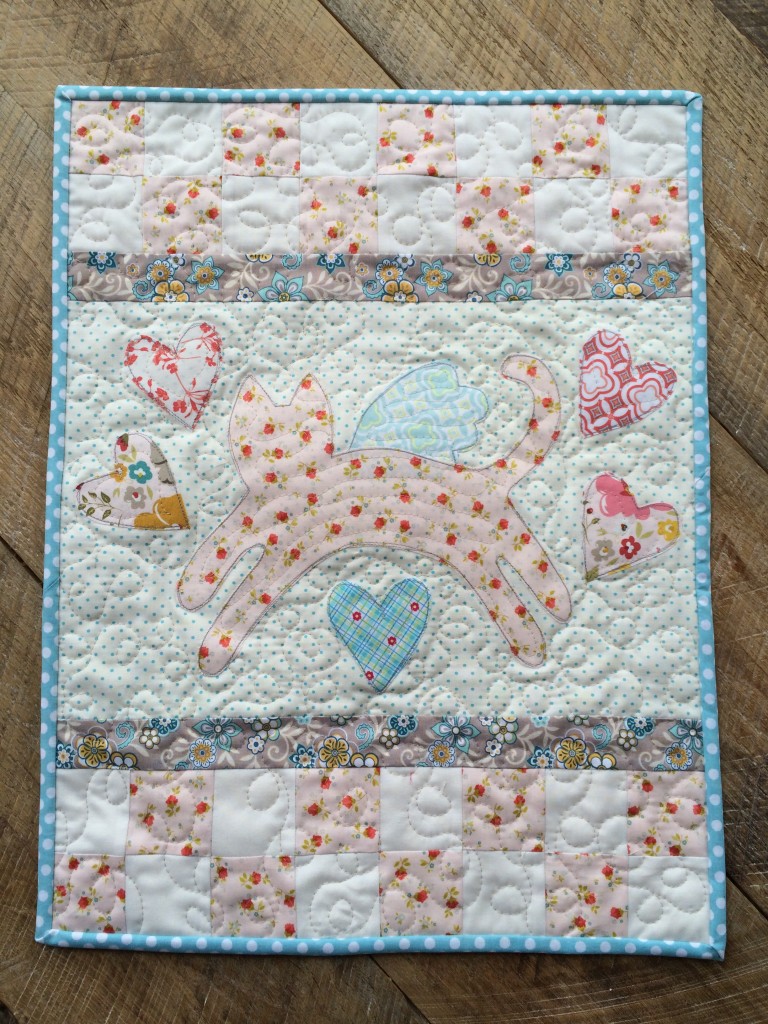
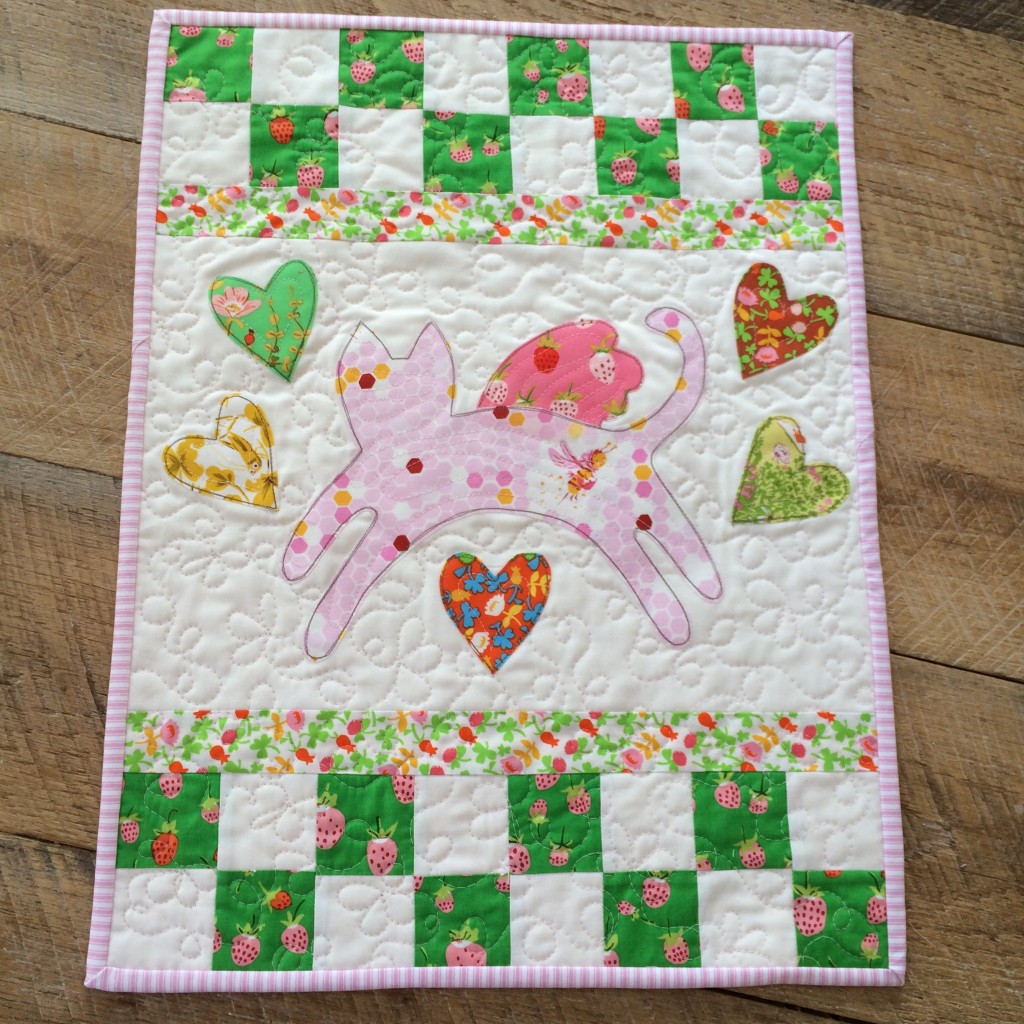
Mini Kitty Quilt Pattern Now Available!

minikittycover

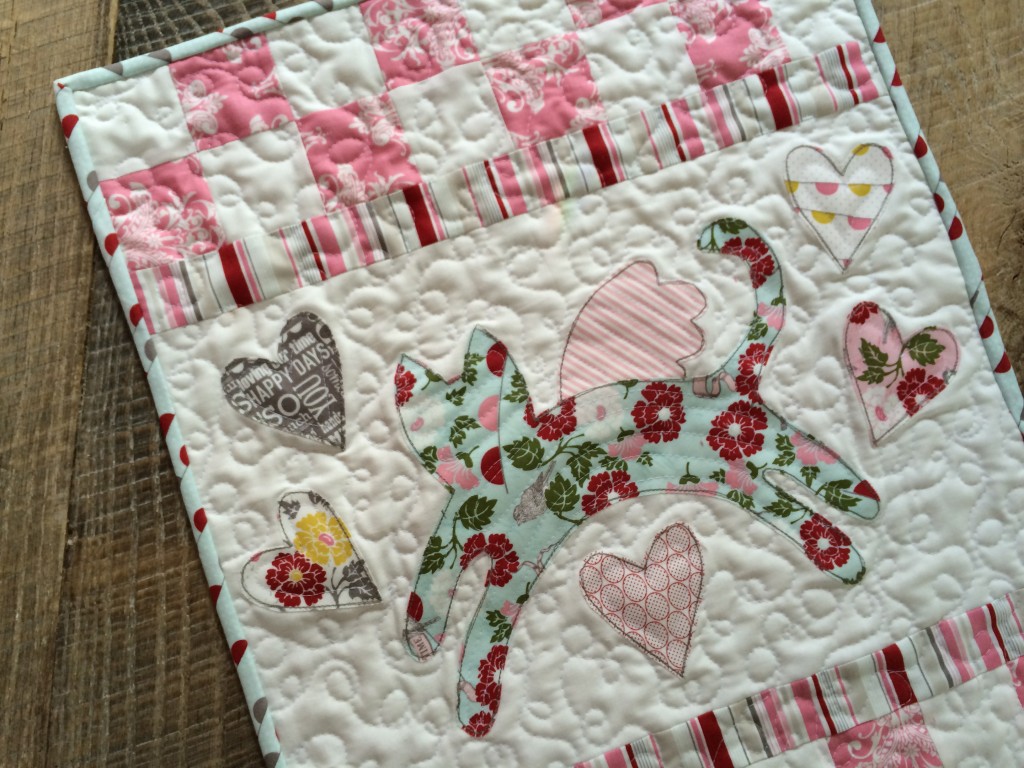
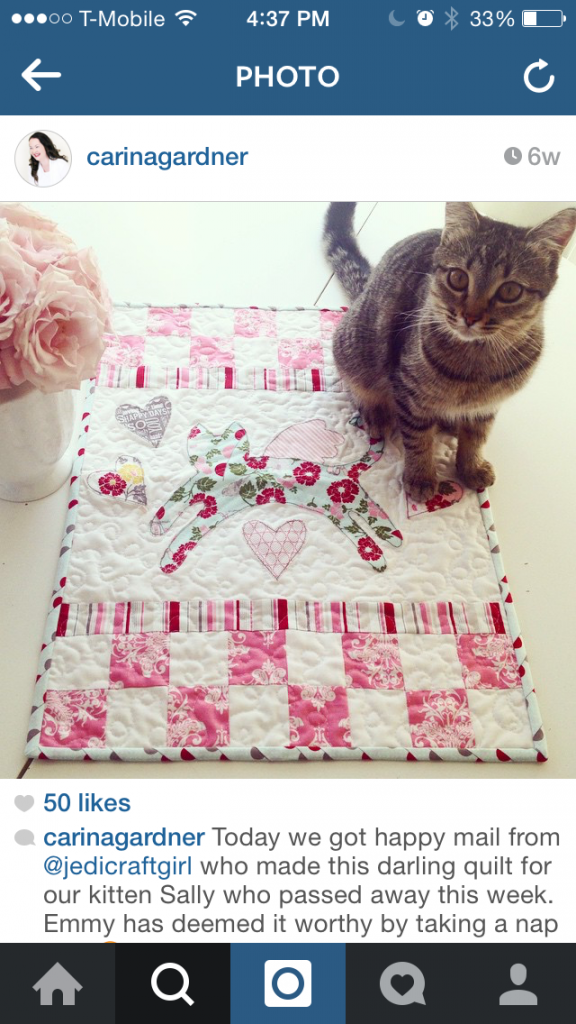
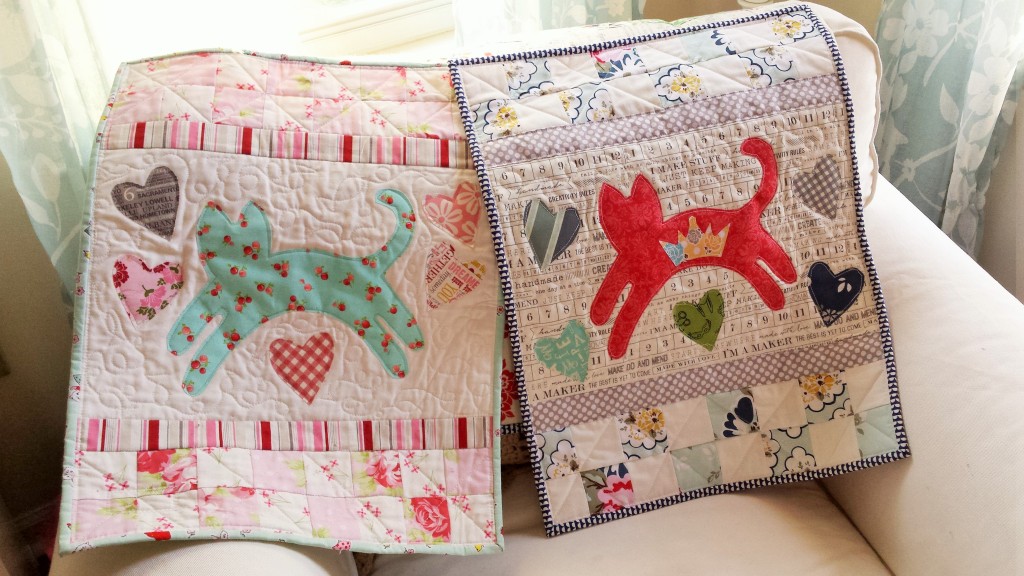
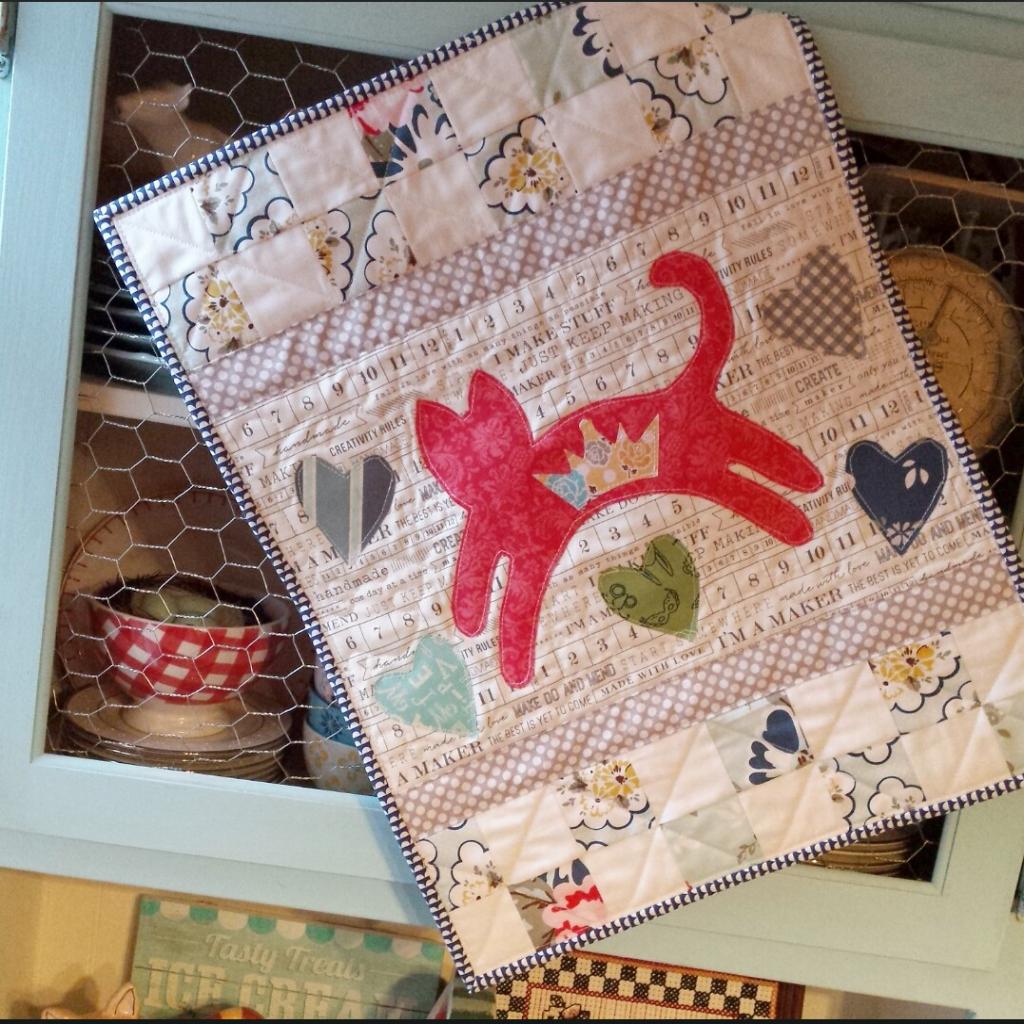
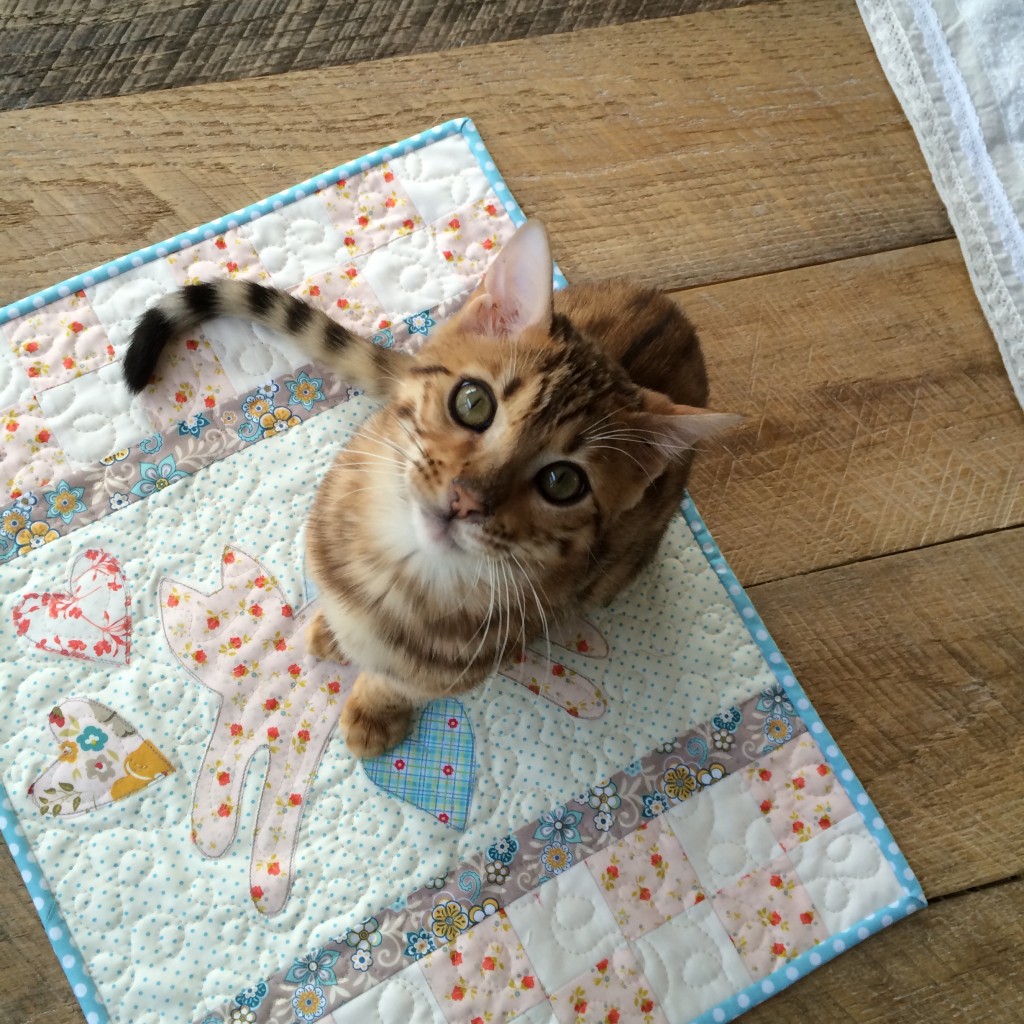
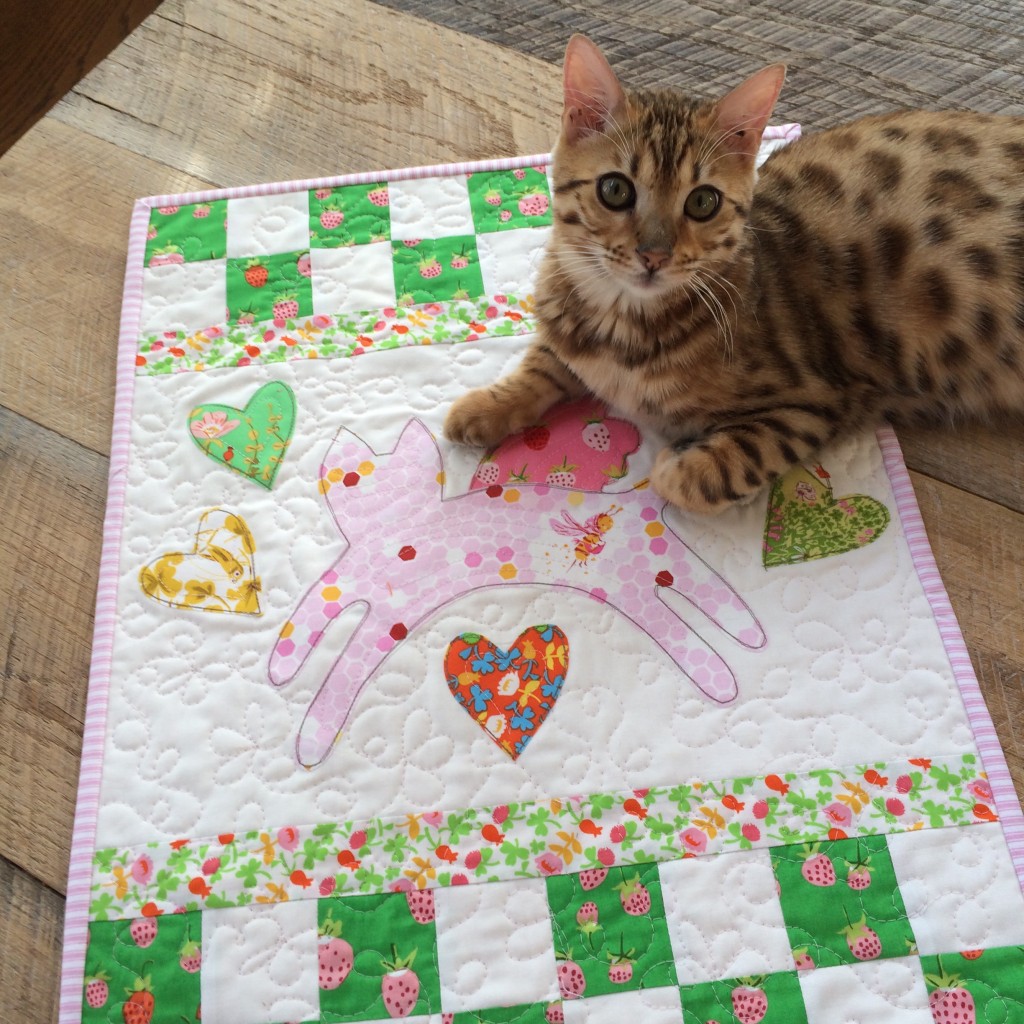
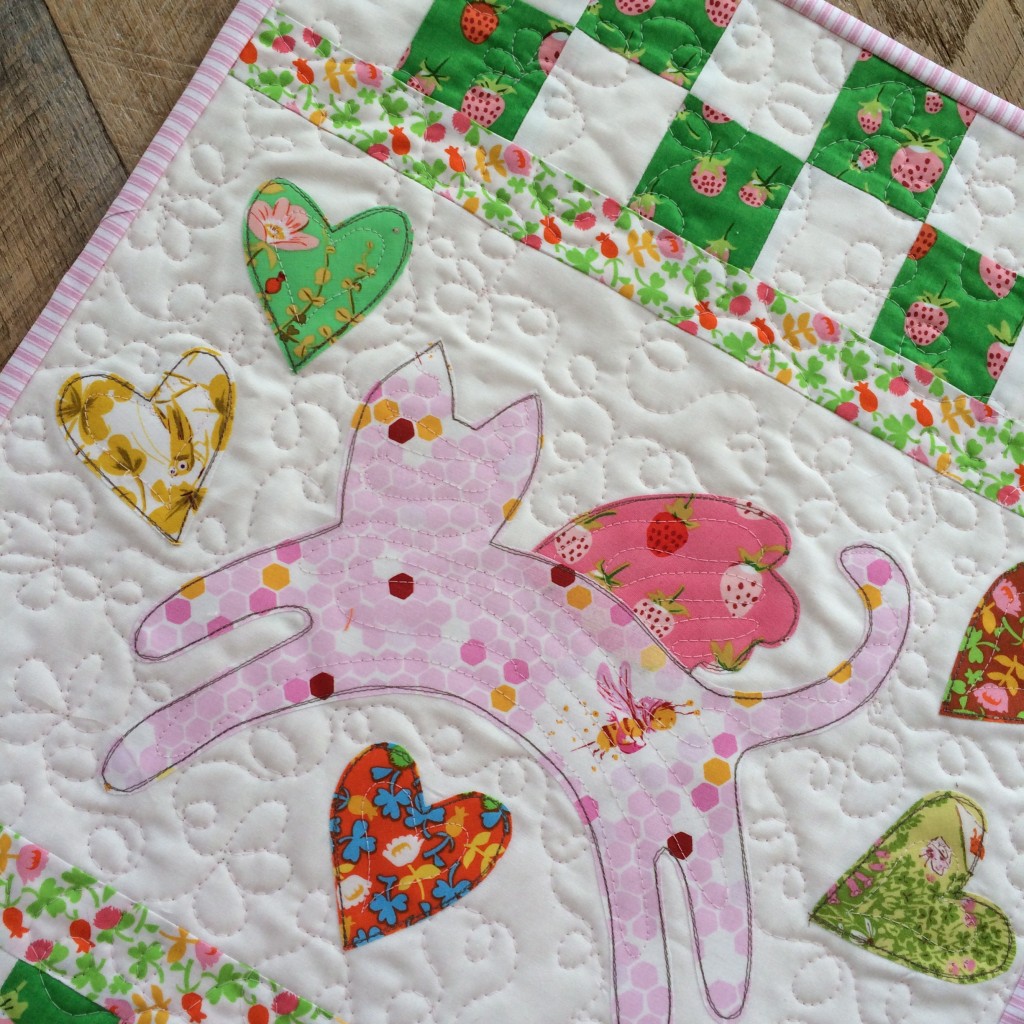
Meet Mini Kitty – my very first published quilt pattern!  This little mini quilt has brought me so much joy in my life!  I was inspired to make it as a gift for a friend.  Since then, it has been recreated over and over as gifts, and has even been the inspiration for our #kittyquilter group on Instagram!  I love connecting with friends who love quilting and their fur-babies!!!  My pattern is available to purchase on Etsy at Emily Ann’s Kloset and on Craftsy.  I hope you like it!!!kitty love mini quilt 18

IMG_5464_2

I love all the combinations and variations you can make with this one pattern!!20150404_183528-1024x576
IMG_5462_2

IMG_4660

I really should make one for Baby Mufasa instead of always giving them away 🙂

IMG_4690

IMG_4913

IMG_4925

IMG_4922

Sew News Placemat & Napkin Set

IMG_4974

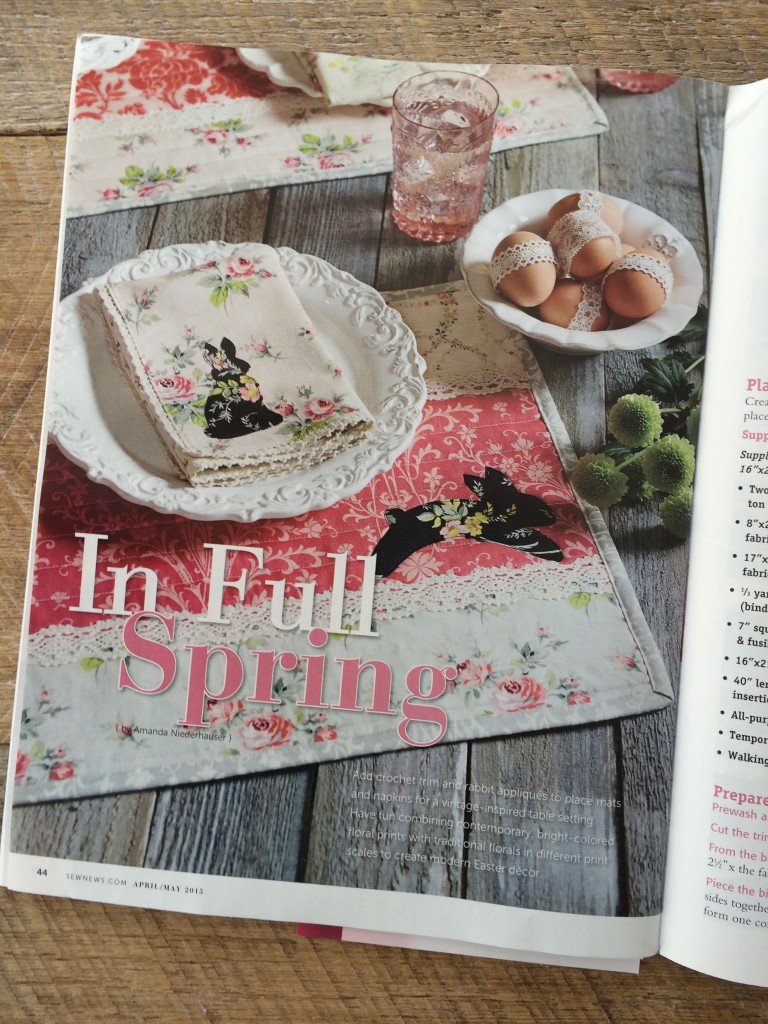
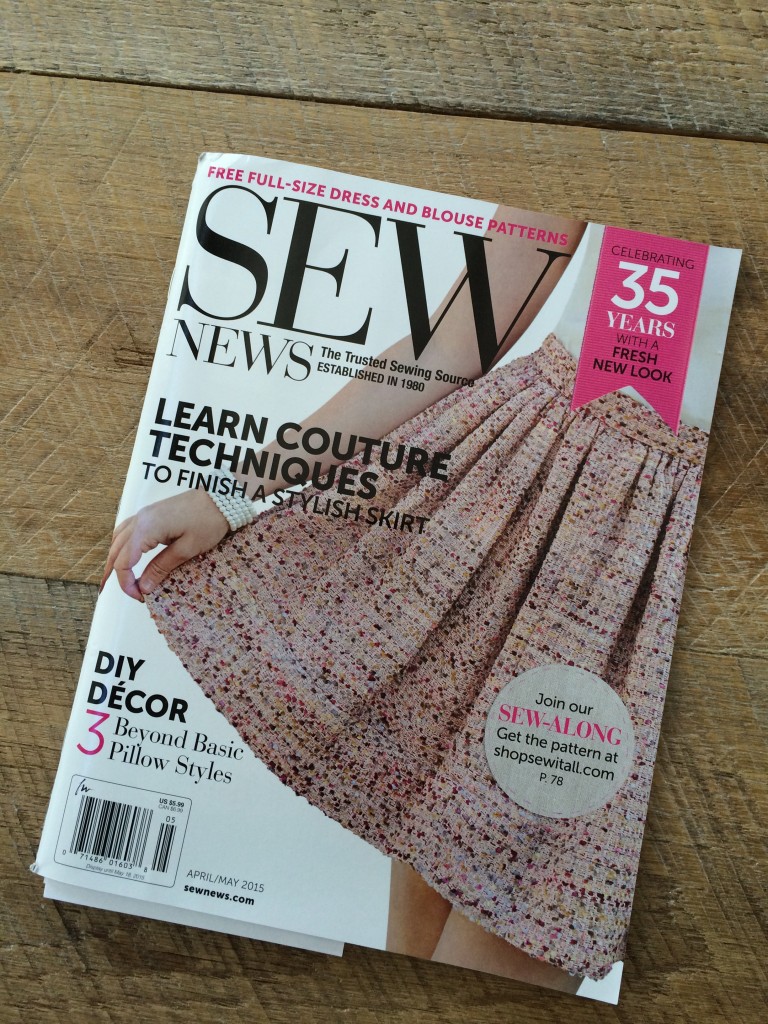
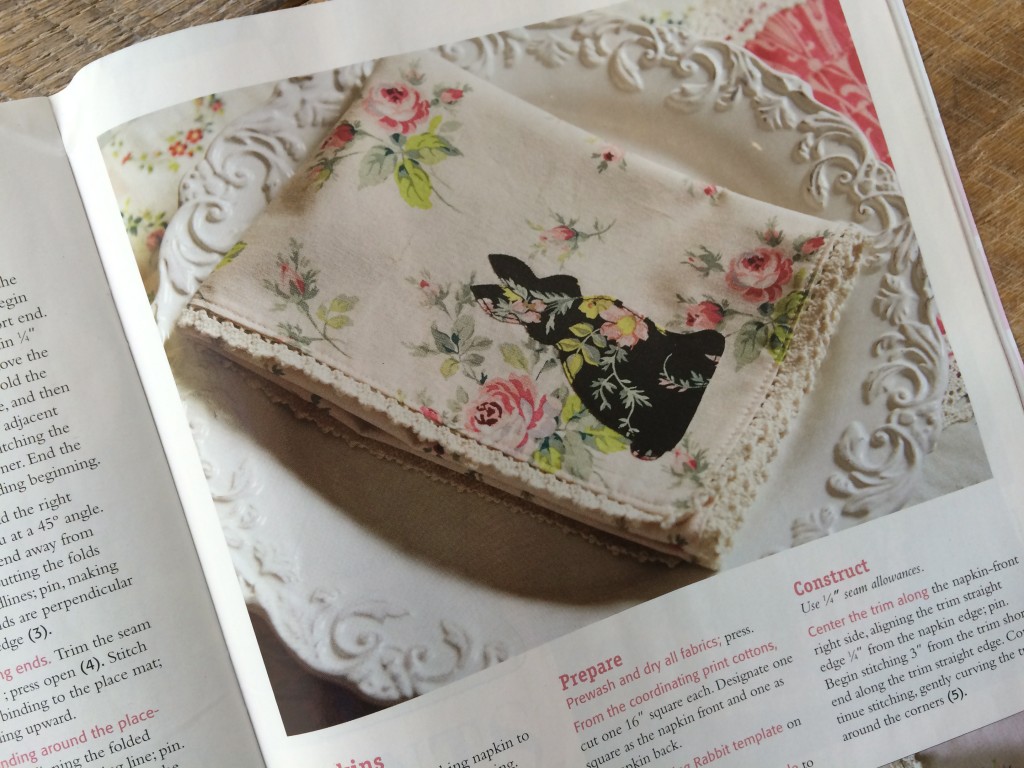
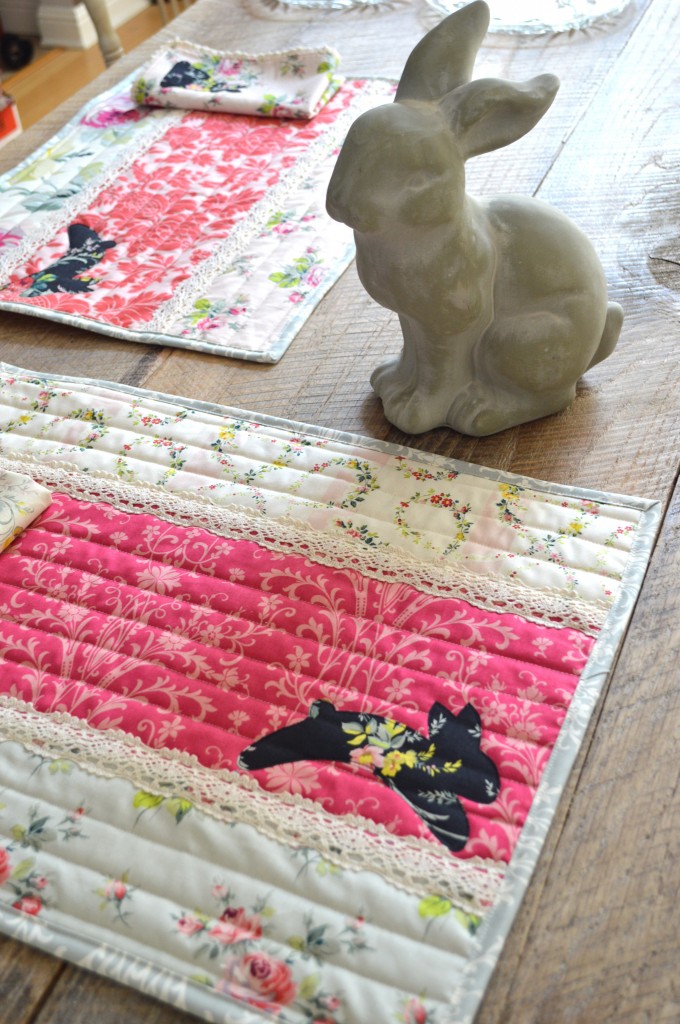
I I have a hard time keeping secrets!  Especially since August 2014!  My quilted bunny placemats and reversible bunny napkins are in the April/May 2015 issue of Sew News!  I still giggle a little when I see my name in print.  I am very grateful to Sew News for liking my pattern ideas 🙂  The fabrics I choose are from the Grace line from Blend.  They scream Spring to me!!!IMG_4978

IMG_4975

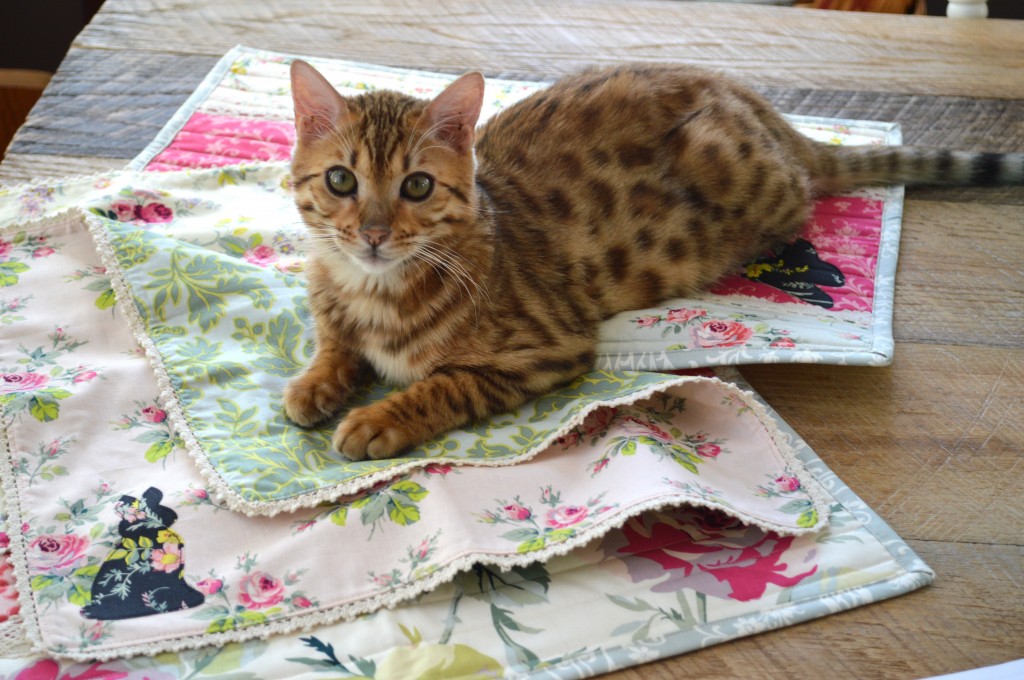
Mufasa thinks they make a nice new napping spot for him!DSC_1765

I love the texture the quilting gives the placemats.  The added lace and the pieced floral fabrics makes it seem a little vintage!bunny placemat

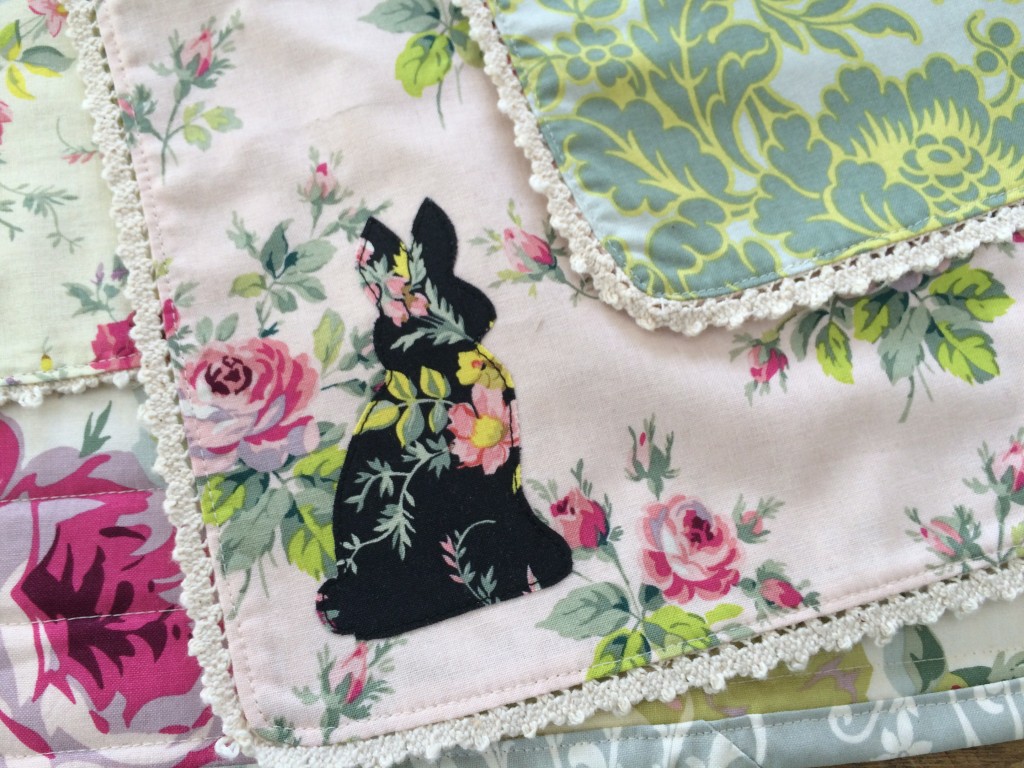
I love the addition of this ecru lace trim to the napkins.  I also love that they are reversible – no exposed seams!  If you like this project, pick up copy of Sew News and read all about it!
IMG_4980

5 Minute Kitchen Towel Tutorial

kitchen towel

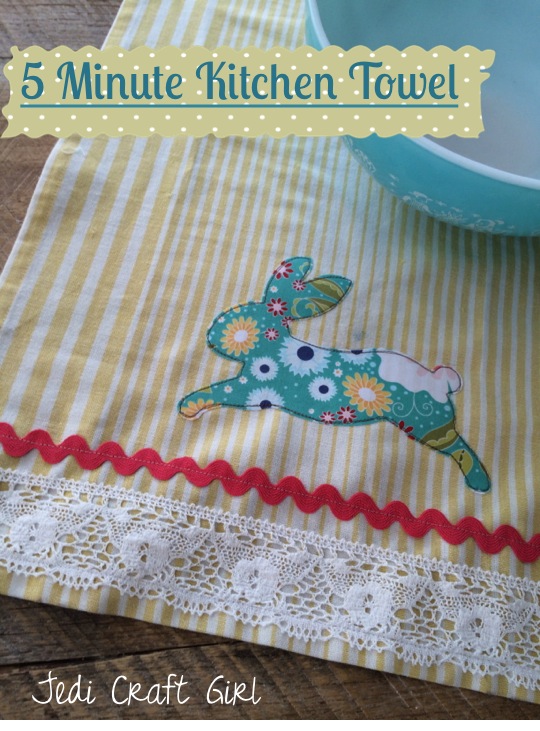
I love to give handmade gifts!!!!!  Sometimes you just need a cult little somthin’ to give a friend.  This is the perfect project!!  Literally, 5 minutes!

Supplies:

Kitchen/Tea towel yardage, or purchased tea/kitchen towel

Scrap of fabric for the bunny, mine is from Riley Blake Designs

Piece of ric rac & lace slightly longer than the width of the towel

Piece of Heat n Bond Lite

Sizzix Big Shot (or you can hand cut any shape you want)

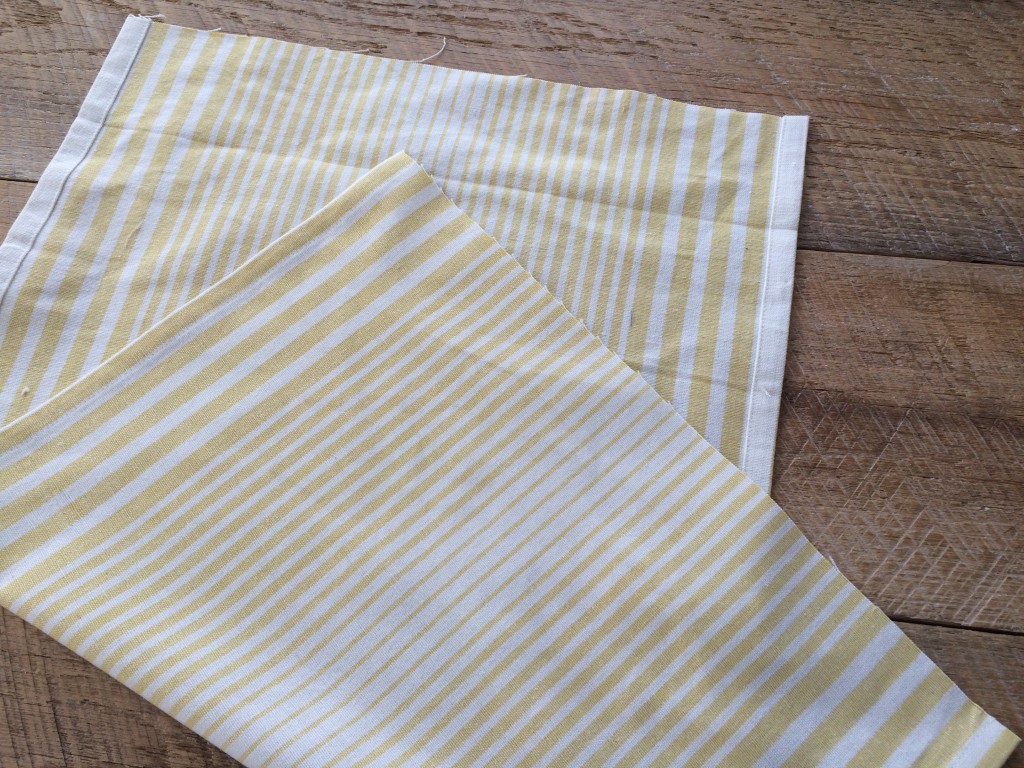
I love this towel yardage – it’s hemmed along the sides.  All you have to do is cut the desired length and add hems to the ends.  It comes in many colors and patterns.  You could totally use a white tea towel, or other kitchen towel!  I cut mine at about 3/4 yard long,

kitchen towel tutorial


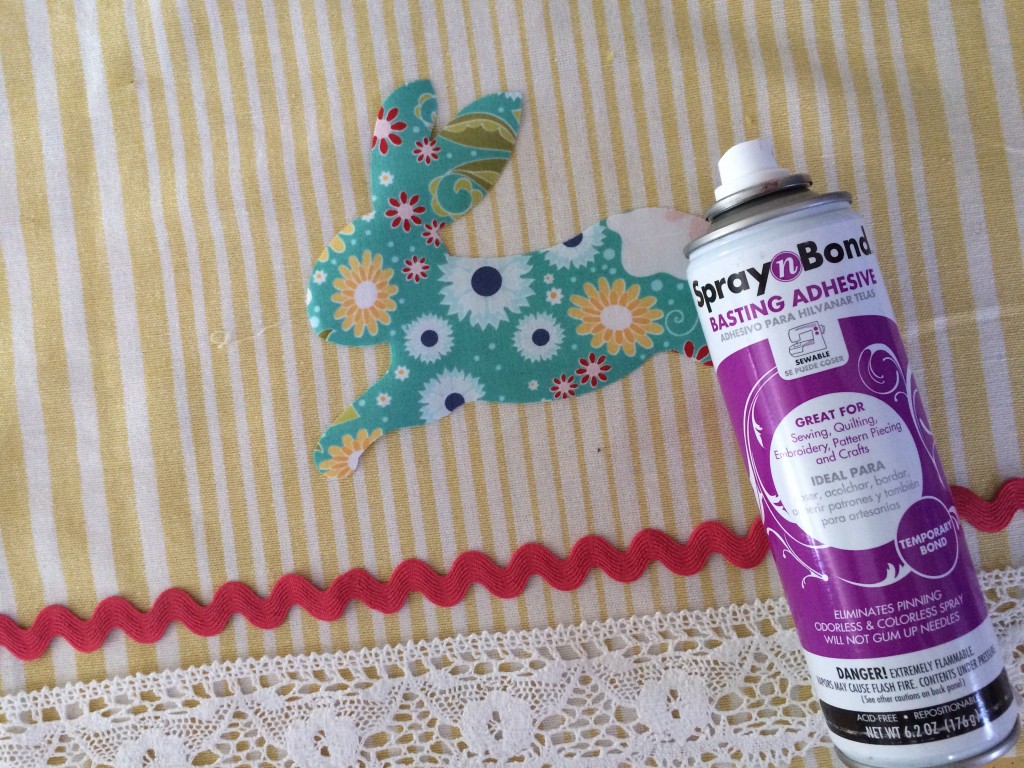
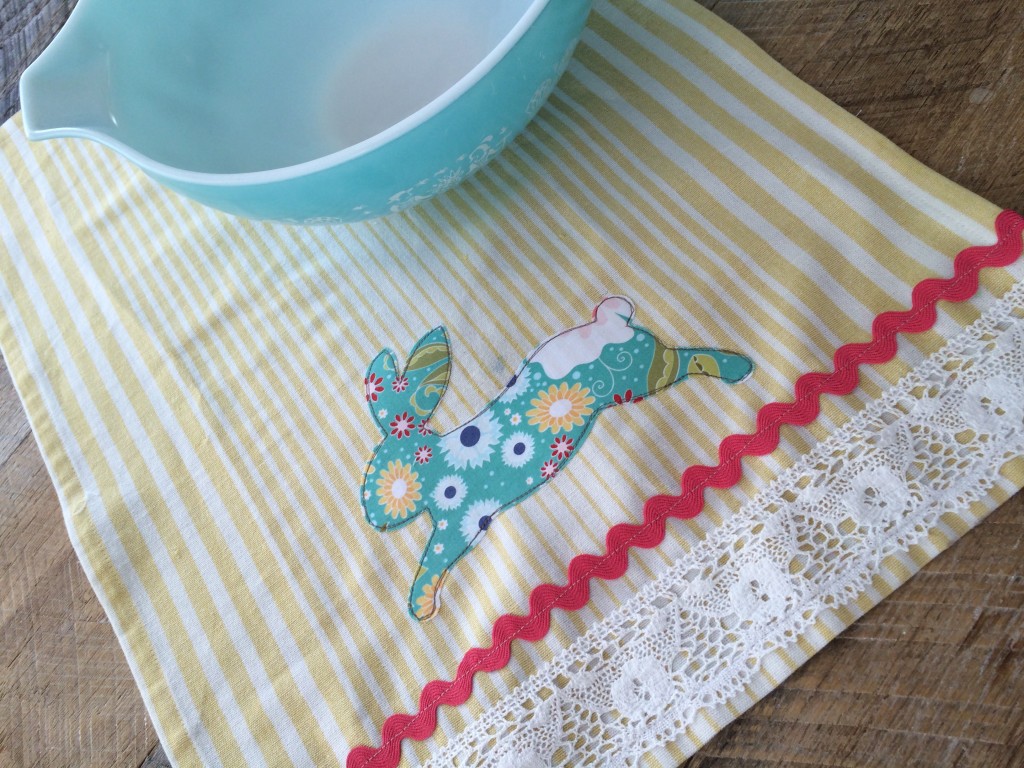
Iron the Heat n Bond Lite to the back of the fabric.  Run it through the Big Shot – or hand cut the shape.  Peel off the backing paper.  Using spray n bond (or pins) position the lace and the ric rac.  I run the edges of my ric rac through a flame to seal the edges.  Tuck the ends in or around the back of the towel.  Stitch in place.  Iron the bunny into place and top stitch 2 times around it.sizzix bunny towel
And it’s done!  I want to make a stack of them!  Wouldn’t they make cute Easter gifts!  I better get sewing!!

IMG_4972

Day #1 – 14 Day Walk With Christ 2015

Welcome to the first day of the 14 Day Walk With Christ!  These last few years we have enjoyed studying a new gospel topic each of the days during this journey.  This year we are focusing on serving: serving our family, our friends, our neighbors, and our community.  I hope you are able to join in and find ways to see another’s lack and give of yourself.  
Day #1 – Serving in our Family
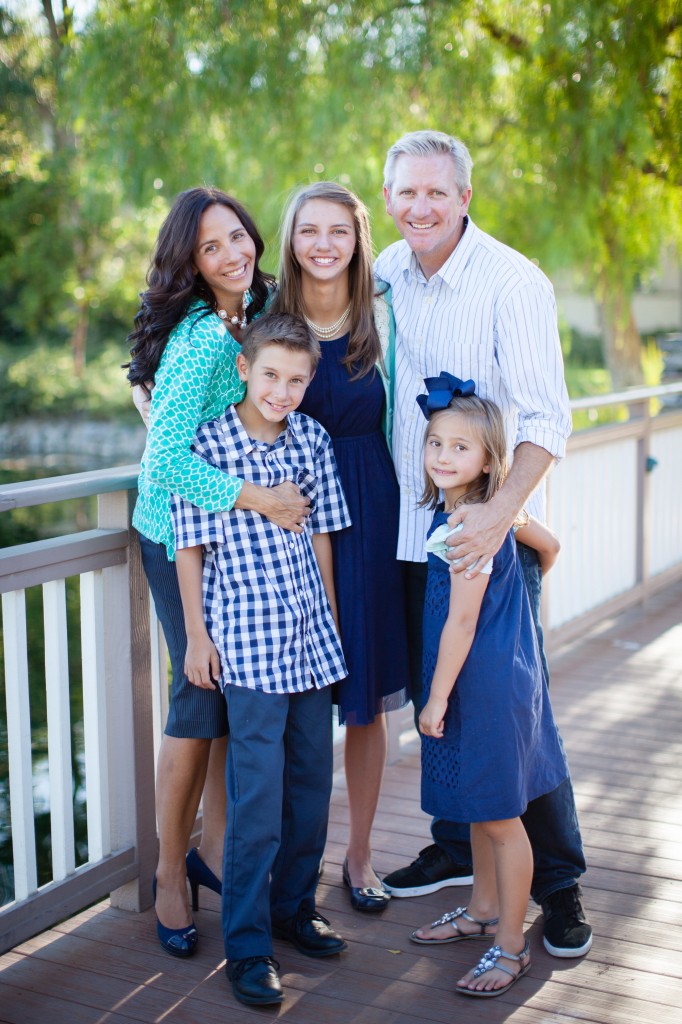
This is our family.  This photo makes it look like we are a perfect family – we all are in our nicest clothes that even coordinate, our hair is perfect, it is a sunny day and we are all smiling.  Isn’t this how families are supposed to be?family
This is really a better representation of how our family is – especially during a family photography session in which NO ONE wants to be at!  Our family is far from perfect.  On any given day I am faced with children who are fighting, arguing, poking, pushing, hitting, teasing, touching, tattling, and you get the picture.  I have good kids, but somehow they can push each other’s buttons.  
family2
I thought this was a good place to start in our 14 Day Walk With Christ.  Taking this time to be reminded how the Savior loved and how we should have that same love in our family – especially!
I love this quote from Mother Teresa:
family love

Our Savior gave Himself in unselfish service. He taught that each of us should follow Him by denying ourselves of selfish interests in order to serve others.

“If any man will come after me, let him deny himself, and take up his cross, and follow me.

“For whosoever will save his life shall lose it: and whosoever will lose his life for my sake shall find it” (Matthew 16:24–25; see also Matthew 10:39).

Service Bunnies – Hop To It!

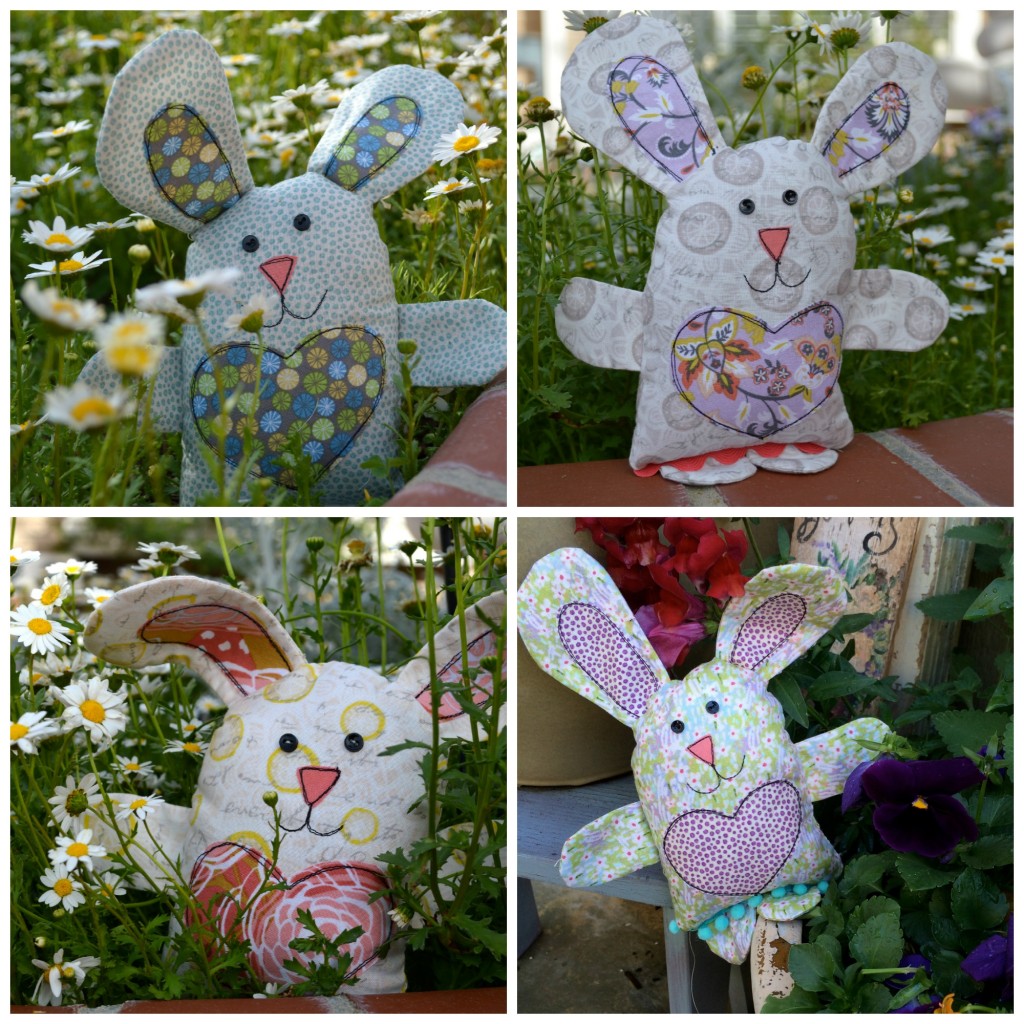
I have been sewing these little bunnies last week for this little idea I had.  If you want to make your own, here is where I got the pattern.  You can also use store-bought bunnies, paper bunnies, or bunnies you already have.

bunny collage

The idea is to begin with one bunny.  Tell your family that the little bunny is going to help bring some love into your home.  Ask for a volunteer who wants to begin.  That person then takes the bunny and thinks of something nice or thoughtful he/she can do for someone in the family.  After that person has done their little act of service, the bunny is placed on the recipient’s bed.

IMG_4886That person is then next for the service task.  What they don’t know is that bunnies tend to multiply.  Give it a few days and then introduce another bunny.  Keep the bunnies hopping around to each person in the family.
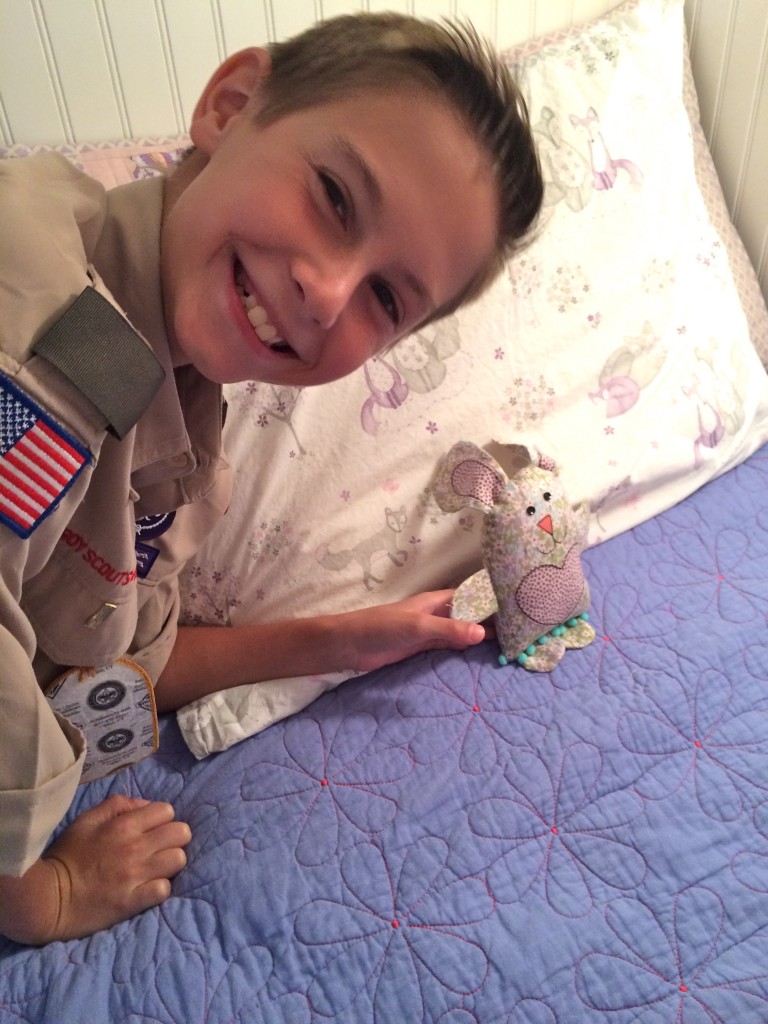
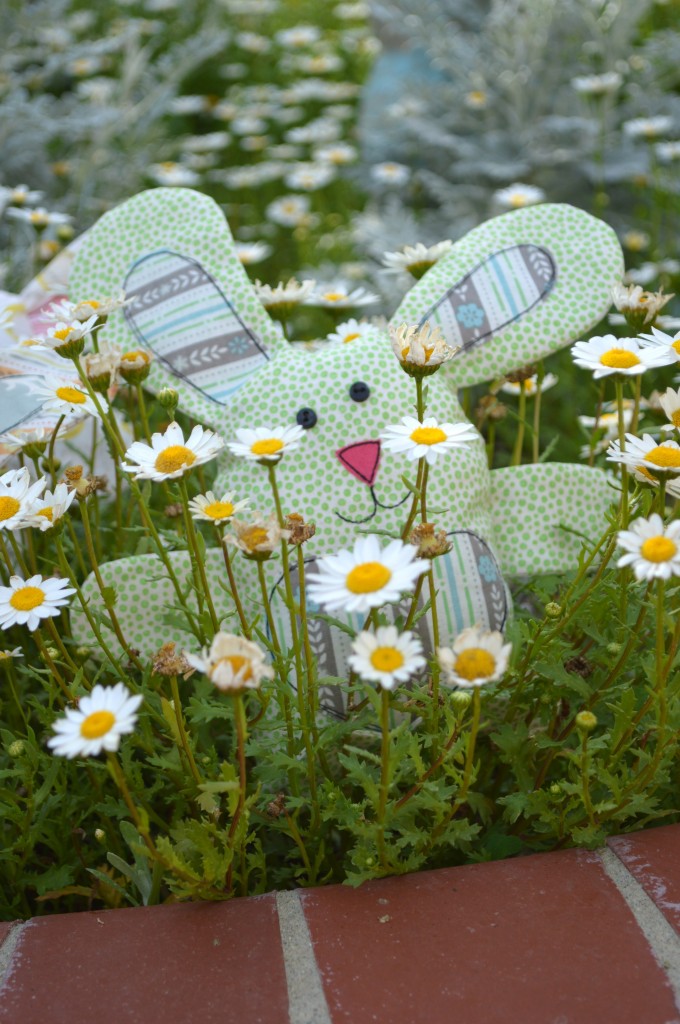
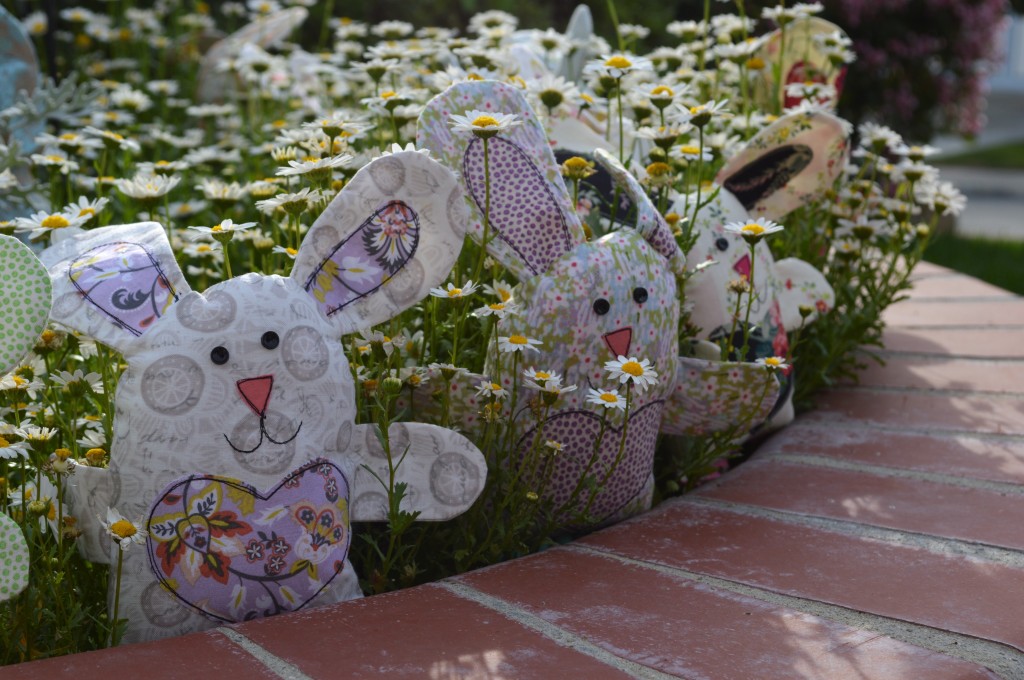
IMG_4889Then a few more days, introduce another bunny – until you have more bunnies then you can handle!  At the end of the 2 weeks, hopefully there will be a little more peace in your home and the children get to each keep a bunny as a reminder to have more love in our families.
Little Love Bunny Pattern by Jennifer Jangles

It’s officially spring!  Bunnies are popping up all over the place!  
love bunny 5

I LOVE spring bunny projects.  I have had so much fun making these cute little critters!

love bunny 1

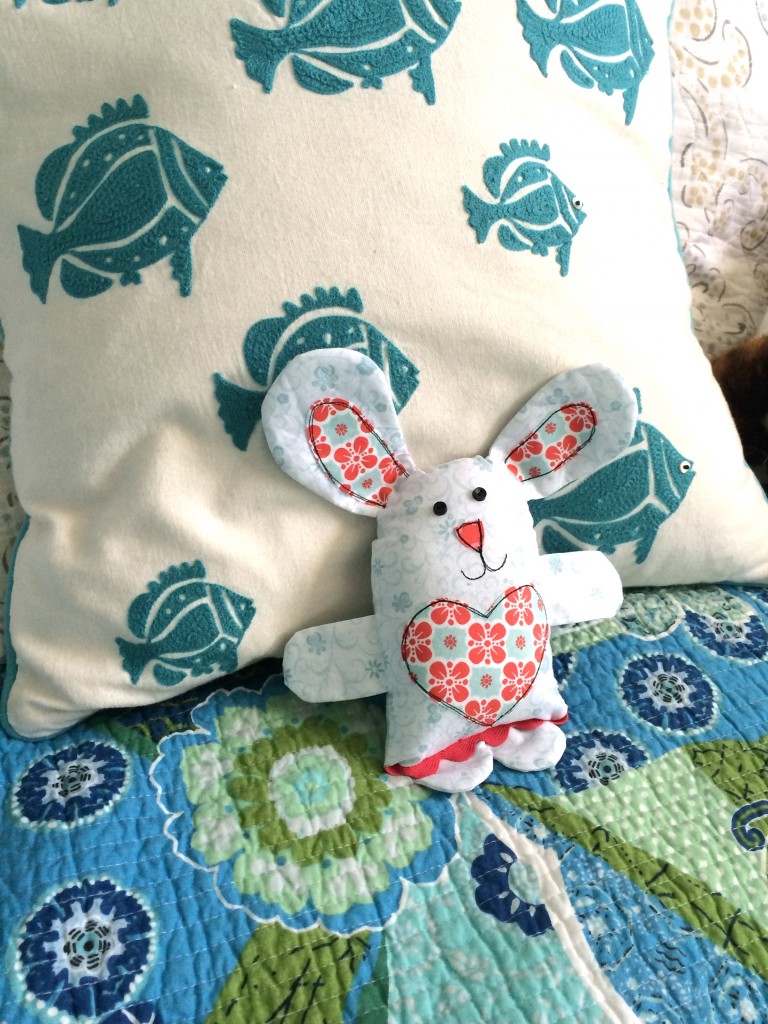
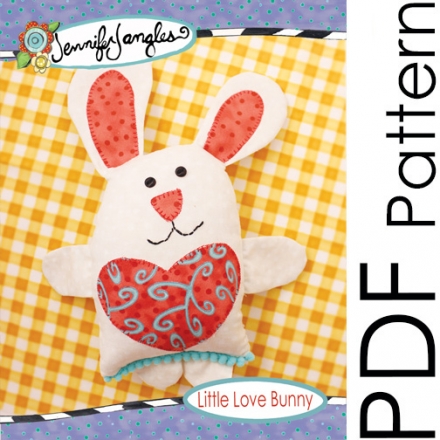
The pattern is from the very talented Jennifer Jangles.  Her pattern is available to download from her website.  The instructions are very clear and it’s an easy project to put together.  All the fabrics are from Blend Fabrics.  With so many fun patterns to choose from, I mixed and matched their fabric lines to come up with some fun combinations.

bunnypdf

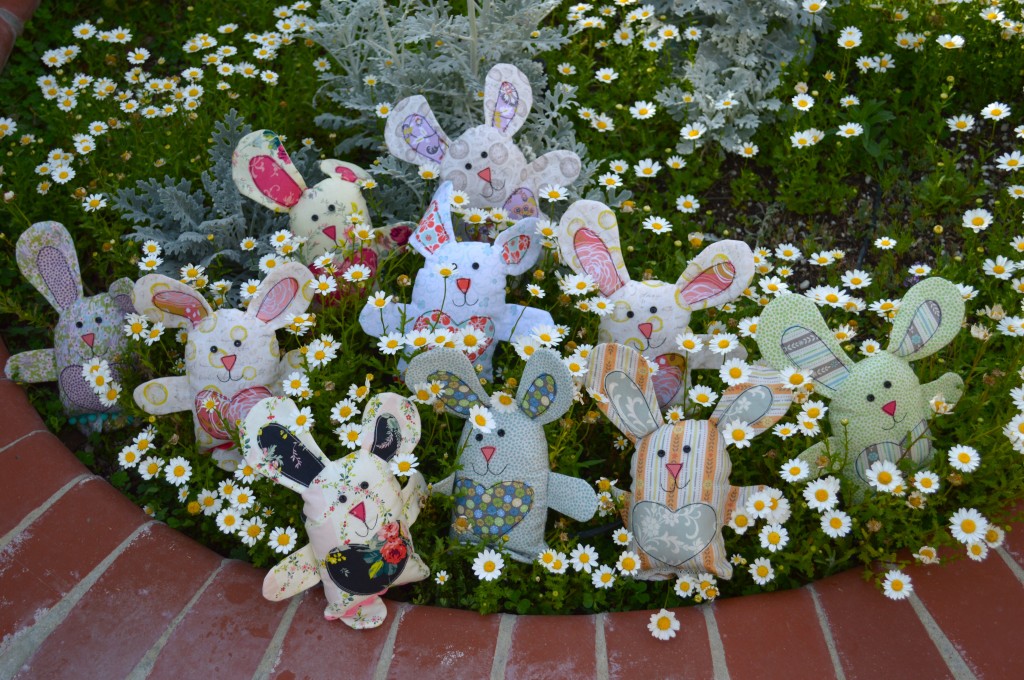
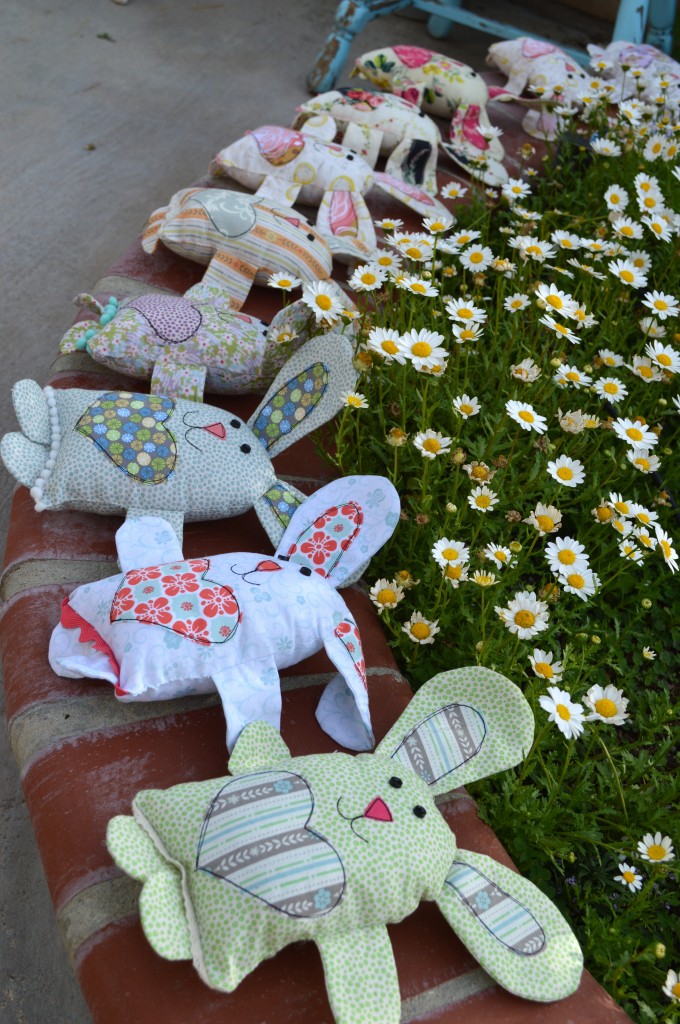
I went a little crazy and made 10 of them!!

love bunny 6

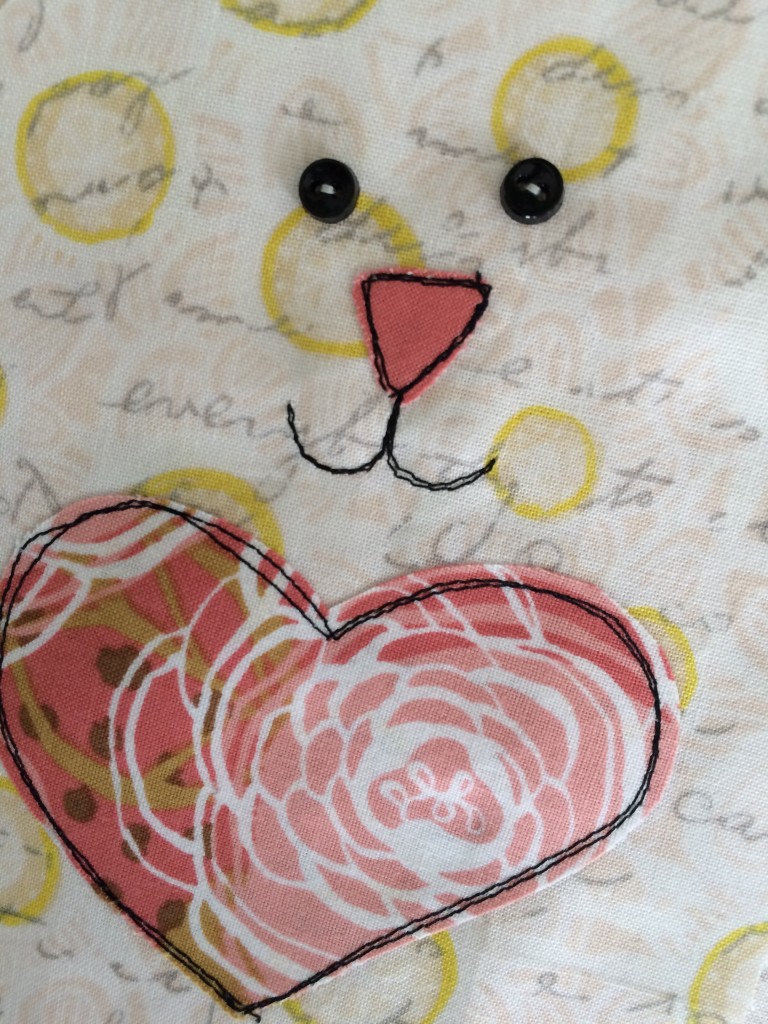
Instead of hand stitching the nose and mouth, I used the sewing machine.   The nose, heart, and inner ears are all appliquéd with Heat n Bond Lite.  I used black thread and outlined stitched the appliqué pieces 2 to 3 times each.  The black really helps the fabrics pop.

love bunny 22

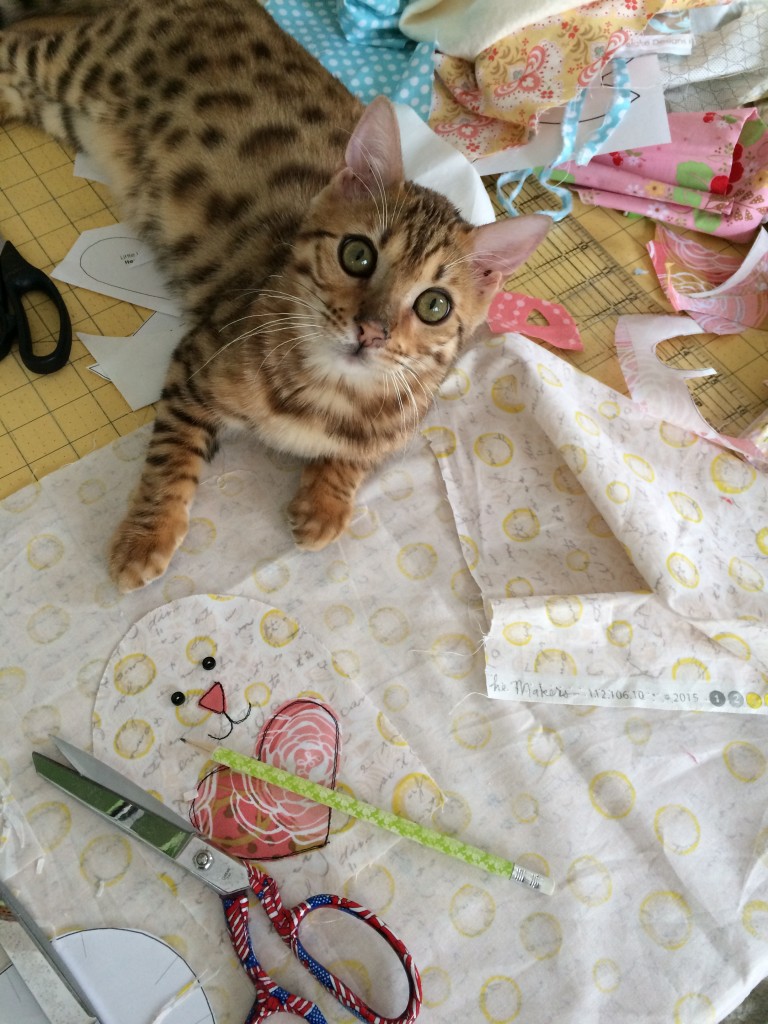
Baby Mufasa is always helping with the sewing projects.  I was thinking I might fill one of the bunnies with some catnip 🙂

love bunny 24

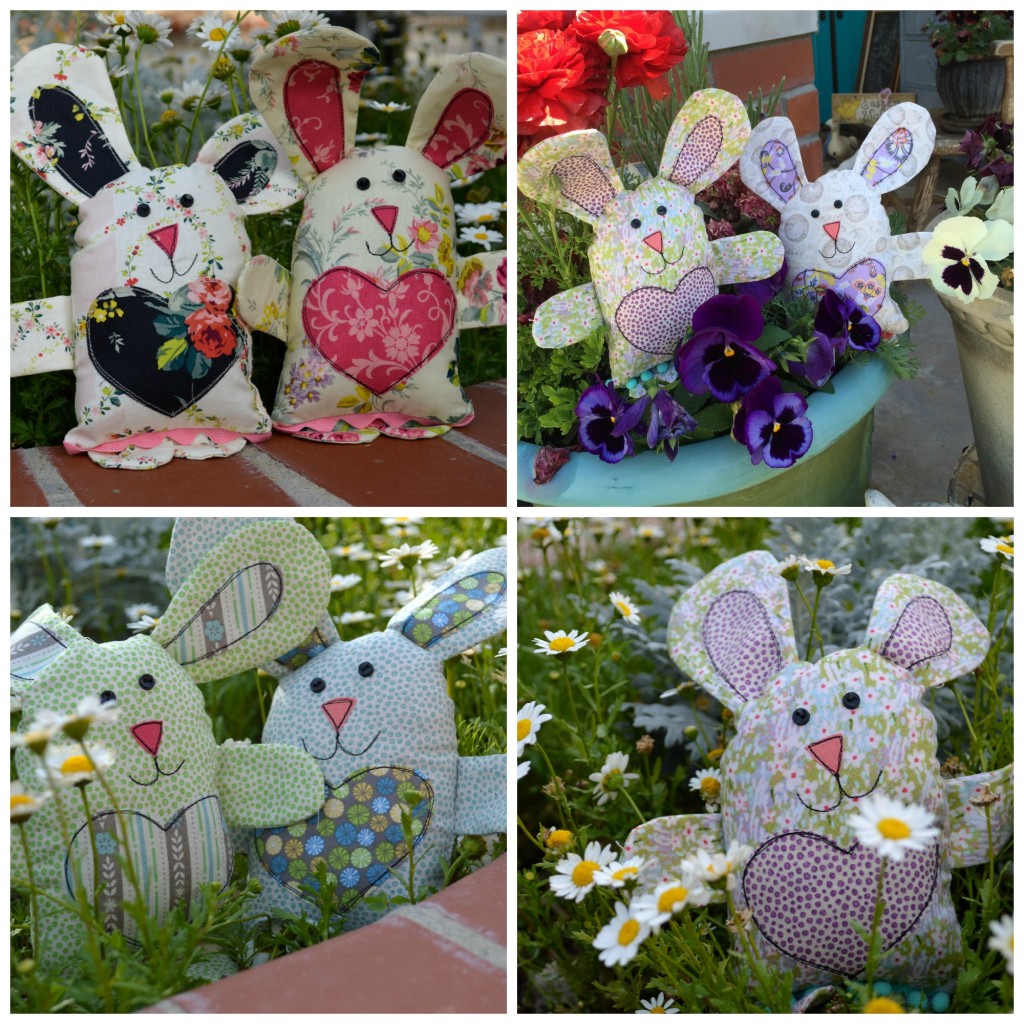
Once you make one, I bet you have to make more and more!  They each have unique personalities!

bunny collage

bunny Collage 2
love bunny 21

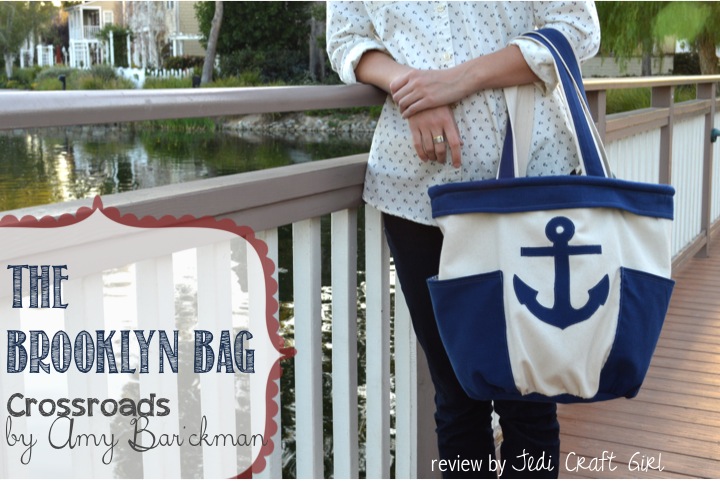
The Nautical Brooklyn Bag

brooklyn bag
I am happy to be participating in the Crossroads Denim Blog Tour!  If you are new to the Jedi Craft Girl blog WELCOME!!!!  The blog tour is highlighting Amy Barickman’s AMAZING new line of denim.
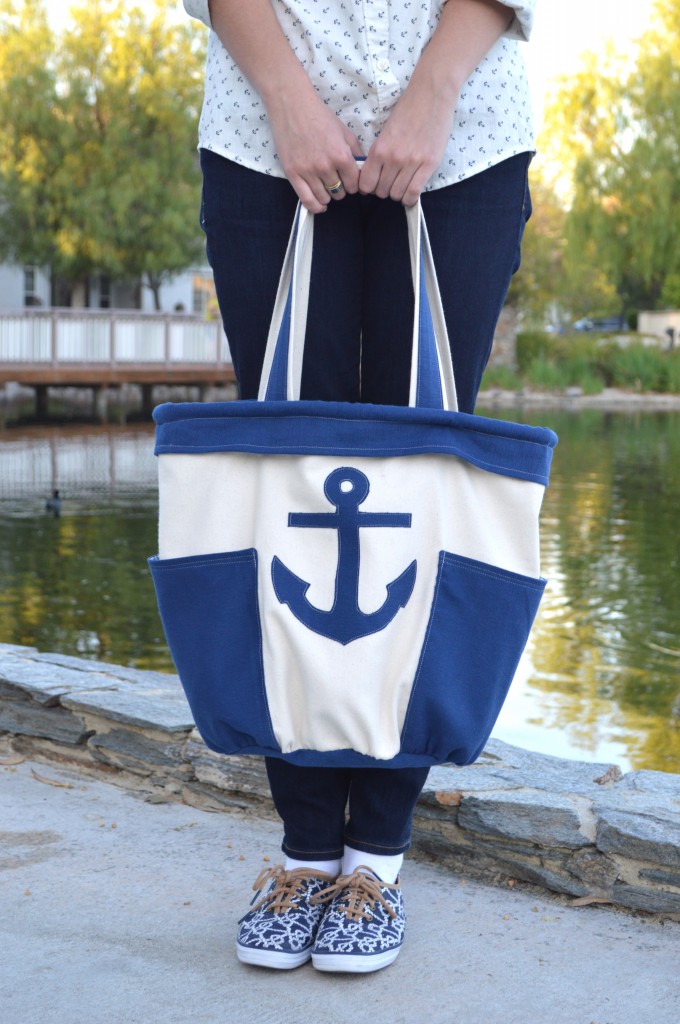
CrossroadsfabriclogoScroll down to see a complete list of all the fabulous bloggers making wonderful projects with this soft & cozy denim.  I have loved getting my hands the Crossroads denim and can’t wait to make a skirt, zipper pouch, and throw pillow next!  It is the softest denim I have ever sewn with and it comes in so many wonderful colors!  The possibilities are endless!  When I met The Brooklyn Bag pattern I knew I wanted to give it a little Nautical flair –  I am obsessed with all things Nautical if you haven’t noticed 🙂
anchor bag 16
PIJ975CR-2T
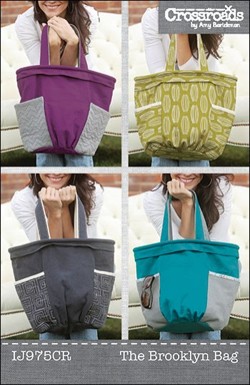
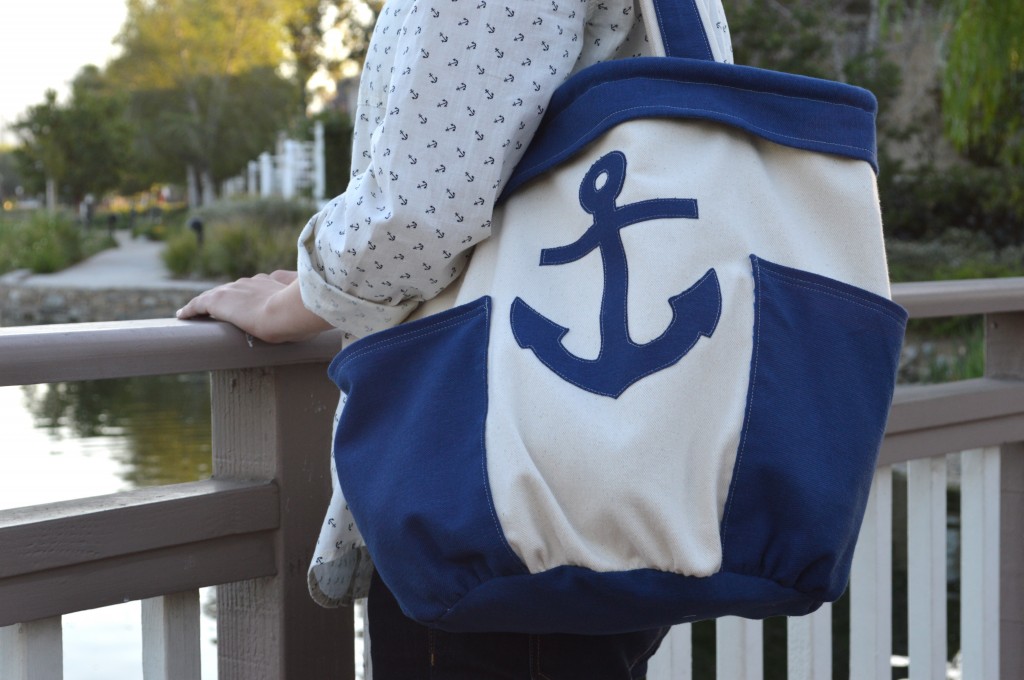
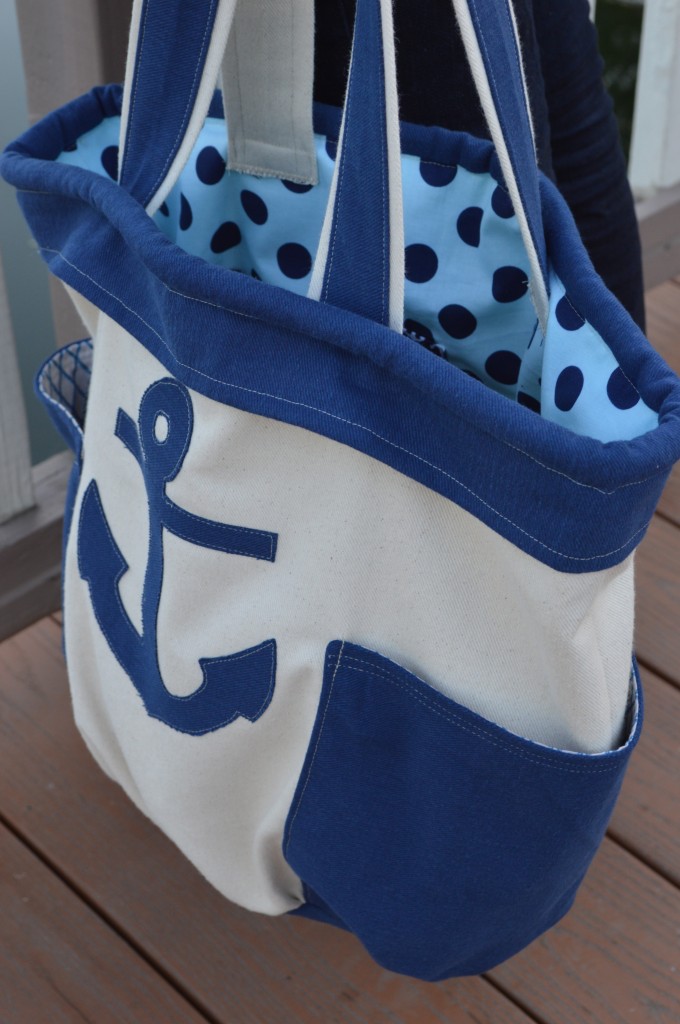
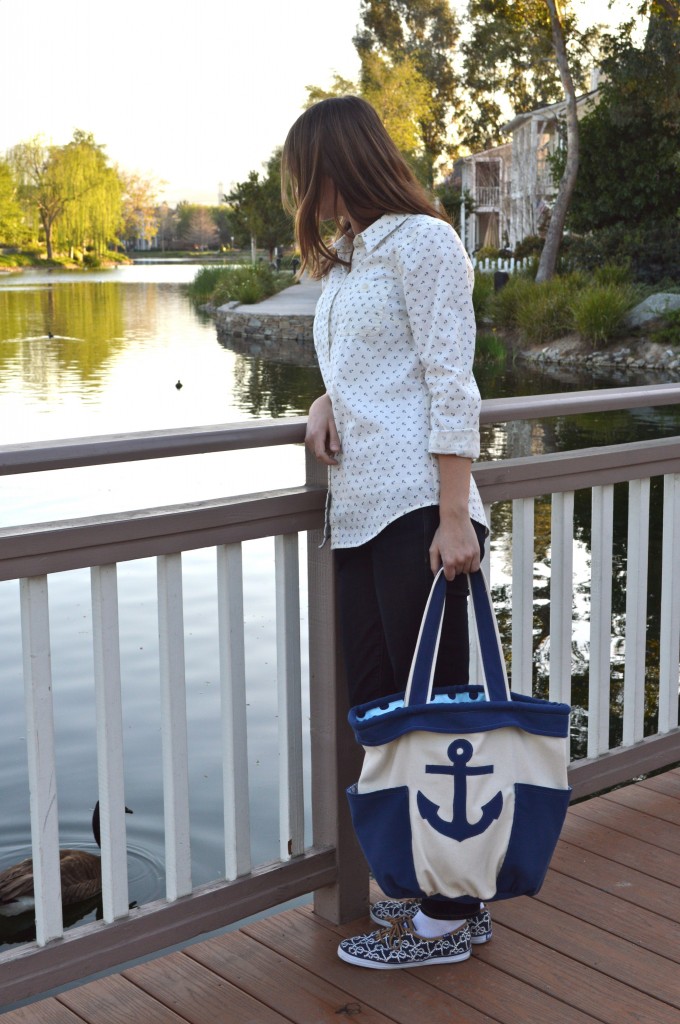
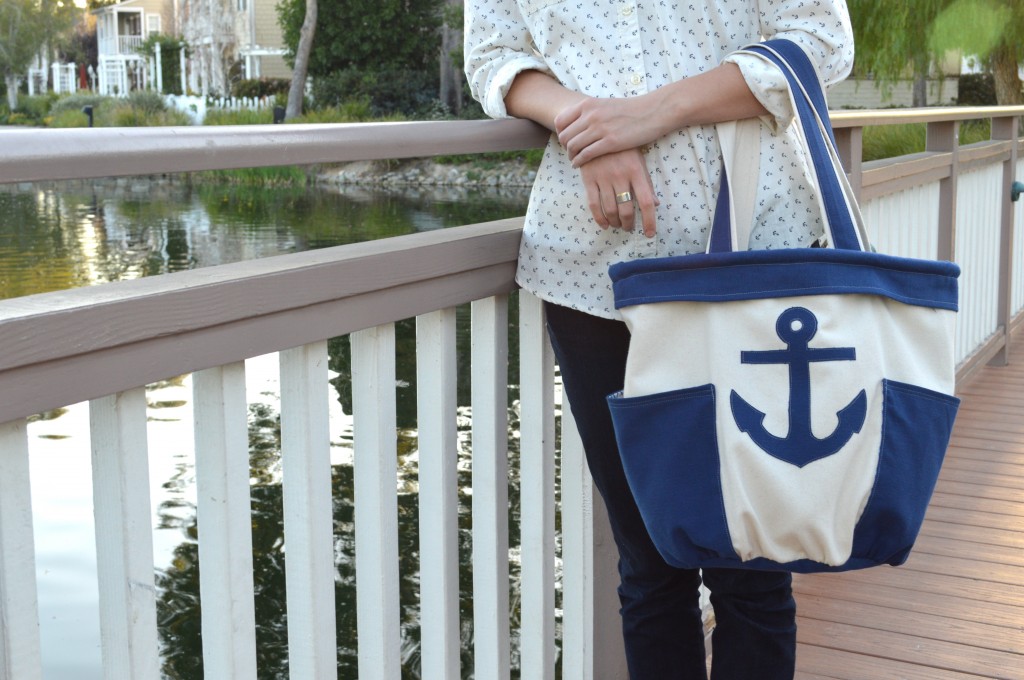
This bag is perfect for taking on a day trip, as a large diaper bag, as a catch all bag, as a park bag, as a throw everything in it bag and as I want 100 of these bag!!!  The construction is straight forward and the pattern instructions were easy to follow.  I love the added touch of the rope at the top to act as a piping – gives it such a casual fee.
anchor bag 26
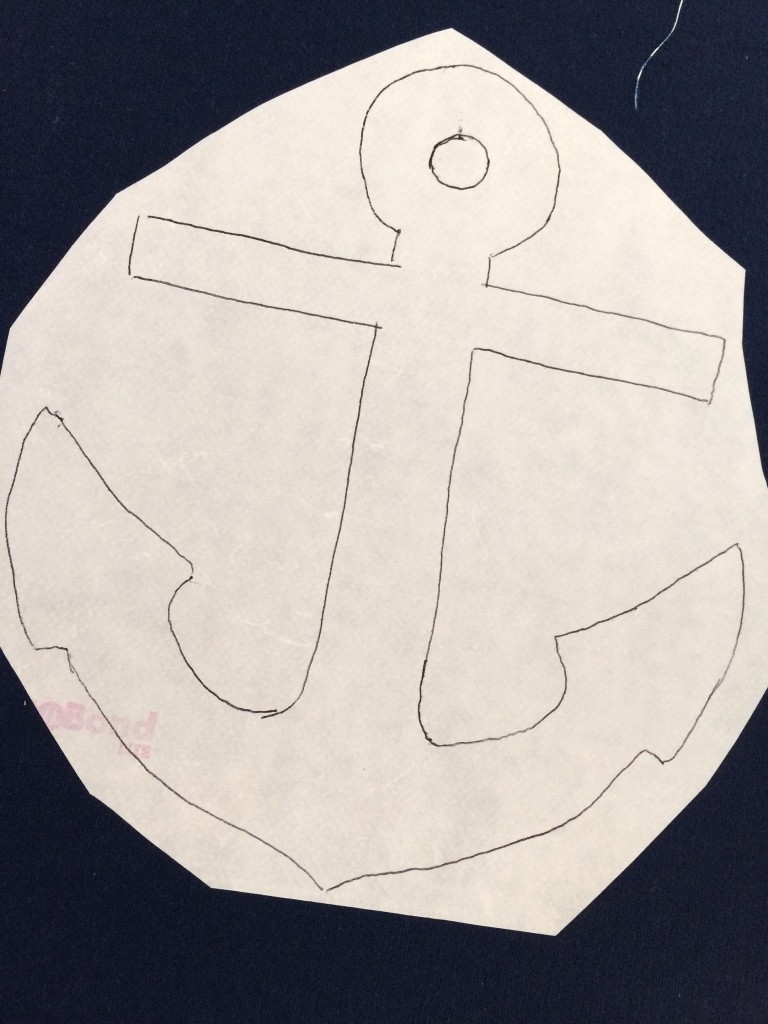
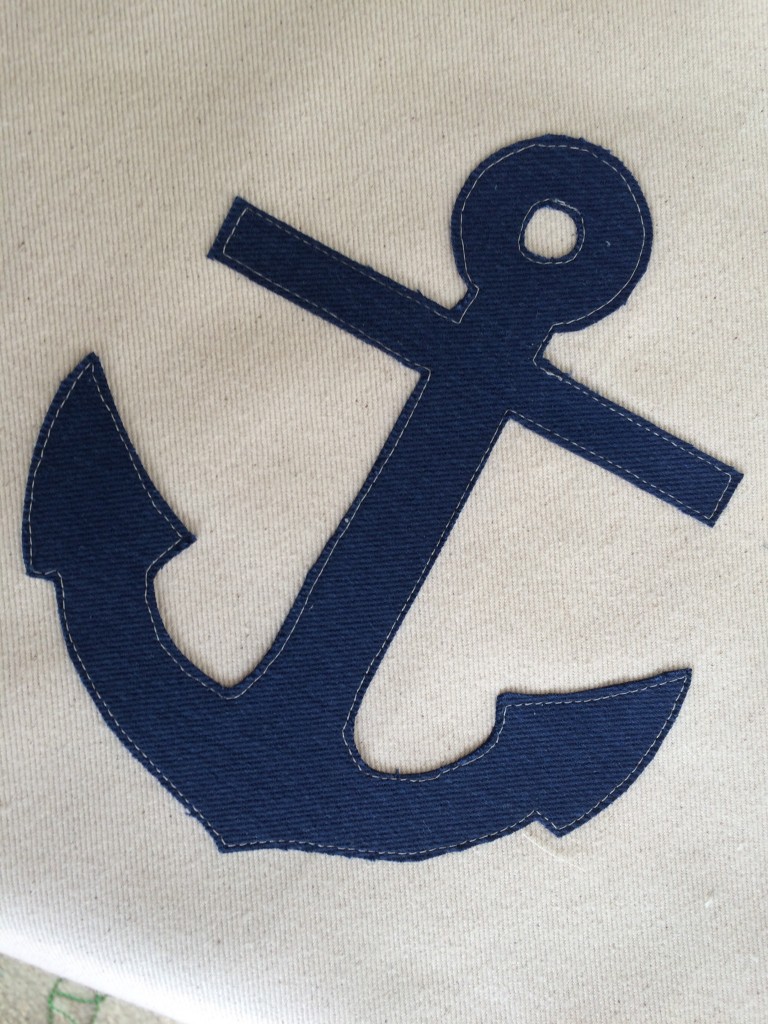
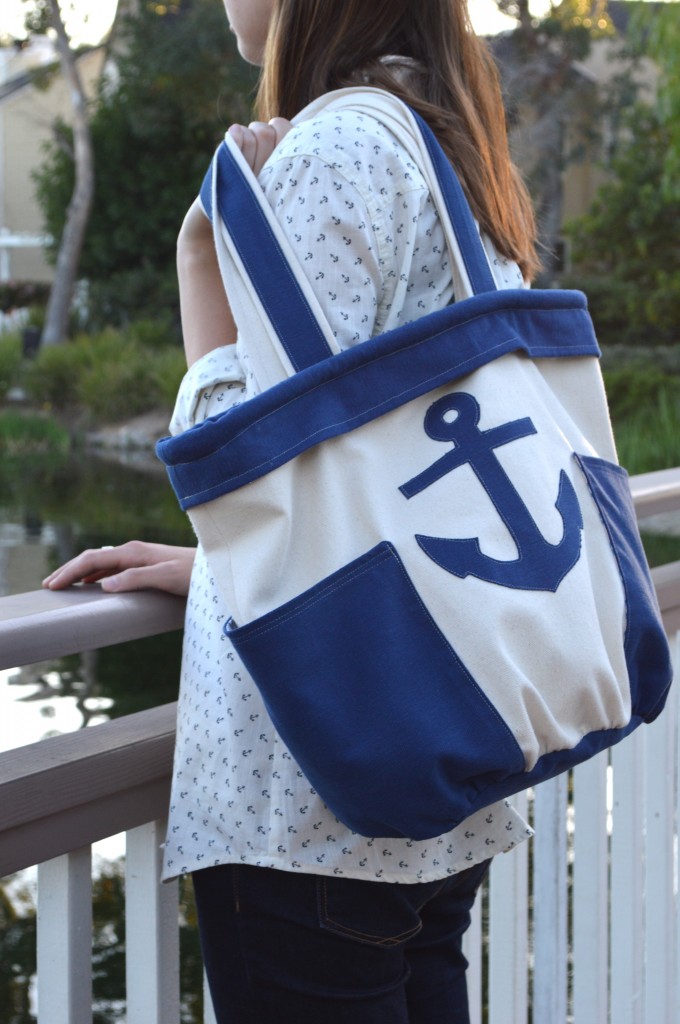
I followed the pattern pretty closely and added my own appliqué.  You can download the pattern here.  I traced it on Heat n Bond Lite and ironed it to the center of the bag.  I used cream thread for all the stitching including around the anchor.
anchor bag 20
anchor bag 21
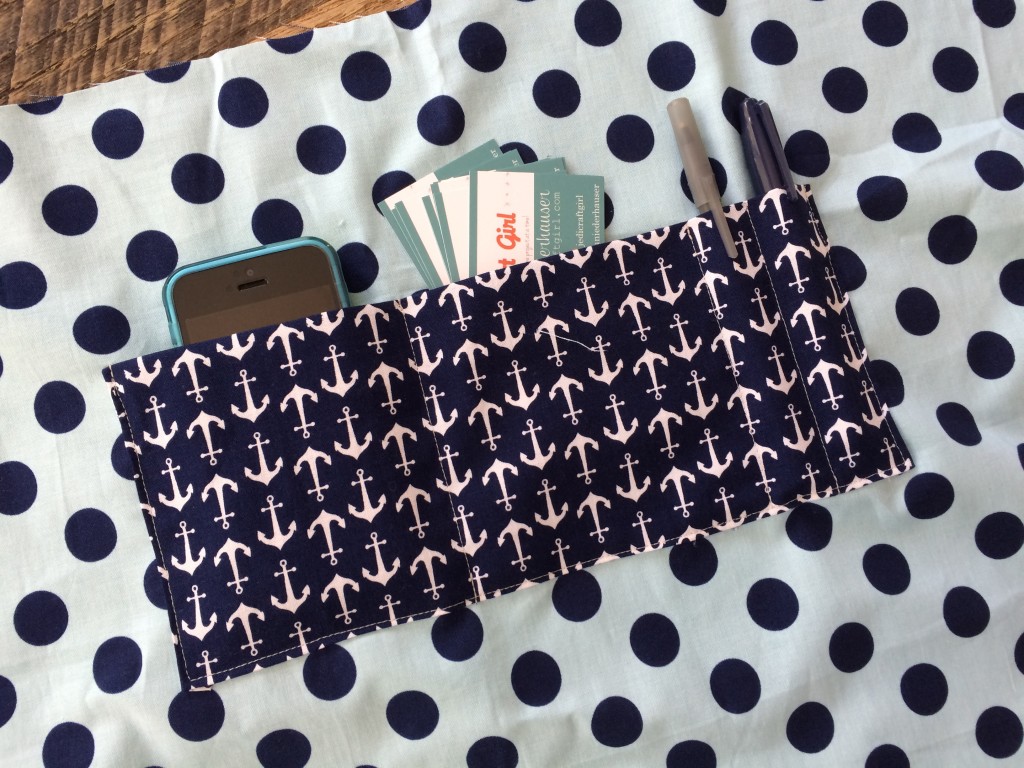
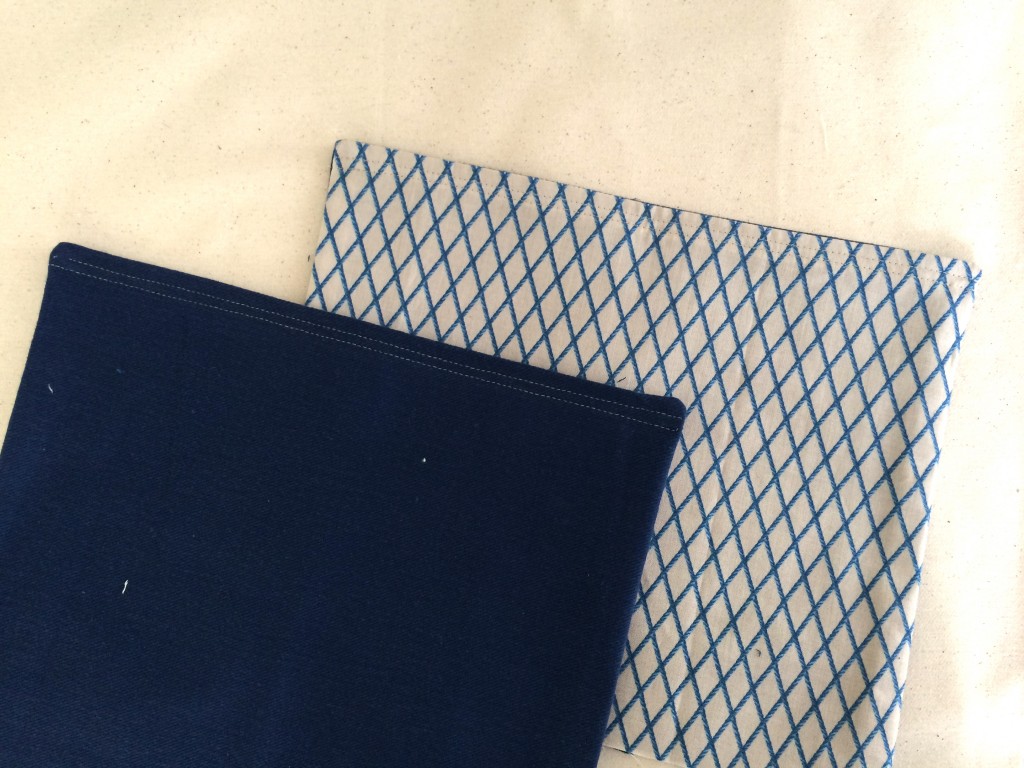
You can really have fun with the bag lining.  I chose this dot pattern from Riley Blake Designs.  Here you can see how I divided up the inside pocket.
anchor bag 22
It’s so cute on the inside!
anchor bag 8
I also added a little rope fabric accent to the inside of the outer pockets.
anchor bag 18
I like that the handles are not sewn and then turned, rather there is 4 layers of denim for extra stability.  The pattern calls for batting for the main body of the bag and for the handles.  Since the denim was sturdy, I did not use the batting.  I did find it a bit challenging to gather the outer portion of the bag bottom.  With the denim and the pockets, it was pretty thick and my normal thread kept breaking.  I suggest strong thread for this part.
anchor bag 13
anchor bag 9
I’m ready to go on vacation!!  Maybe sailing?
anchor bag 12

AB_crossroads colors

All in all I love this pattern and I can’t wait to sew up a few more!!!  If you want to check out all the other amazing projects on the Crossroad Blog Tour, here is the schedule.  Also, you can get 20% off your purchase at Indygo Junction by entering xroads20 at checkout.
3/23 Sulky

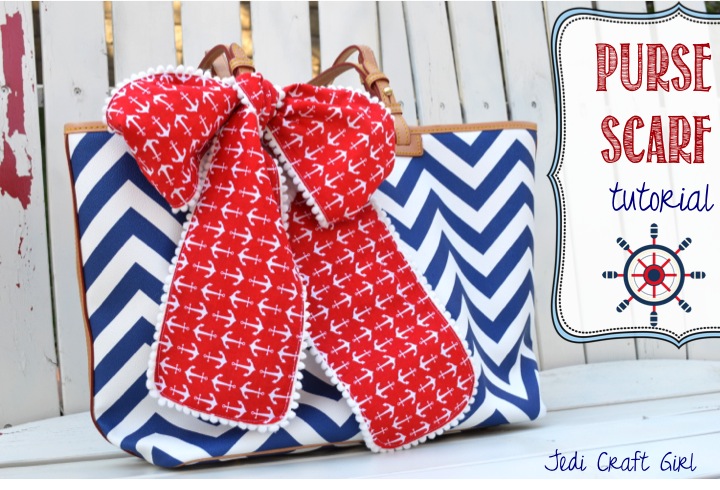
Nautical Purse Scarf Tutorial


purse scarf tutorial

purse scarf 11
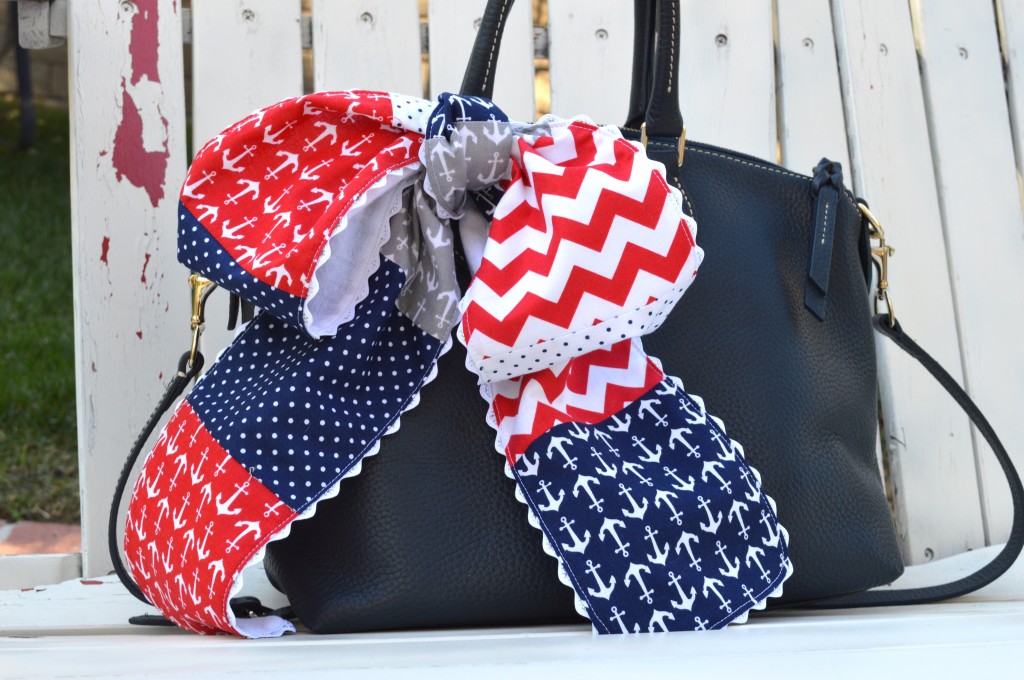
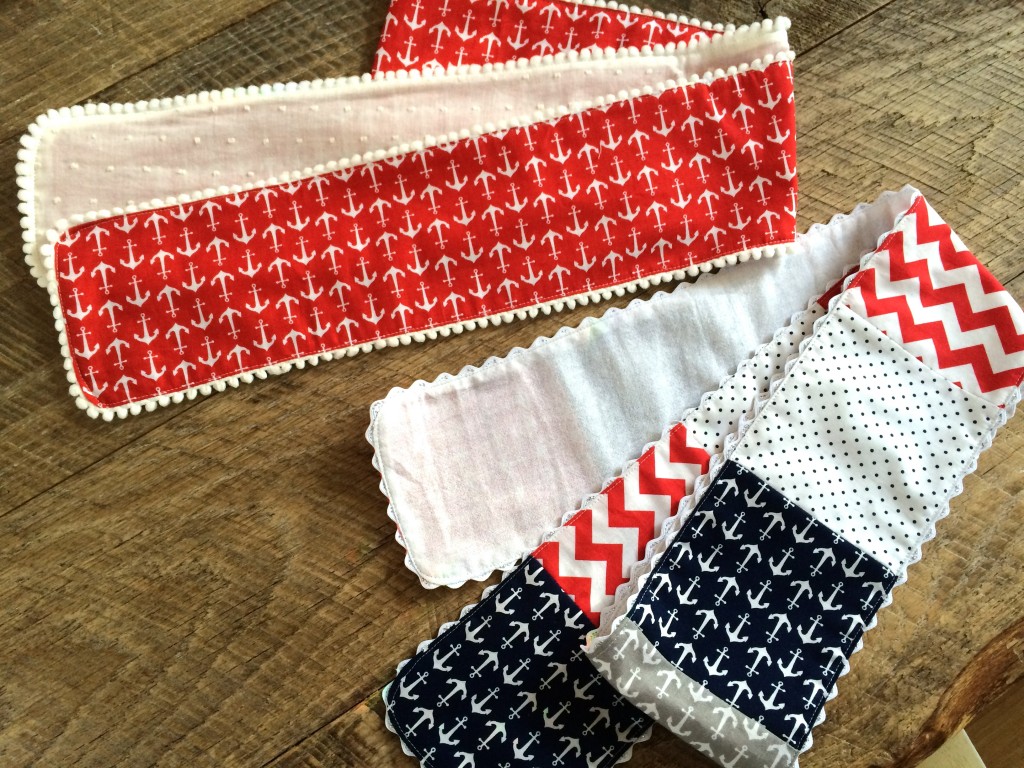
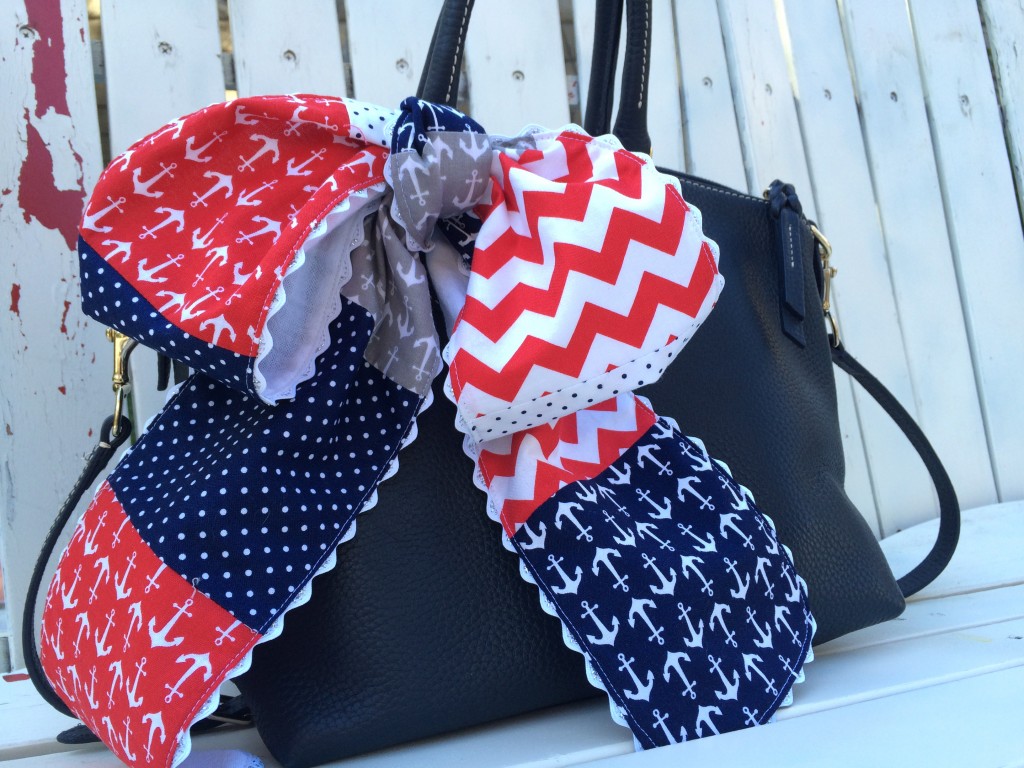
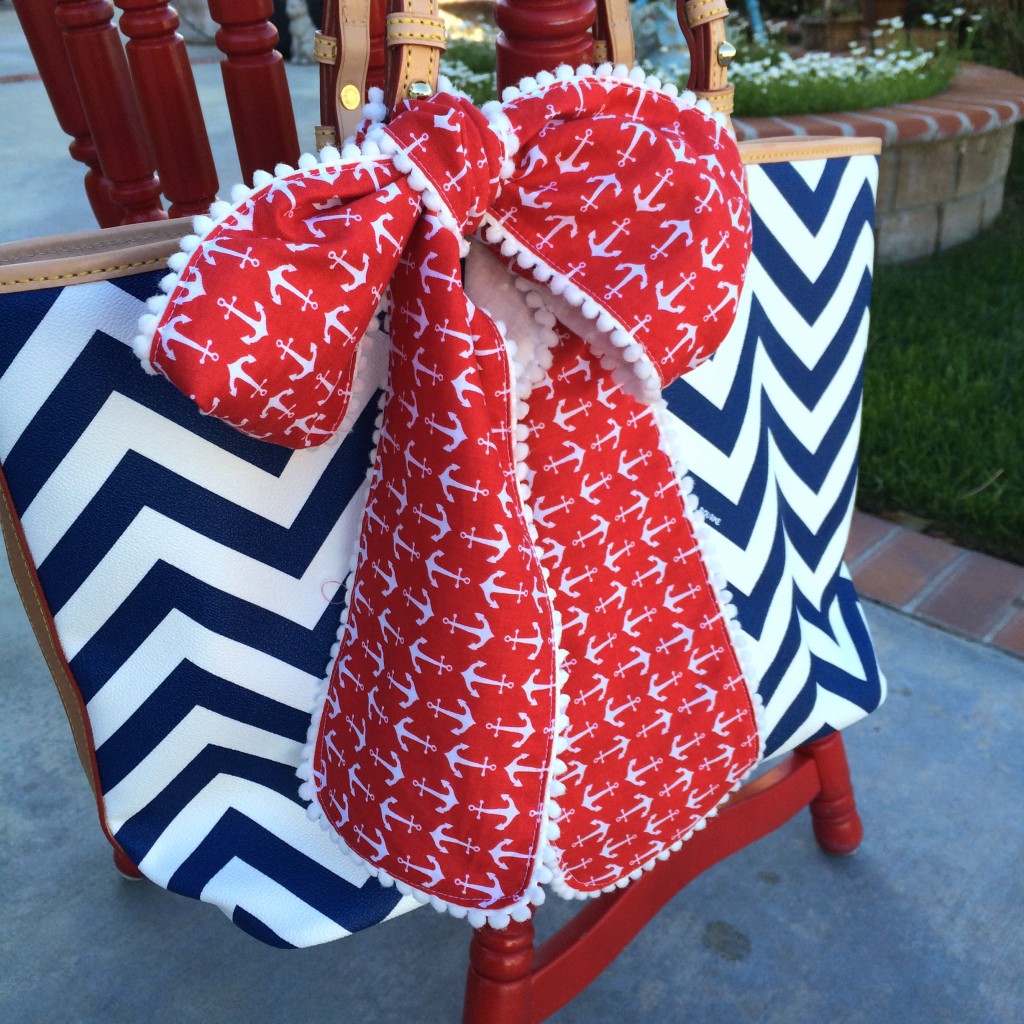
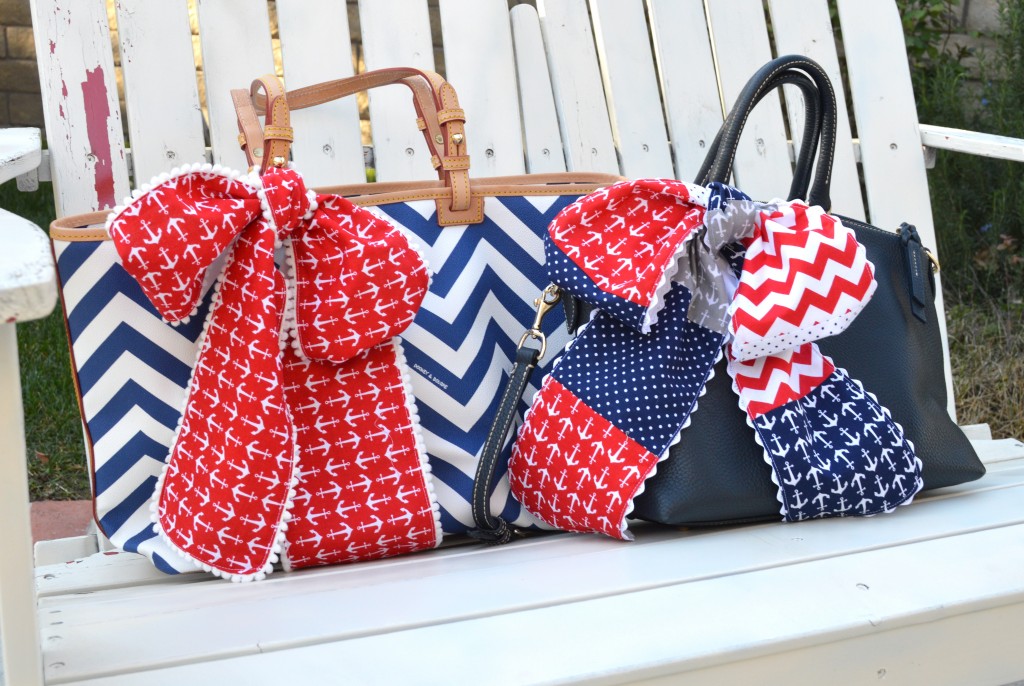
I think Nautical Week turned into Nautical Life!  I guess there are many more Nautical-inspired projects to come!  I love wearing scarves on my purses, I should first say I love buying purses!!  Sometimes the scarves you buy are too bulky for a purse handle.  I wanted to add a little “home sewn” feel to my handbag so I came up with these scarves.  They can easily be sewn in under 30 minutes which means you can make as many as you want to coordinate with your look or the season, or in my case, obsession 🙂  I love these basics from Riley Blake Designs.

purse scarf 2

Supplies:

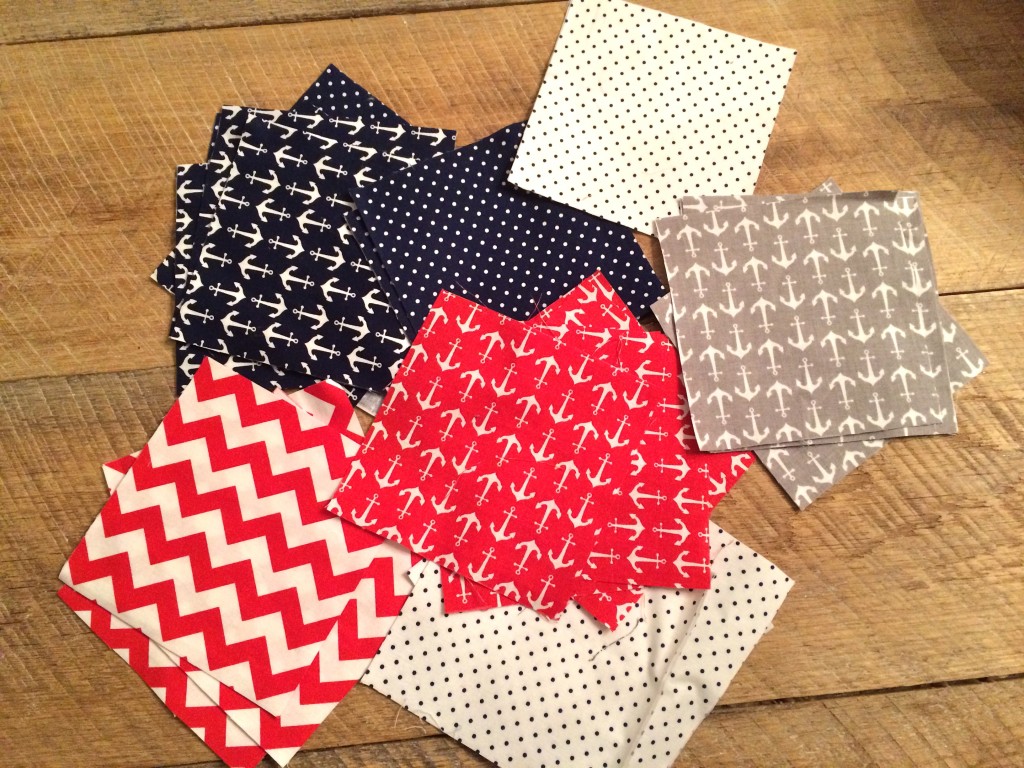
(13) 5″ squares for patchwork scarf

5″ x 60″ light weight fabric such as gauze, raised swiss dot, etc

(2) 5″ x WOF for solid scarf

4 yards trim, I used small pom pom and ric rac

Begin by cutting (13) 5″ squares

purse scarf 7

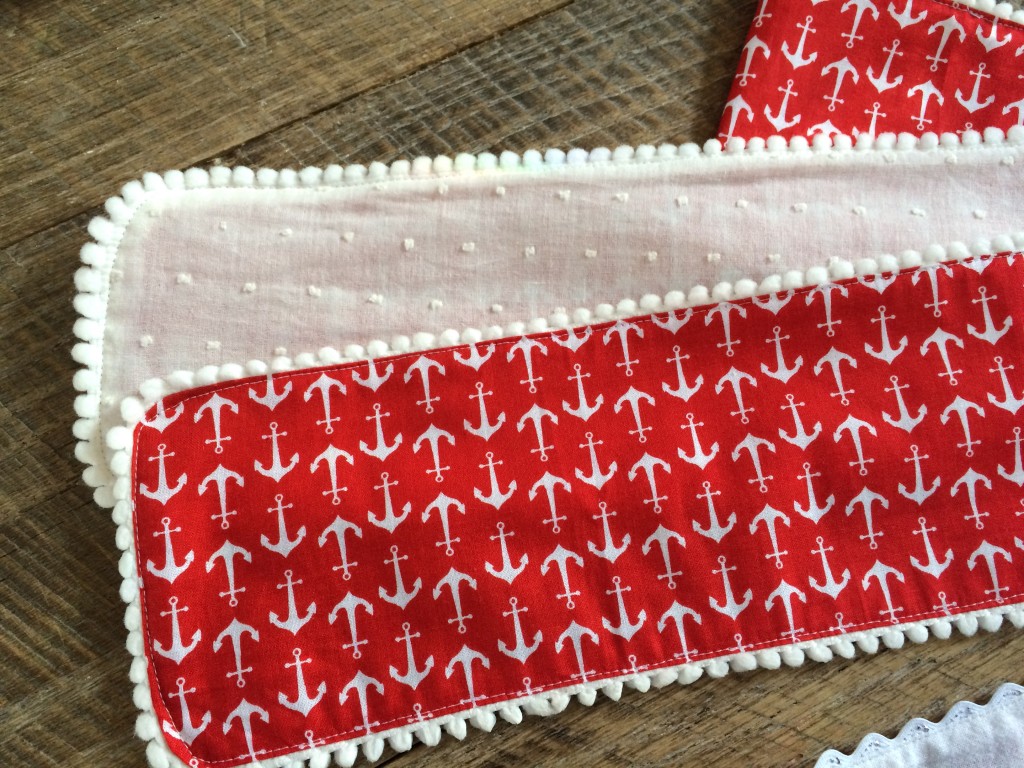
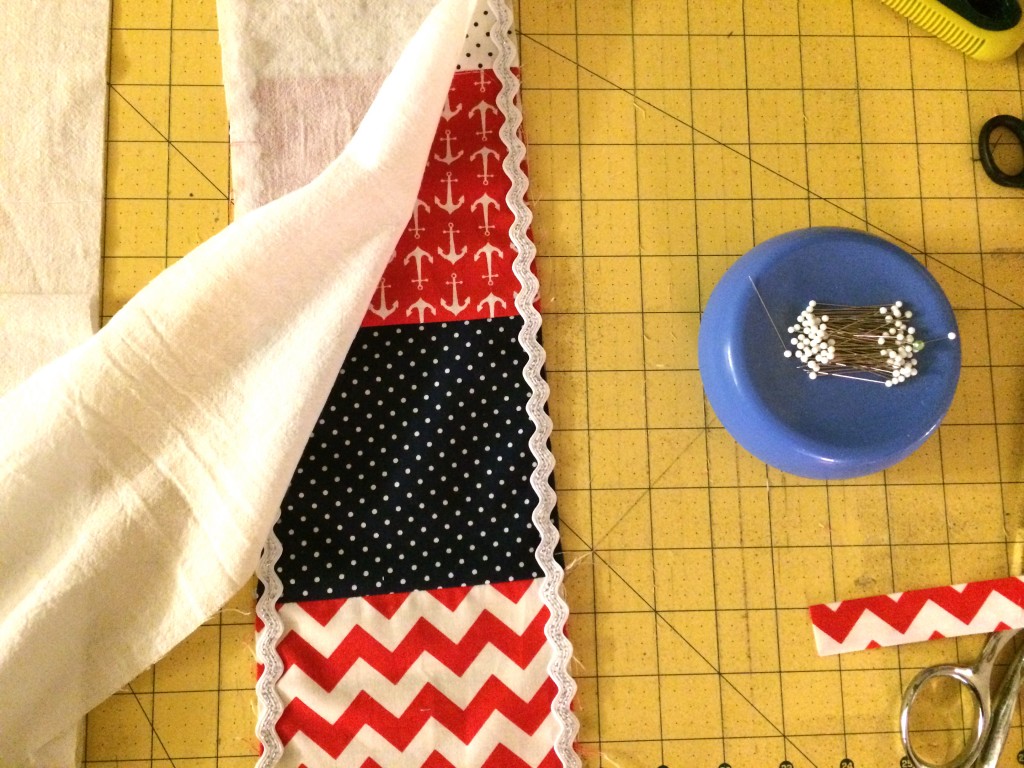
Sew them end to end with 1/4″ seams and press seams to one side.  Consider placement.  If you are making the solid scarf, sew the (2) 5″ strips together and cut to make 60″ in length.  Center the seam in the center so it does not show up on the bow.  Bast the trim around the edge.  Place right sides together and sew along the basting stitch.  Leave an opening in the center of the scarf about 3″ for turning.  I curved the corners slightly.  Turn right side out and press.

purse scarf


Top stitch all the way around.  This will close the opening.
purse scarf 6


Tie on your favorite bag!!!purse scarf 3

purse scarf 5

purse scarf 12

purse scarf tutorial

Nautical Zipper Pouch

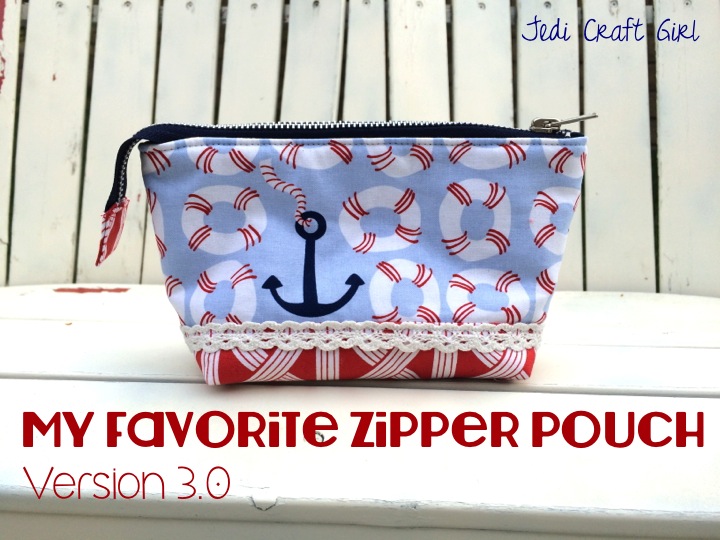
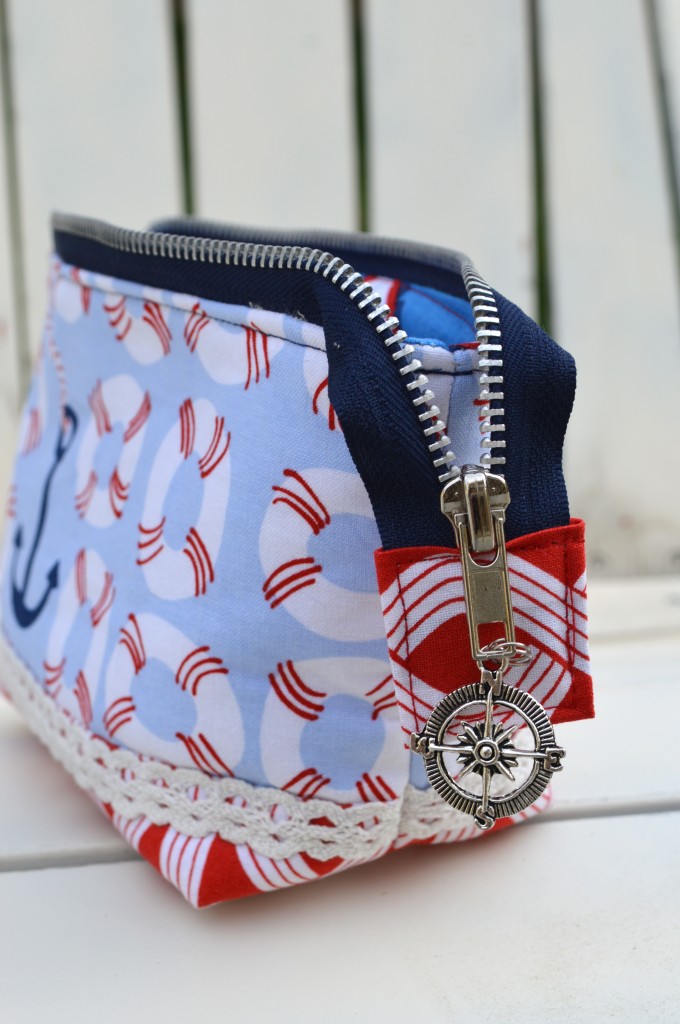
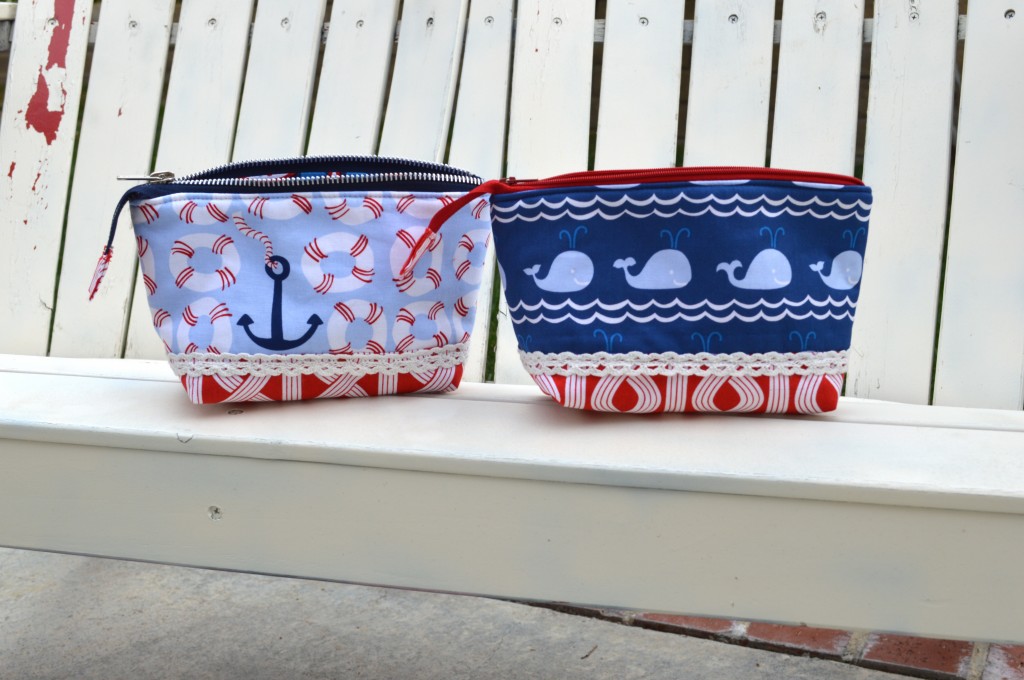
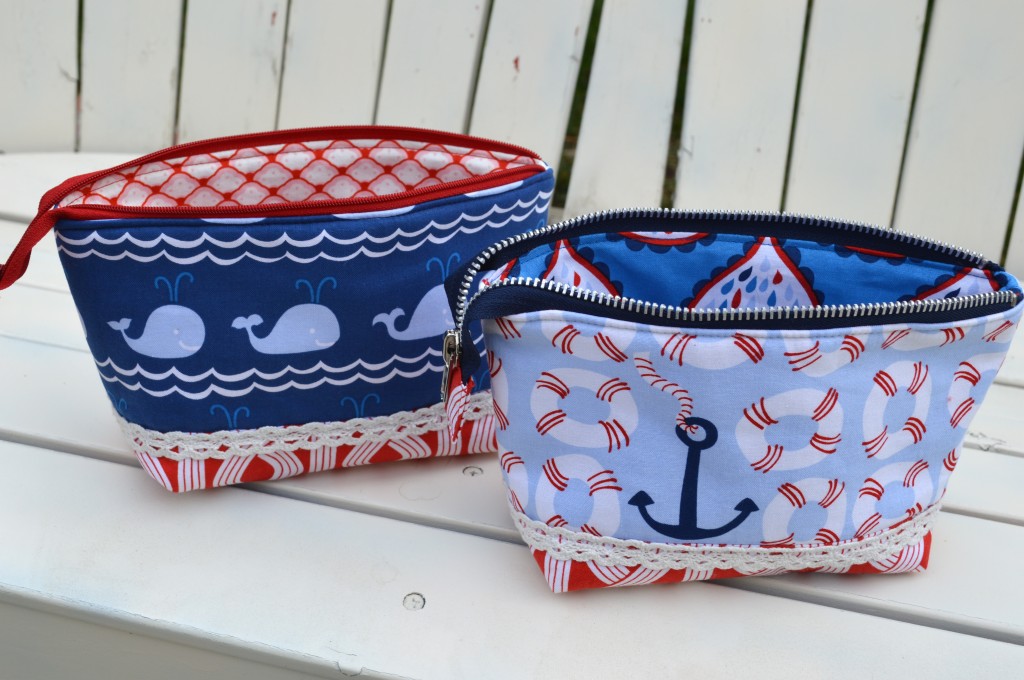
anchor zipper pouch

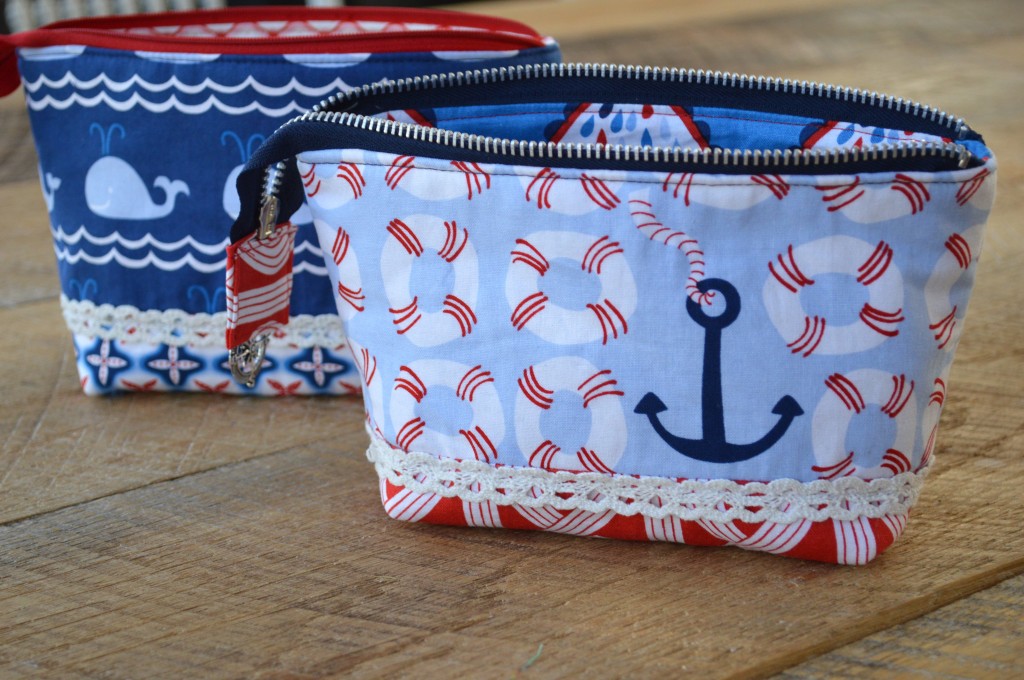
You knew it was coming!  Of course I need a Nautical Zipper pouch to go along with my Sailboat skirt!!  I love these fabrics and I am down to only scraps in my stash.  It’s called True Blue by Blend Fabrics.


nautical zipper pouch blend

This is a modified version of my original My Favorite Zipper Pouch Pattern version 1.0 and version 2.0.  If you would like to make your own zipper pouches here are the instructions:

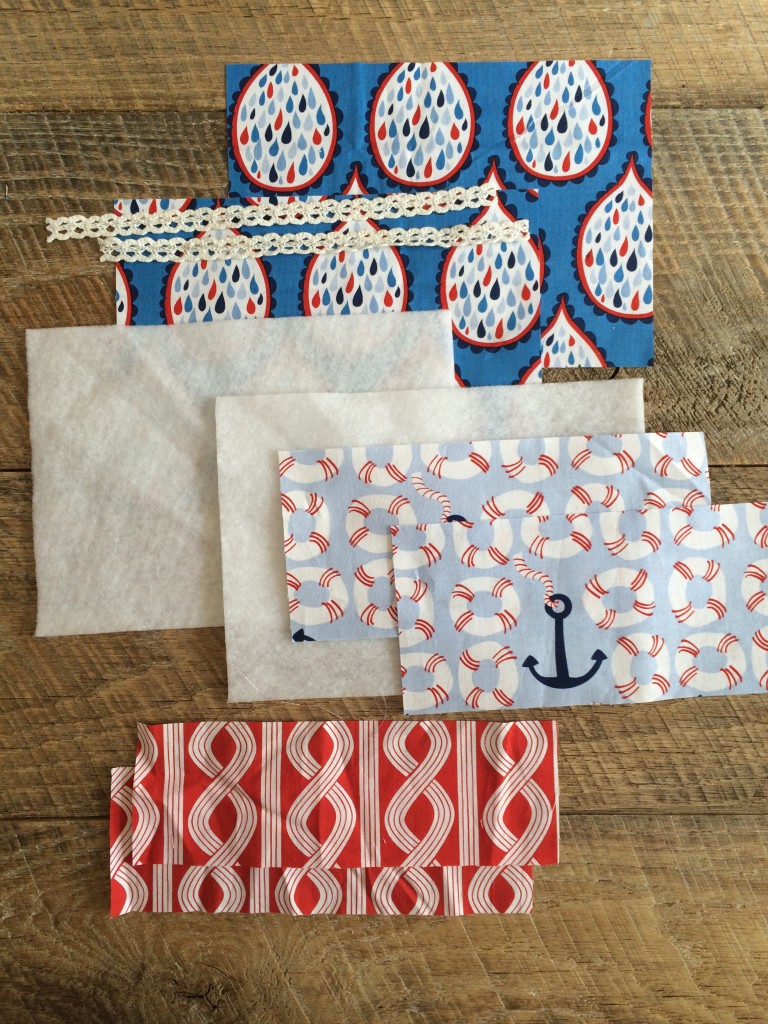
CUT:

Outer bag anchor print (2) 4″ x 9″

Outer bag red accent (2) 3″ x 9″

Lining (2) 6.5″ x 9″

Heat n Bond Fusible Fleece (2) 6.5″ x 9″

(2) pieces of lace 9″ each

nautical zipper pouch blend 6

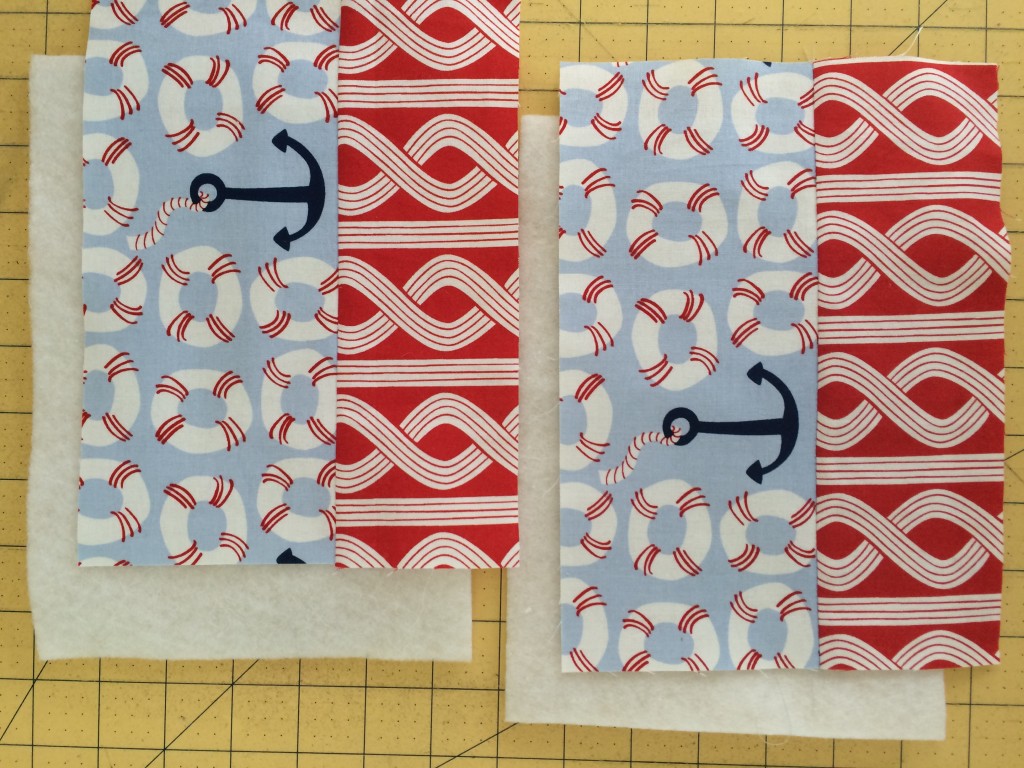
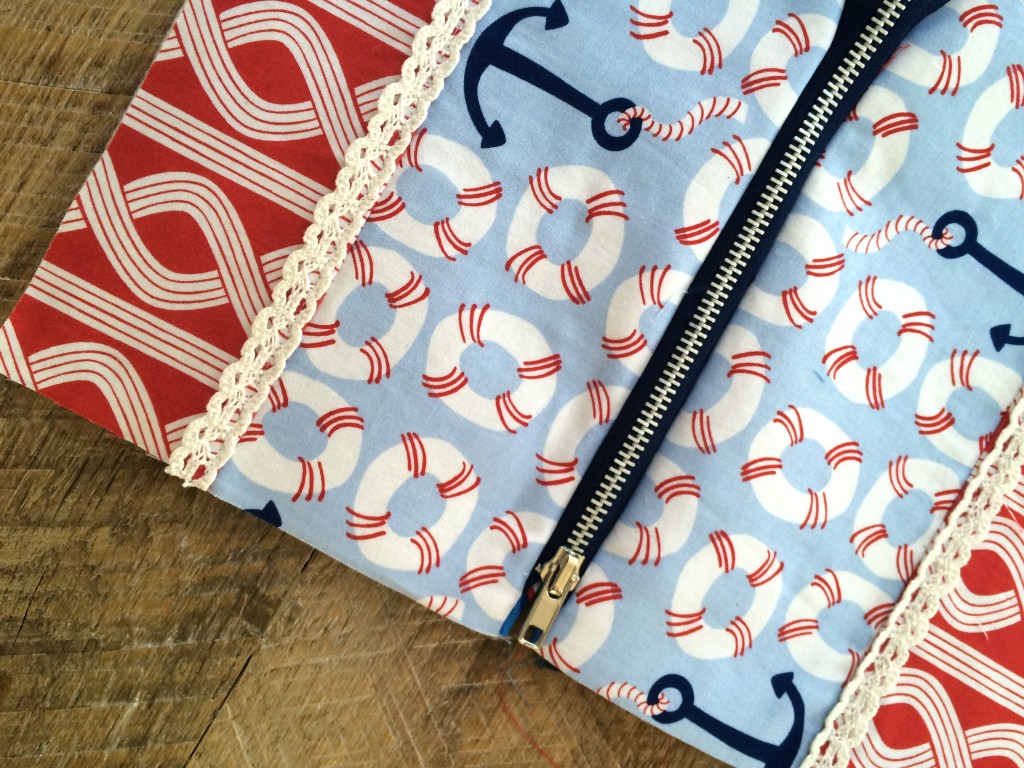
Sew the red fabric to the anchor fabric using 1/4″ seams.  Press toward the red.  Press these two units to the Heat n Bond Fusible Fleece.  Then sew the lace on.

nautical zipper pouch blend 7

To insert the zipper, follow THIS tutorial.  It is from my friend Jennifer.  I keep thinking I should write my own, but hers is so perfect.  I go to it every time I sew an “open wide” zipper pouch because I can never remember the measurements!  Insert the zipper just like she instructs.  Once you’re done, it should look like this:

nautical zipper pouch blend 9

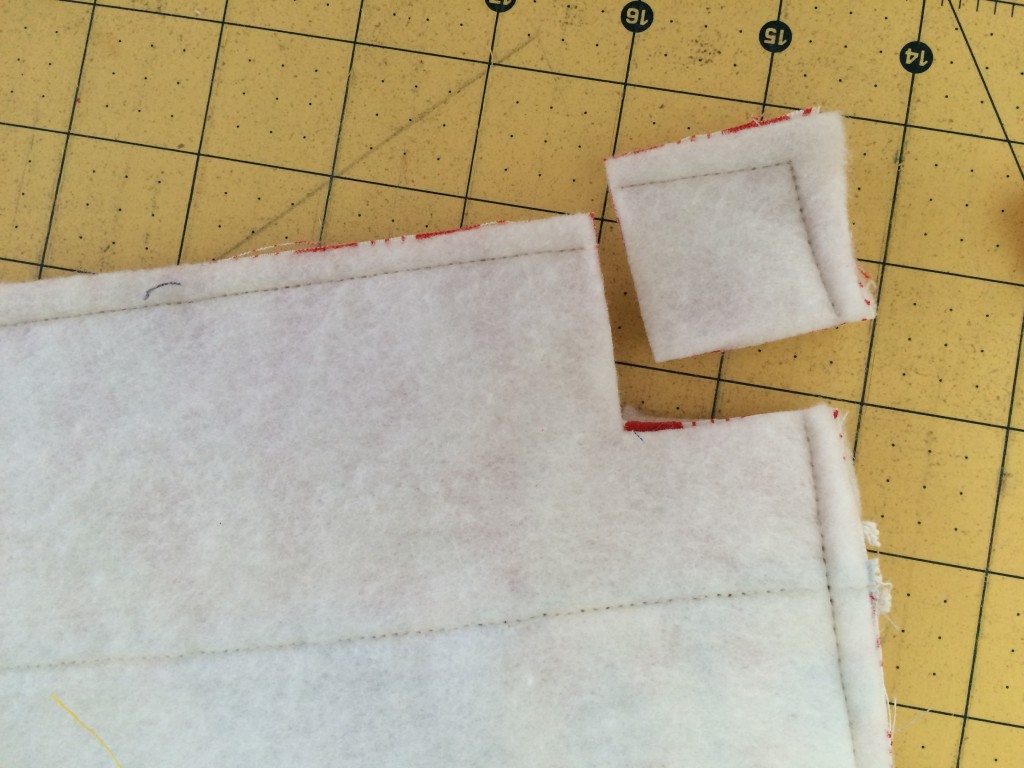
Open the zipper, and place right sides of the outer bag together, and right sides of the lining together, make sure to tuck the end of the zipper in.  Match the side seams.  Pin all the way around.  Sew all the way around using 1/4″ seams, leaving a 3″ opening at the bottom of the lining.  Notch all the corners with a 1.5″ square:

nautical zipper pouch blend 8

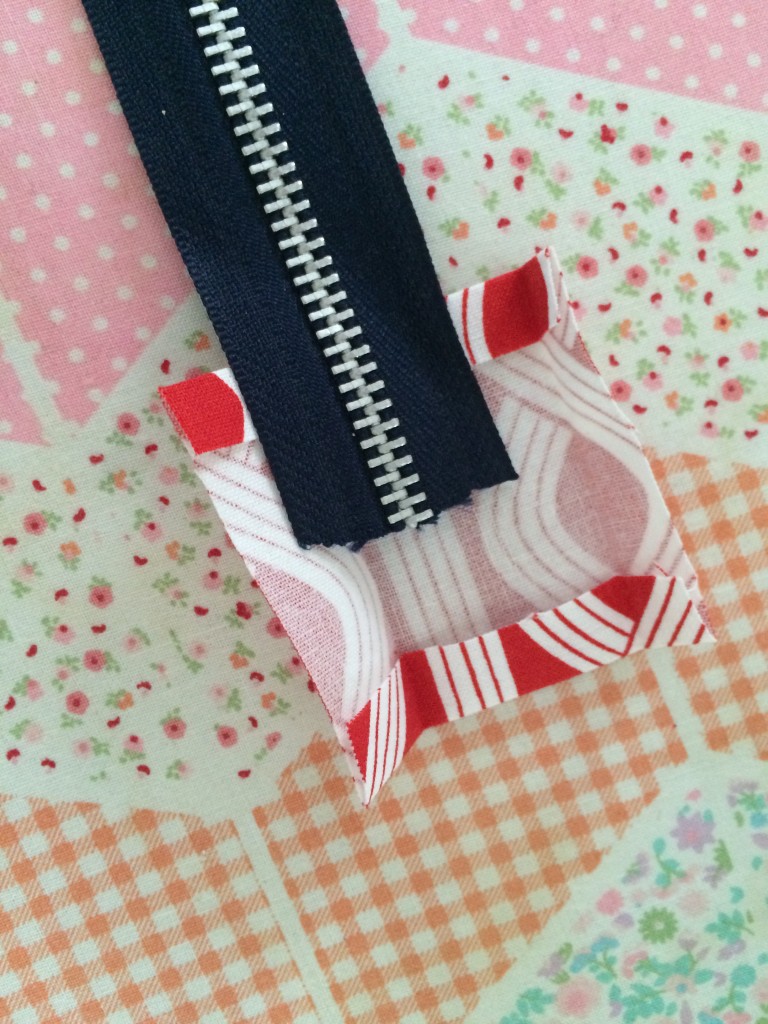
Fold out the corners and match the seams.  Sew using a scant 1/4″ seam.  For more details, visit my post here.  Then turn right side out, and top stitch the opening closed.  Top stitch all the way around the zipper pouch 1/8″ away from the zipper.  To finish the zipper end, cut it at the desired length.  Cut a piece of accent fabric 2.5″ x 3″.  Fold it like this and press:

nautical zipper pouch blend 13

You kind of fold it around the zipper and press.  Then insert the zipper in and sew around the seams.  Careful on the metal zipper!!  Here you can see what it looks like.  I added a little compass zipper pull.  My anchor charms haven’t arrived in the mail yet 🙁

nautical zipper pouch blend 5

nautical zipper pouch blend 2
I just love them!!!
nautical zipper pouch blend 3
Here are a few other of my True Blue Projects:

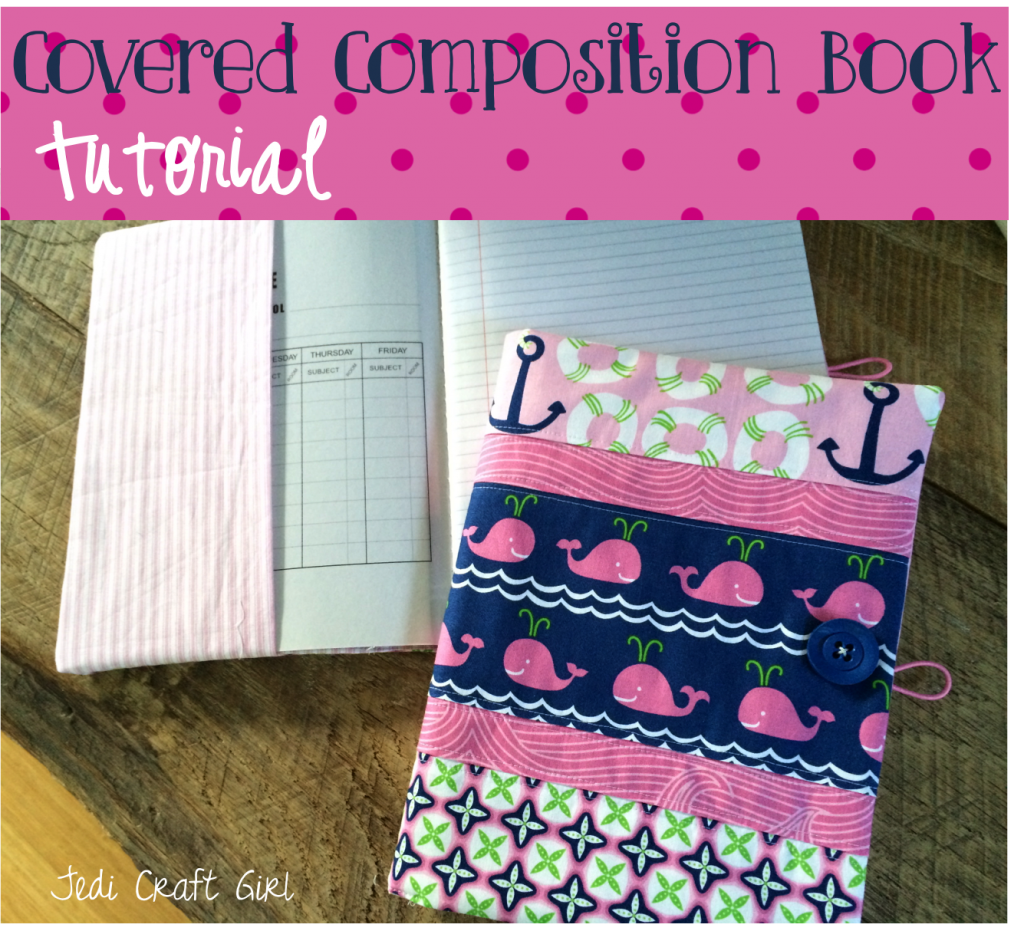
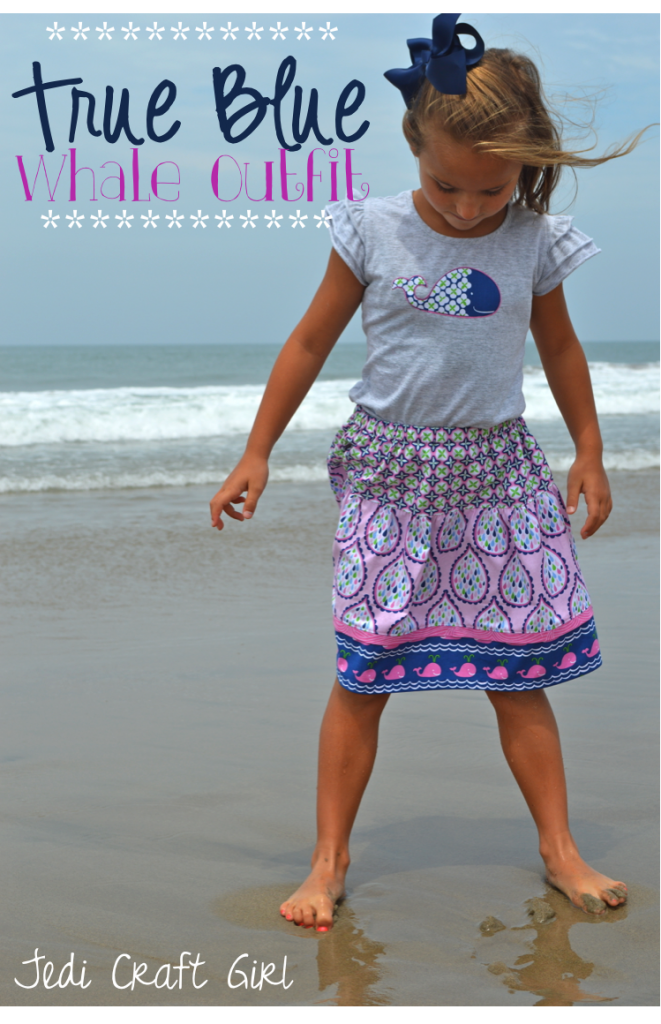
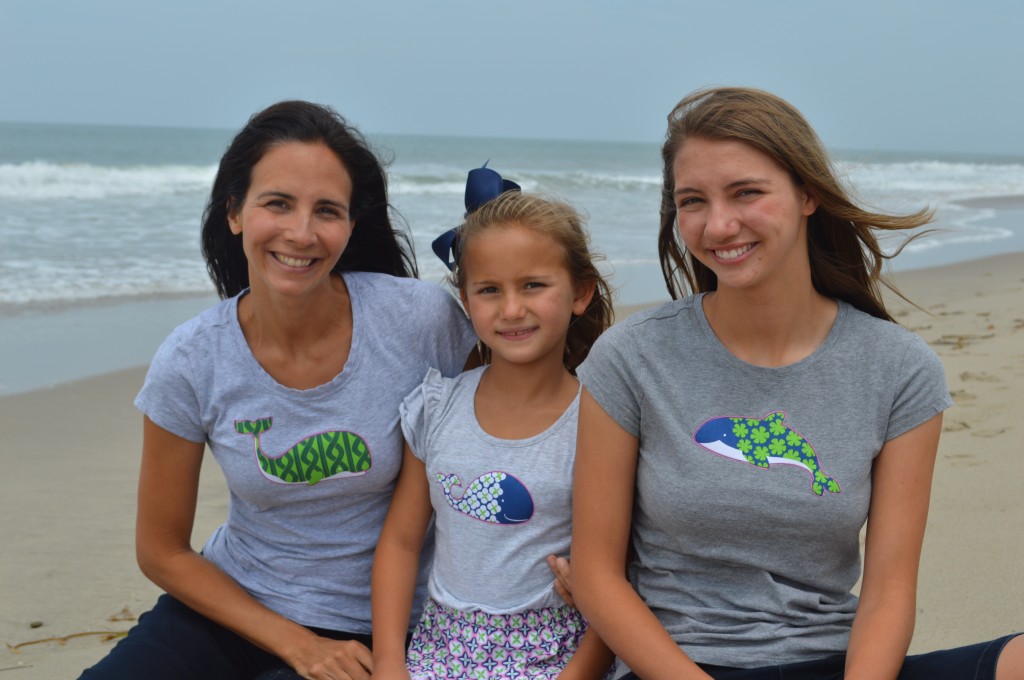
whale zipper pouch true blue blend fabrics covered composition book tutorial whales true blue blend fabric whale skirt whale skirt whale shirt true blue_9

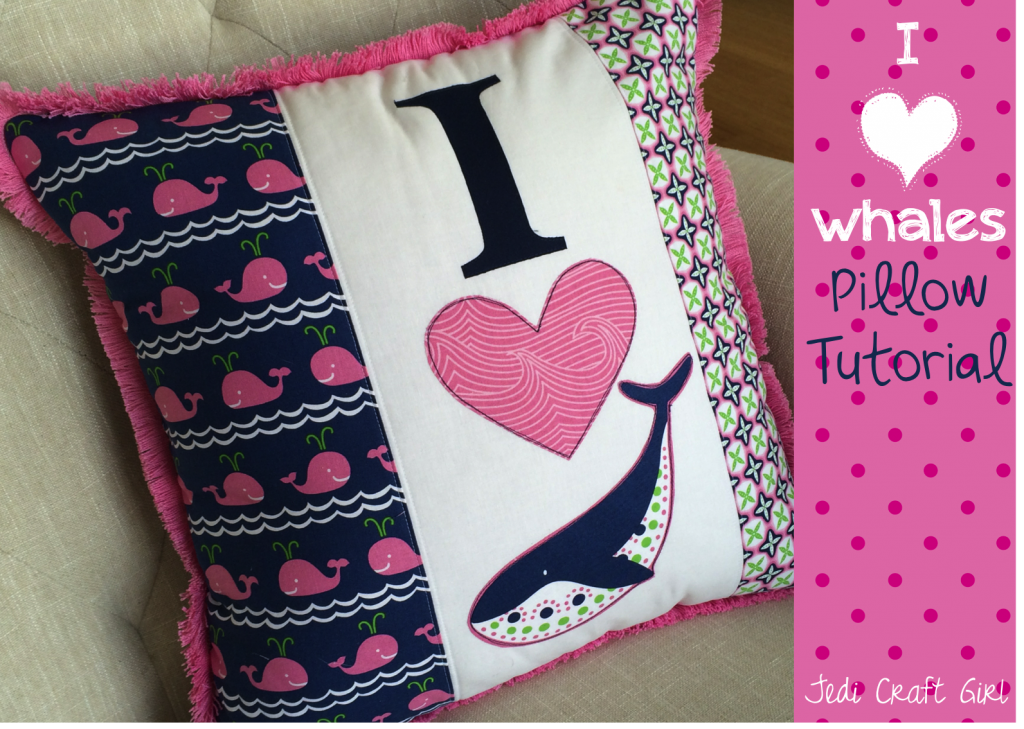
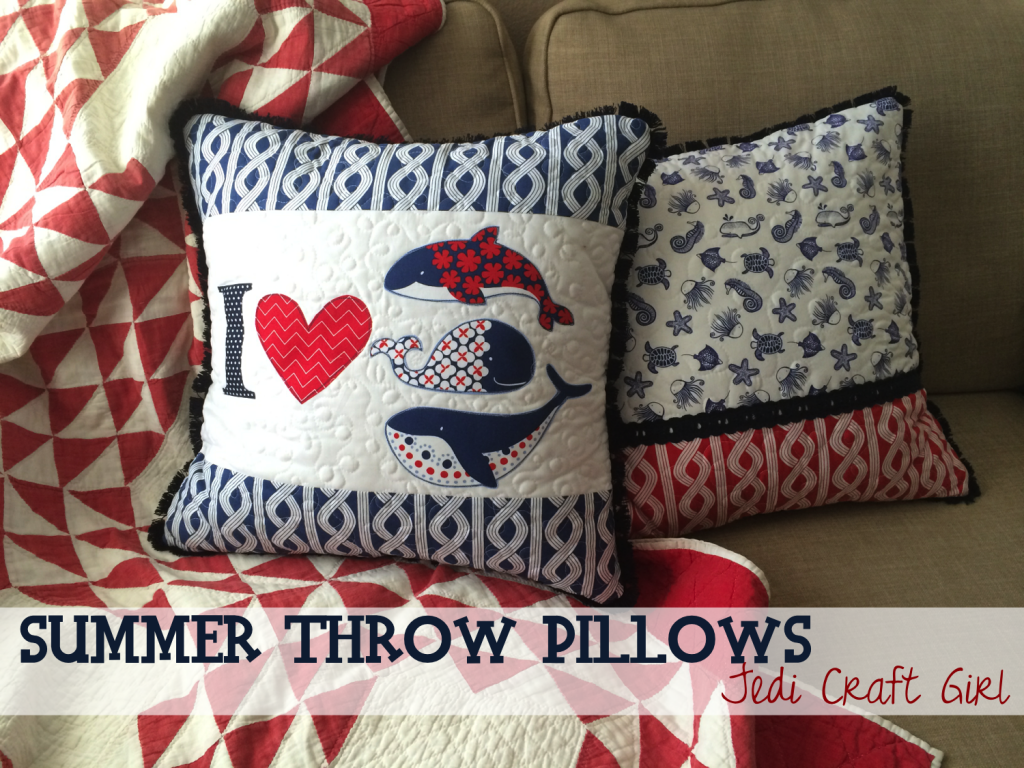
i love whales pillow tutorialsummer throw pillow tutorial

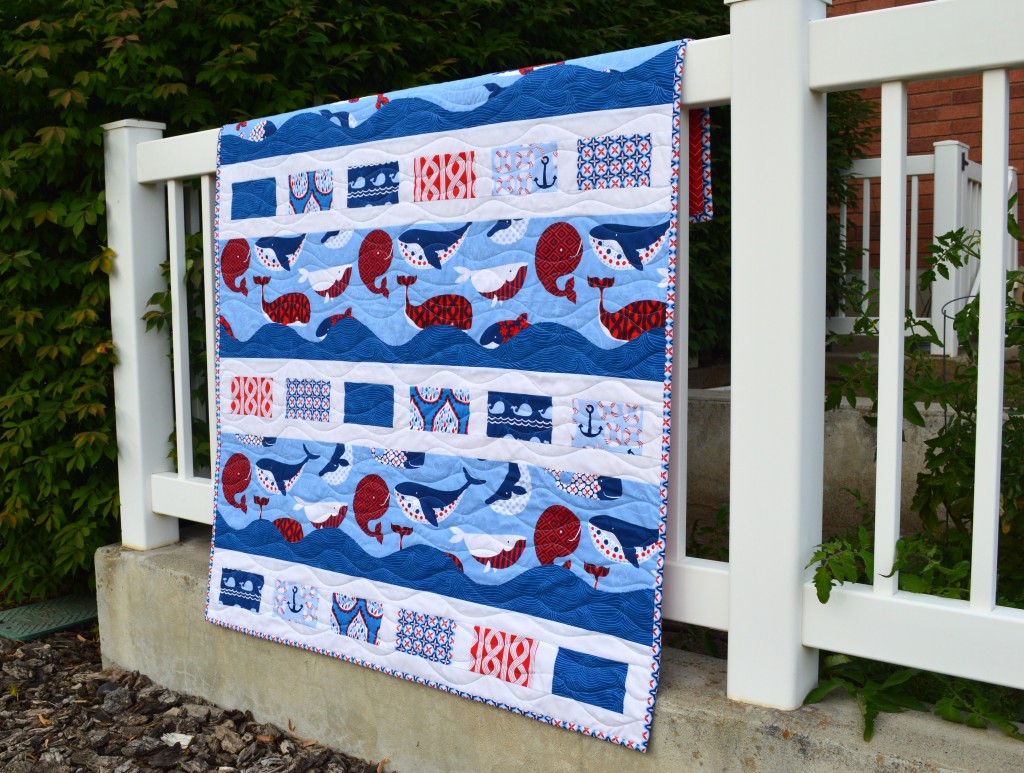
whale quilt Blend True Blue 21