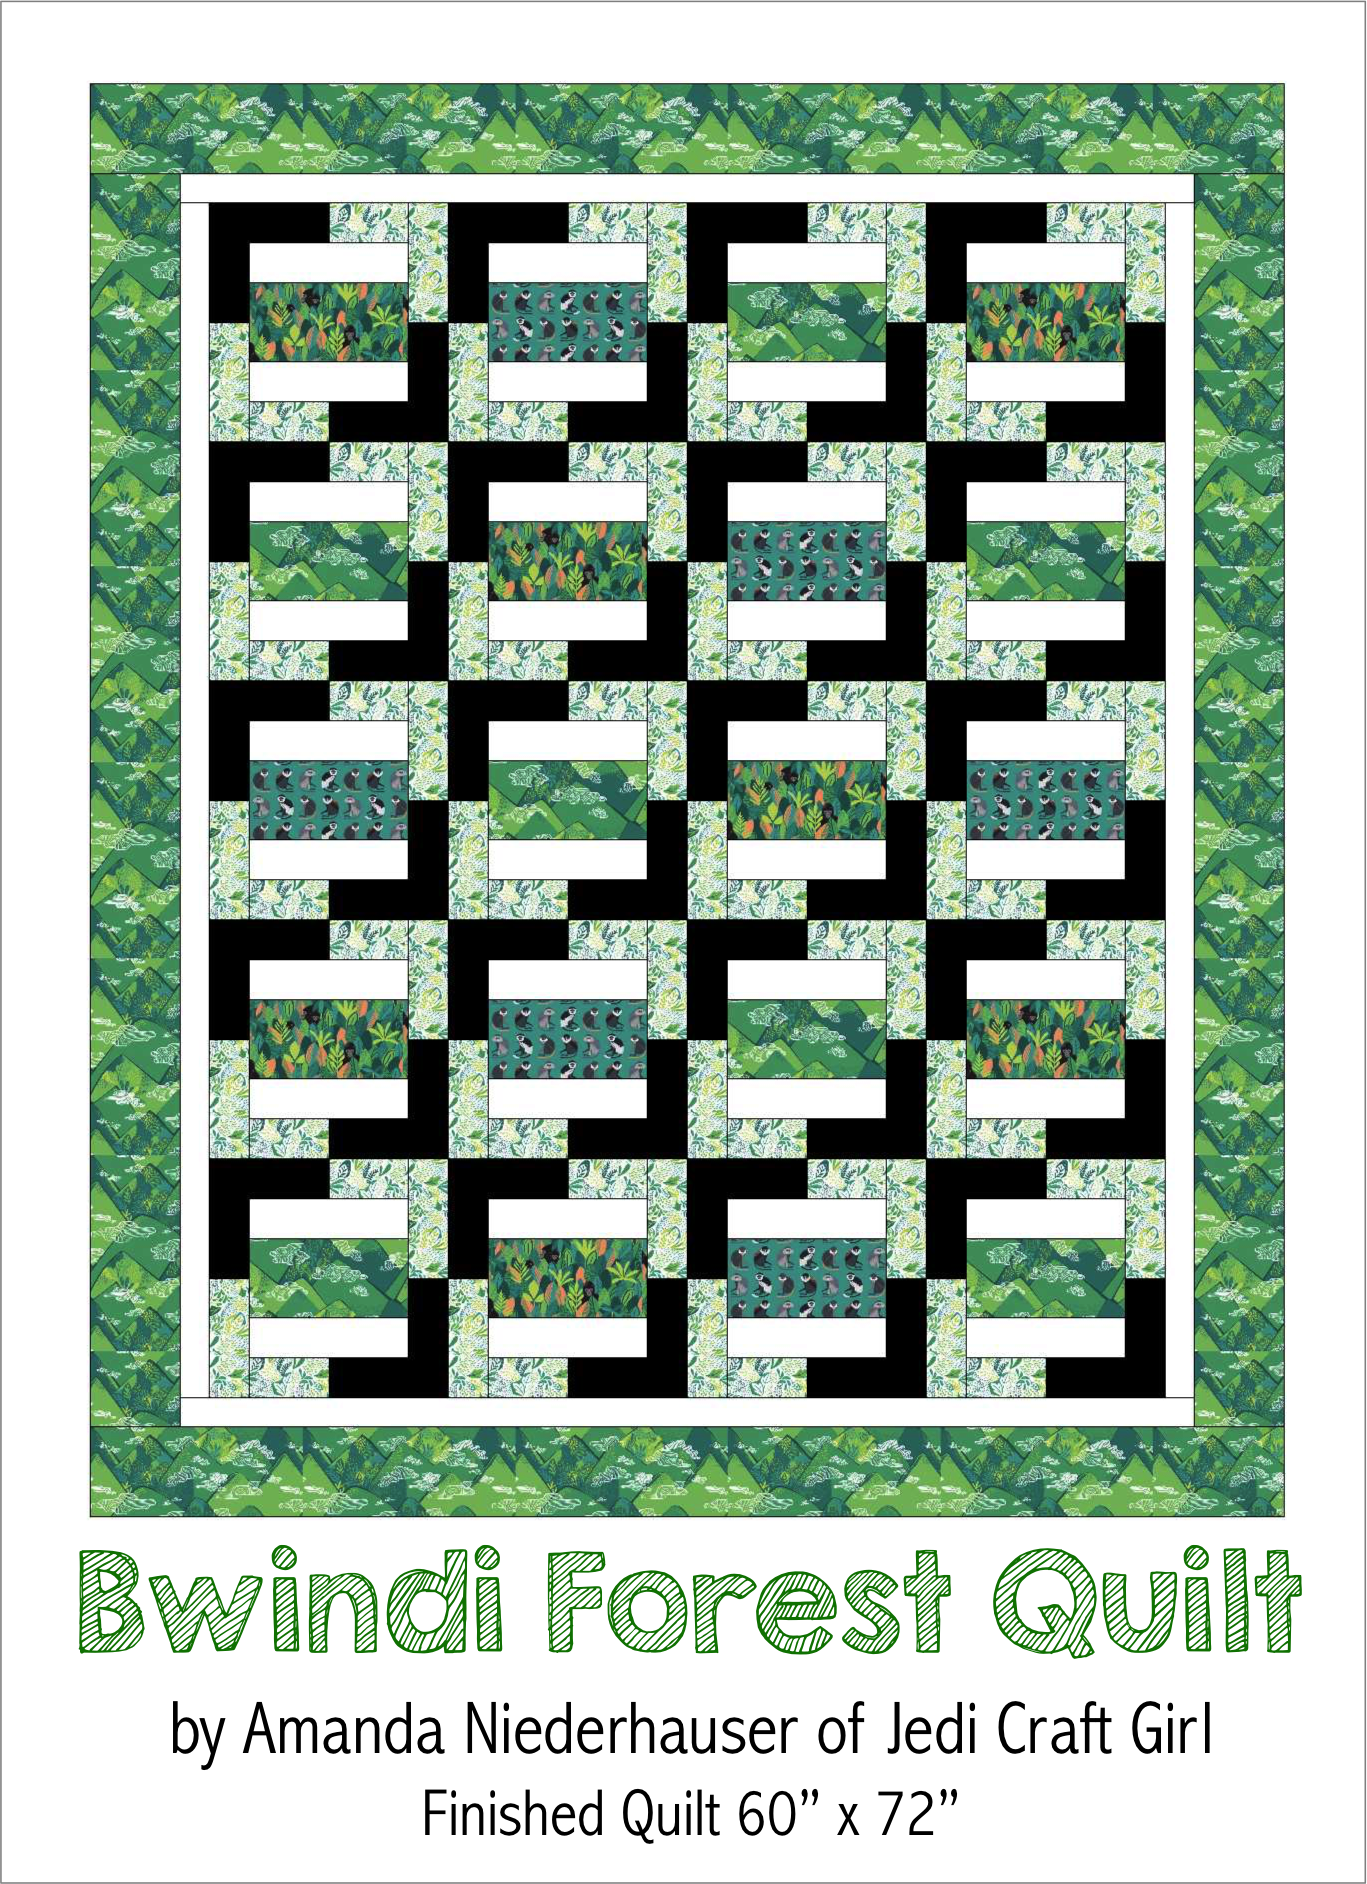
BWINDI FOREST {Free Quilt Pattern}

bwindi forest quilt

This is one of my all time favorite quilt patterns!  I have made it at least 5 times!  I love it because:

  • It uses theme prints which I am a sucker for
  • It has cheater method piecing
  • You can make it in a day
  • It works with any fabric
  • You can easily make it into a baby quilt size or keep adding blocks for a twin size or largerIMG_1330

You can download the free pattern HERE

IMG_1196

The fabrics in this quilt are Kona black and Kona white and the Bwindi Forest Collection from Blend Fabricsbwindi fabrics
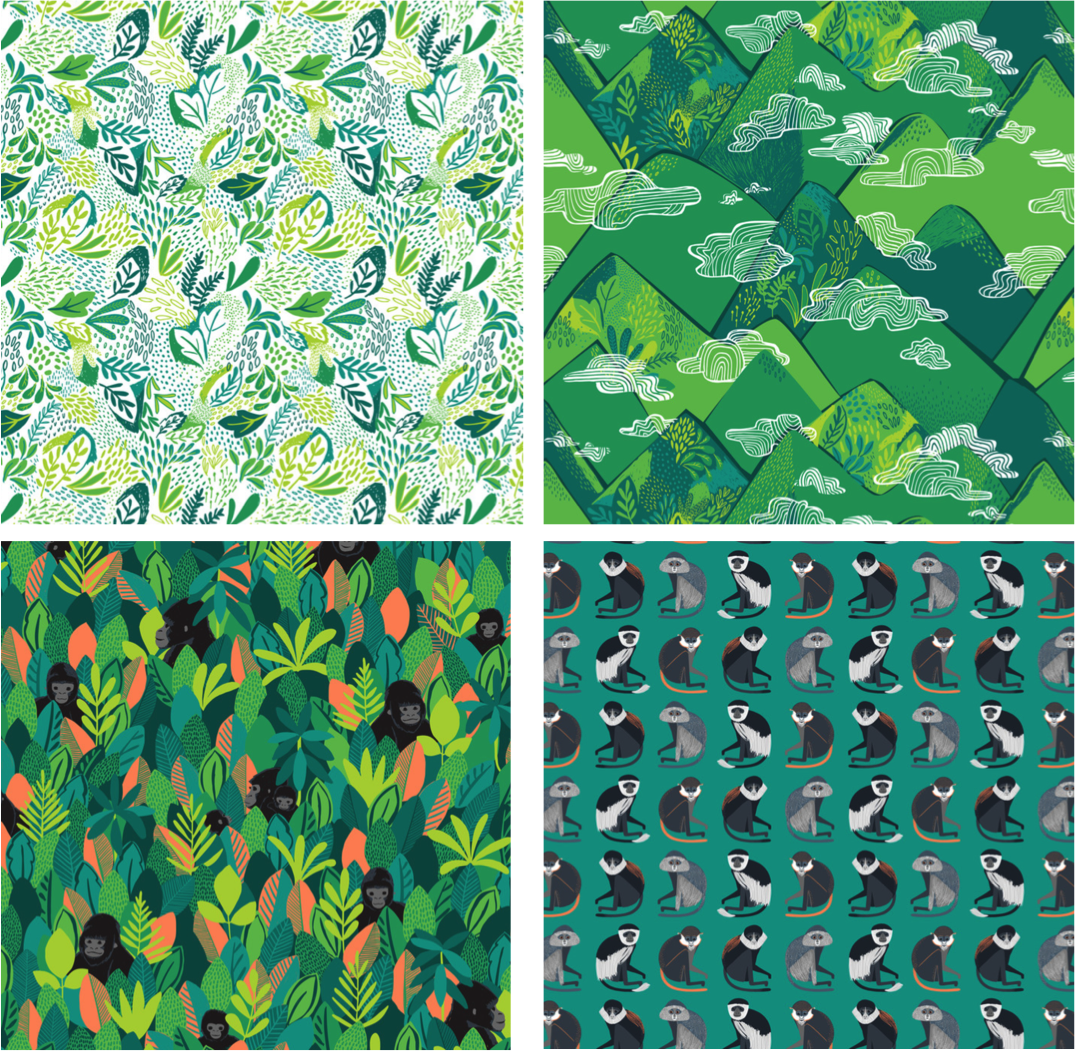
I never thought I would want a monkey quilt – but this quilt has totally stolen my heart!  I am so in love with it!
IMG_1333

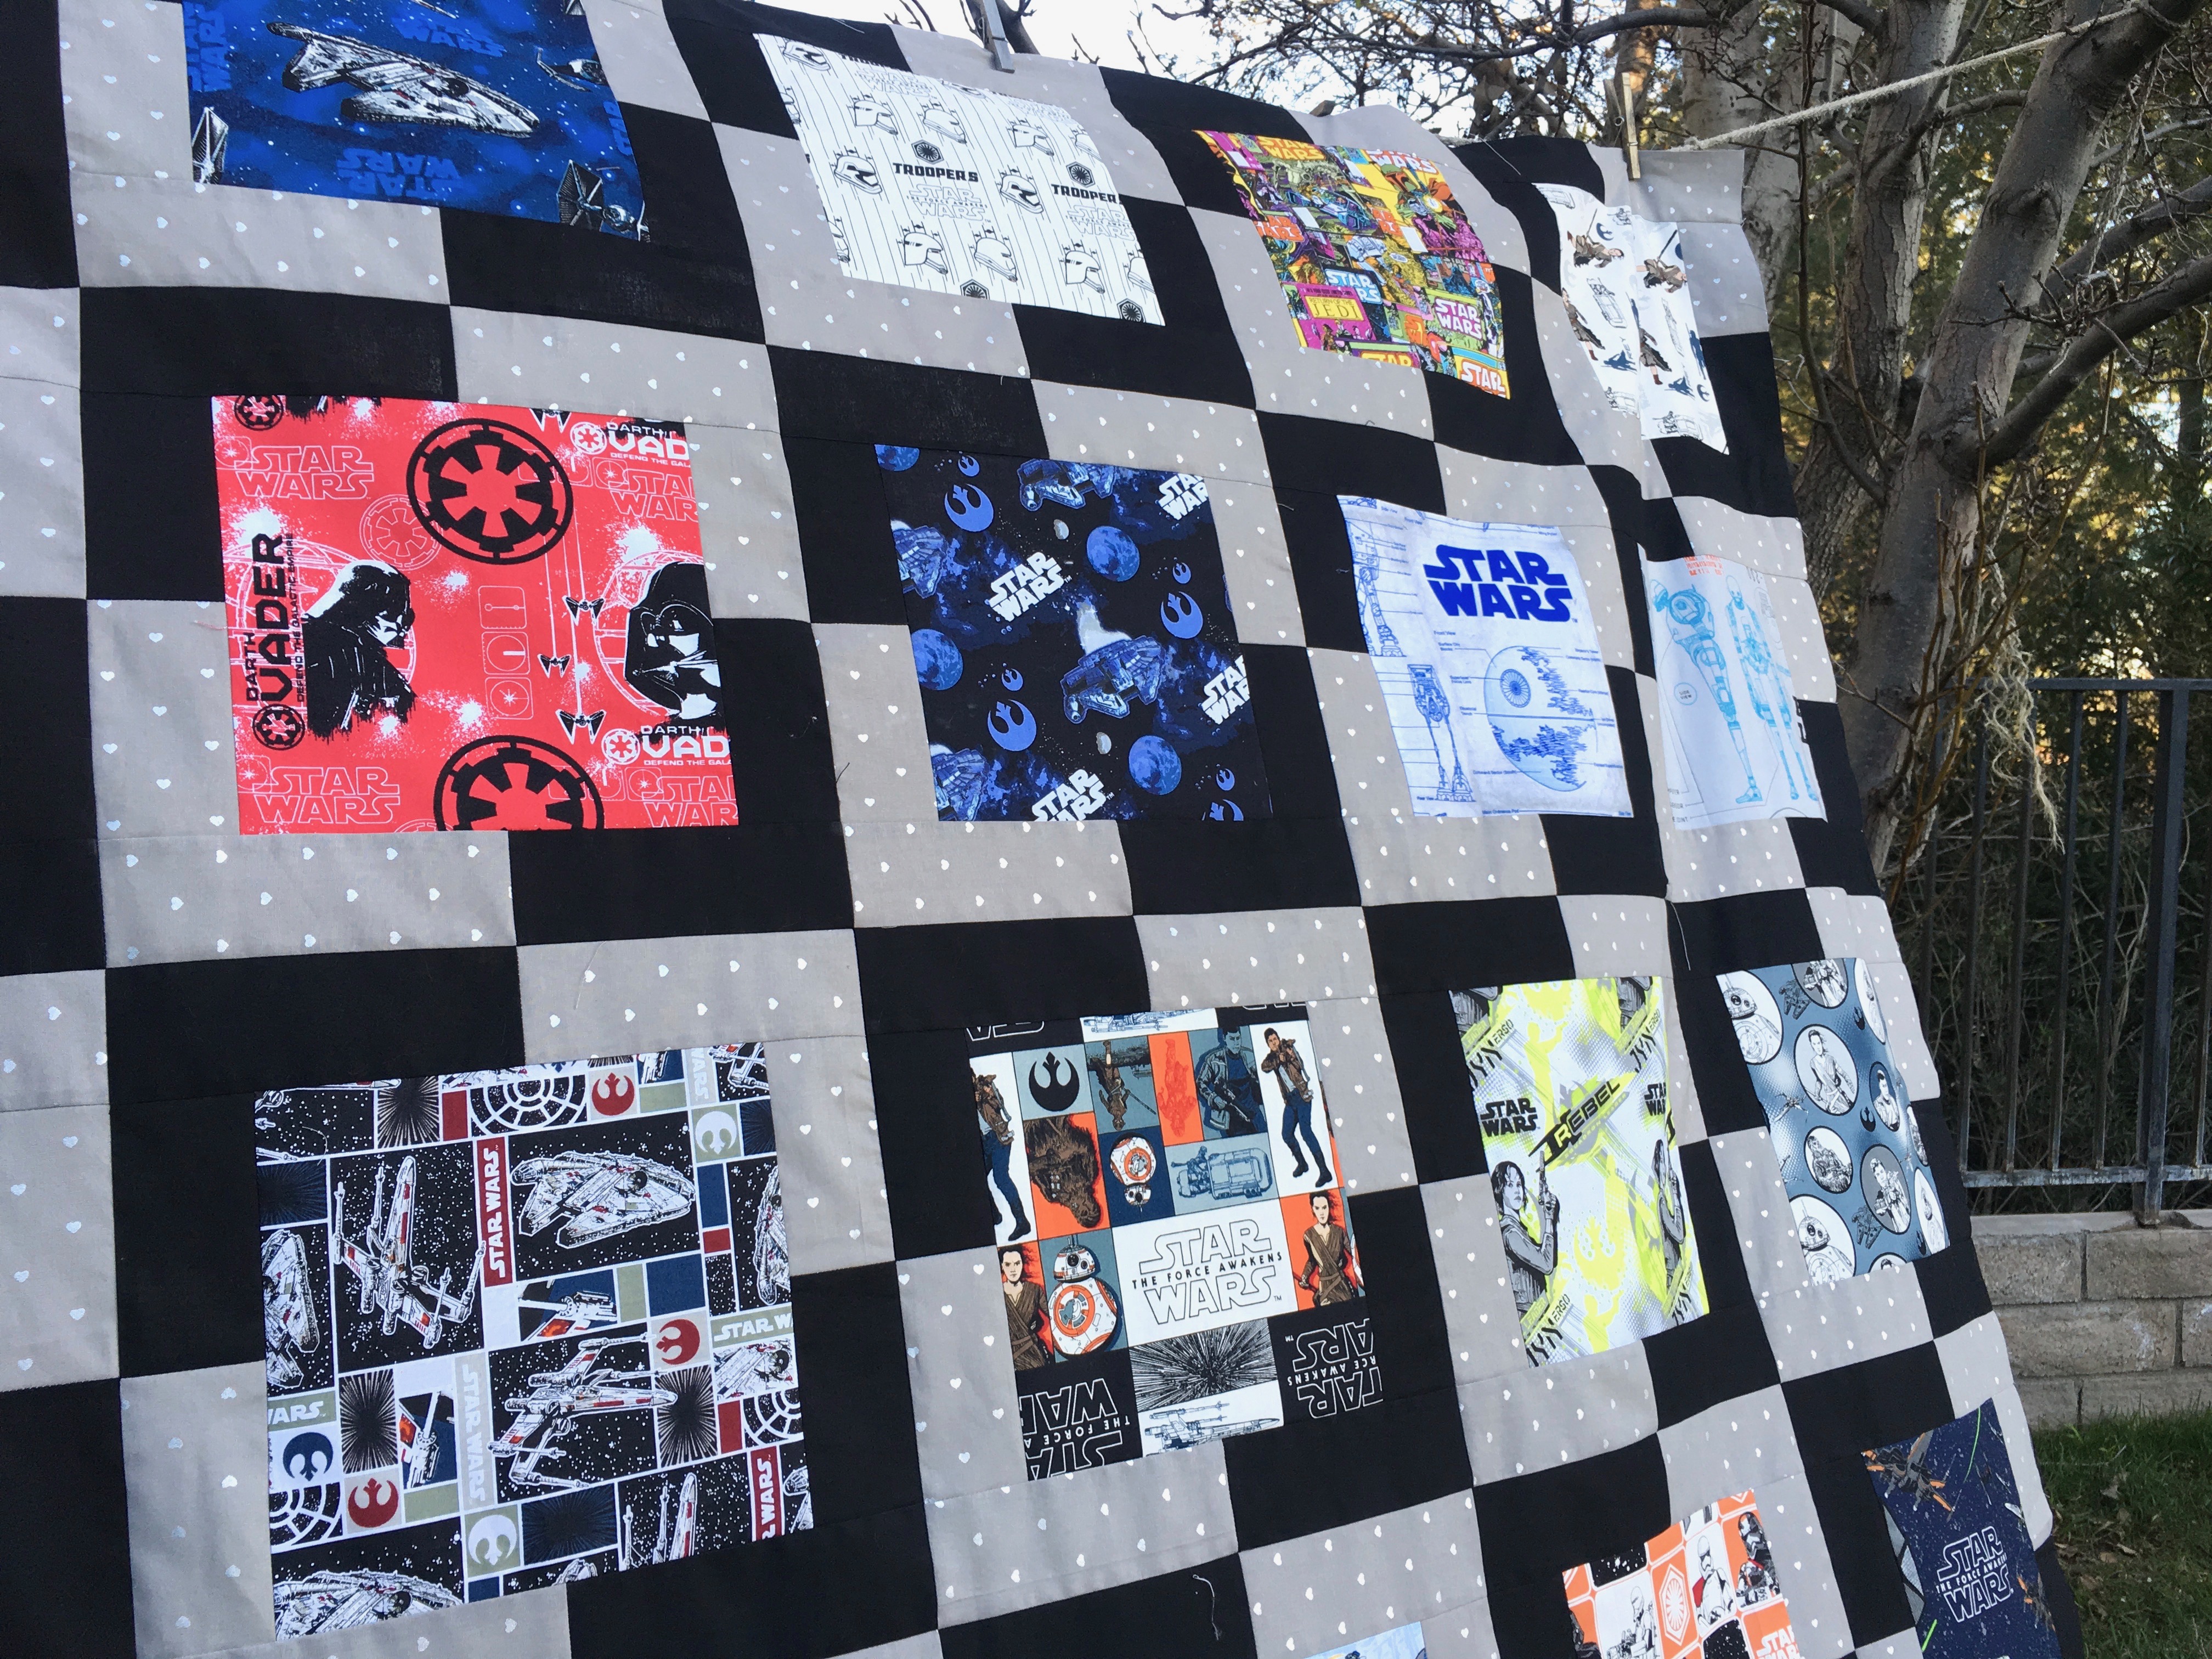
For other versions of this quilt, check out these posts:
star wars quilt 4

IMG_0233

cover


Preppy Quilt {a Five Fat Quarter Fun Quilt}

5 fat quarter fun logo

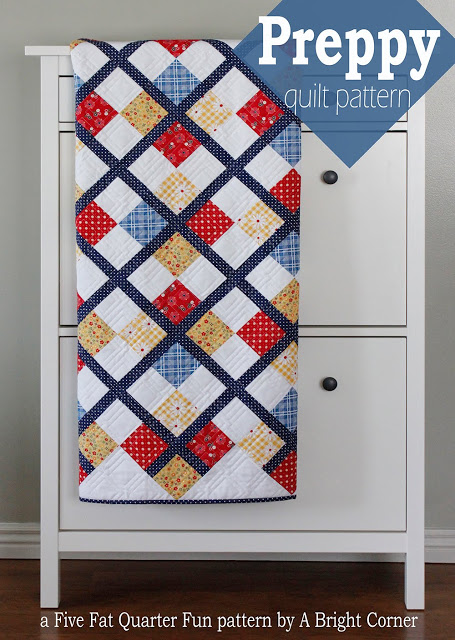
It’s August 1st!!  (which I am totally not excited about!  I want to live in a forever JULY!!!!) I am so in love with this month’s 5 Fat Quarter Fun Quilt!!  Amber and I invited our friend, Andy from A Bright Corner, to design this mont’s quilt.  Andy came up with this super AMAZING and super fun quilt called “Preppy”.  I love all things preppy!  I dream of living in New England and owning a sail boat!!  So this is so totally me!!!  You can download the full PDF pattern over a A Bright Corner – and be sure to follow @abrightcorner on Instagram!!Preppy quilt pattern 1a

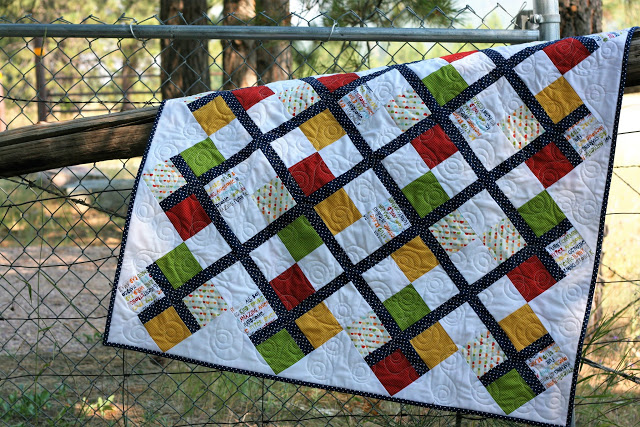
I love Amber’s version of this pattern!  She made it a little bit smaller so it would be perfect for a baby quilt!

IMG_8110

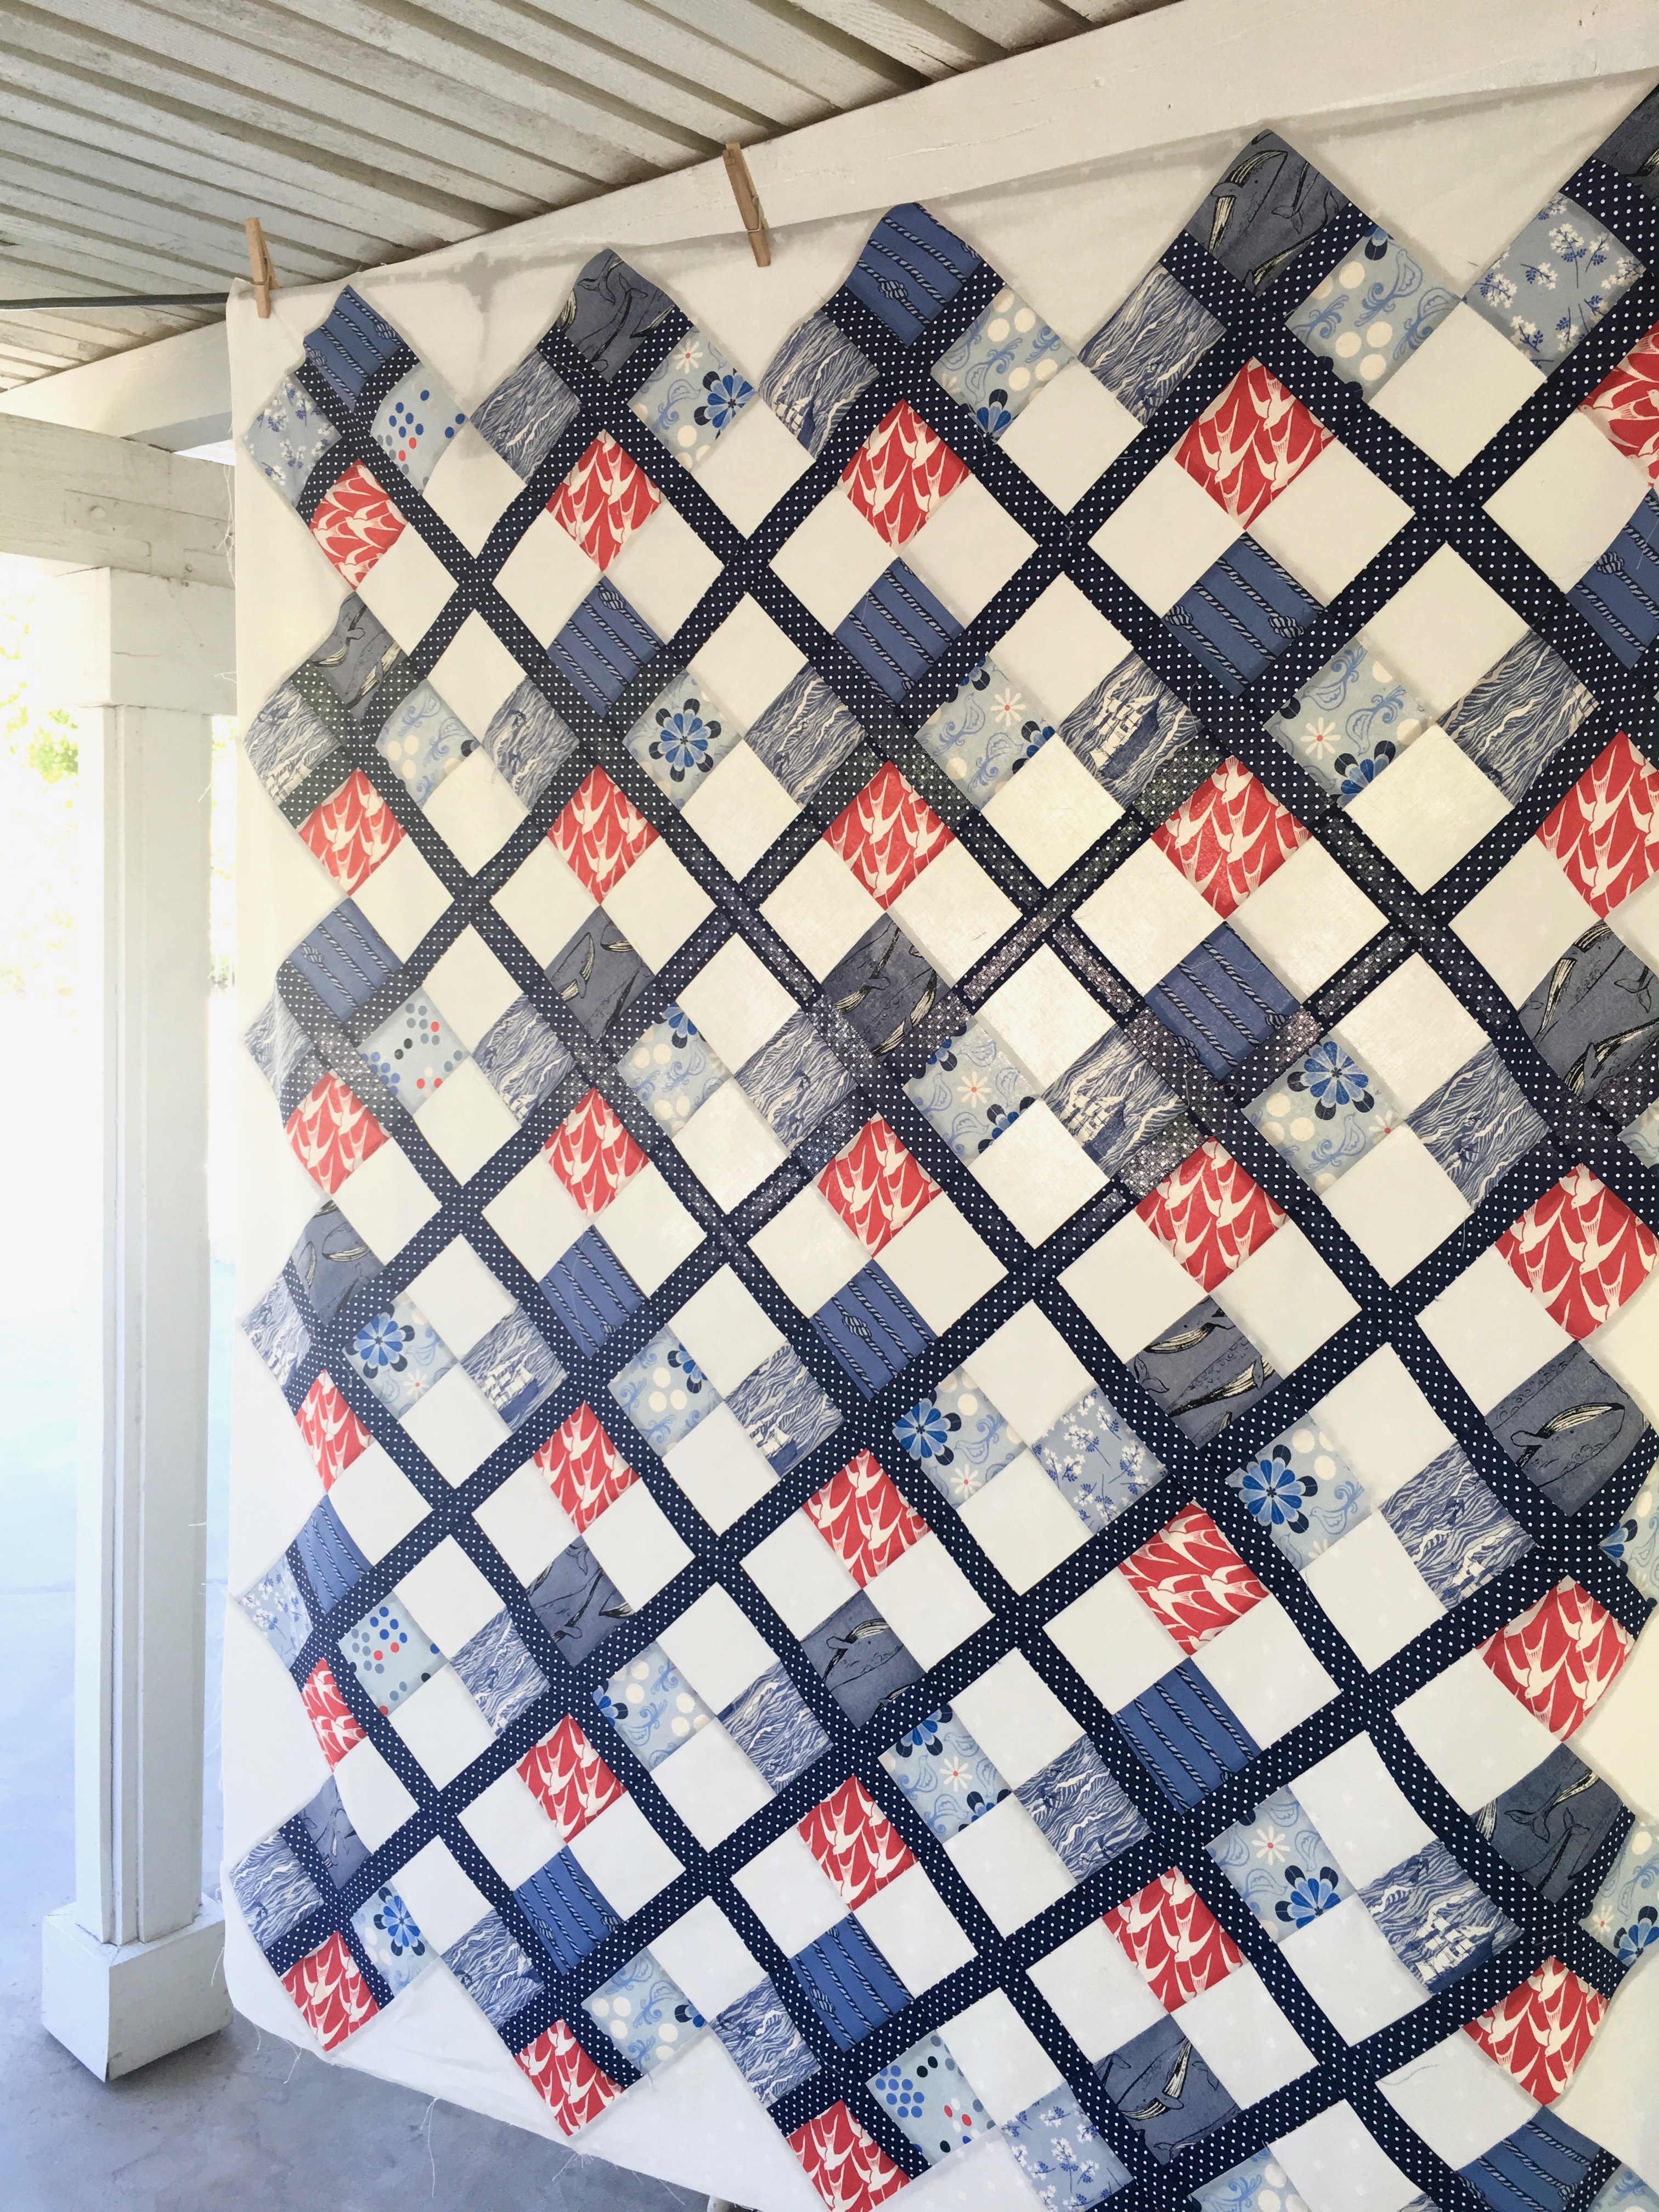
For my nautical inspired version my heart ran straight to Cotton + Steel S.S. Bluebird line from Fat Quarter Shop.  Not only do I love all things nautical, I am a whale lover and bird lover!!  So this fabric was totally designed just for me!  I added in the navy Swiss dot (favorite) from Riley Blake Designs.
IMG_1081

I love how it turned out!  I’m going to put it on the end of the guest bed in the Nautical room!!  I can dream, right!!

IMG_1099

Mufasa did such a good job posing!  I didn’t even have to twist his paw….hahahah!!

IMG_1115

This pattern is super fun to make and it is FAST!  It will be on my list of “go-to” quilt patterns for sure!!  You’re gonna LOVE it!

IMG_1122
IMG_1106

Star Spangled Pillow

Create a Star-Spangled Pillow

star pillow 2

Here is a fun and fast pillow to make for your 4th of July/Americana decor!  You’ll love how fast this canvas & denim pillow come together!!

star pillow

I’m thinking when it’s not summertime this pillow might live in the super hero kids room!!!

Star Spangled Pillow by Amanda Niederhauser aka Jedi Craft Girl

star pillow 6Star Spangled Pillow Supplies:

(2) 20″ squares of canvas/duck cloth

1/4 yard denim (mine is by Indigo Junction Crossroads Denim)

HeatnBond® Lite Fusible Adhesive

20″ pillow form

22″ or longer zipper

Star Pattern

IMG_2118

[line]Star Spangled Pillow Instructions:

Begin by tracing 10 stars onto the HeatnBond® Lite.

IMG_2119

Fuse to the wrong side of the denim.  Cut out each star and peel off the backing paper.IMG_2120

Arrange stars as desired.  Make sure that a few hang off the edges to create a continuous pattern look.  Heat set in place.  Trim off the excess star.
IMG_2122

Top stitch around each star.  I used a shiny taupe/gray color.IMG_2123

Once complete use this tutorial to sew an invisible zipper in the bottom and finish the pillow.IMG_2124

I am ao in love and ready for summer!!!!!

star pillow 8

star pillow 7

star pillow 5

Rustic Pines {A 5 Fat Quarter Fun Quilt}

IMG_8034a

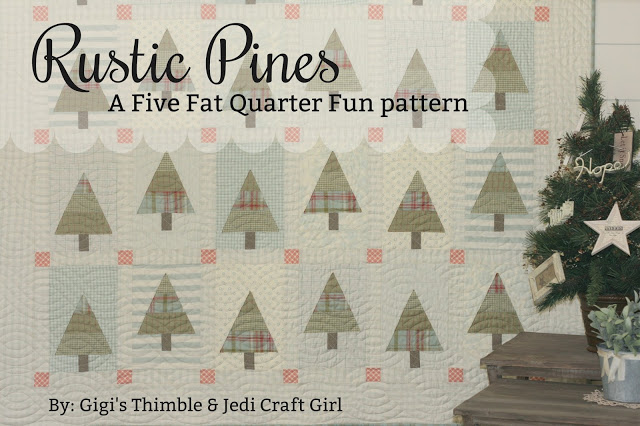
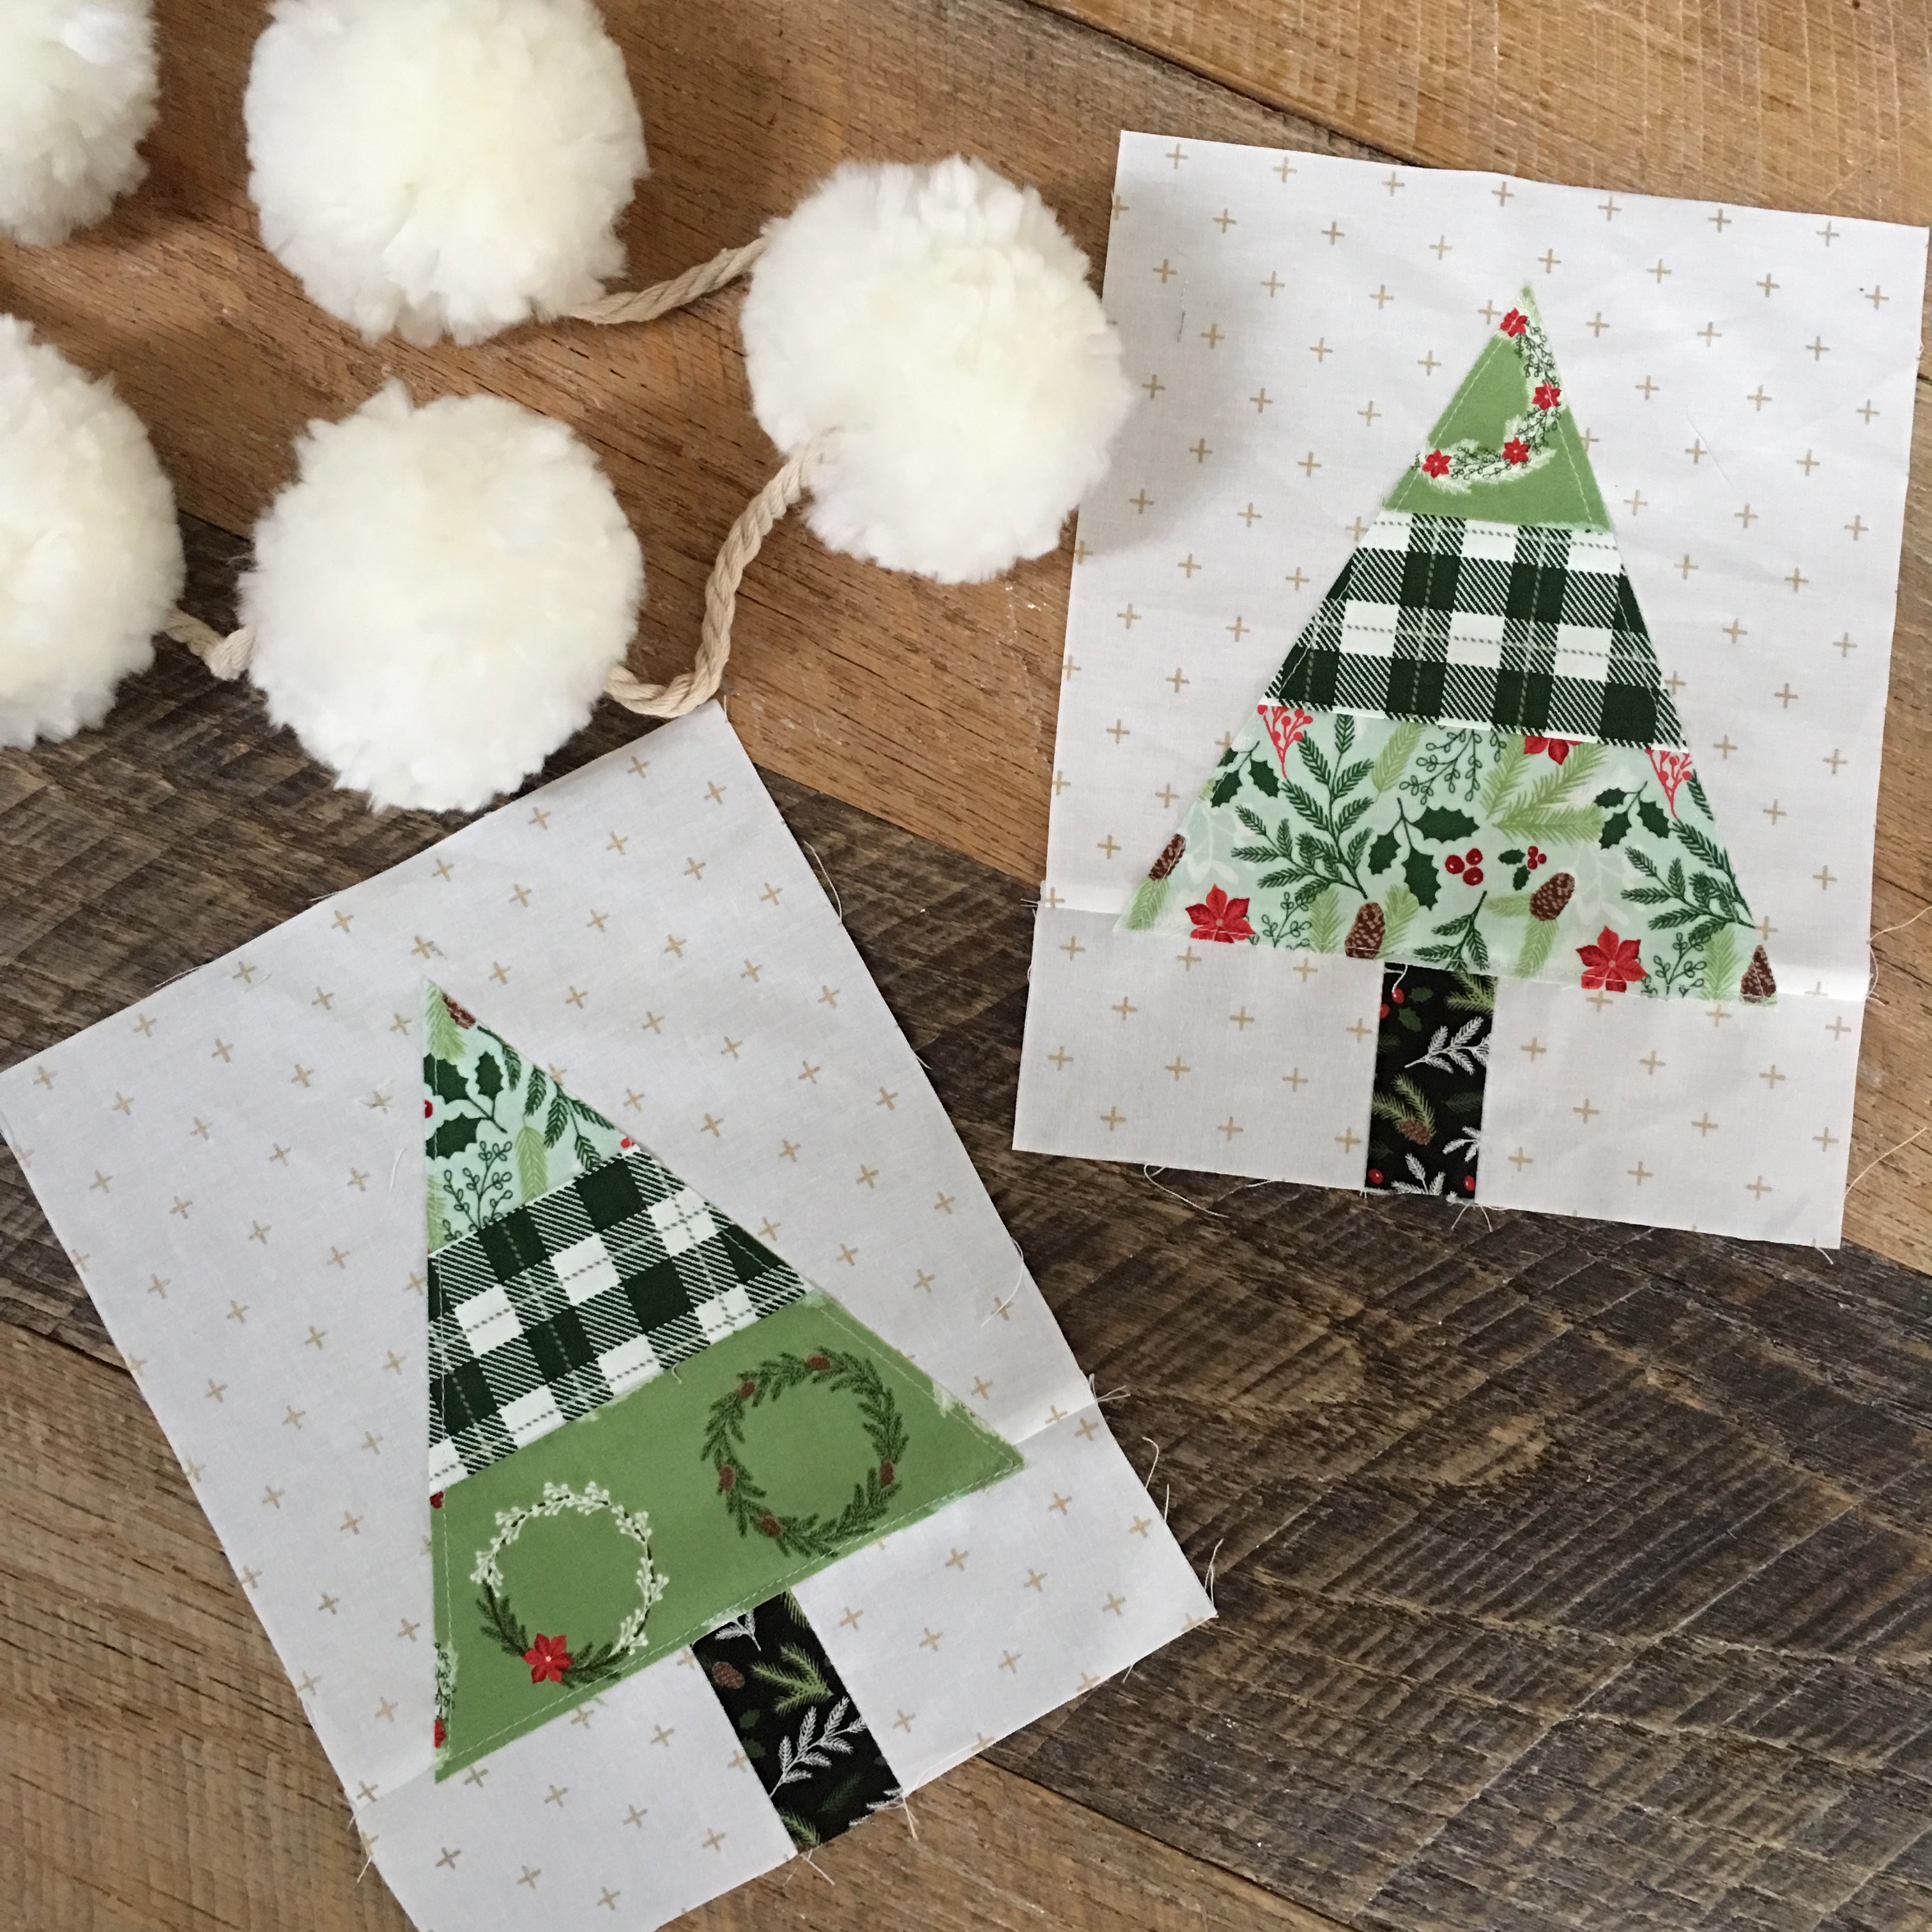
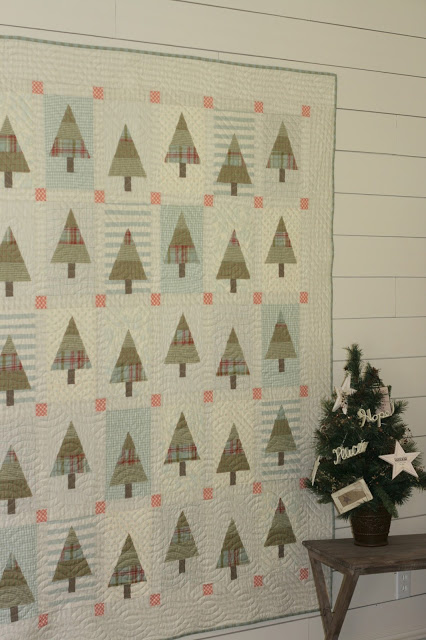
It’s Christmas in July!  I love making a Christmas quilt in the summer – I never have time when it gets closer to Christmas!!  You are going to love this Rustic Pines Quilt!  Choose your 5 favorite Christmas Fat Quarters and let’s get sewing!!

IMG_0996
I choose the Comfort and Joy line from Riley Blake.  It has such a wonderful cabin-like Christmas feel!
IMG_0507

The trees are strip pieced and cut at 60 degree angles and then appliquéd on!!  Super fast – who has time for hand work in the summer!!
comfort and joy

A little tip for appliquéing:  Use Spray n Bond and put the trees wrong side up on old wrapping paper.  Spray the backs and set them in place.  Just unroll more paper for a clean basting surface!!
IMG_0915

I love that the pattern calls for a scrappy low volume background – it gives it such character!!  I added an accent border instead of a low volume border – you can choose!

IMG_1011

Hop over to Amber’s blog to read all about her version and to download the free pattern!
IMG_1005

Amber’s version is even more cozy with all kinds of homespun plaids from Moda!!!

IMG_8013

Be sure to tag us on Instagram so we can see your creations! @jedicraftgirl and @gigis_thimble
IMG_1010

Sharktown Scripture Cover


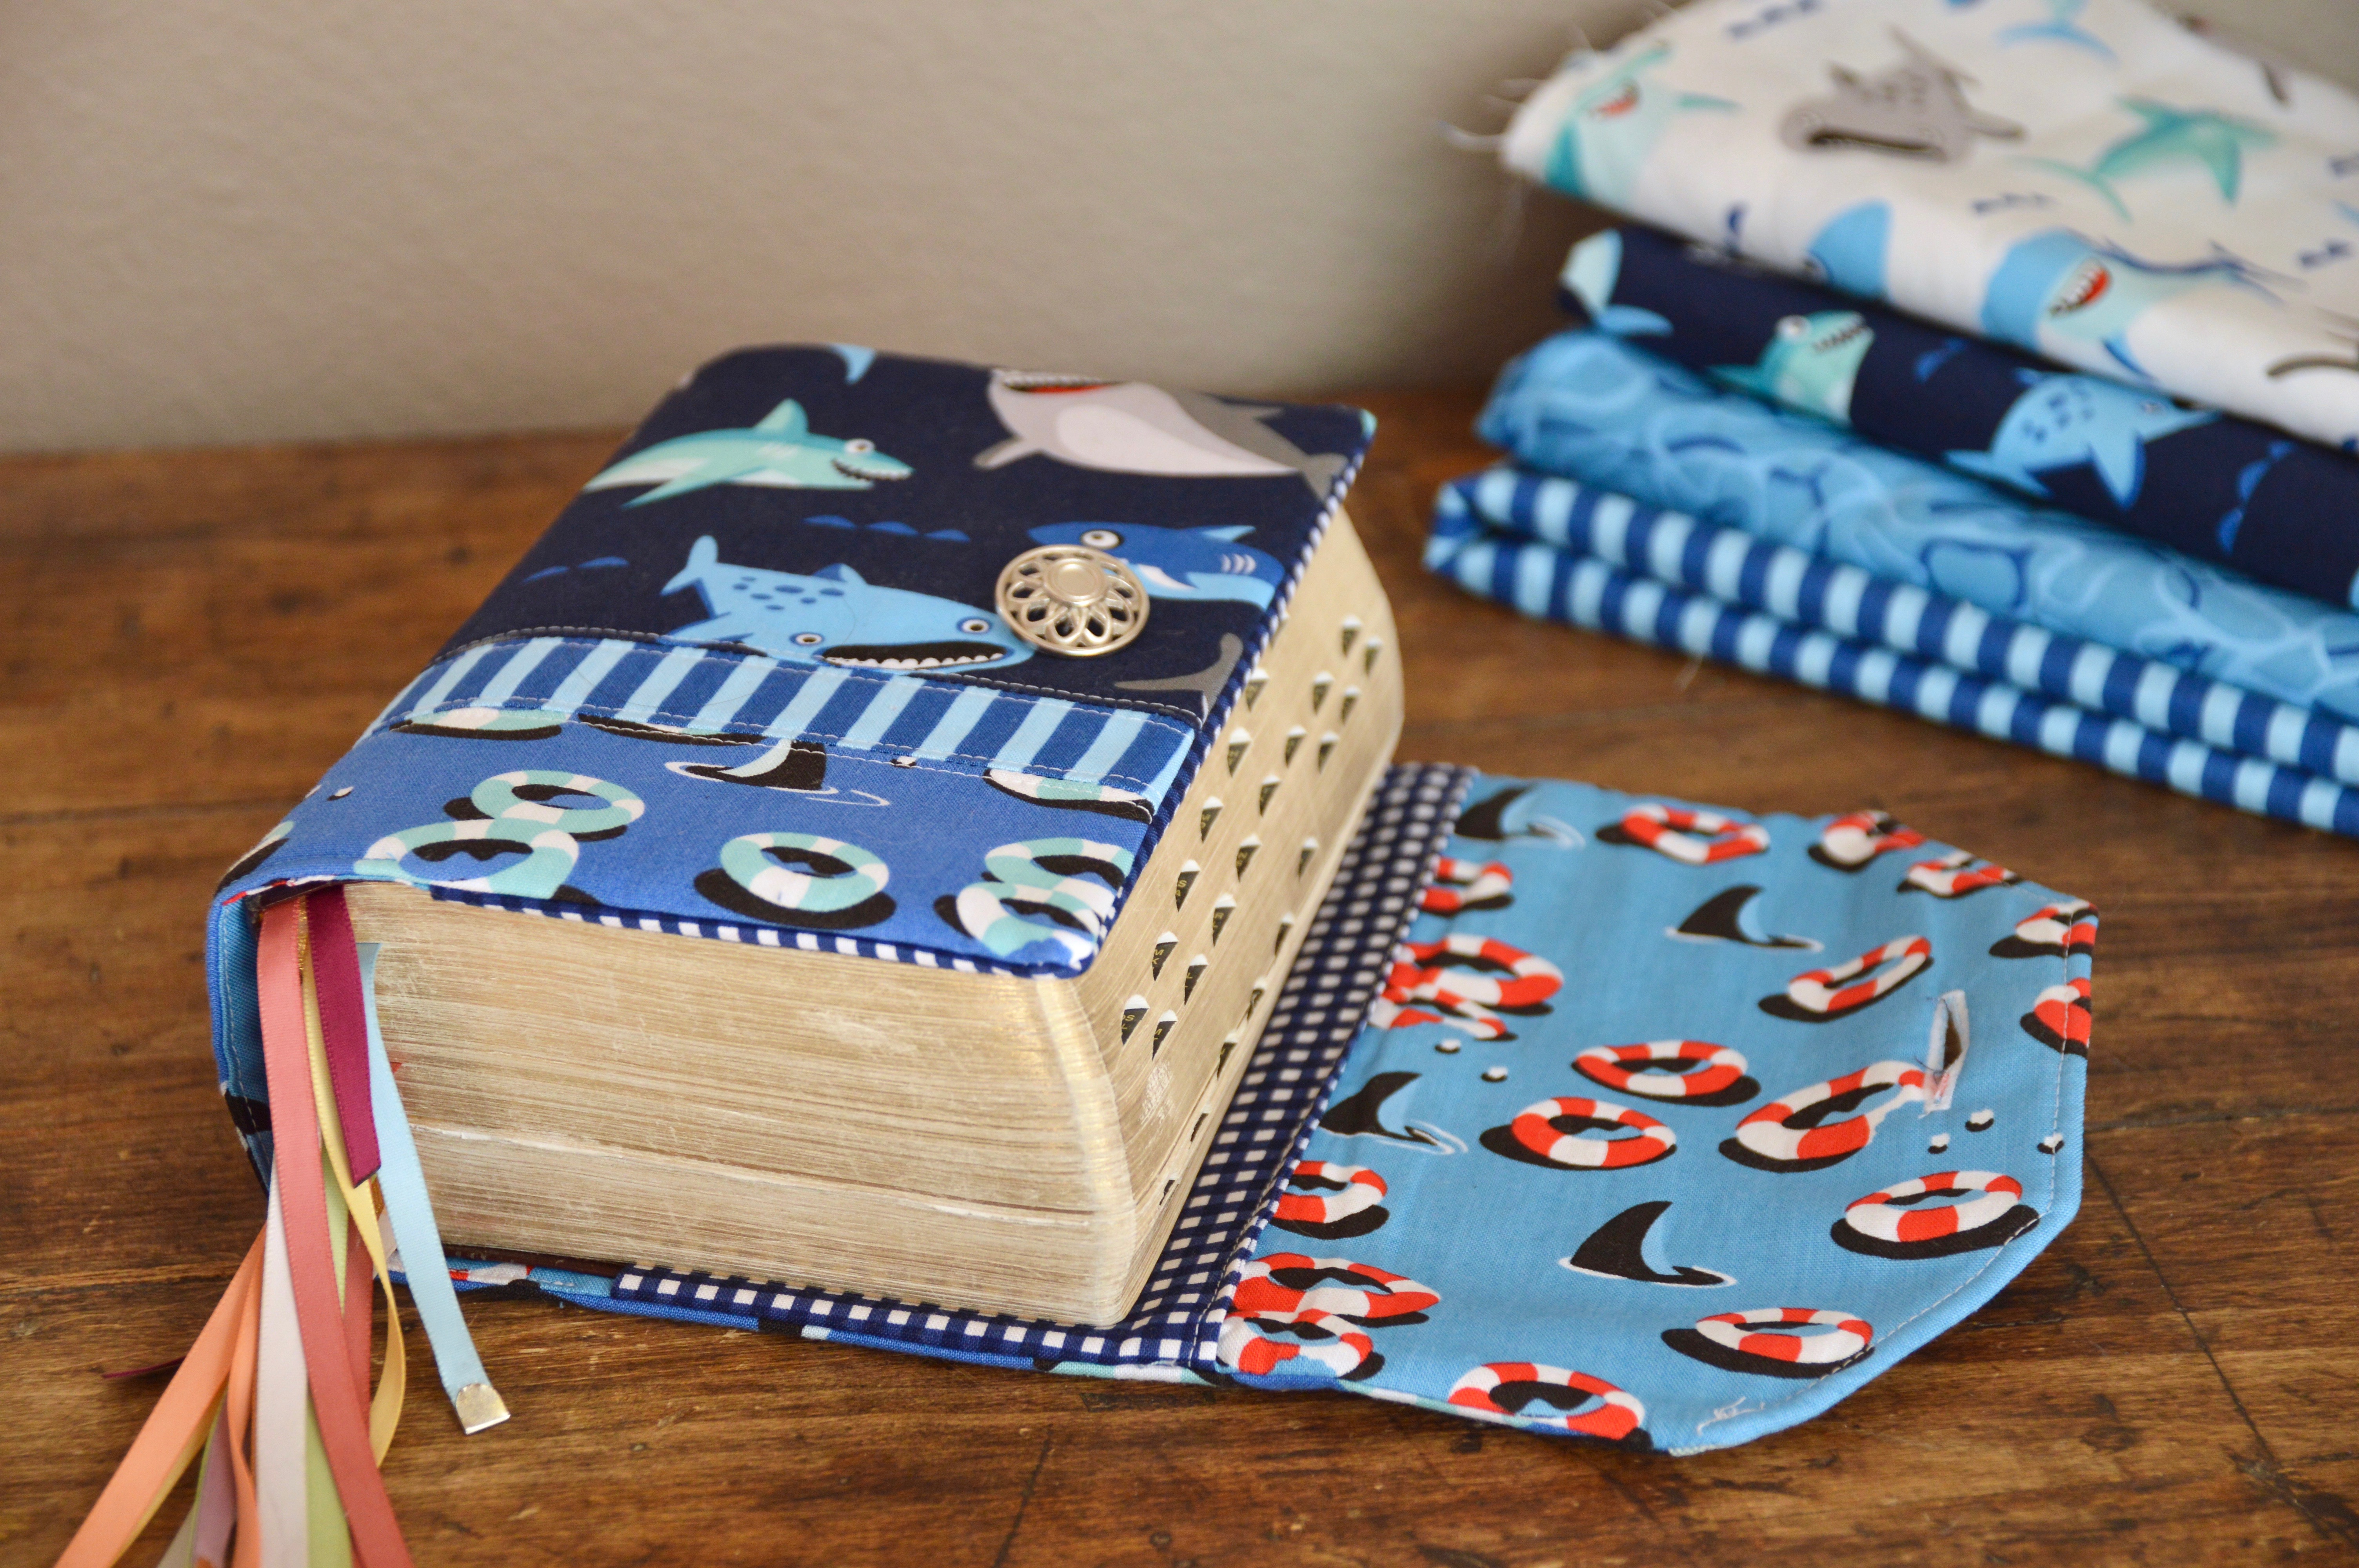
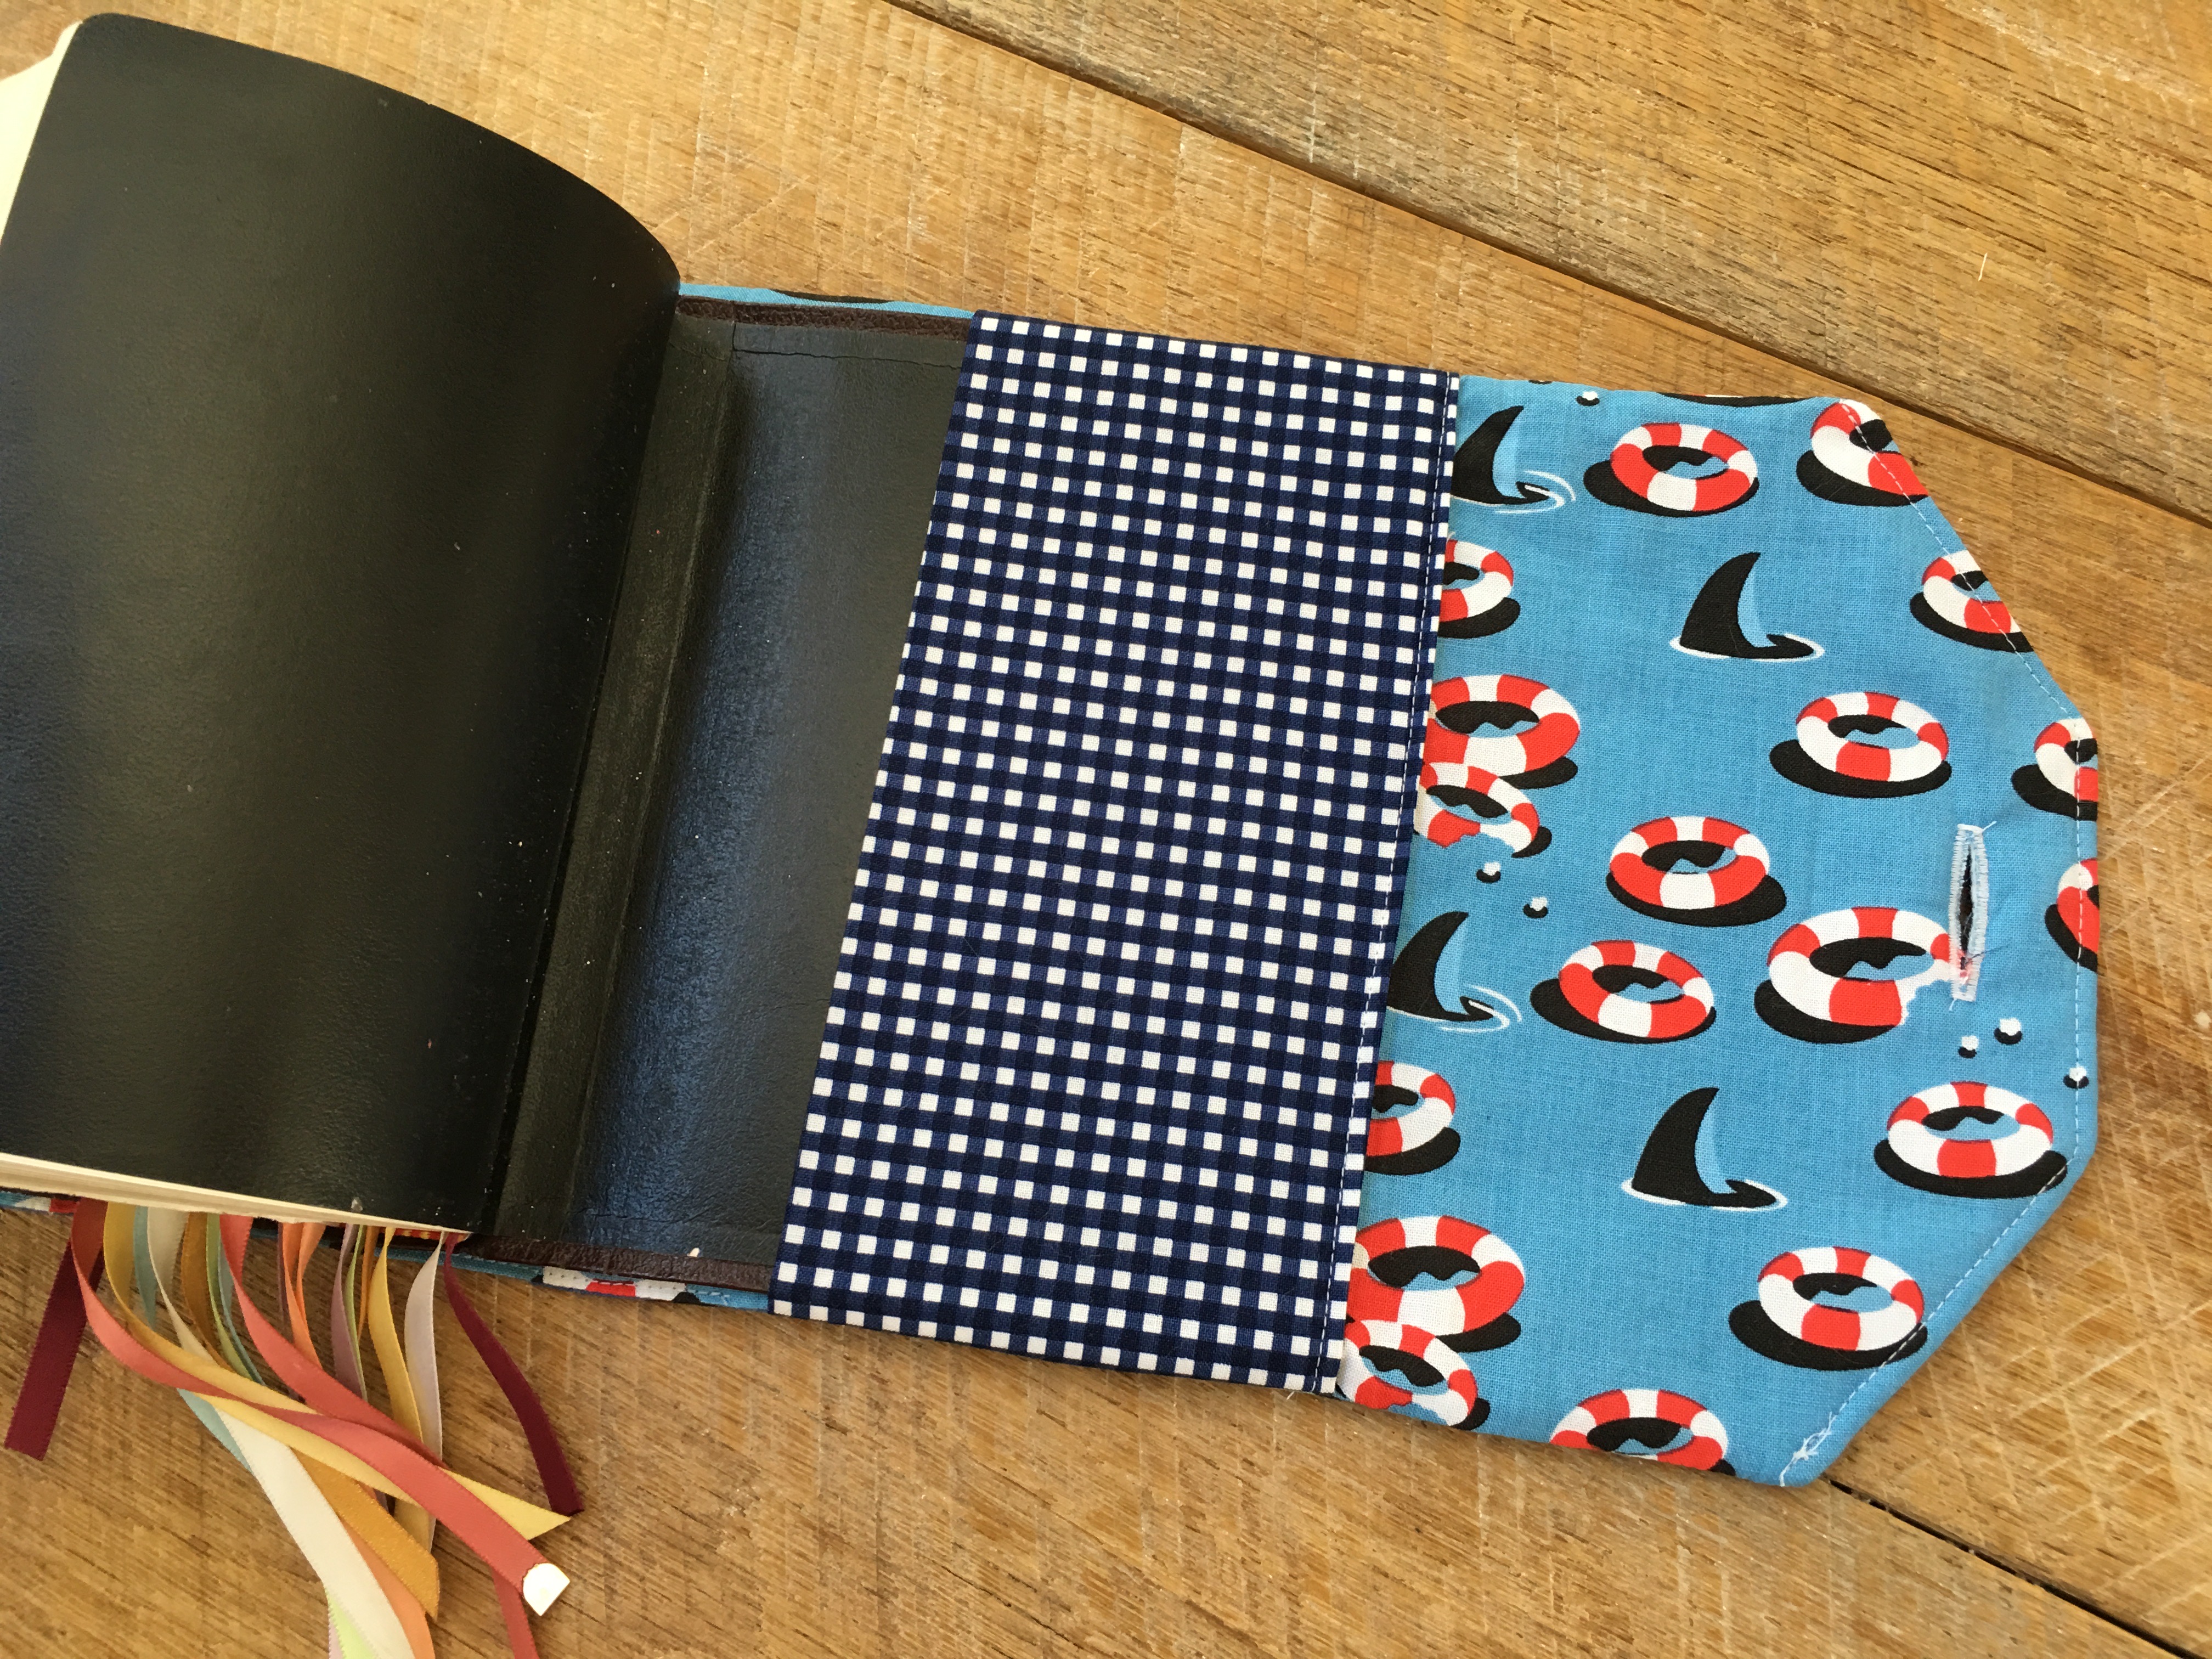
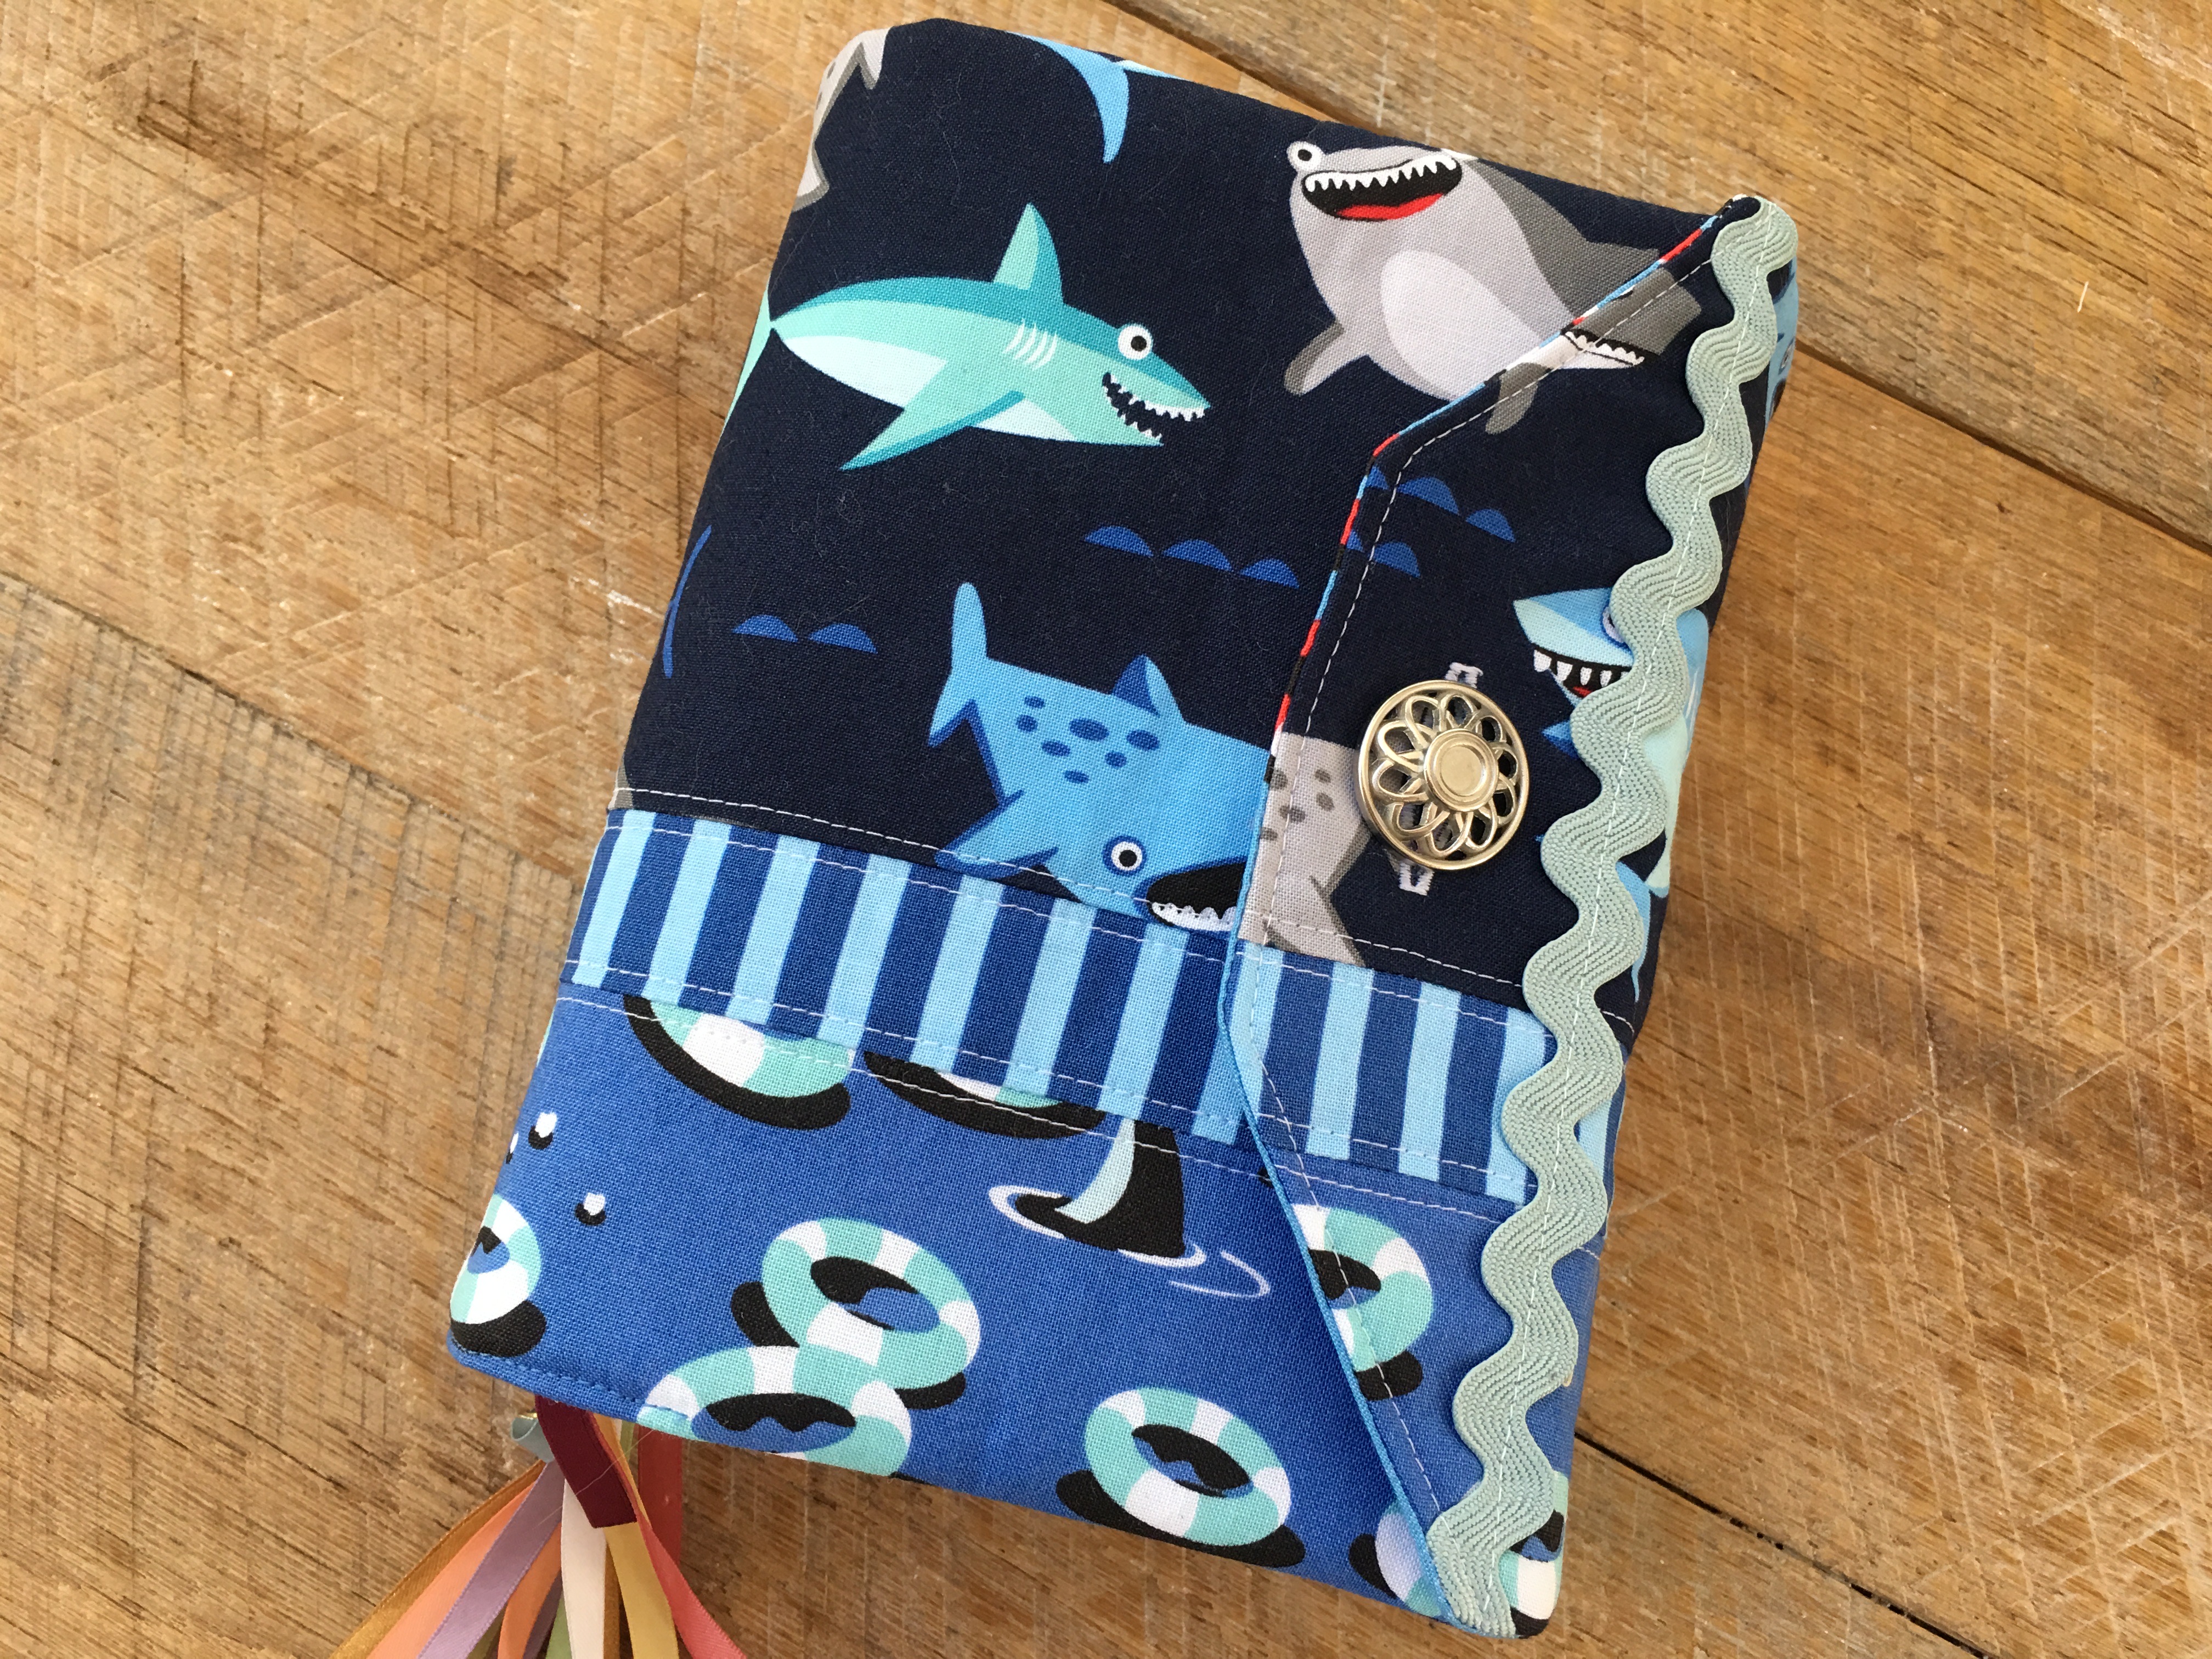
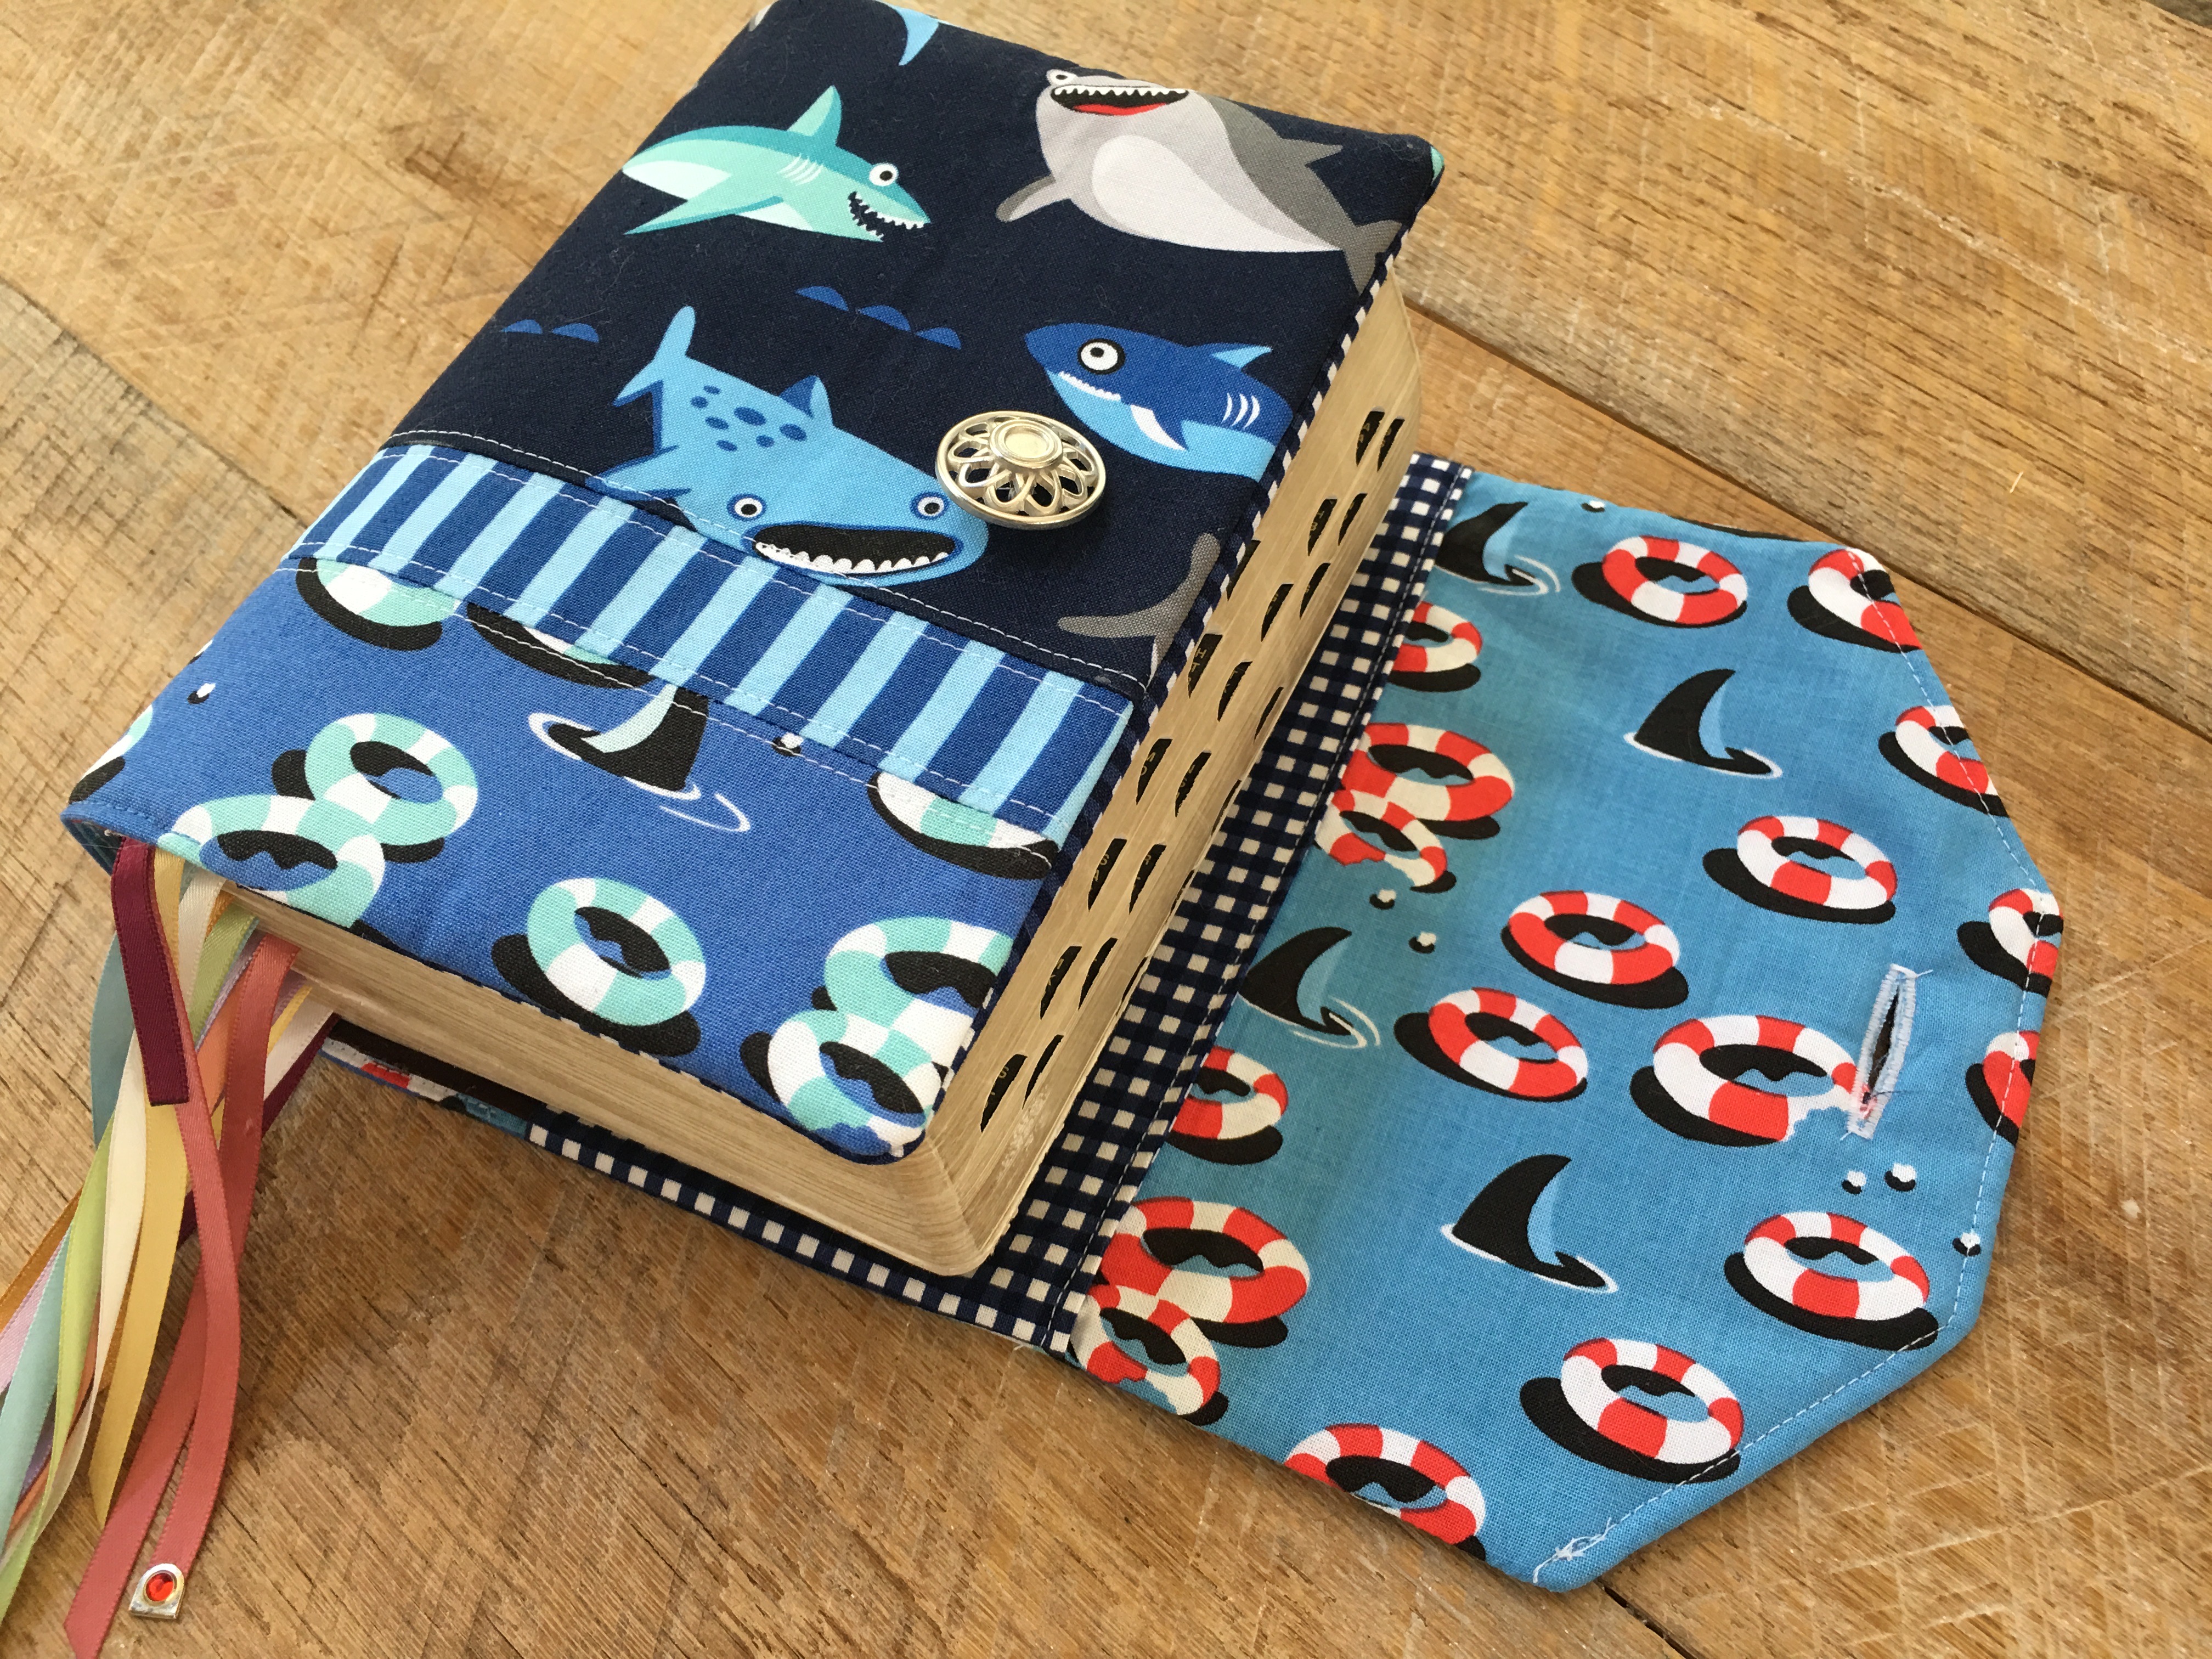
DSC_0944Since my daughter’s favorite animal is a shark, I knew I had to make her a new scripture for her Seminary graduation out of Sharktown by Riley Blake Designs.  She was so surprised!!!  You can follow this tutorial for the full instructions.  Please note that the below diagram shows the measurements for this style.  All other measurements are the same as the tutorial.scripture cover layout
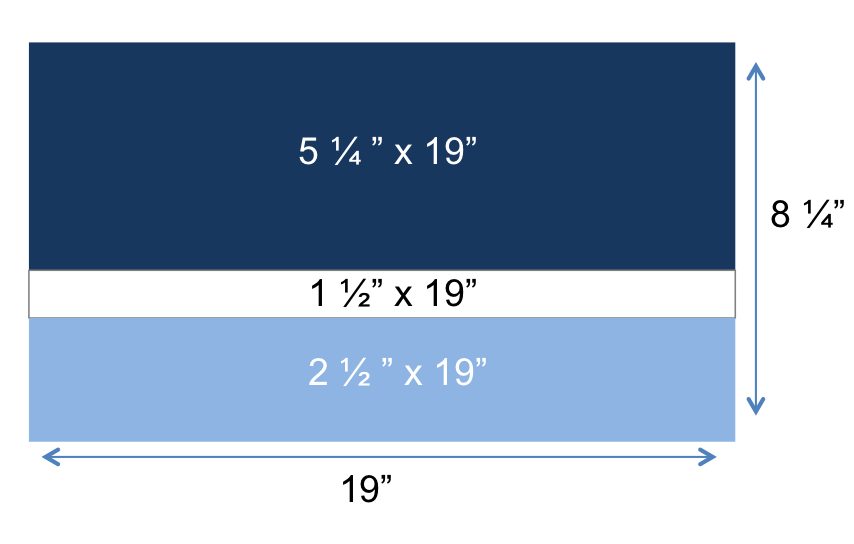
This is the size for the standard quad, the tutorial also includes instructions for determining the measurements for a different size book 🙂

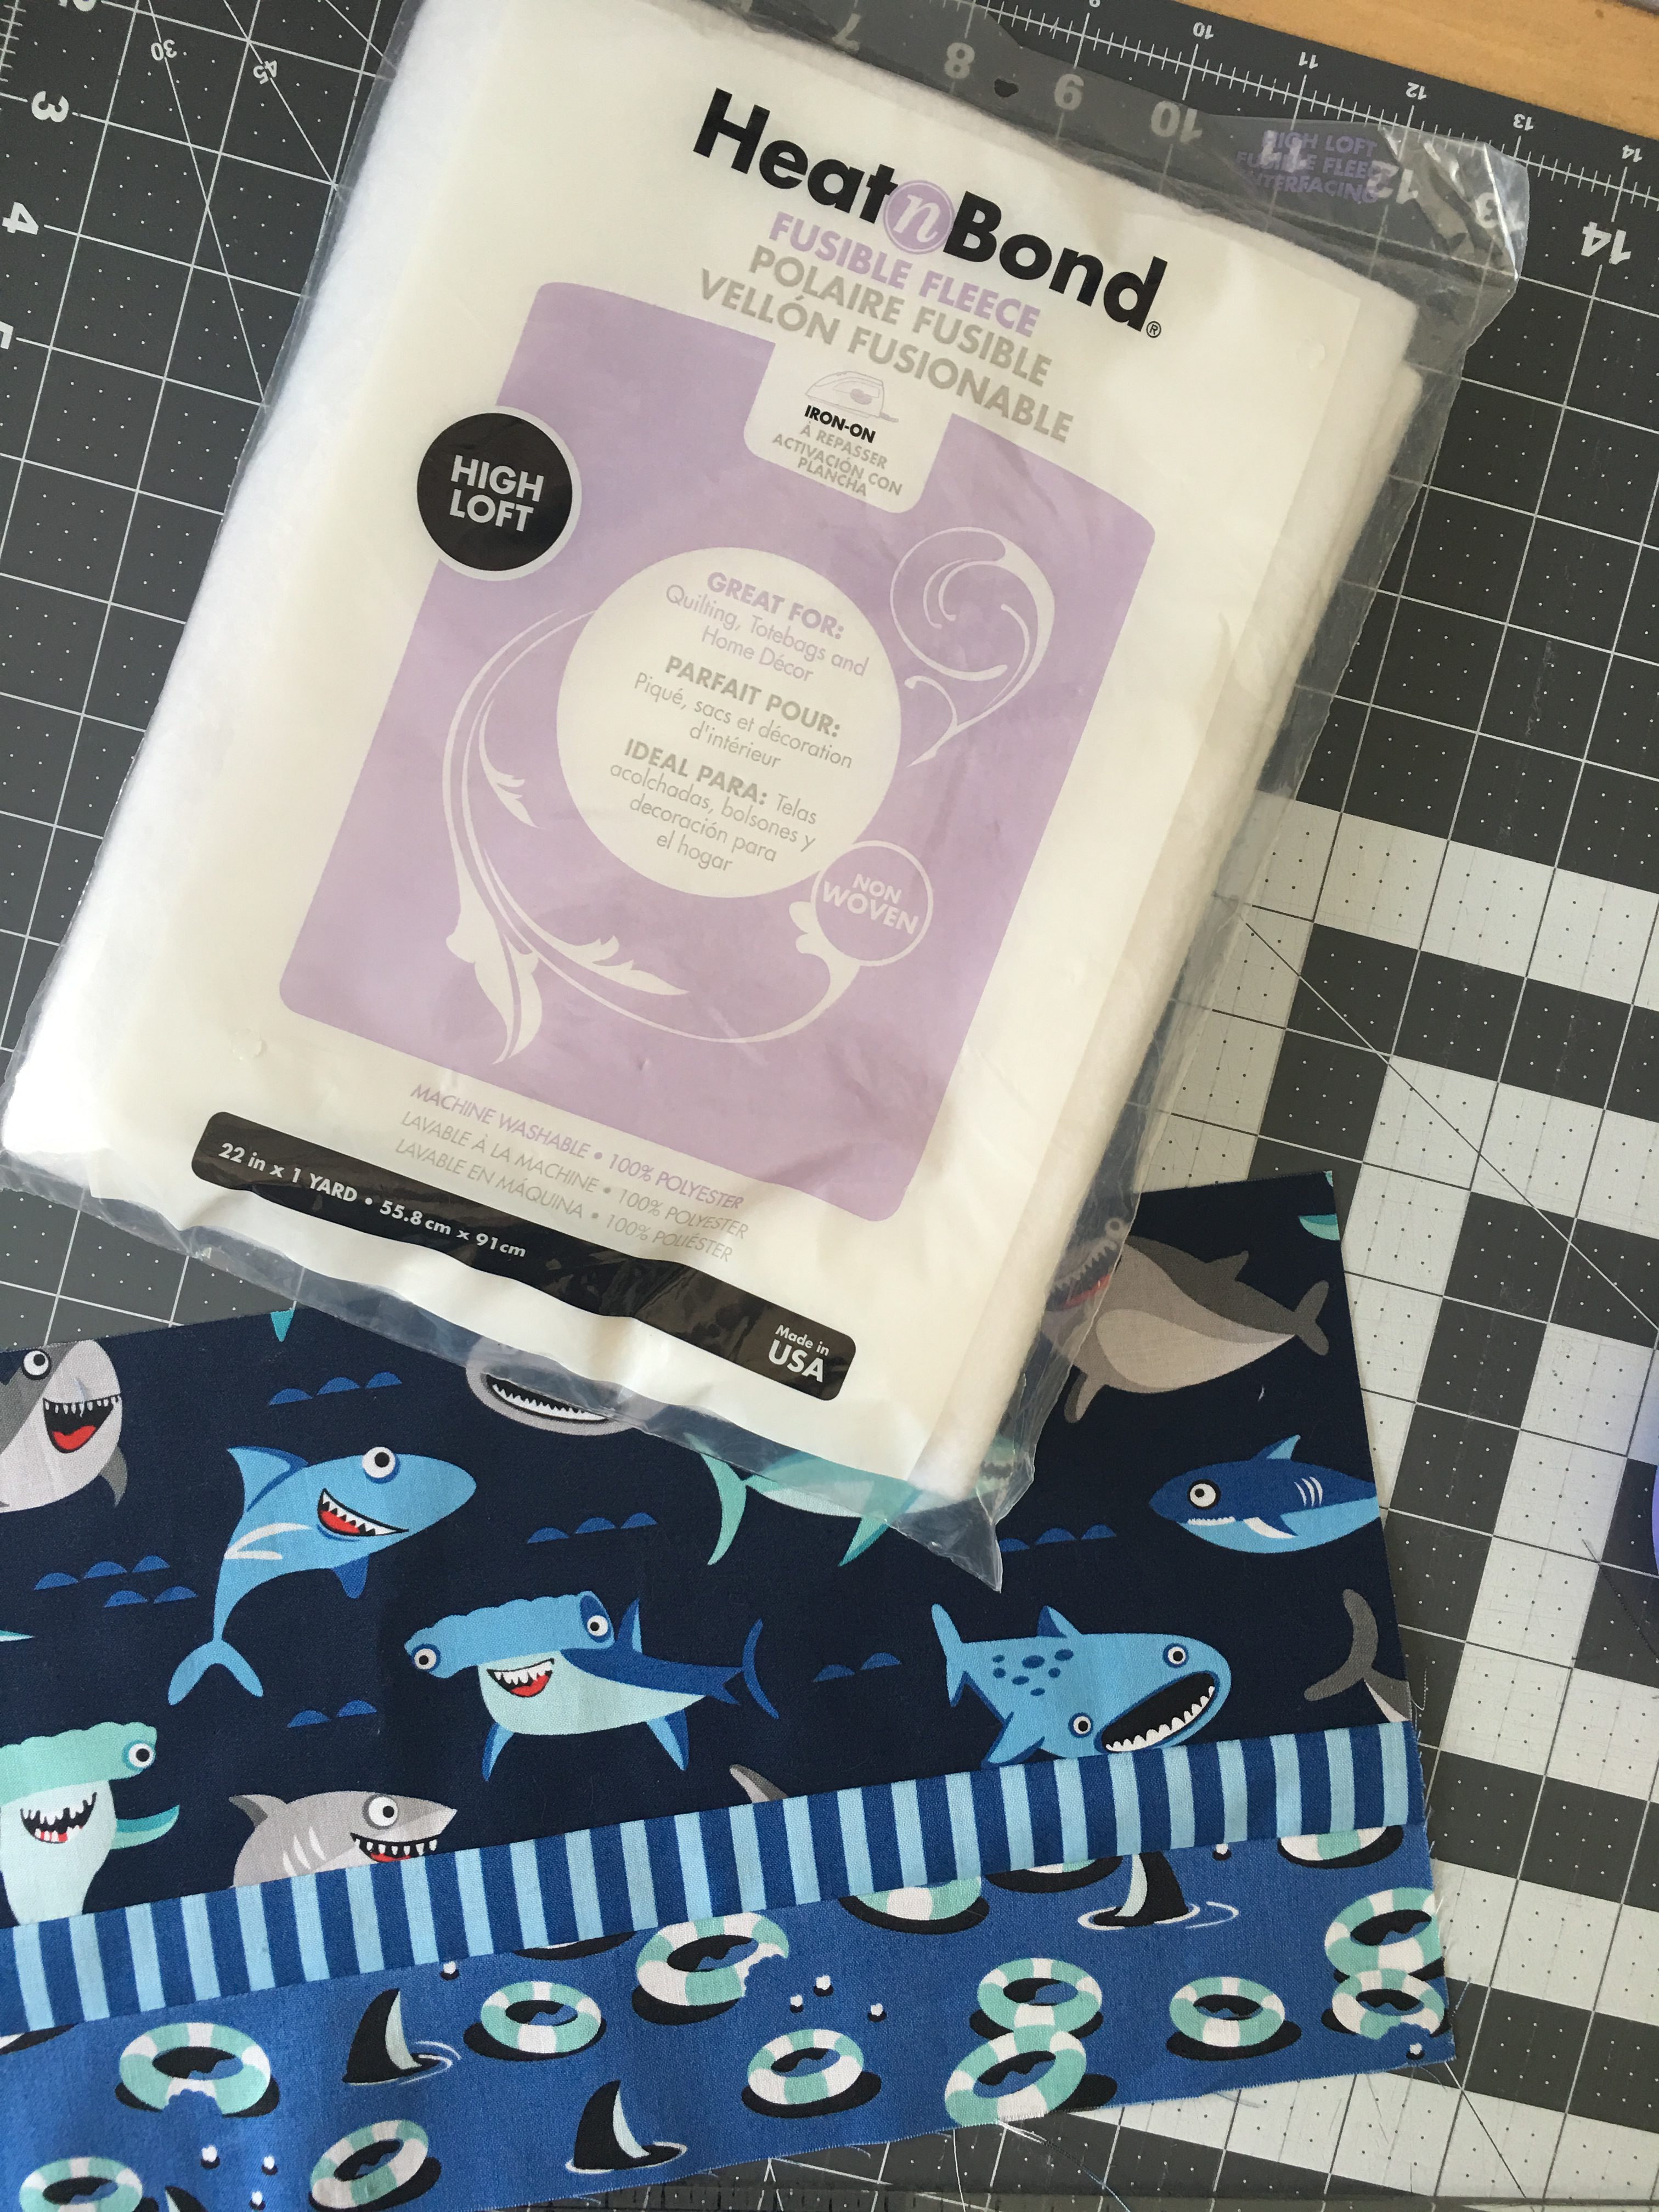
I used Heat n Bond Fusible Fleece for the stabilizer.  I love that is is soft yet sturdy and won’t shrink when washed.  You also don’t have to quilt the project.  I added some accent stitching along the center strip.

CF144230-1283-4D81-B023-D831C4E79668

It’s so totally Sharkalicious!!!!!

3CC15D0A-BAF4-4EC0-90ED-DB6D583901FA


2D61D620-3C0D-4D28-8219-D57F5FDF412F

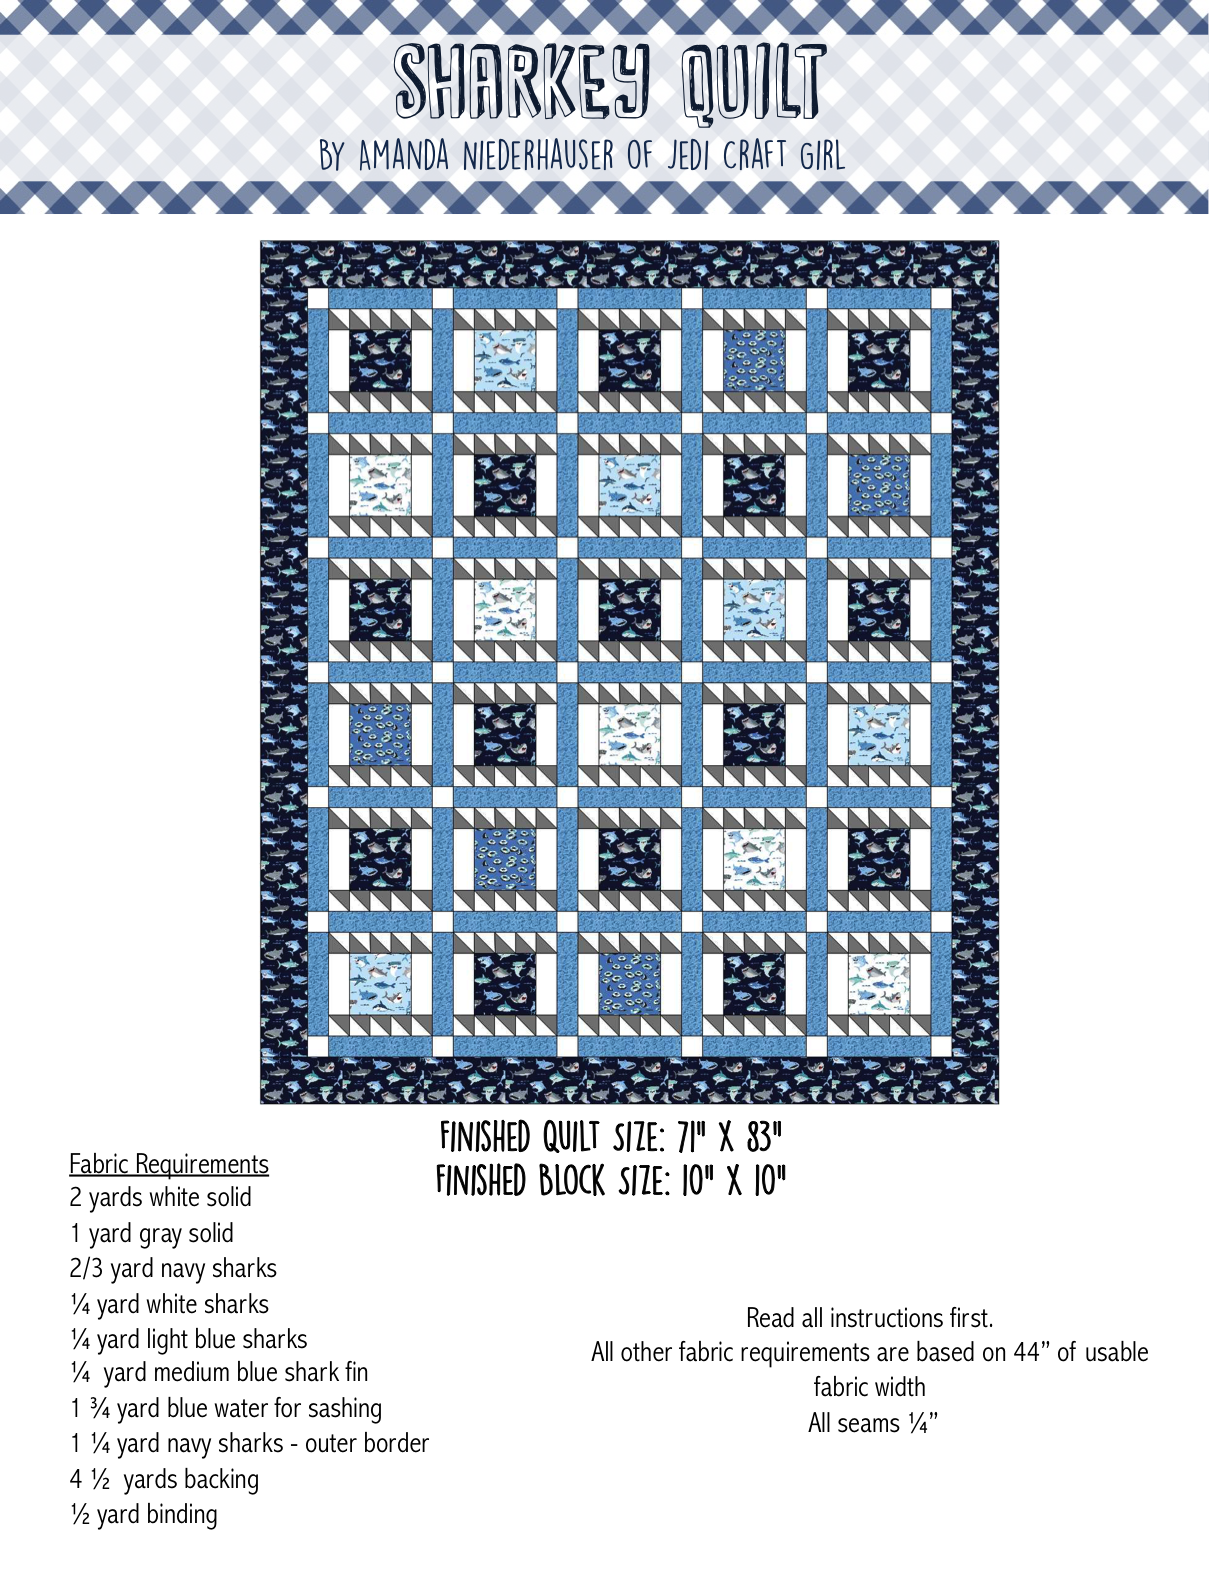
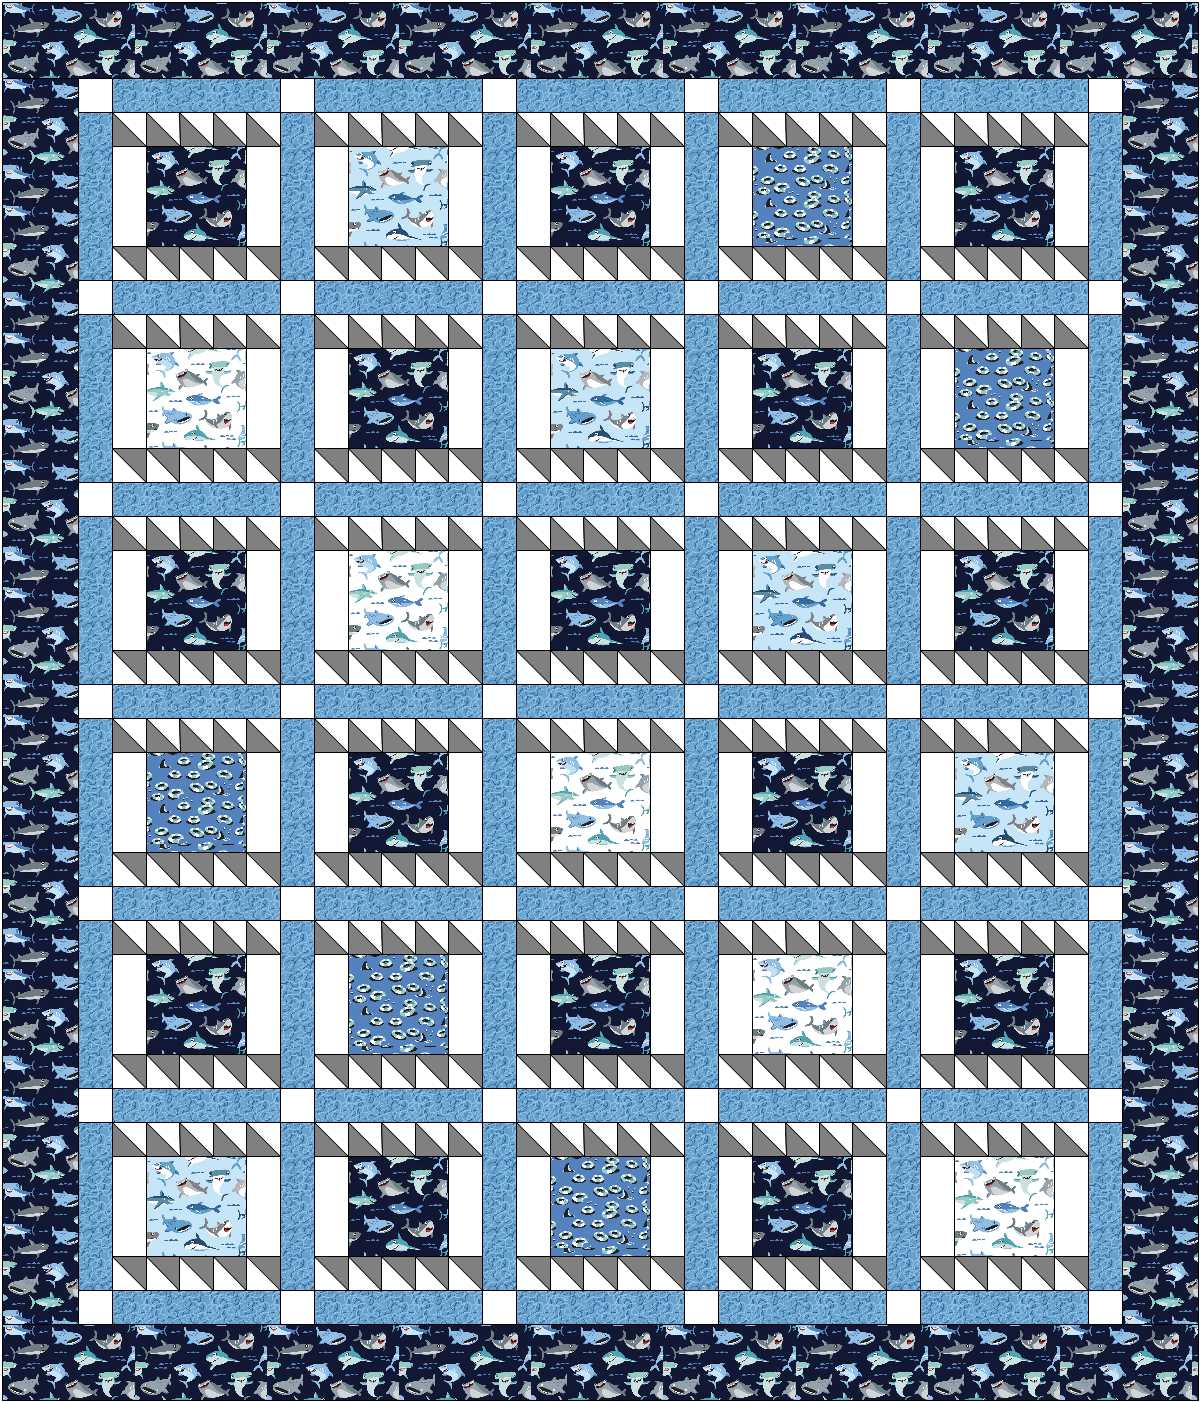
Sharkey Quilt {Free Pattern}

sharkey block

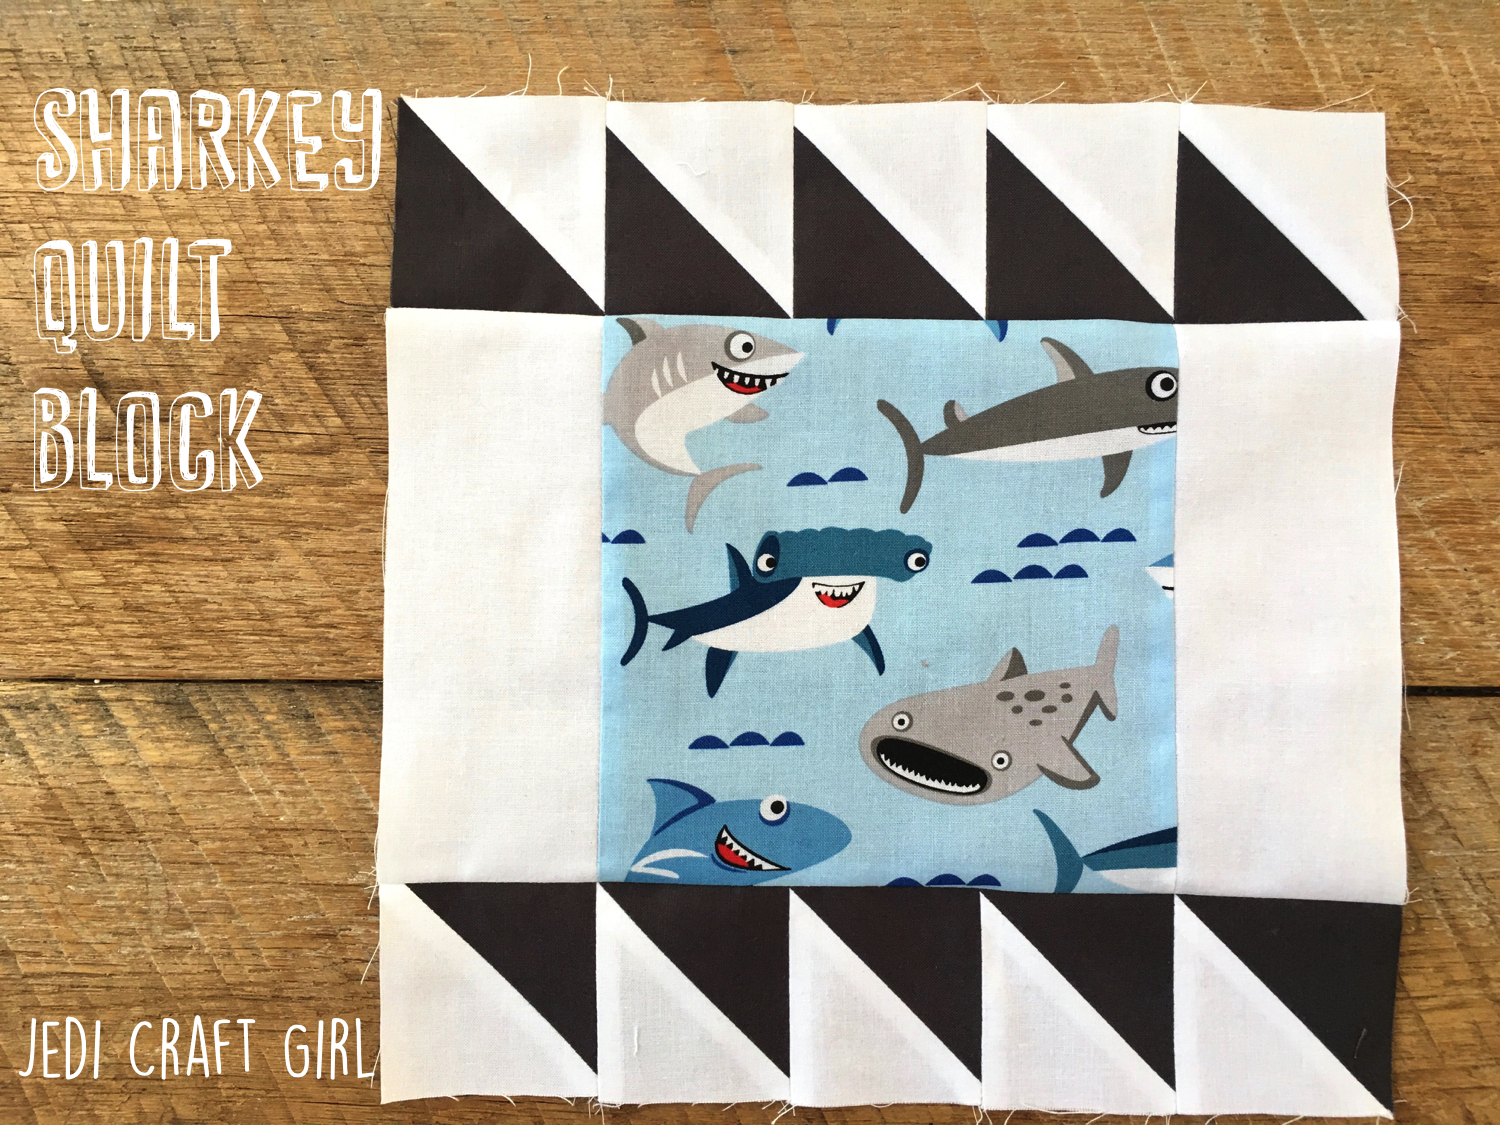
When I saw this new fabric from Riley Blake Designs called Sharktown I completely FREAKED OUT!!!  And then I showed my daughter (whose favorite animals are sharks) and she TOTALLY FREAKED OUT!  So I promised her a Sharkey Quilt for one of her many graduation presents.  I Love Love Love theme prints, especially animal theme prints.  However, they sometimes pose a design challenge: showing off the fabric + quilt design.  I put on my thinking cap…..I wanted something that looked sharkey……and the Sharkey Block was born!  I love the idea of using half square triangles to resemble shark fins (or shark teeth!). The center block lets you show off the super amazing fabric designs!
IMG_2272

I designed this fun pattern using the Sharkey Blocks which measure 10″ and some blue water sashing!  I choose the all the blue fabrics from the Sharktown fabric line and added in the solid gray accent.  You can download the PDF pattern by clicking HERE.

sharkey pattern cover
sharkey 2


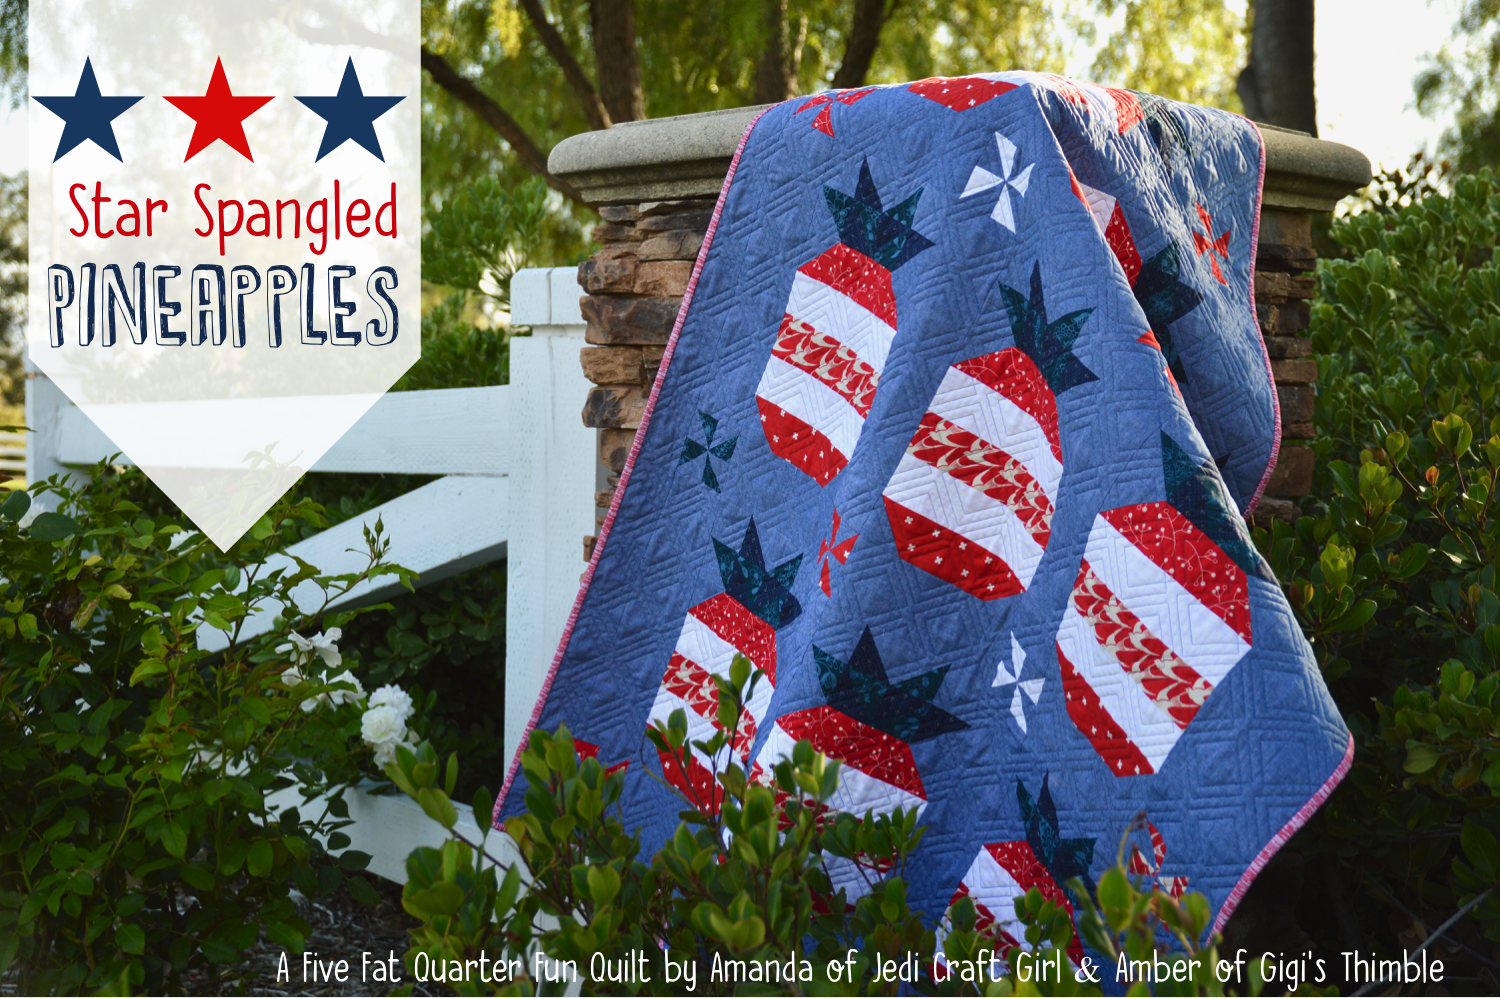
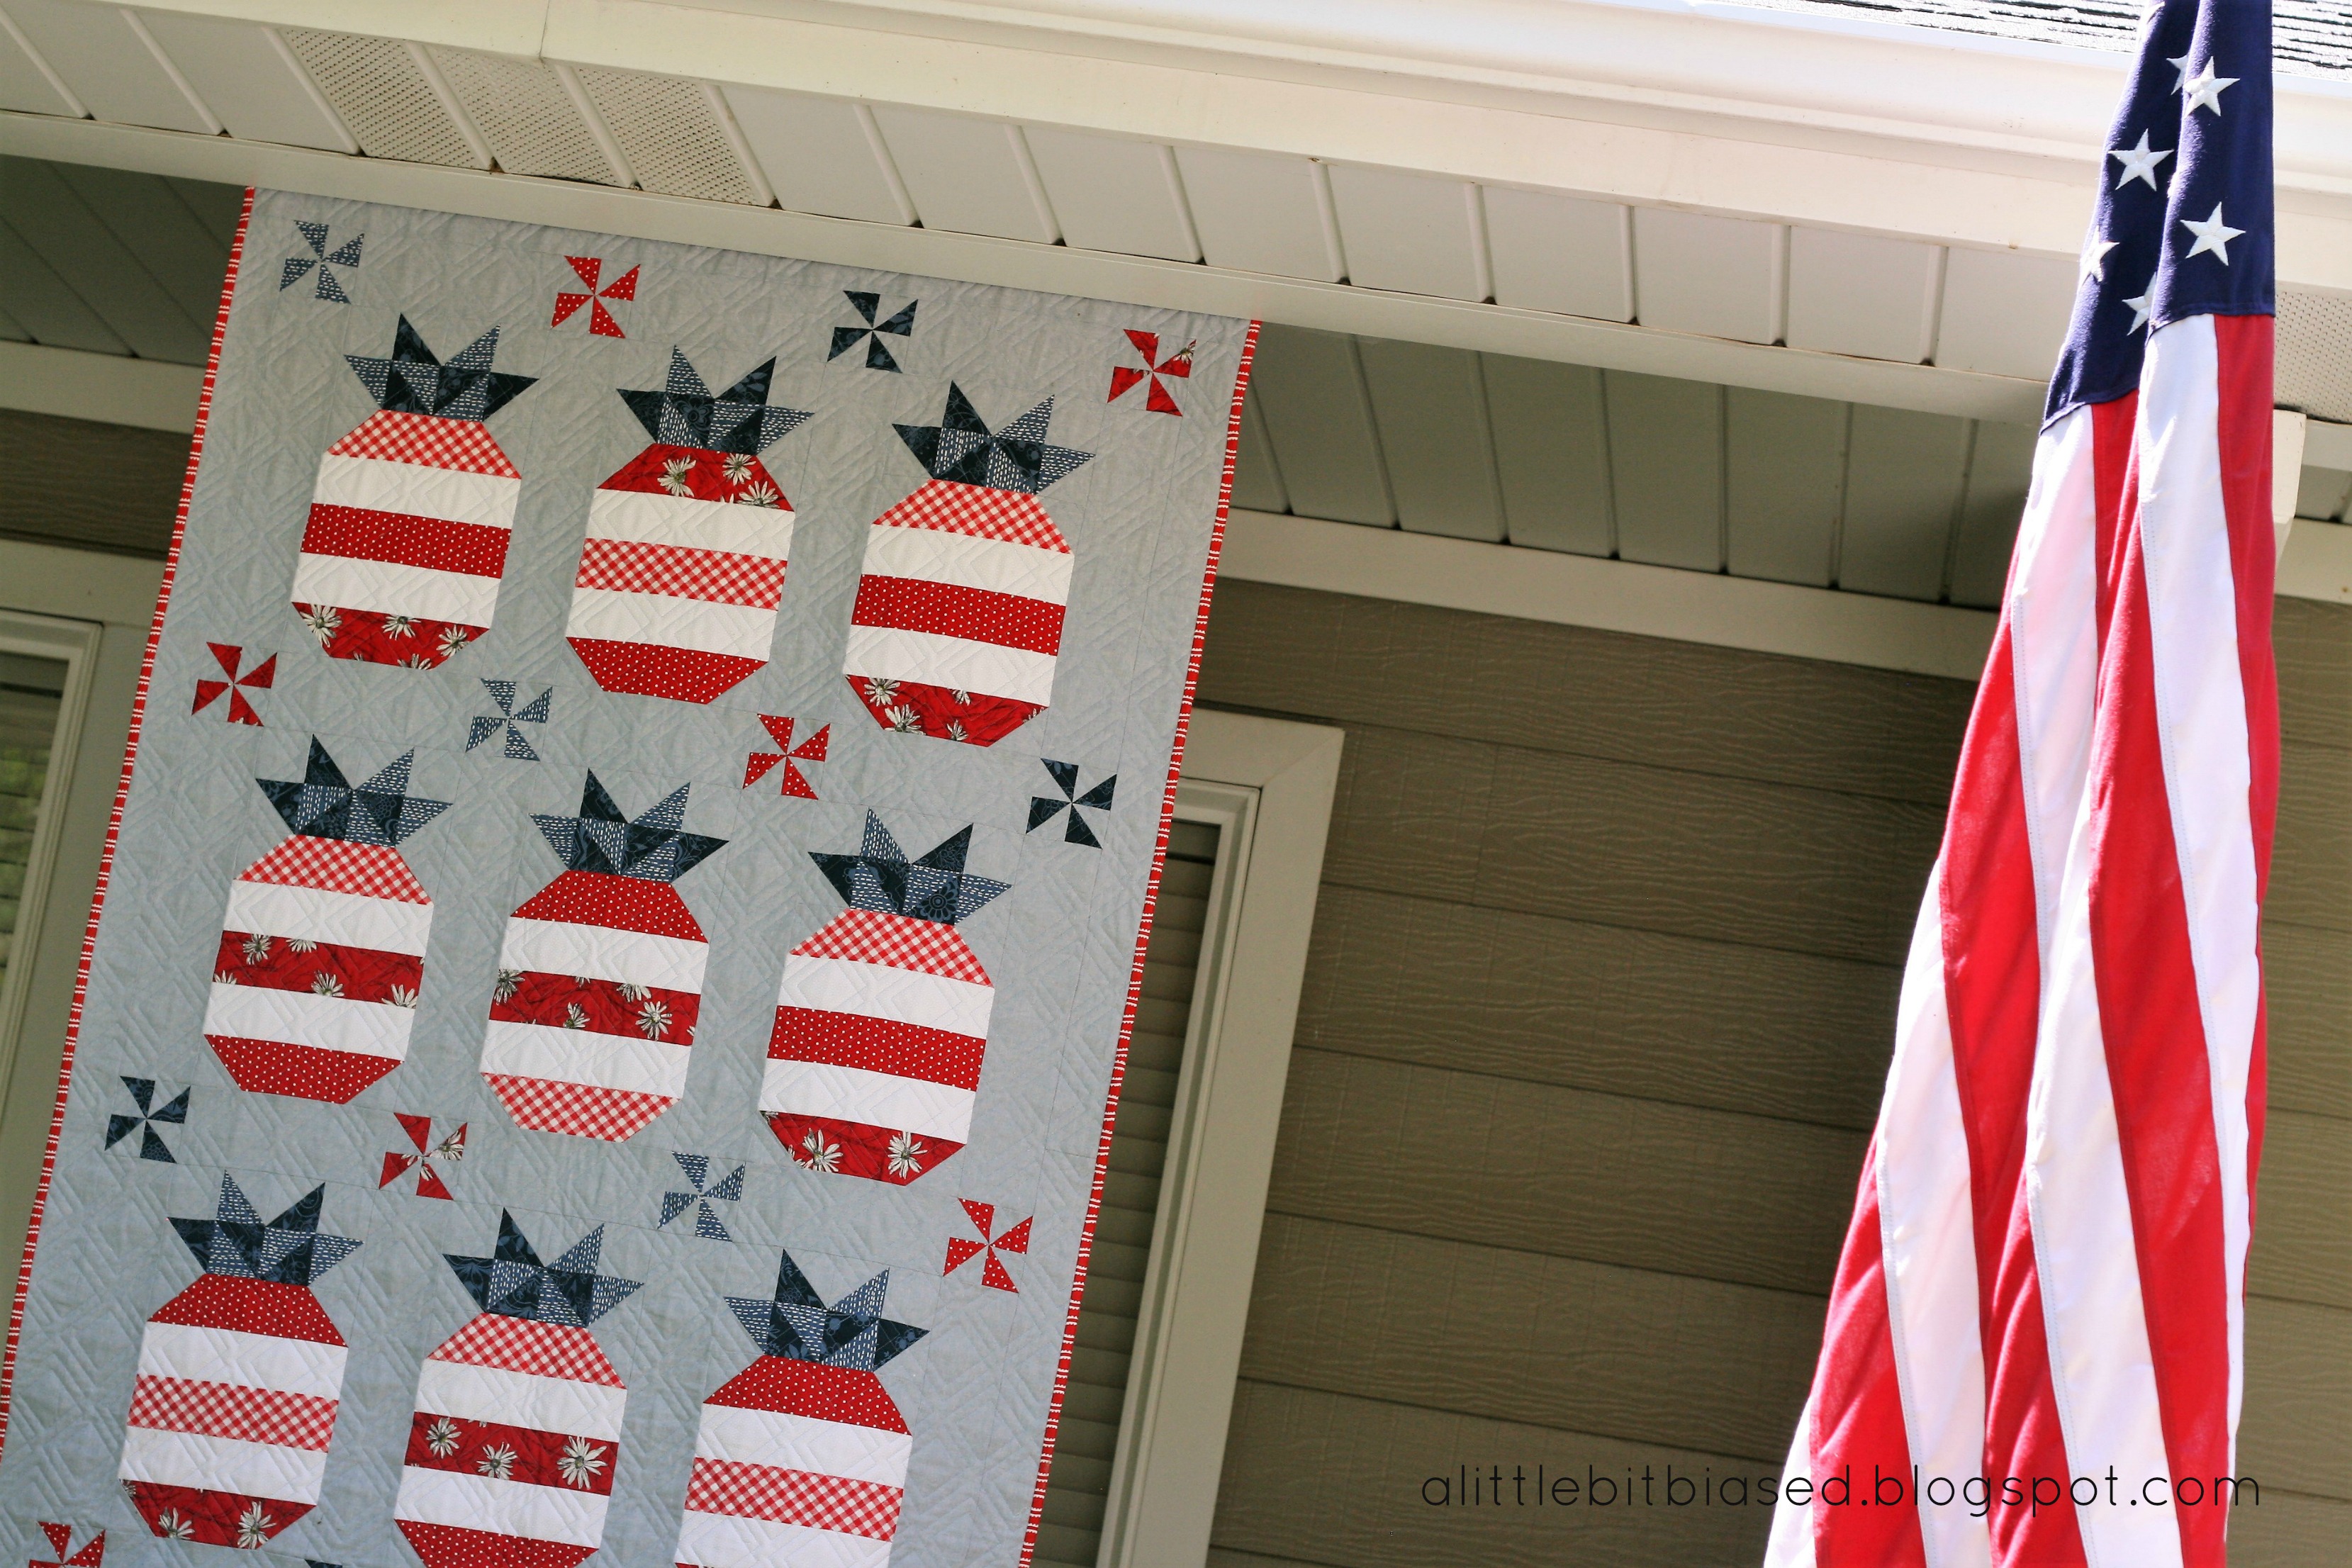
Star Spangled Pineapple Quilt

5 fat quarter fun logo

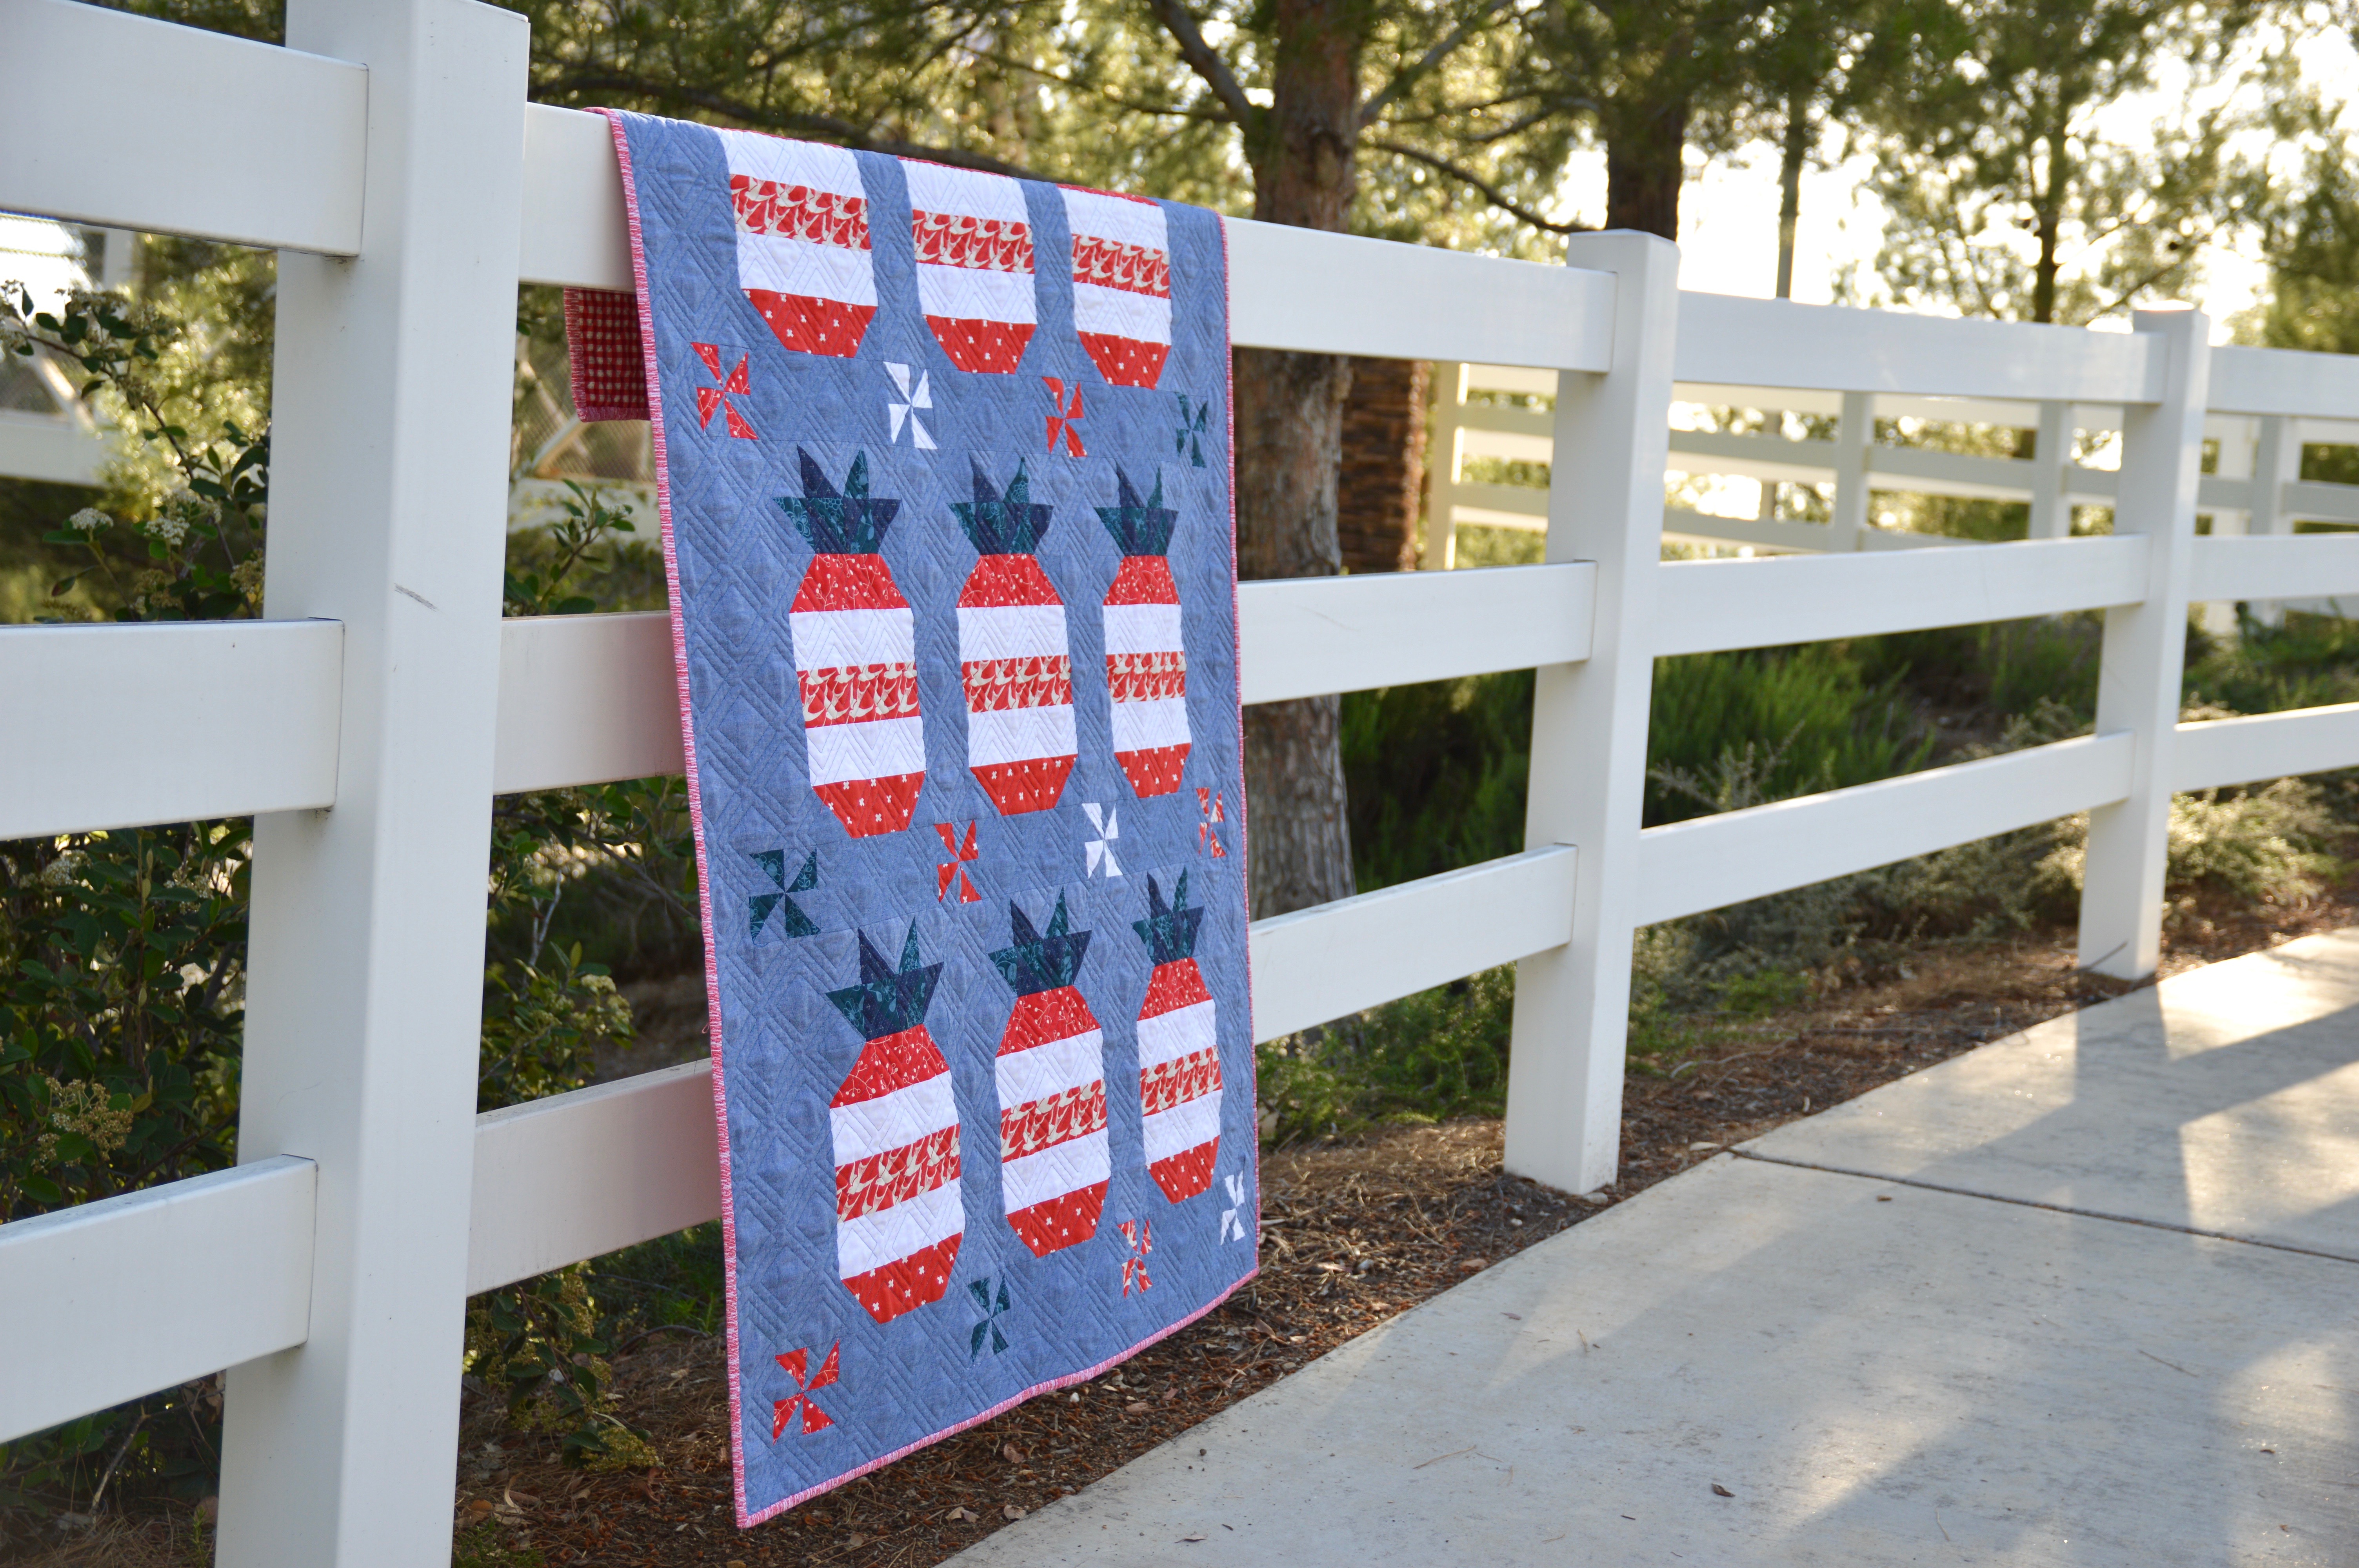
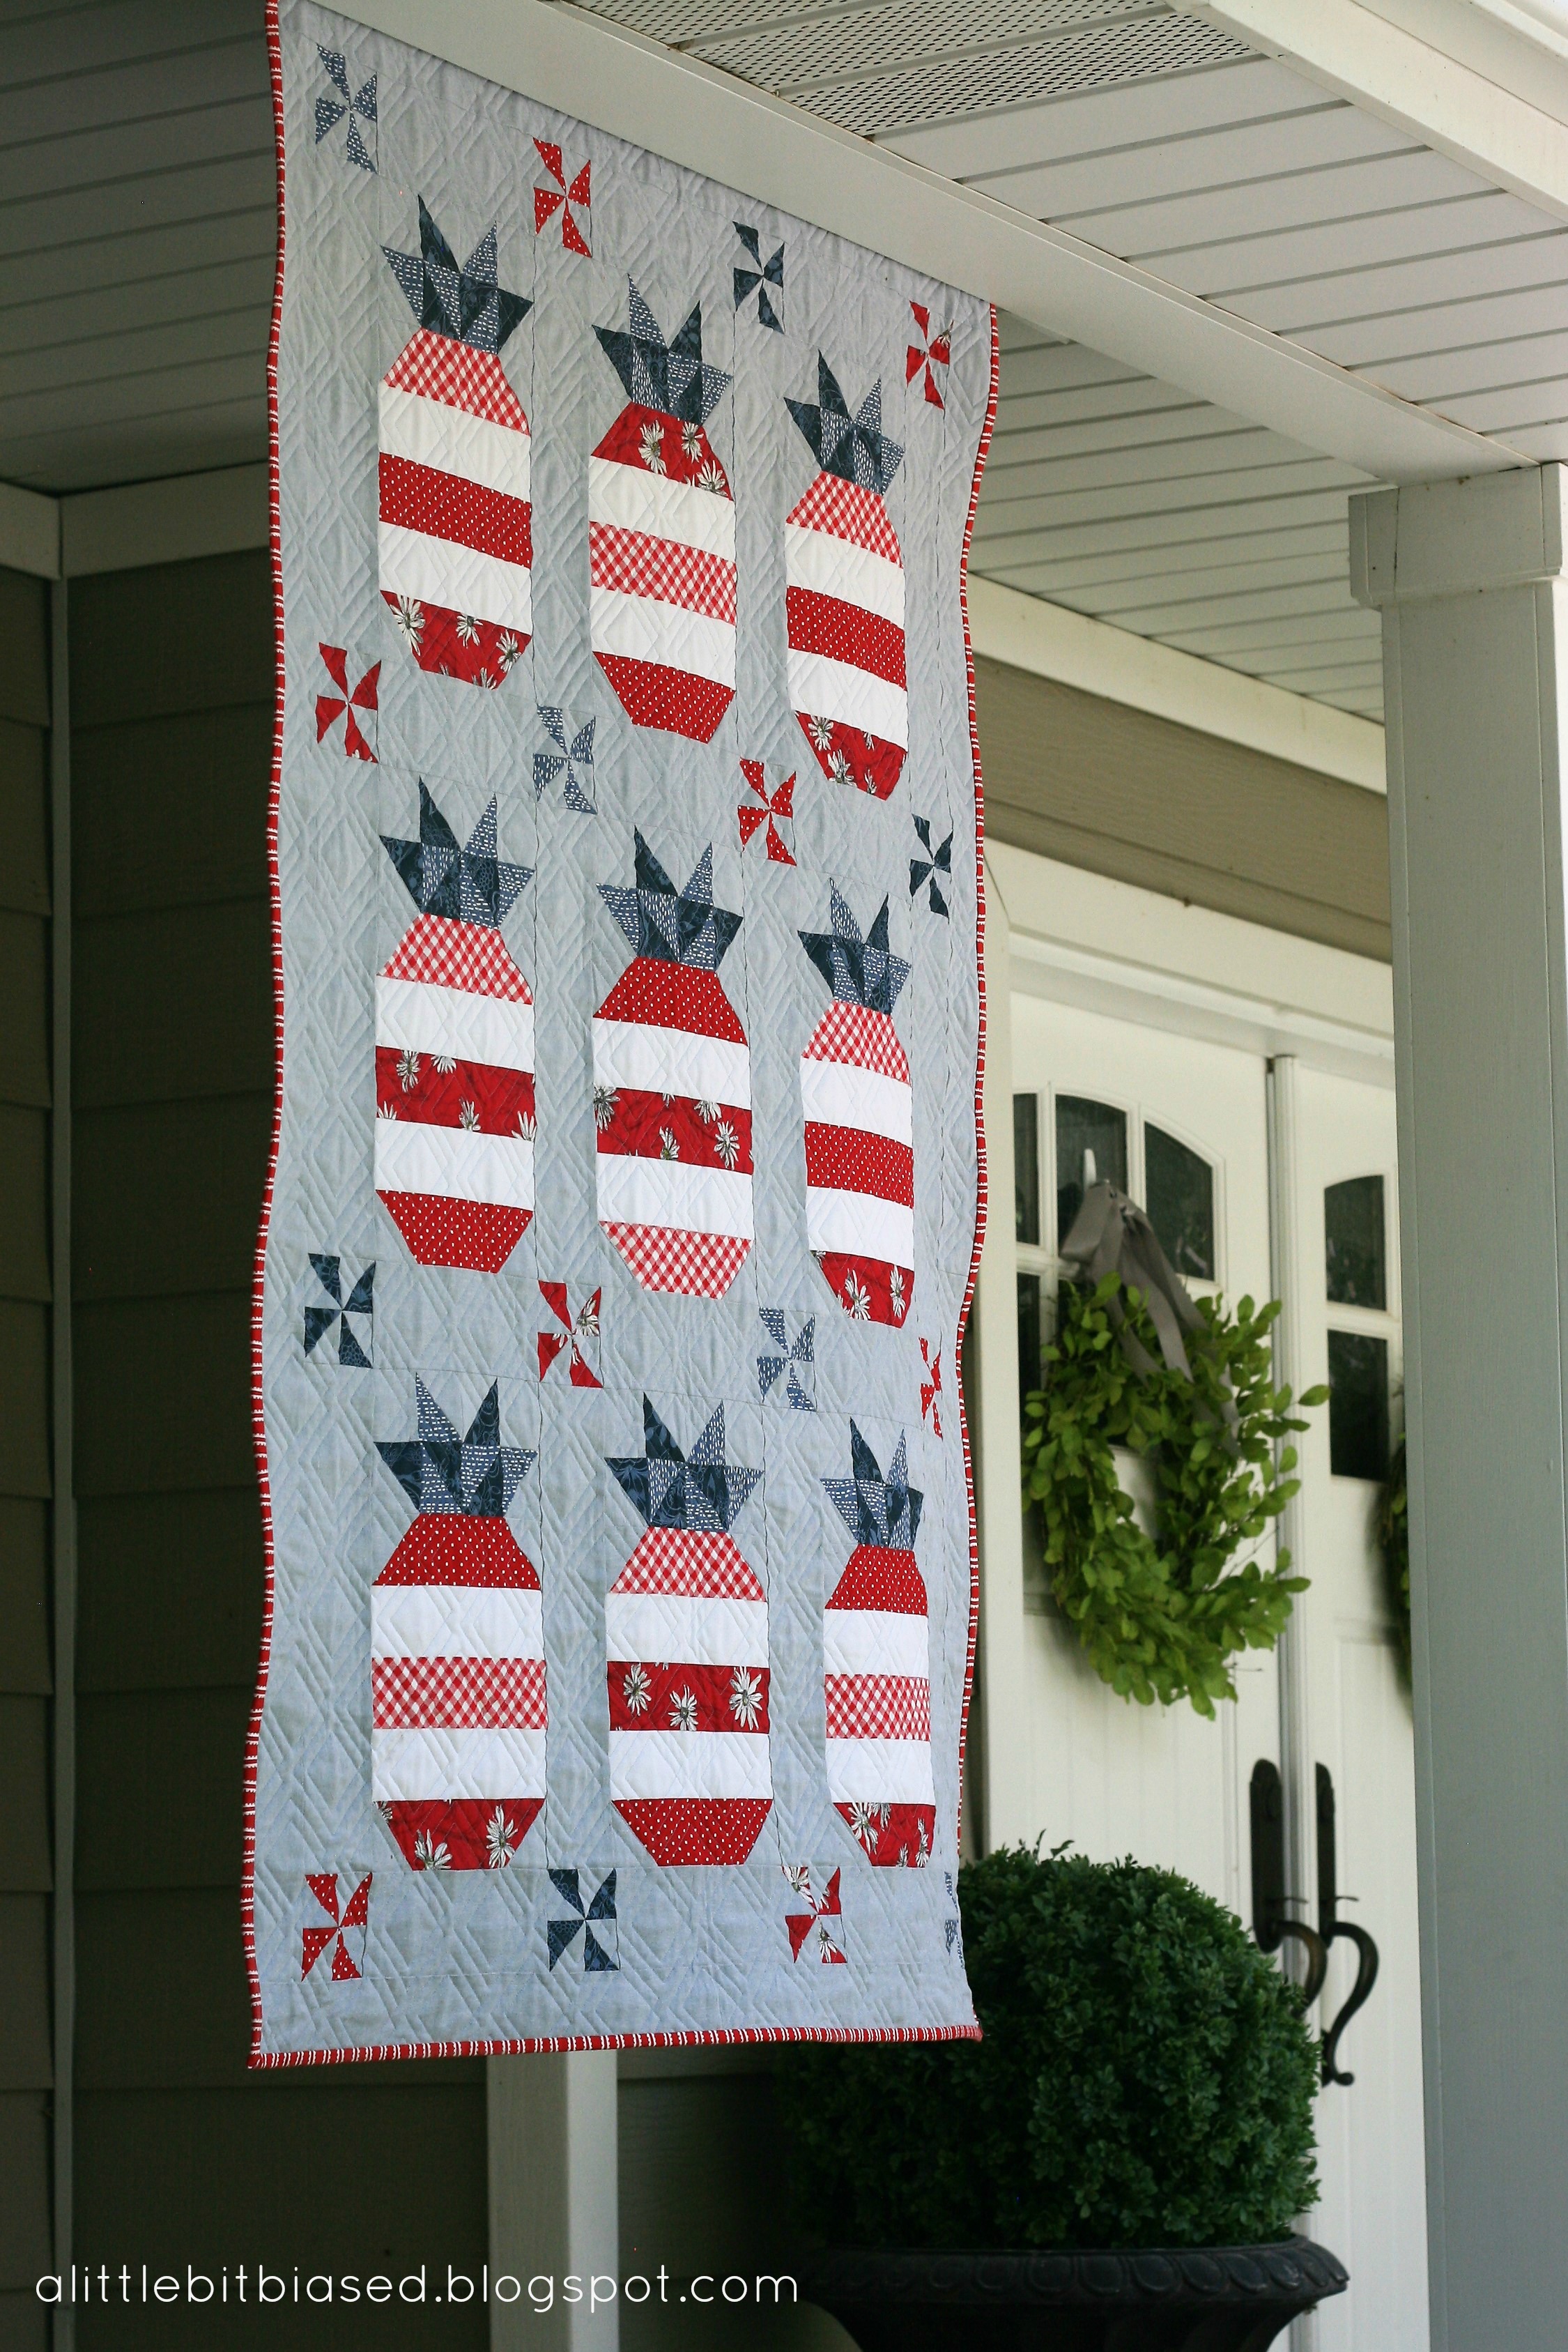
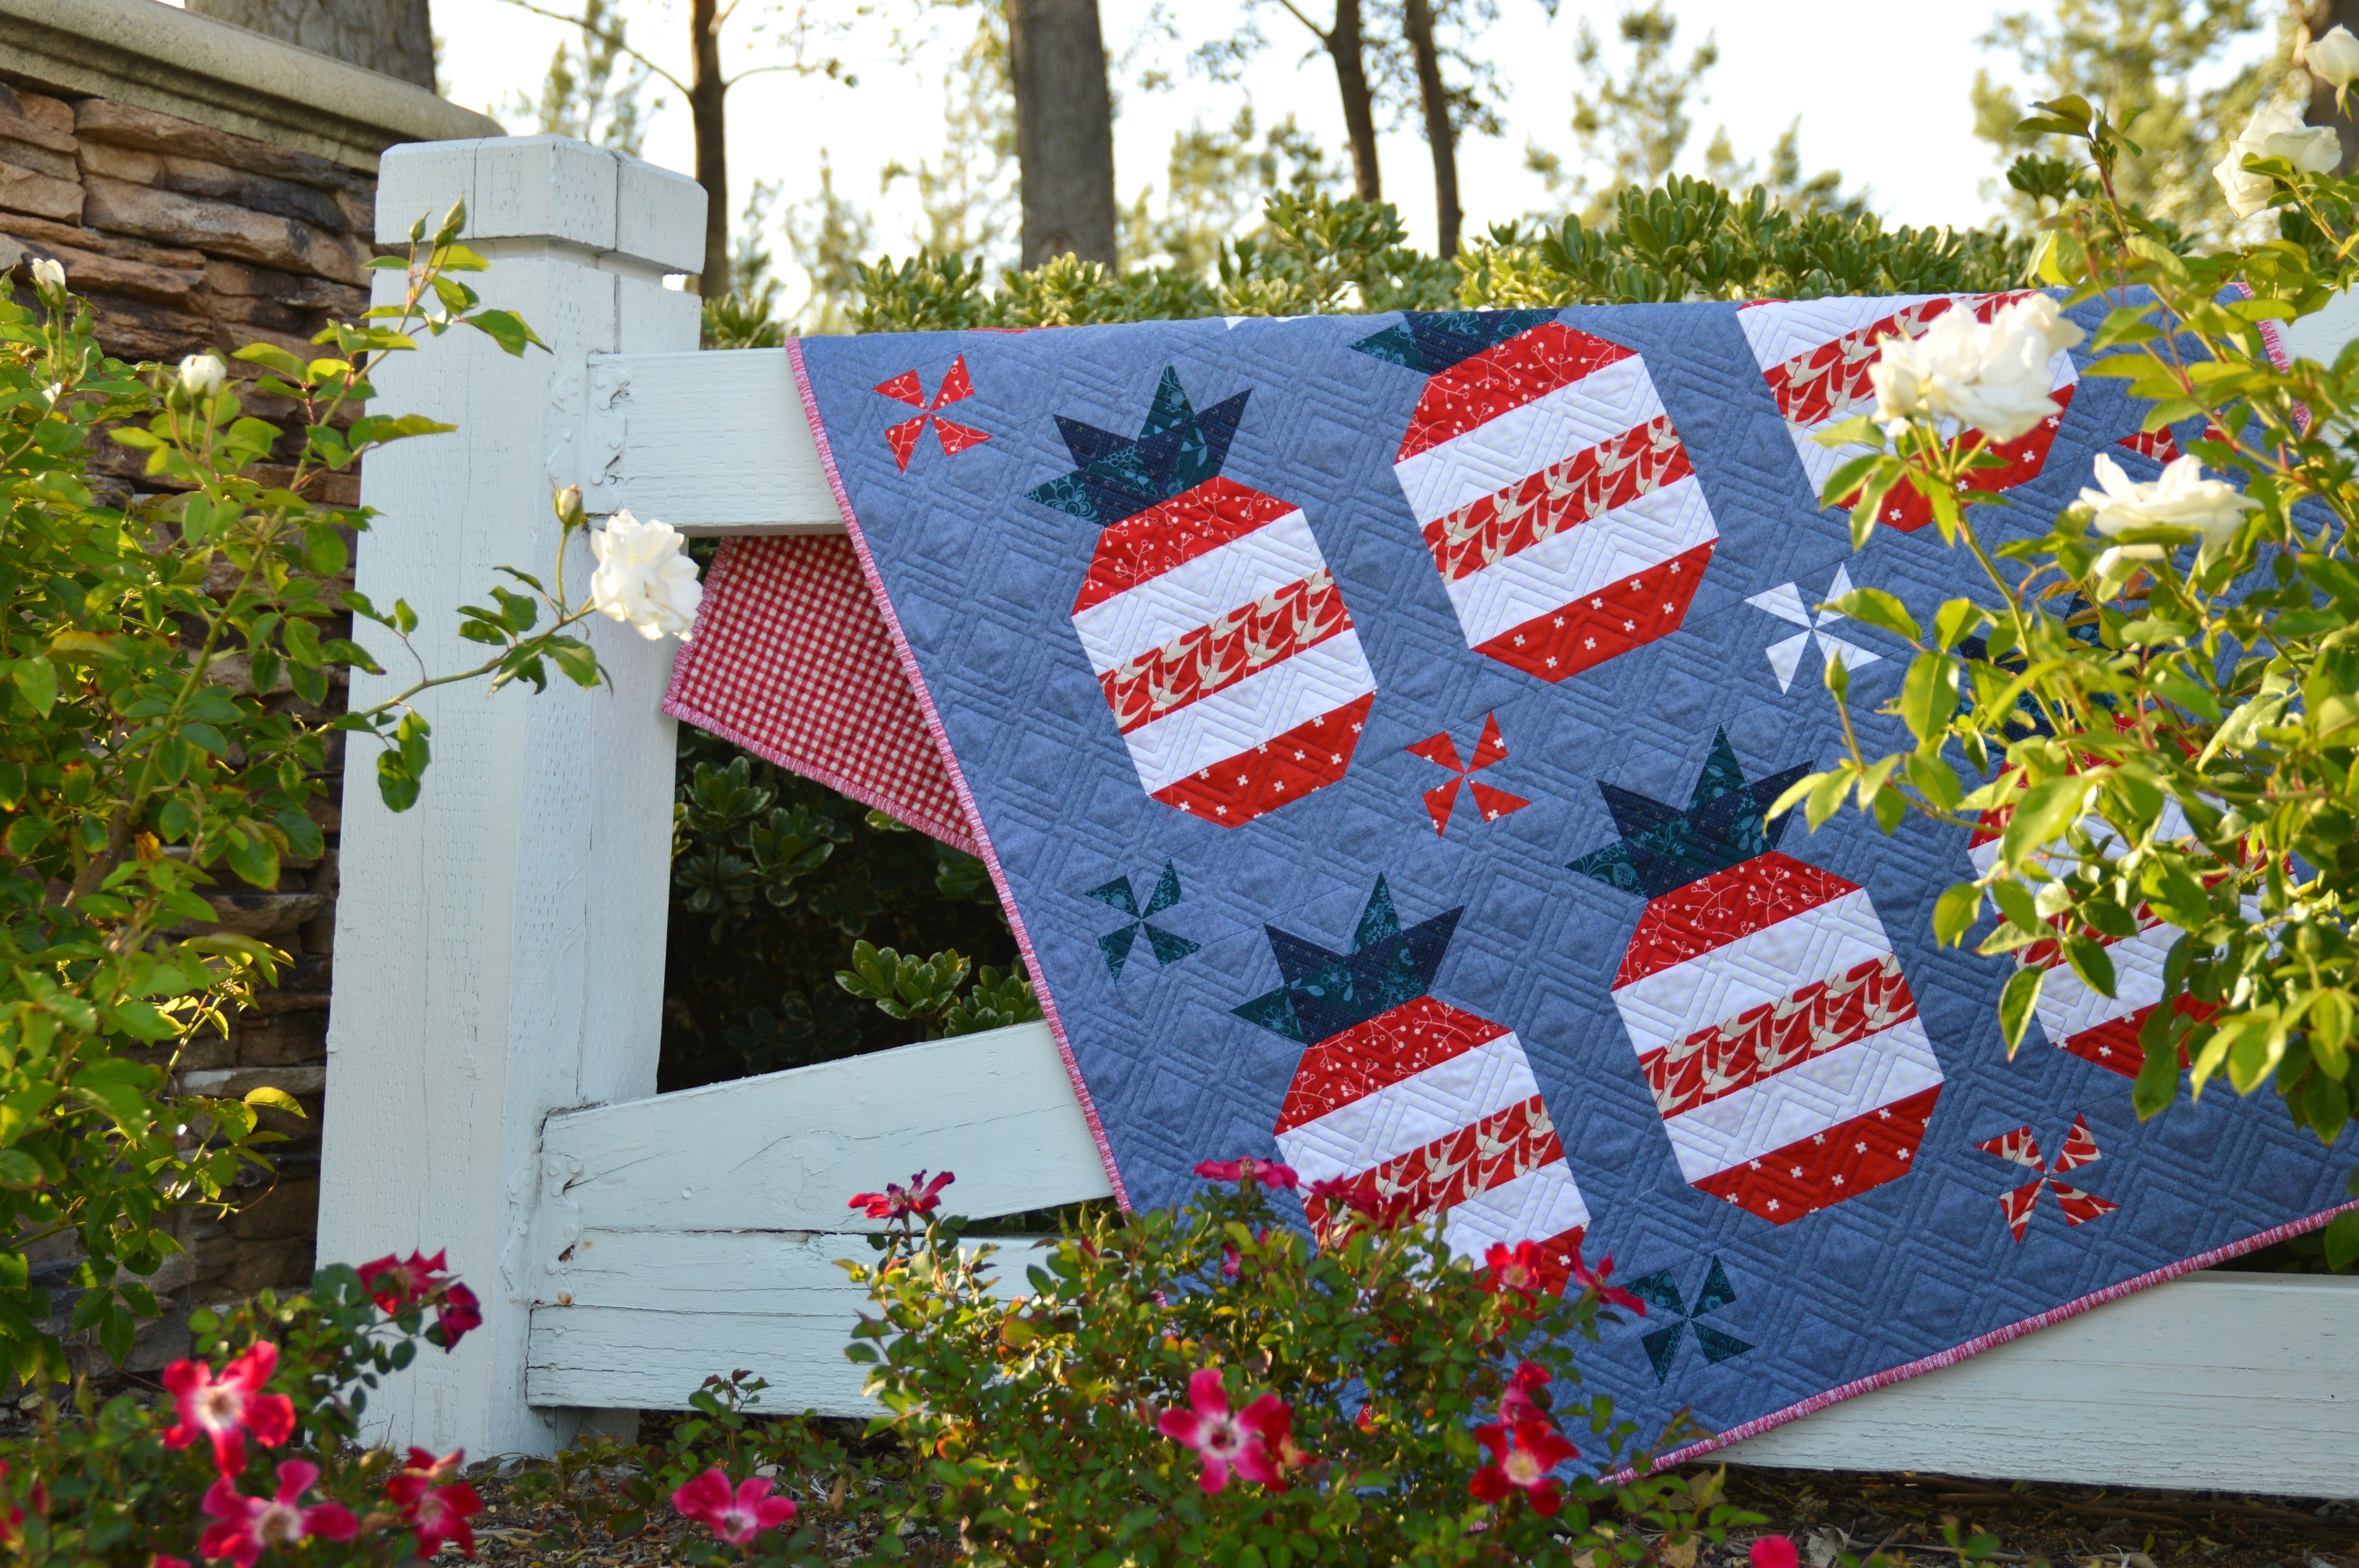
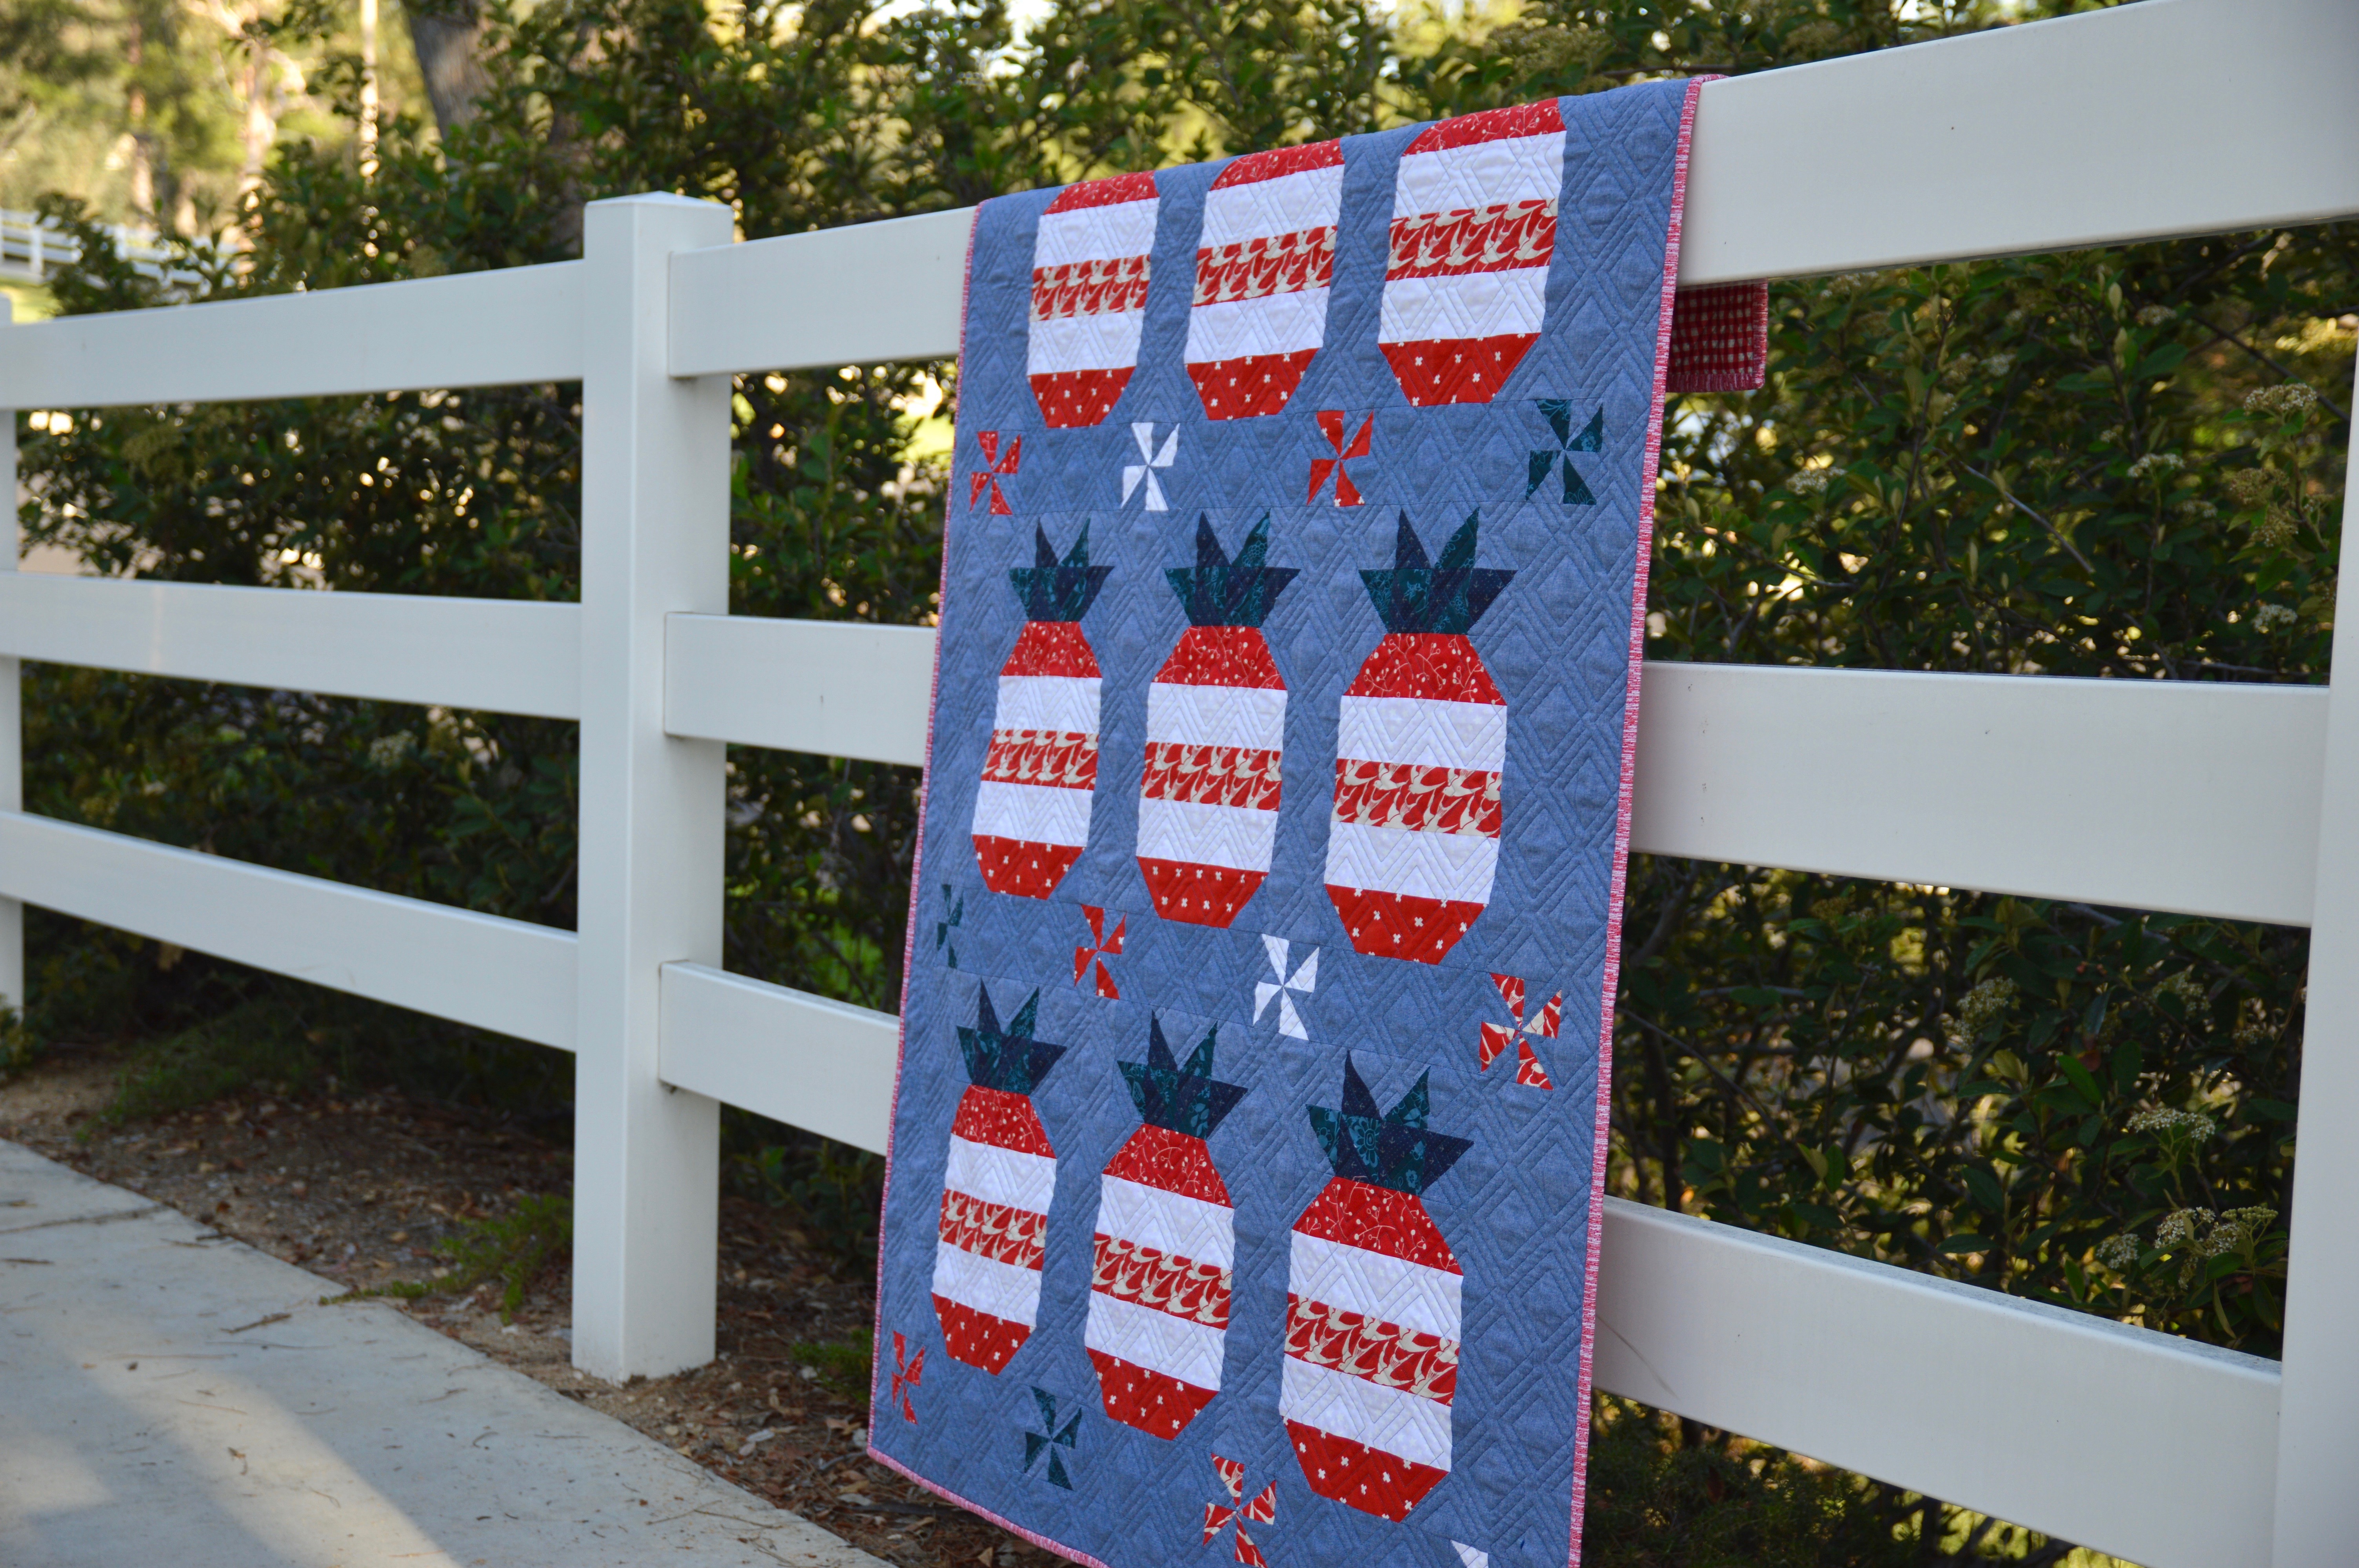
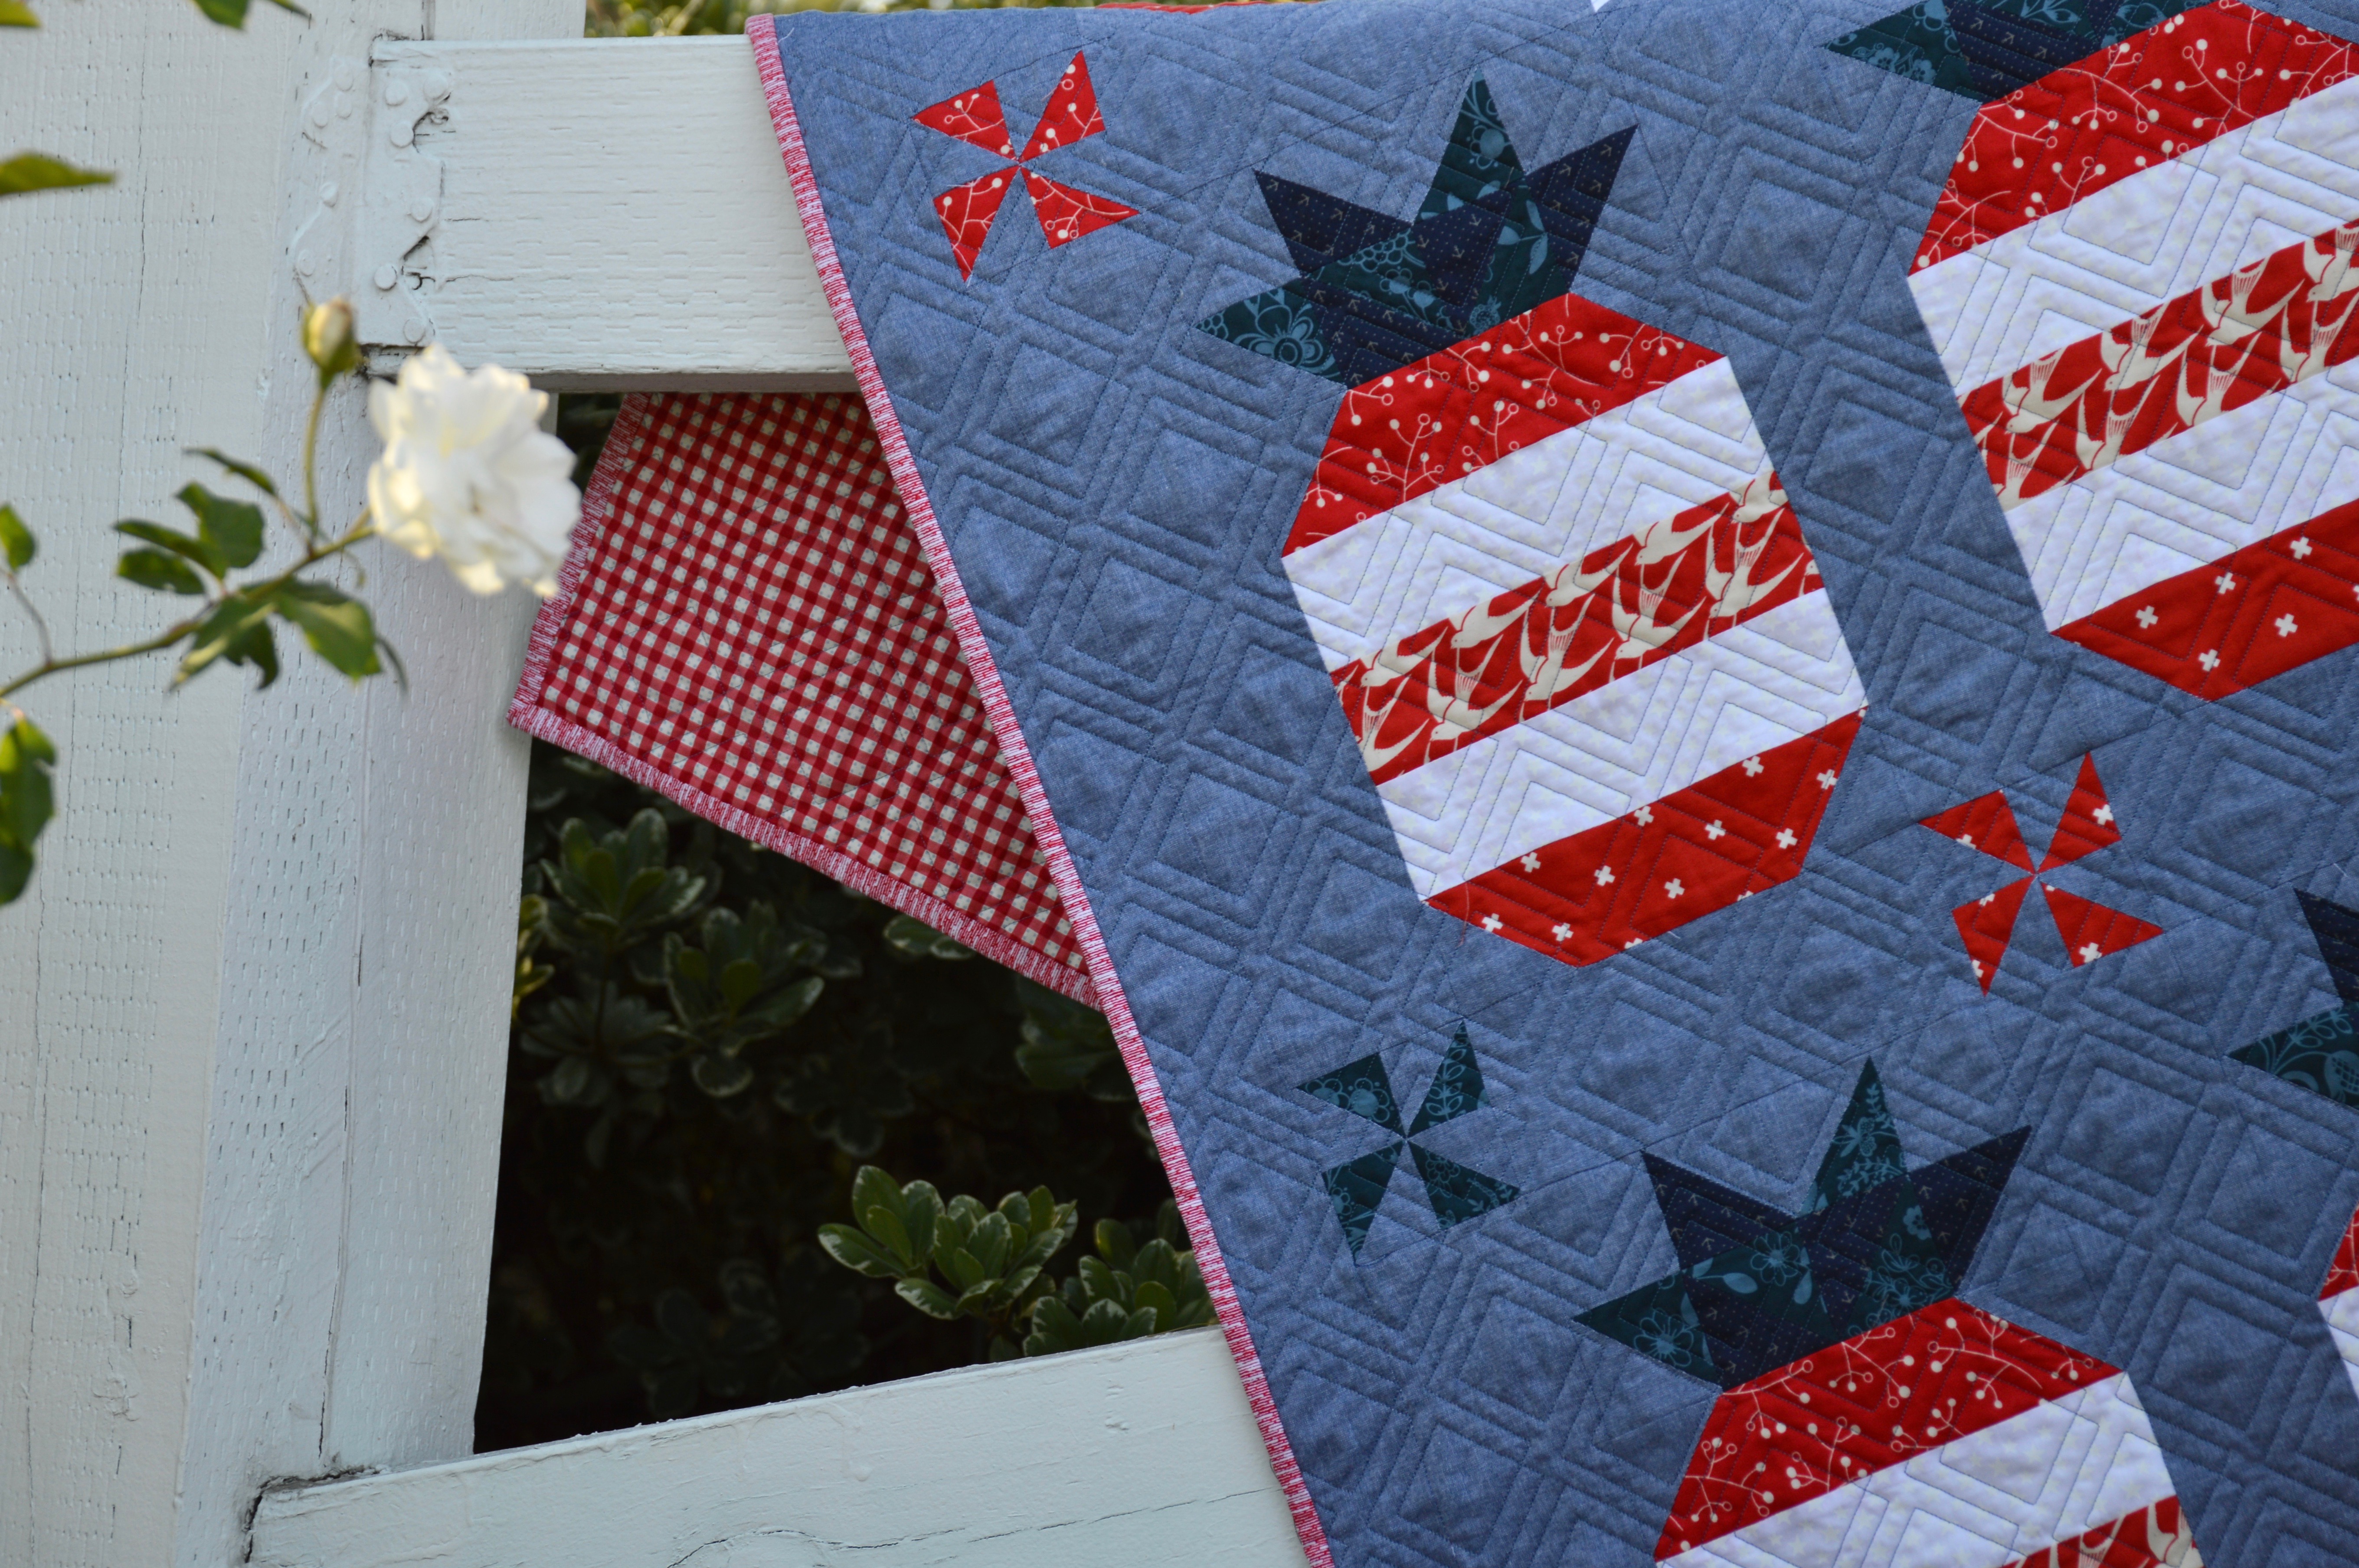
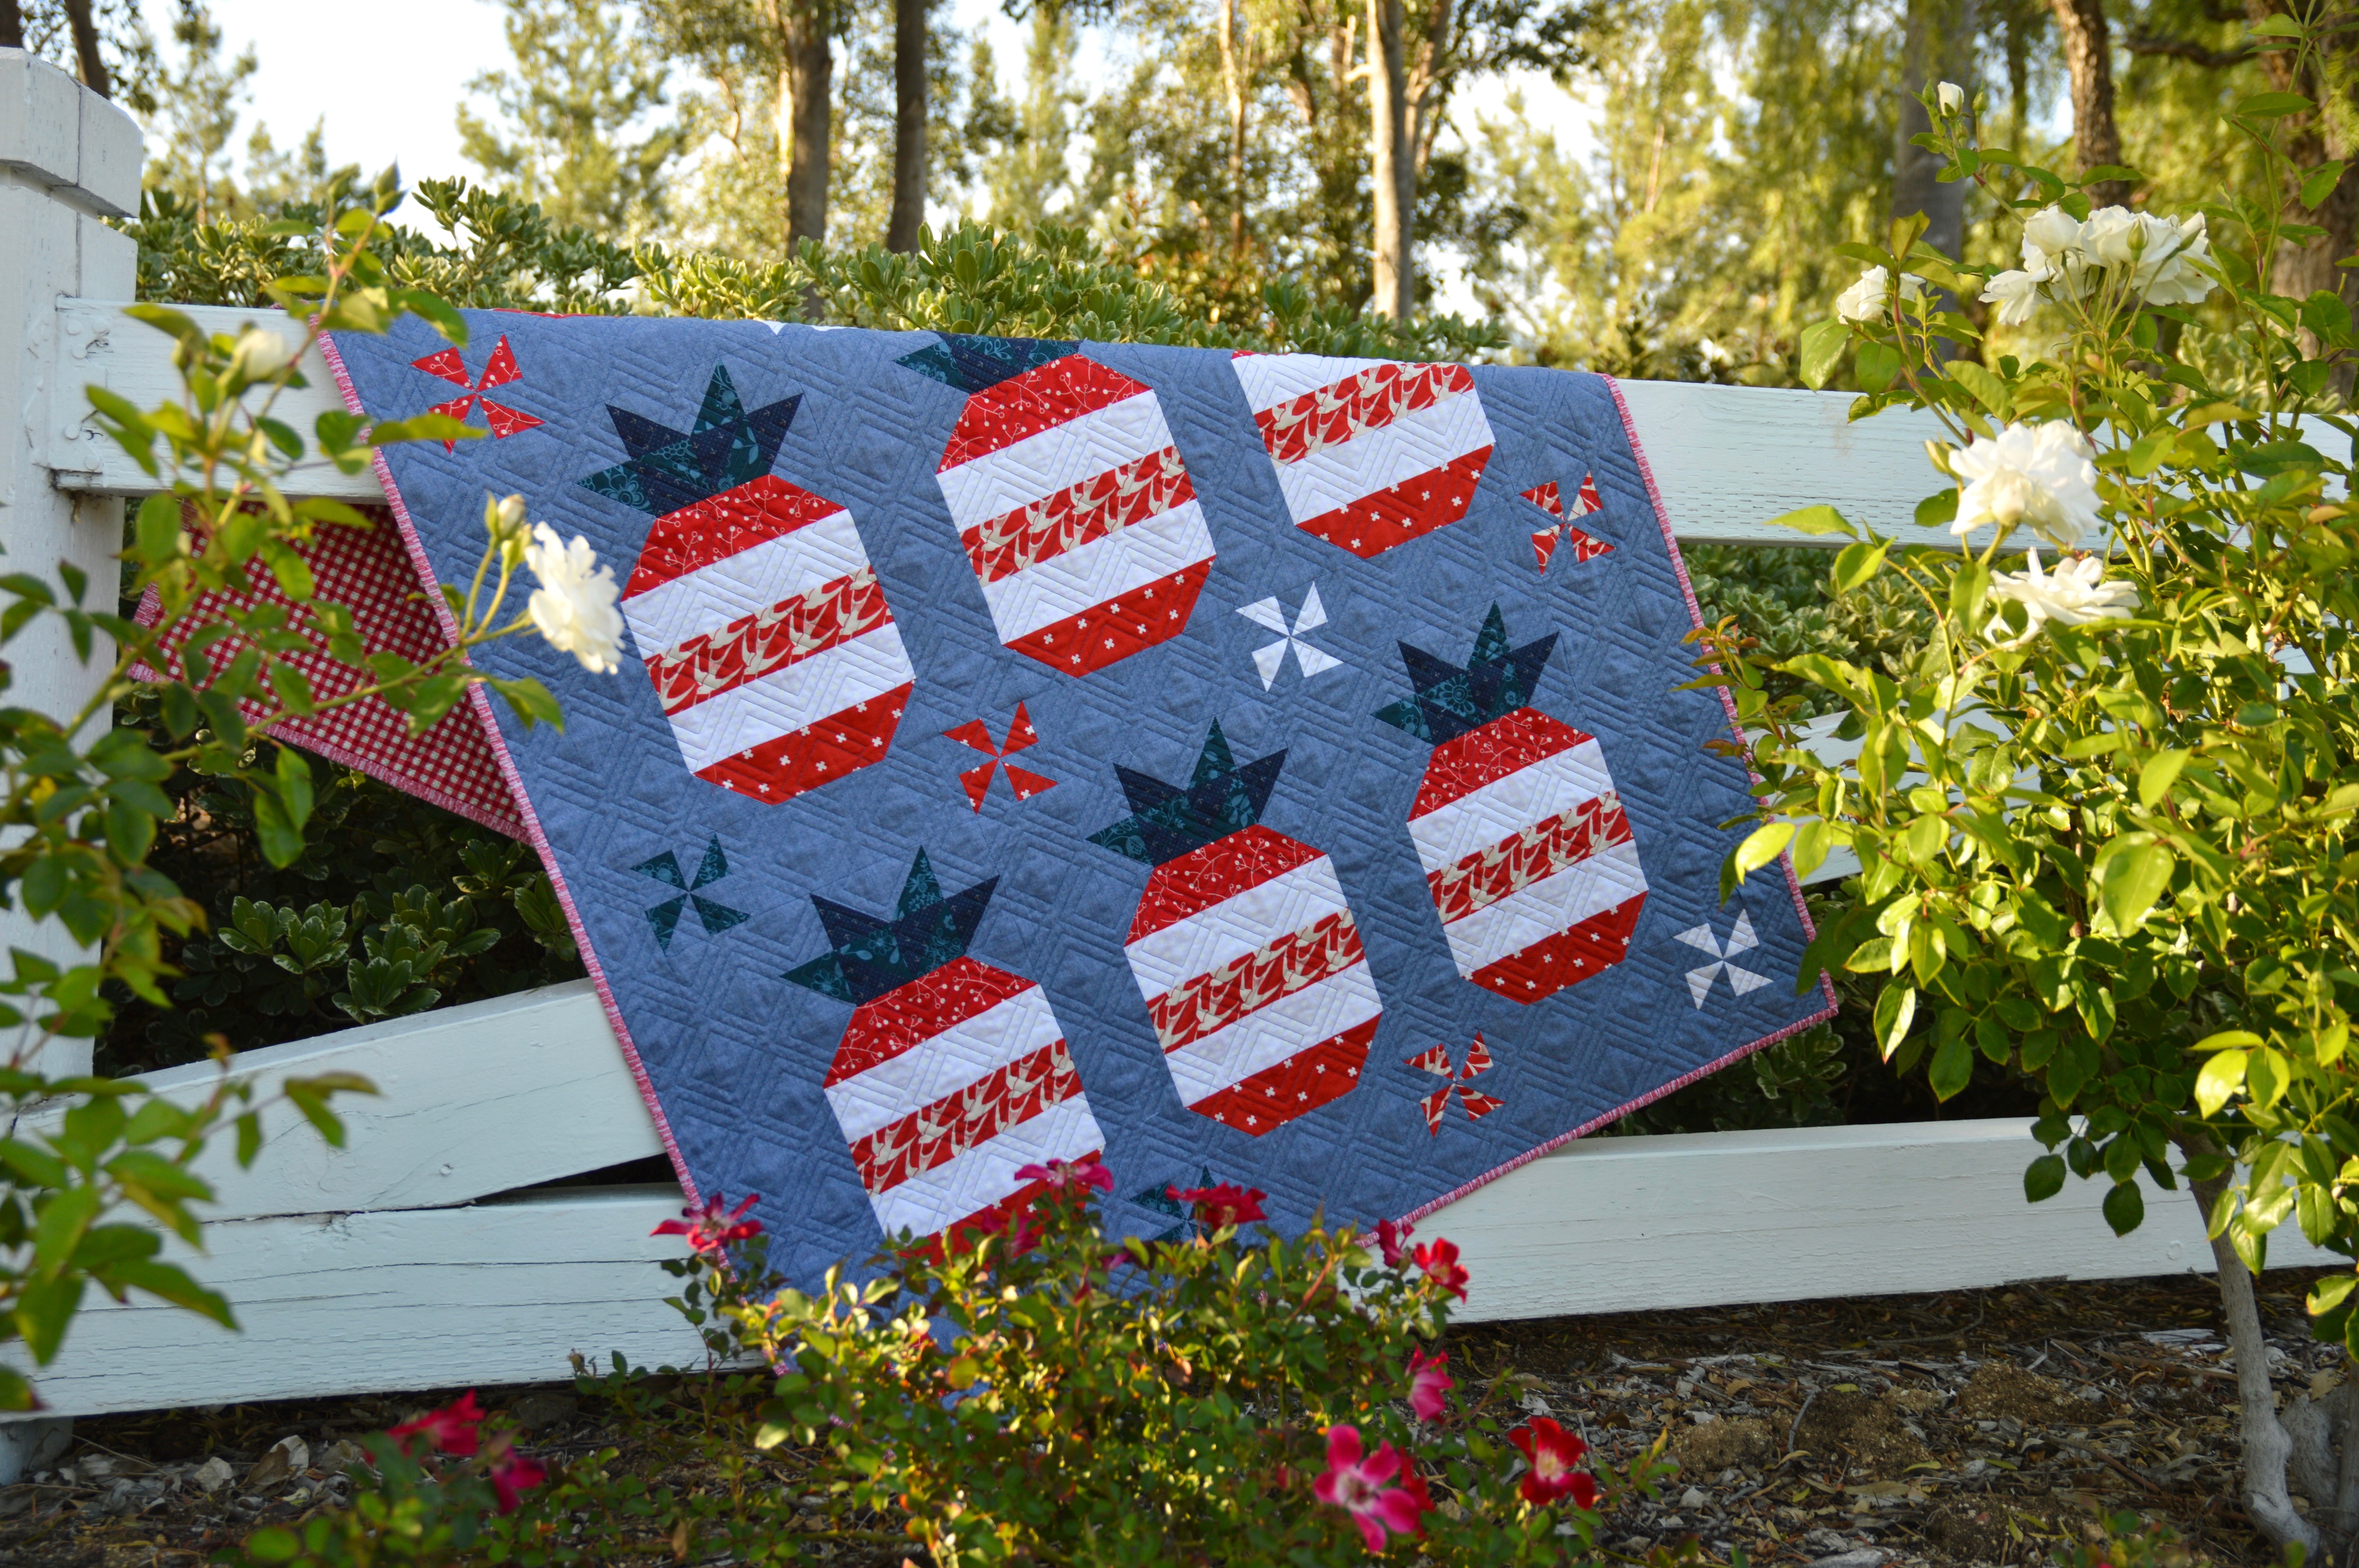
star spangled pineapple quilt

Amber and I have had so much fun sewing along with you these past few months!  We love your versions of our Five Fat Quarter Fun patterns and have enjoyed making new friends through this sewing series!!  Thank You!!!  We are so happy it’s June 1st and we get to share this fun Star Spangled Pineapple Quilt with you!!!  IMG_7929a

This quilt uses 5 fat quarters: 3 red and 2 blue.  Add in 2 1/2 yards of light to medium chambray and you’re ready to get going!!  I love Amber’s light chambray background!!  Be sure to check out her blog post also!!

pineapple quilt 6

I know pineapples are super trendy right now, but I do have a little family history that involves pineapples….want to hear it?  My Dad’s ancestors left Portugal and Brazil and immigrated to what is now Hawaii to work the pineapple plantations.  I often imagine how bad life must have been to want to live in a shack and pick pineapples everyday.  My Grandma was raised in Hawaii as a result and as a child I remember her always wearing a muumuu…… and so pineapples are close to my heart.IMG_7953a

The finished quilt measures 40″ x 48″ and the finished block measures 8″ x 14″.

pineapple quilt 2

You can download the free PDF pattern by clicking HERE.  pineapple quilt 4

Make sure to tag us on Instagram (@jedicraftgirl and @gigis_thimble) when sewing along!  and use #starspangledpineapplequilt

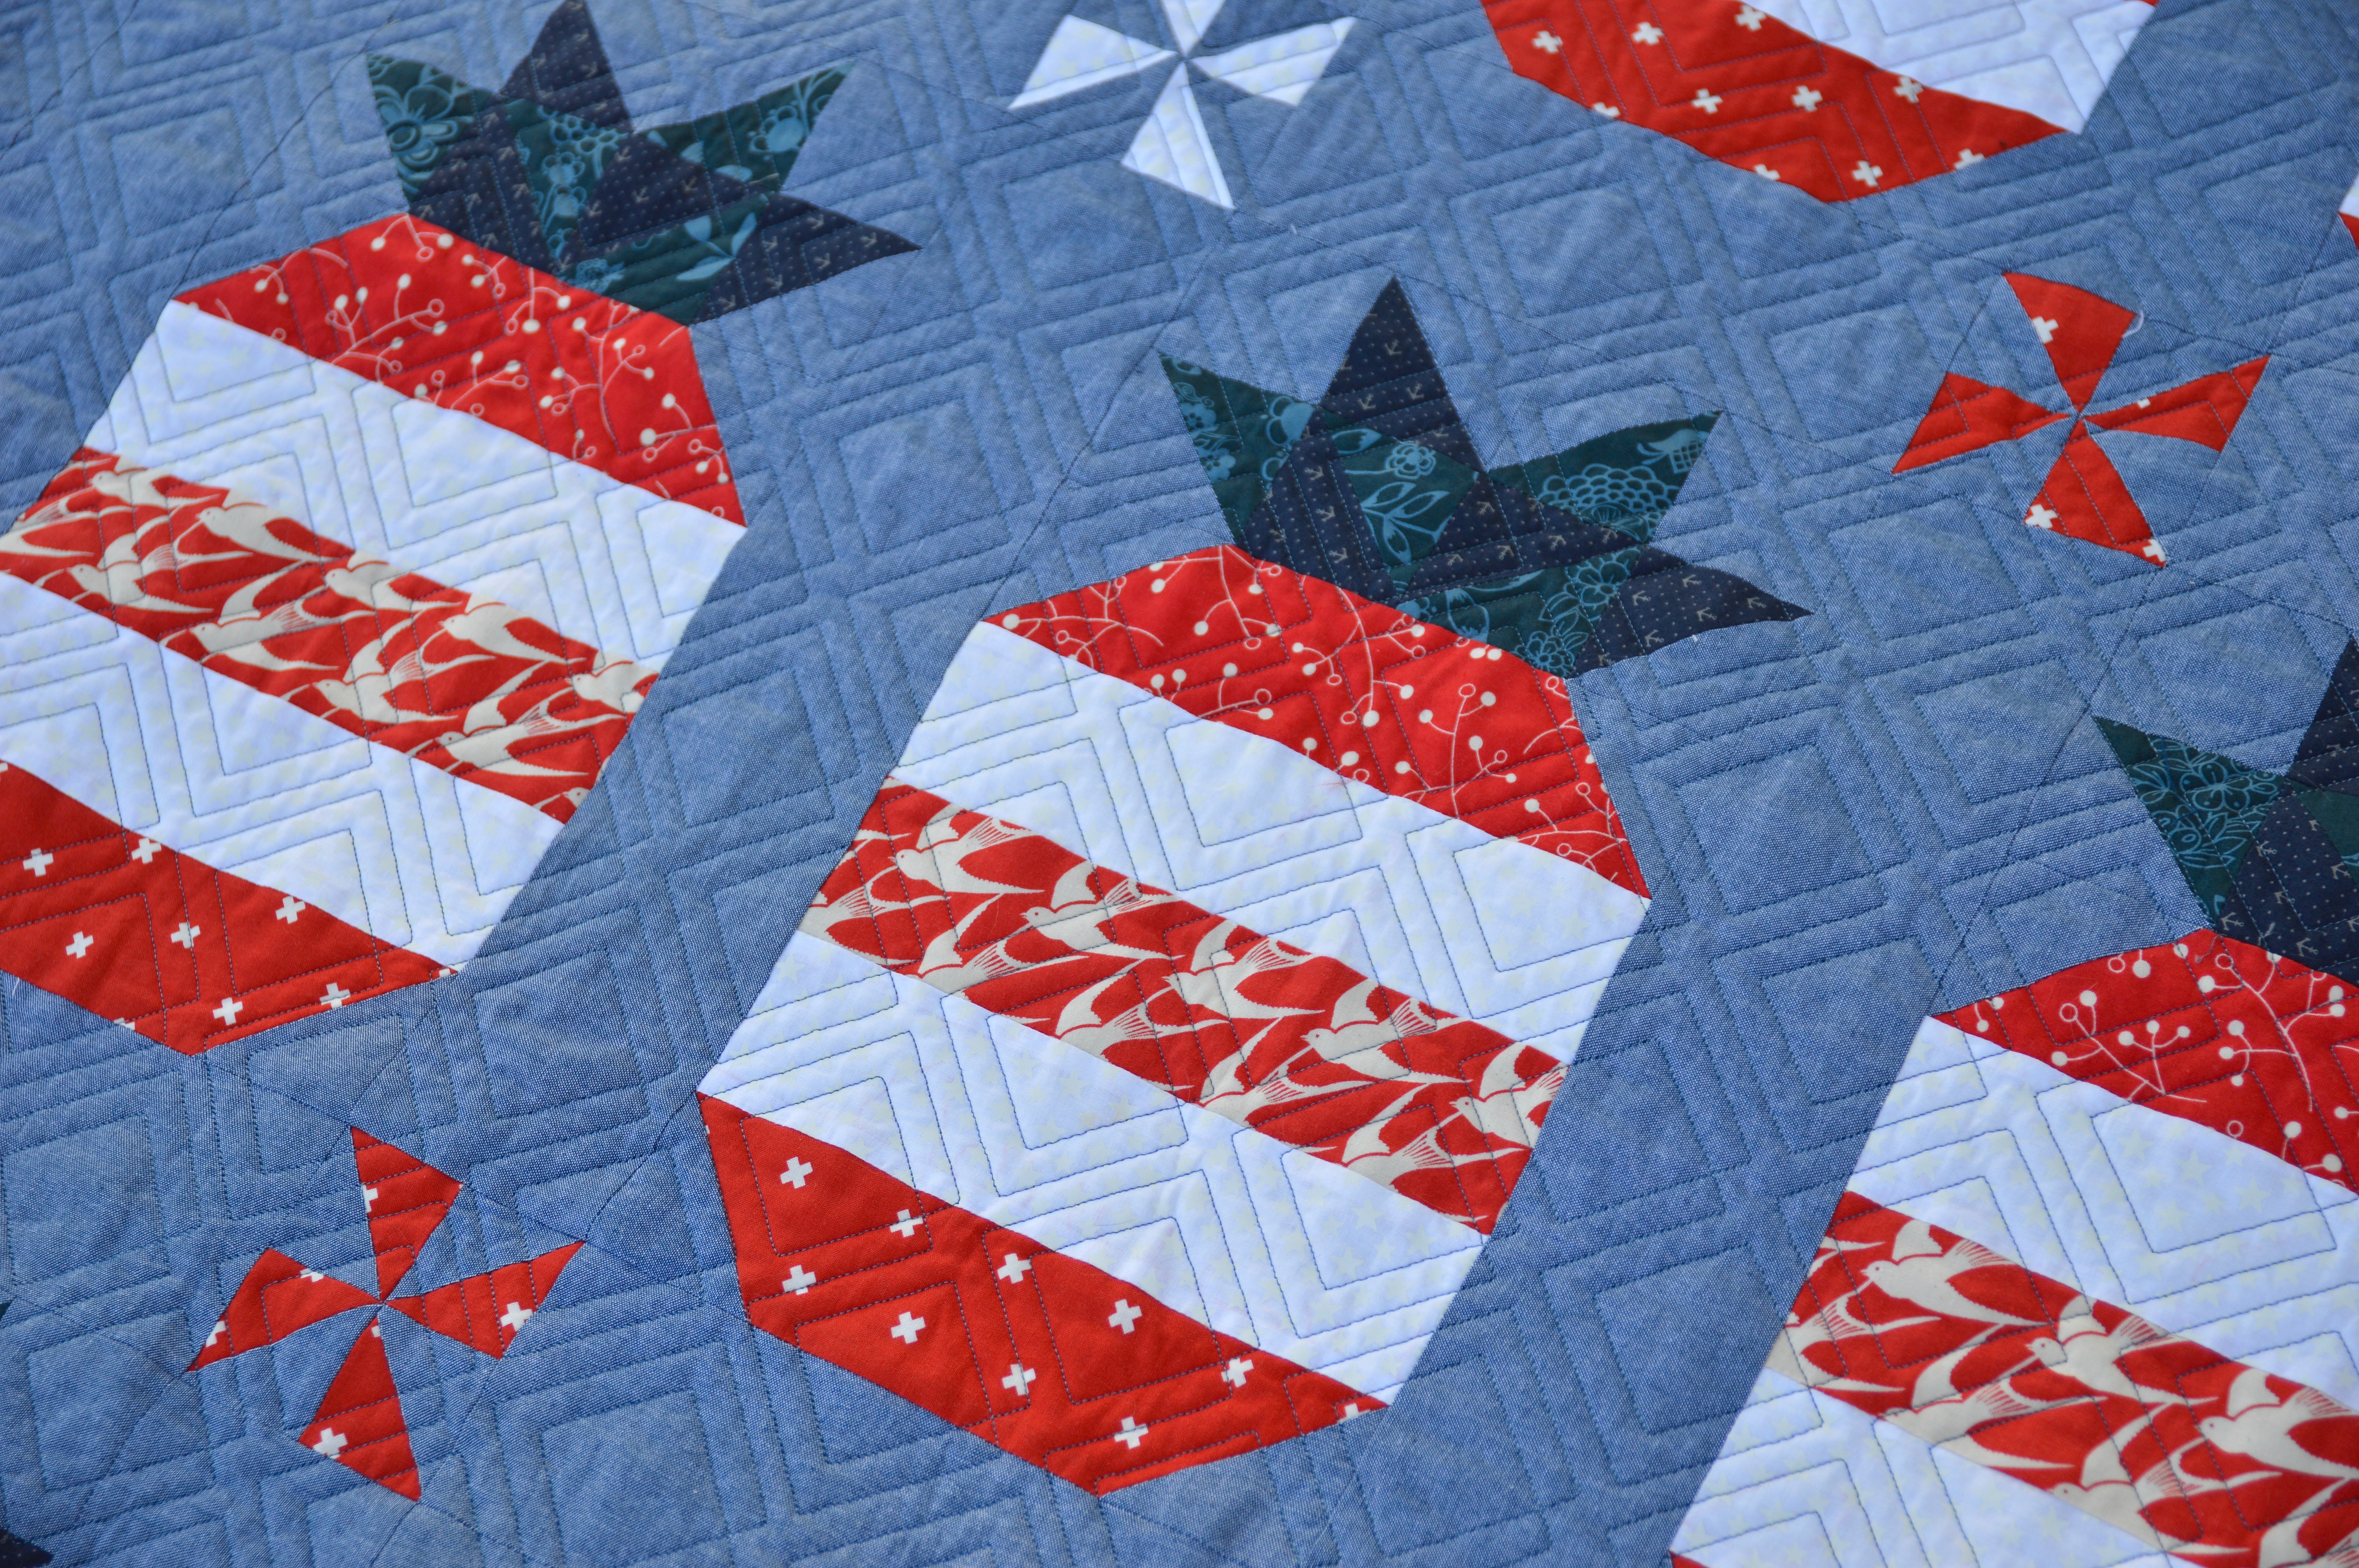
pineapple quilt 7We choose the diagonal squares quilting because it looks so pineappley!!
pineapple quilt 13

We hope you love making this quilt and enjoy having it out all summer long!
pineapple quilt 9

Garden Box Quilt

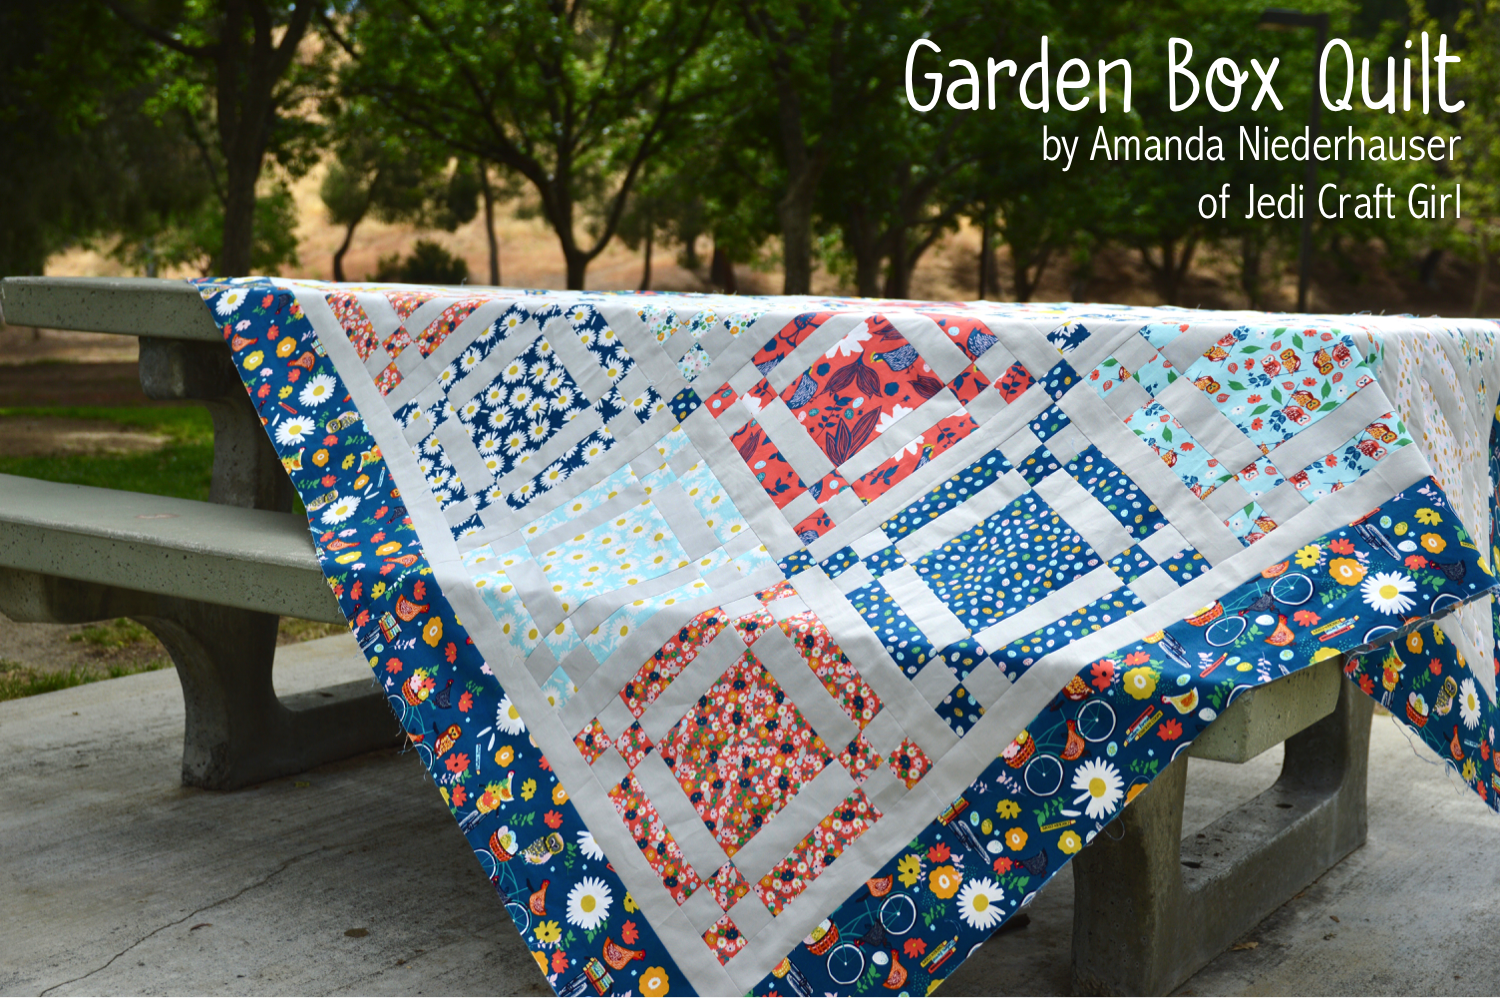
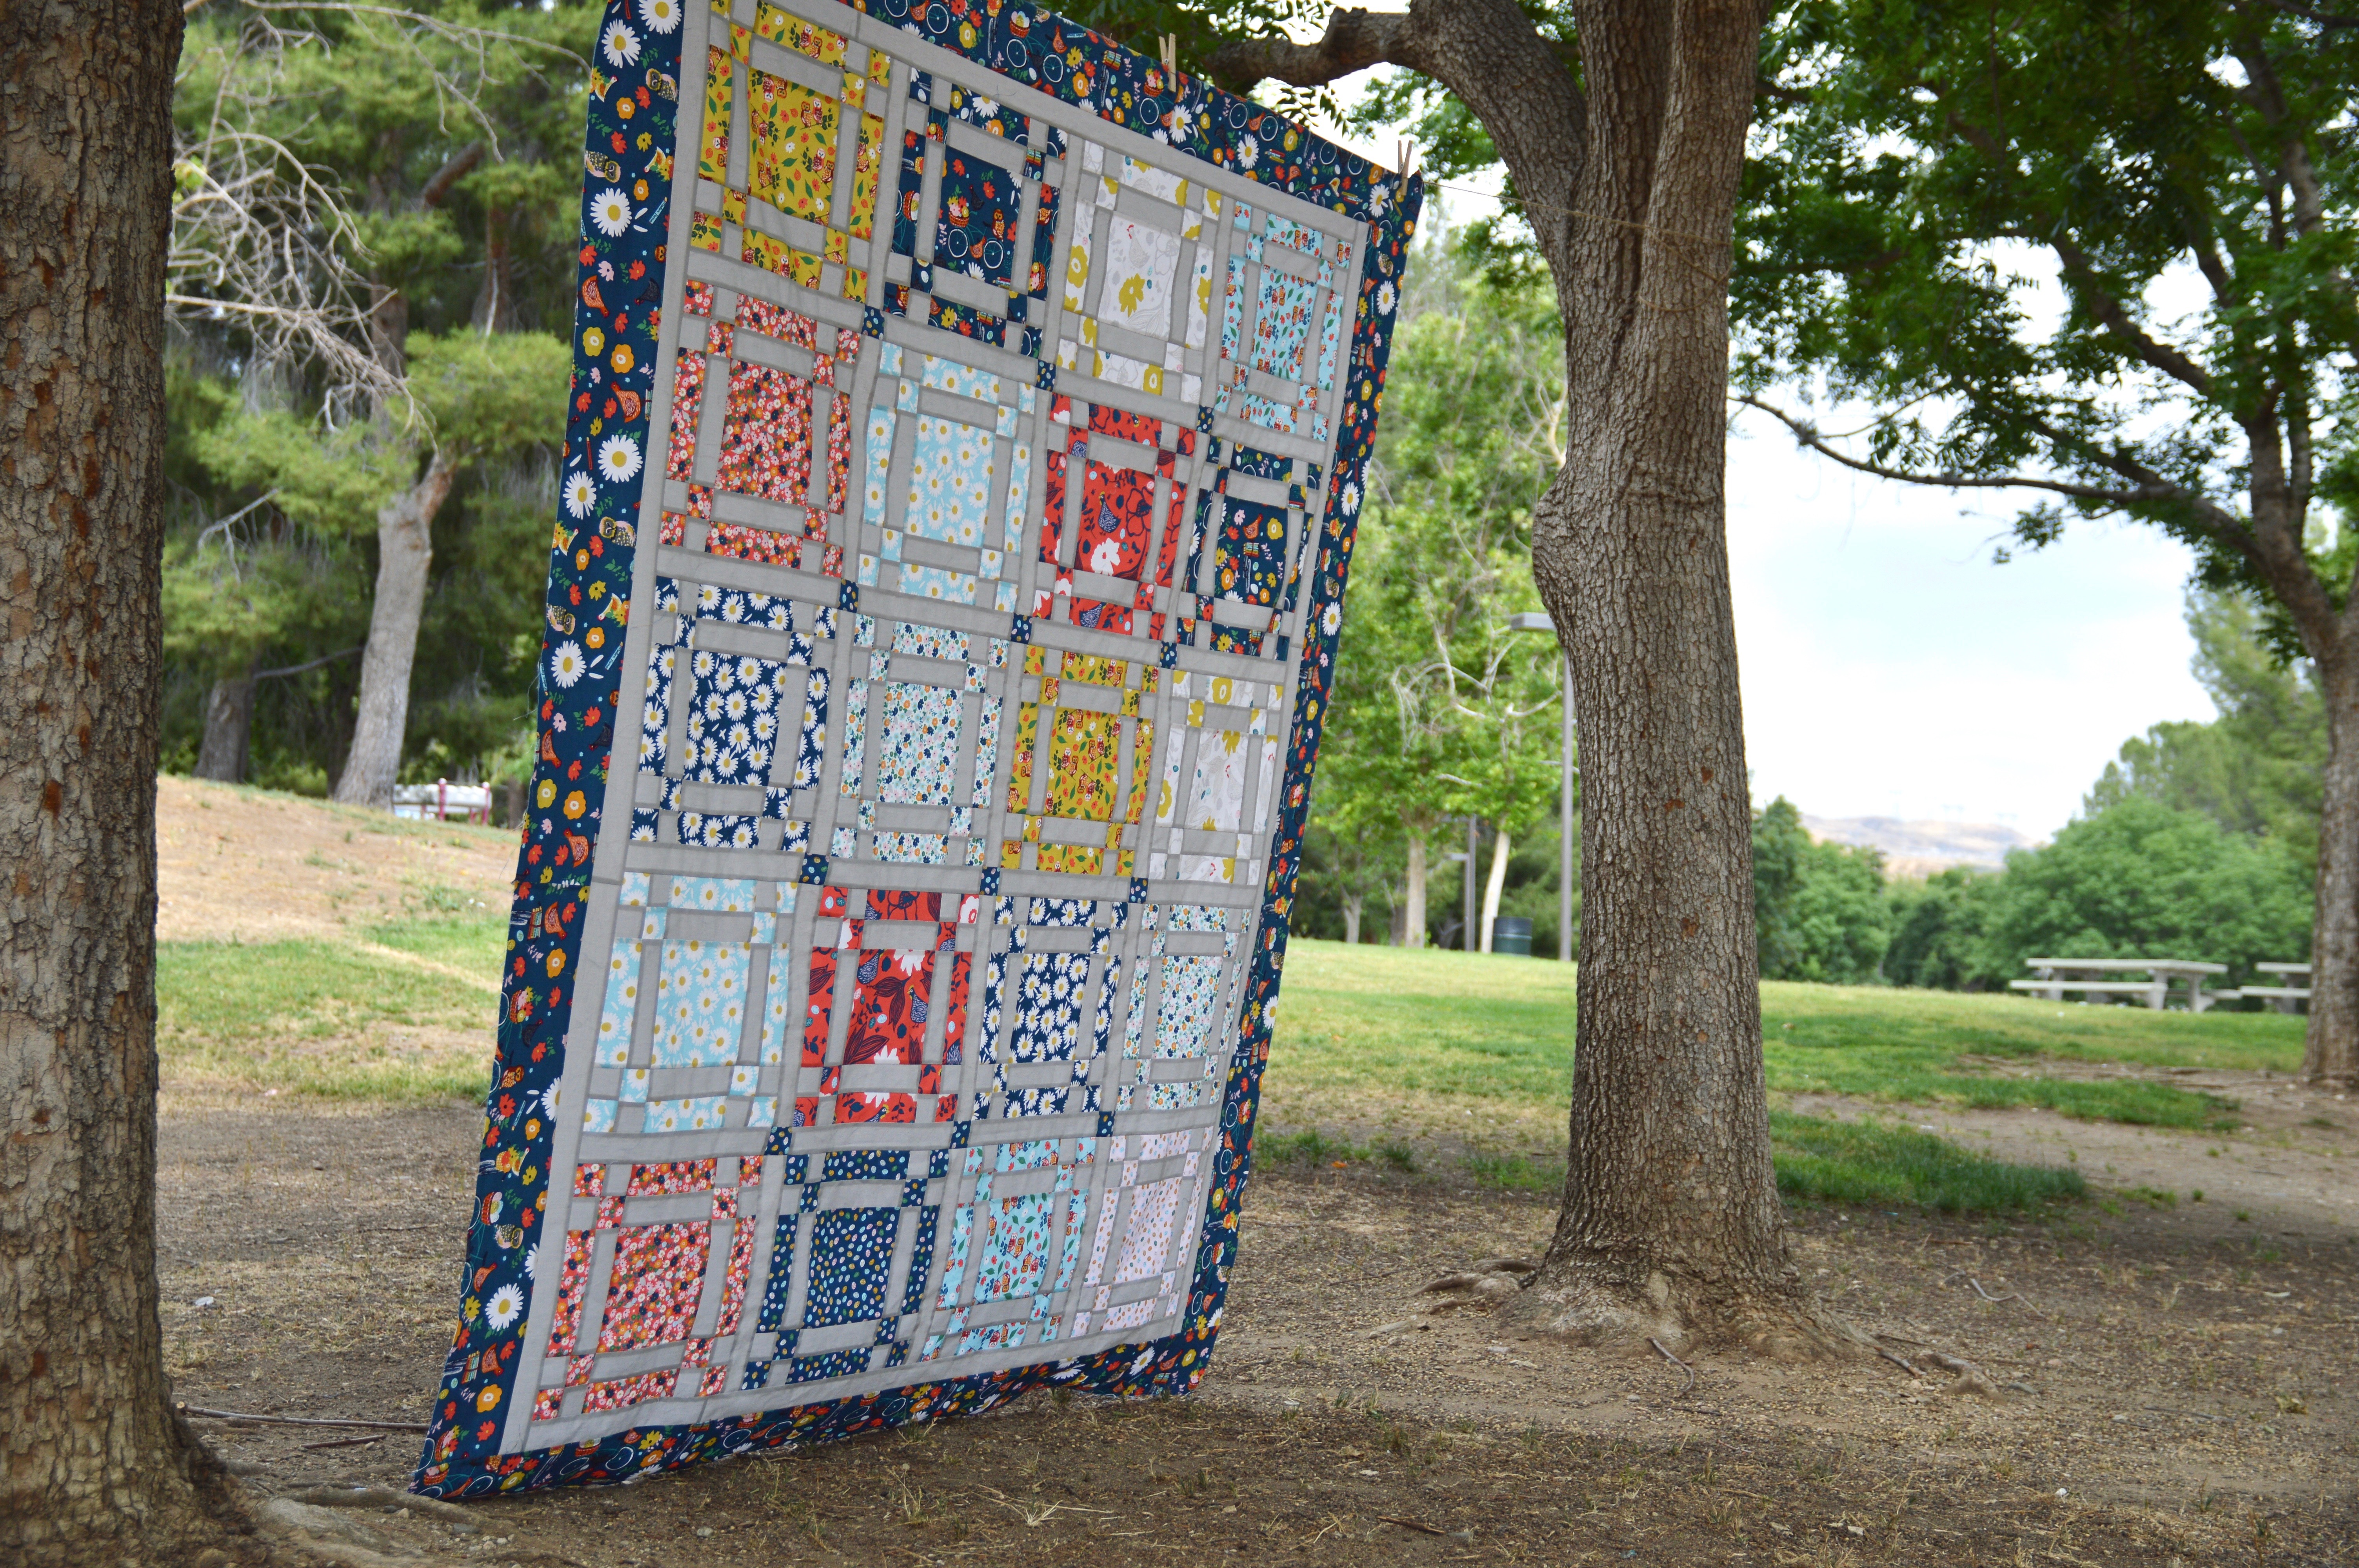
garden box quilt

I’m super excited to share this fun quilt with you!  I’m always looking for ways to sew quilts with large prints – because I fall for large prints every time!27735815-A523-44B4-B8AC-7A47820C0210

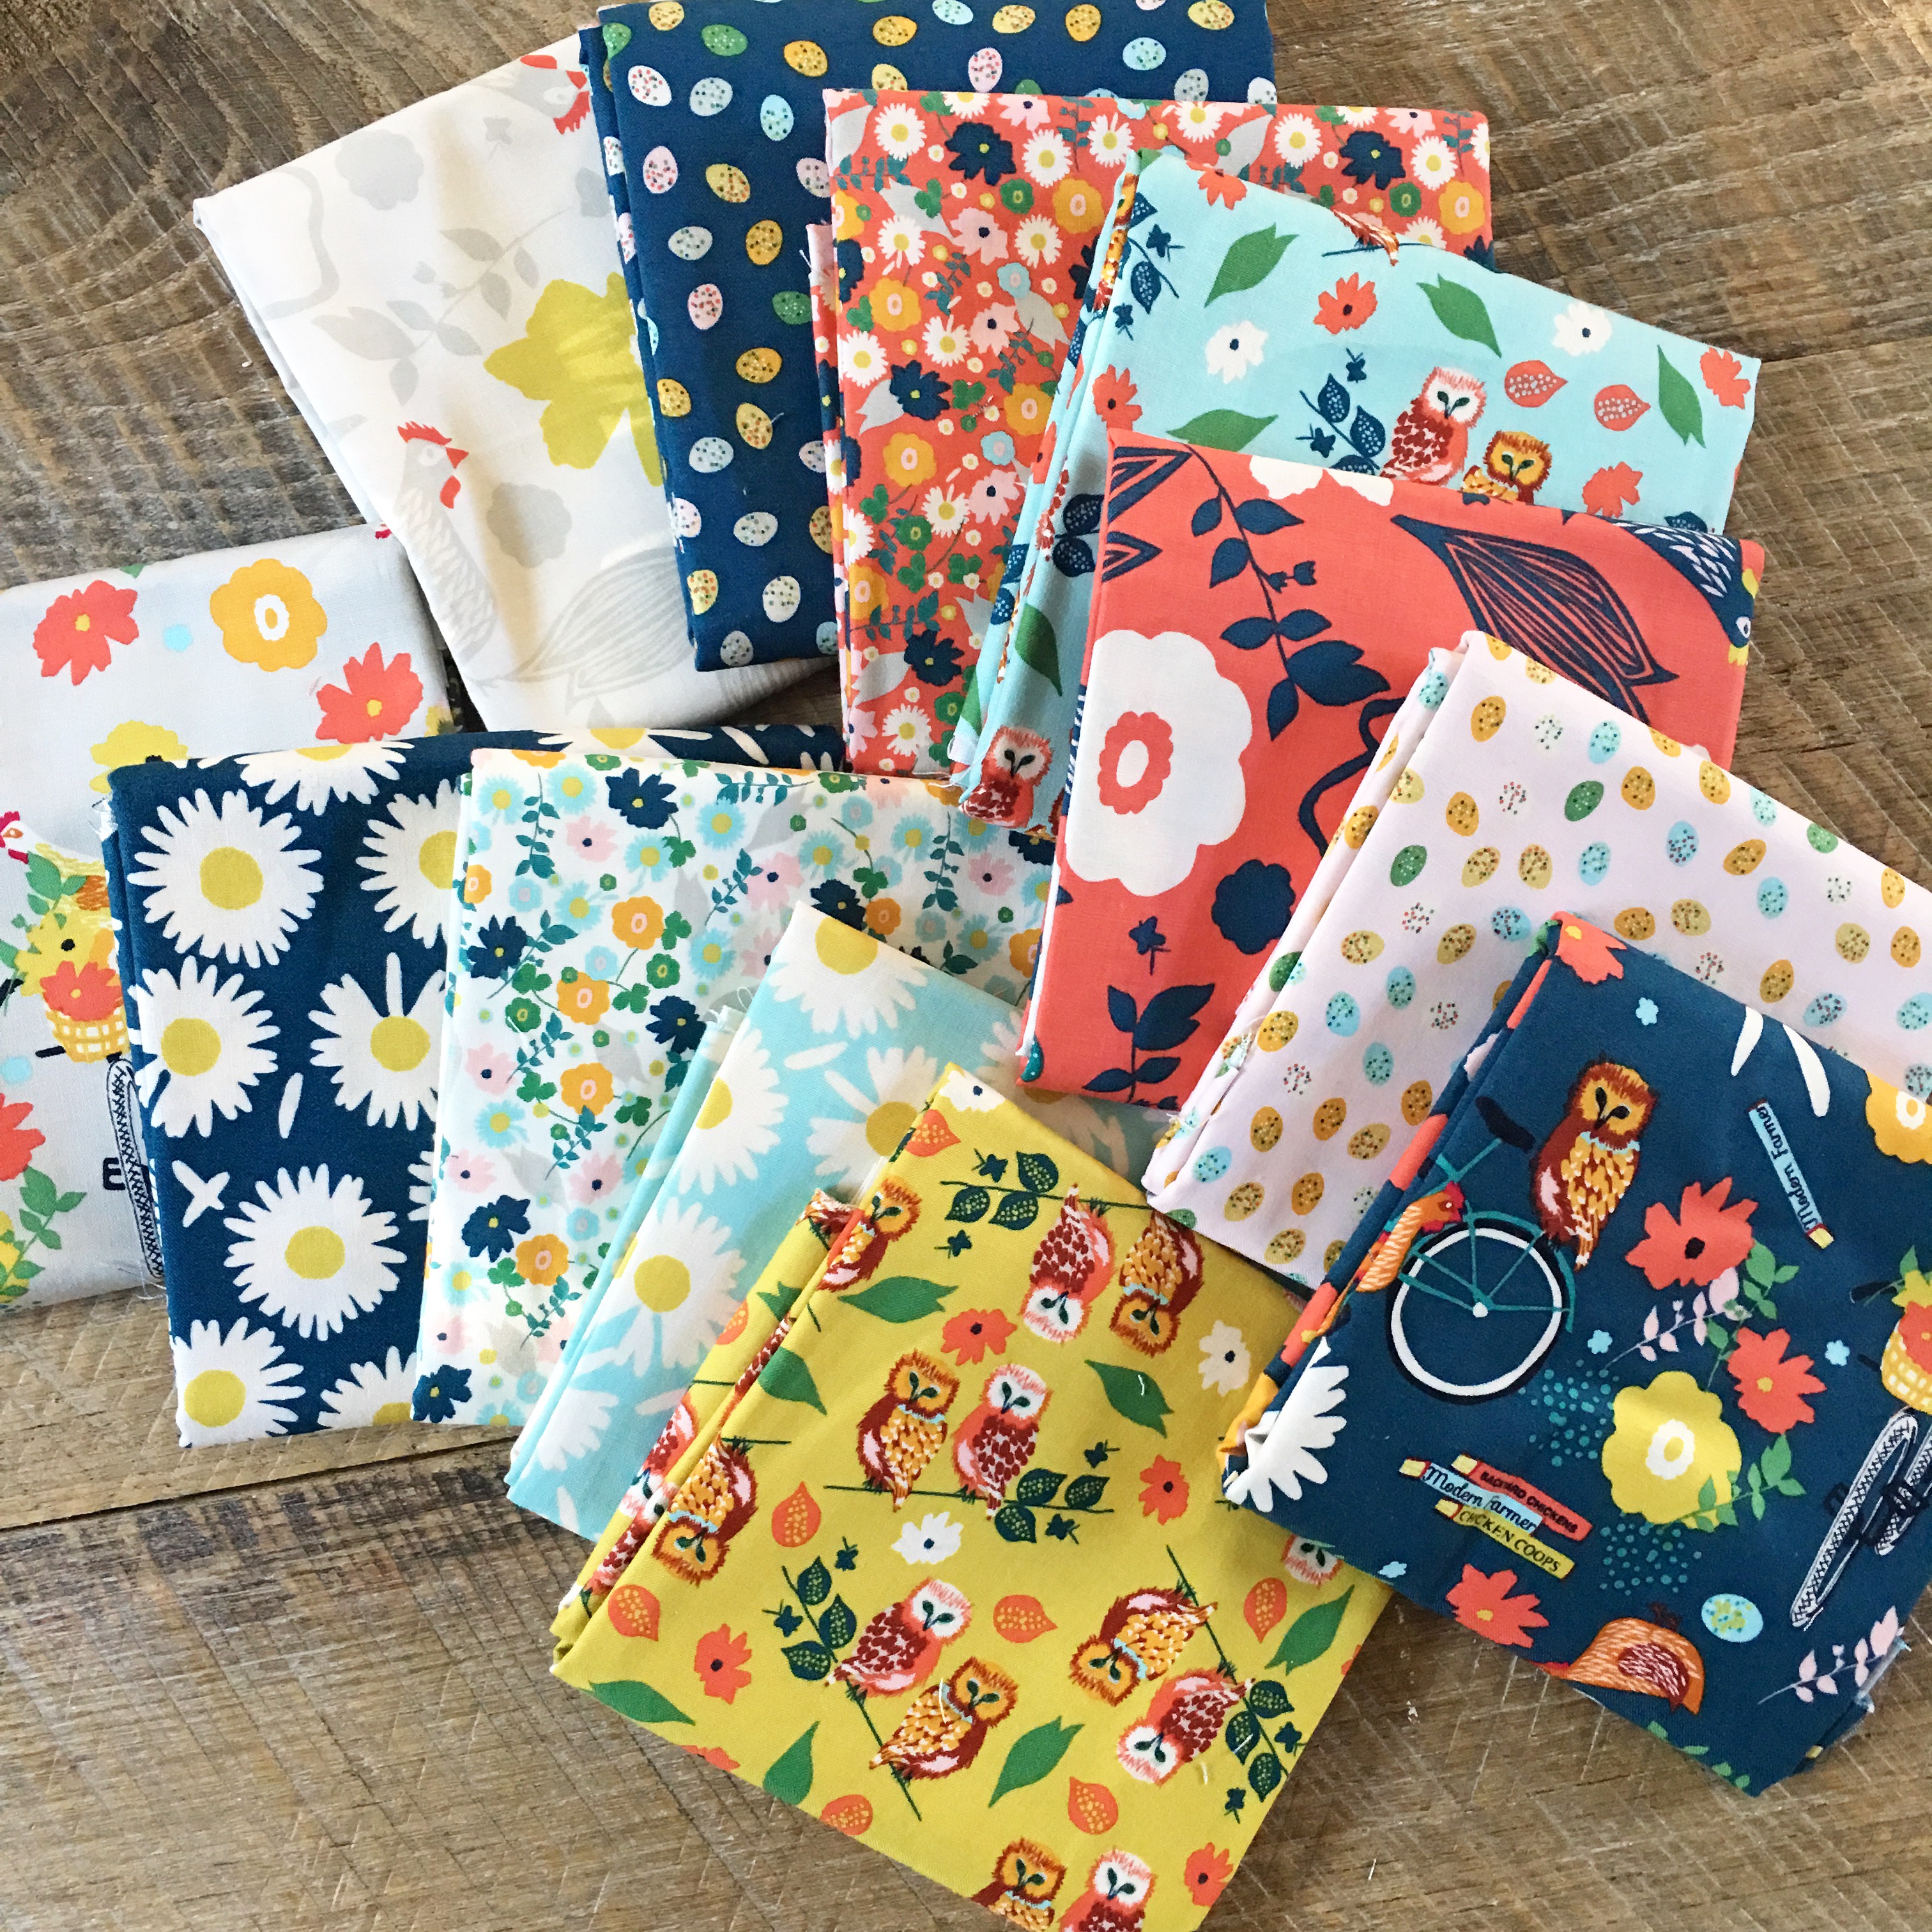
These adorable fabrics are from Garden Roost by Blend Fabrics.  I love the vintage feel they have and the colors are so amazing!!!  DSC_0625

Each block measures 12″ when finished.  This quilt is also fat quarter friendly!  It uses 10 fat quarters and 2 1/4 yards of background fabric.  You get 2 blocks per fat quarter!

DSC_0682

It measures 64 1/2″ x  78″ when finished so it’s a great size for a large throw or even for a twin bed!!
DSC_0637

You can purchase this pattern in my Etsy shop by clicking HERE.
DSC_0668

I hope you love it as much as I do!!!DSC_0699 2

70’s Inspired Zipper Pouch

Retor HeatnBond Zipper Pouch

gingham girls zipper pouch 4I am loving Amy Smart’s latest fabric line Gingham Girls by Penny Rose Fabrics!  This 1970’s inspired fabric has my name written all over it and so does this project!  And my name is a total 70’s name so it totally works!!  Here’s how you can make one!

70’s inspired Zipper Pouch with HeatnBond® Fusible Fleece

IMG_1995

Why I use HeatnBond® Fusible Fleece for my Zipper Pouch projects

It doesn’t shrink and holds it’s shape

It fuses to the fabric so quilting is not required

It is soft, yet sturdy

It holds up great in the wash

Zipper Pouch Supplies:

Scraps of fabric yielding (30) 2.5″ squares
Dark chambray 4.5″ x 10.5″
(2) rectangles 8.5″ x 10.5″ lining fabric
(2) rectangles 8.5″ x 10.5″ fusible fleece
HeatnBond® Lite Fusible Adhesive
Scraps for applique
14″ or longer zipper
Scrap for zipper end
All seams 1/4″

IMG_2002

[line]

Zipper Pouch Instructions:

Begin by sewing (20) 2.5″ squares in 4 rows of 5 squares (above) press seams alternately.

IMG_2004

Sew the back unit by sewing (2) rows of 5 squares together.  Before sewing the chambray piece on, appliqué the name first.  Fuse HeatnBond Lite to the wrong side of the name fabric and the daisy fabric.

IMG_1999

Die cut the letters (or cut by hand). Peel off the backing paper and position letters on chambray.

IMG_2005

Heat set in place.

IMG_2006

Outline stitch around each letter and the flower in navy thread.  Sew the appliqué piece to the 2-row patchwork unit.  Press toward chambray.

IMG_2001

Cut the HeatnBond Fusible Fleece.

IMG_2007

Fuse the fleece to the wrong side of both the patchwork units.  Add some decorative stitching if desired.

IMG_2008

I added a seam along the chambray to give it an accent and I quilted diagonal lines in the patchwork.

IMG_2009

Now that the zipper pouch front and back are ready, you can finish the pouch by following this tutorial for inserting the full access zipper and finishing the bag.

I am so in love and so happy to have a new zipper pouch just for me!!!
gingham girls zipper pouch 2

Perfect to brighten up the inside of my purse and to hold all my cosmetic items.

gingham girls zipper pouch 5gingham girls zipper pouch 6

The back is so scrappy and cute!gingham girls zipper pouch 7I dug out a few of my dresses from when I was little (in the 70’s) – doesn’t this fabric just blend right in!!  So fun!!!

gingham girls zipper pouch

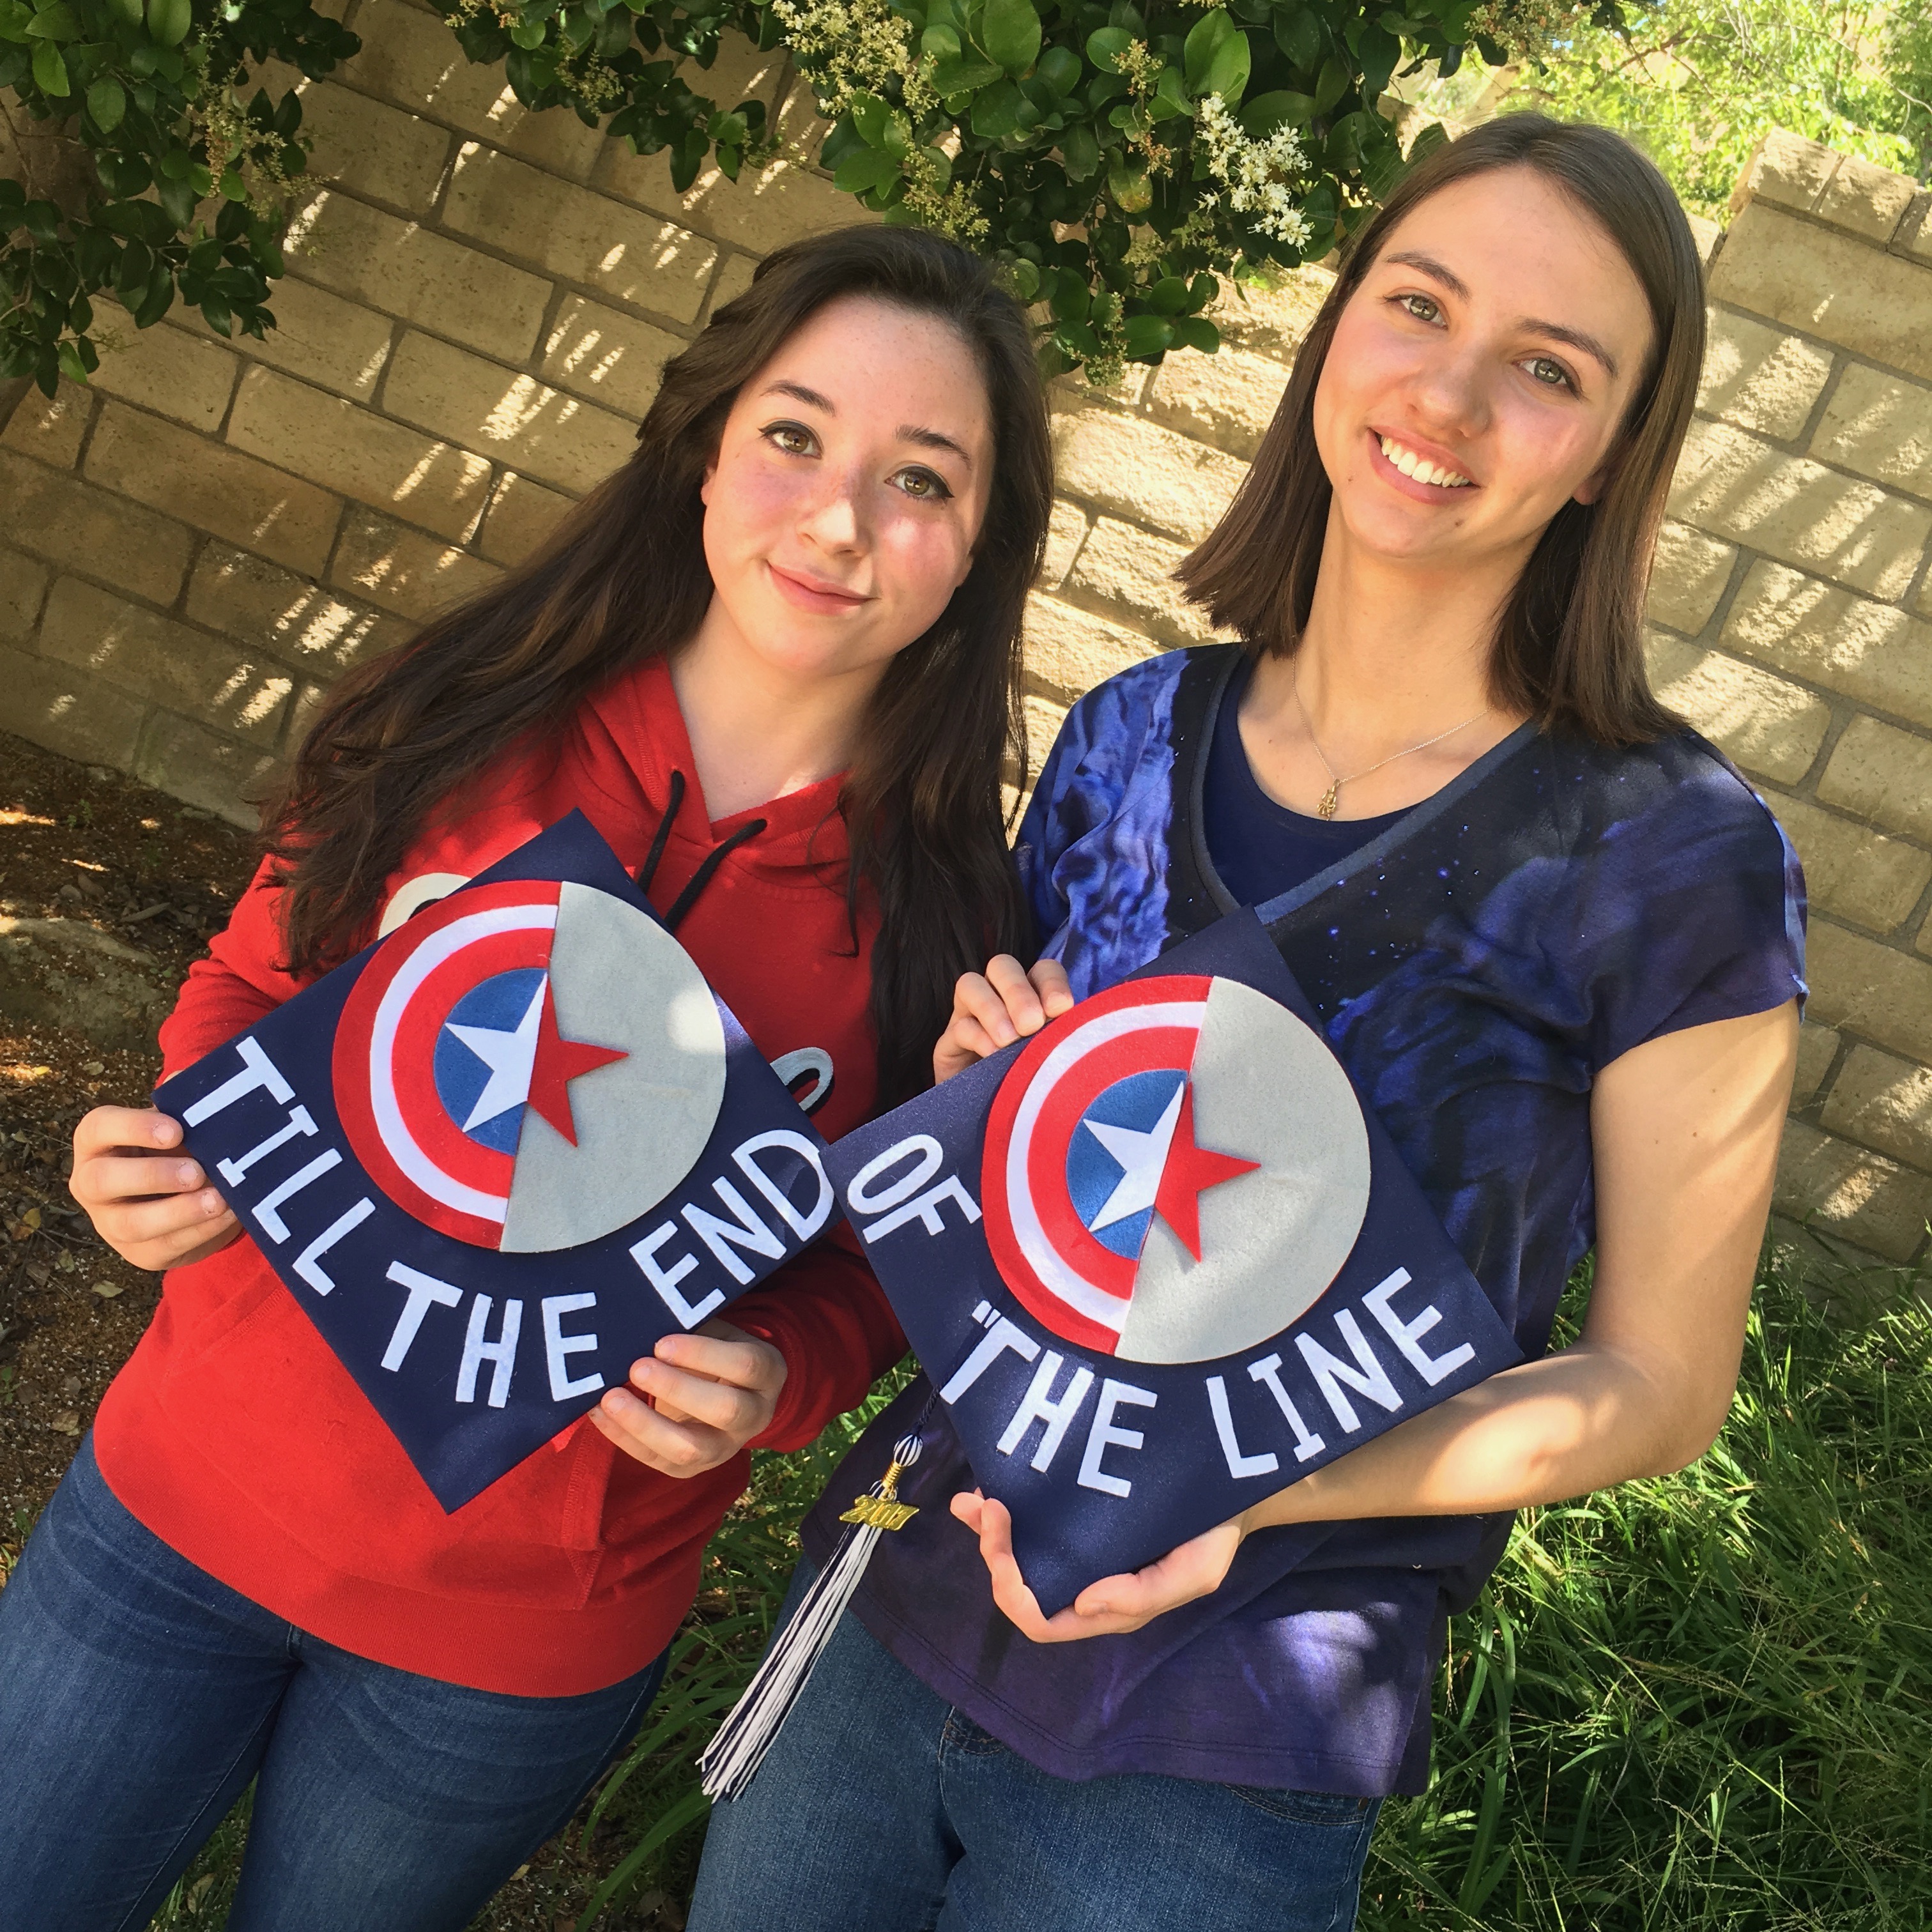
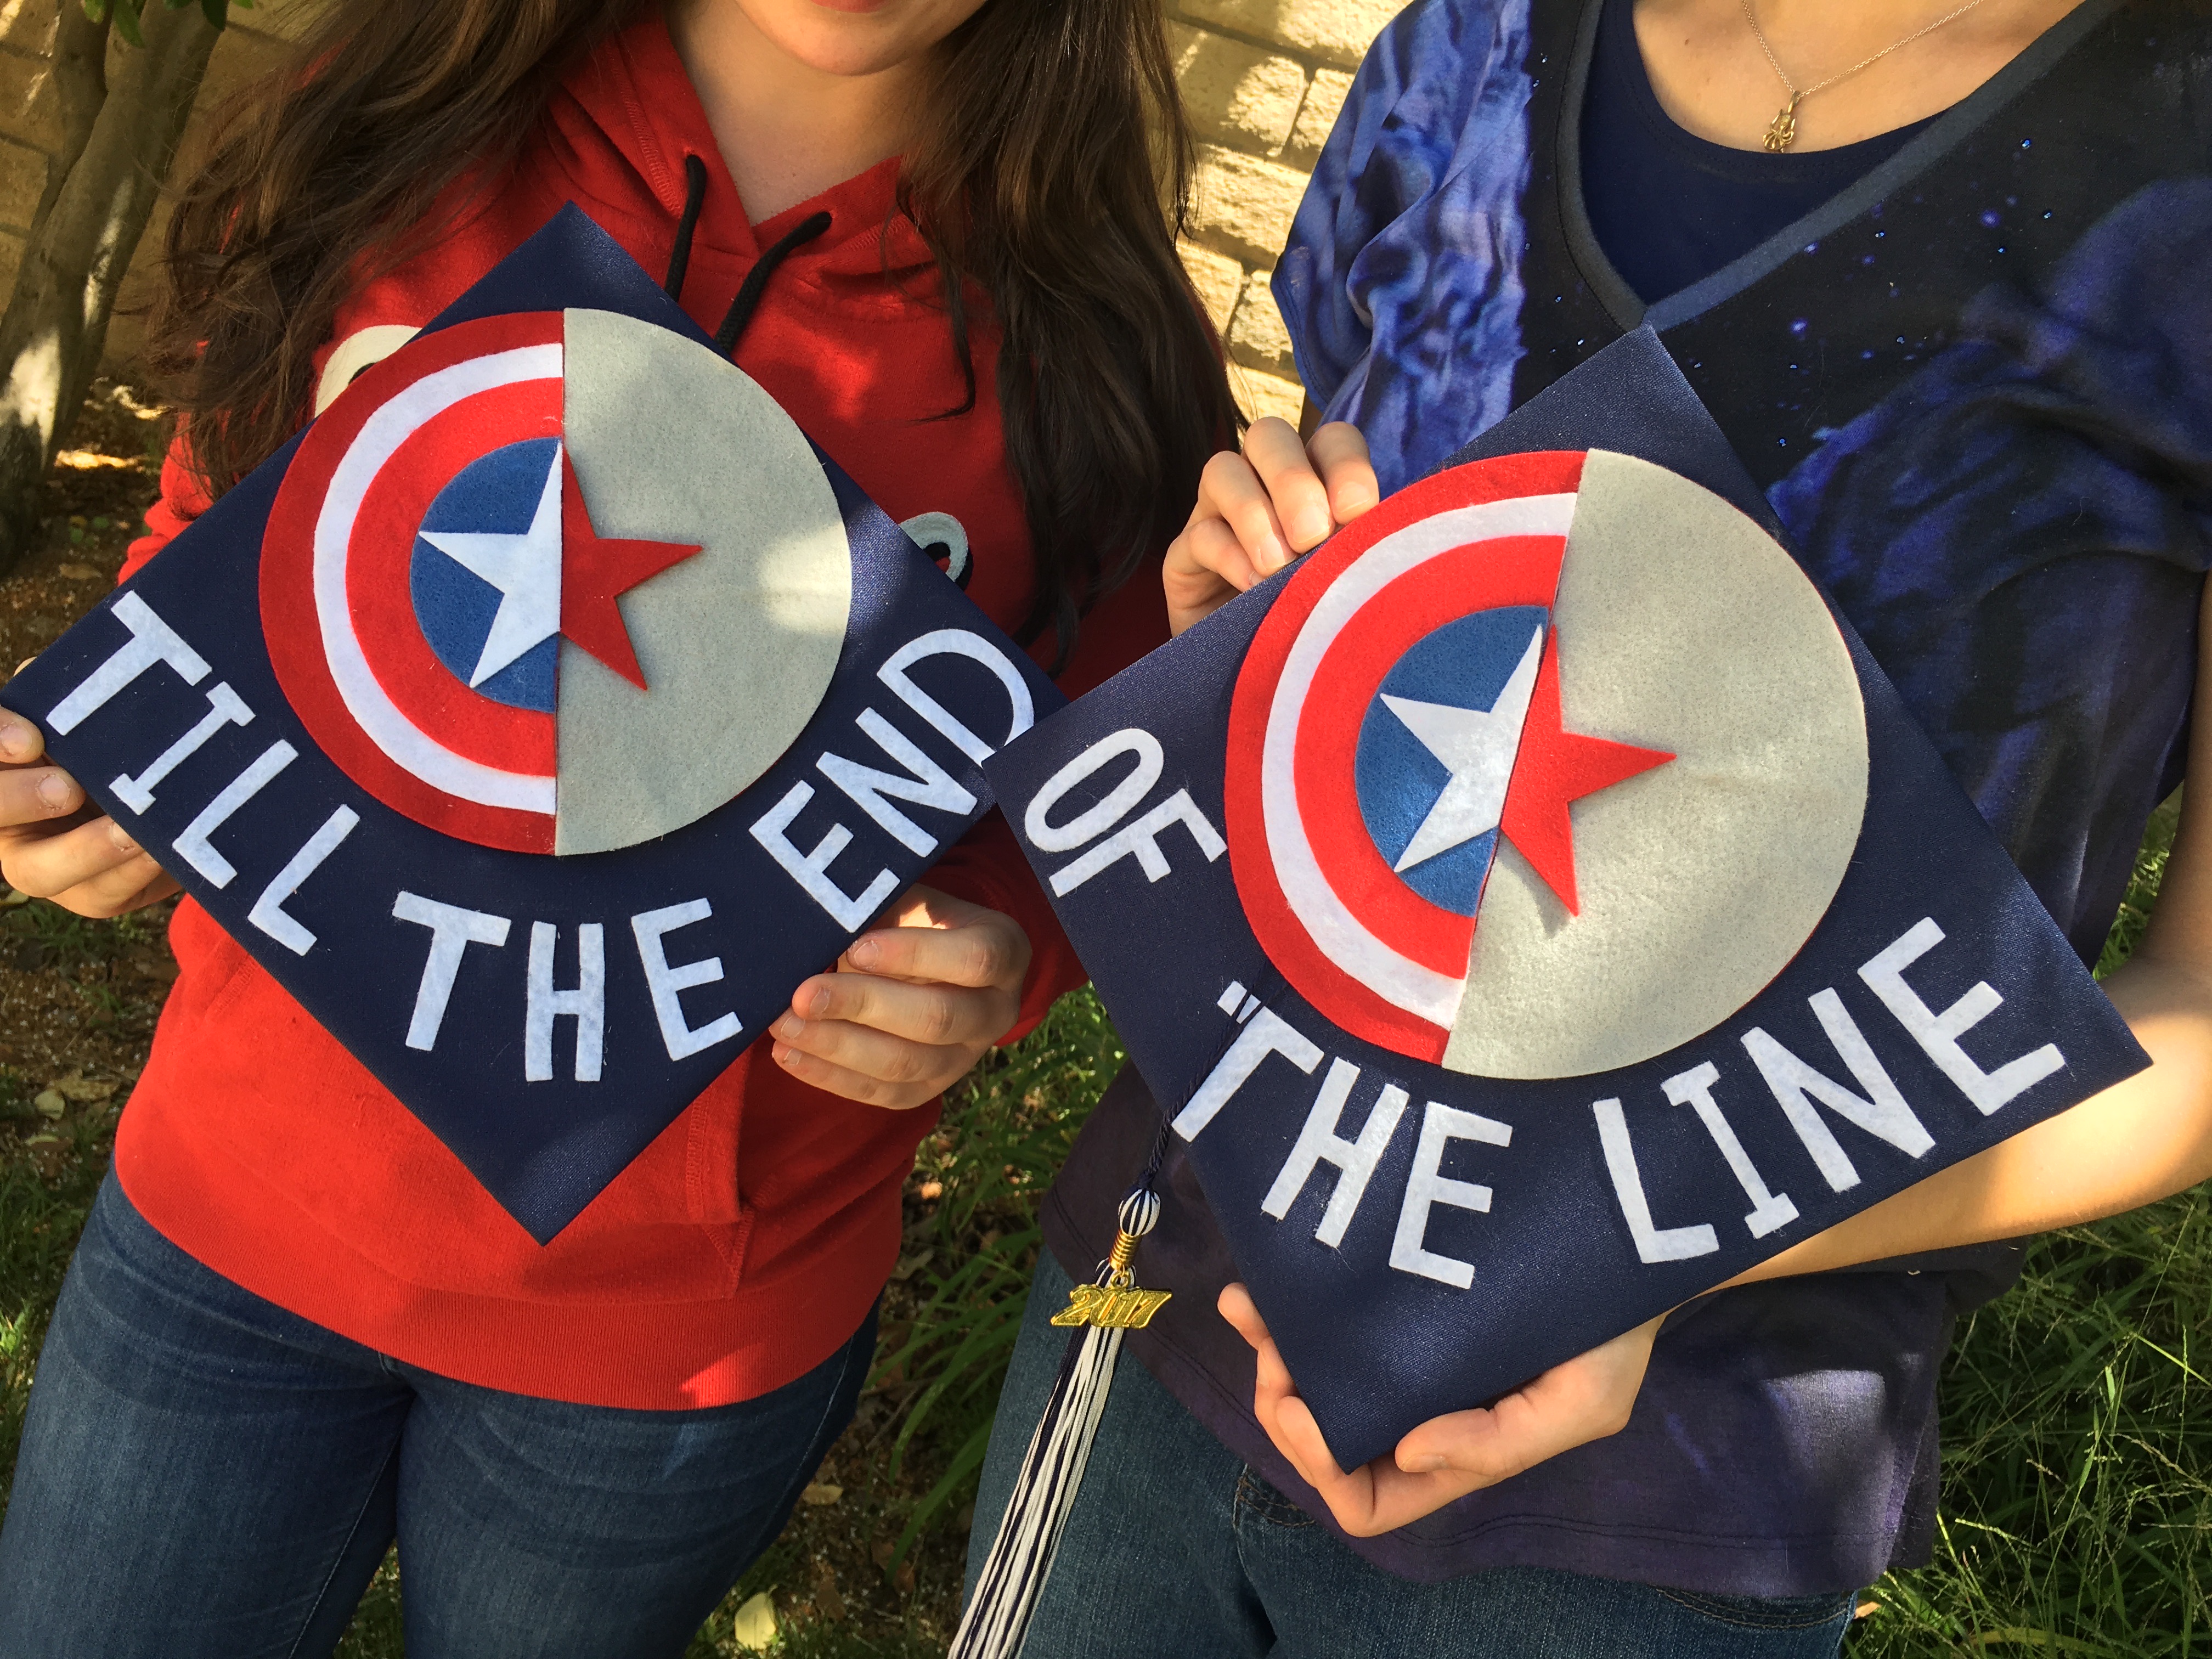
Sizzix Captain America Graduation Cap

IMG_1984

I can’t believe Ella is graduating from High School!!  Where did the time go?  She and her BFF got together to decorate their graduation caps.  Of course they came over to our house and ransacked my Sizzix closet and felt drawer!

image133

They wanted to represent the Winter Solider in their “CAP”-decorating (since they are both fighting over who will be marrying Bucky Barnes!)

We used the Sizzix Fresh Blossoms Alphabet to die cut the letters in white craft felt

The circles are from the 3 1/2″, 5″, and 7″ circle dies.  We had to hand cut the white circle to nest in the shield.

The all of the stars are die cut using the Stacked Stars die.

We used the Sizzix Big Shot Plus for all the die cutting.

IMG_1982

We laid them all out and then used tacky glue to adhere the felt.

IMG_1980

Super cute and super NERDY!!!IMG_1985