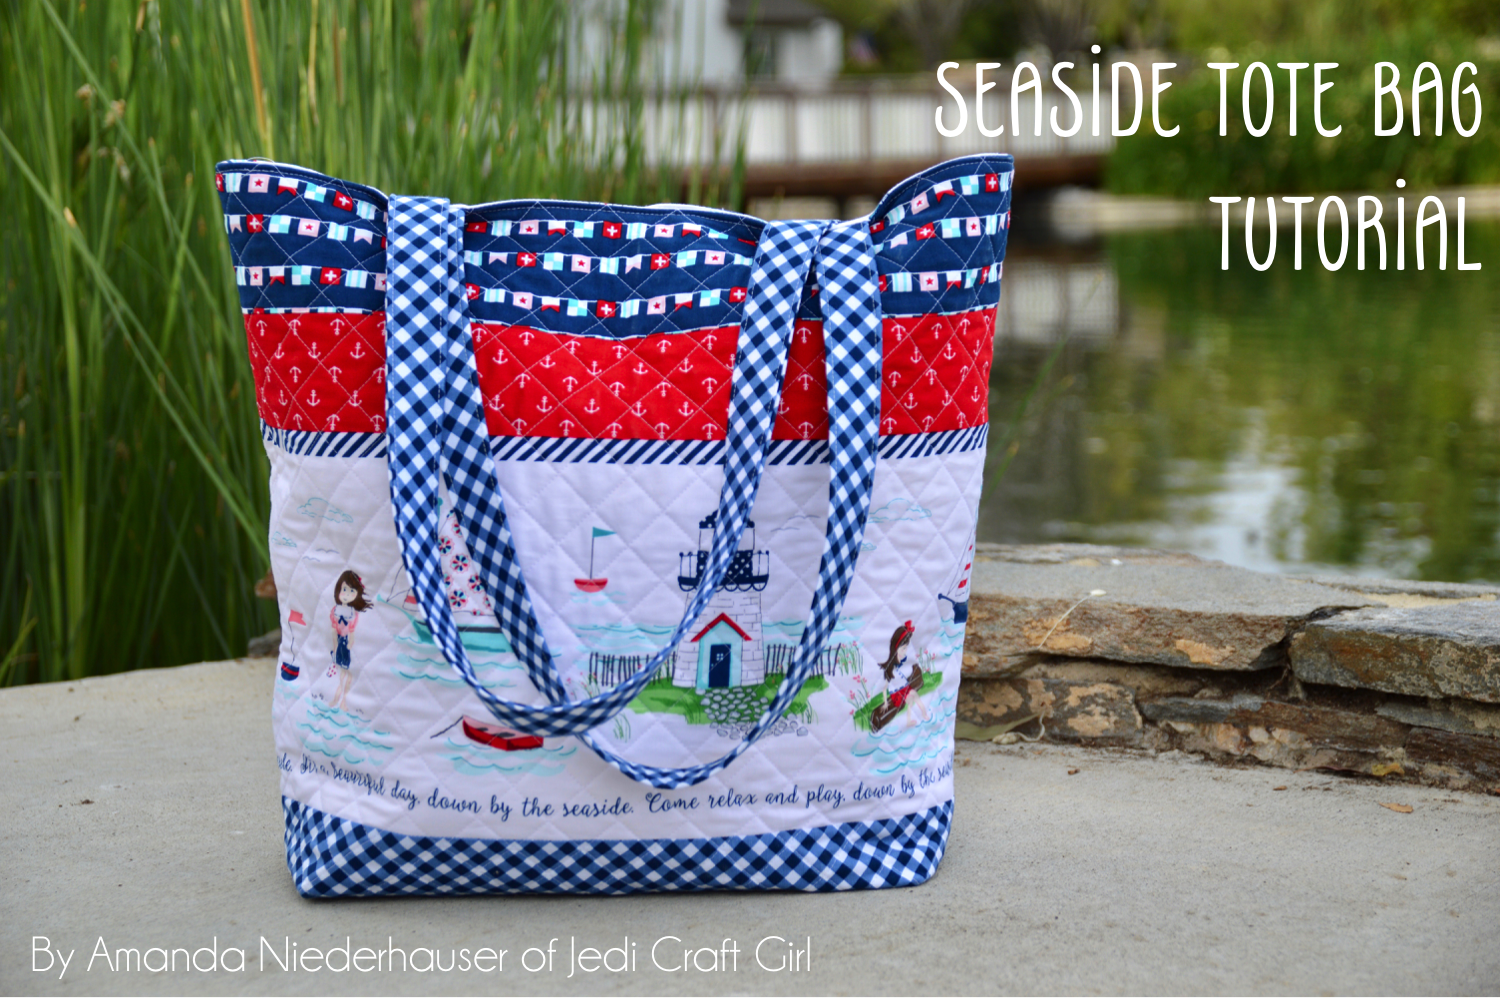
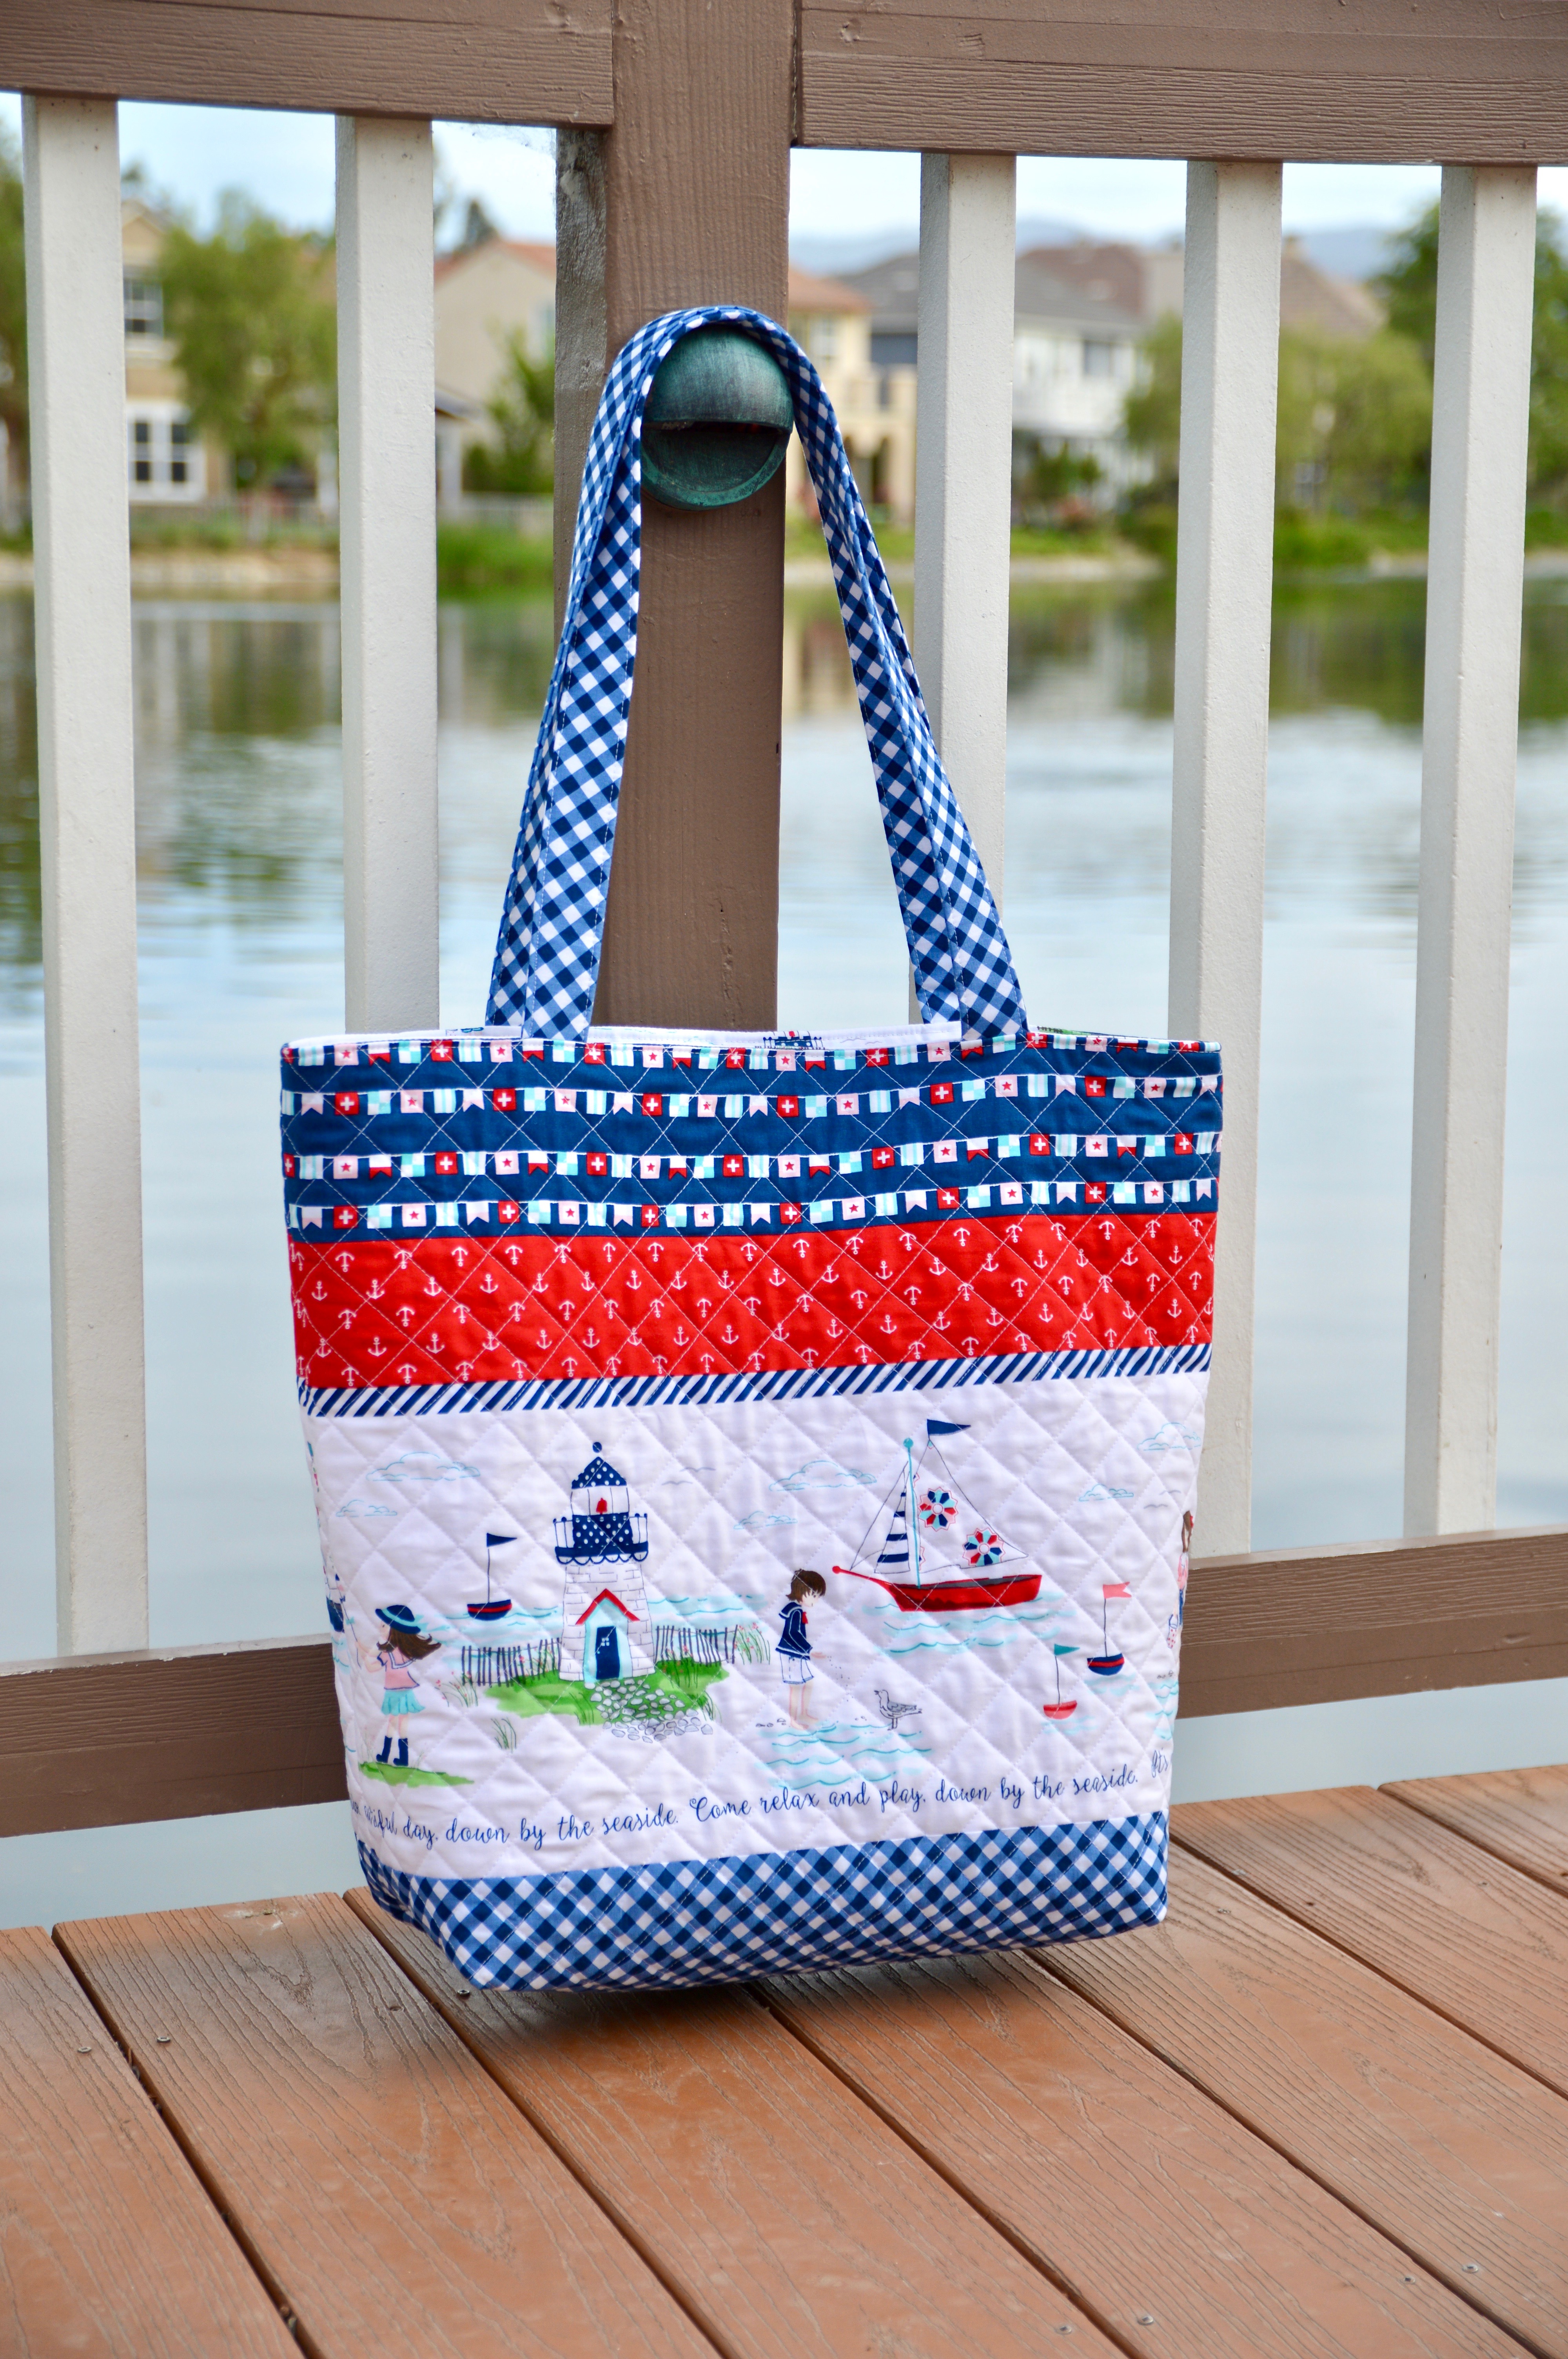
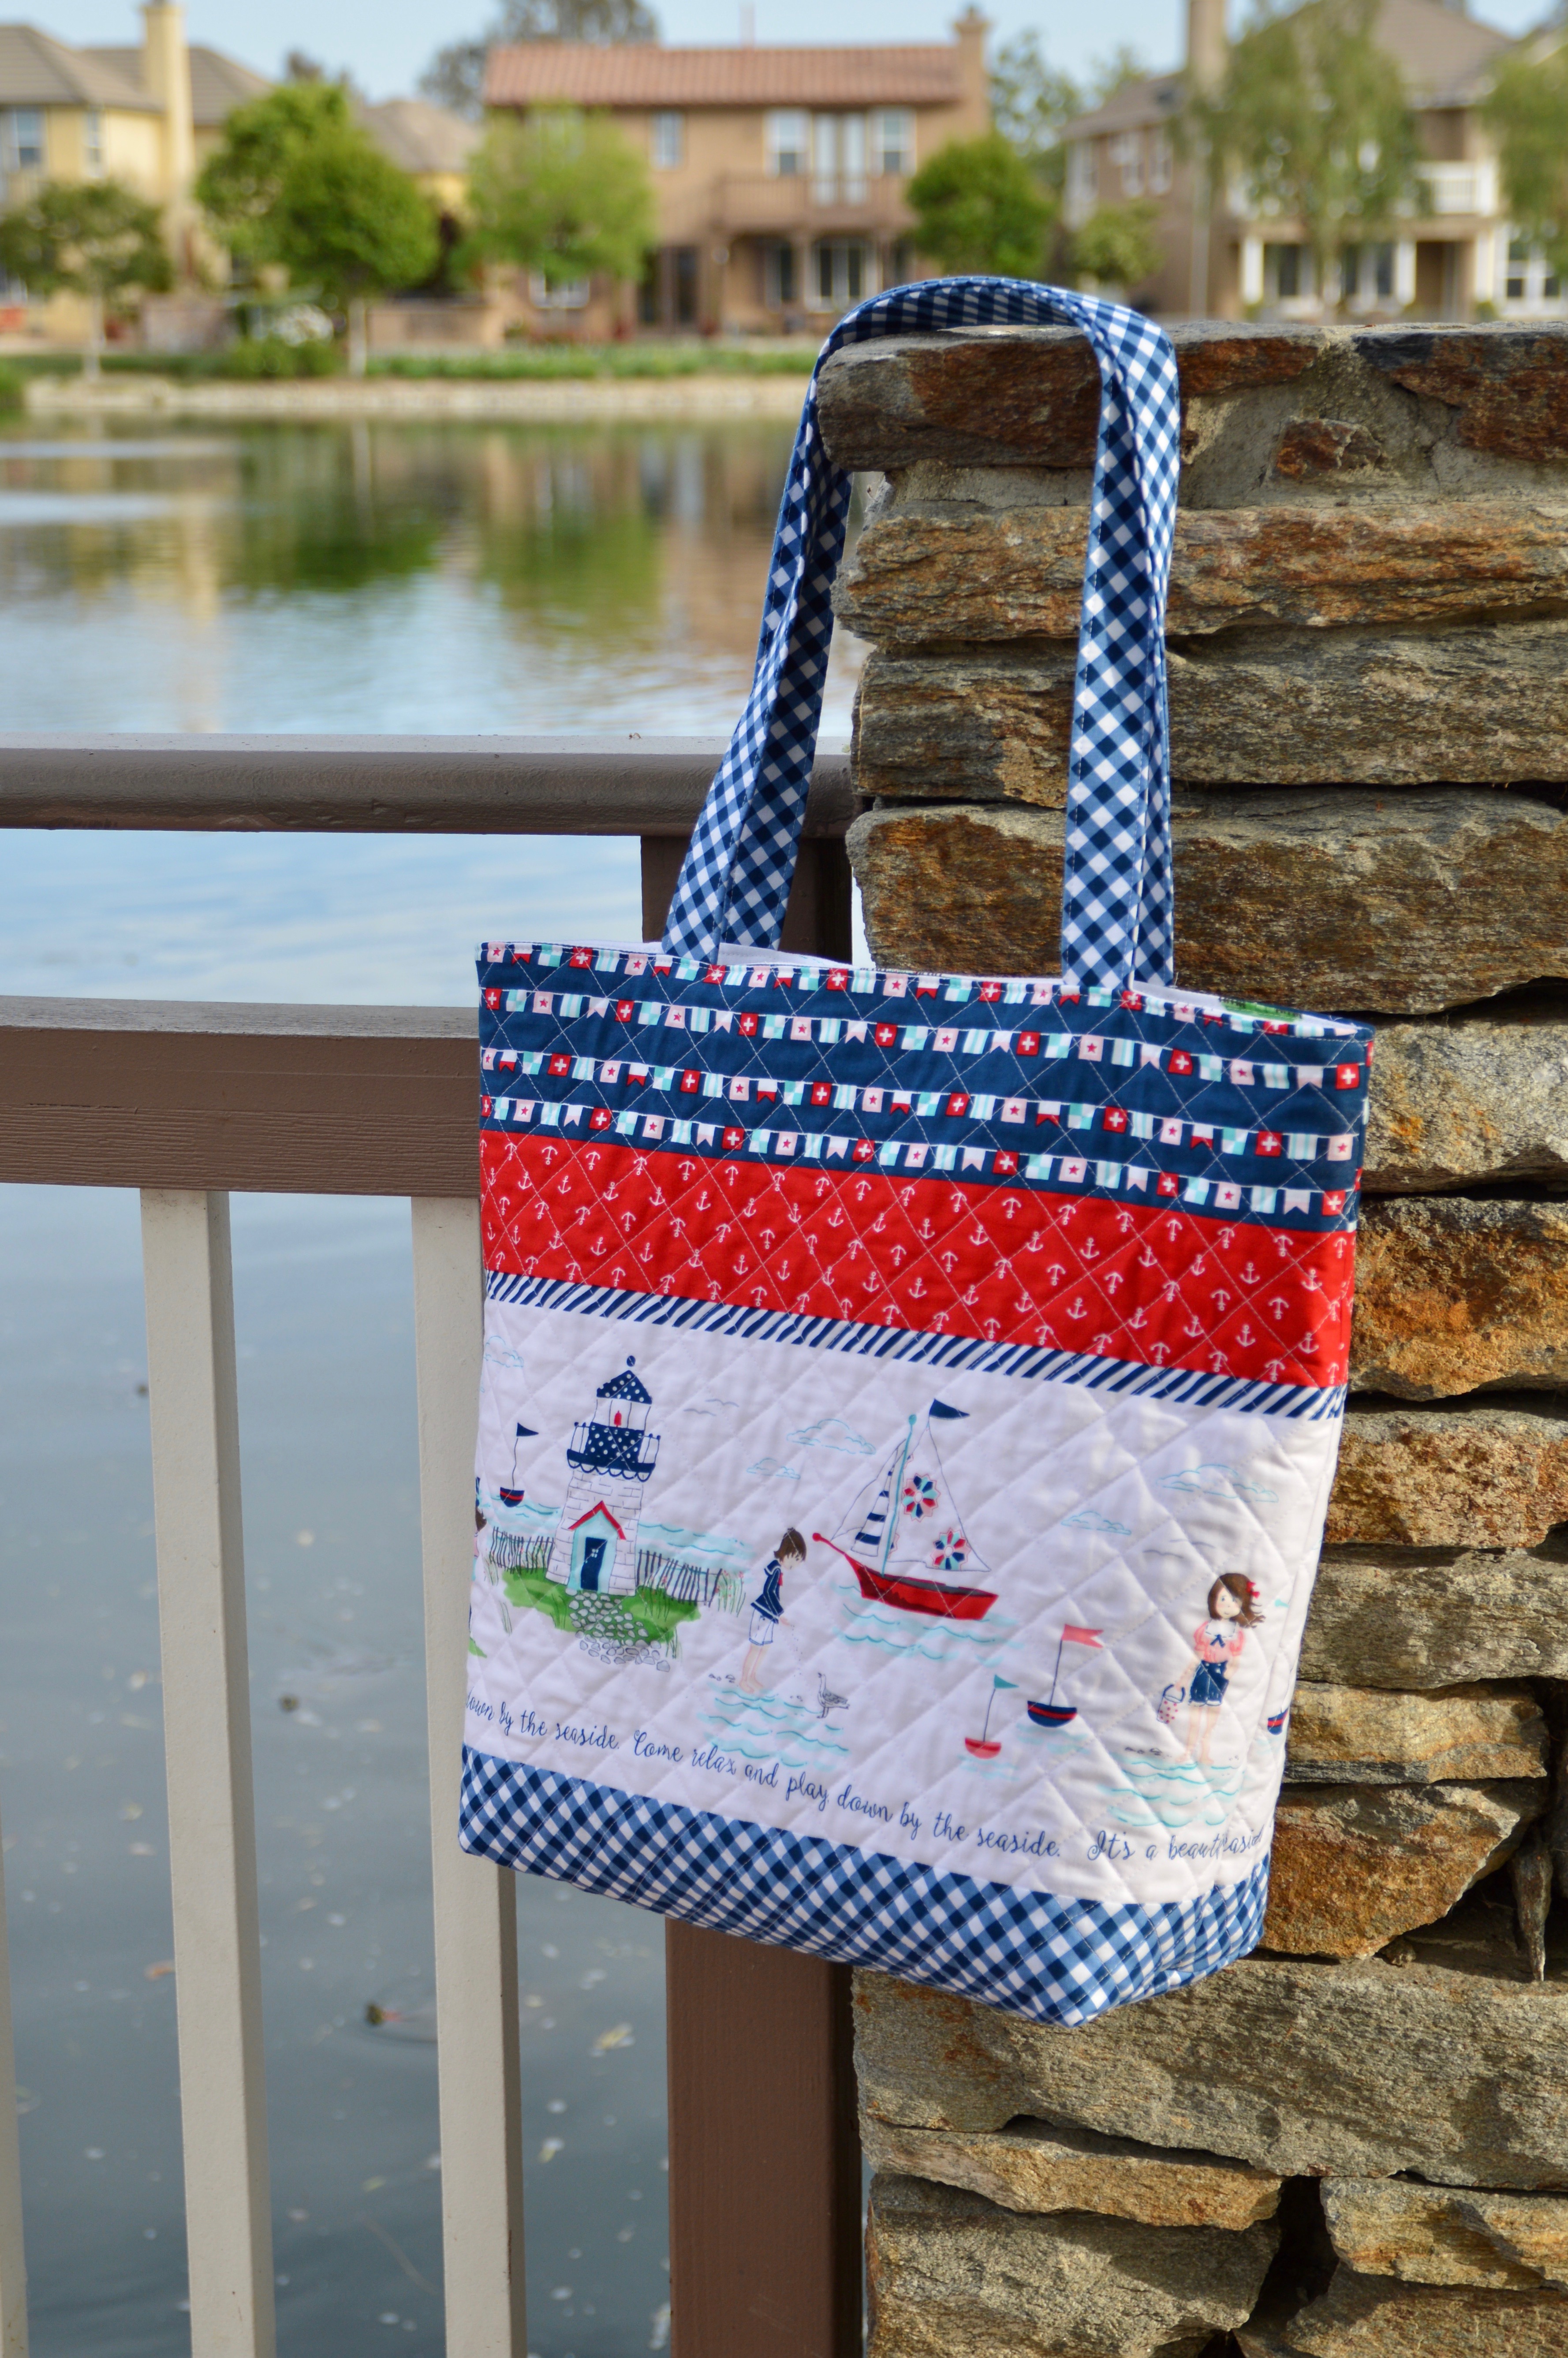
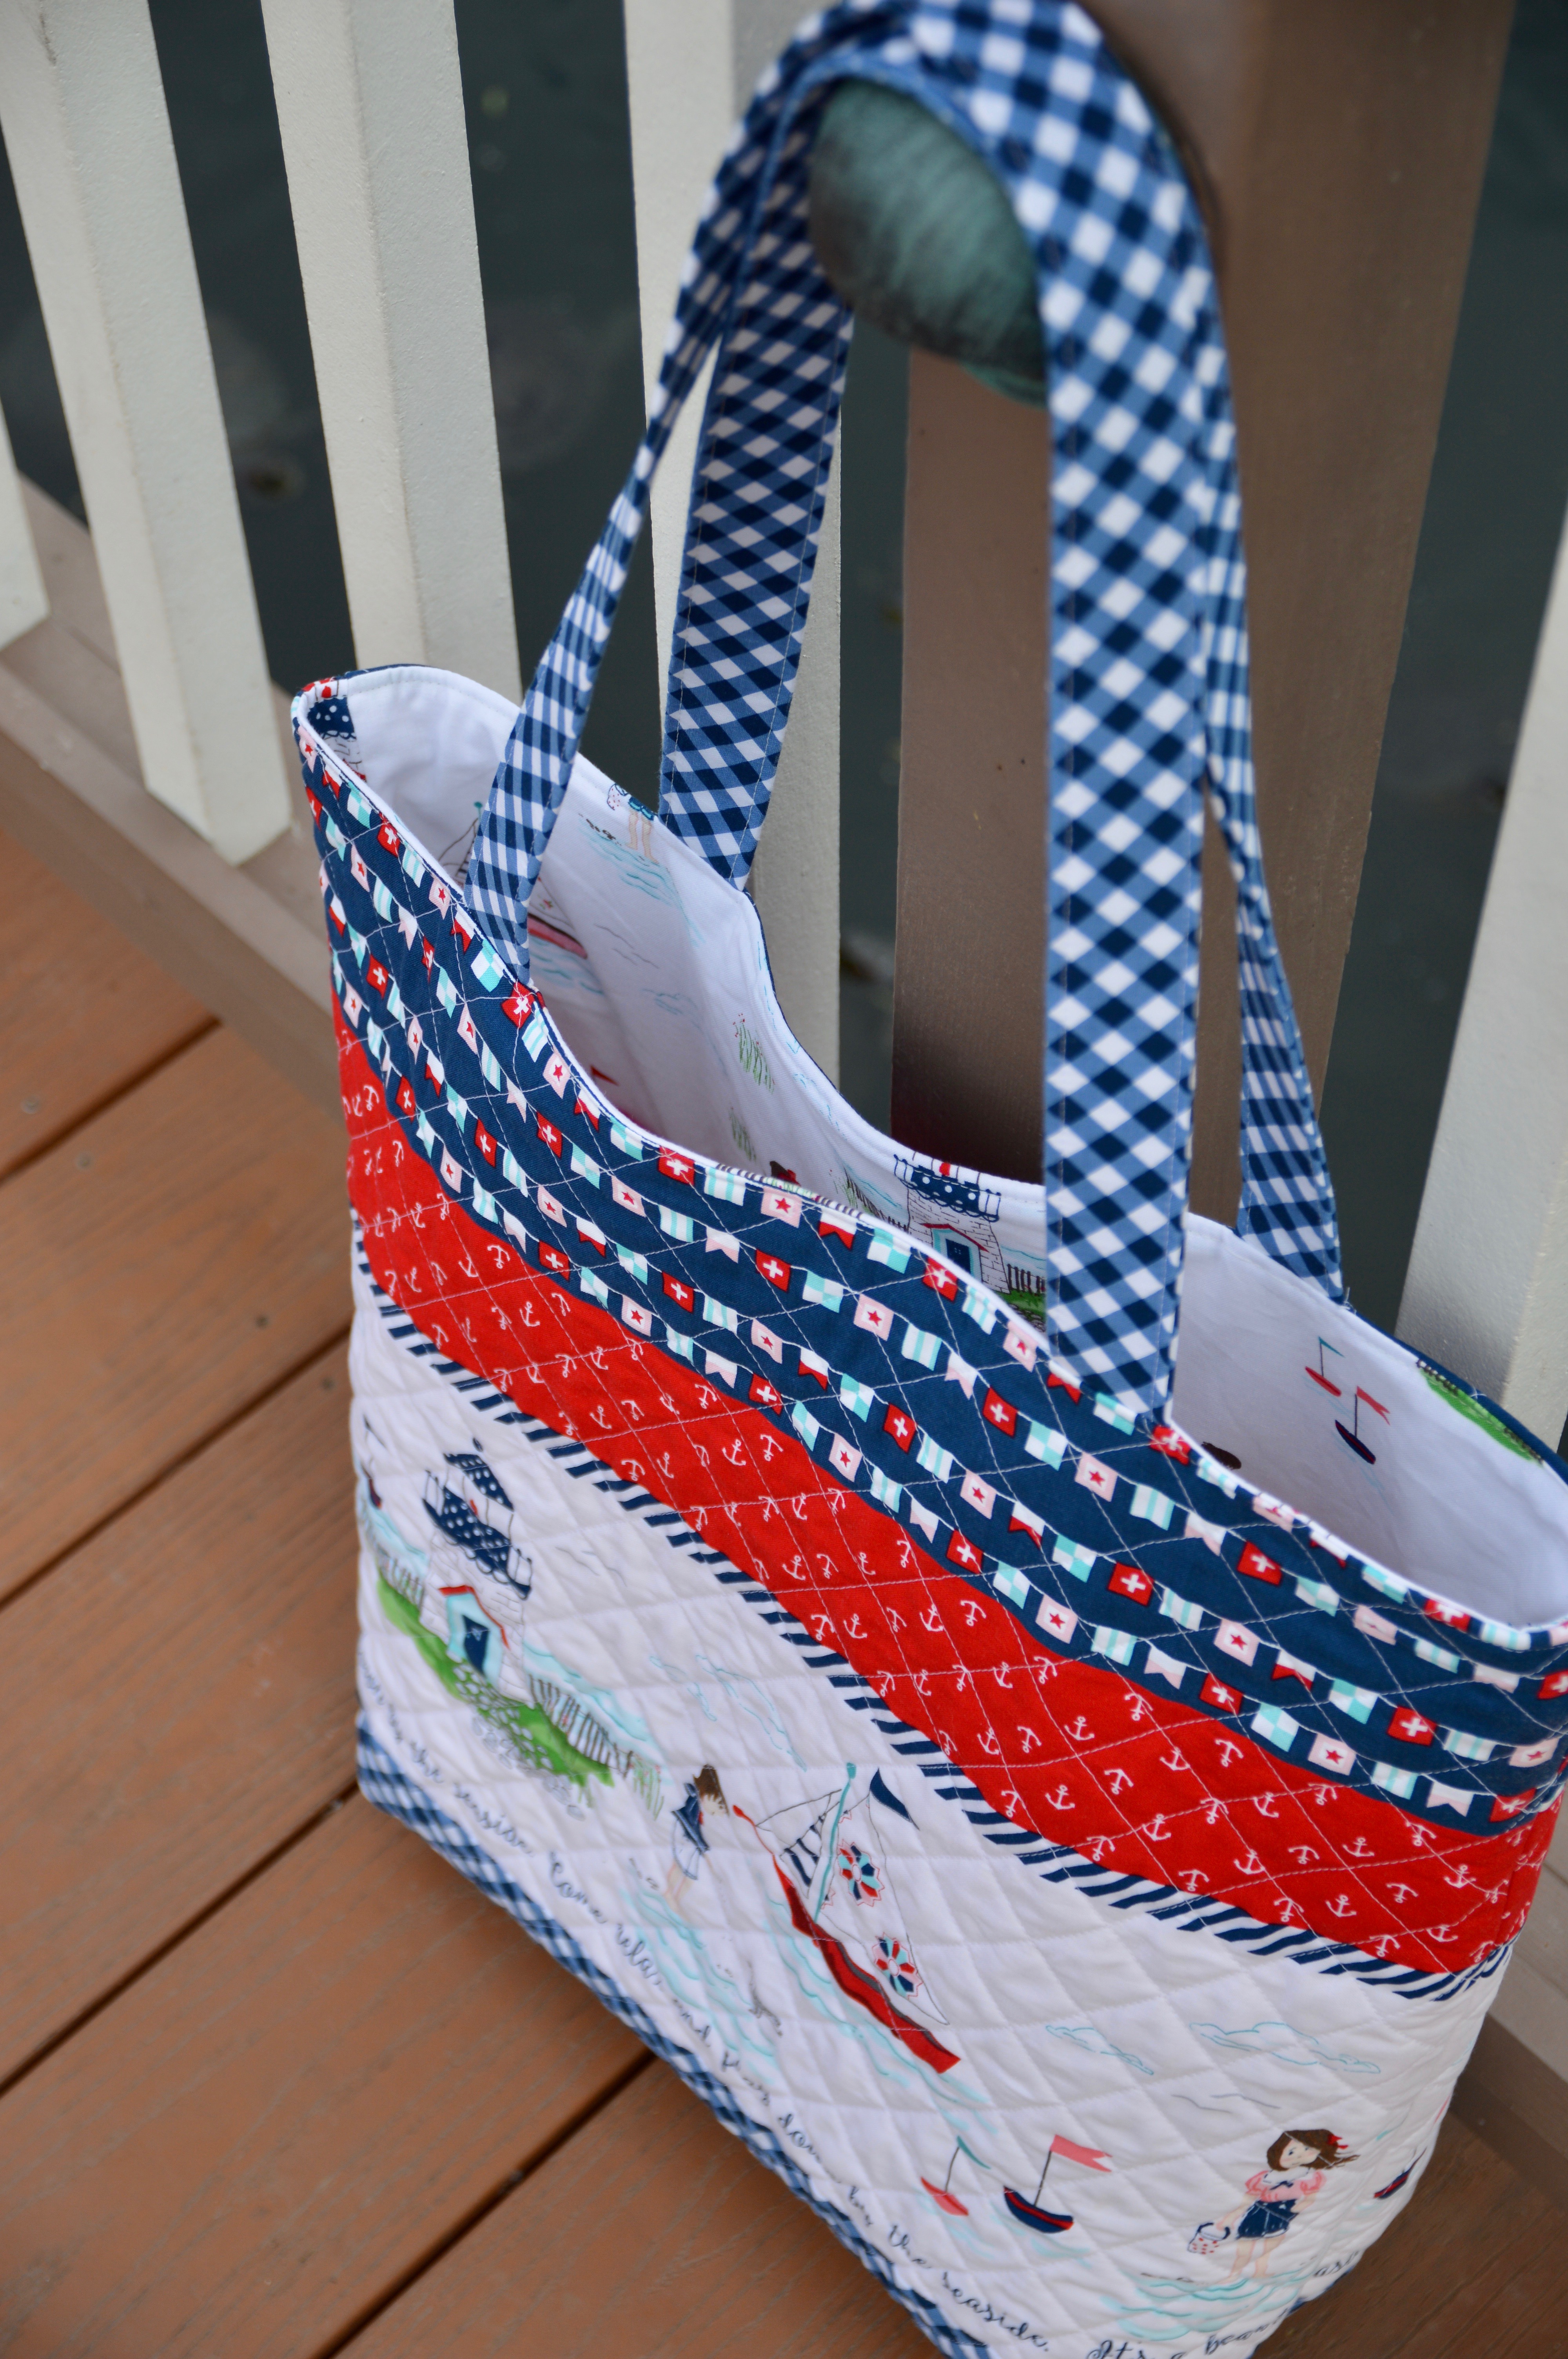
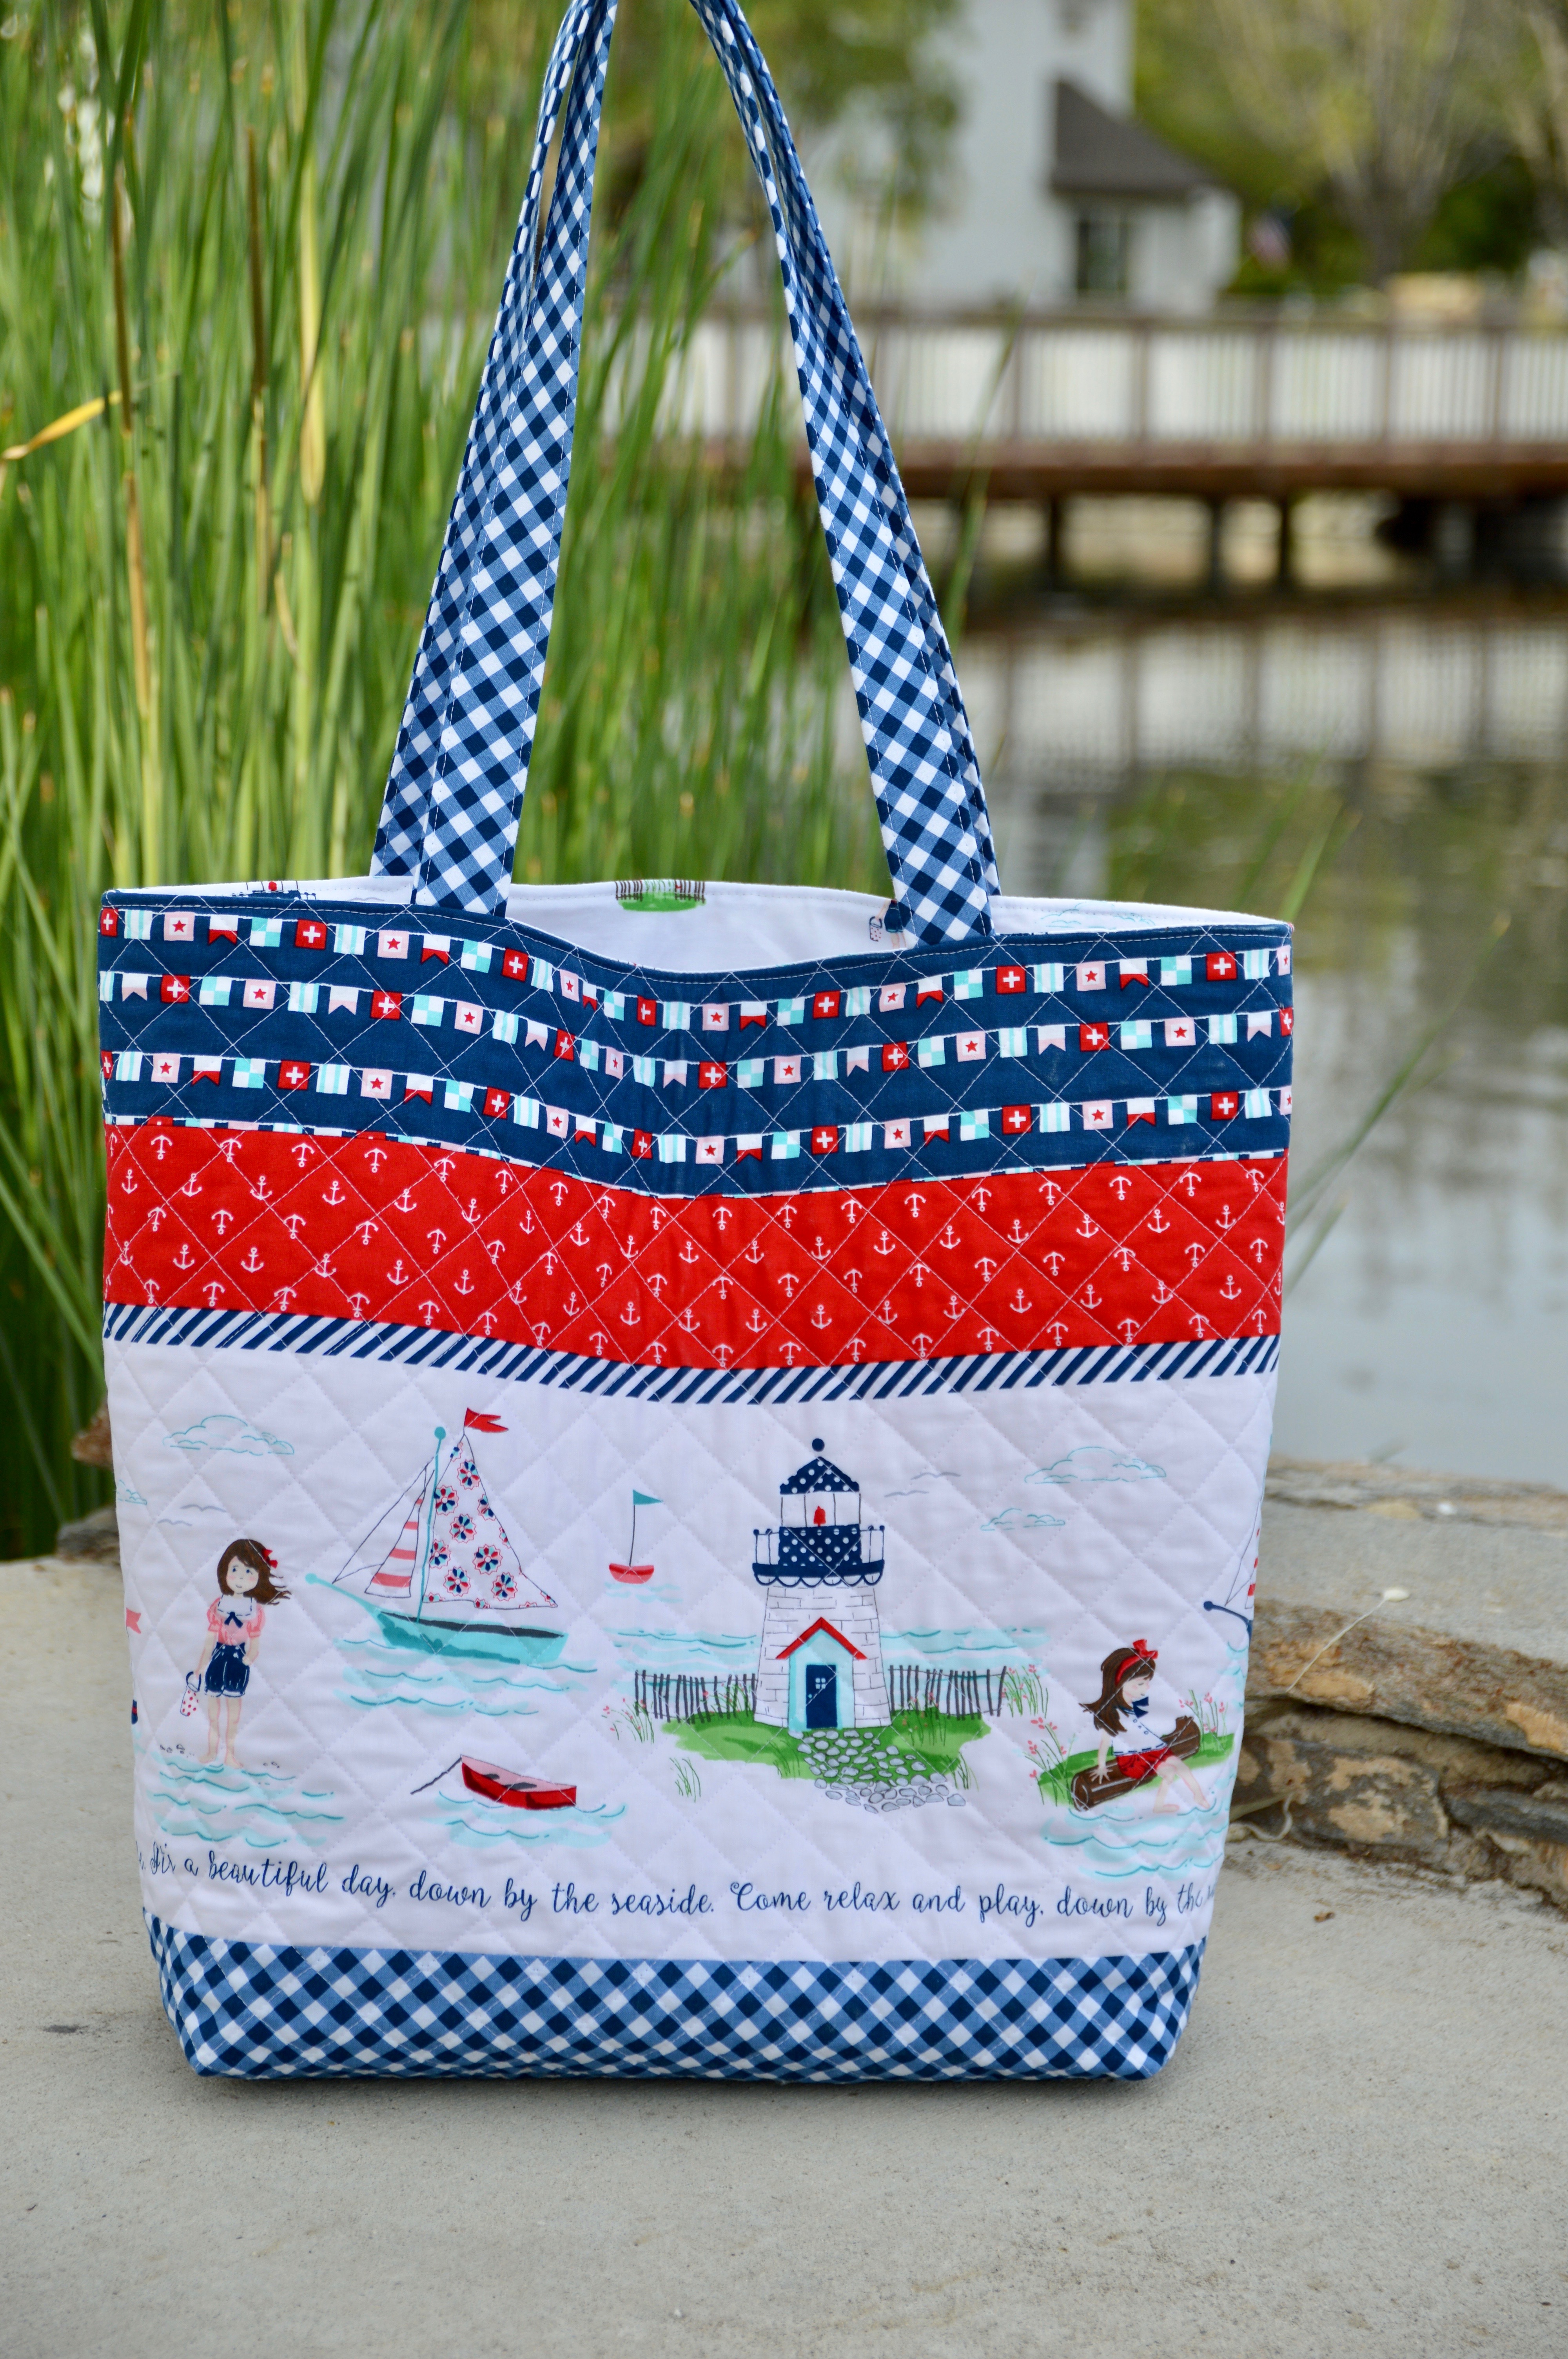
I am super in love with Tasha Noel’s new fabric line Seaside!!! It just totally captured my little nautical heart!! I knew a beach bag was in order. I love the theme print in the fabric line!! The outer bag only has 3 fabric strips! So it sews up totally fast!
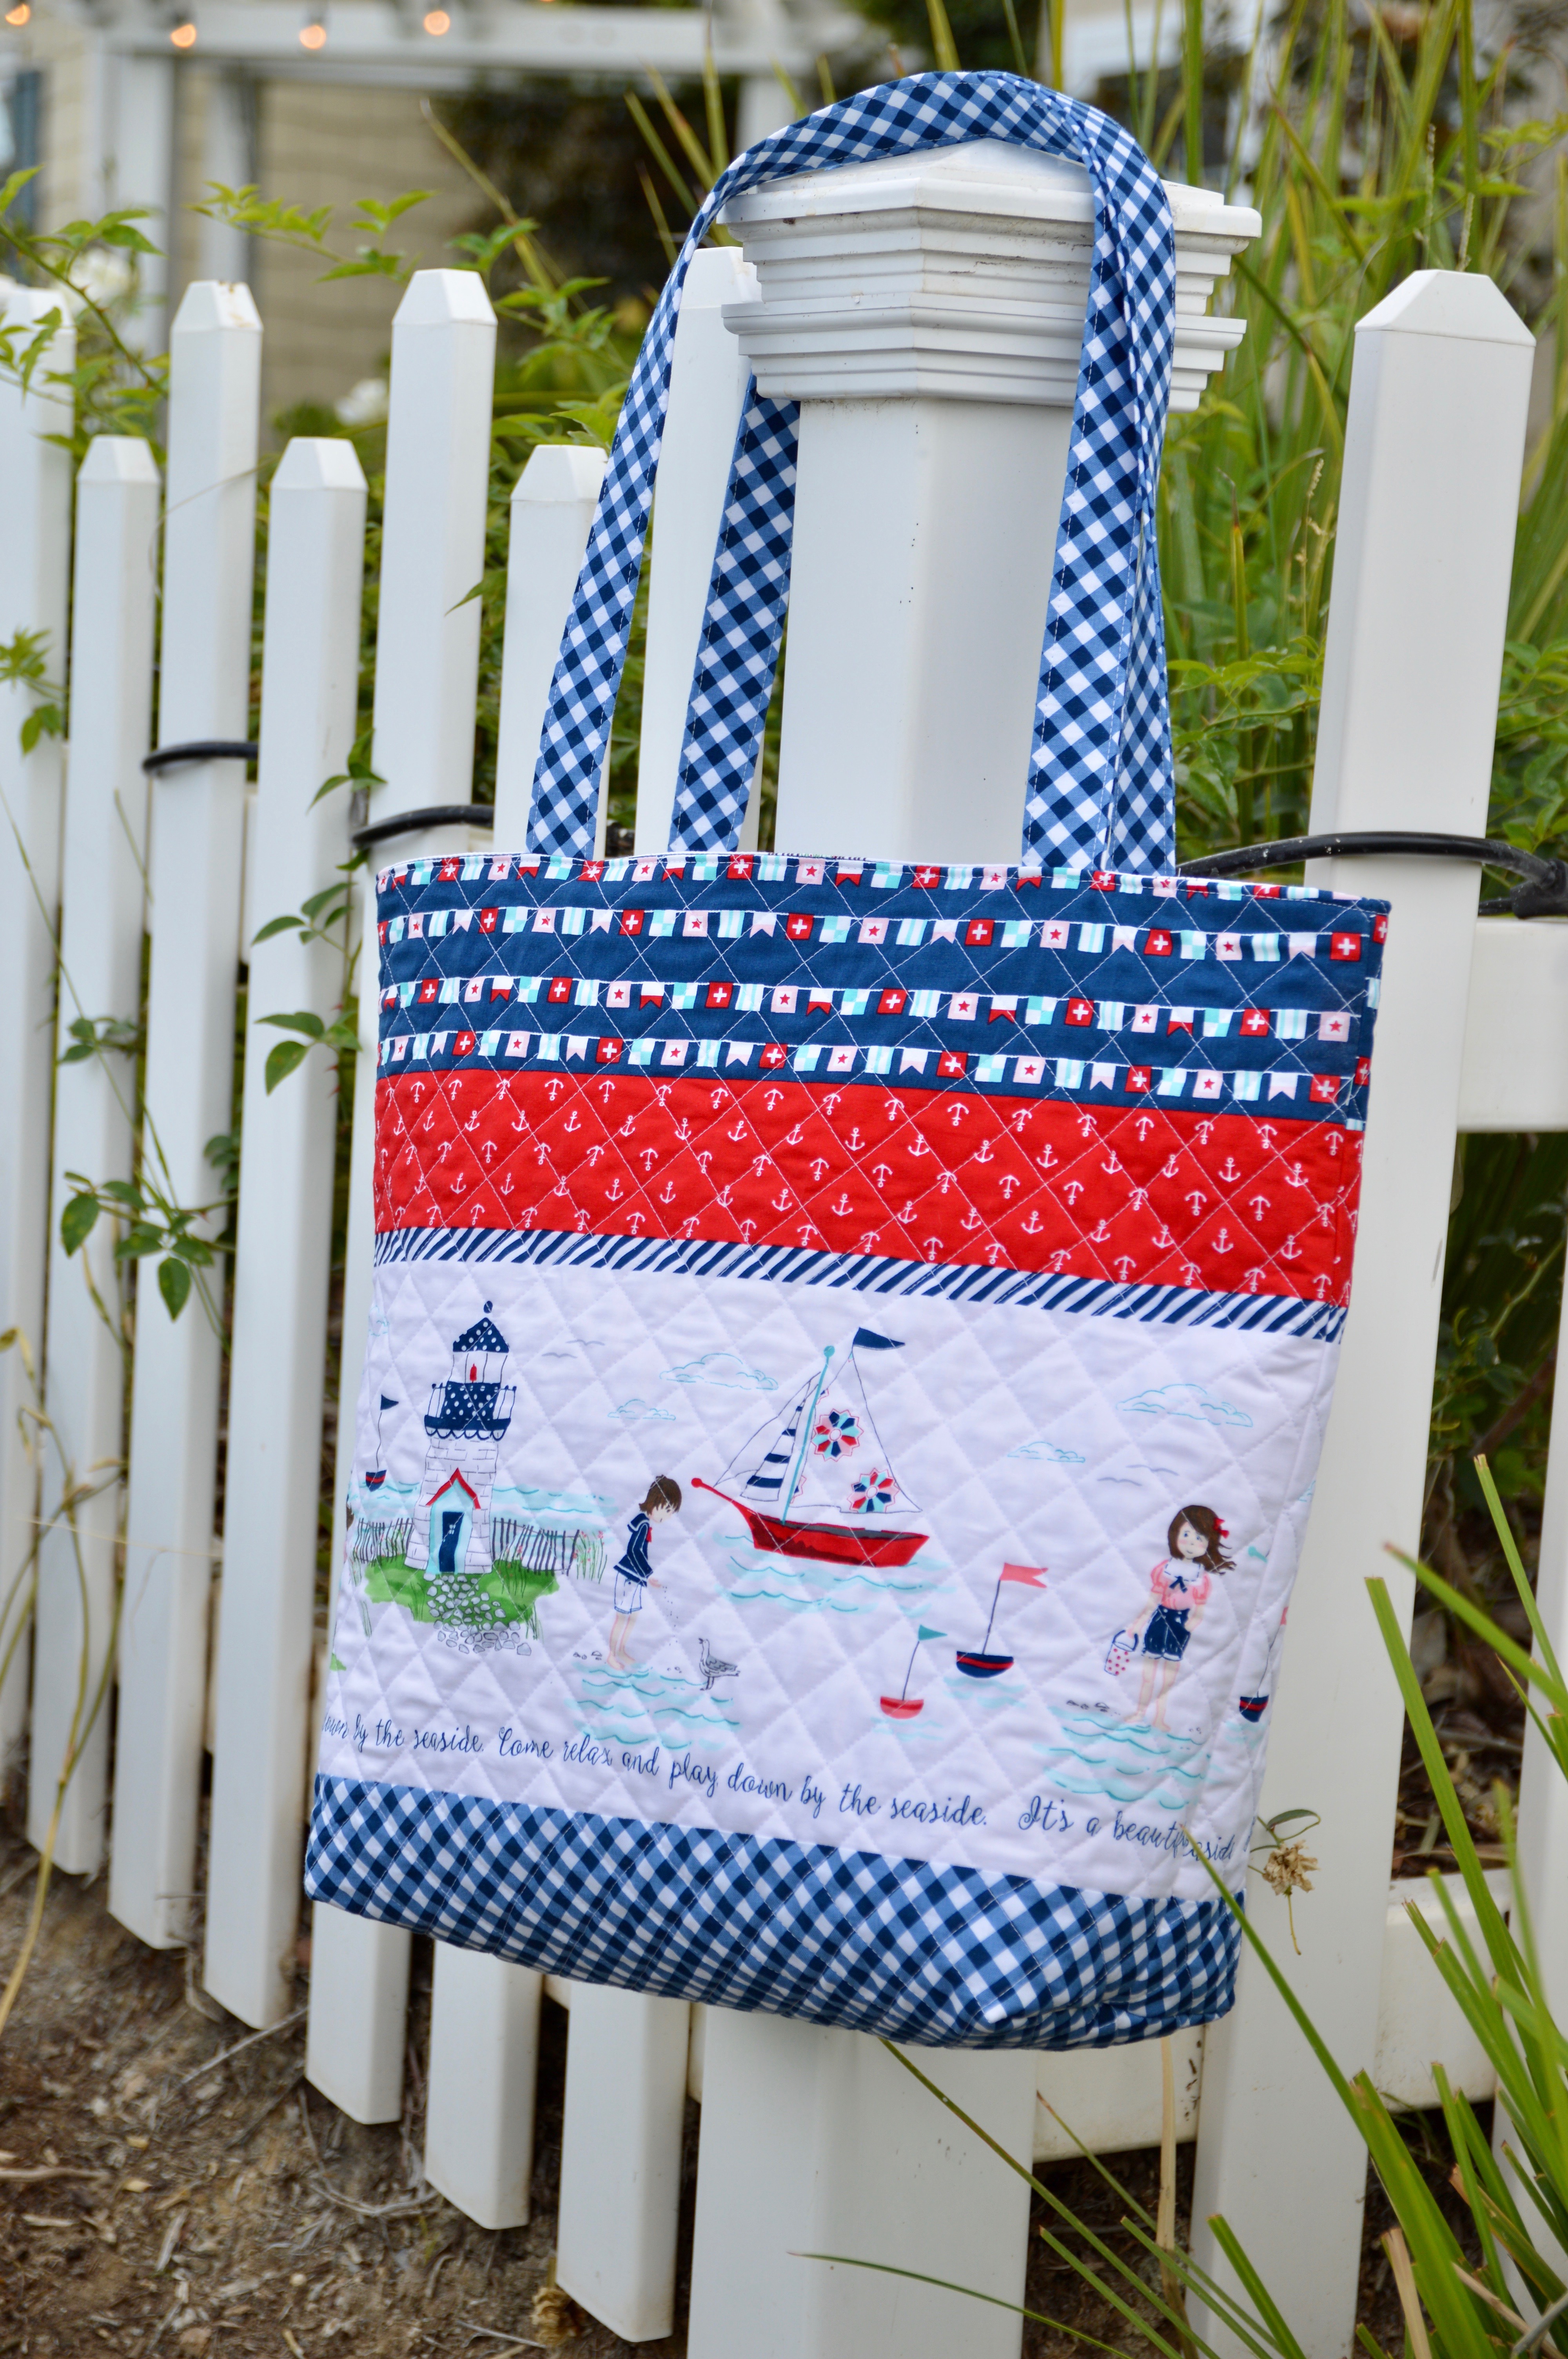
This is my favorite size tote bag. It’s not too big that it’s hard to use and it’s big enough to hold a towel, sunscreen, lunch, and some beach toys! There is even a pocket and a key fob to hook your keys on so they don’t fall out and get lost in the sand!
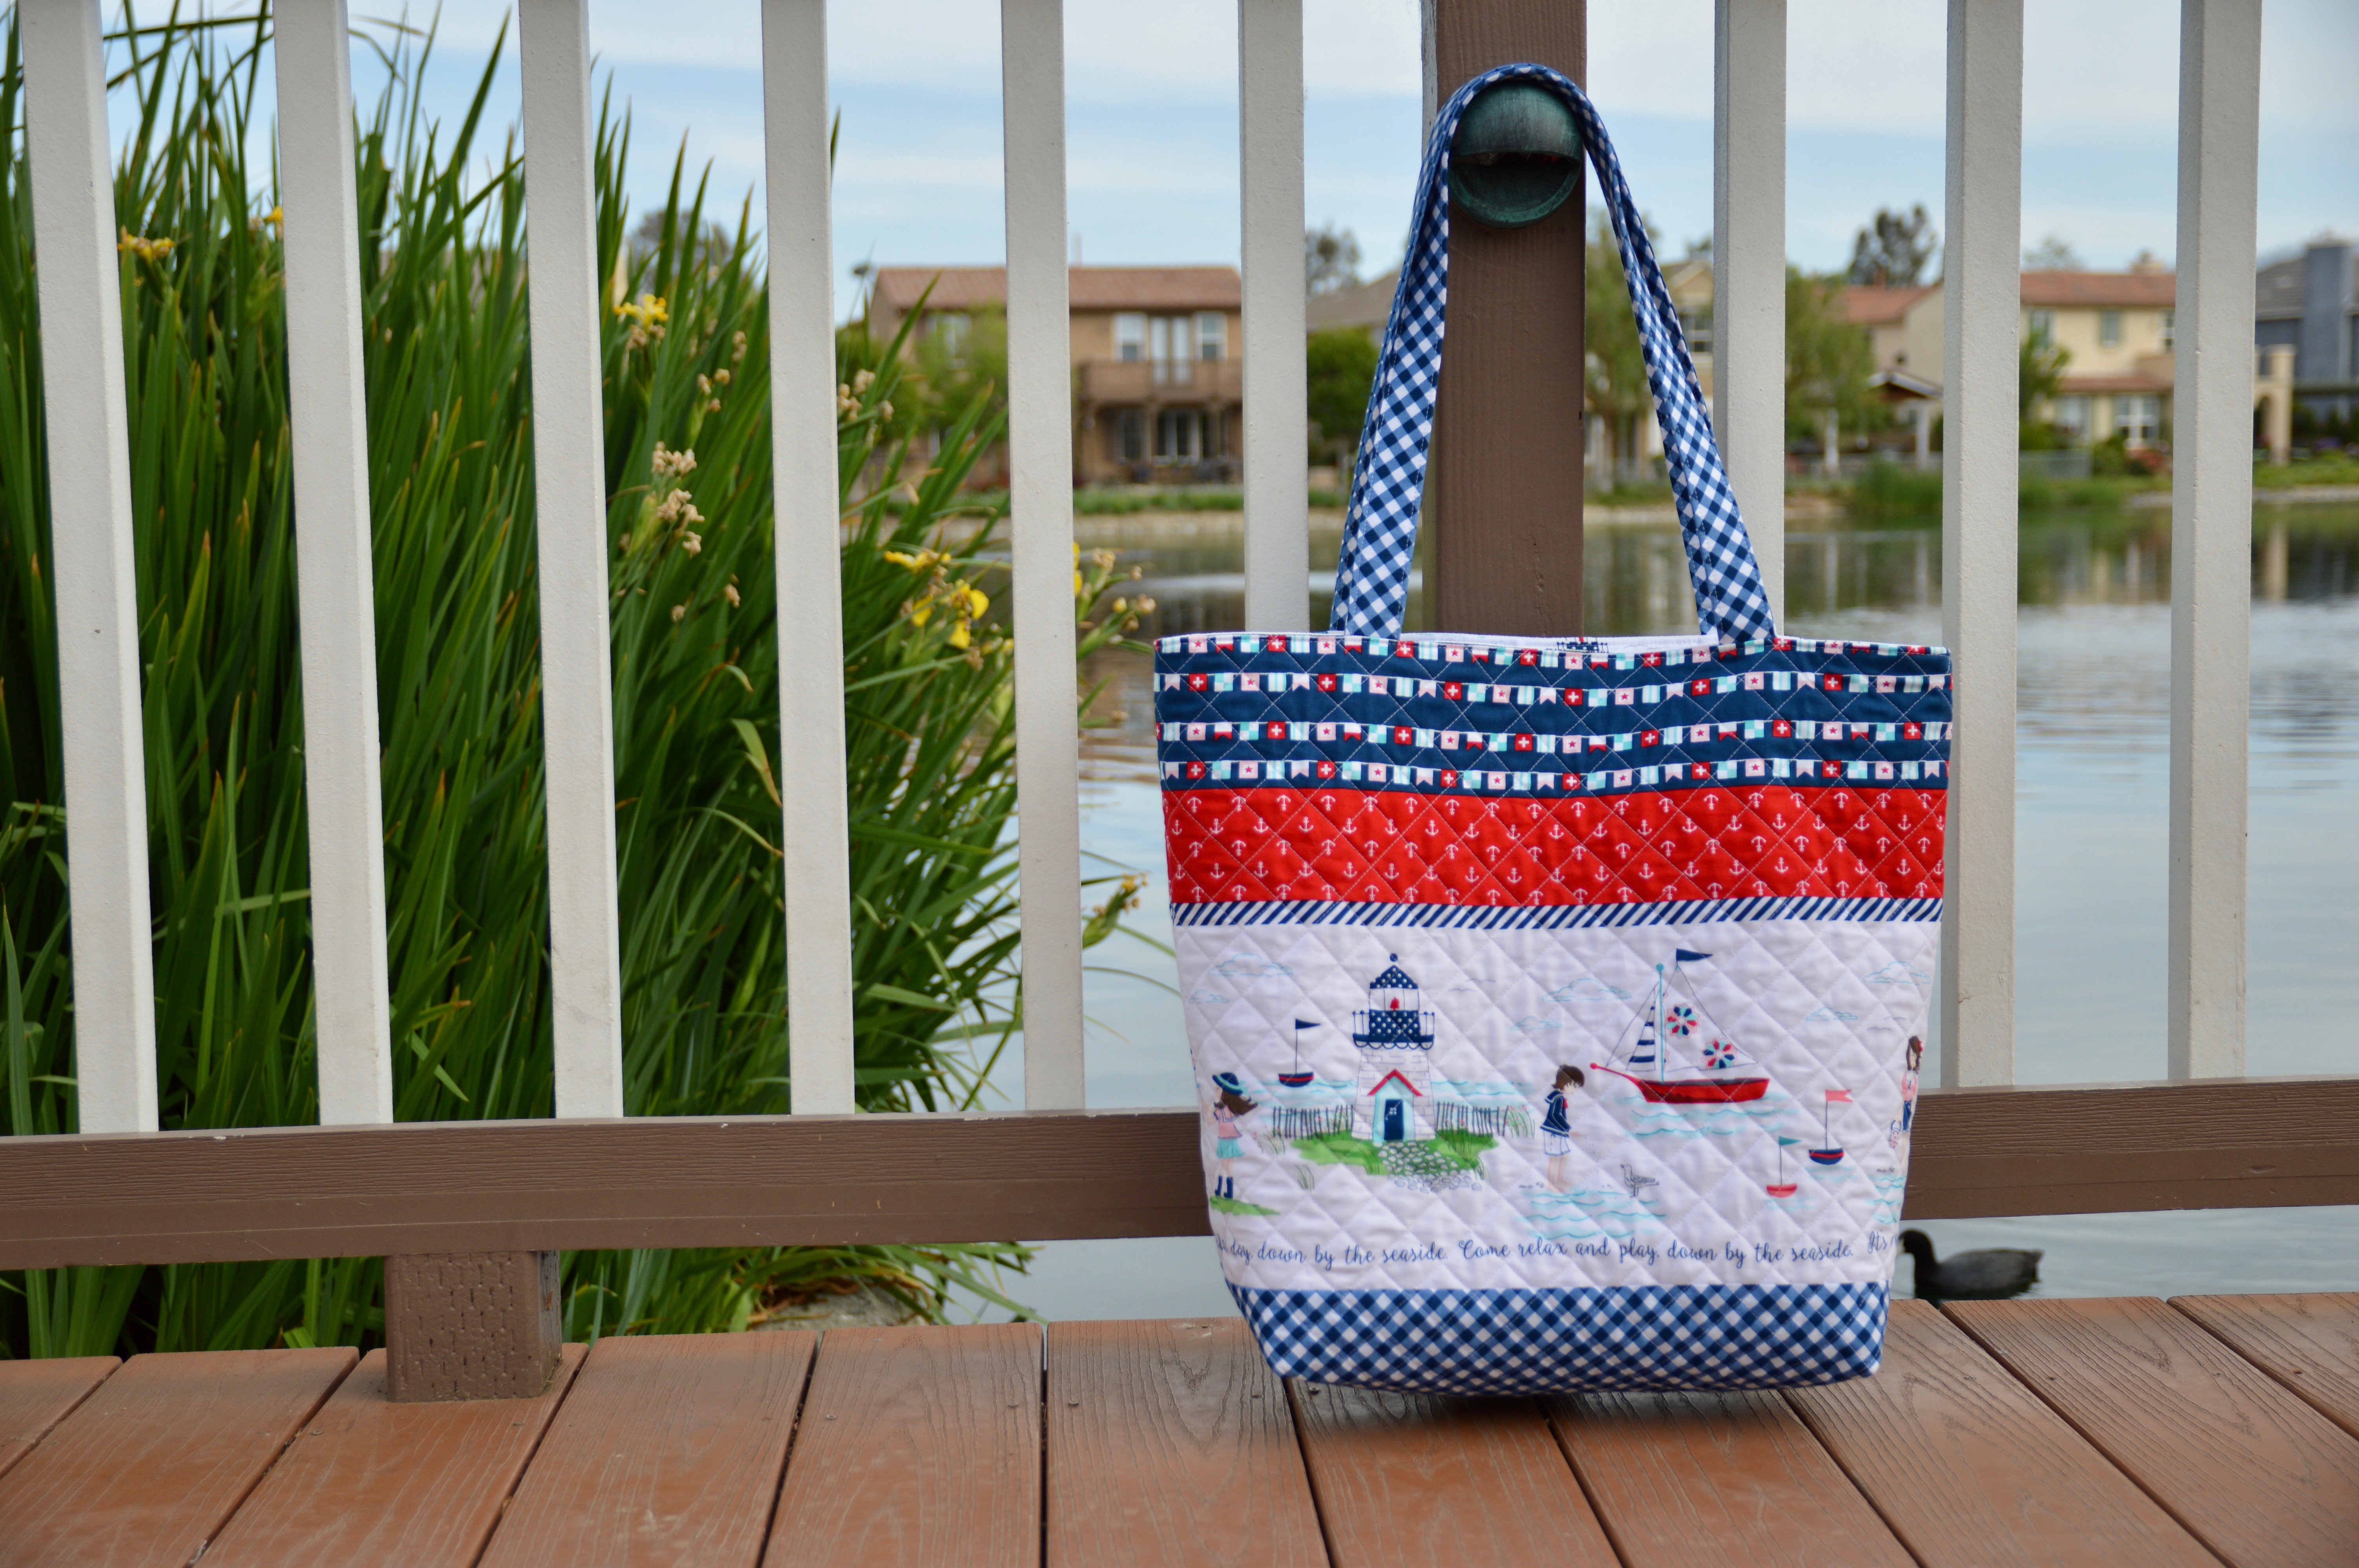
You can totally switch up the fabrics and choose your favorites.
All seams 1/4″ unless otherwise stated
Supplies and Fabric Requirements
1 fat quarter Navy Flags – outer bag
40″ Seaside Main Print – outer bag
1 fat quarter Navy Gingham – outer bag
2/3 yard lining fabric
1/3 yard Navy Gingham for handles
1 fat quarter pocket fabric
Key Clasp
2/3 yard muslin or inside lining fabric
cotton batting
lightweight stabilizer
Cutting Instructions
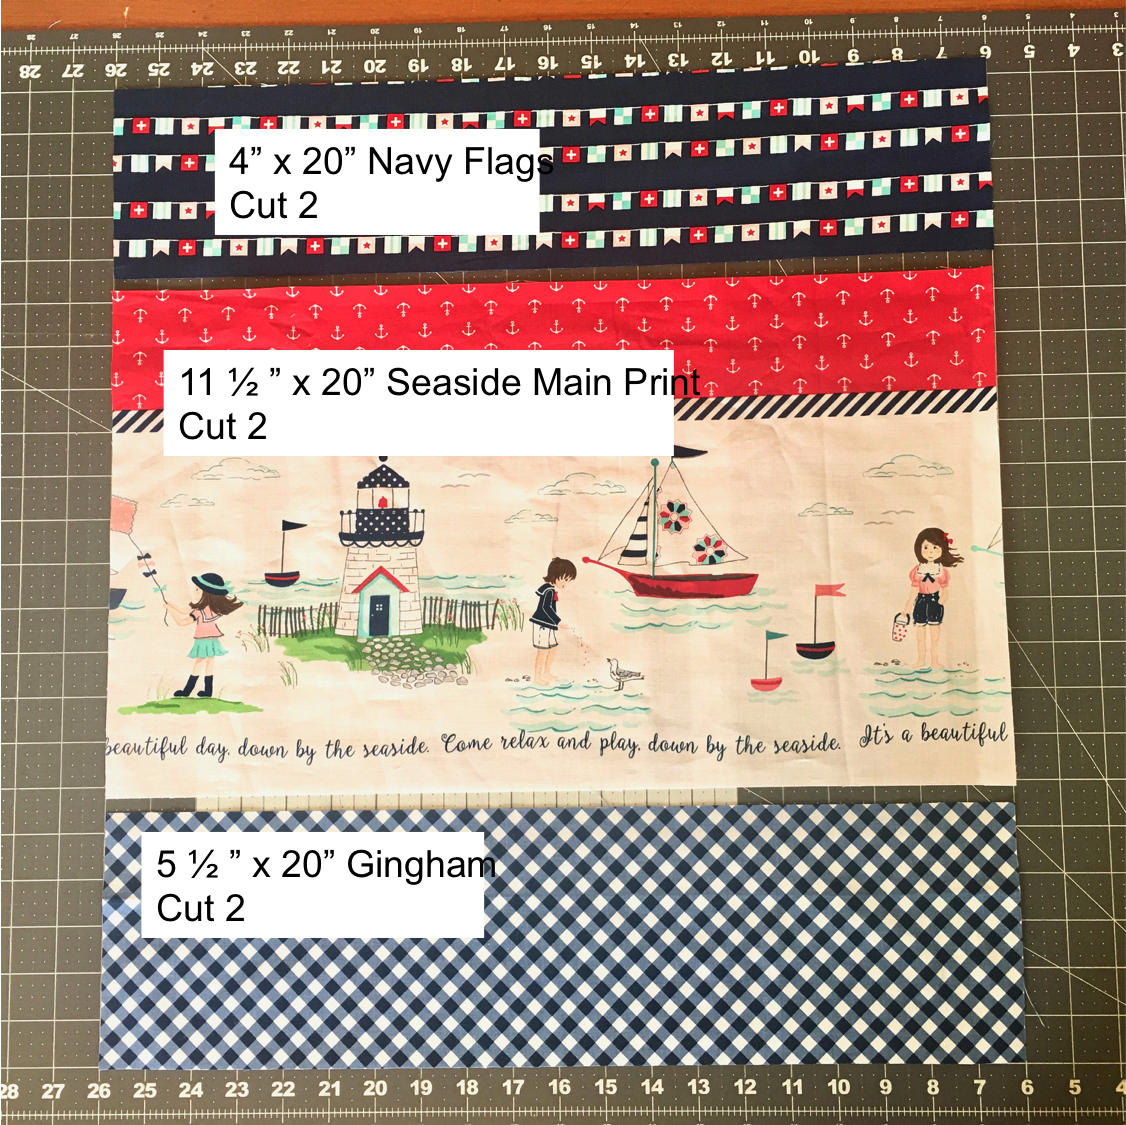
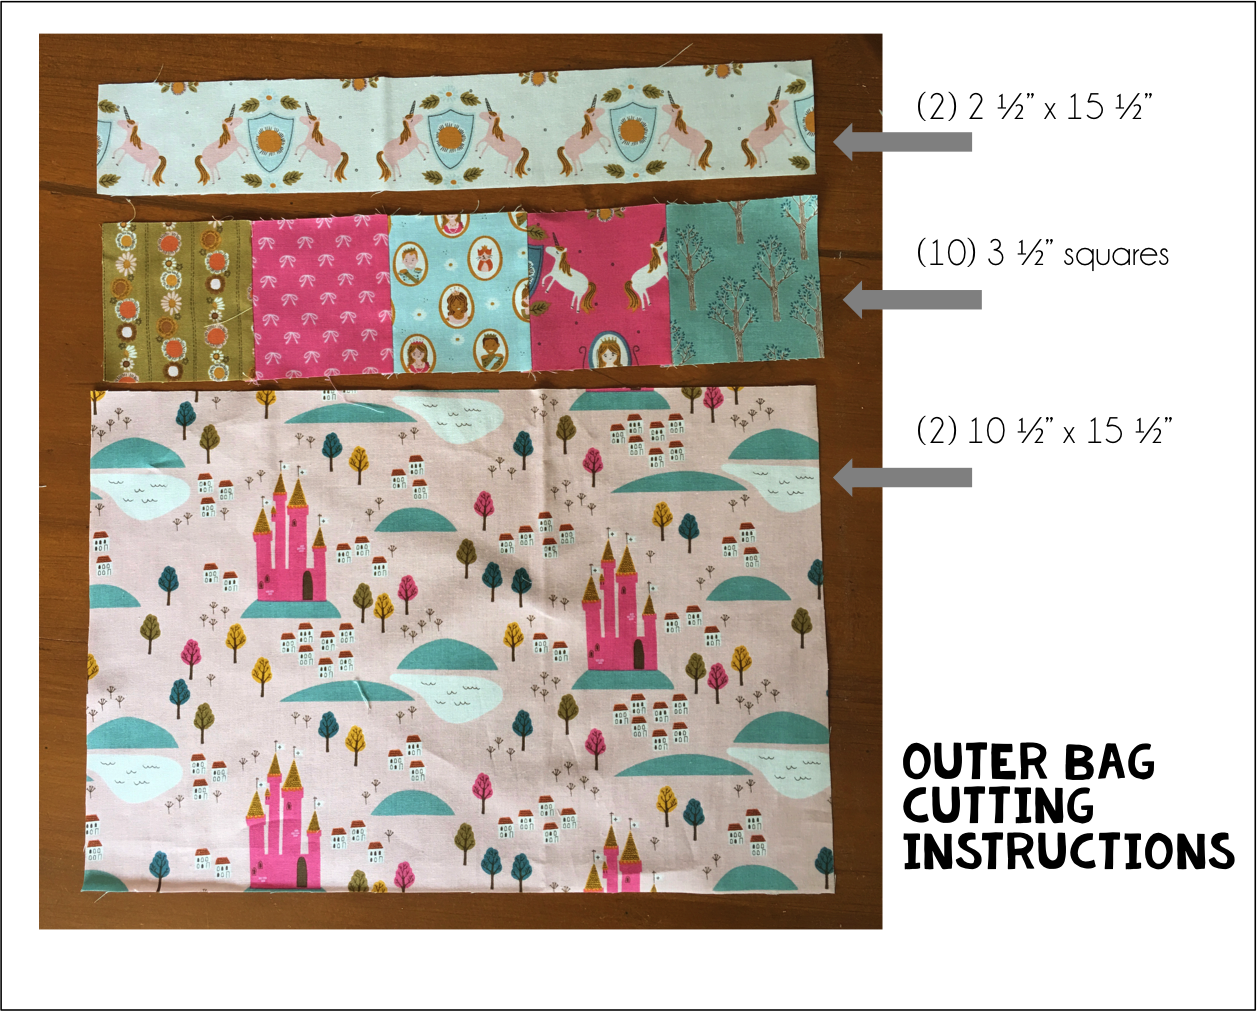
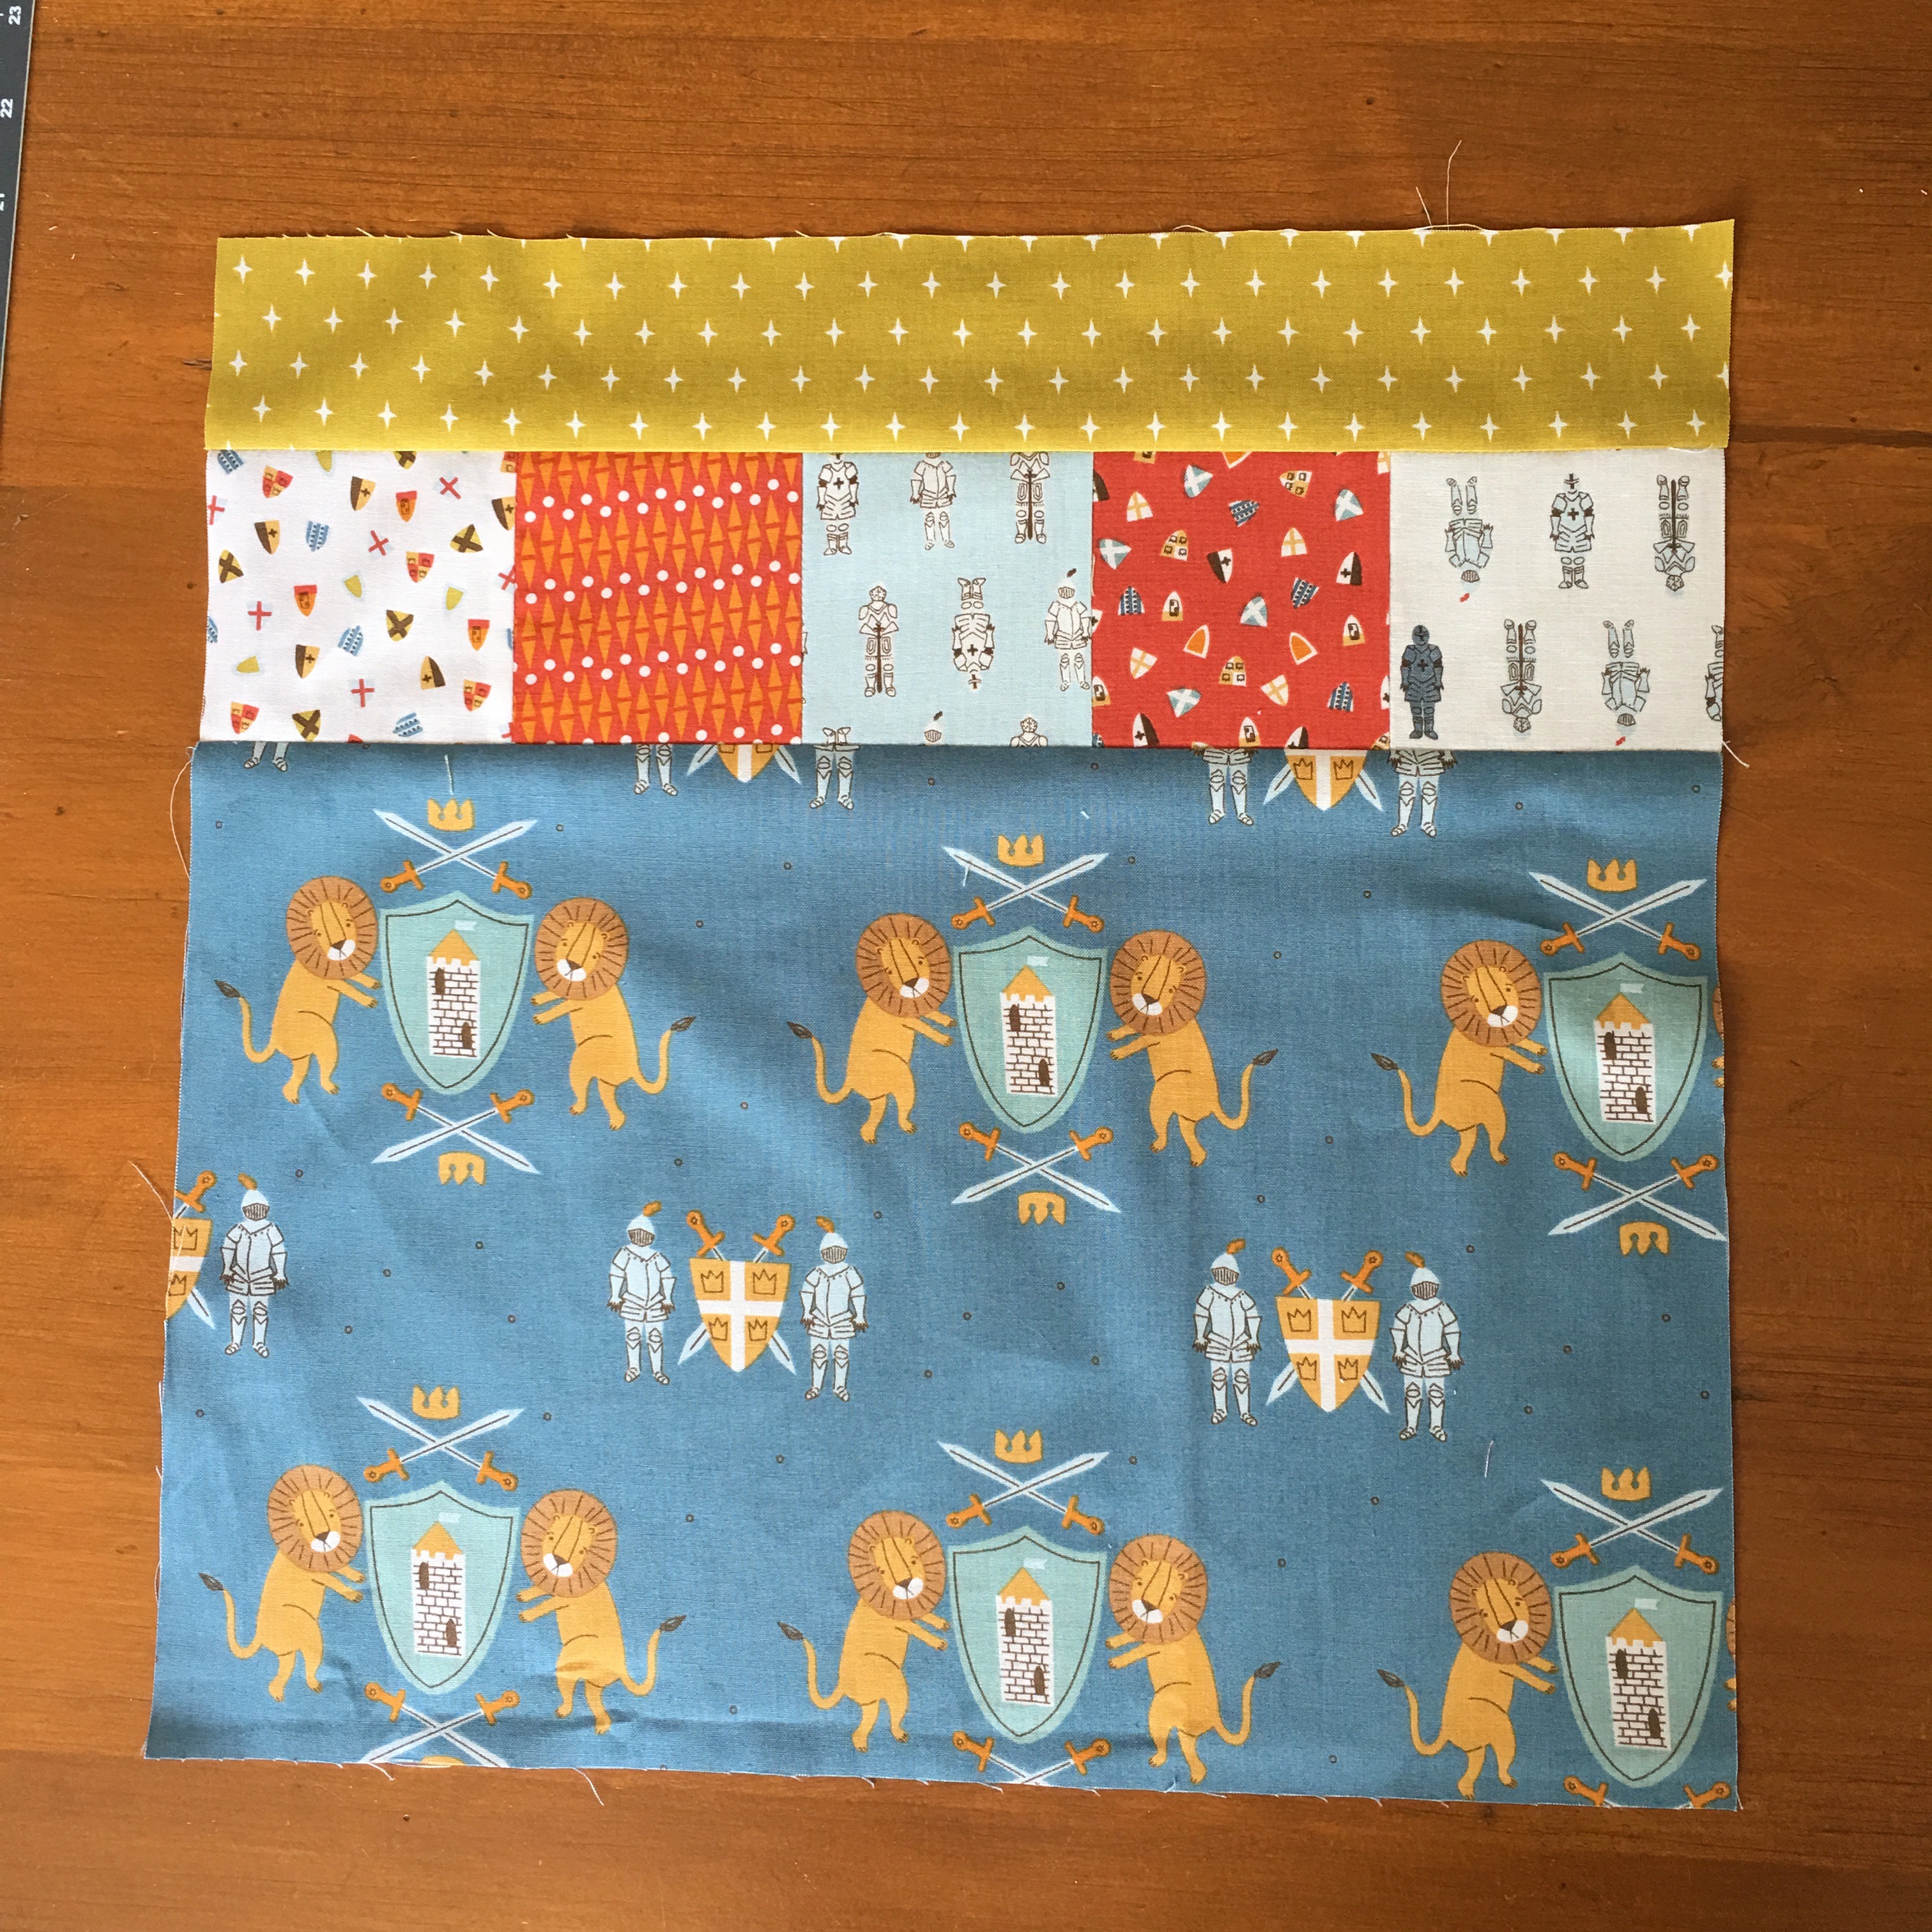
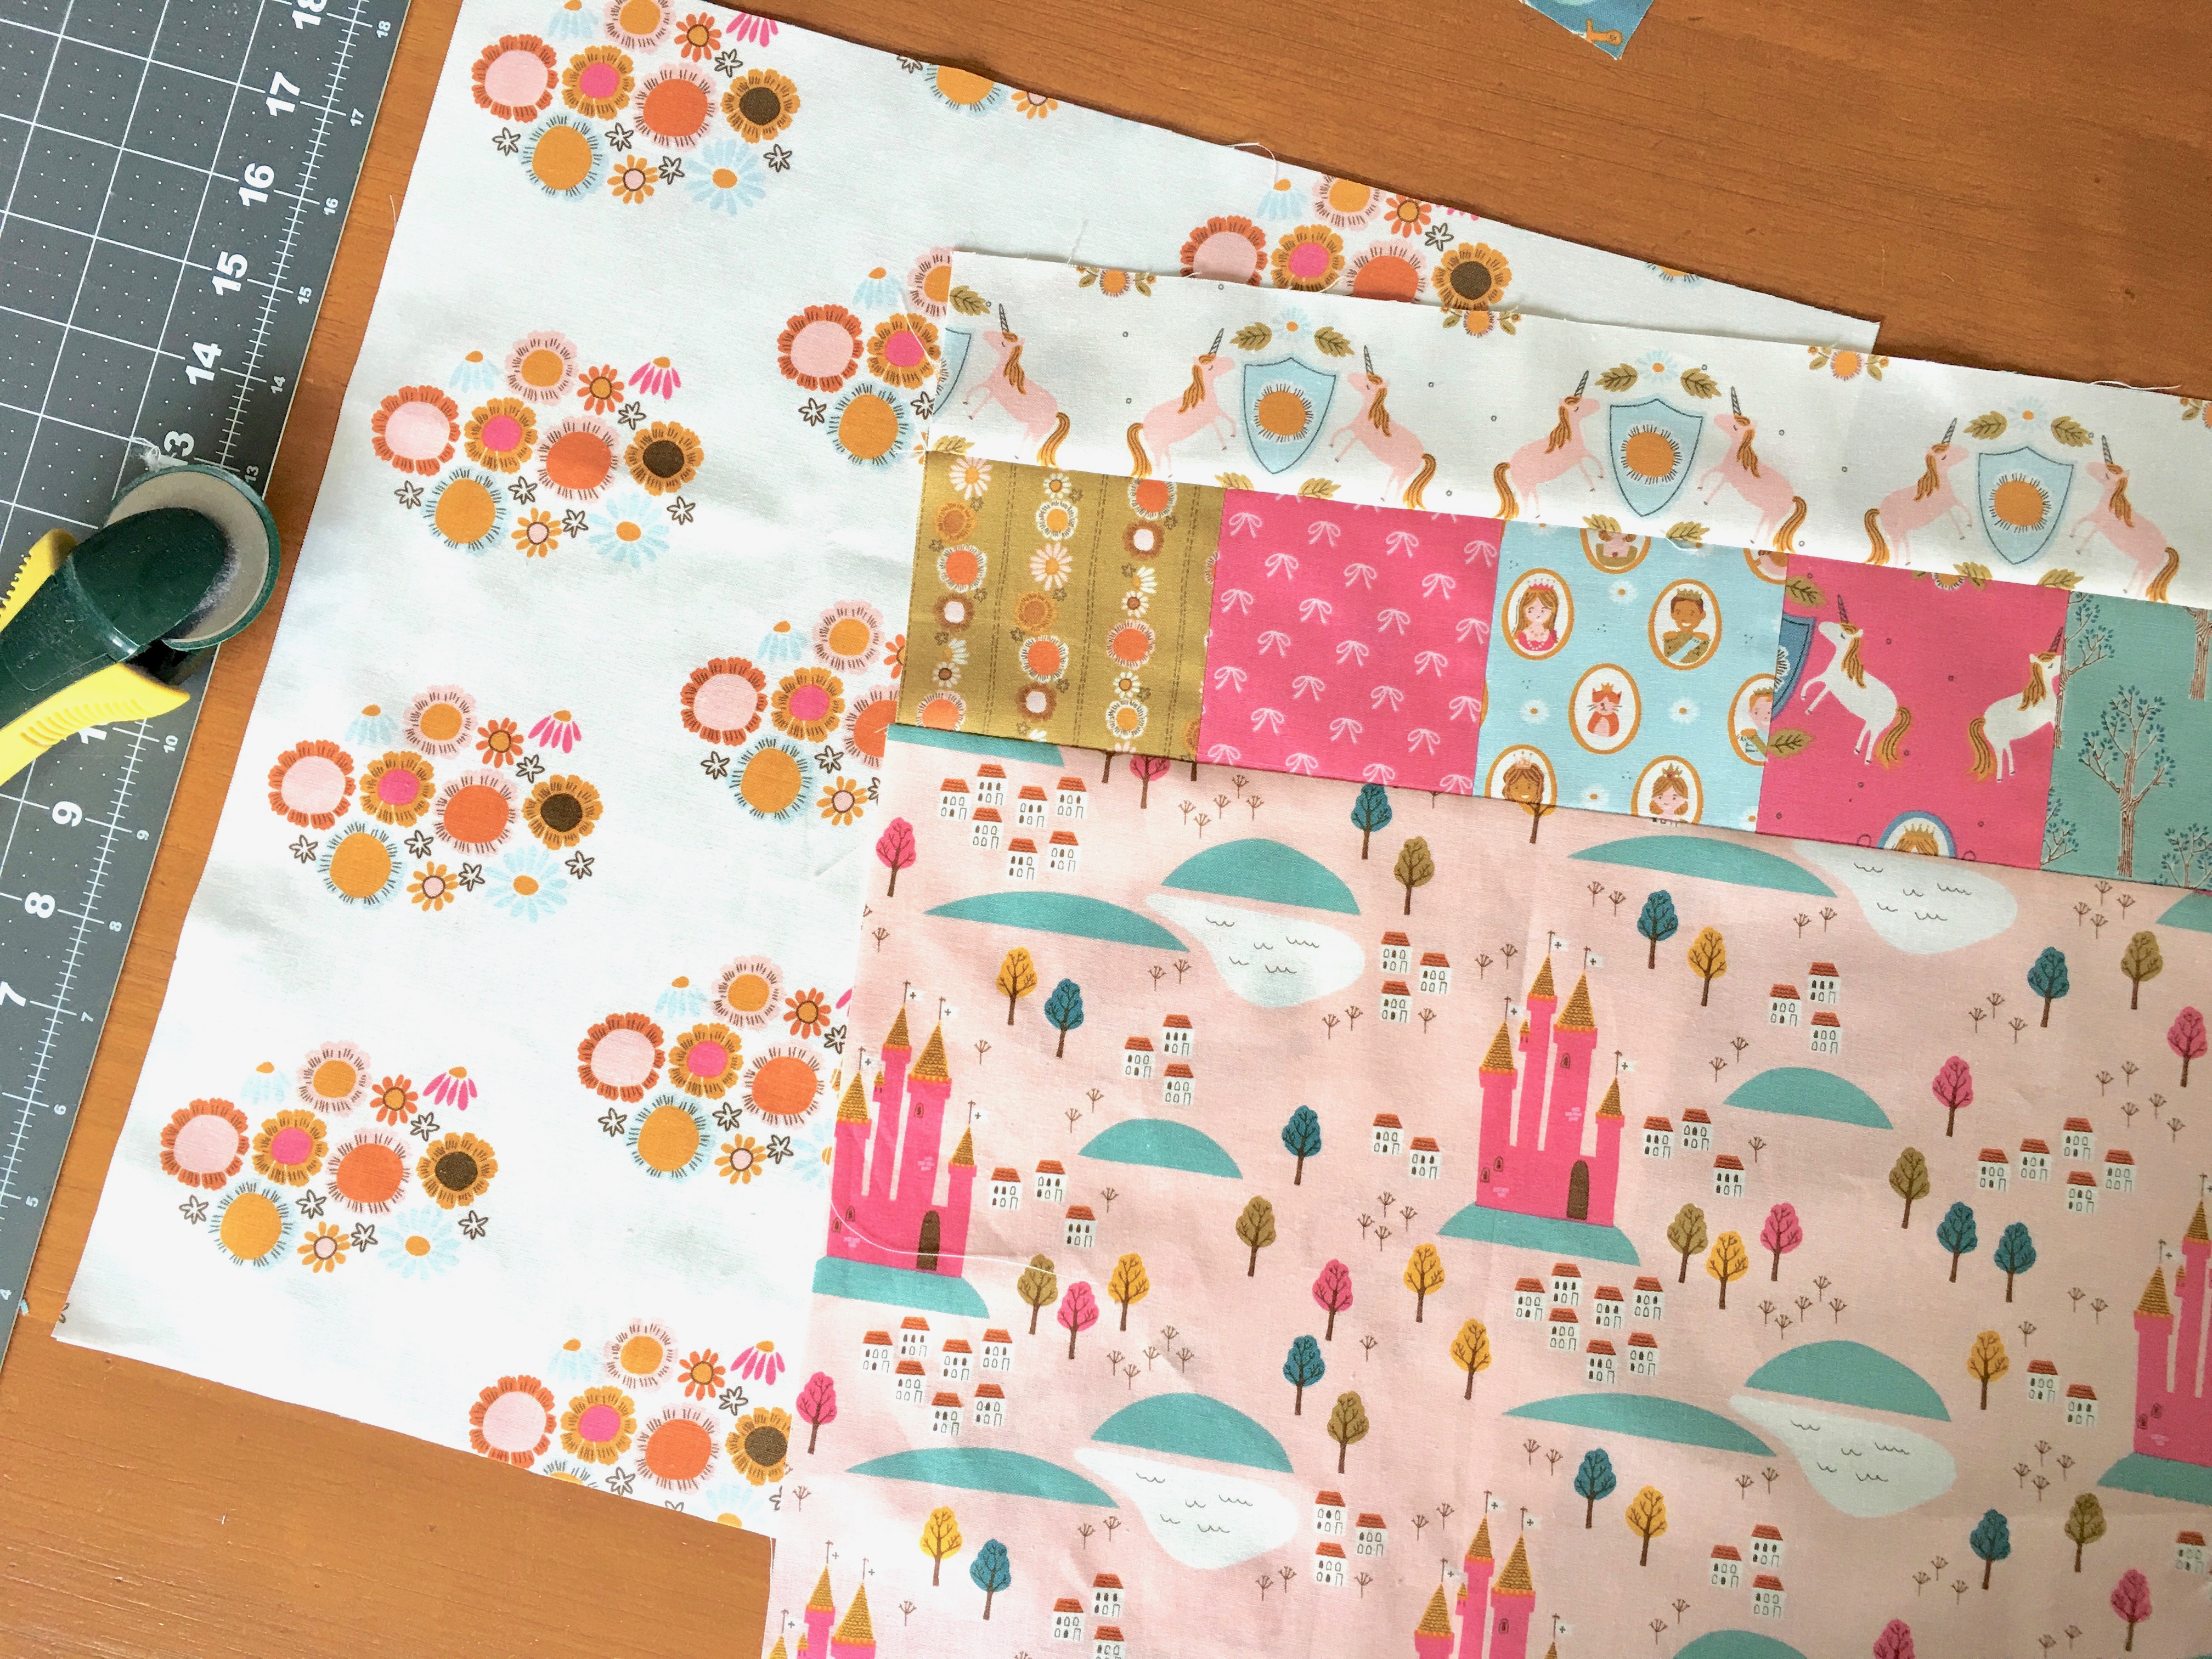
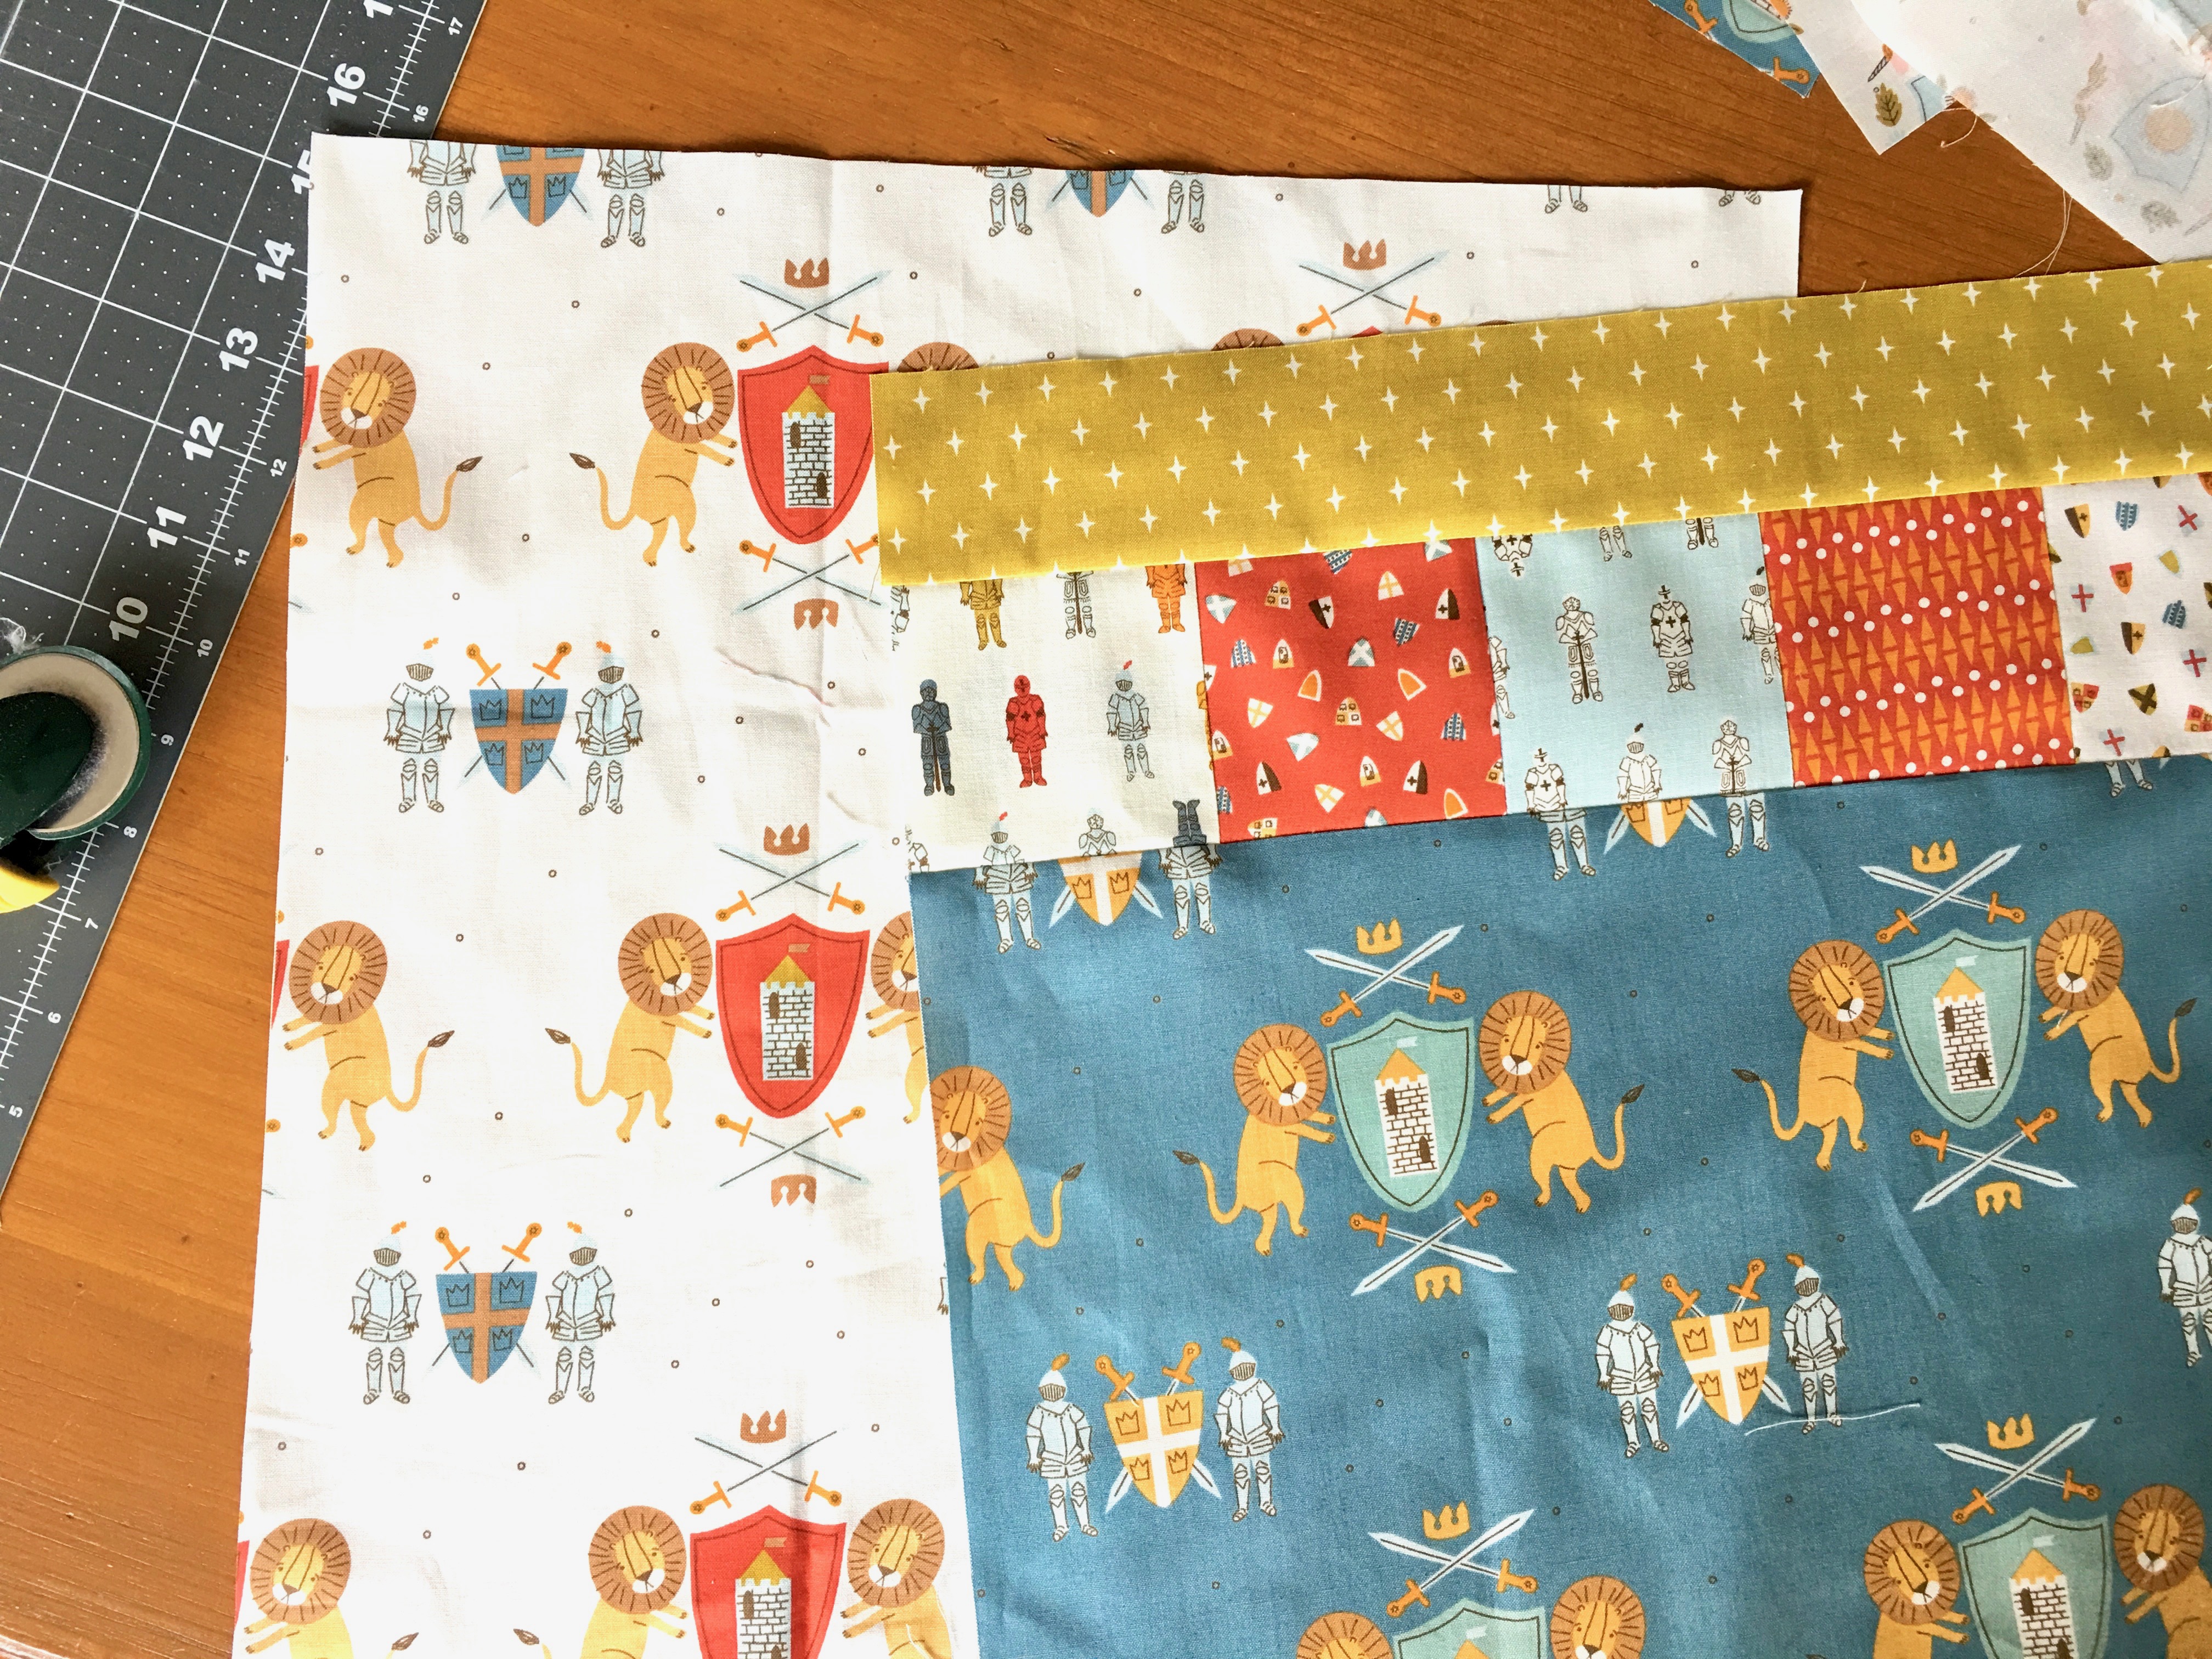
Cut the outer bag pieces according to the above photo.
Cut lining pieces (2) 19 1/2″ x 19 1/2″
Cut handles (2) 5″ x 28″
Cut Pocket 14″ x 19 1/2″
Cut Key Strap (1) 2″ x 10″
Sewing Instructions
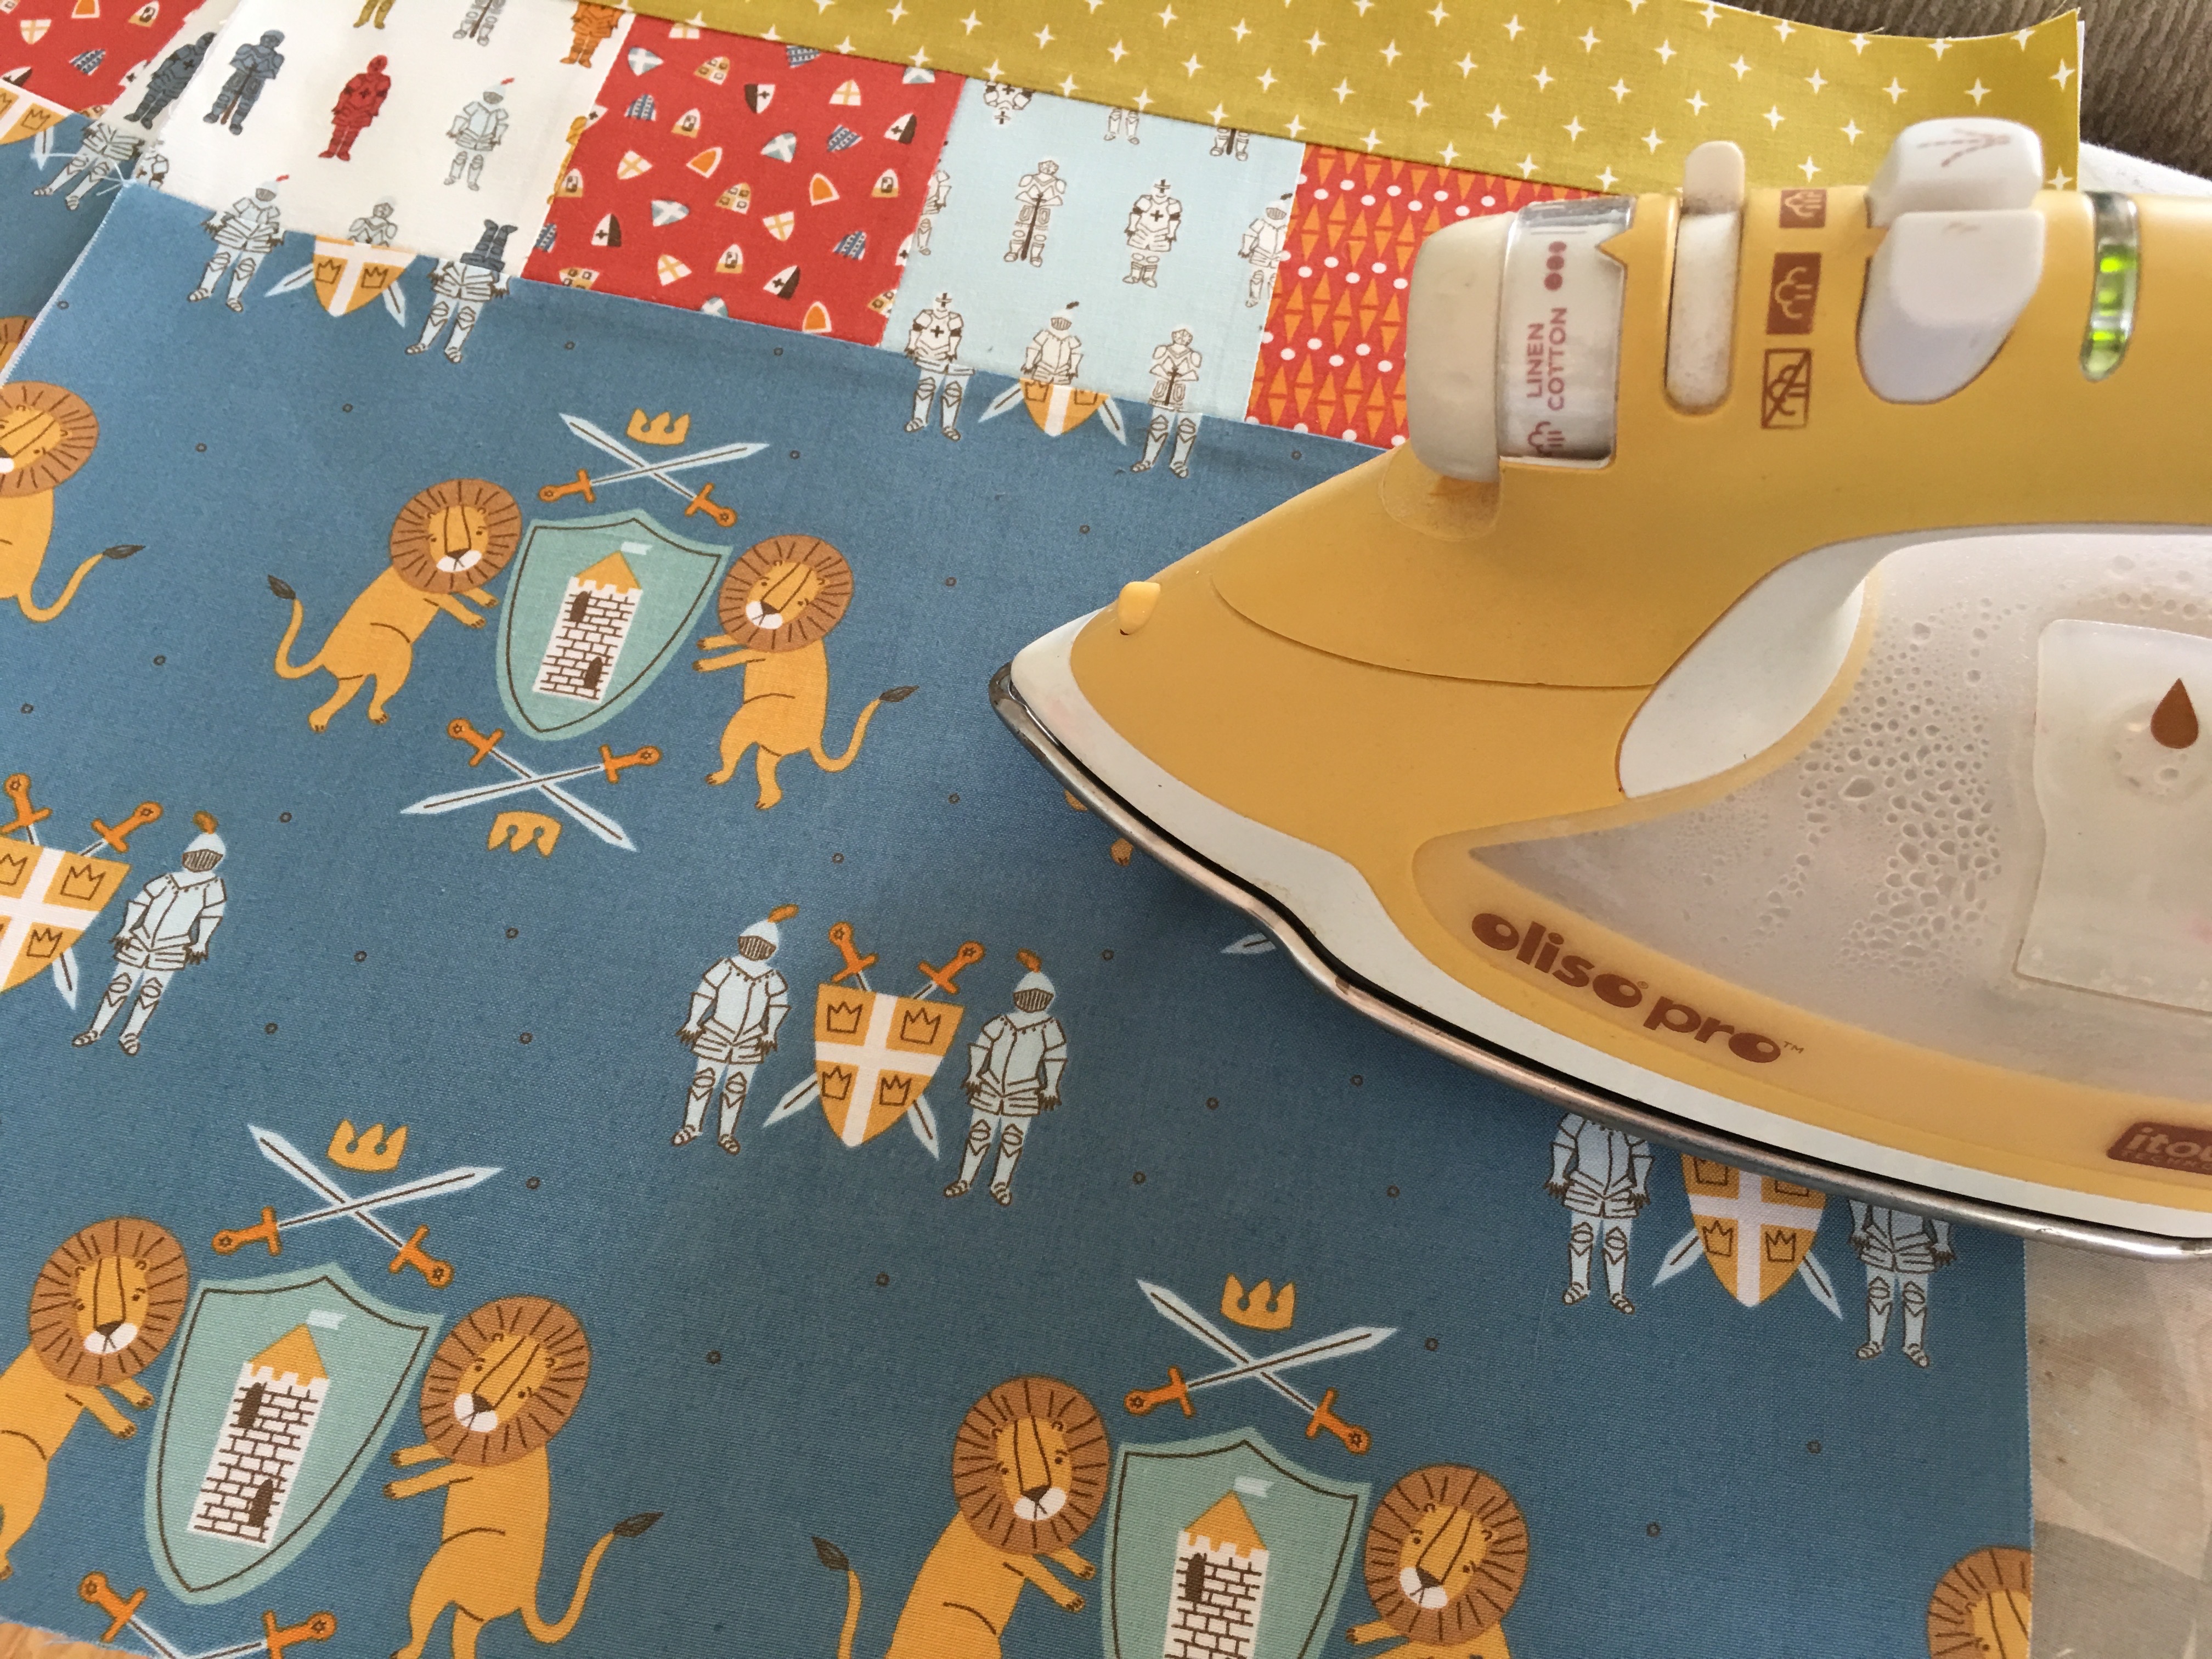
Sew the three pieces of the out bag together and press seams in one direction. Make a bag front and a bag back.
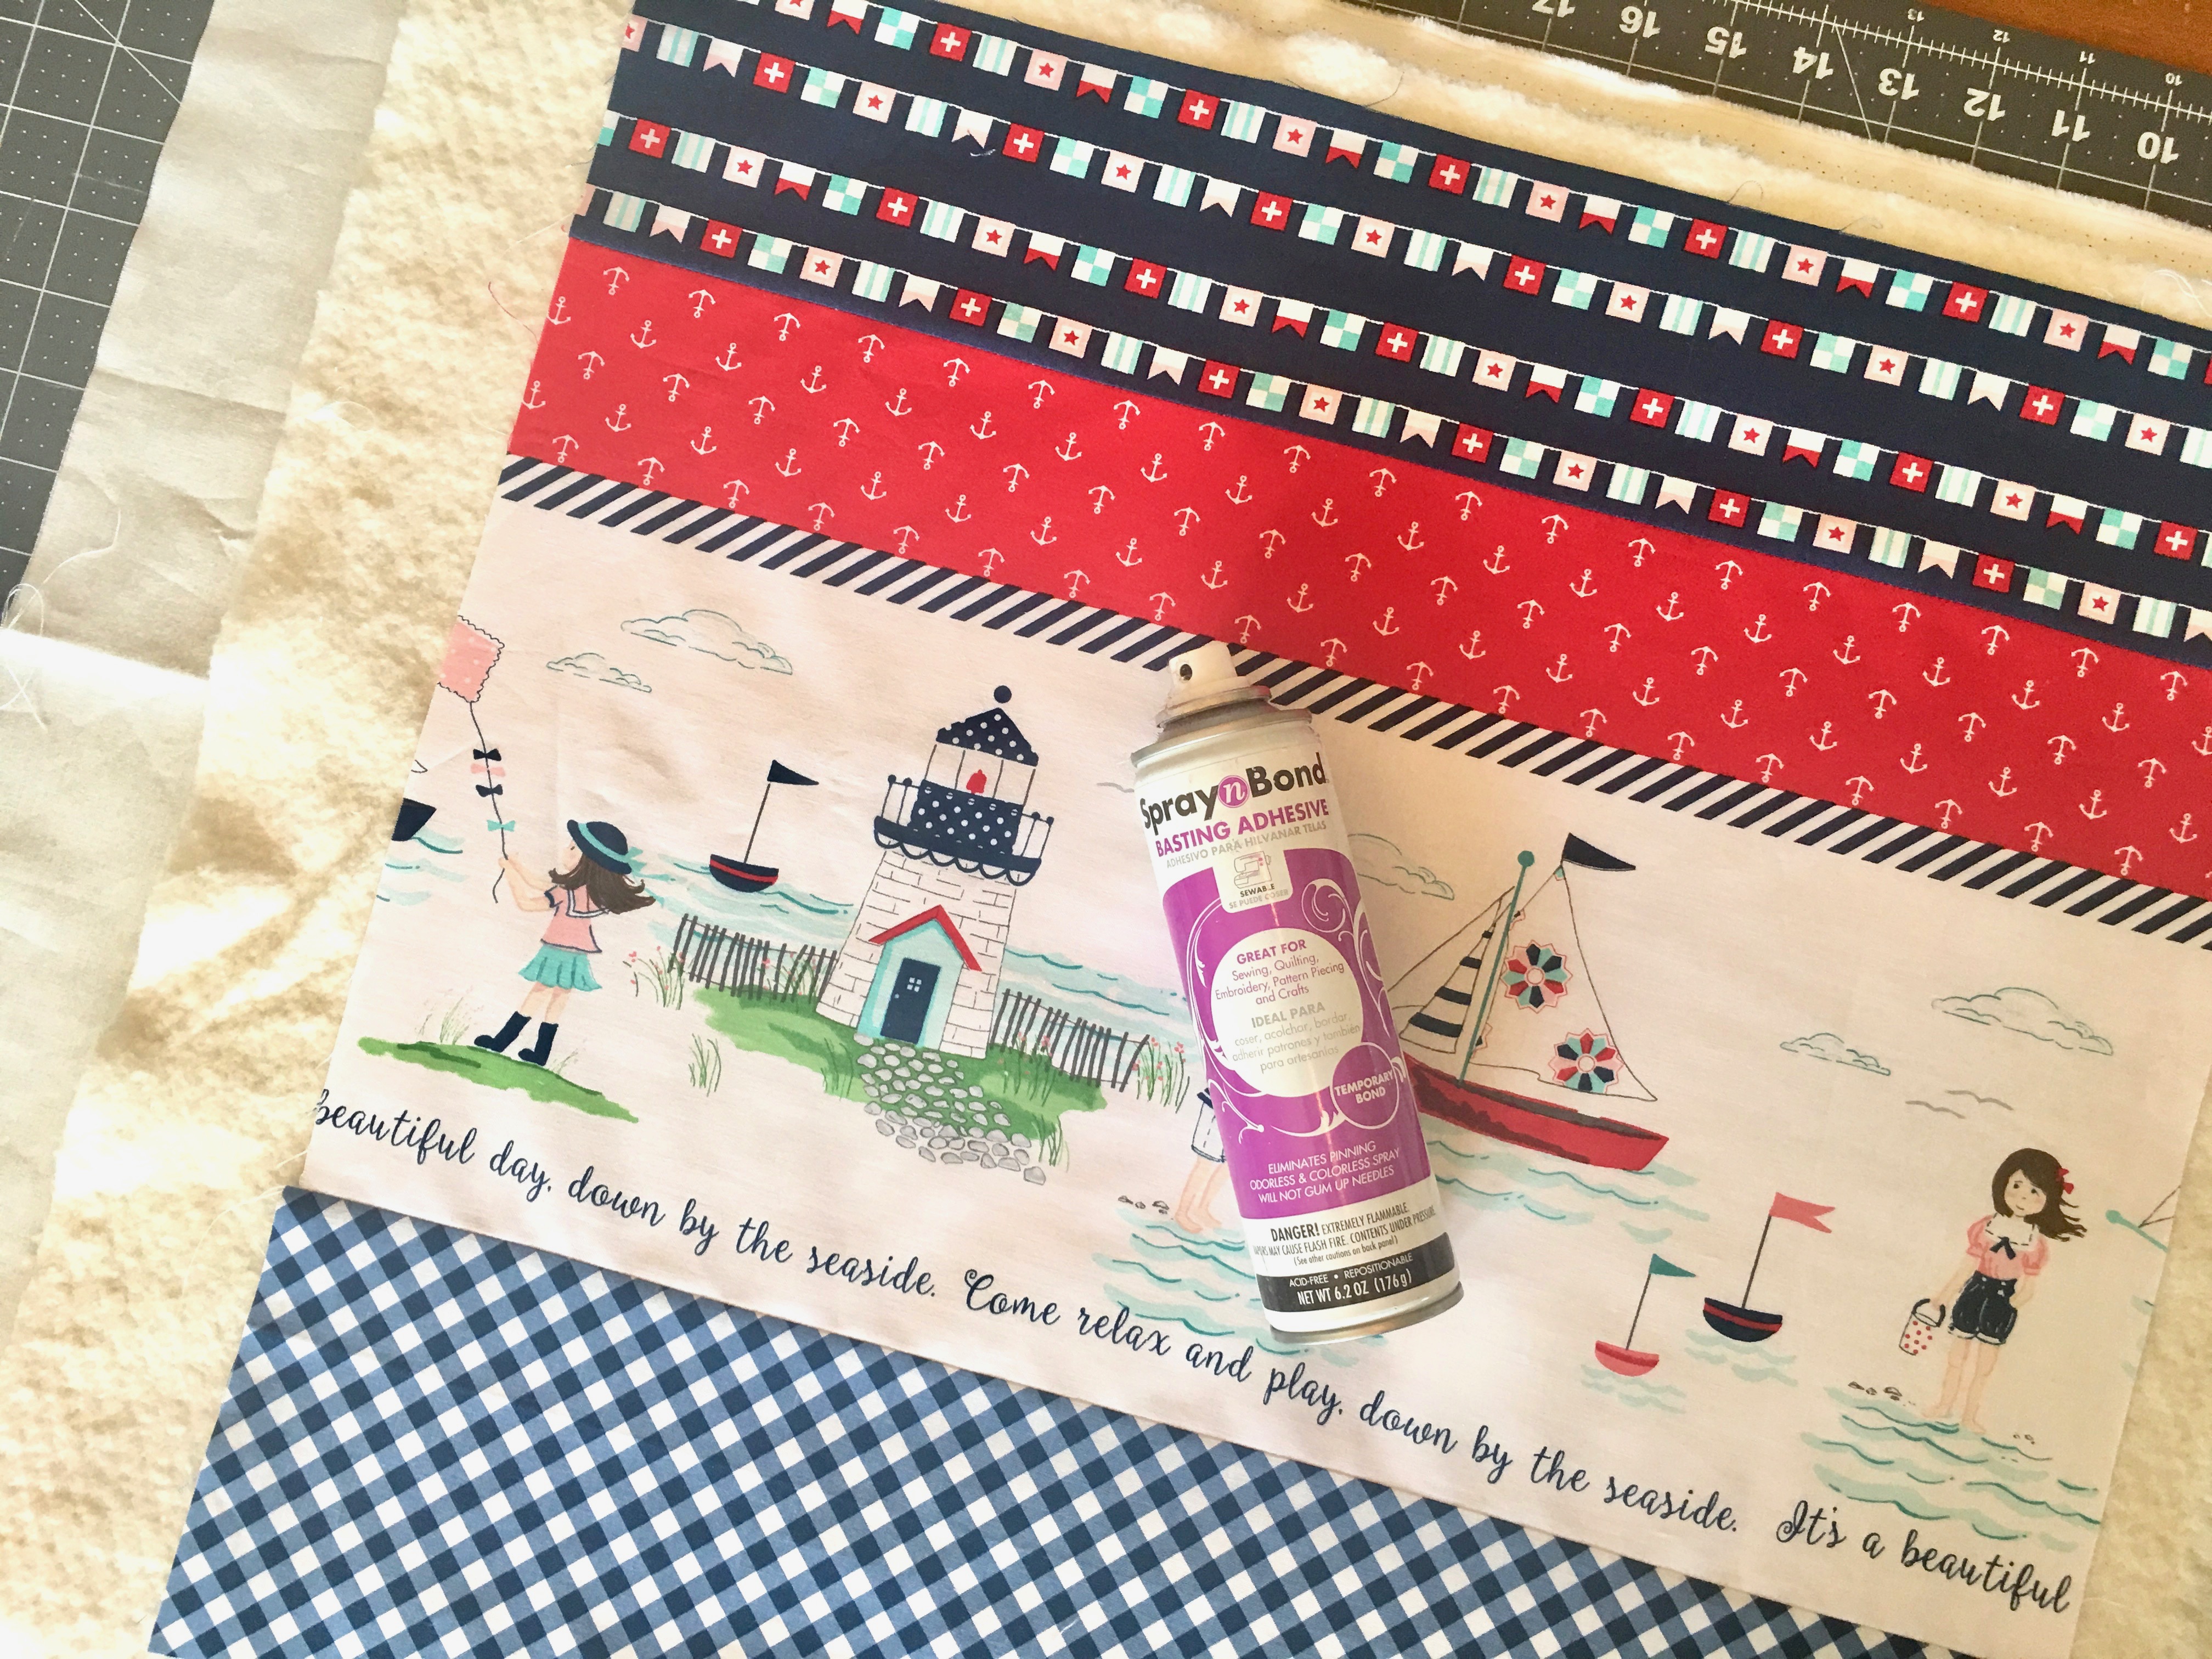
Baste each outer bag piece to batting and to a piece of muslin or light colored fabric. This gives the bag a little extra weight.
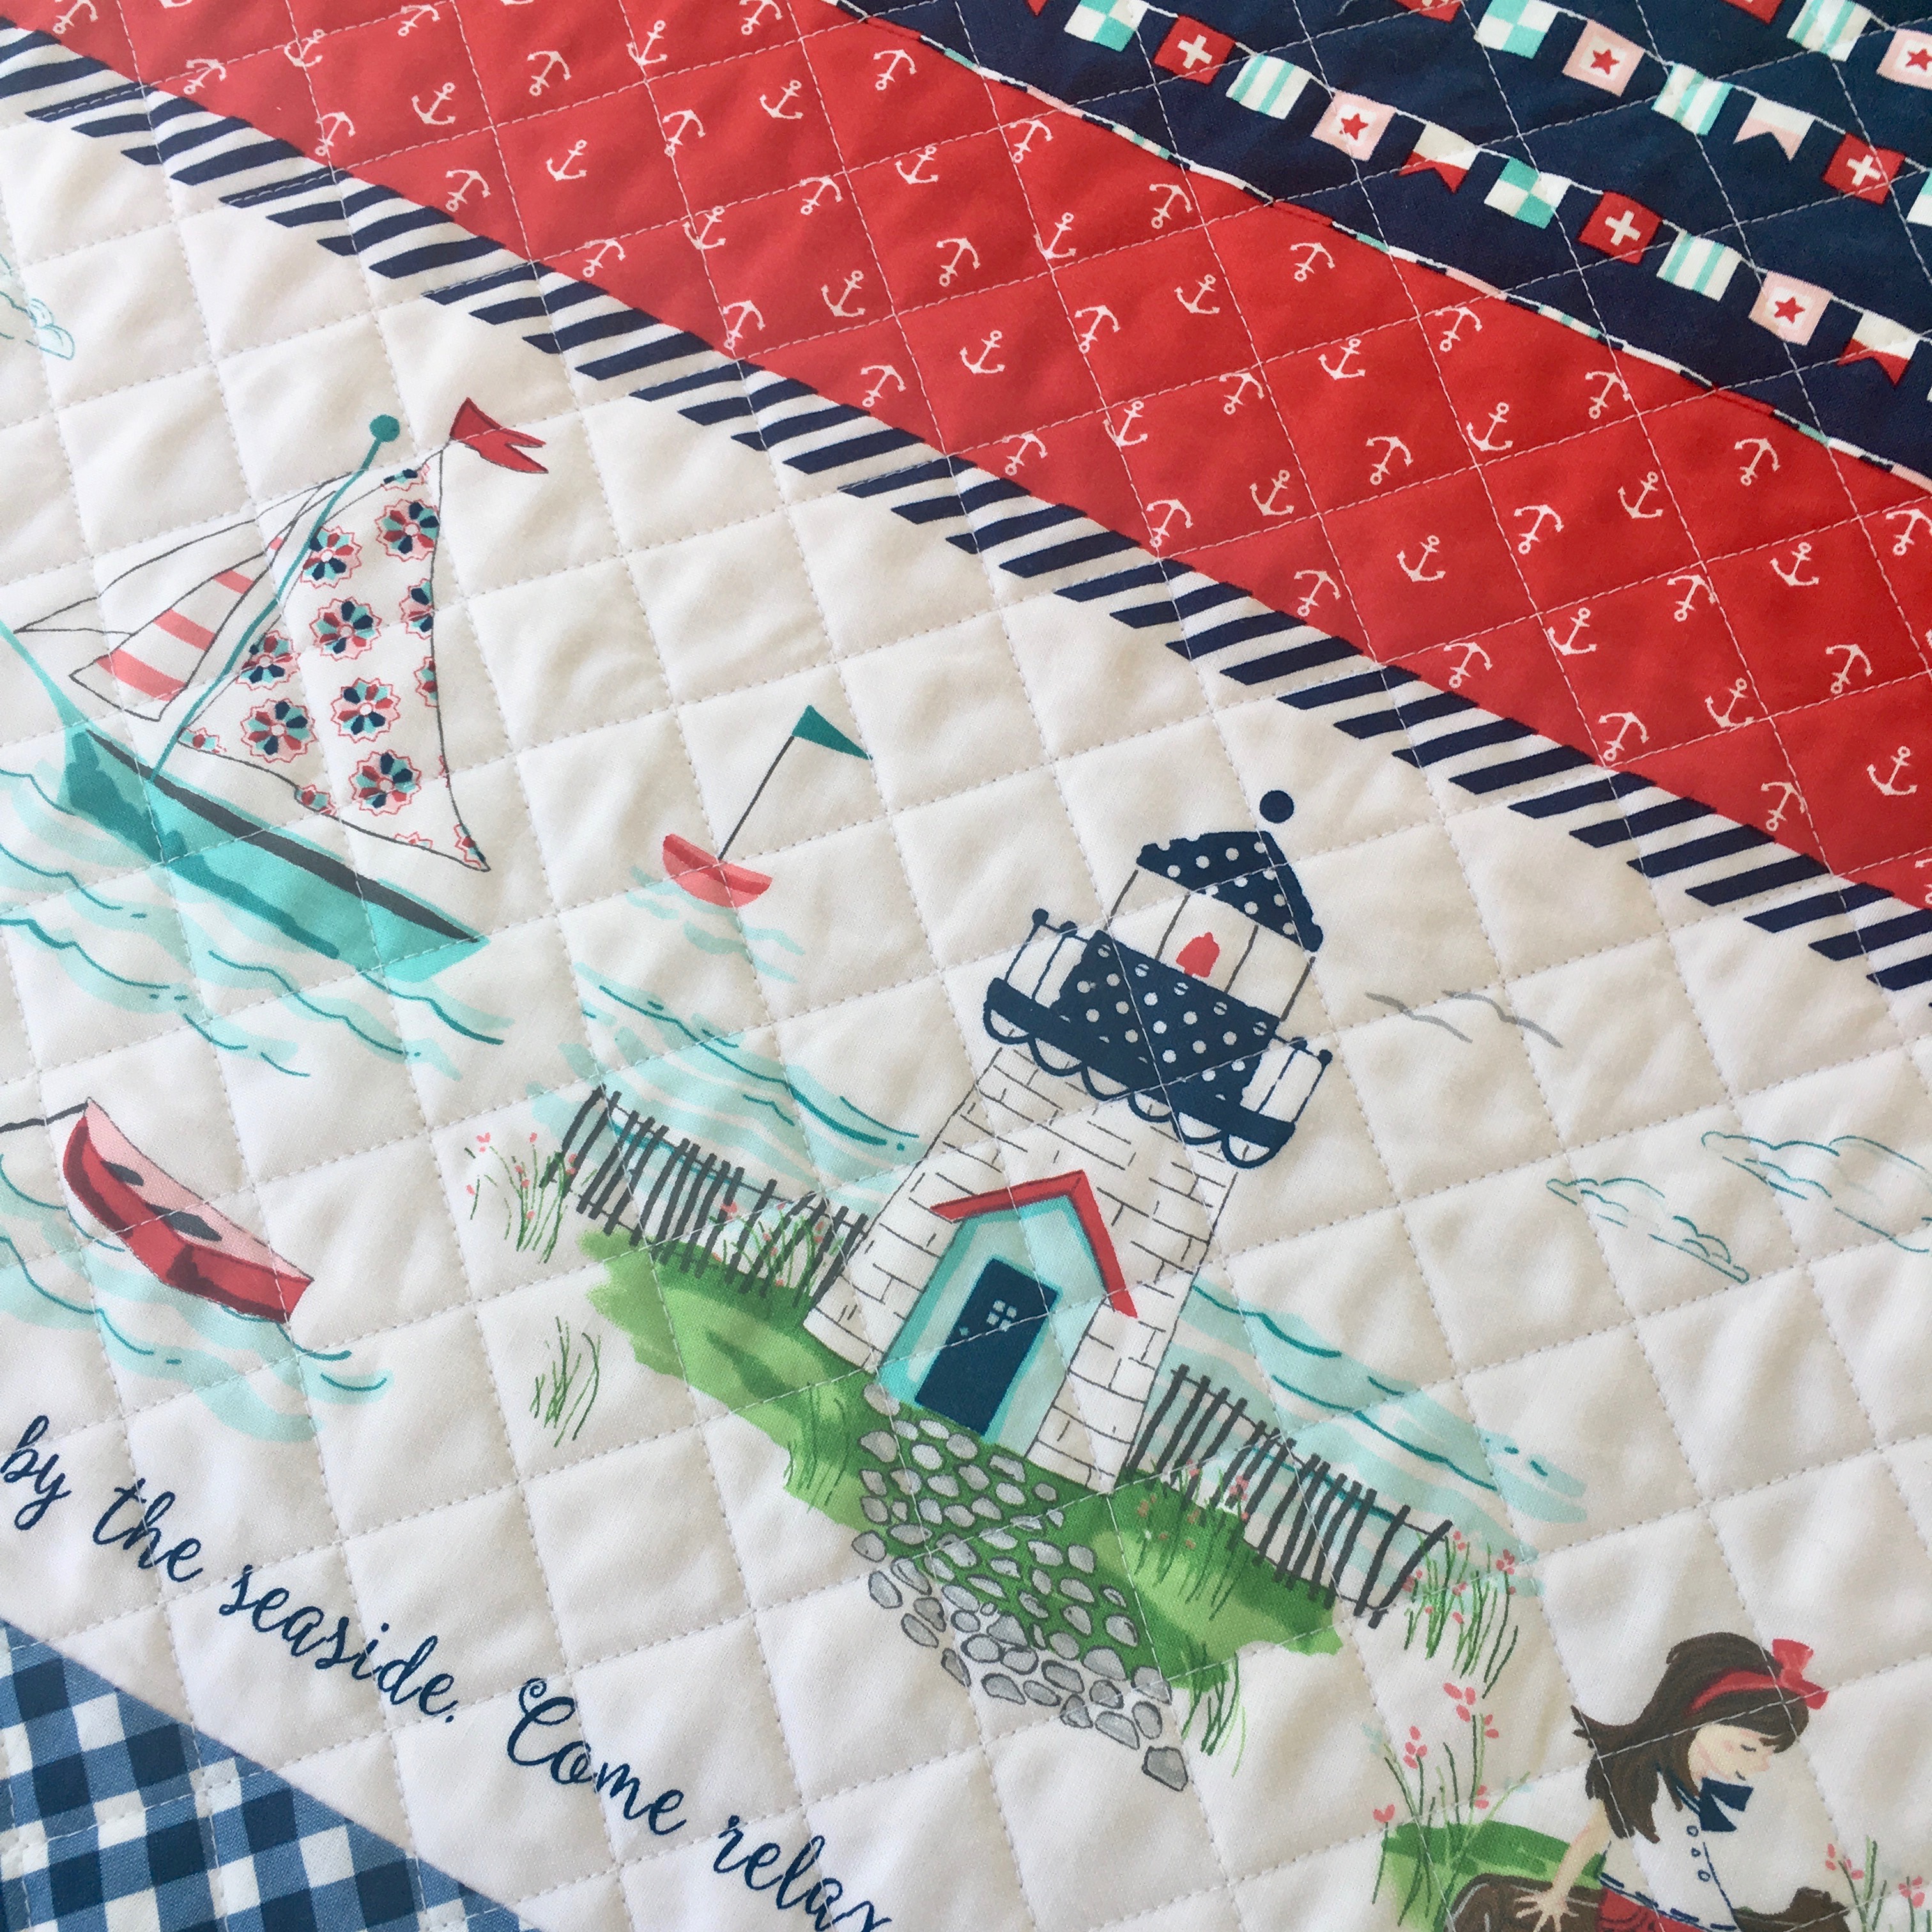
Quilt each outer bag piece. I quilted straight lines 1″ apart on the diagonal. It took some time but it was worth it!
Square up each outer bag piece and measure. Mine shrunk 1/2″ so each piece measured 19 1/2″ square.
Cut (2) lining pieces the measurements of your outer bag (19 1/2″ x 19 1/2″).
Pocket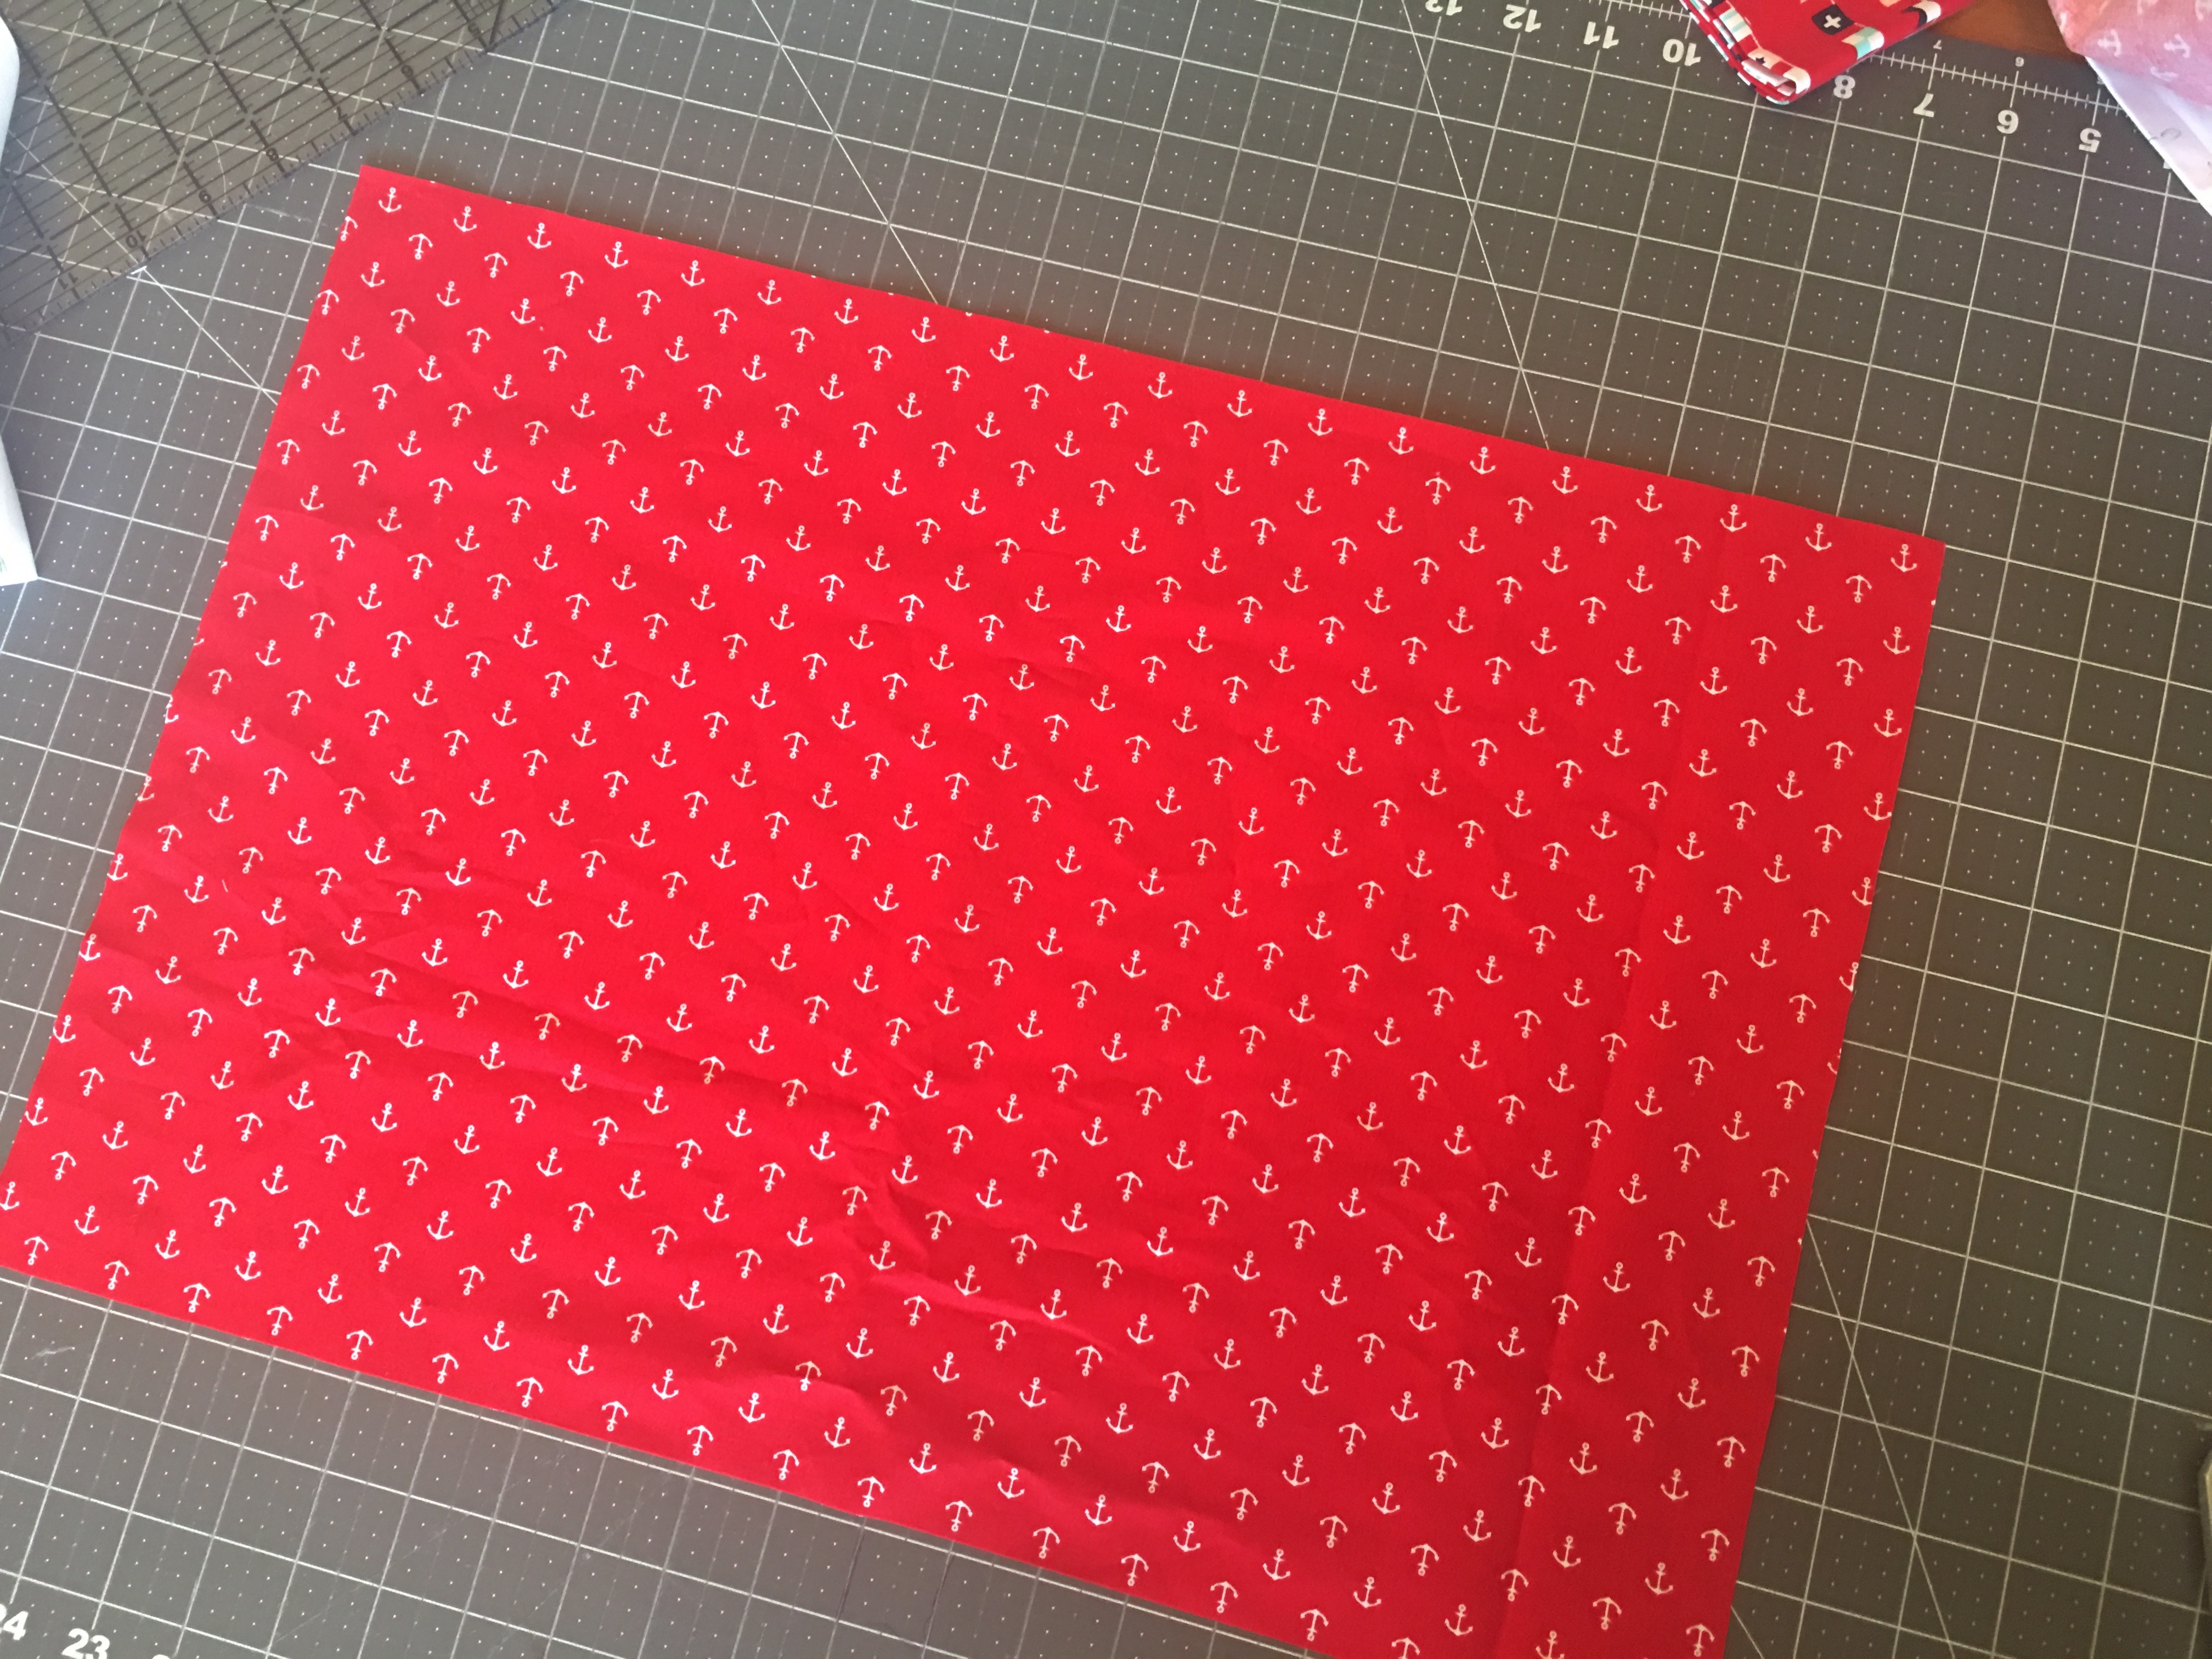
Cut the pocket 14″ x 19 1/2″
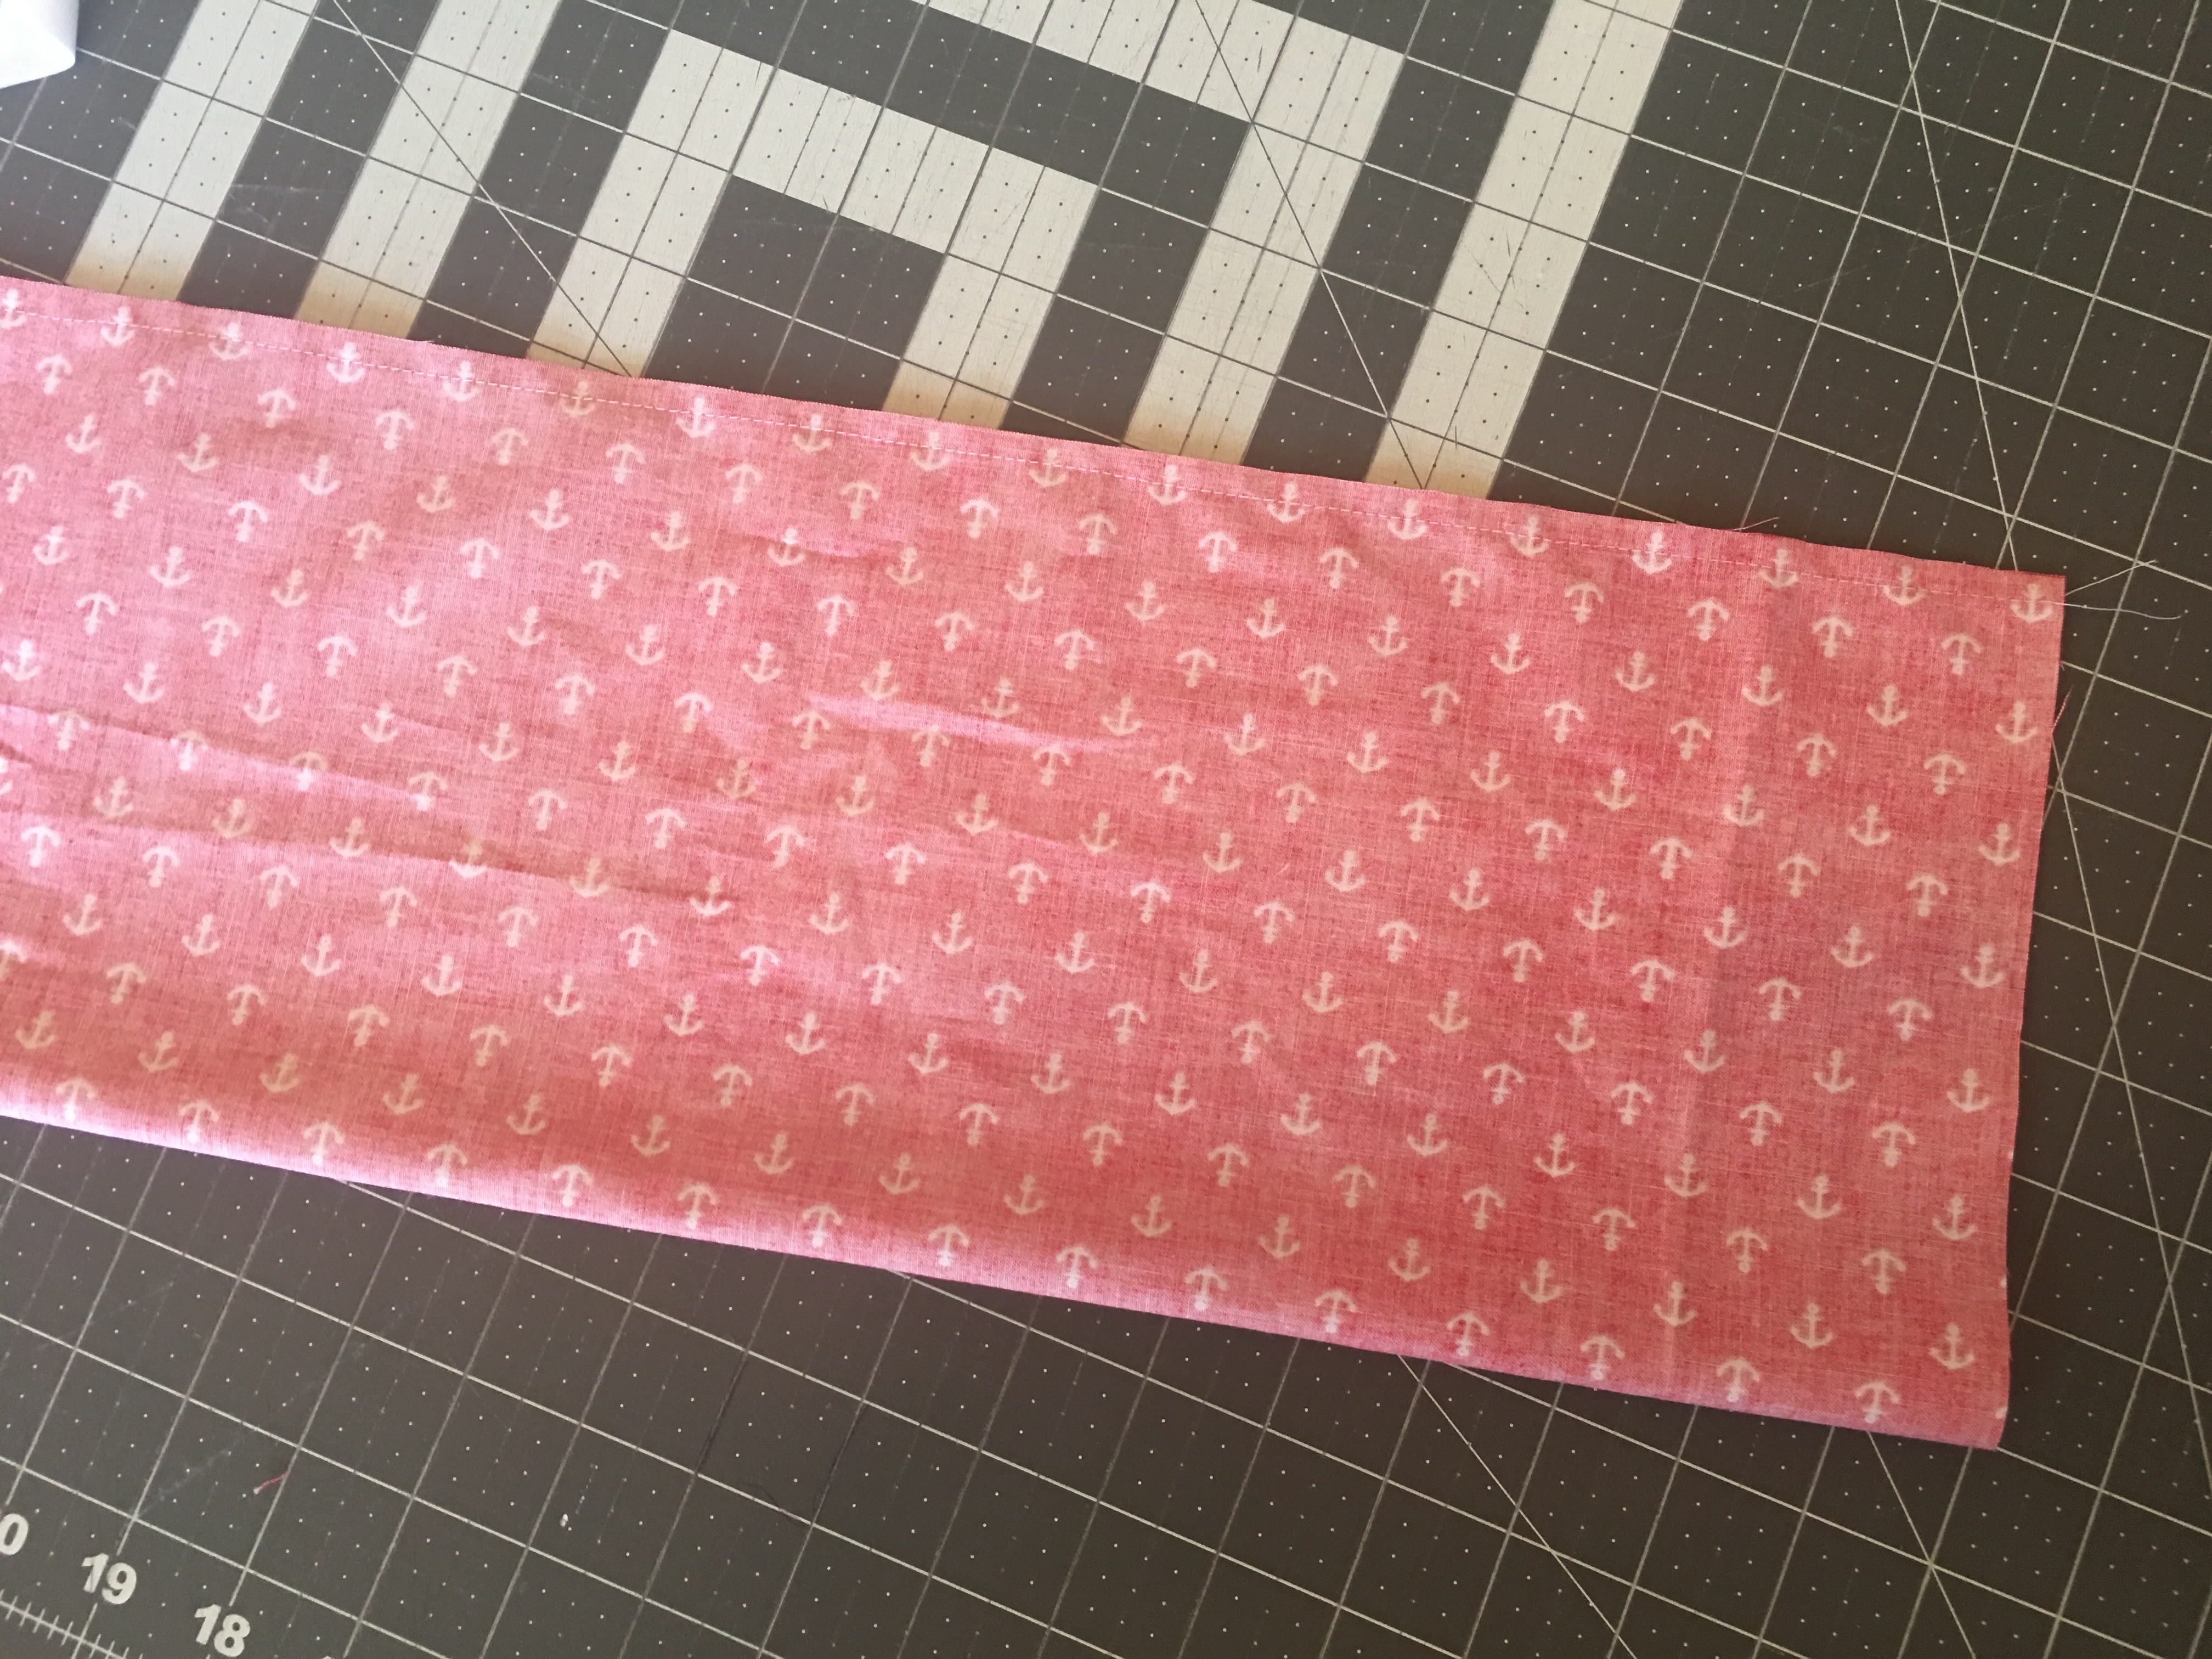
Fold the pocket in half lengthwise, right sides together.
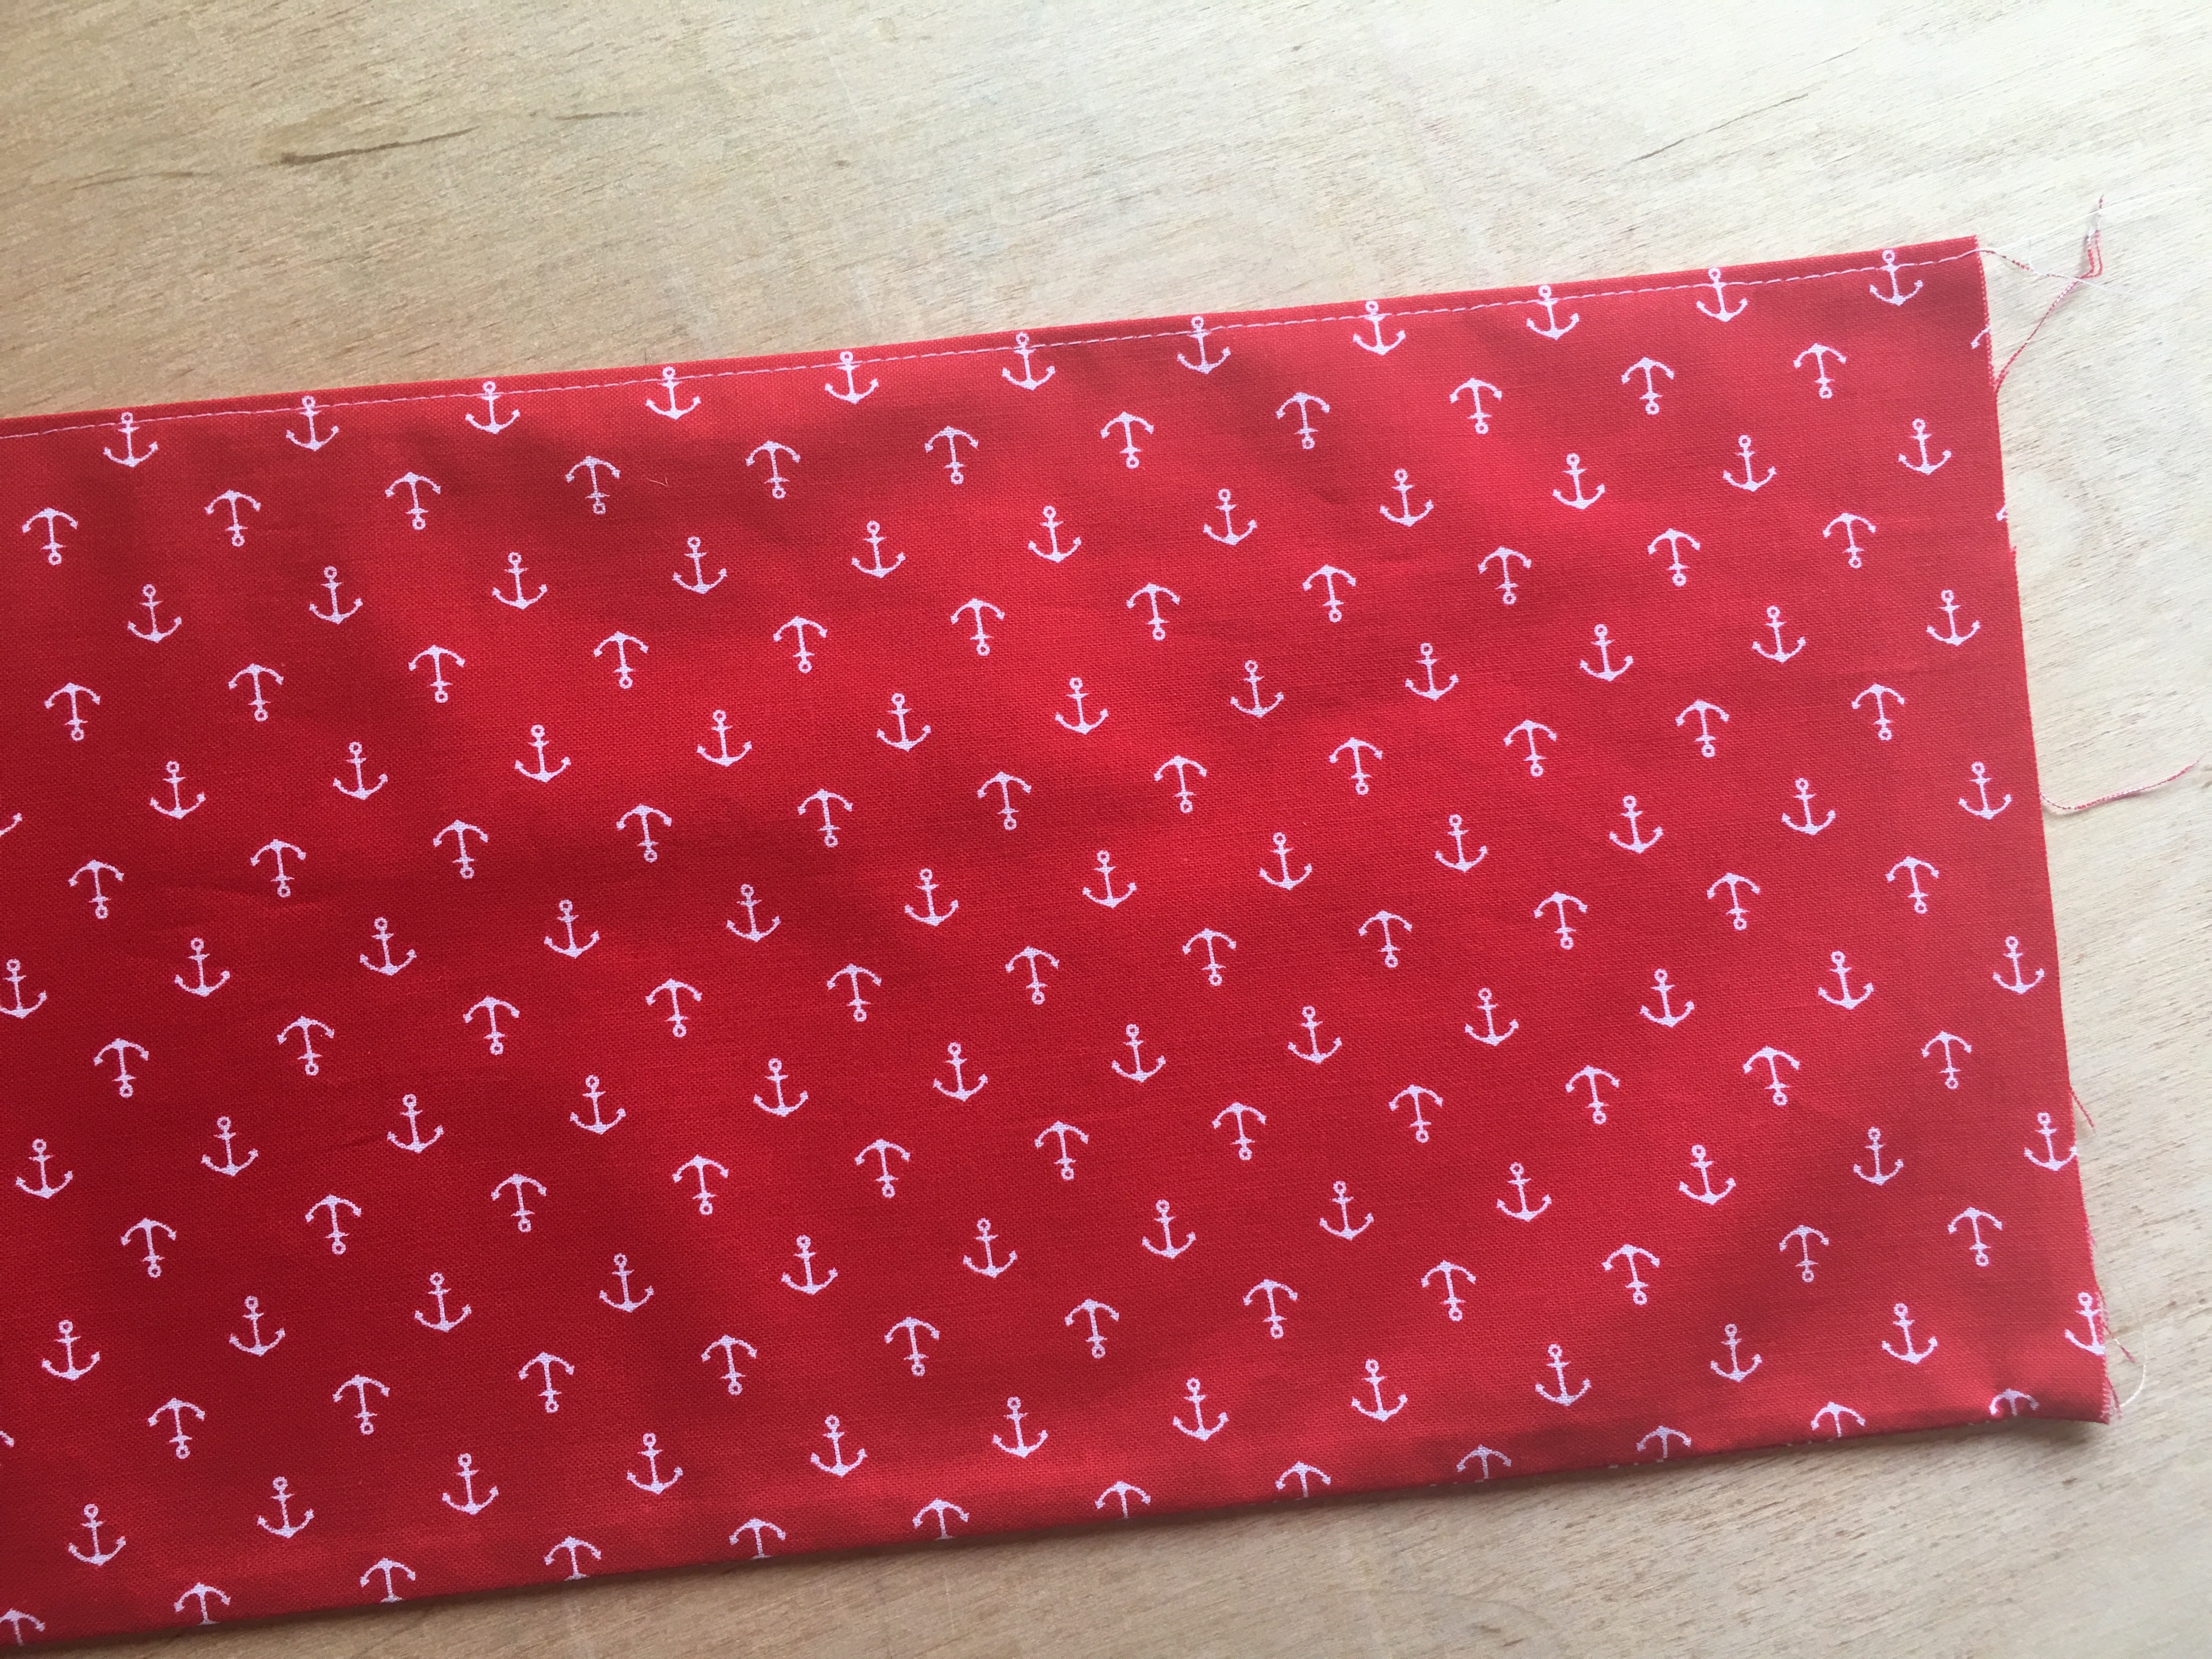
Top stitch the top edge.
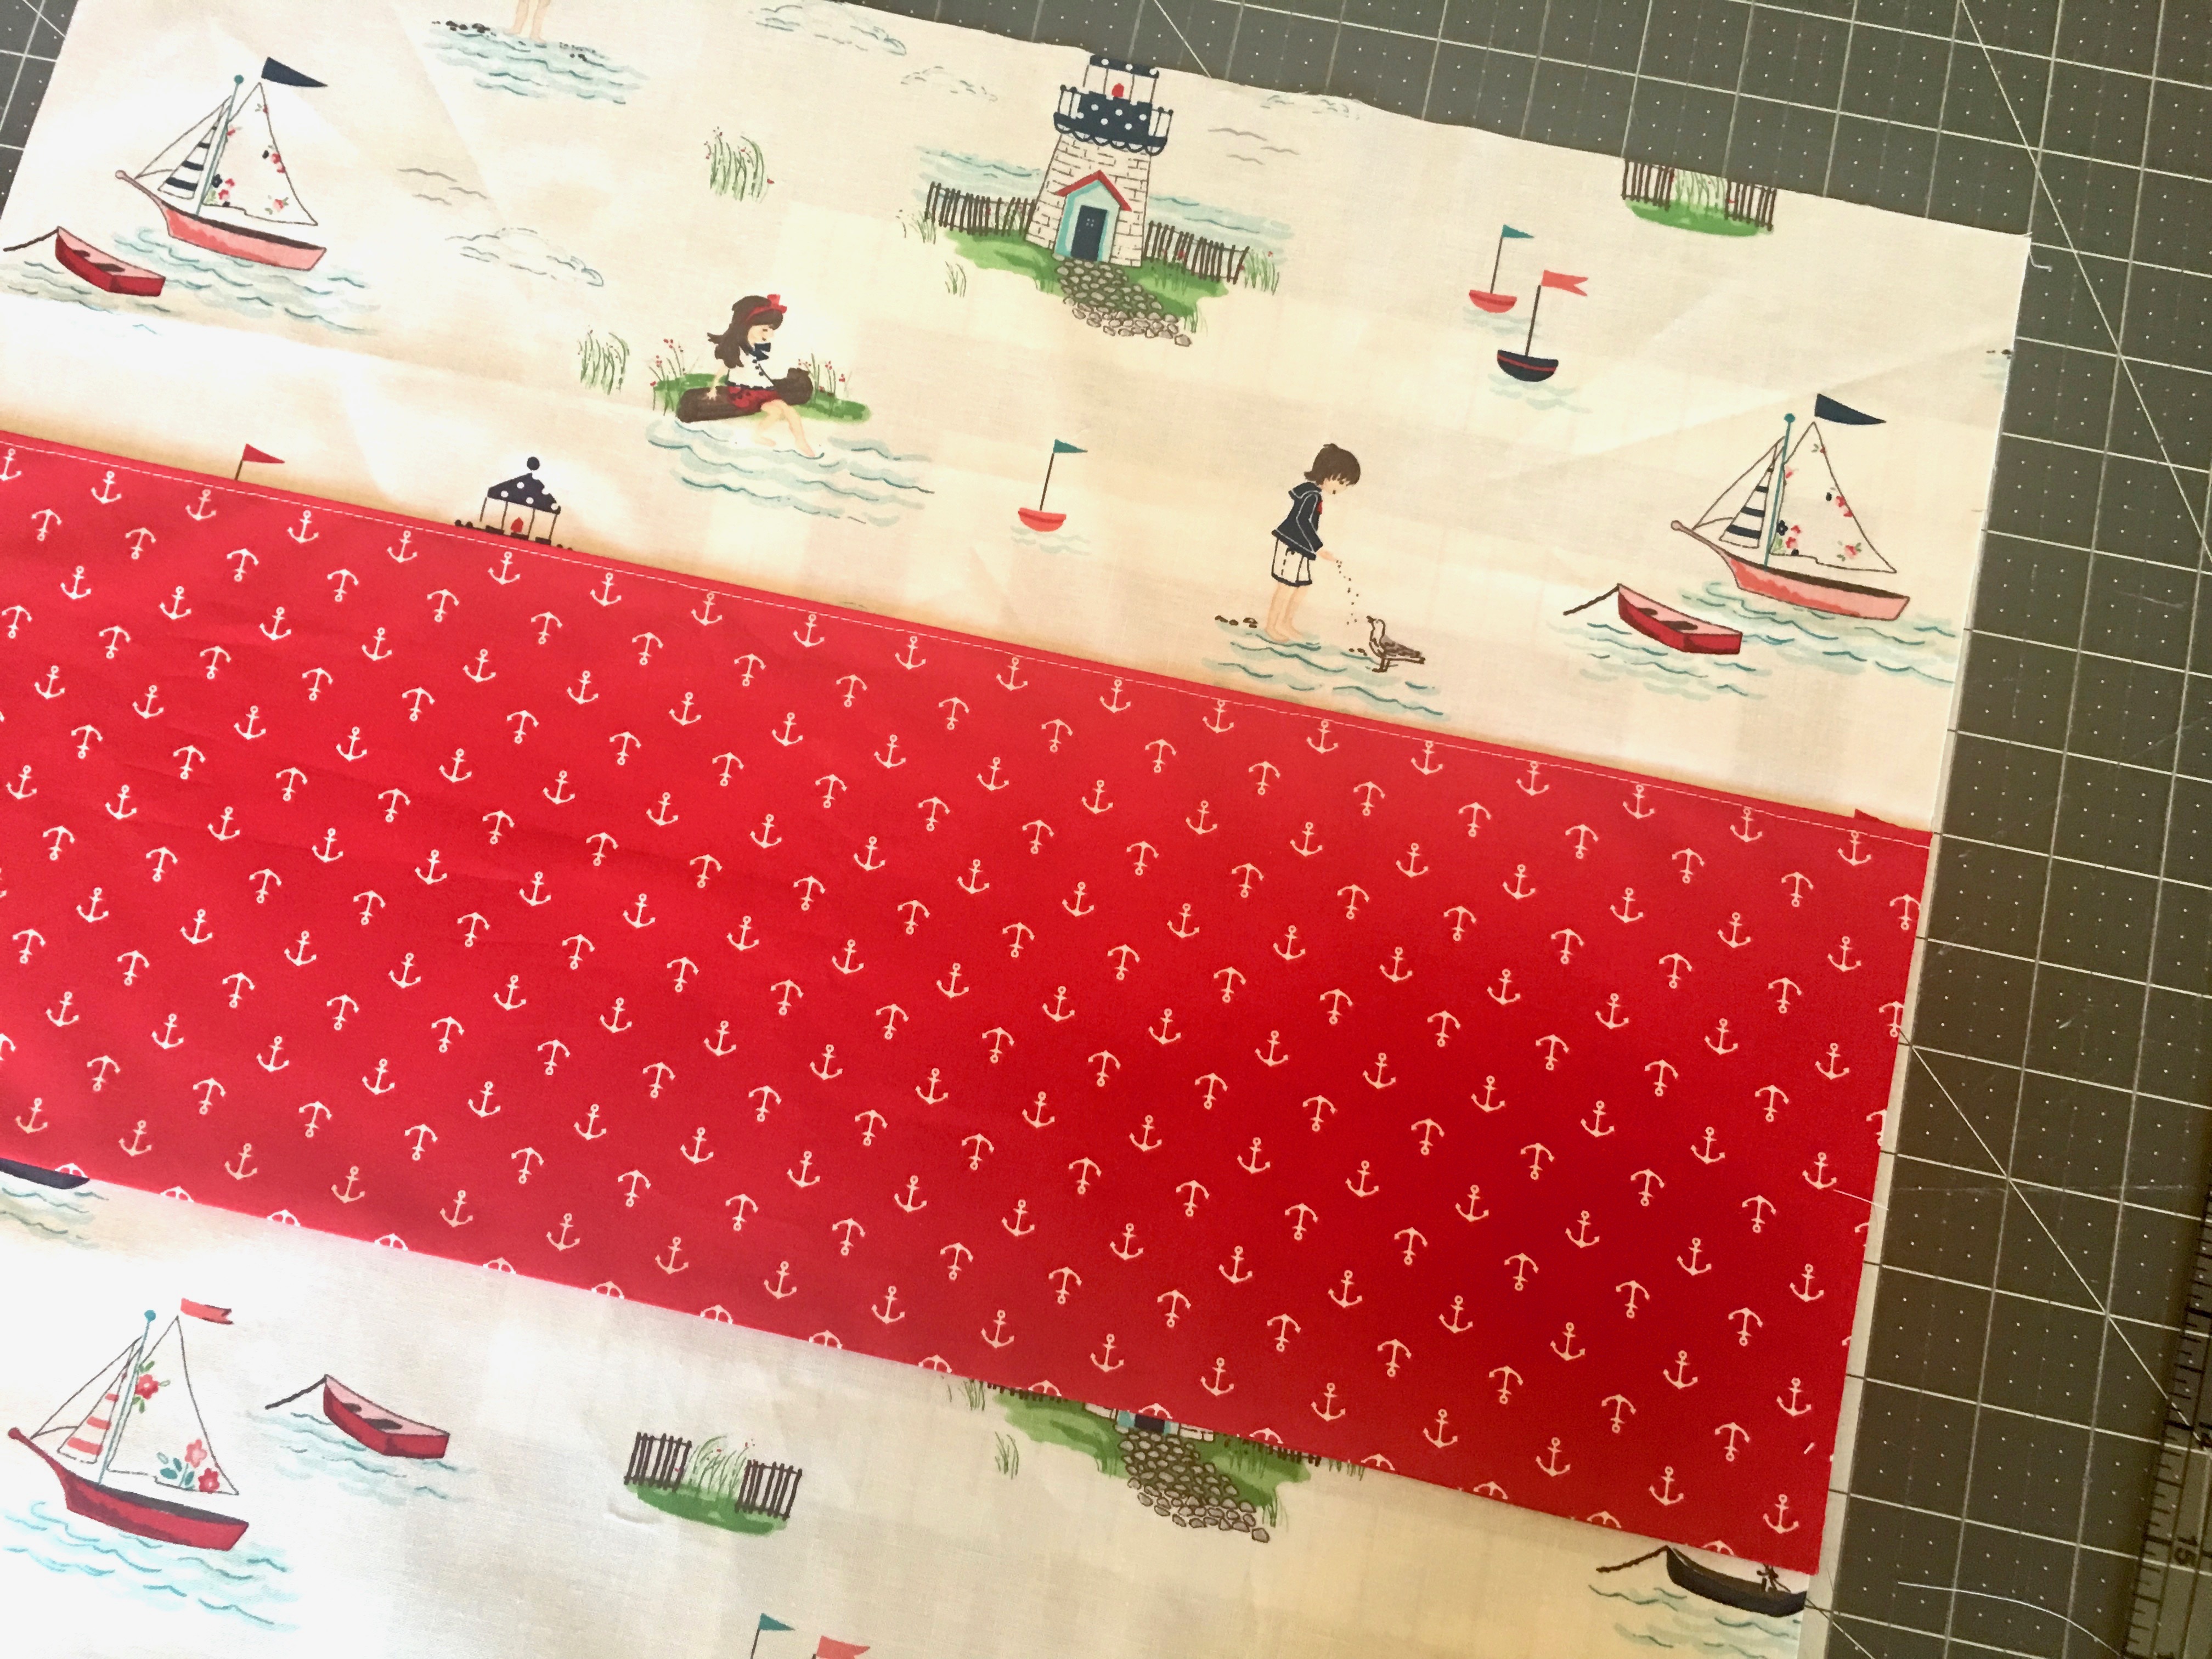
Position the pocket 6″ from the top of one of the lining pieces. Pin in place.
Sew along the bottom 1/8″ away from the fold. Sew seams going down where you want the pockets – you can decide what size you want!
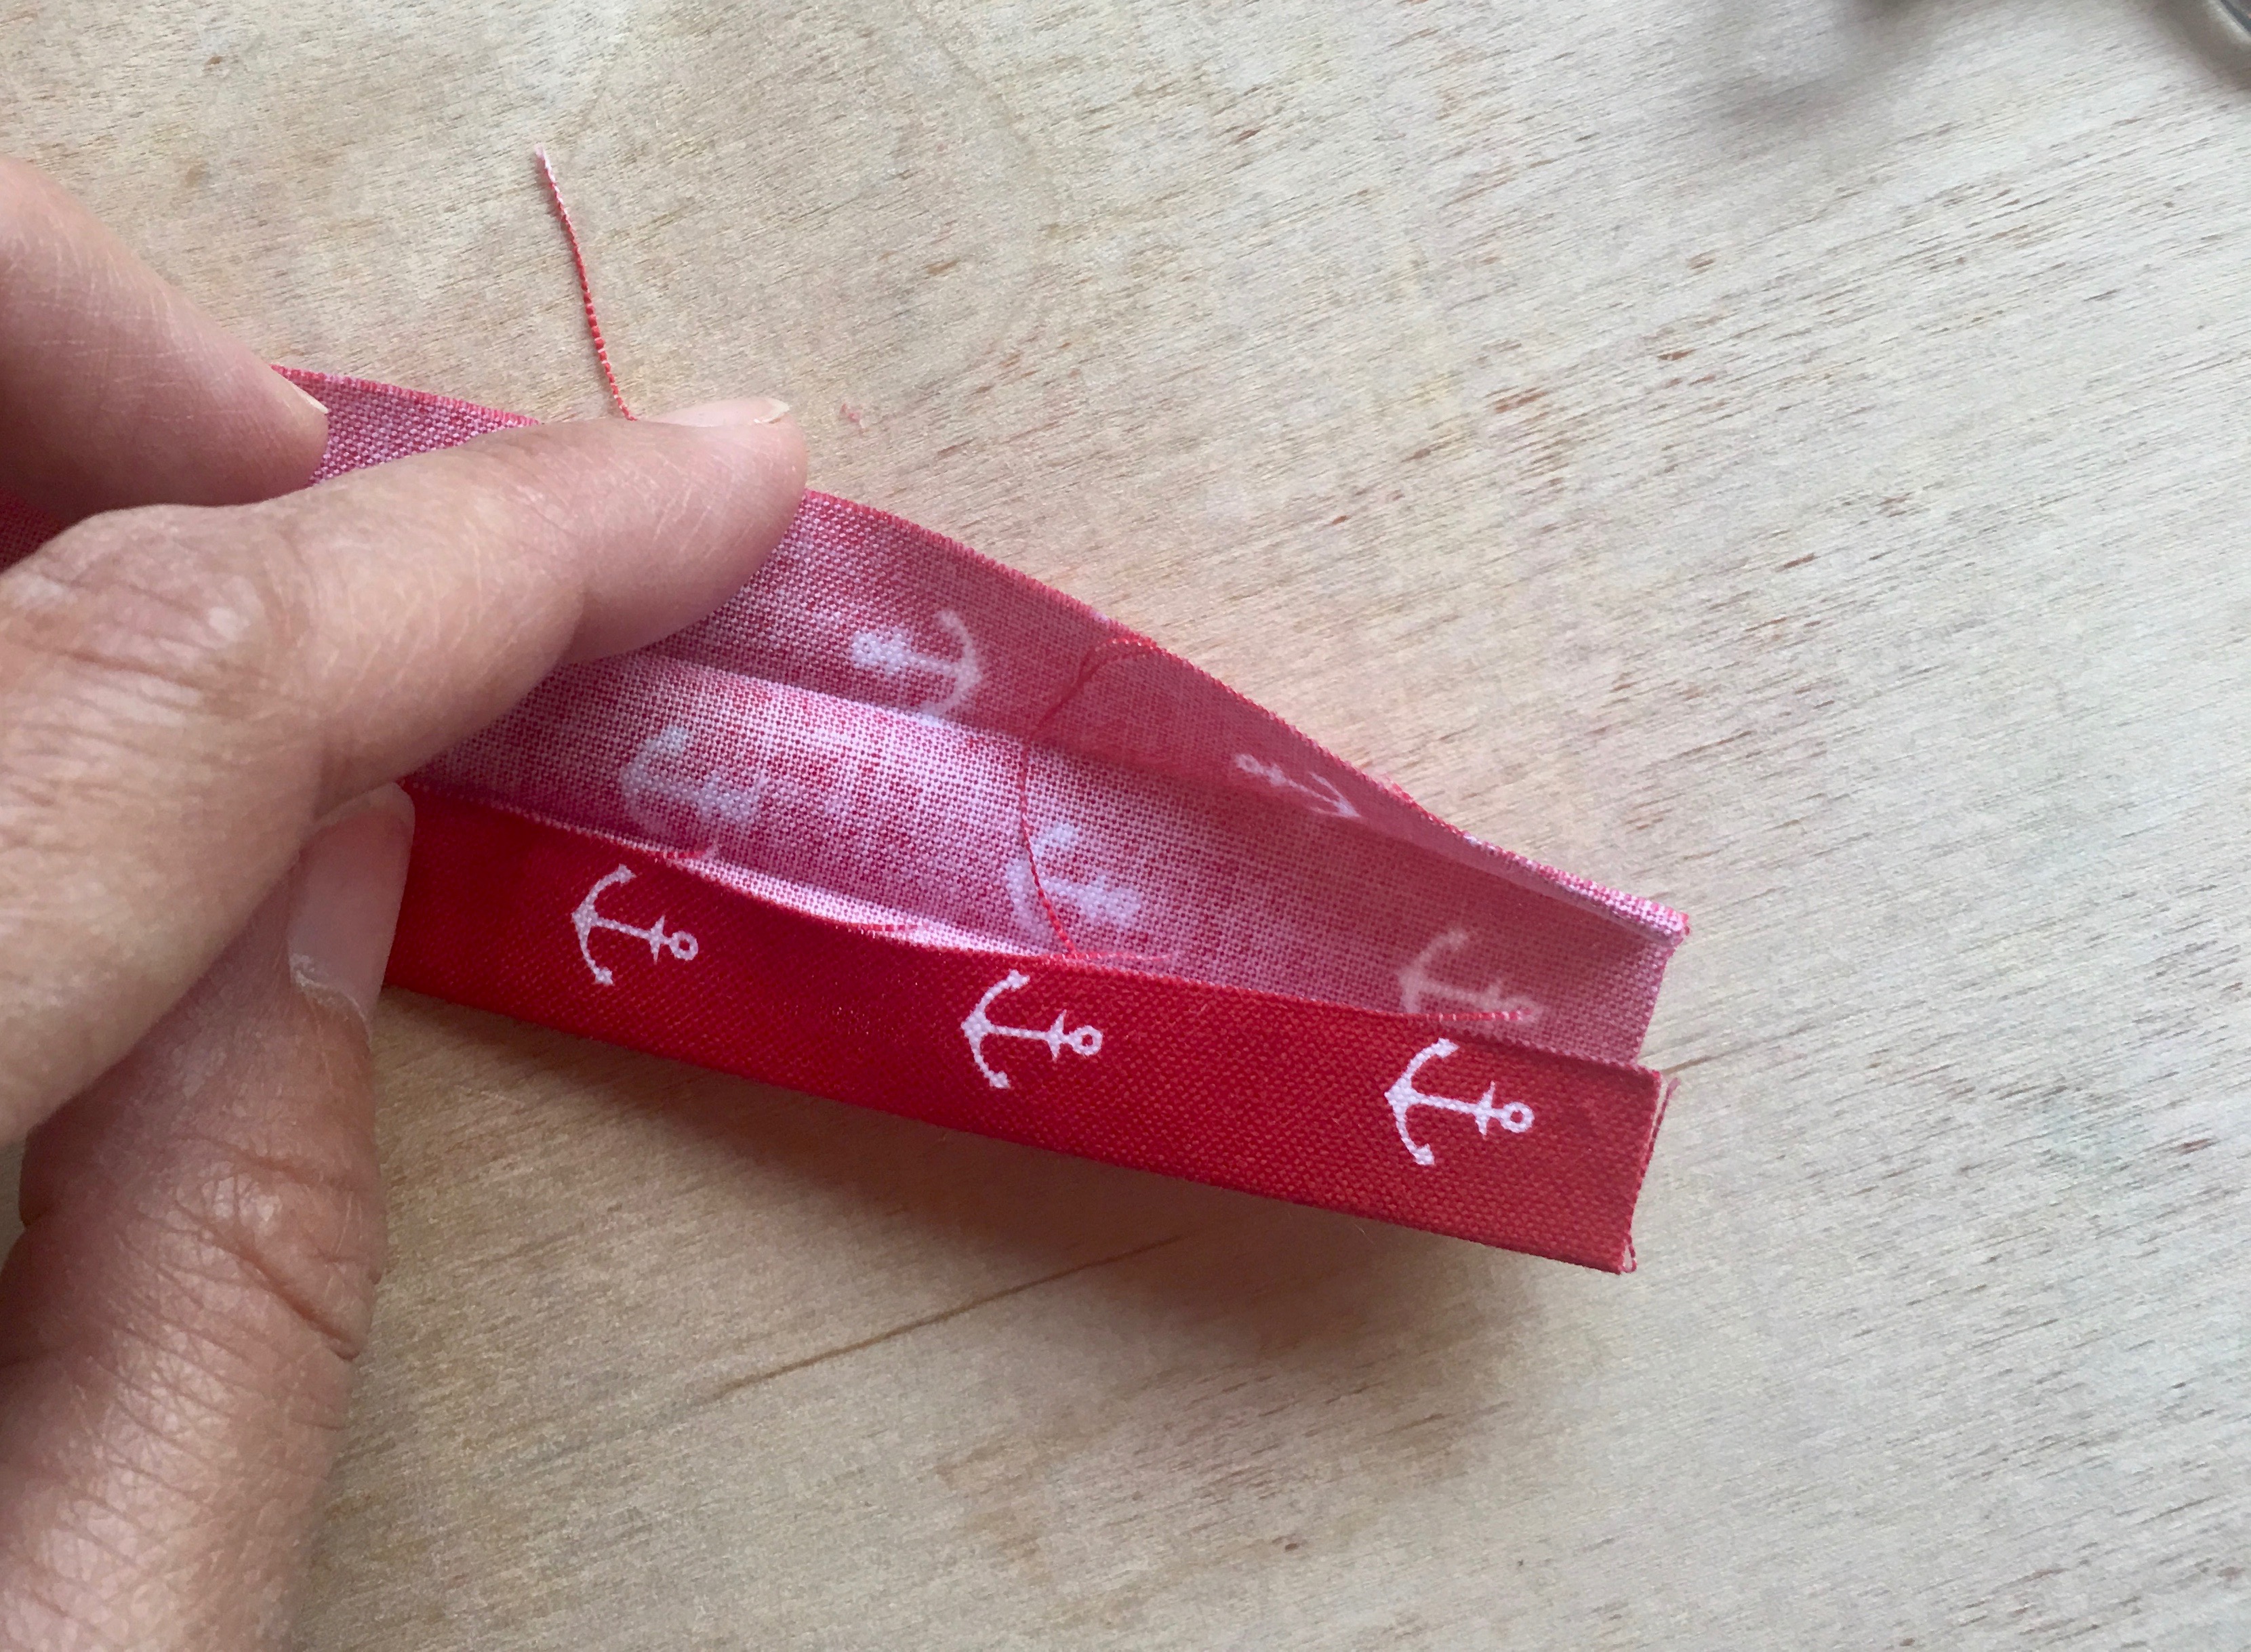
Fold the 2″ x 10″ key strap in fourths lengthwise.
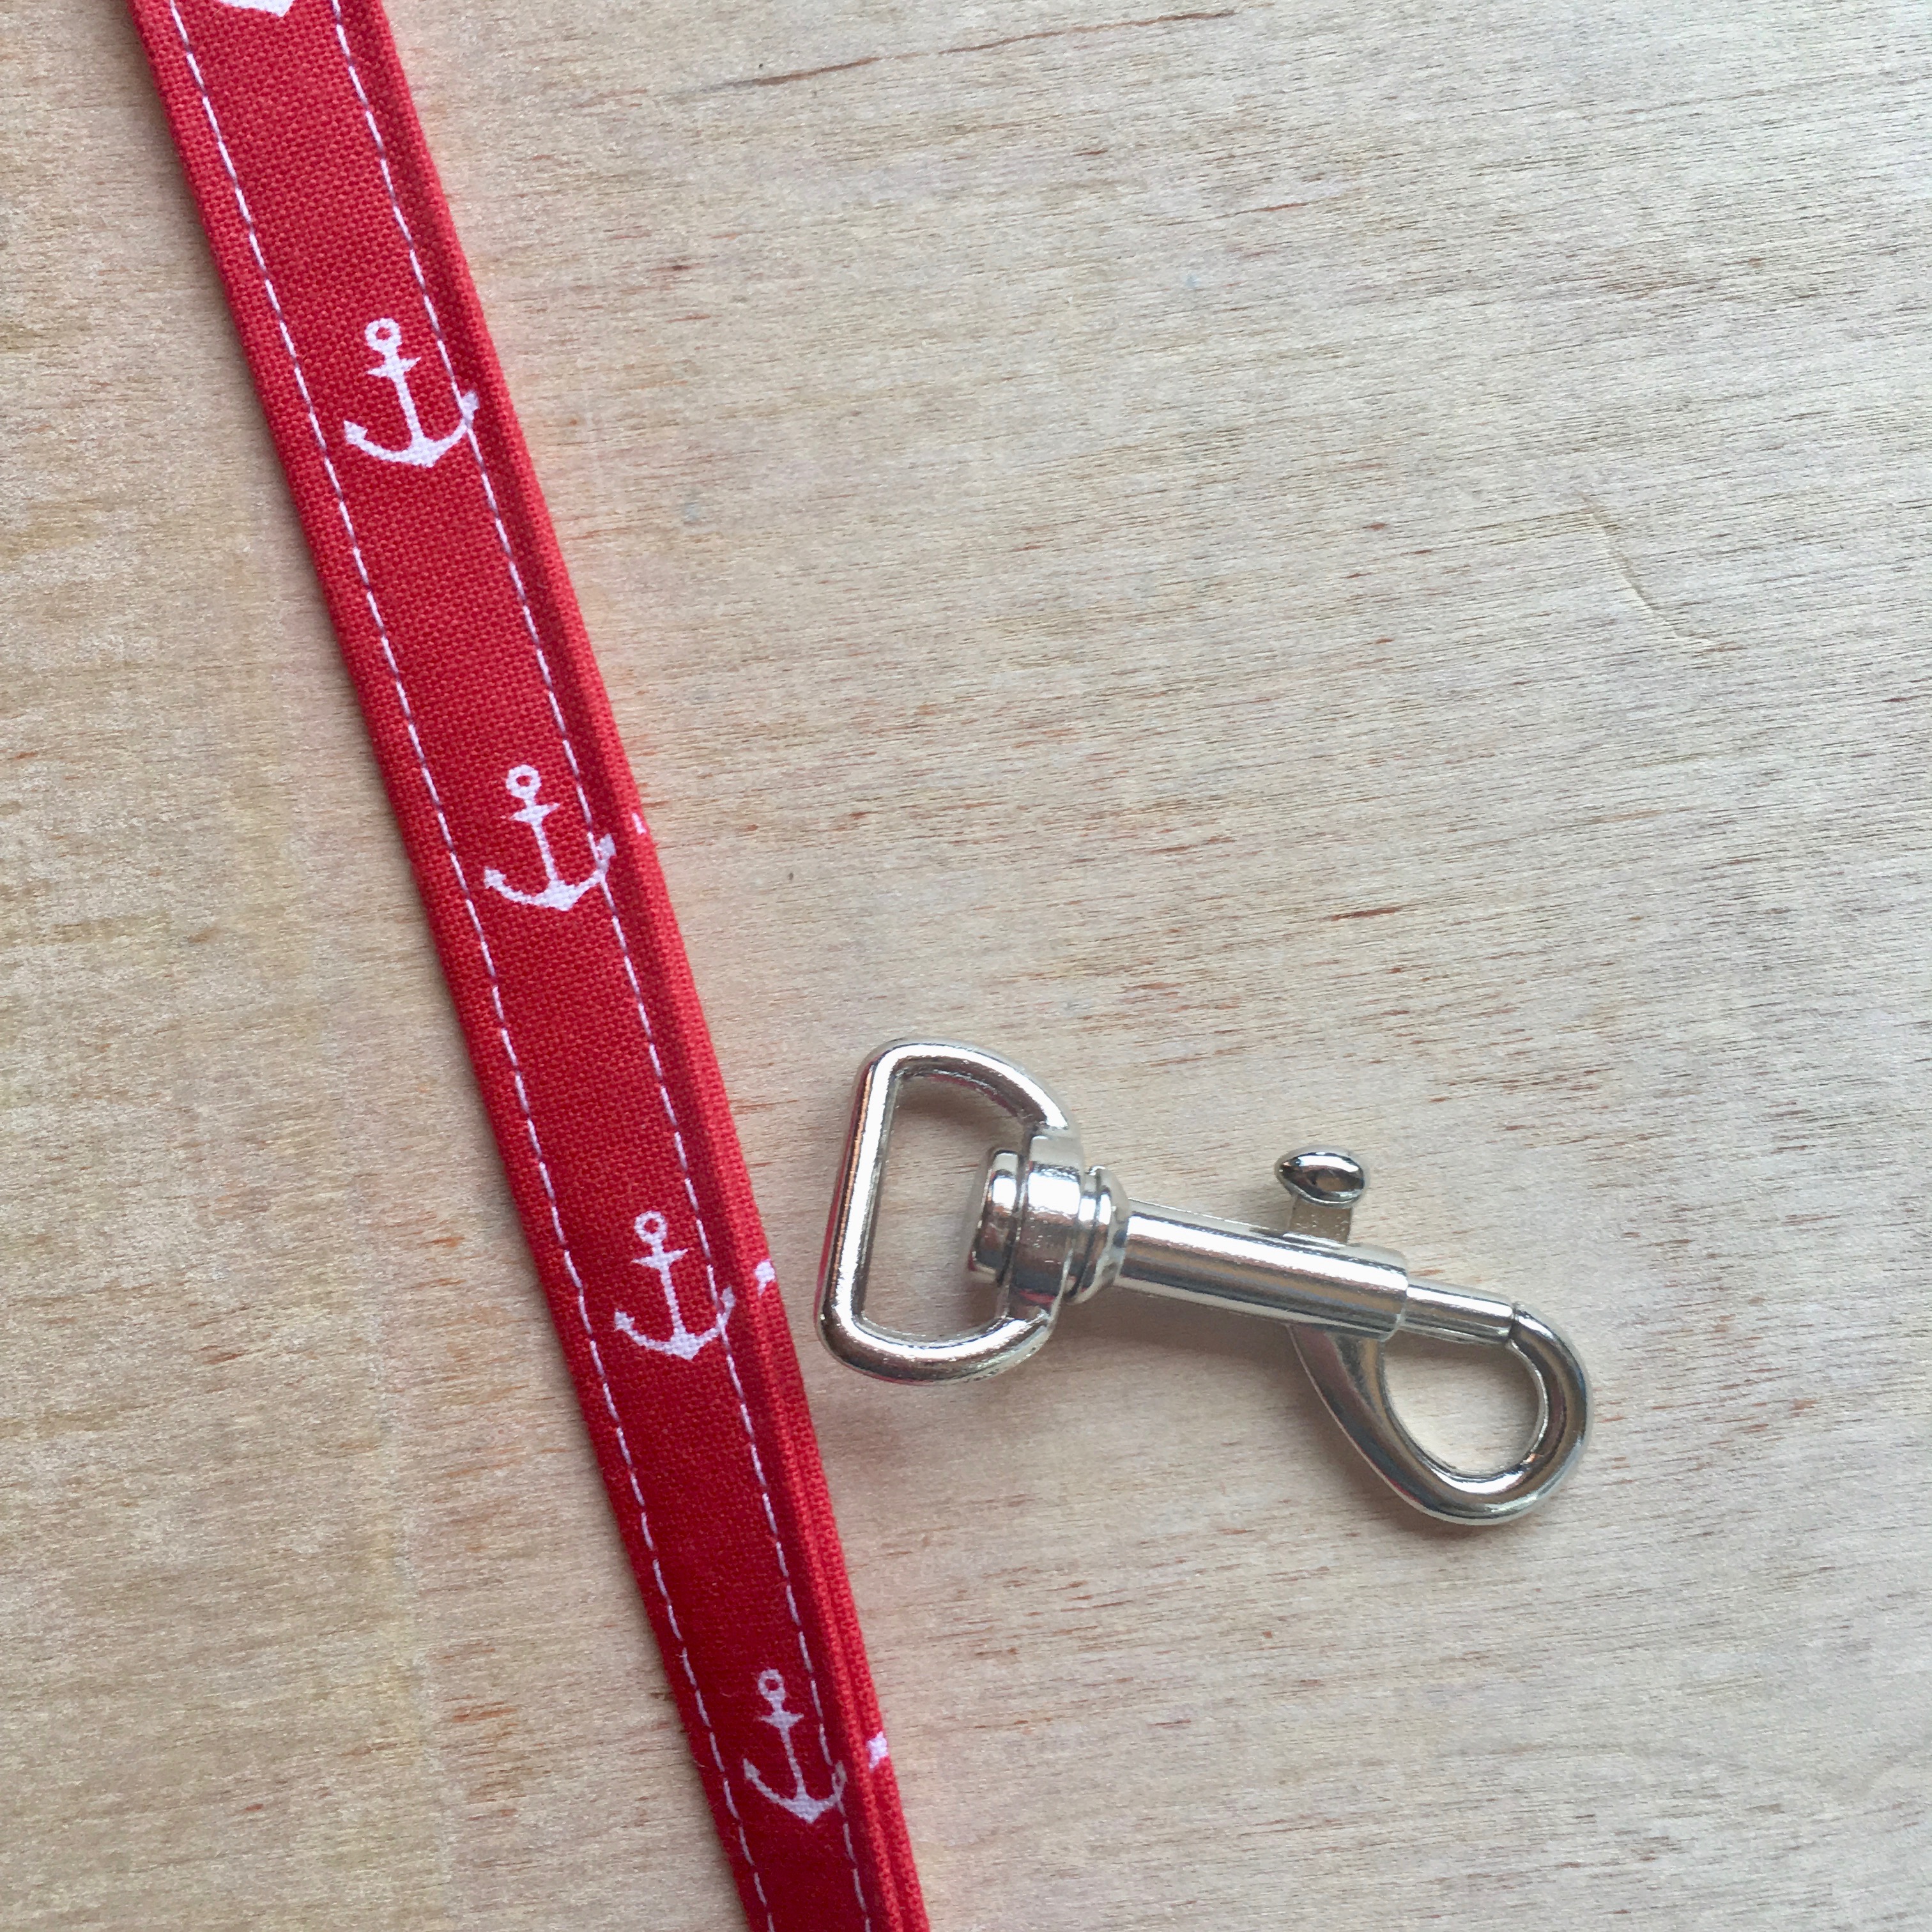
Top stitch both edges 1/8″.
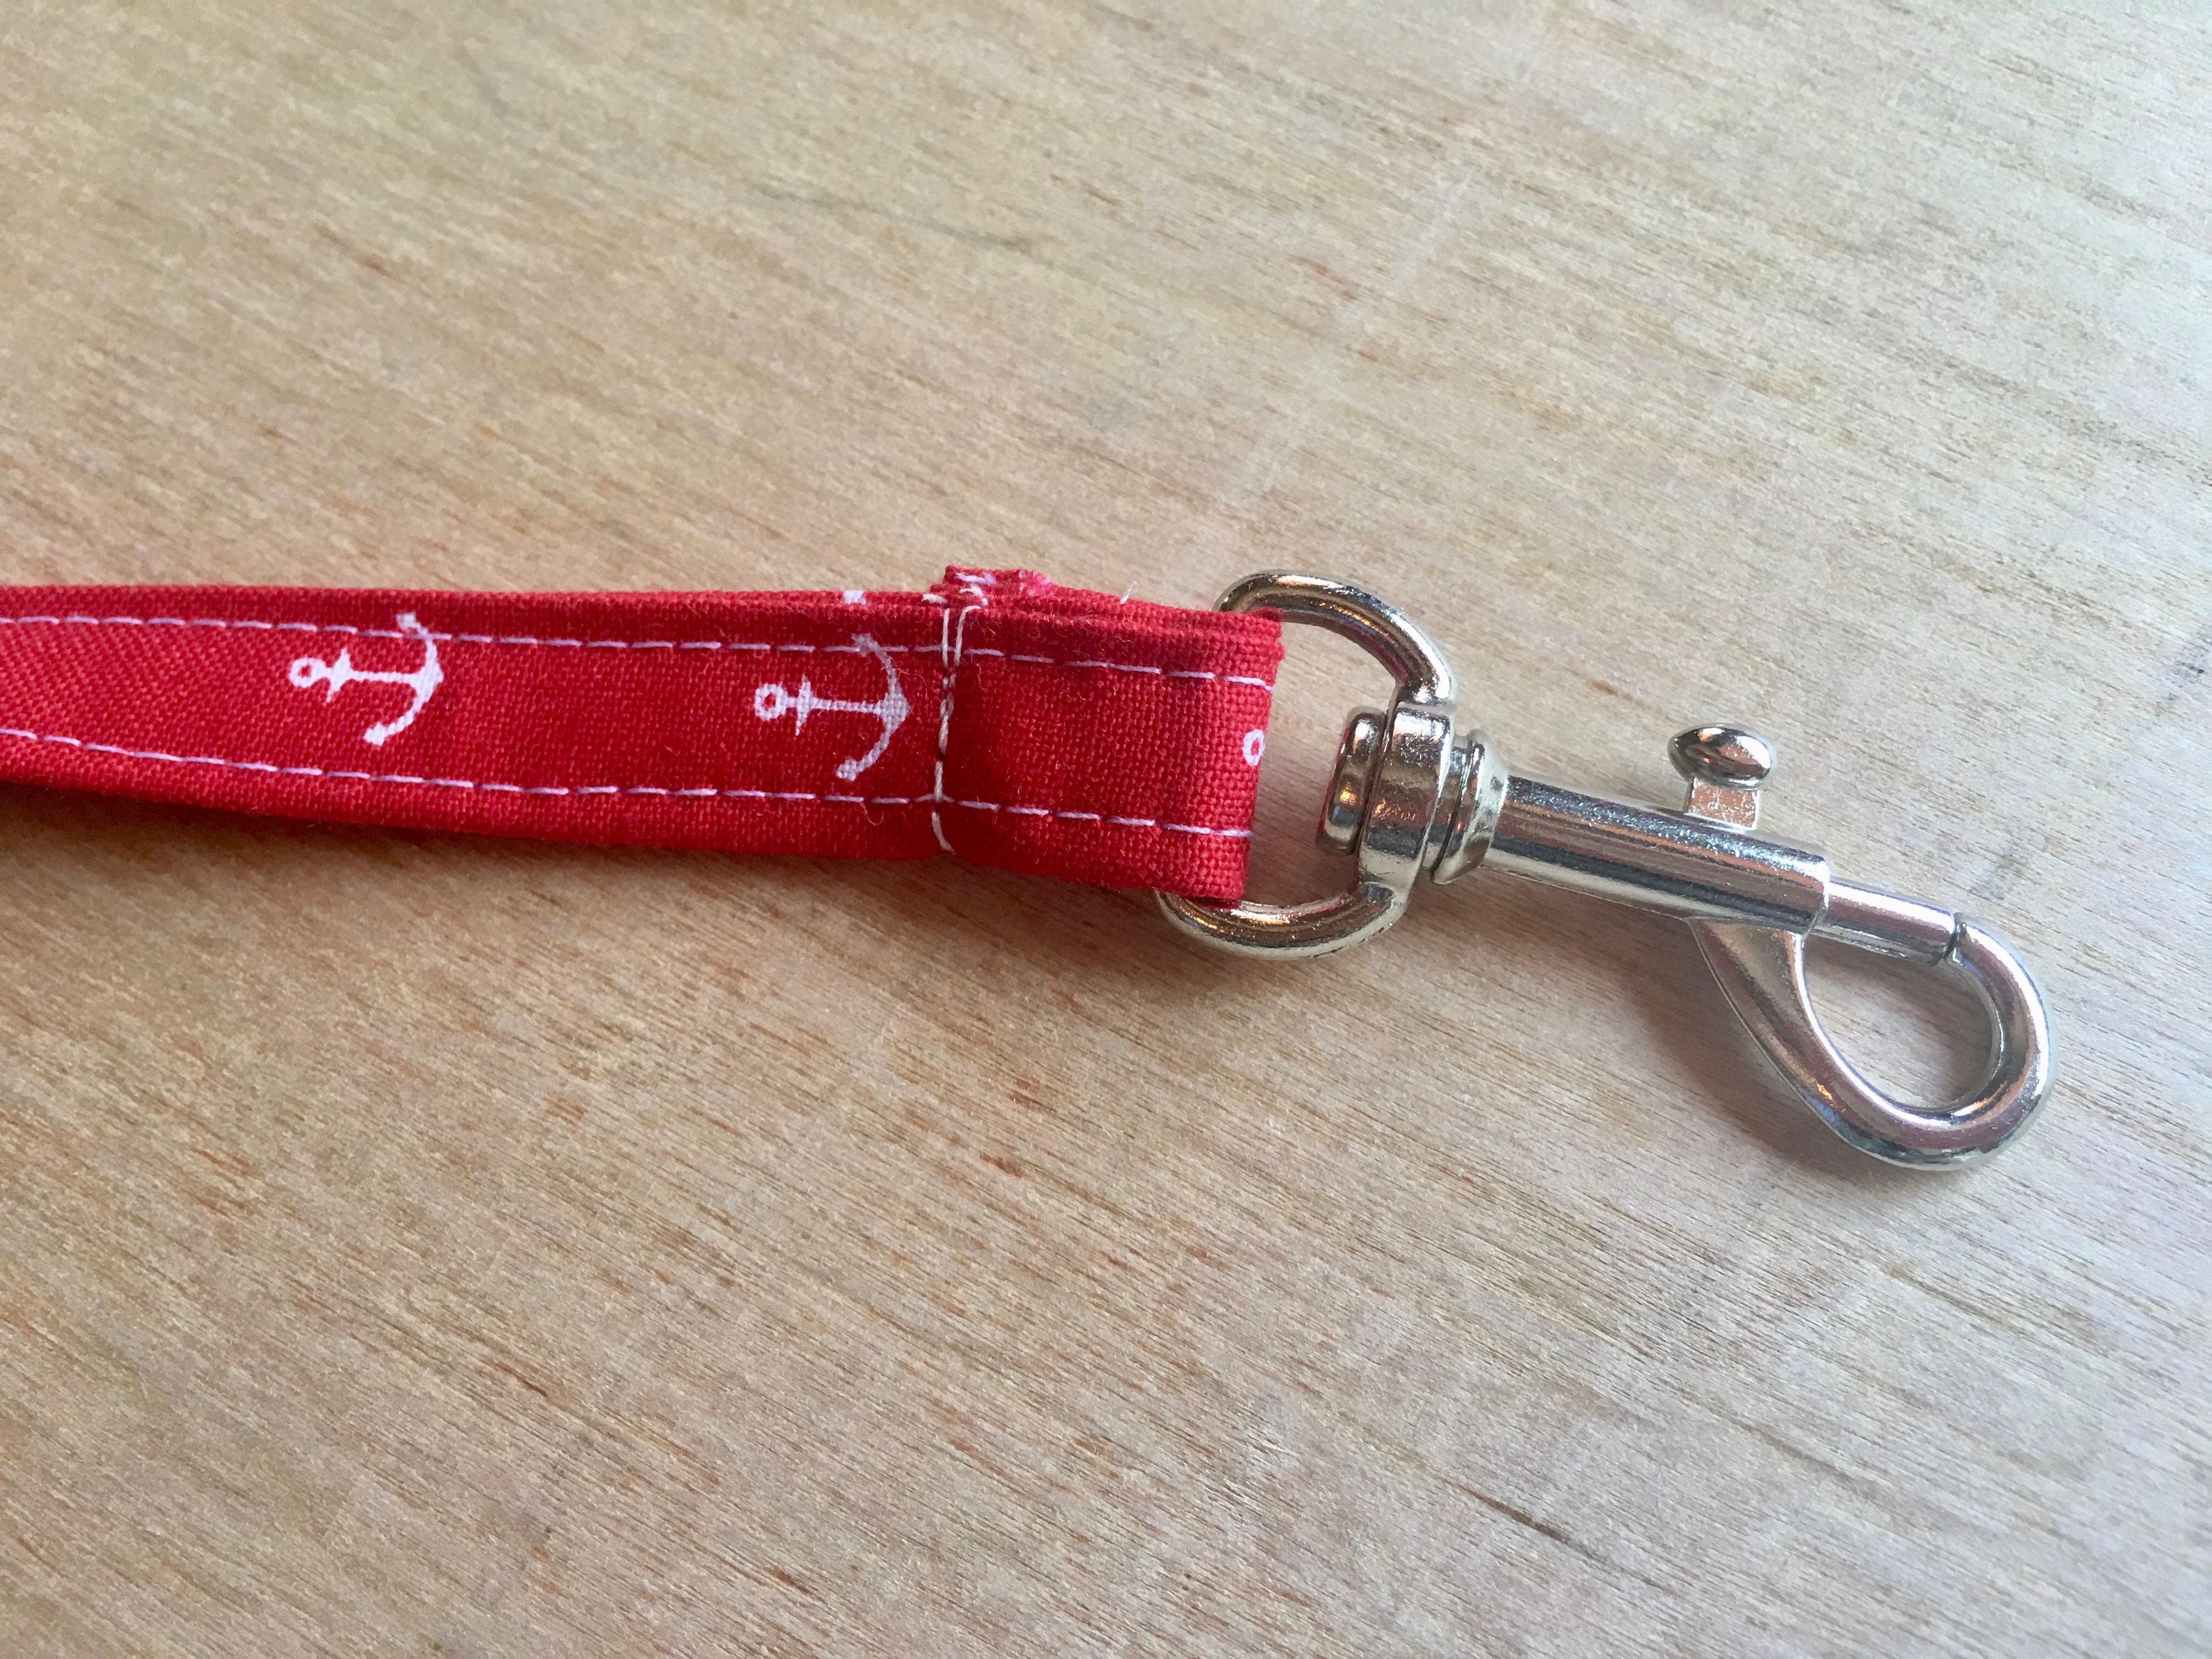
Thread through the key clasp, fold under raw edge and sew pin place.
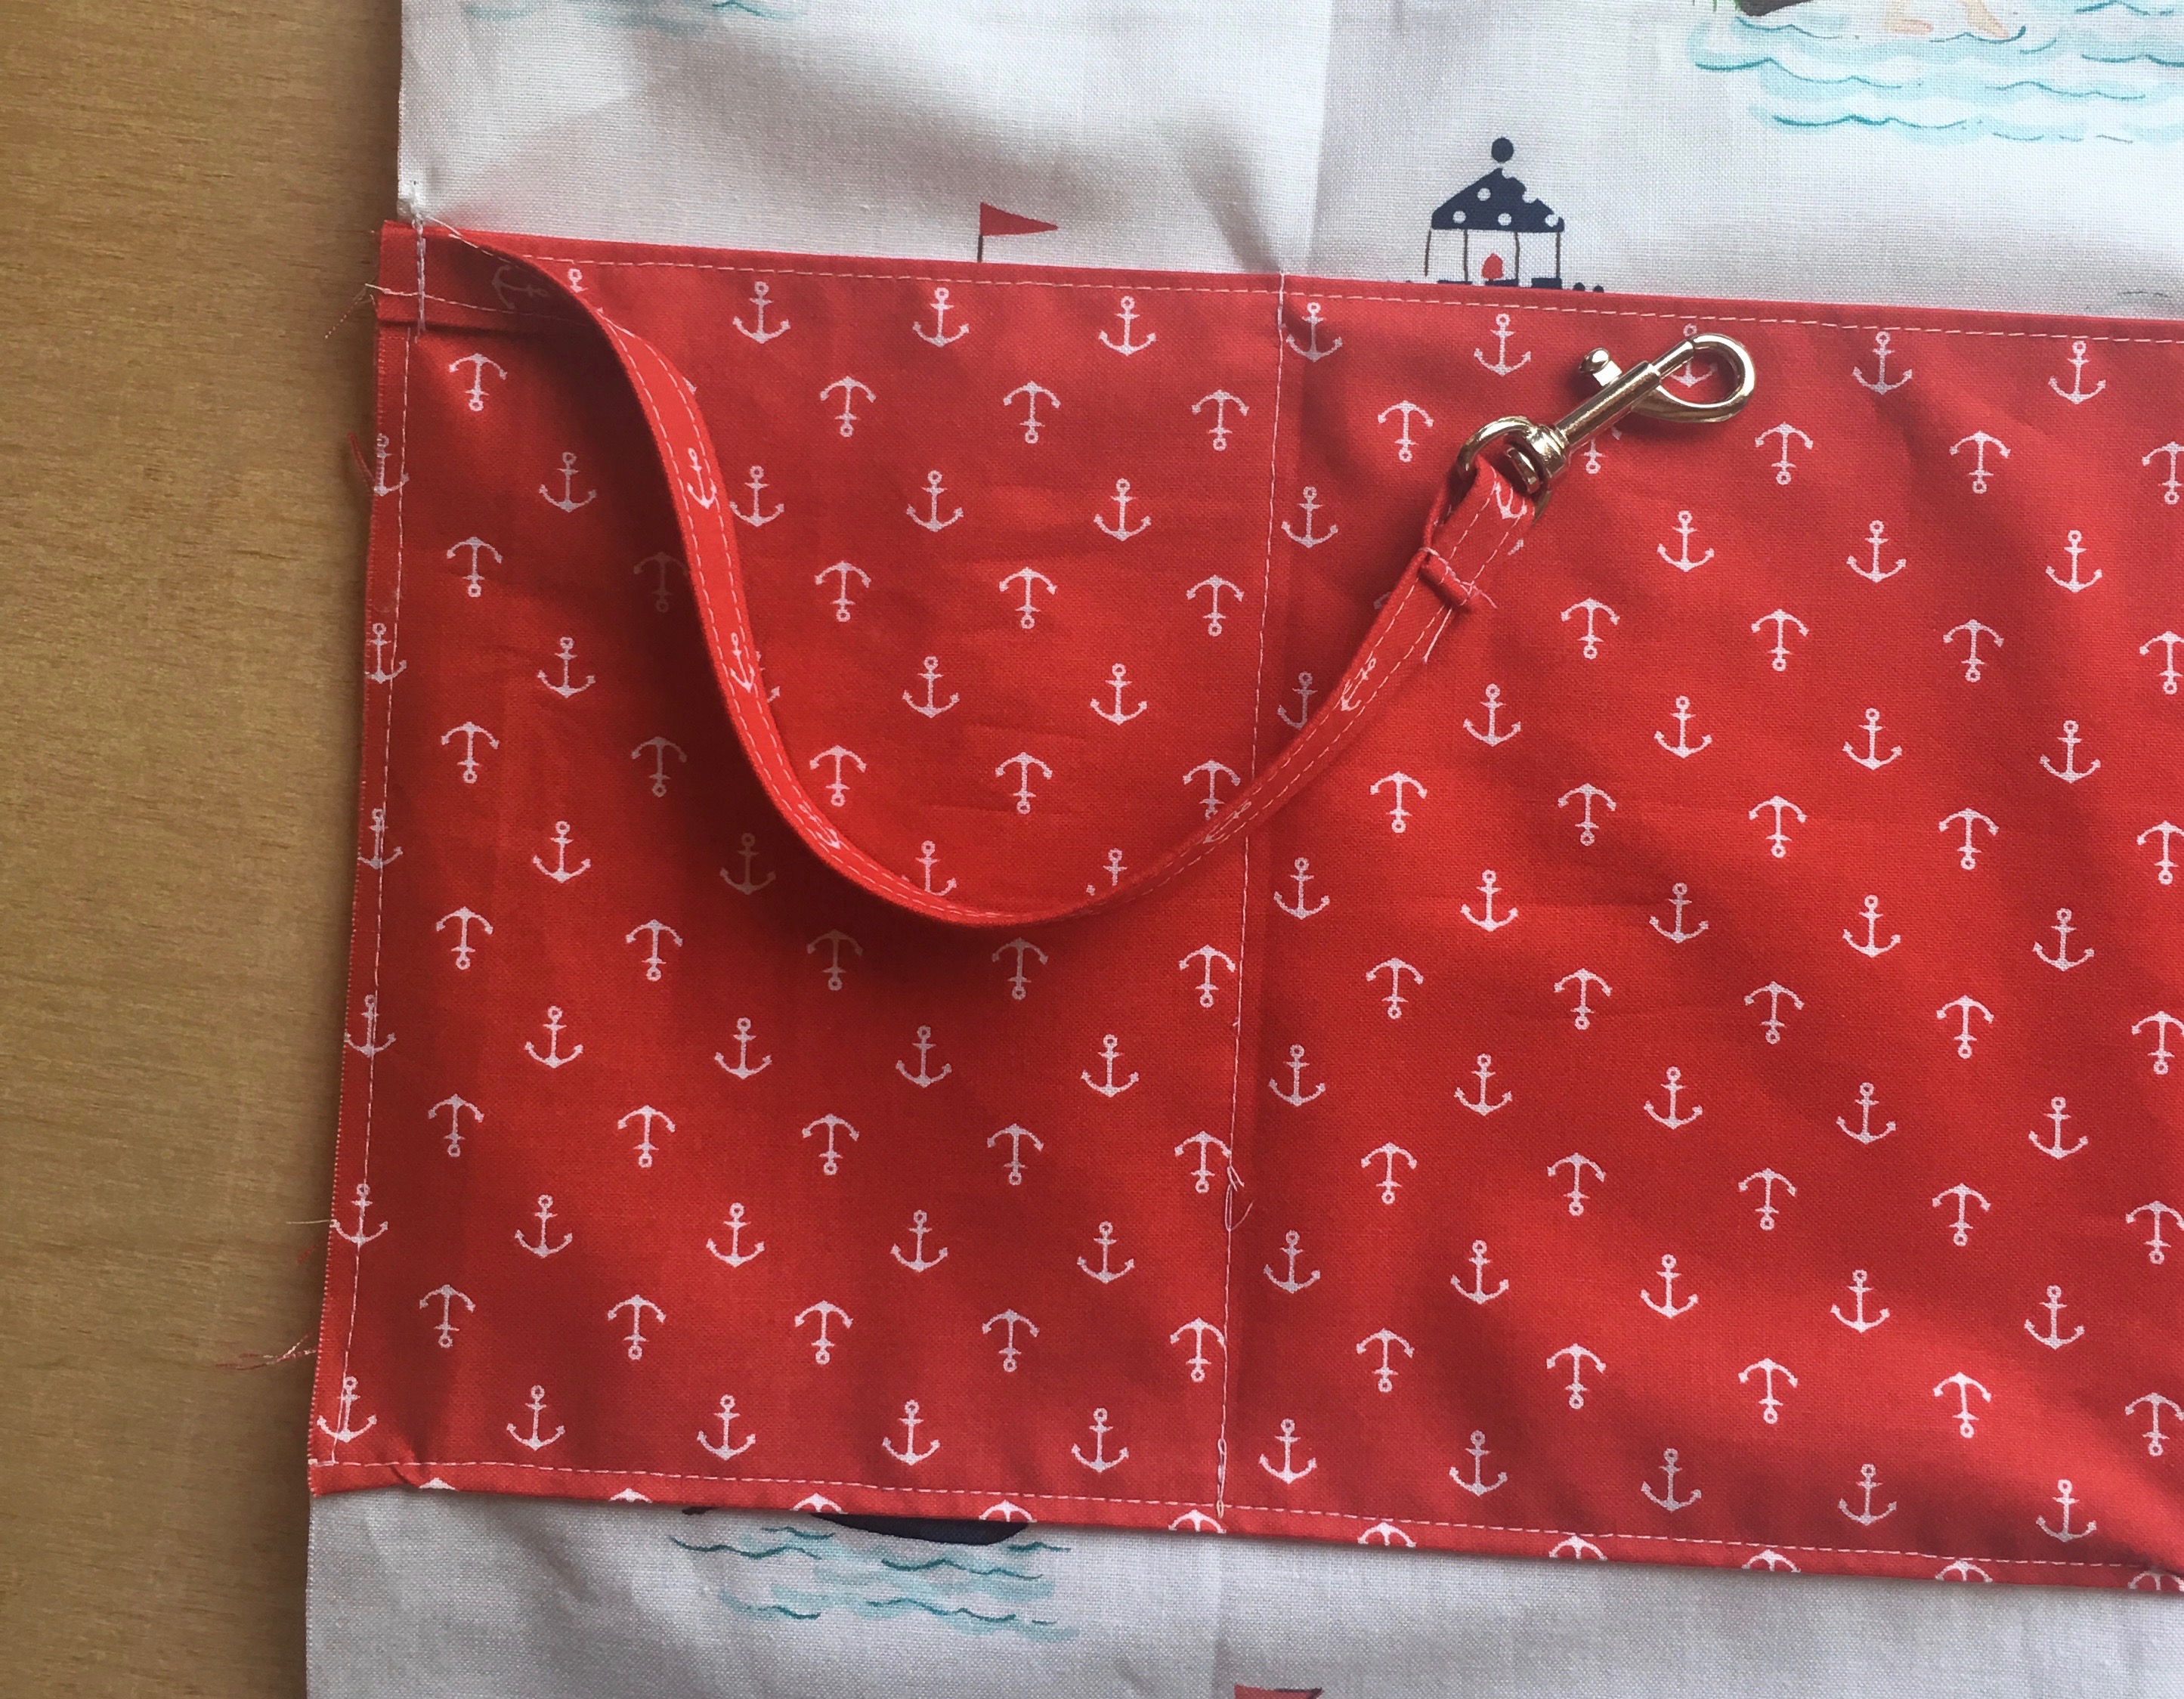
Baste the raw edge of the key strap in place as pictured above.
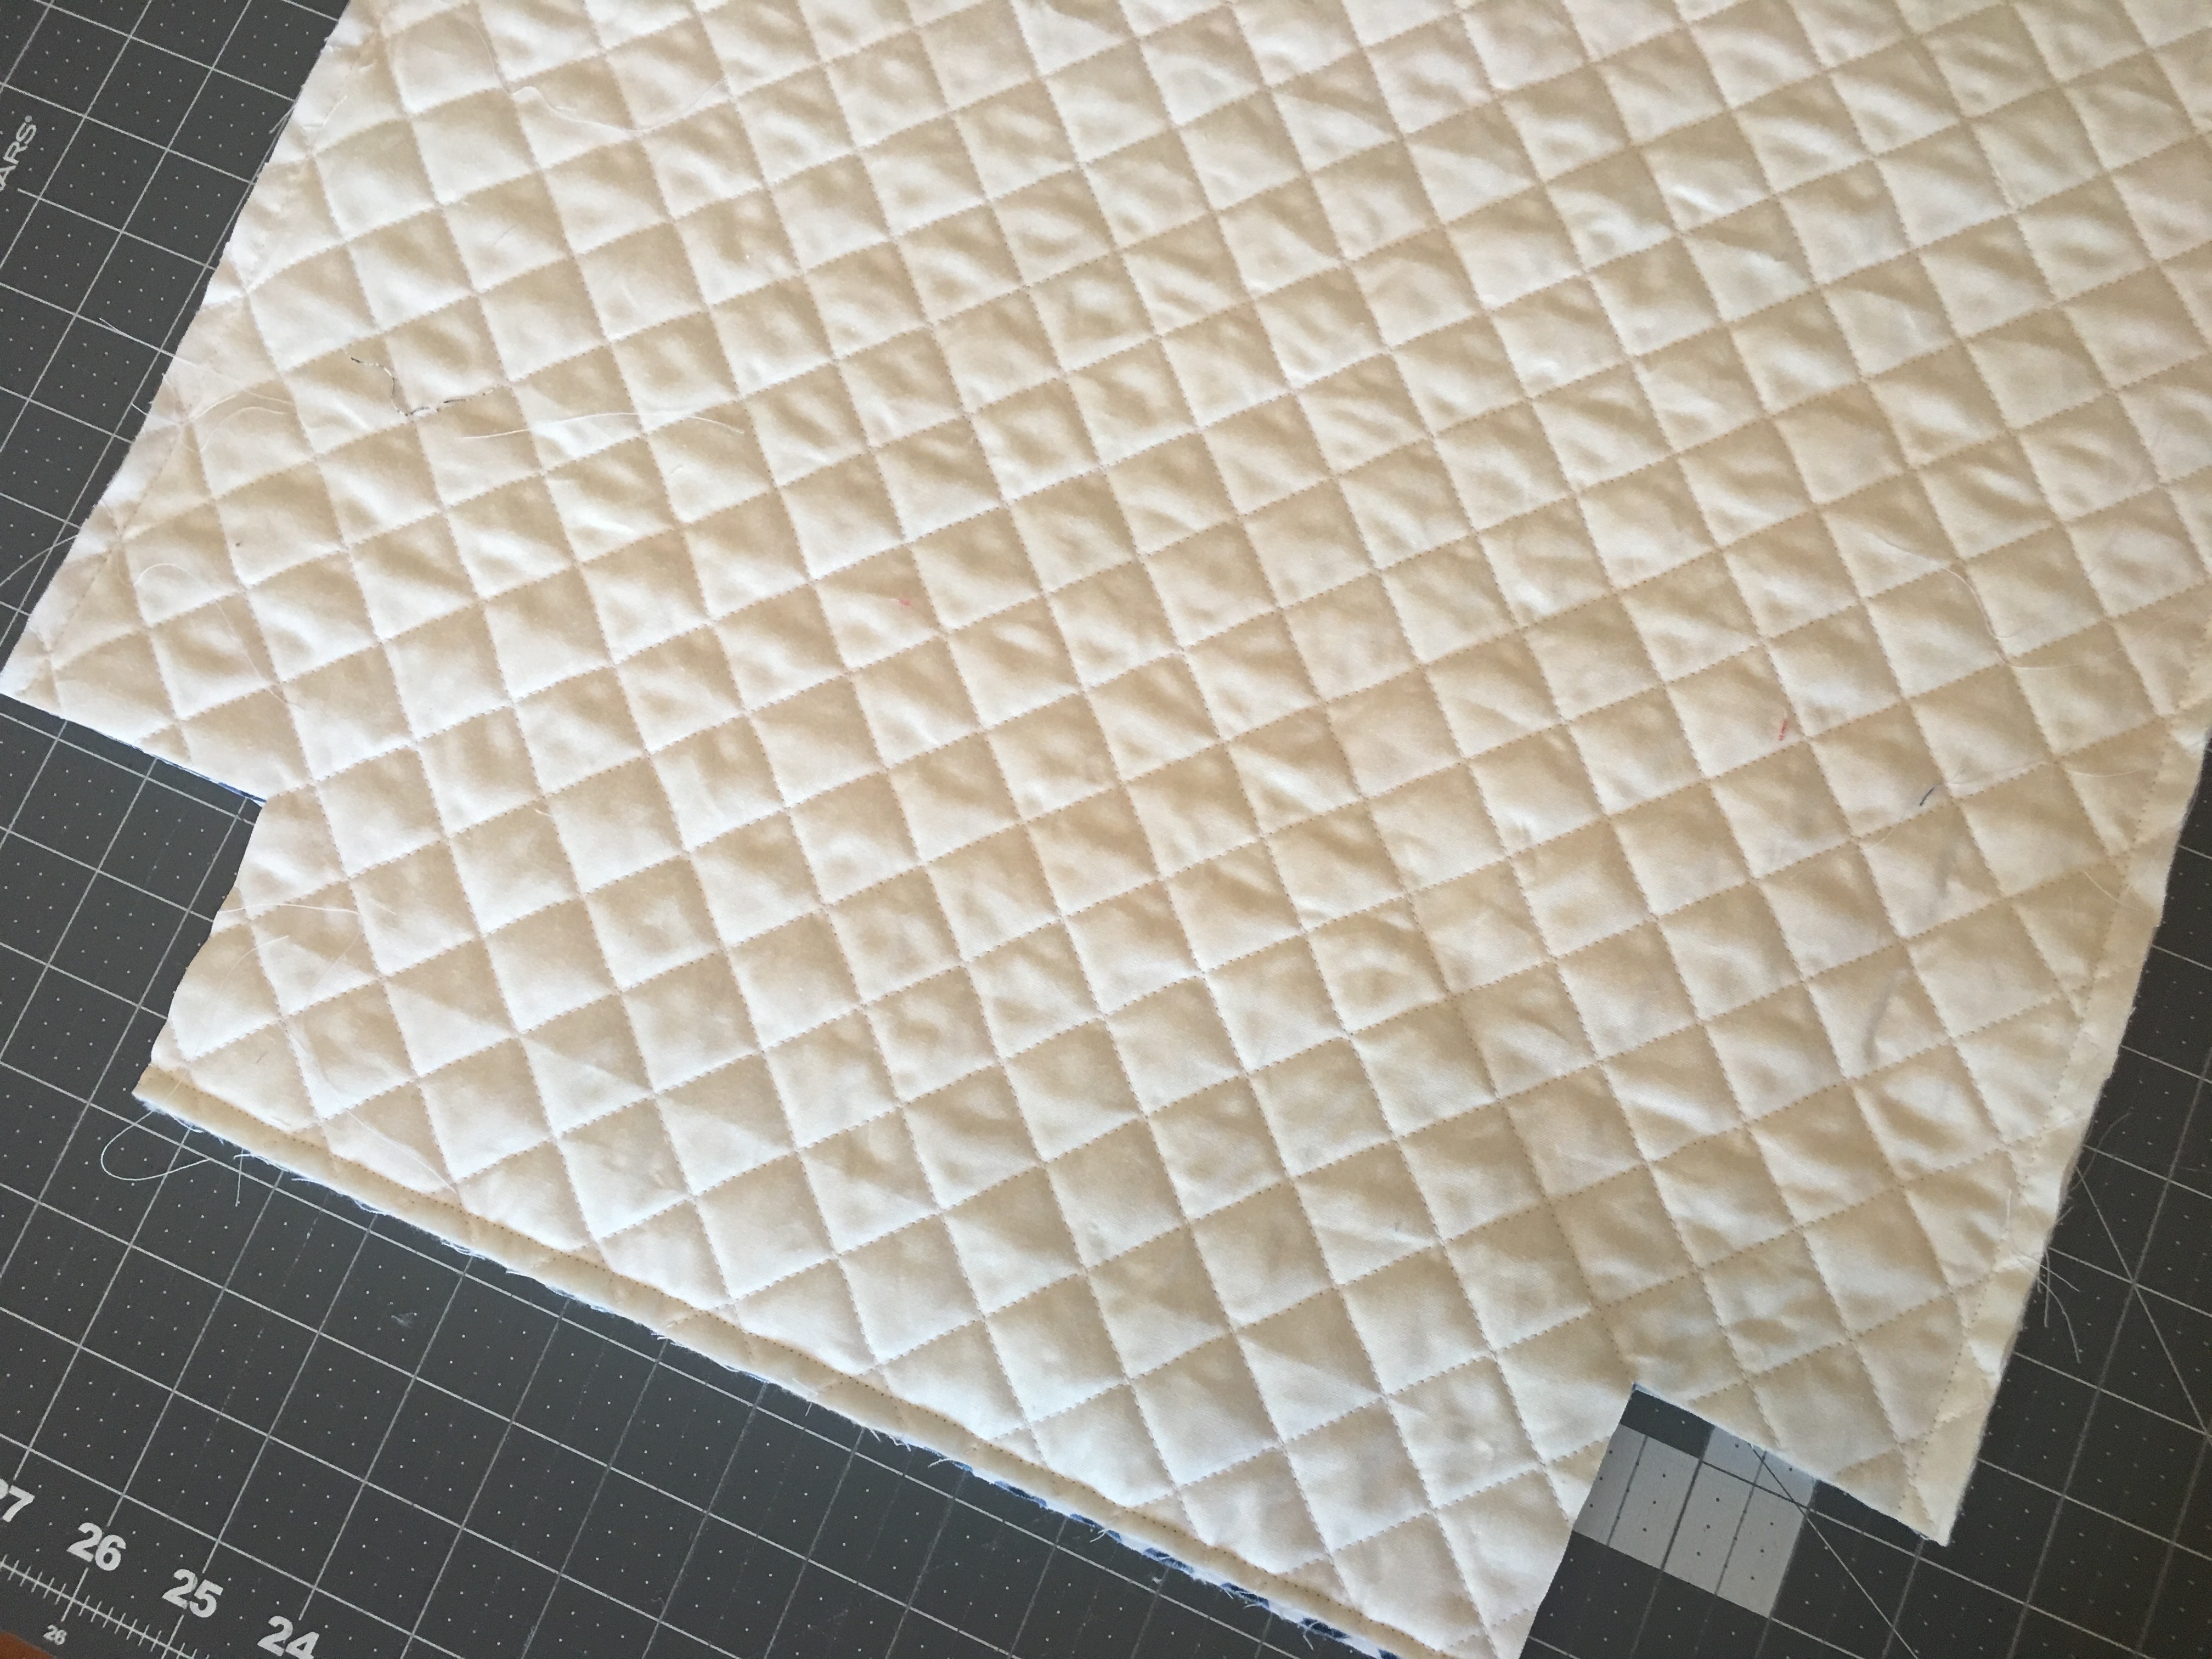
Place the outer bag pieces right sides together and sew the sides and bottom using a 1/4″ seam
Place the lining pieces right sides together and sew the sides and bottom using a slightly larger 1/4″ seam. This makes the lining fit nicely inside the bag.
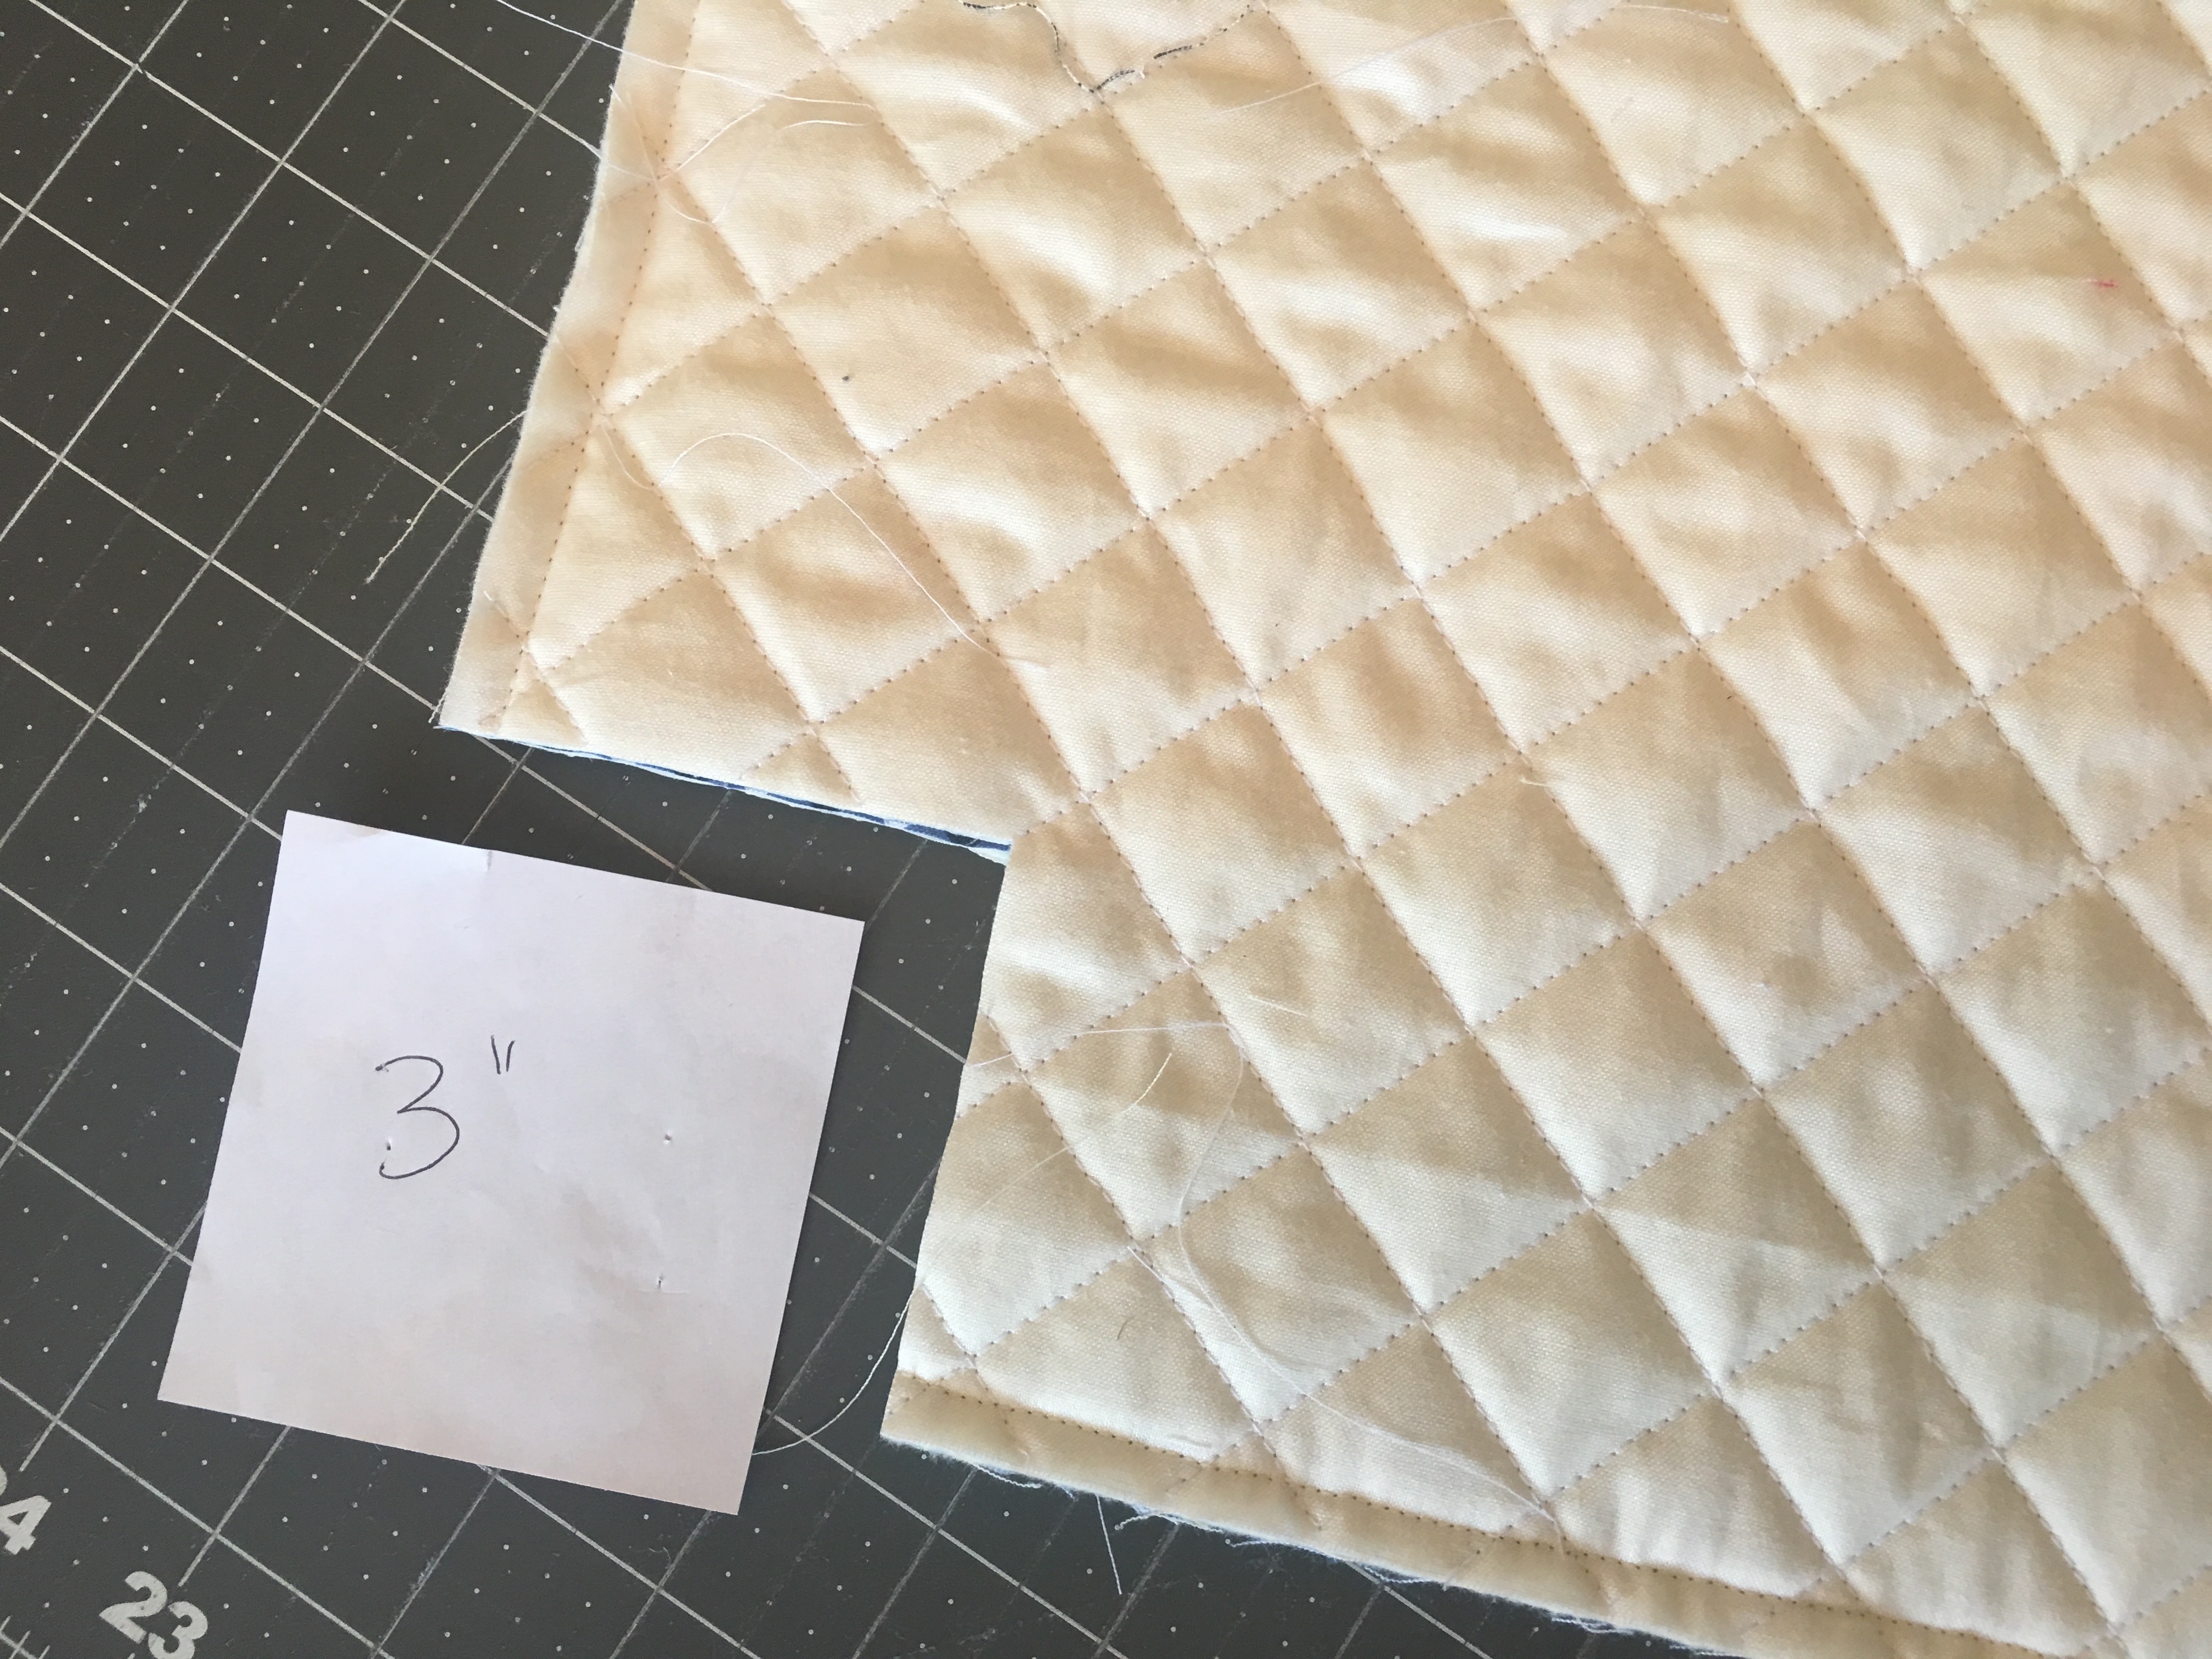
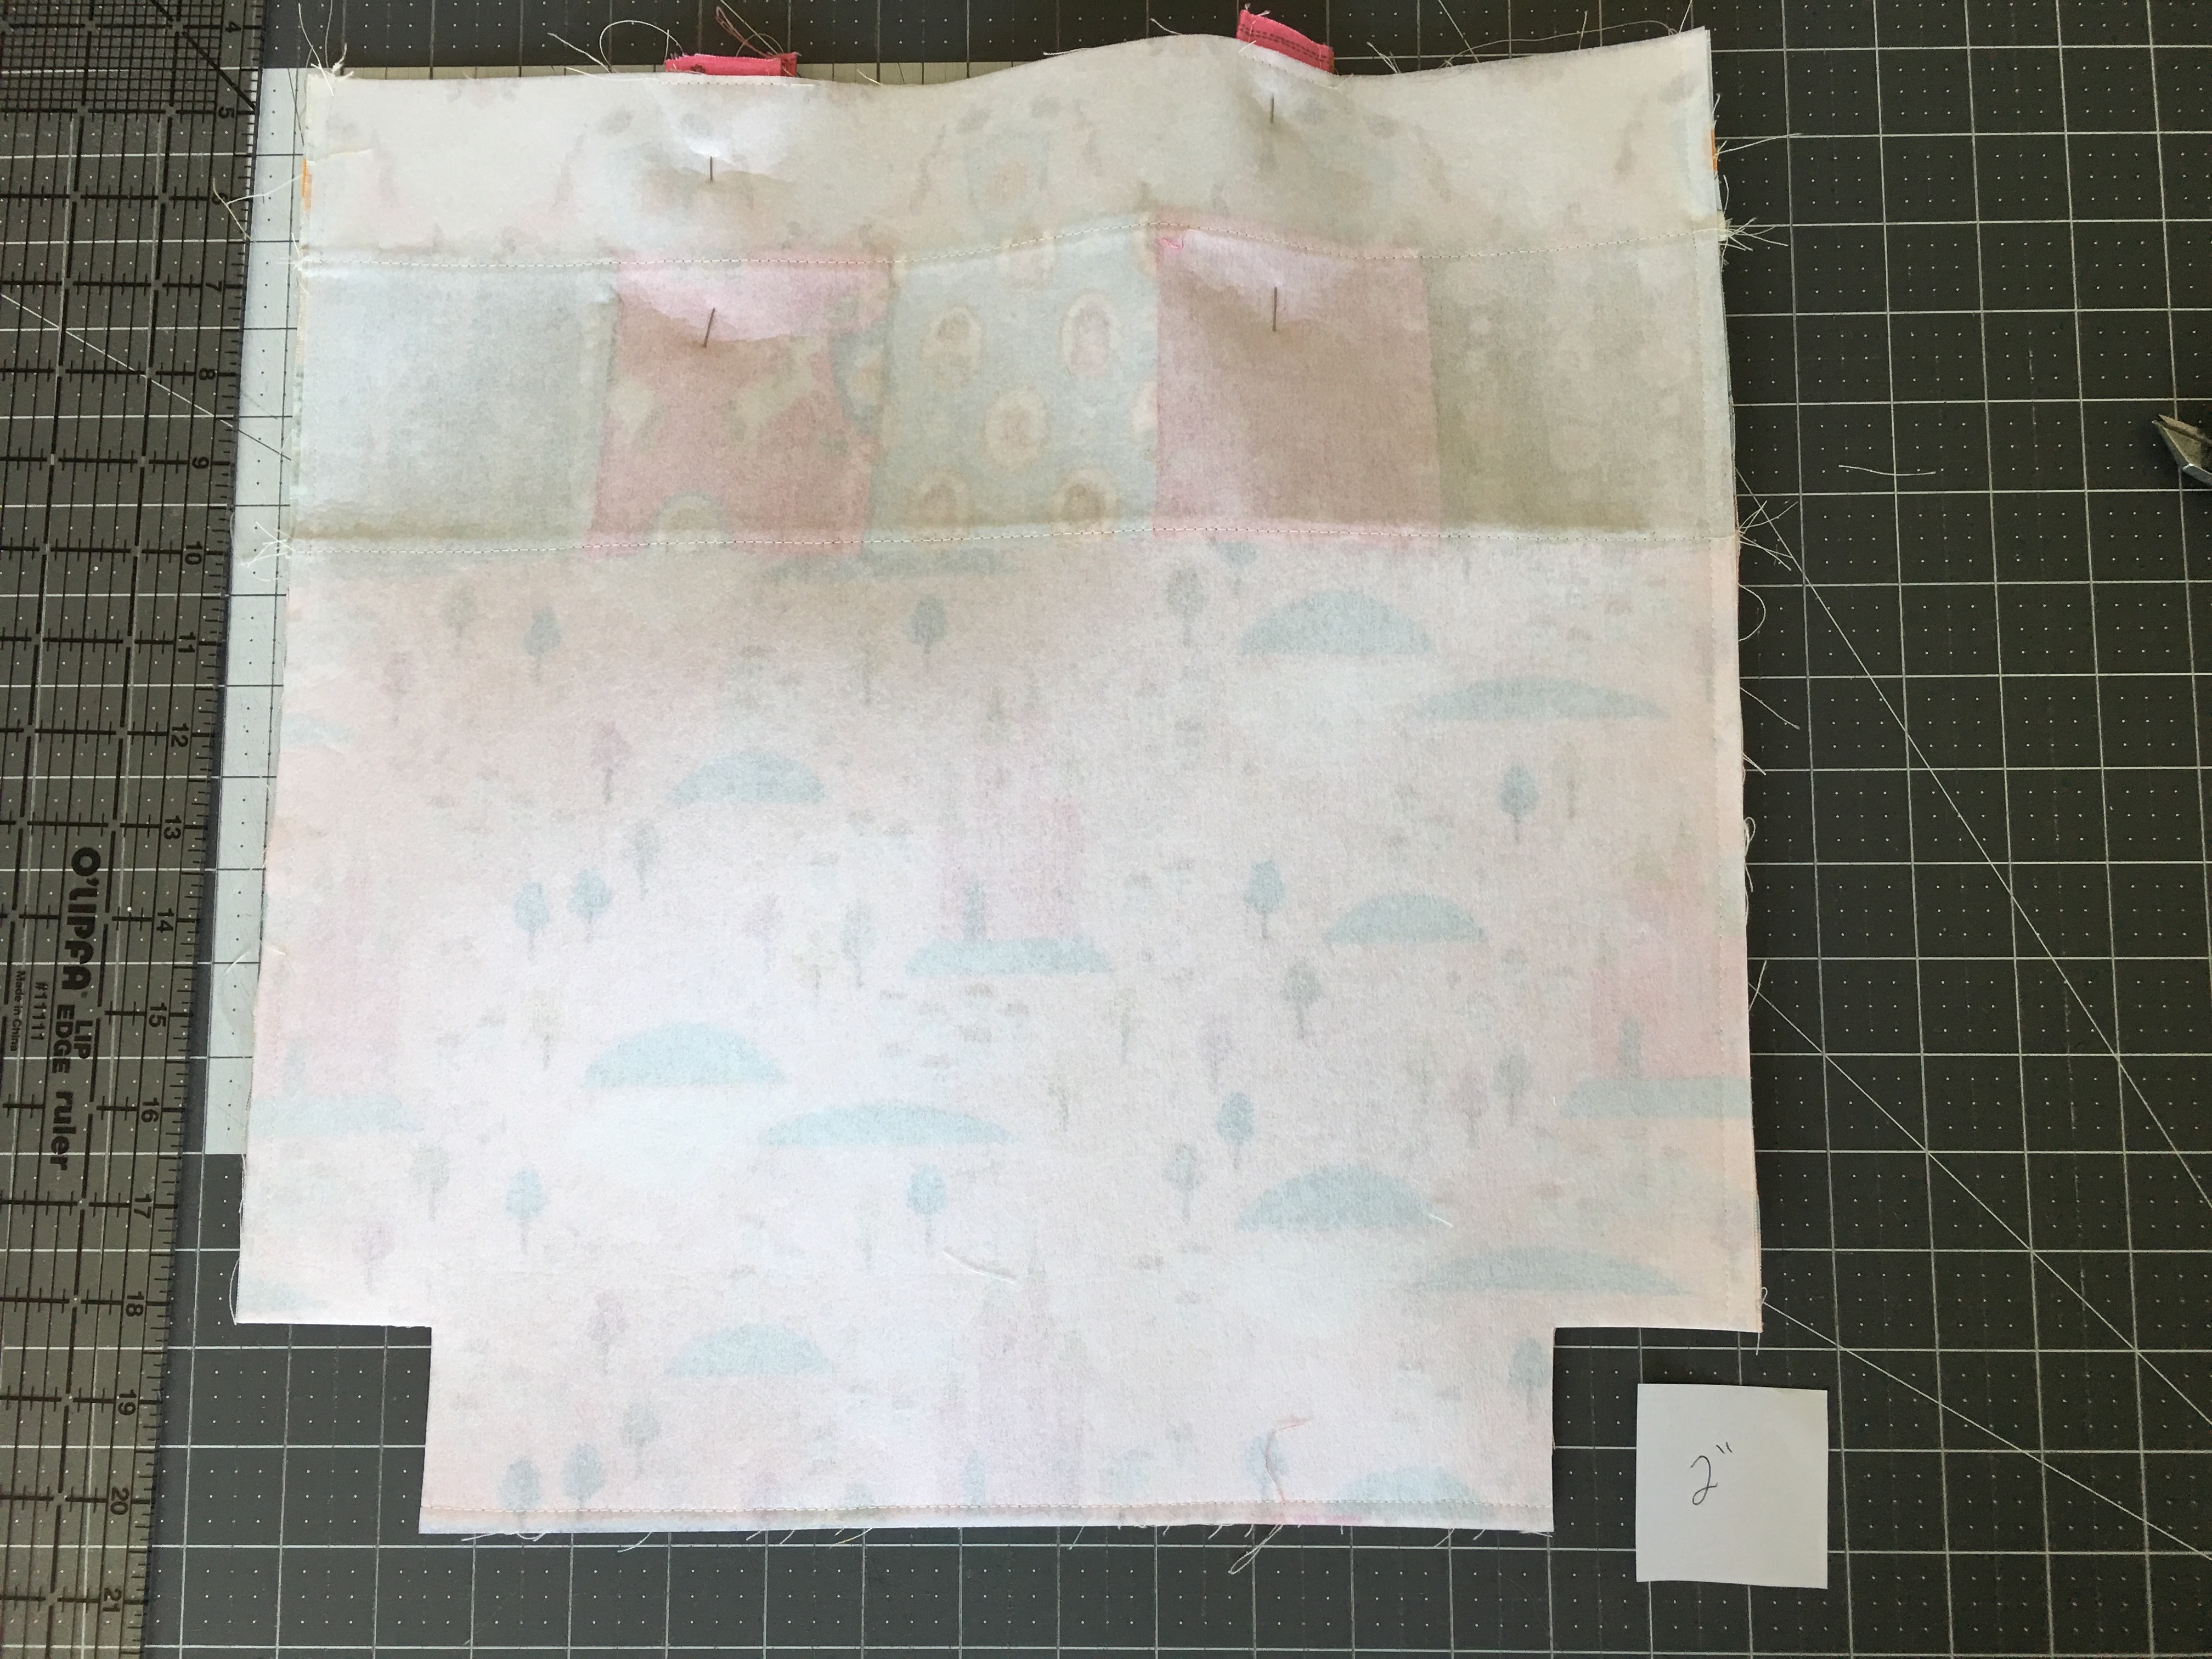
Cut a 3″ square and use as a pattern. Cut a 3″ notch out of the bottom corners of the outer bag and the lining.
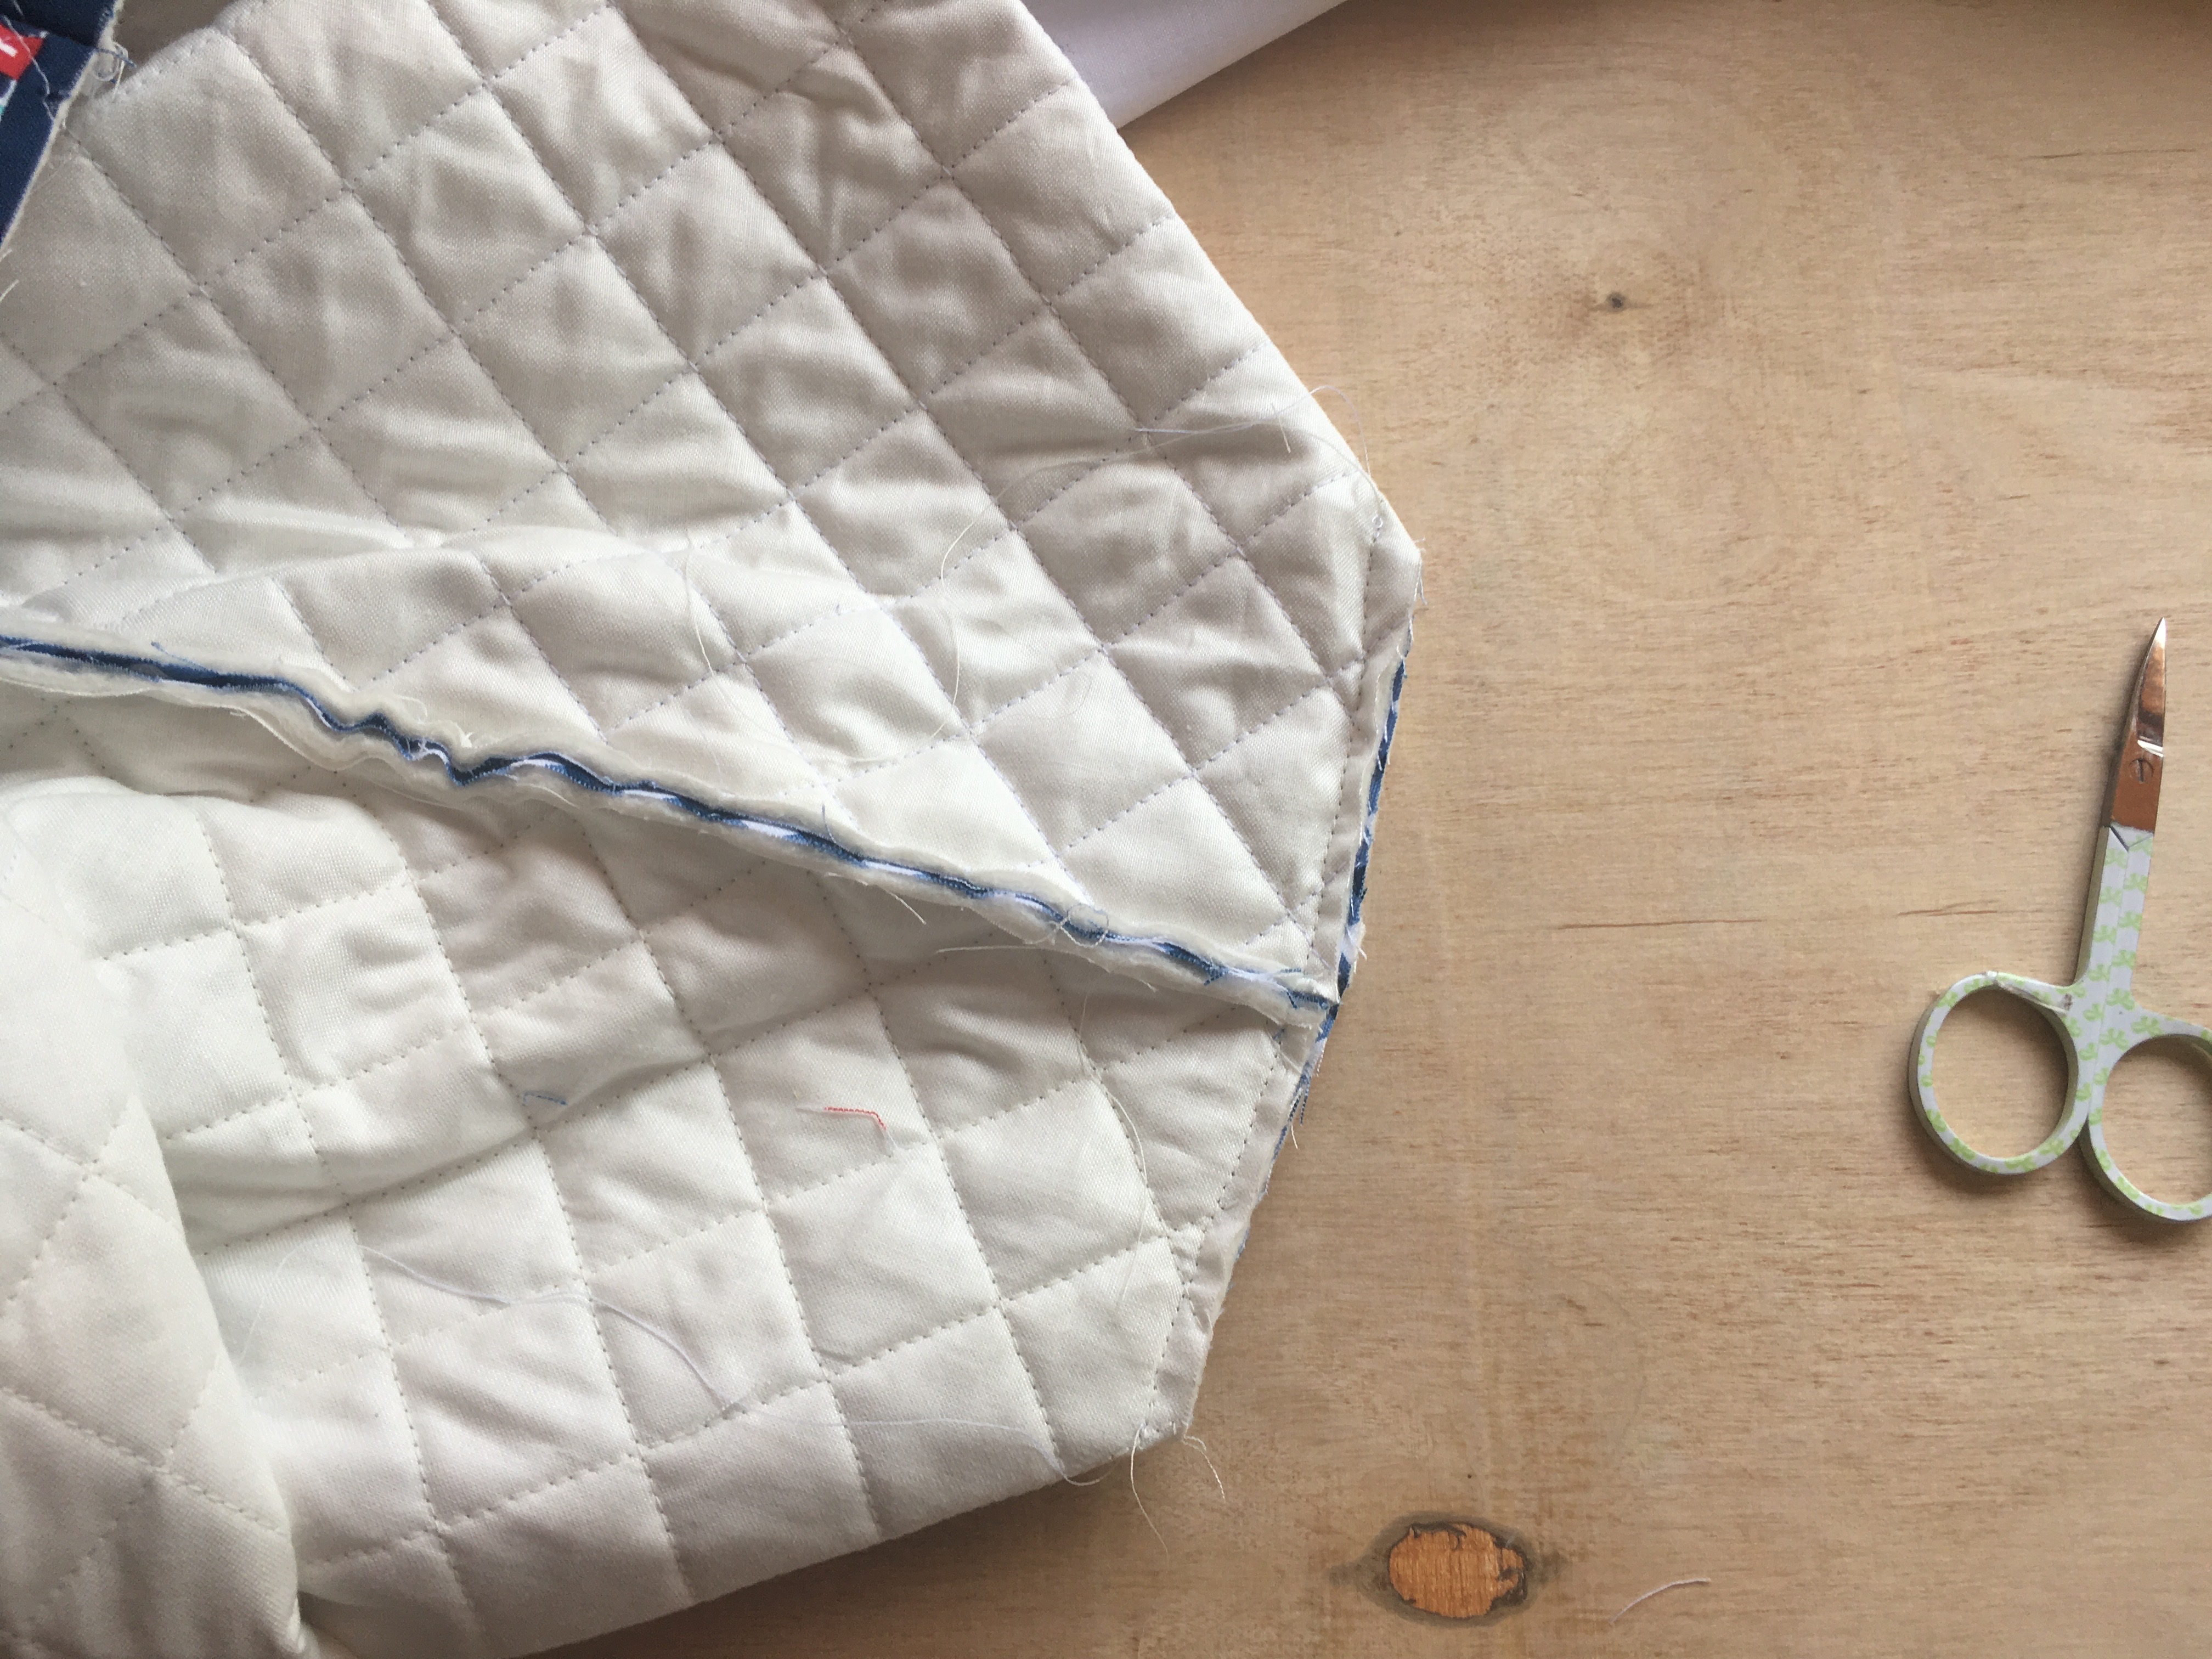
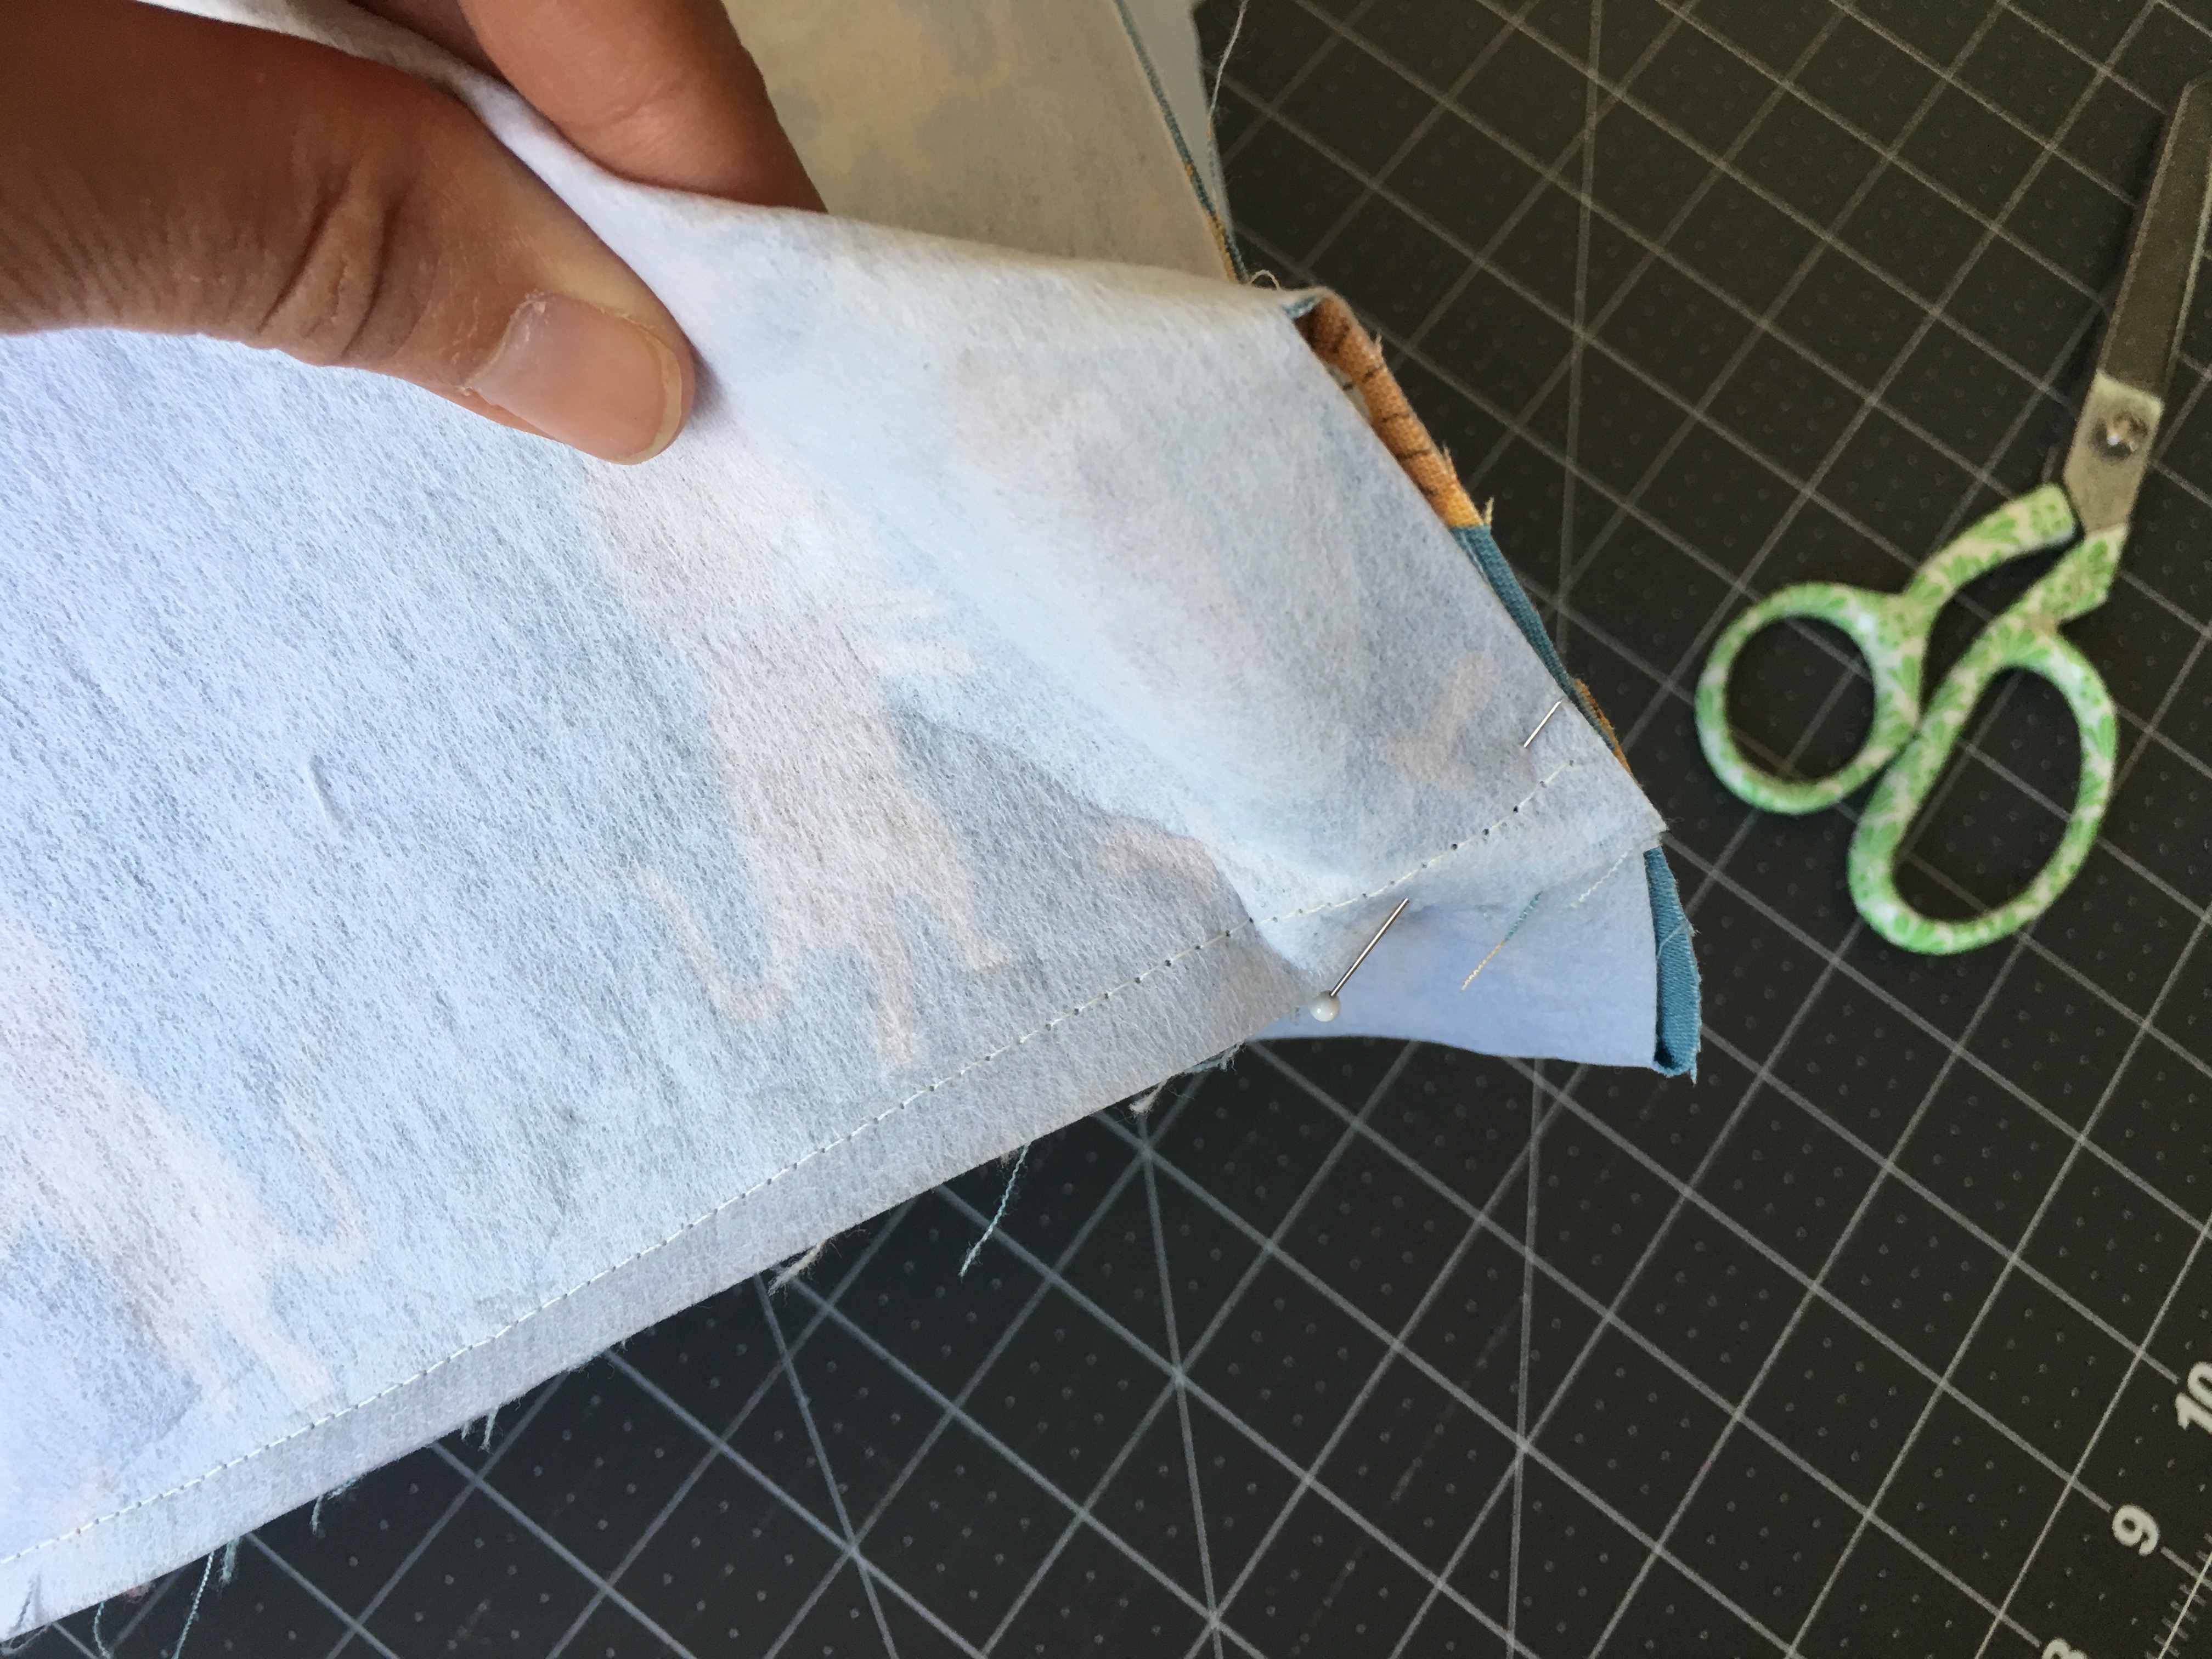
Match the seams of each corner, pin and sew 1/4″, backstitching to start and stop.
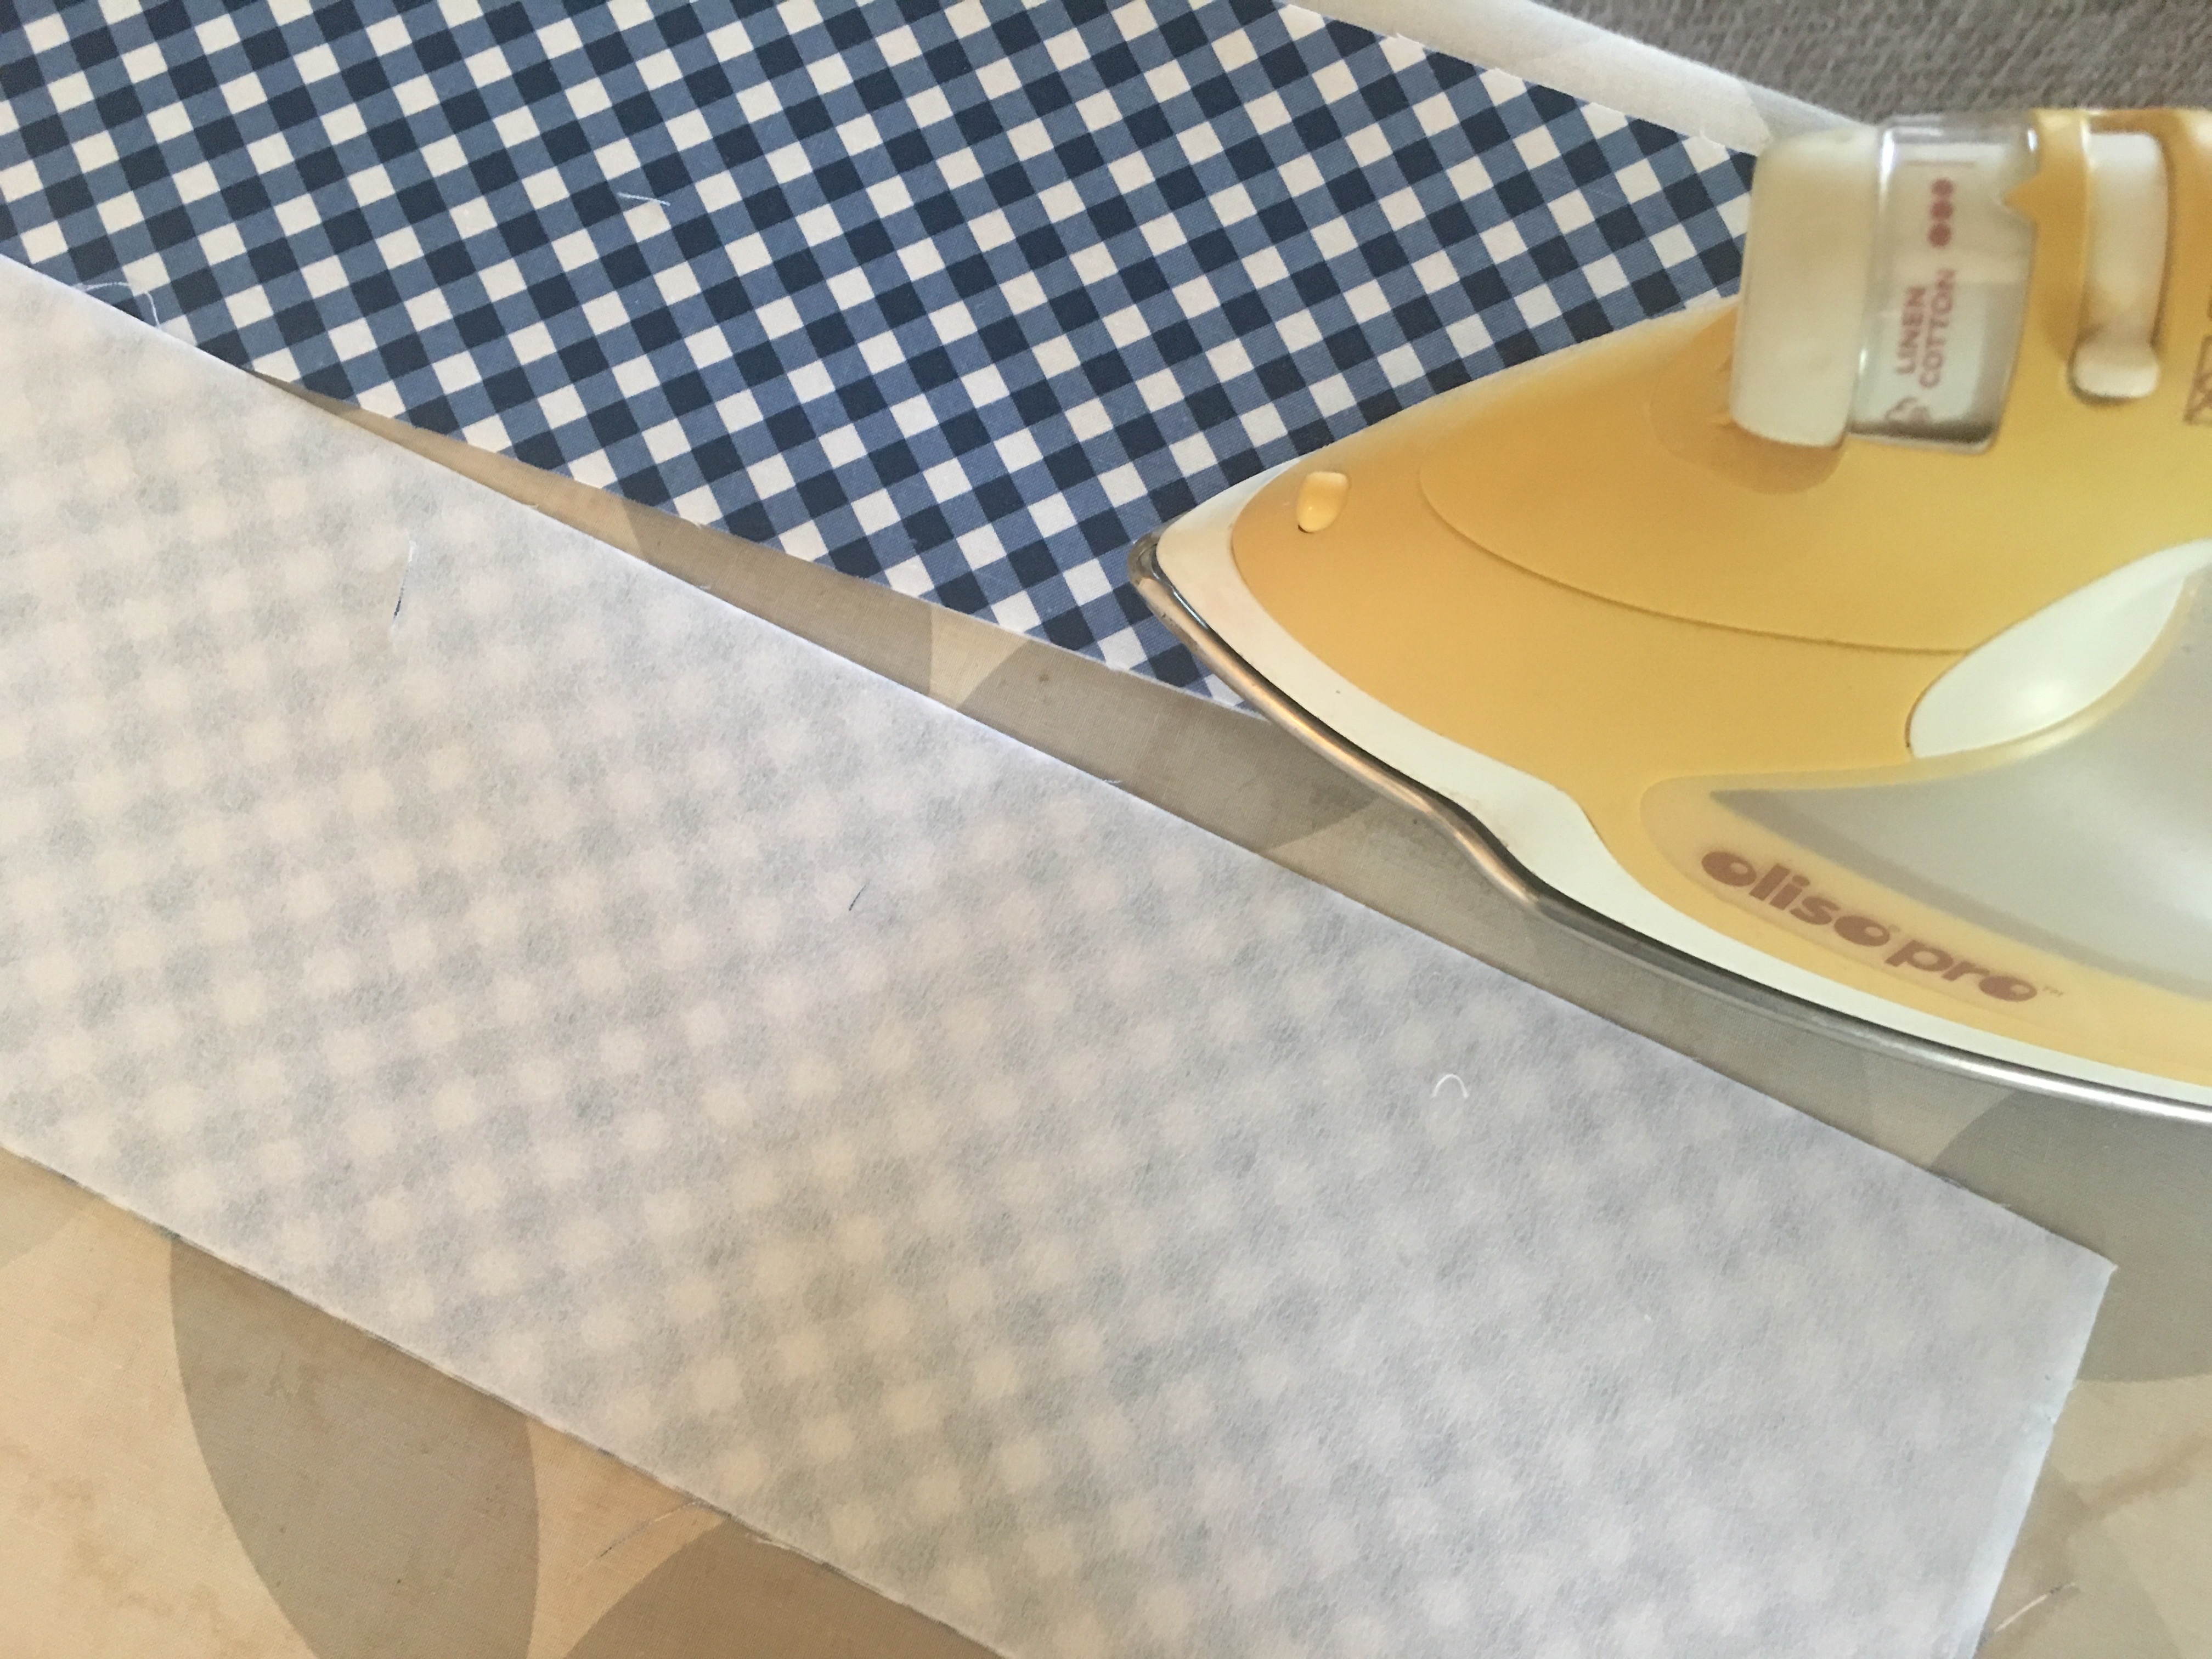
If you would like to add stability to the handles, fuse a piece of light weight stabilizer the same size as the handle strips to the wrong side of the two handle strips.
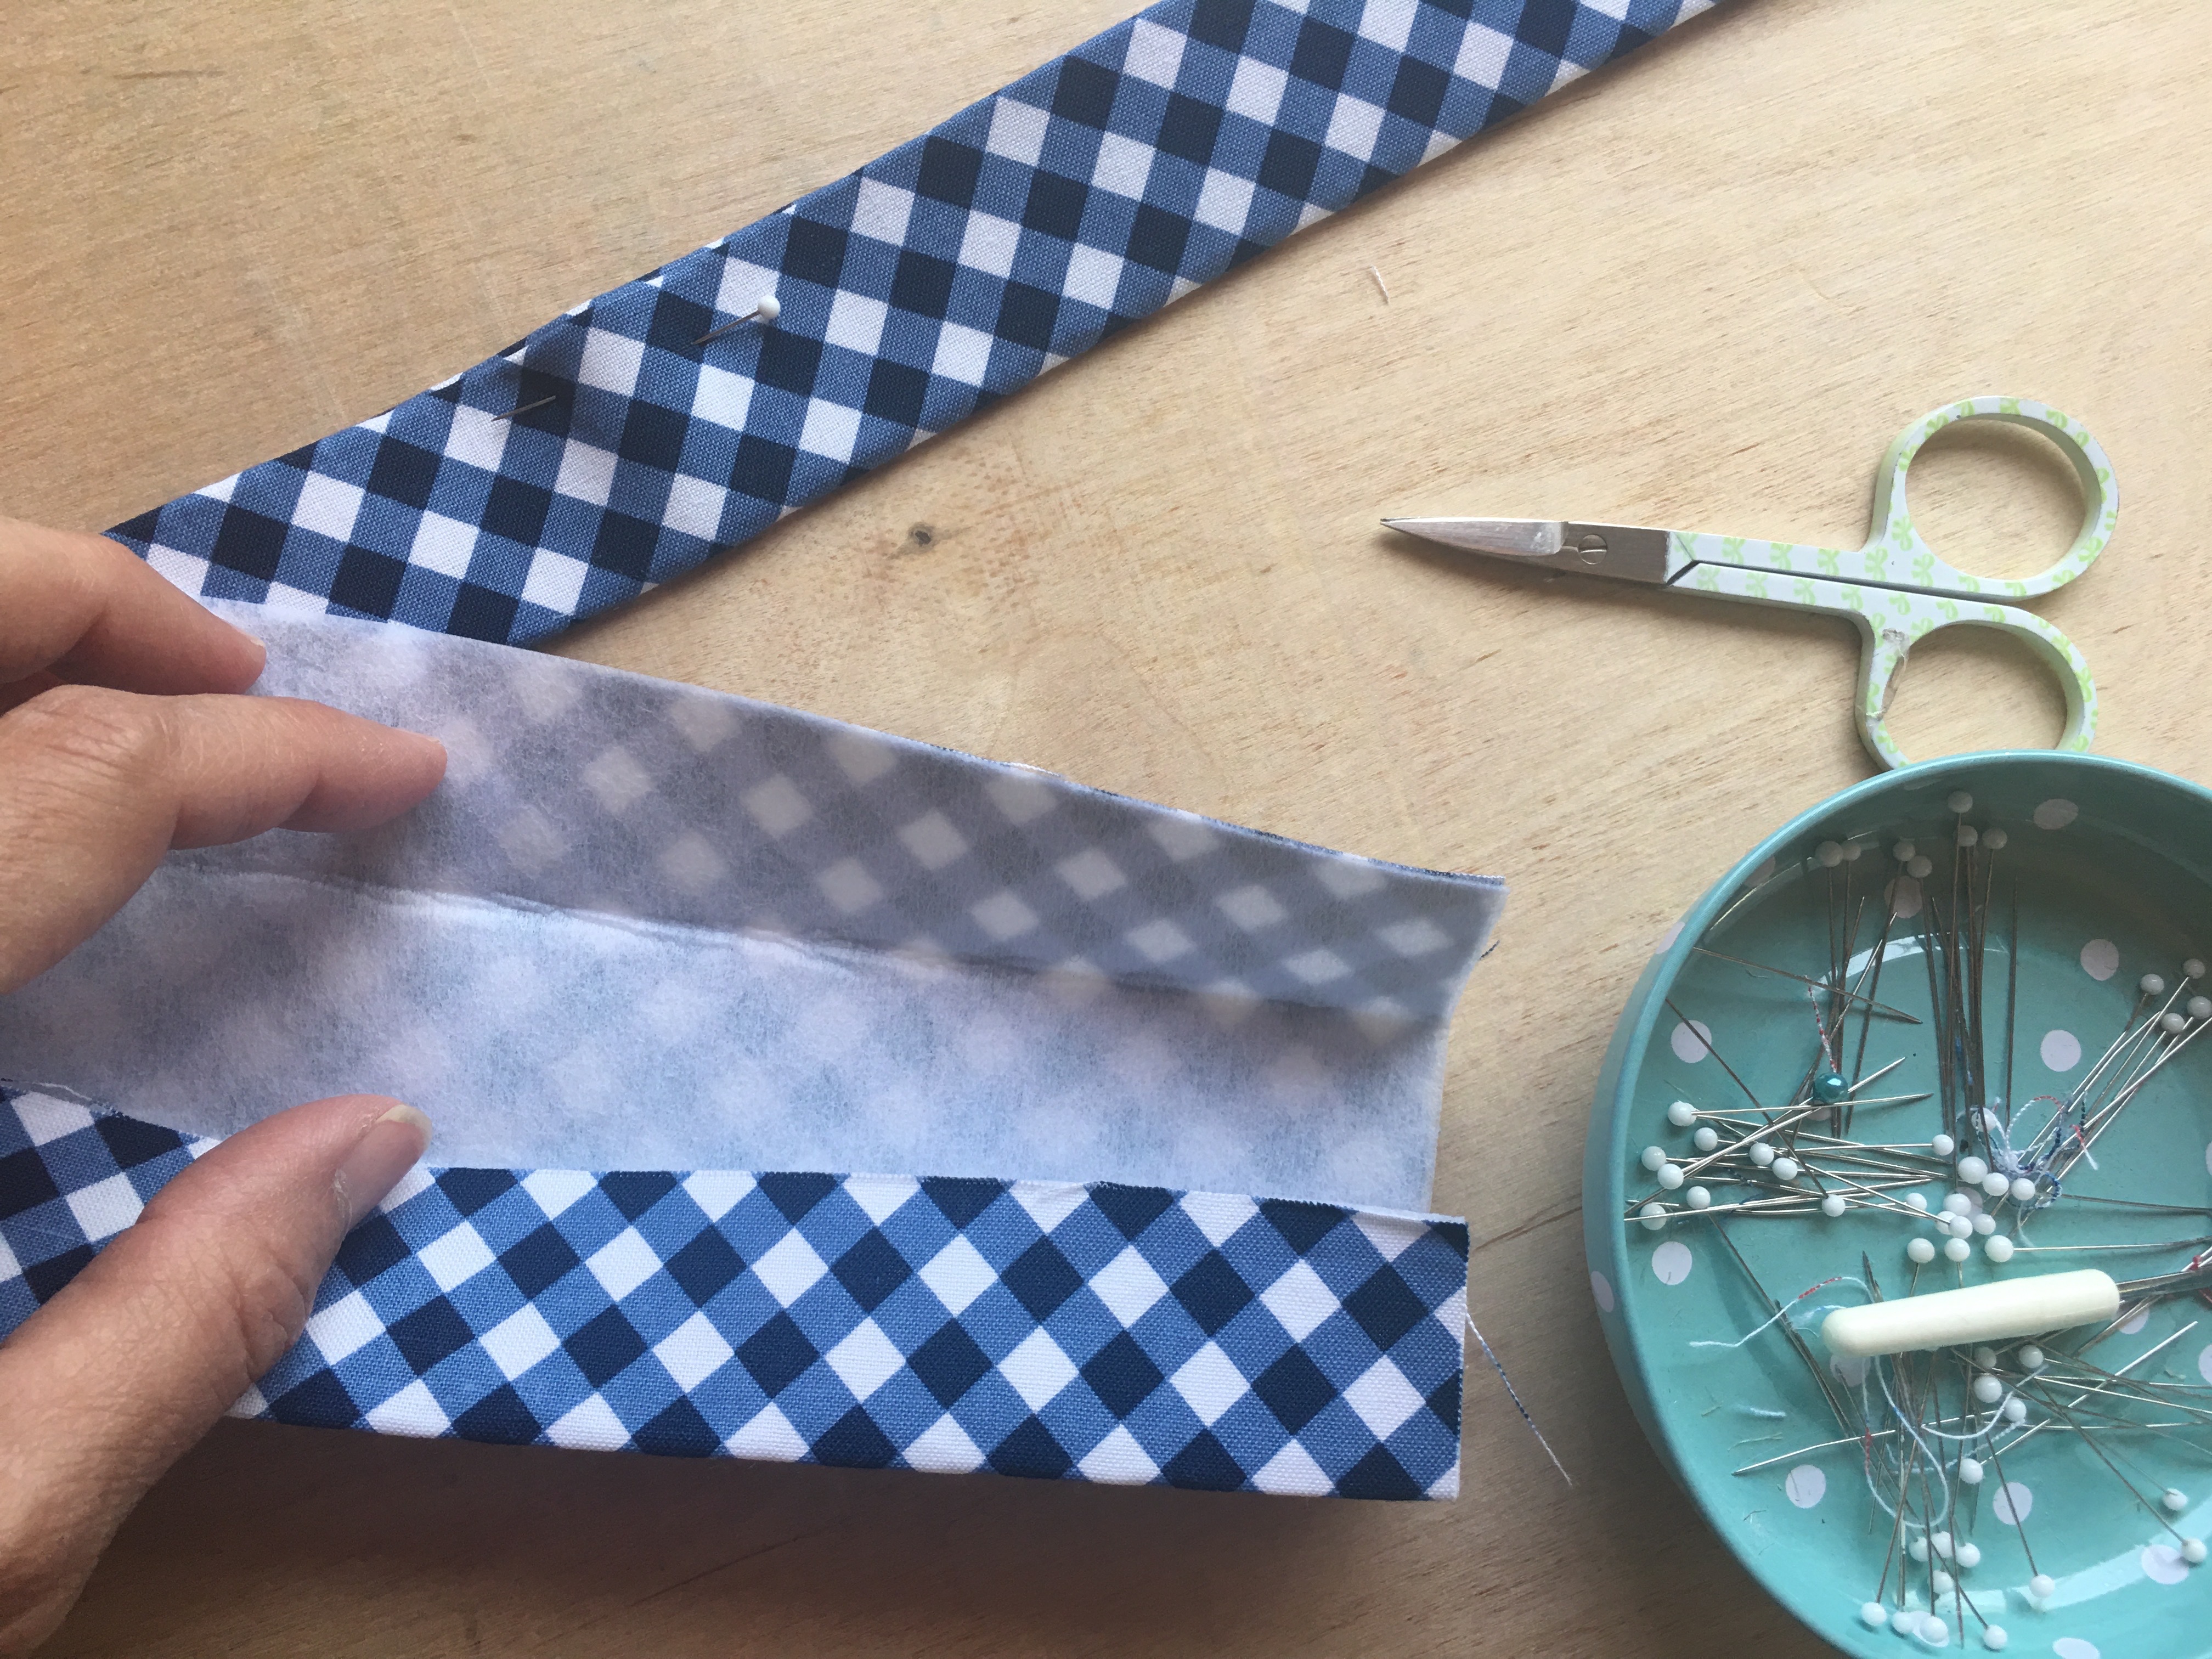
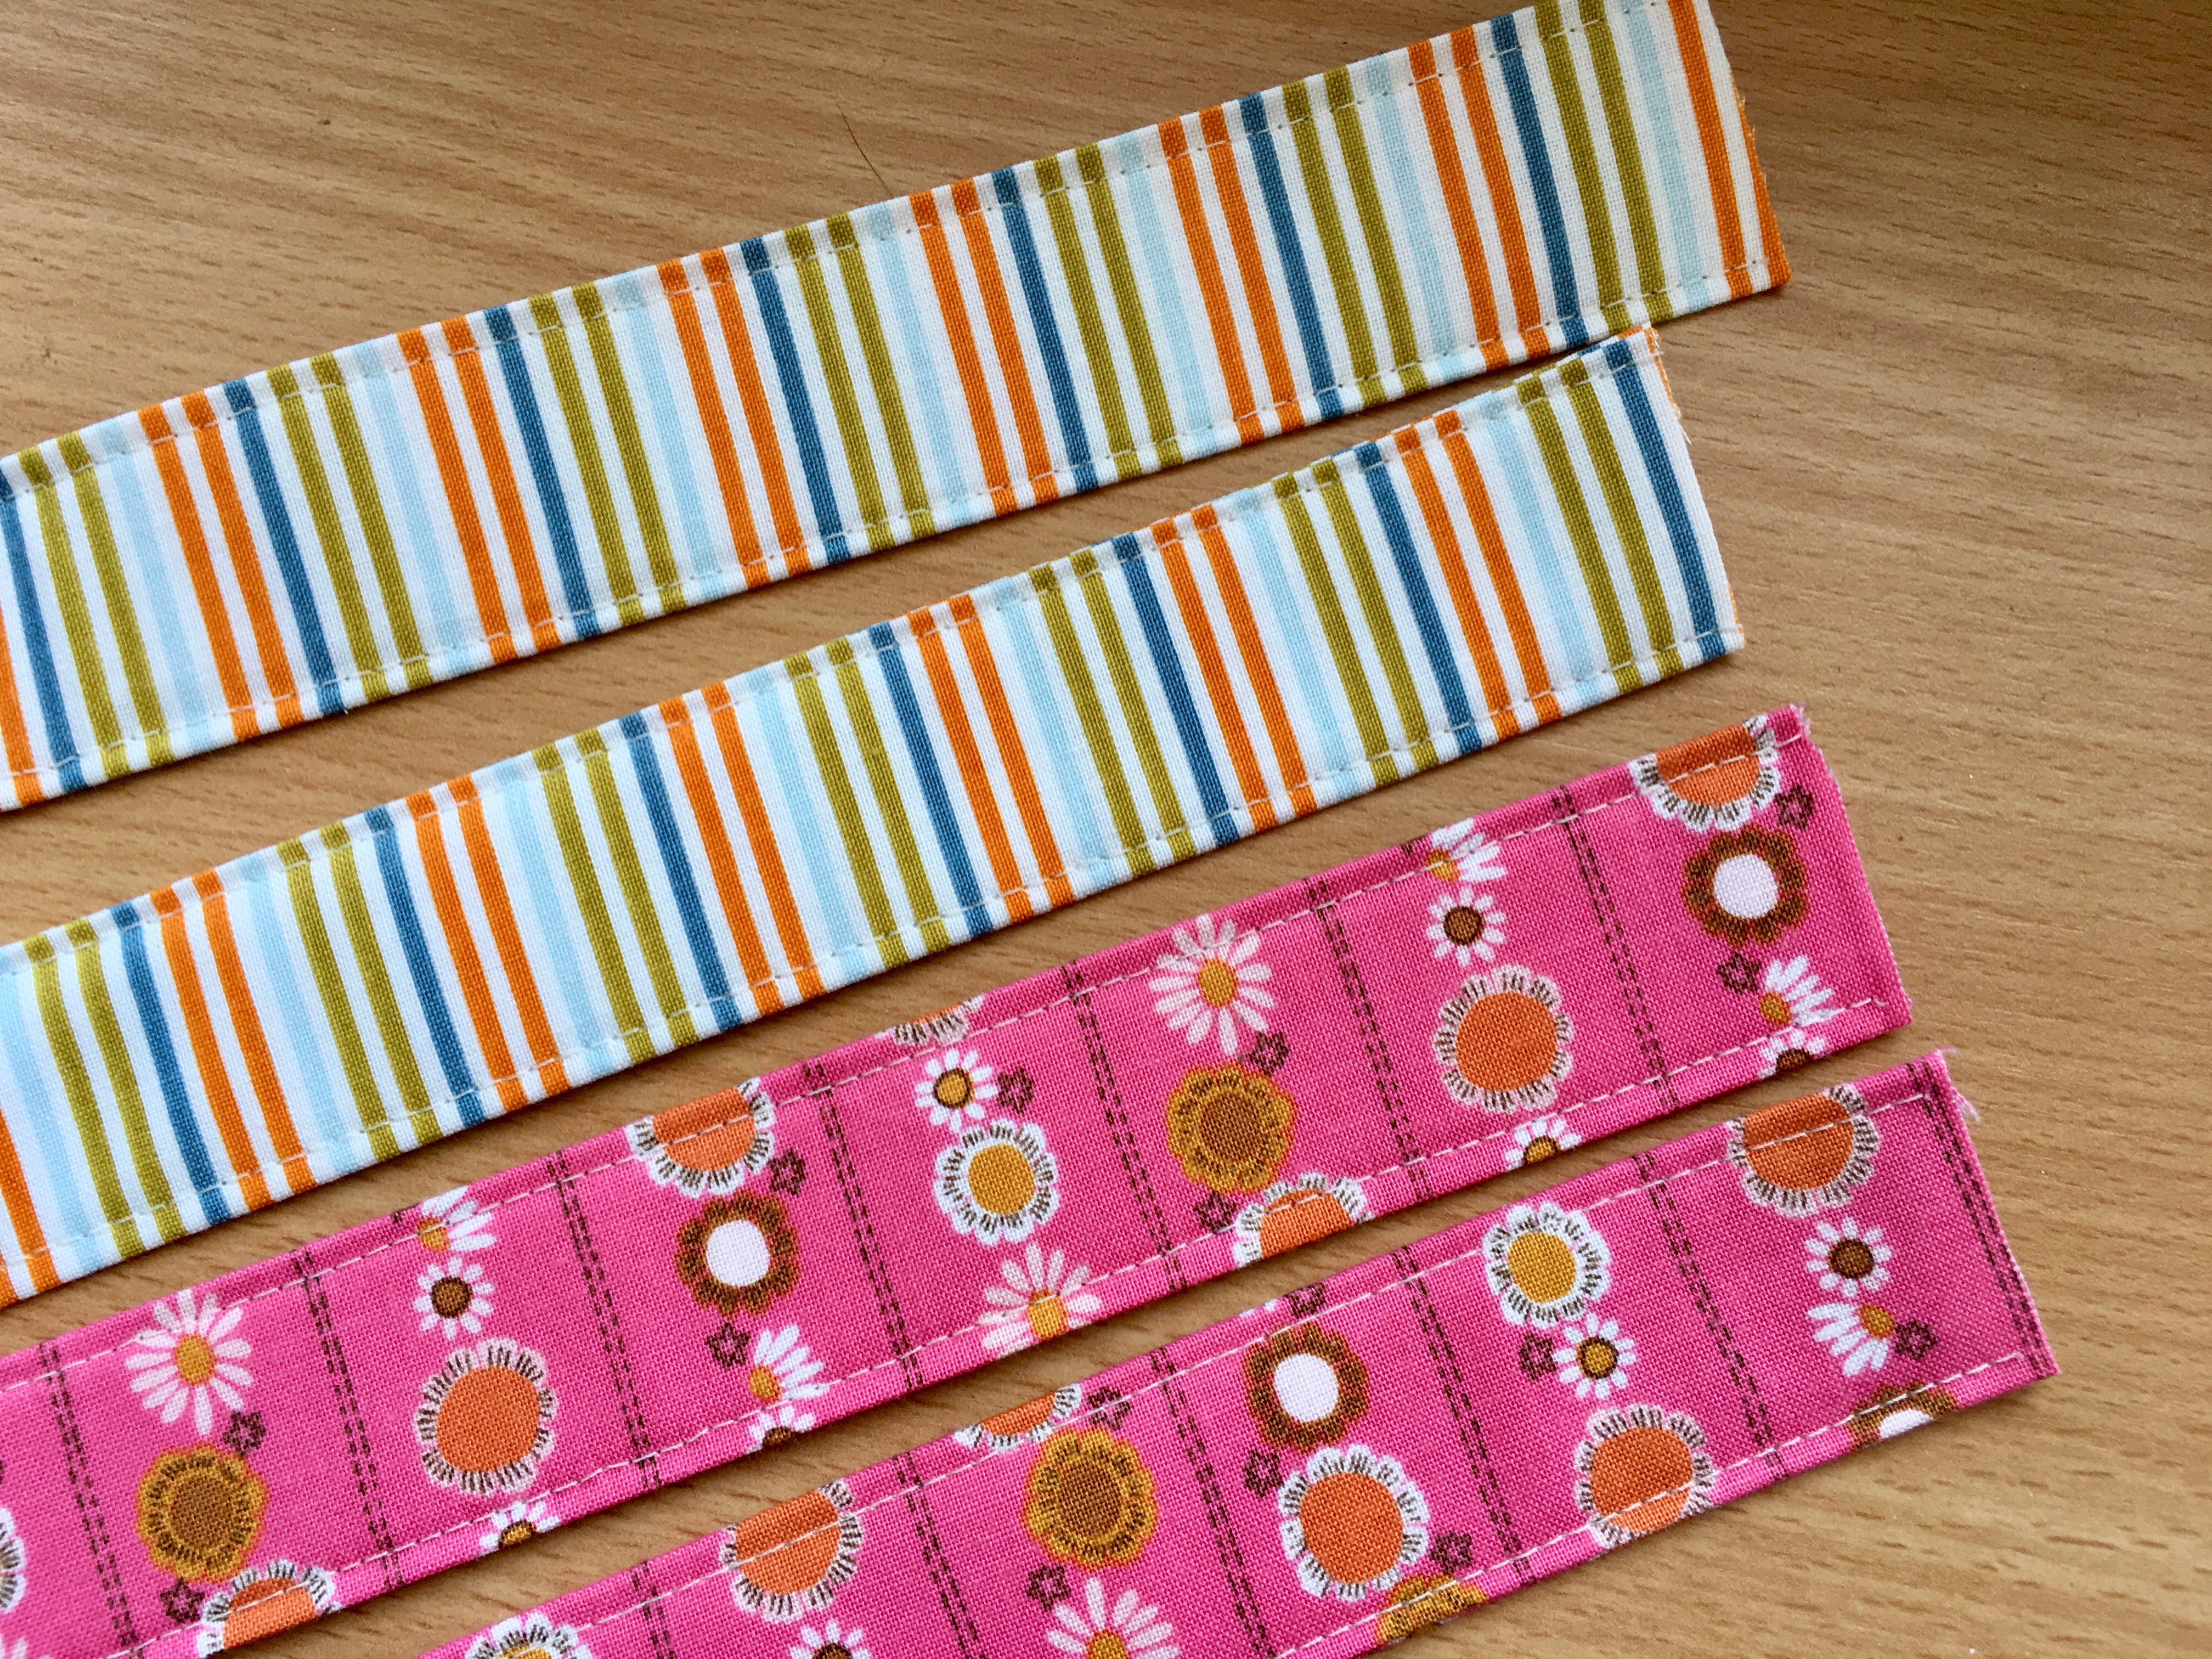
Press the handle strips in half lengthwise, then press the edges meeting in the center. Fold in half again and press. (The handles will be folded in 4ths)
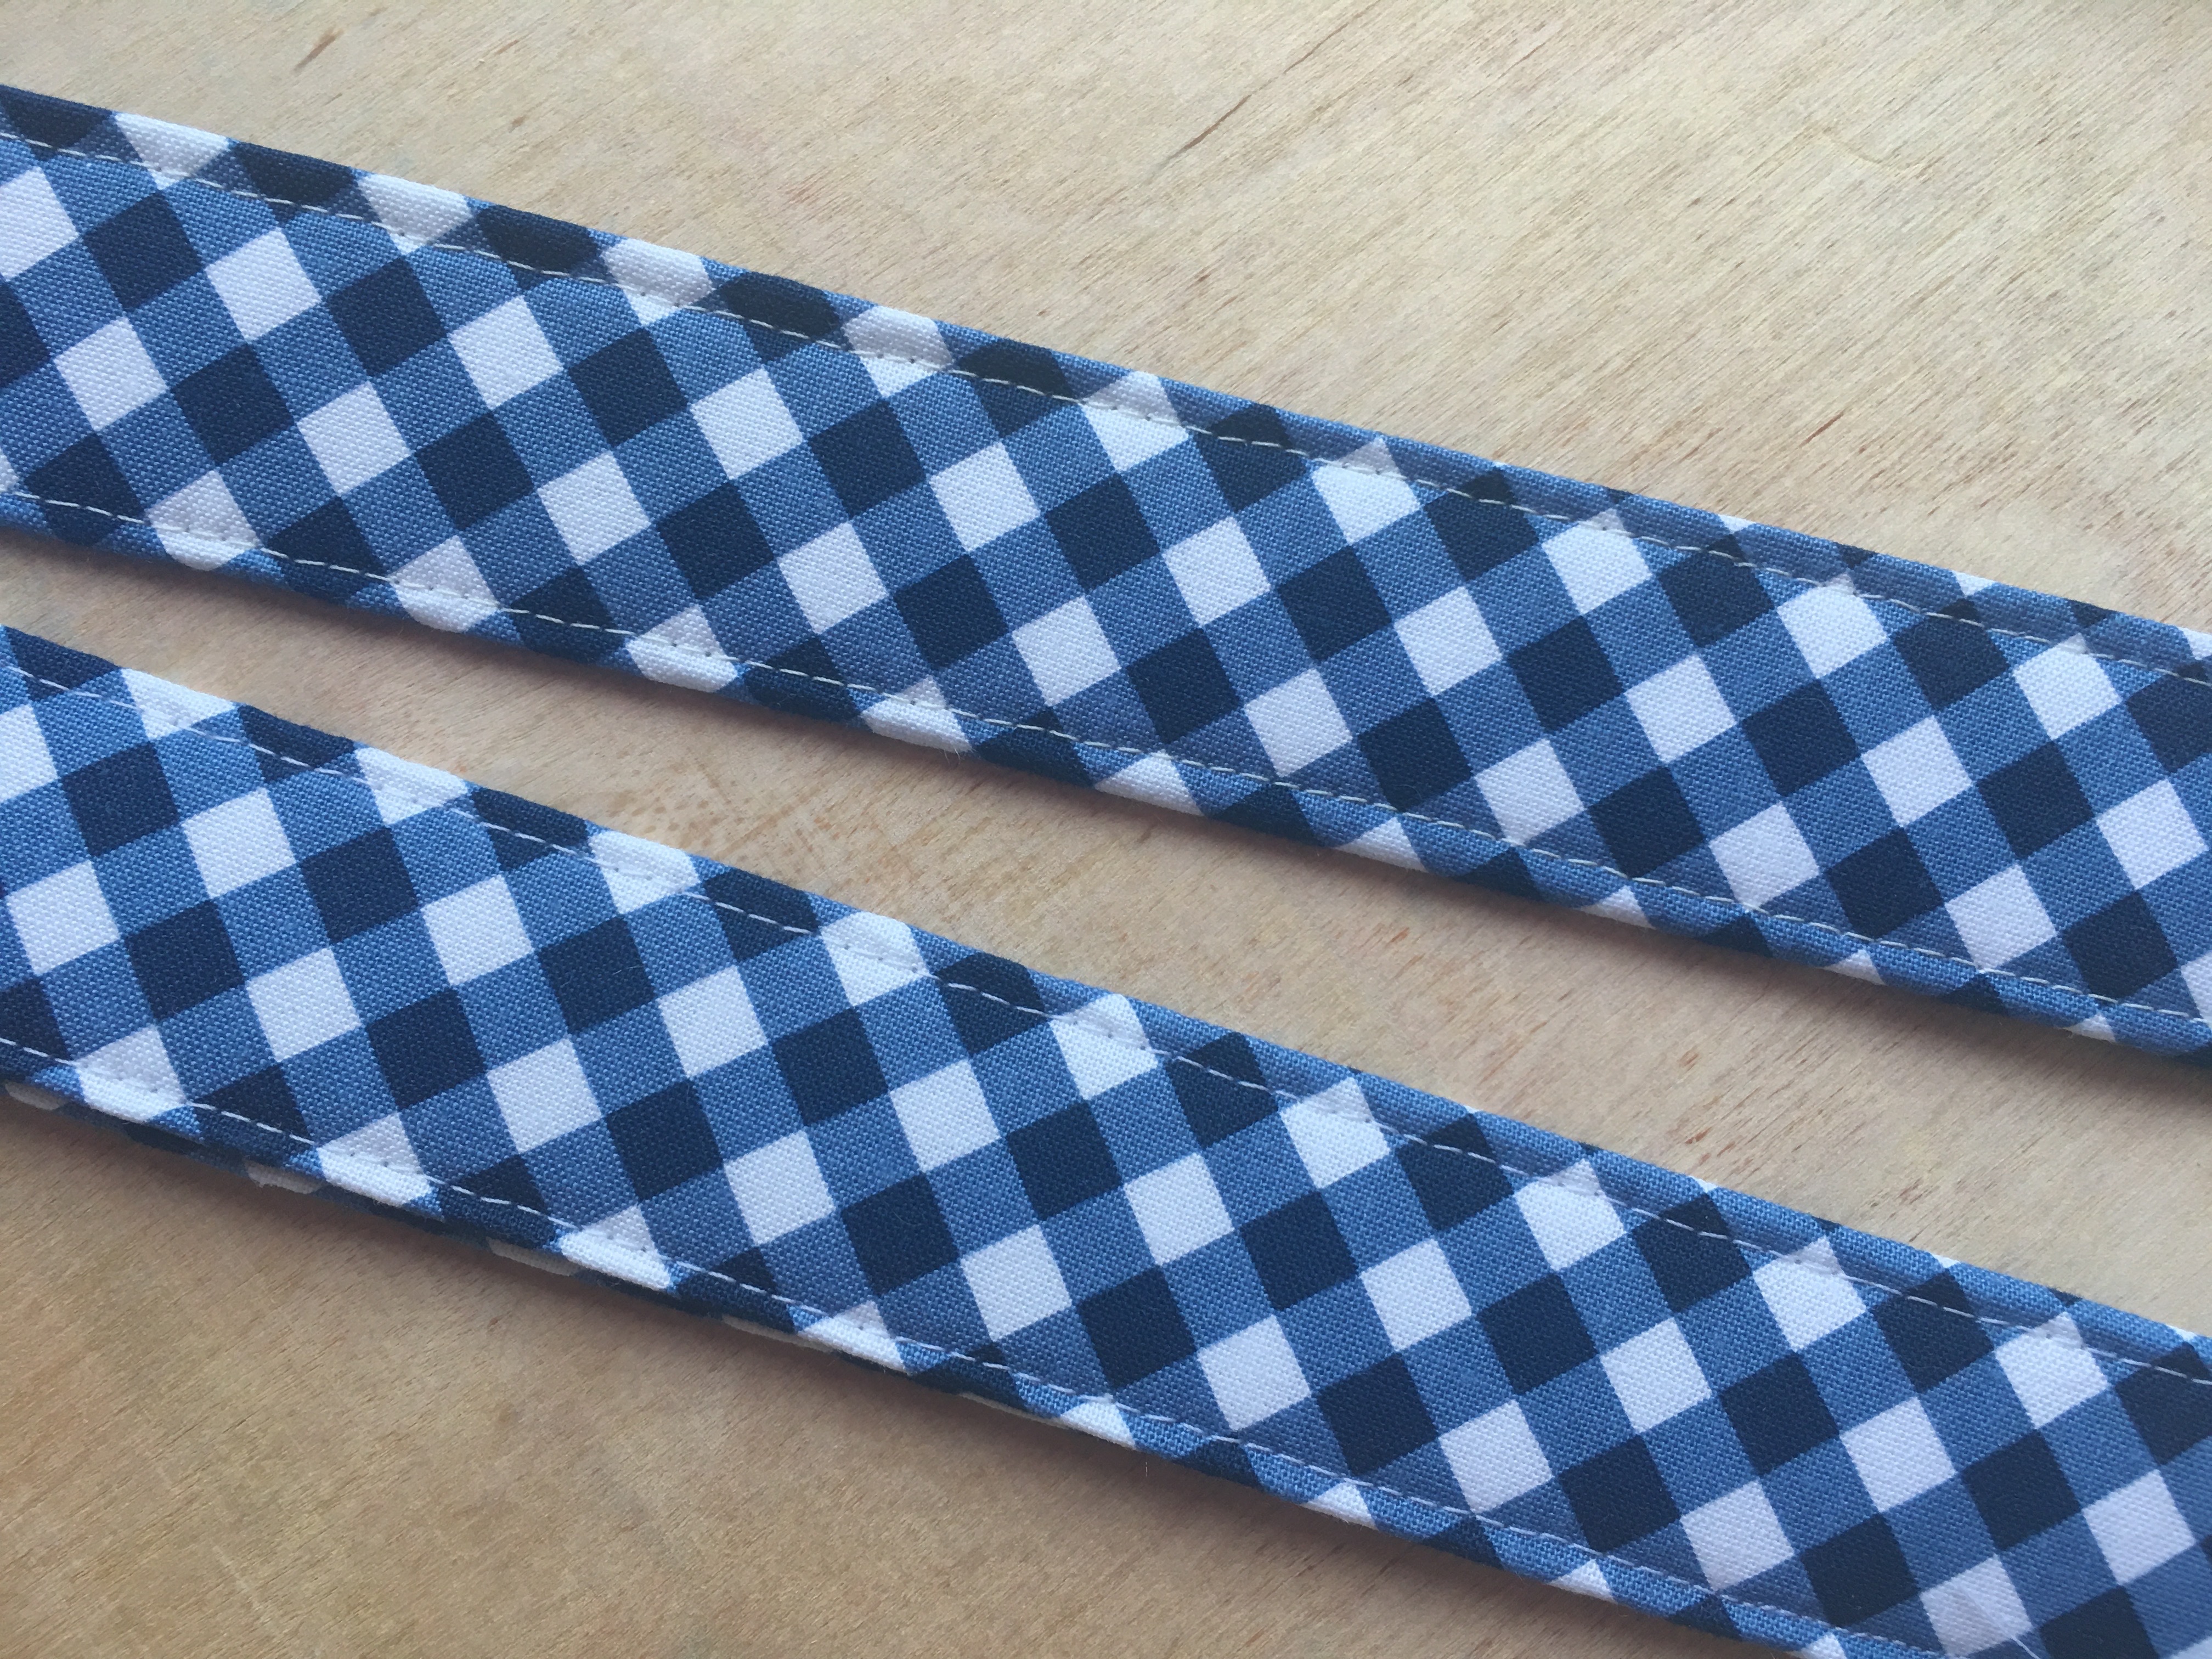
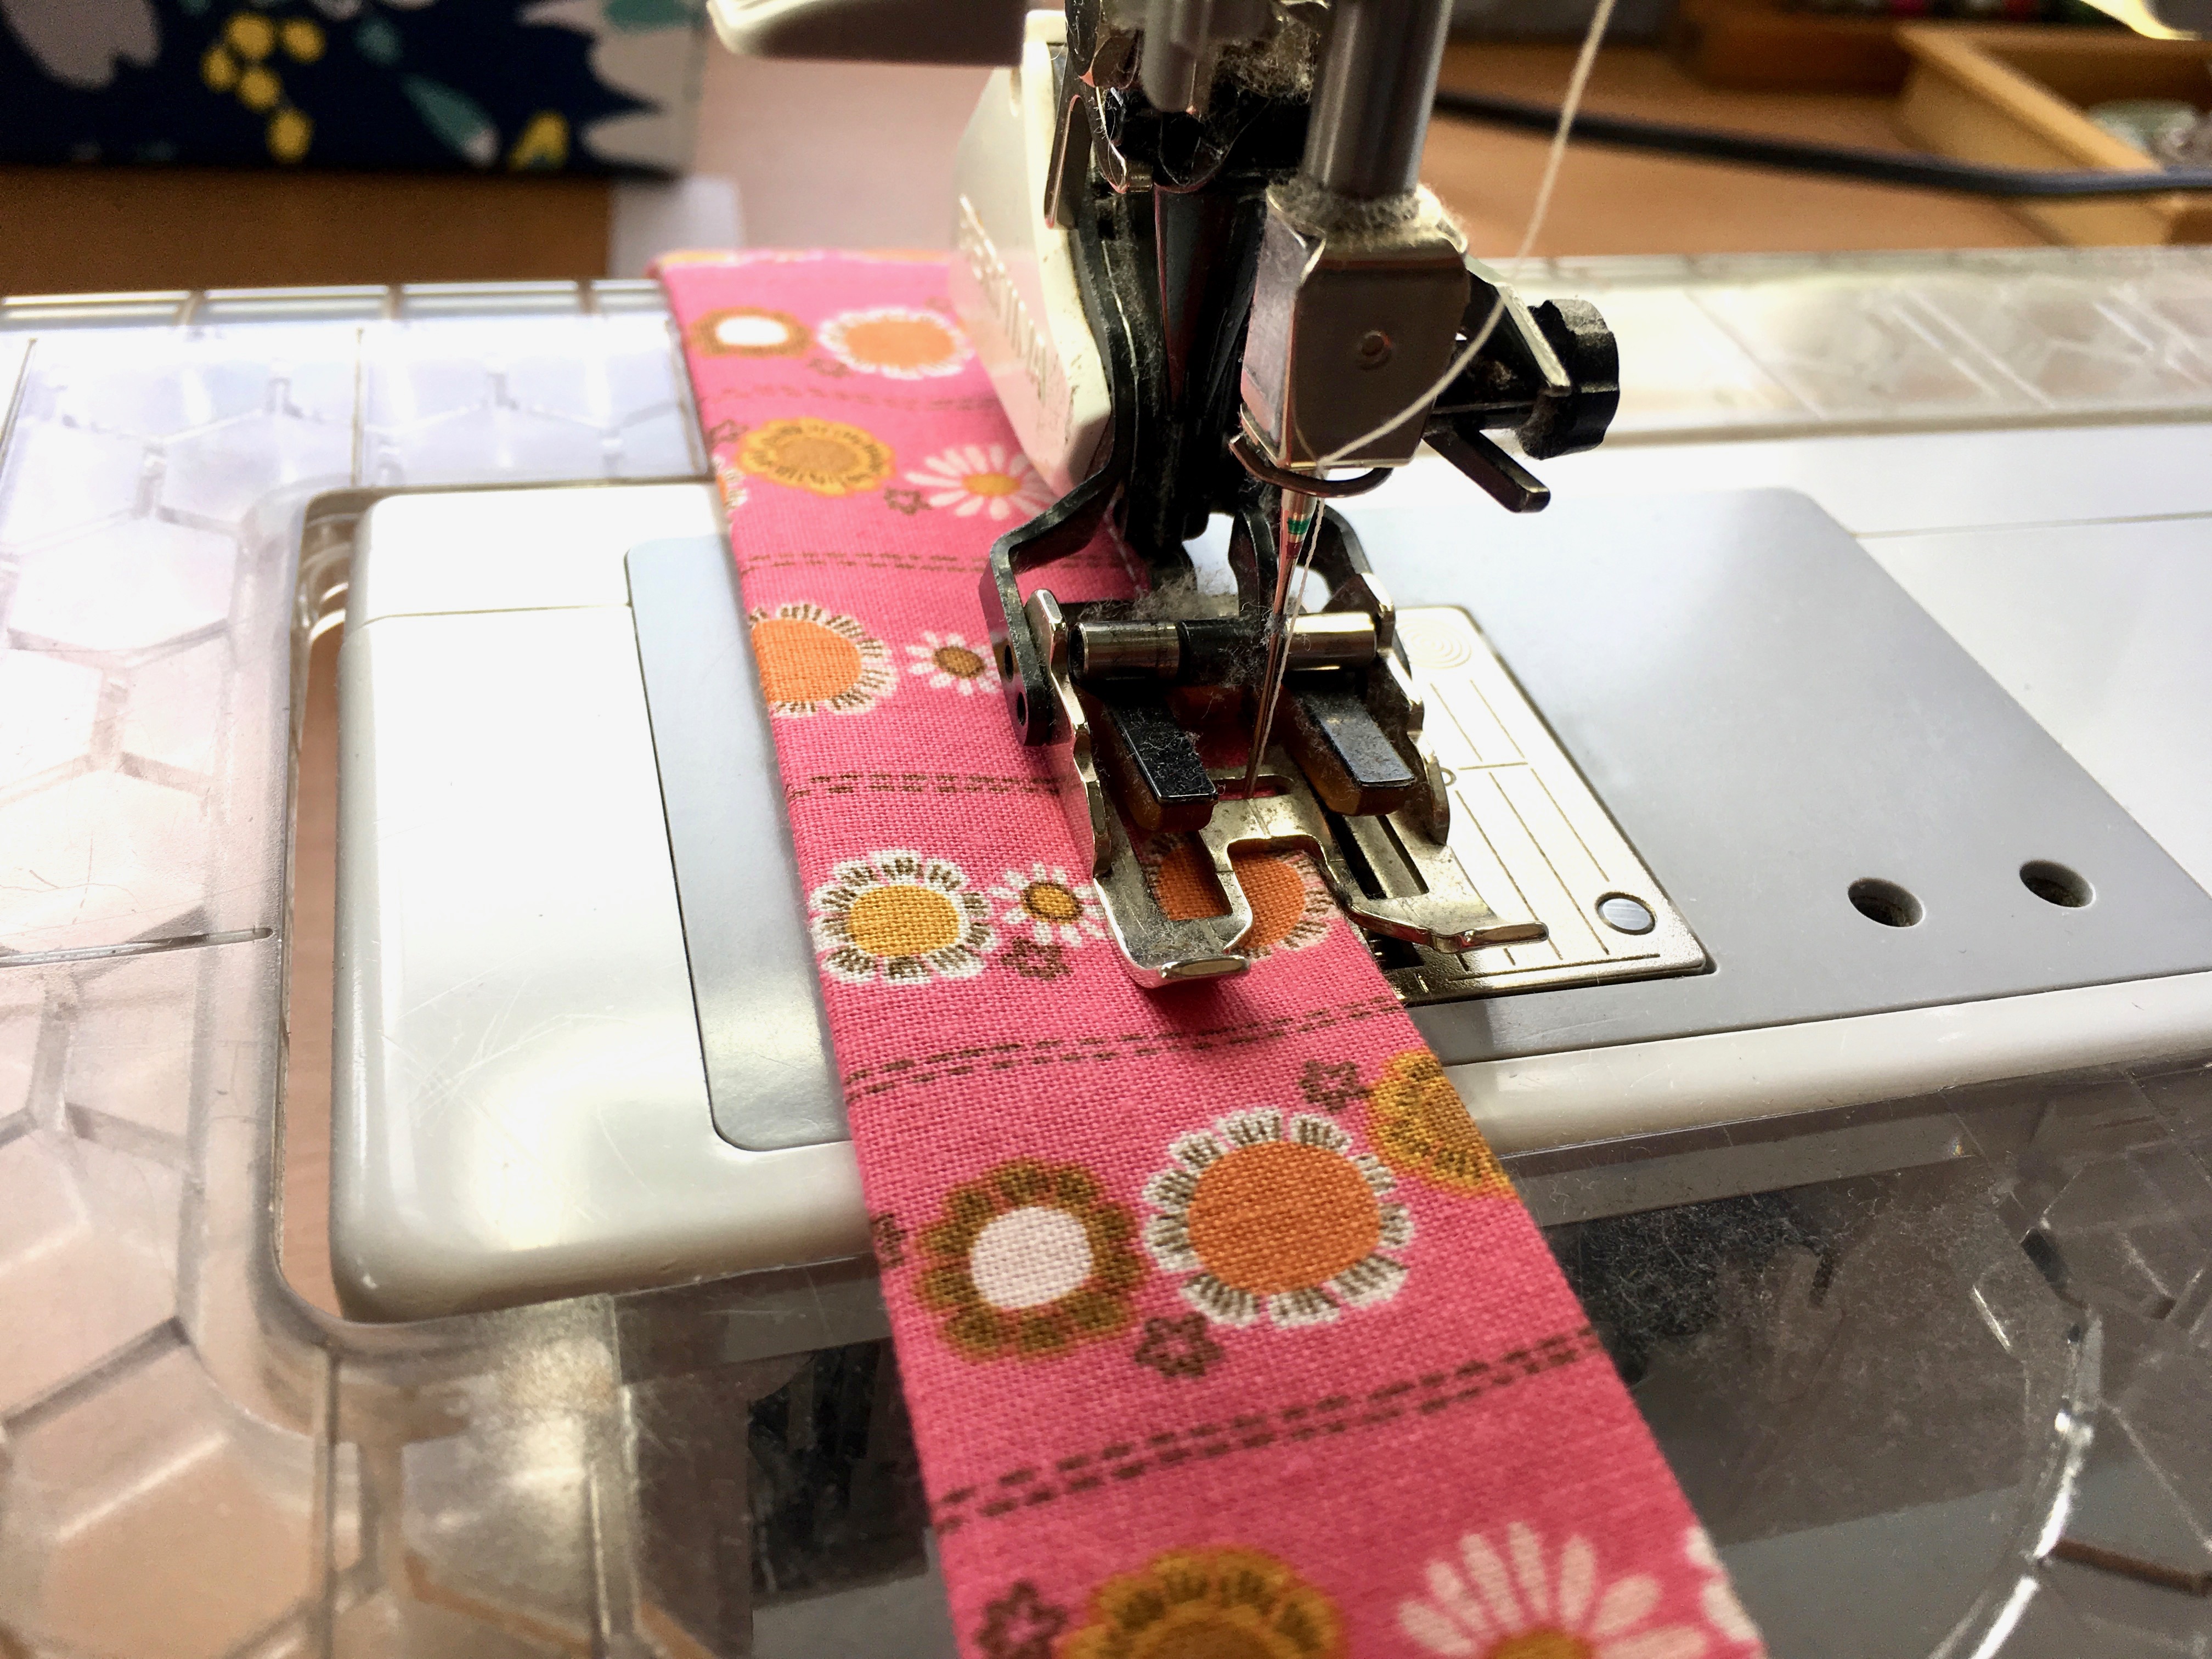
Top stitch 1/8″ along both sides of the handles.
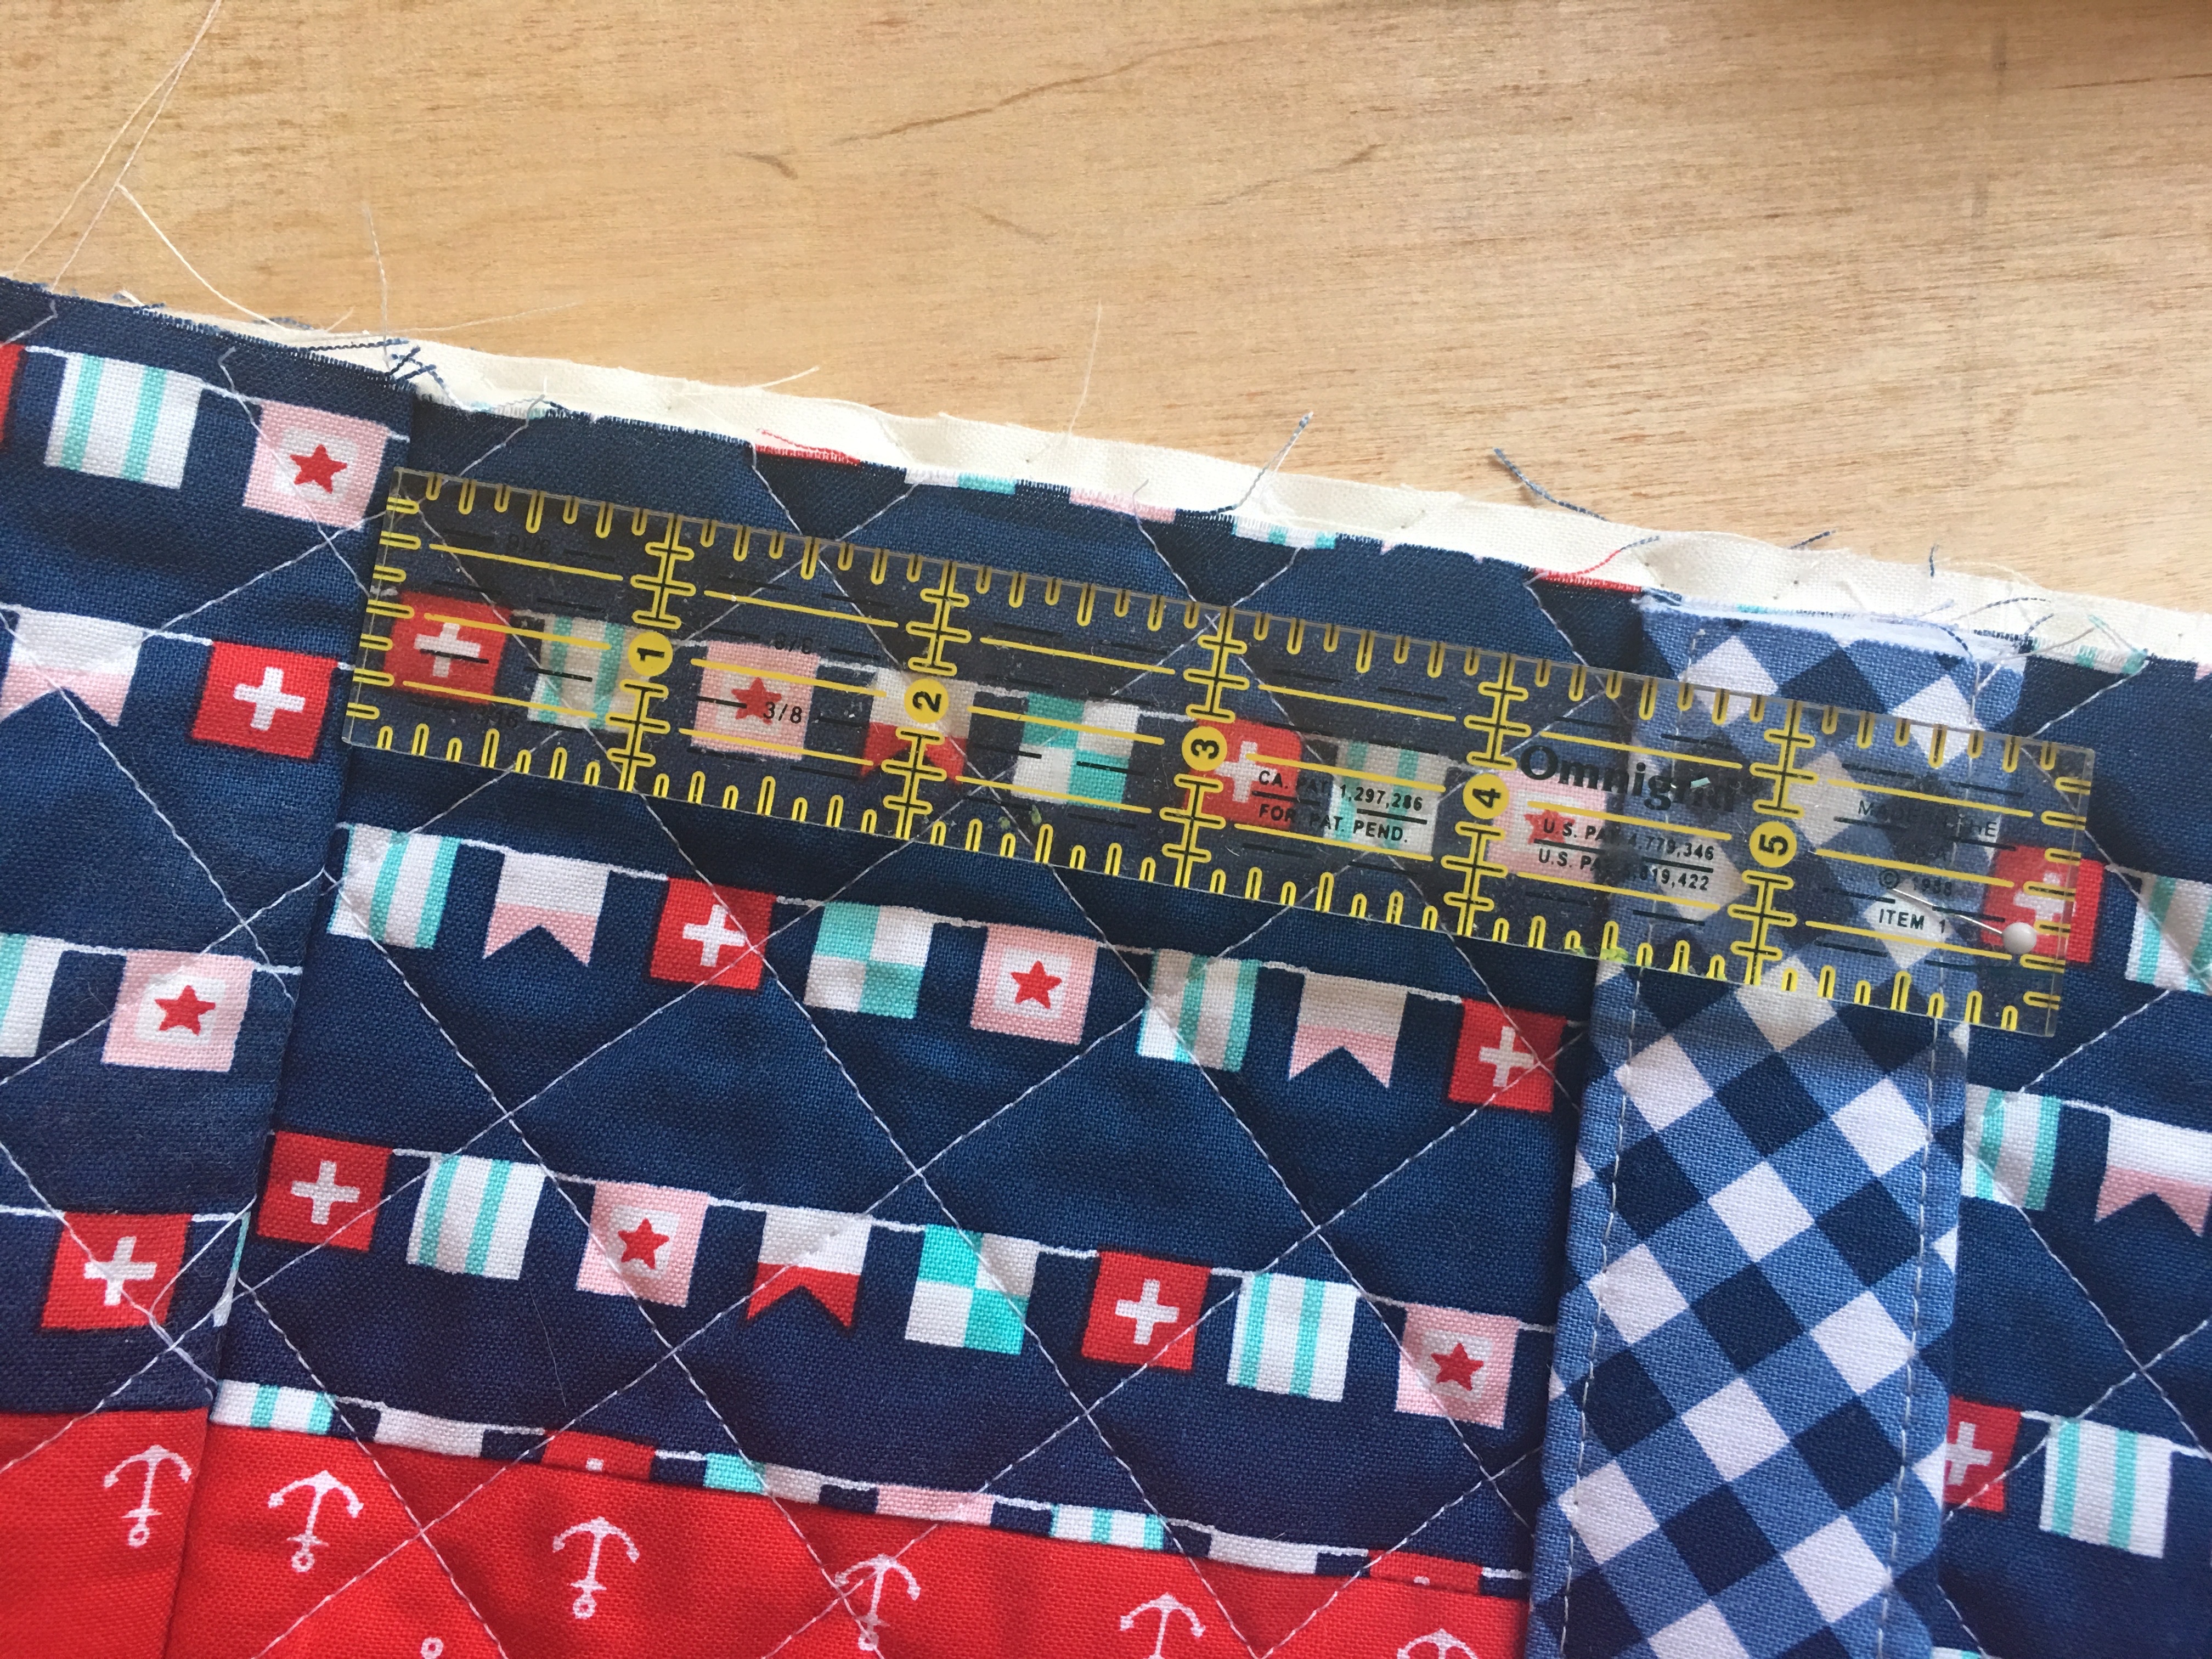
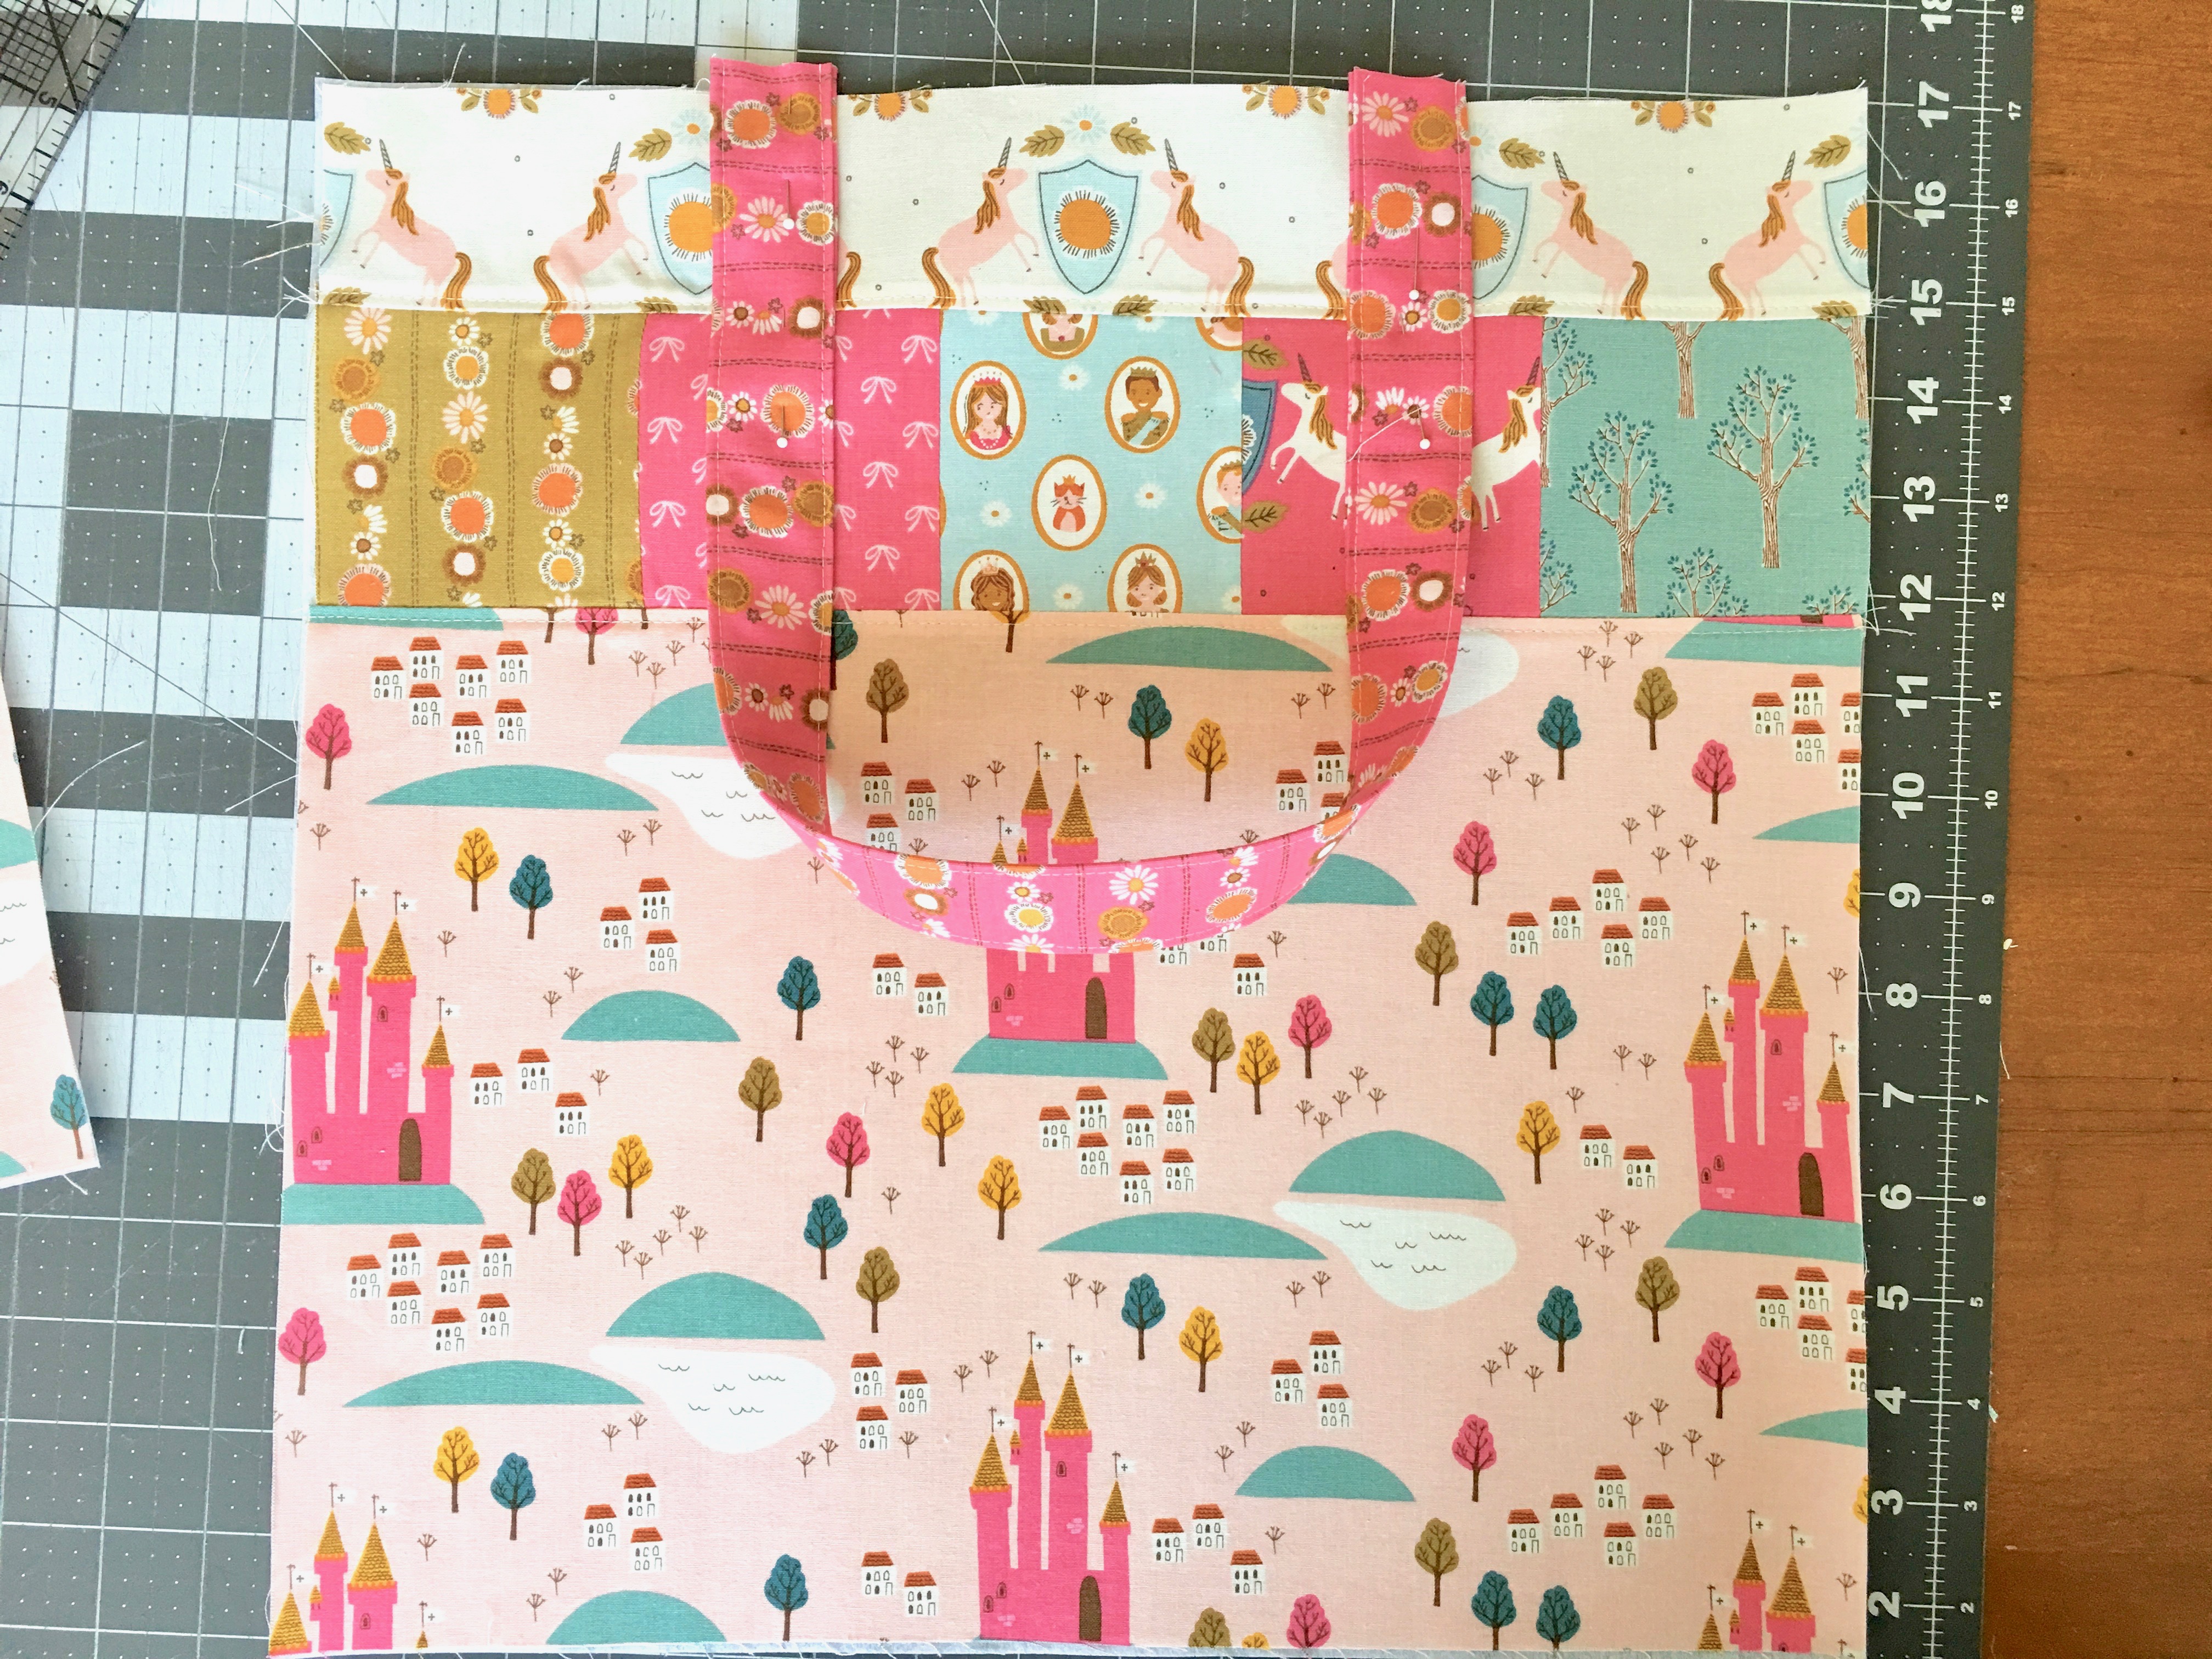
Measure 4 1/2″ in from each side seam and pin the handles into place.
Baste handles in place.
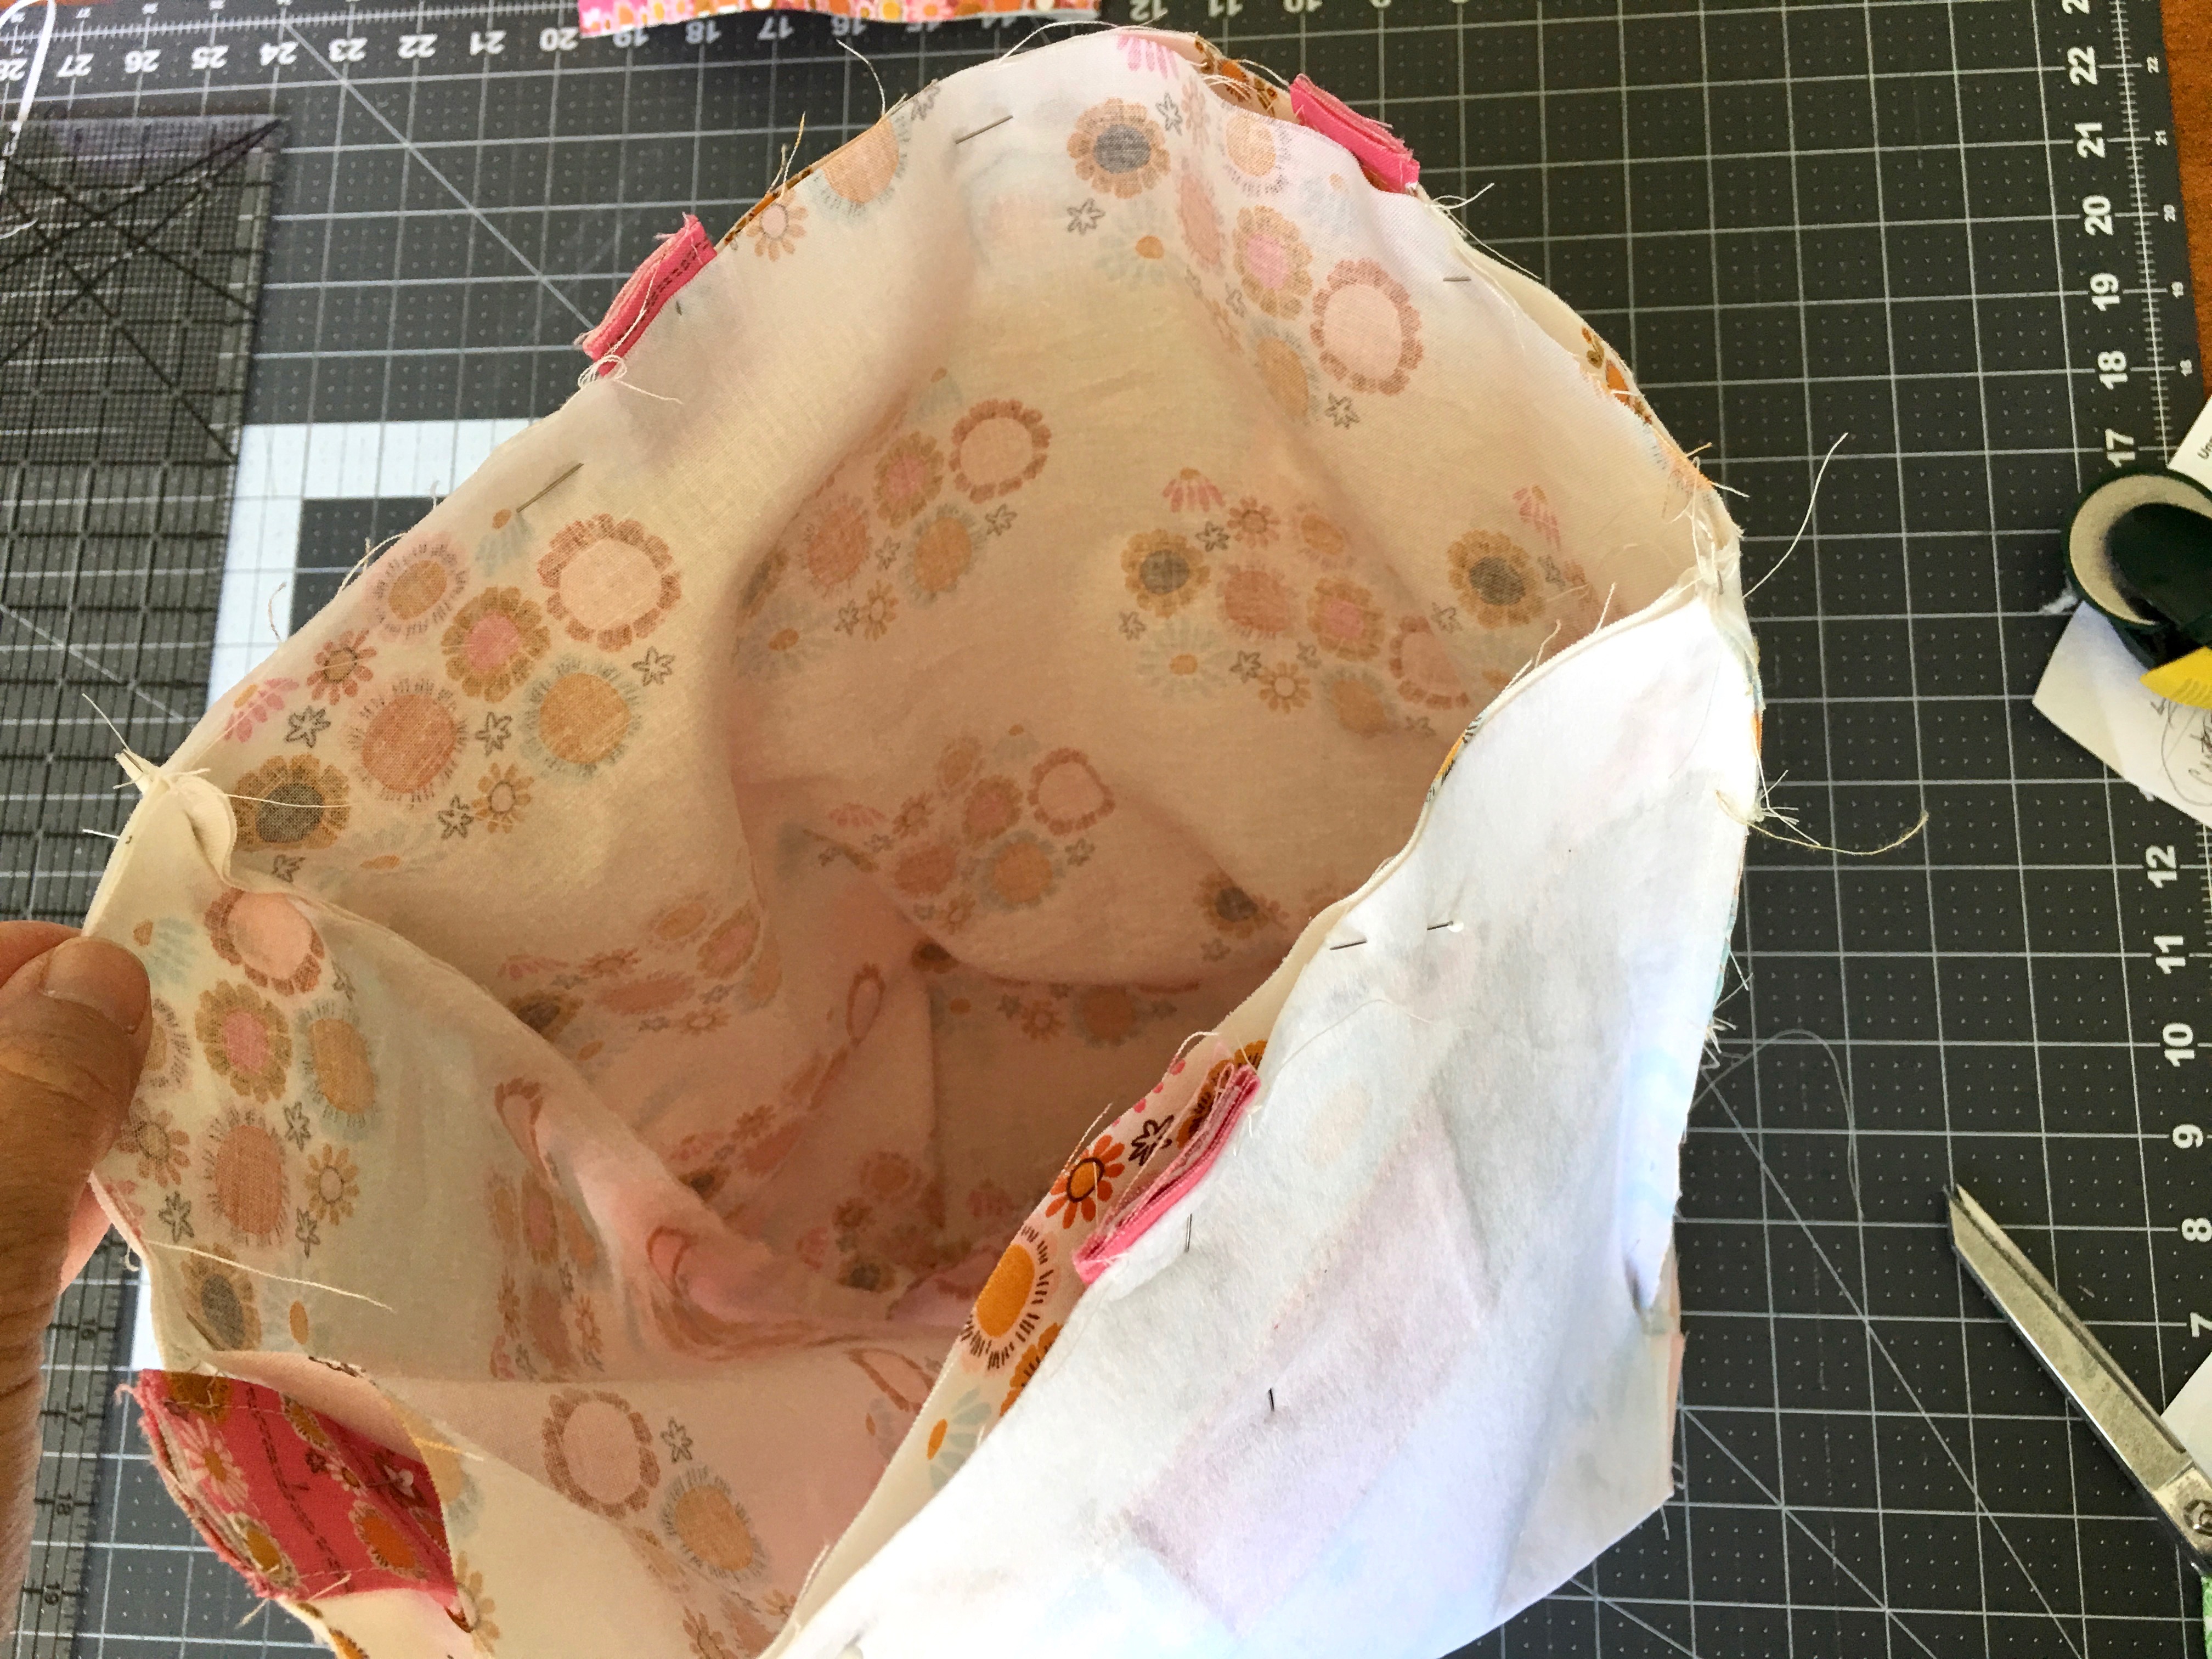
With the outer bag inside out and the lining right side out, place the lining inside the outer bag (so right sides are together). Match and pin side seams and pin all the way around the bag.
Sew 1/4″ around the top of the bag.
Using a seam ripper, unstitch about 3″ on one of the side seams and turn the bag right side out. Top stitch the opening closed.
Press lining down inside the bag and top stitch 1/8″ around the top of the bag.
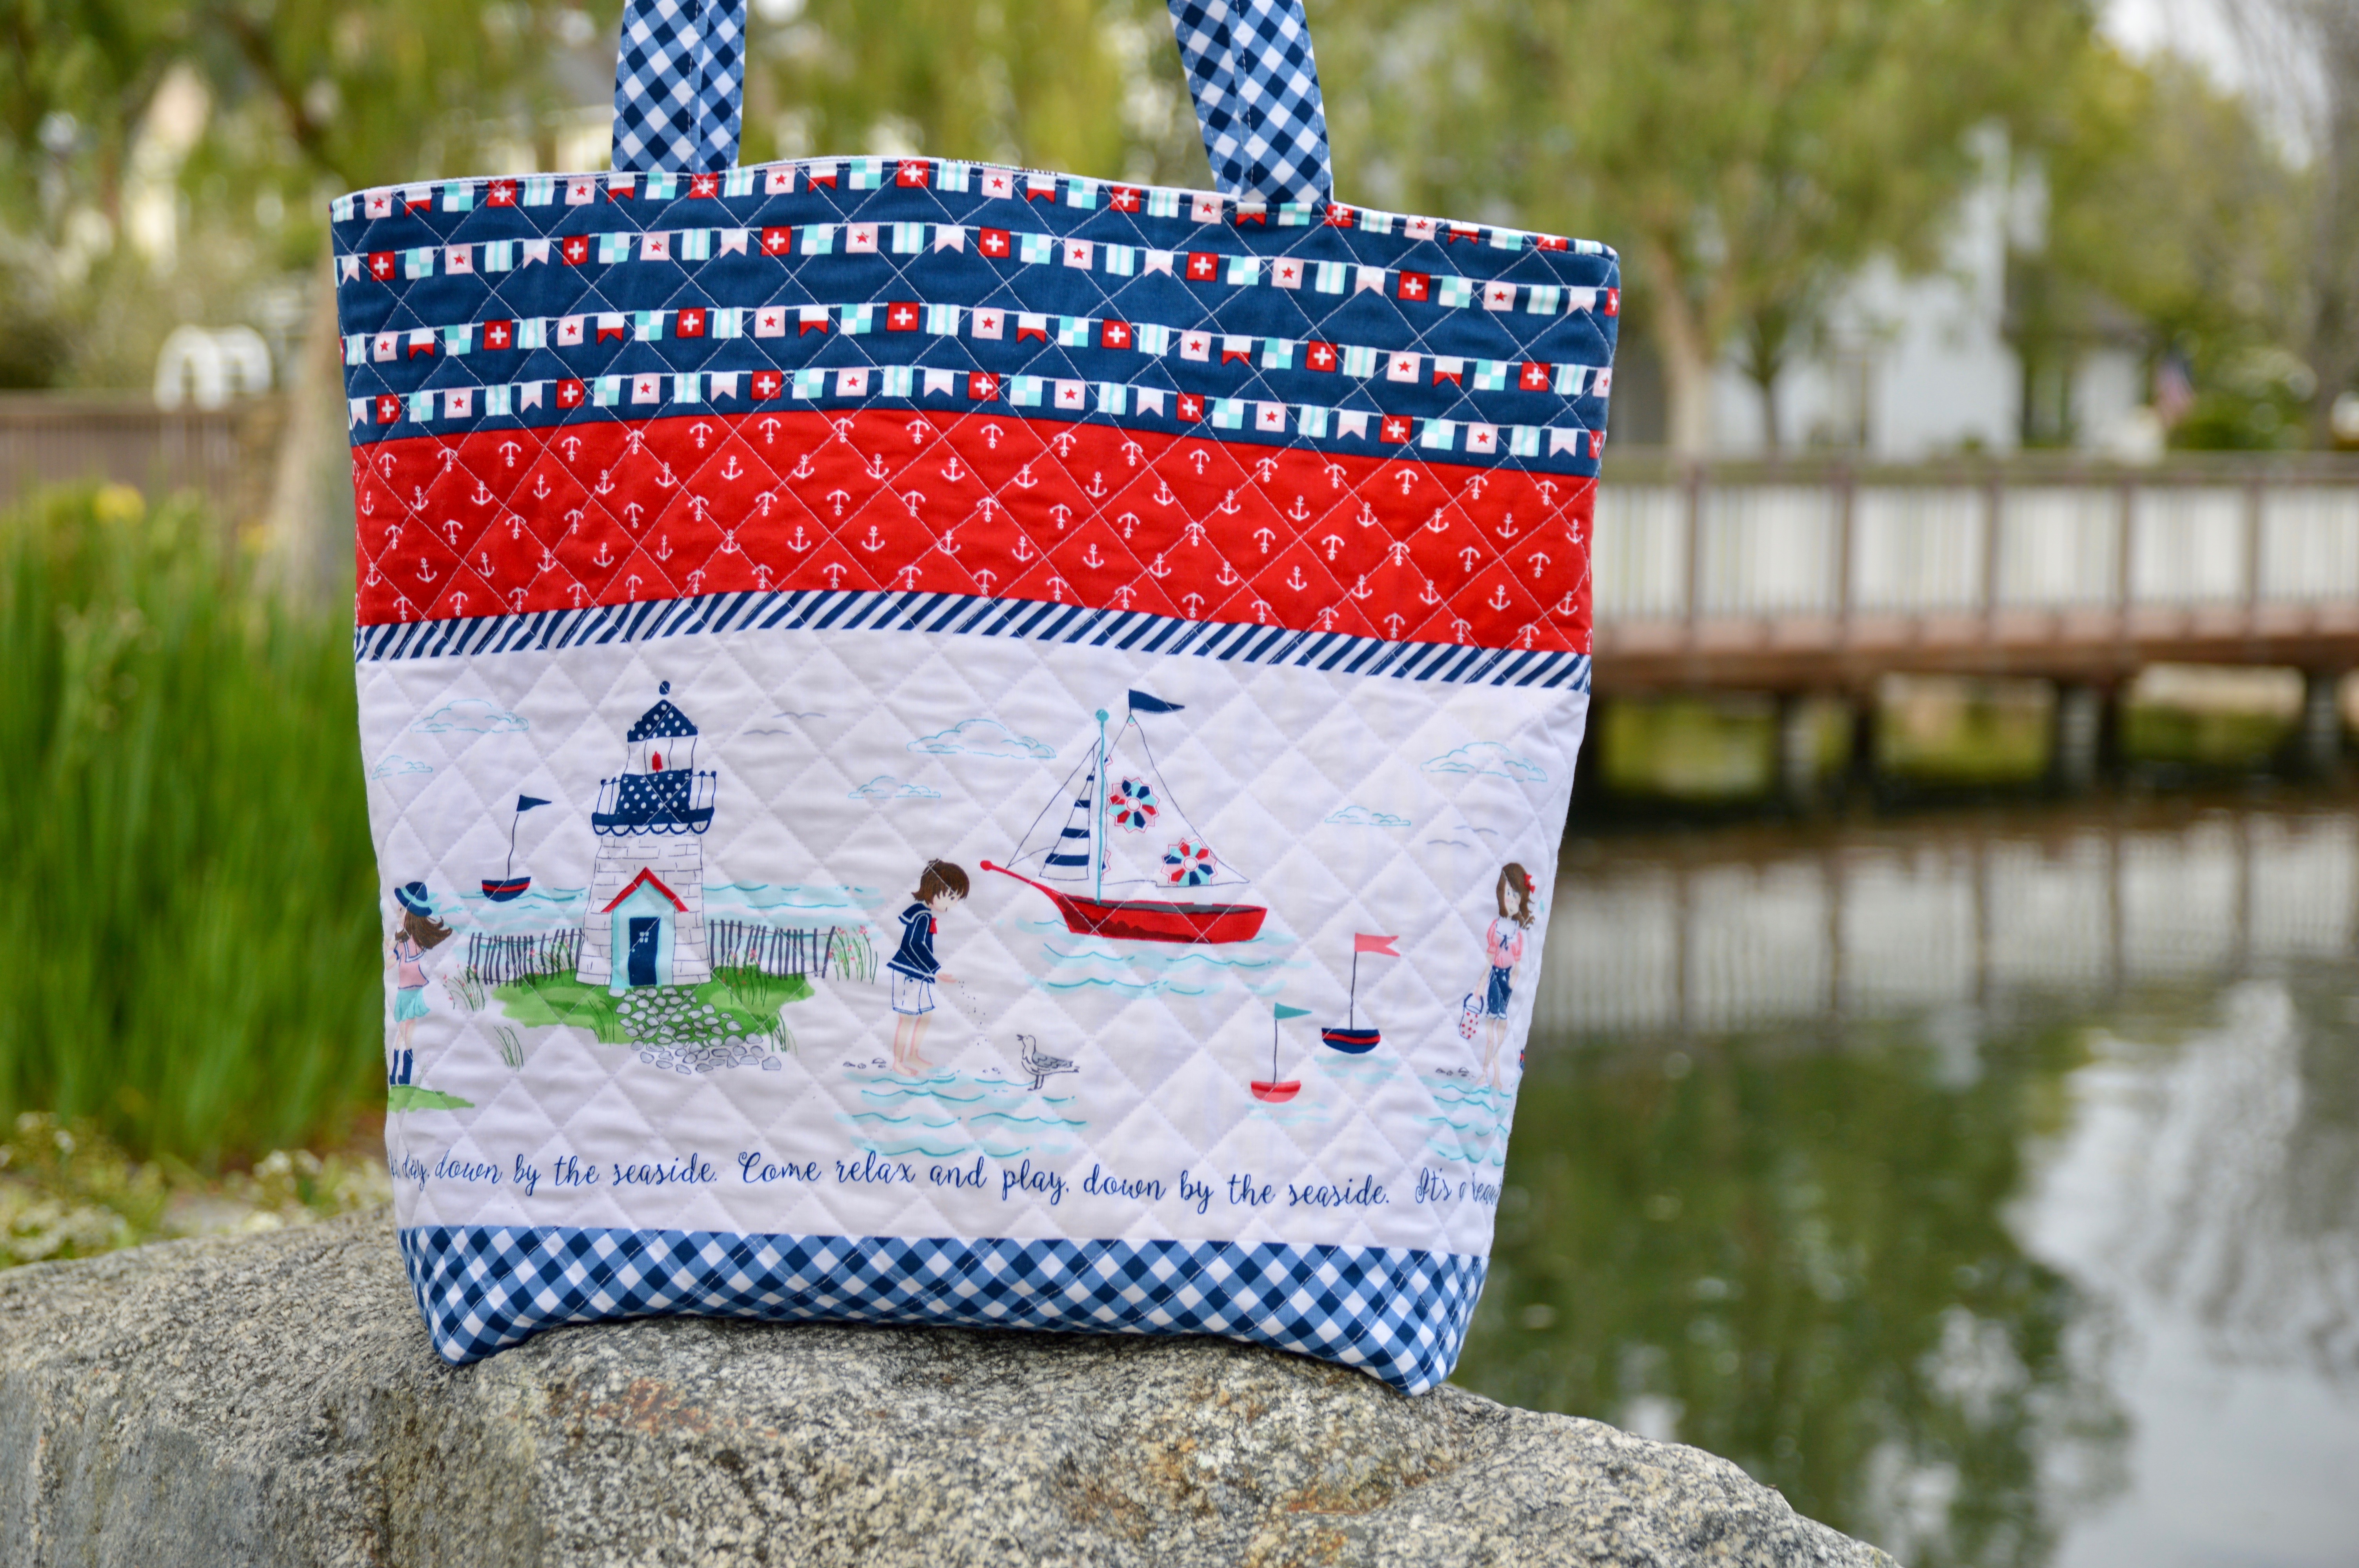
You’re all done! Time to hit the beach! Or set sail on your boat!
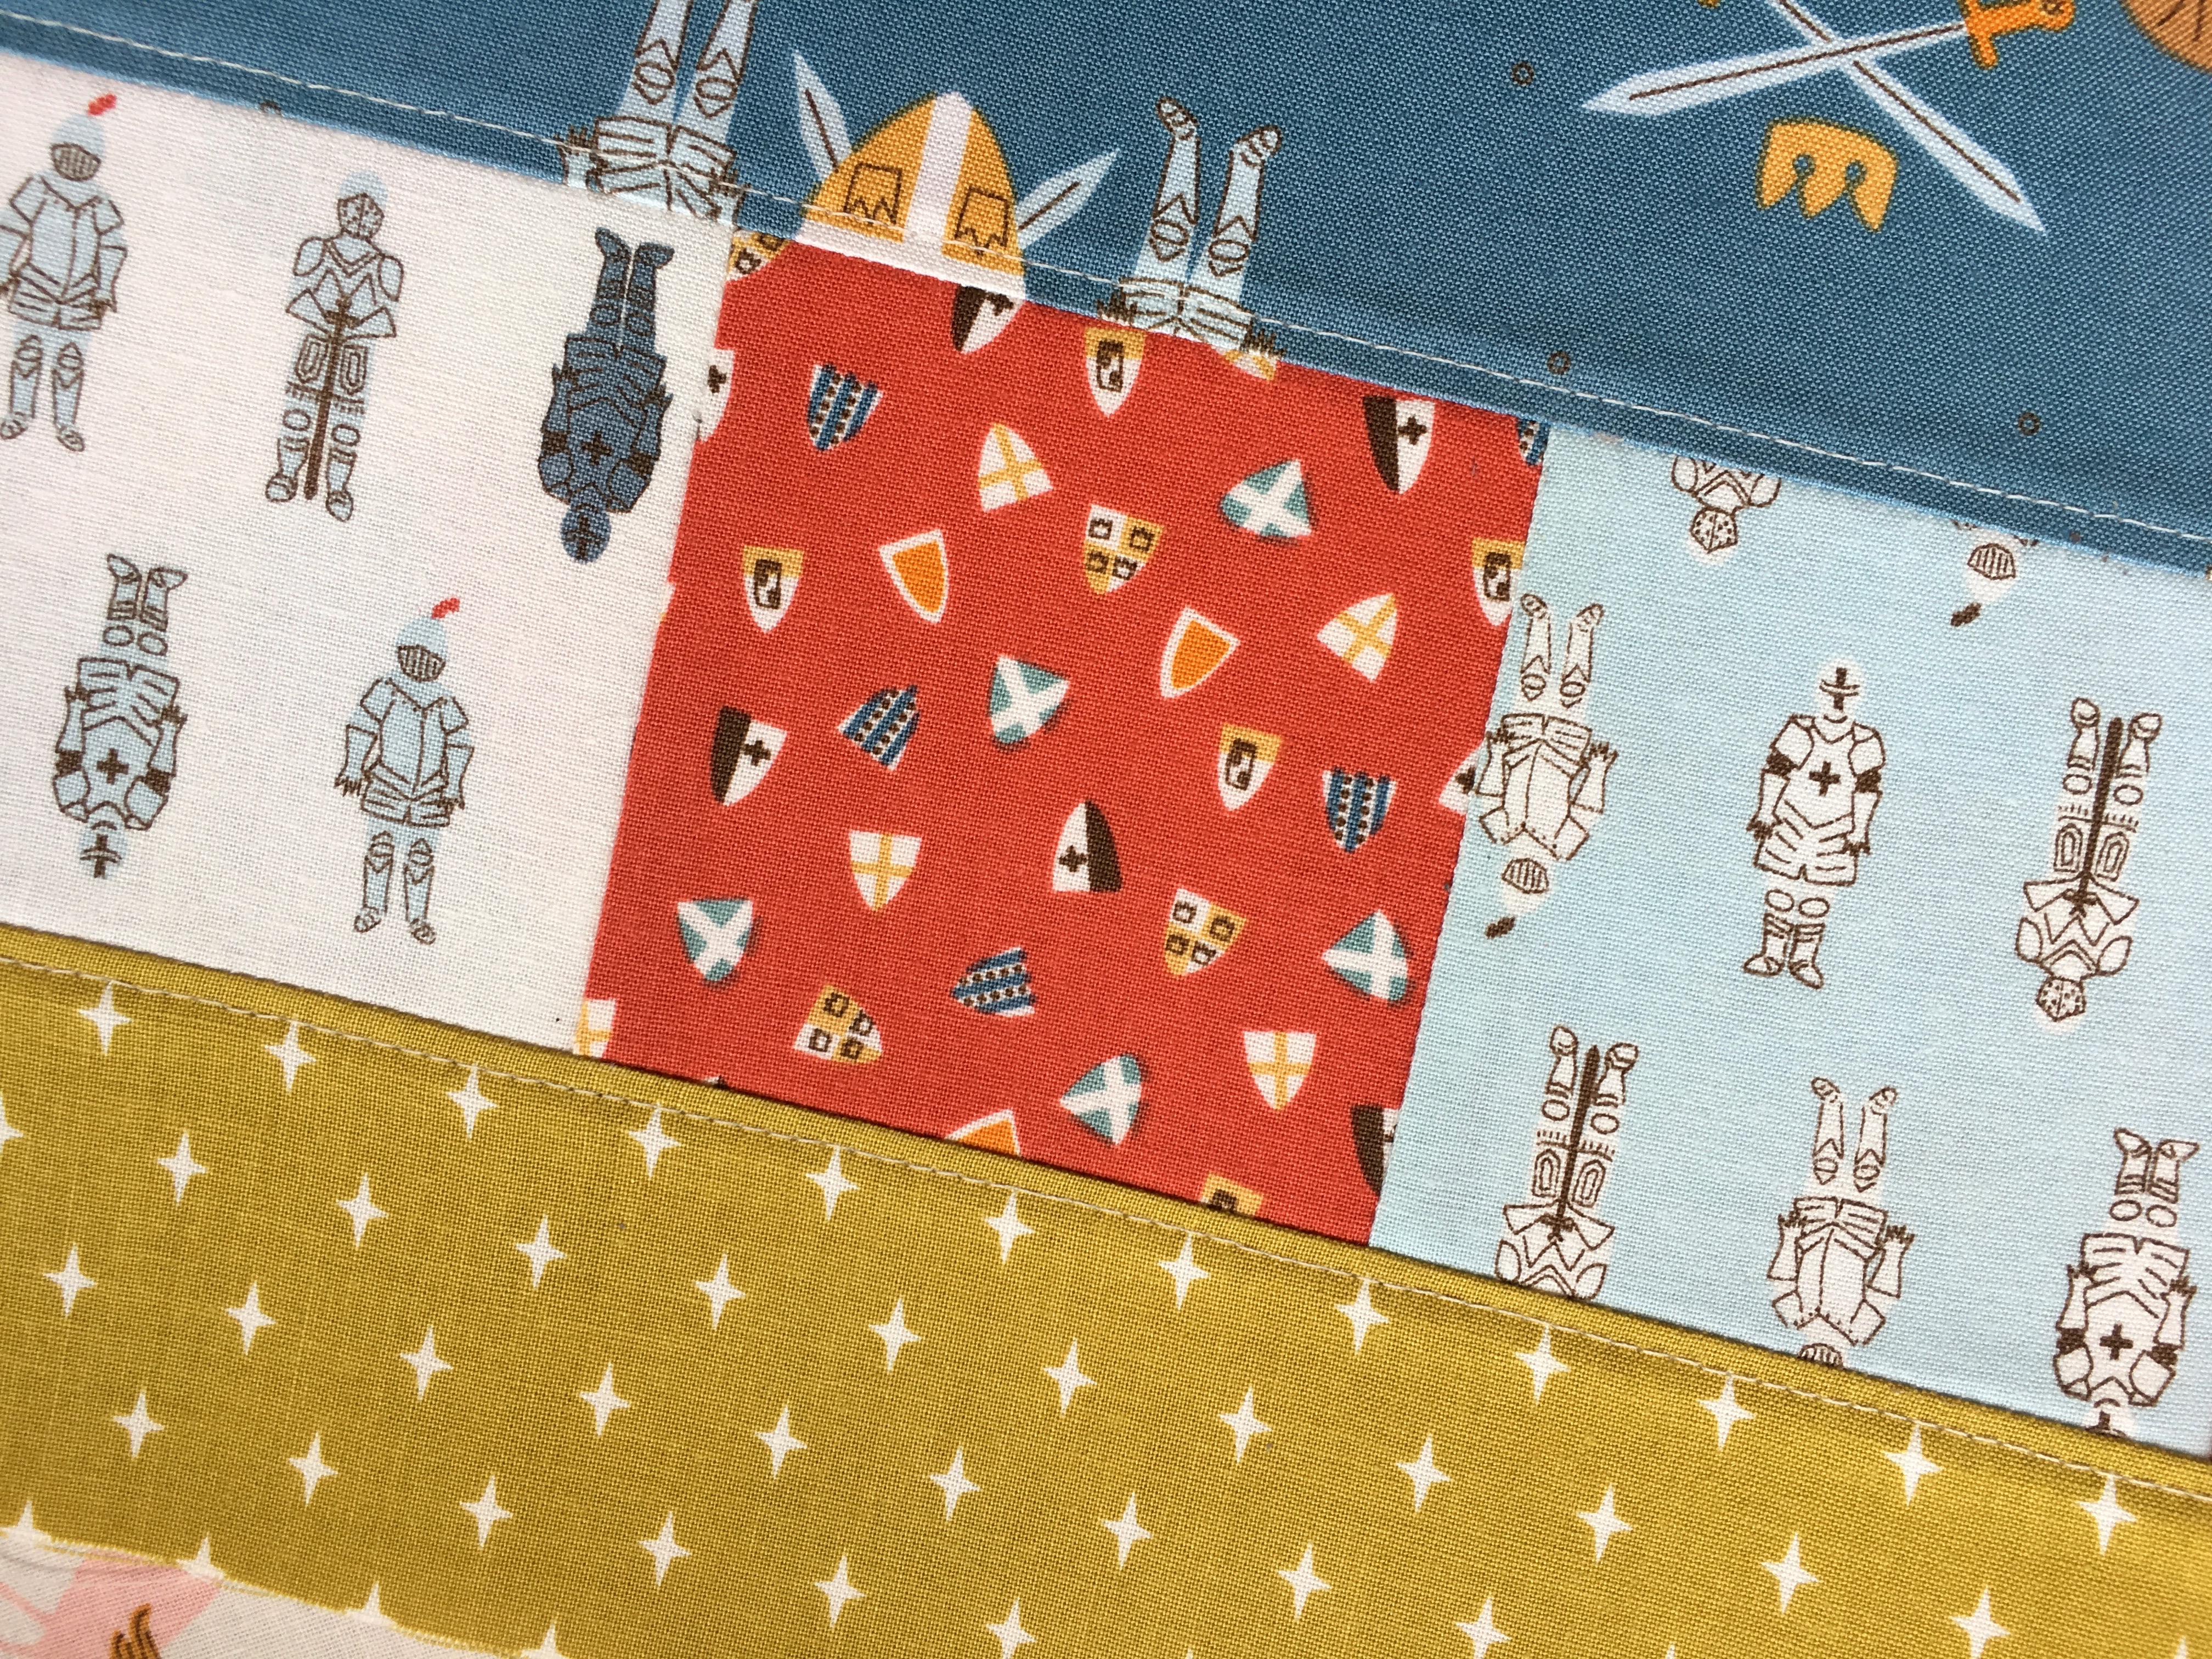
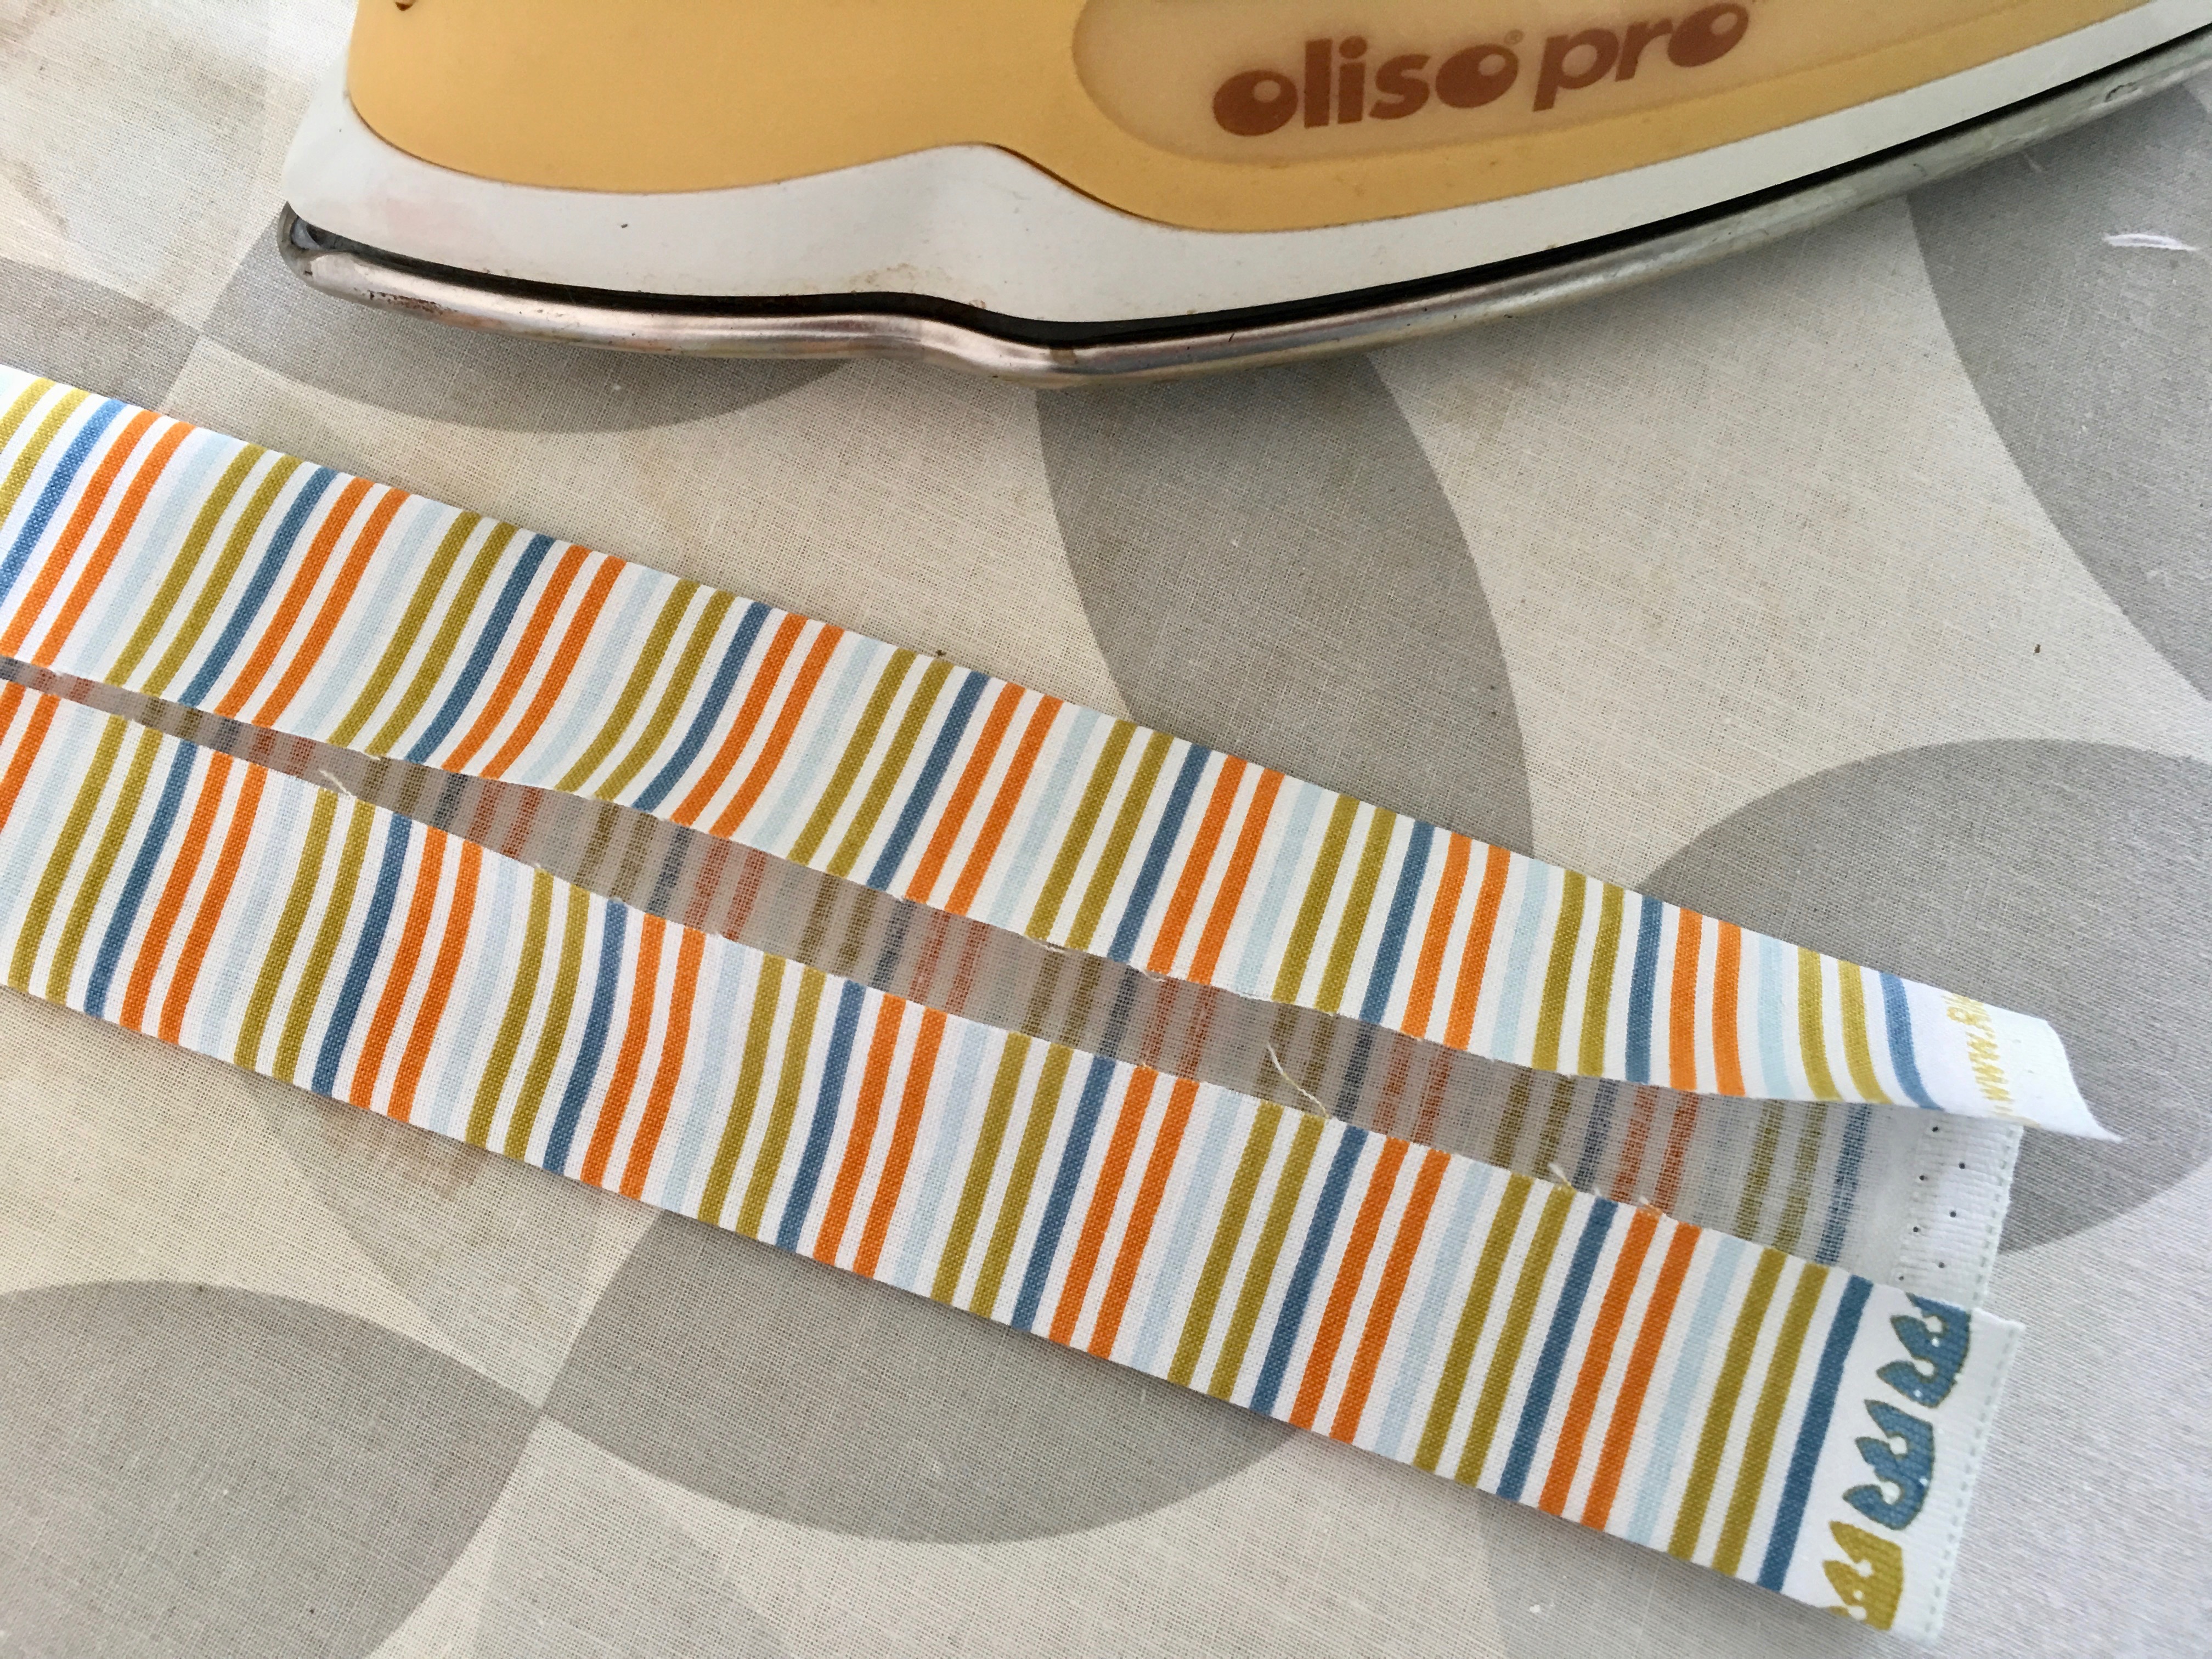
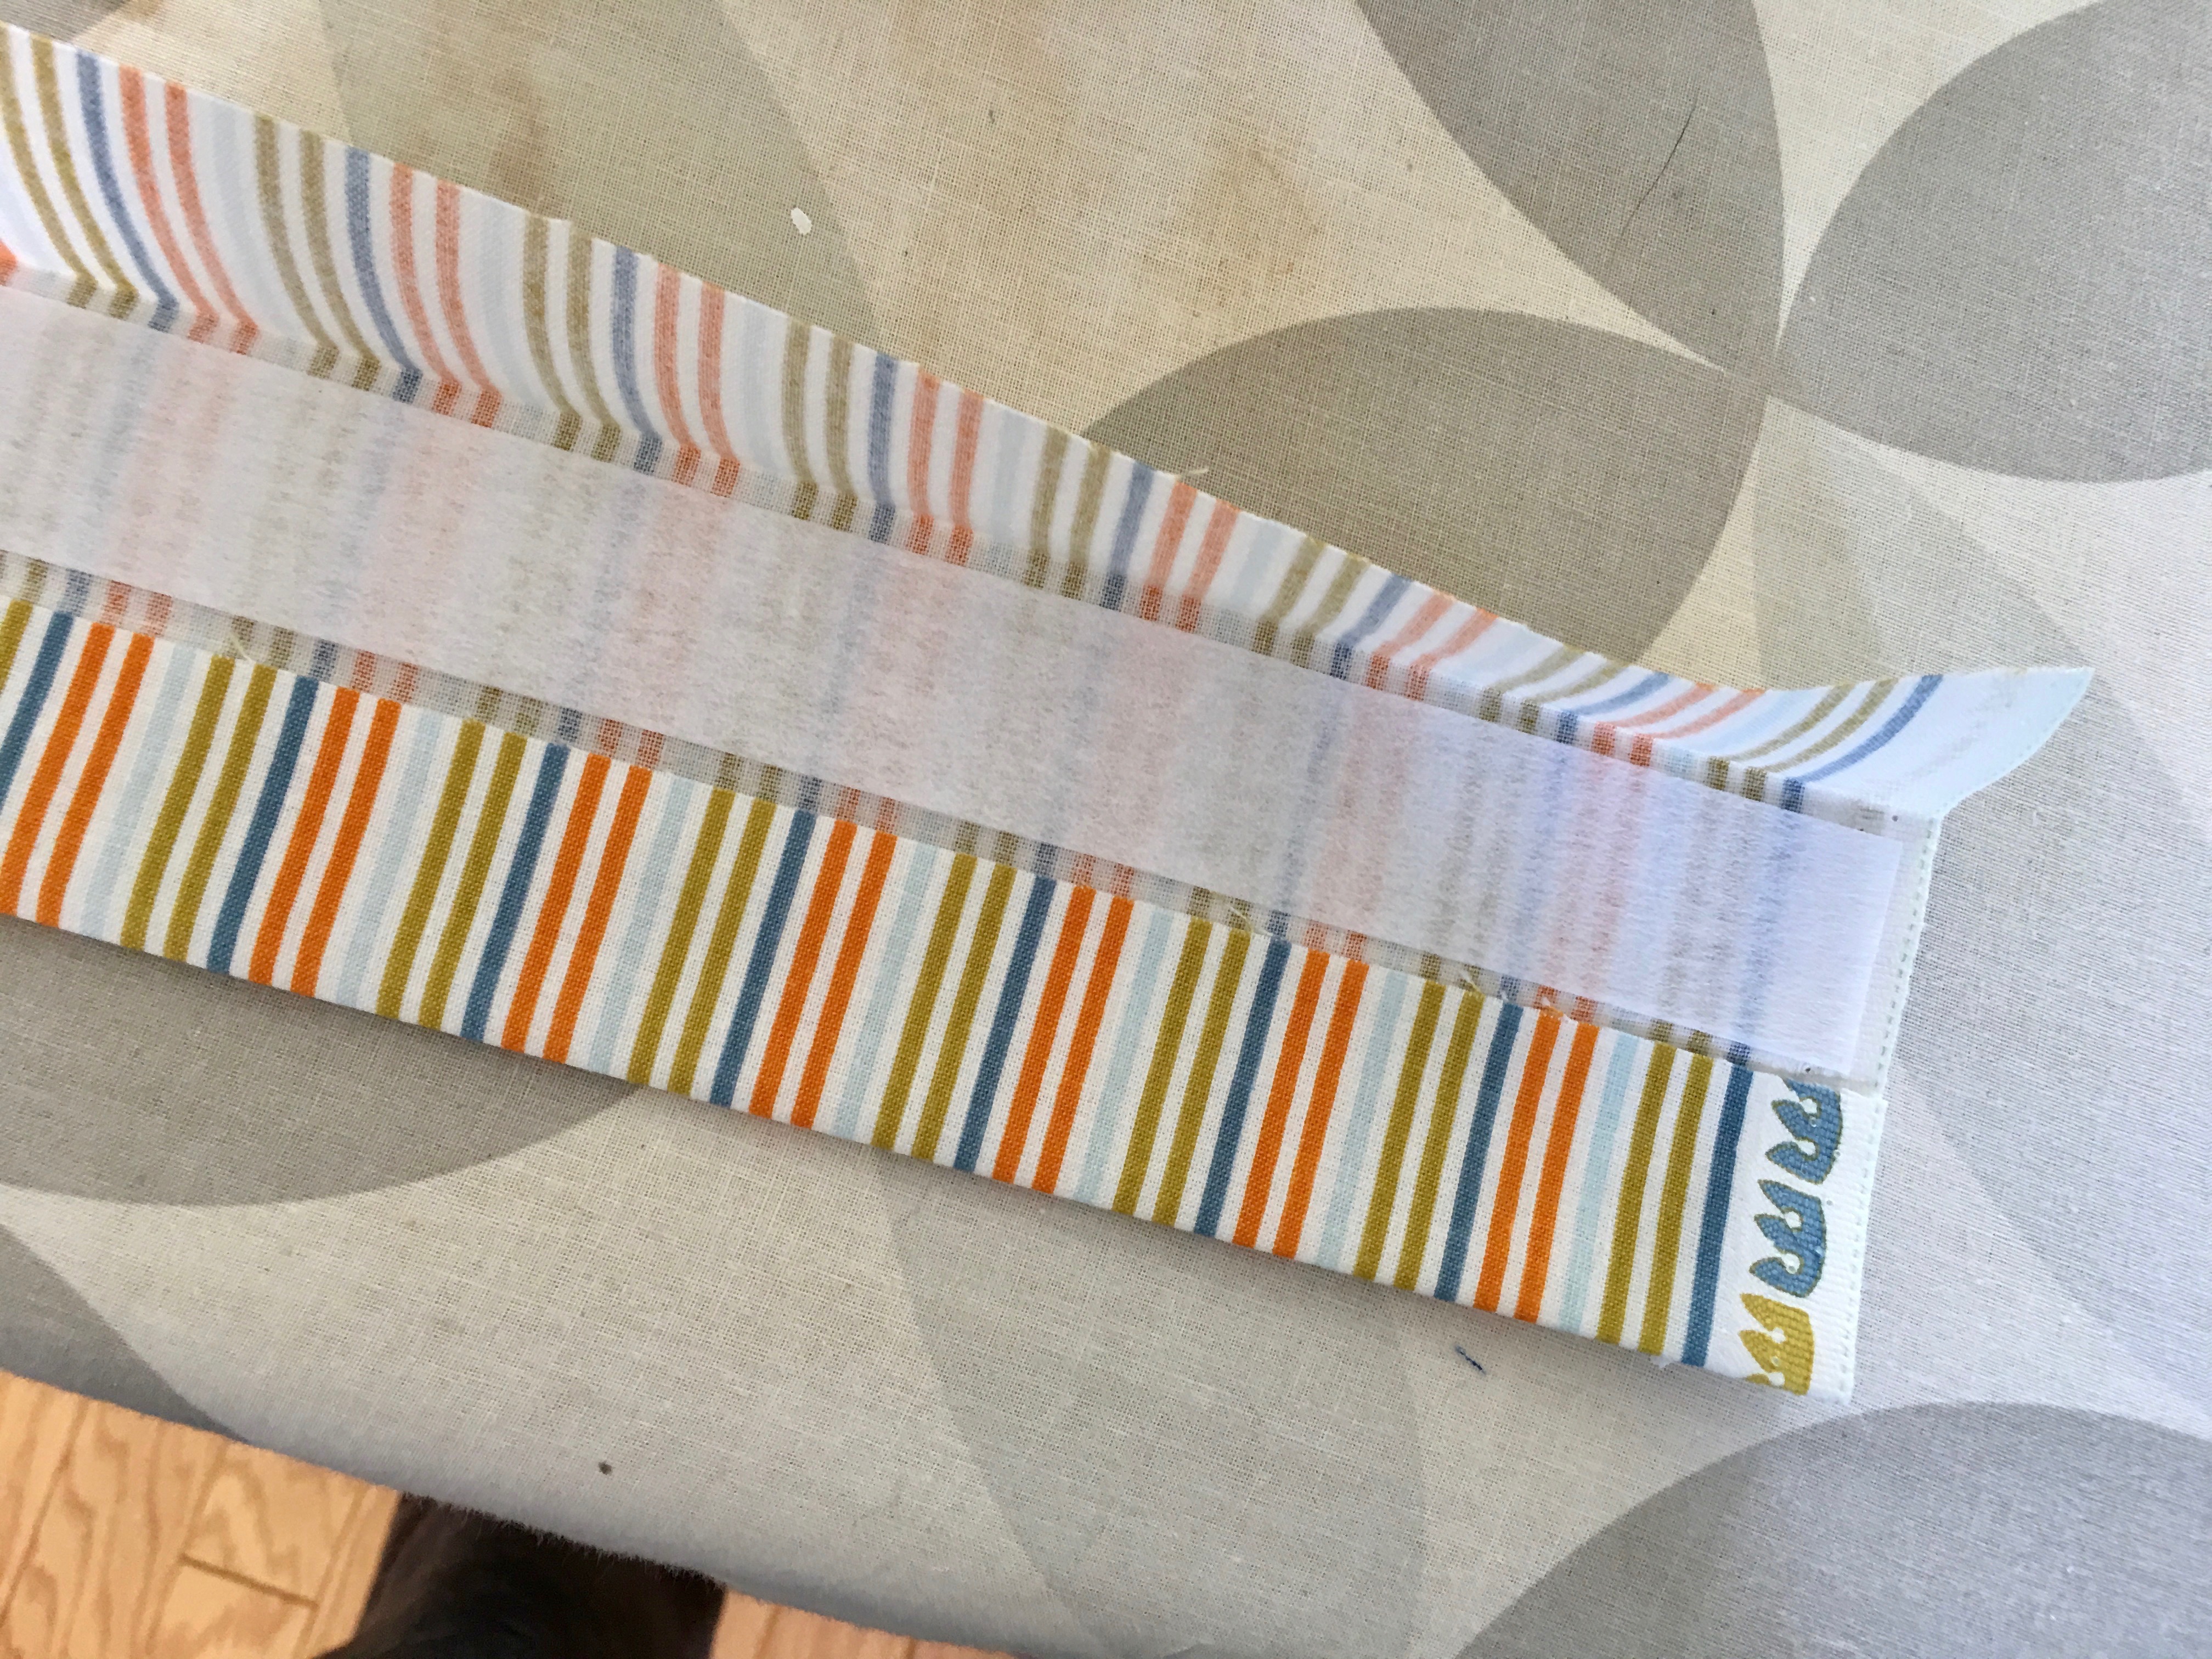
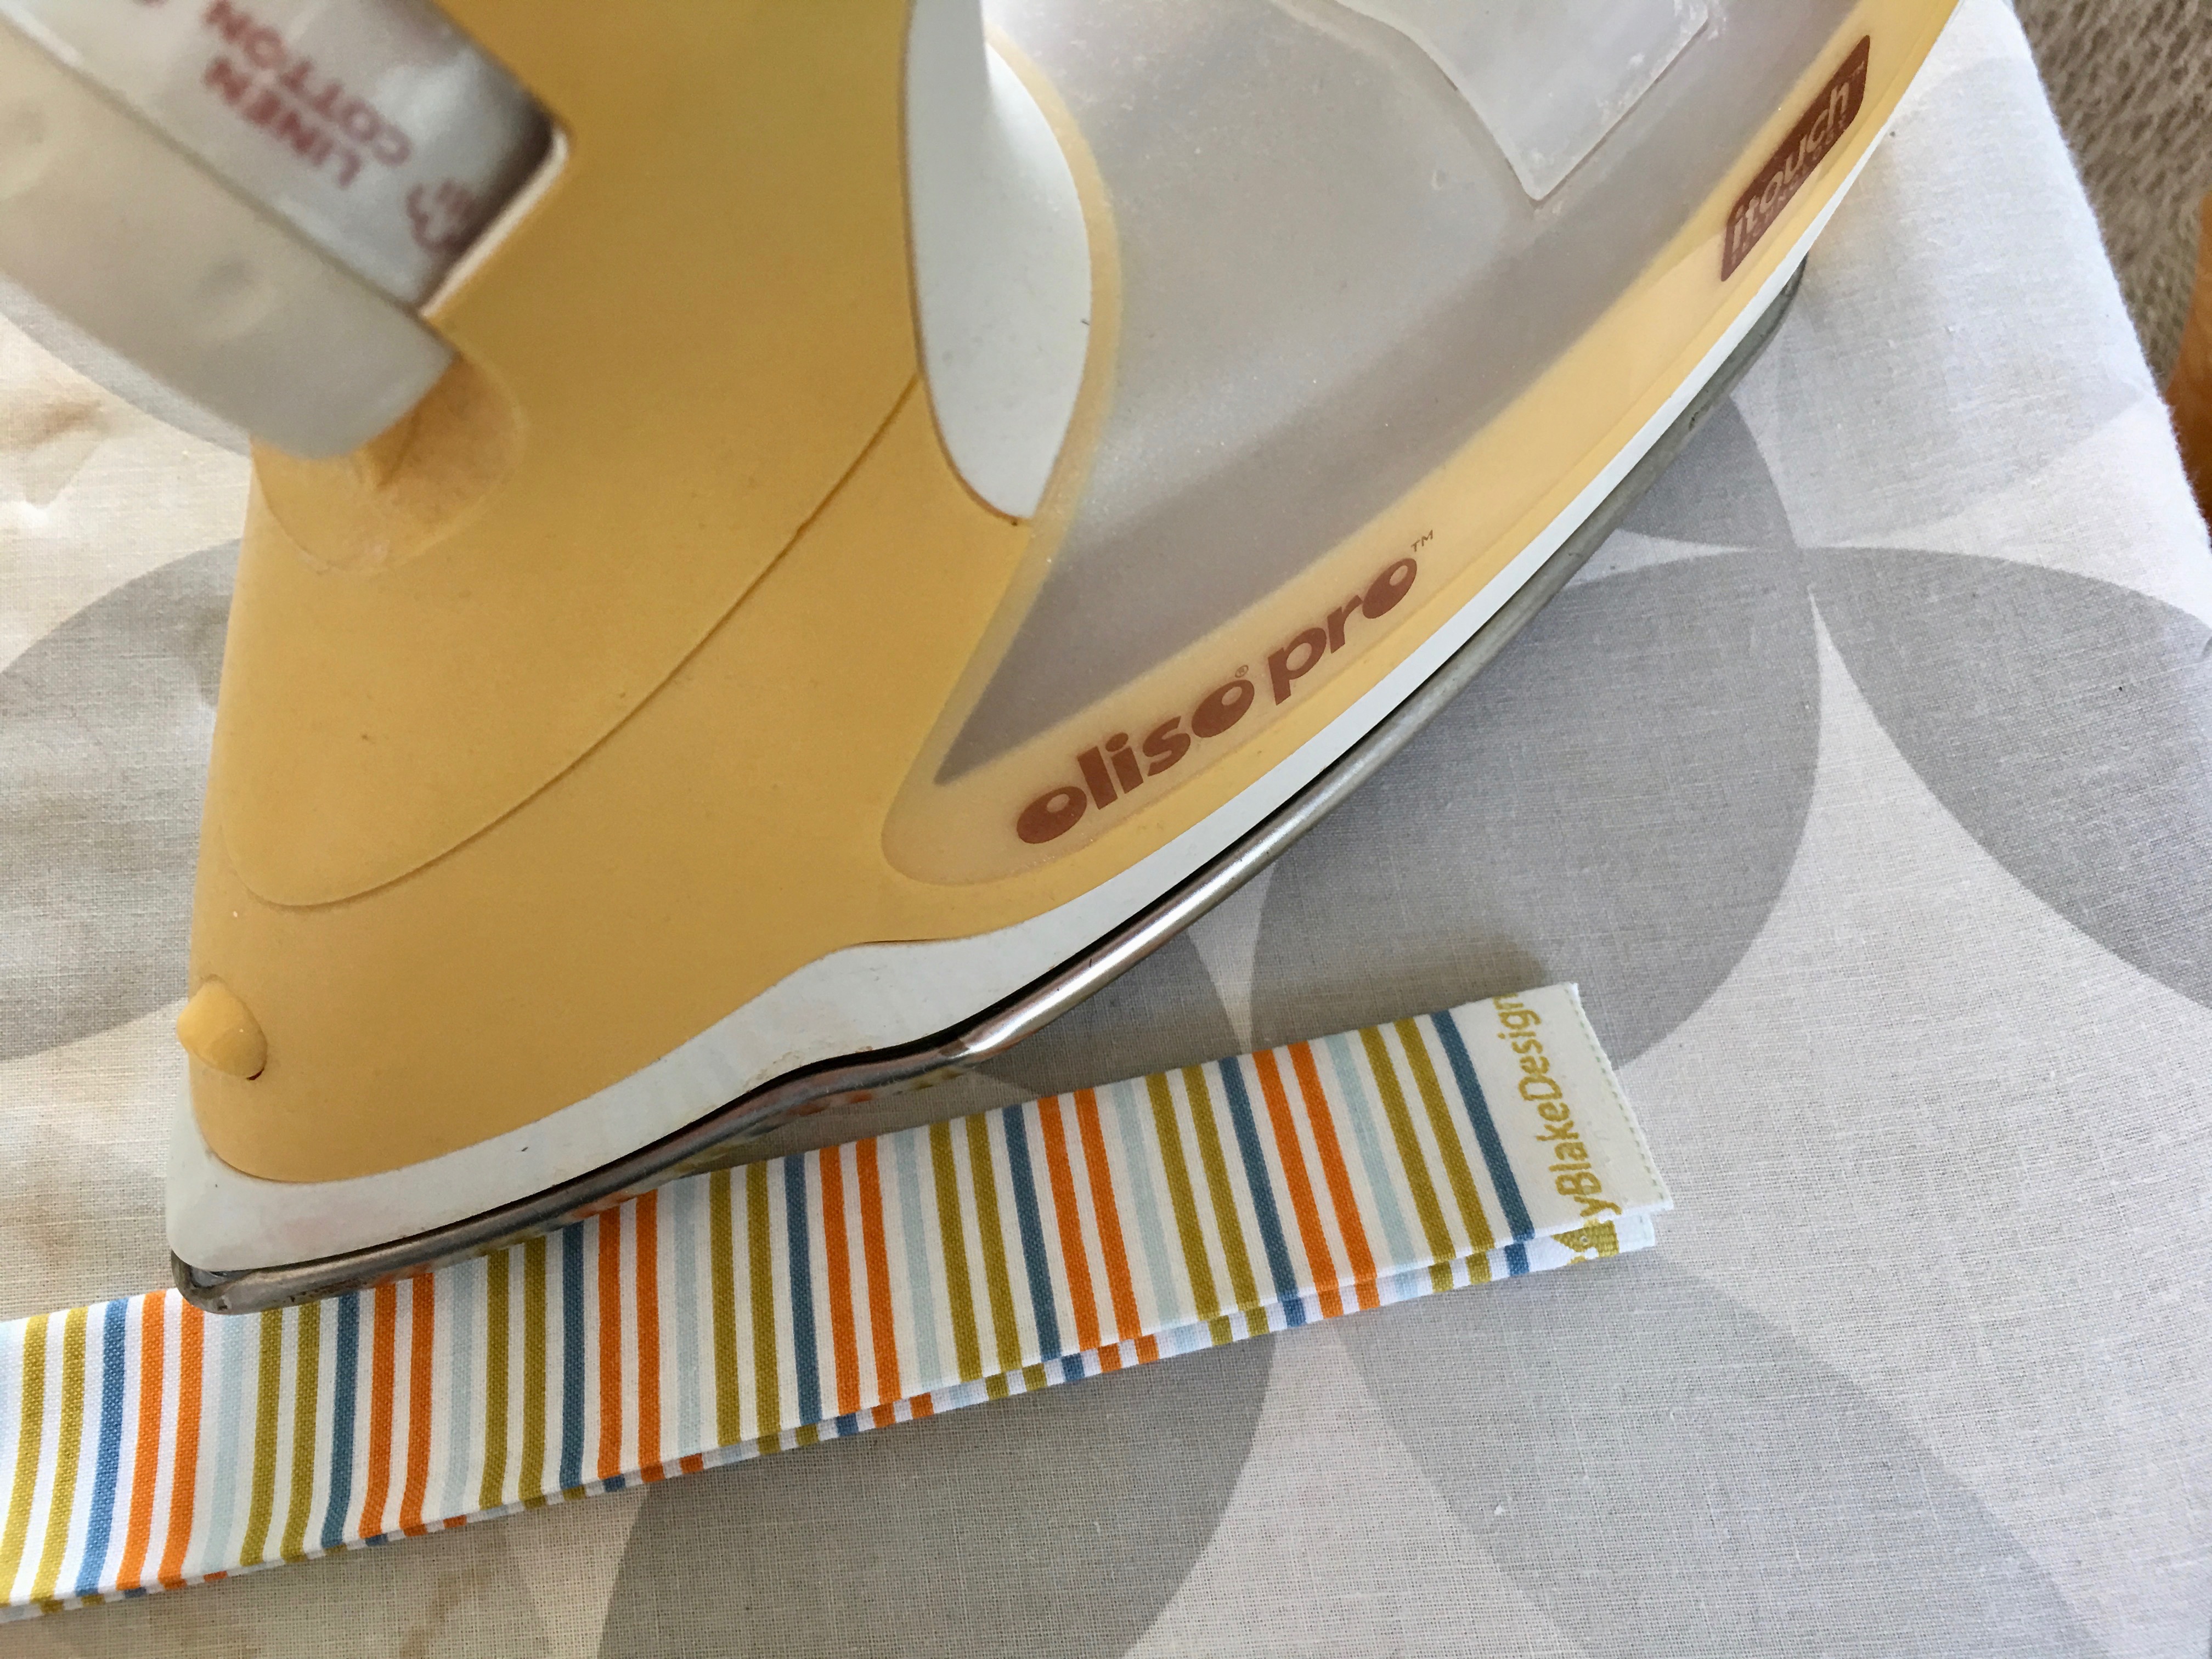 Top stitch 1/8″ along both sides of the handle. I like to use my walking foot so nothing shifts.
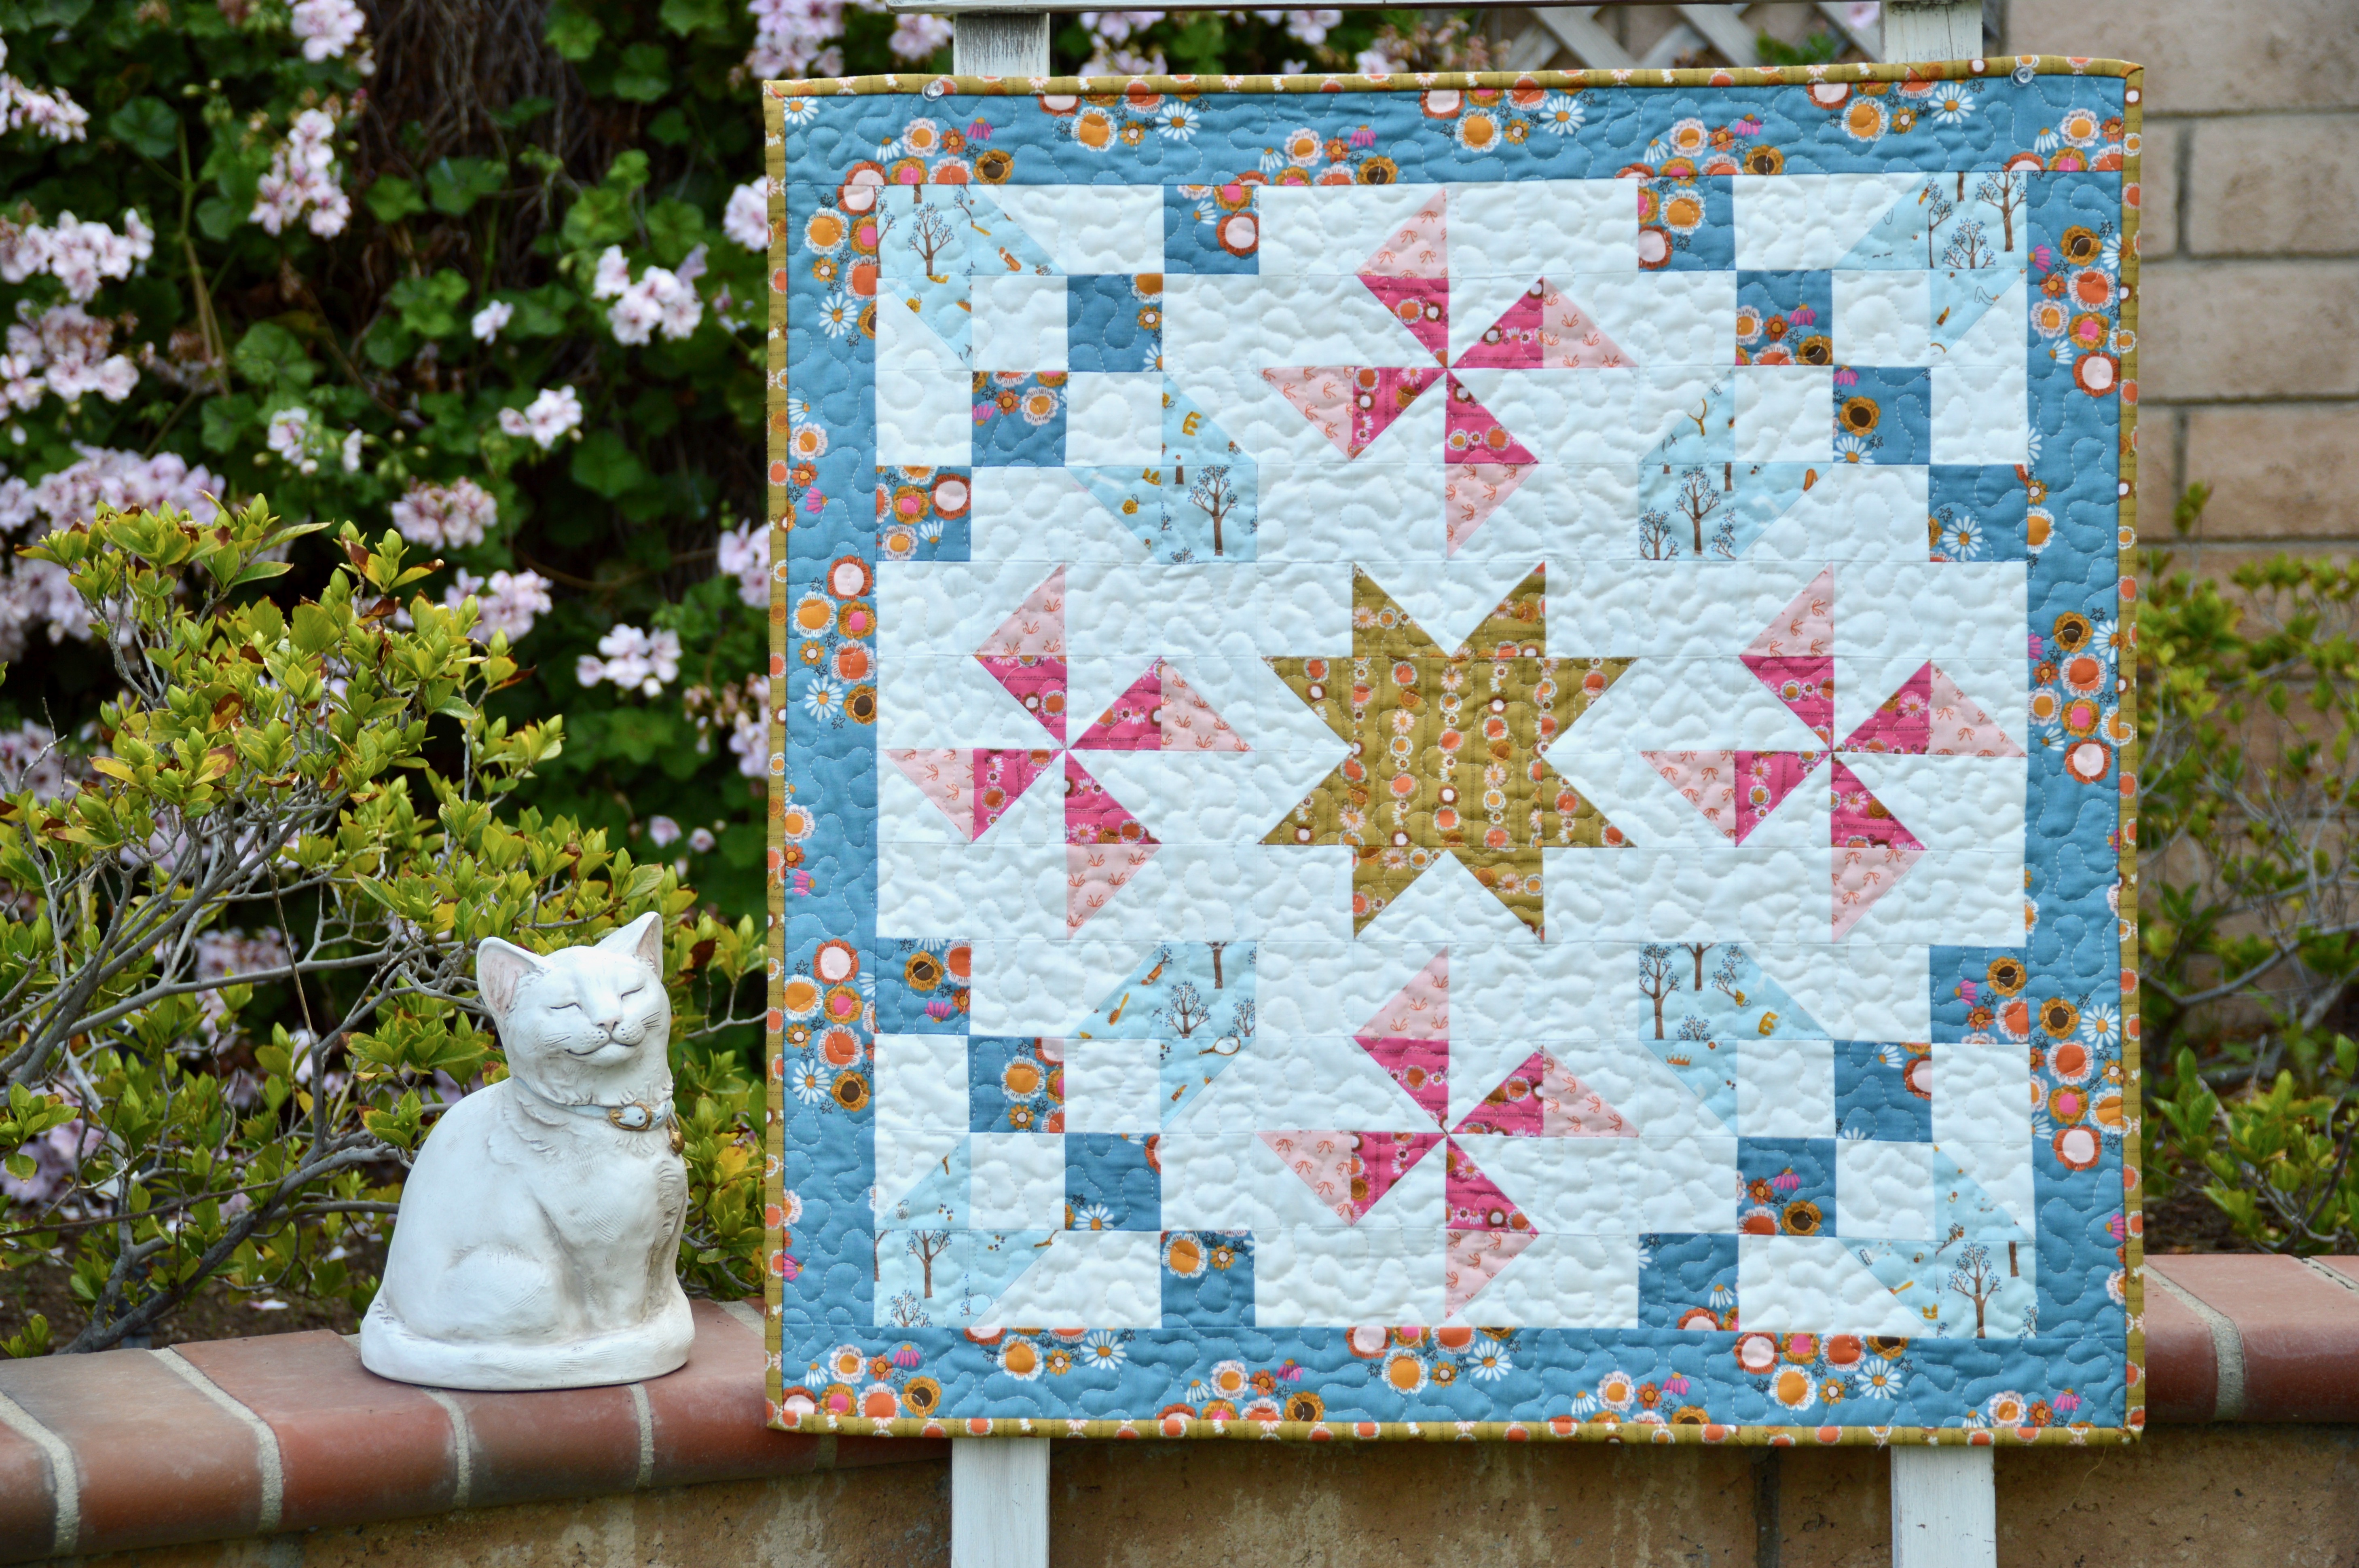
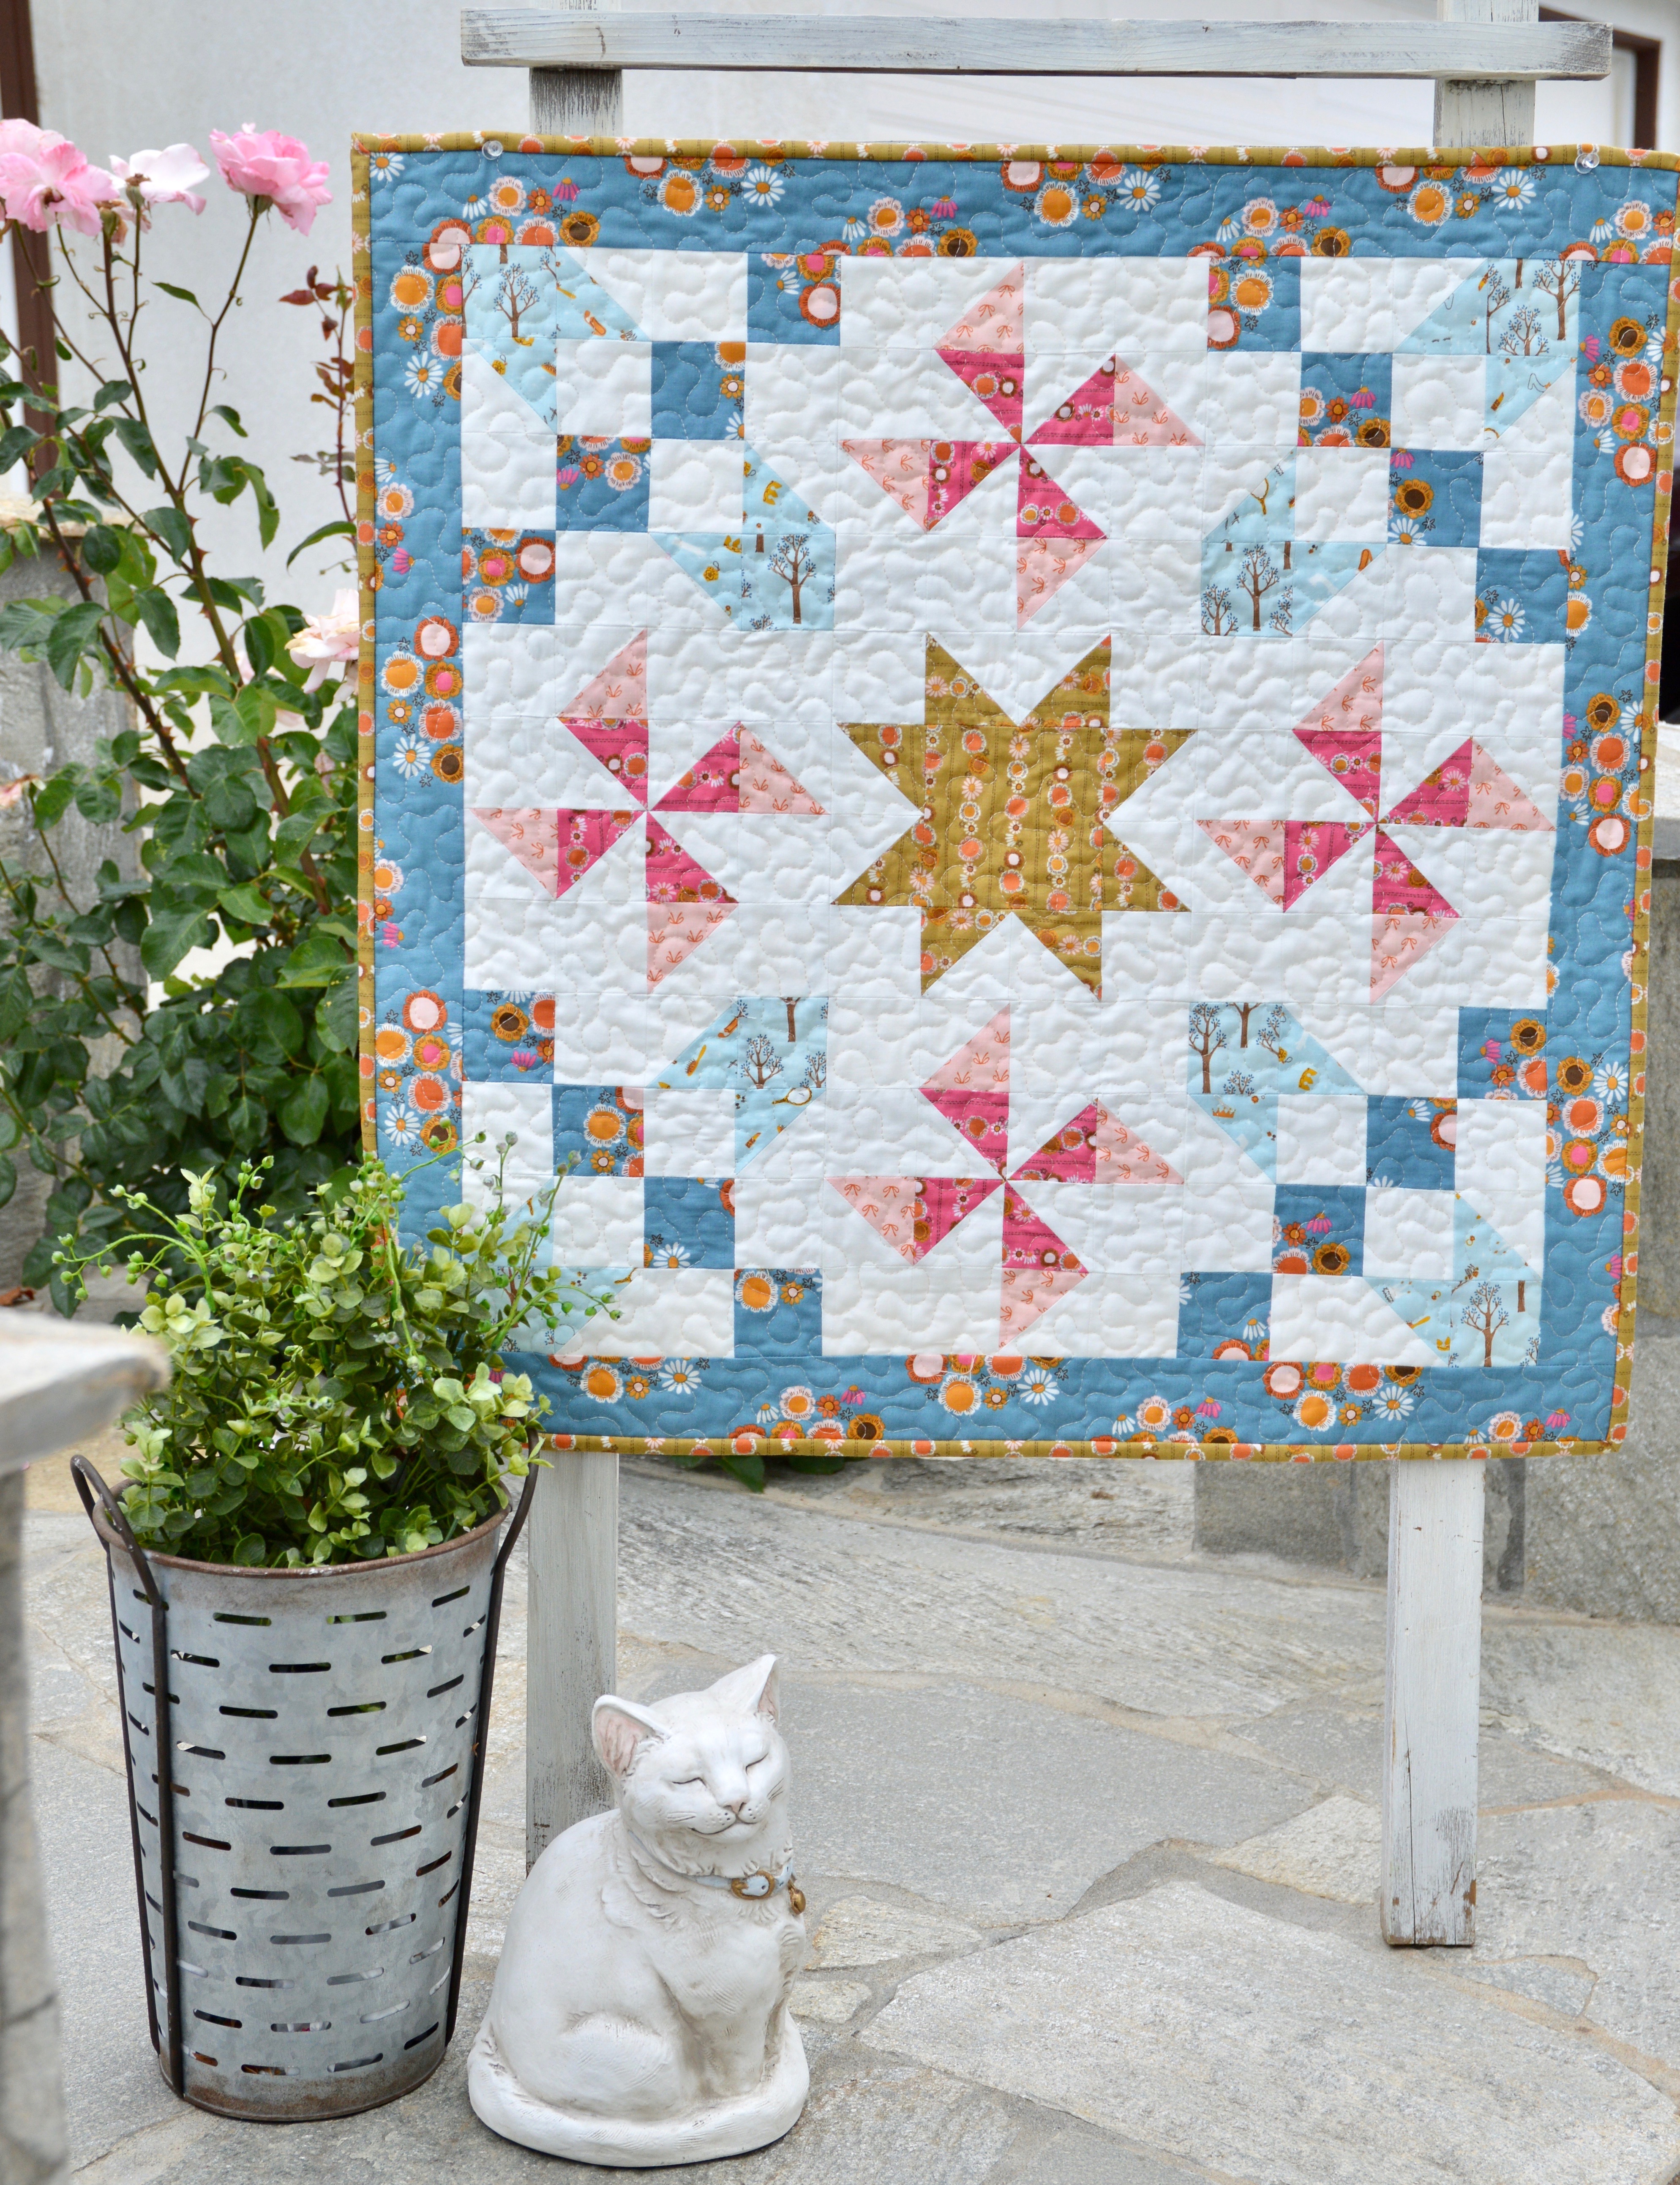
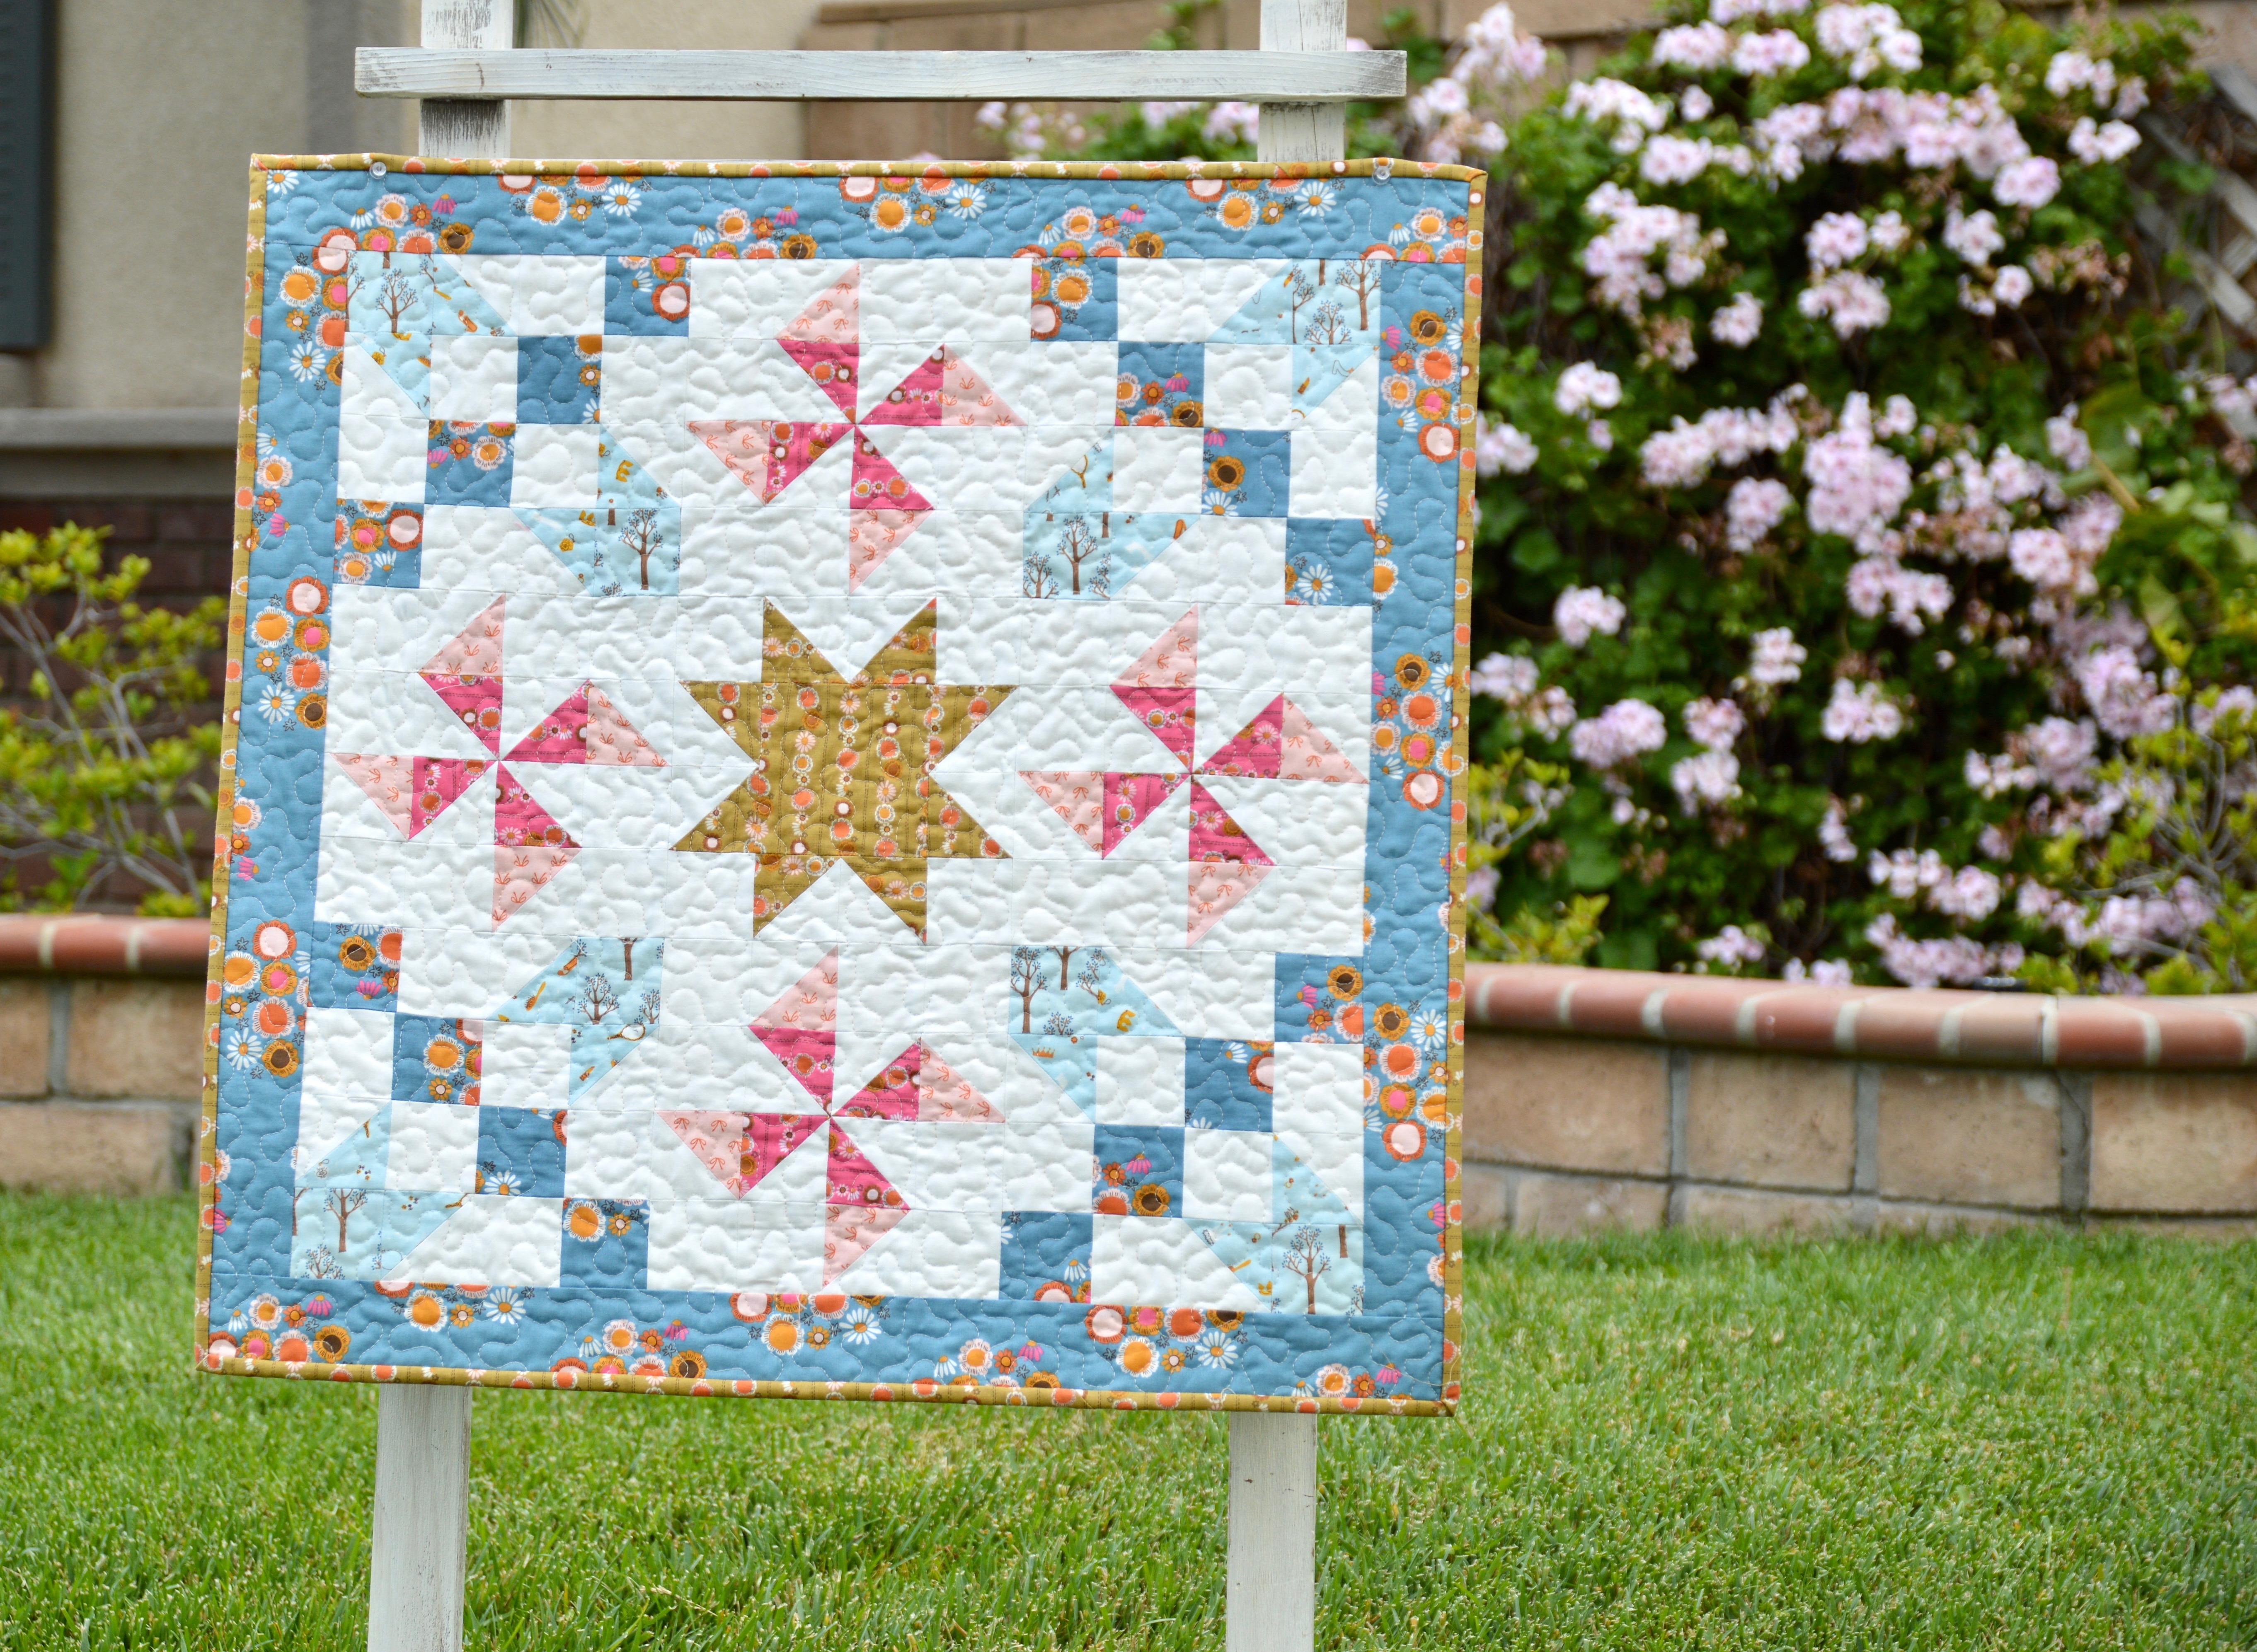
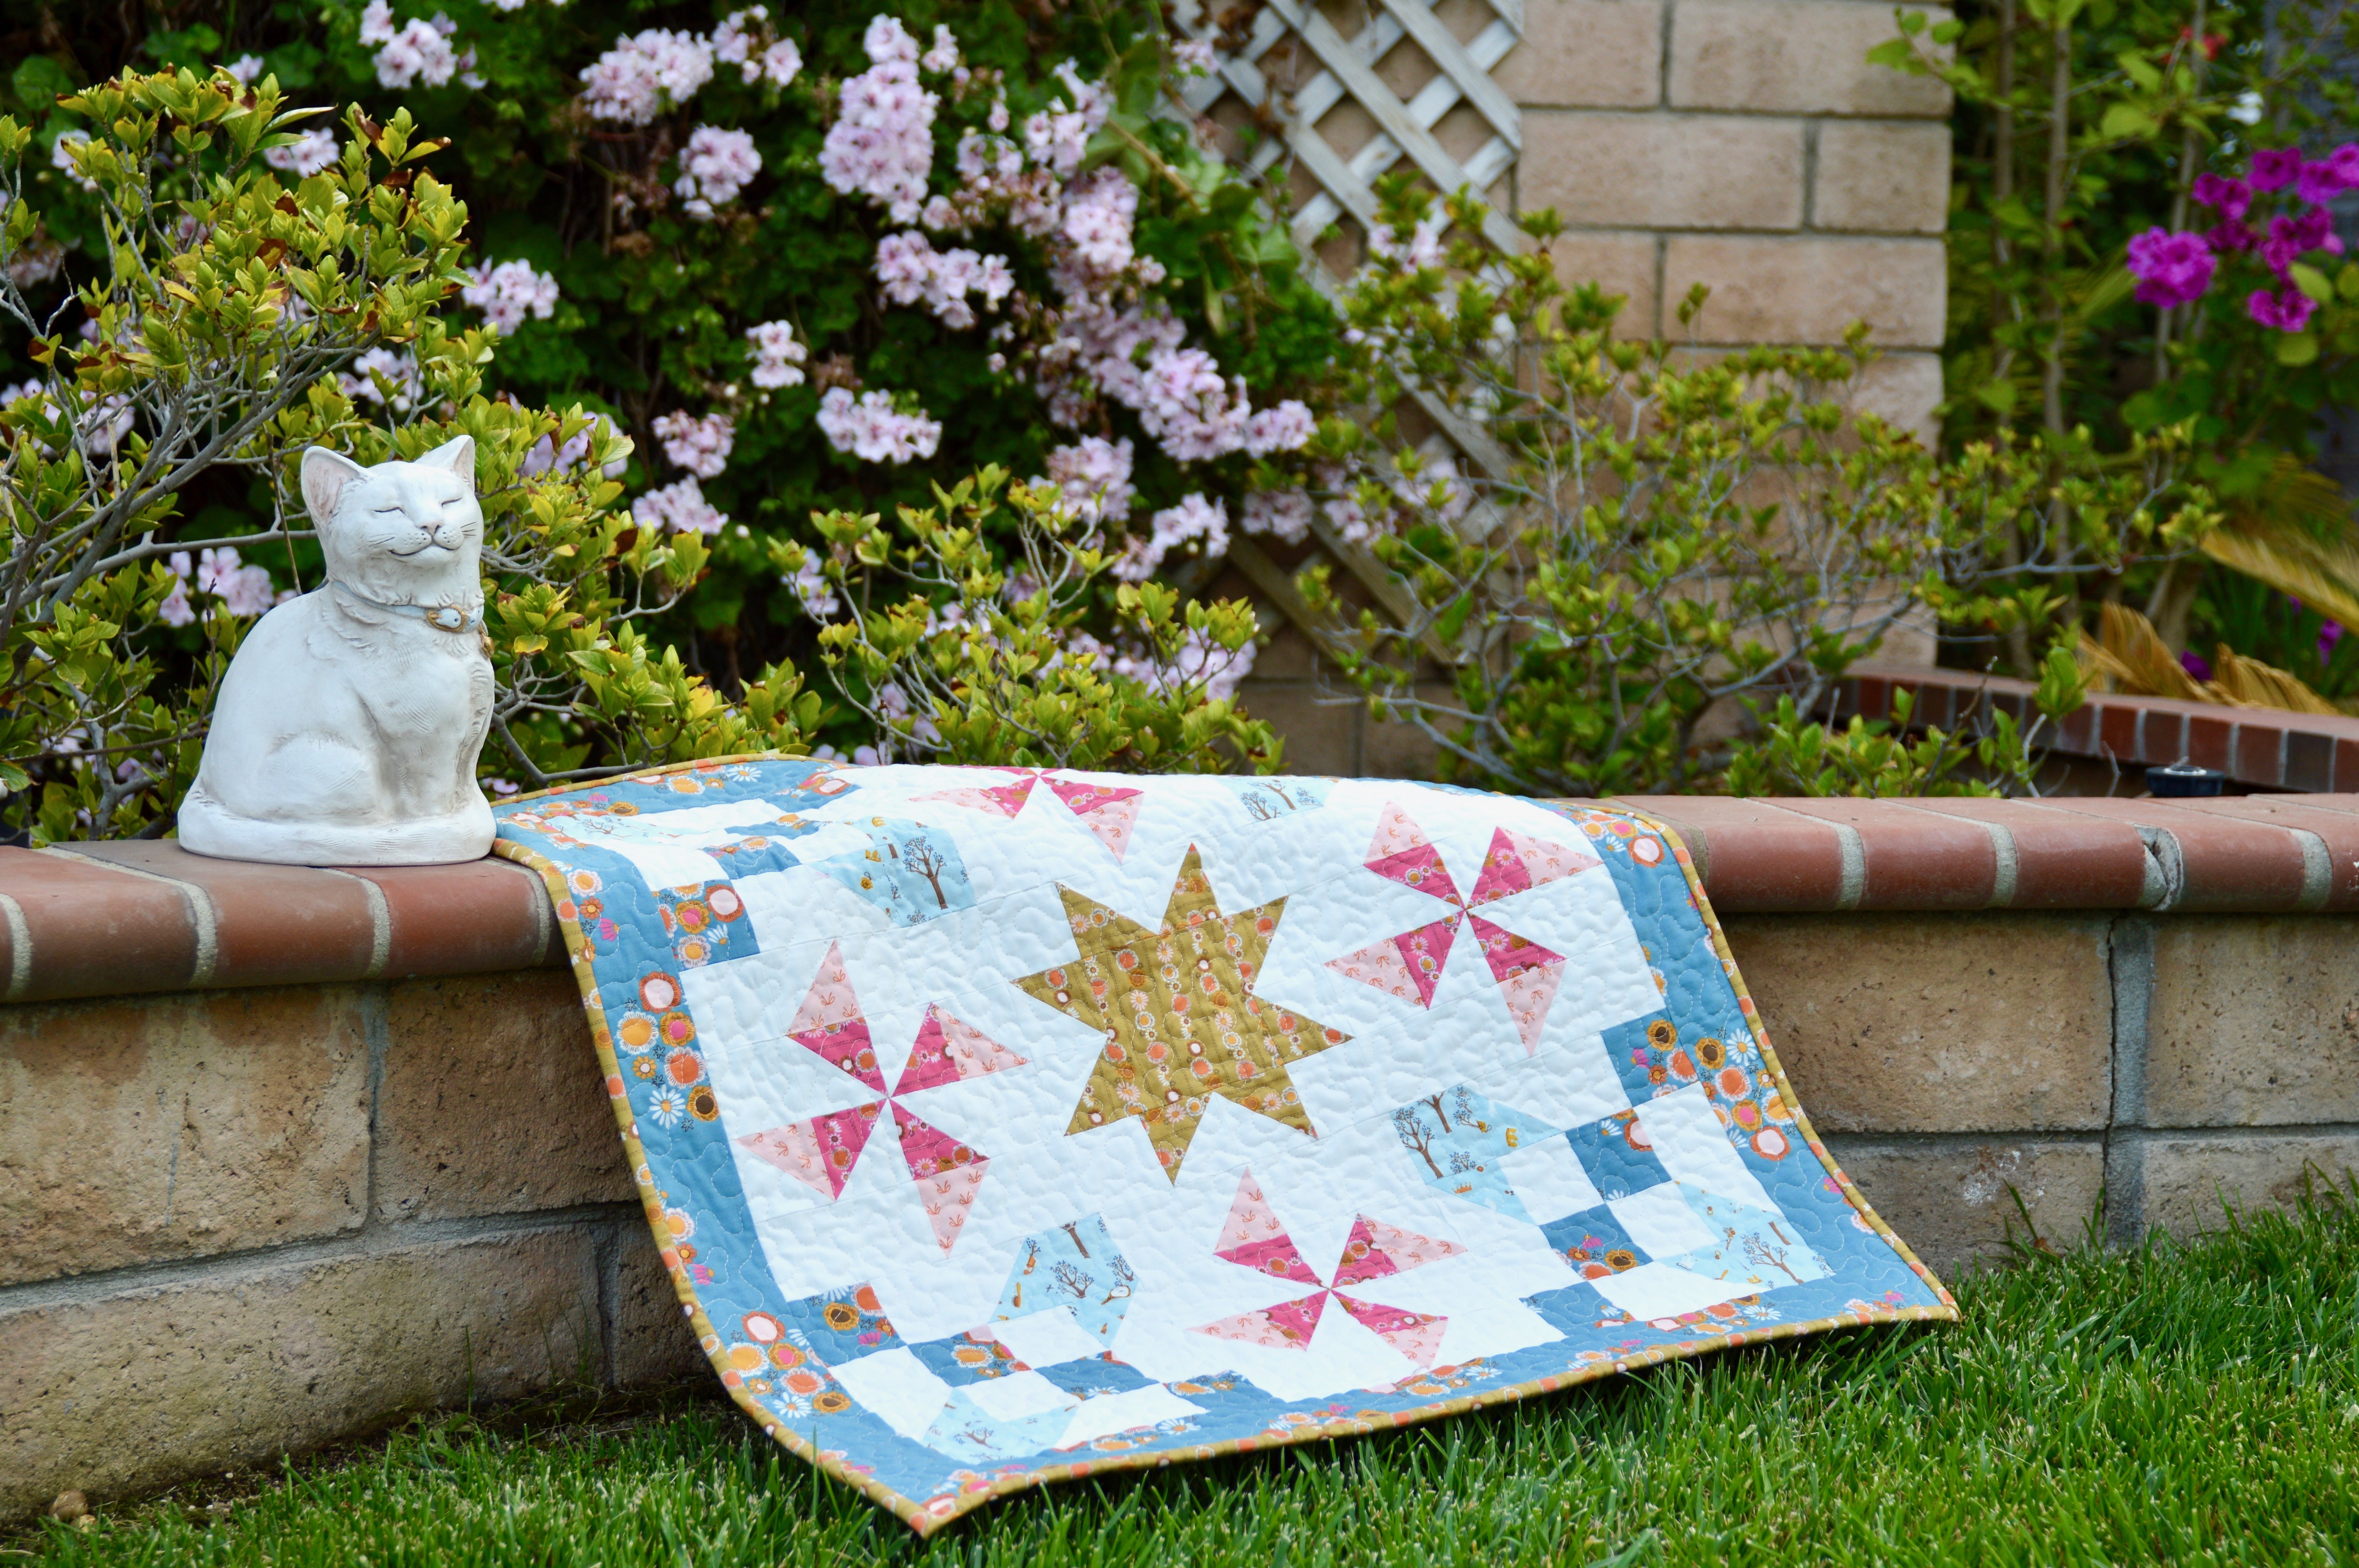
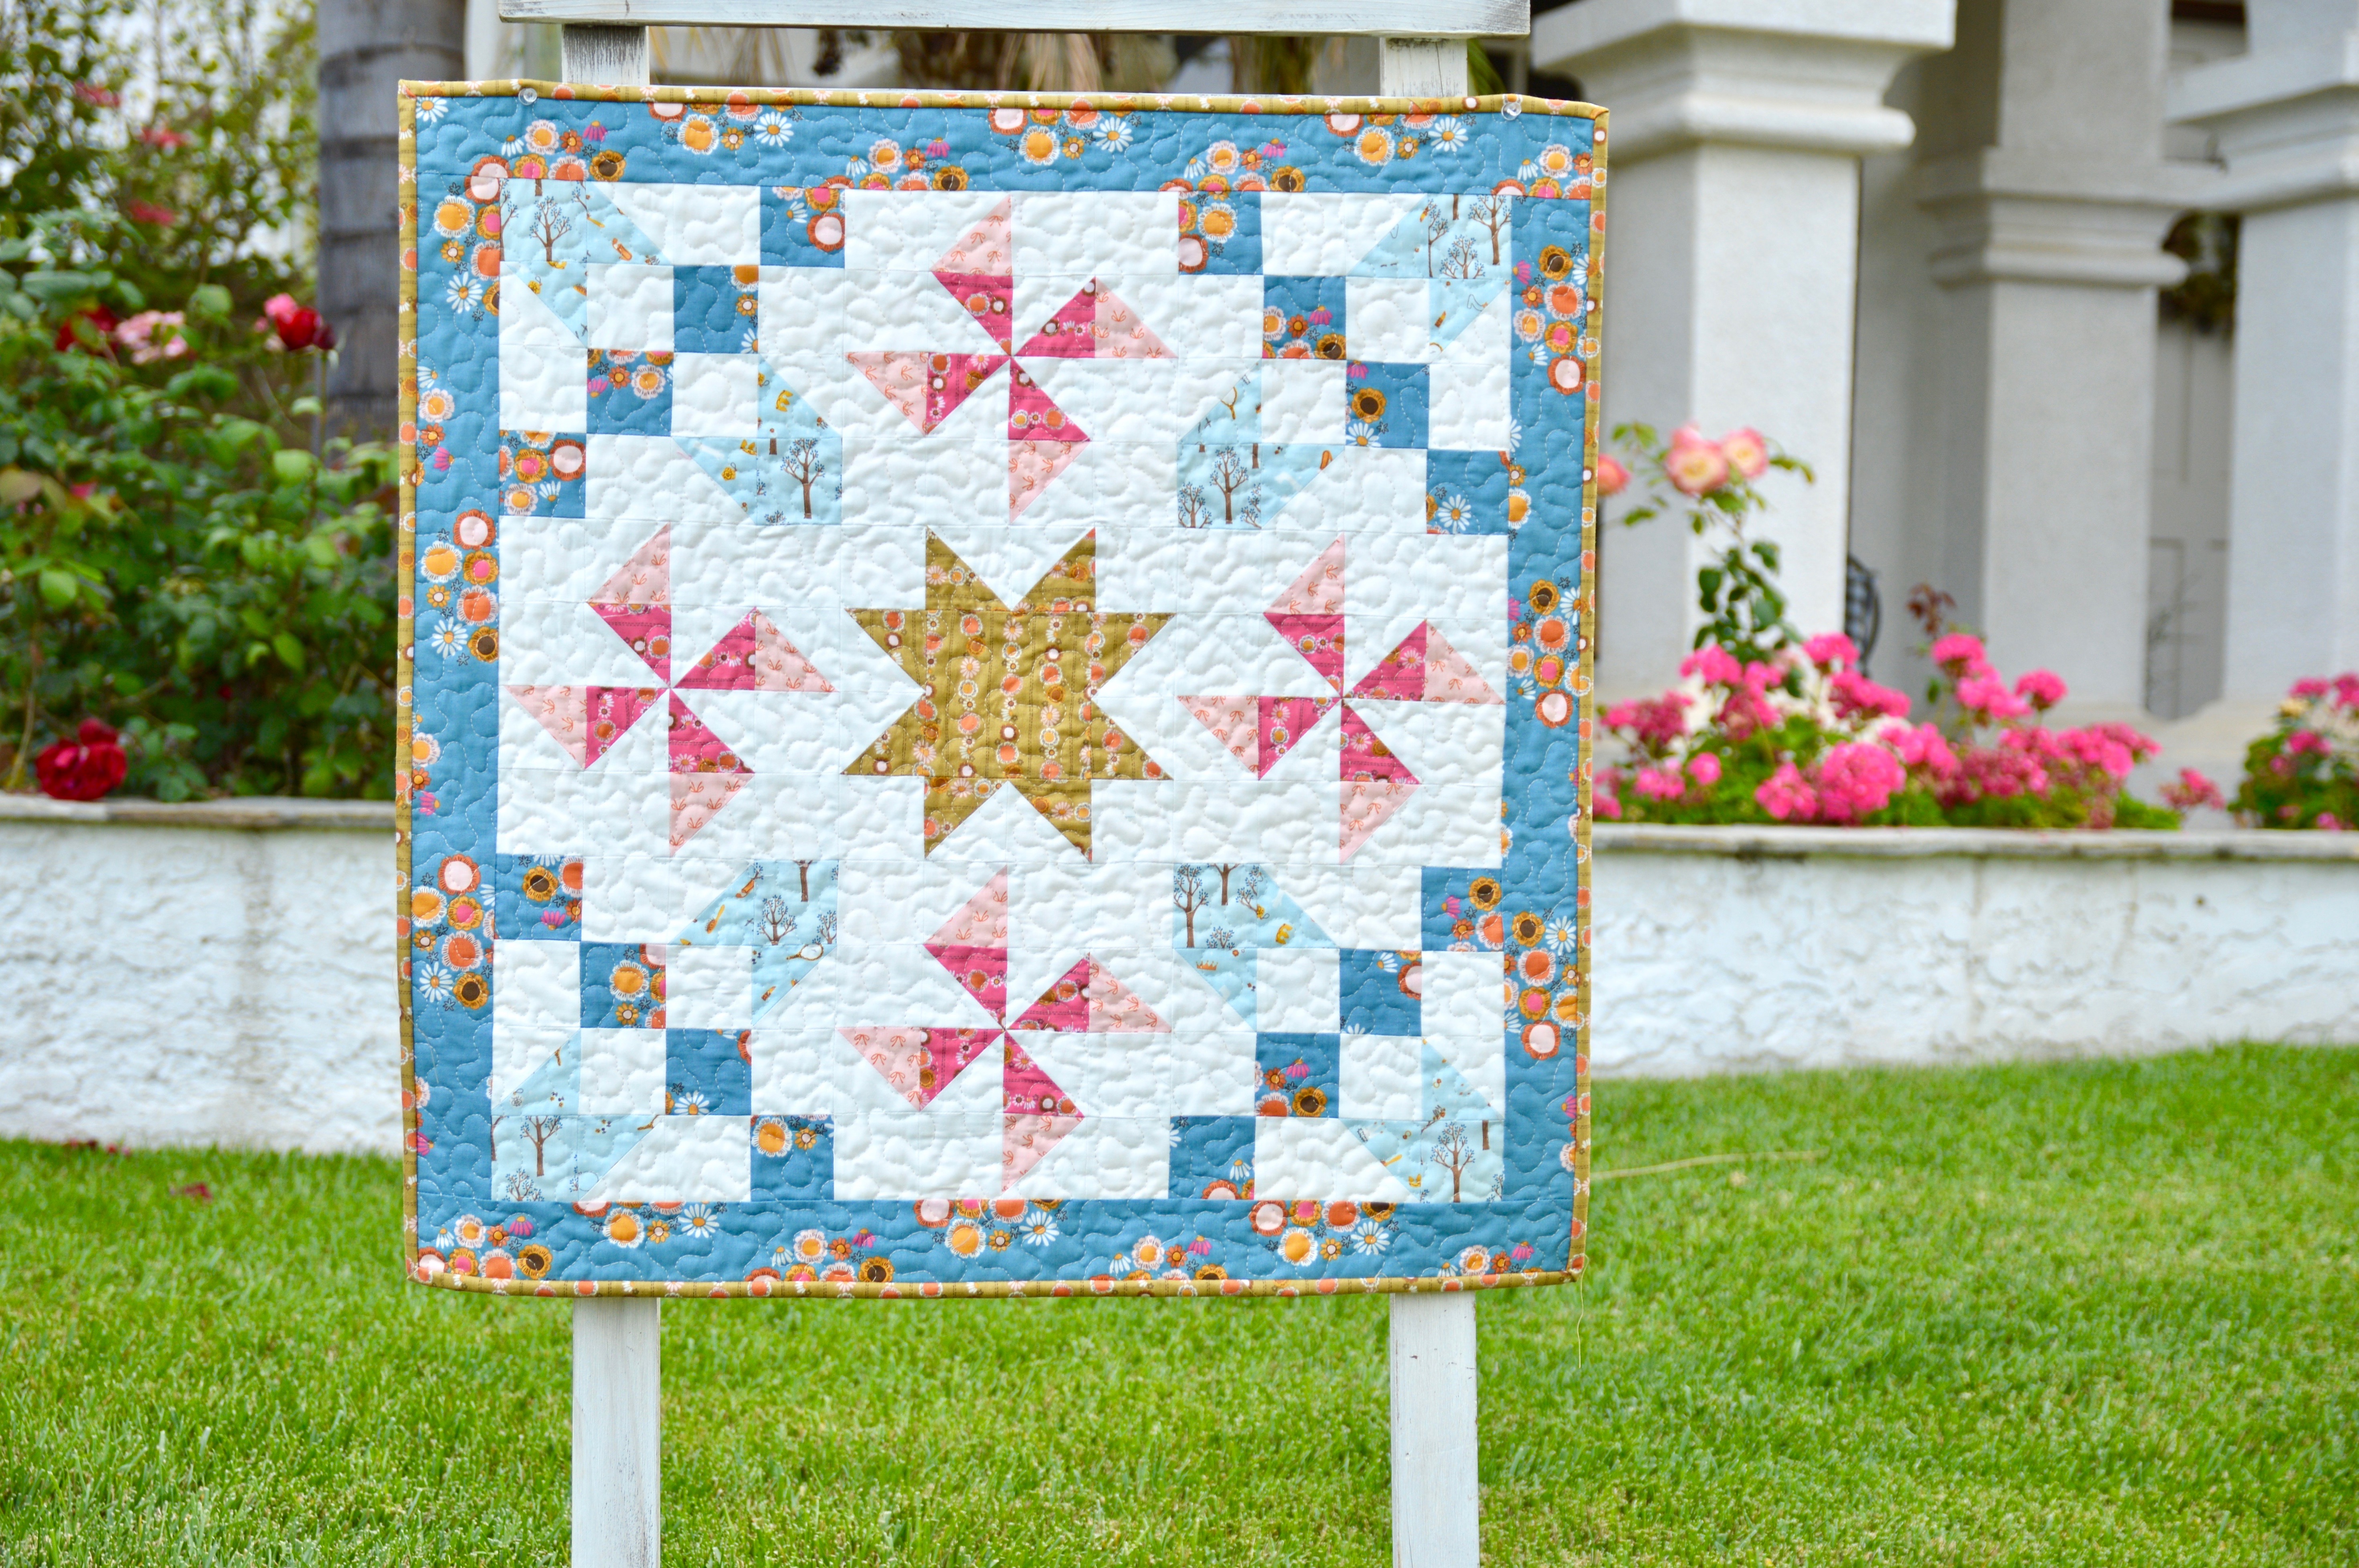
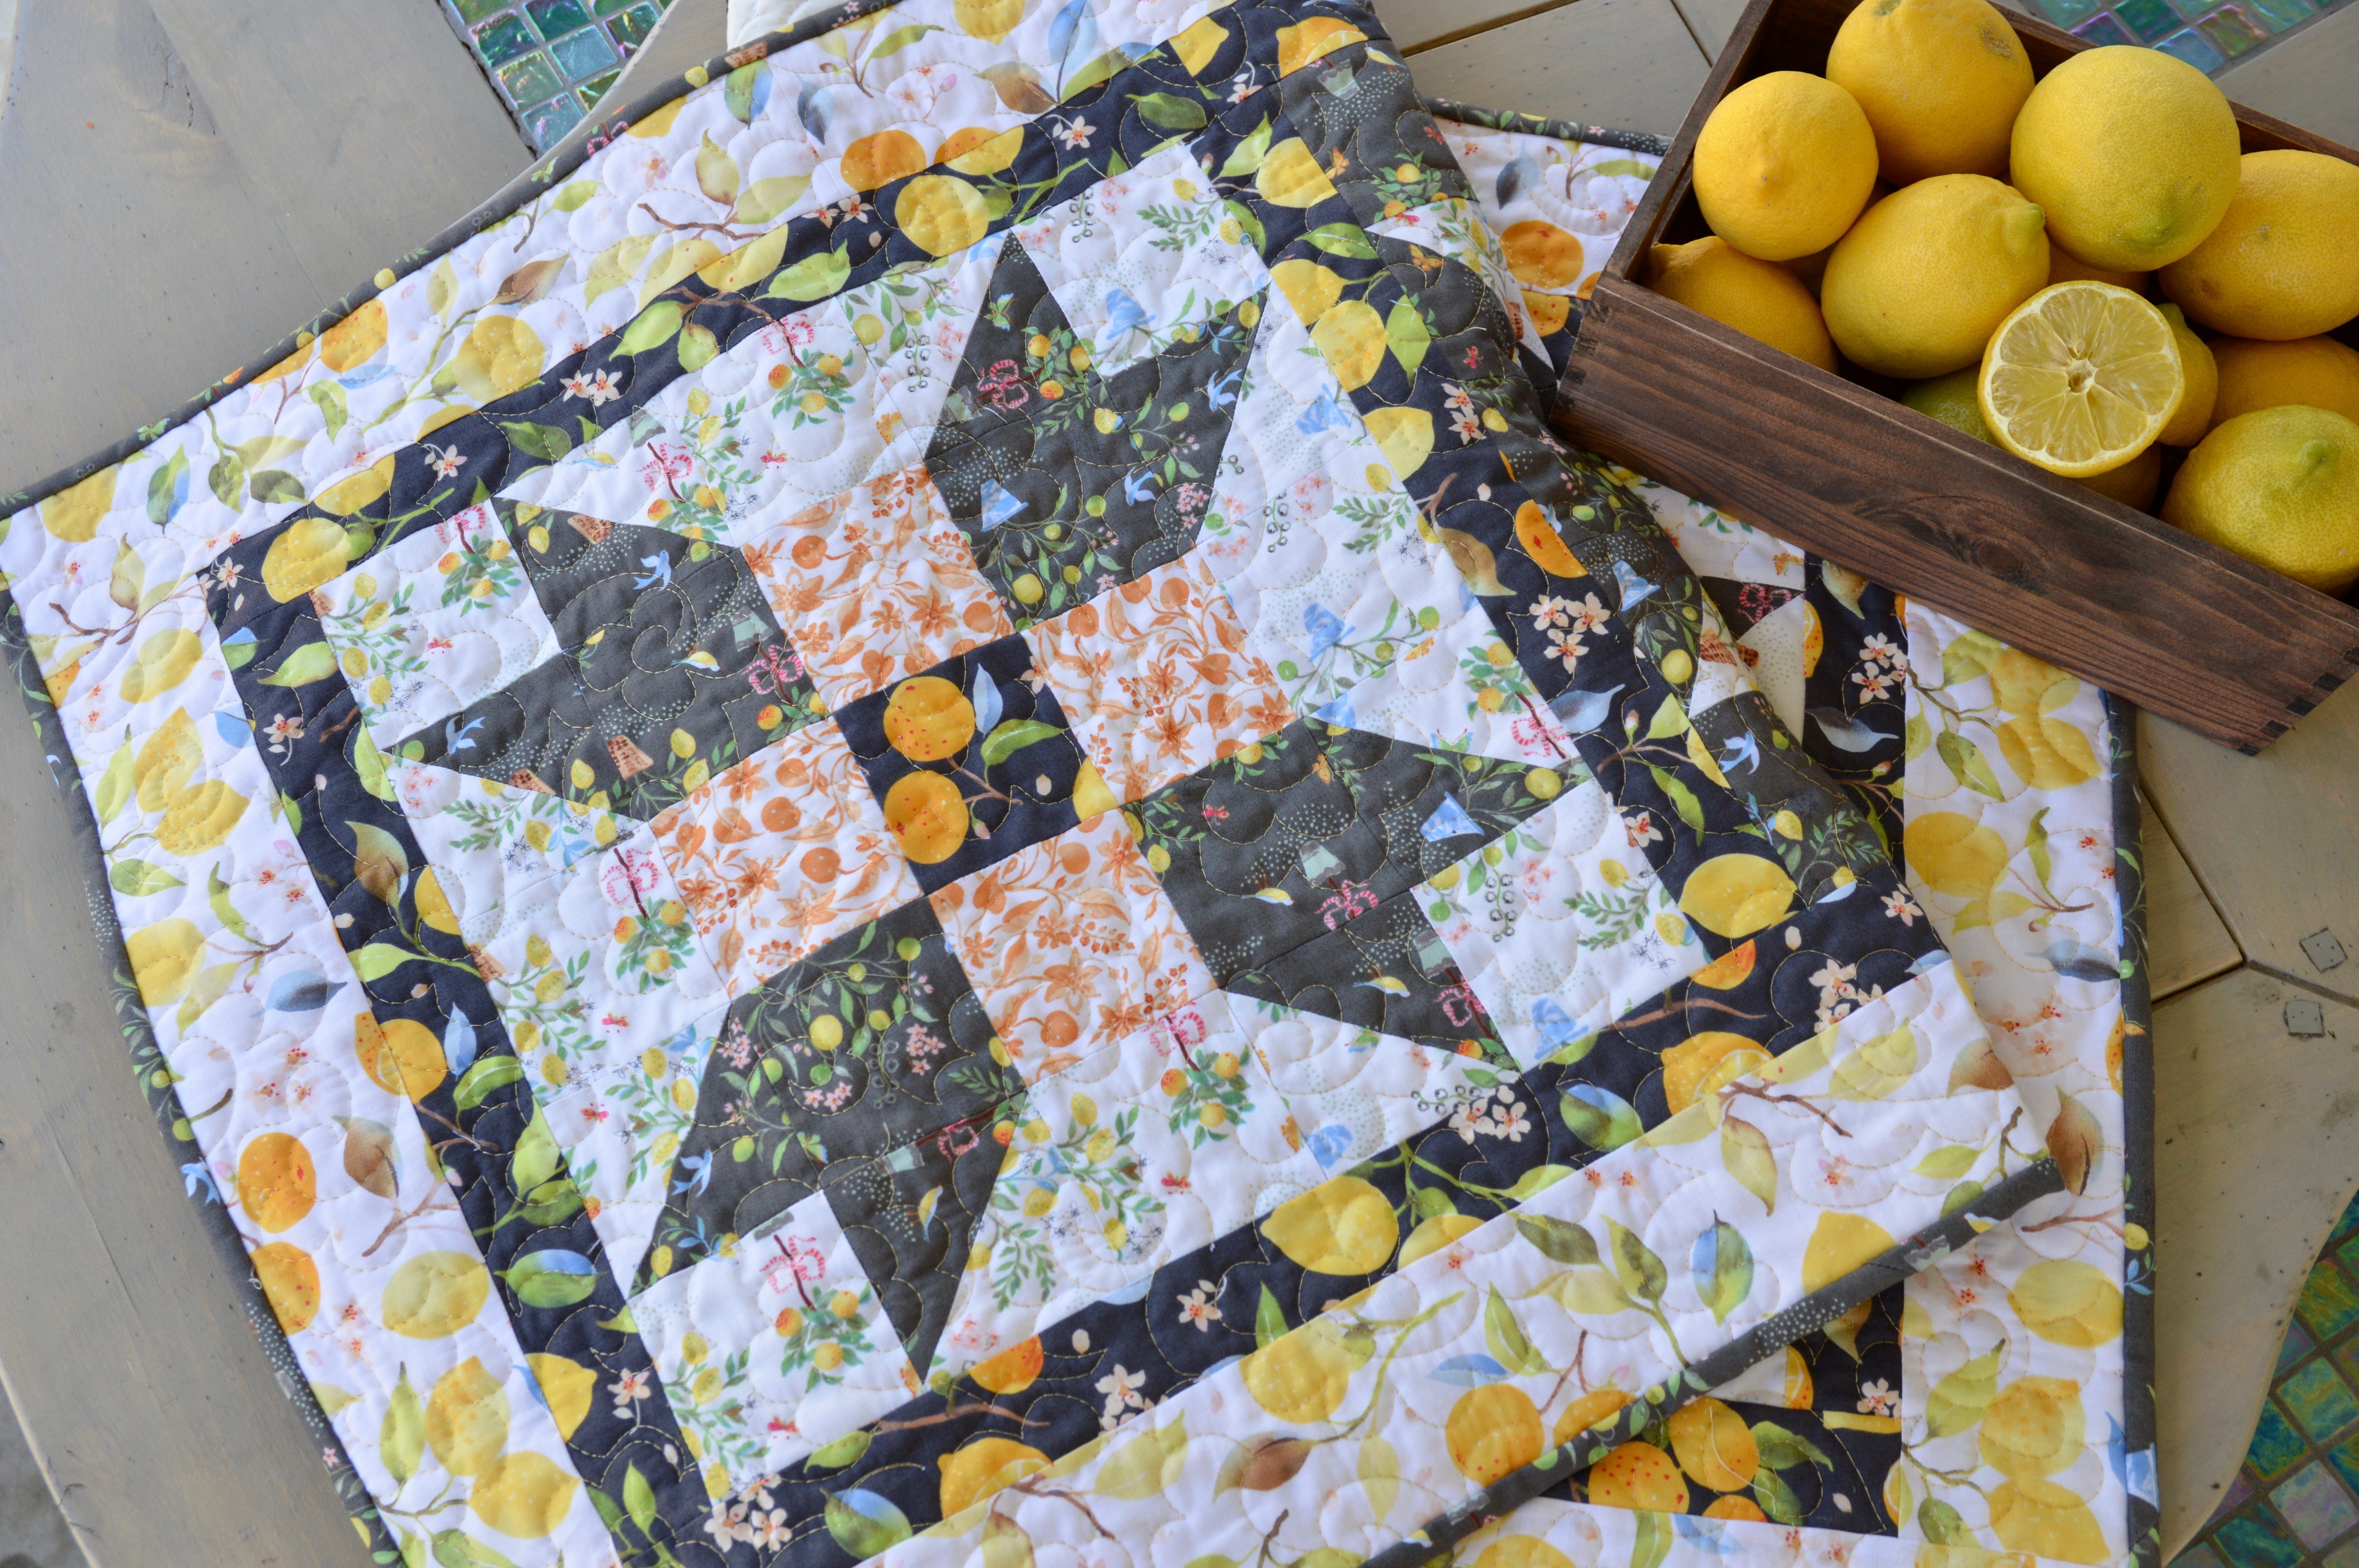
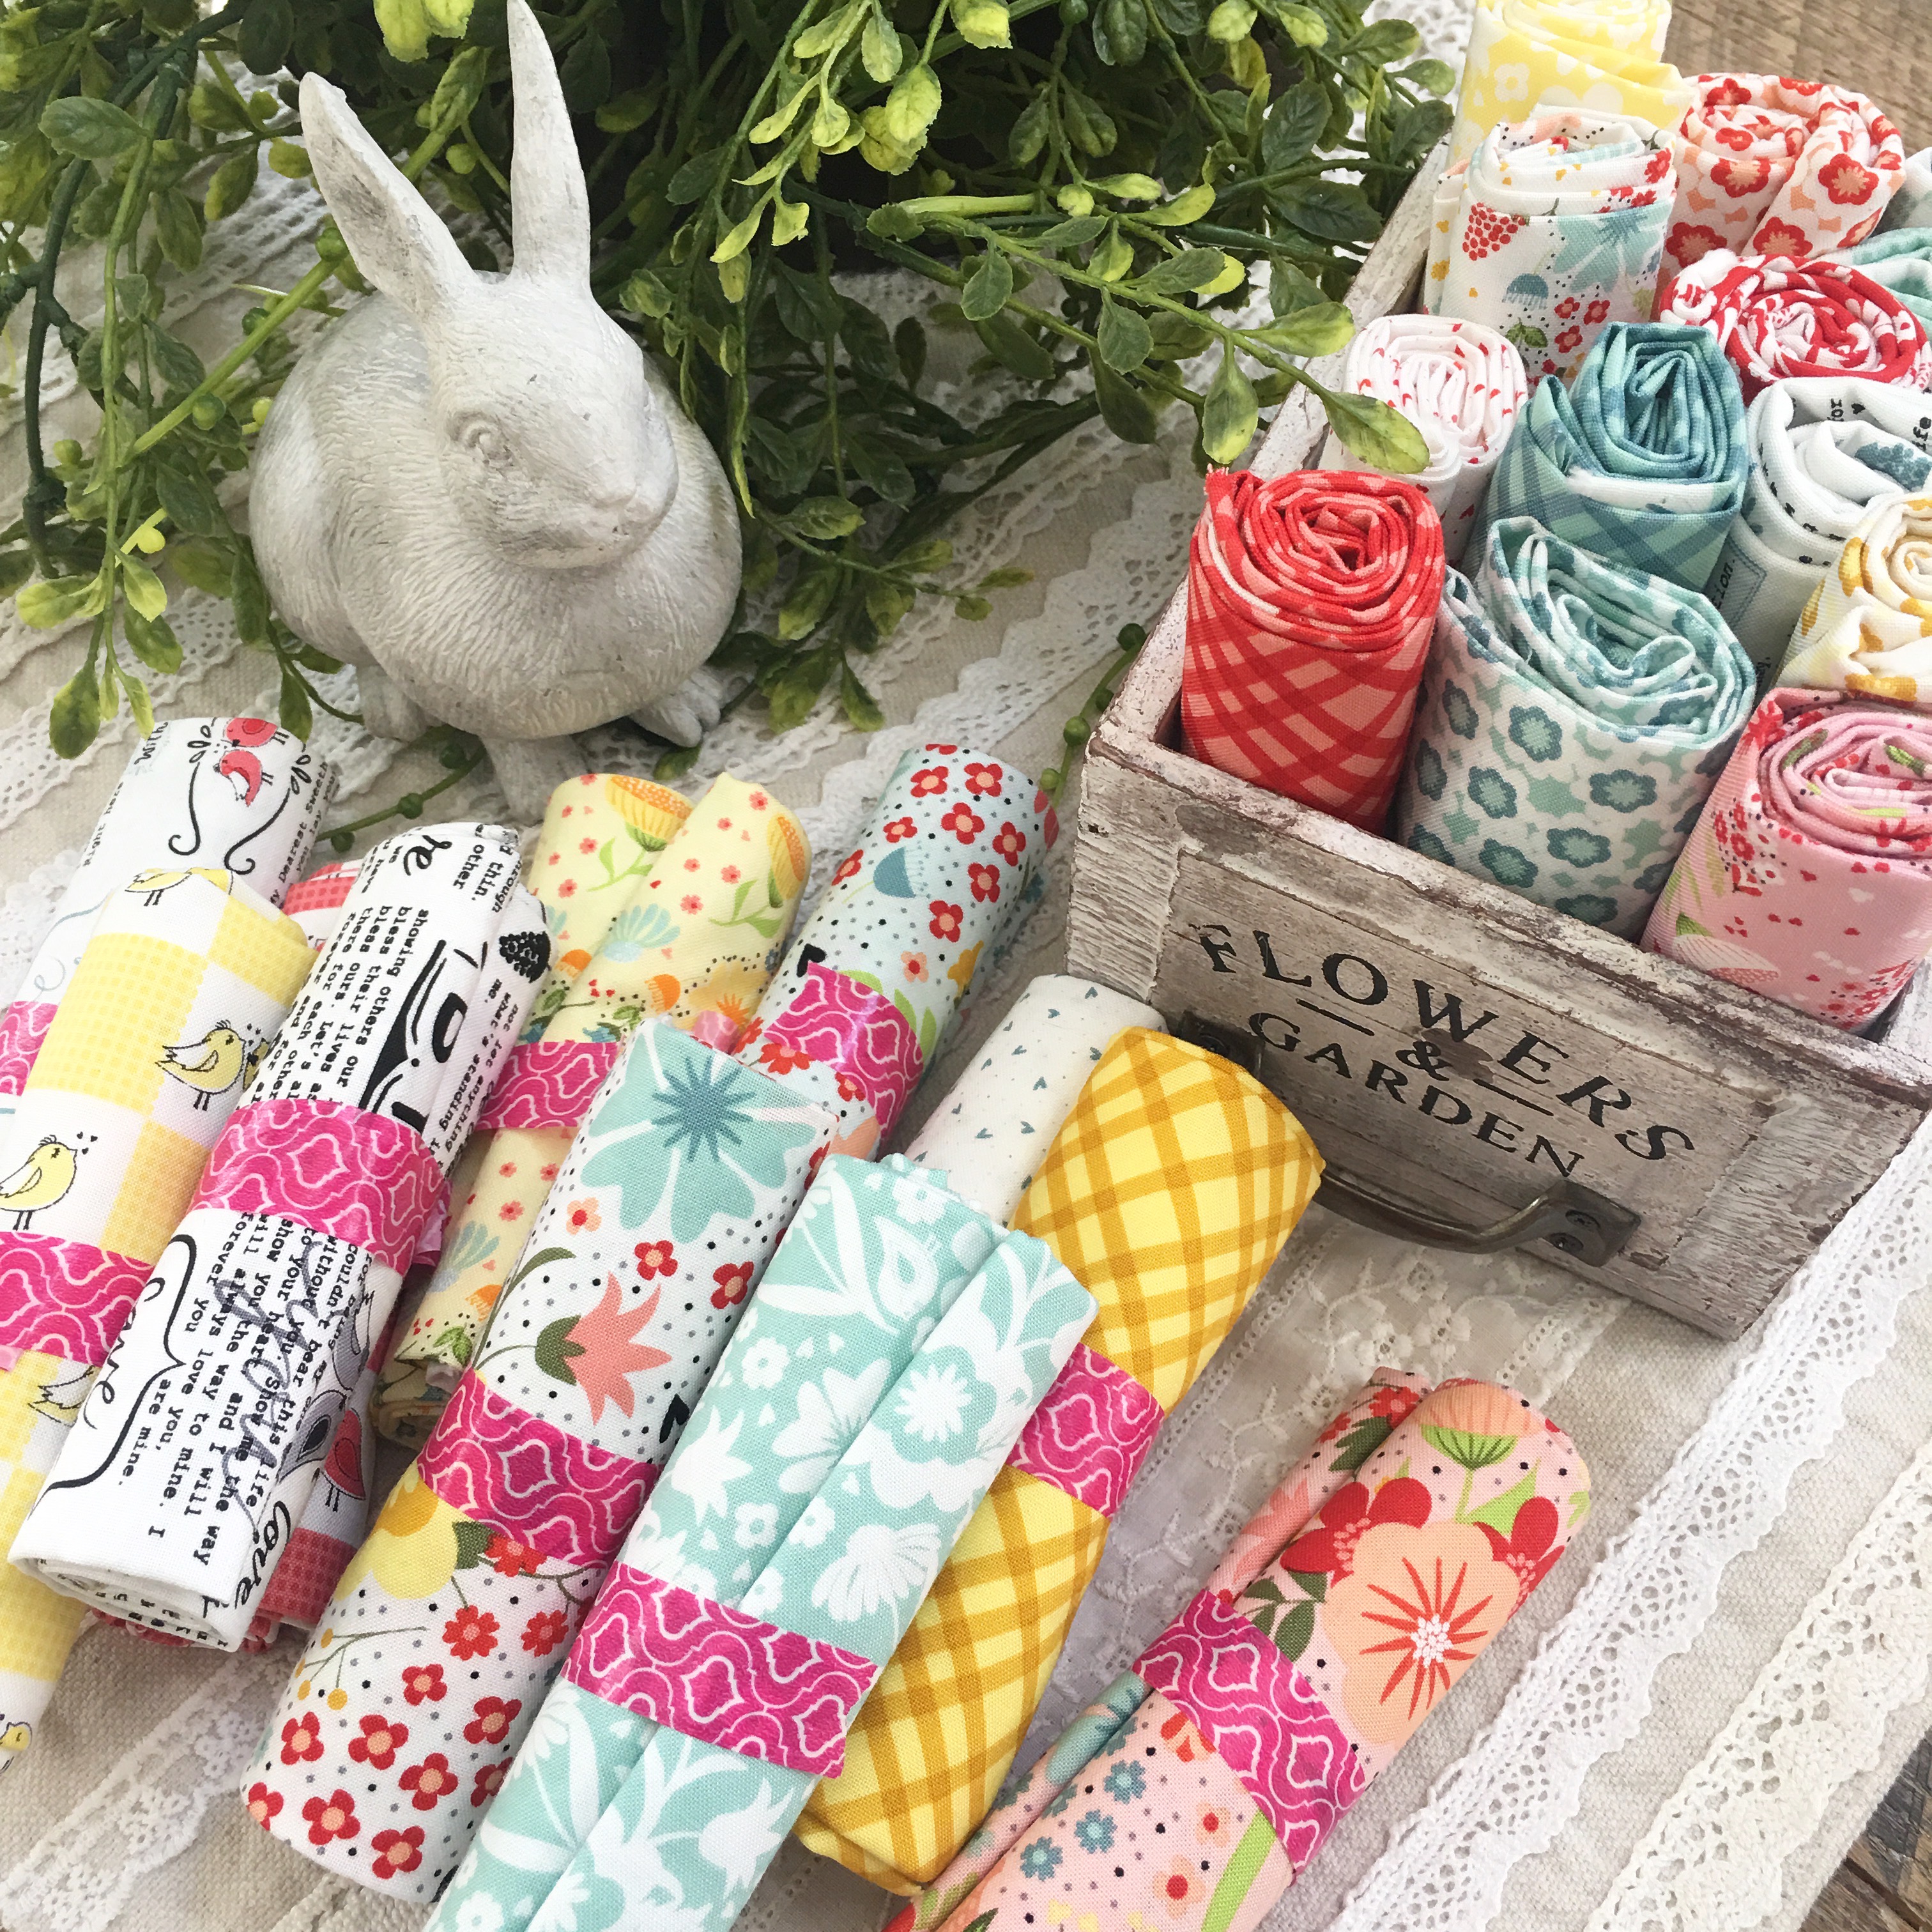
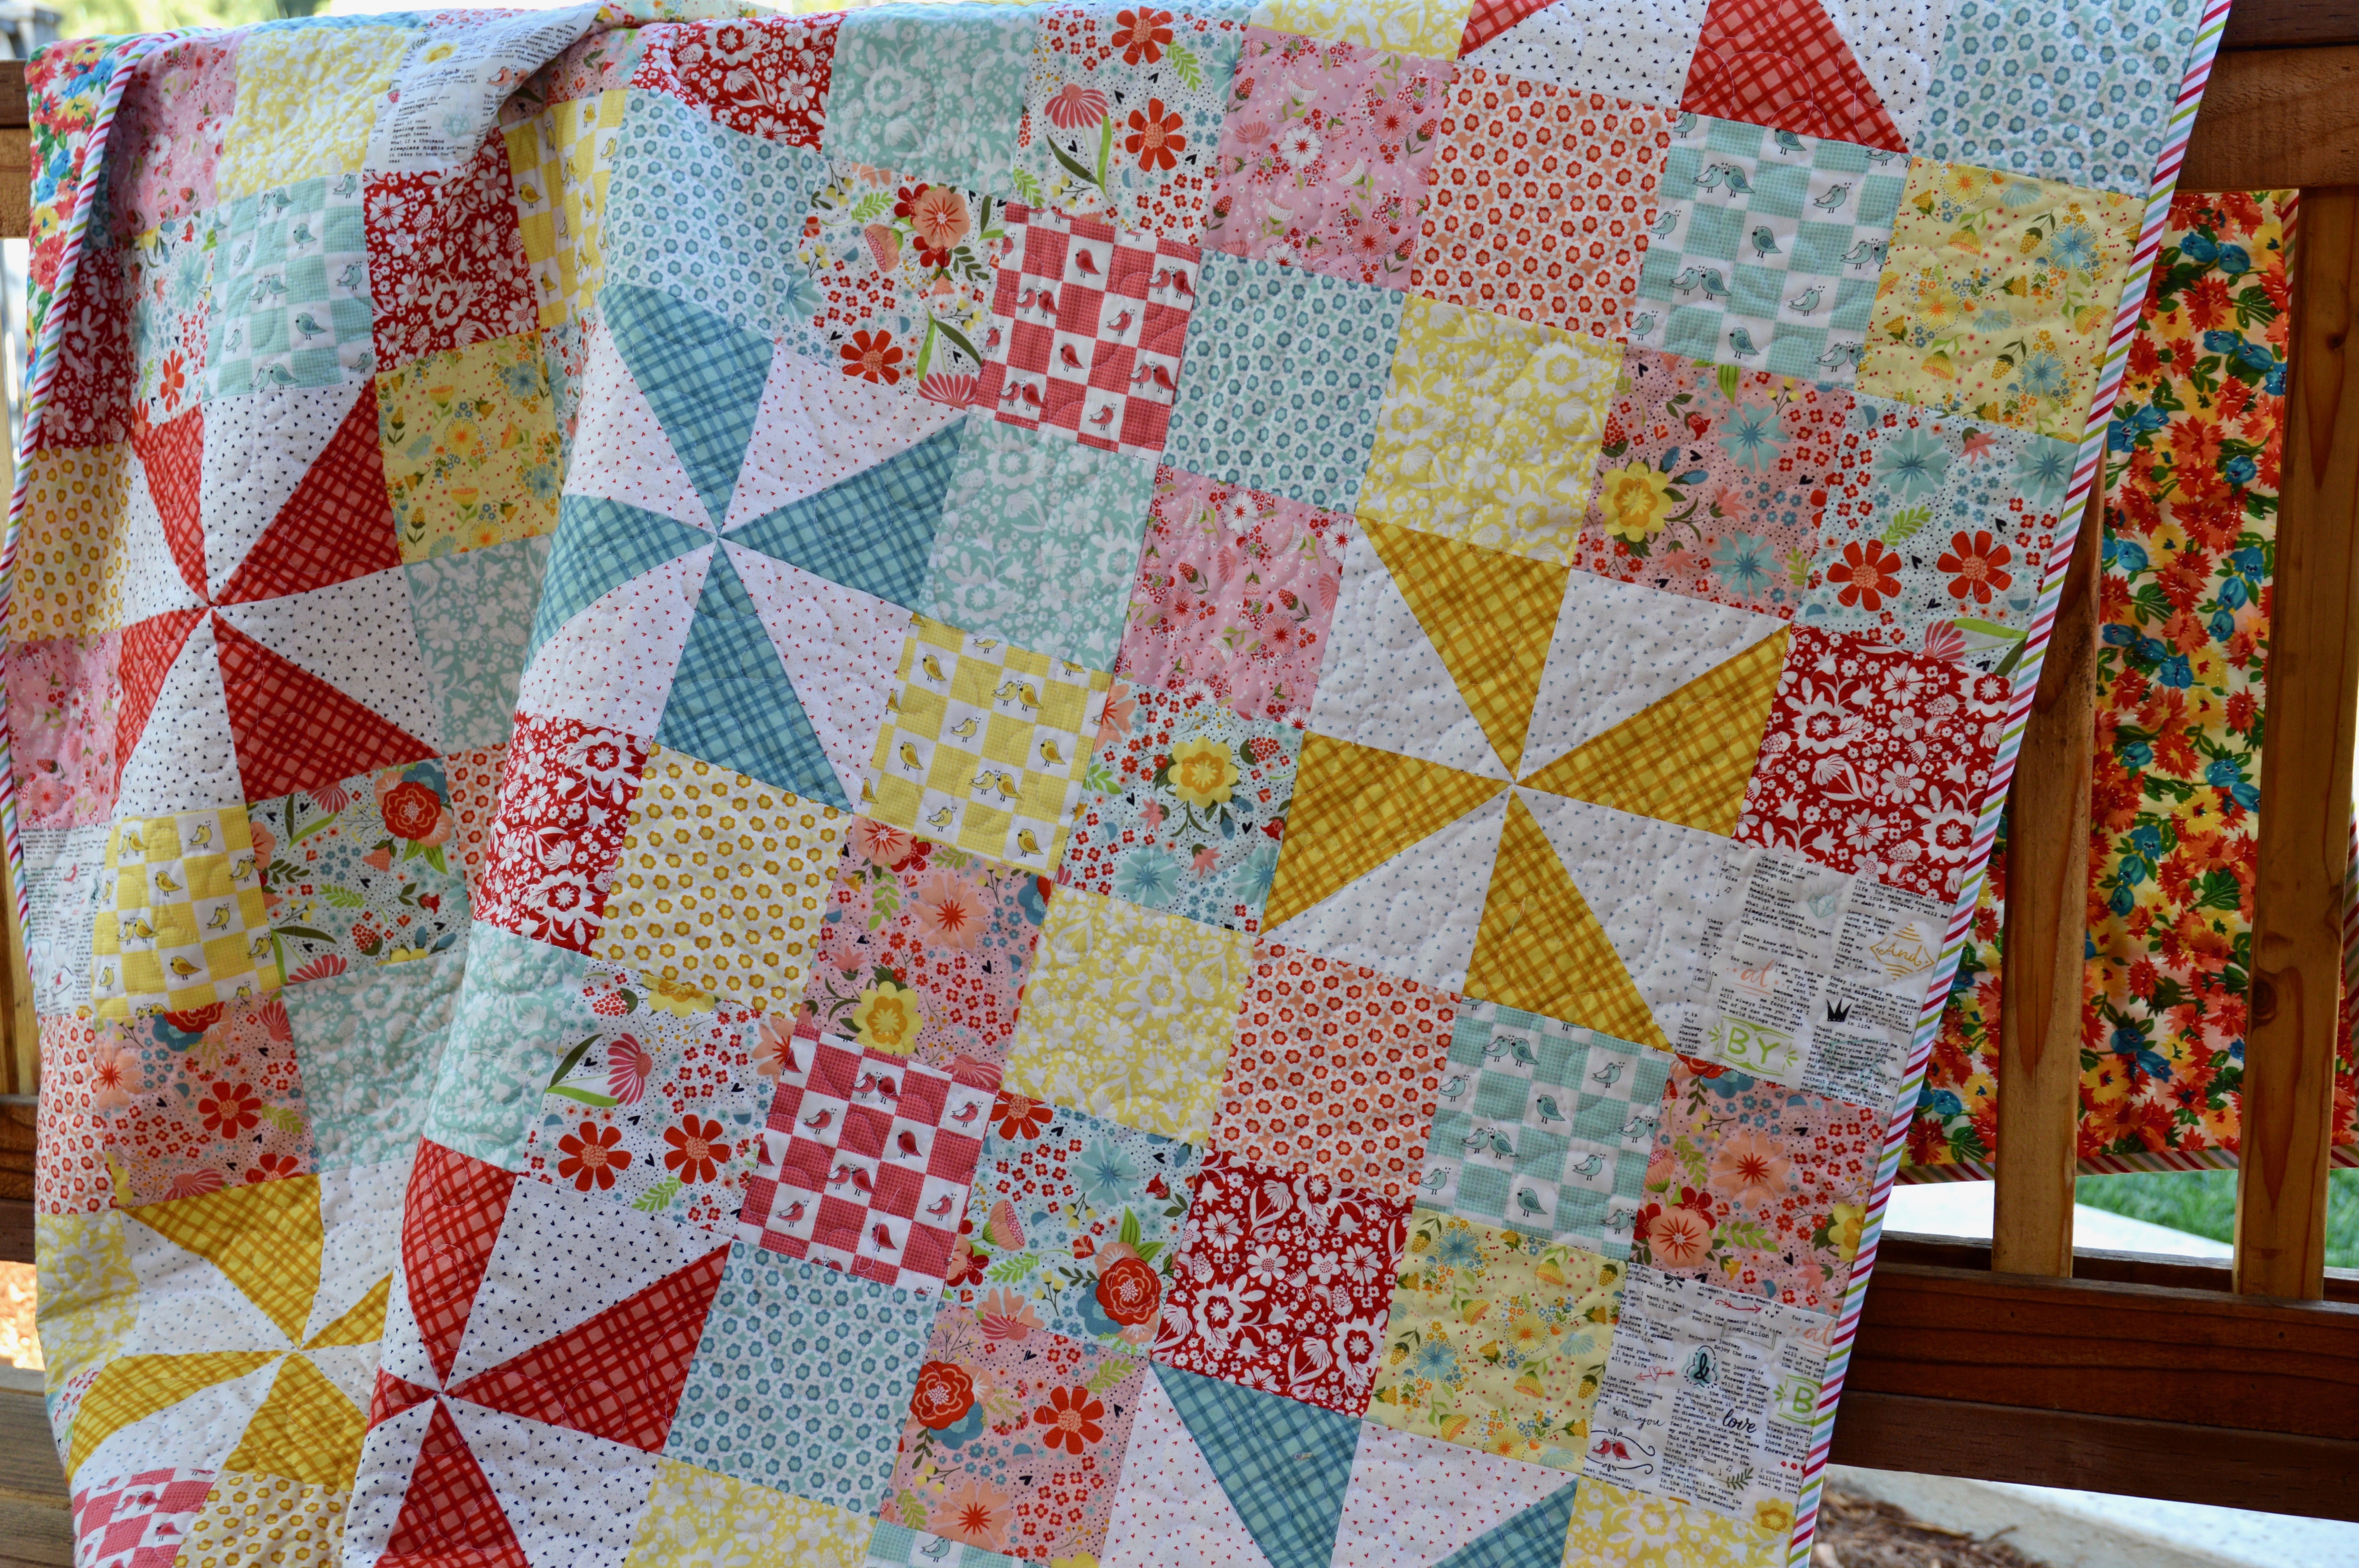
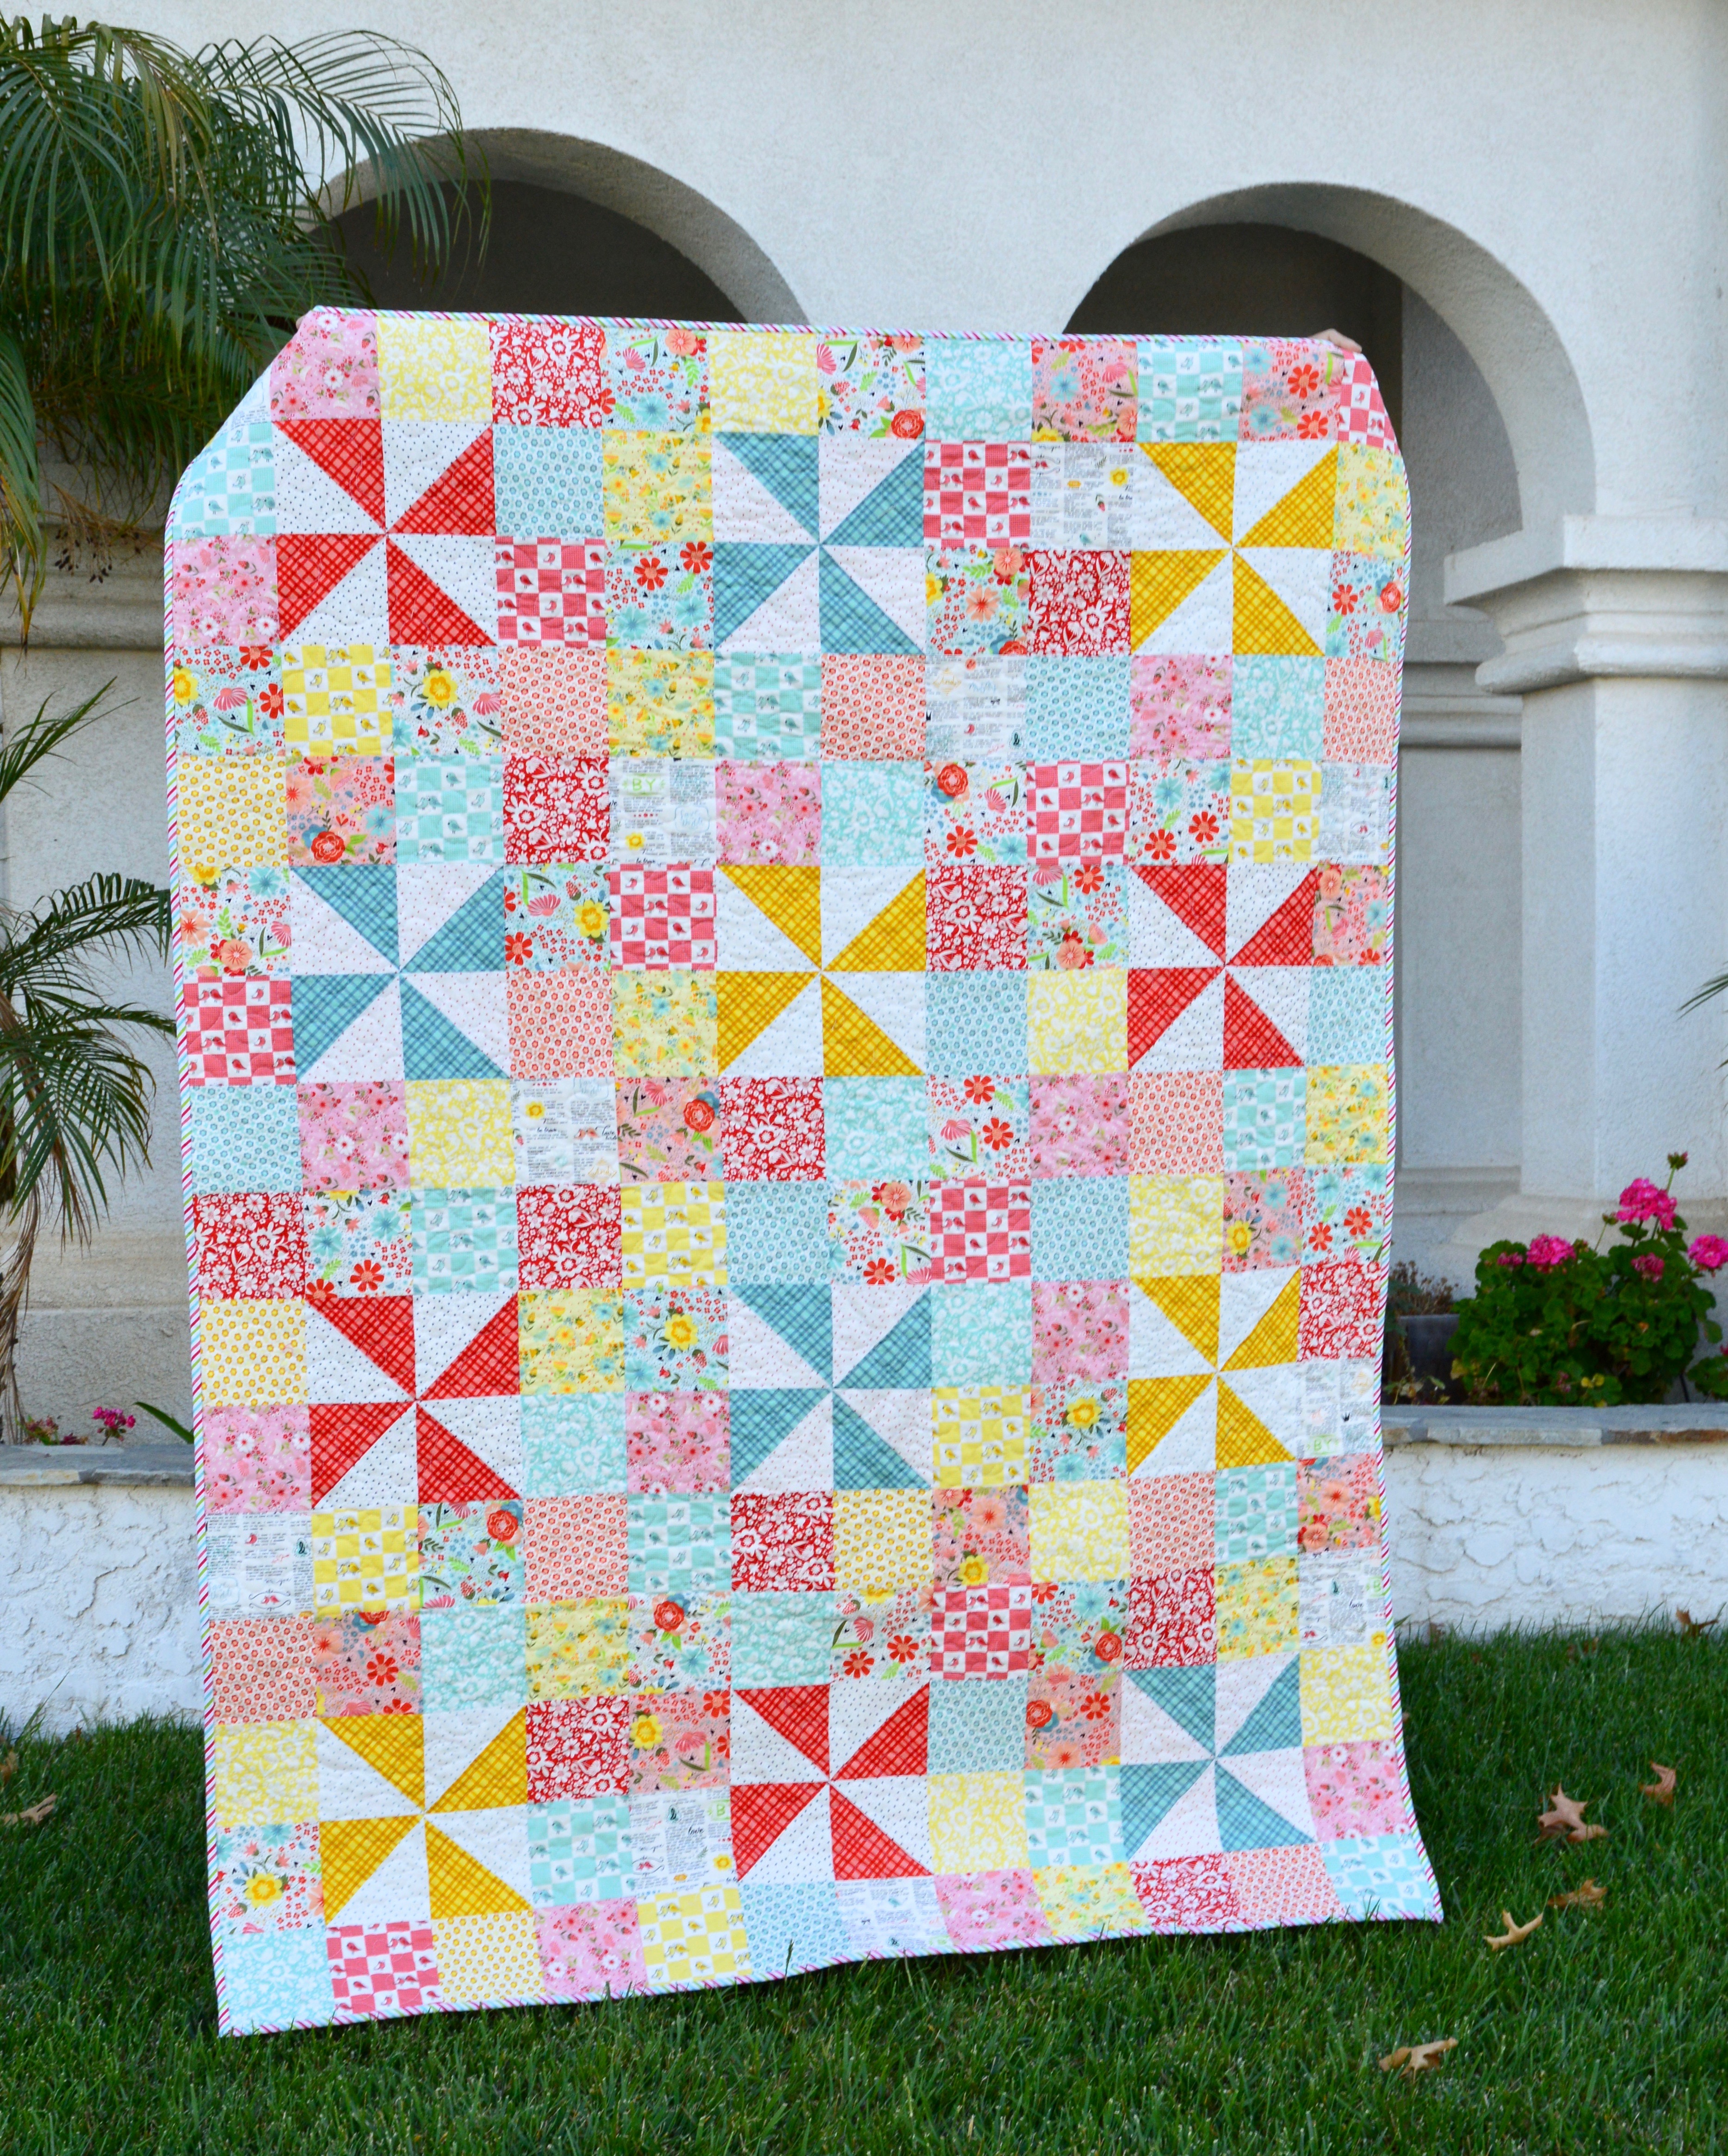
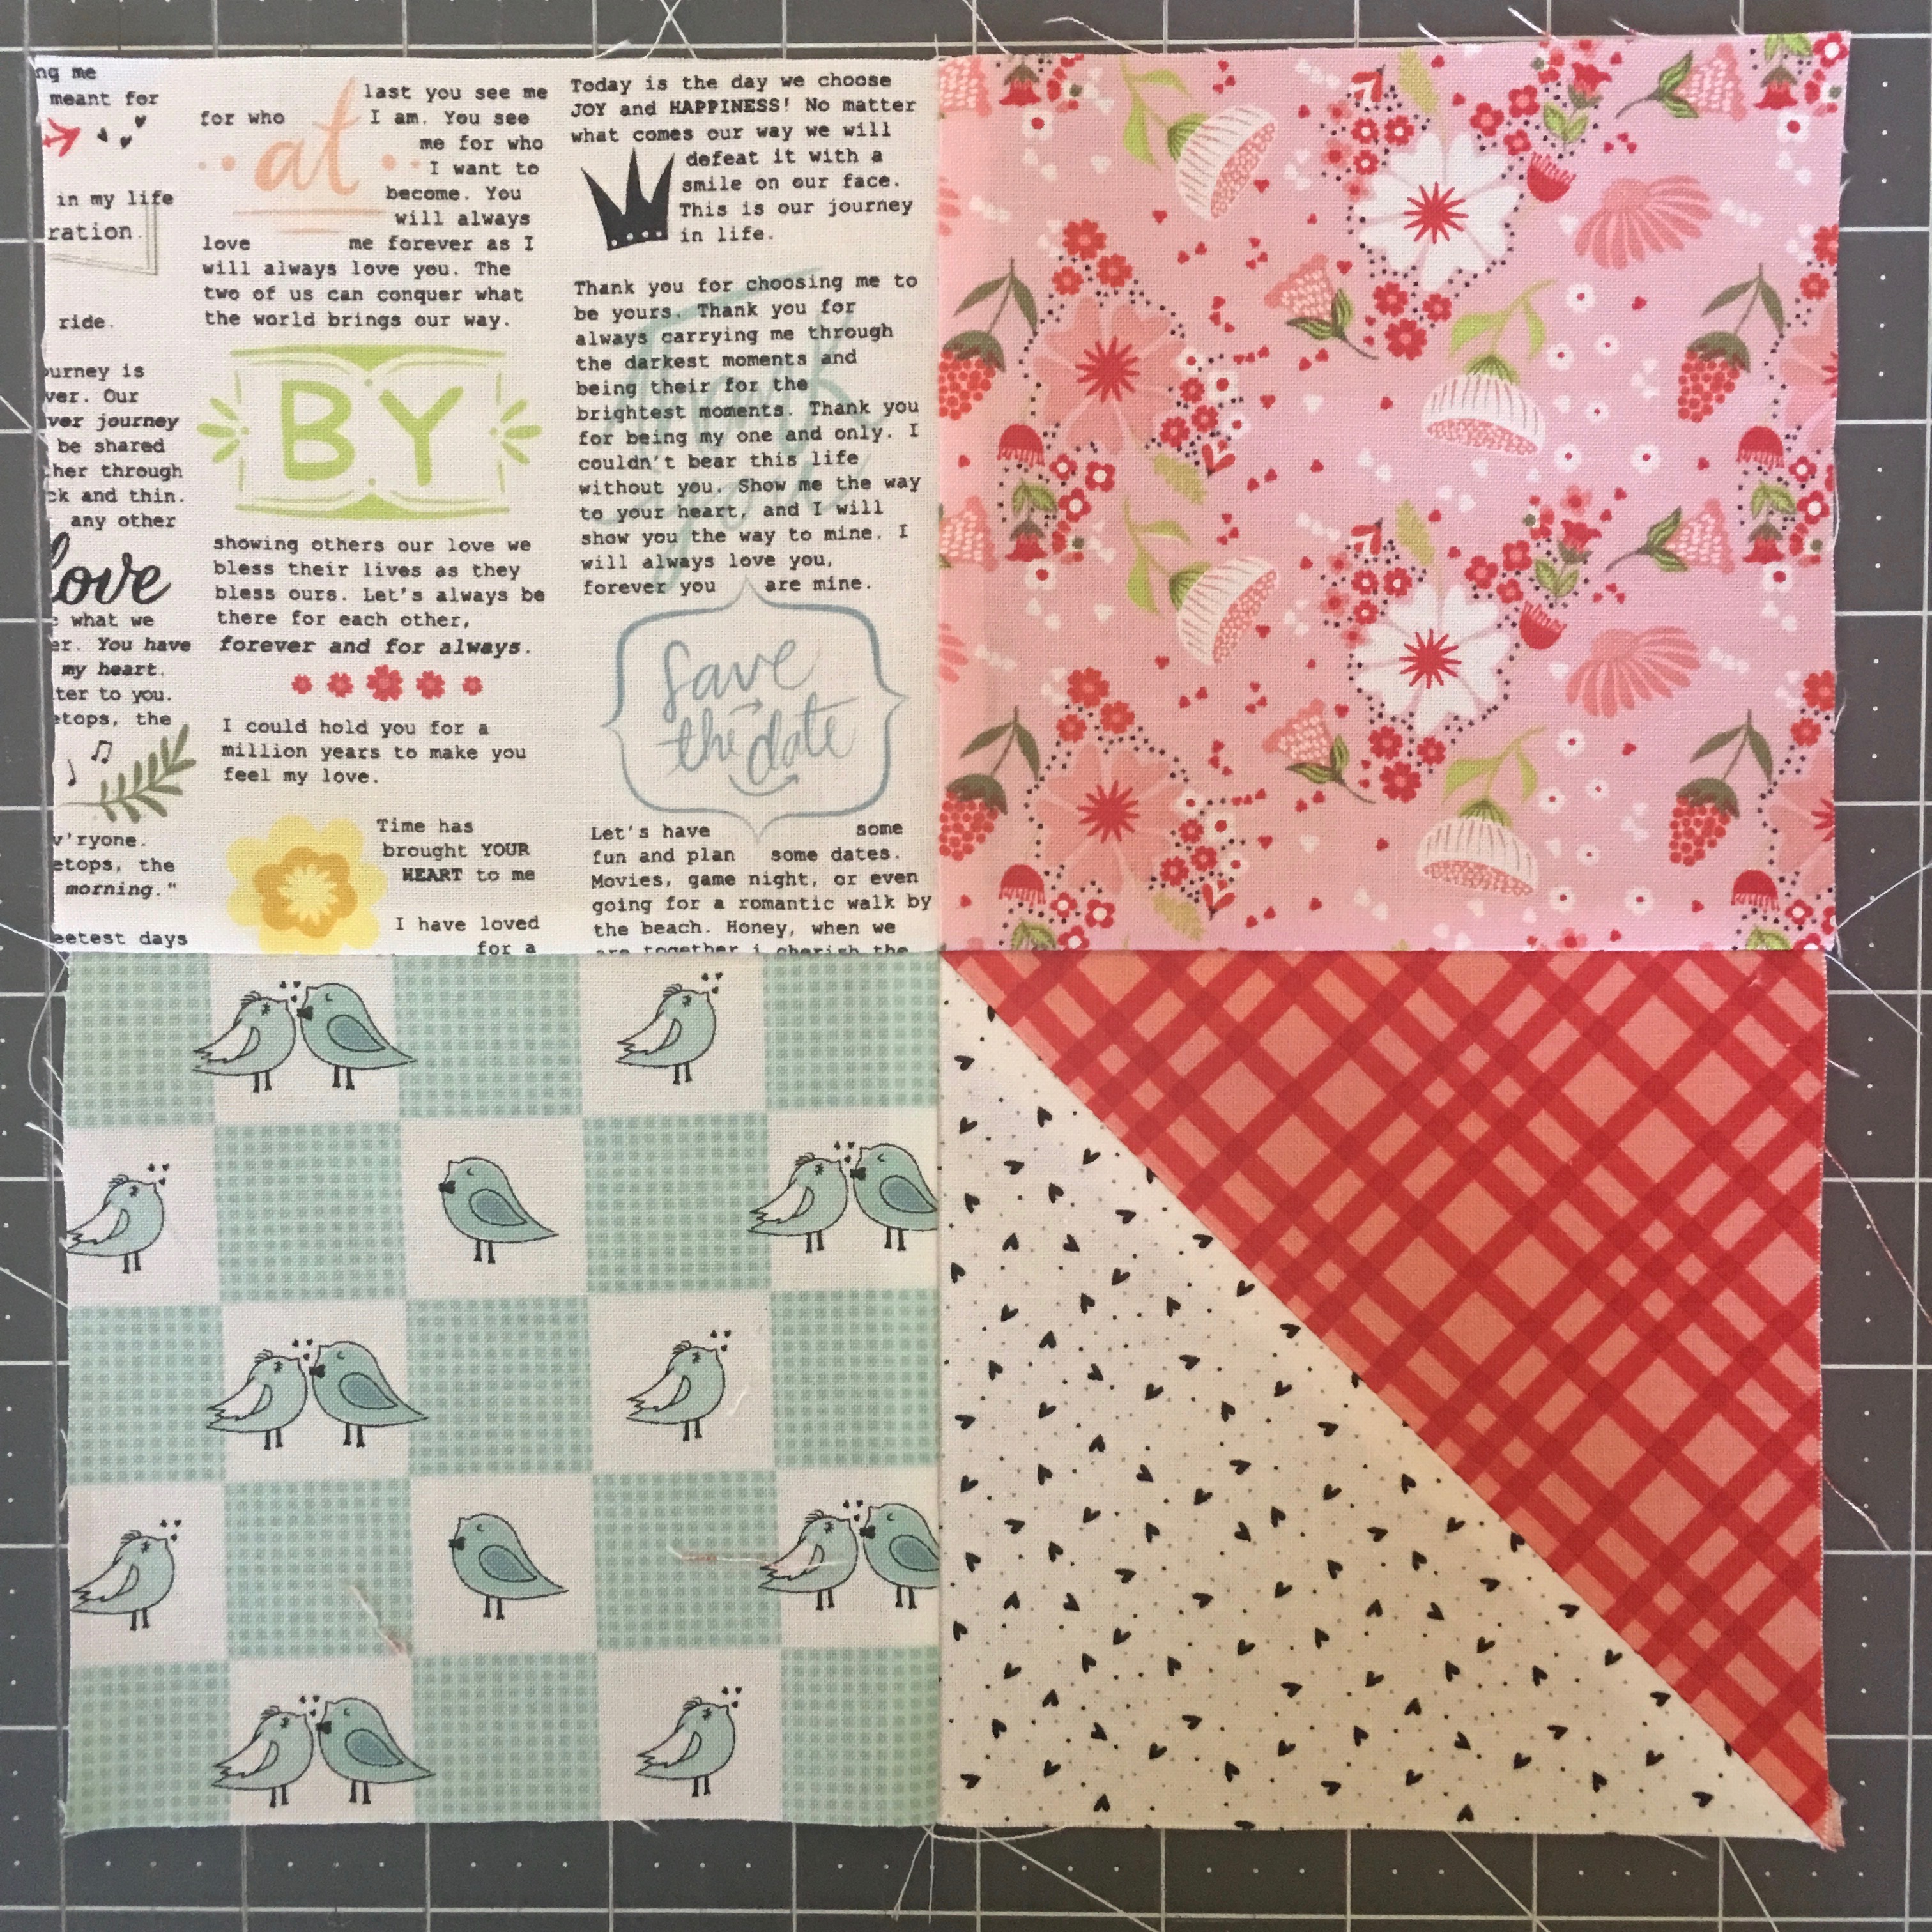
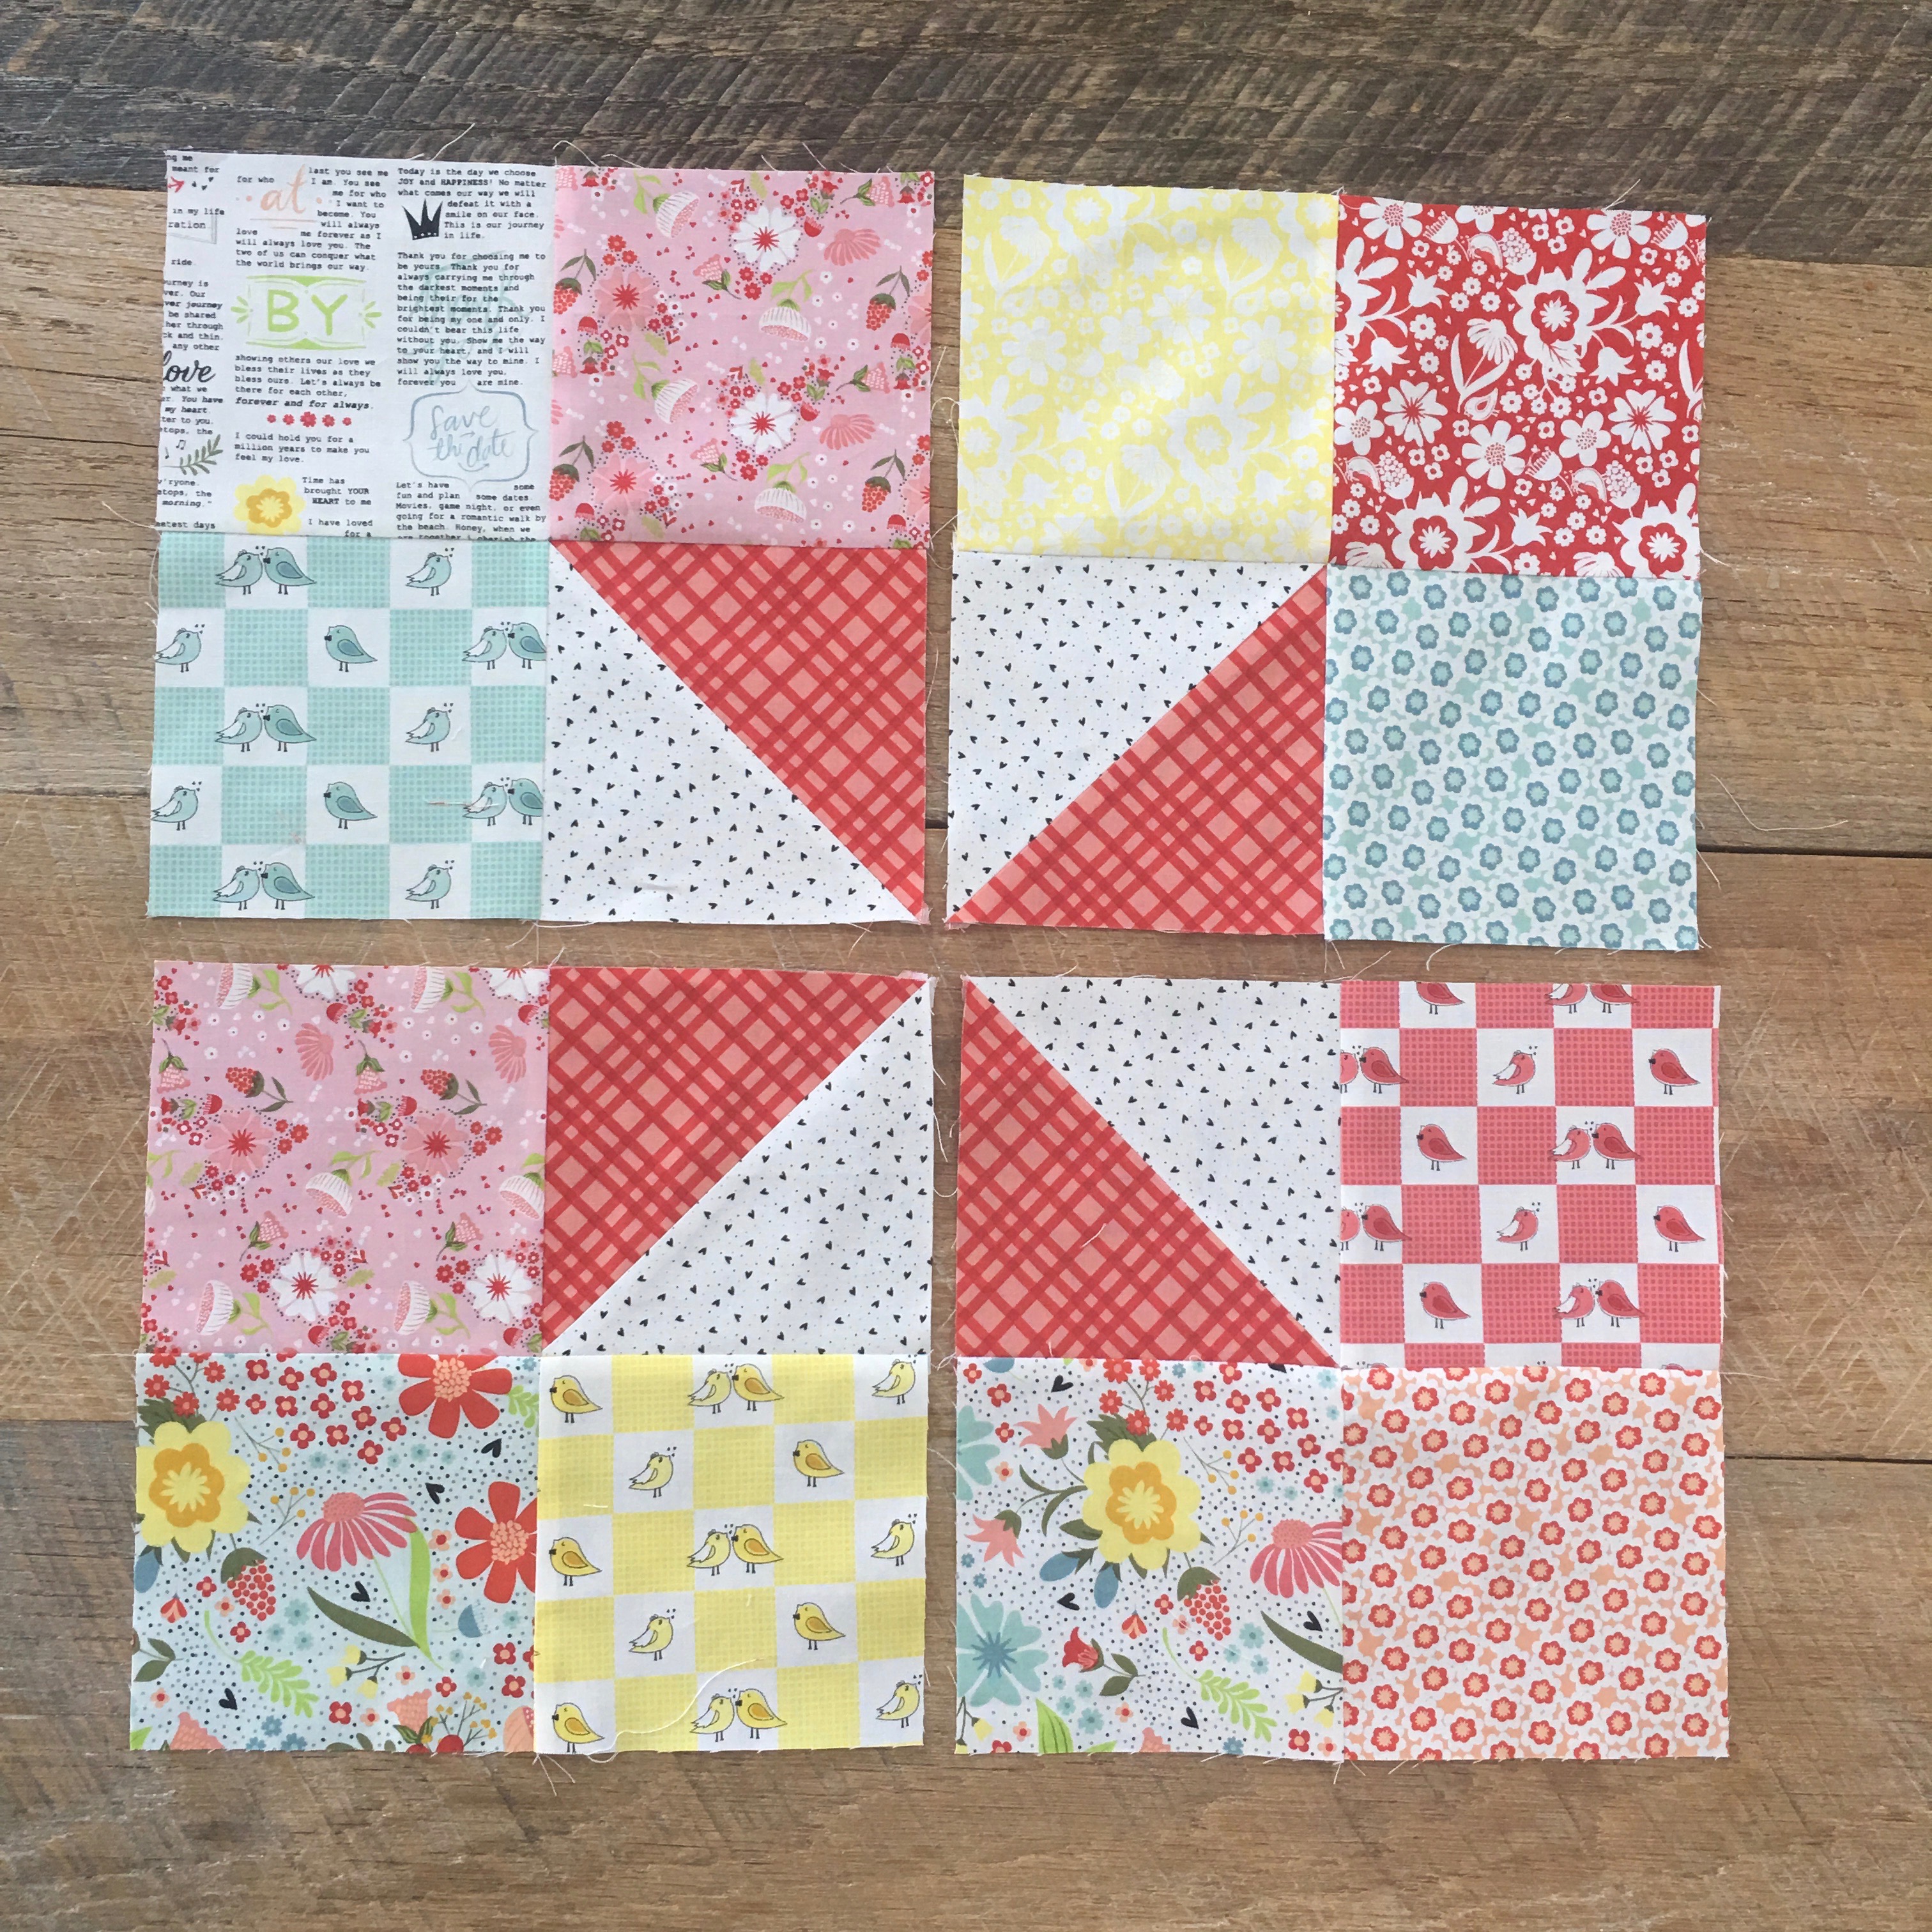
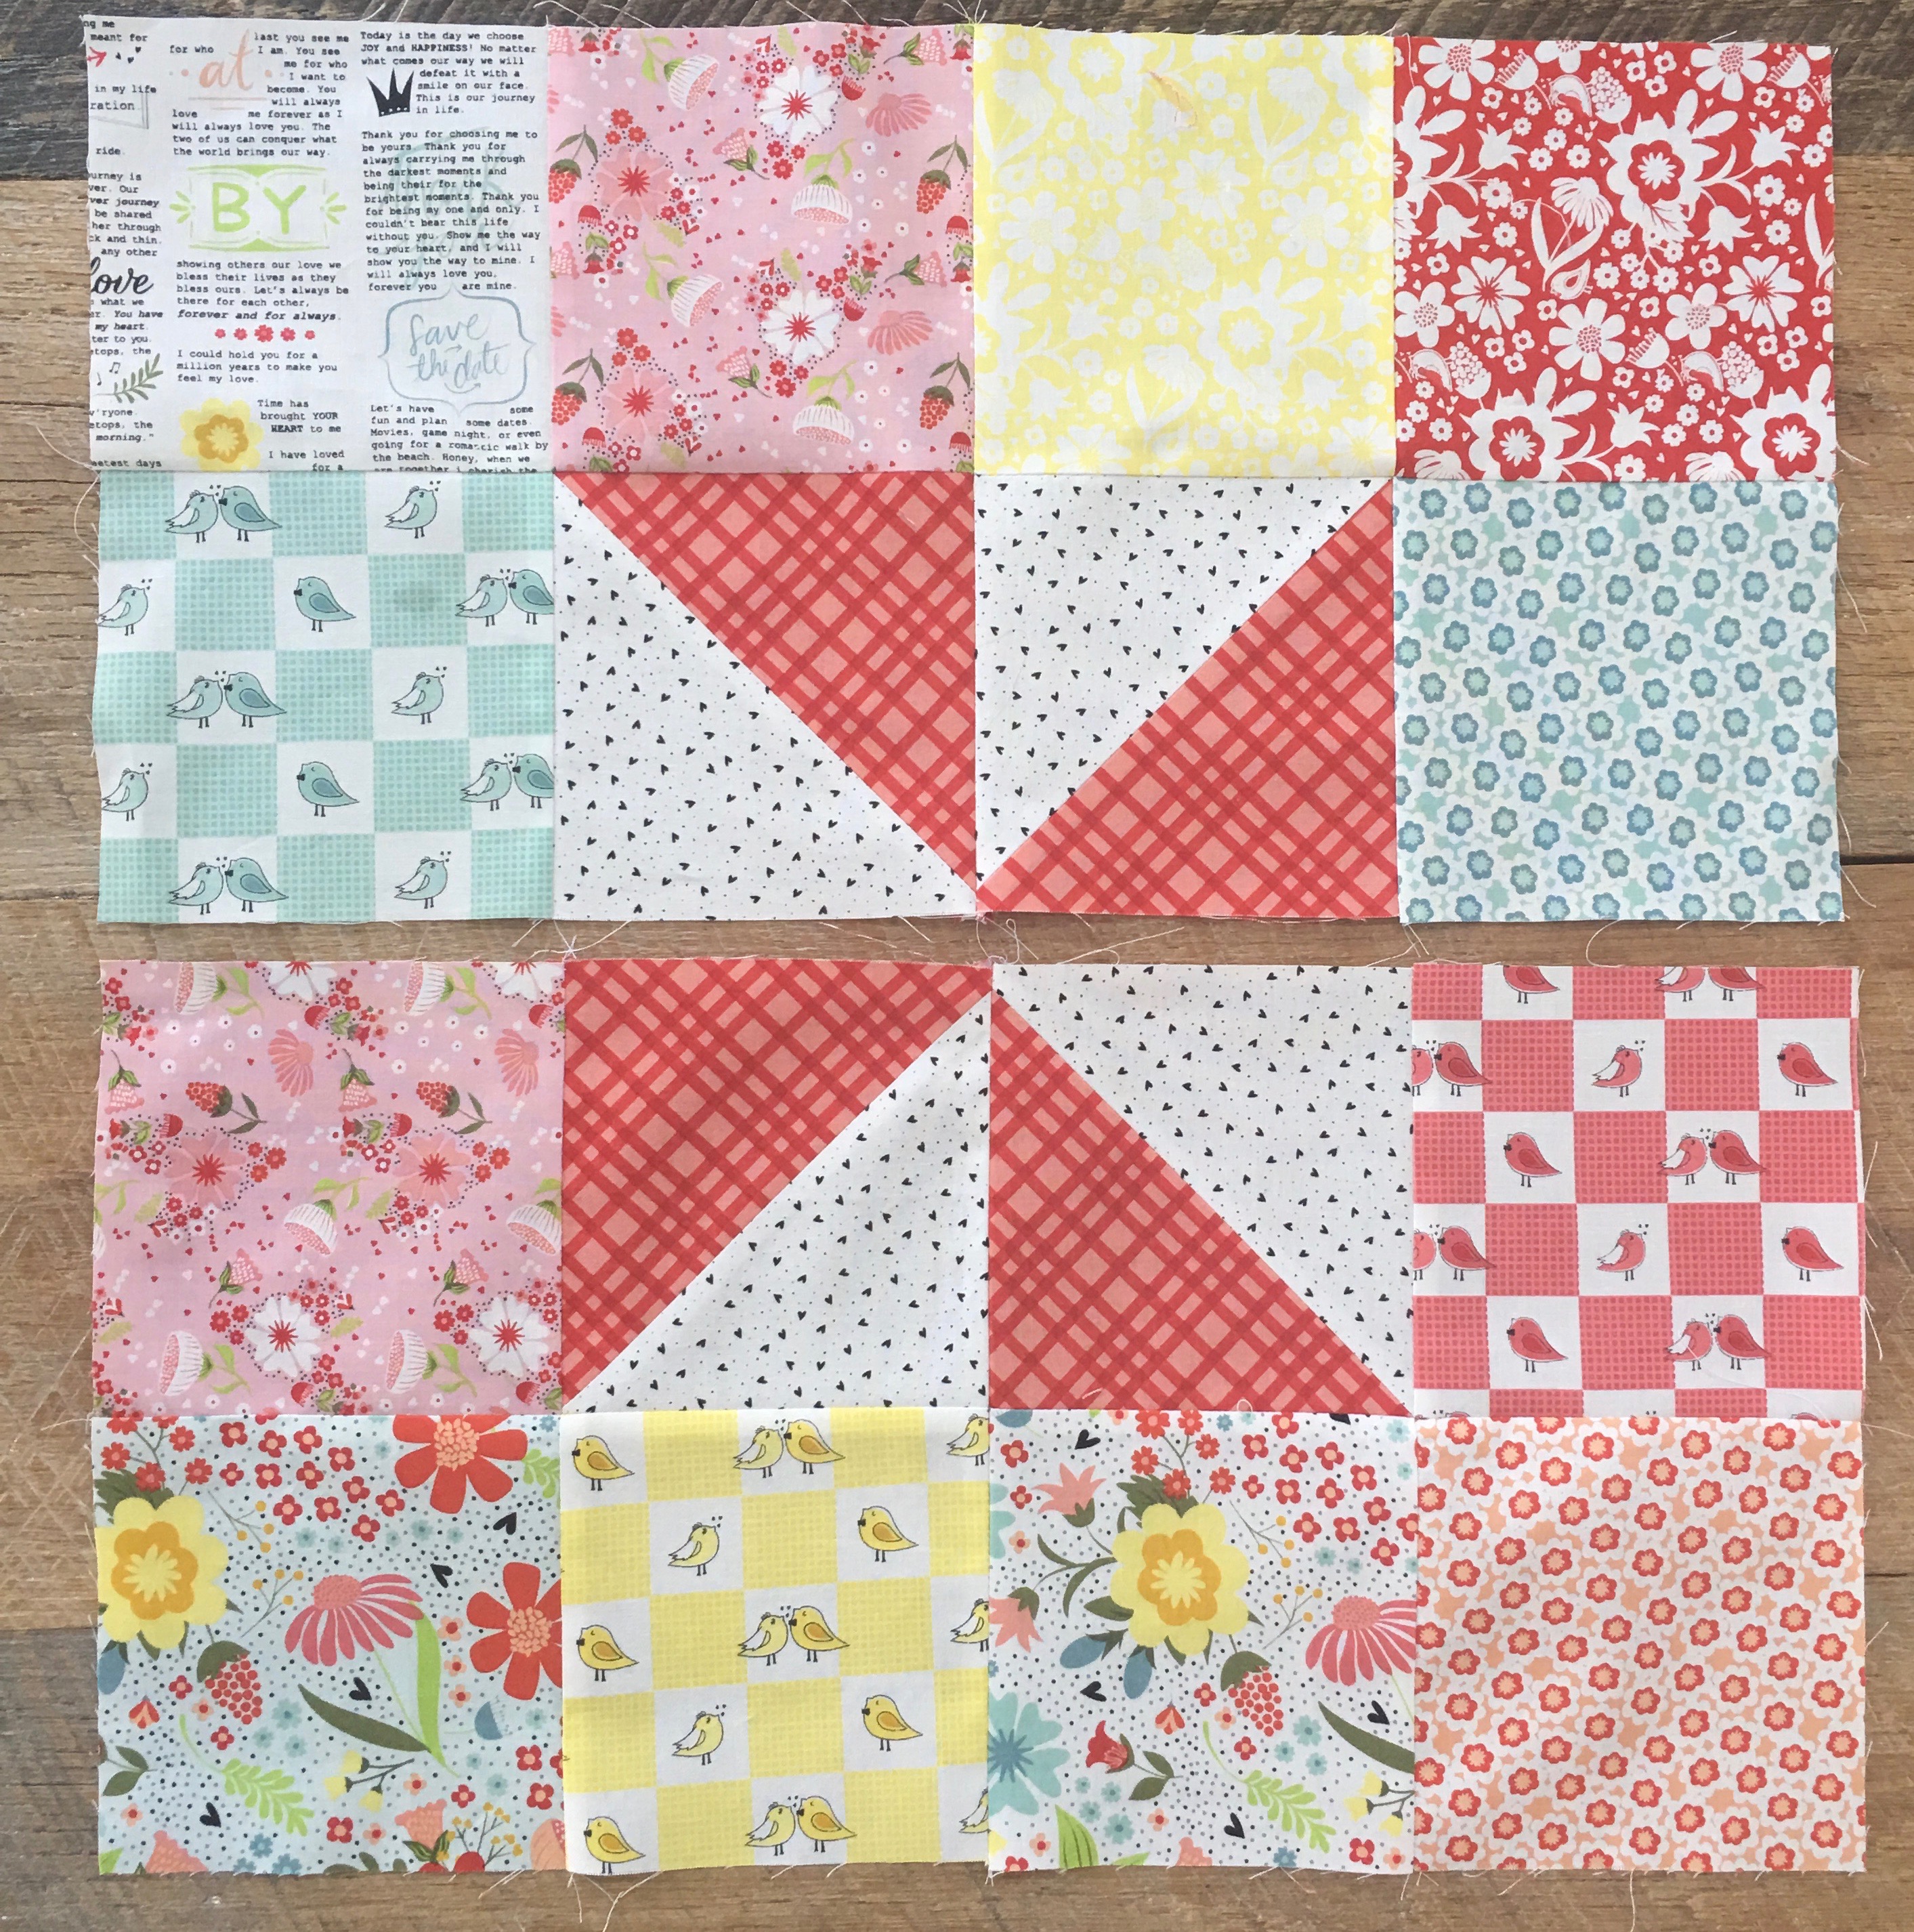
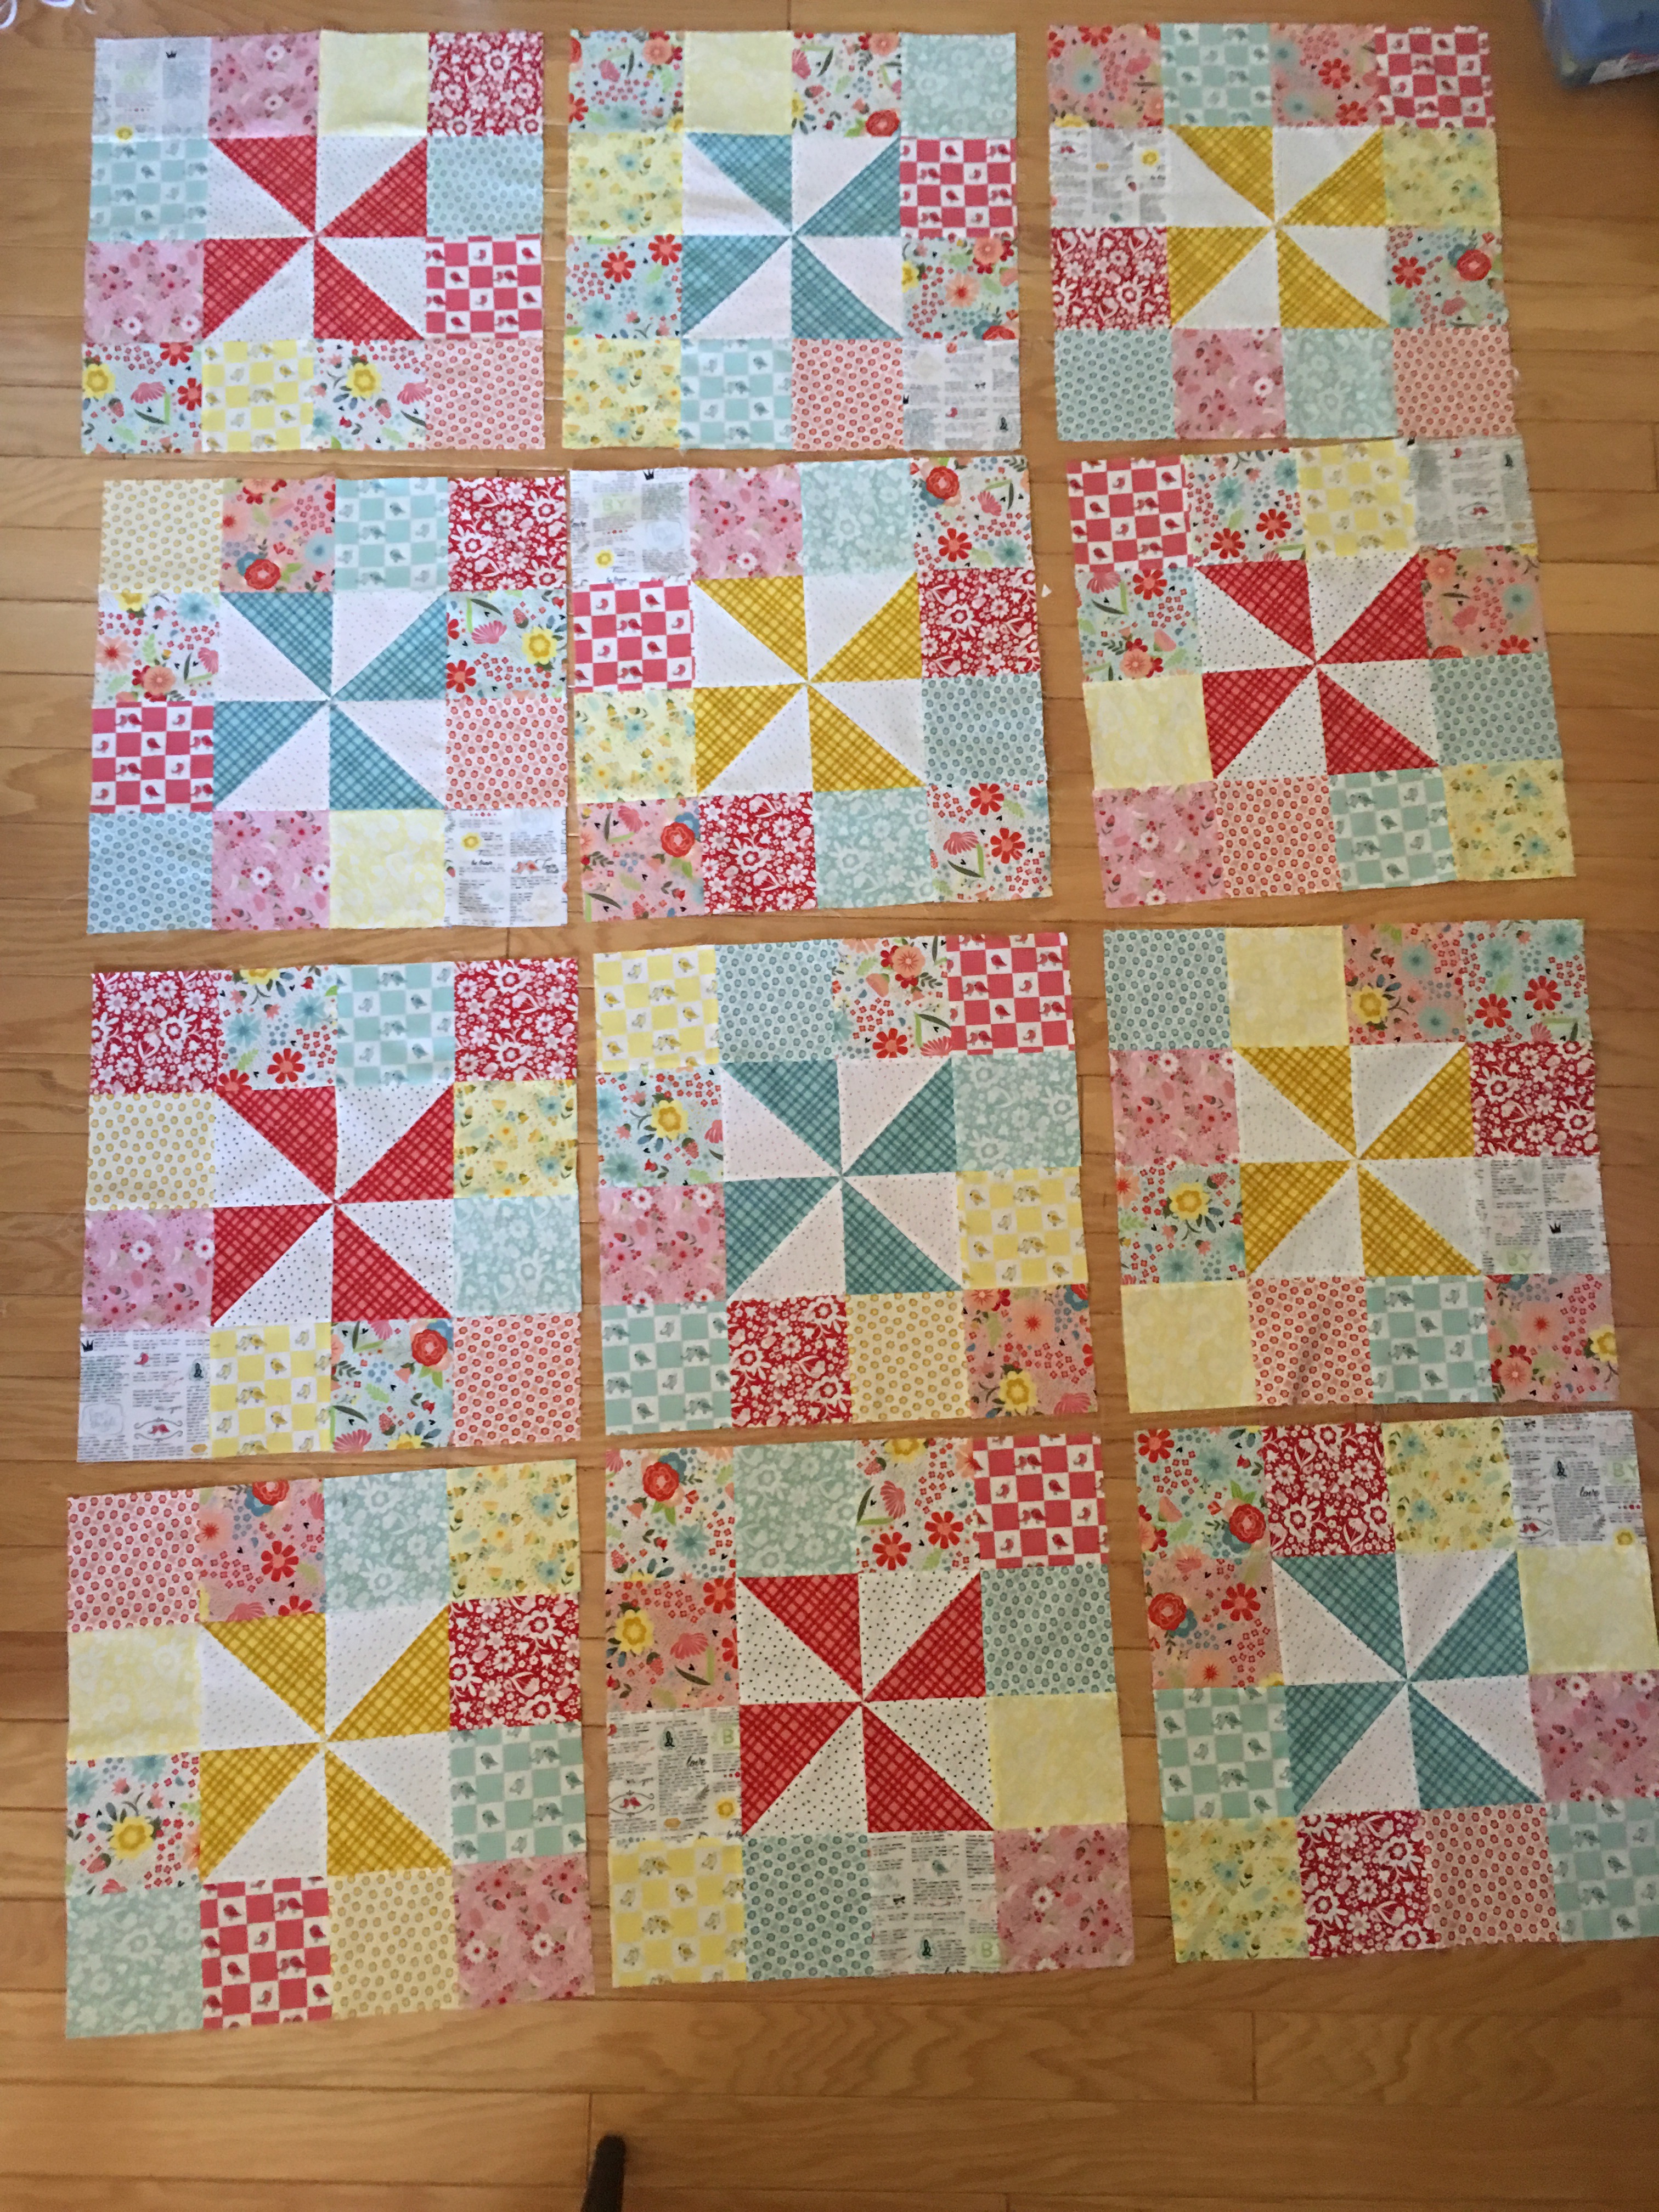
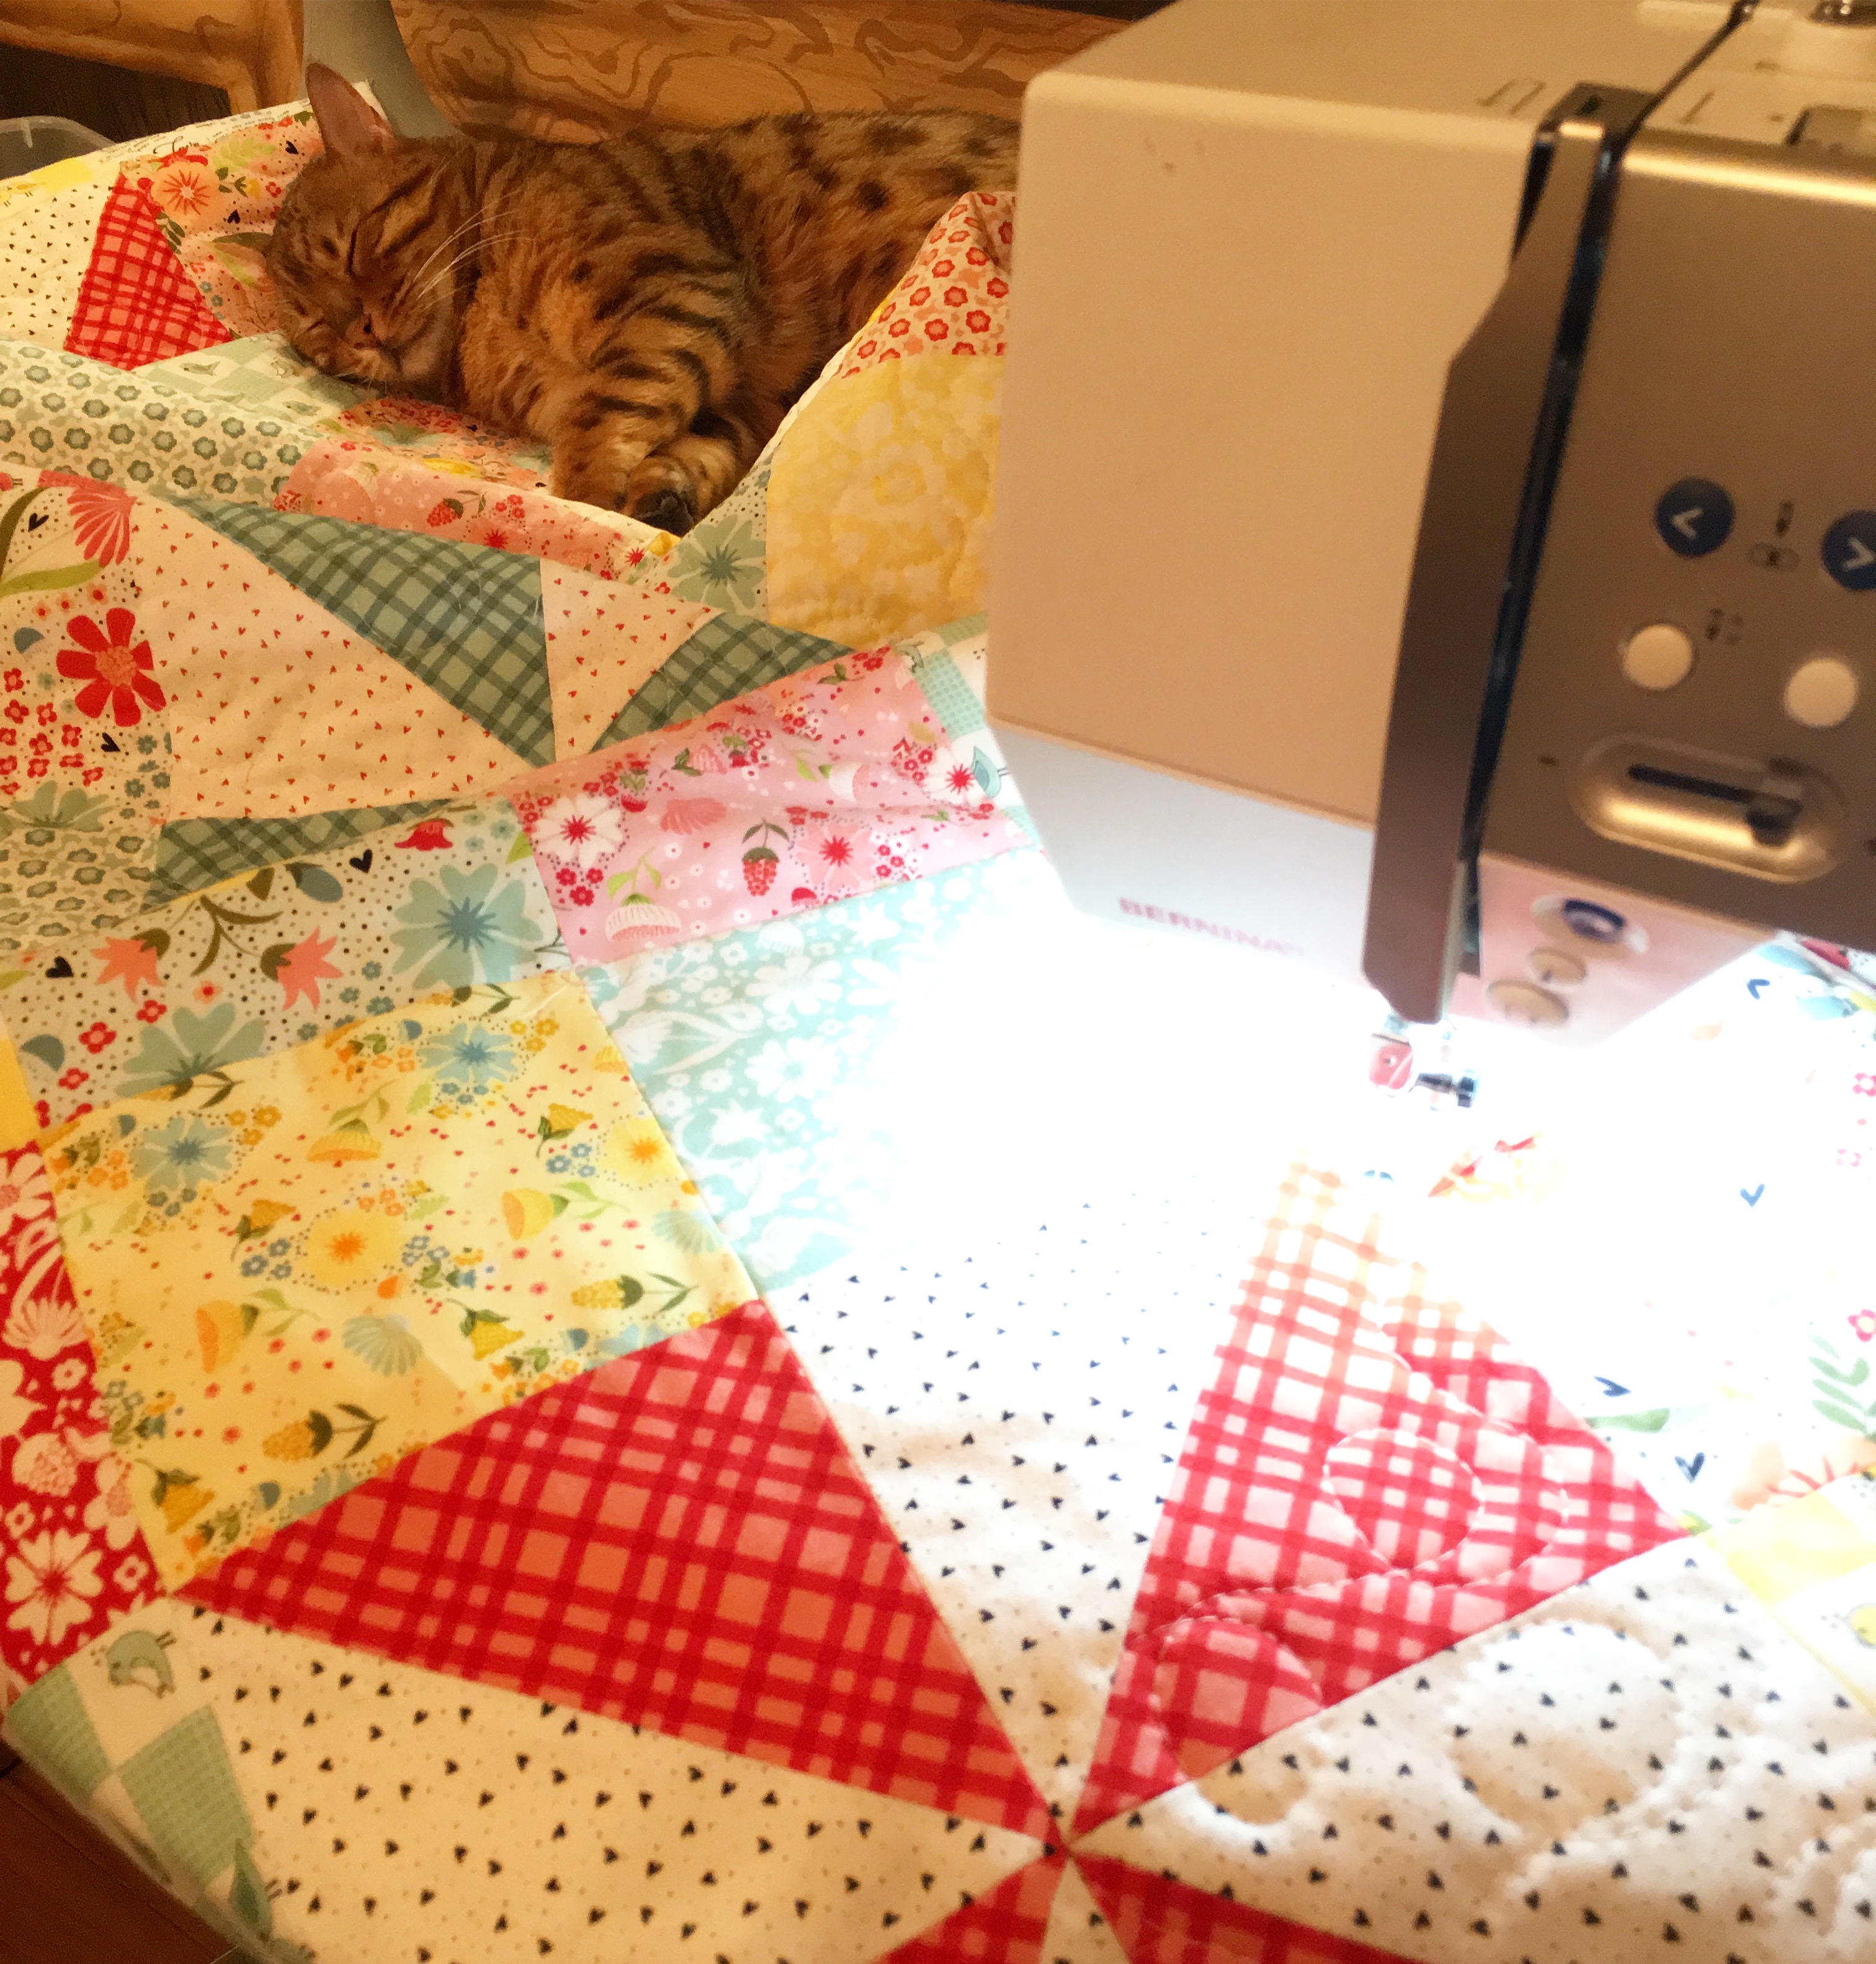
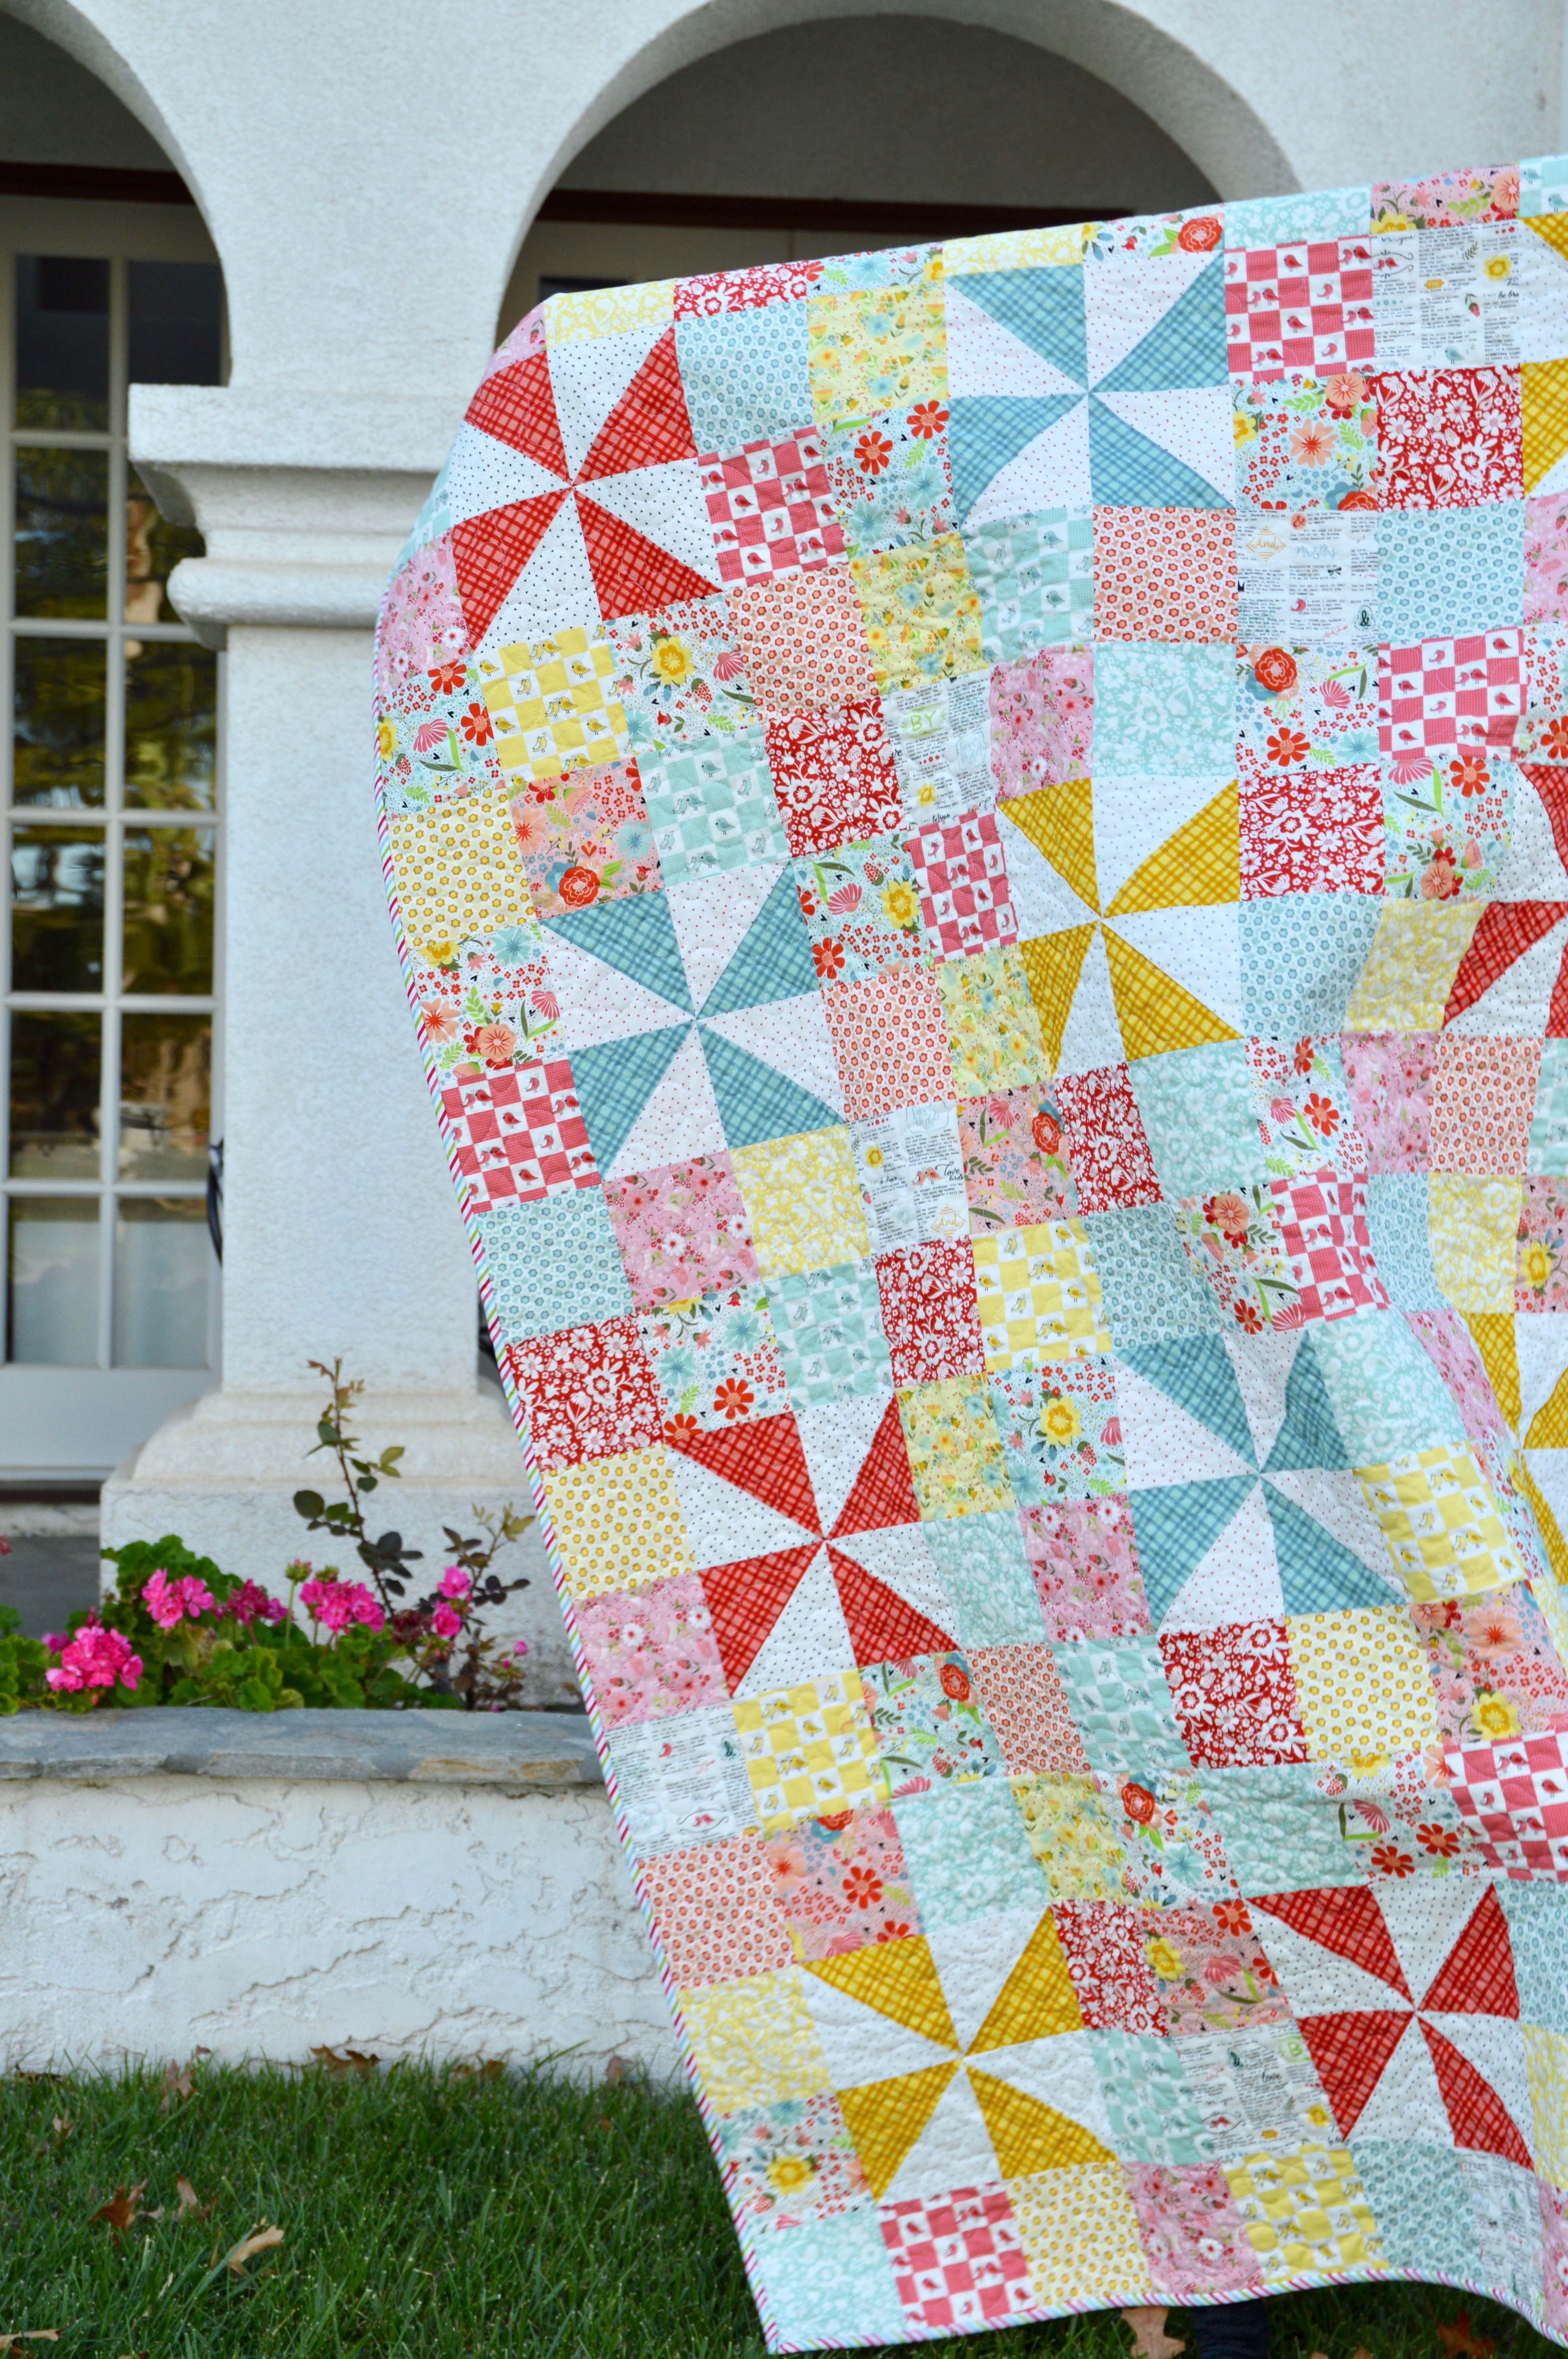
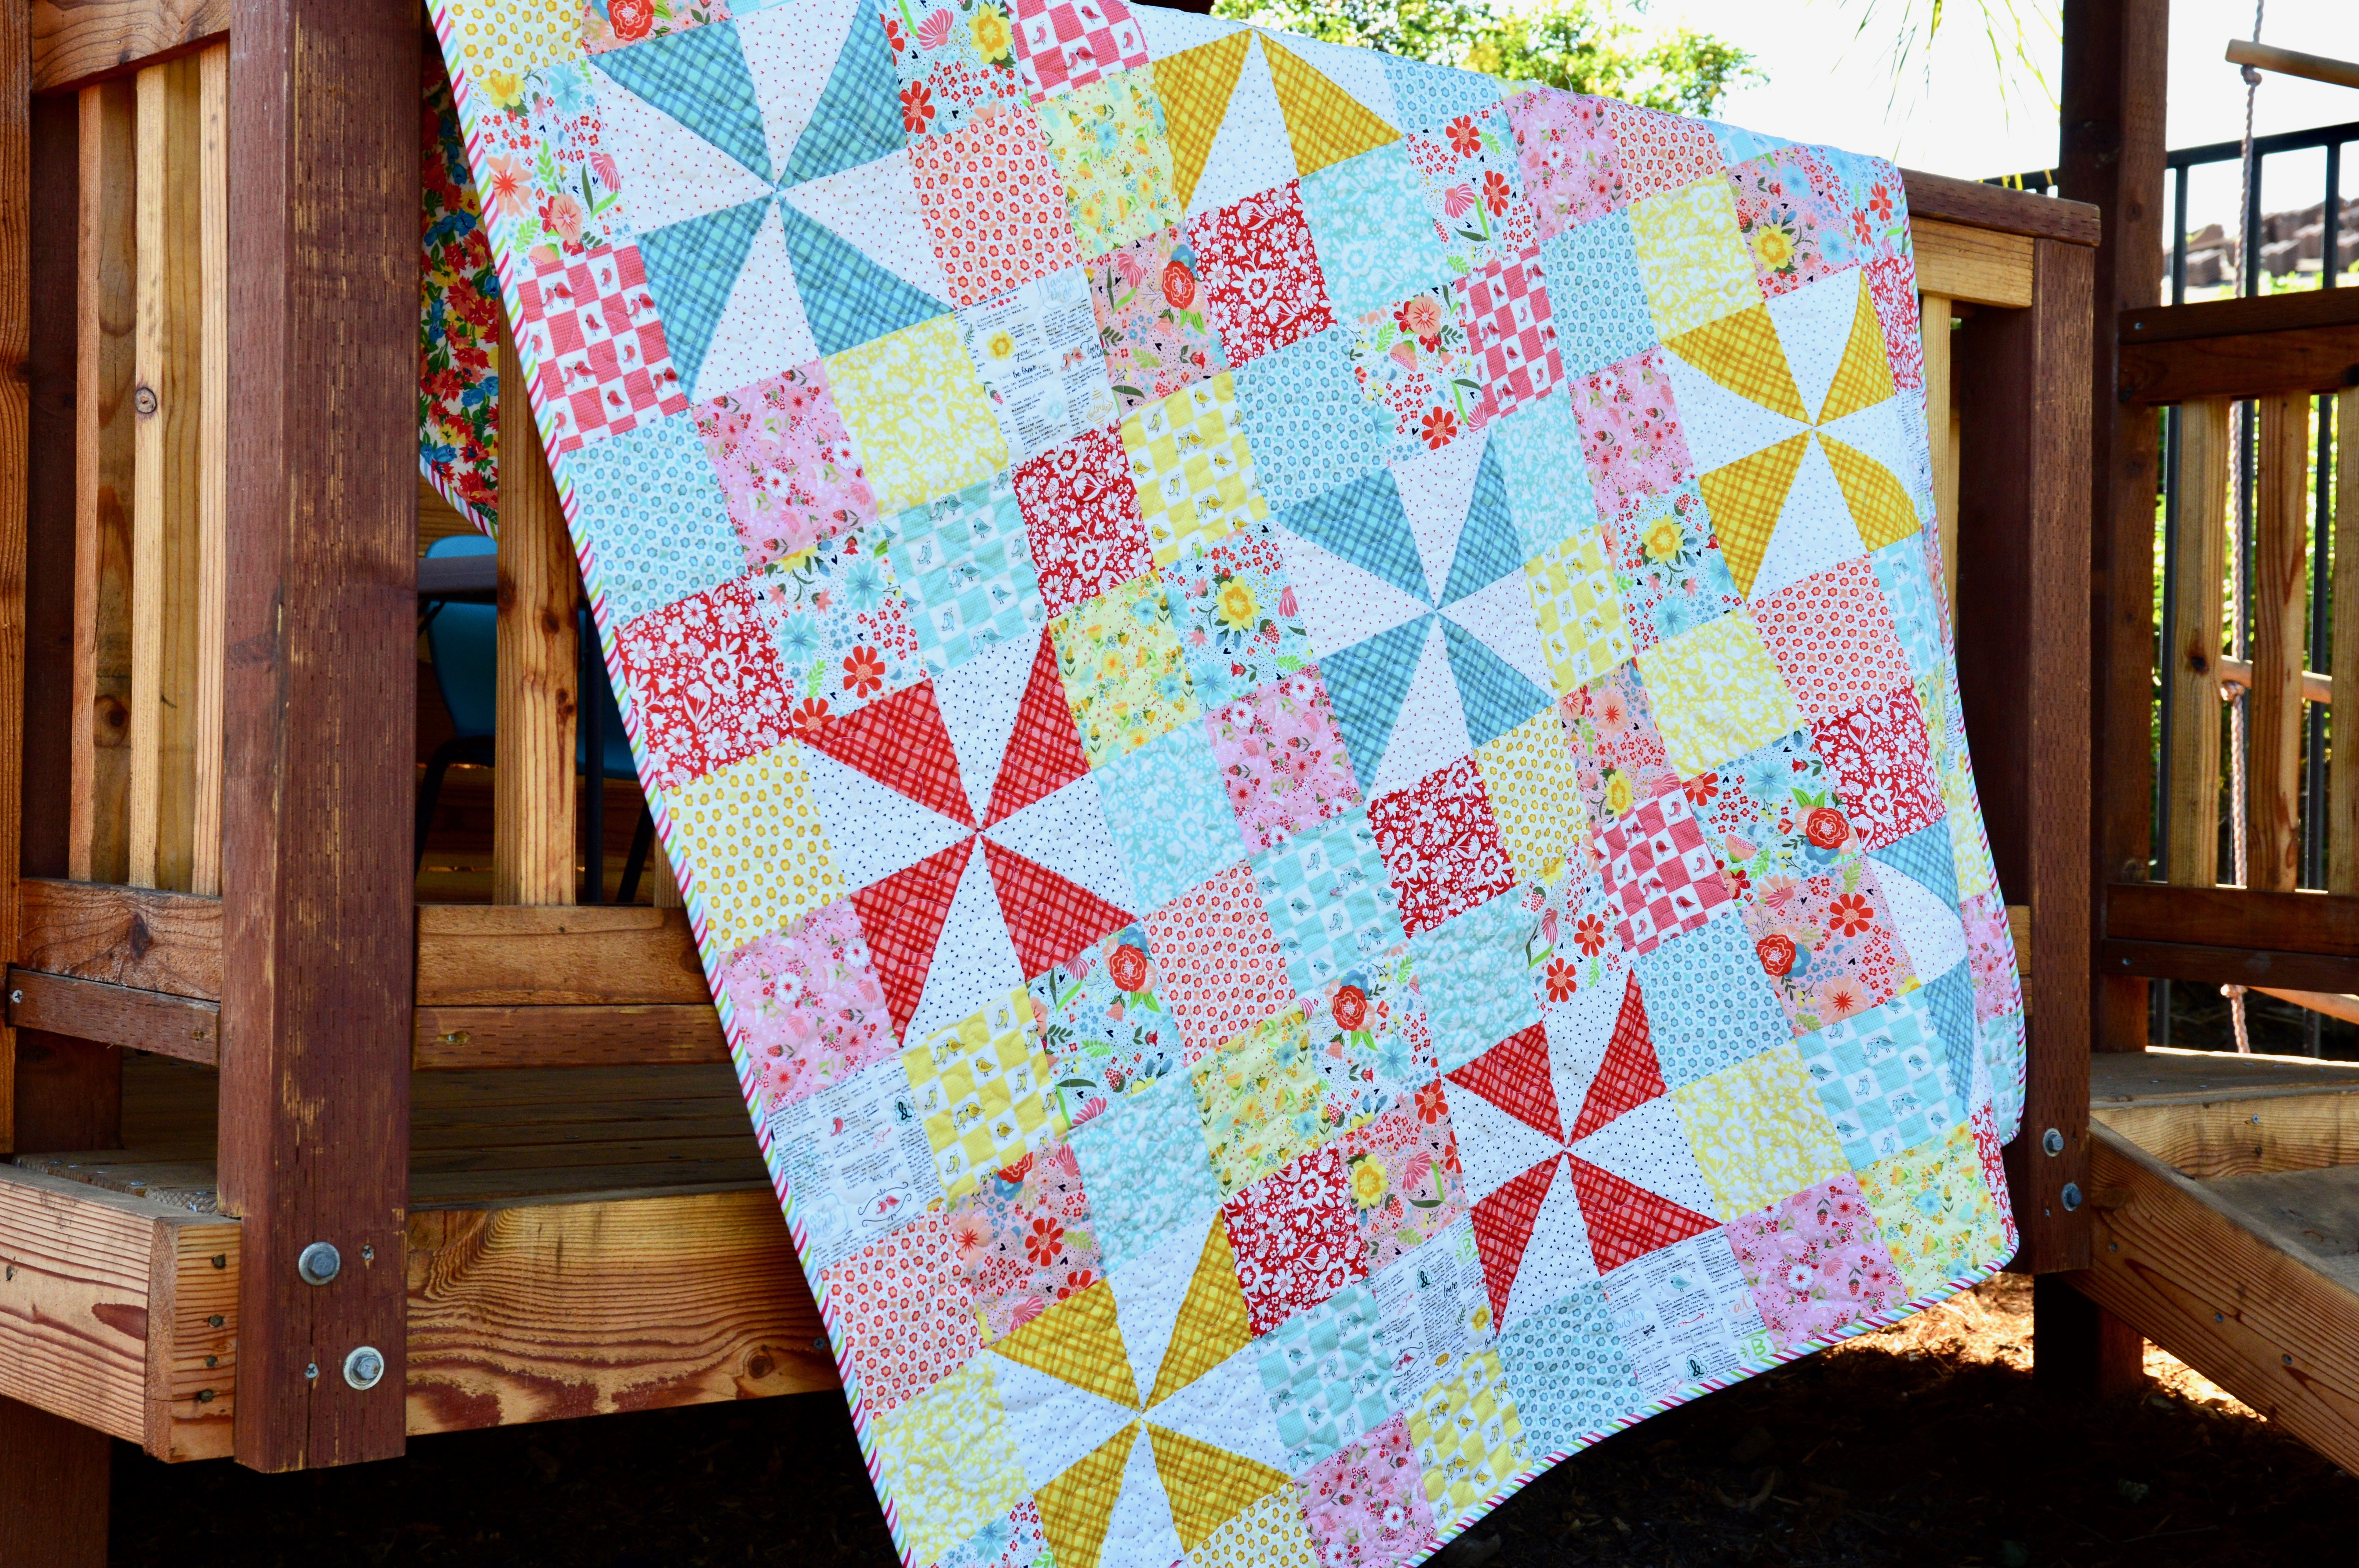
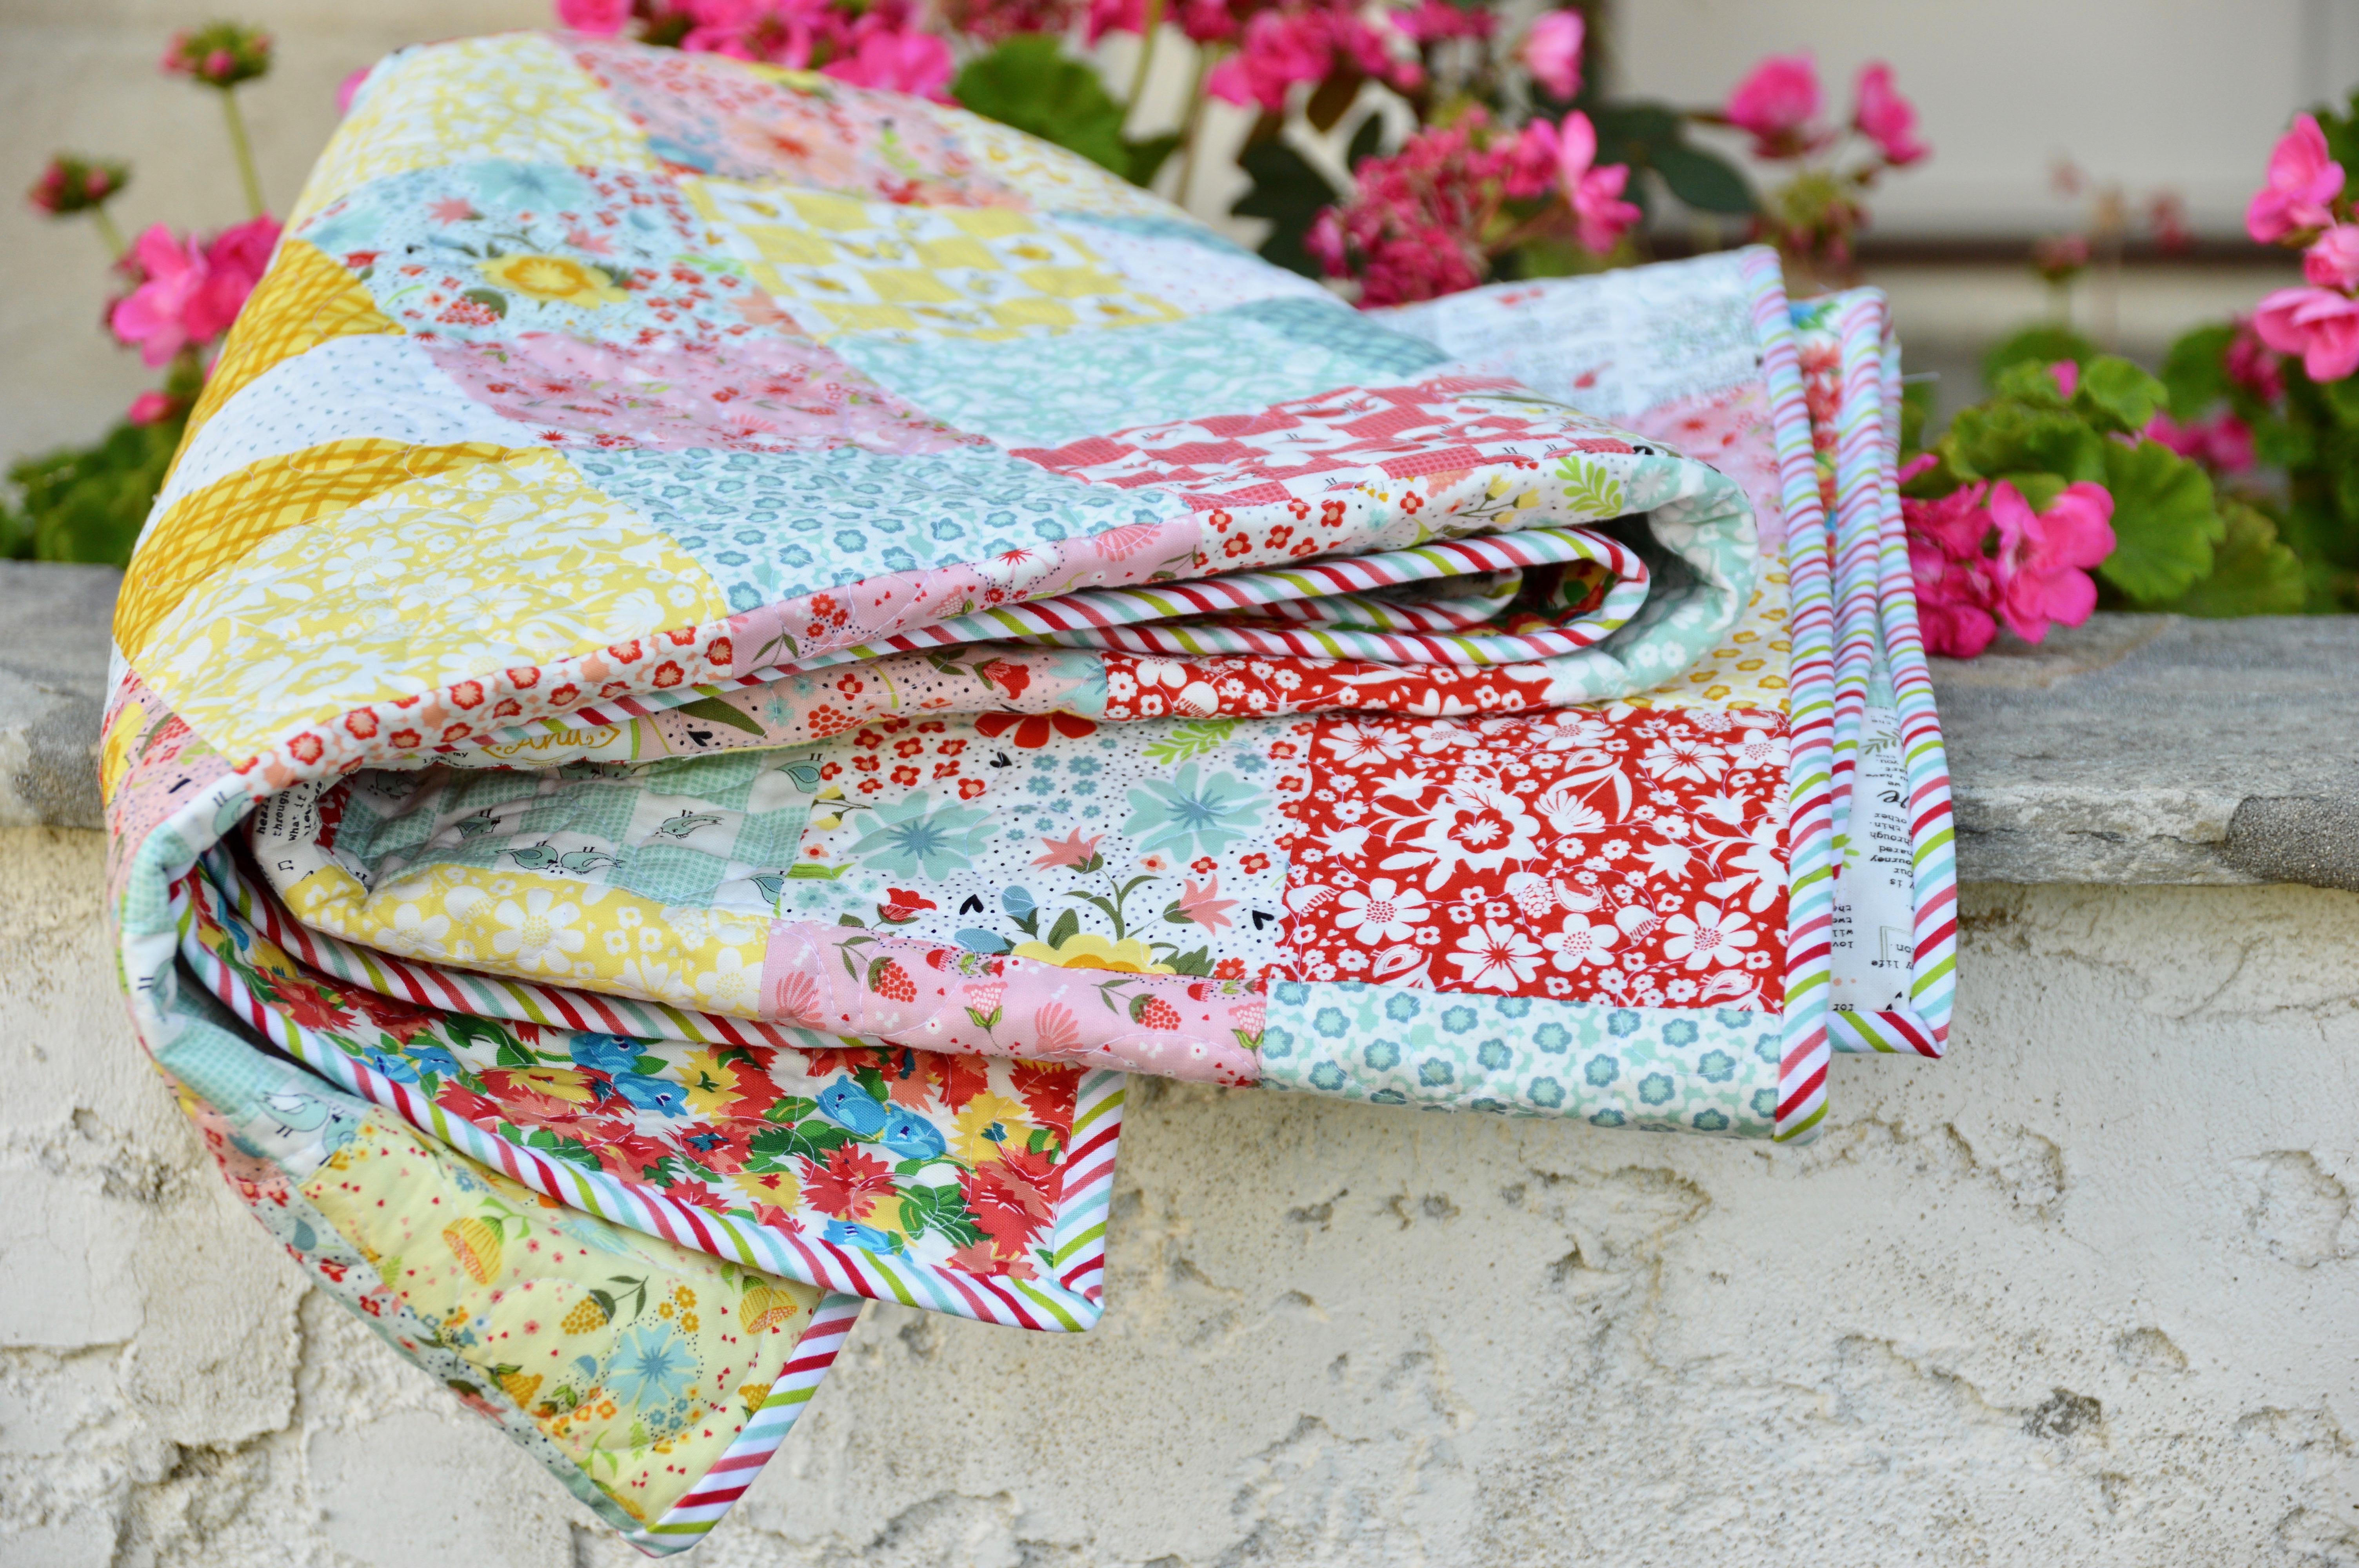
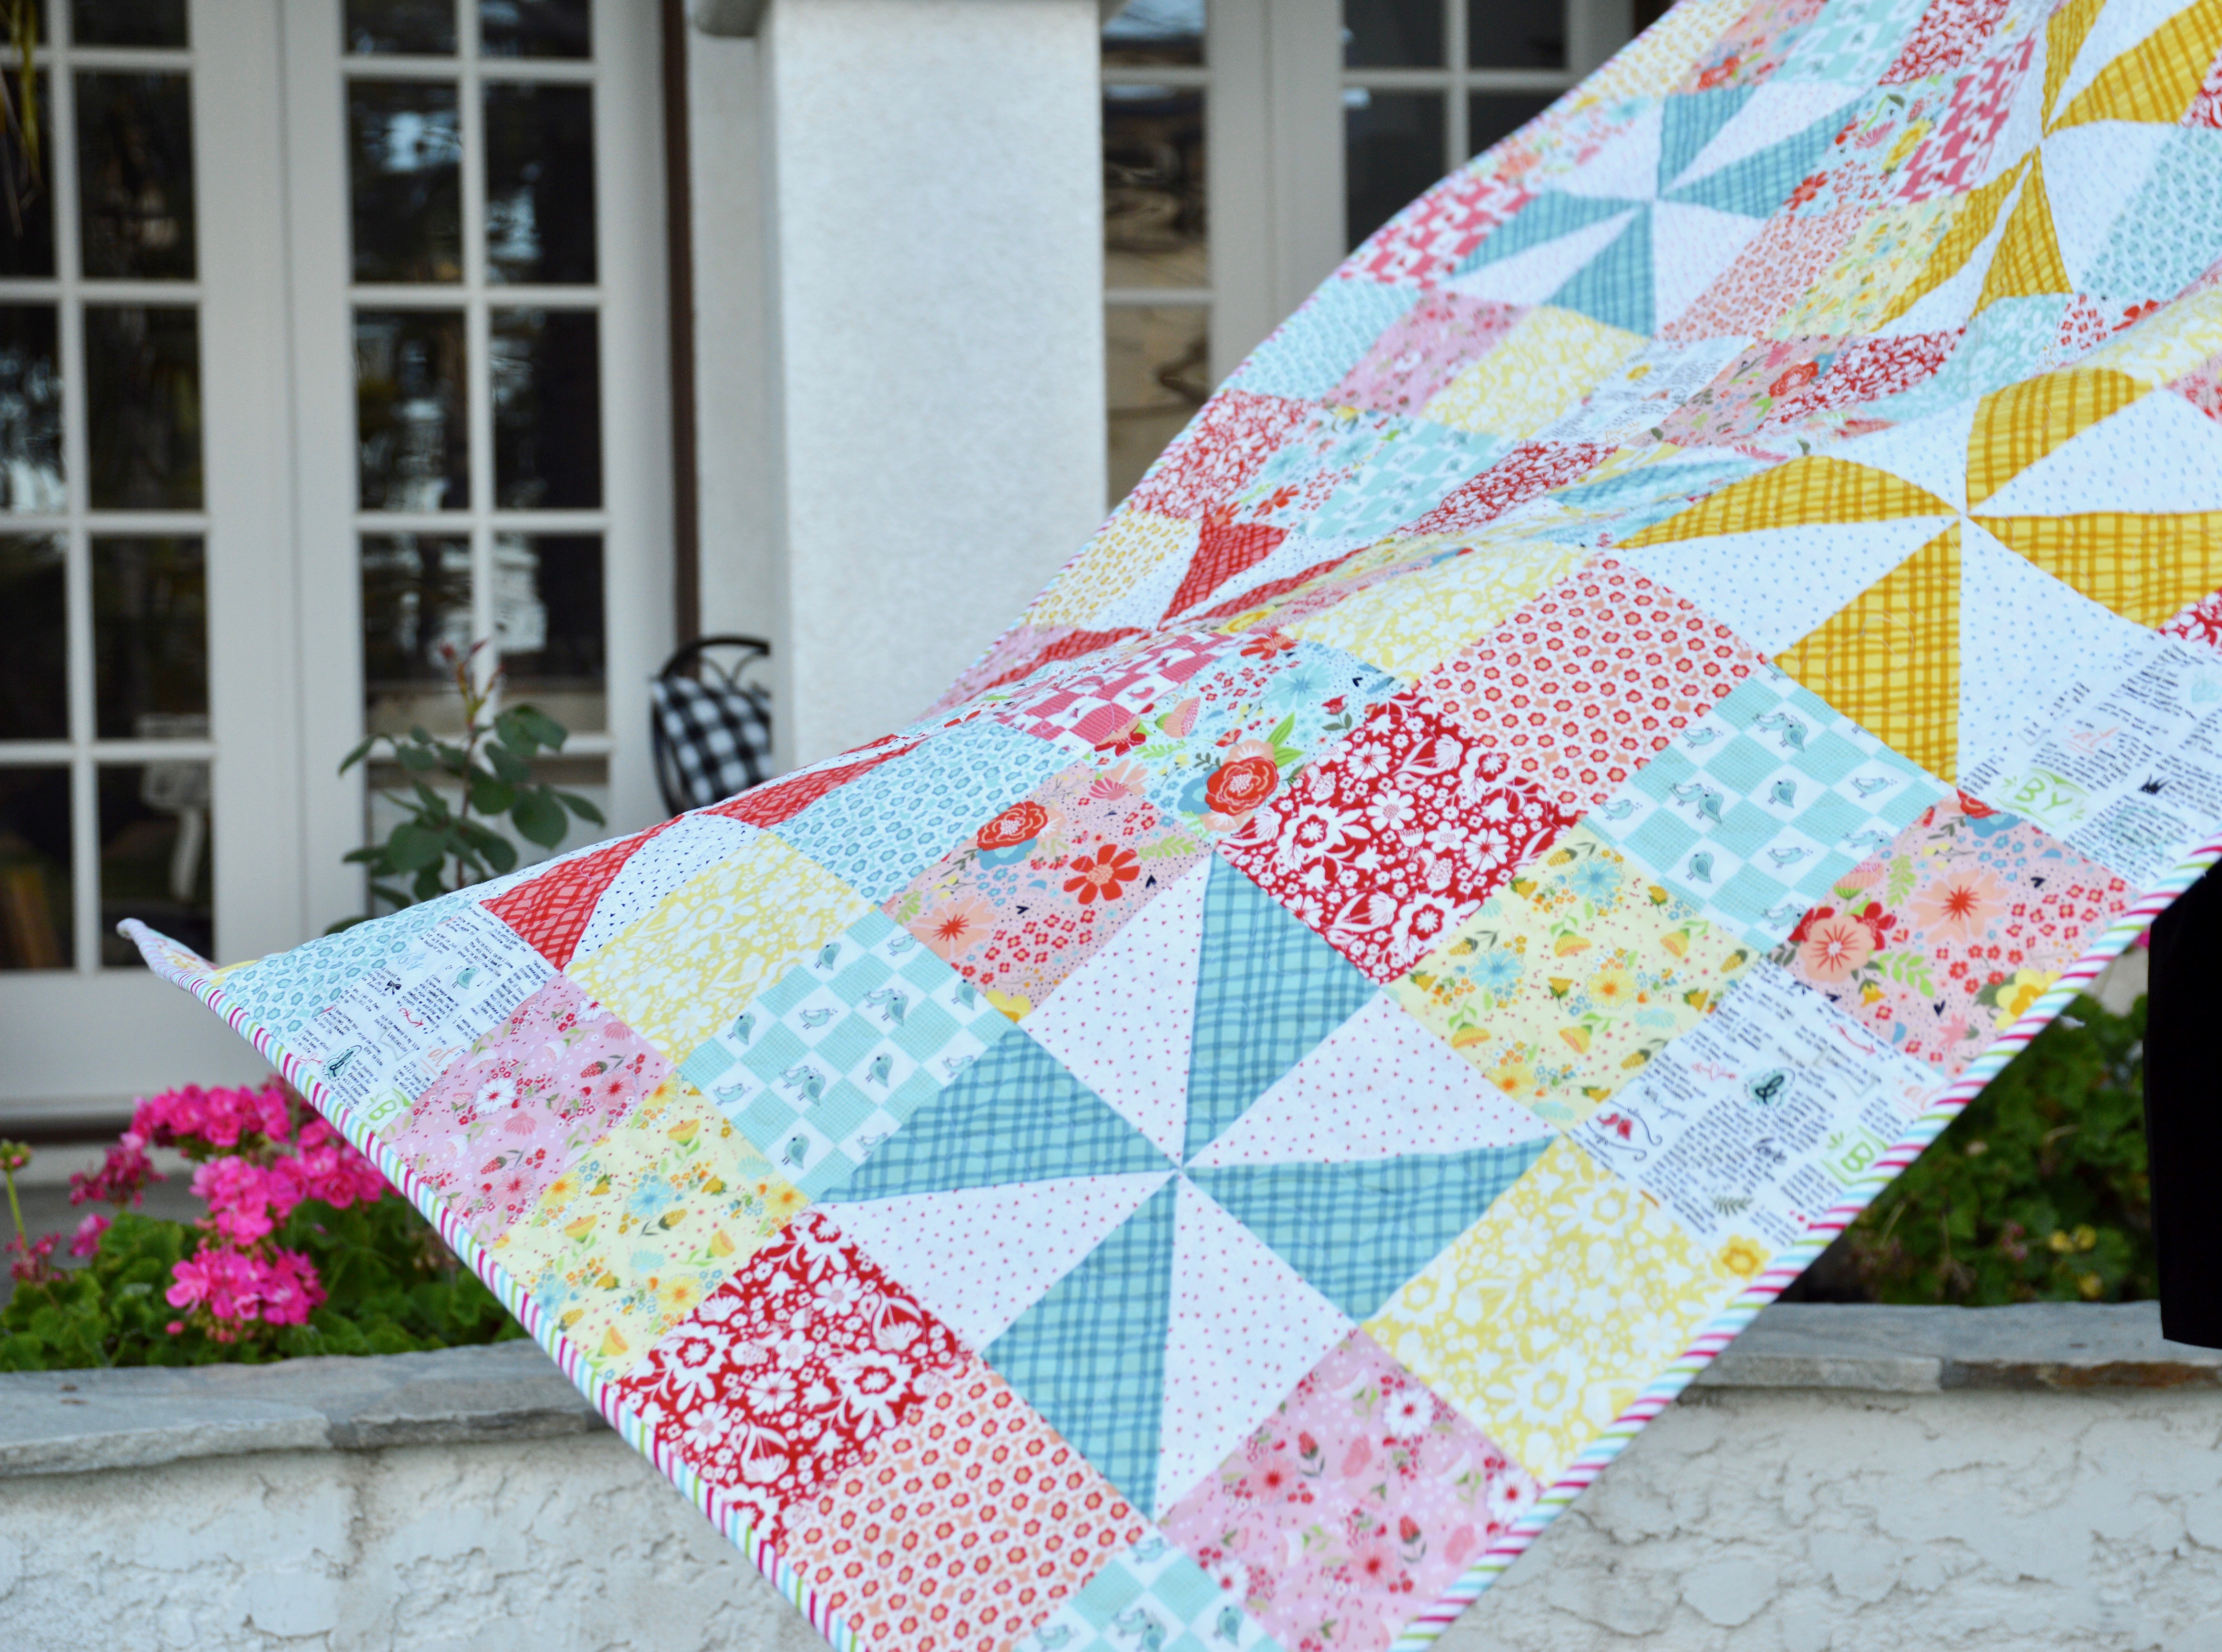
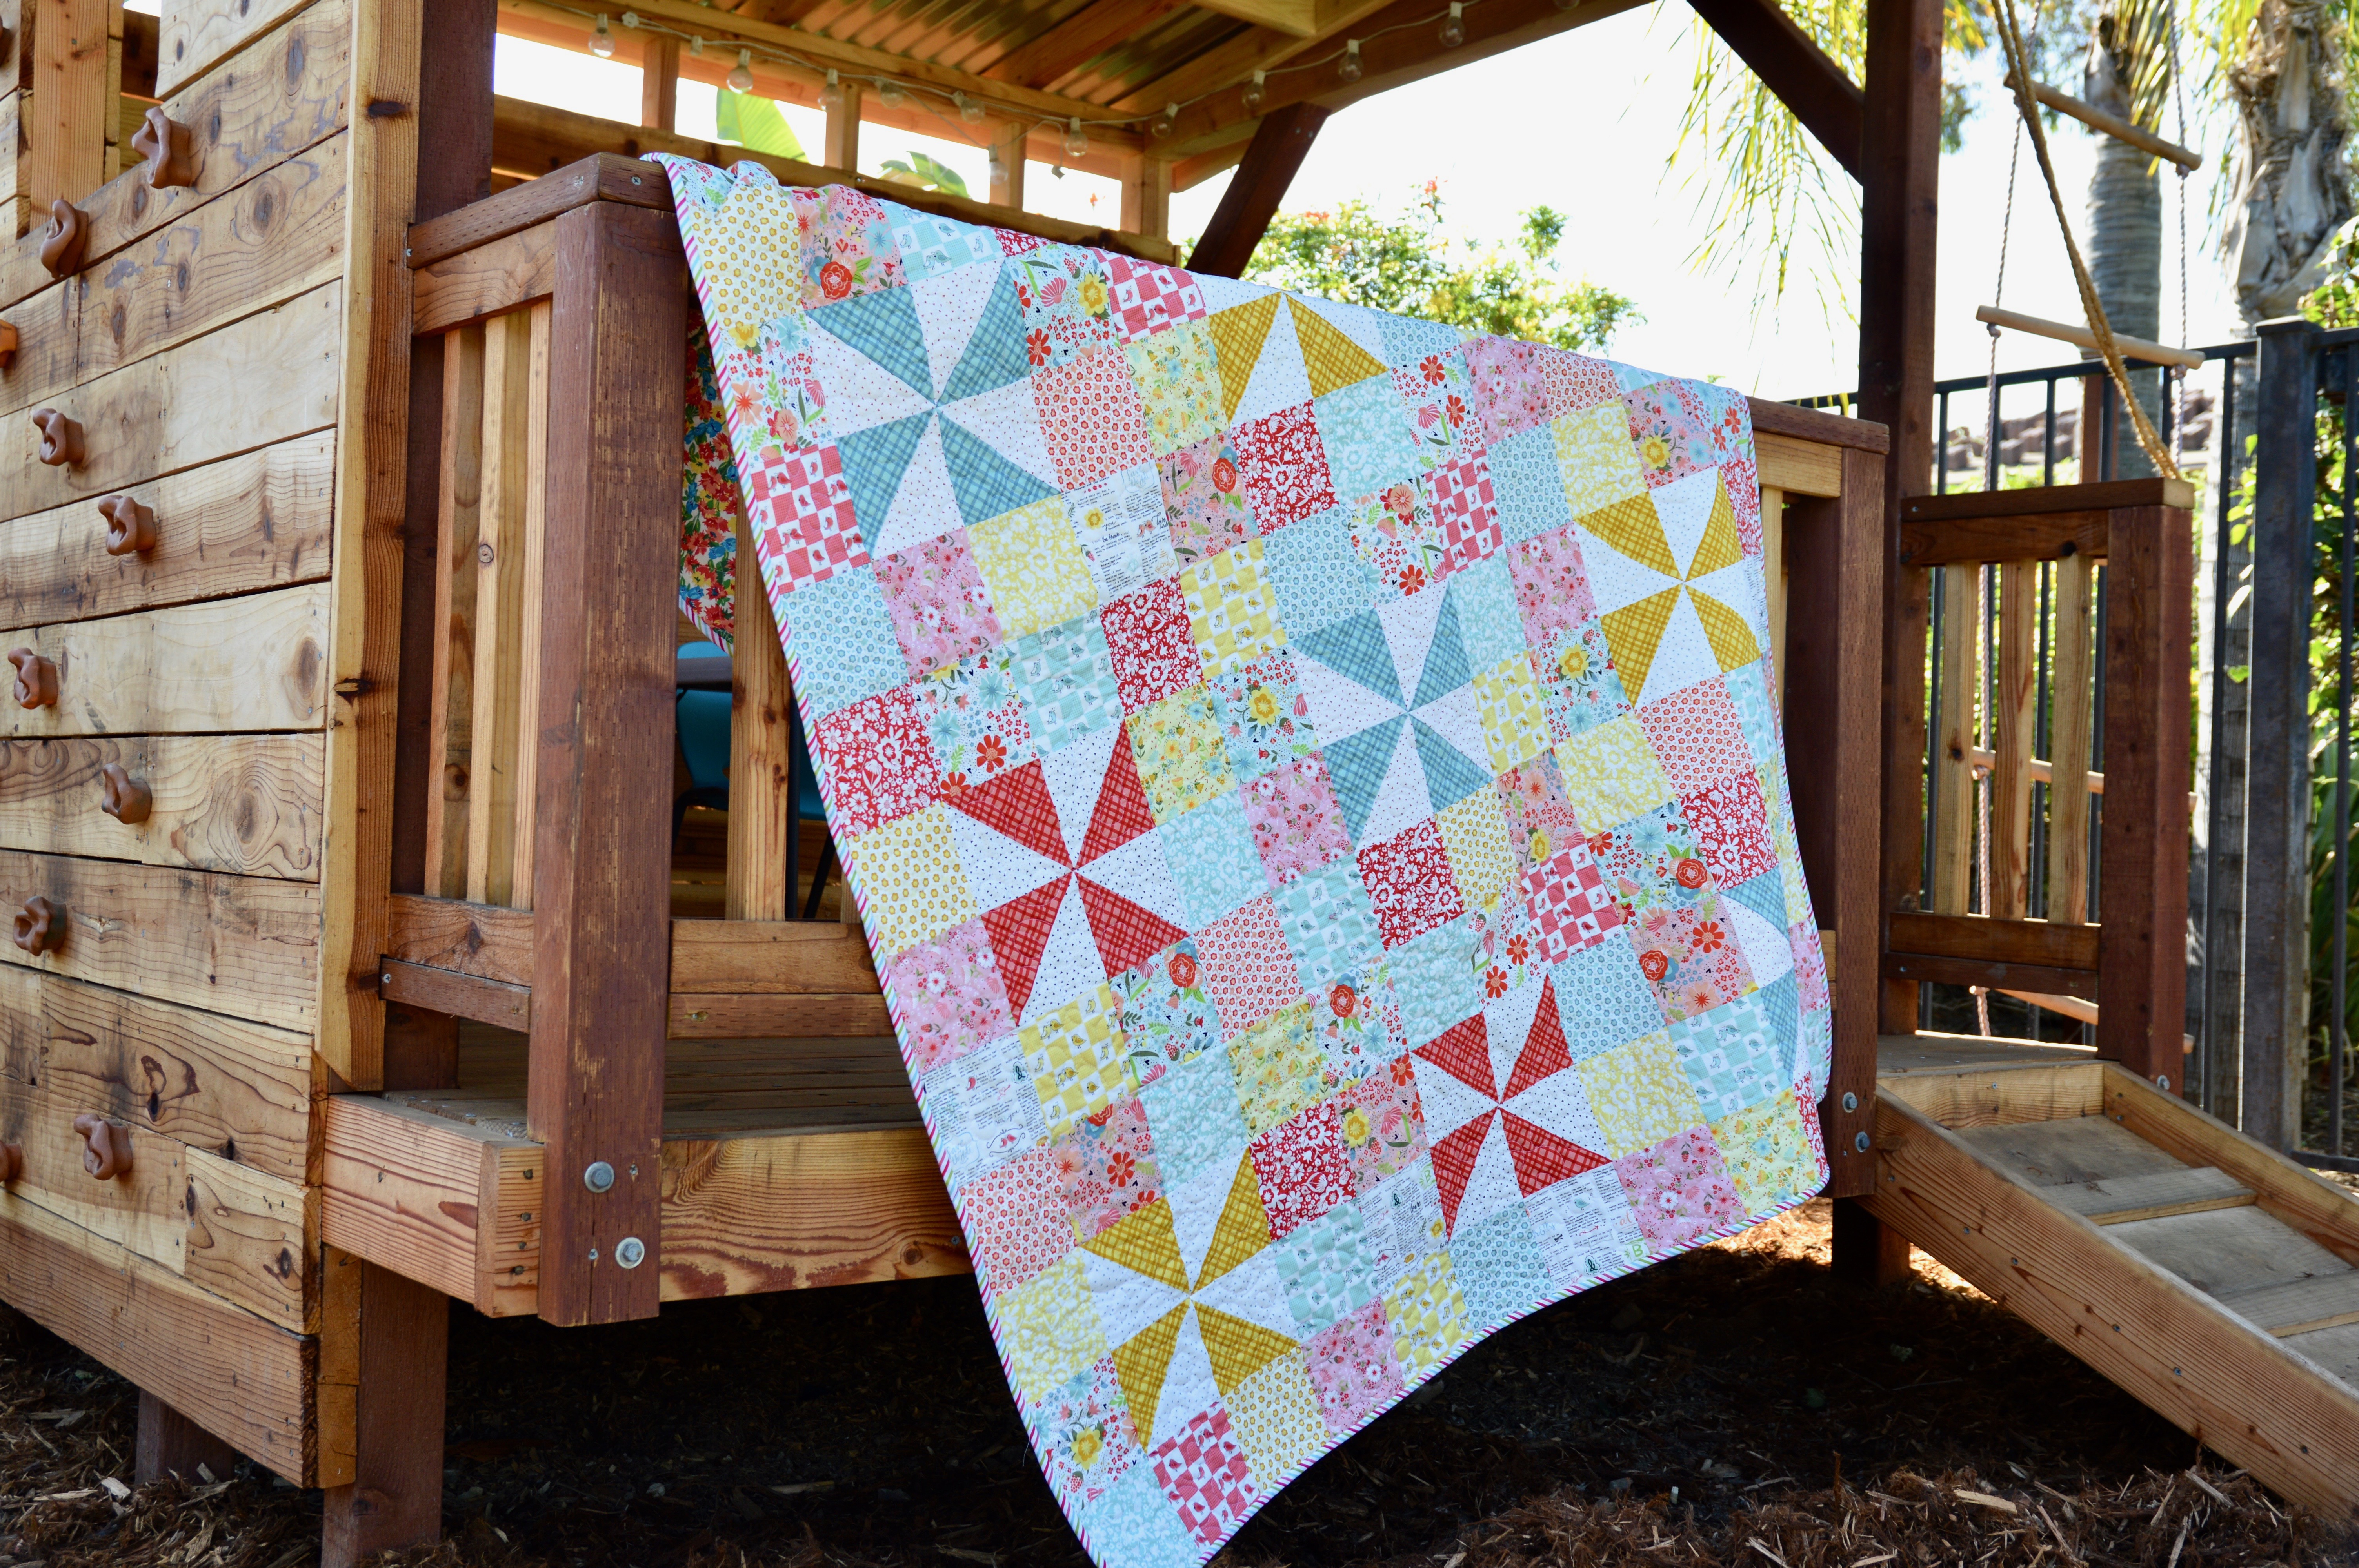
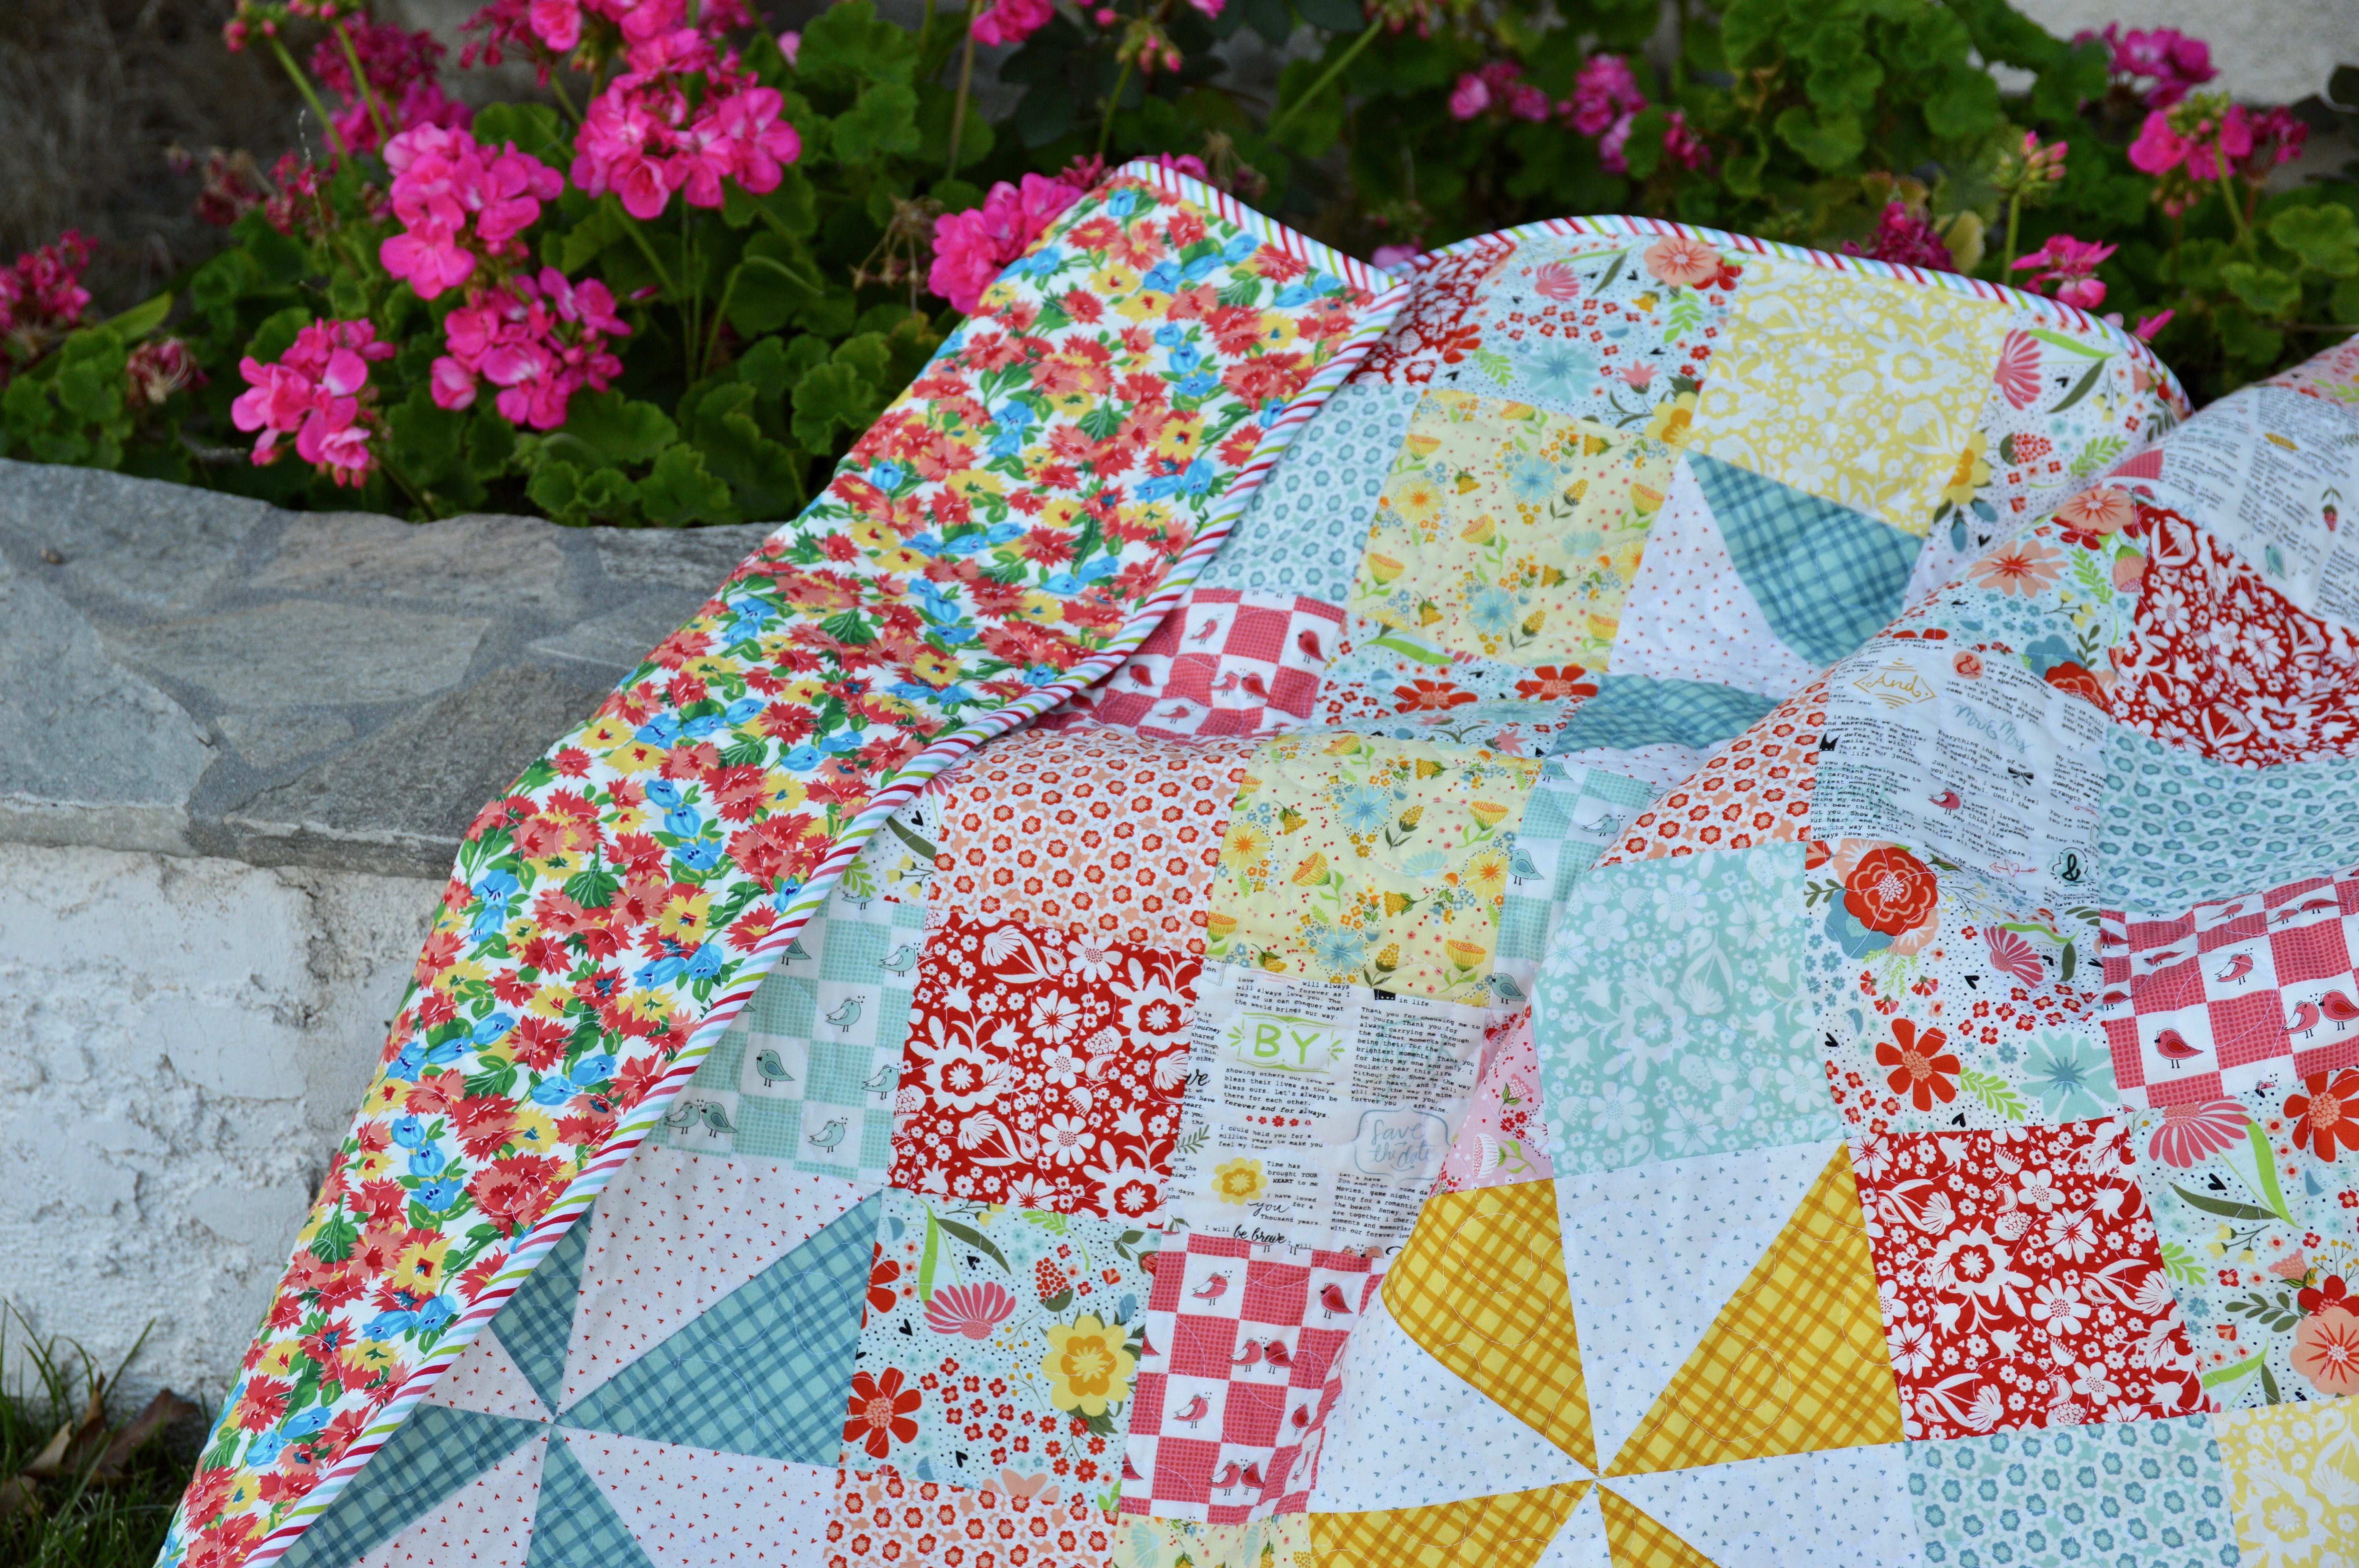
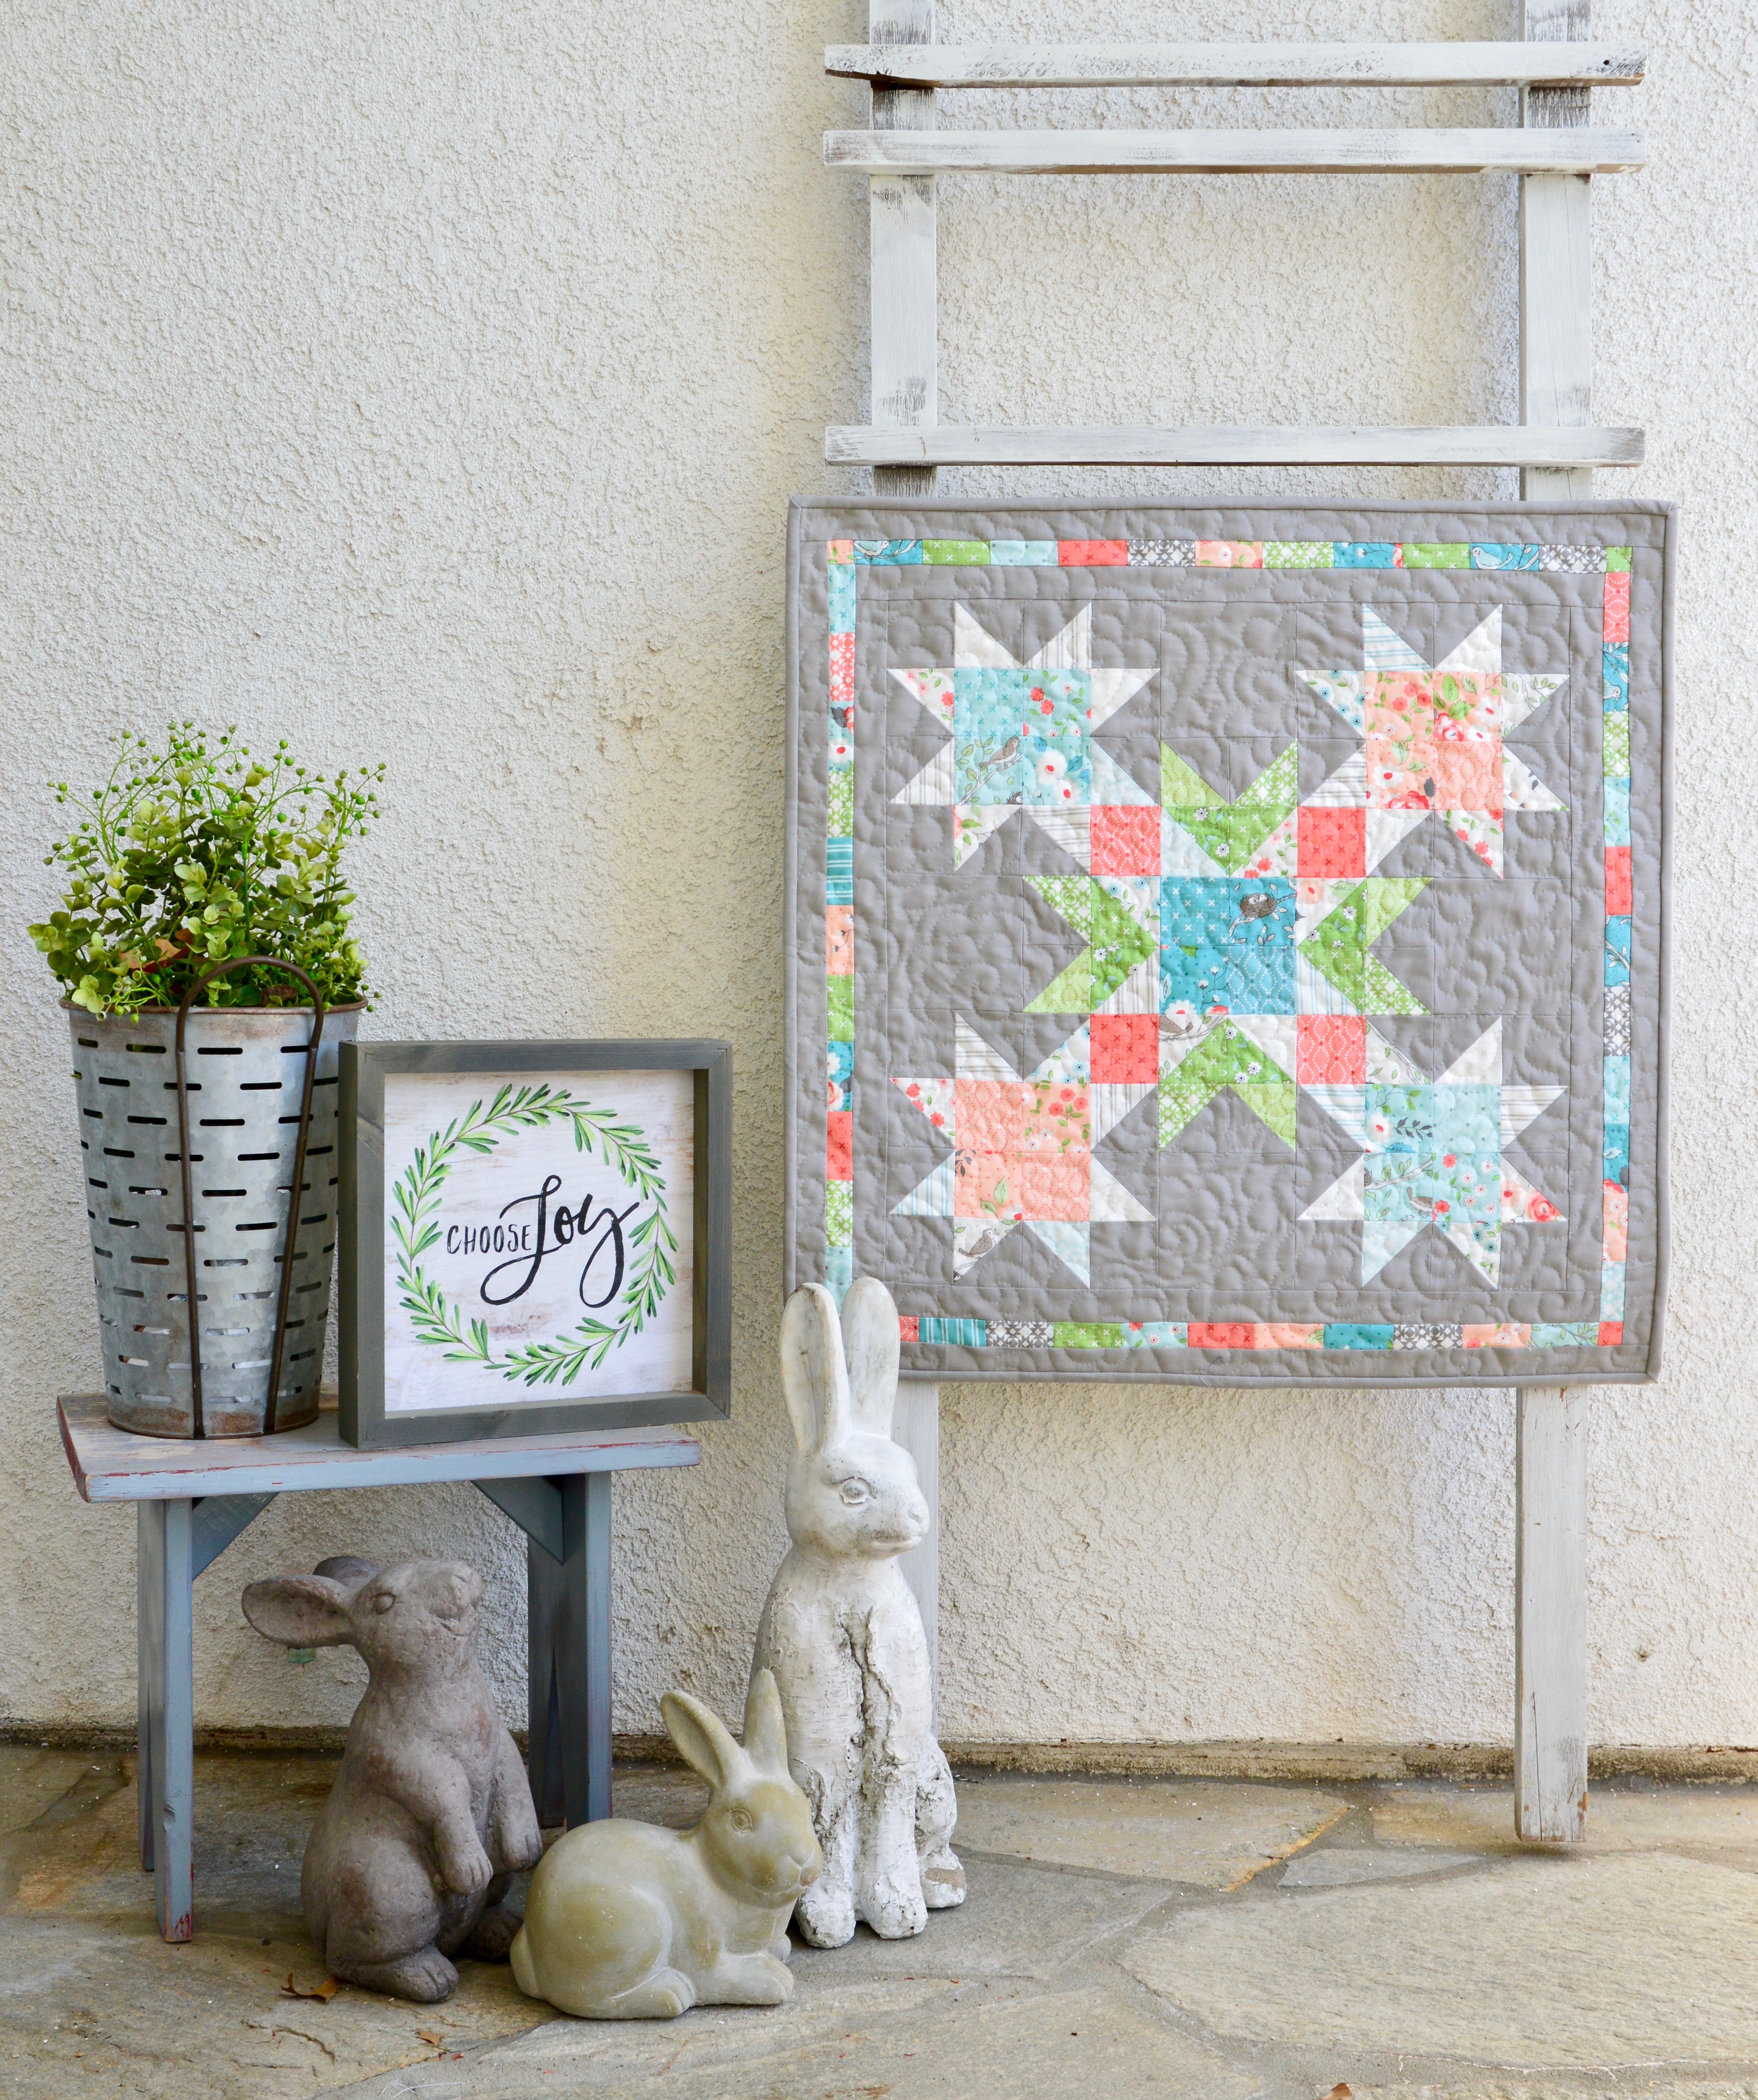
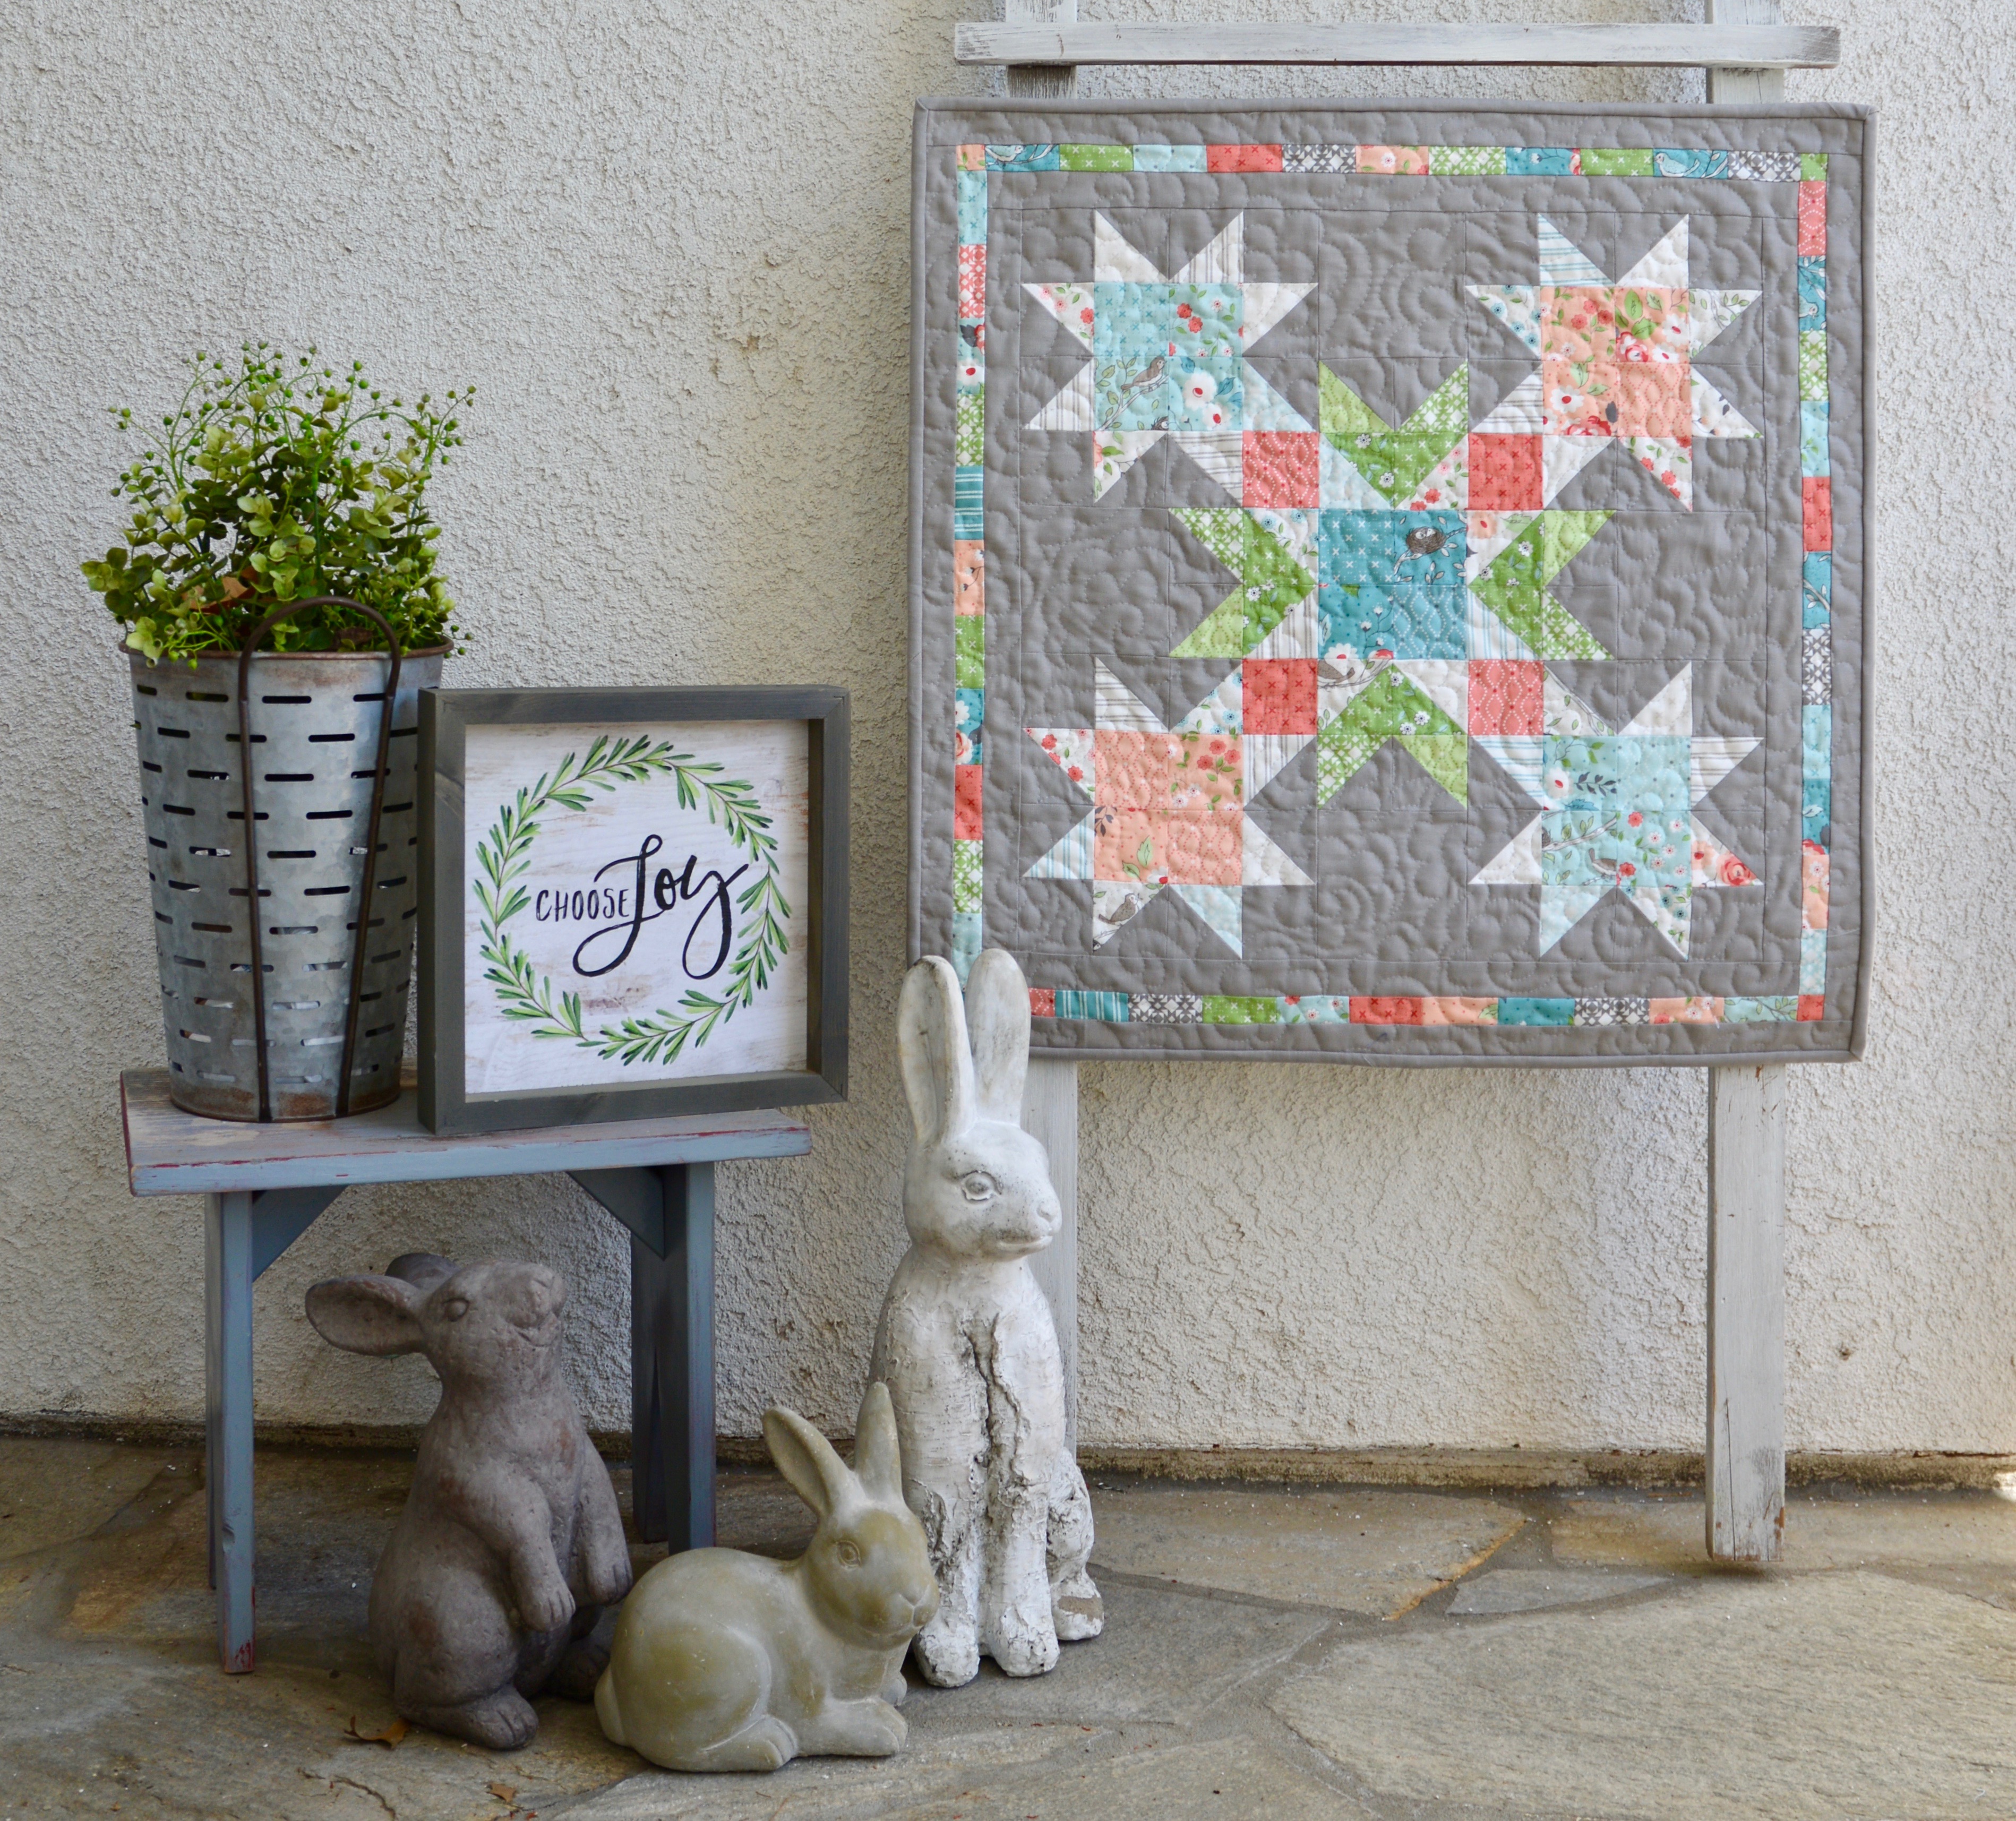 I love spring, spring colors, flowers, birds, pretty much everything about spring! When I saw Lella Boutique’s new fabric line
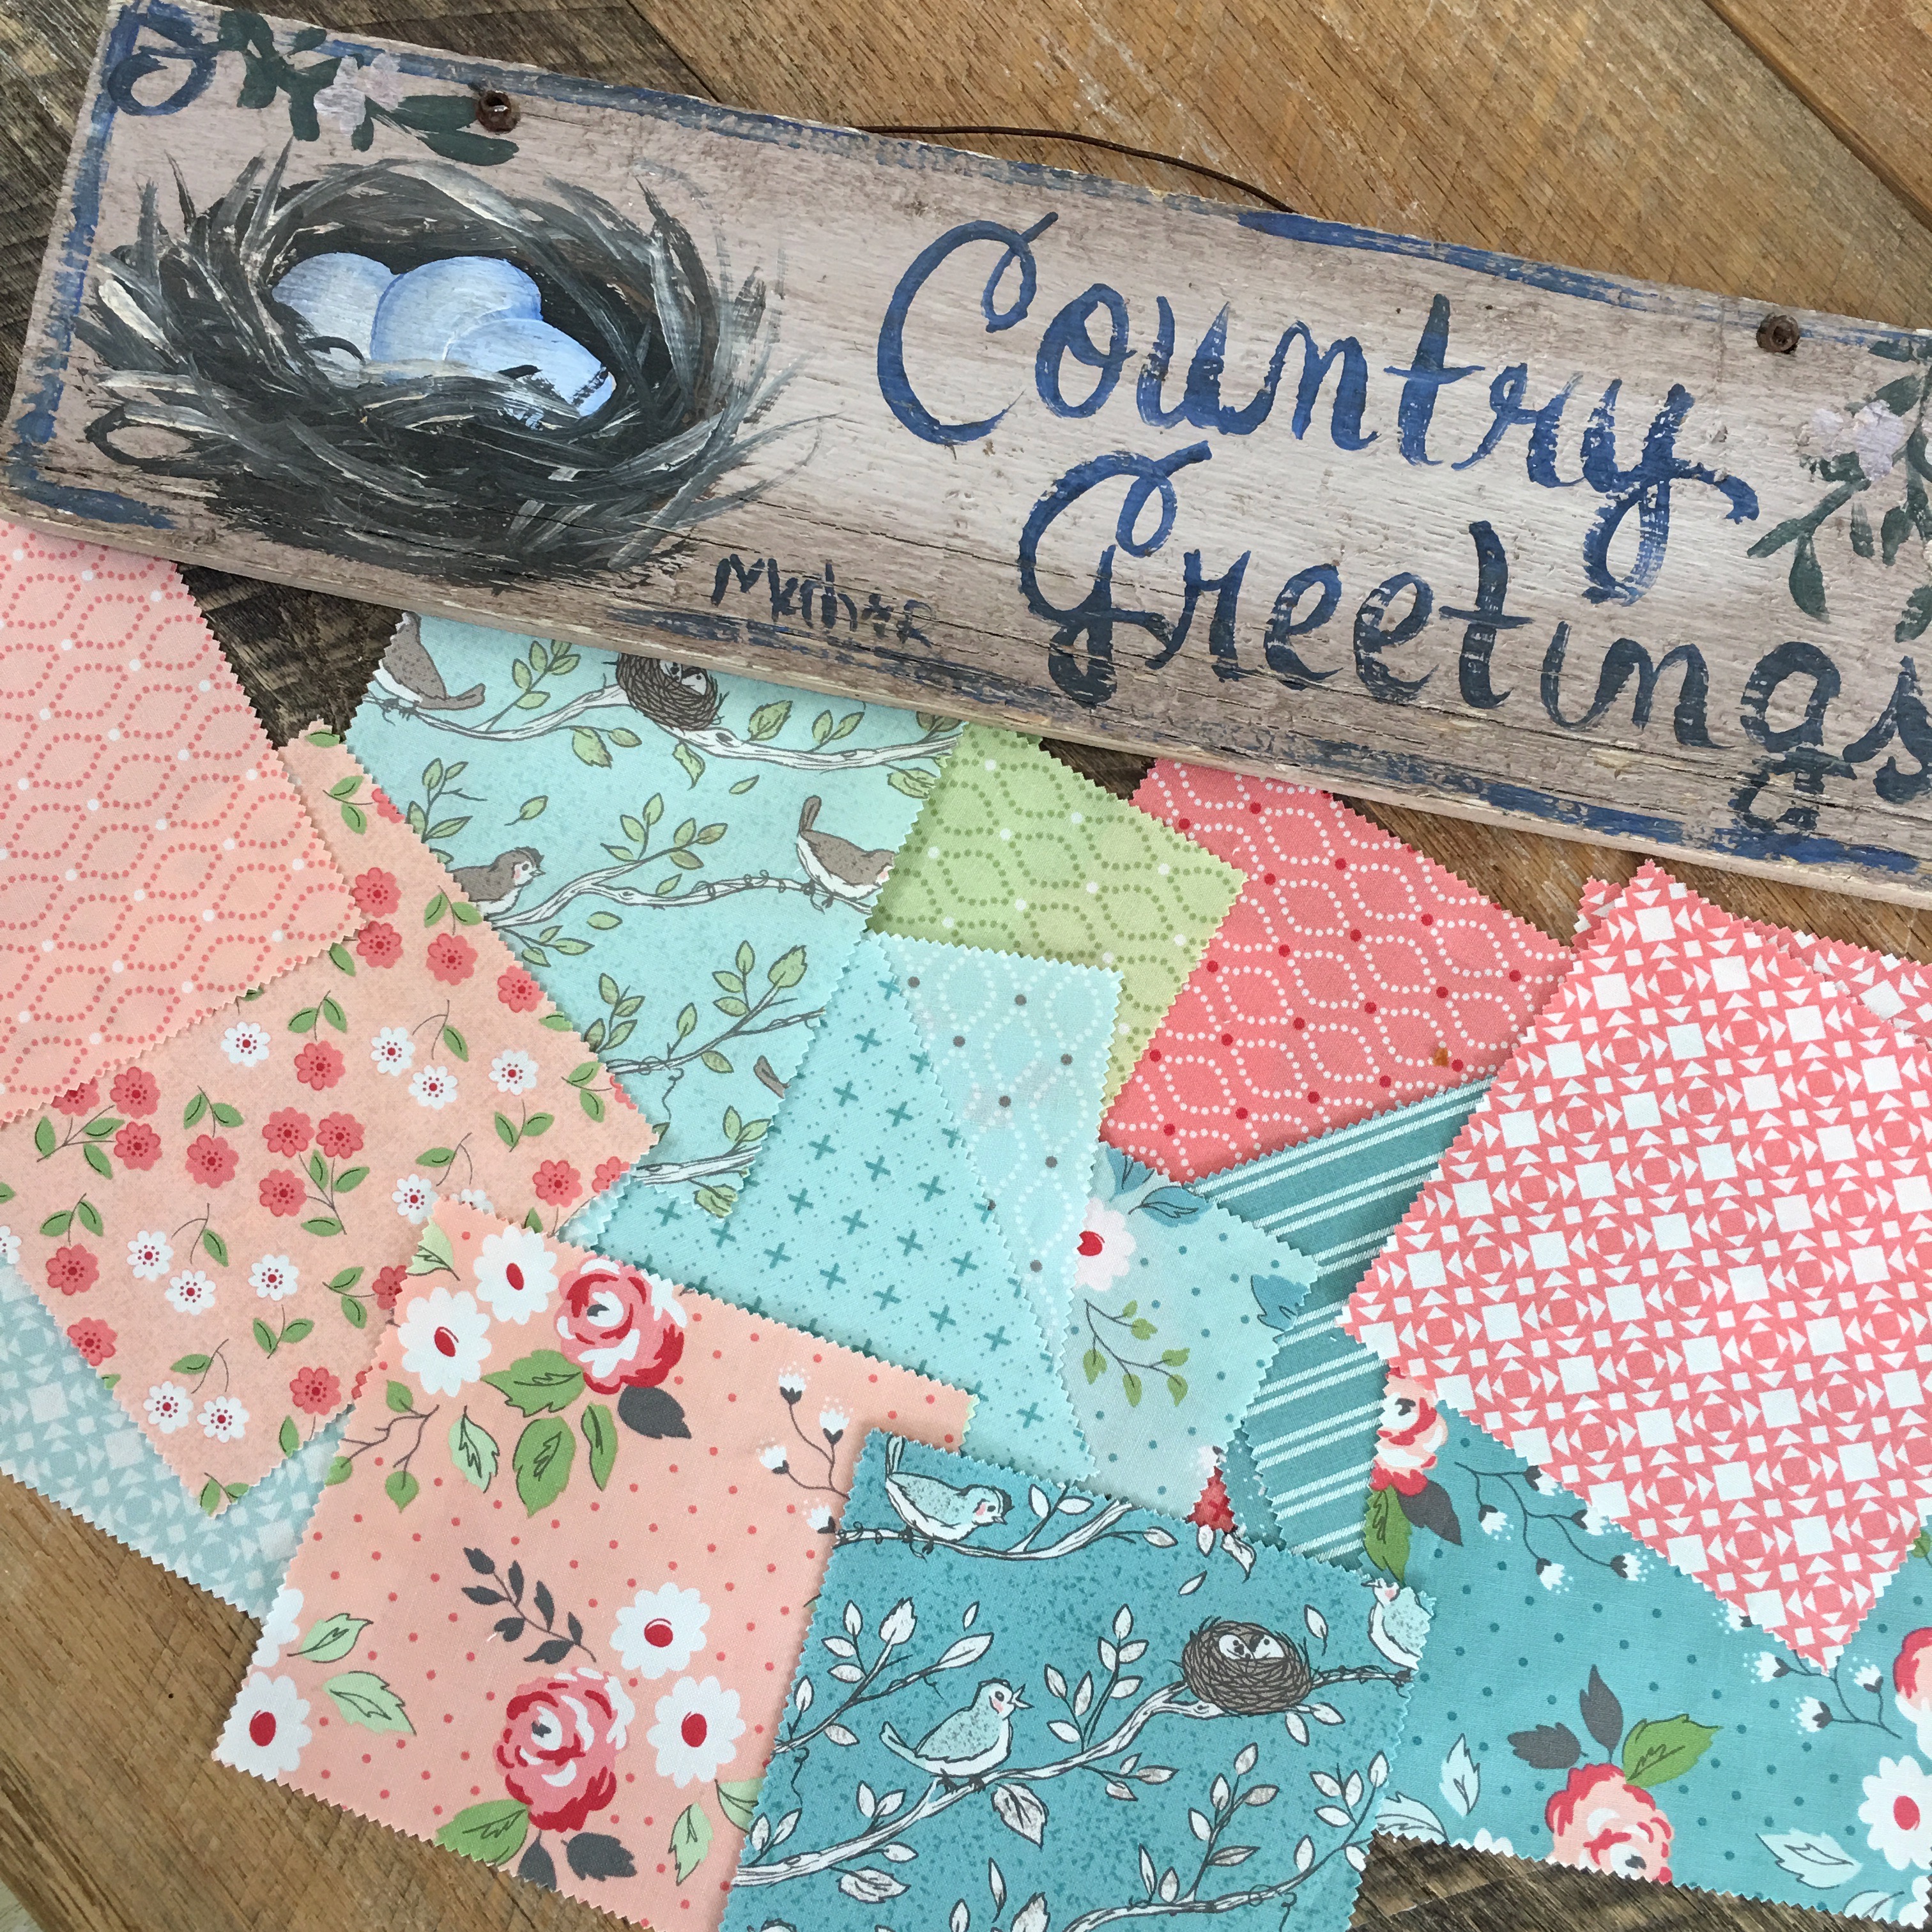
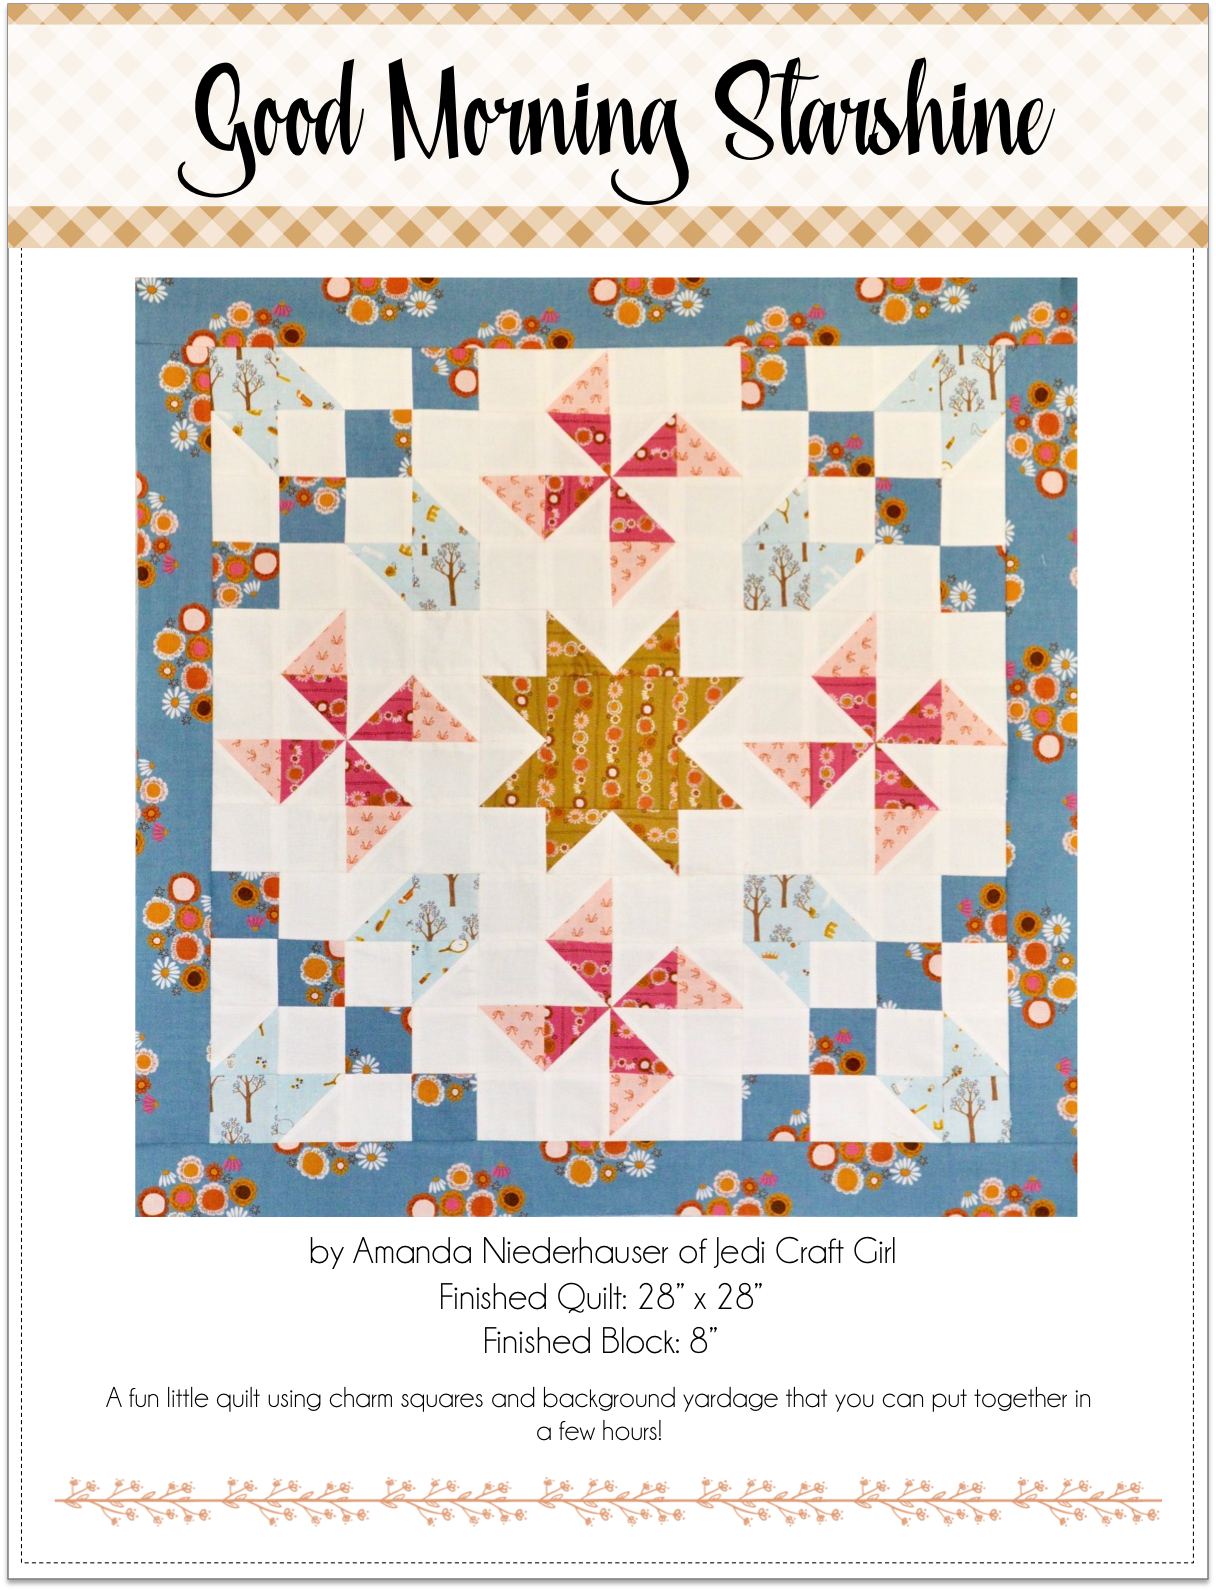
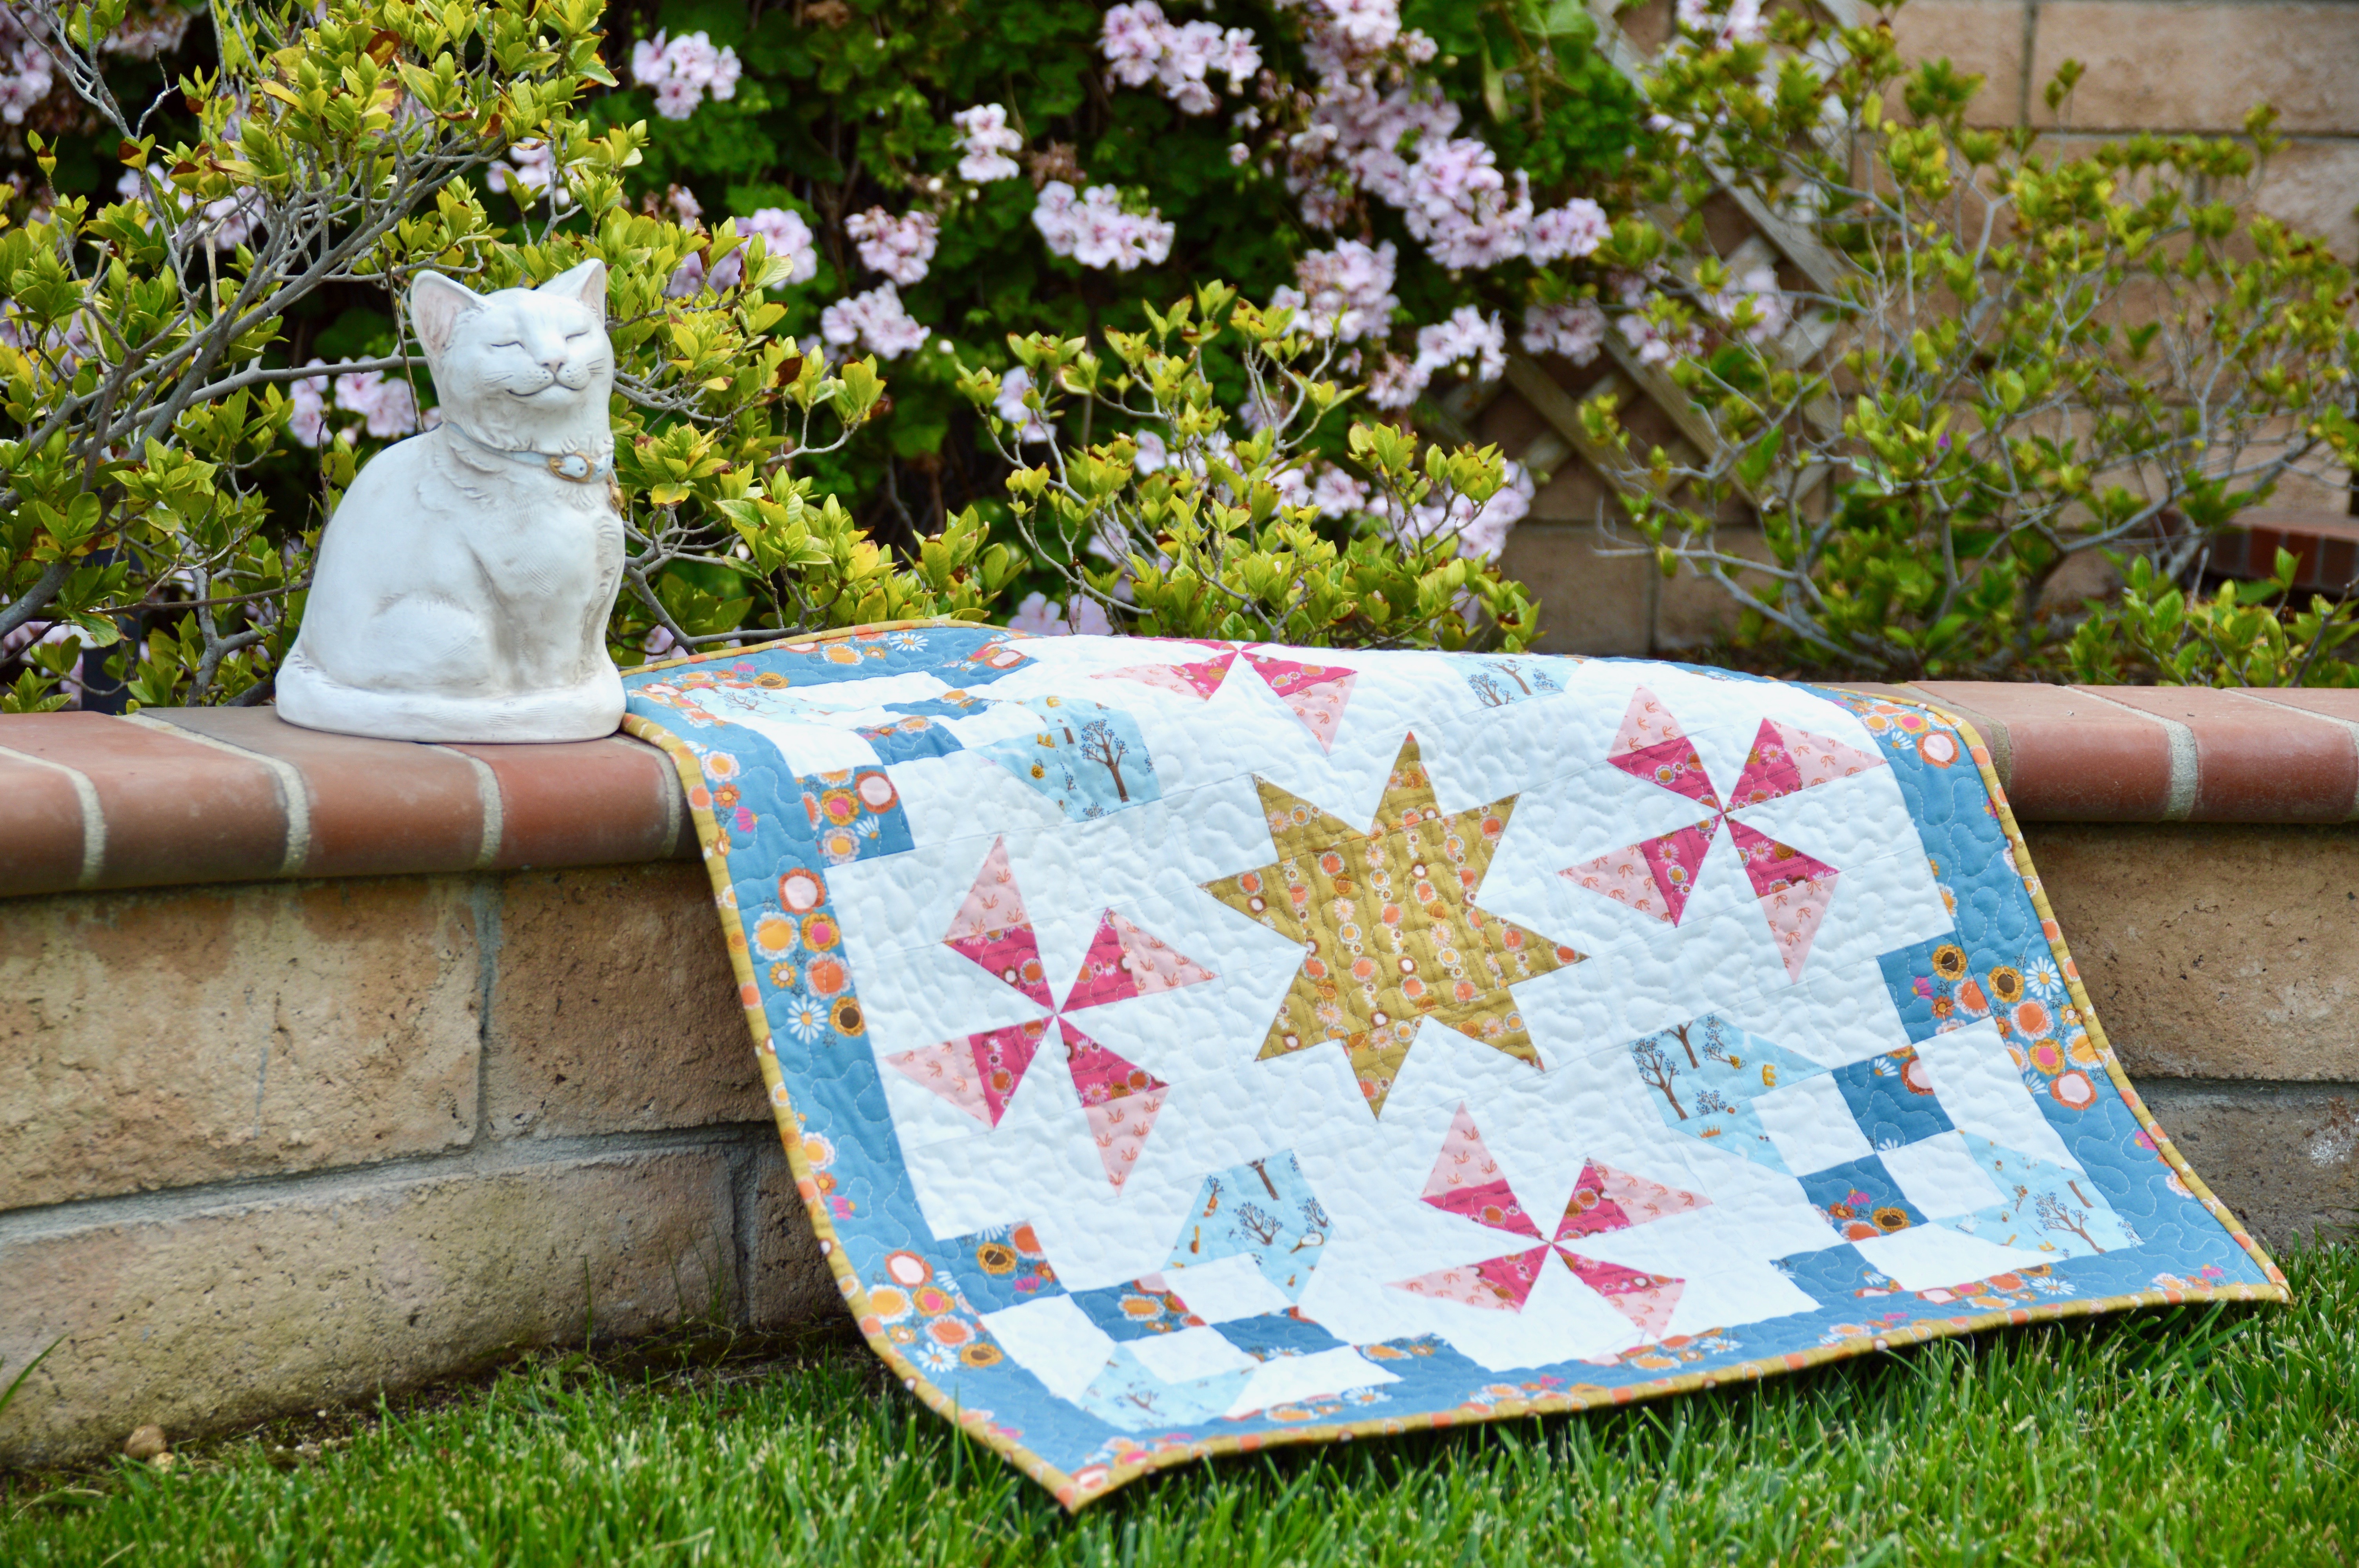
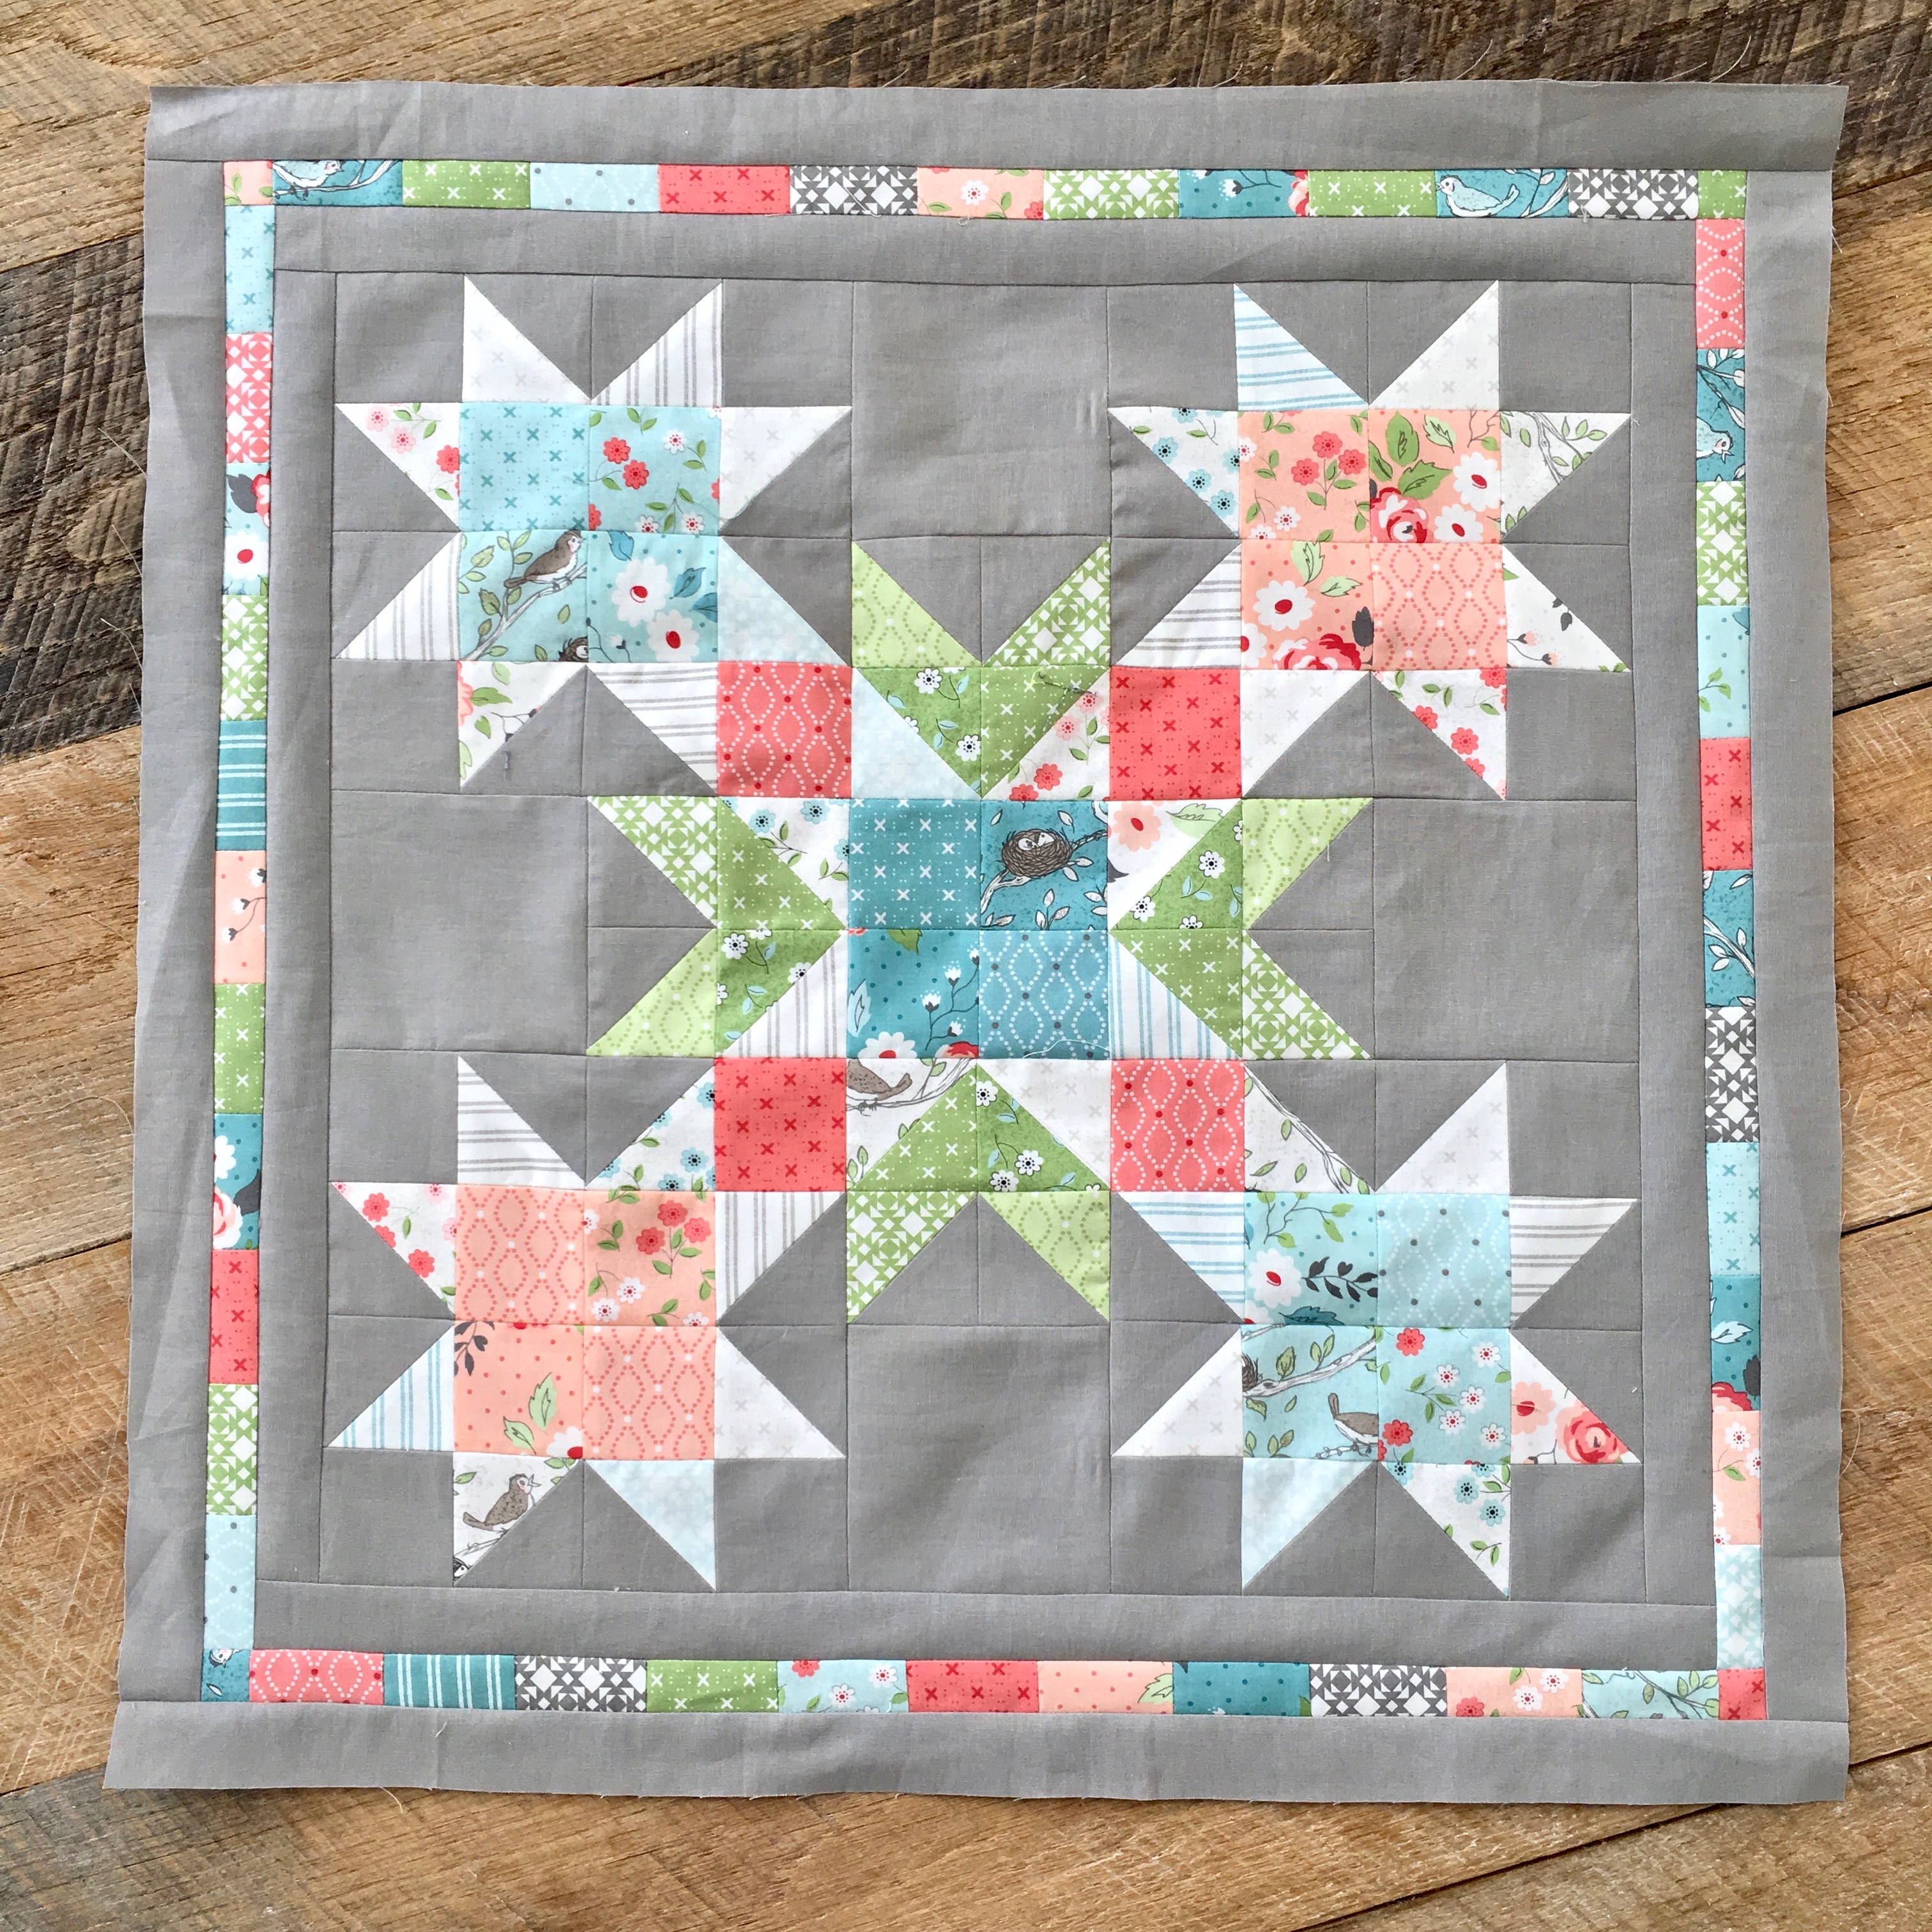
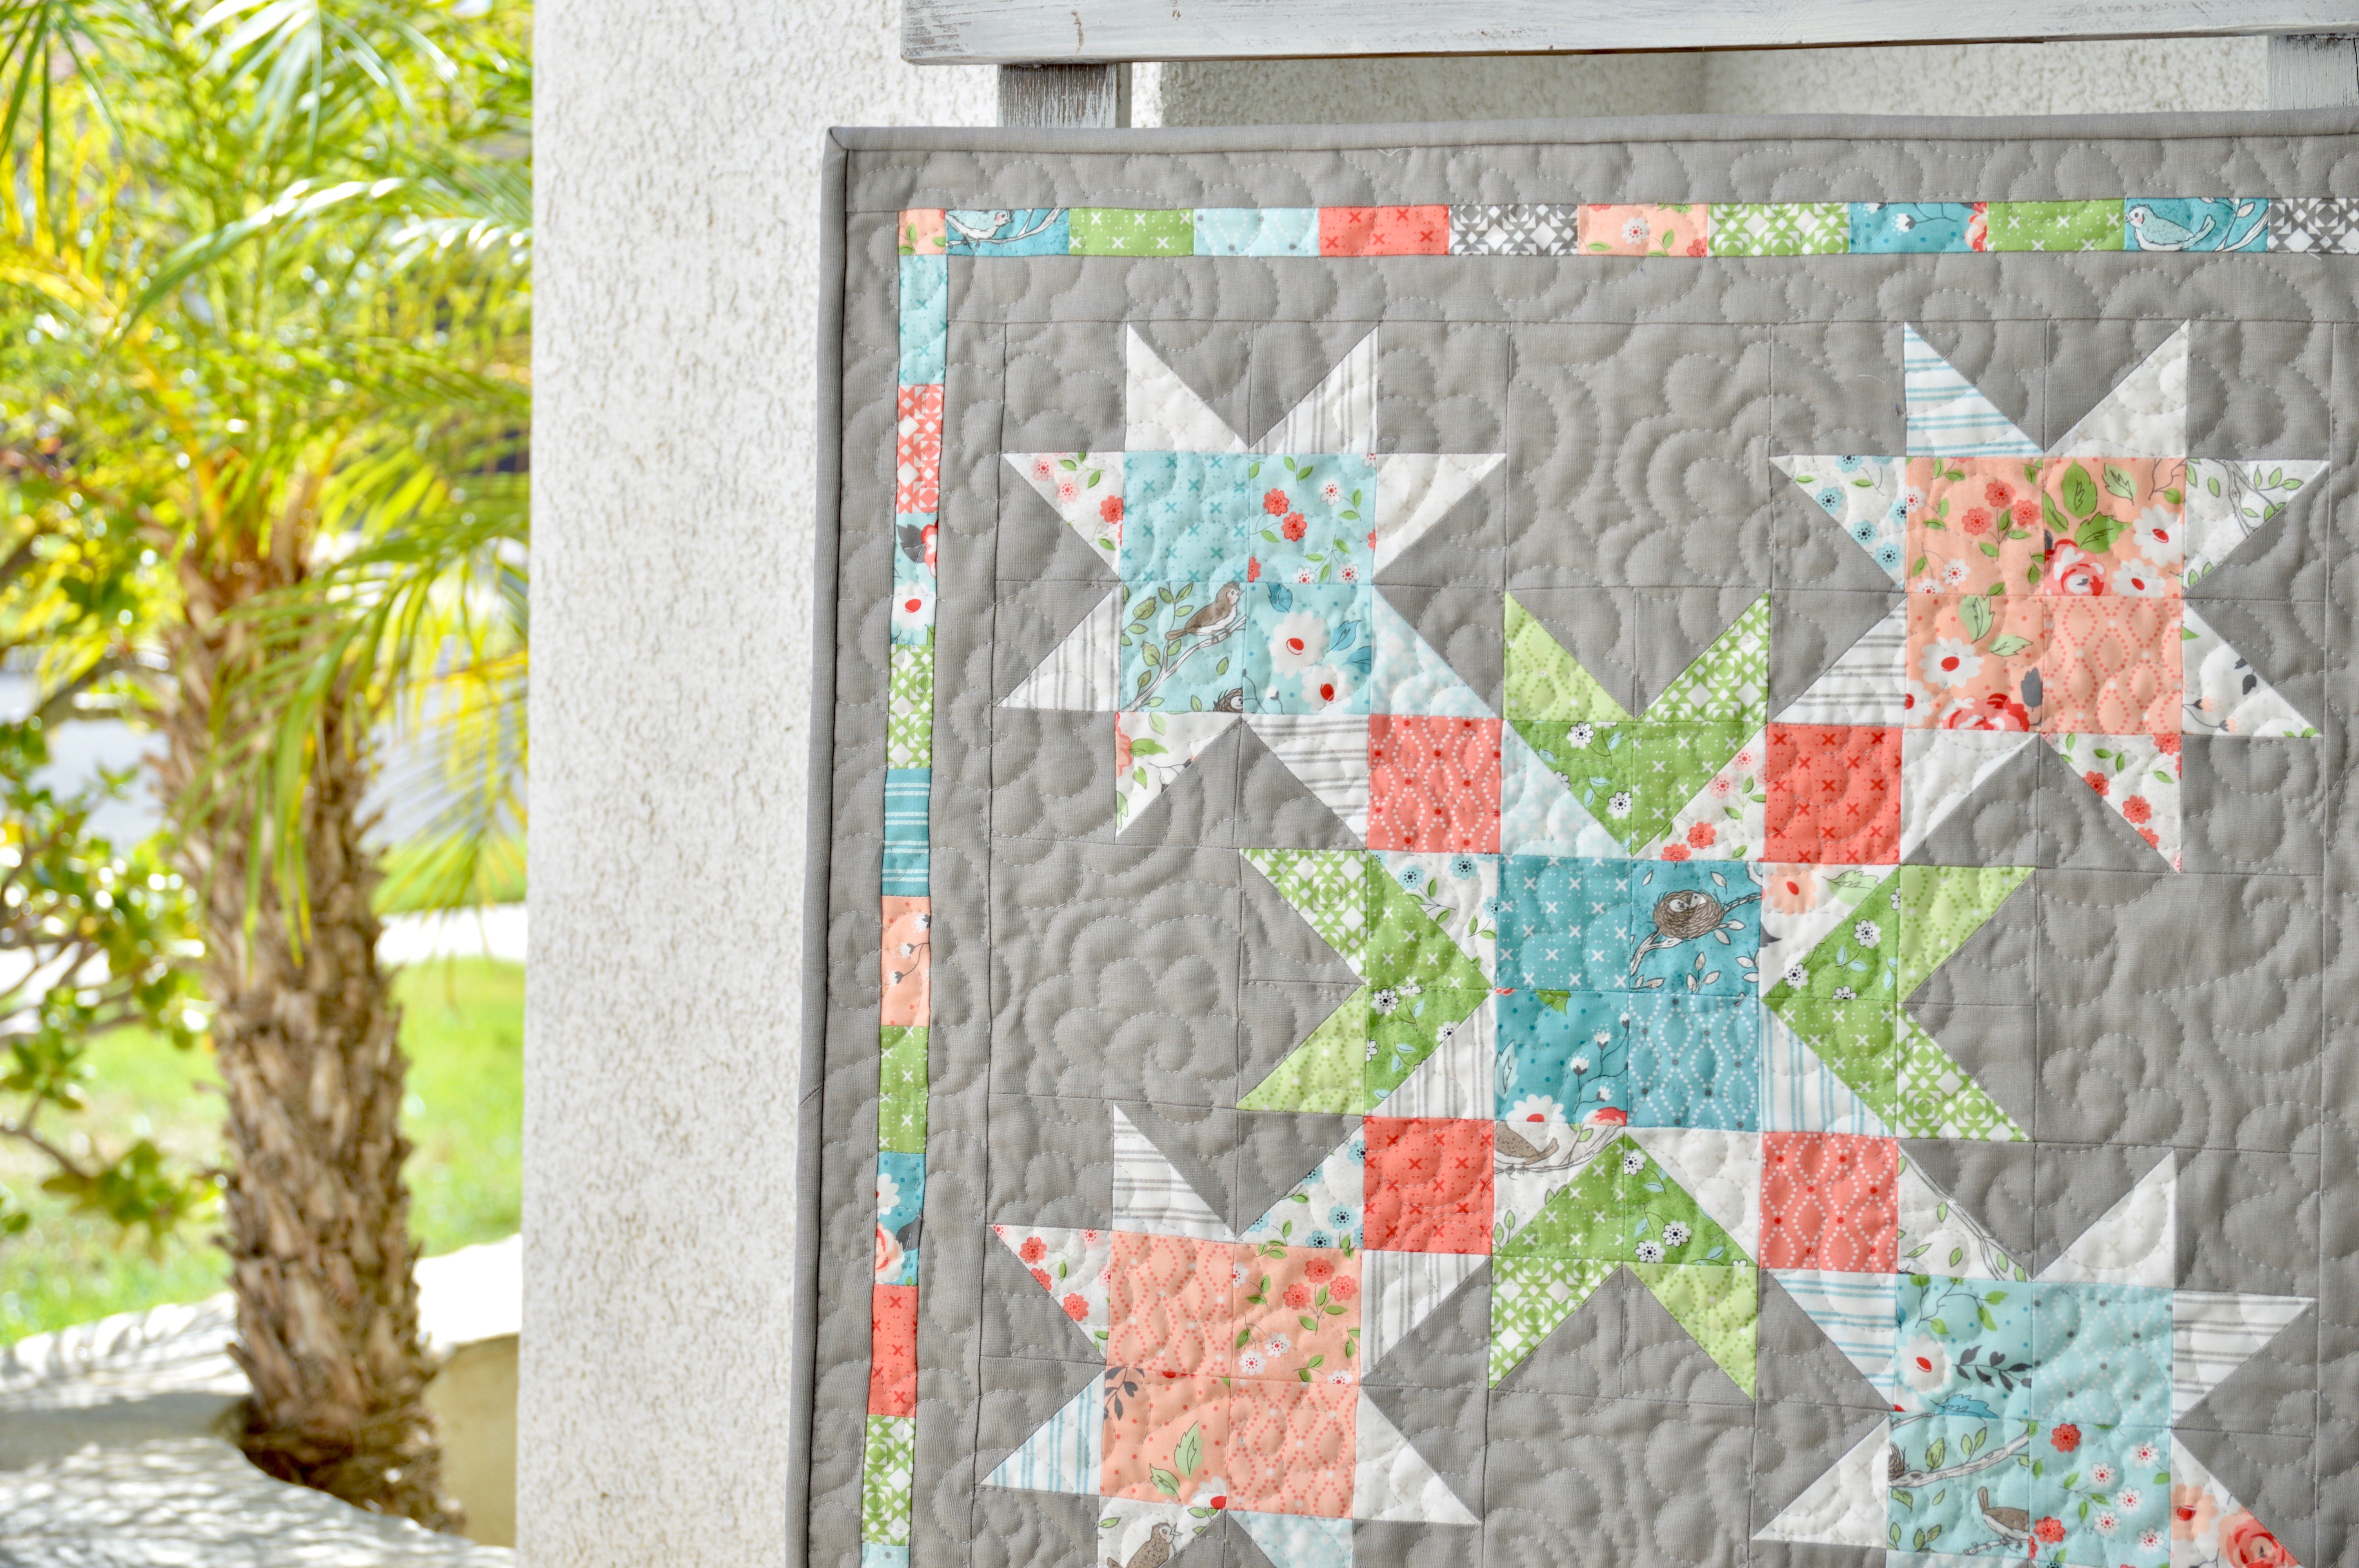
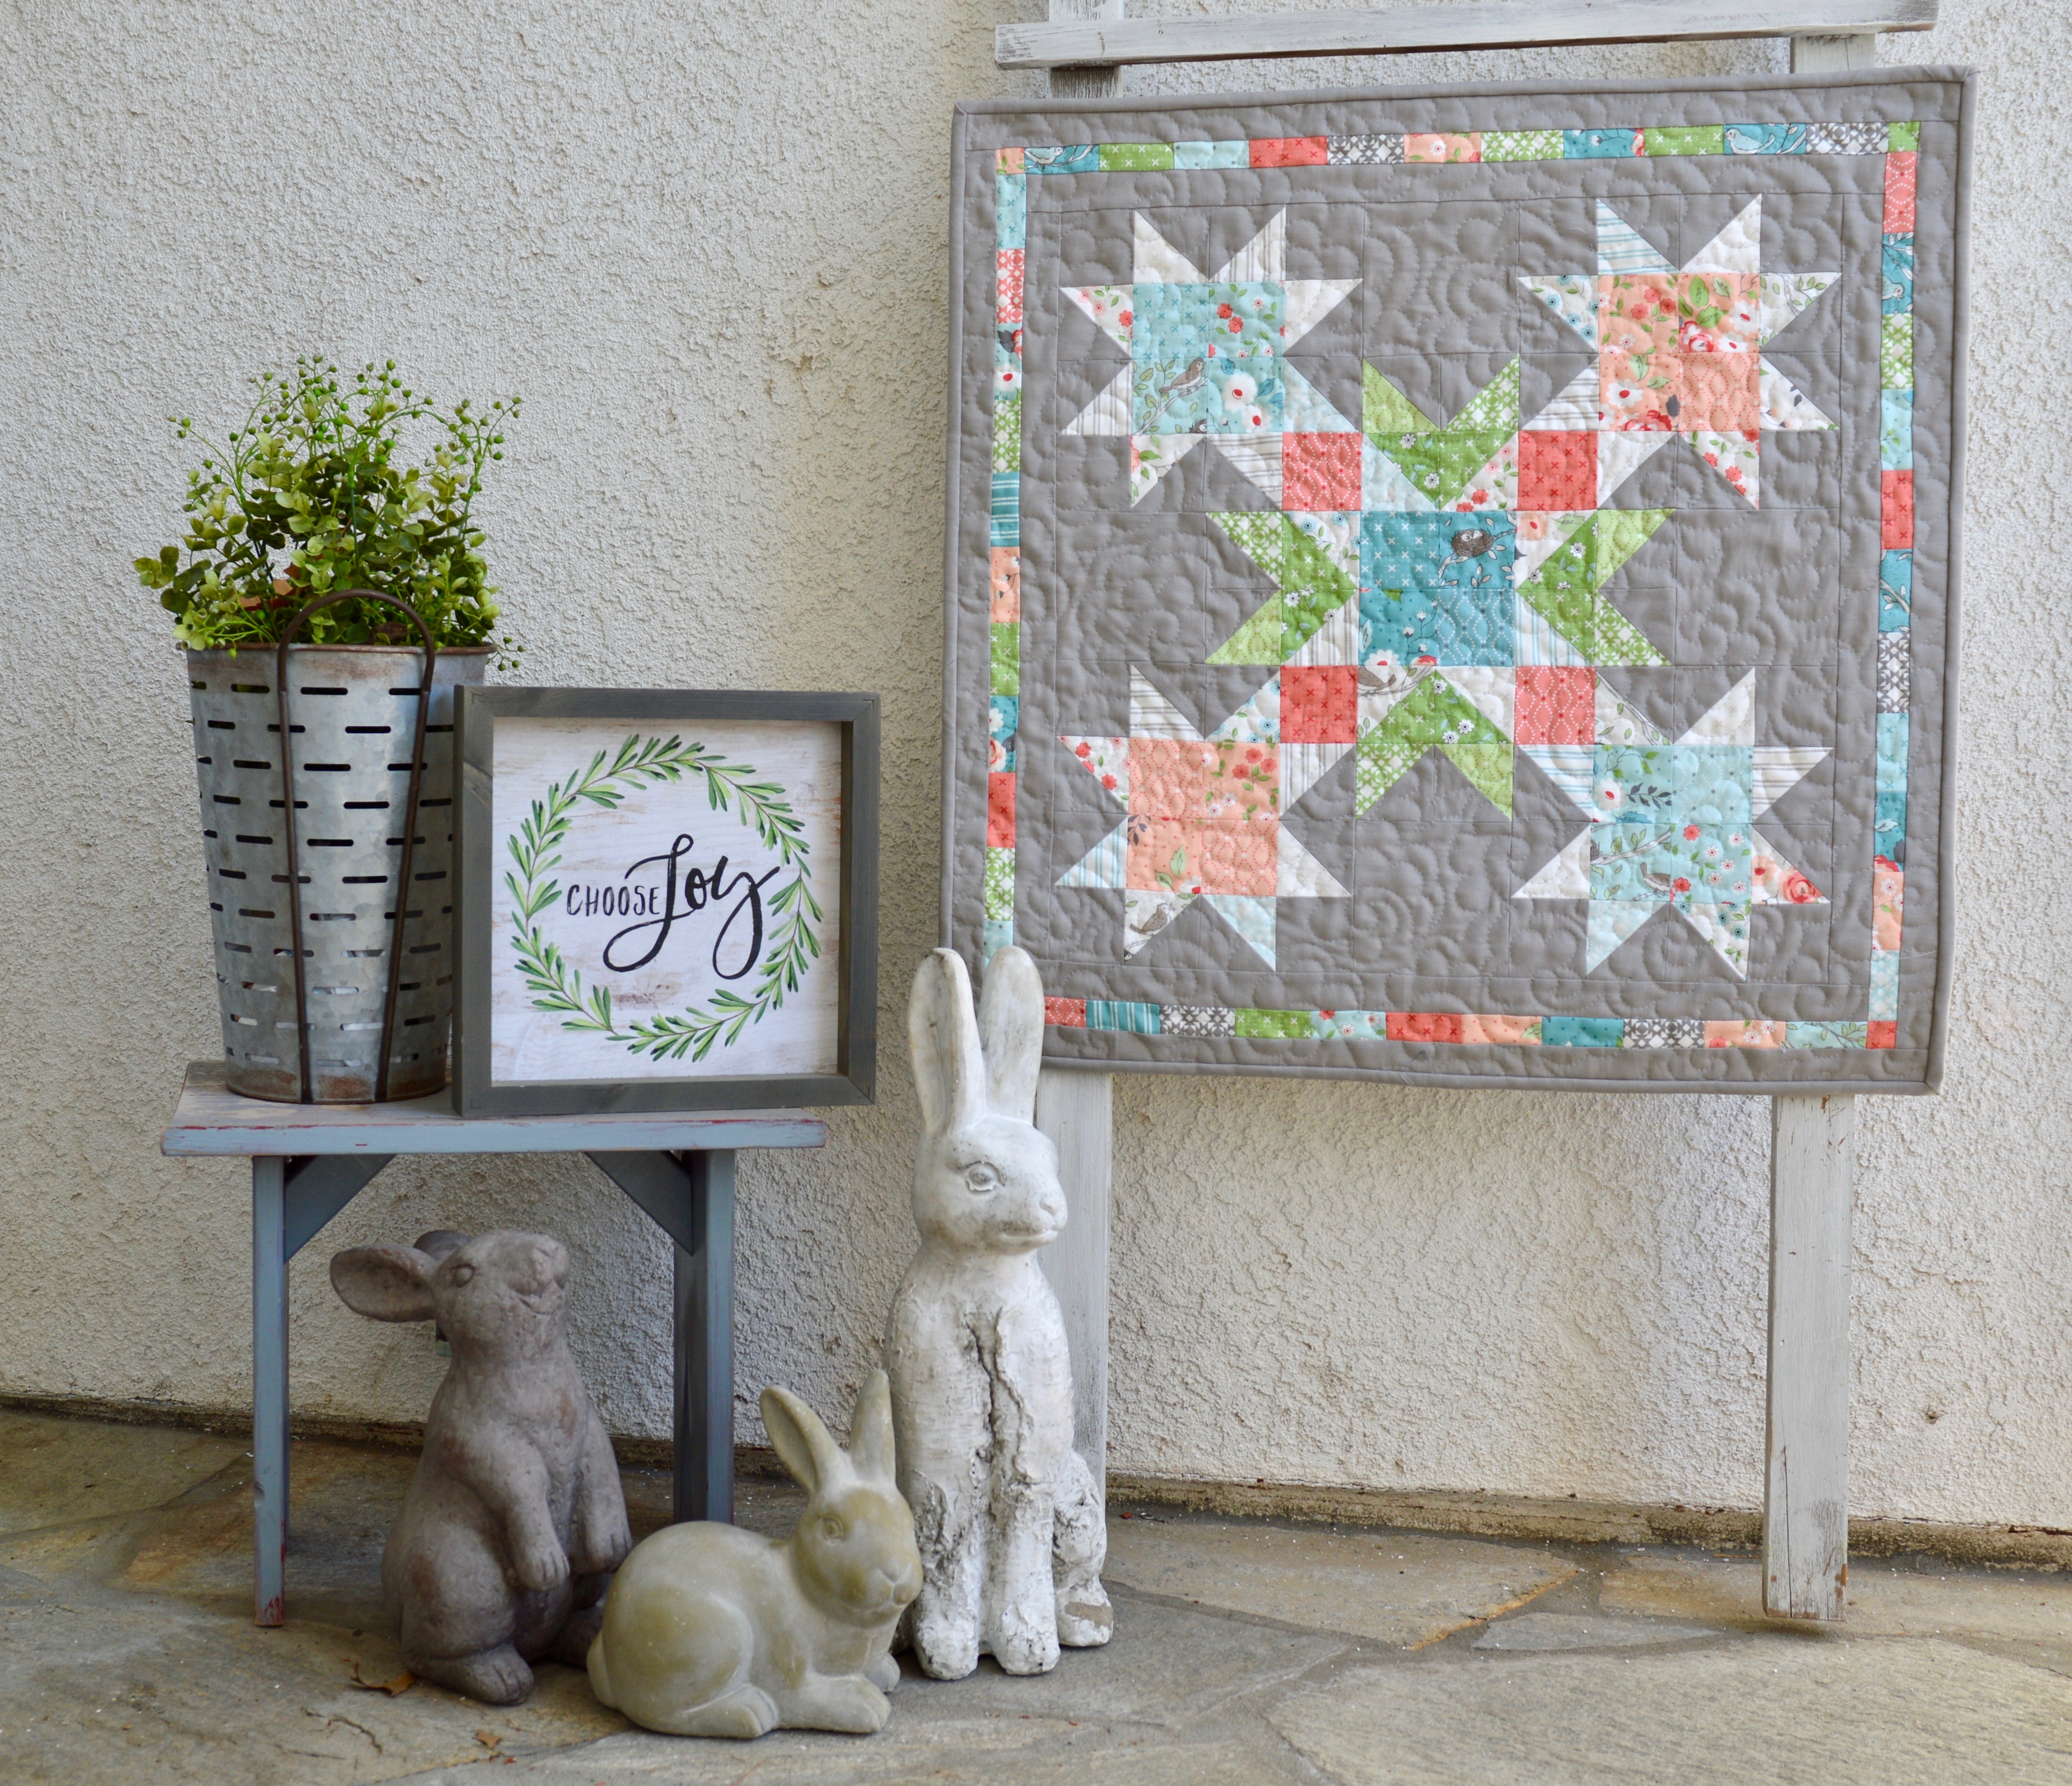
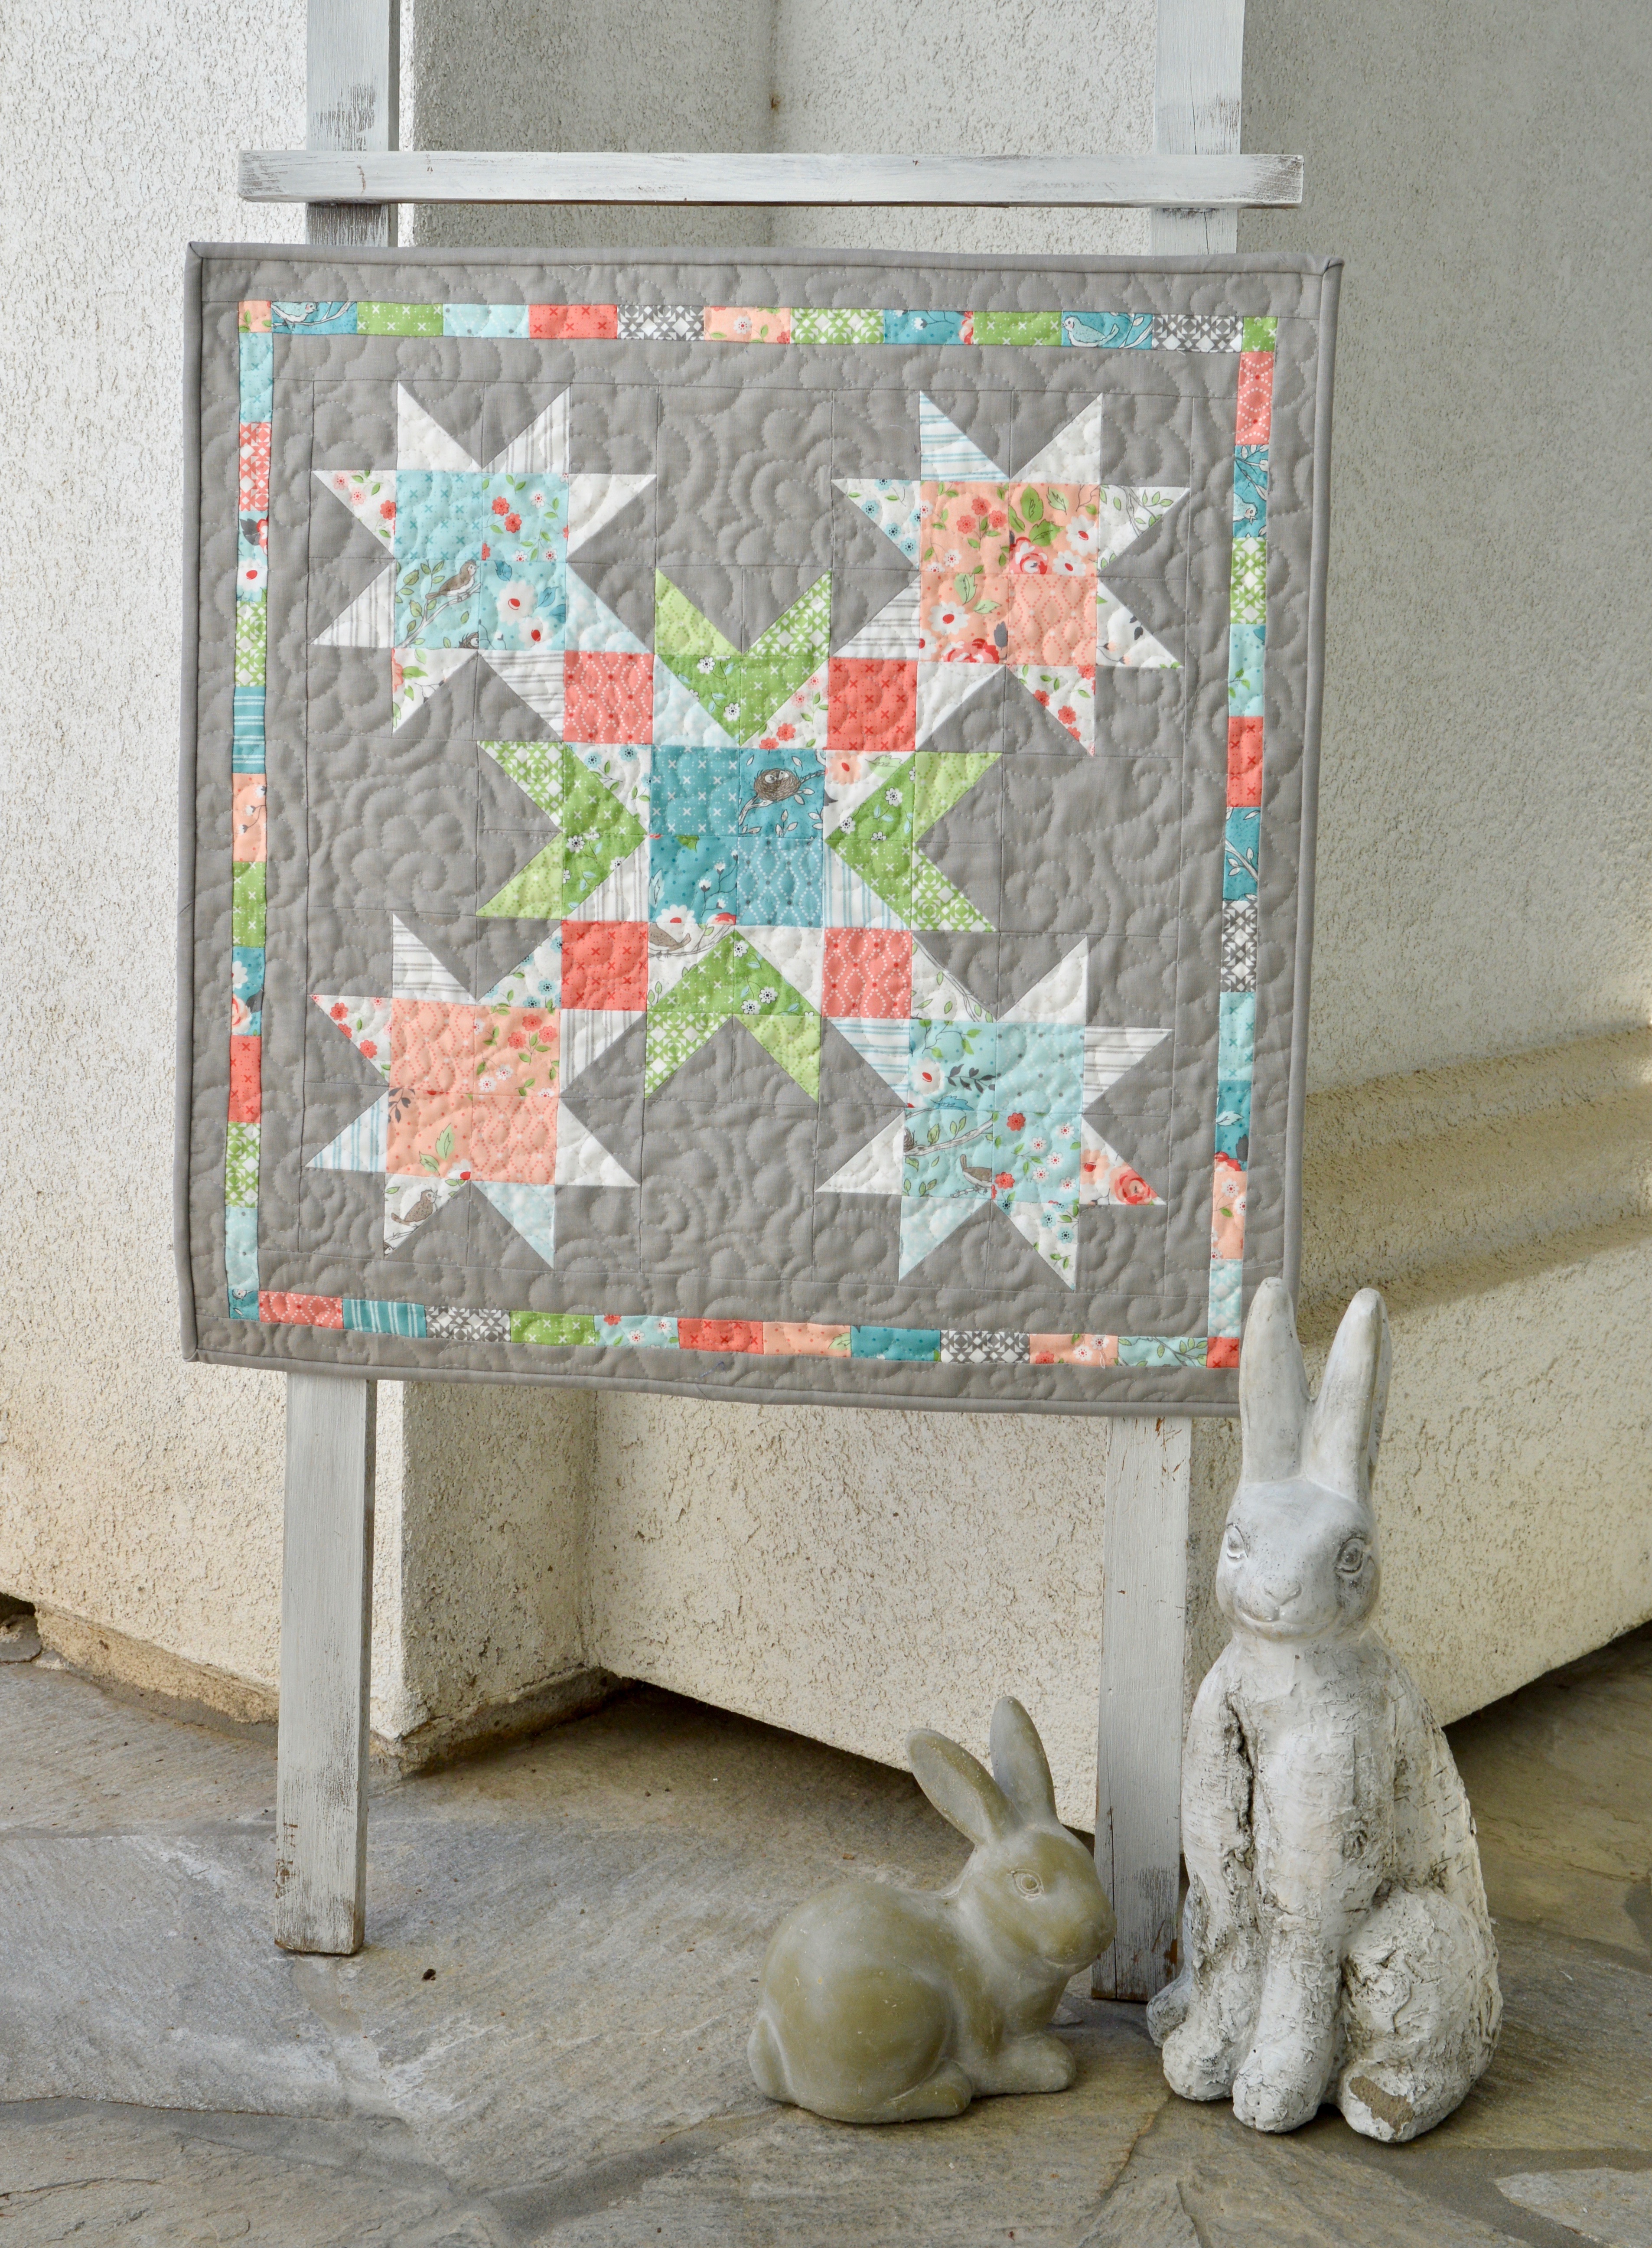
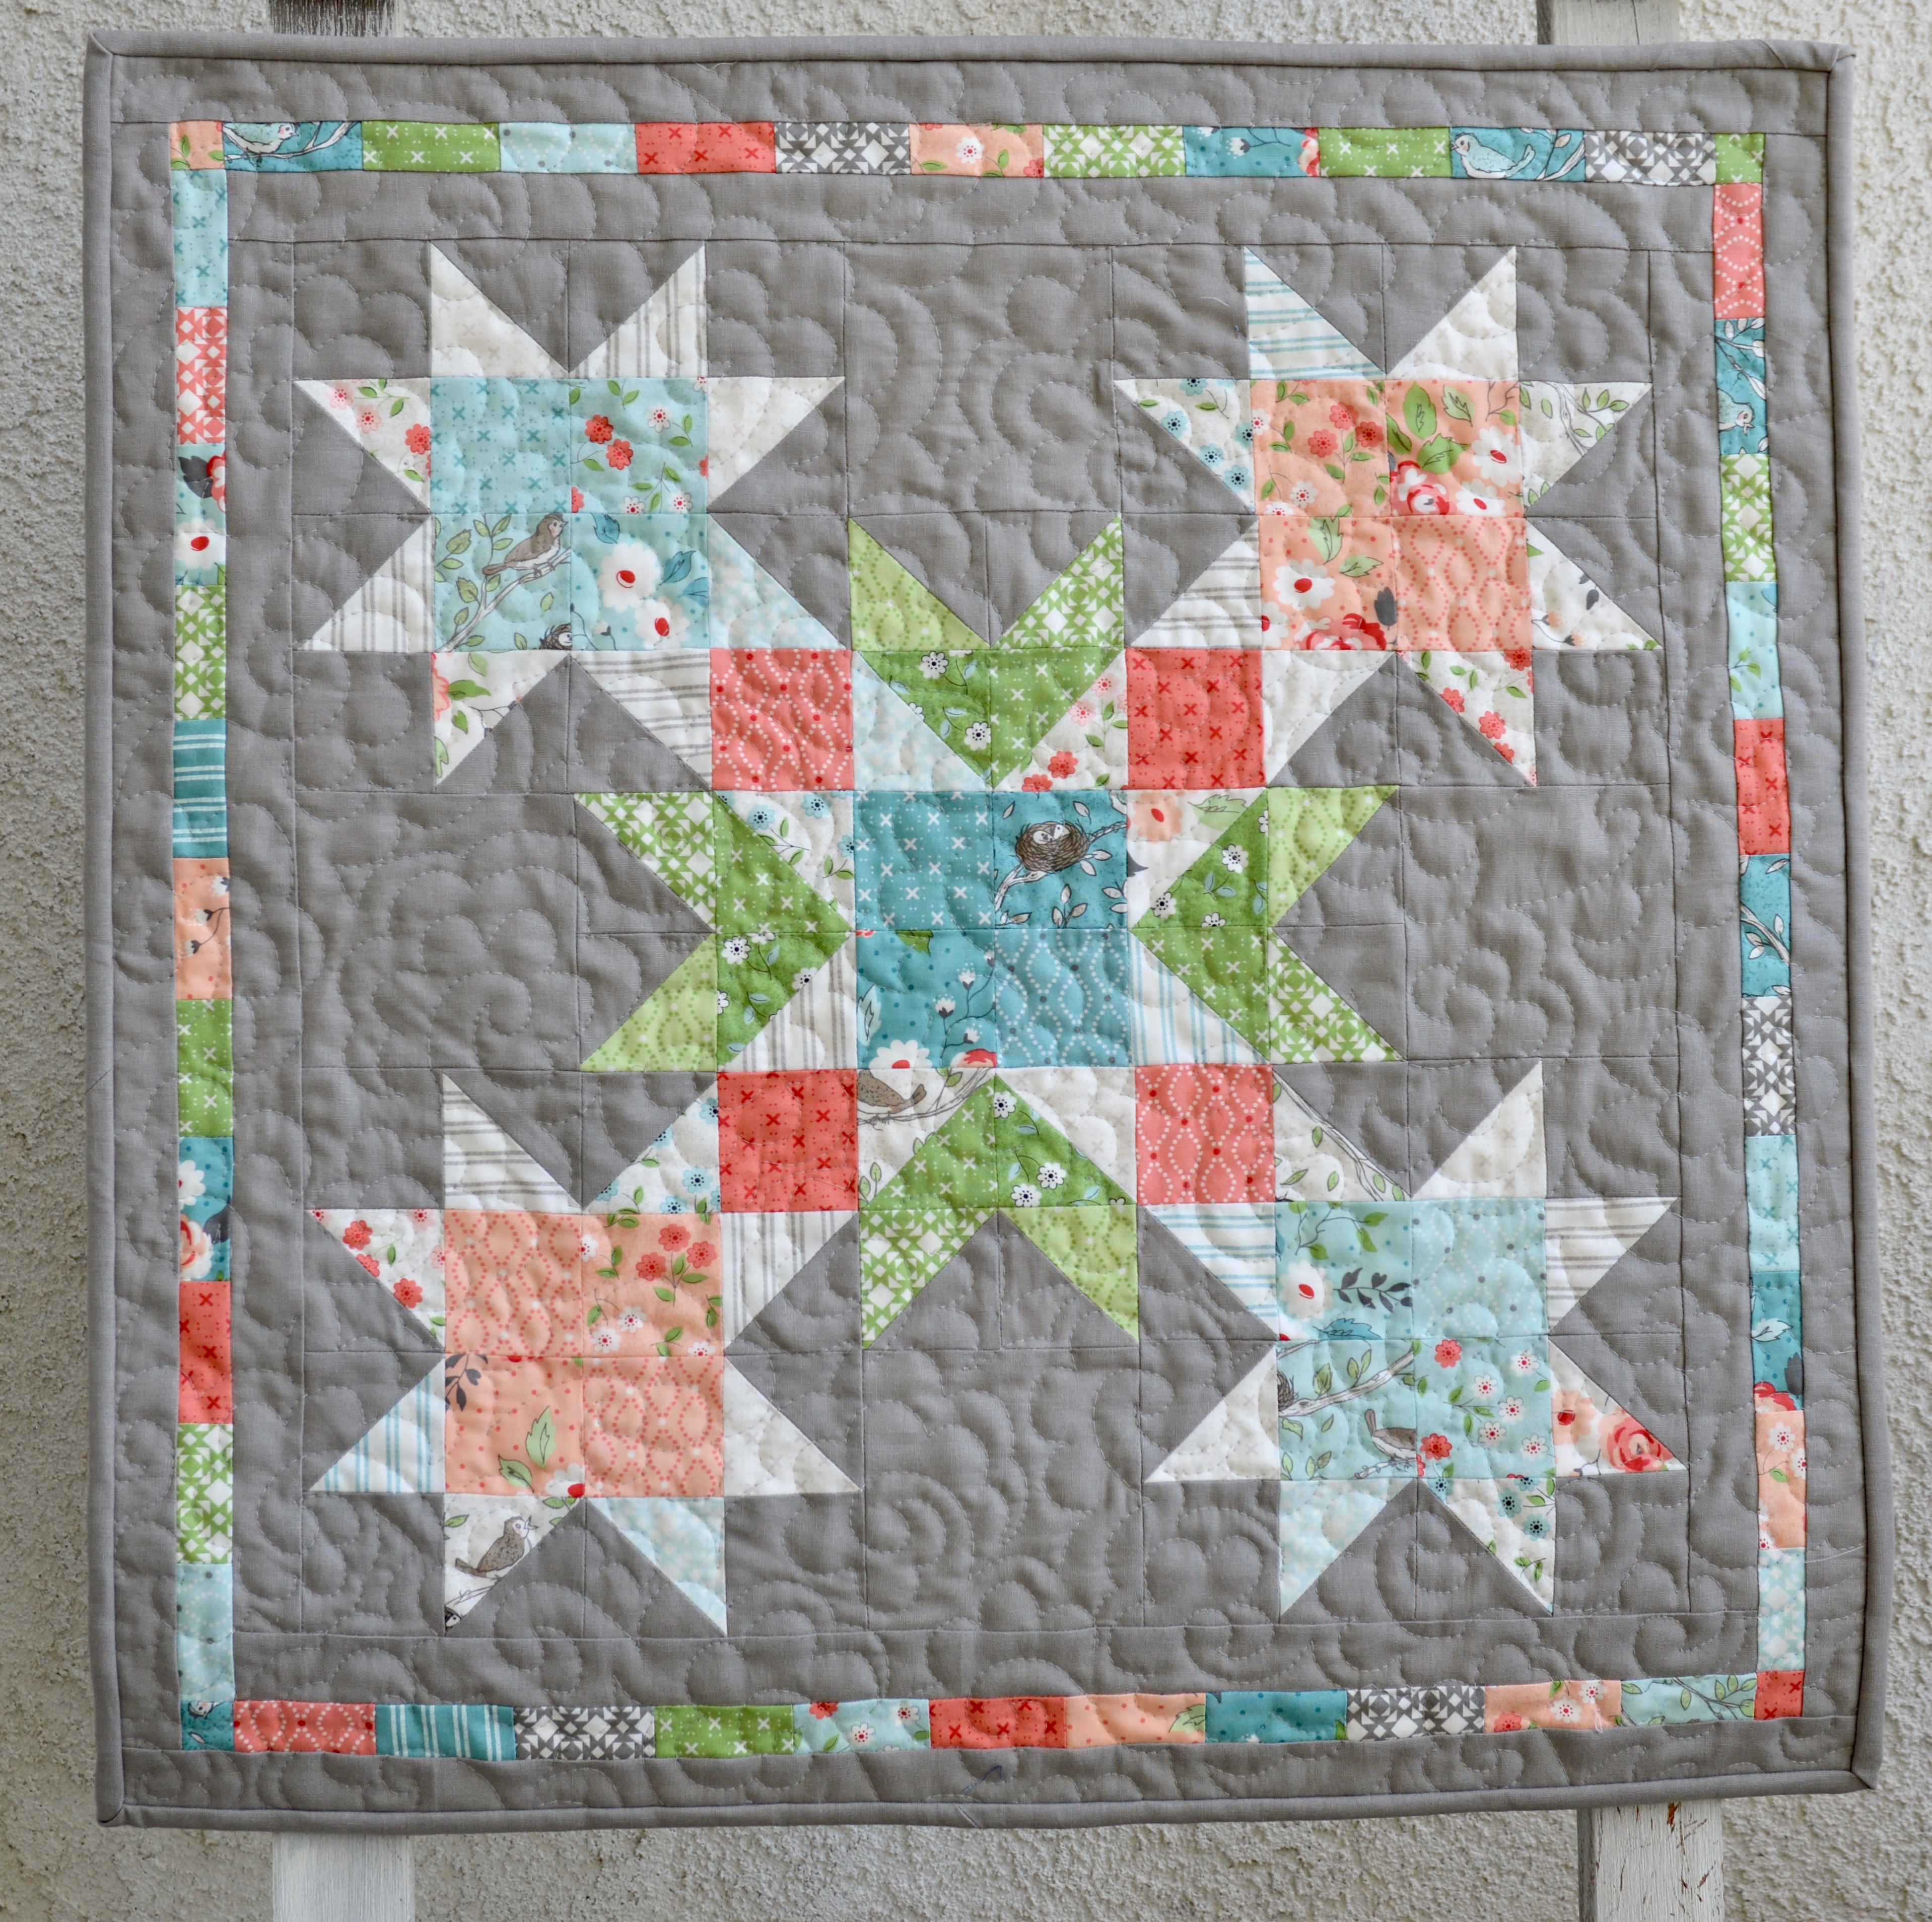
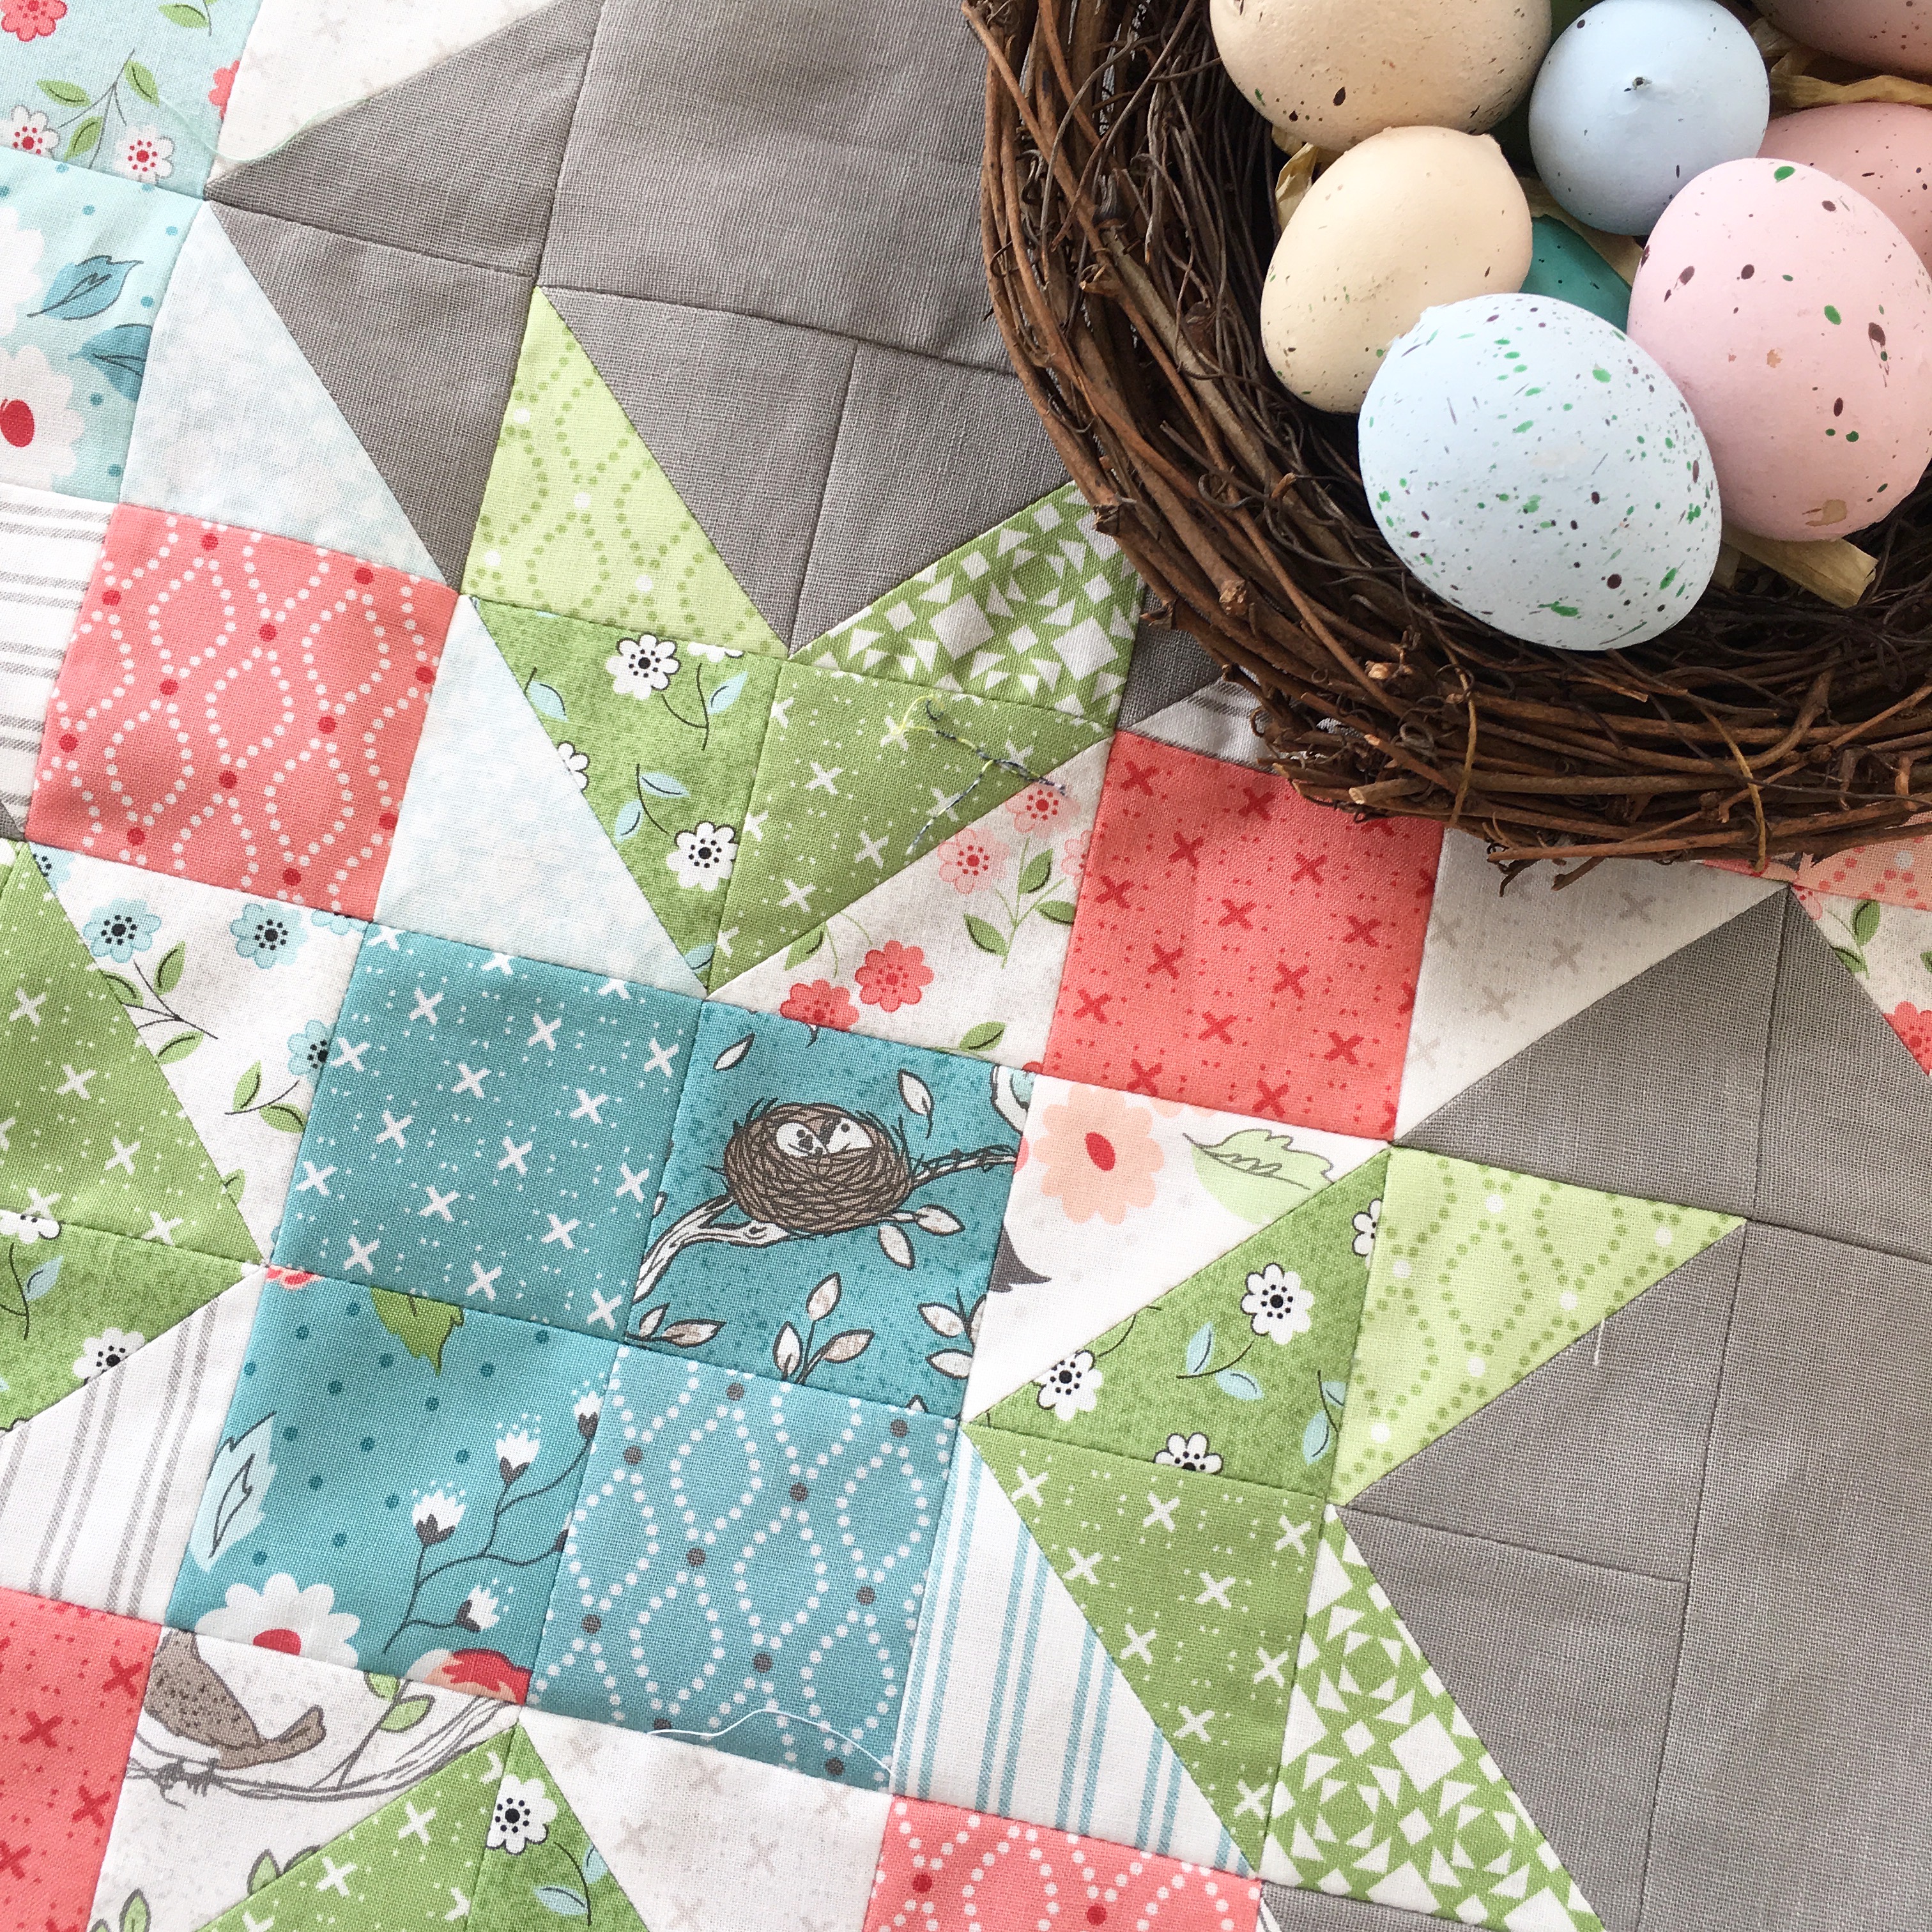 So I set out to design a wall quilt using only my charm pack and background yardage. I love how it turned out!


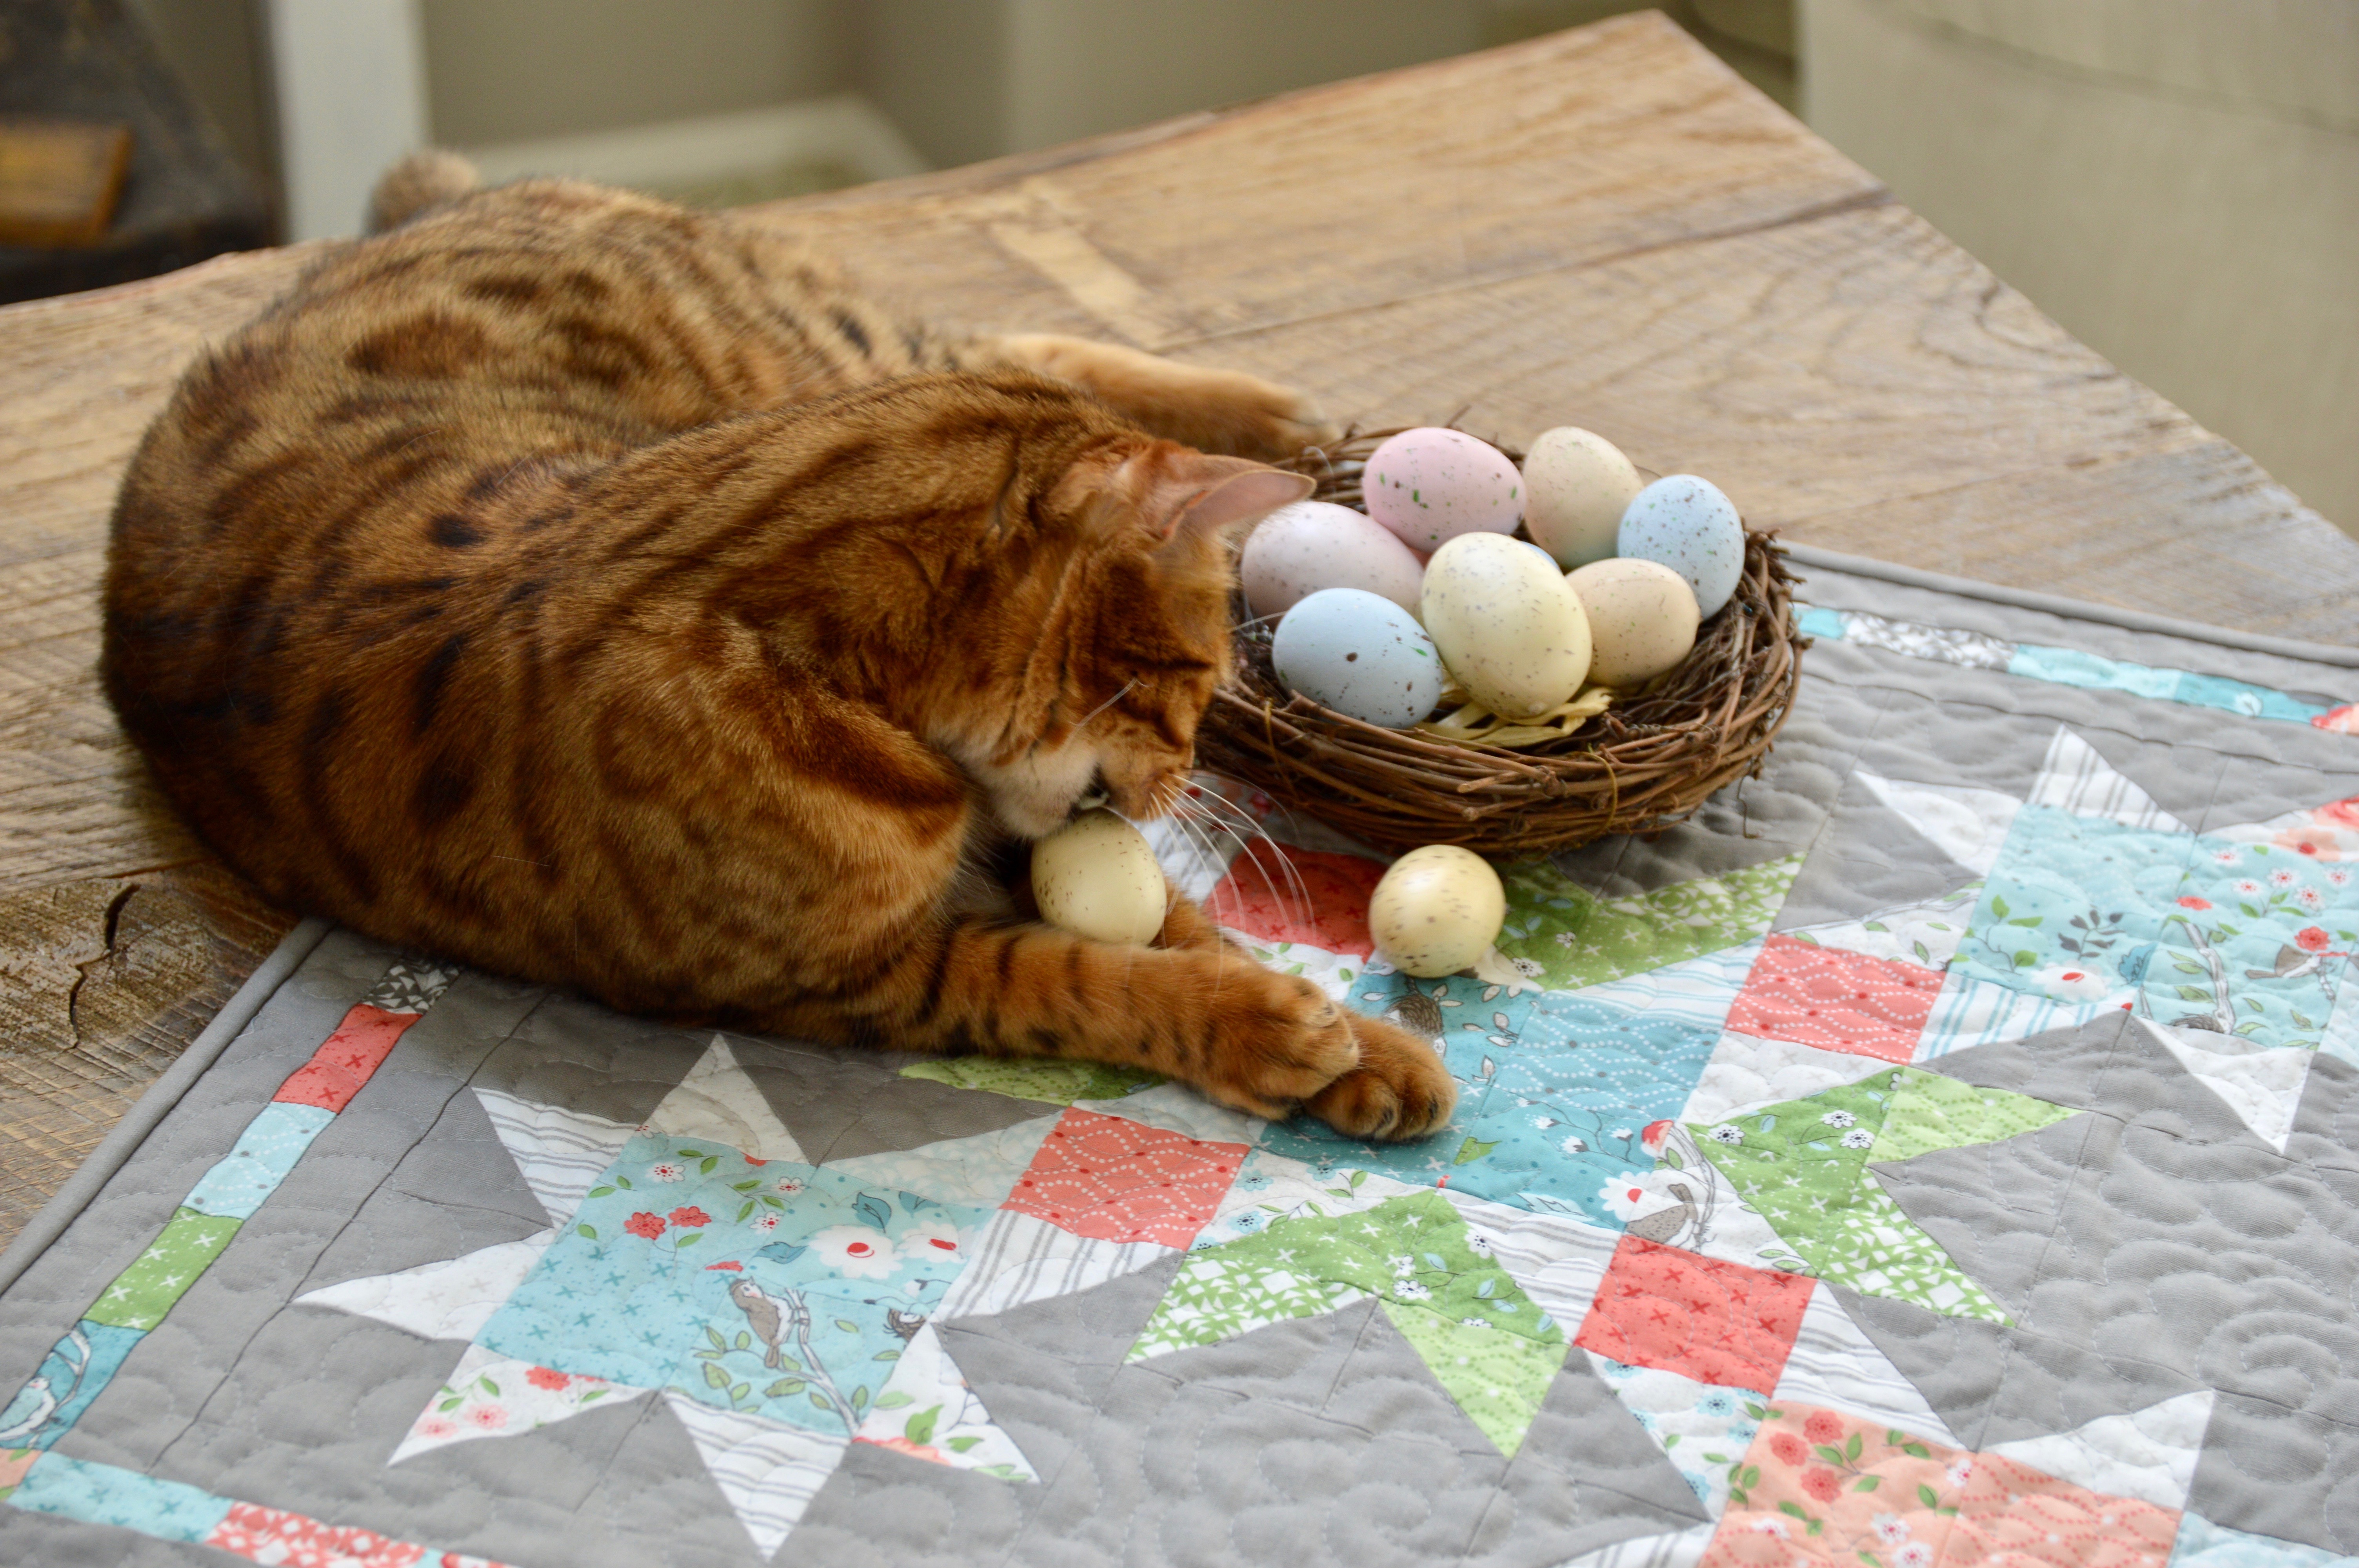
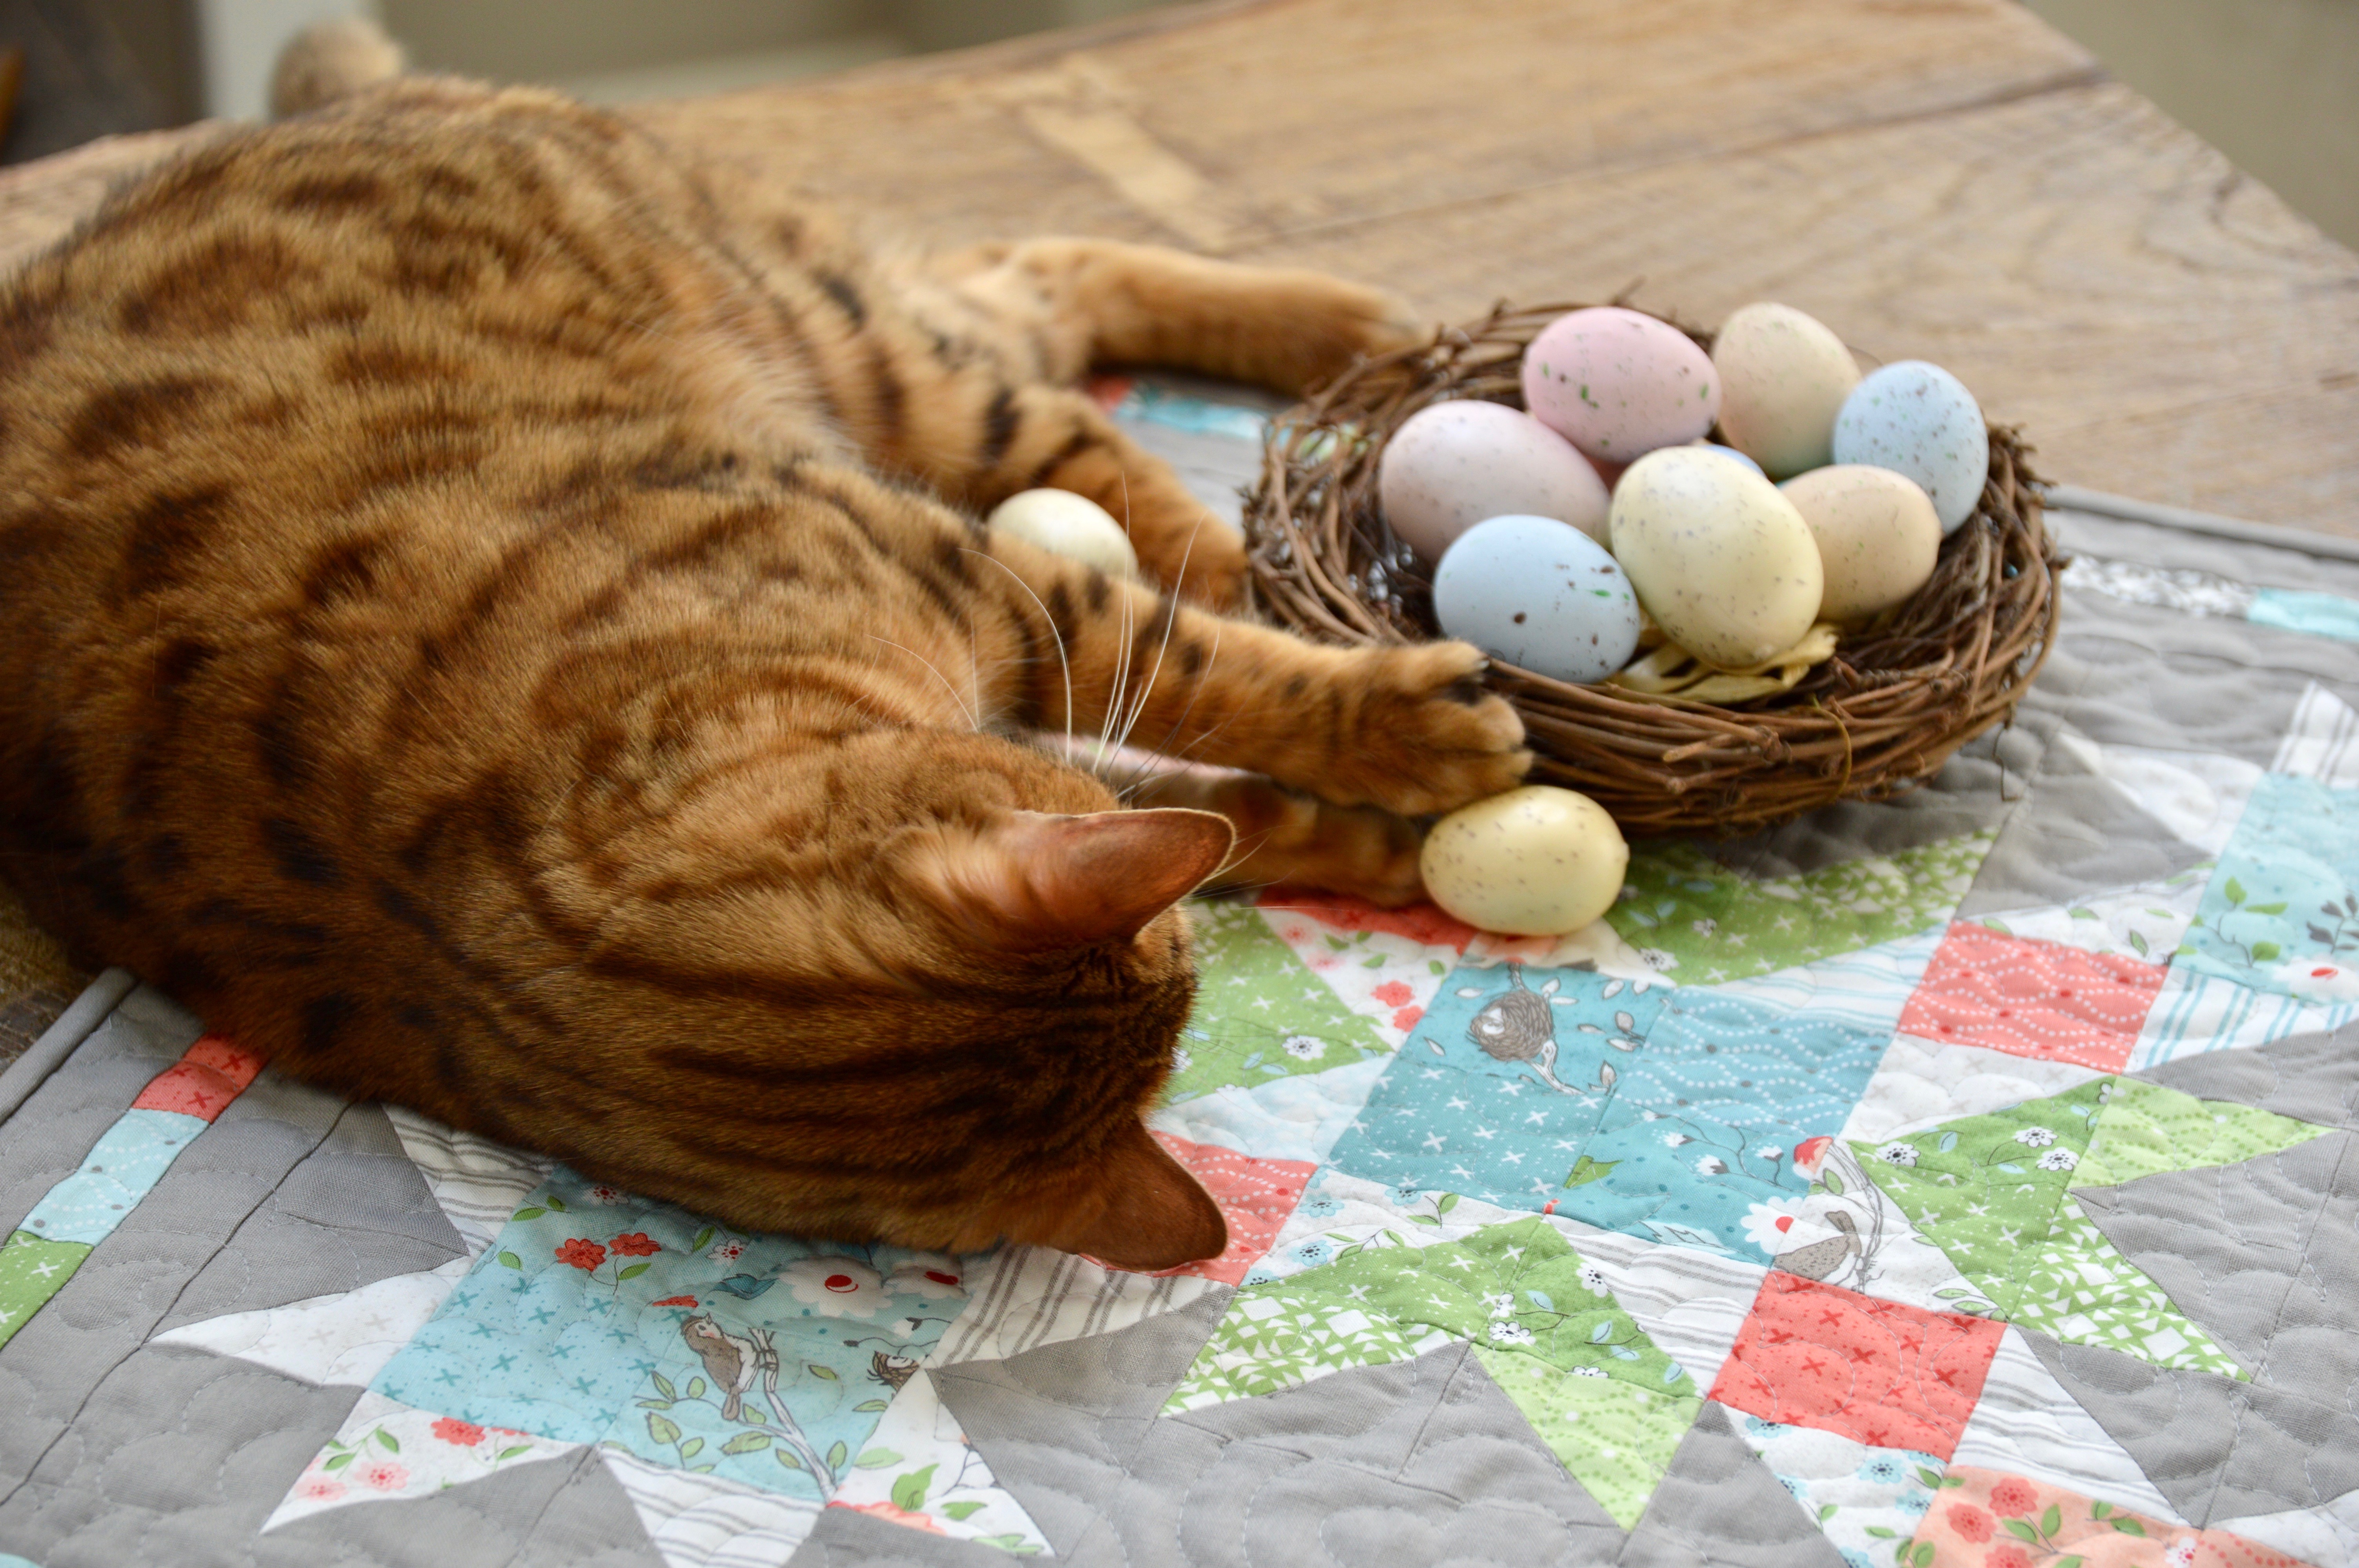
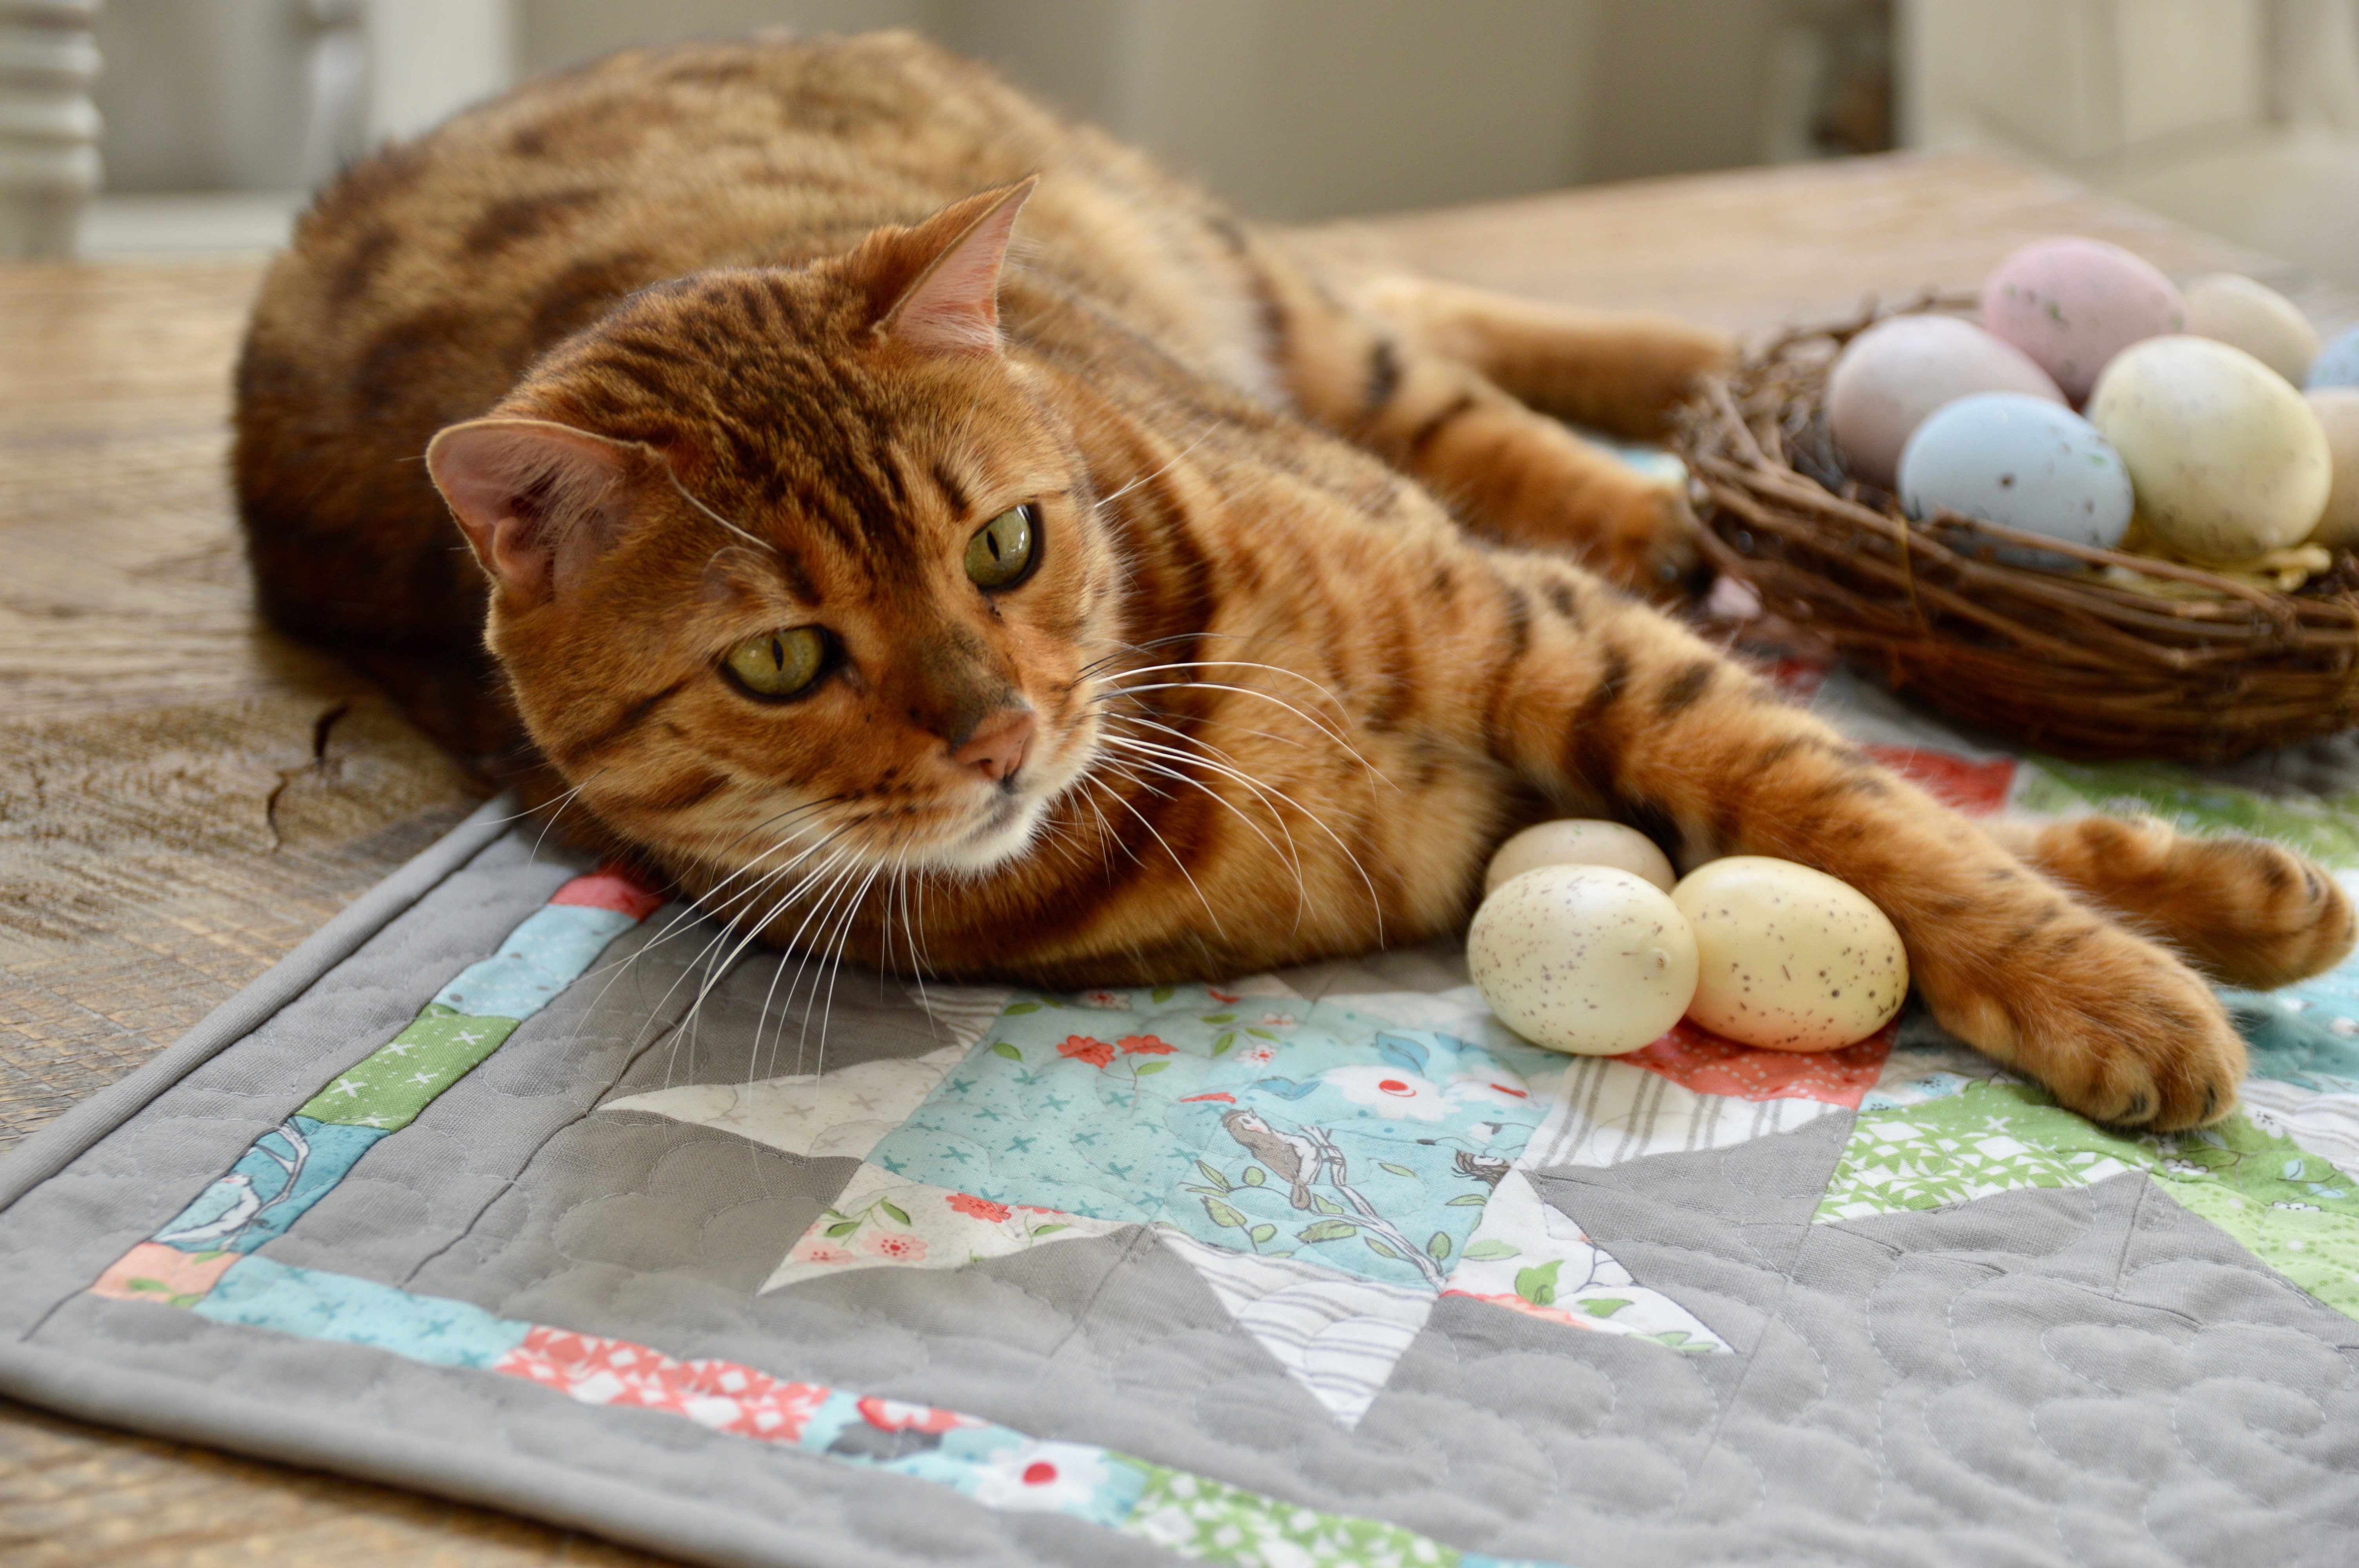
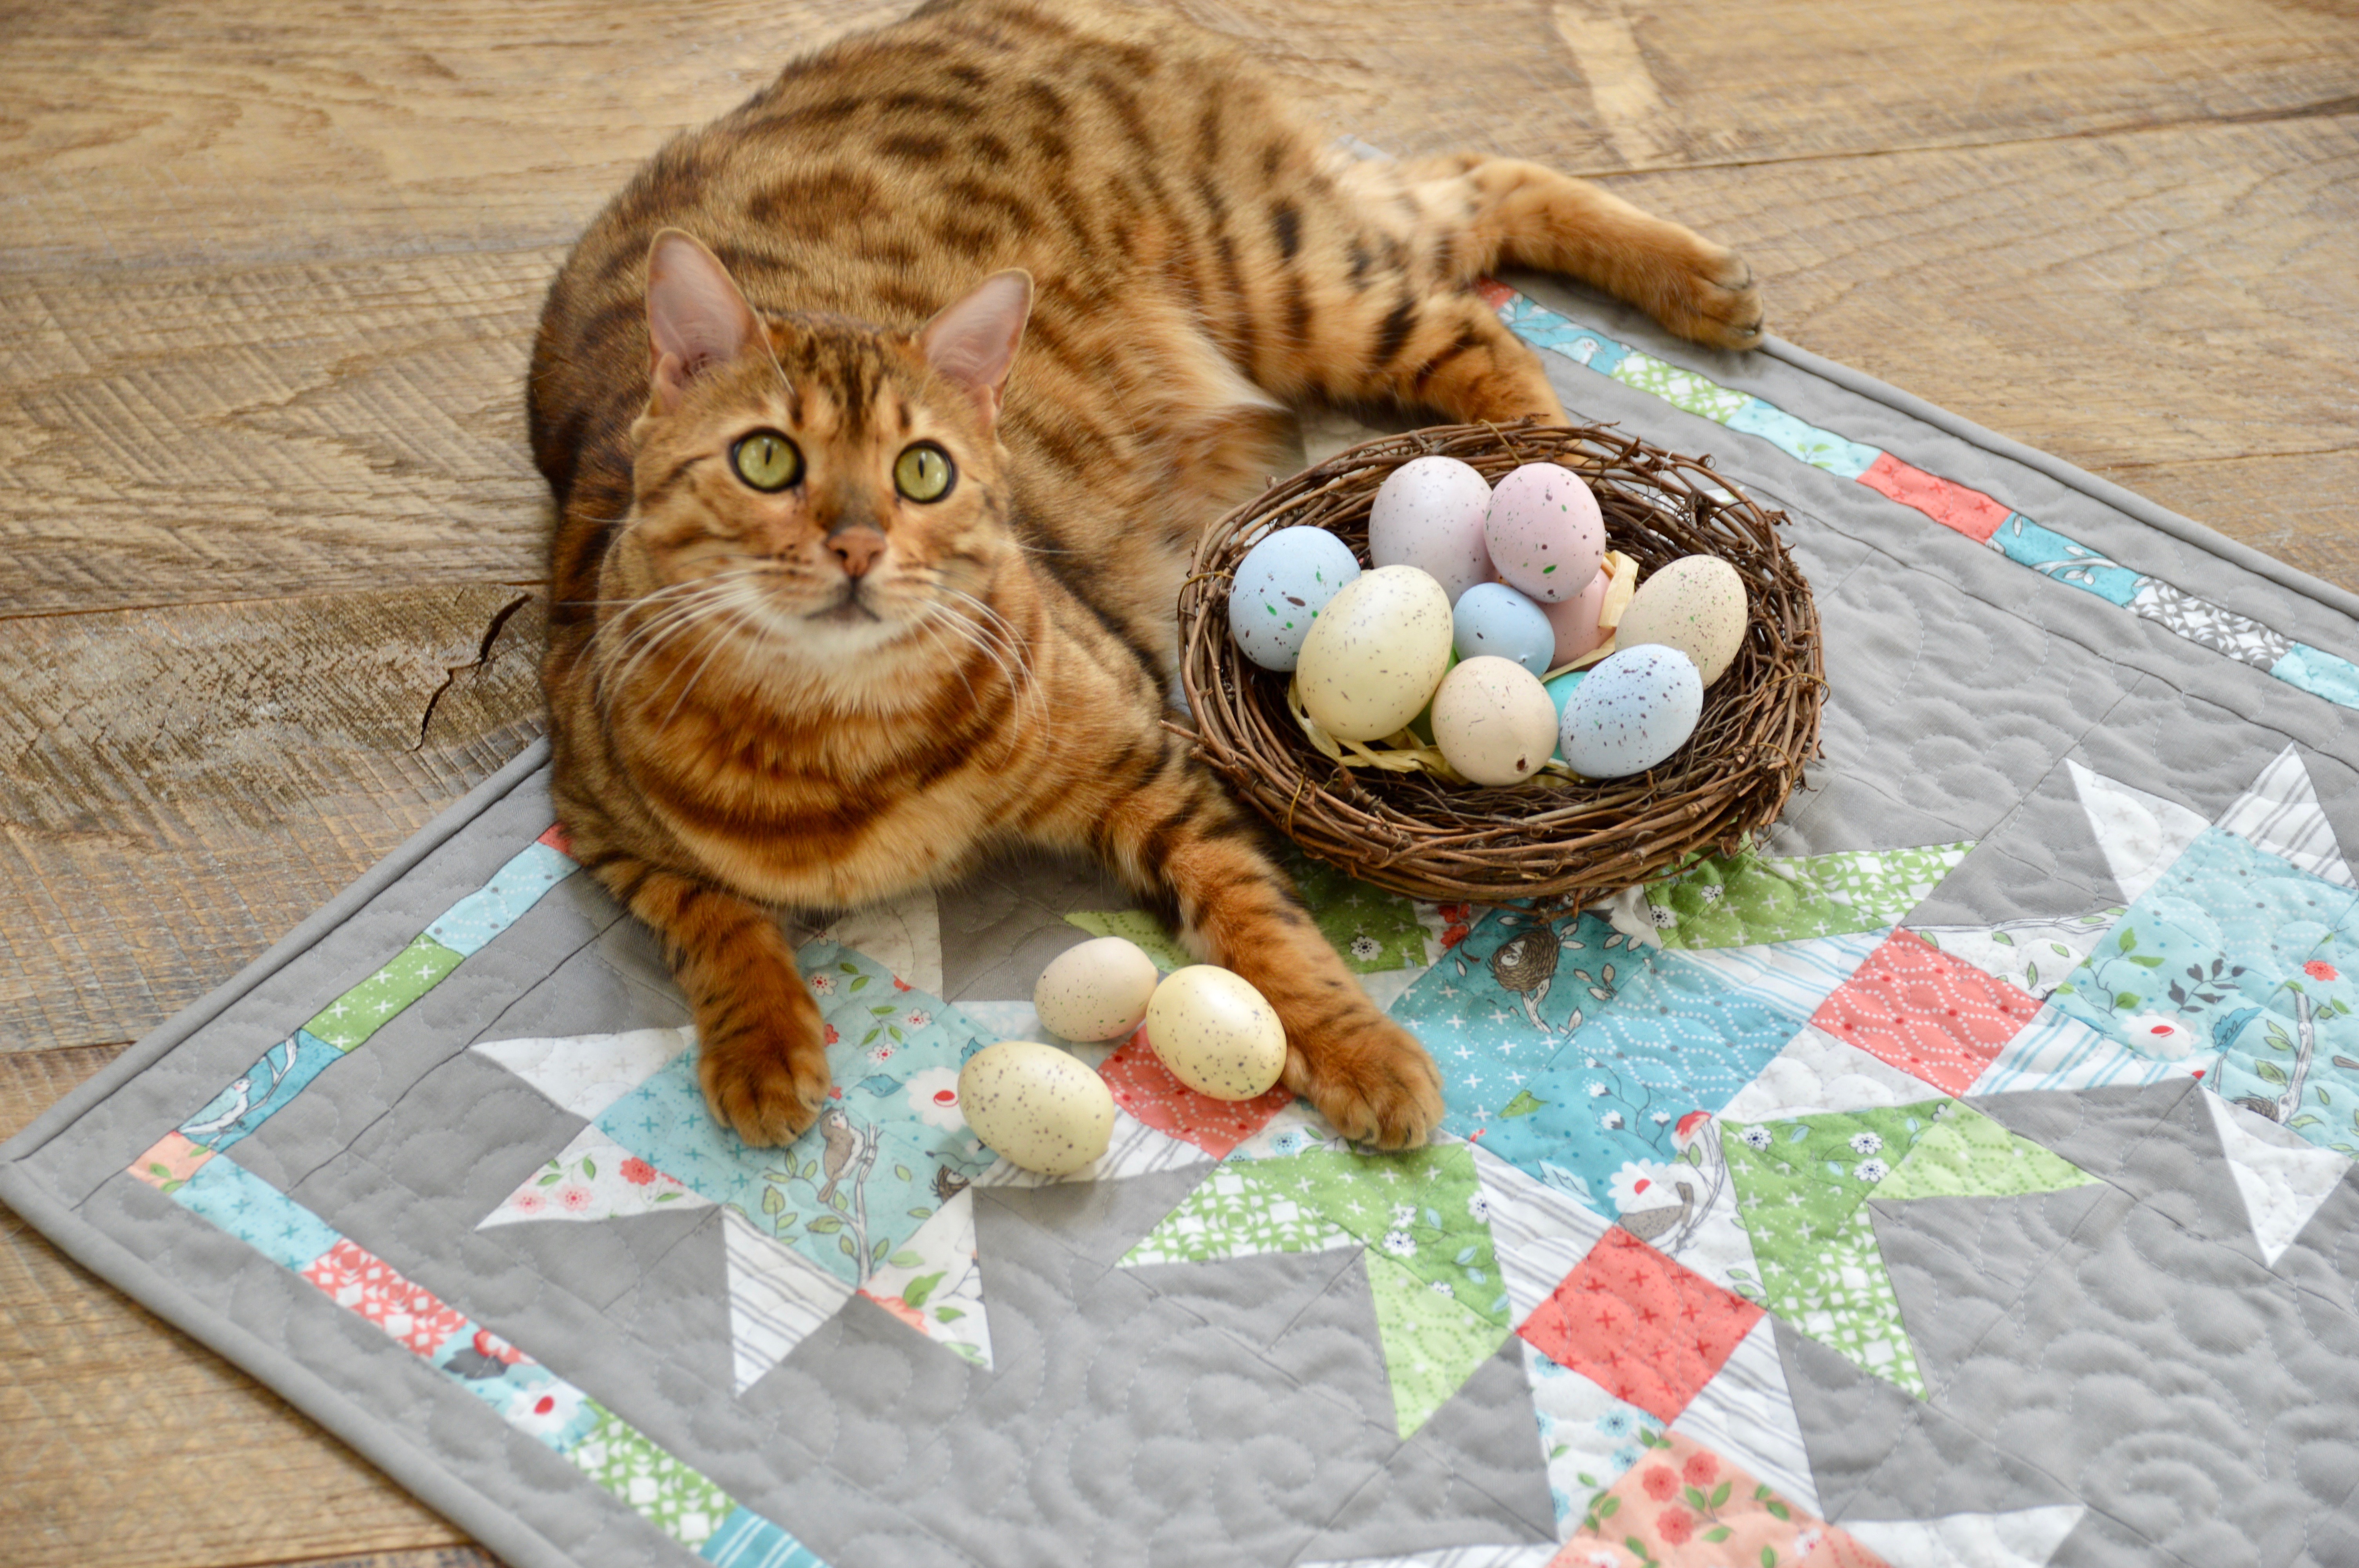

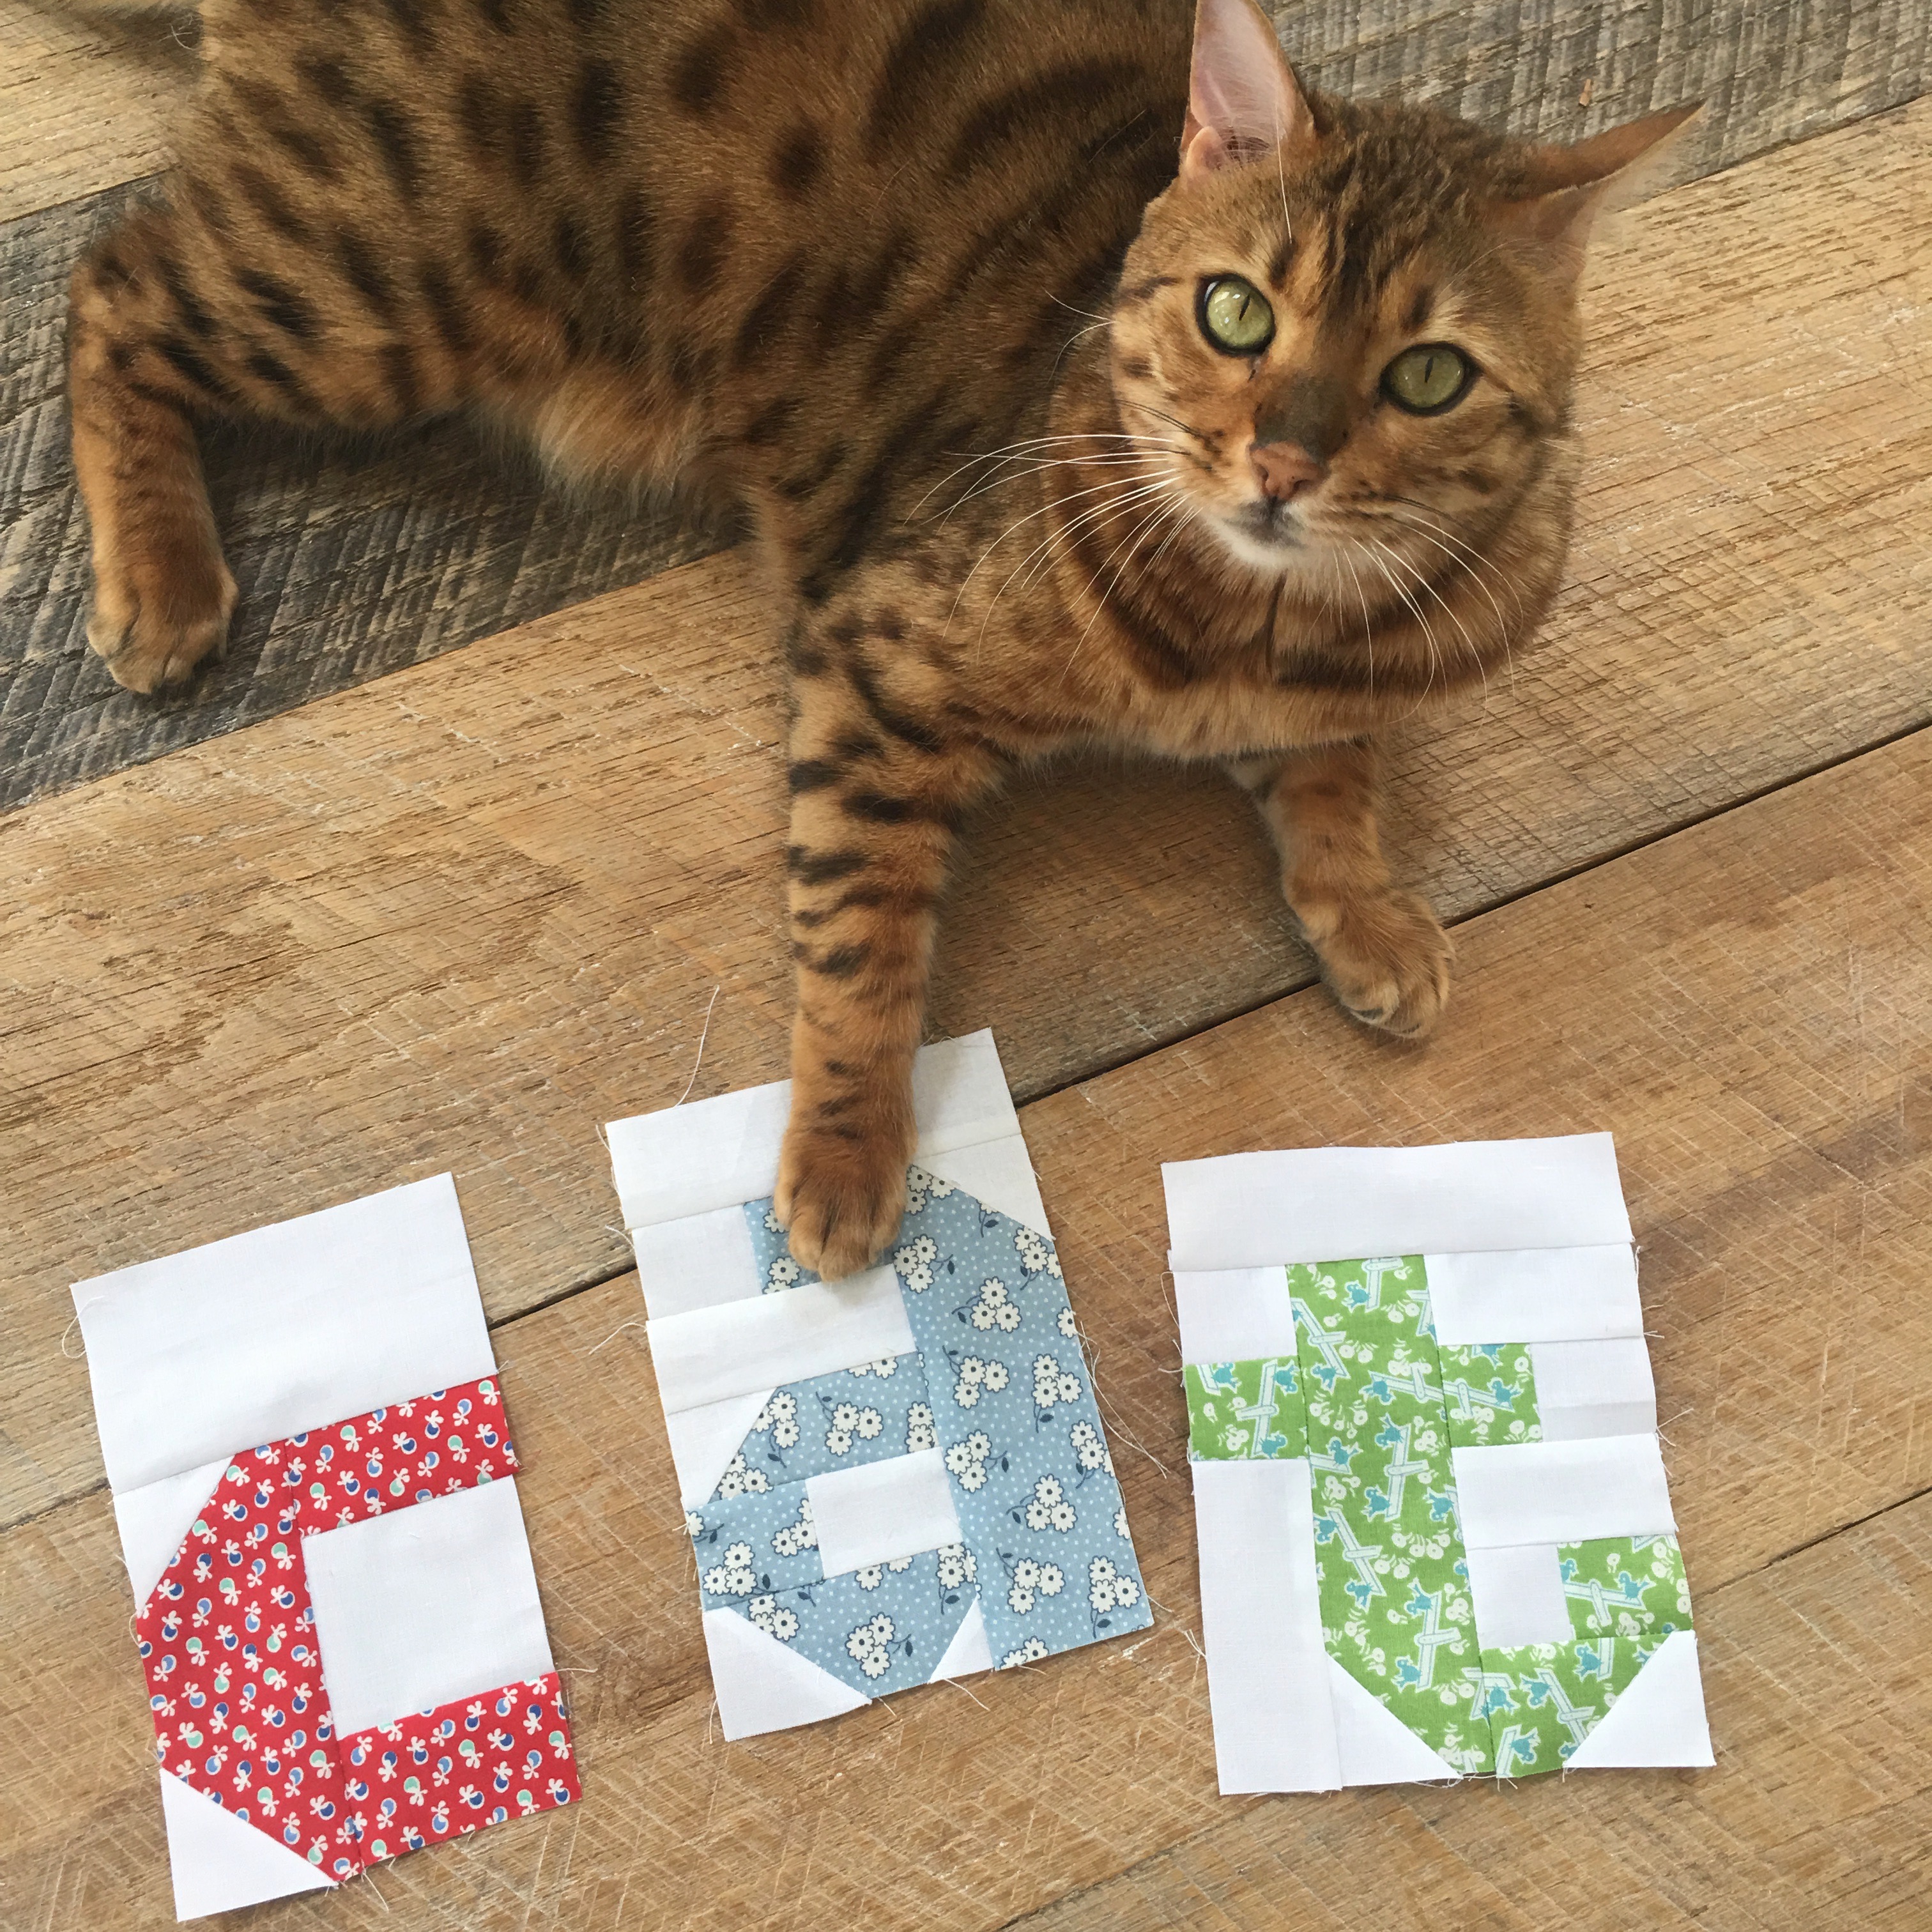
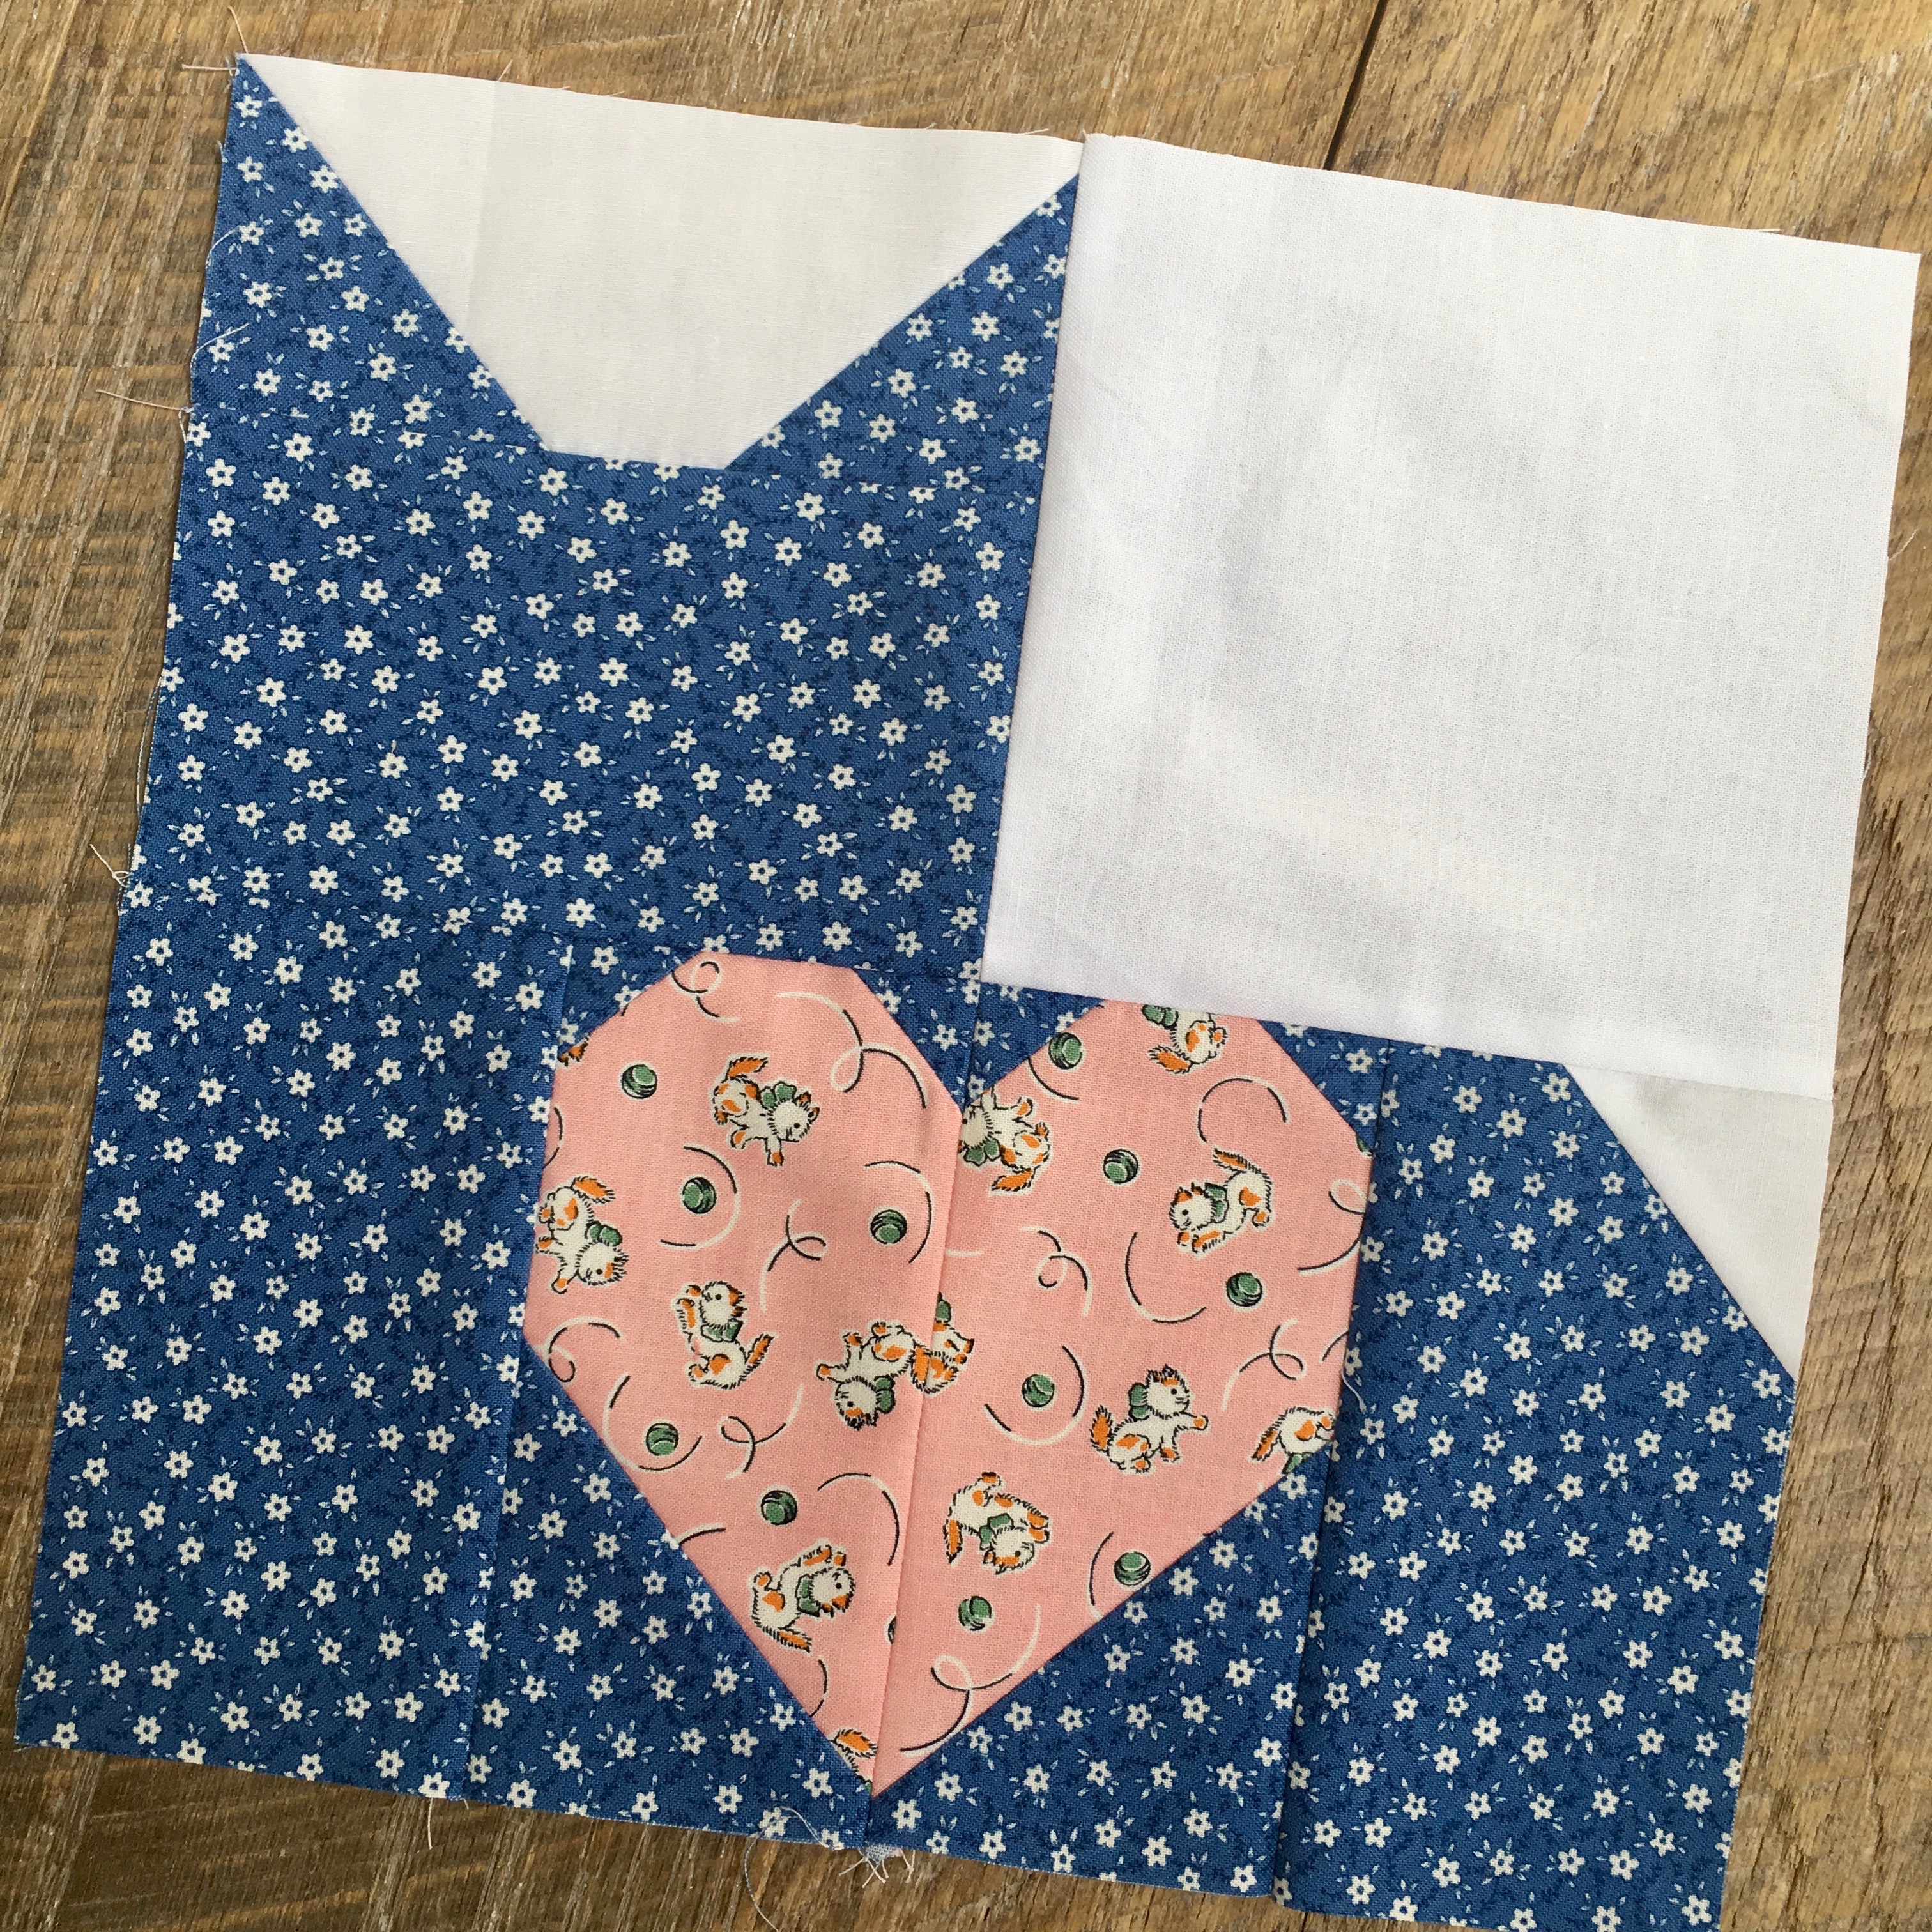
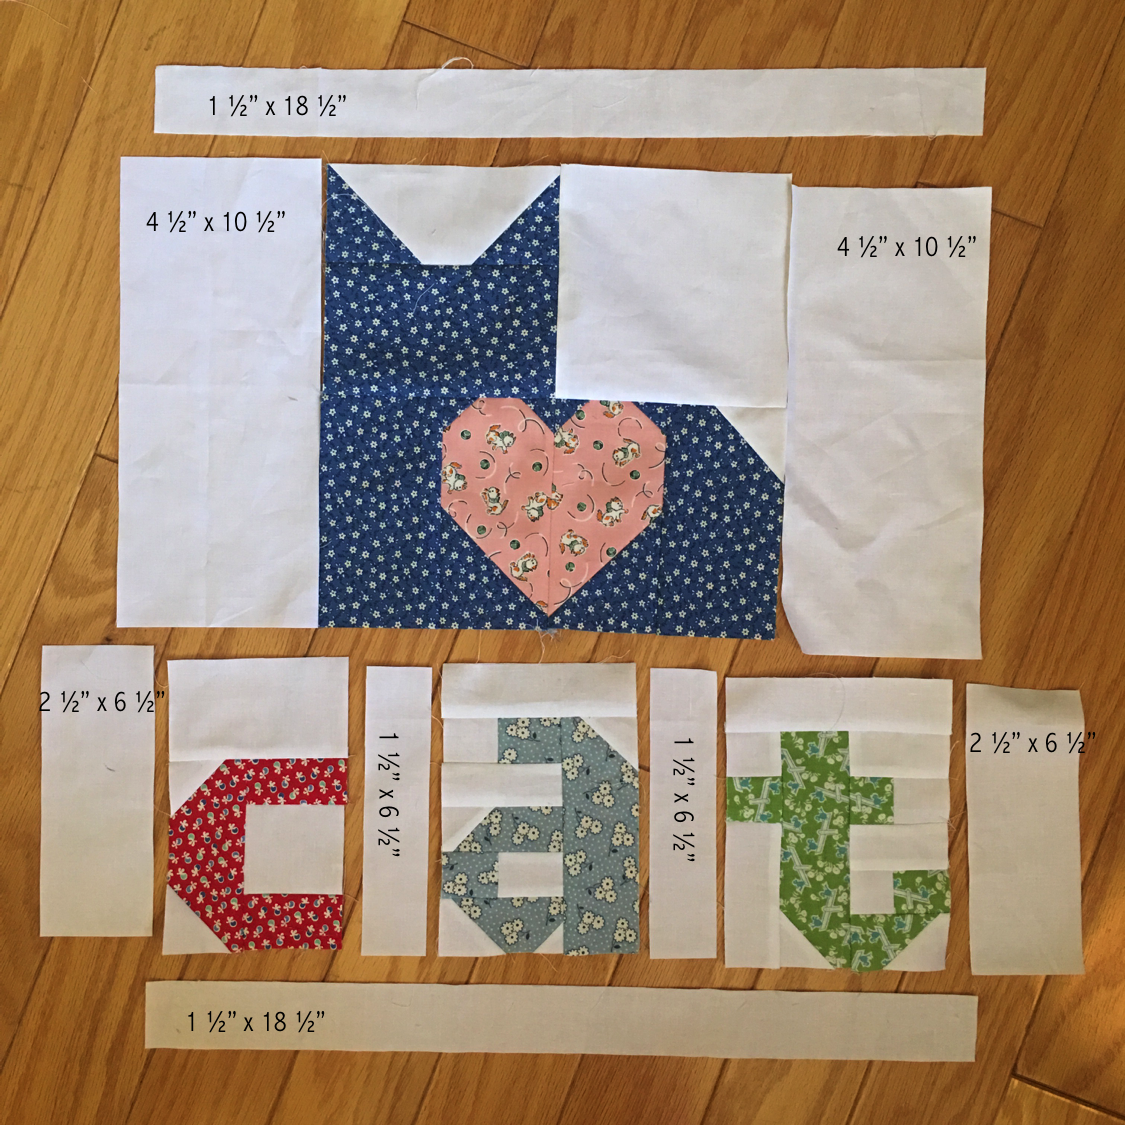
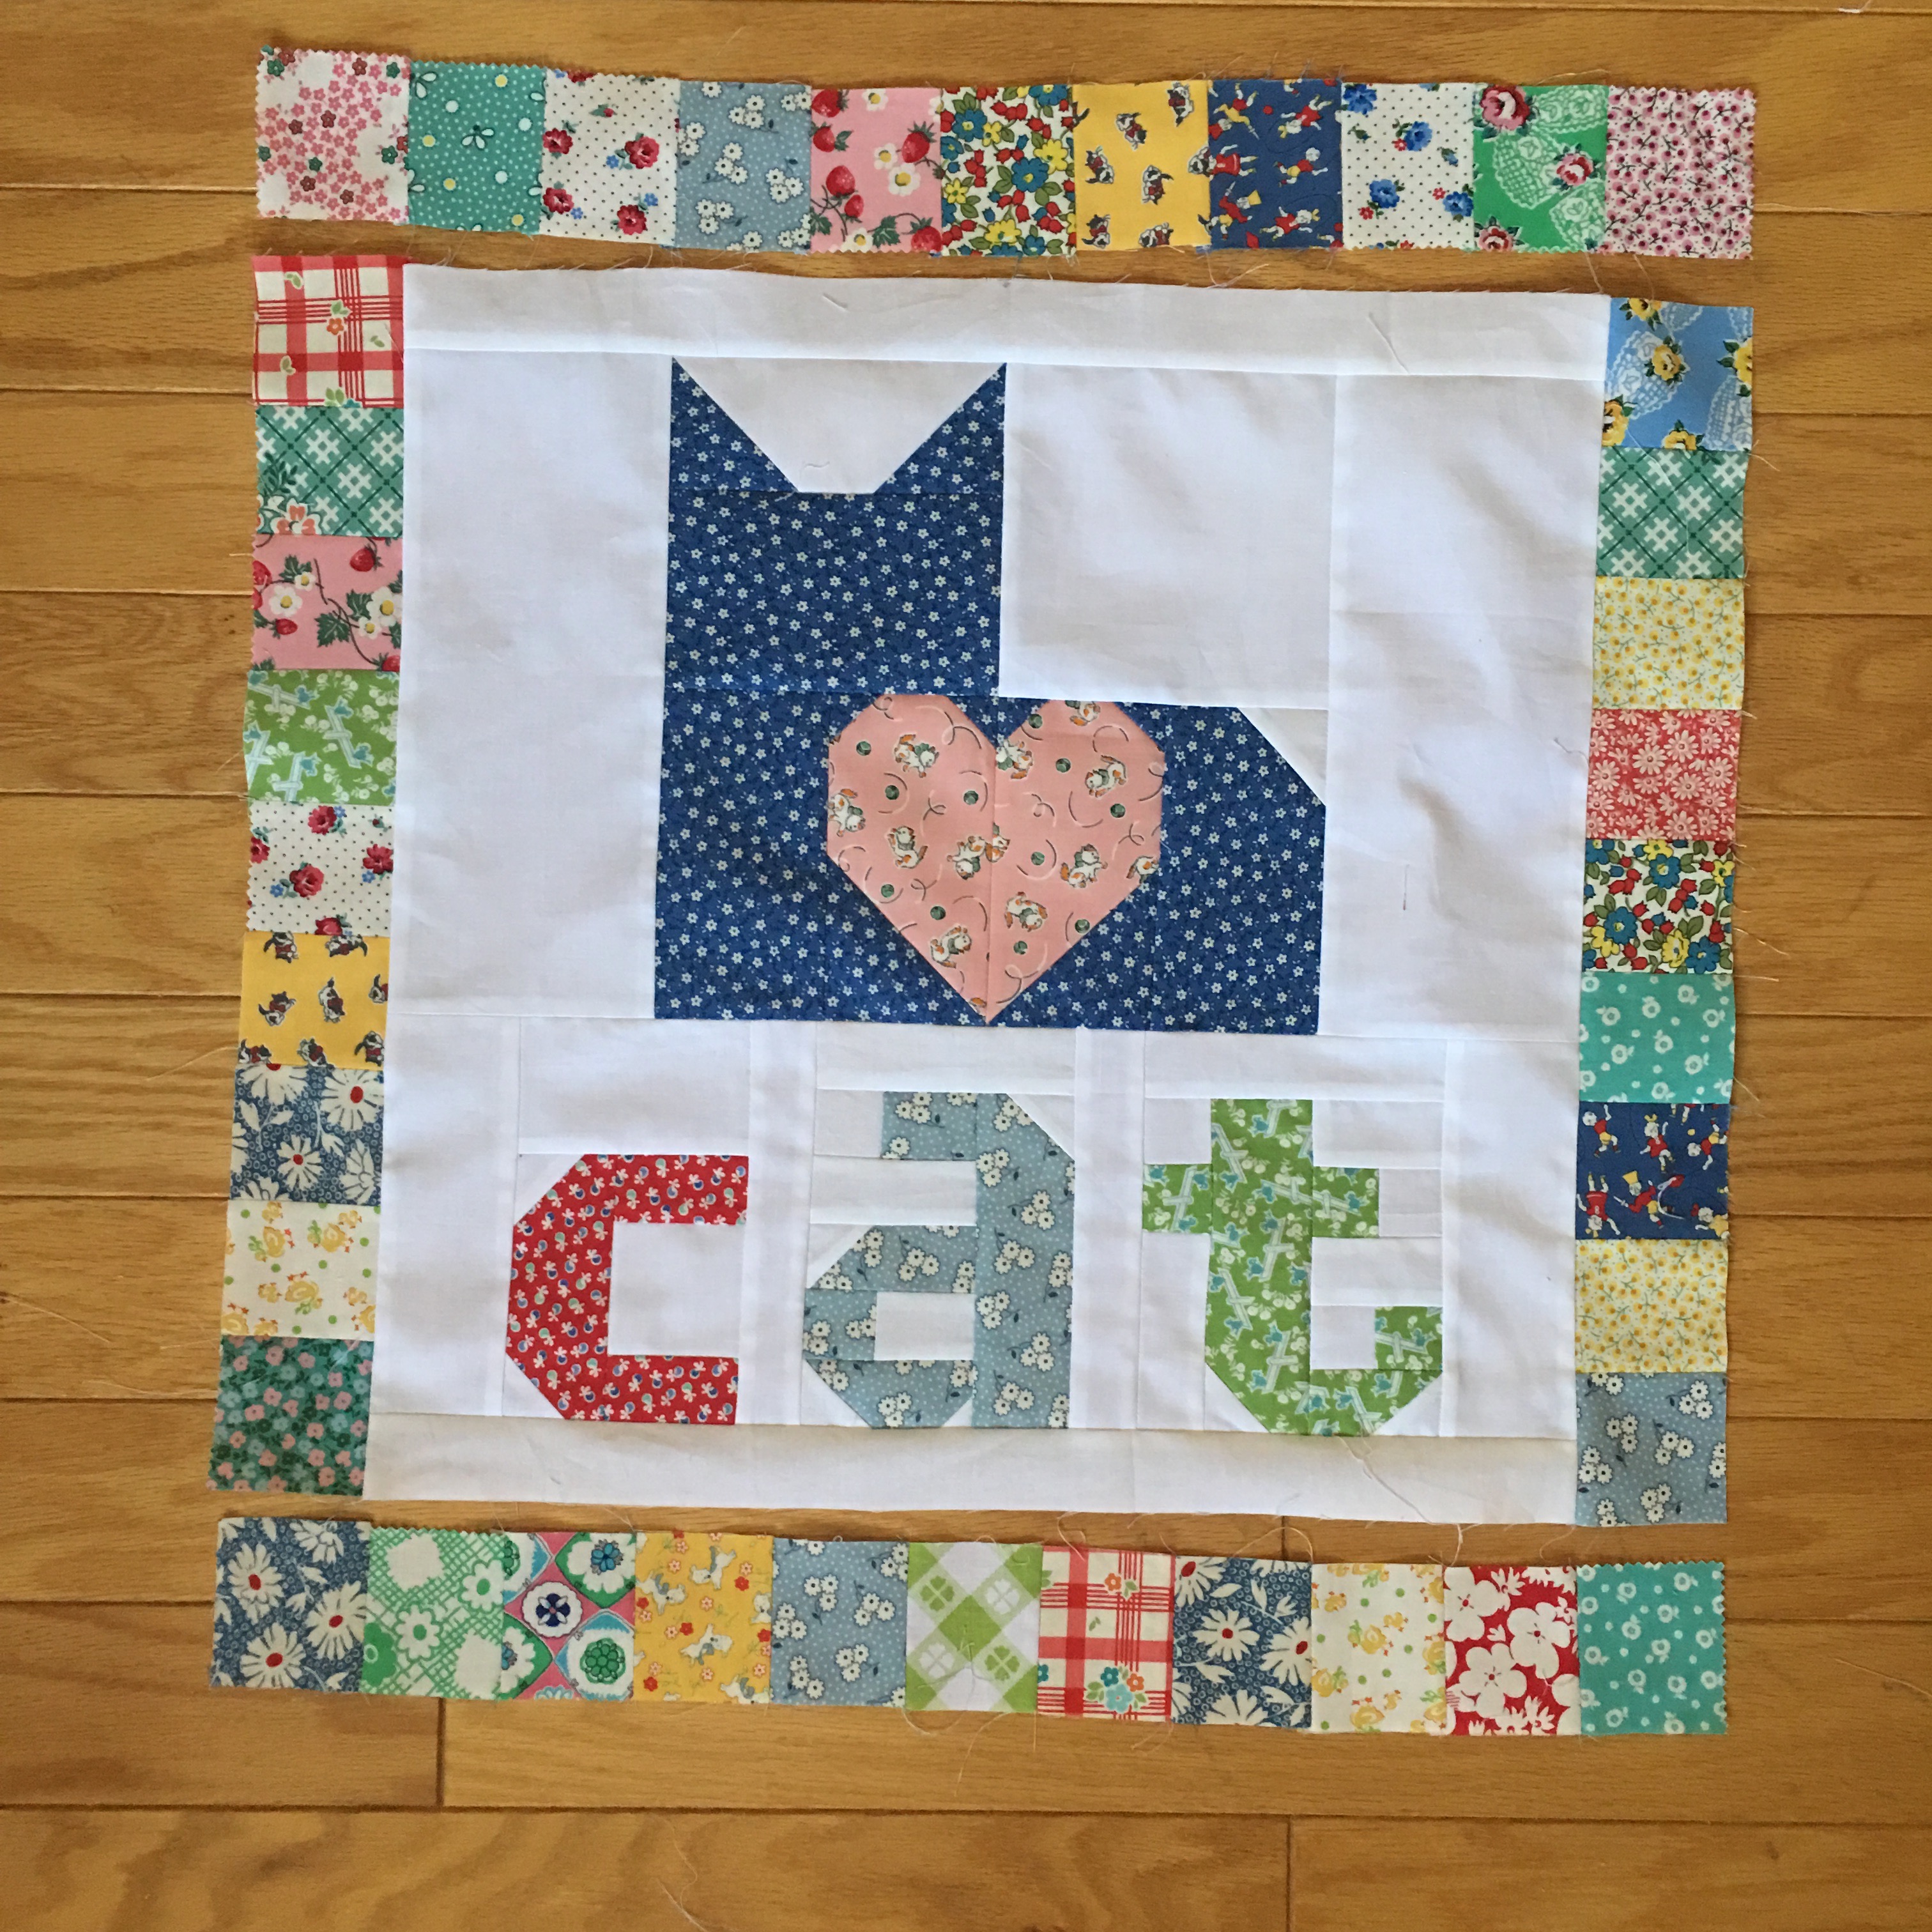
 So I sewed a cat block from my I Love Cats Quilt and put it all together!
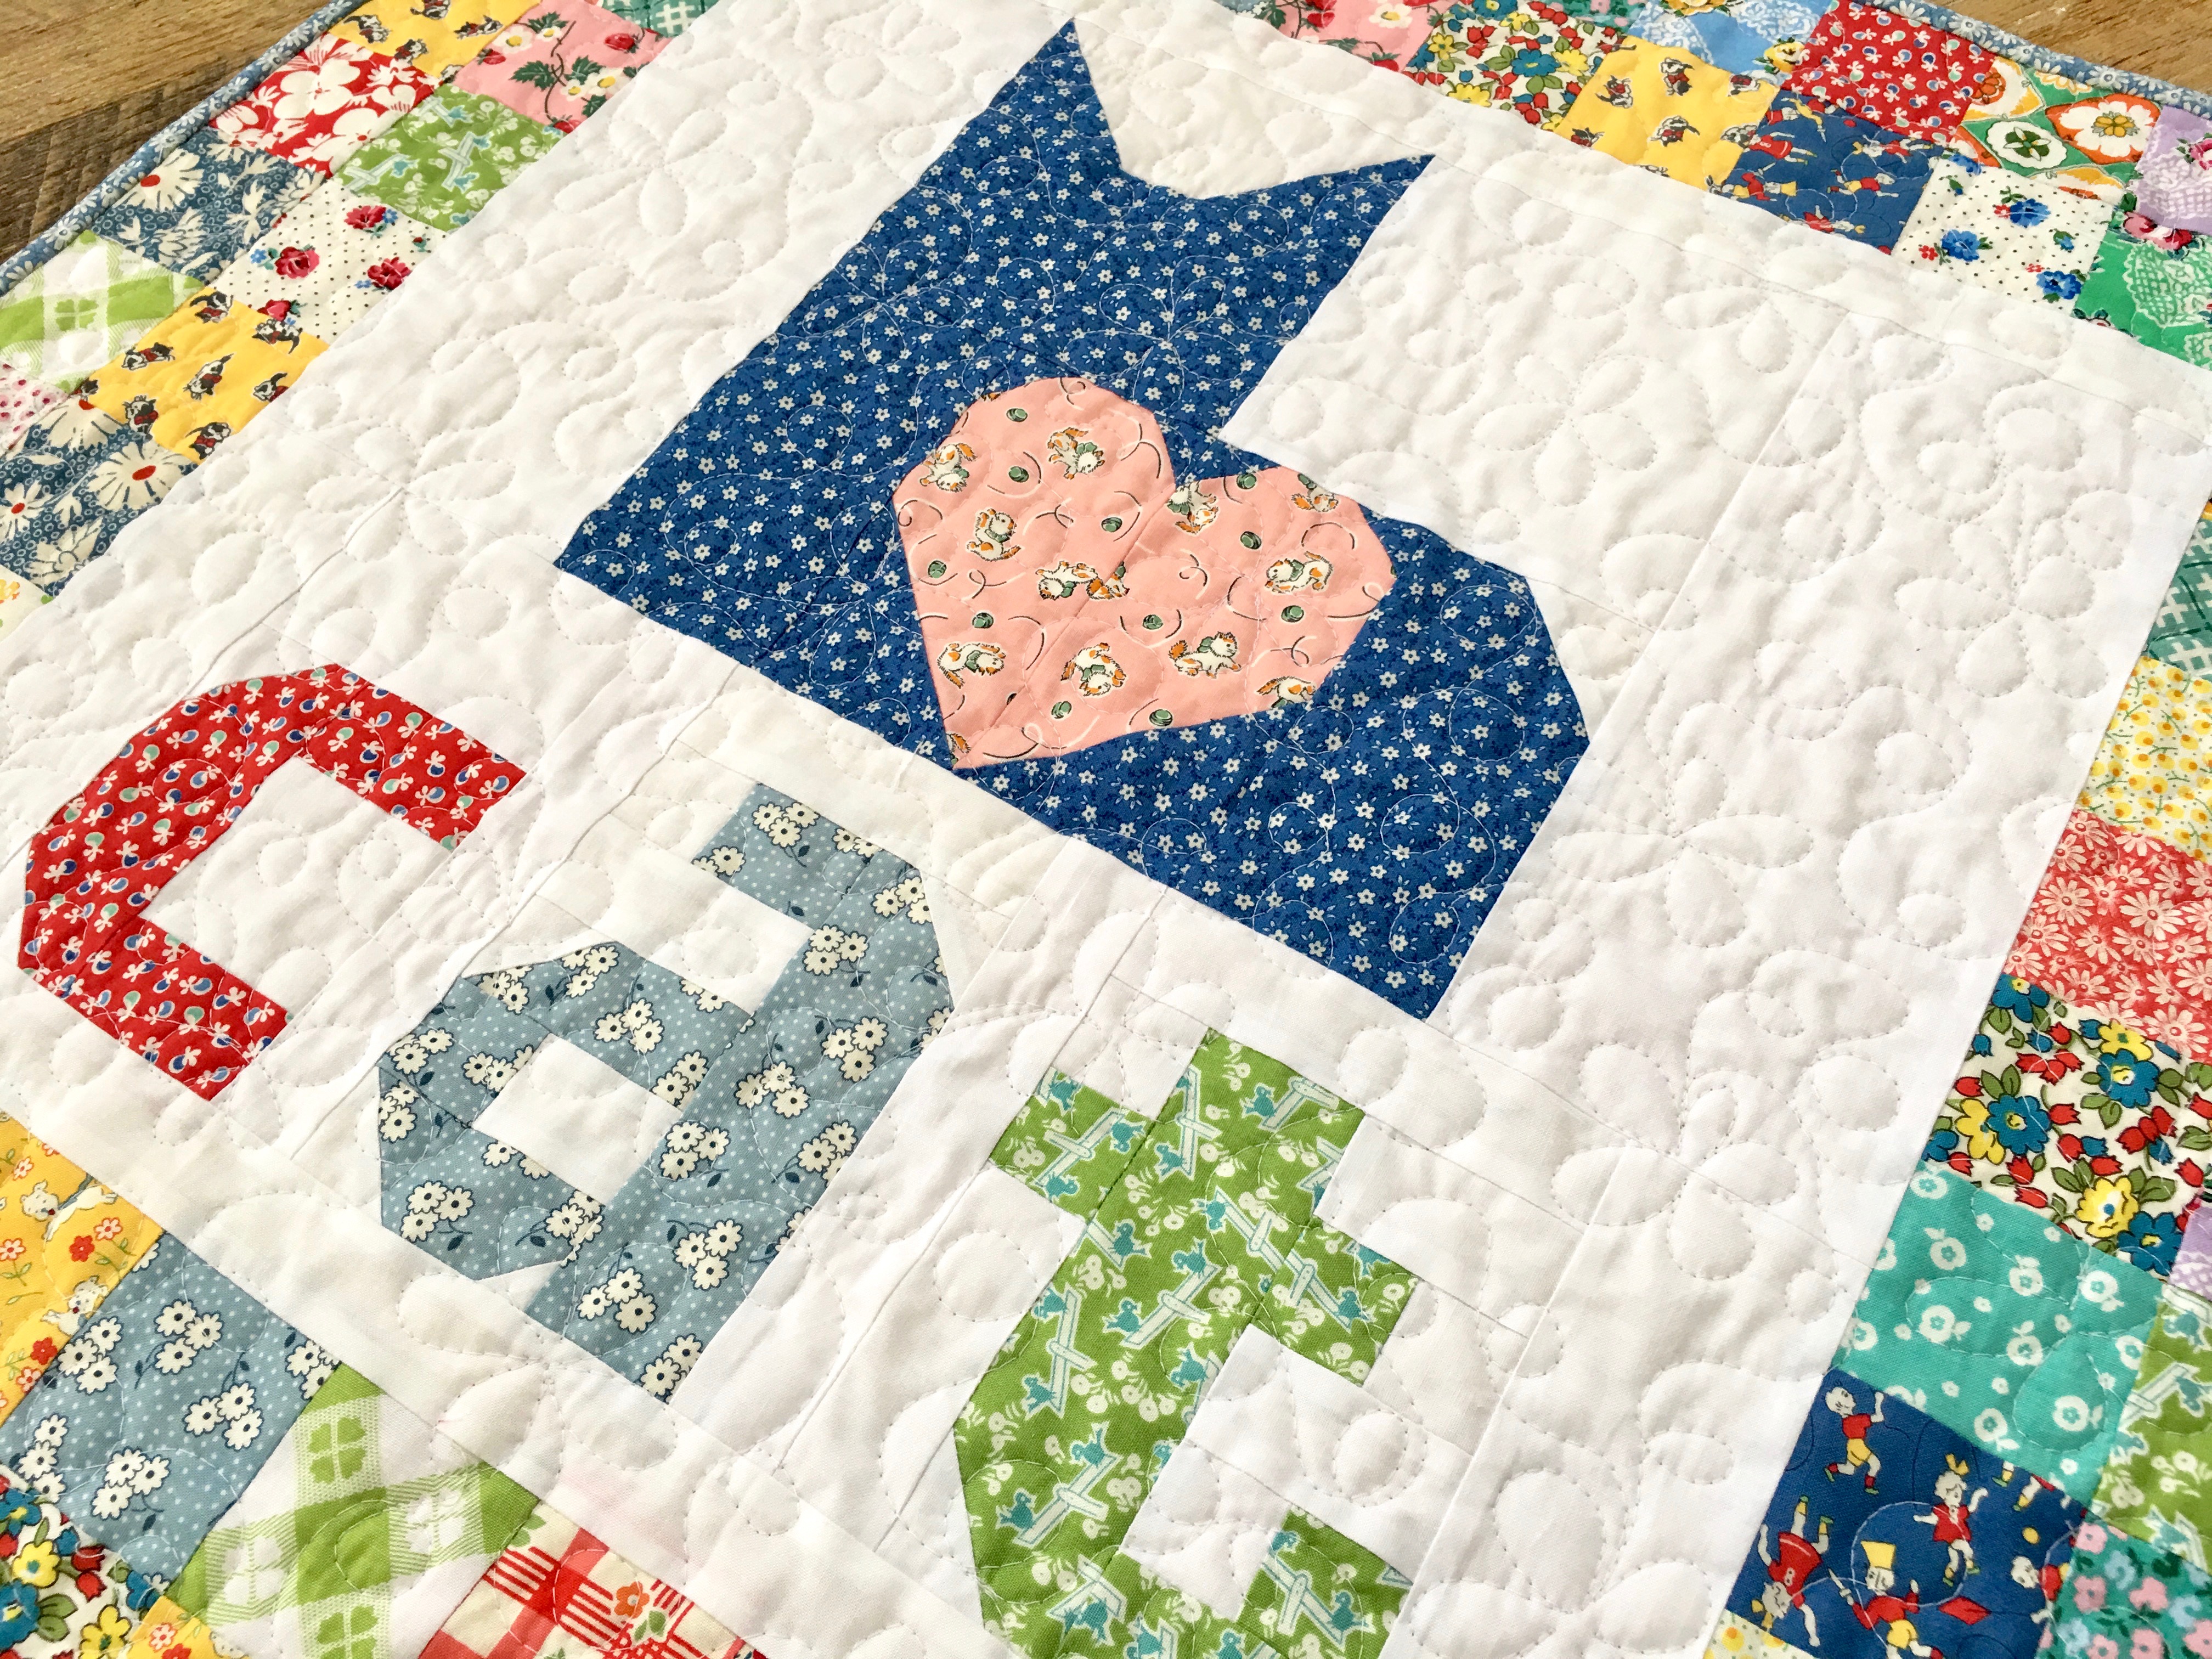
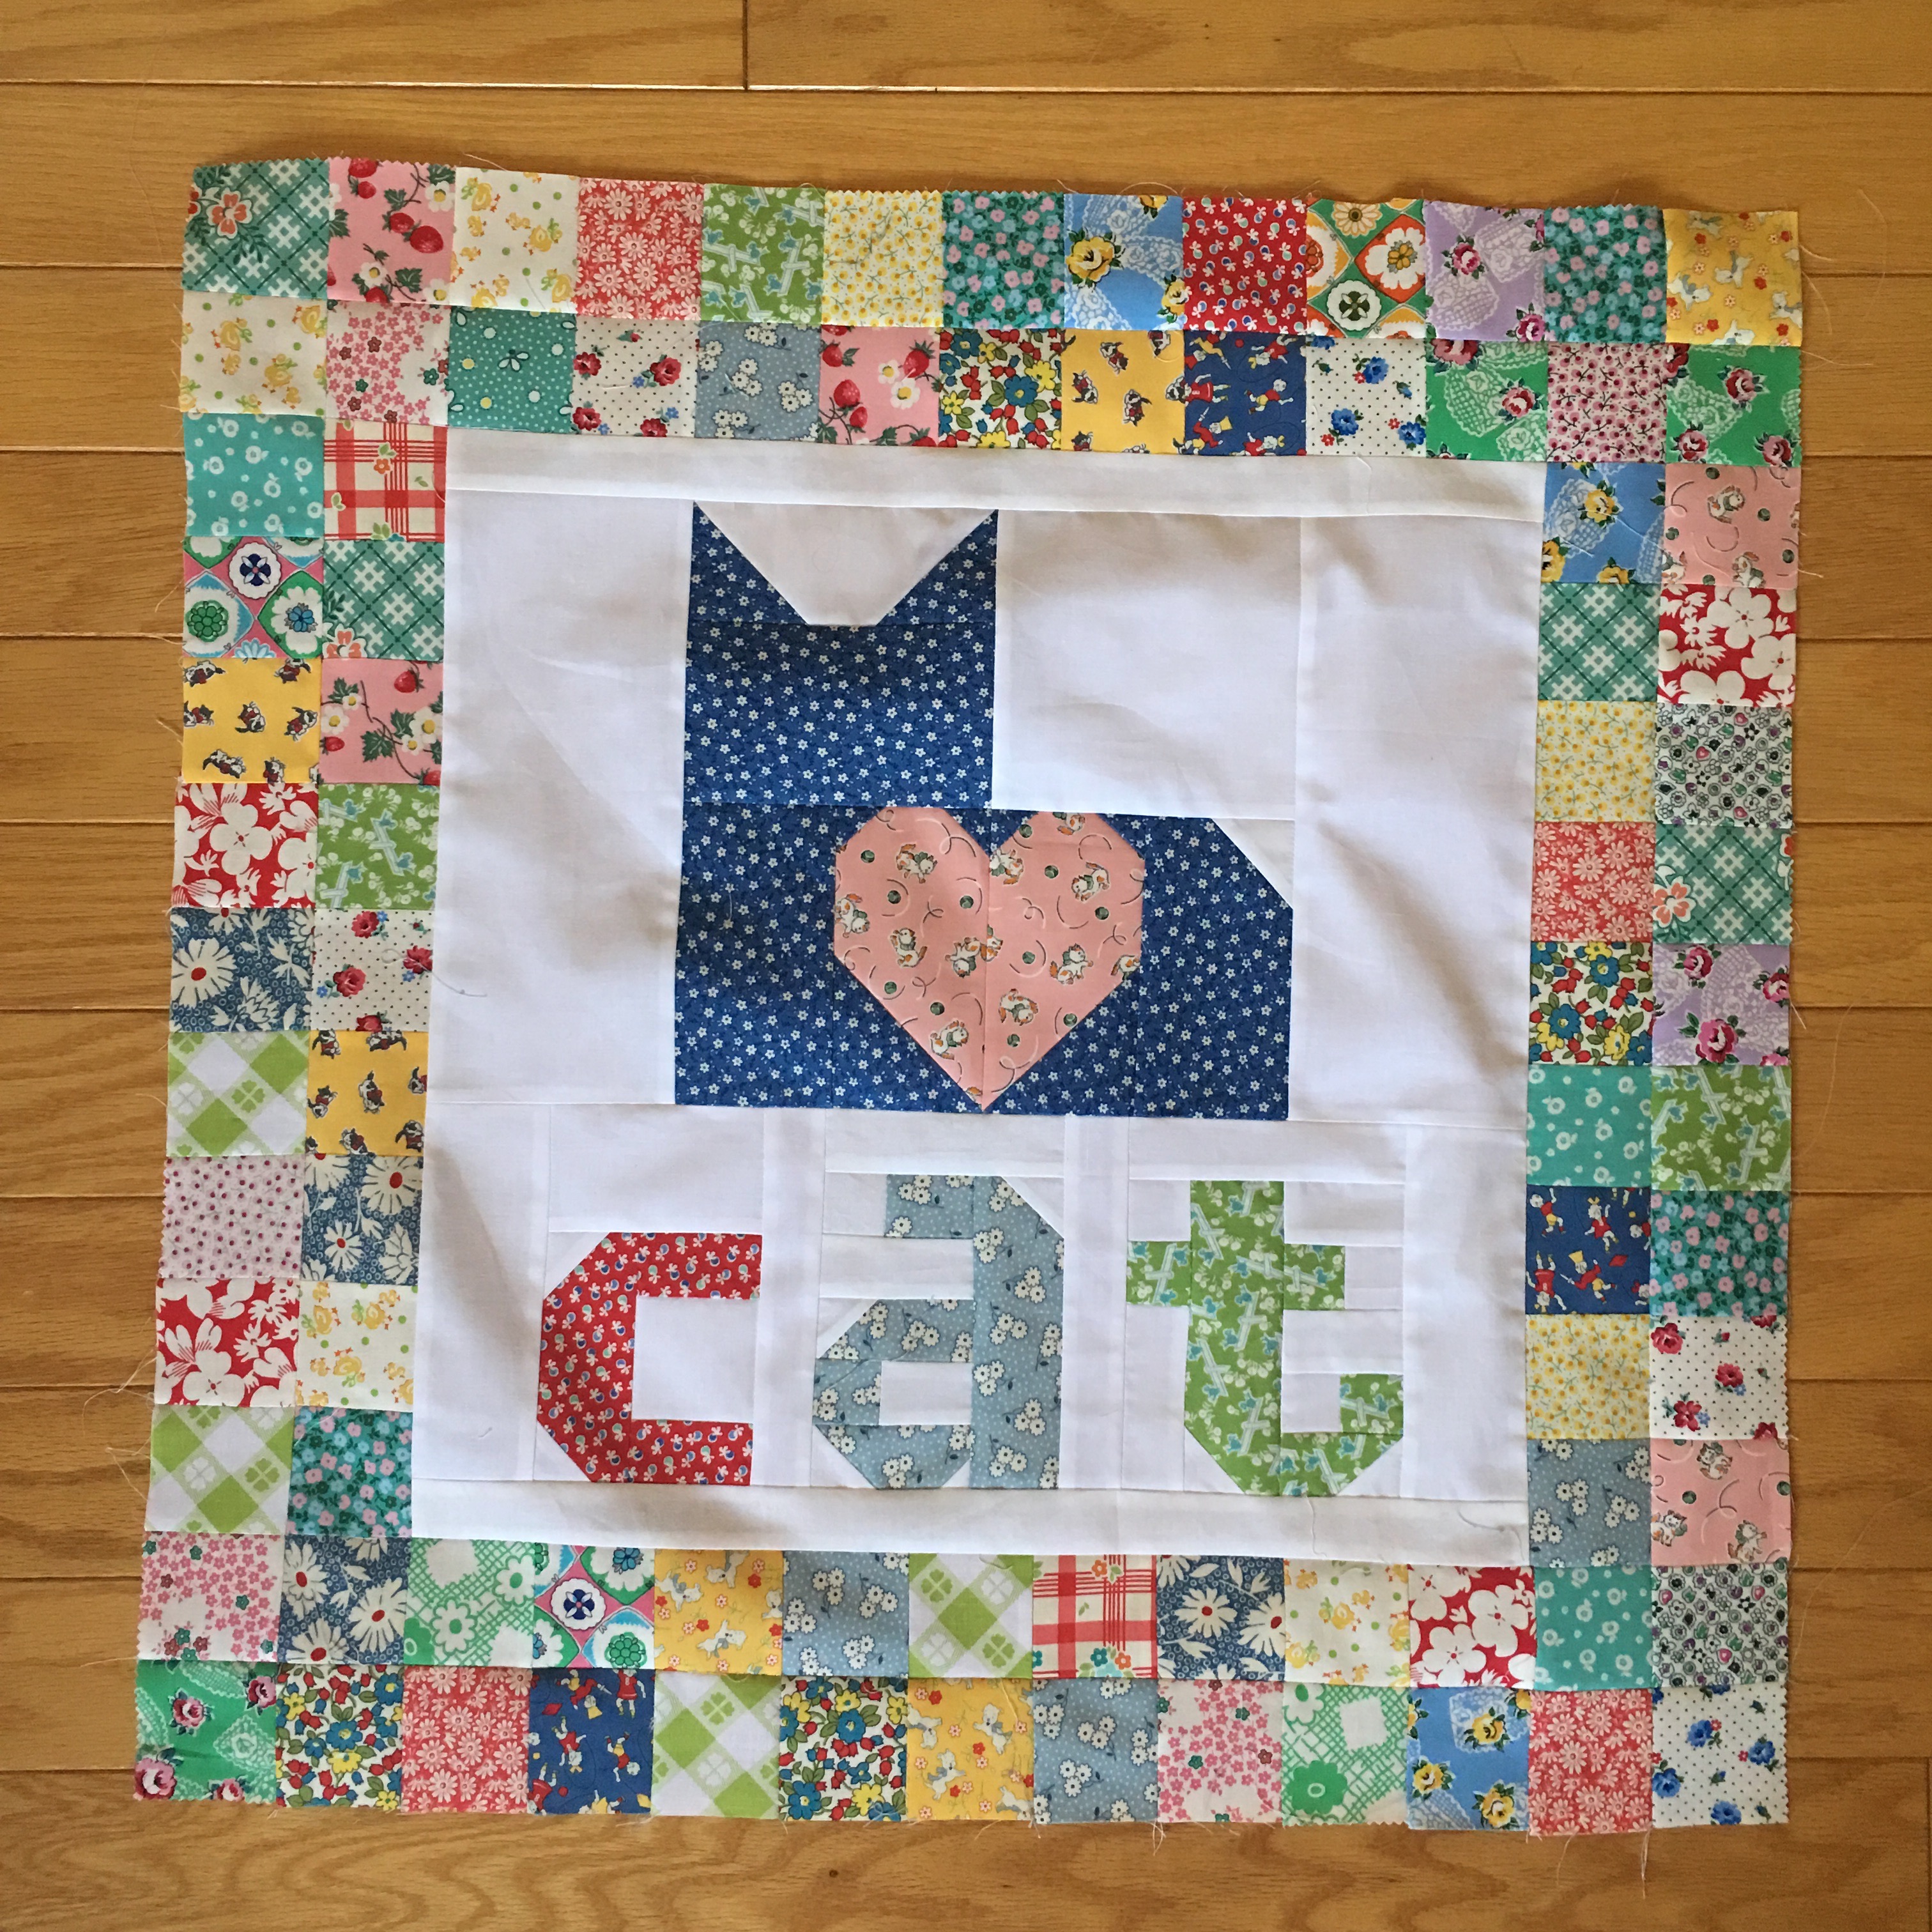 I quilted it with loops and daisies!!

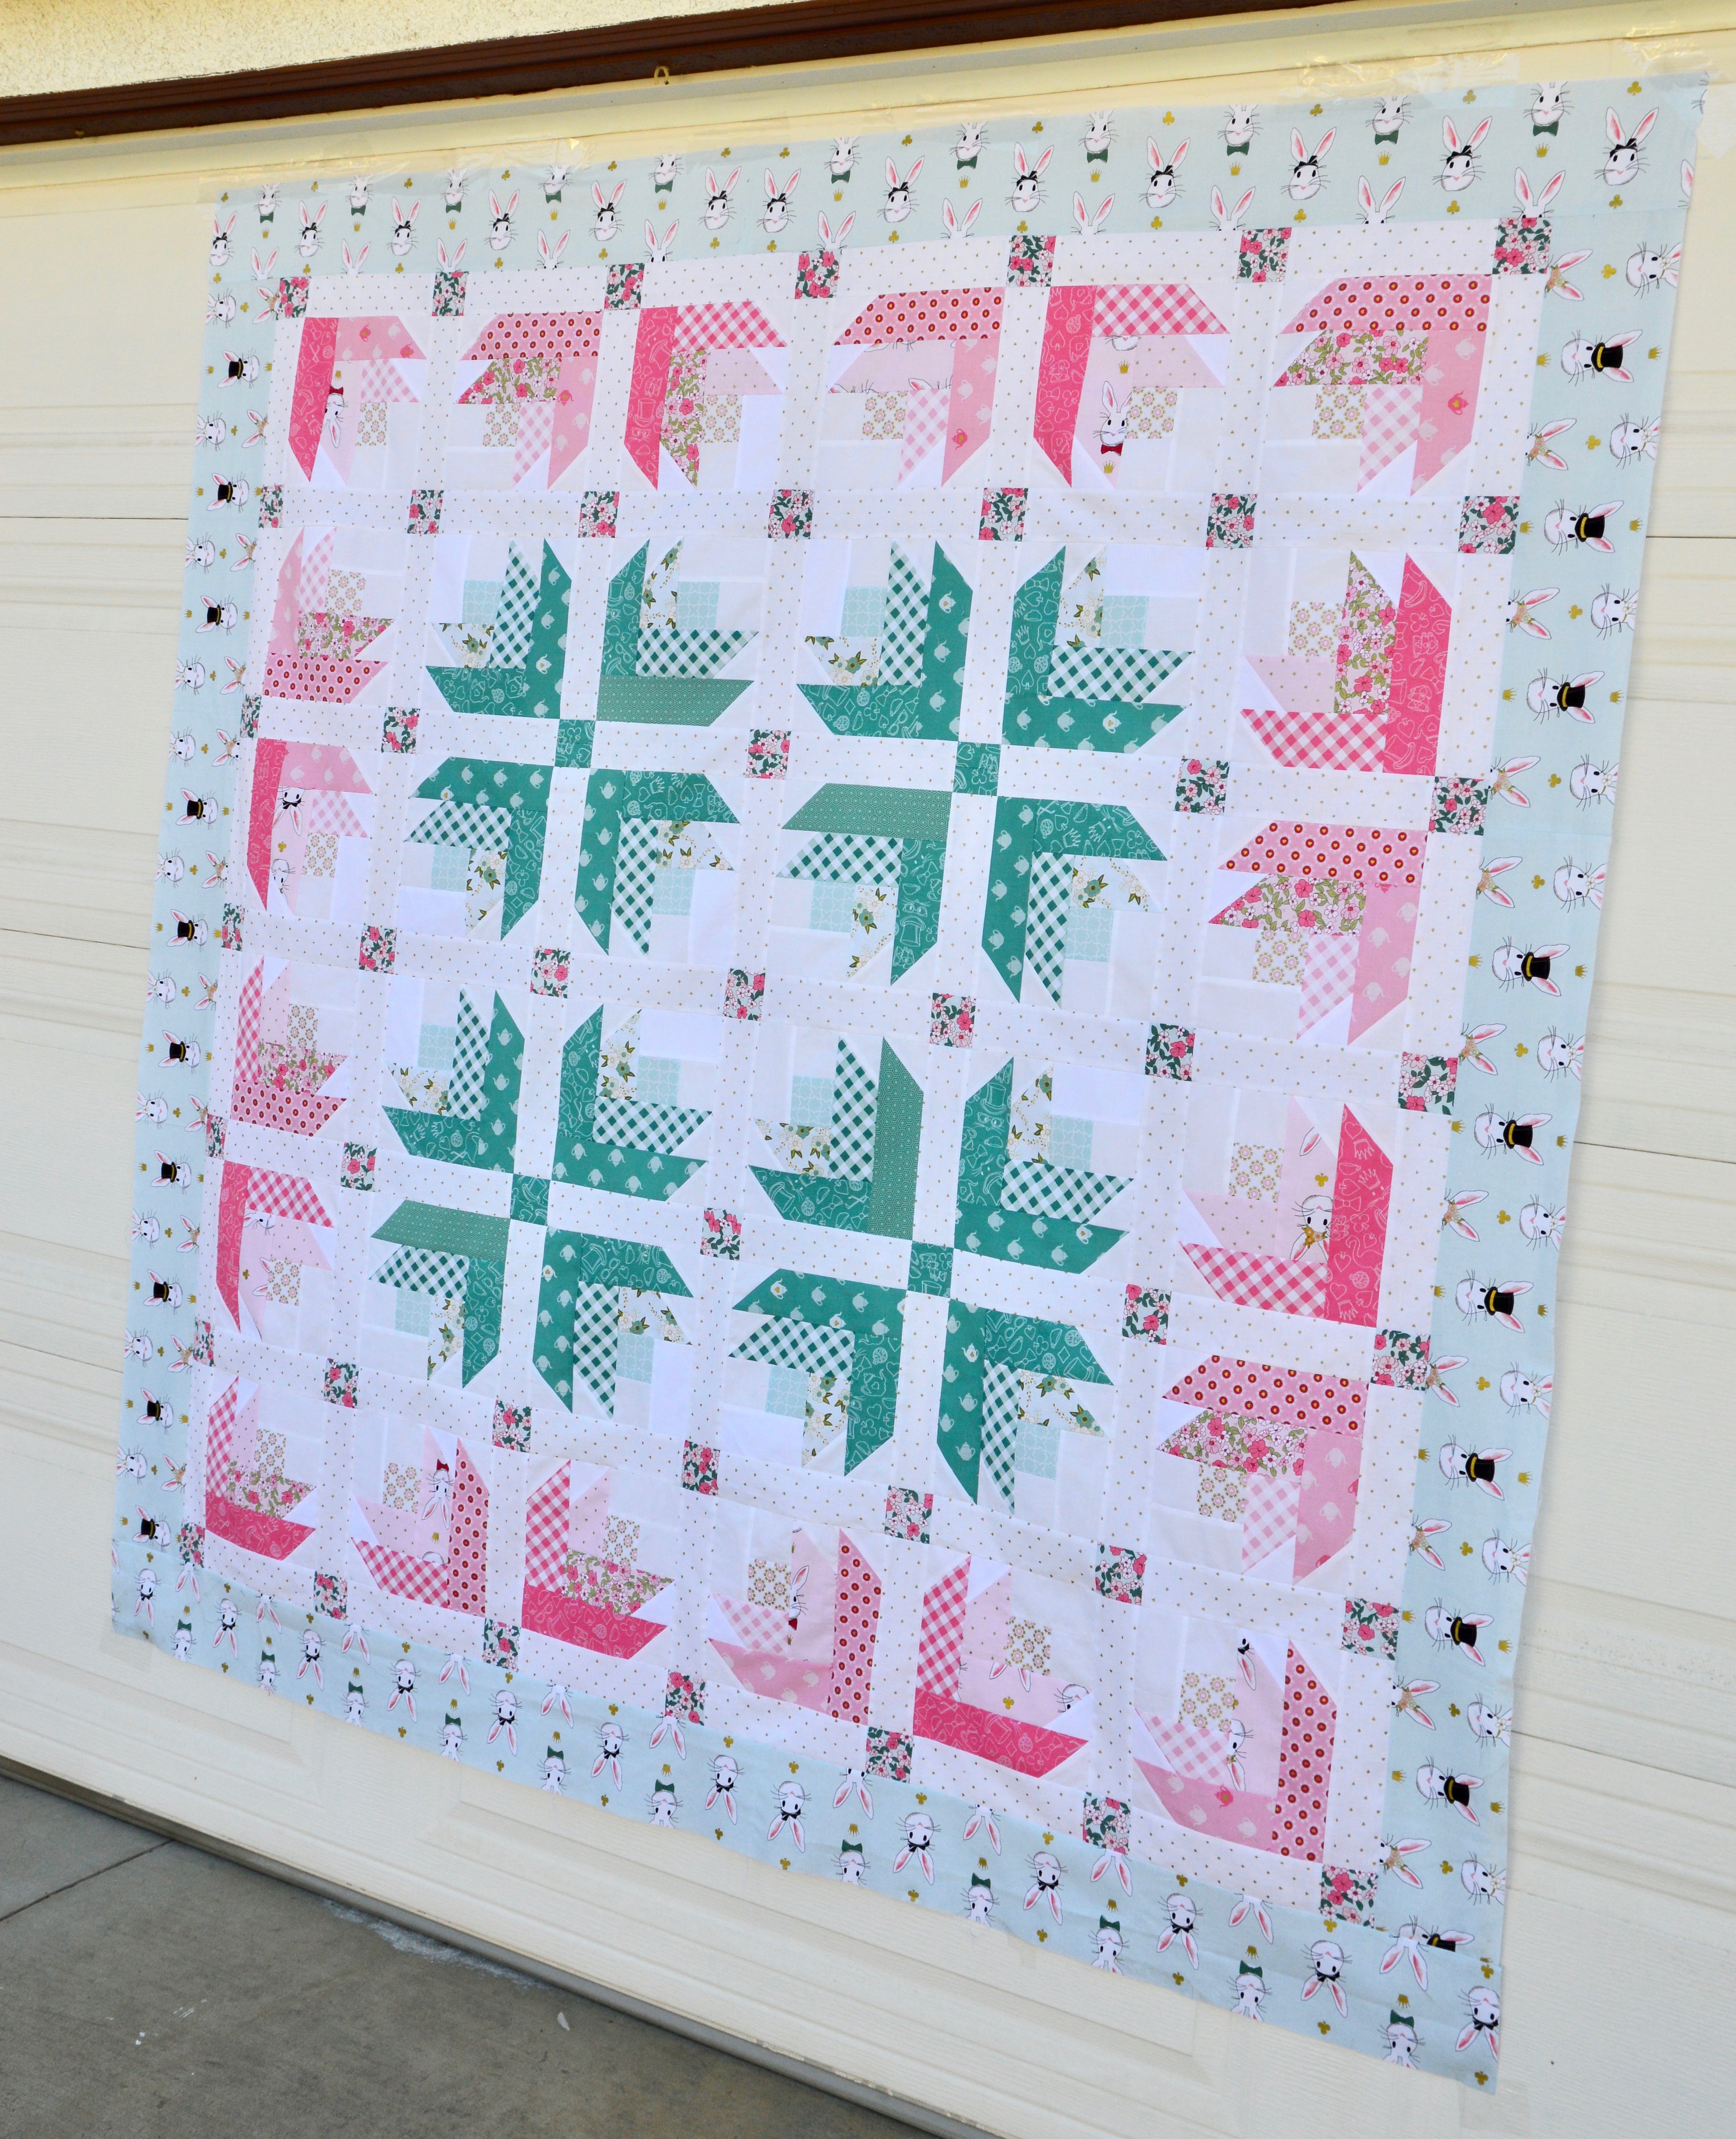
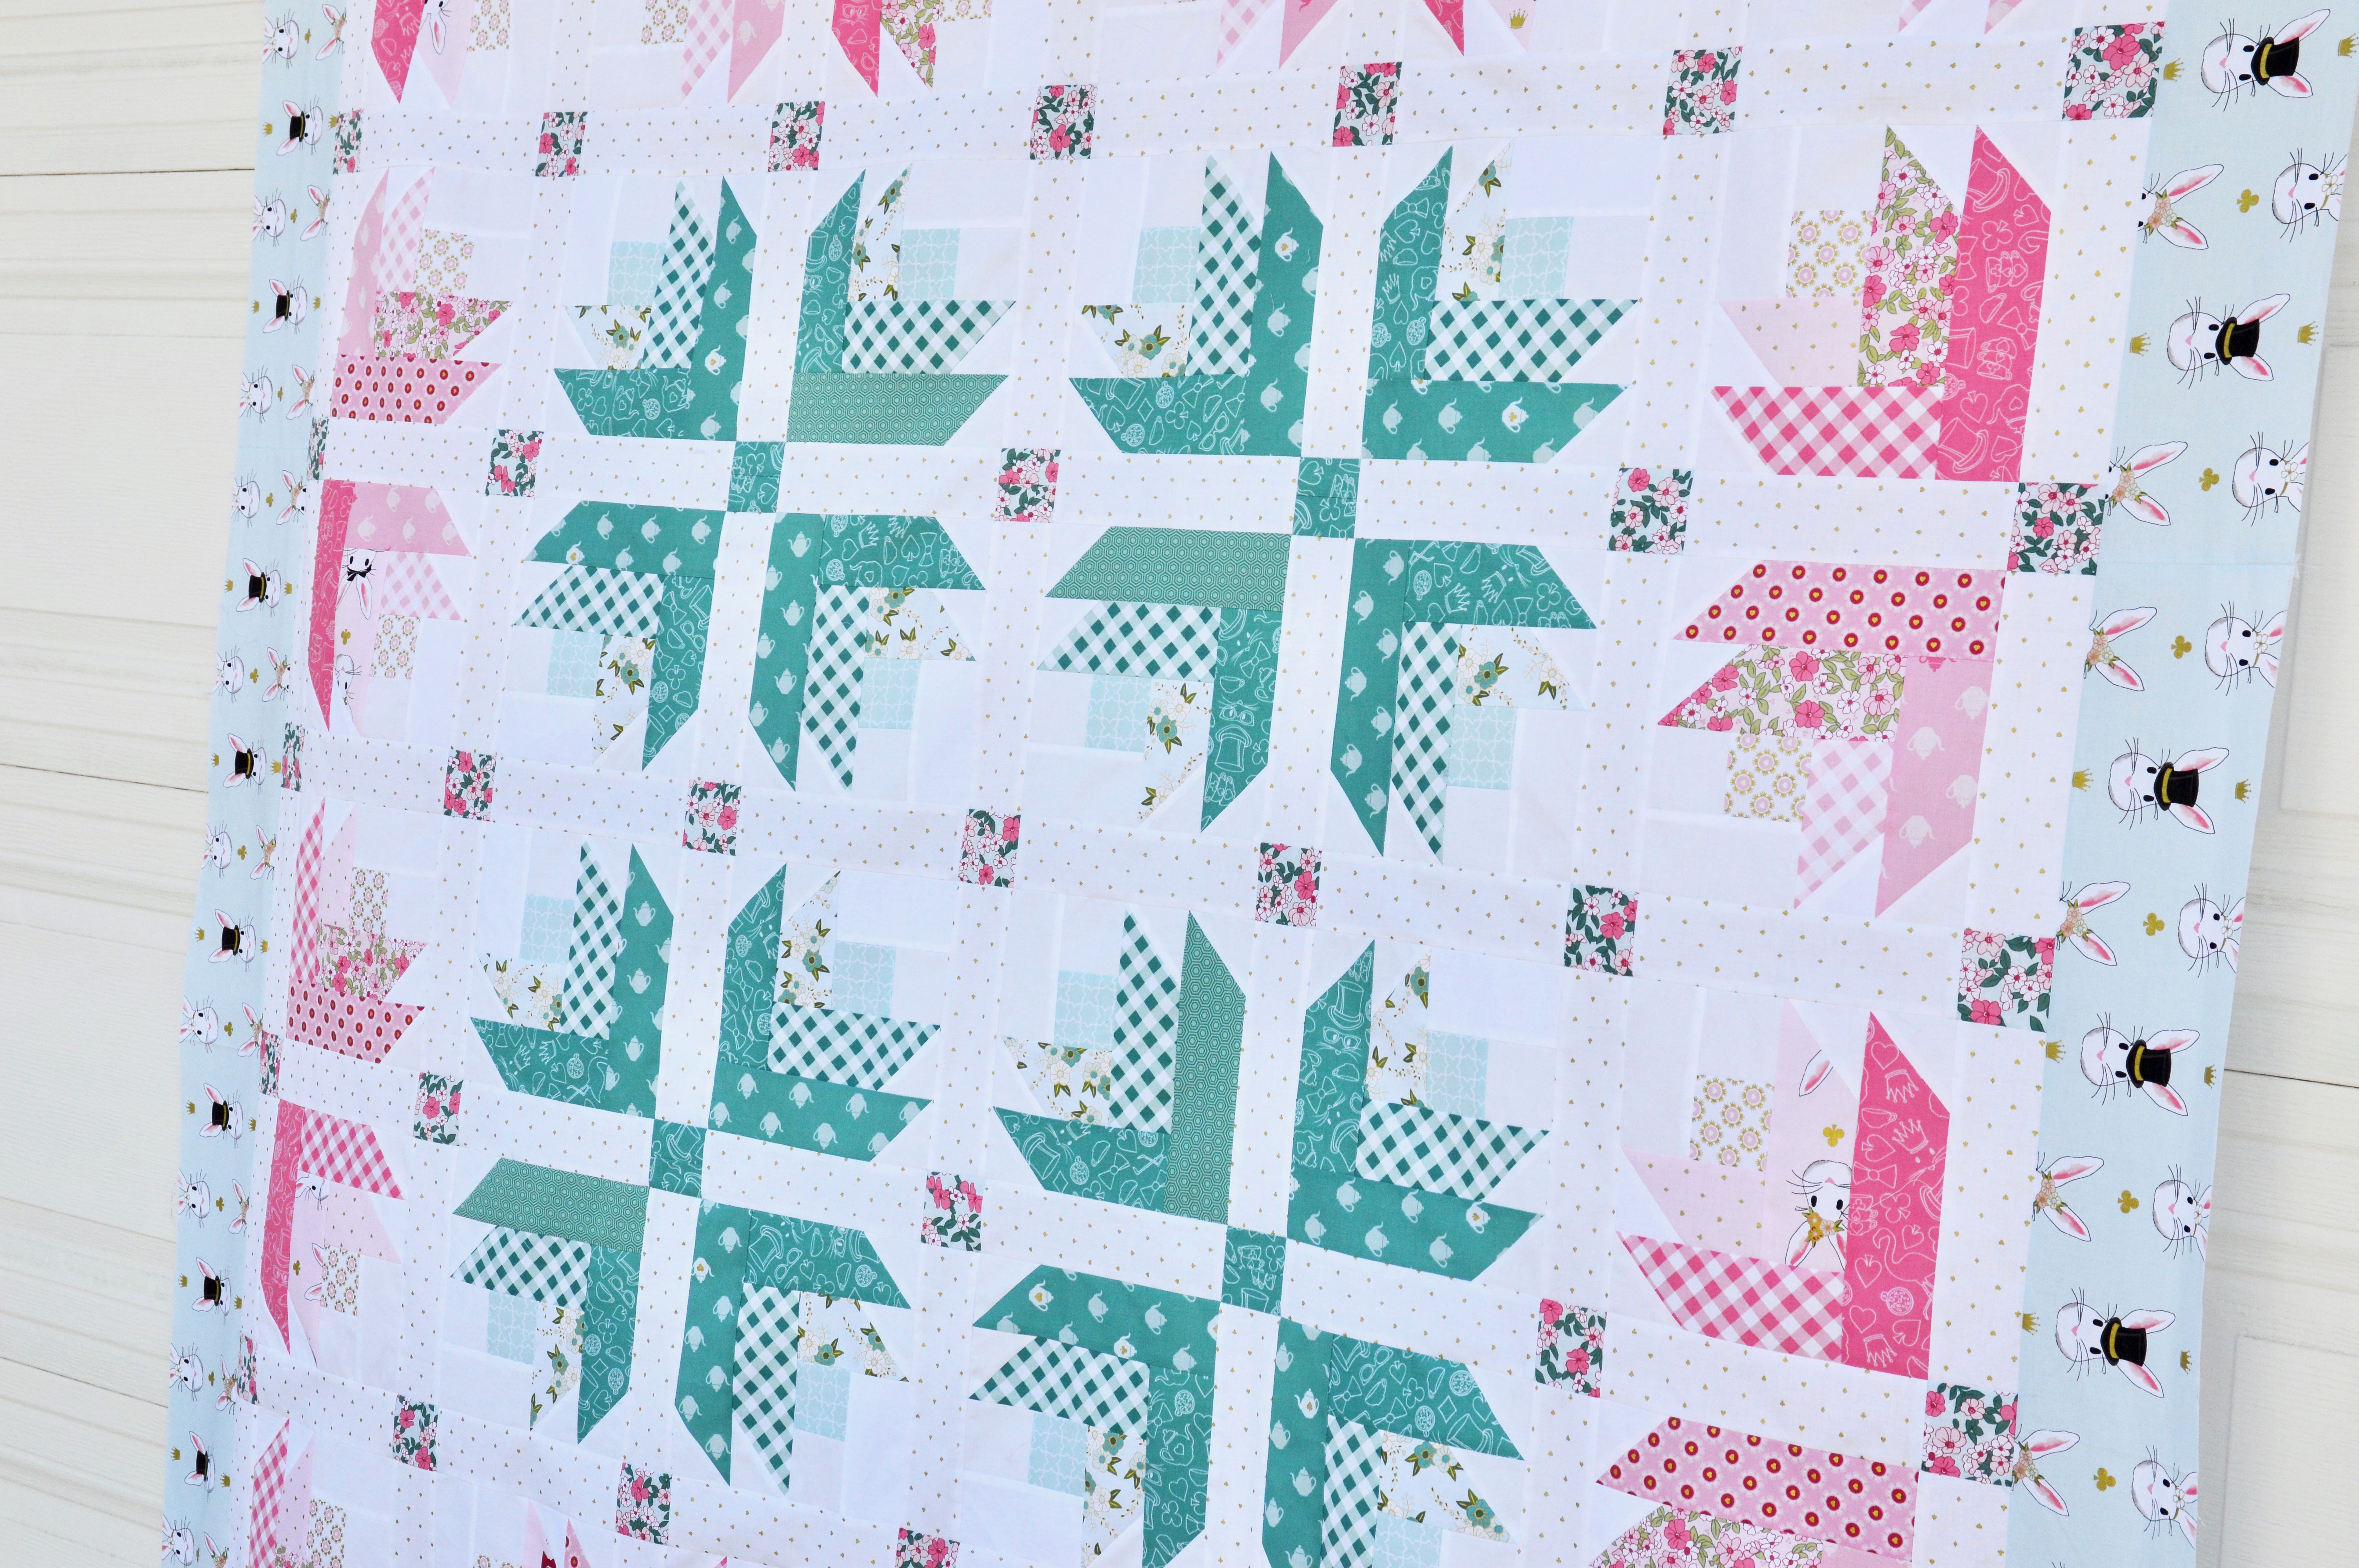
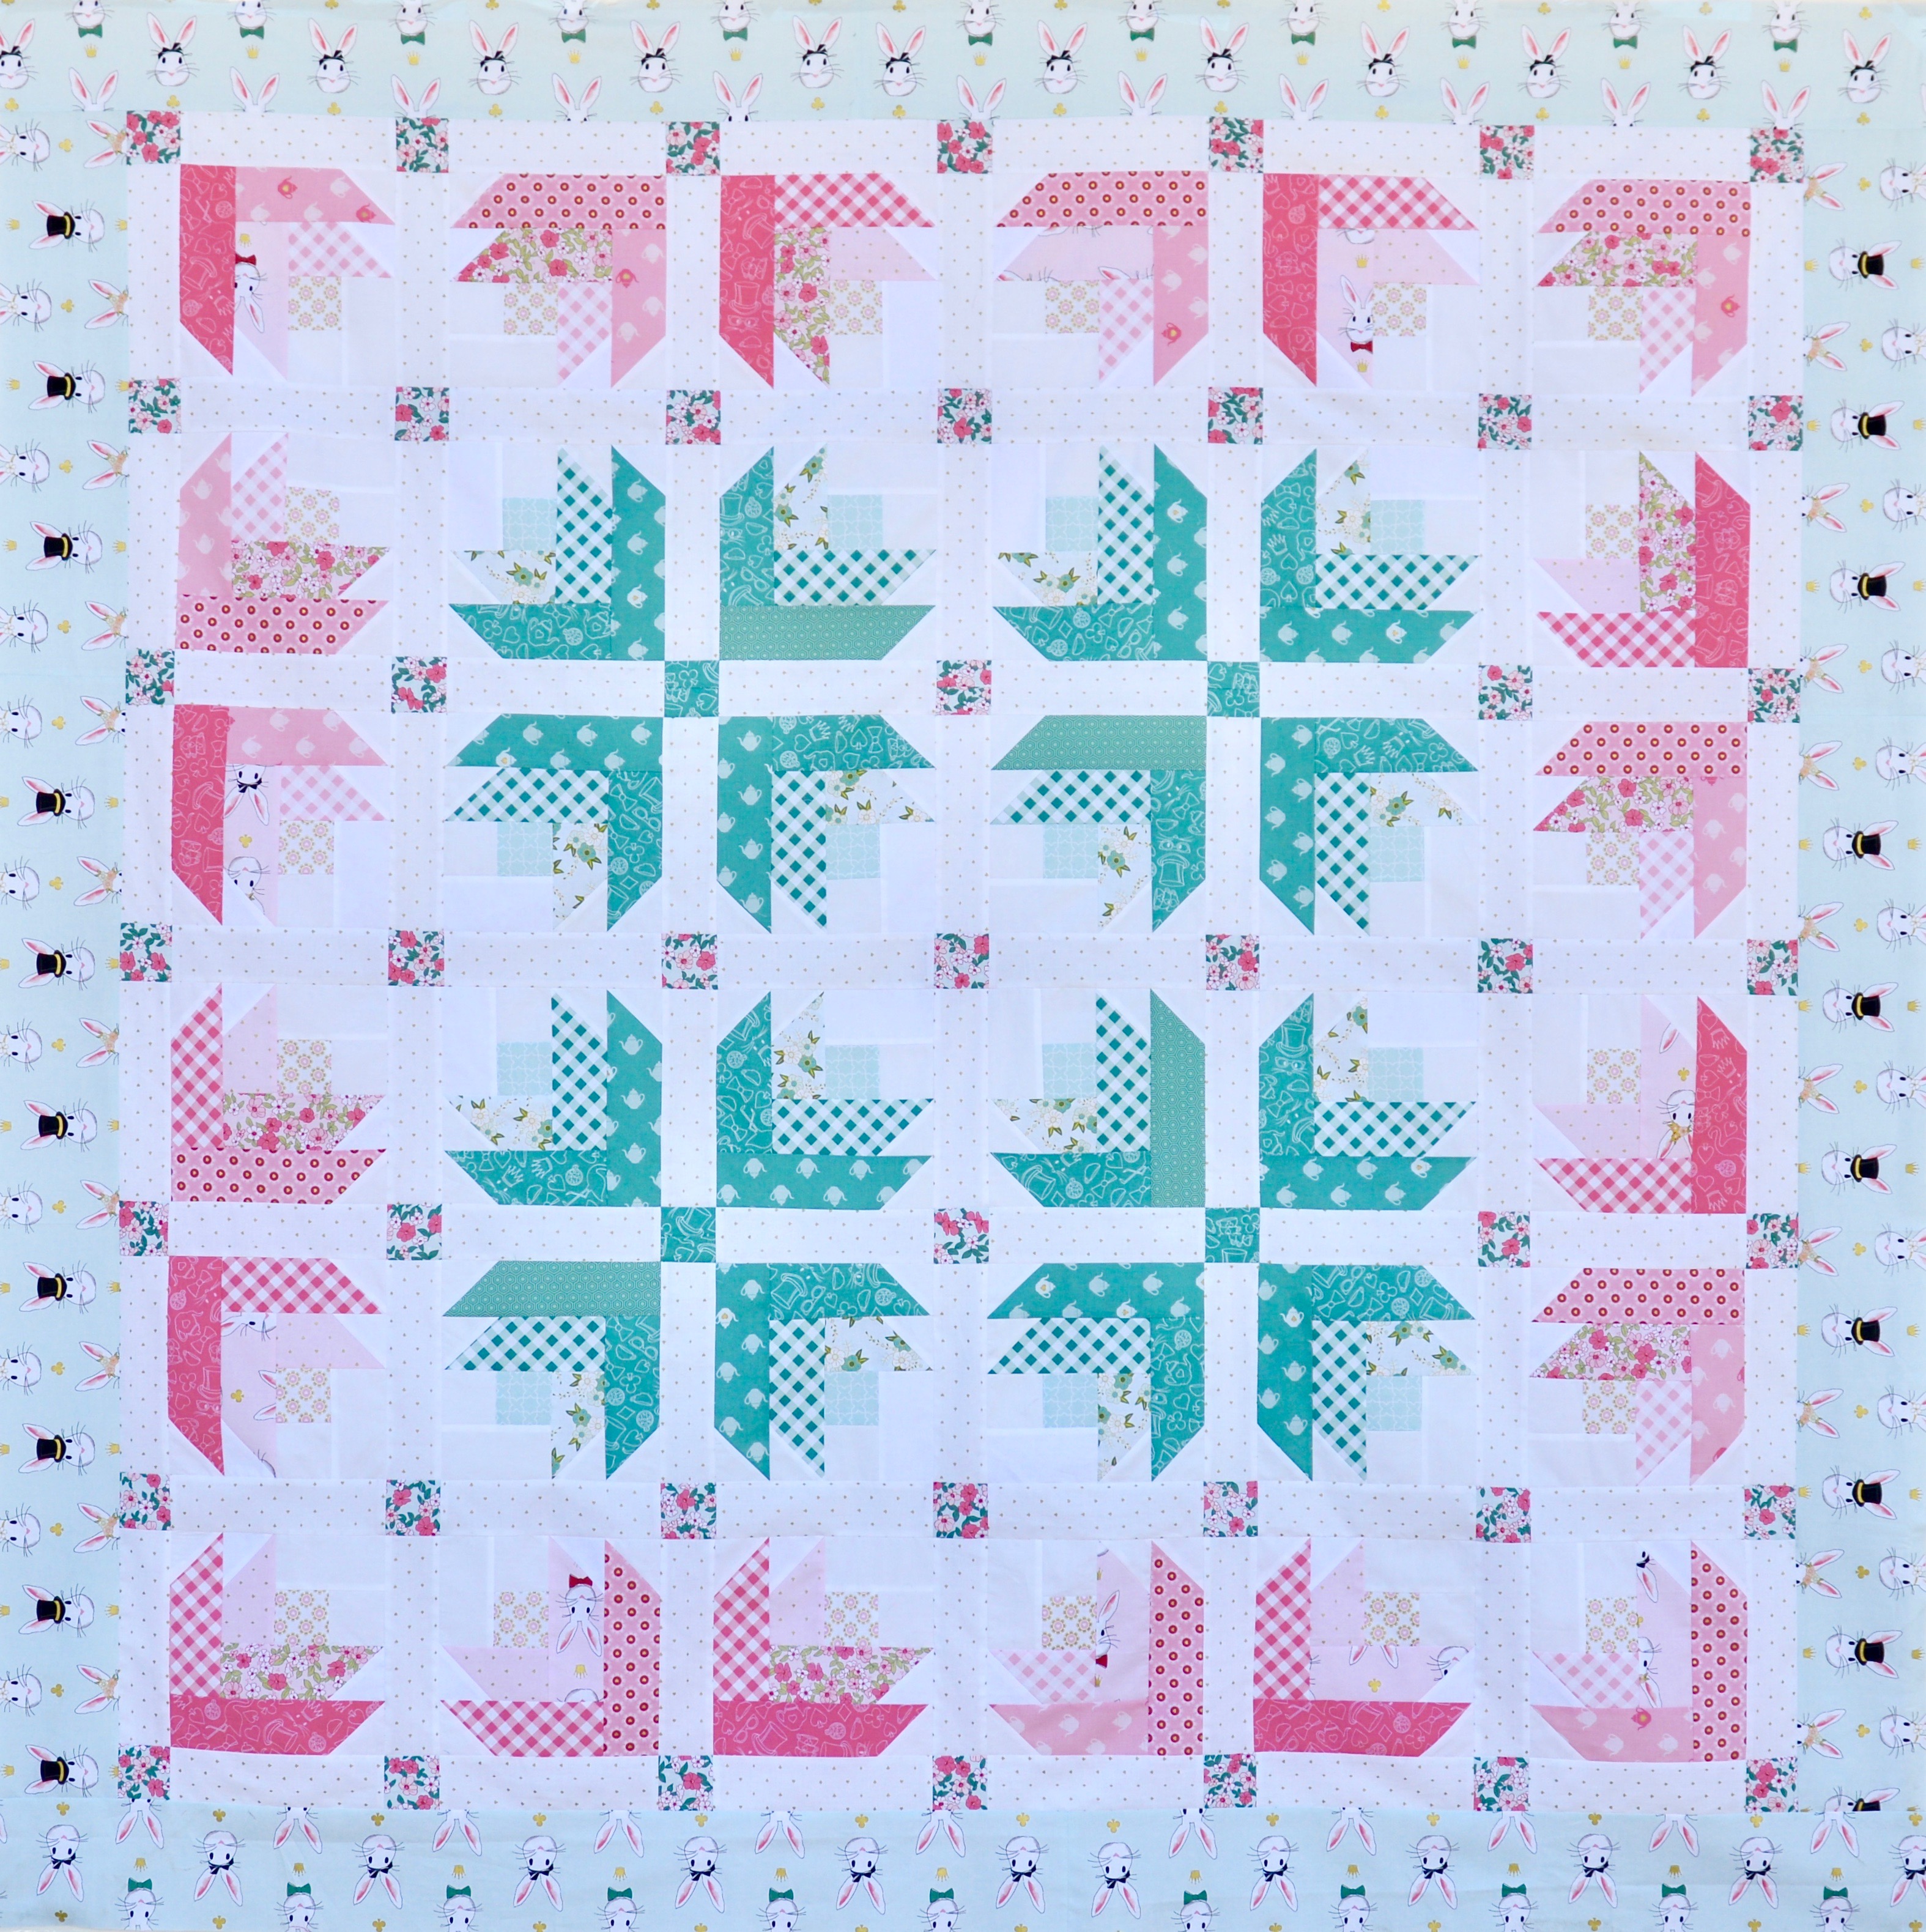
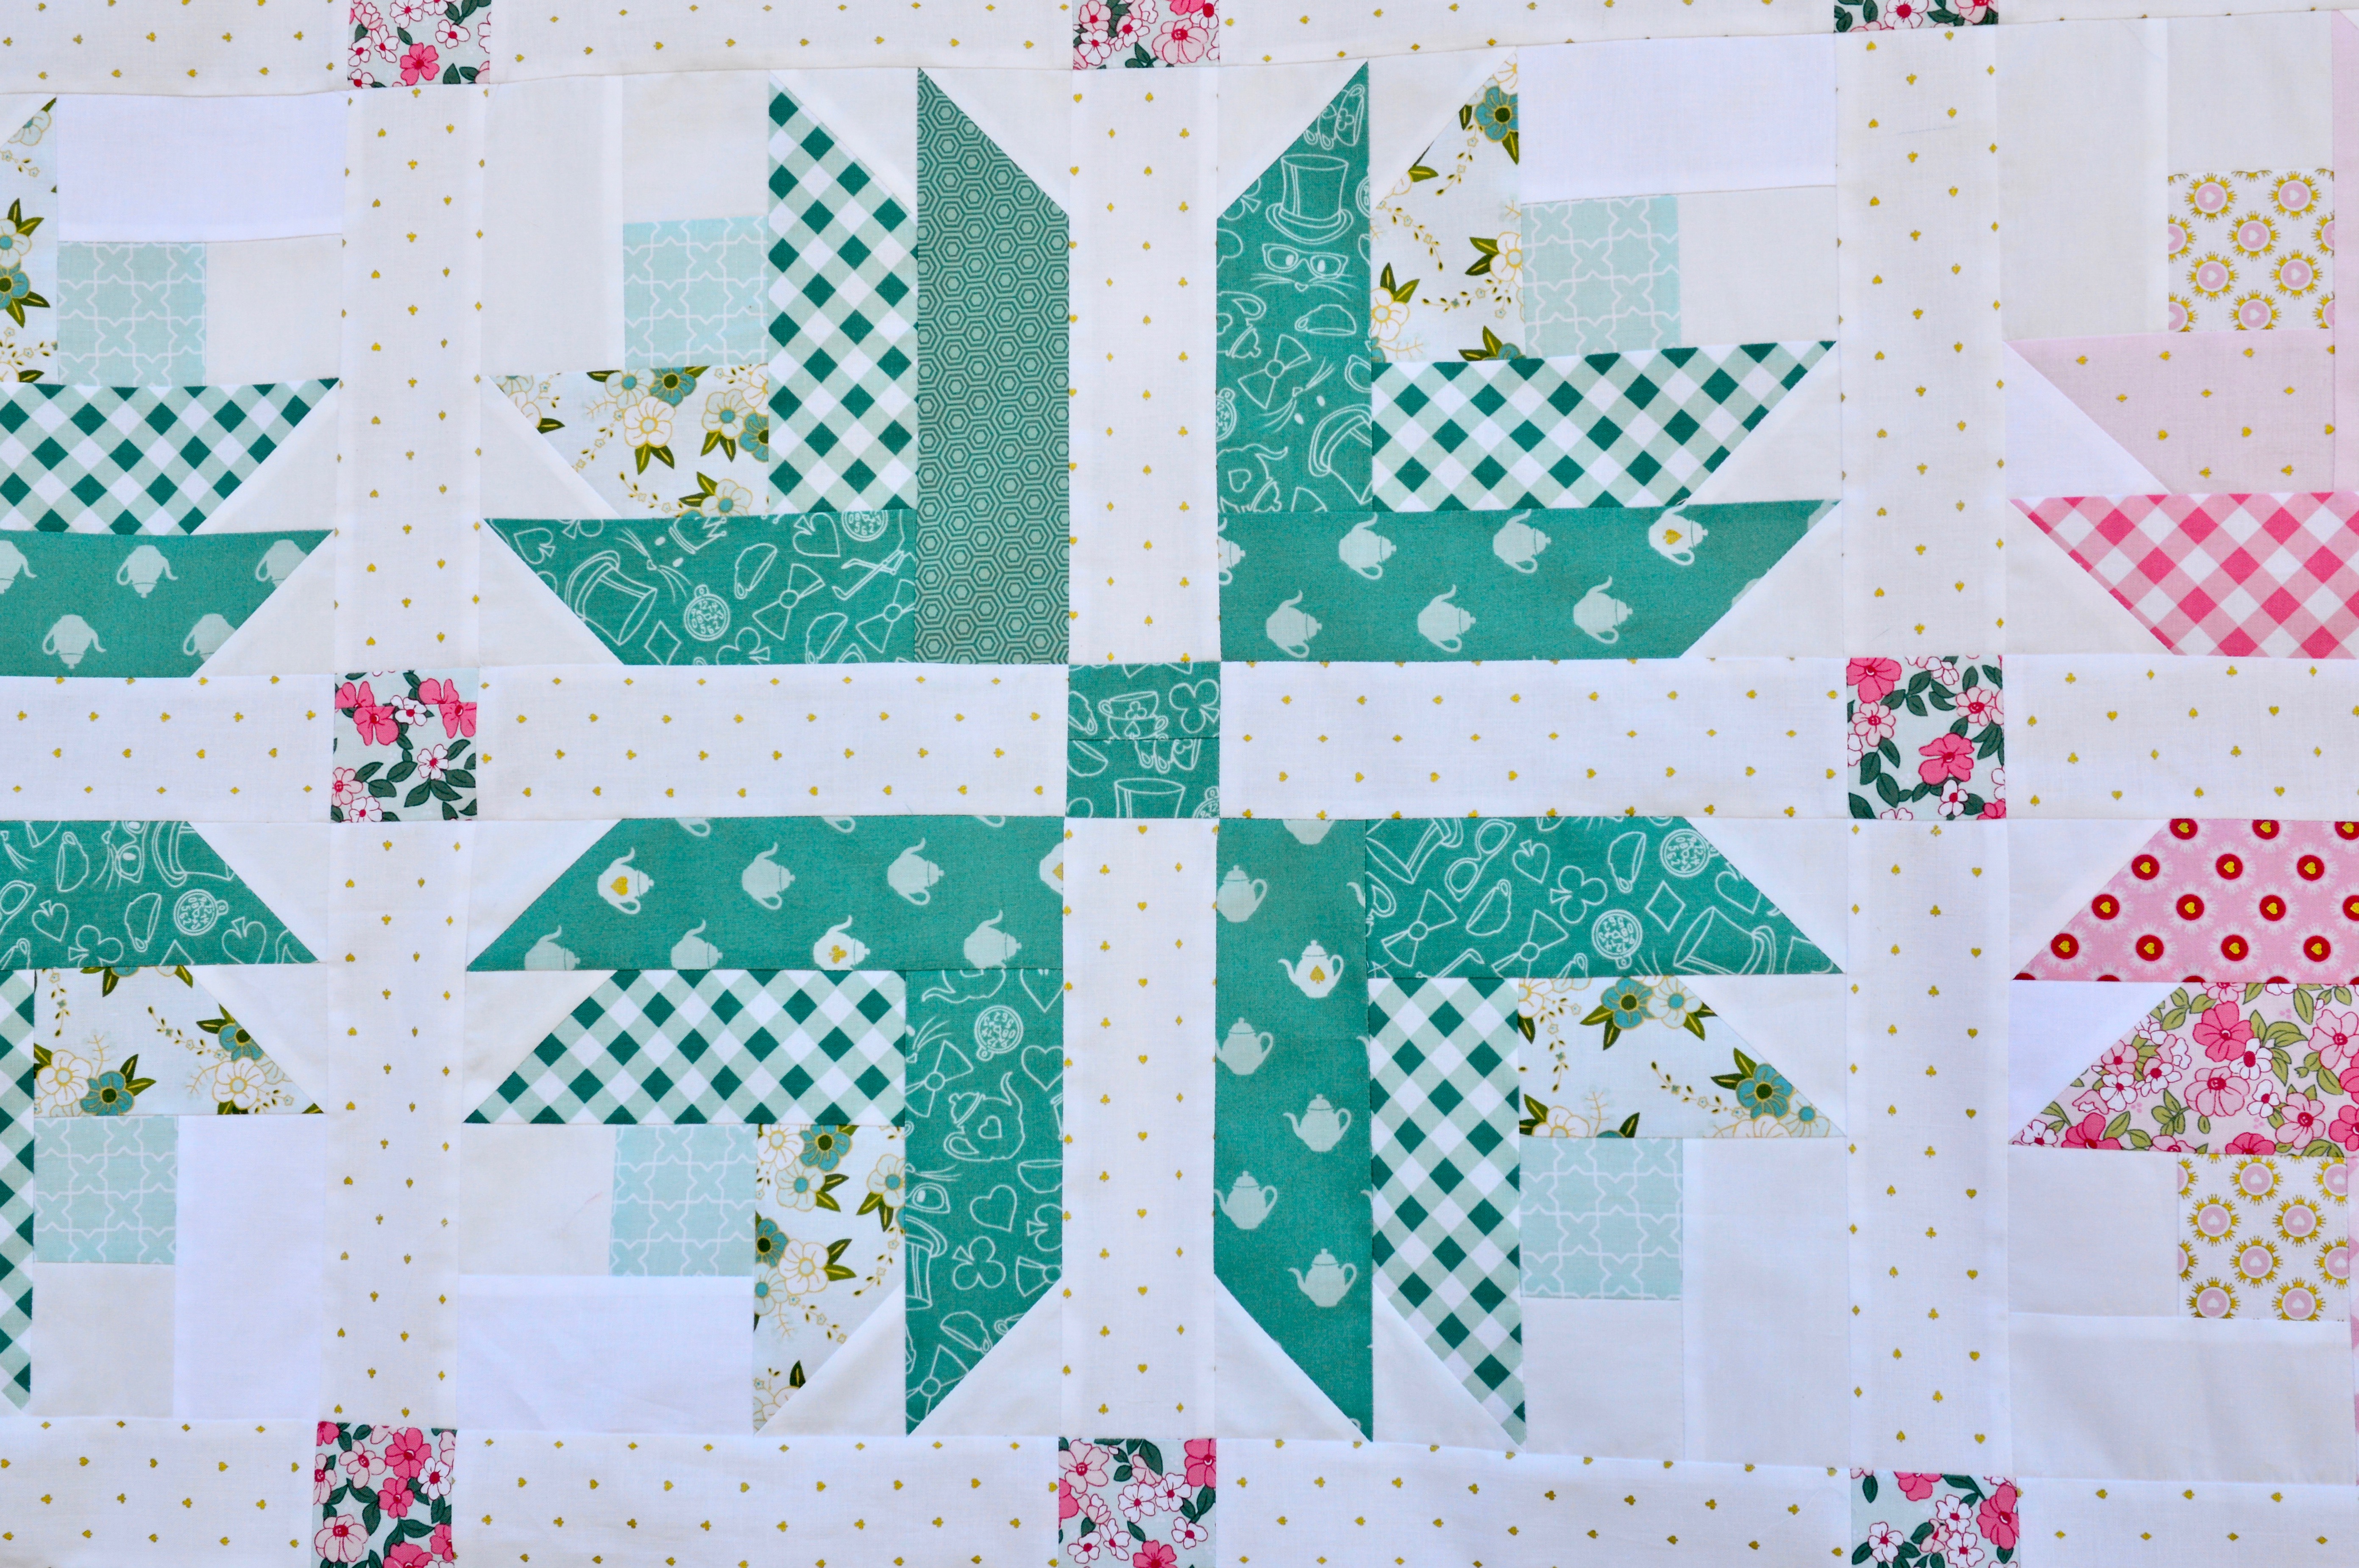
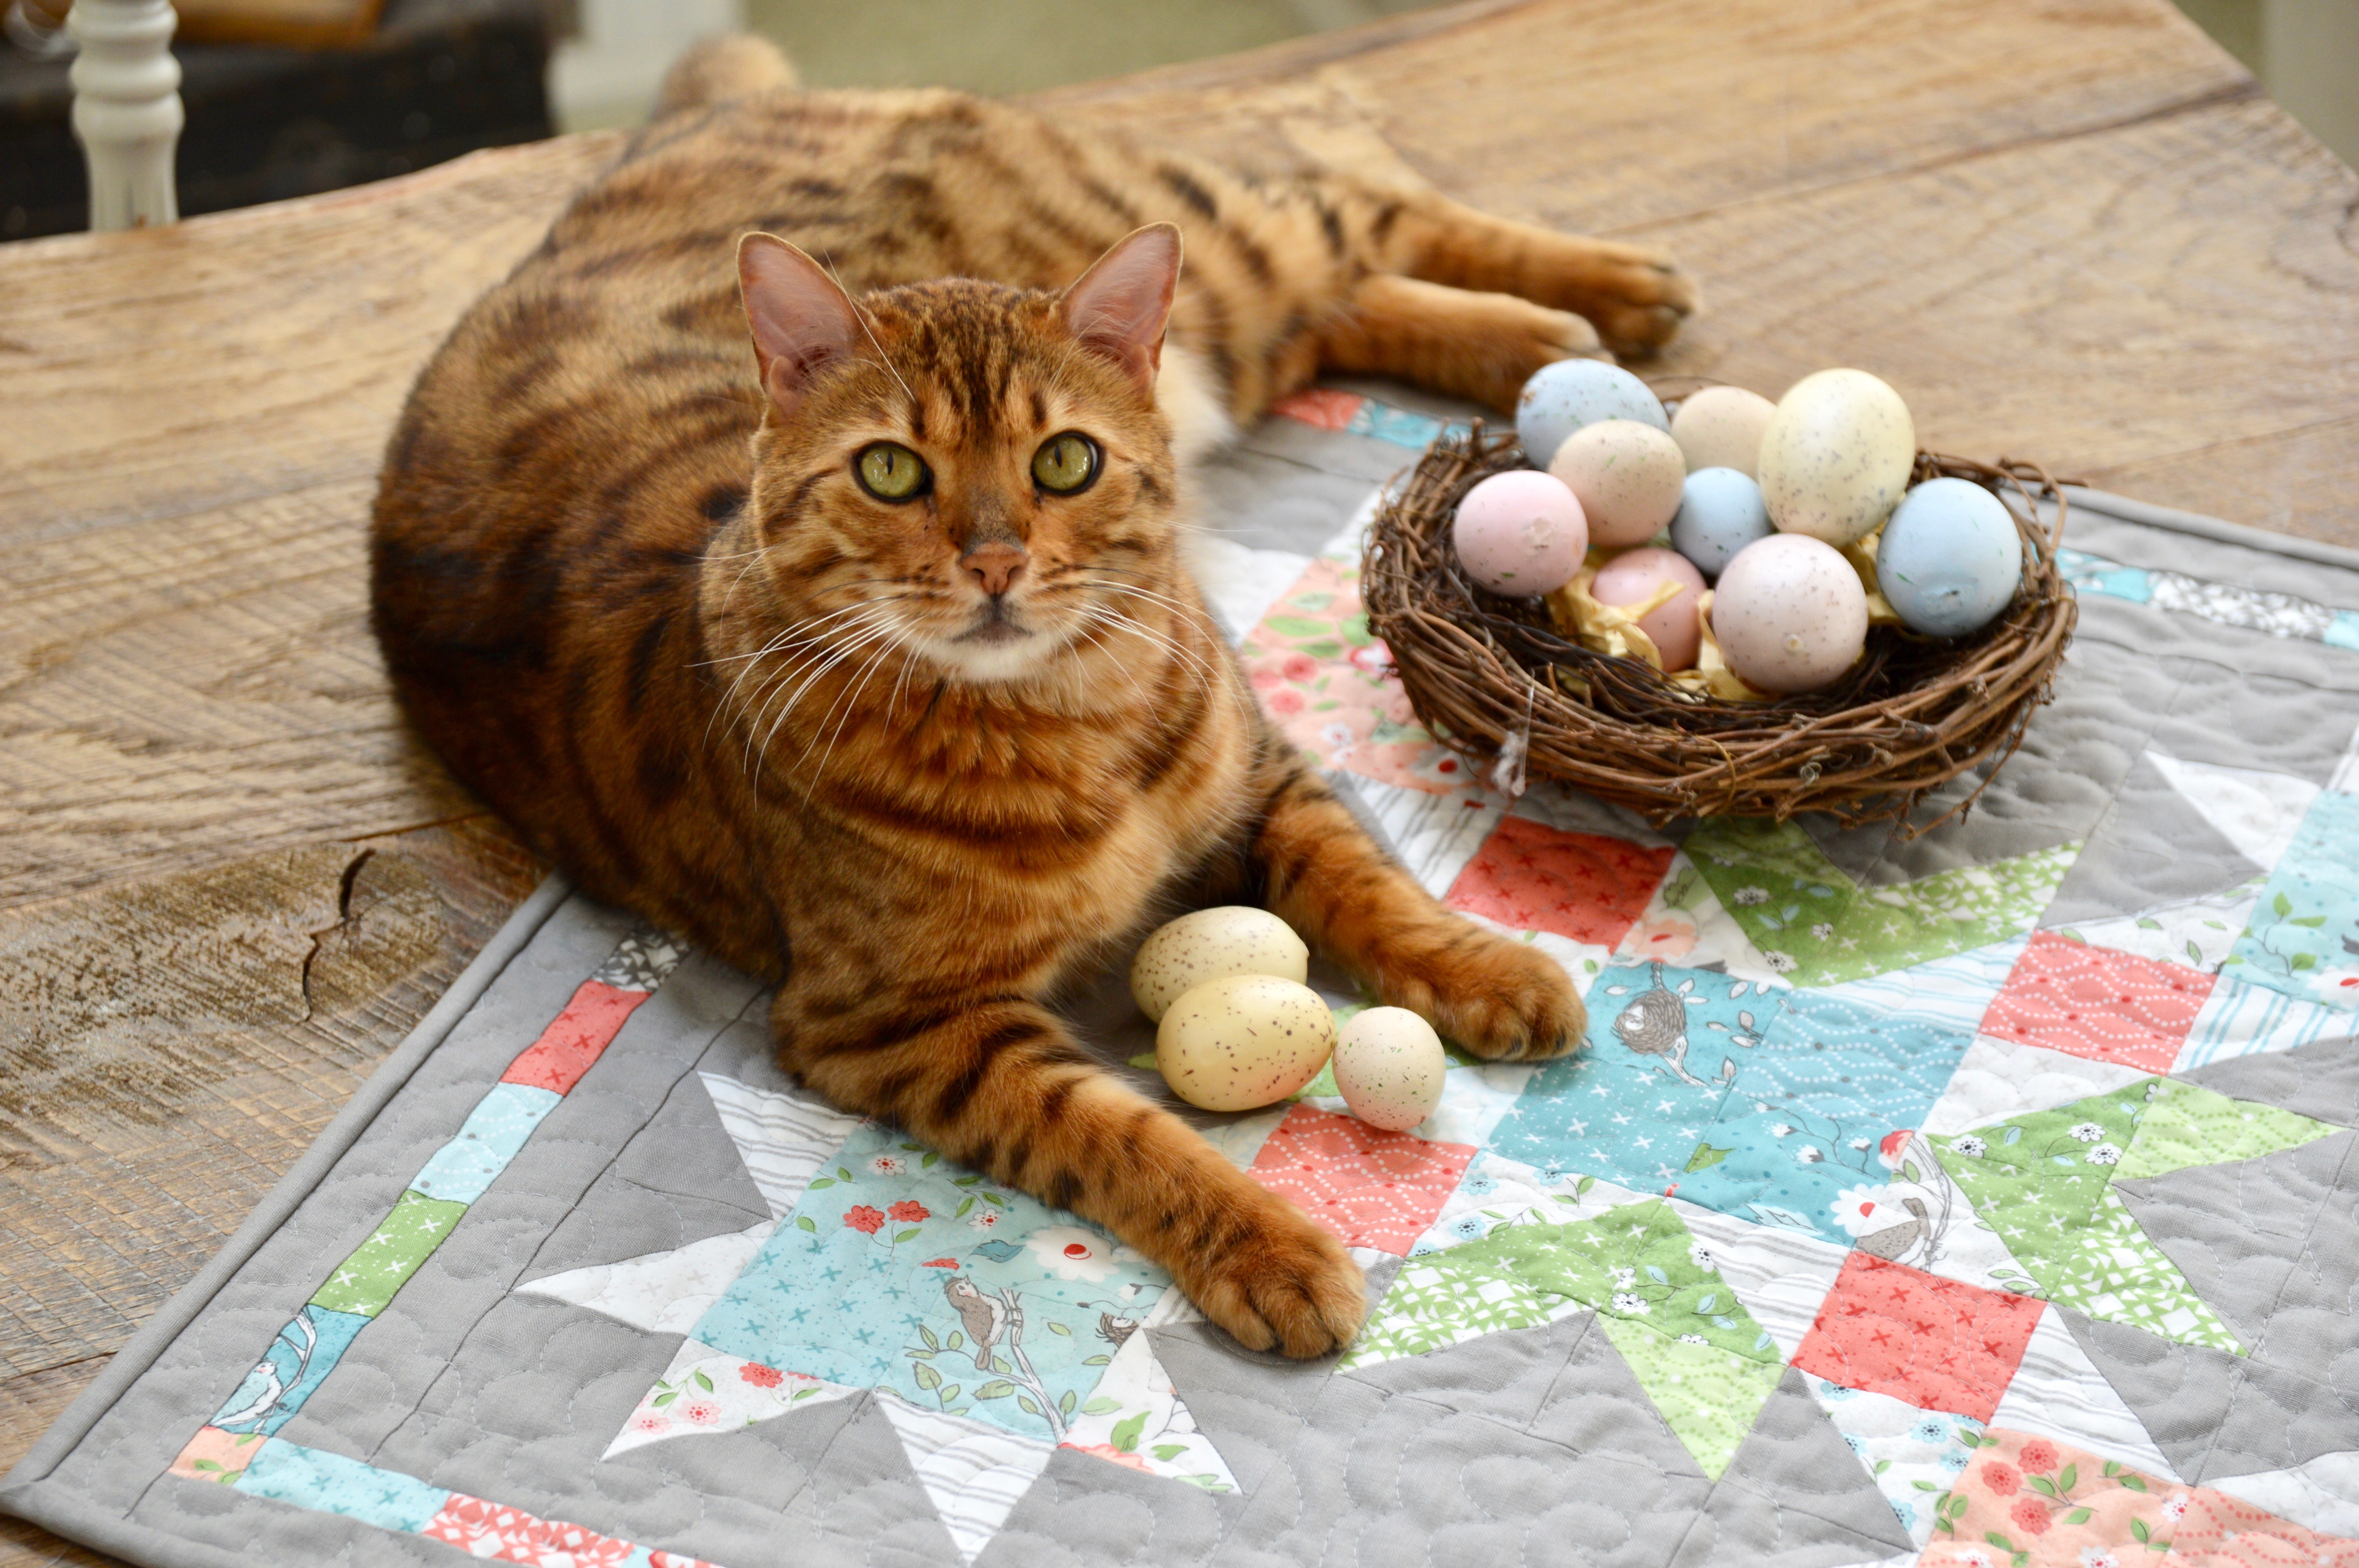
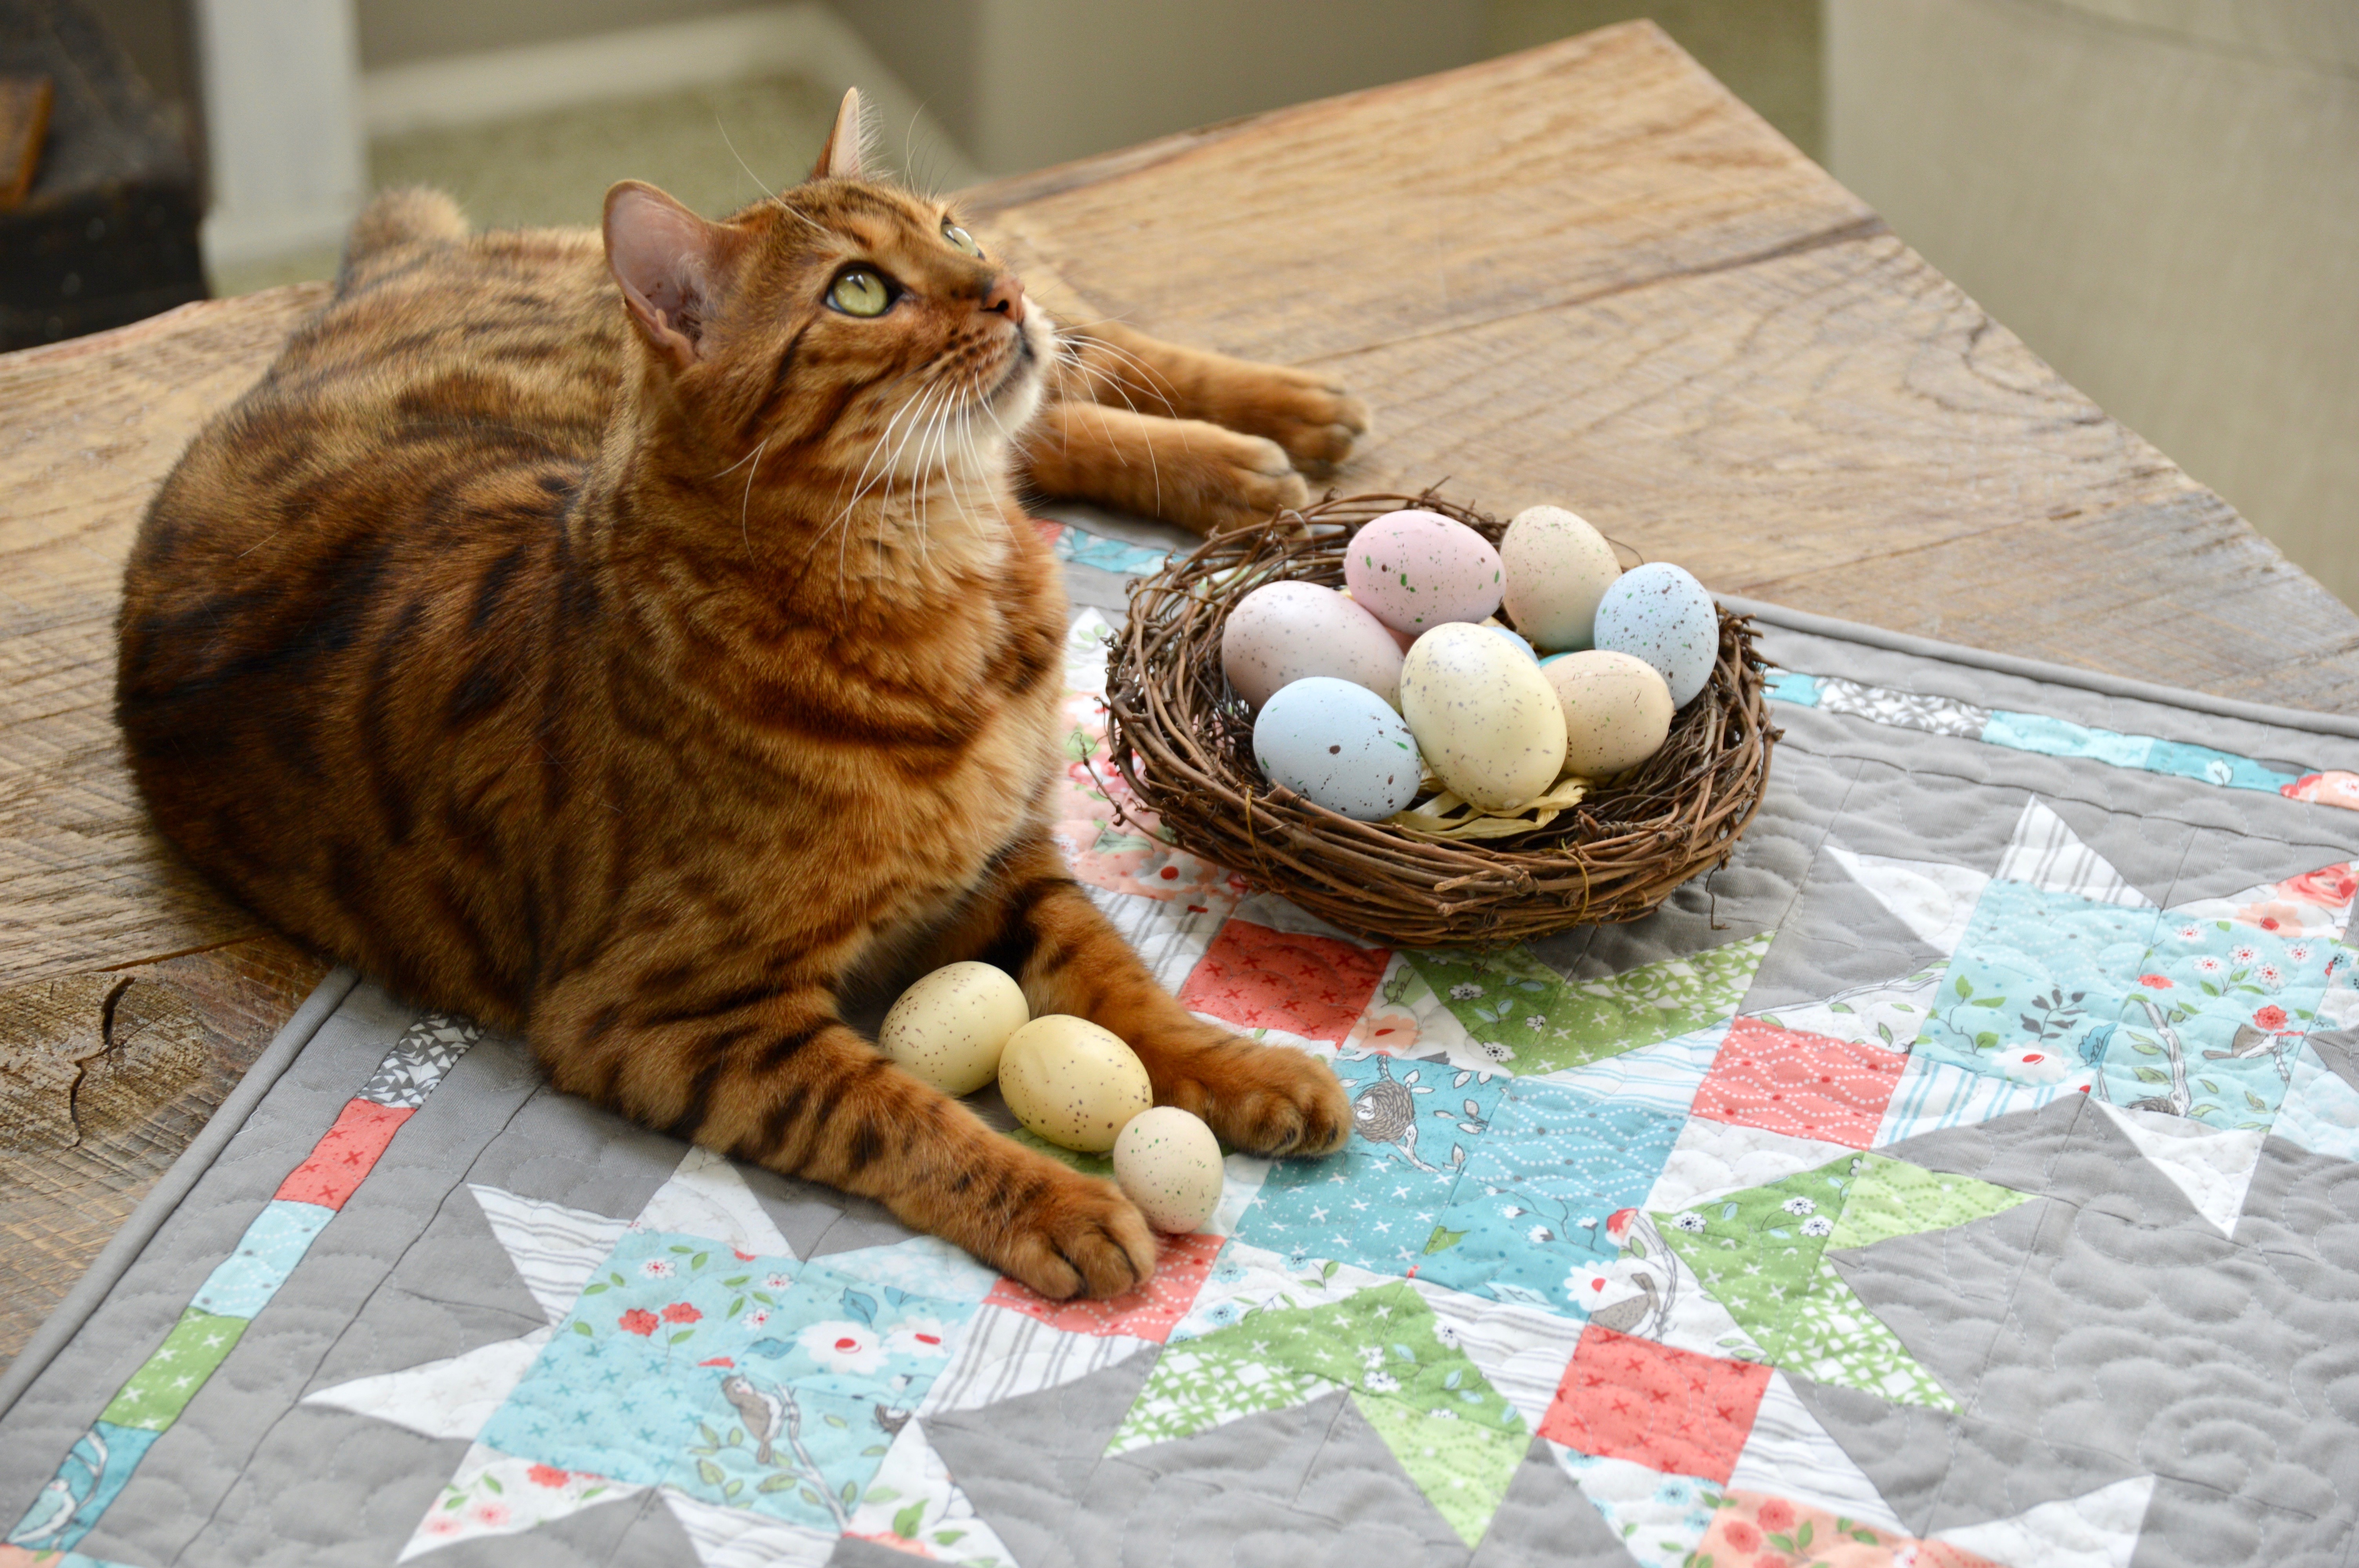
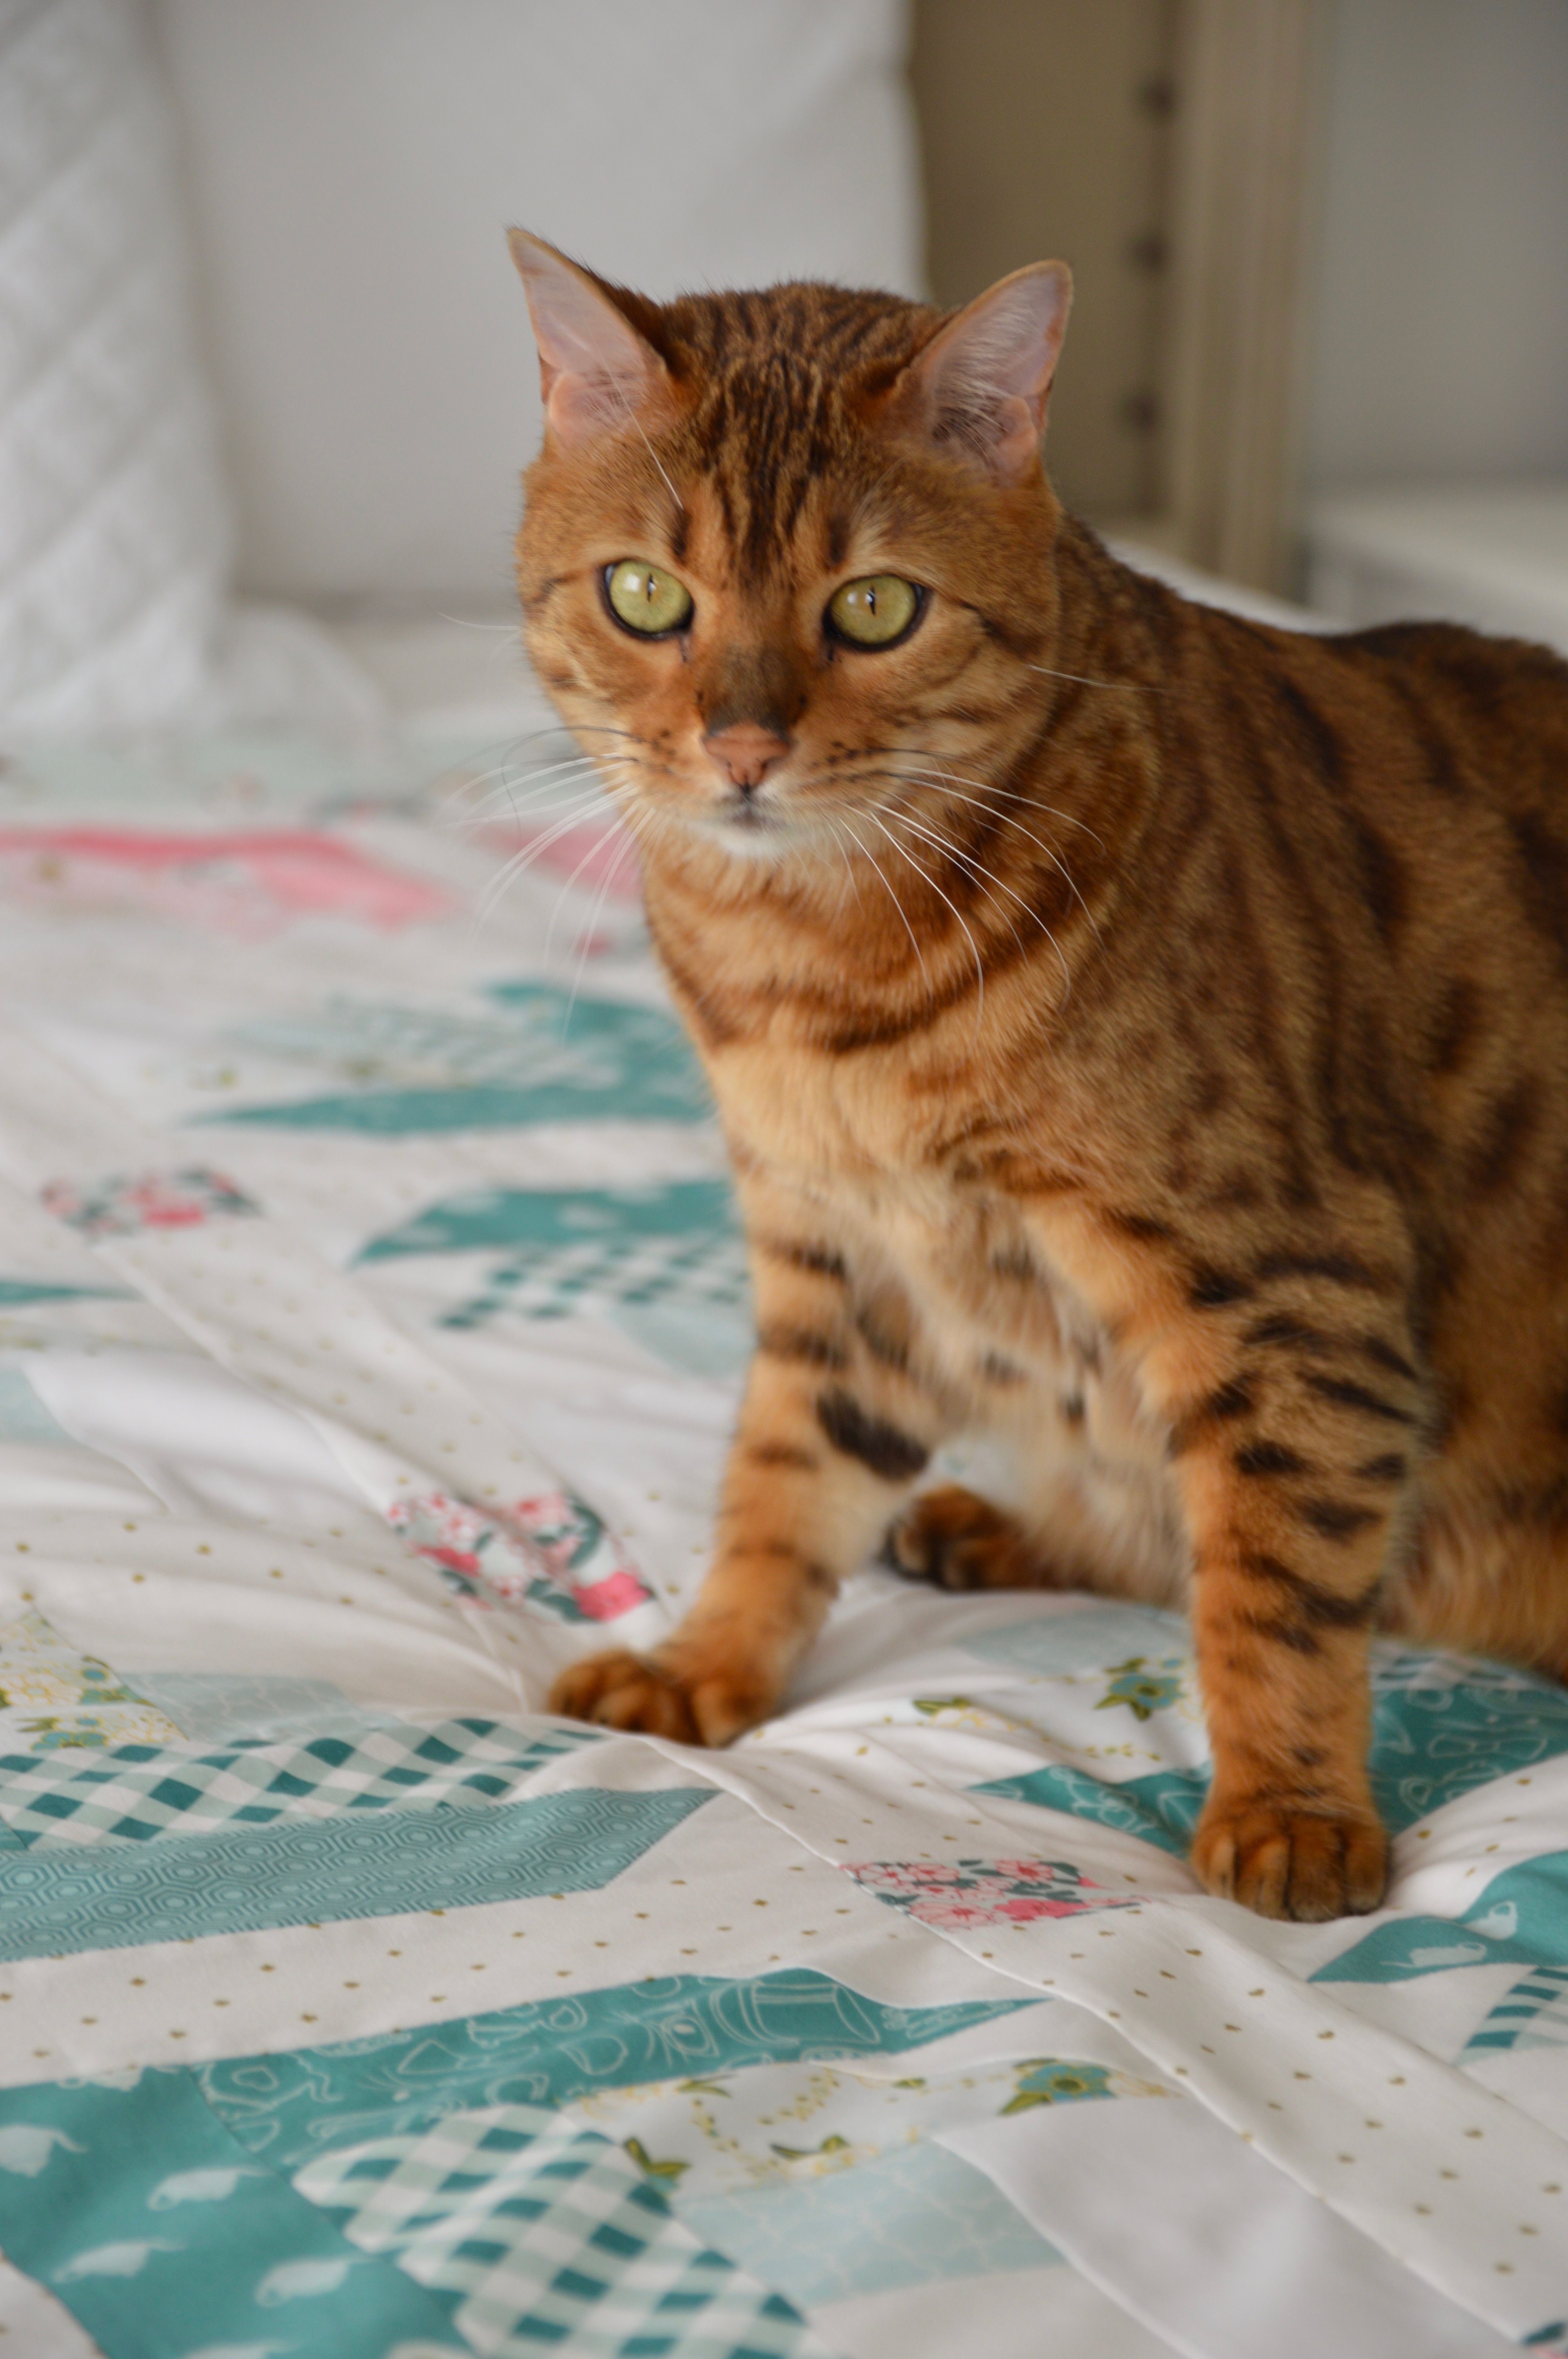
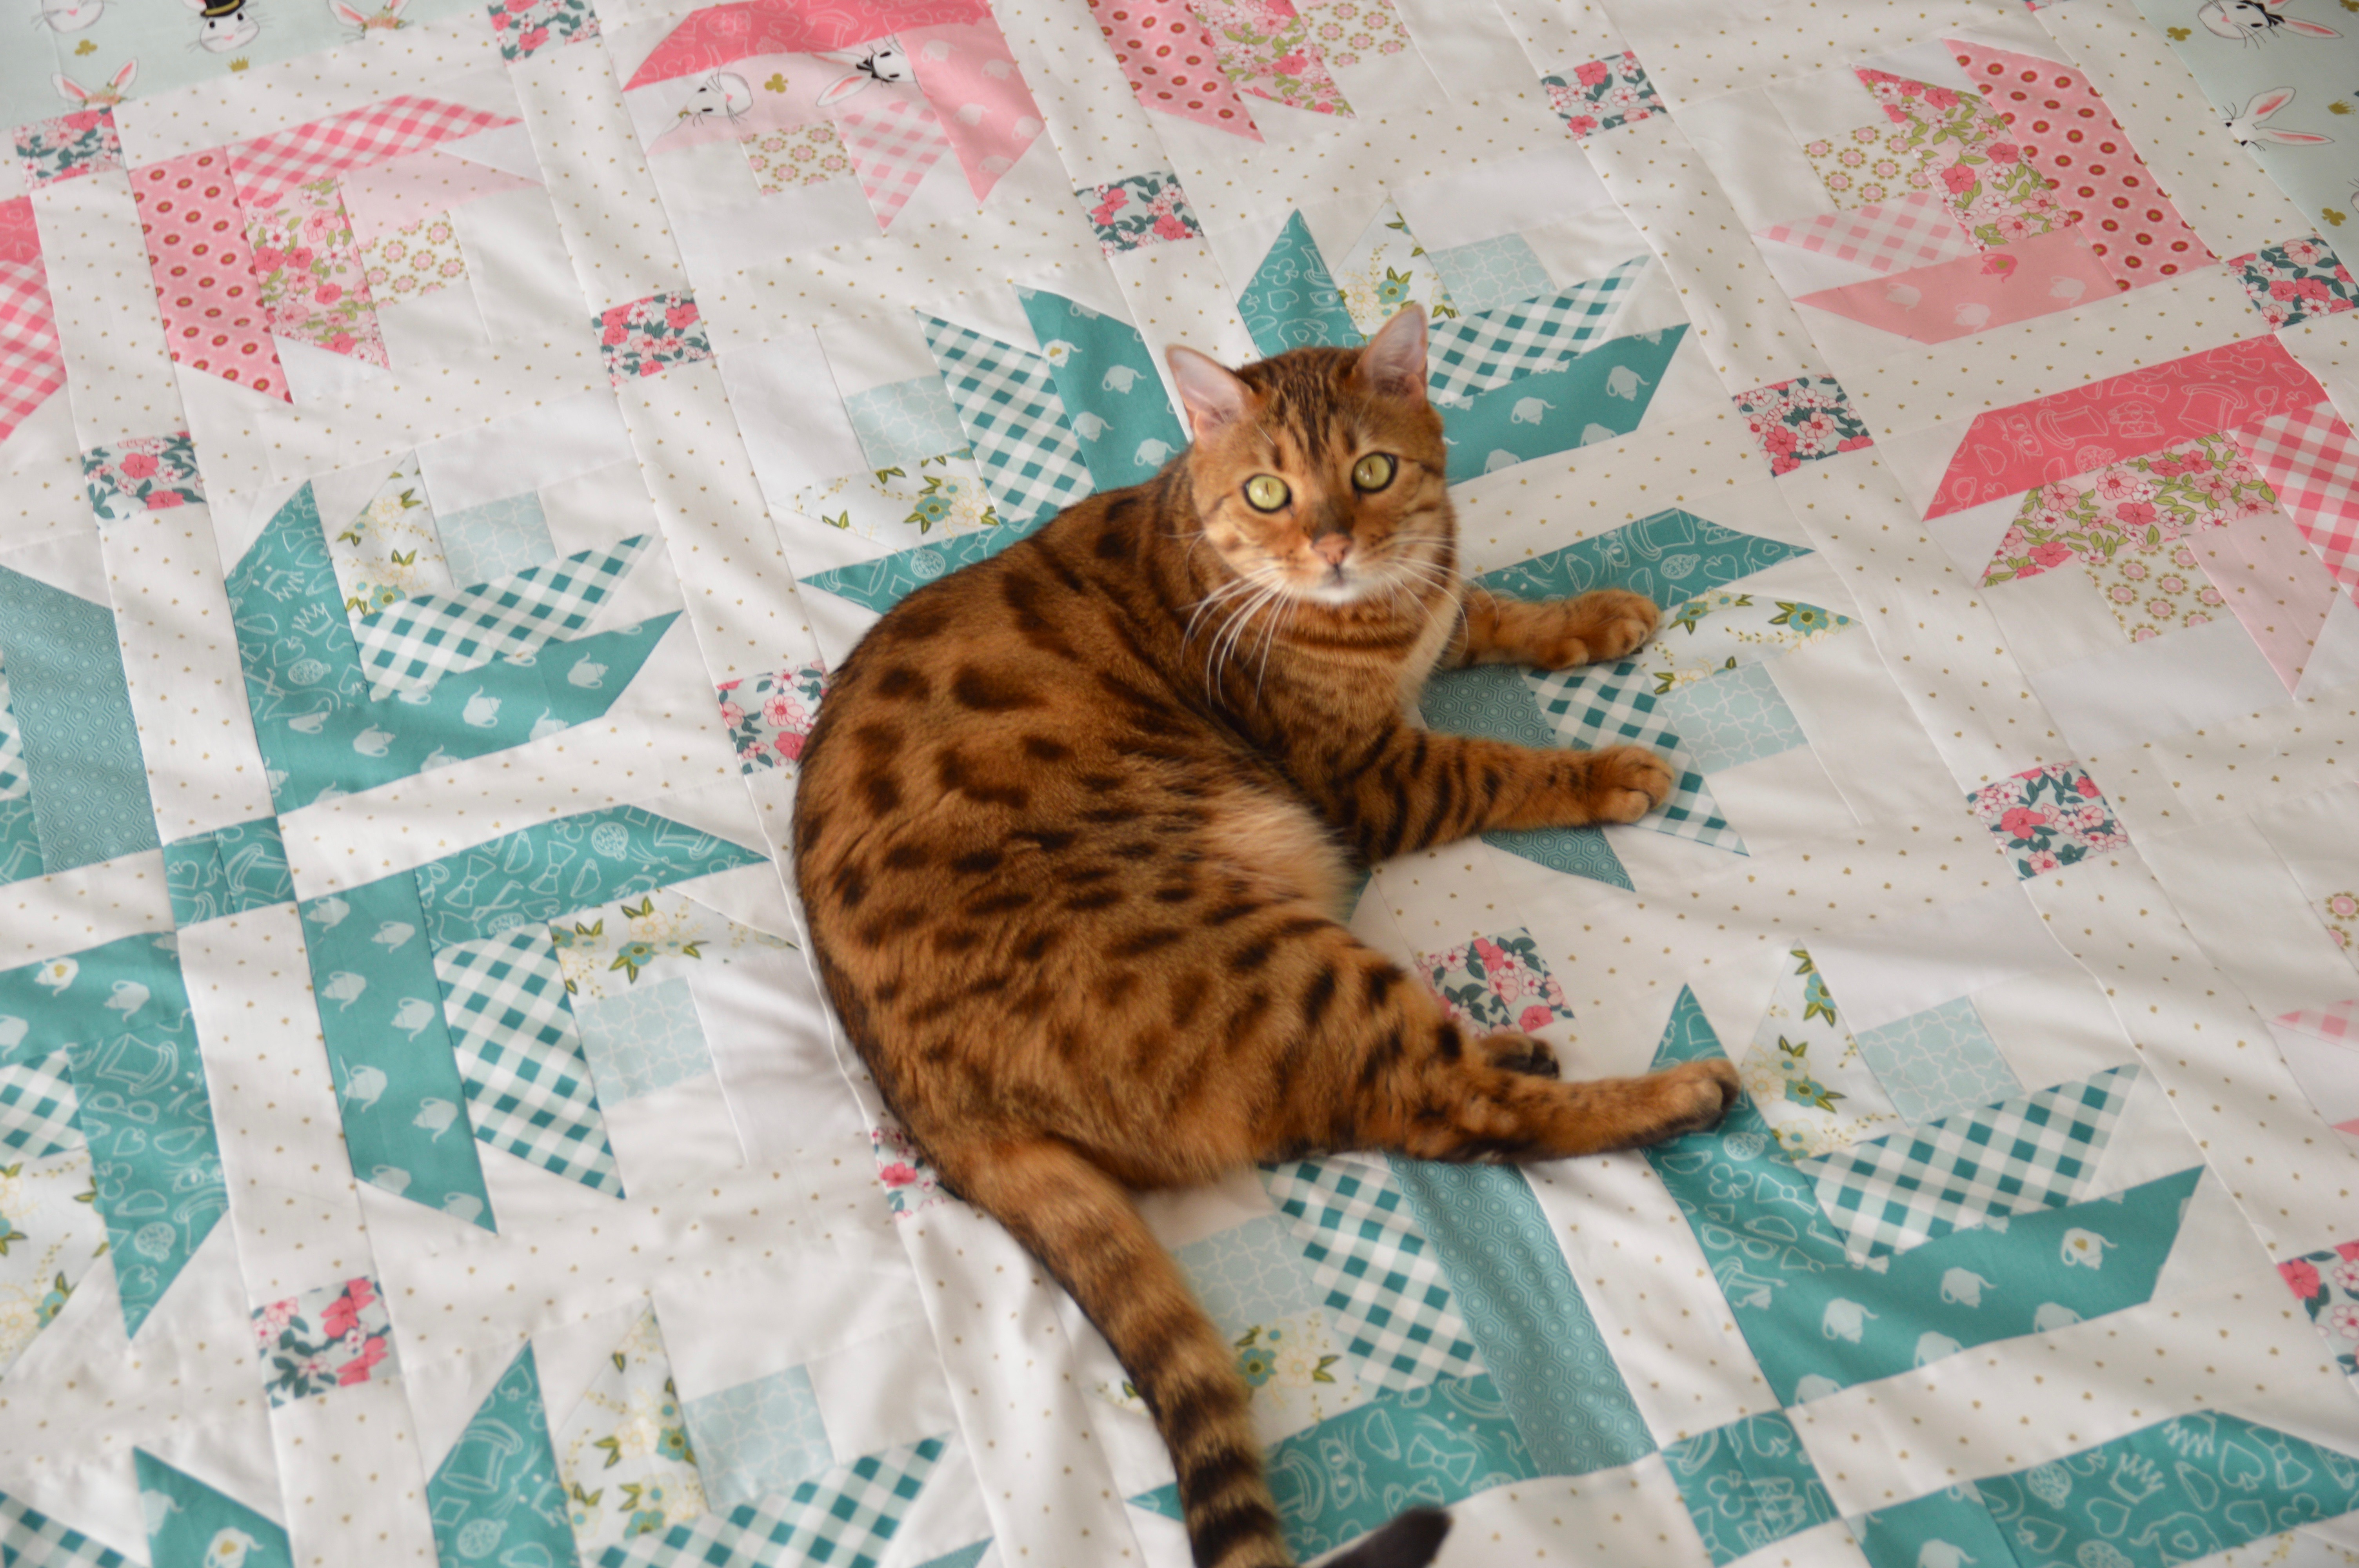
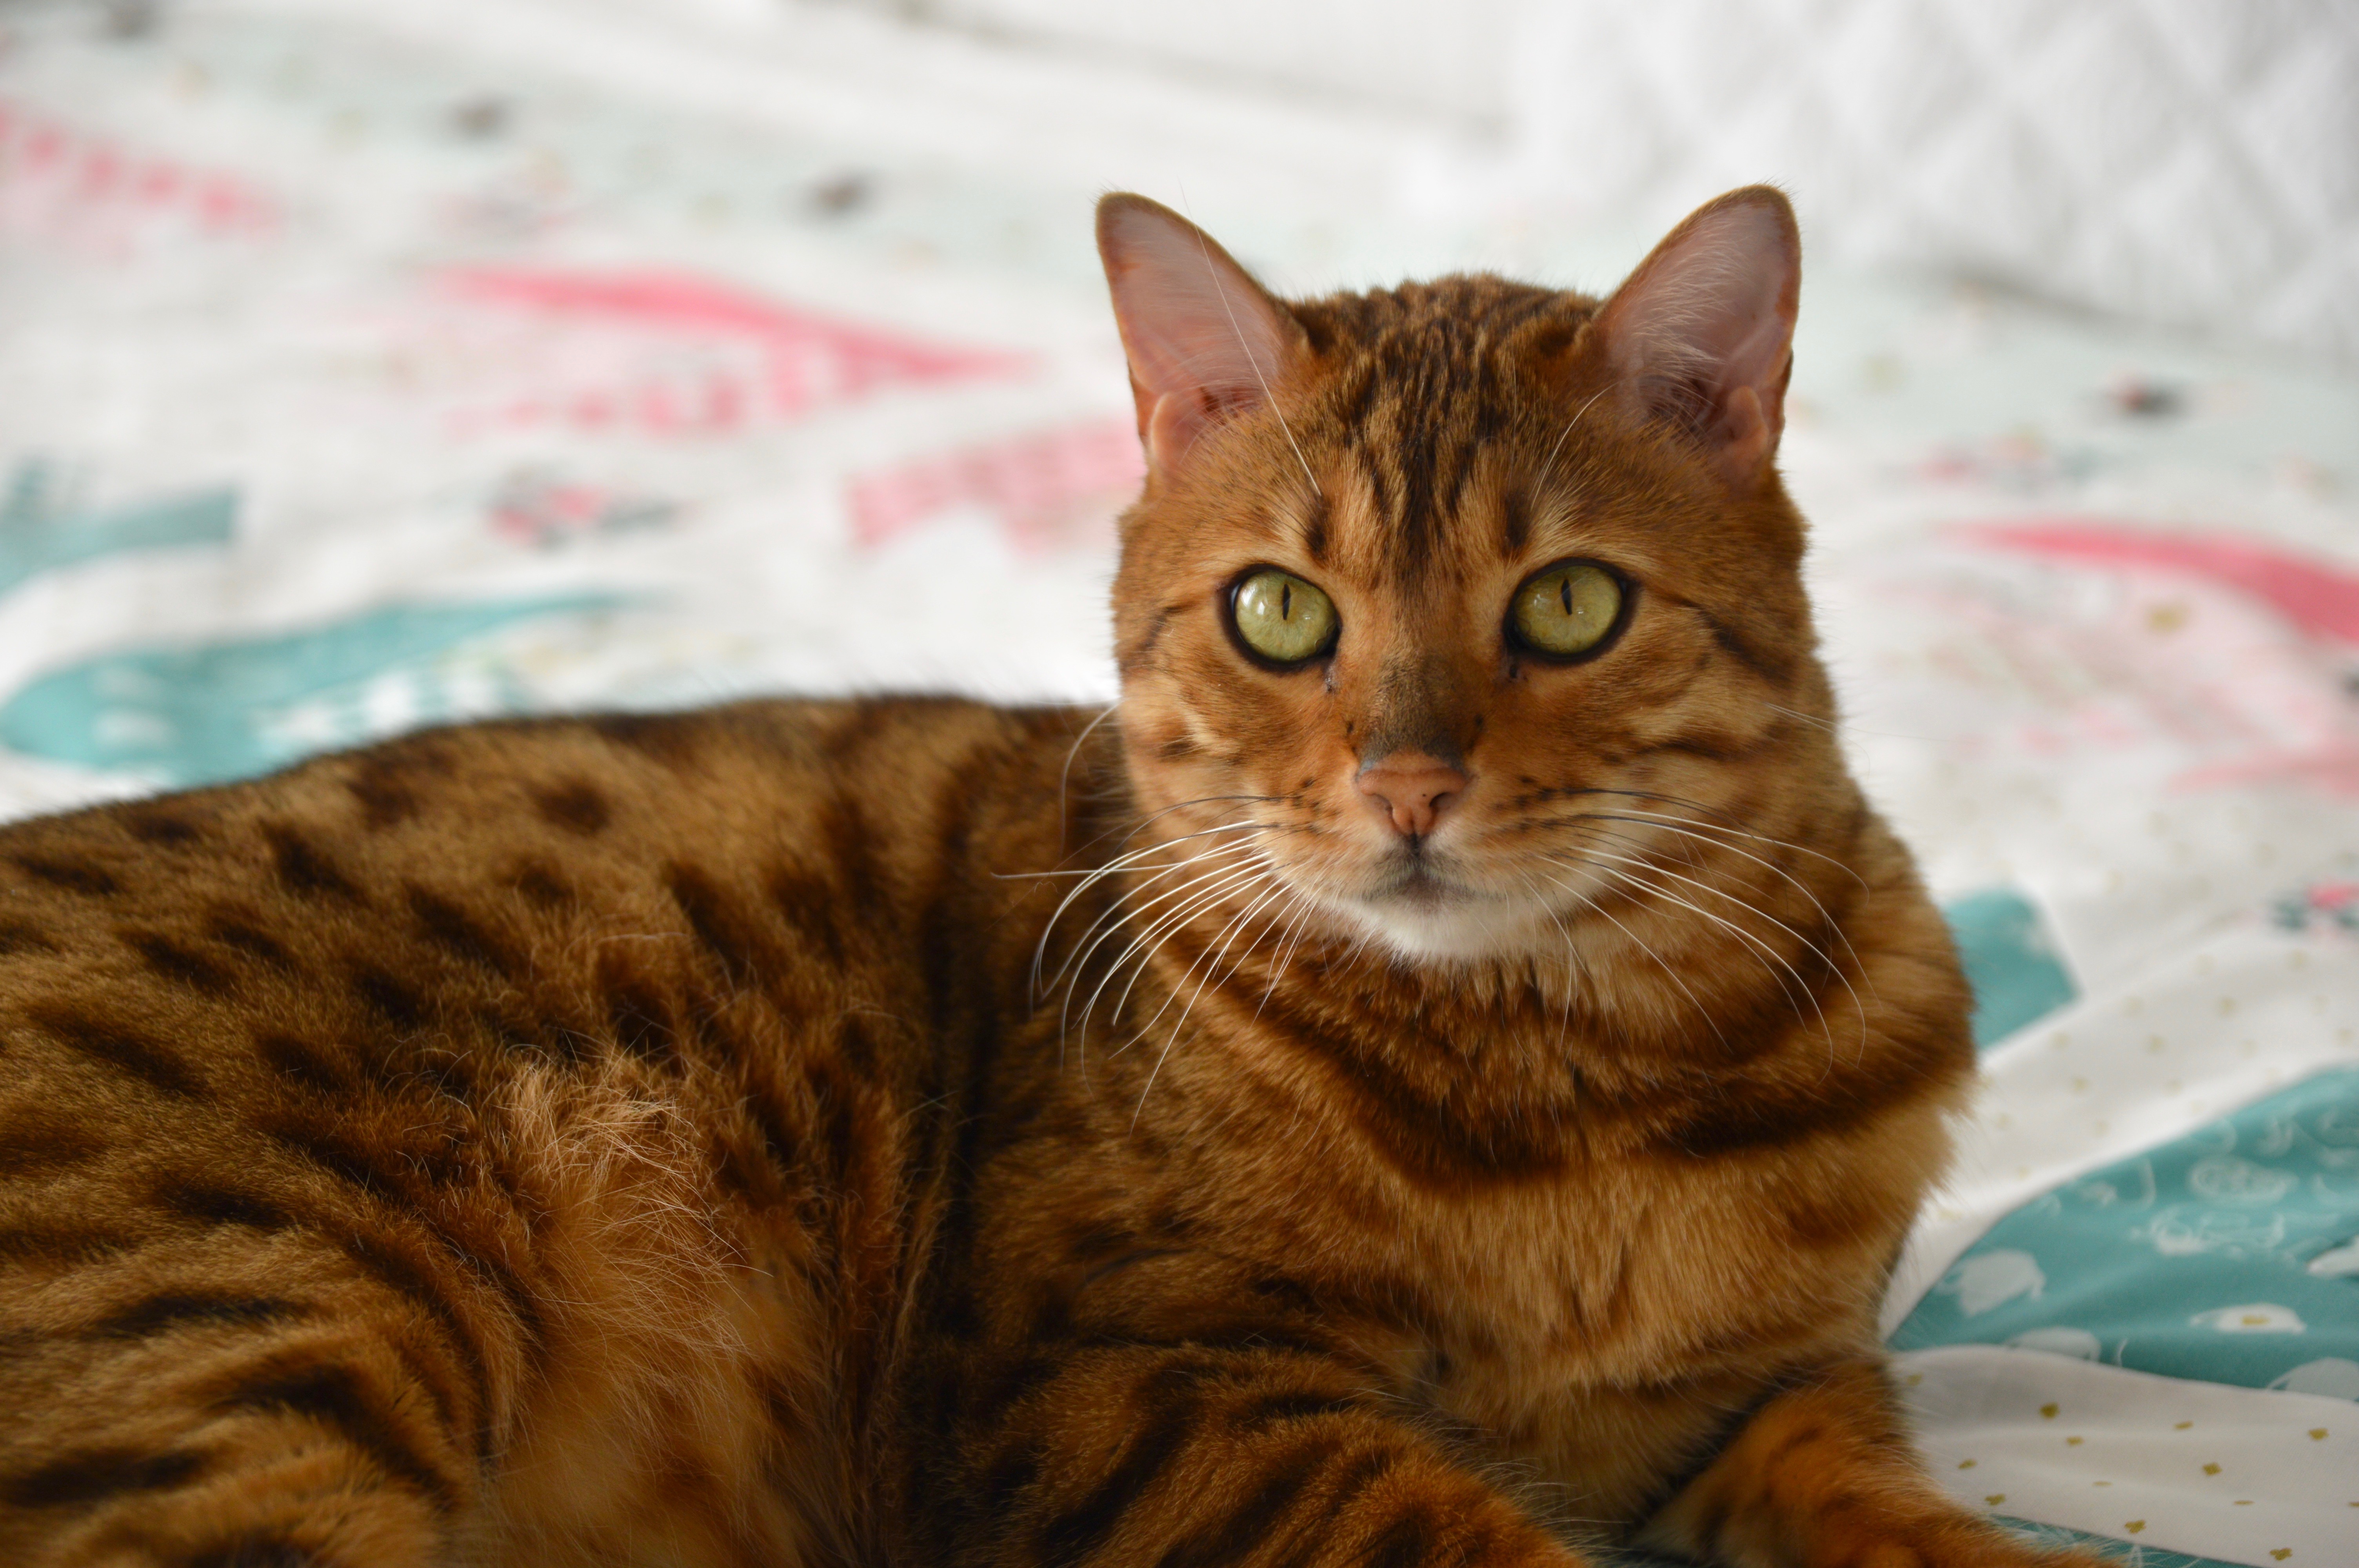 I think I have him pretty trained to sit and pose! That’s why he gets paid the big bucks 🙂
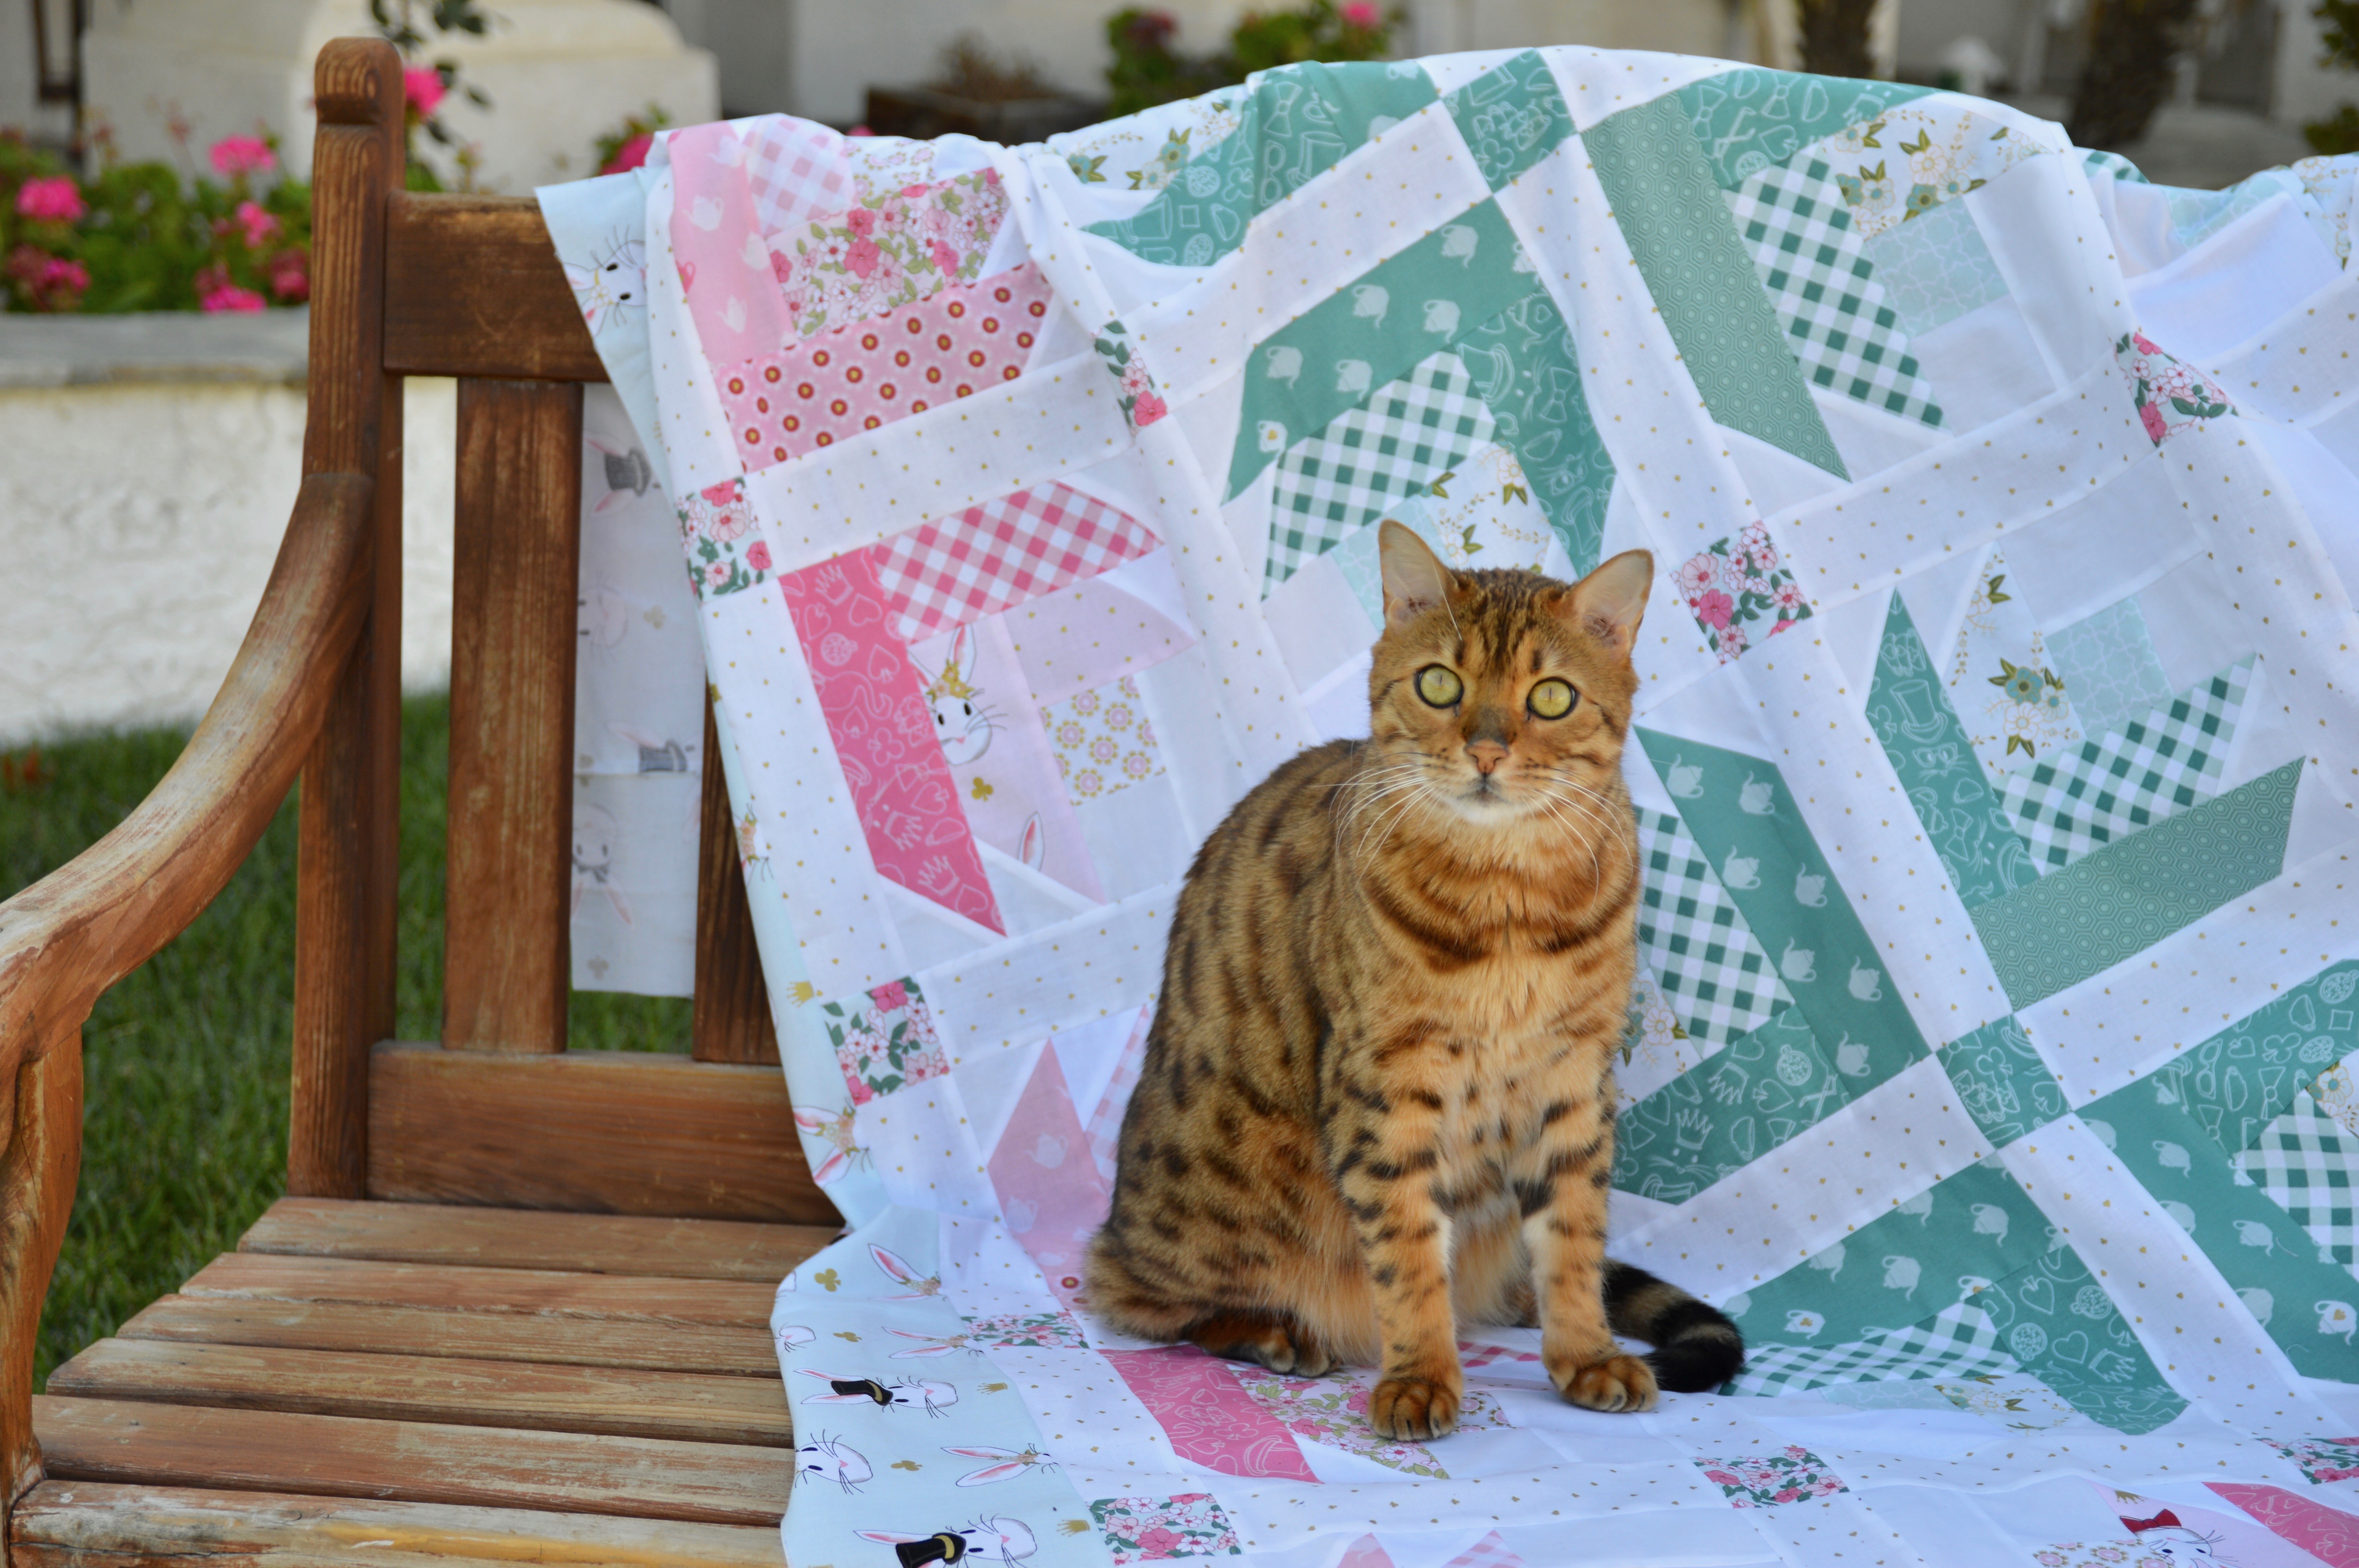
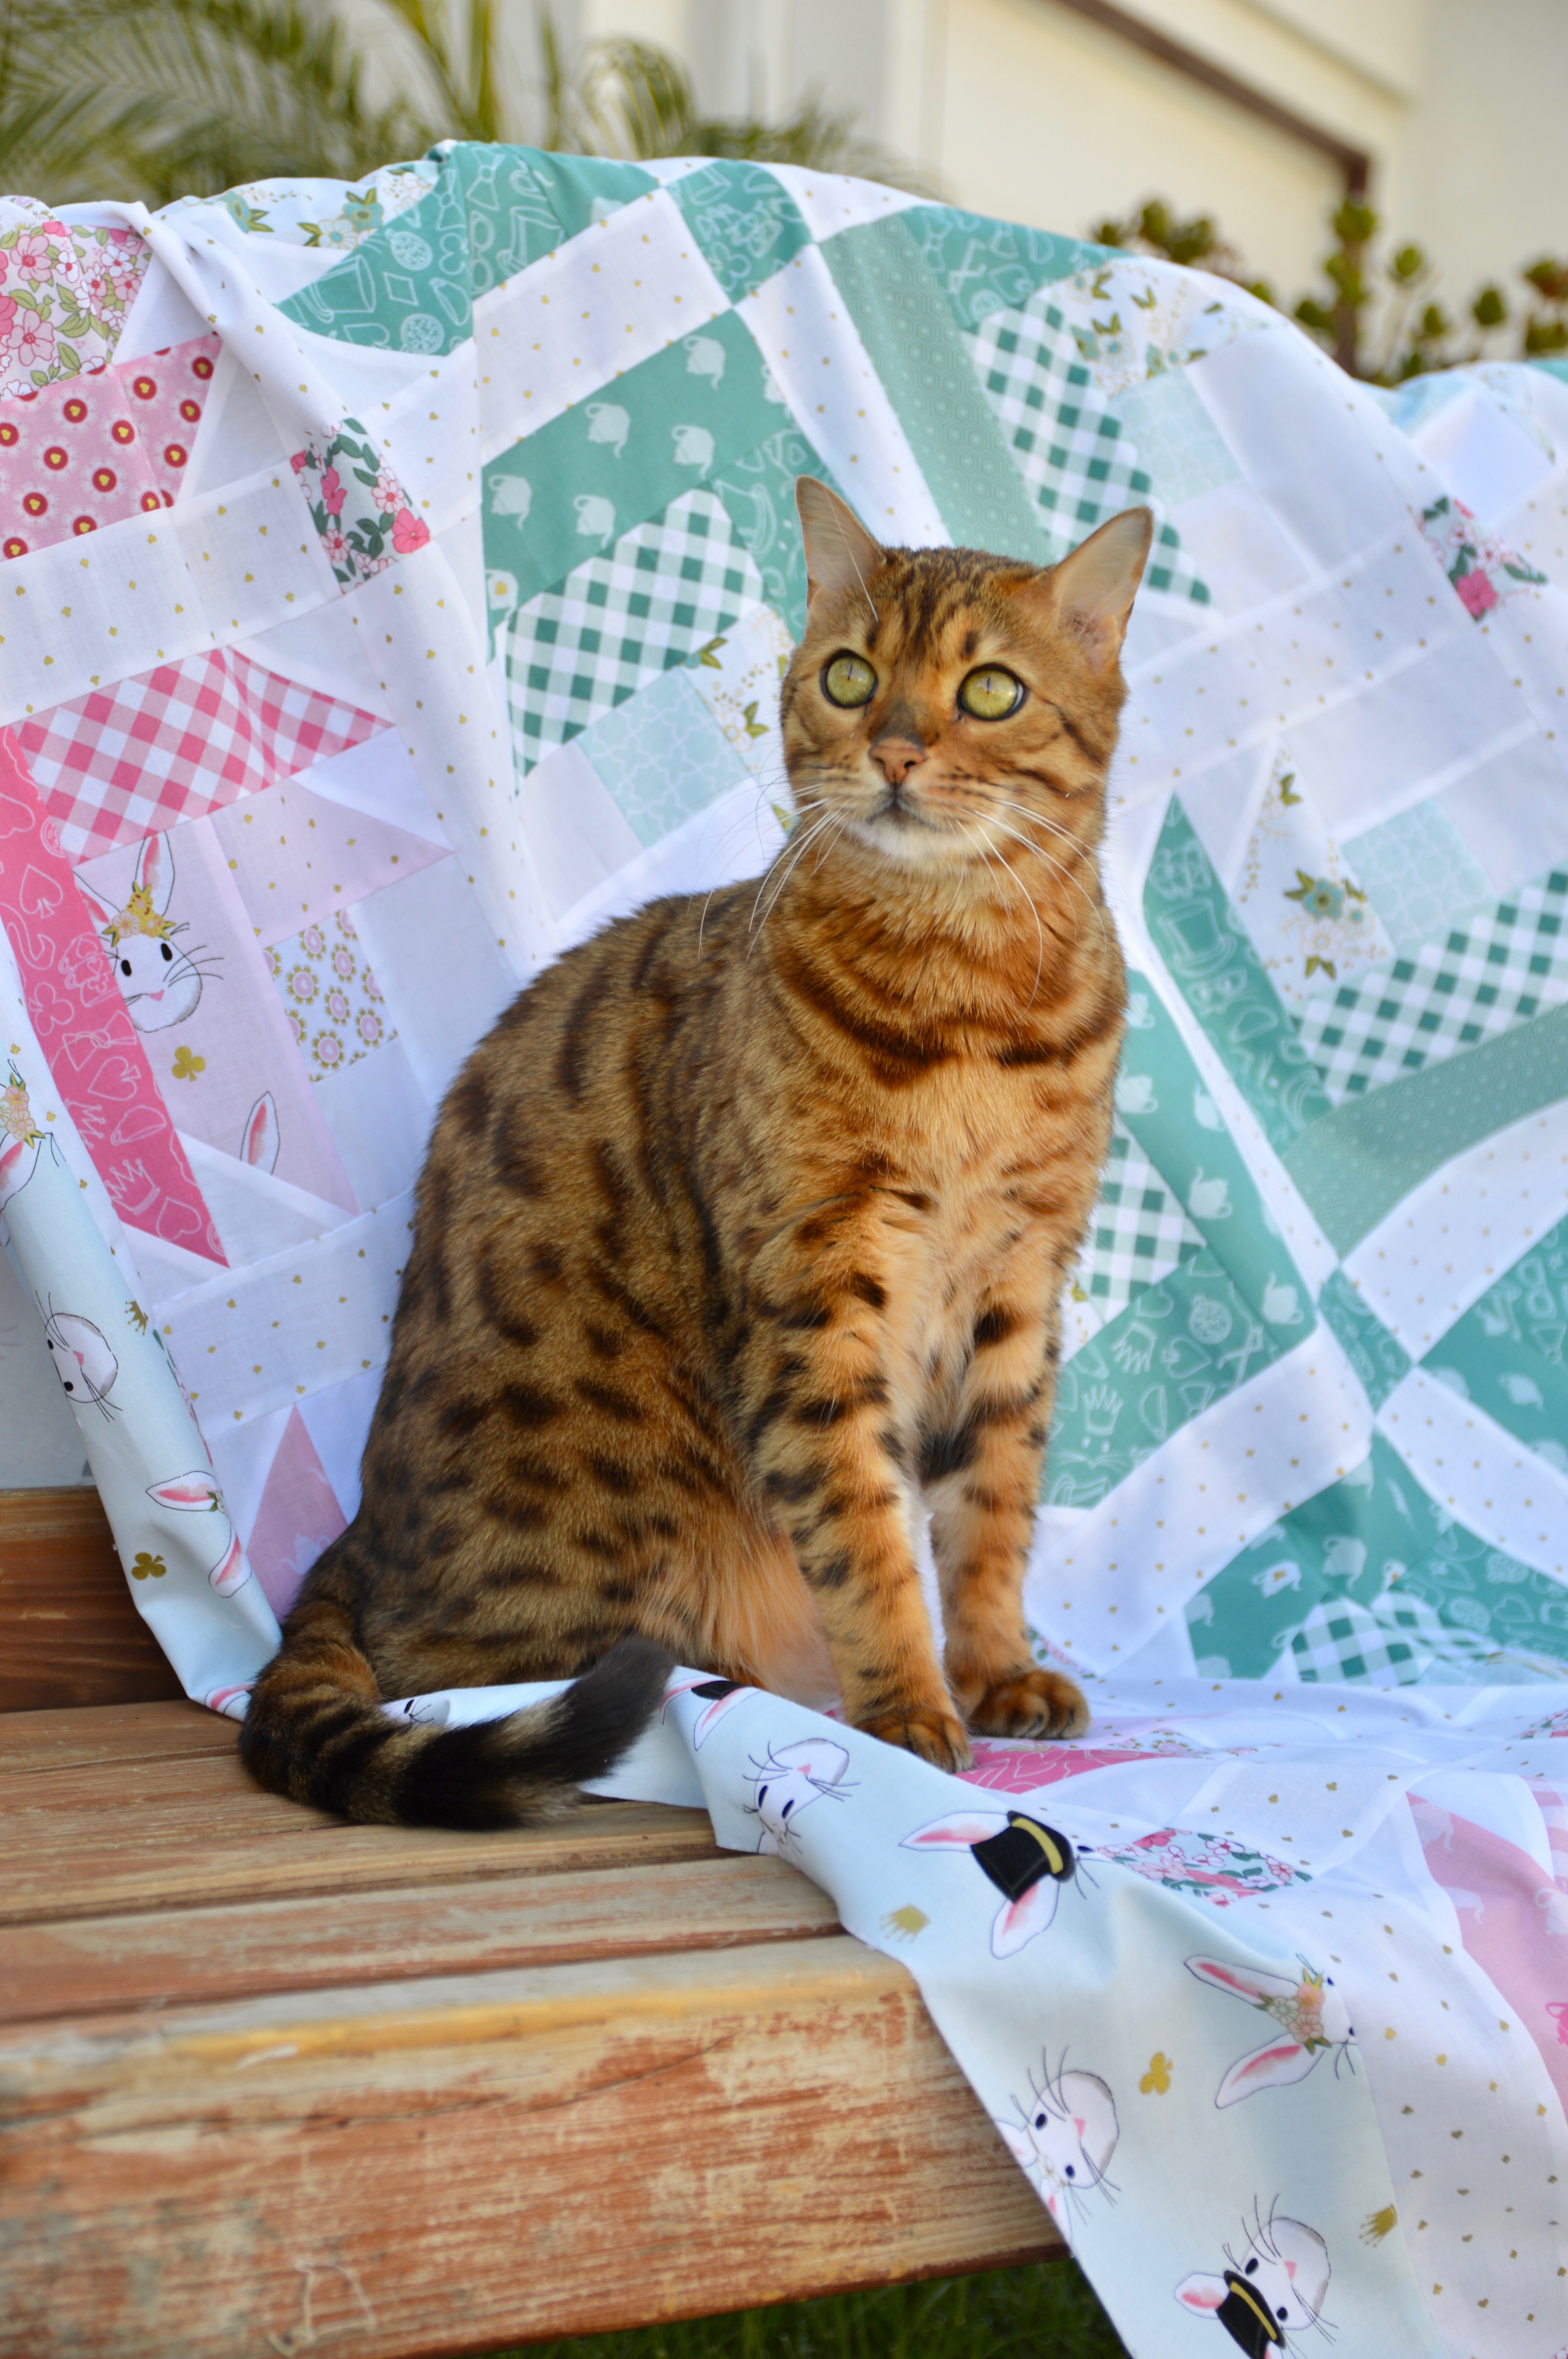
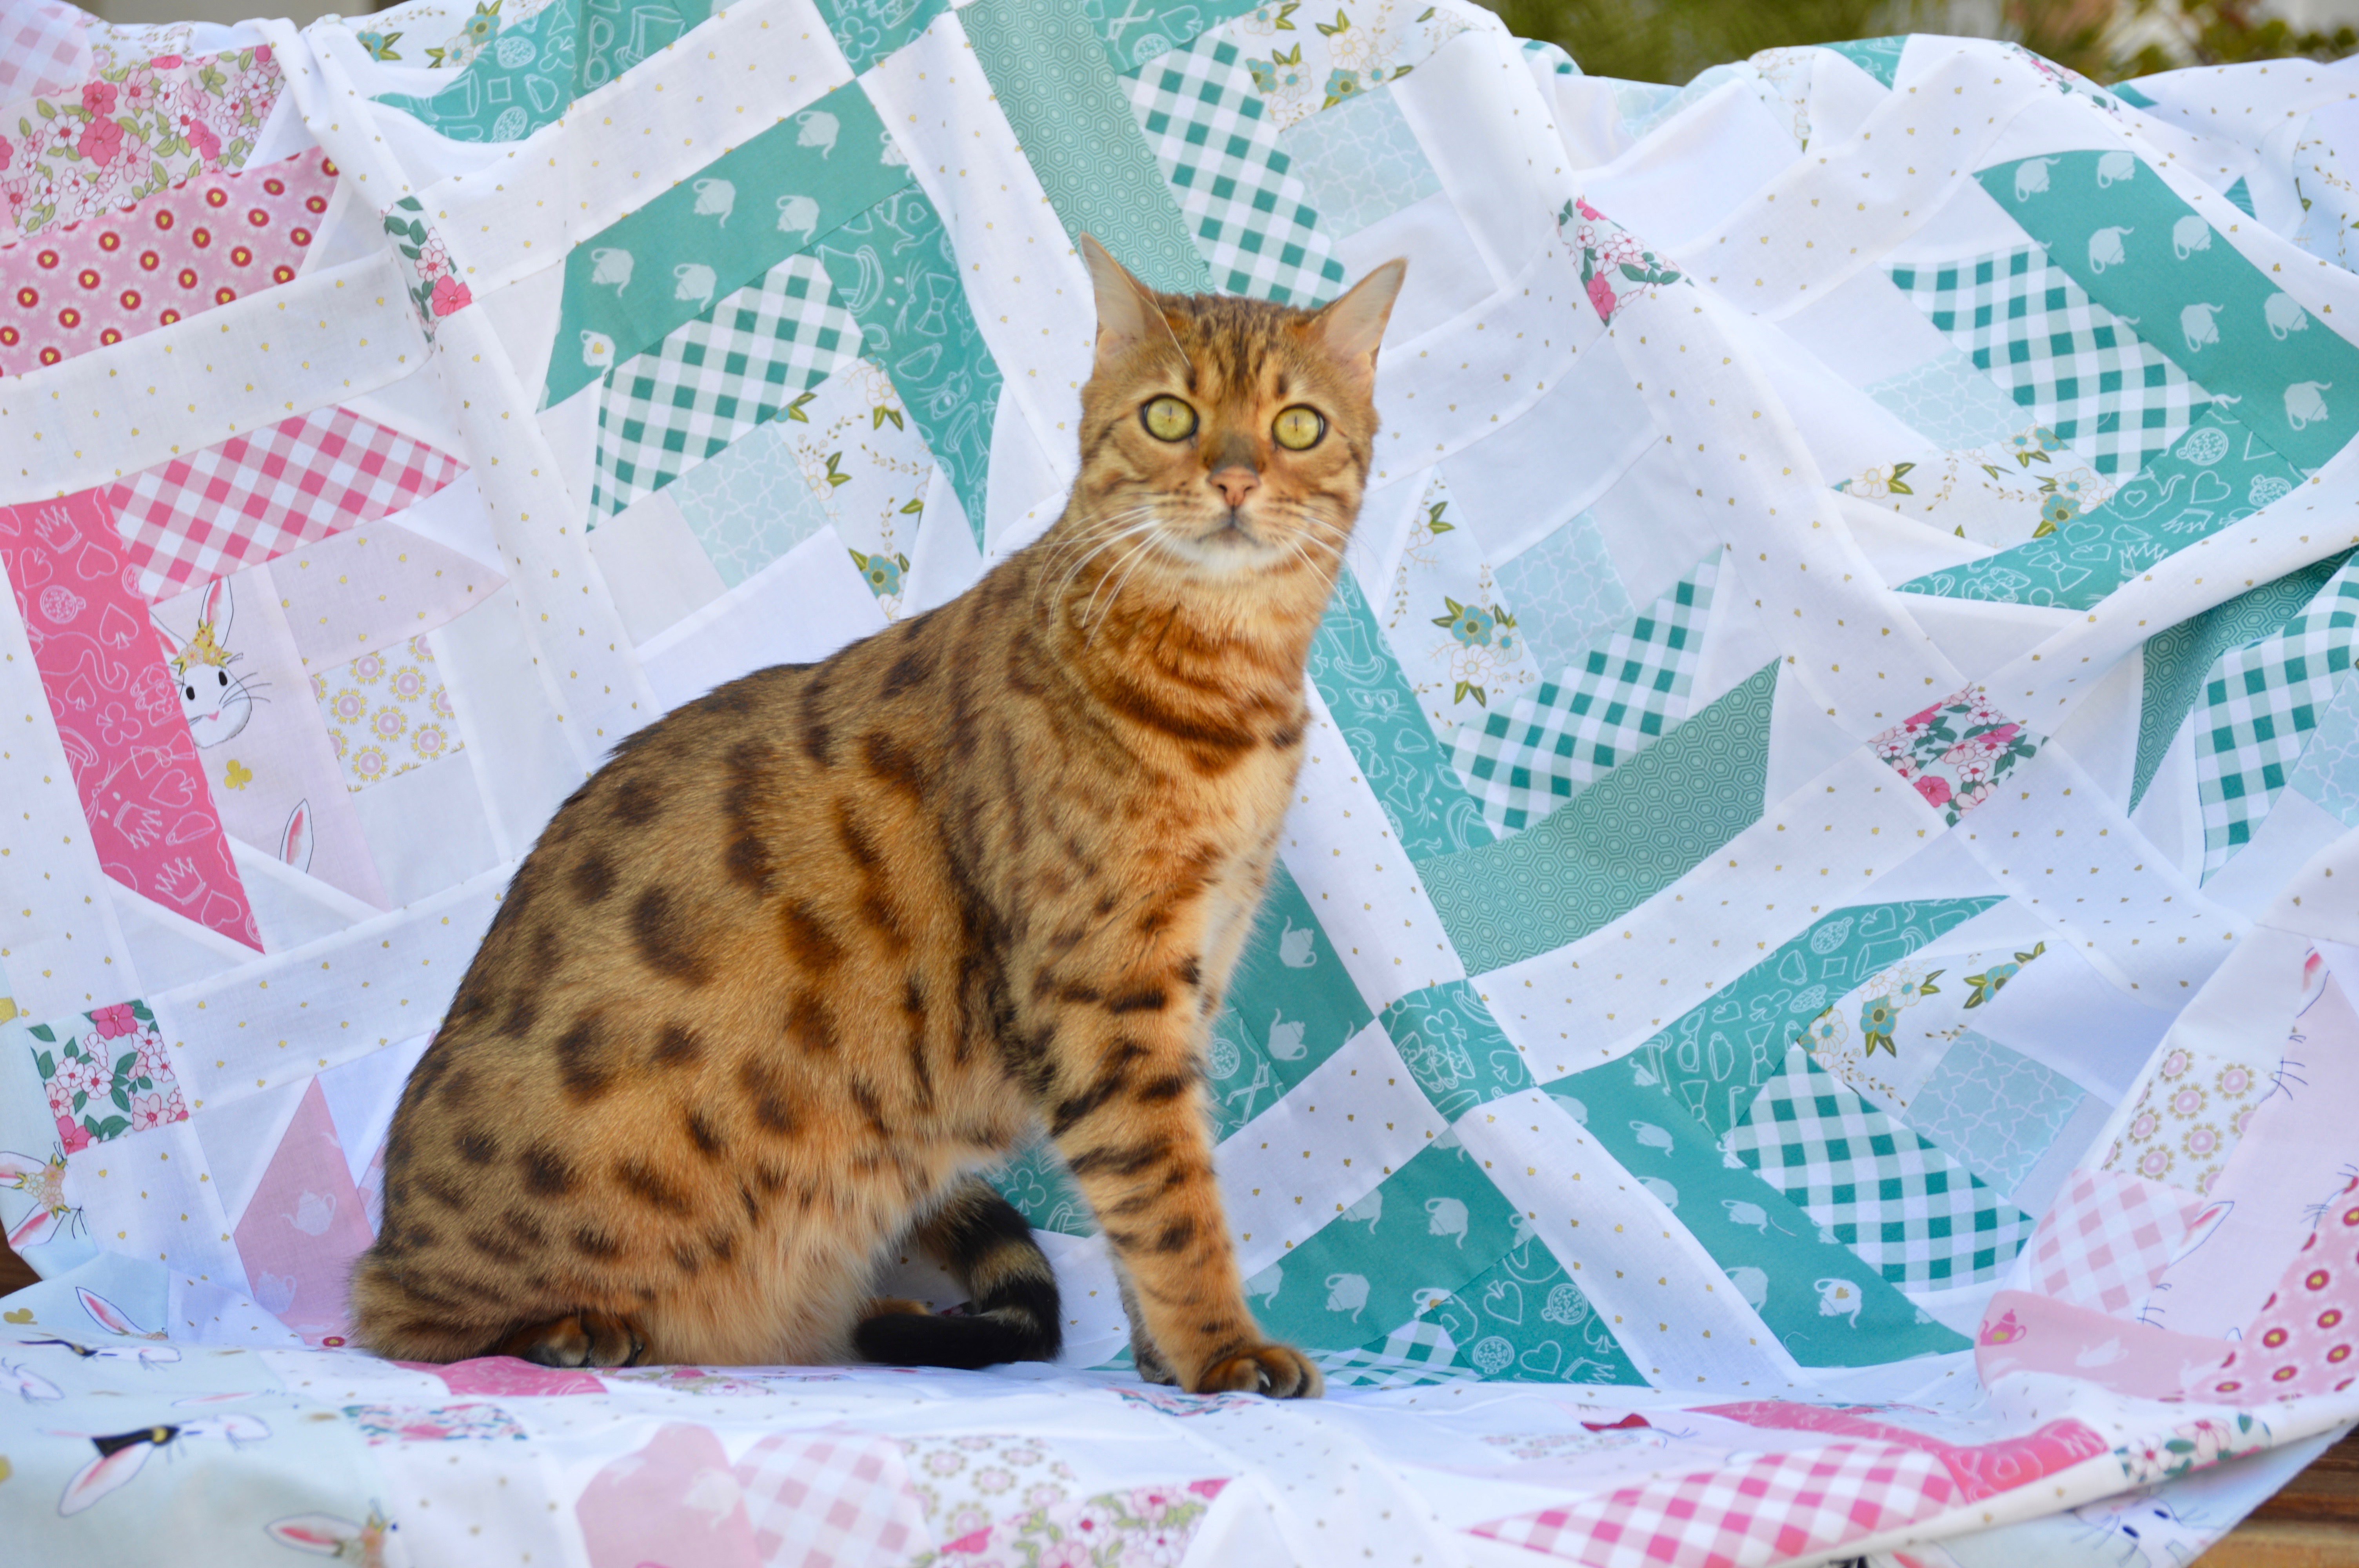
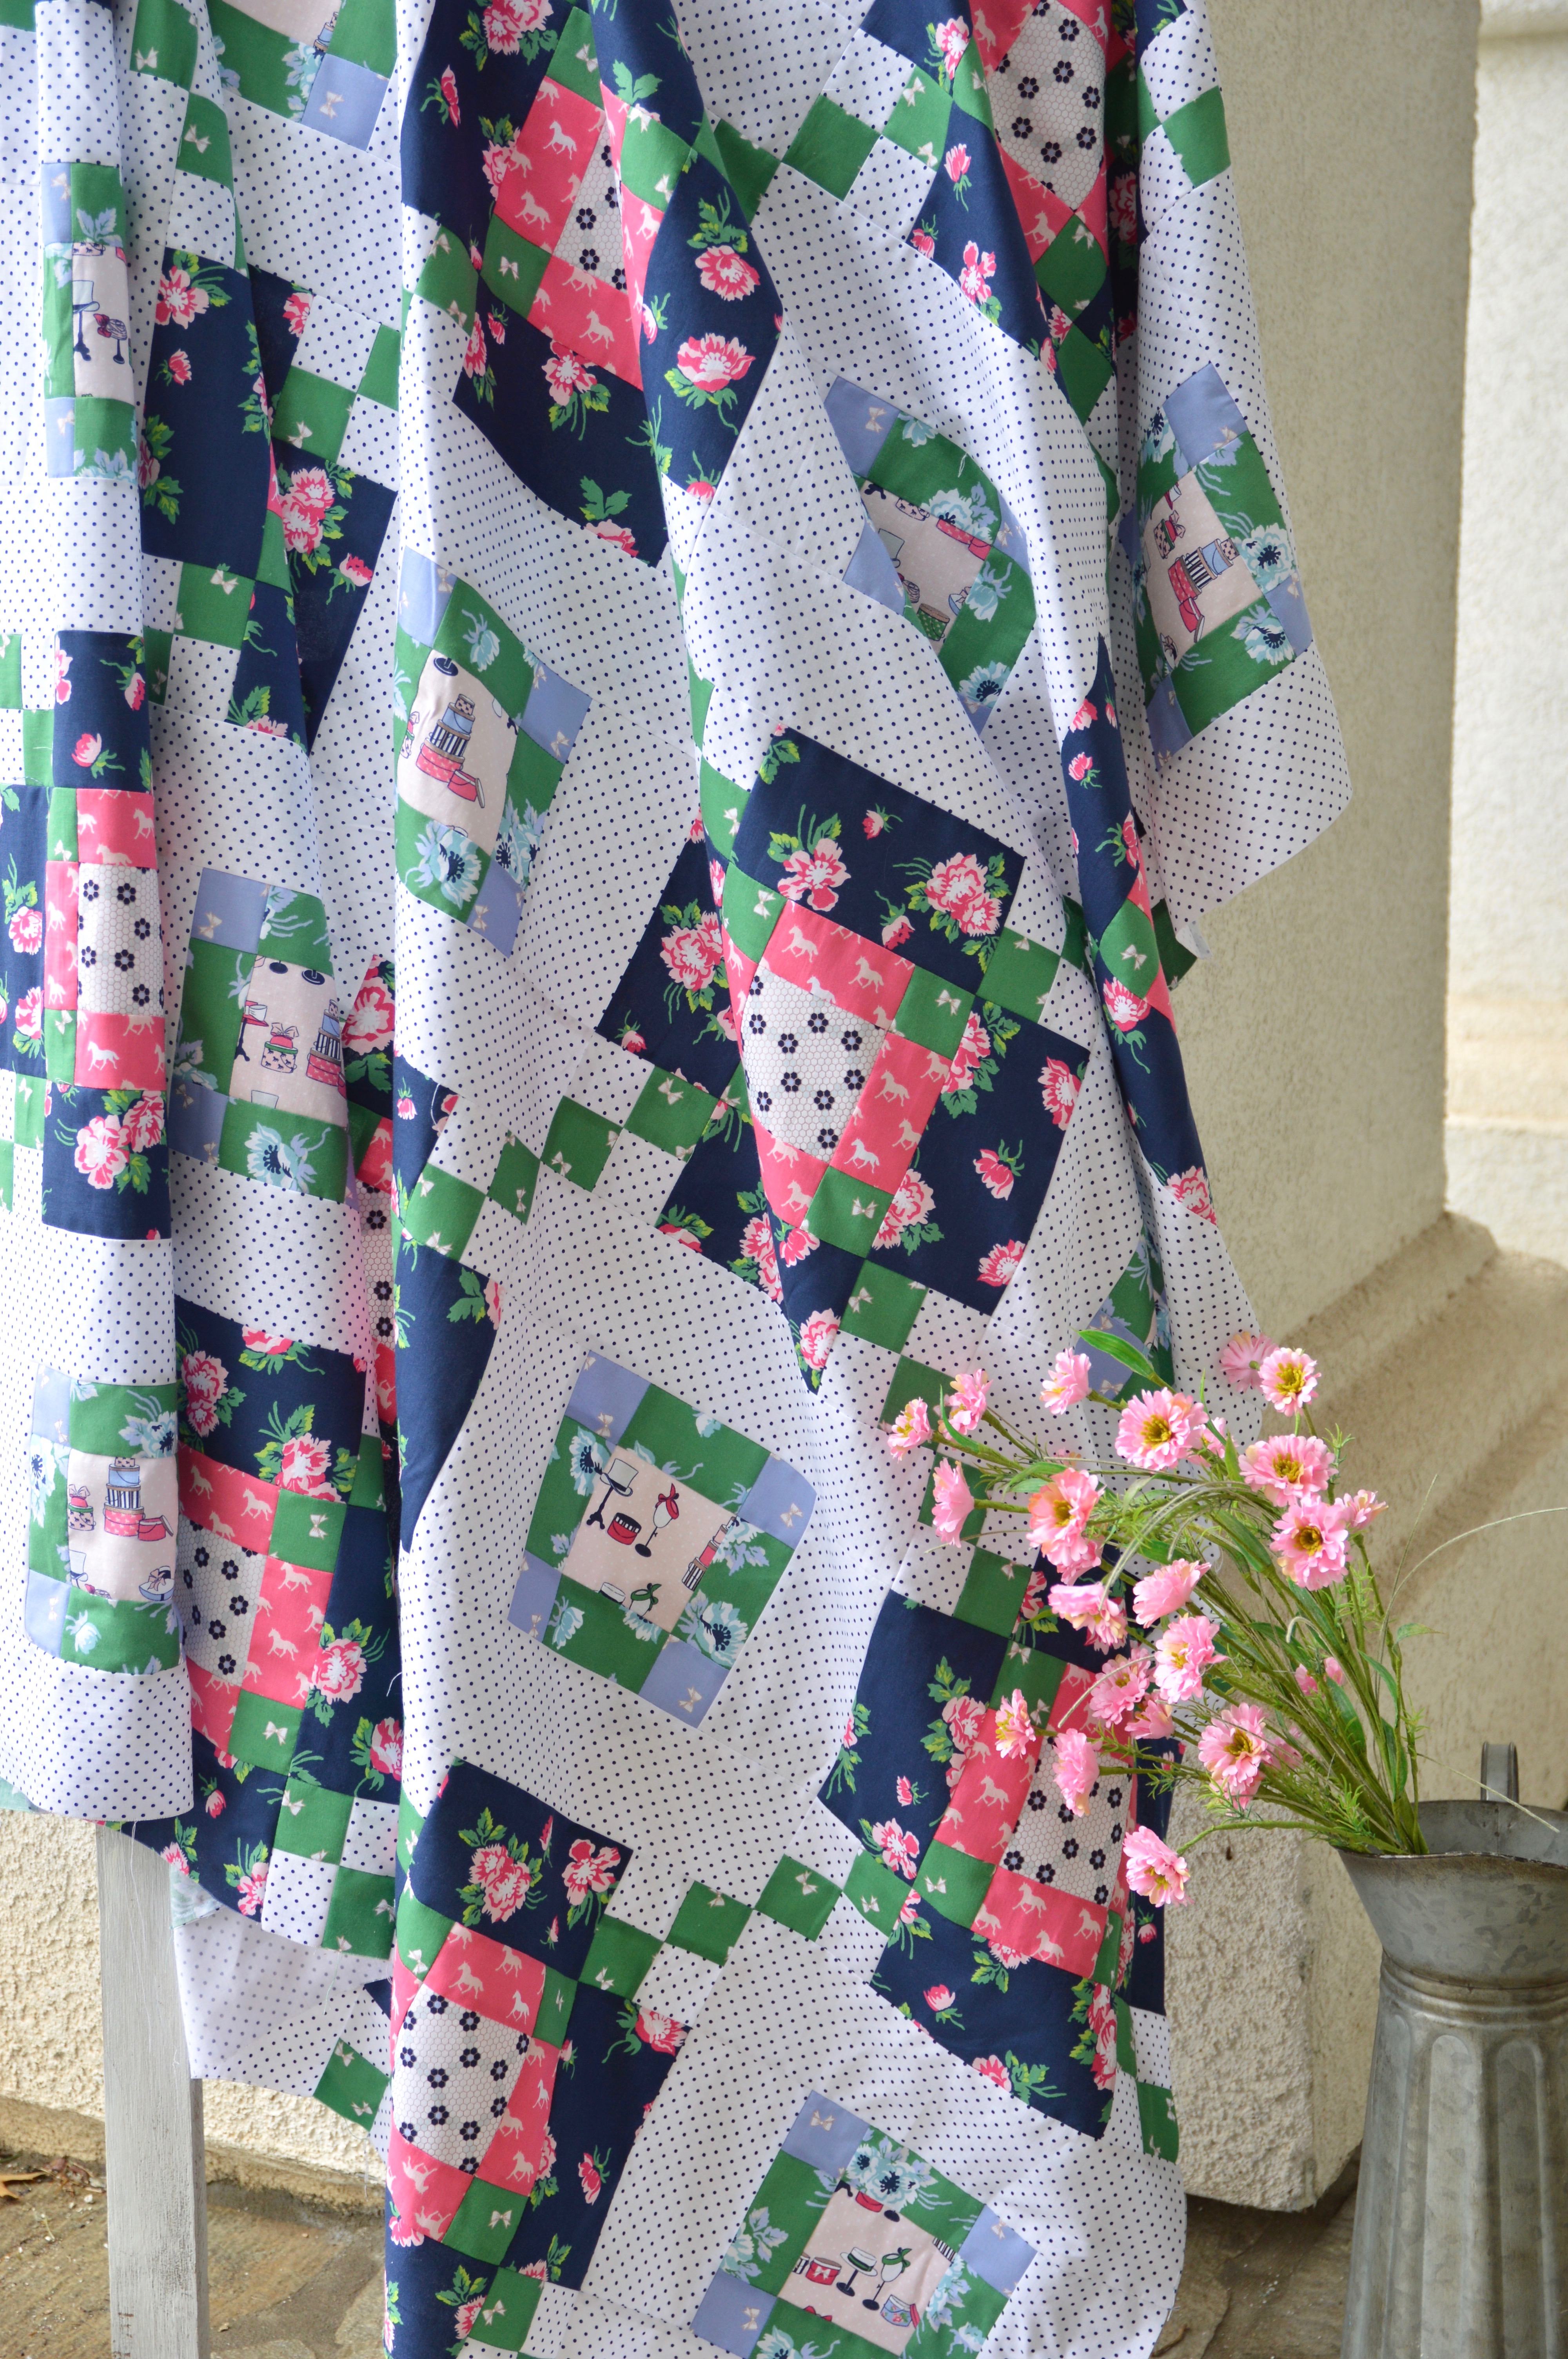
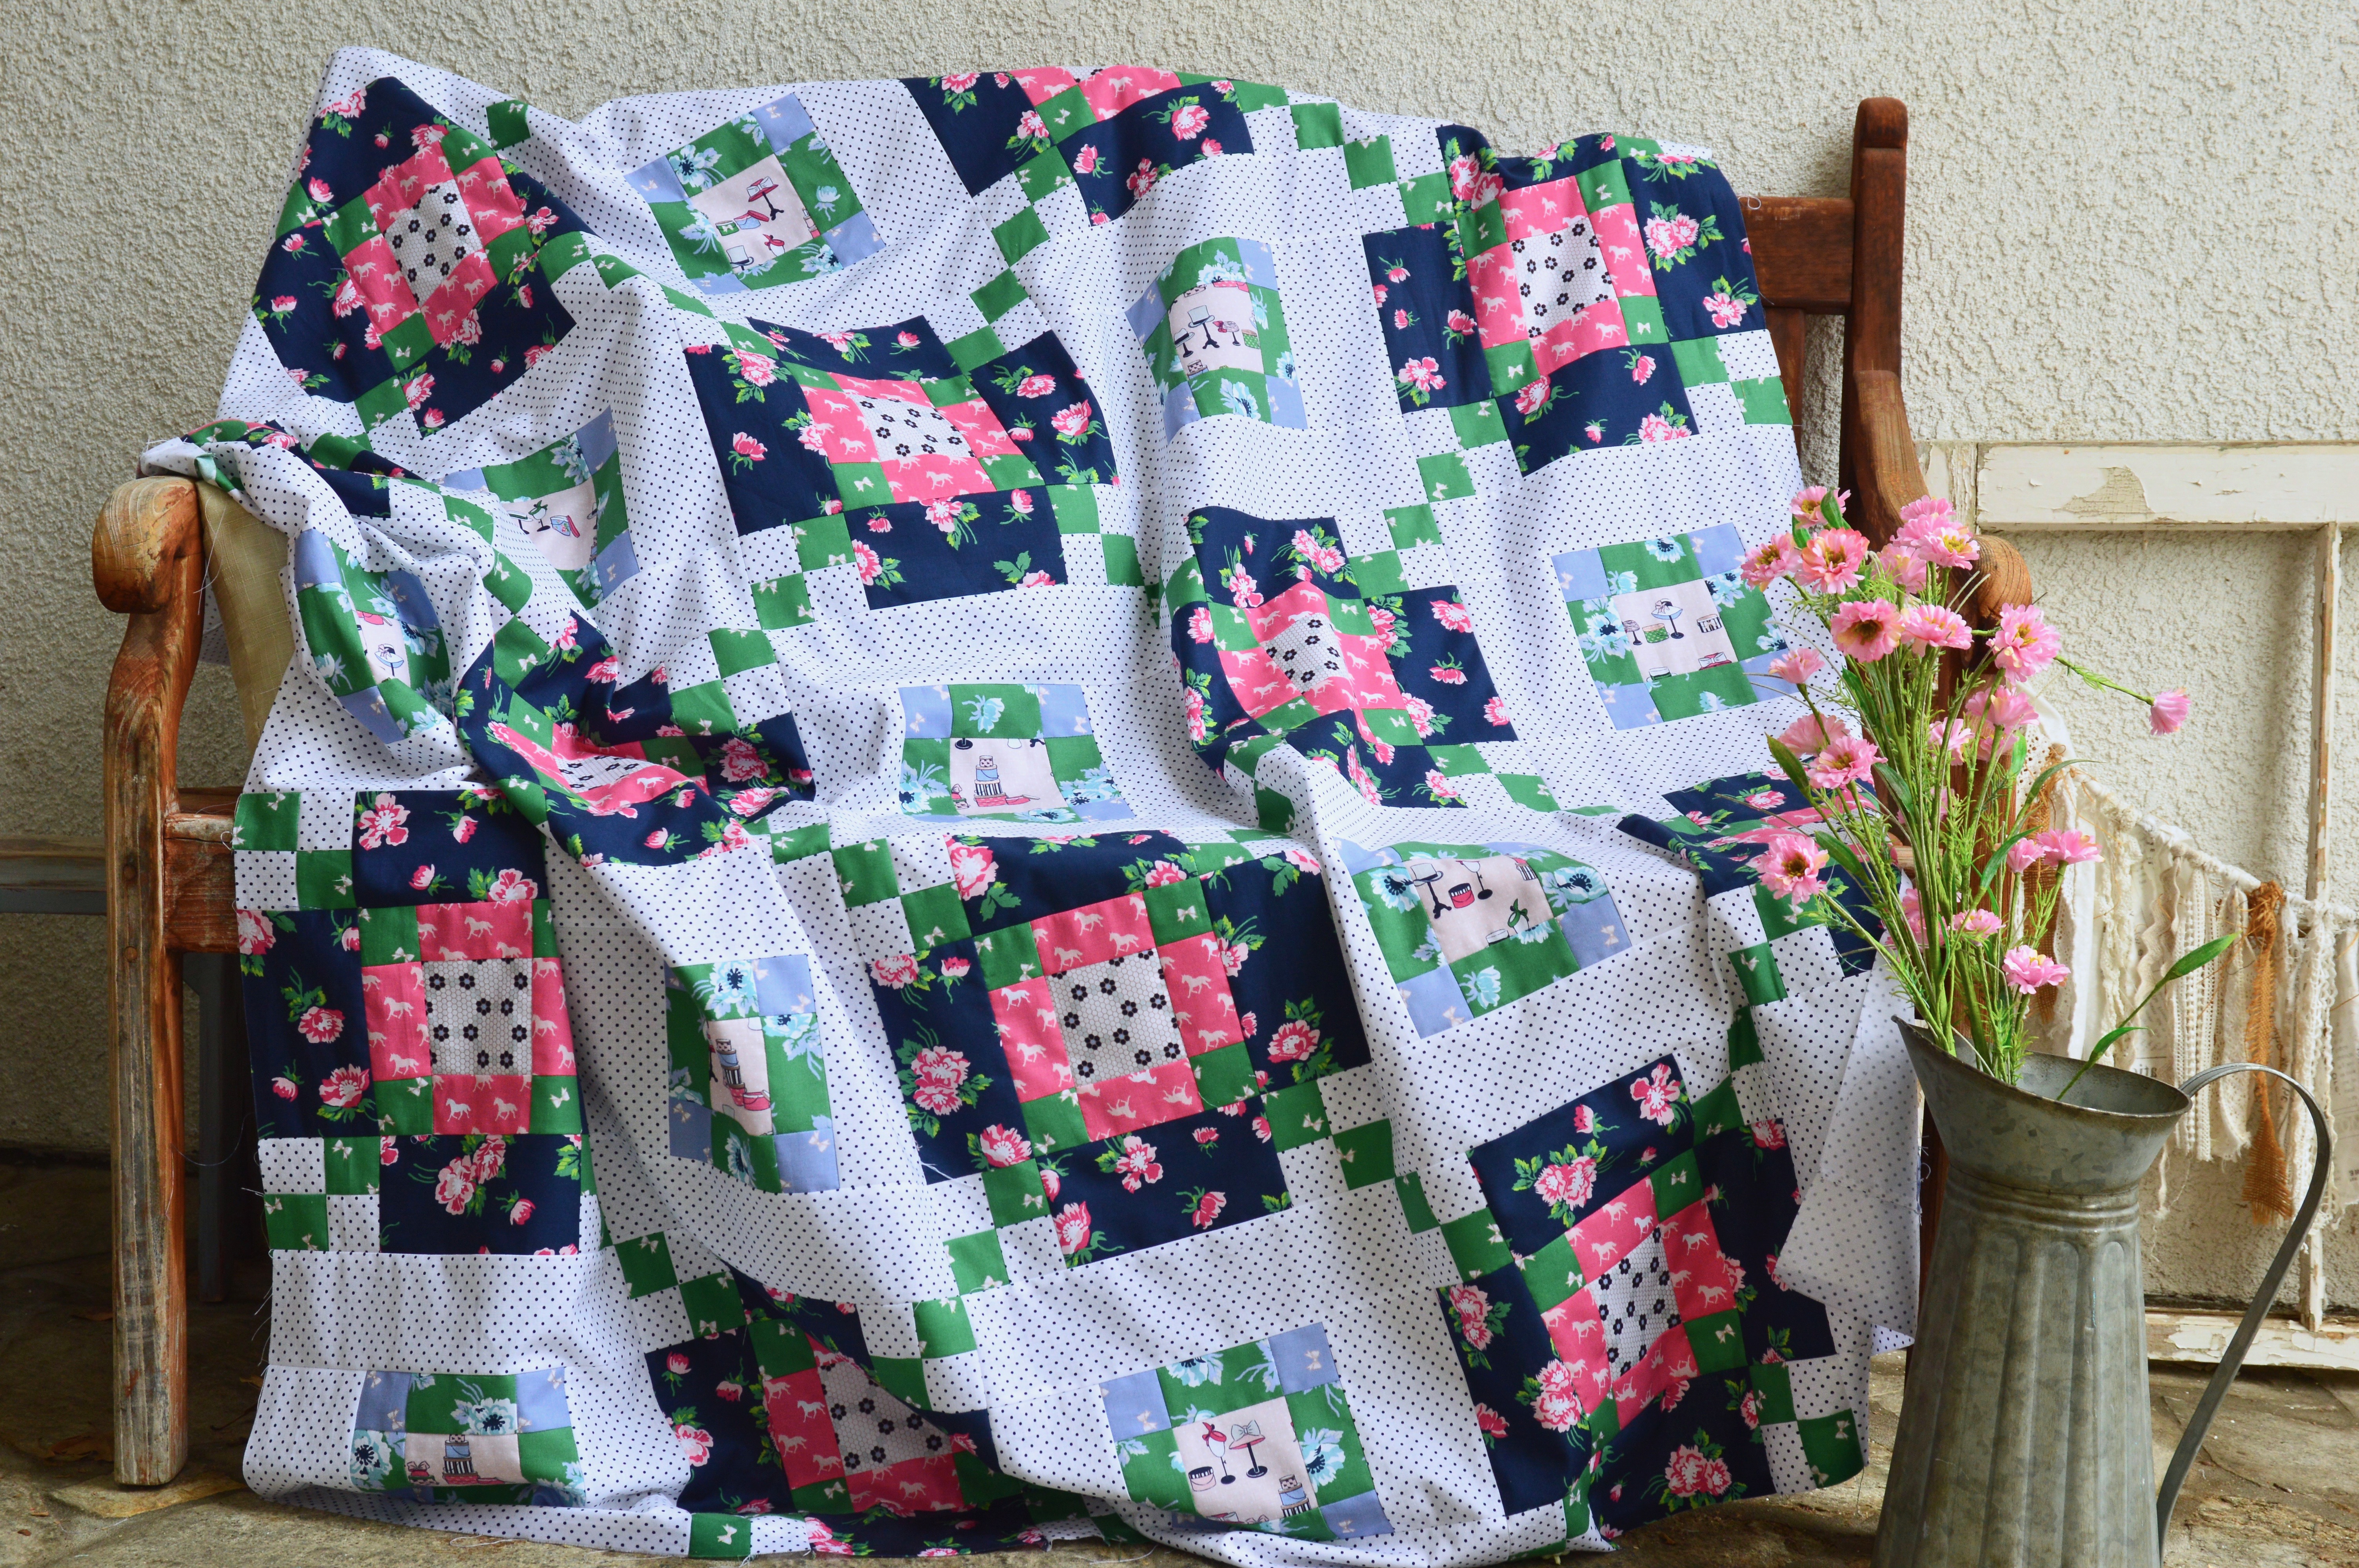
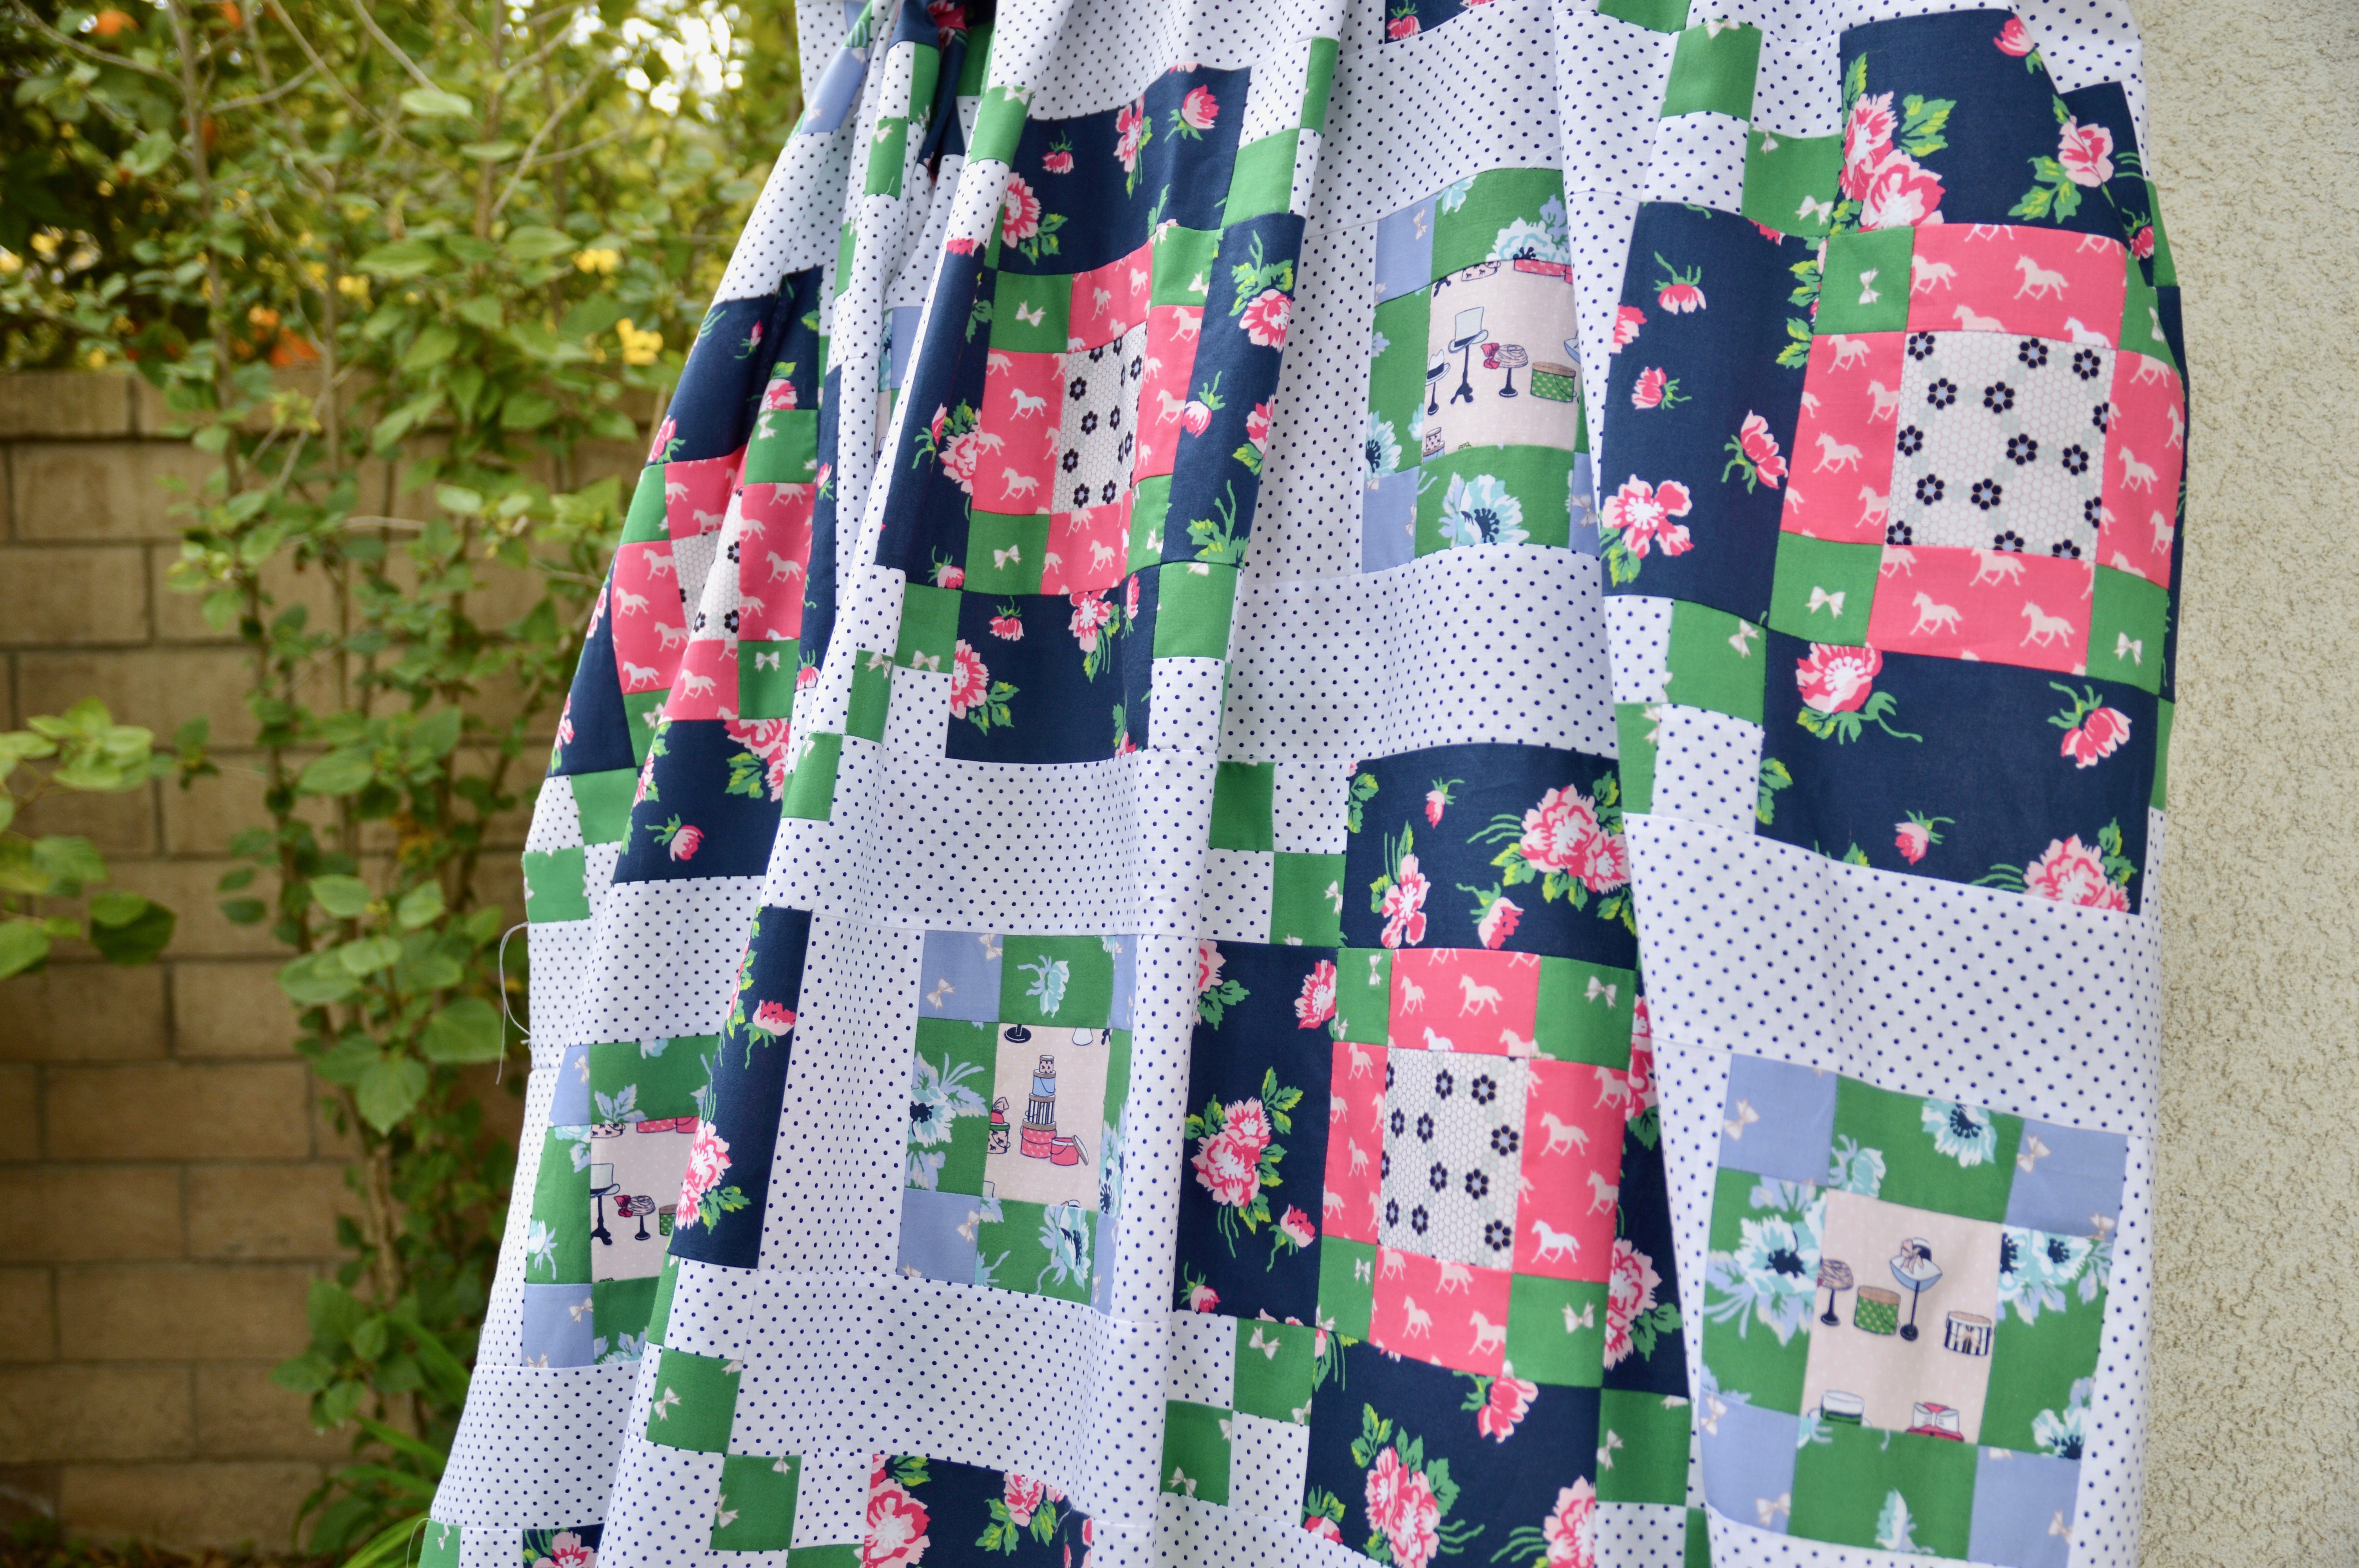
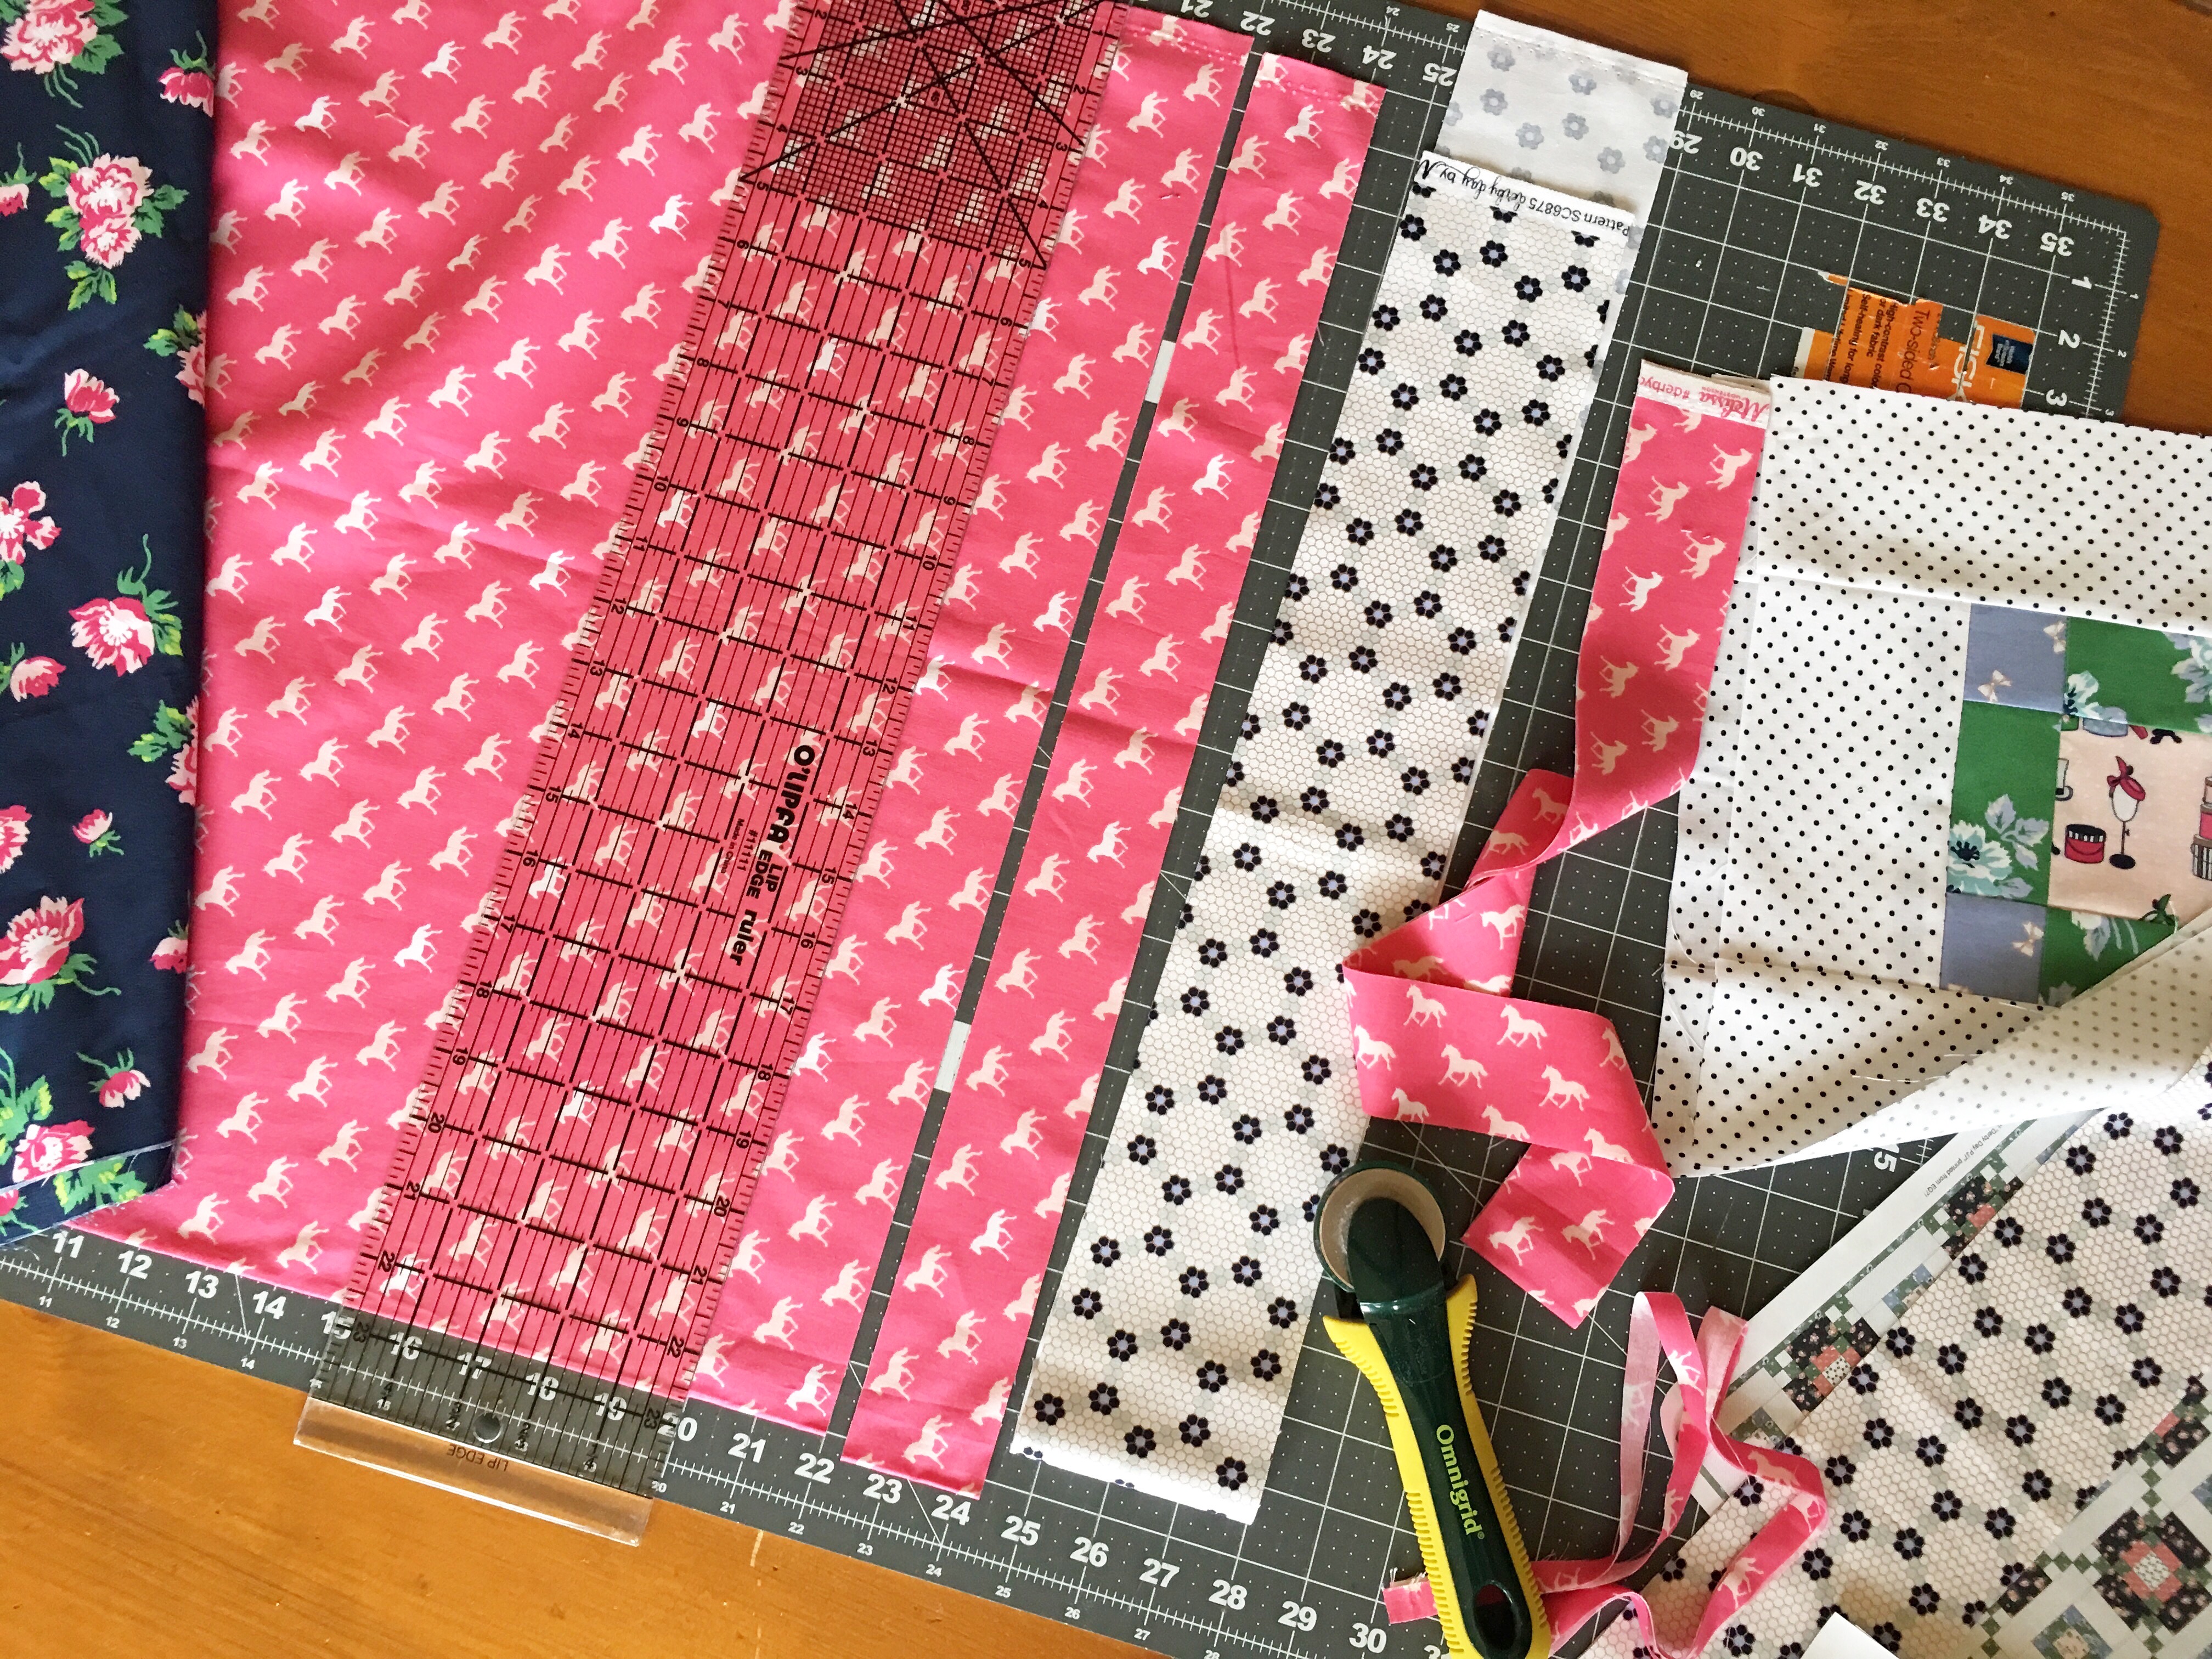 I am putting navy blue minky on the back (and sending it to the quilter) and then it will be MY new movie watching quilt!!!!