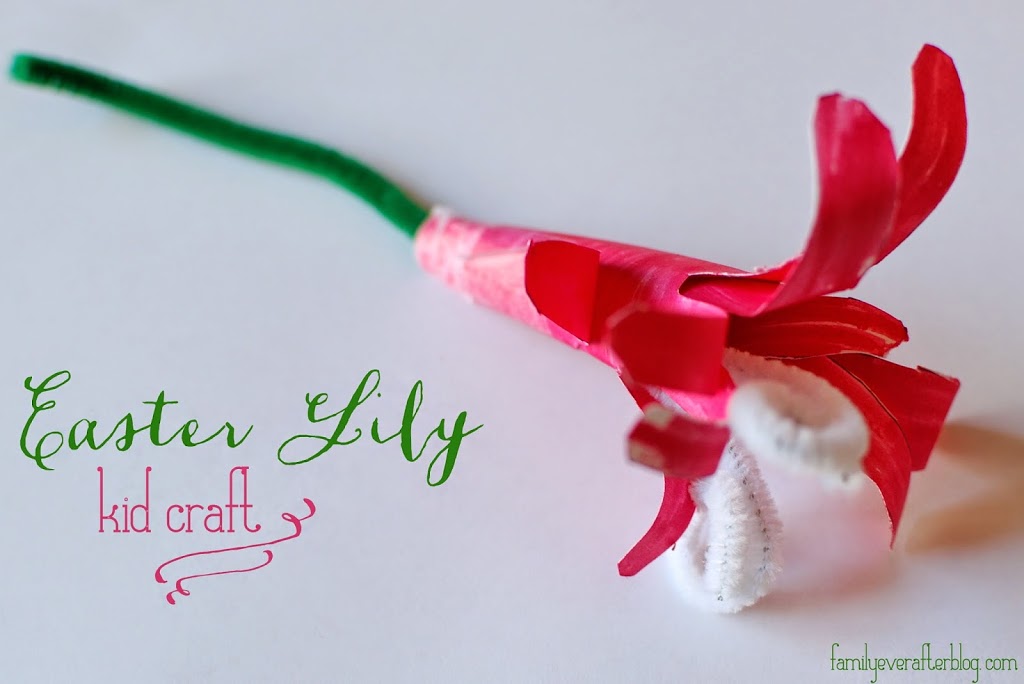
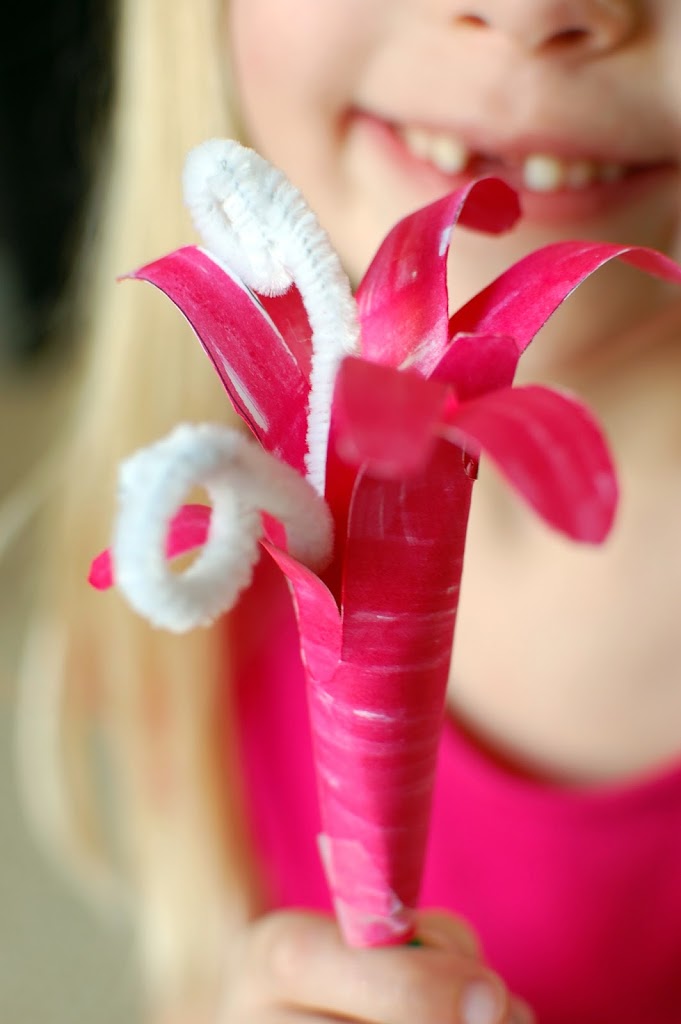
Spring (newness of life), the Sun (Jesus is the light of the world), Easter Grass (mortality doesn’t last forever, it withers like the grass, Christ offers Eternal Life), Easter Eggs (newness of life, resurrection), Lambs (Lamb of God, Good Shepherd), Flowers (many important events happened in gardens- the Fall in the Garden of Eden, the Atonement in the Garden of Gethsemane, the Resurrection in the Garden of the Empty Tomb). In this blog post, I am focusing on the Easter Lily, and how it relates to the phrase, “He is Risen.”
Consider the Lilies, Day #4
Jesus Loves Me, Day #2
Today’s Activity:
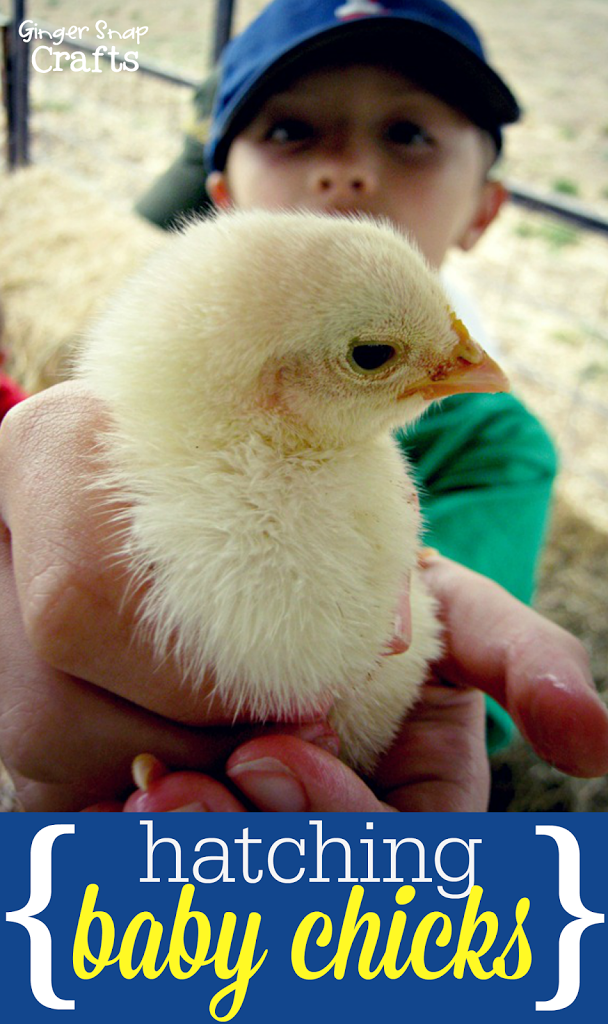
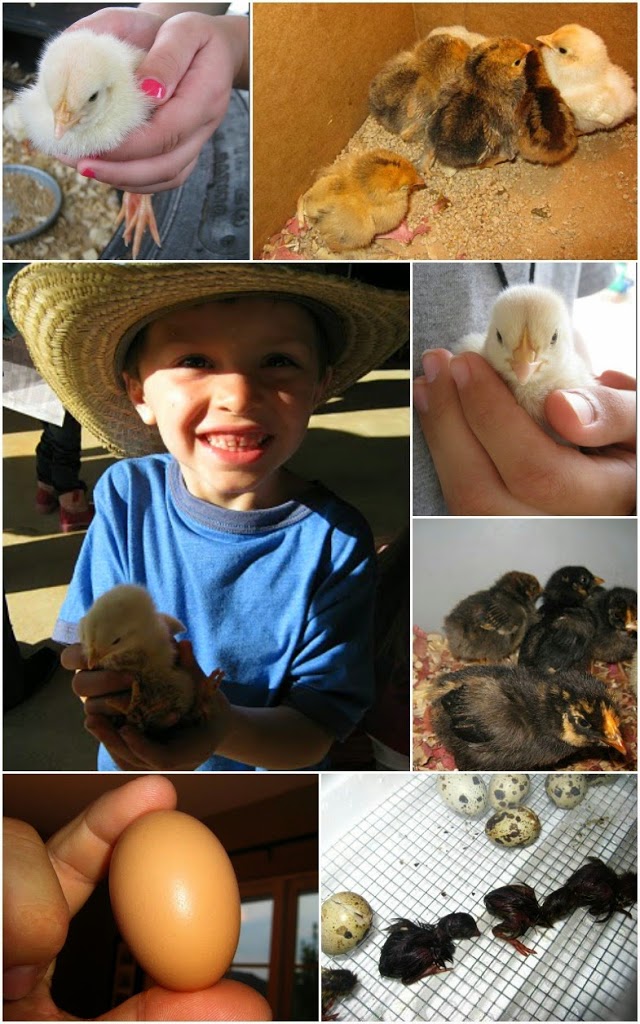
Watch this video of chicks hatching or visit a petting zoo or farm. 🙂
Talk about how Jesus created the animals for us. Tell them that Jesus created the world, plants, animals & our families for us because he loves us. You could also talk about why we color Easter eggs & hunt eggs at Easter. Eggs symbolize new life & are a symbol of Christ’s resurrection.
Song:
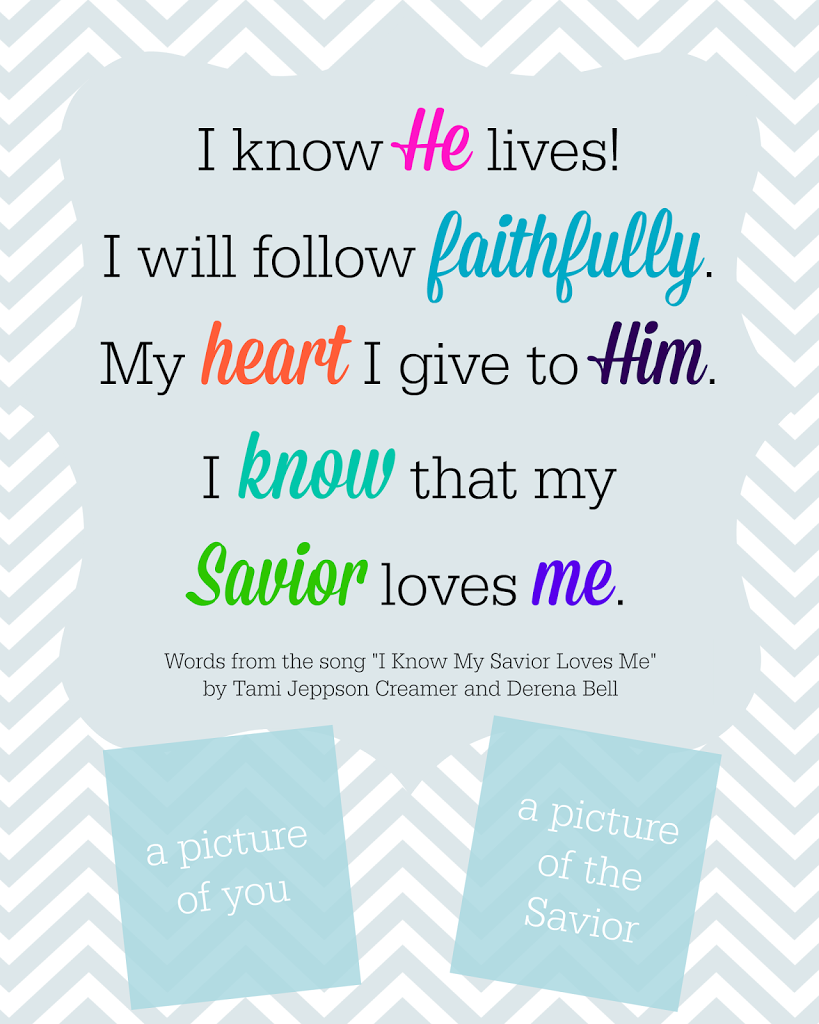
I Know That My Savior Loves Me
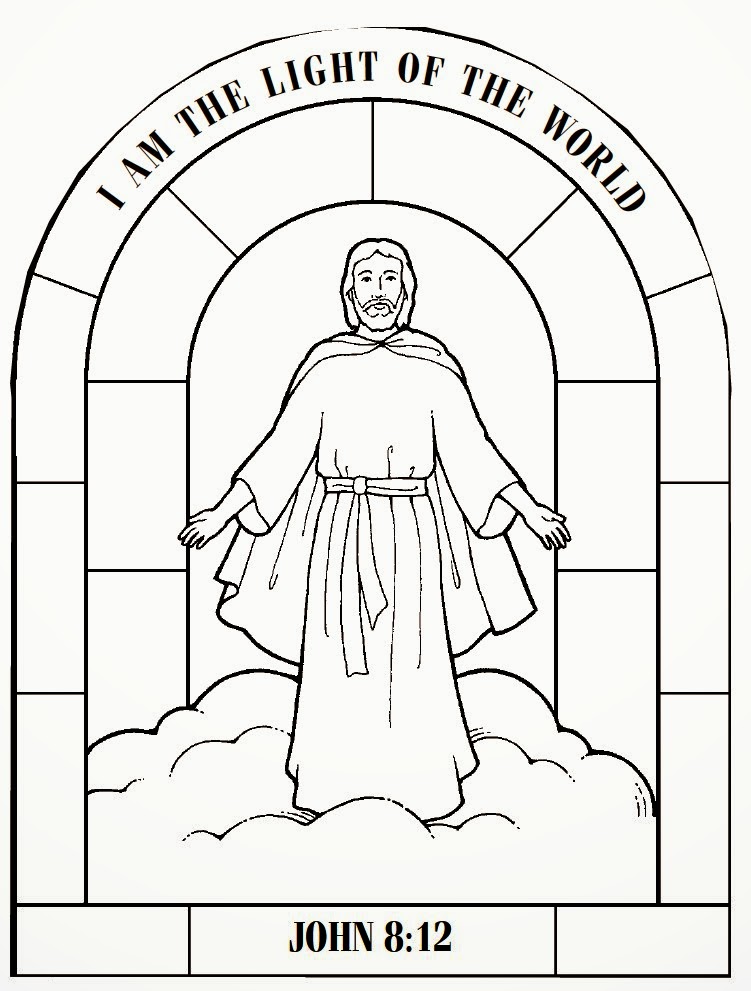
Jesus is the Light of the World
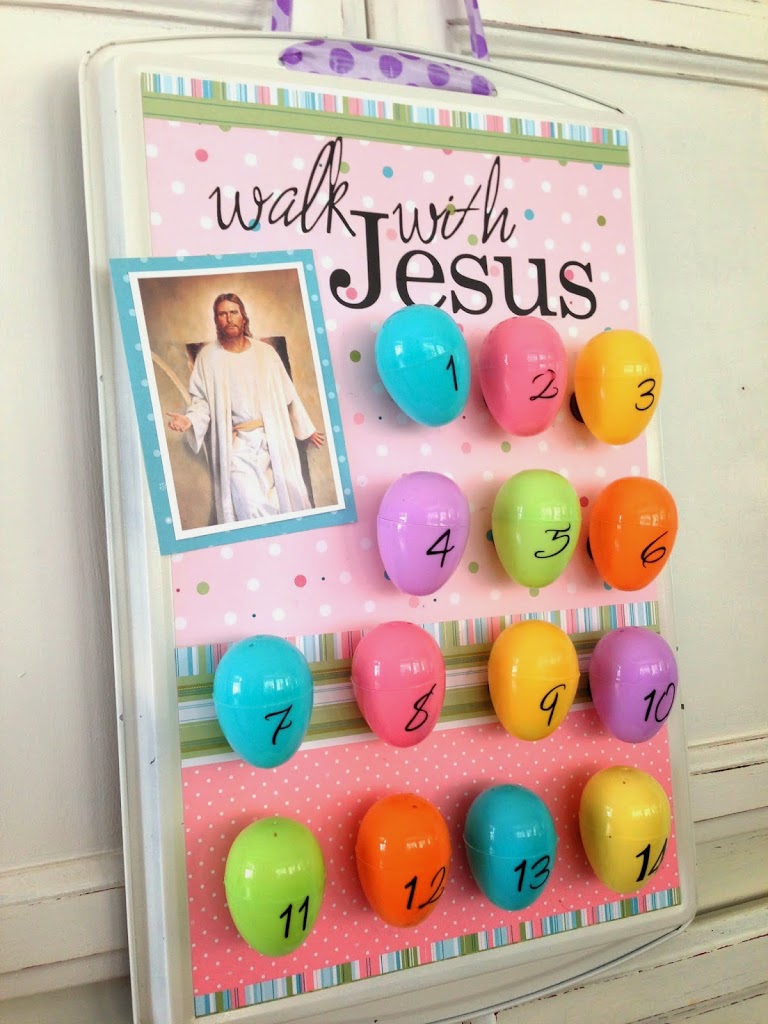
Welcome to the first day of our 14 Day Walk with Christ. I hope you and your family enjoy these lessons and take time to Come unto Christ as we anticipate the wonderful celebration of Easter.
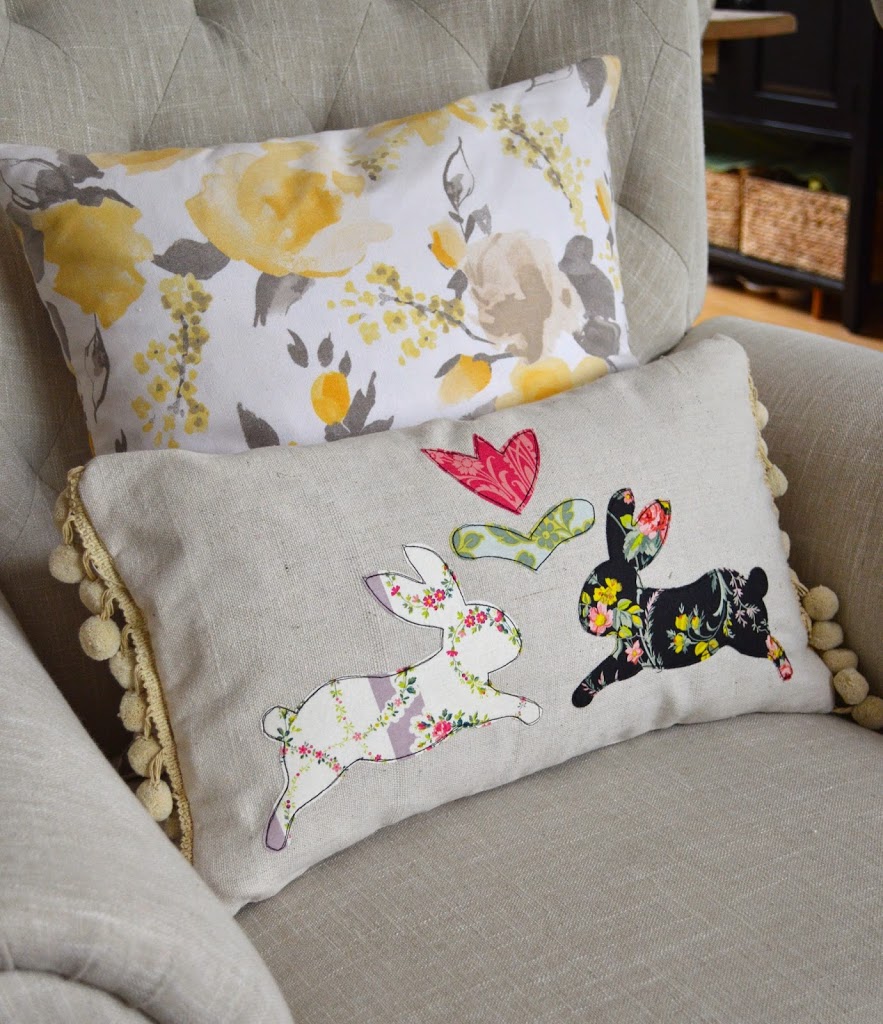
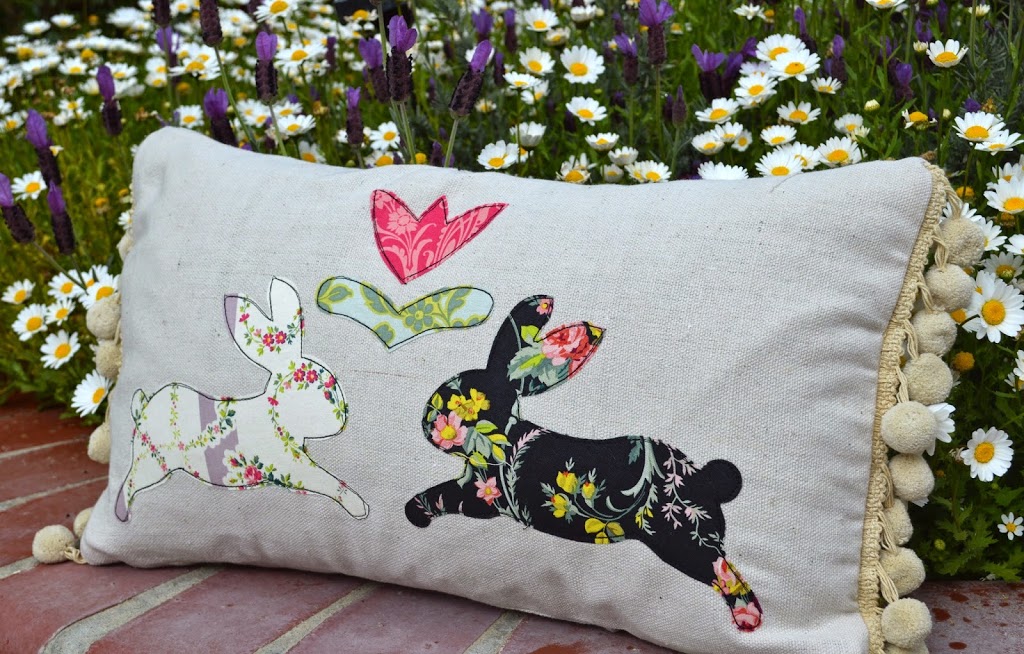
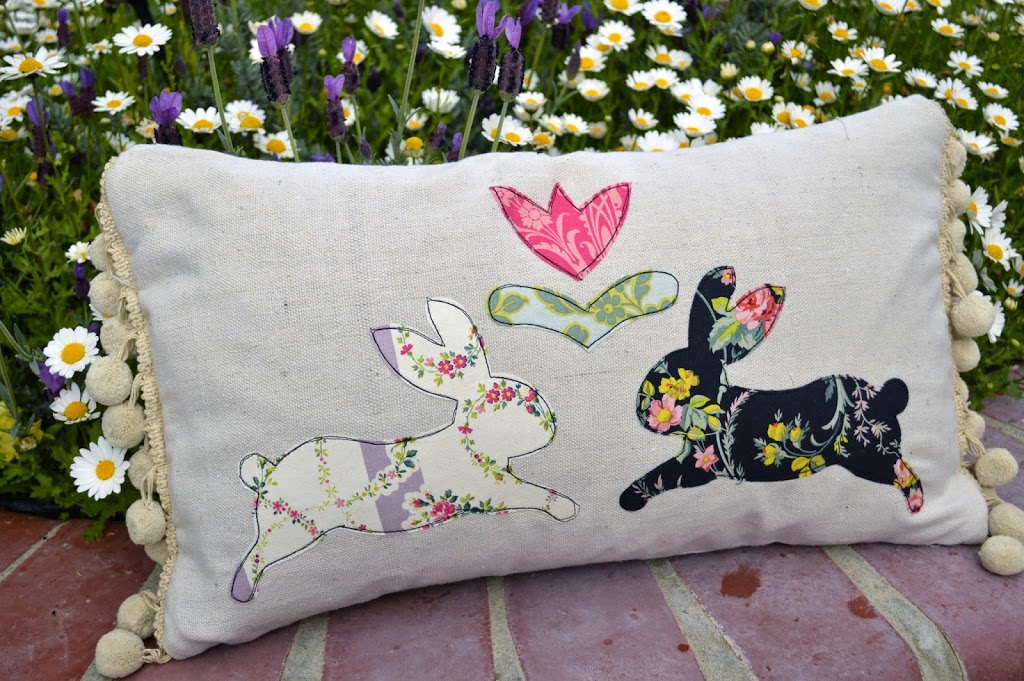
Bunny Love Pillow
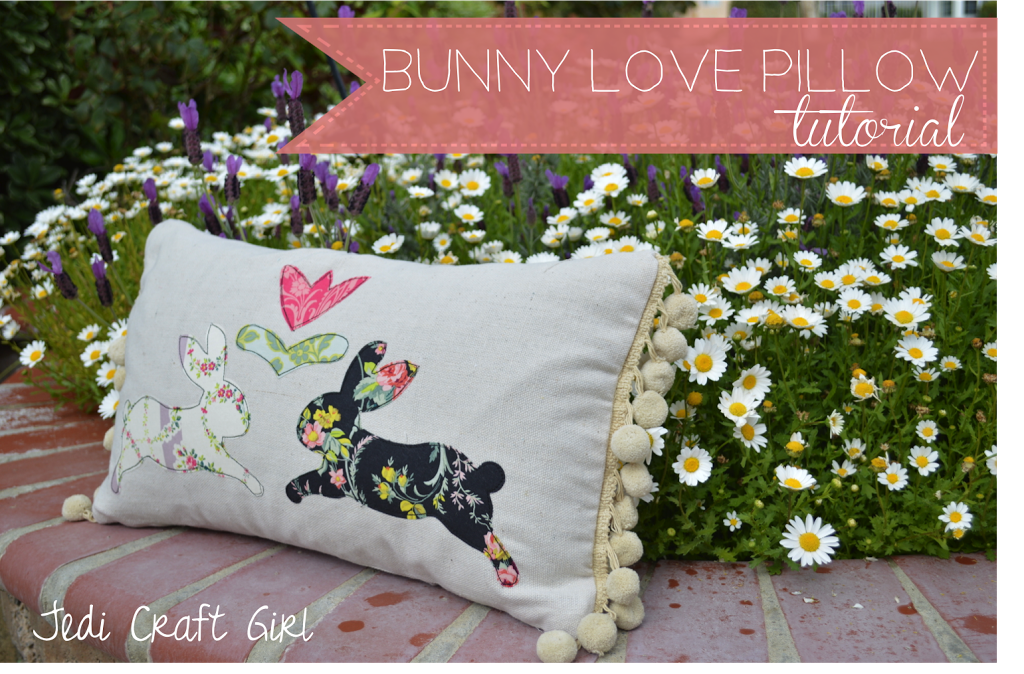
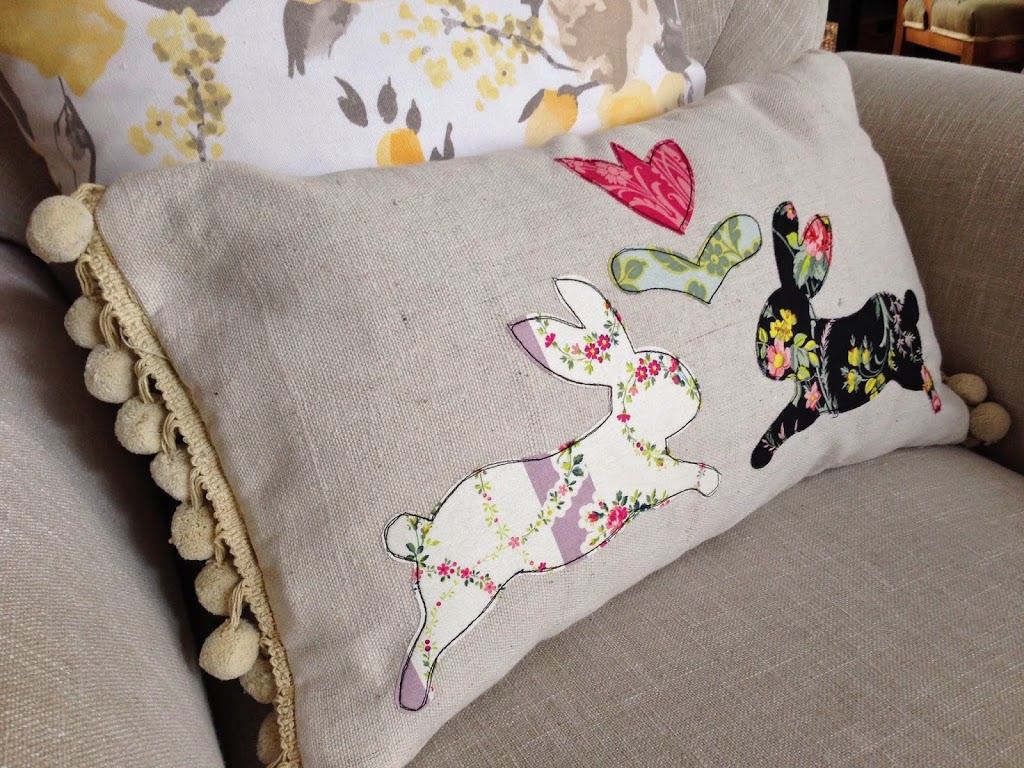
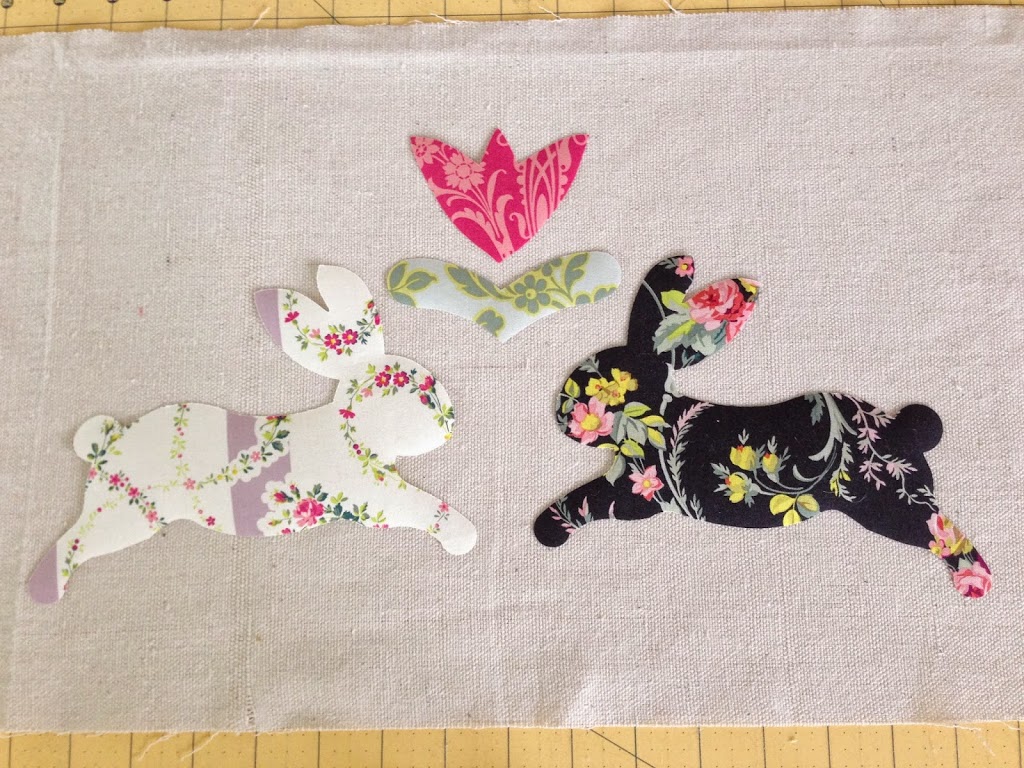
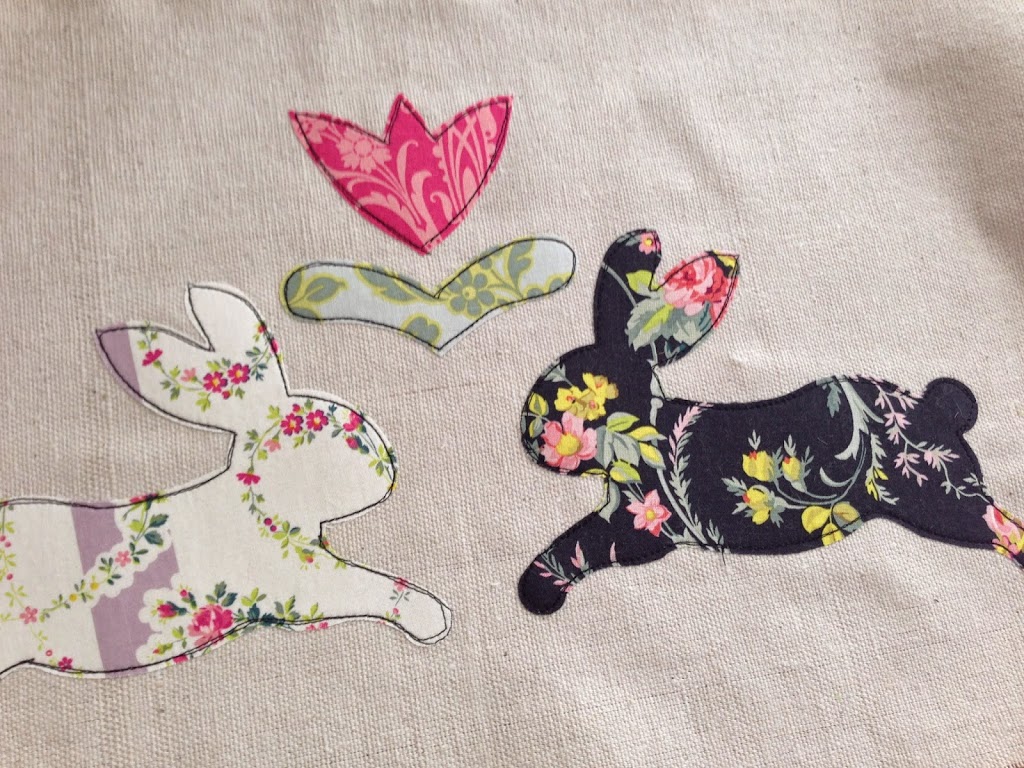
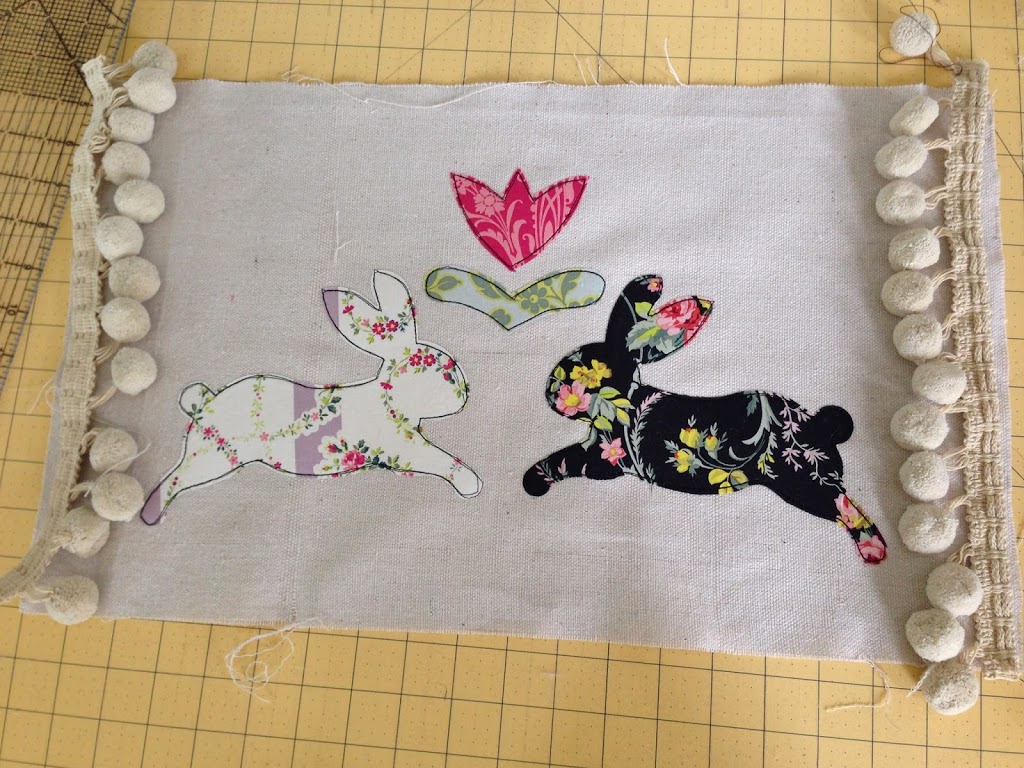
I guess there is no stopping the bunny projects! Meet my newest bunny creation – Bunny Love pillow! This is a fast and easy project that will add a Folk Art Easter feel to your home.
Supplies:
Backing fabric, 3/4 yard
Scraps of fabric for appliqué – I used Anna Griffin’s Grace line
Pom Pom trim
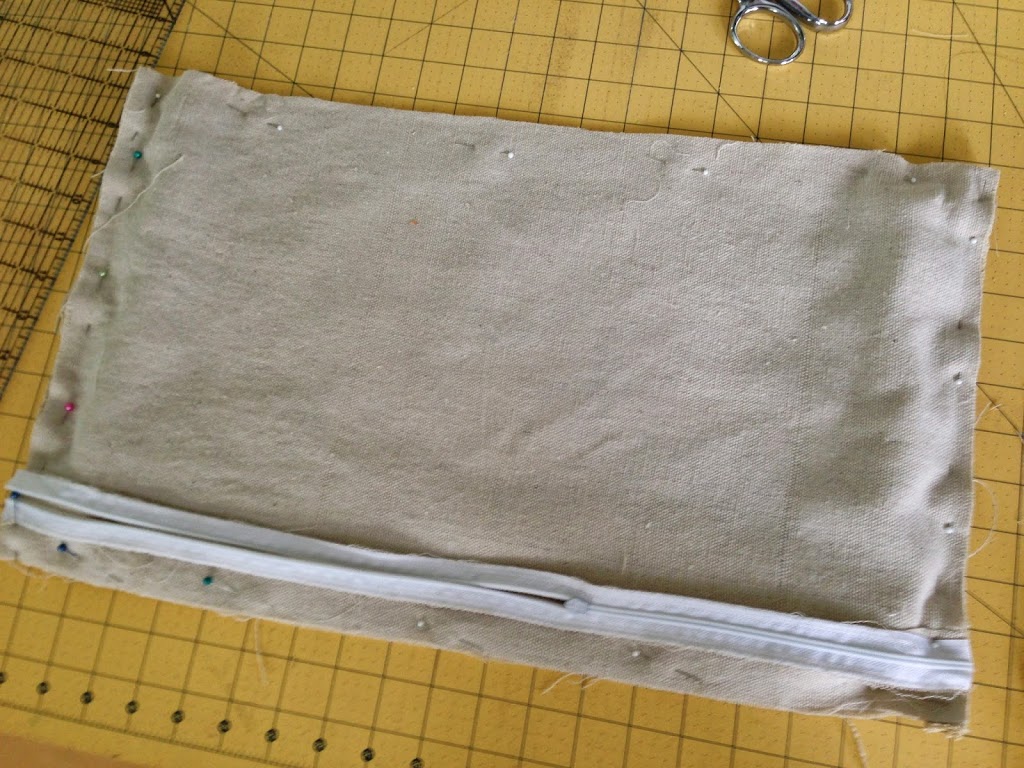
22″ zipper
Pillow form or fiber fill
Heat n Bond lite
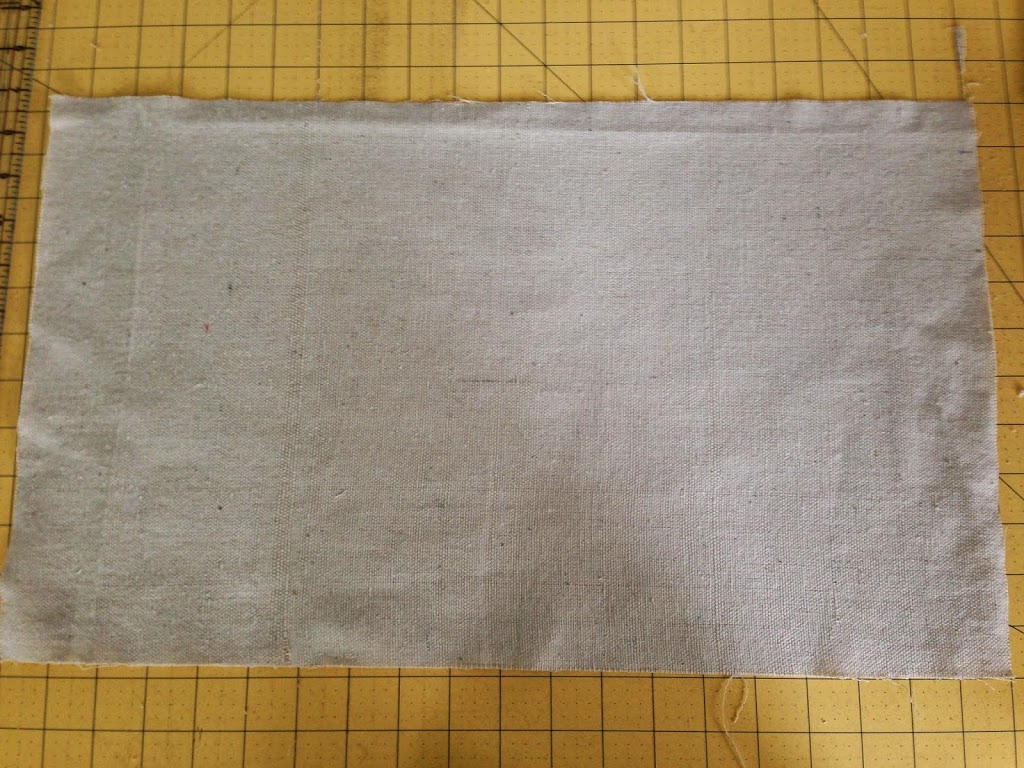
Begin by cutting the pillow front 20″ x 12″
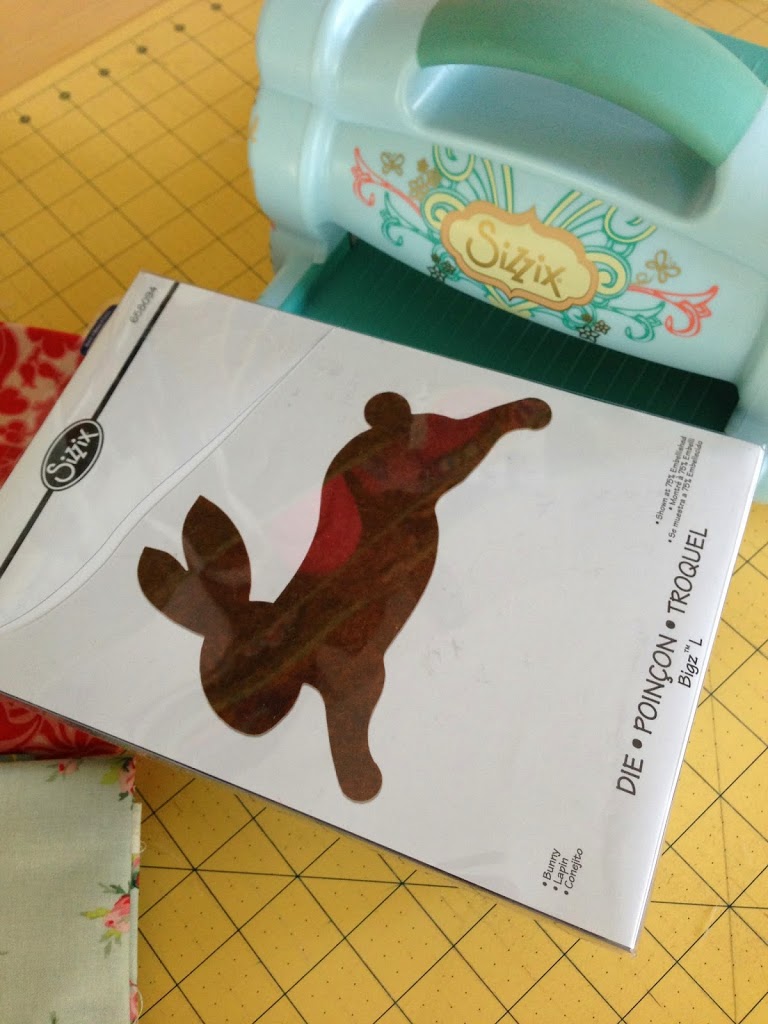
Iron the Heat n Bond lite to the back of your appliqué fabric. I used the Sizzix bunny die for the bunnies. The folk art tulip pattern can be downloaded here.
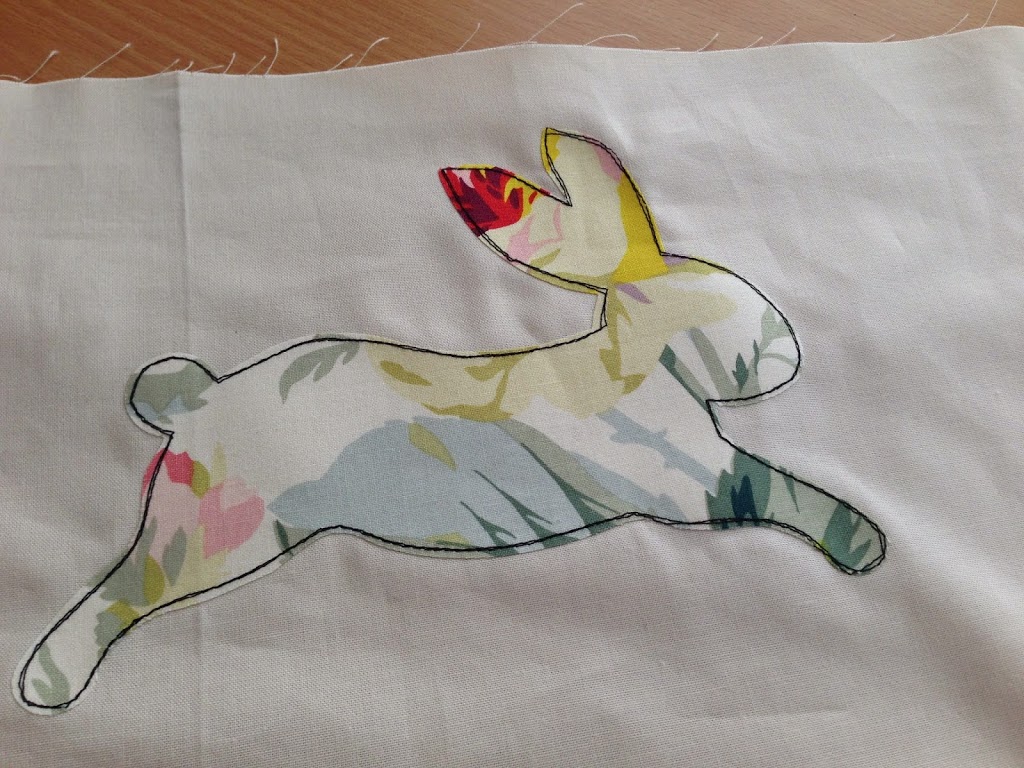
Once you have cut out your appliqué pieces, center them on the pillow front. Iron to set in place and stitch around each piece twice with black thread.
Cut the pom poms the width of the pillow and baste them into place.

14-Day Walk With Christ 2014
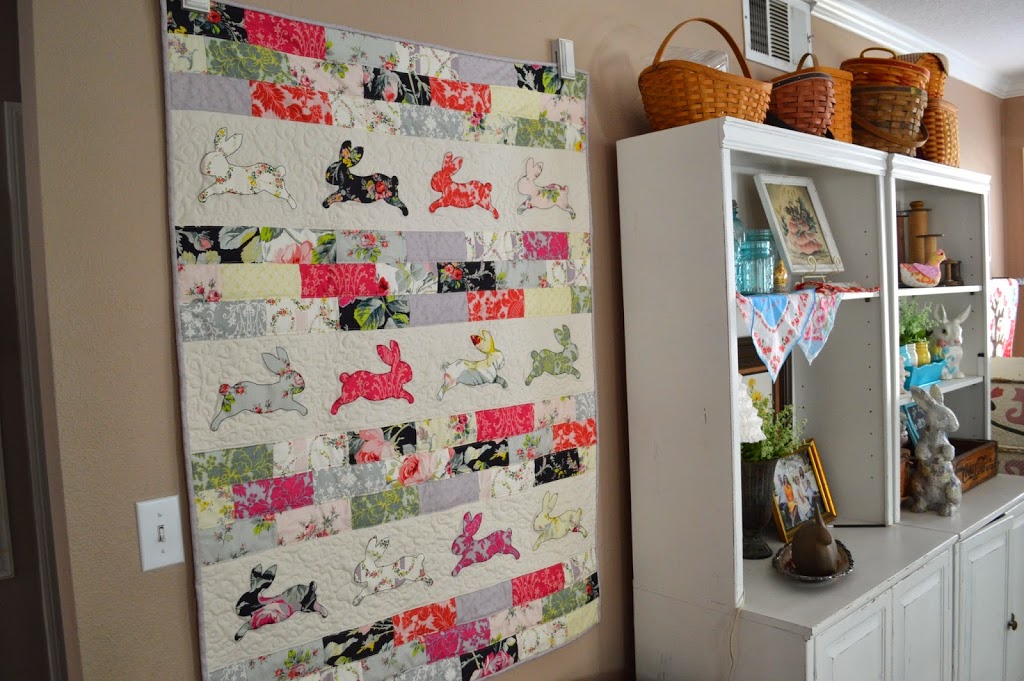
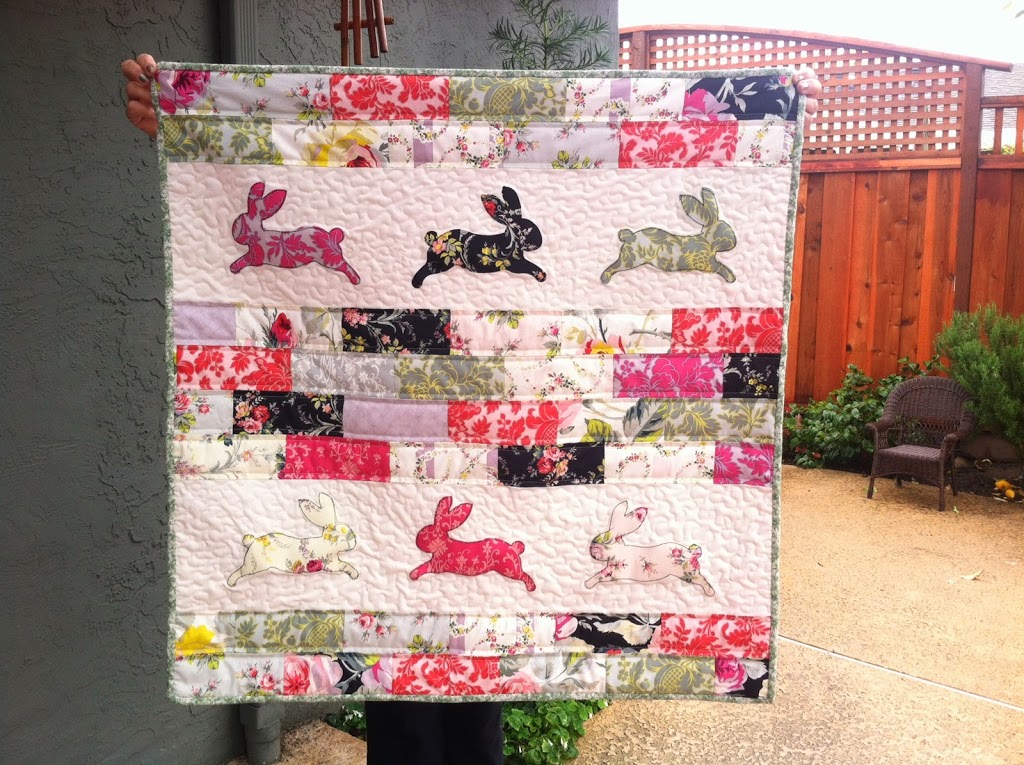
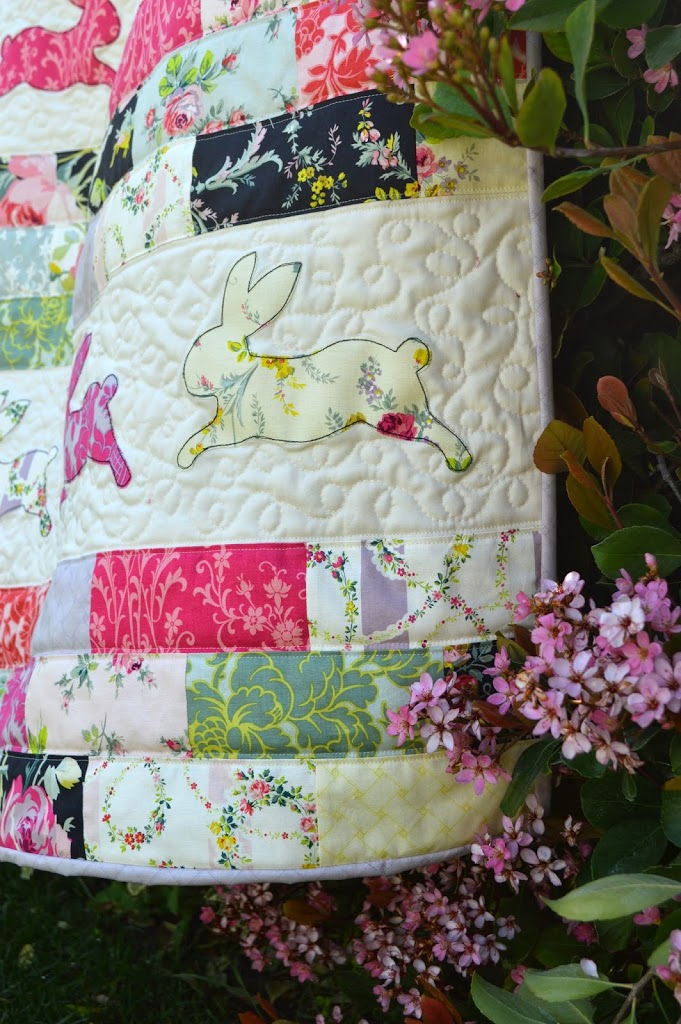
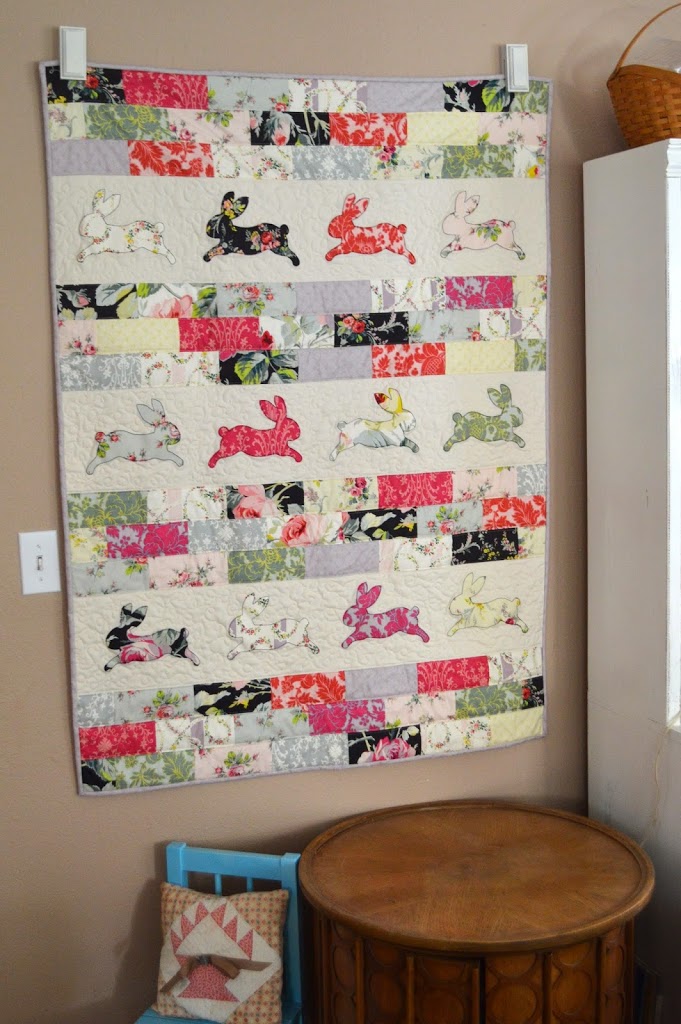
Bunny Bricks Quilt Take Two

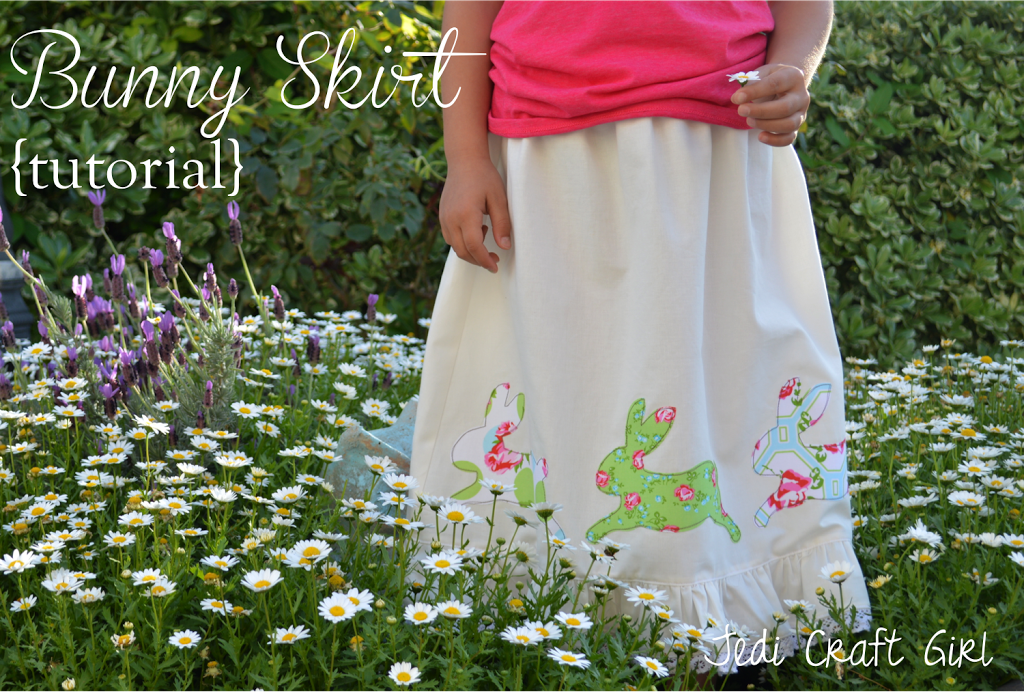
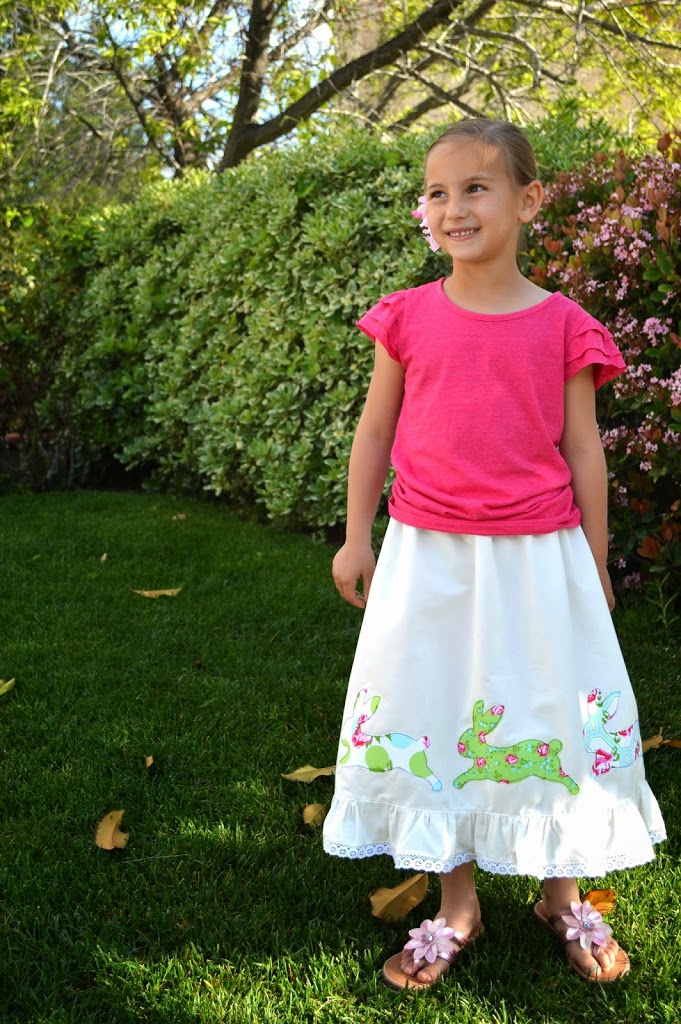
Vintage Bunny Skirt Tutorial
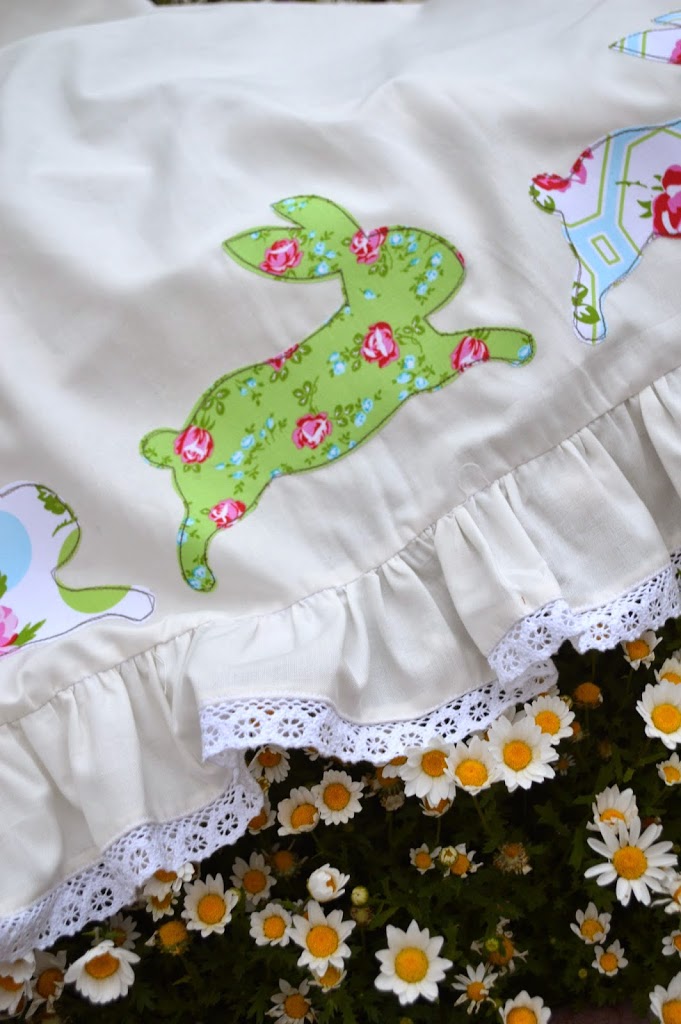
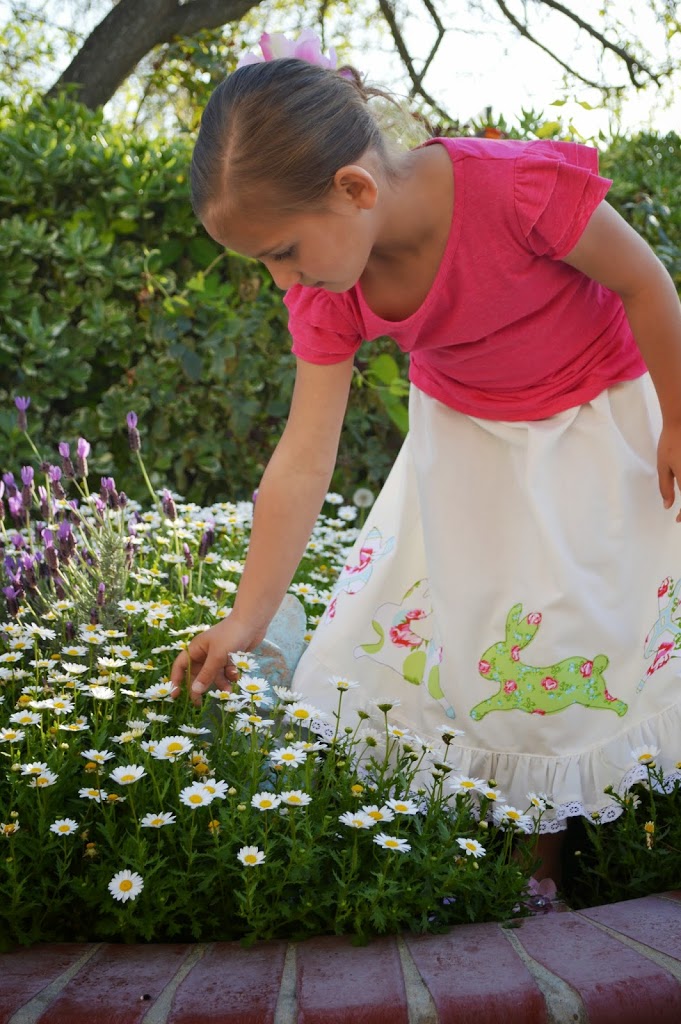
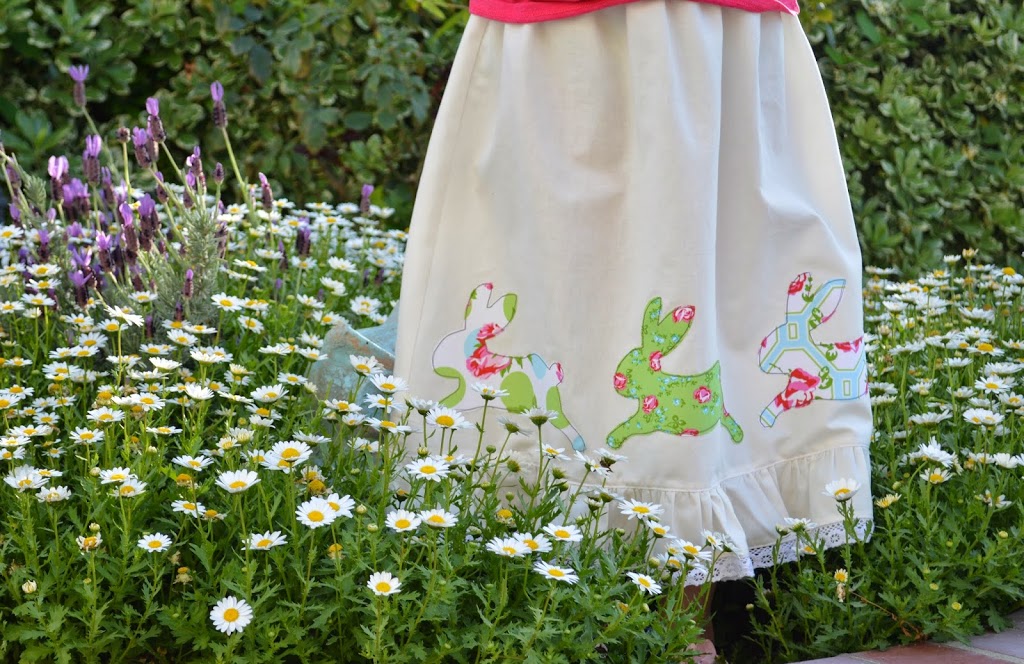
The bunnies keep multiplying! I knew they would make a darling skirt (what’s next, throw pillows & tote bags??) This is a simple tutorial for a girls skirt size 6/7 that sews up in no time! The tutorial is being featured over at the Therm o Web blog. Click HERE to check it out!!

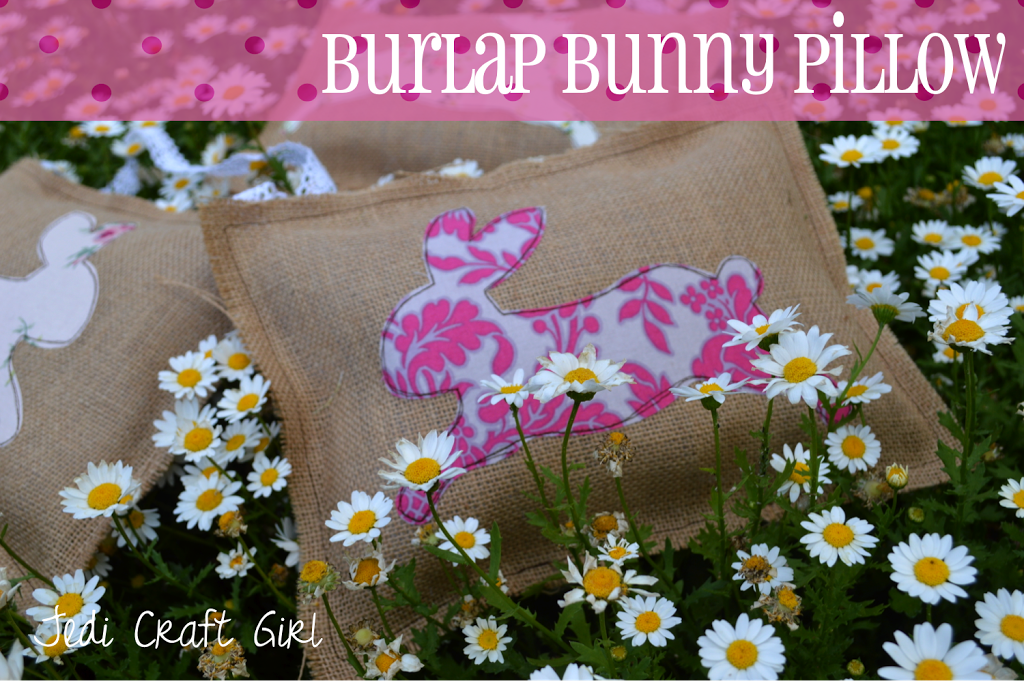
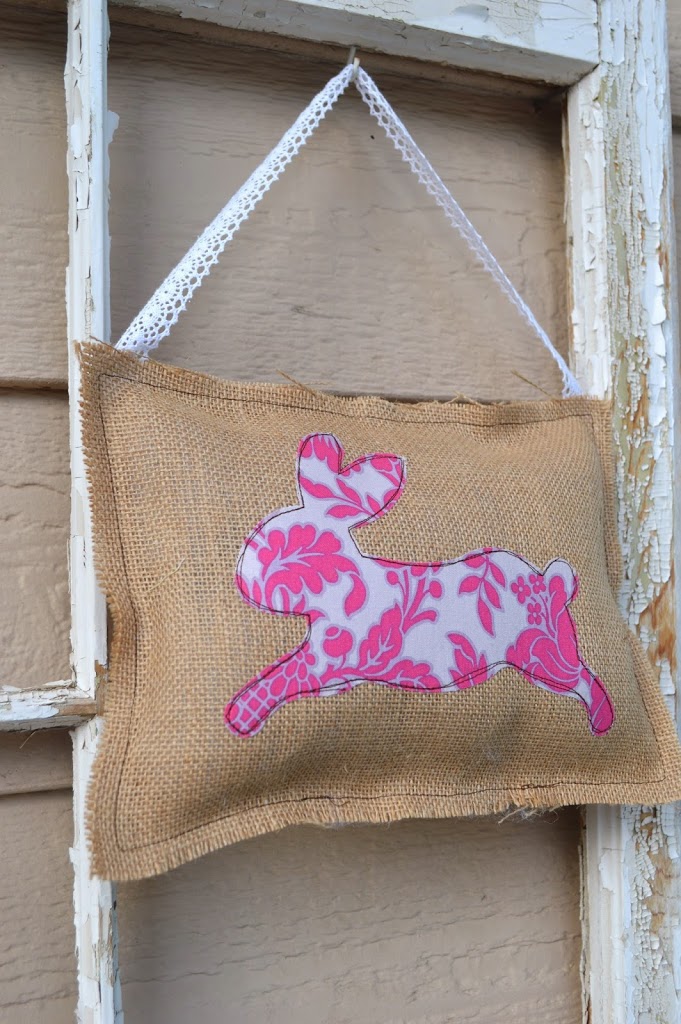
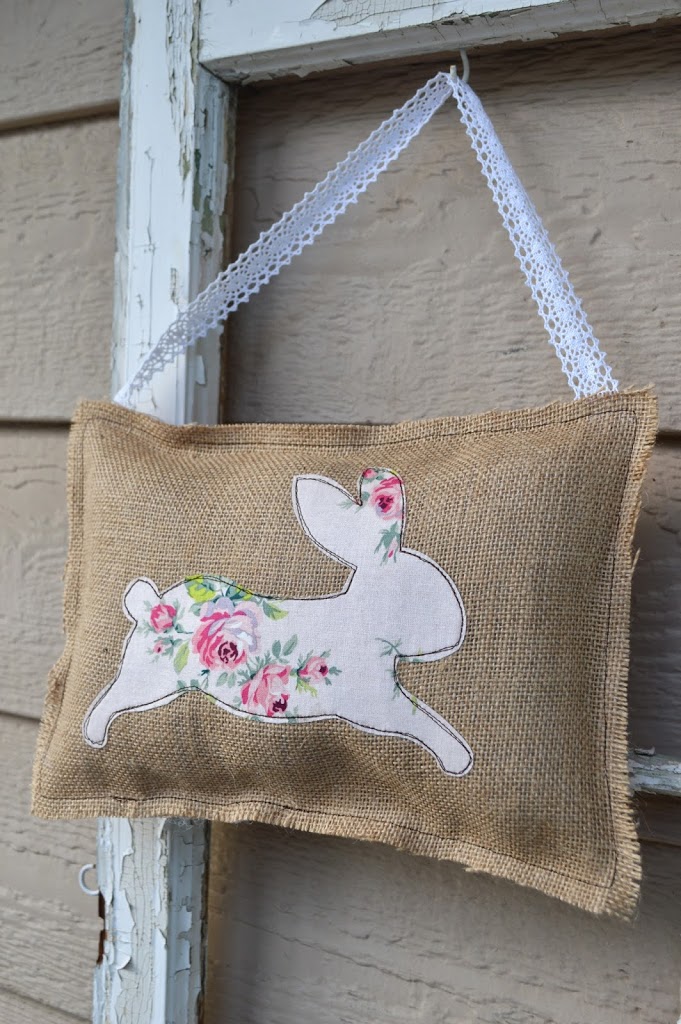
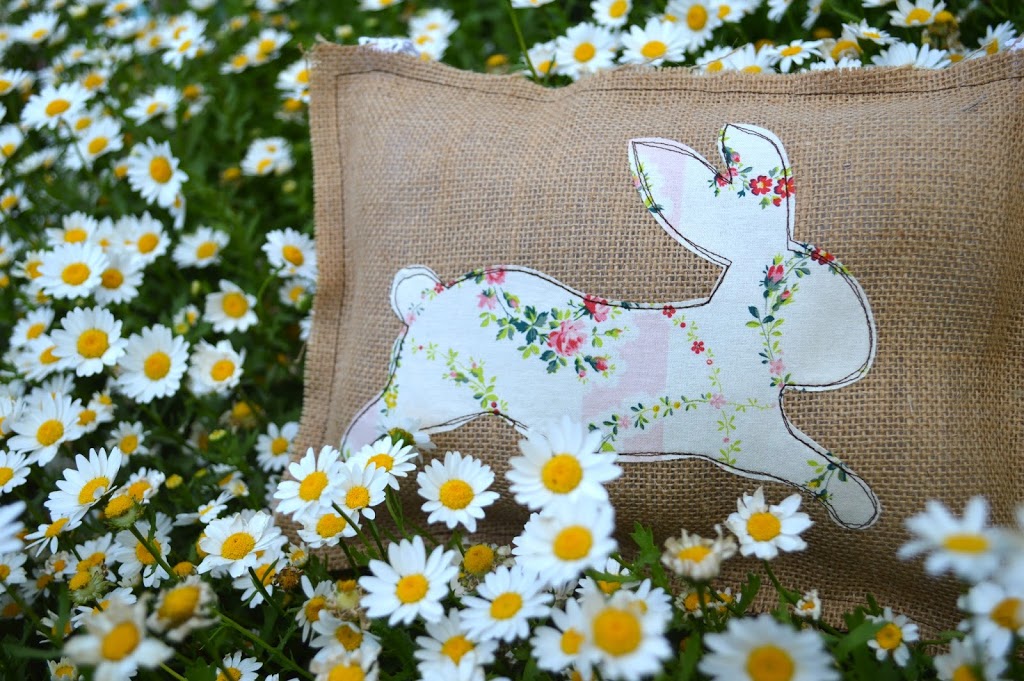
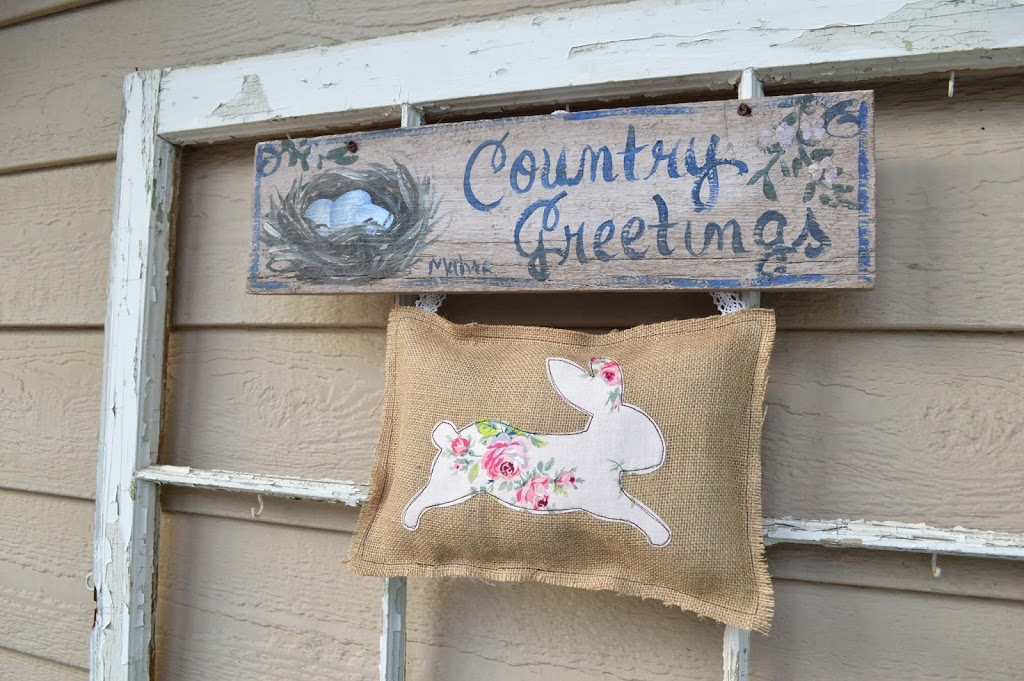
Burlap Bunny Pillows
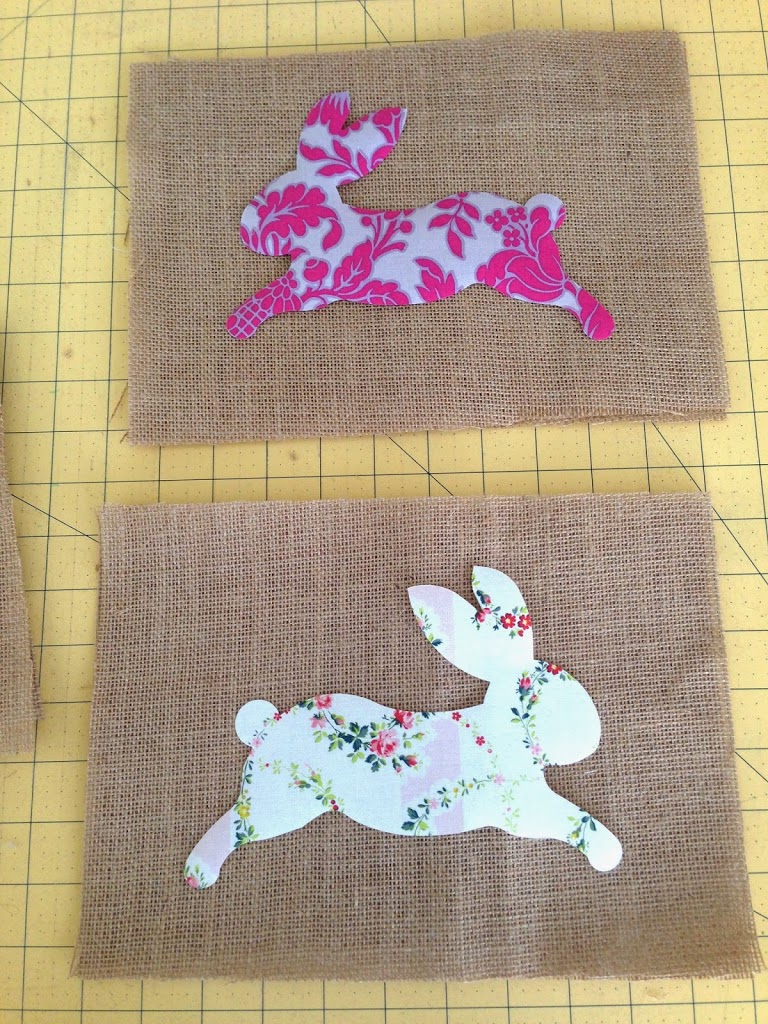
- Cut 2 pieces of burlap 8″ x 11″
- I already had the Heat n Bond Lite fused to the bunny, so I just ironed it to the center of the burlap.
- Stitch around the bunny twice using brown thread.
- Pin the two pieces of burlap wrong sides together.
- Cut a 17″ piece of lace and pin in place, tucking the raw edges inside the pillow.
- Sew 1/2″ seam around the pillow leaving an opening at the bottom to stuff. Stuff with fiber-fill and top stitch the opening closed.
They are so cute, and did I mention I love bunnies? They are the cats of Easter 🙂

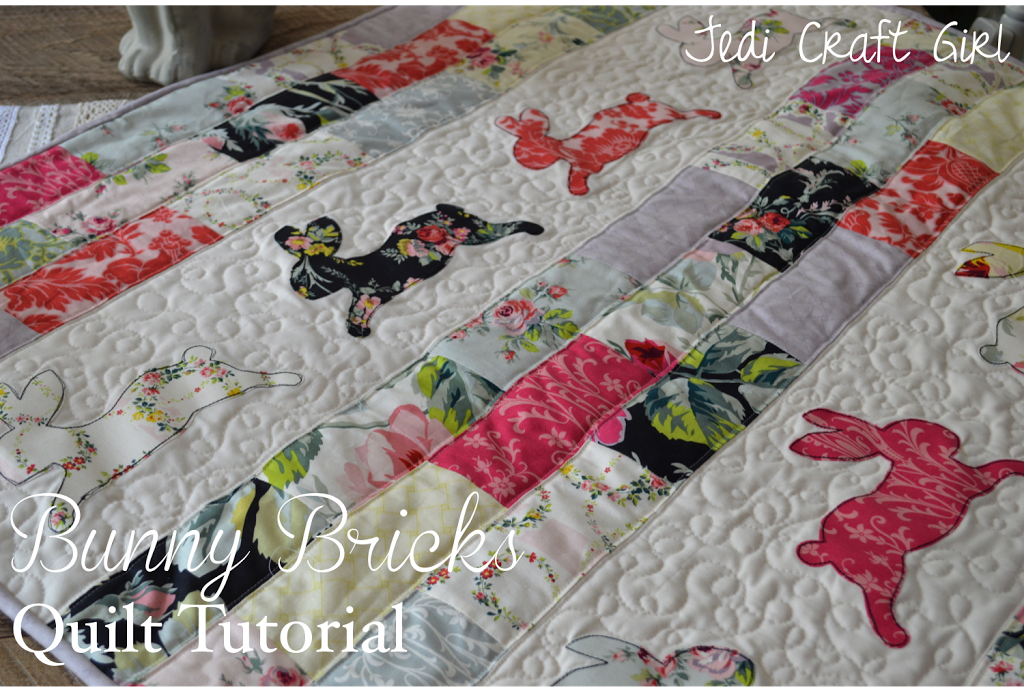
Bunny Bricks Quilt Tutorial
Here’s how you can make one:
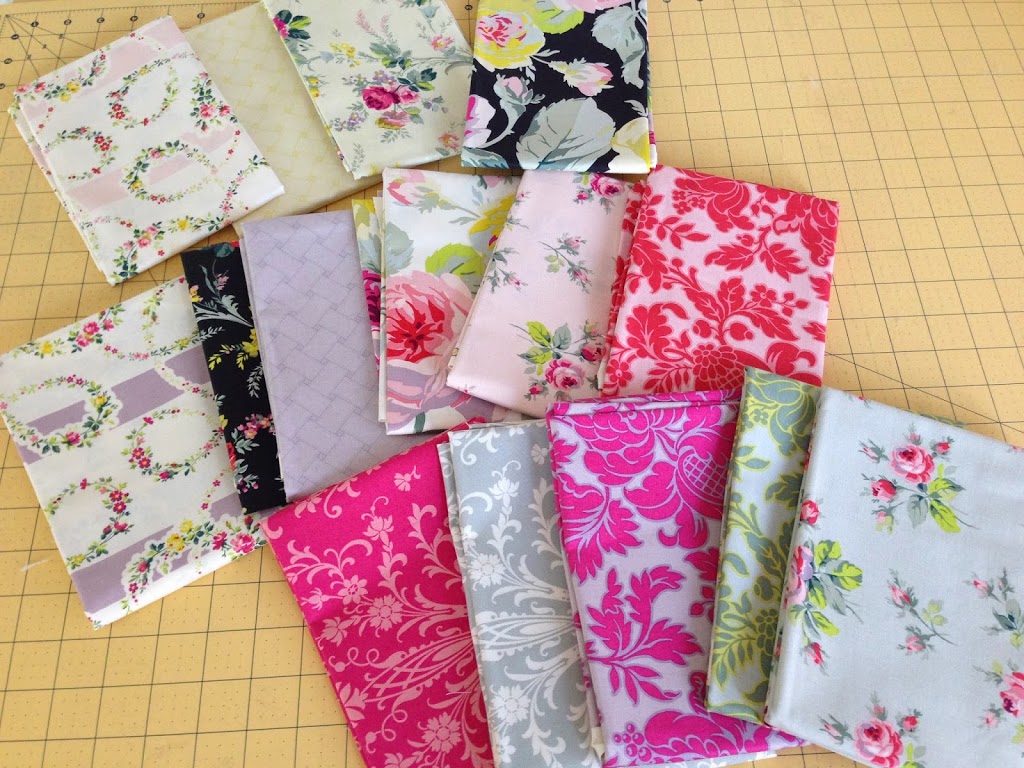
Supplies: 15 assorted prints, fat quarters or 1/4 yard cuts
1 yard of cream solid cotton
Heat n Bond Lite by Therm O Web for appliqué
1/2 yard fabric for binding
1 1/3 yard fabric for quilt back
cotton batting
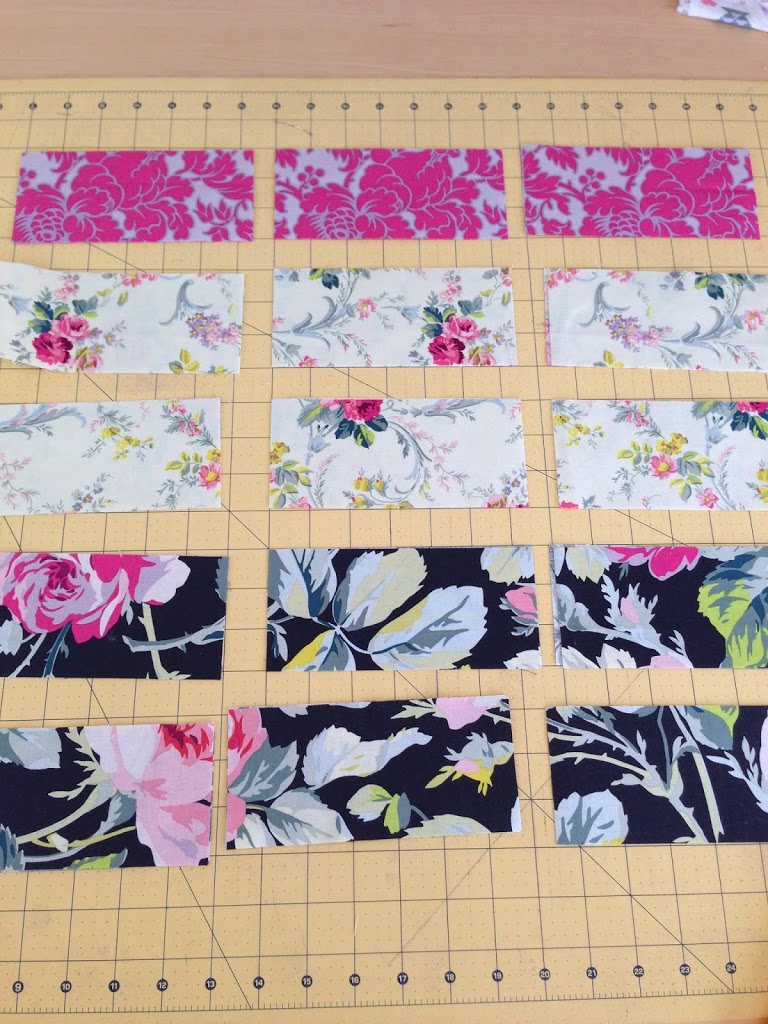
Assemble the Bricks:
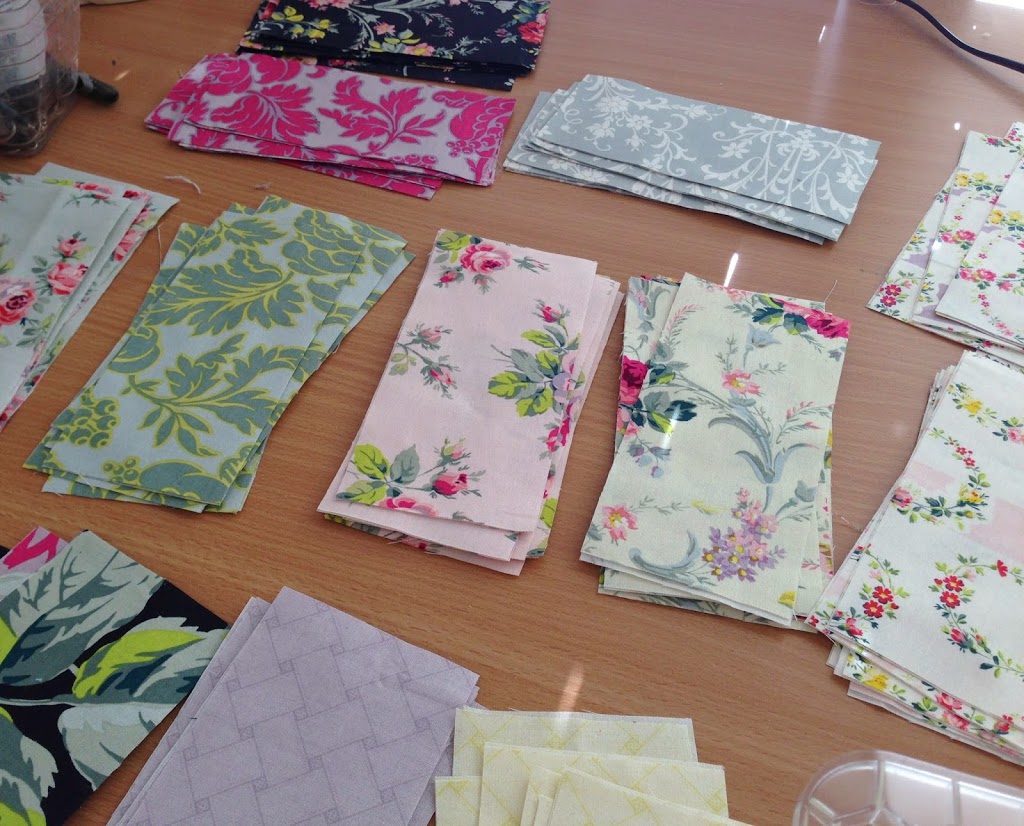
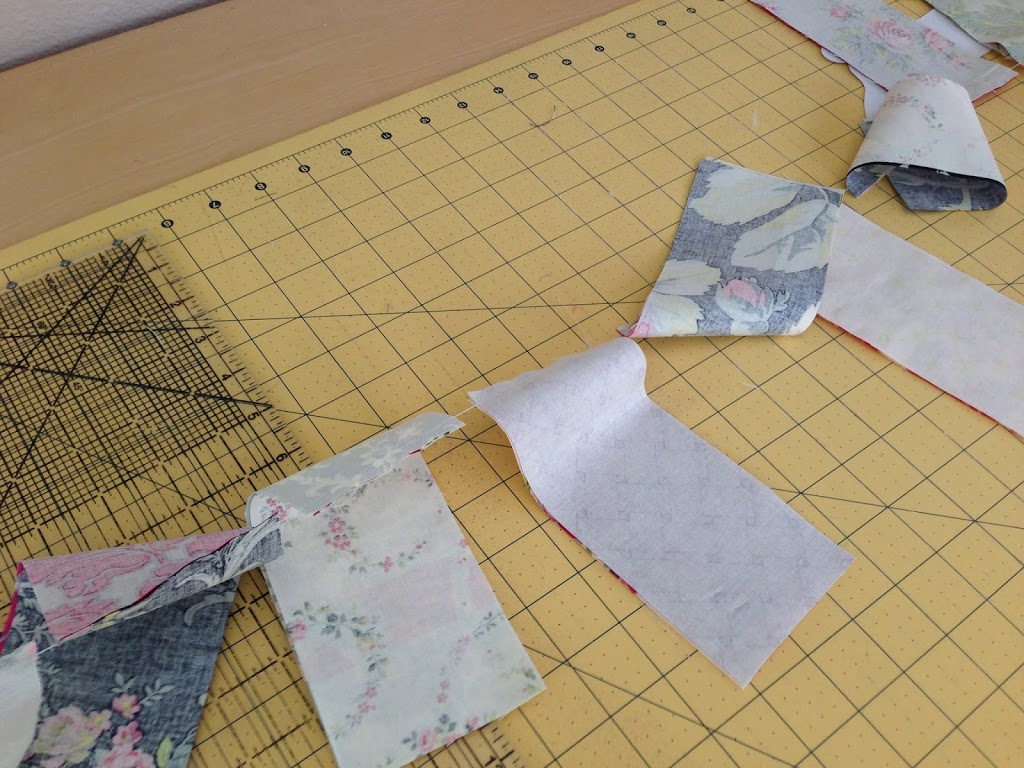
Cut the 15 assorted prints into 3″ strips x WOF
Sub cut the strips into 6.5″ bricks
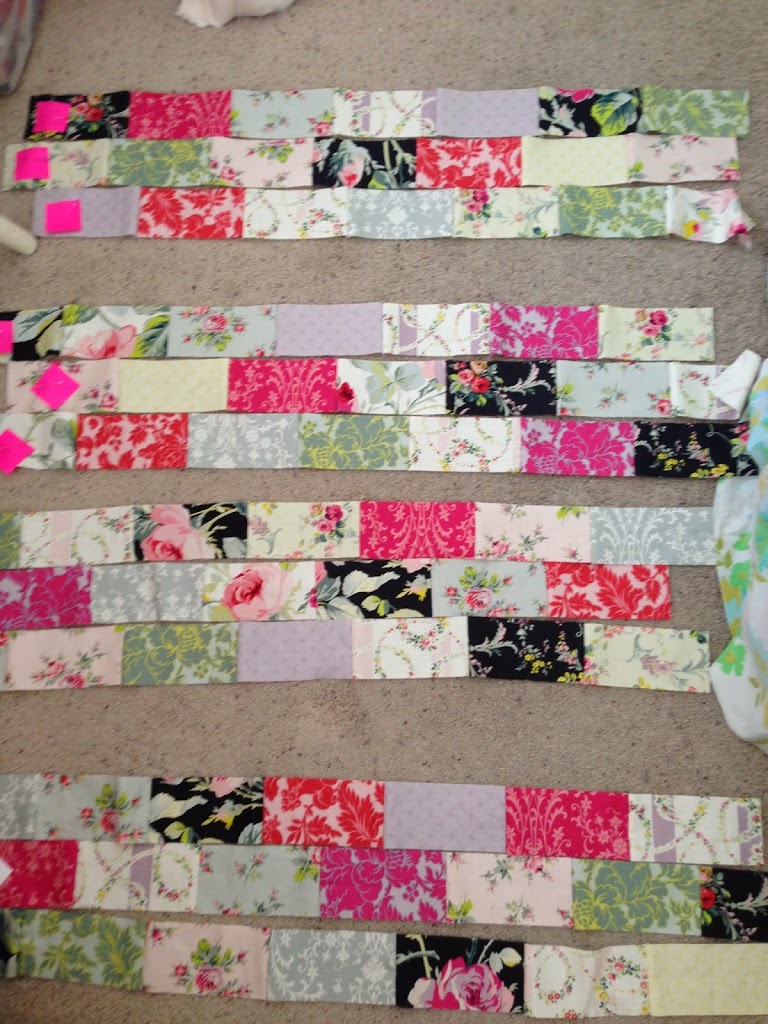
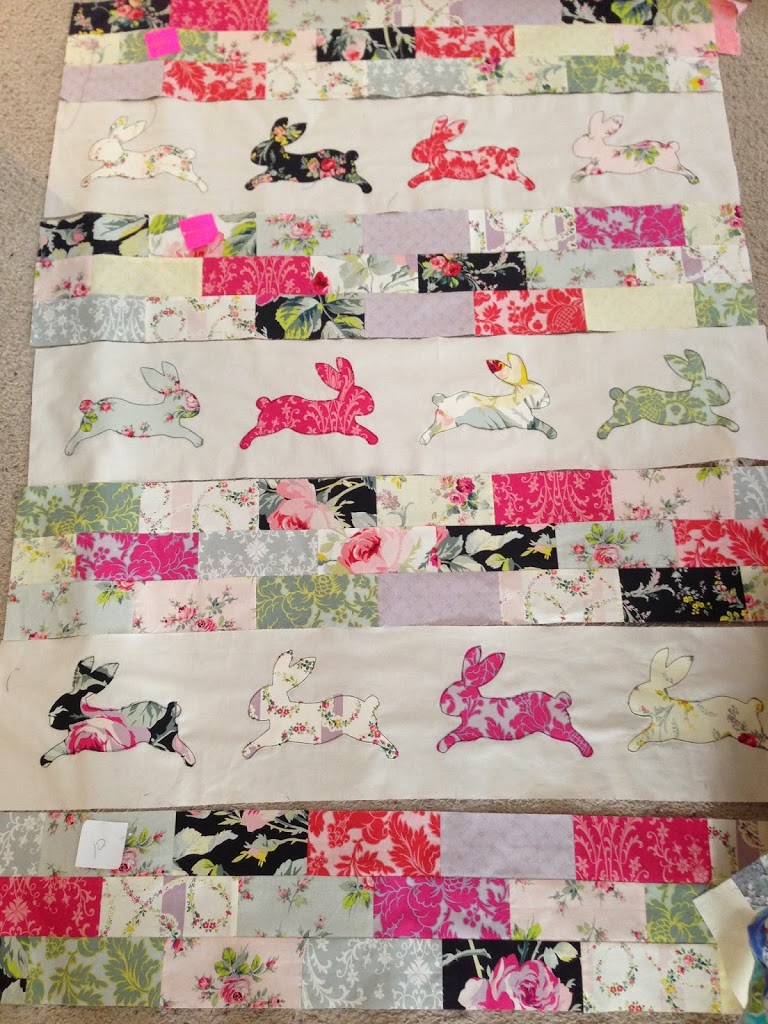
Here you can see my 12 rows. The rows will be sewn into sets of 3’s.
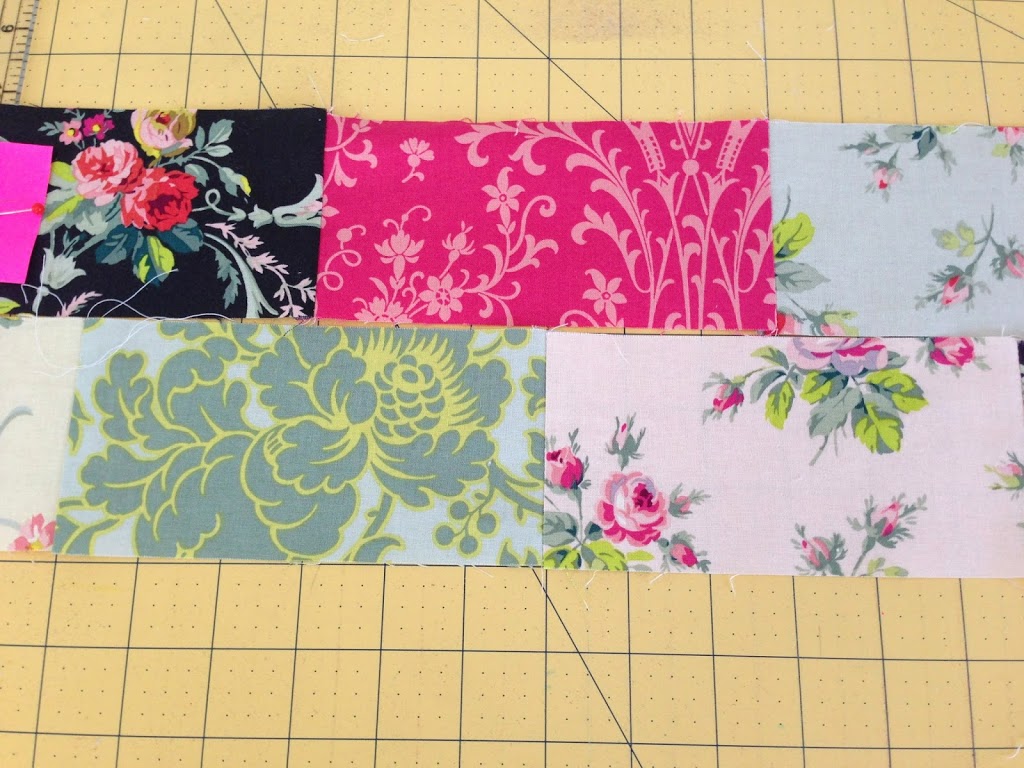
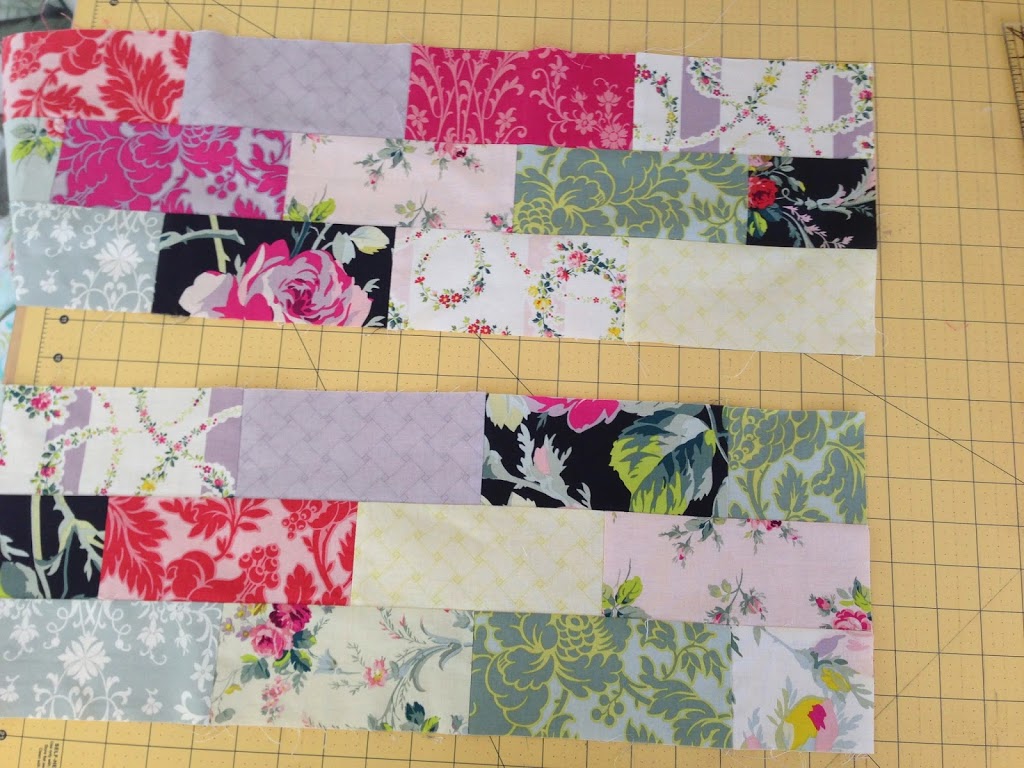
Continue sewing the rows together in sets of 3’s. The ends of each row will be uneven because we are offsetting the rows. Once the rows are sewn, press seams to one side and “square up” the edges (below).
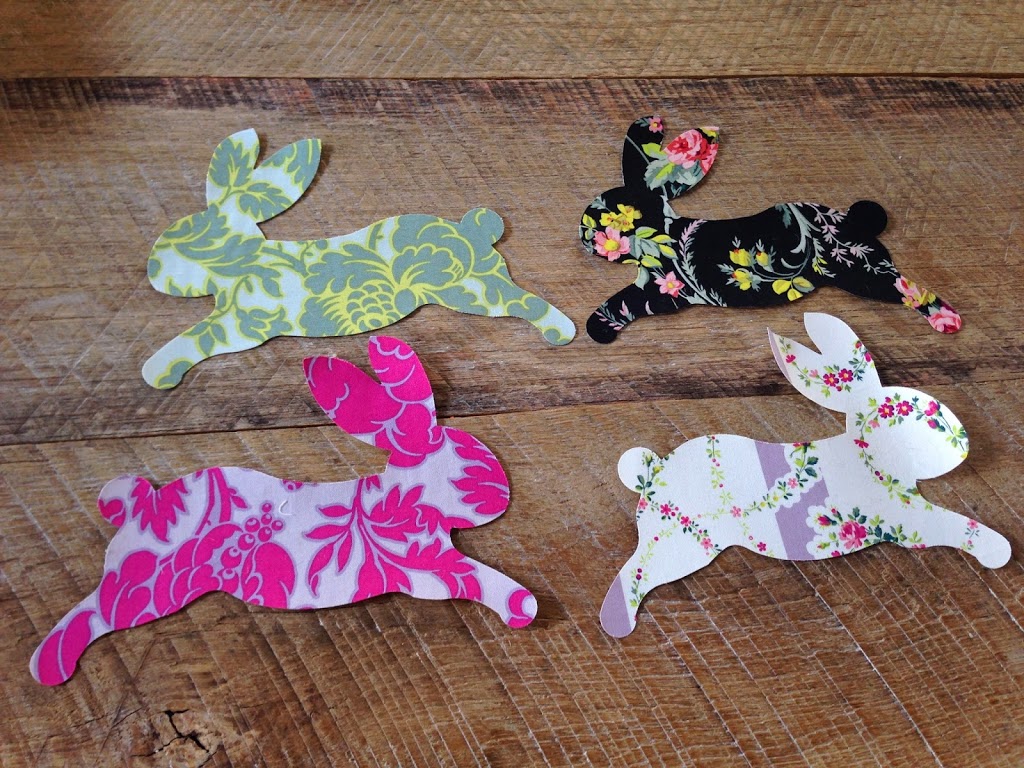
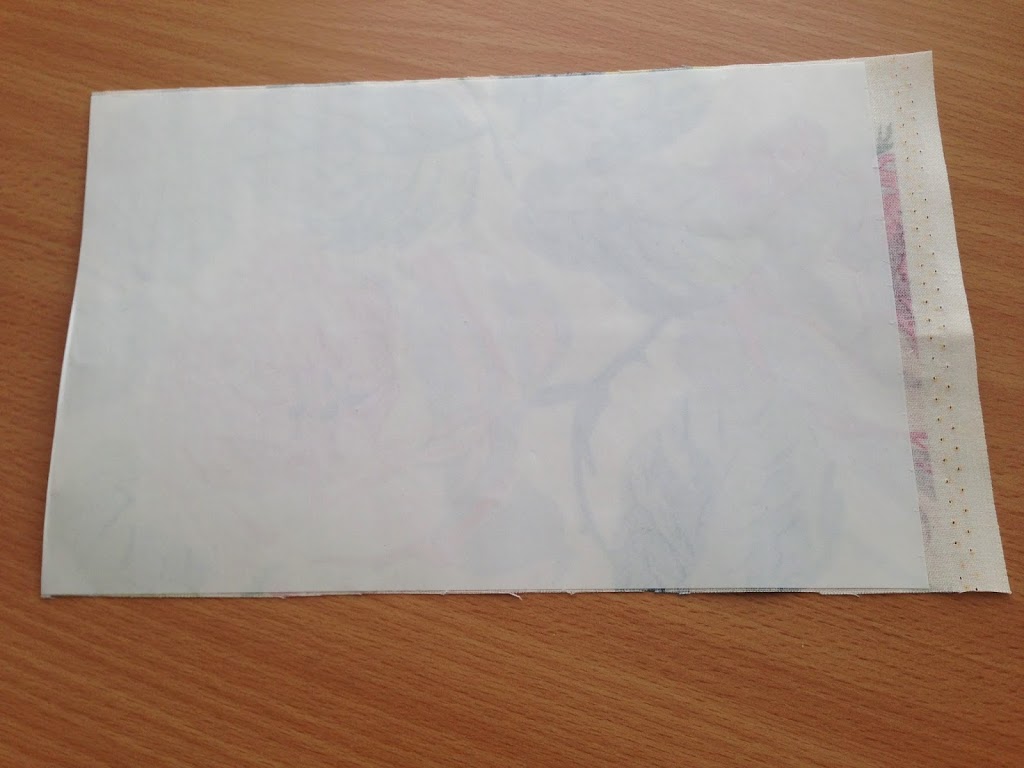
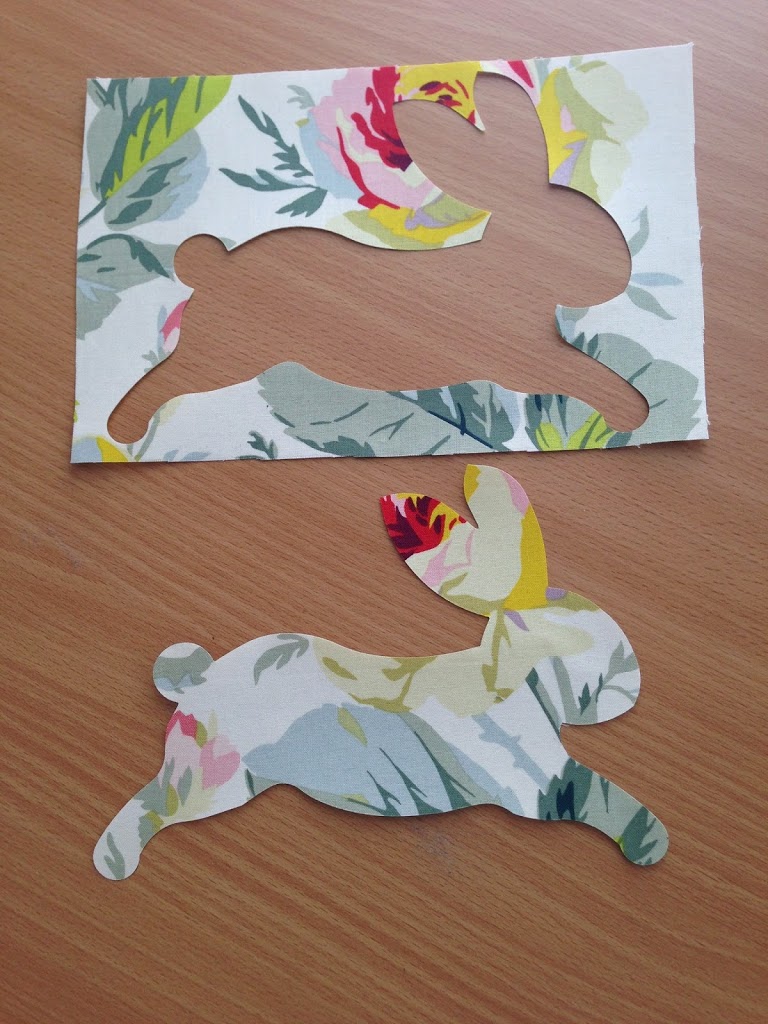
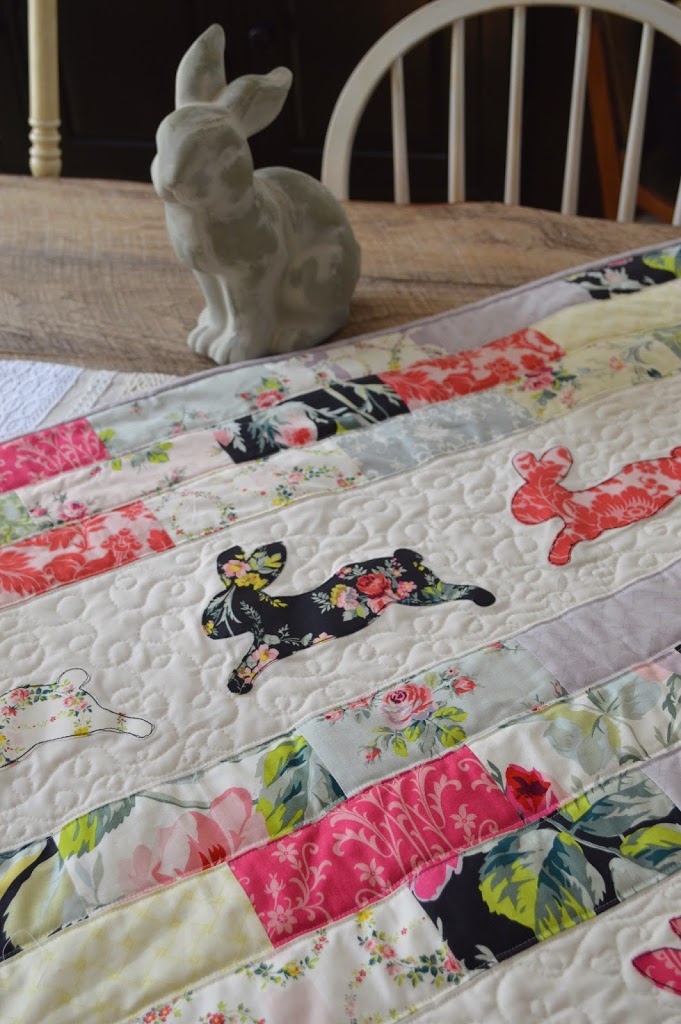
Cut the bunny fabric and Heat n Bond roughly the size of the Sizzix Die. Iron Heat n Bond Lite to the wrong side of the fabric. Run the fused piece through the Sizzix to cut the bunny. I cut 2 at a time.
I was completely in love with each and every bunny that I cranked out!!
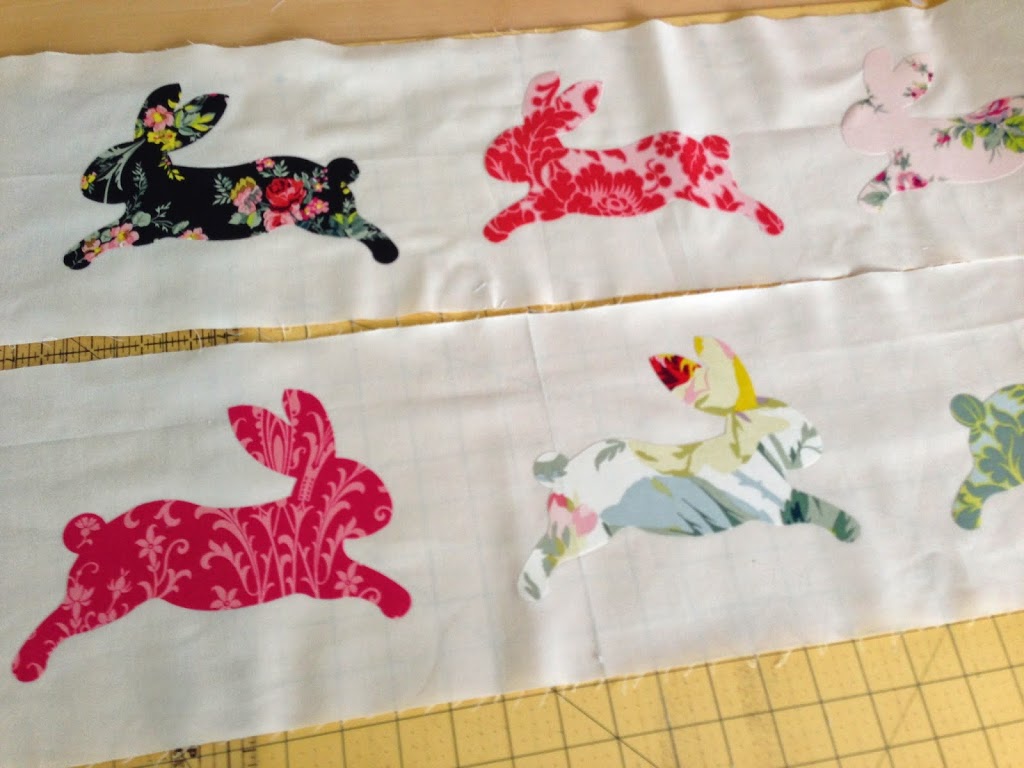
Peel the backing off the Heat n Bond Lite and position the bunnies as desired. I alternated the direction of the bunnies in each row.
Iron the bunnies into place and top stitch twice around each bunny using black thread.
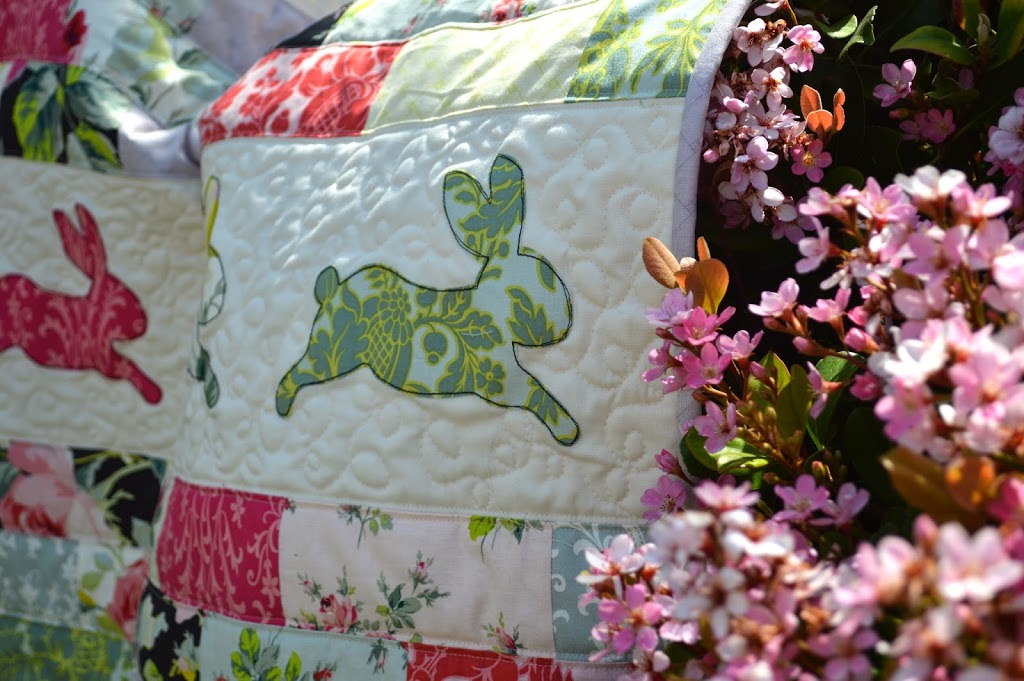
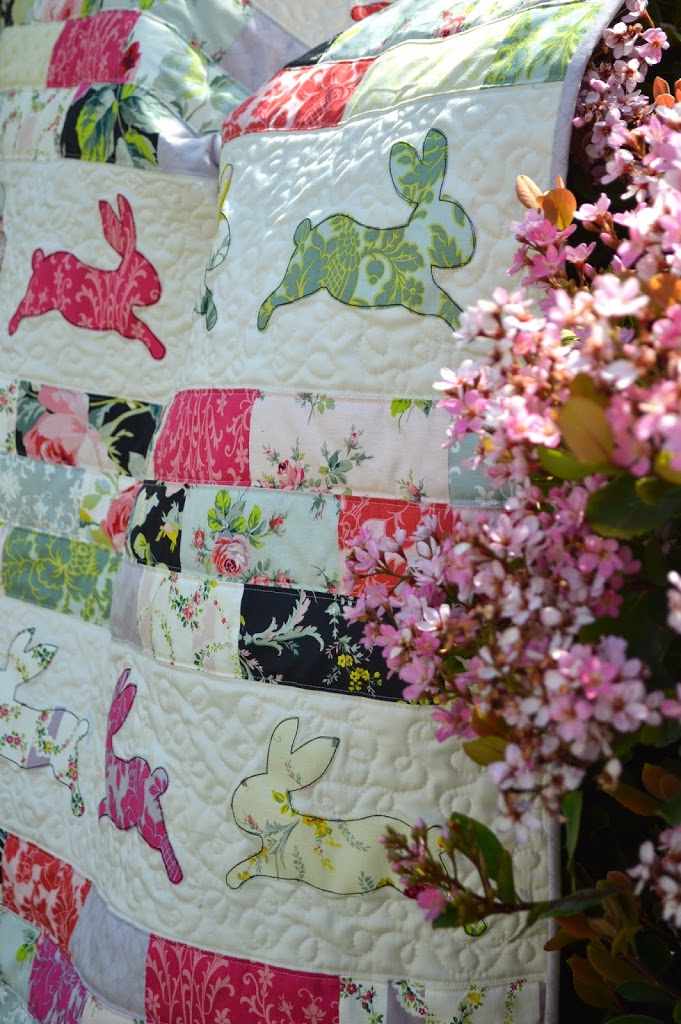
Now that the quilt top is finished, quilt as desired! I quilted straight lines in the “brick” part and “loop-de-loos” in the bunny part.
