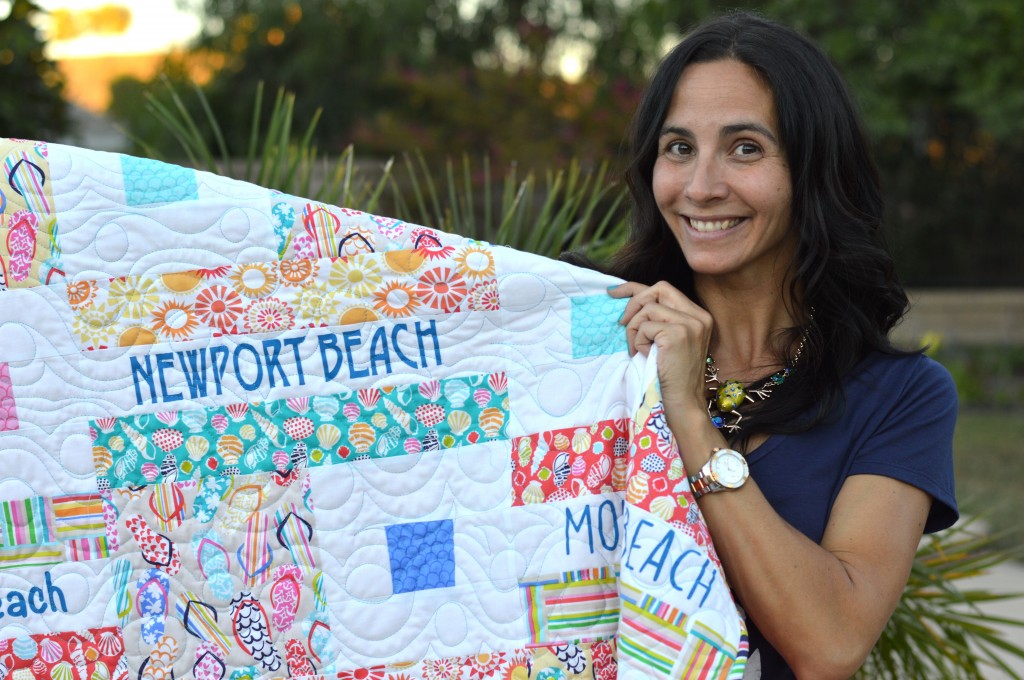
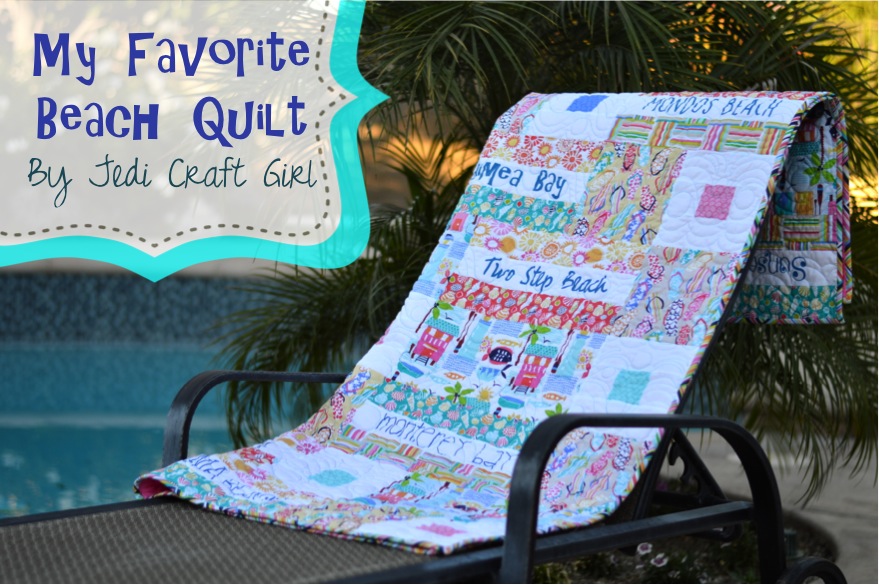
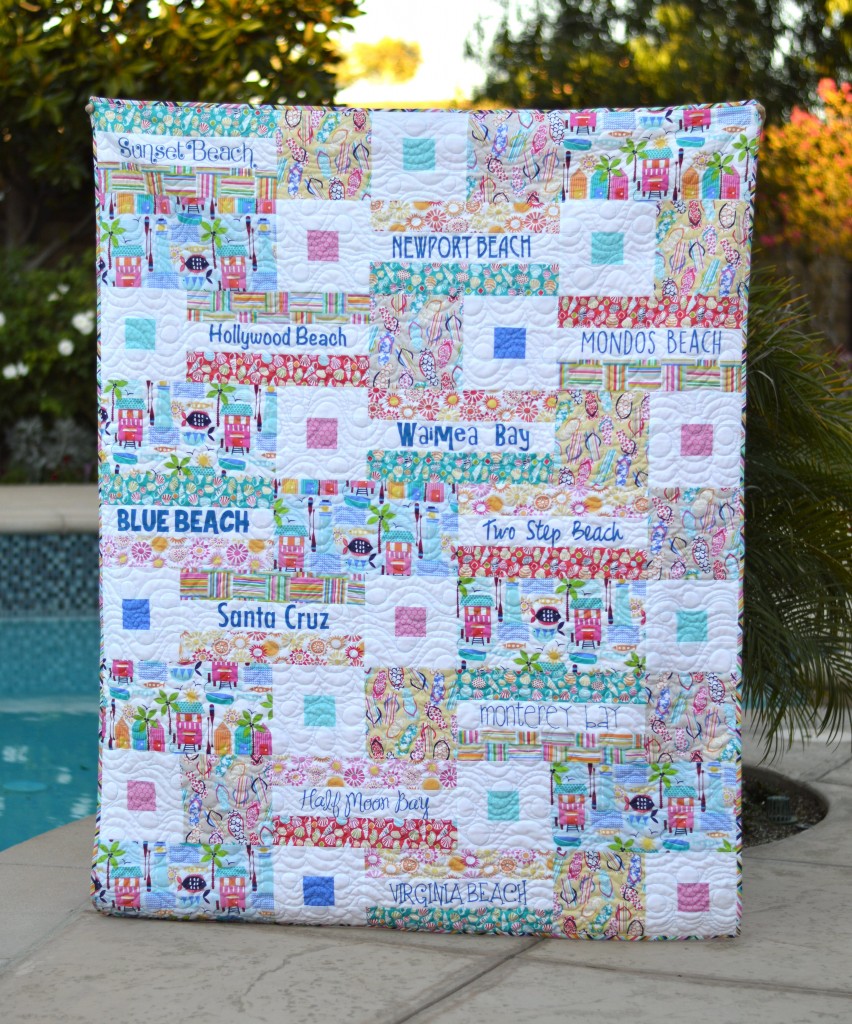
 It’s still August and I am going to enjoy every last minute of summer! I love the Sun-sational fabric line from Blend Fabrics. Just looking at them makes me feel like I’m enjoying summer at the beach. I am a California girl who was raised loving the beach. Through the years my family has come to love many beaches. I thought it would be great to include the names of these beaches in the quilt.
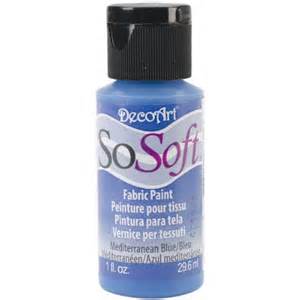
 It makes it so personal! I used SoSoft Fabric Paint by DecoArt. I purchased at my local Beverly’s Fabric and Craft store. I’ve painted on T-shirts and fabric before with acrylic paint. It kind of leaves a rough texture after it dries. I wanted something soft that would blend nice with the fabric. This totally did the trick! After it dried I could hardly feel it was paint – it just felt like the fabric!
 Here is how you can make this quilt:
51″ x 64″ Finished quilt
Supplies:
Fat quarters of assorted beach prints
1.5 yards white cotton fabric
1/2 yard for binding
3 yards backing
So Soft fabric paint
Vinyl stencils
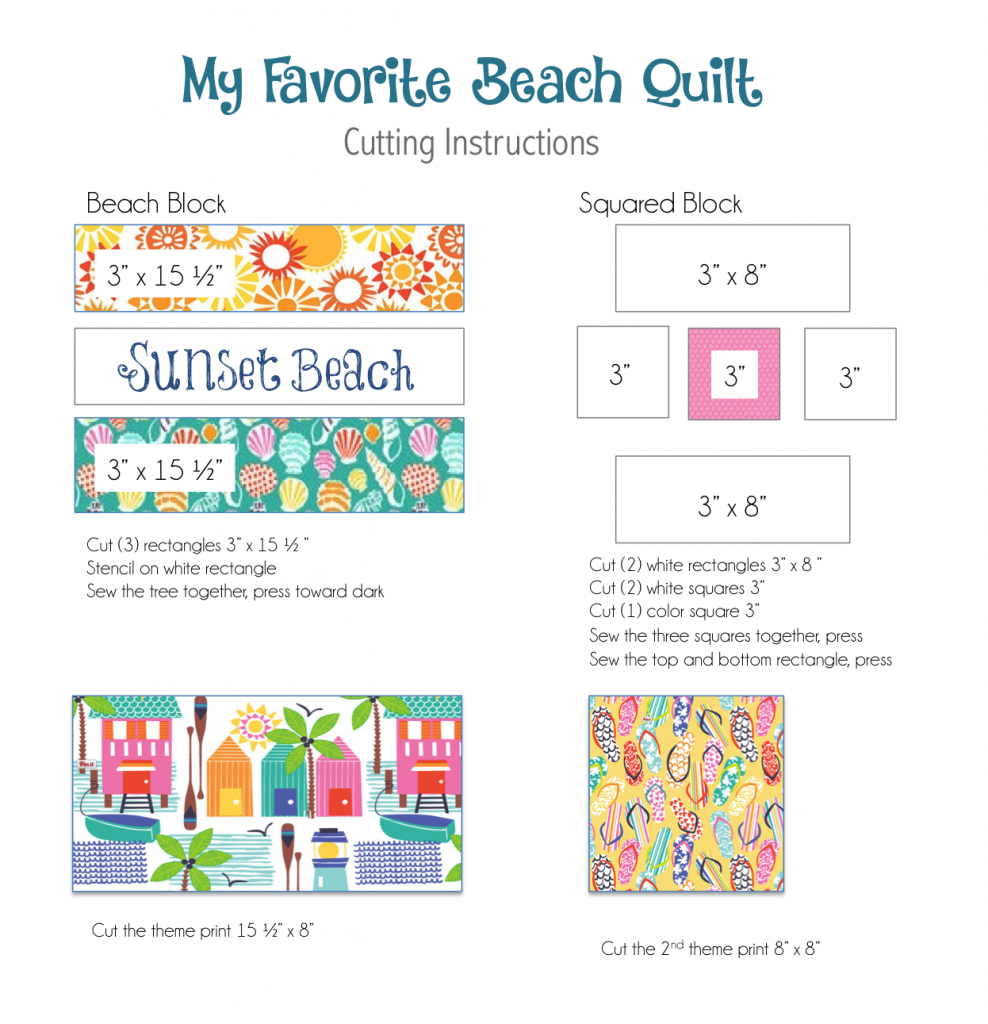
This quilt is made of up 4 “blocks”. Two are rectangles and two are squares. Below is the cutting instructions for each block. You can make this quilt larger or smaller, or mix up the blocks to create a totally different pattern!
You will need:
(11) Beach Name Blocks
(15) Squared Blocks
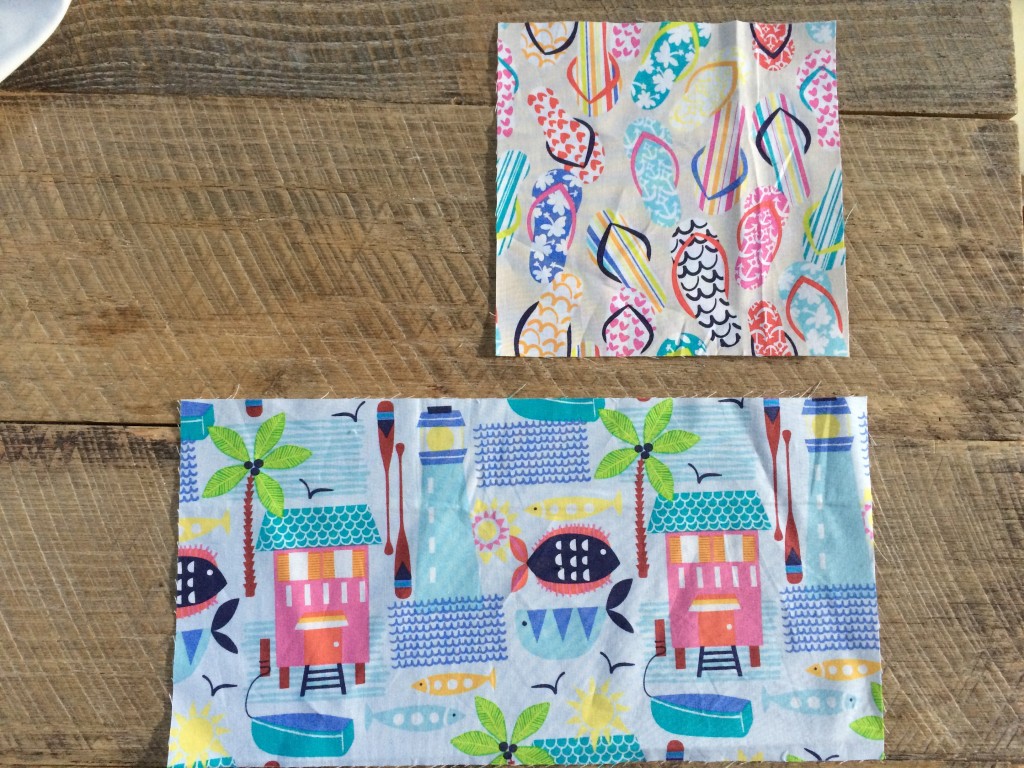
(9) 8″ square theme print blocks
(8) 8″ x 15.5″ theme print rectangles
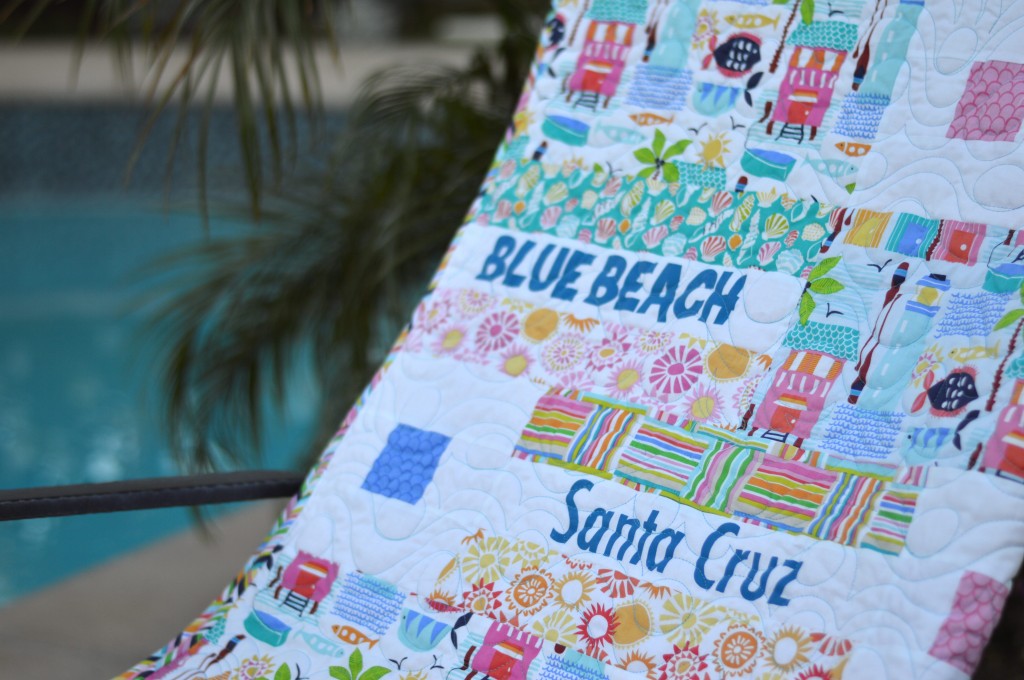
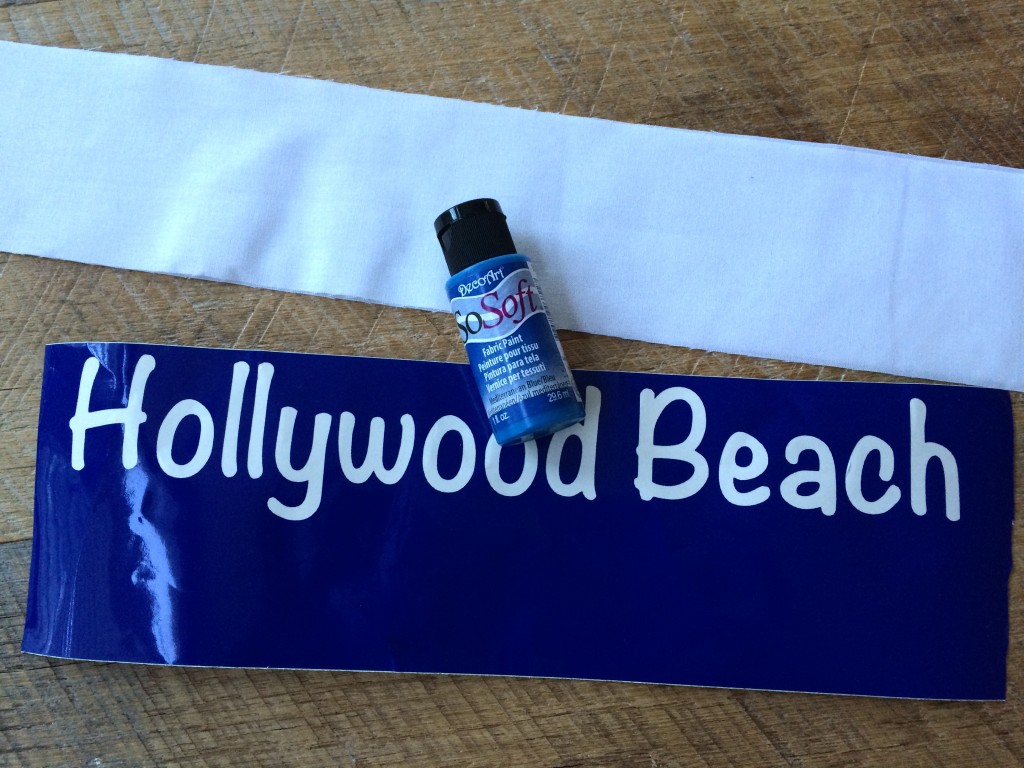
Once everything is cut prepare the stencil for the beach names. I cut vinyl on my Cricut and peeled out the inside of the letters to leave a vinyl stencil. Each beach name is a different font. I put the vinyl on the 3″ x 15.5″ white strip and stenciled using the SoSoft paint. I let dry completely then removed the vinyl. I made sure to heat set the paint while I was pressing the block.
Once the paint is dry, sew the beach name block together. 1/4″ seams throughout.
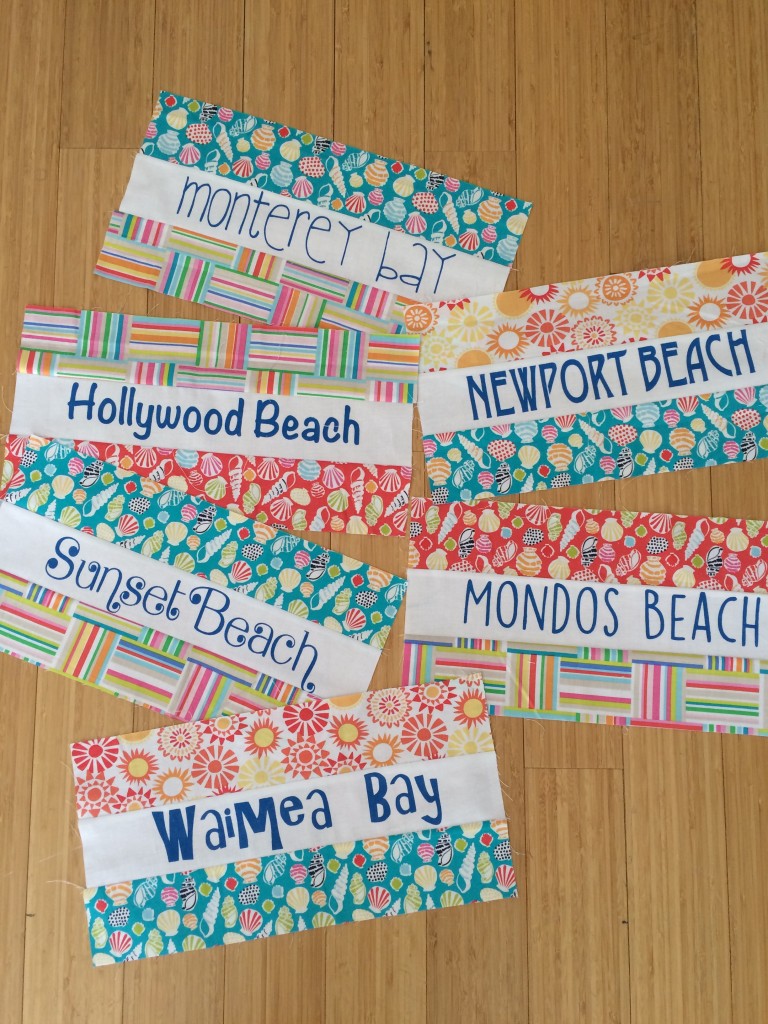
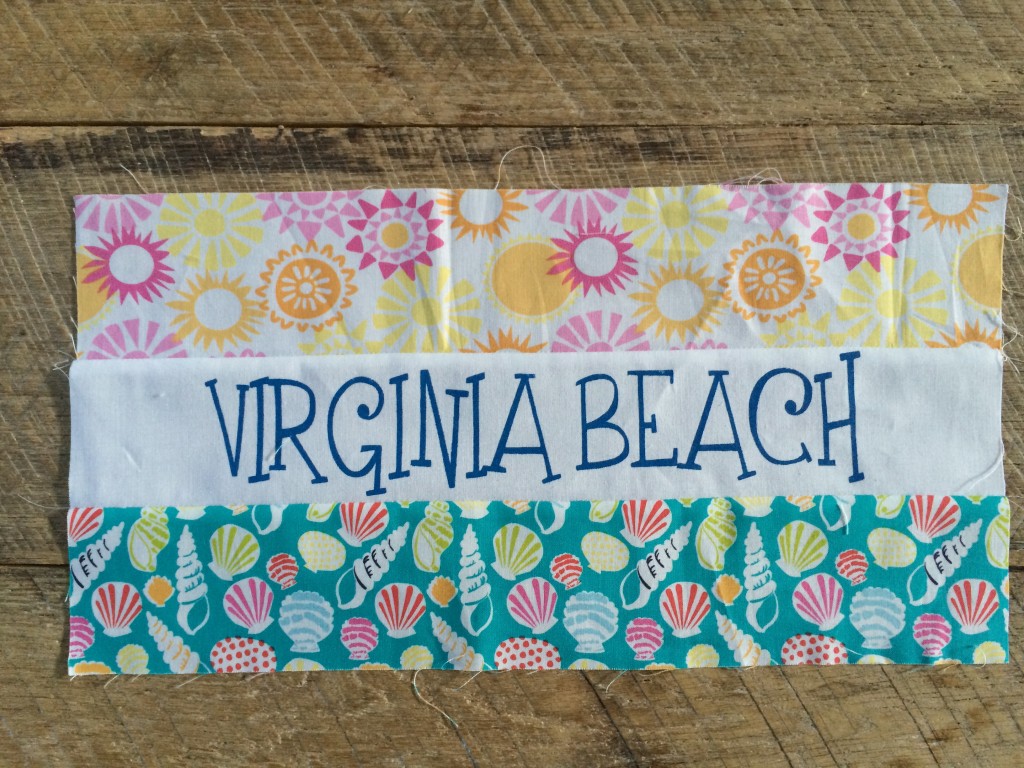 I love how they turned out! Do you have any of the same favorite beaches as we do?
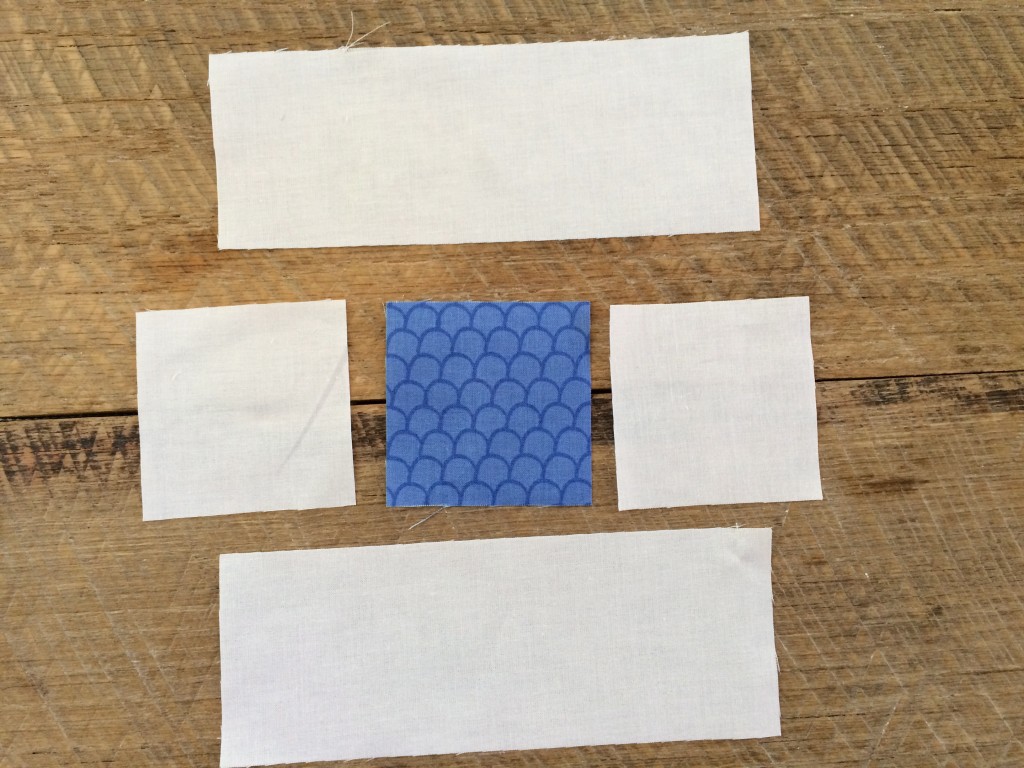
 Sew the squared blocks together by sewing a white square to both sides of the center blue square. Press. Add the top and bottom rectangles, press.
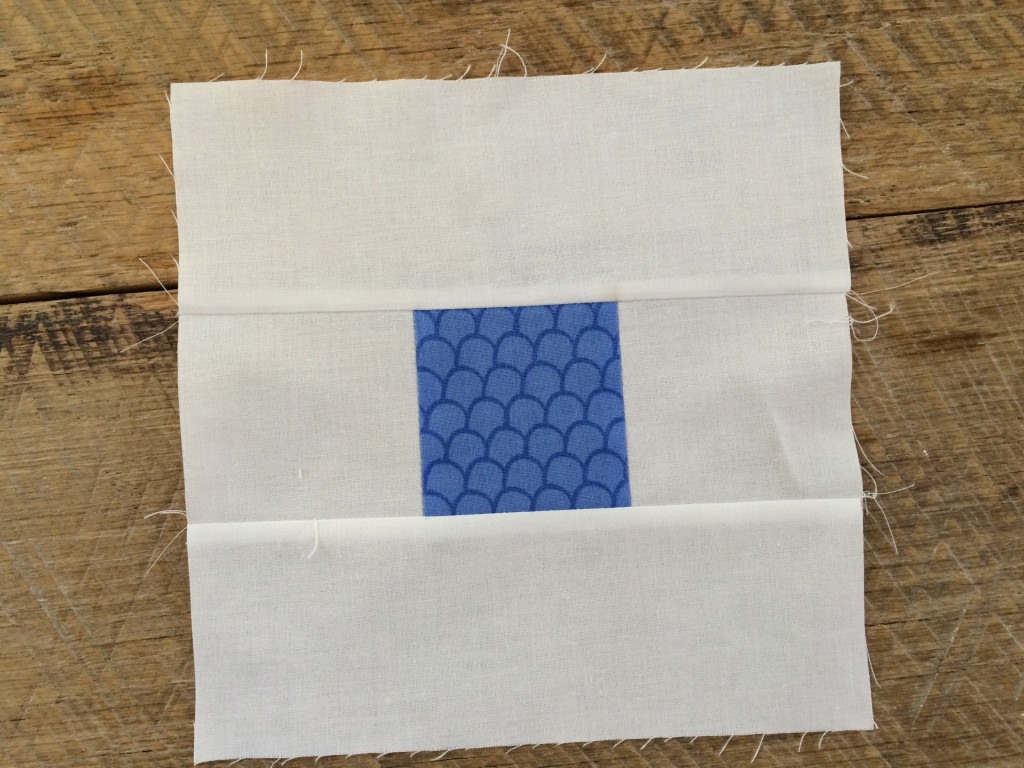 Cut the remaining theme print blocks, you can use as many theme prints as you want!
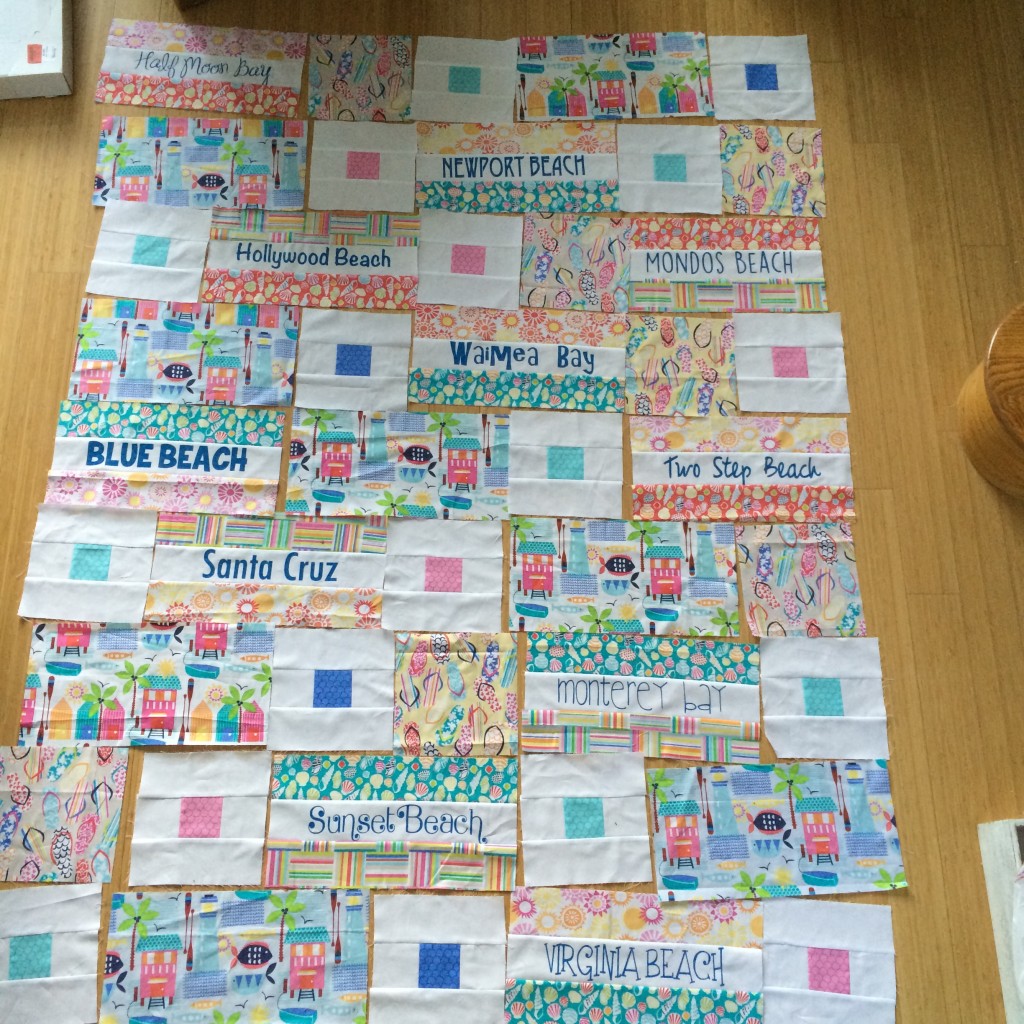
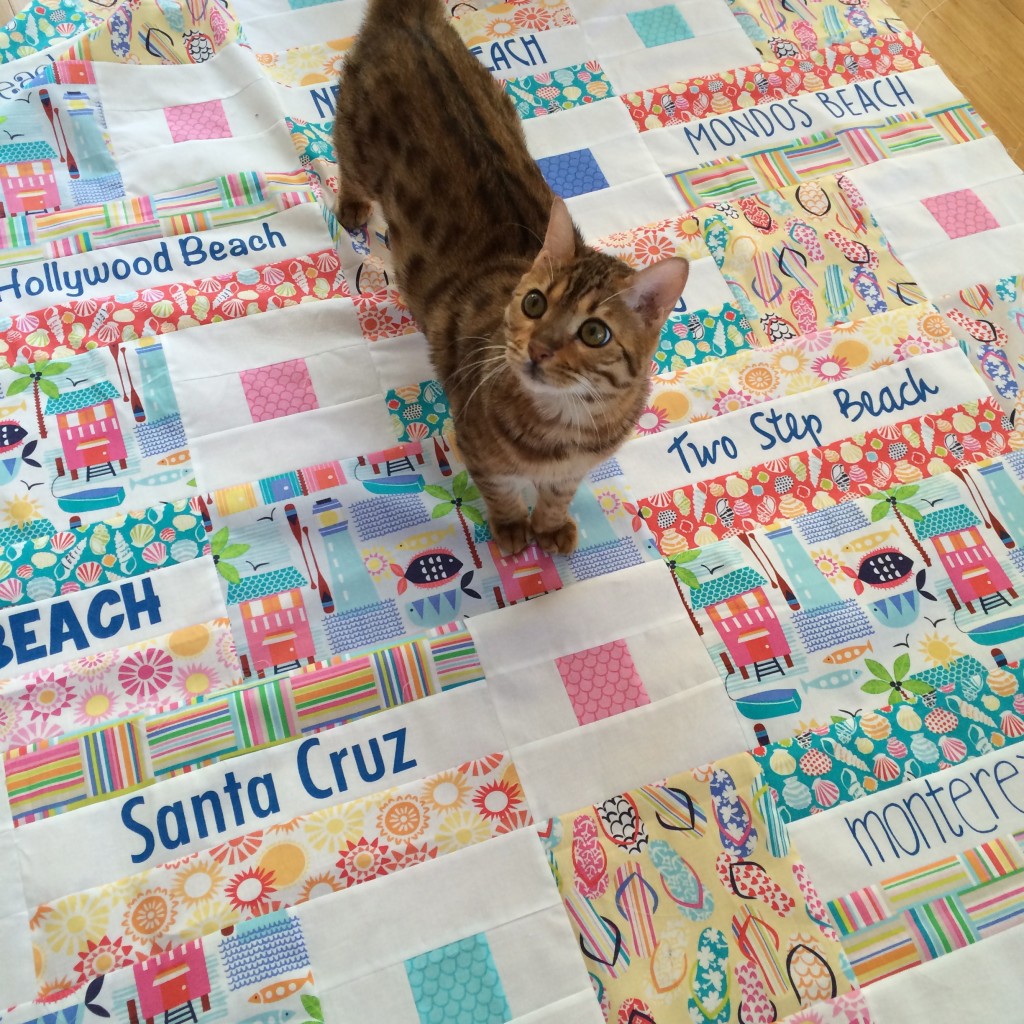
 Next comes the fun part – laying it out. I played with several different patterns until I decided on this one. There is not really a pattern to it, kind of random 🙂
 It’s always a good idea to photograph your quilt layout, especially if you have a #kittyquilter in your home! Mufasa!!!!!
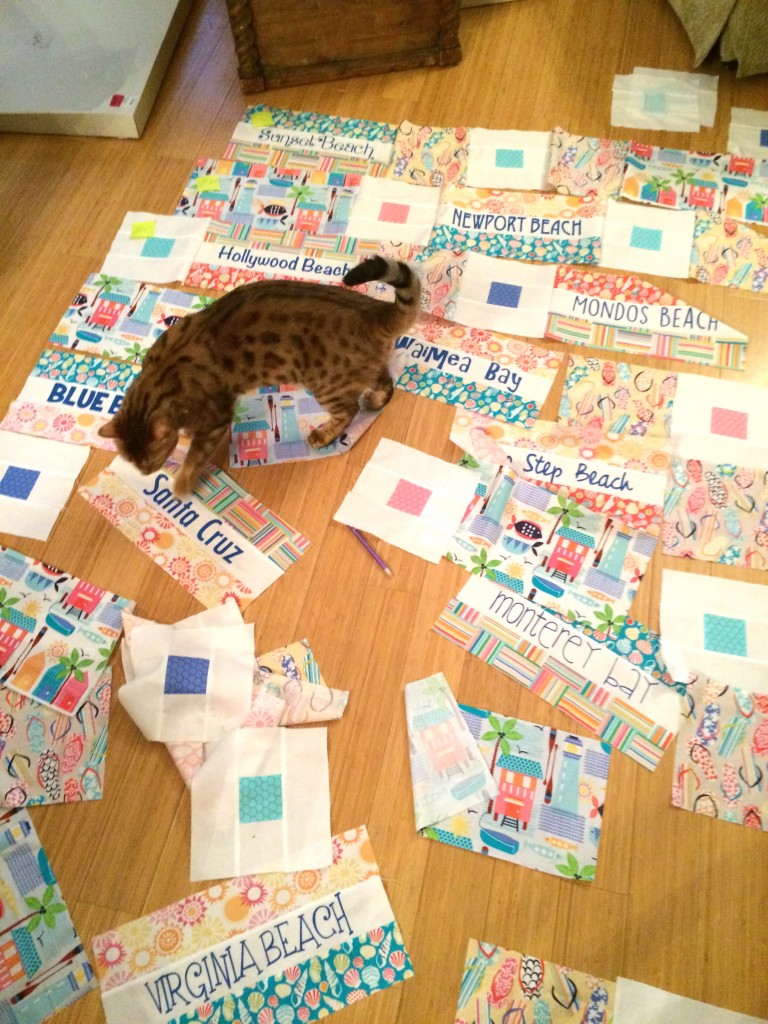 Sew the blocks together in rows and the rows together, matching seams that intersect. Make sure #kittyquilter inspects all finished work!! Quilt as desired.
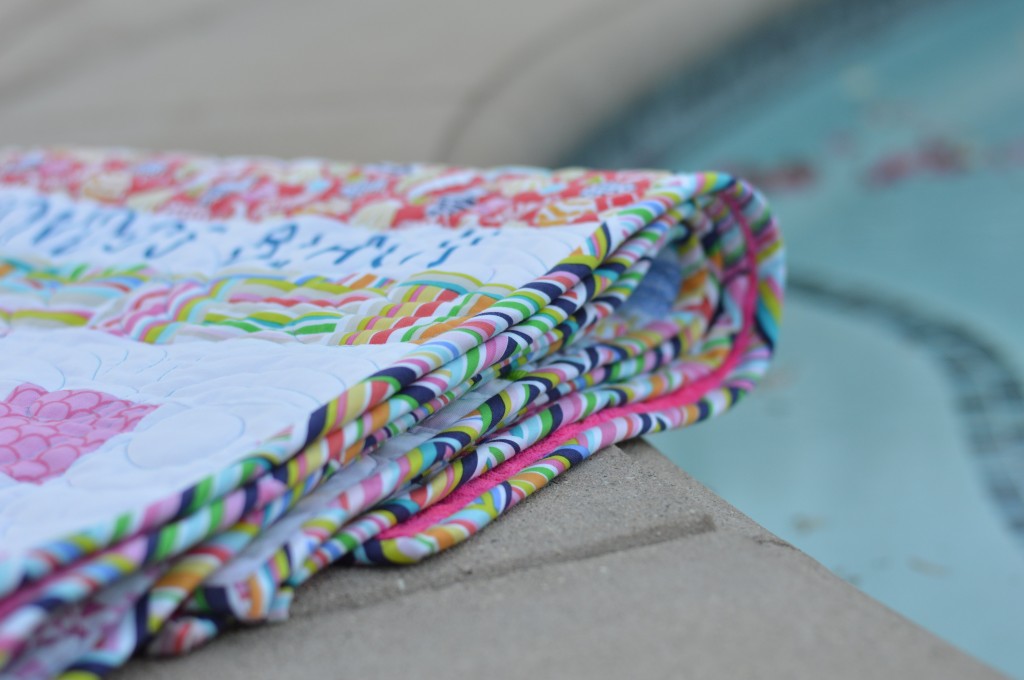
 I put minky on the back and had my friend use her long arm quilting machine to quilt it. I love the pattern she did!!
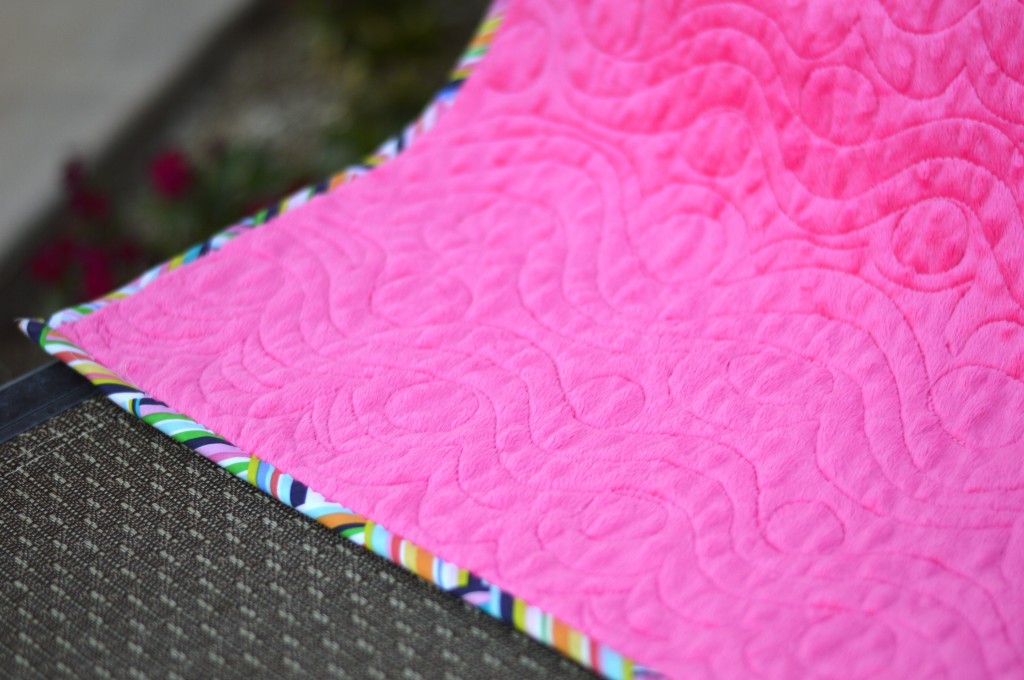 The binding is cut on the bias, my favorite way to make binding!!
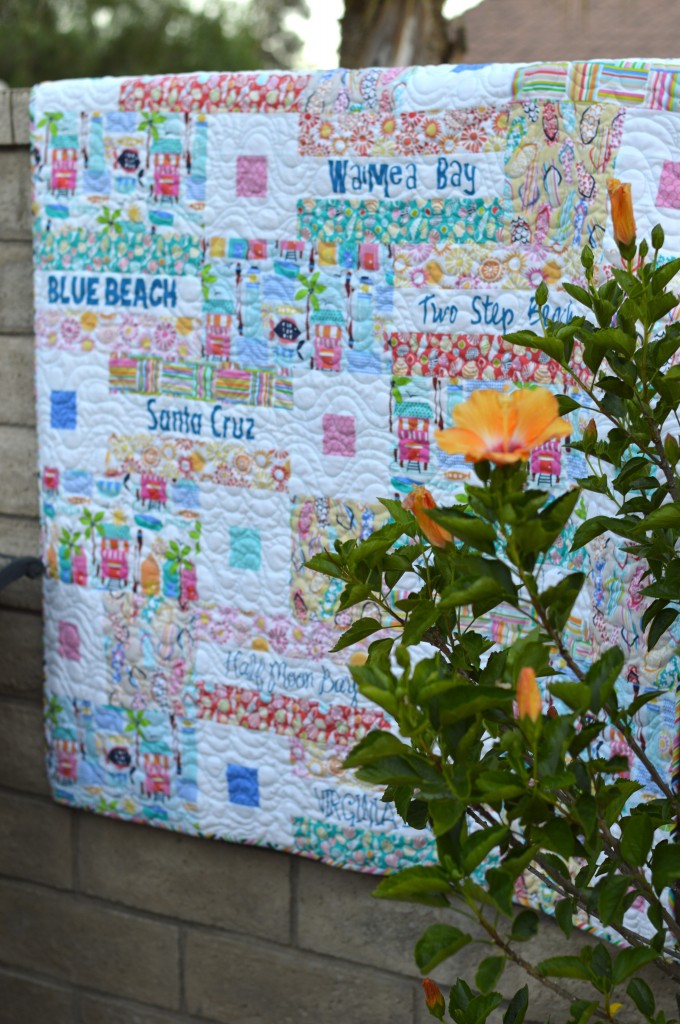 I’m so ready for a beach vacation now!!!
