Nautical Banner Tutorial

nautical week 2nautical banner

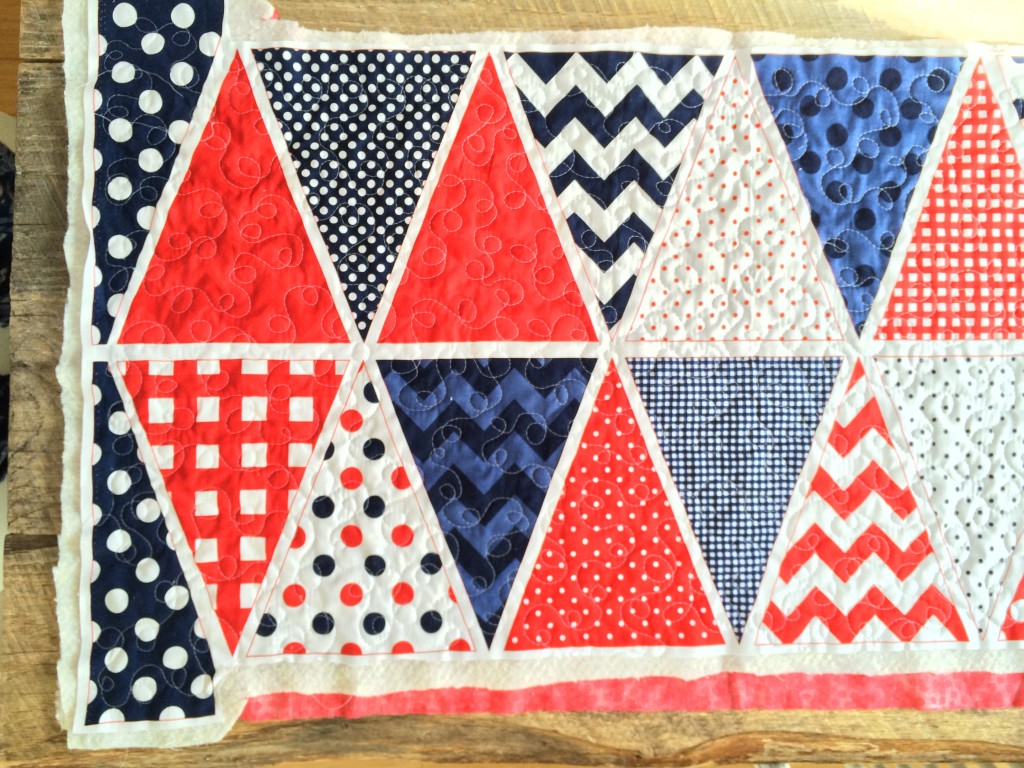
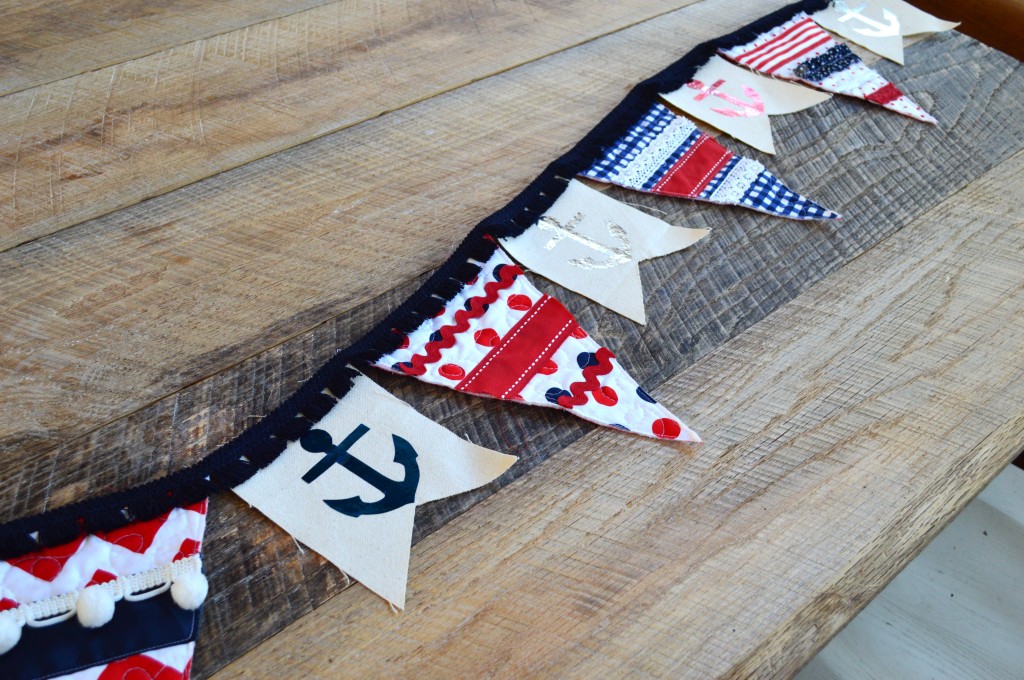
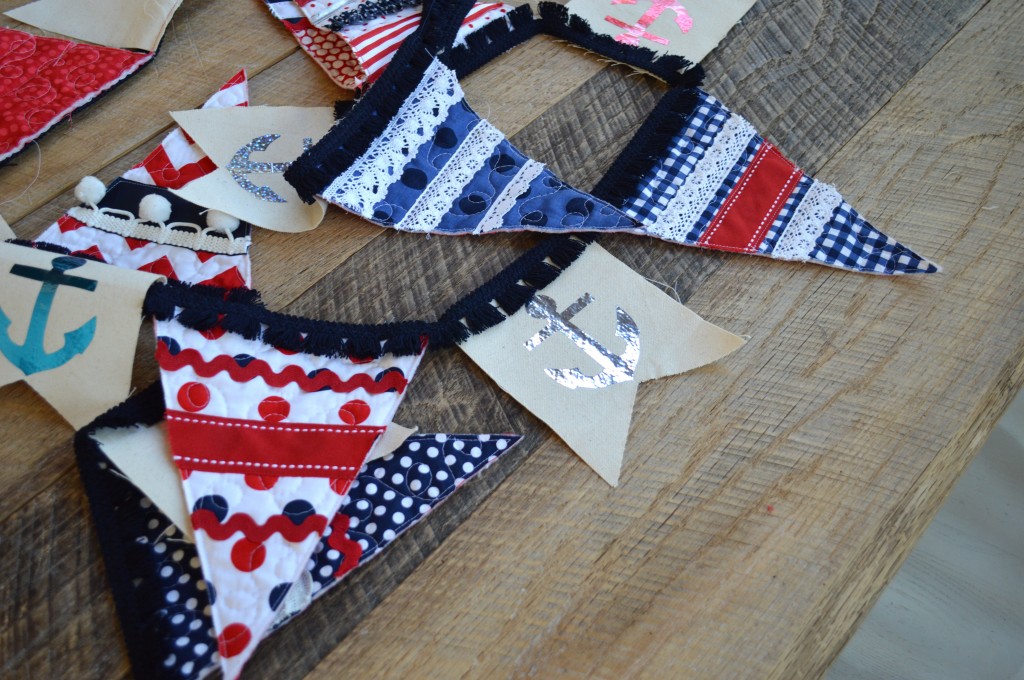
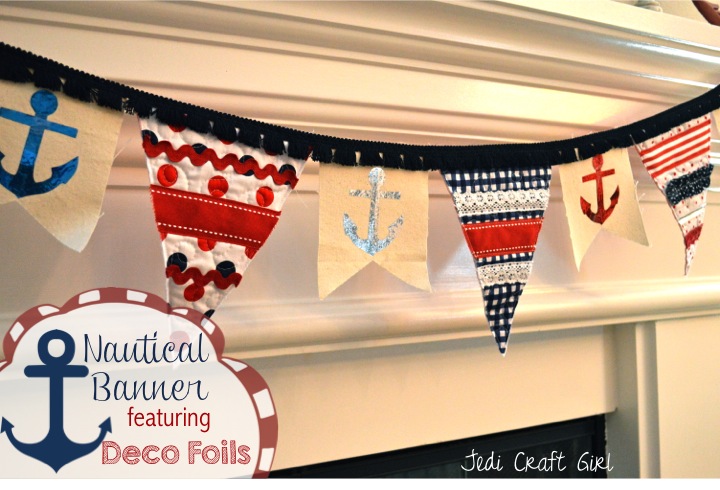
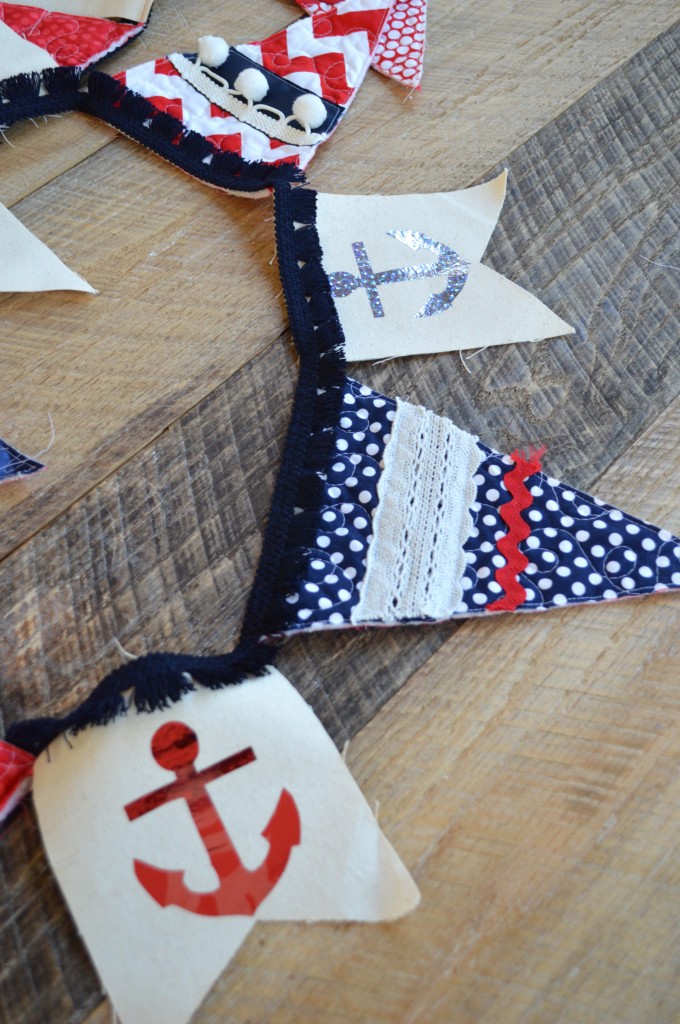
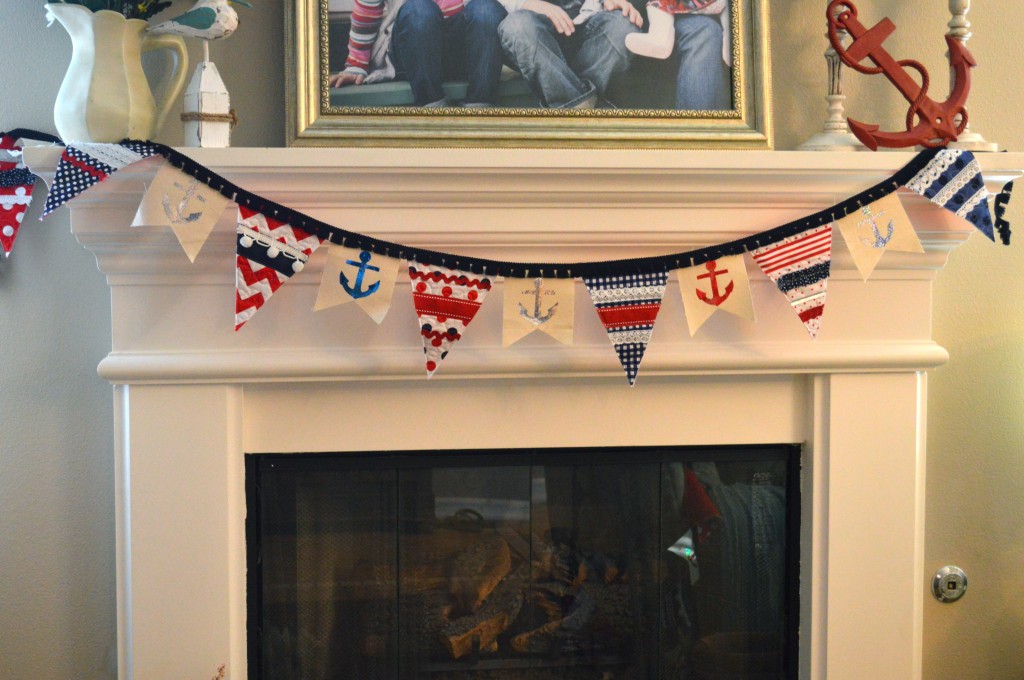
It wouldn’t be Nautical Week without a banner!  I LOVE Riley Blake Designs.  They have come up with the brilliant idea of printing banner triangles on a panel of fabric.  For one panel you get 18 triangles – each one a totally different print!  You can cut them up and sew them together or you can embellish them.  I added a canvas flag with Therm O Web Deco Foil anchors in-between each triangle.
riley blake nautical banner deco foils 2

riley blake nautical banner deco foils 01

Here’s how you can make one:

Supplies:

Riley Blake Designs banner panal or red white and blue patterned fabric
3/4 yard backing fabric
cotton batting
iCraft® Deco Foil™  – Silver, Red, Silver Star and Blue
Natural canvas
Navy fringe trim
Anchor pattern, click HERE
Spray n Bond®
Scraps of ribbon, lace, ric rac, pom poms and any trim you can round up!


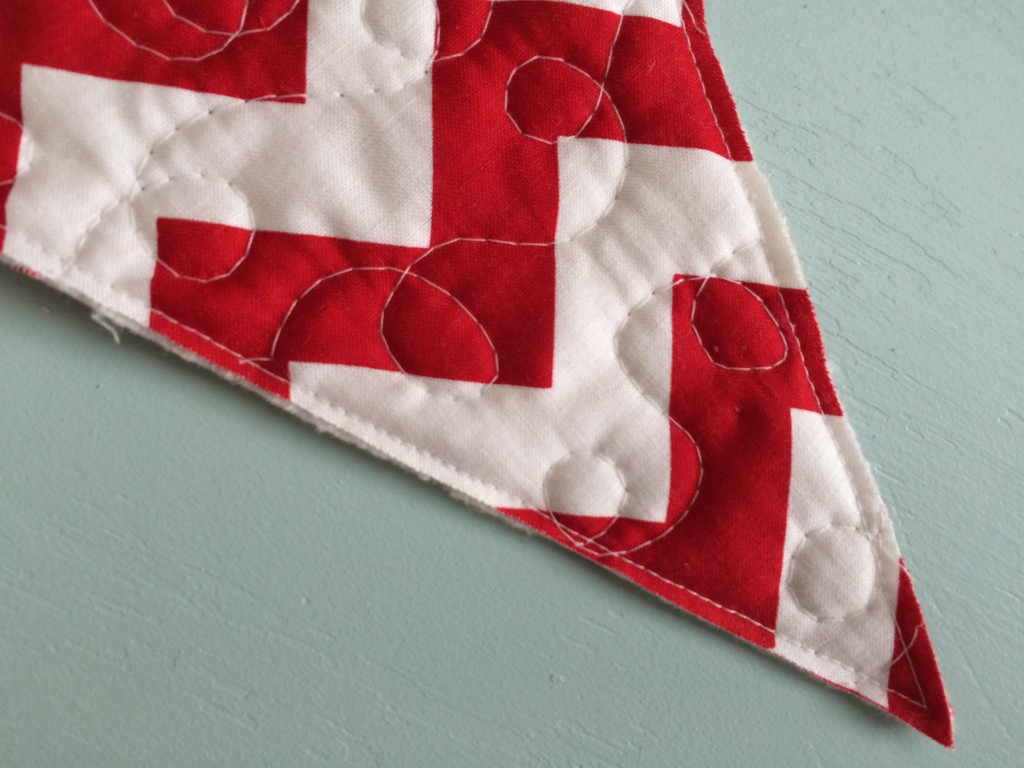
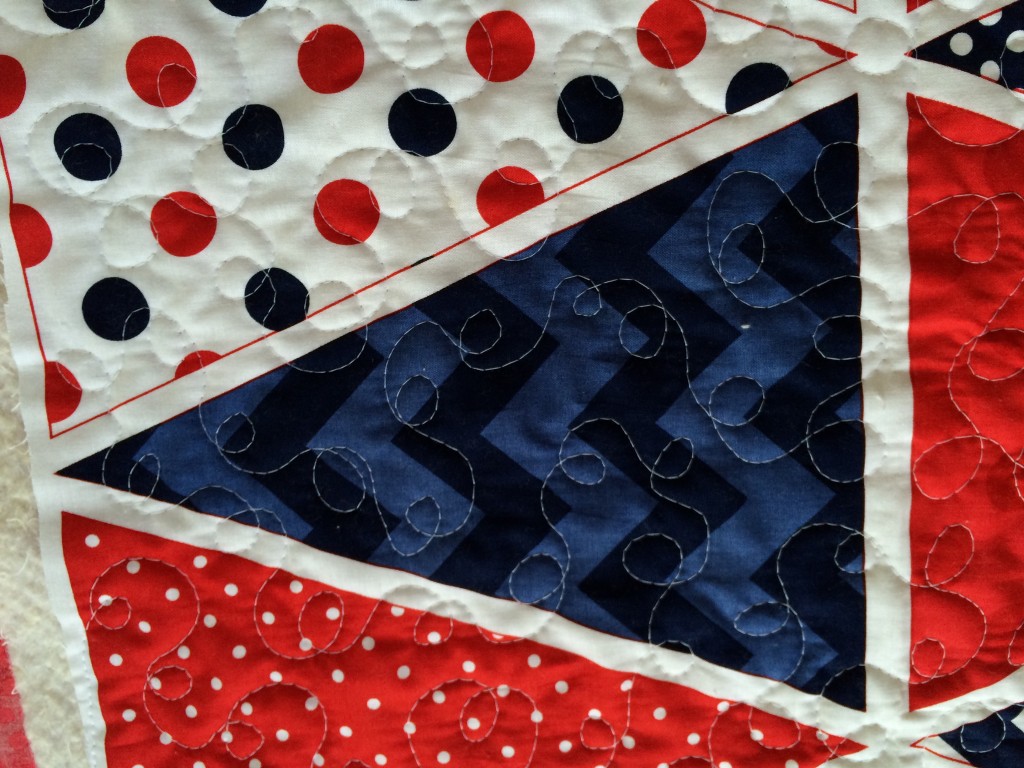
Begin by quilting the banner panel – I quilted mine with loop-de loos.
riley blake nautical banner deco foils 02

After quilting the pane, cut the triangles out on the line and top stitch 1/8″ from the edge to prevent the quilting from unraveling.

riley blake nautical banner deco foils 001

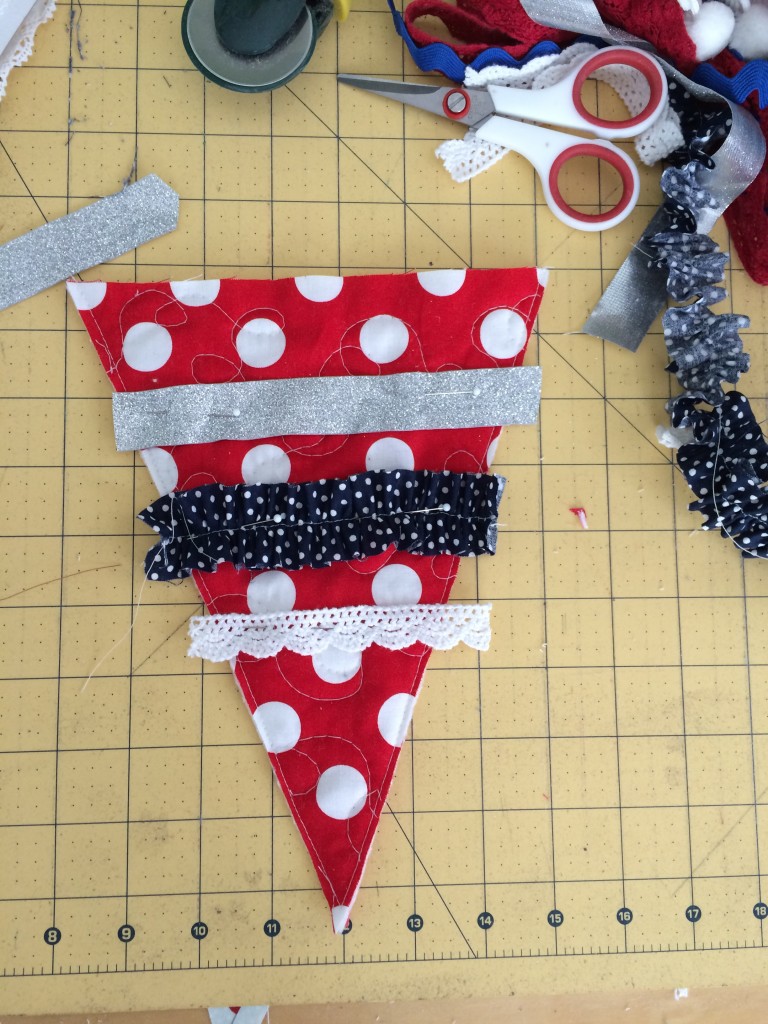
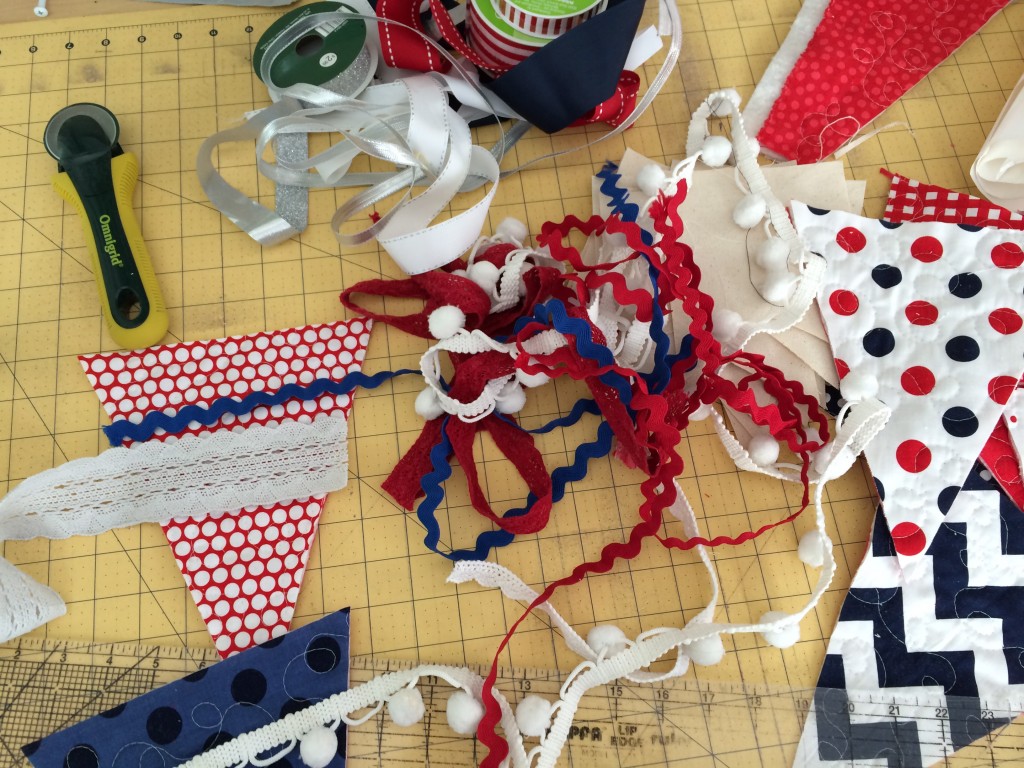
Now comes the fun part.  Run around your house and gather every bit of ribbon, trim, lace, etc. in red, white, blue, gray, and silver.  I even ruffled a few pieces of fabric. Use Spray n Bond® to position the trim in place and top stitch on the triangles.  This takes a while – I didn’t want any of mine to be the same.
riley blake nautical banner deco foils 09

riley blake nautical banner deco foils 004

Once the triangles are completed, move on to the flag portion of the banner.

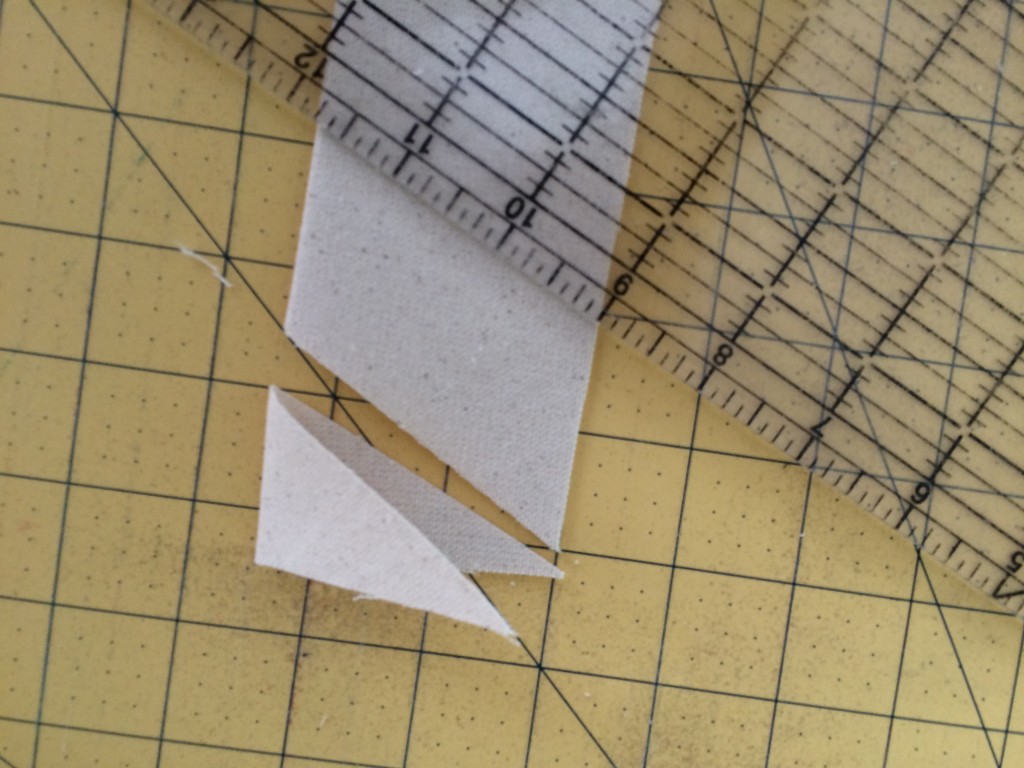
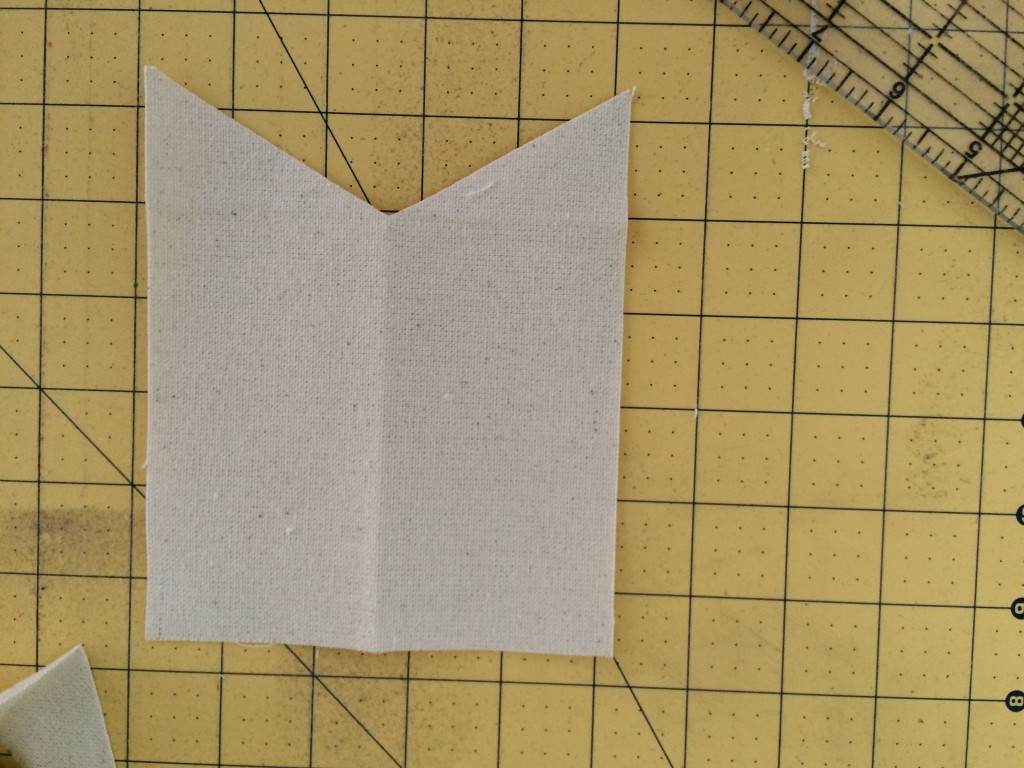
Begin by cutting (16) canvas rectangles in 5.5″ x 6″.  Fold the rectangles in half and cut a diagonal line by angling the ruler from the corner to the 1.5″ mark:
riley blake nautical banner deco foils 08

riley blake nautical banner deco foils 06

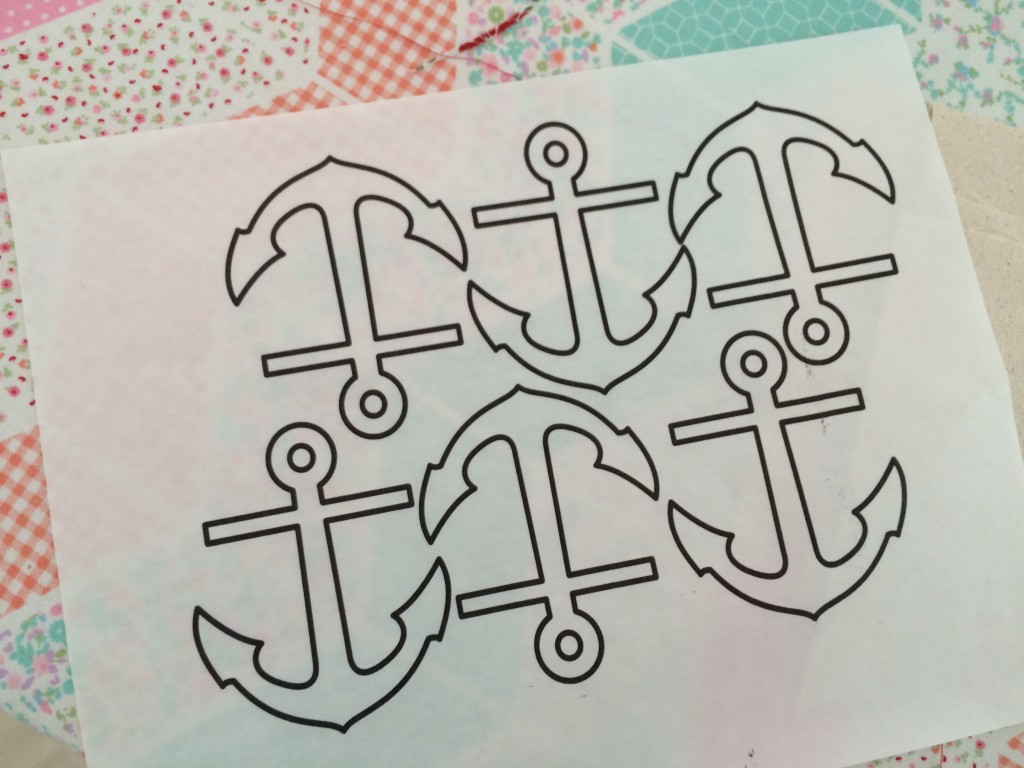
Print out the anchors on the EZ print sheets.
riley blake nautical banner deco foils 006

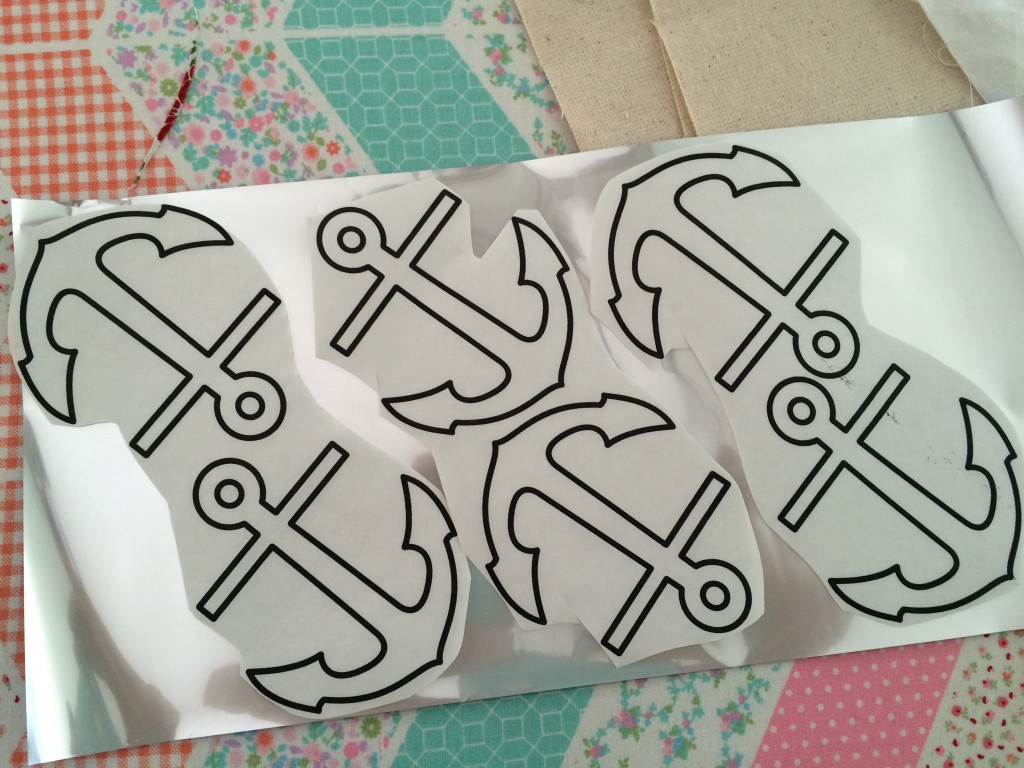
Then cut around the anchors and position them on the back of the Deco Foil.  Six fit on one piece of foil.  Cover with a piece of cotton fabric and press to set.  It only takes seconds.
riley blake nautical banner deco foils 103

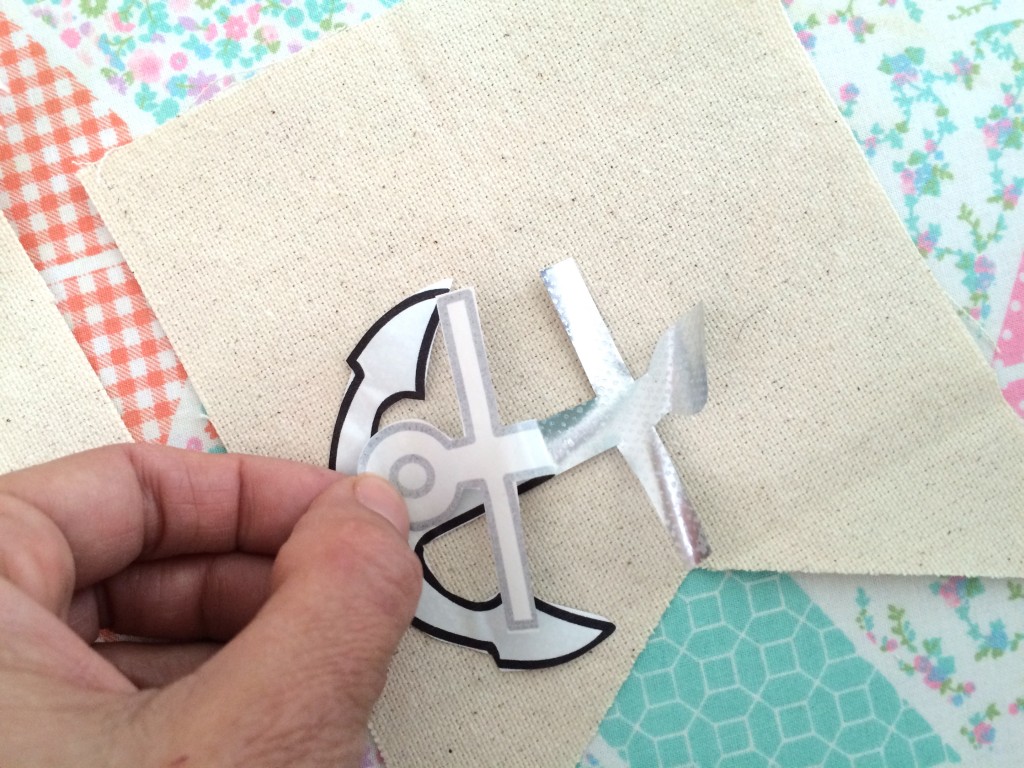
Cut around the anchor and peel off the backing paper.
riley blake nautical banner deco foils 100

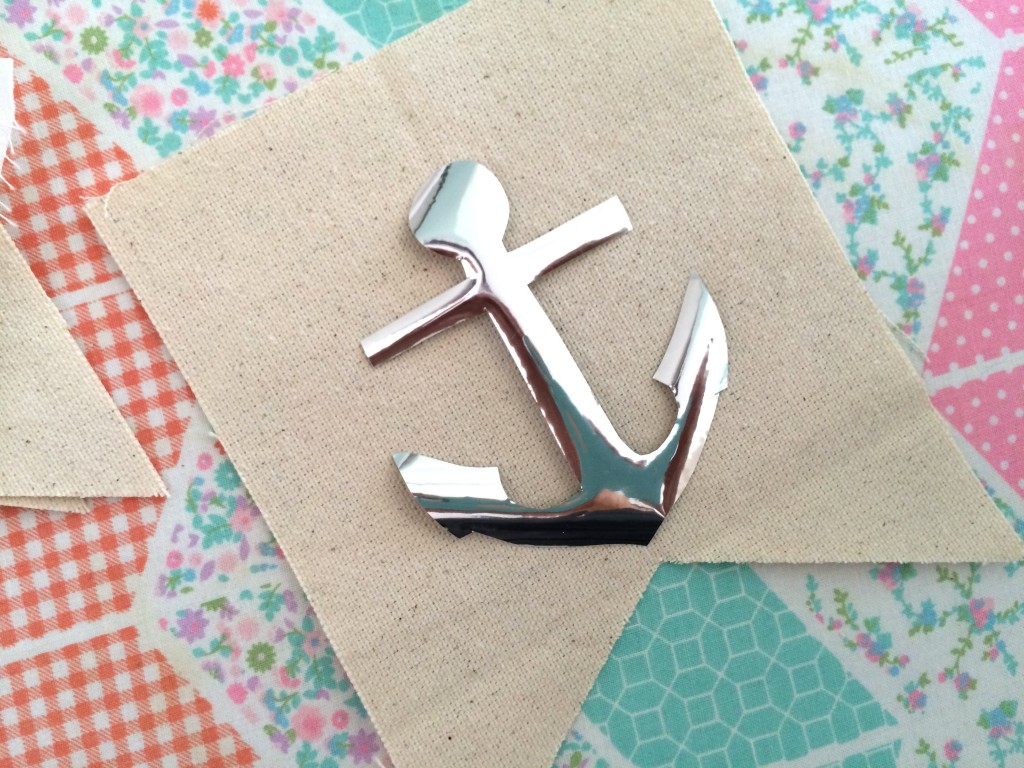
Position the foil side up, cover with a piece of cotton and press.
riley blake nautical banner deco foils 101

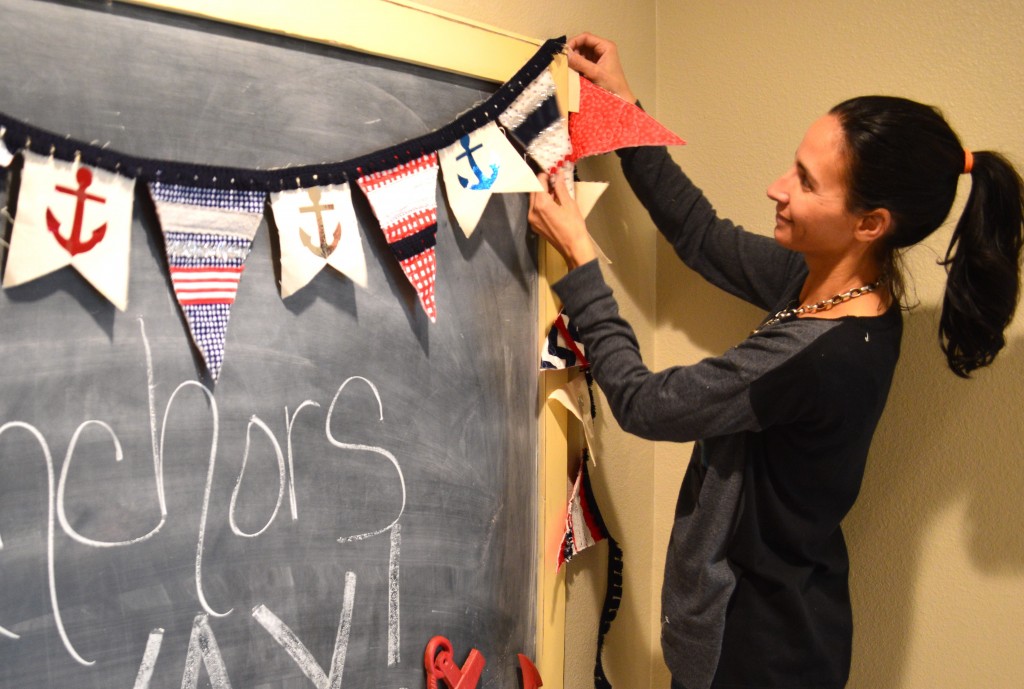
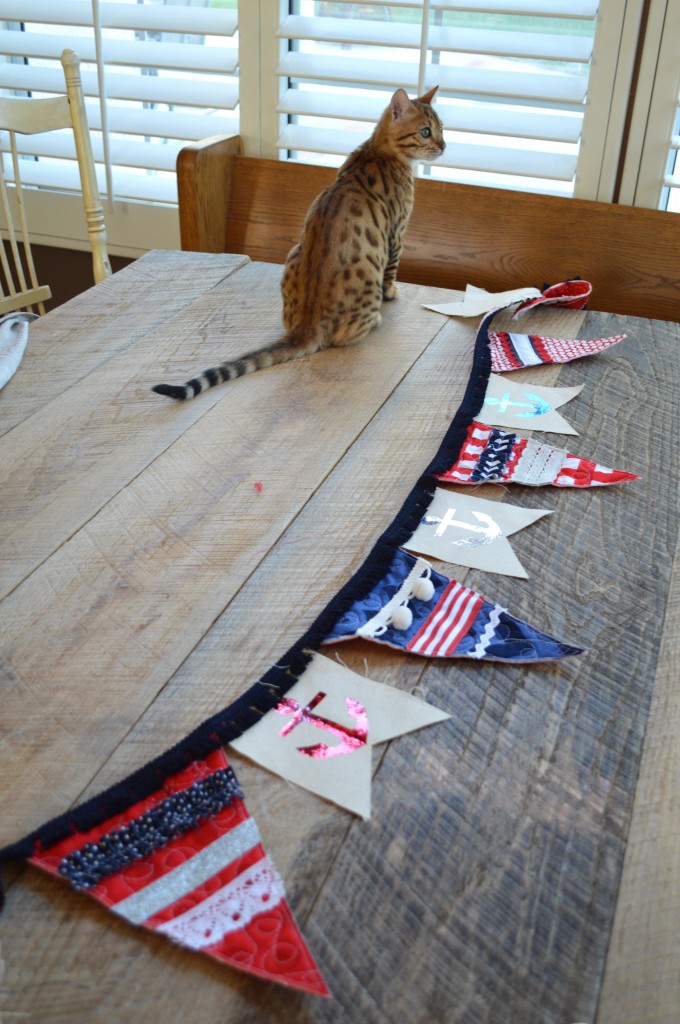
Lay out the banner and use navy blue fringe trim to sew the flags together.  This mades a long banner – I divided it in half and made two separate ones.  It helps if your kitty assists in this process 🙂

riley blake nautical banner deco foils 13

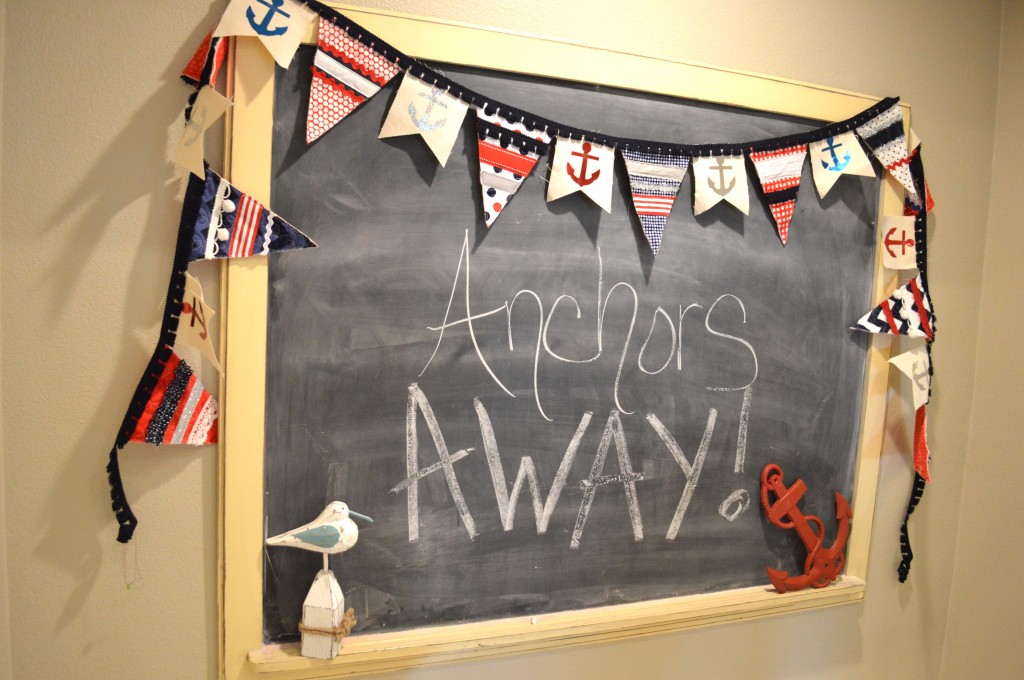
Hang around your home and enjoy!!
riley blake nautical banner deco foils 4

riley blake nautical banner deco foils 7

riley blake nautical banner deco foils 8
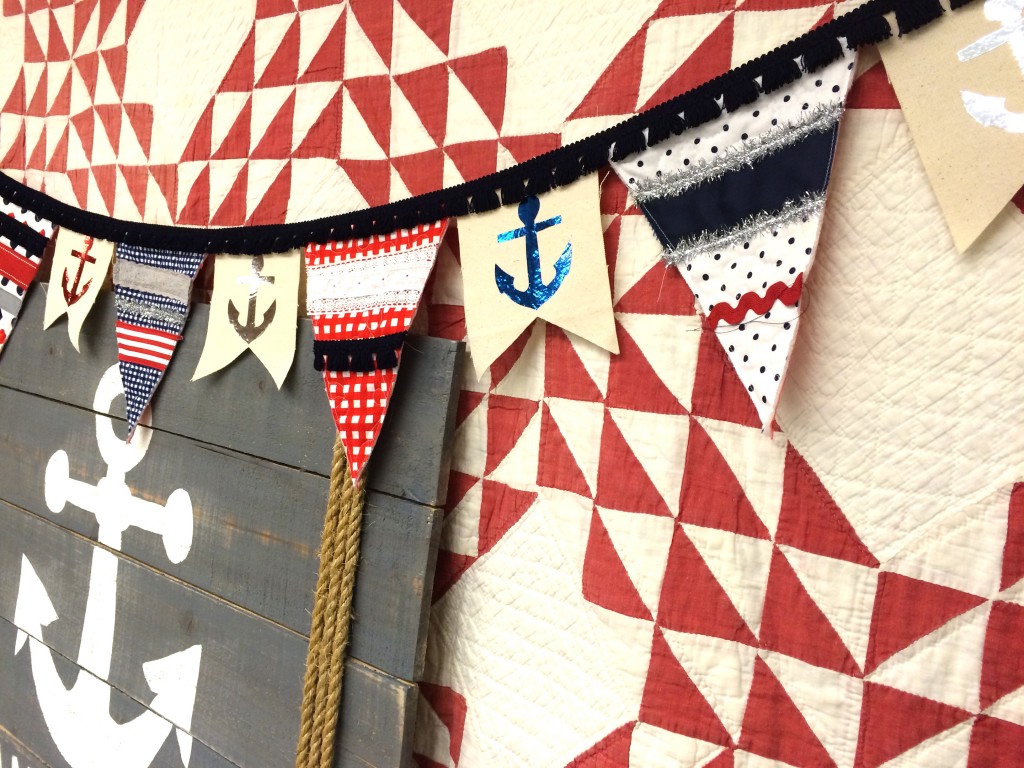
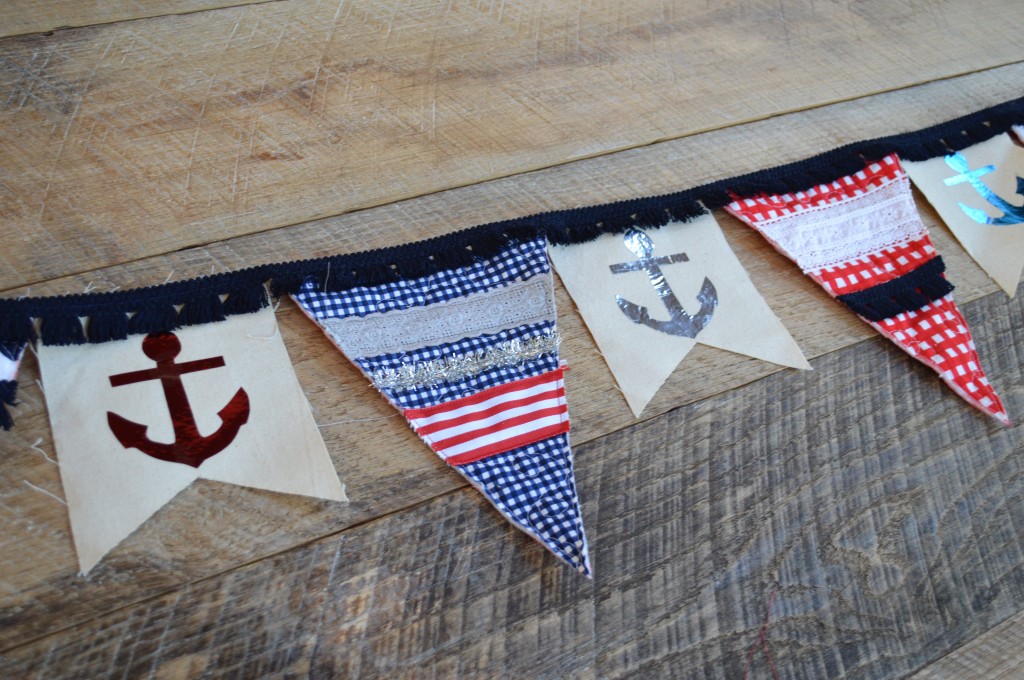
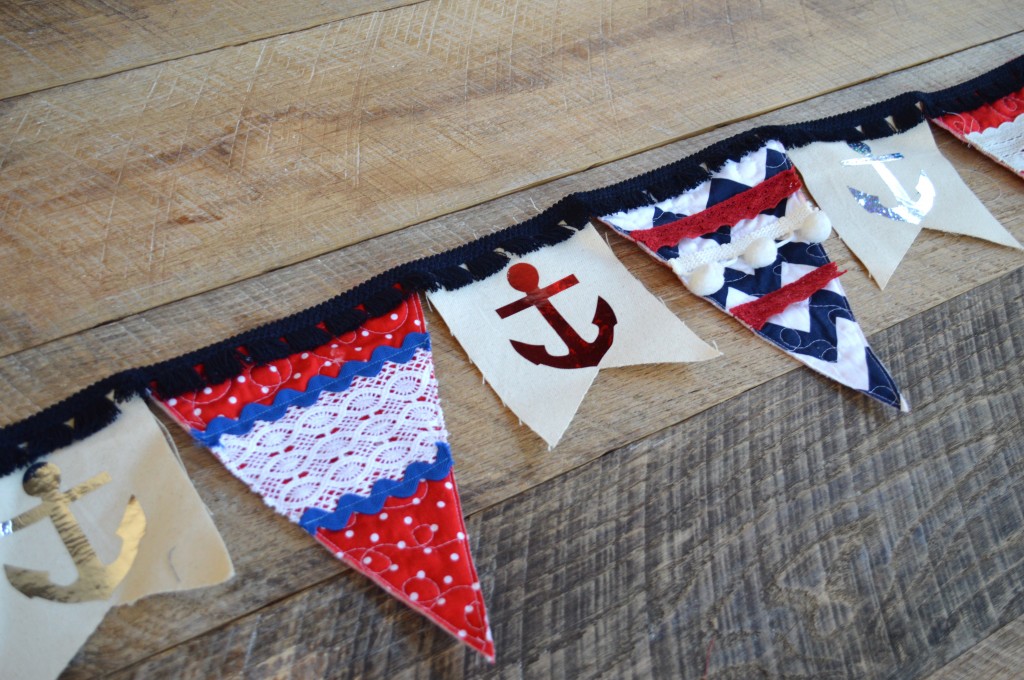
Here are a few photos of different segments to give you an idea of the different trims and fabrics.  It was too long to photograph all together.
riley blake nautical banner deco foils 10

riley blake nautical banner deco foils 11
riley blake nautical banner deco foils 15

riley blake nautical banner deco foils 16
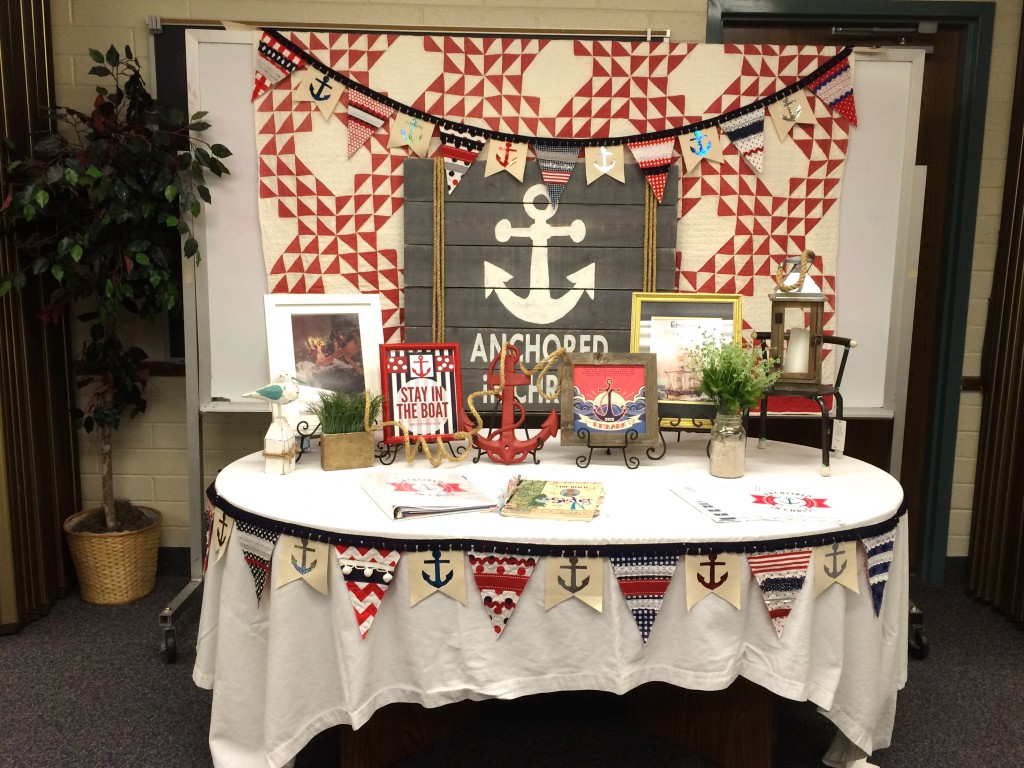
I am the Young Women Camp Director at my church and our theme is Anchored in Christ.  The banner was a perfect addition to my table scape for our leader meeting!
riley blake nautical banner deco foils 104
riley blake nautical banner deco foils 105

St. Patrick’s Day Banner

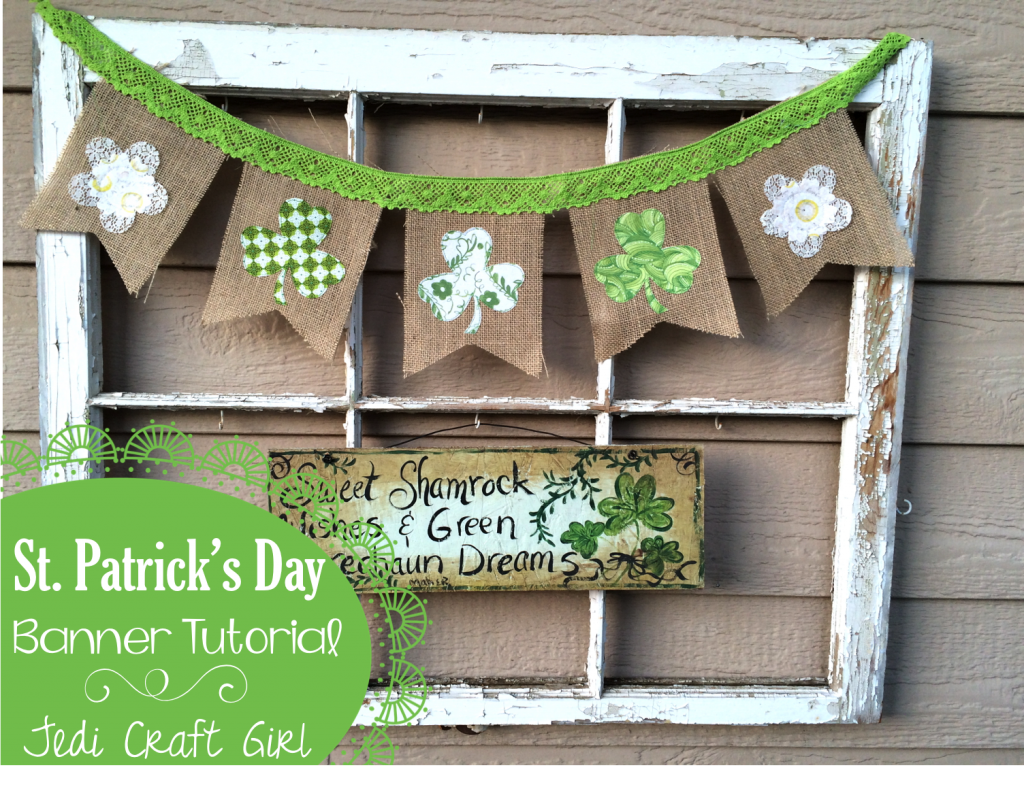
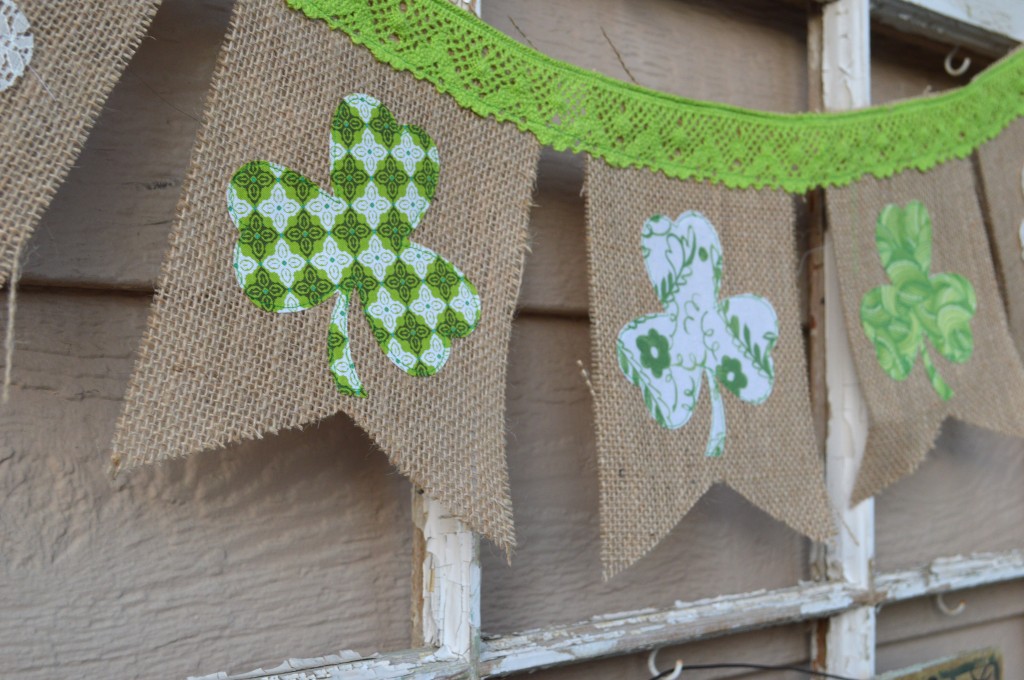
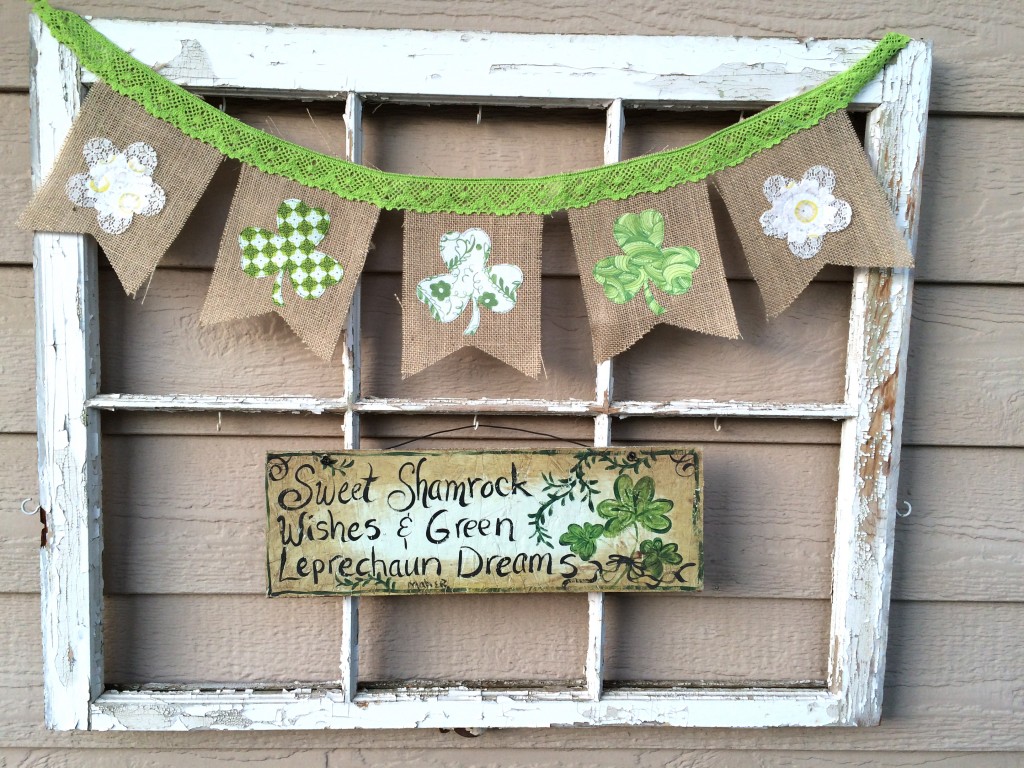
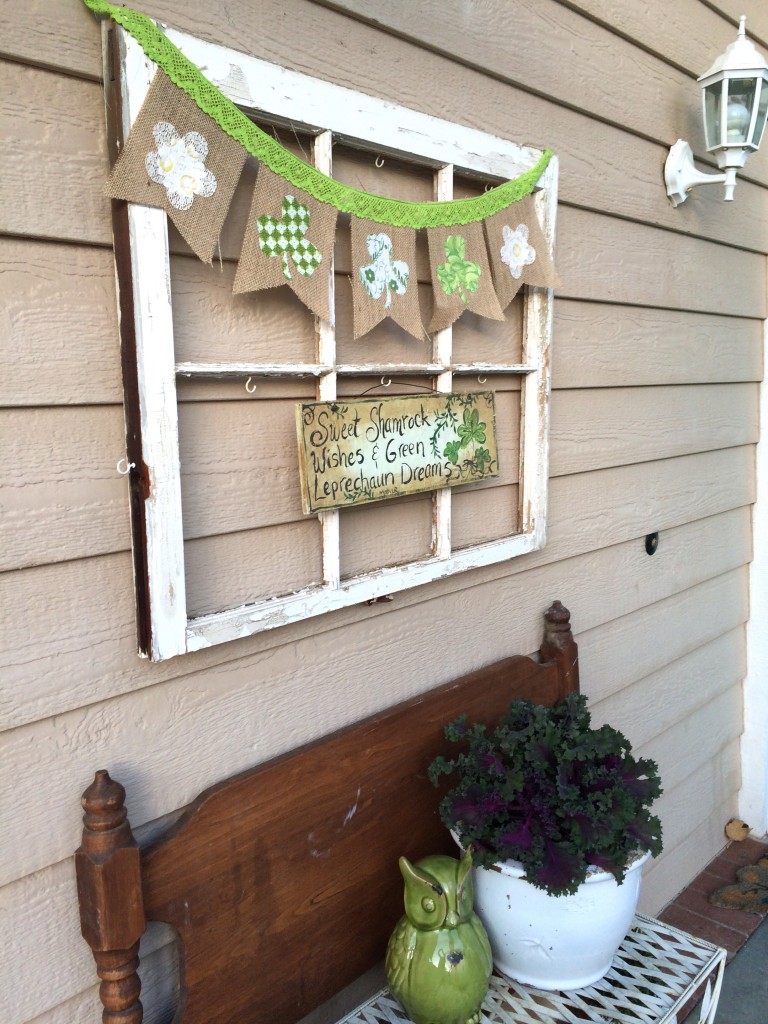
st. patricks day bannerI love sewing quick little banners!  This one can be made in 1 hour, or less if you’re speedy!  It’s the perfect size to hang in a window, on a frame, or a chalkboard.  I rummaged through my stash of fabrics and found these darling green prints from 3 different lines of Blend Fabric: Turkish DelightTea Garden, and The Makers.  I ironed Heat n Bond Lite to the back of the fabric and used my Sizzix Big Shot to cut out the shapes. Here’s how you can make one:

Supplies

1/3 yard burlap

1.5 yards green lace

scraps of green fabric for shamrocks

scraps of lace & white/yellow fabric for flowers.

Heat n Bond Lite

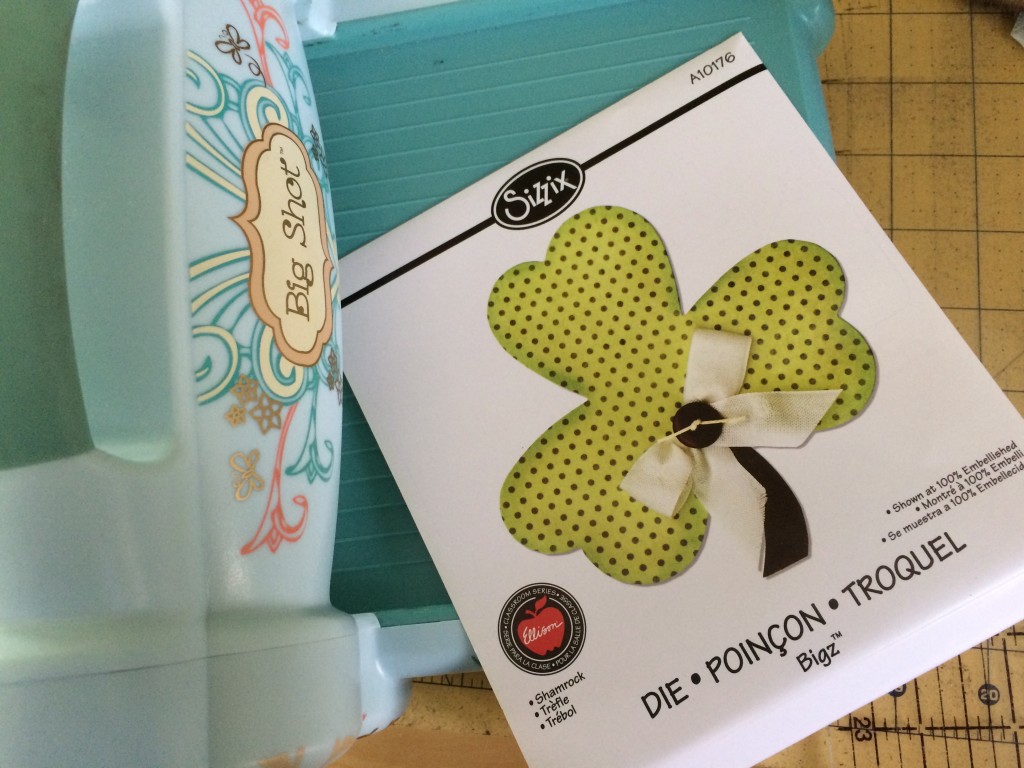
Sizzix Shamrock Die , flower die, and Flower Layers Die
shamrock banner st. patricks day


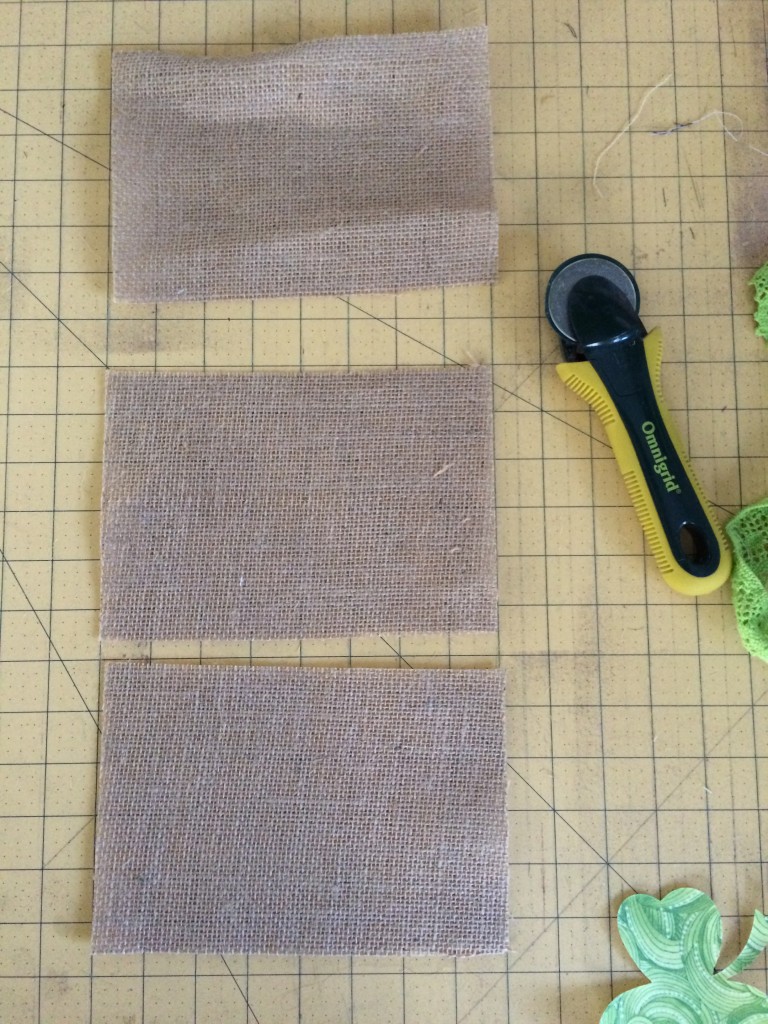
Cut (5) burlap rectangles 8″ x 5.5″shamrock banner st. patricks day 5

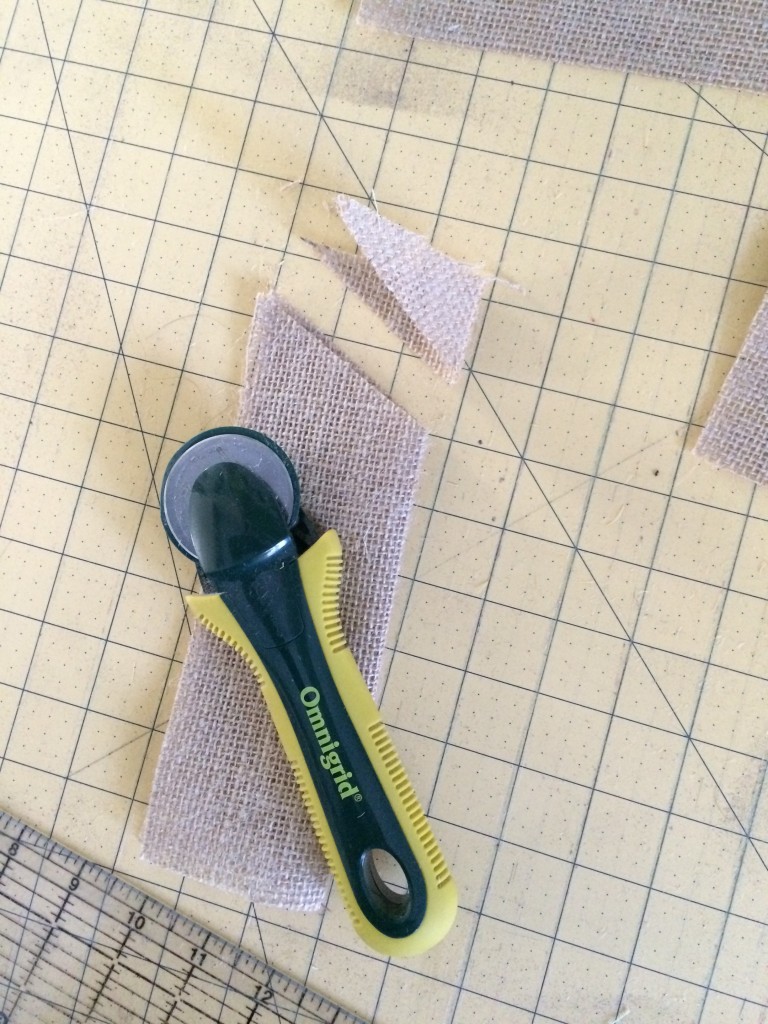
Fold the rectangles in half lengthwise and cut a 1.5″ angle off the bottom. 

shamrock banner st. patricks day 6

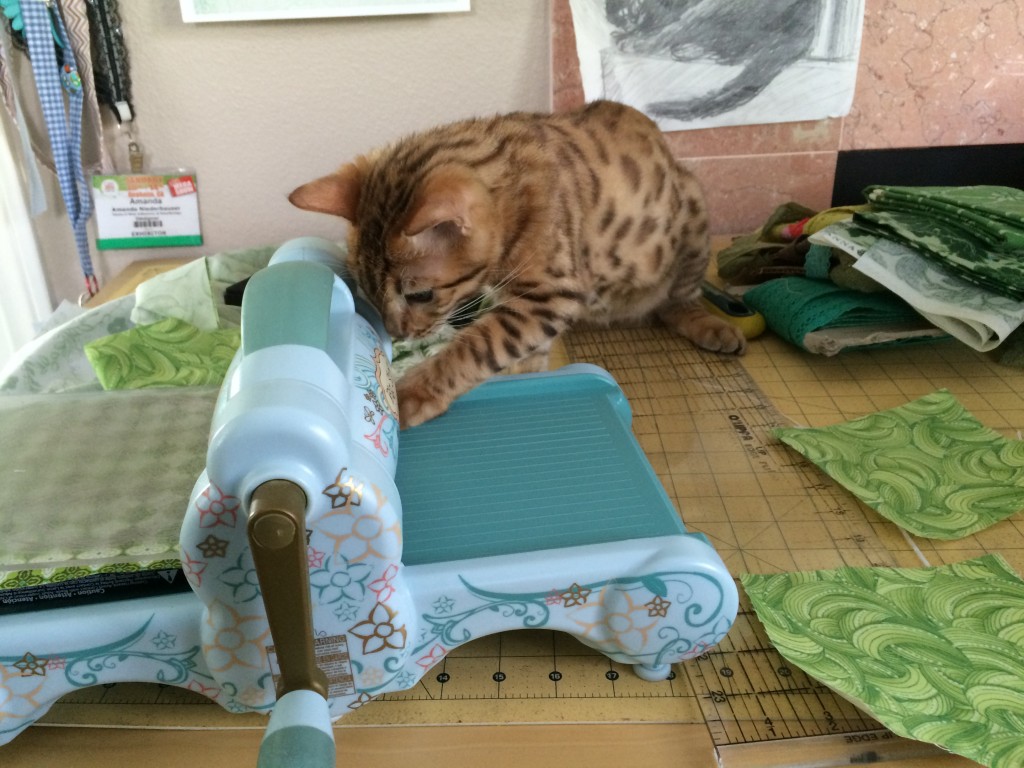
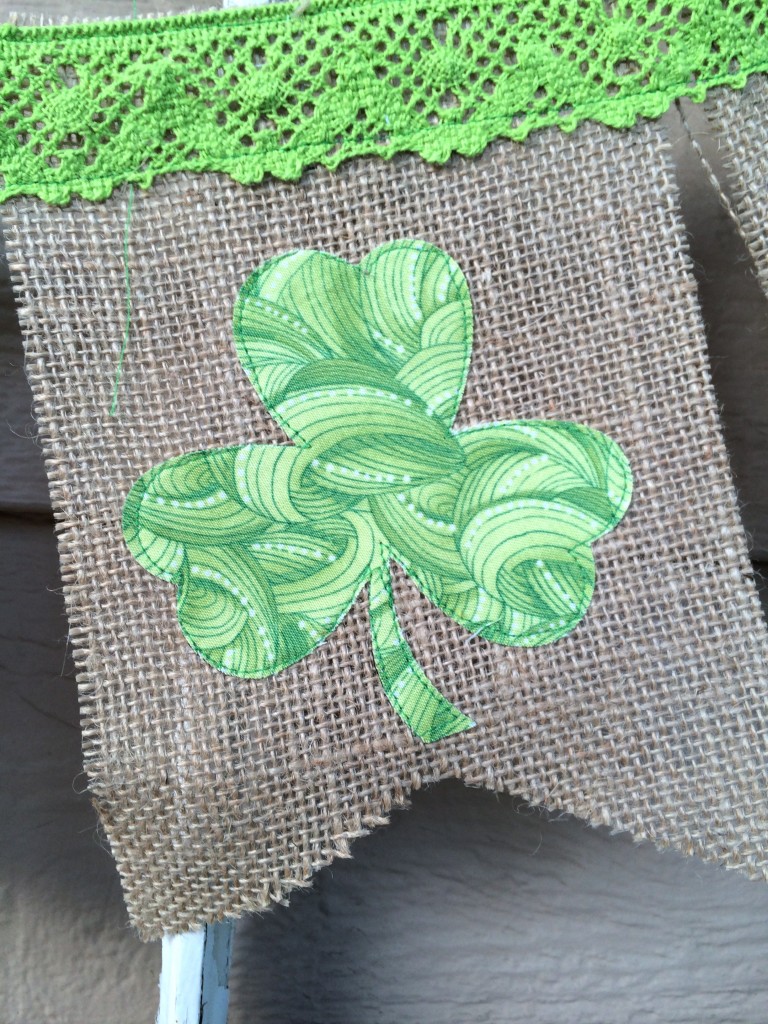
Iron the Heat n Bond Lite to the back of the appliqué fabric.  Then have your cat run it through the Sizzix Big Shot.

IMG_4084

IMG_4071

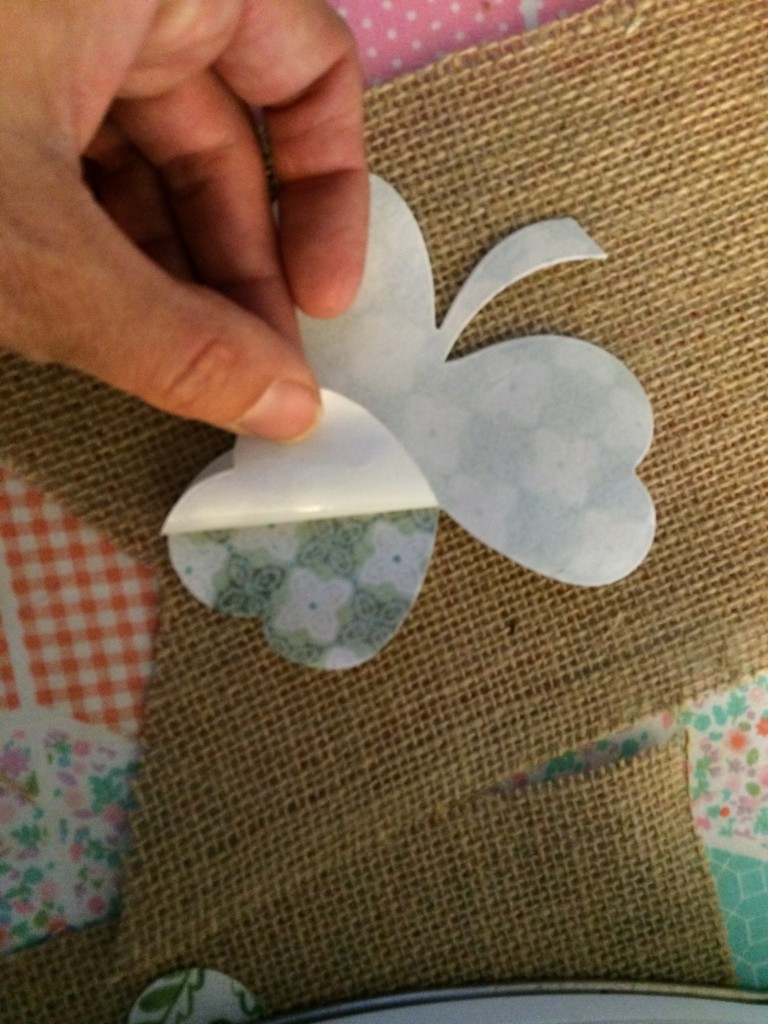
Peel off the backing fabric of the shapes and press it to the burlap flags.
shamrock banner st. patricks day 9
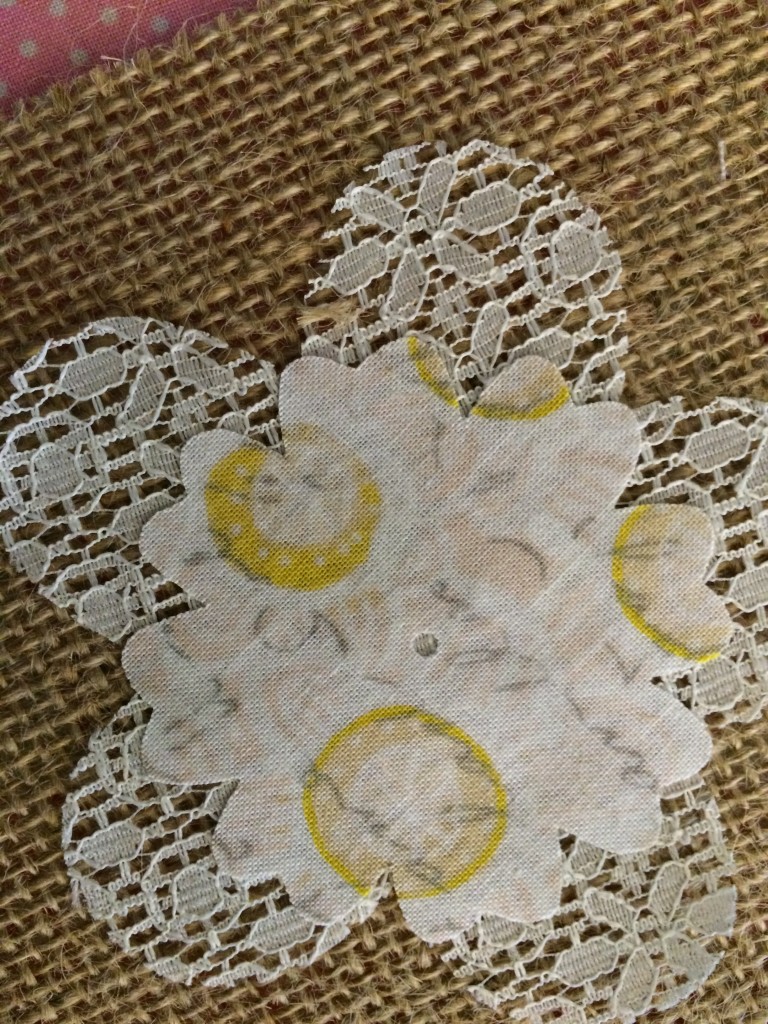
Cut the lace out with the flower die cut.  Don’t put Heat n Bond on the lace.  Put the Heat n Bond on the center flower instead.  I was going to put buttons in the center of the flowers but totally forgot!

shamrock banner st. patricks day 8


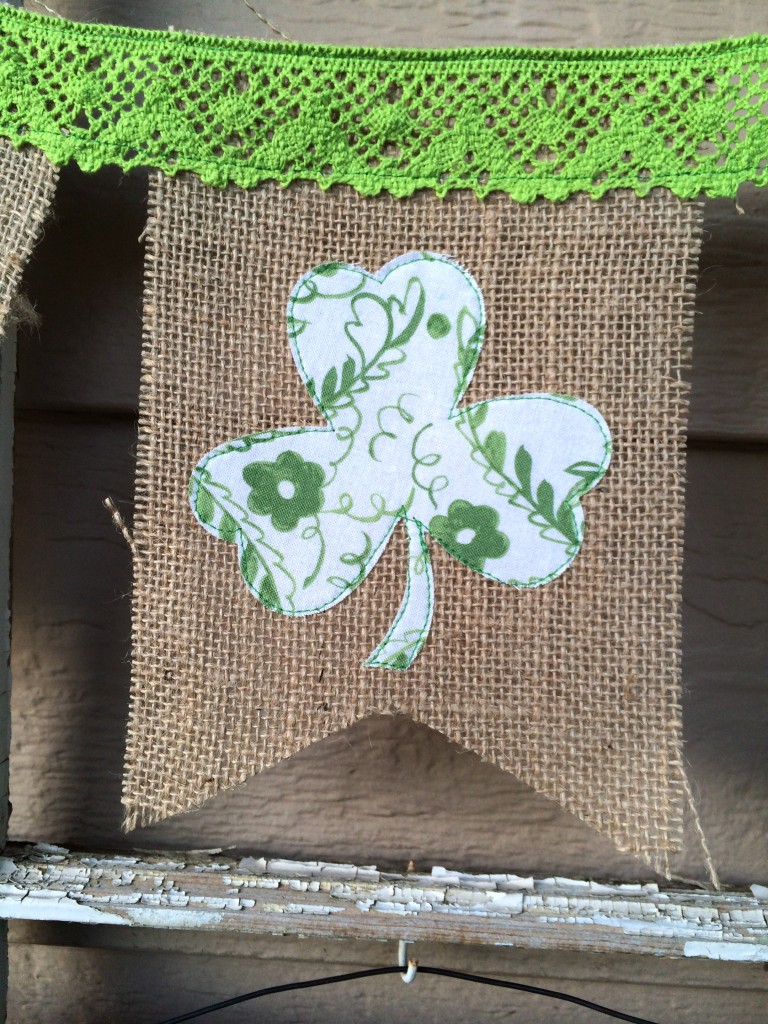
Sew around each image using a straight stitch.  Then line them up and sew the lace to the tops.shamrock banner st. patricks day 14

shamrock banner st. patricks day 15
It’s done!  Go hang it somewhere fun!!!

shamrock banner st. patricks day 12


Mine is on my front porch 🙂shamrock banner st. patricks day 11