Painted Halloween Jar Candles

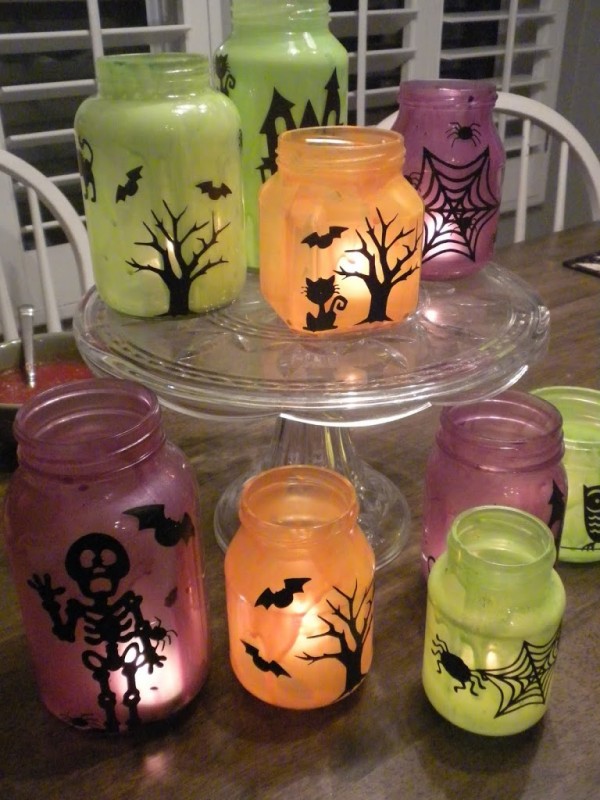
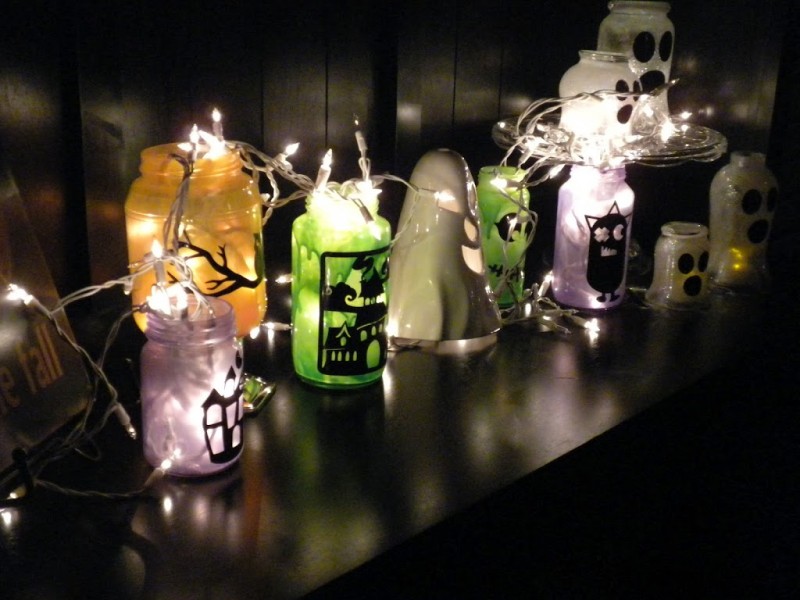
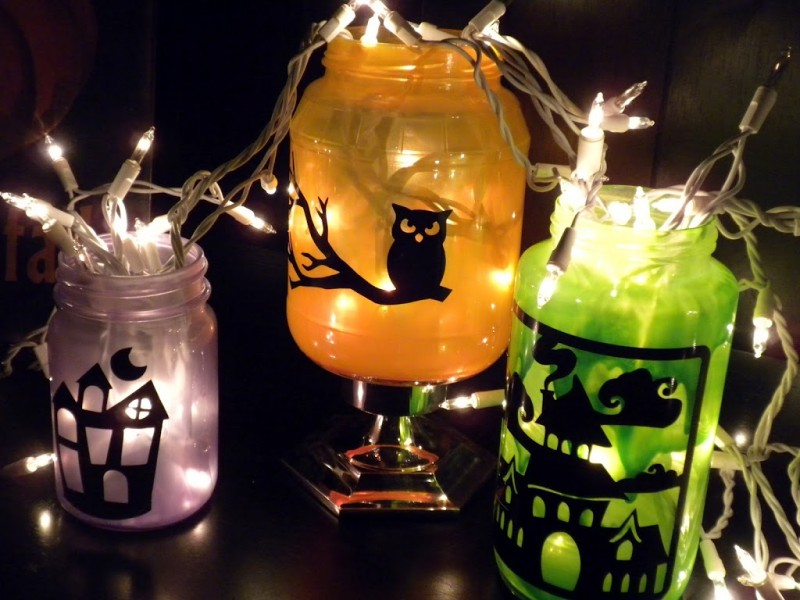
I made these jars a few years ago.  I have been asked a few questions about the process, so here is a more detailed set of instructions. 

Supplies:
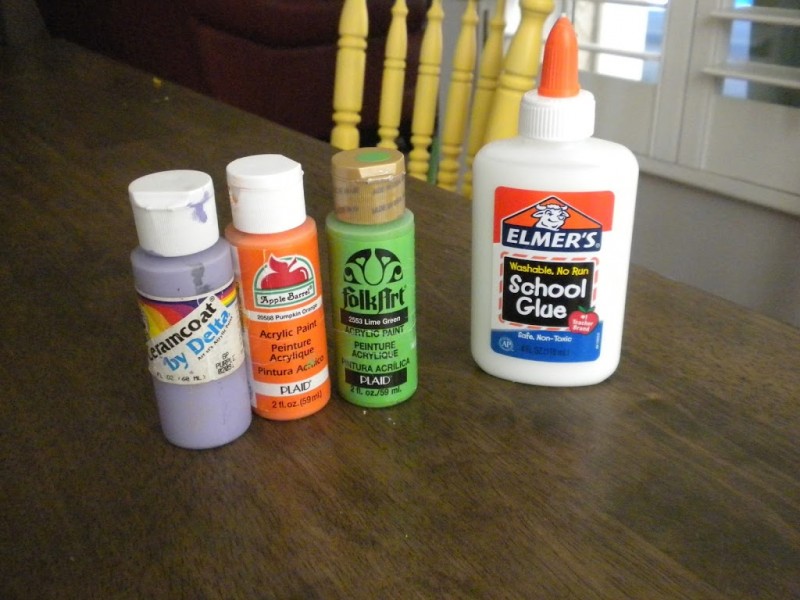
jars, craft paint, white school glue, vinyl motifs cut from Cricut or Silhouette

1.  Collect glass jars – any kind: pickle, relish, molasses, spaghetti sauce, etc.  Mason jars can work – but it’s nice to have a smooth surface for the vinyl to adhear.

2.  Remove all labels, wash & dry the jars

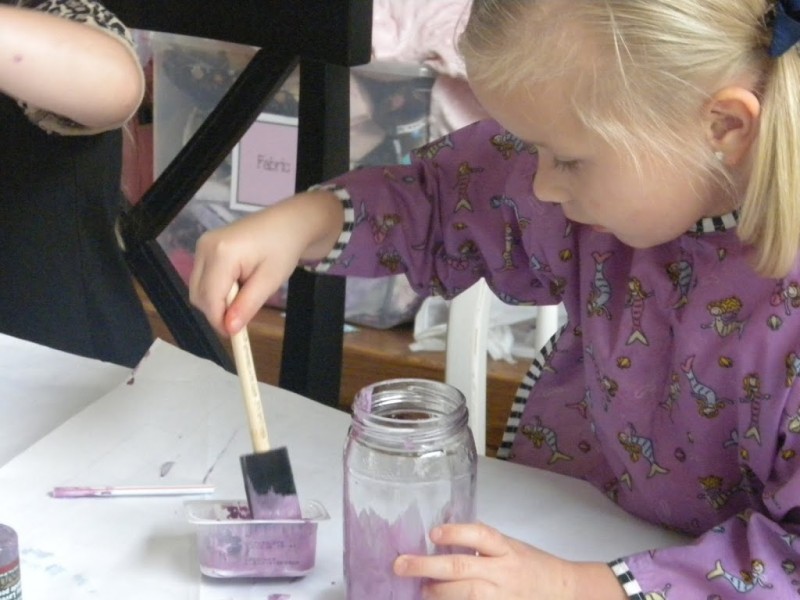
3.  Put a fair amount of glue into a paper bowl and add some paint.  I didn’t measure – but it’s more glue than paint.  You are just trying to tint the glue.  The glue helps the paint to be transparent so you can see the flicker of the candle through the paint.

4.  Start painting the inside of the jars.  You can be real precise and get the glue/paint even, or I like to make it look drippy and spooky!!
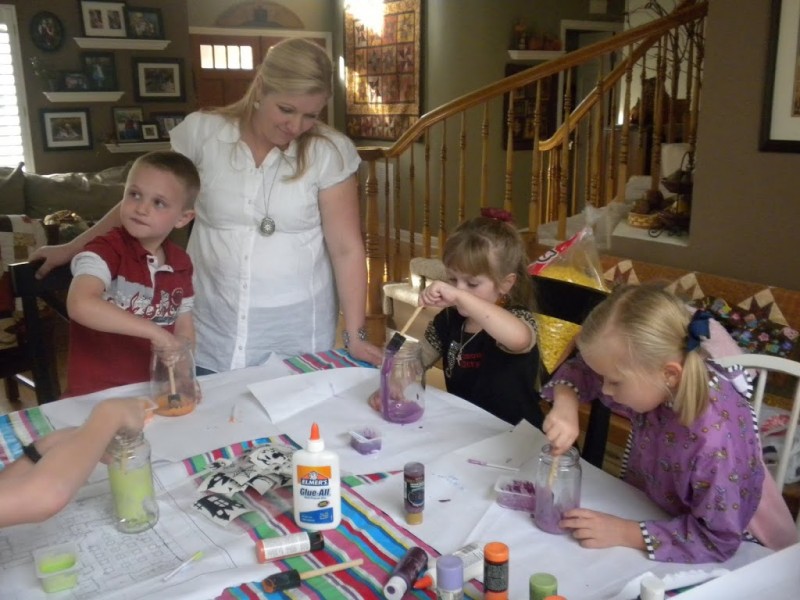
5.  Let the jars dry

6.  I cut out trees, pumpkins, bats, spiders, etc. on my cricut.  If you don’t have access to a cutting machine, I have seen black Halloween silhouettes at the Dollar Tree you could Mod Podge to the outside
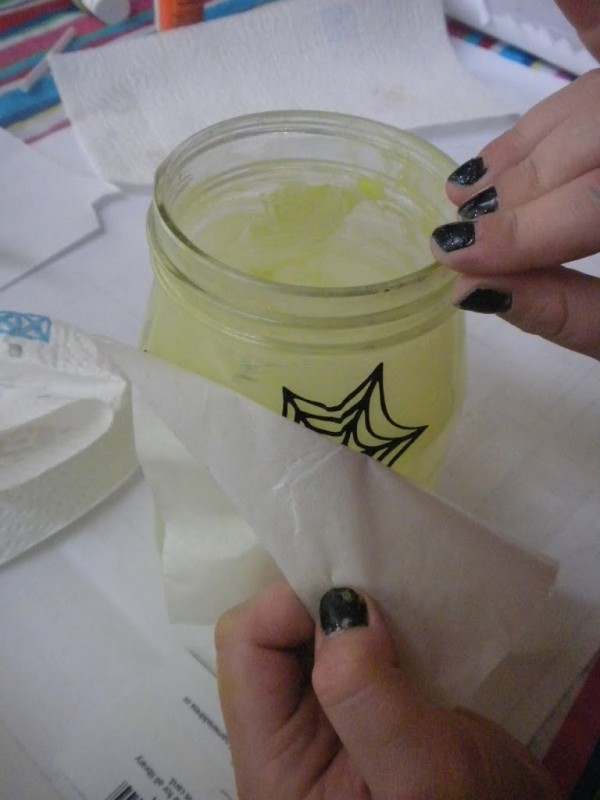
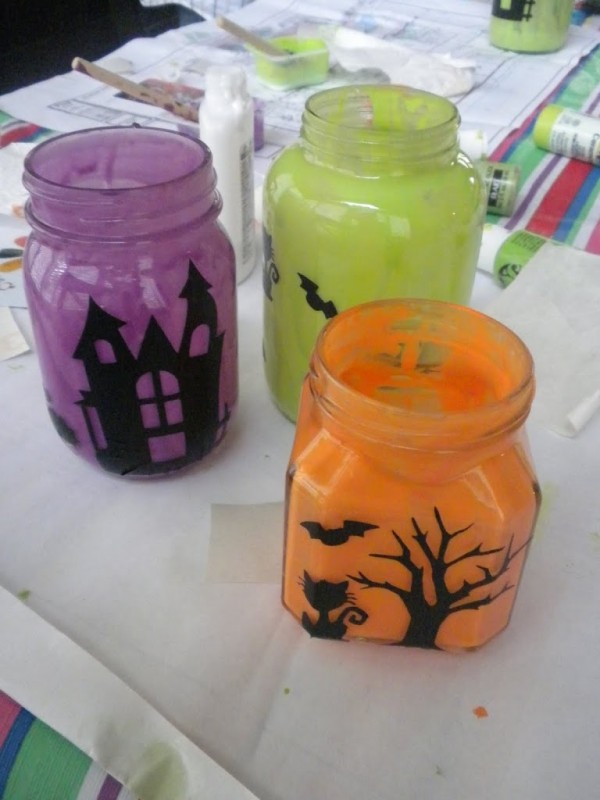
7.  I put real candles in my jars.  If you are worried about flamibility, you can use battery lights or even twinkle lights.

Hope this helps!  Happy Crafting!!
Christmas Quilts

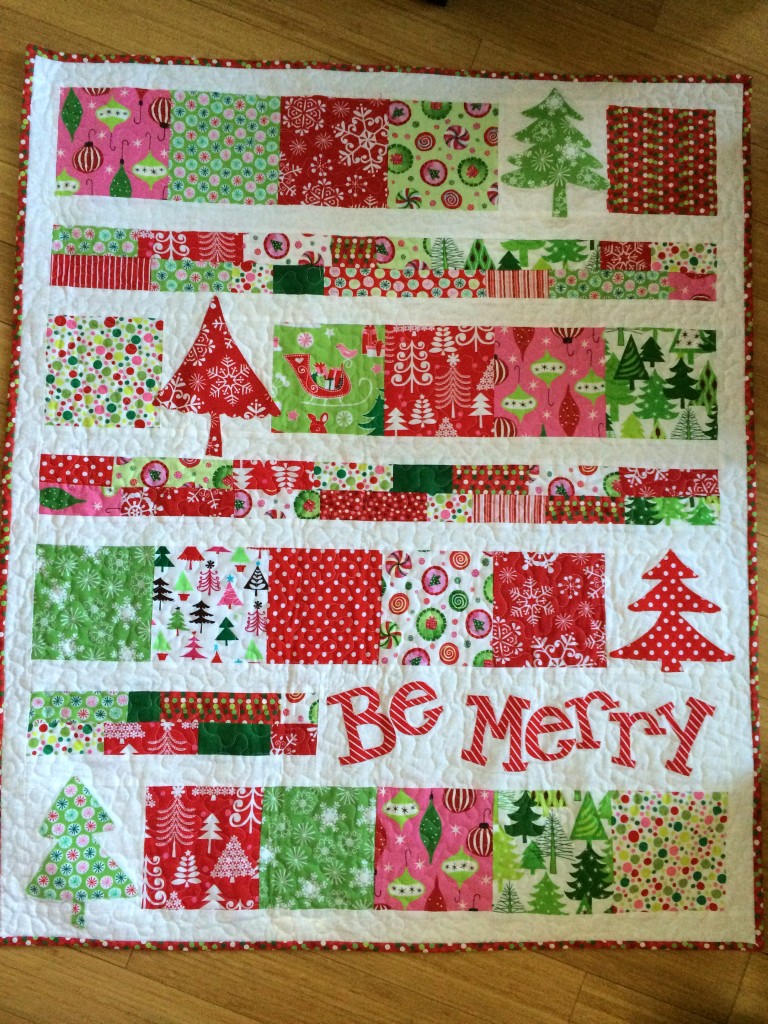
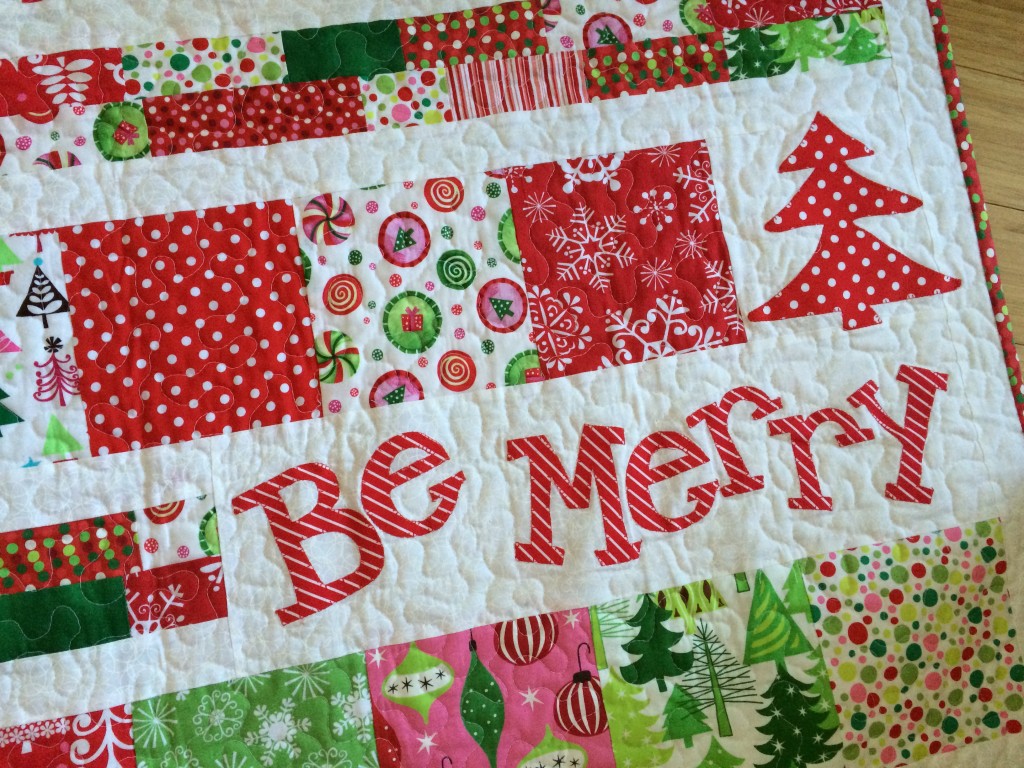
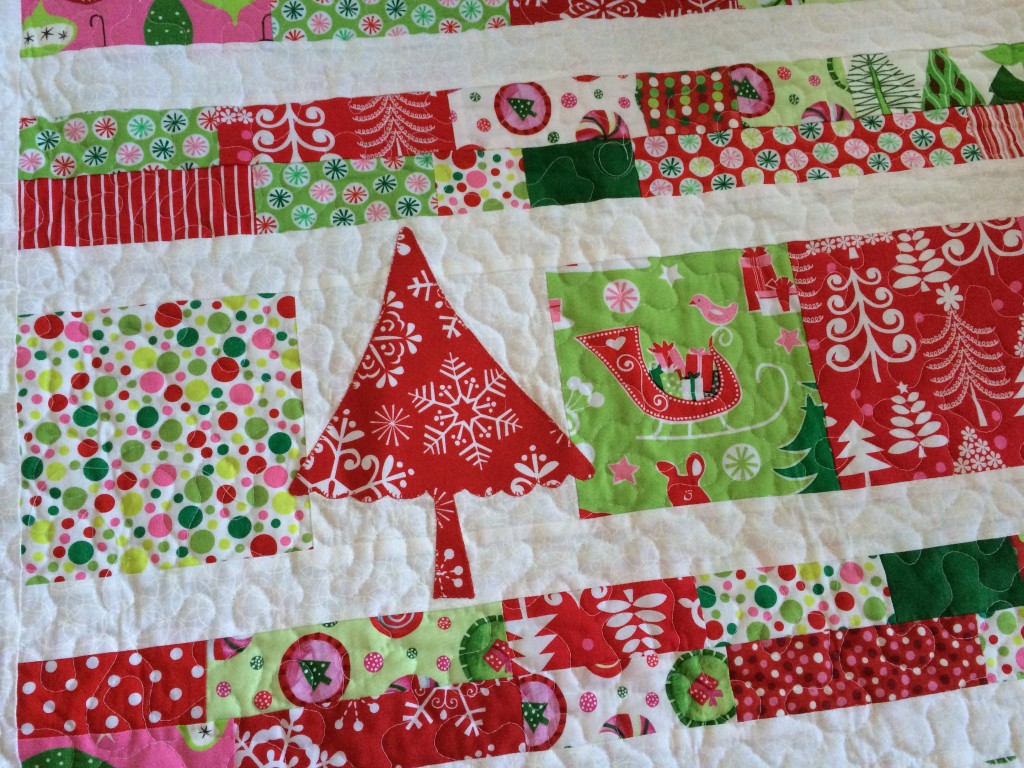
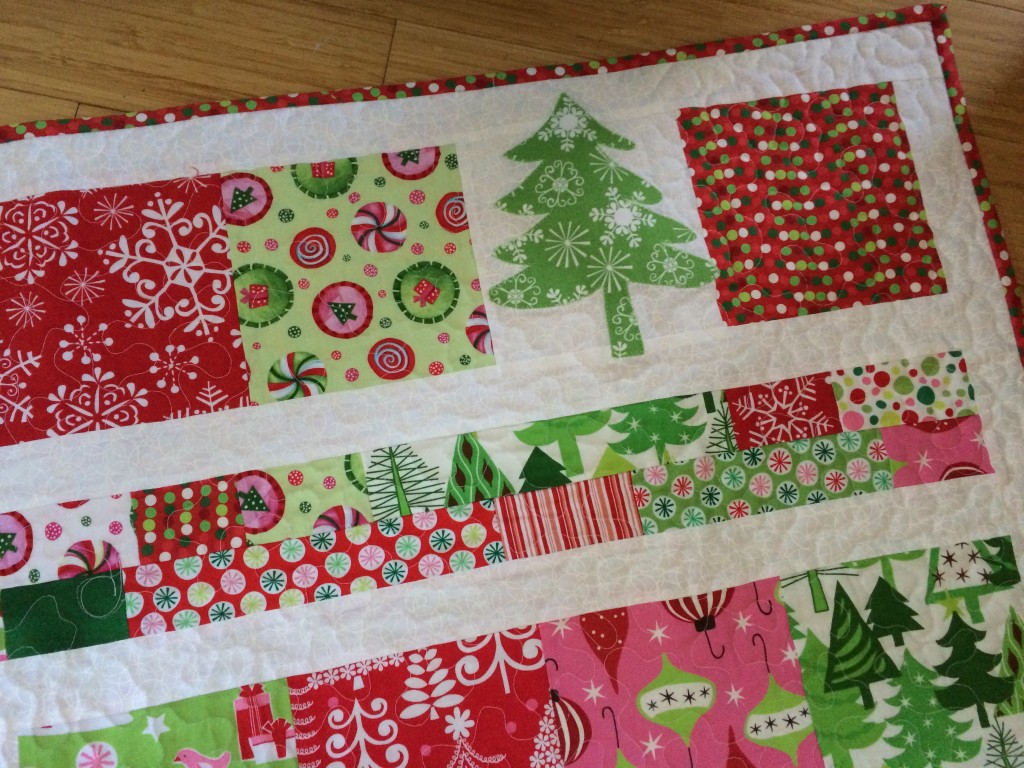
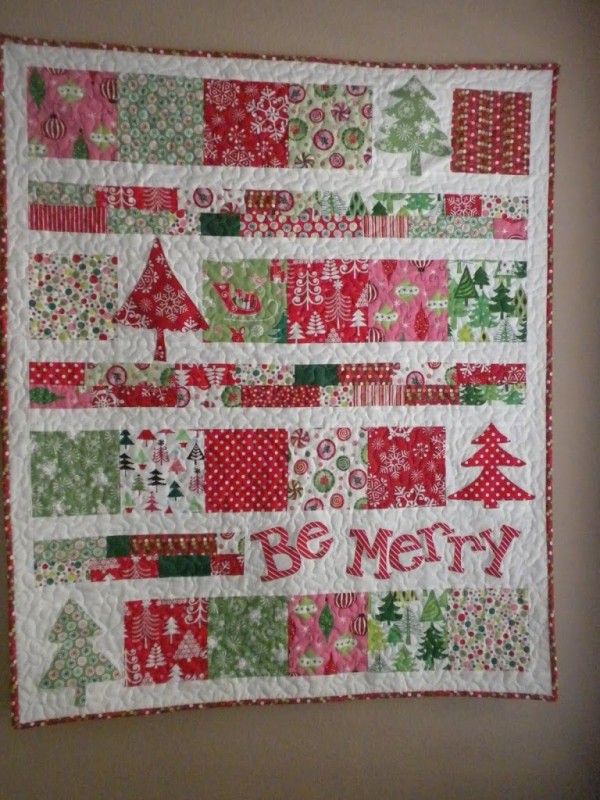
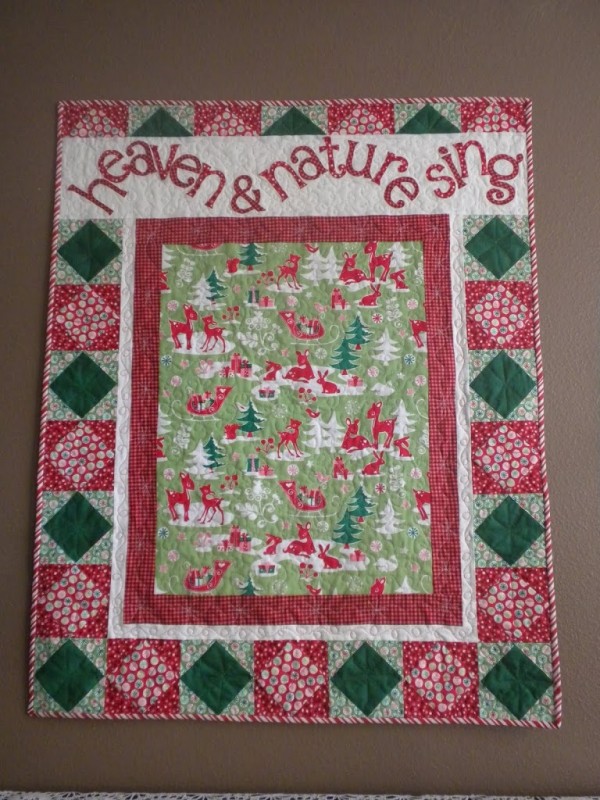
I am updating this post several years later….I have had several pattern requests  for this “Be Merry” quilt.  I made this quilt before I began blogging and posting tutorials.  I have done some measuring and figuring and here are some of the measurements – I think you can take it from there 🙂  Again, I apologize!!

The quilt measures 42″ x 35.5″ finished – so a nice wall size.
The blocks are cut 6″
The scrappy strips are cut 2″ and pieced together randomly in all different lengths.
The white sashing is also cut 2″
There are plain 6″ white blocks where the trees go and then a white rectangle block where the words “Be Merry” go.  The font is called Candy Randy.  I hope this is helpful!!

IMG_1531

IMG_1532

IMG_1533

IMG_1534 

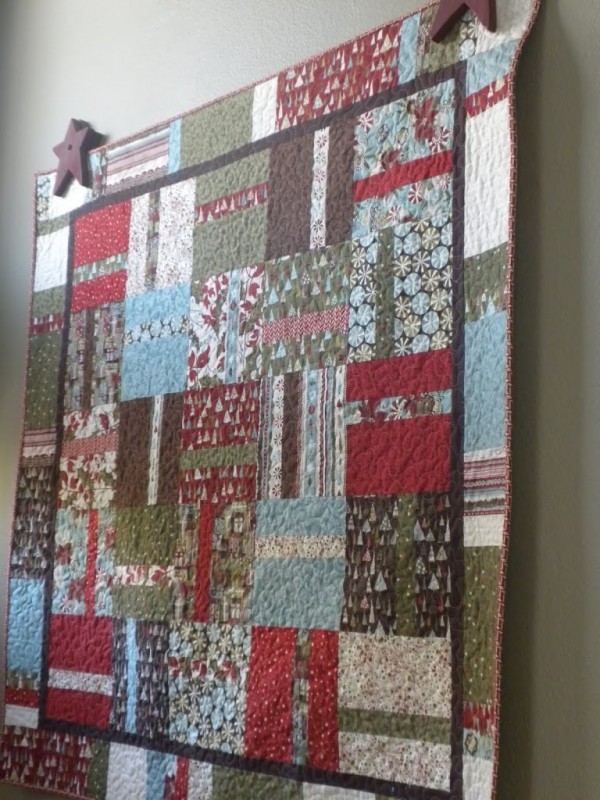
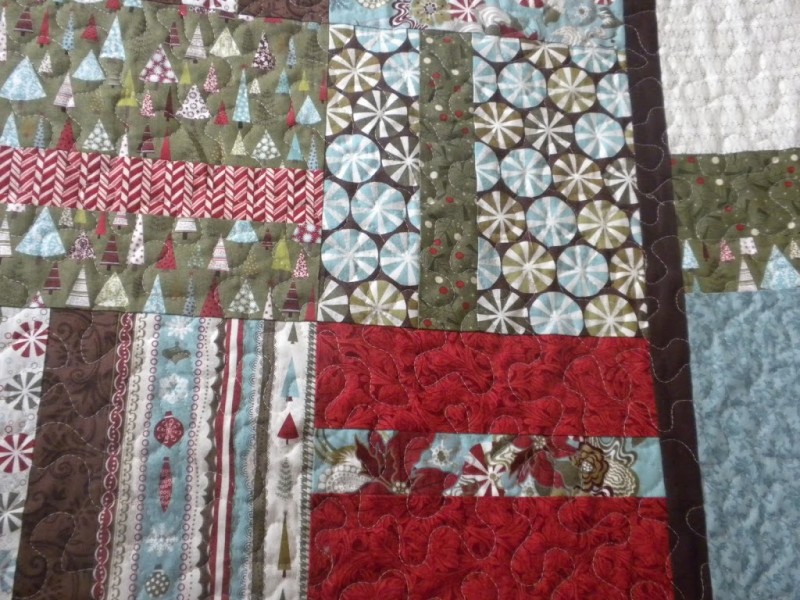
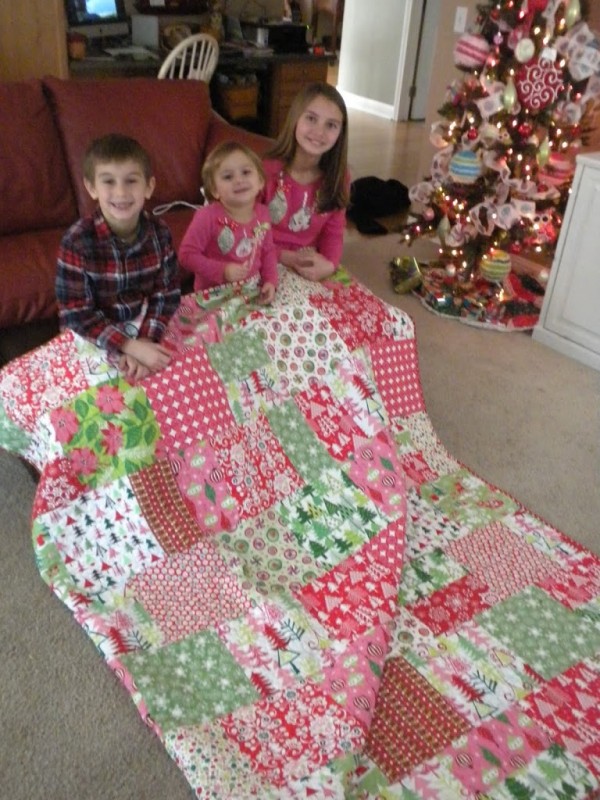
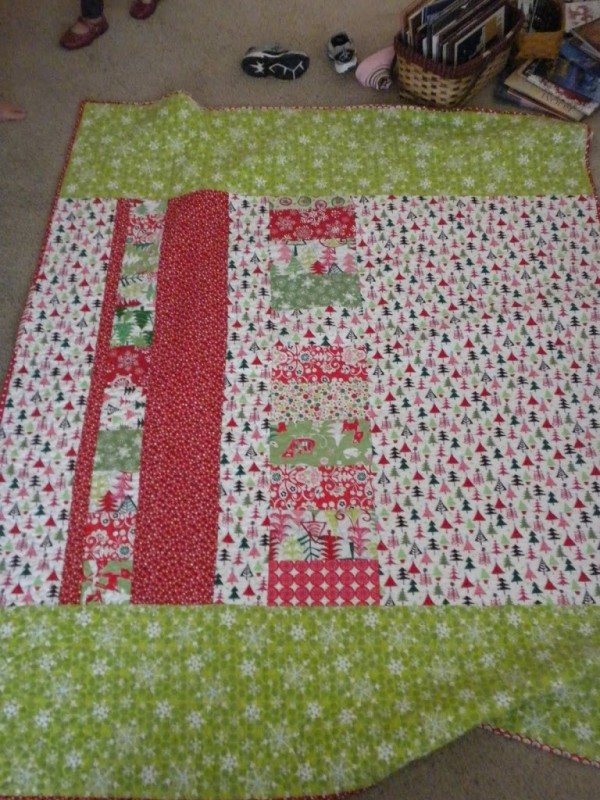
Here are a few Christmas Quilts I have enjoyed making and hanging in my home!


Halloween Craft Day

Thanks for stopping by!  I have received many questions about this project.  For more information and an updated tutorial on this project click HERE.


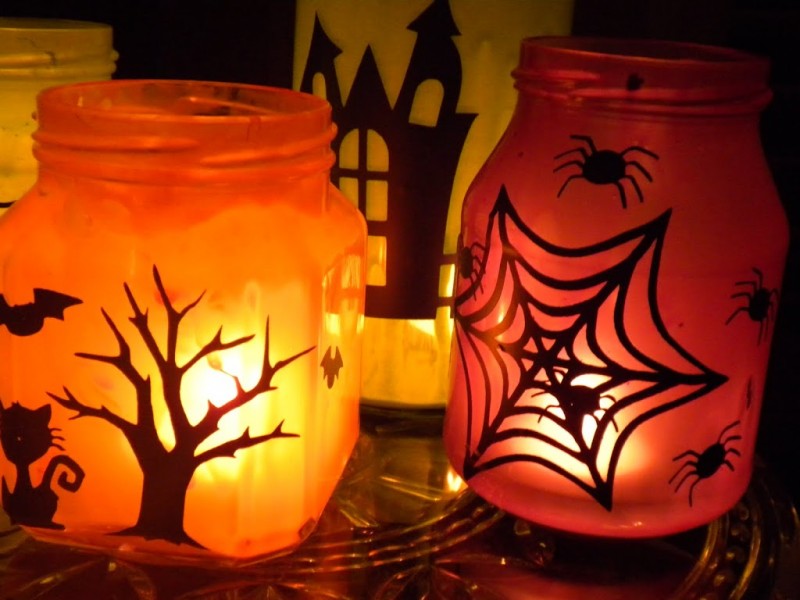
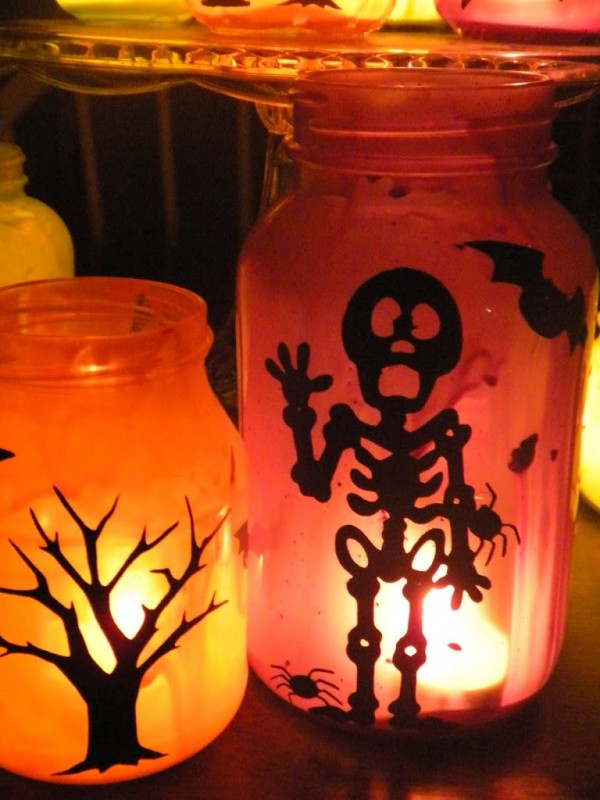
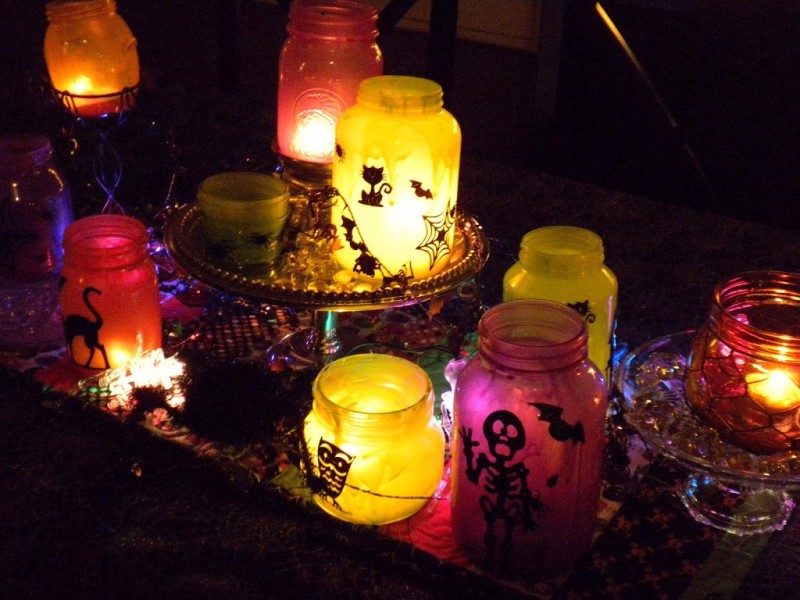
Today we got together and made Halloween luminaries – so fun!
First we mixed white glue and colored craft paint and painted the inside of glass jars.

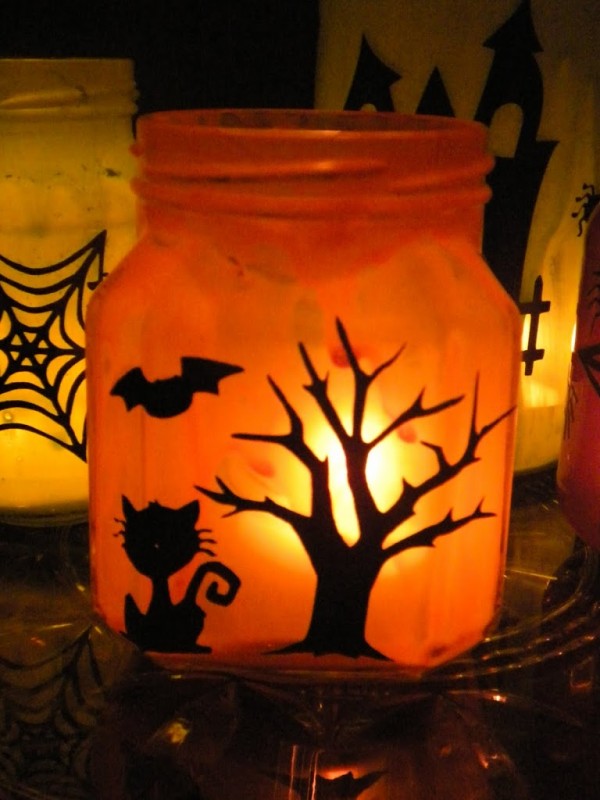
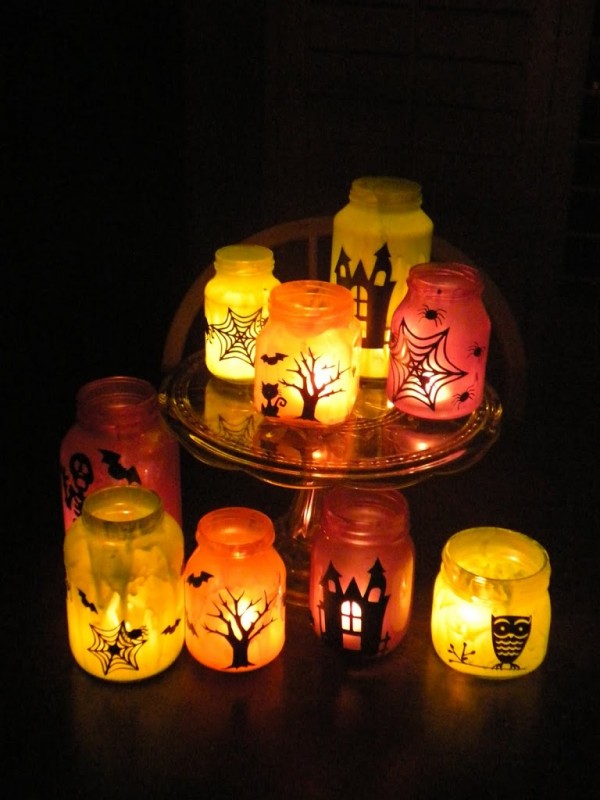
Then we decorated the outside of the jars with black vinyl Halloween motifs cut on the Cricut….they are starting to look spooky!Then we put candles in them and…….
…turned out the lights! They are so cute and very spooky!!