Halloween Disappearing 9-Patch Quilt

halloween_quilt_disappearing_nine_patch


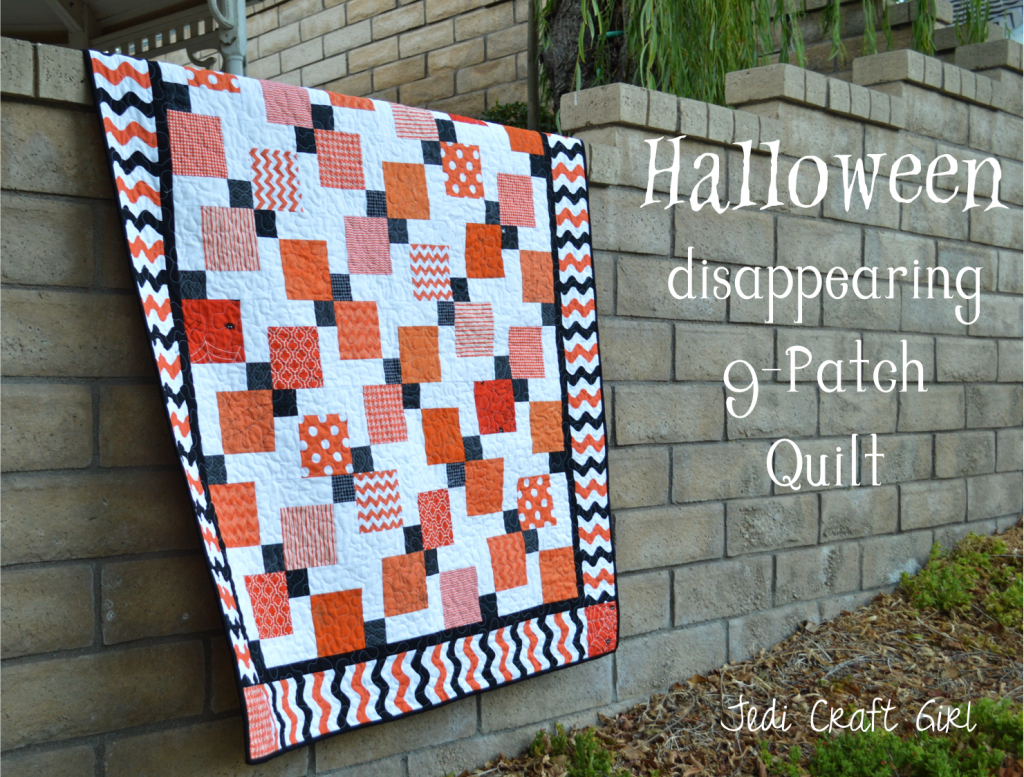
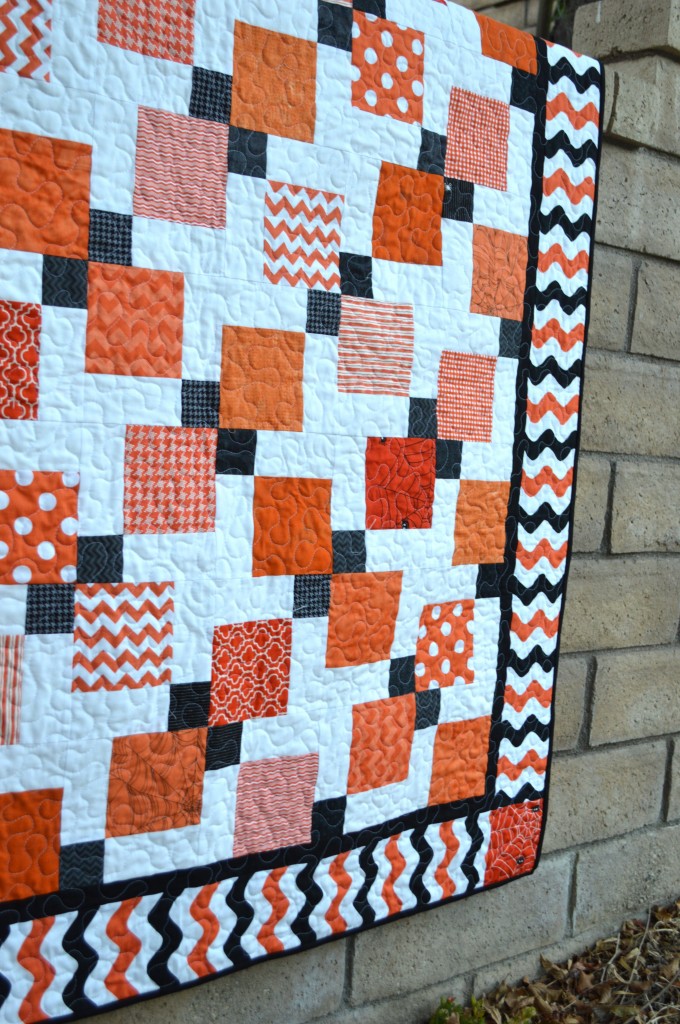
Have you ever made a “Disappearing Nine-Patch Quilt”?  This is such a fun pattern and great for beginner quilters.  You can change the pattern of the quilt by changing the colors of the patches and the layout.  It is made by sewing a simple 9-Patch block and then cutting it in quarters and repositioning the new blocks.  I love the simple Halloween colors of Black, White and Orange.  I found this black, orange and white wavy boarder from Riley Blake Designs.  I think it totally makes the quilt!  Here’s how you can make one:

Finished quilt: 49″ x 62″

Materials:

assorted orange and black fabric

1 yard solid white

3/4 yard solid black for inner boarder and binding

3/4 yard orange and black wavy stripe

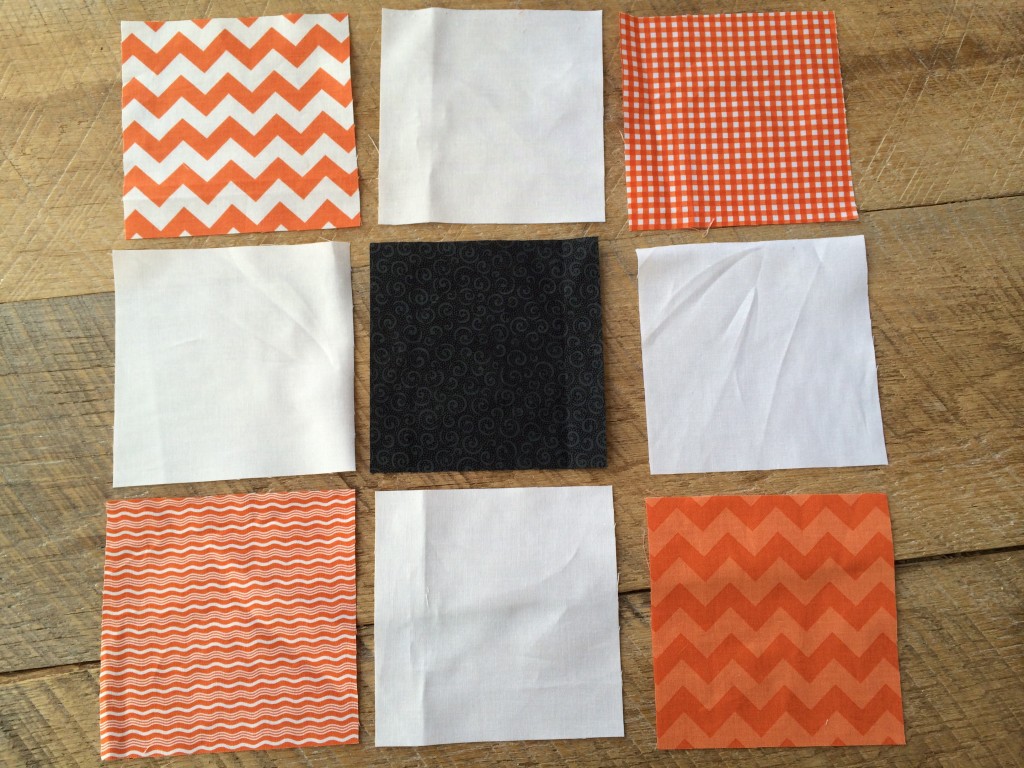
Begin by cutting 5″ squares of orange, white and black.  For this quilt I pieced (12) nine-patch blocks.  Each block had the same color values: orange corners, white side centers and black center.  I used a variety of oranges and blacks.

cut (12) black 5″ squares

cut (48) orange 5″ squares

cut (48) white 5″ squares.disappearing_nine_patch_quilt_halloween_8

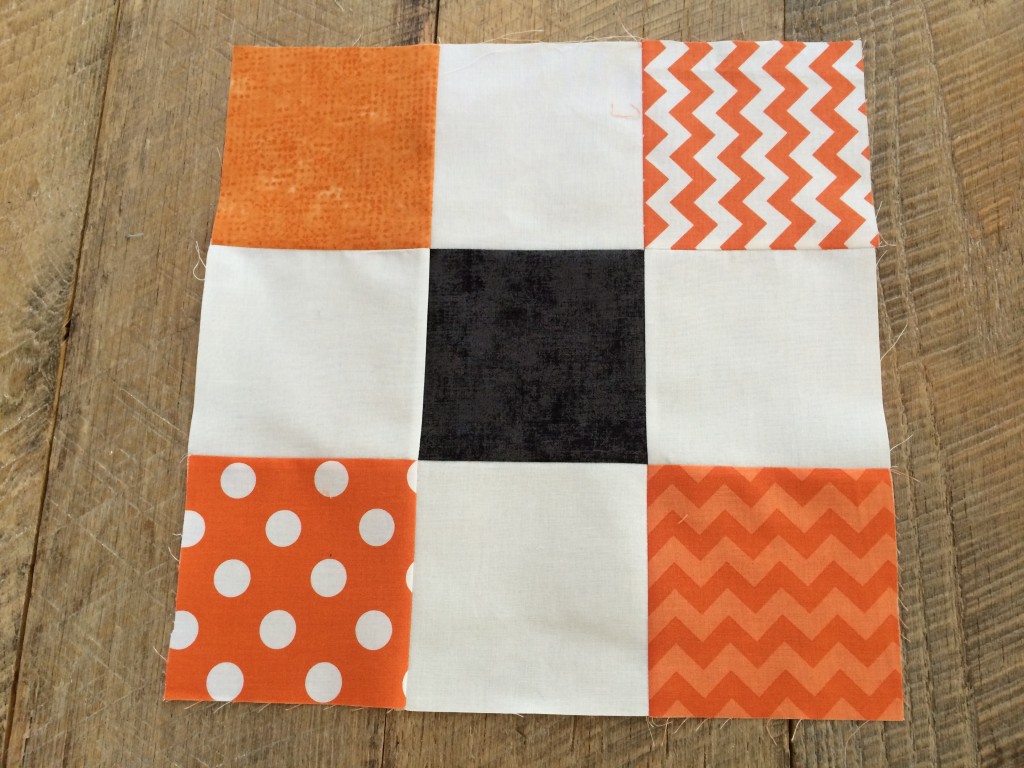
Using 1/4″ seams throughout, sew squares together in rows and then rows together to form the block.  Press toward the dark.  The block will look like this:

disappearing_nine_patch_quilt_halloween_9

Cut in quarters.  Since the block at this point measures 14″ square, cut it at the 7″ point on both sides:
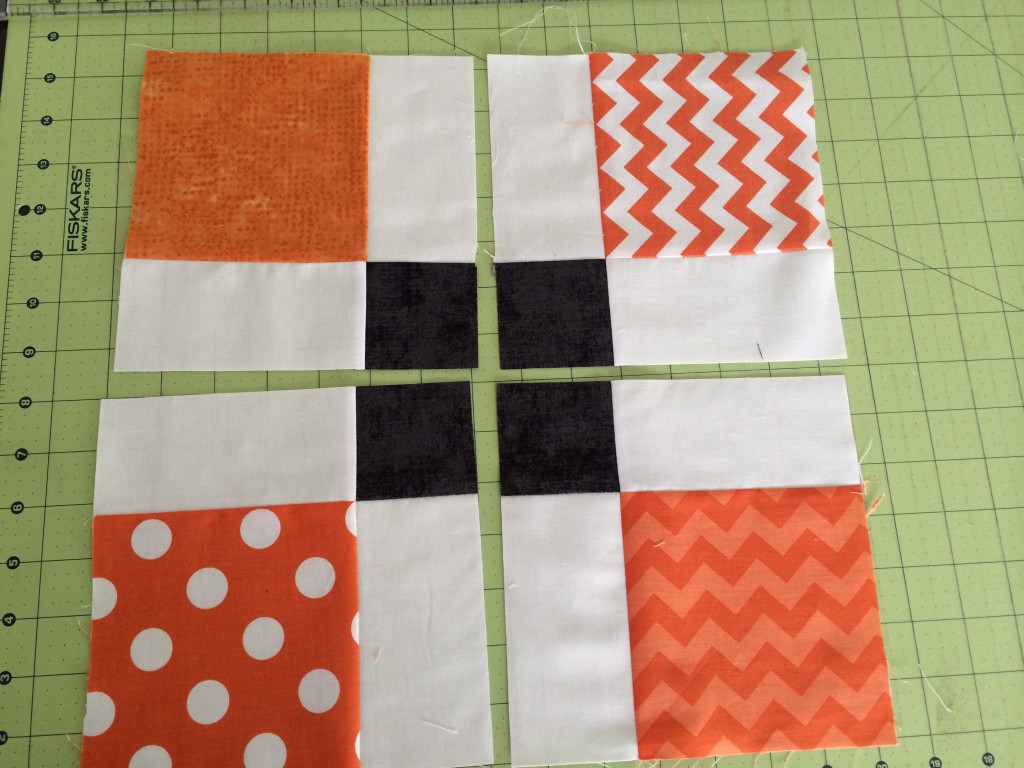
disappearing_nine_patch_quilt_halloween_10

Next comes the fun part of playing with the layout.  I choose to lay mine out like this so the small black squares made a pattern.
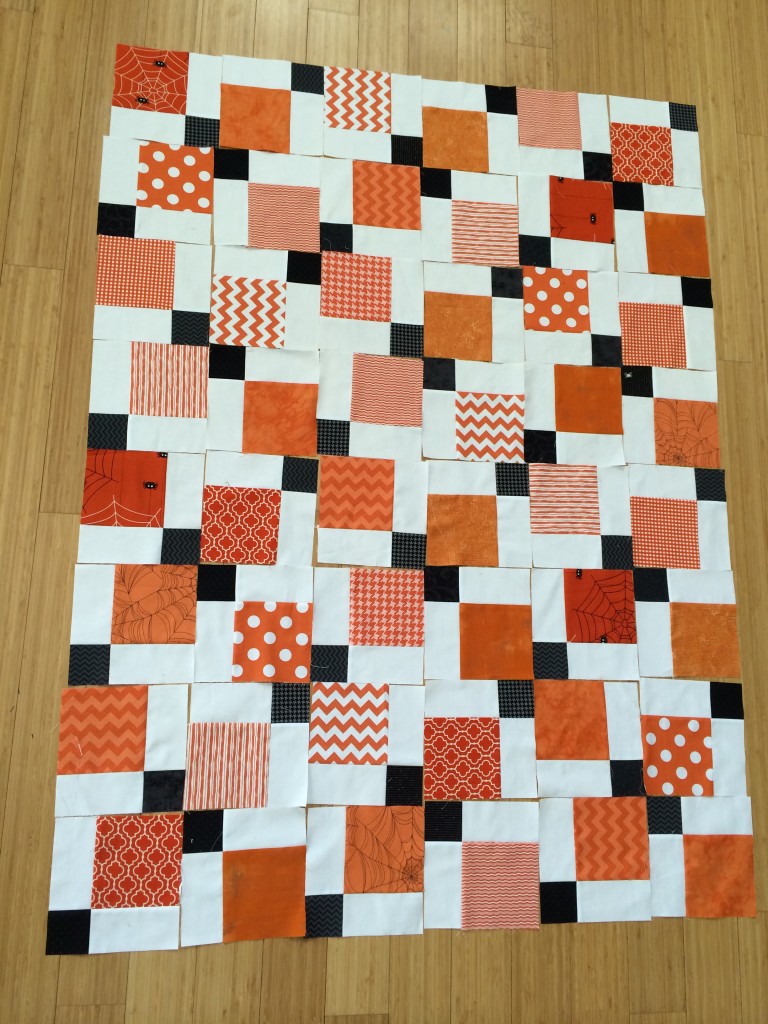
disappearing_nine_patch_quilt_halloween_11

Sew the blocks together in rows and the rows together and press.

For the boarder:

The black inner boarder is cut 1.5″ wide.  I didn’t measure the length, I sewed it to the sides of the quilt and trimmed the excess.

The wavy outer boarder is 5″ wide.  I matched the stripes when piecing the boarder together.  I added 5″ squares to the corners of the boarder.
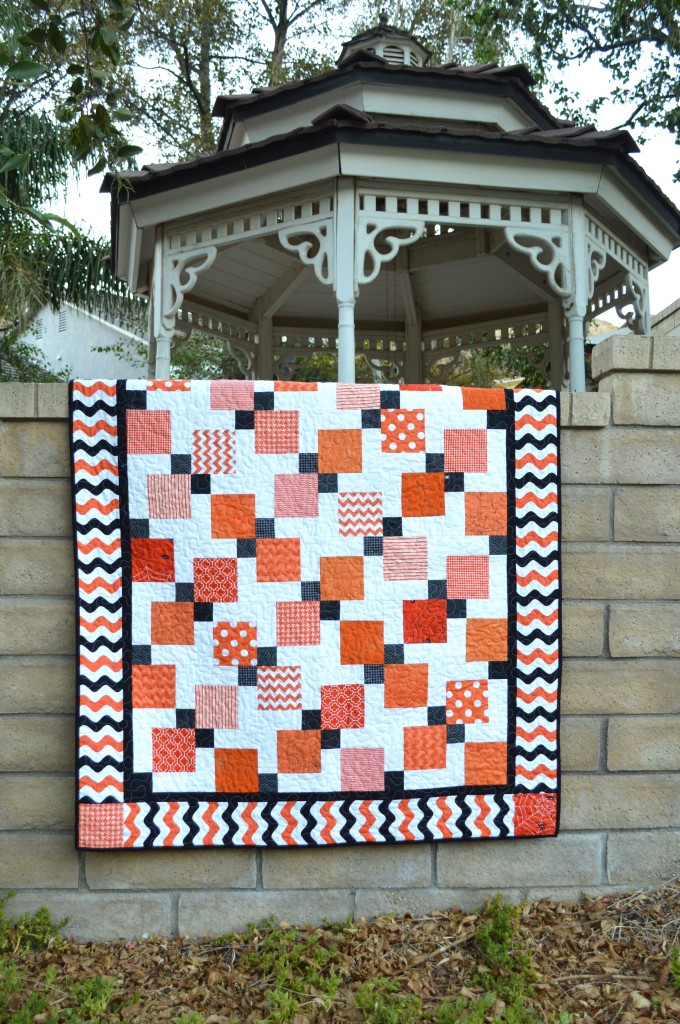
disappearing_nine_patch_quilt_halloween_4

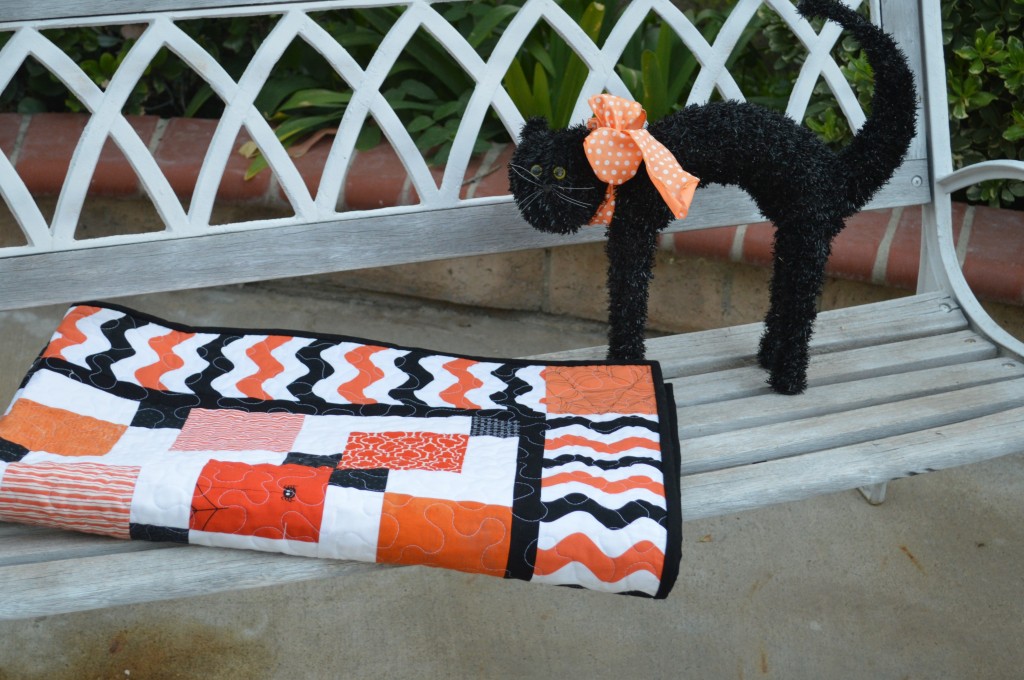
I LOVE how it turned out!  I have it on my couch and it makes me happy to look at it.  Now, to just keep the cat off it 🙂

disappearing_nine_patch_quilt_halloween_5
disappearing_nine_patch_quilt_halloween_7

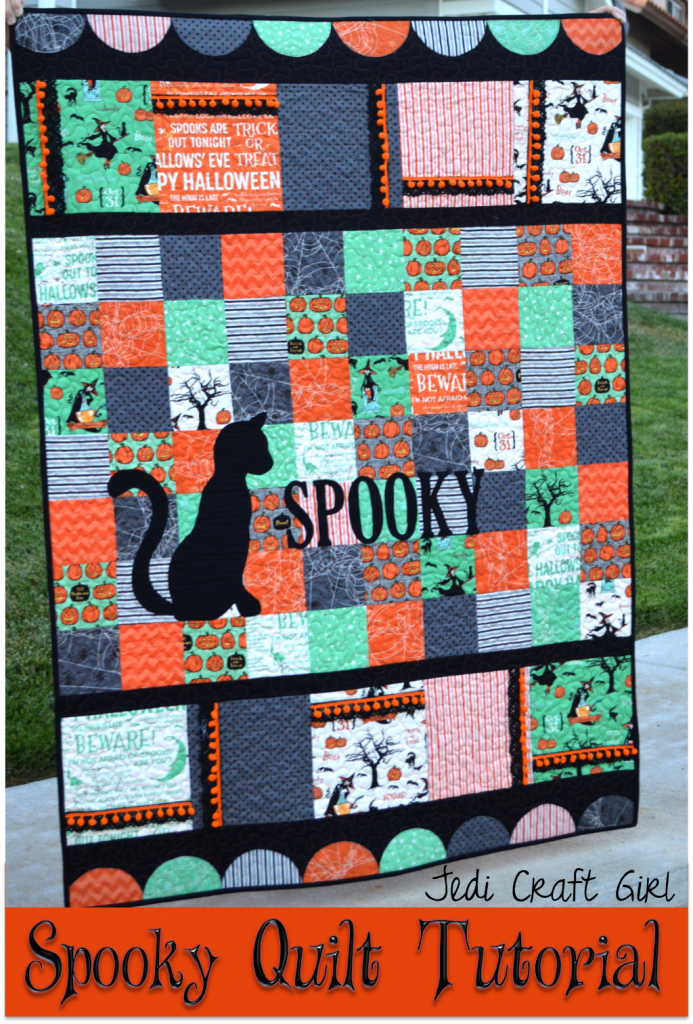
“Spooky” Quilt for Riley Blake Designs

spooky_quilt_tutorial

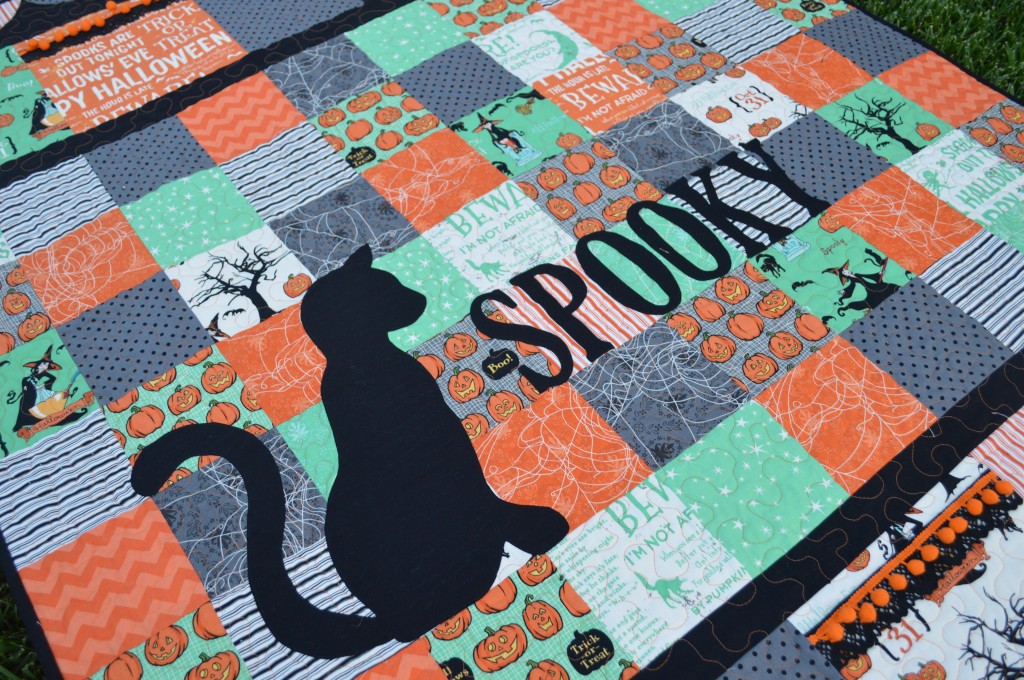
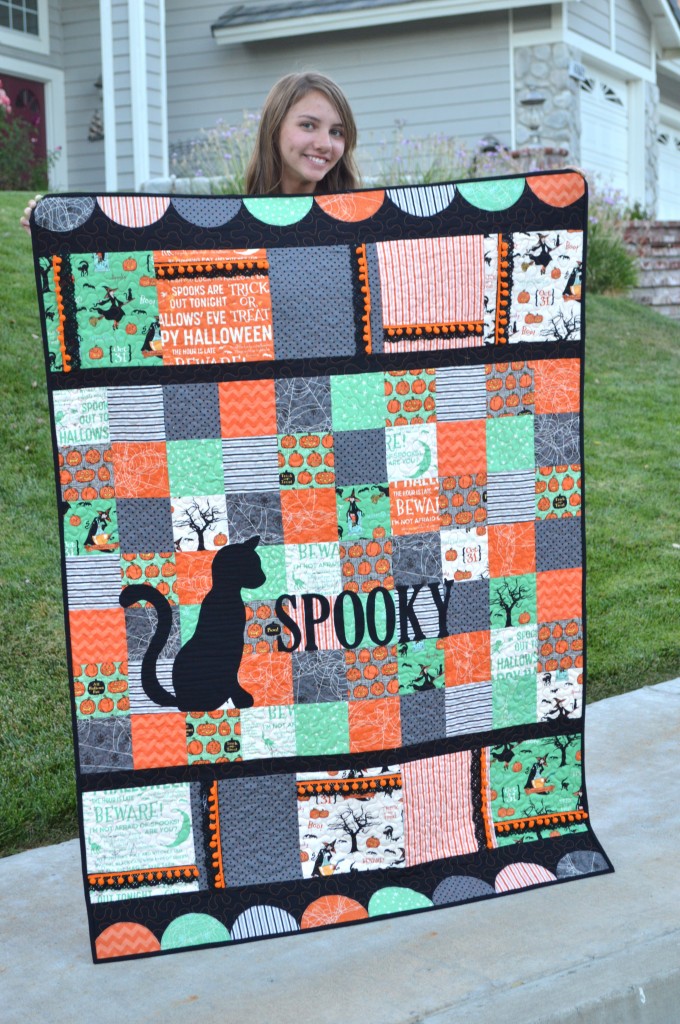
I am so excited to share this quilt!  Did you know I love Halloween and I love black cats?  The fabric in this quilt is Riley Blake Design’s “Witch Hazel.”  I love the vintage feel of the prints and the colors.  I enlarged the cat from the theme print to create this cat silhouette.  The pattern is being featured over at the Riley Blake Design Blog  “Cutting Corners” if you want to make one 🙂Halloween_quilt_tutorial_1


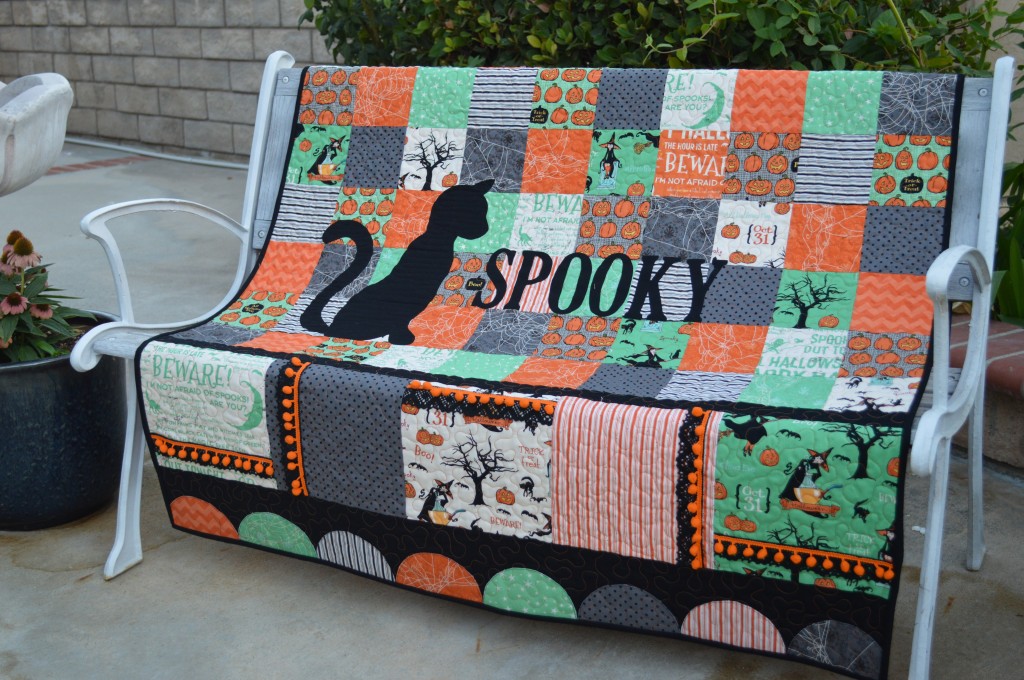
It’s 100 degrees here but all this Halloween sewing is helping me get in the mood for Fall. This quilt is hanging in my family room and it makes me smile every time I look at it….and it makes me want to adopt another black cat!!
Halloween_quilt_tutorial_3

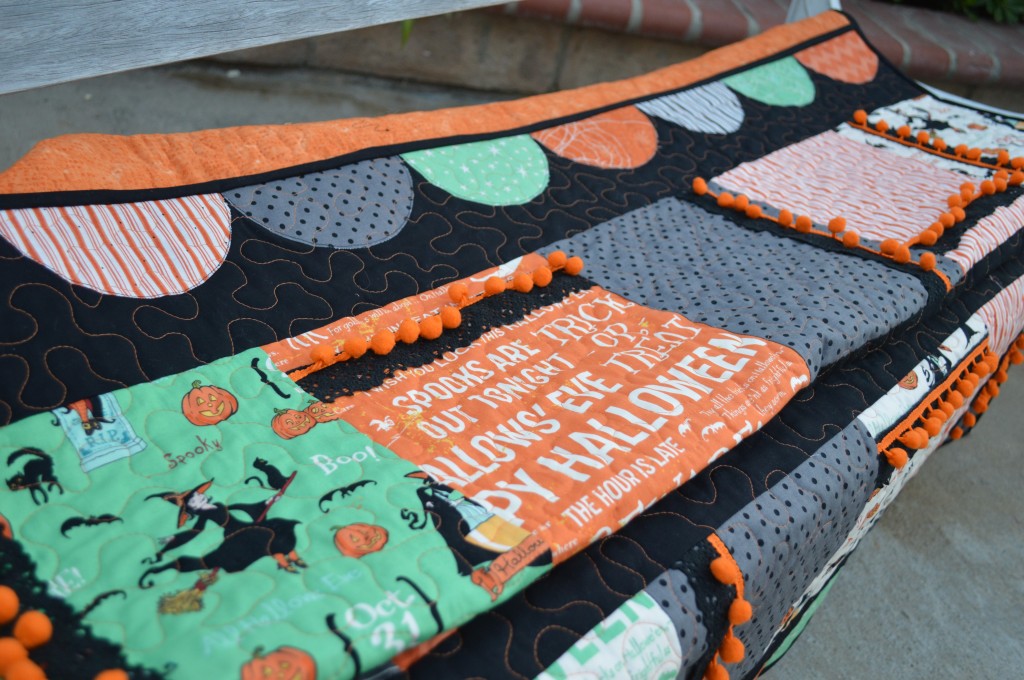
There are many different parts to the quilt: a patchy center, appliqué, lace and pom pom trim and an appliqué scallop top and bottom border!Halloween_quilt_tutorial_4

Halloween_quilt_tutorial

Riley Blake Designs Flannel Showcase Blog Tour

FlannelbloghopFacebook-01_1_jpg_600x600_q85

Today begins the Riley Blake Designs Flannel Showcase Blog Tour!  Each Tuesday and Friday a new blog will be featured with a fun project using Riley Blake Flannel!  I am excited to participate in this fun event.  Click Here to check out the first project!!

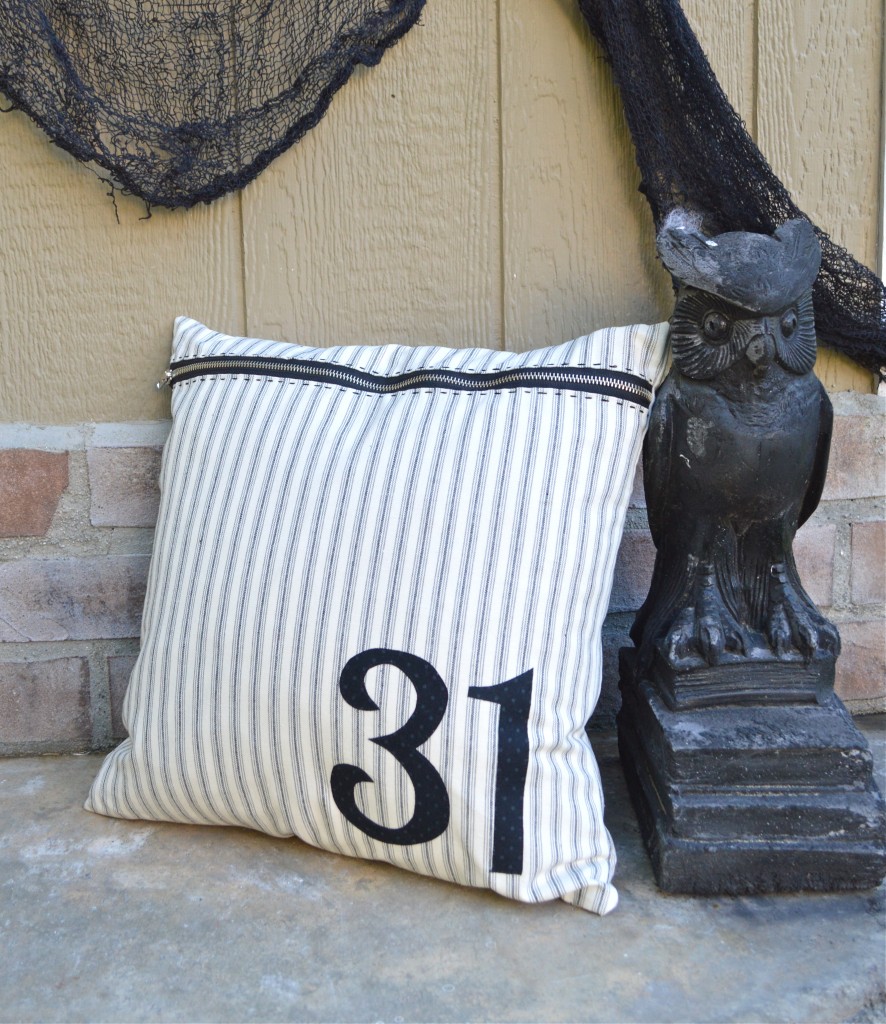
Modern 31 Halloween Pillow


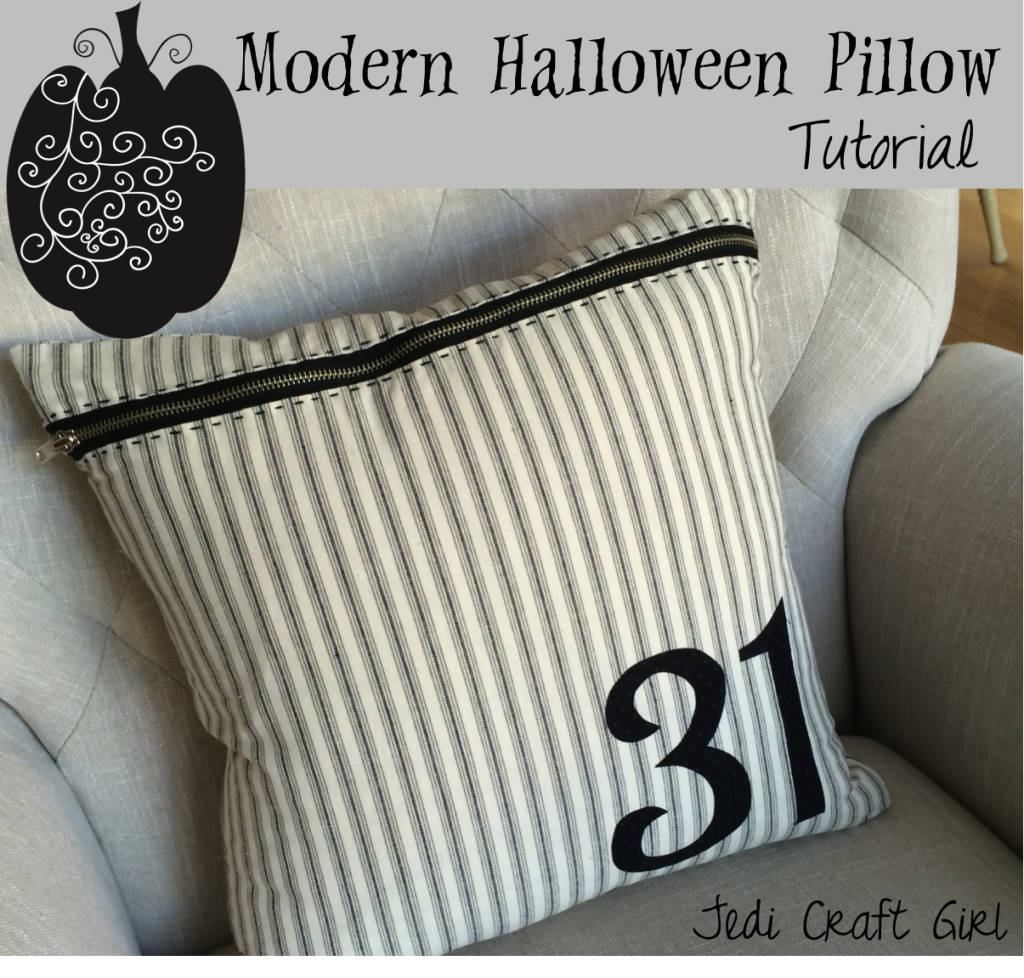
modern_halloween_pillow_tutorialIt’s September which means my house is decorated for Halloween and I’m gearing up for a super crazy fall family schedule!!  Don’t you feel like time just flies between now and Christmas?  We better get the Halloween sewing done!!
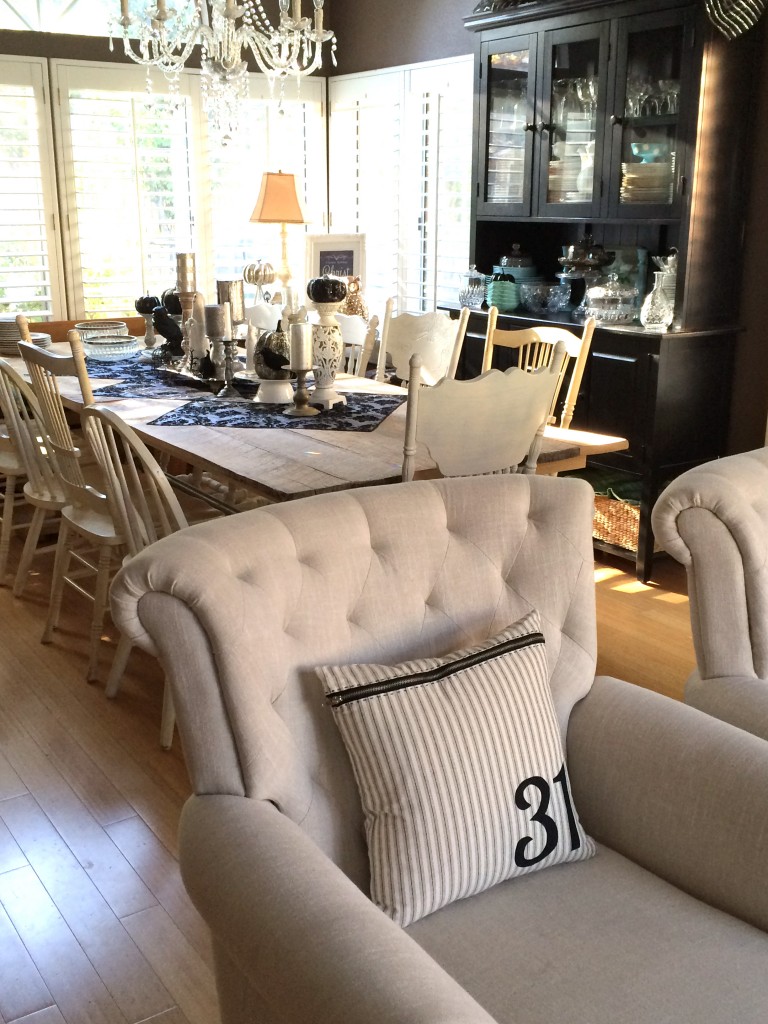
 

halloween house

I decorate my dining and living room for Halloween in Black and White and silver.  I like how this pillow is slightly understated for Halloween.  Here’s how you can make one…


Supplies:

16″ pillow form

1/2 yard black and white ticking

scraps of black fabric for numbers

Heat n Bond EZ print sheets or Heat n Bond Lite

Black metal zipper

31 pattern HERE


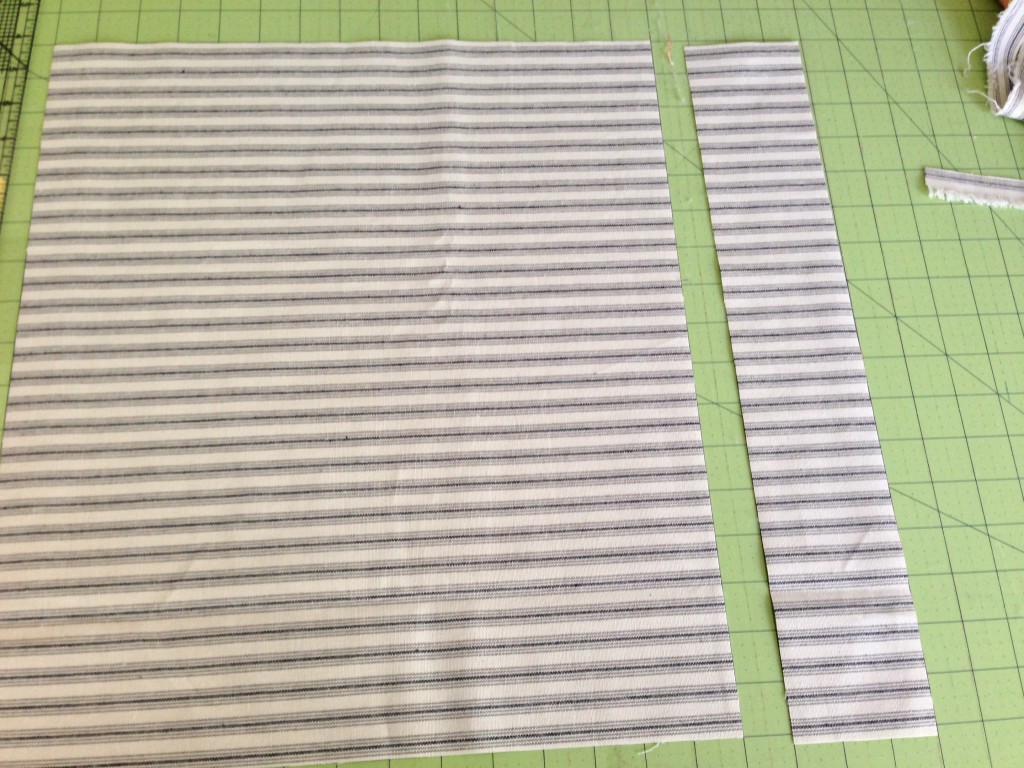
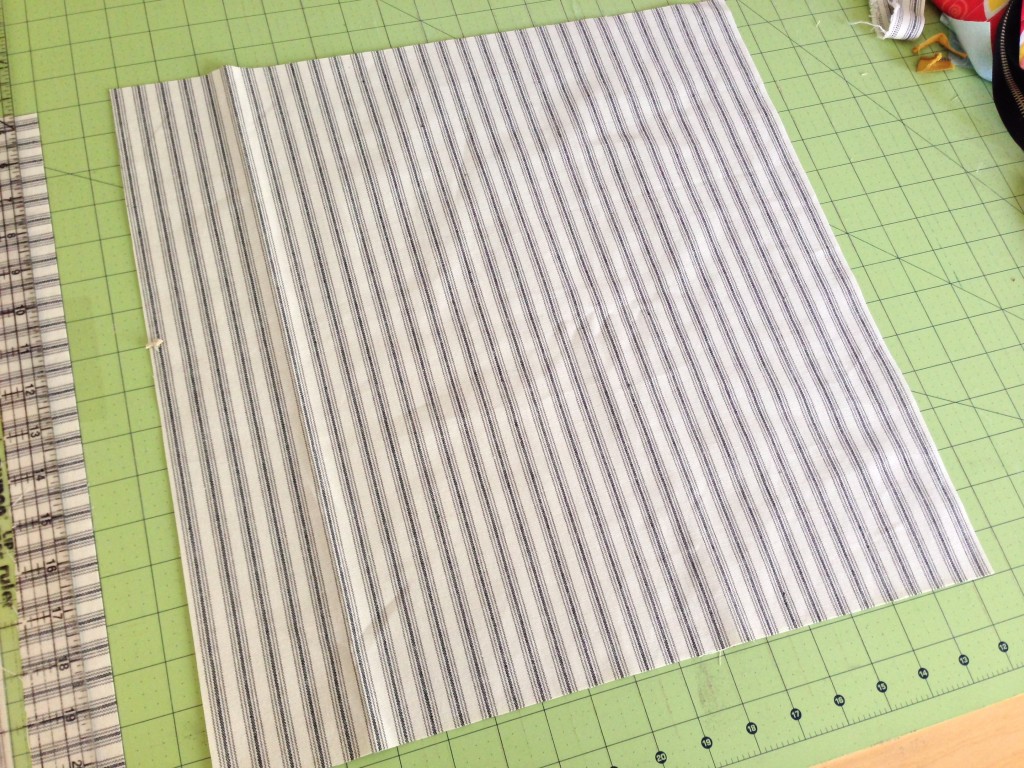
Begin by cutting (2) 17″ squares from the black and white ticking, set one aside for the pillow back.31_halloween_pillow_3


Cut a 3″ strip off the top:31_halloween_pillow_4


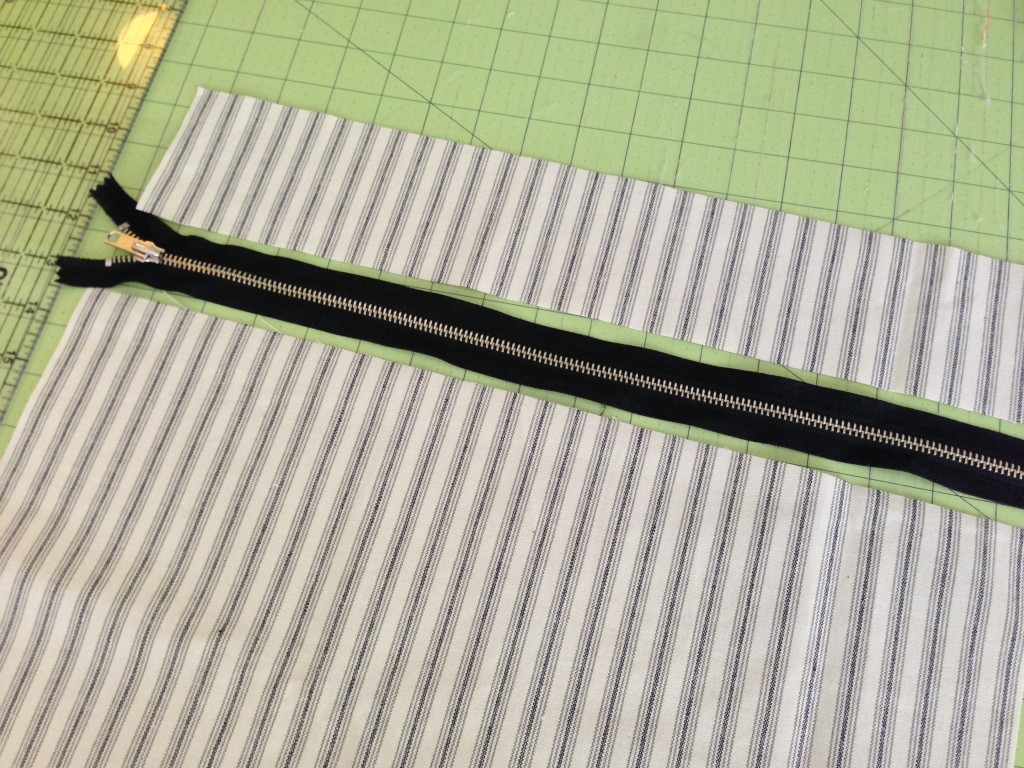
Lay out the pieces like this with the chunky zipper between:31_halloween_pillow_5


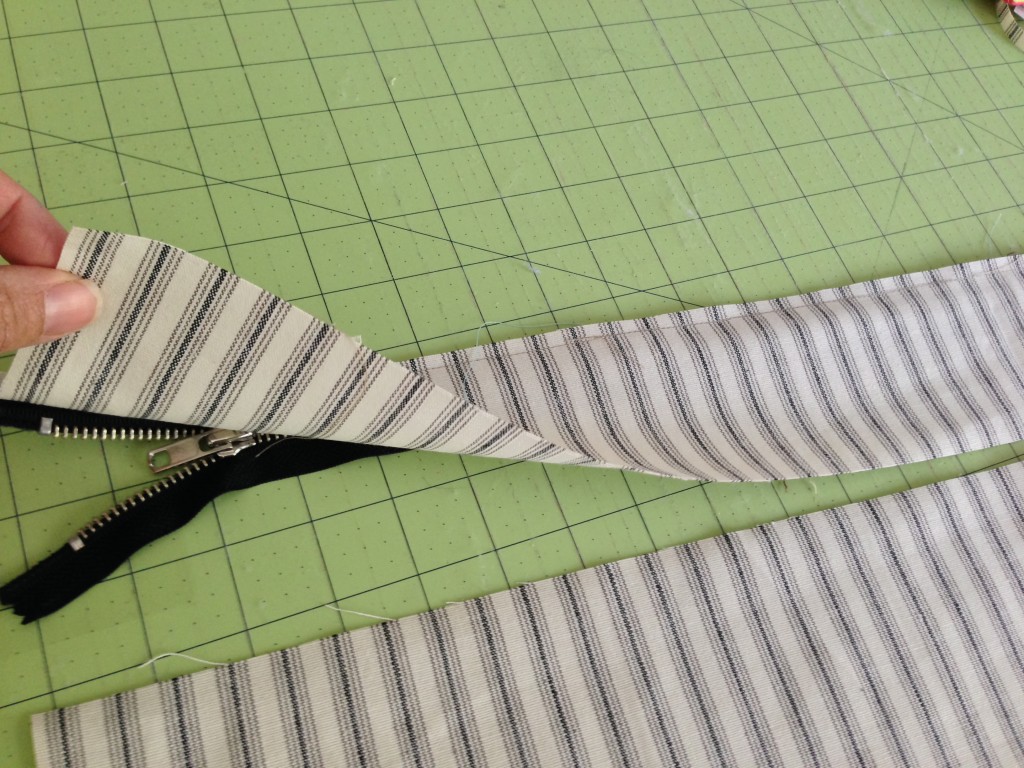
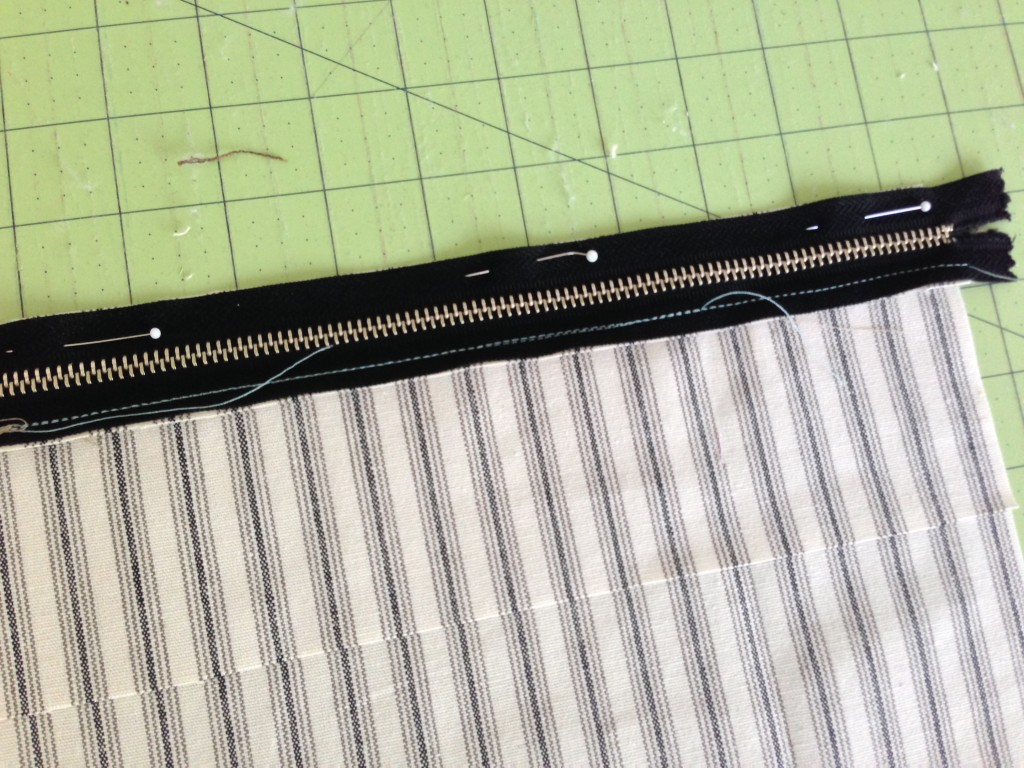
Place the small strip right sides together with the zipper and using a zipper foot sew along the length:31_halloween_pillow_6


Repeat with the other side:31_halloween_pillow_9


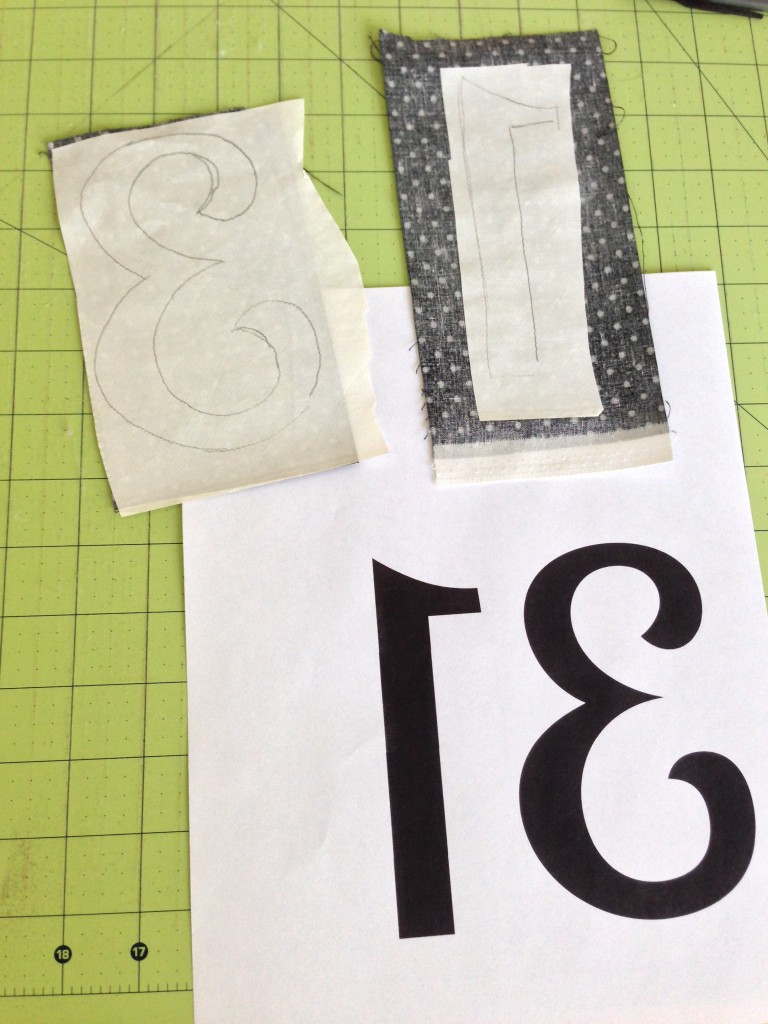
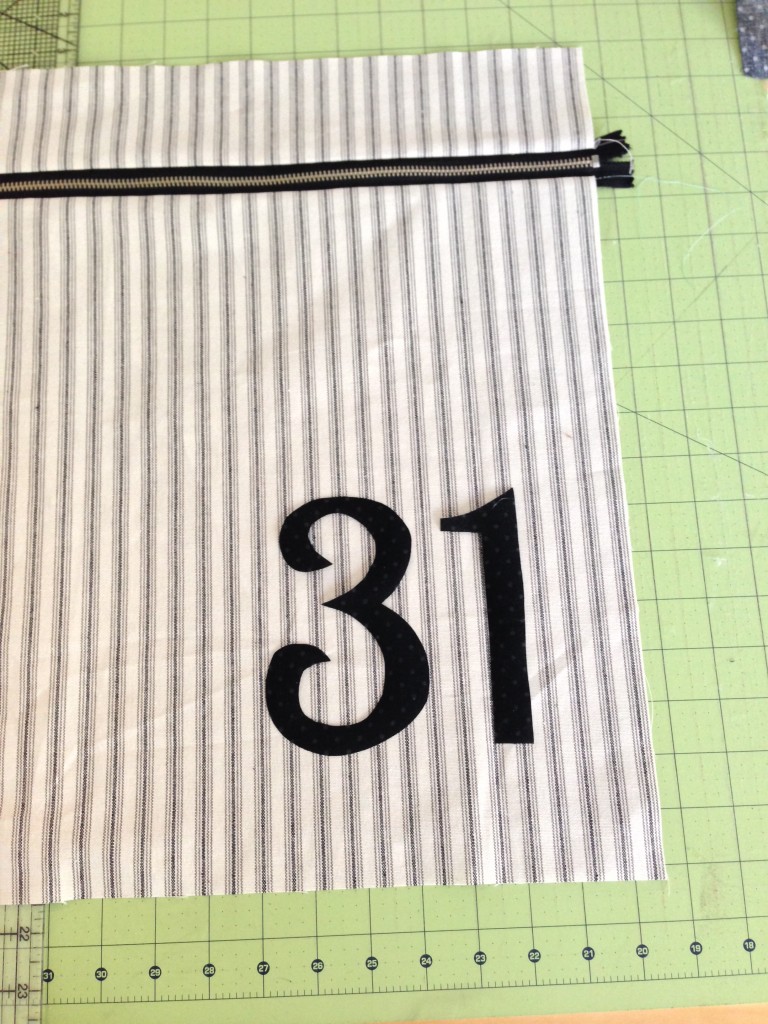
Once the zipper is sewn in, press the seams.  Prepare the appliqué by printing 31 on Heat n Bond EZ sheets or tracing on to Heat n Bond Lite.  Iron the numbers to the wrong side of the black fabric.  Cut out and press onto the pillow front.  Top stitch around the numbers in black thread.

31_halloween_pillow_11

Using scissors you are not fond of, cut off the excess zipper on both ends.

31_halloween_pillow_12


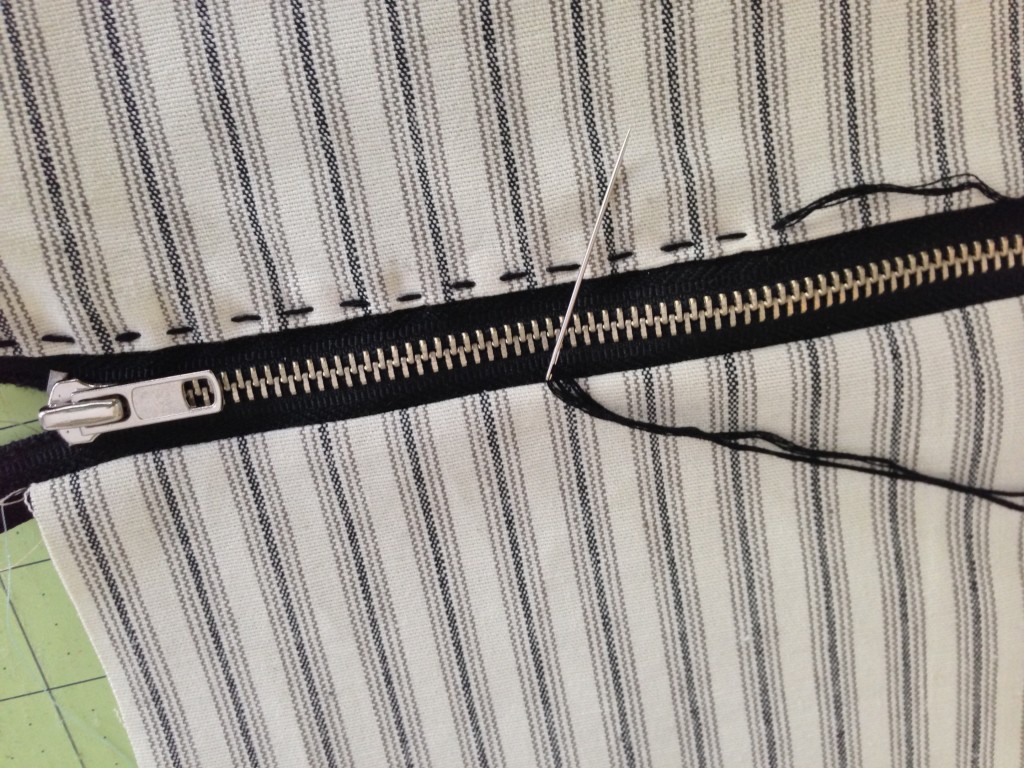
Add a hand stitched detail by sewing a running stitch along both sides of the zipper with black embroidery floss.31_halloween_pillow_13


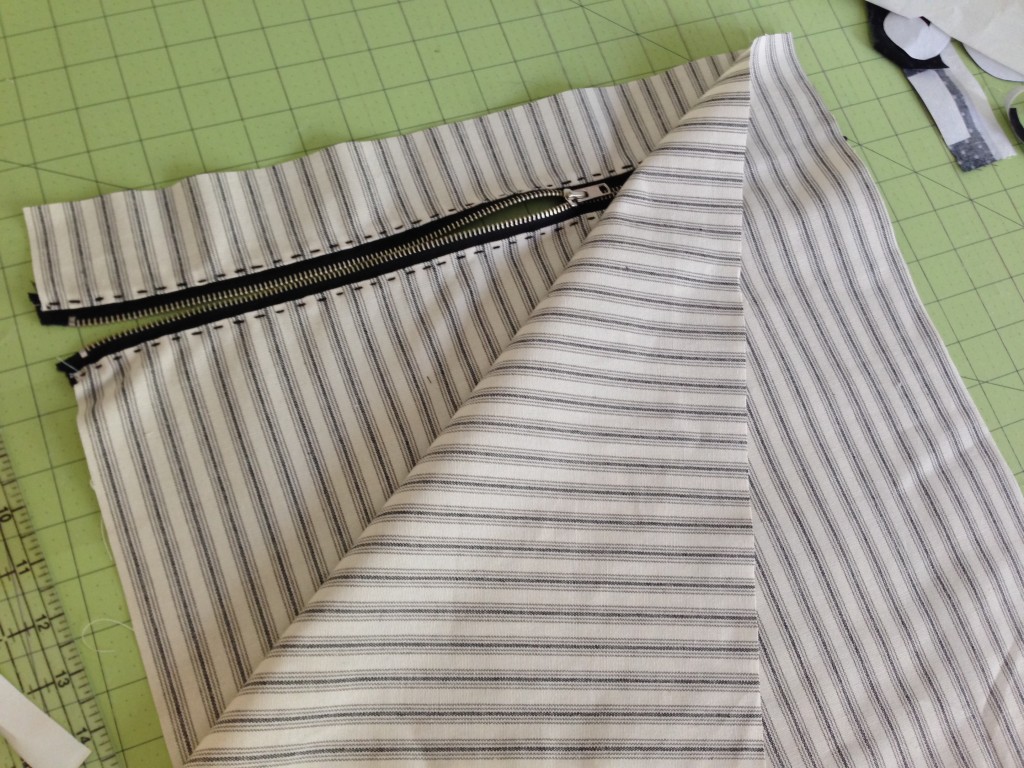
Place the pillow back and pillow front right sides together and pin around the entire pillow.  Make sure the zipper is open.  31_halloween_pillow_14


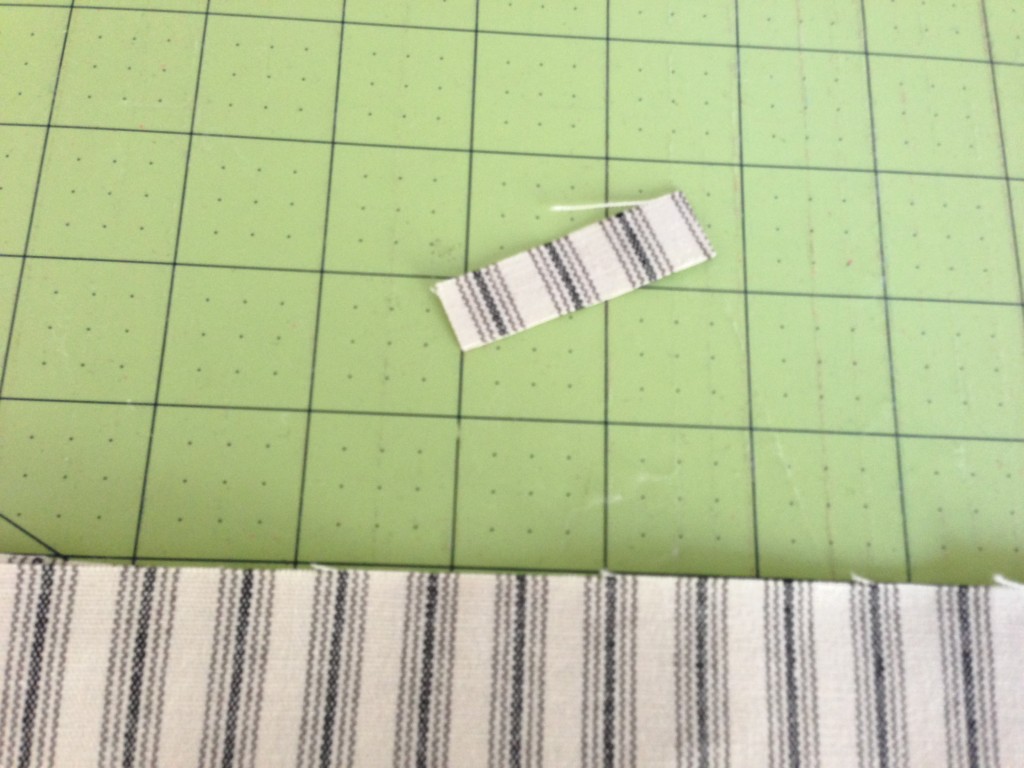
I cut 2 small strips of fabric and added them to both sides of the zipper where the seam would be to give it strength.  Otherwise the only thing holding the zipper is a seam of thread.  I also like to back stitch a few times over the zipper.  With the metal zipper it is best to slow down the sewing speed and even manually move the needle so it can find its way around the zipper teeth.  Sew around the entire pillow using 1/4″ seams31_halloween_pillow_15

Turn right side out and add the pillow, it’s done!


31_halloween_pillo2


Click the button for or more Halloween Projects


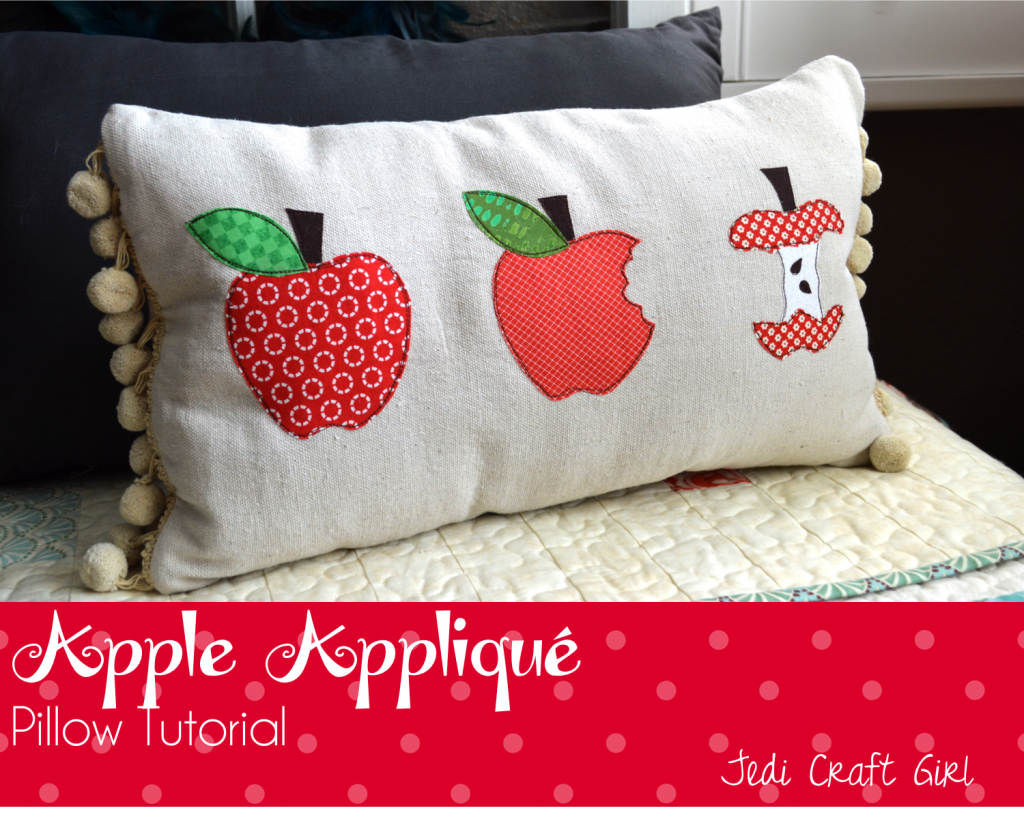
Apple Appliqué Pillow Tutorial

apple applique

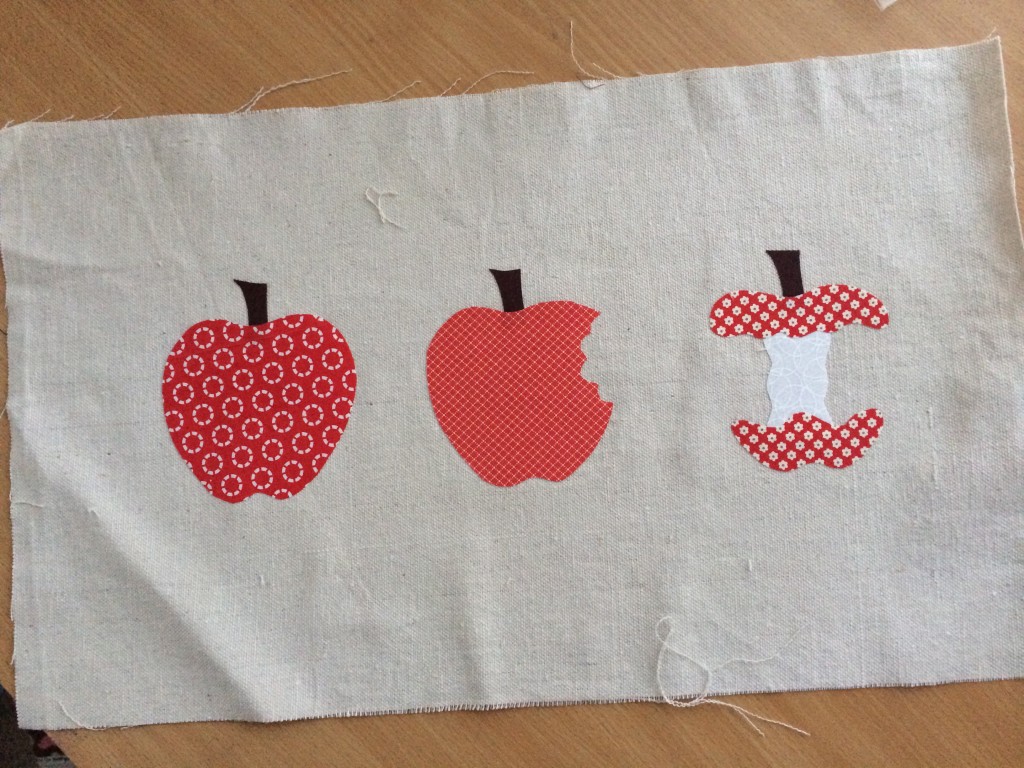
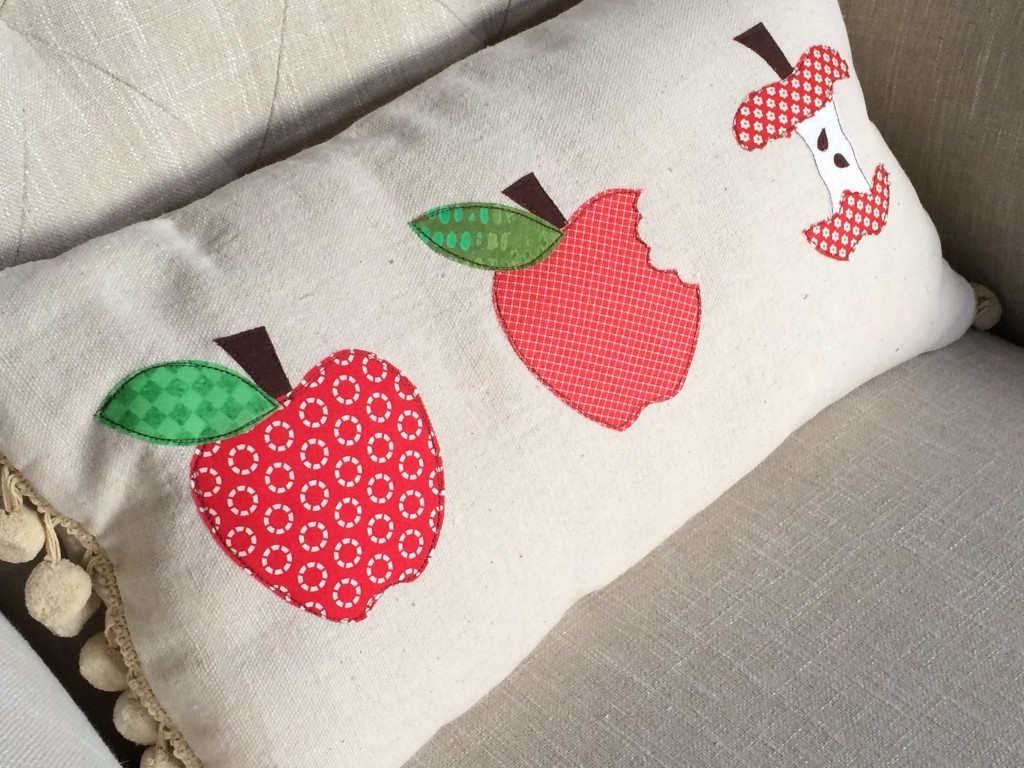
We are getting ready to start school next week.  I thought this pillow would be a fun back to school decoration or even a thoughtful gift for a teacher.  My tutorial is over on the Therm O Web Blog!  I used Heat n Bond Lite which made the appliqué a snap!  apple_pillow_tutorial


I think I could add pom poms to ever project I make 🙂apple_pillow_tutorial_1

Summer Nautical Pillows

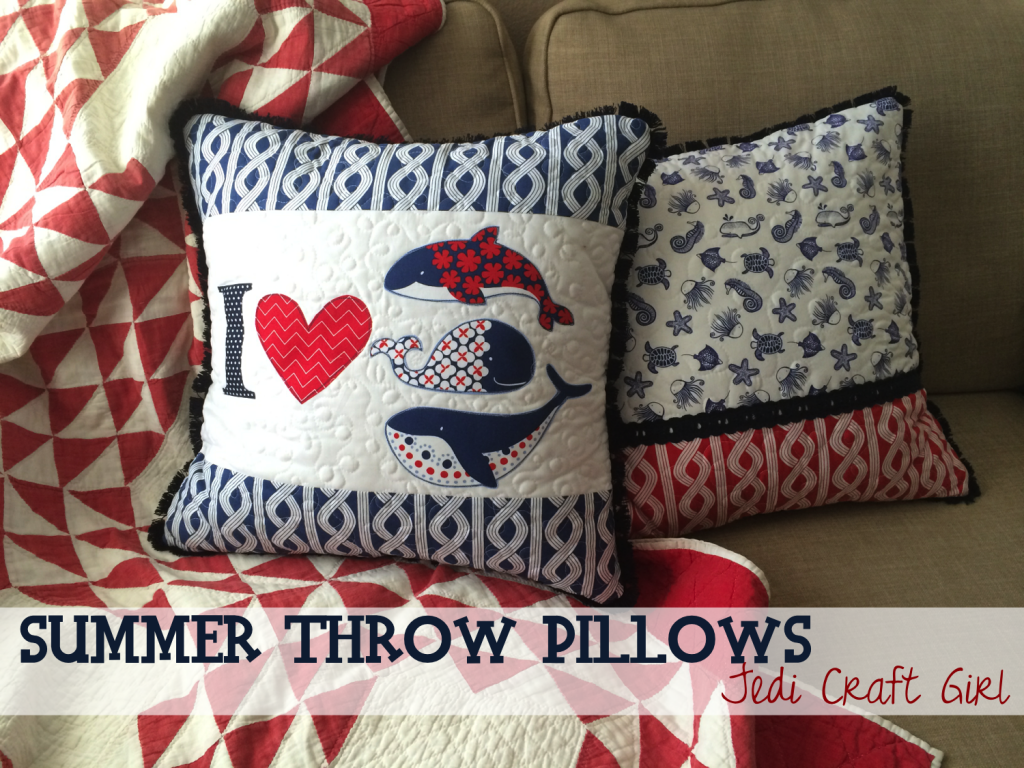
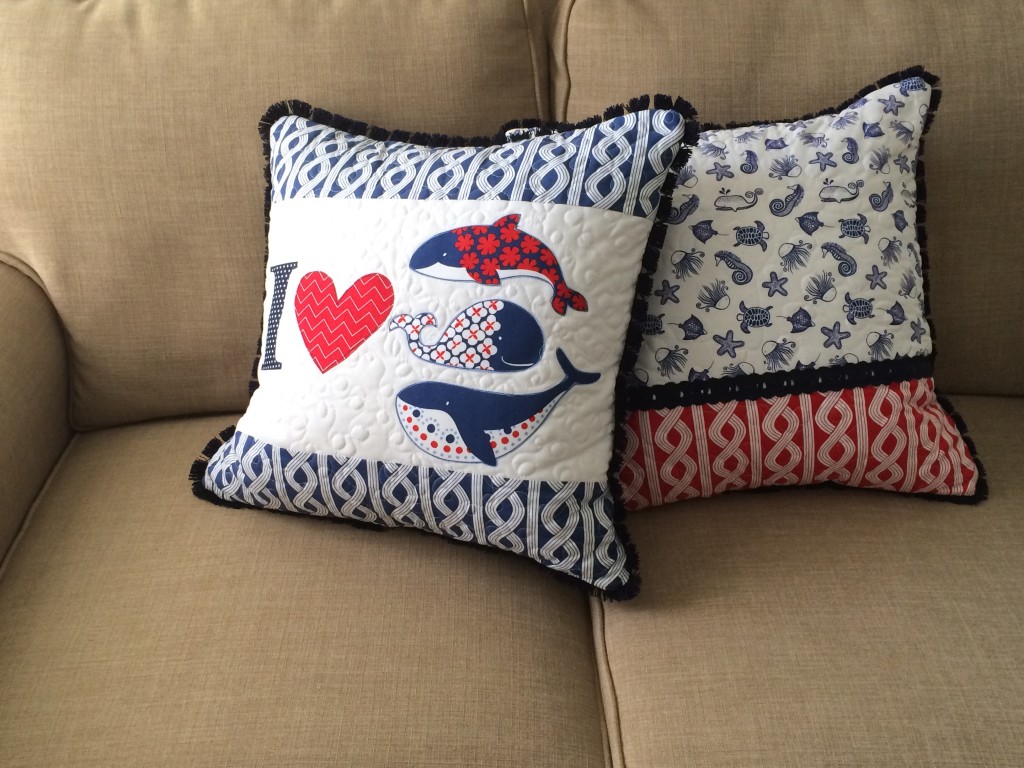
summer throw pillow tutorialI know most of the stores have their fall and even Christmas decorations out on the shelves,  but we still have one more week of summer vacation left and I am embracing every minute of it!  Summer is my favorite!  I love being with my children all day and just being FREE!!!!!  I had to get in one more summer sewing project.  I decorated my family room with a few nautical pops here and there and my couch was begging for some nautical pillows!  These sew up in a snap!


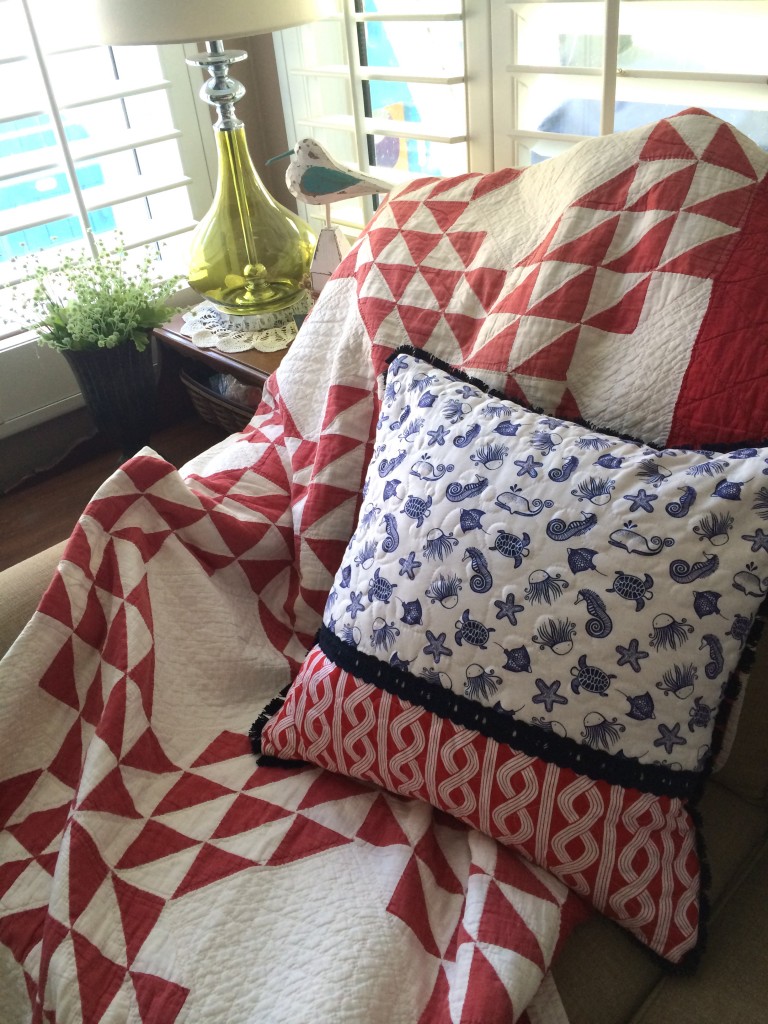
Sea Critters Pillow (20″):

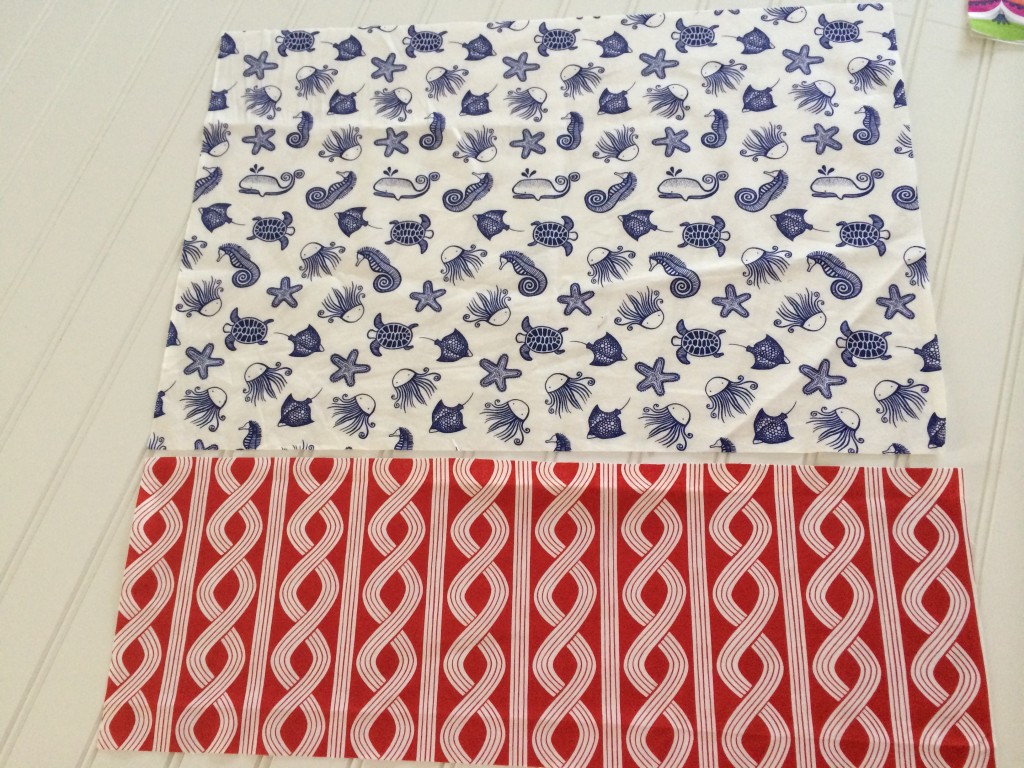
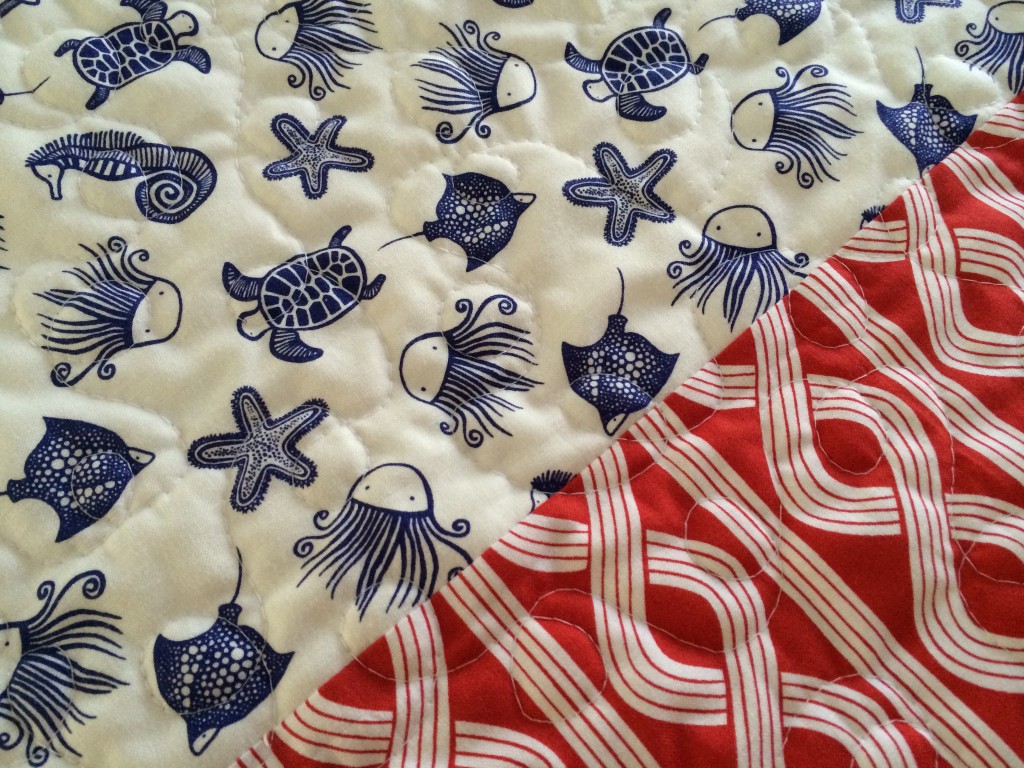
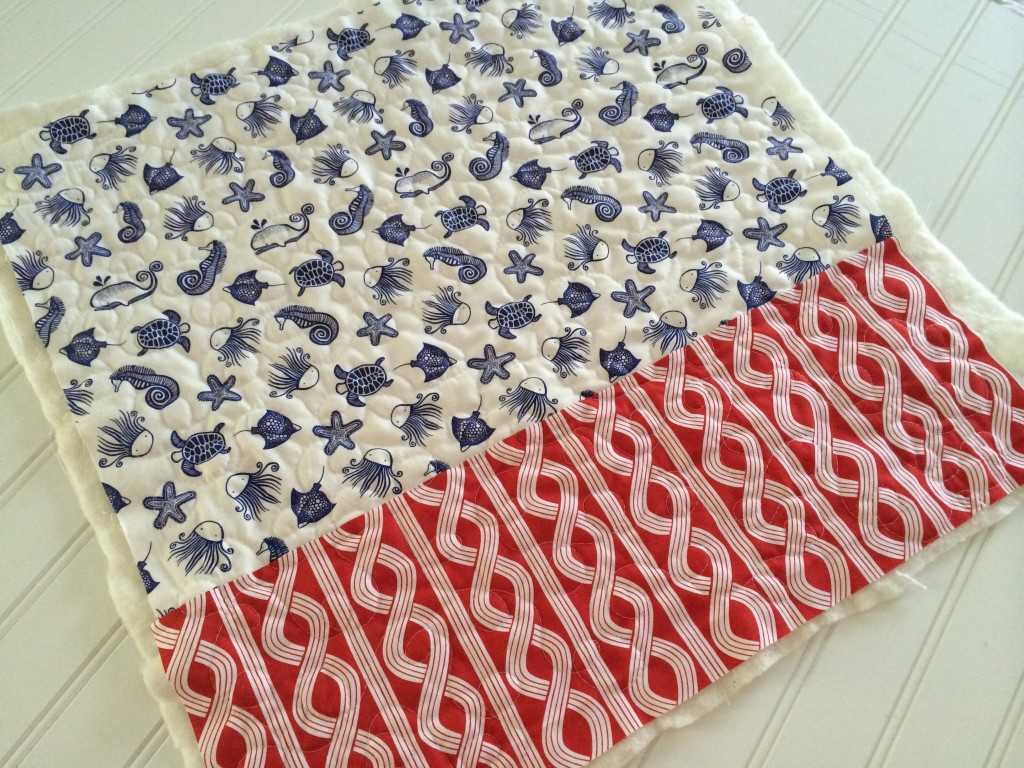
Don’t you just love this fabric from Dear Stella?  We love sea critters at our house!

Cut the sea critters fabric 13.5″ x 20″

Seersucker Twist Red from Blend fabric 7″ x 20″

cotton batting 21″ or larger

20″ navy blue lace trim

2 yards navy fringe trim

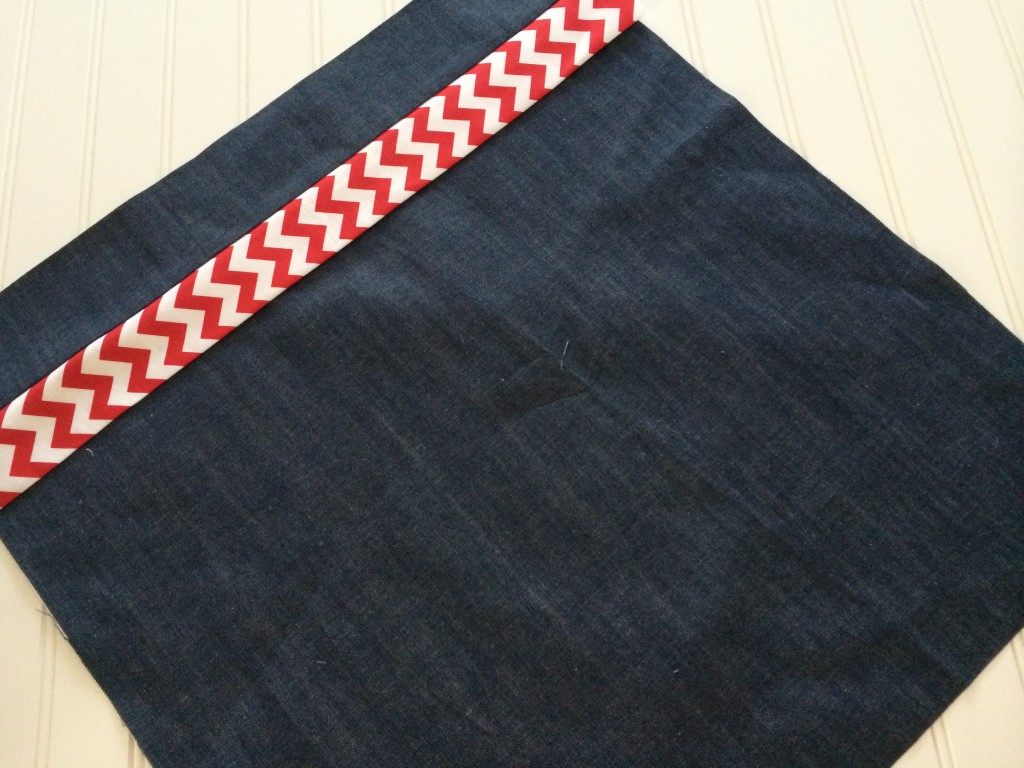
20″ square Denim for the back

20″ or longer Zipper

accent fabric 4.5″ x 20″

20″ pillow form

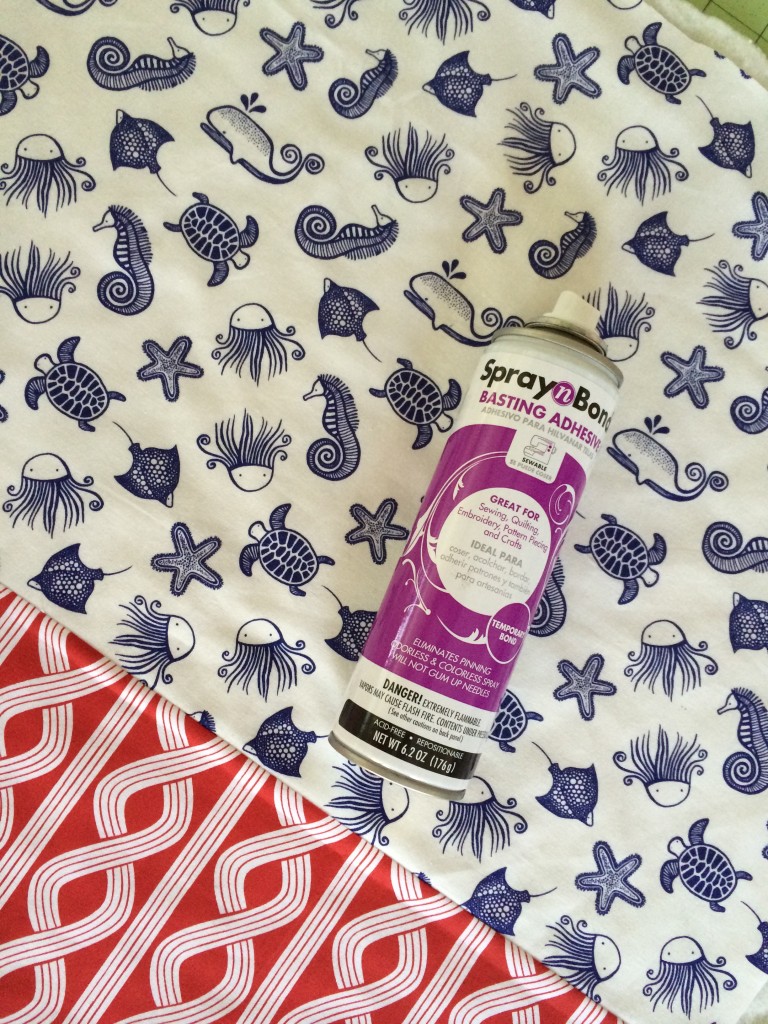
Spray n Bond for basting
nautical pillow tutorial


Sew them together using 1/4″ seams.  Using Spray n Bond basting spray, baste the pillow top to the batting.nautical_pillow_tutorial_1

With the two pieces basted you can quilt as desired.  Straight lines would be cute, I was impatient and free motion is faster for me 🙂nautical_pillow_tutorial_2


Trim off the excess batting
nautical_pillow_tutorial_3


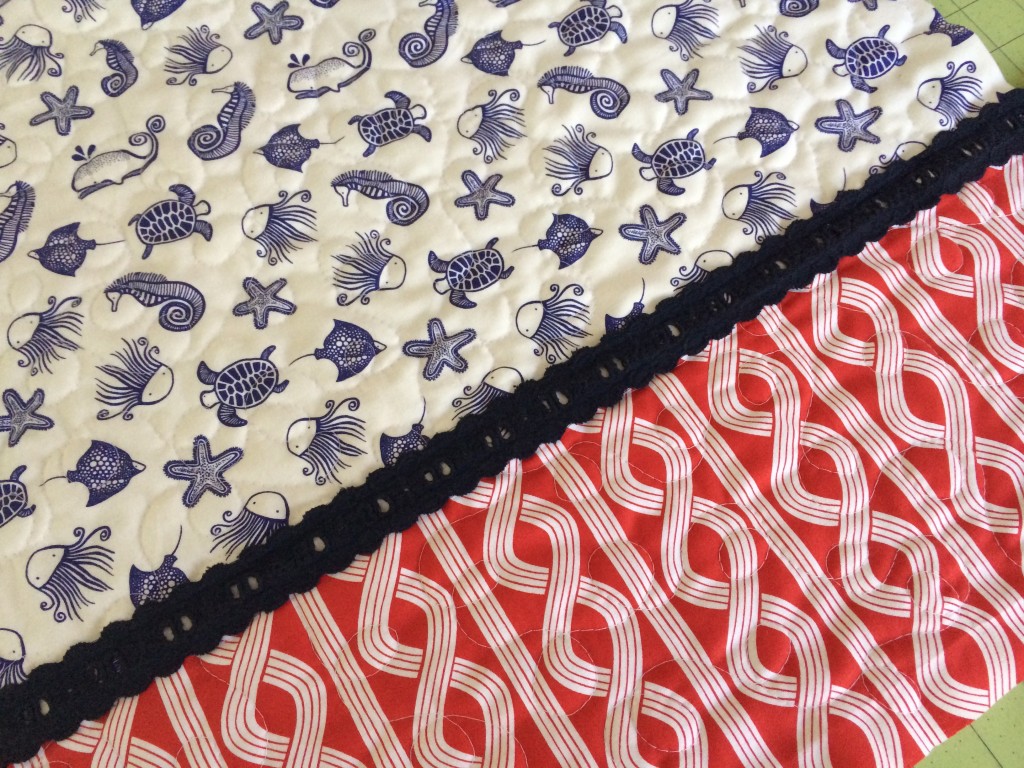
Add the navy blue lace trimnautical_pillow_tutorial_4

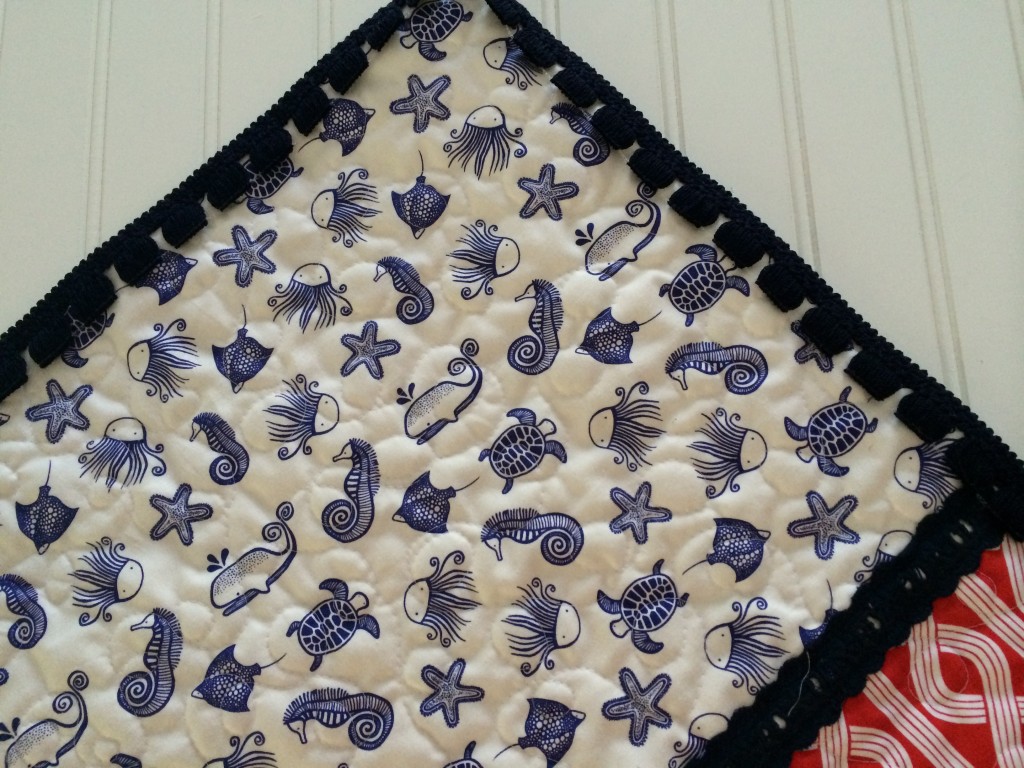
Sew the navy blue fringe to the right side of the pillow.  I found it easier to use my walking foot.  Curve the corners.
nautical_pillow_tutorial_6

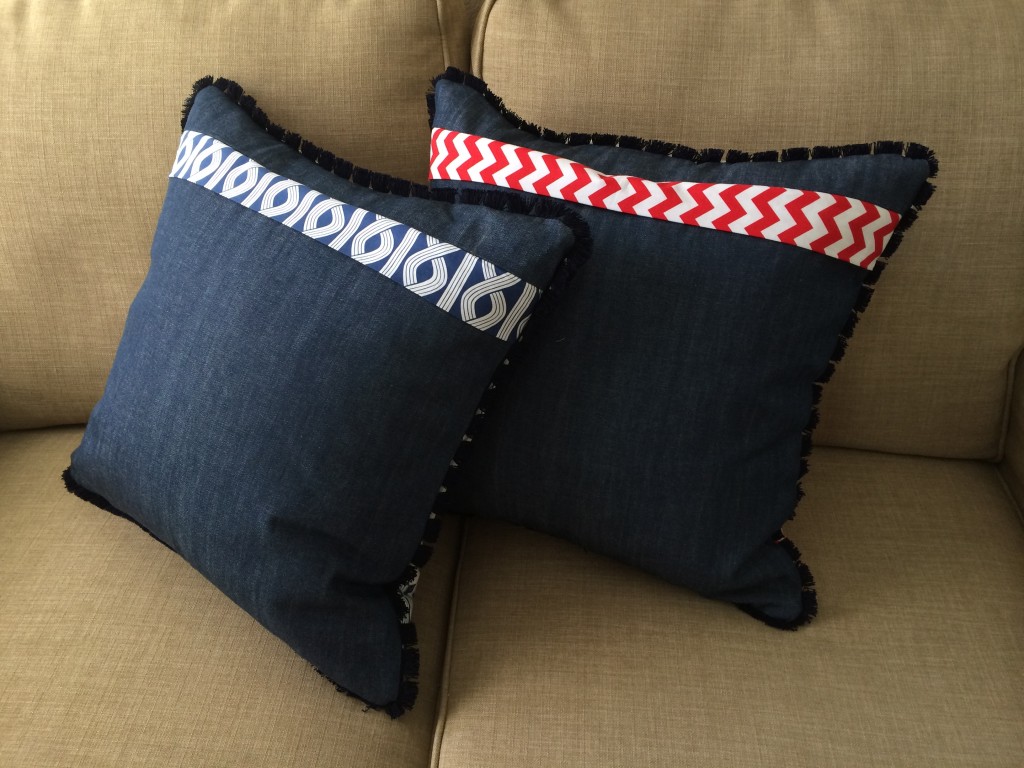
Prepare the back of the pillow.  I have found this is the fastest way to finish a pillow.  For the tutorial on how to do this, click HERE.  I cut the back 20″ and then cut 3″ from the top for the zipper placement.  The chevron piece is cut 4.5″ and then folded in half.

nautical_pillow_tutorial_5

Now that the back is ready, place the right sided together, with the zipper open, and sew all the way round the pillow using 1/4″ seams.  Turn and insert the pillow form.
nautical_pillow_tutorial_7

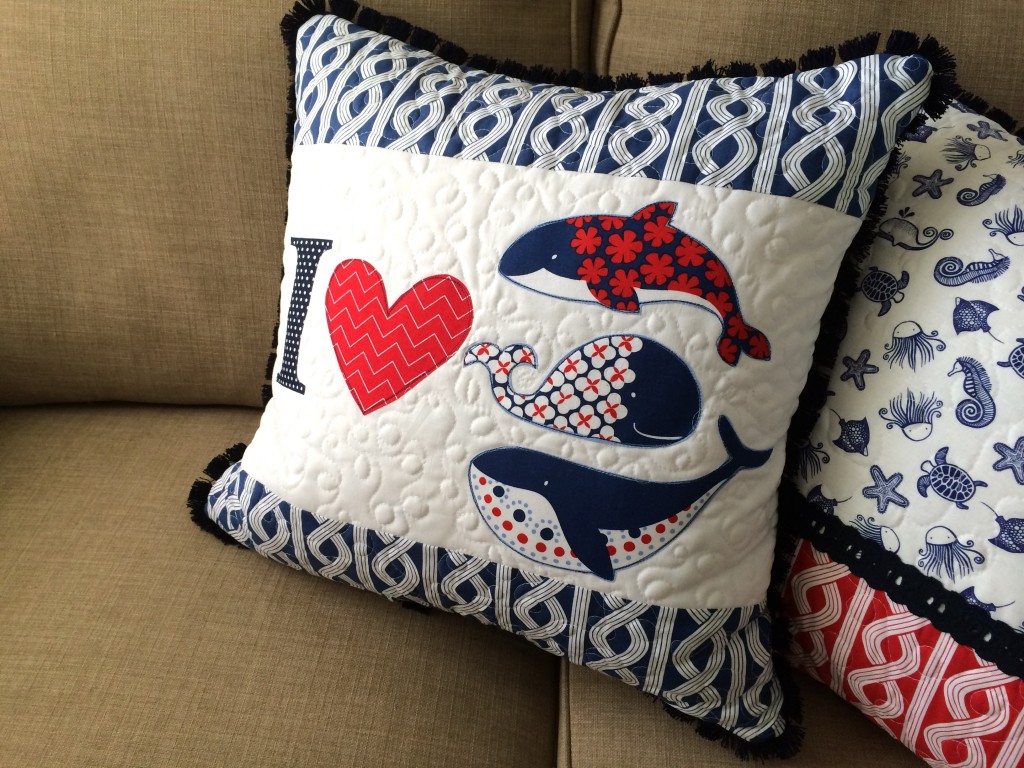
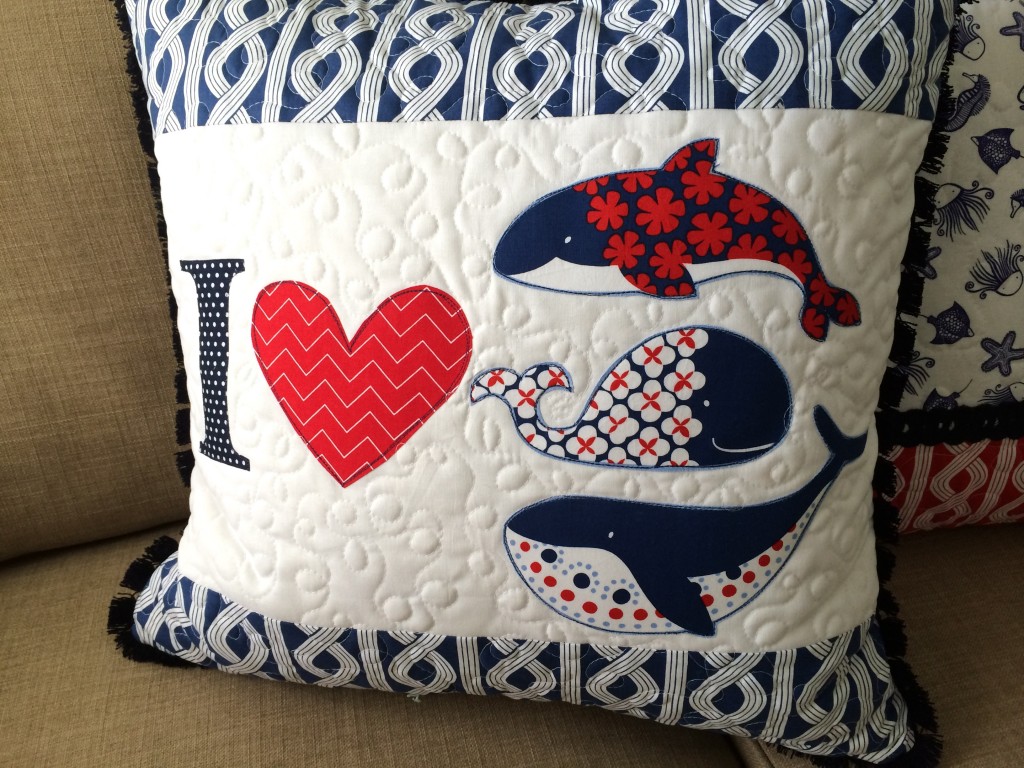
I Heart Whales Pillow (20″)

This is very similar to my pink I Heart Whales pillow found HERE.  Follow those directions for the Heat n Bond Applique.

nautical_pillow_tutorial_10

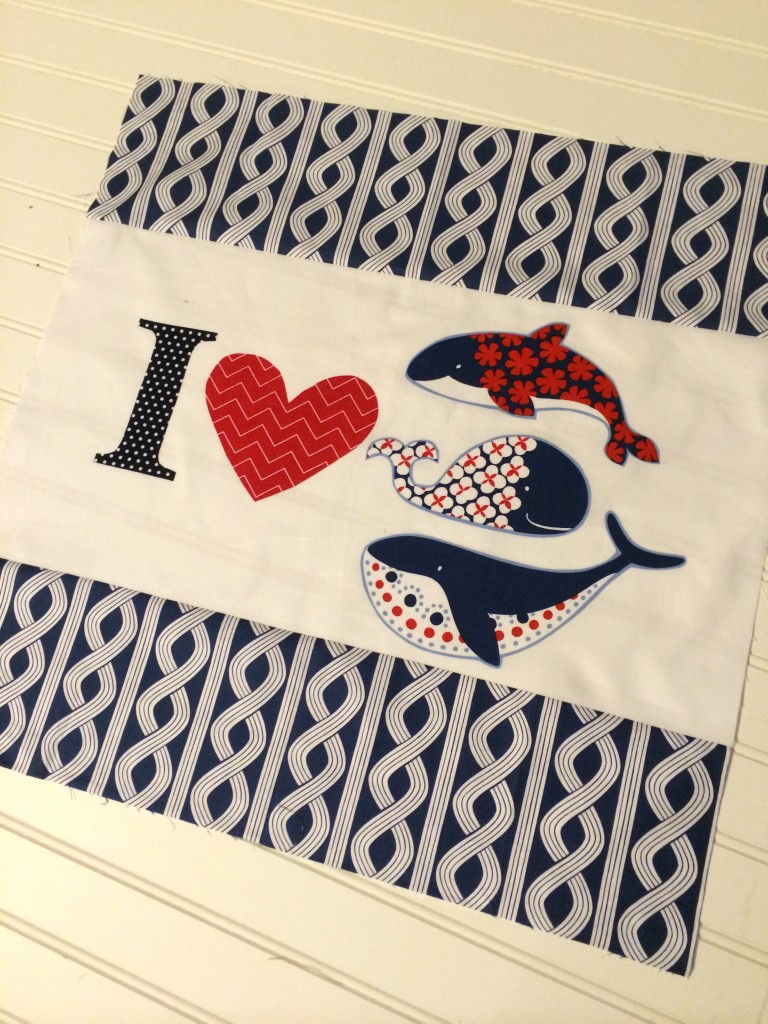
Cut the solid white 10.5″ x 20″

Cut (2) Seersucker Twist Blue from Blend fabric 5.25″ x 20″

“I Heart” pattern click HERE

Whales from Blend’s True Blue fabric line

Prepare the appliqué pieces (directions HERE).  Iron the pieces to the solid white fabric.  Sew the blue fabrics to the white fabric using 1/4″ seams.
nautical_pillow_tutorial_9

Using Spray n Bond, baste the pillow top to the cotton batting and quilt.  Instead of appliquéing the images on before quilting, I sewed around each image in navy thread during the quilting process to give the pieces a little pop.

nautical_pillow_tutorial_11


I finished this pillow the same way as the Sea Critters pillow with the same navy trim.

I love the backs of the pillows!nautical_pillow_tutorial_12

nautical_pillow_tutorial_13


Stair Steps Quilt Pattern featuring Briar Rose

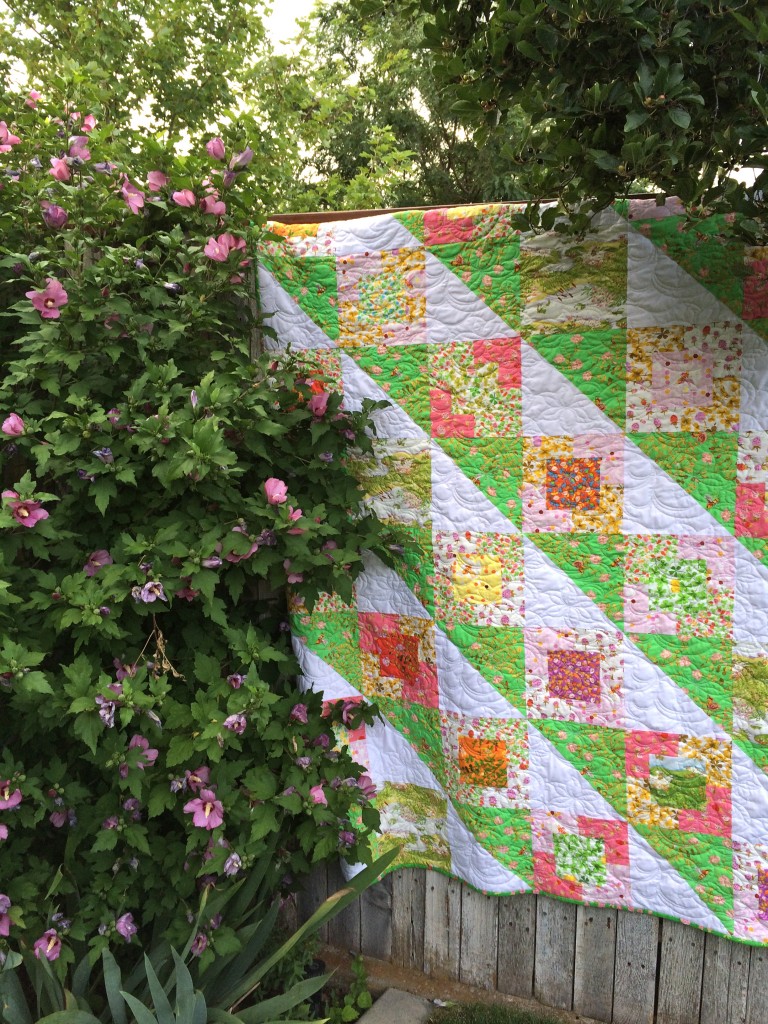
stair steps quilt pattern briar rose  briar_rose_quilt_pattern_1

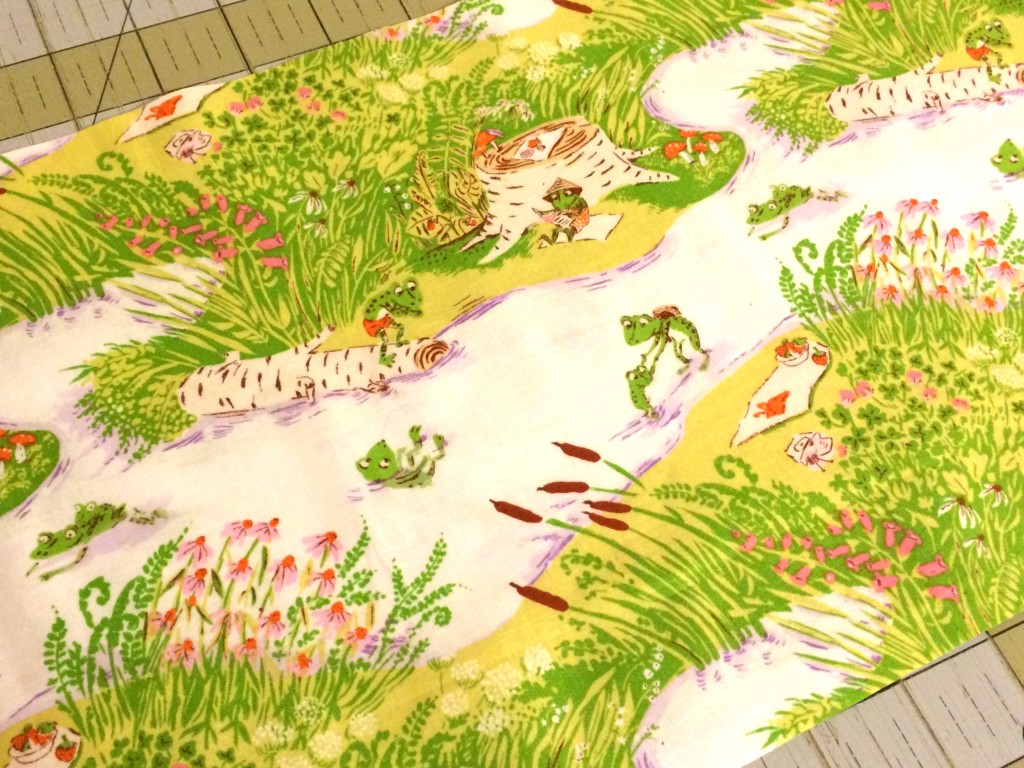
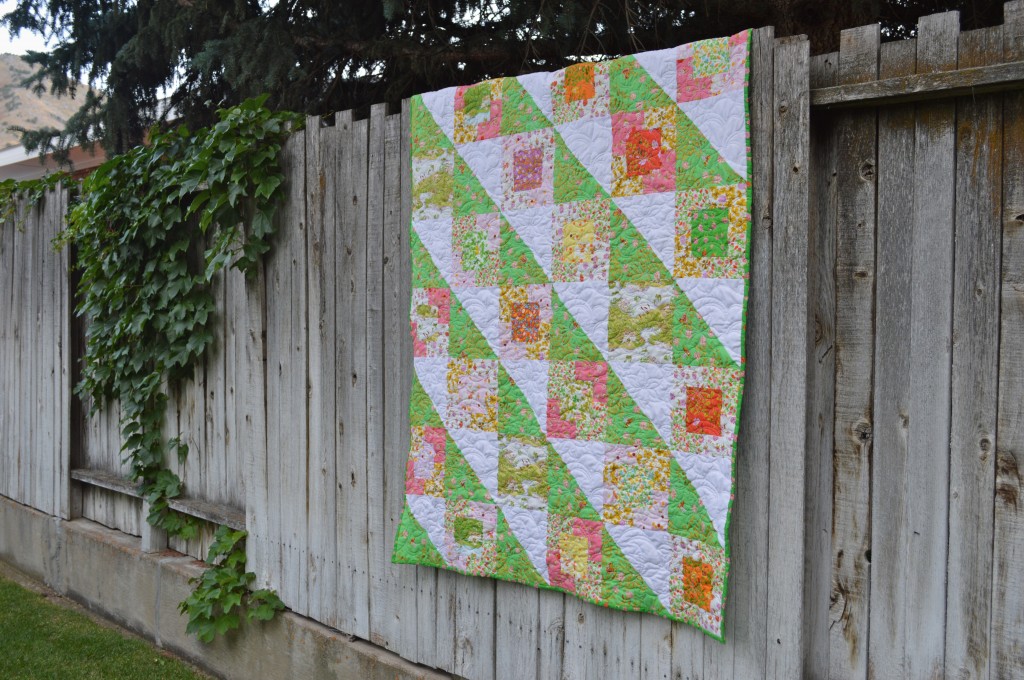
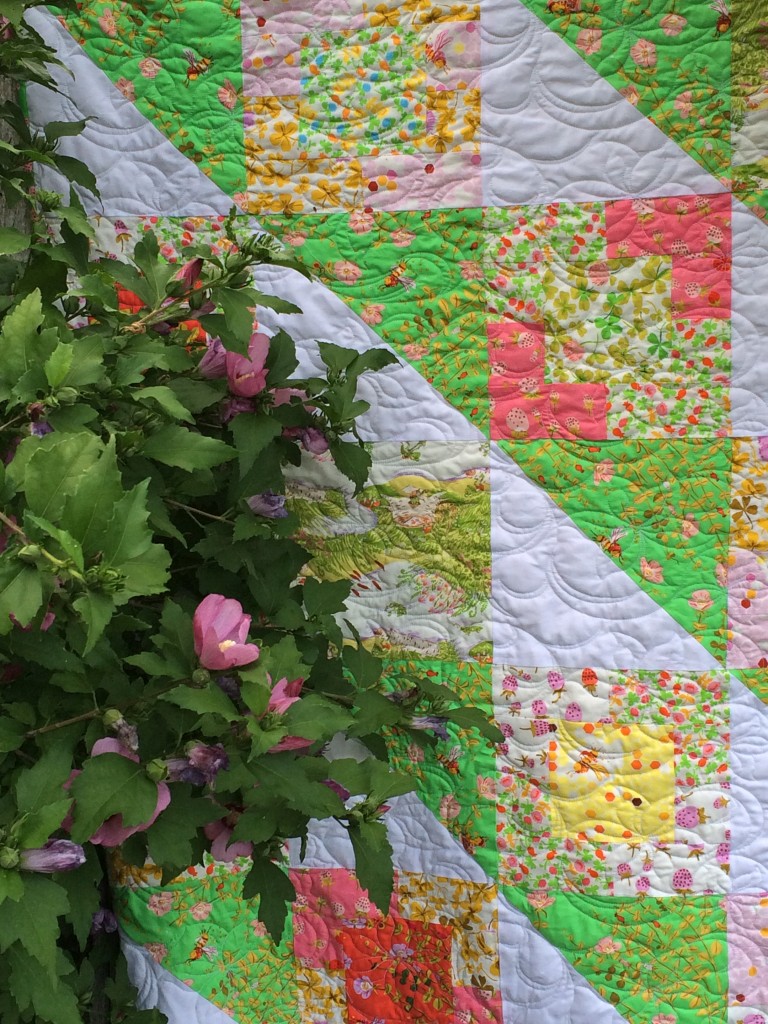
I am so excited to share my newest quilt pattern with you!  Last year I went to Sewing Summit in Salt Lake City, Utah and I went on a “Bus Tour” of several quilt shops in the area.  It was a blast.  I picked up all these fabrics in the Briar Rose line from Heather Ross.  Who wouldn’t love these adorable frogs, bees,  & grasshoppers!

briar_rose

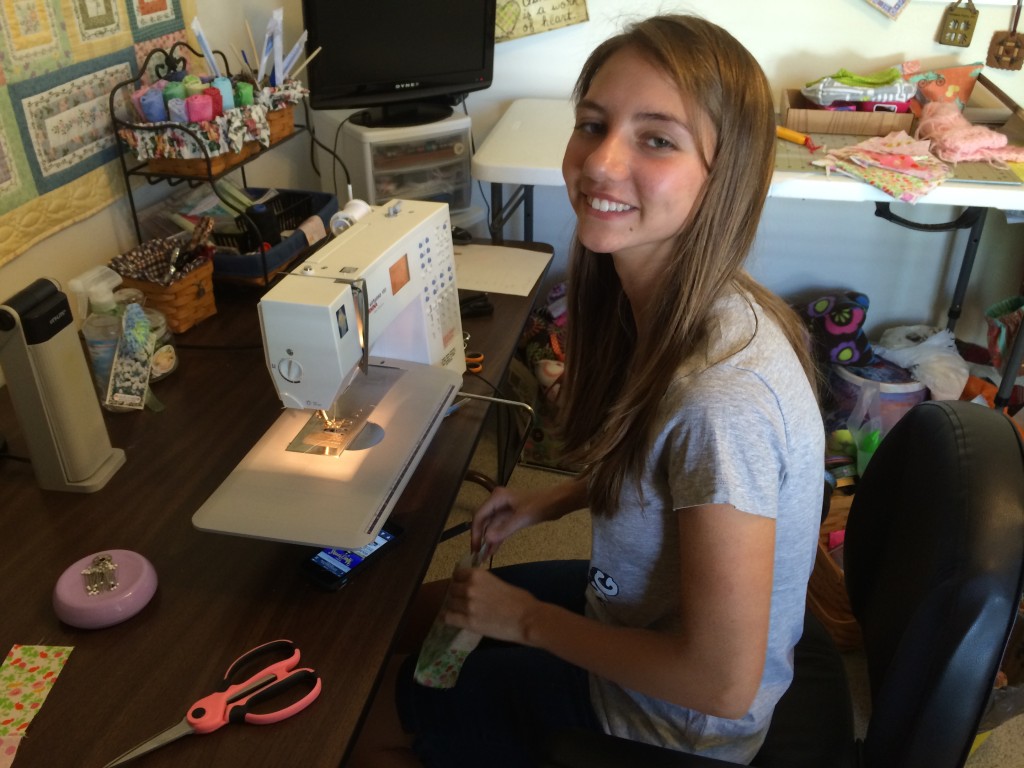
briar_rose_quilt_pattern_10When my daughter saw them she instantly declared they were hers!  It’s almost been a year and she and I decided that this summer we would put a quilt together.  We worked on the pattern design together and she sewed the entire quilt!  I am so proud of her!

briar_rose_quilt_pattern_5 I wanted a pattern that she could handle but that was more than just squares.  This pattern has lots of elements that are great for beginners to learn.  We also wanted a pattern that didn’t cut the fabric up too much – after all, the frogs are just too cute!  So we added a few solid blocks of frogs here and there in the pattern.  Here is how you can make one:

Finished quilt: 50″ x 65″

1/4″ seams throughout


Supplies:

Assorted fat quarters or quarter yard cuts of 6 or more prints

(20) 5″ squares or charm squares

1 yard green print

1 yard white solid

1/2 yard binding

2.5 yards minky for the back


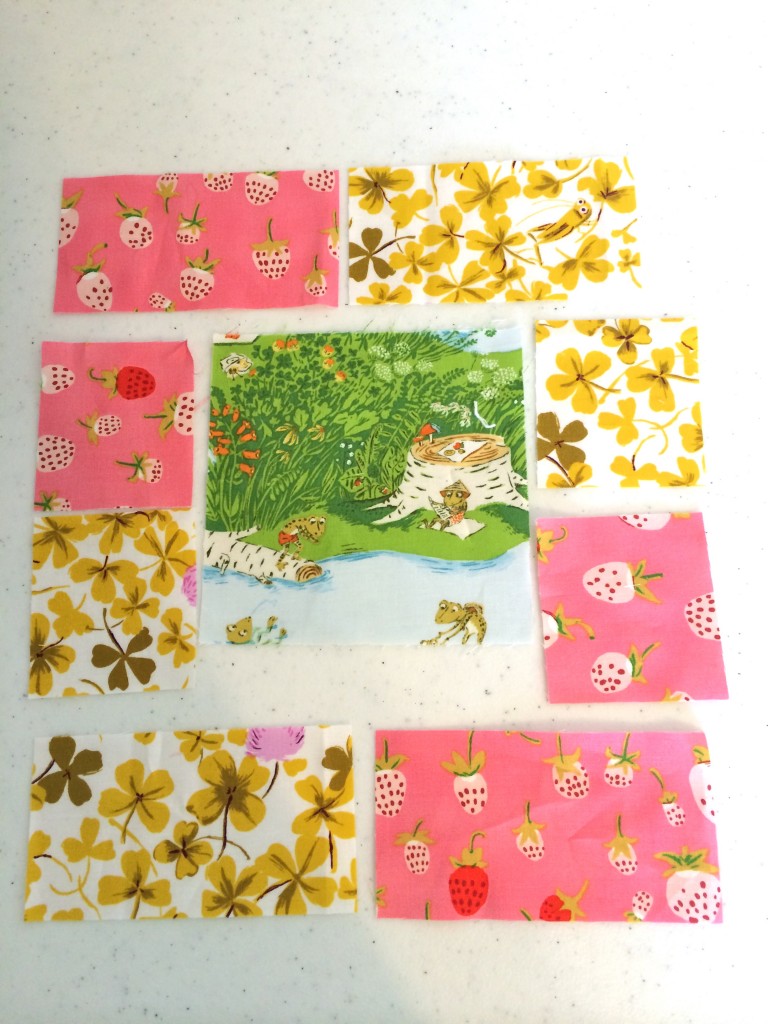
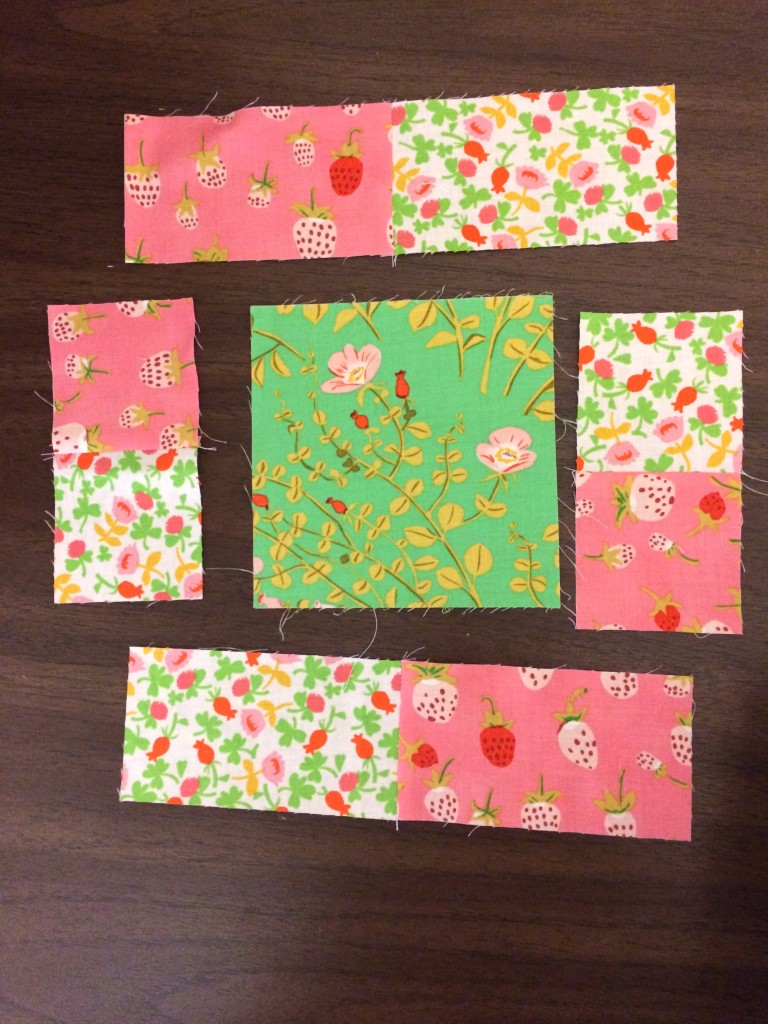
Begin by constructing (20) framed square blocks:

Pink frame (2) 2.5″ x 4.75″ and (2) 2.5″ x 2.75″

clover frame (2) 2.5″ x 4.75″ and (2) 2.5″ x 2.75″

center square 5″

briar_rose_quilt_pattern_4

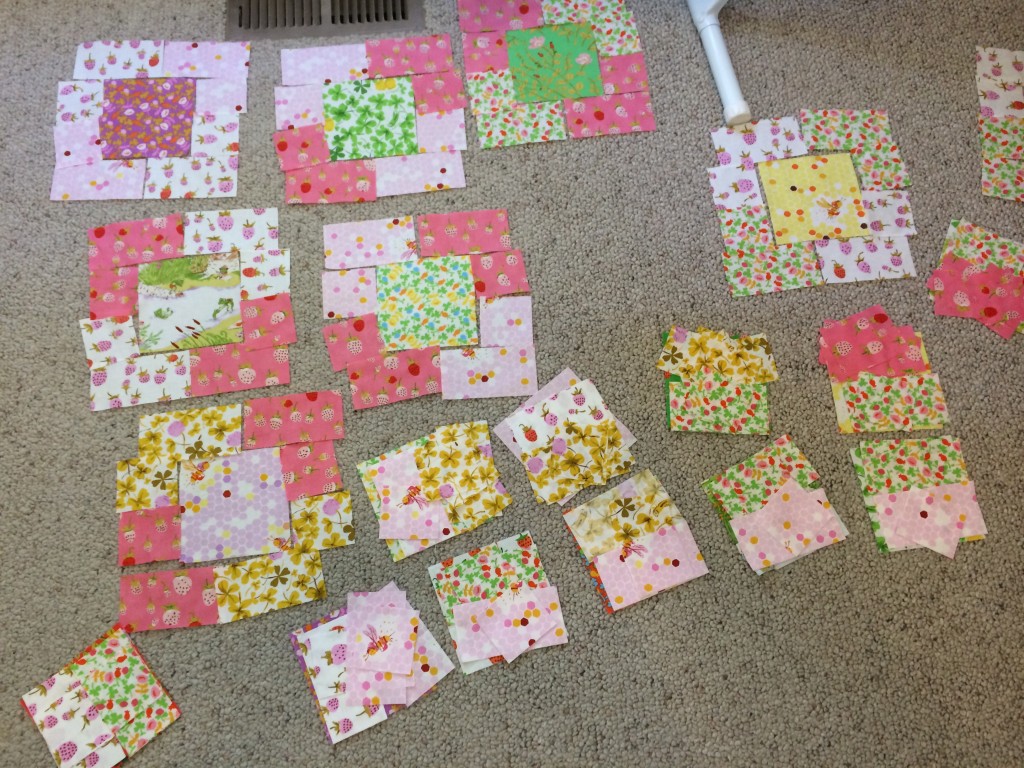
Ella laid all her blocks out to make sure the fabric patterns were evenly distributed.  She is the best at laying out quilt pieces! IMG_9930

Sew the top two rectangles together, the side rectangles together and bottom rectangles together like this:

briar_rose_quilt_pattern_6Press seams toward the dark.

Sew the side rectangle units to the center square.  Press.  Sew the top and bottom units to the square and press seams. (I forgot to take a picture of the finished block, but you can see it in the quilt below)

briar_rose_quilt_pattern_3

Construct (24) half square triangle blocks

Cut (12) solid white and (12) green print 10″ squares

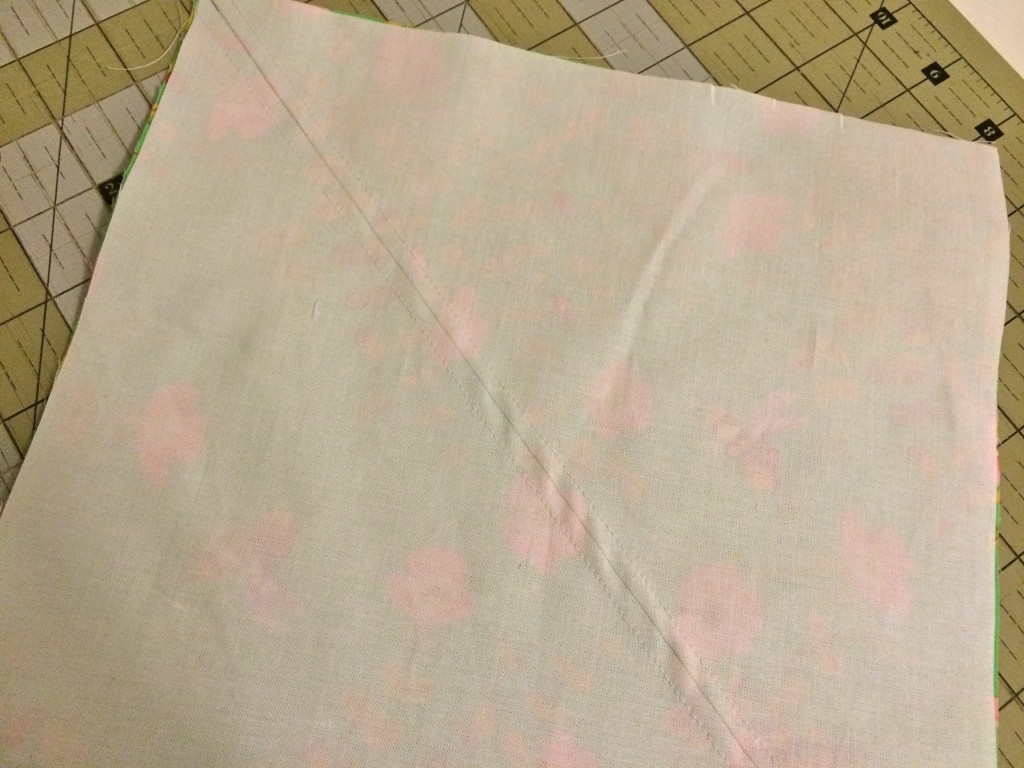
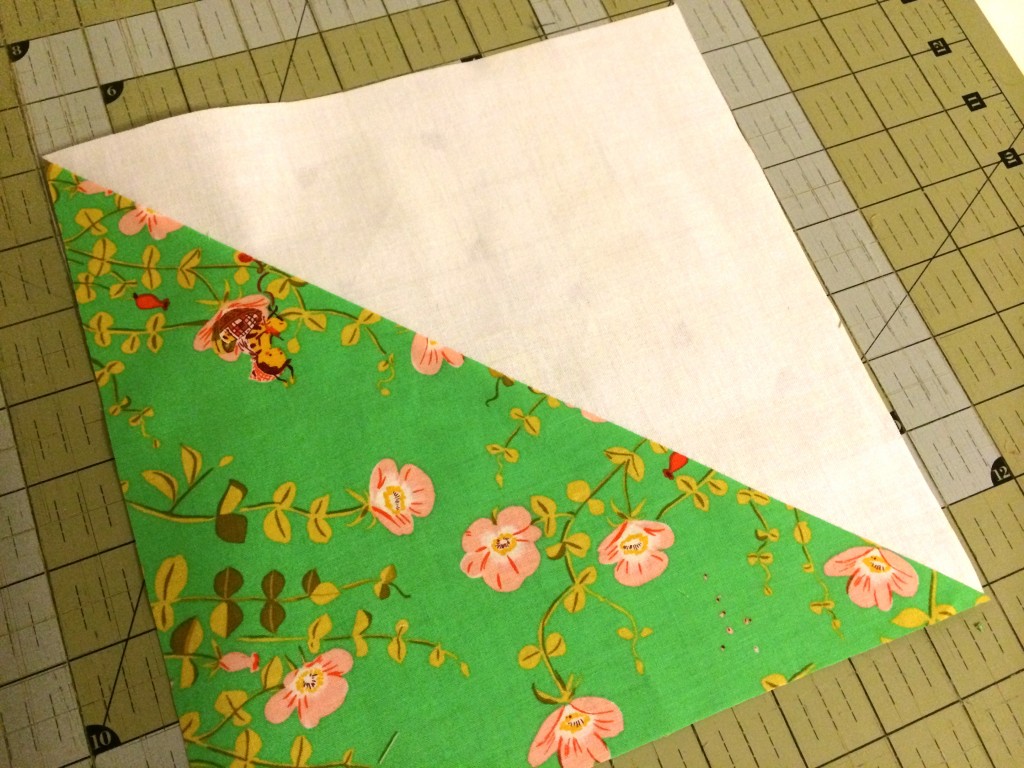
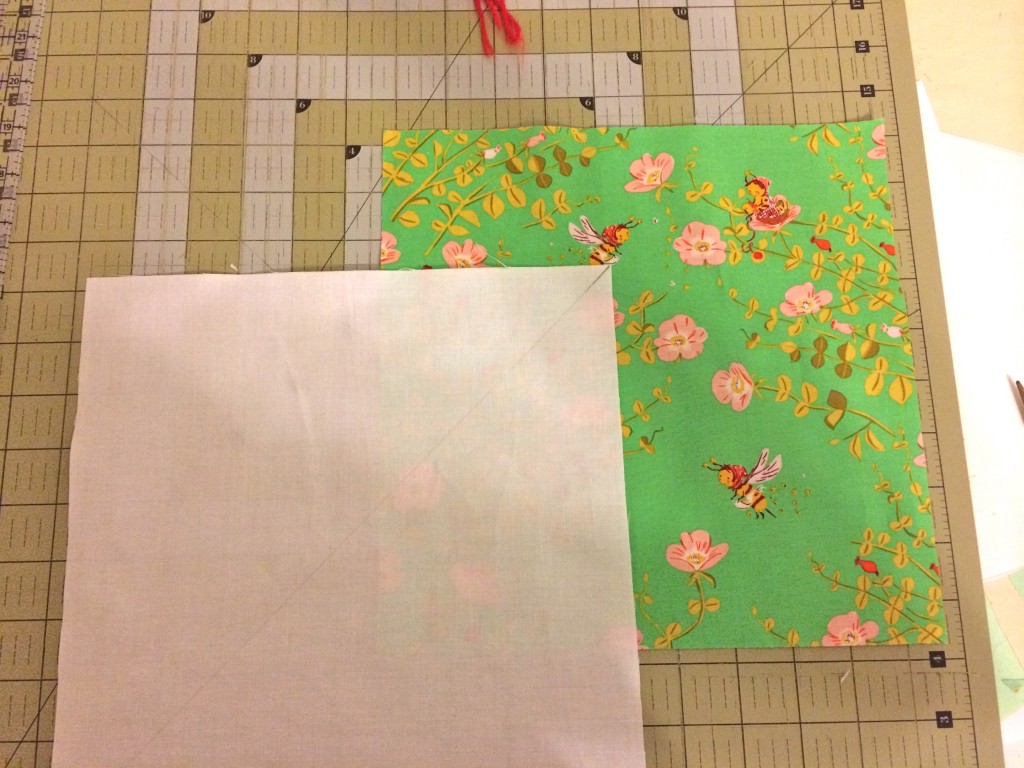
briar_rose_quilt_pattern_7Draw a diagonal line from corner to corner on the wrong side of each white square.  Put the green square and the white square together right sides facing.  Sew 1/4″ along both sides of the pencil line.  Cut along the pencil line and press toward the dark.  Each square sew yields (2) half square triangle blocks.

briar_rose_quilt_pattern_8

Now you will need to square up the blocks.  The blocks finish slightly larger which allows for some room in squaring up the blocks.  Line up the diagonal seam with the diagonal line on your cutting mat and cut each square to be 9″.

briar_rose_quilt_pattern_9

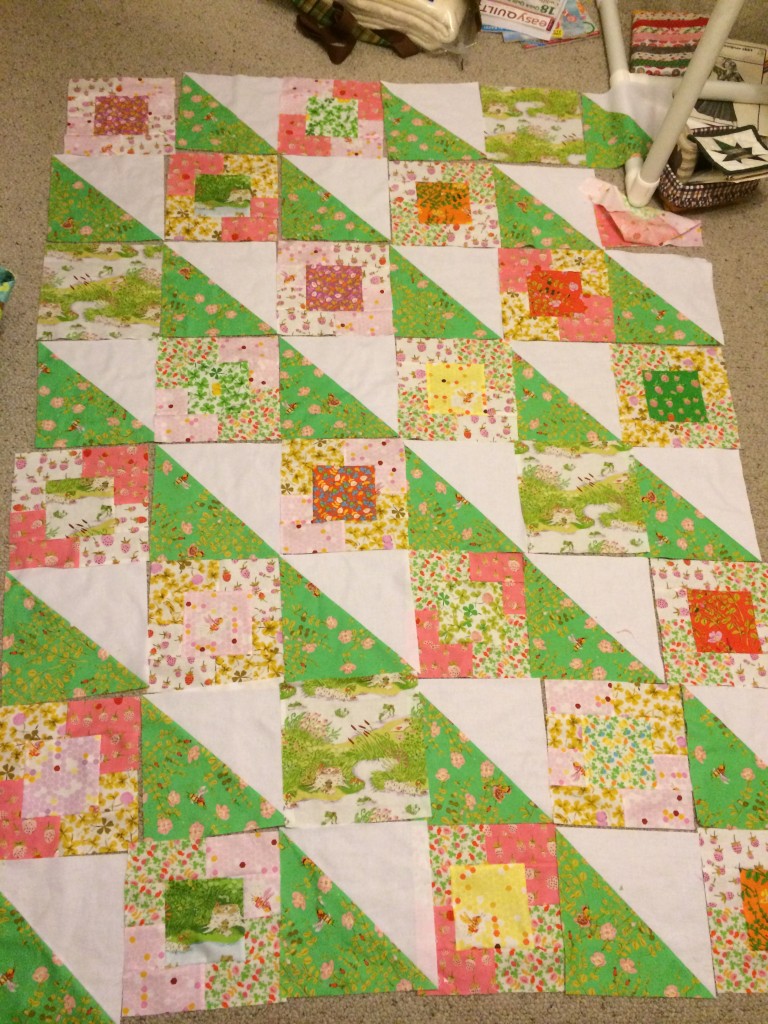
Cut (4) 9″ squares from the frog print to mix into the layout.  This is how we laid ours out:

briar_rose_quilt_pattern_11

Sew the blocks together in rows and press the seams in each row in alternating directions, I always press toward the first block in each odd number row and away from the first block in each even row.  Sew the rows together matching intersecting seams and being mindful of the triangle points.


For the quilting…..

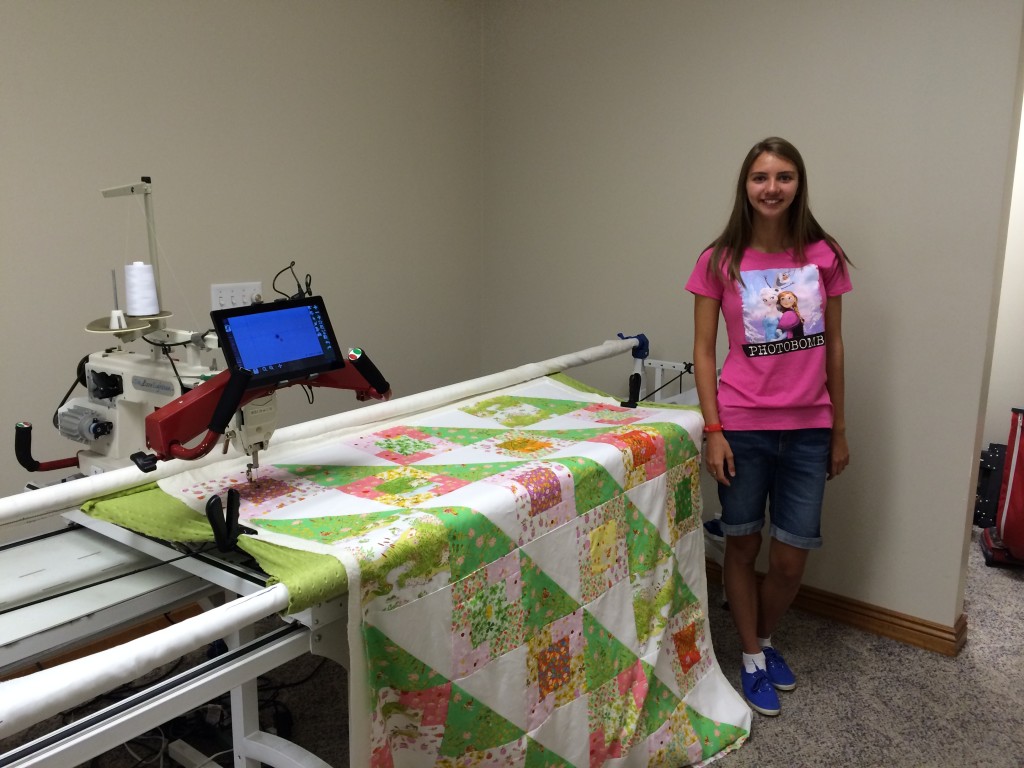
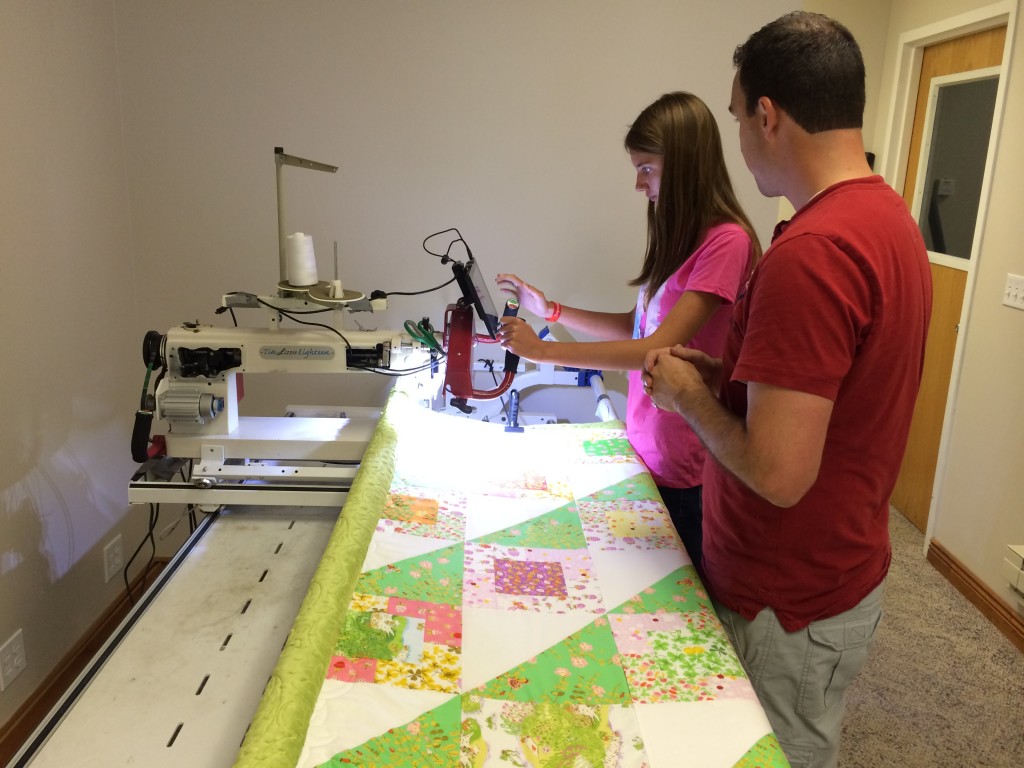
We got to go play with some fun long arm quilt machines.  Our friends at Quilt EZ let us try out “The Butler” quilting robot which is a computer that attaches to any long arm quilt machine and it has hundreds of programmable quilting patterns.  We selected a pattern, told it the size and hit “start” and it did this wonderful all over flower design.  You do have to roll the quilt and start the machine up, but it remembers where it left off each time – genius!

briar_rose_quilt_pattern_12


briar_rose_quilt_pattern_13

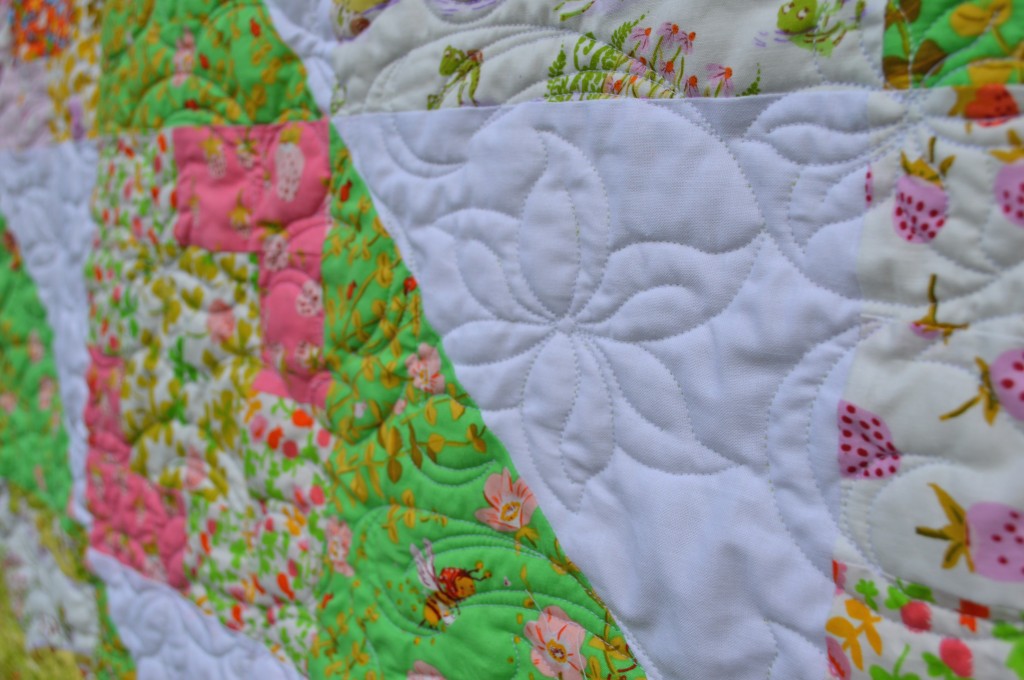
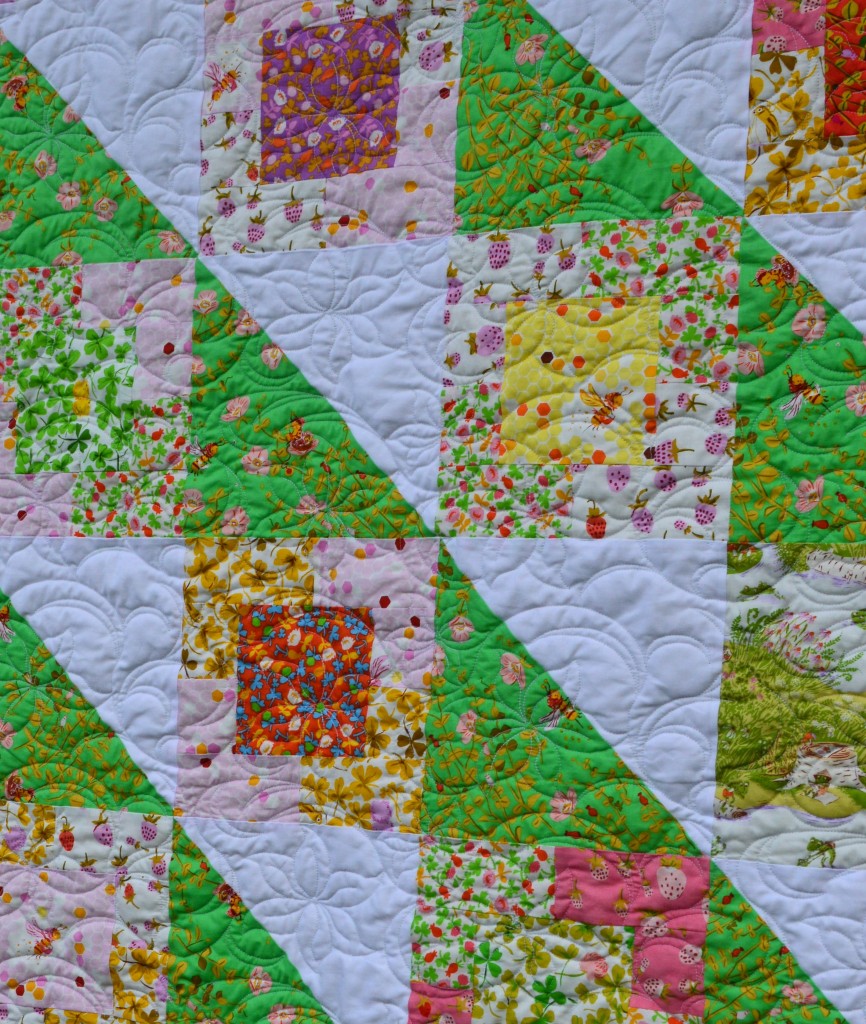
Here you can see the quilt design up close – I could not do this free hand!

briar_rose_quilt_pattern_15

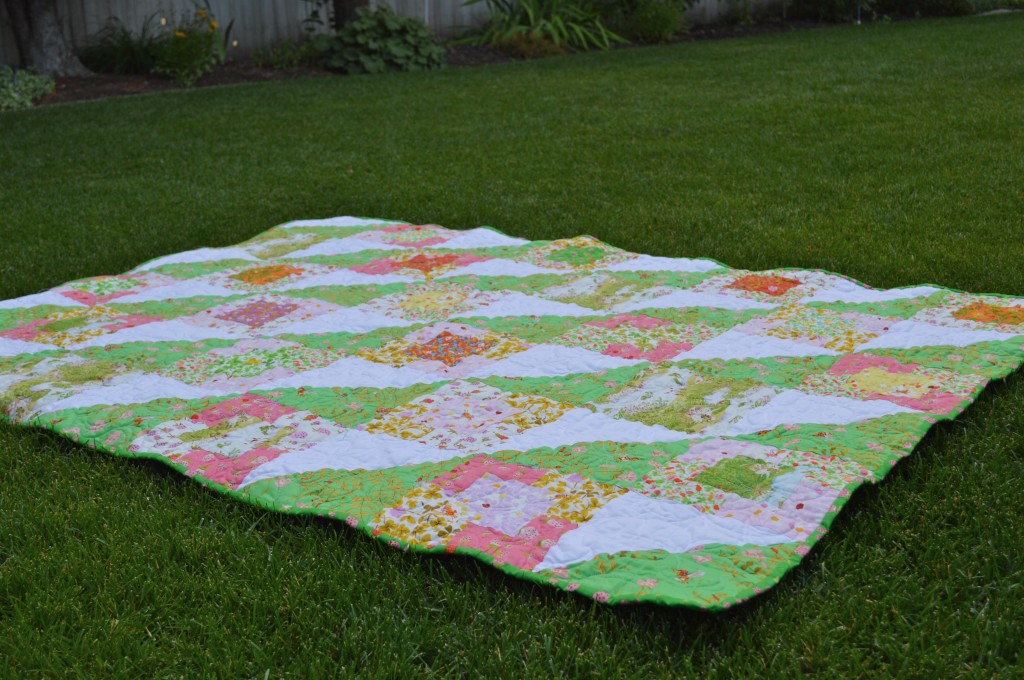
We got home from the quilter and added the binding – Two days from start to finish!!  Not bad for a 14 year old 🙂

briar_rose_quilt_pattern_14

briar_rose_quilt_pattern_16

briar_rose_quilt_pattern_17

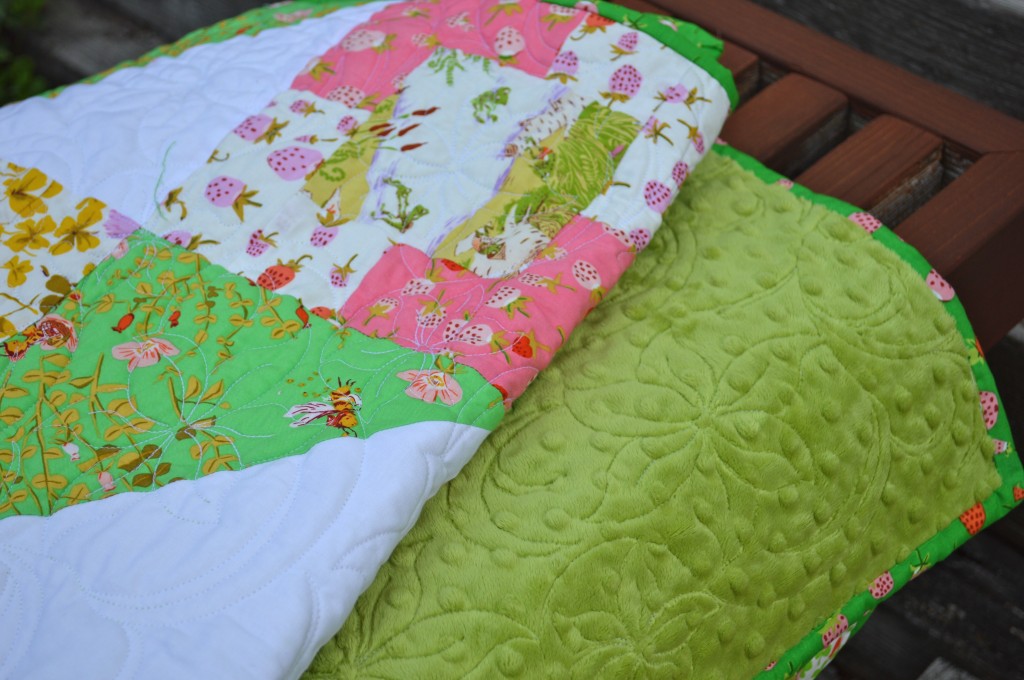
Of course Ella wanted minky on the back of the quilt – she is such a snugly person!  Love the fun green color.

briar_rose_quilt_pattern_18

Just the Ticket Quilt

IMG_0223

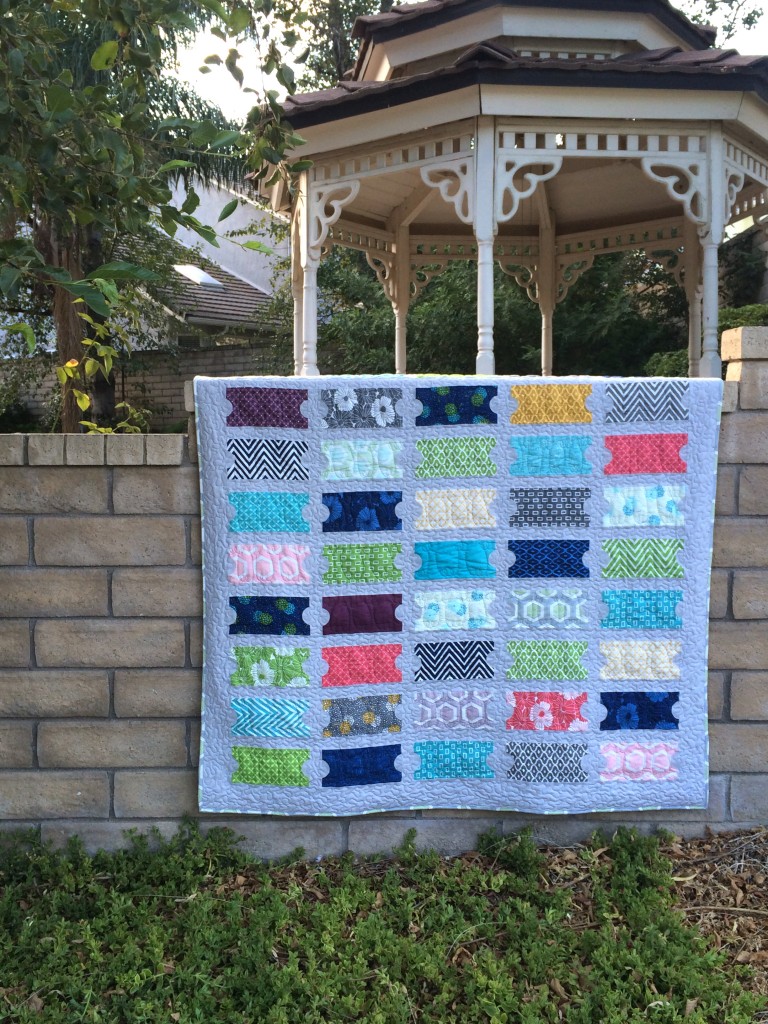
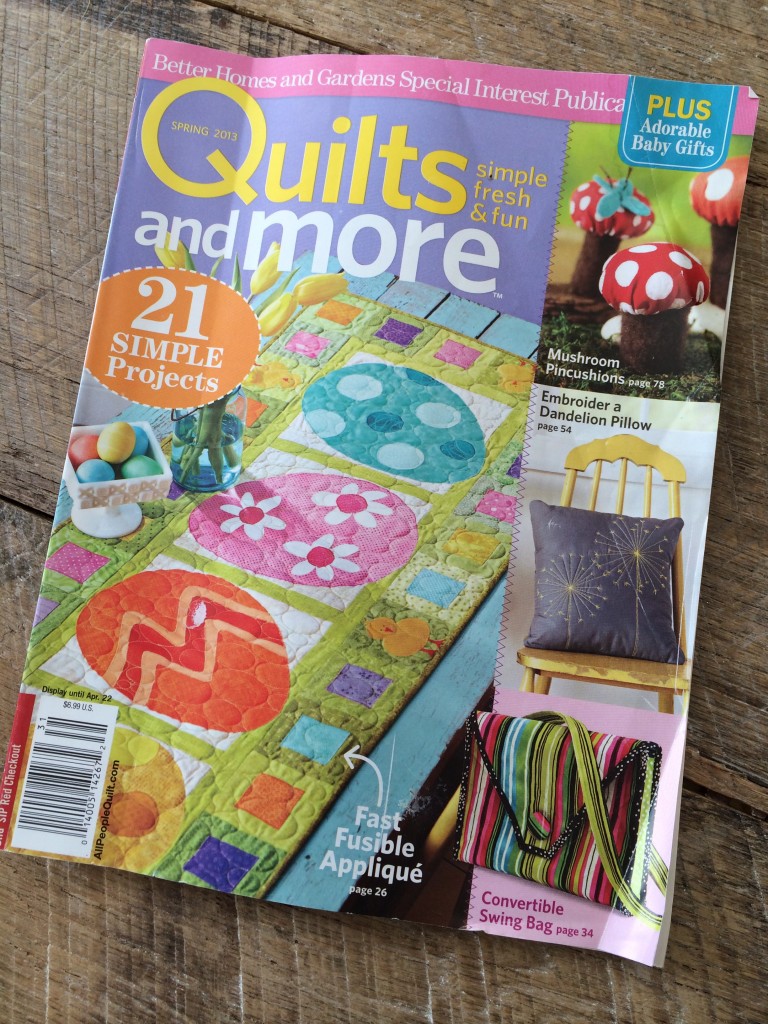
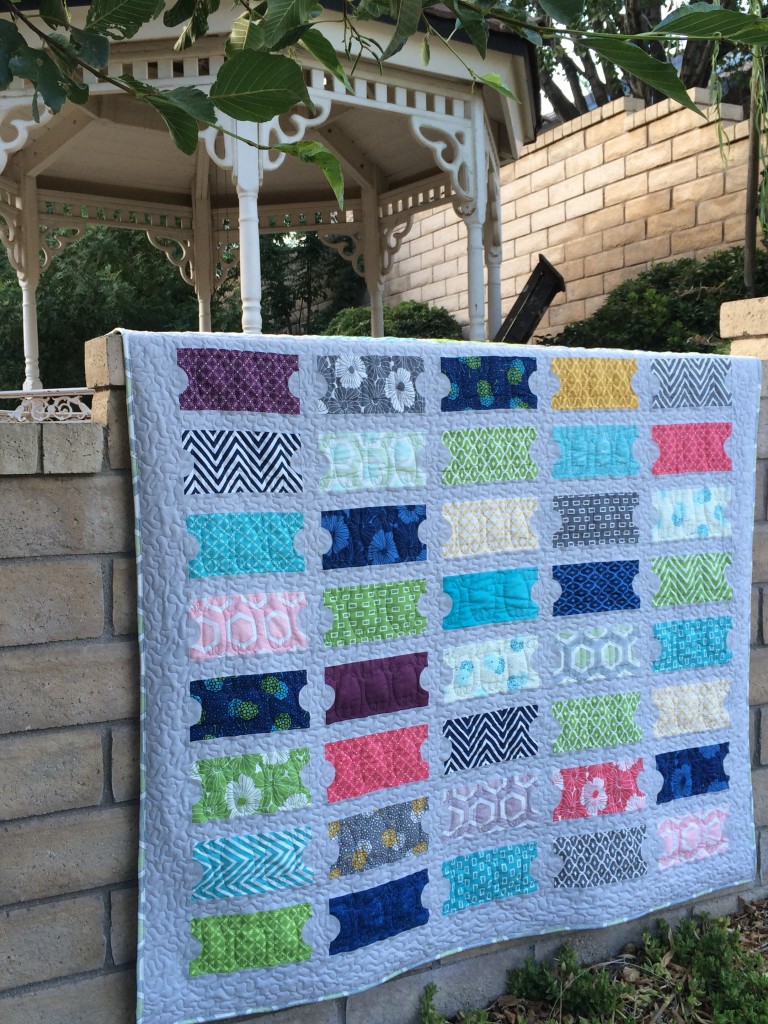
I bought this magazine over a year ago and I have had it sitting near my sewing table waiting to make this quilt.  I even bought all the fabric last year.  I decided  this summer I would catch up on some of the quilts I’ve been wanting to make!  And here is the first finished quilt!

IMG_0251

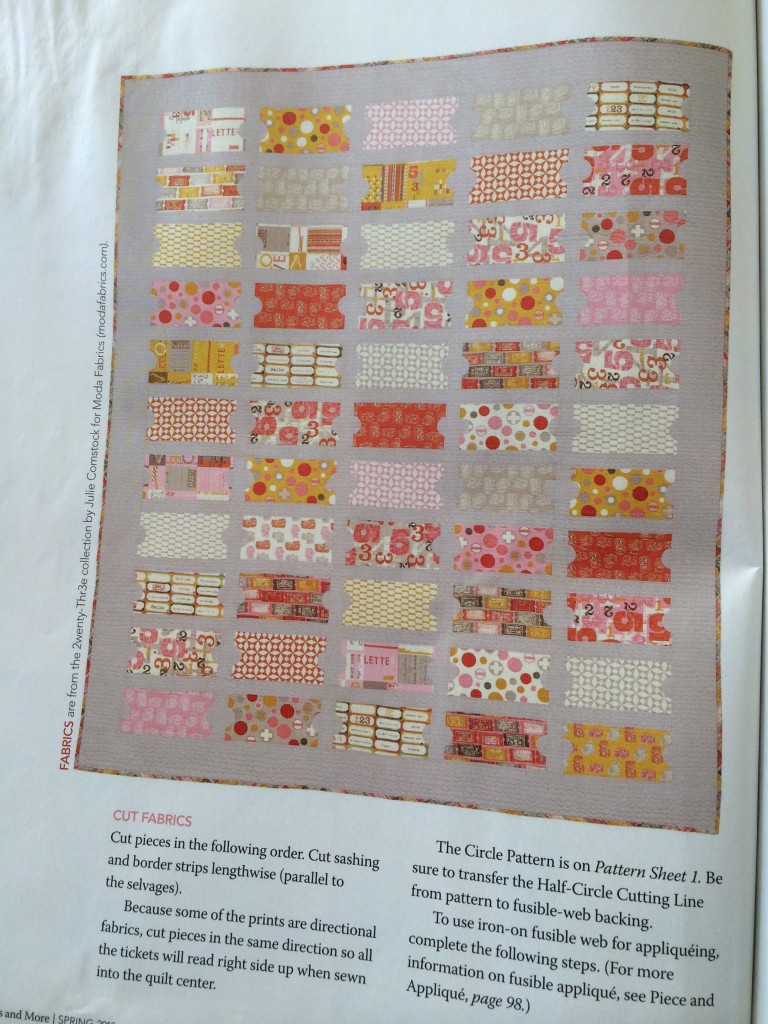
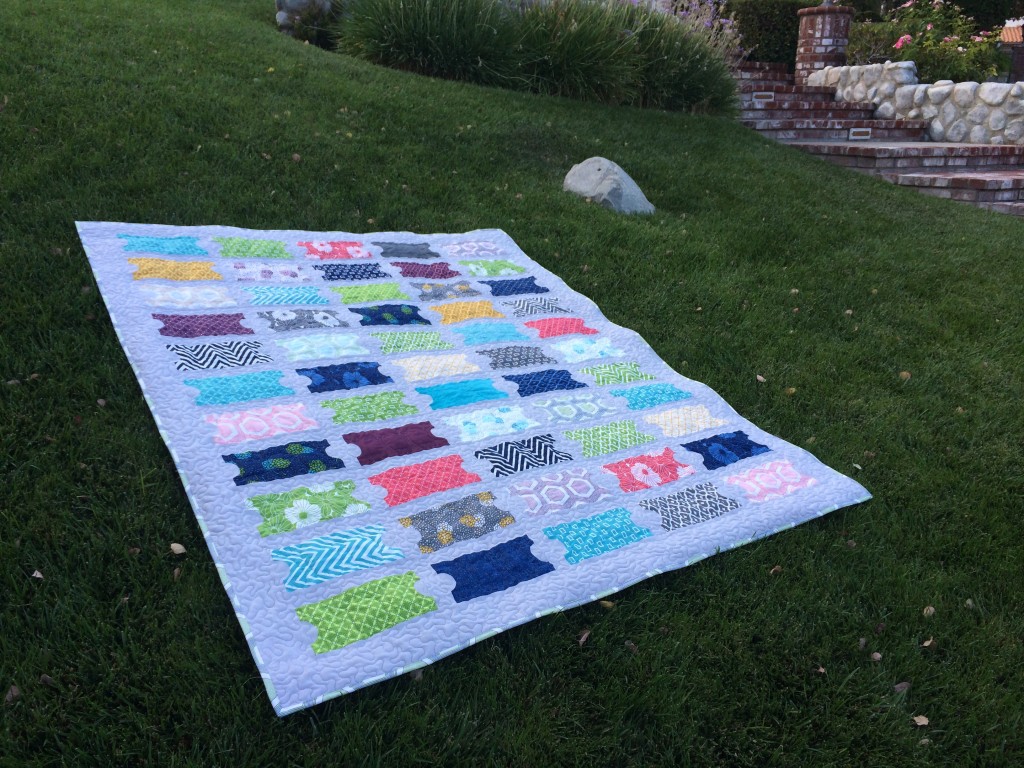
This is the original pattern – It is by fabric designer Julie Comstock who designed this fabric line for Moda.  I love that by cutting a layer cake in half and appliqueing half circles to the ends of the rectangles it creates the outline of a ticket!  IMG_0252

I used a layer cake called Simply Style from Moda designed by V and Co.  I LOVE the colors and the patterns!!

IMG_0227

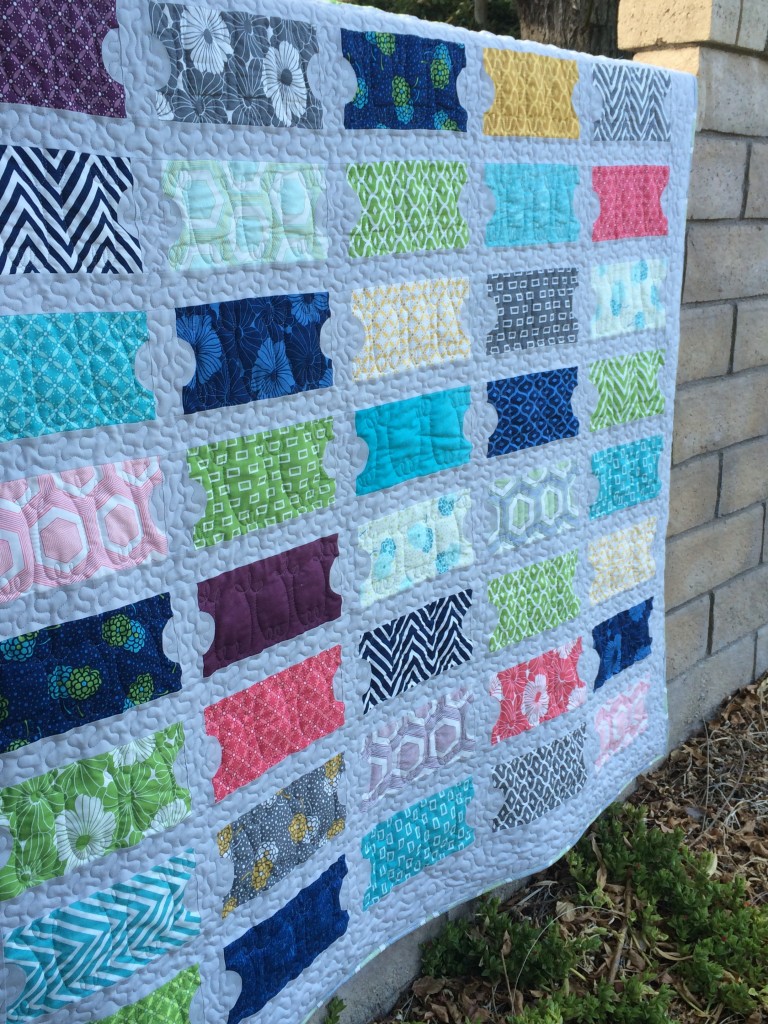
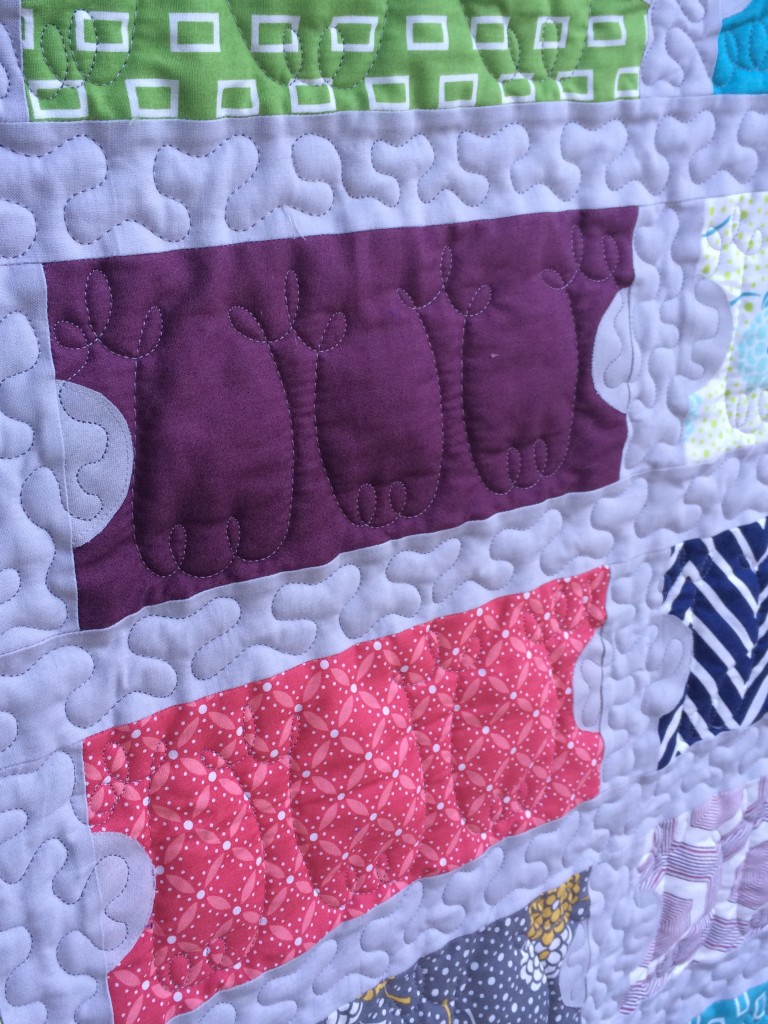
I had my quilter do the machine quilting.  Here is a close up of the detail:

IMG_0228

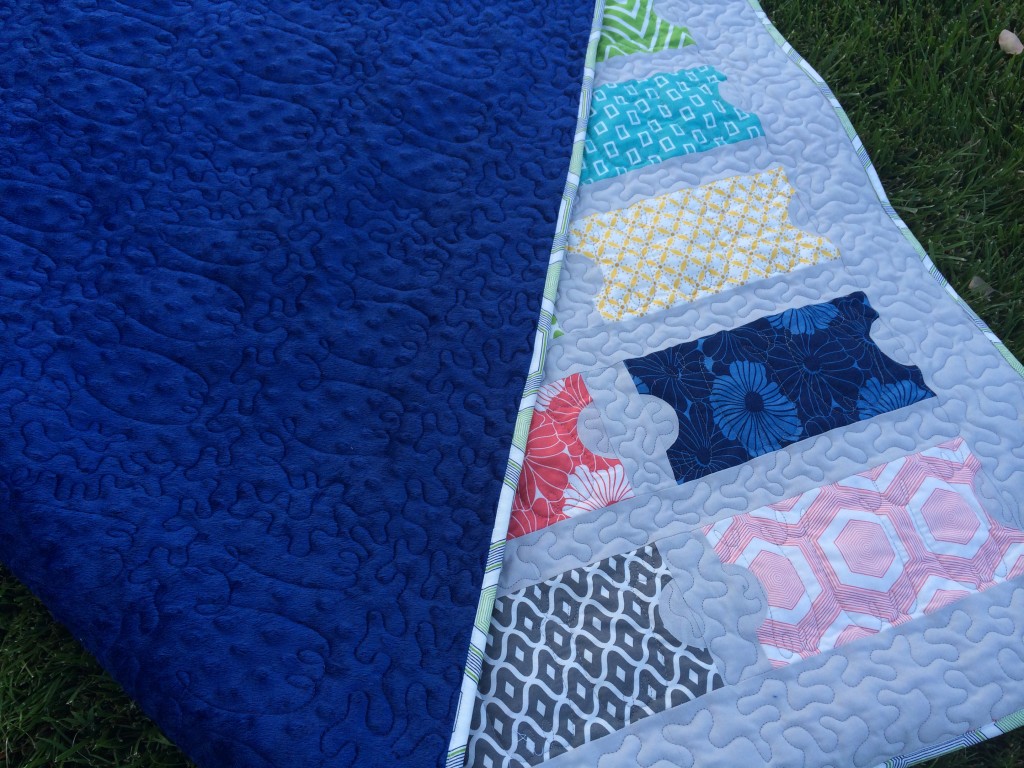
There is navy blue minky on the back.  I wanted it to be a cuddly throw and my kids love minky.  It’s fun sewing quilts when it’s 103 outside!!!

IMG_0242

IMG_0238It’s my new favorite quilt!!

IMG_0237


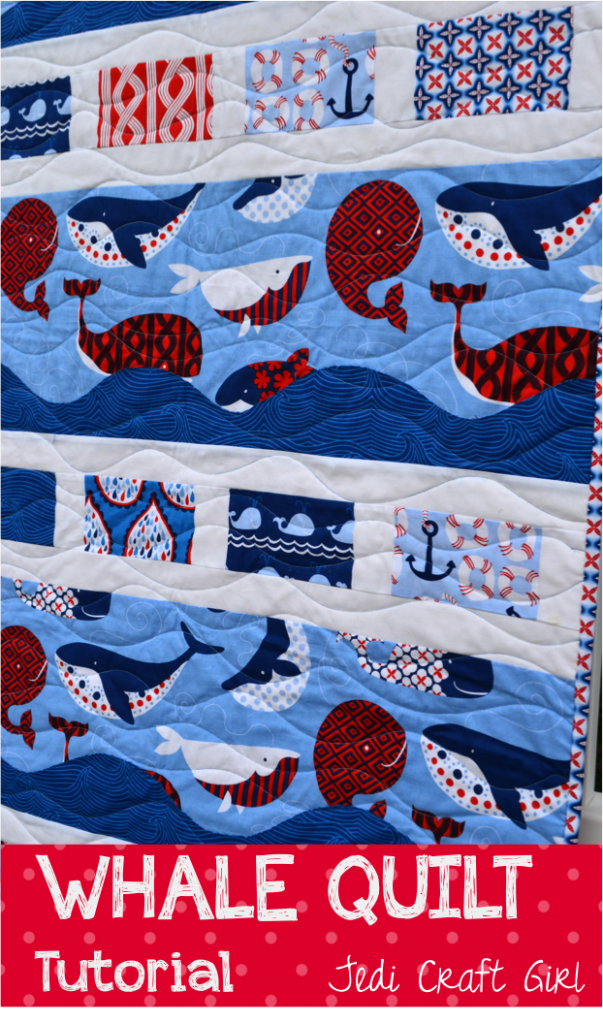
Whaley Whale Quilt Tutorial

whale quilt tutorial

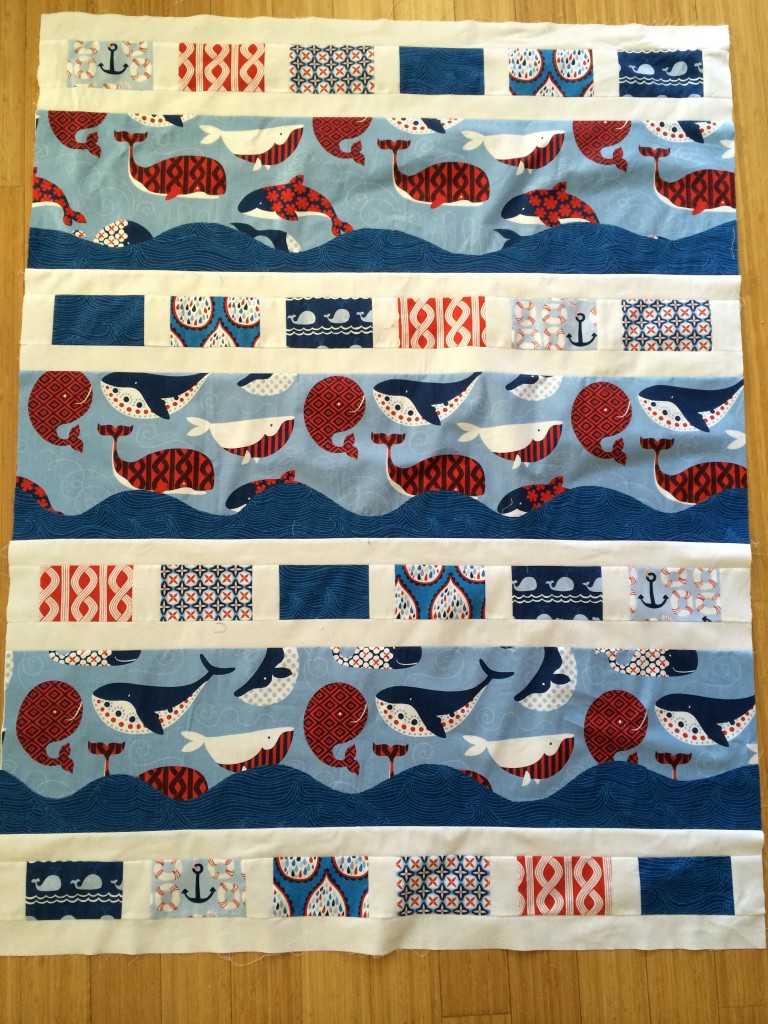
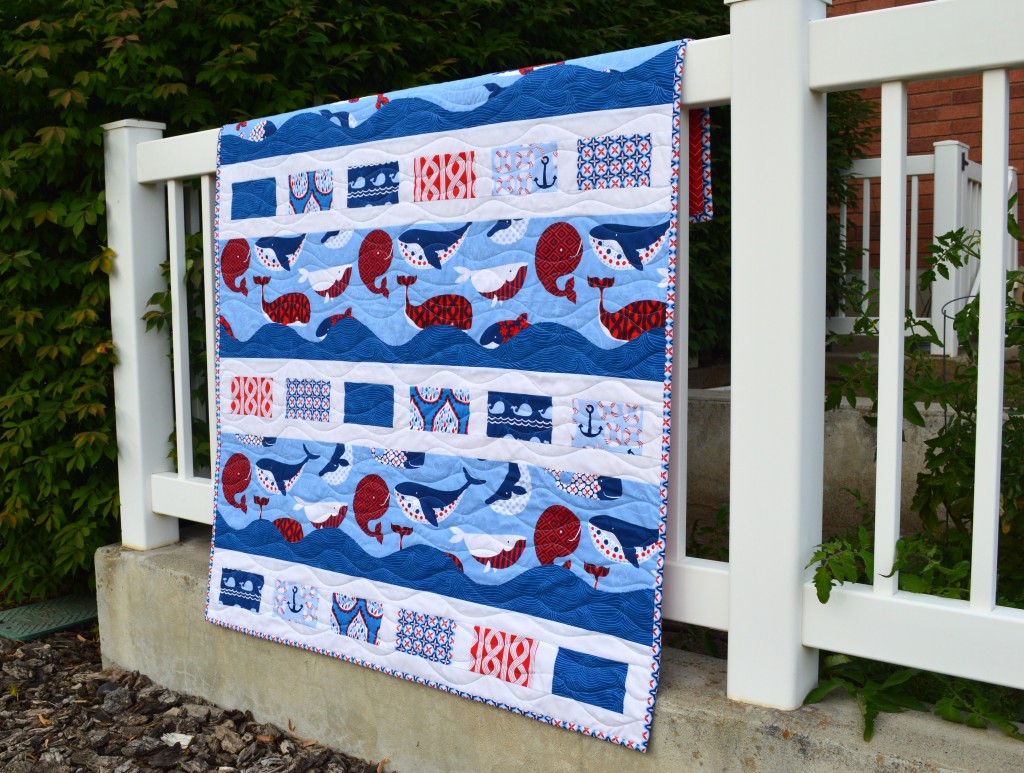
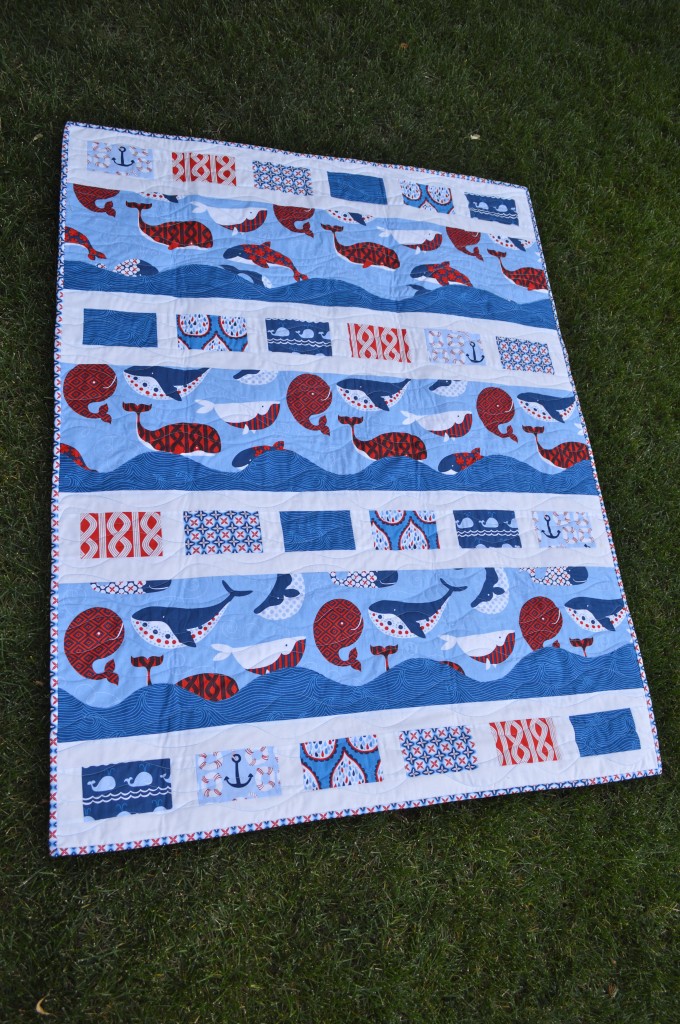
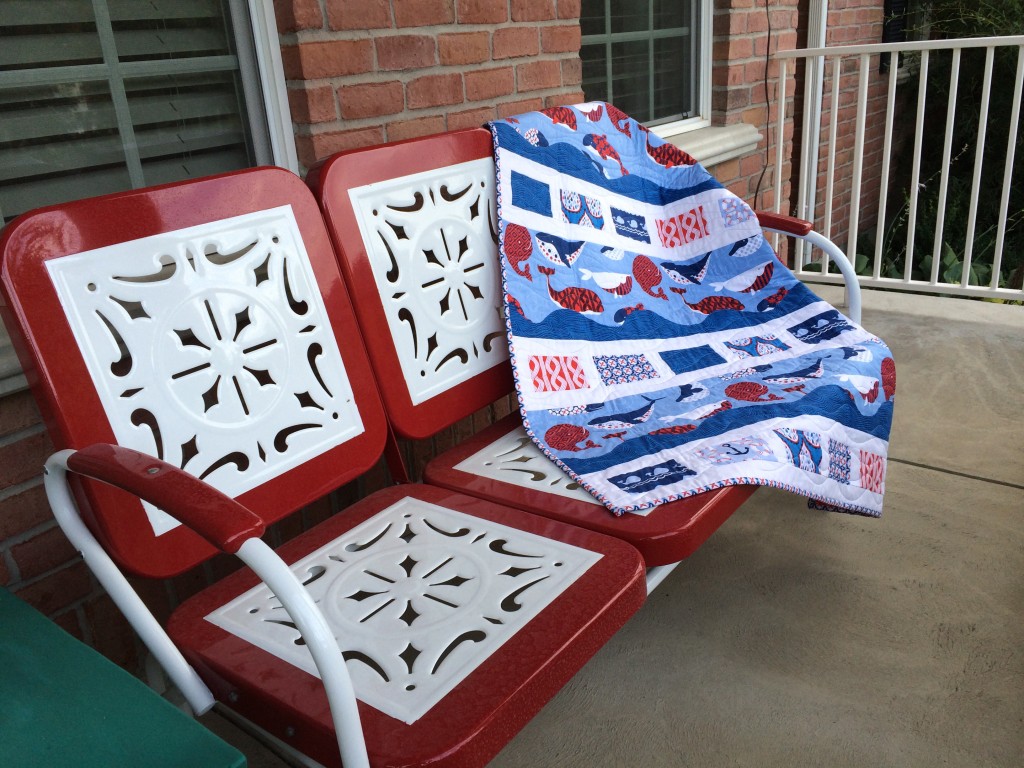
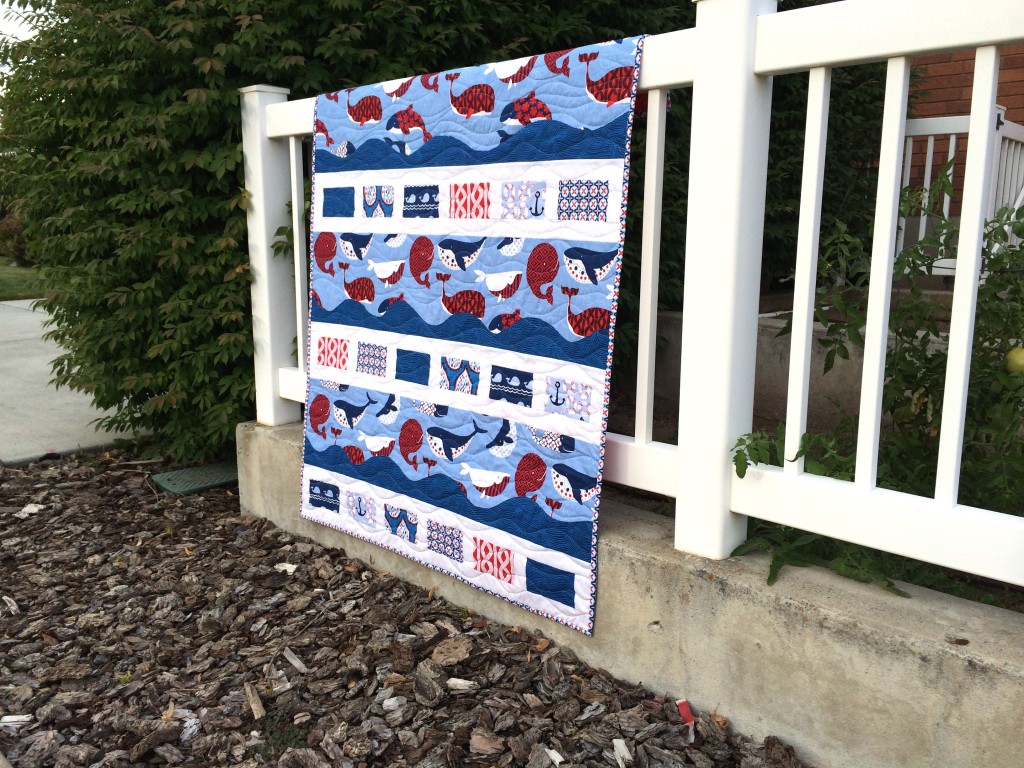
Did I happen to mention I love whales and I love this True Blue fabric line from Blend?  (haha)  The fabrics needed to come together in a quilt and I LOVE how it turned out.  Here it the pattern if you would like to make one – it is a quick quilt for sure!!
Finished Quilt Size: 40.5″ x 51″

Whale fabric 1 yard

Blue Wave fabric 0 .5 yards

White fabric – 1 yard

Coordinating prints (5) – fat quarters or quarter yard cuts

Spray n Bond Basting Adhesive


Begin with the whale strips….

Cut (3) 10″ x WOF Whale strips

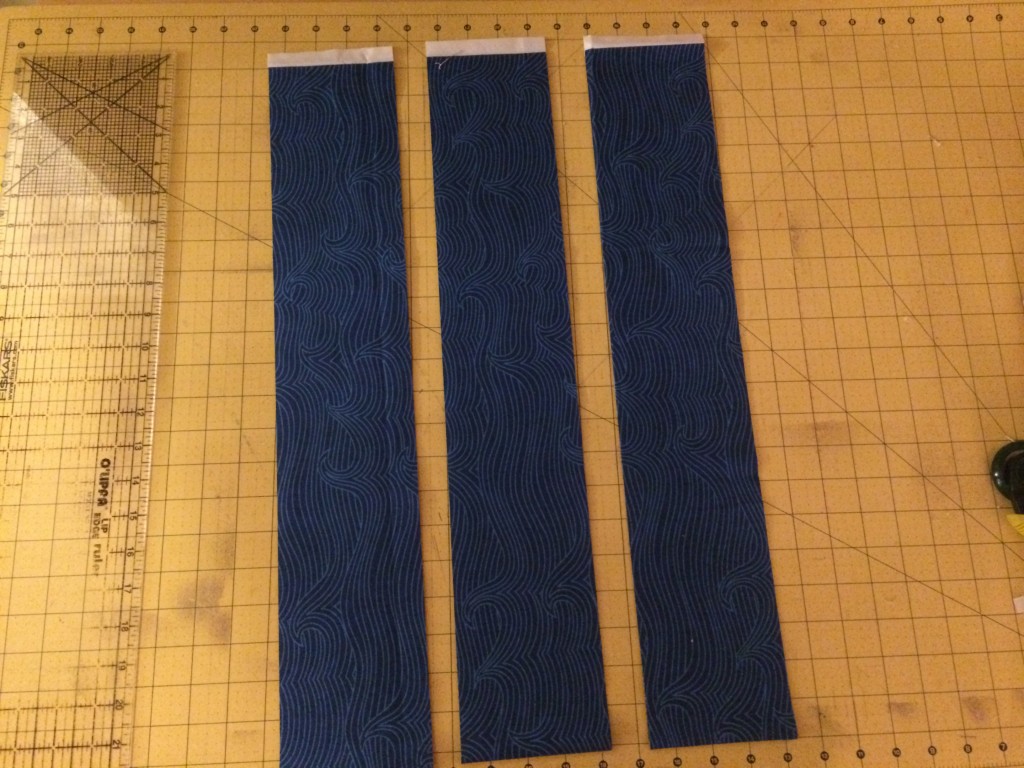
Cut the blue wave fabric into (3) 4″ x WOF strips.

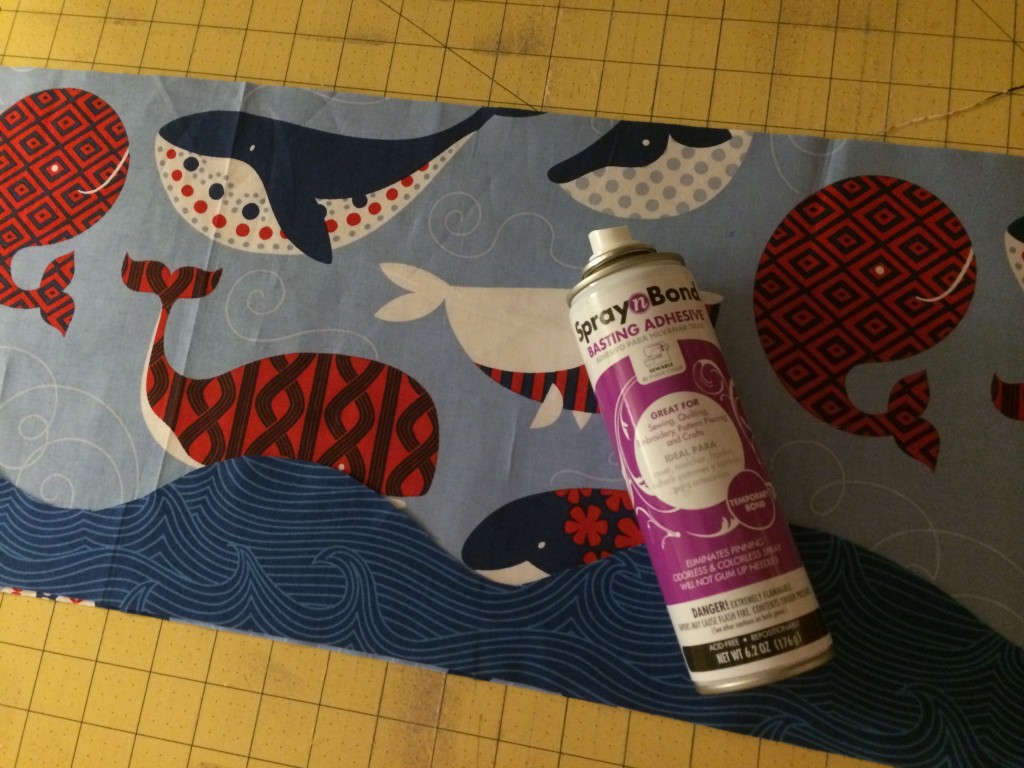
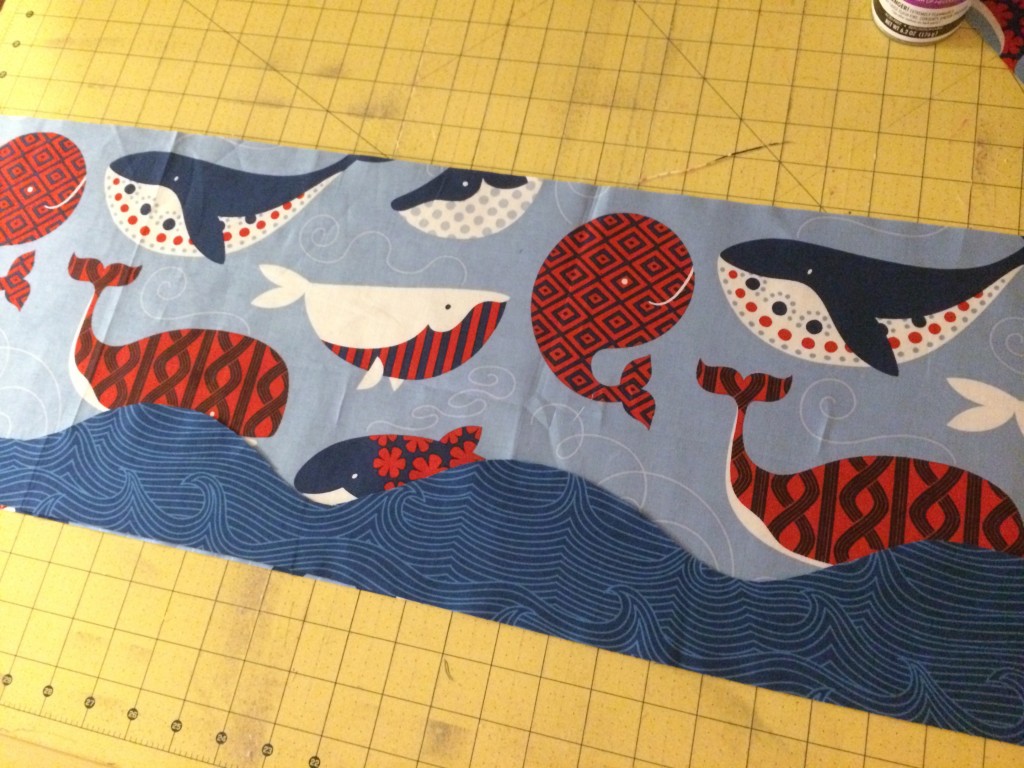
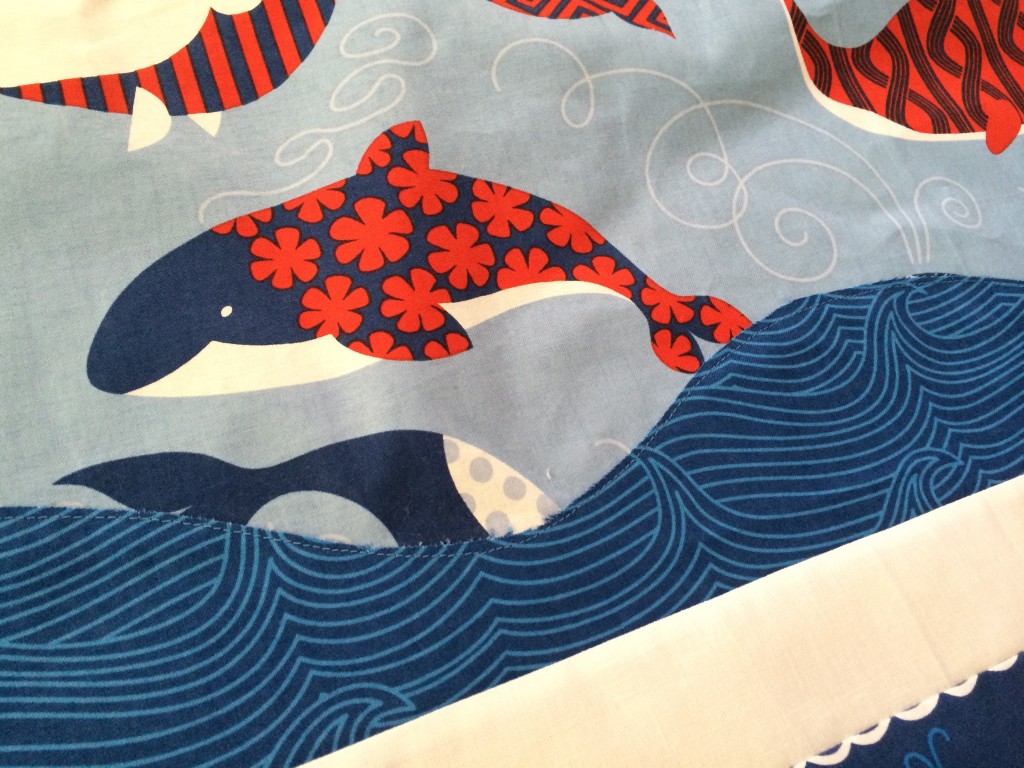
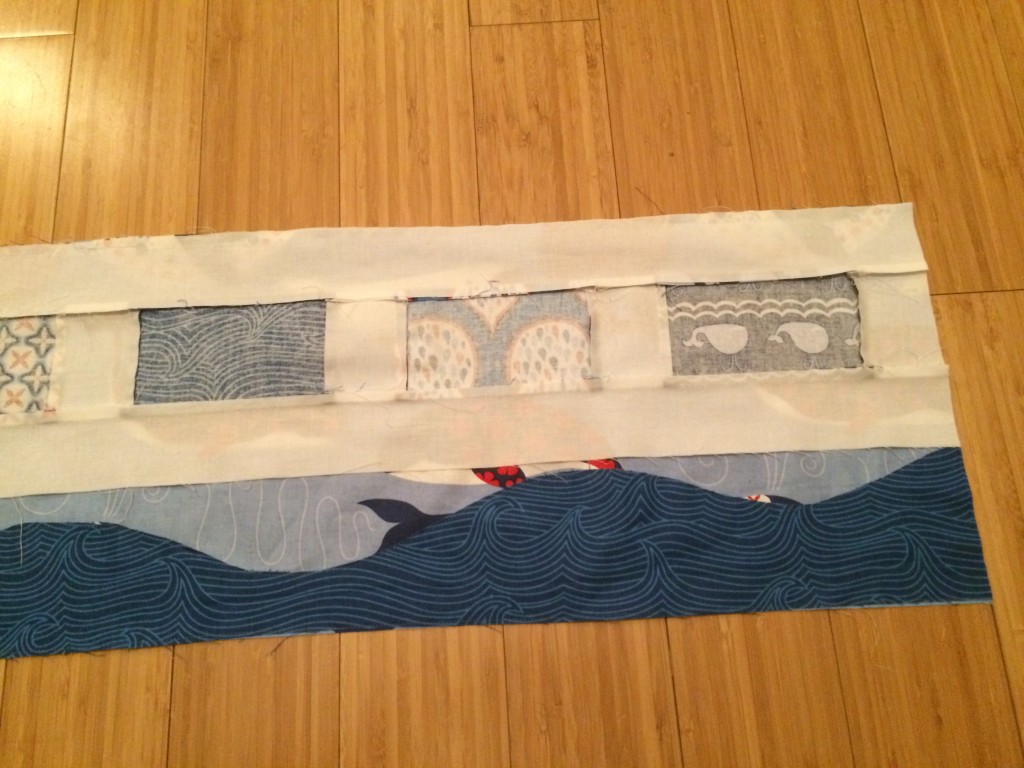
whale quilt true blue blendFree hand cut a wavy edge to each blue strip.  You can do it!!  Just let the scissors cut where they may.  Mine are not perfect, but neither are real waves.  Mine are all different heights and depths.  Using the Spray n Bond, spray the wrong side of the blue waves and align with the bottom edge of the whale strips.  Do this to each of the 3 whale and wave strips.IMG_9733
whale quilt true blue blend_3Top stitch close to the top of the waves in matching thread.  I love how the whales look like they are swimming in the waves!
IMG_9741


Prepare the block strips:

For each strip set……

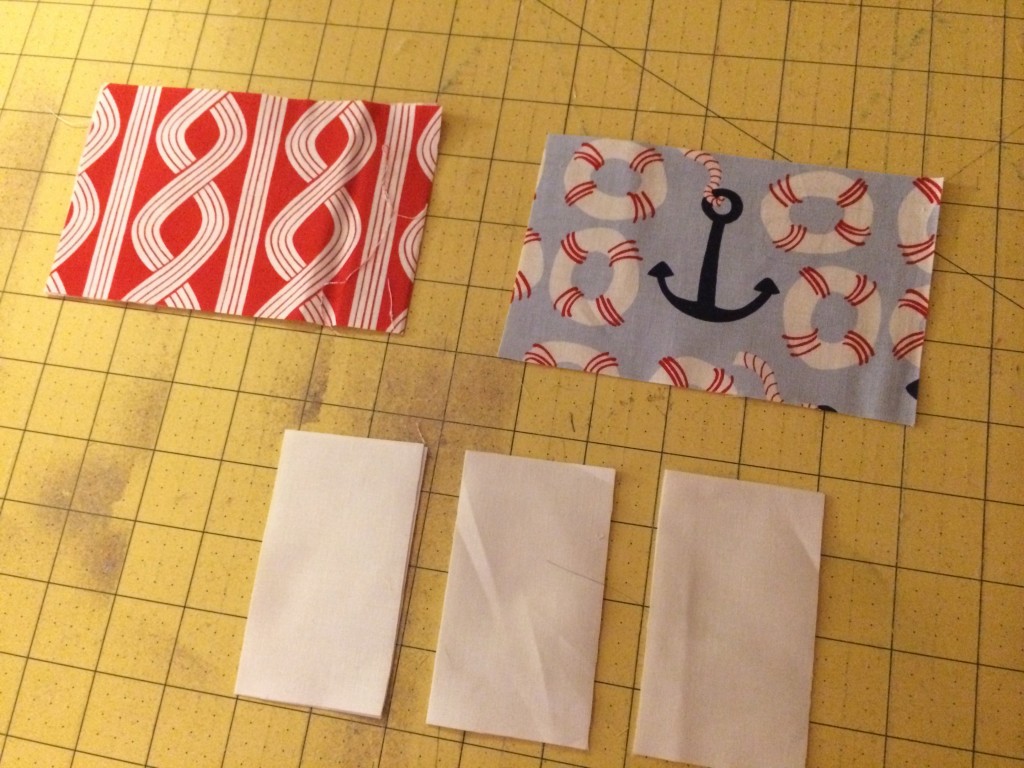
Cut (7) white rectangles 2″ x 3.5″

Cut (5) patterned rectangles 5.5″ x 3.5″

whale quilt true blue blend_2

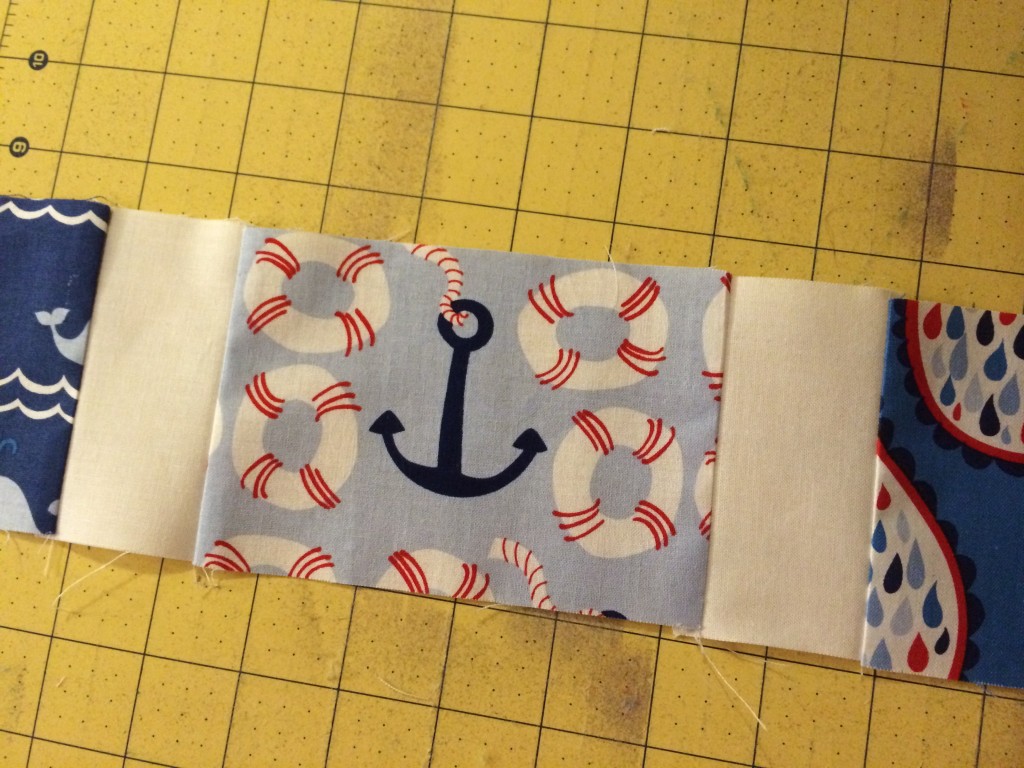
Using 1/4″ seams, sew a white rectangle to the sides of each of the 5 patterned rectangles:

Press seams toward the dark.

whale quilt true blue blend_5

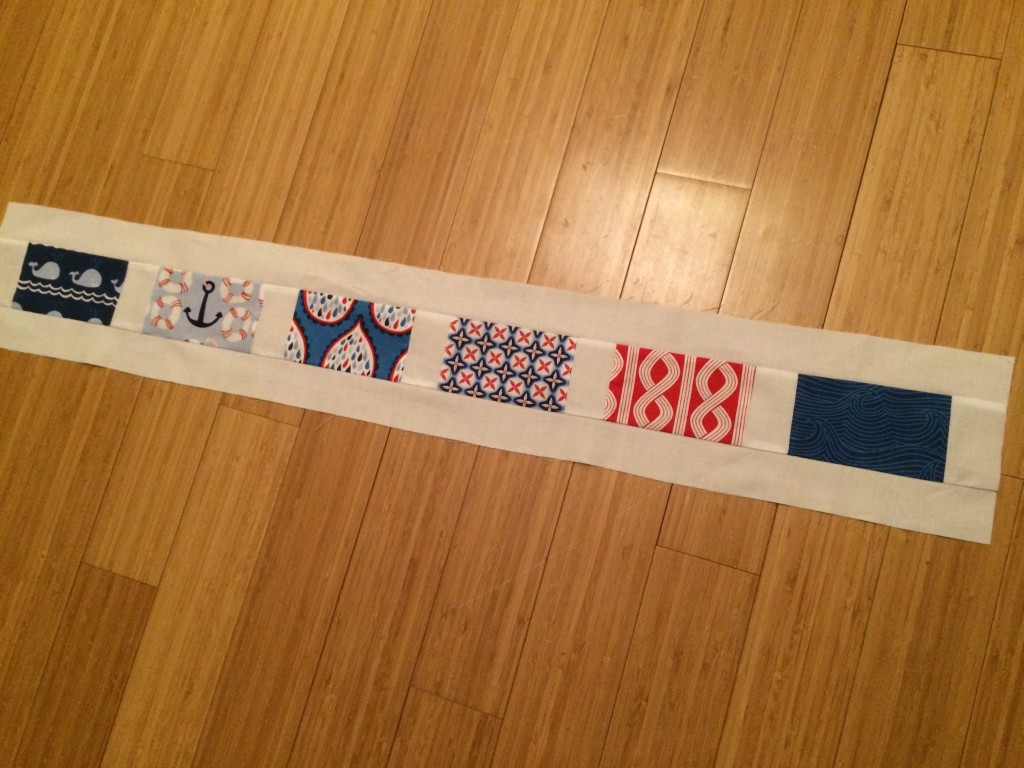
Cut (2) 2″ x WOF strips of white and sew them to the top and bottom of the rectangle strip set.  It should look like this:

Make (4) of these.

whale quilt true blue blend_6

Measure the finished length of the rectangle strip and cut the whale strips to be the same length.

whale quilt true blue blend_7

Lay the rows out like this and sew the rows together:

IMG_9739


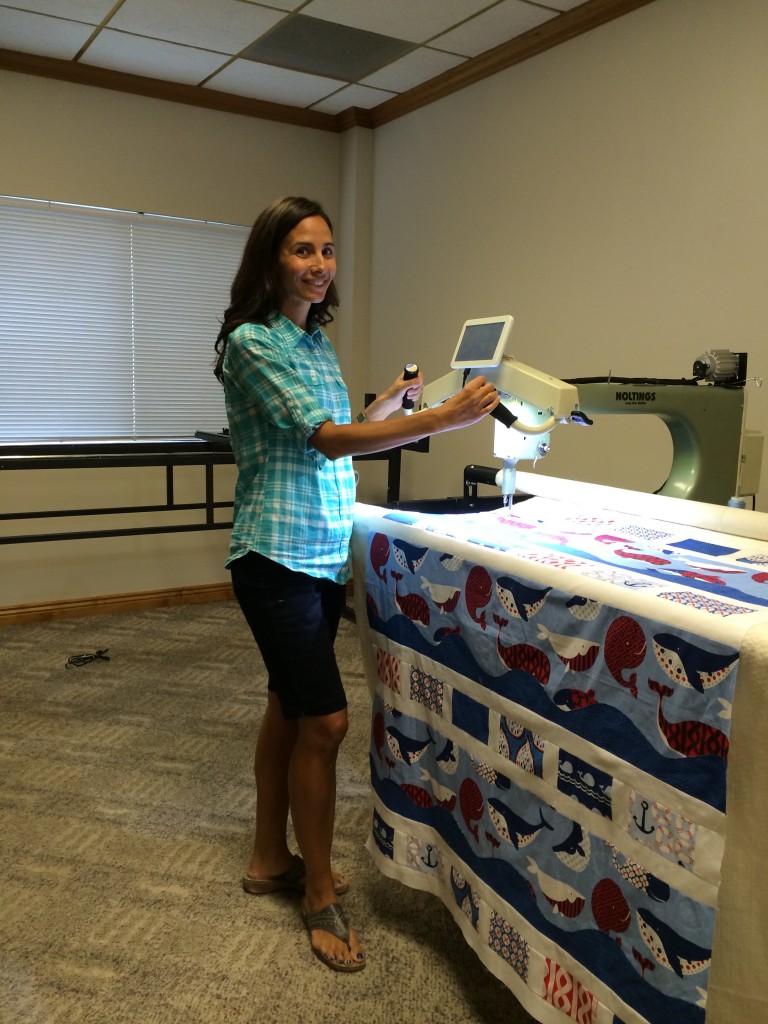
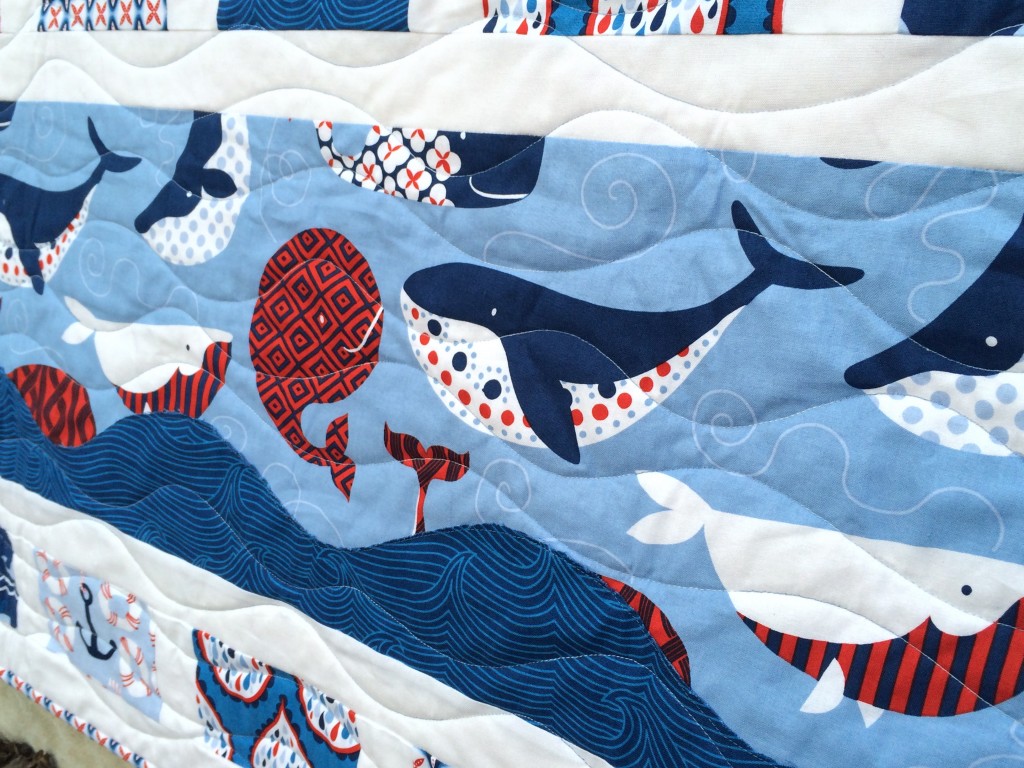
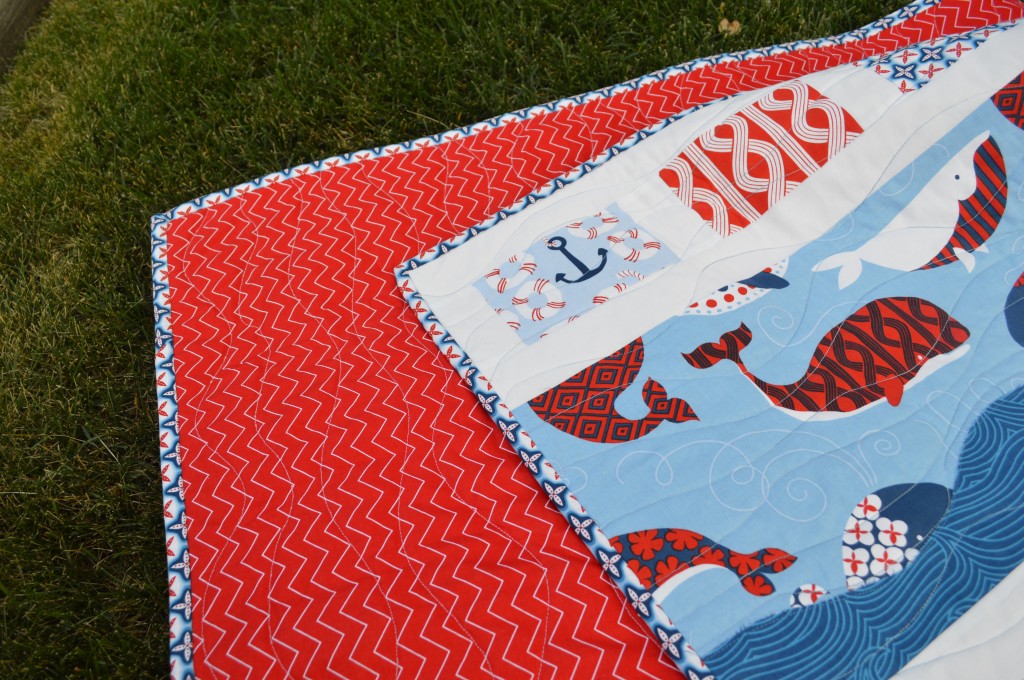
I quilted mine with random wavy lines similar to the blue wave strip.  This was my first time ever using a Long Arm Quilt Machine!  My friends over at Quilt EZ let me have a spin on one of their machines!  The stitch regulator is a dream 🙂

whale quilt quilting

whale quilt Blend True Blue 15Did I mention I love whales?

whale quilt Blend True Blue 21

whale quilt Blend True Blue 23


whale quilt Blend True Blue 20

whale quilt Blend True Blue 12

whale quilt Blend True Blue 10

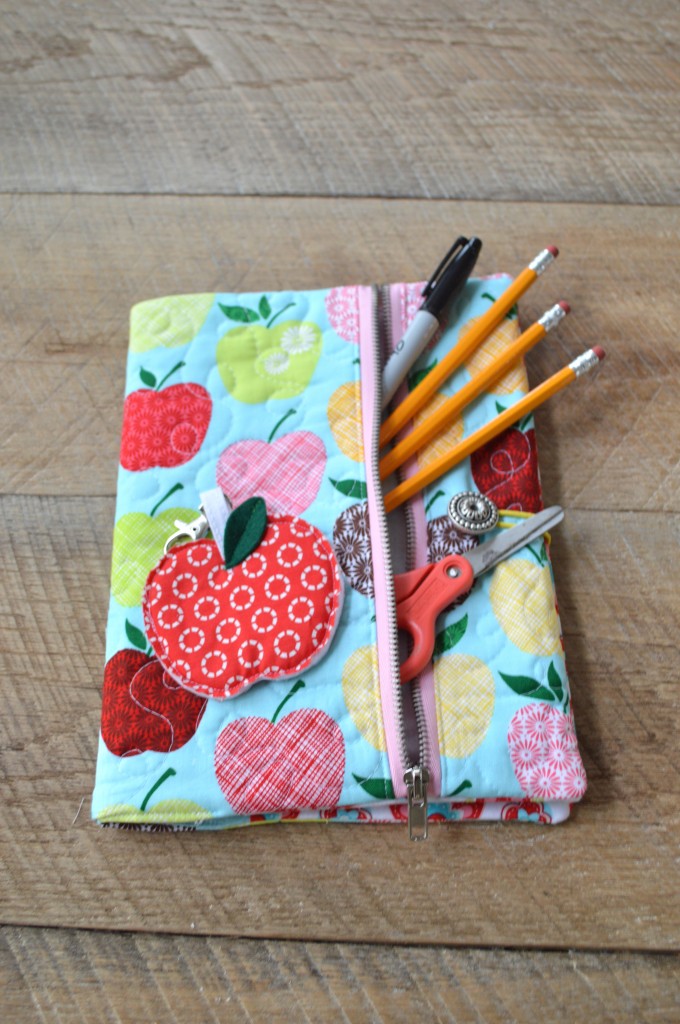
Sew News Composition Book

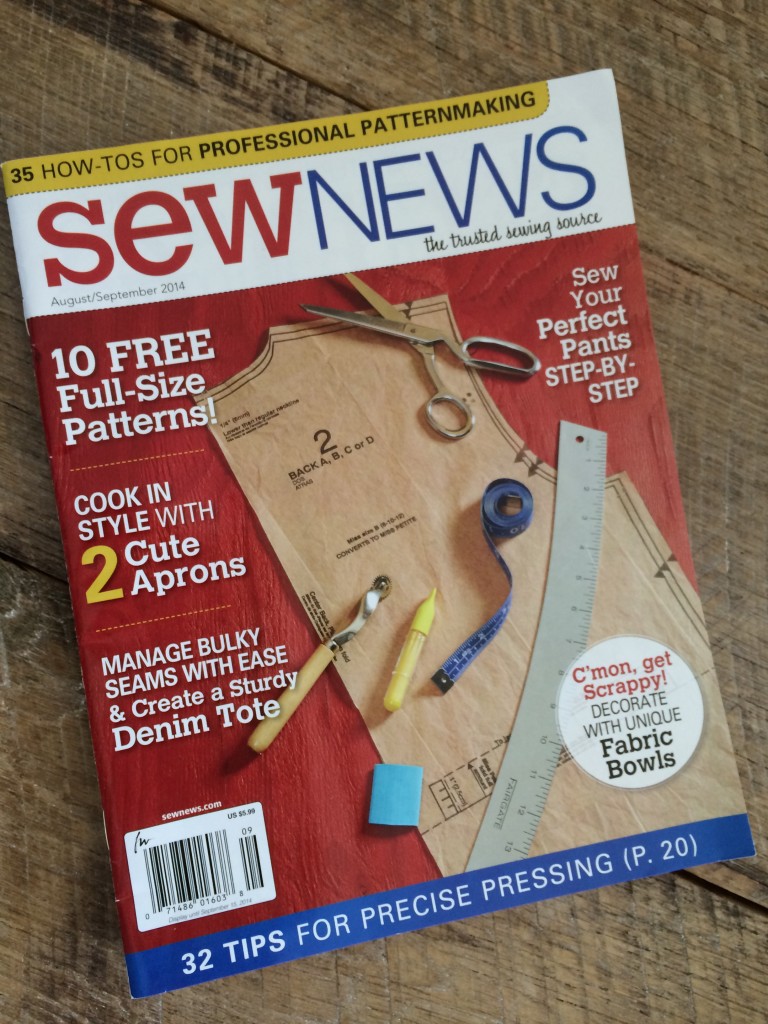
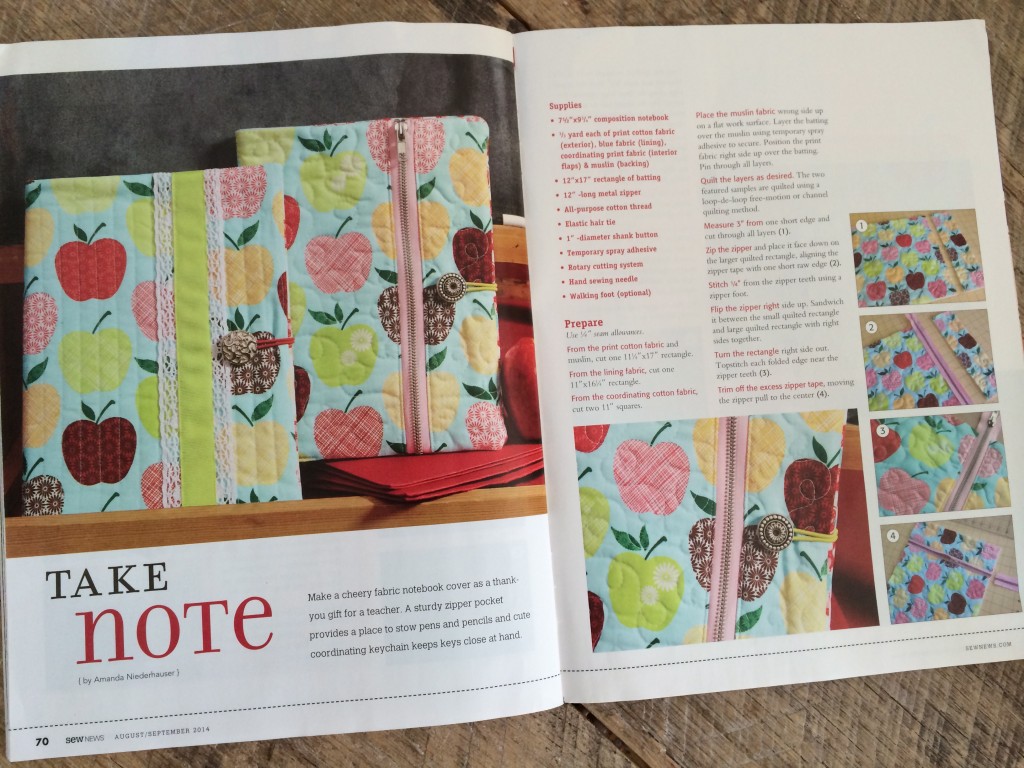
The August/September 2014 edition of Sew News is out – check out page 70 🙂


IMG_0117


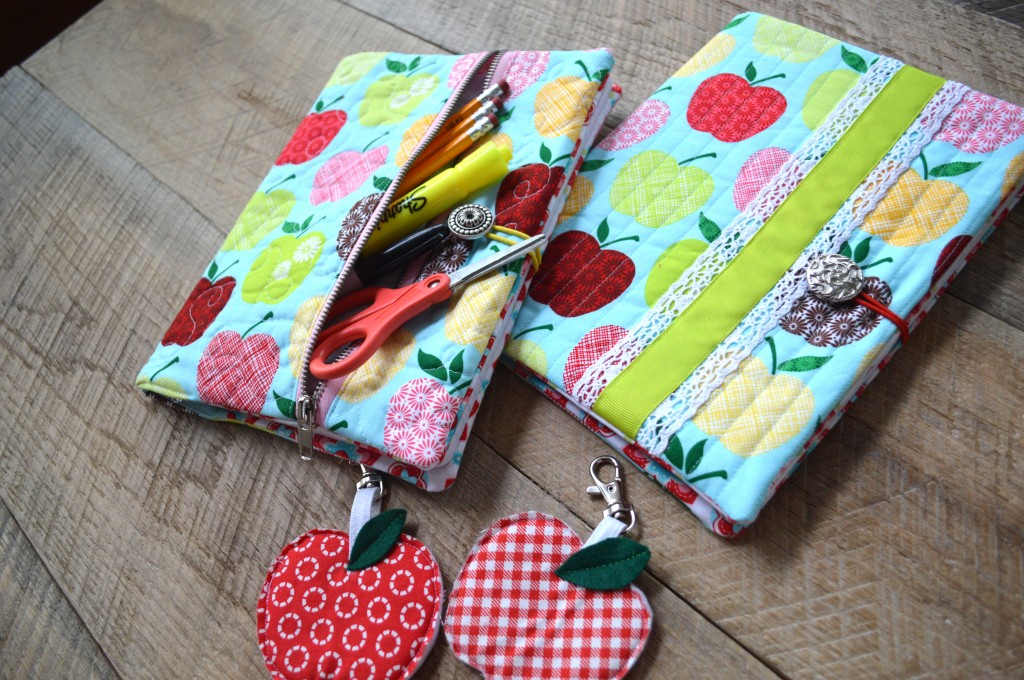
My zippered composition notebook cover pattern is inside!  I came up with a way to combine my 2 favorite sewing projects: zipper pouch + composition book cover!!  I love being able to tuck my pens and small items inside my book cover so nothing gets lost!!IMG_0118


These would make great back-to-school gifts as well……I better whip up a few more 🙂
completed projects

zipper book