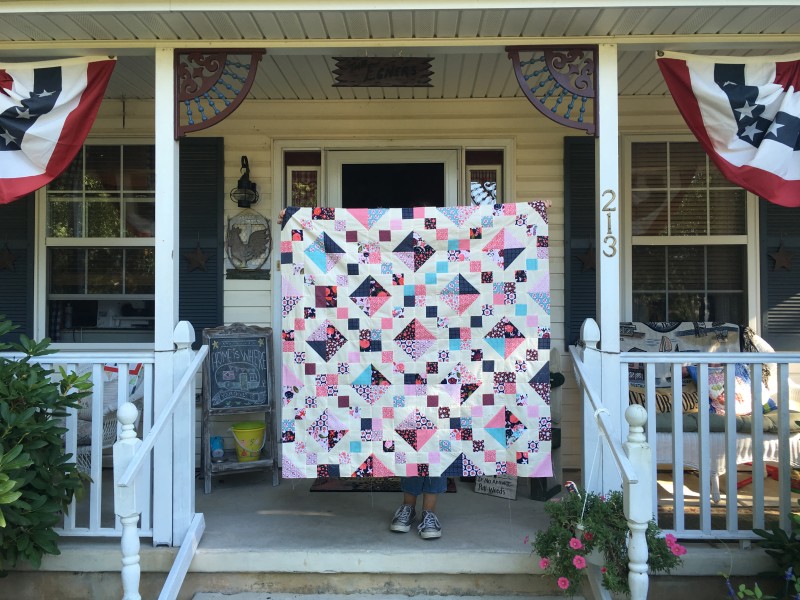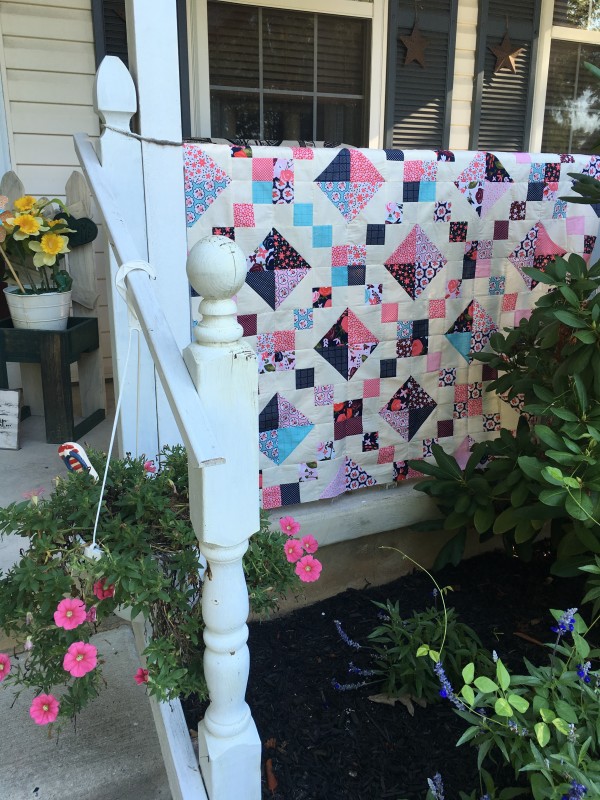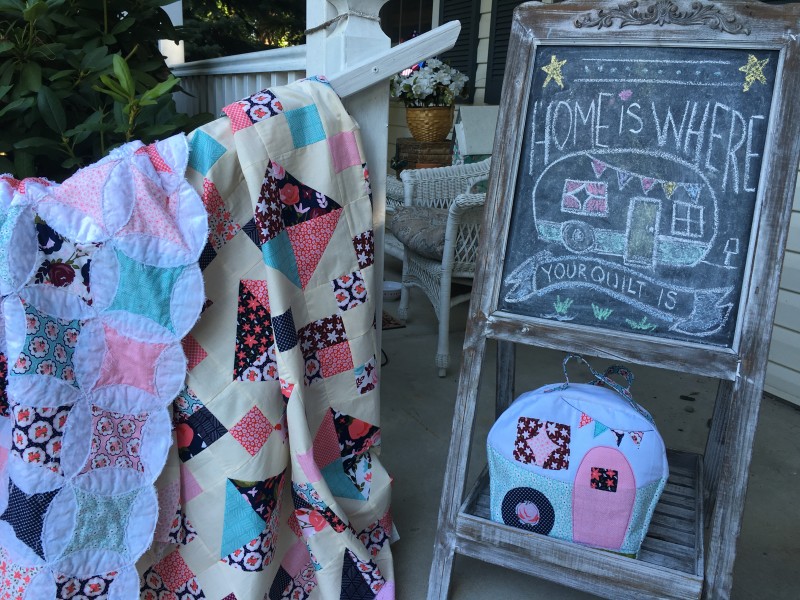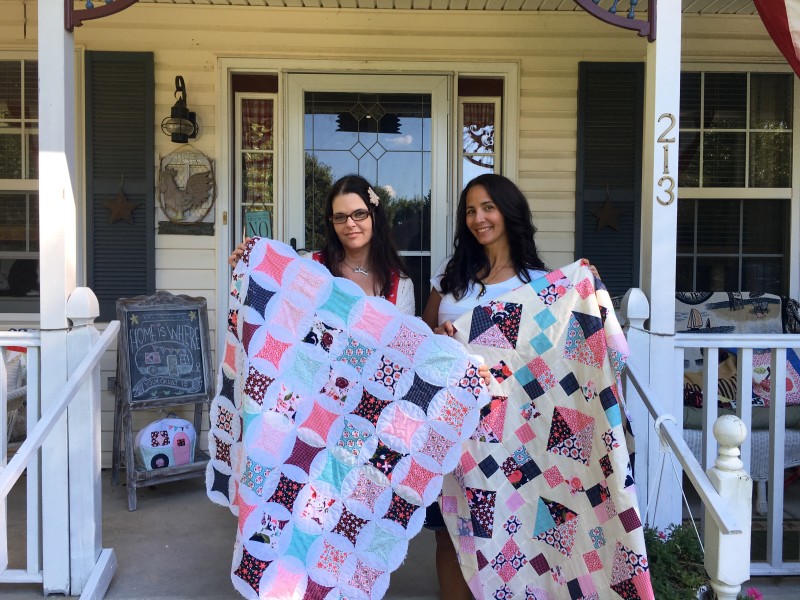
Snow Globe Jars Quilt Pattern

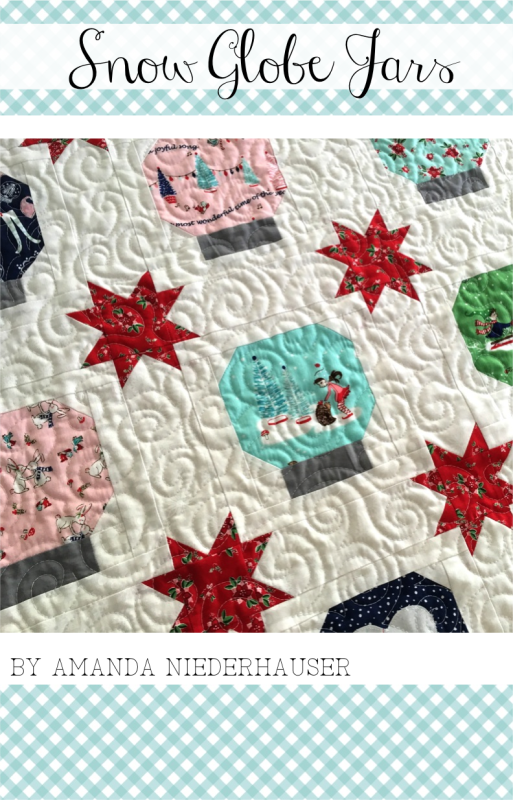
snow globe jars cover

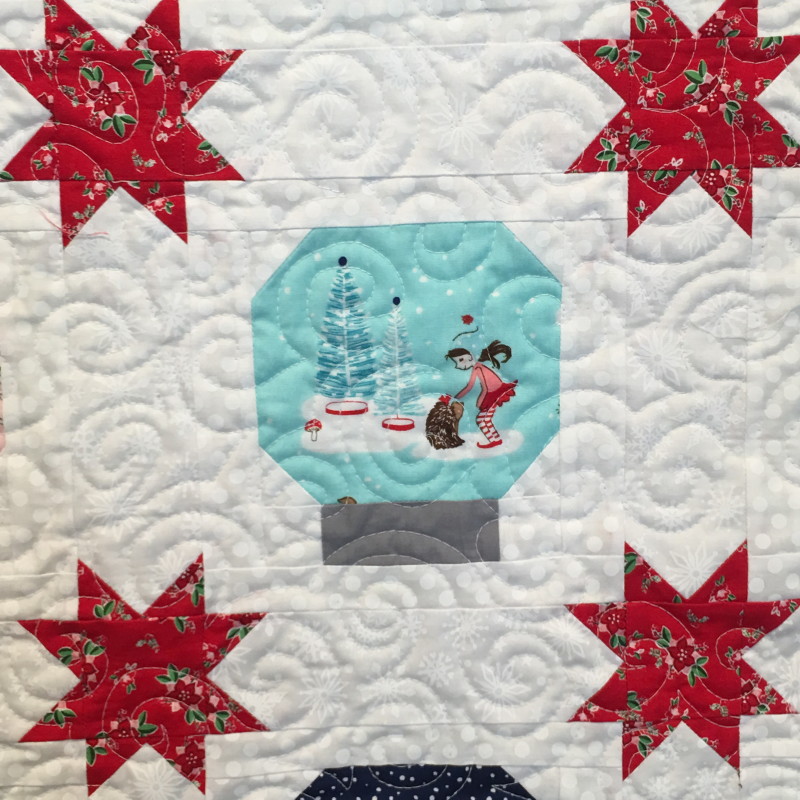
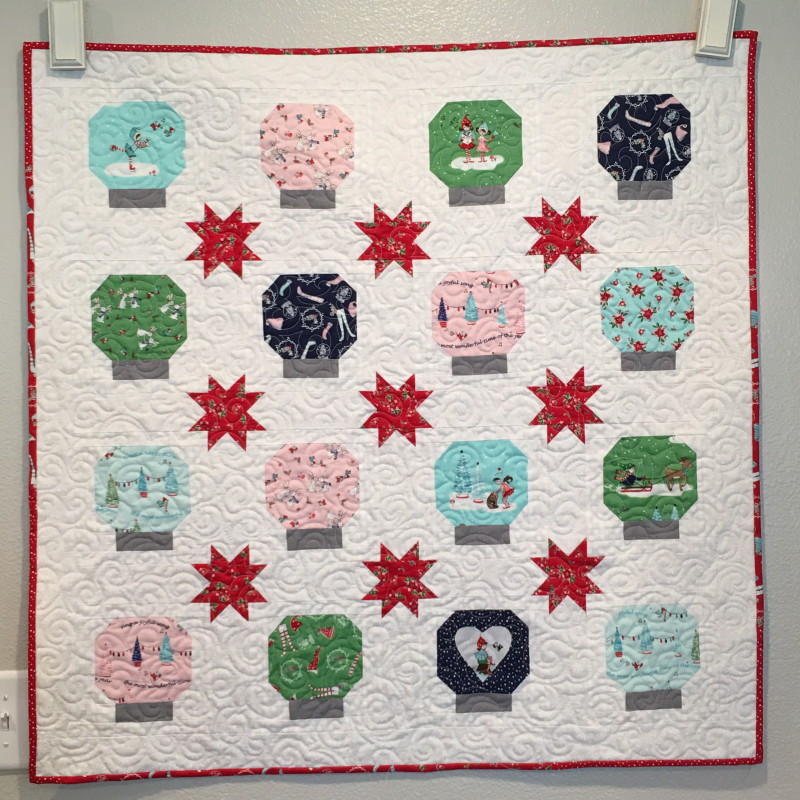
Today I am releasing my latest quilt pattern called Snow Globe Jars! You can find it in my Etsy shop!  Have you ever made homemade snow globes out of mason jars?  That’s what inspired this little quilt!  I love fussy cutting and these jars are perfect for that.  I used Pixie Noel Fabric from Riley Blake Designs.  It was so fun to choose what little scene to put in each snow globe!

IMG_7399

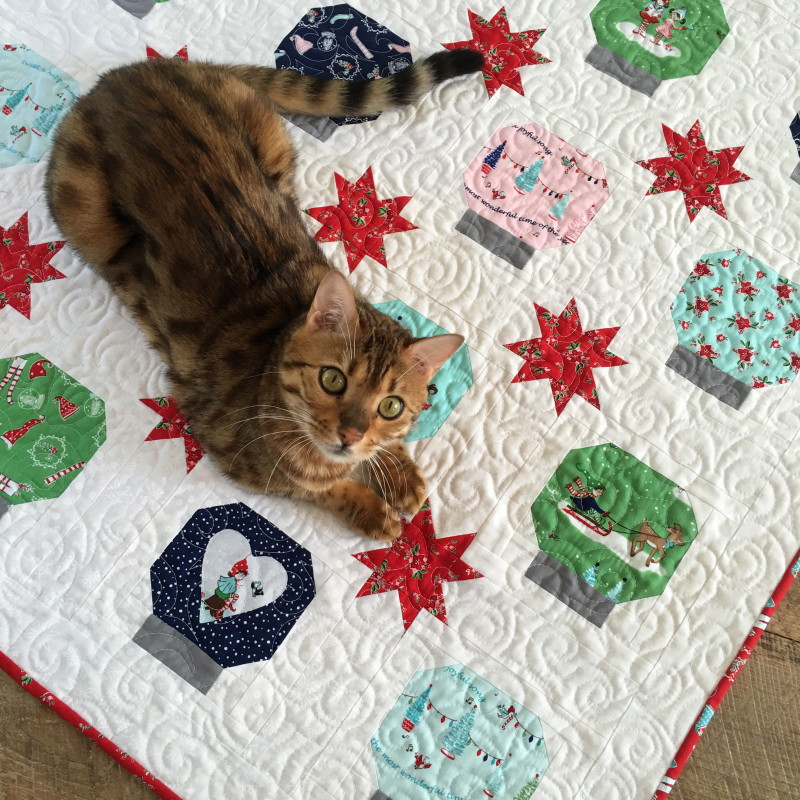
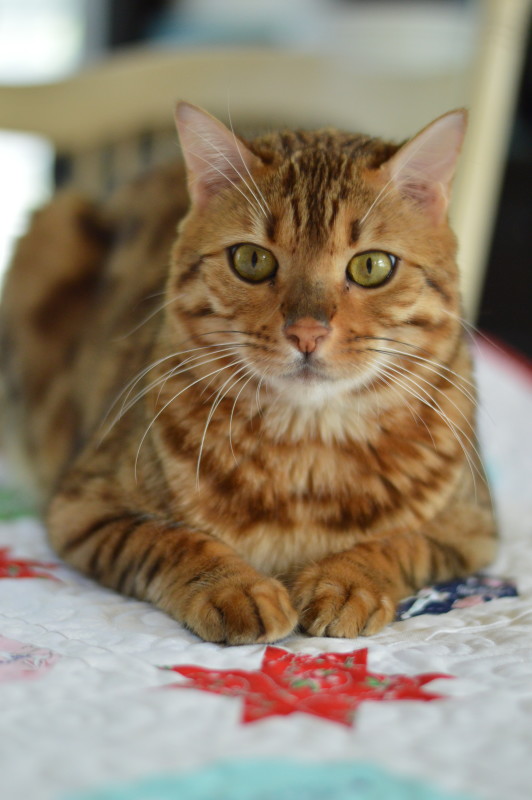
Mufasa also loves snow globes 🙂

IMG_7368

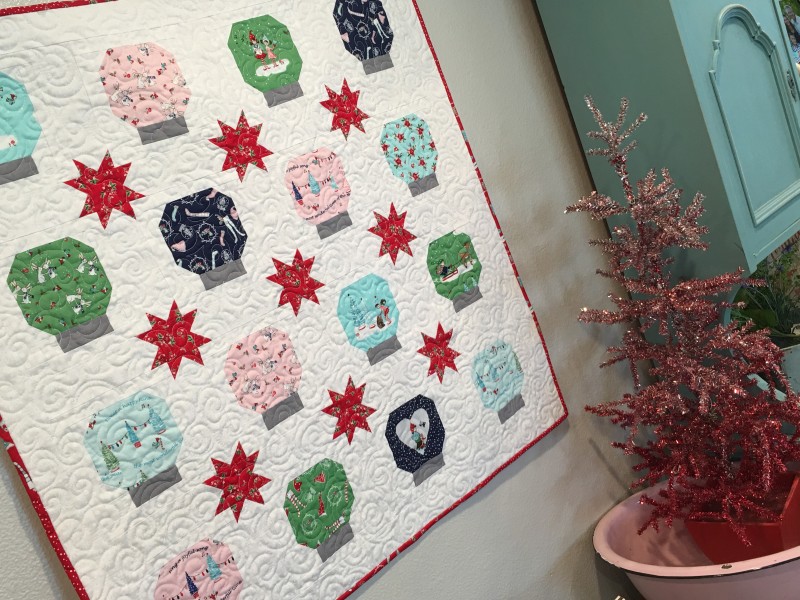
This quilt measures approximately 39″ square which is the perfect size to hang on the wall, place on a table or flop over a couch!IMG_7373

Each of the snow globe blocks is sashed and set with red stars.IMG_7372

I hope you like this quilt as much as I do!  How fun would it be to give this as an early Christmas present to someone you really love!!

DSC_0969And one more picture of Mufasa just because he is so handsome and takes such great pictures!
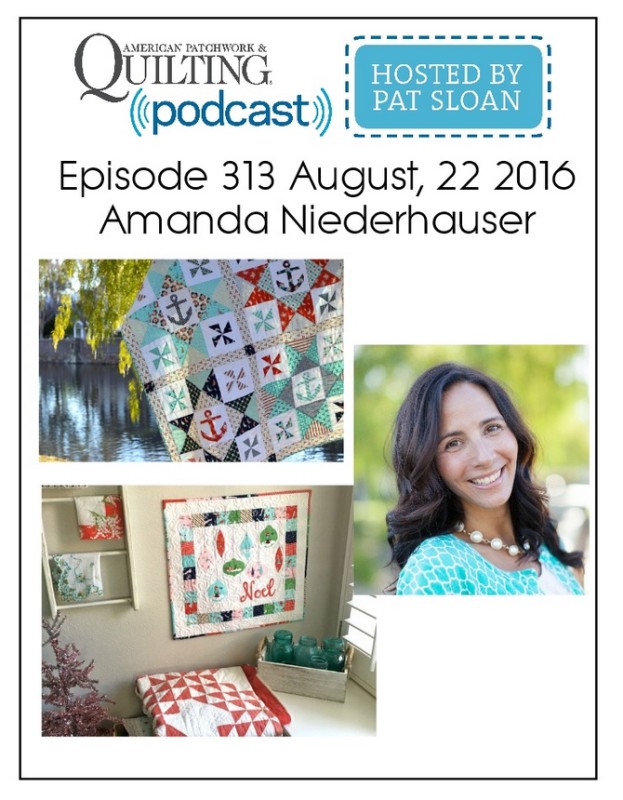
I’m on American Patchwork & Quilting Podcast!!

Screen Shot 2016-08-22 at 7.40.09 AM

I am super excited (and scared to death) to be on American Patchwork & Quilting Podcast hosted by Pat Sloan TODAY at 1:00 Pacific time (4:00 Eastern).  We will be chatting about quilting, life experiences and Mufasa 🙂  For more information on how to listen, click HERE.American Patchwork Quilting Pocast episode 313 Amanda Niederhauser

Apple Picking Quilt Tutorial


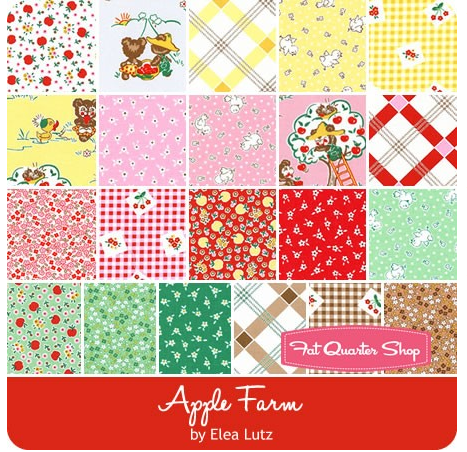
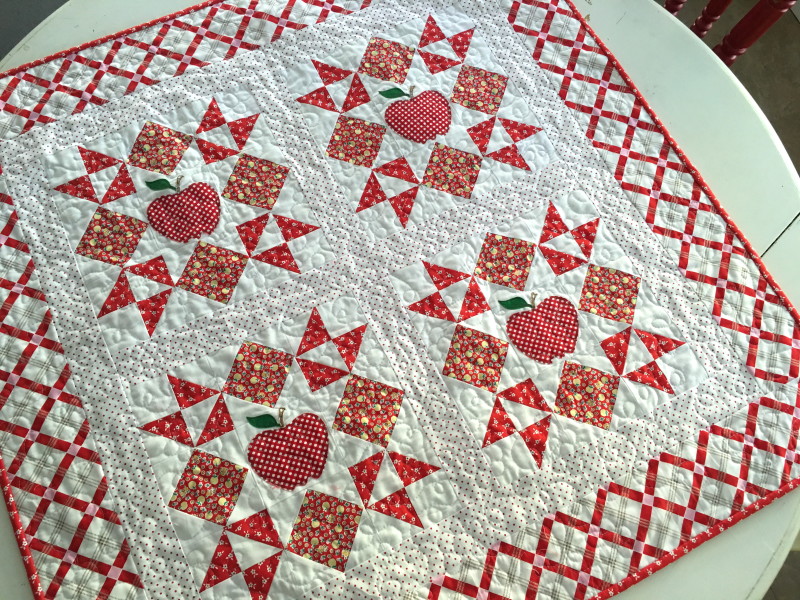
apple coverToday is my turn on the Apple Farm blog hop with Elea Lutz and Penny Rose Fabrics!!!!!  I have always been a fan of Elea Lutz’s designs and I was thrilled to meet her in person at Quilt Market!  She is the cutest ever!  IMG_8213
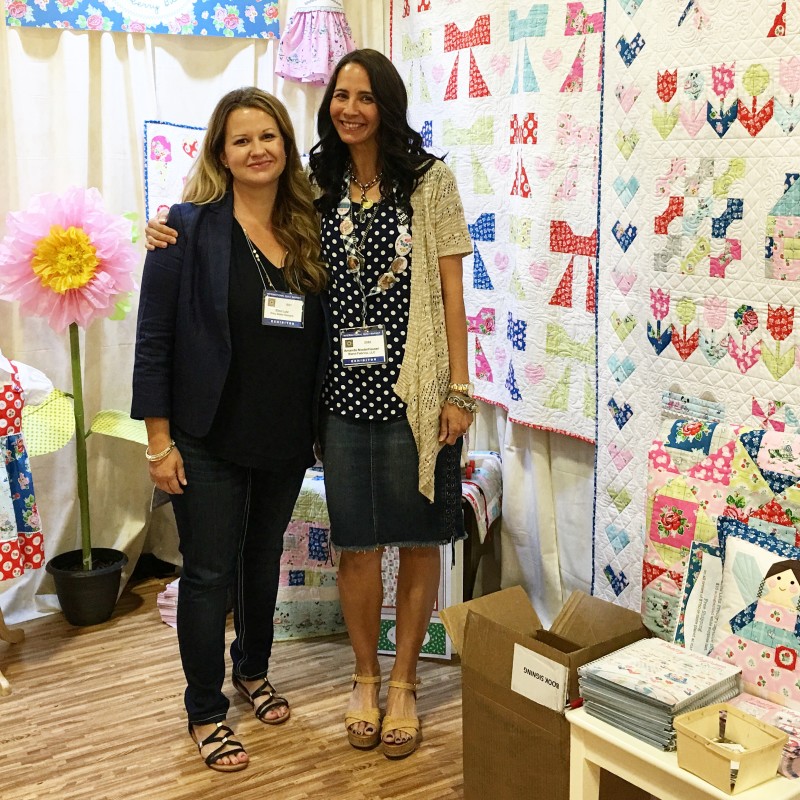
I love Elea’s newest line called Apple Farm.  It has such a fun vintage feel!

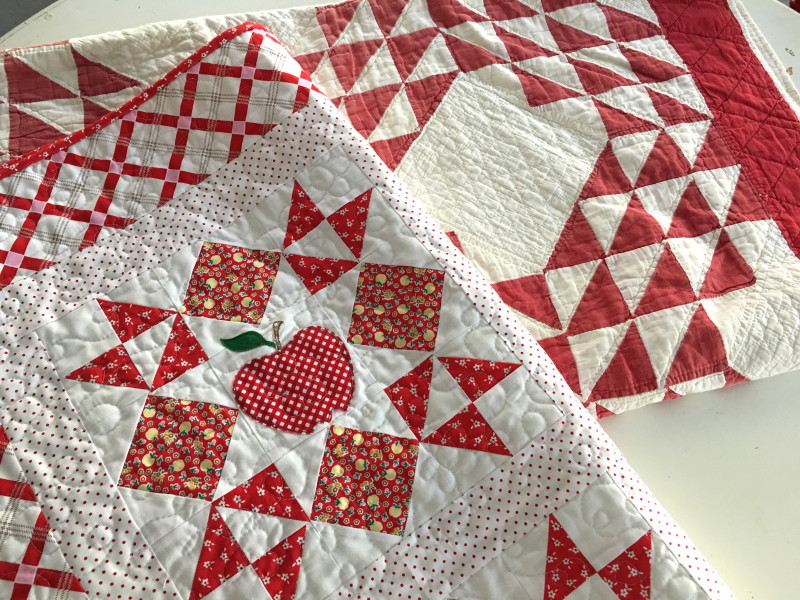
Screen Shot 2016-08-18 at 10.02.05 PMI choose to work with the reds from this collection.  I have a vintage red and white quilt from my Great Grandmother and it was sort of the inspiration for my design.
IMG_2913

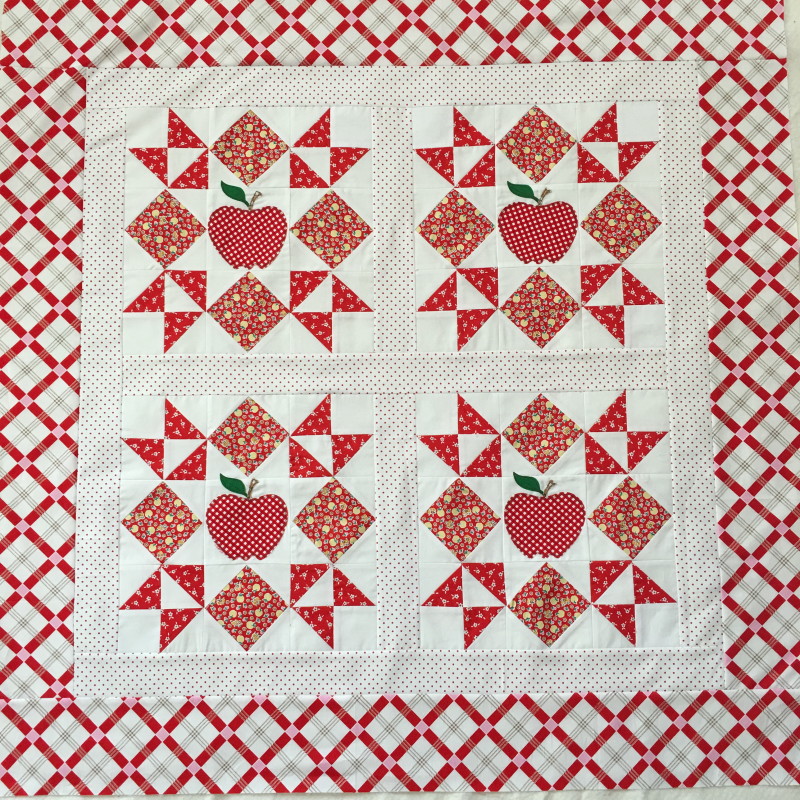
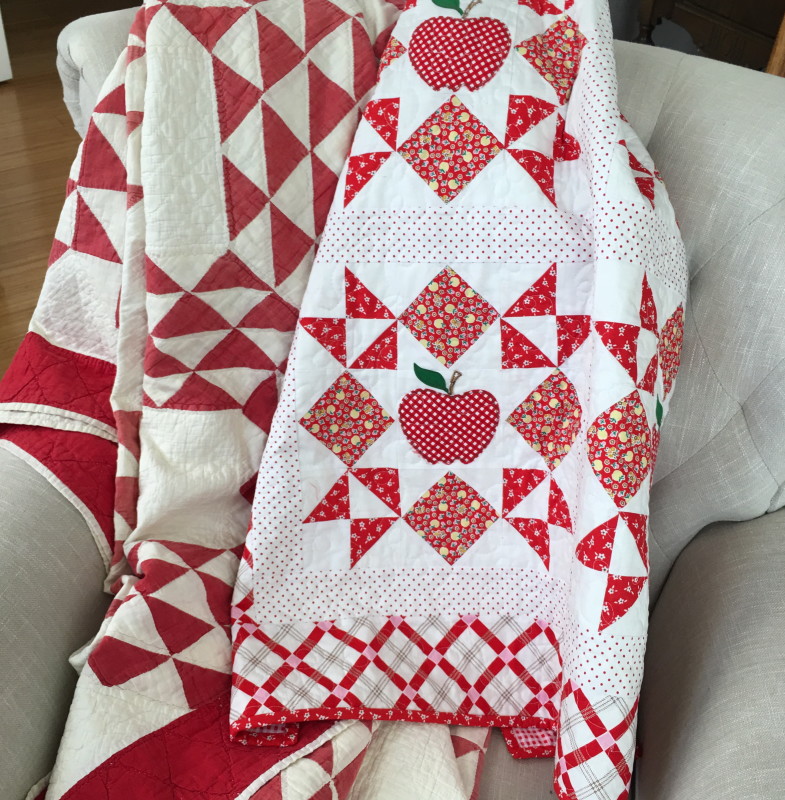
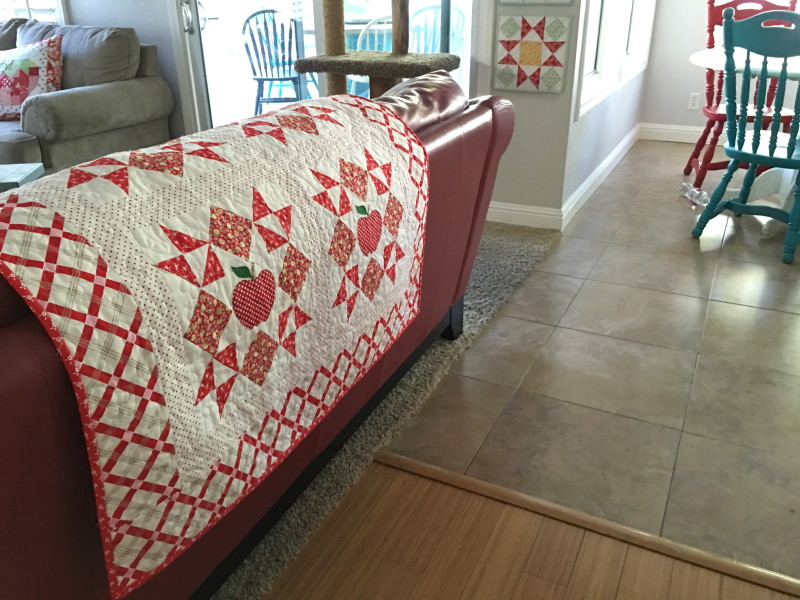
The quilt measures 37″ square and it’s perfect to throw over a couch, place on a table, or hang on a wall.

IMG_2920

Let’s get started!!

Supplies:

Fat quarters or quarter yard cuts of 2 red prints

3/4  yard solid white fabric

1/2 yard red swiss dot fabric

fat quarter red gingham

scraps of green and brown

1/2 yard plaid border print

1/3 yard binding

1 1/2 yard backing

Heat n Bond Lite

Sizzix HST die and apple die

The quilt block is made of of 3 parts:  The center block, the “economy block” and the half square triangle (HST)  block.  All seams are 1/4″

For the HST block…

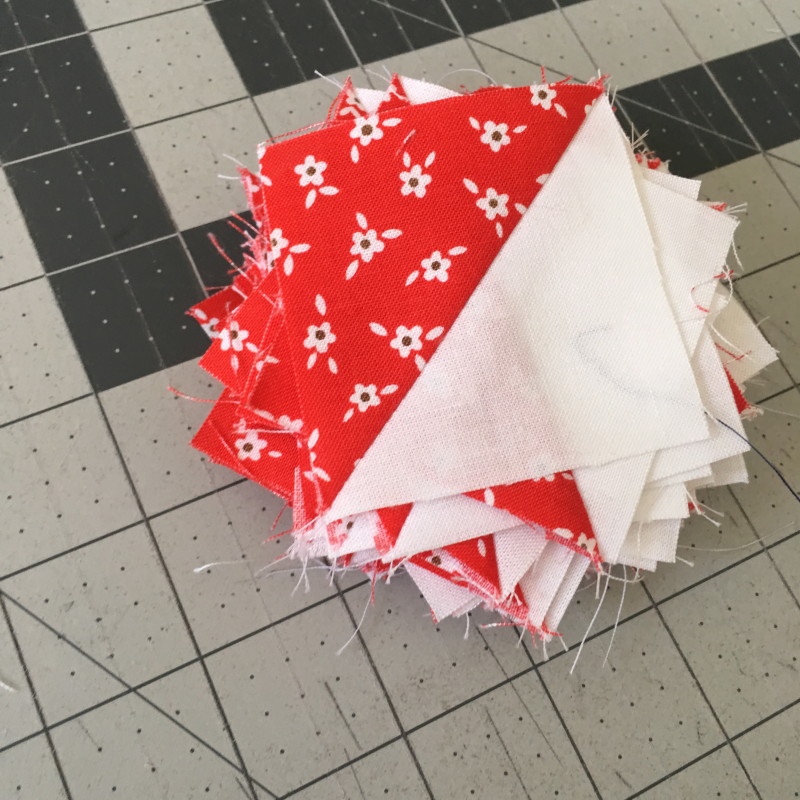
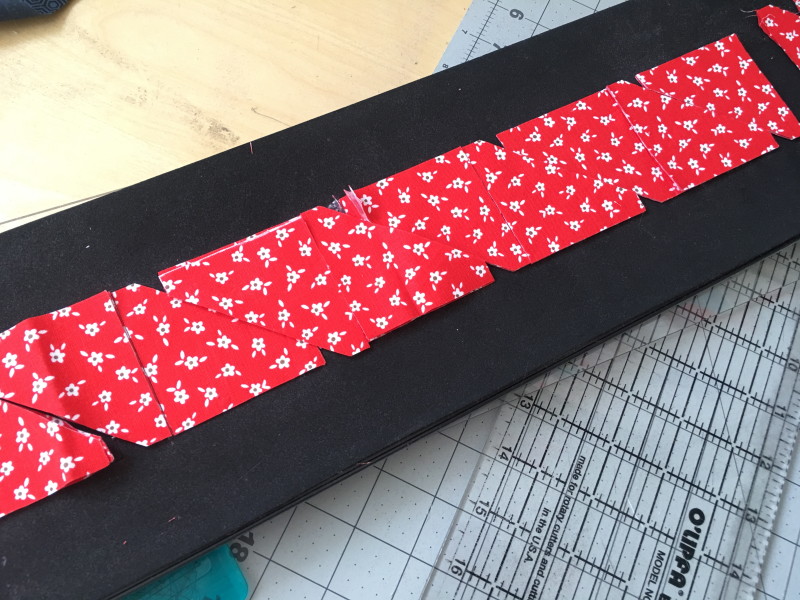
You will need 48 HST consisting of solid white and the darker red print.  I used my 2 1/2″ HST Sizzix Die.  You can literally cut all the HST you need in 30 seconds!  If you don’t have access to this die, just make 48 HST that finish 2 1/2″ square.

I love the Sizzix die because the squares finish perfectly even and no trimming or squaring up!

IMG_2881

Mufasa was very helpful in the chain piecing!IMG_2866

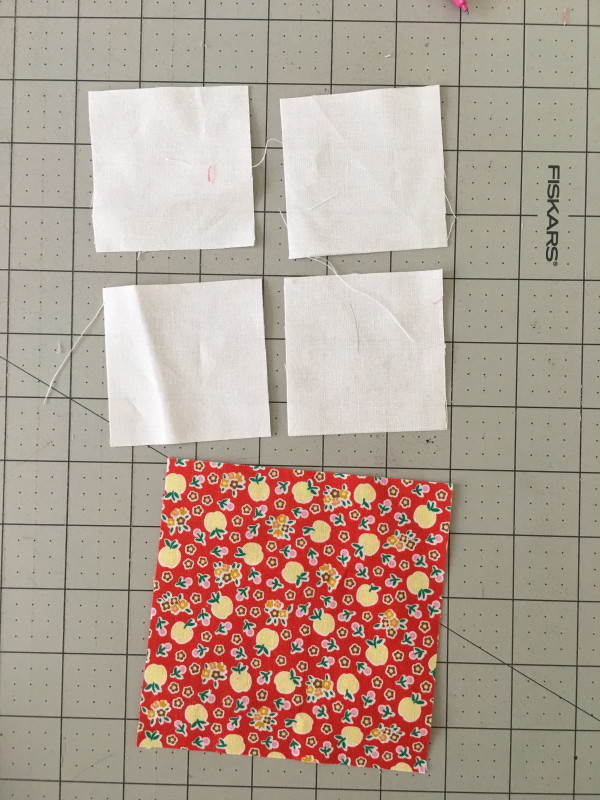
Cut (16) 2 1/2″ squares out of solid white.

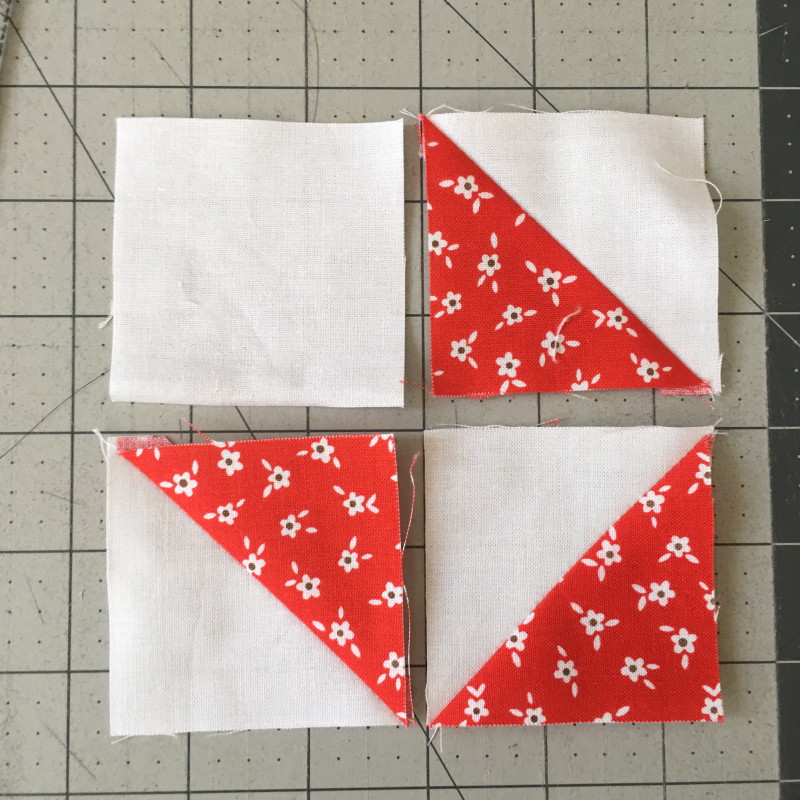
Lay the block out like this:

IMG_2882

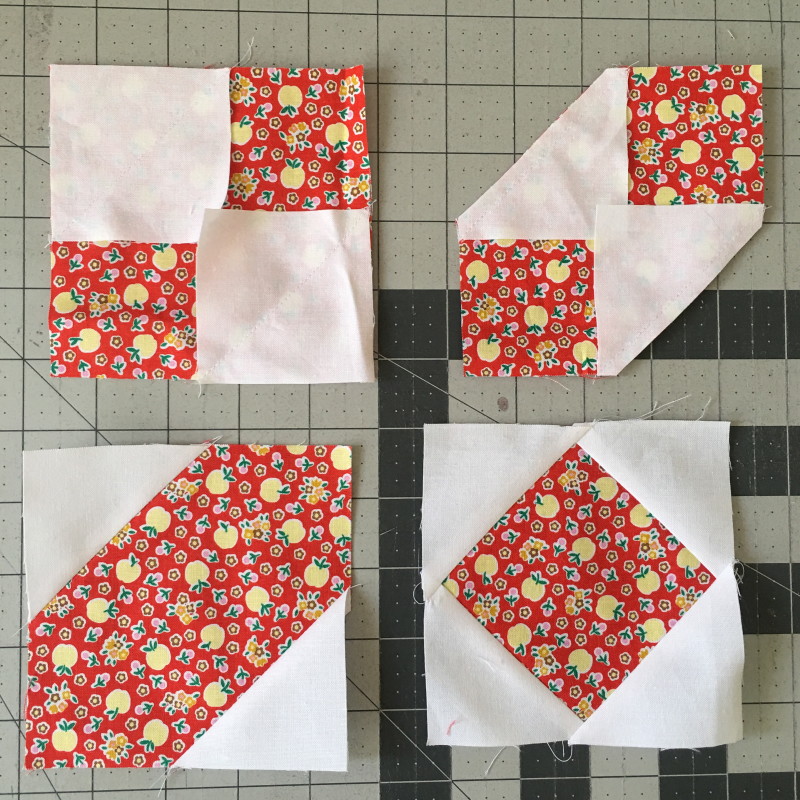
Sew together as you would a 4-Patch.  It is helpful to press the seams open to reduce bulk.  You need 16 total of these blocks.

For the Economy Block….

Cut (16) 4 1/2″ squares from the lighter red print.

Cut (64) 2 1/2″ squares from the solid white.  Draw a diagonal line on the back of each white square.IMG_2877

Position a 2 1/2″ square in the corner of the 4 1/2″ red square.  Sew along the diagonal line.  Repeat this process for each of the 4 corners.  Trim 1/4″ along the seam, and press.   IMG_2884

For the centers…

Cut (4) 4 1/2″ squares of solid white.  Don’t applique the apple until the block is sewn because it will overlap slightly.

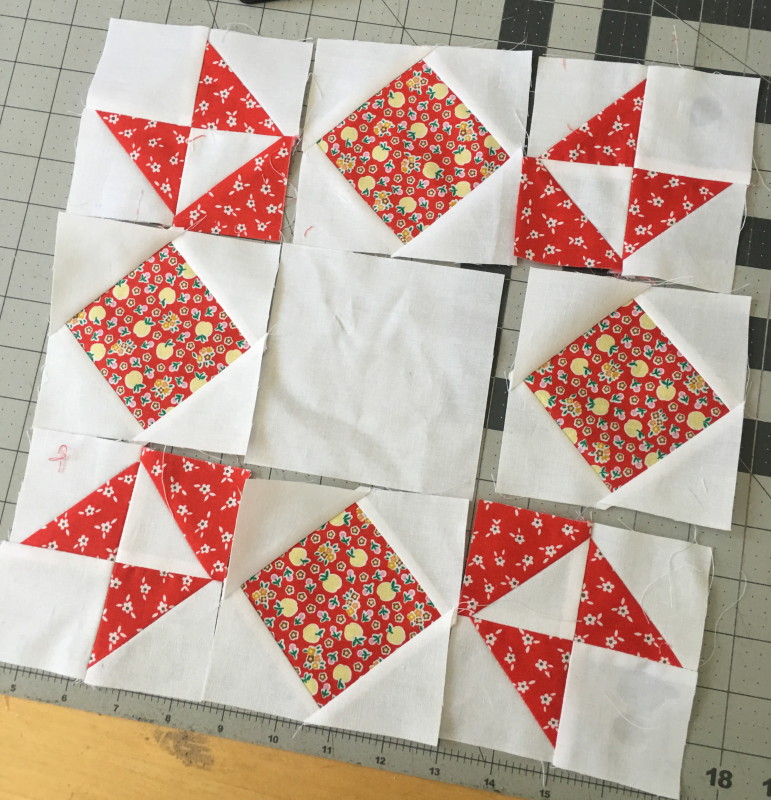
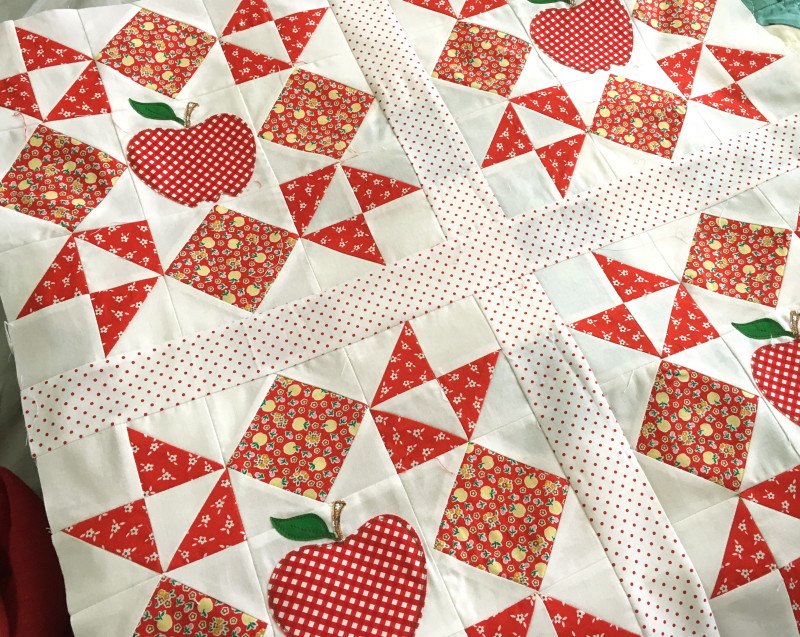
Lay out the block like this:IMG_2885

Sew together in rows.  Press seams open.  Make four of these blocks.

For the apple applique…

IMG_2886

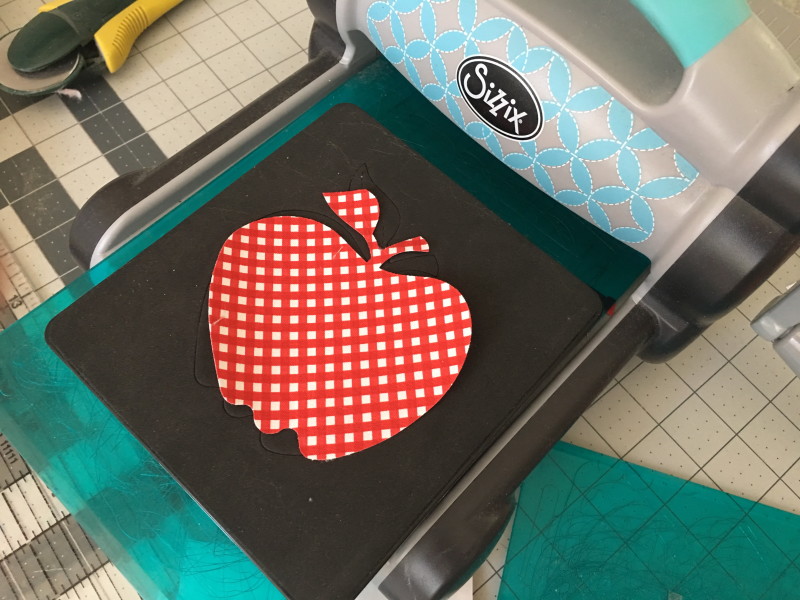
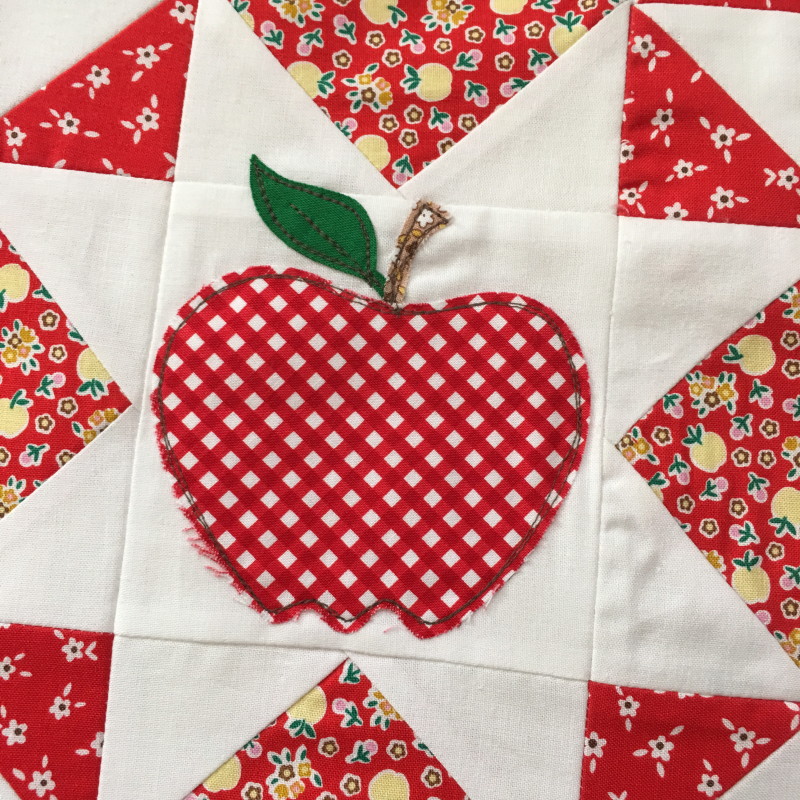
Fuse Heat n Bond Lite to the wrong side of the red gingham.  Position the gingham on the apple die diagonally.  Trim off the stem and the leaf.  Make four of these.  Repeat this process and die cut the leaf and the stem with the appropriate colors of fabric.

IMG_2893

Peel off the backing paper and position in the center of the block.  Heat set in place.  Sew around each piece twice with desired thread color.

For the sashing and borders…

Cut (2) 12 1/2″ x 2 1/2″ pieces for center sashing.

Cut (5) 2 1/2″ x WOF strips for sashing and borders.  I didn’t measure the borders, just sew and cut off the excess.  Press toward the sashing.

IMG_2889

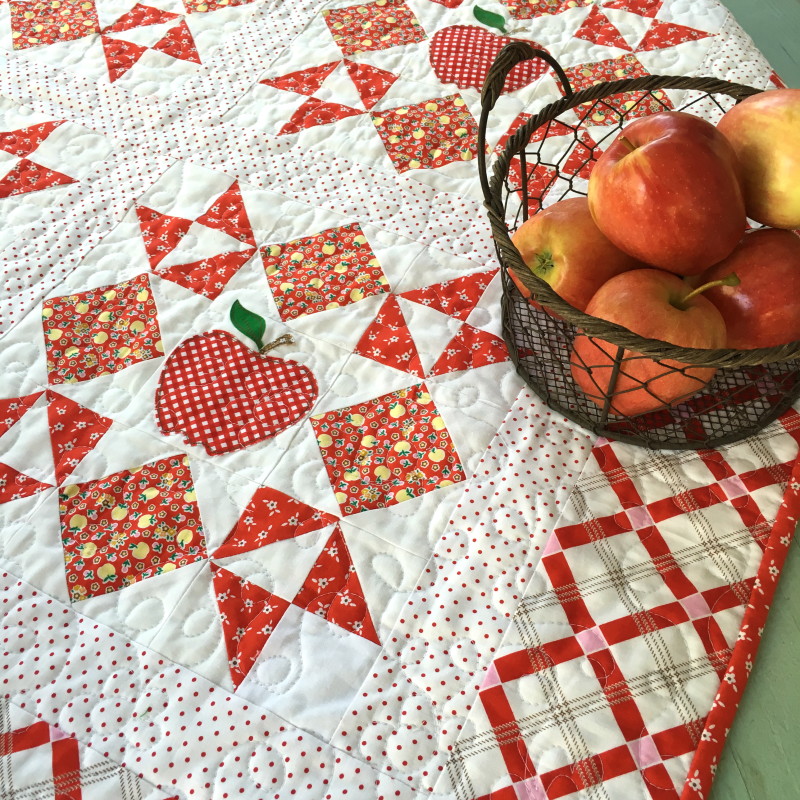
Cut (4) 4 1/2″ x WOF strips of the plaid.  Sew the sides, press, then the top and bottom, trimming off the extra each time.  Quilt as desired.IMG_2890

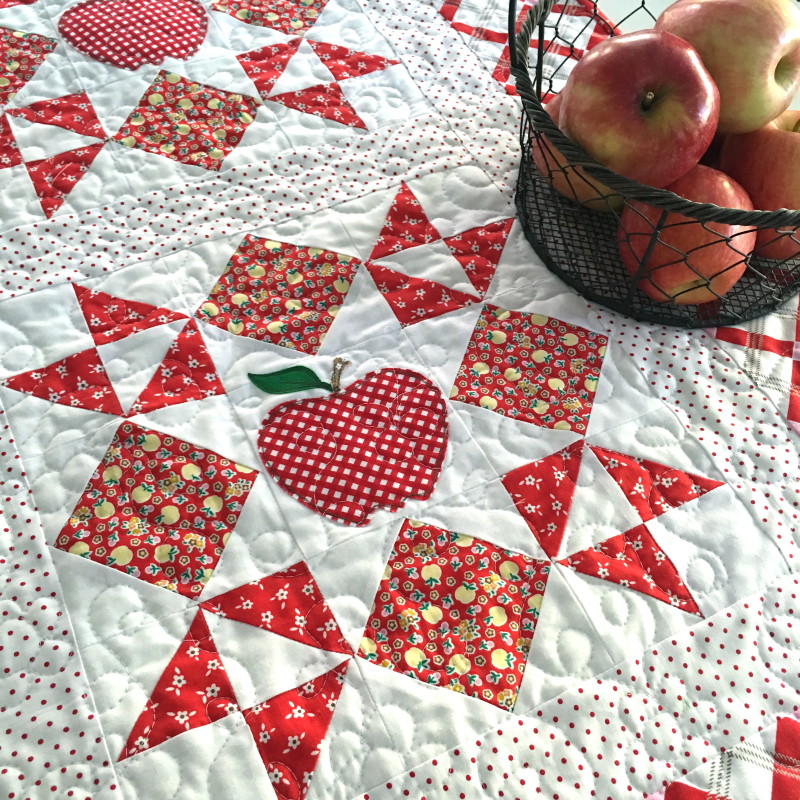
I love how this quilt turned out and I love the red & white feel of it without it being totally red and white!  I think the plaid border is my favorite!!

IMG_2911

OK – I totally love this pattern!  I’m going to make it again for sure!

IMG_2912

IMG_2914

IMG_2898

Here’s a list of all the other bloggers taking part in the blog hop, pop over to their blogs for more Apple Farm inspiration.

8/8/16 Jemima @tiedwitharibbon www.tiedwitharibbon.com
8/8/16 Anorina @sameliasmum www.sameliasmum.com
8/9/16 Kimberly @fatquartershop www.fatquartershop.blogspot.com/
8/9/16 Bridgette @thefamilyhearth www.thefamilyhearth.com
8/10/16 Taunja @taunjalynn www.carriedawayquilting.com
8/10/16 Nadra @ellisandhiggs www.ellisandhiggs.com
8/11/16 Shari @doohikeydesigns www.doohikeydesigns.com/blog/
8/11/16 Heidi @fabricmutt www.fabricmutt.blogspot.com

8/12/16 Lindsey @fortworthfabricstudio www.fortworthfabricstudio.blogspot.com
8/15/16 Ange @alittlepatchwork www.alittlepatchwork.wordpress.com
8/15/16 Lauren @transientart www.transientart.com
8/16/16 Jessica @euphoria_jessica www.euphoriajessica.blogspot.com
8/16/16 Kristyne @prettybyhand www.prettybyhand.com
8/17/16 Melissa @ohhowsweetco www.ohhowsweet.com
8/17/16 Sedef @downgrapevinelane www.downgrapevinelane.com
8/18/16 Faith @faithessenburg www.saranaave.wordpress.com
8/18/16 Veronica @vividfelicity www.vividFelicity.wordpress.com
8/19/16 Megan @dollyhenryau www.dollyhenry.blogspot.com
8/19/16 Amanda @jedicraftgirl www.jedicraftgirl.com
8/19/16 Elea @elealutz www.elealutzdesign.com

Posy Garden Blog Tour

image
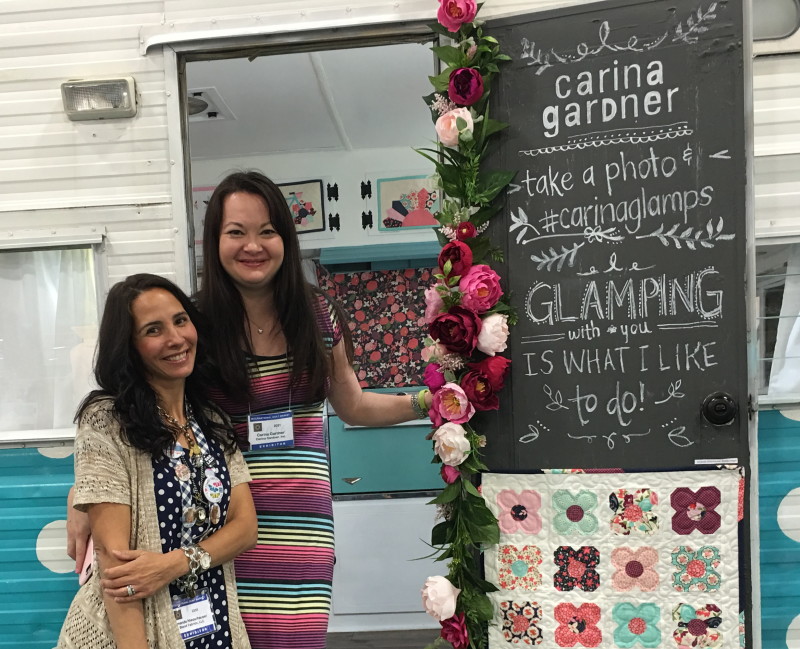
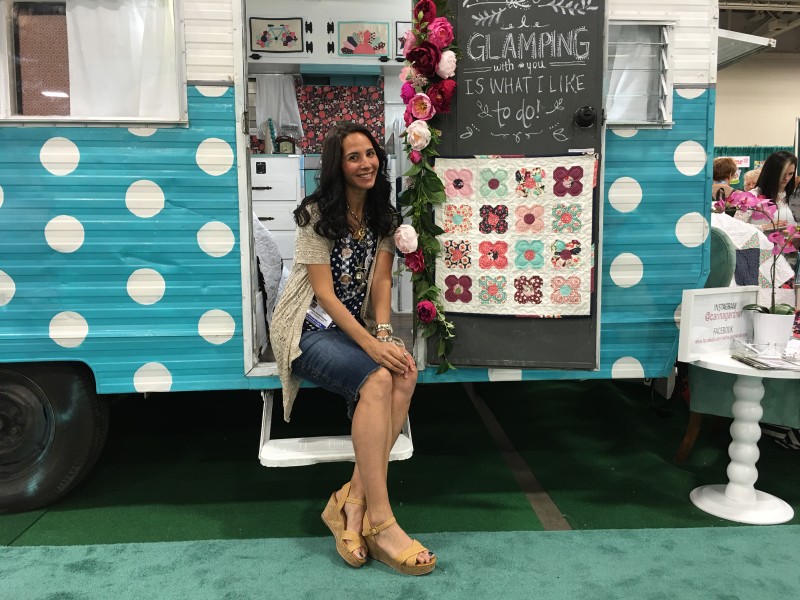
I’m so excited to be a part of Carina’s Posy Garden Blog Tour!!  Before I share this quilt tutorial with you I thought it would be fun to show a little peek at all the fun we had at Quilt Market with Carina and her Posy Garden Glamper!!

IMG_8064

The Glamer catches your eye right away with the adorable aqua and white polkadot paint and the chalkboard door with mini quilt attached!

IMG_8068

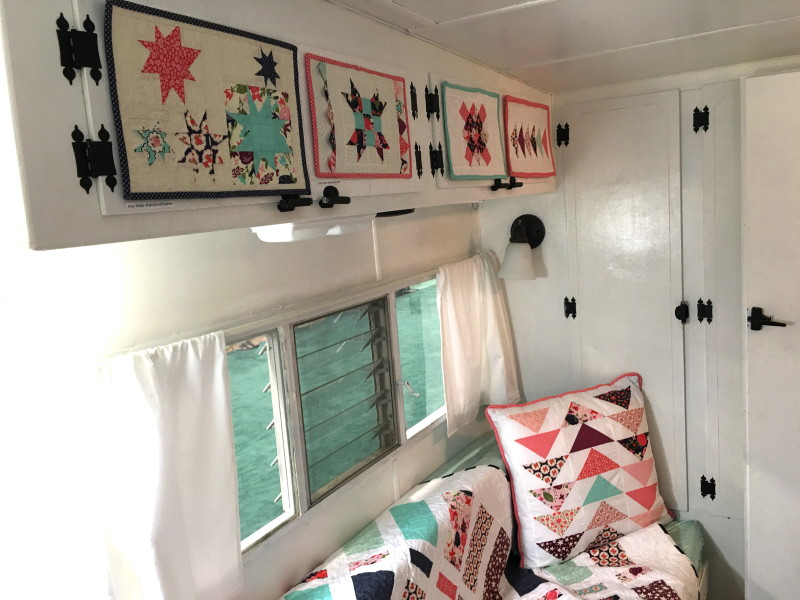
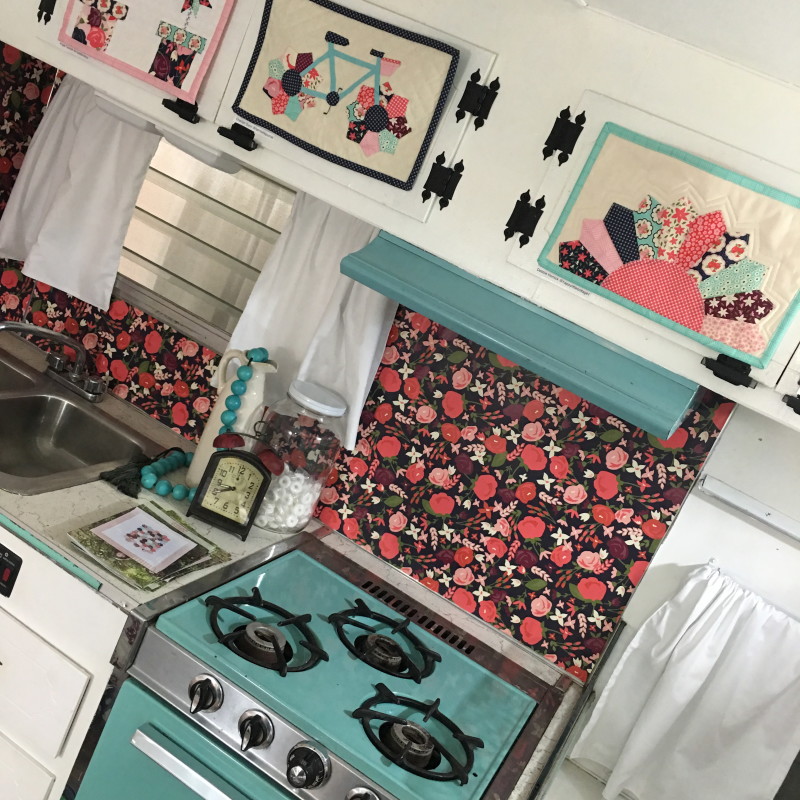
Inside there were mini quilts having on all of the doors, quilts and pillows on the benches, and even a quilt hanging in the bathroom!

IMG_8073

IMG_8071

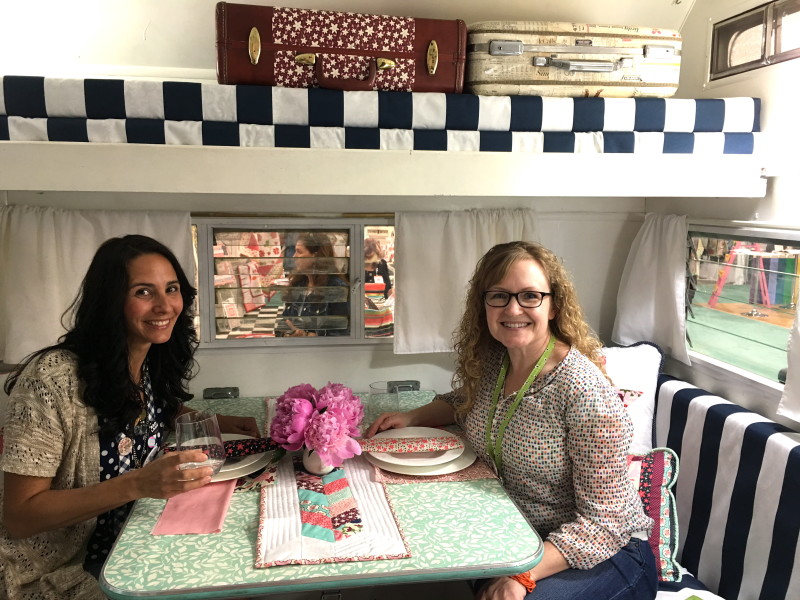
Andy and I had fun giggling and chatting with Carina and raiding her secret chocolate stash!

IMG_8062

Yes – the Glamper really is that much fun!  And now onto the Blog Tour Quilt Pattern!!

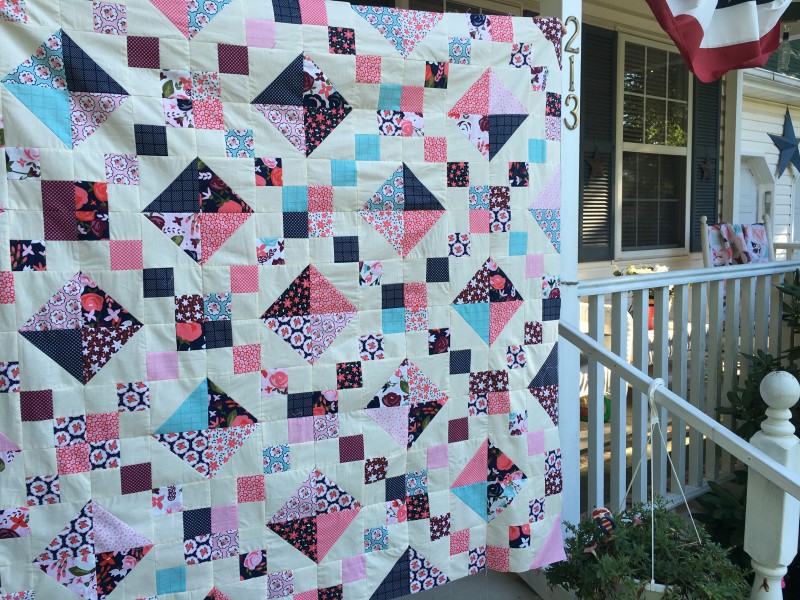
Of course when I saw this fabric I knew I wanted a quilt out of it. The colors are so amazing in person!!!

I used a fat quarter bundle of Posy Garden and 2 .5 yards of quilters muslin. Let’s get started!!

Begin by cutting a 2  1/2″ strip from each of the fat quarters (I used 14 fat quarters)

Next cut a 4  7/8″ strip from each fat quarter.

Cut 7 WOF x 2. 1/2″ strips from the muslin.

Cut 7 WOF x 4. 7/8″ strips.

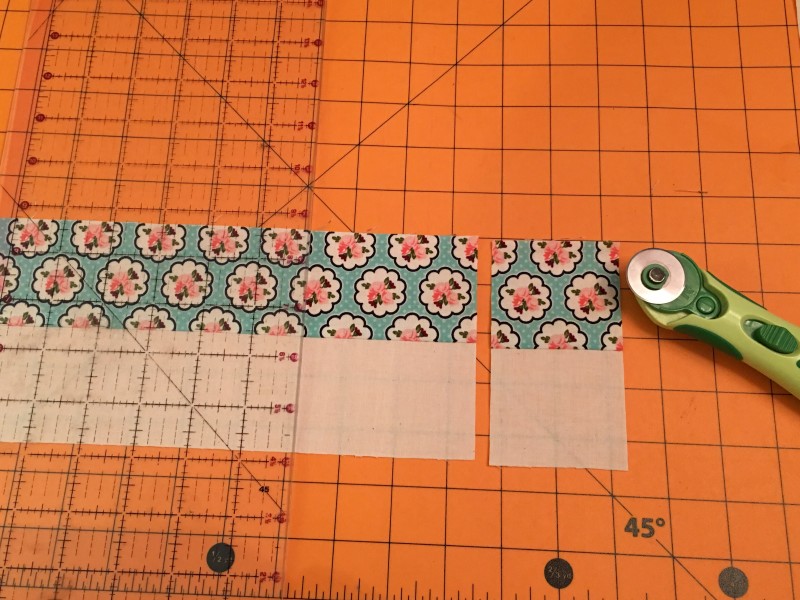
Make the 4 patch strip sets by pairing a 2 1/2” Posy strip and a Muslim strip right sides together.  Sew lengthwise using a 1/4” seam.  Press toward the dark.

image

Do this with each of the 2 1/2” strips.  Once they are all sewn and pressed, cut them at 2  1/2” increments.

image

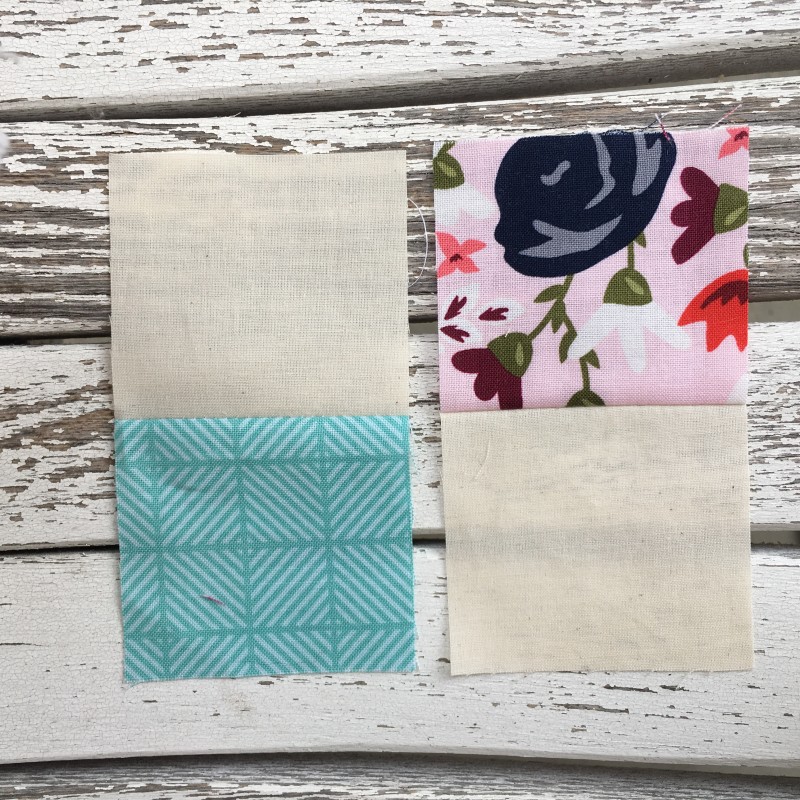
Mix them up and pair them up in a checkerboard style.  Match the center seams and sew right sides together using 1/4” seams.  Press open.  Set aside.

image

Cut the 4  7/8” strips into 4  7/8” squares.

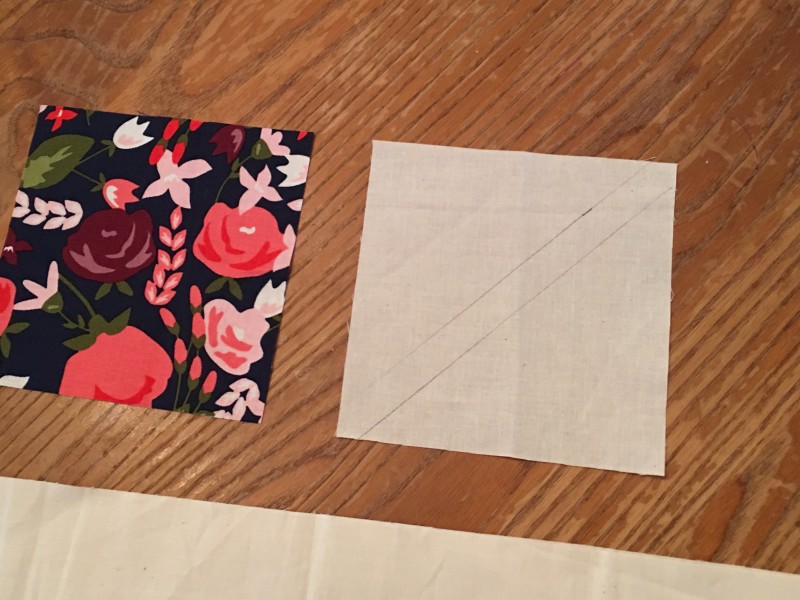
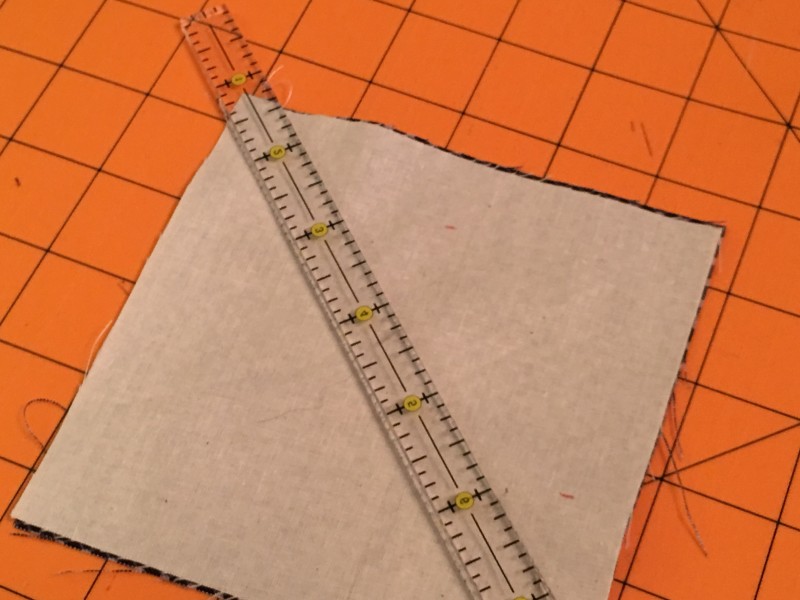
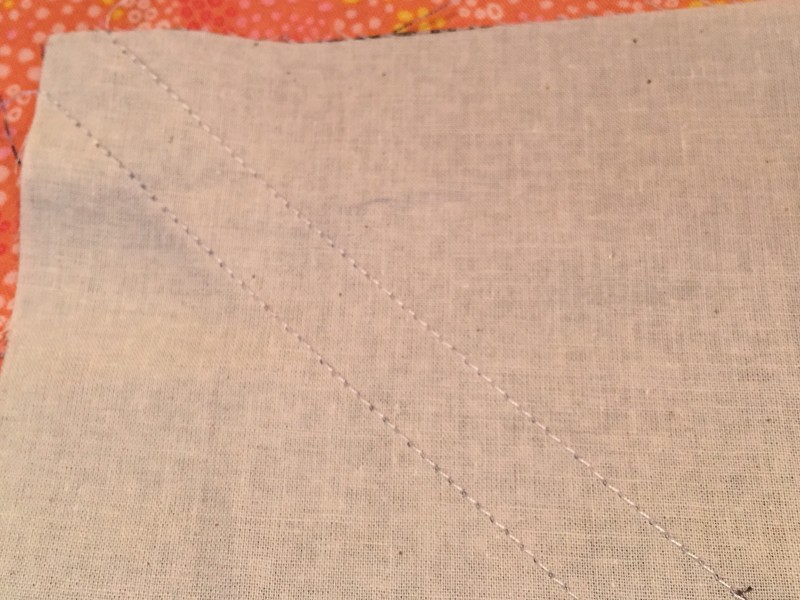
imageDraw a diagonal line on the wrong side of the muslin squares.  I like to use this tool.  Instead of drawing the diagonal line, you draw the 1/4” lines that are on the side of the diagonal line.
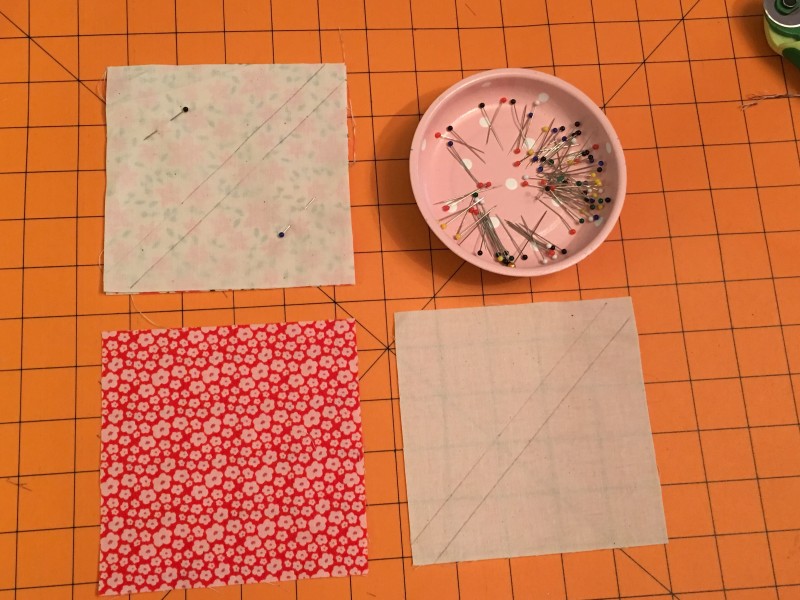
image However you choose to do this, sew 1/4” away from the center line.  I like to pin my squares together so they don’t move around.
image

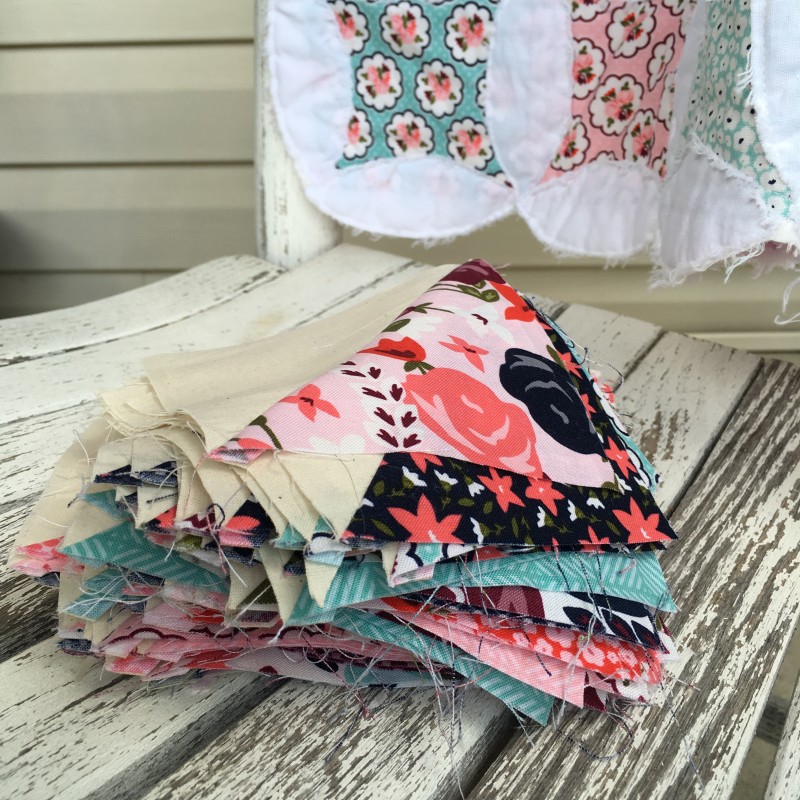
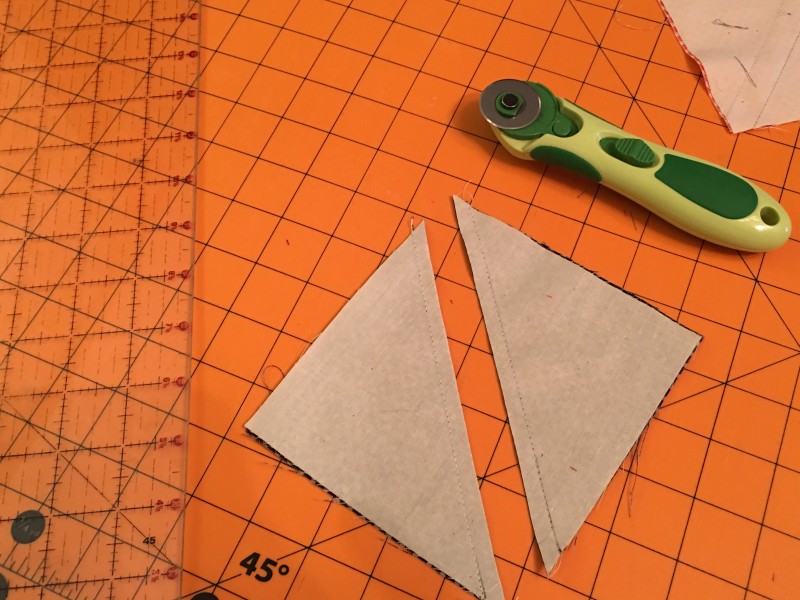
Cut on the diagonal line yielding 2 half square triangles (HST).  Press to the dark side.  They should measure 4 1/2” square.

image

Keep those HSTs coming!!!

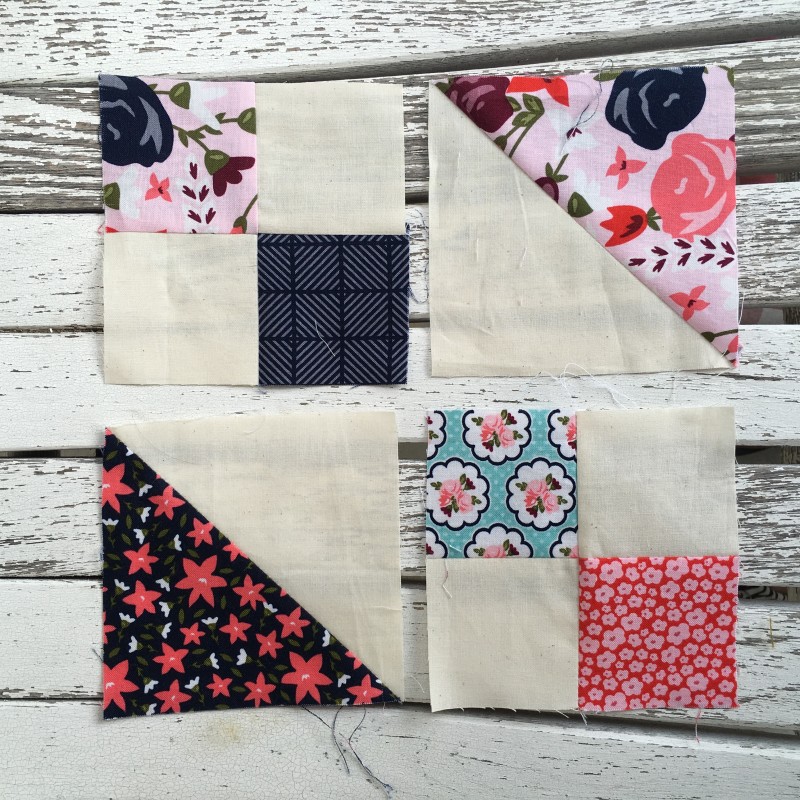
Now comes the fun part!  Don’t lay out the pattern, just grab and go!  Each block should look like this:

image

Sew together just like you would a 4-patch using 1/4” seams.  Press all seams open.
image

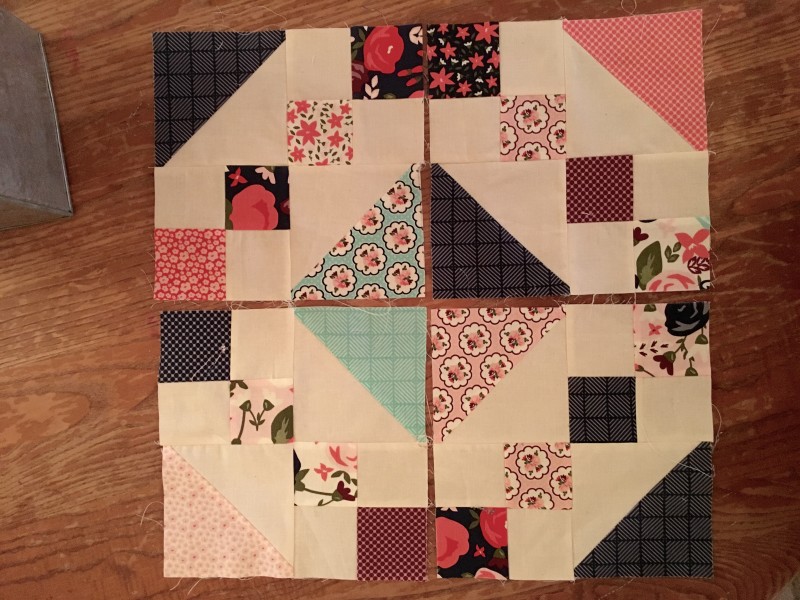
Next take each of the blocks and group them into a larger 4-patch unit.  Sew together in the same manner with 1/4” seams and press the seams open.  This creates the Posy Garden Path Block!

image

Finish putting the quilt together by sewing 3 rows of 3 blocks – 9 blocks total.  Of course if you want it bigger you can add more blocks.  Make sure to match all seams as you go.  Press the seams open.  See if you can make this quilt without laying any of the blocks out.  I love how it turns out totally random and scrappy!

I love how it turned out!  The perfect quilt for a summer garden picnic! Finished quilt 48” square.

image

Tina  and I sewed our Posy projects together when I was at her house in New Jersey.   We had such a good time chatting and sewing, laughing and playing with the cats!  Her home is the perfect backdrop for photographing quilts!

image

image


image

OK, just one more picture!!!


Layer Cake Checkmate Quilt

LC-Checkmate-Header

IMG_0385

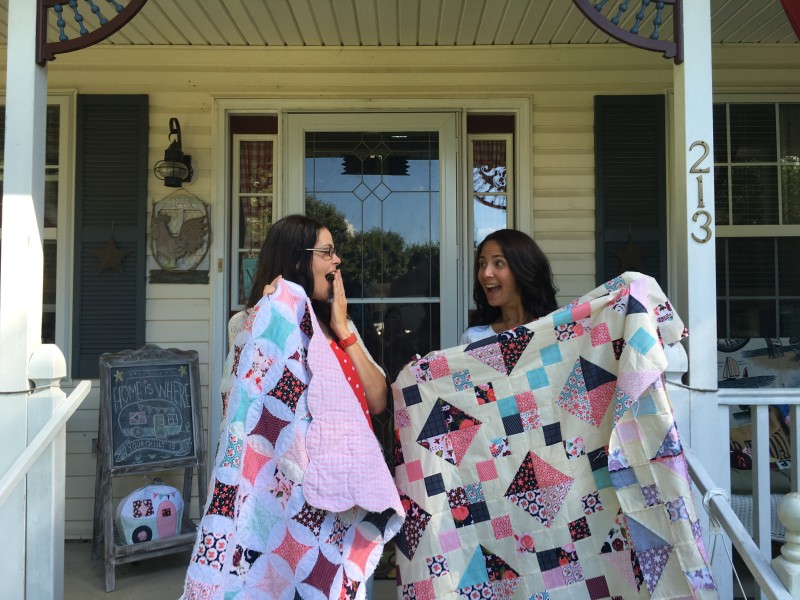
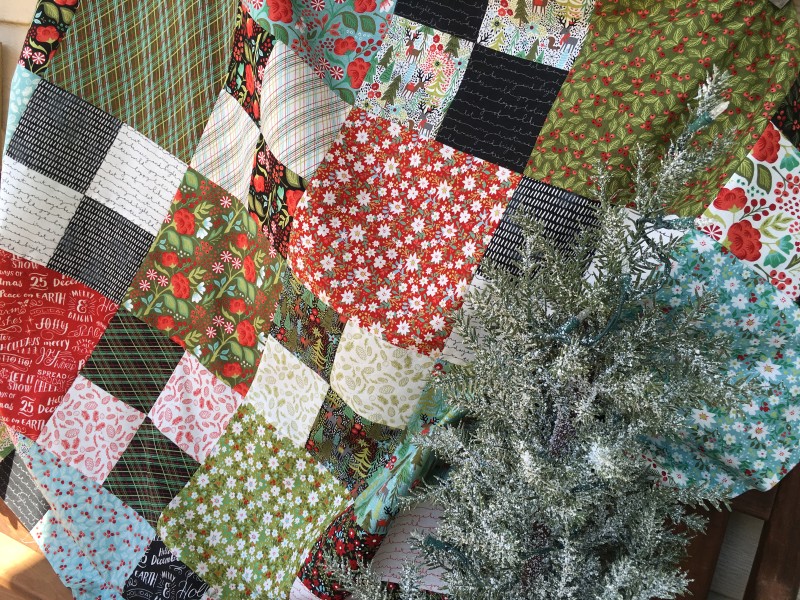
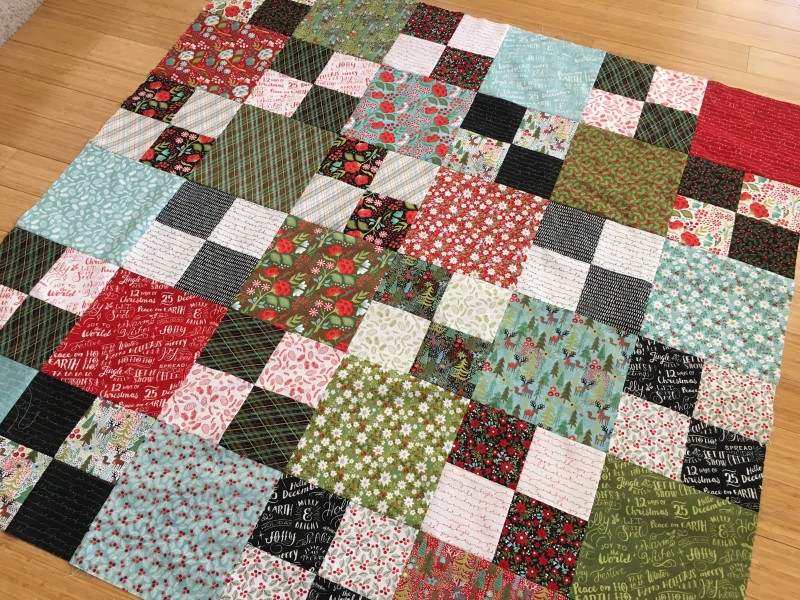
It’s Christmas in July!  Why not sew a Christmas quilt when its 105 degrees outside!  I love quilt patterns that sew together FAST…..because I’m totally impatient and I have a roomful of fabric that I am dying to sew with.  I need to be able to make a quilt top in a day – better yet an afternoon!  This quilt pattern is perfect for speedy sewing!  Because it sews together so fast it would make a great birthday gift, baby gift, or Christmas gift – which is what mine is going to be 🙂

IMG_0407

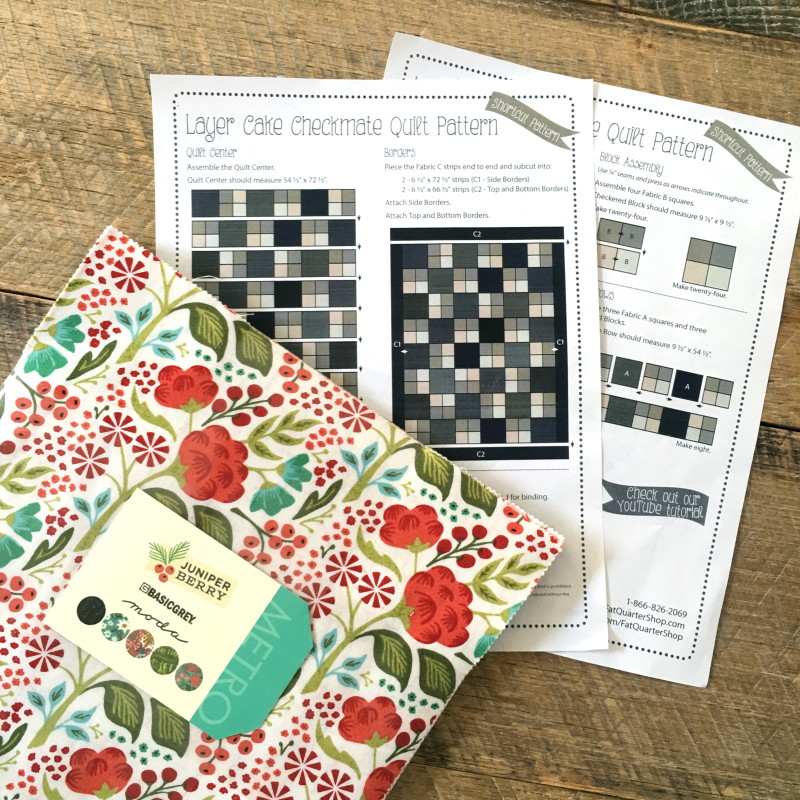
You can hop over to Fat Quarter Shop to  download the pattern, click HERE!!!  And you can watch this fun video tutorial!!

IMG_0342

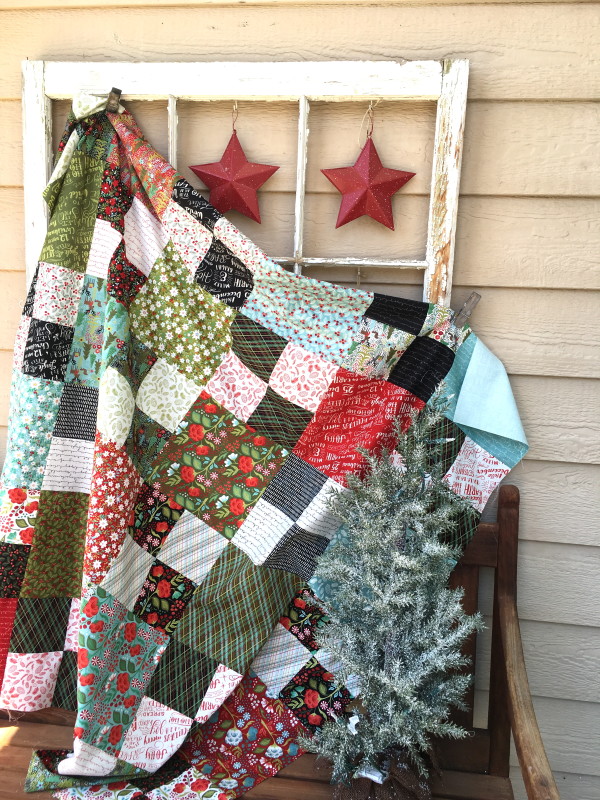
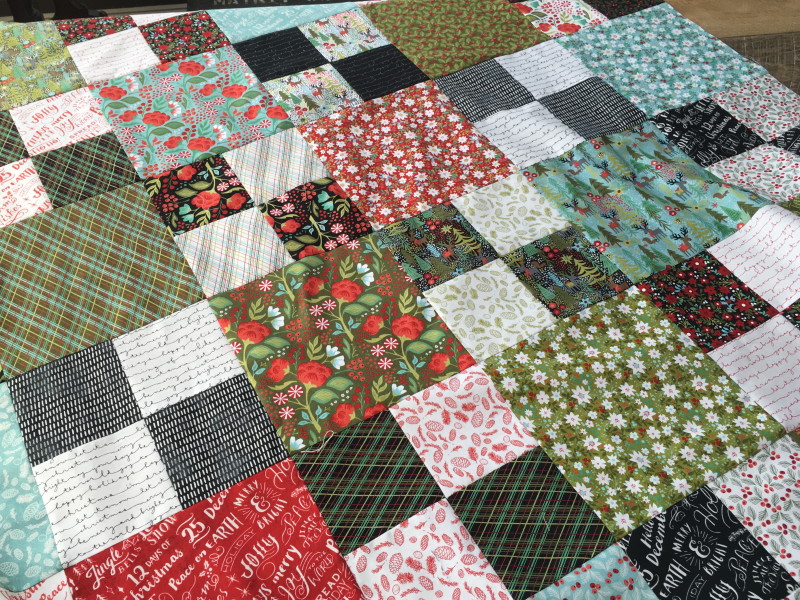
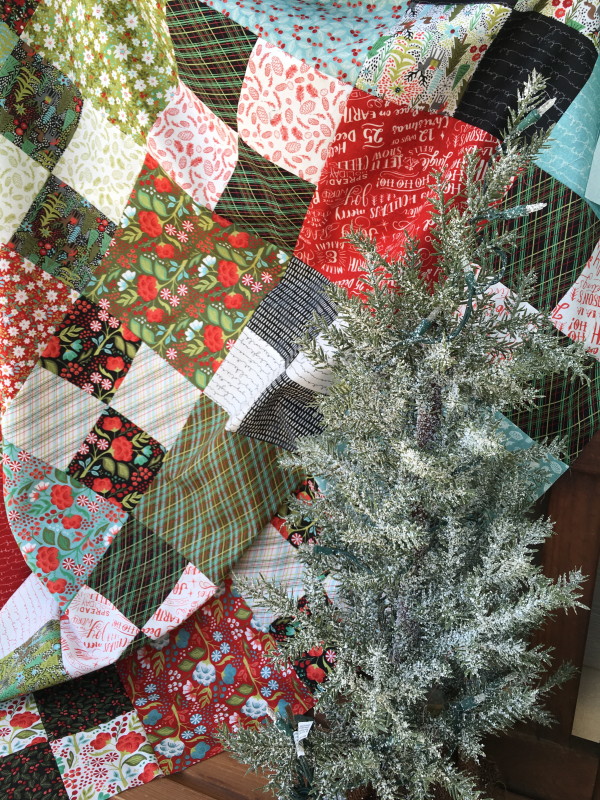
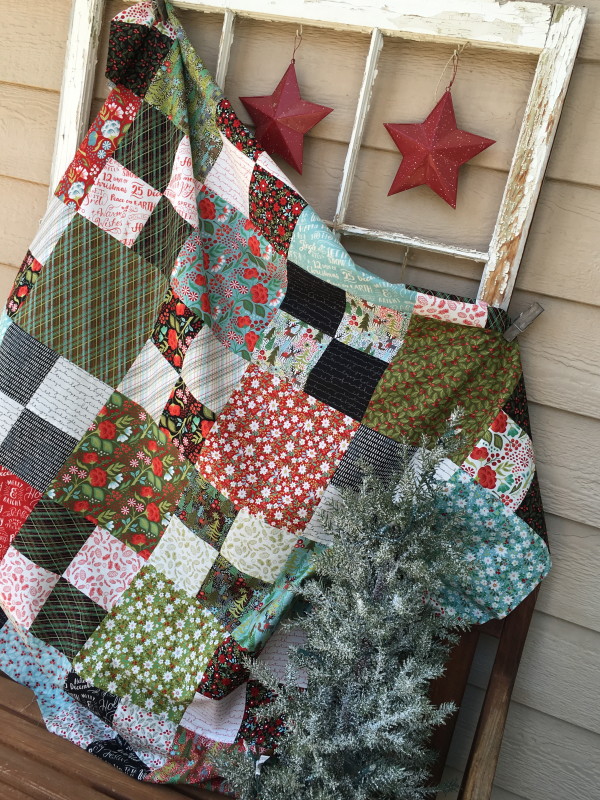
I choose the Juniper Berry Layer Cake by Basic Grey for Moda Fabrics.  It’s the cutest!  I love all the wintry colors!  I used a different color placement with my quilt than the pattern suggests.  My layer cake didn’t just have lights and darks.  Rather, it had lights, mediums, and darks.  The addition of black fabric turned the red, green, and aqua into mediums.  I didn’t want just random black squares throughout the quilt that would draw your eye.  So I turned the 4-patch block into a checker board block using the blacks and lights.  I used the medium tones for the large squares.  I love the result!

IMG_0347

It makes a diagonal of black squares one way and a diagonal of light squares the other way.

IMG_0379

IMG_0413

I also turned my quilt into a square so the the diagonal lines would be even.  I’m also not a fan of quilt borders – not sure why 🙂

IMG_0397_2

Check out these amazing designers to see their version of Layer Cake Checkmate!!

Peta from She Quilts a Lot
Melanie from Mostly Crafty
Connie from Freemotion by the River
Melissa from Happy Quilting
Heidi from Buttons & Butterflies
Amanda from Jedi Craft Girl
Tina from Emily Ann’s Kloset
Sherri M. from A Quilting Life
Andy from A Bright Corner
Anorina from Samelia’s Mum
Sherri F. from This & That Patterns
Brooke from Silly Mama Quilts

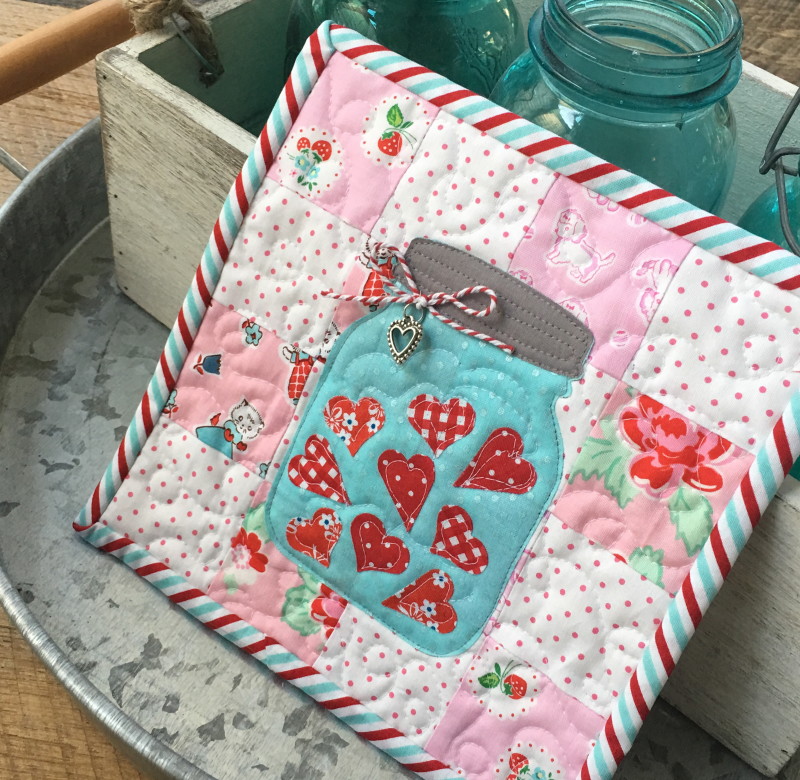
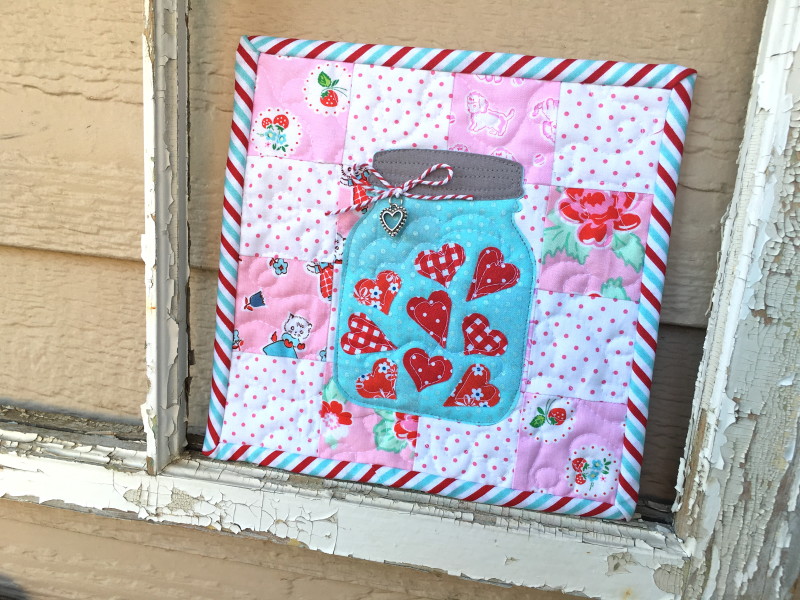
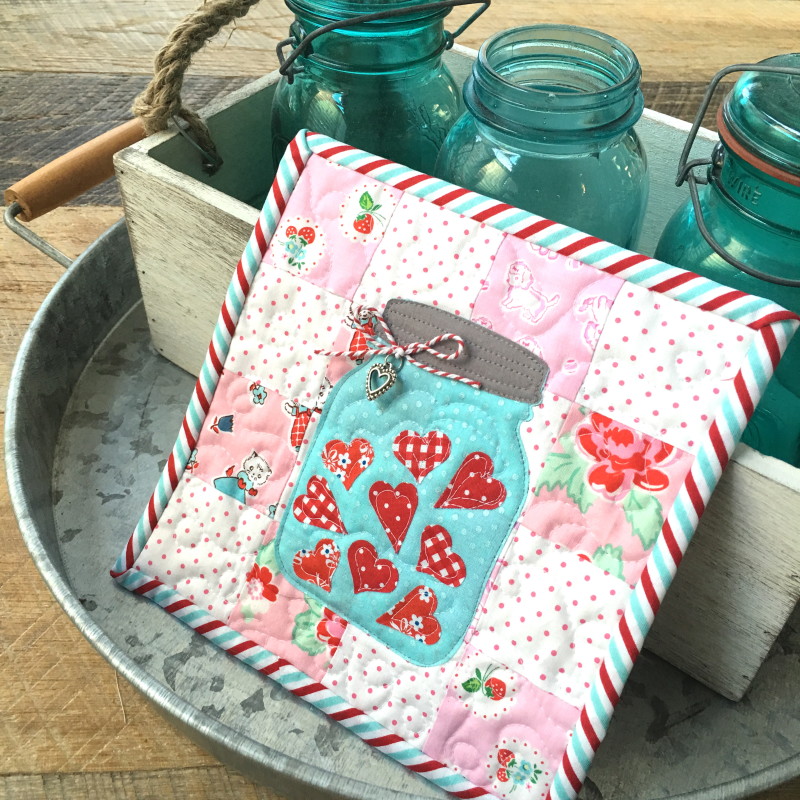
Mini Mini Quilt {Sizzix Jar Applique}

jar mini quilt

IMG_0466

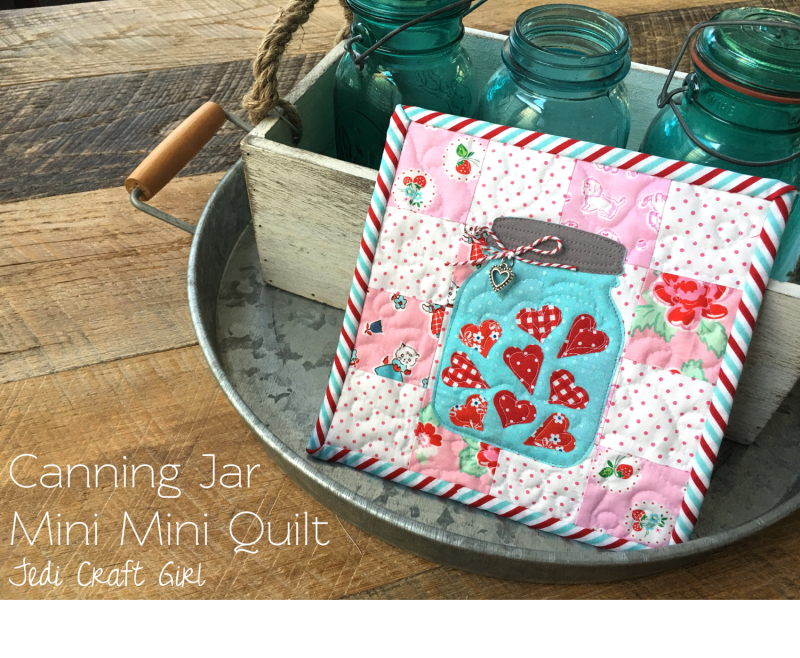
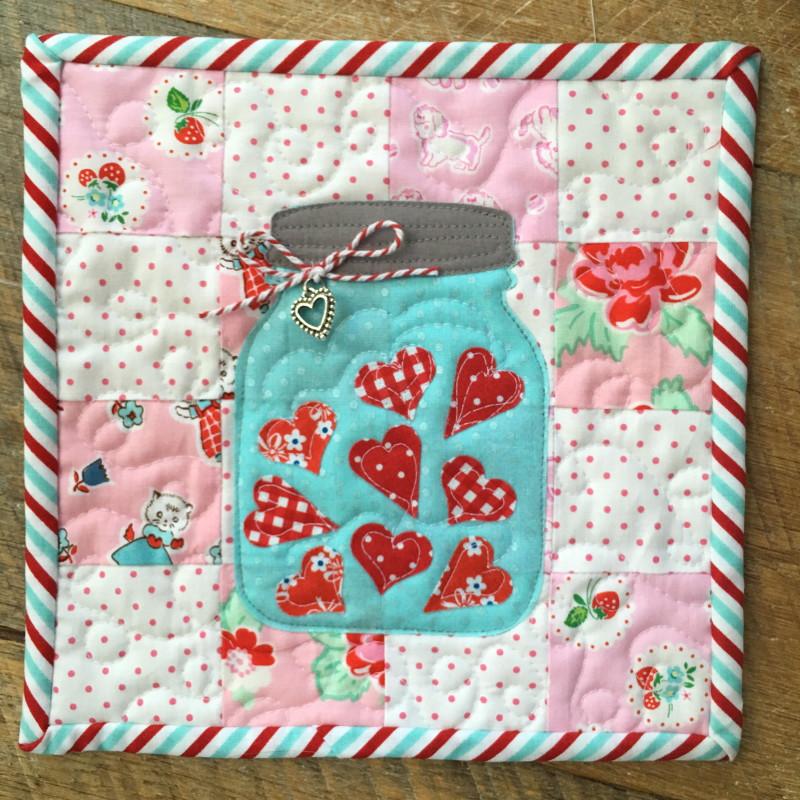
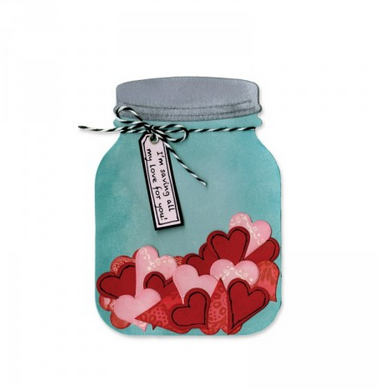
Sometimes something small is better than something big 🙂  I designed this mini mini quilt for a sweet friend.  It can be hung from a clothespin, tacked to a wall or bulletin board, or placed in a hutch; where ever you need a little happy!  I love this jar die by Lori Whitlock.

Screen Shot 2016-07-26 at 9.56.59 PM

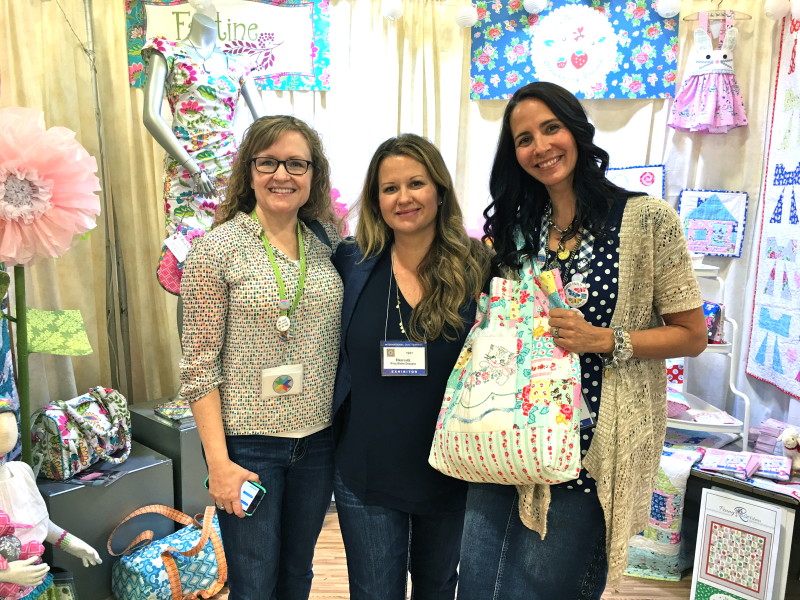
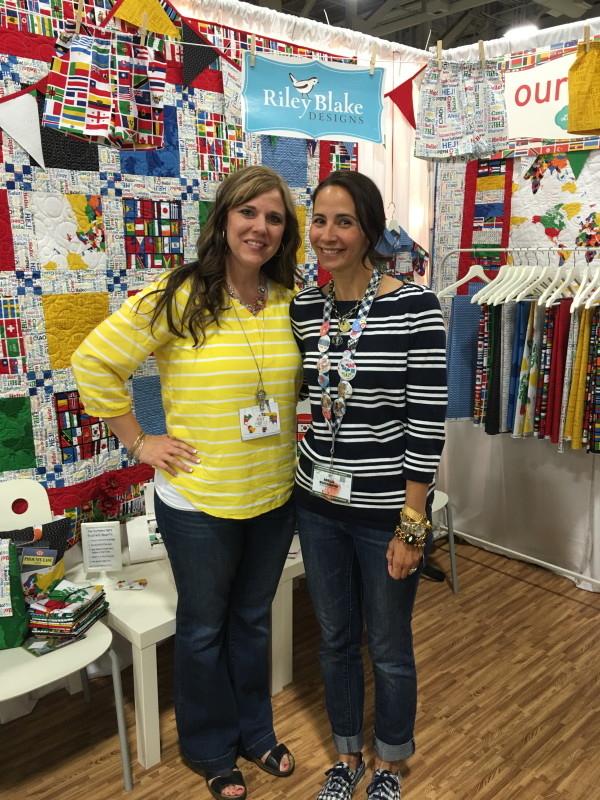
I was thrilled to meet up with Lori at Quilt Market!  She is a super talented designer of fabric, paper, Sizzix dies, and crafts.IMG_8221

Let’s get started!!

Supplies:

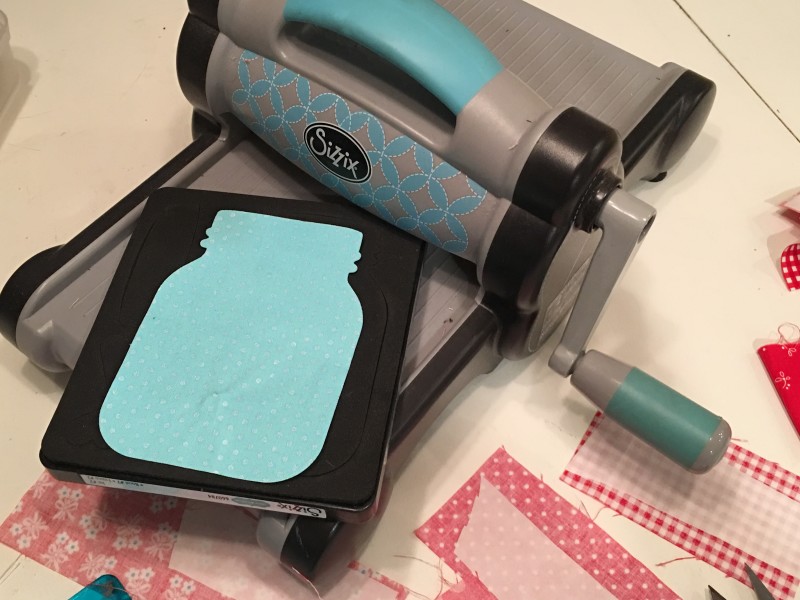
Sizzix Jar #2 Die

(8) 2 1/2″ squares of white dot

(8) 2 1/2″ squares pink print

Fabric for jar, lid, and hearts

Heat n Bond Lite

2 1/2″ x WOF binding

batting

backing

Bakers Twine

Heart Charm


IMG_0443

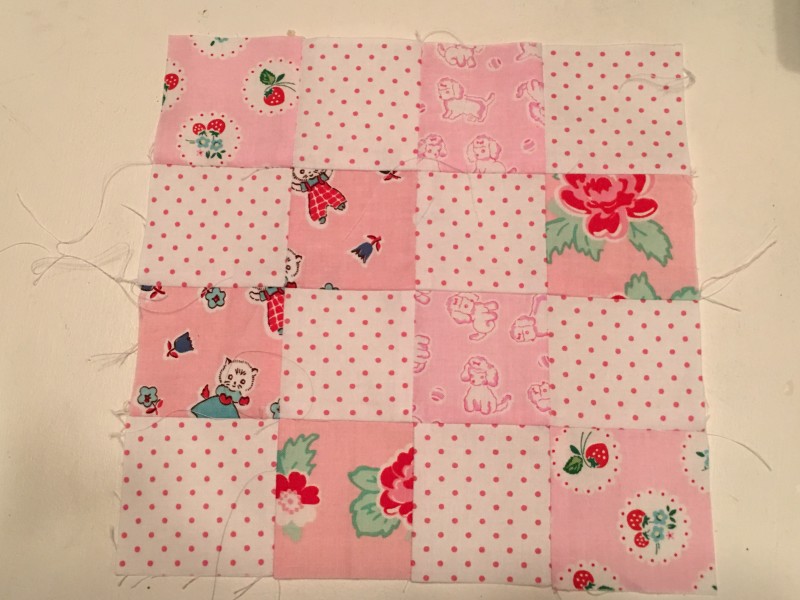
All seams 1/4″.  Begin by sewing the 2 1/2″ squares together in an alternating pattern with 4 rows of 4.  Press.

IMG_0442

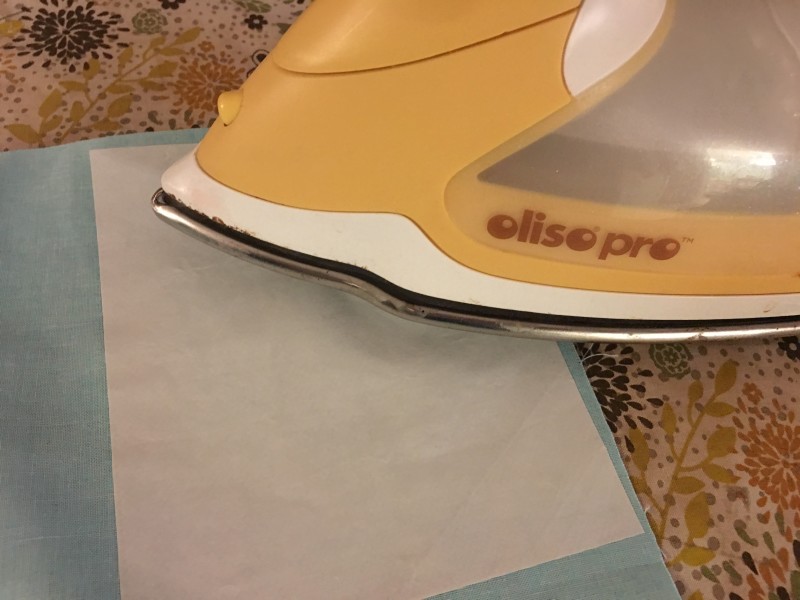
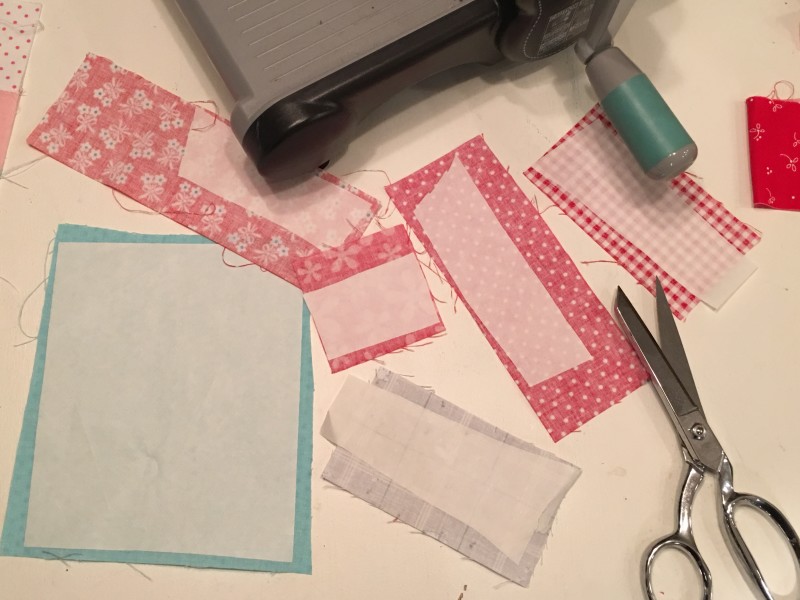
Fuse the Heat n Bond Lite to the wrong side of the jar fabric, lid fabric, and heart fabric. IMG_0444

As you can see this is a great scrap buster!!!IMG_0445

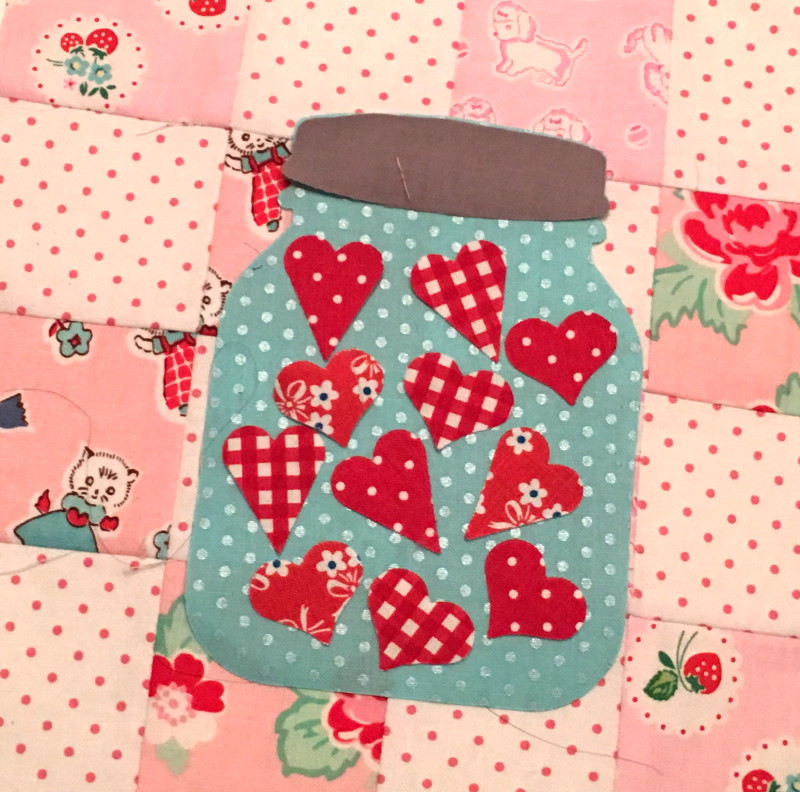
Die cut the jar, the lid and the hearts.  I die cut 11 hearts.  Peel off the backing paper.

IMG_0452

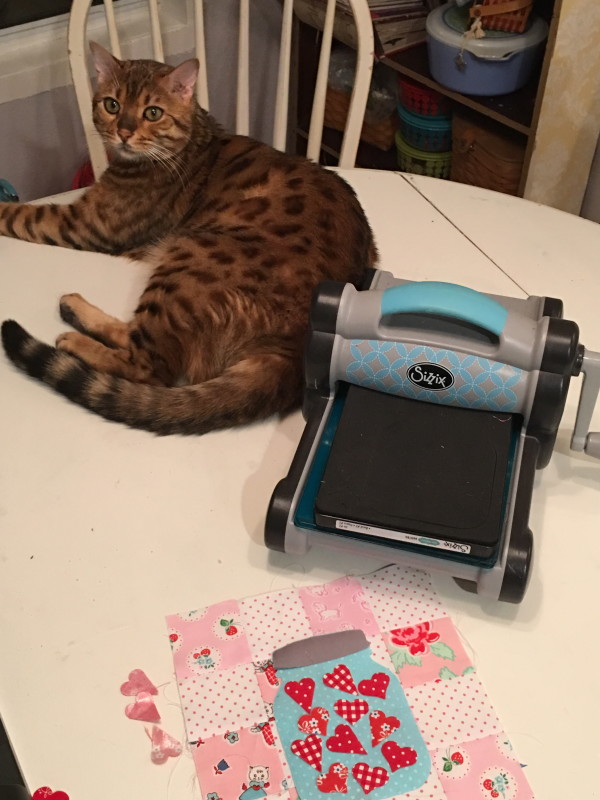
Position the hearts on the jar and the jar on the quilt block.  Mufasa and I are working very late tonight!!IMG_0449

Press the applique pieces in place.

Baste the backing fabric, batting, and quilt block.  Quilt.  I quilted loop de loos around the jar, then quilted with dark gray thread outlining the jar and lid.  I also quilted inside each heart.  Square up the quilt block and add the binding.

IMG_0464

Tie a bow out of bakers twine and tack it to the side of the jar.  I added a little silver heart charm – yes I’m cute 🙂

IMG_0473

I hope you love making this project!  I can’t wait to make more and give for gifts.  You might want to tuck this little idea away for Valentines Day!!

IMG_0469

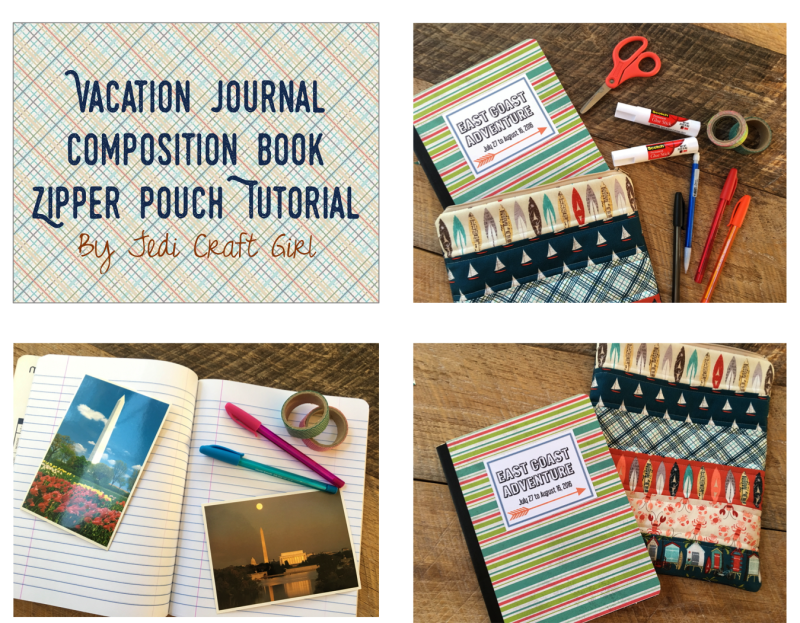
Composition Book Zipper Pouch

comp book zipper pouch

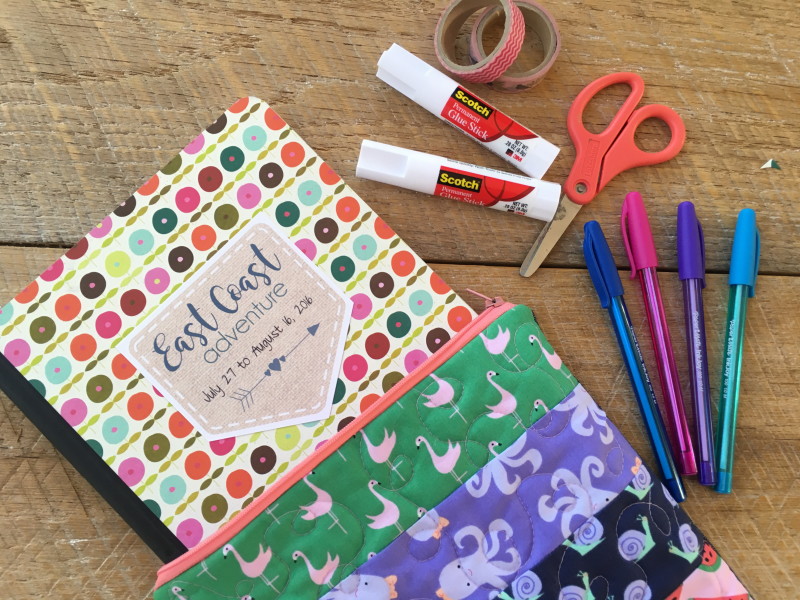
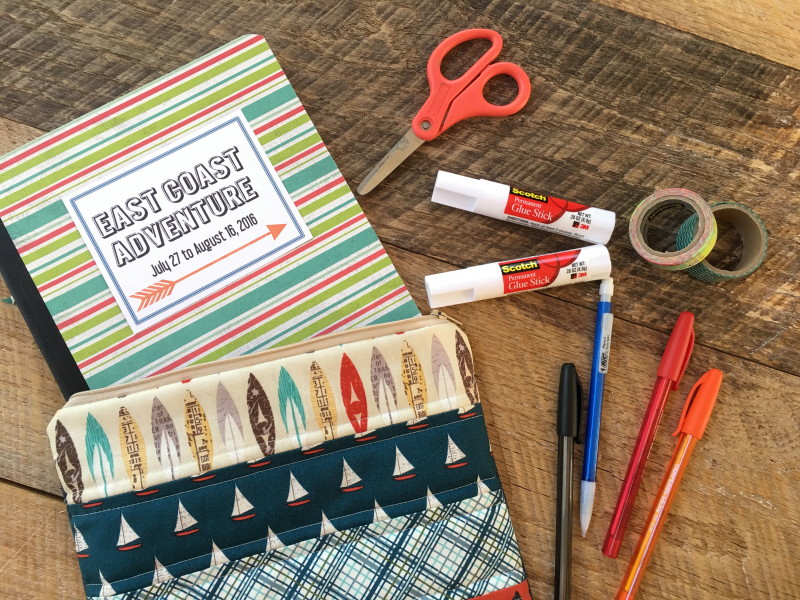
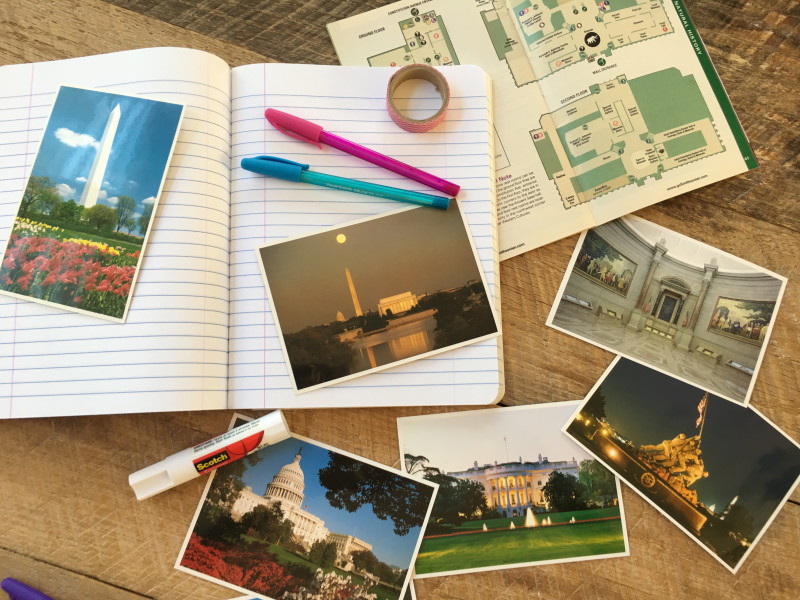
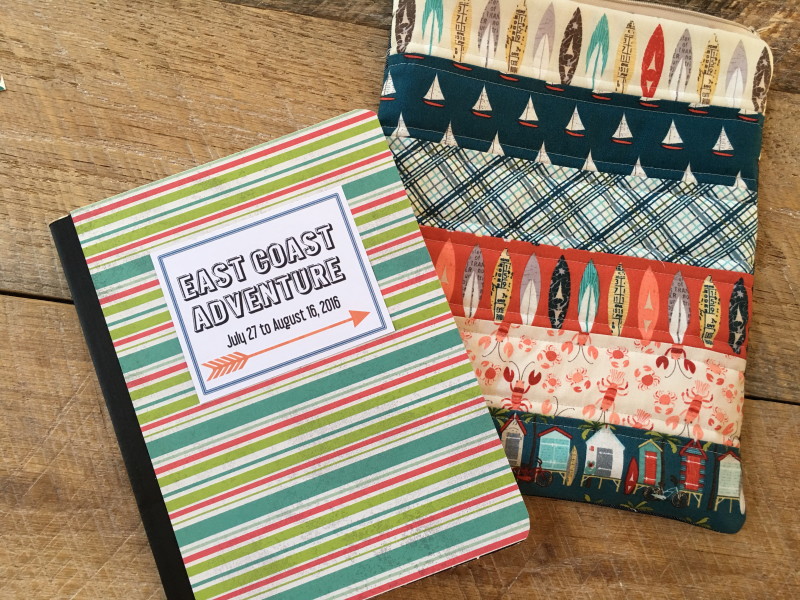
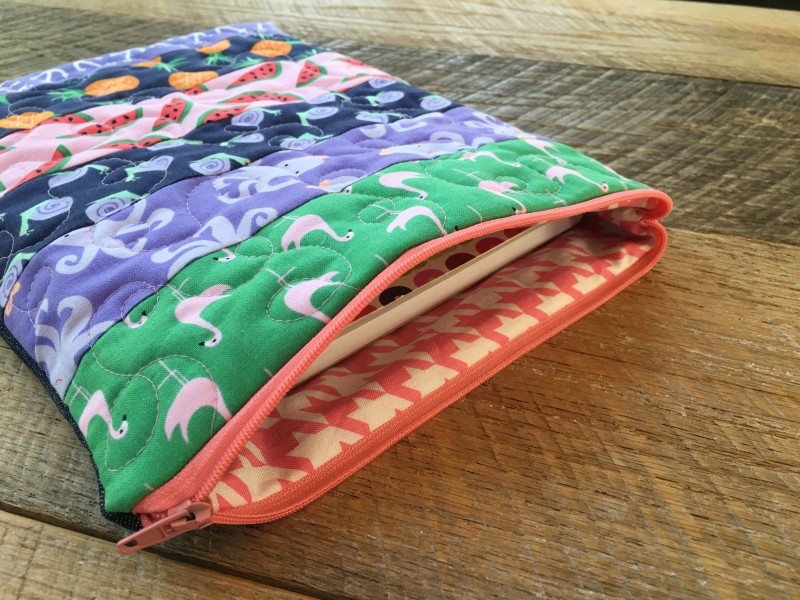
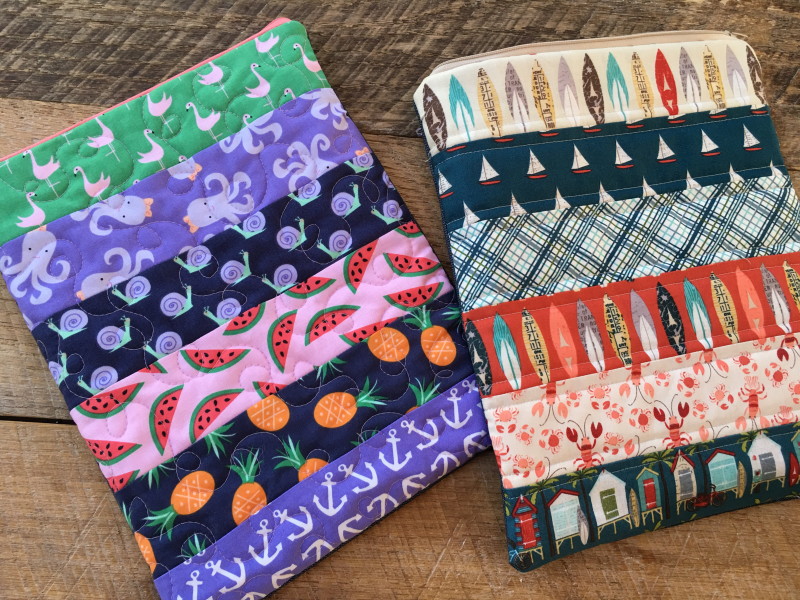
I had this great idea for my kids to keep a summer vacation journal.  I got each of them a composition book and covered it with patterned paper.  I thought it would be fun for them to have a zipper pouch to keep the journal in along with glue sticks, pens, pencils, scissors, washi tape, etc.  That way when we are traveling they can write down their experiences and also include post cards, maps, brochures, ticket stubs, and other memorabilia of our trip.  They were super excited to pick their own fabrics!  Here’s how you can make one!!

Supplies:

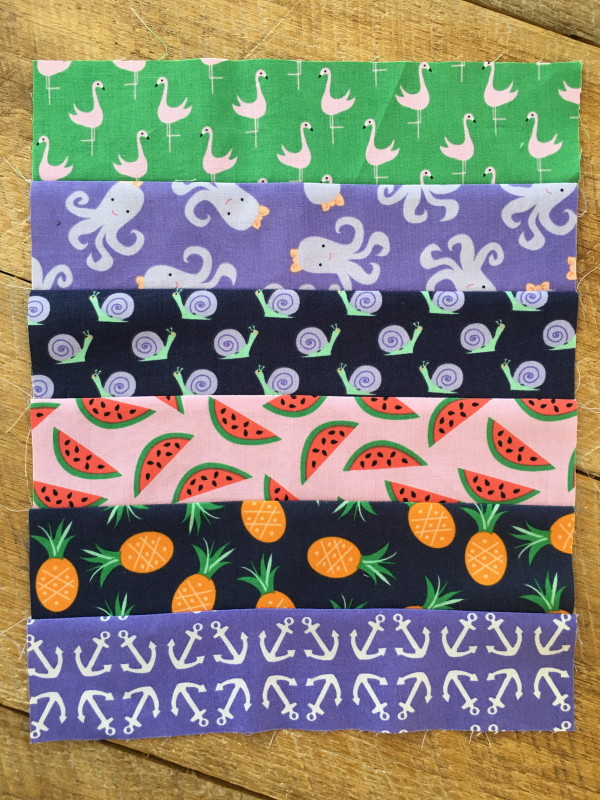
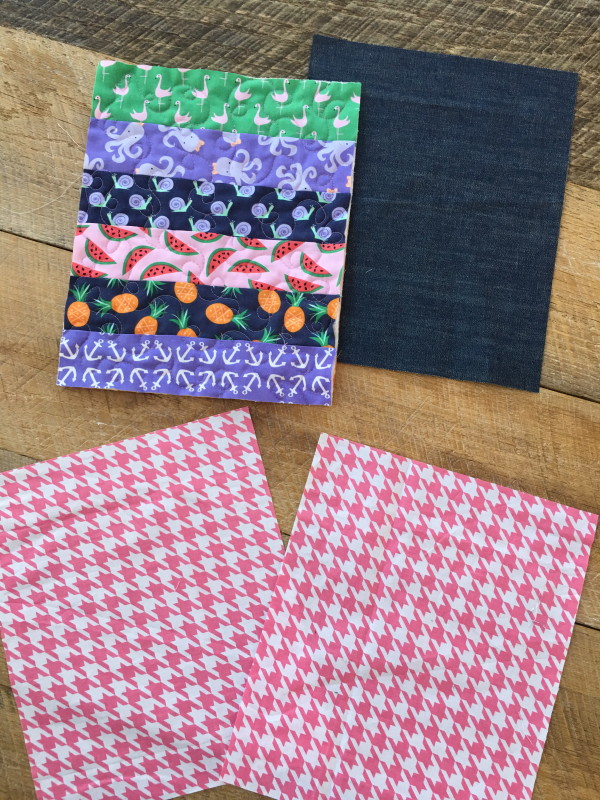
Front: (6) 2.5″ x 10″ strips

Back: 12″x 10″ piece of denim

Lining: (2) 12″ x 10″ coordinating fabric

12″ or longer zipper

All seams 1/4″

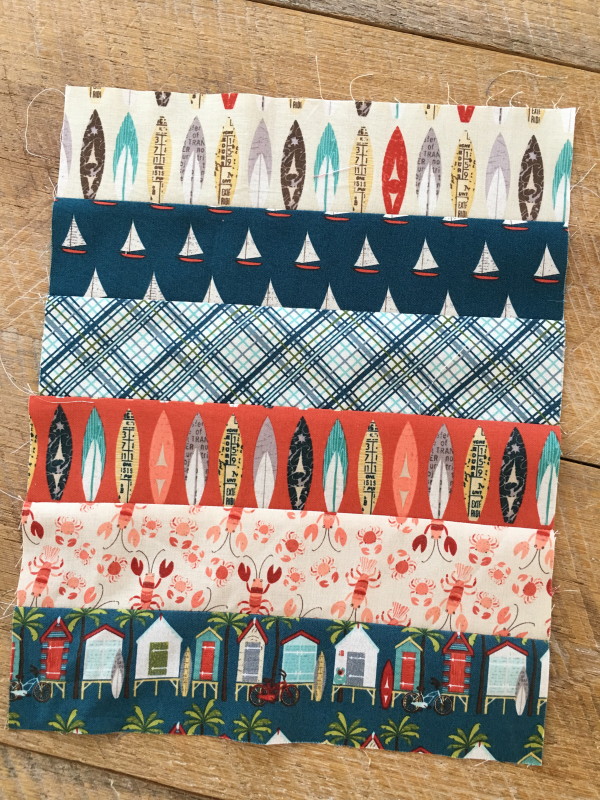
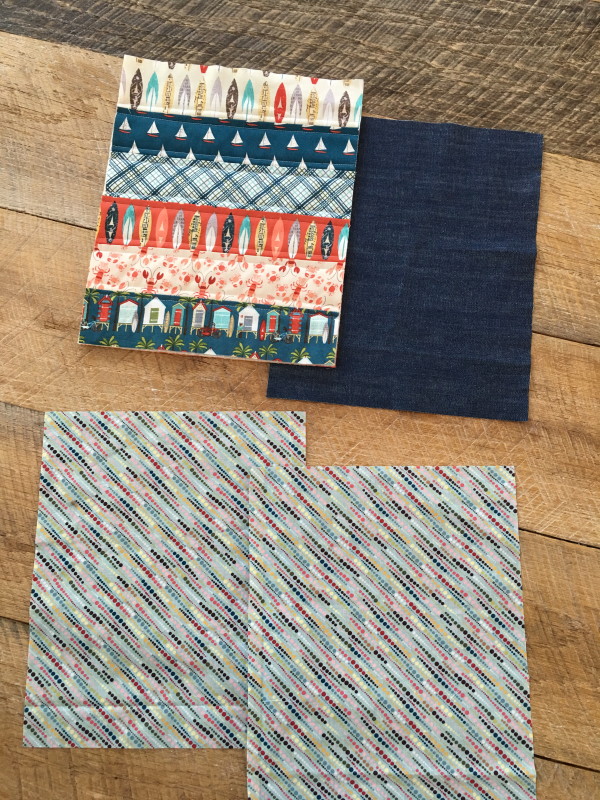
Begin by cutting the 2.5″ x 10″ strips for the front.  You will need 6.

Sew together and press.

IMG_0415

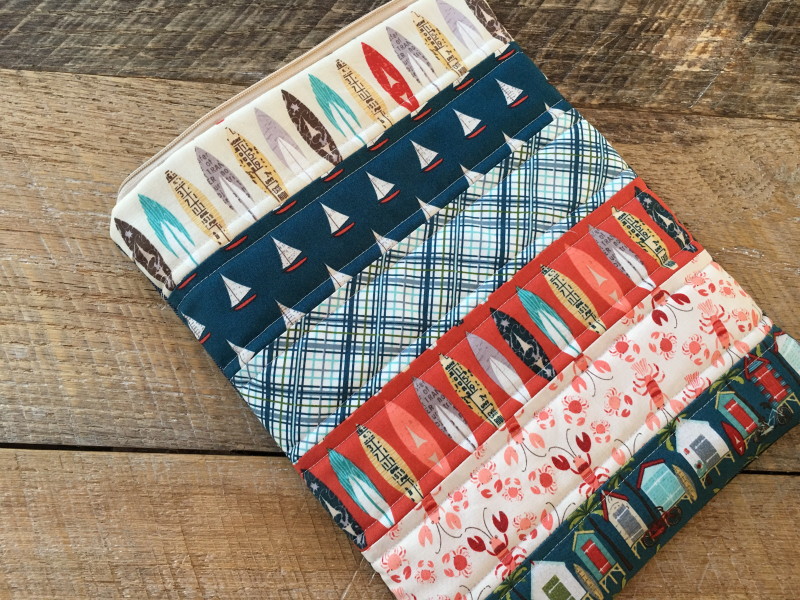
Ryan choose Off Shore by Riley Blake Designs.

IMG_0416

Sally choose these fun prints from Dear Stella.

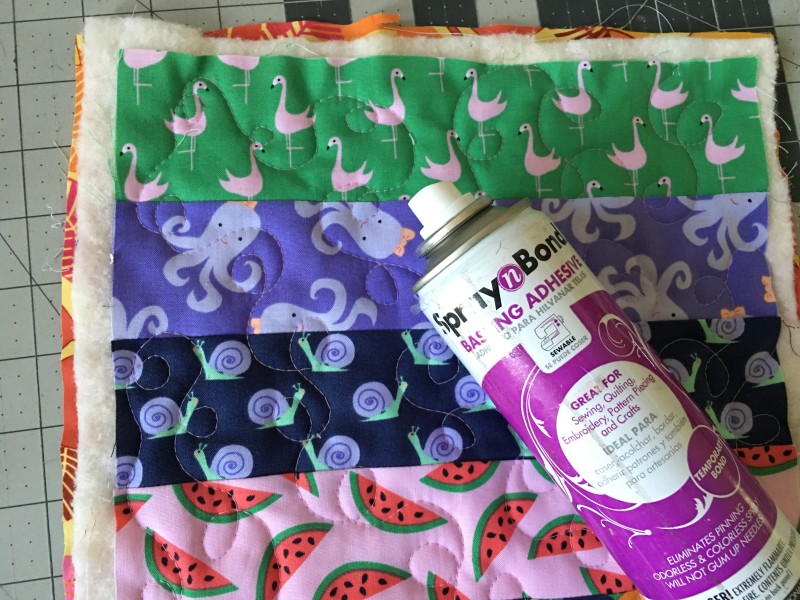
Once the strips are sewn it’s time to quilt.

IMG_0417

Baste the pieced front to the batting.  For a little extra stability I add an additional piece of fabric to the back of the batting – one that will not be seen.  So I use fabric I don’t like.  Quilt.  Square up.  Depending on how much you quilted, your measurements might have changed a touch.  The piece before quilting should measure 12″ x 10″.  If it has changed, make a note and use this measurement to cut the denim back and the lining pieces.IMG_0418

IMG_0420

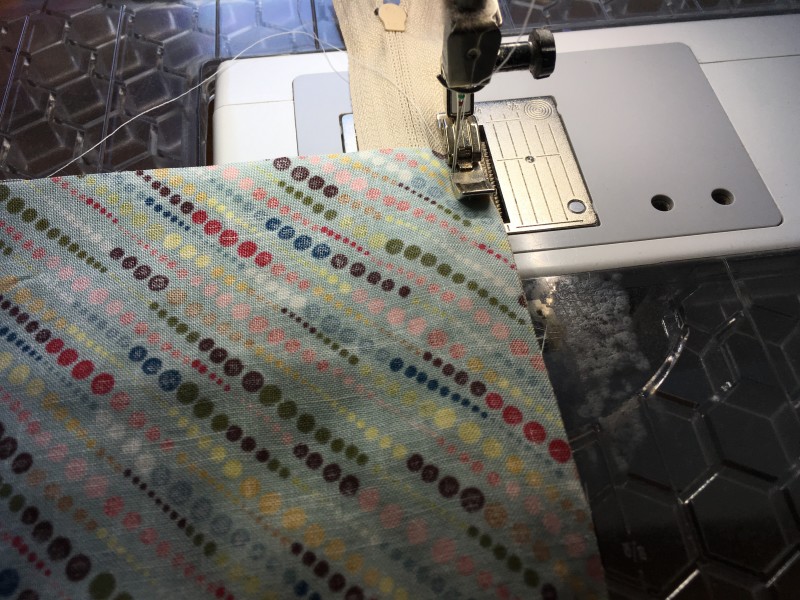
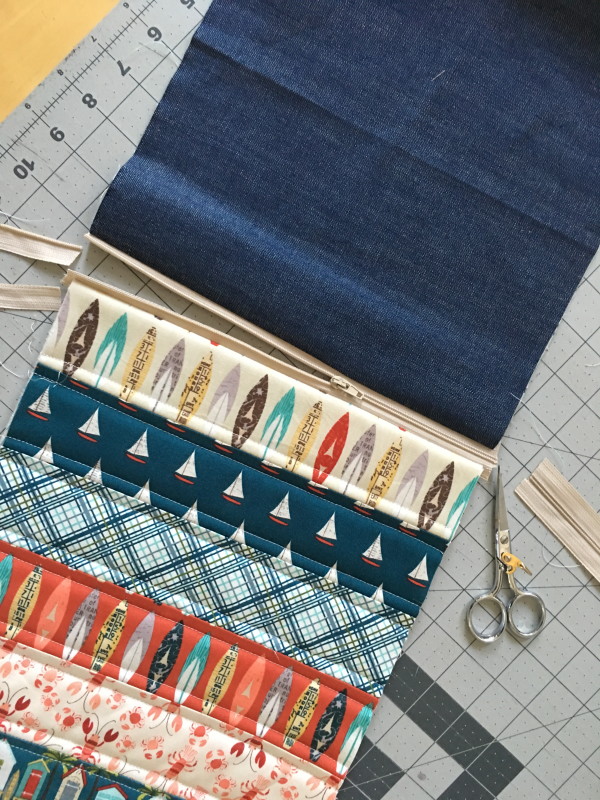
Now it’s time to install the zipper.  If you need more assistance on the zipper, I have a whole section of zipper pouch tutorials that will have more detail.    IMG_0421

Lay the front piece face up.  Align the zipper face down.  Add one of the lining pieces also face down.  Make sure all the top edges match.  Pin.  I buy my zippers extra long so there is zipper hanging off on both sides – not to worry 🙂IMG_0422

Using a zipper foot, sew 1/4″ along the raw edges.IMG_0423

Now repeat with the other side.  Lay the denim face up.  Position the bag front and zipper face down.  Lay the second piece of lining face down as well.  Align all top edges, pin, sew.IMG_0425

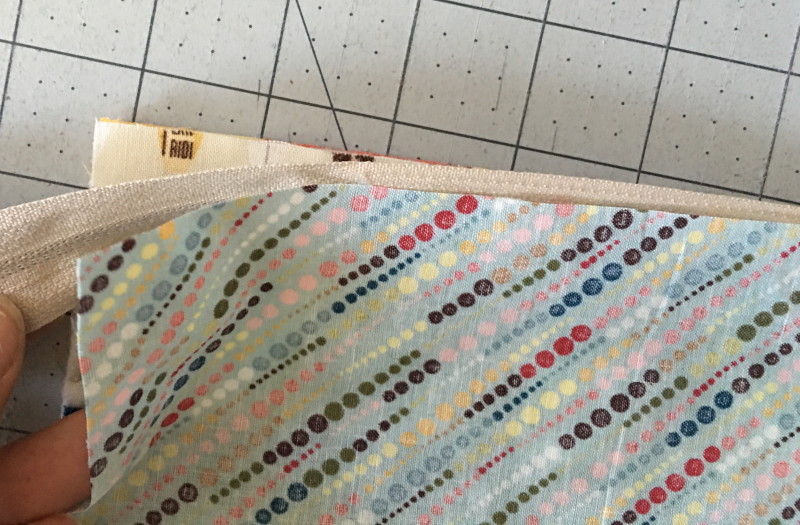
Press the fabric along the zipper.  I usually top stitch 1/8″ away from both sides of the zipper.  In my haste to get these done super fast I forgot this step.  Position the zipper in the center of the bag and trim off the excess zipper.IMG_0426

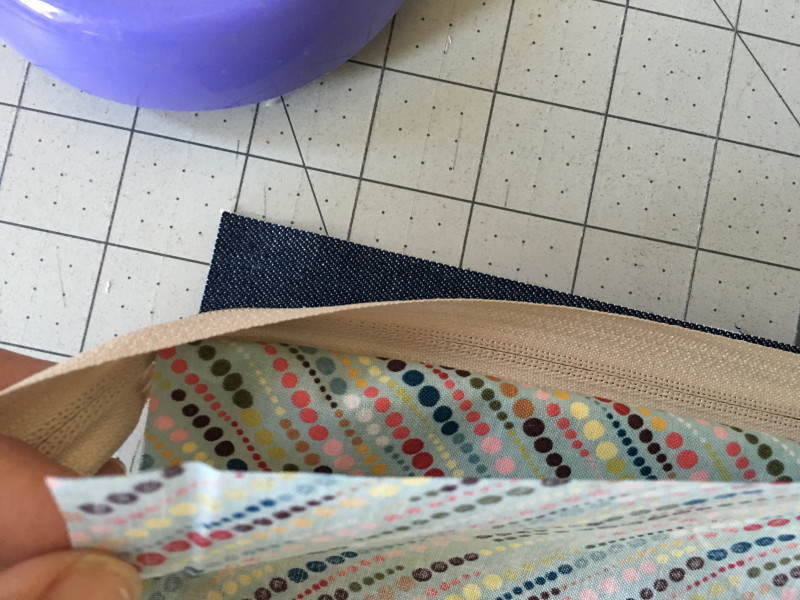
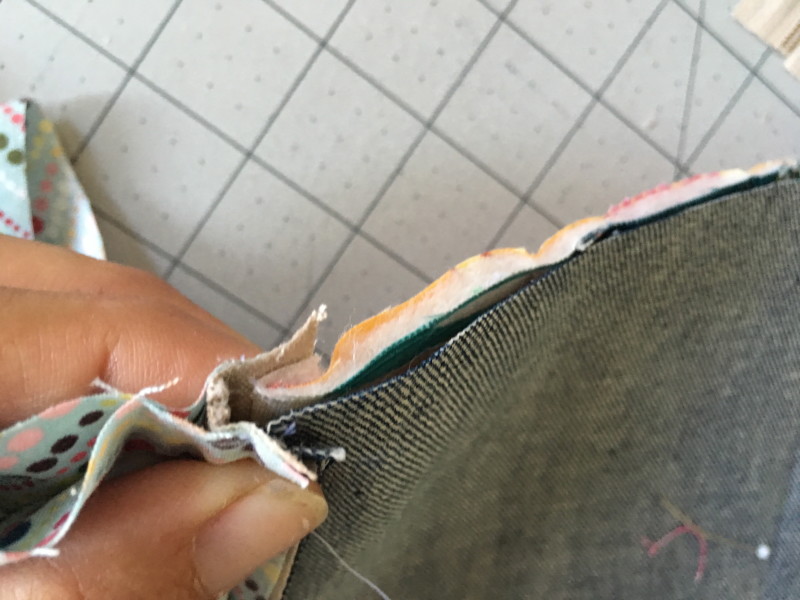
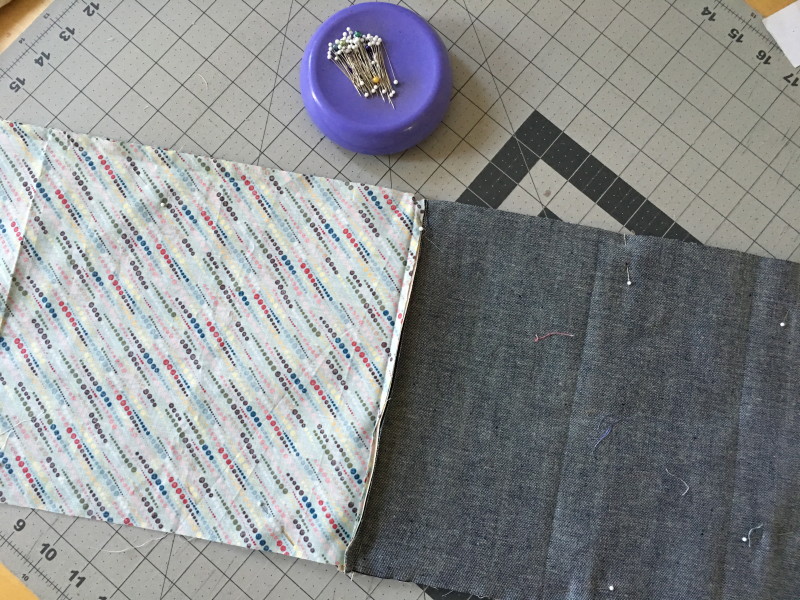
Match the lining pieces right sides together.  Match up the denim and front pieces right sides together.  Pin all the way around.  Here is what it looks like where the zipper ends meet.  IMG_0427
Sew 1/4″ all the way around the bag leaving a 3″ opening on one of the lining sides.  Turn right side out and top stitch the lining closed.  Press.

IMG_0432

I love how they turned out!  My kids are thrilled as well!!IMG_0428

Now we are ready for a fun adventure!IMG_0430

IMG_0436

IMG_0431

IMG_0439   IMG_0434

Big Print Baby Quilt {Free Quilt Pattern}

big print baby quilt

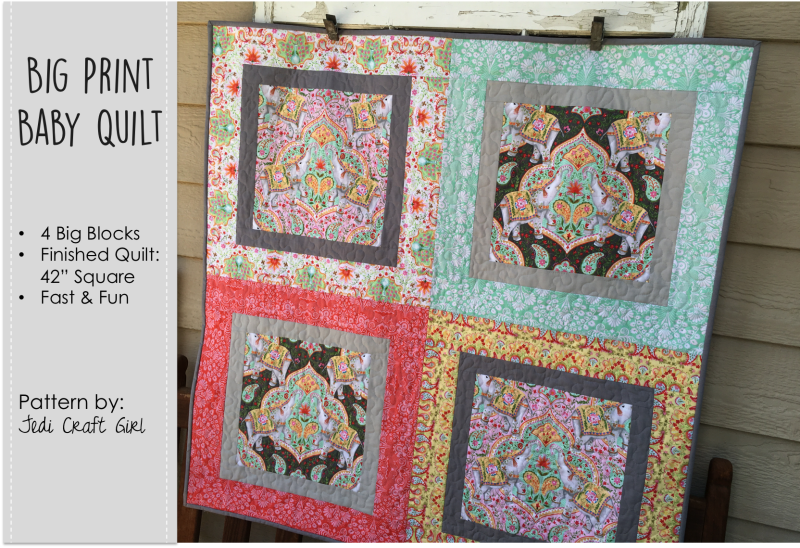
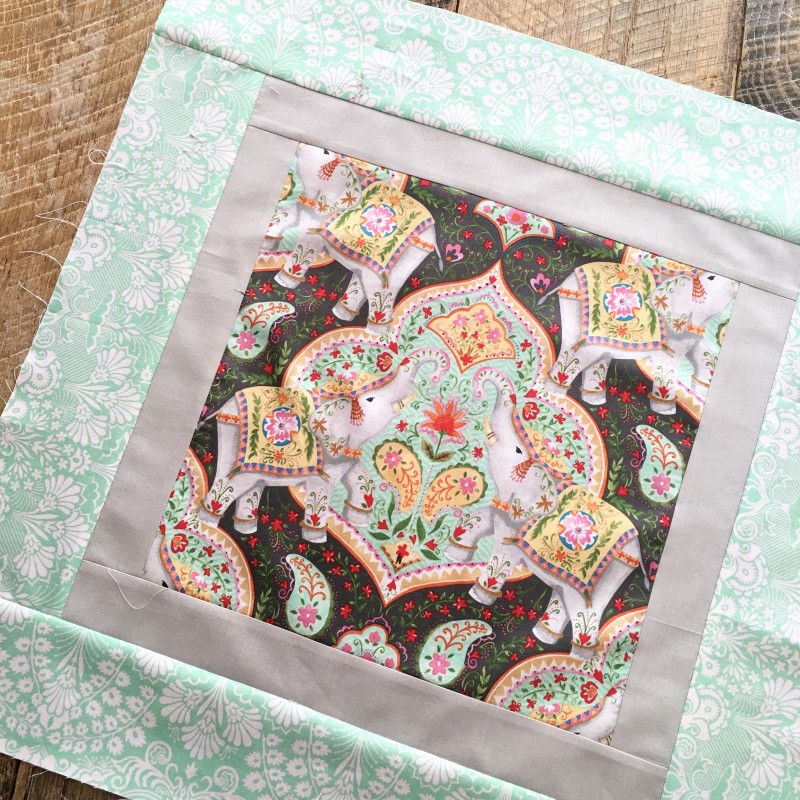
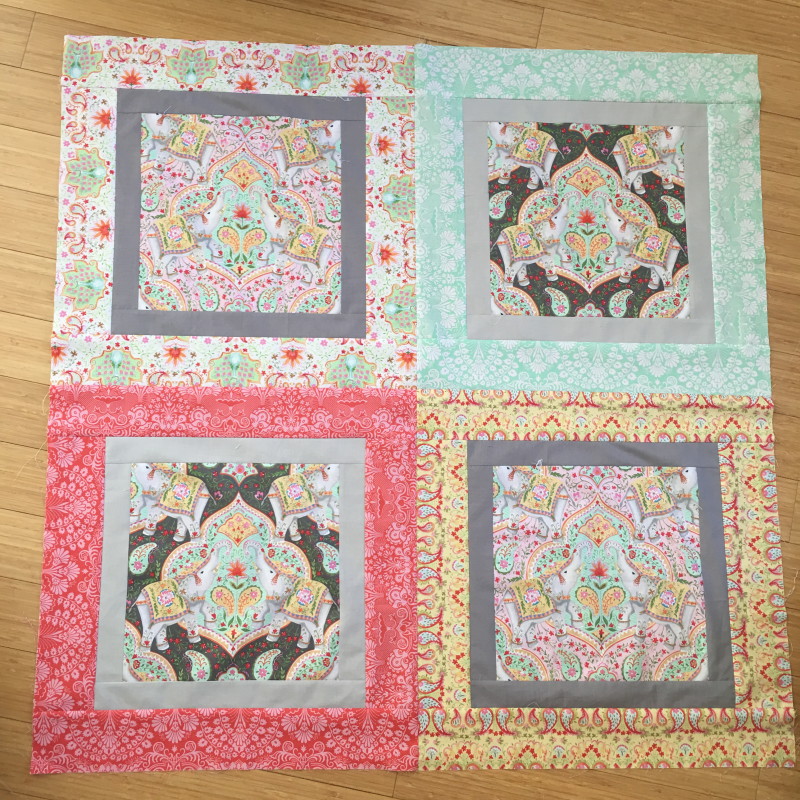
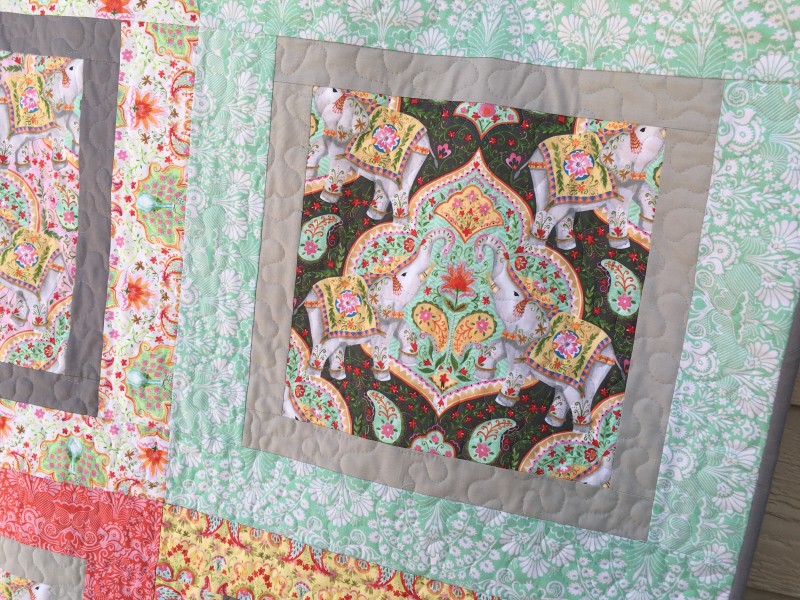
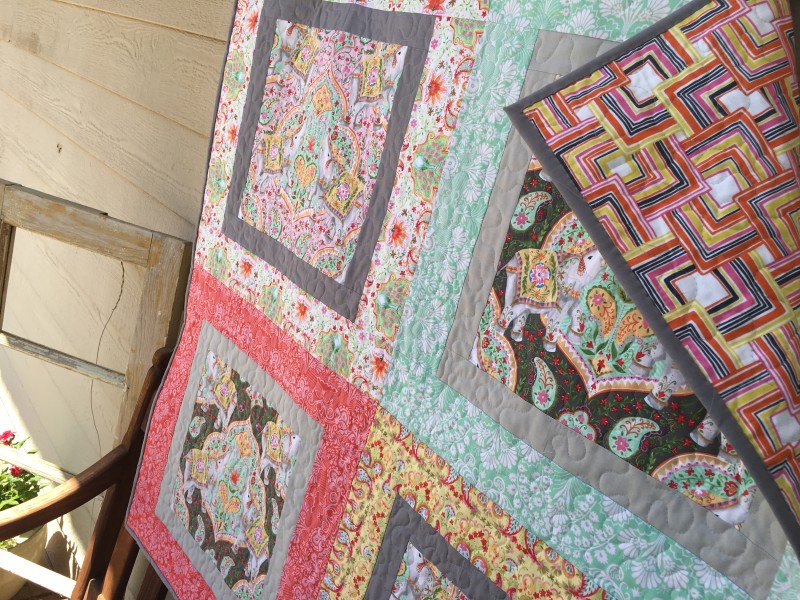
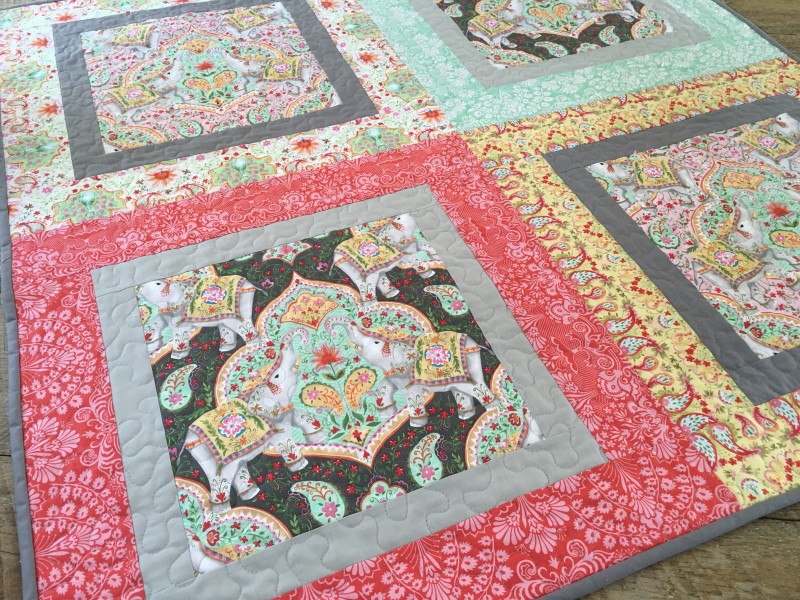
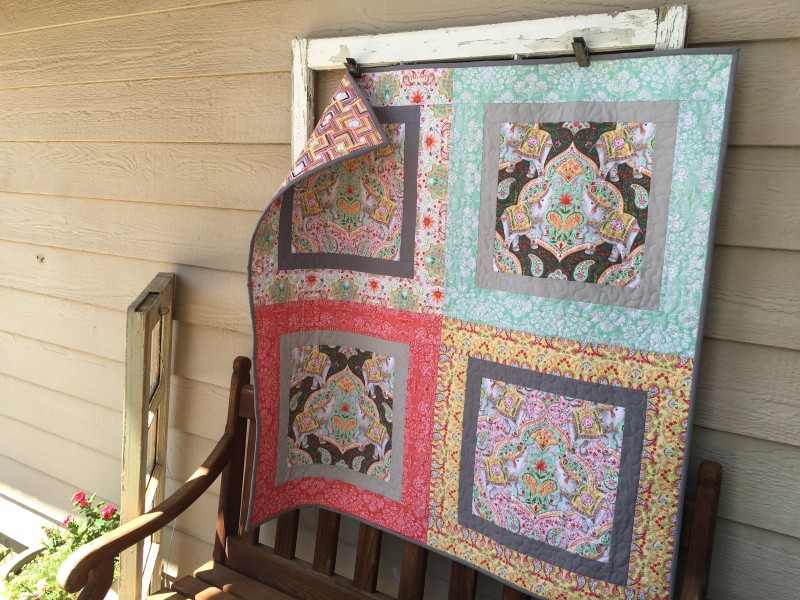
I love big prints and I cannot lie!  Especially big prints with animals!  Sometimes it’s hard to figure out what to do with big theme prints and it seems all the quilt patterns out there require cutting fabric into tiny pieces.  I came up with this quilt pattern because I wanted to showcase the large elephant print in this new line of fabric by Blend called Season of Love.  My friend recently had a baby girl and she loves elephants!  So this was the answer!  The quilt consists of 4 big blocks sewn together in a 4-Patch.  All you need is about an hour to put the quilt top together – whooo hoooo!!!

Here’s how you can make one!  All seams 1/4″

Fabric Requirements:

1/2 yard dark theme print

1/2 yard light theme print

1/3 yard light gray

1/3 yard dark gray

1/4 yard (4) different accent fabrics

1/2 yard binding

1 1/2 yard backing

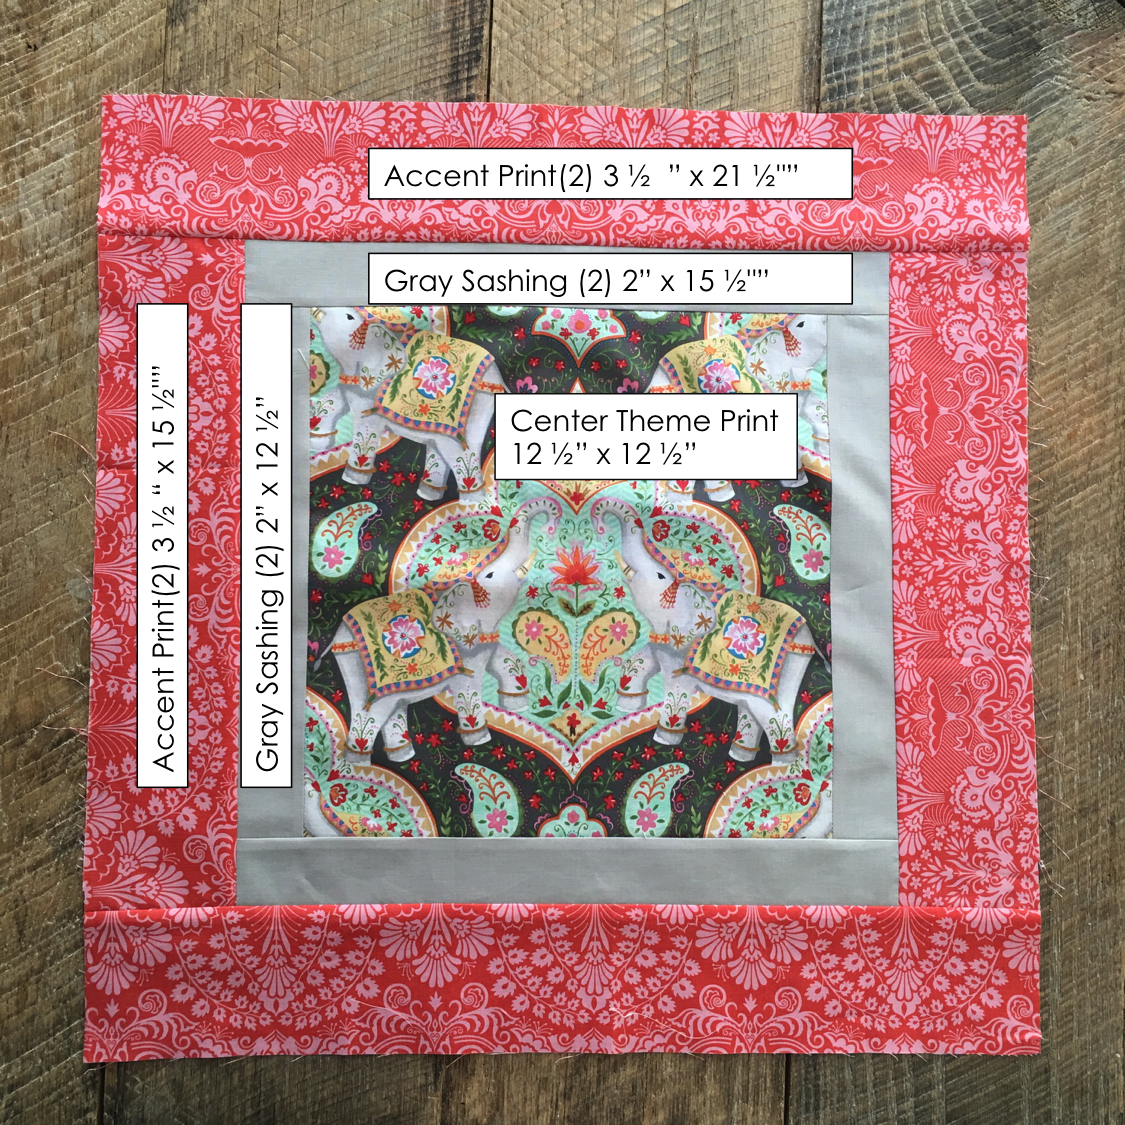
big-print-quilt-measurements

Begin by cutting the fabric according to the cutting diagram above.  Sew the side gray sashing strips to the theme print center.  Press.  Sew the top and bottom gray sashing strips.  Press.  Sew the side accent print strips.  Press.  Sew the top and bottom accent prints.  Press.  Make 4 big blocks.

IMG_0041

Notice the light theme print has dark gray sashing and the dark theme print has light gray sashing.  Sew the 4 big blocks together as you would a 4-patch.  Press.  IMG_0043

Baste the quilt to the batting and backing fabric and quilt and bind.
IMG_0375

I love how this turned out!  You really get a feel of the theme print – and it is a large print!!

IMG_0374

I can’t wait to make another one of these in different fabrics!!! I’m thinking whales?  Cats?  Foxes?

IMG_0351

What are you waiting for!!  Go fetch some large prints!!!IMG_0353

Save

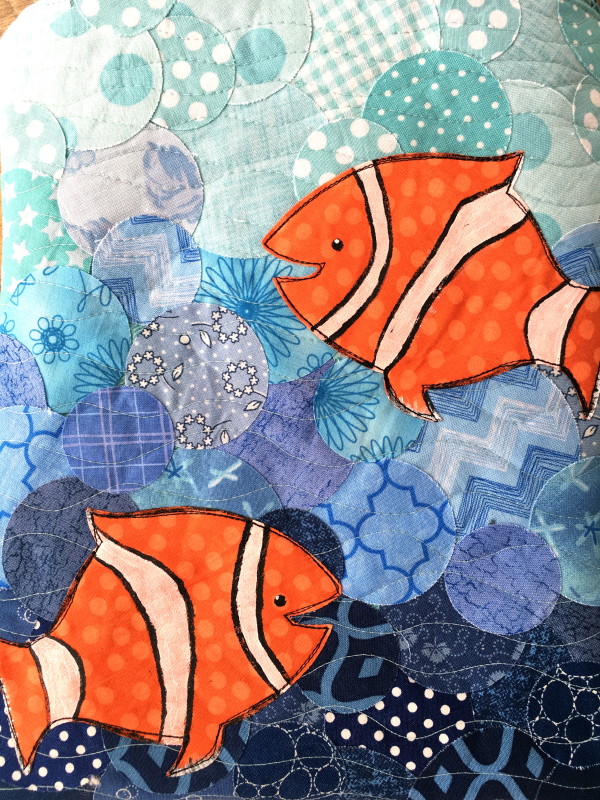
Clownfish iPad Case Tutorial

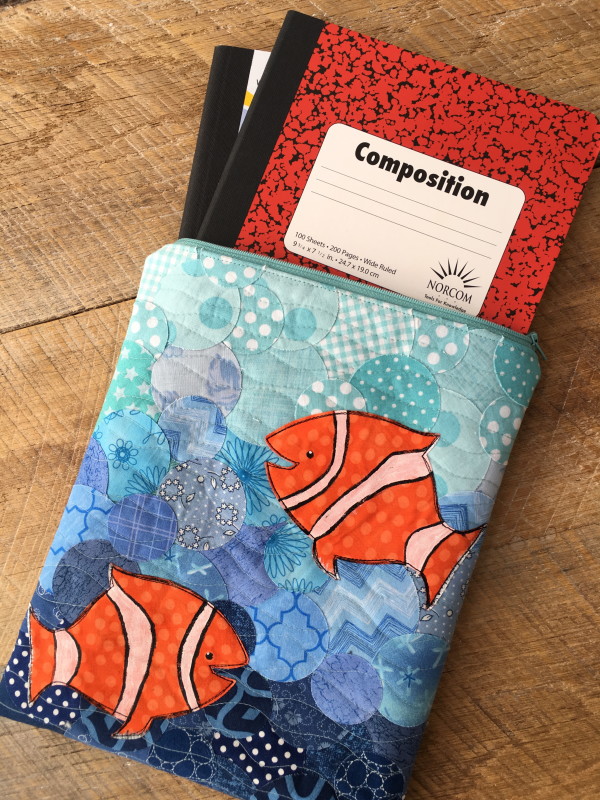
ipad case clownfish sizzix

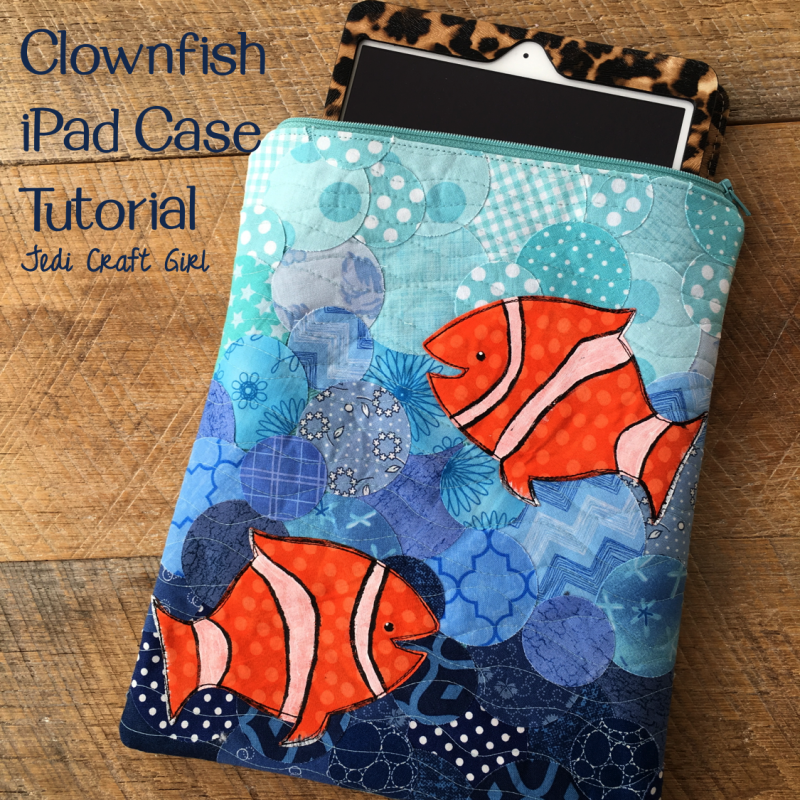
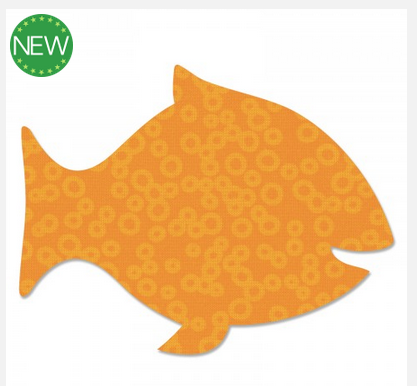
My family LOVES the Finding Dorey movie!!  When Sizzix released this new fish die at Quilt Market I knew it was for me!

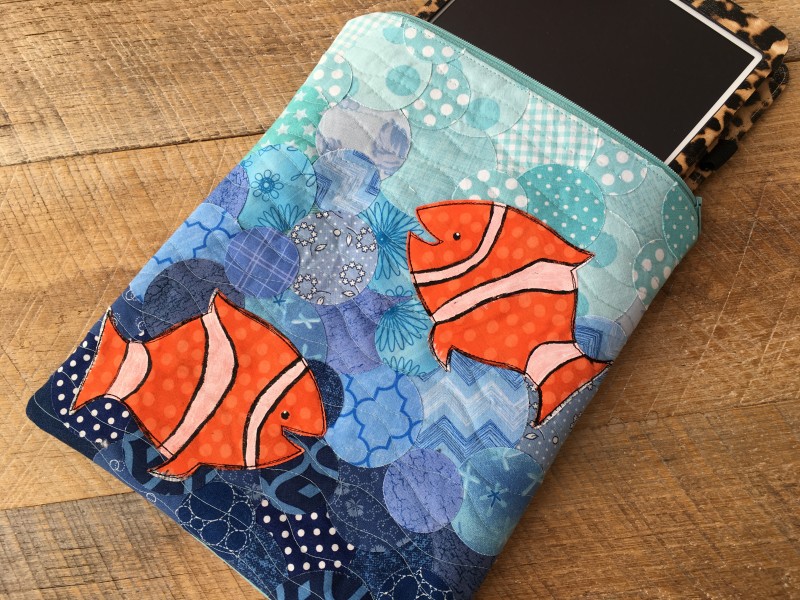
Screen Shot 2016-05-27 at 10.12.26 AMUsing this new die and the circle die you can create this fun pouch.  I wanted a case that would fit my iPad.  Then my daughter decided she wanted it 🙂
IMG_8457

It also fits a few composition books or the medium size coloring or sketch book.  If you would rather a different size, simply change up the measurements to fit your needs!  Lets get started!
IMG_8410

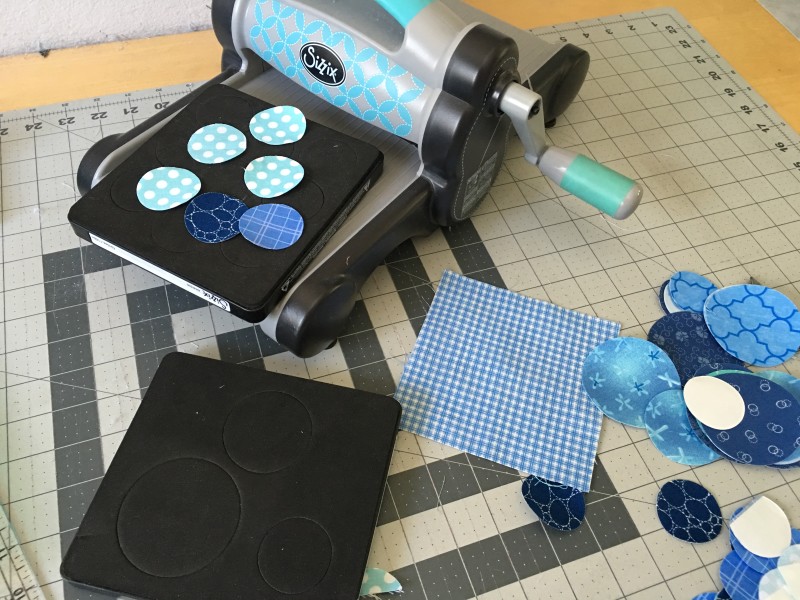
Being by choosing a variety of blue fabrics from dark to light.  Fuse Heat n Bond lite to the back of each fabric (I cut mine in 5″ squares for easy die cutting).  Die cut the circles.  I used the circle die that has 1.5″, 2″, and 2.5″ circles.IMG_8412

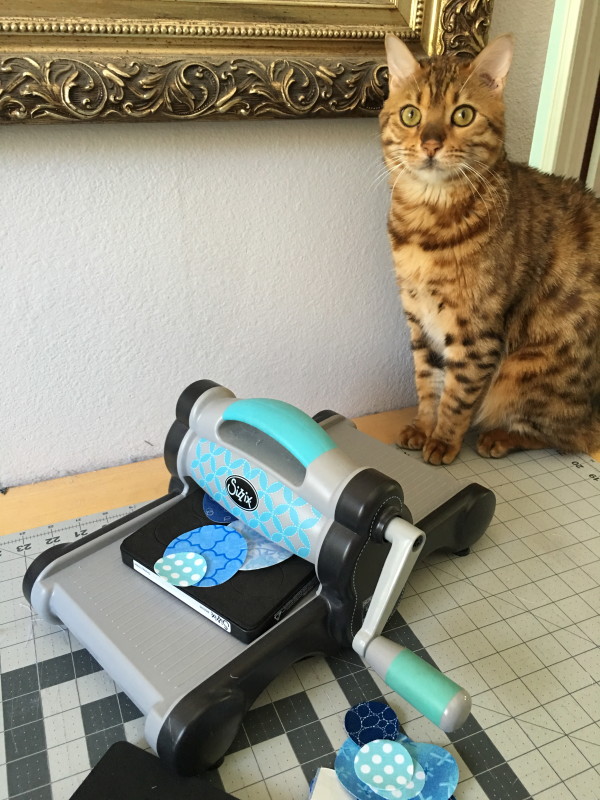
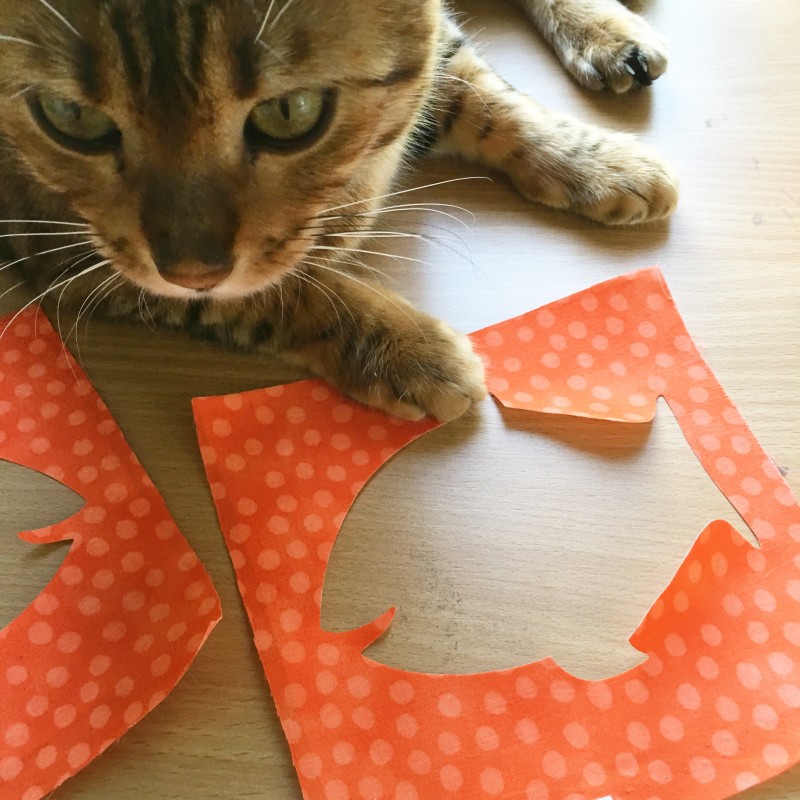
Make sure your Sizzix obsessed cat is nearby to assist 🙂

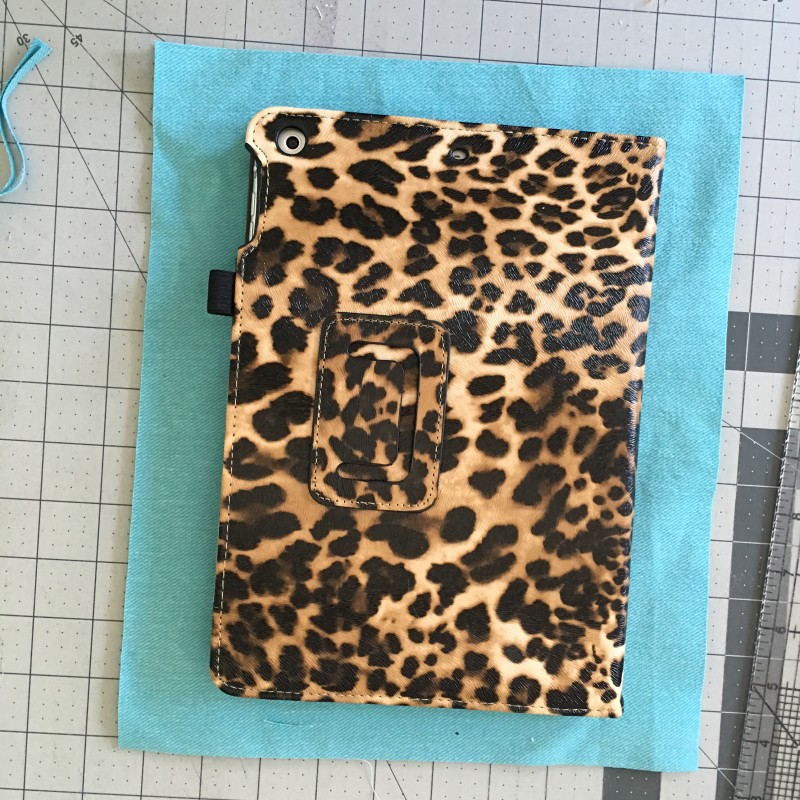
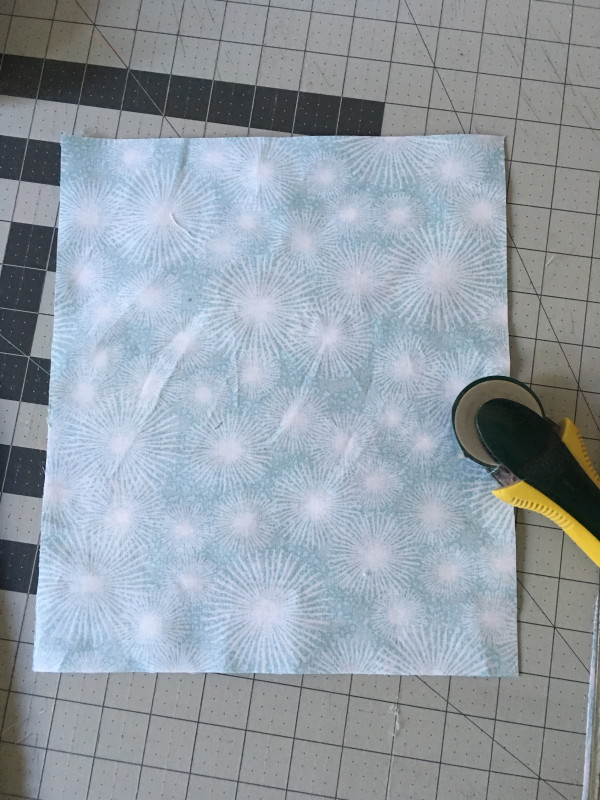
Cut (2) 10″ x 12″ pieces of denimn weight fabric.  I used Crossroads Denim.  Here is where you can change the measurements if you want.  This is a generous size for the iPad. I wanted it to fit with my sweet leopard print case 🙂IMG_8415

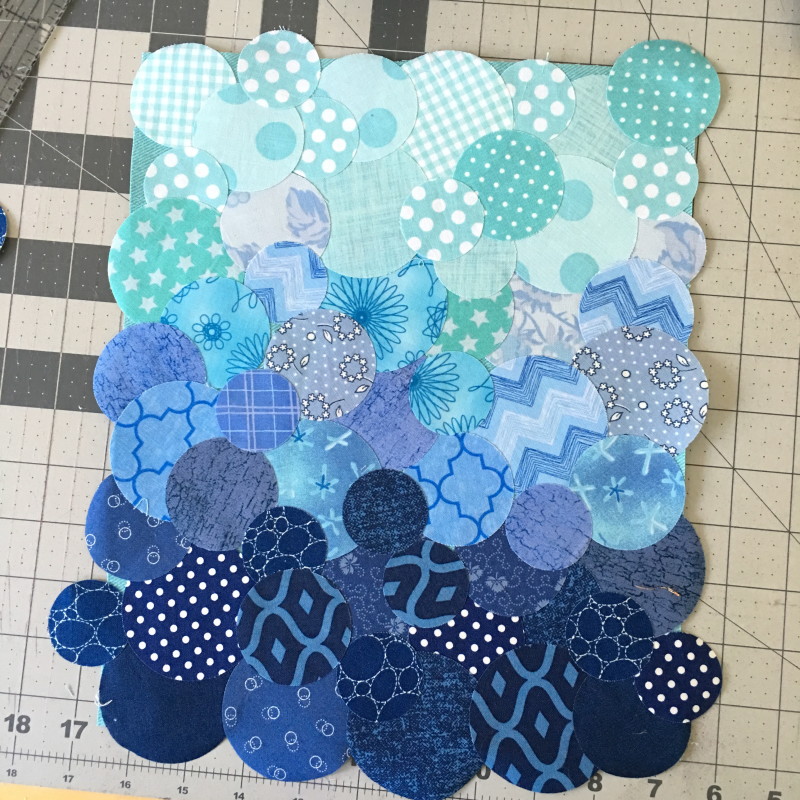
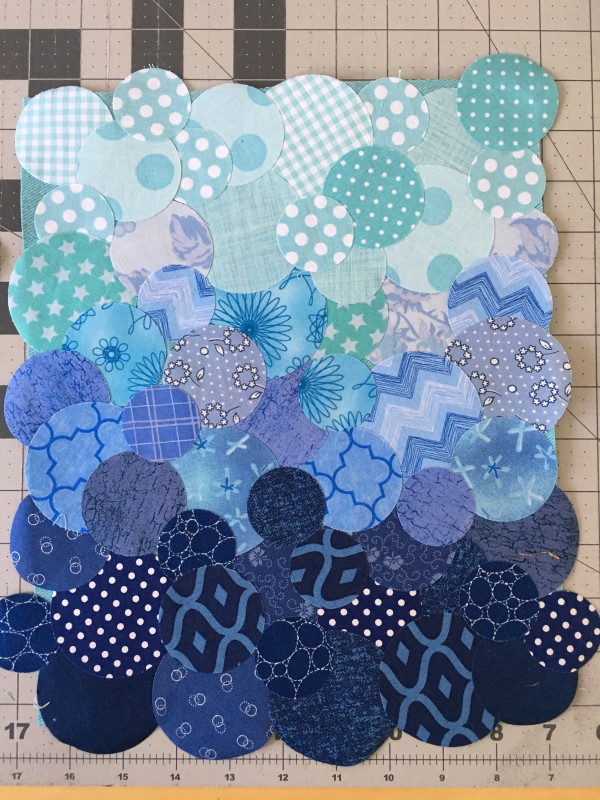
Peel off all the backing papers and begin arranging the circles, overlapping so no background fabric is showing.  I started at the bottom with the dark blues.  IMG_8417

Once it is how you like, press with a hot dry iron.IMG_8424

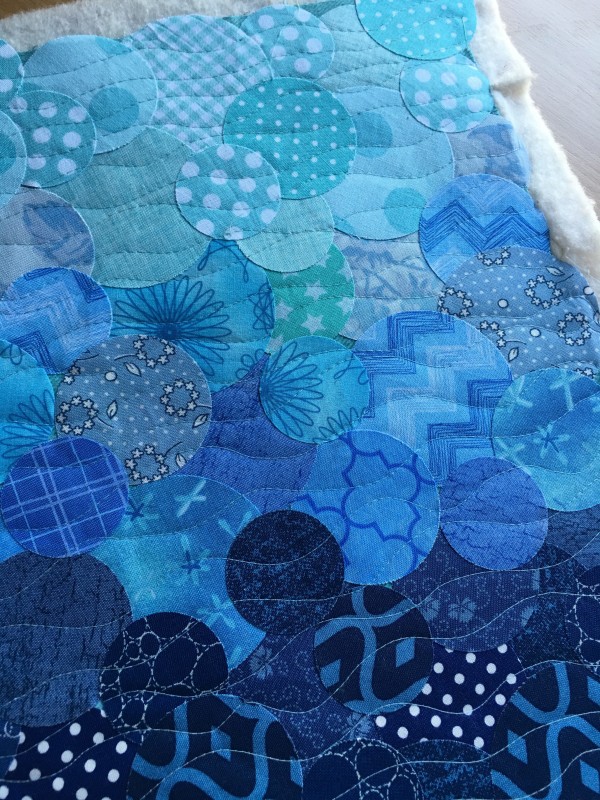
Spray baste this to the cotton batting and quilt as desired.  I quilted random wavy lines throughout.  I am so in love with this!!!IMG_8426

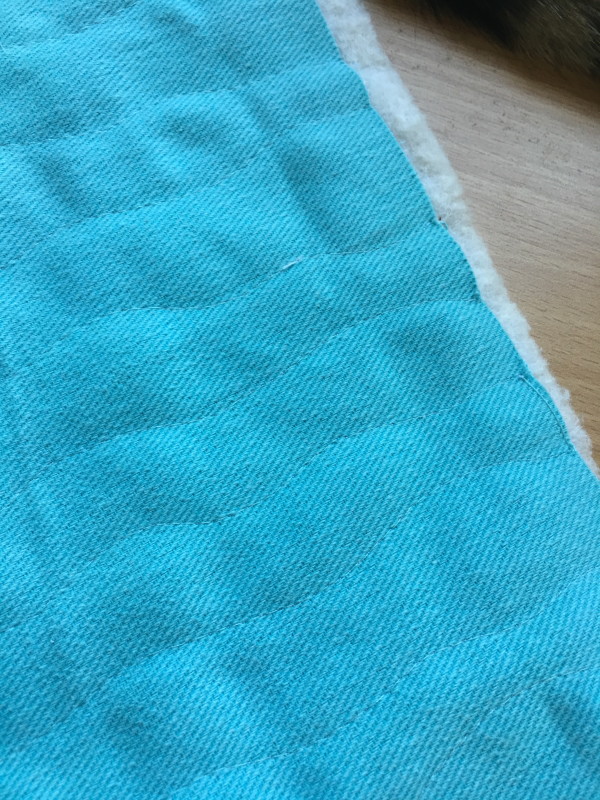
Do the same with the back piece.IMG_8435

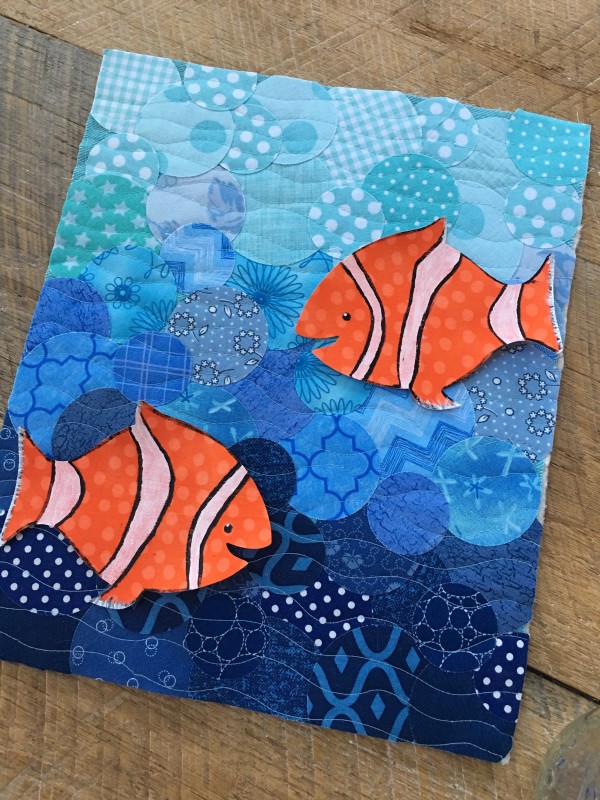
Die cut 2 fish going opposite directions, again, using Heat n Bond Lite.

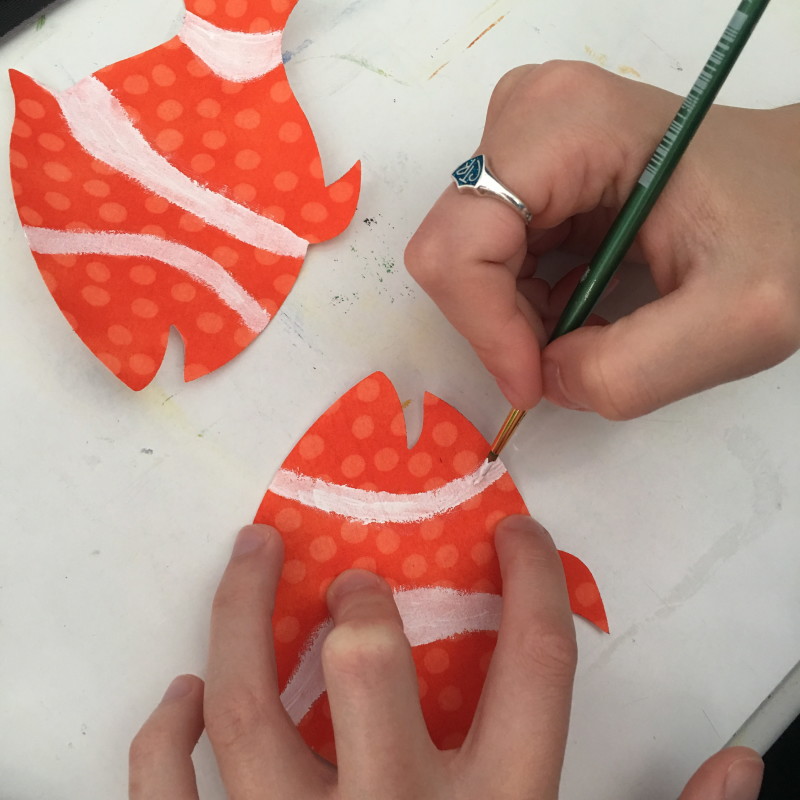
IMG_8438If you want you can paint a little detail on the fish.  We used regular acrylic paint.
IMG_8442

Position the fish and heat set into place.  Stitch around each fish 2 times.IMG_8436

Cut 2 pieces of the backing fabric the same size as the outer bag fabric.  I always remeasure the outer bag pieces after quilting because it will shrink a little.   IMG_8447

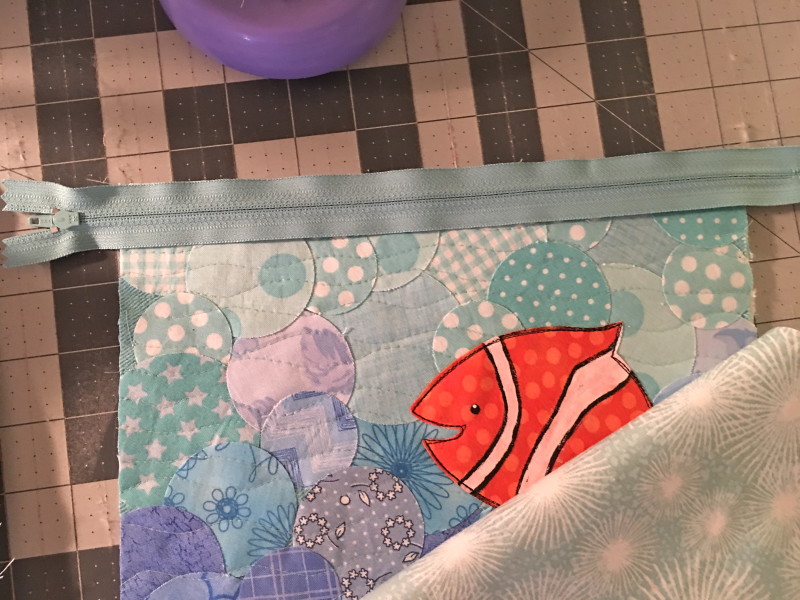
Sew a zipper in the top.  You can use this tutorial for inserting a zipper into a zipper pouch and finishing the bag.IMG_8454

I love how it turned out.  I can’t wait to use this circle background technique on a mini quilt!!IMG_8456

Later Alligator {Free Quilt Pattern}

later alligator cover

Sometimes you find a fabric and you just have to drop everything you’re doing and sew something with it!  That’s how I felt about this new line of fabric from Blend Fabrics called See You Later.IMG_0010

Mufasa was even smitten with the fabric and appeared to be guarding it!!

IMG_0060

The colors are bright and the patterns are whimsical.  They would be perfect for a boy or a girl!

see you later quilt

I created a pattern for you to download for FREE.  This is one of my favorite ways to show off big prints.  Click HERE to download the 3-page pattern.

pattern overview

IMG_0090

The pattern looks like I used solid navy and solid green, but actually I used a navy and white dot and a green and white print.  The quilt is made up of only 1 block made from 2 different color ways.

IMG_0048

It sews up really fast and is the perfect project if you want to sew a quilt top in an afternoon.  That’s usually all the time I’ve got!

IMG_0096

Mufasa thinks the quilt is his and my 16 year old daughter also claimed it for her own!   see you later quilt 2